|
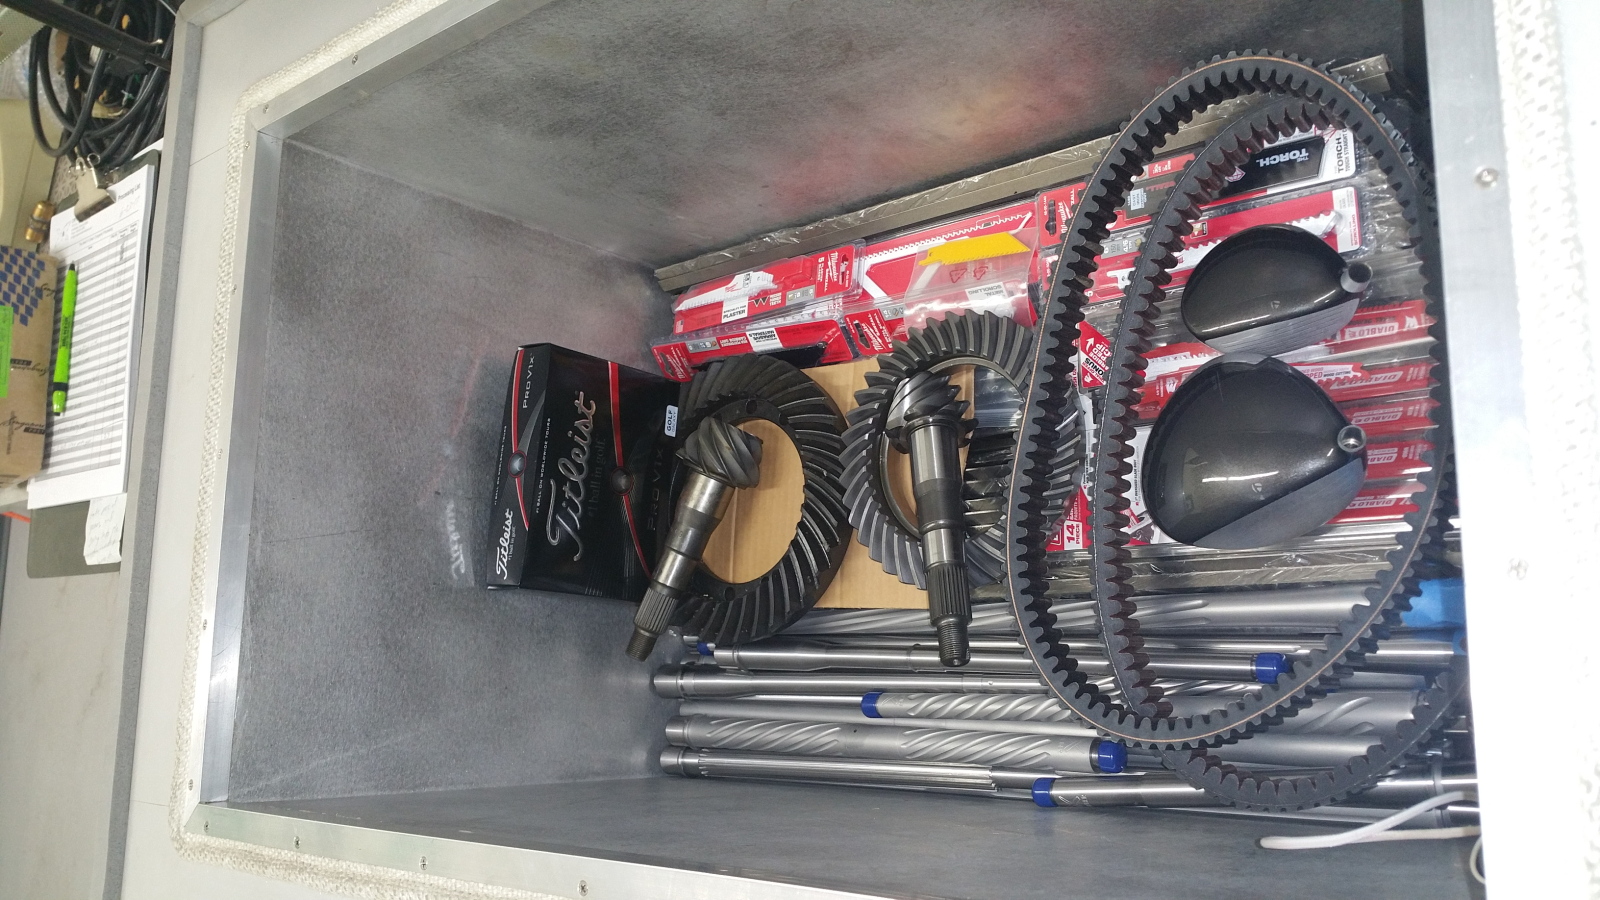
This is the small cryo chamber shown with both Nitro 529 gear sets temporarily placed just for this snapshot.
One word to describe what a proper cryo will do for Landcruiser ring and pinions.....tougher.
Competition drive belts for side by sides last the entire race season.
Golf balls travel farther. |
|---|
|
|
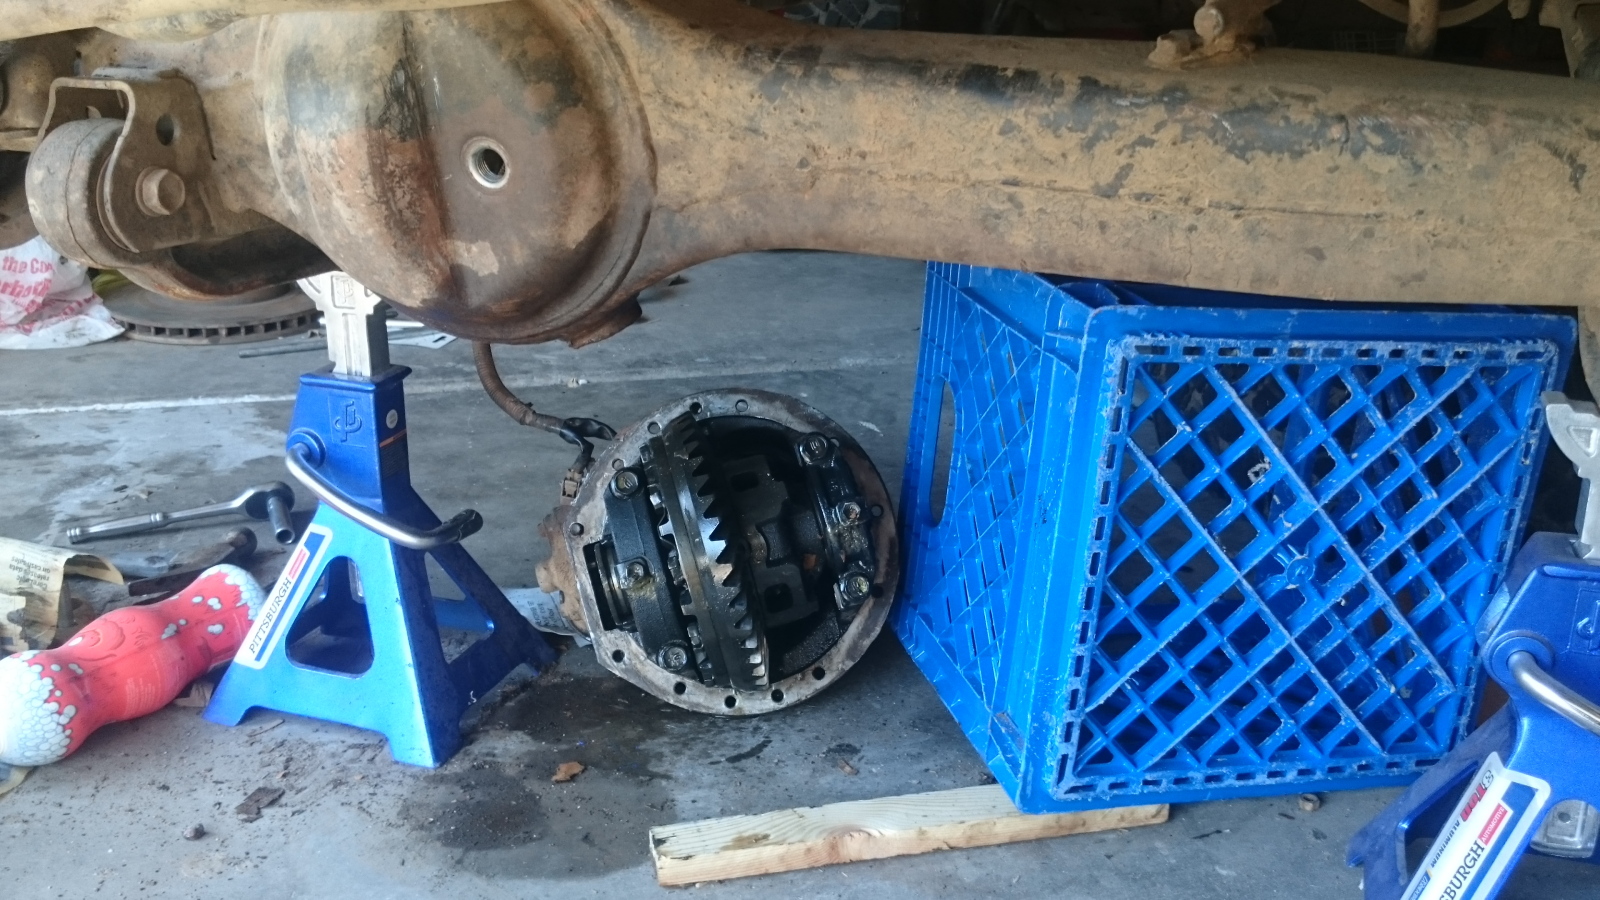
| Ely removes both the front and rear elocker 3rds from the 80. |
|---|
|
|
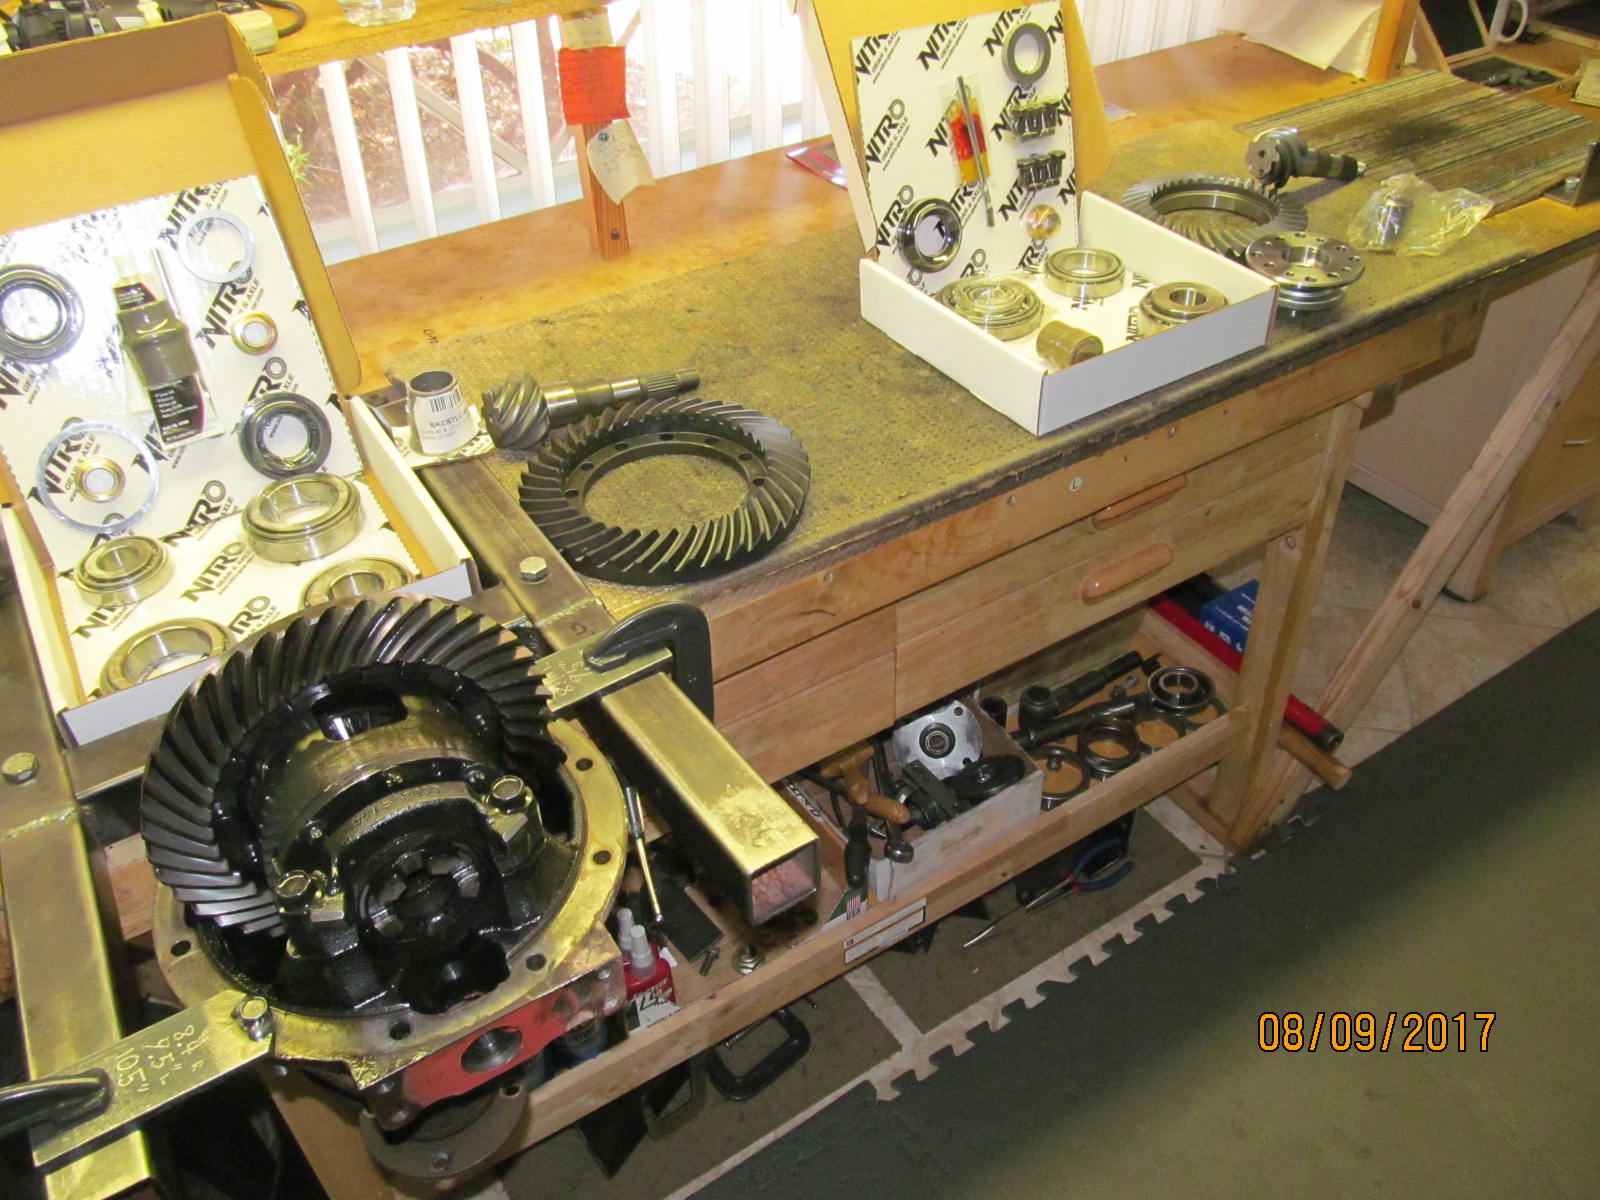
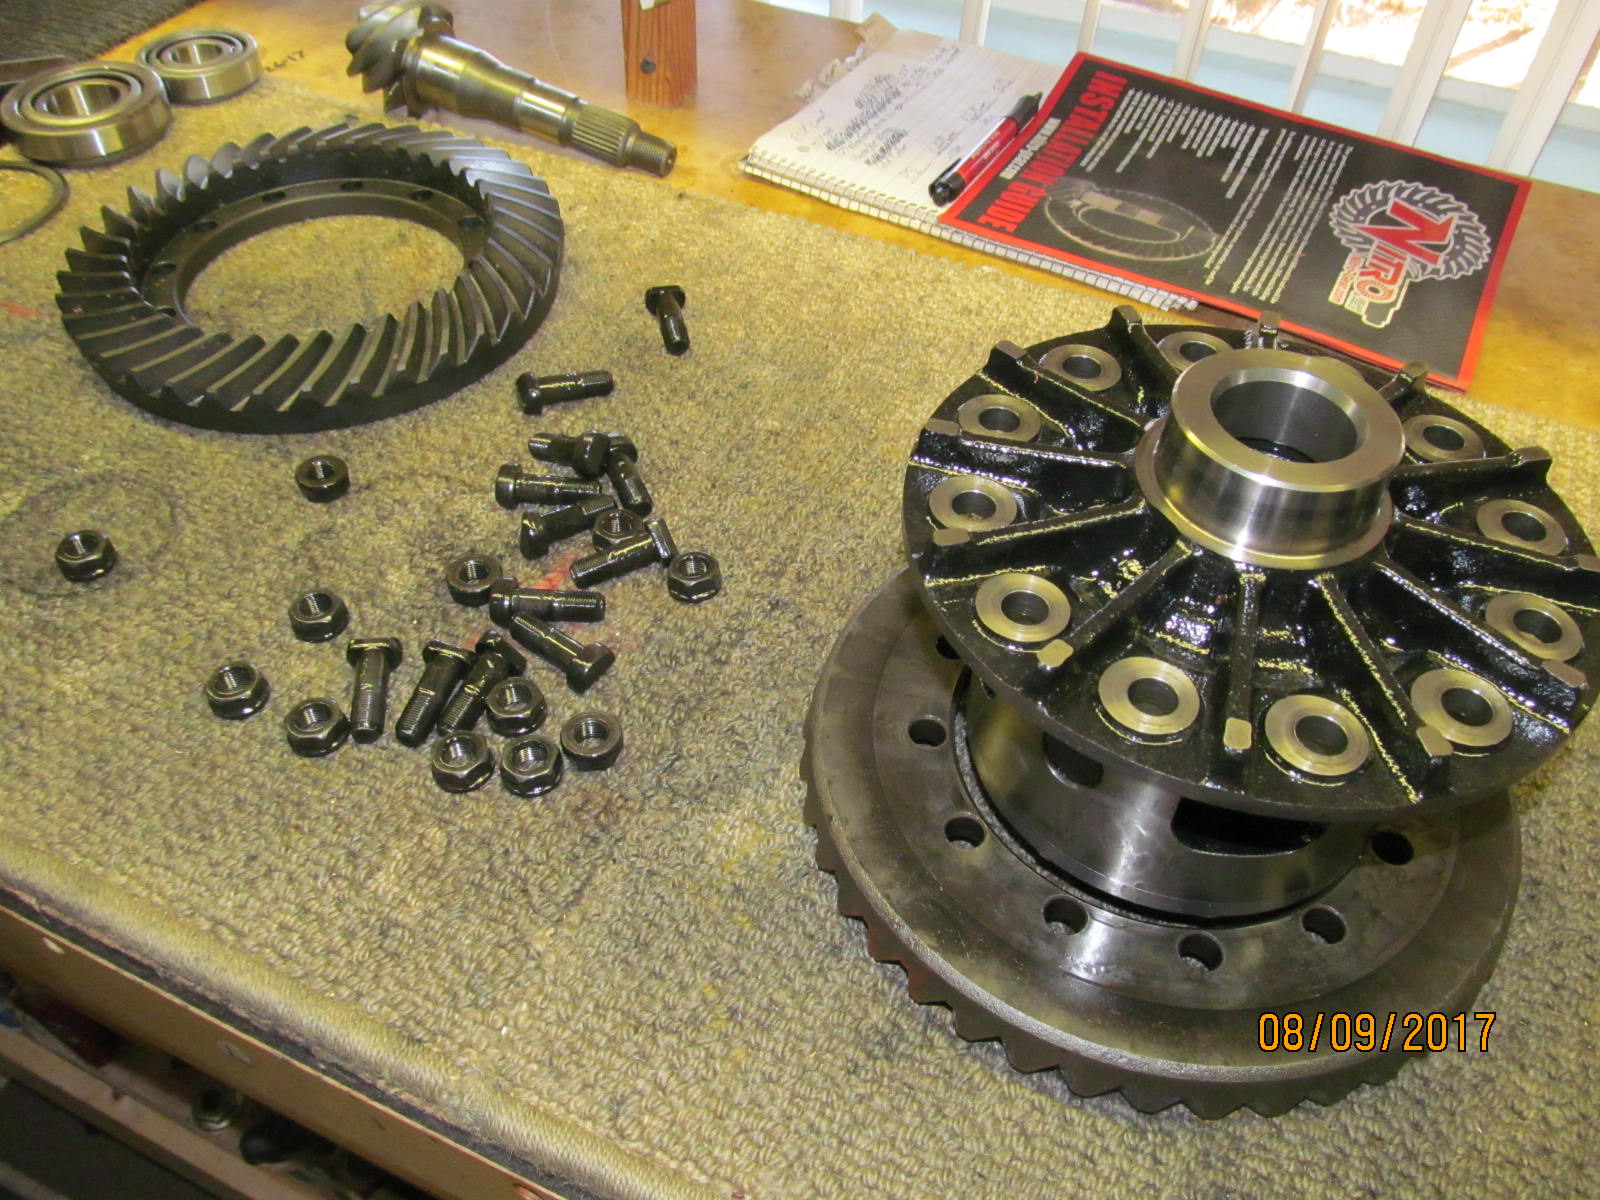
The heavy 9.5" rear will be done first. Nitro brand master kits with solid collars for both ends.
This is the "gear package" I ordered from JustDifferentials. |
|---|
|
|
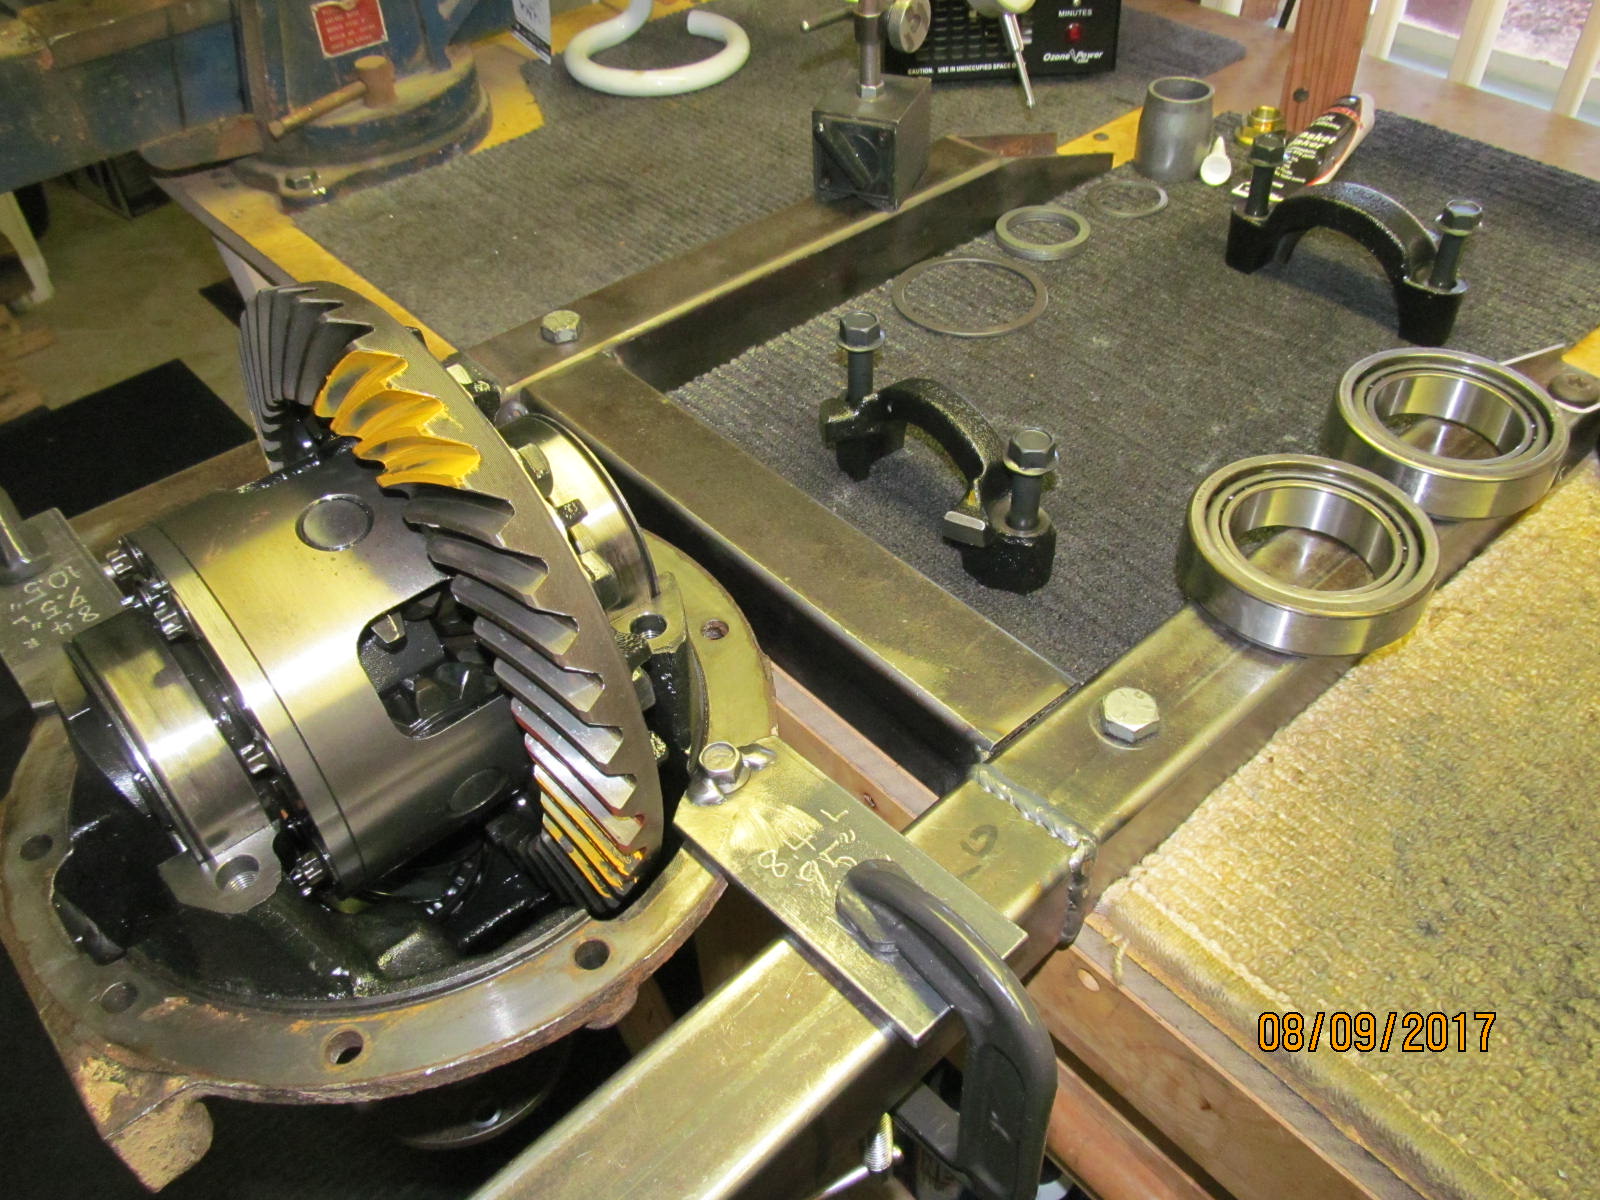
A quick paint of the original gears and looks like they were in pretty good shape. Teardown begins.
Caps have been removed. |
|---|
|
|
| The right puller easily removes the carrier bearings. |
|---|
|
|
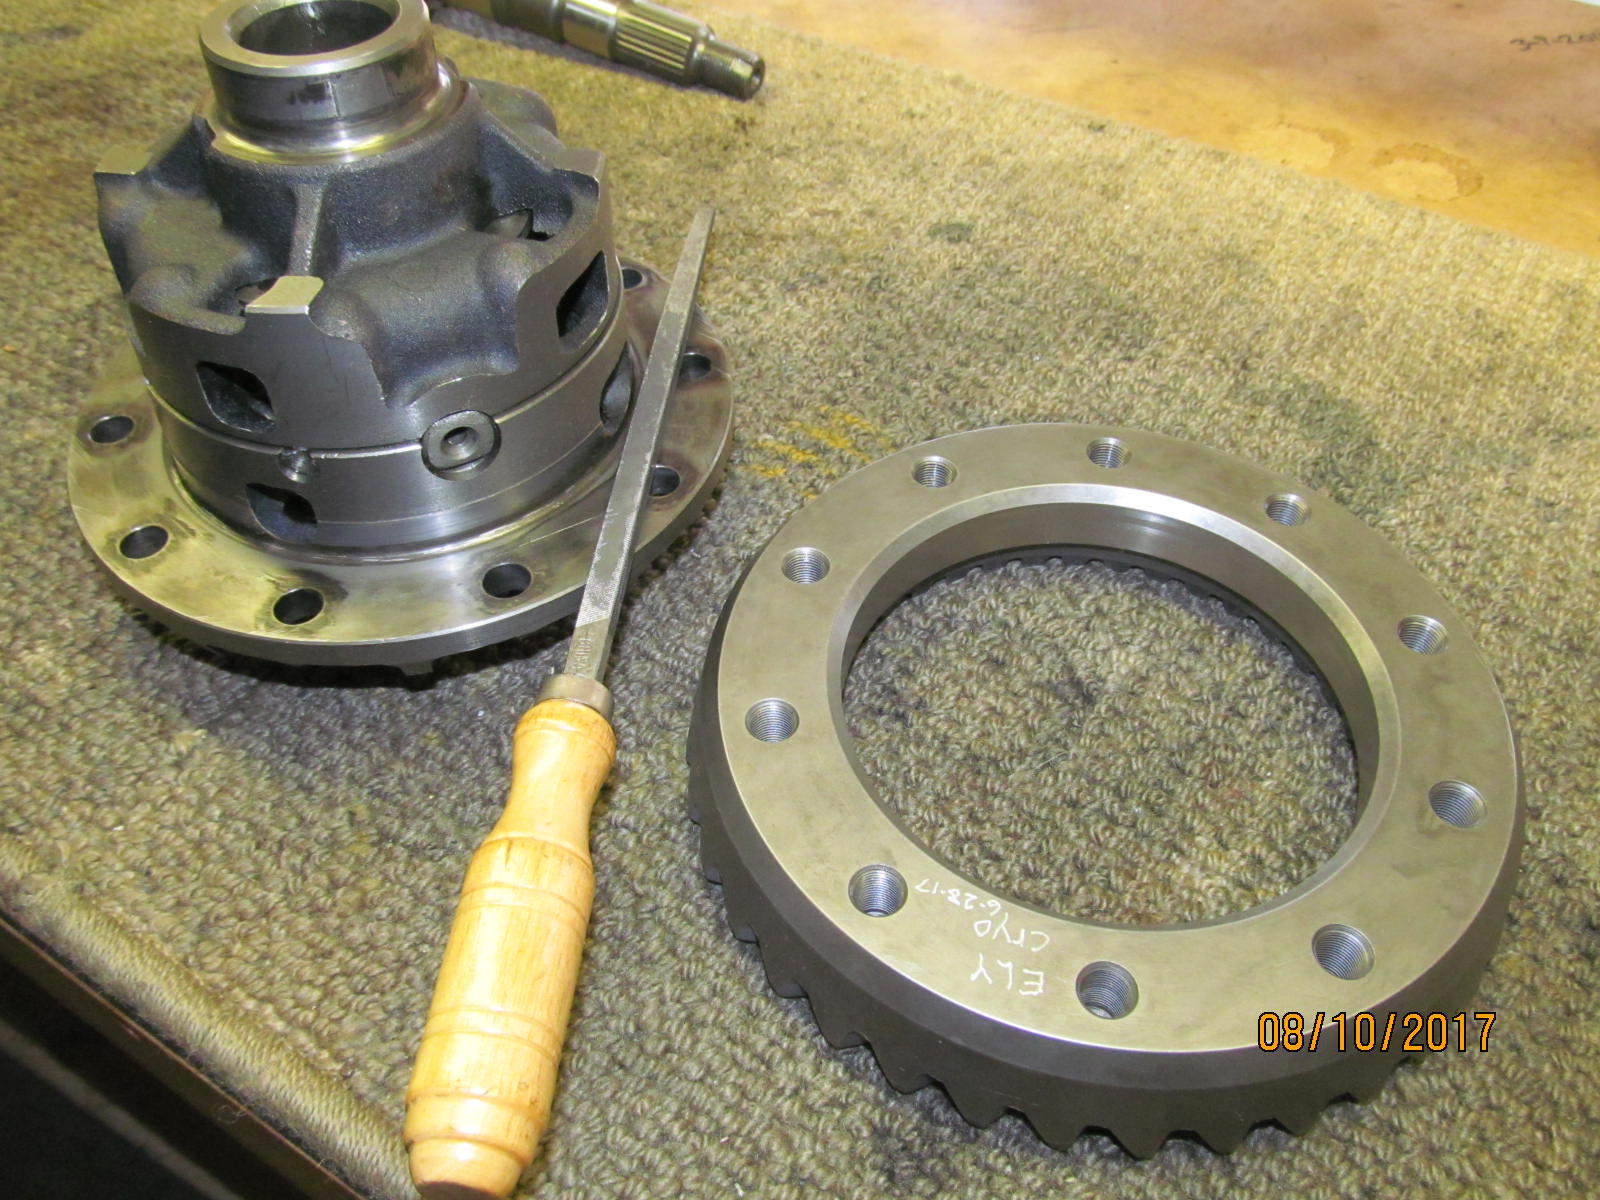
| 410 ring gear falls off. |
|---|
|
|
| Burr check....all good. |
|---|
|
|
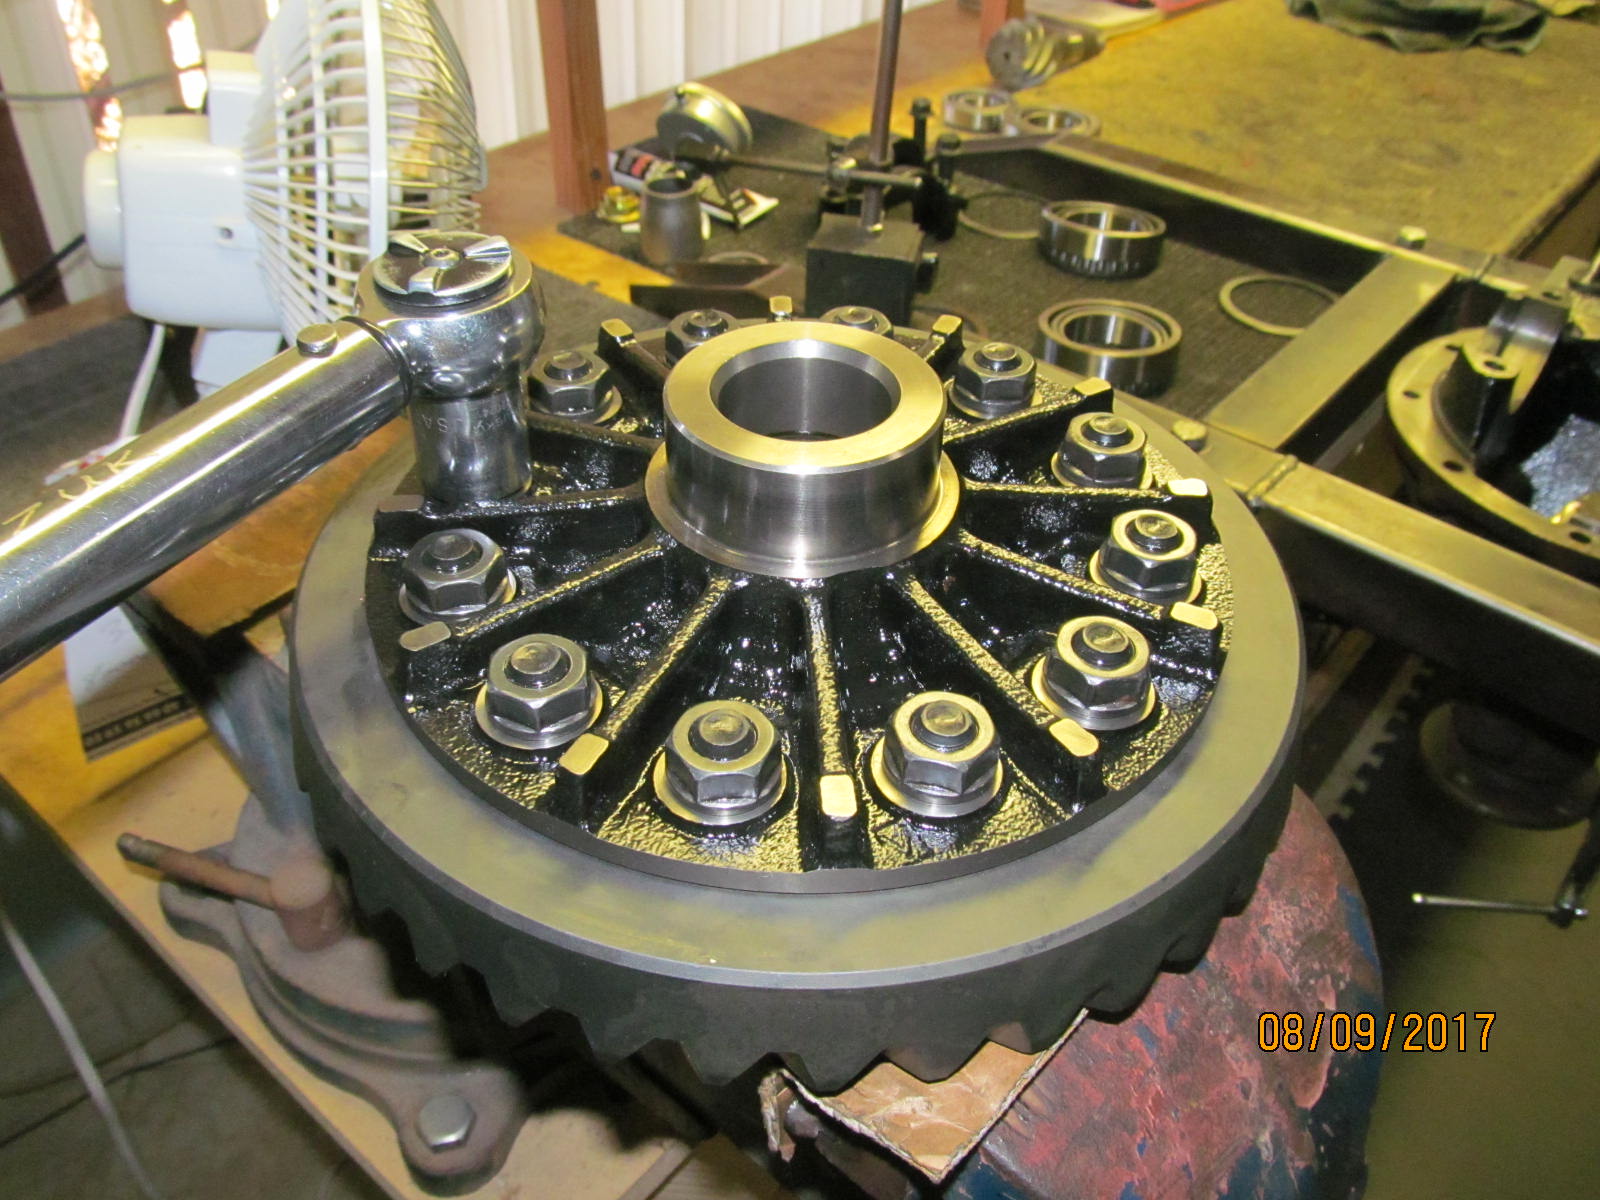
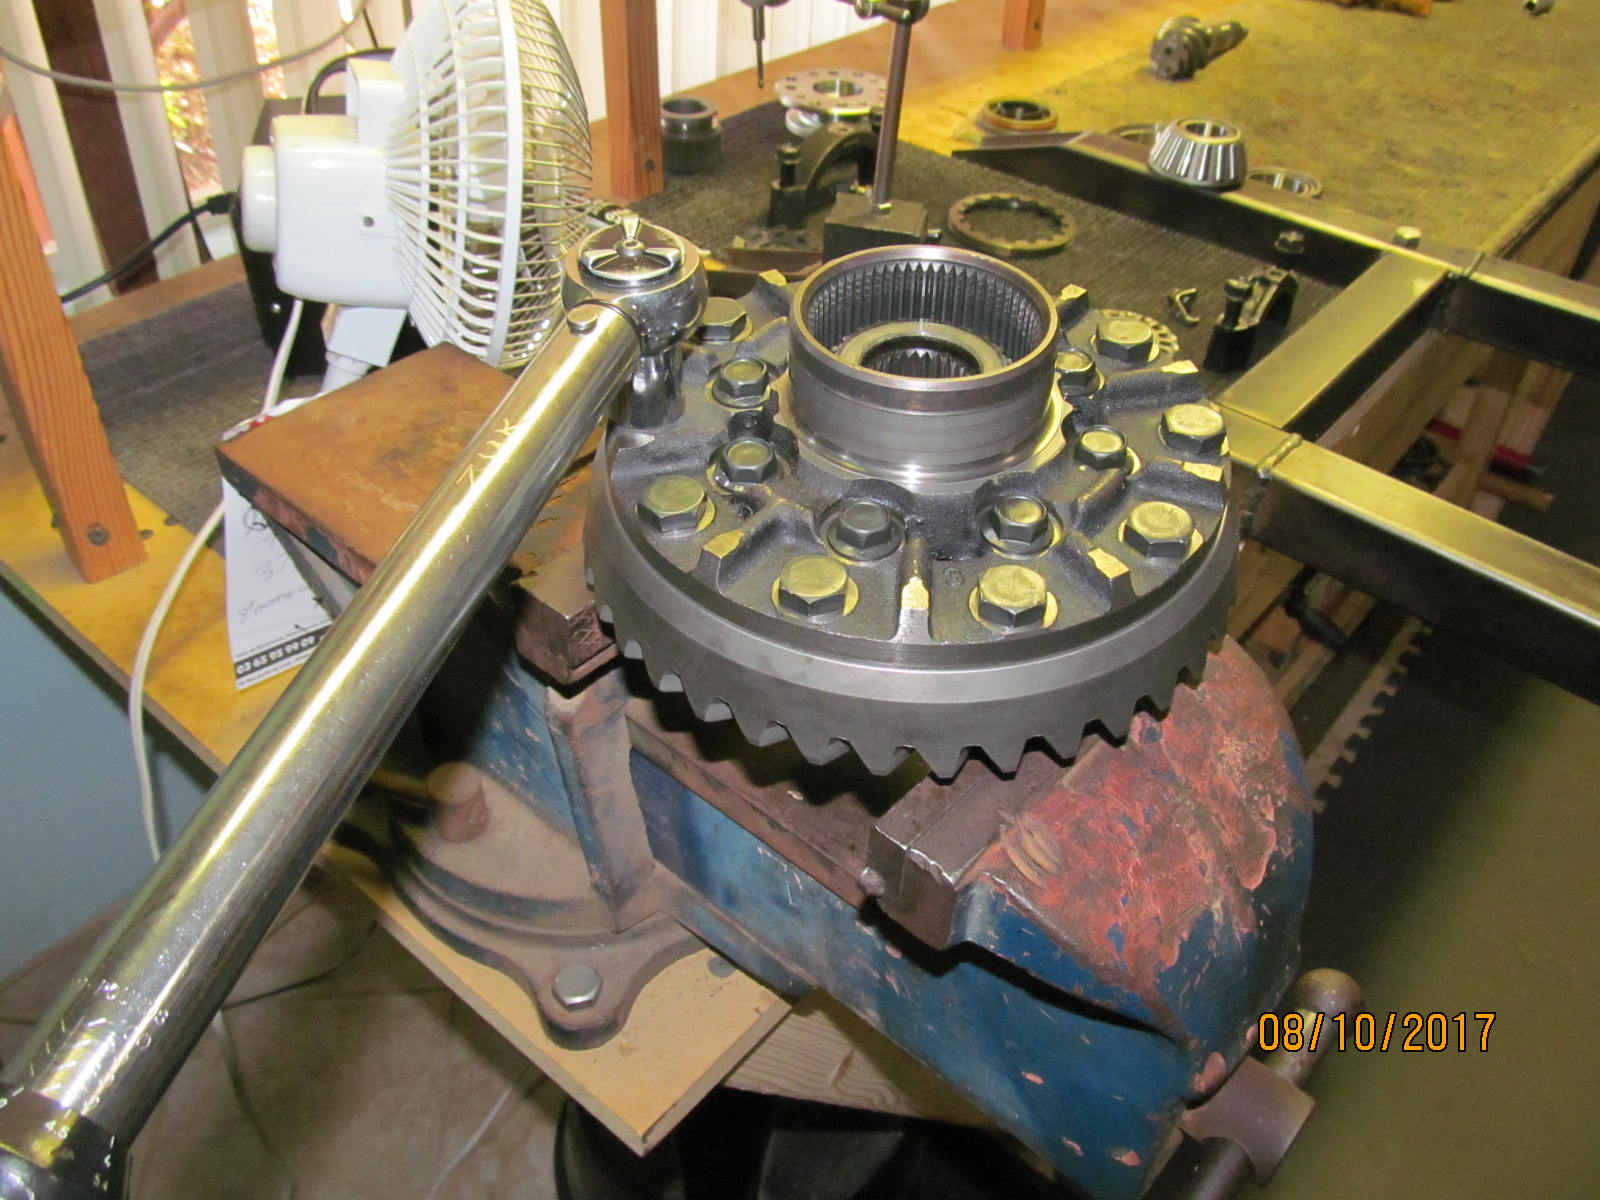
| 81 ft/lb on all 12 bolts/nuts. |
|---|
|
|
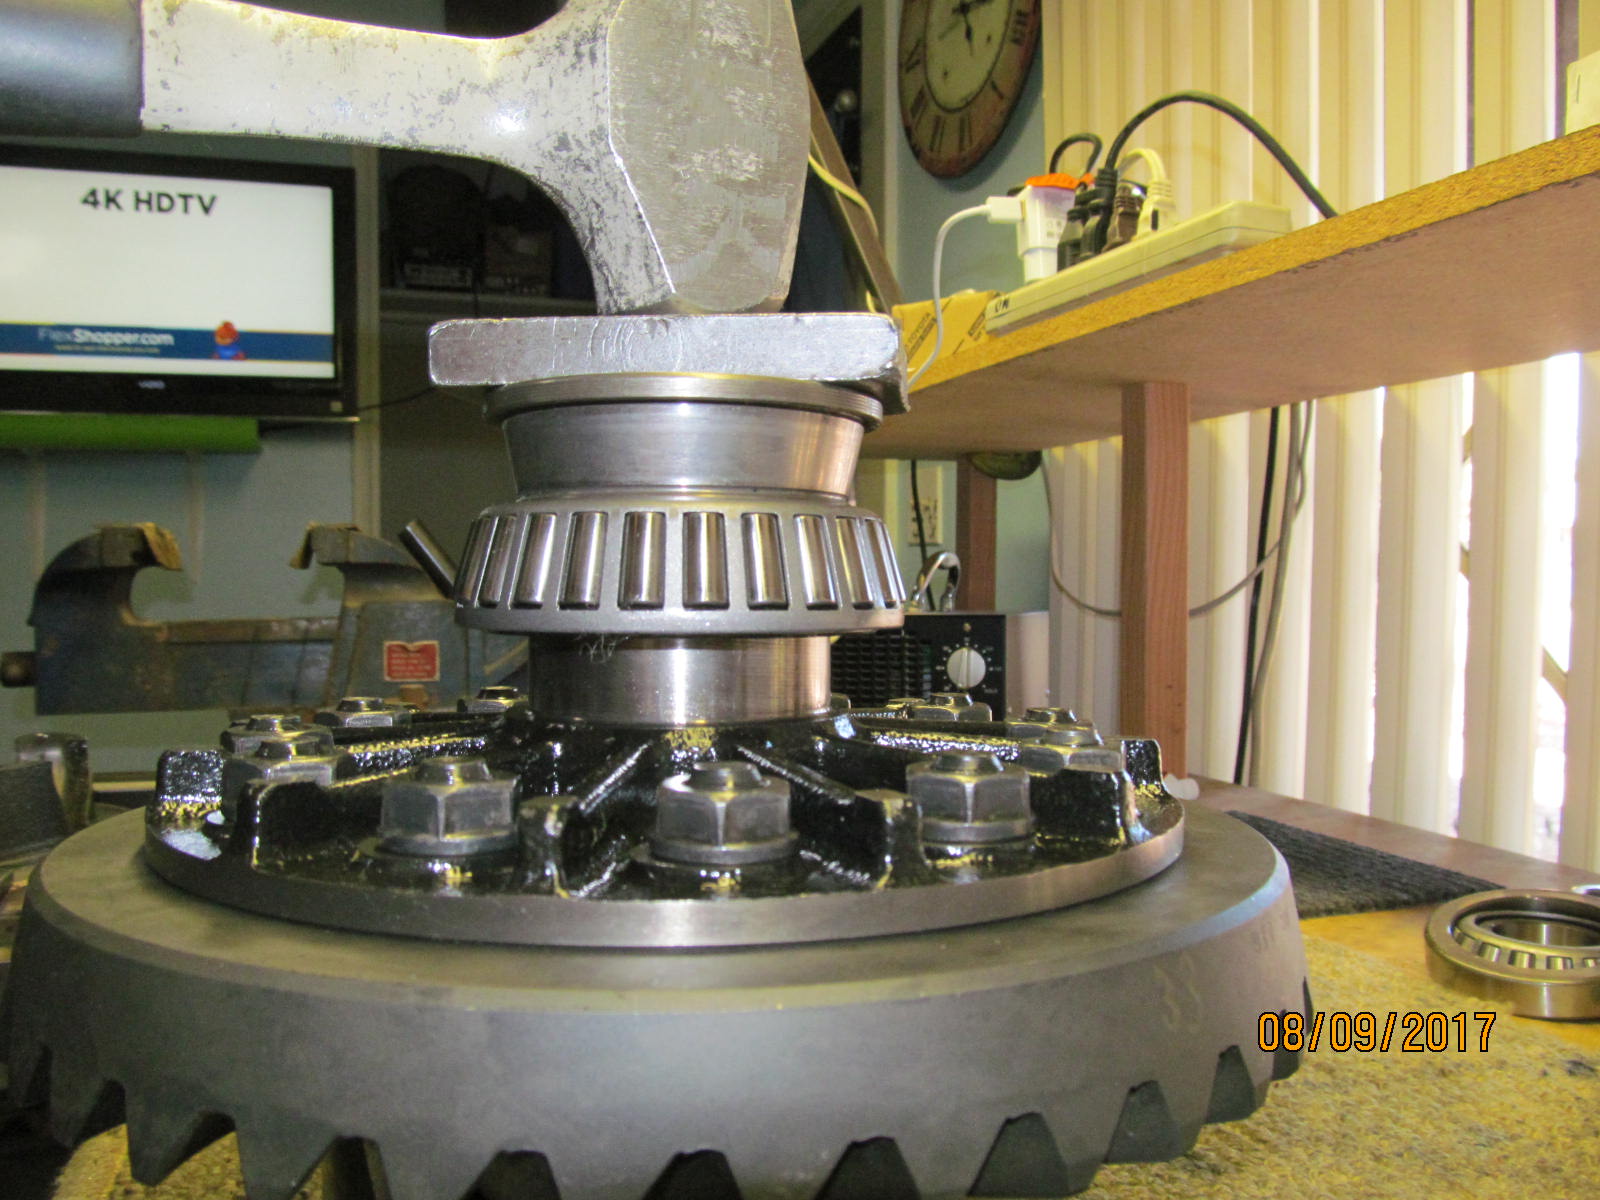
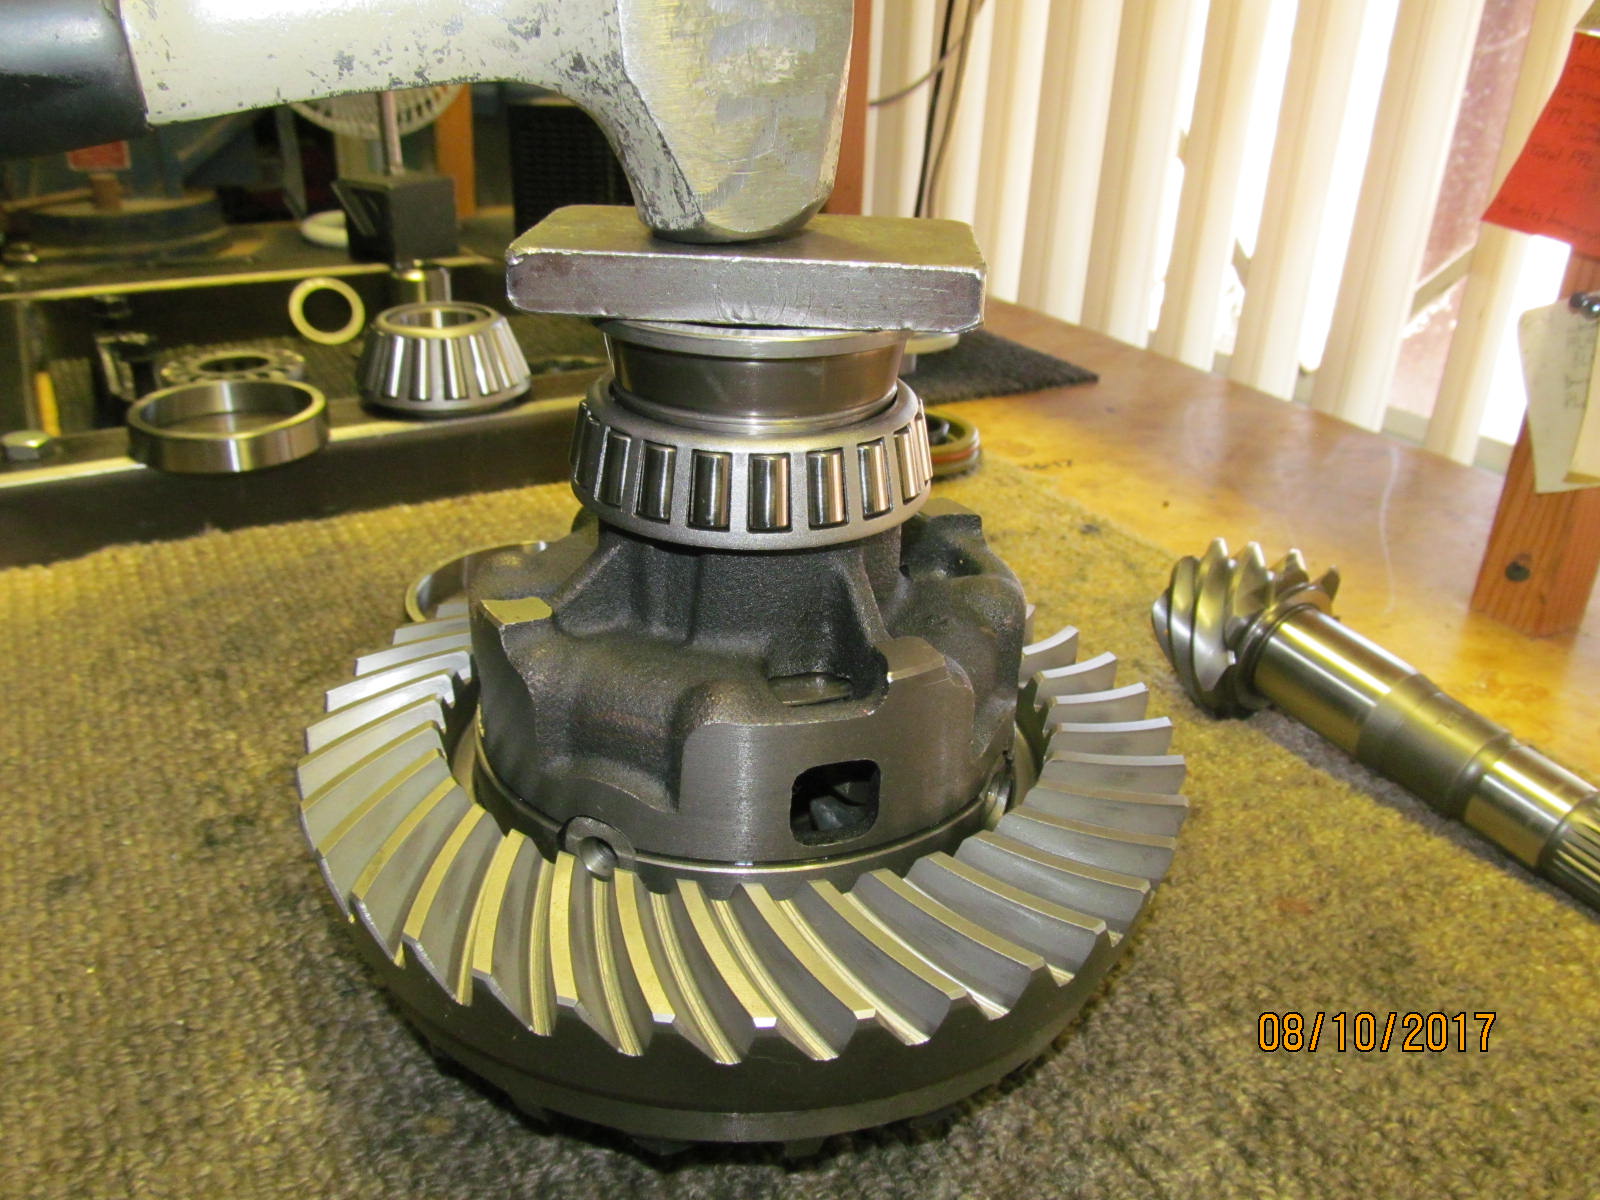
| The new Koyo carrier bearings are tapped on. |
|---|
|
|
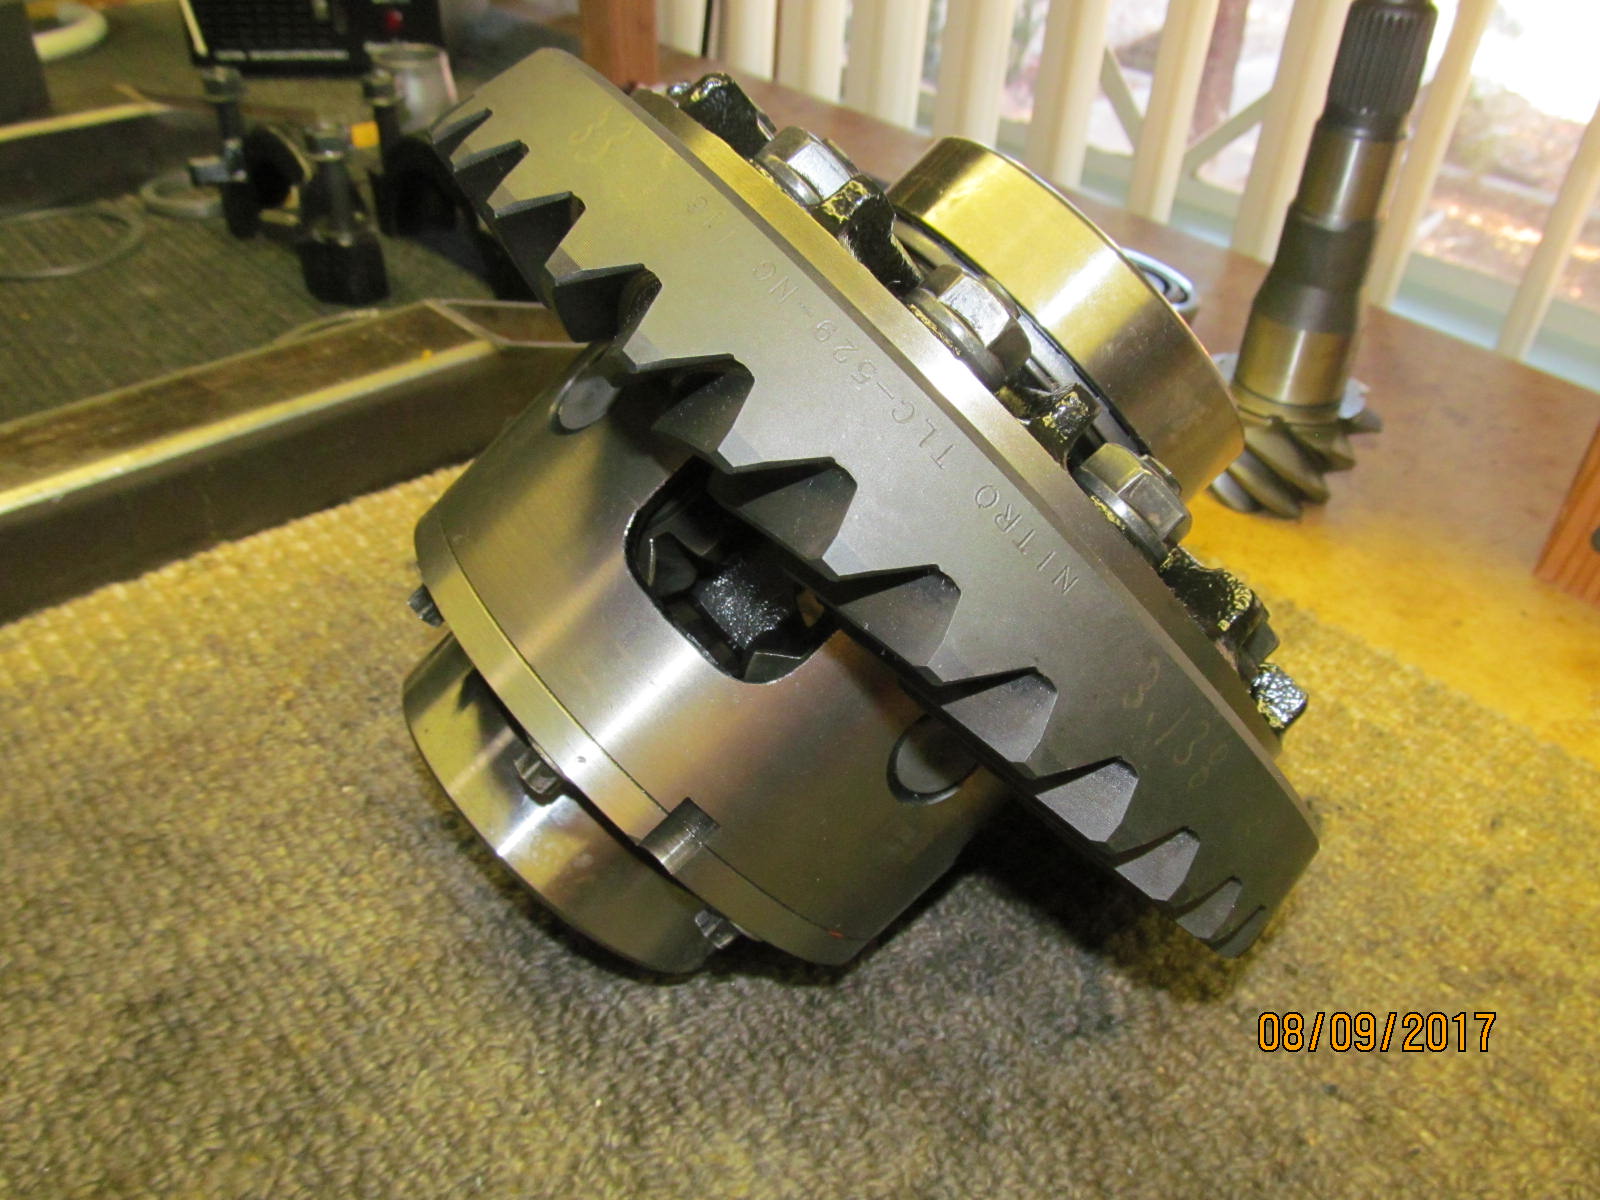
| This portion is done. |
|---|
|
|
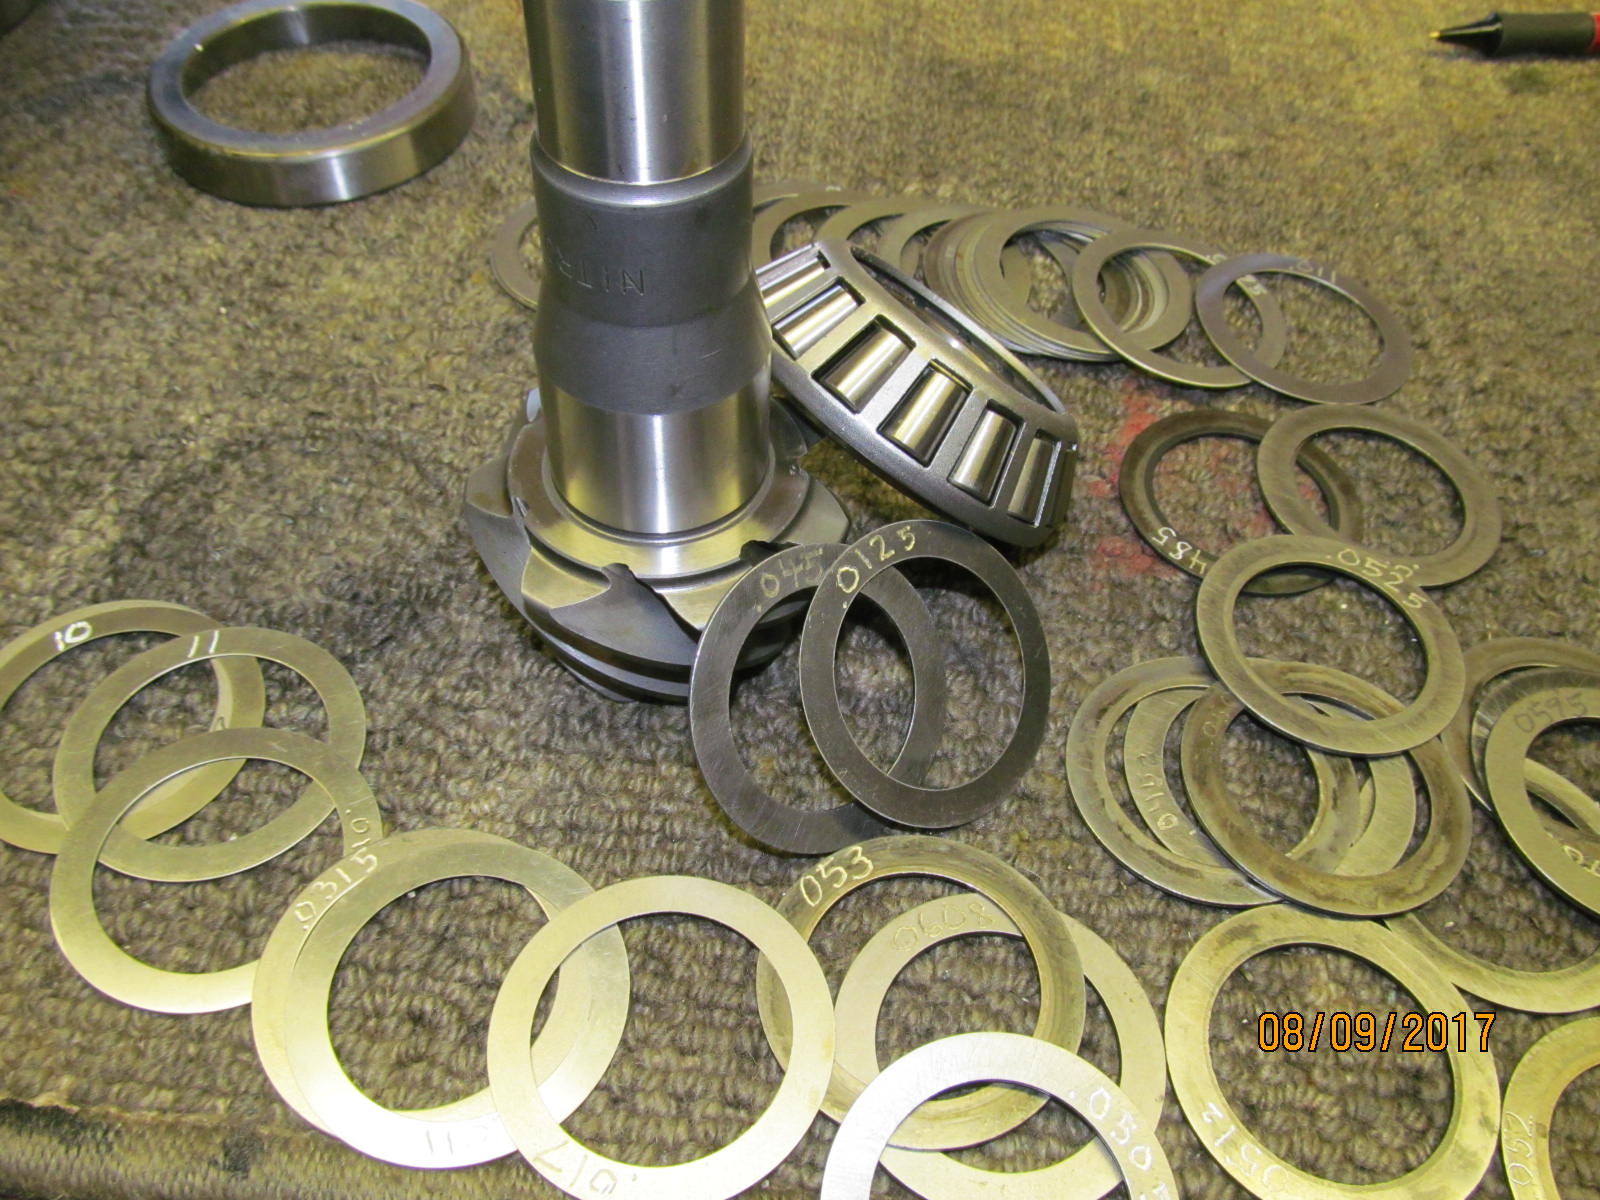
| Let's try .057" for the first try. |
|---|
|
|
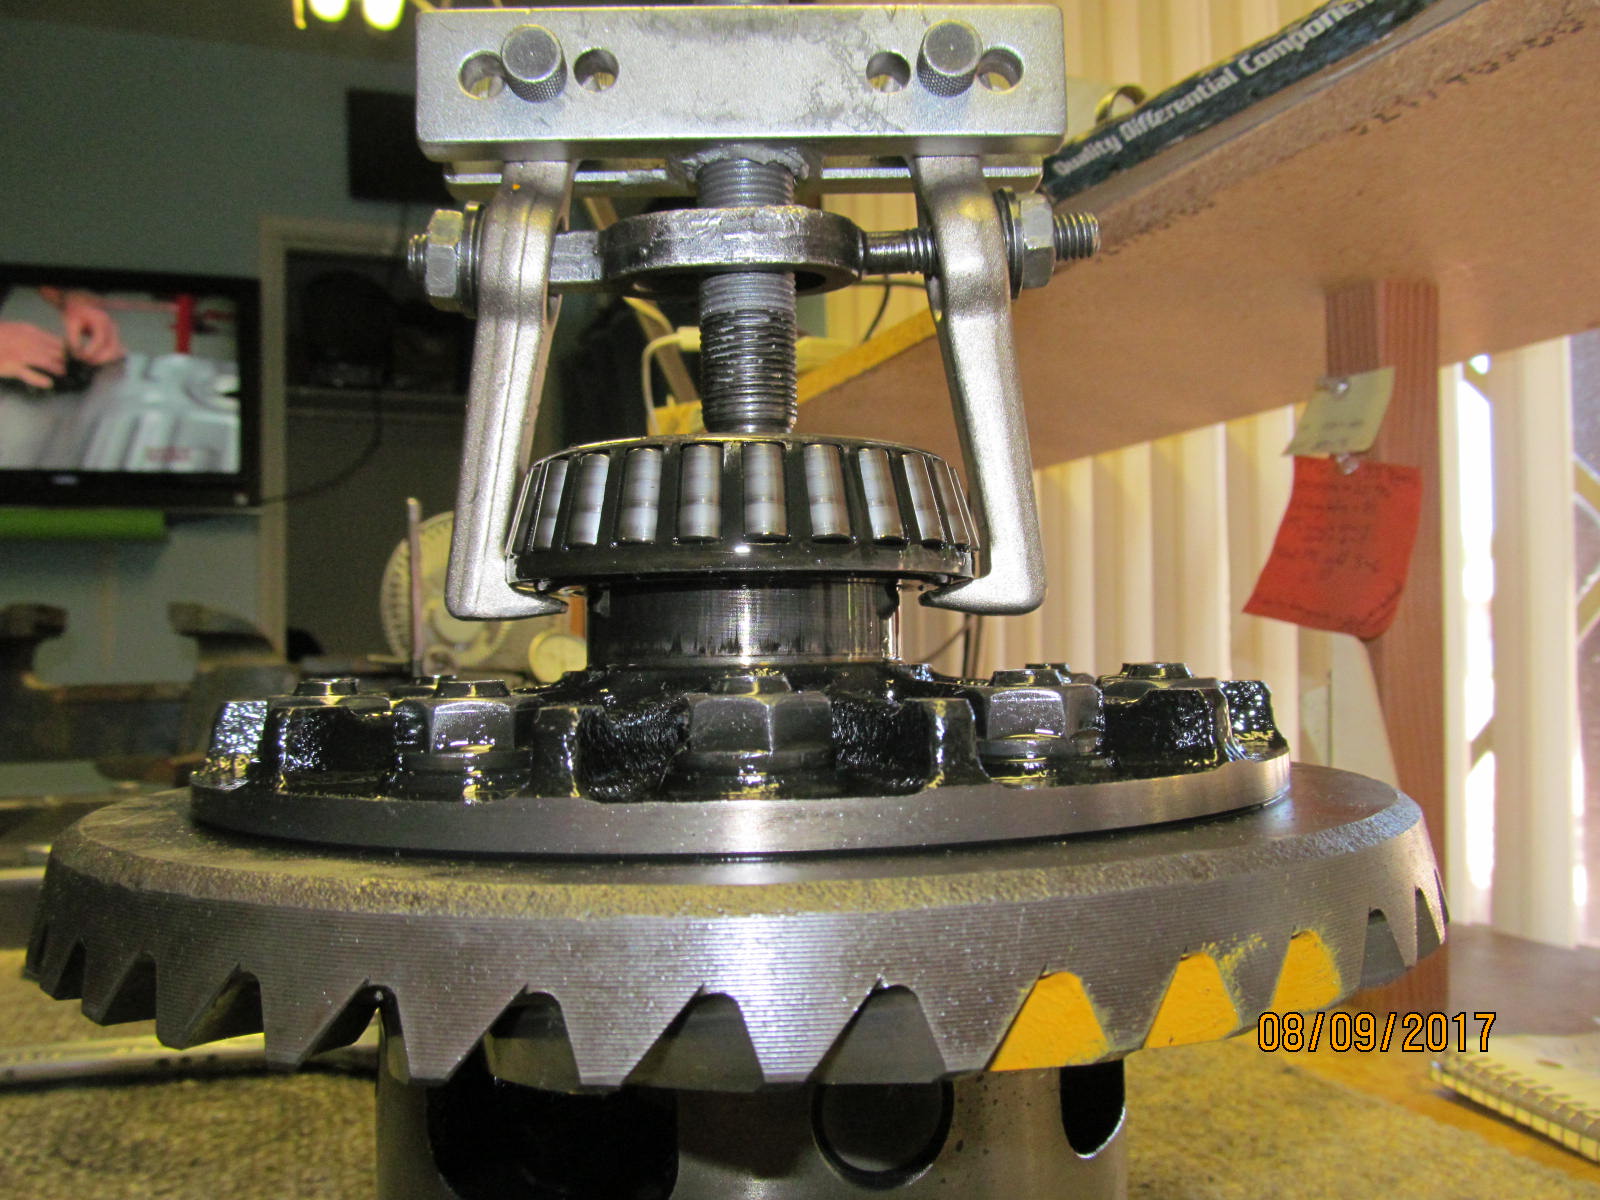
| The 12 ton Harbor Freight press is more than enough to do the job. |
|---|
|
|
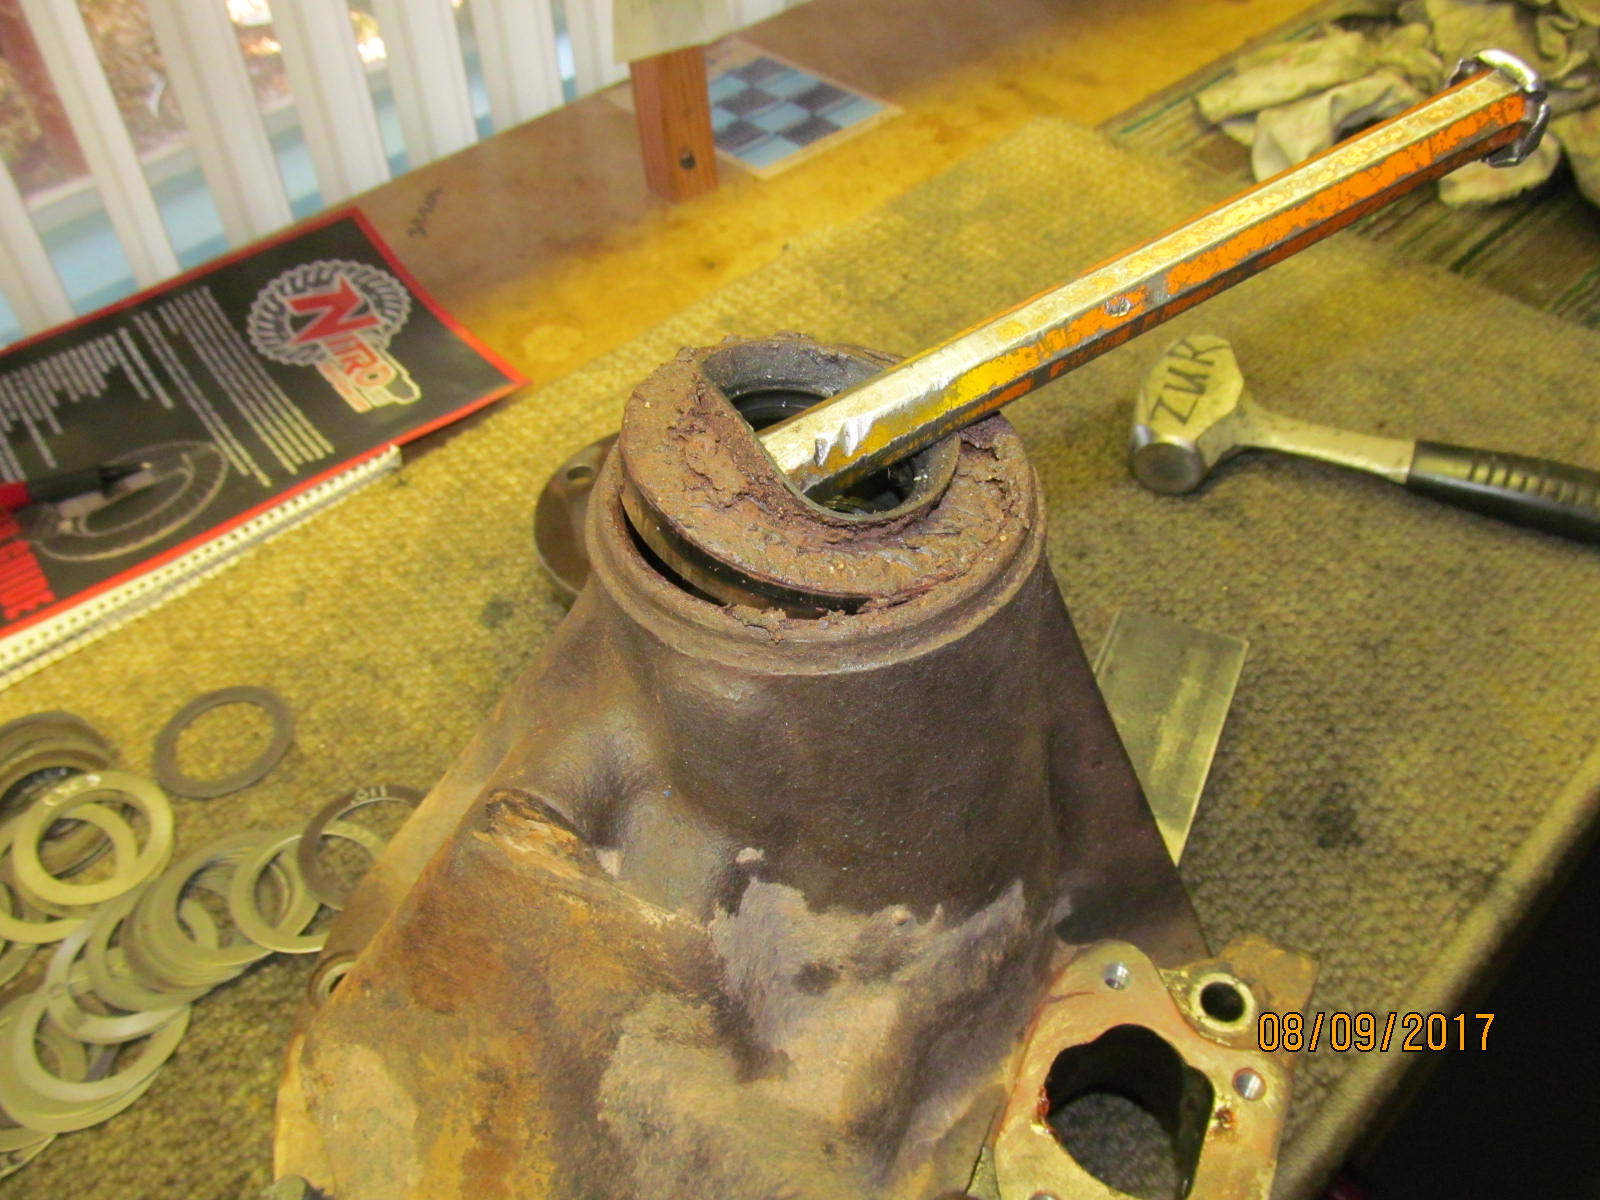
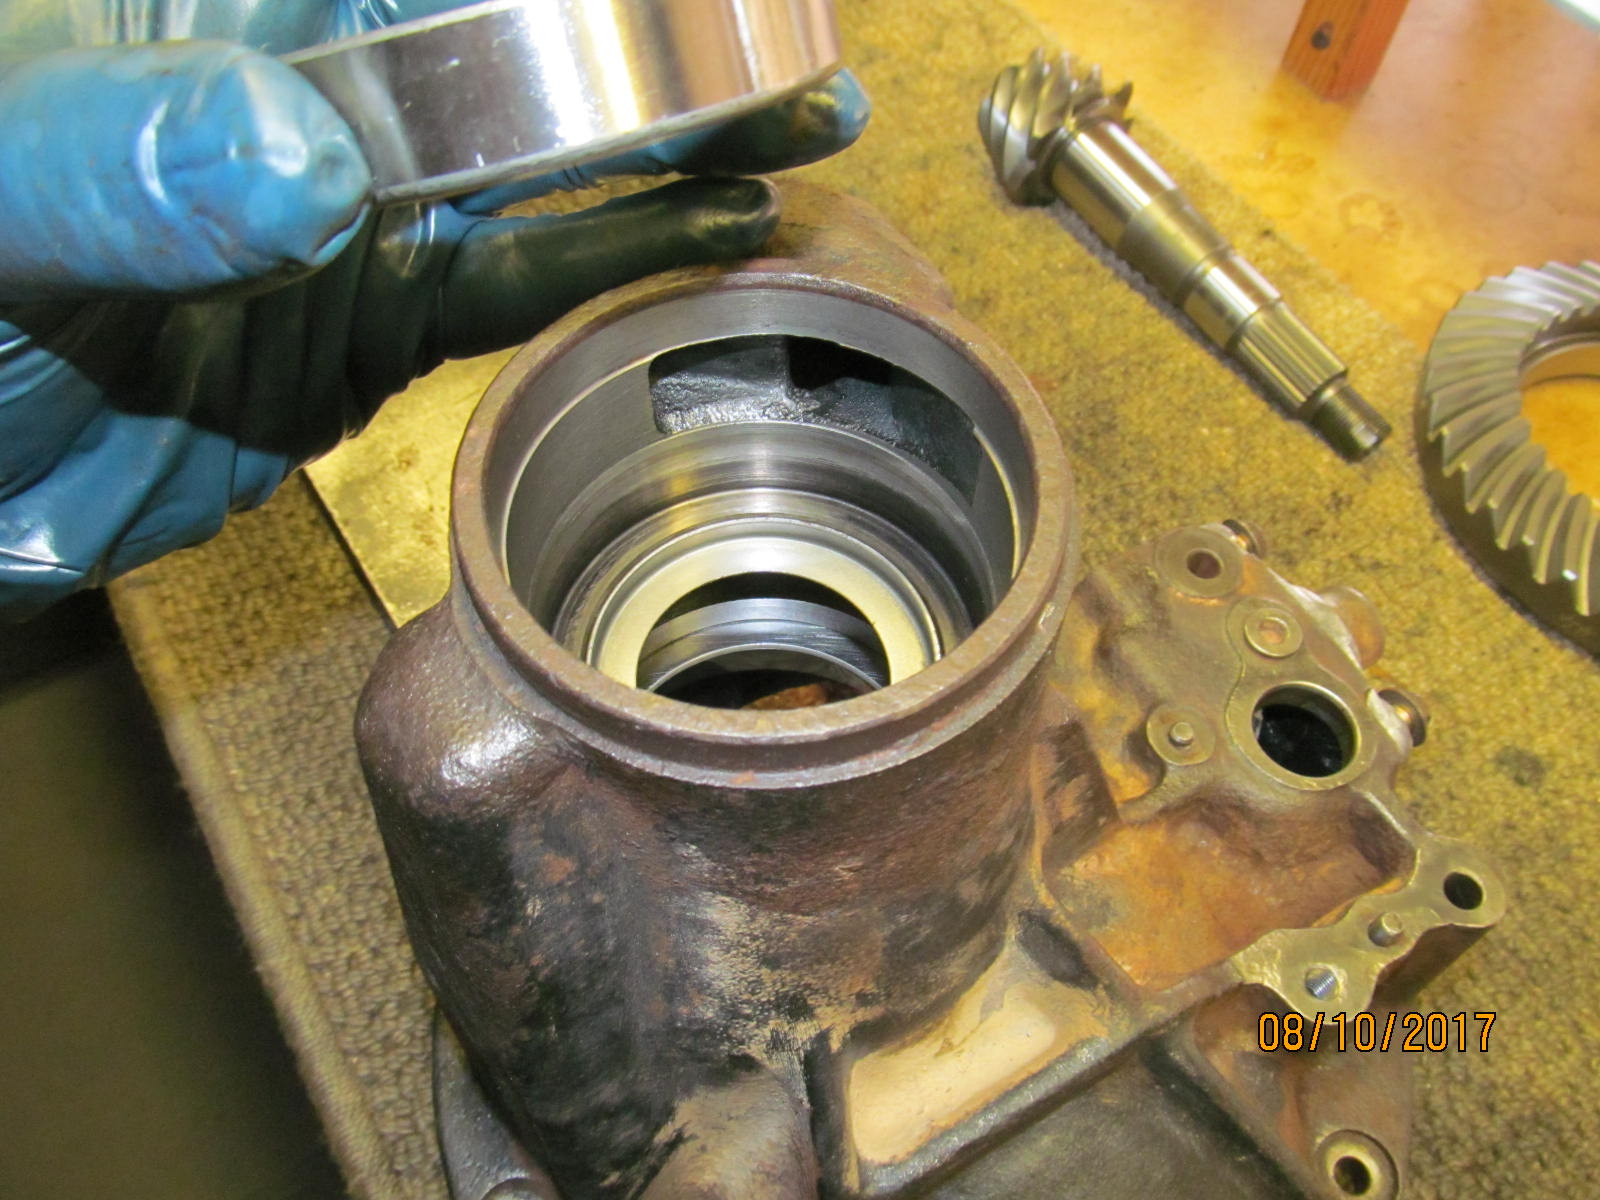
| Muddy pinion seal is removed. |
|---|
|
|
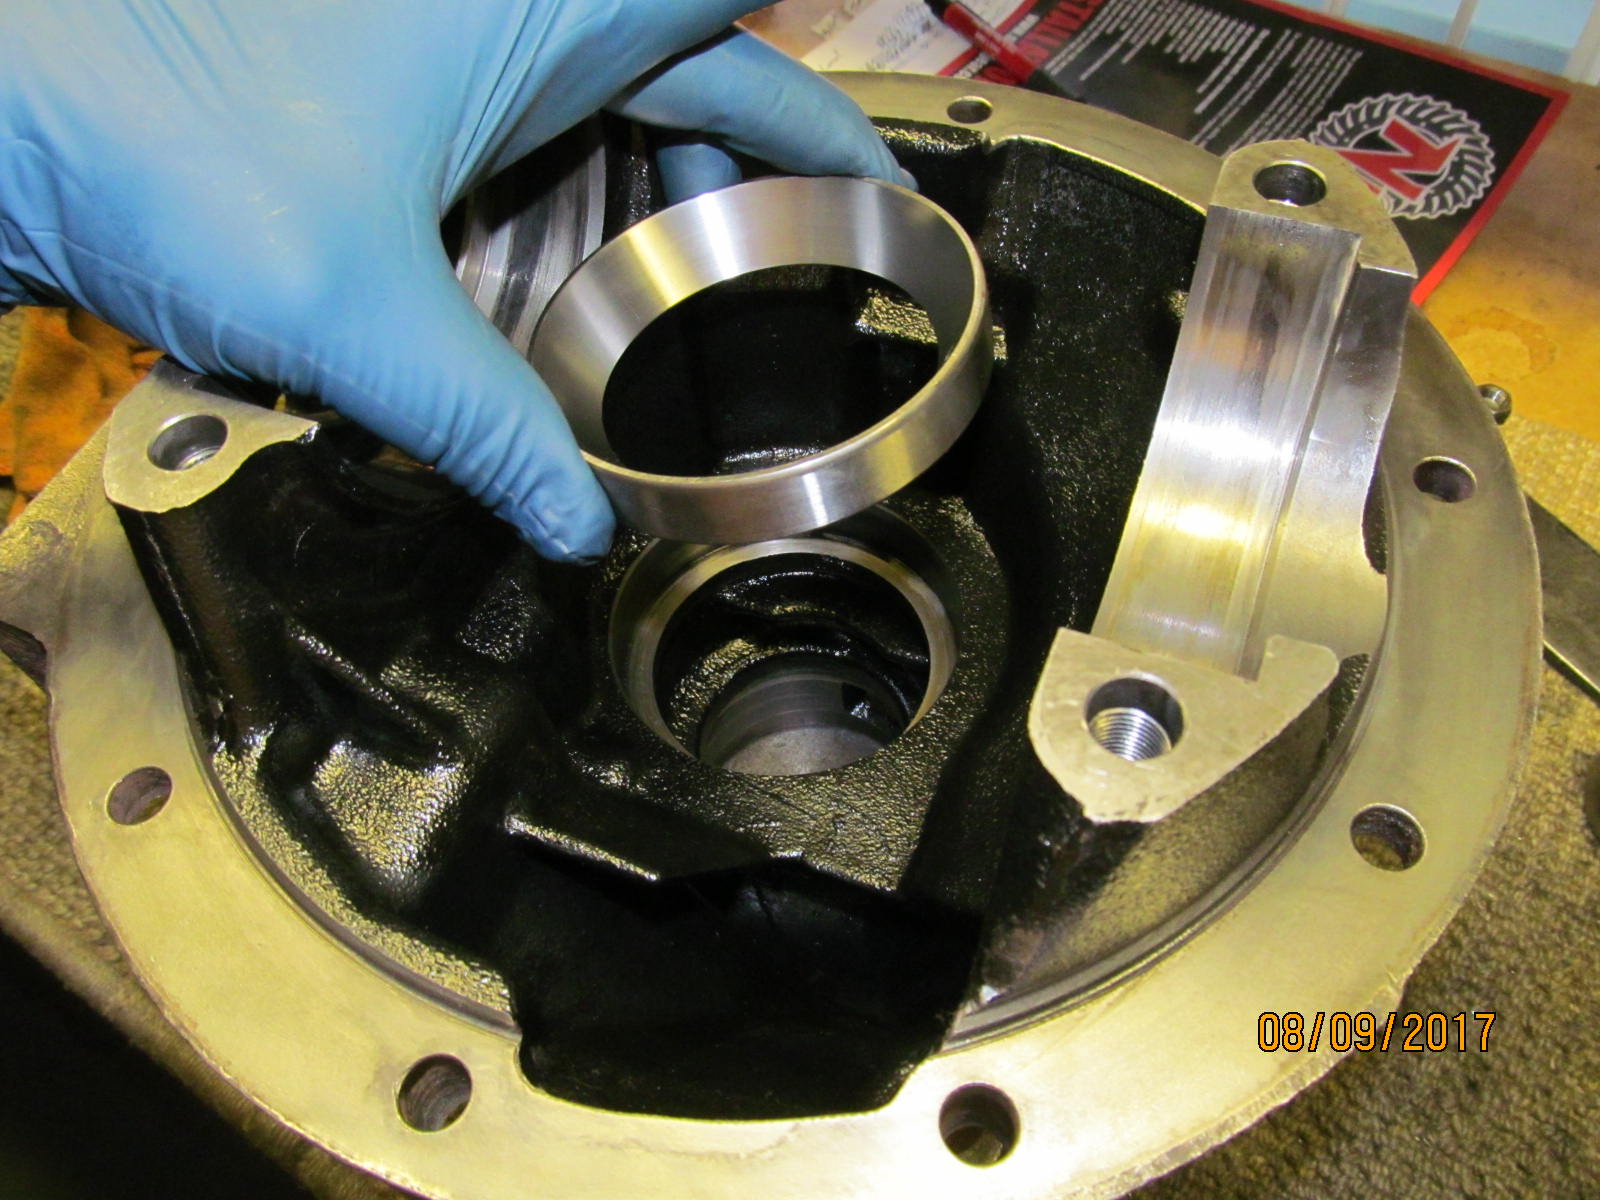
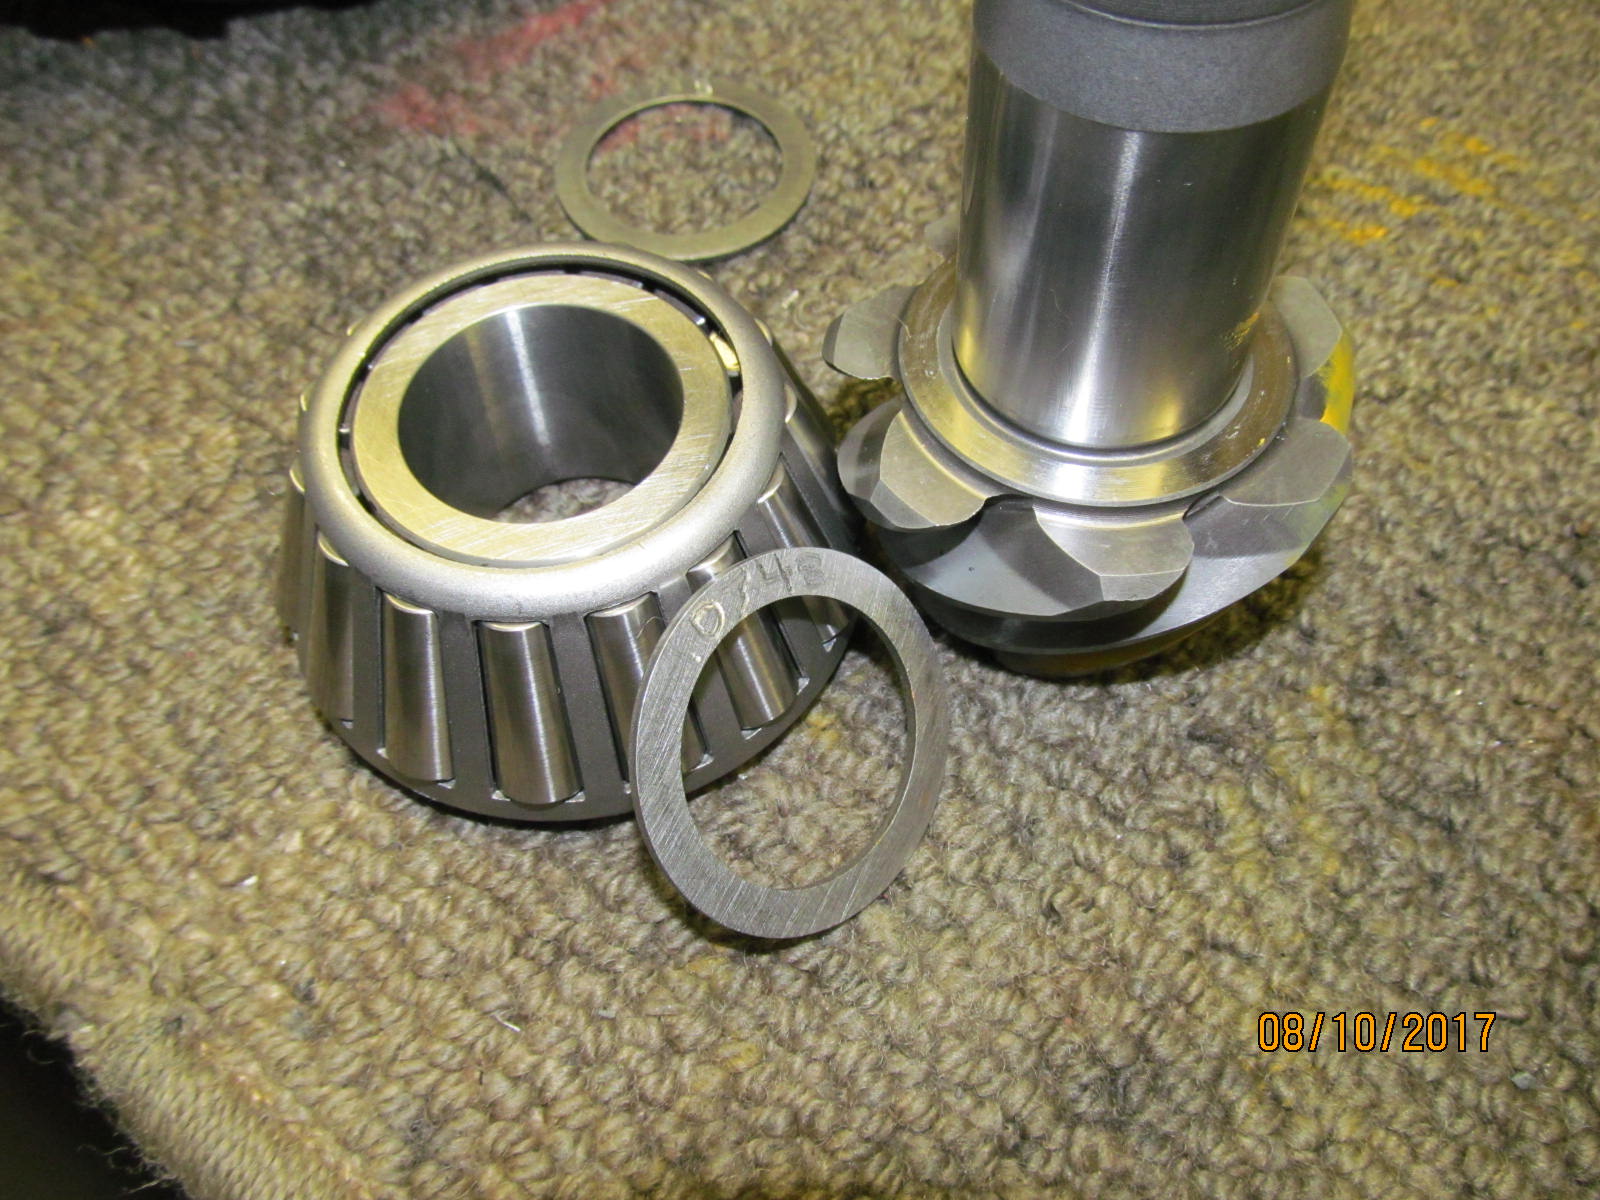
| 3rd has been properly cleaned and new races to go in. |
|---|
|
|
| ................... |
|---|
|

|
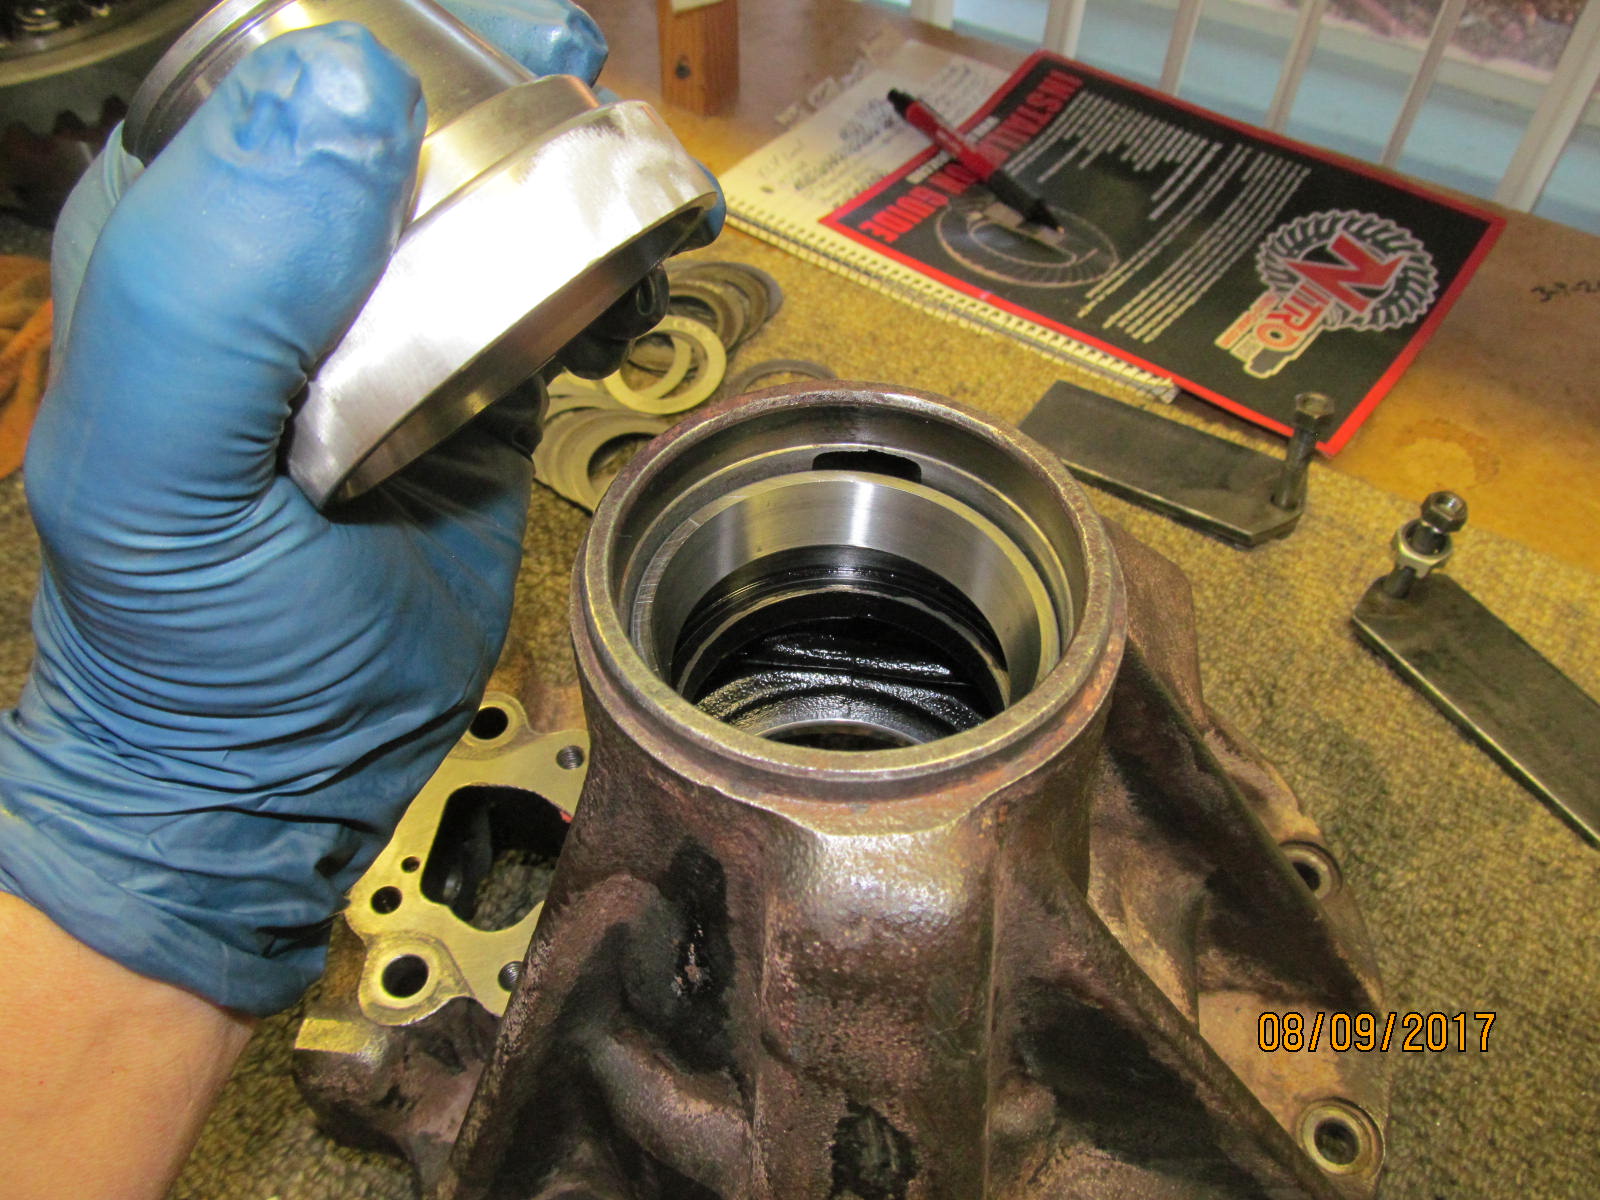
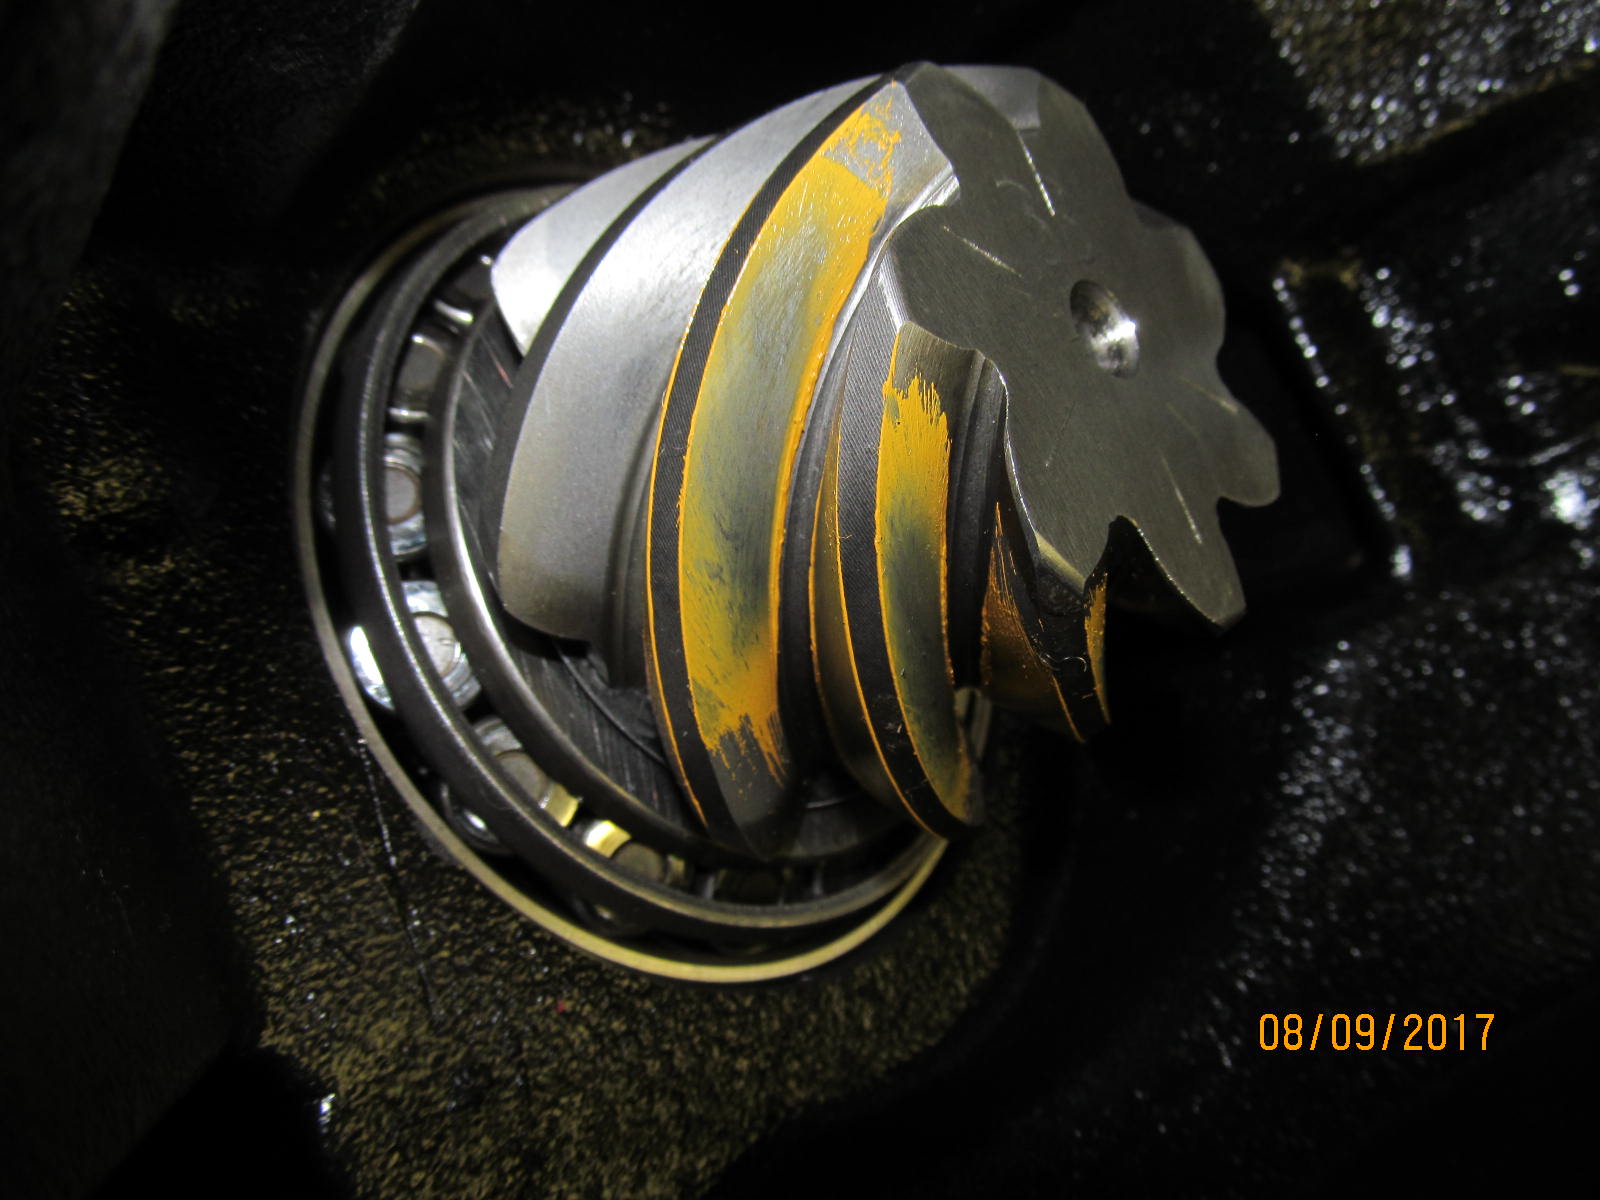
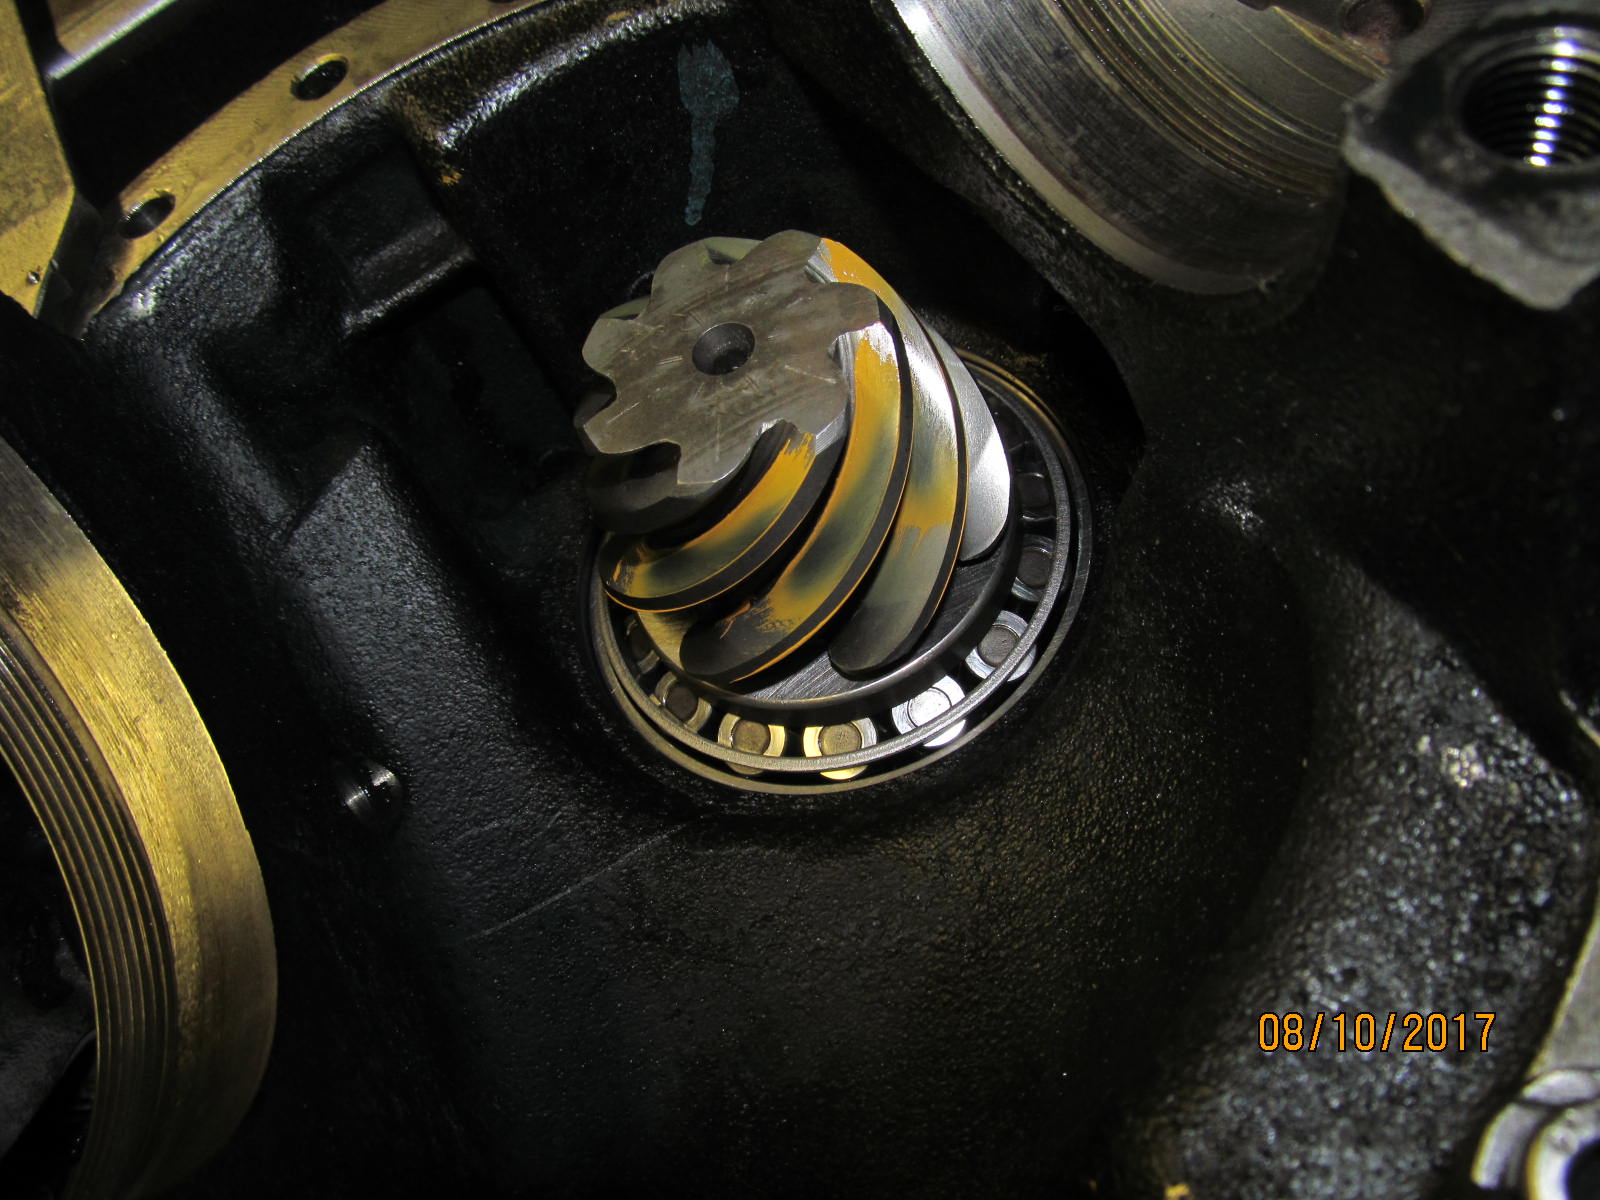
| Now the pinion can be mounted for a paint check. |
|---|
|
|
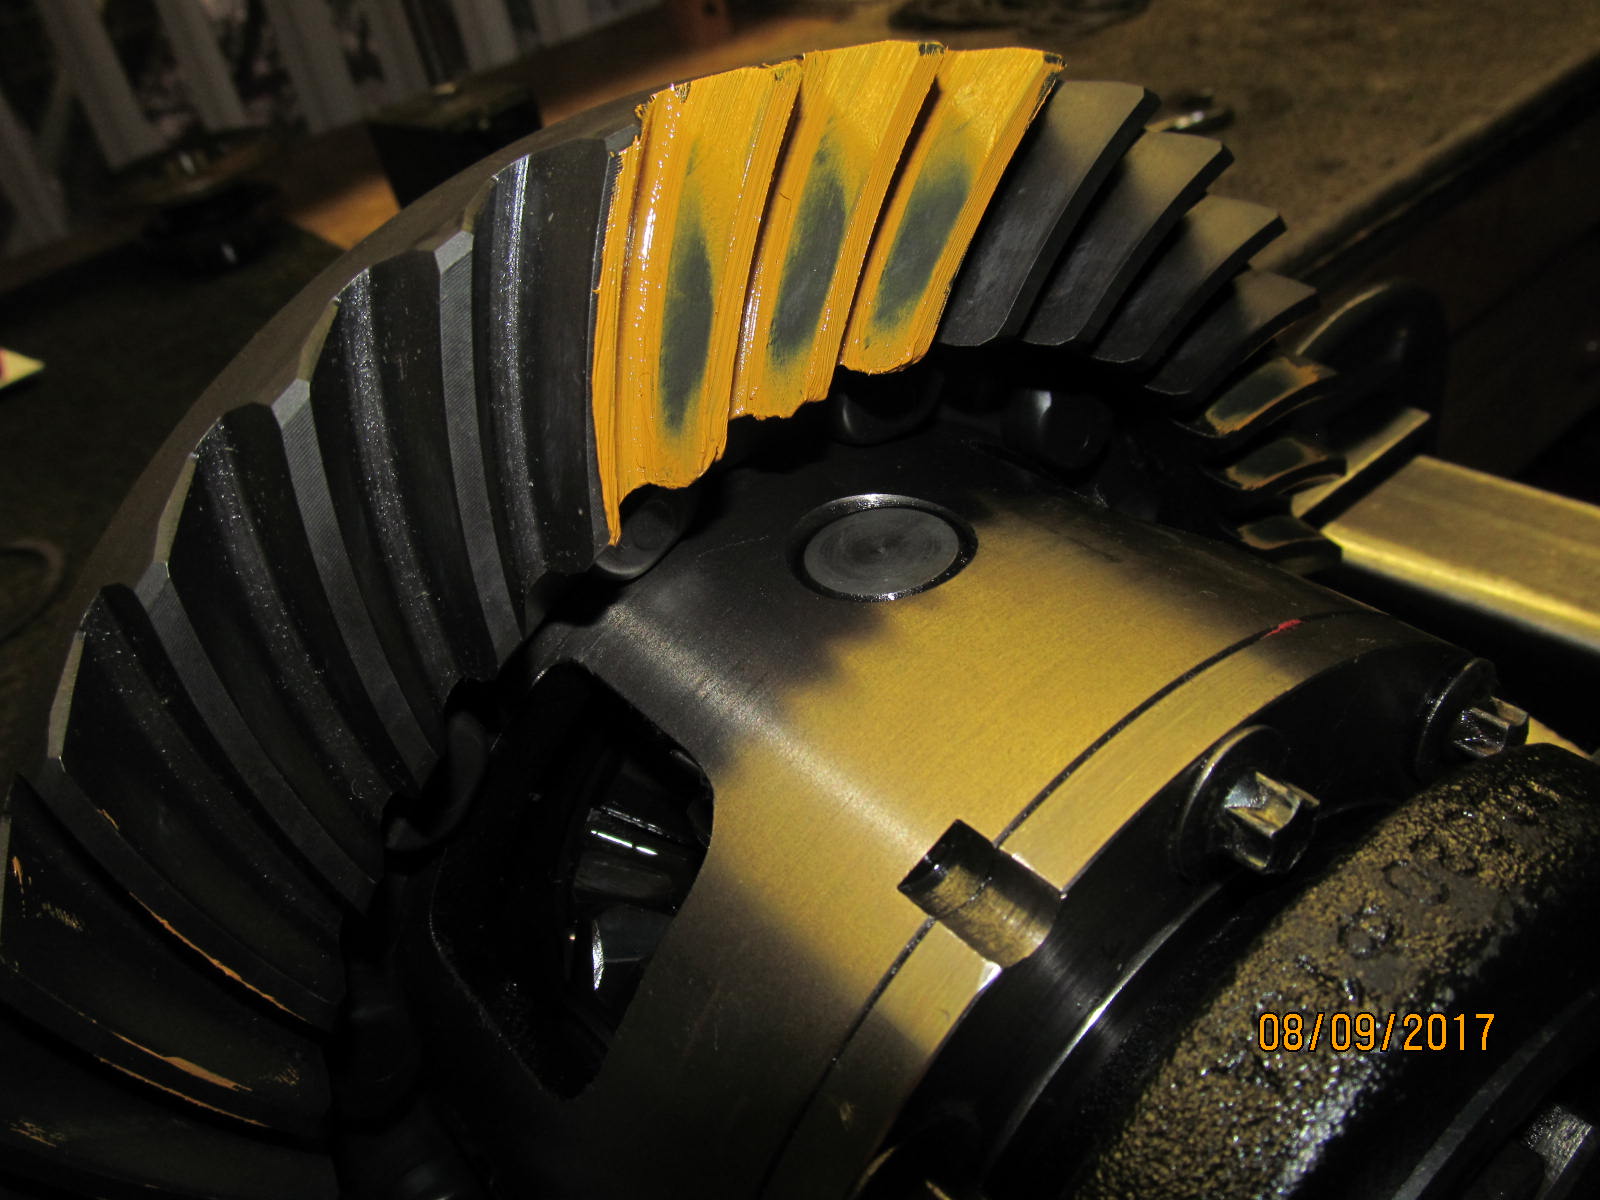
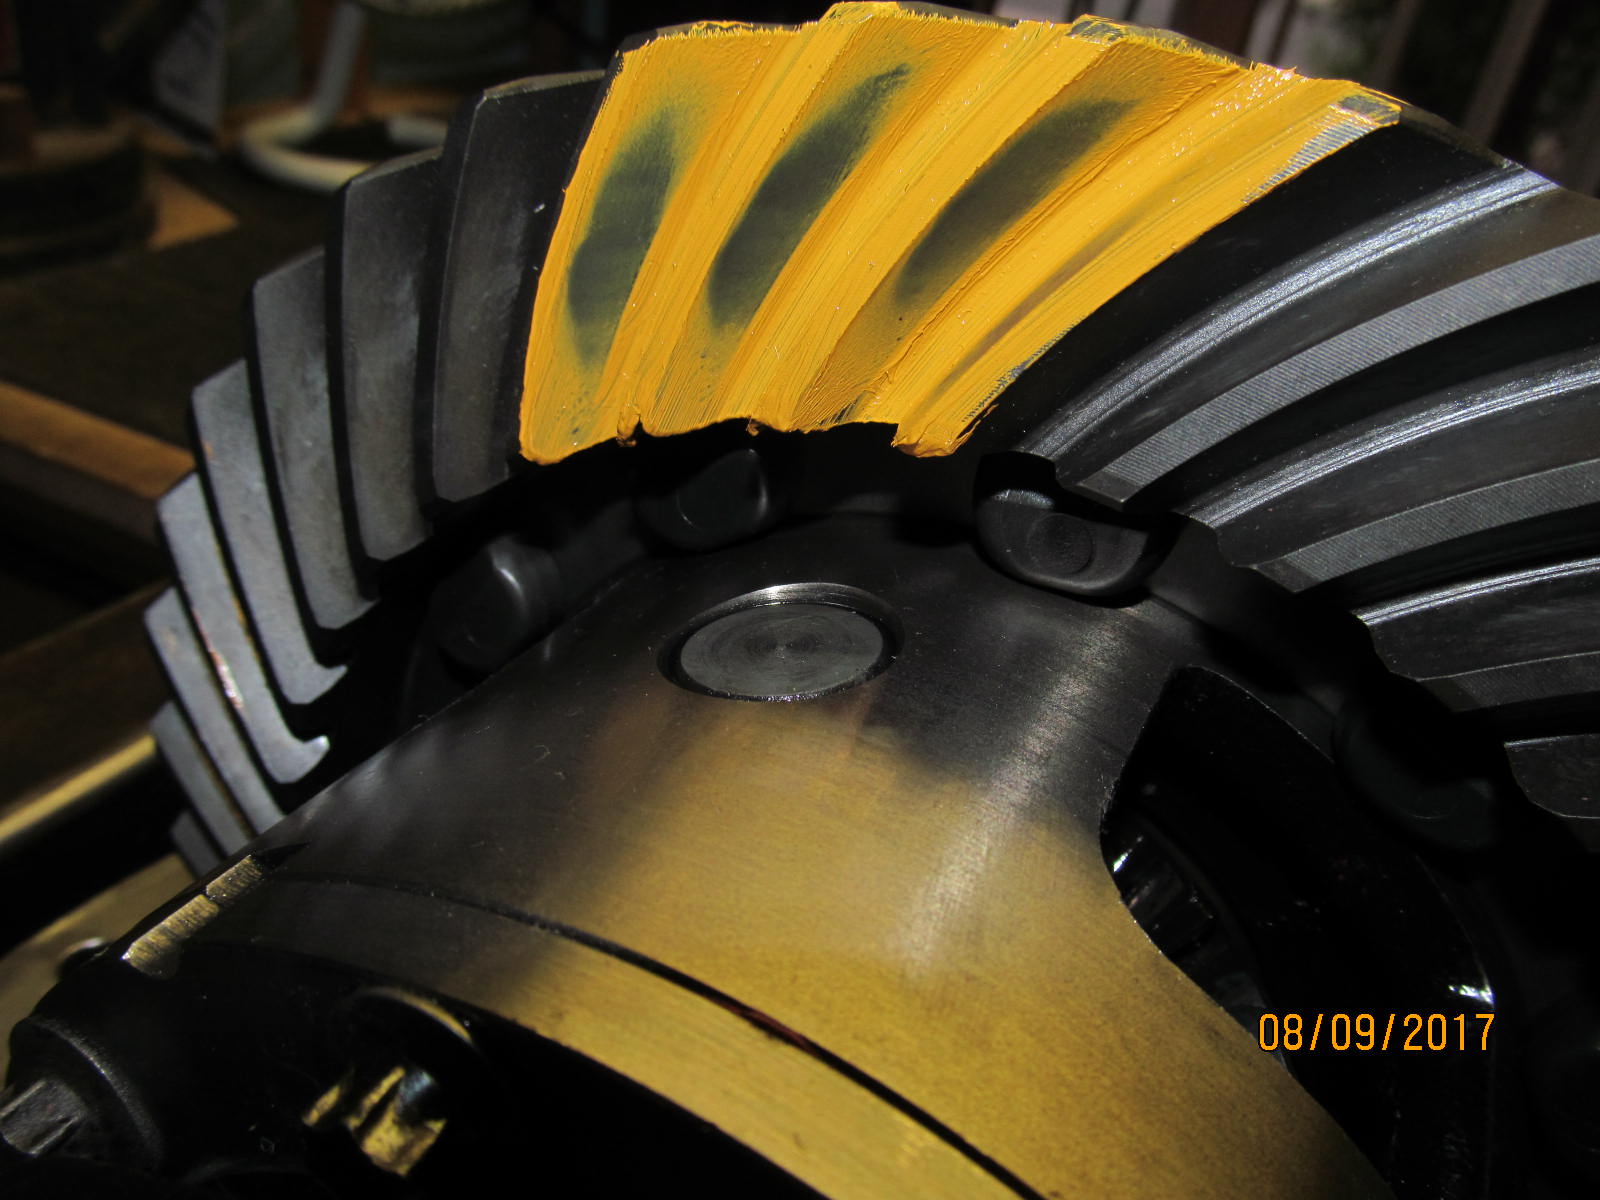
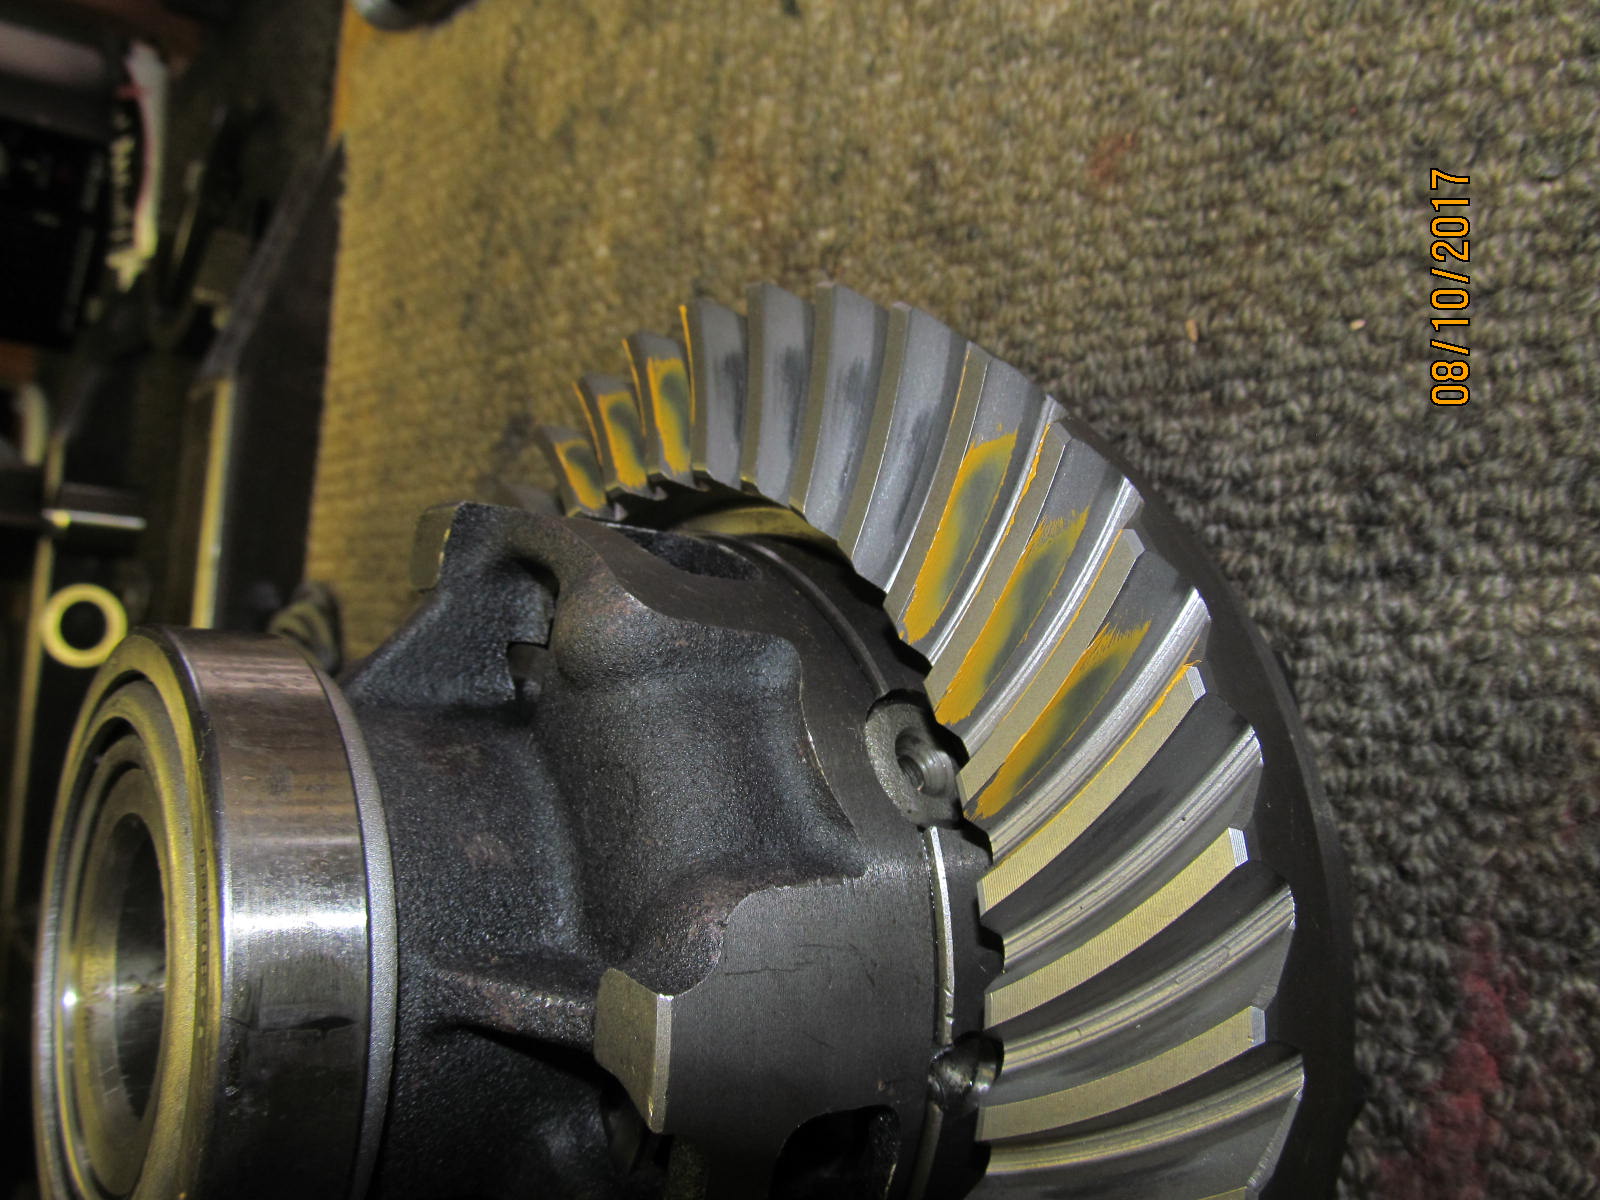
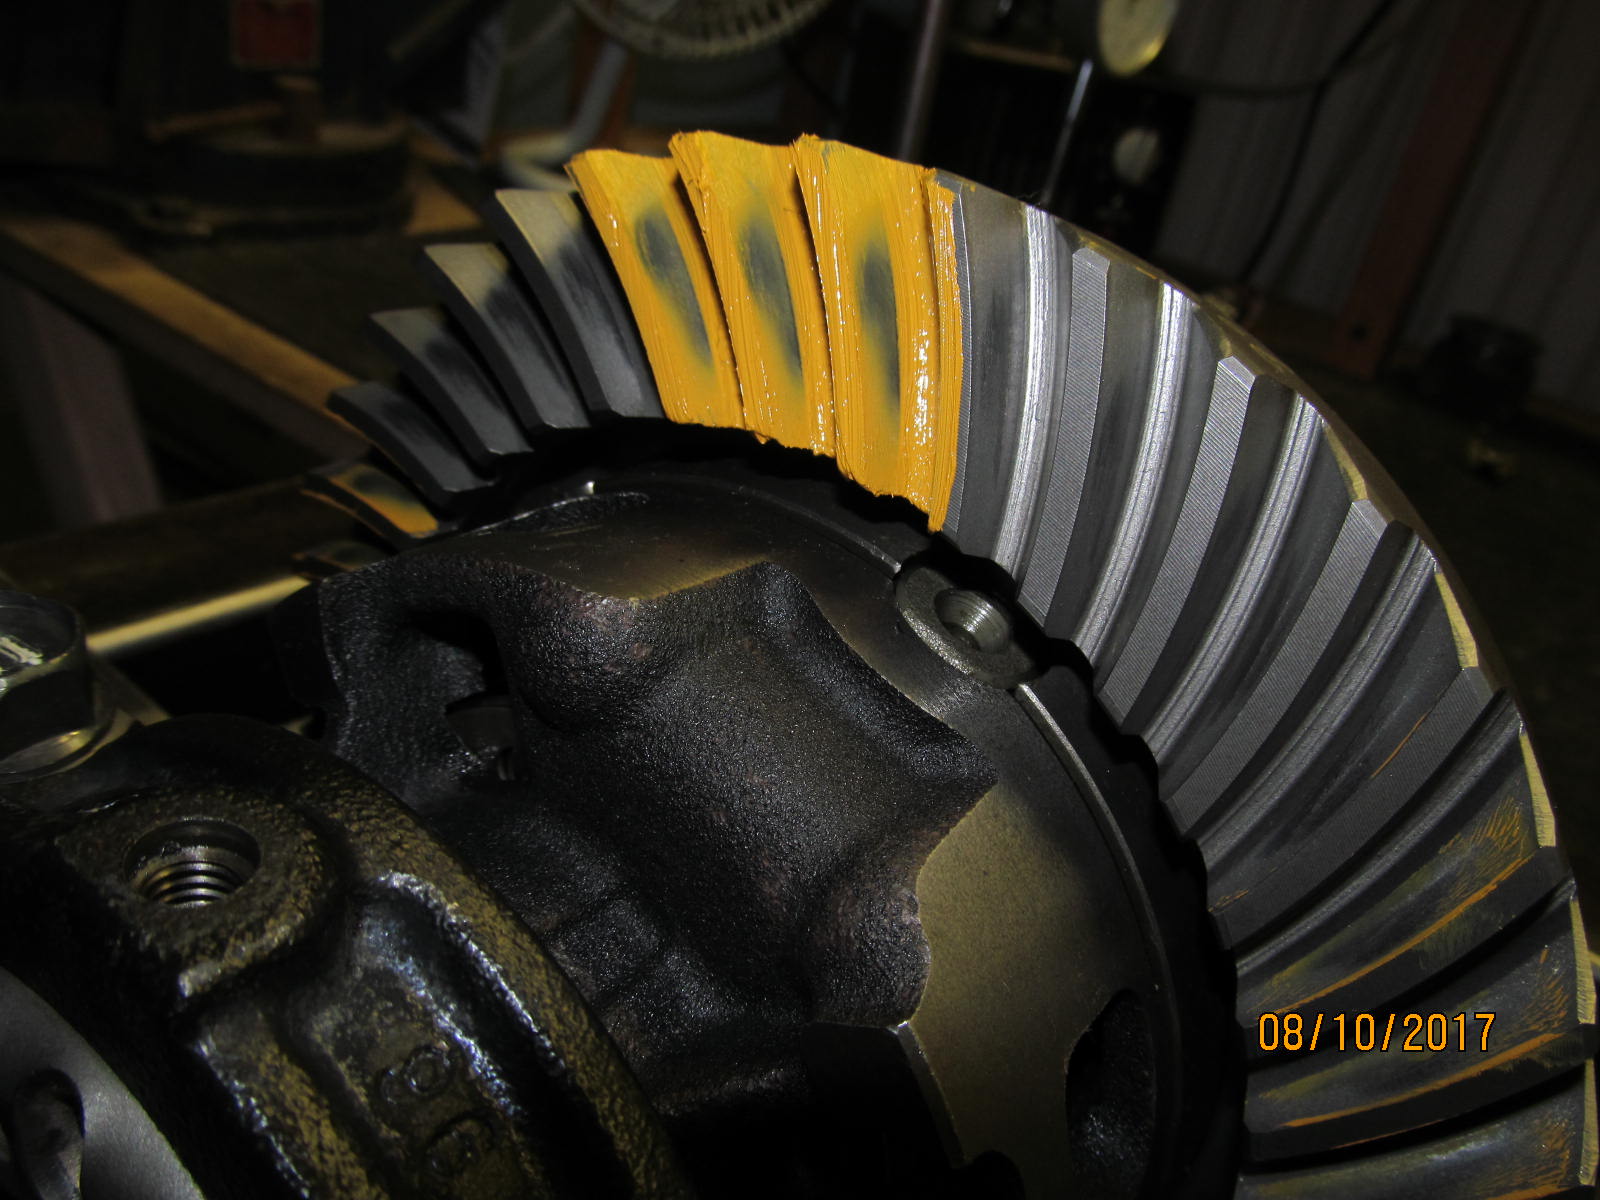
| Drive side.....looks great....proper depth....and the preferred slight favoring of the toe end. |
|---|
|
|
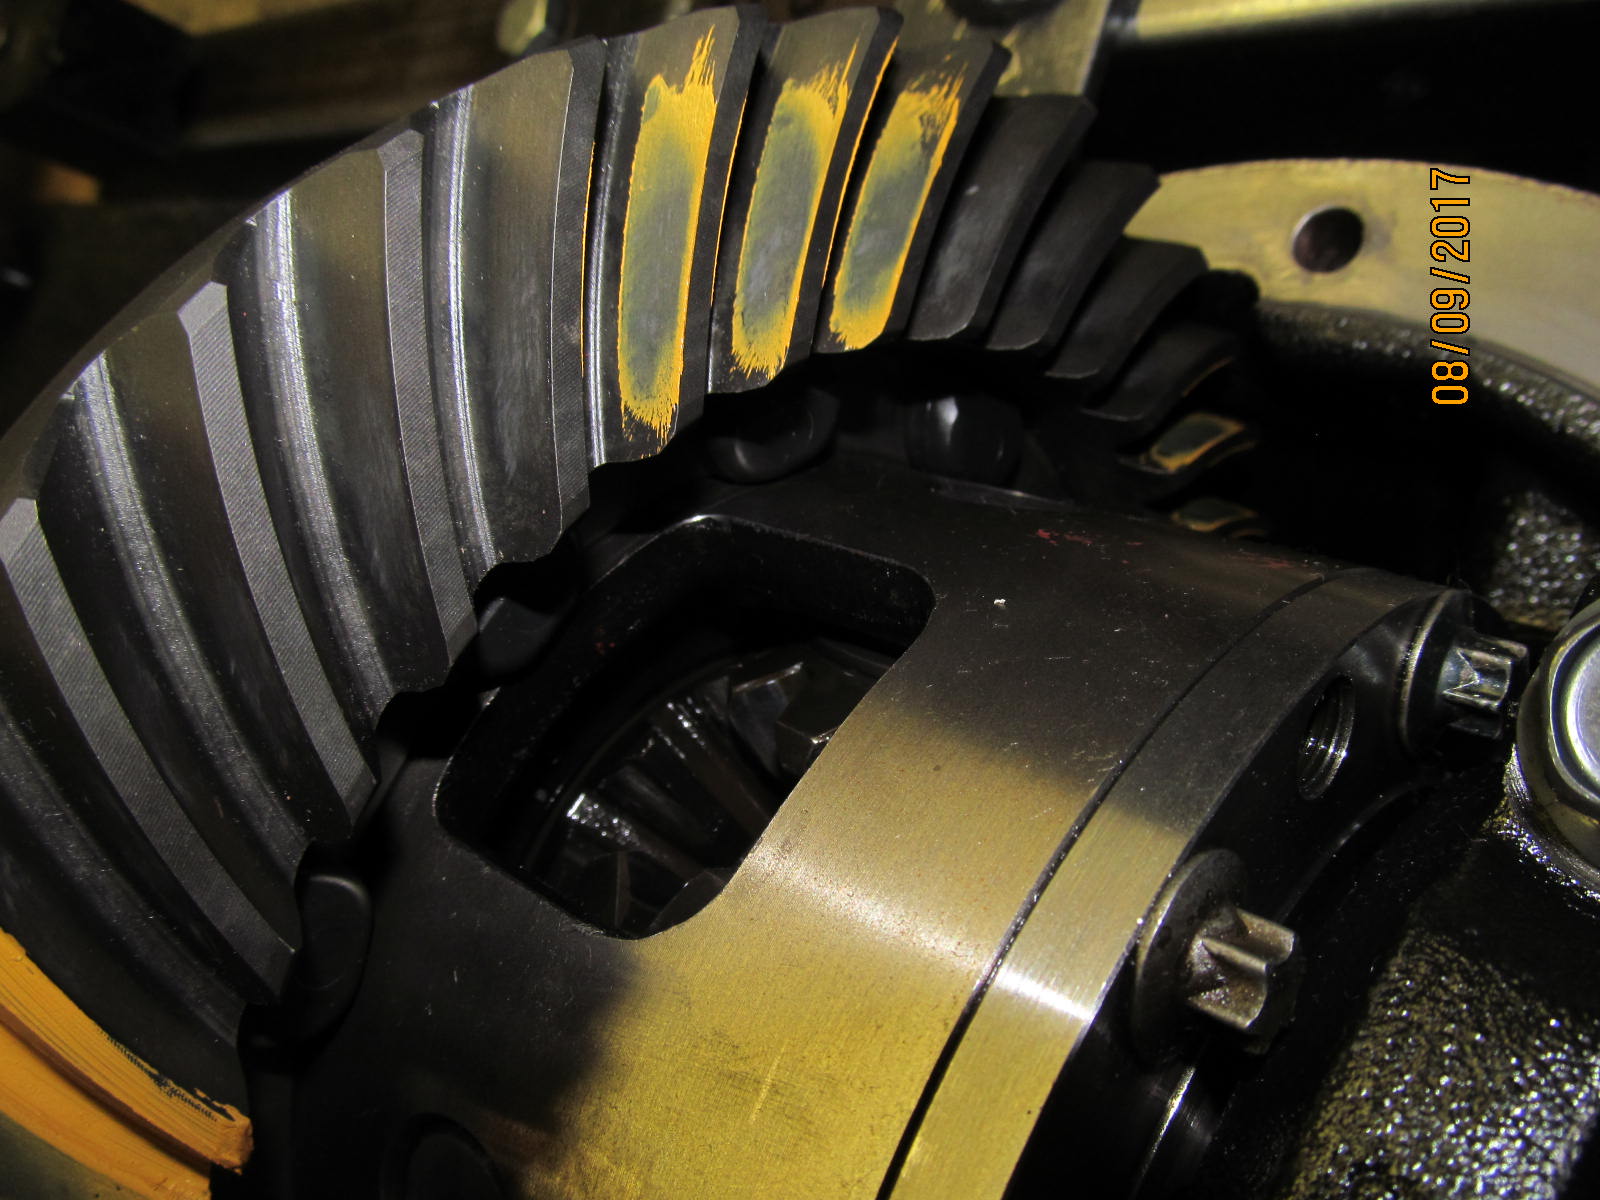
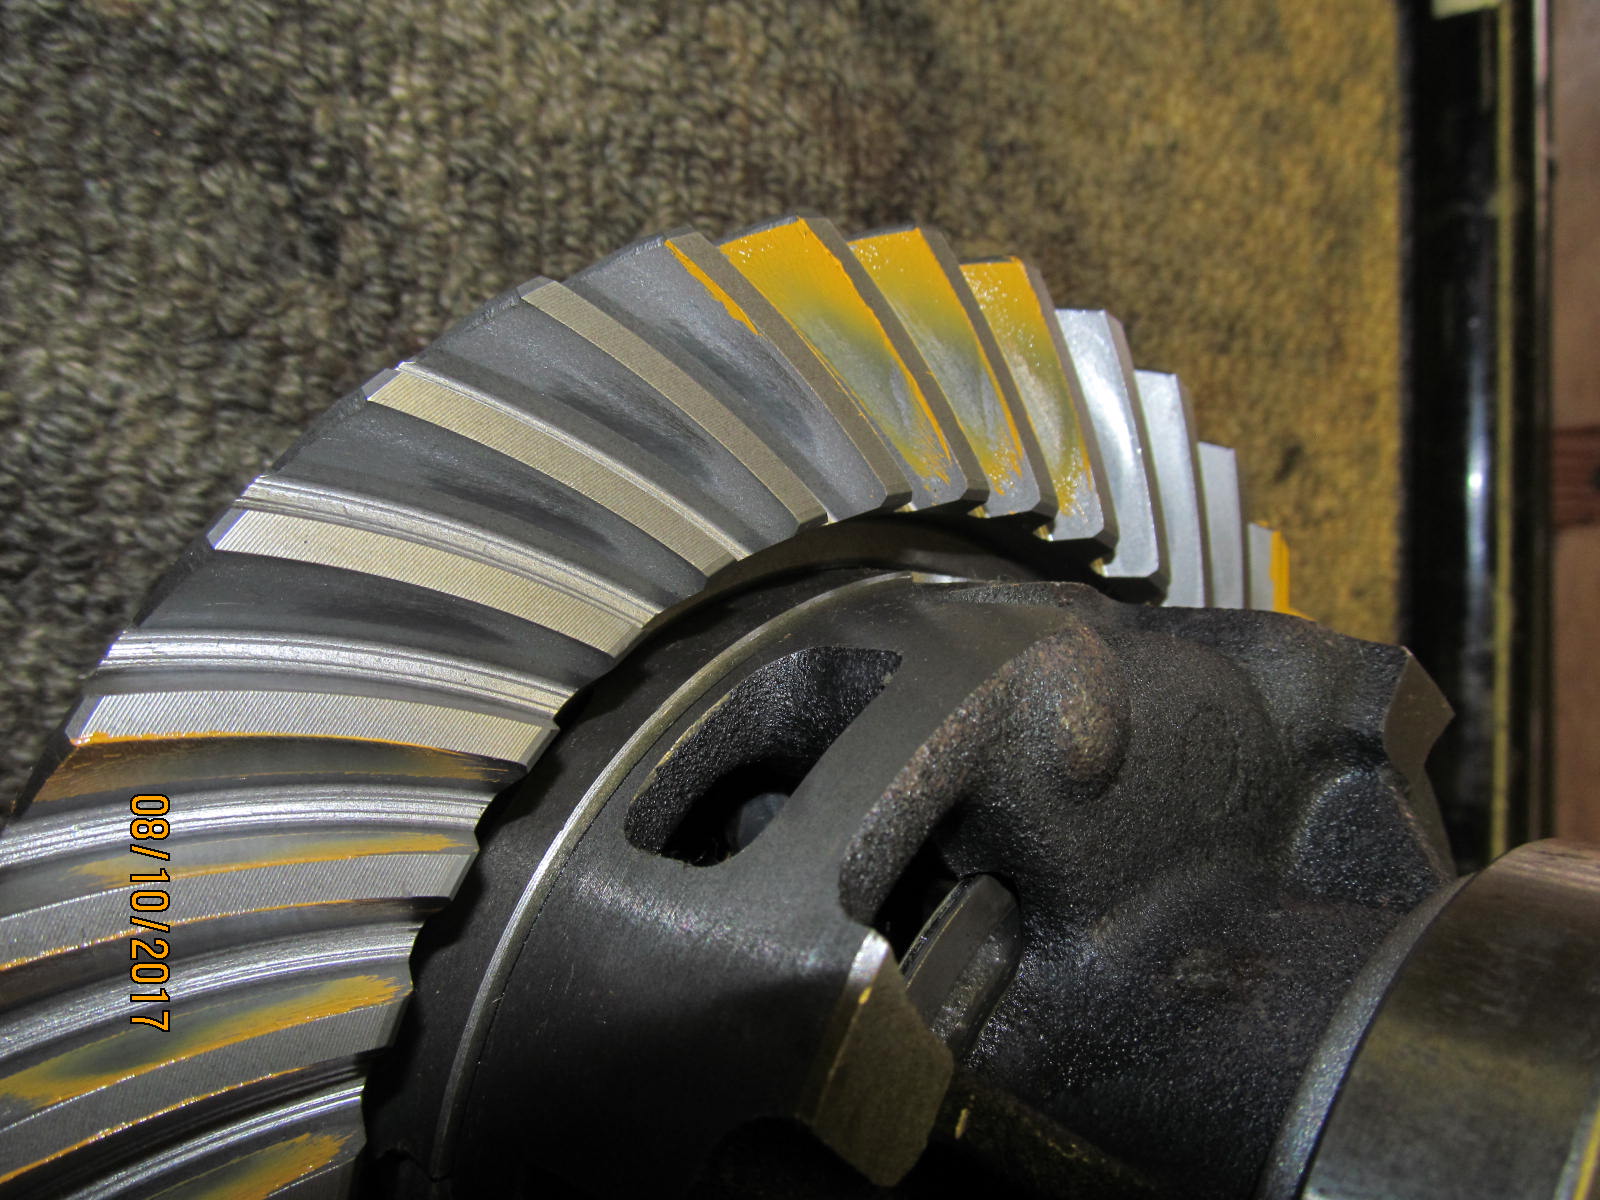
| Coast....excellent. |
|---|
|
|
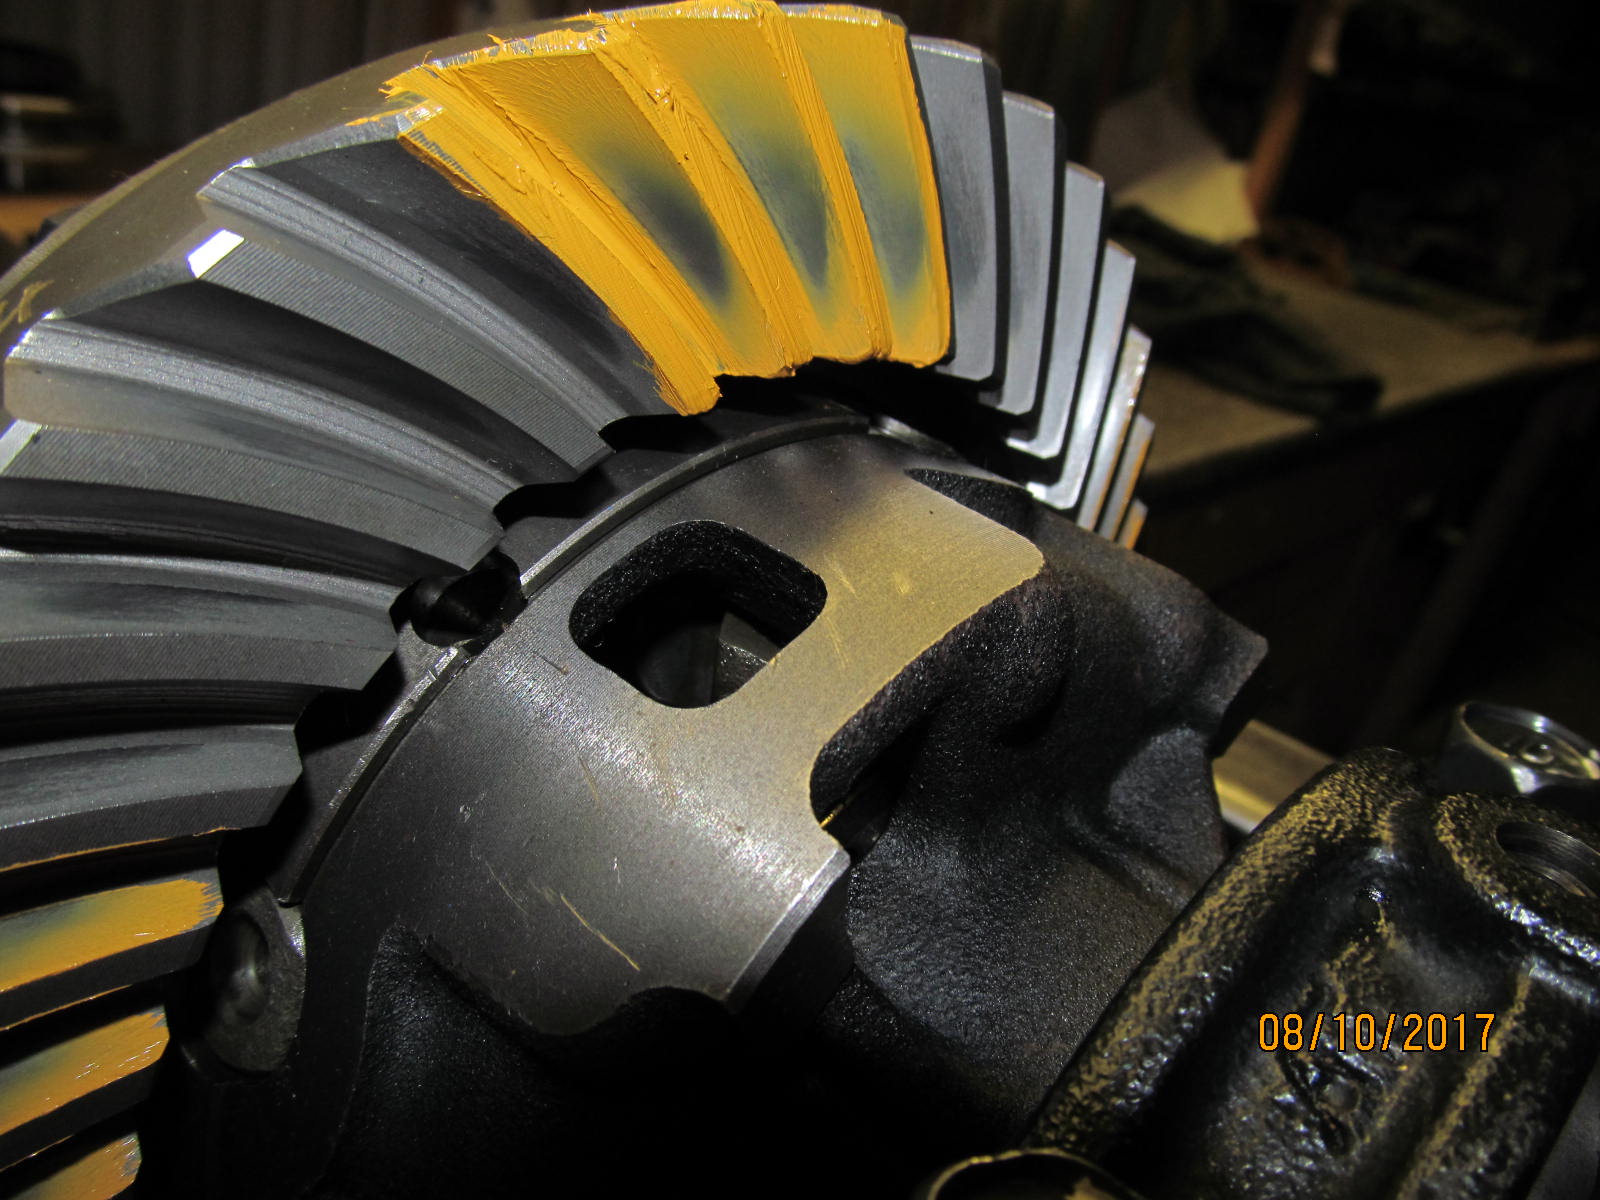
| Drive side reverse painted.....nice. |
|---|
|
|
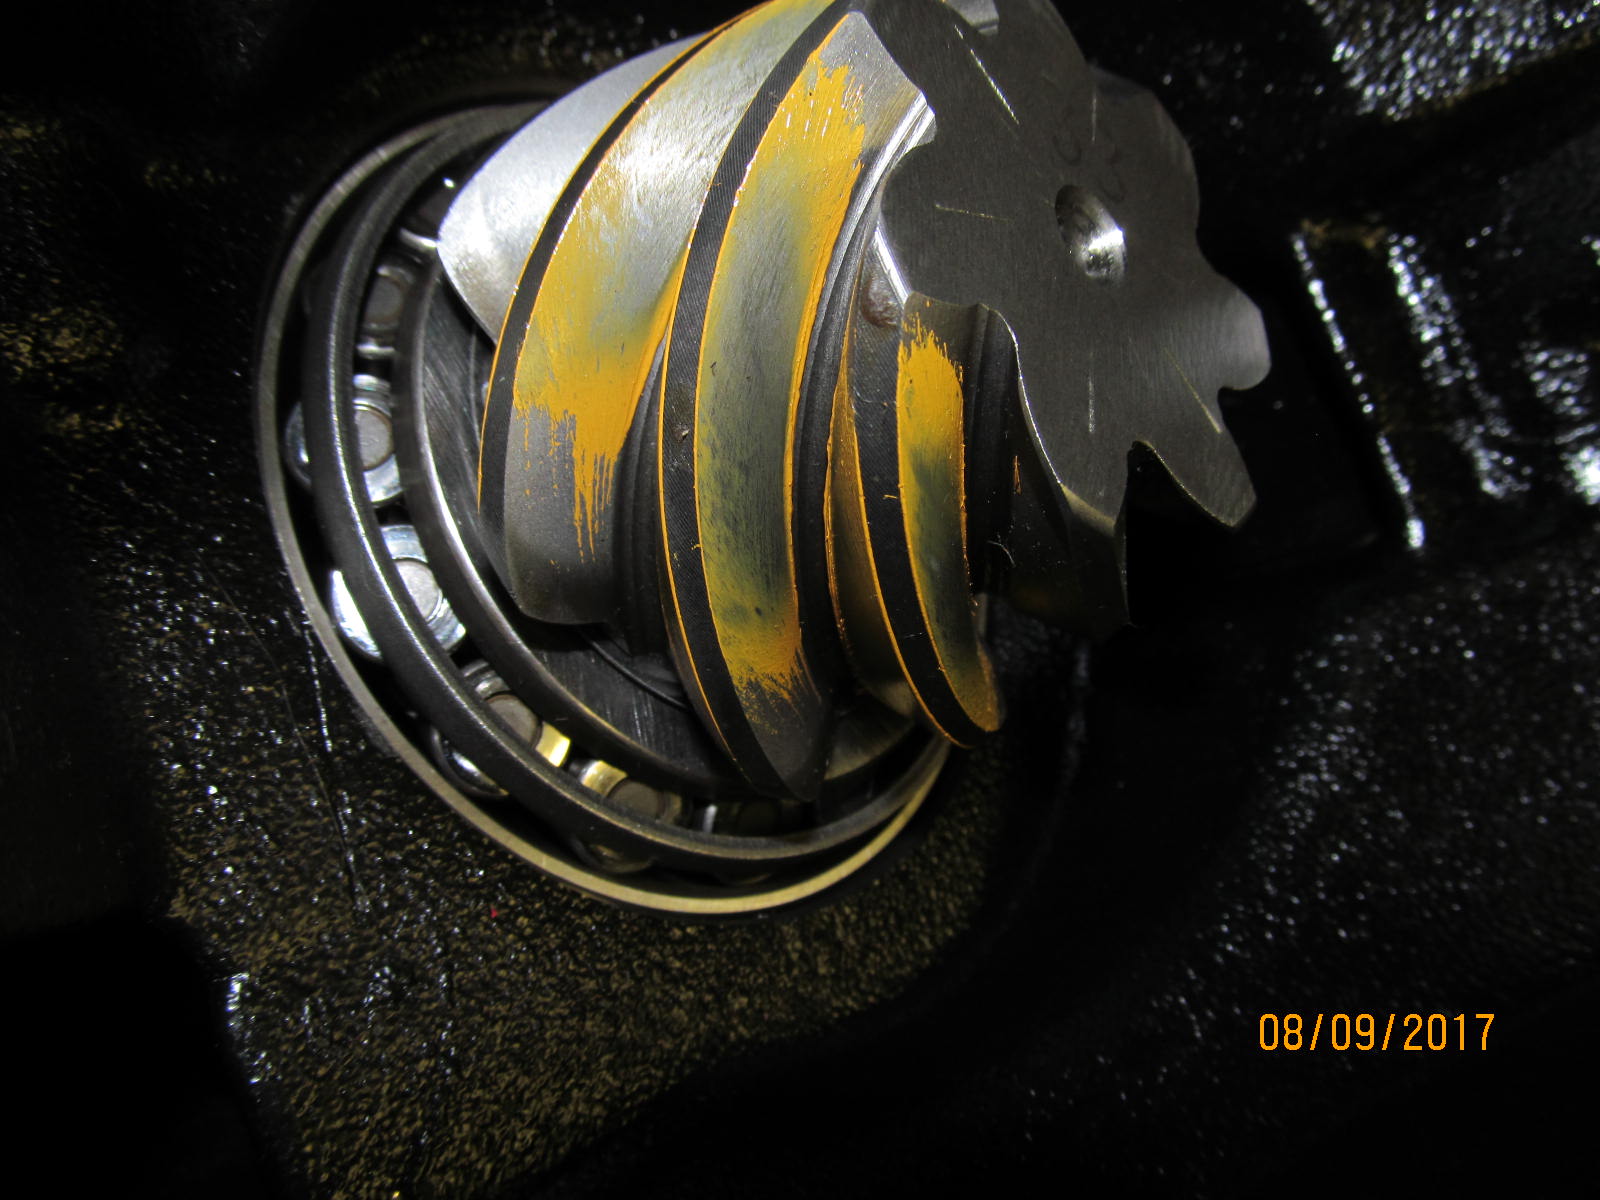
| Drive of the pinion tooth....nice....comet tail is just starting to leave the root. |
|---|
|
|
| .......................... |
|---|
|
|
| ............................. |
|---|
|
|
With the proper depth luckily established on the first try, now to install the solid collar.
1st try with .046" shim and too loose.
2nd try with .043" and spot on. |
|---|
|
|
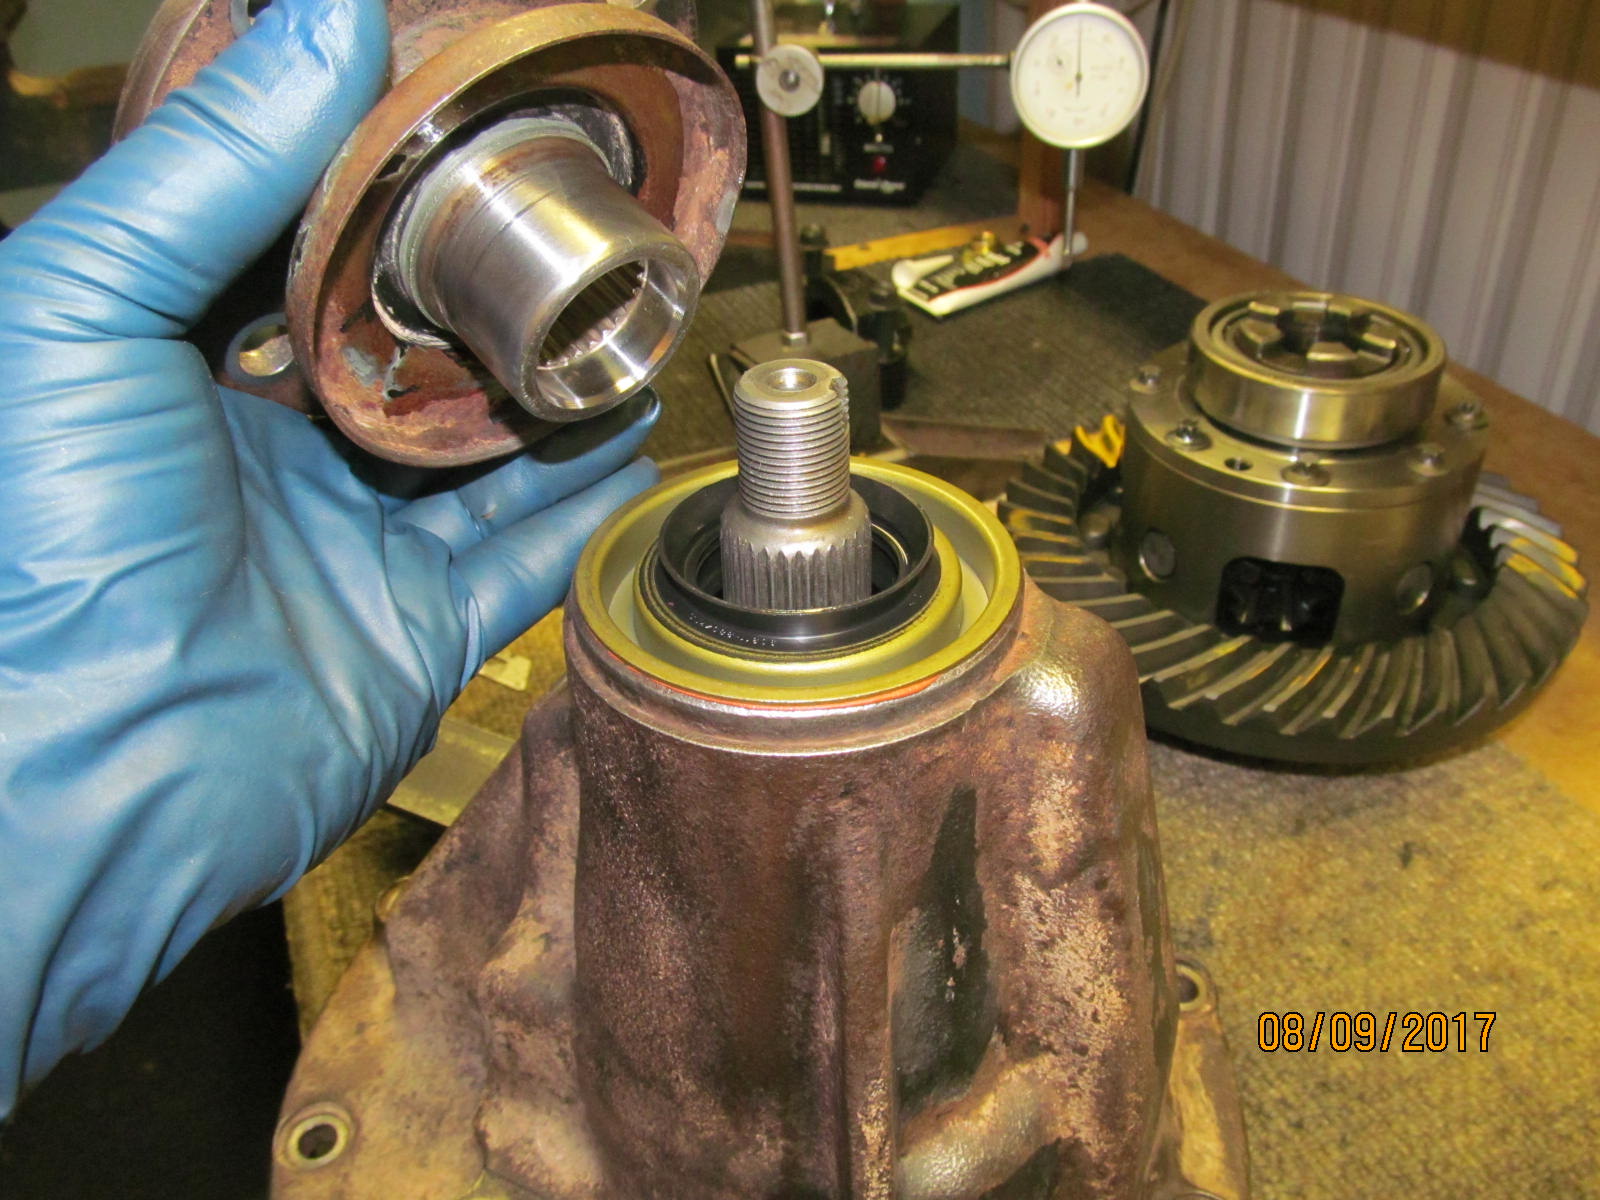
| Upgrade to the Marlin "eco" seal. My preferred seal. |
|---|
|

|
| ........................... |
|---|
|
|
| ............................. |
|---|
|
|
| Flange next. |
|---|
|
|
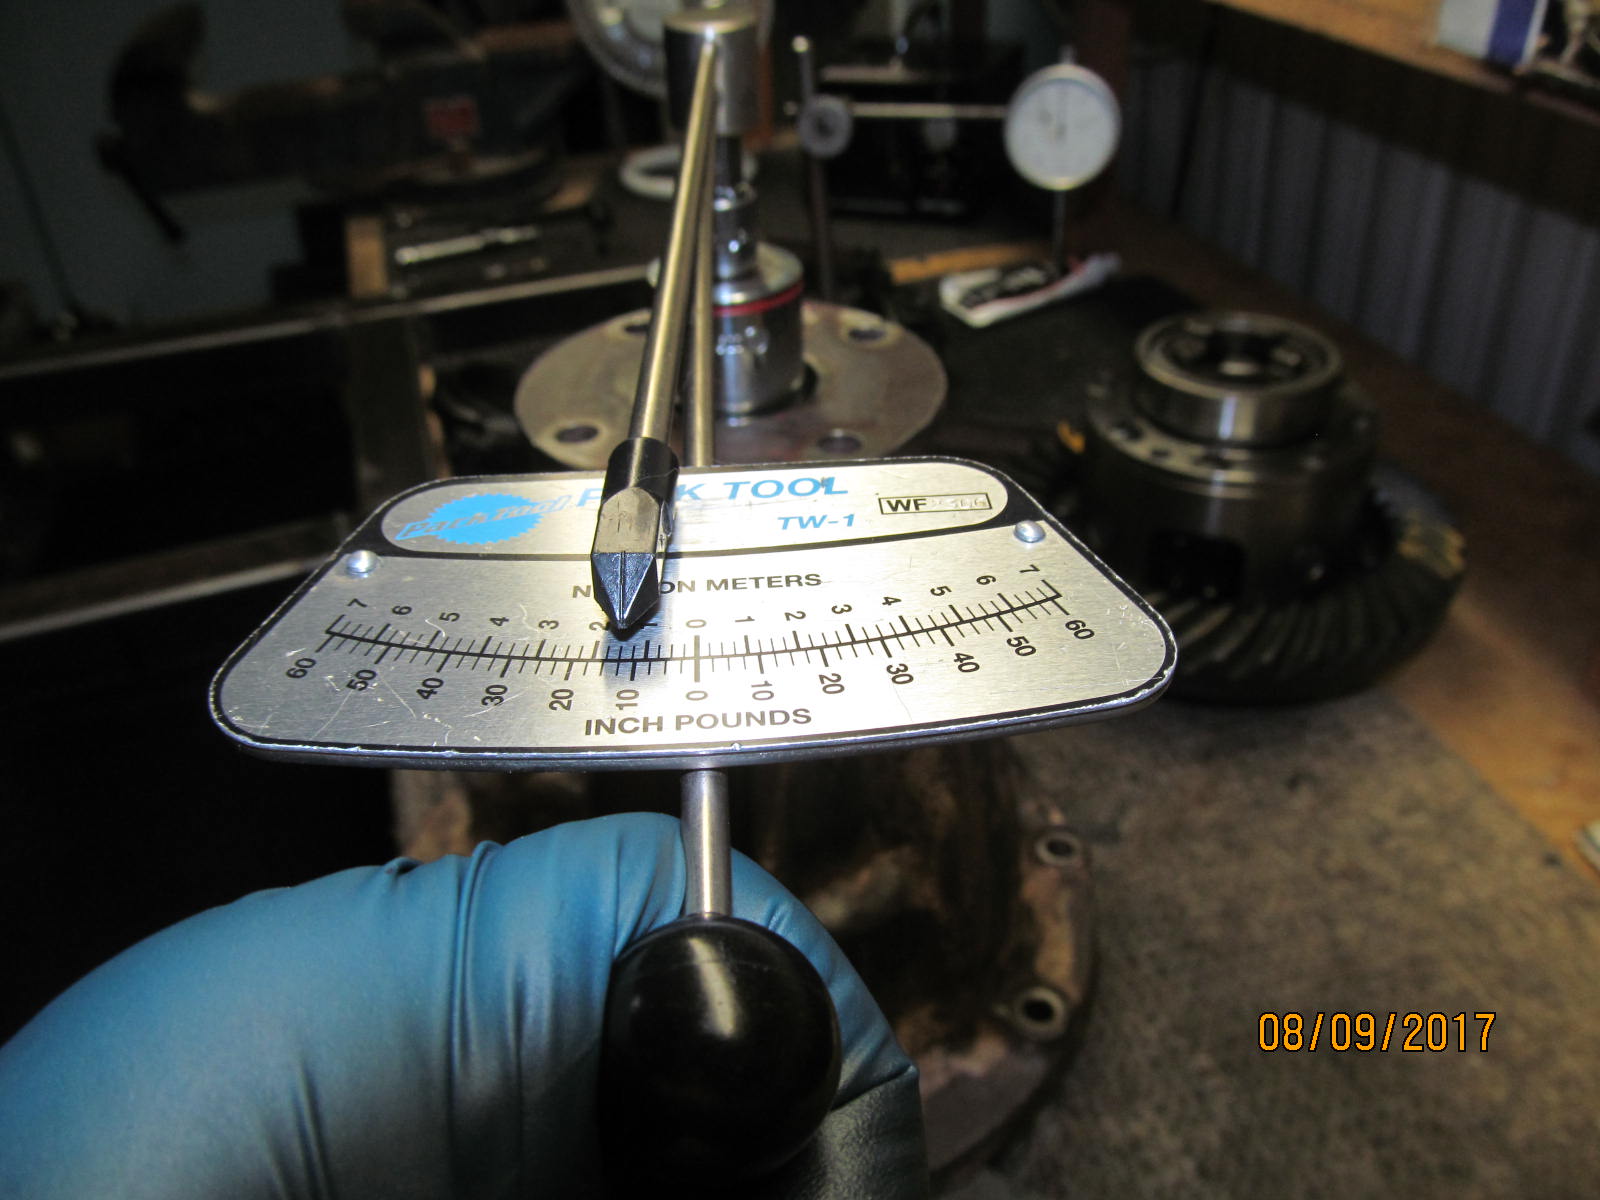
| Plenty of gear oil on the pinion bearings....10~12 in/lb measured. |
|---|
|
|
| DING and this end is done. |
|---|
|
|
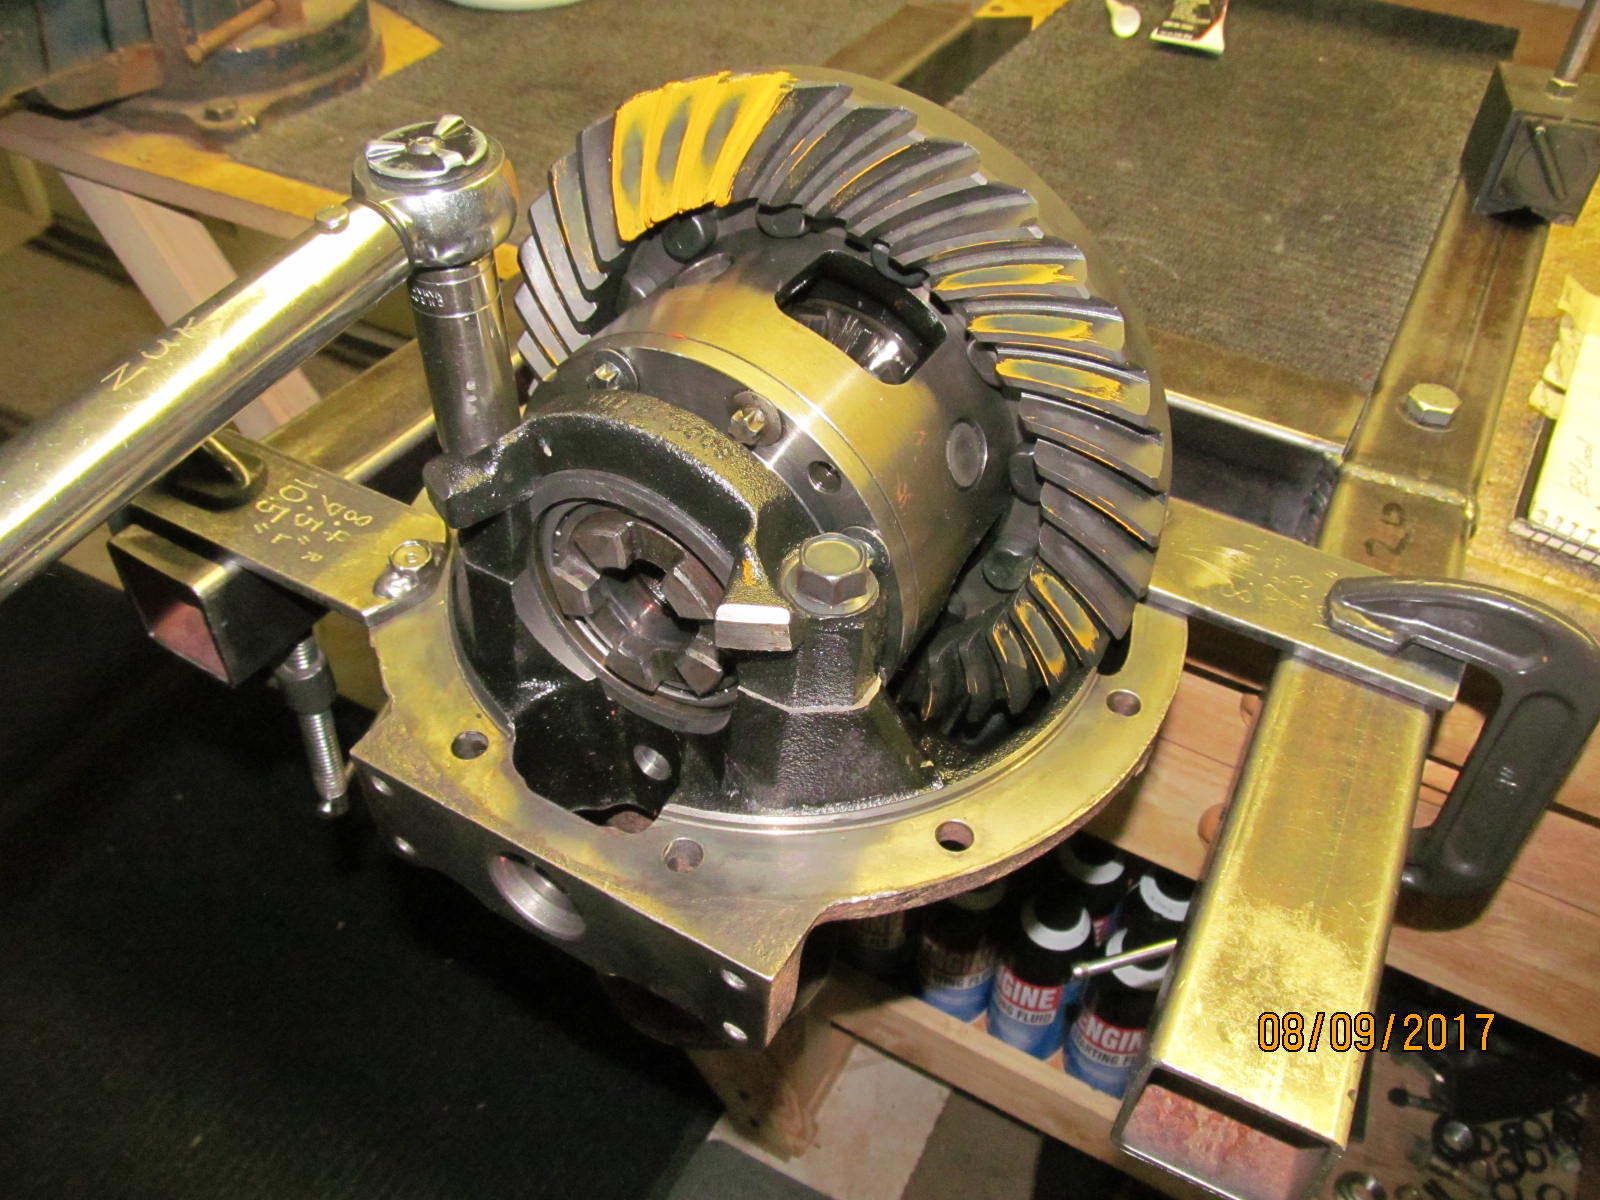
| The original factory washer plates were very close but a slightly thicker one was used on this one side. |
|---|
|
|
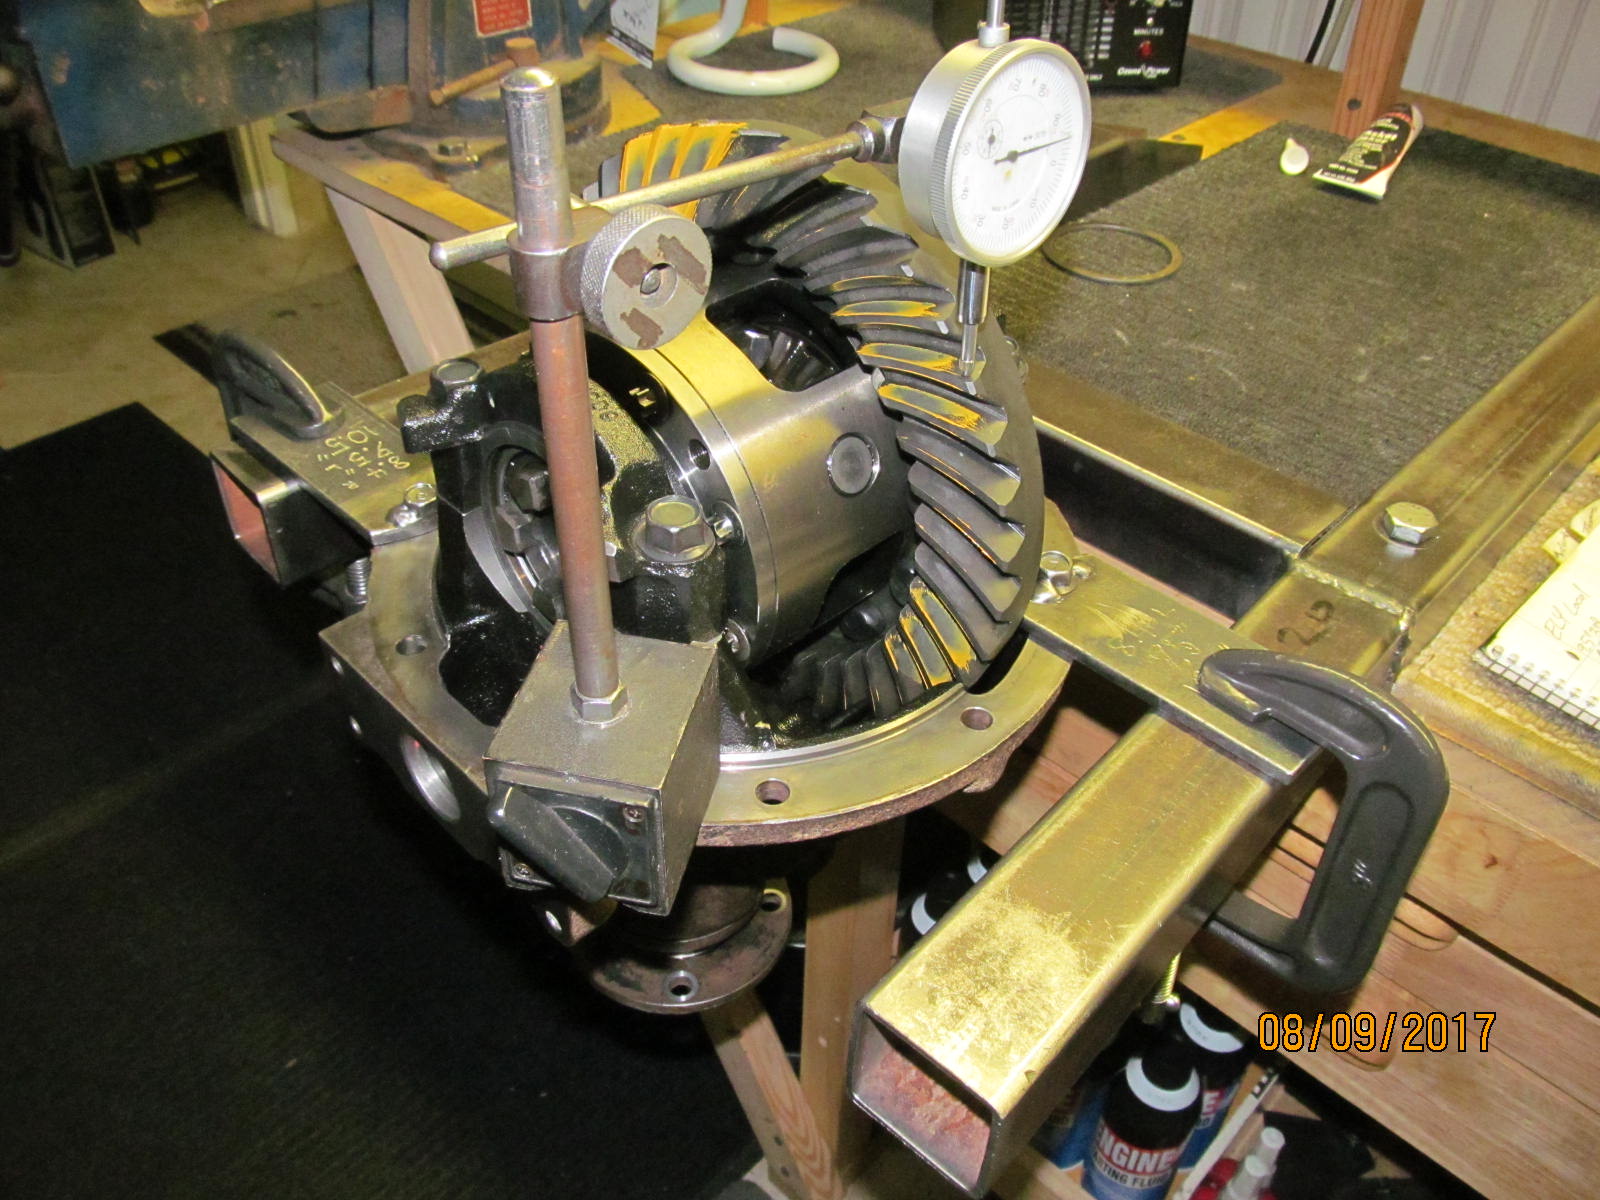
| Backlash is recorded from every other tooth. |
|---|
|
|
| Bearing caps are verified to be at the factory recommended 83 ft/lb. |
|---|
|
|
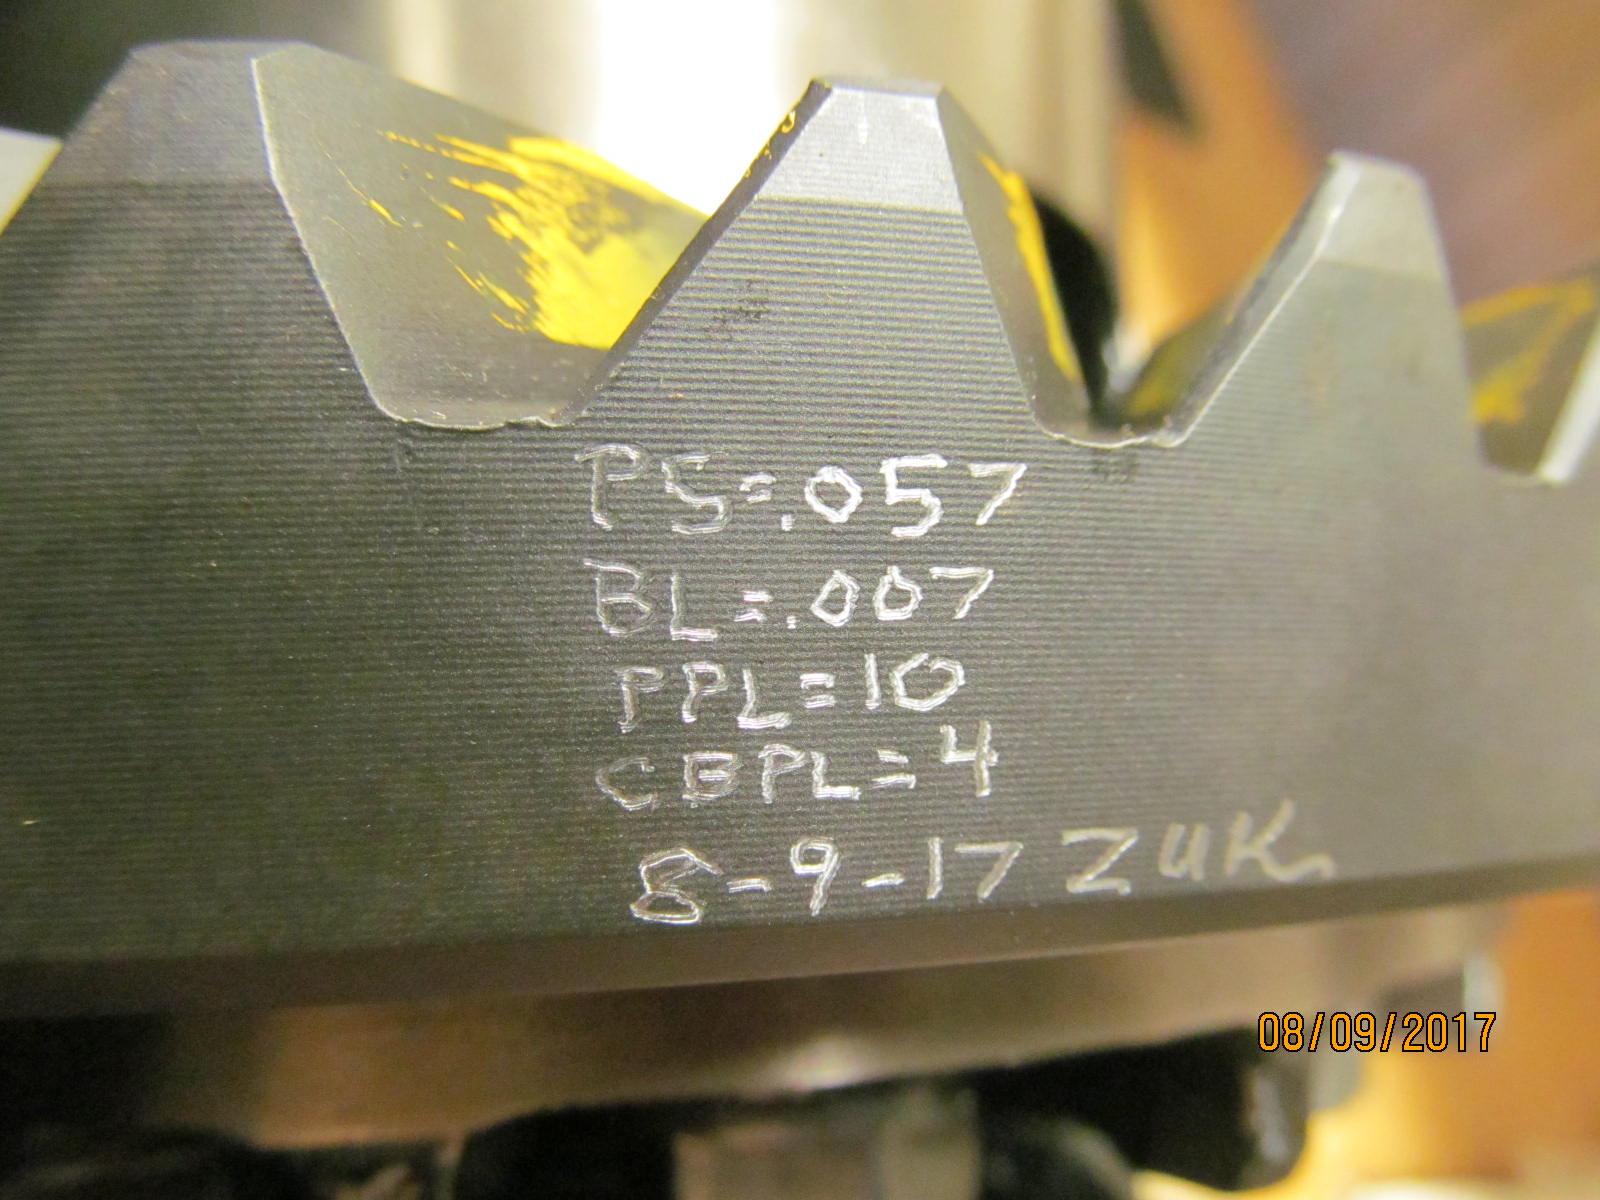
| Date coded. |
|---|
|
|
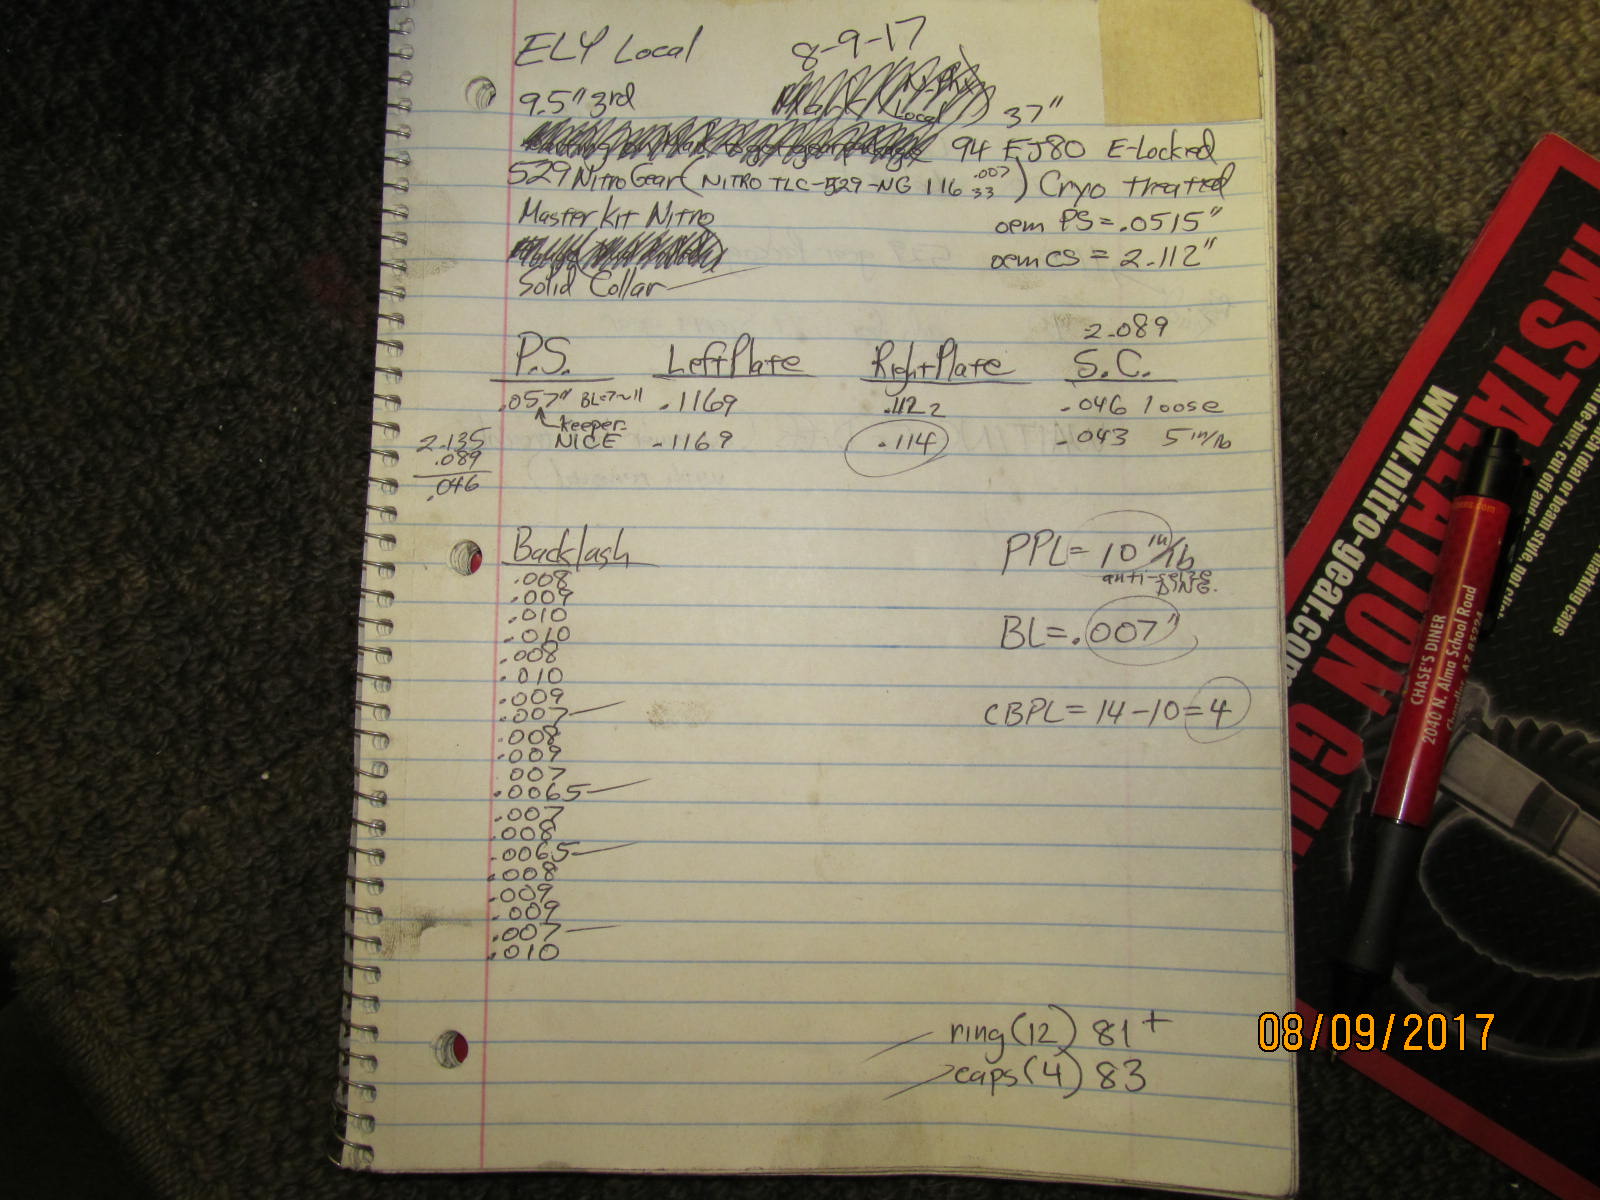
Notes taken during the set-up. Got lucky in that I did not have to do multiple resets in pinion depth....also, the washer
plates that determine carrier bearing preload and backlash were very close to the factory settings. In addition,
the solid collar only took 1 change in shimming to get it right. Just a little bit of luck here.
The REAR DIFF is now complete. :) |
|---|
|
| FRONT 8" Hi-pinion 529 Nitro Gears |
|---|
| FRONT 8" Hi-pinion 529 Nitro Gears |
|---|
| FRONT 8" Hi-pinion 529 Nitro Gears |
|---|
| FRONT 8" Hi-pinion 529 Nitro Gears |
|---|
| FRONT 8" Hi-pinion 529 Nitro Gears |
|---|
| FRONT 8" Hi-pinion 529 Nitro Gears |
|---|
| FRONT 8" Hi-pinion 529 Nitro Gears |
|---|
| FRONT 8" Hi-pinion 529 Nitro Gears |
|---|
| FRONT 8" Hi-pinion 529 Nitro Gears |
|---|
| FRONT 8" Hi-pinion 529 Nitro Gears |
|---|
| FRONT 8" Hi-pinion 529 Nitro Gears |
|---|
| FRONT 8" Hi-pinion 529 Nitro Gears |
|---|
|
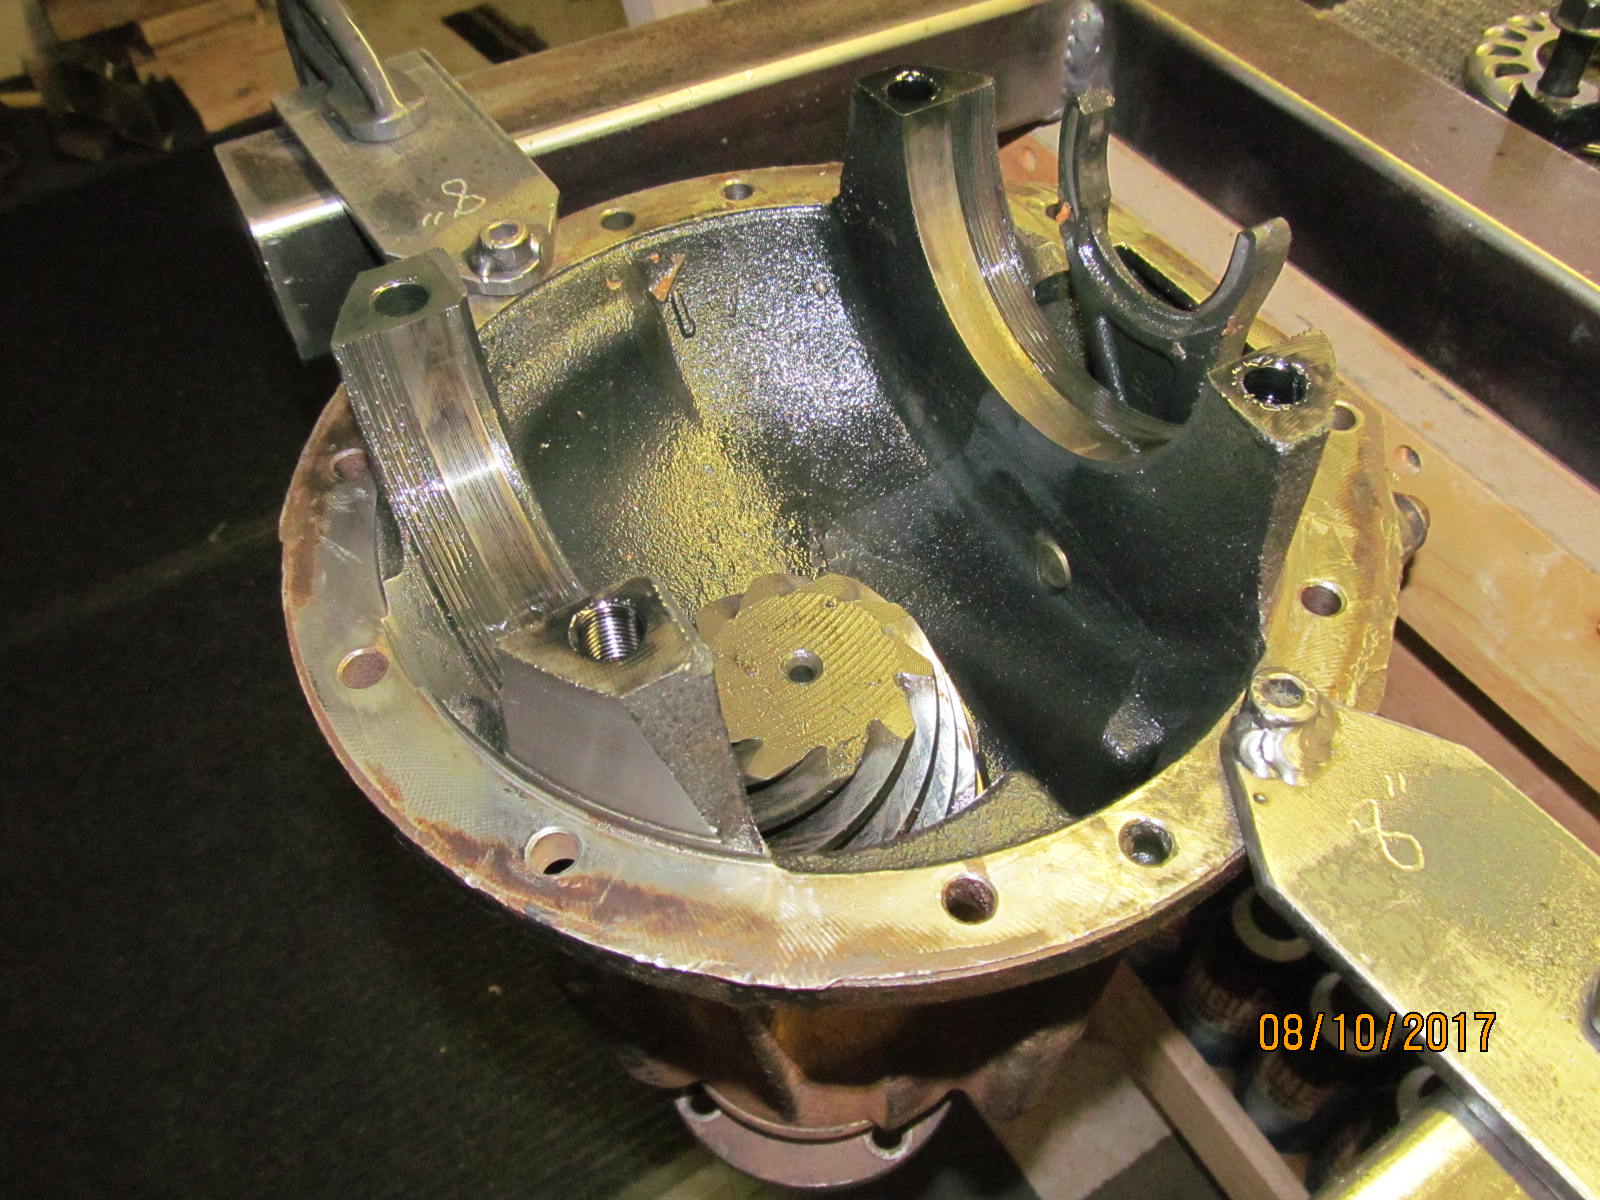
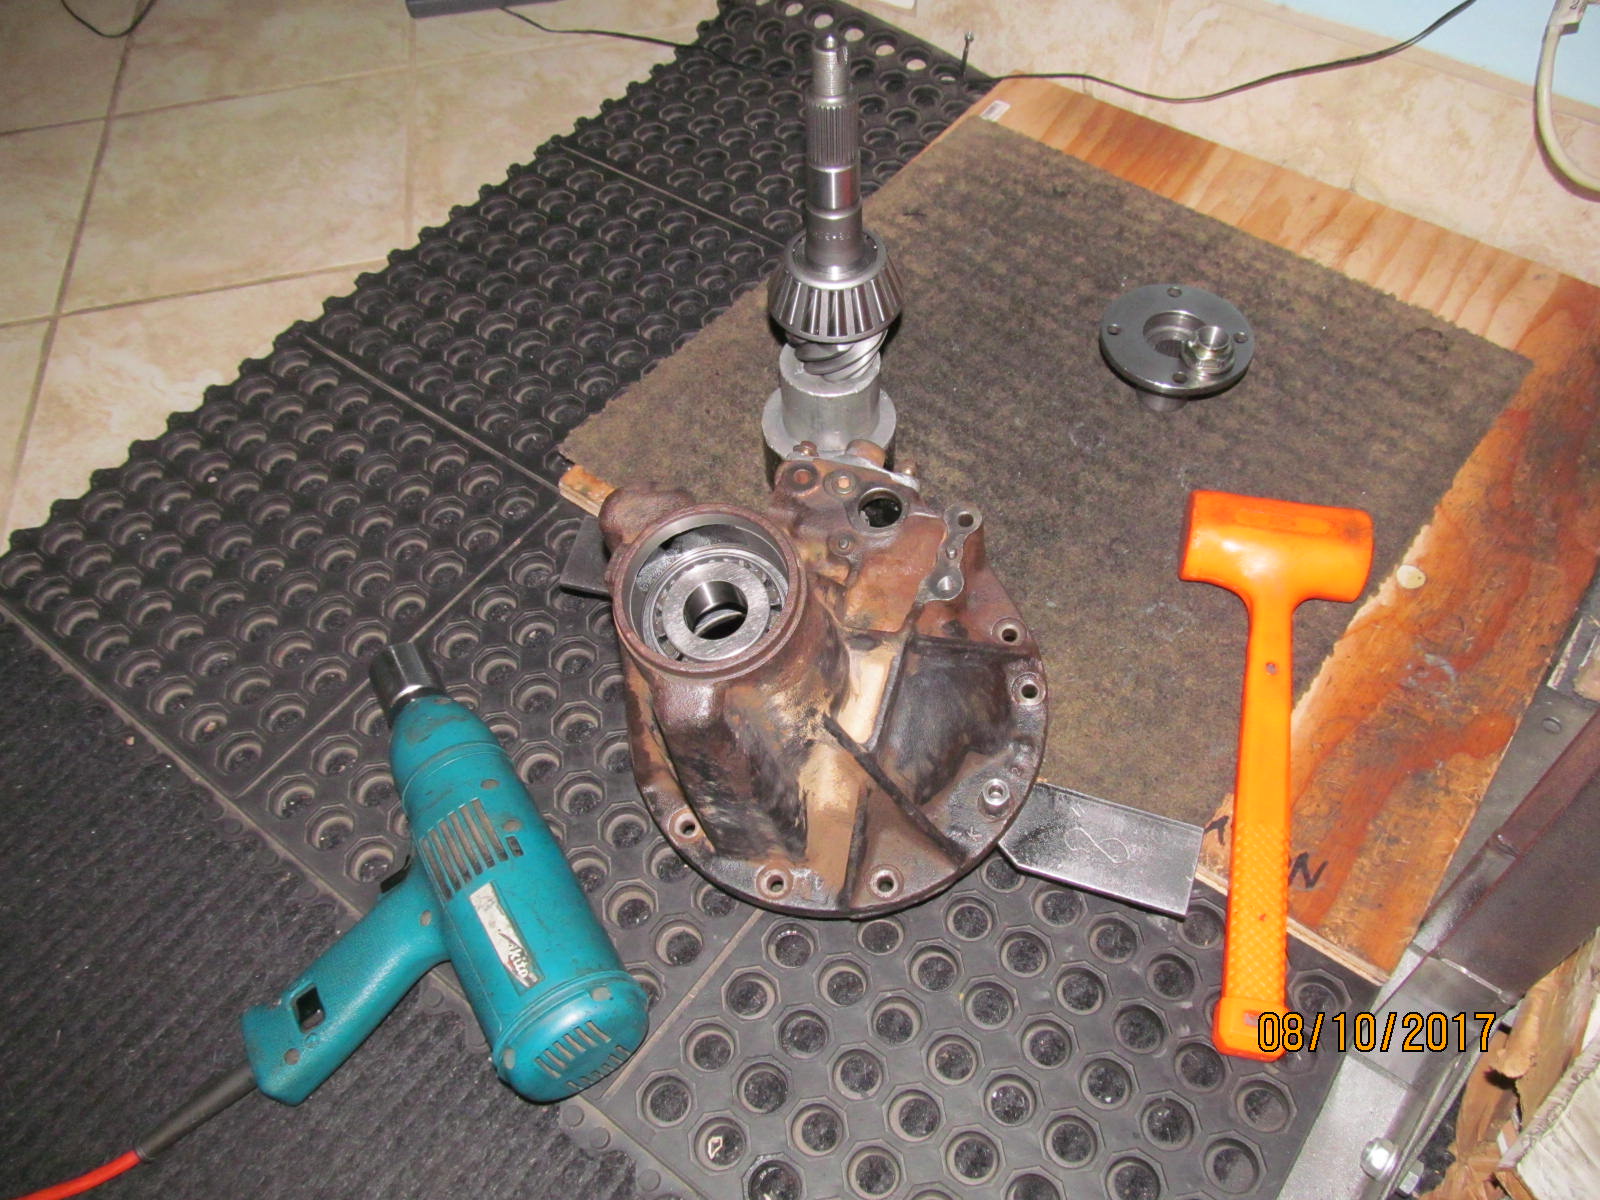
| Now let's jump right into the FRONT 8" high pinion 3rd......teardown begins. |
|---|
|
|
| ..................................... |
|---|
|
|
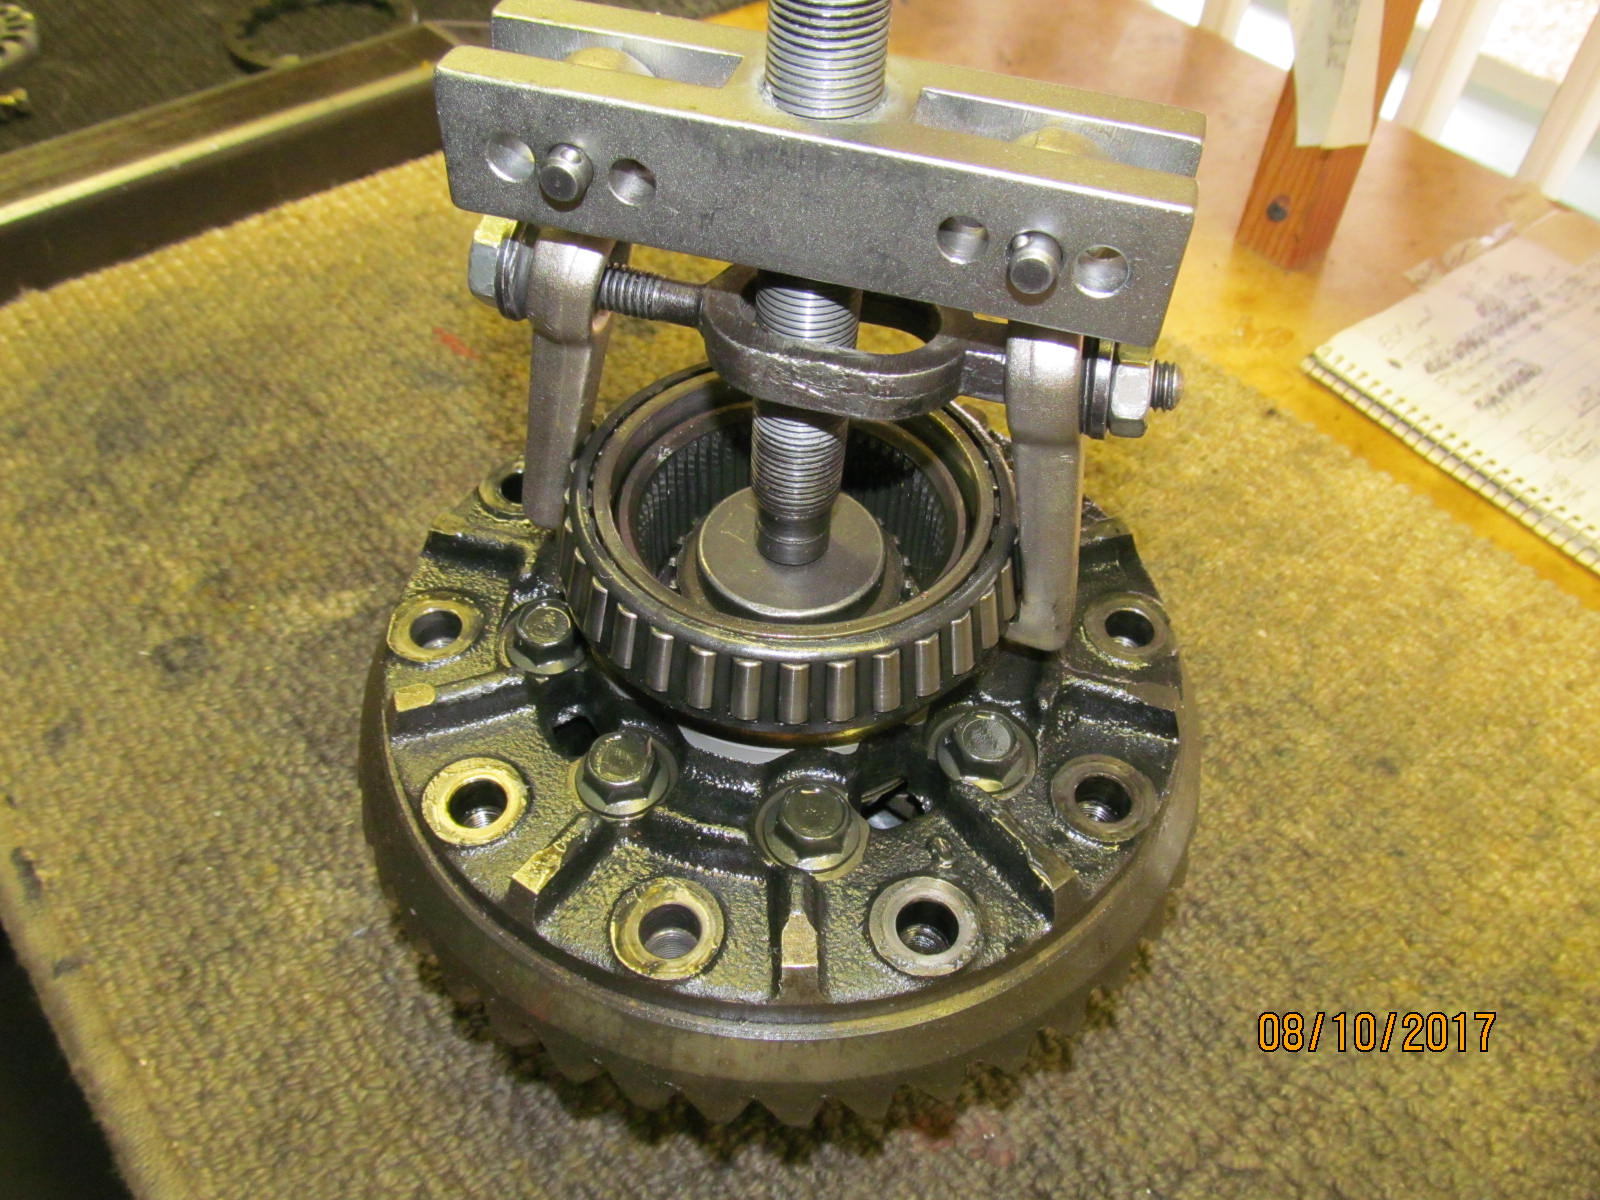
| Old carrier bearings are removed using the QTC-4520 puller. |
|---|
|
|
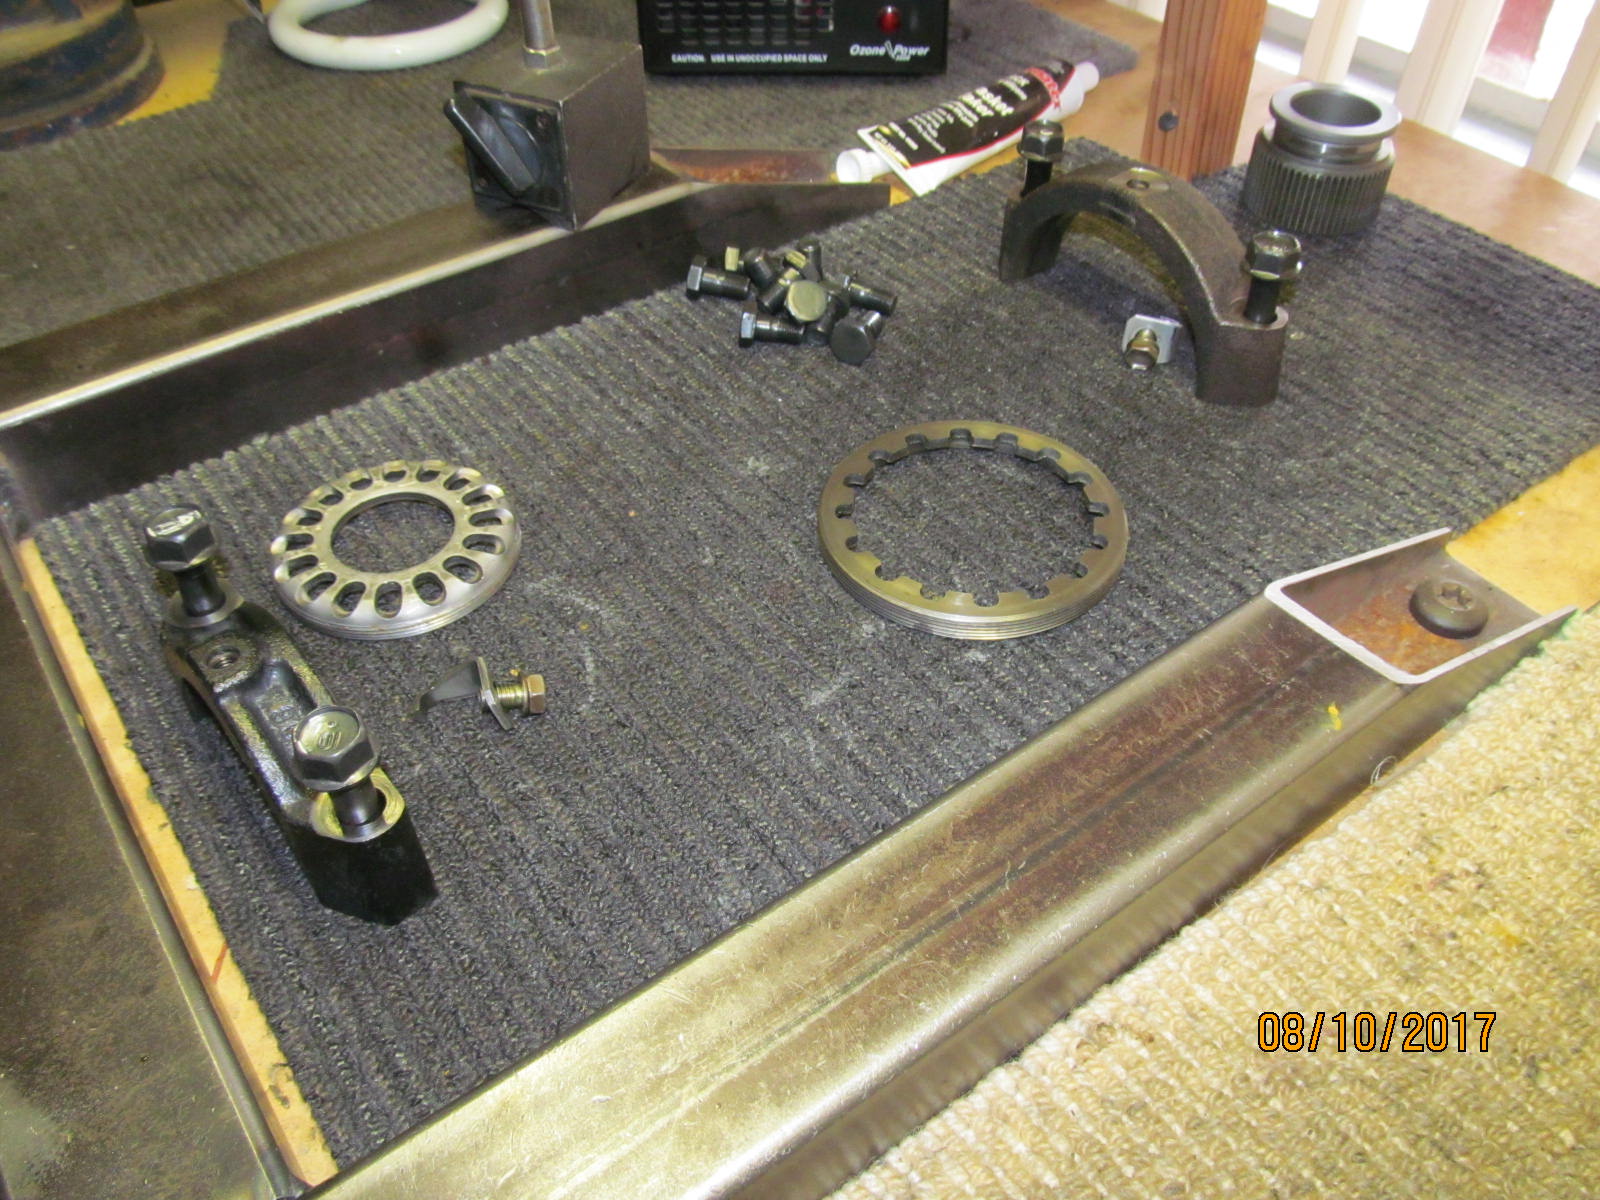
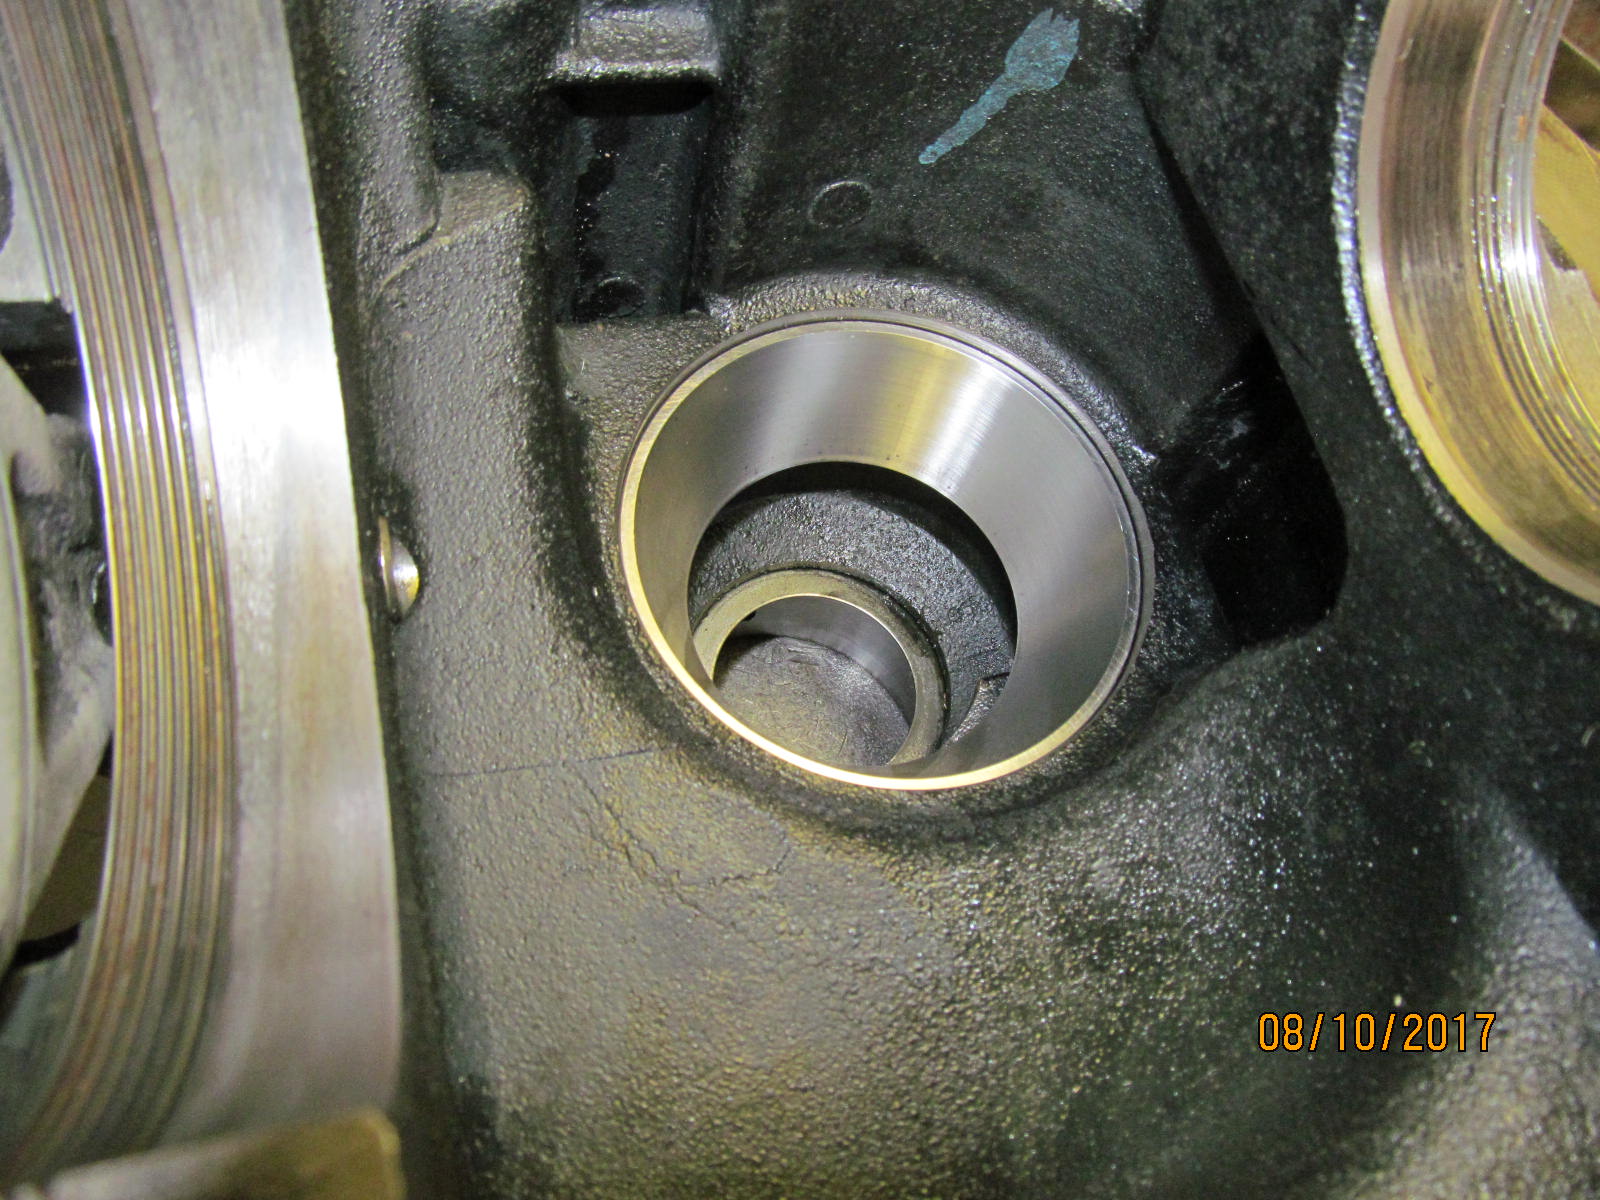
| Old races come out...and new Koyo races go in. |
|---|
|
|
| ............................. |
|---|
|
|
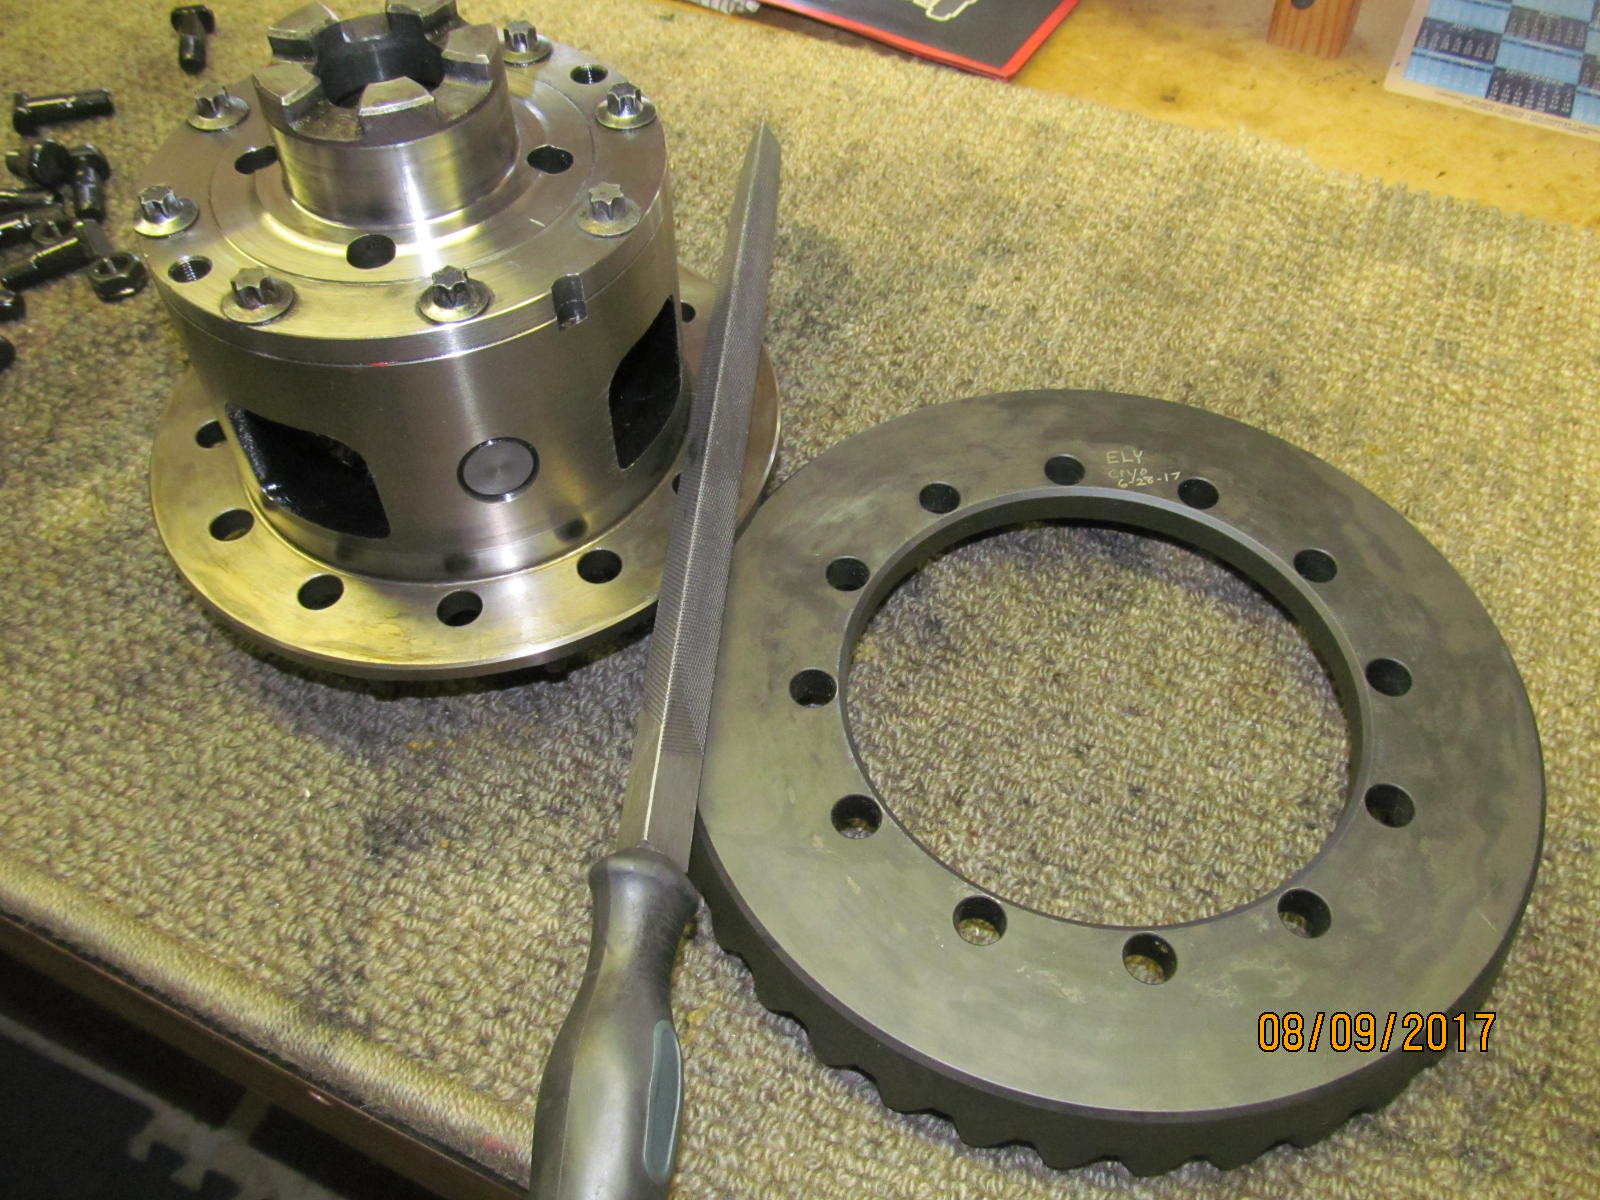
| A file is used to check for burrs/high spots on both surfaces. I rarely see anything significant. |
|---|
|
|
The smaller 14mm bolts are verified to be at 45 ft/lb.
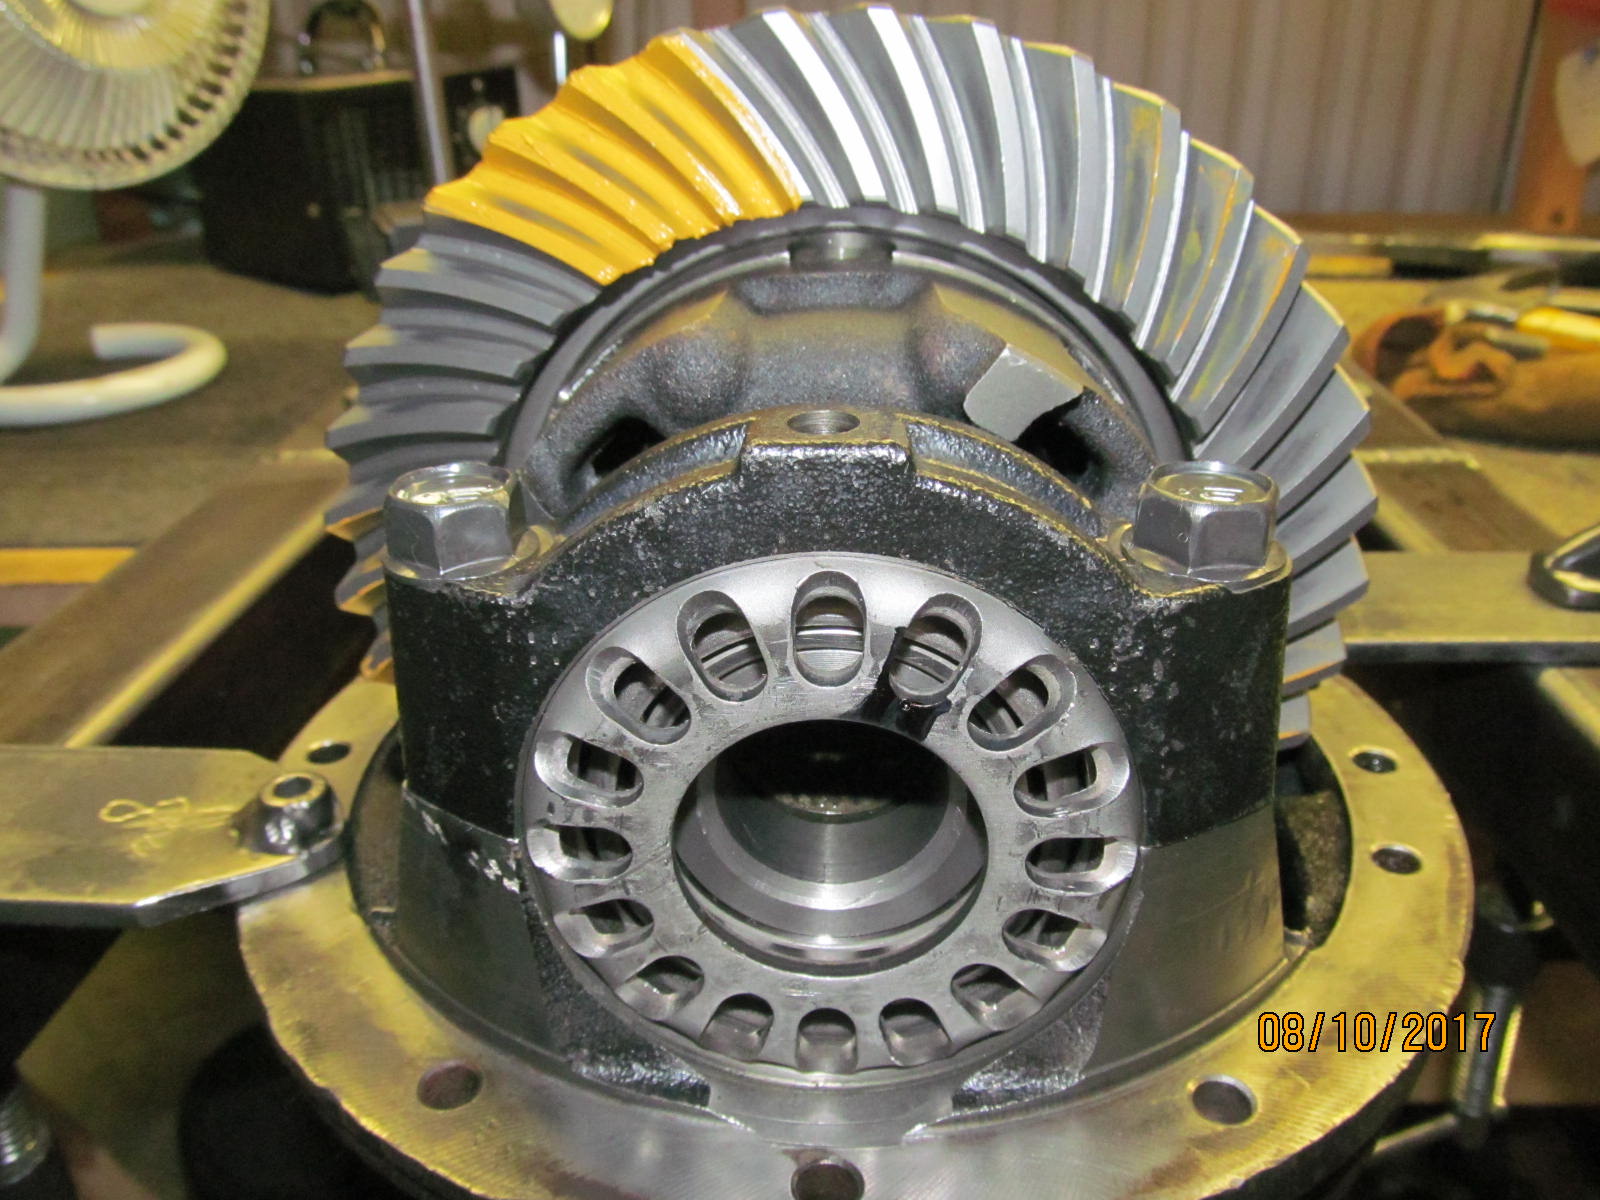
The ten 17mm ring gear bolts have blue Loctite and 70 ft/lb. |
|---|
|
|
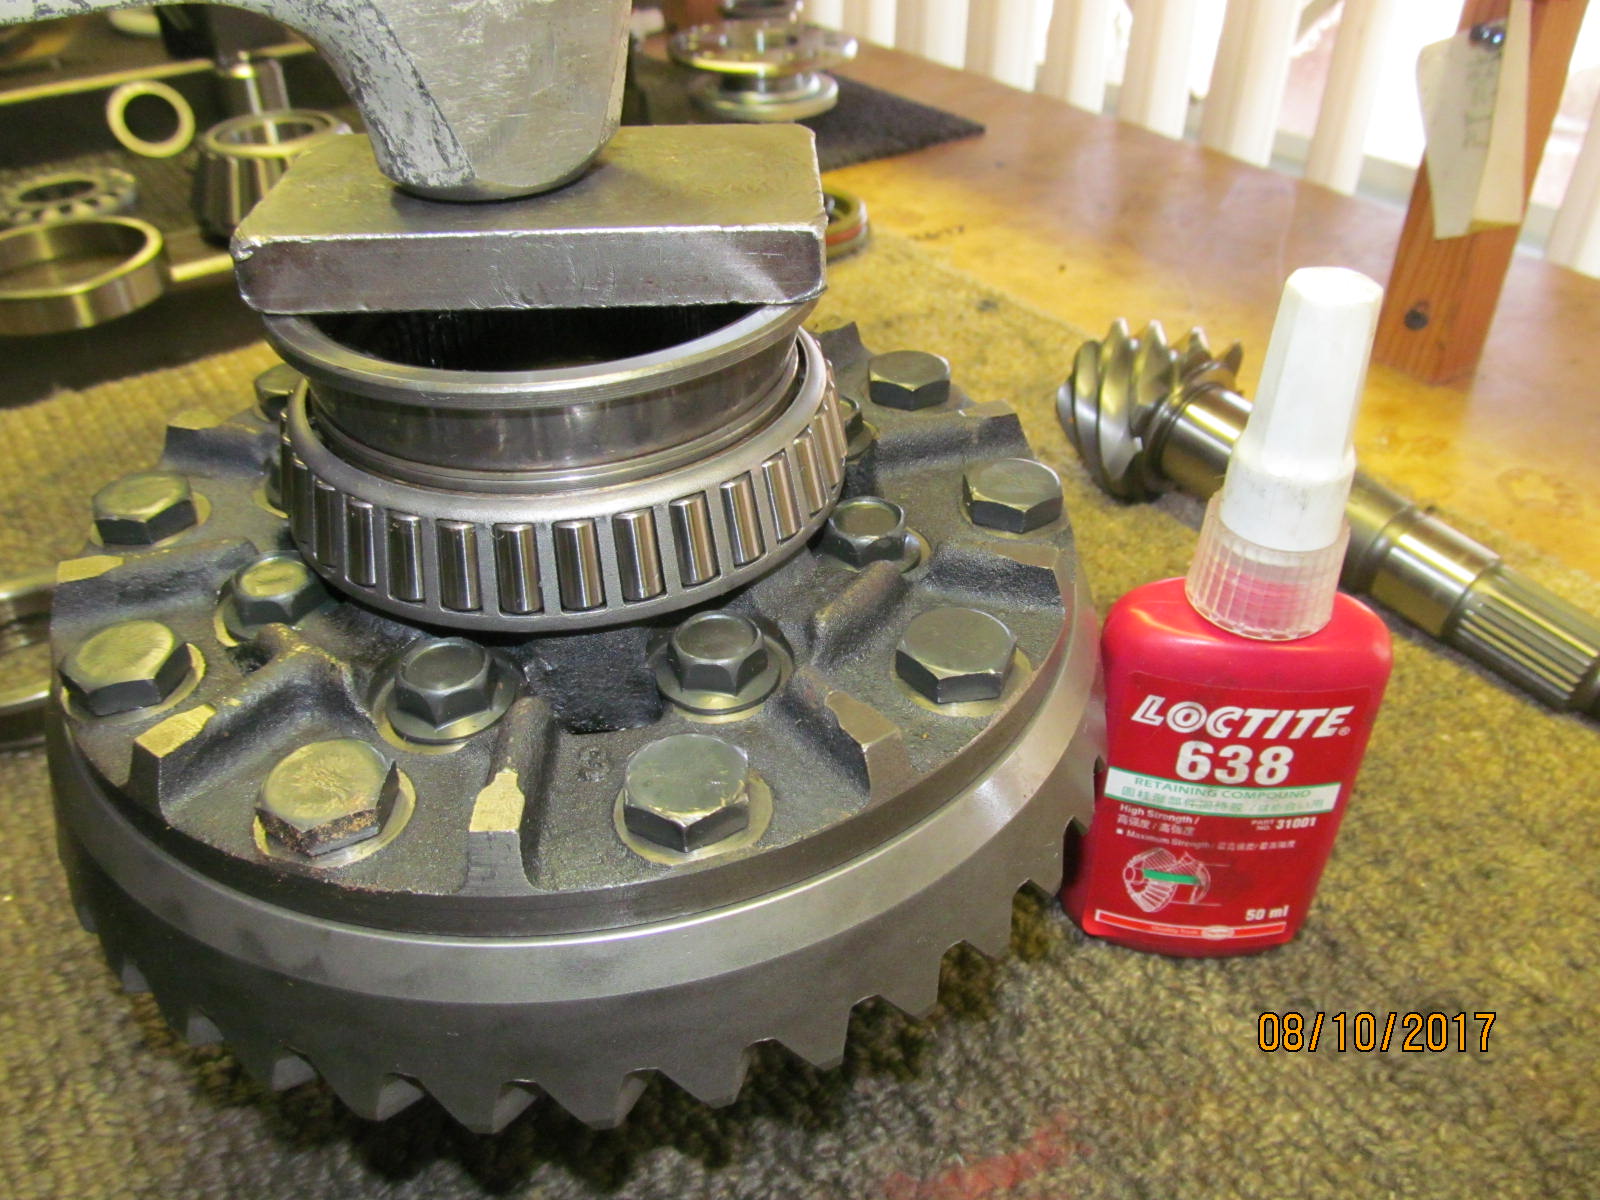
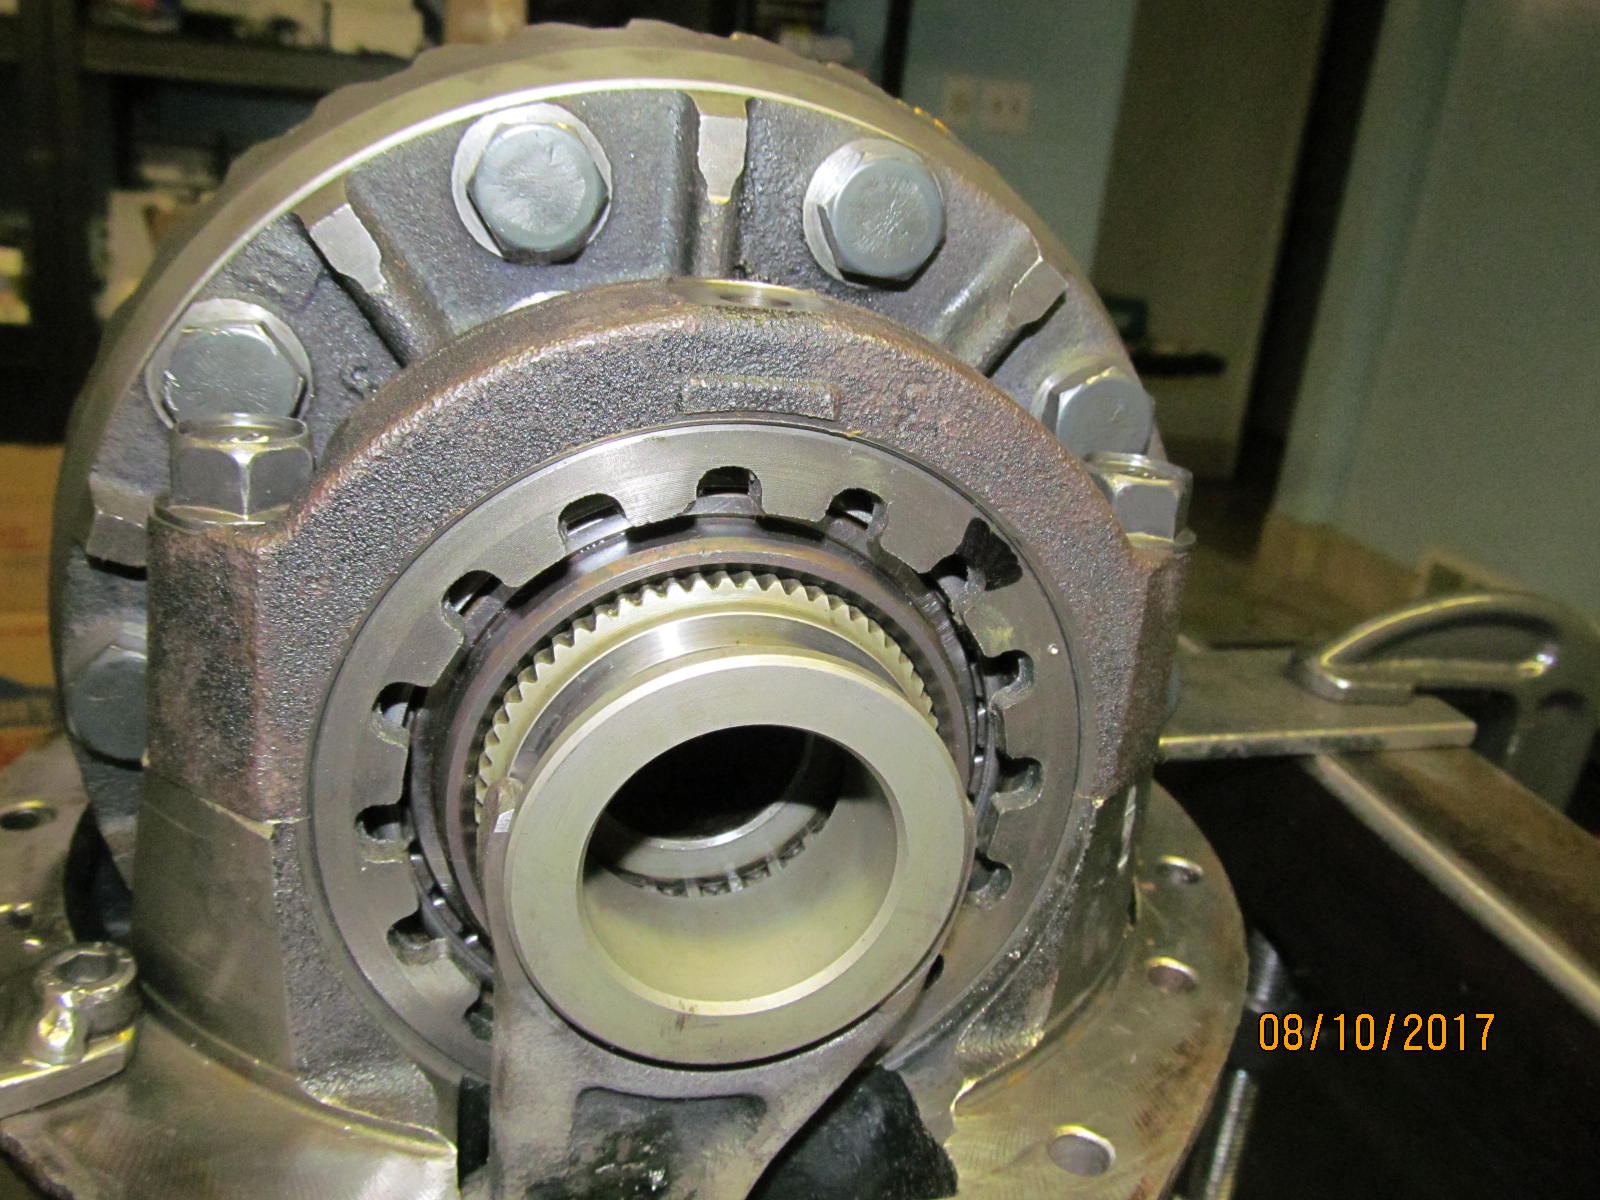
| Carrier bearings can now be tapped or pressed on. |
|---|
|
|
| .............Yes, I did use "retaining compound" on this bearing because it did not have a tight fit on the big journal. |
|---|
|
|
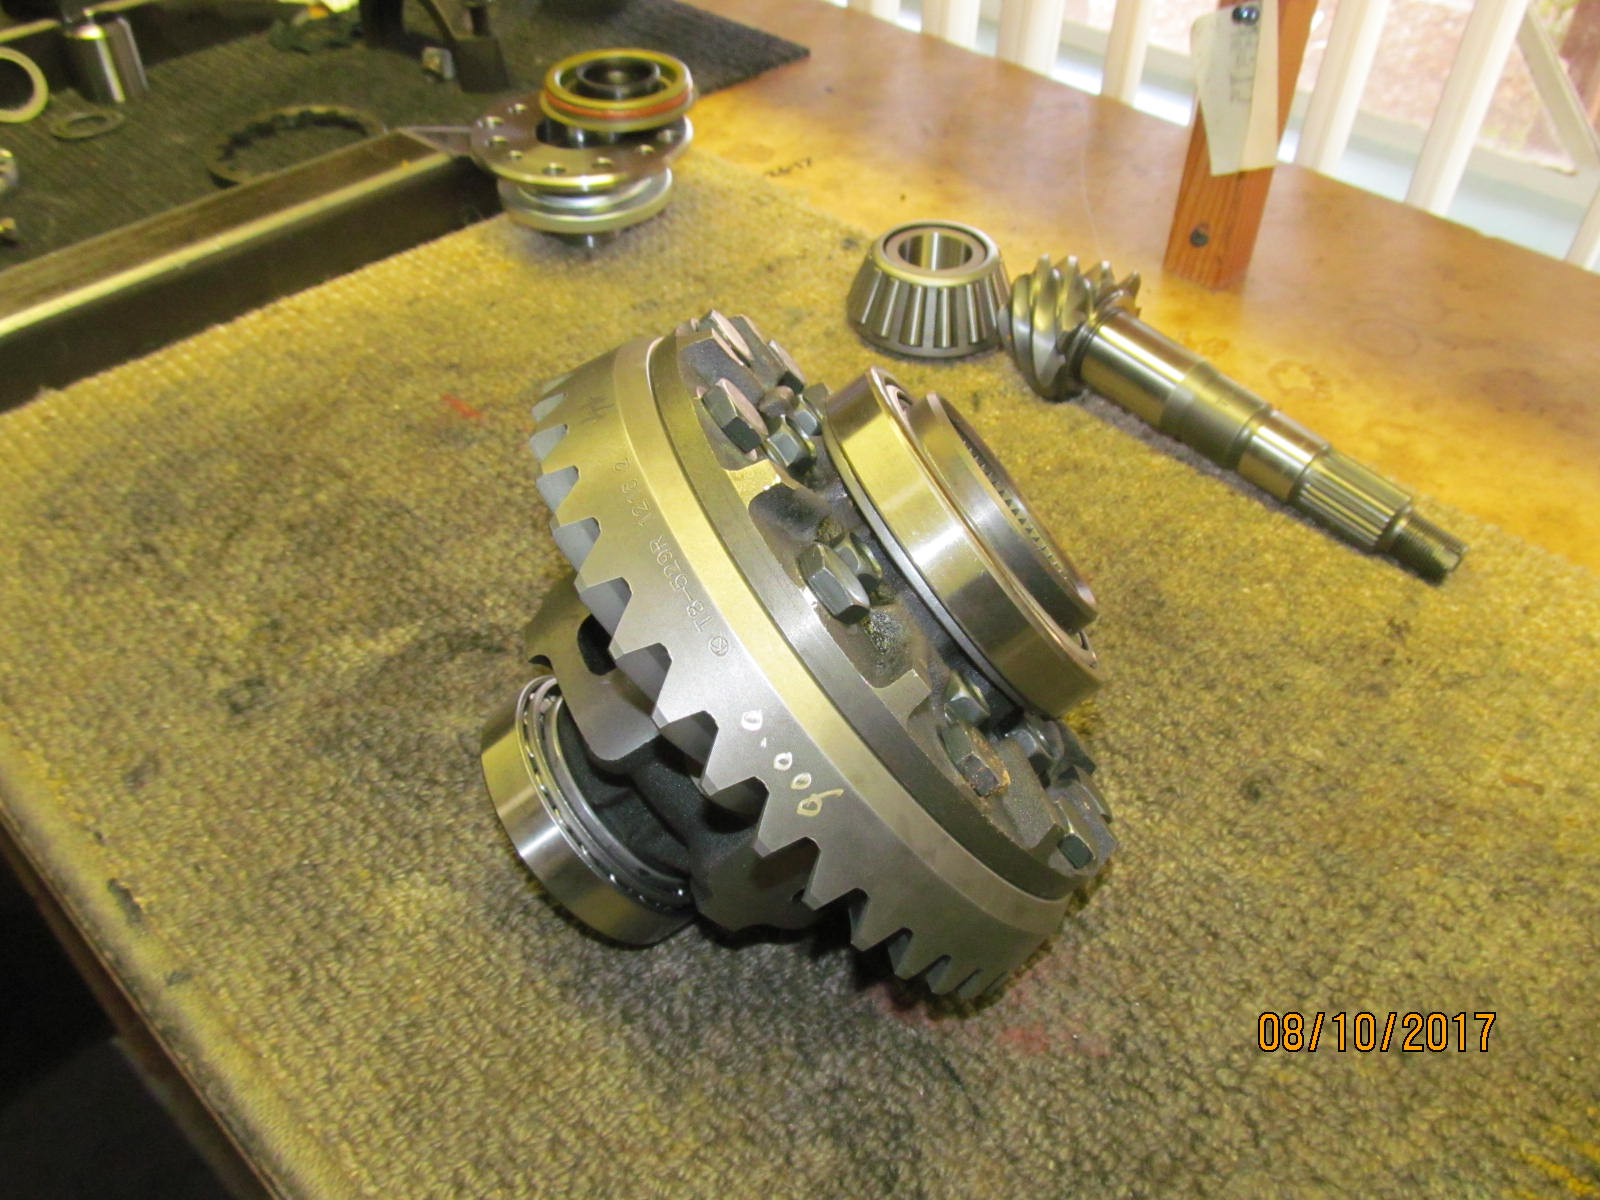
| The center carrier is ready to go. |
|---|
|
|
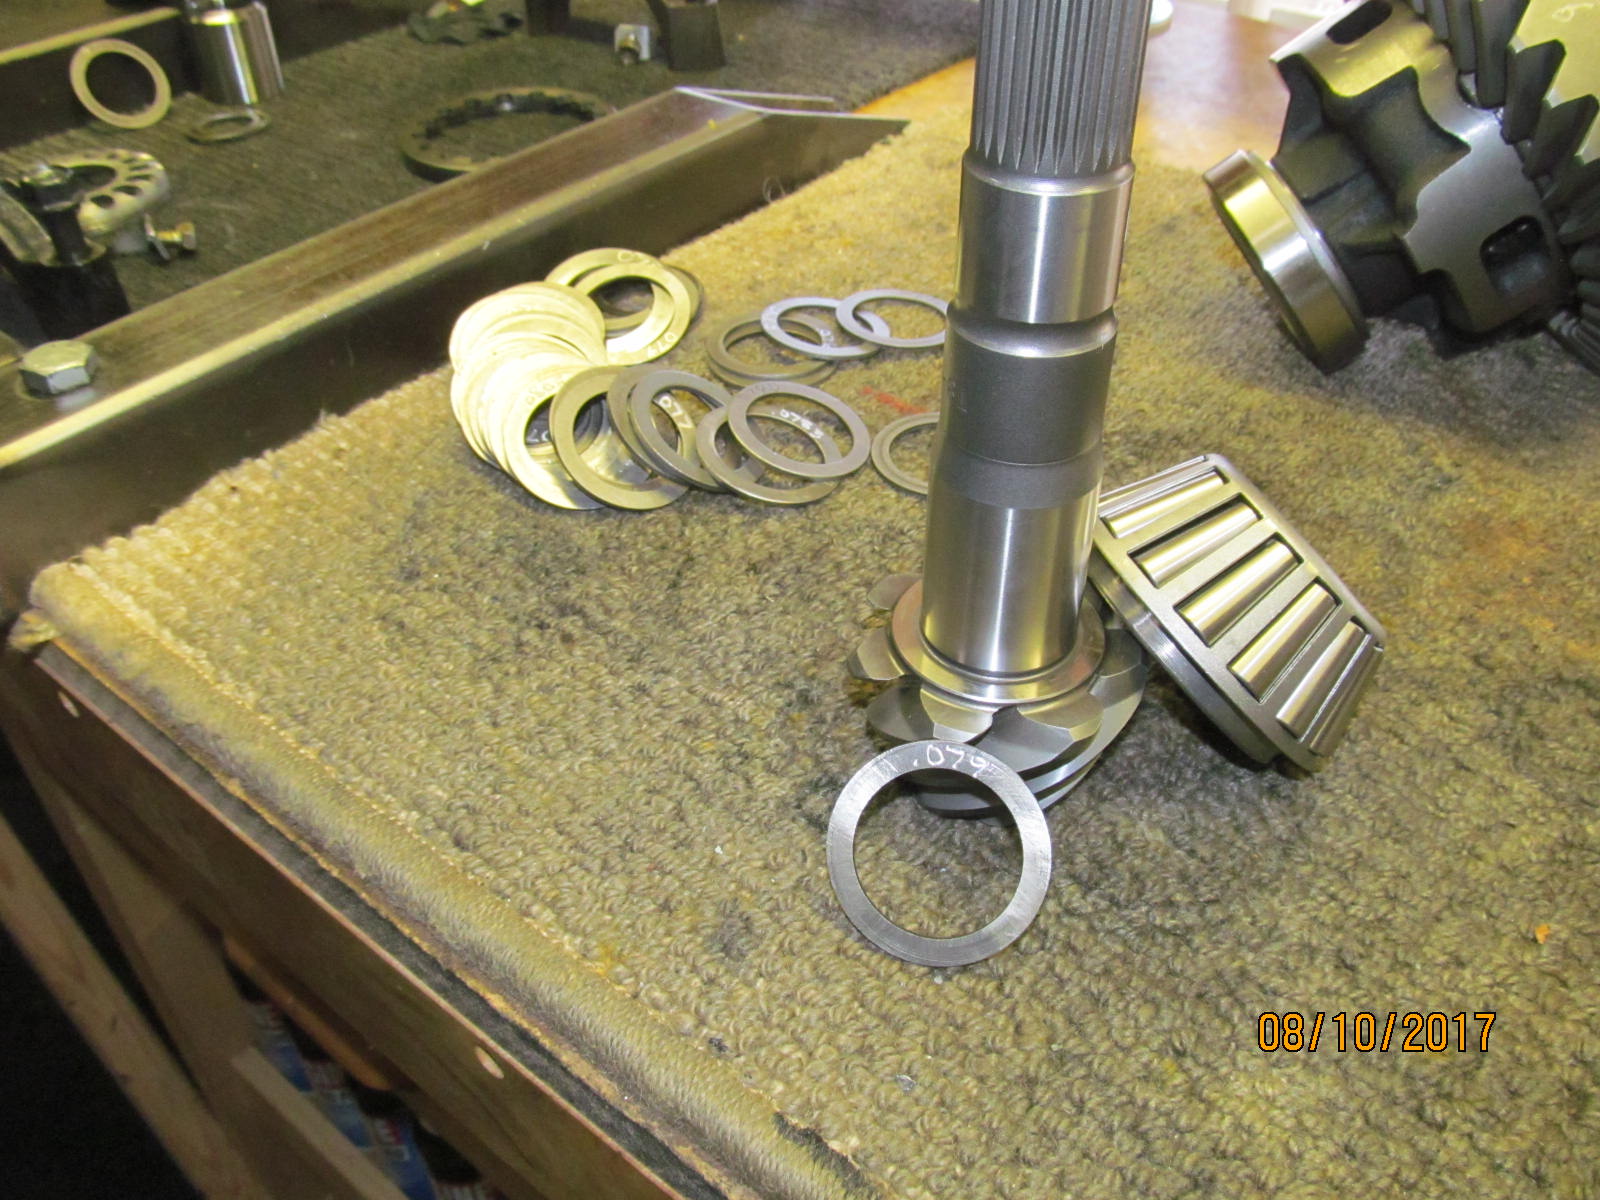
| .079" is as good as any pinion depth shim to start with. |
|---|
|
|
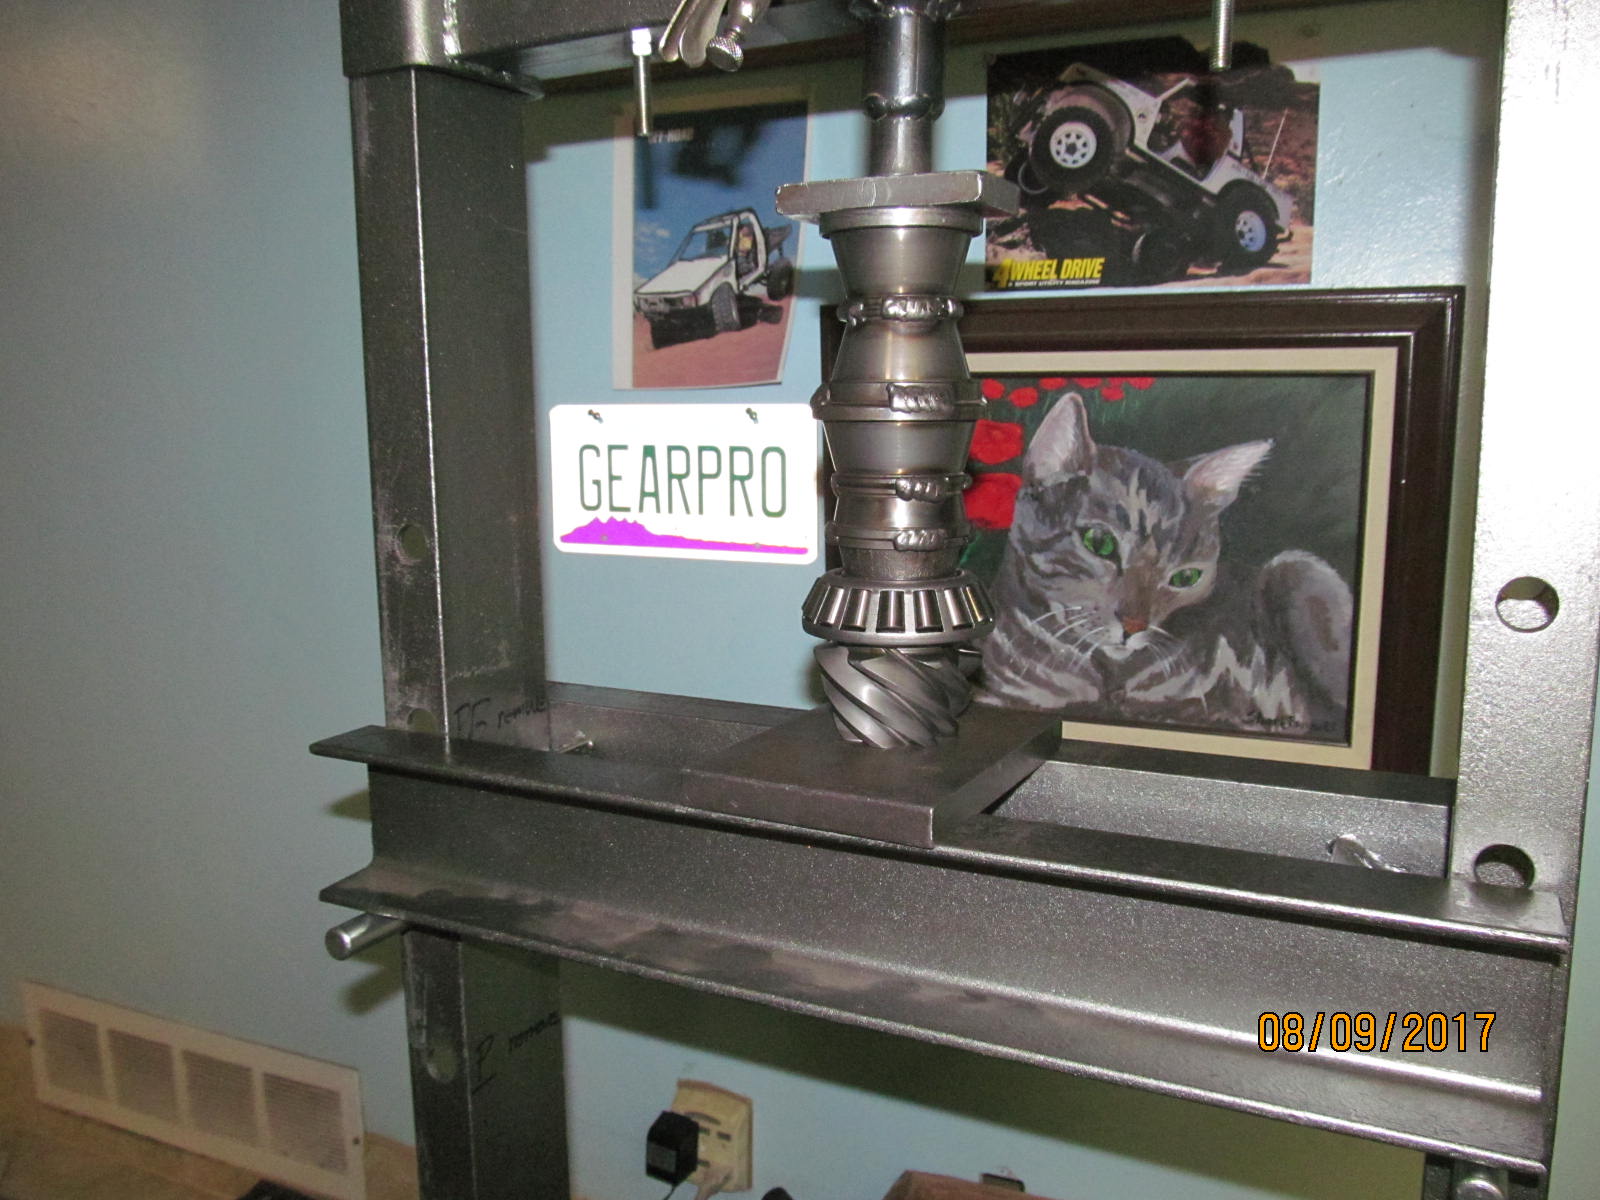
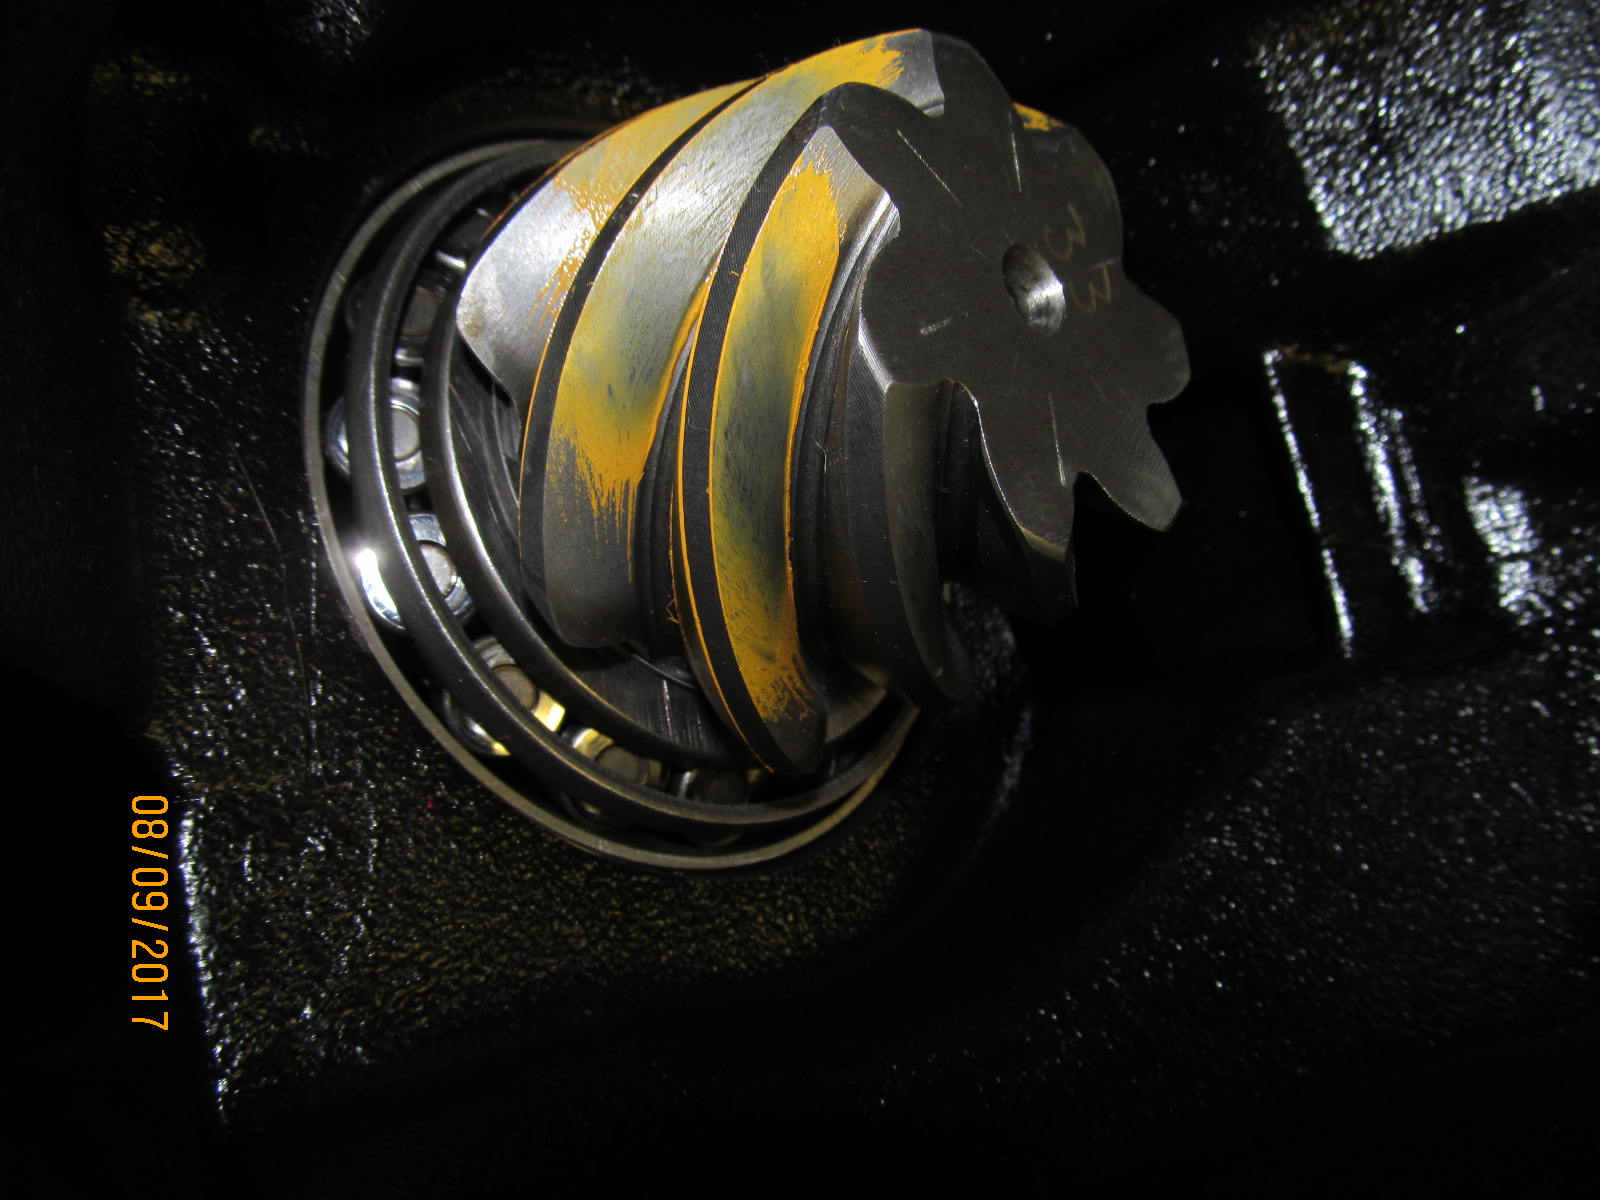
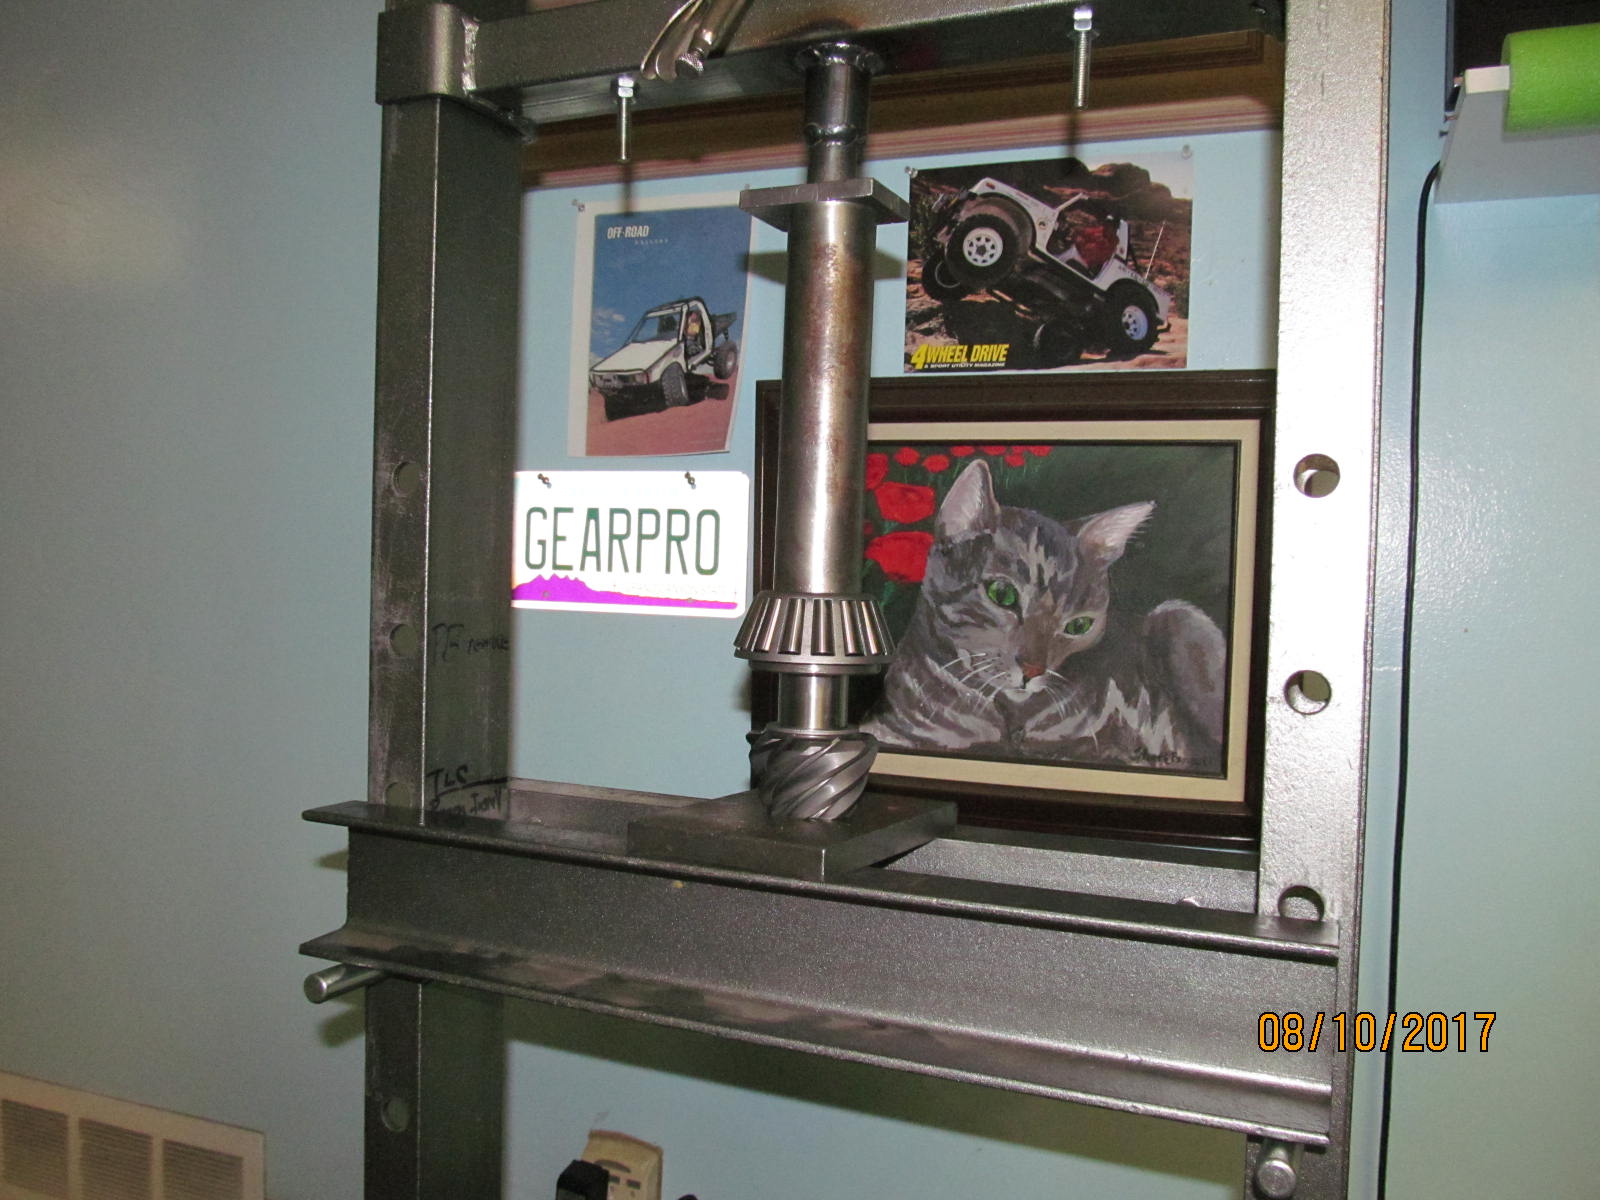
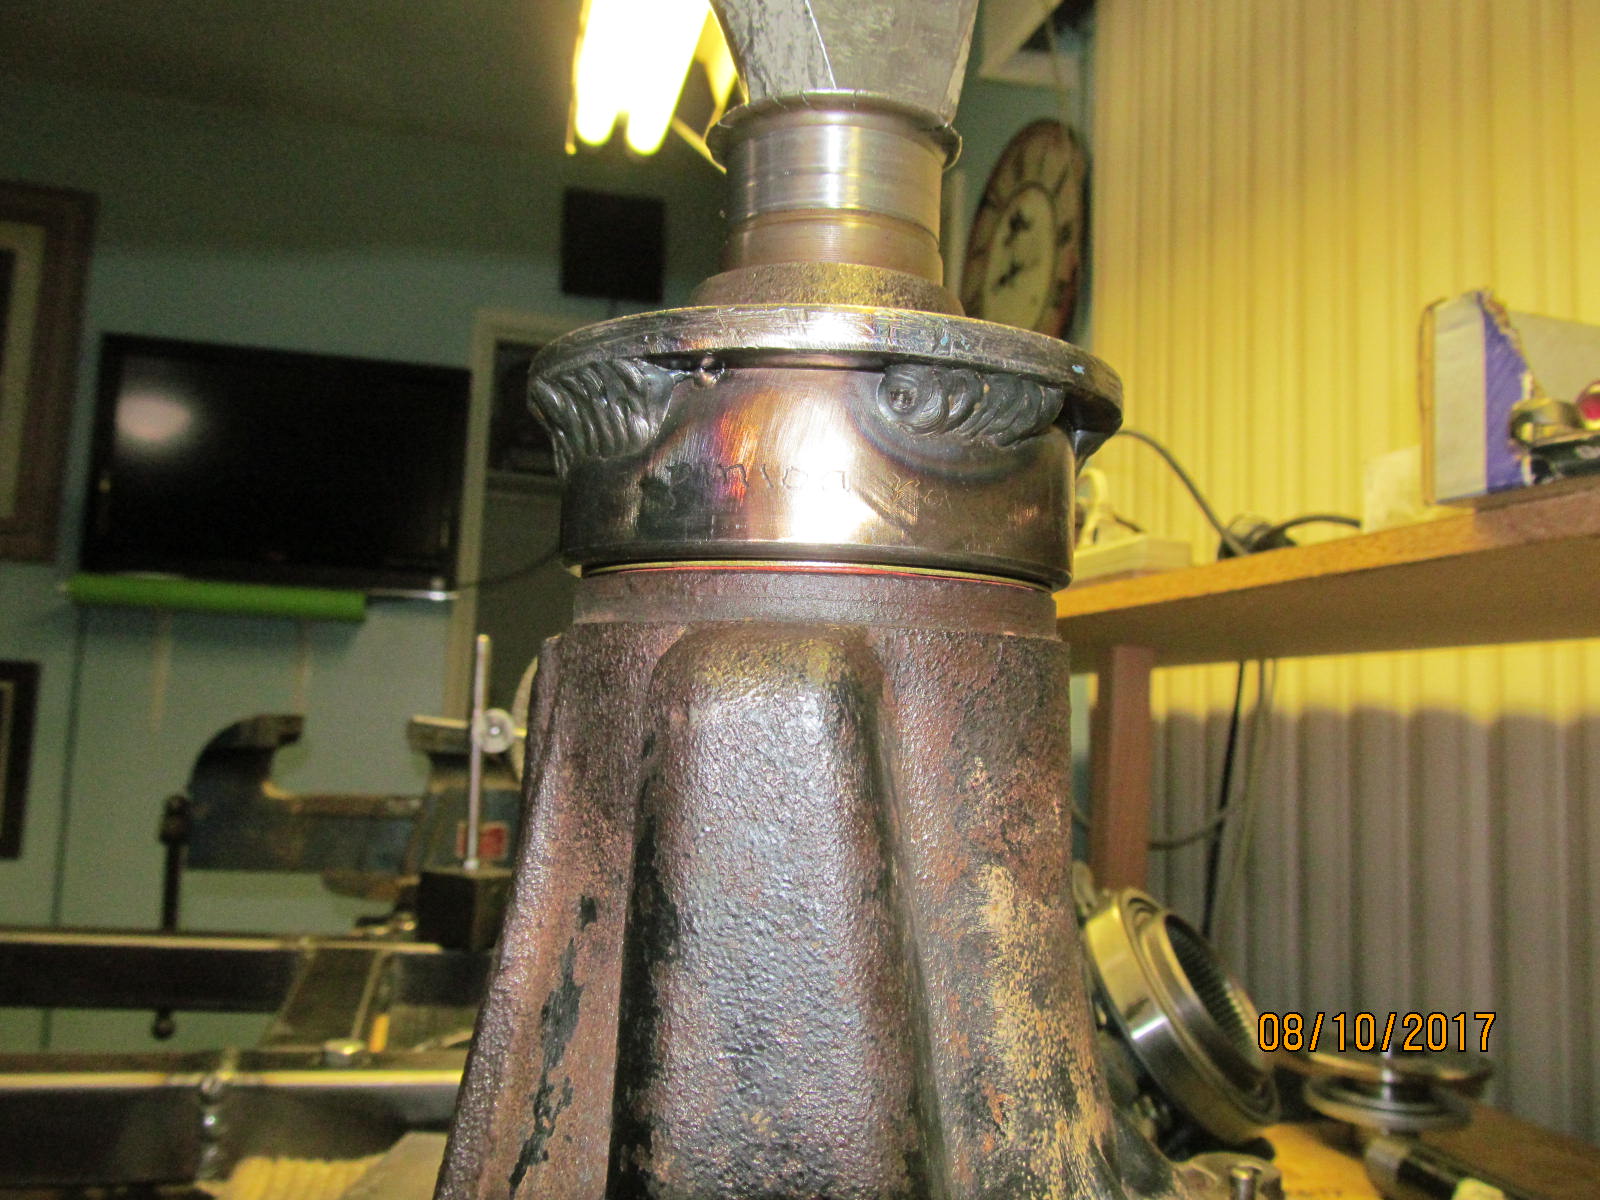
| Pressing the pinion bearing on. My sister painted that kitty cat. Not bad. |
|---|
|
|
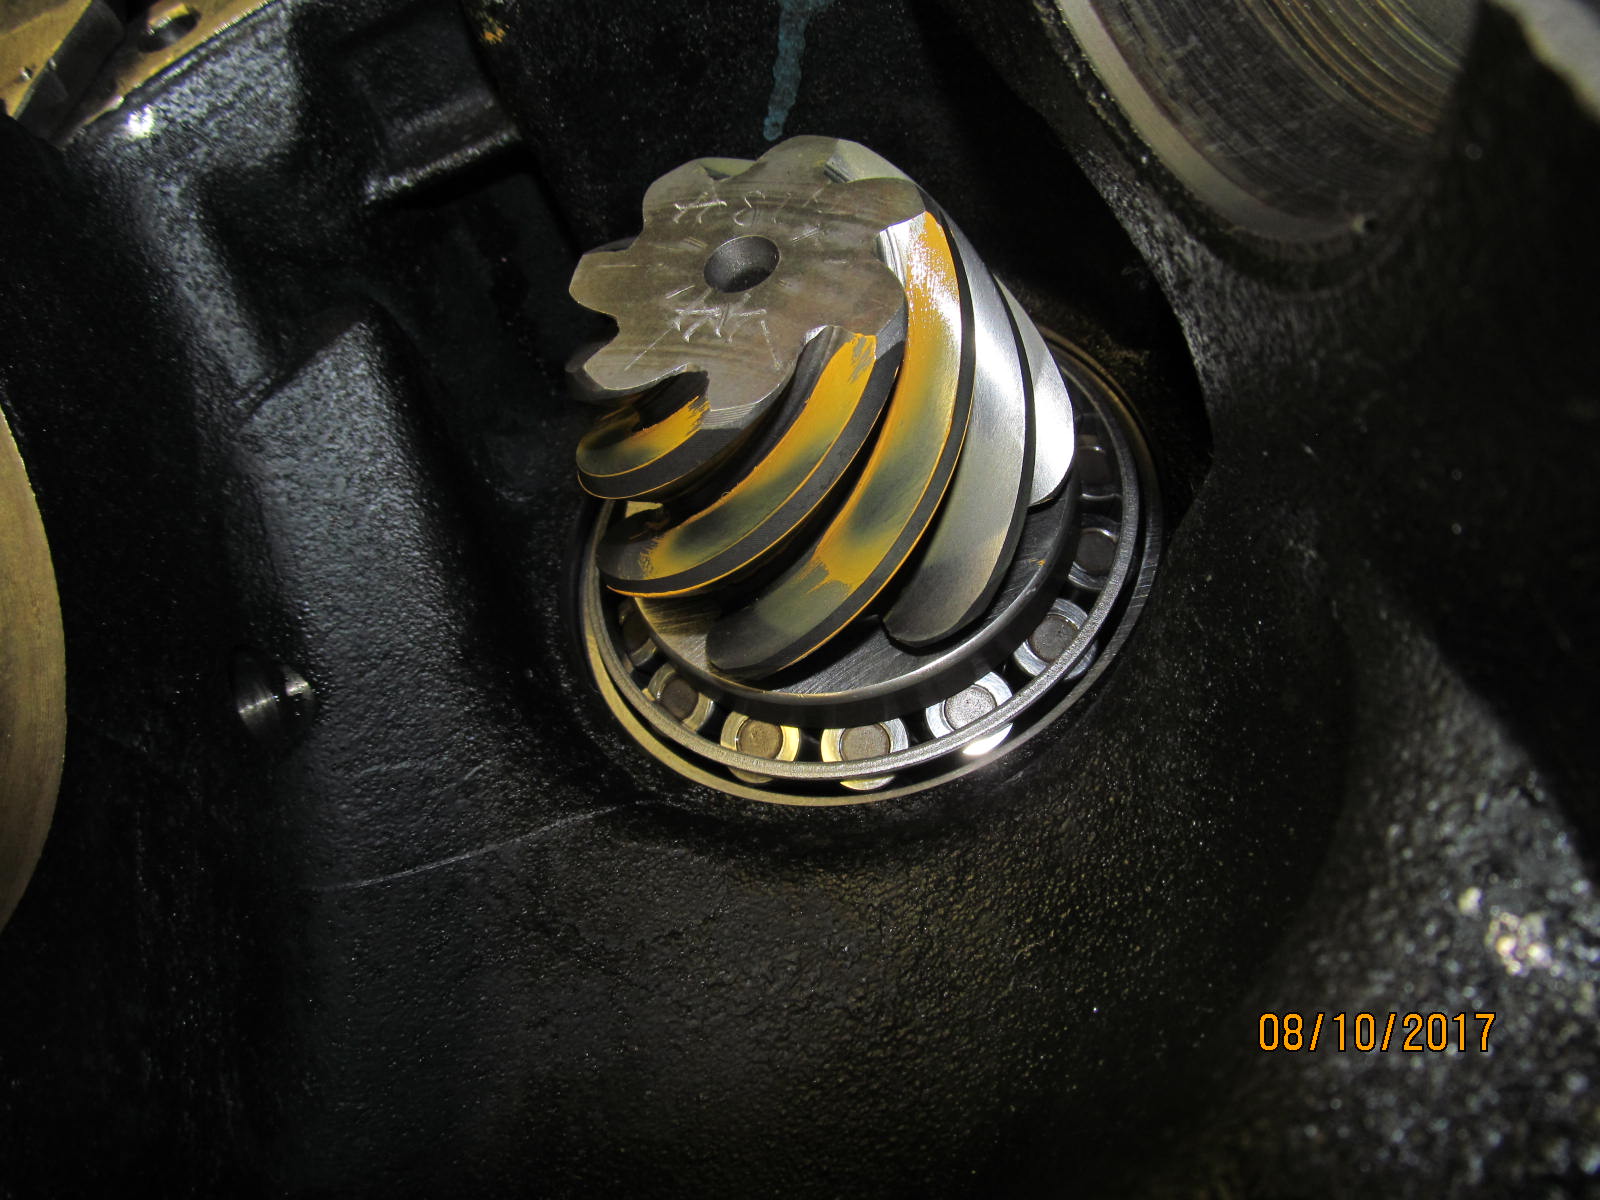
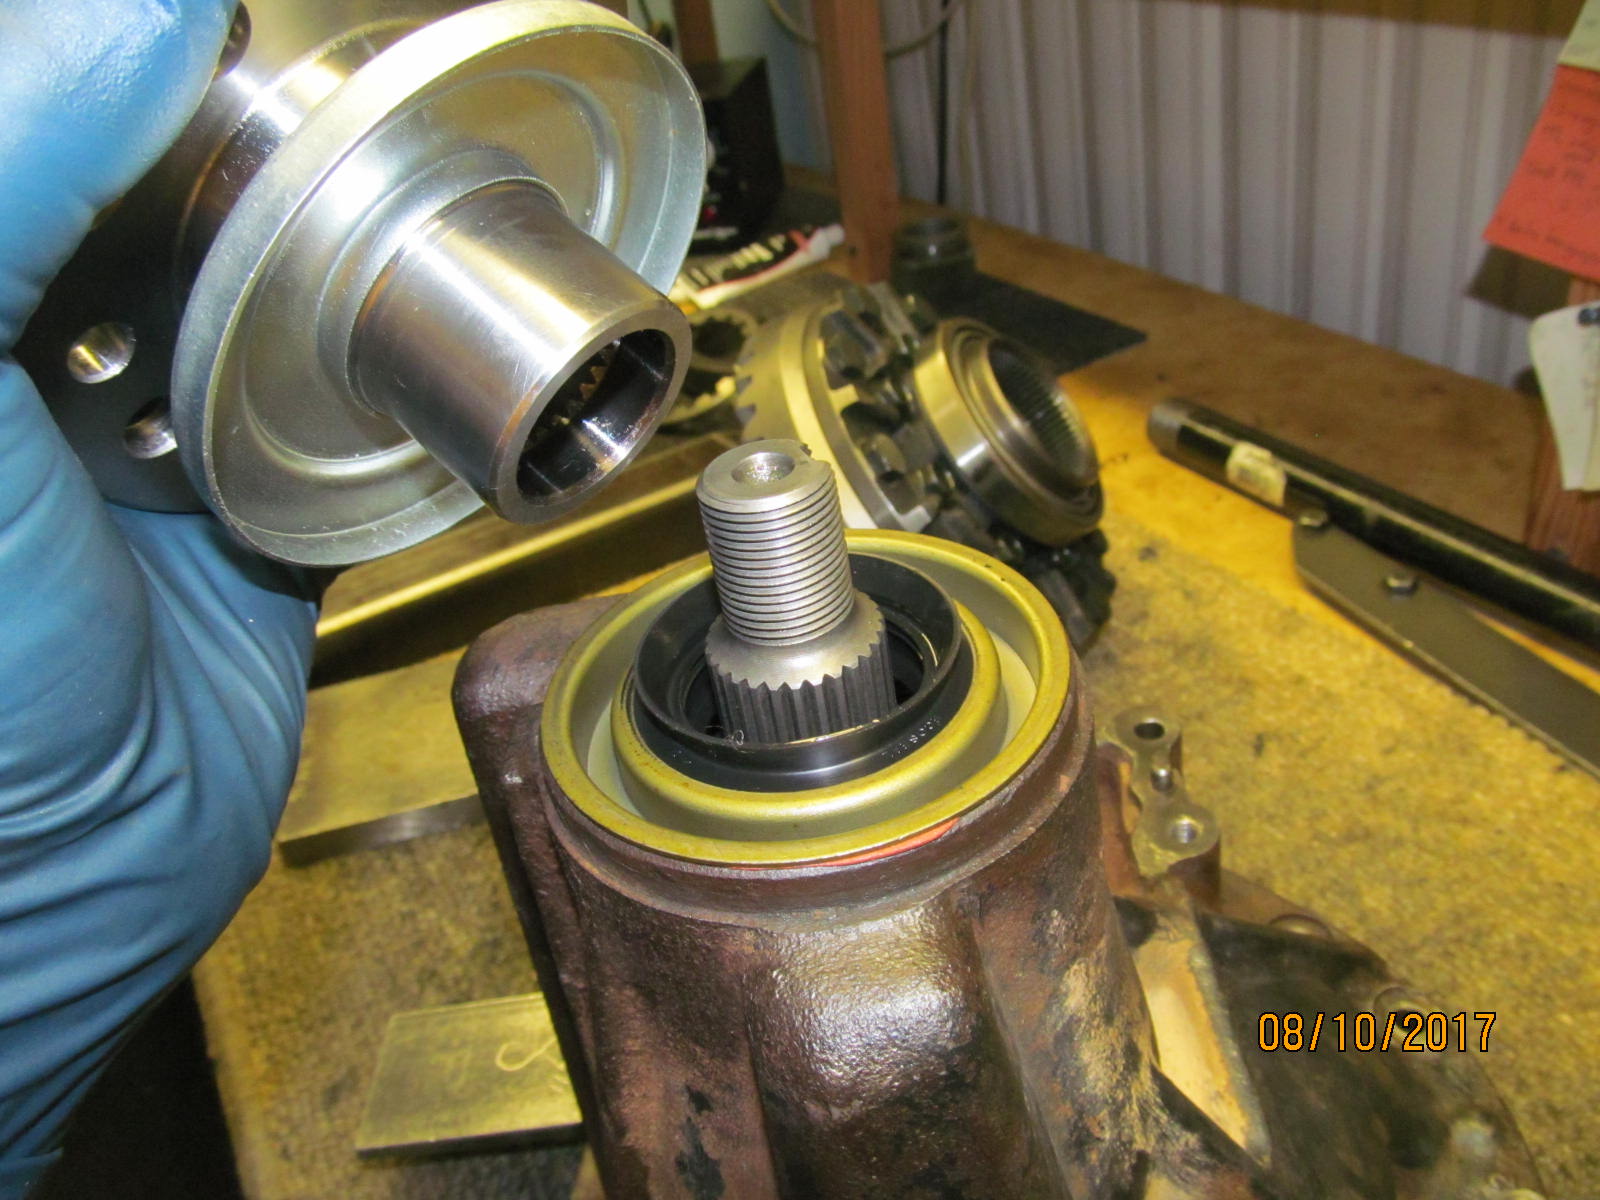
| Now to mount theh pinion into the diff. No crush sleeve or solid collar at this point. |
|---|
|
|
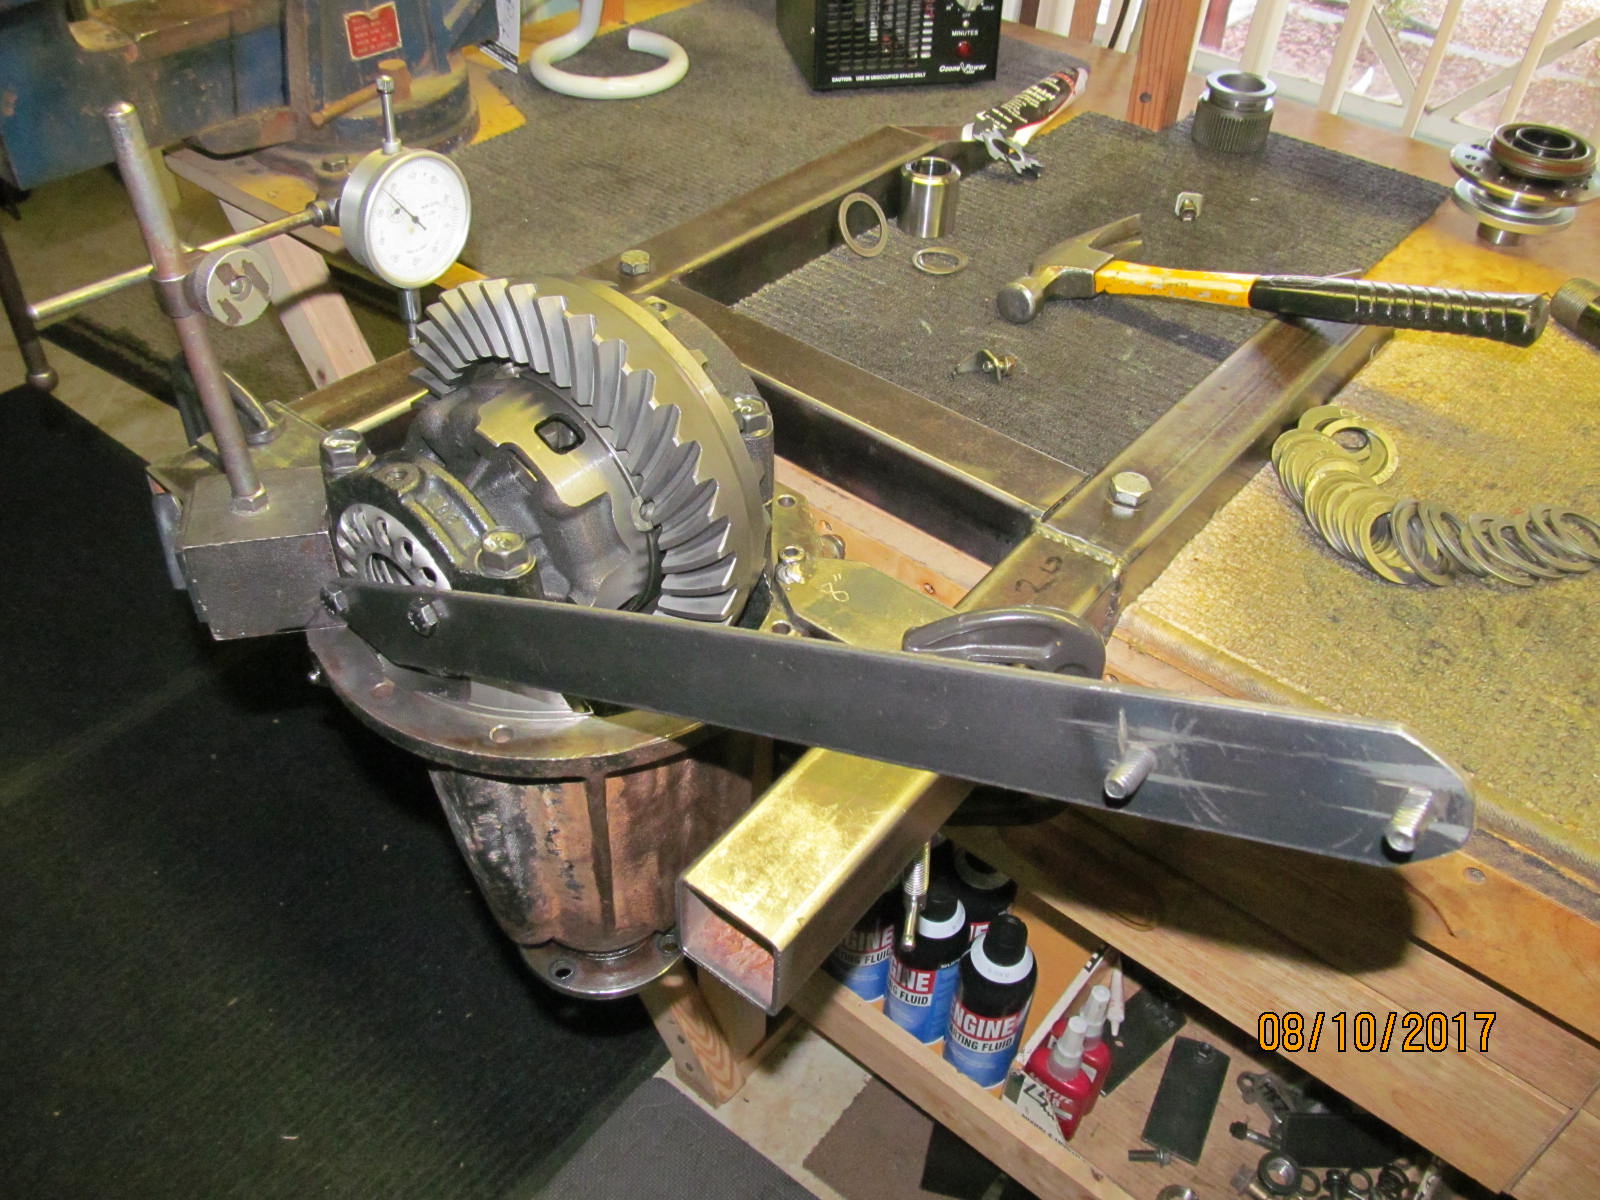
| Backlash and carrier bearing preload is set right now. |
|---|
|
|
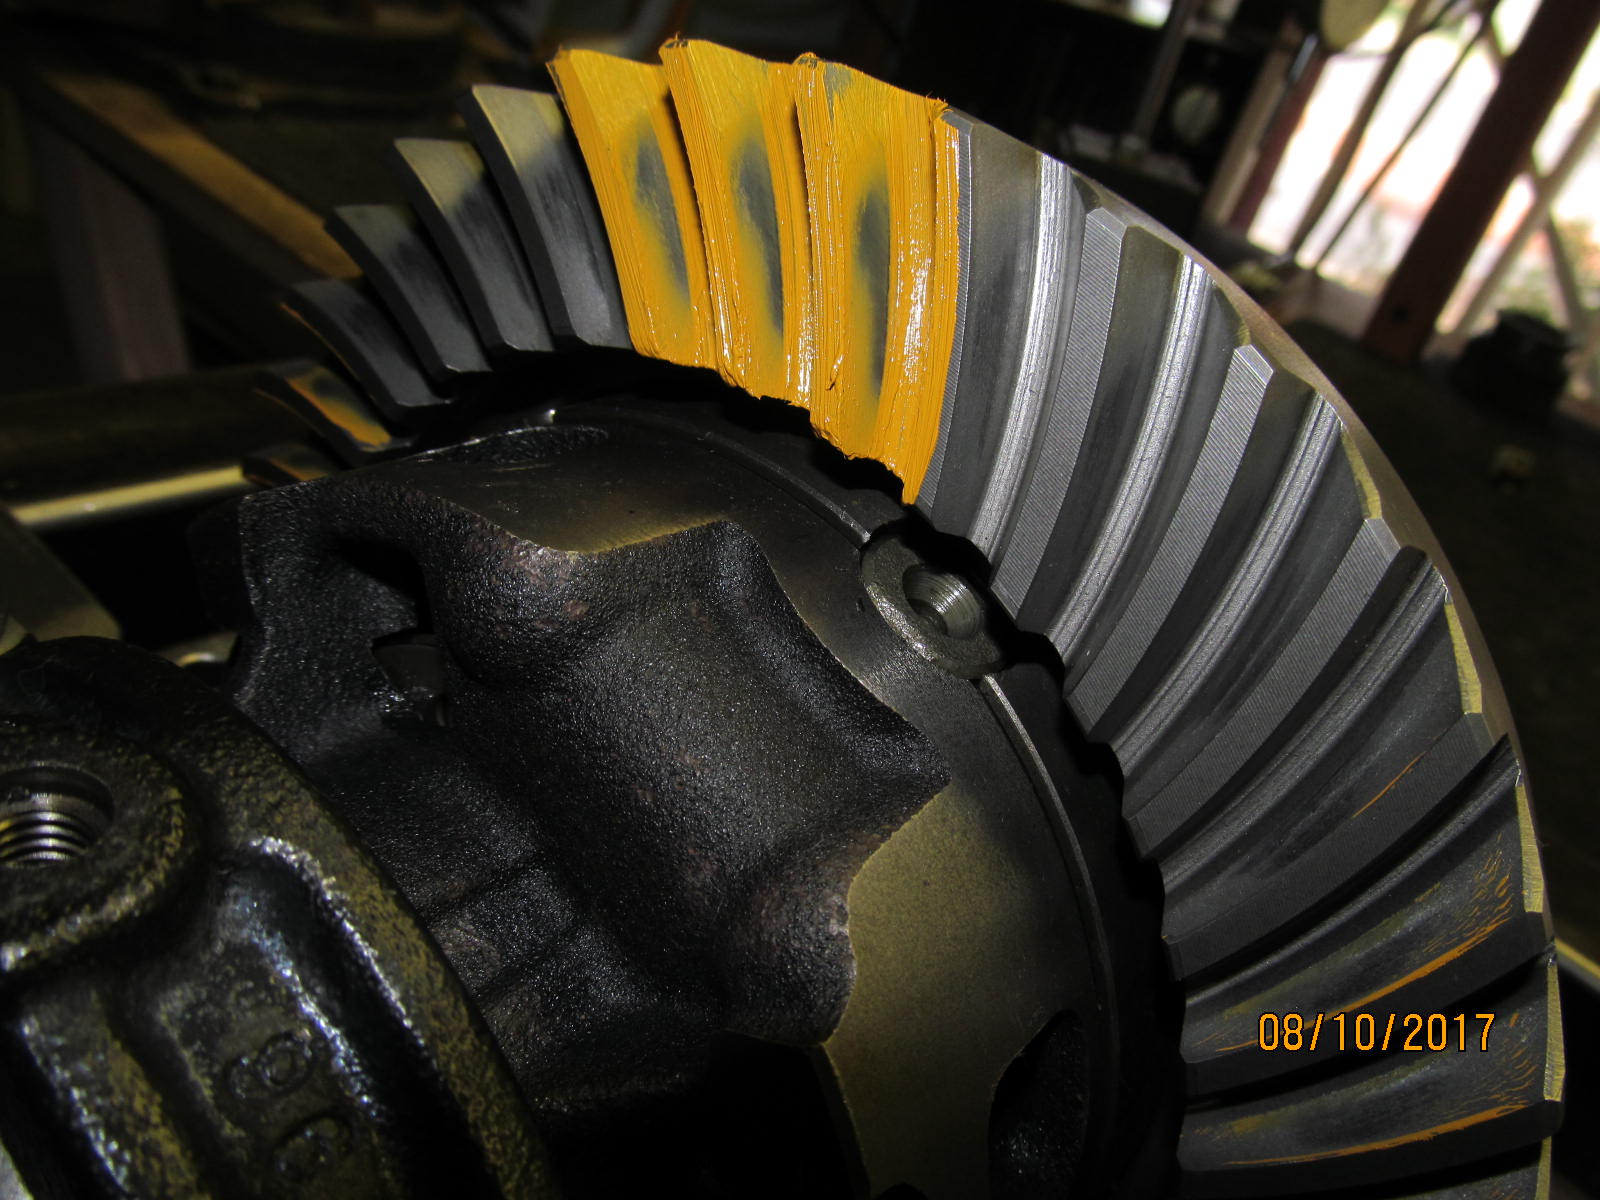
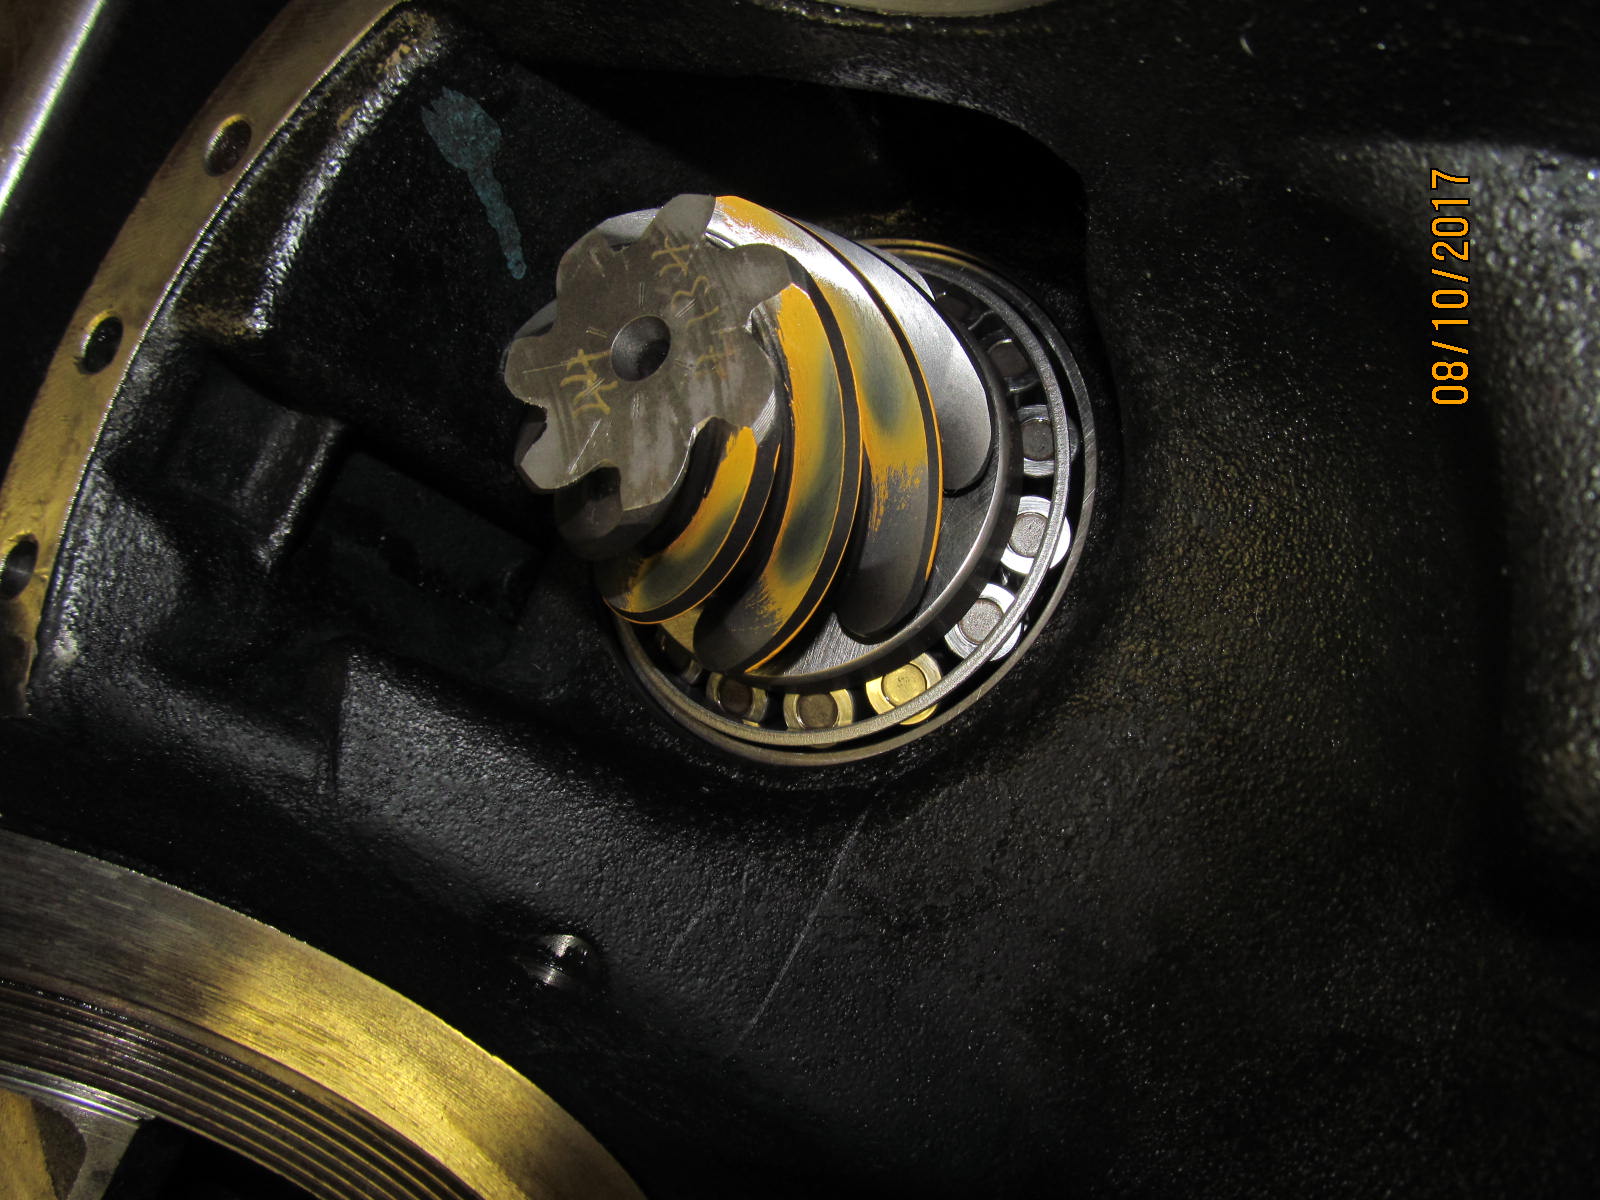
| Drive side......Looks a bit too deep even for me. |
|---|
|
|
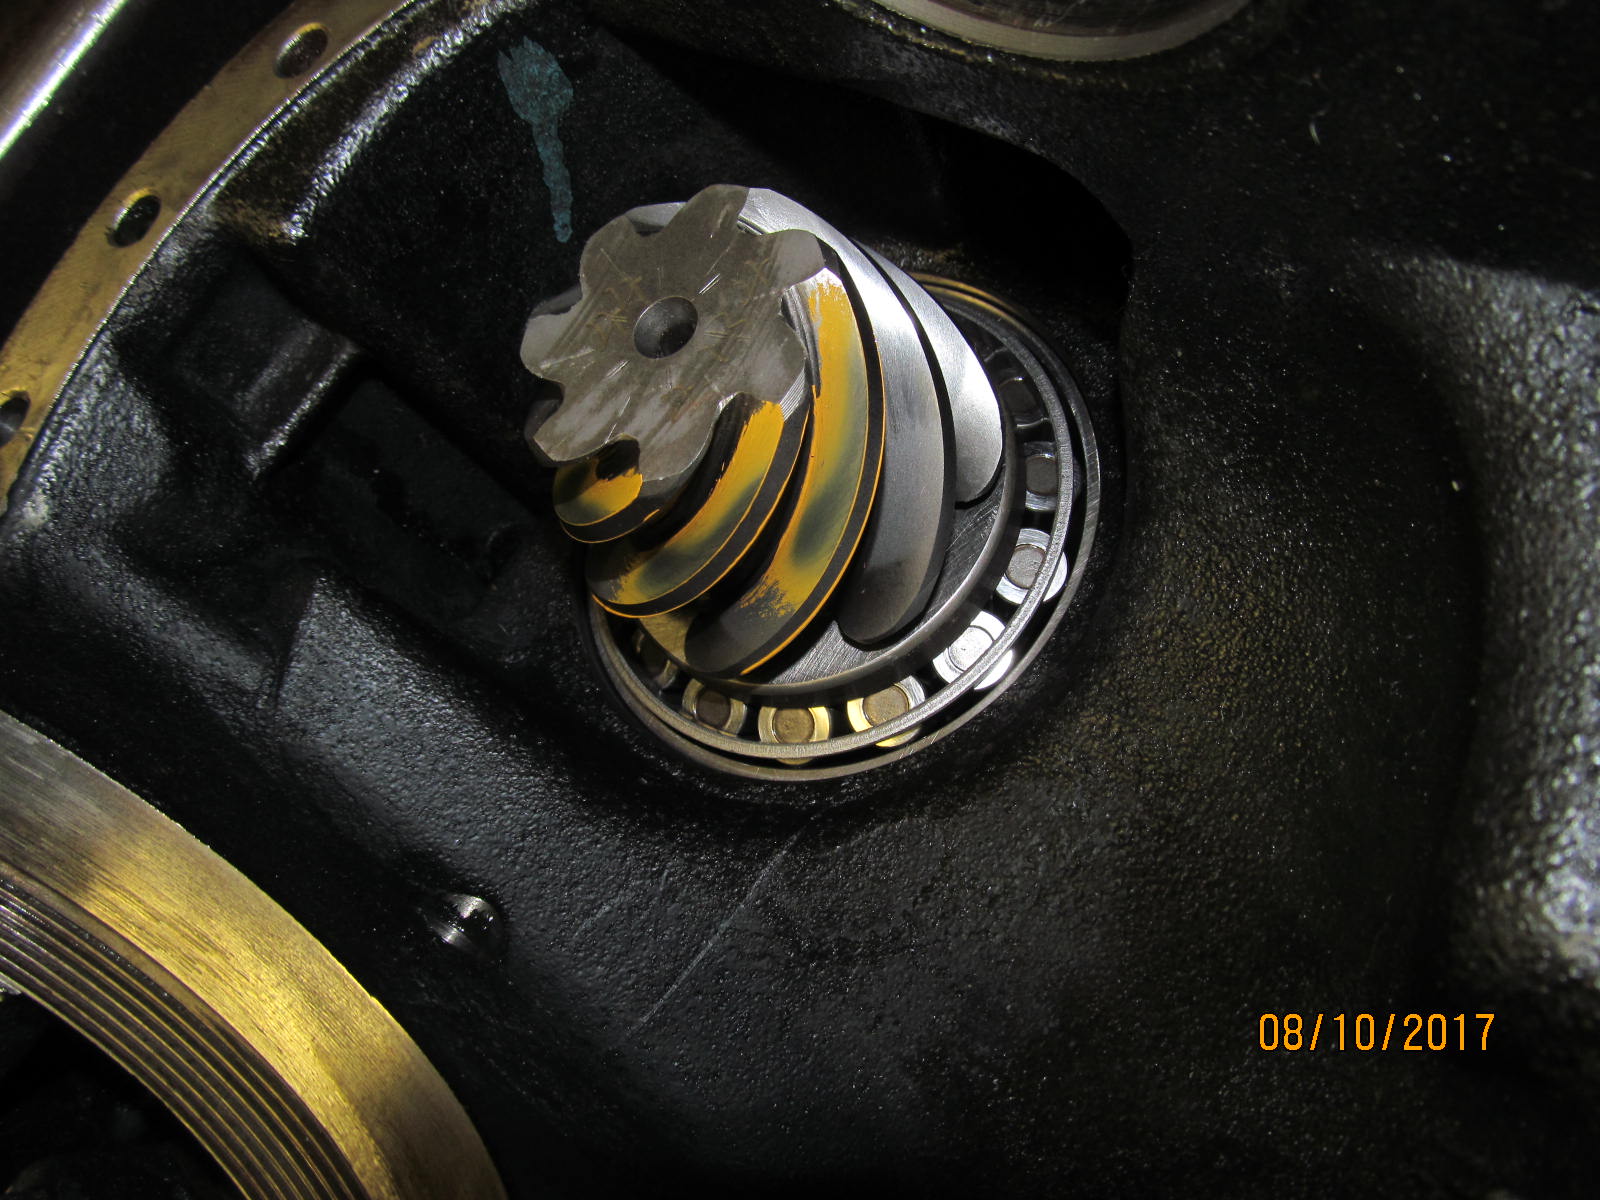
| Coast reflects that. |
|---|
|
|
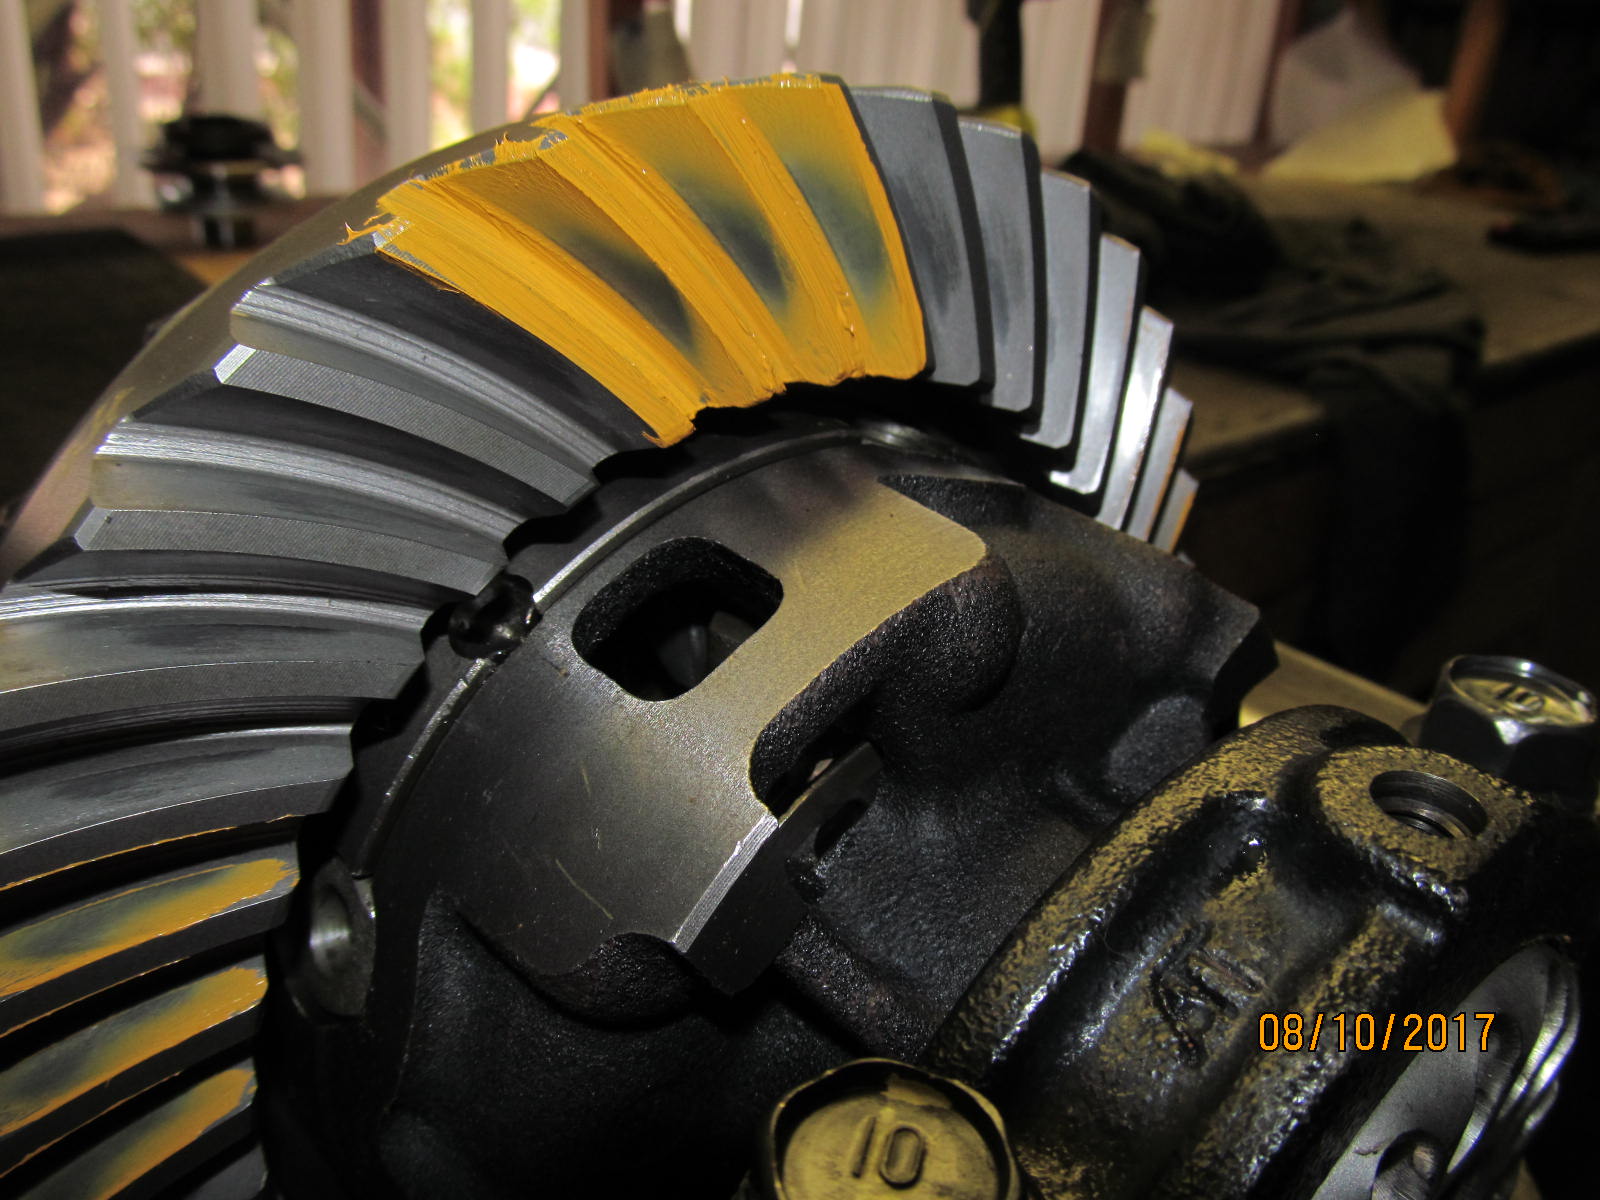
| Drive...reverse painted....says too deep. |
|---|
|
|
| Coast .....reverse painted. |
|---|
|

|
| Drive side....comet tail is spending too much time on the face. |
|---|
|
|
| ......................... |
|---|
|
|
| ......................... |
|---|
|
|
| .075".....4 thou less than the .079" |
|---|
|
|
| Drive....075 |
|---|
|
|
| Coast.......075 |
|---|
|
|
| Drive side...075...I like what the pinion is telling me....depth is in the slight deep condition that I prefer. |
|---|
|
|
| ................. |
|---|
|
|
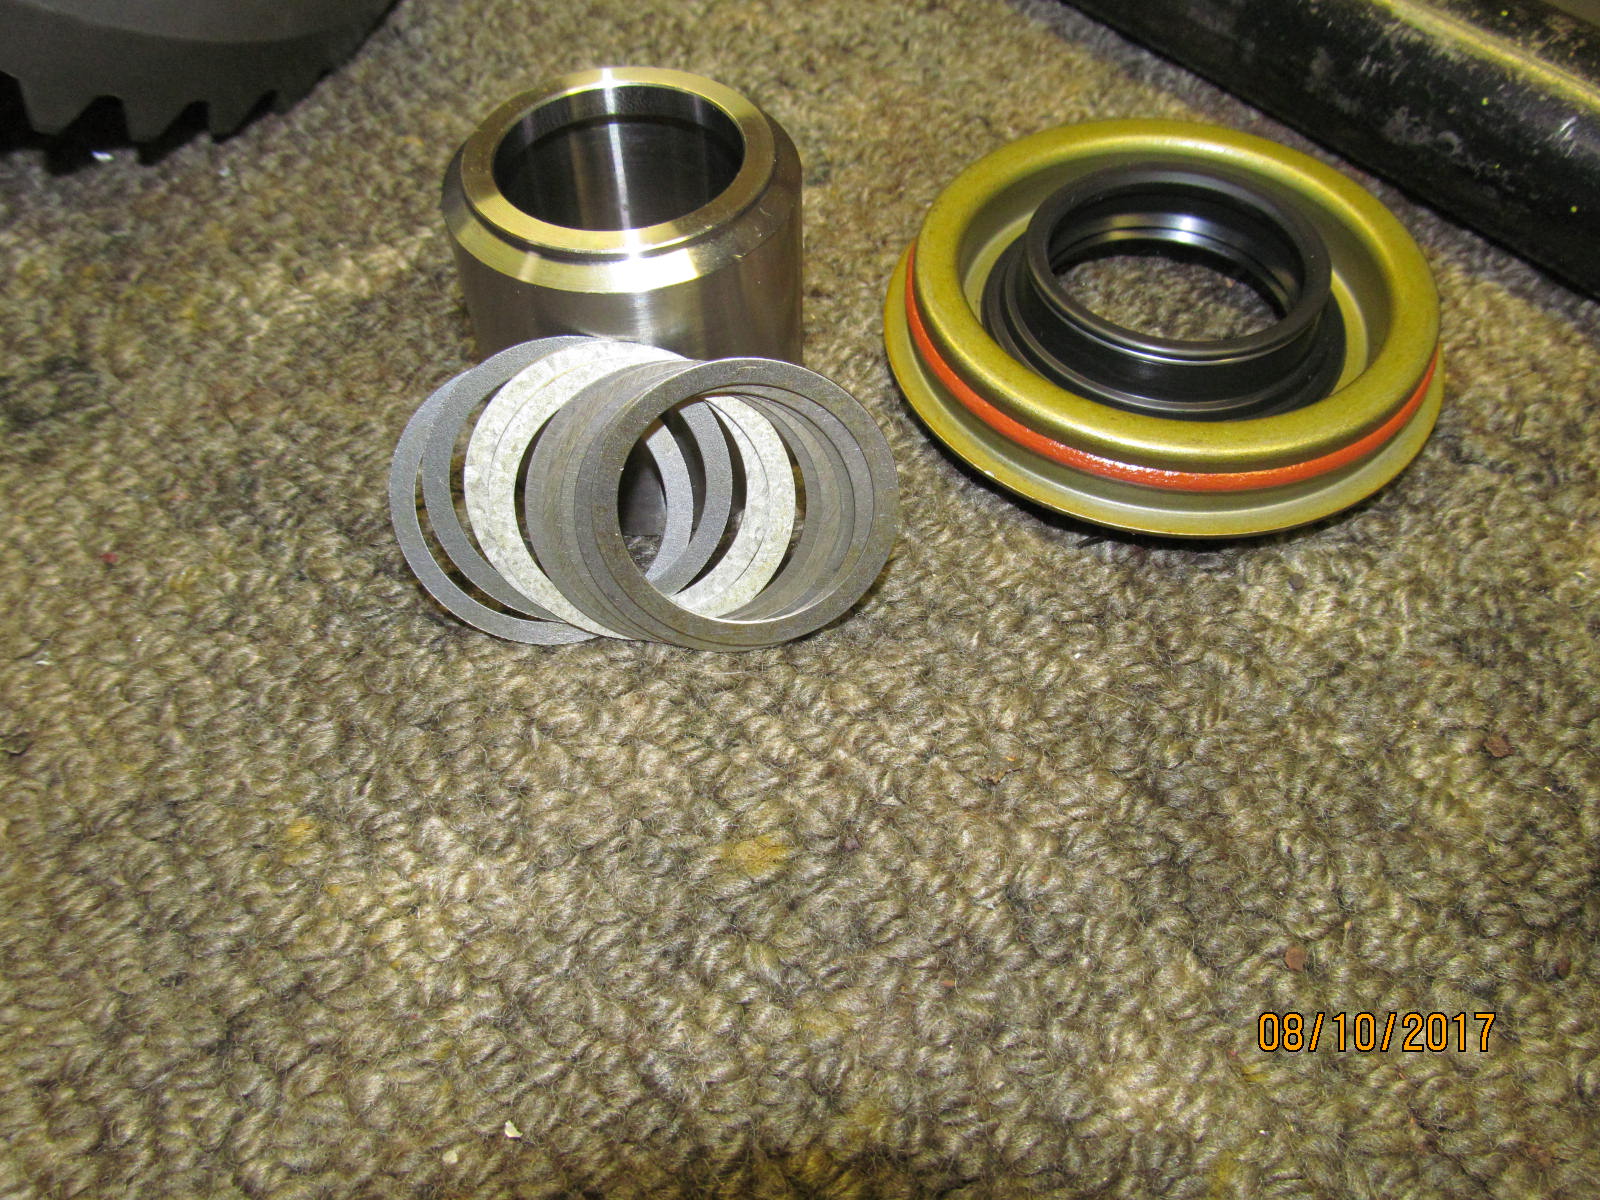
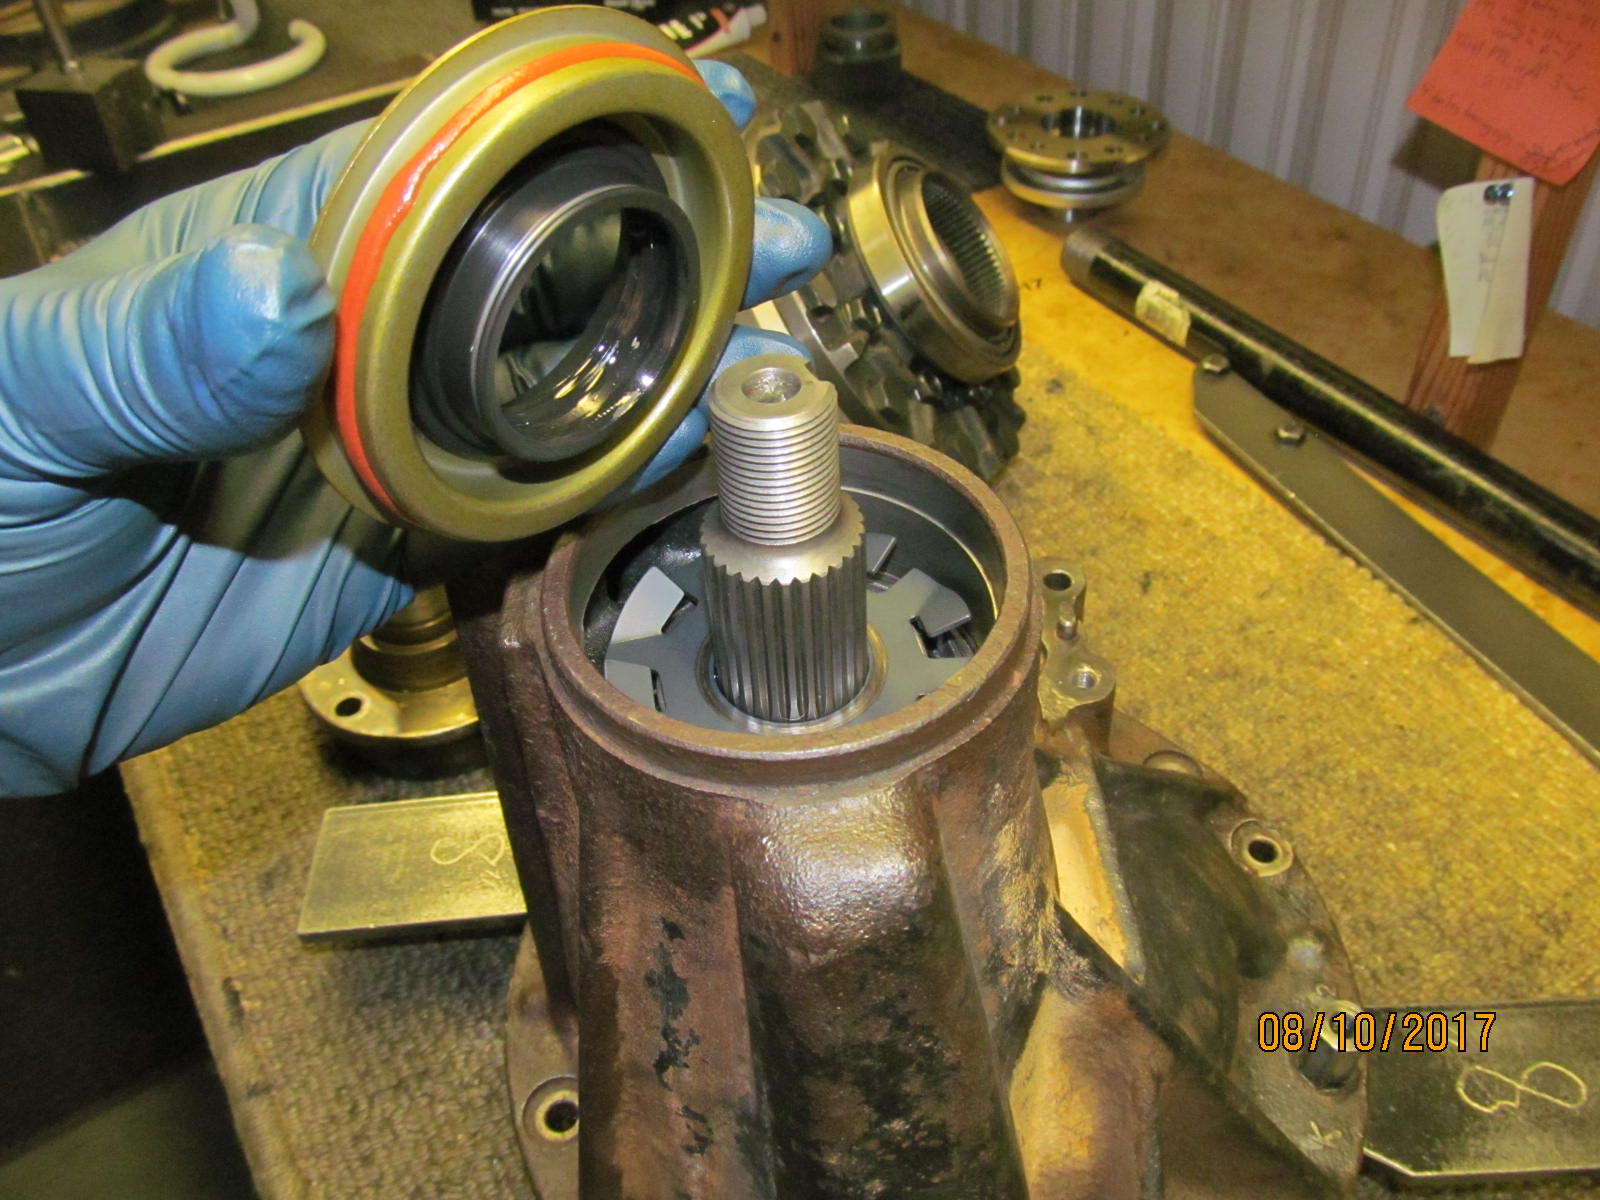
| With depth established, now let's put the solid collar and Marlin eco seal in. |
|---|
|
|
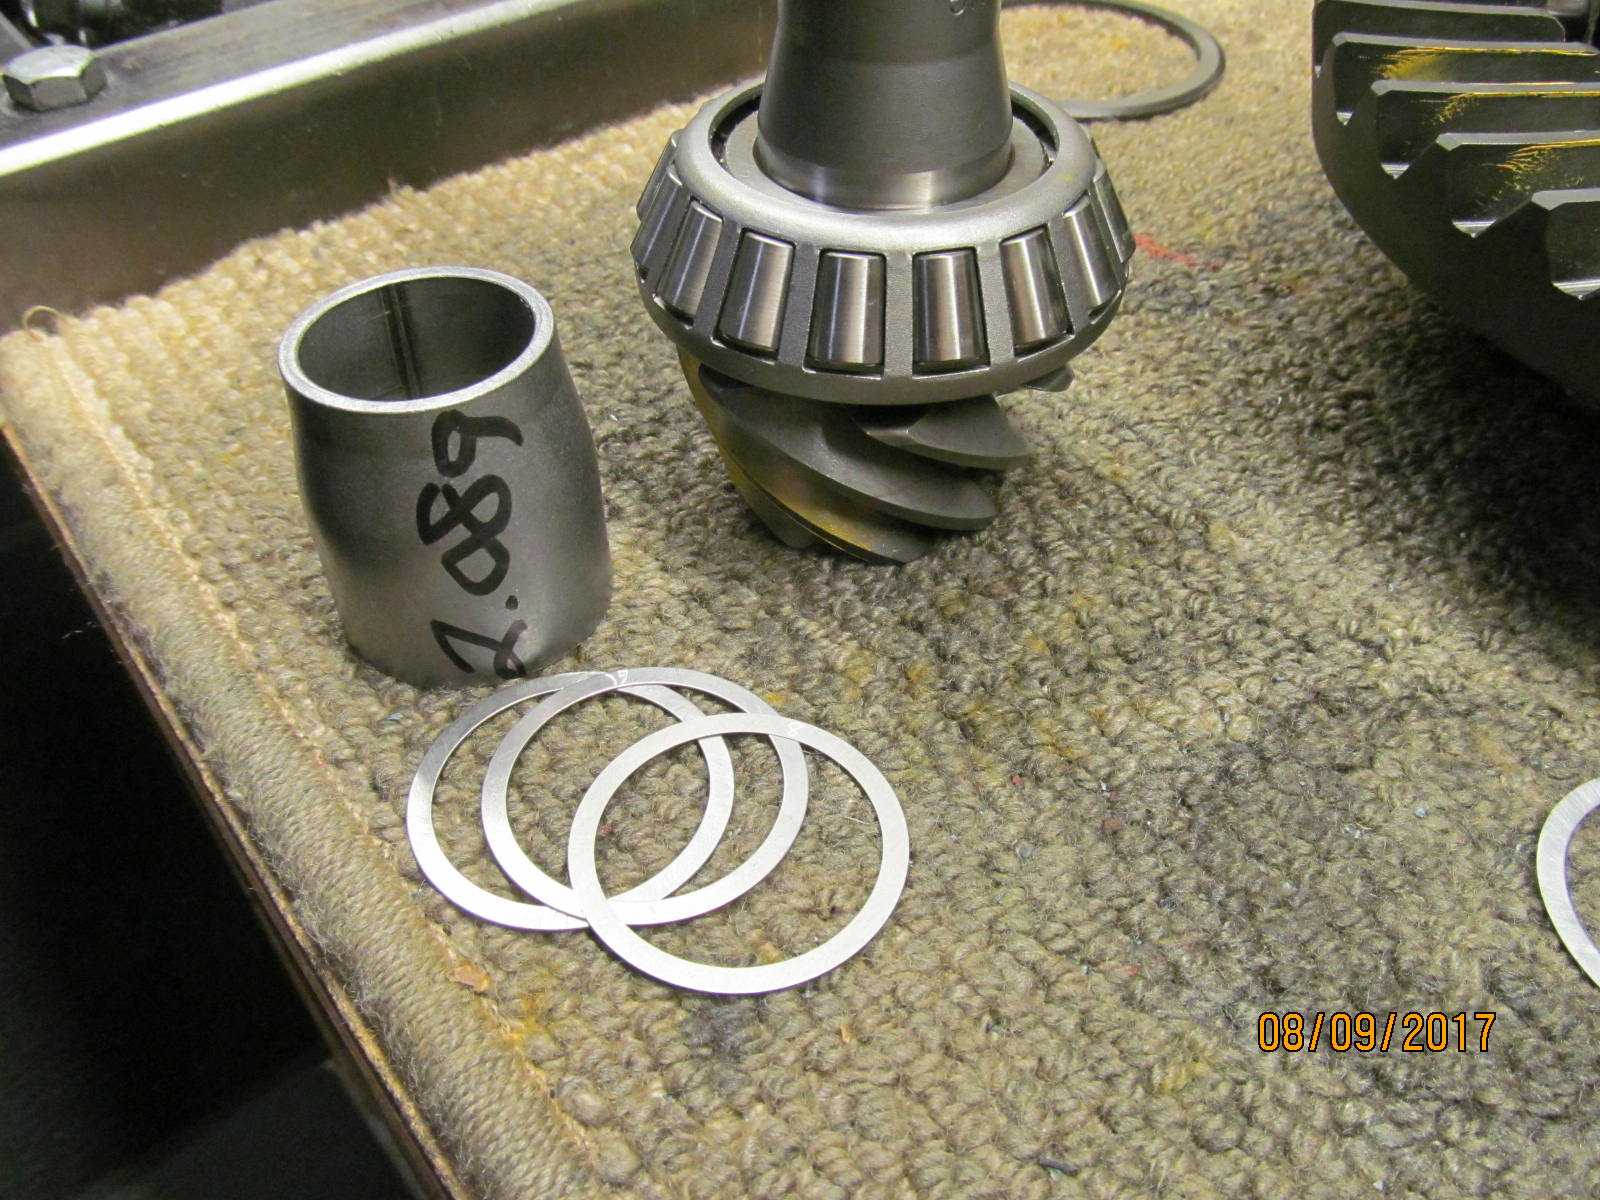
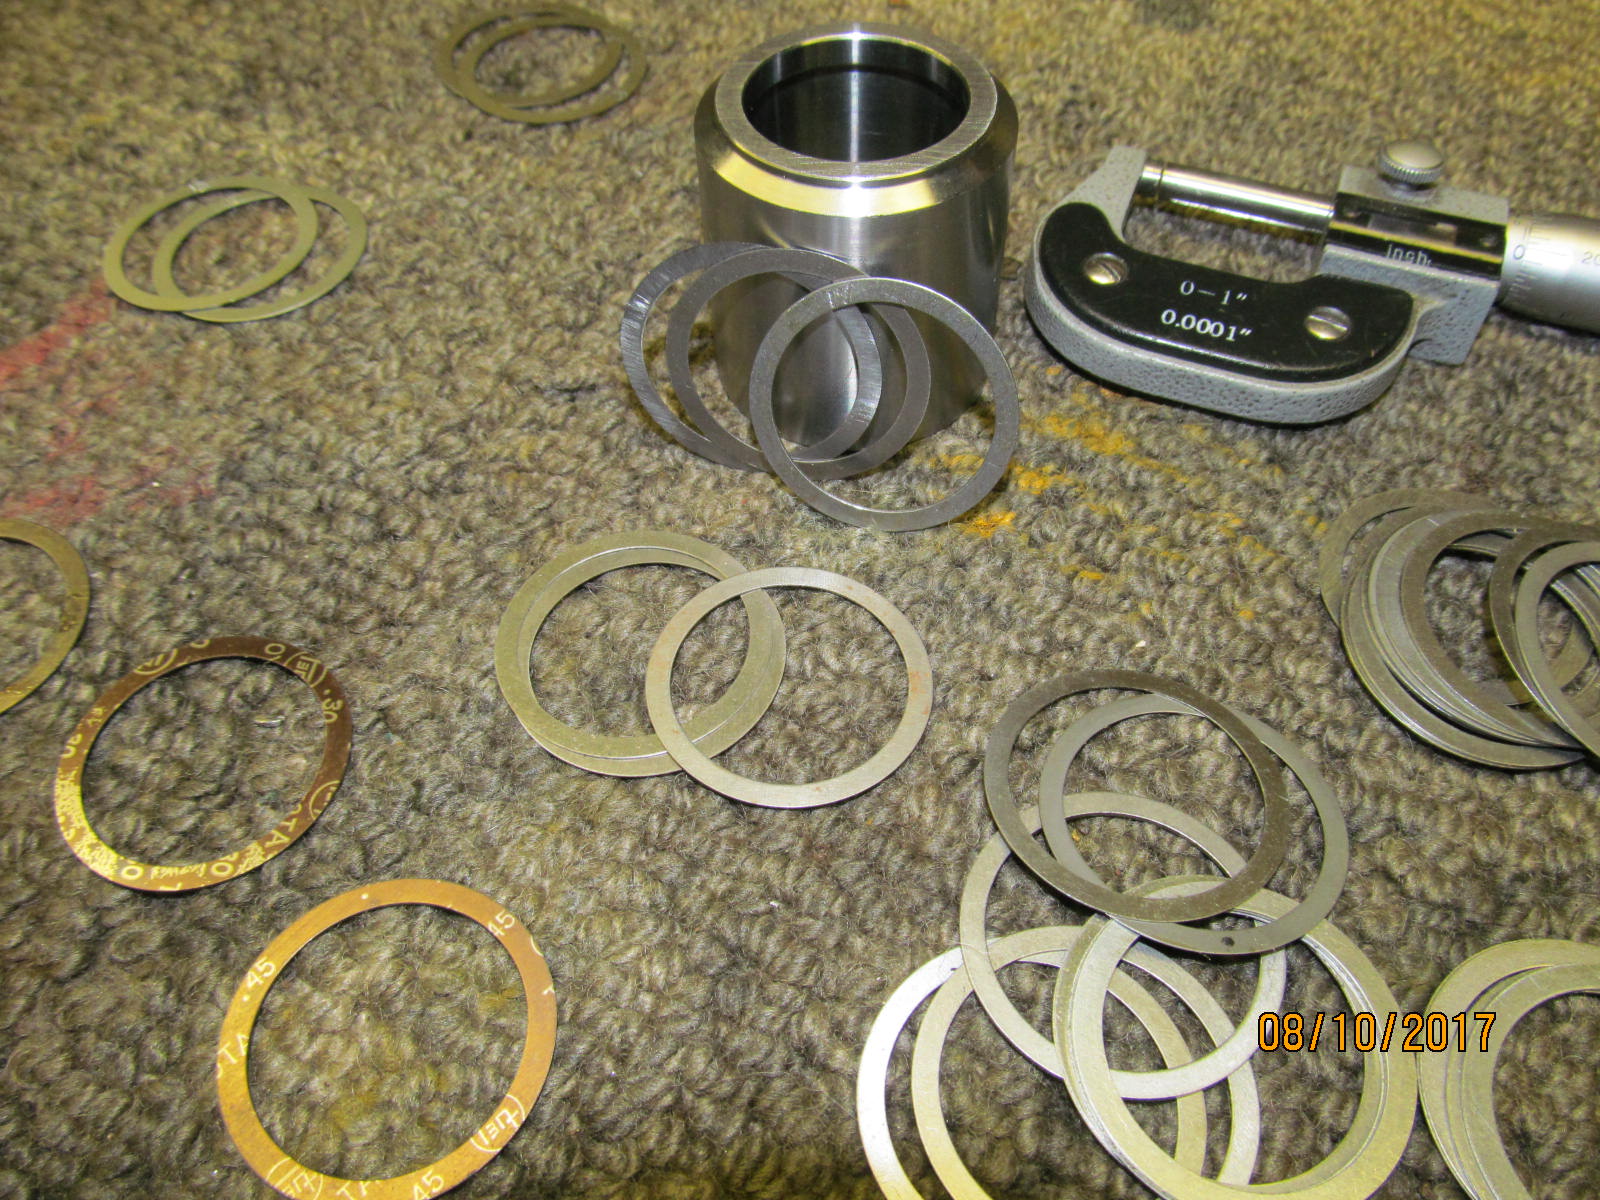
1.816 plus .049" shim is 1.865"....let's try that and see what the PPL looks like.
Turns out that on the 2nd try with .052" that the sweet spot was found. |
|---|
|
|
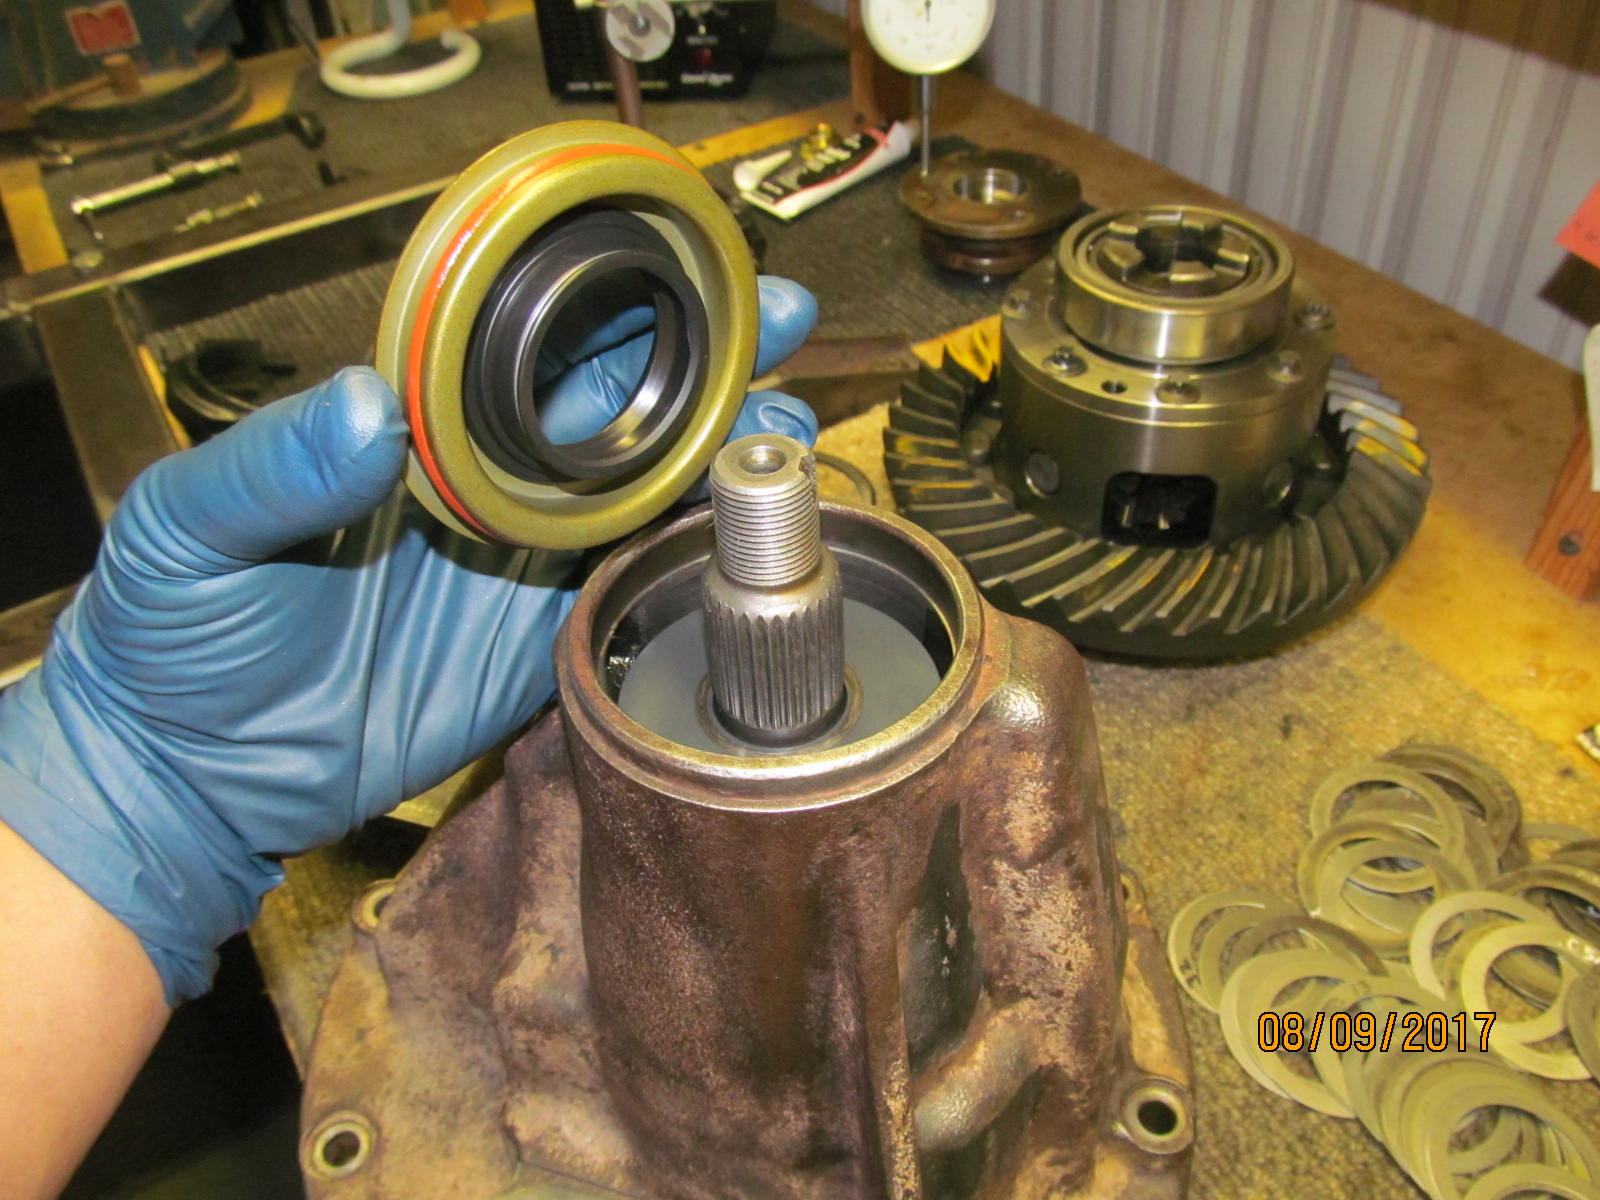
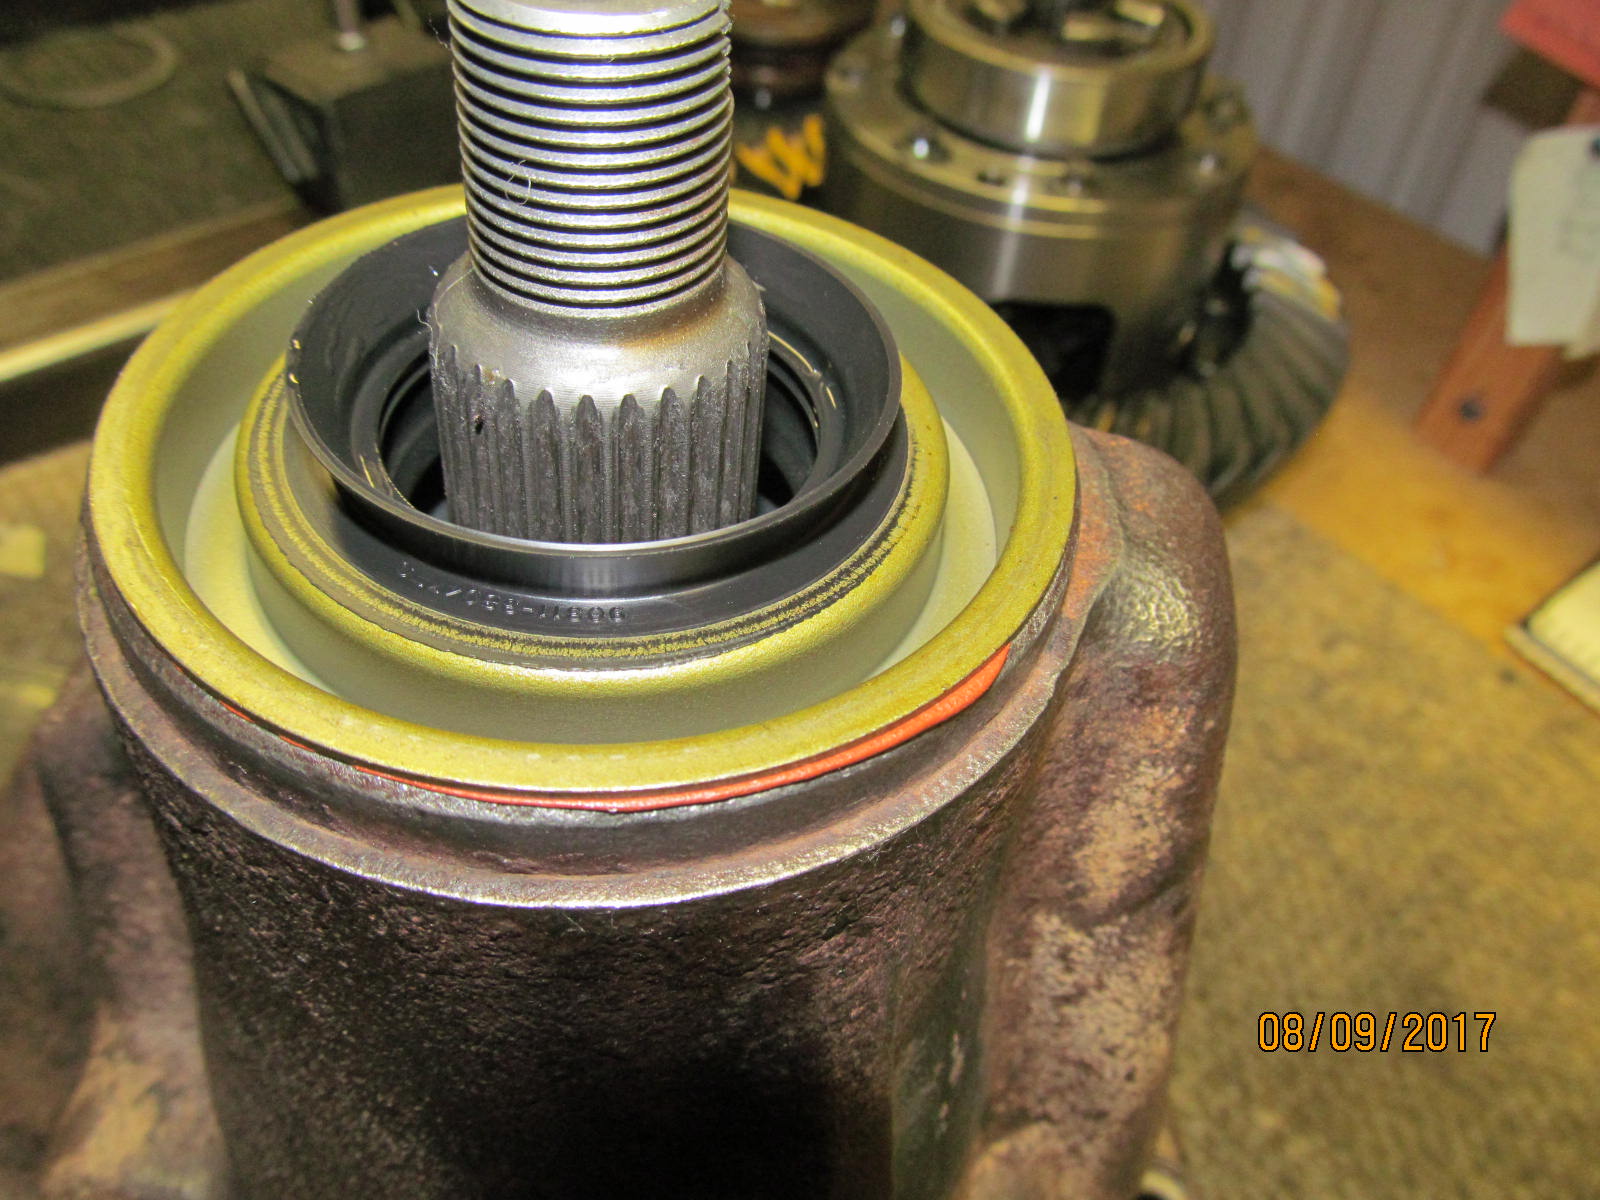
Marlin offers the "eco" seals for the very common 27 spliners. They offer extra insurance against a drip
so I love using them for my customers. |
|---|
|
|
| My seal installer :) |
|---|
|
|
| New flanges are always preferred. Gear oil has been applied to the rubber surfaces to prevent dry start-up. |
|---|
|
|
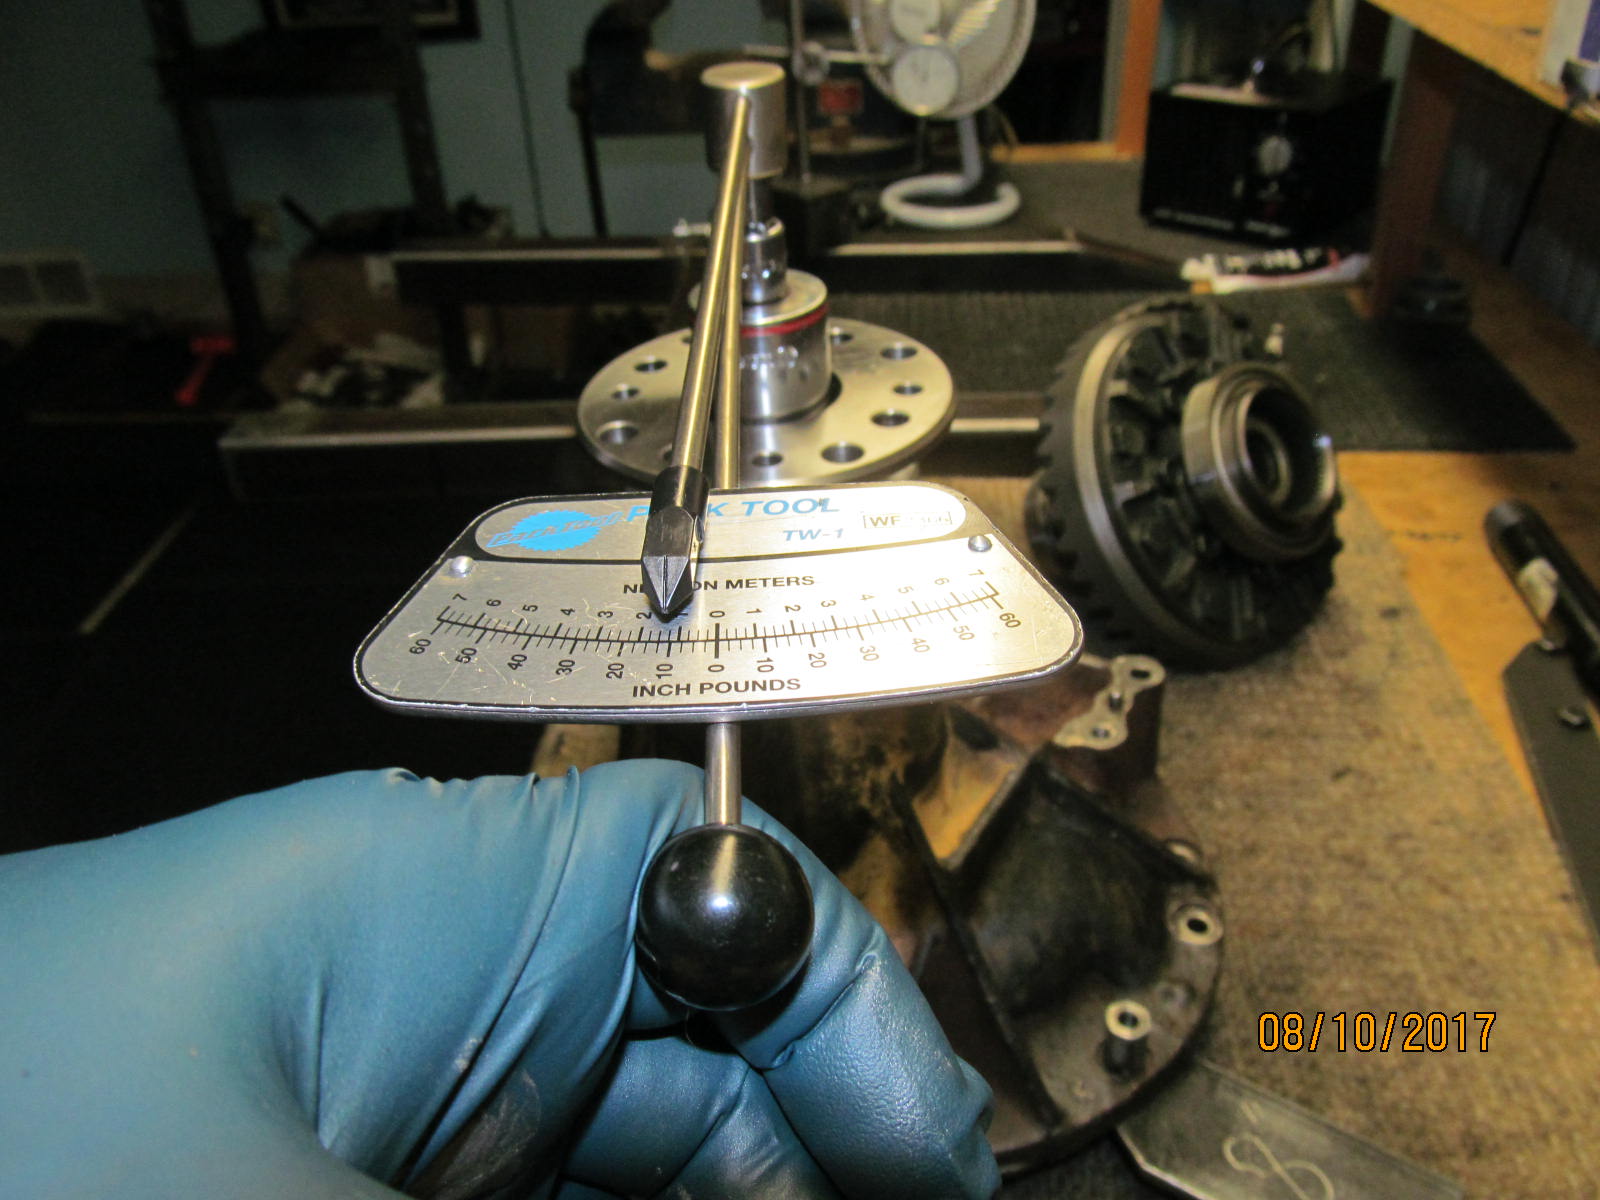
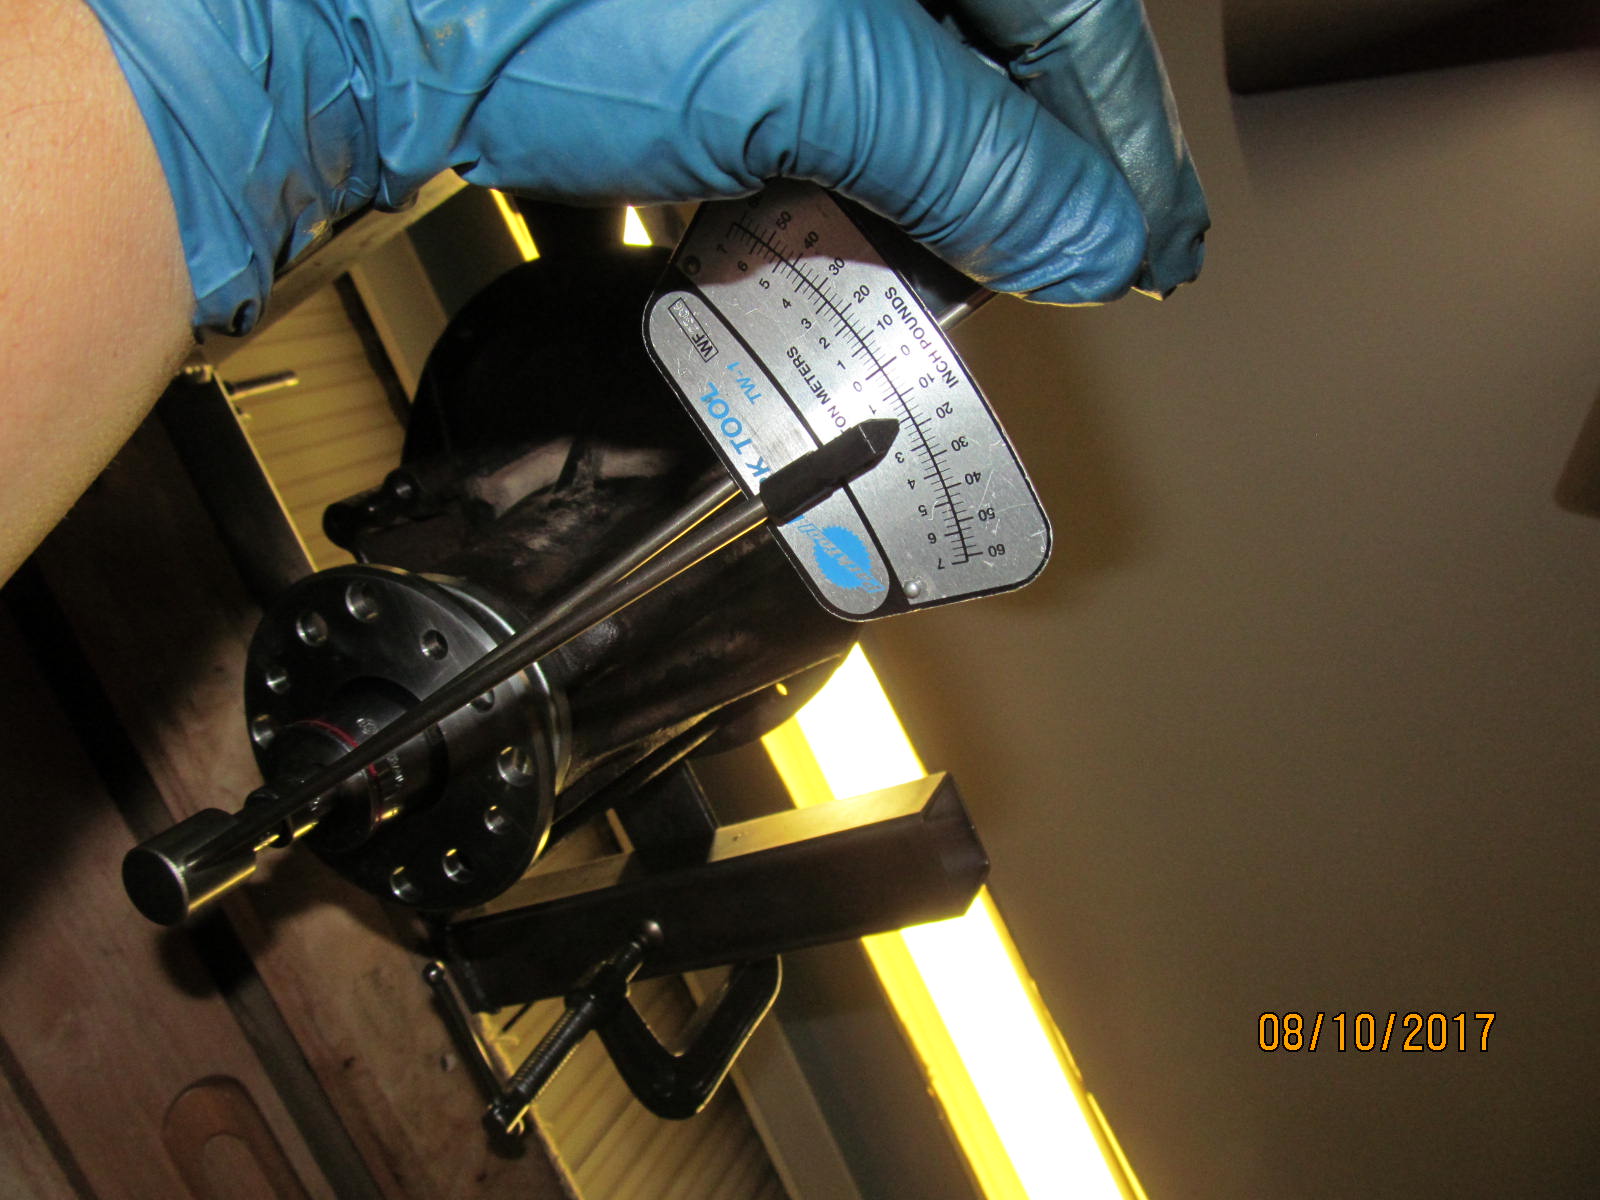
| A nice solid 10 in/lb of PPL. |
|---|
|
|
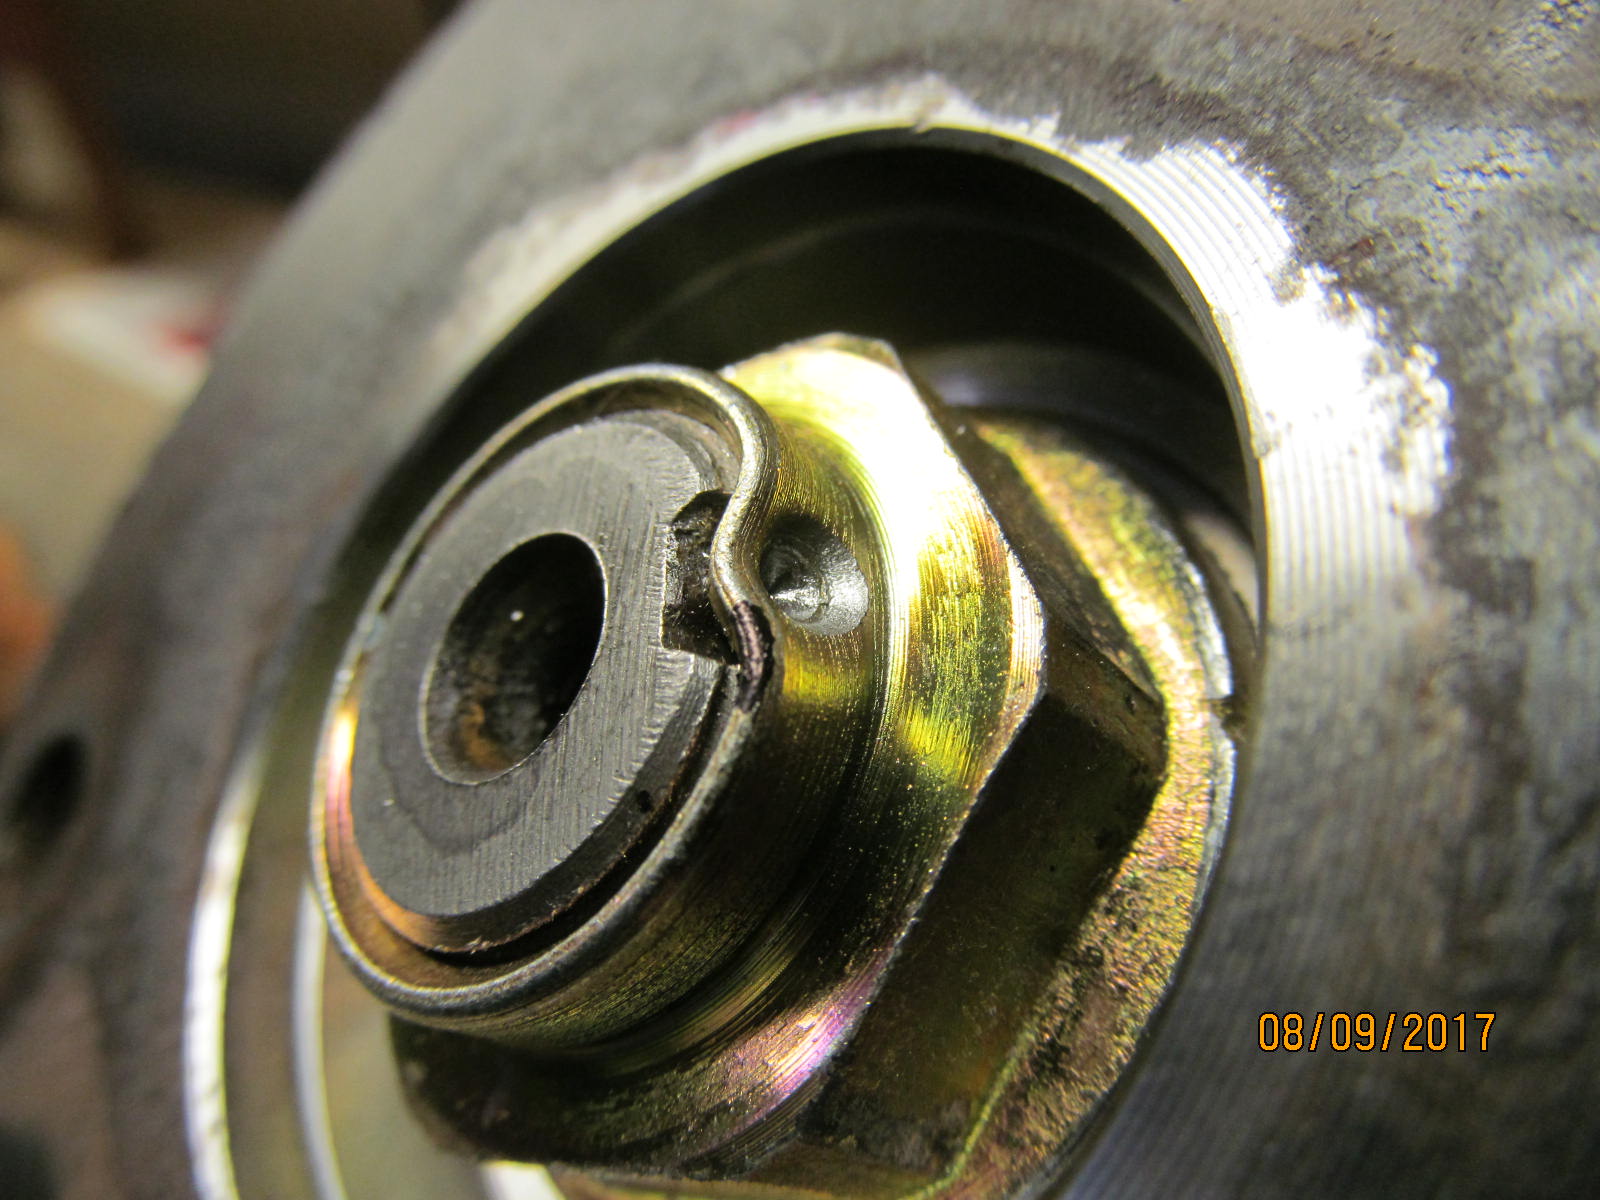
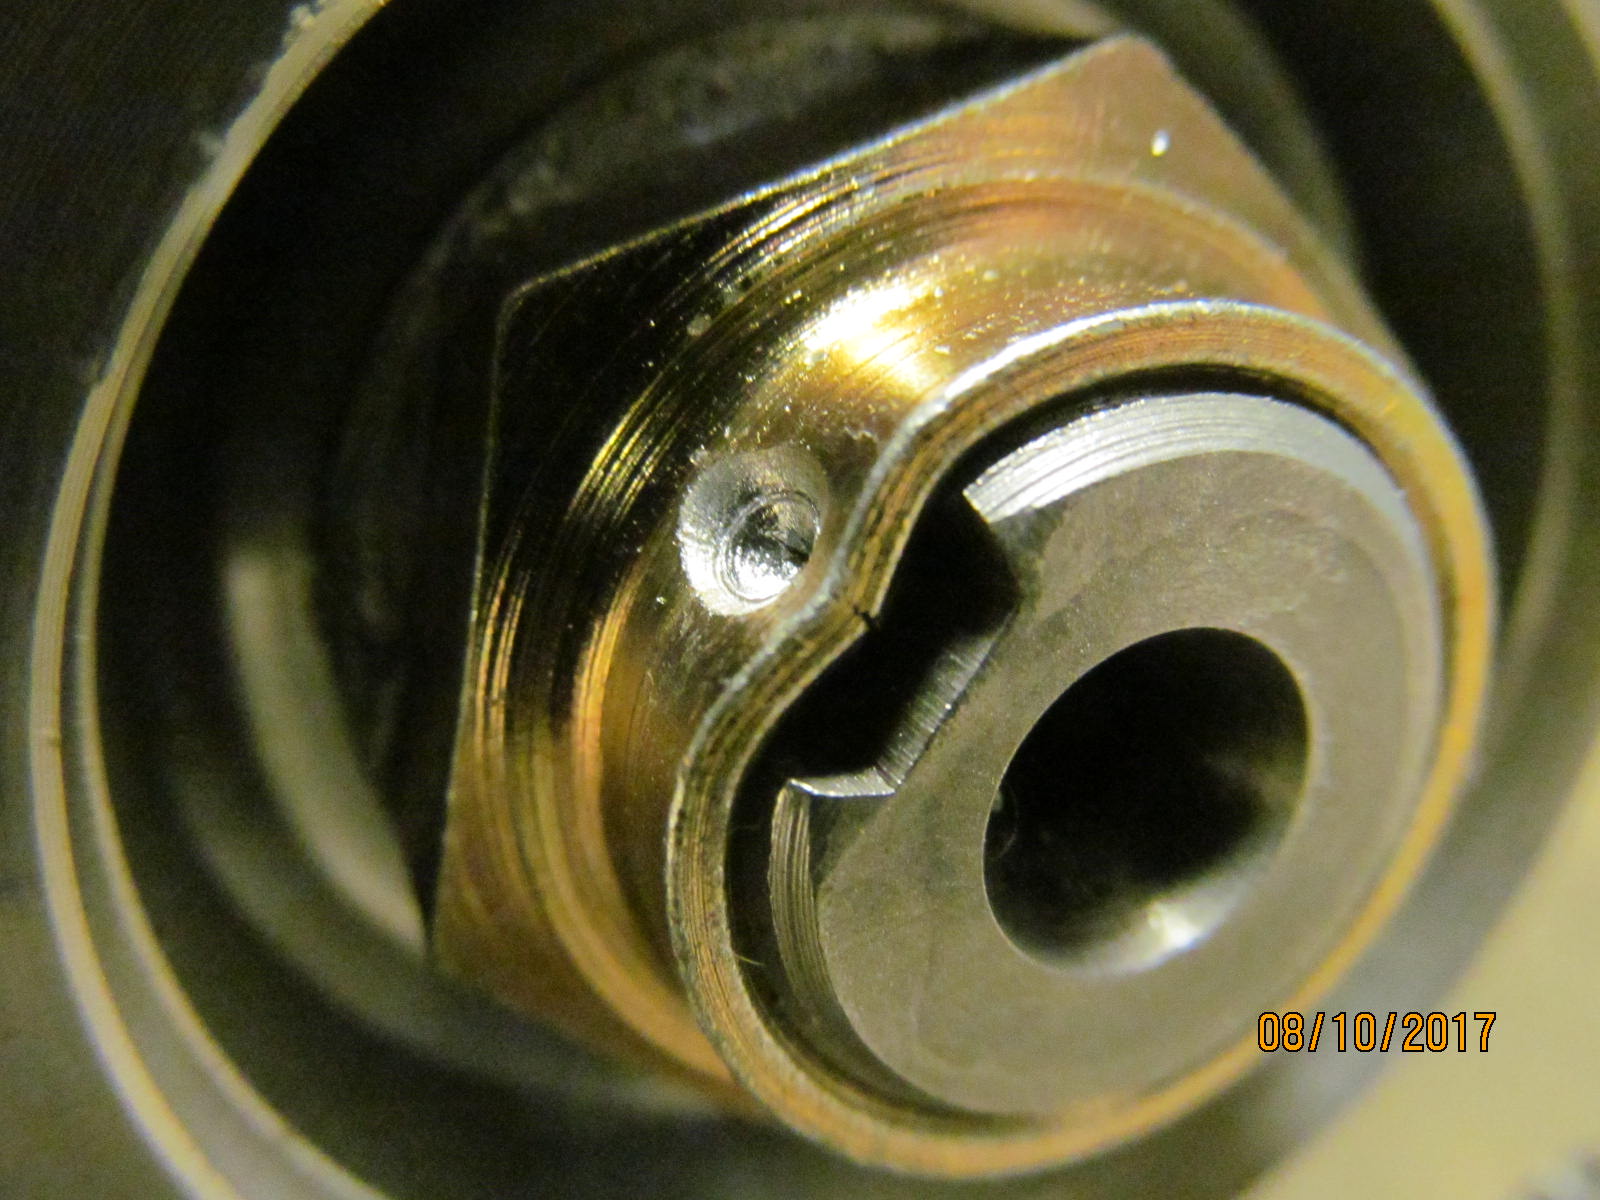
Anti-seize has been used to prevent pinion thread damage....and to allow me to get the pinion nut tighter to get to the
desired pre-load value. DING! and this end is complete. |
|---|
|
|
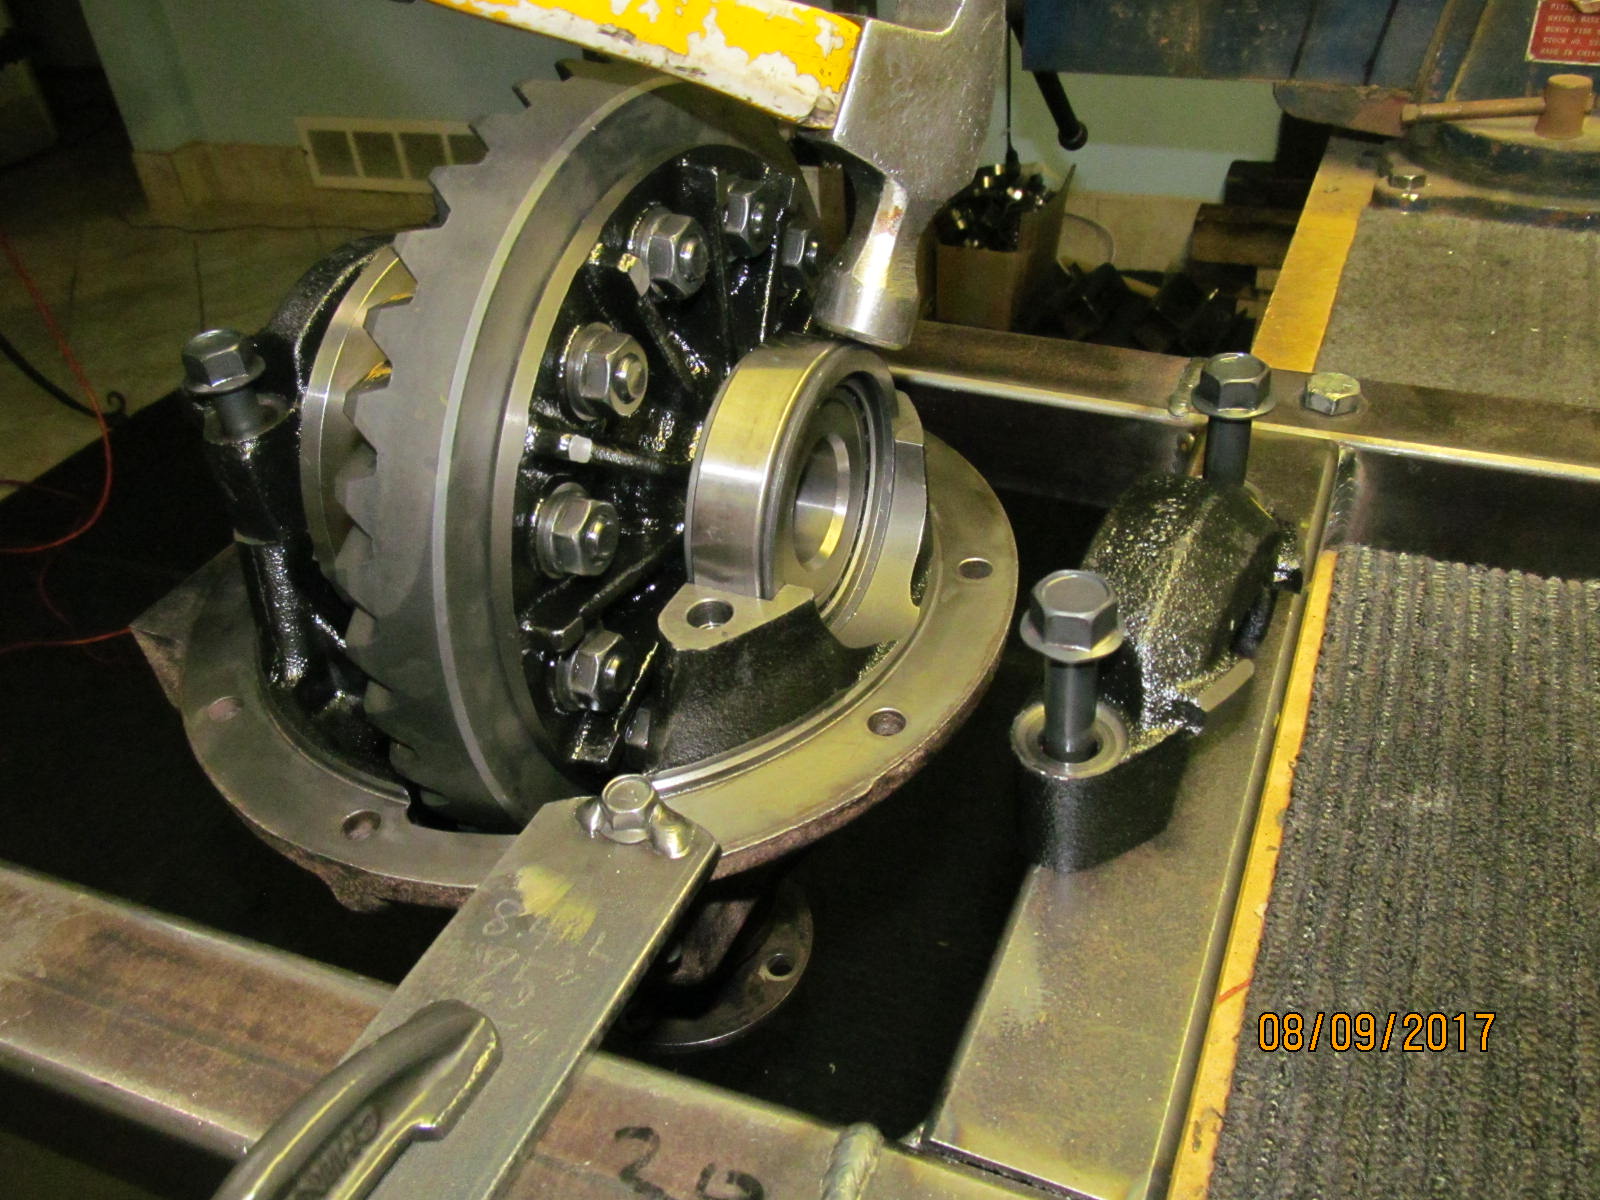
Wheel adjusters are tightened up for increased carrier bearing preload while, at the same time, steering the
target backlash into final position. 2 notches tighter on this side...... |
|---|
|
|
| .....and 1 notch tighter on the other side. Bearing caps were verified to be at 70 ft/lb before this final tightening process starts. |
|---|
|
|
| The combined total preload is checking in at 16 in/lb. |
|---|
|
|
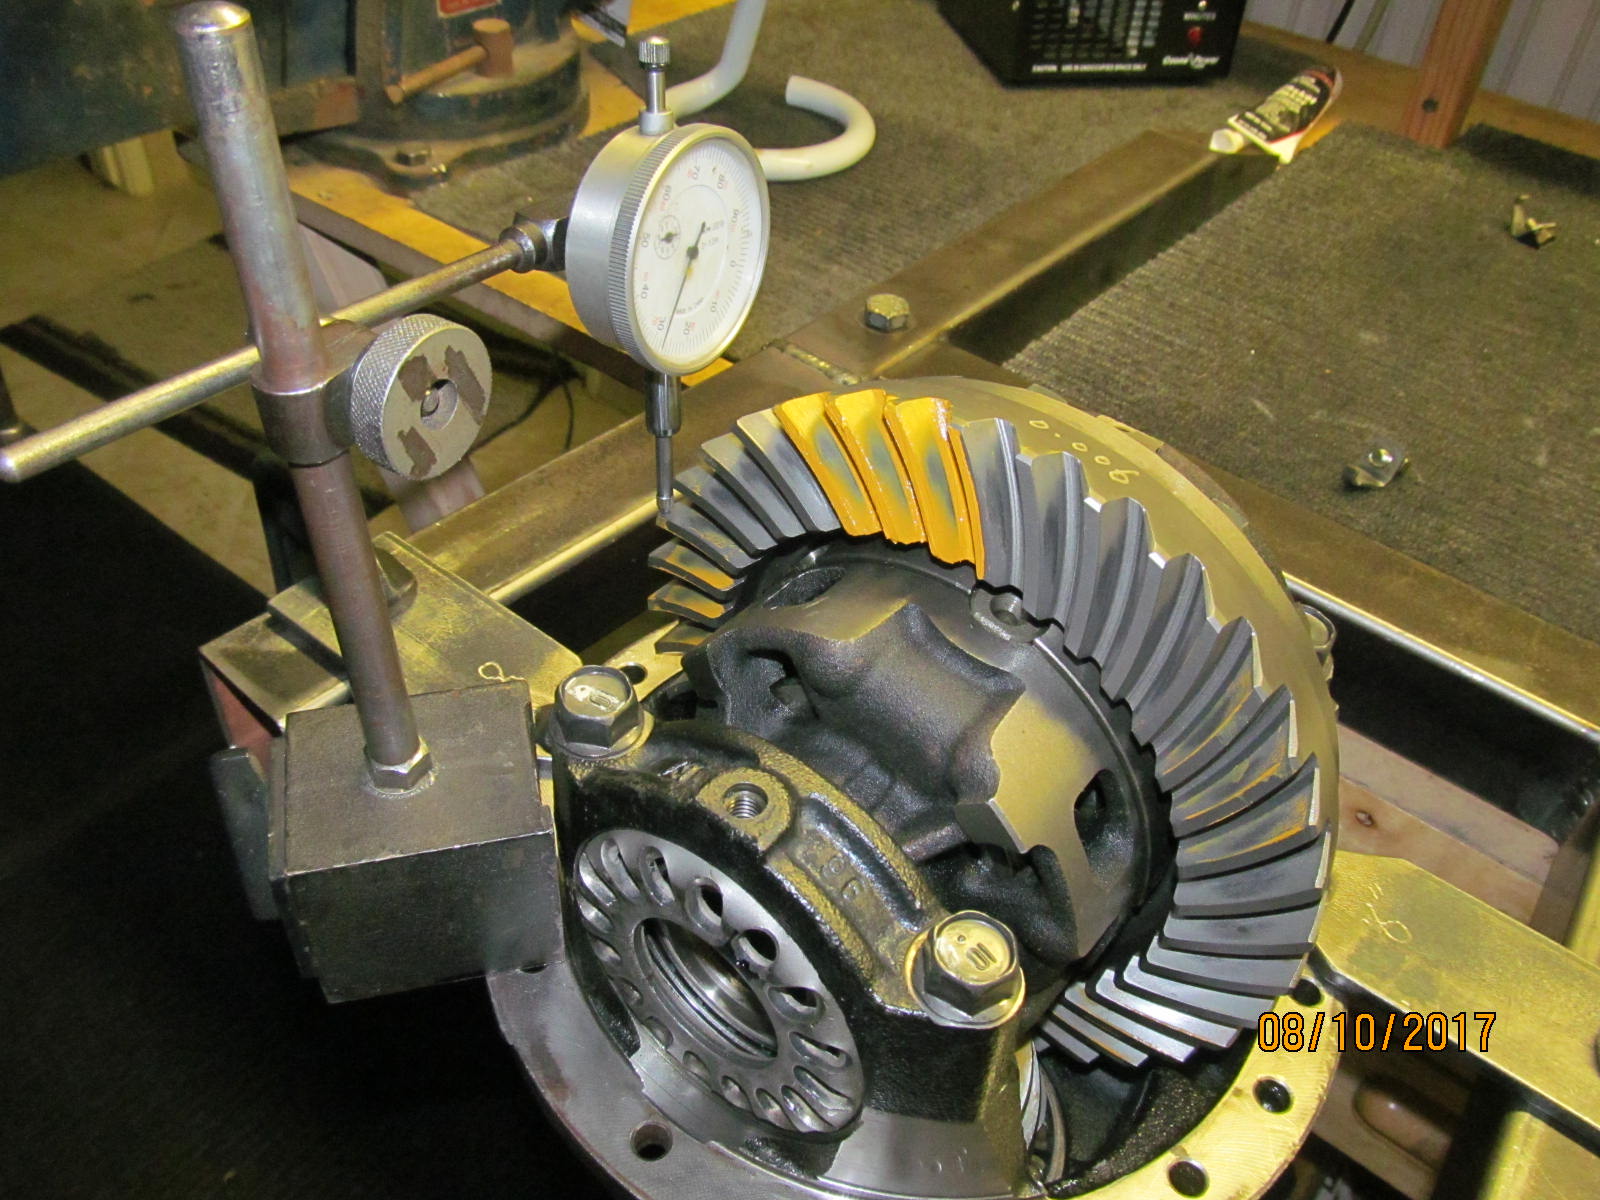
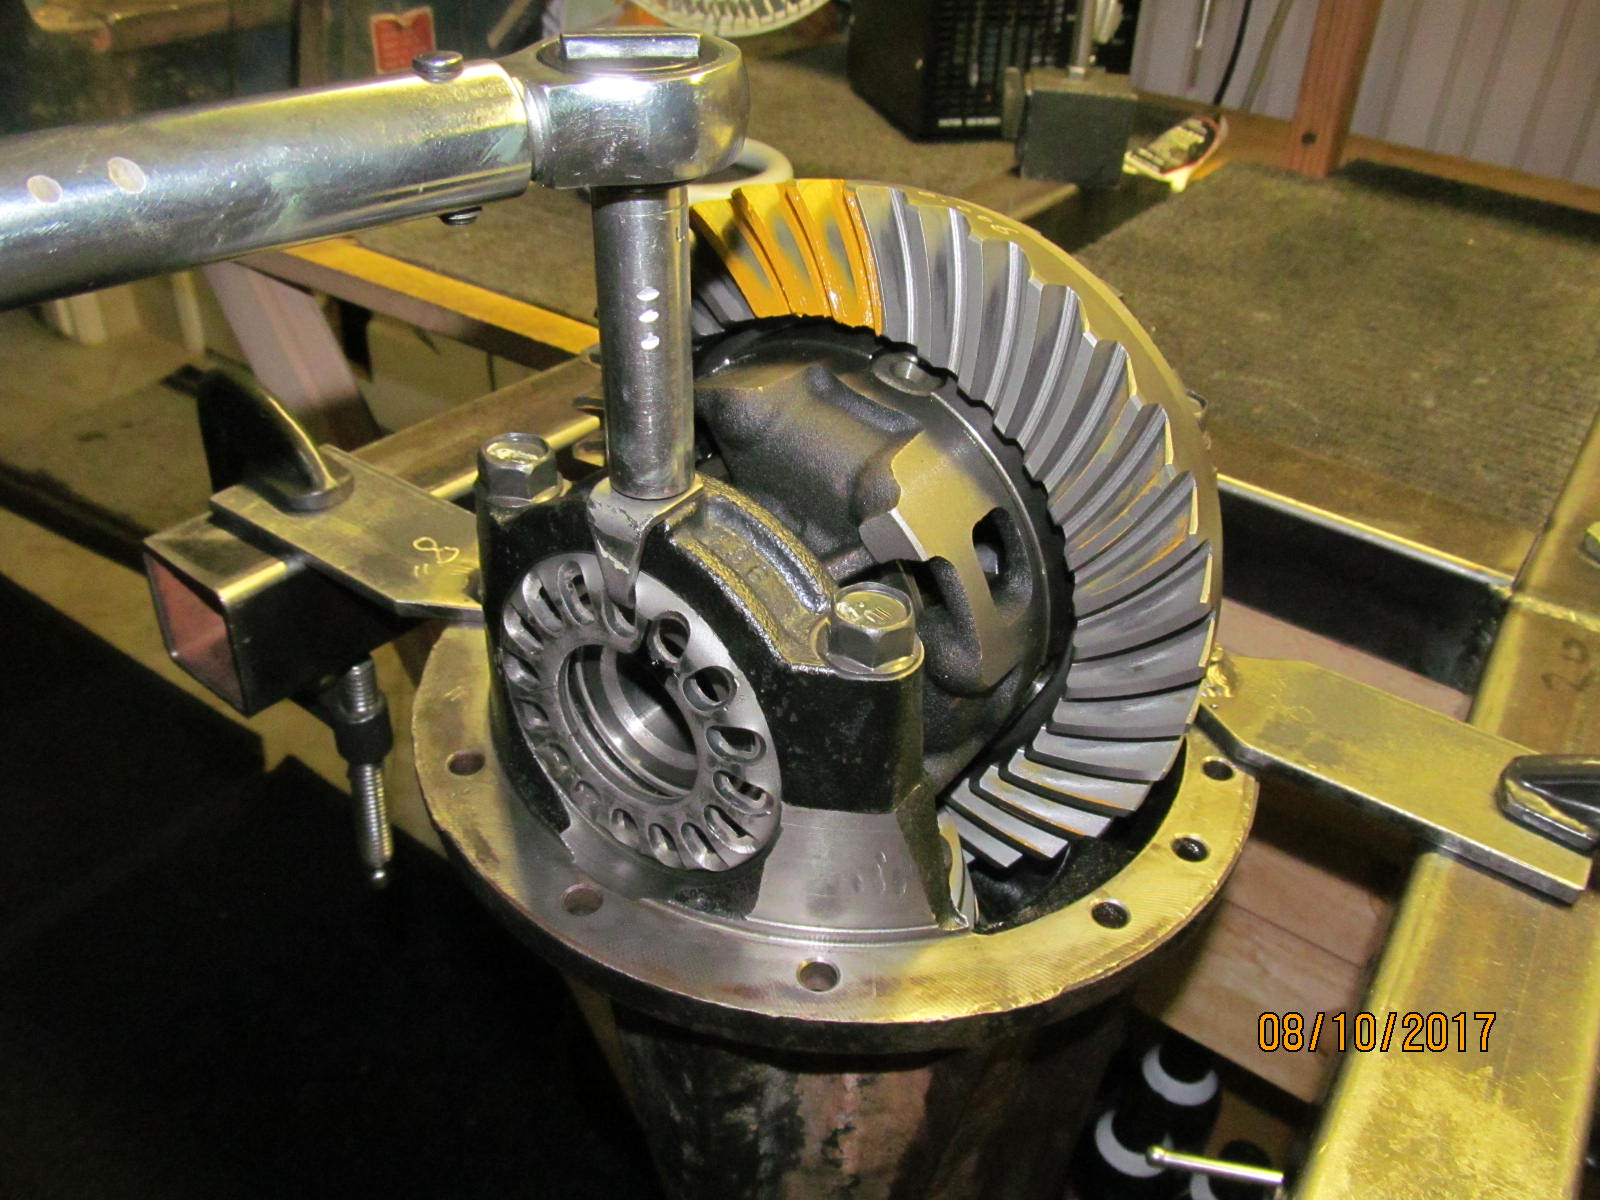
| Backlash is checked on every other tooth and written down on the notes page as usual. |
|---|
|
|
| Lock tabs tightened to 10 ft/lb. |
|---|
|
|
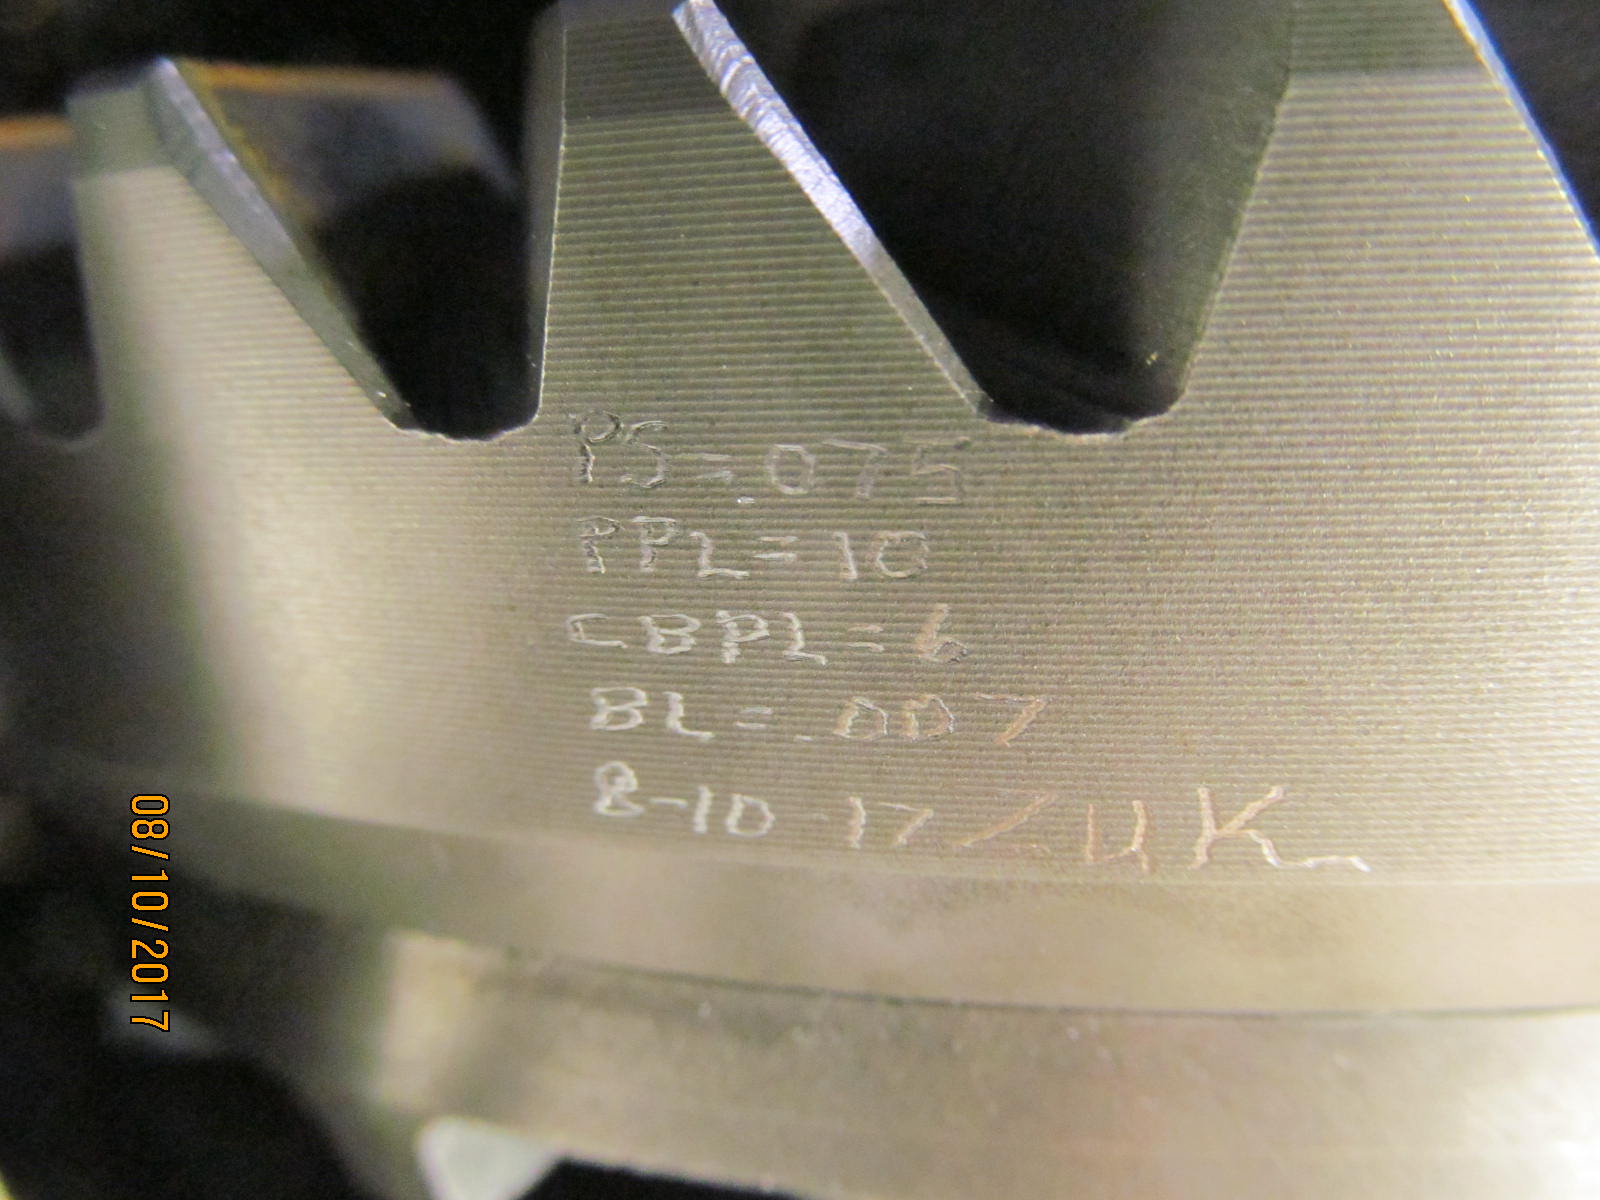
| Measurements are scribed onto the ring. |
|---|
|
|
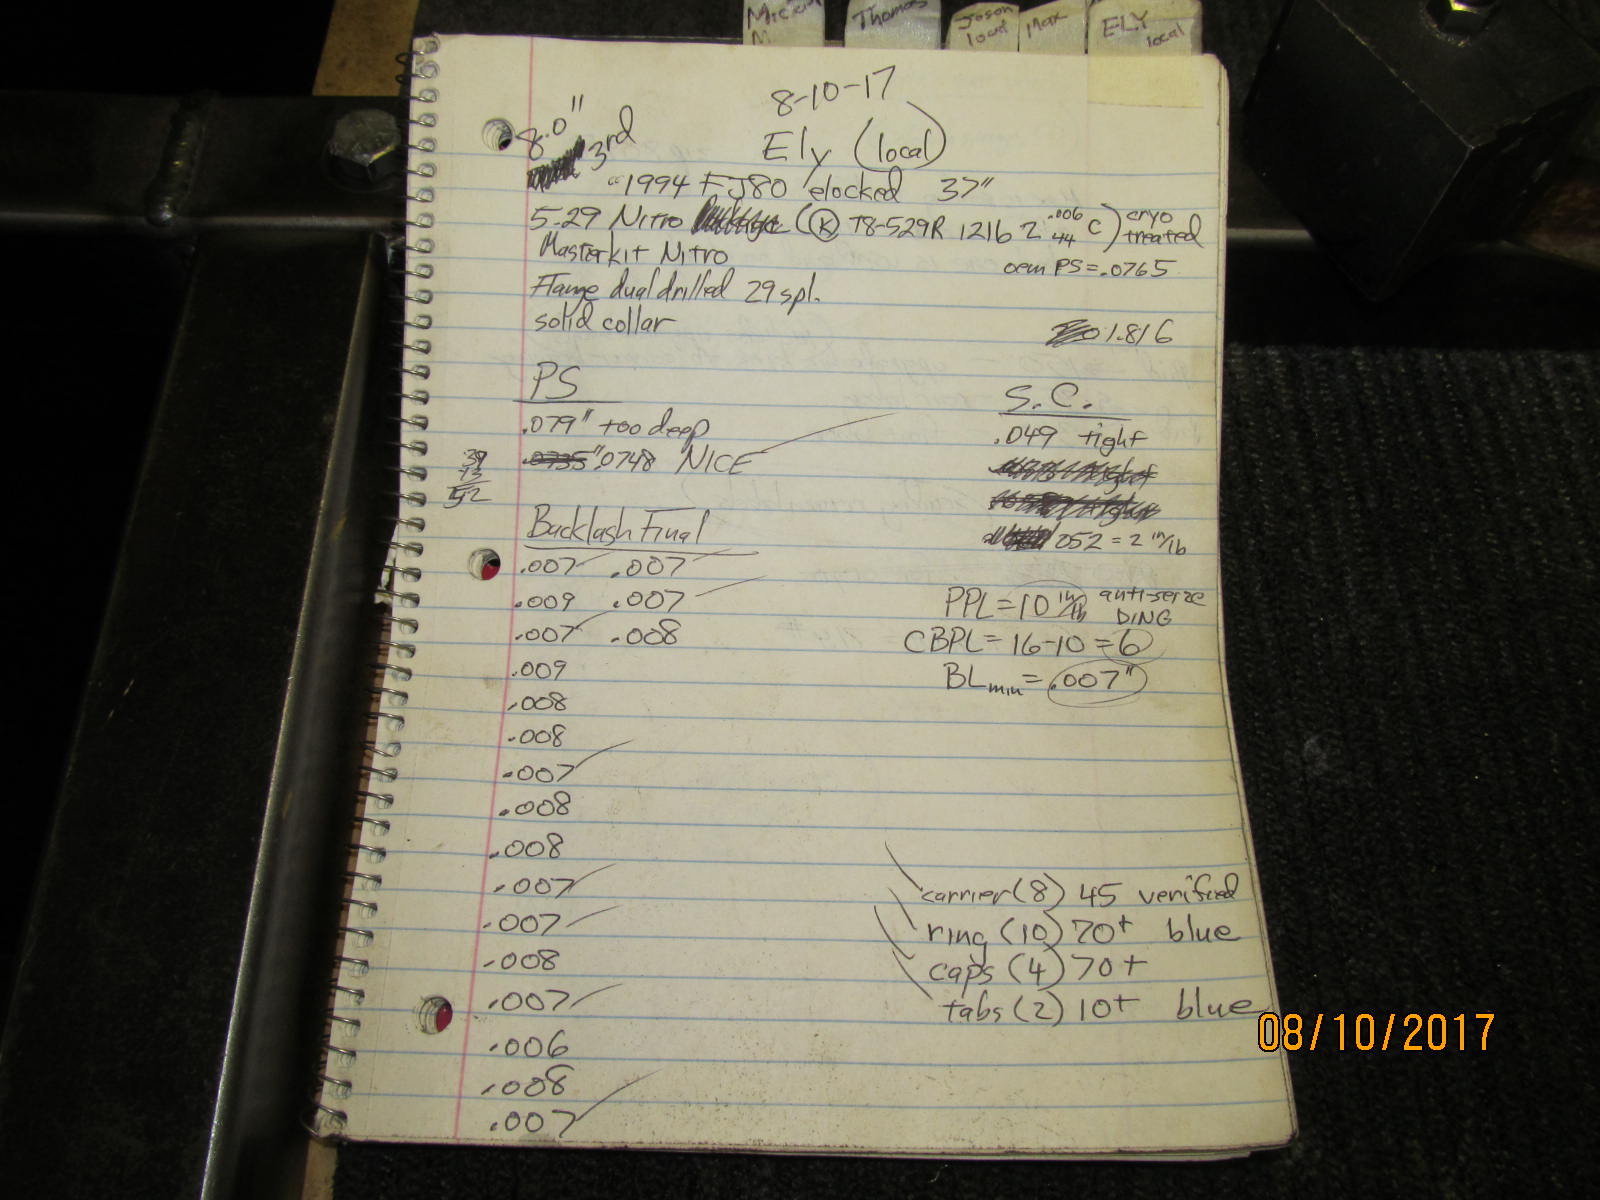
| A snapshot of the front install notes ;) |
|---|
|
|

|