Many thanks to Charles at CryogenicsInternational


around to get some backlash and proper preload..


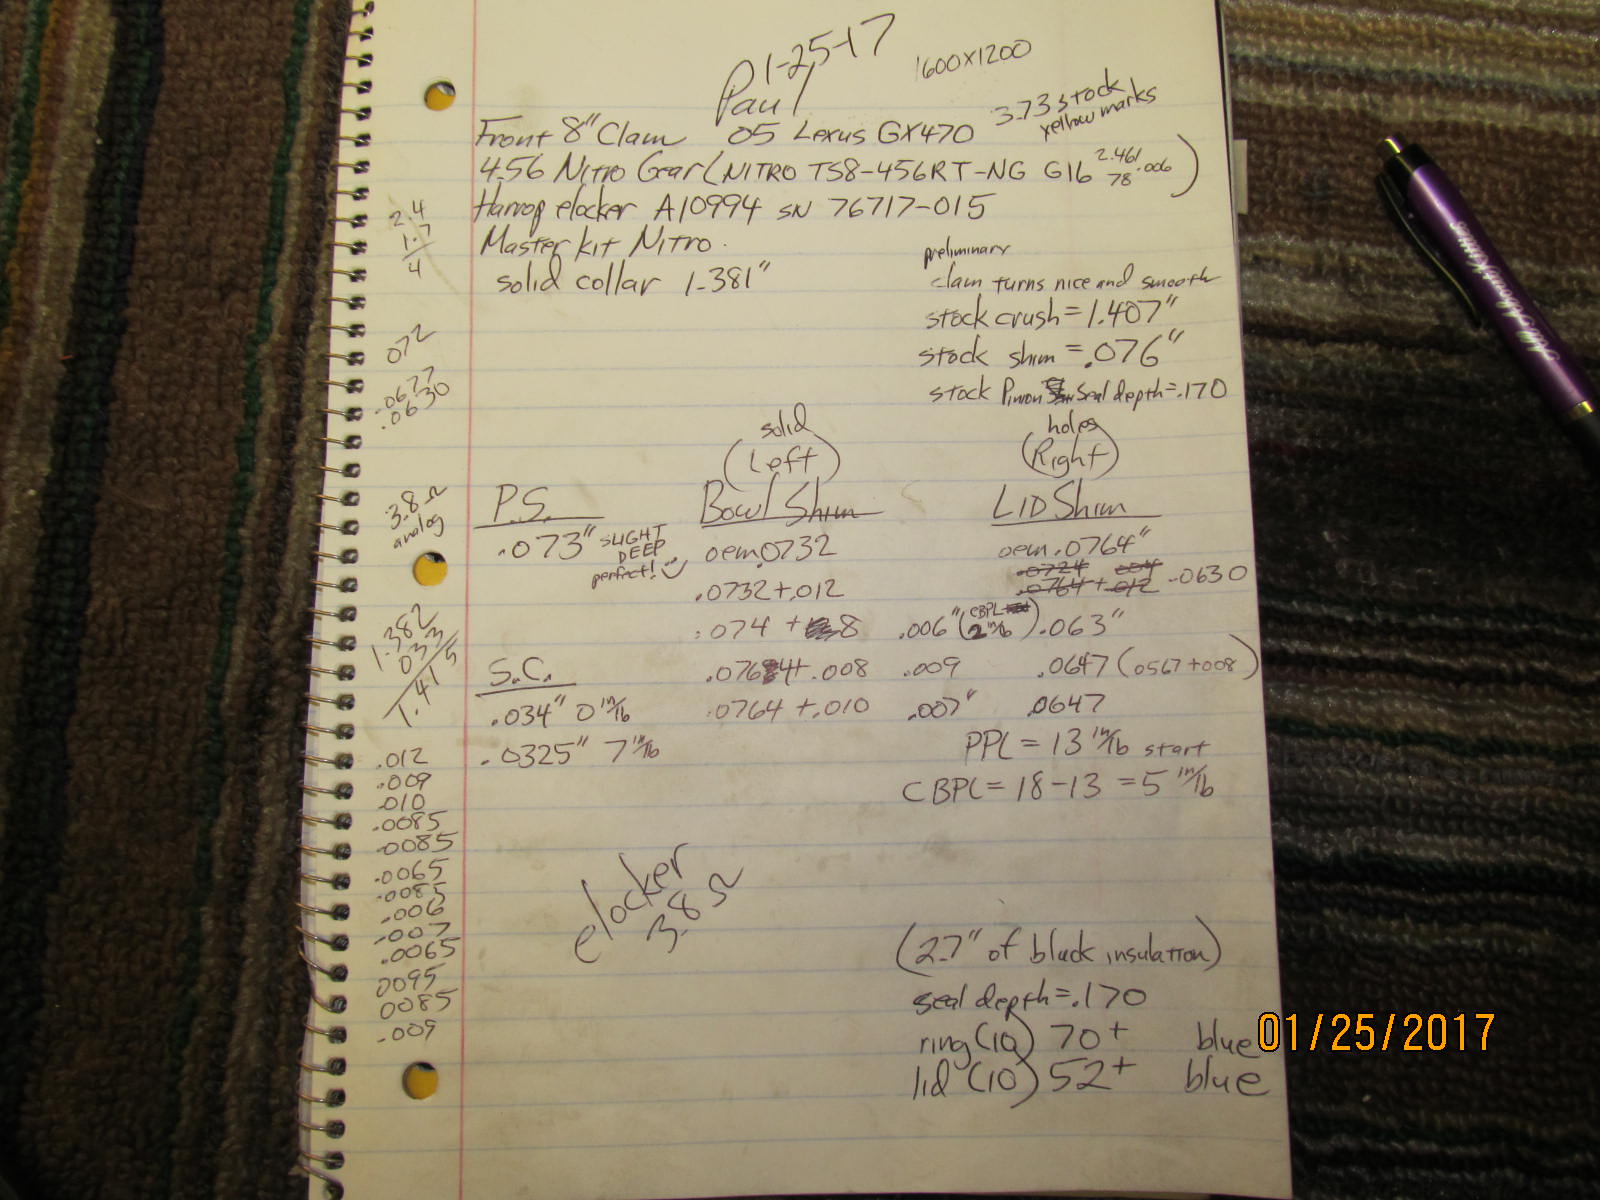
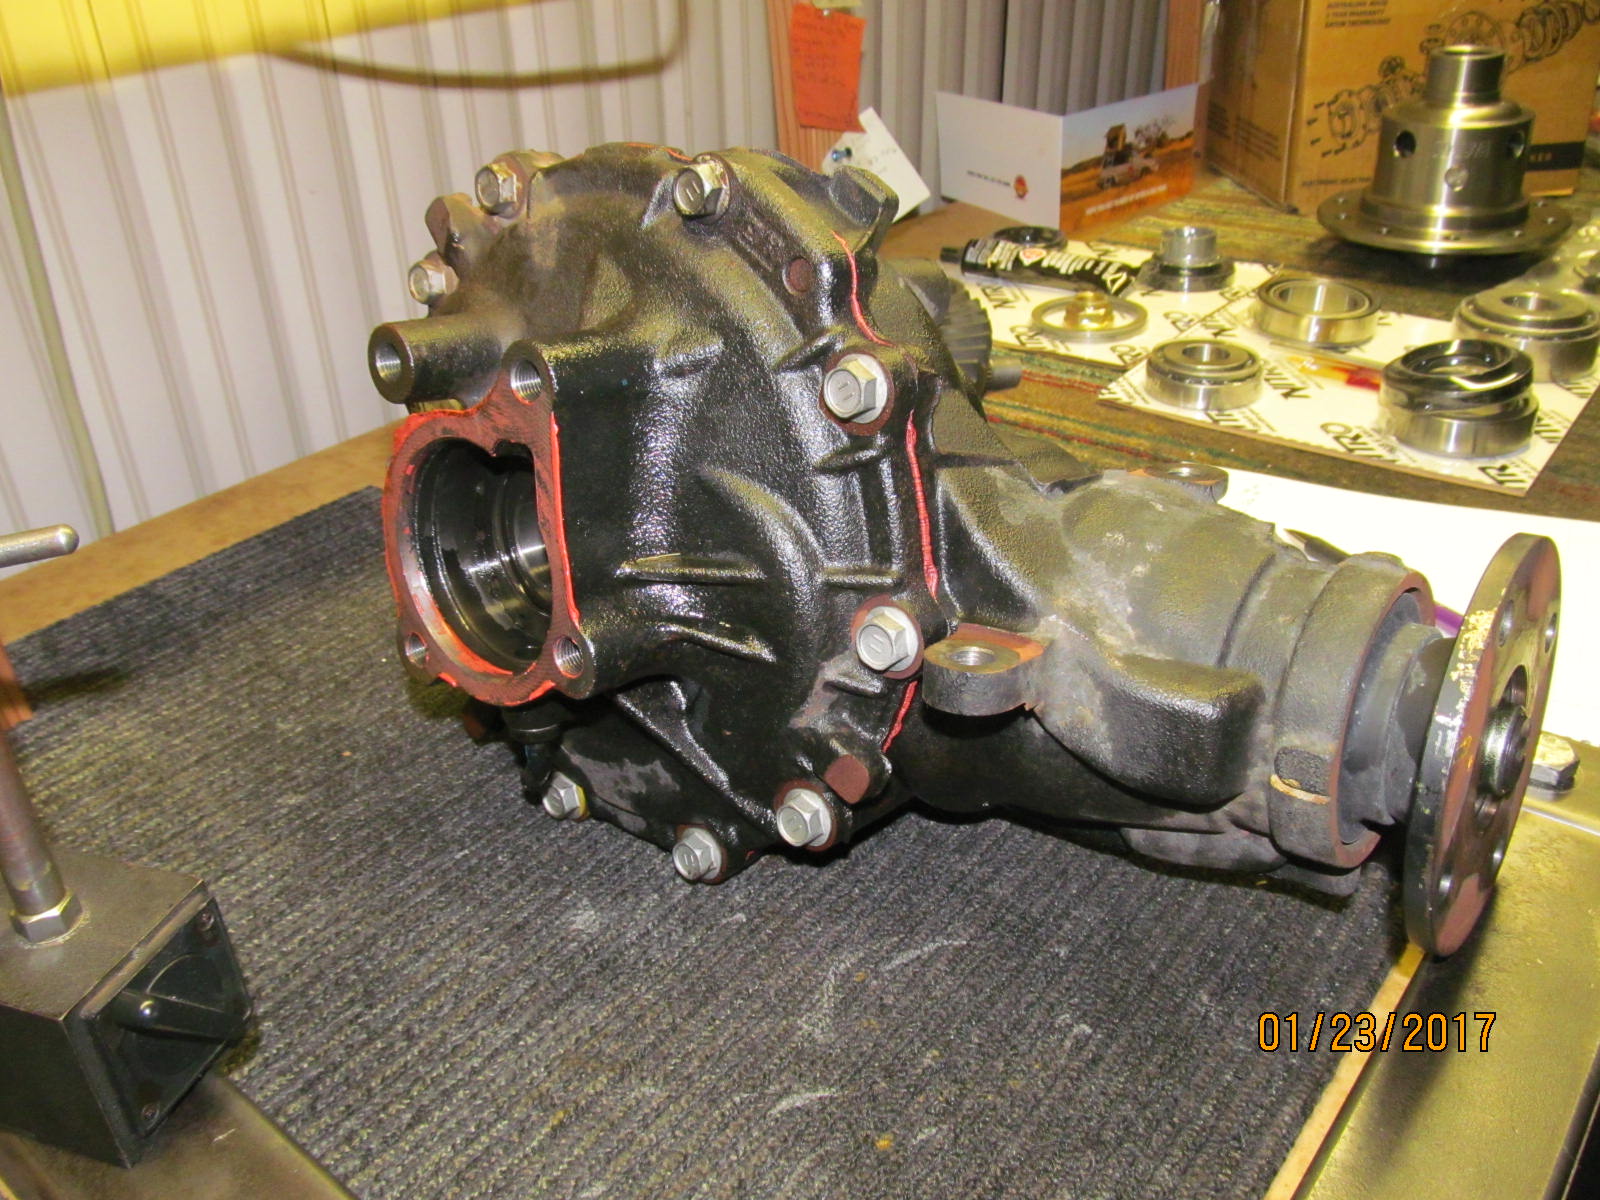
| Paul's Front 8" Clam Gets A Harrop E-locker and 4.56 Nitro Gears |
|---|
| (82 BIG pics loading) |
| May 5 2017 |
|
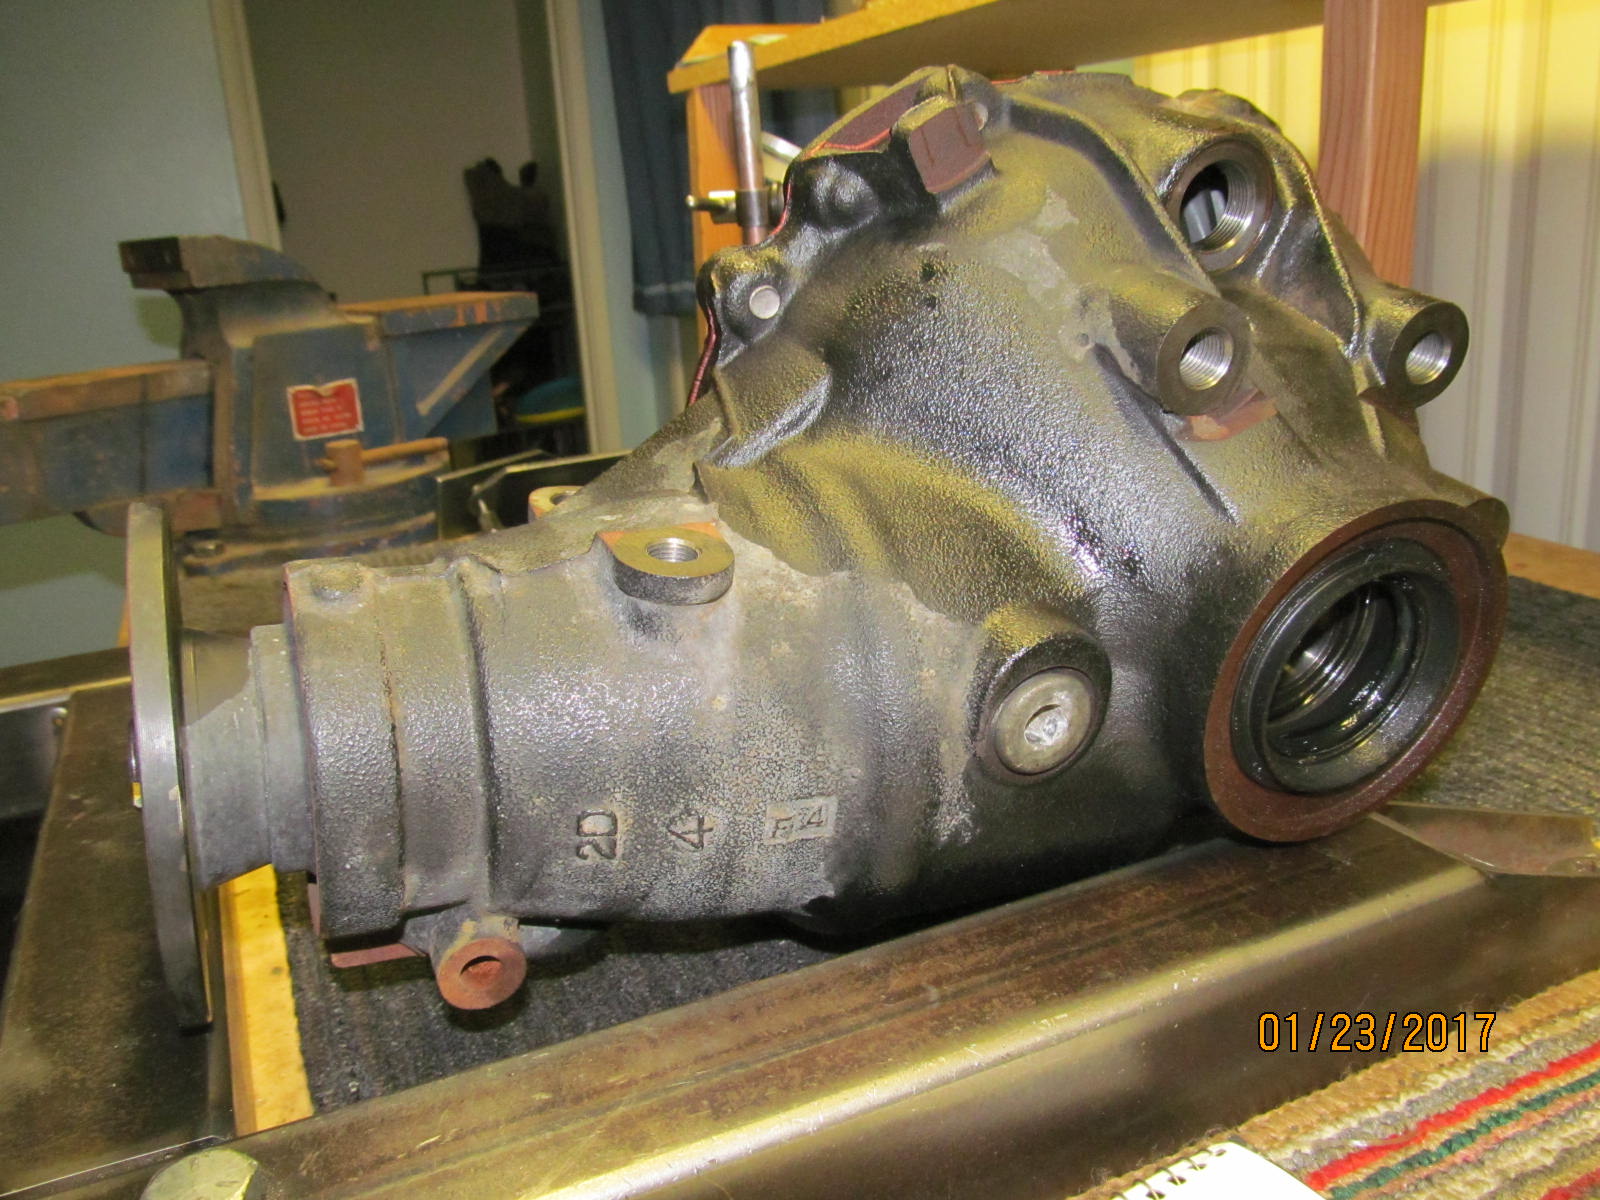
| Paul's front 8" clam...a Harrop and cryo'd 4.56 Nitro gears. Many thanks to Charles at CryogenicsInternational |
|---|
|
| ................. |
|
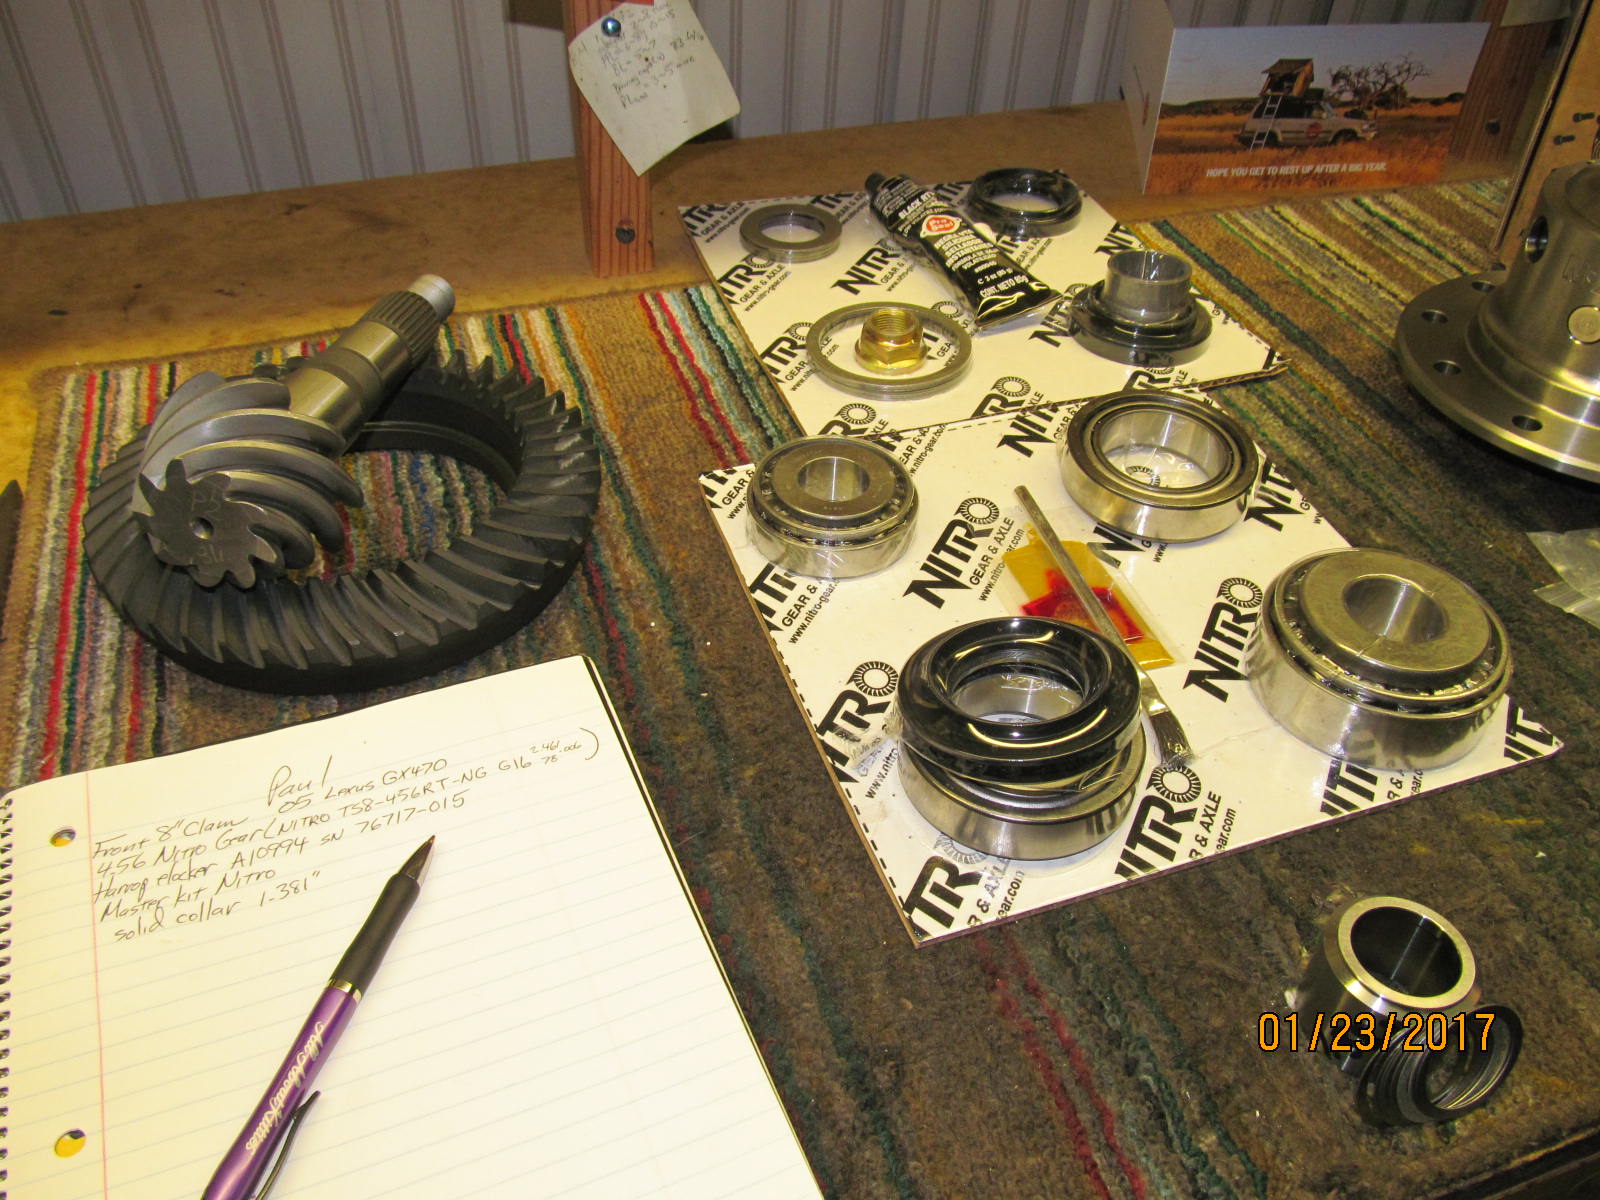
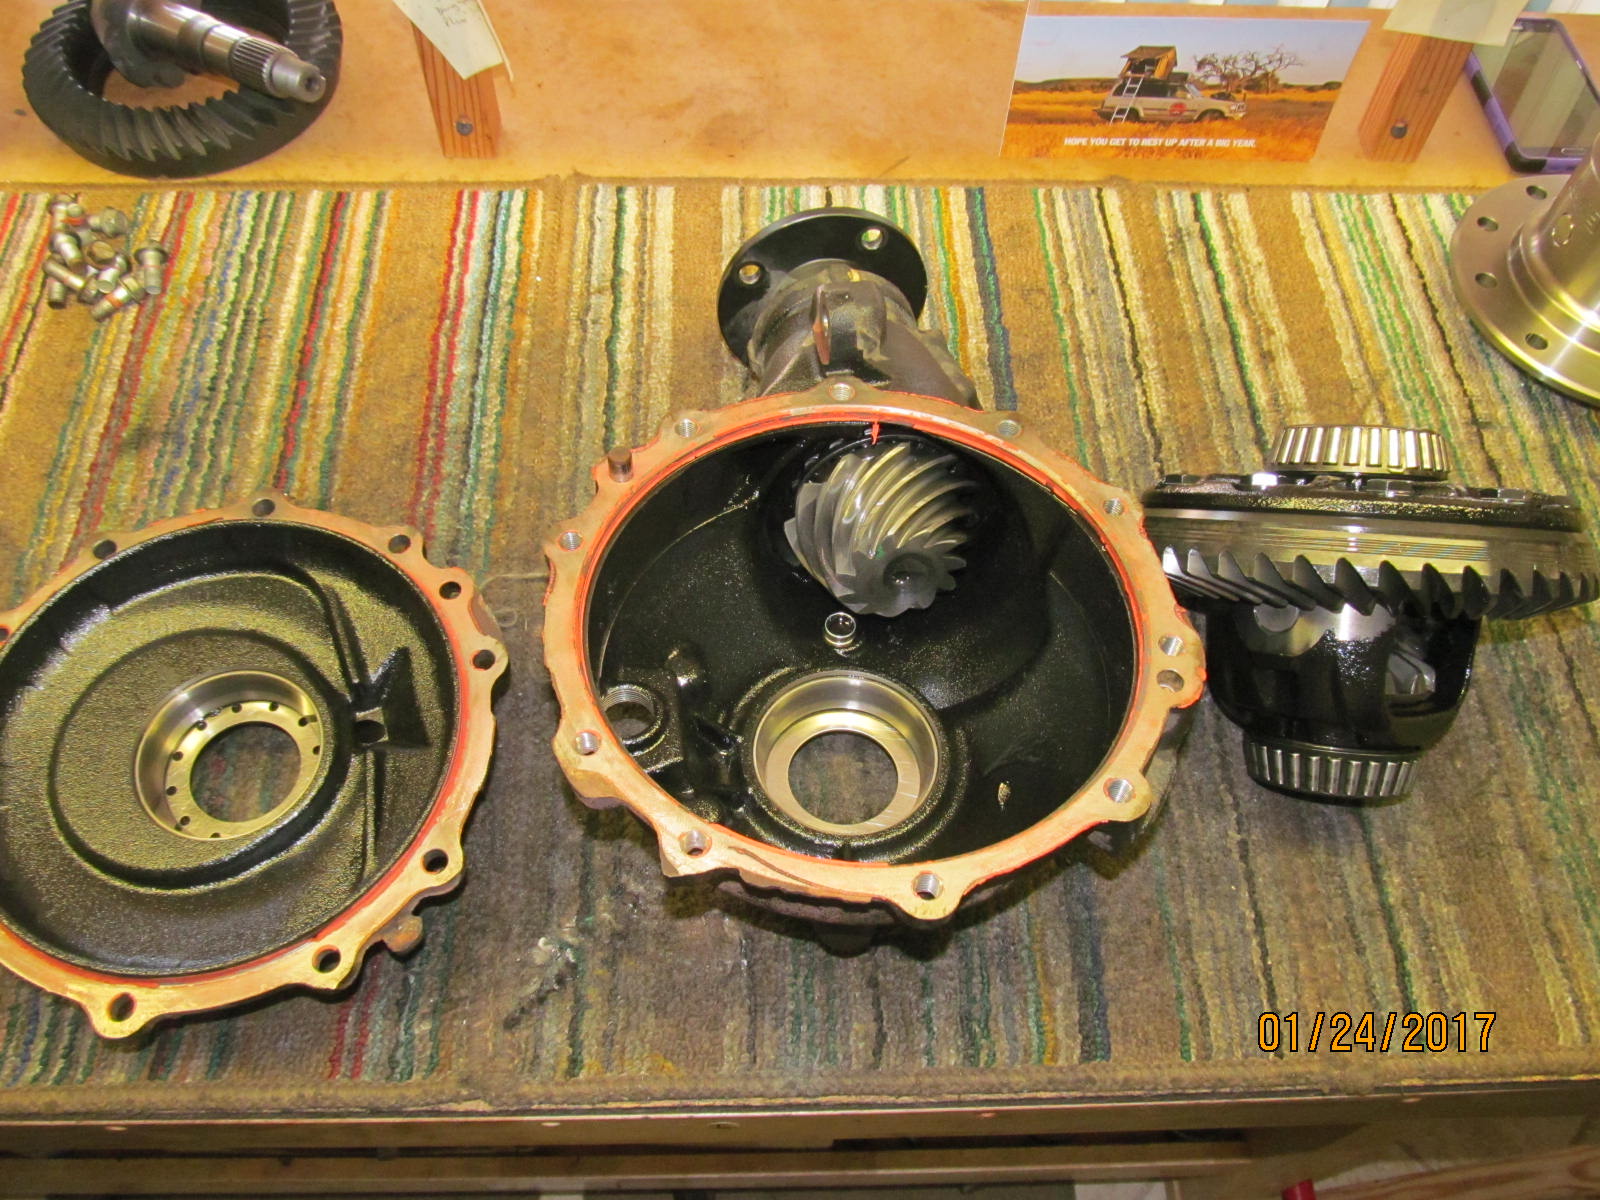
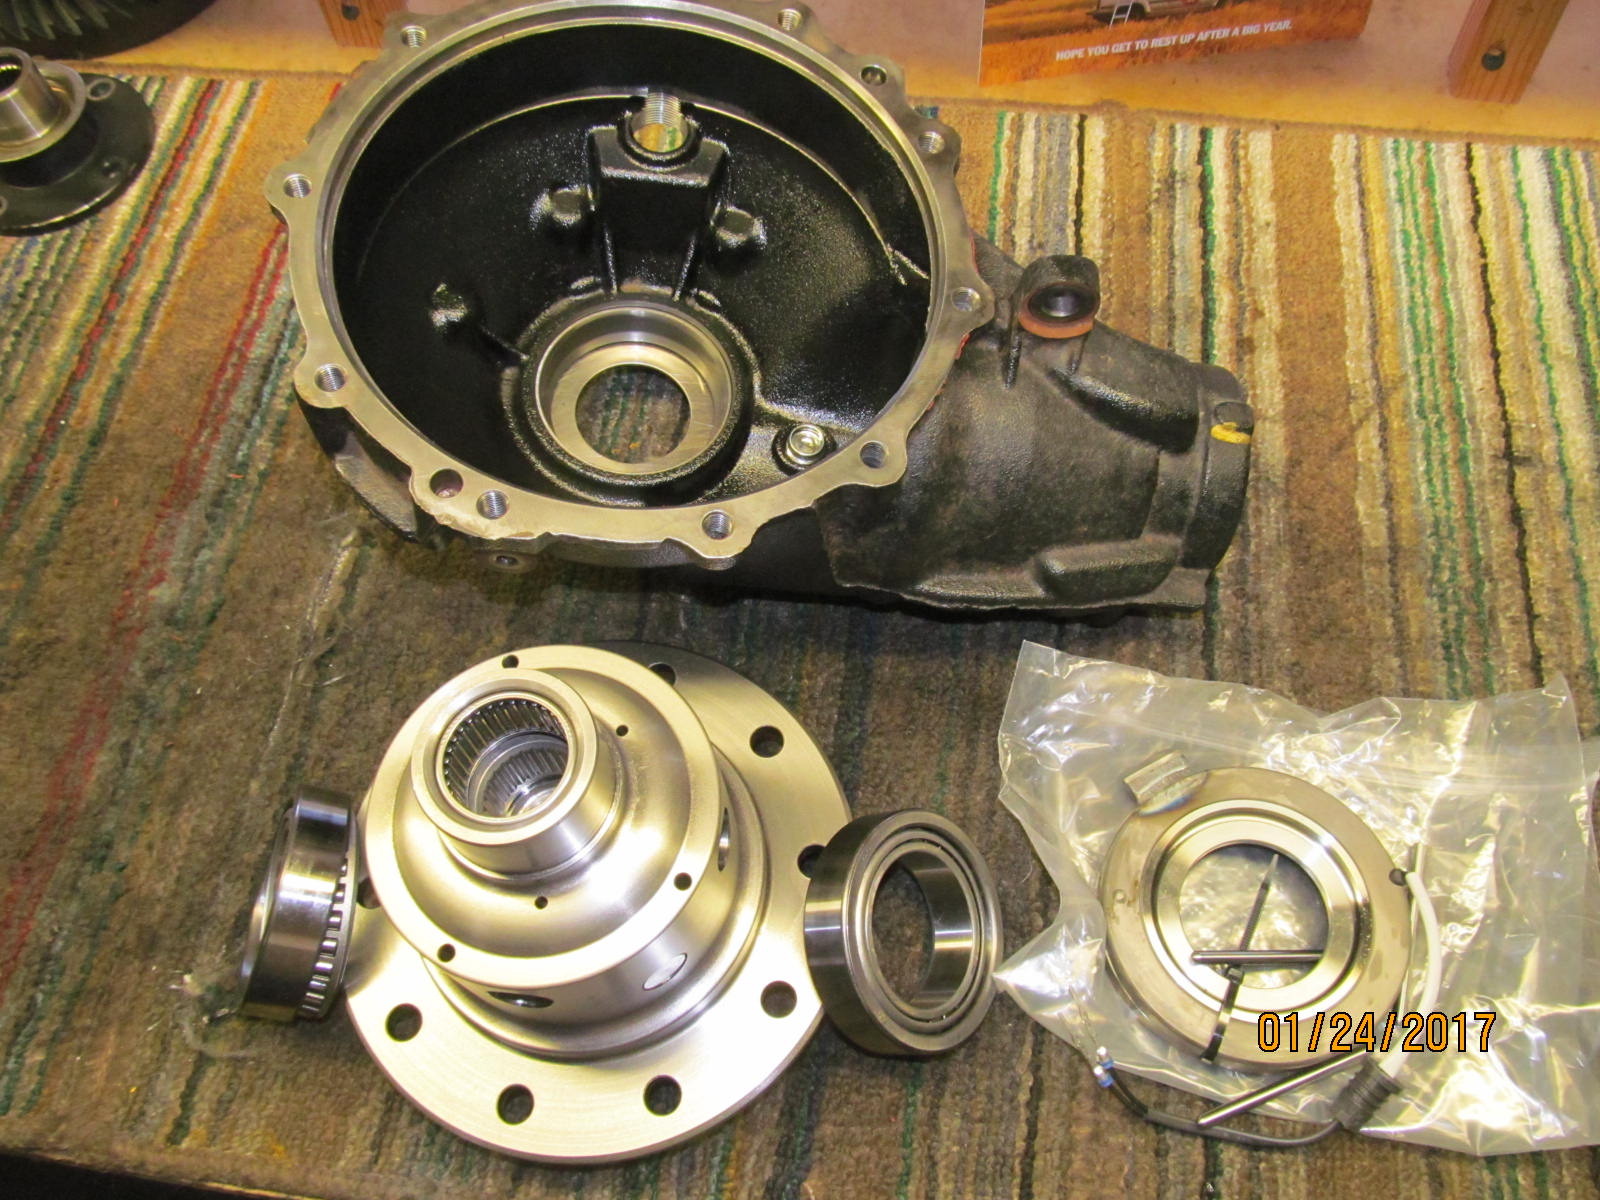
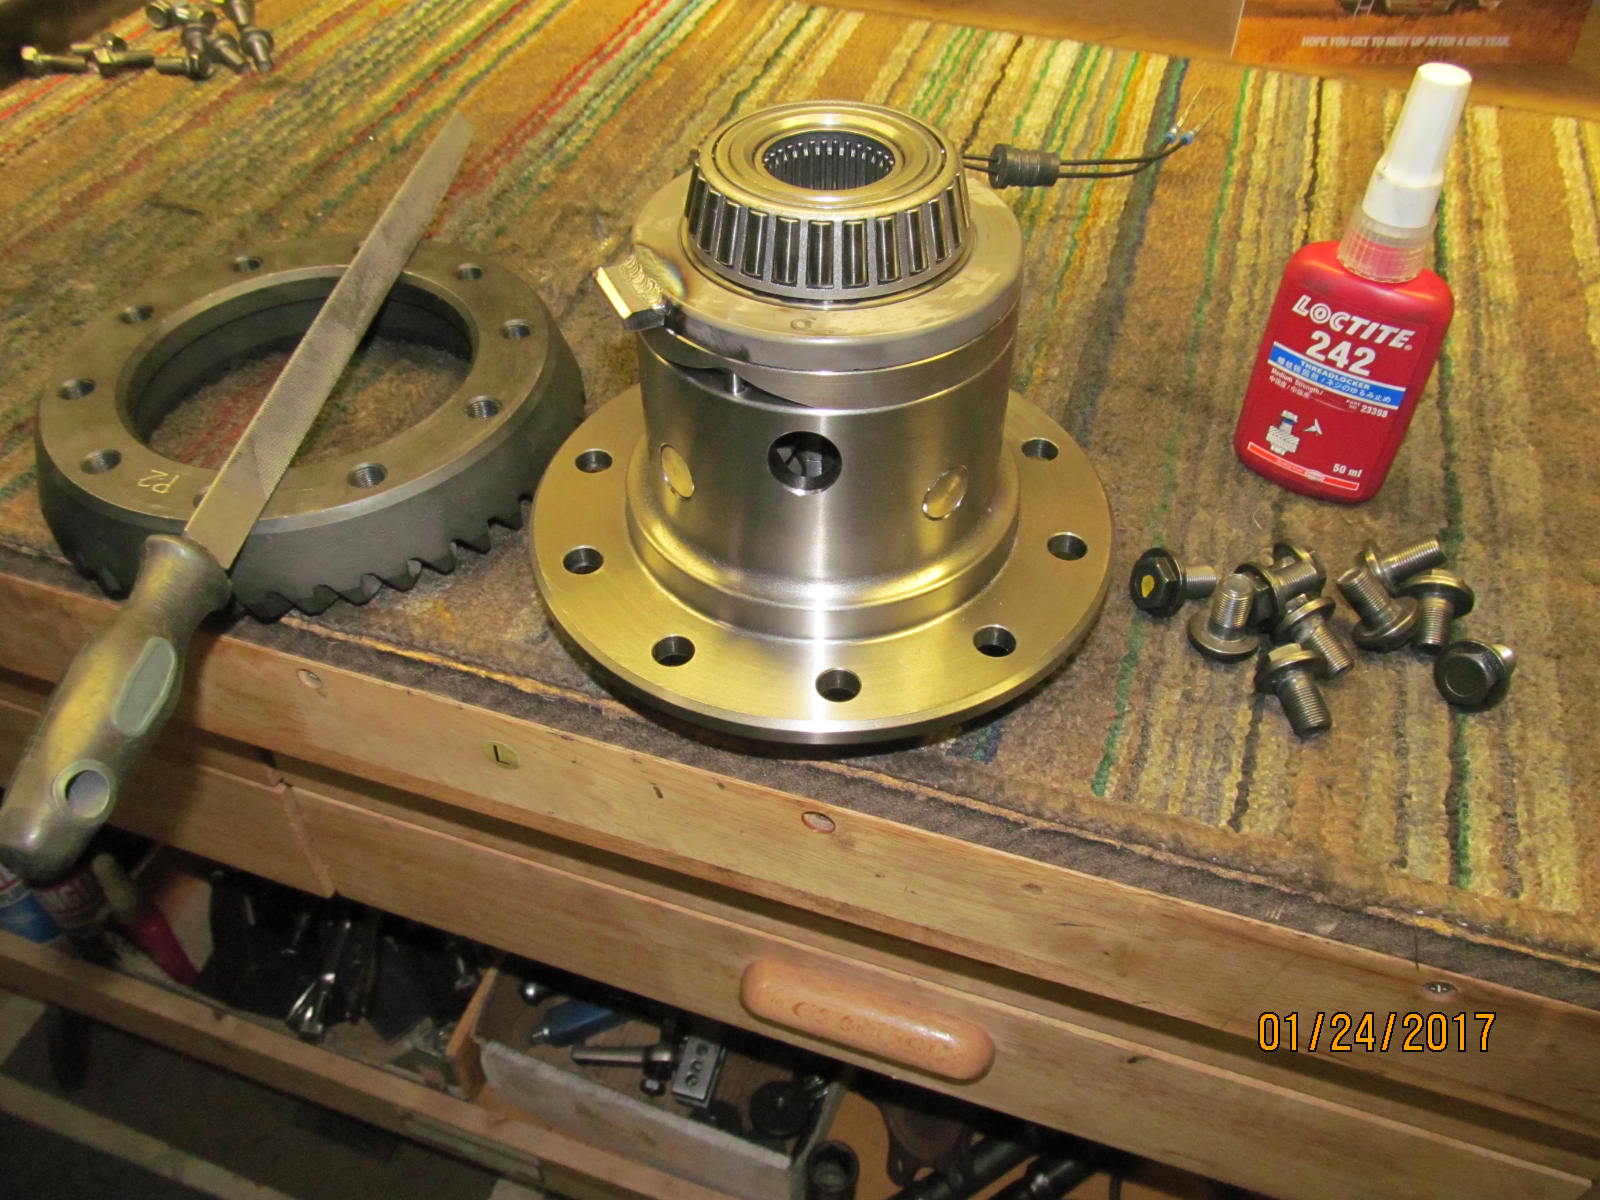
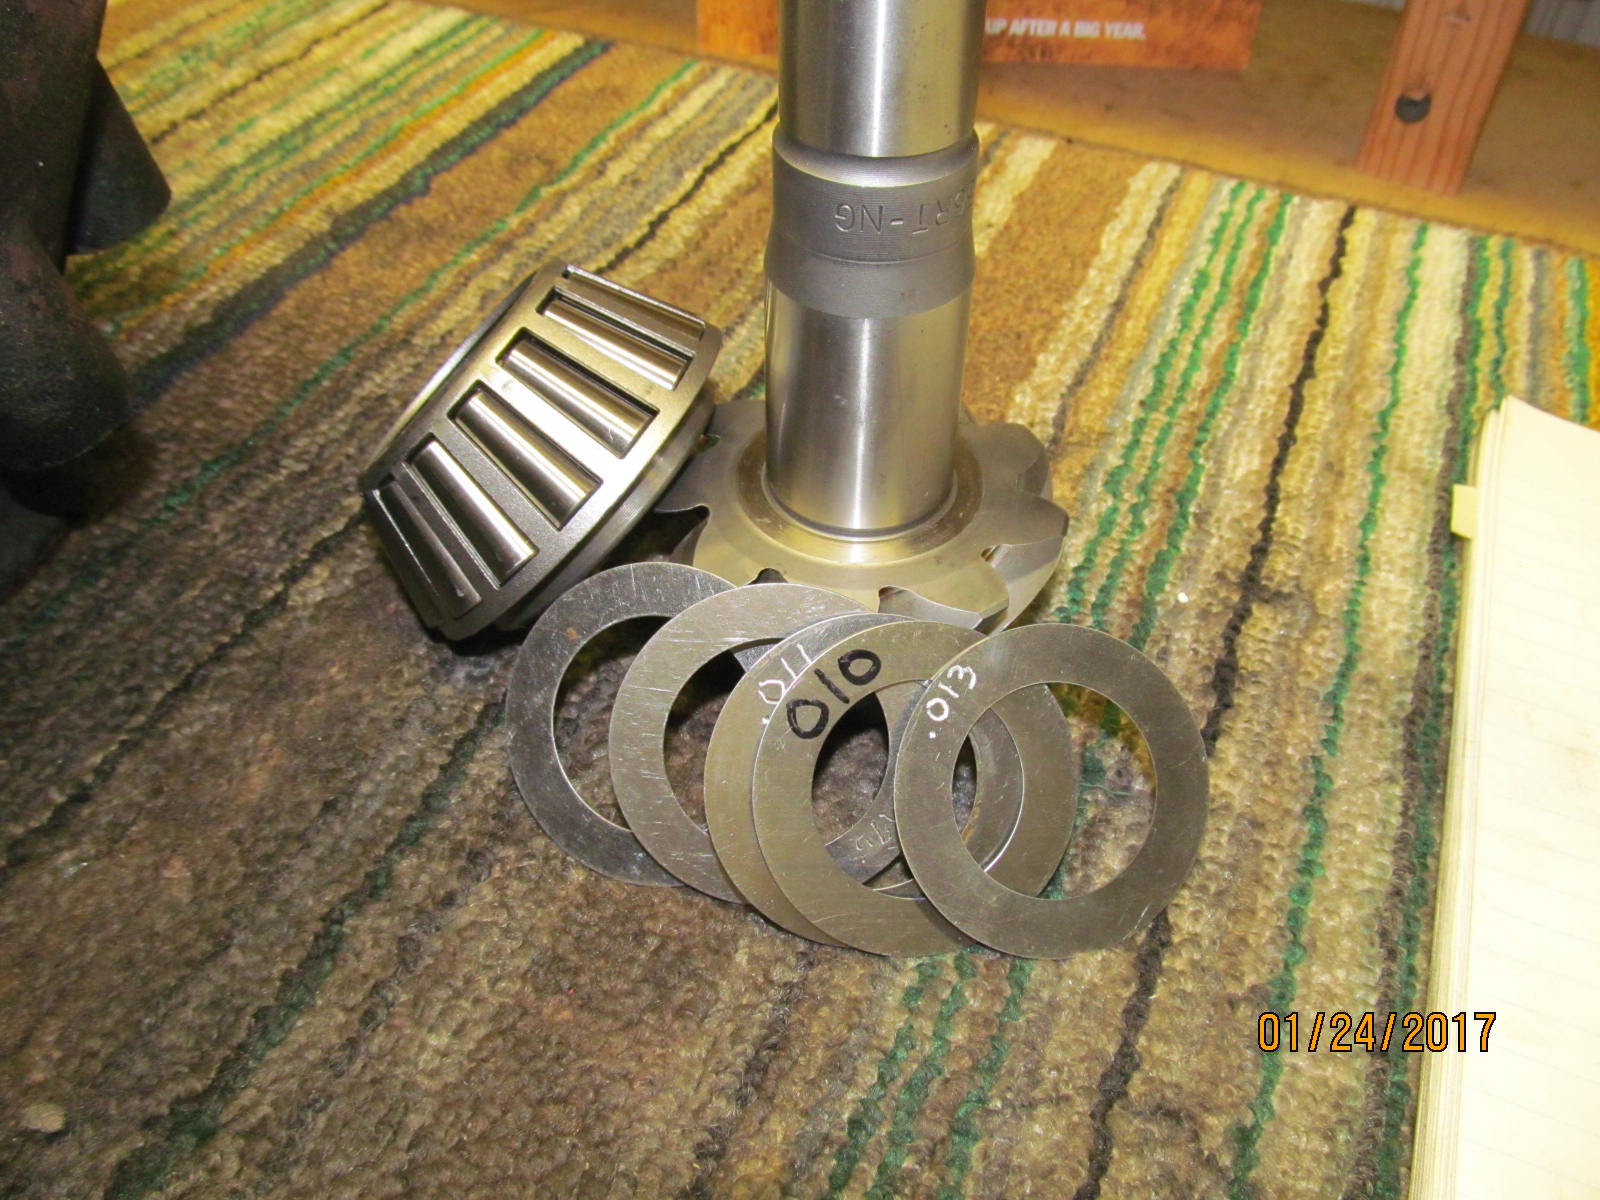
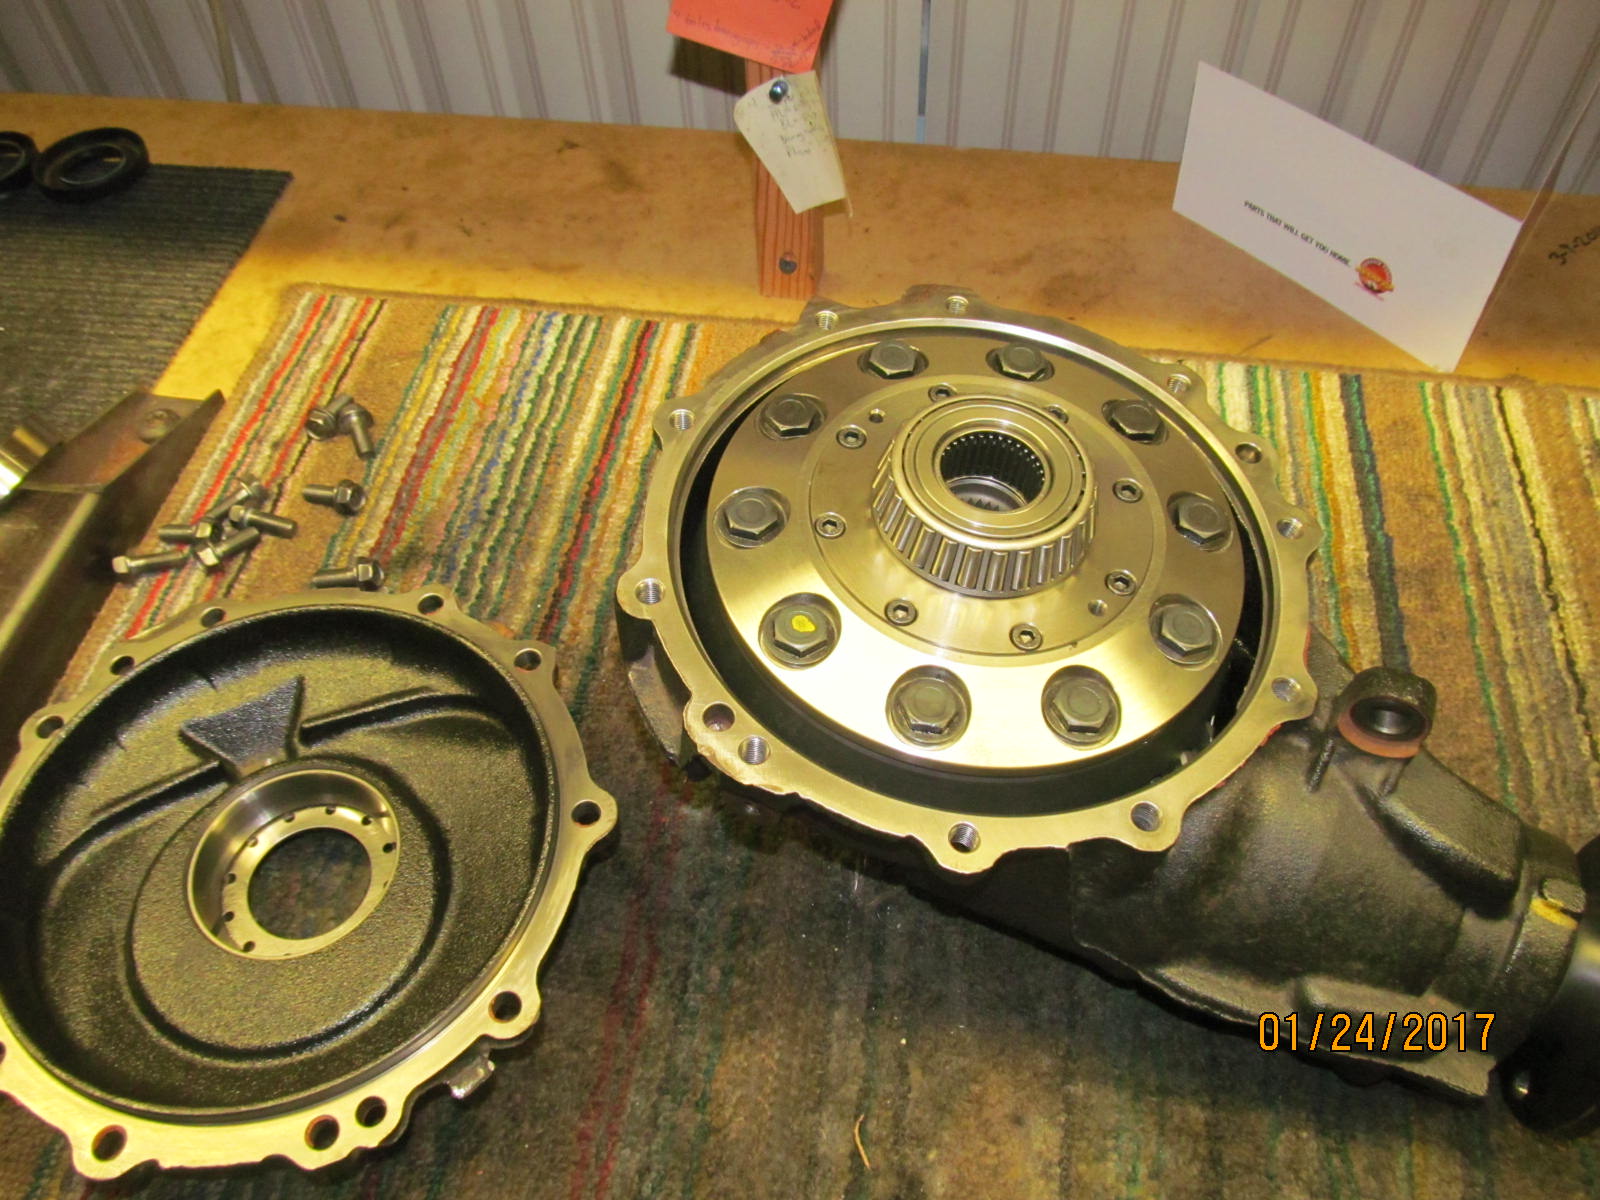
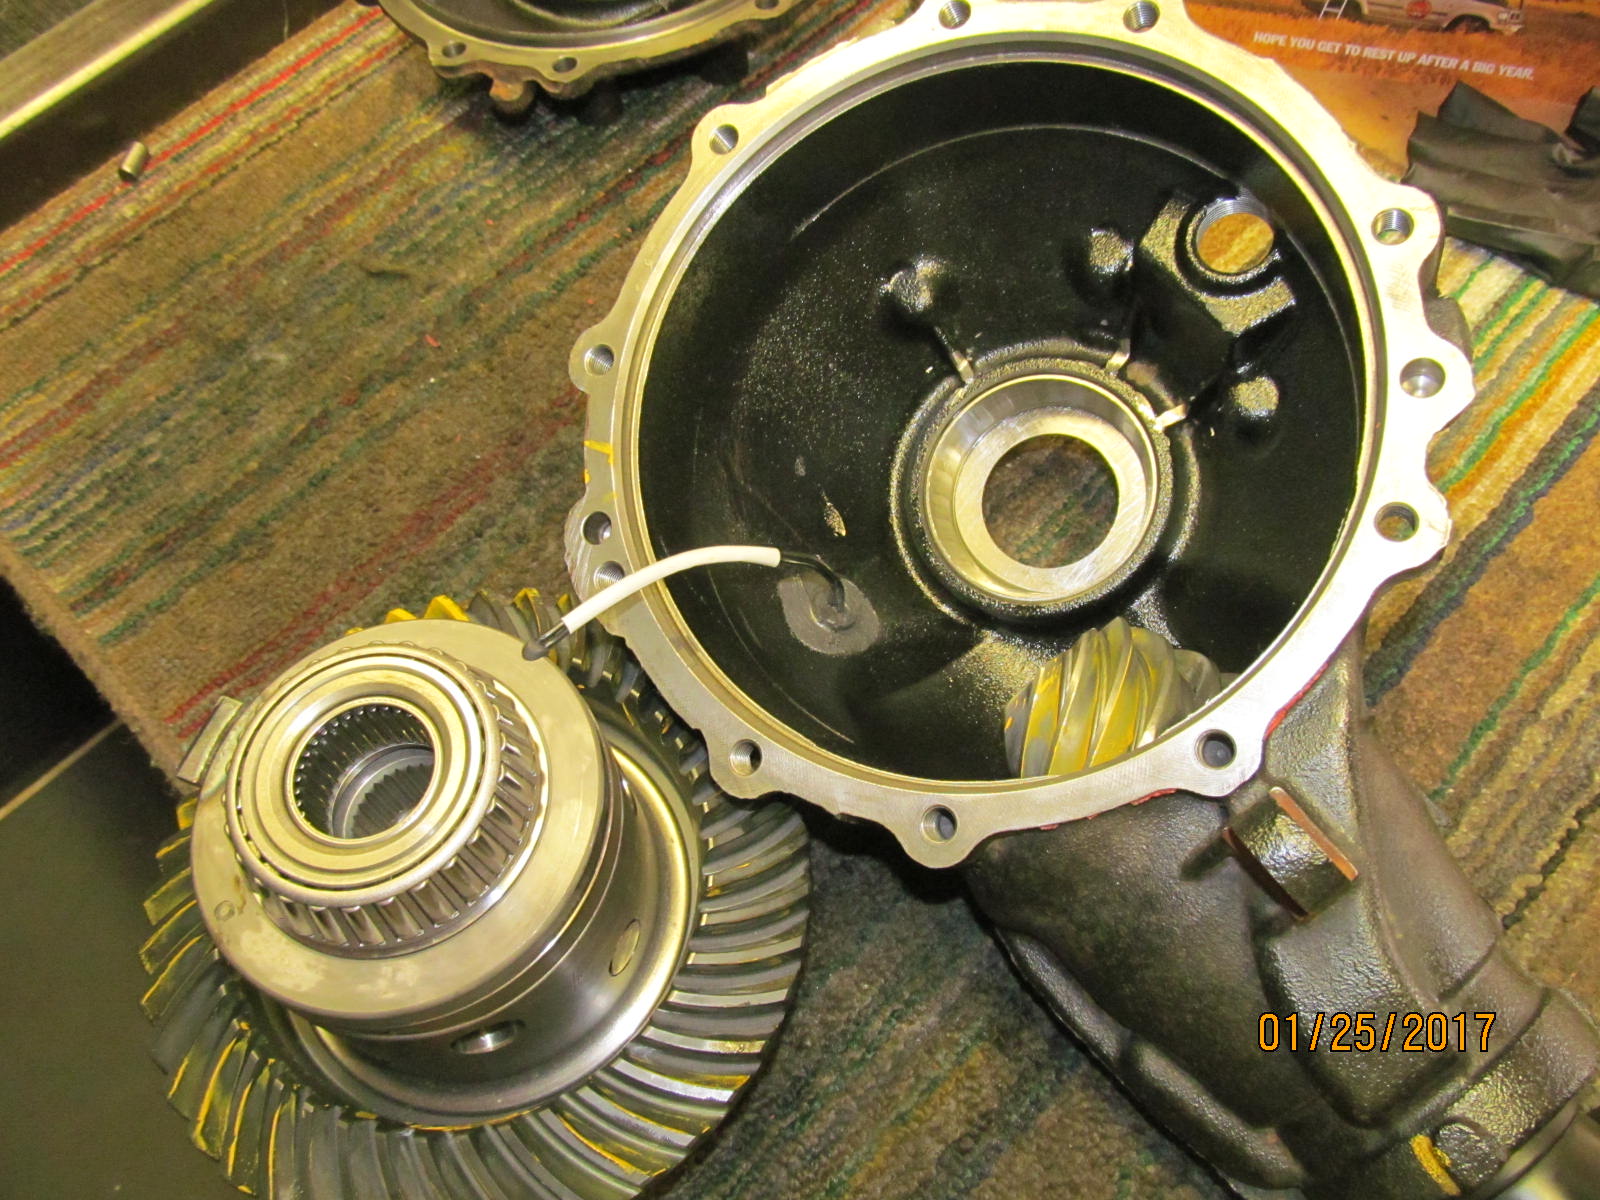
| On the left is the cryo Nitro 4.56 THICK gear, Nitro master kit, solid collar, and half of a Harrop. |
|
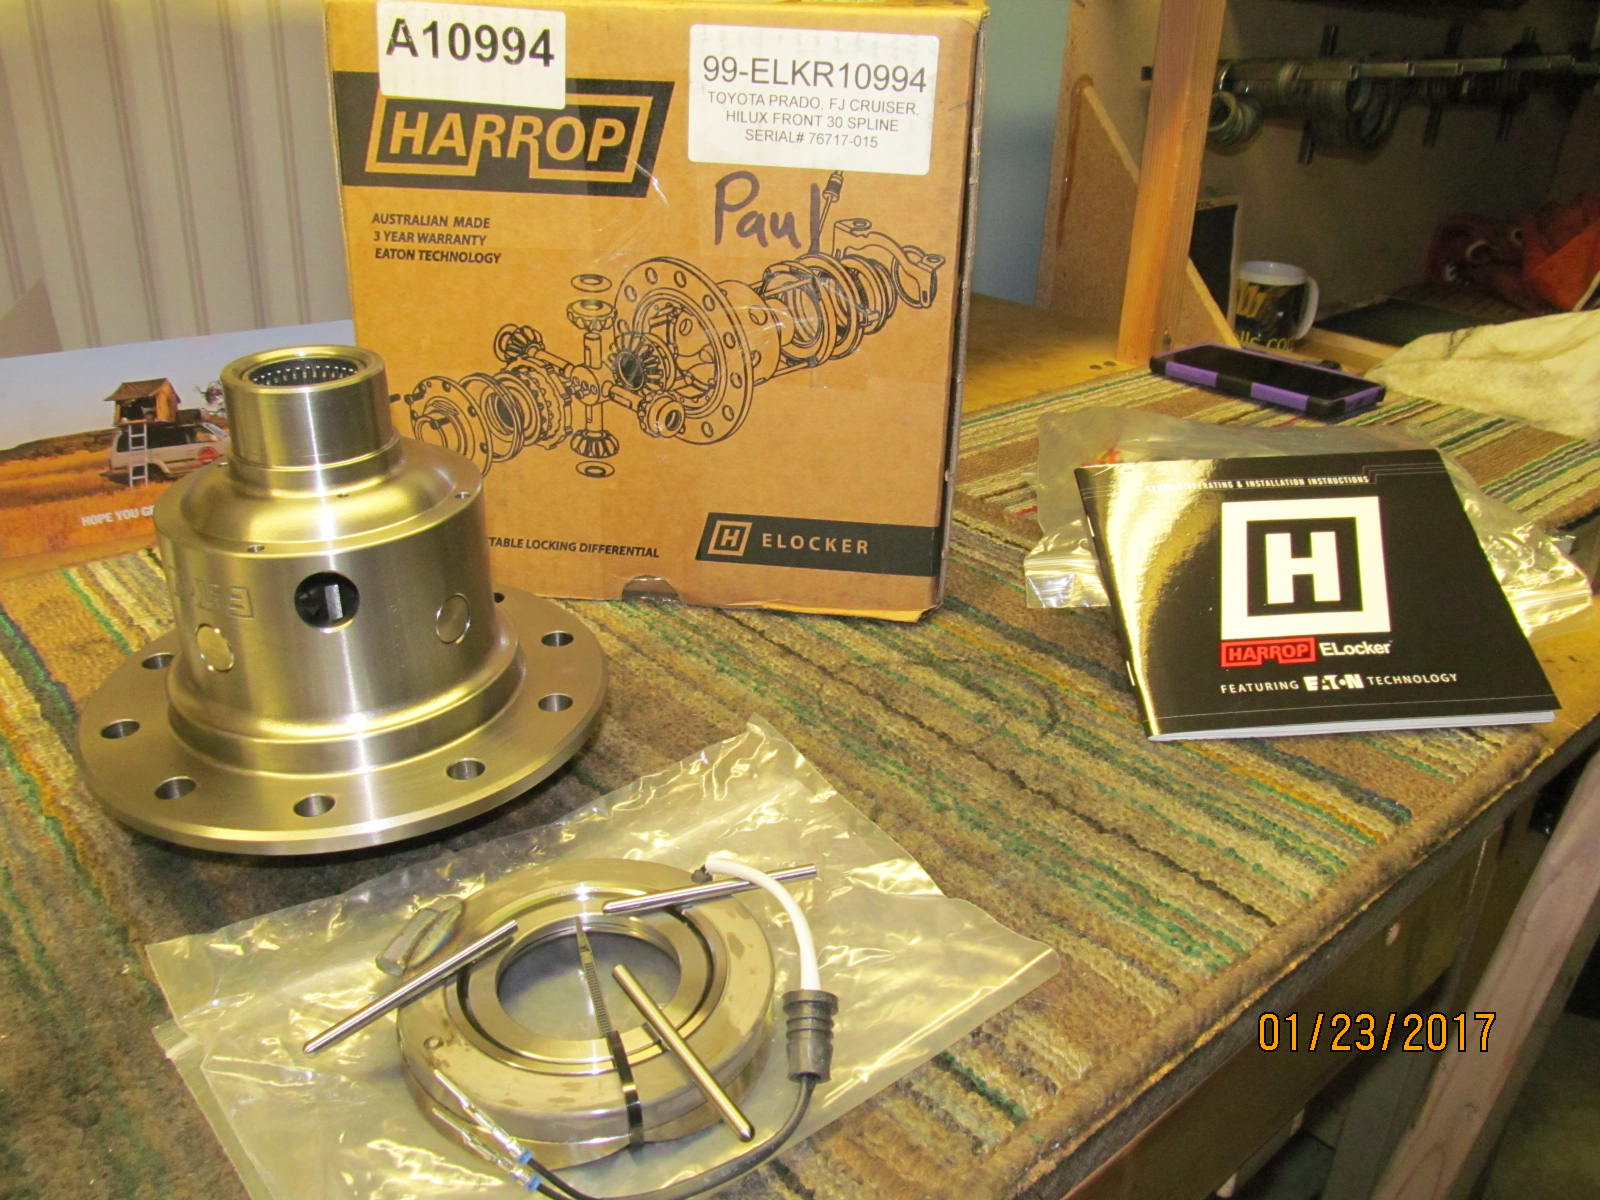
| The Harrop e-locker comes with the electromagnet in a separate bag. |
|
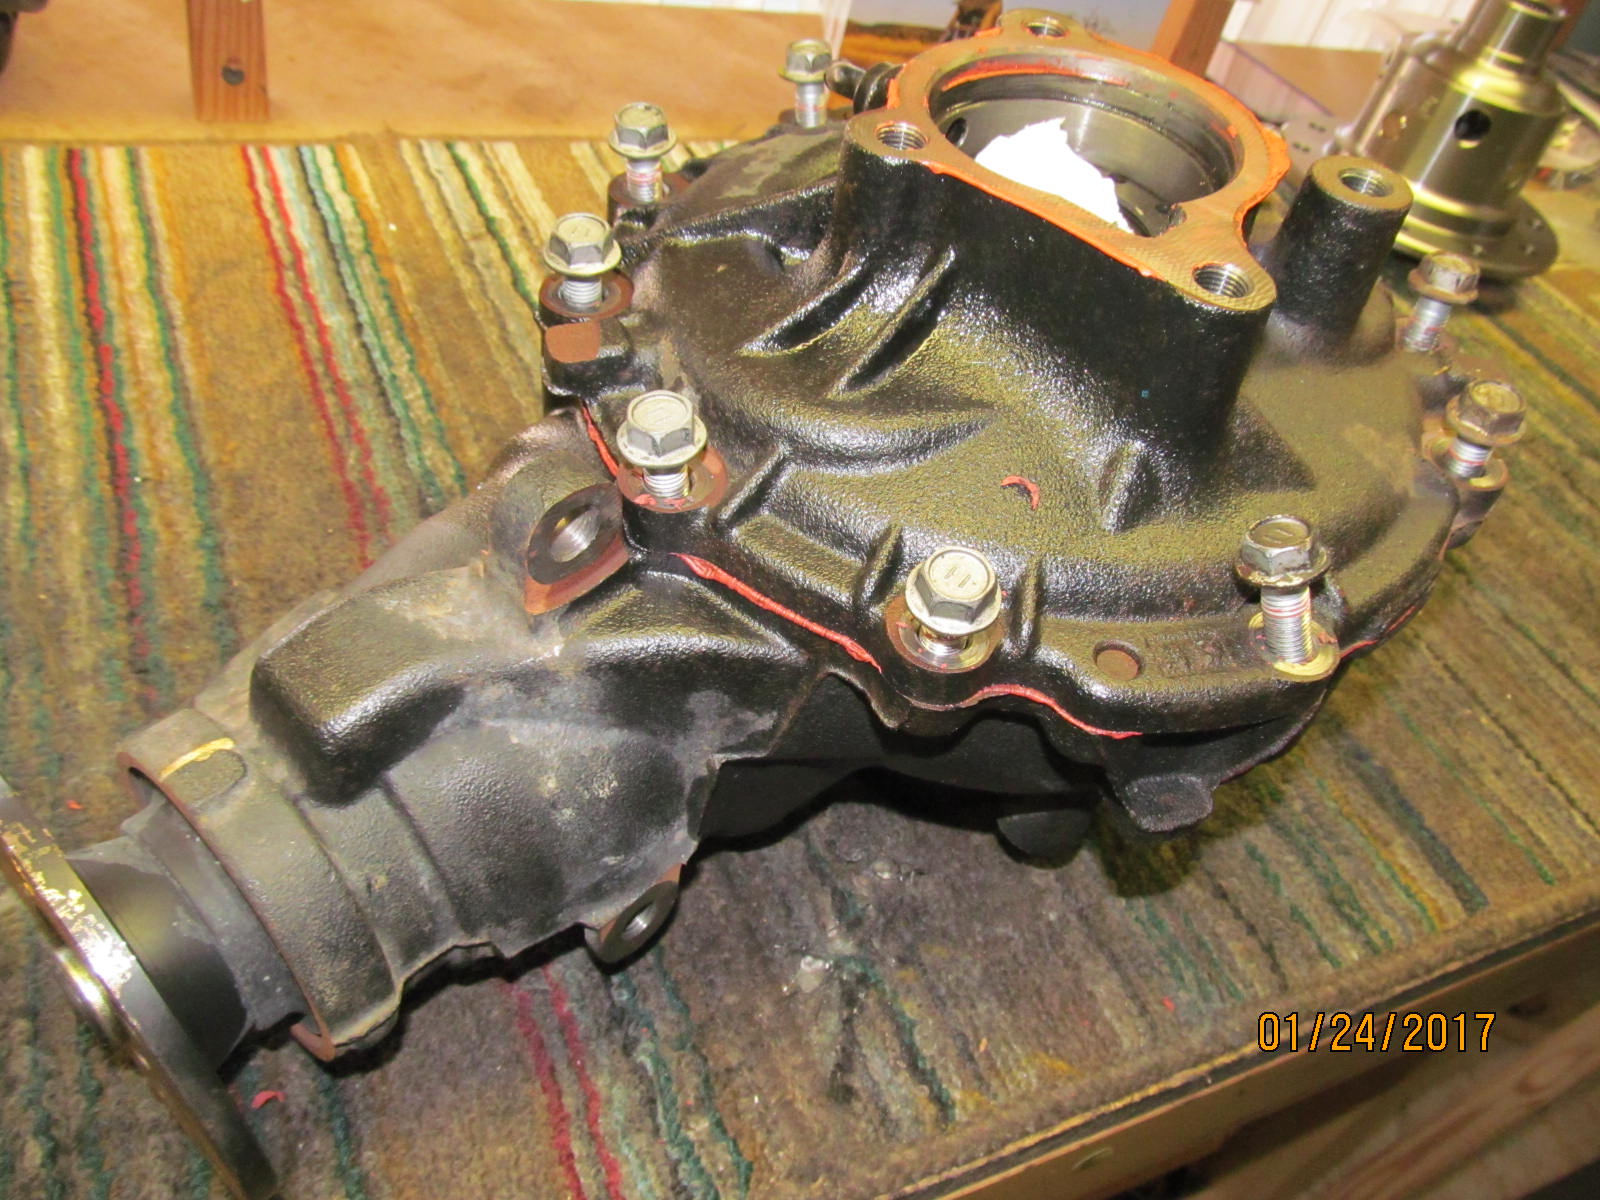
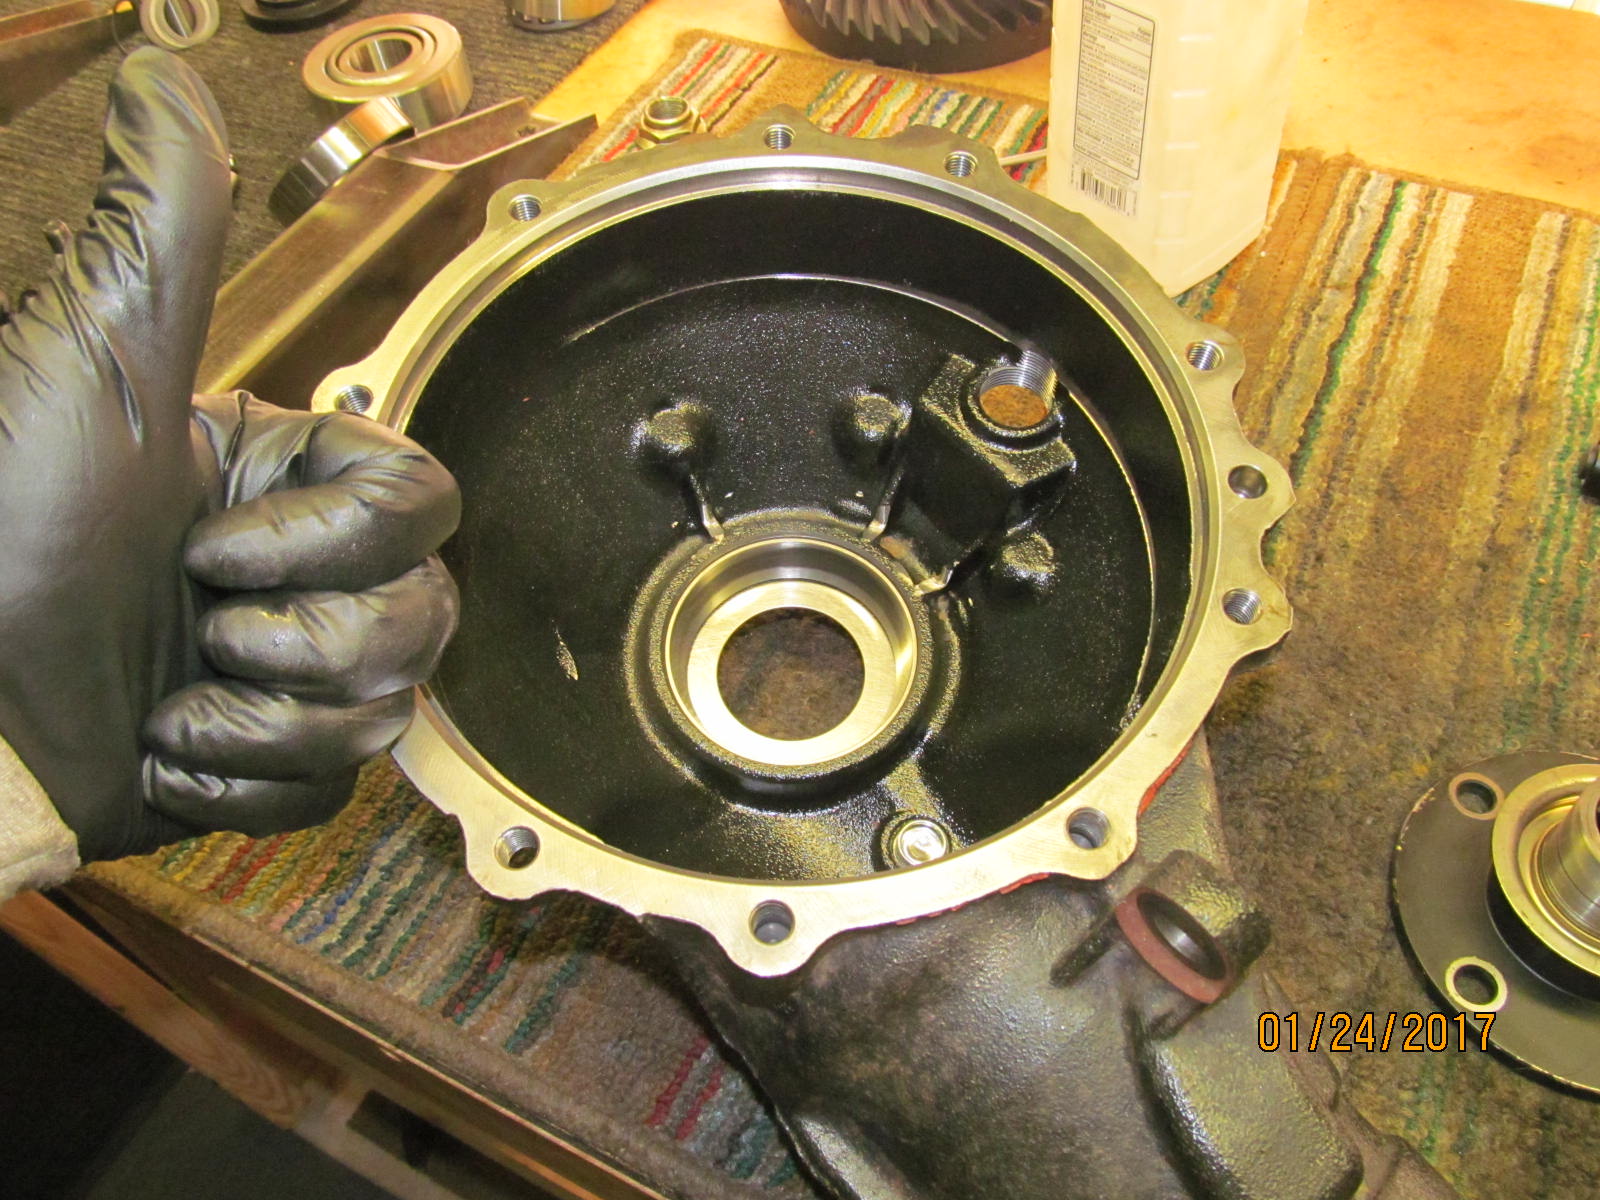
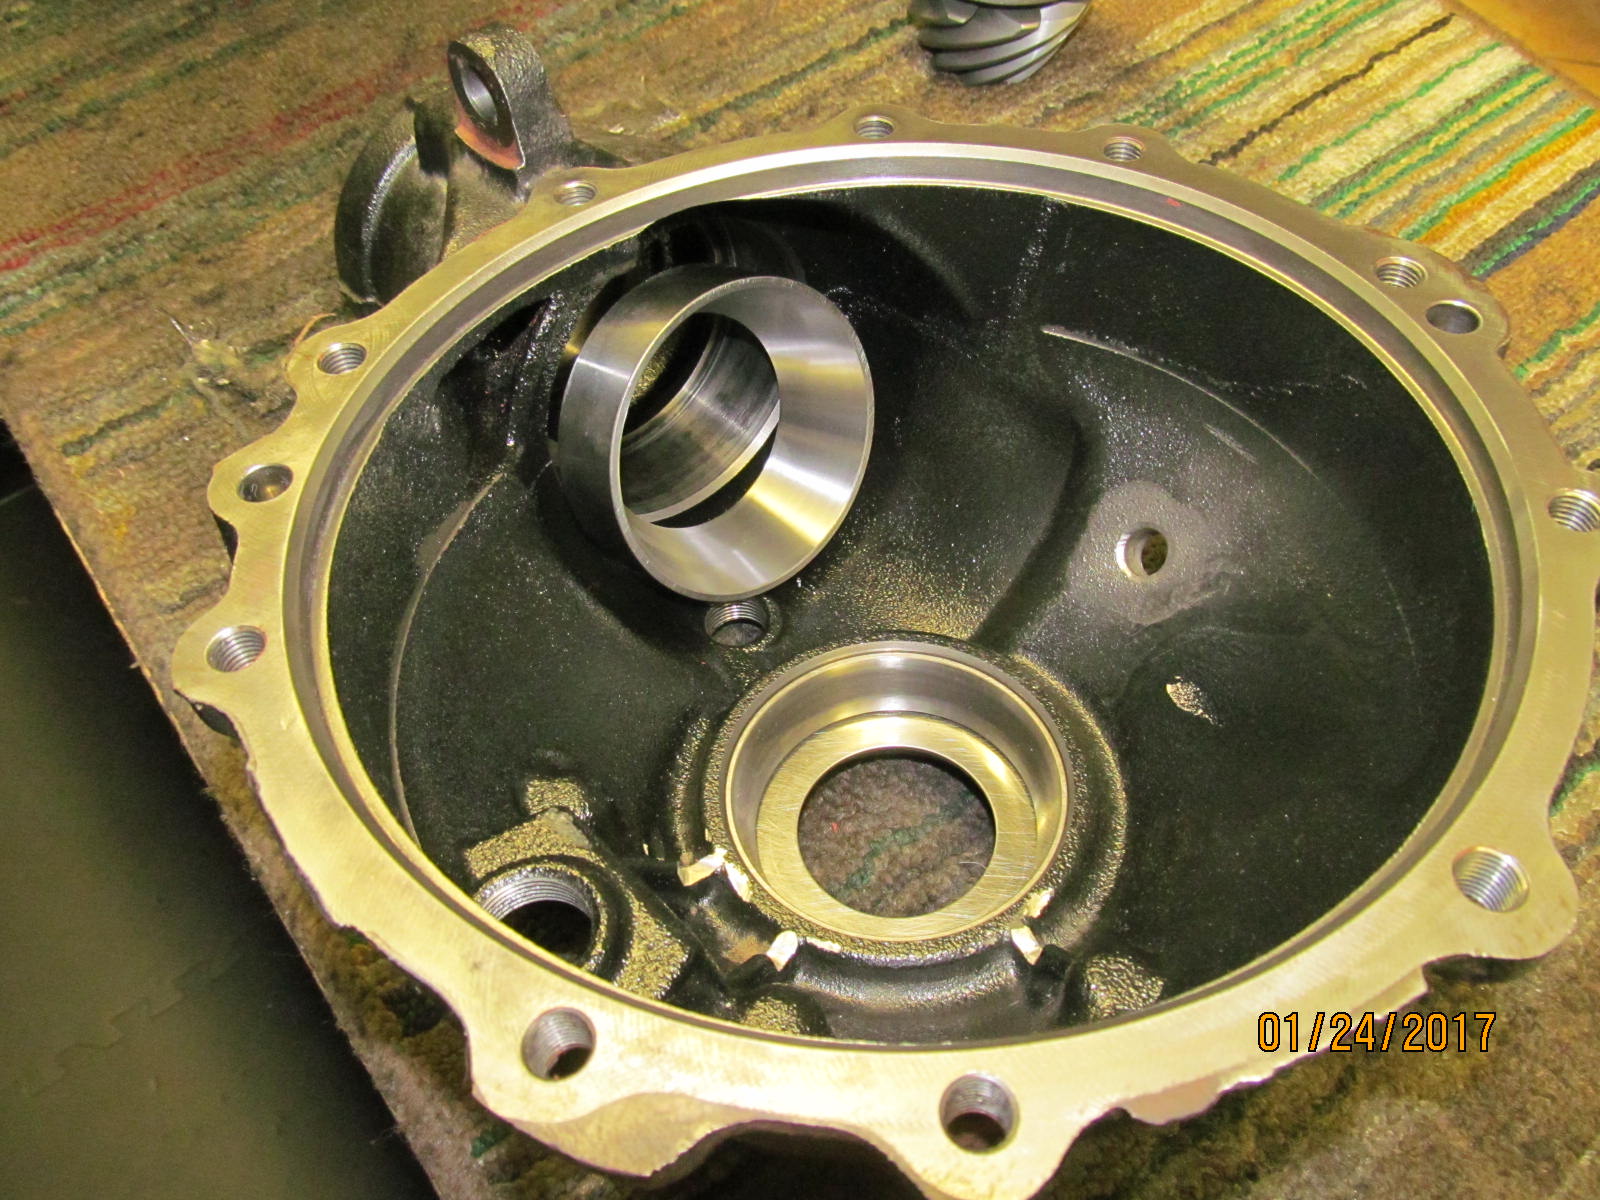
| I started by removing the 10 bolts that hold the lid on. |
|
| 2 locator pins precisely locate the lid and this just means it takes a few extra taps with the hammer to break the lid free. |
|
| .................. |
|
| .................. |
|
| Be careful not to round of these shallow nuts...there's not much material for the 17mm socket to grab with. |
|
| My impact socket was ground down to maximize contact with the 17mm flange bolts. Flat impact surface ........... |
|
| .....for the flat flange nut surface |
|
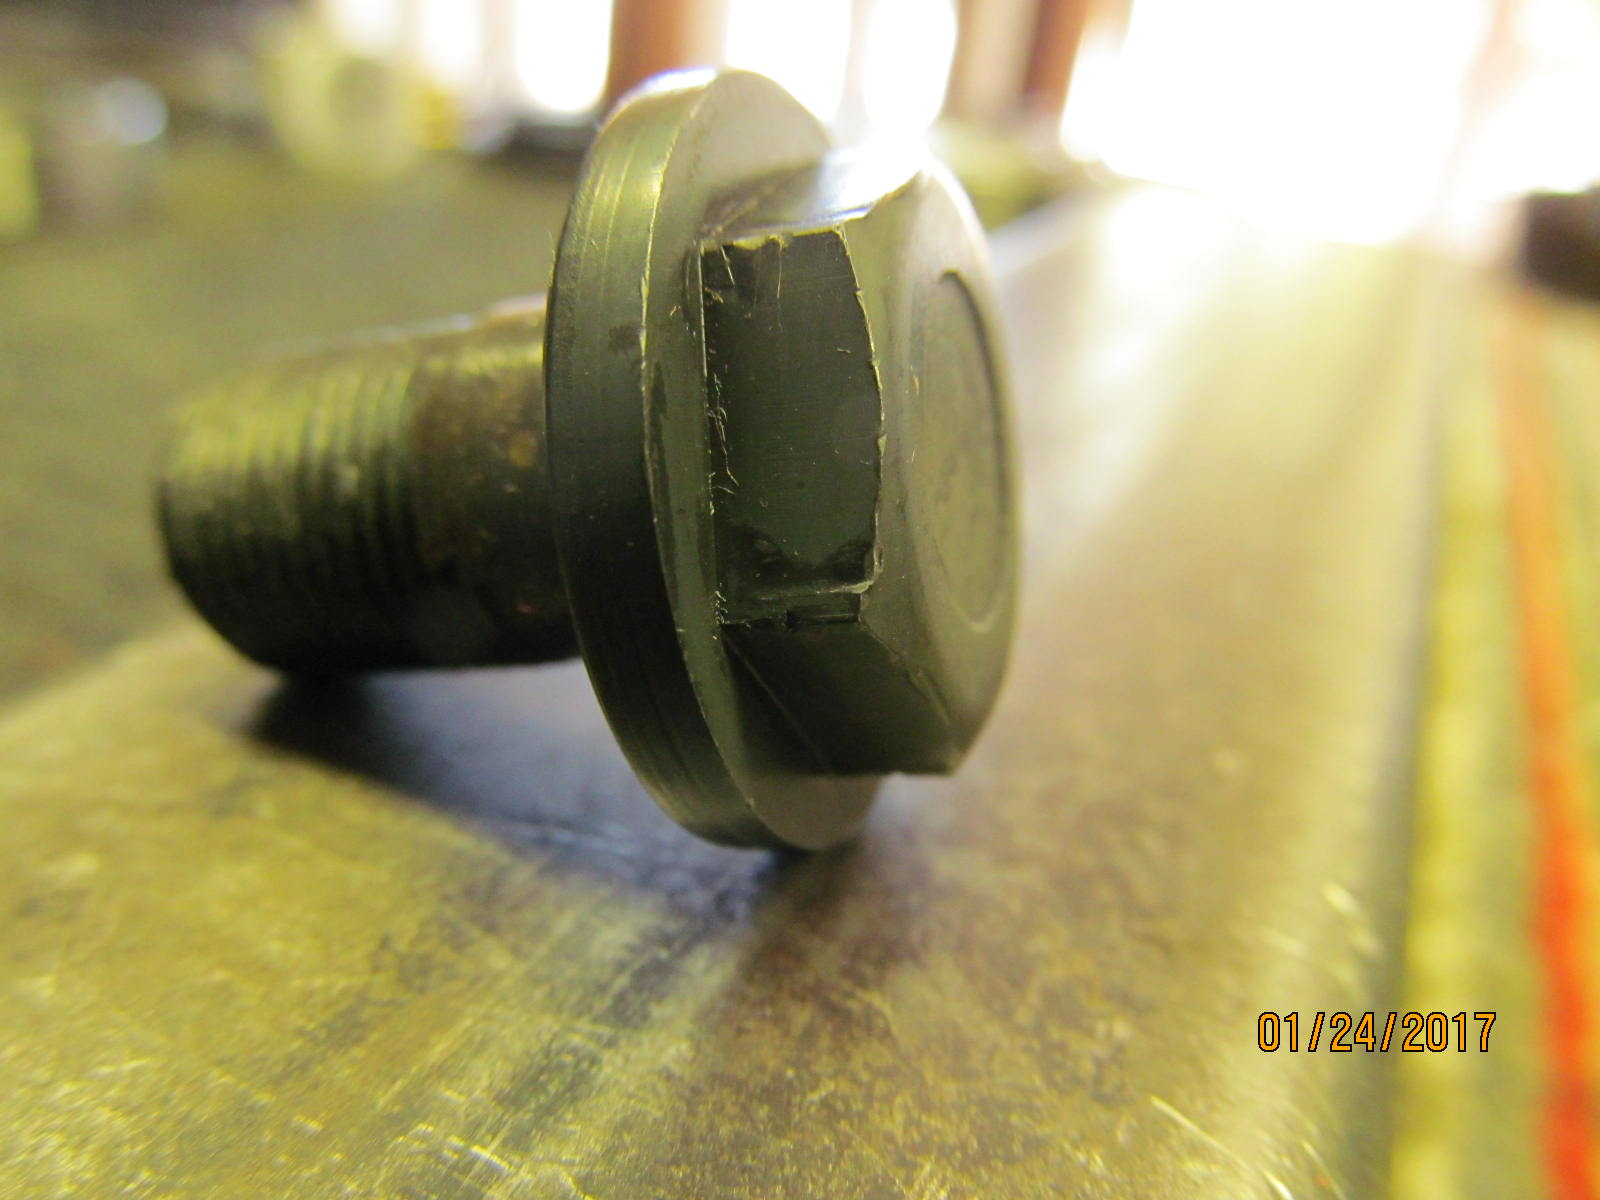
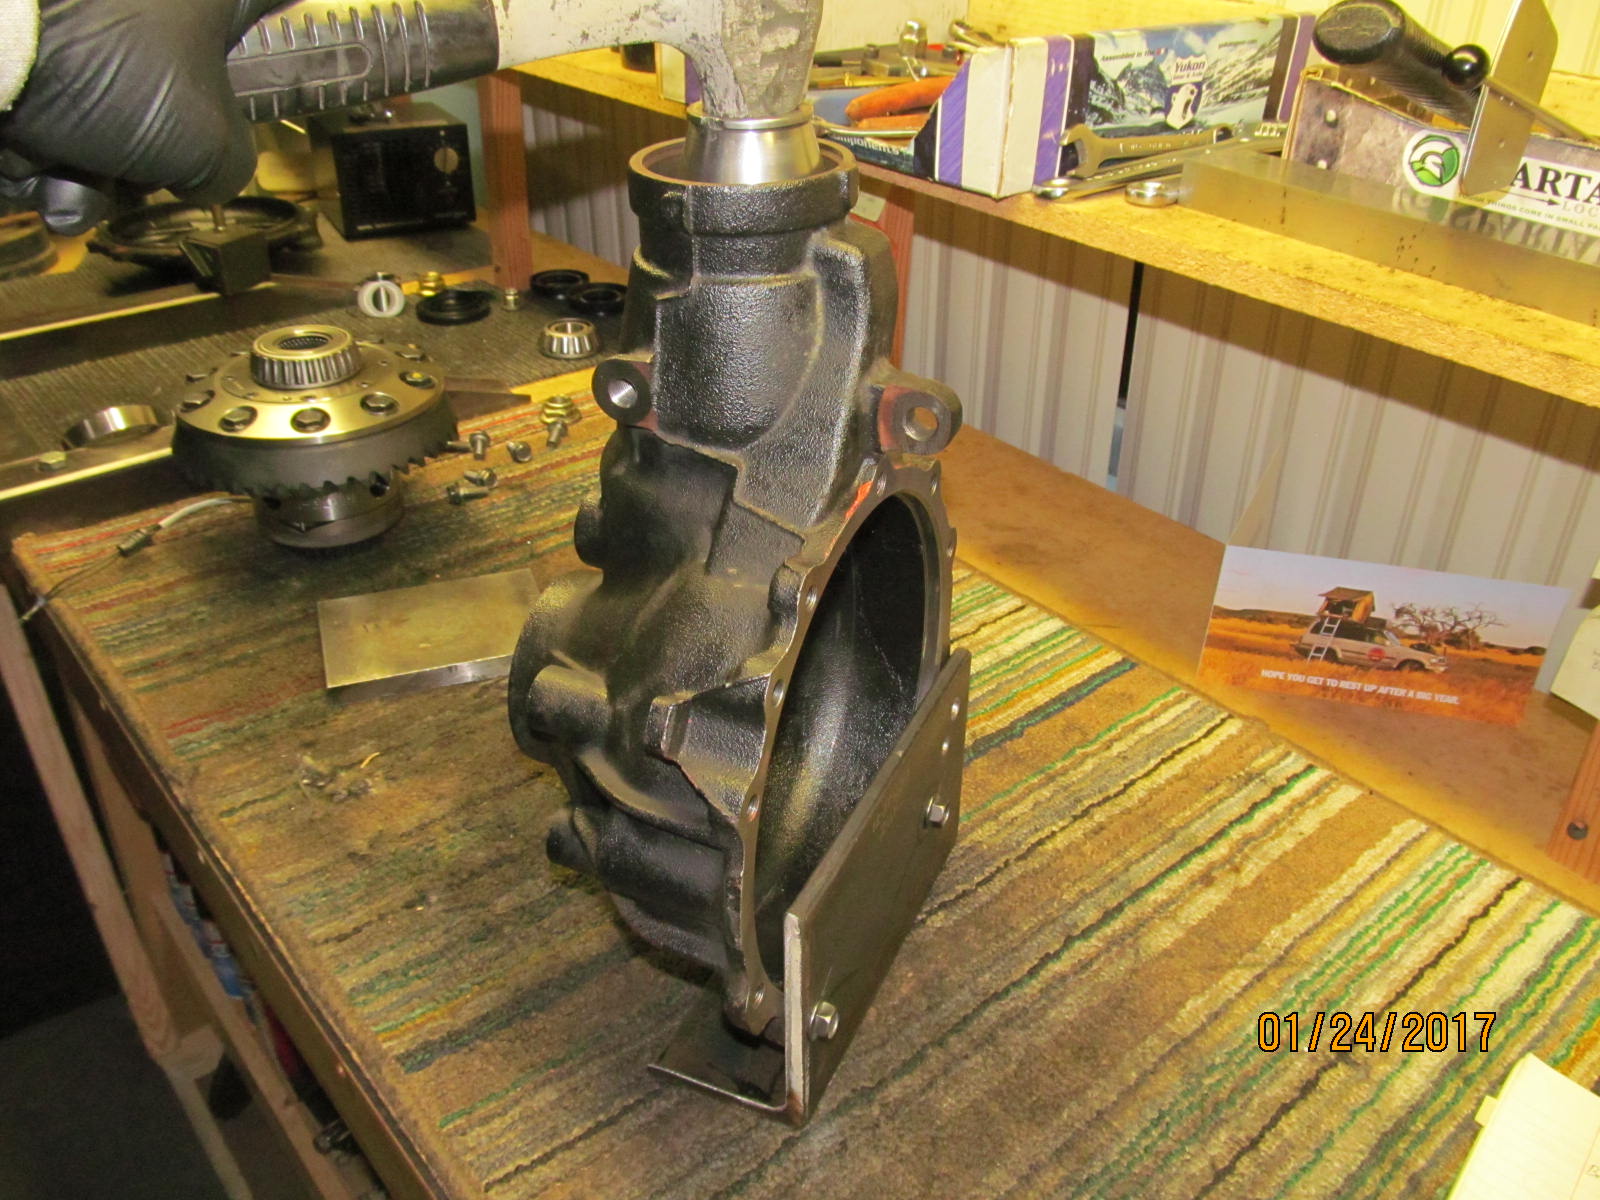
| Tight fitting pinion flange for sure. |
|
| .................... |
|
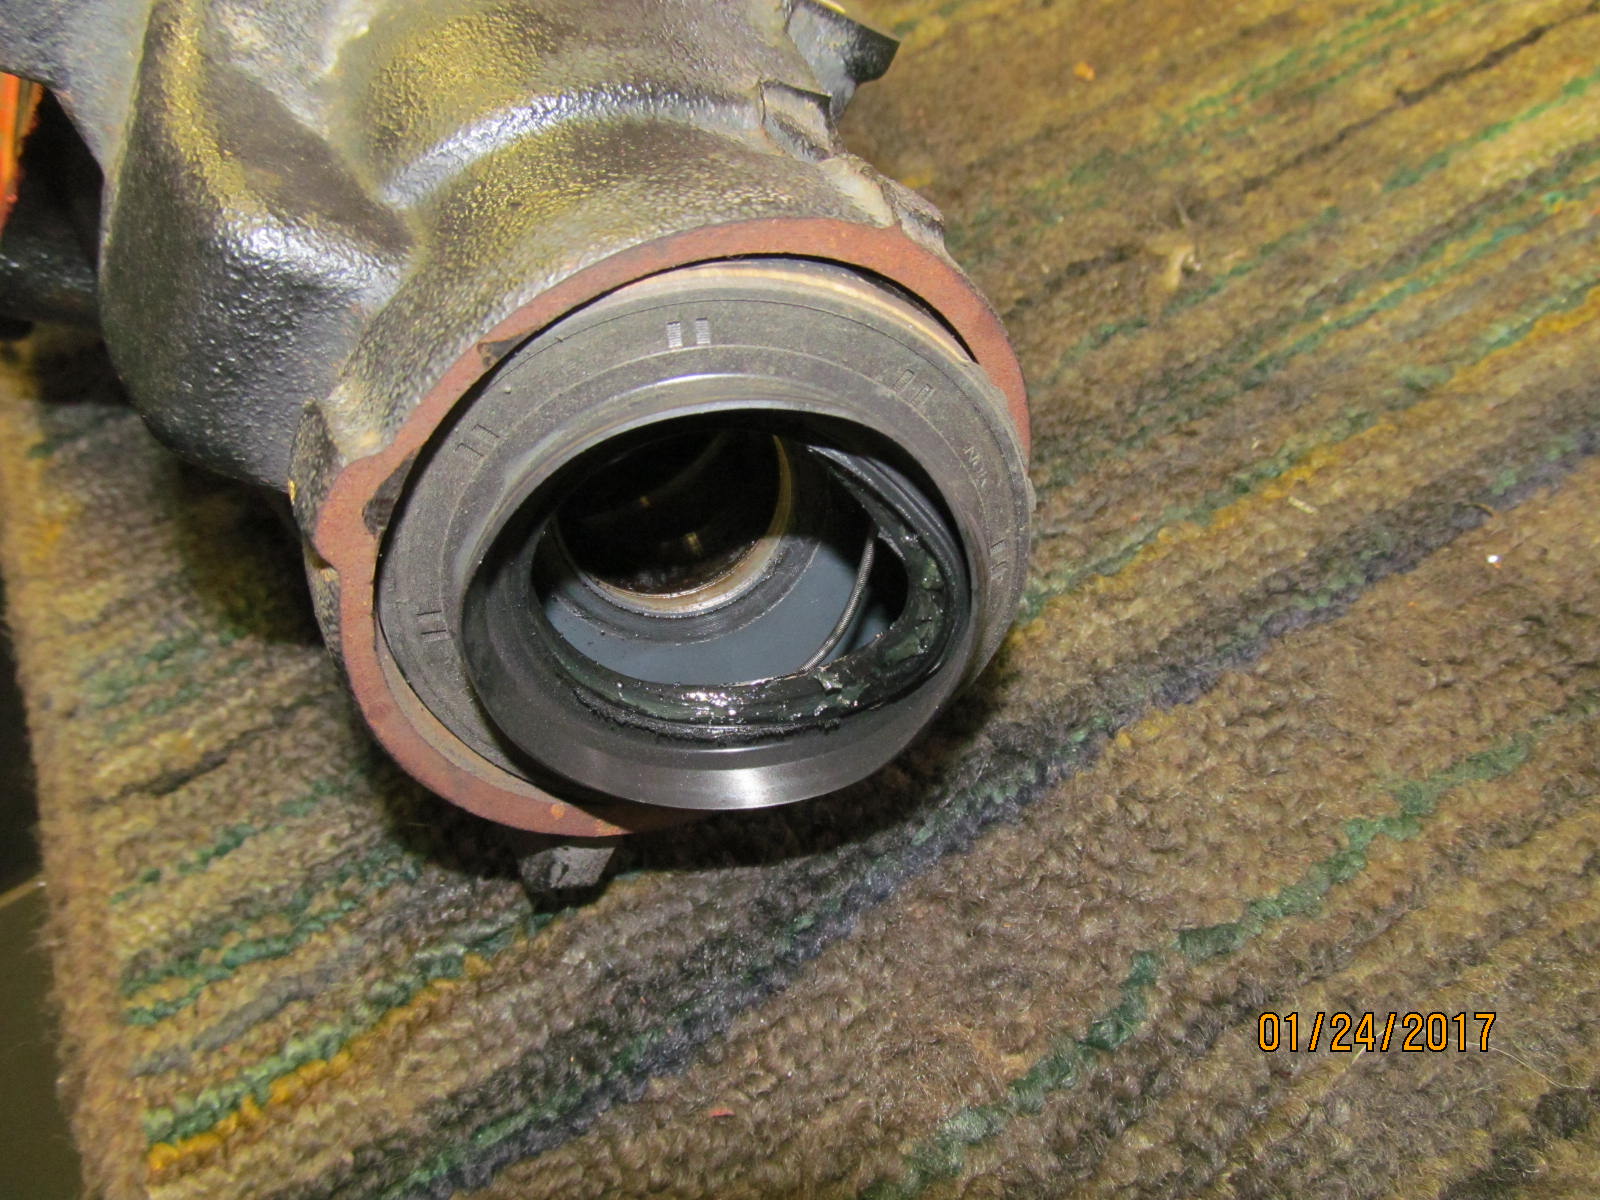
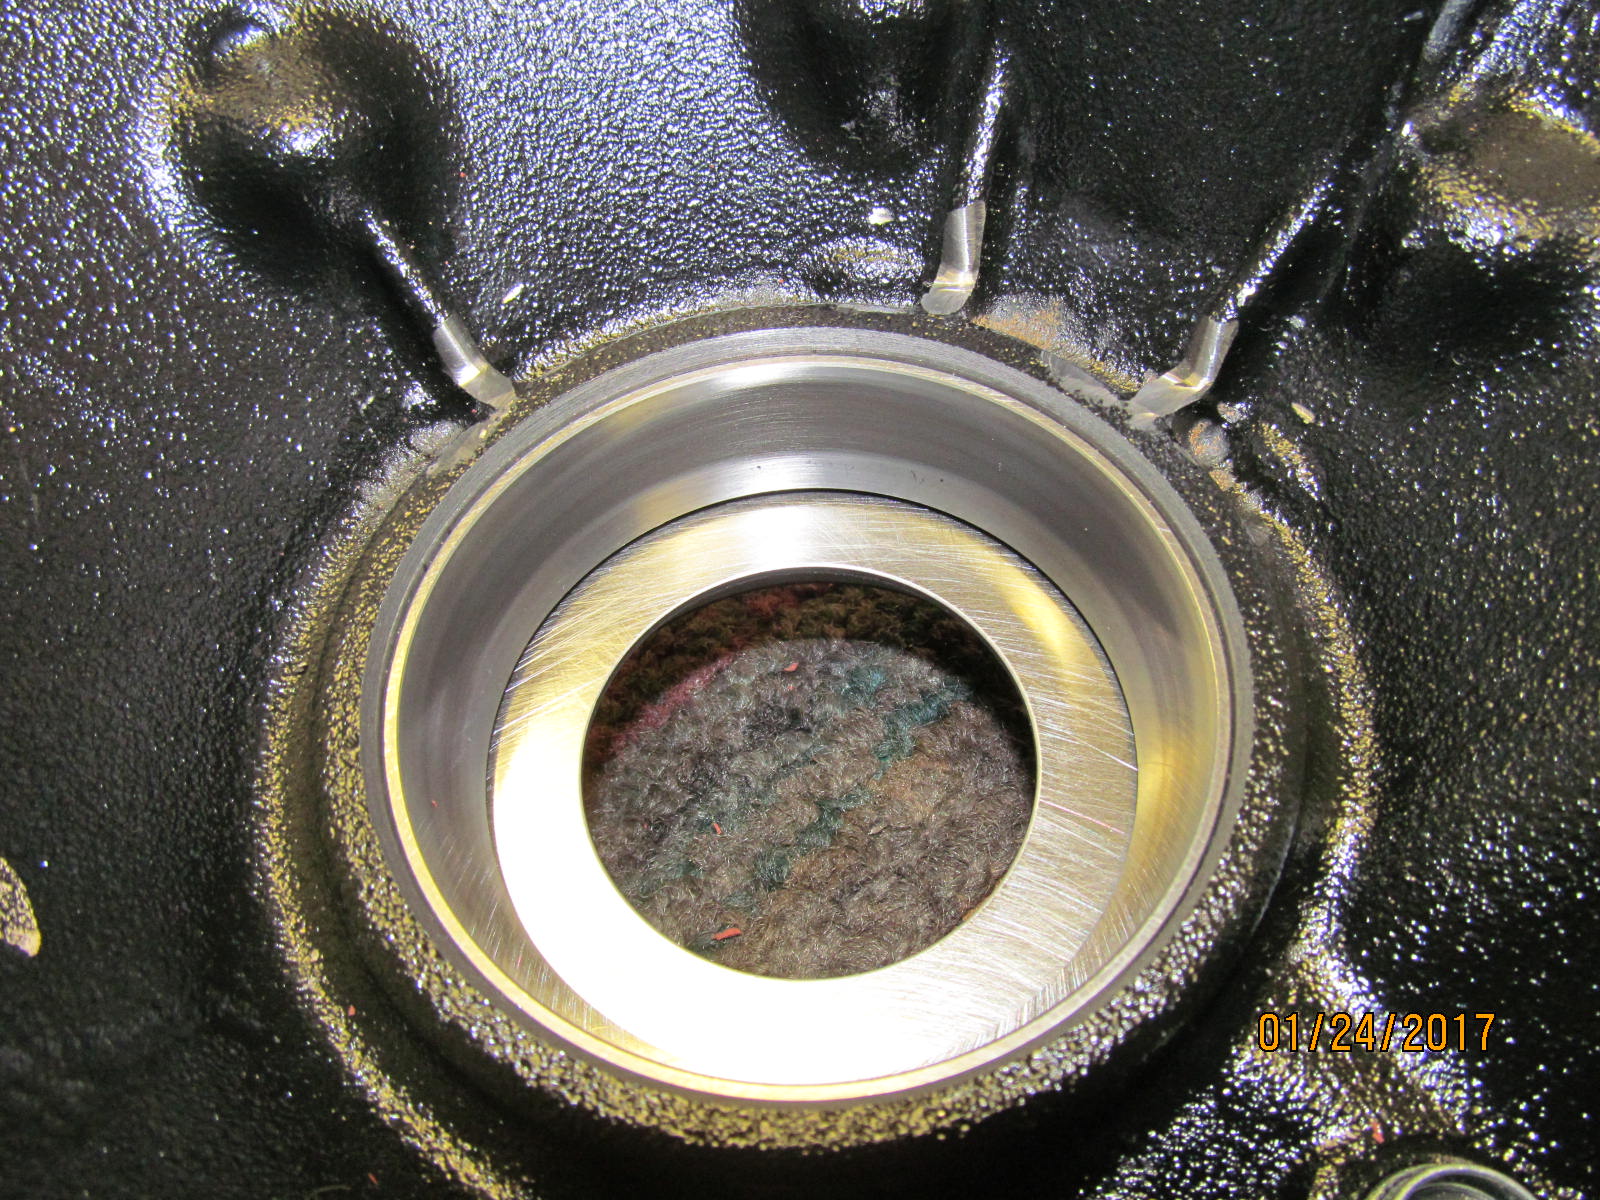
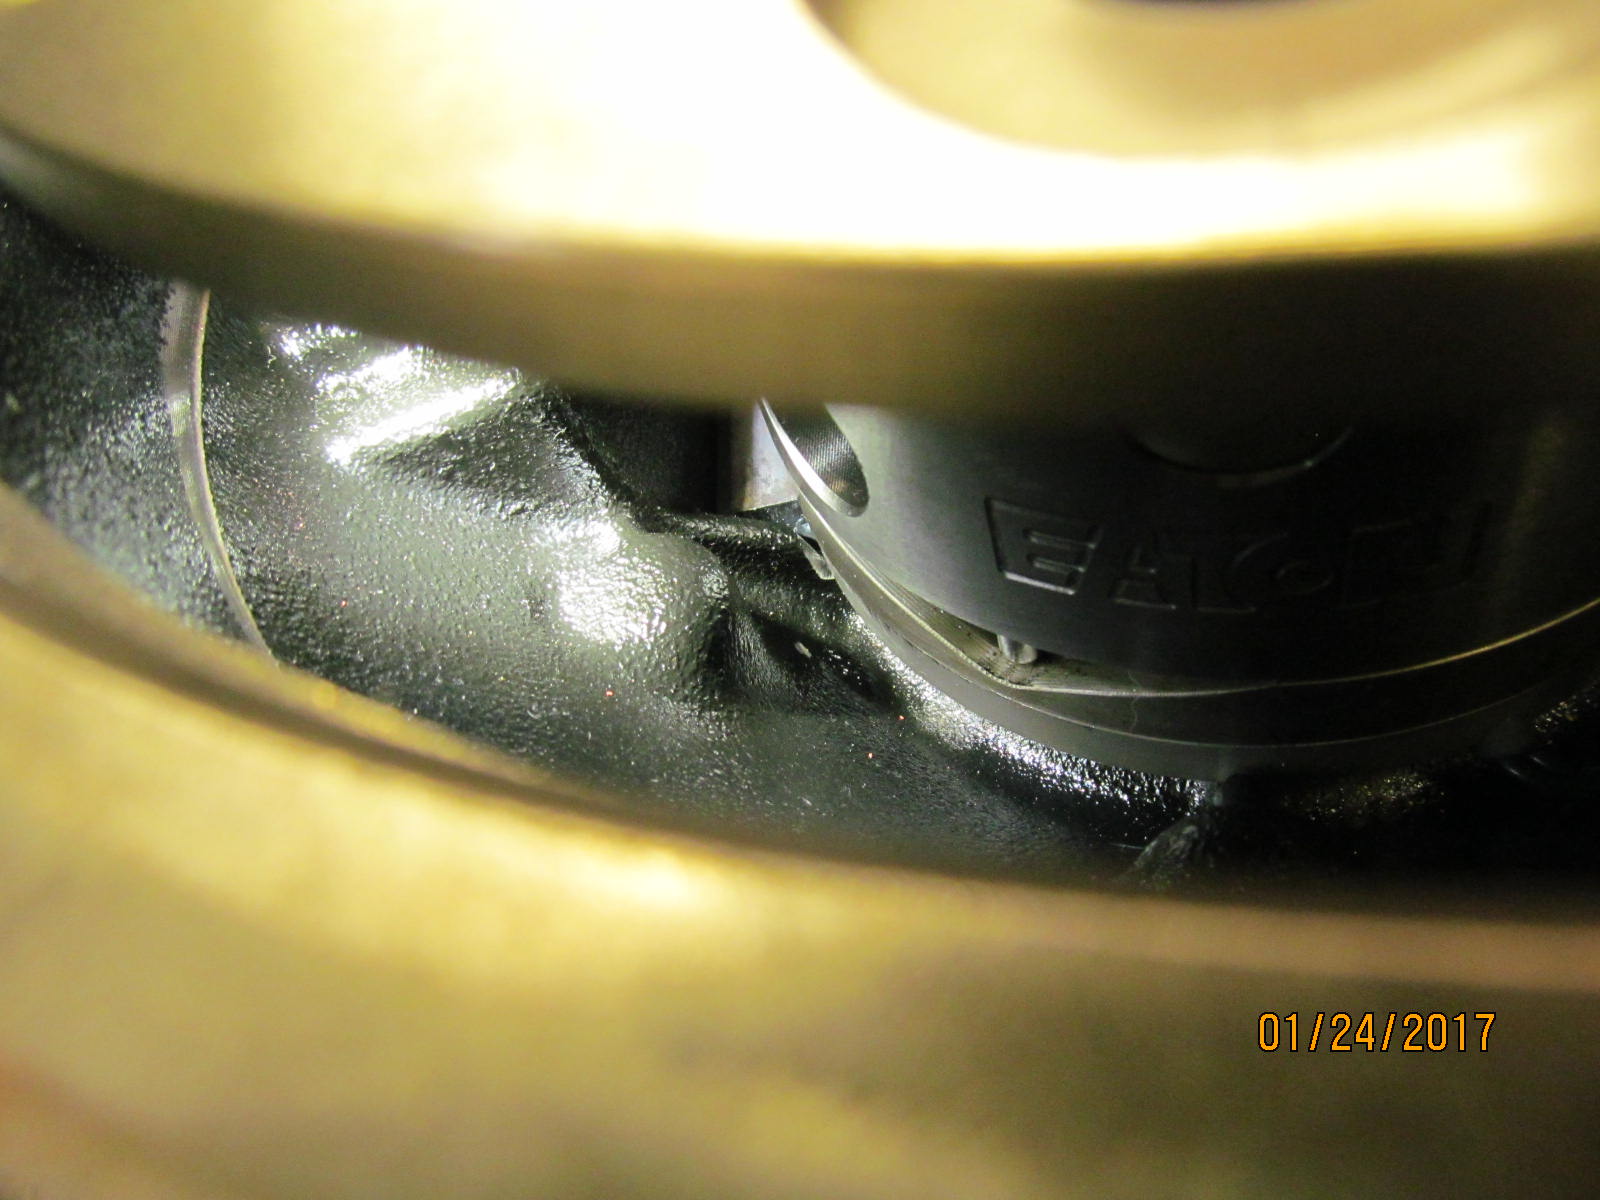
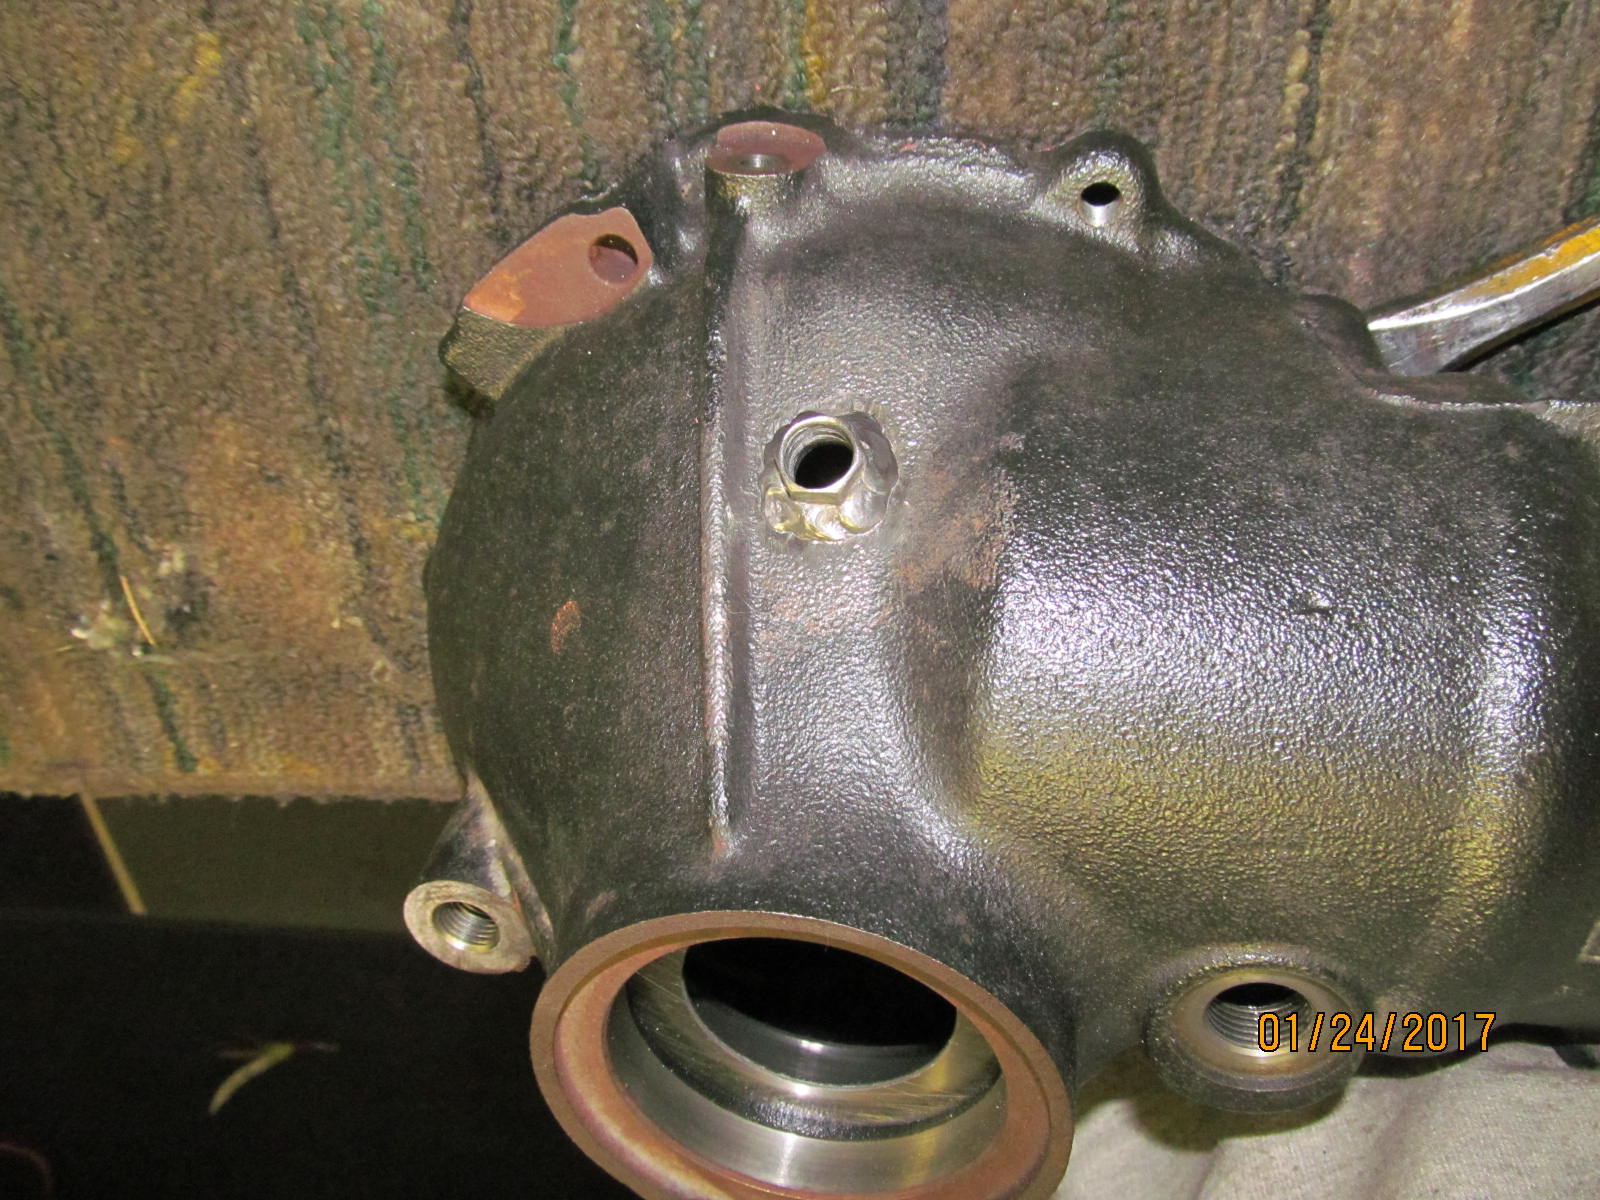
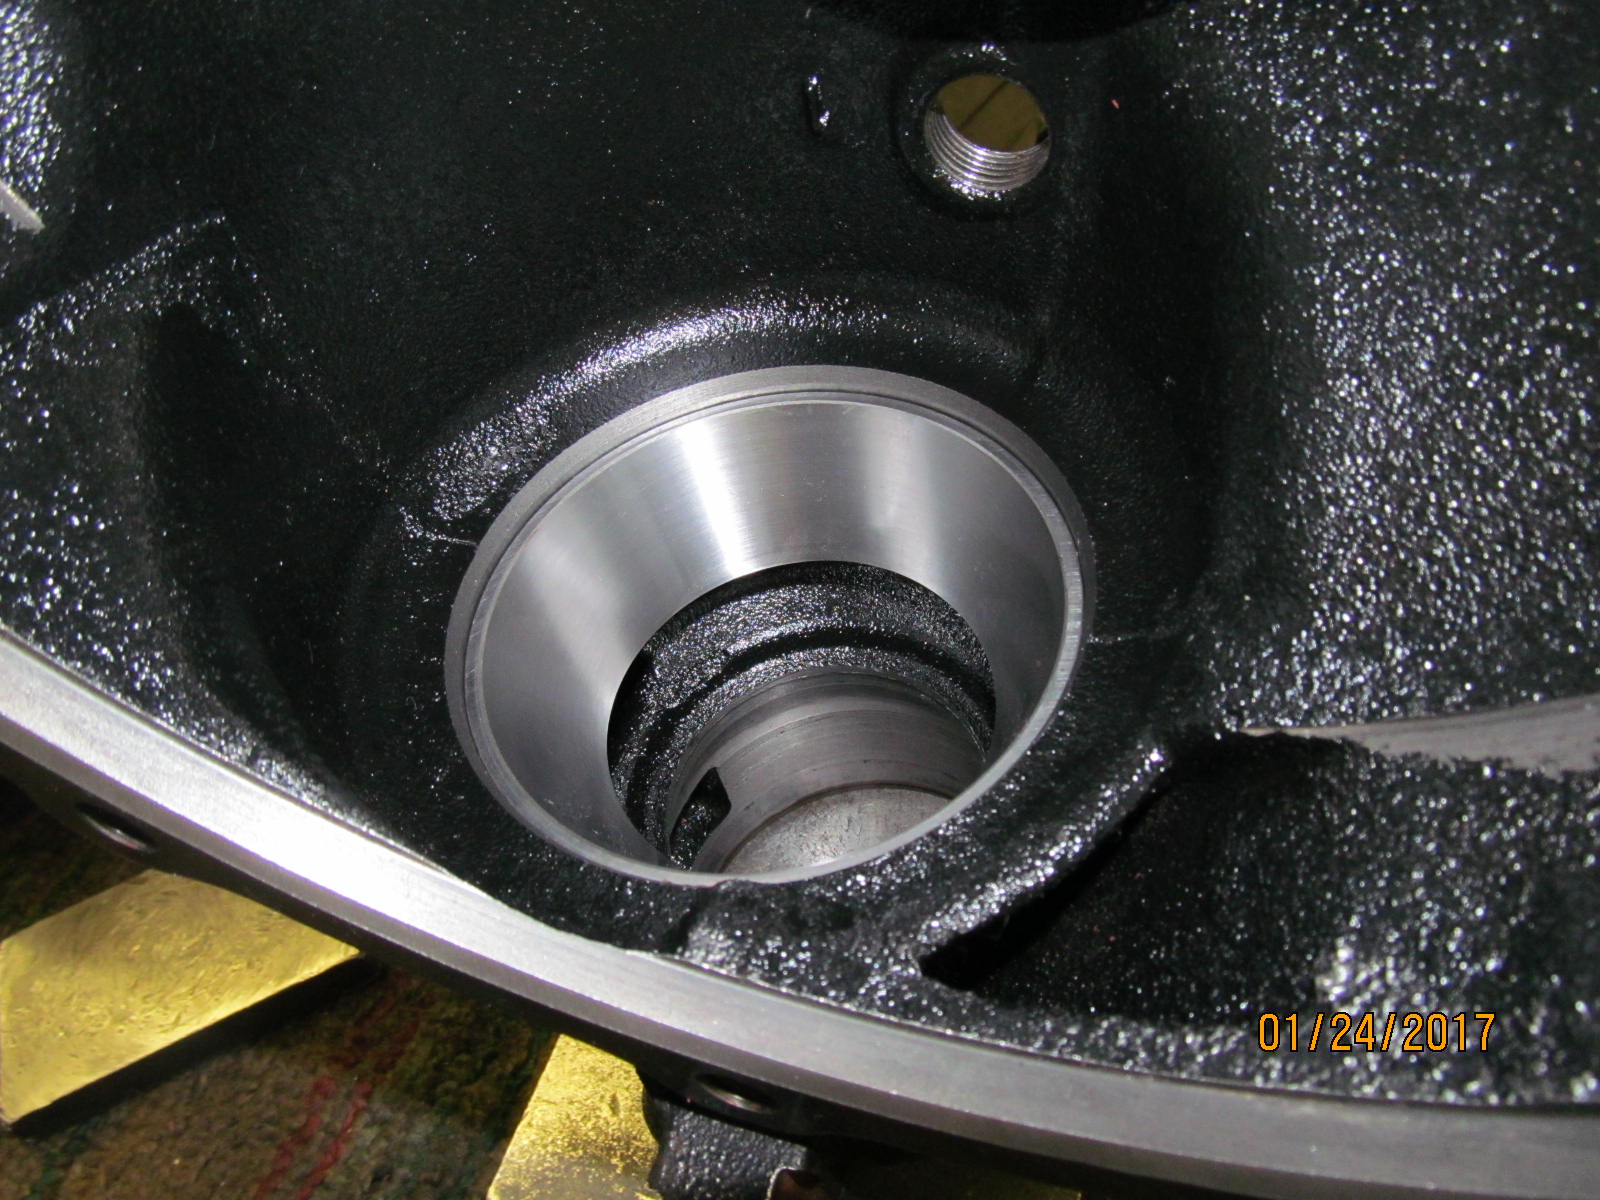
| The seal surface is in excellent condition....just a little bit of shine to it. |
|
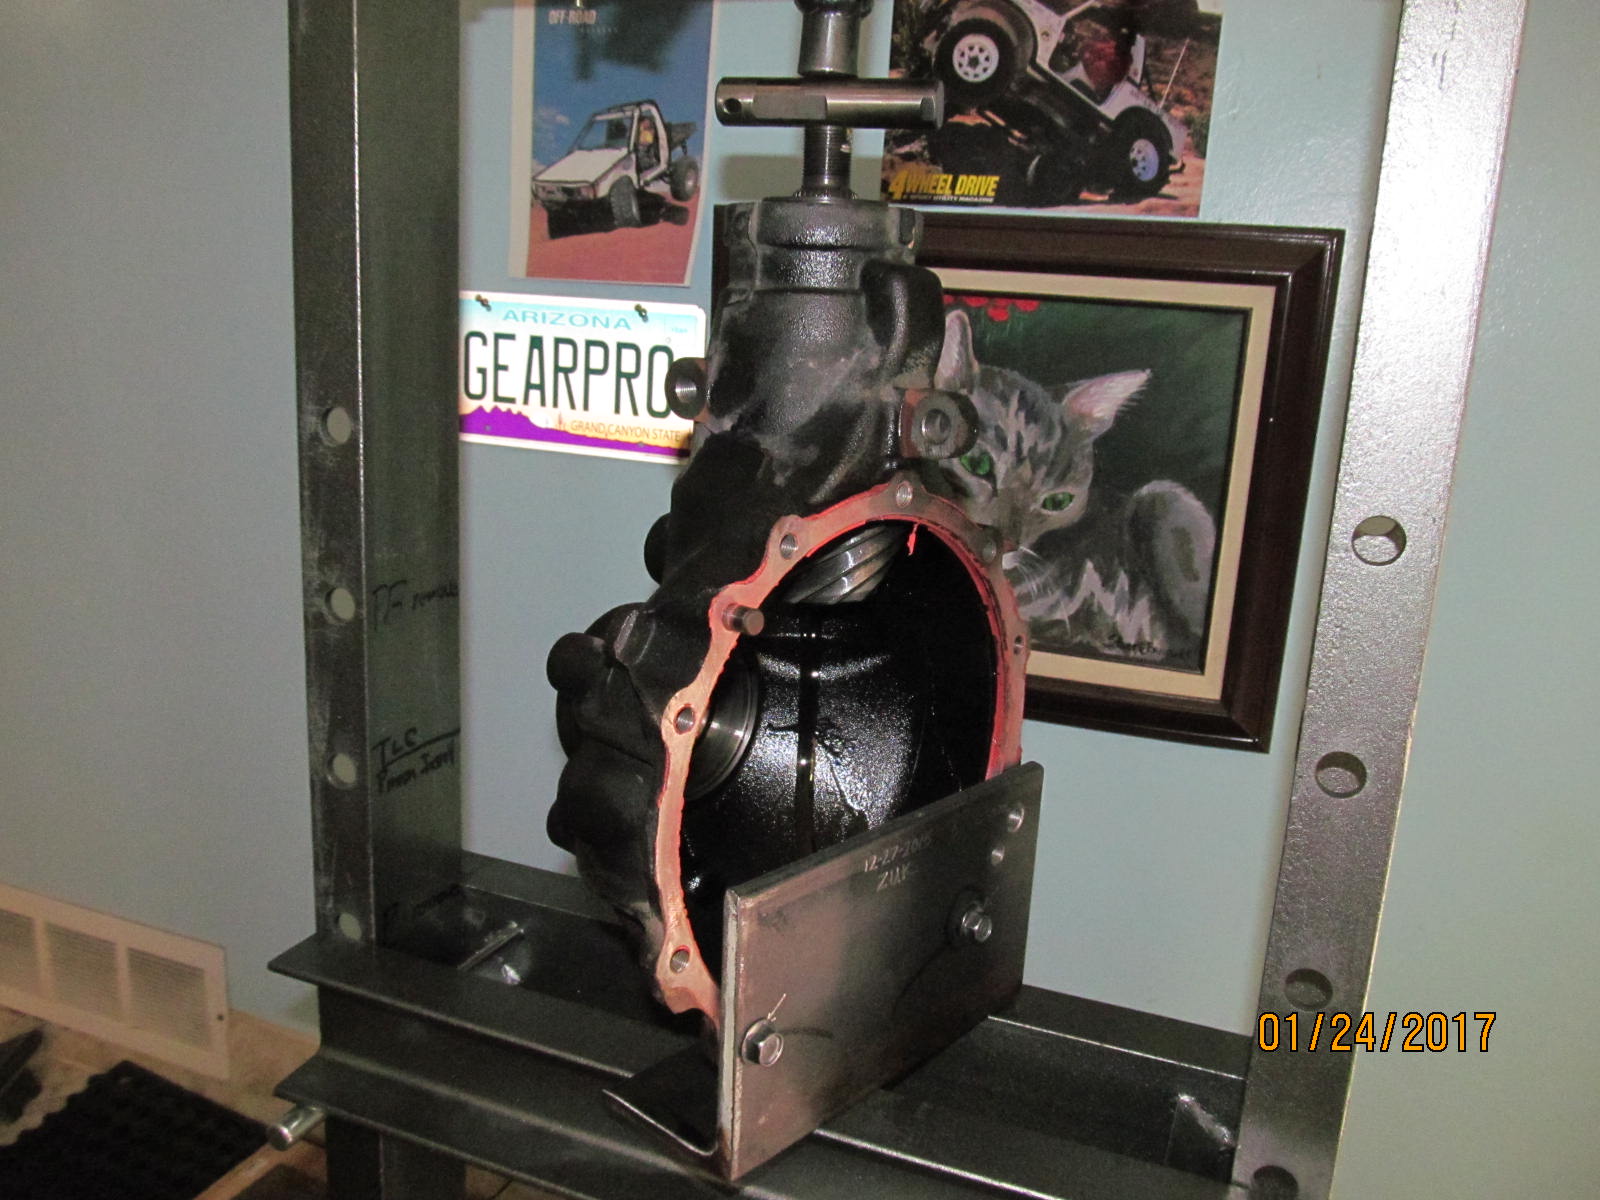
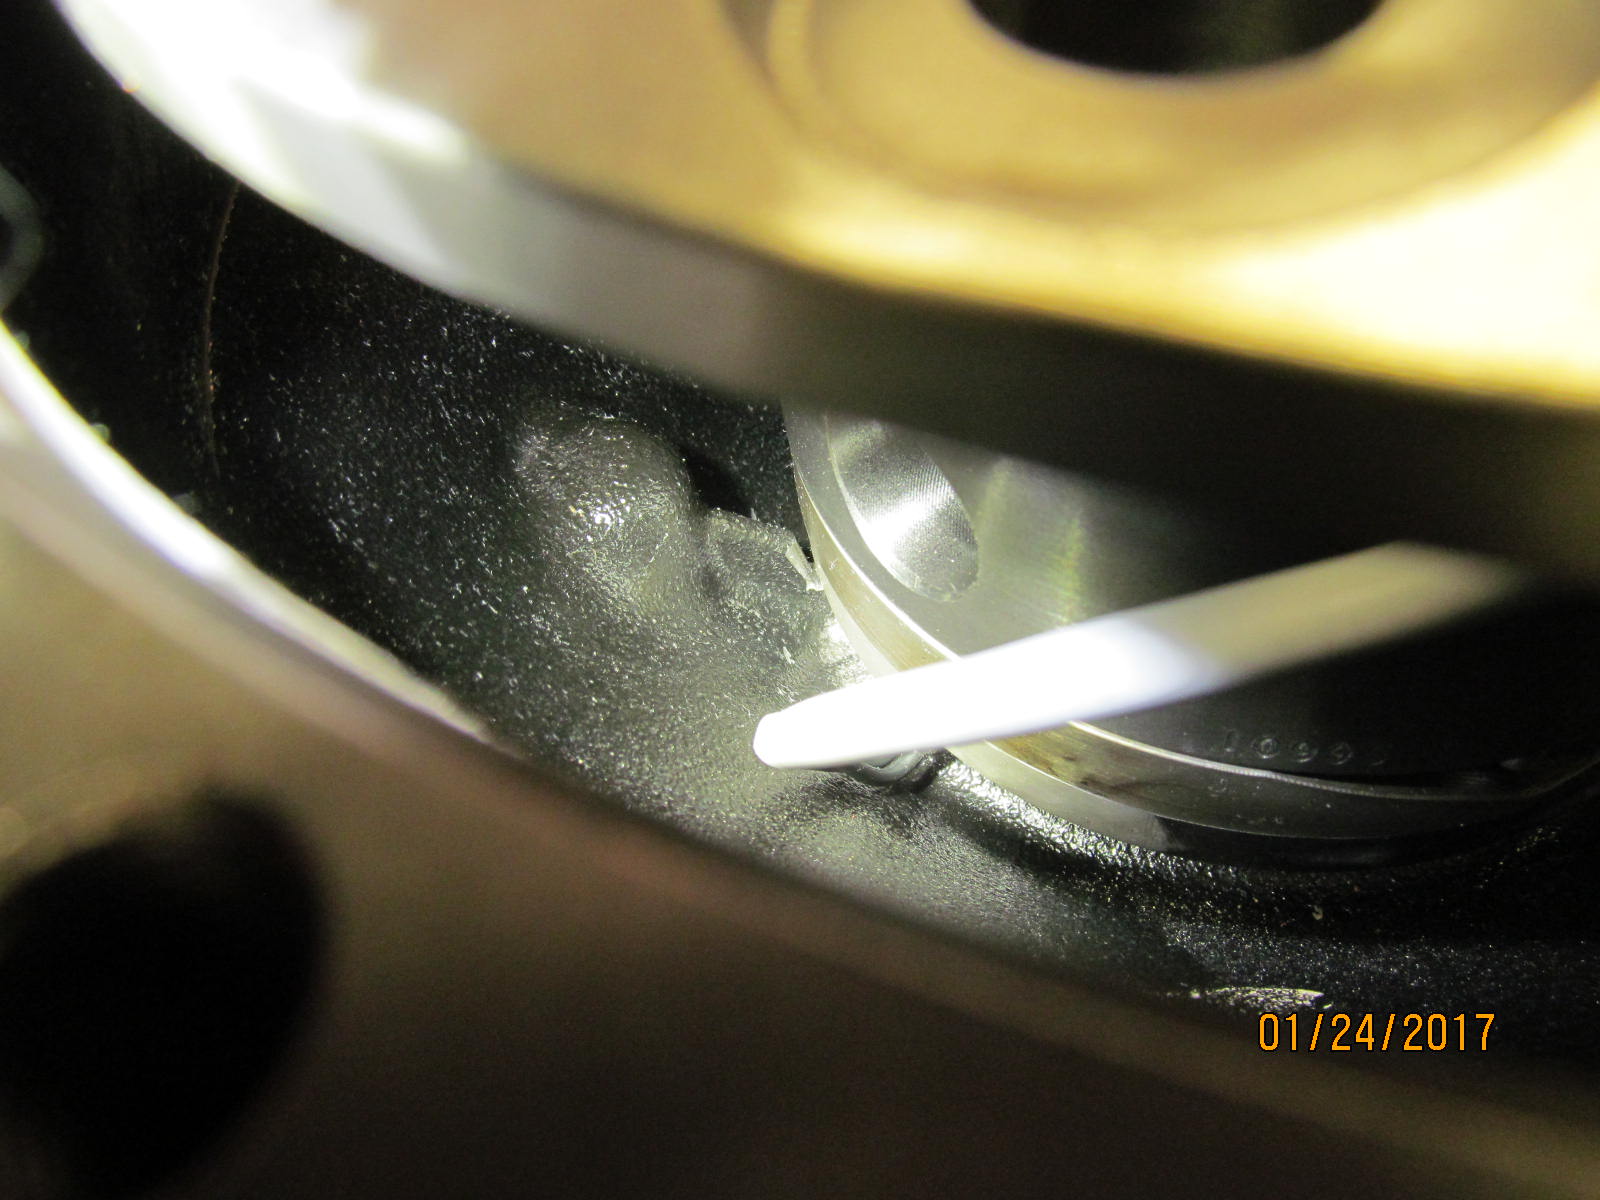
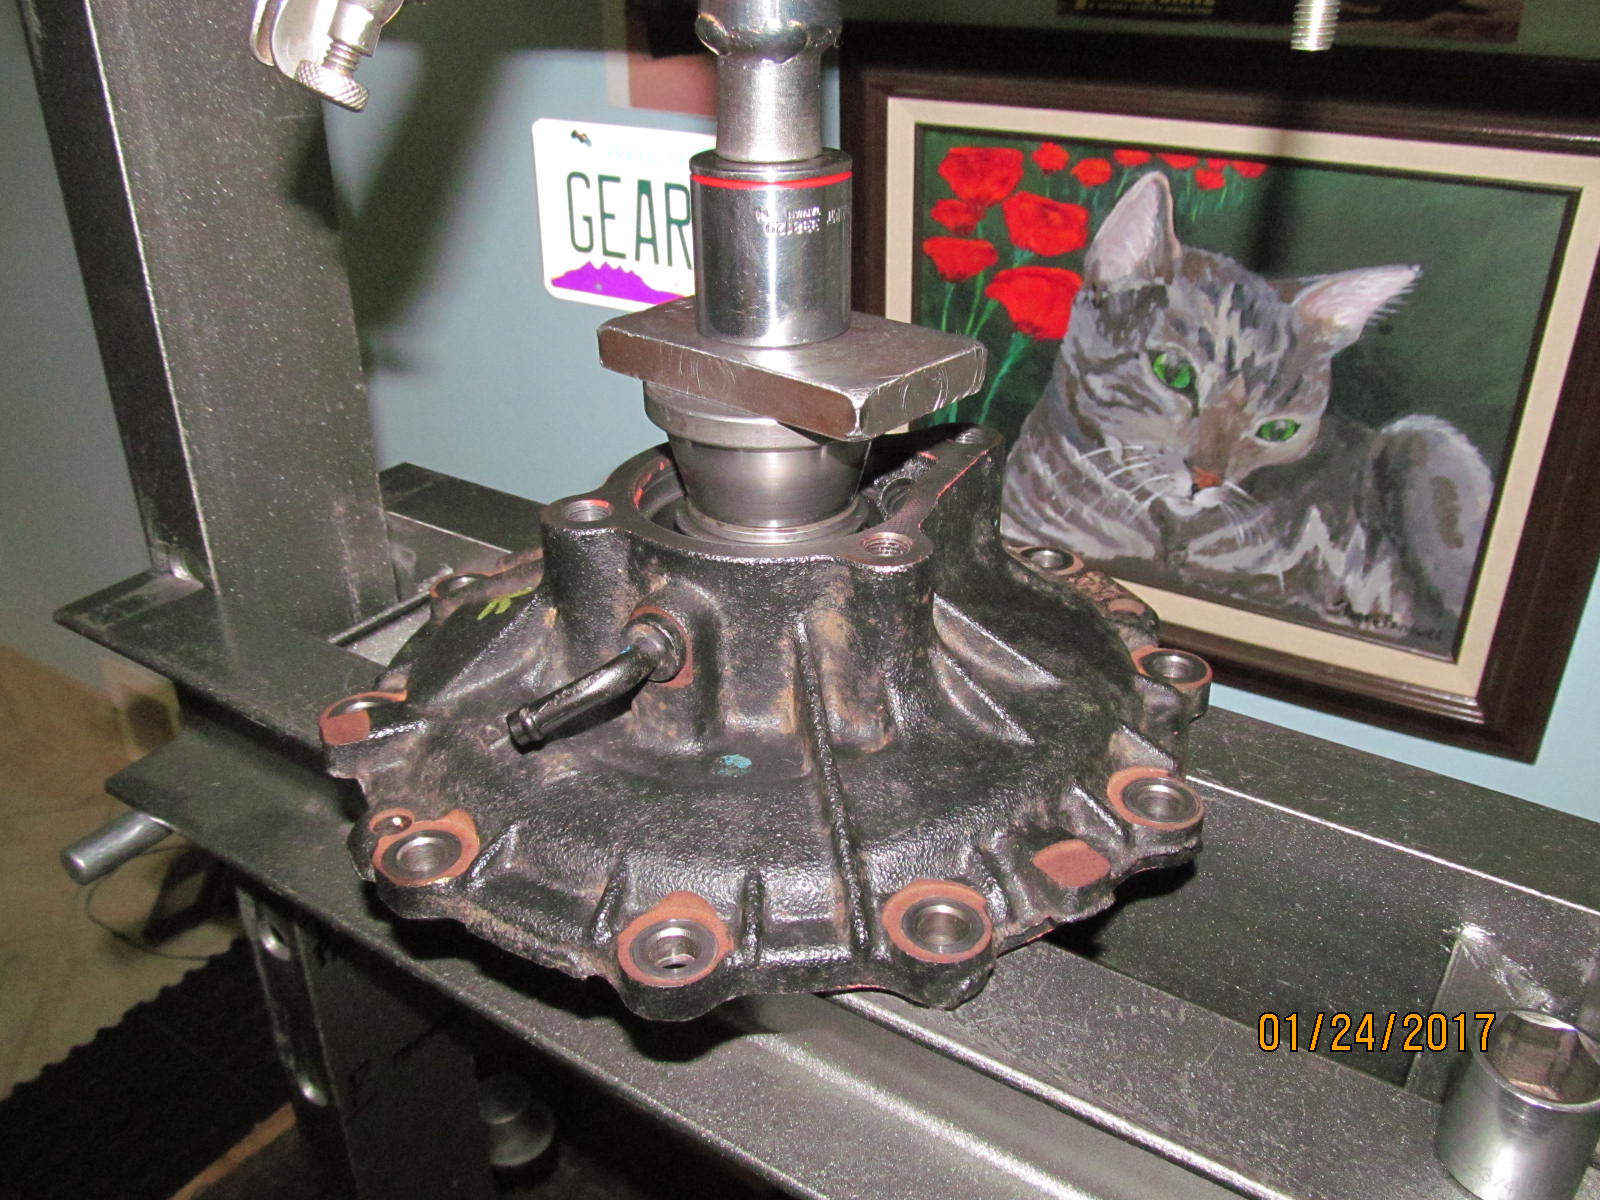
| Pressing the pinion out. |
|
| Removing the old factory seal. |
|
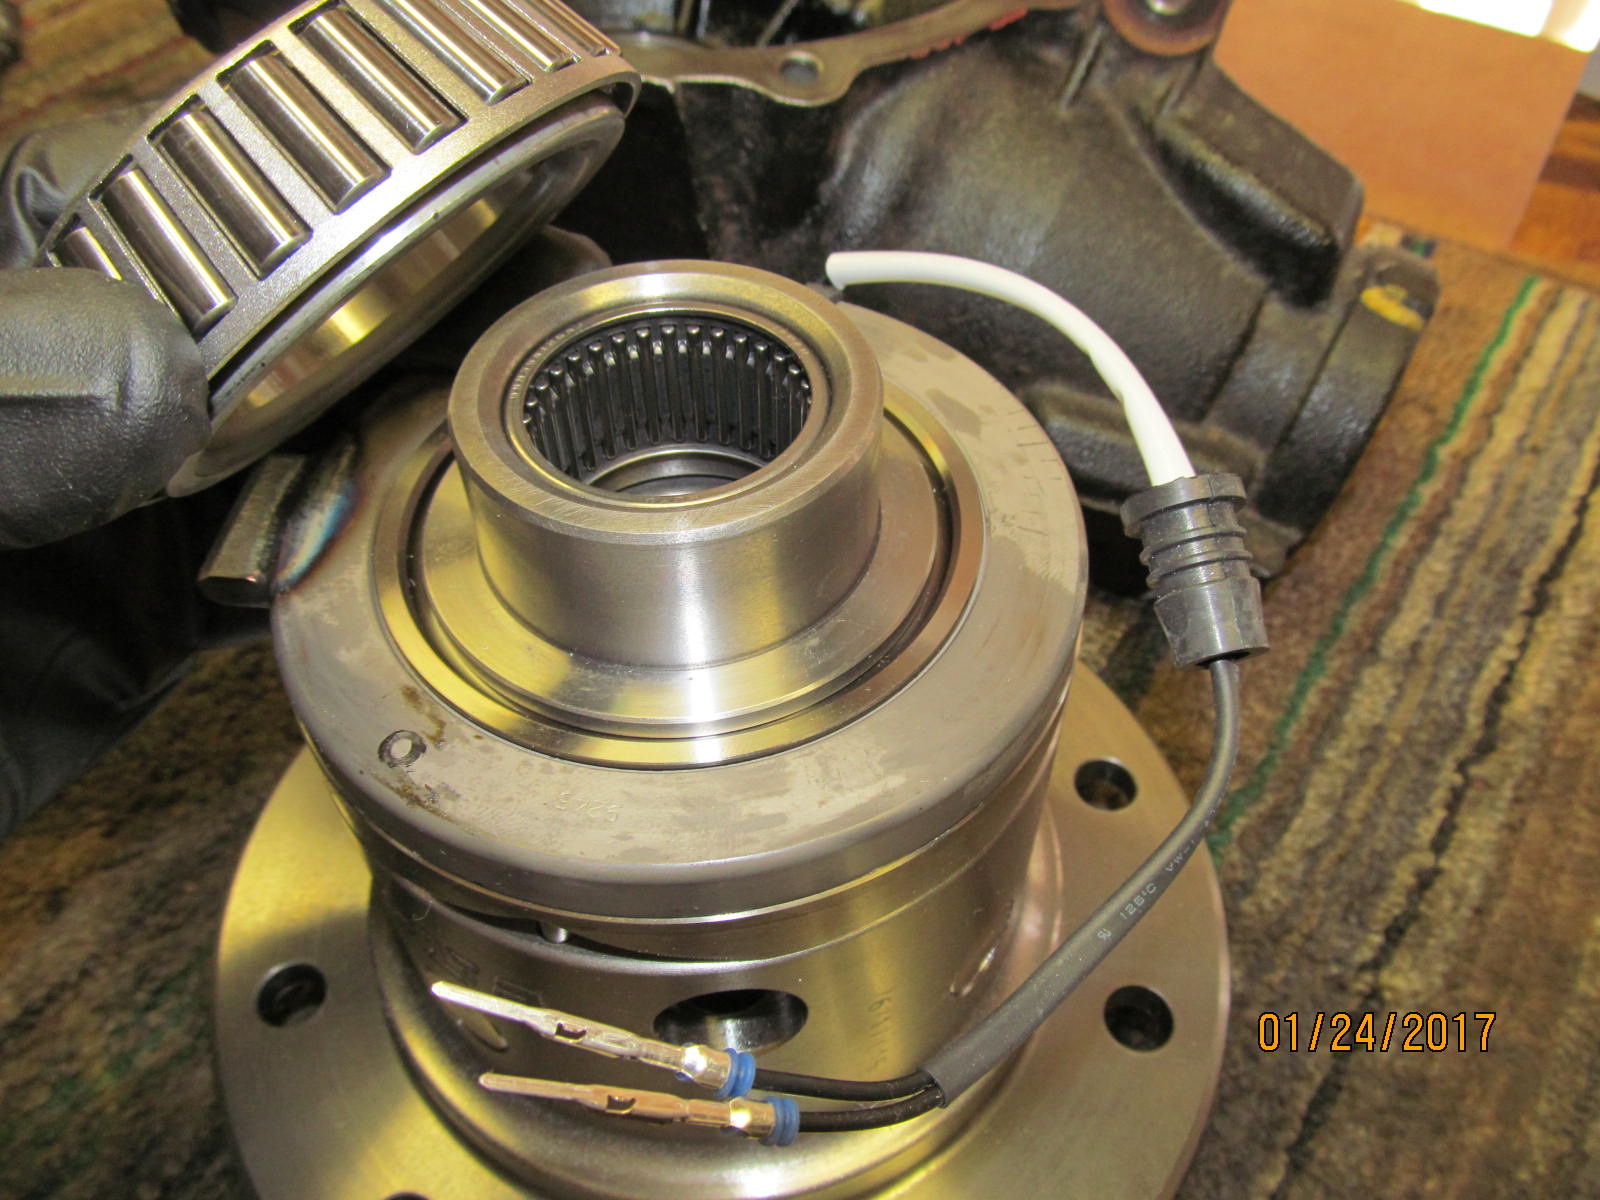
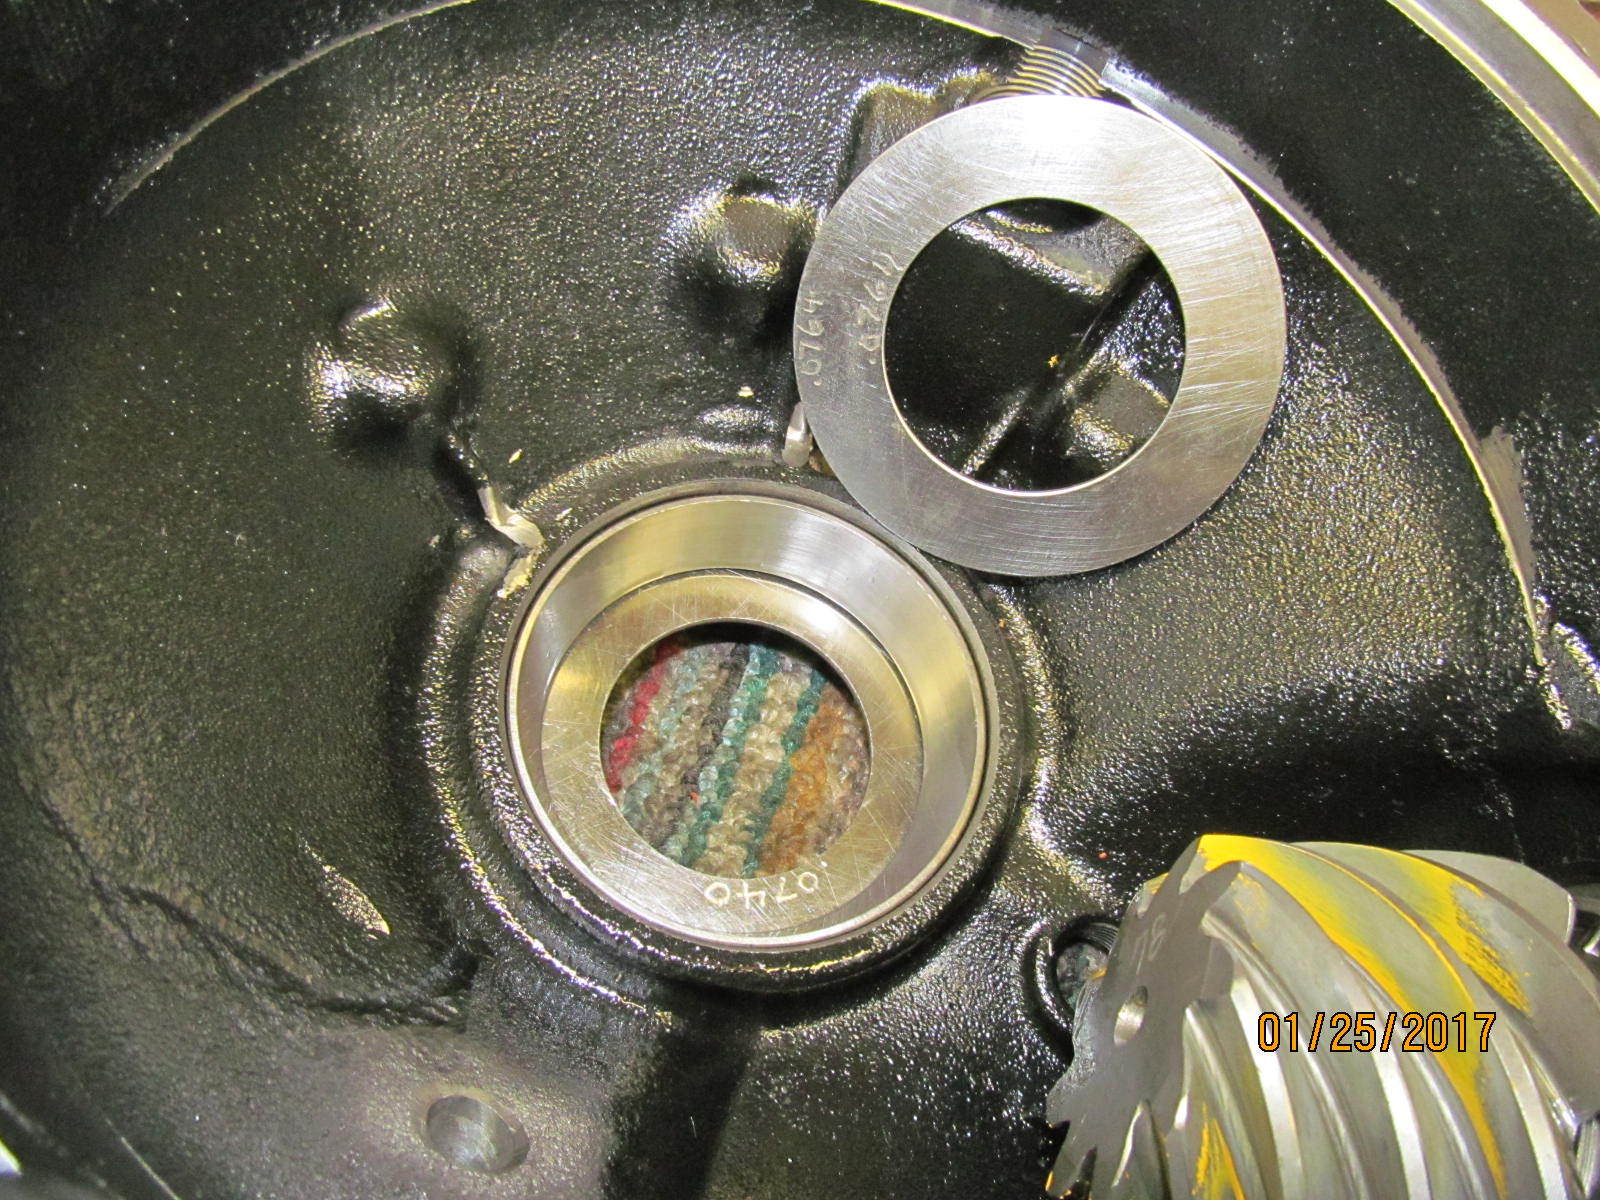
| Carrier bearings can go on now... |
|
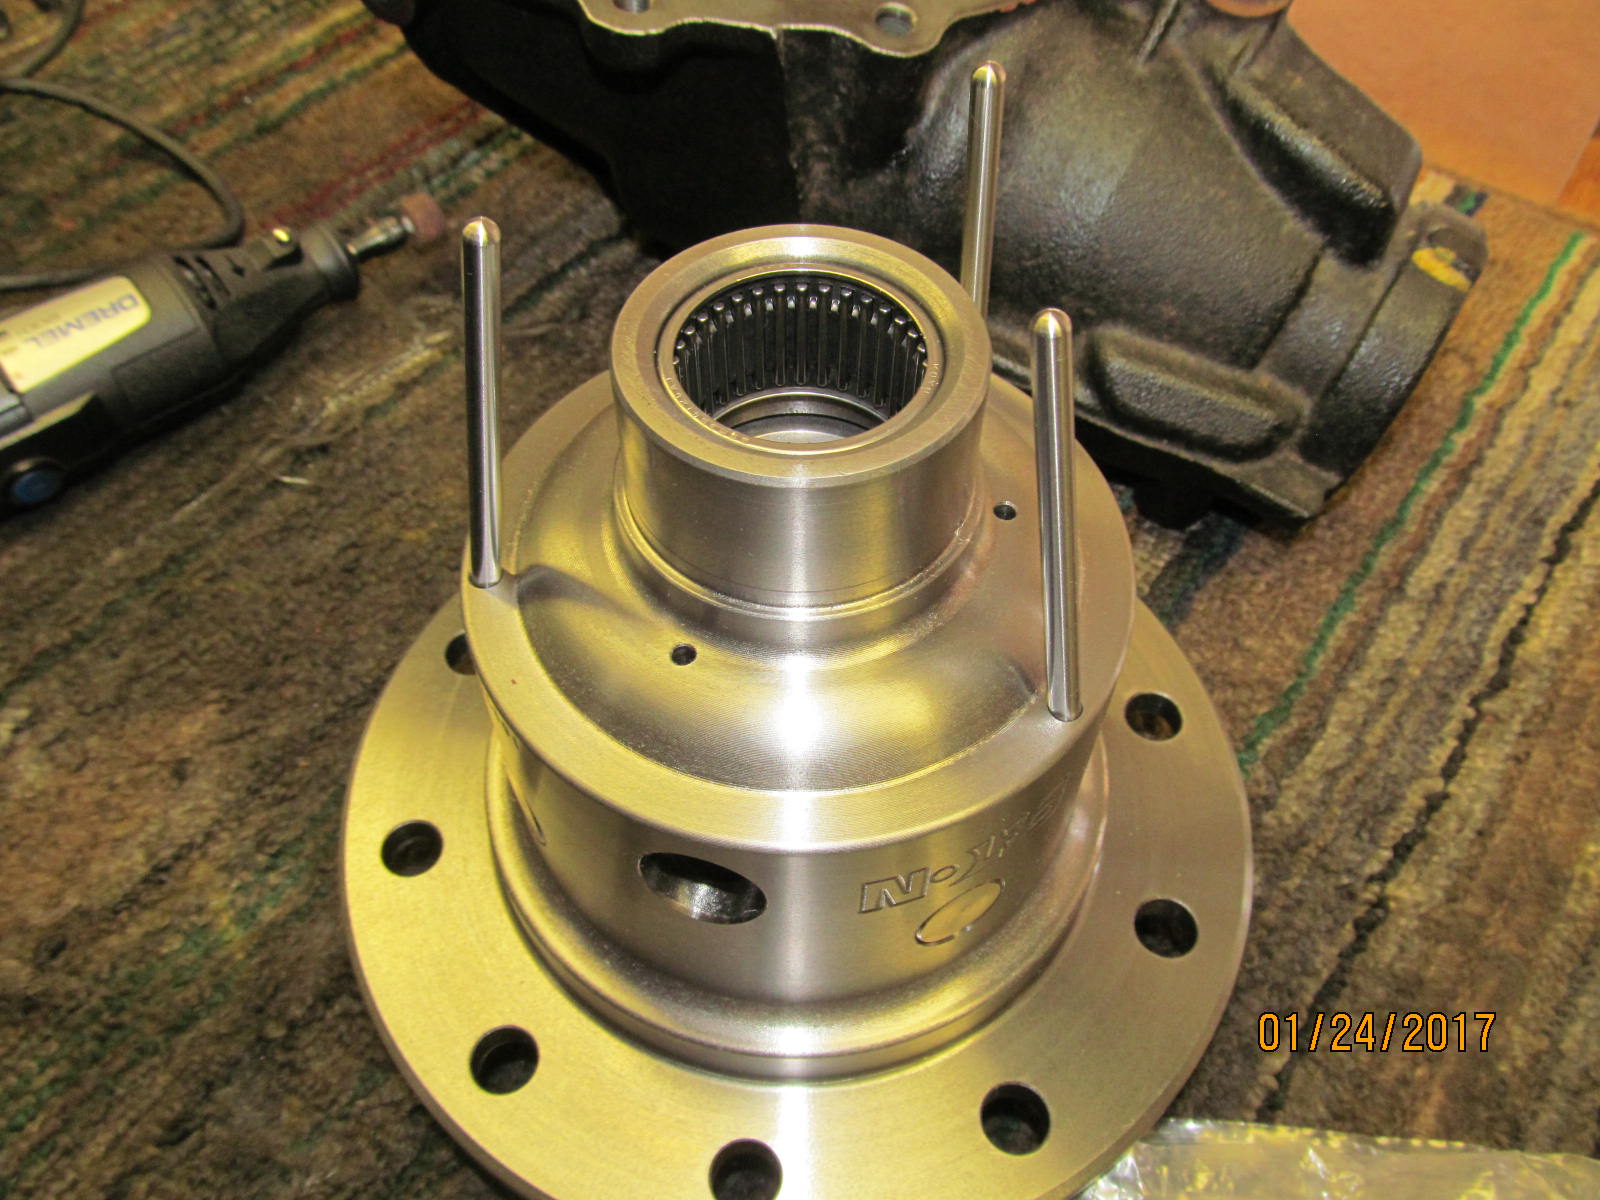
| ...but the electro-magnet assembly needs to go on first. 3 pins go in... |
|
| ...then the ramp plate... |
|
| ...then the bearing thrust washer... |
|
| ...then the grey electro-magnet in conjunction with the bearing race... |
|
| ...and finally the bearing spacer... |
|
| ....which taps down that last .100" or so with a mild press fit. Not hard hammer hits...just light taps. |
|
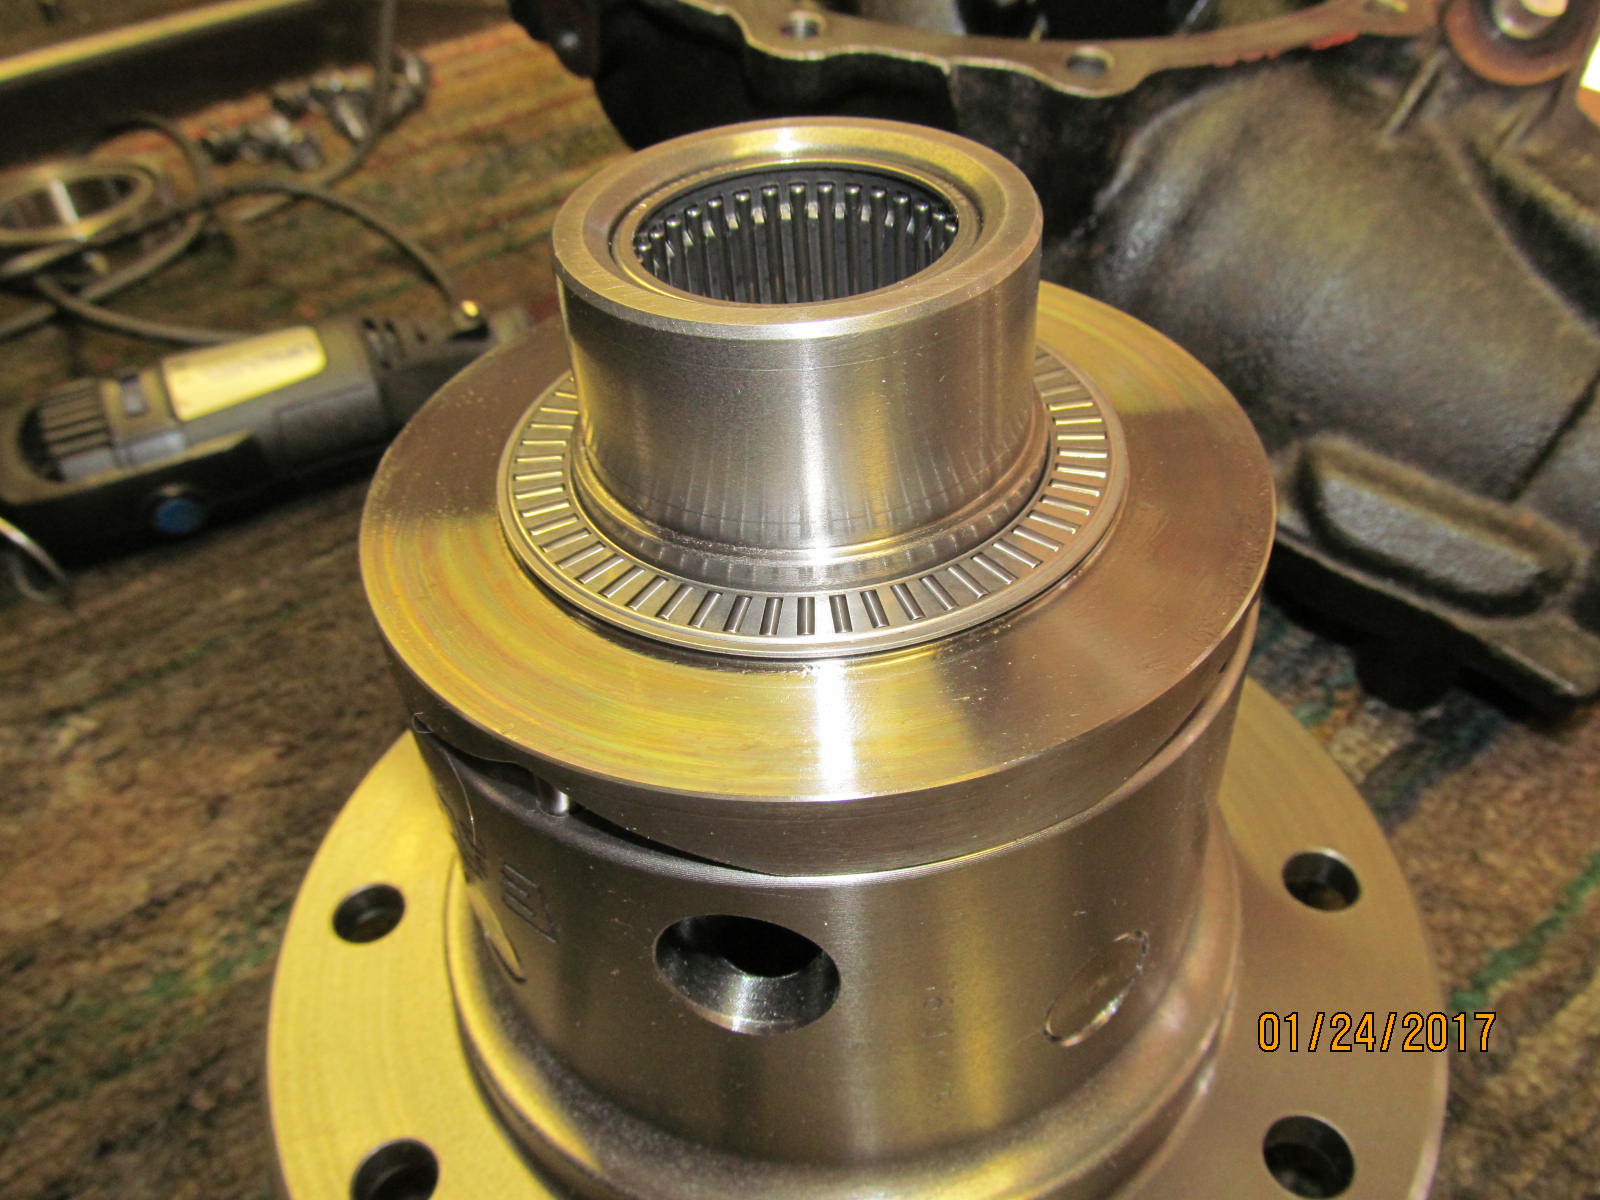
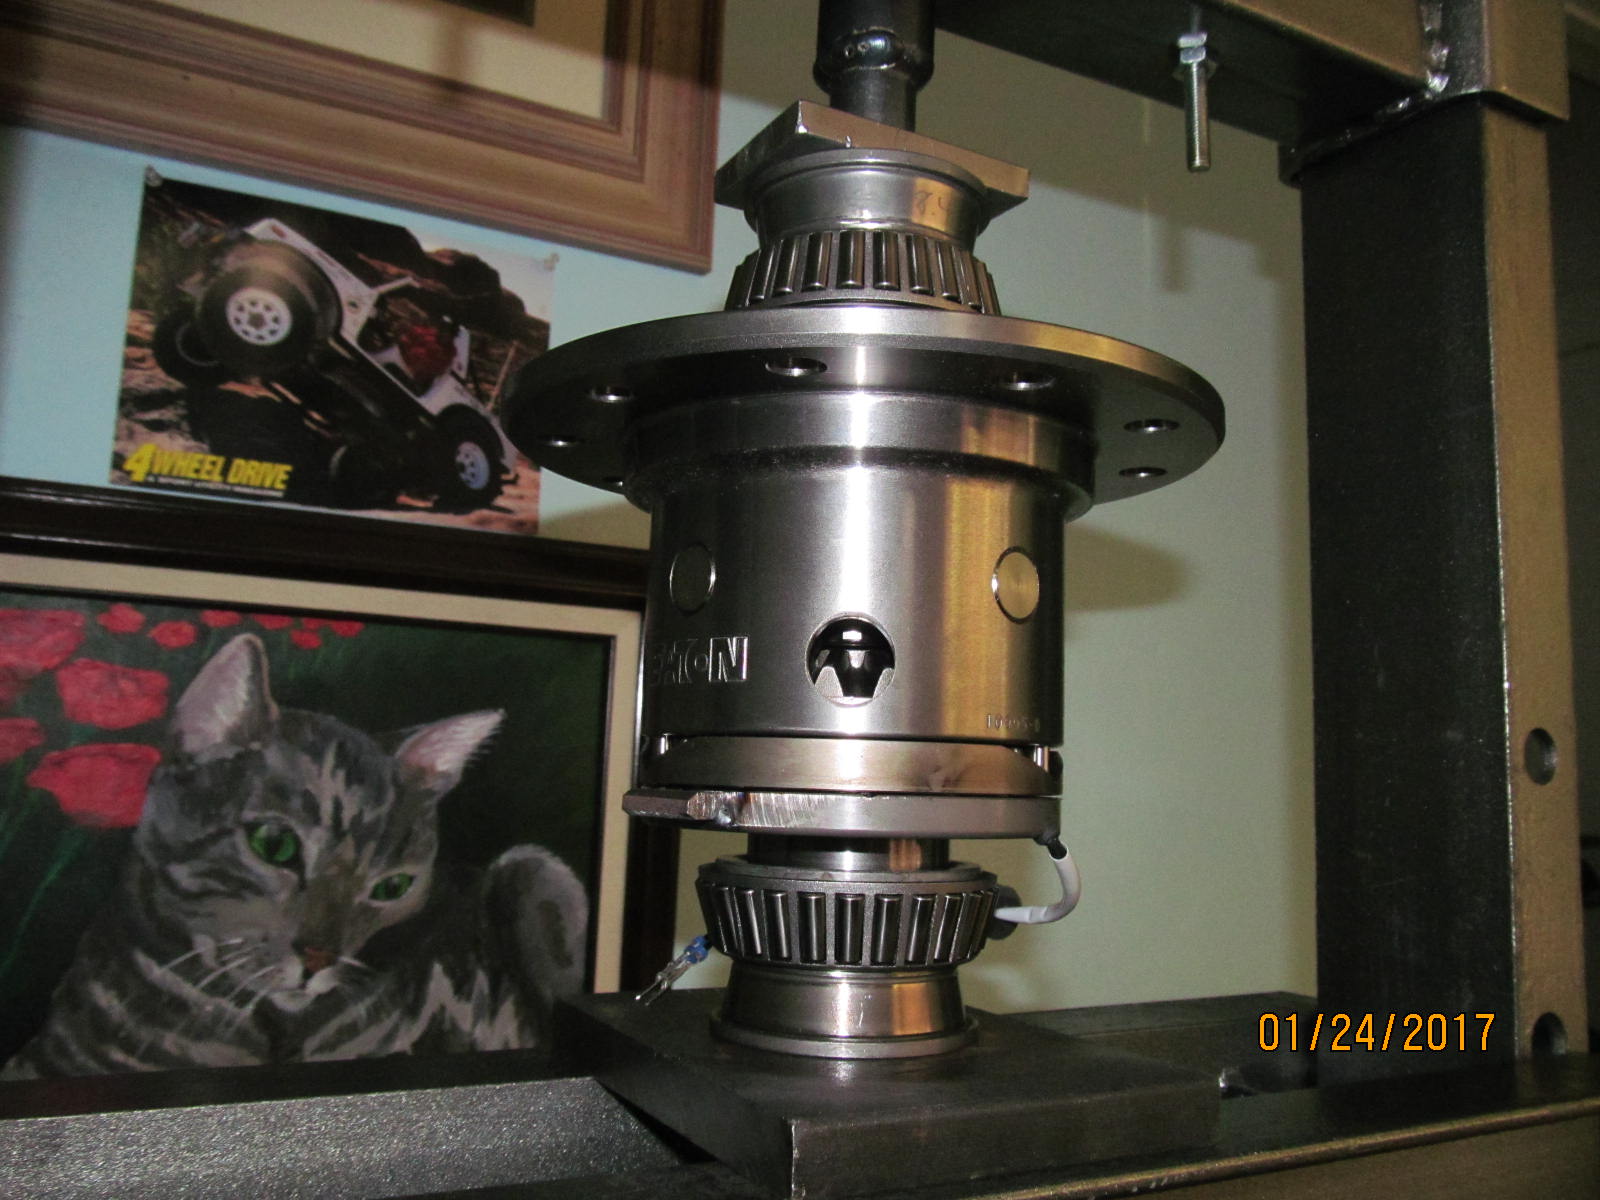
| Now the carrier bearing can be pressed on. |
|
| Nice tight press fit as usual with the Harrop journals. |
|
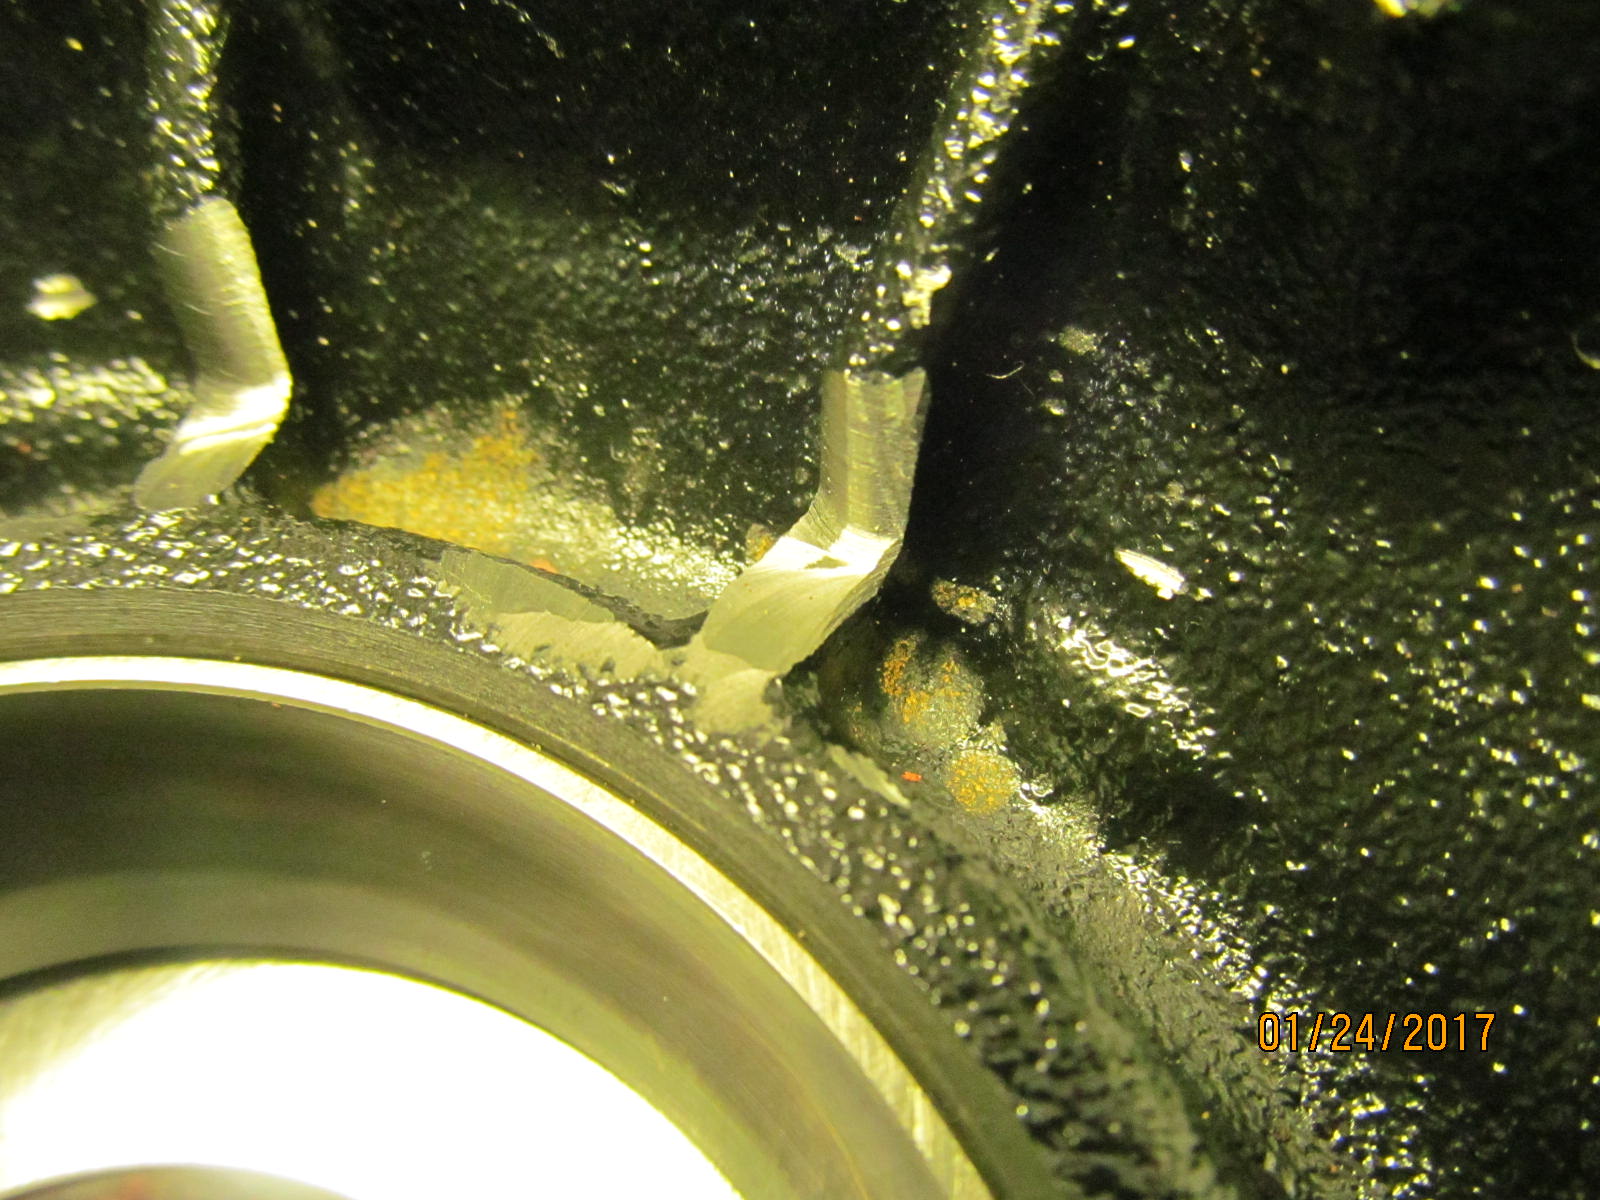
| Not the time to actually replace the old race....but definitely time to grind a notch in the 3 ribs. |
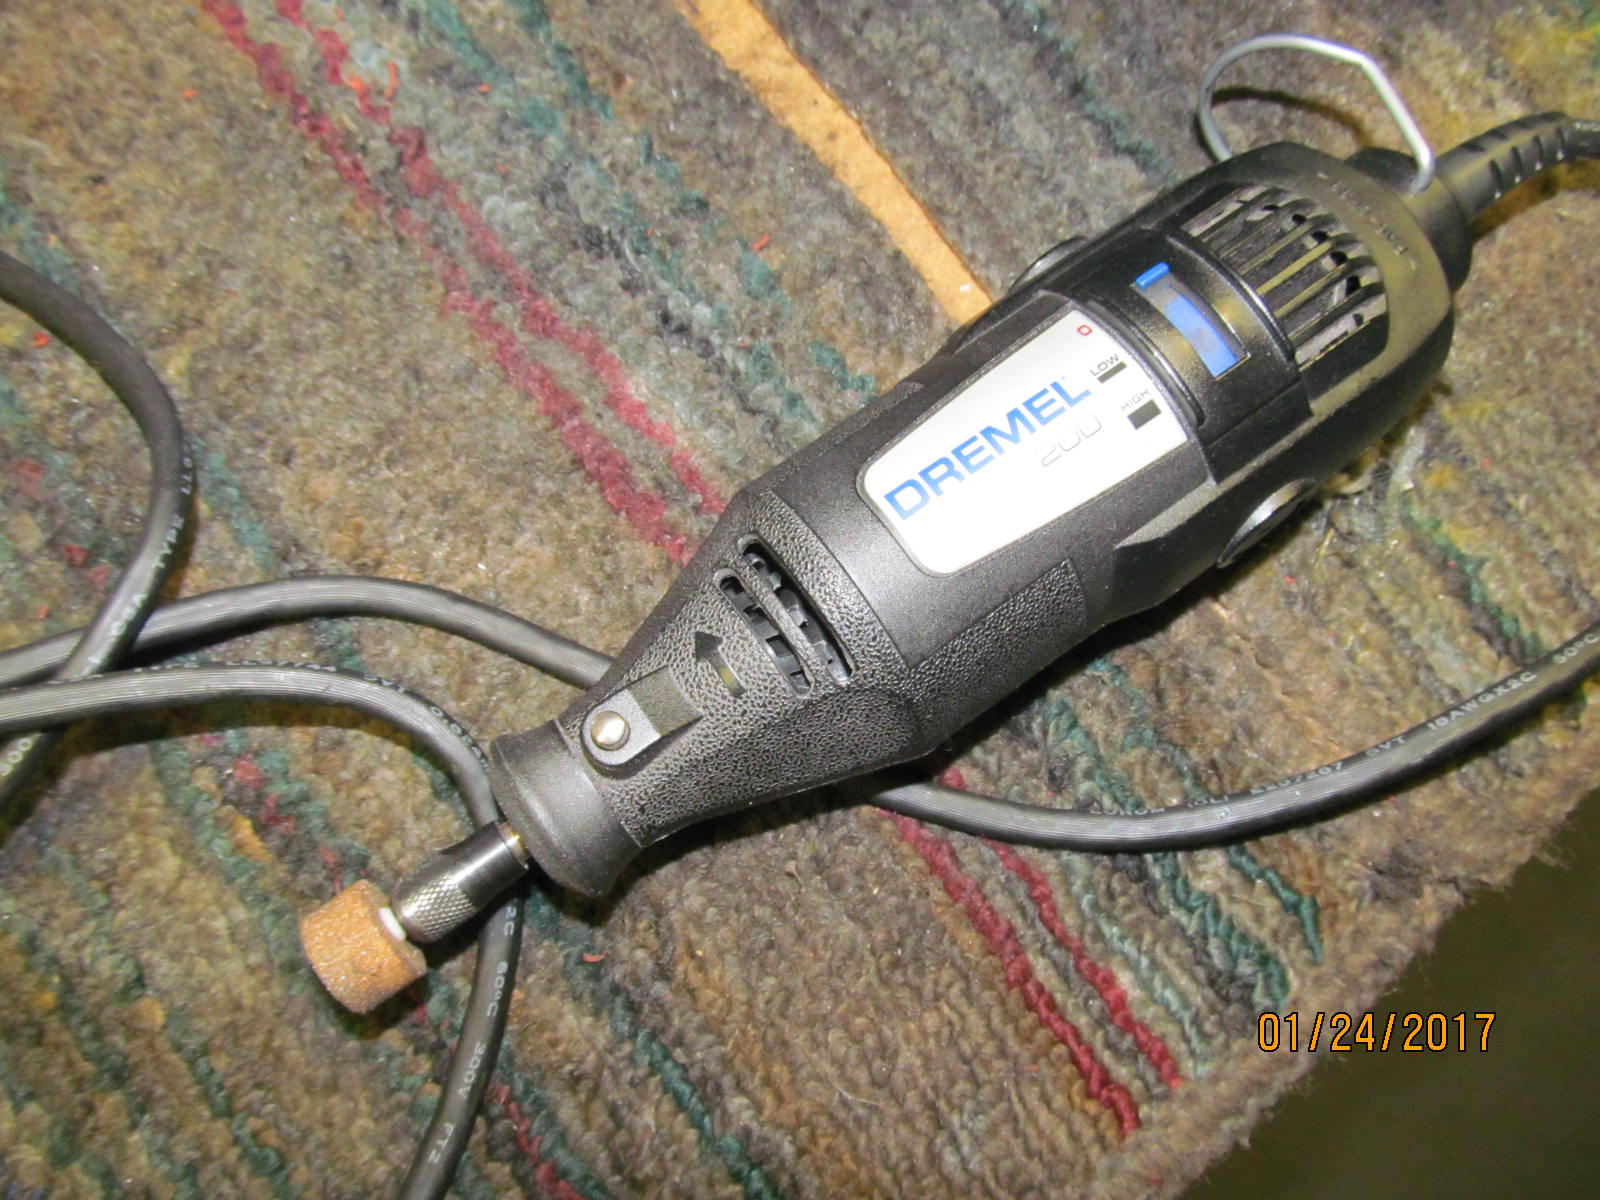
|
| The dremel is the best tool for this. |
|
| A lot of grinding dust so did not want the new race in tere. |
|
| All 3 ribs were ground into....only takes about 30 seconds per rib. |
|
| ............................ |
|
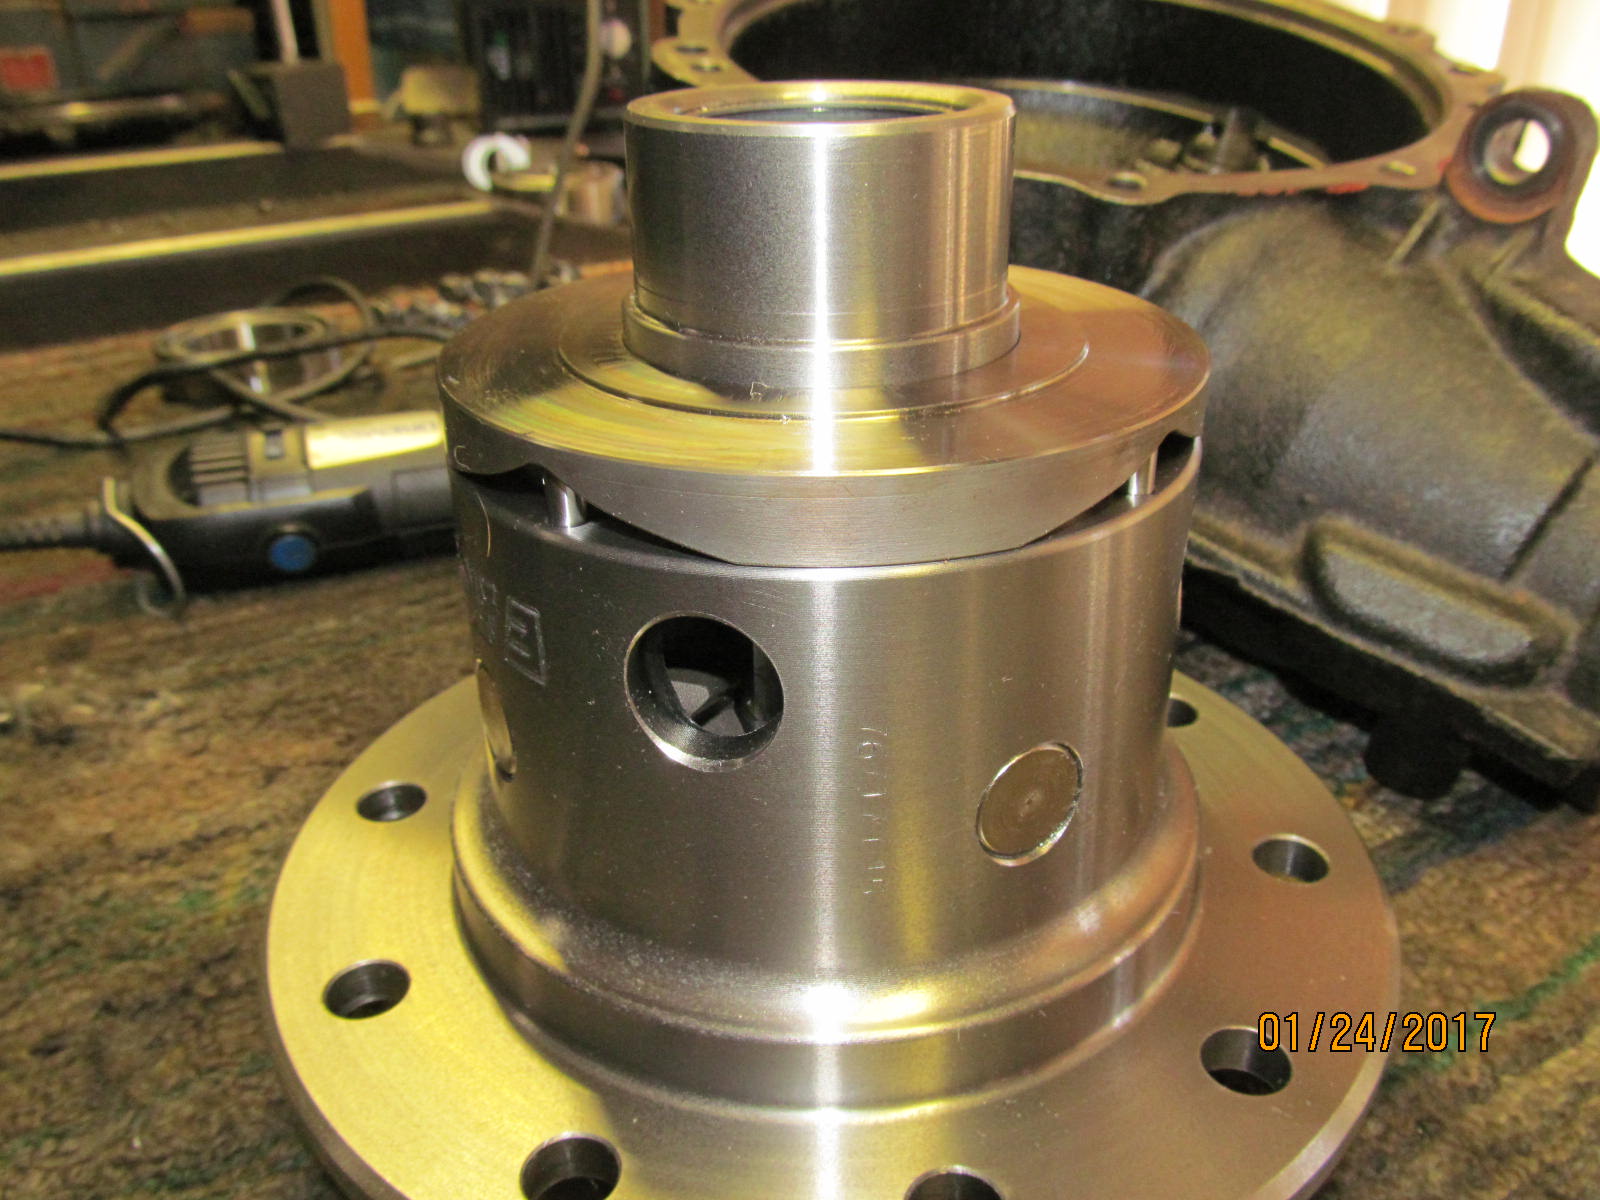
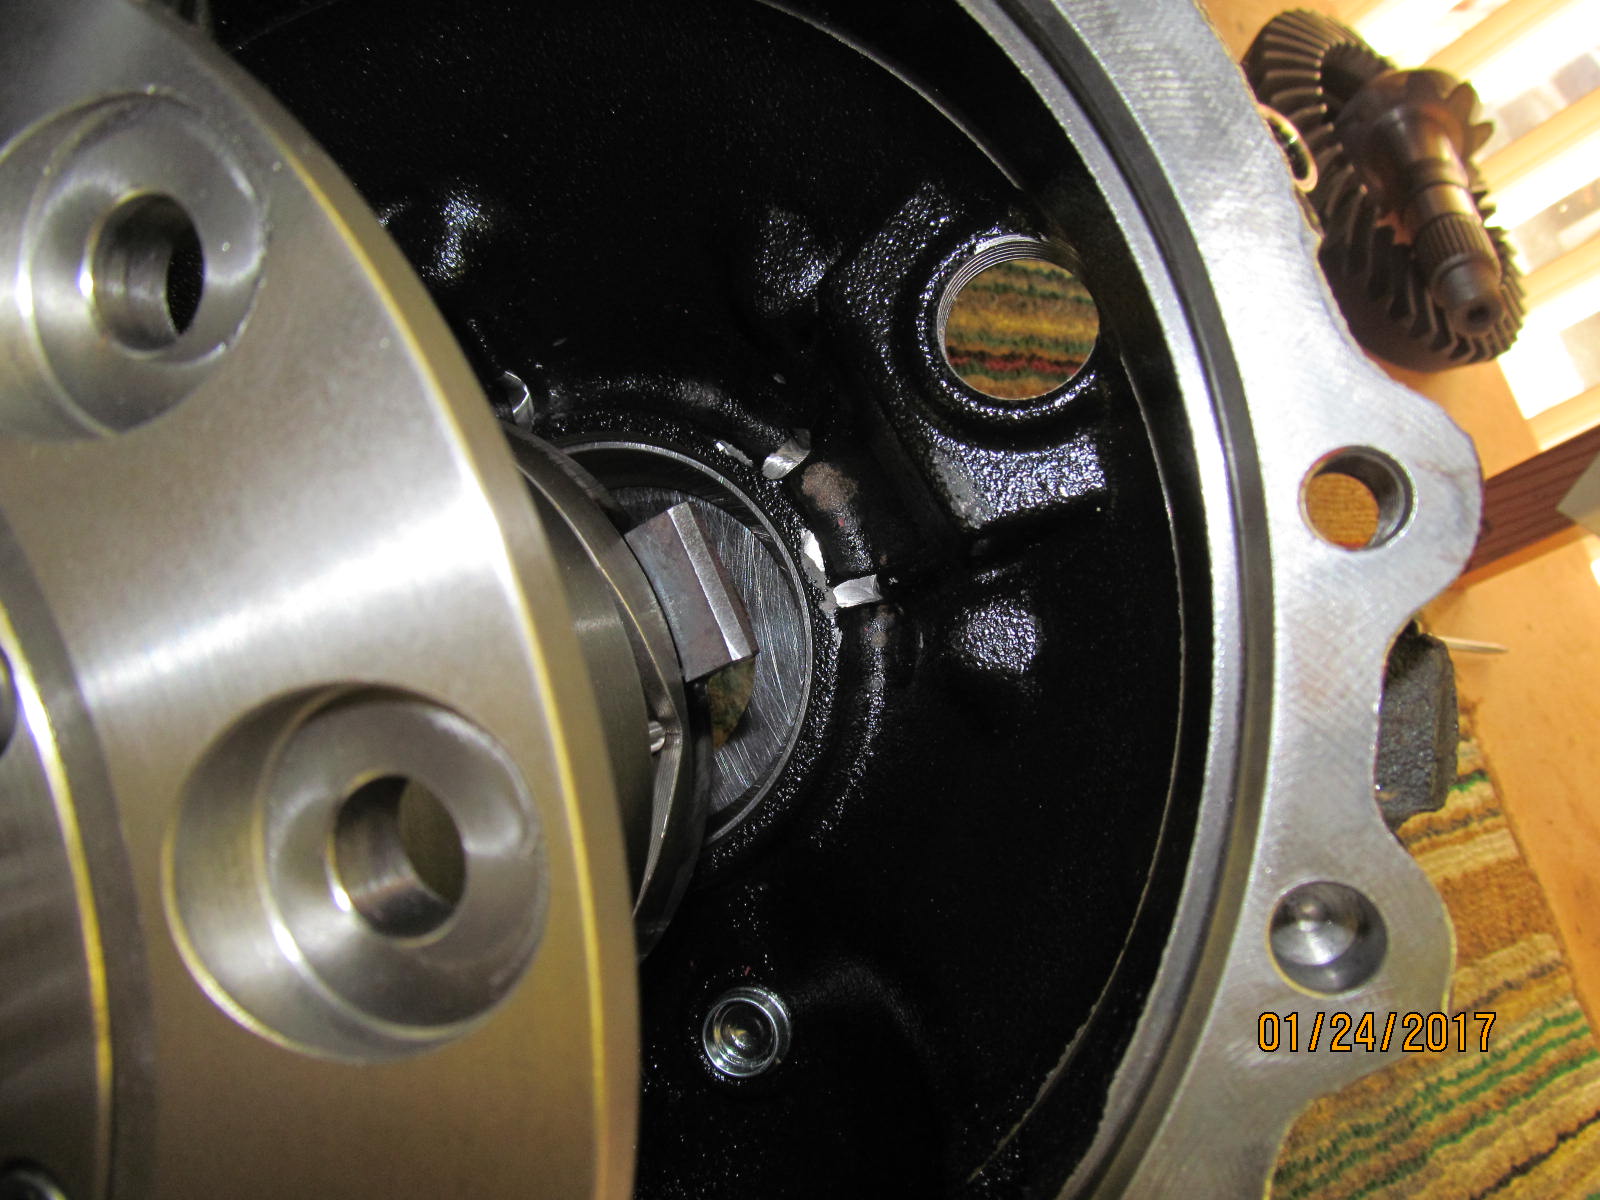
| Test fit. Without the thick ring gear in place, it's easy to get a visual of the fit and clearance. |
|
| You can just about see that the rib is still touching the grey electro-magnet. |
|
| Very close on the other side of the tabs, also. If the ring gear was mounted, I would not be able to get a visual on this. |
|
| A little more clearancing... |
|
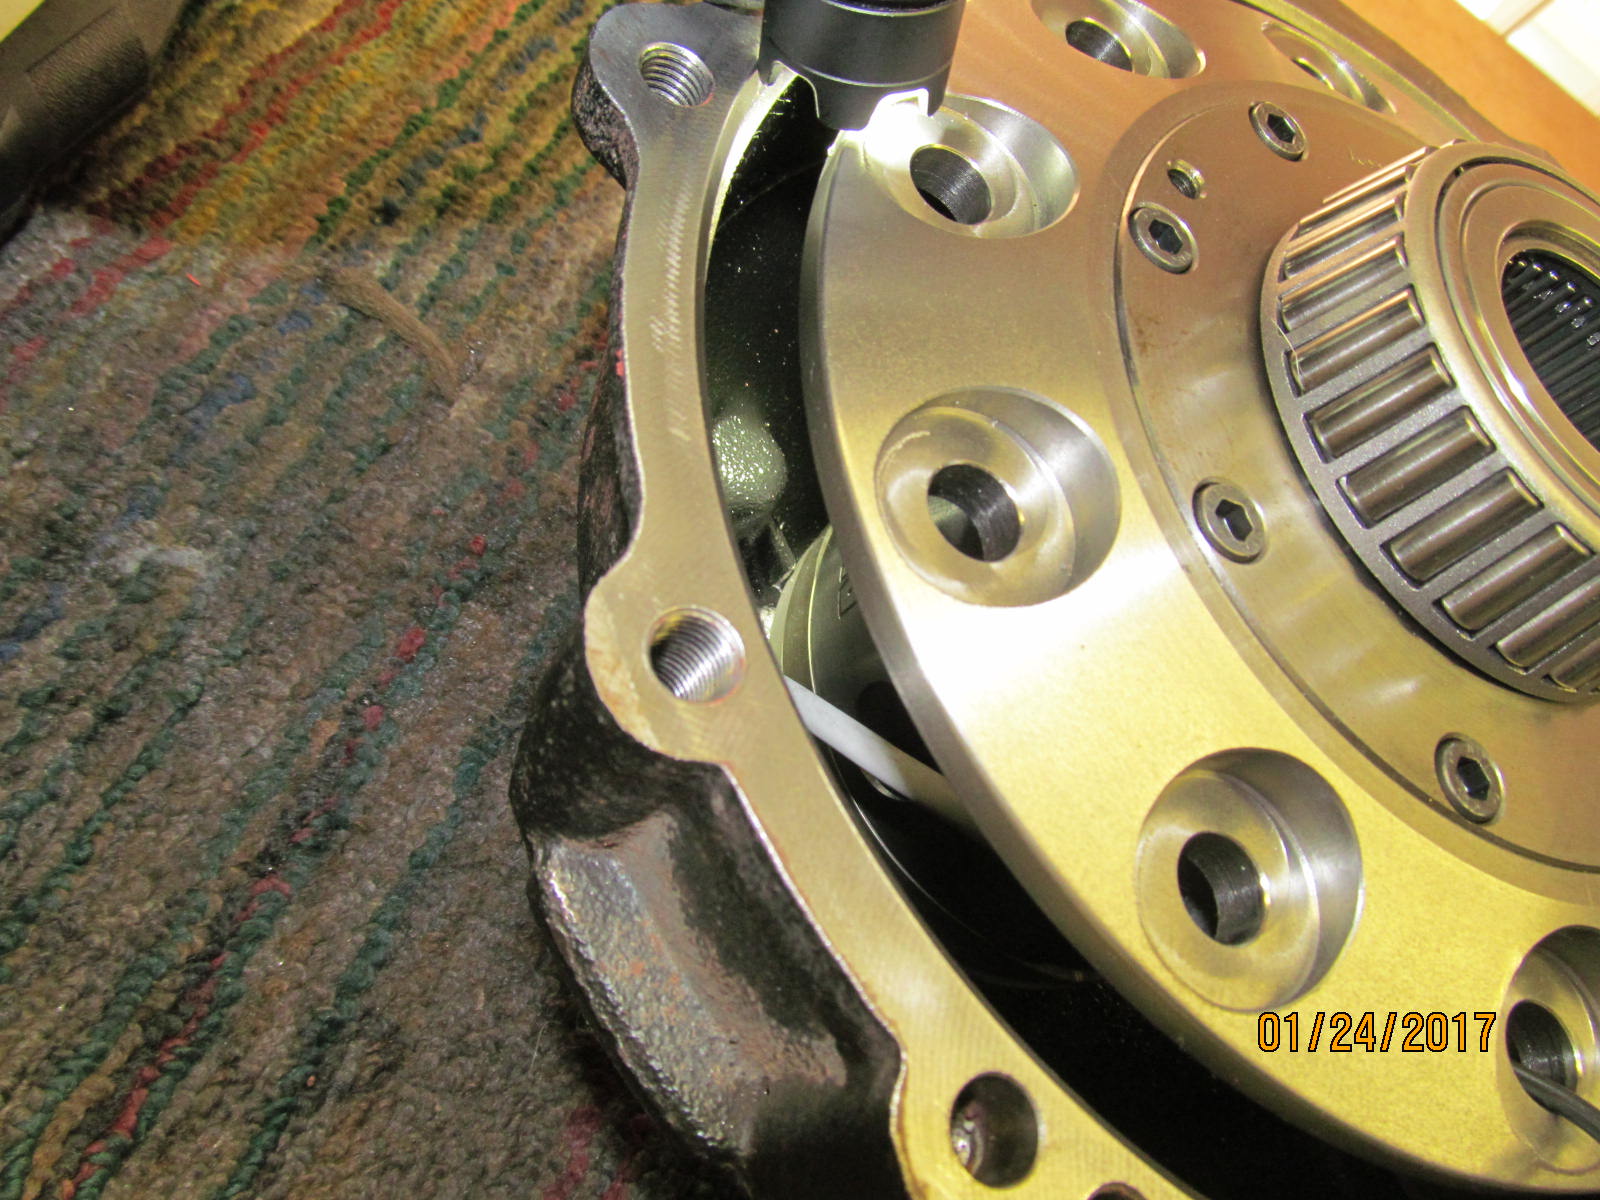
| Looks good....rotates back and forth with no contact to the grey electro-magnet. |
|
| Satisfied that the 3 ribs have plebty of clearance. |
|
| .............................. |
|
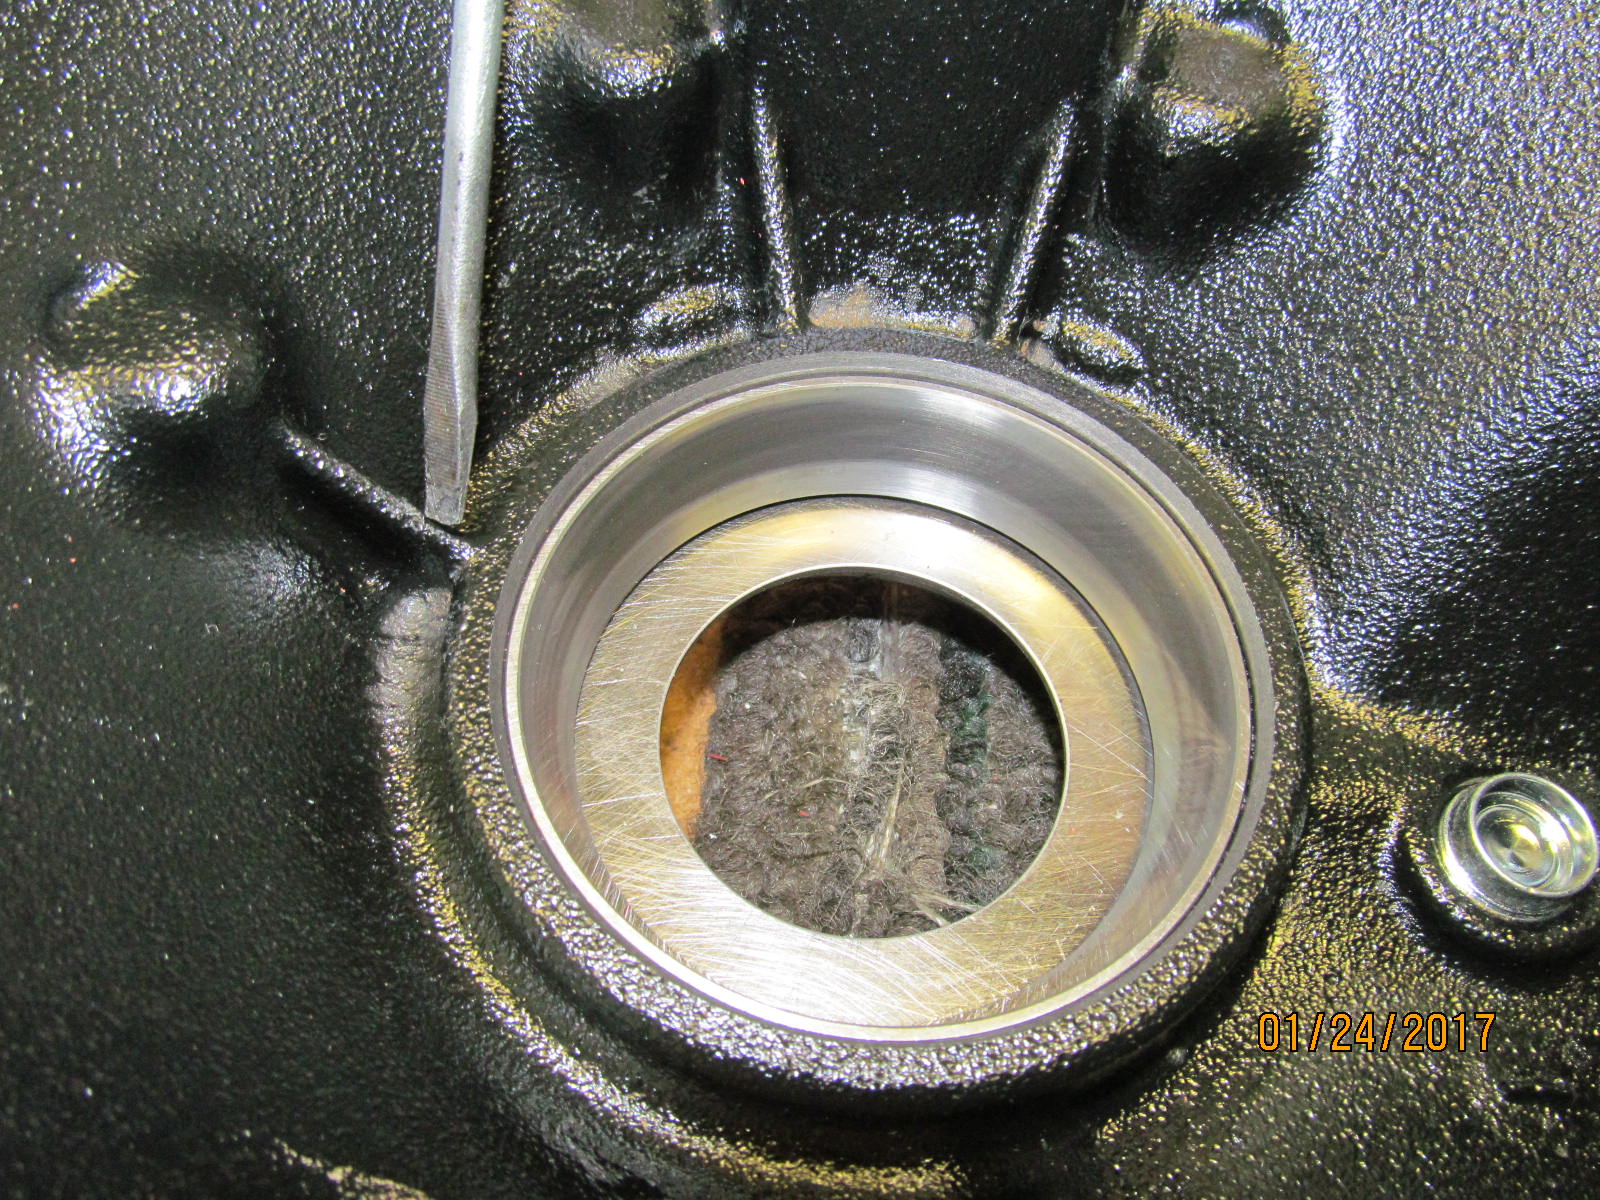
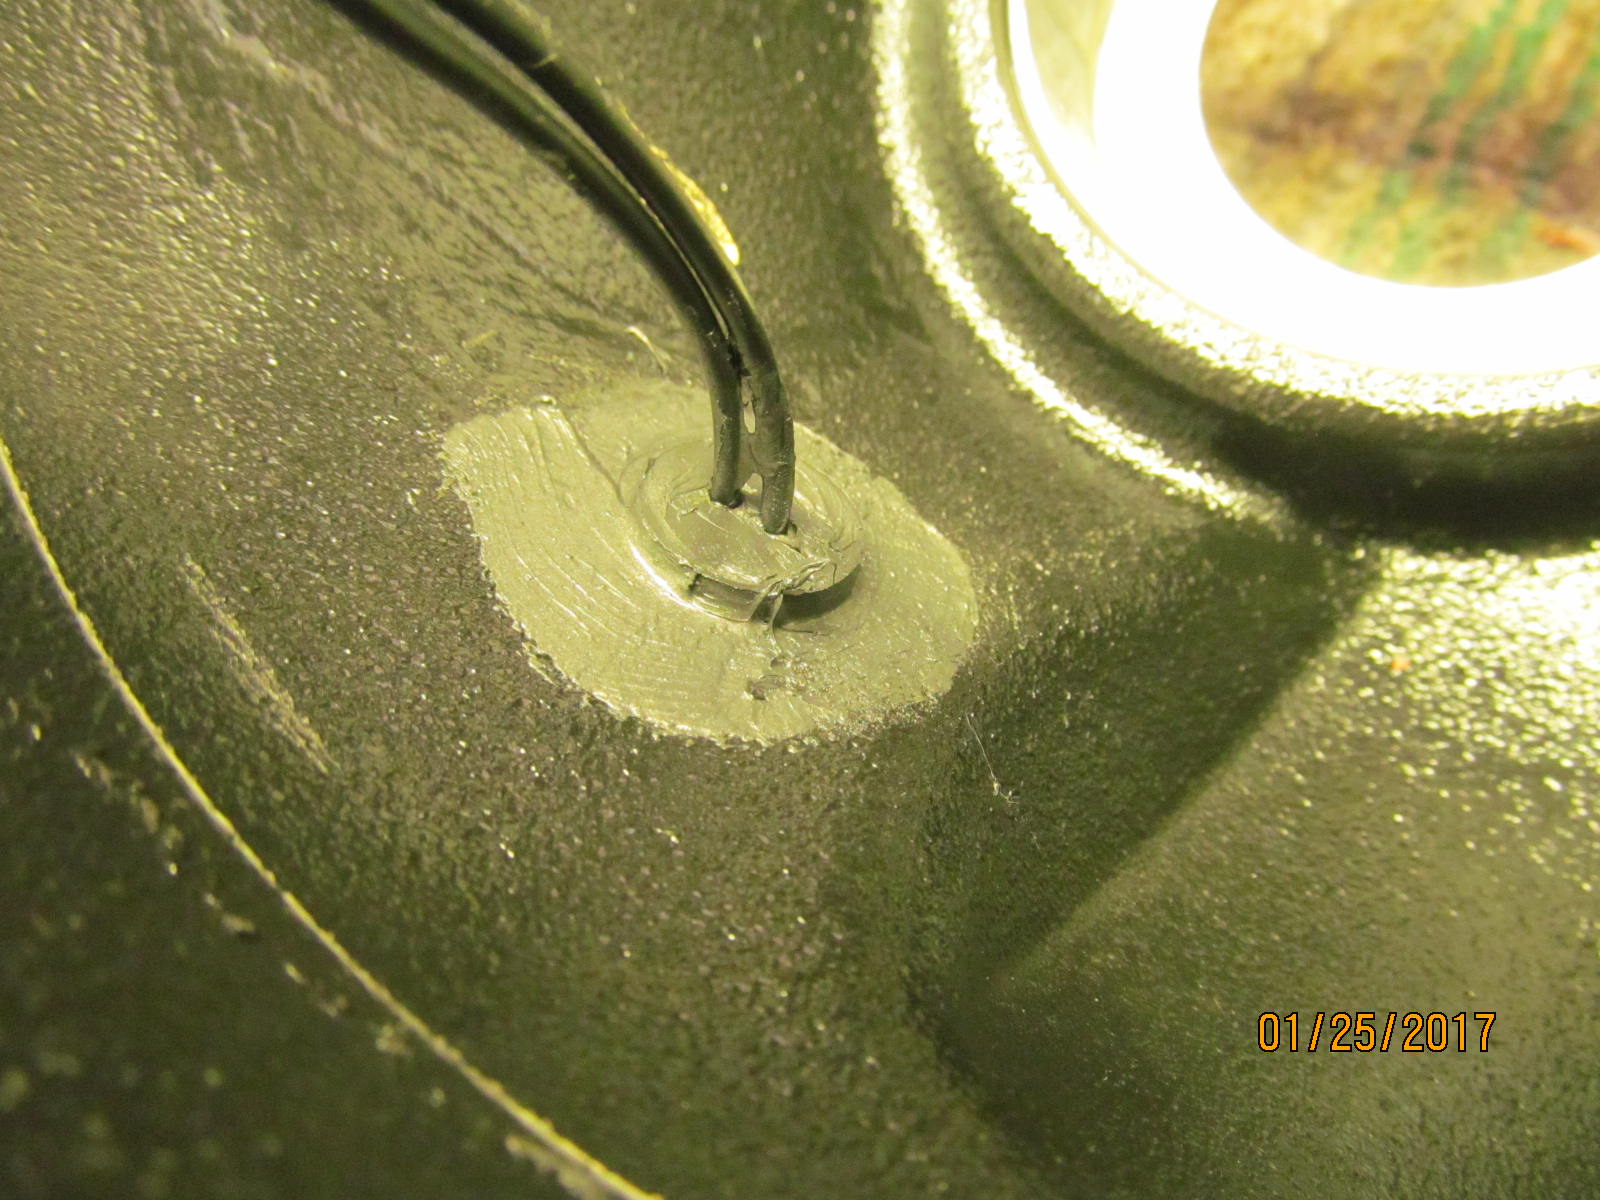
| Drill the 29/64" hole. The digital camera is deceptive. It makes the hole thickness look to be about 1/4" thick when the reality is it's barely .125". |
|
| With the help of the MIG welder, now there is plenty of material for the grommet to seal. |
|
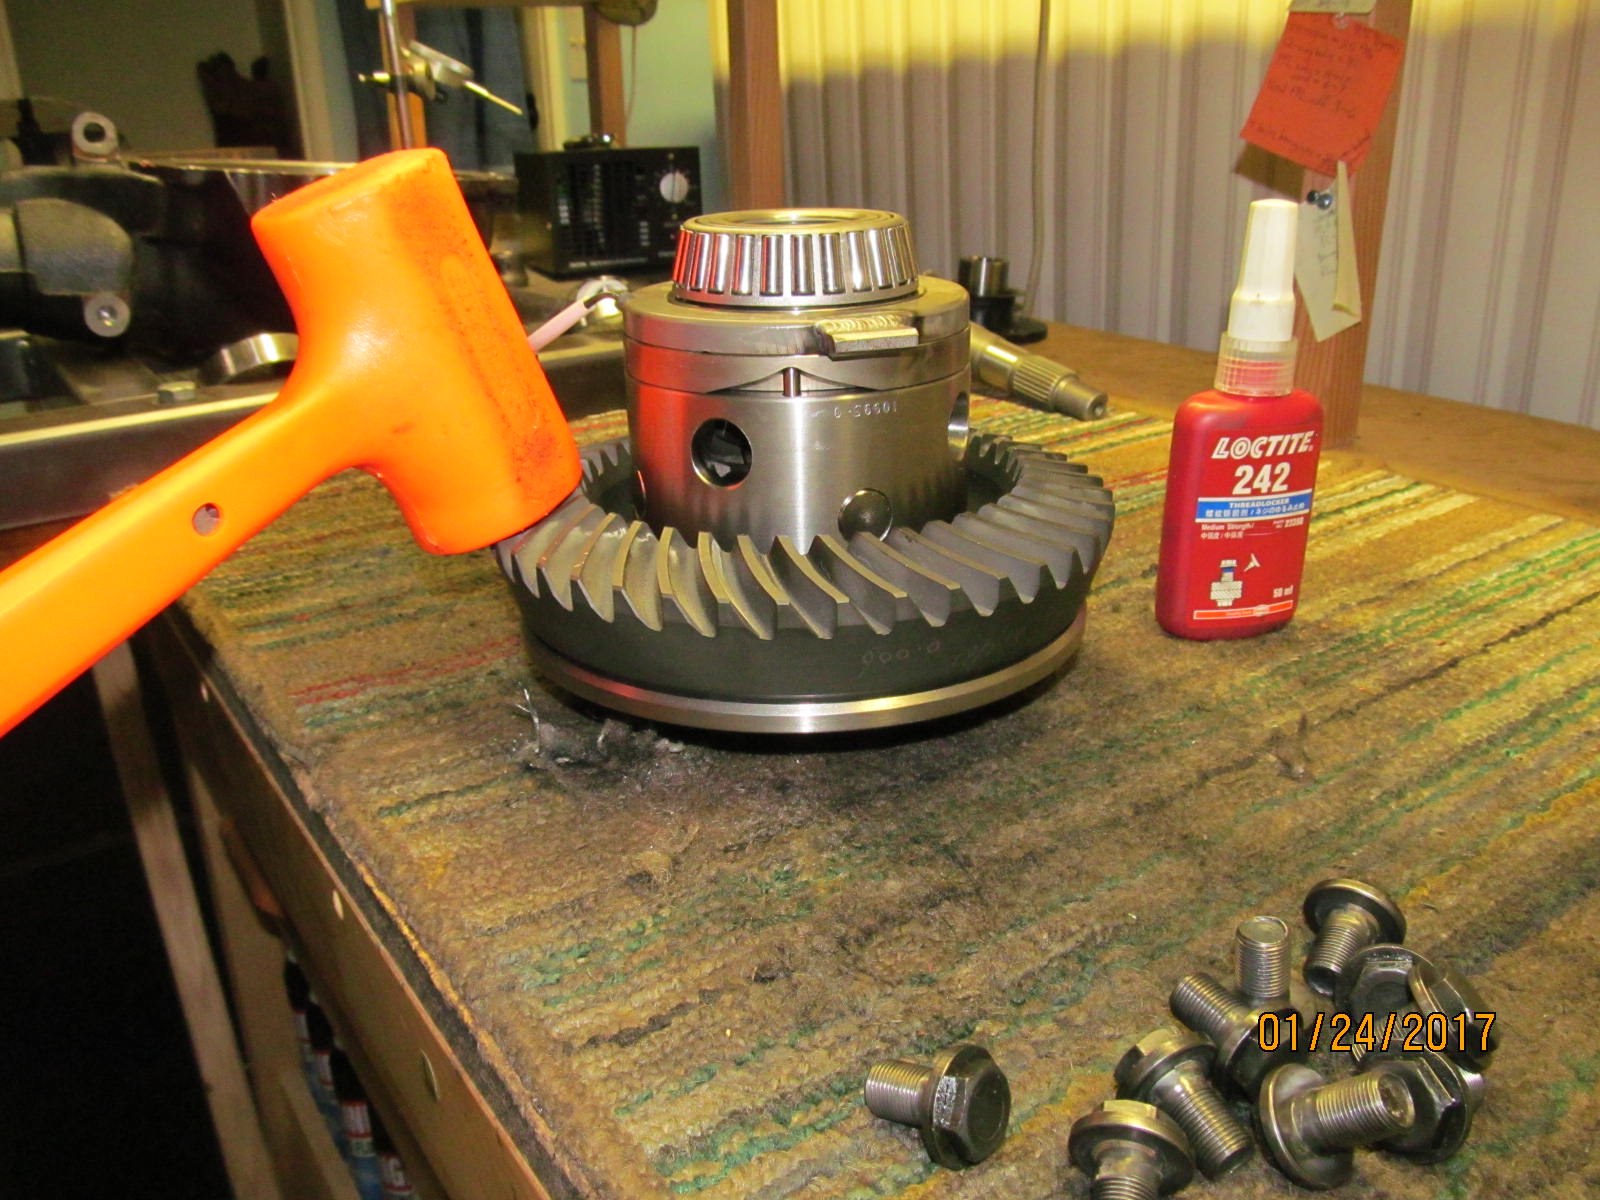
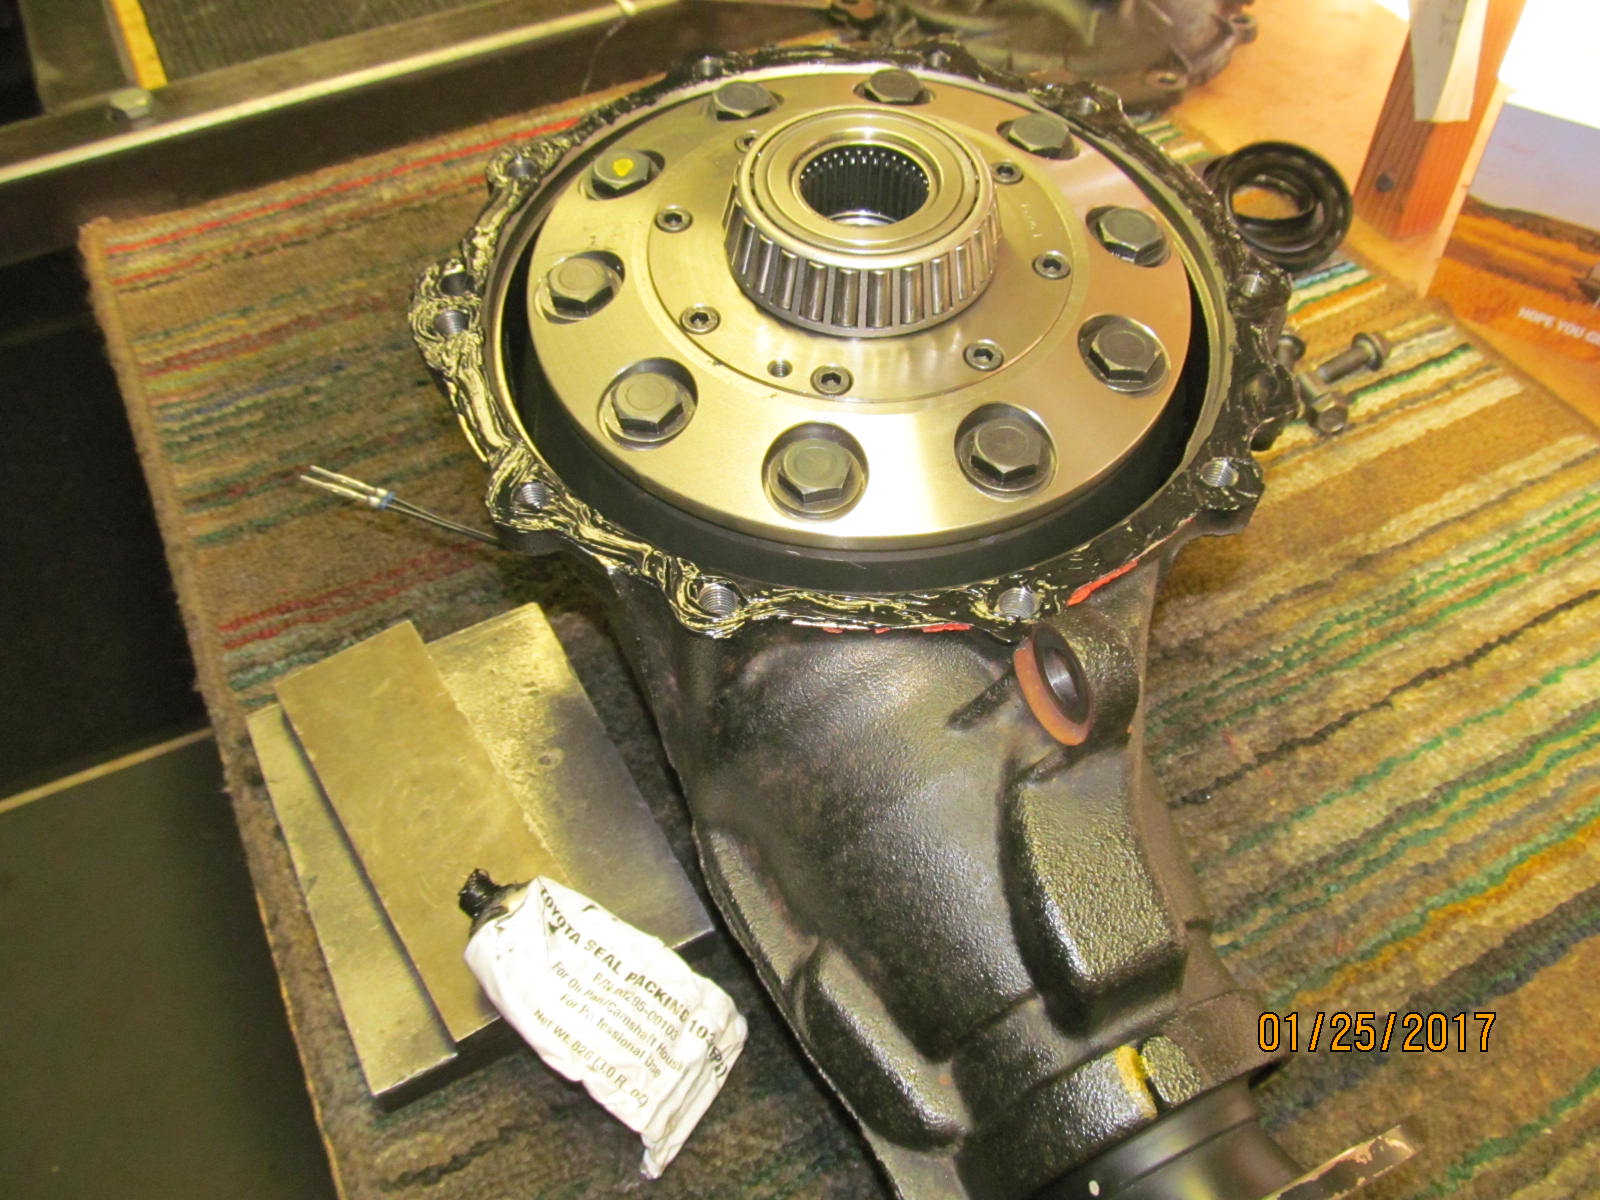
| Now the ring gear can be mounted. A file check shows all is good. |
|
| No boiling water was needed....just some solid raps from the lead filled plastic hammer. |
|
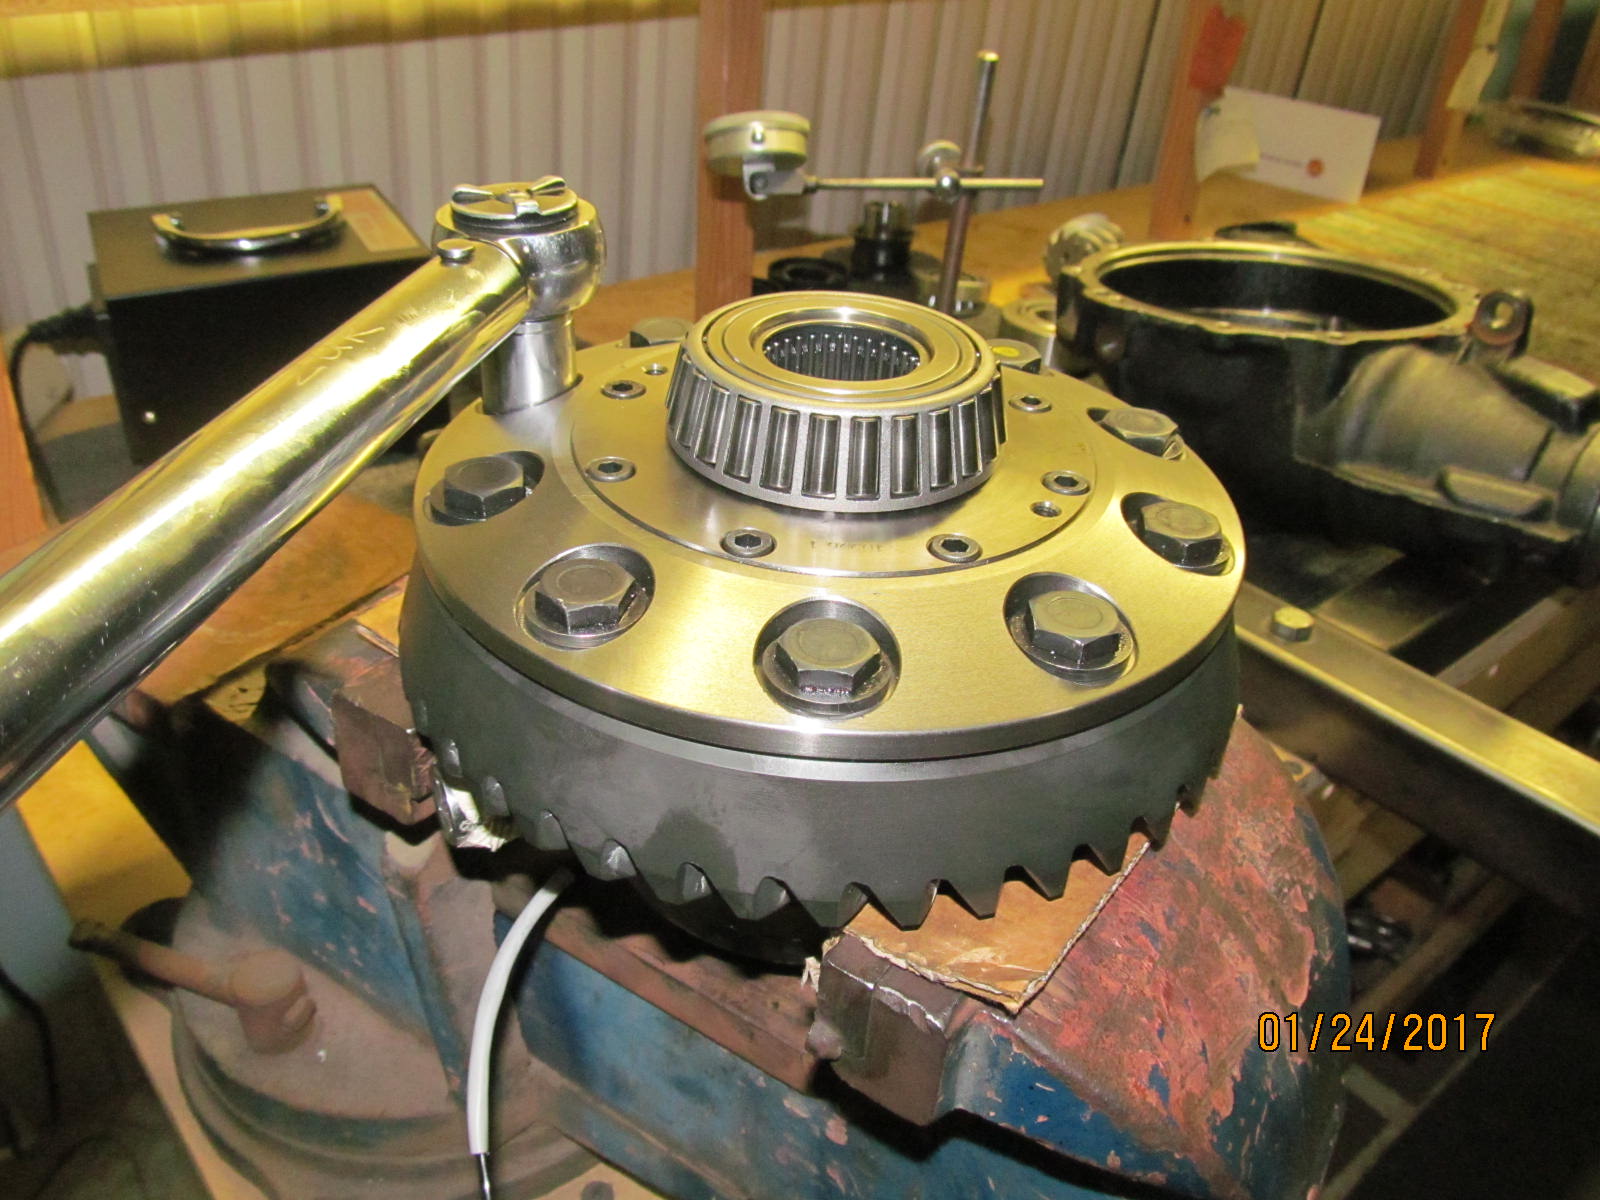
| Blue Loctite and 86 ft/lb. on the 10 flange style bolts. |
|
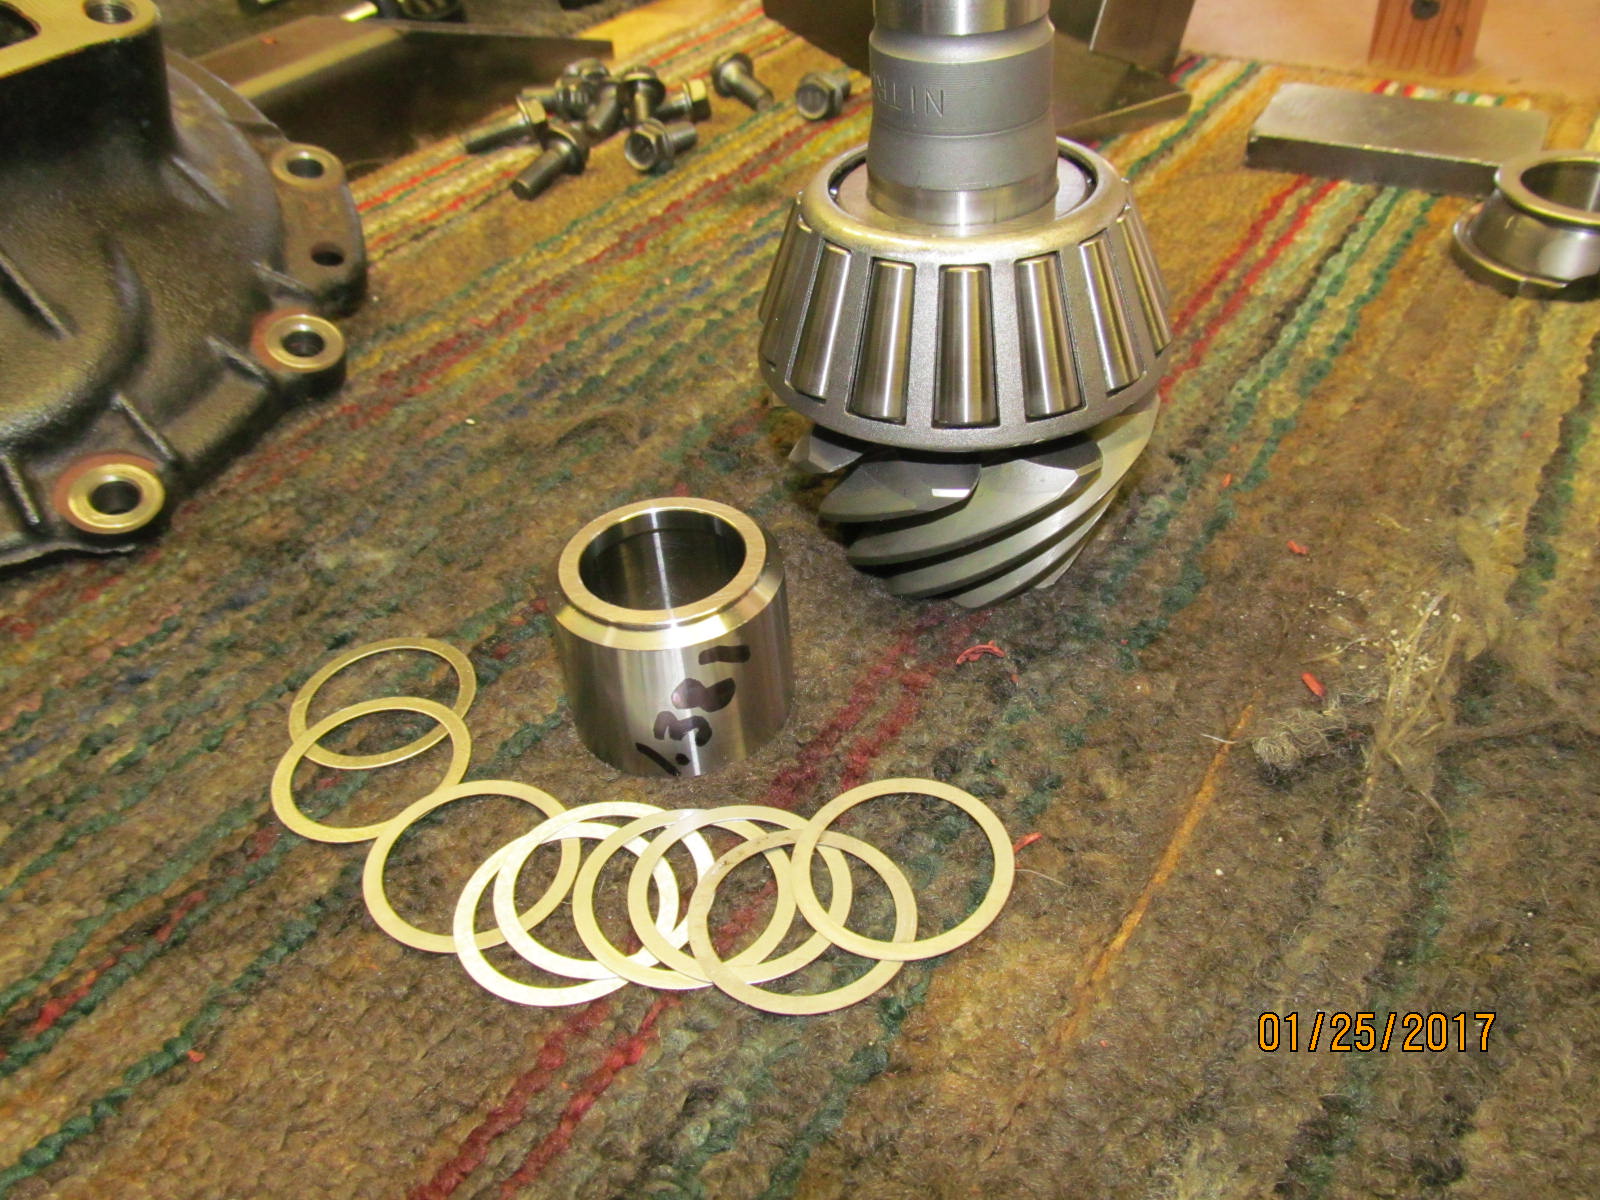
| .073" for the first pinion shim check. |
|
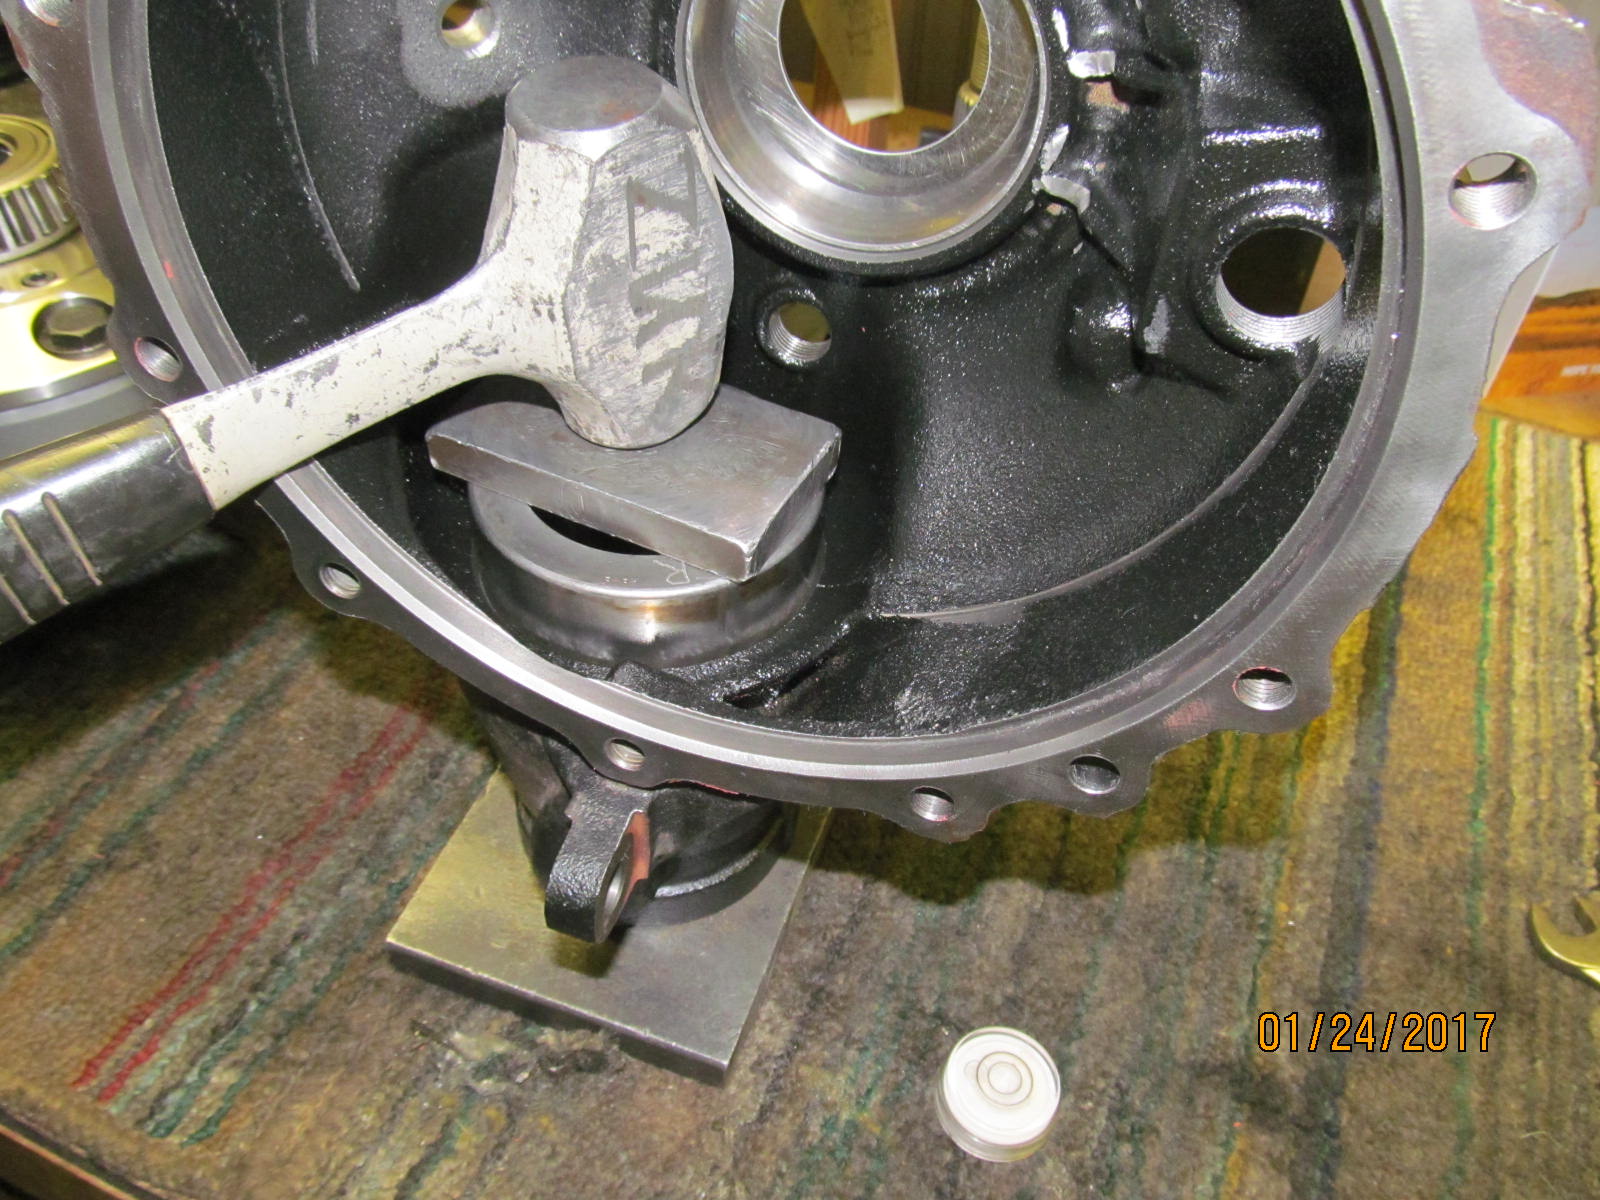
| The Harborfreight 12 ton makes easy work of pressing the bearing on. |
|
| This is the tricky race to tap in place. Just don't have enough room inside the clam to make full swing love taps. |
|
| This style of low profile hammer made it possible for me to to tap it down evenly. |
|
| Bingo! |
|
| The small outer race is a piece of cake. |
|
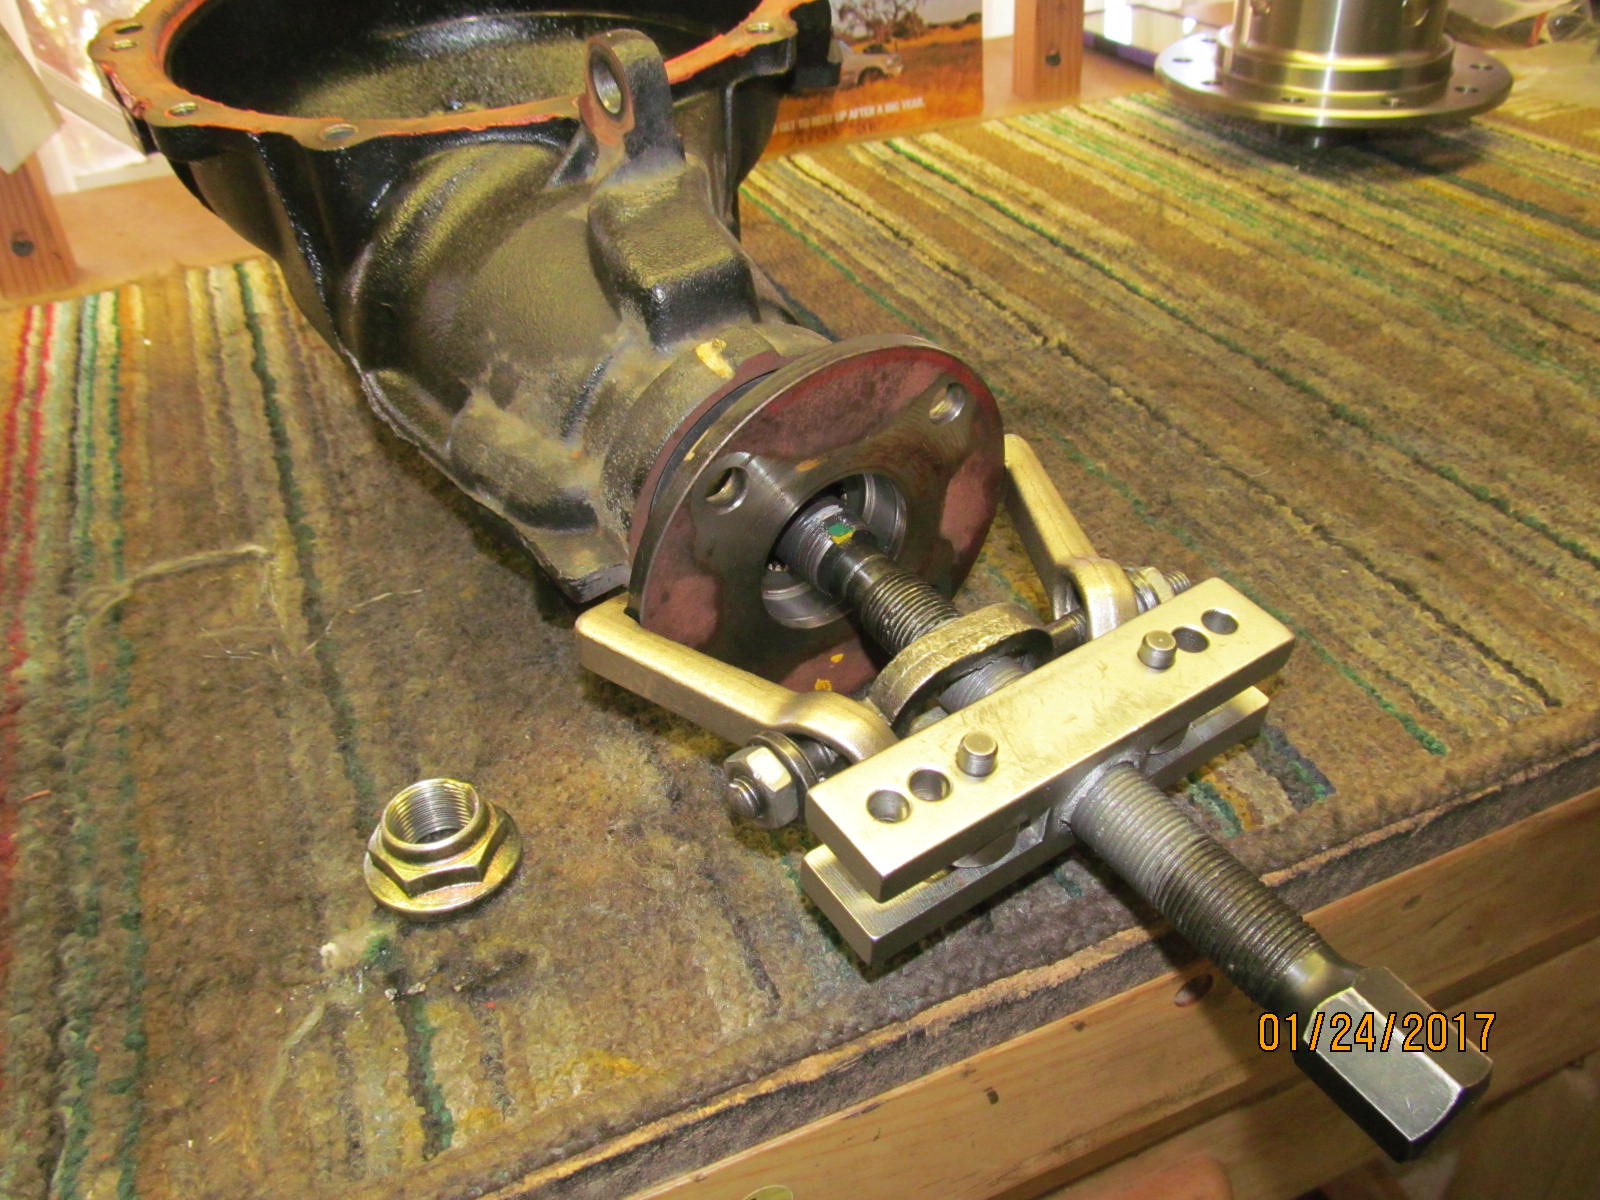
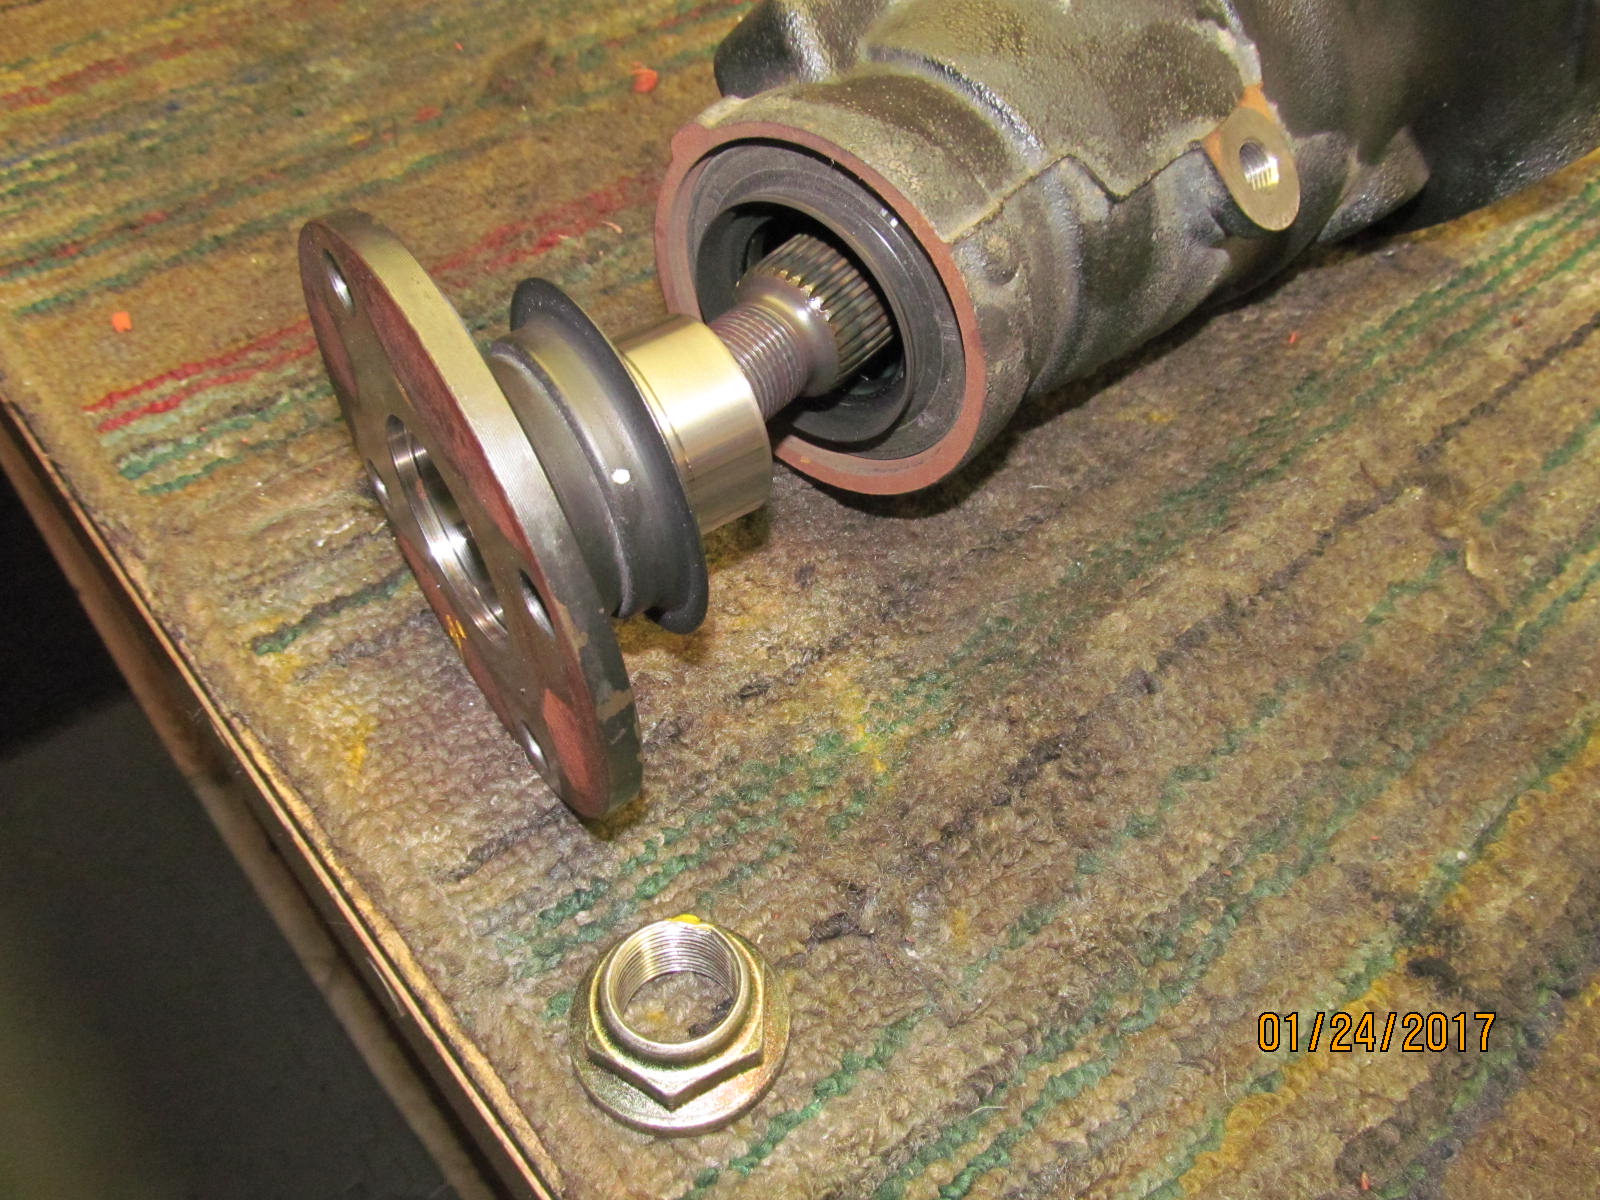
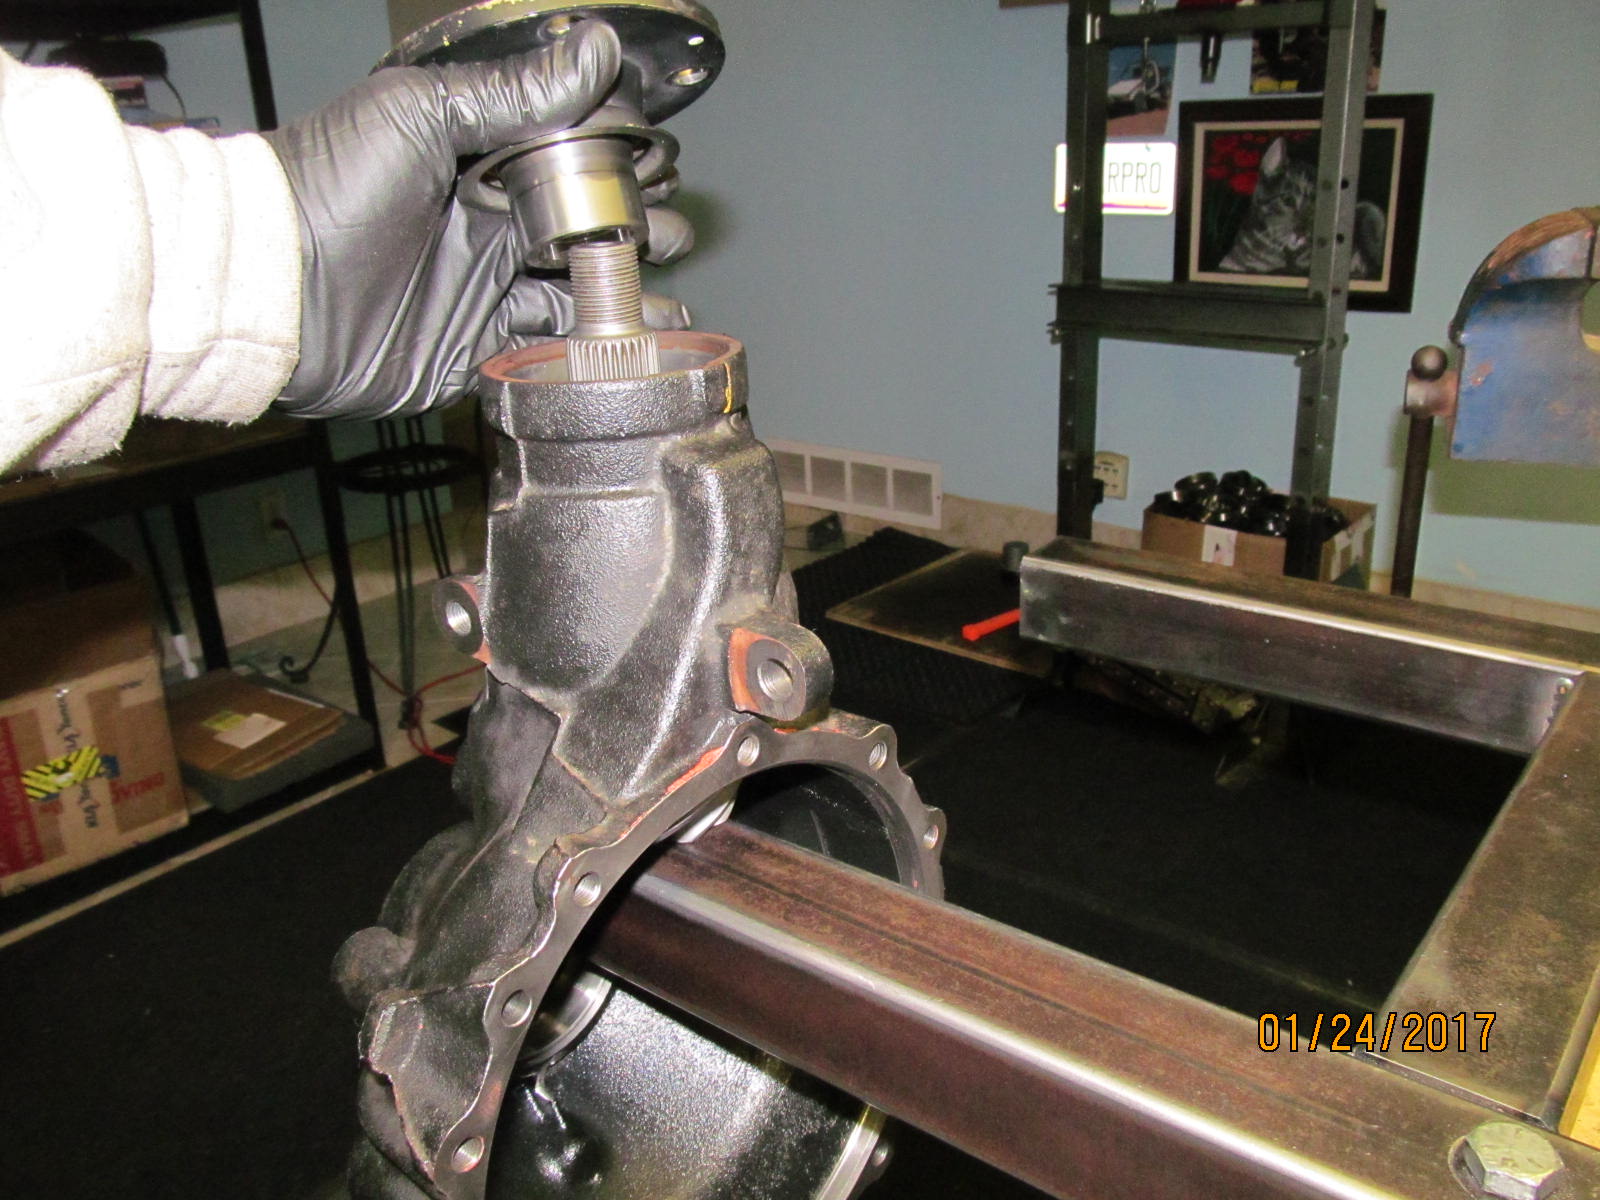
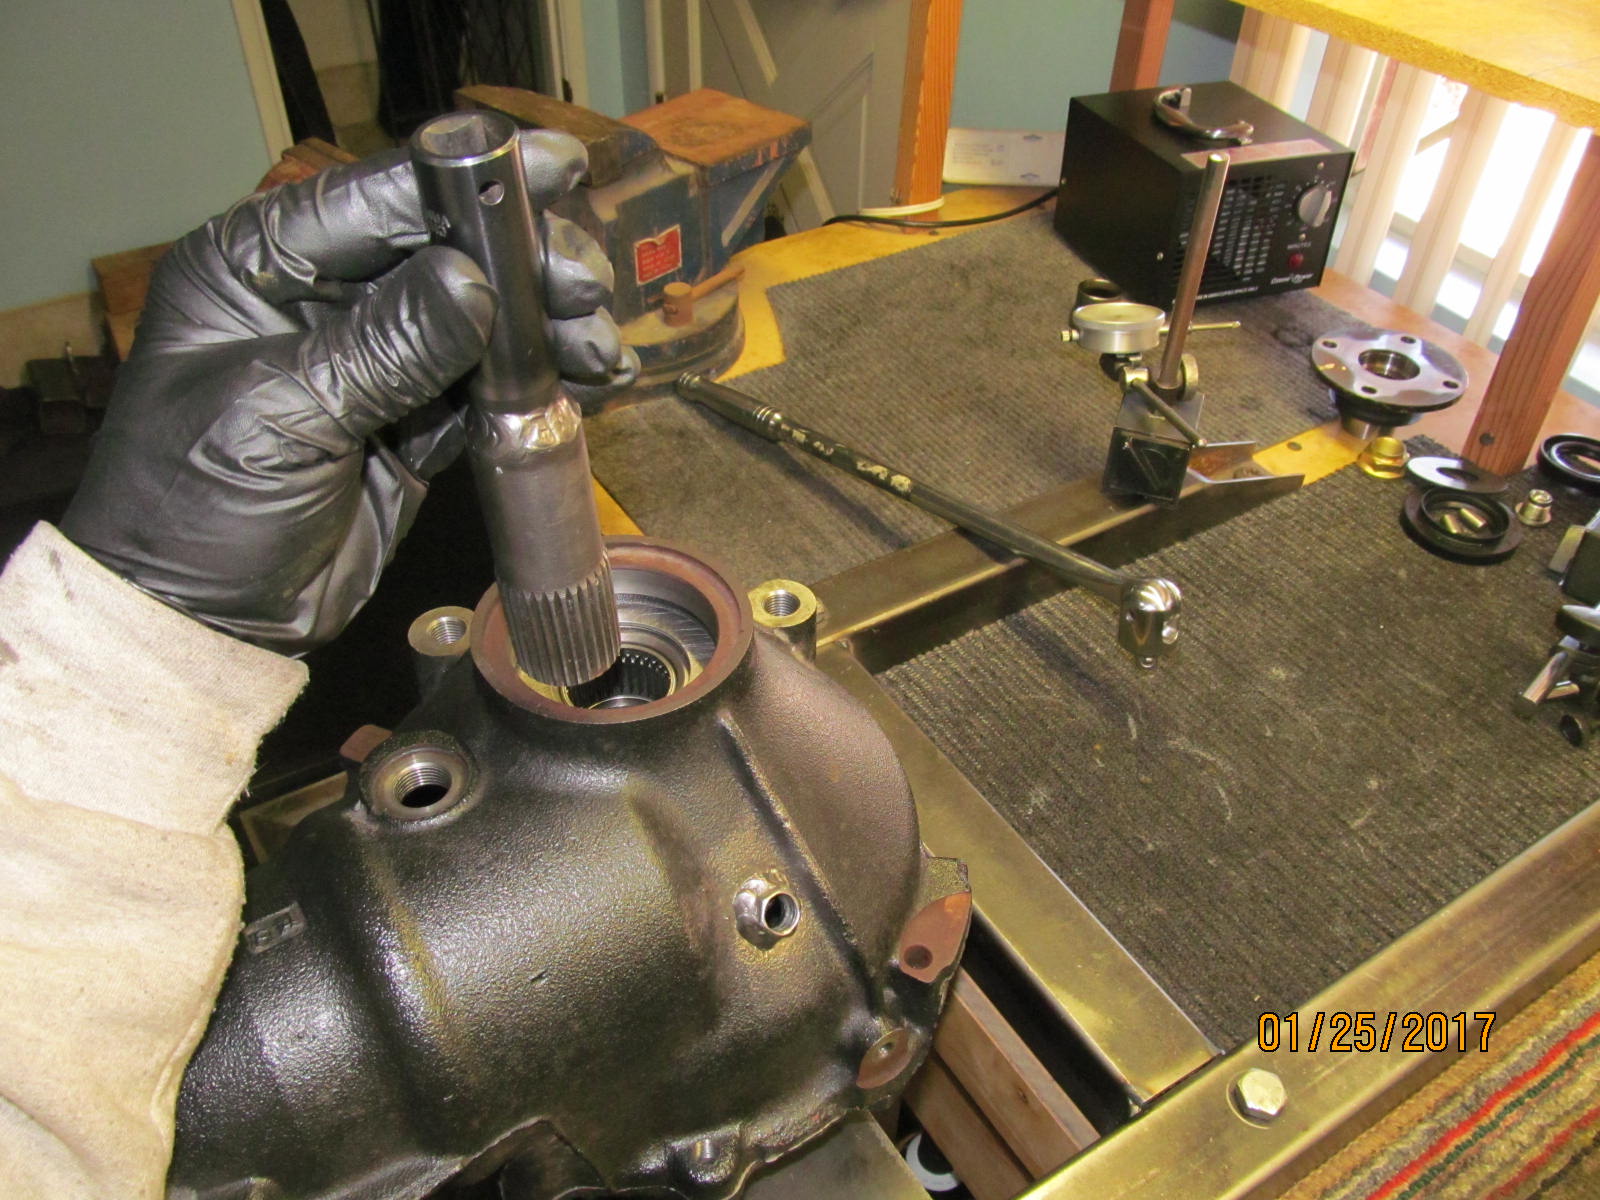
| My gear fixture offers excellent support for the pinion while the shop flange is tapped on. |
|
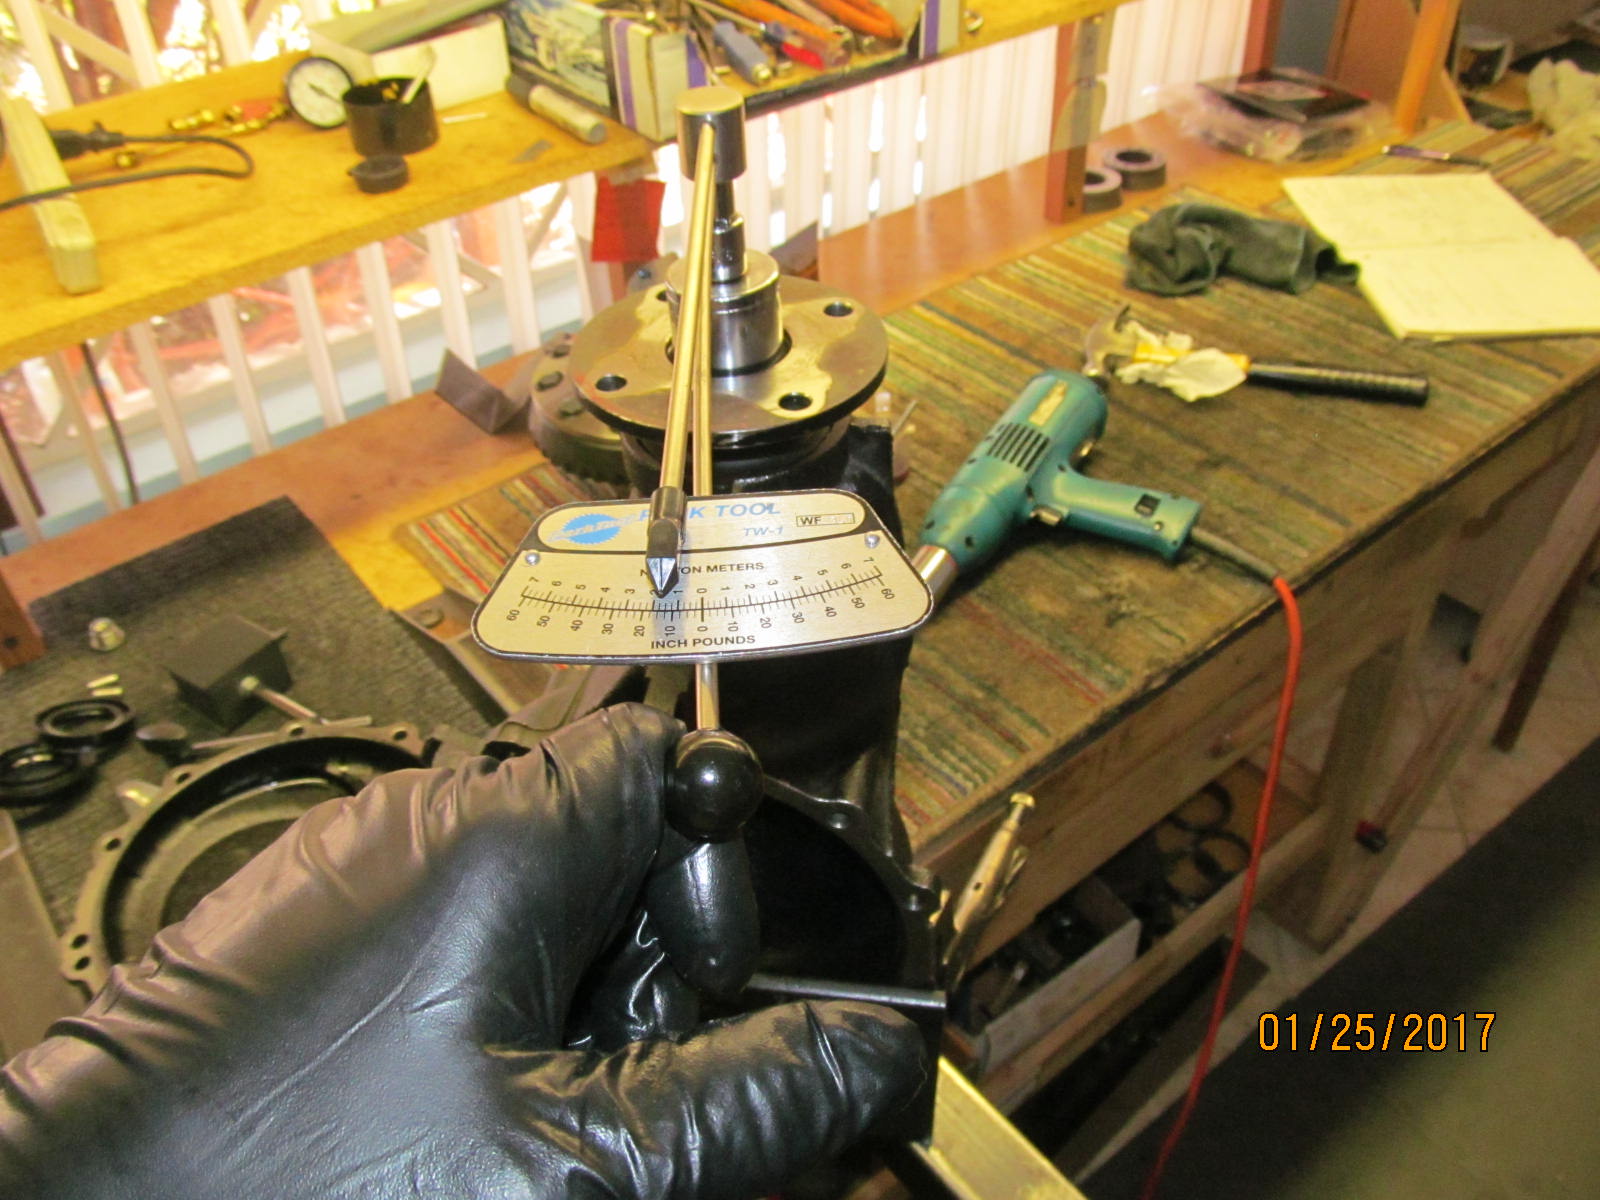
| The pinion nut is just tight enough to preload the pinion bearings to about 10~20 inch/pounds. |
|
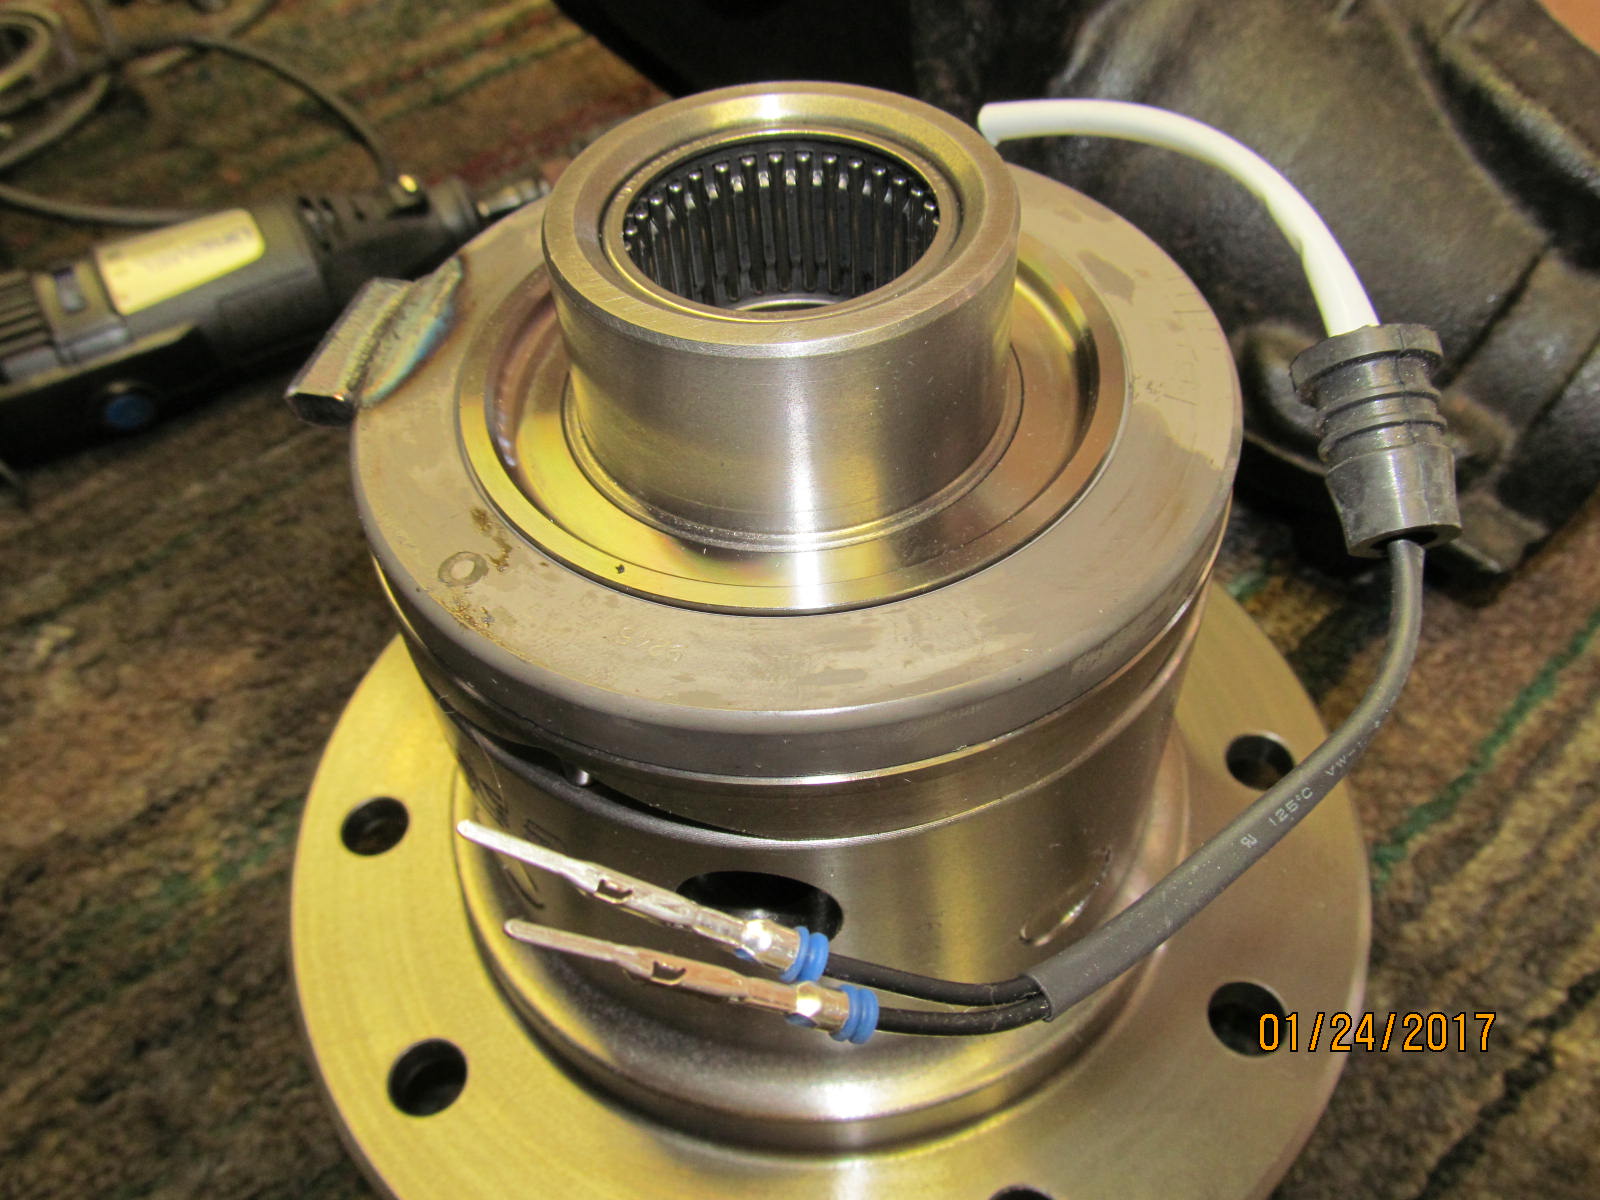
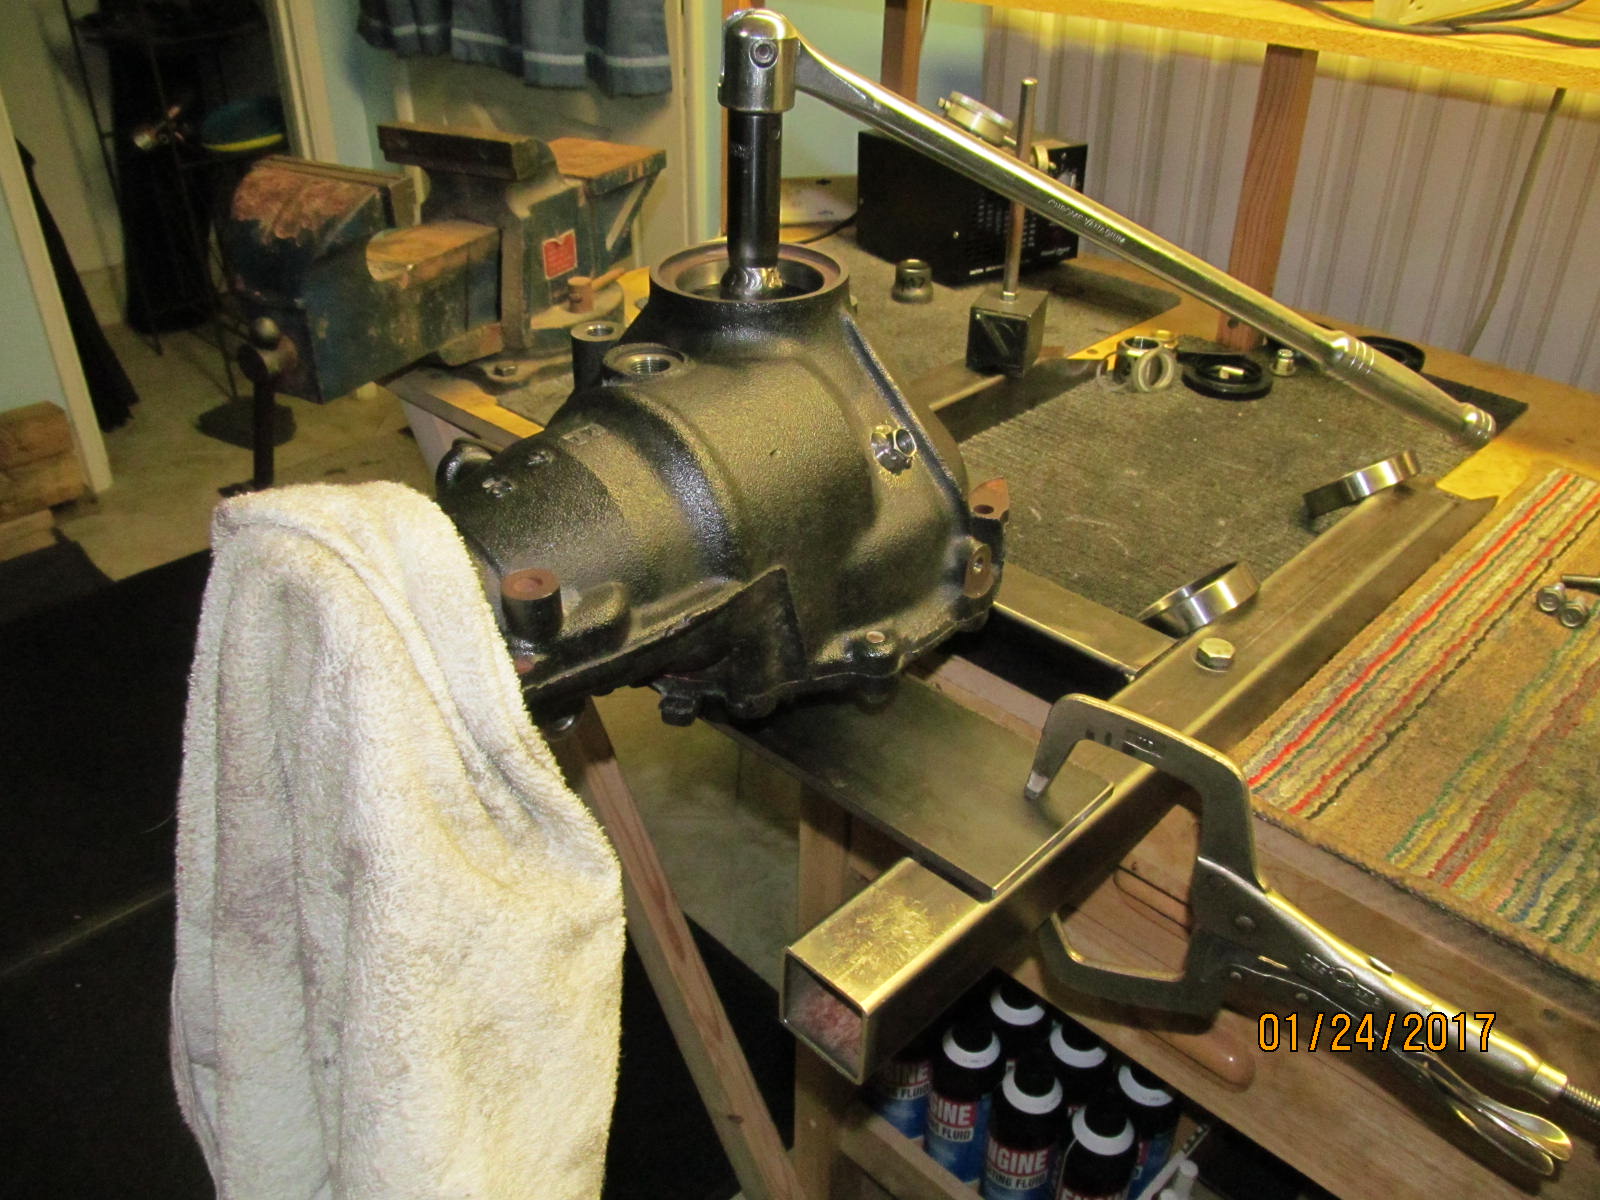
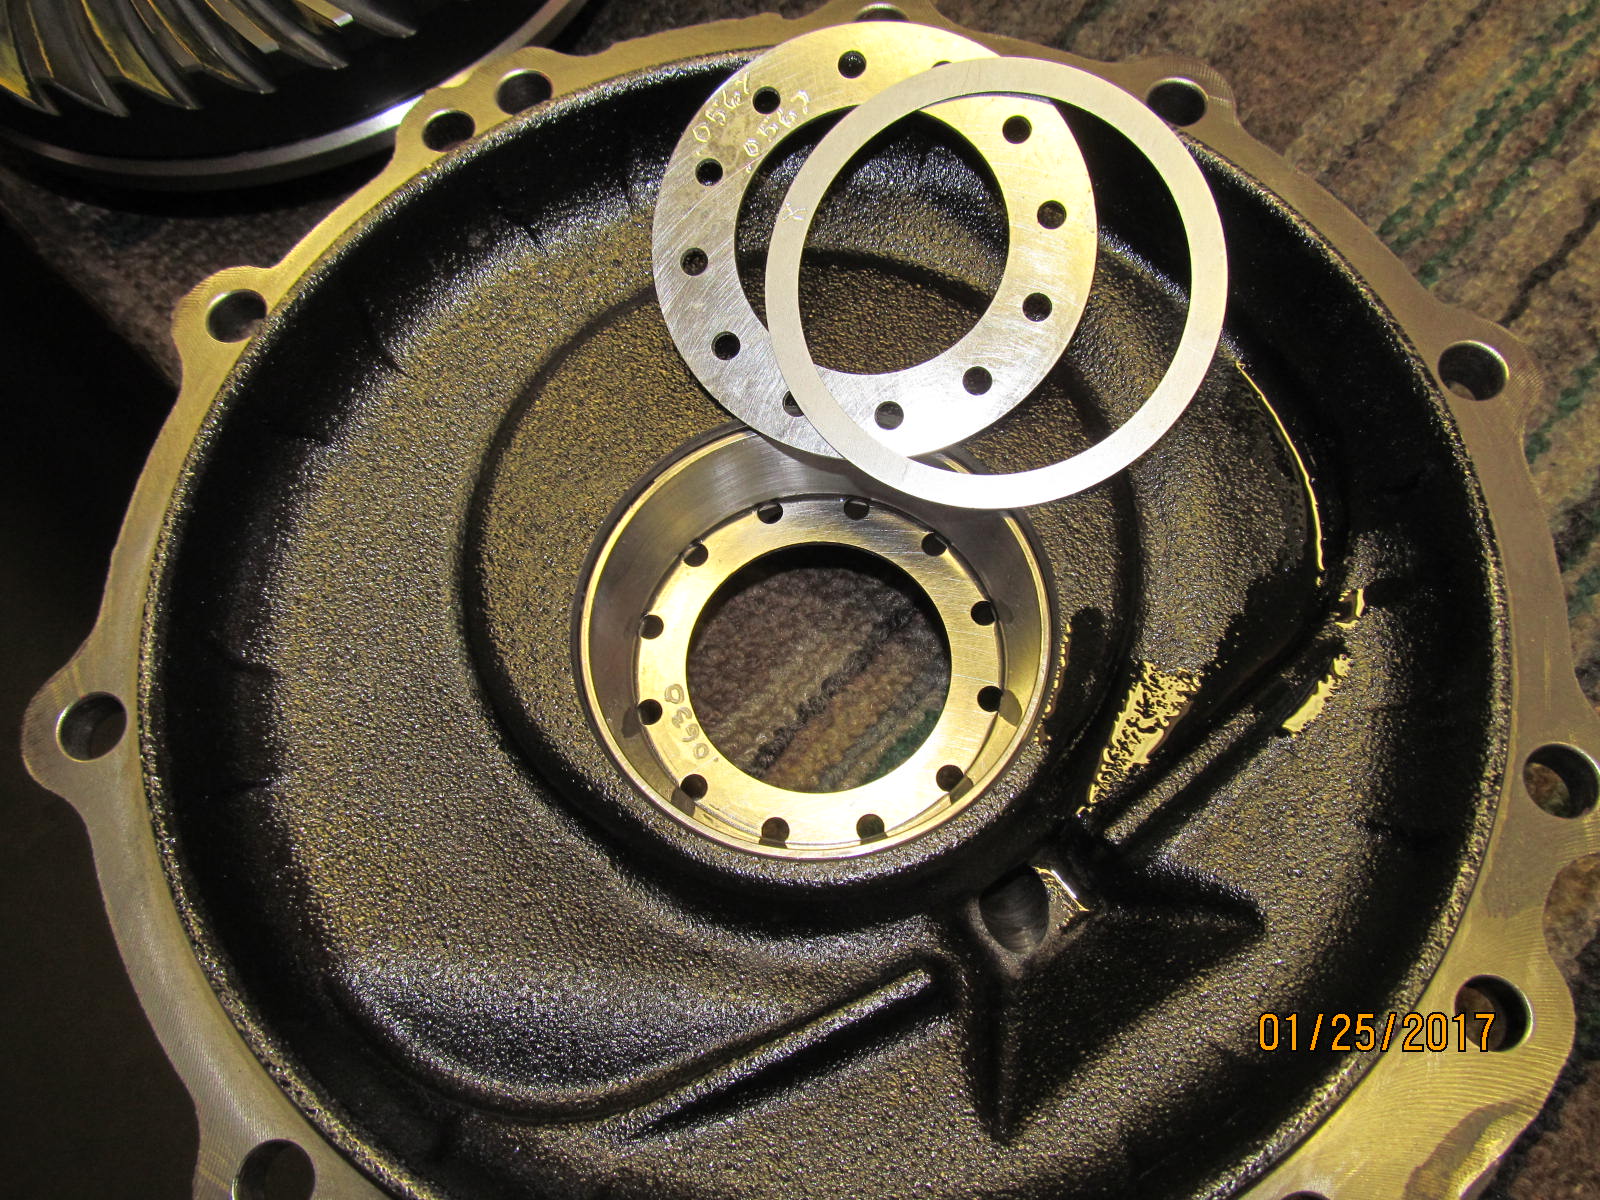
| Harrop goes into the bowl and lid is placed on top but it is quickly discovered that the carrier bearing washer plates have to be juggled around to get some backlash and proper preload.. |
|
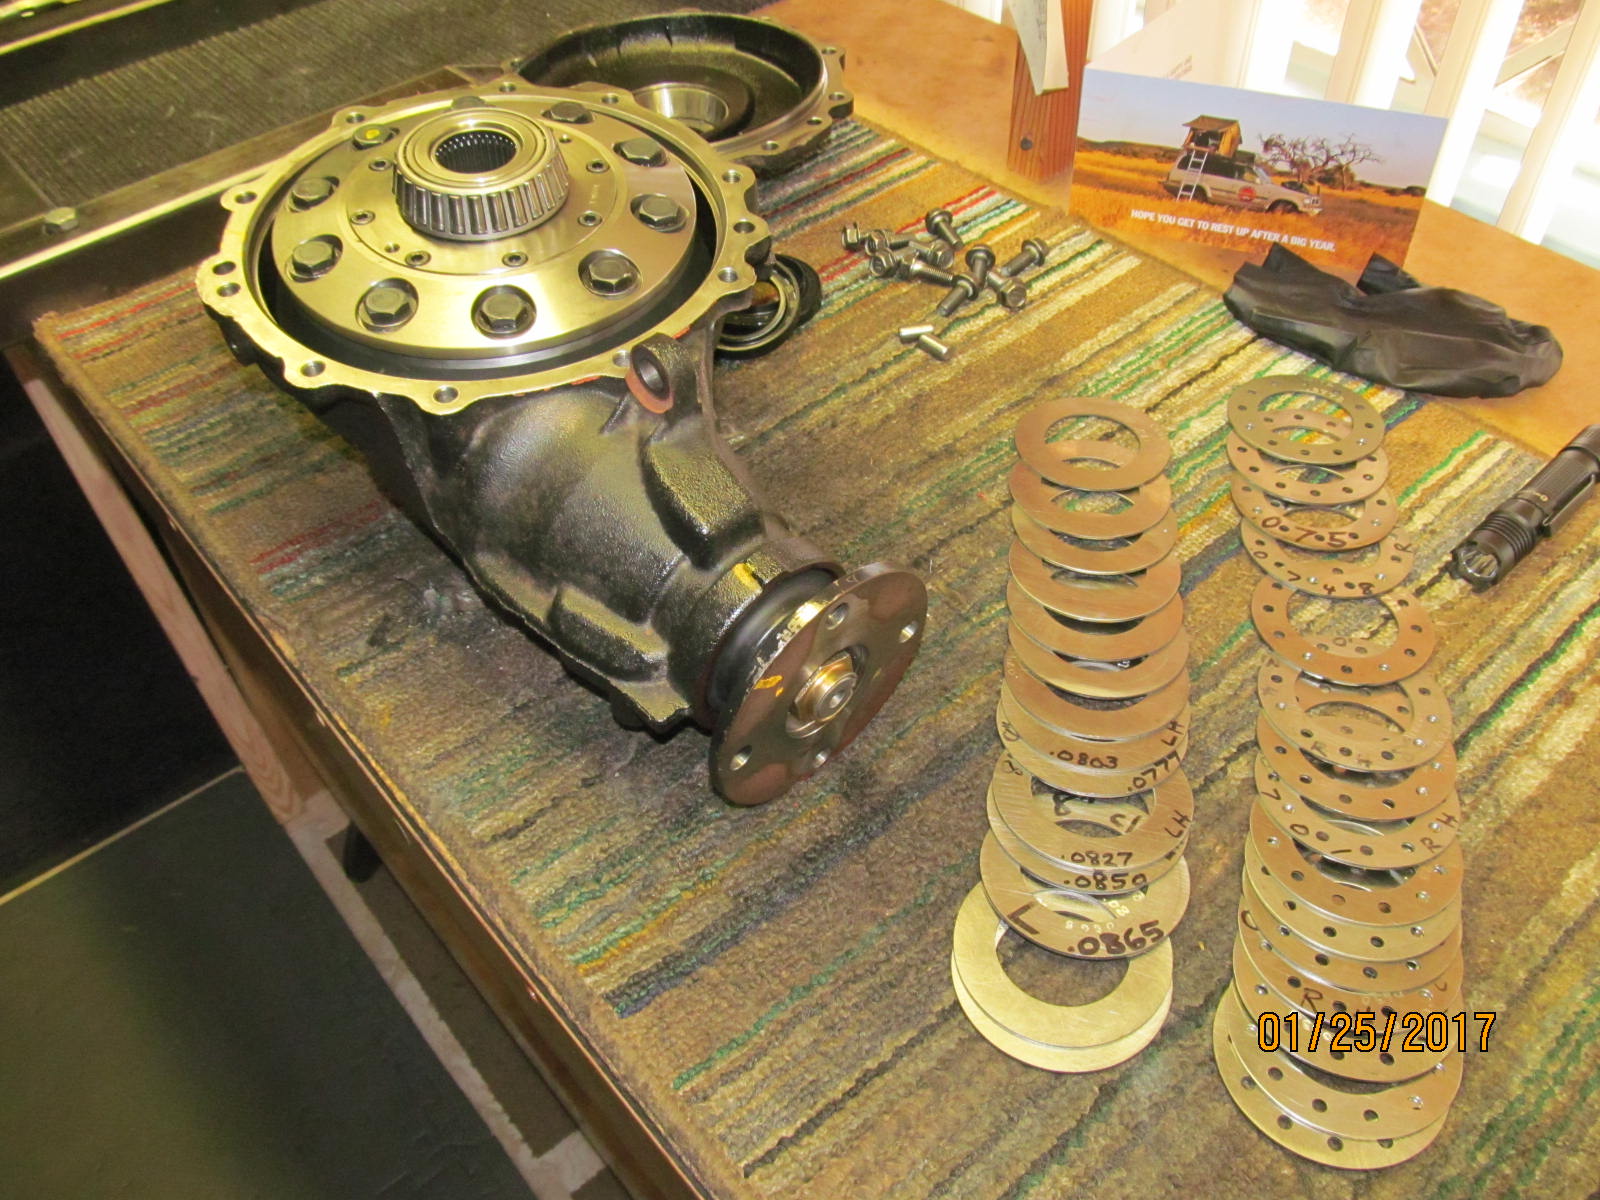
| Washer plates are changed out. |
|
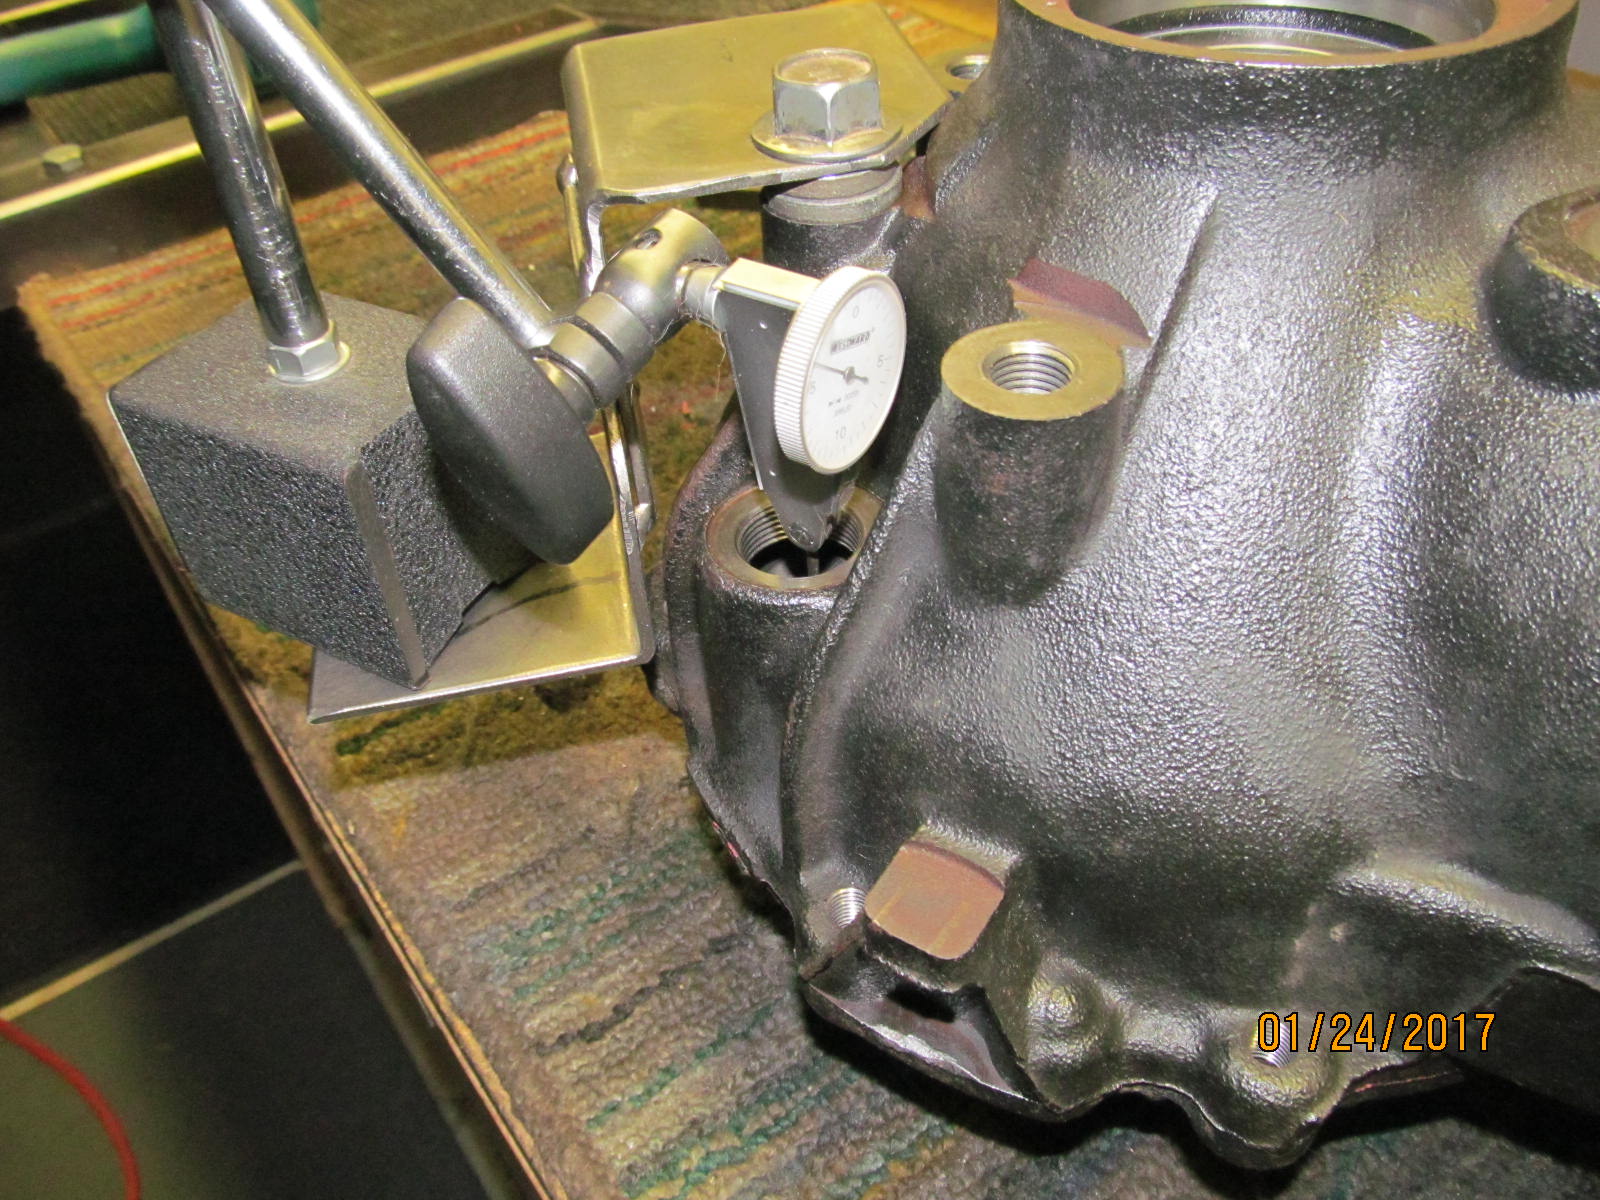
| Backlash is checked in a few spots. |
|
| Satisfied that backlash and preloads are ok for a paint check, the Harrop is removed for fresh paint and re-assembled. |
|
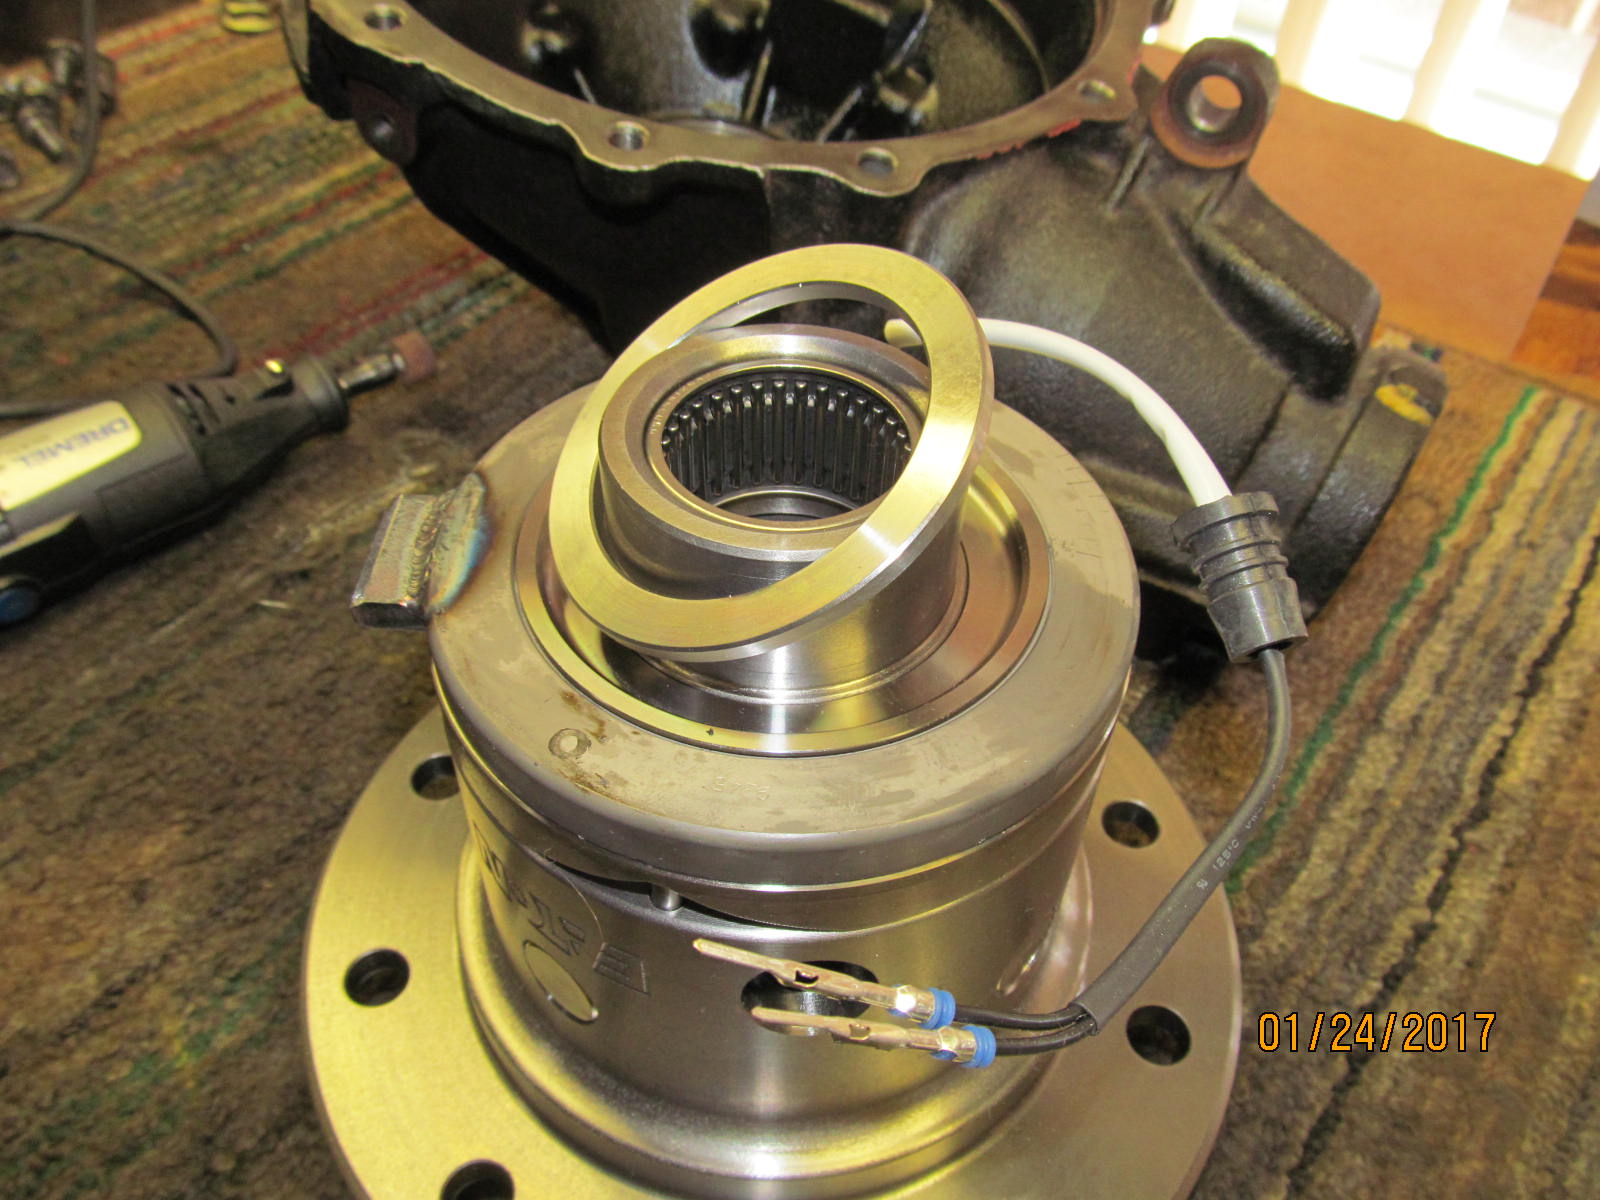
| A tool was made up to locked the sidegear in place. |
|
| ..................... |
|
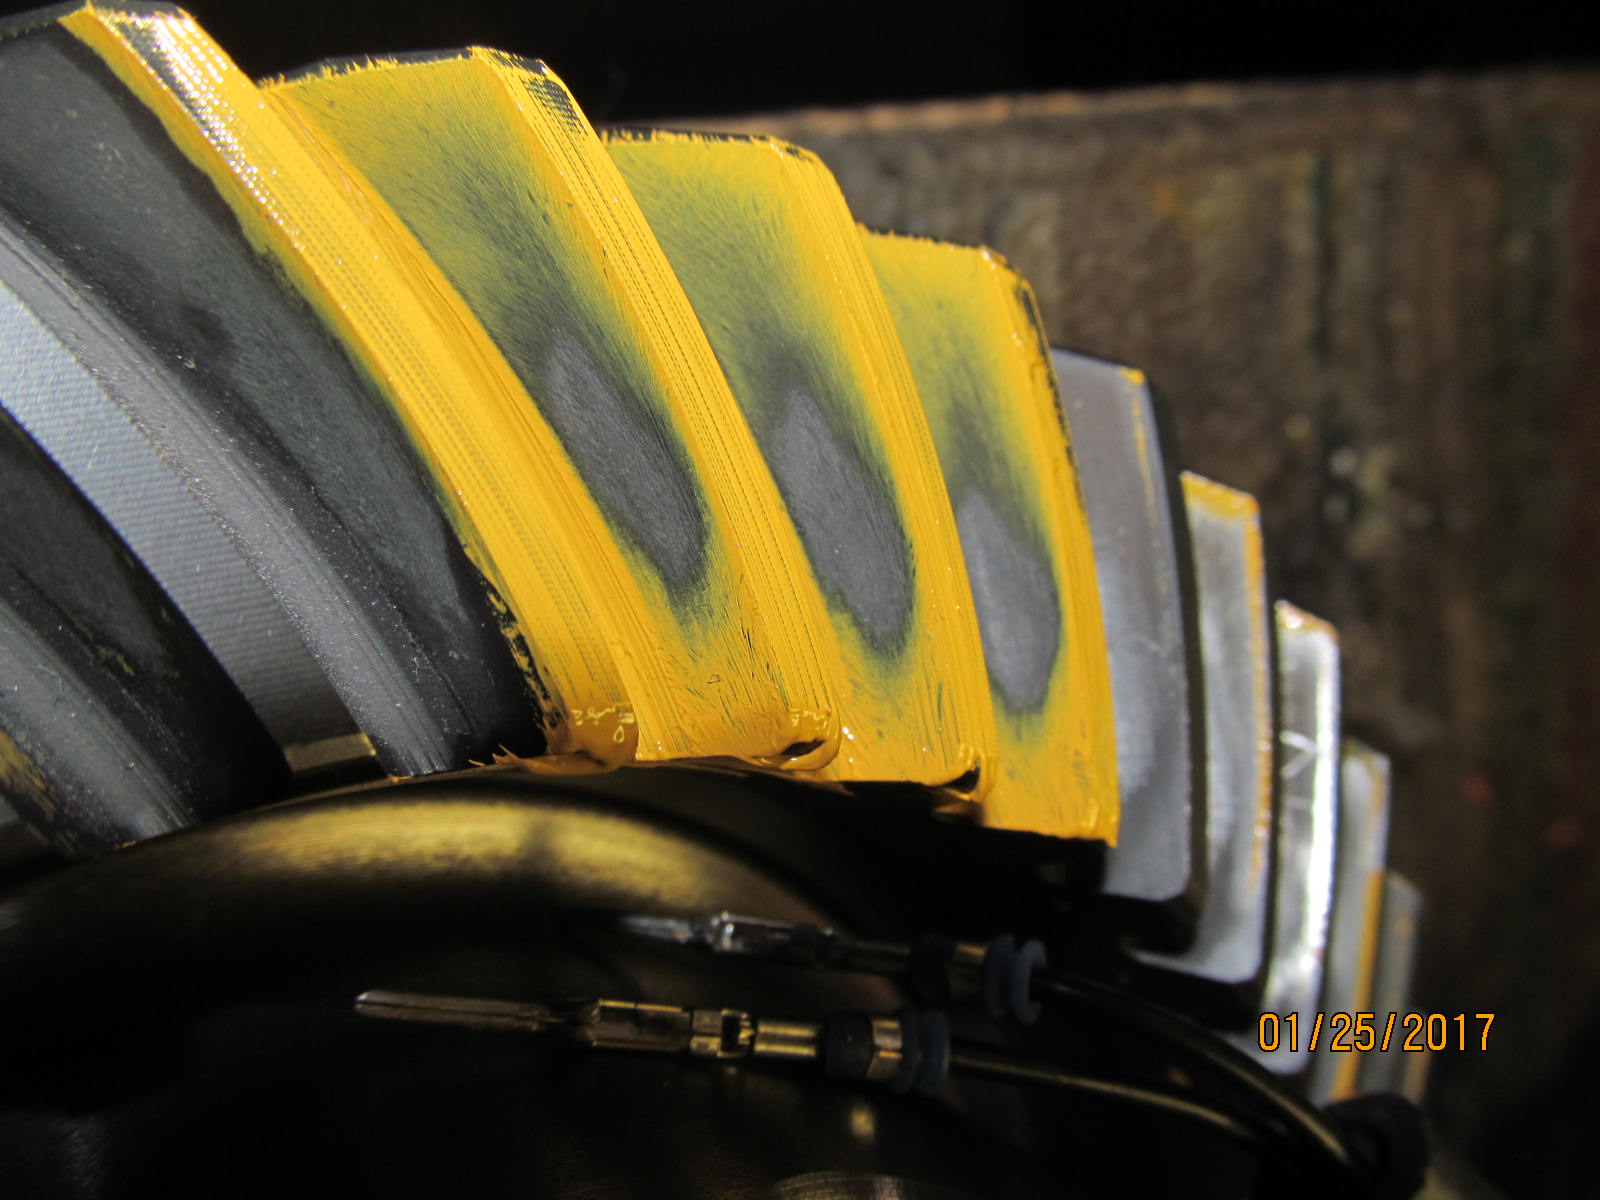
| Apply some resistance with the white towel and turn the upper sidegear with the cheater bar to get a good paint. |
|
| Drive side. Beautiful. |
|
| Coast. Really nice. |
|
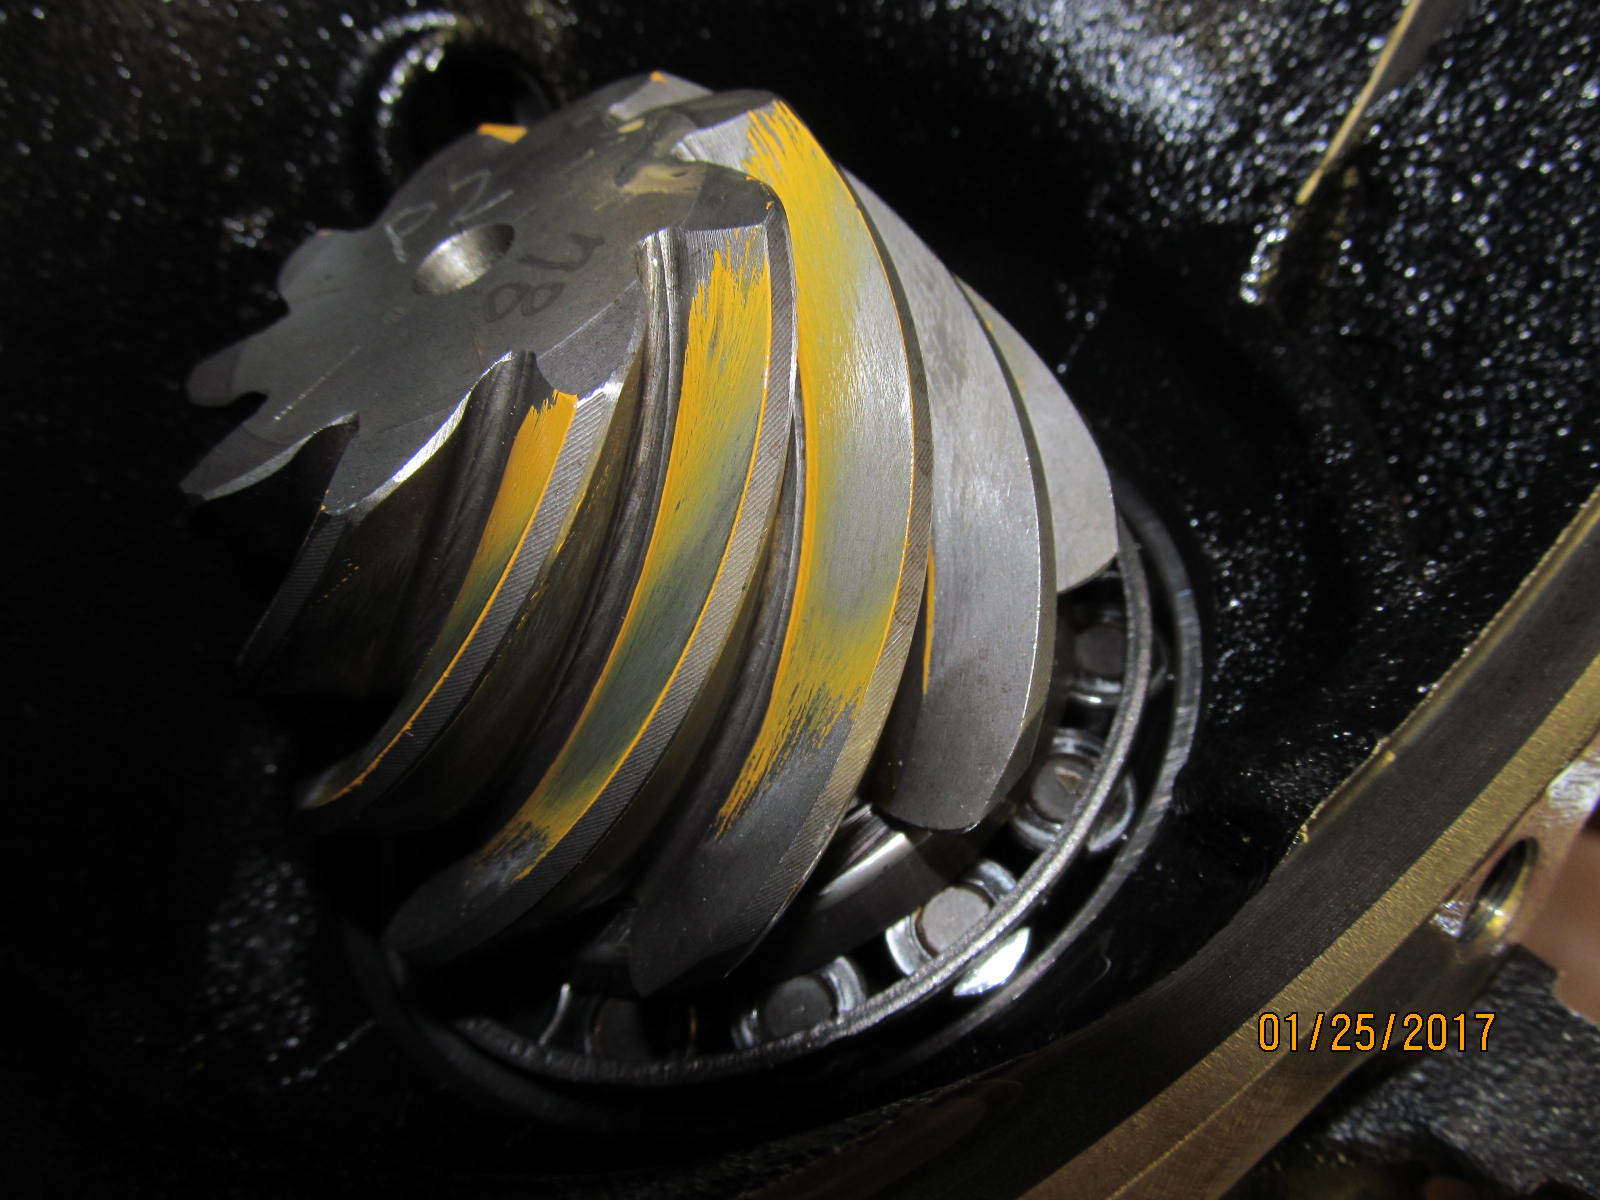
| Drive side on the pinion....comet tail is coming to center and not tucked in hard to the root of the tooth. |
|
| More adjustment of the washer plates. |
|
| .......... |
|
| 96% satisfied with backlash and carrier bearing preload, now it's disassembled..... |
|
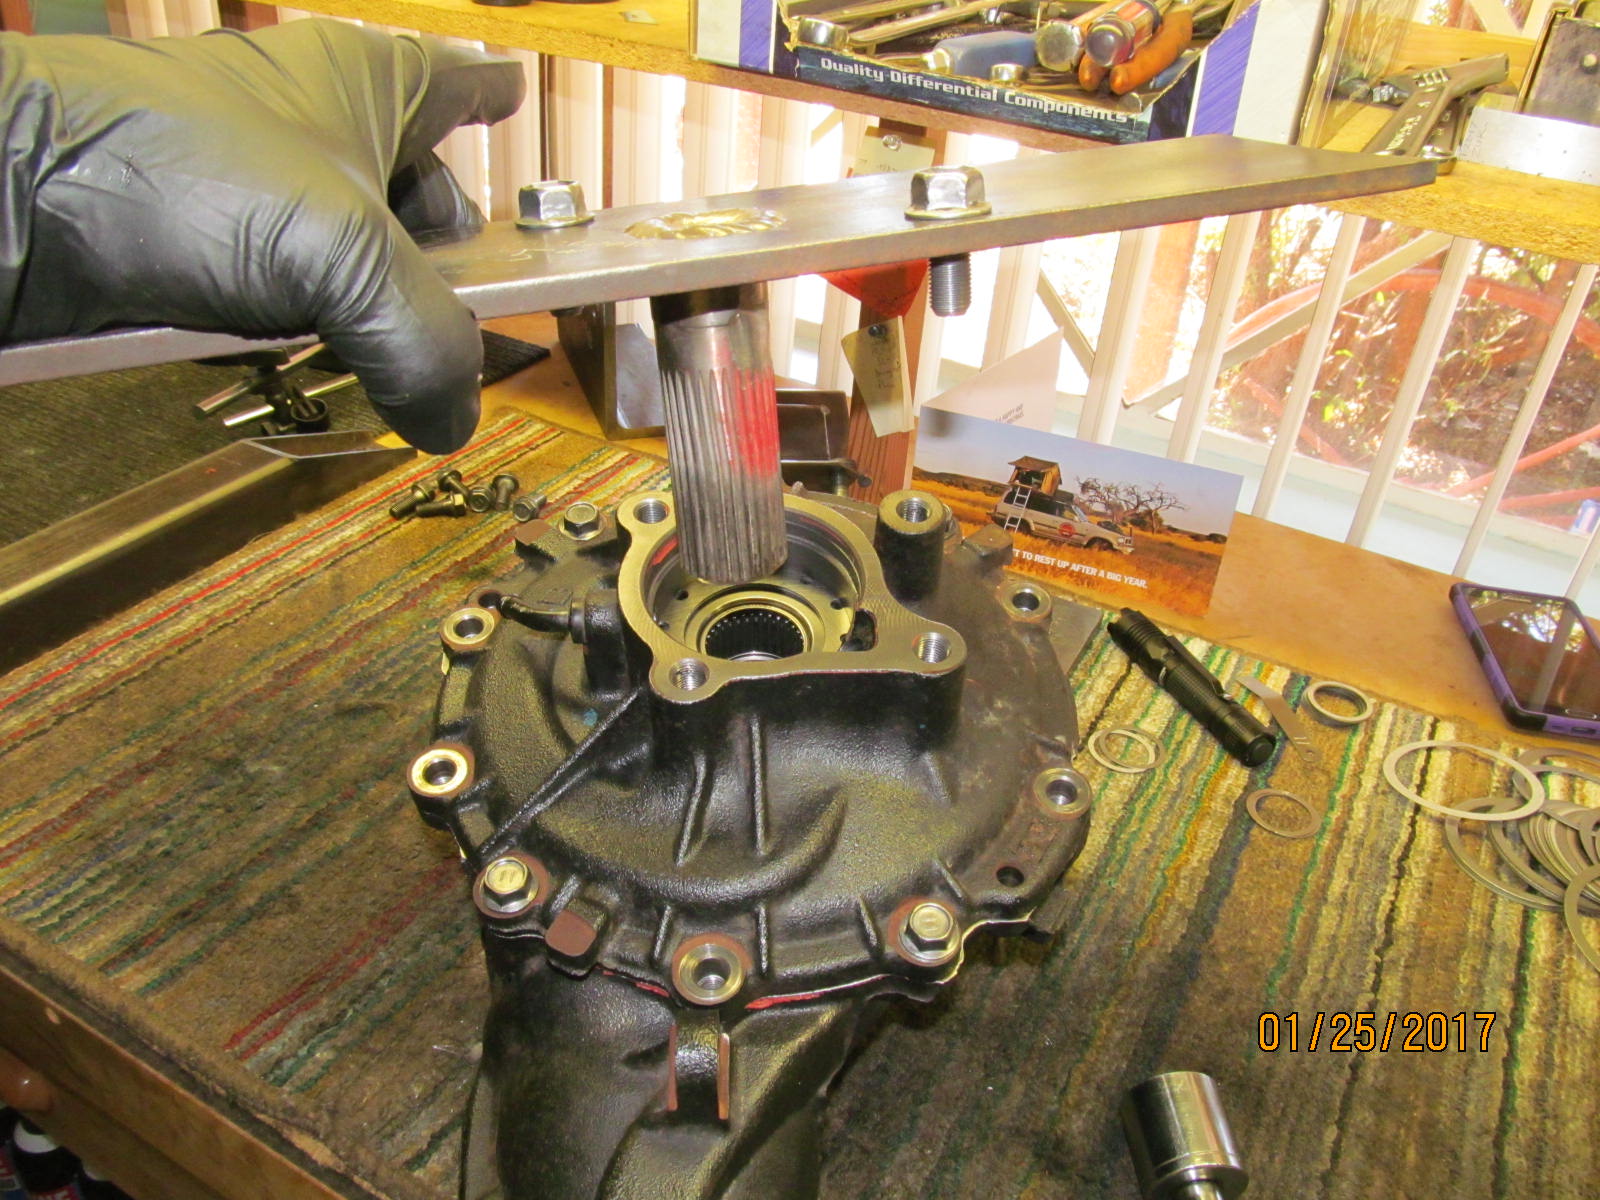
| ....for the solid collar. Got lucky. It only took me 2 tries to get the shimming right on. |
|
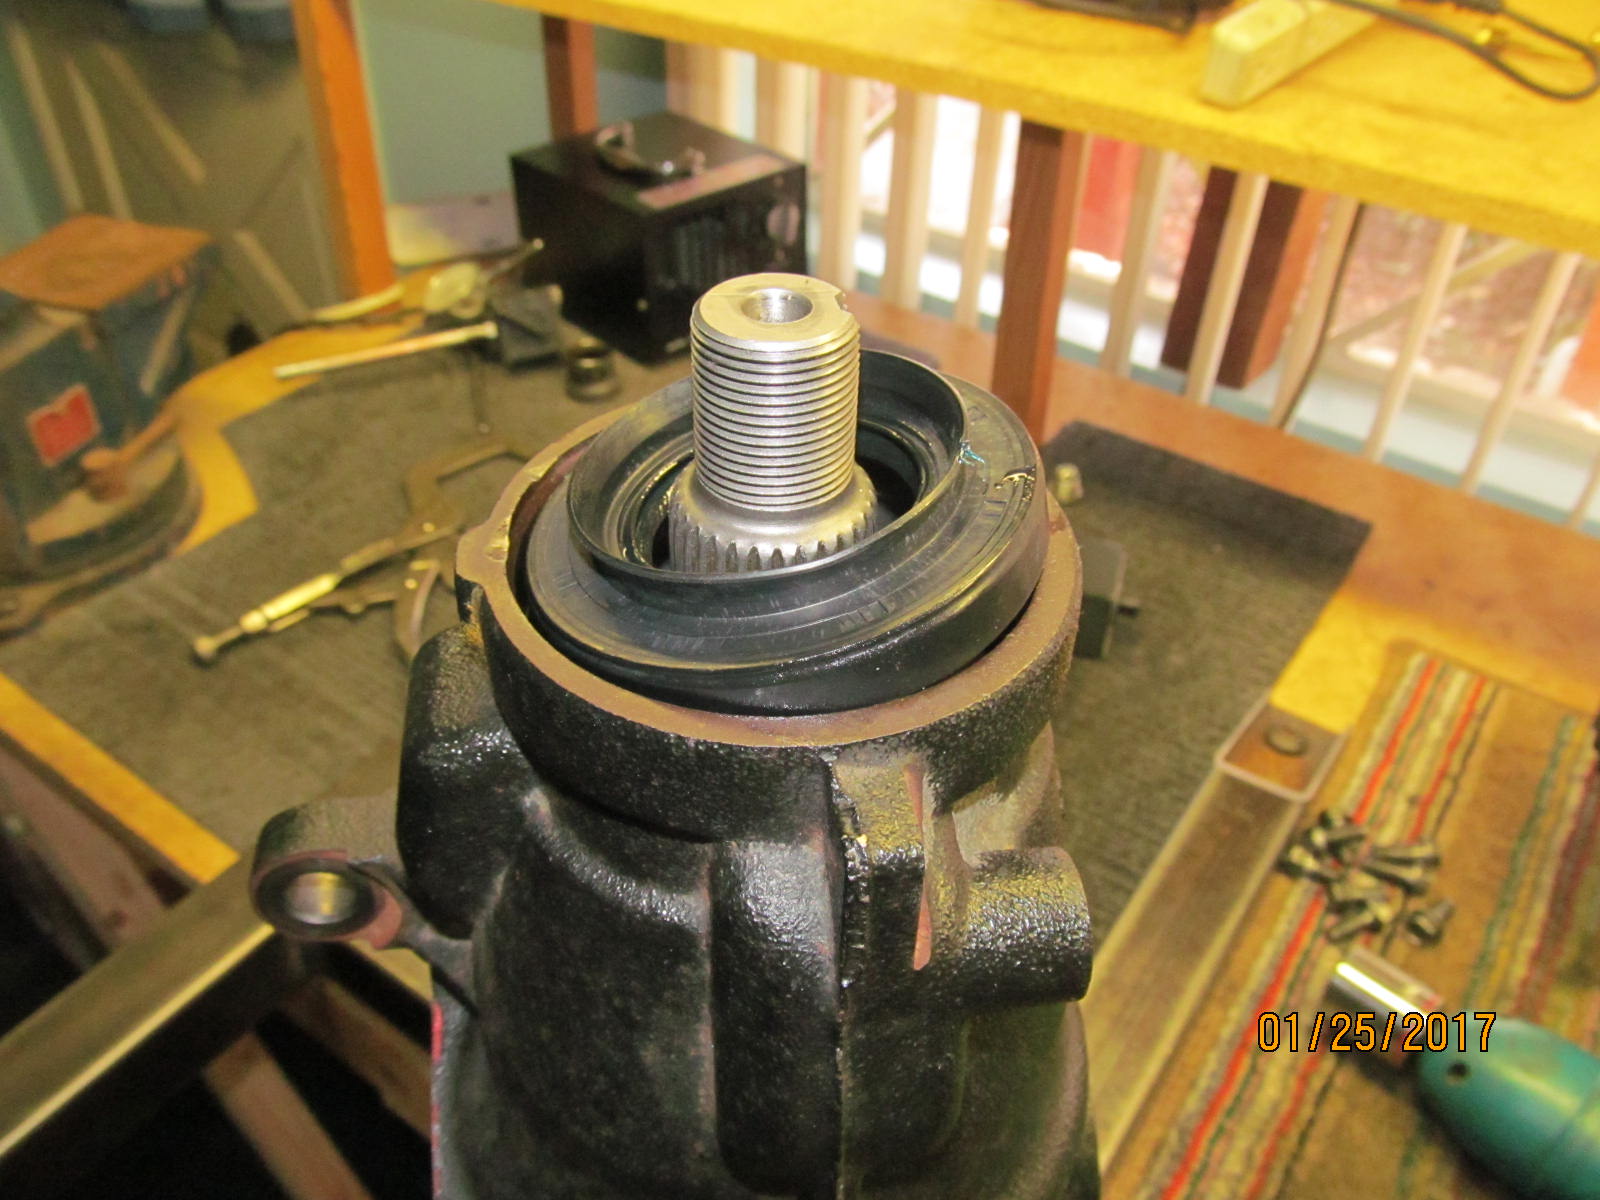
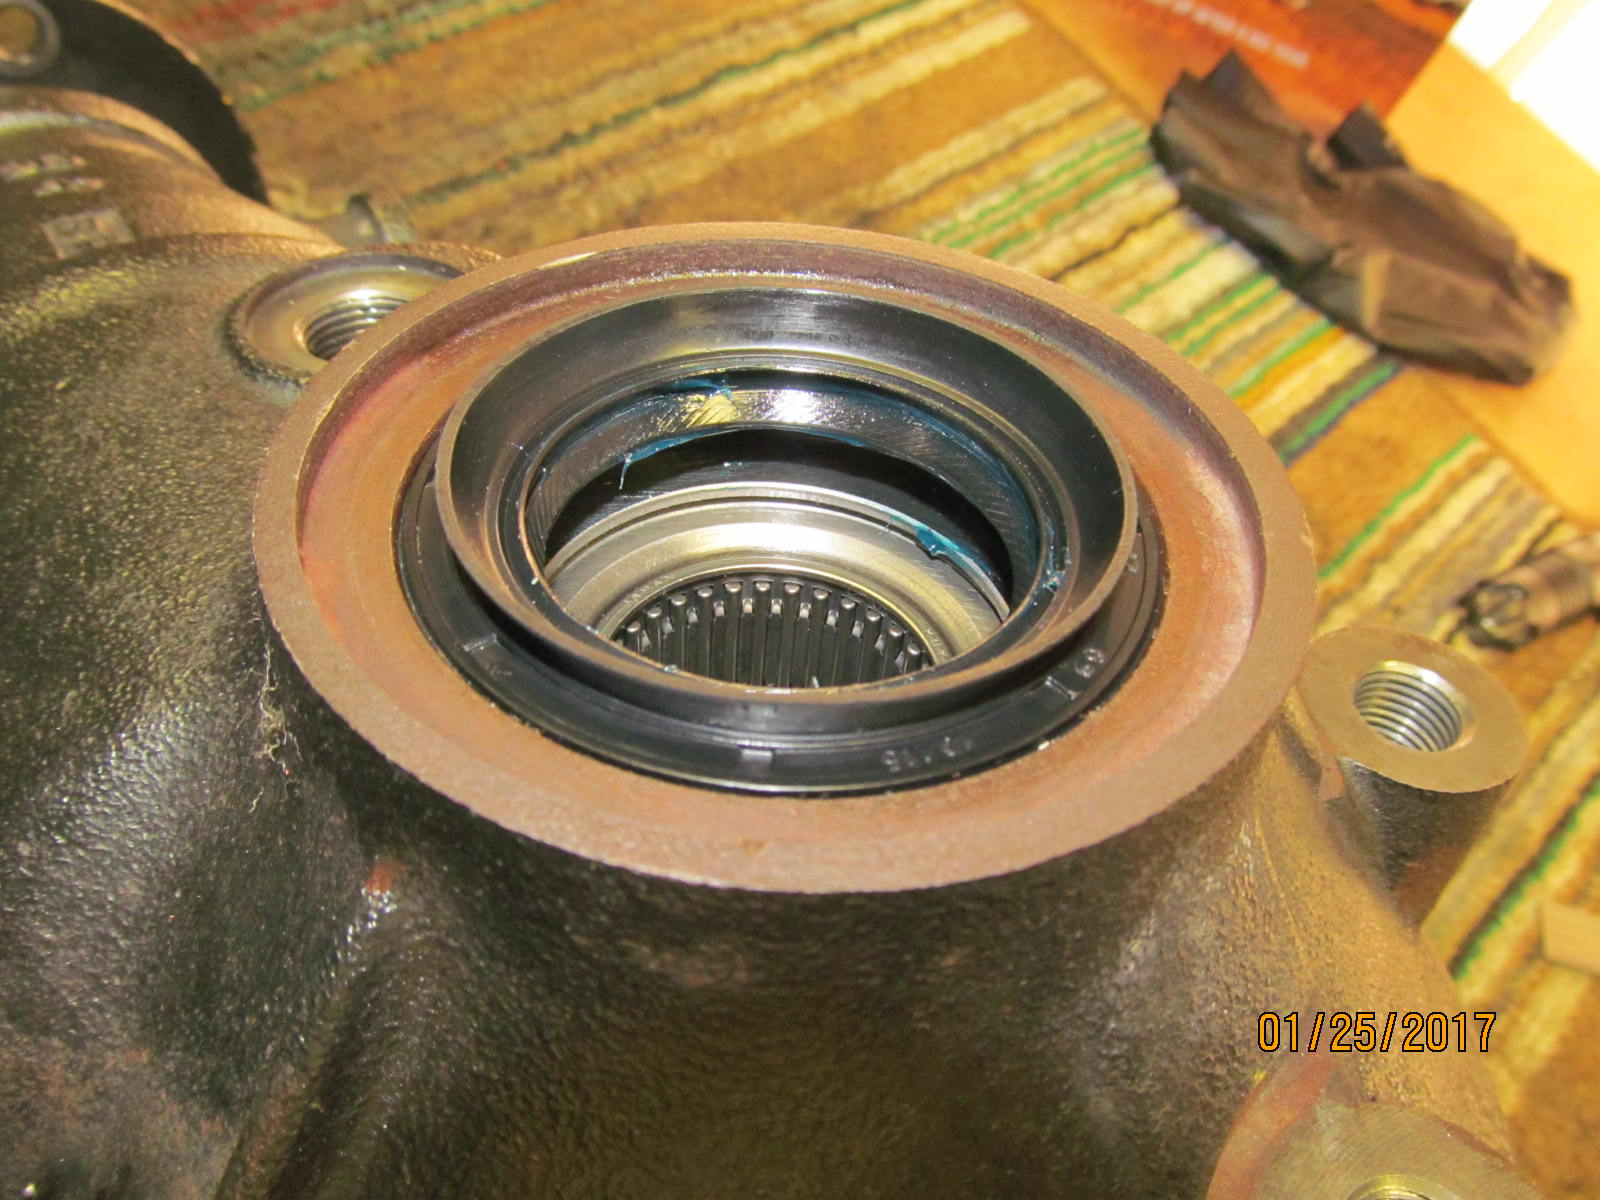
| Now to install the pinion seal. |
|
| .................. |
|
| ................... |
|
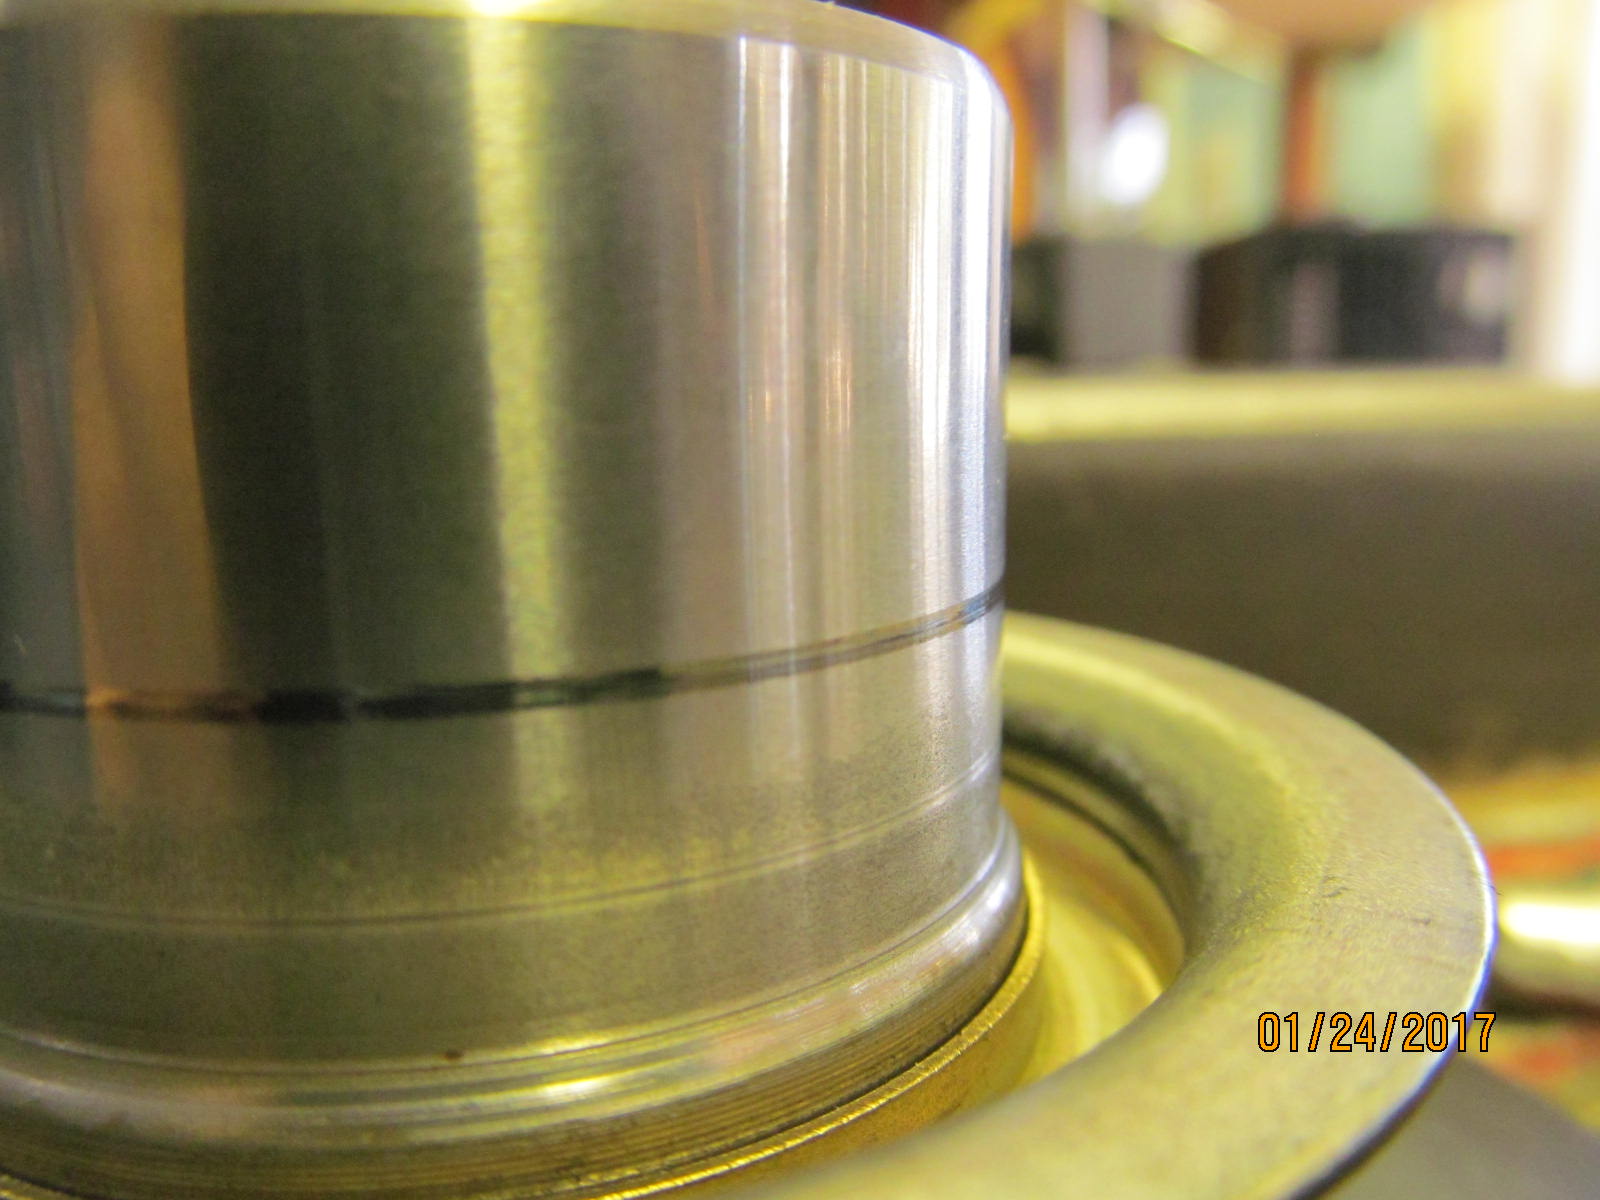
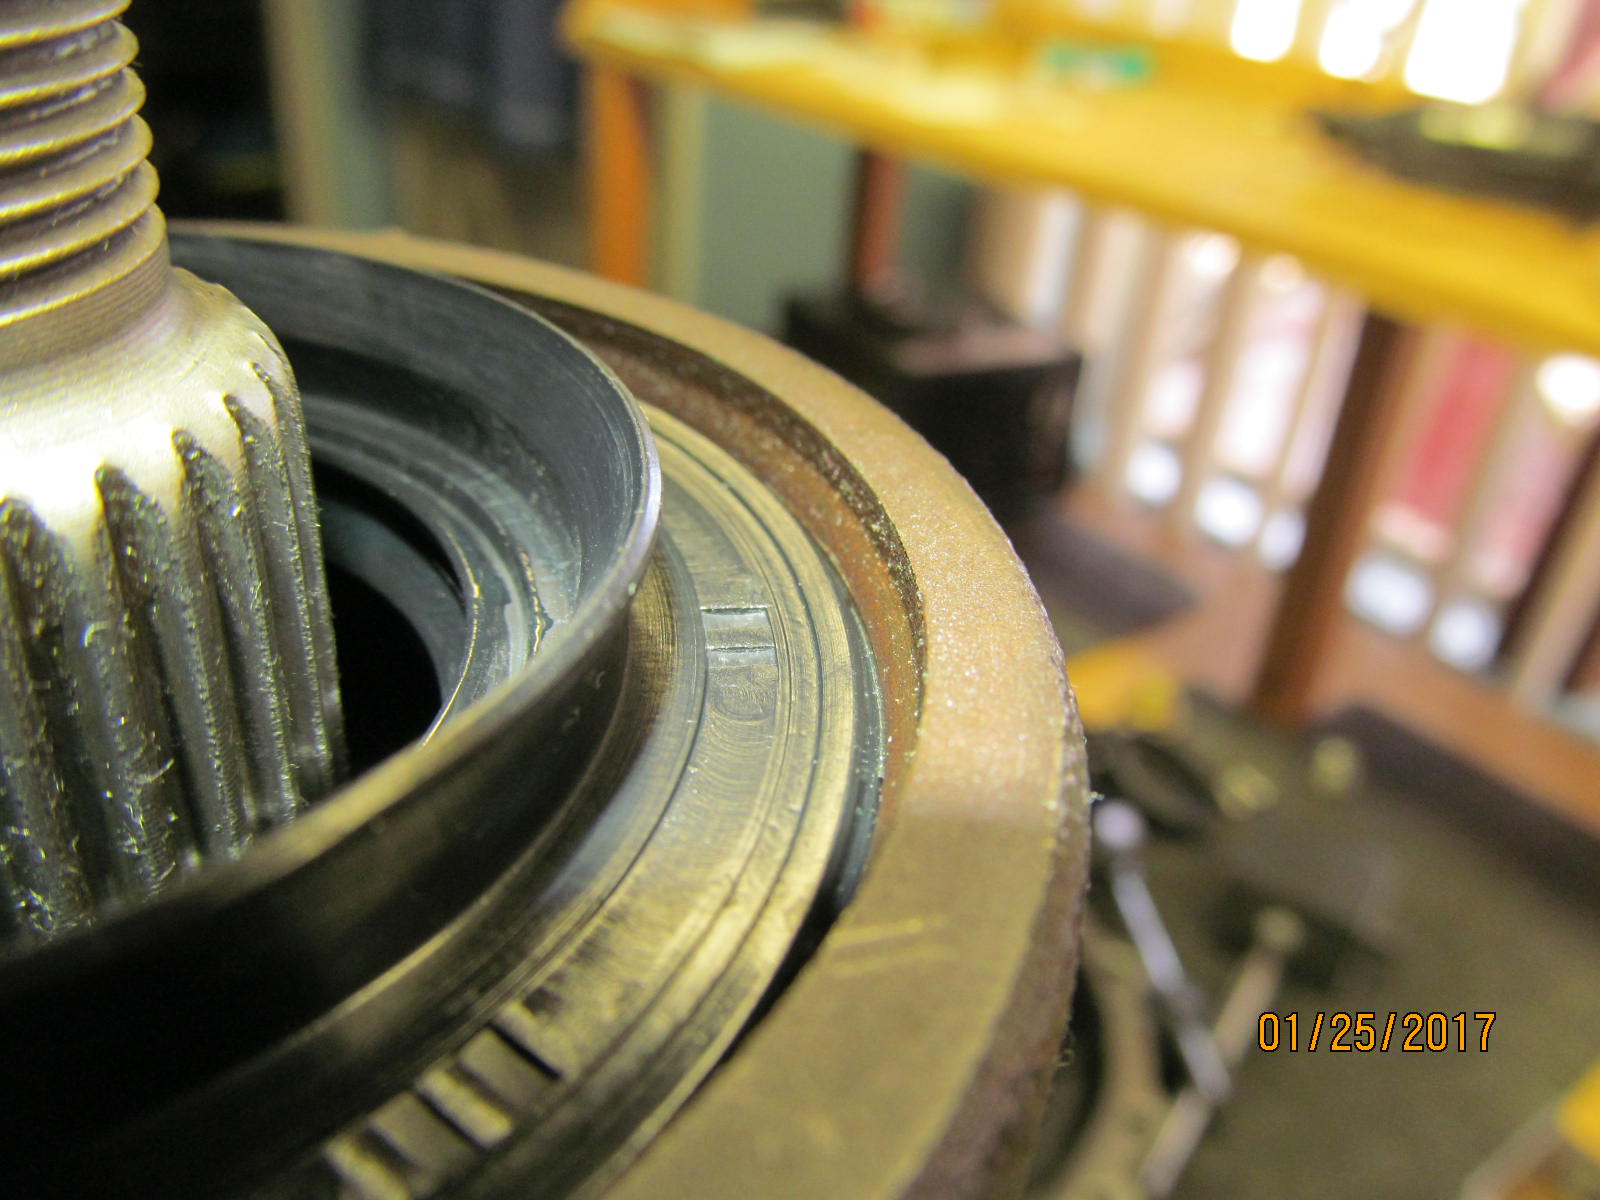
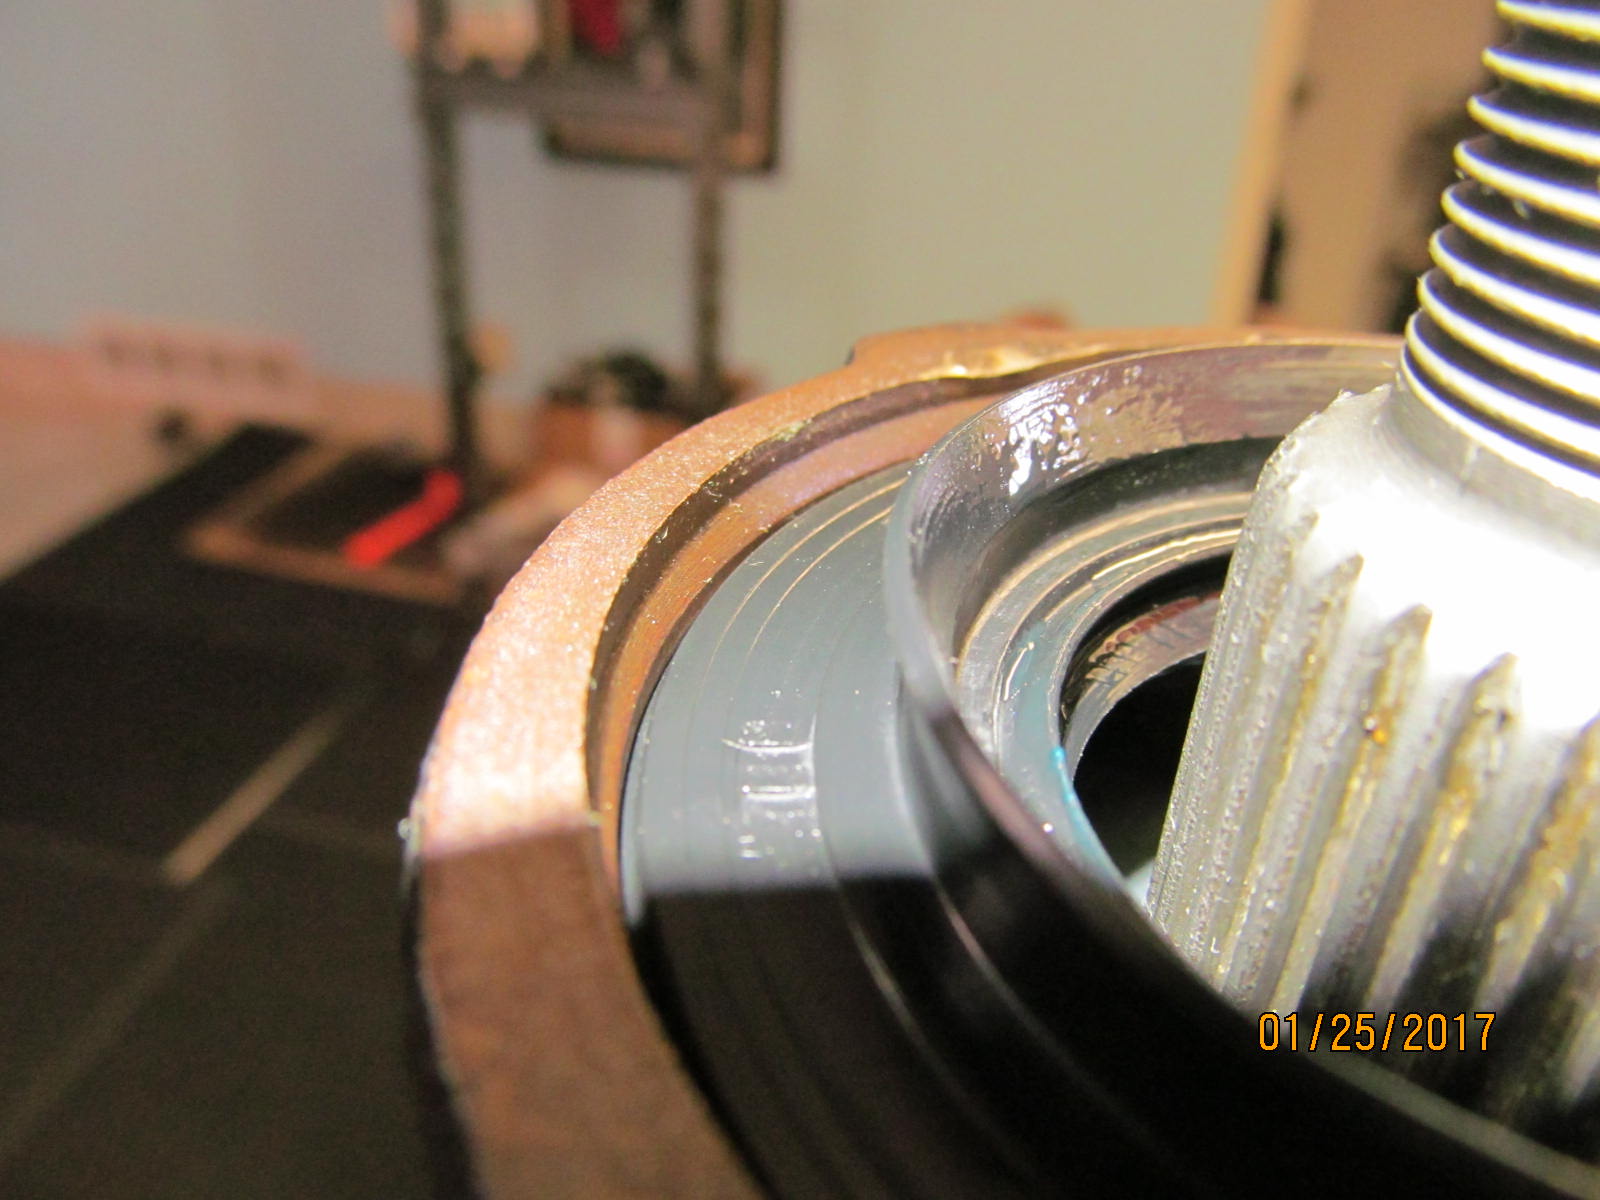
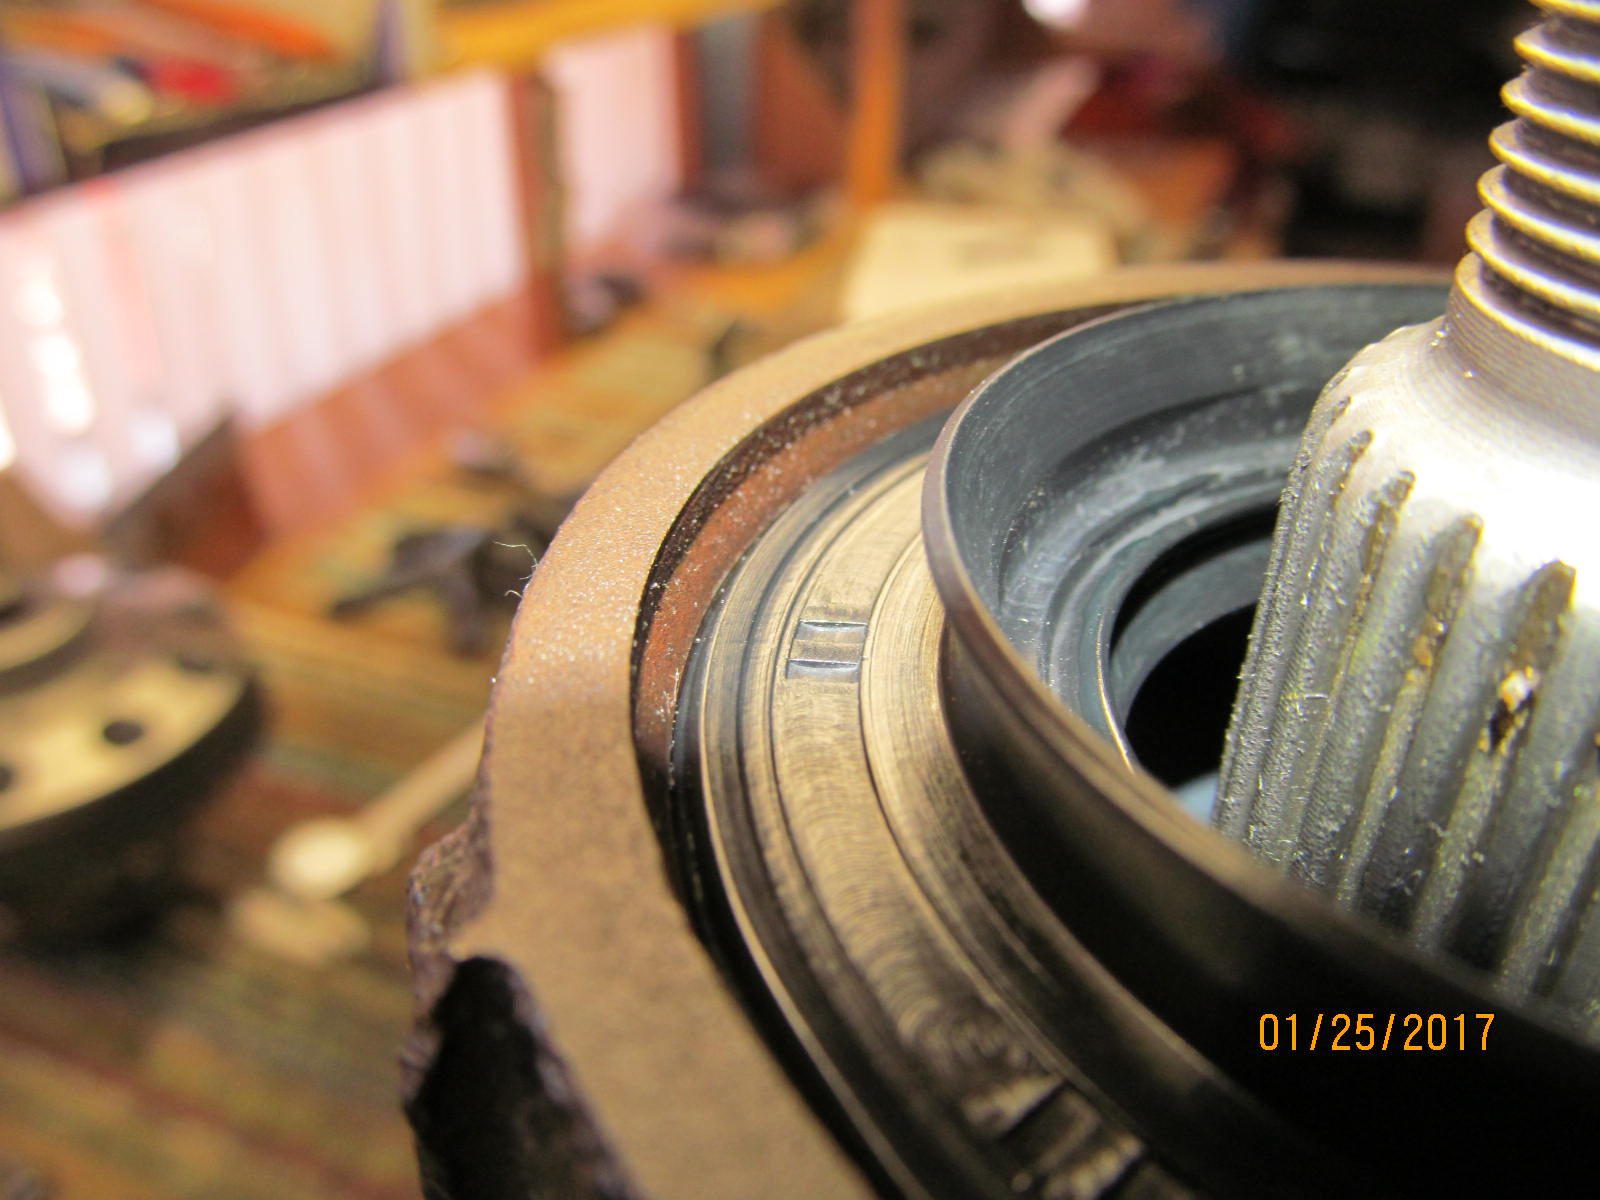
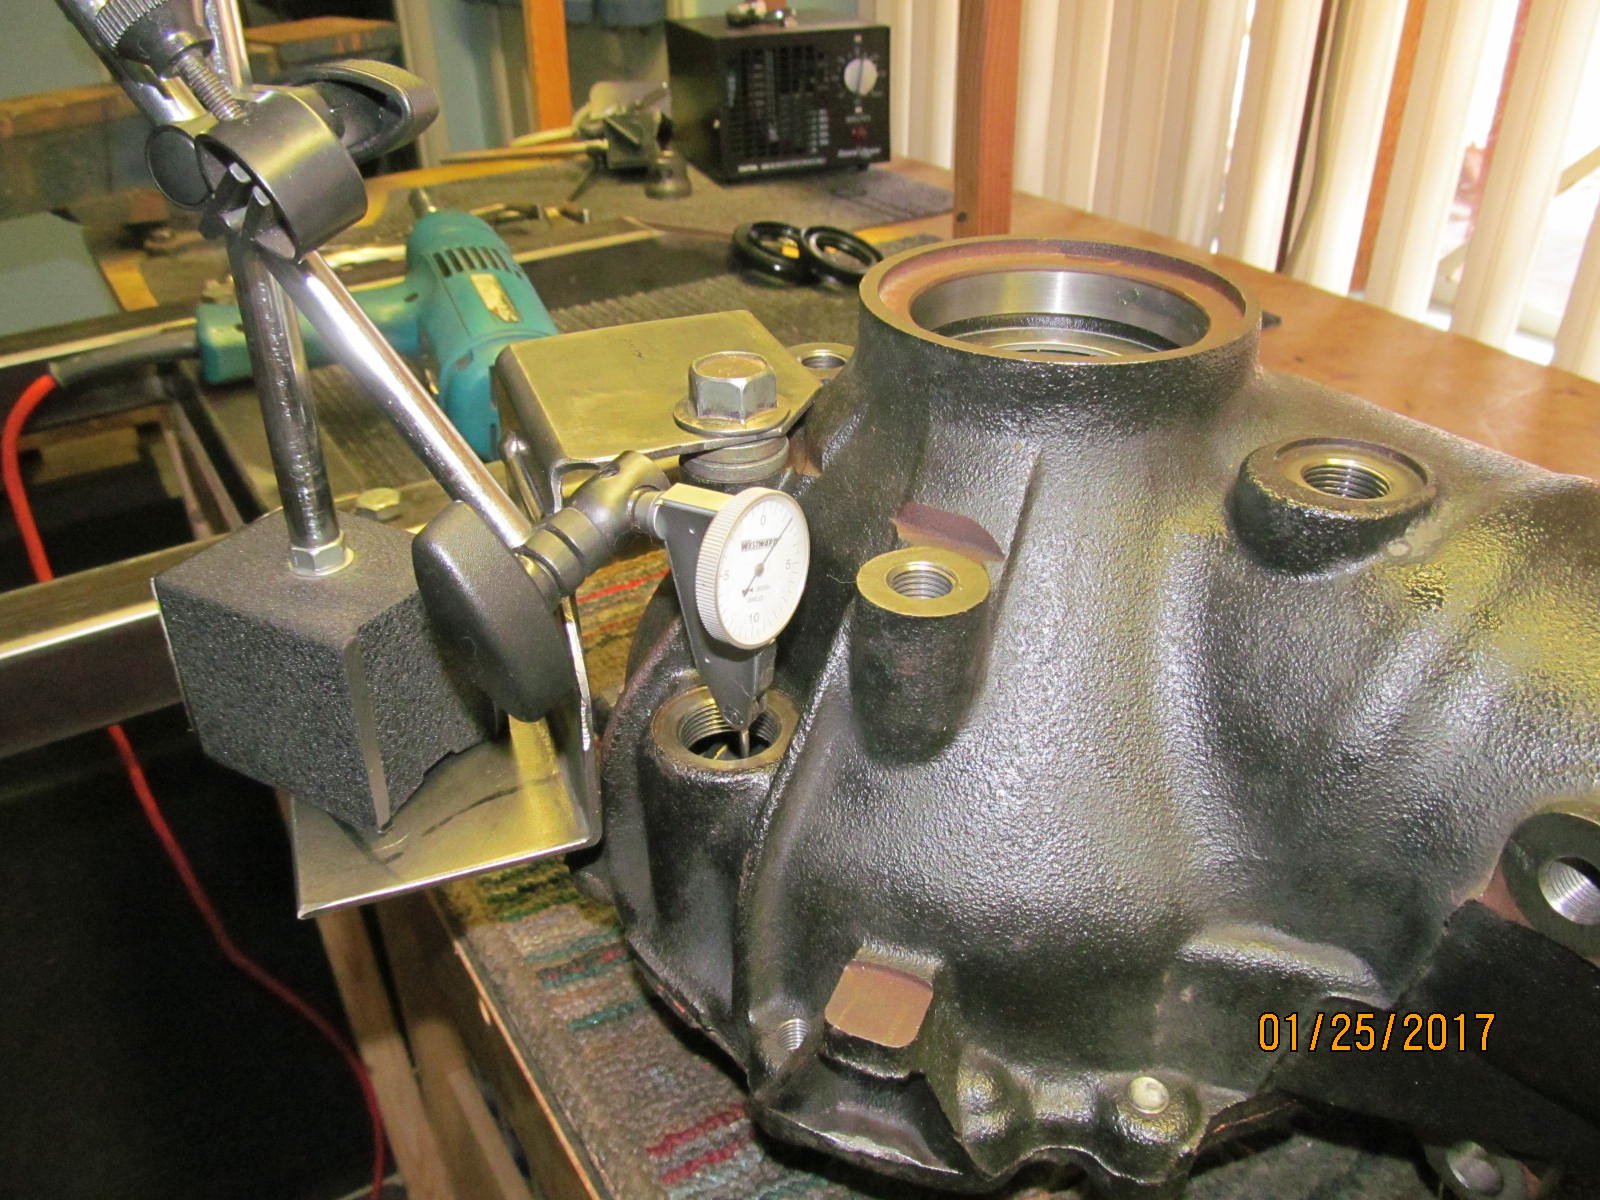
| Looks good. Depth measured at an even .170" |
|
| Final pinion preload measured in at a solid 13 in/lb of start torque. |
|
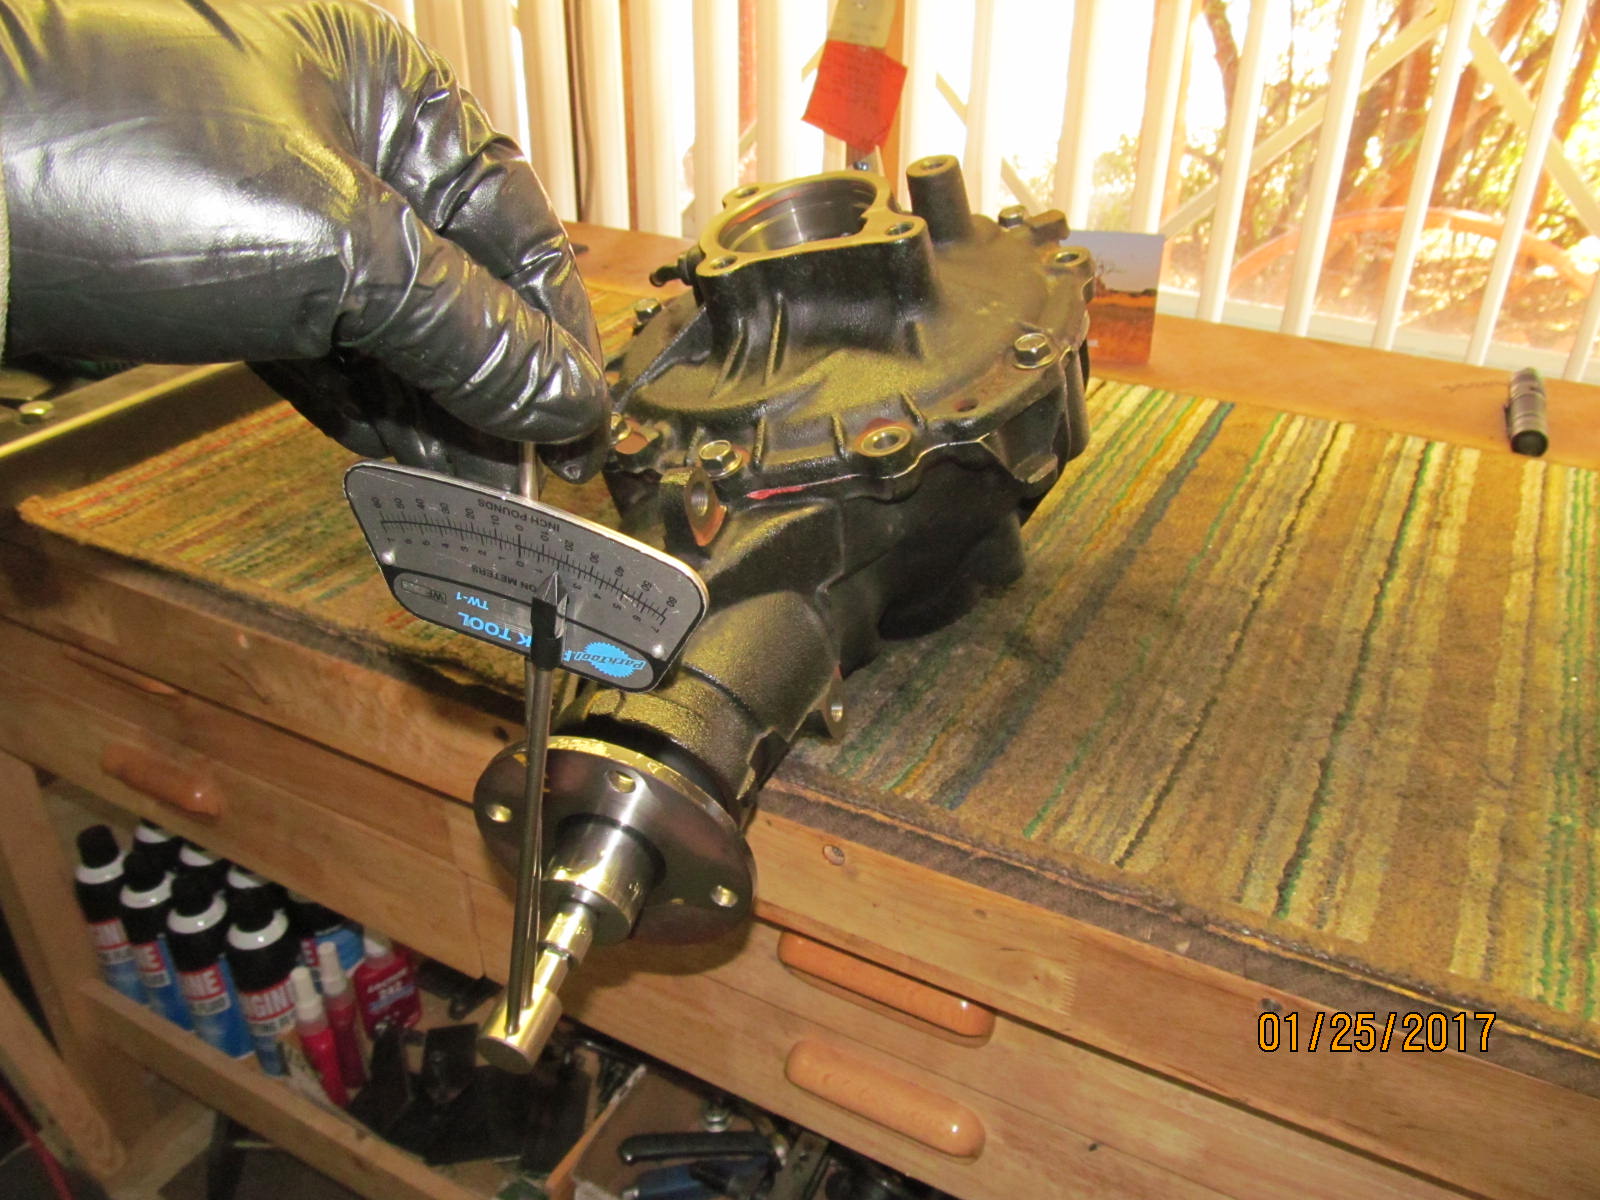
| With the lid bolted down firmly, the total preload is measured. |
|
| One last check of the backlash....was a little wide at .009" so...... |
|
| ....one last chance to tweak it. It's good to have a decent selection of washer plates. |
|
| This is it....time to push the rubber grommet thru. |
|
| ................ |
|
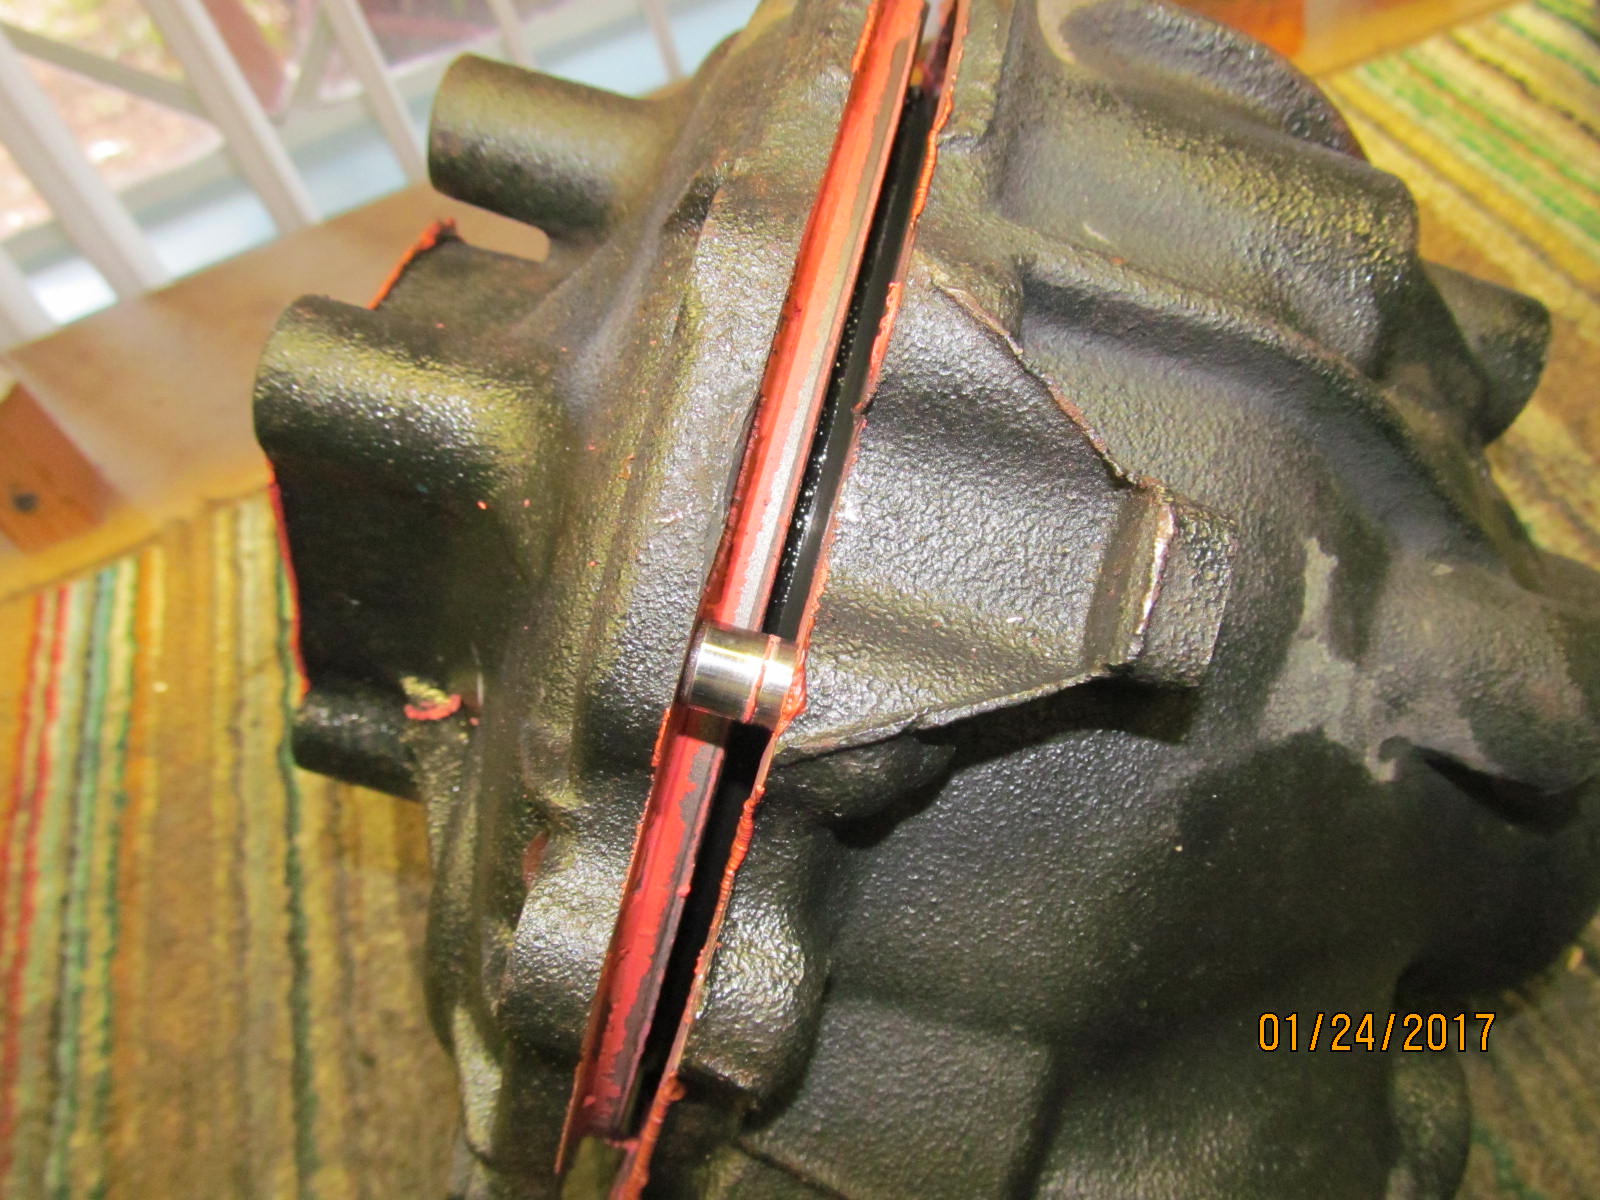
| A little overkill on the black FIPG. |
|
| Blue Loctite and 52 ft/lb. |
|
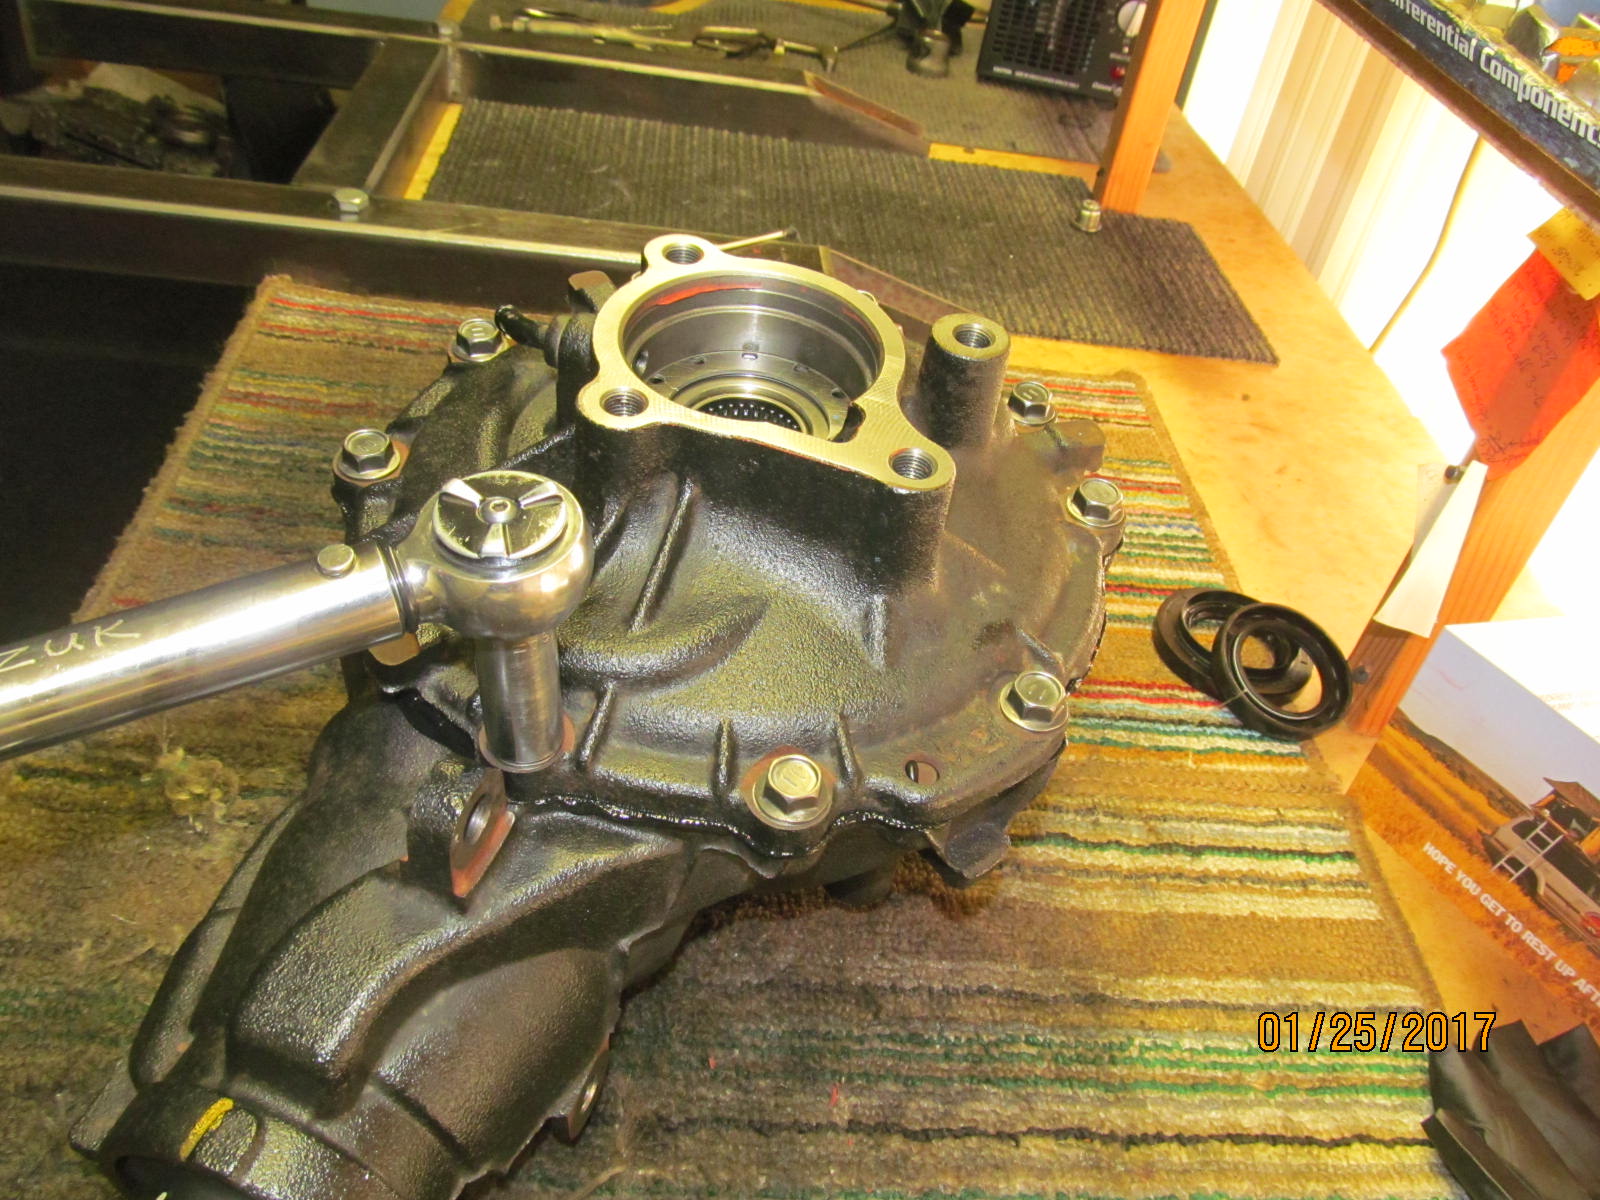
| New axle stub seal. |
|
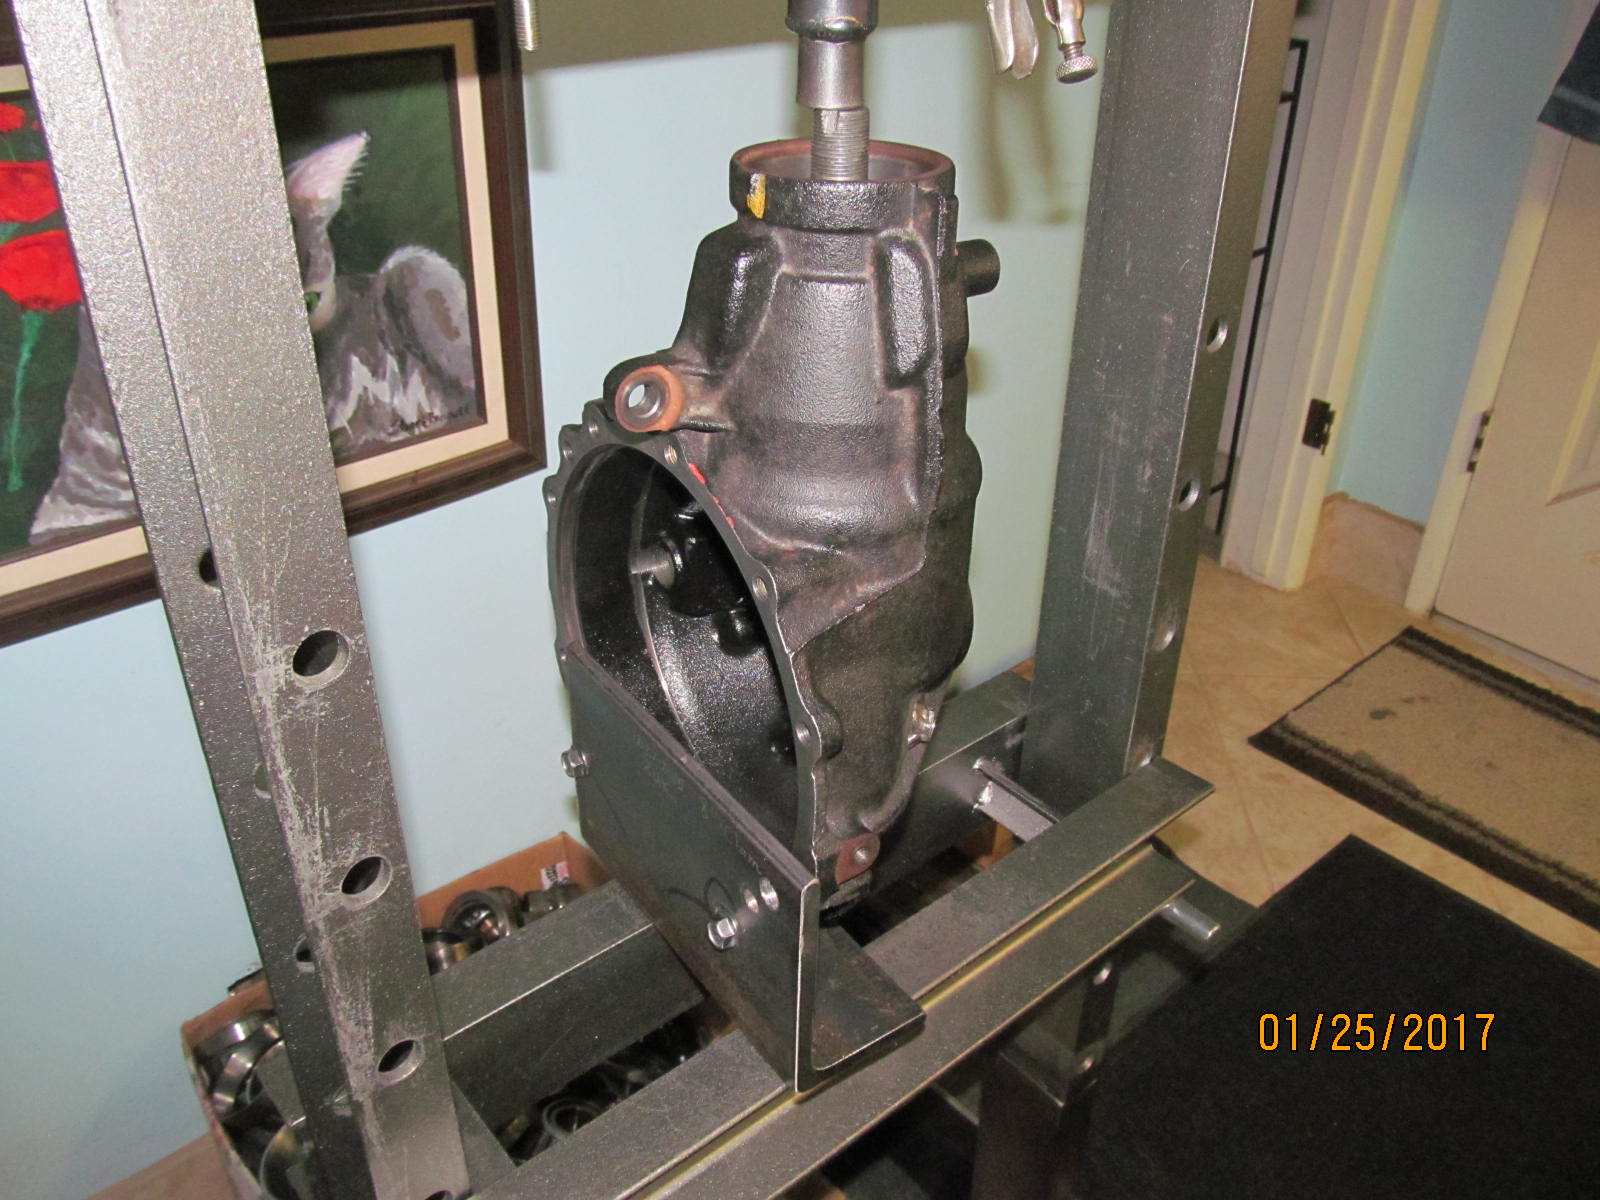
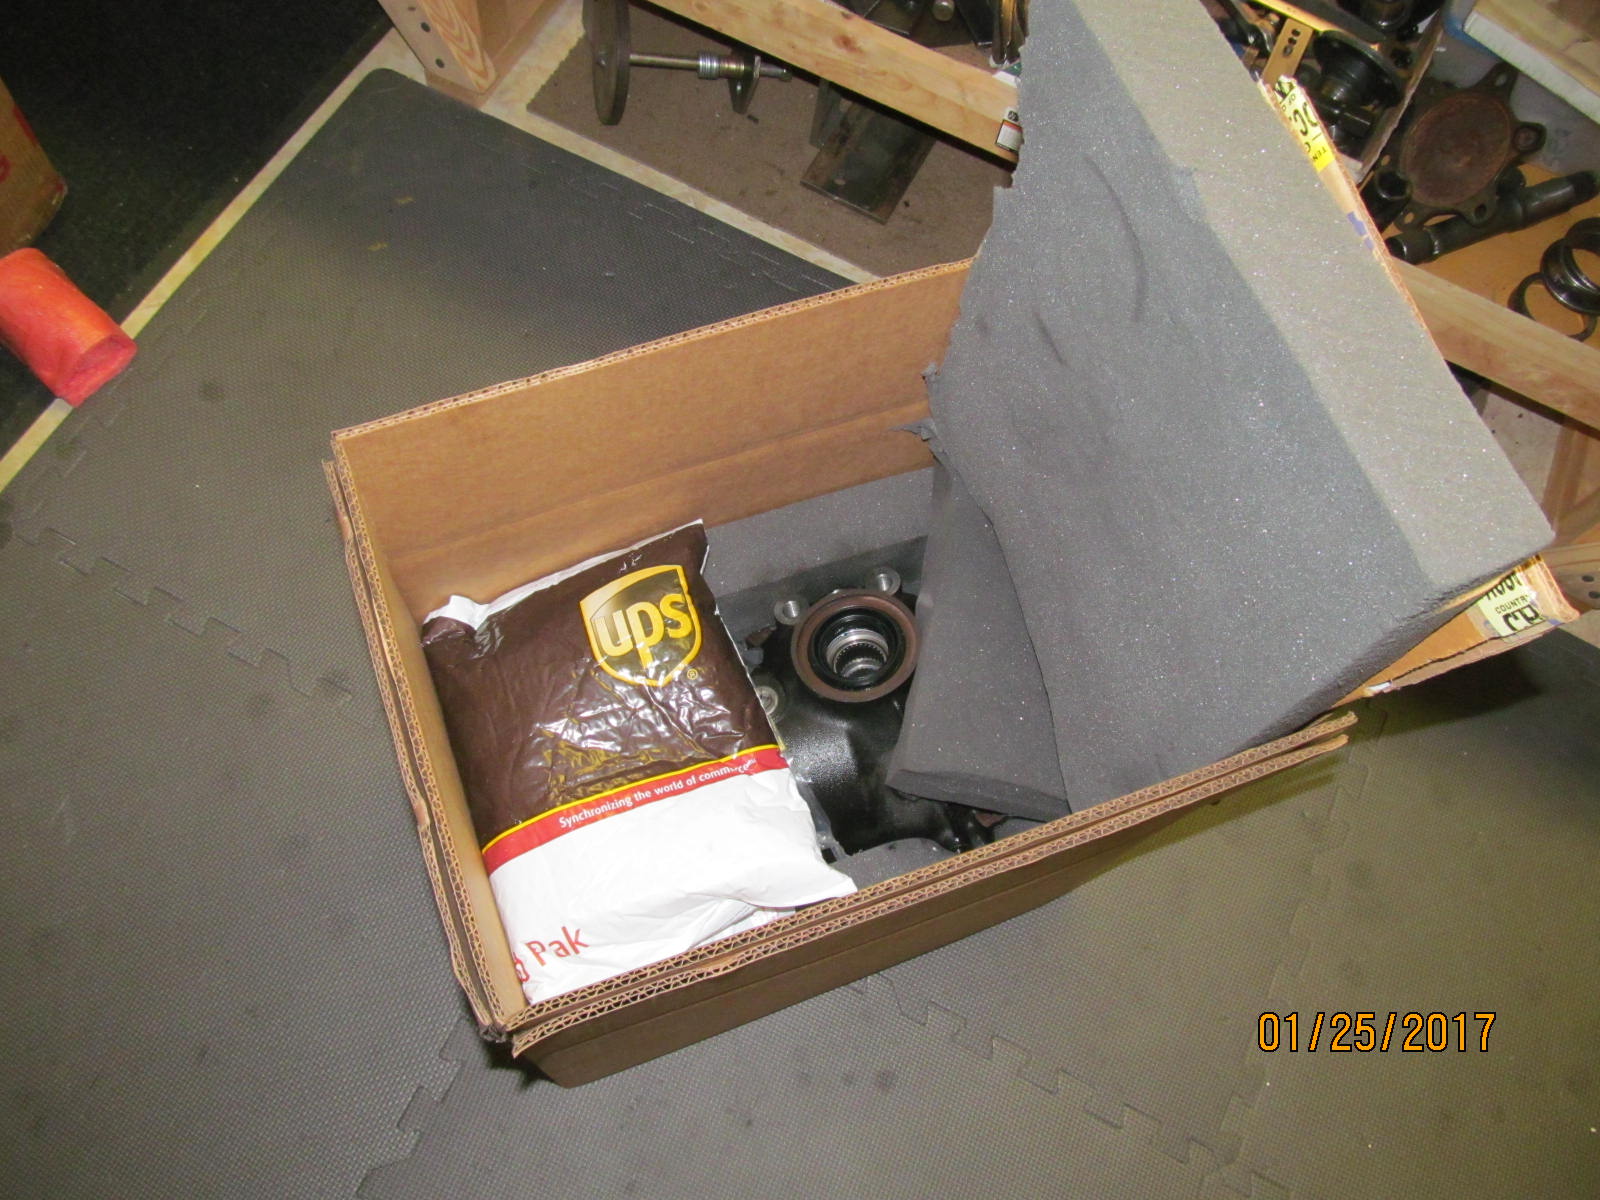
| Double boxing it to send it out to Paul. |
|
| Final notes. |
