| 571 gears for Josh's 1986 4Runner |
|---|
| (102 BIG pics loading) |
| AUGUST 8 2026 |
|
|
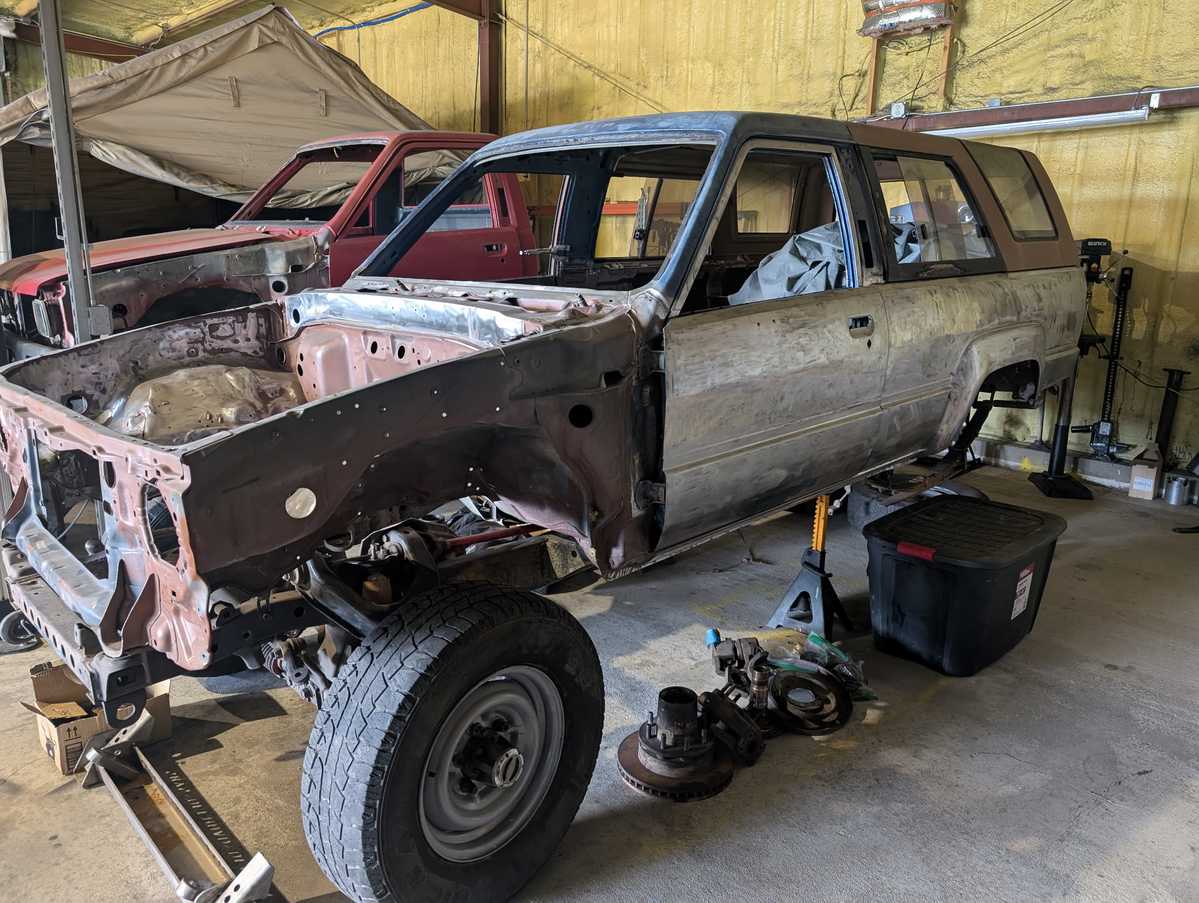
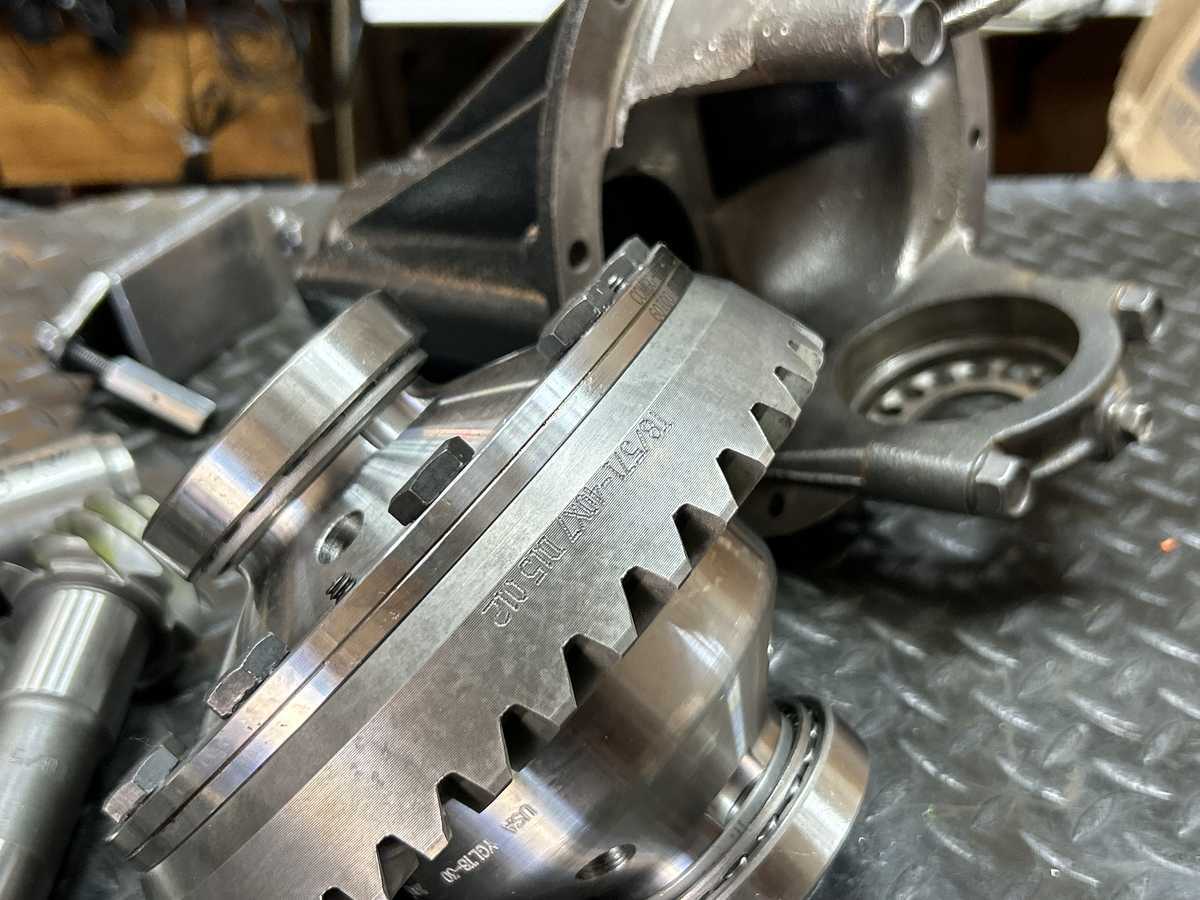
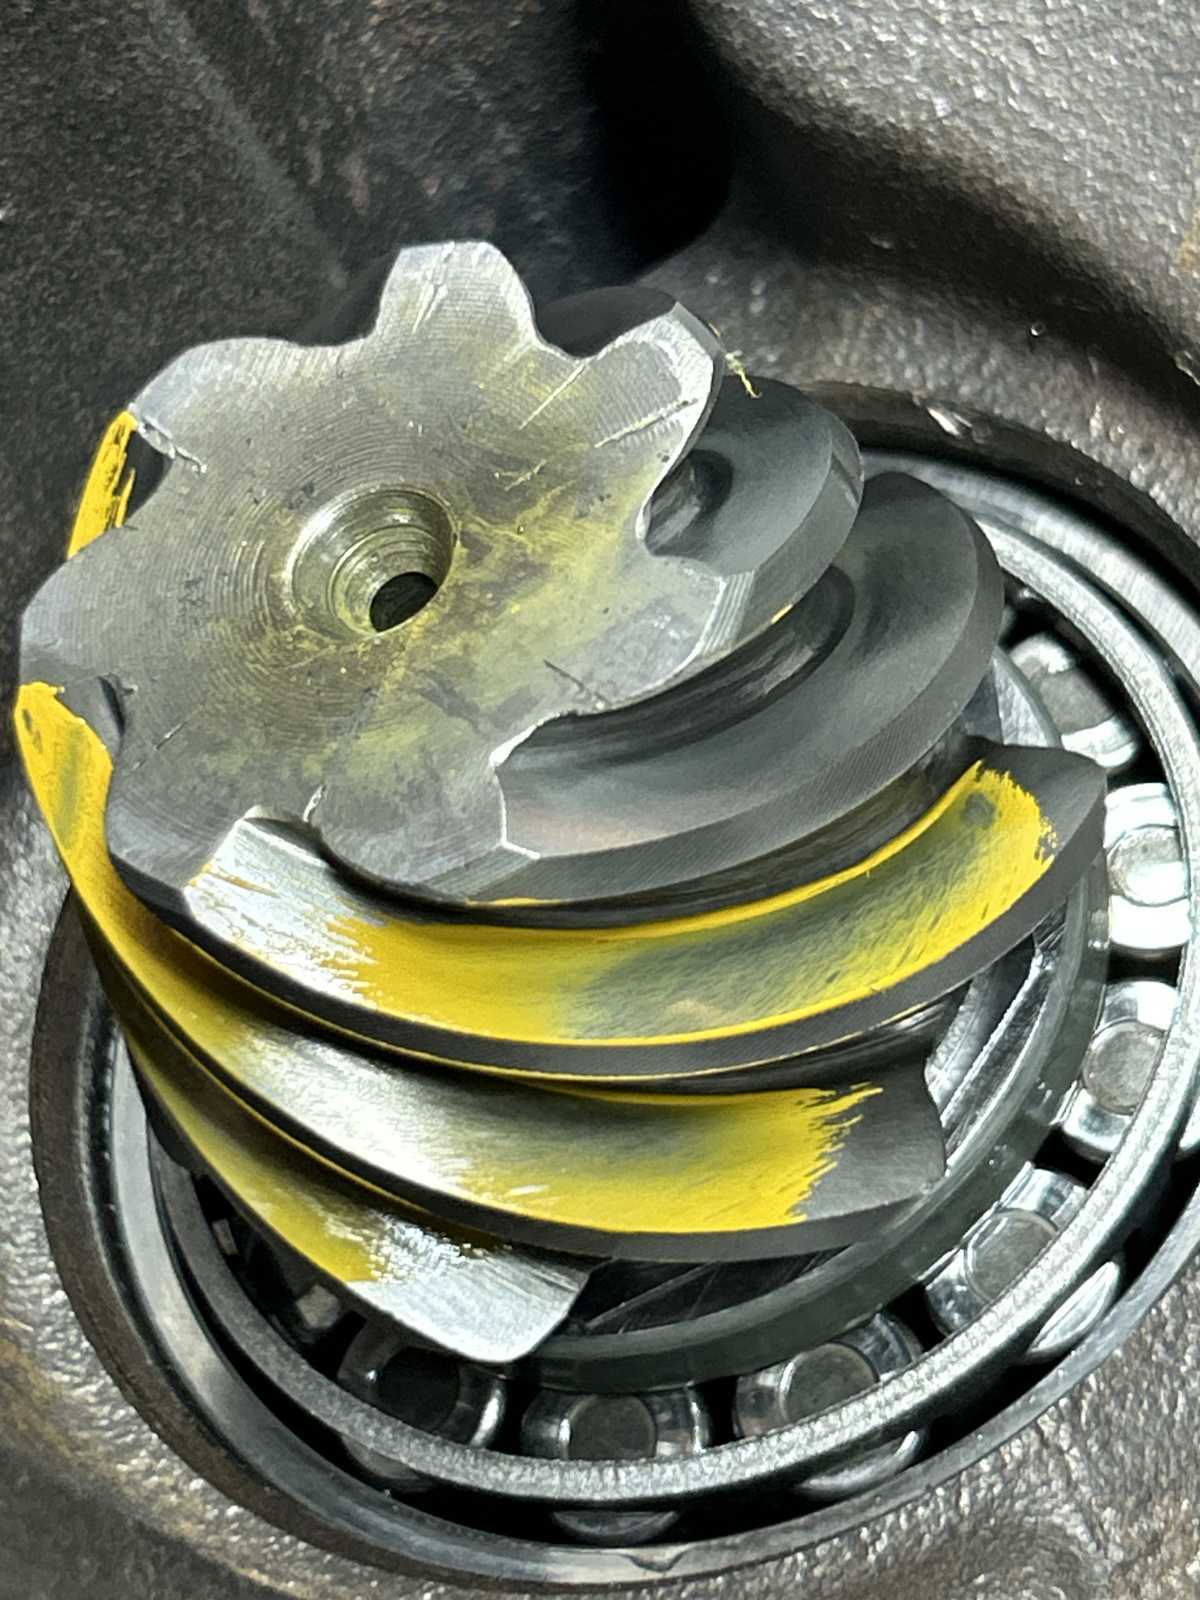
Josh has an interesting project here....A 1986 4Runner that is gonna see alot of changes including Diamond axles and 571 gears with Grizzly auto lockers. |
|---|
|
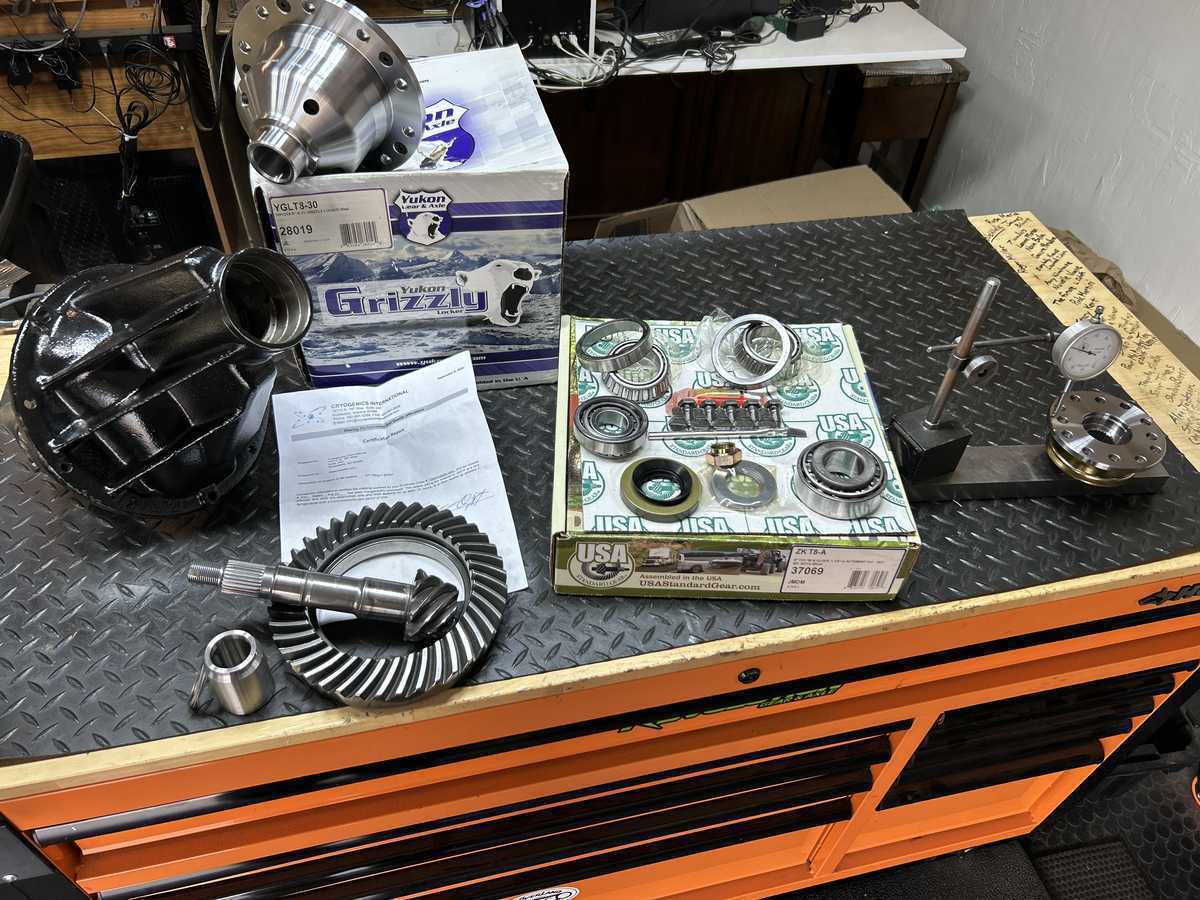
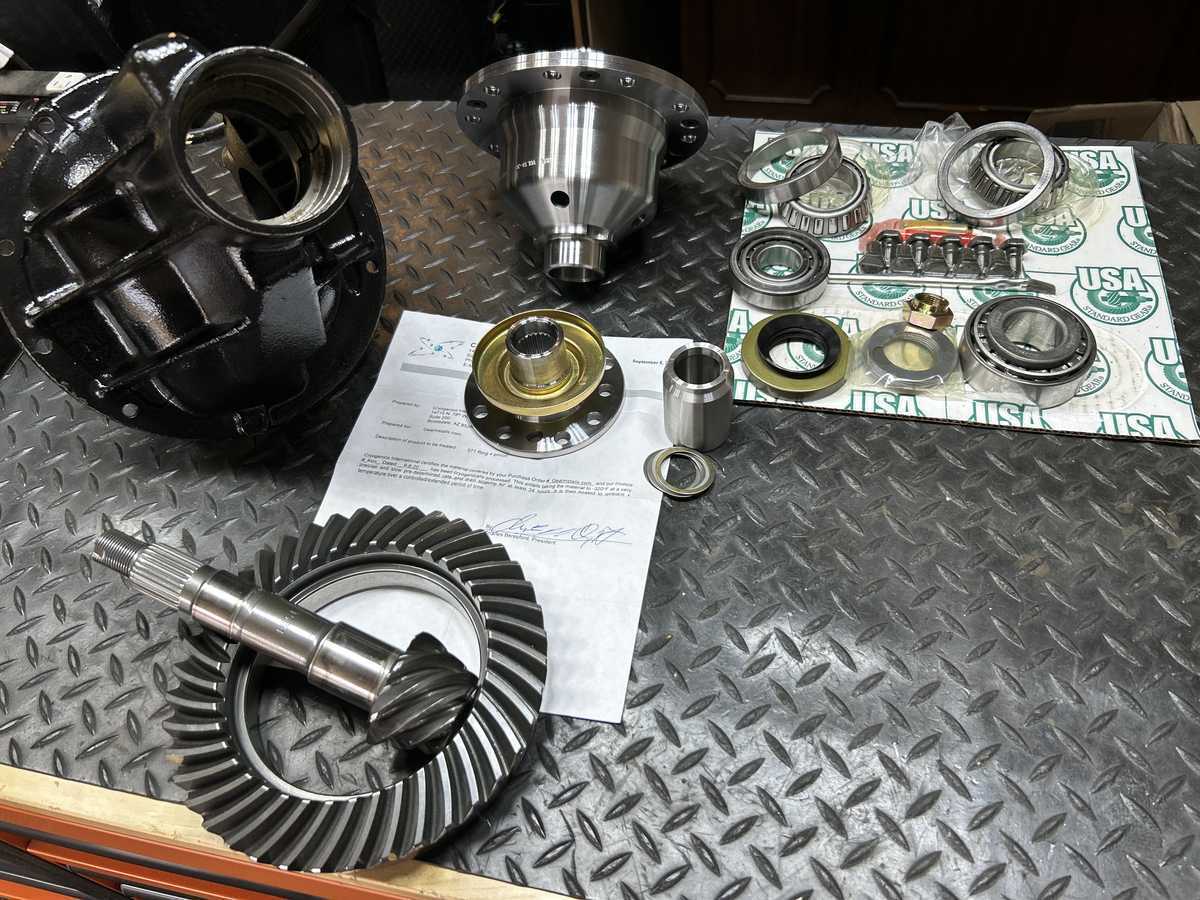
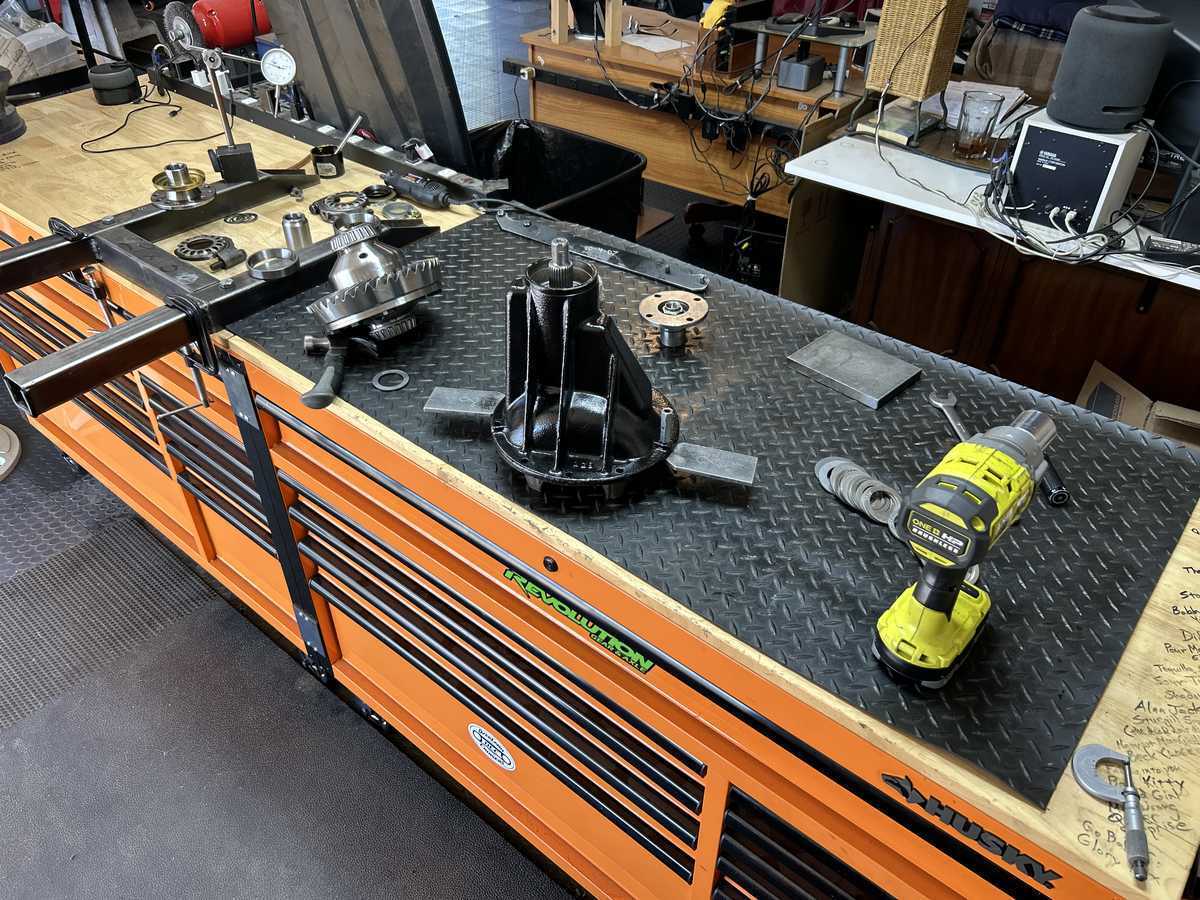
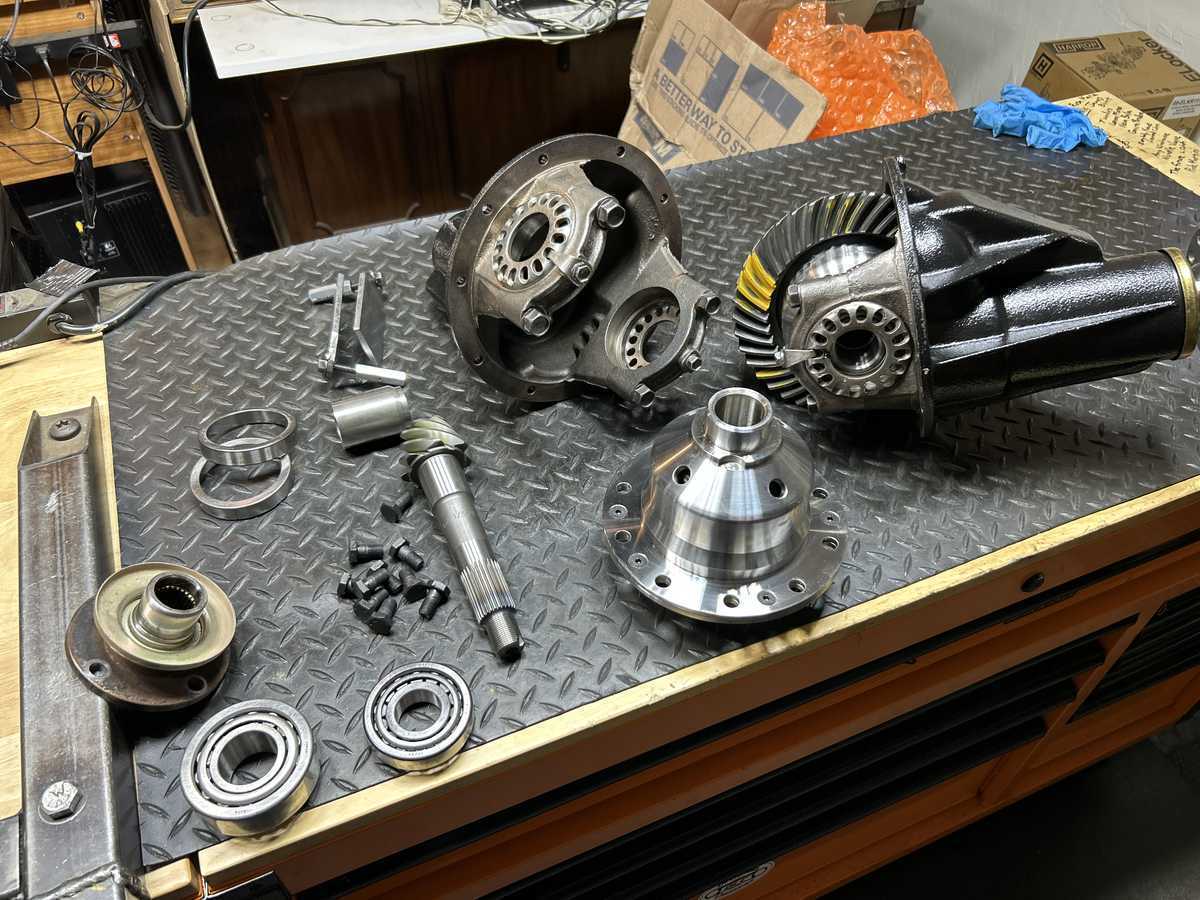
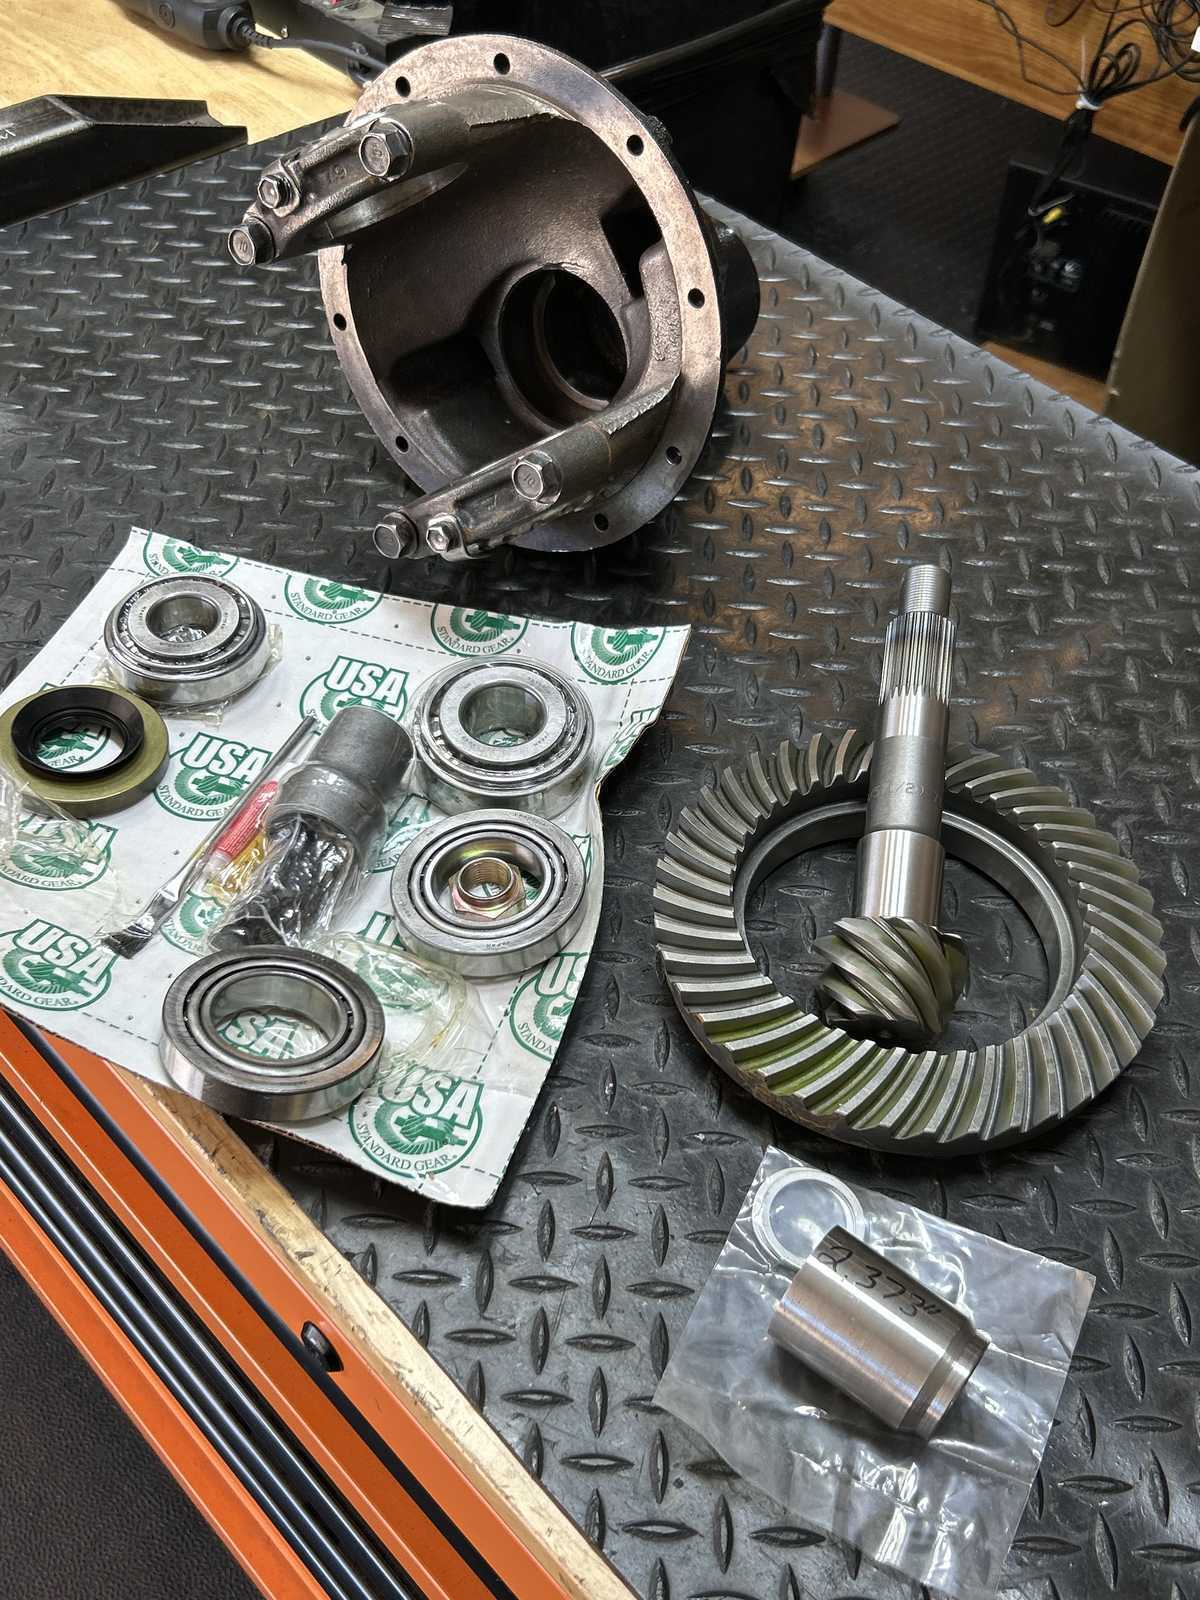
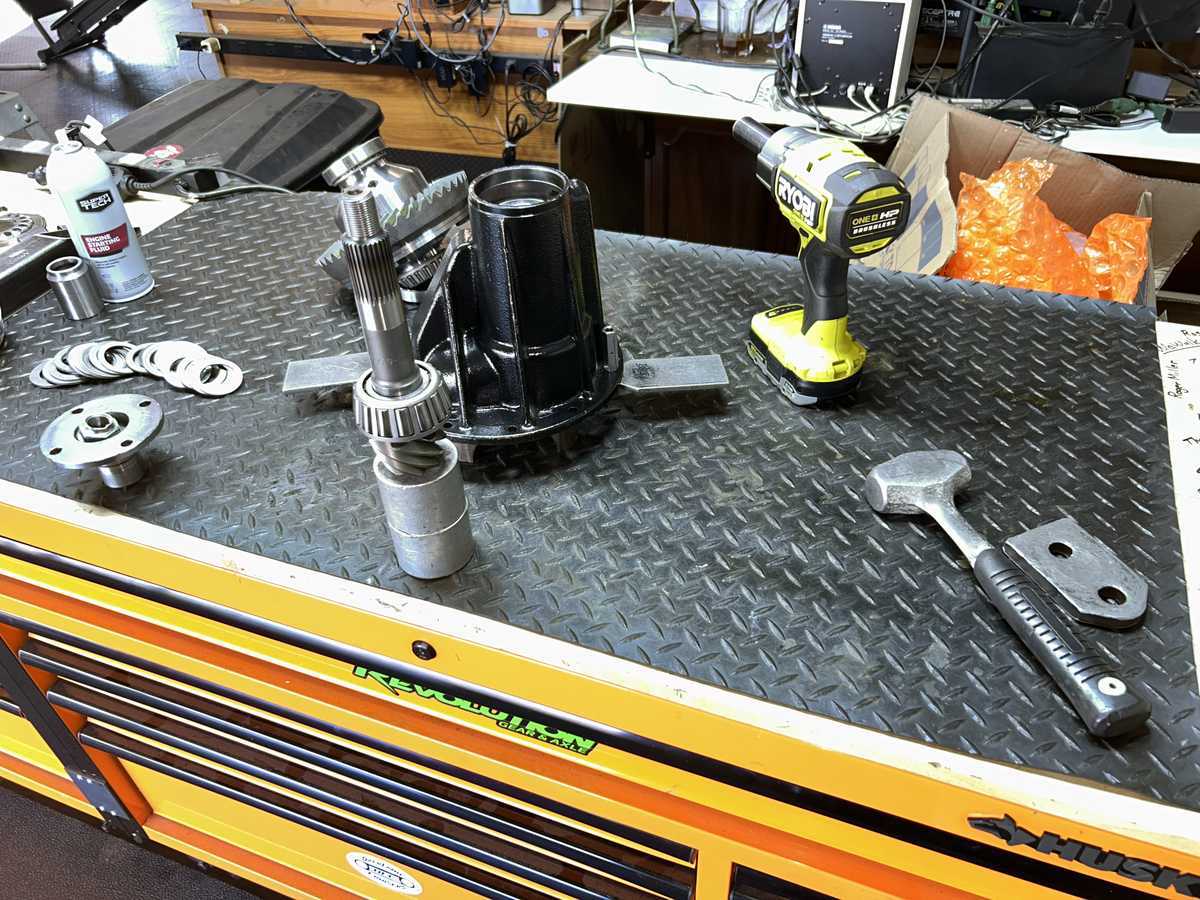
| Parts are organized on the bench. |
|
|
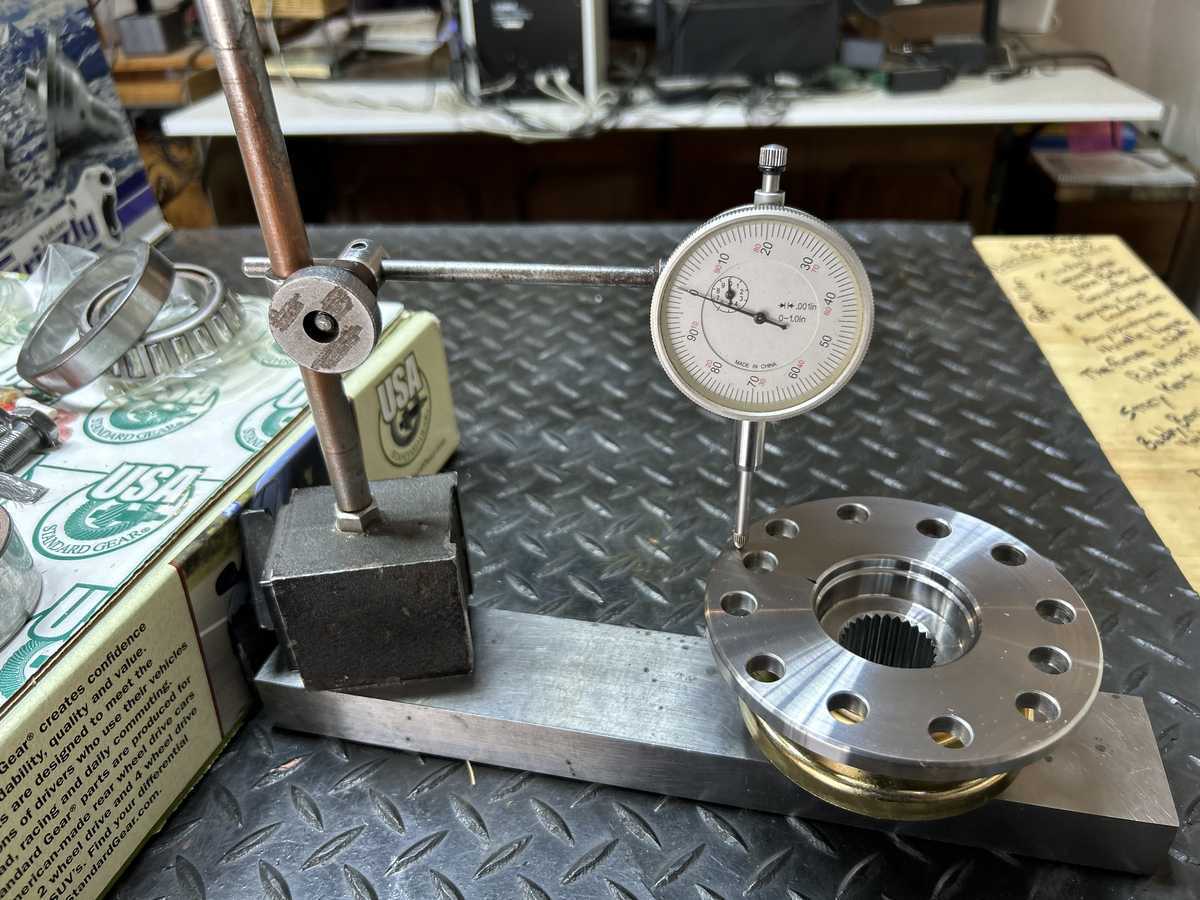
The triple drilled flange was supplied by Yukon and a runout check shows everything is spot on. Run-out was really low at 1/2 thou off. |
|
|
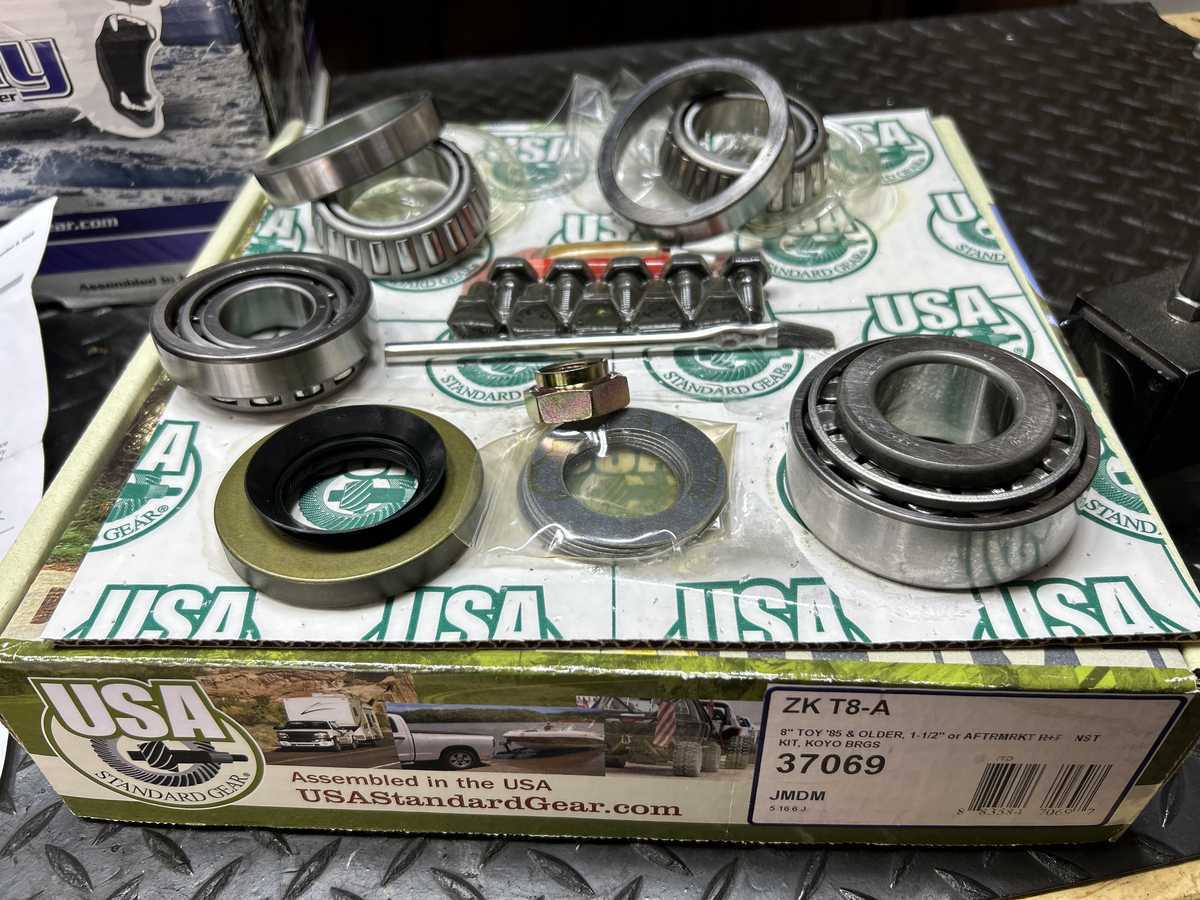
This is an 8" 4 cylinder bearing kit....I could find nothing wrong with any of the bearings but I will end up using a genuine factory seal. |
|
|
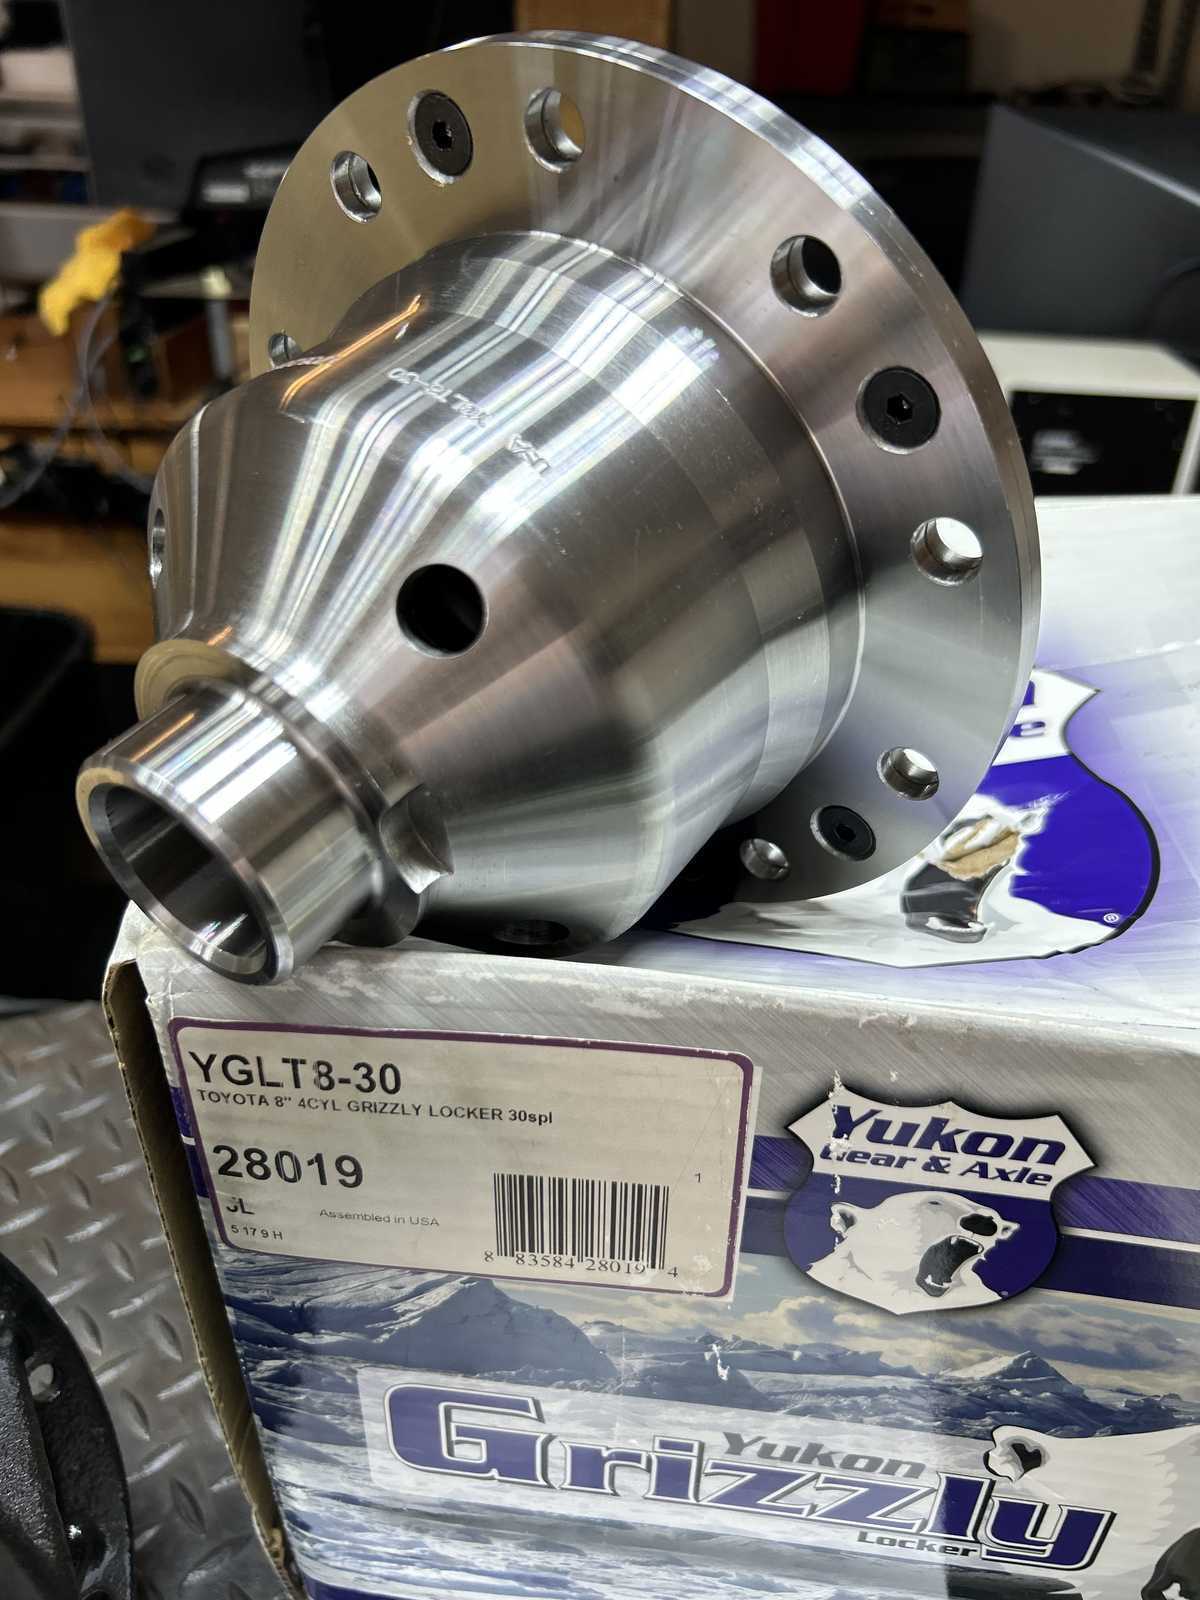
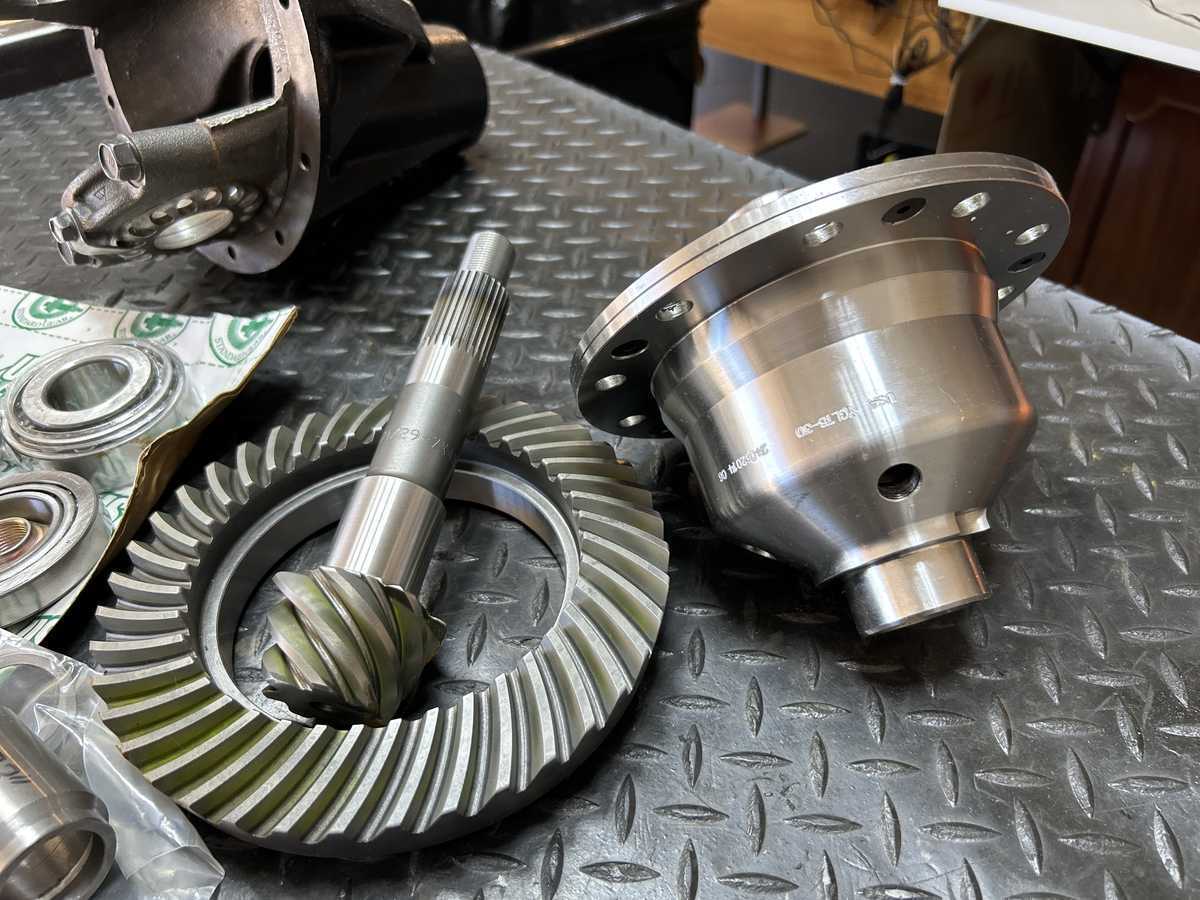
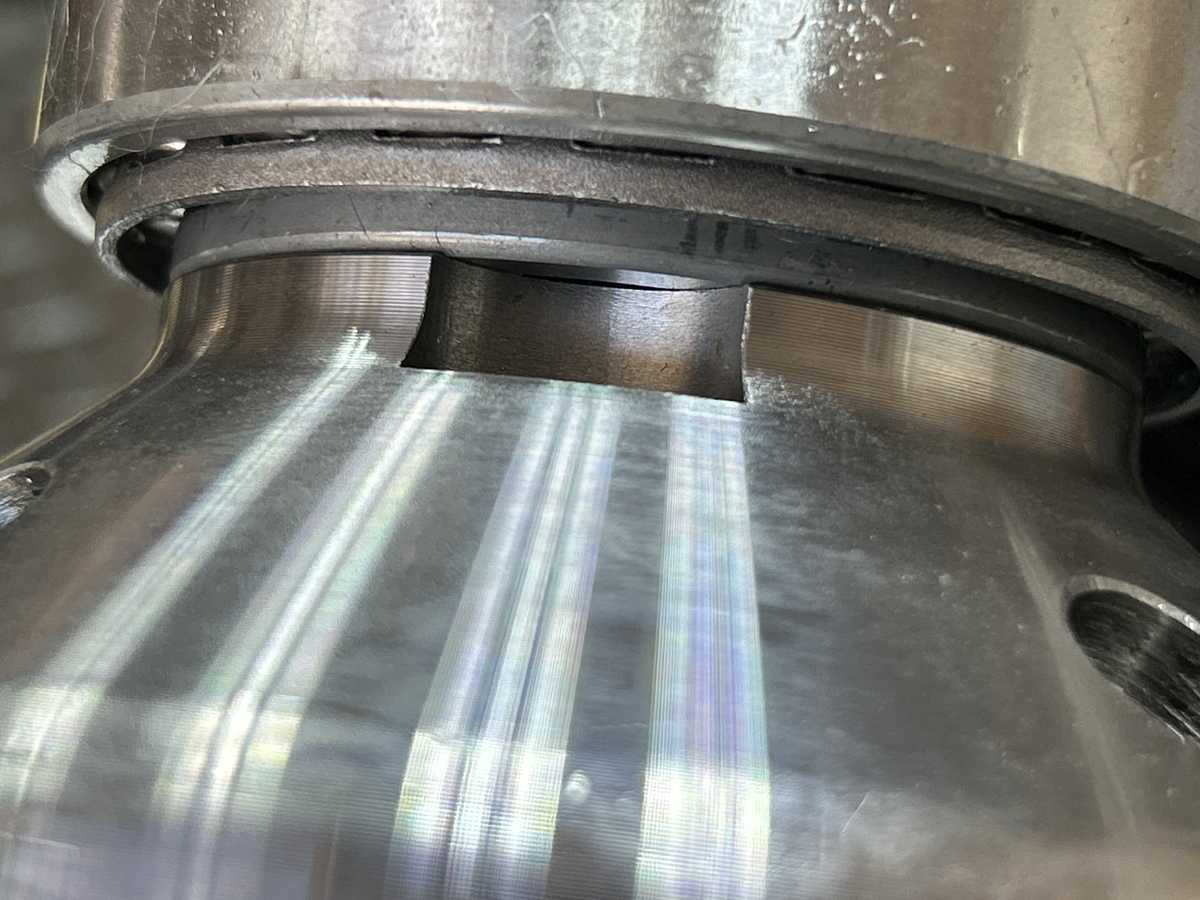
The Grizzly auto-locker is machined excellent...certainly better than if you compare it to the Detroit Locker. |
|
|
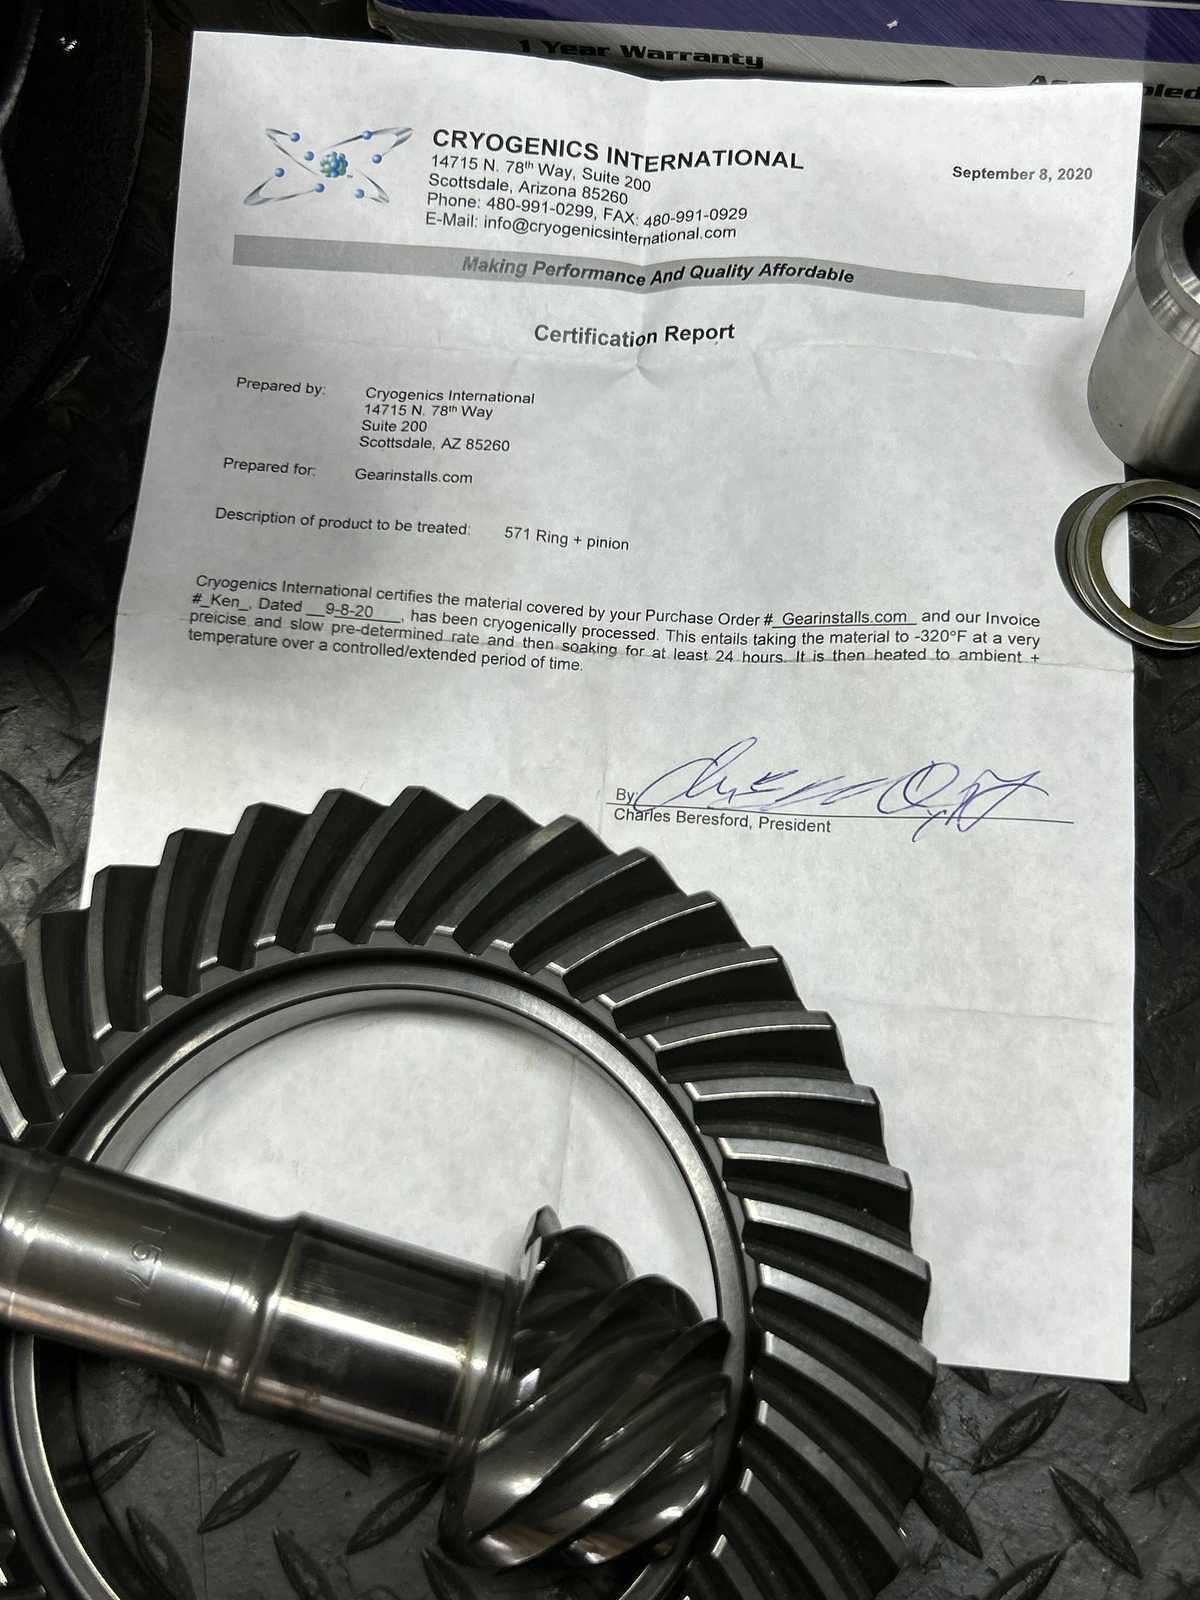
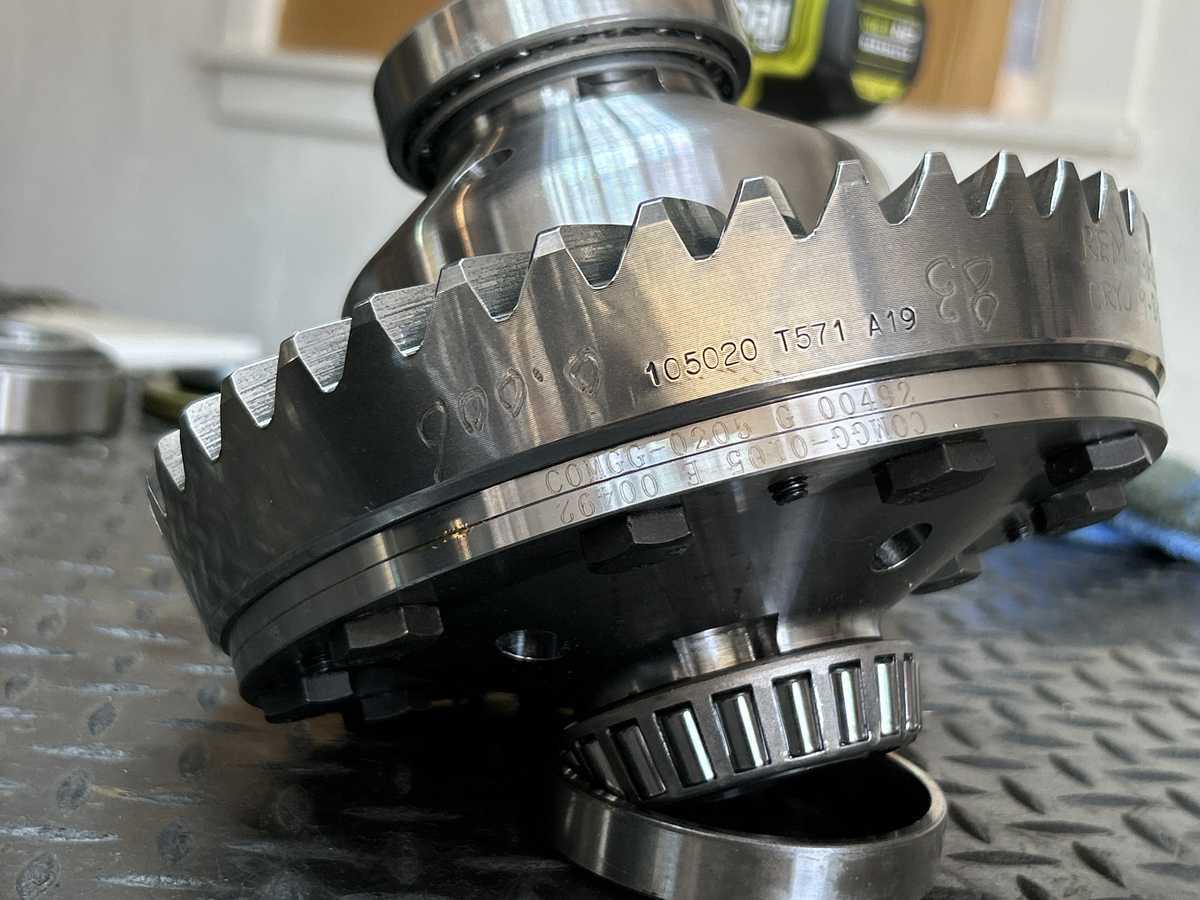
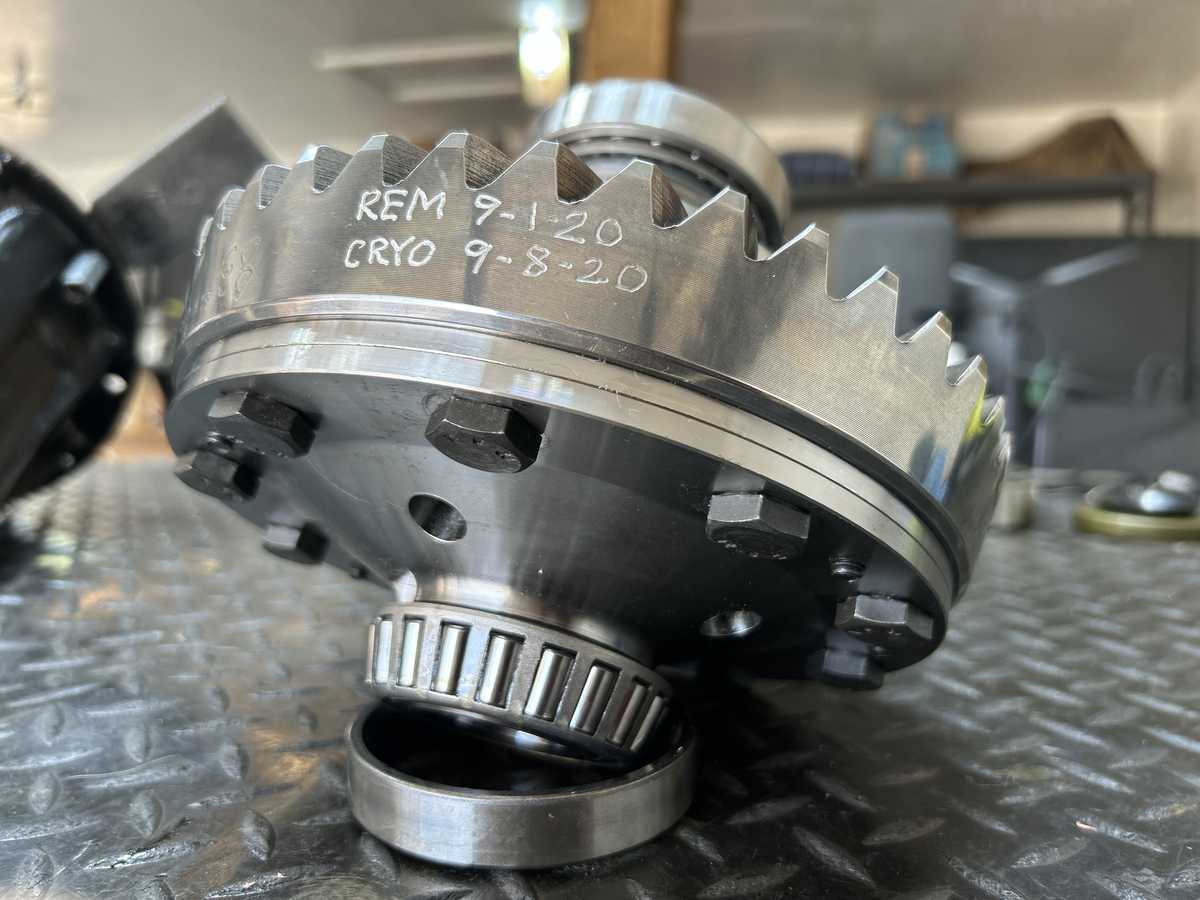
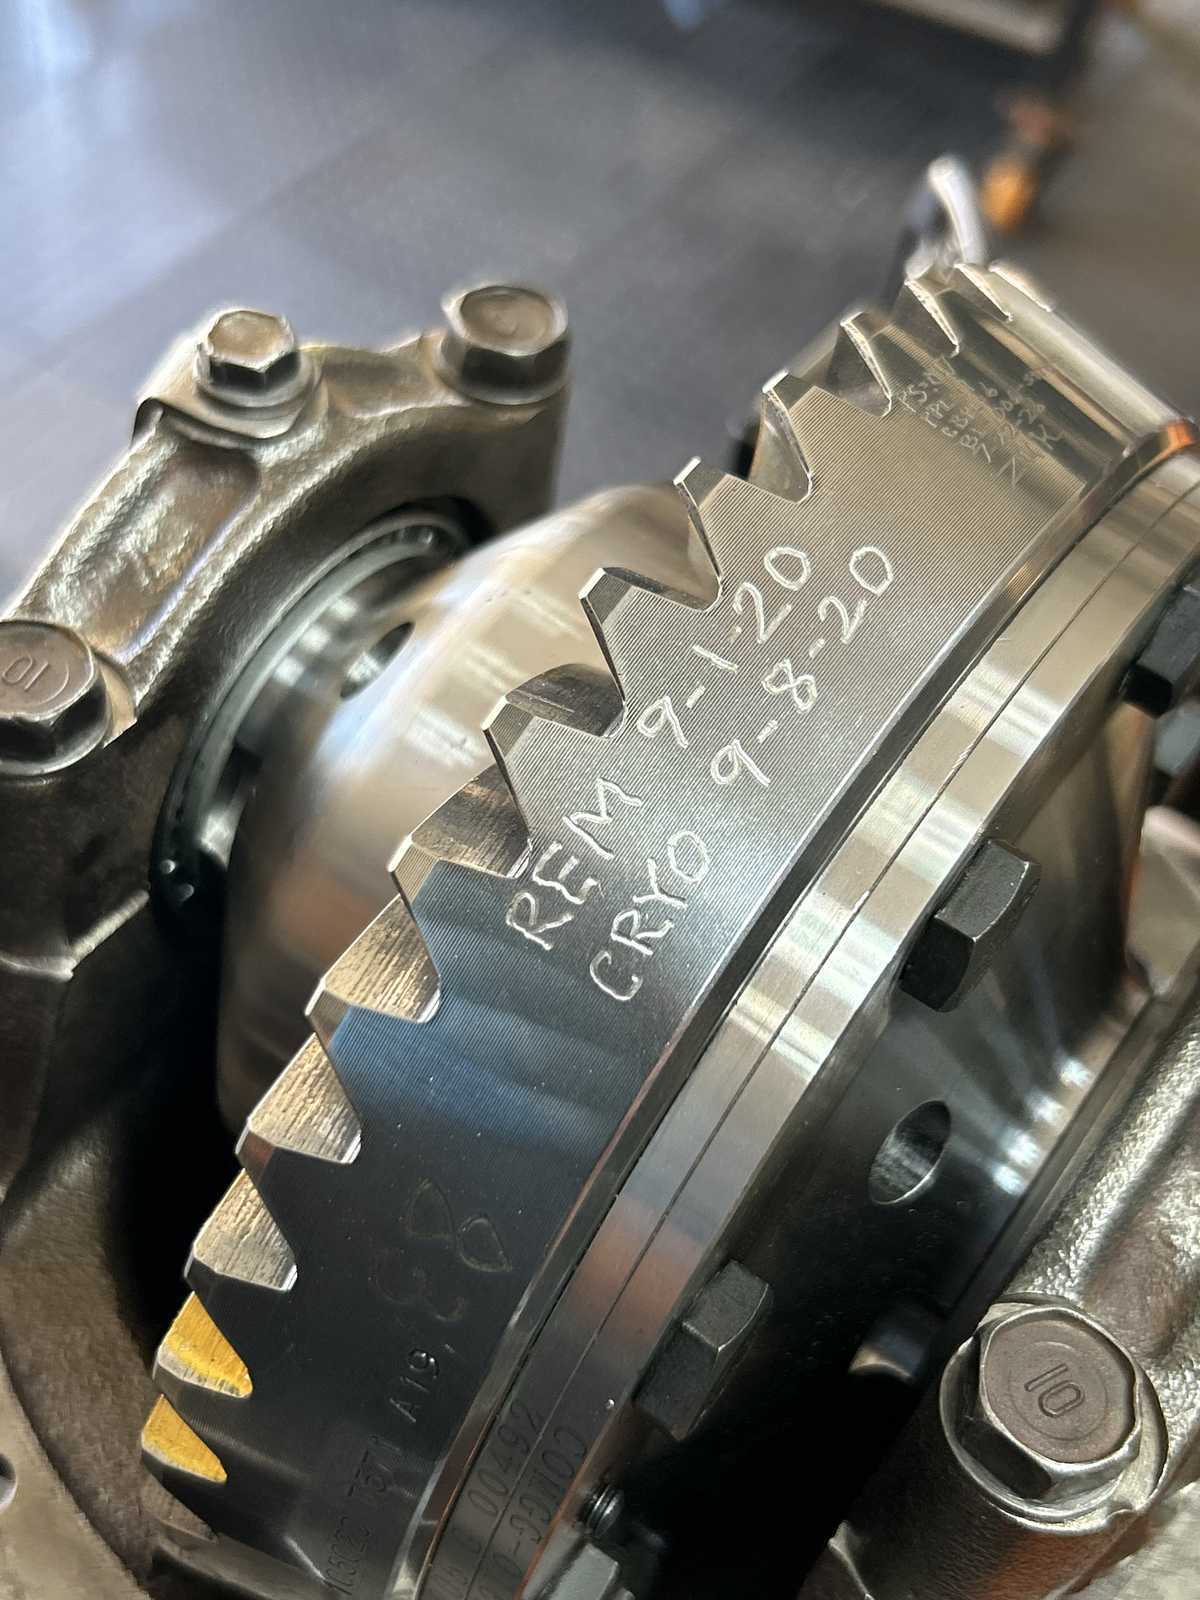
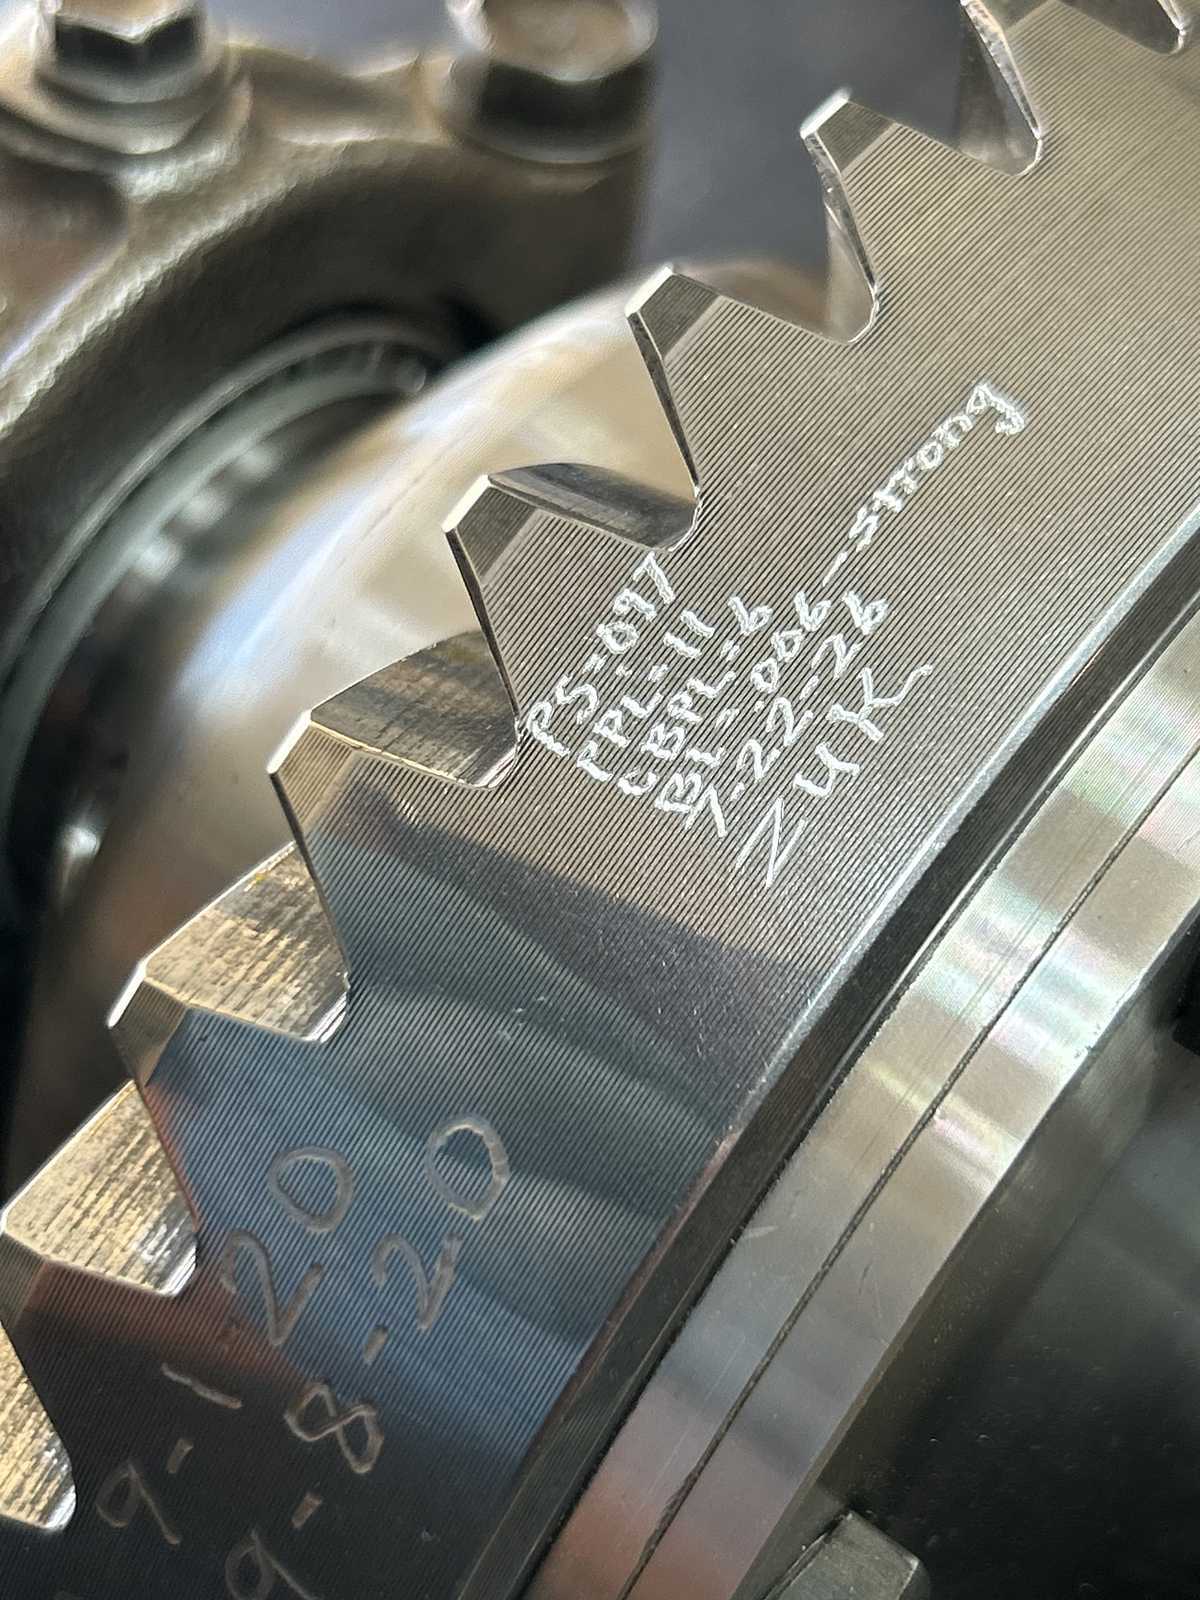
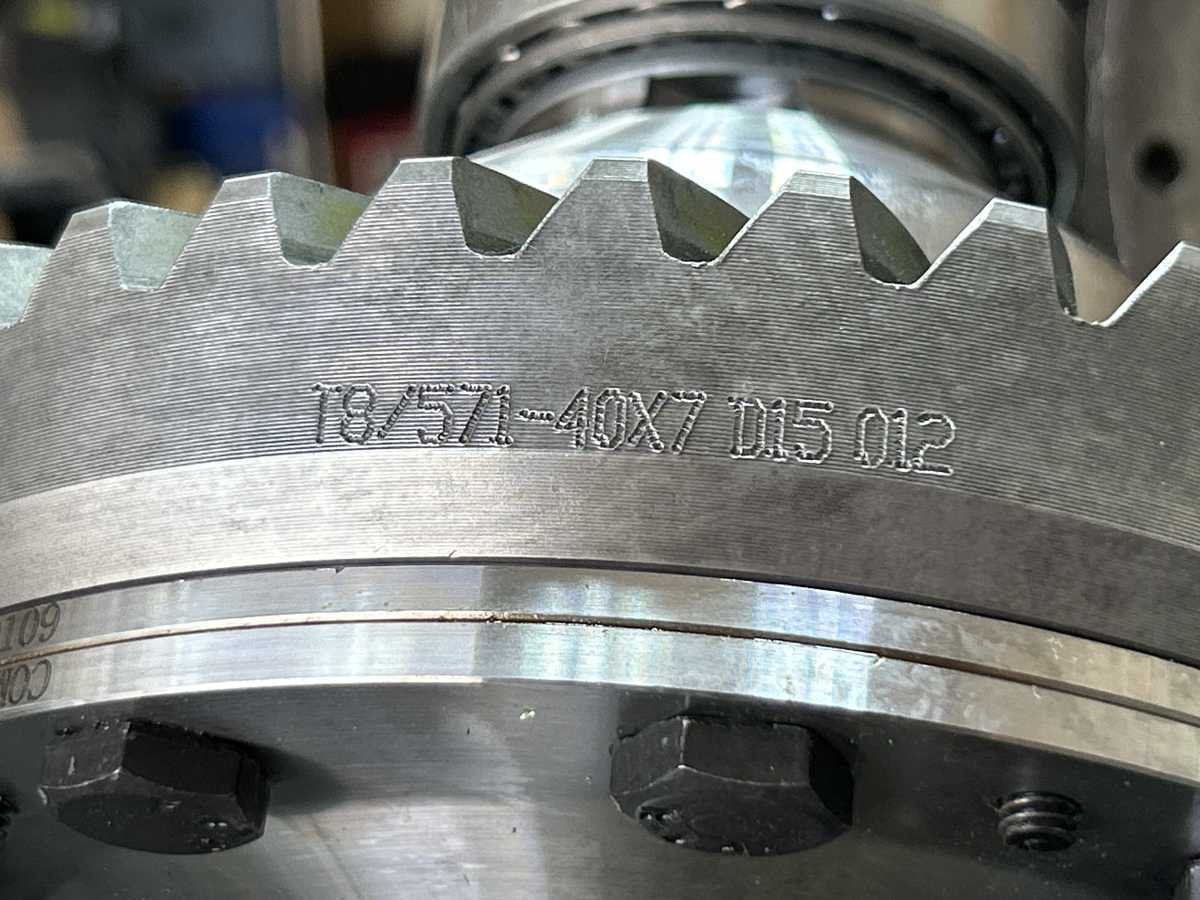
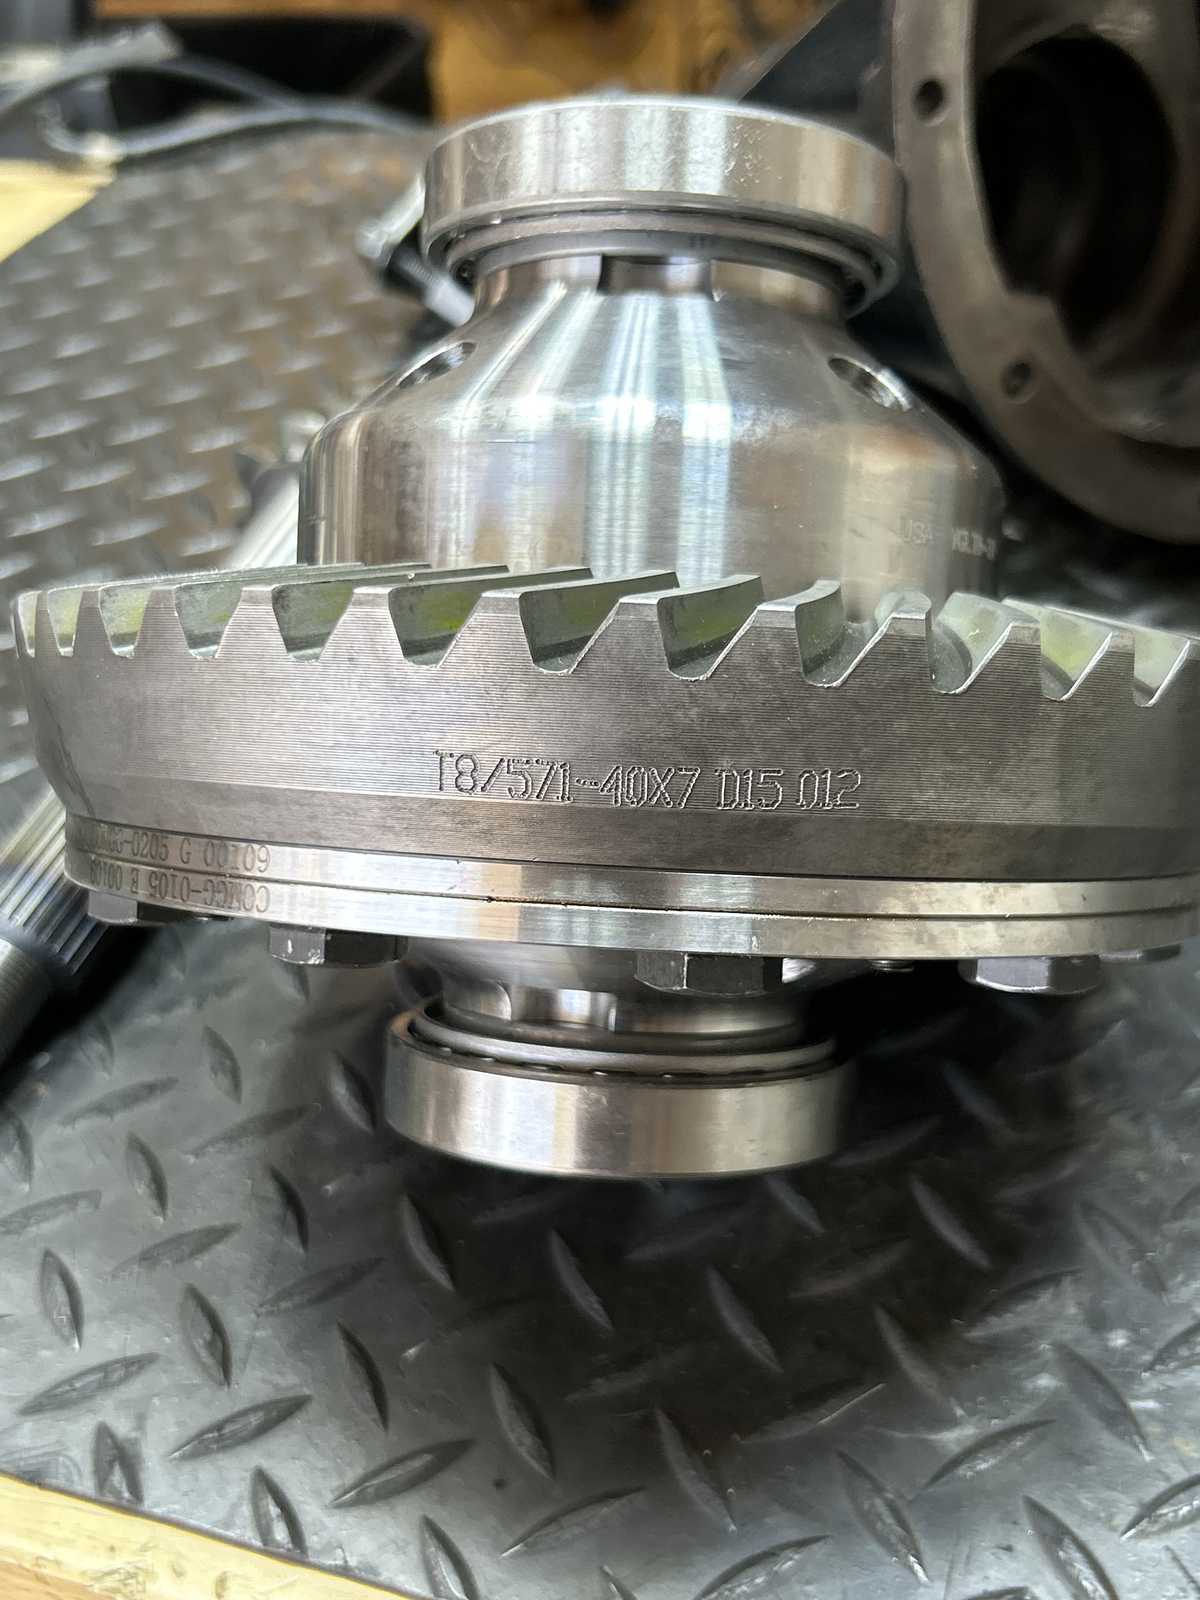
The rear 571 has been cryo treated back in 2020. Cryo treatment does not "harden" the steel. It "purifies" the steel by getting rid of most of the austenite. Austenite basically makes the steel less stable. It improves surface "toughness" and fatigue resistance is greatly improved. The steel is about effectively 20% stronger. There are 2 places in the Phoenix Valley that I have used.... Cryogenics International (cryo only) located in Scottdale near the 101 and Raintree Dr. 480-991-0299 Charles Ayers Gear and Machine (Super Polish and/or cryo) Phoenix near I10 and 37th Ave 623-934-6913 Parker This rear 571 ring/pinion was also REM super polished by Parker as he offers both services. |
|
| ................................................................................... |
|
|
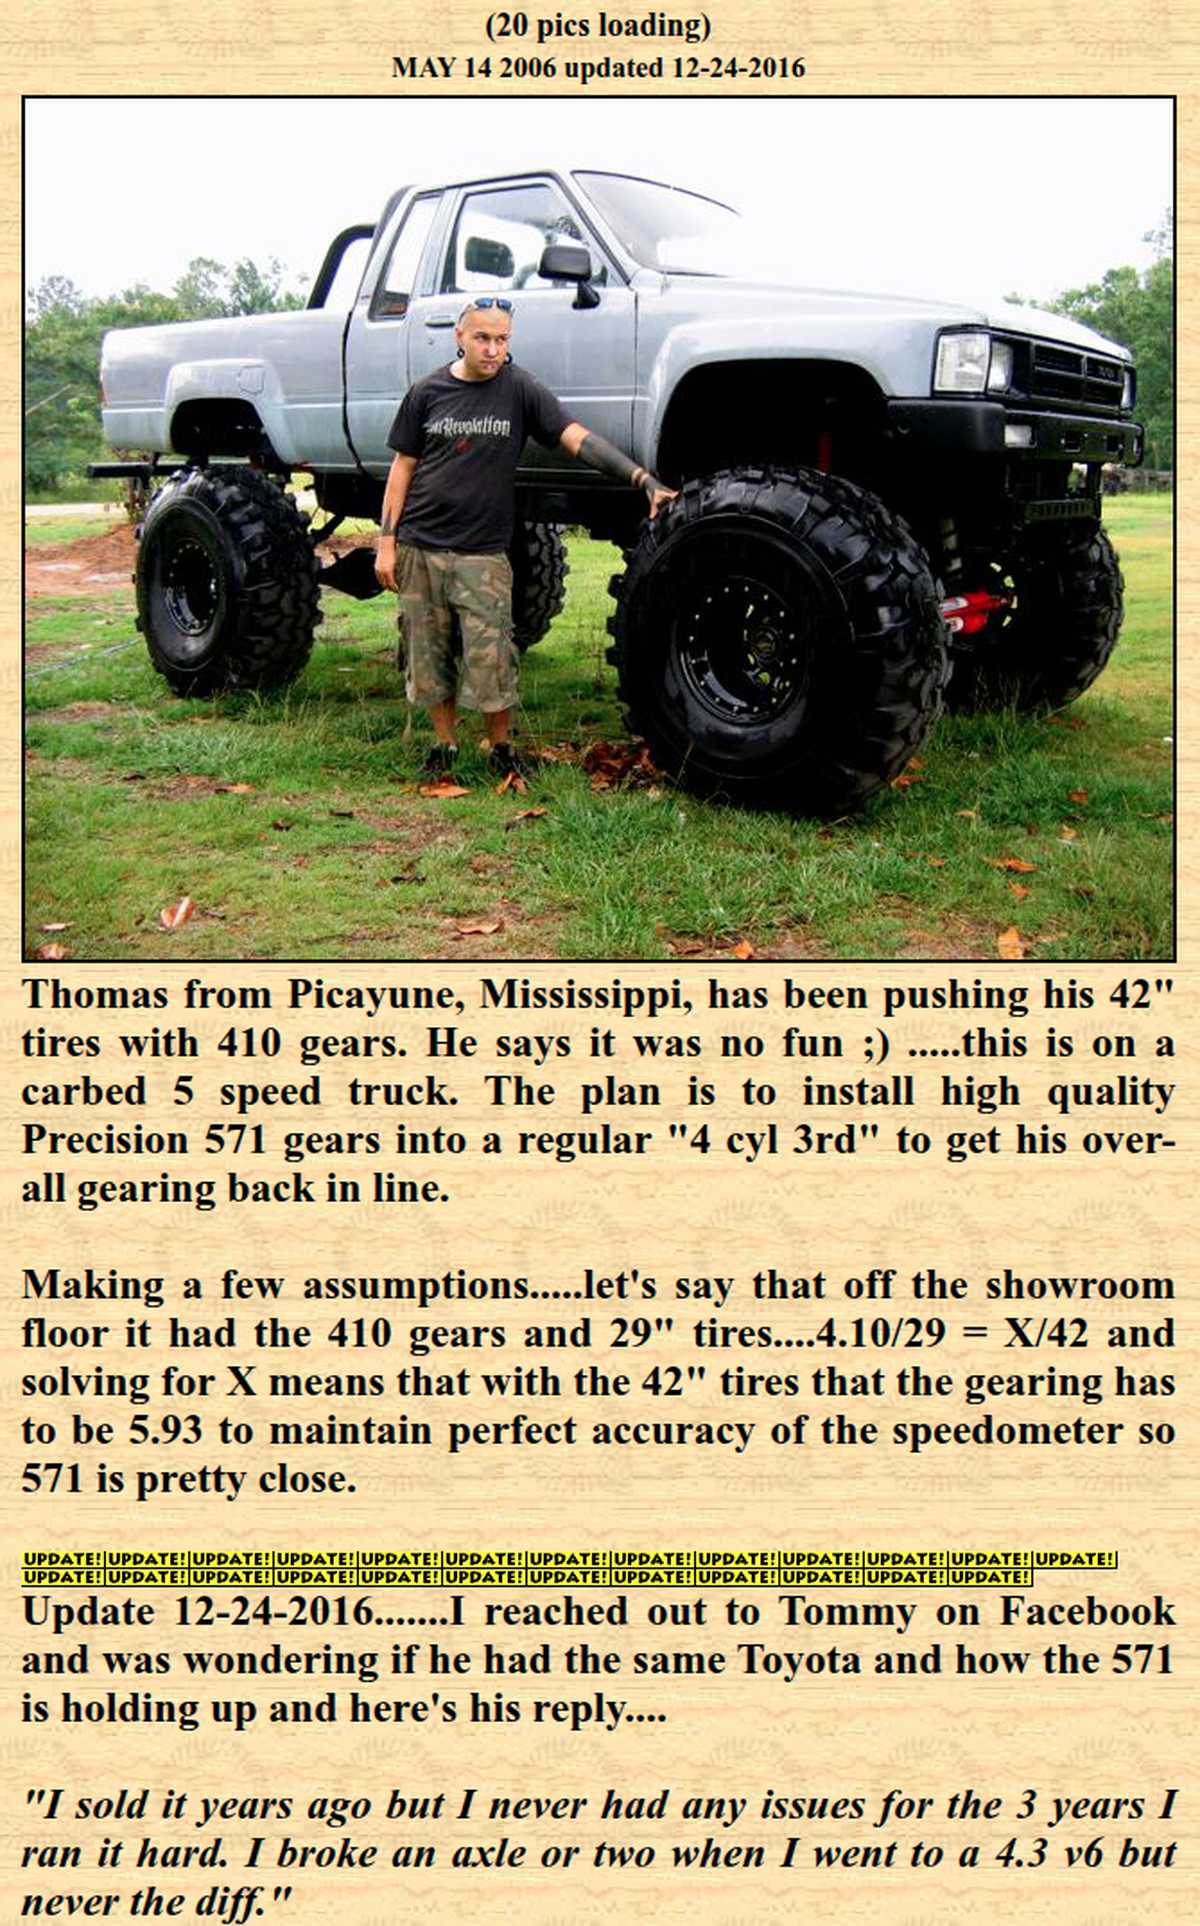
This was a 571 install I did for Thomas back in '06.... back then I was not doing the cryo or REM super polishing The Precision brand gears held up just fine to 42" tires. This shows that the 571 ratio was not the leak link in the chain.... it was the 30 spline factory axles. |
|
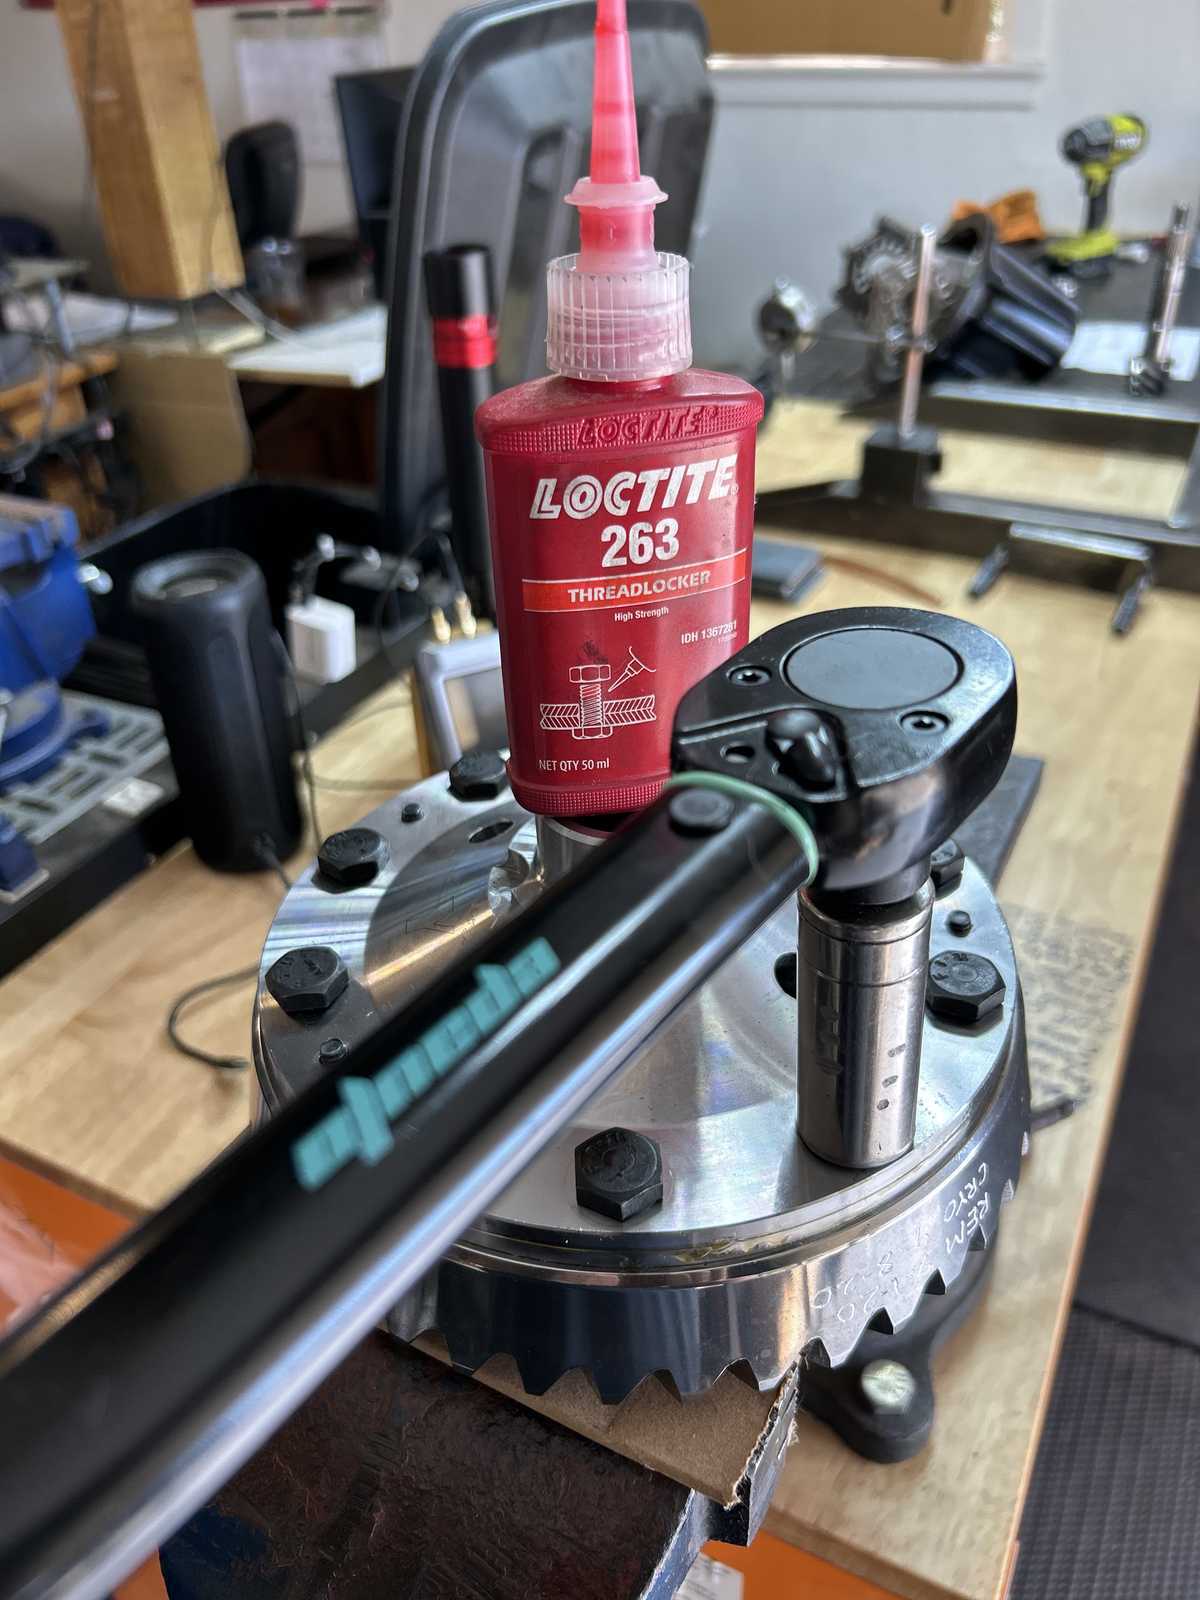
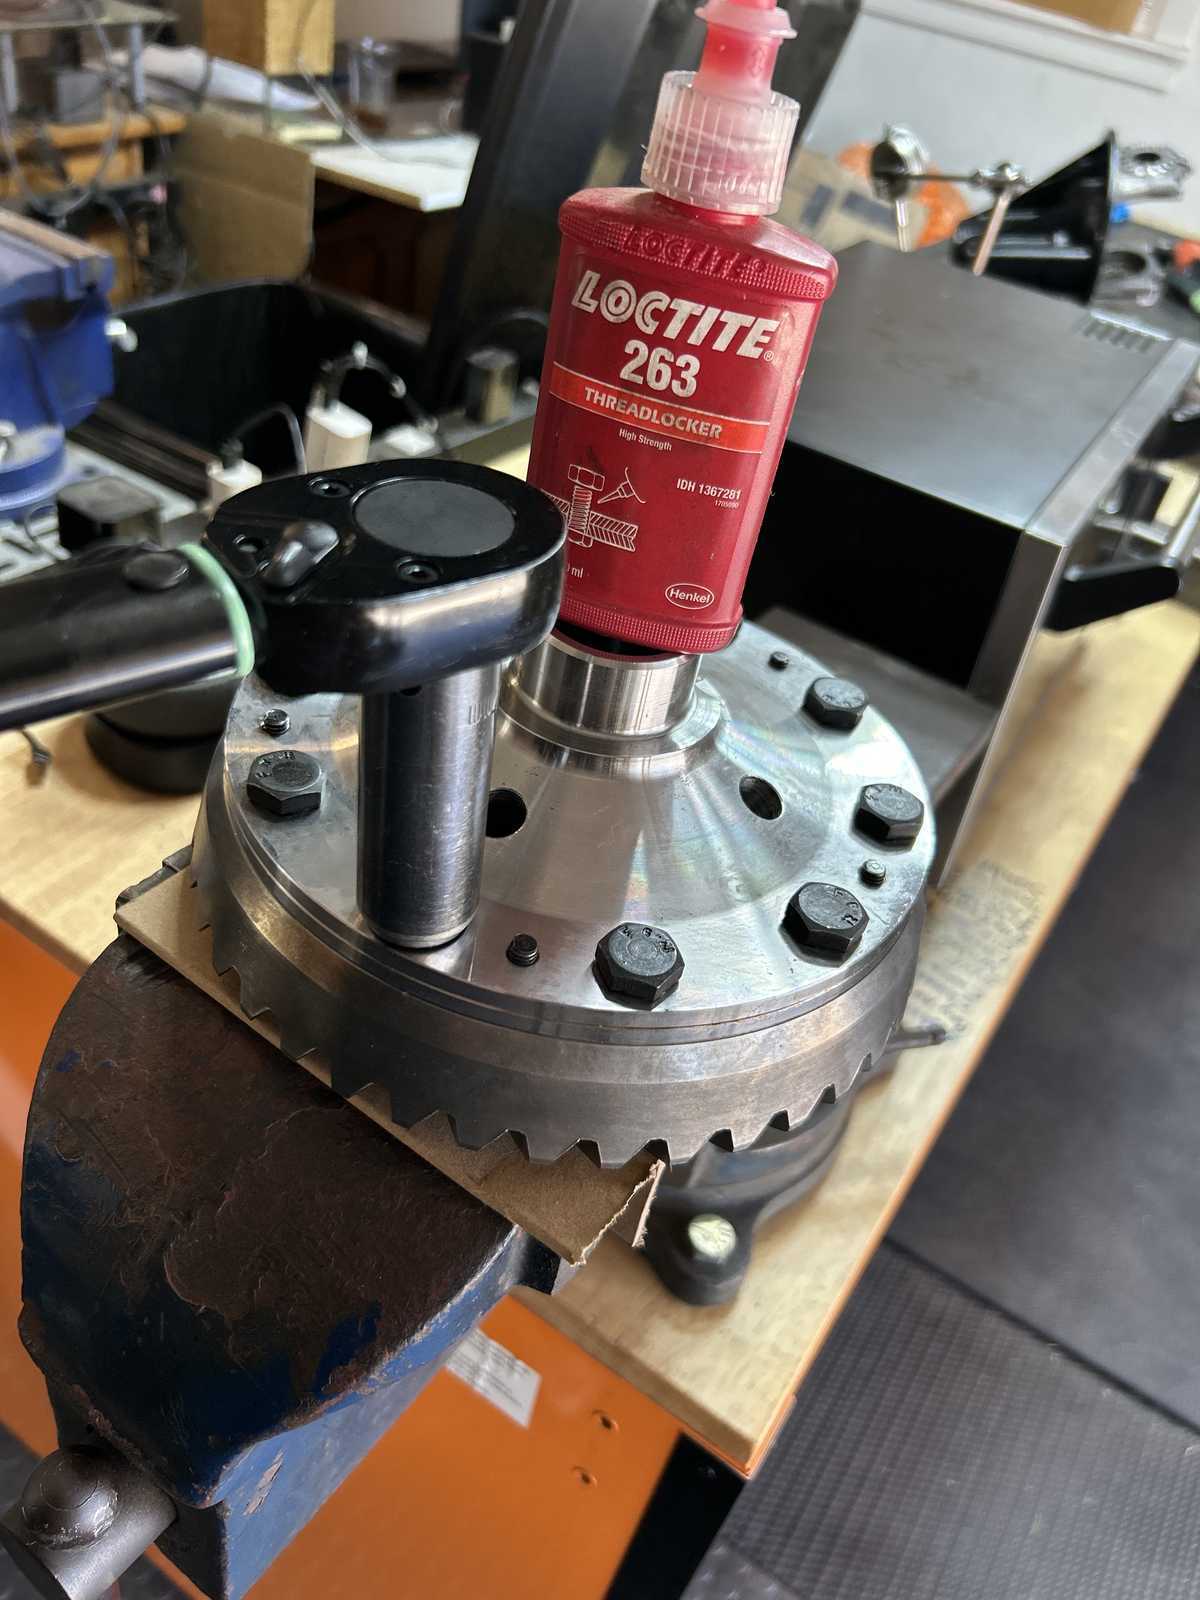
| Let's start by bolting on the G2 super polished cryo'd ring gear...red loctite and 75 ft/lb. |
|
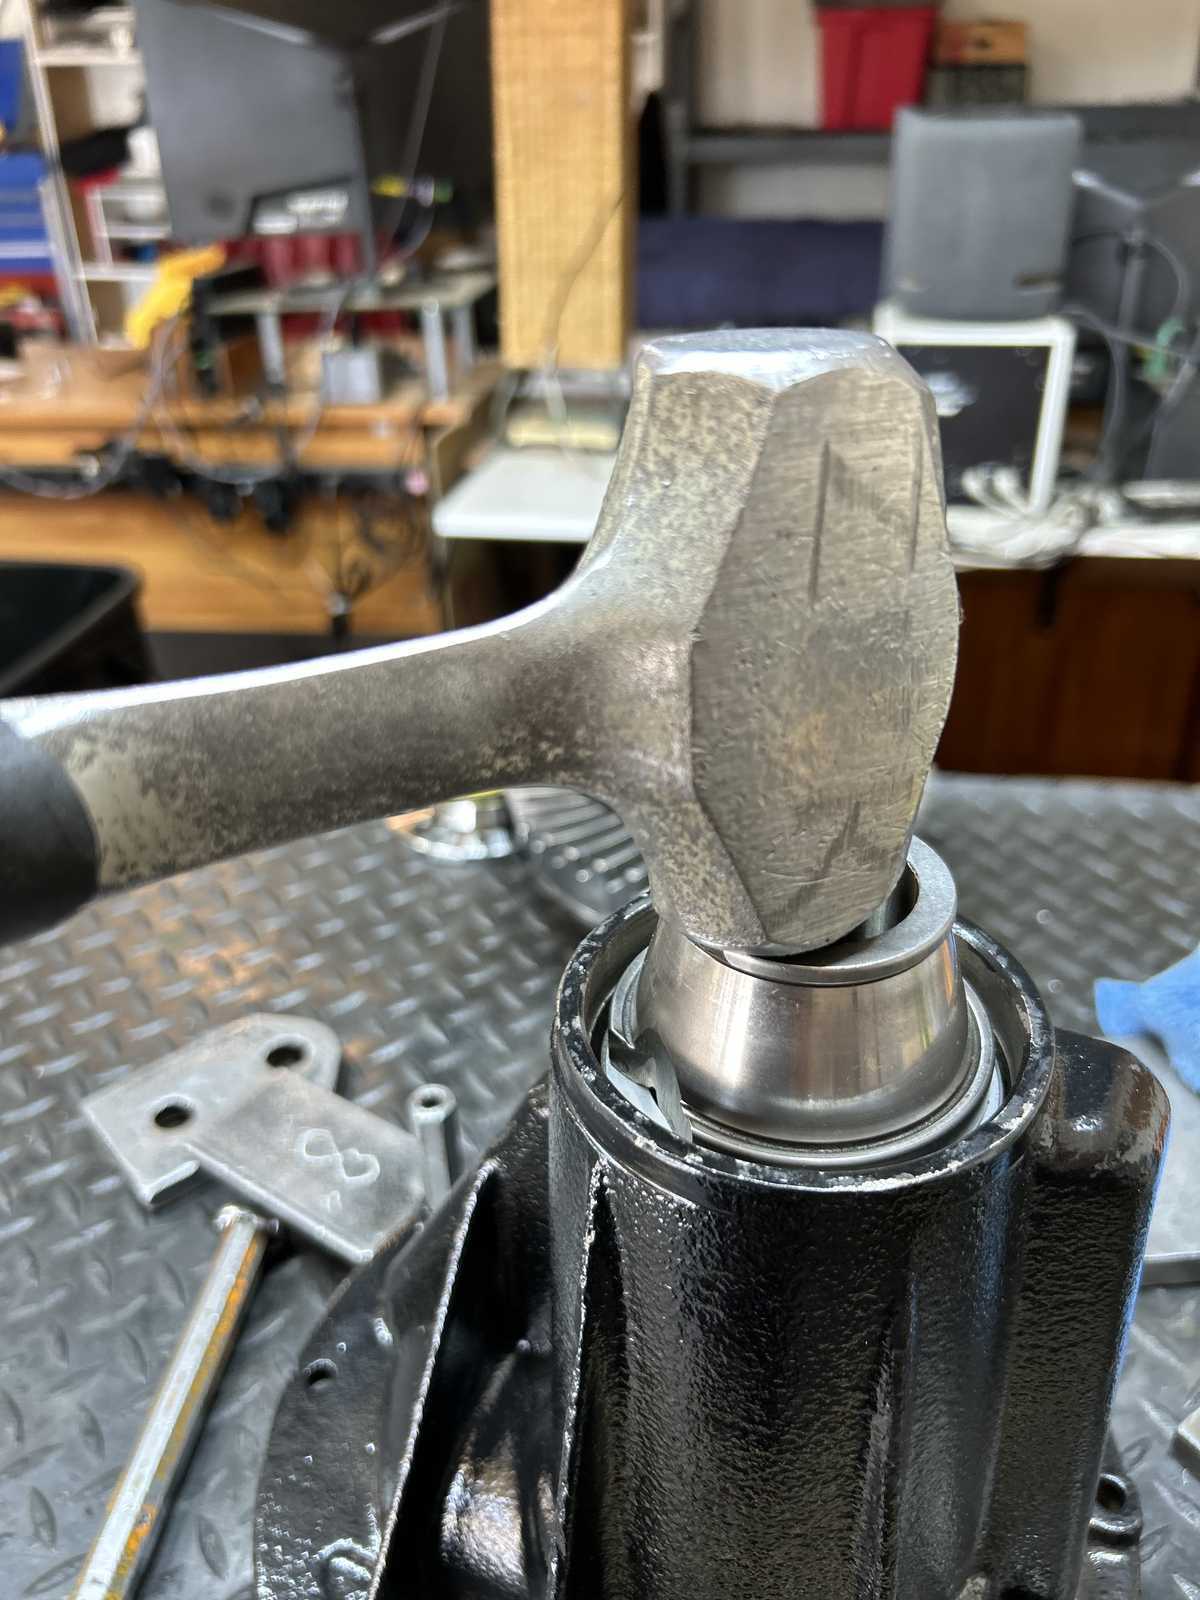
| Koyo carrier bearings are pressed on. |
|
| ....and this center chunk is 'done'. |
|
|
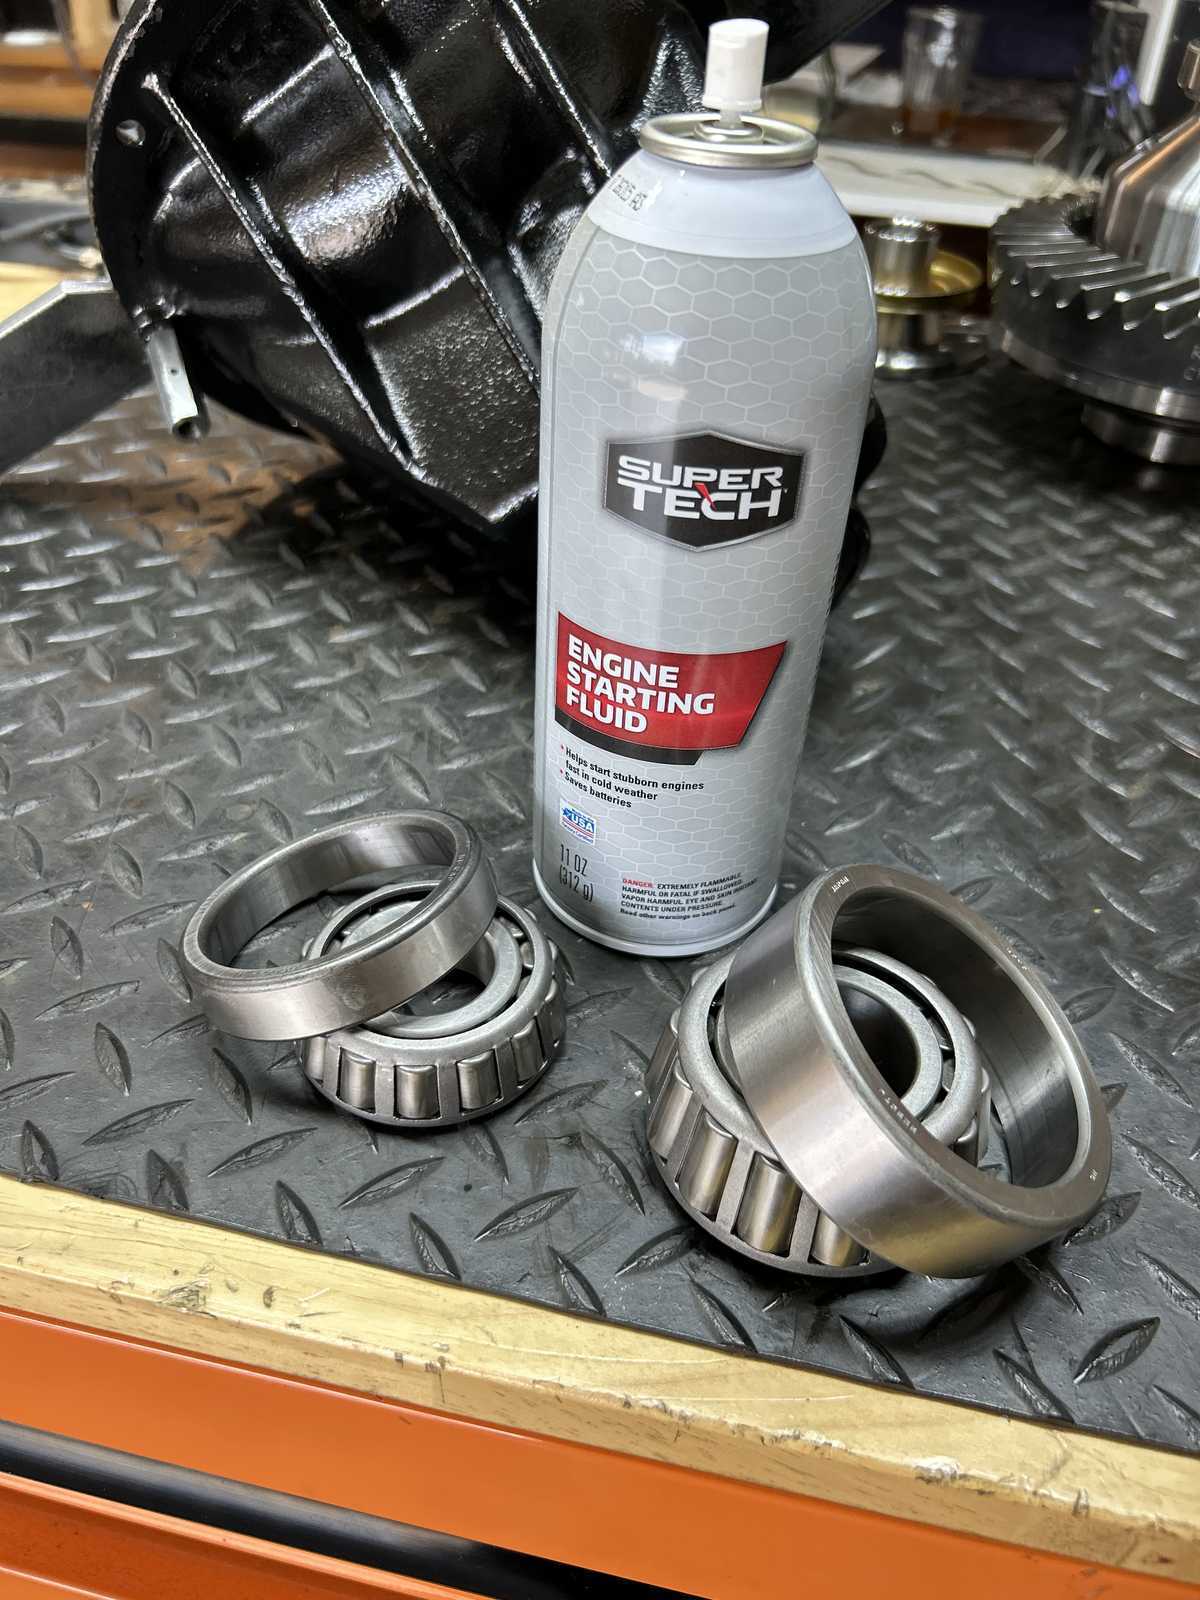
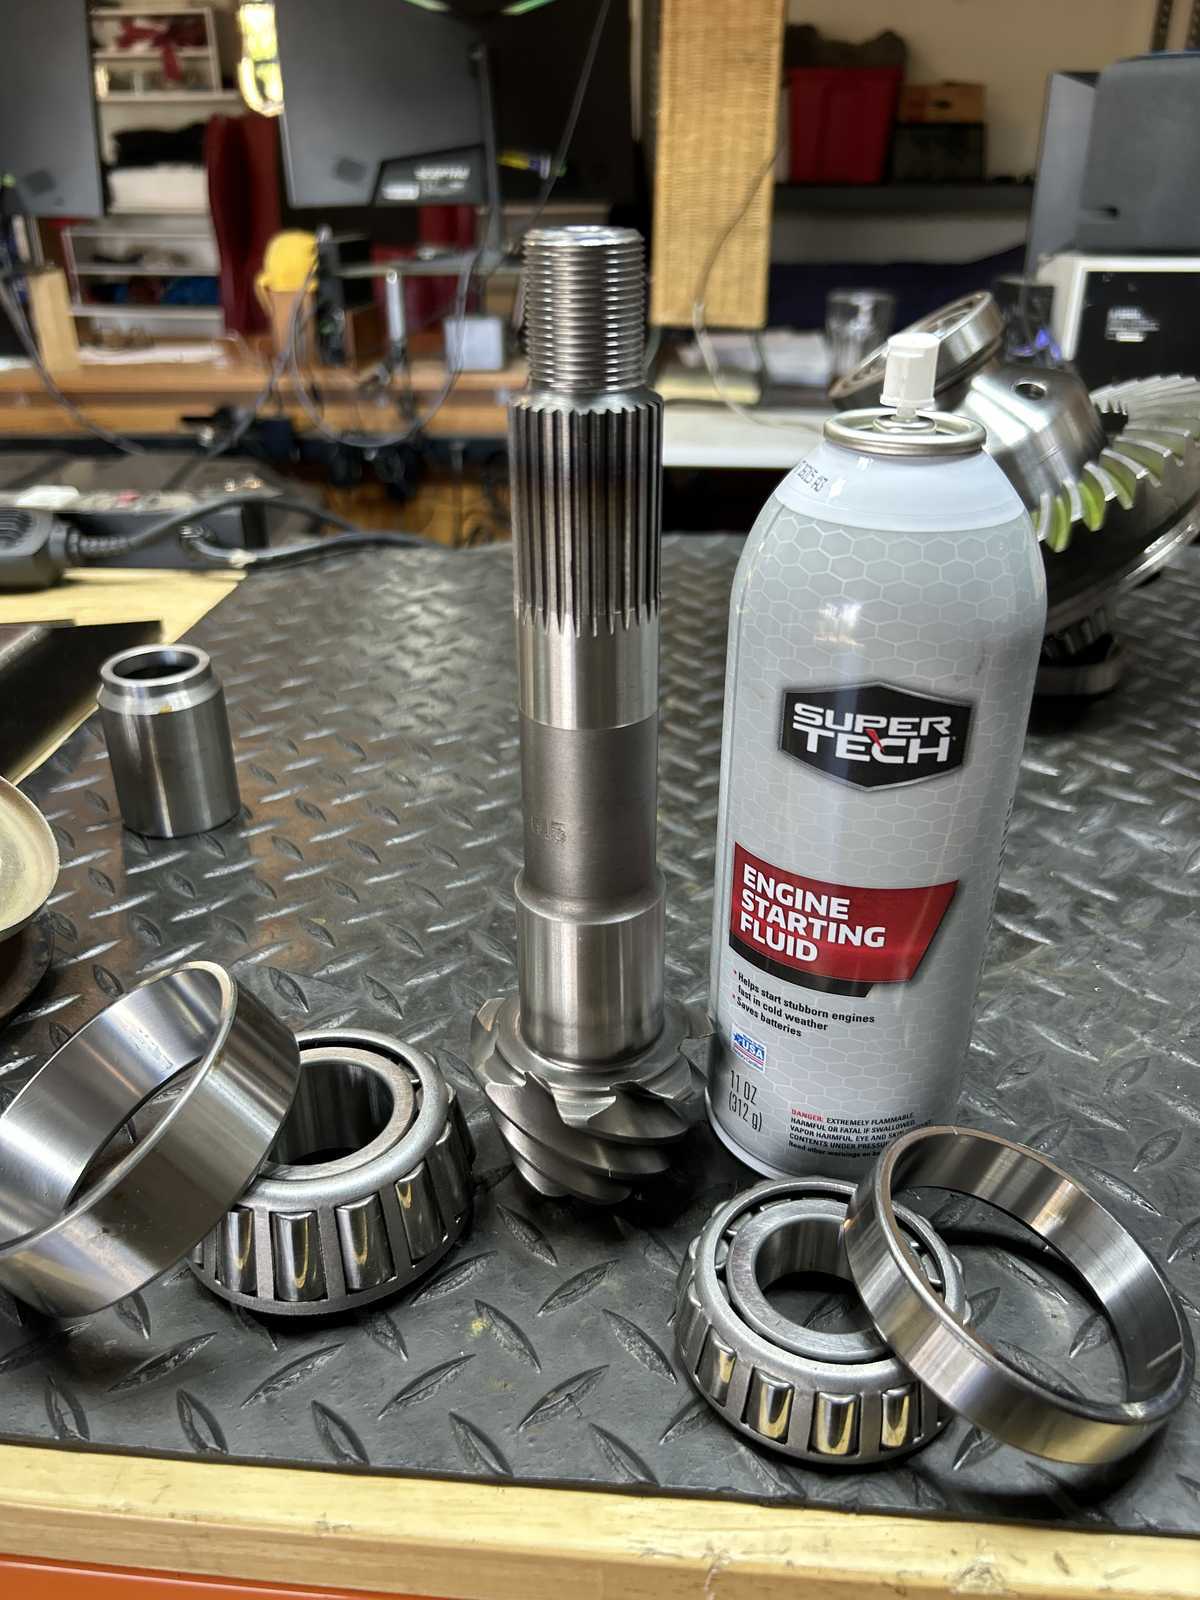
Thoroughly clean the pinion bearings with starting fluid. This helps them to turn as smooth as possible. |
|
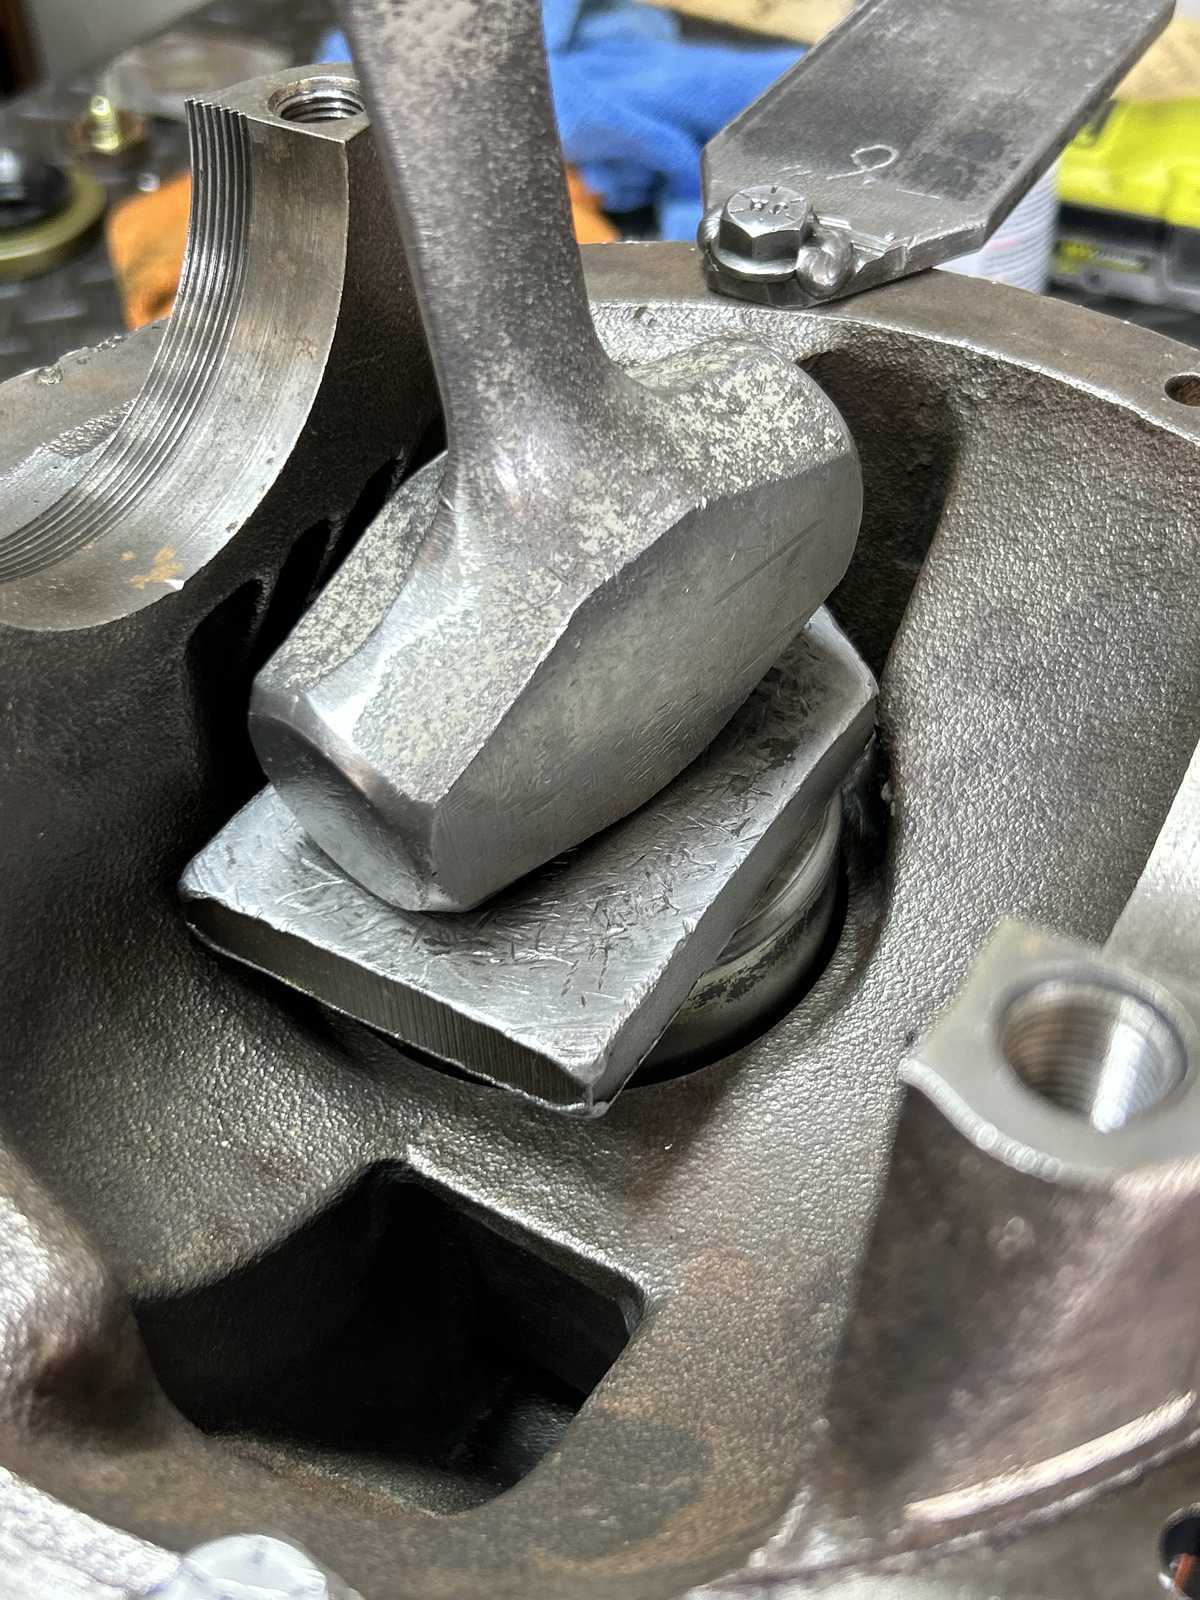
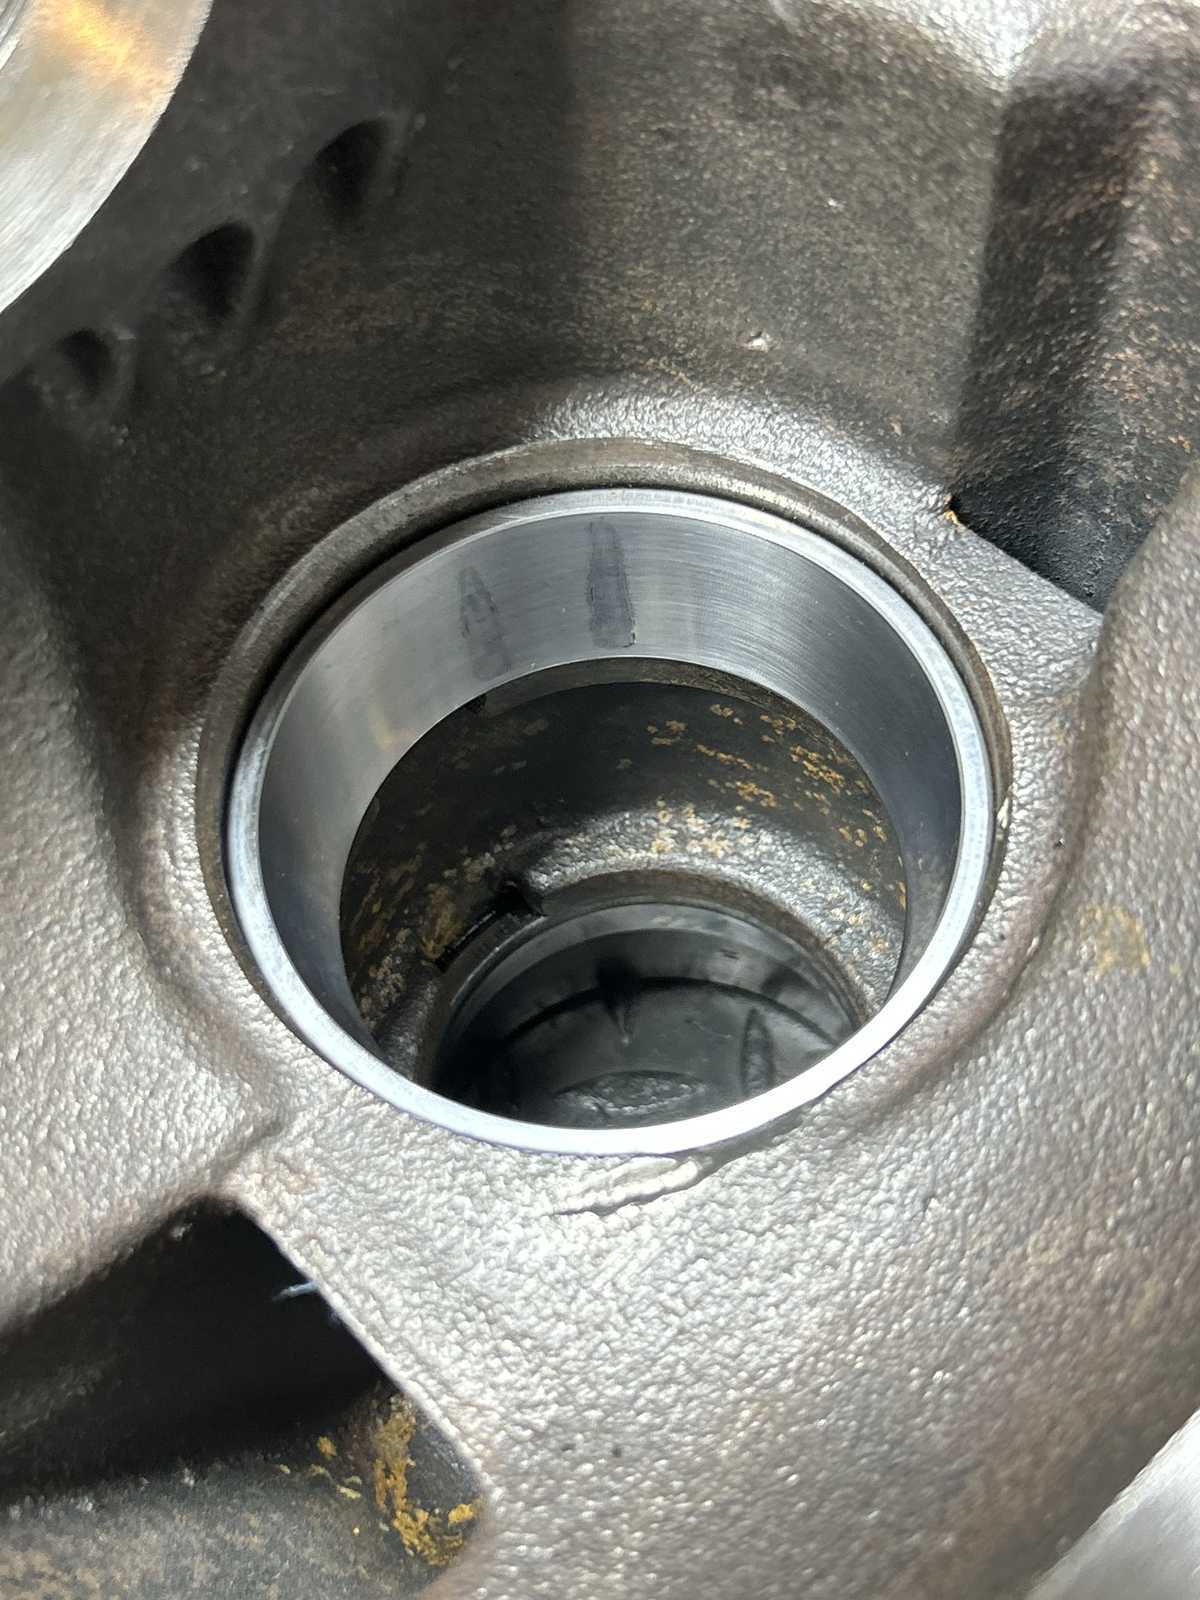
| Large inner pinion race tapped in nicely..... |
|
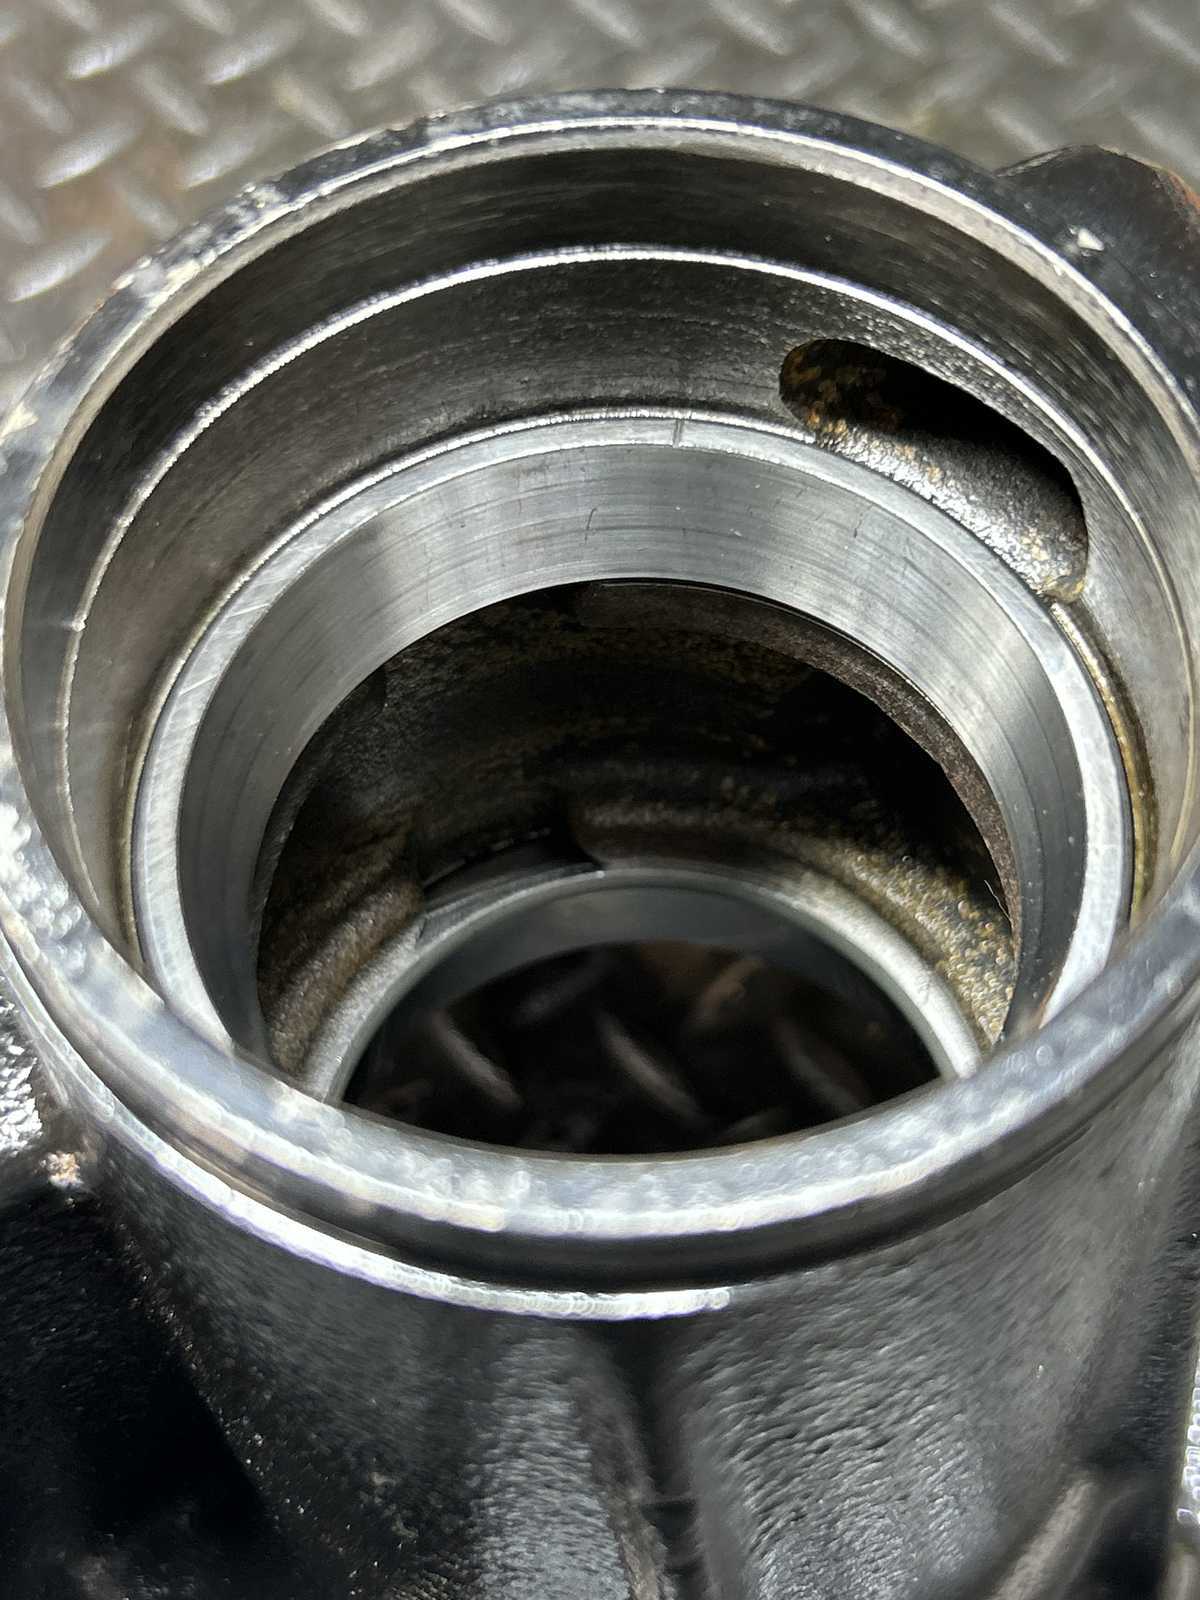
| Same for the smaller pinion race. |
|
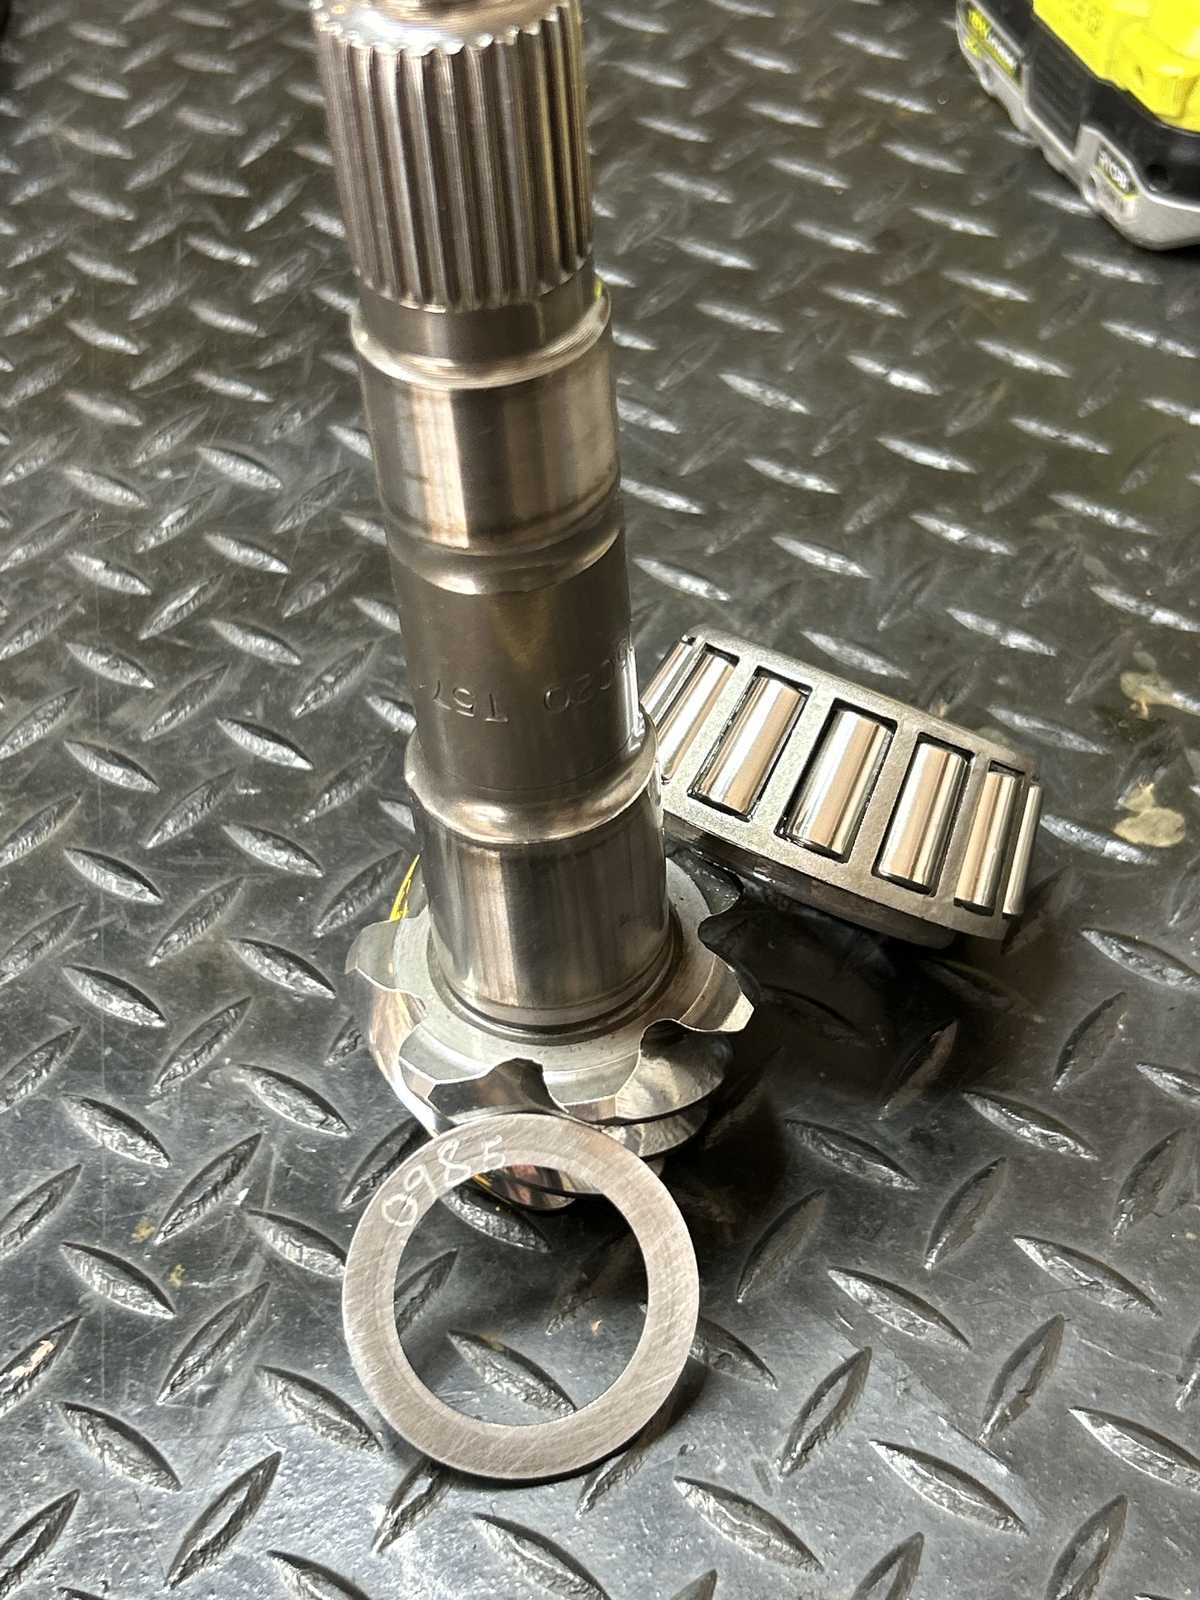
| Will try .0985" for the 1st pinion depth selection. |
|
|
No solid collar yet....just assemble and set the pinion preload to about 10 in/lb with well oiled bearings. |
|
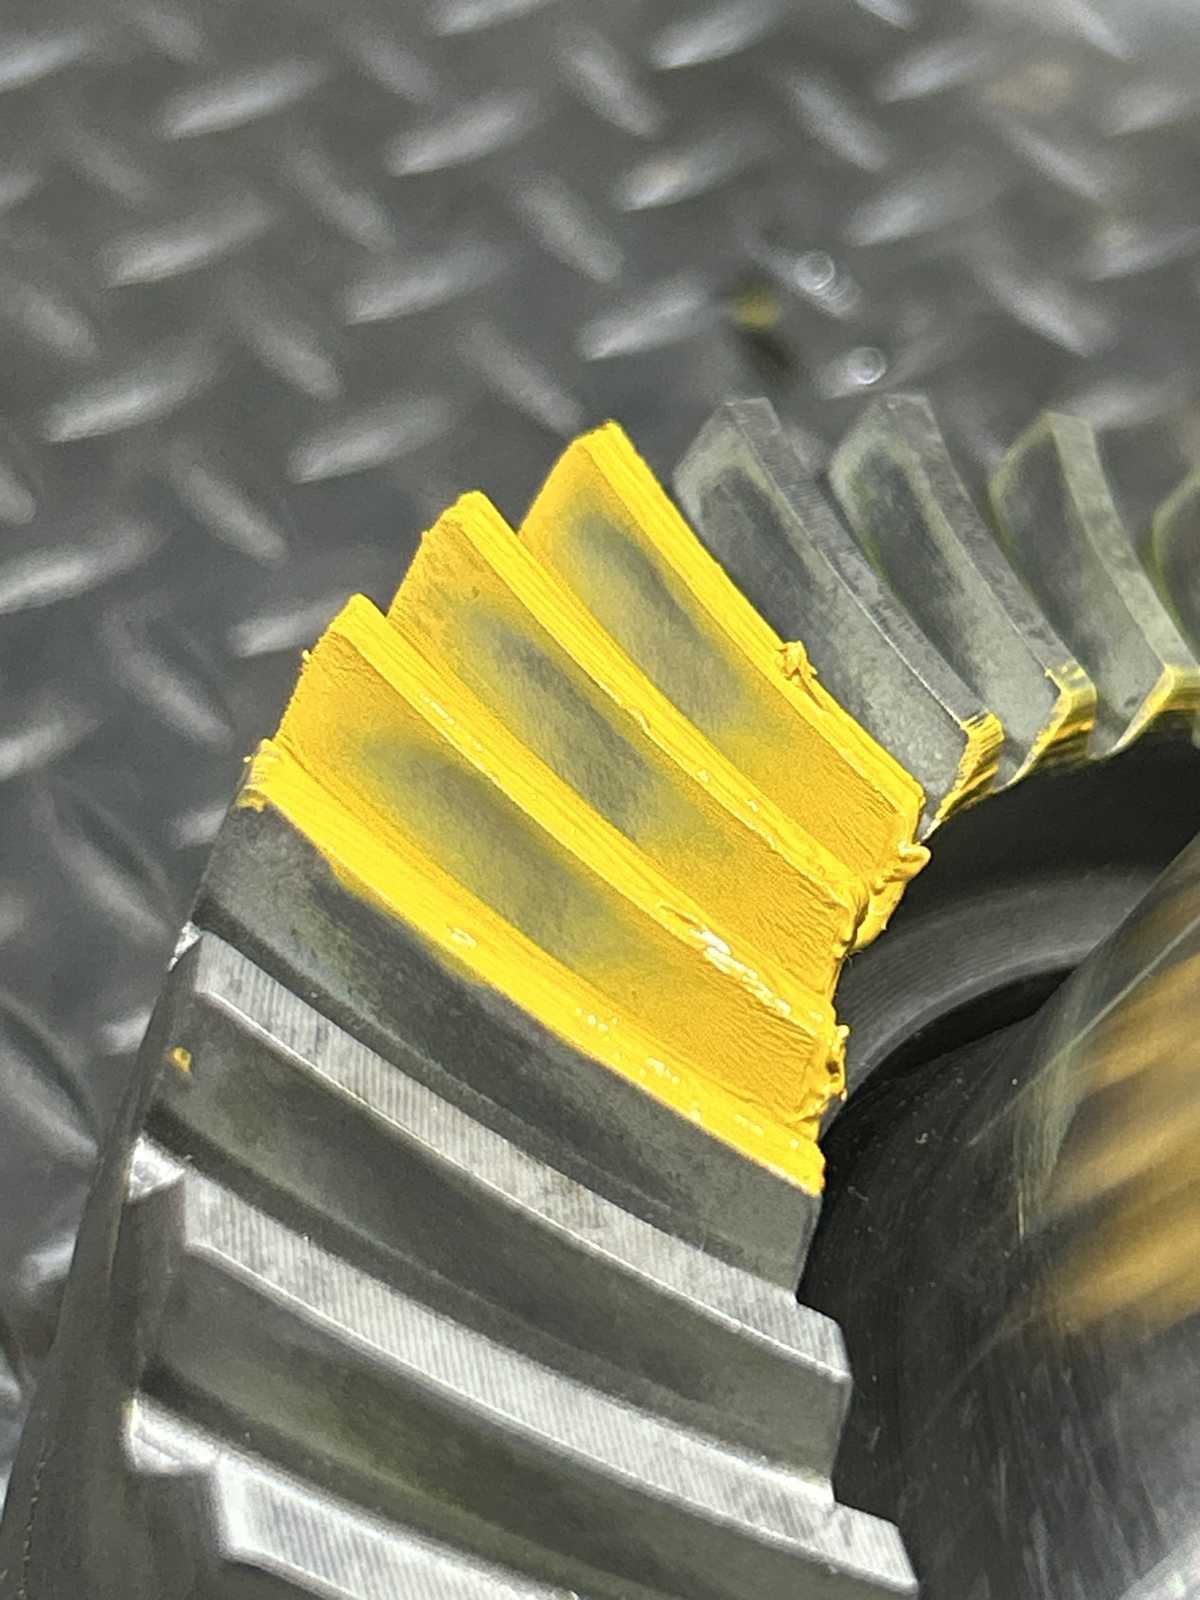
| Drive side.....this is very good but I can fine tune by removing .001" |
|
| drive reverse paint |
|
| coast....a touch deep |
|
| coast reverse painted |
|
| Now to disassemble and remove .001" and add in the solid collar. |
|
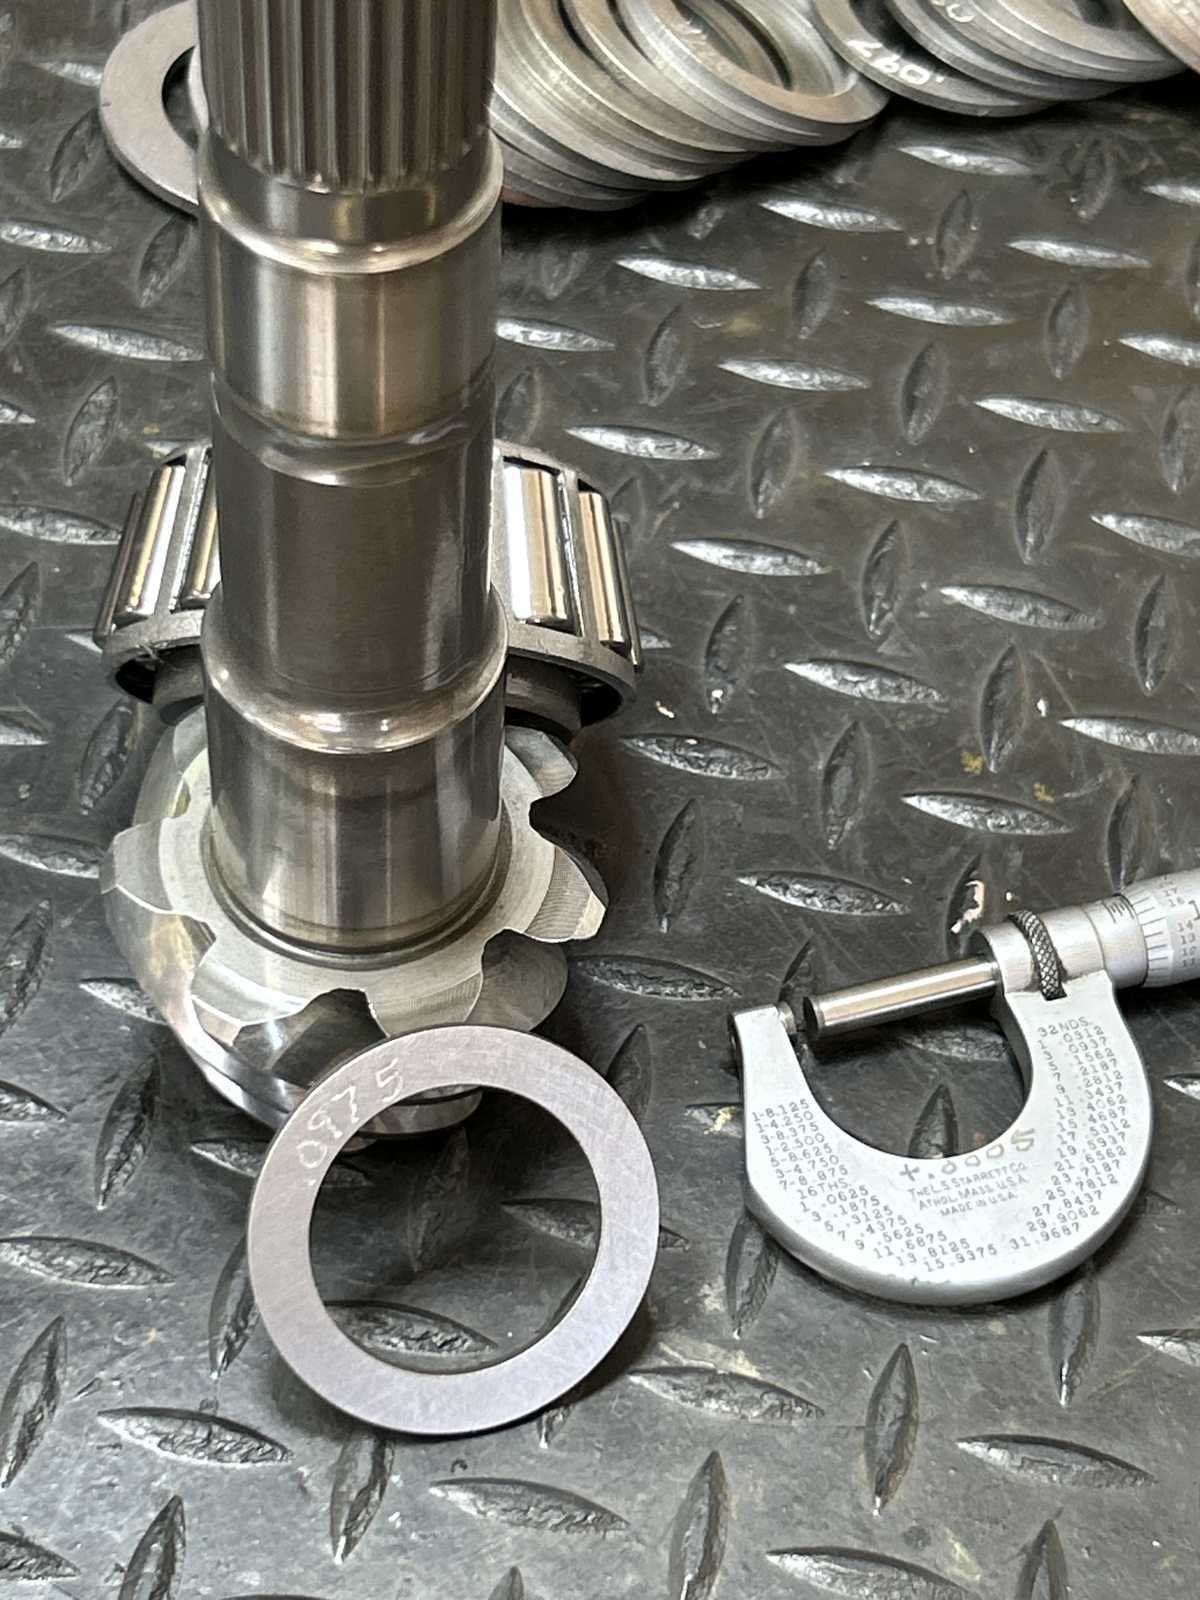
| .0975" will serve perfectly. |
|
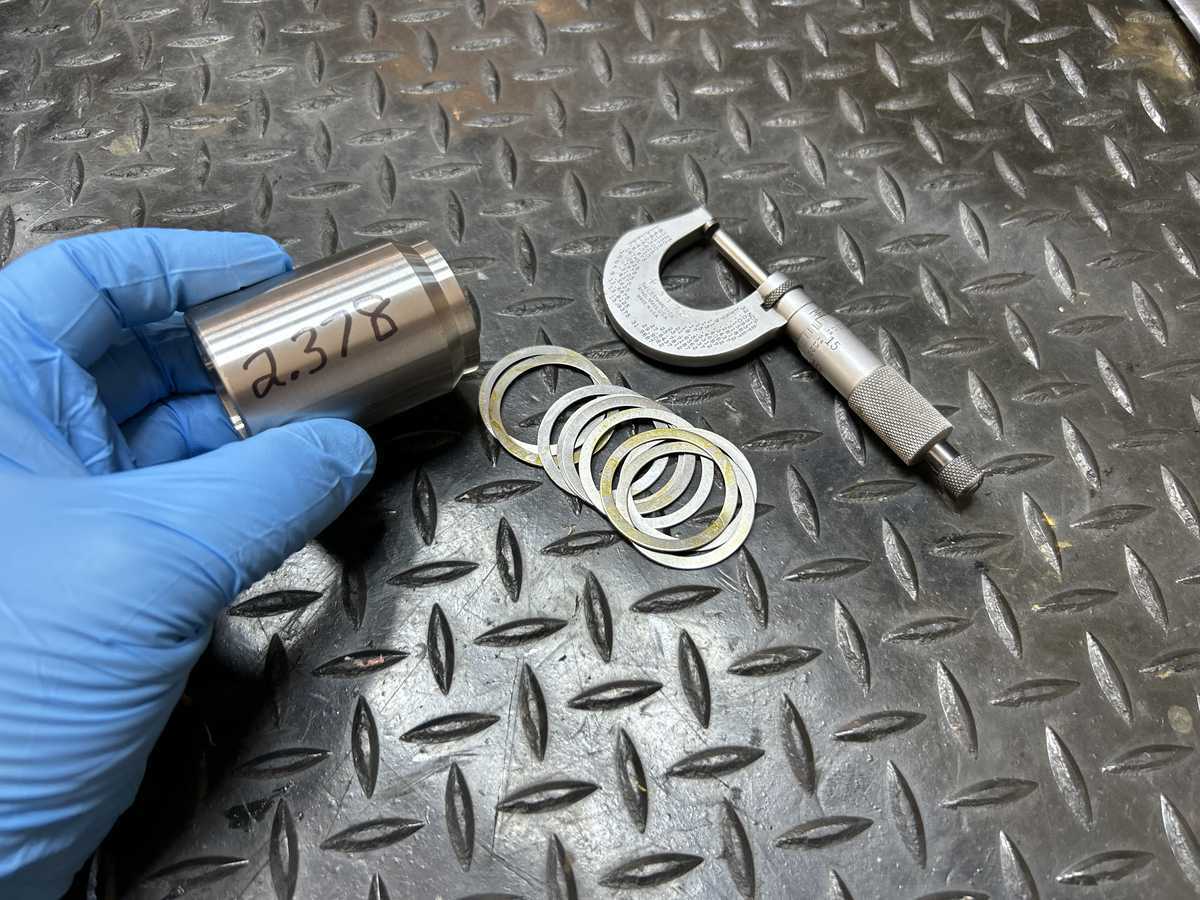
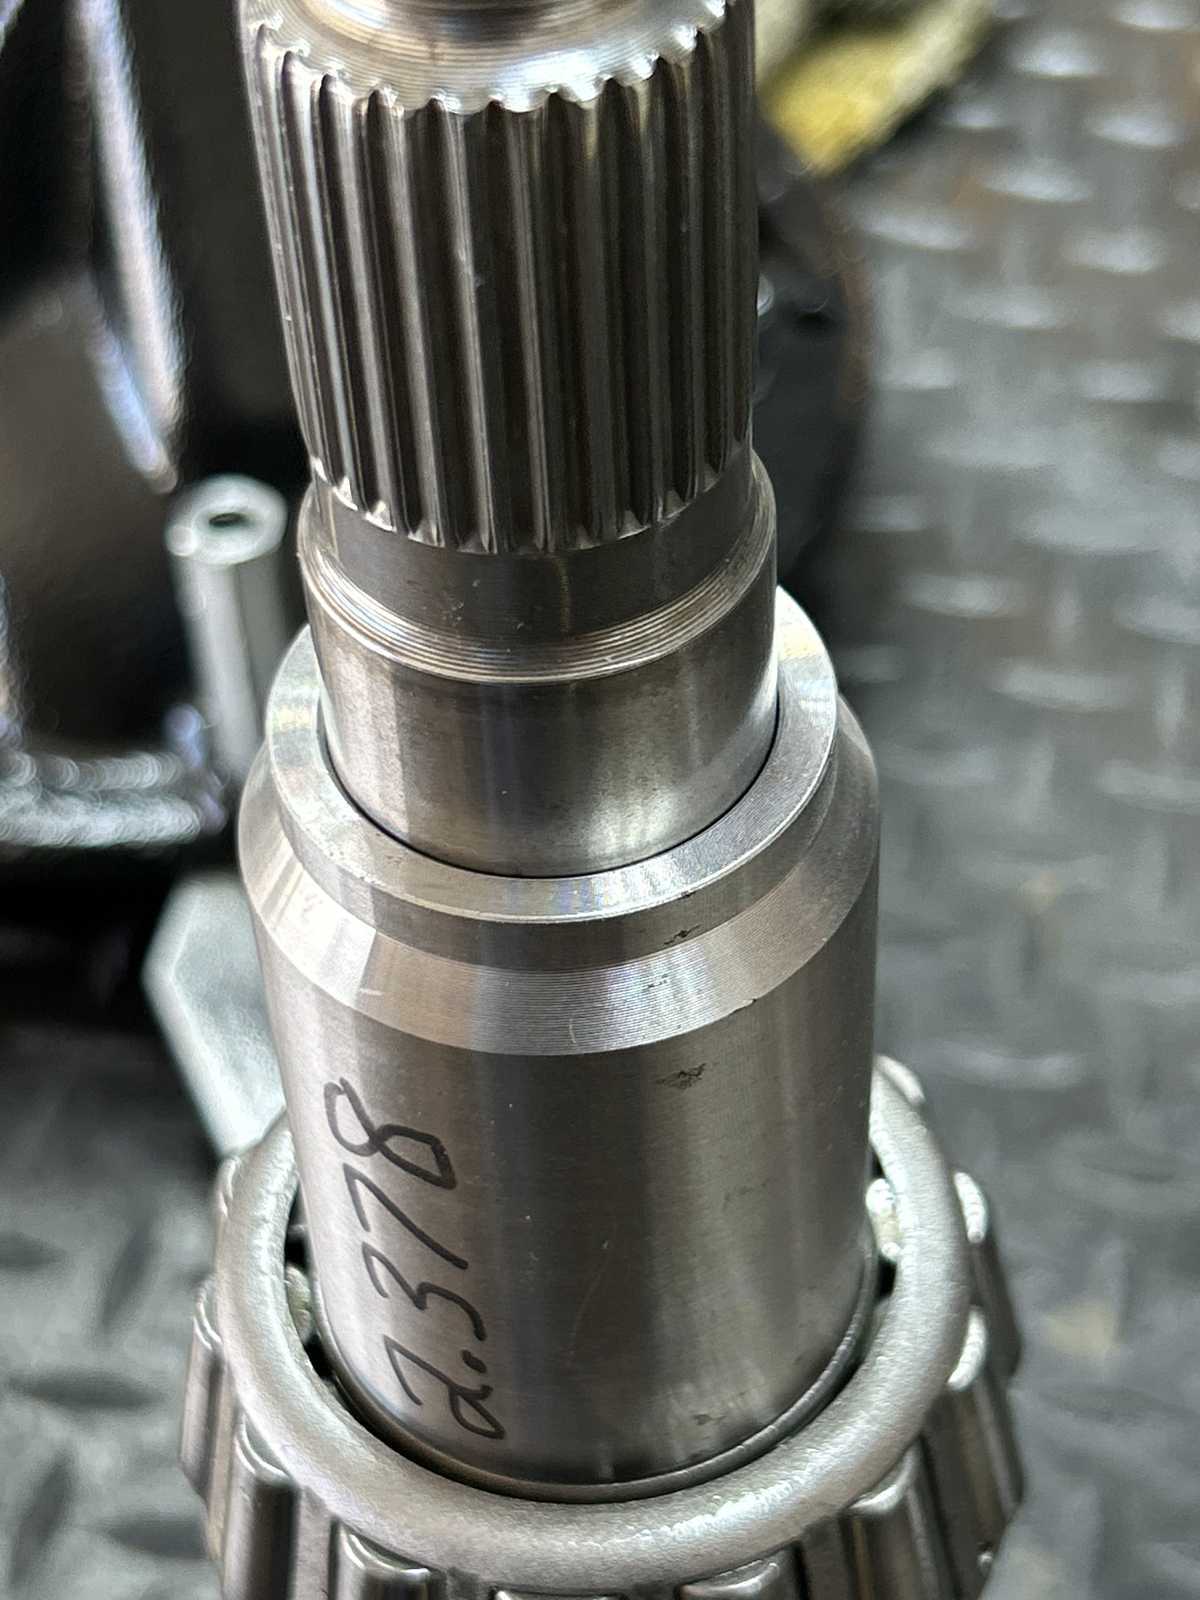
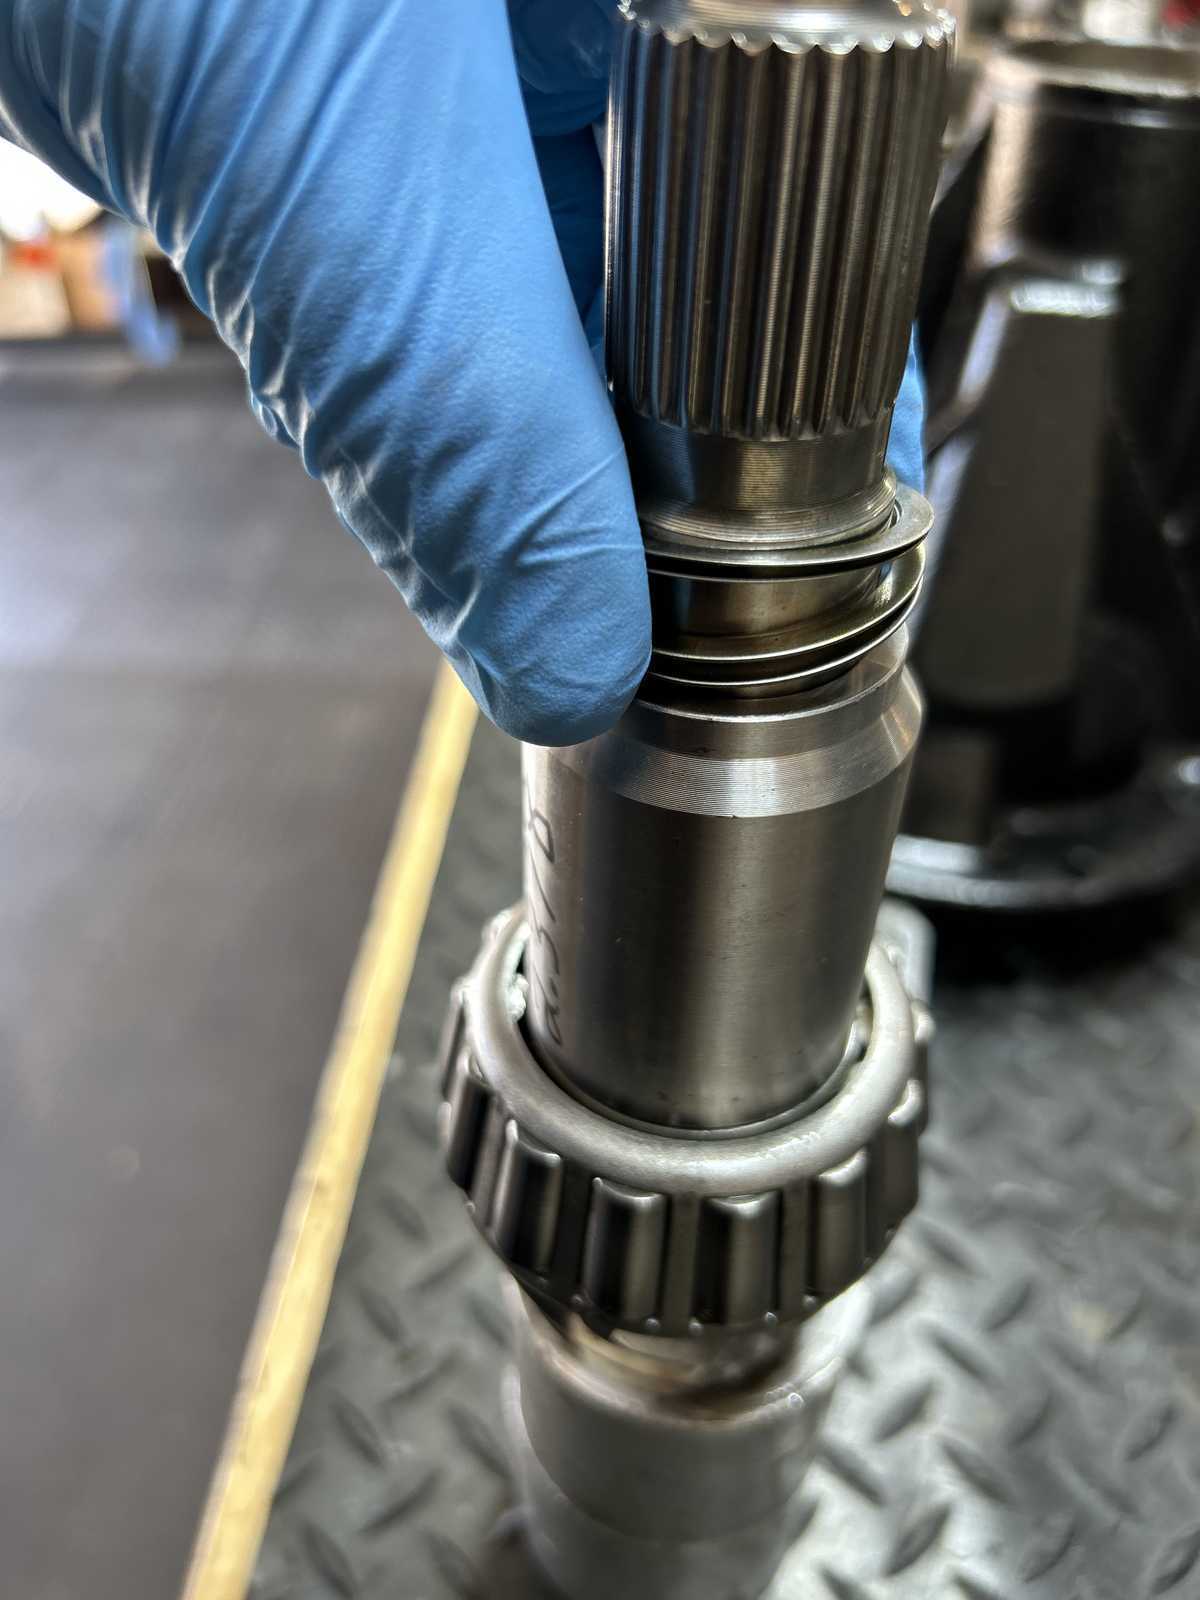
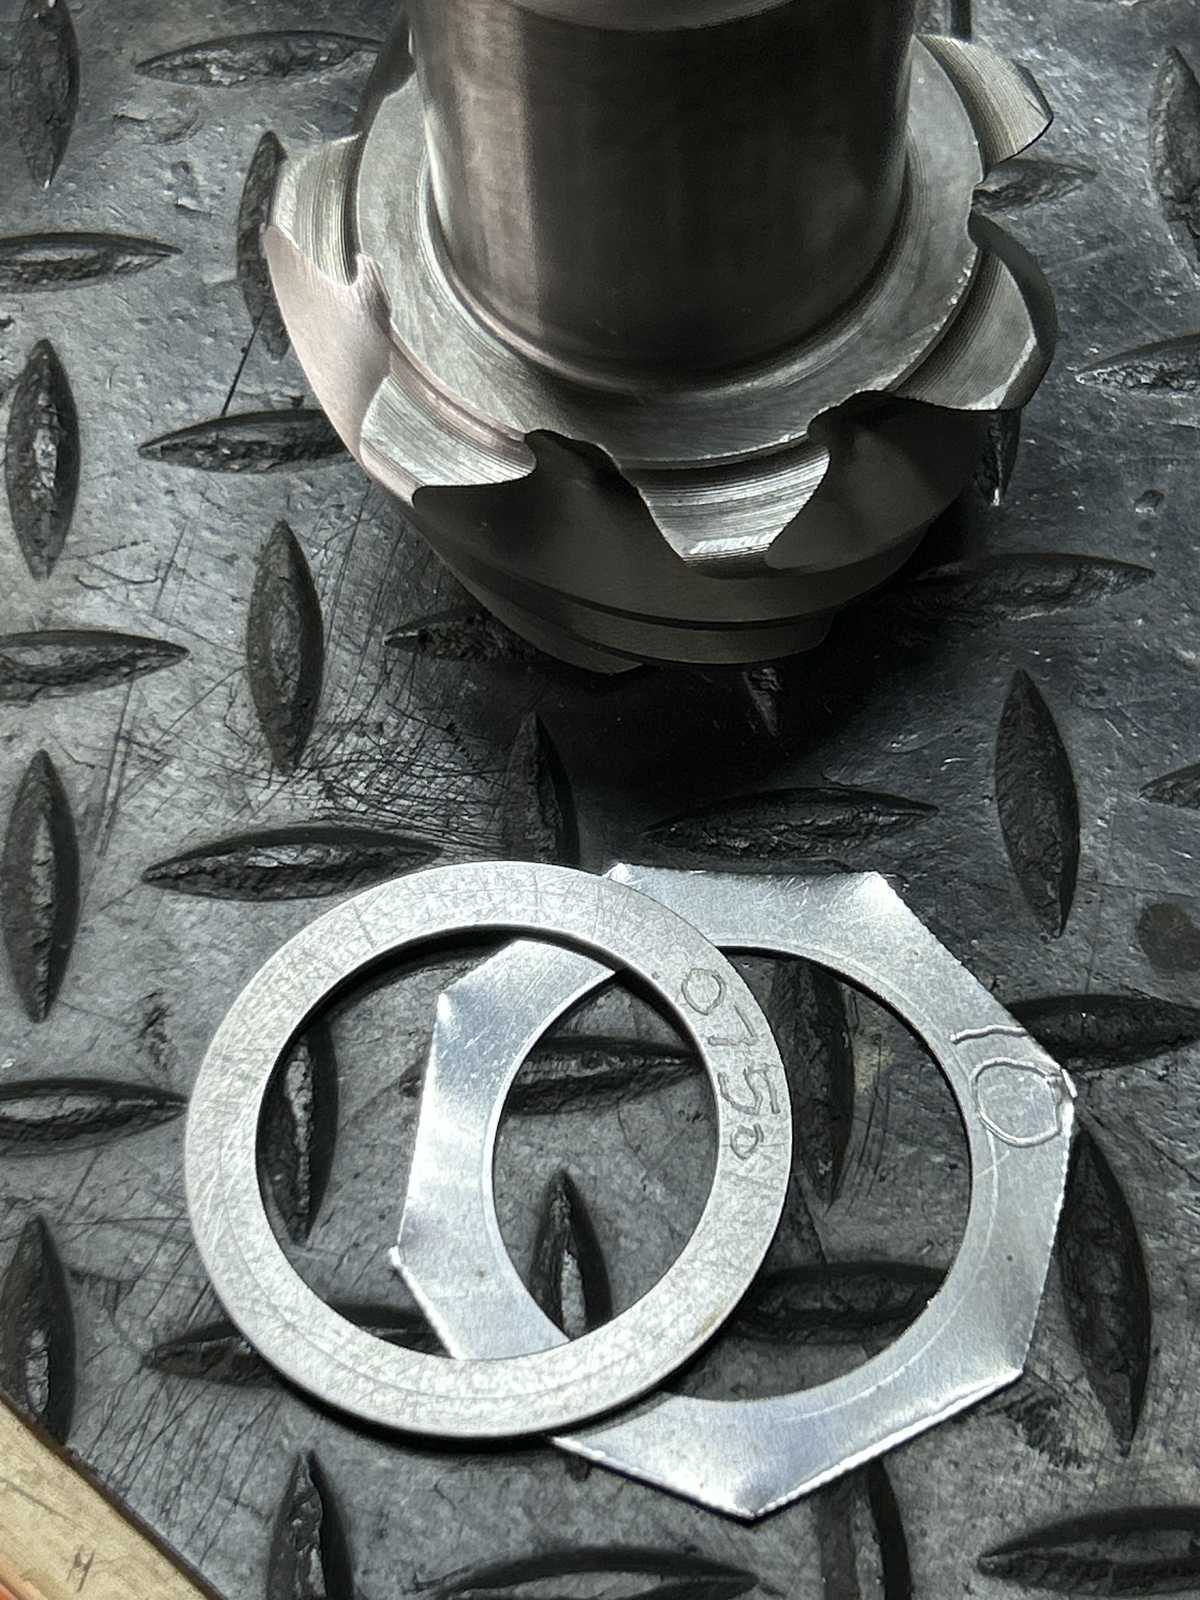
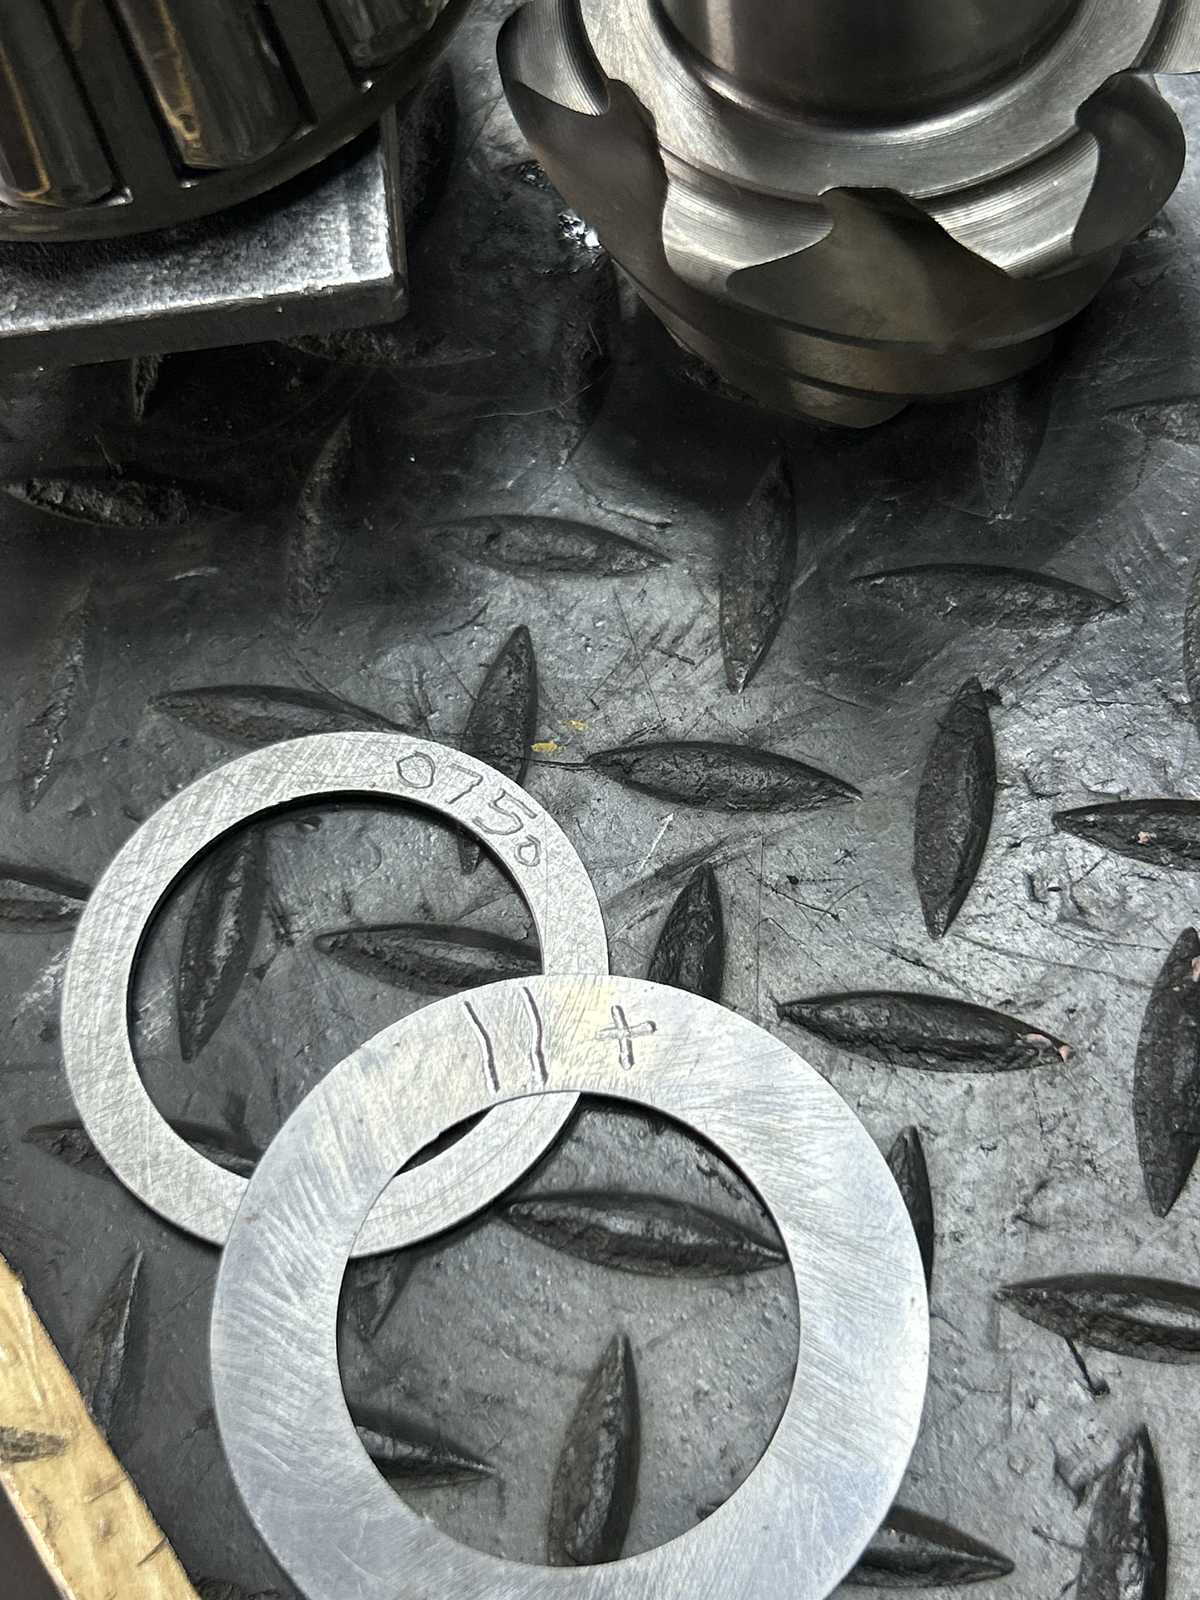
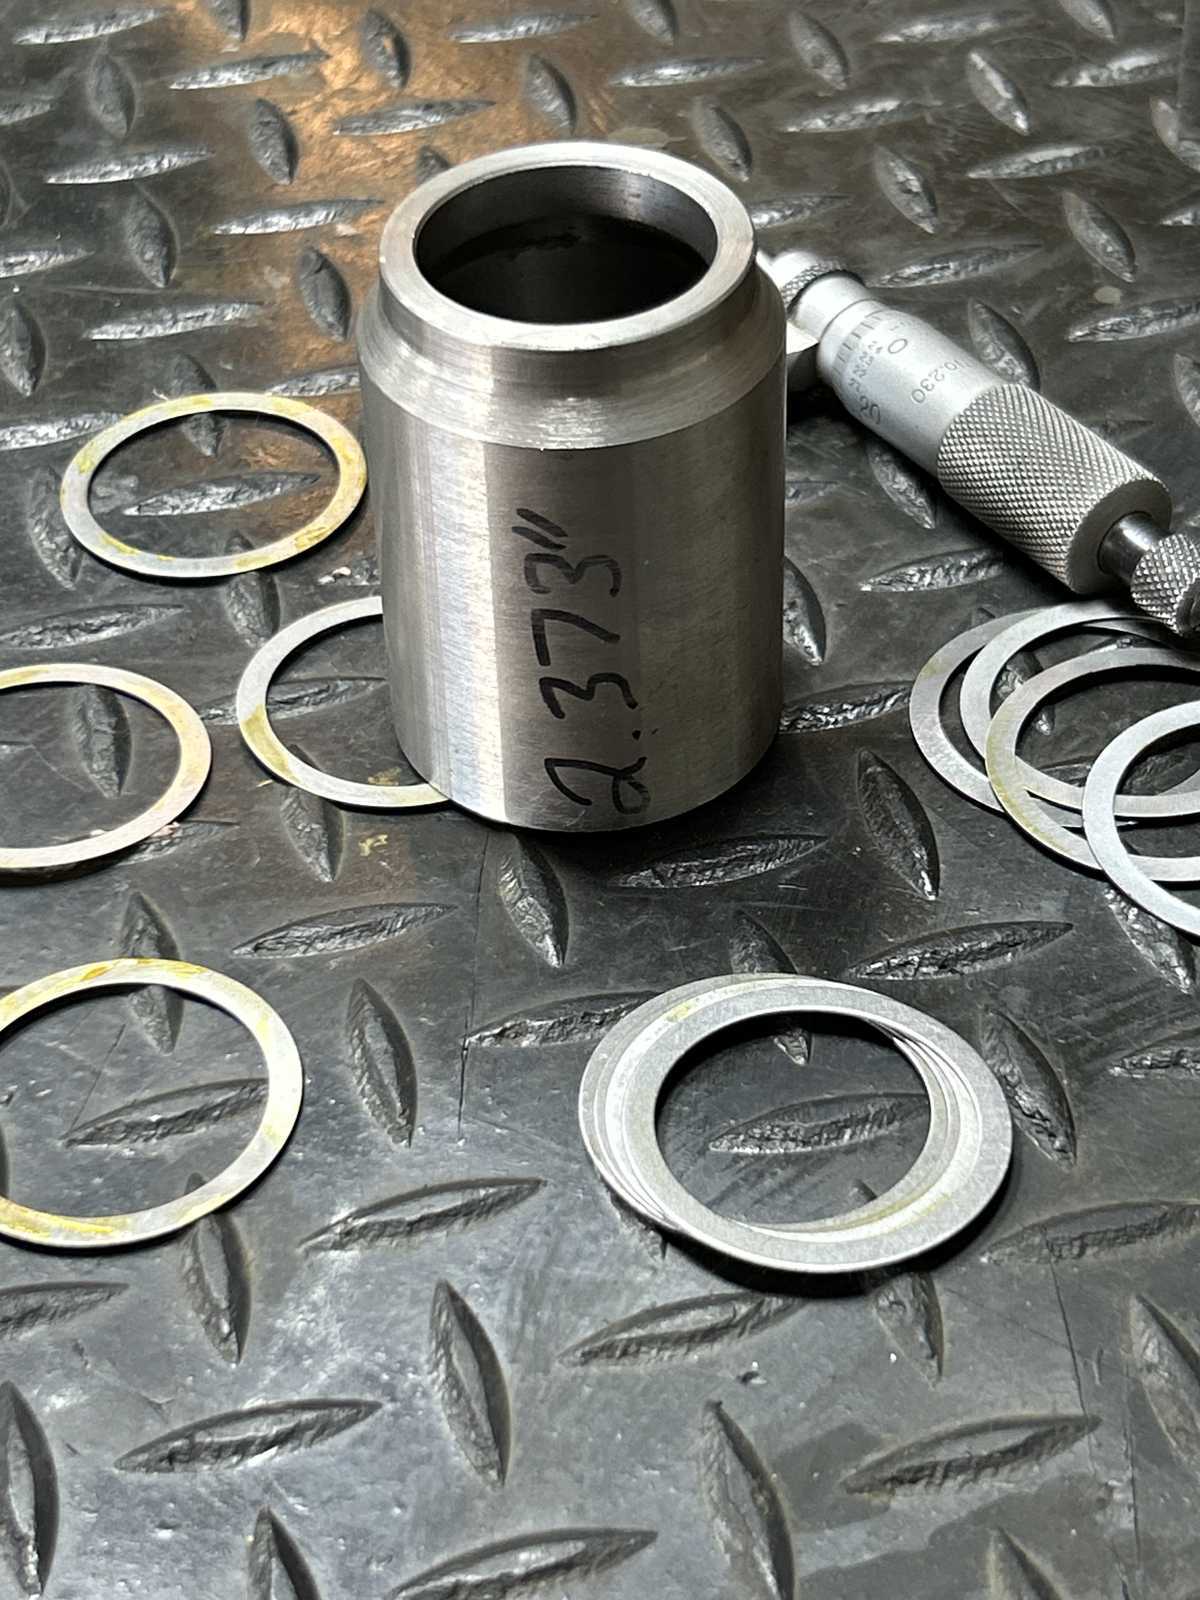
| In the past, 2.440" was a good starting point....so will add .062" shim and see what happens. |
|
| The collar. |
|
| .062" worth of shims is placed on top |
|
|
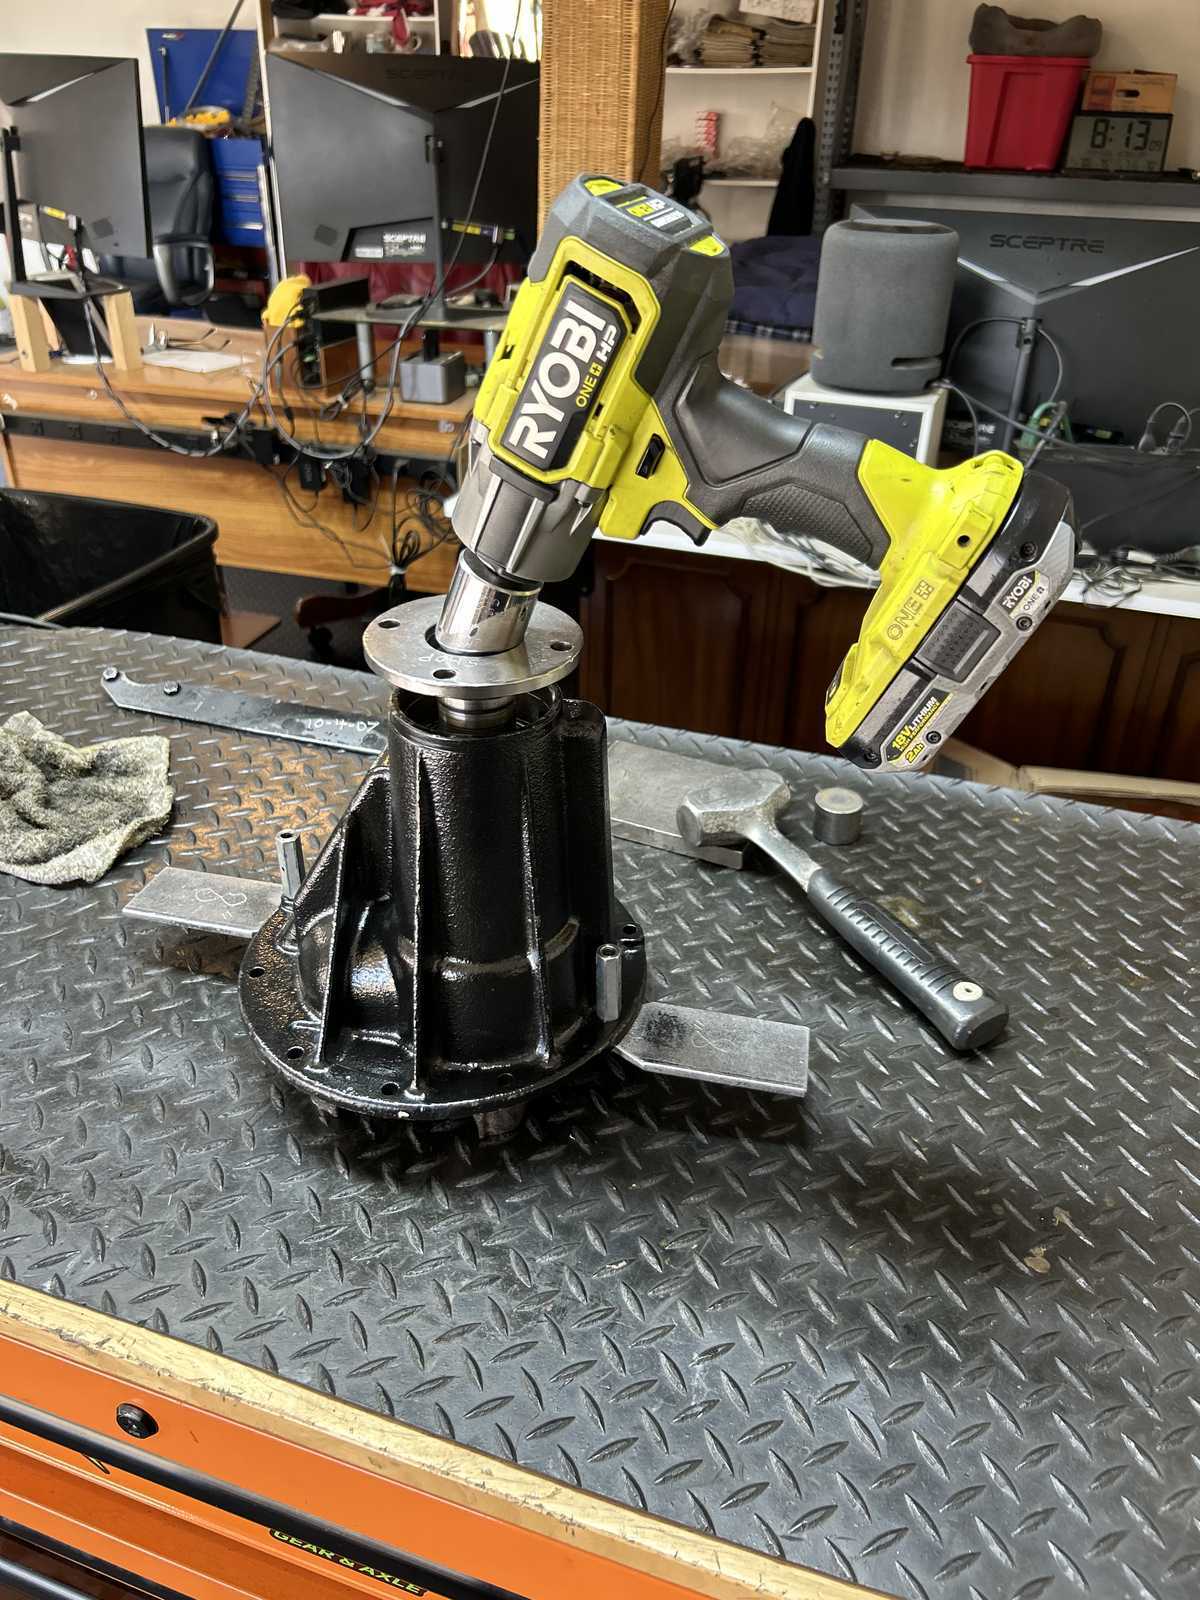
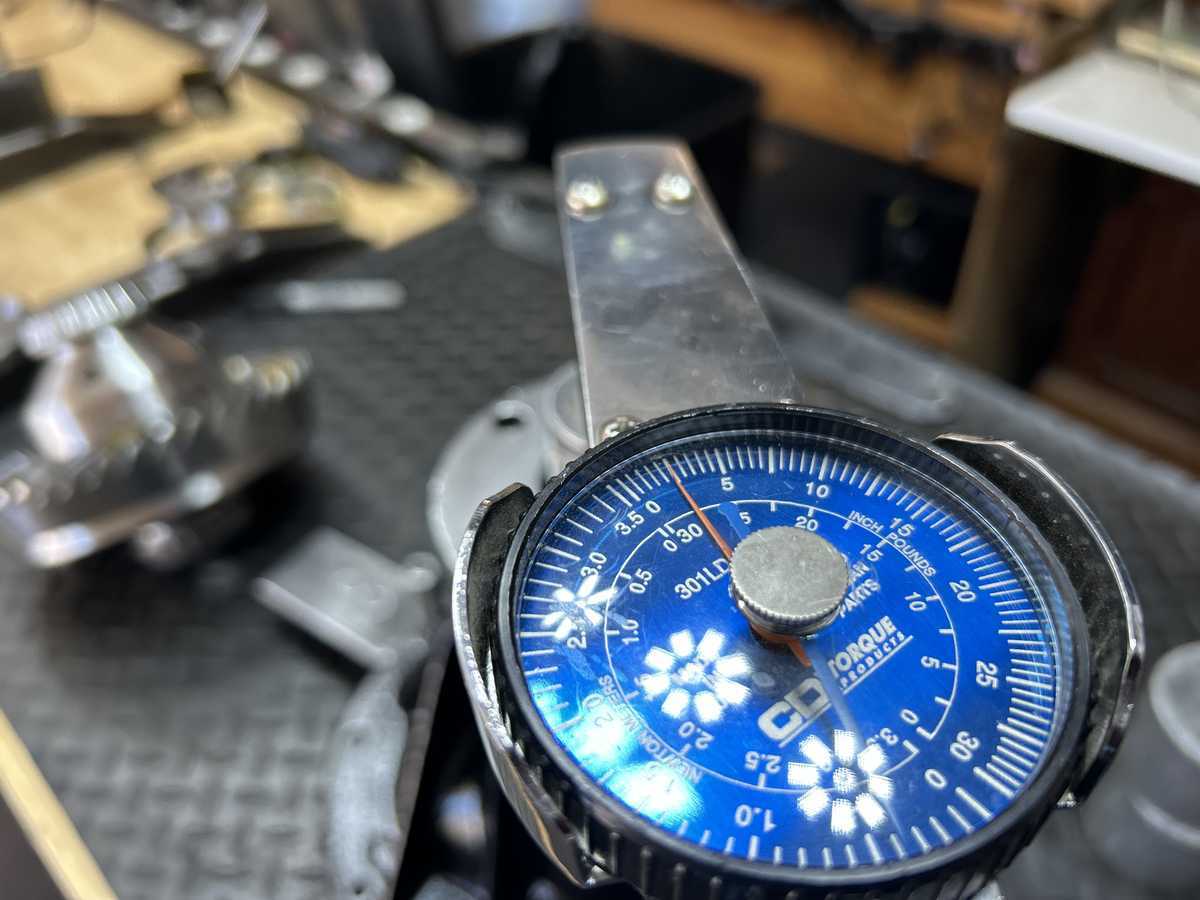
Got lucky....with the pinion nut tightened using MEDIUM power on the cordless impact, I was getting 3 inch/pounds of preload. That means when I apply anti-seize to the threads and use HI-POWER I can get that nut to turn some more and get 10 or more inch/pounds as desired. |
|
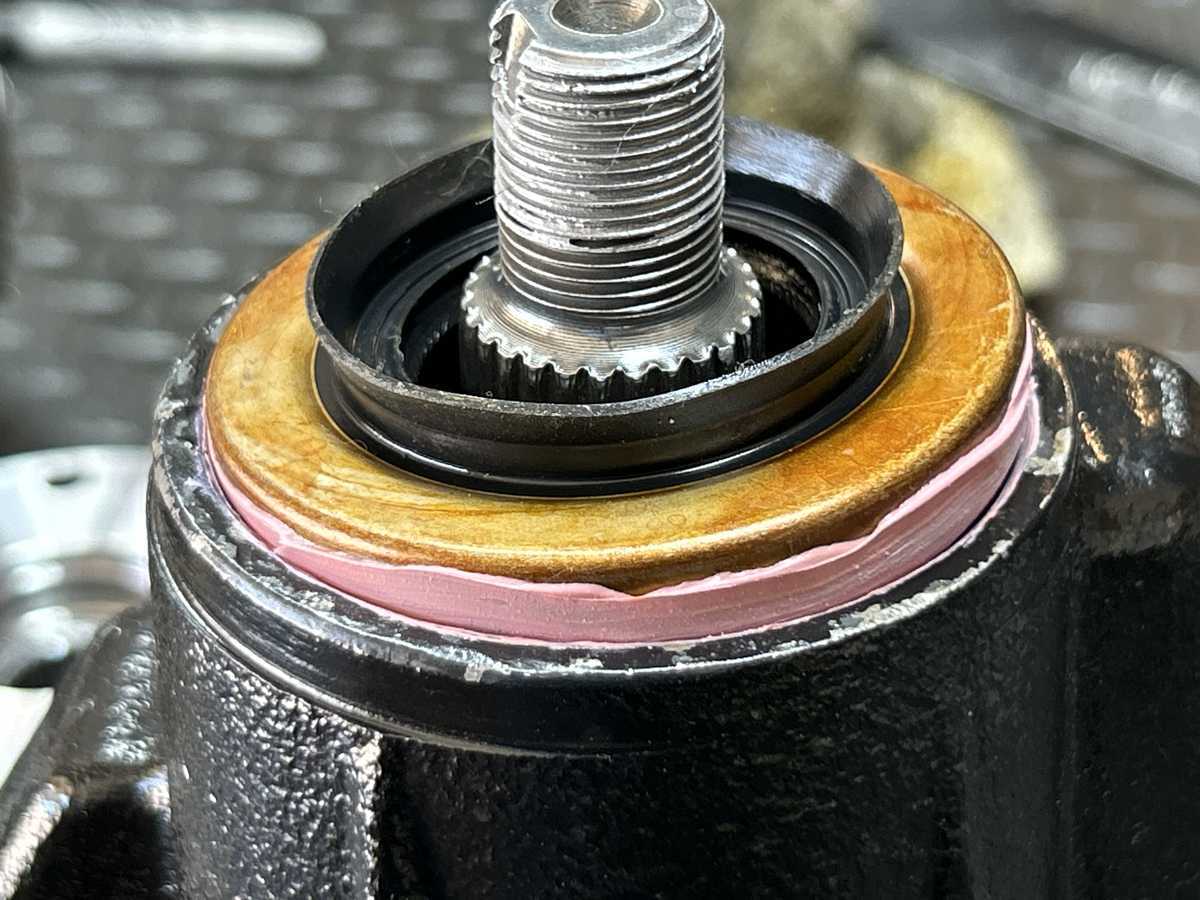
| Now the factory aprt number seal goes on. FIPG on the outsides..... |
|
| Seal is recessed 2mm. |
|
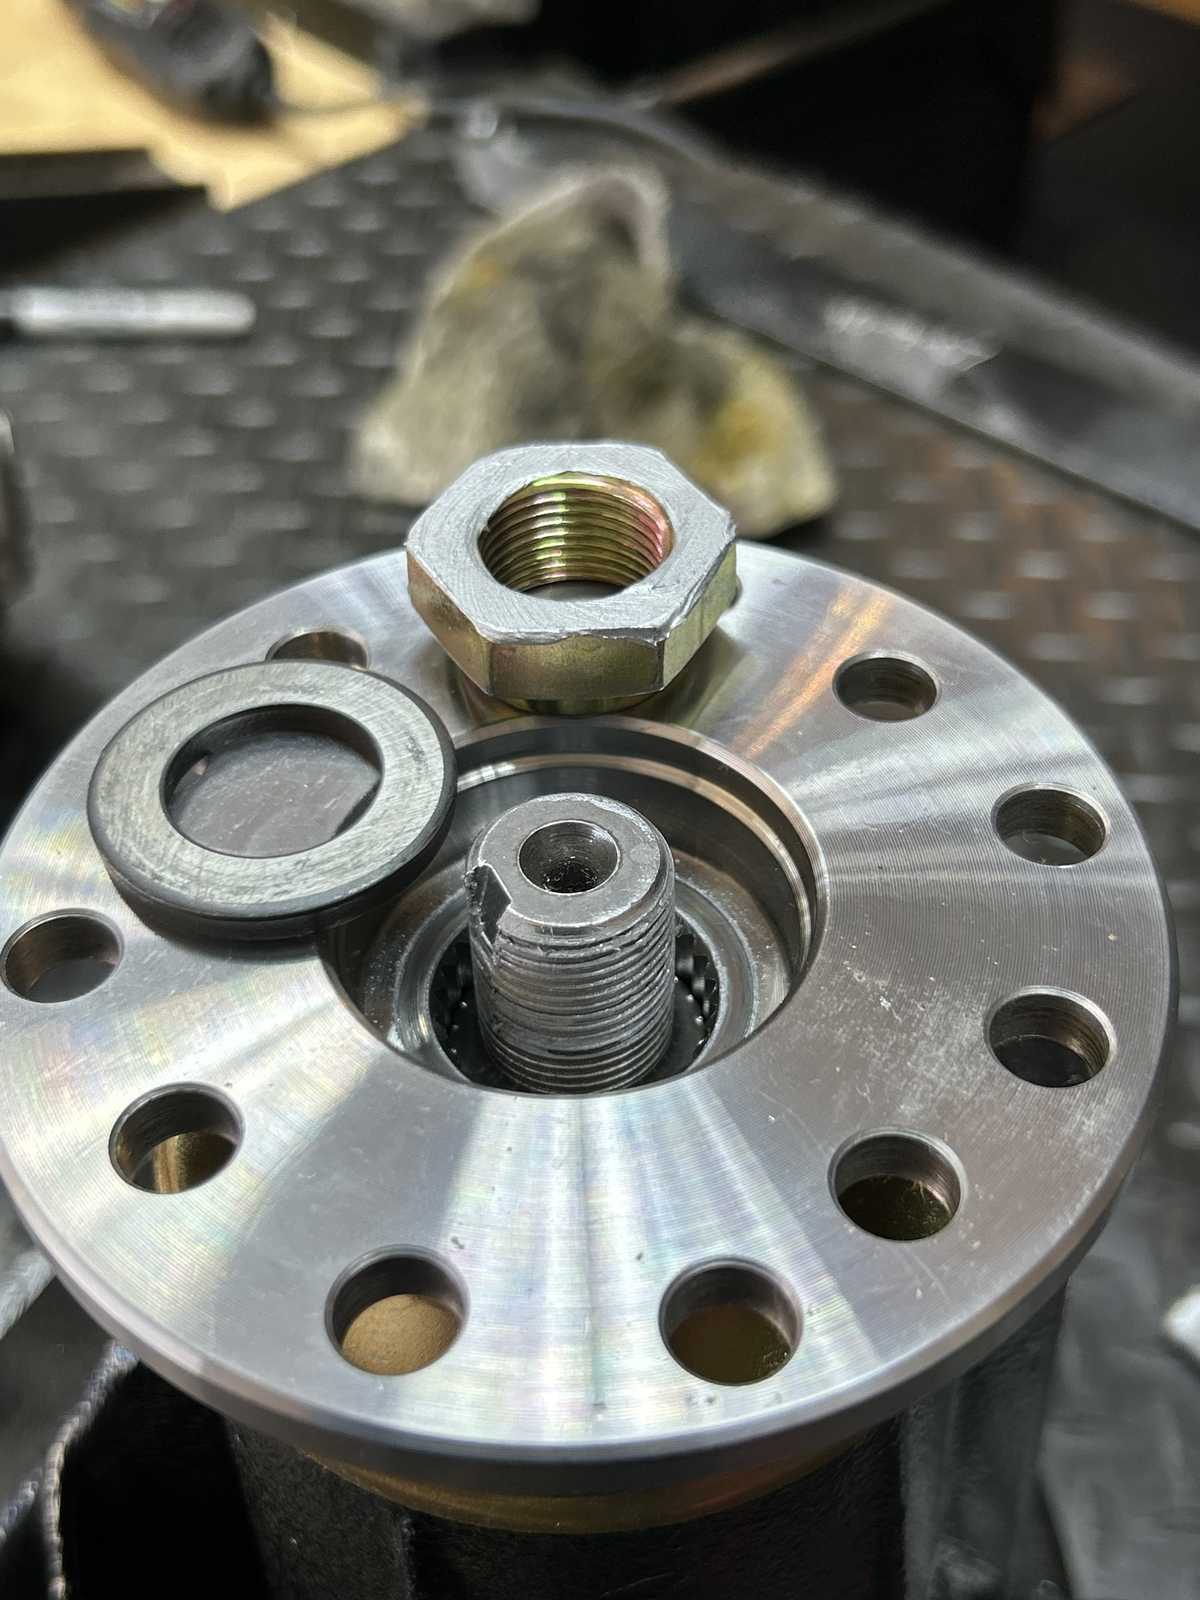
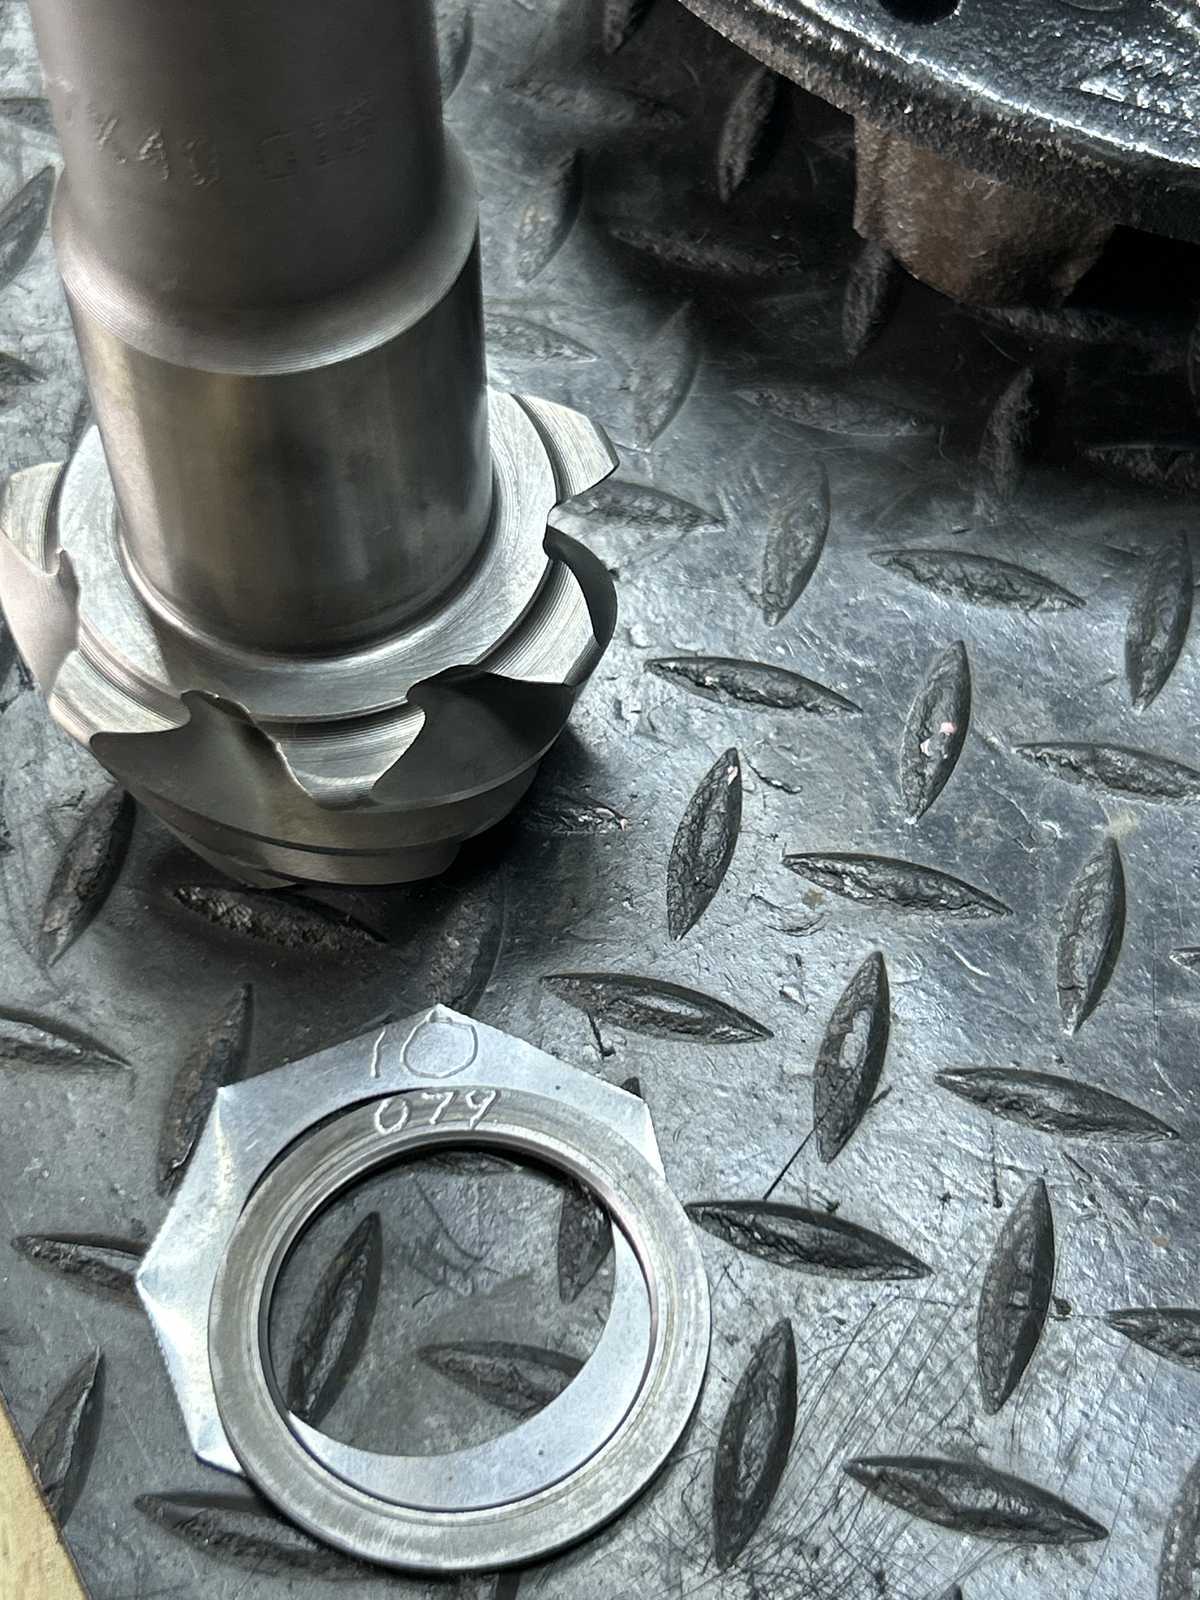
| No flange on this nut so use a thick hardened washer. Antiseize on the bottom of the nut. |
|
| Cordless impact on MEDIUM power.....nut is marked with a sharpie. |
|
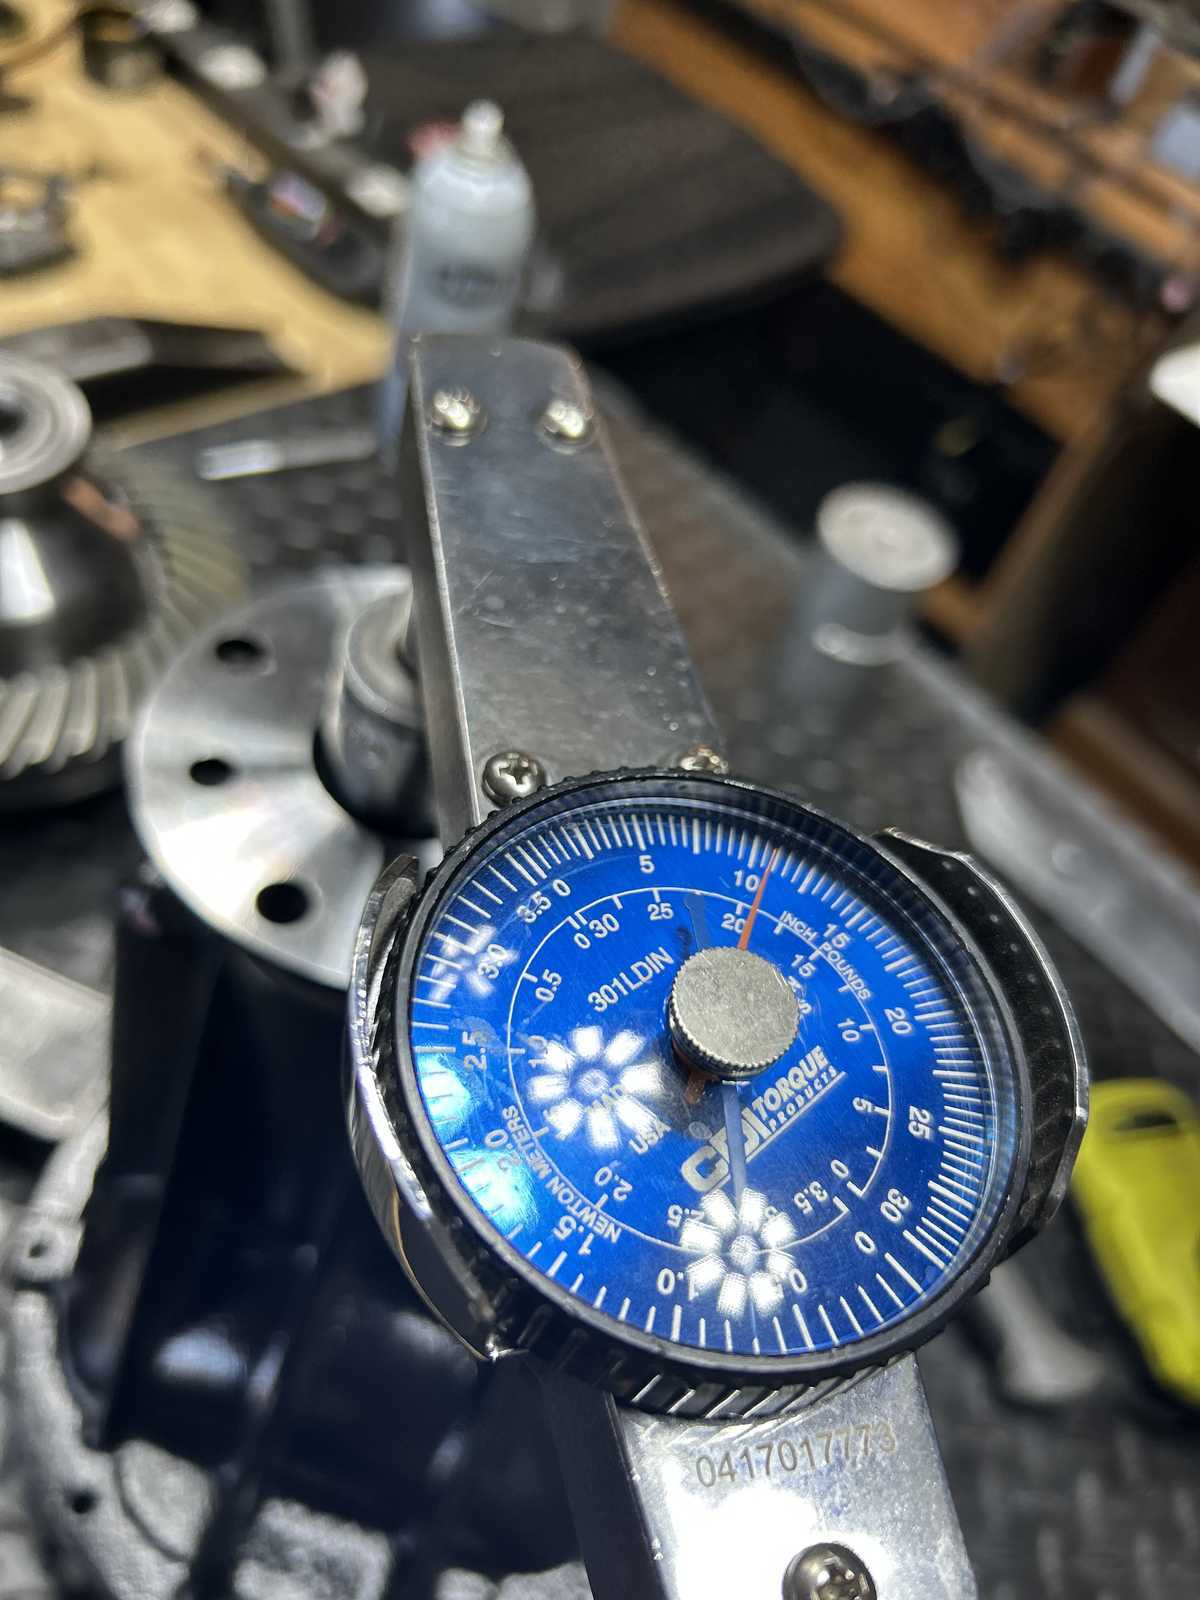
| Now tightened on HI-POWER. That little 1/8" added about 8 more inch/pounds. :) |
|
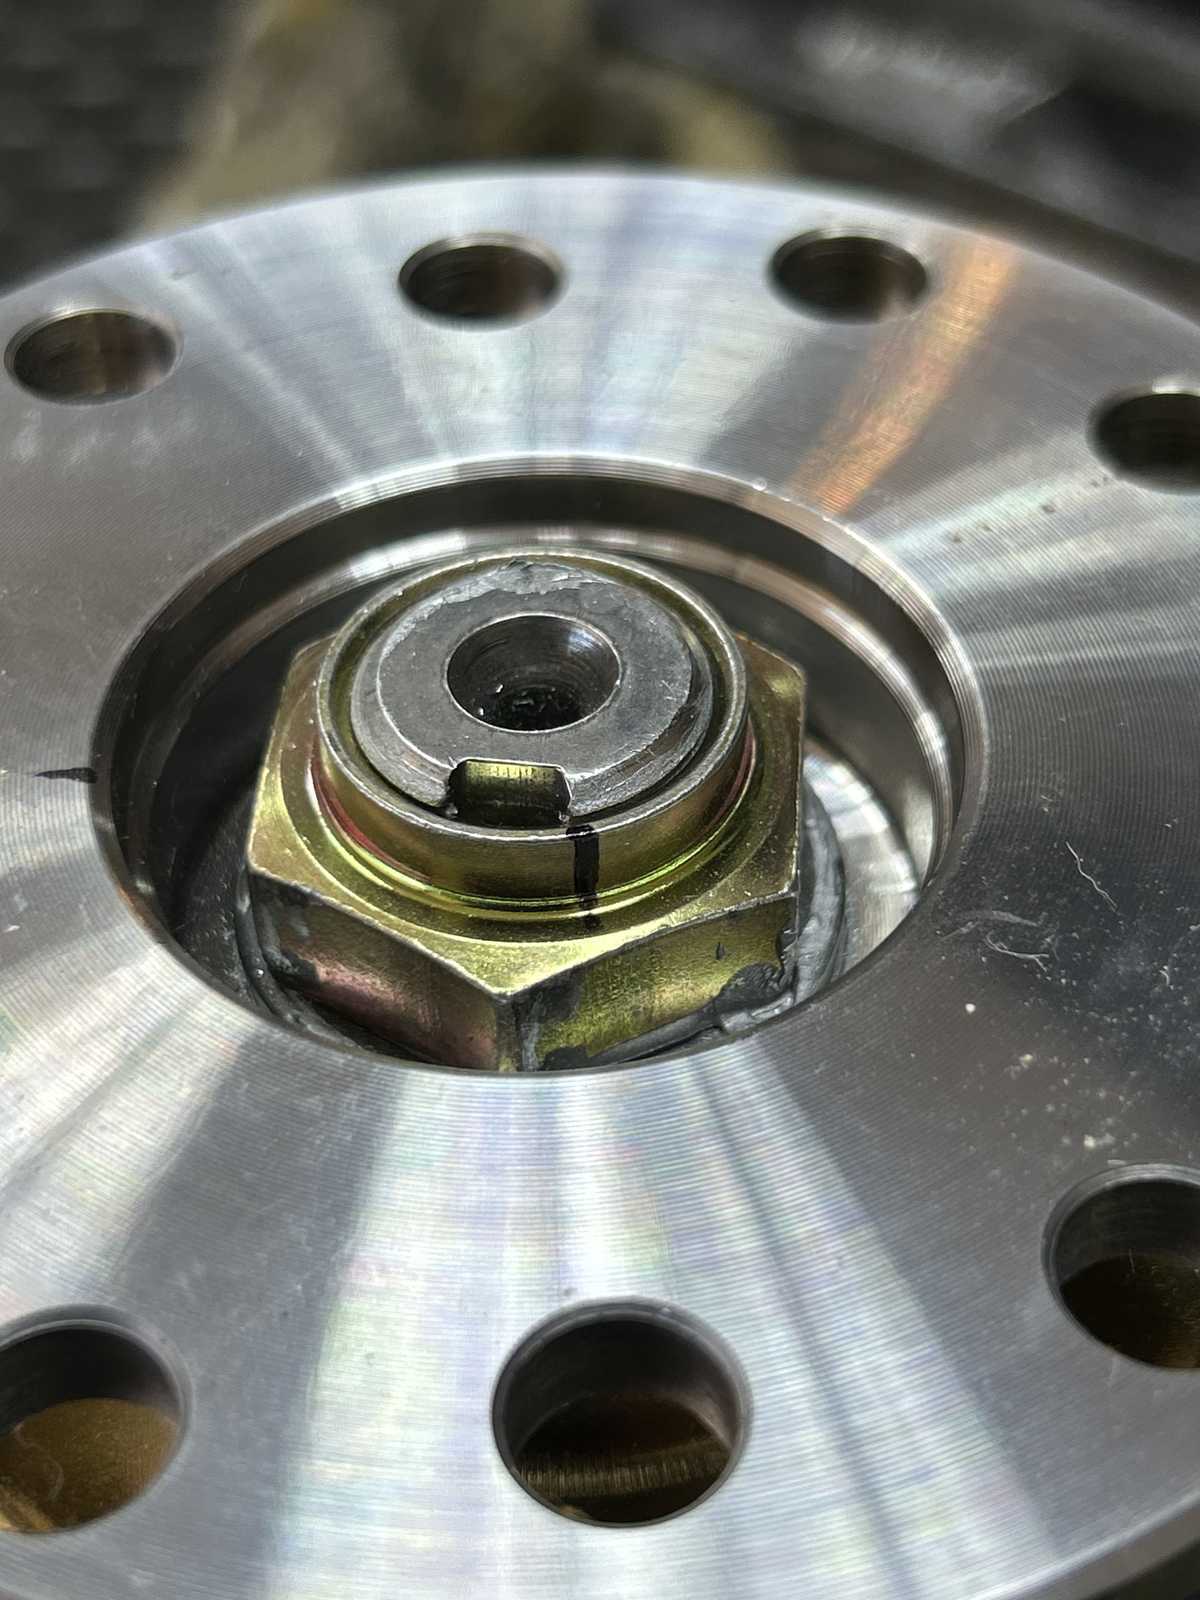
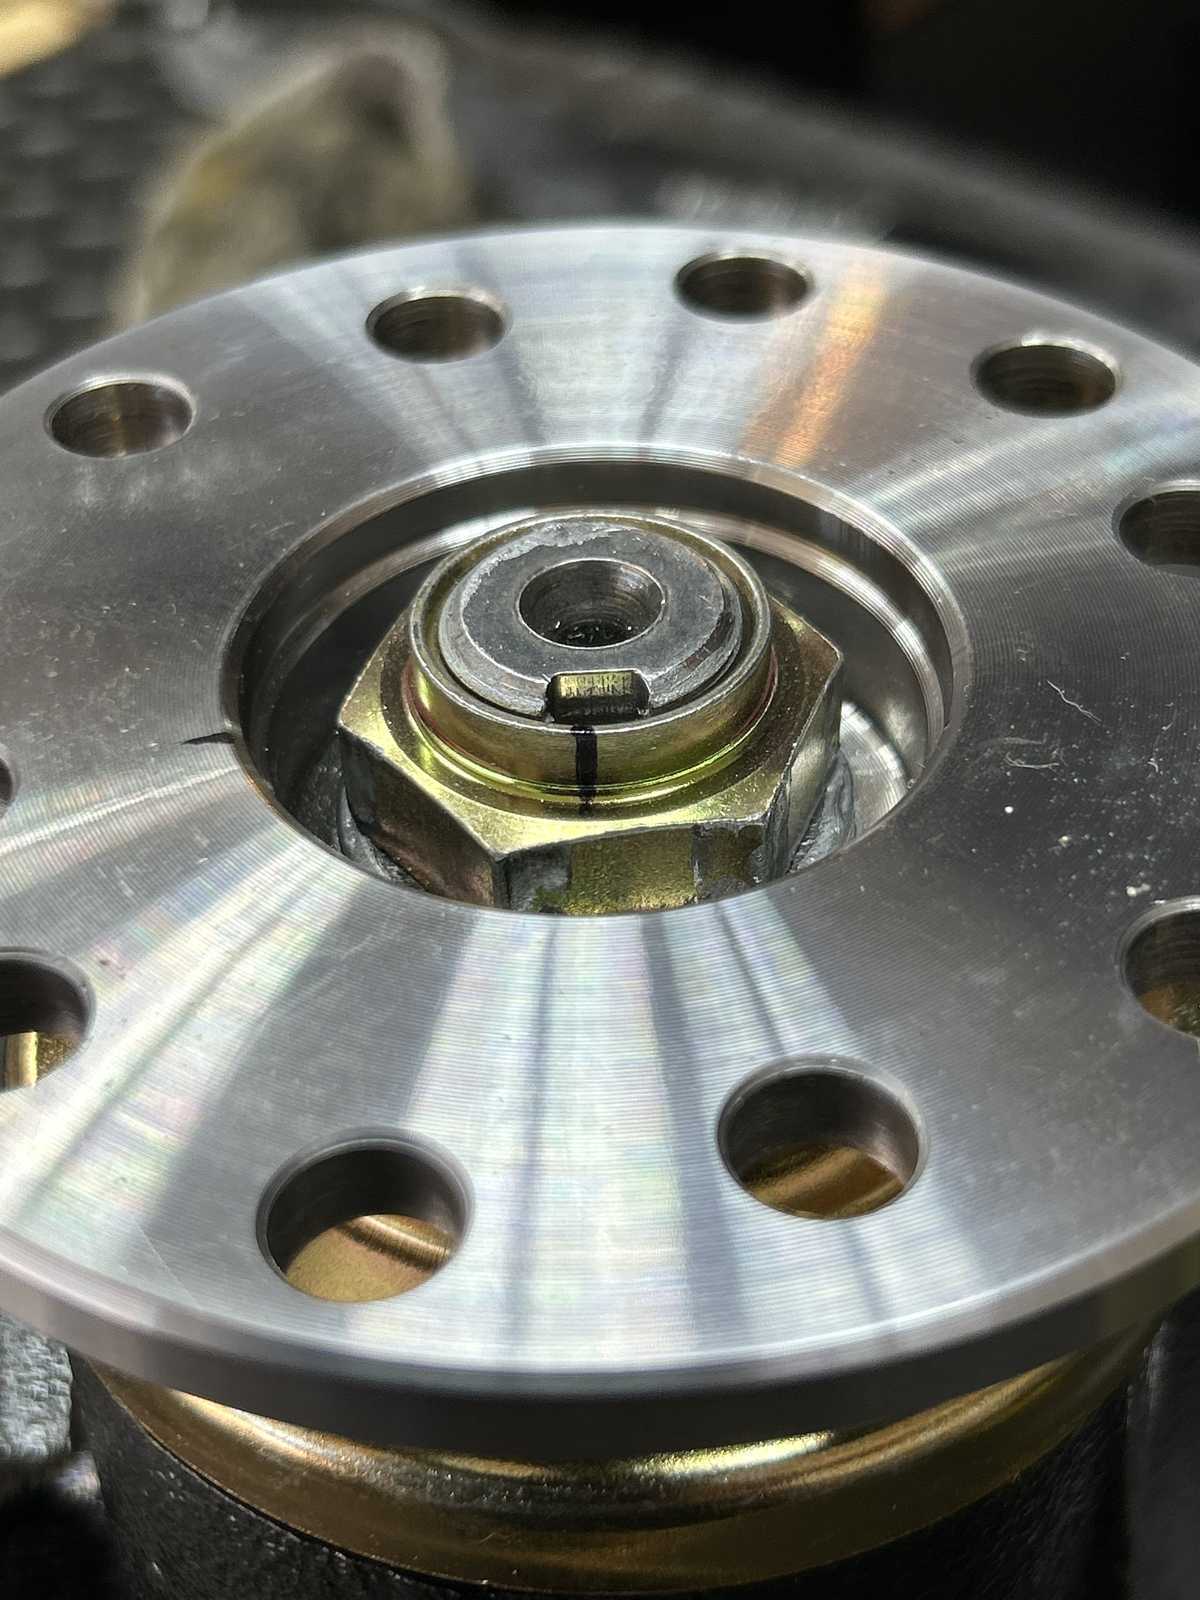
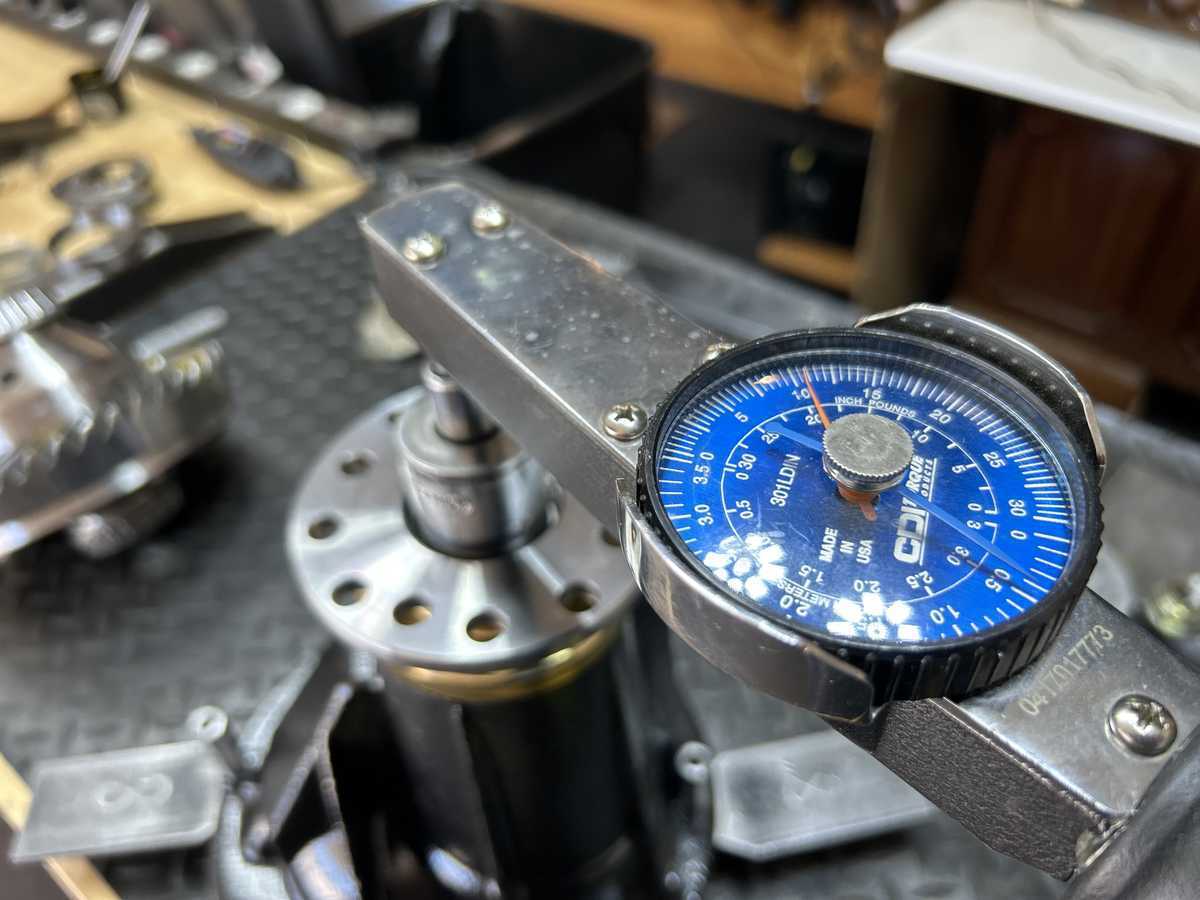
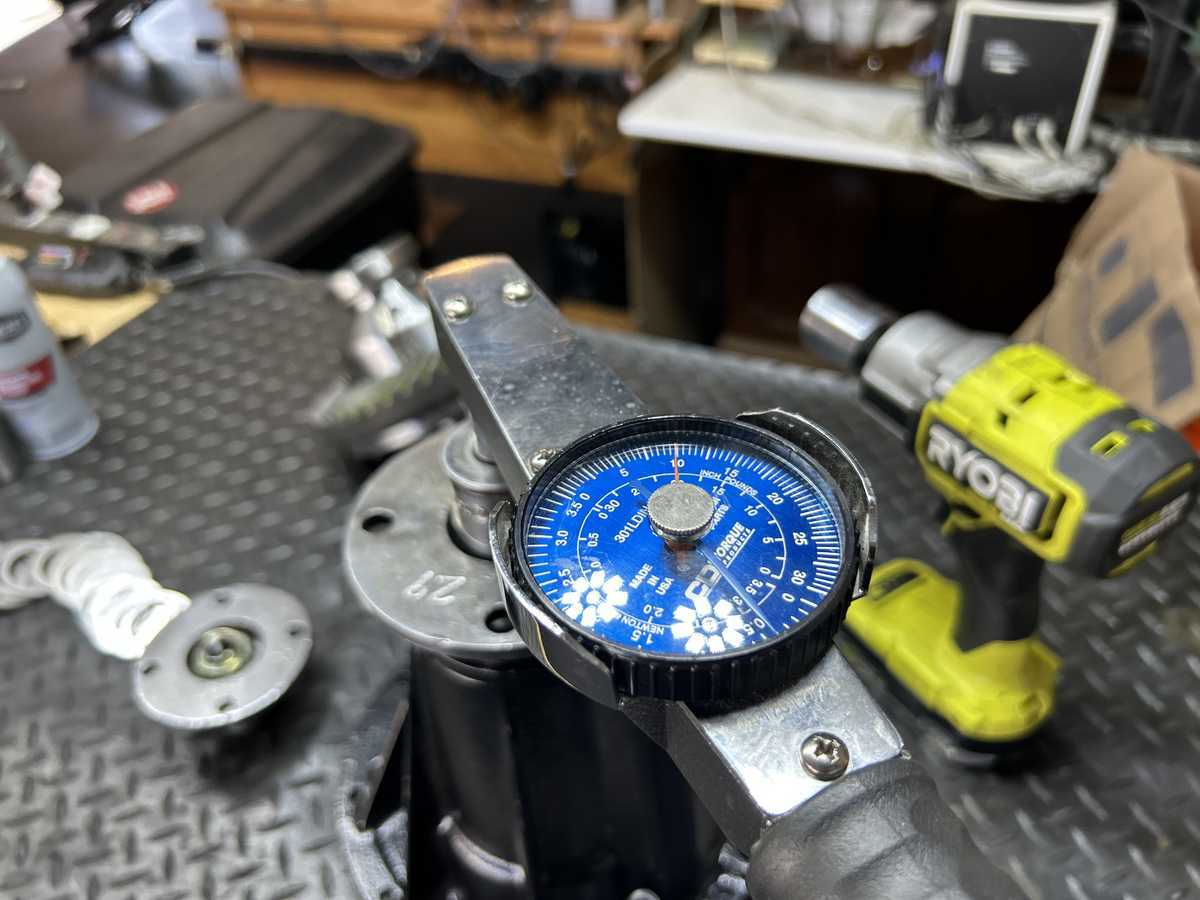
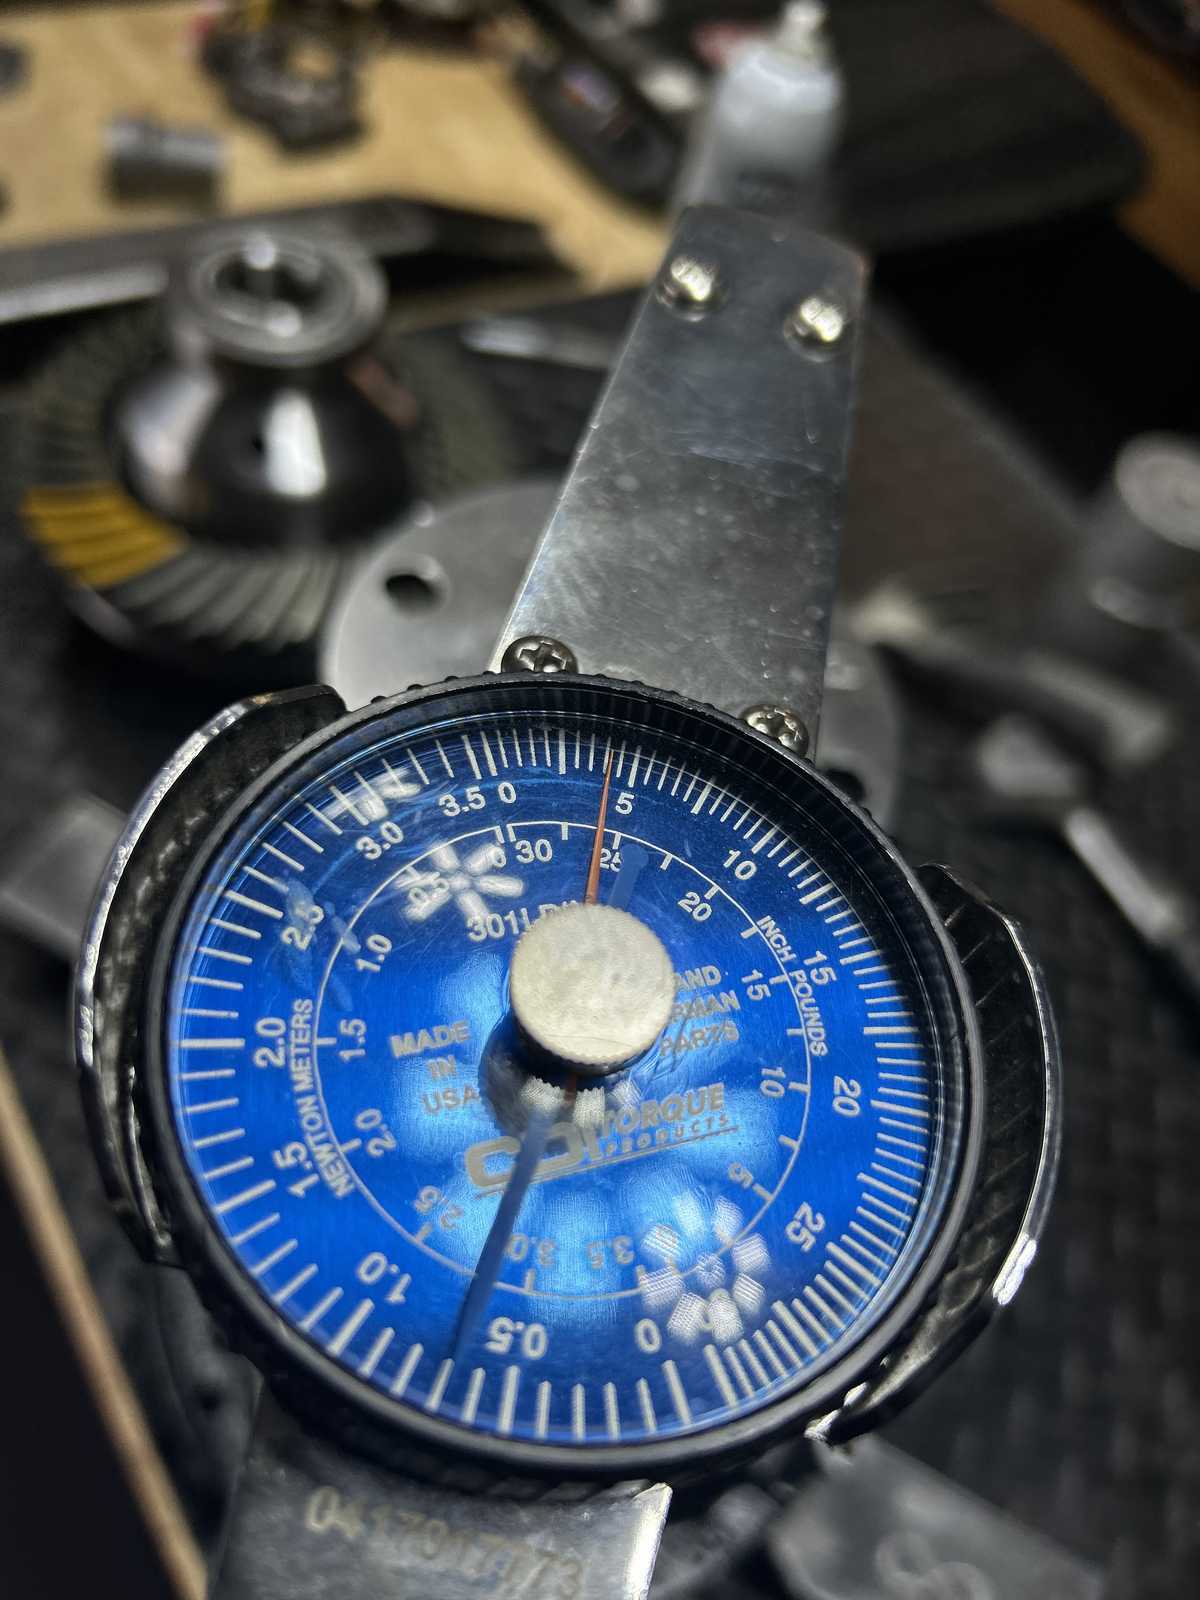
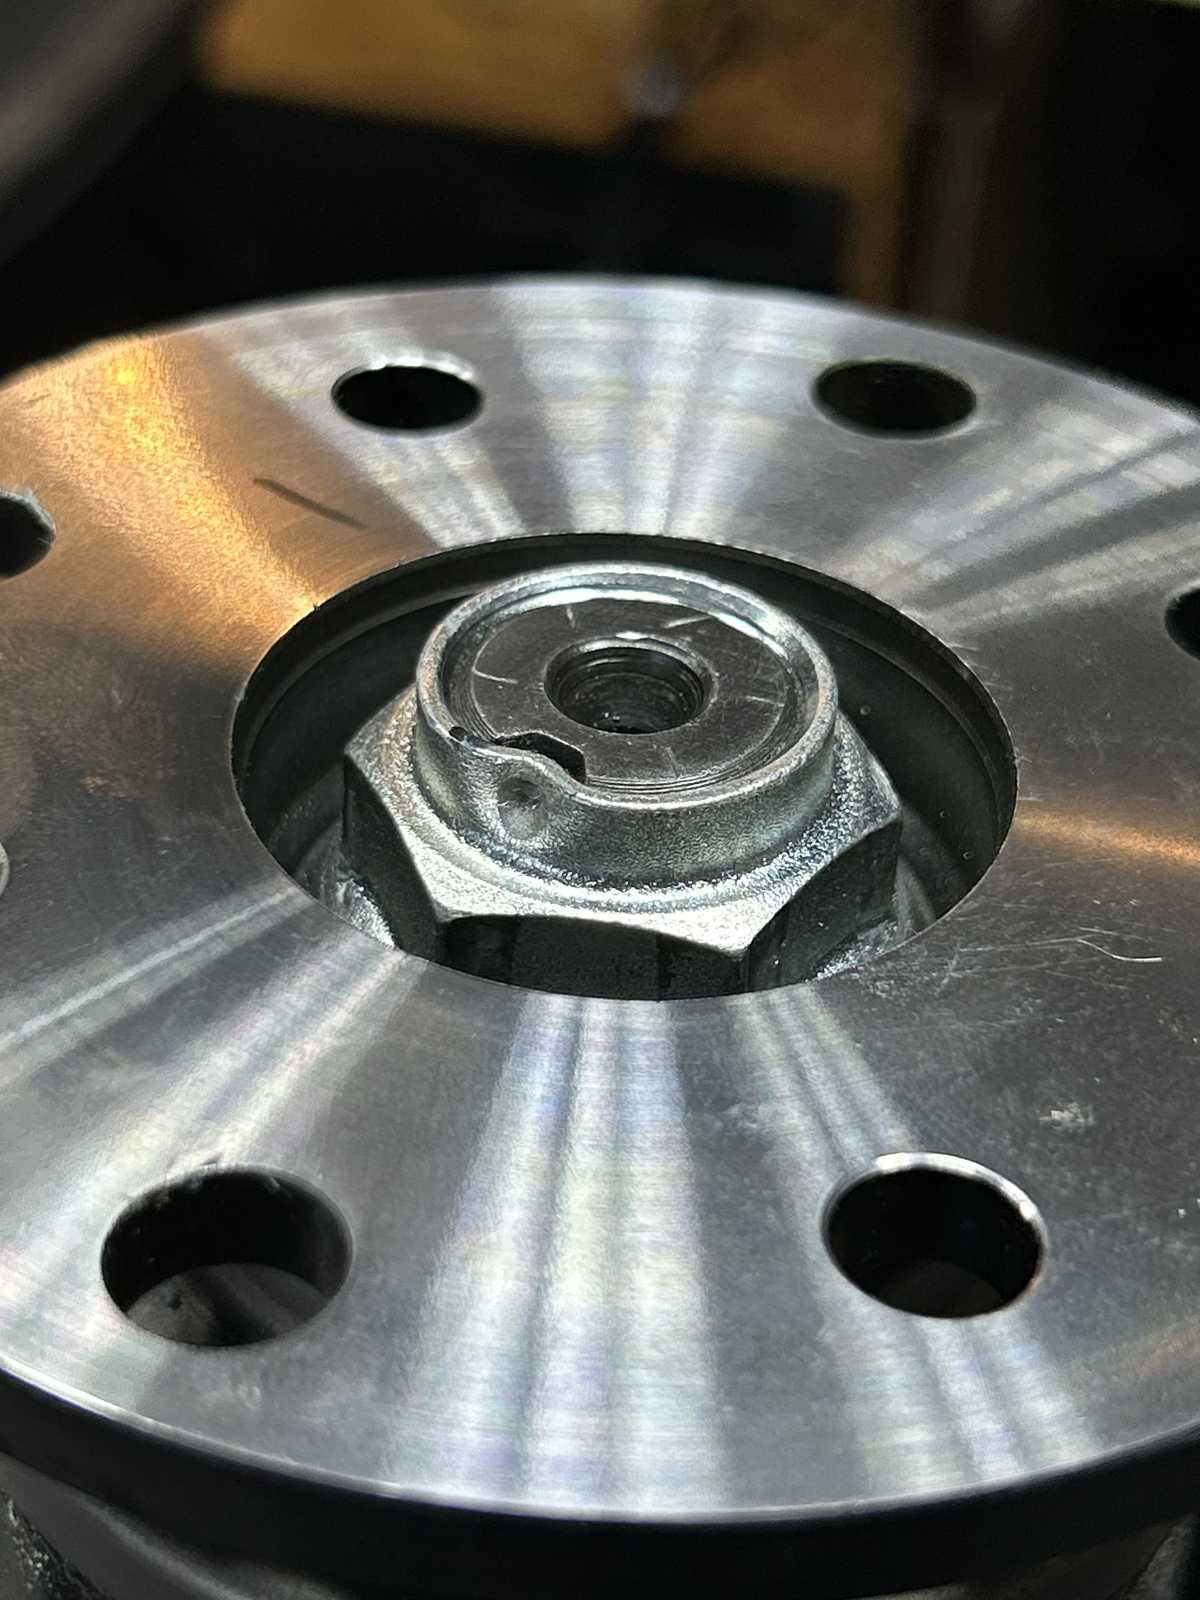
| A smooth 11 inch/pounds. Ding the nut and this end is done. |
|
| 70 ft/lb on all 4 long cap bolts. |
|
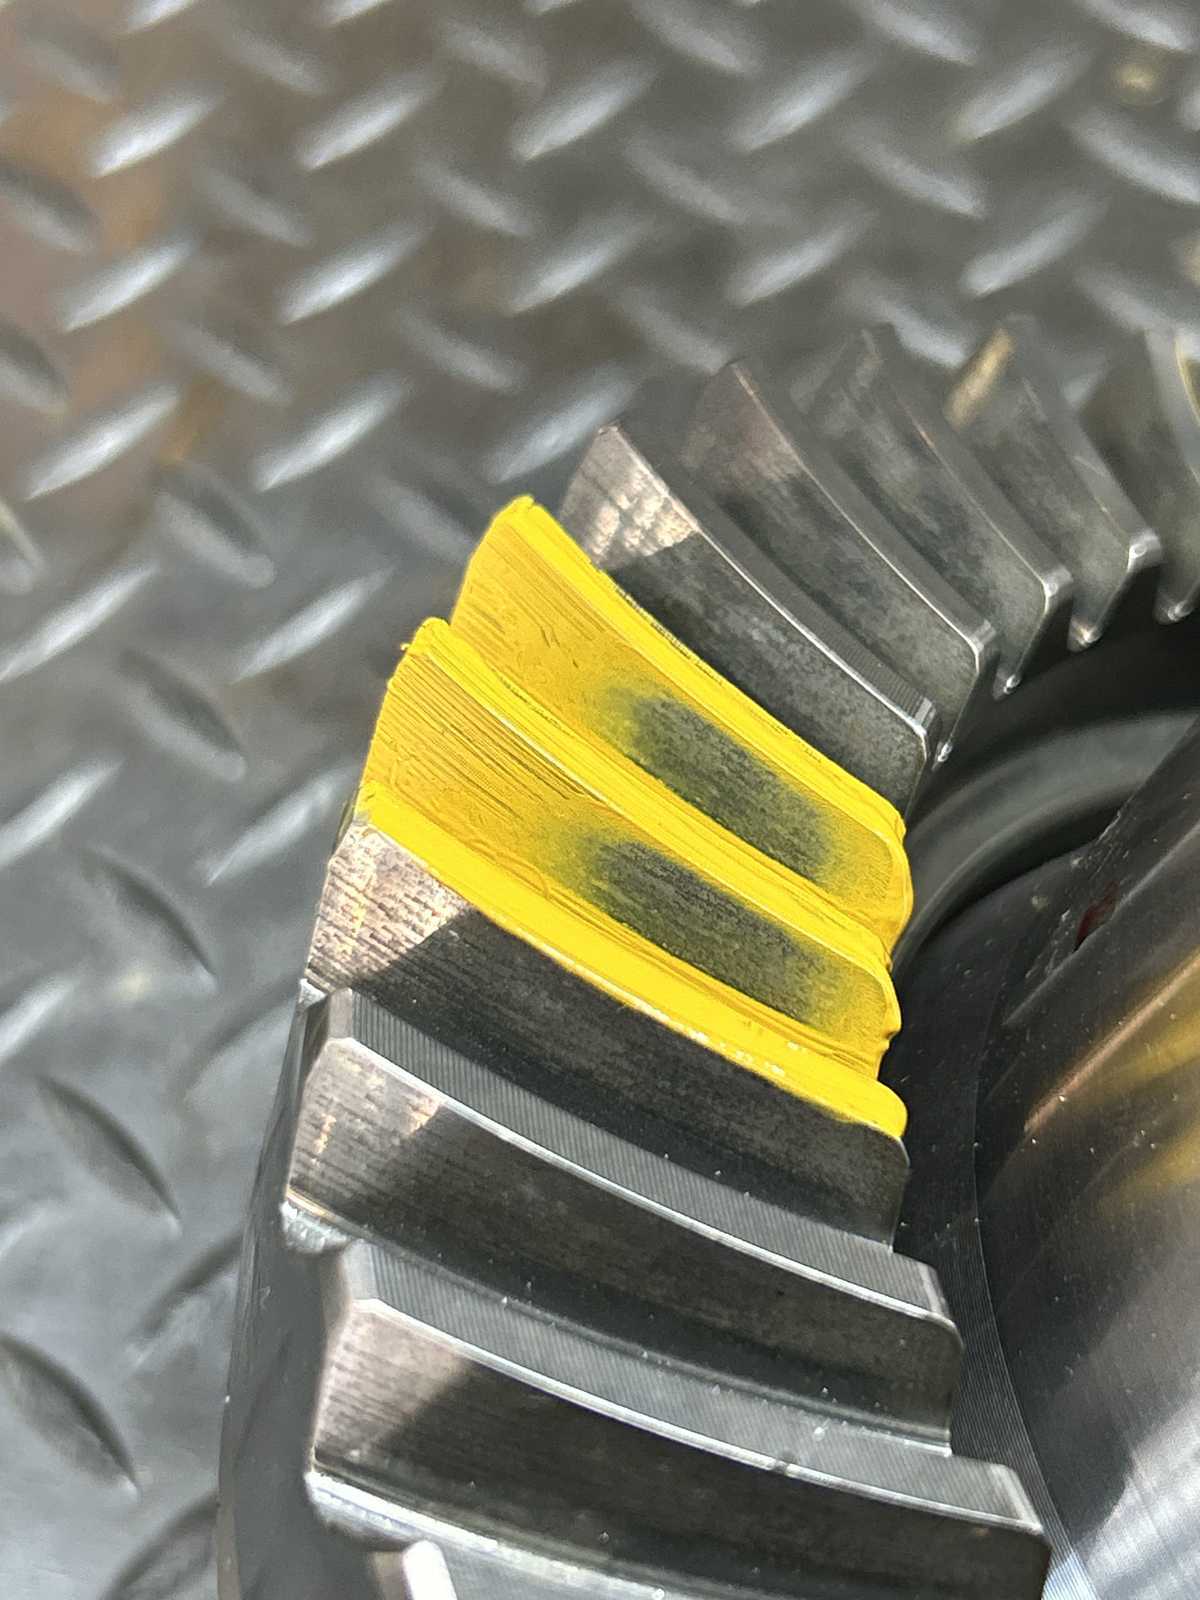
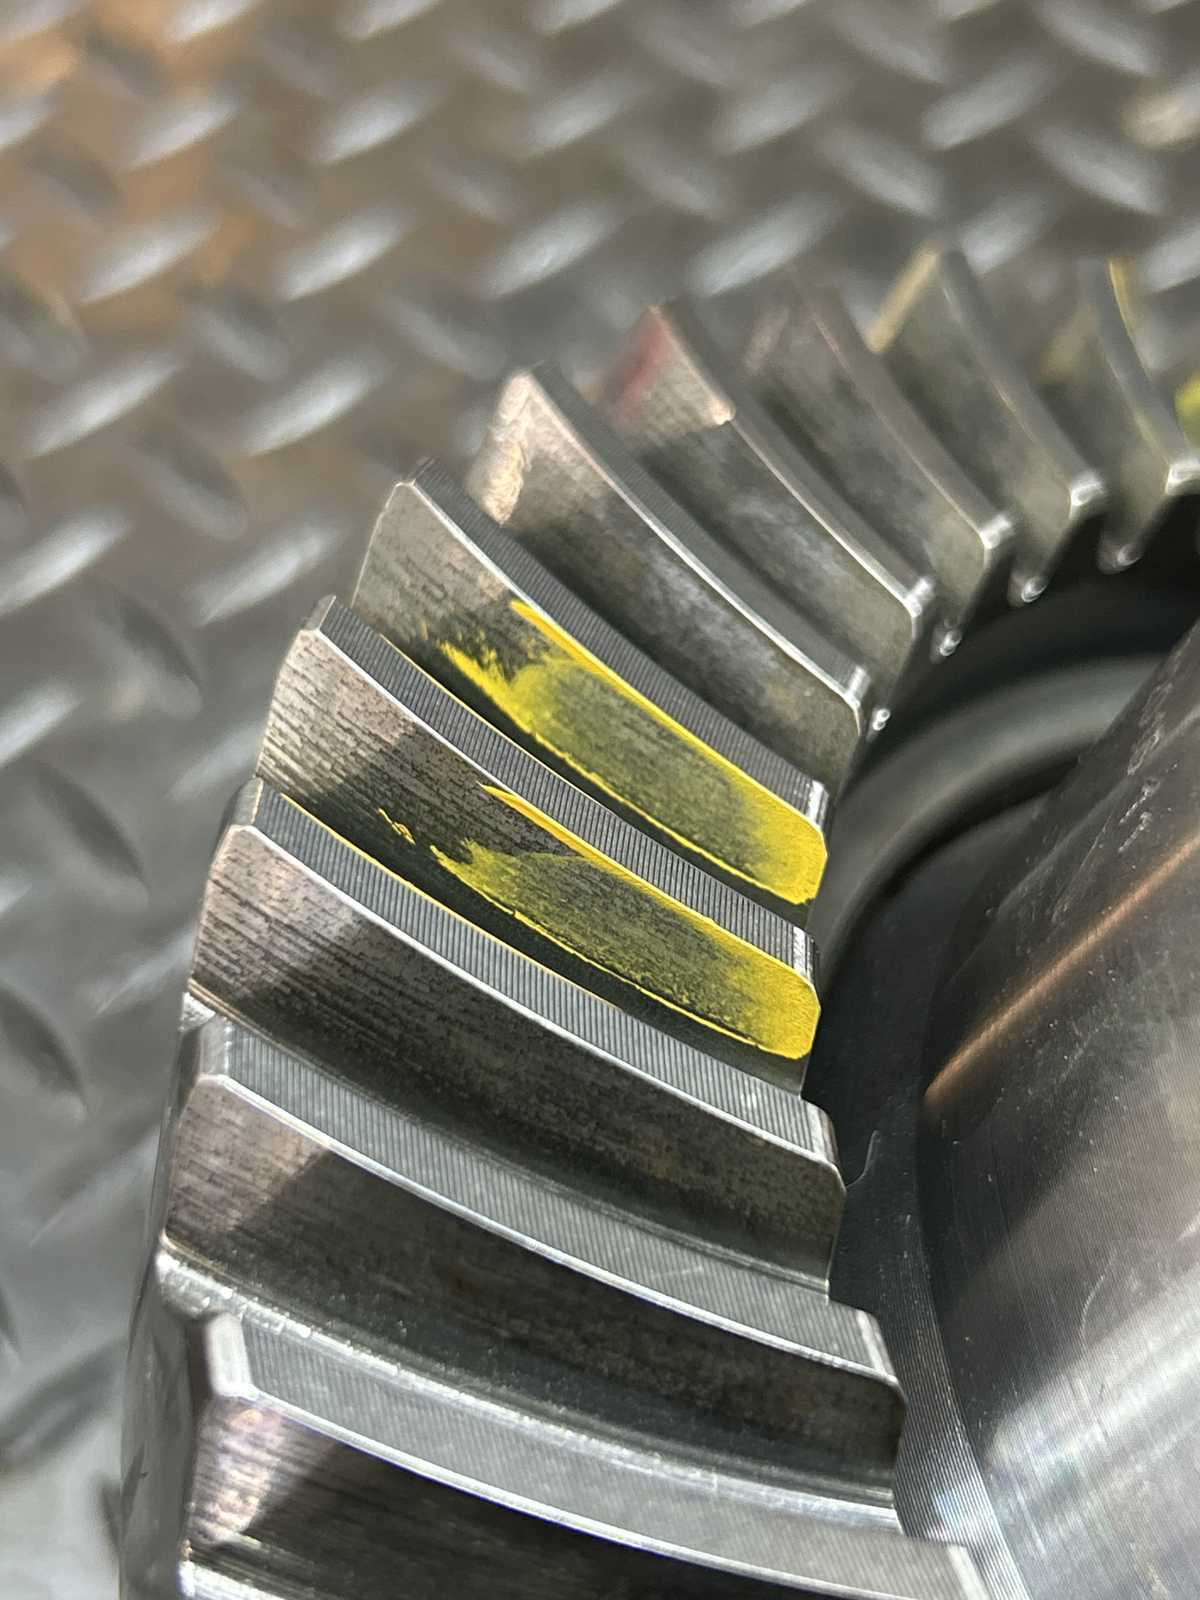
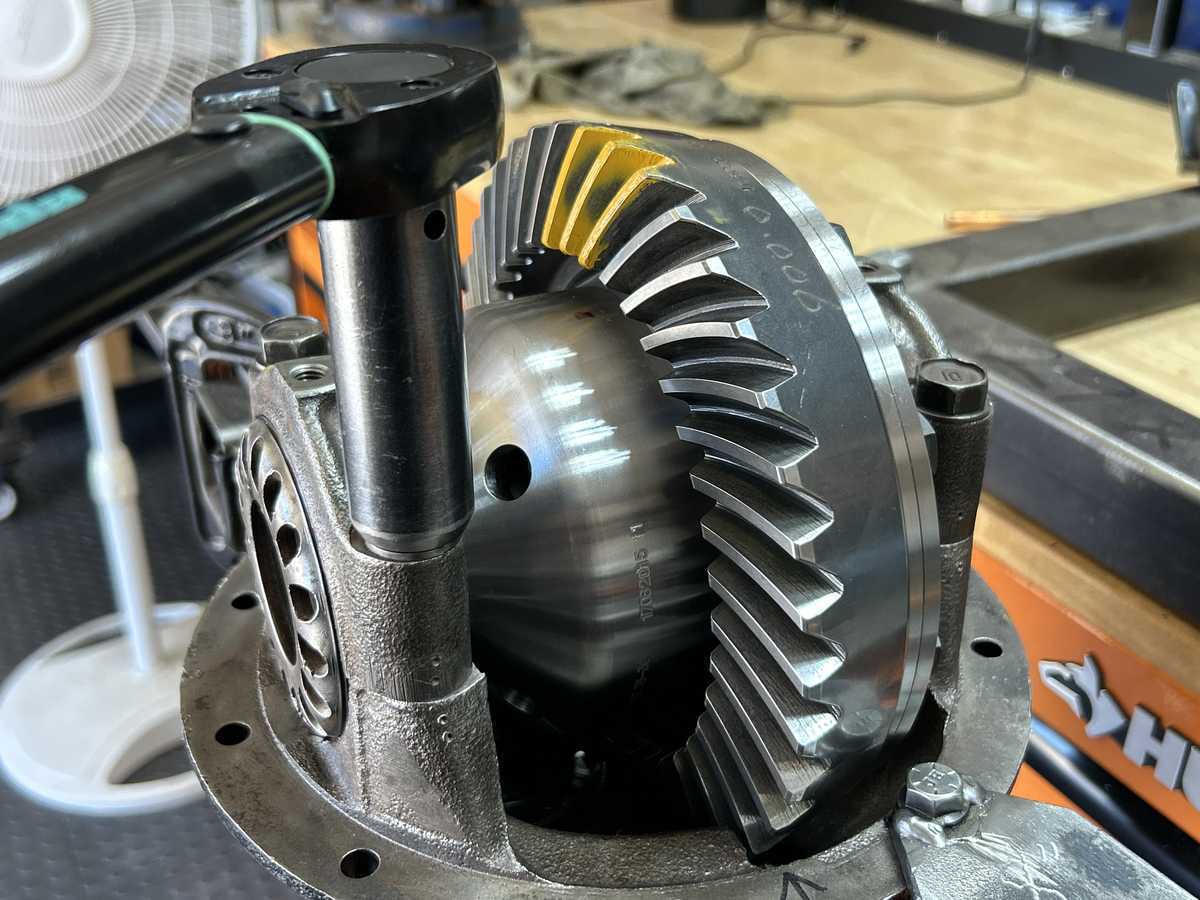
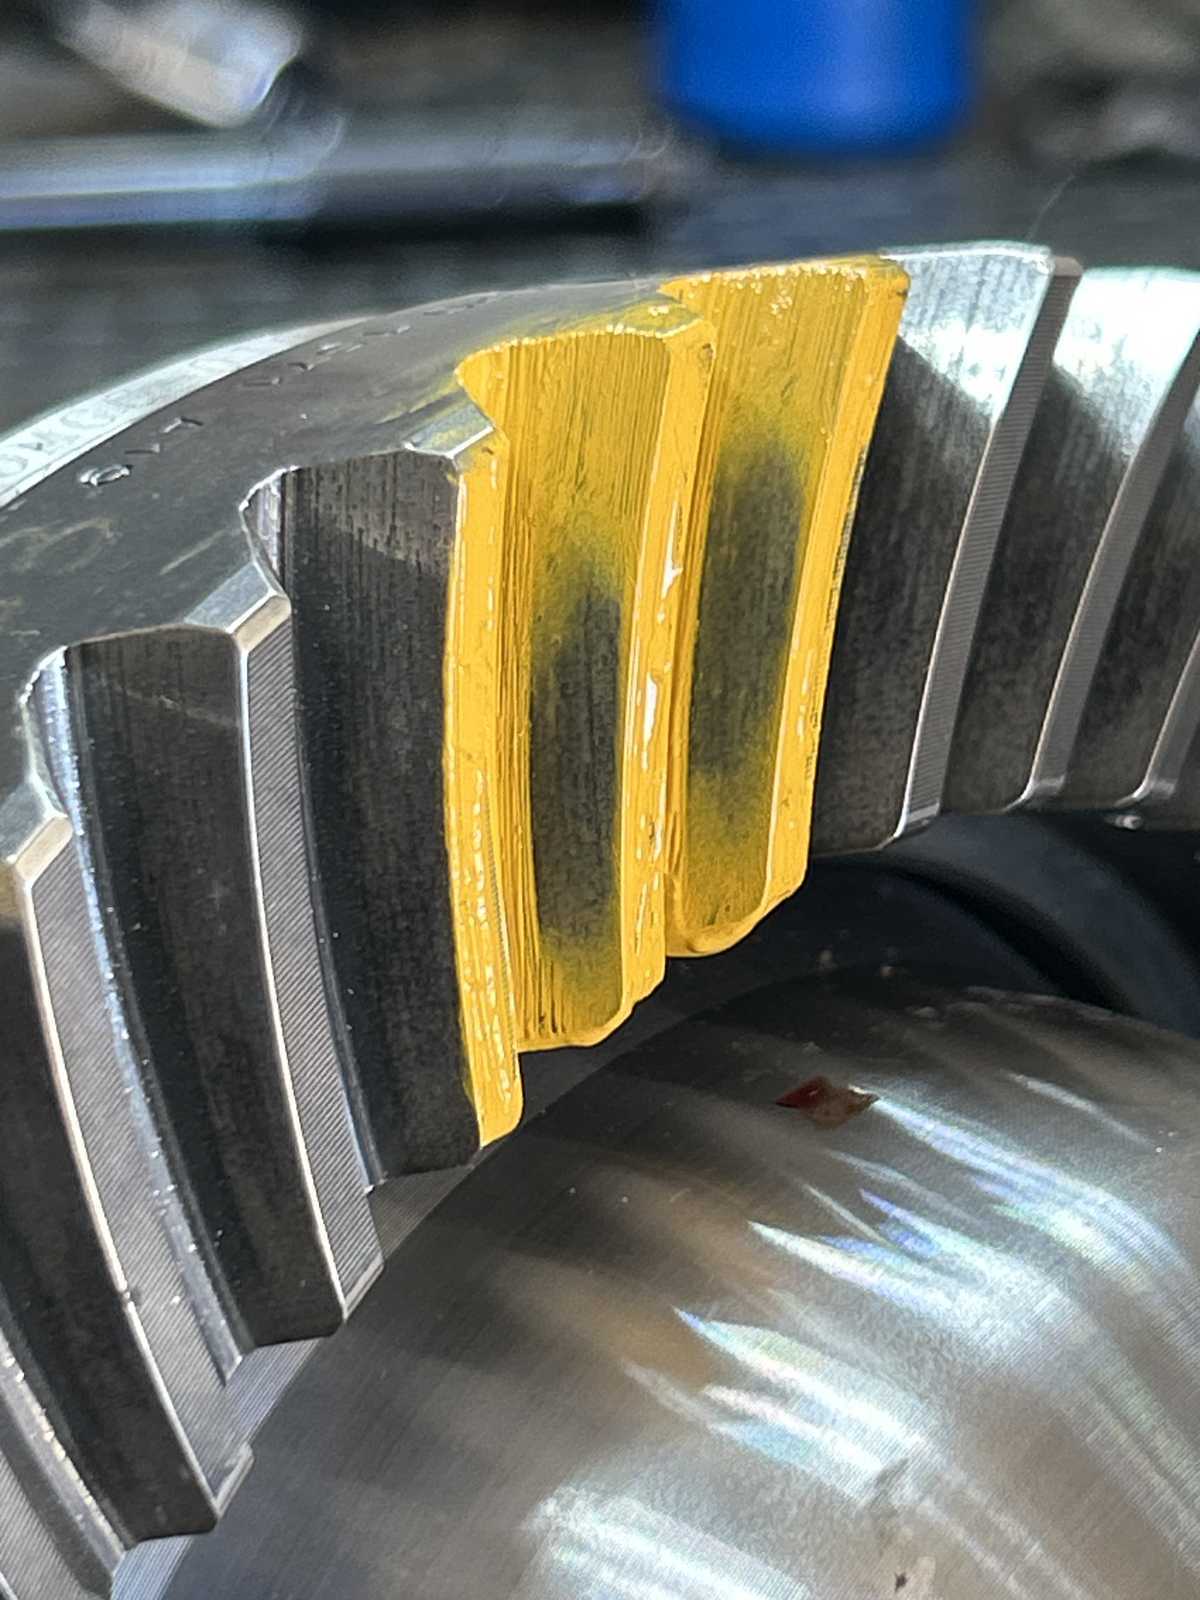
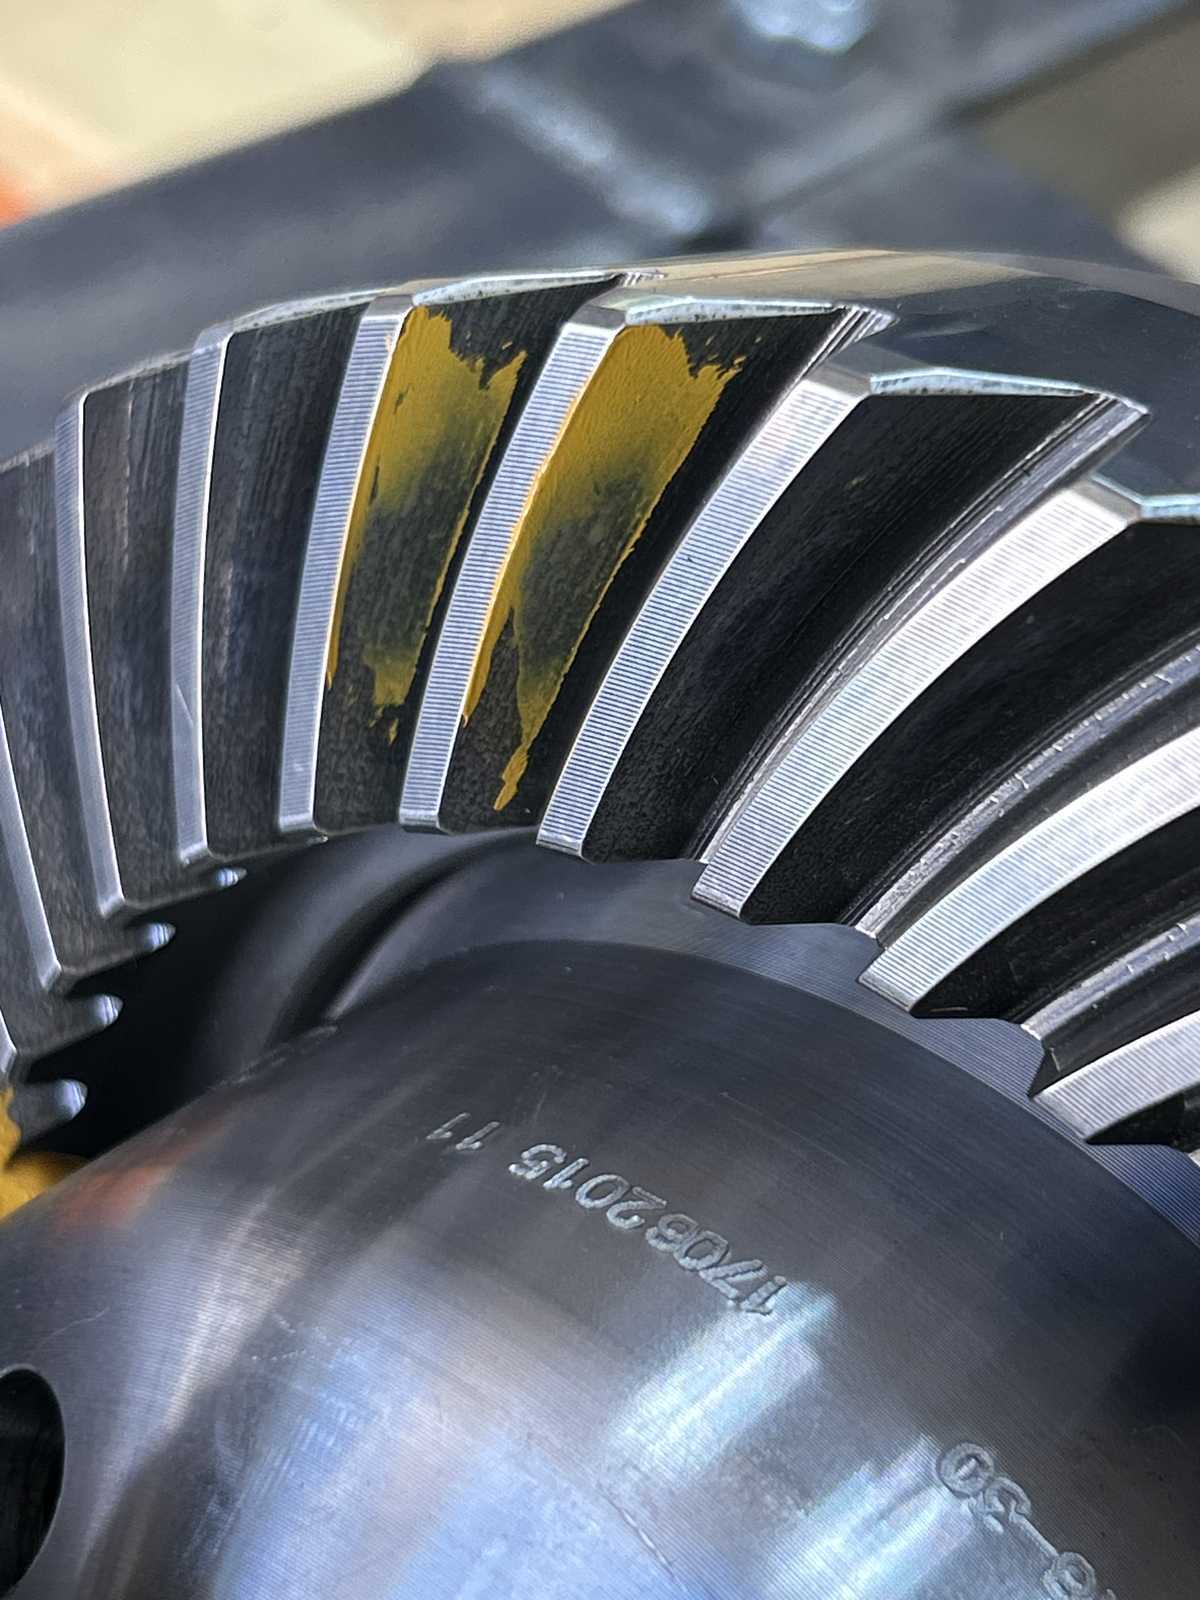
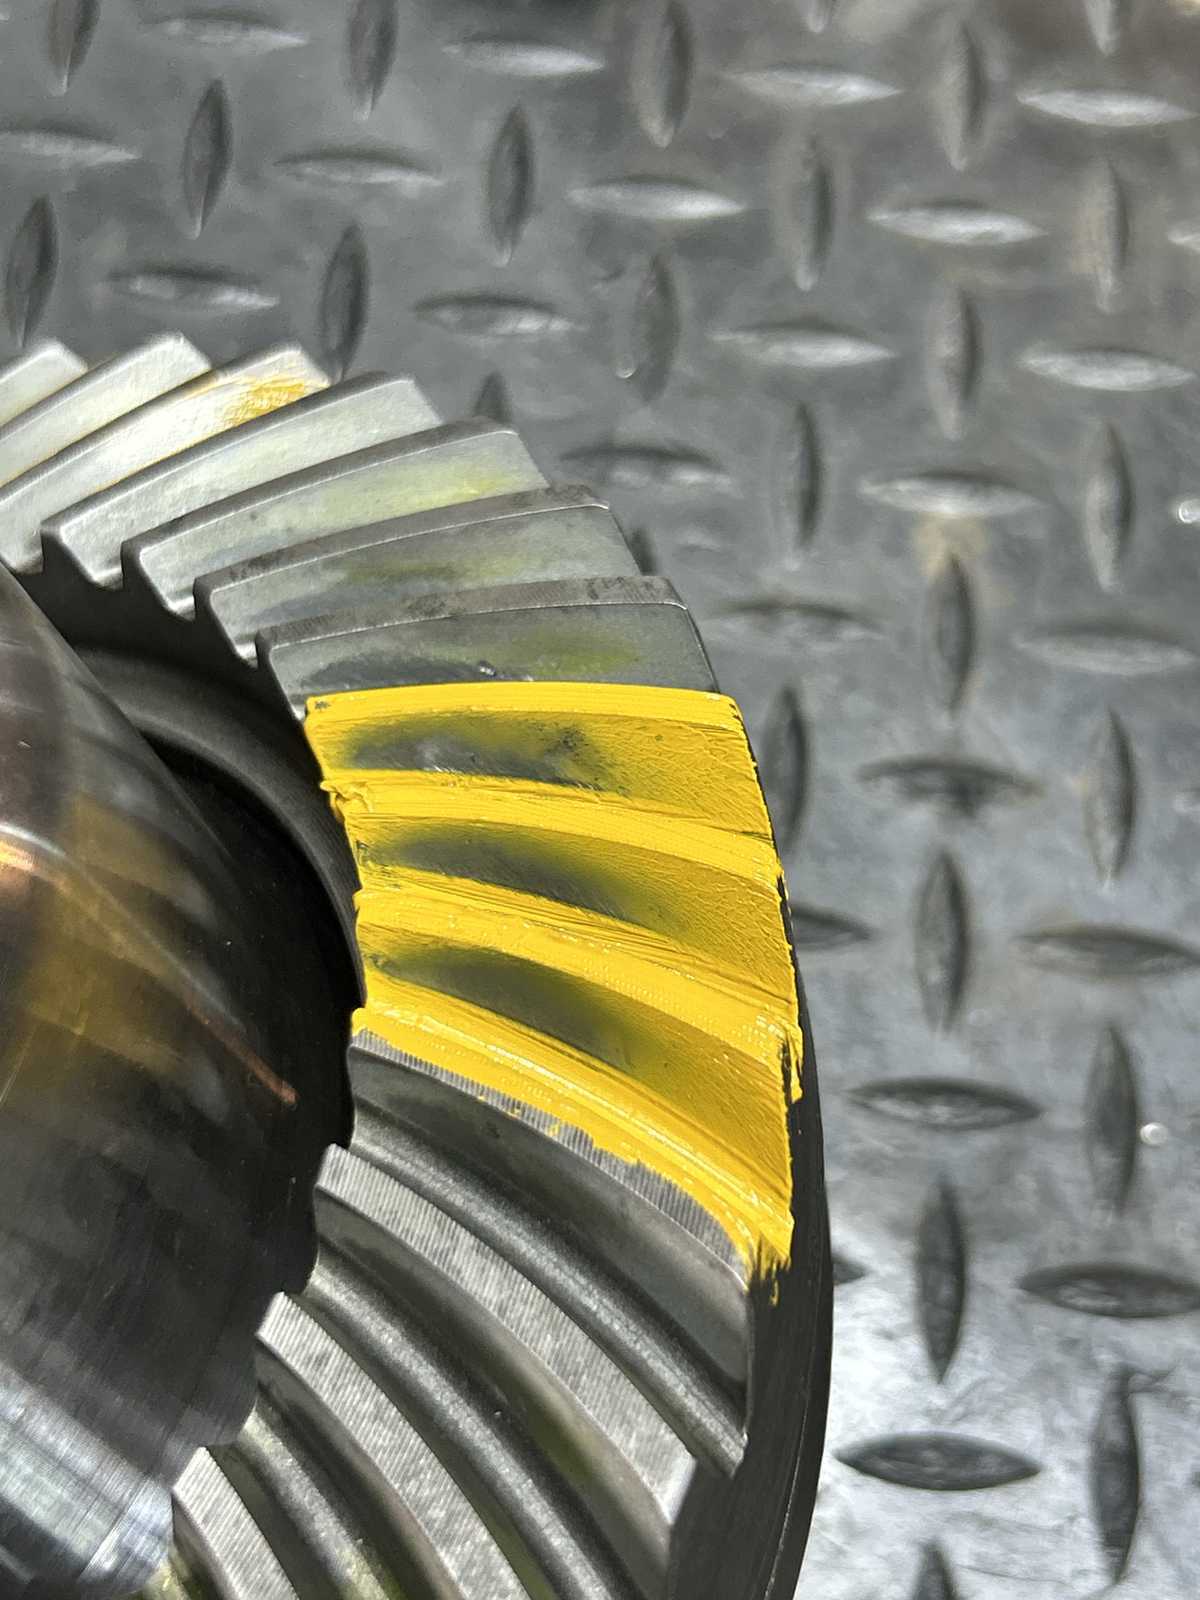
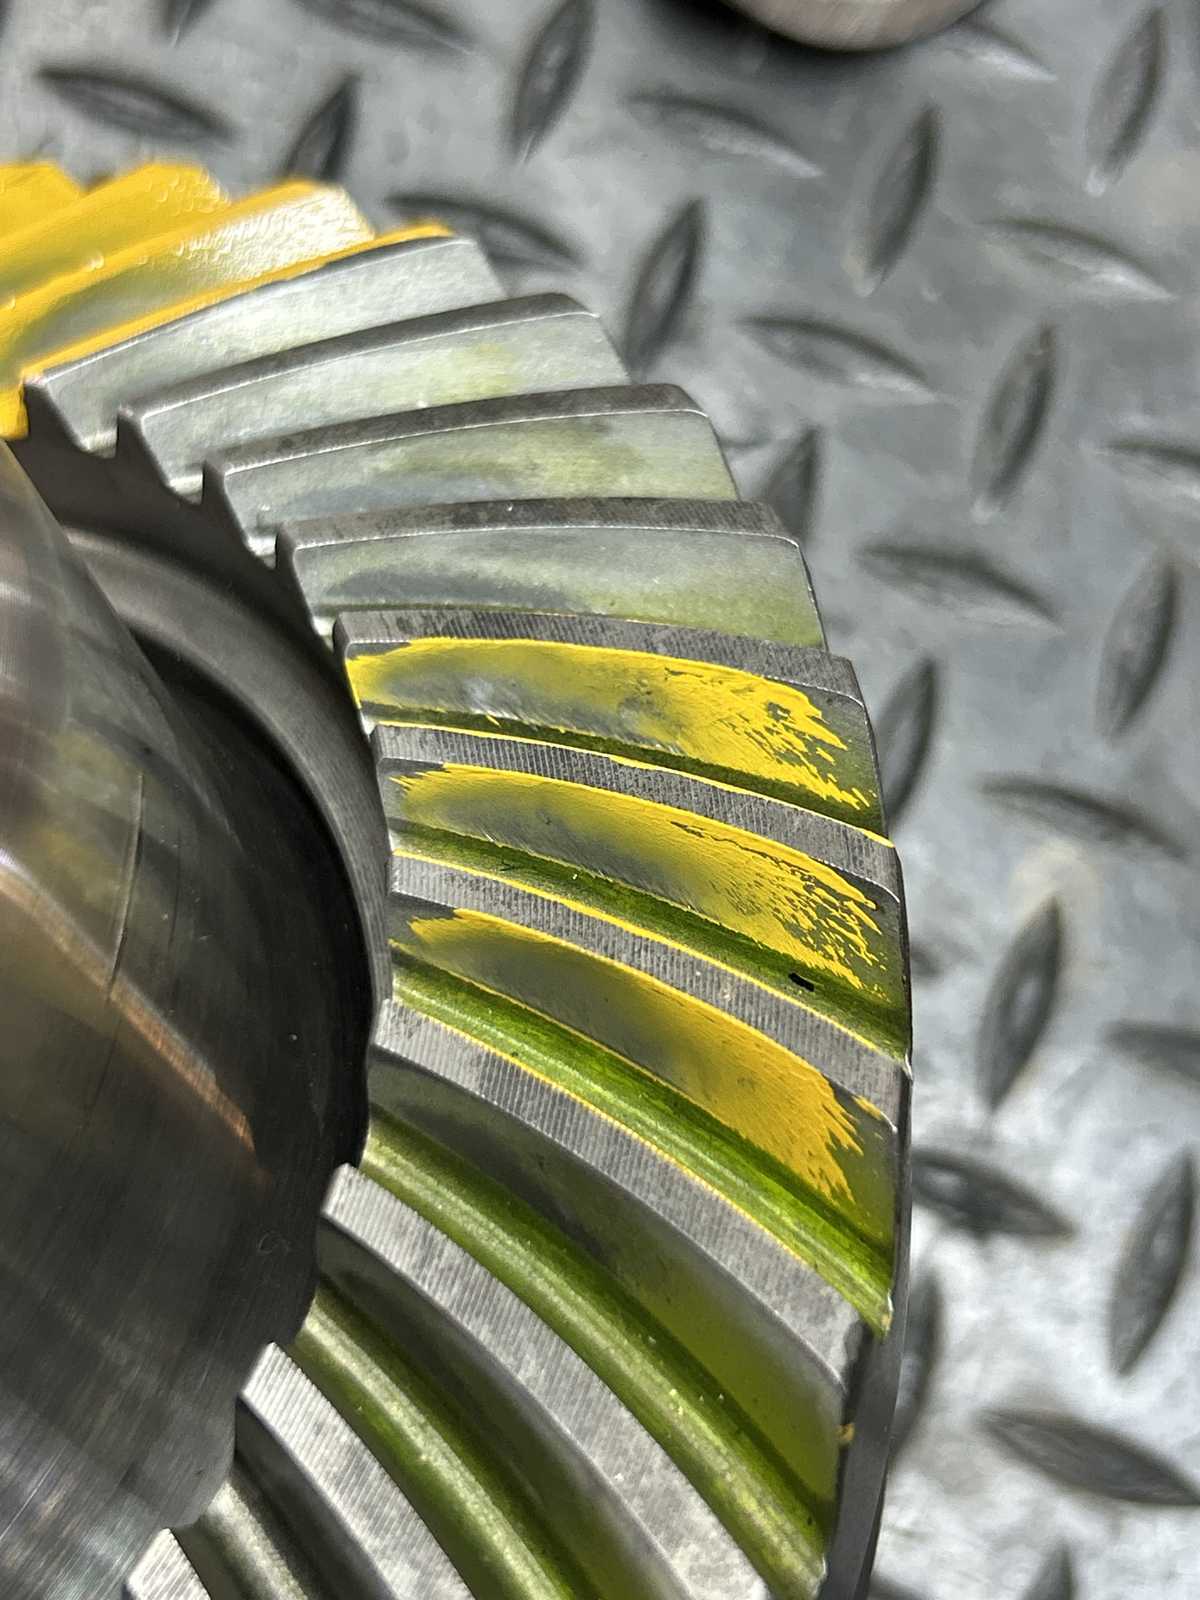
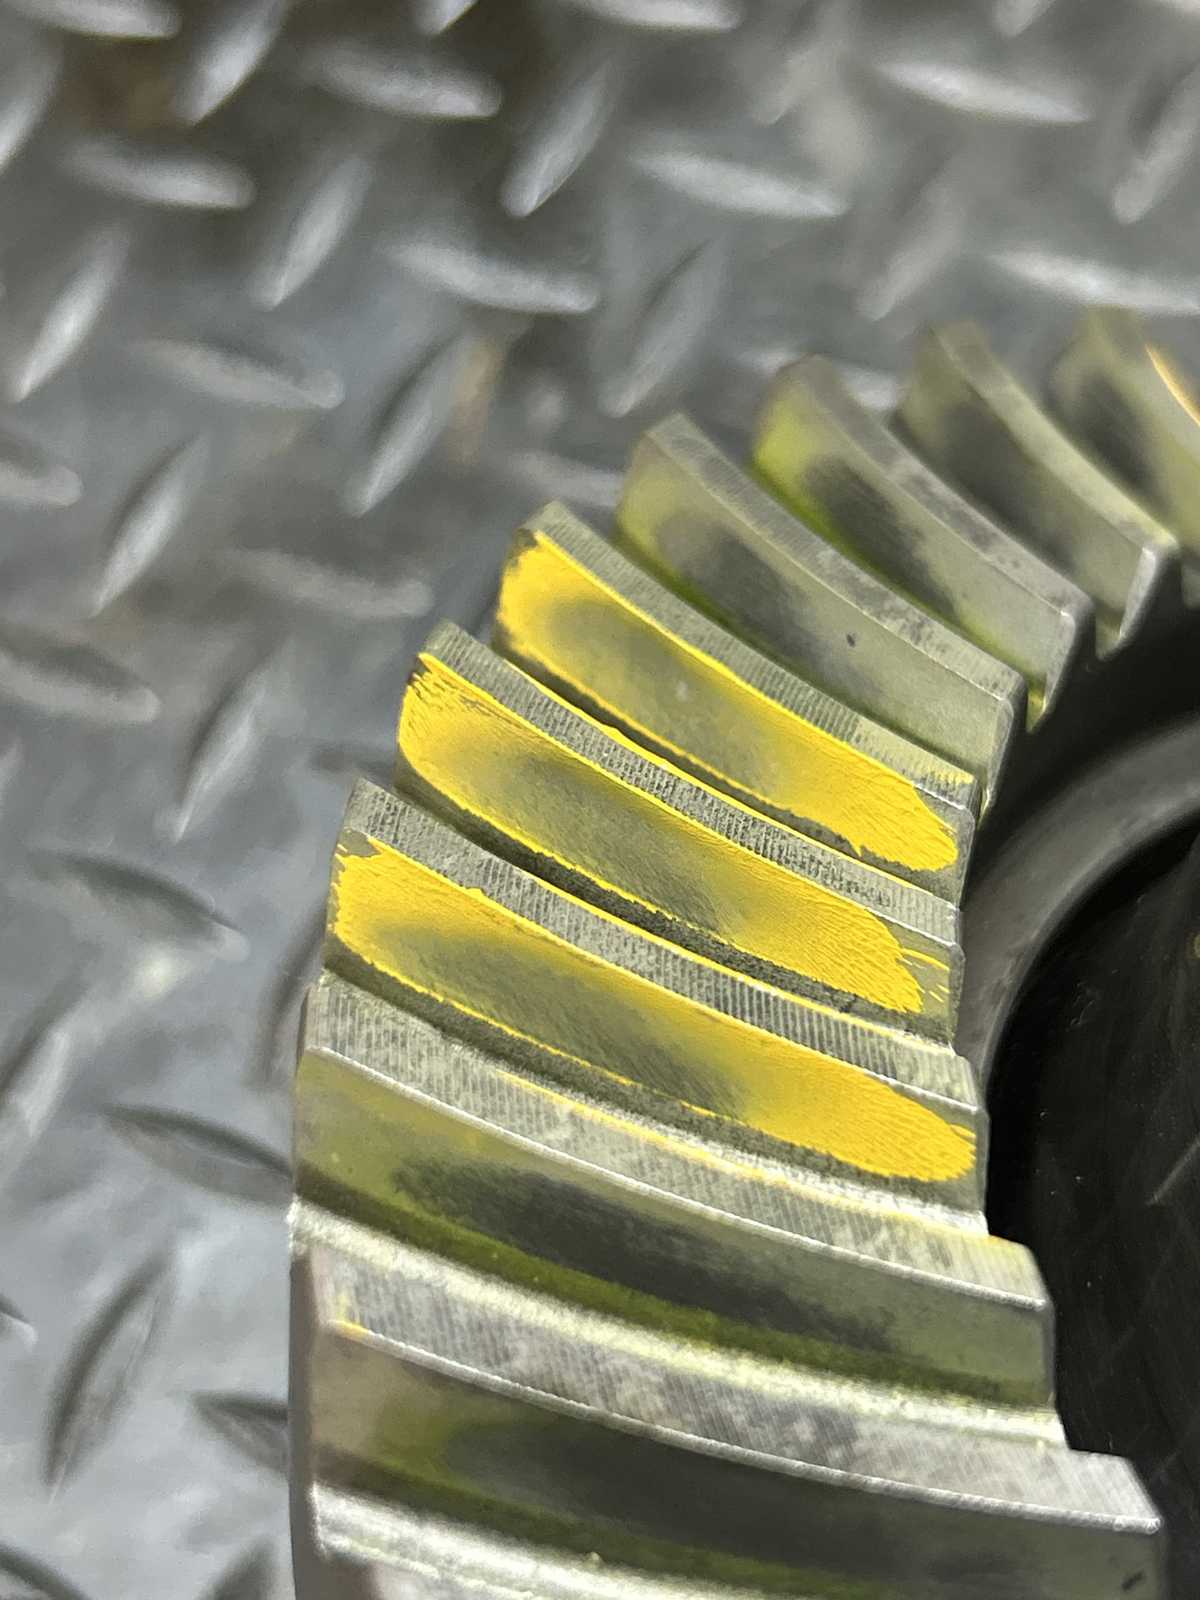
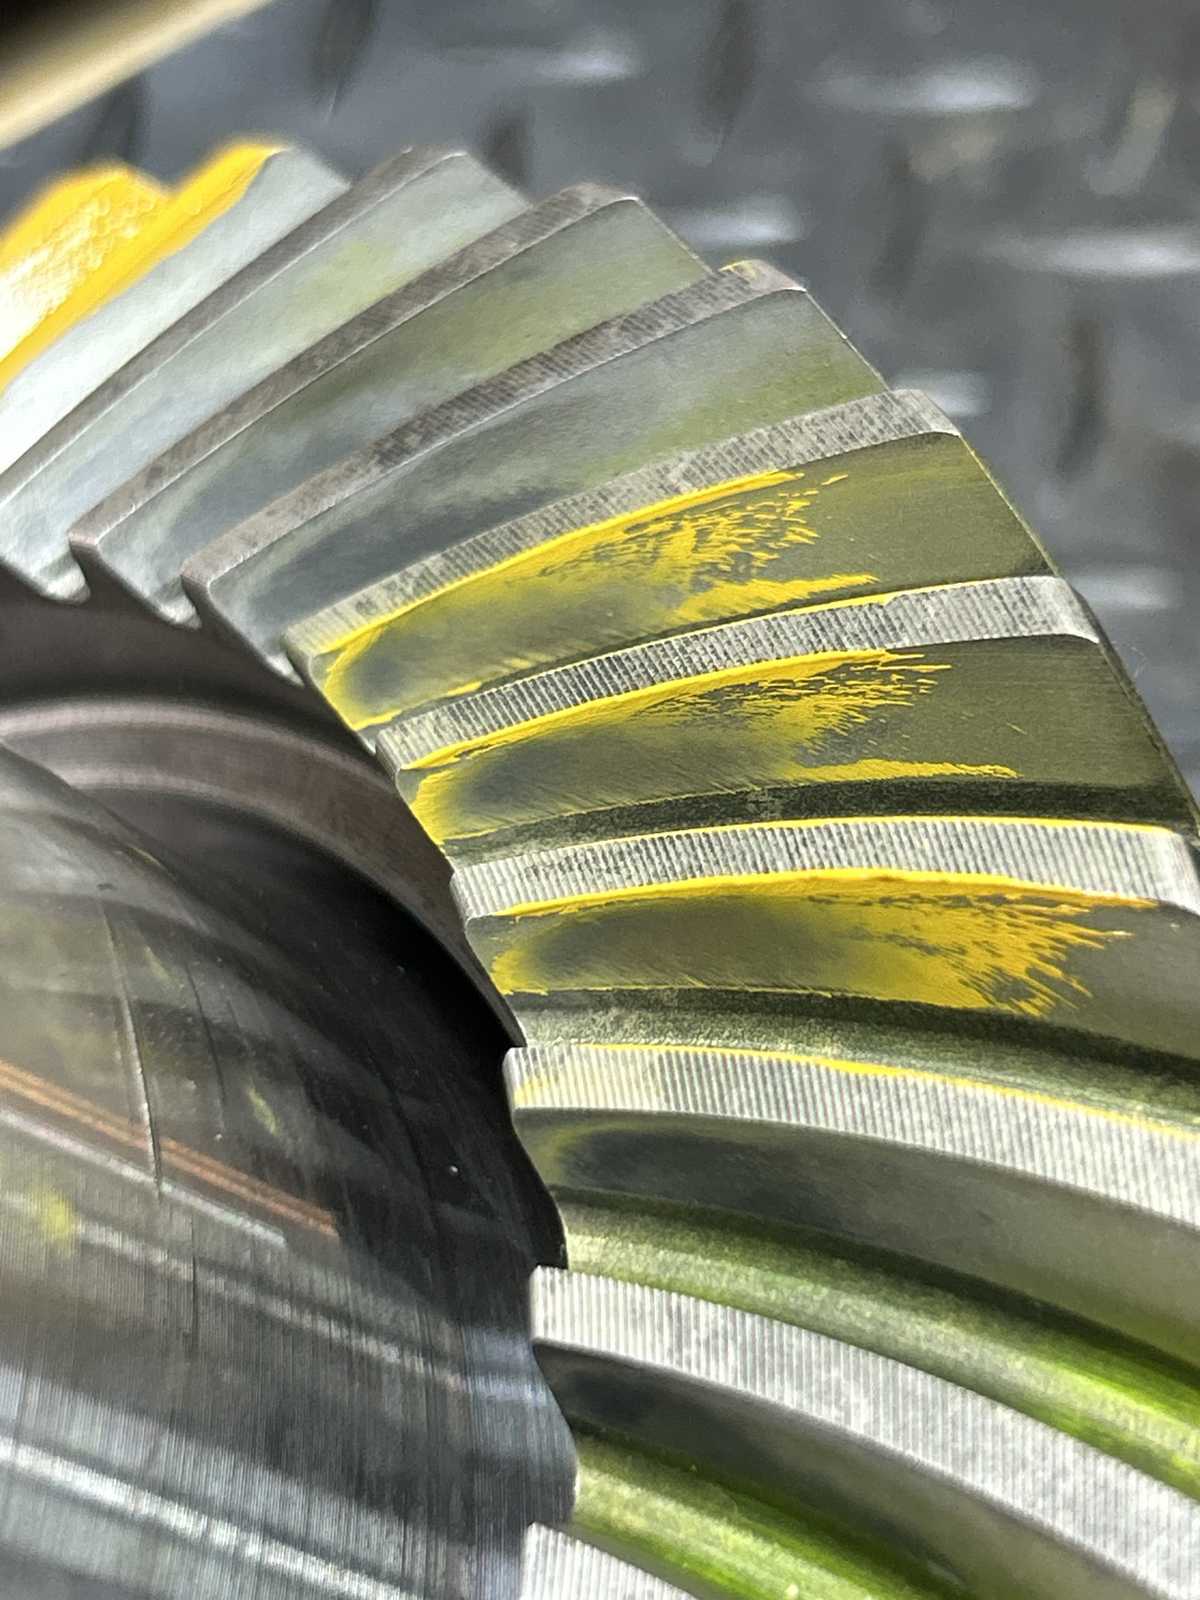
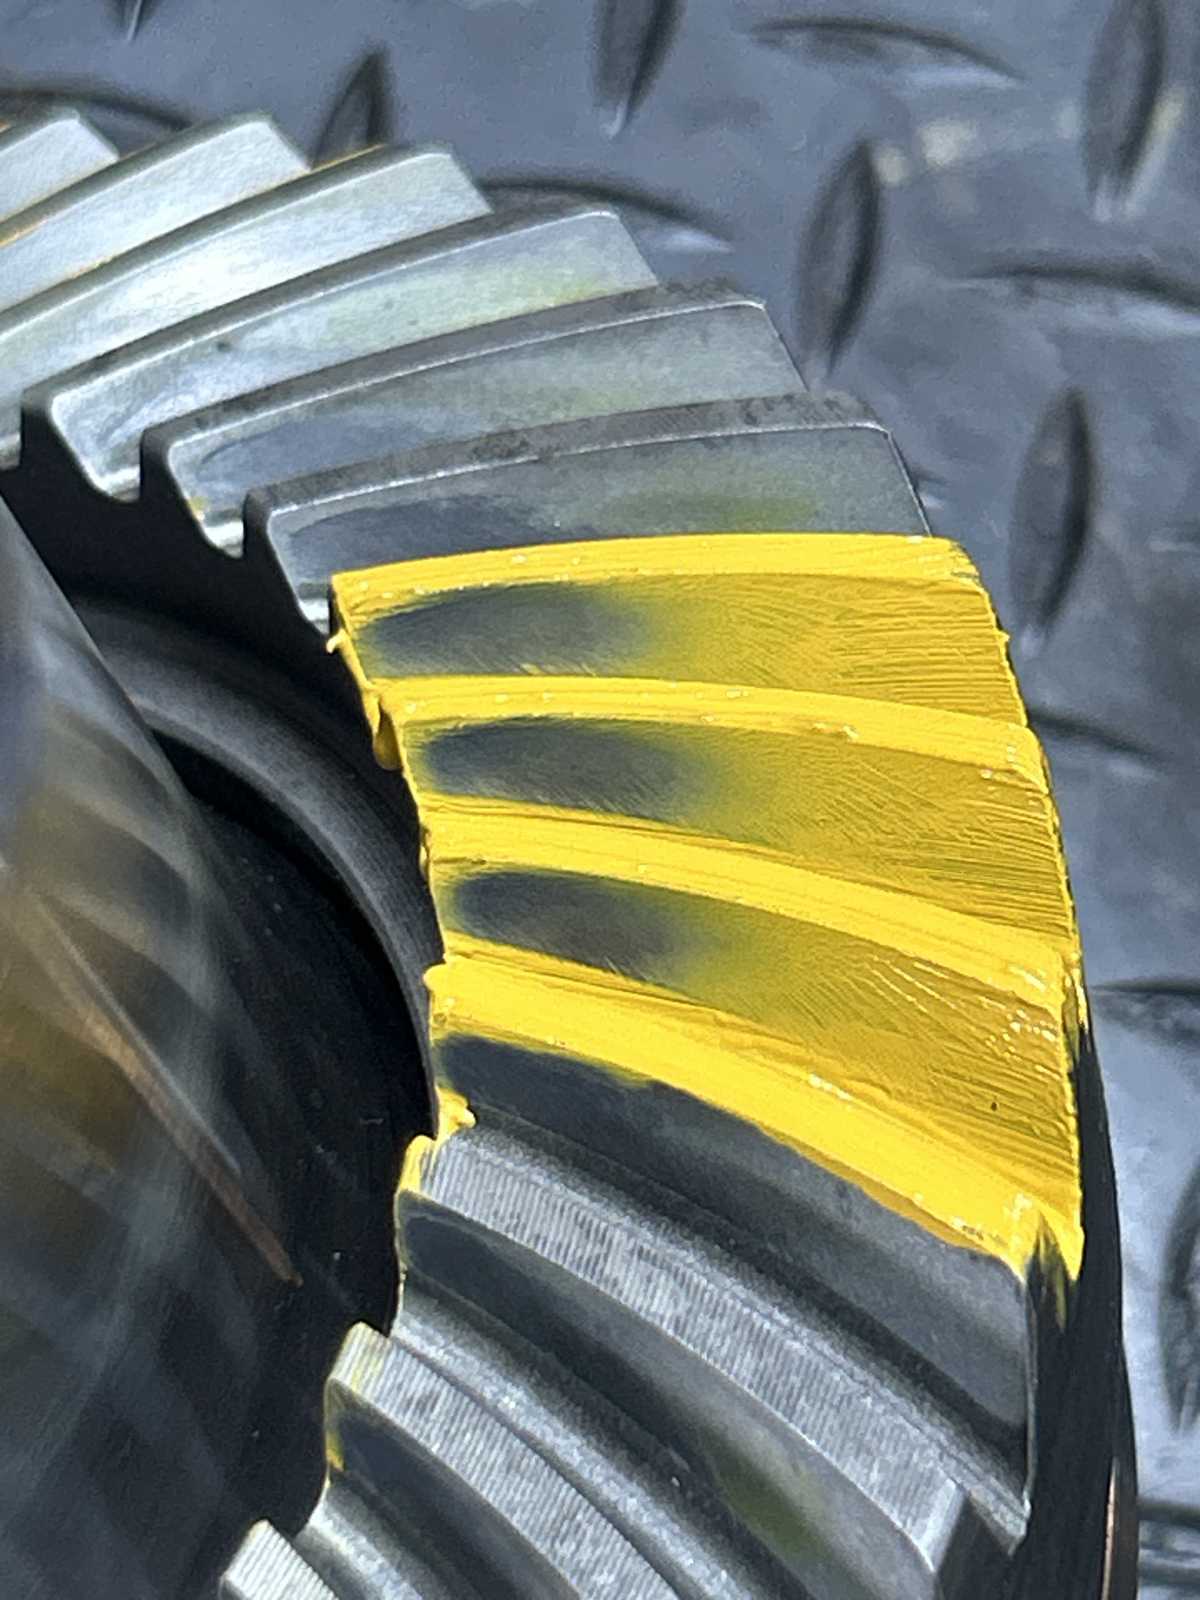
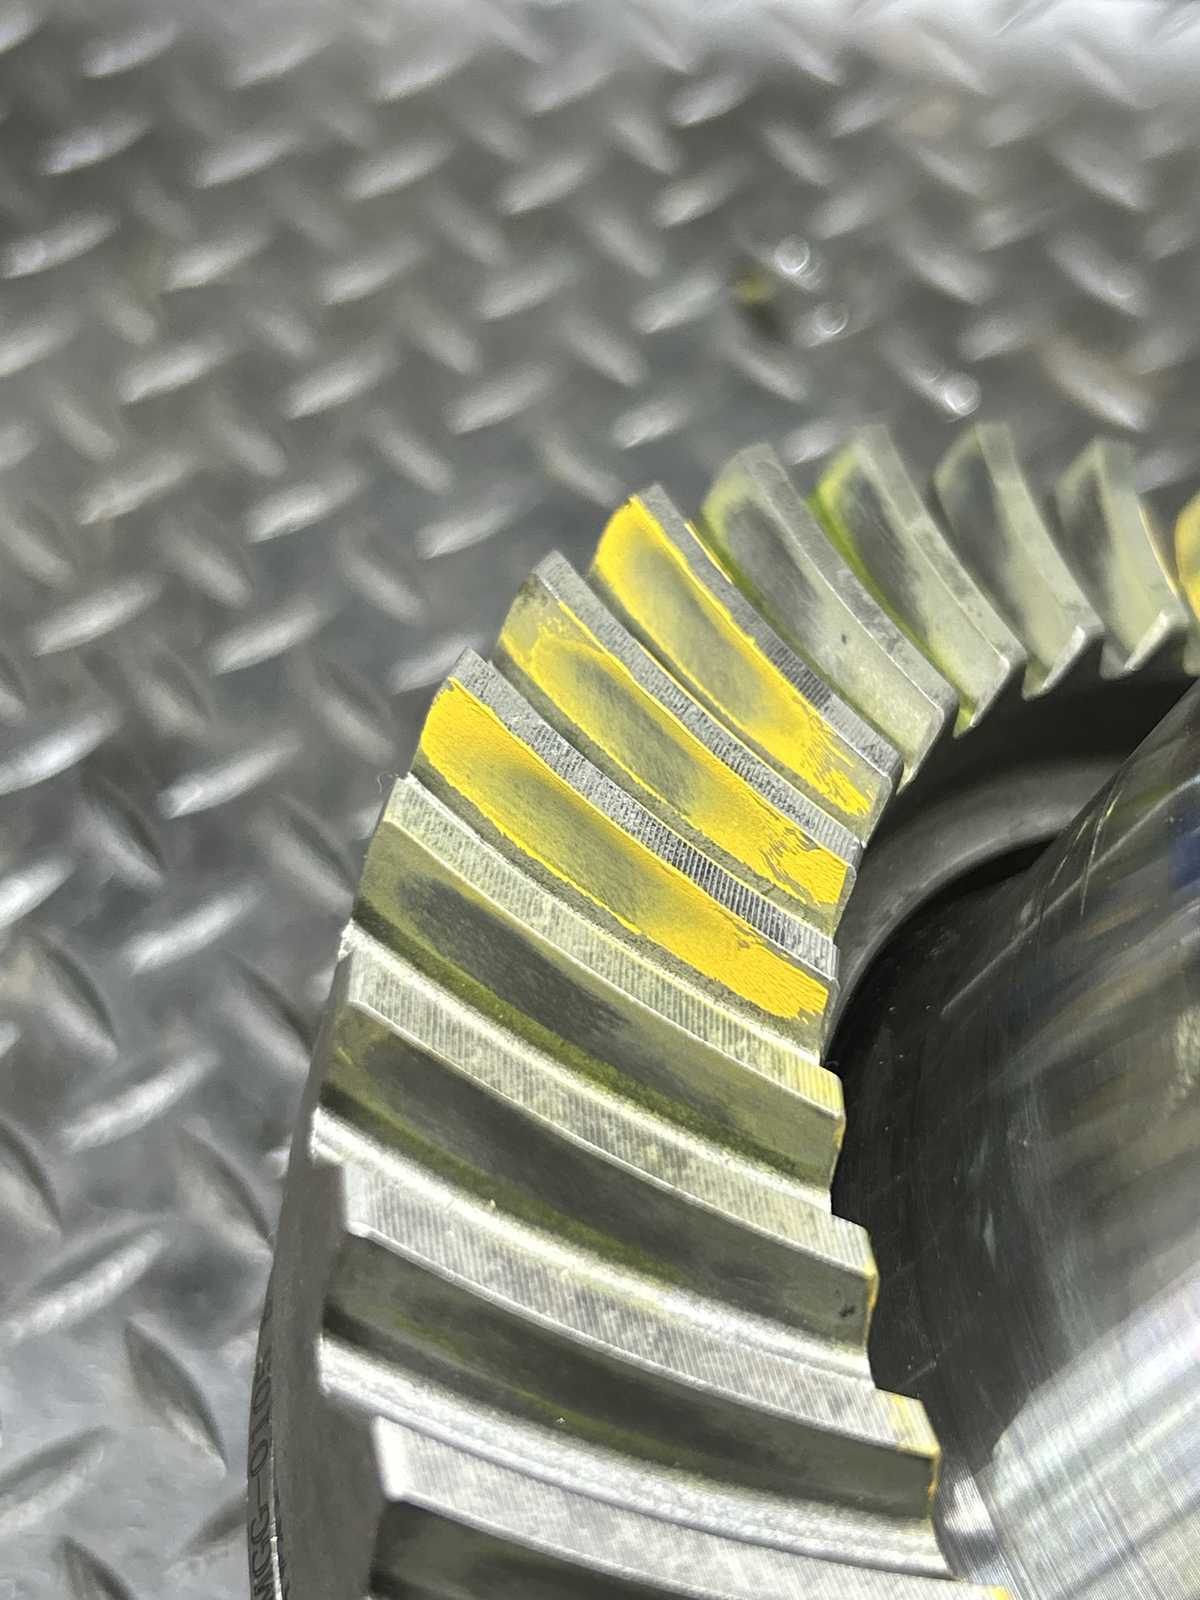
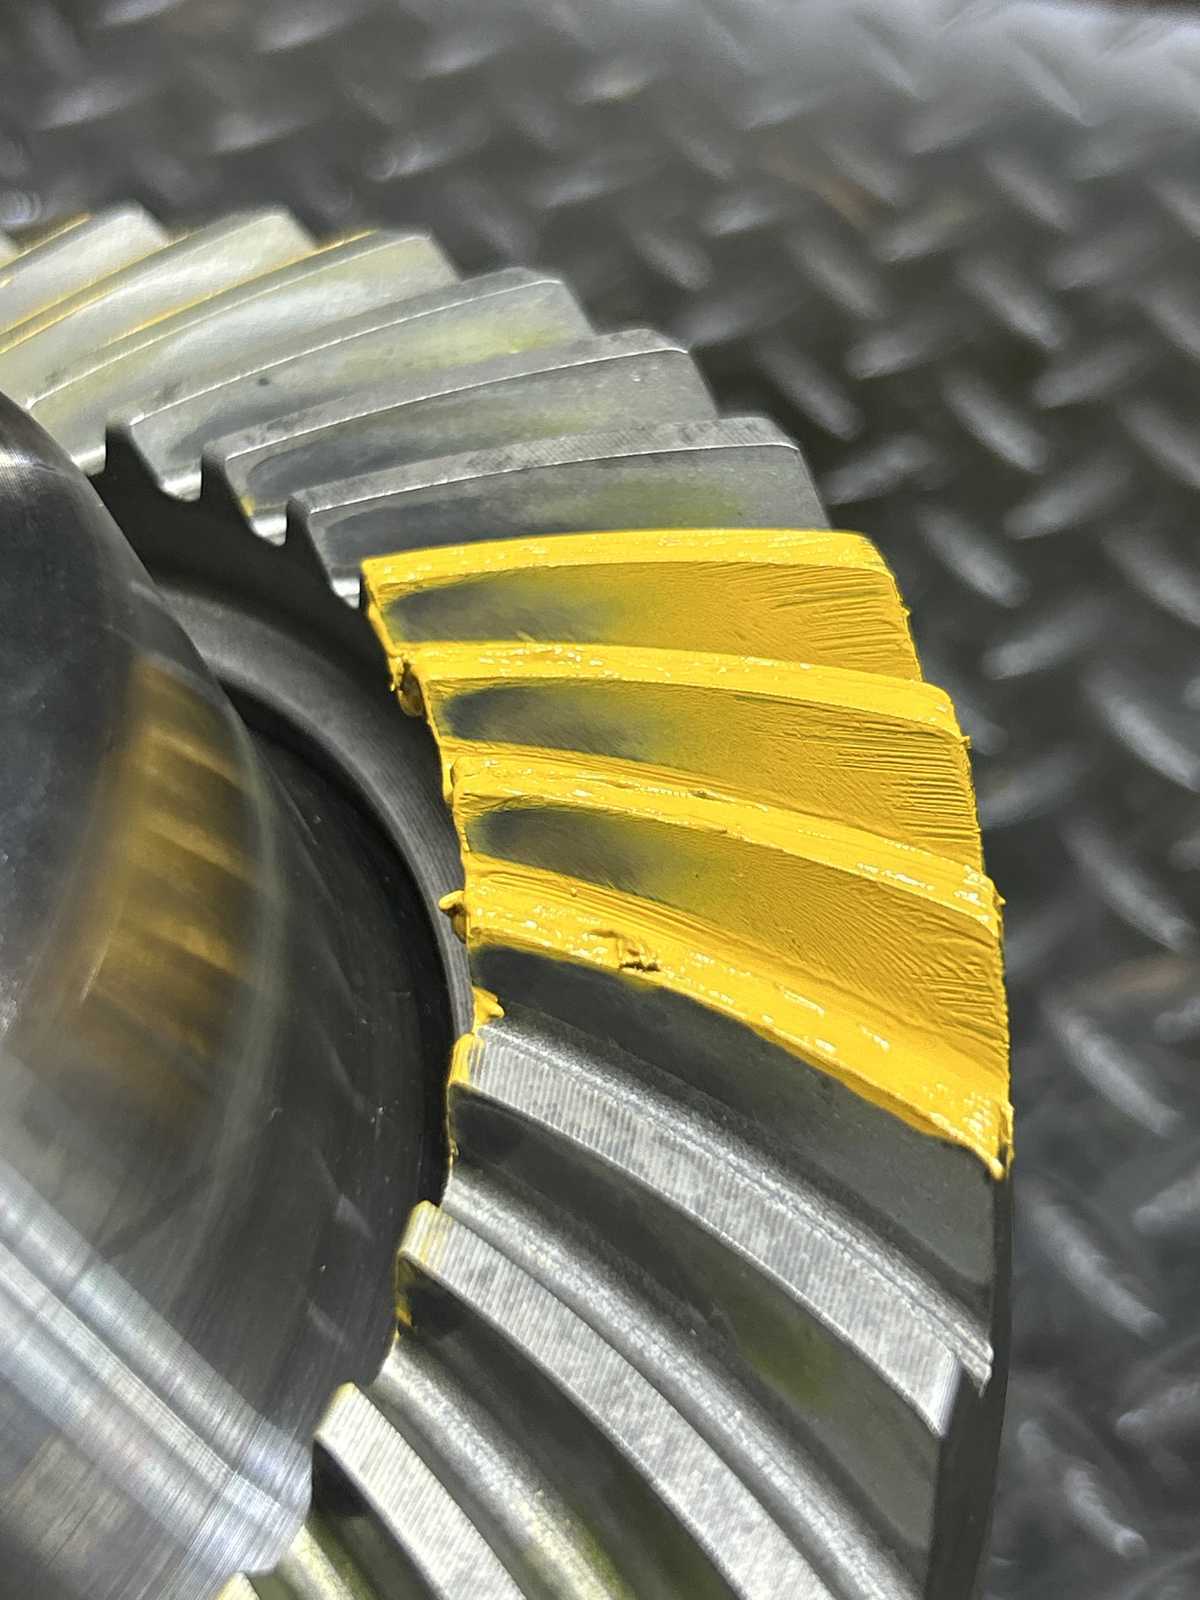
| Final pattern check.....Drive....beautiful. |
|
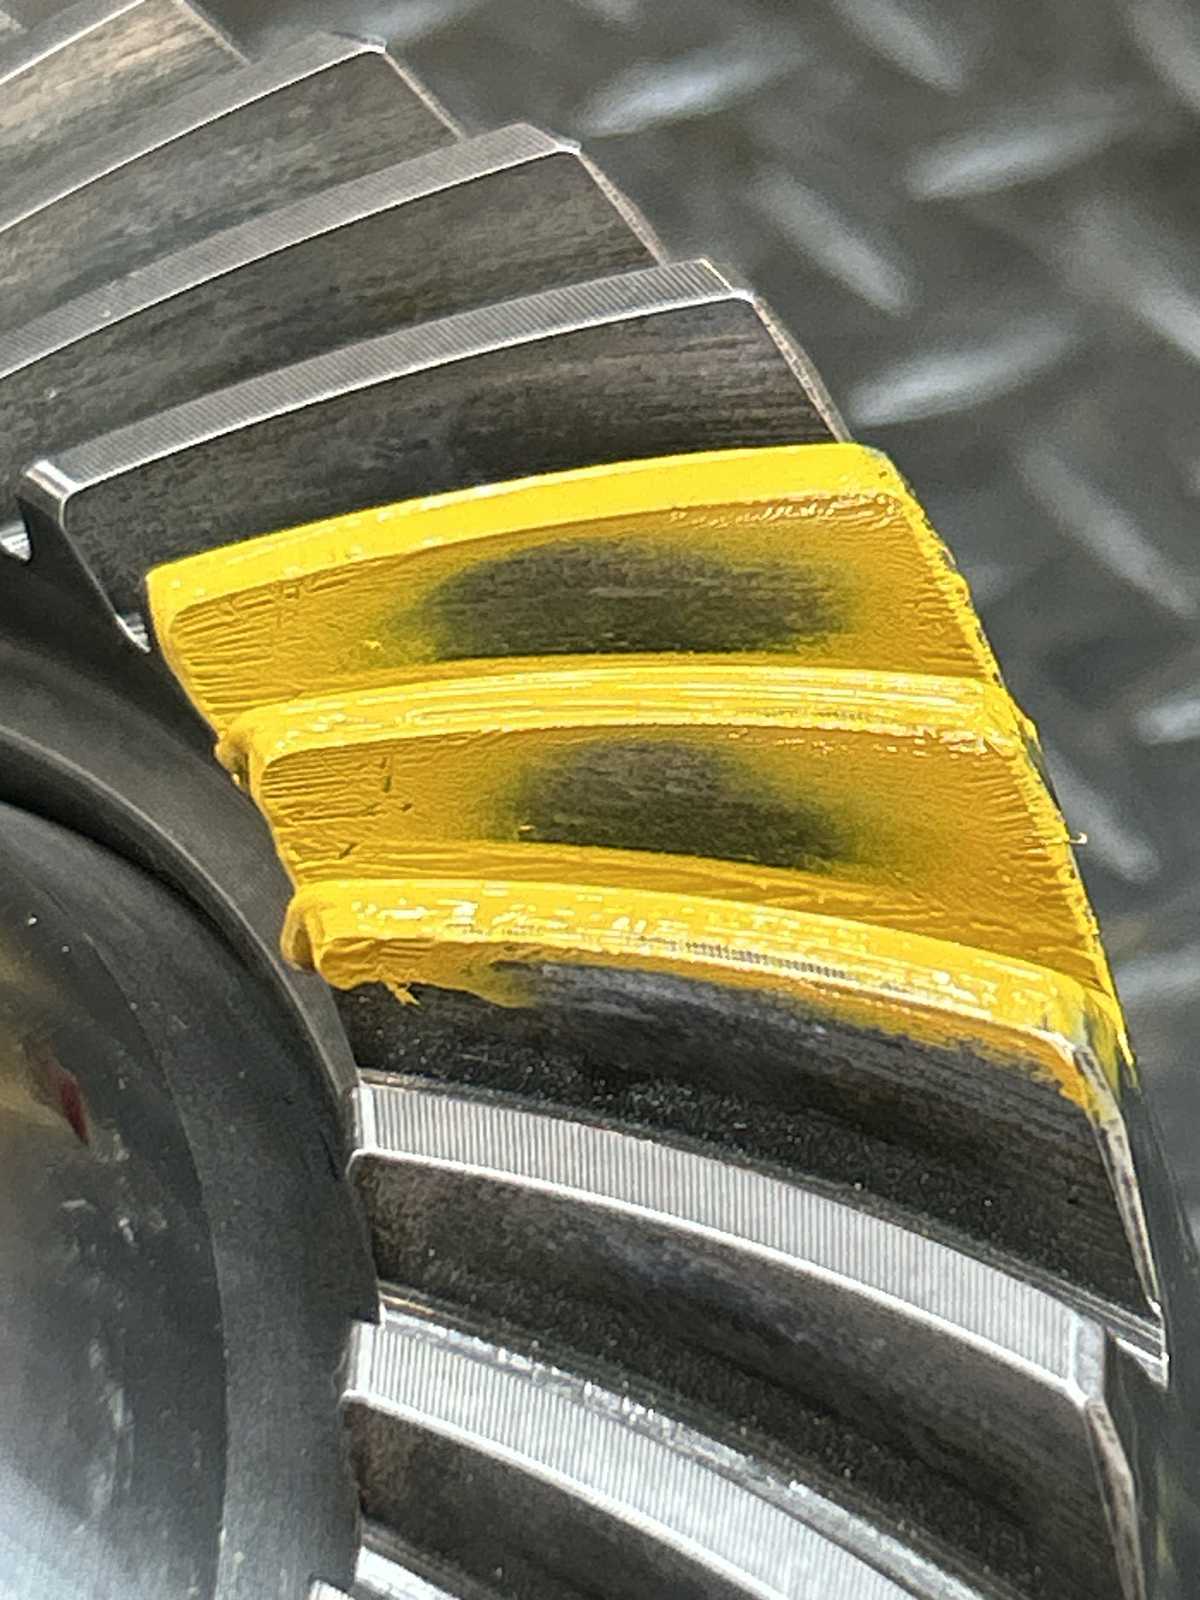
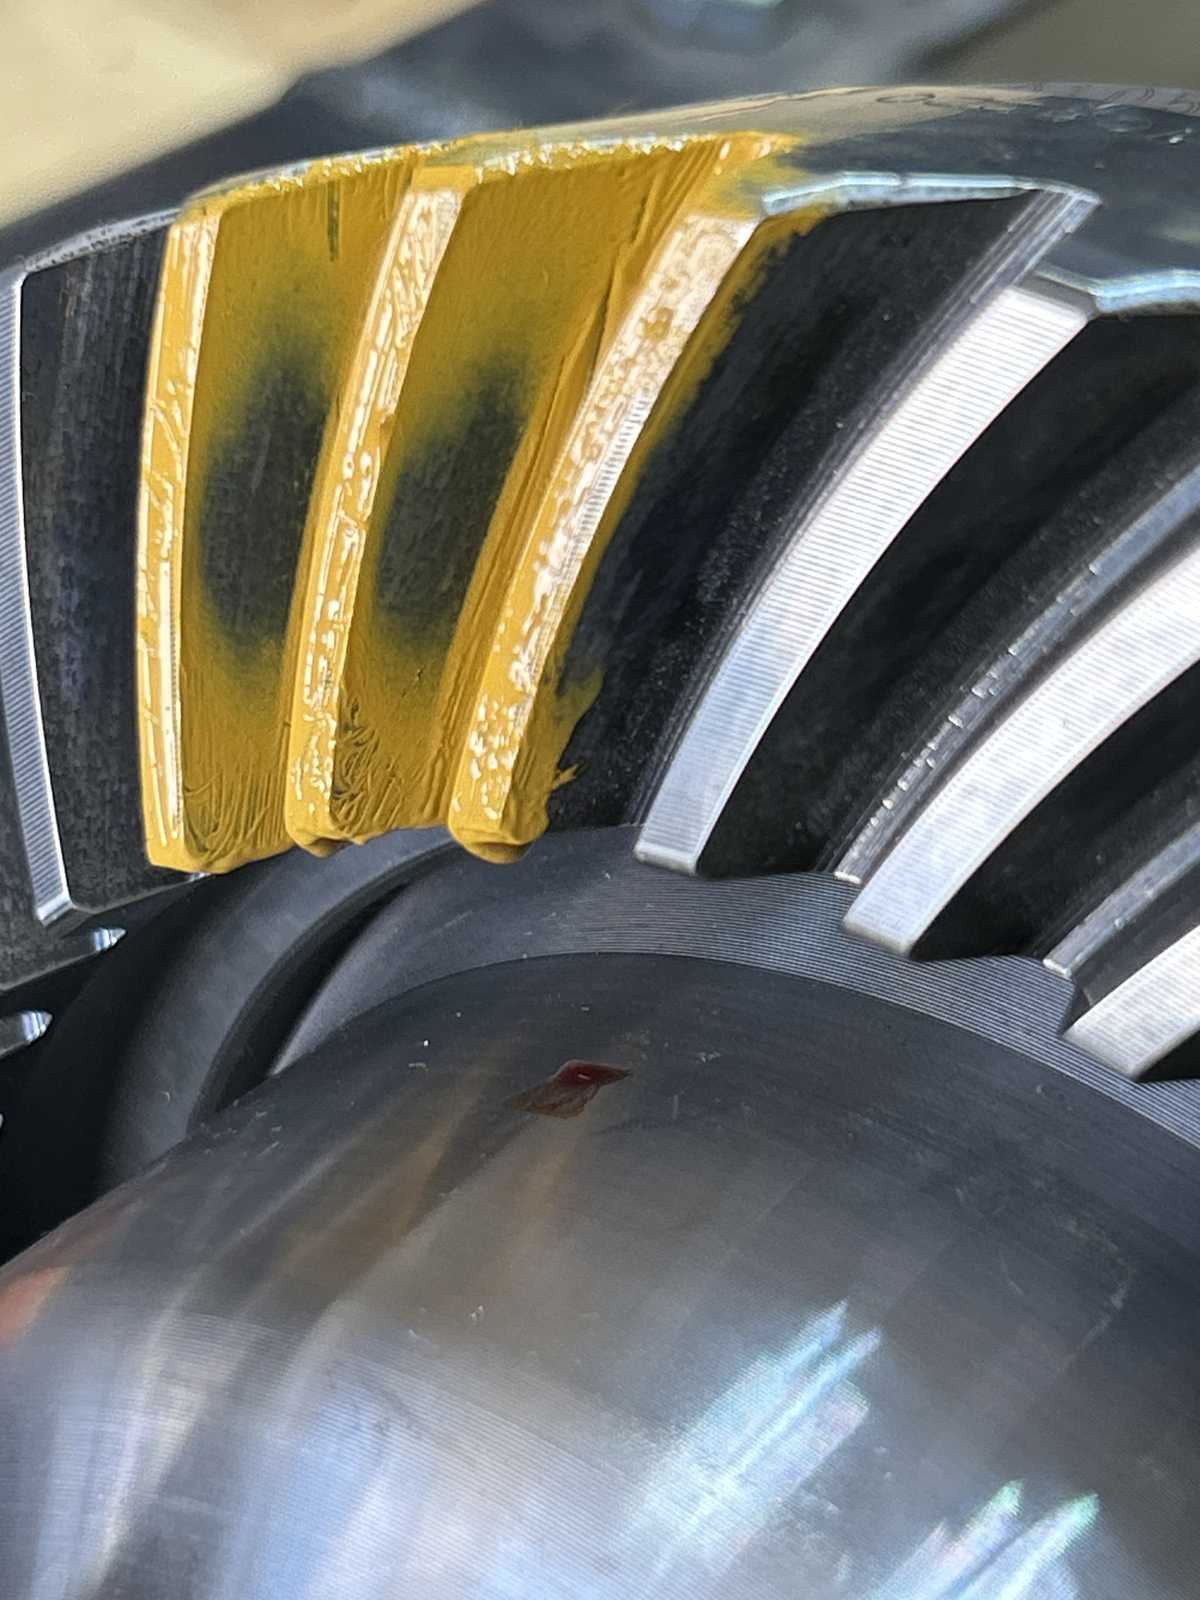
| drive reverse paint NICE |
|
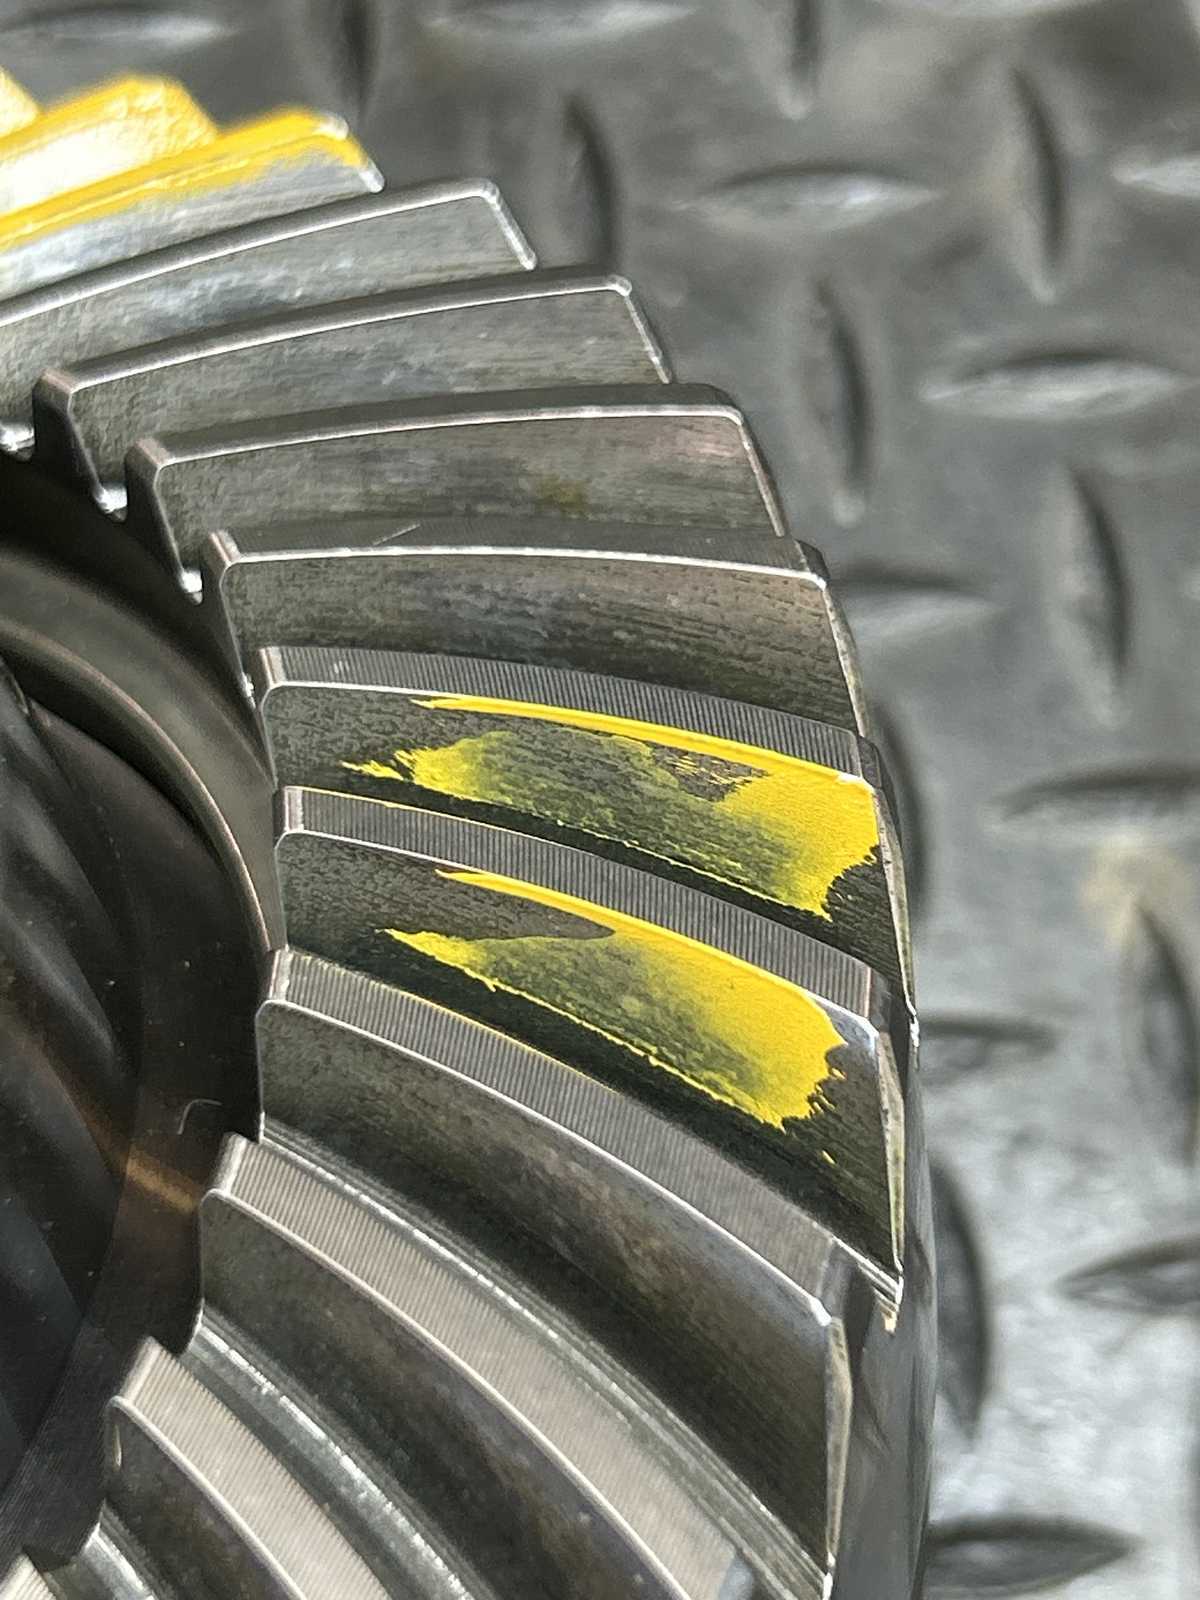
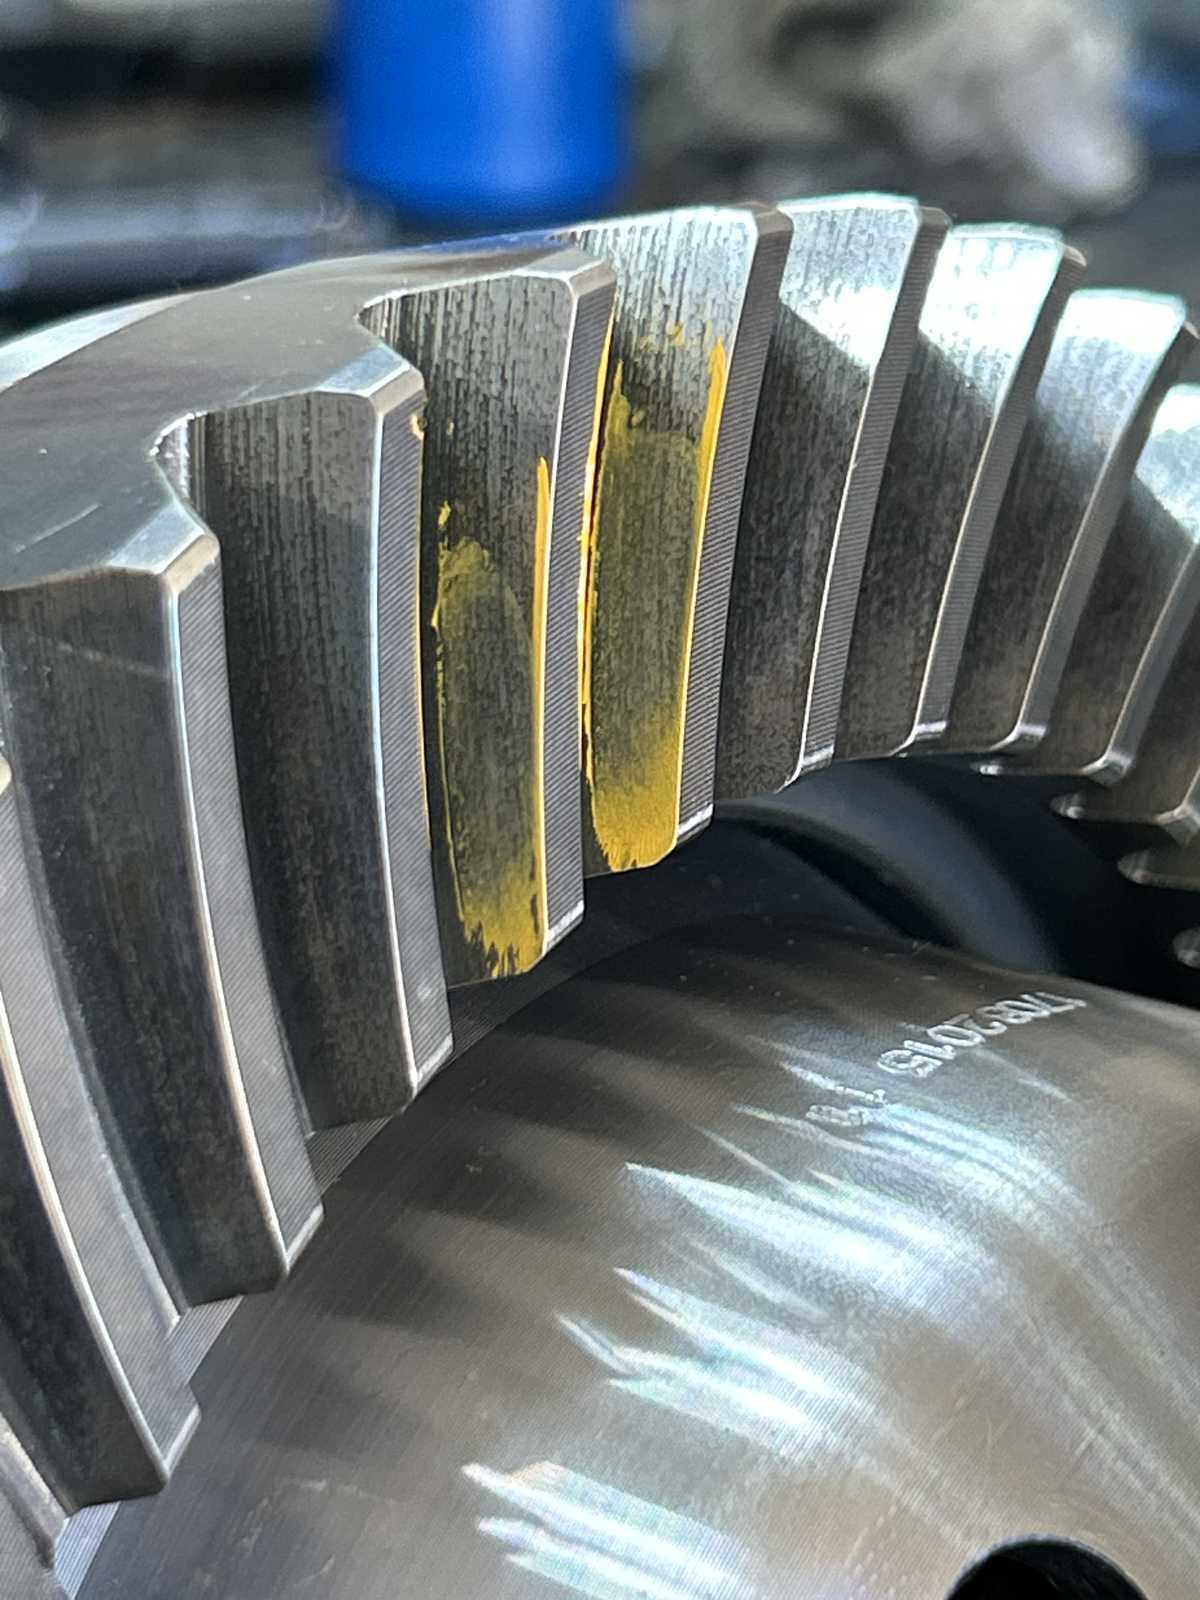
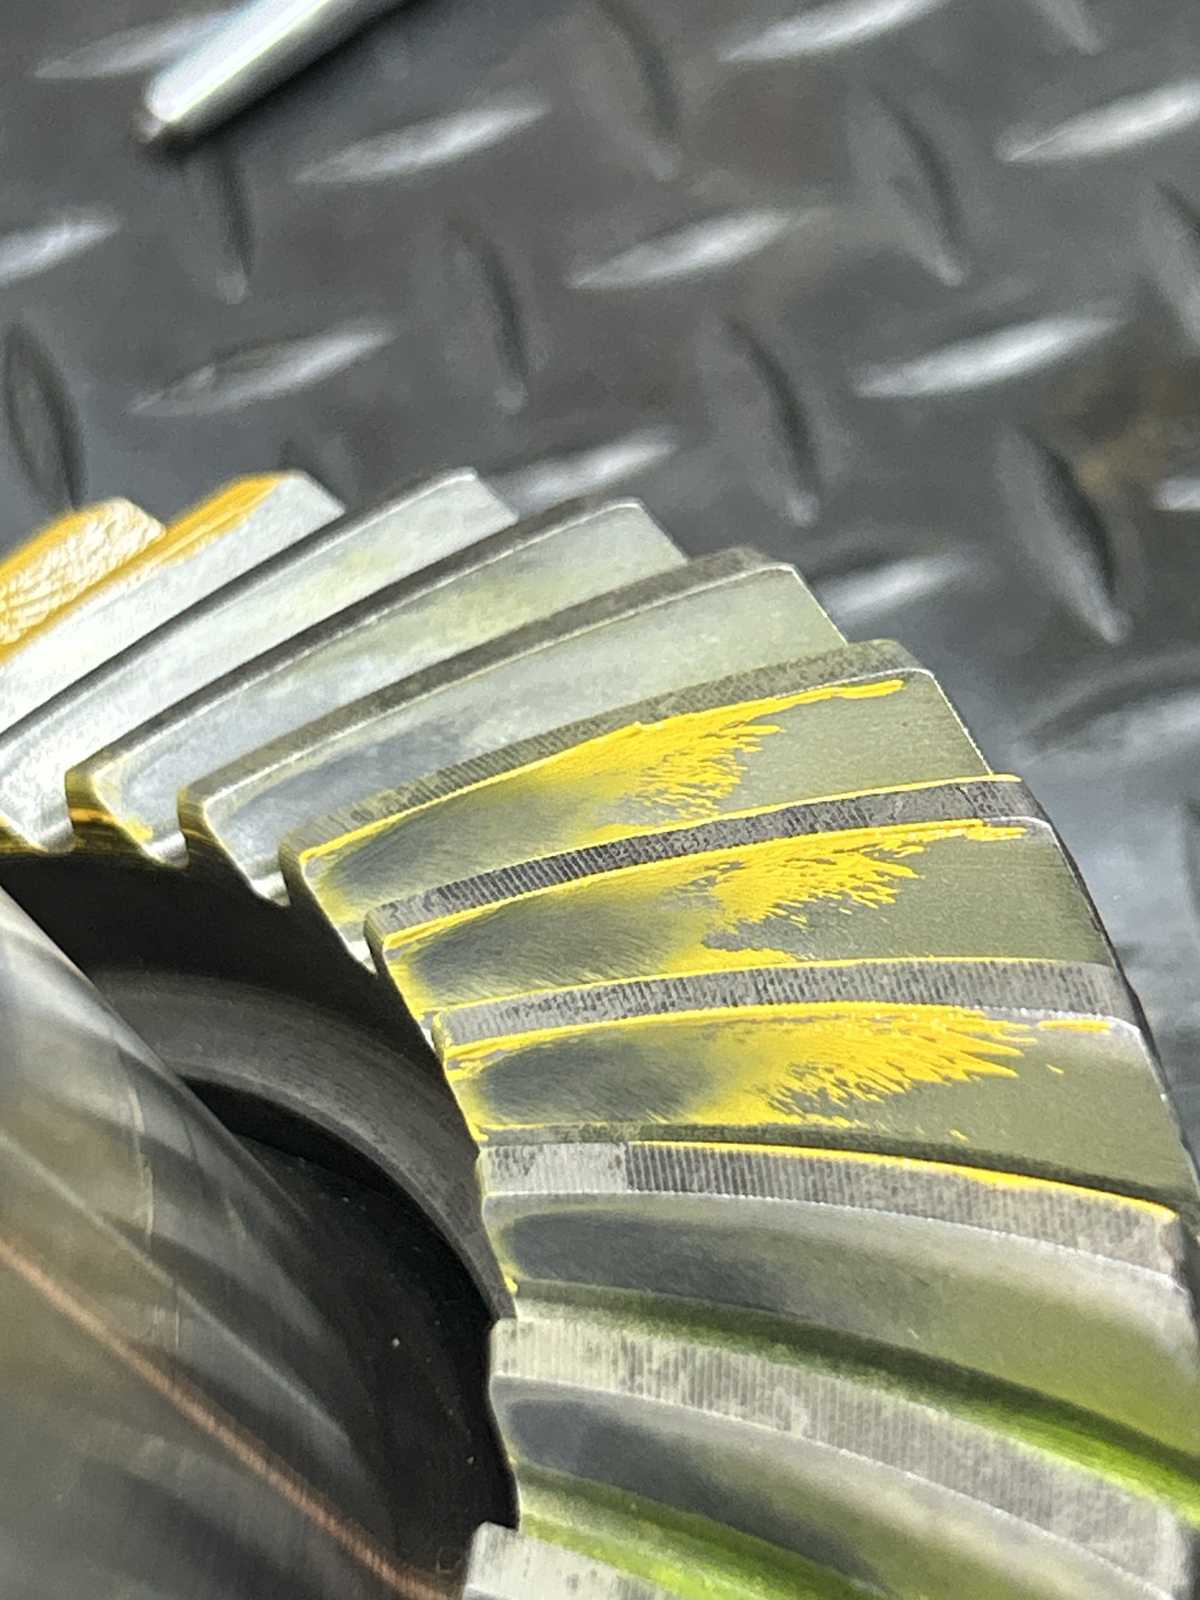
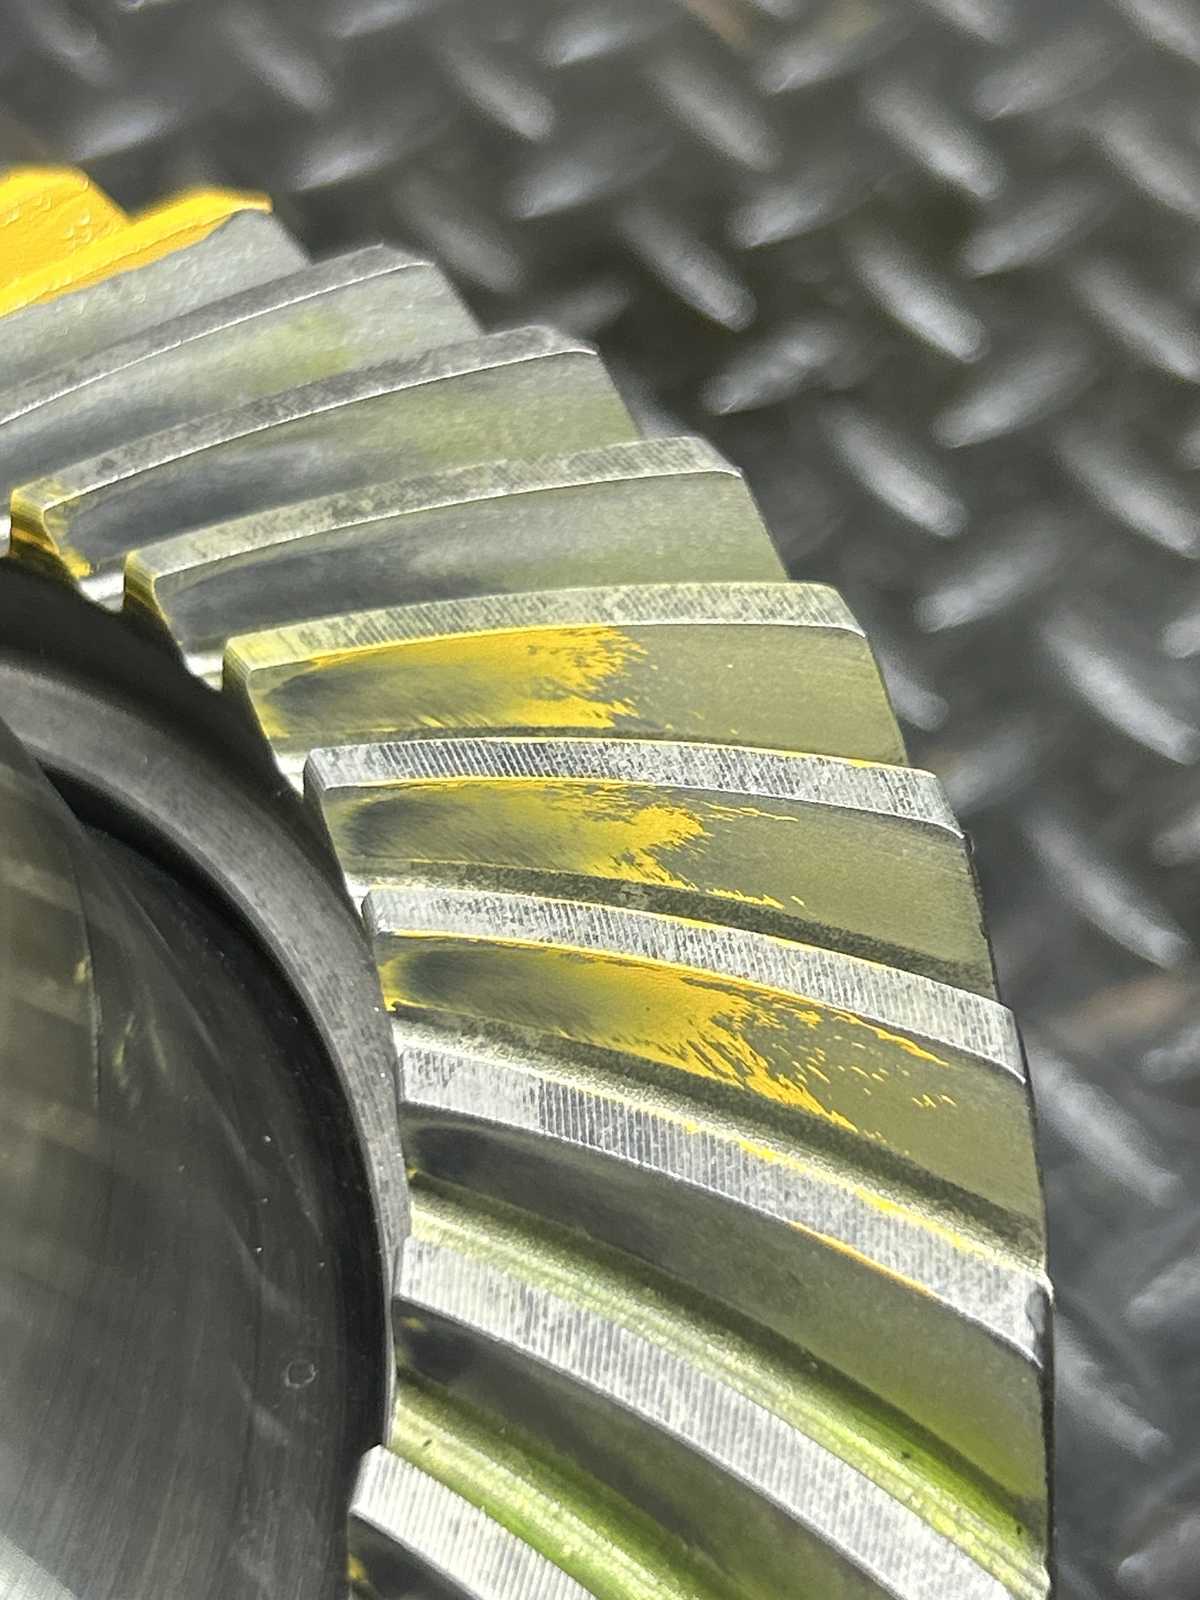
| Coast Nice |
|
| Coast reverse painted. nice |
|
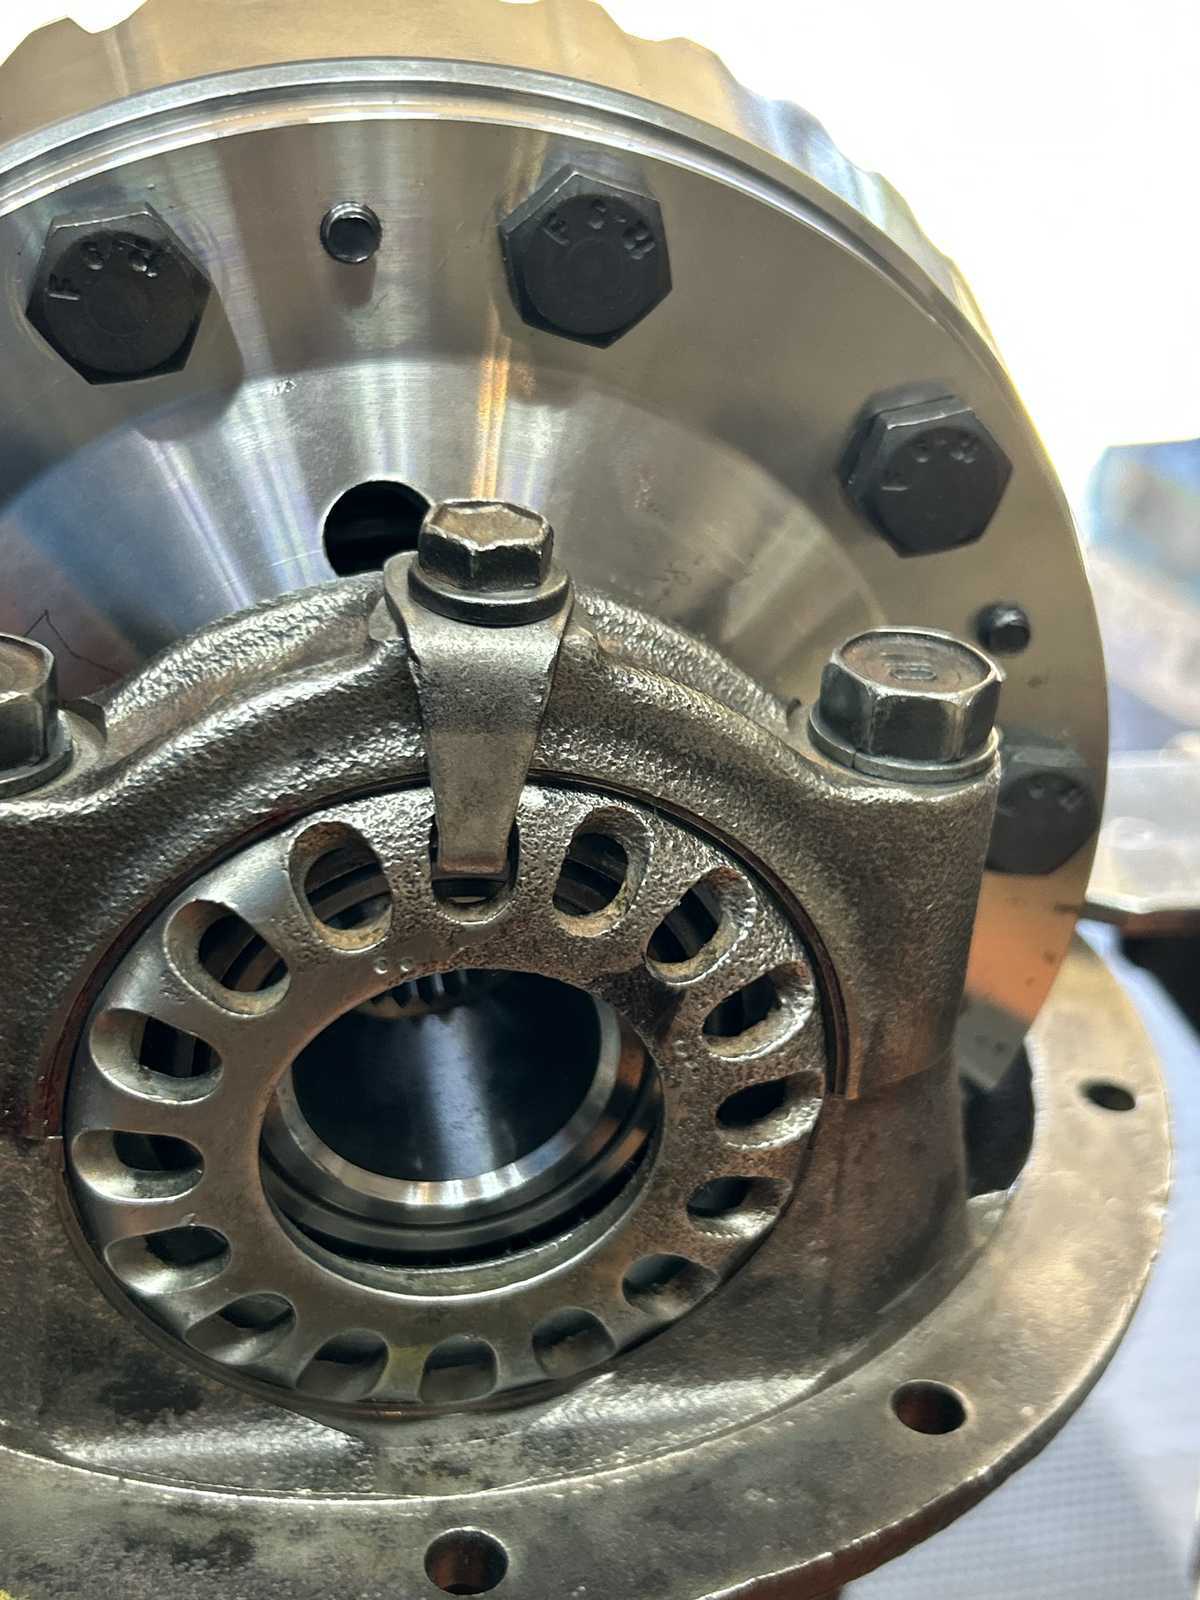
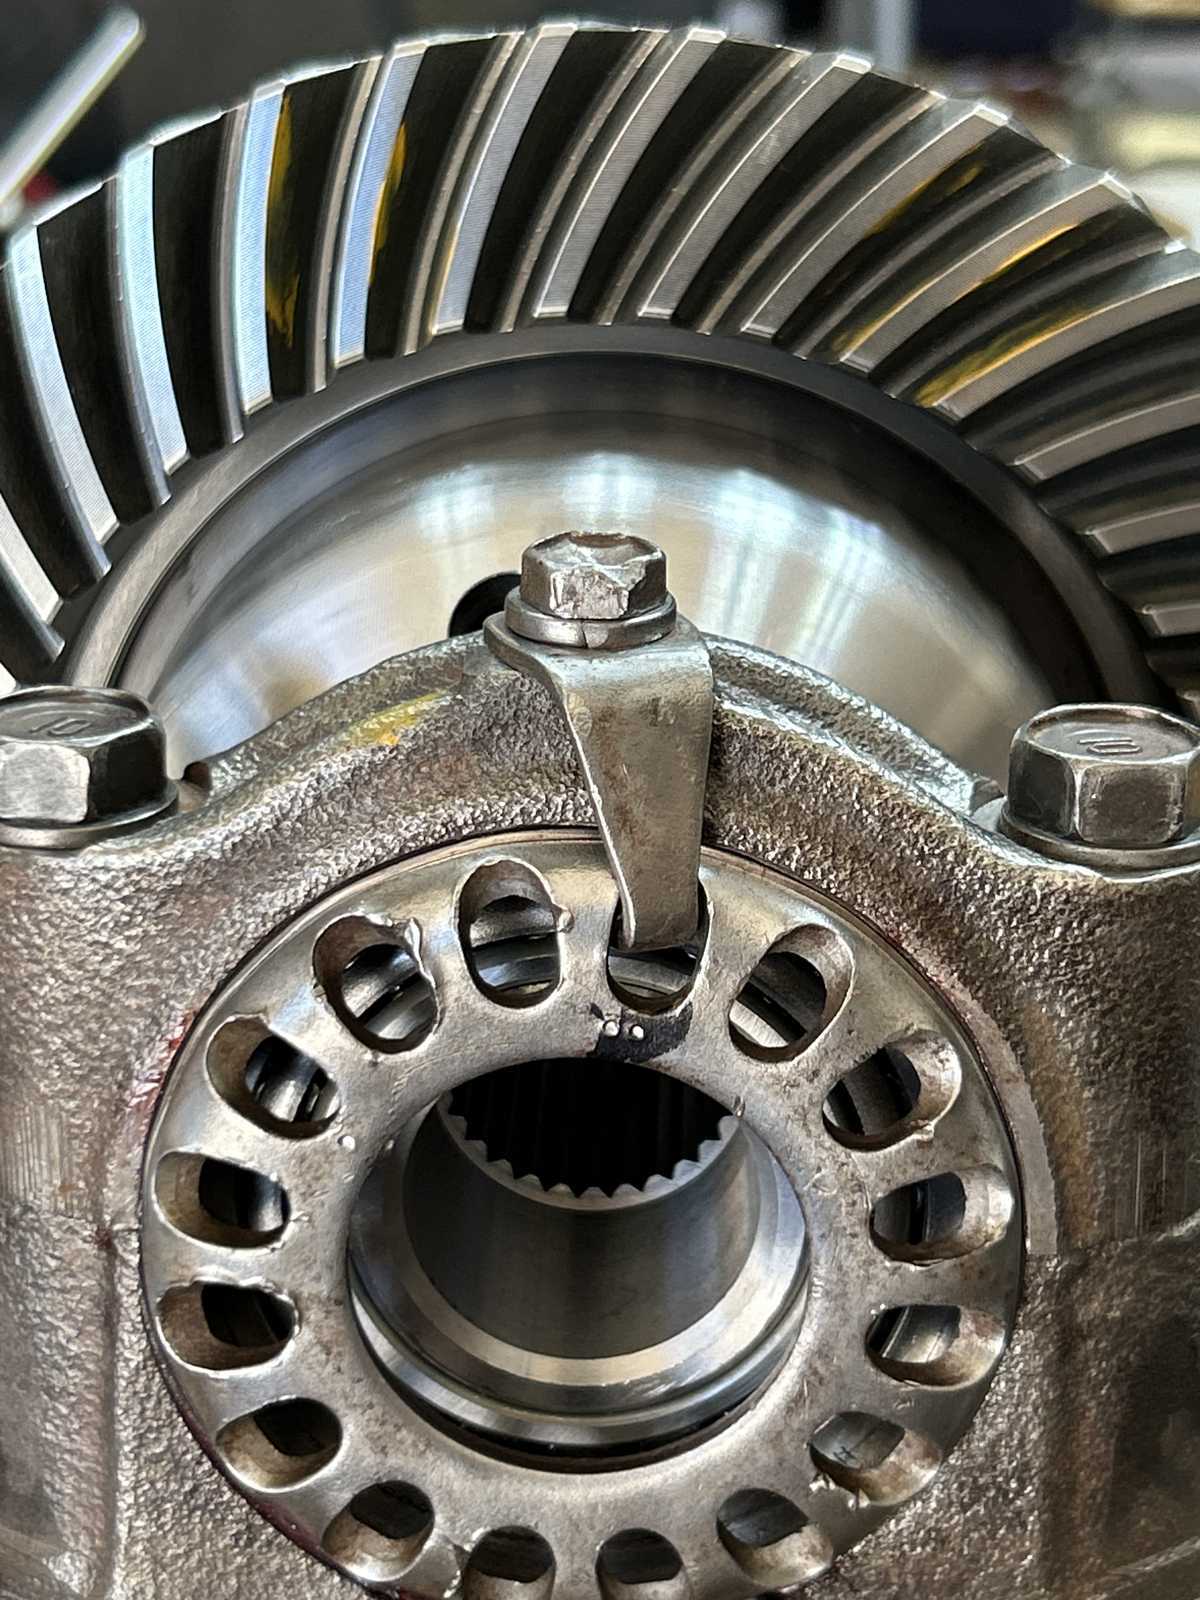
| Tabs 10 ft/lb |
|
| 10 ft/lb |
|
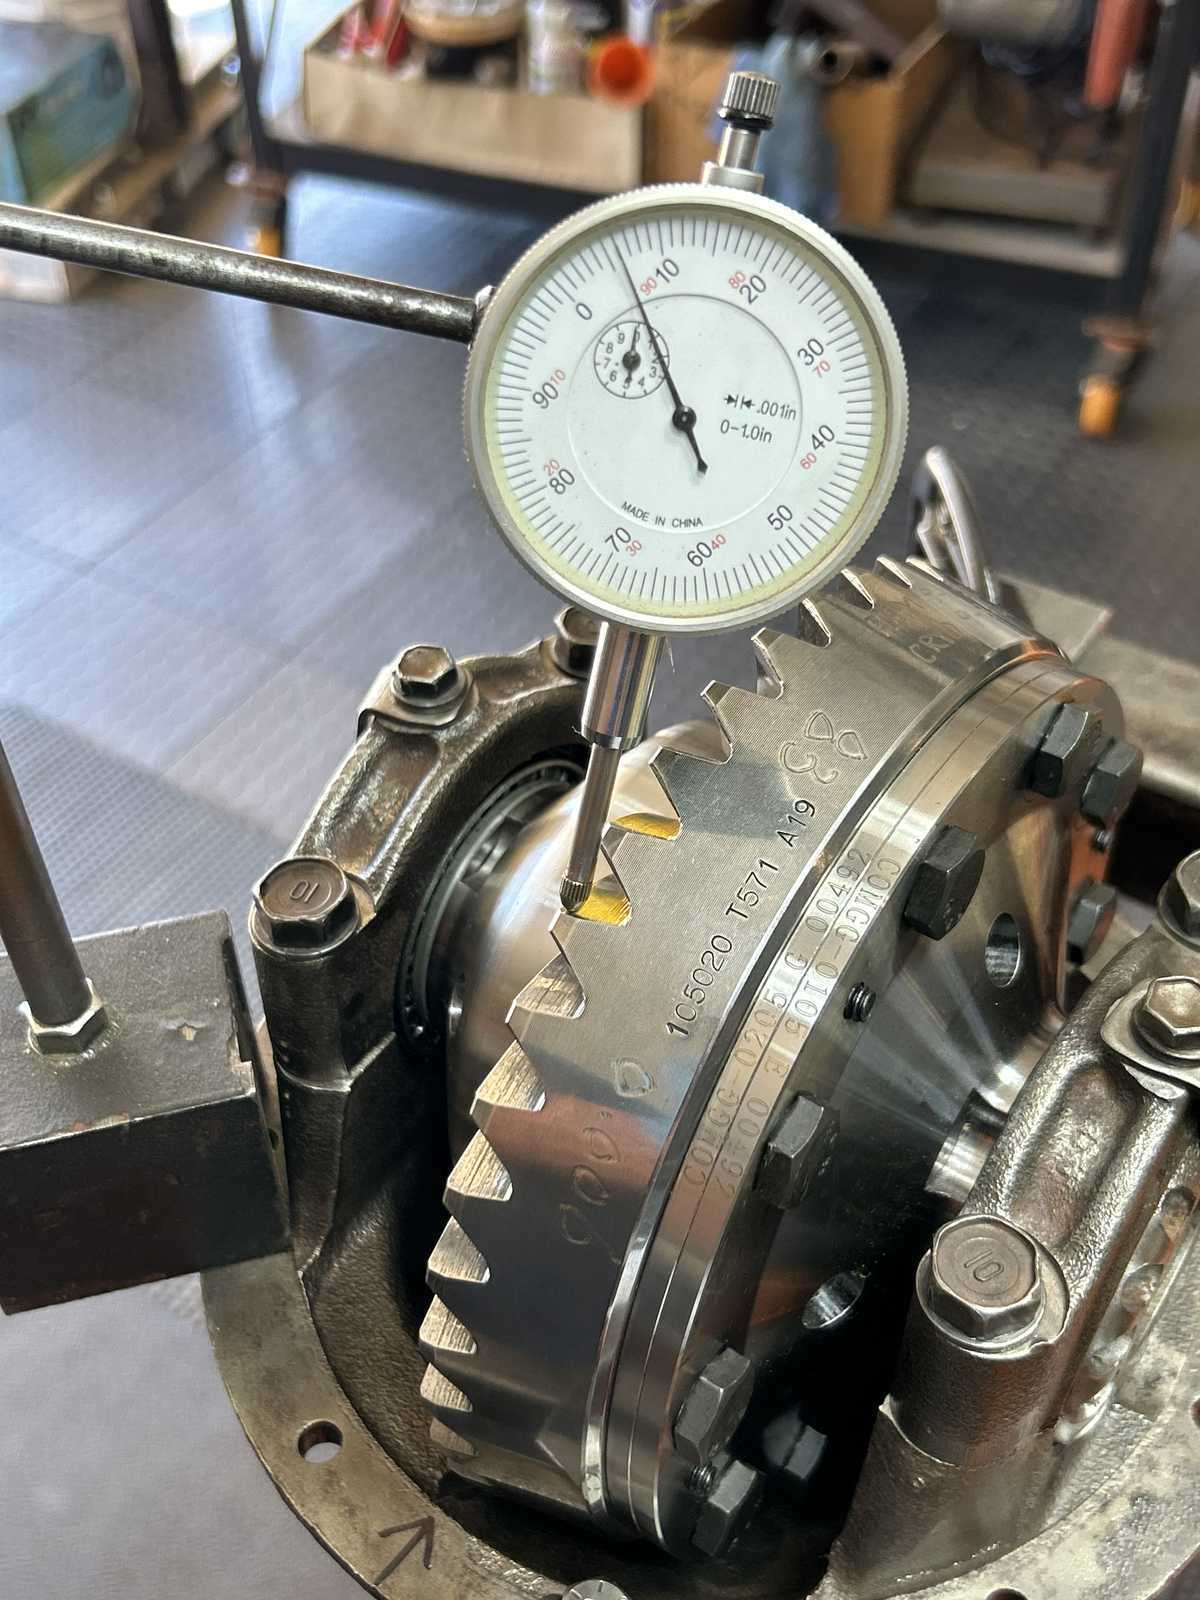
| Backlash is recorded on every other tooth. |
|
| ................................................................................... |
|
| ................................................................................... |
|
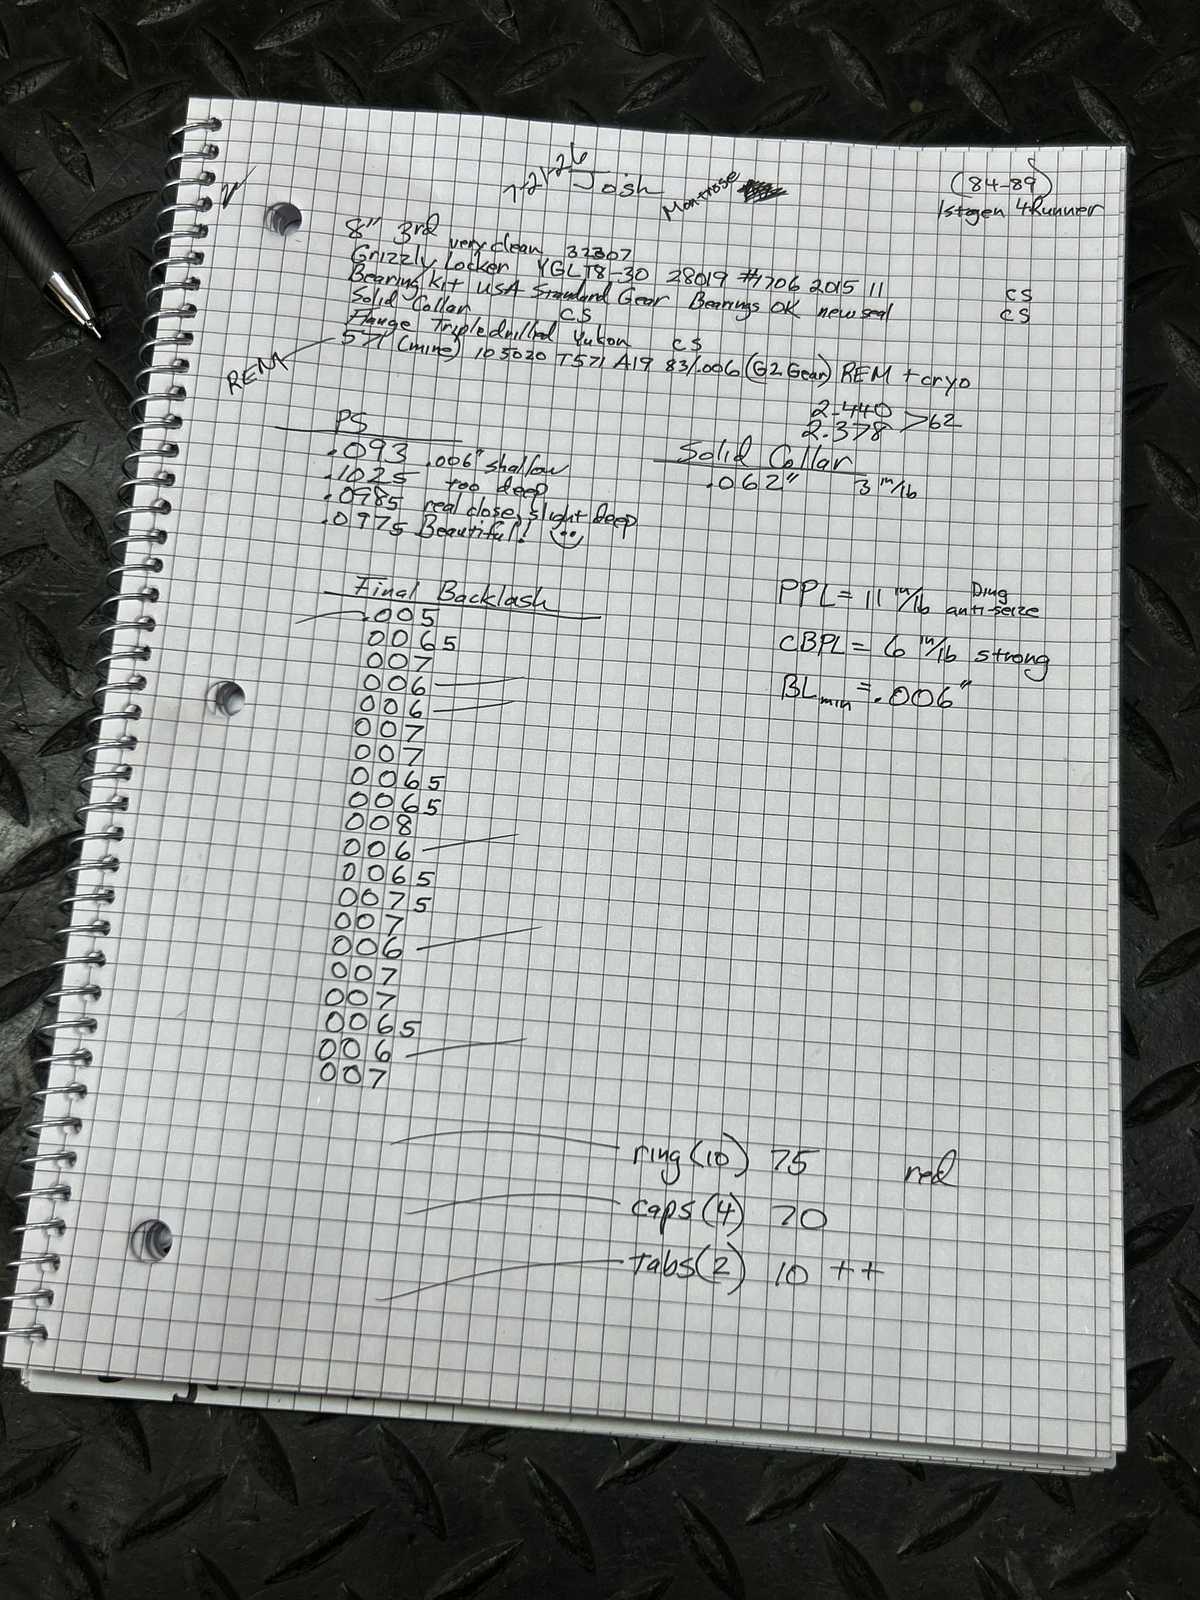
| Finished 'data sheet' for the rear 3rd. |
|
| This rear 571 with Griz is complete.....onto the front. |
|
|
The front 8" gets the same stuff as the rear...same bearing kit...same collar... but this 571 is not super polished or cryo treated. |
|
|
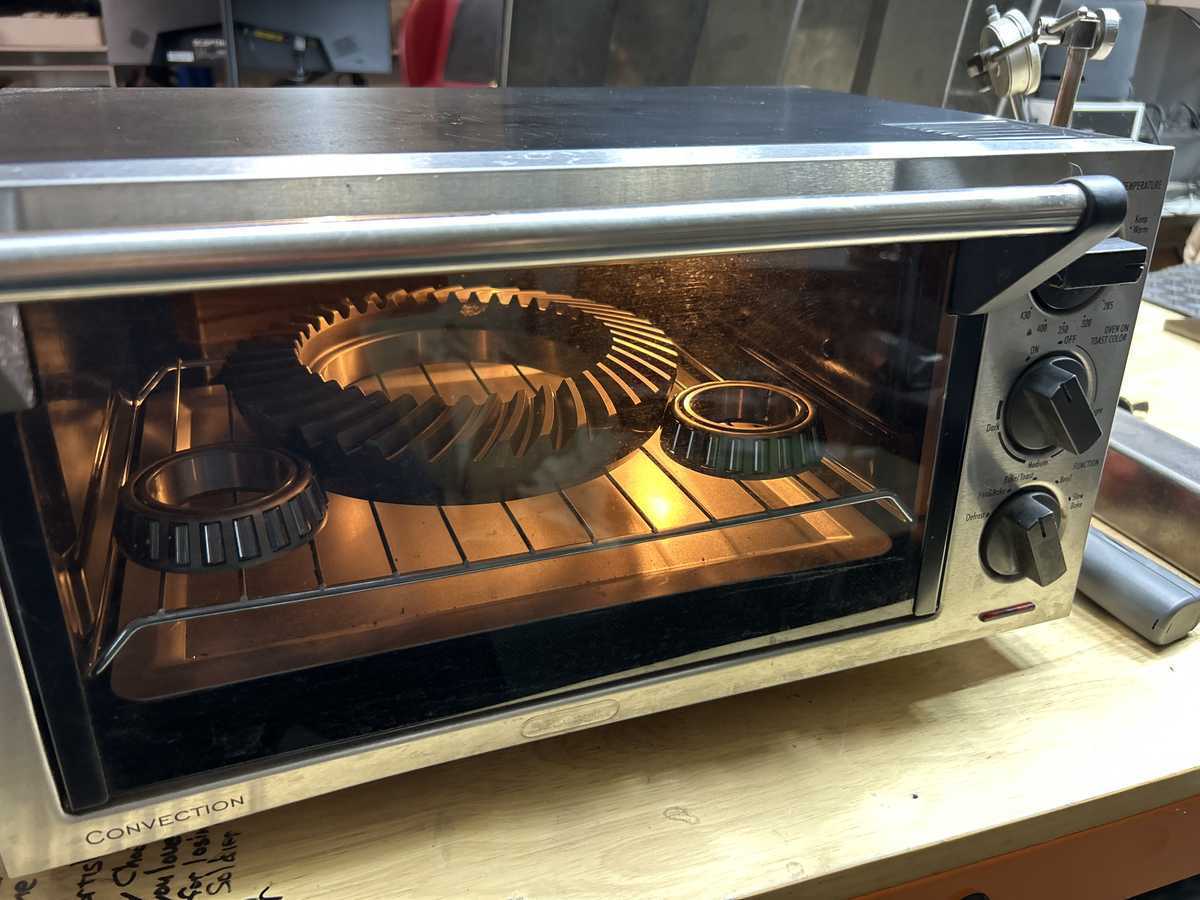
This 571 came in a Yukon box. It was too tight of a fit to slip onto the Grizzly..... |
|
| ...so I put it into my sister's convection oven.... |
|
| ....and it dropped in place. 75 ft/lb and red loctite. |
|
|
Pressed on the carrier bearings and this end is done. By the way, pre-warming the bearings to 240 degrees did not make the bearings go on easier. The ring gear is a much larger dia and did slip on nicely. The bearings still needed the press. |
|
|
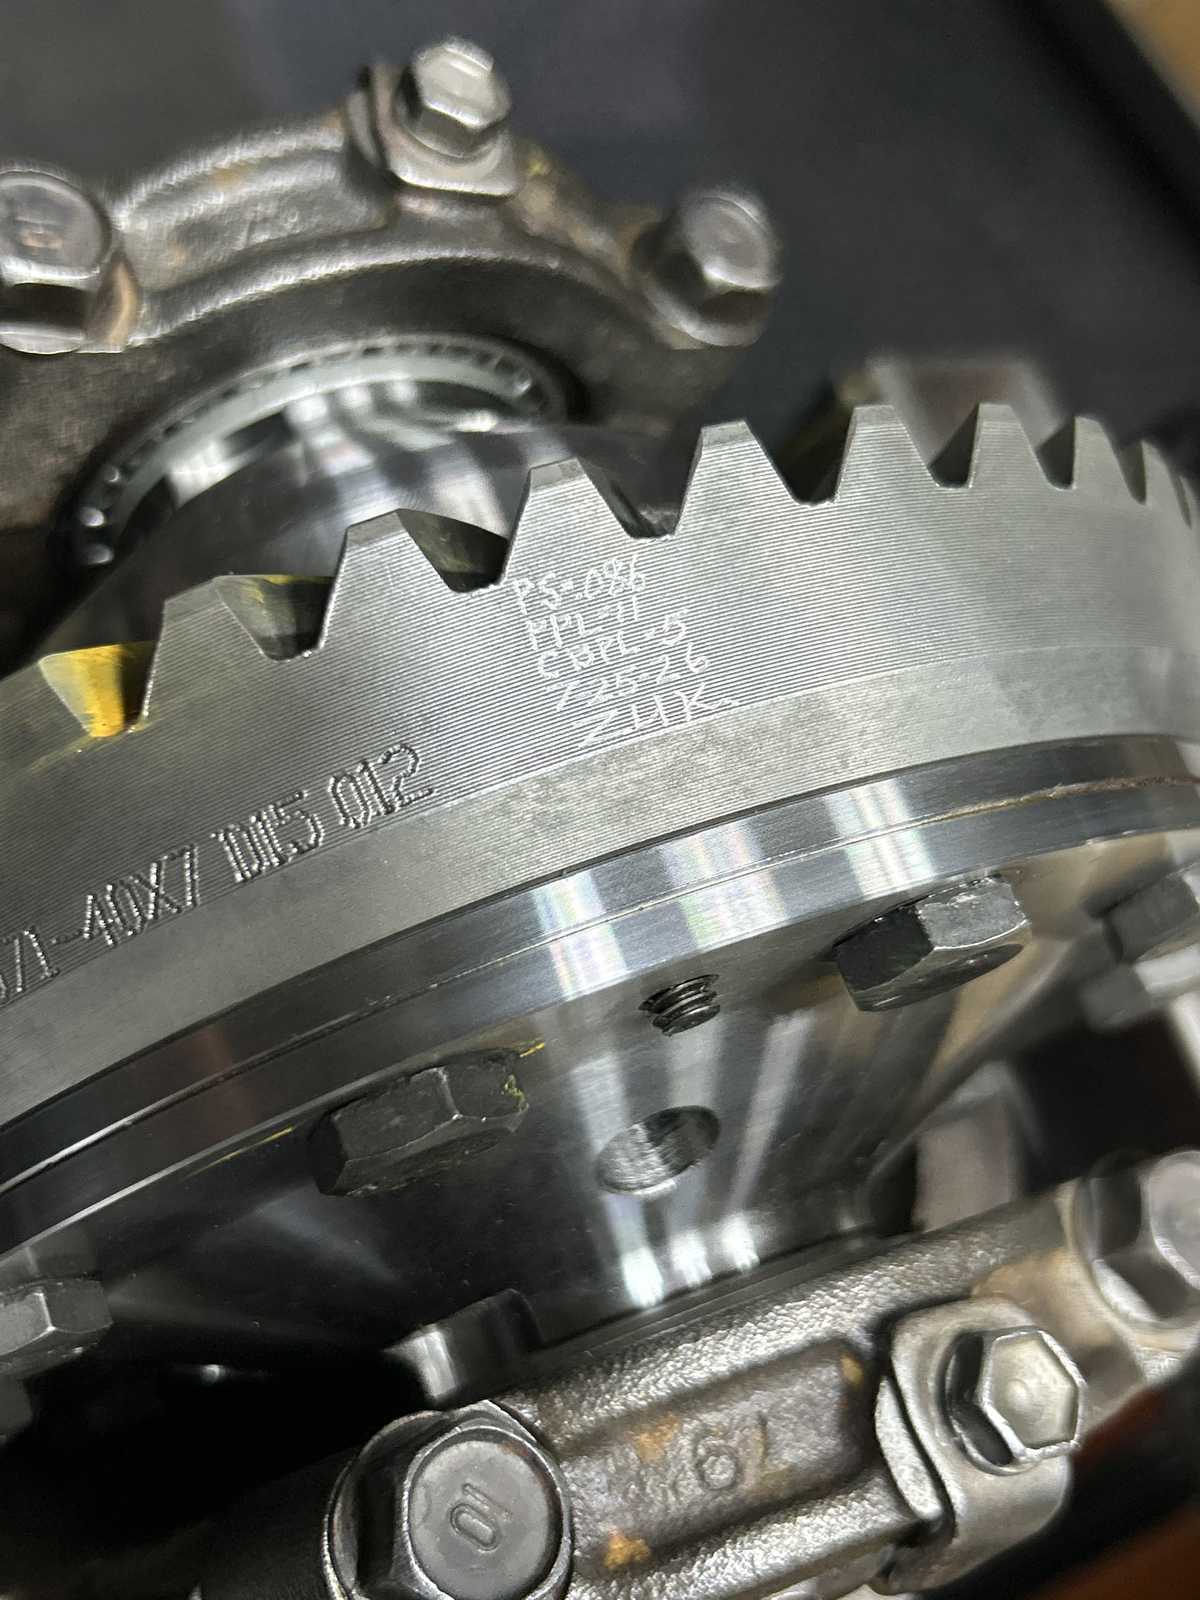
These gears were in the Yukon box but they look to be Chinese based on the stampings. But I was pleasantly surprised how well these gears did set up. |
|
|
The Griz has had some nice lathe work done. It also has 2 large notches to help the 2 jaw puller in easy removal. |
|
|
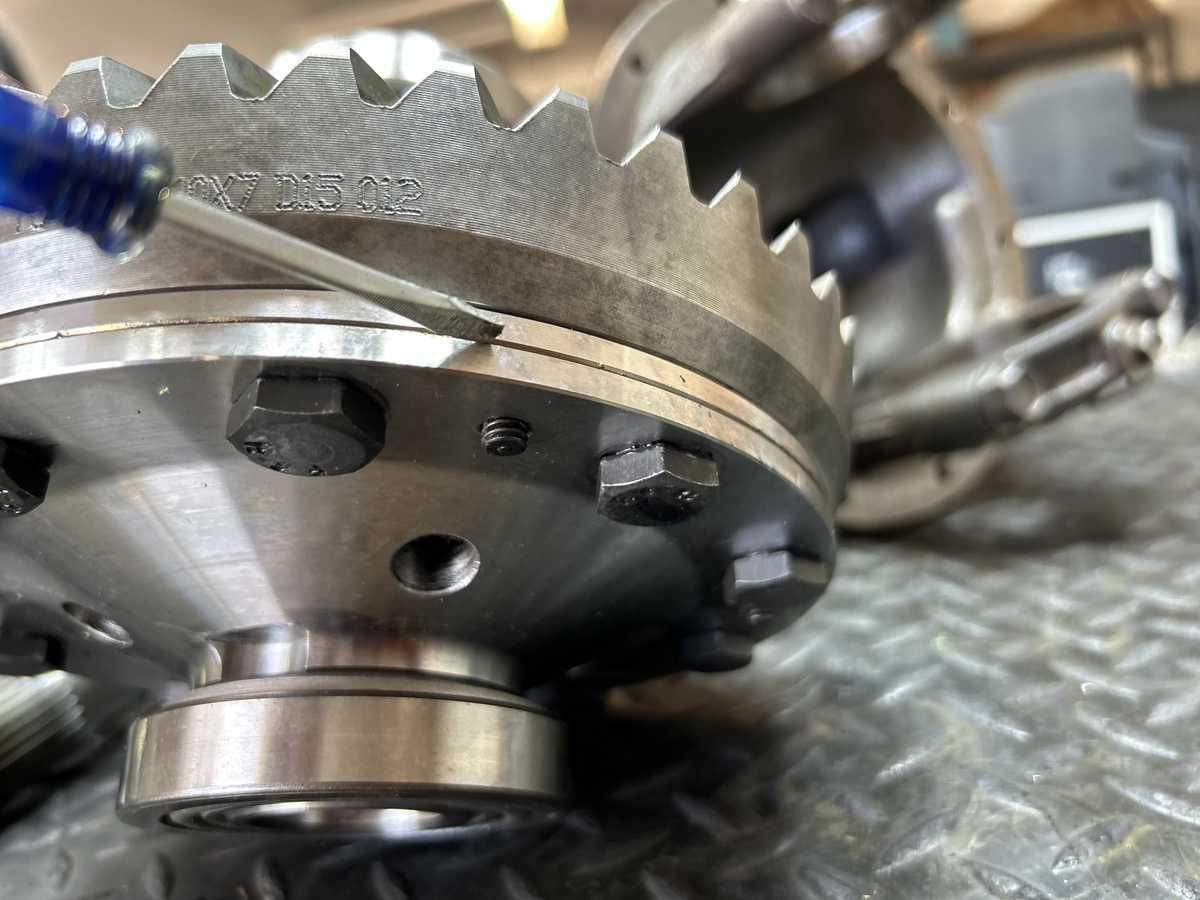
In the case of the Griz...always tighten the 5 alan heads before ring gear installation. In the past, some have been a quarter turn loose. |
|
| ,,,,,,,,,,,,,,,,, |
|
| Pinion bearings were cleaned....... |
|
| Even with cleaning and a light scotch padding, this one had a stained mark. |
|
| This one ok. |
|
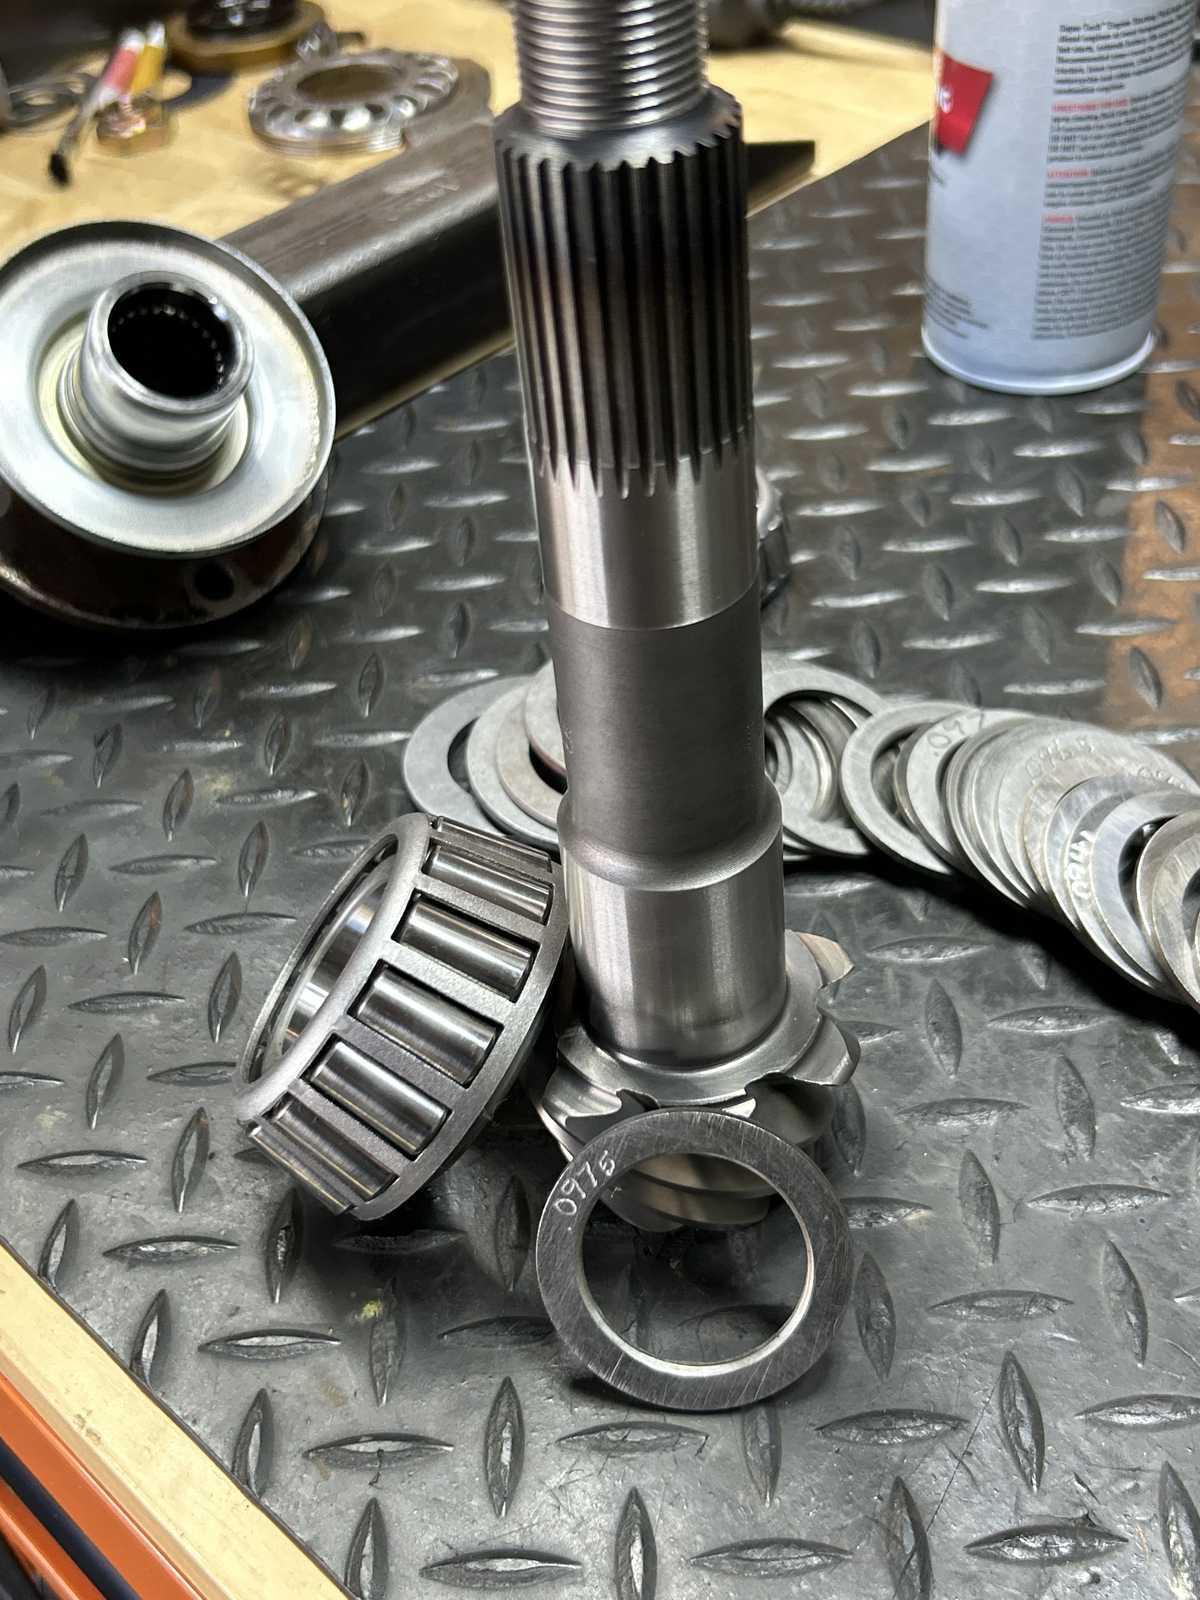
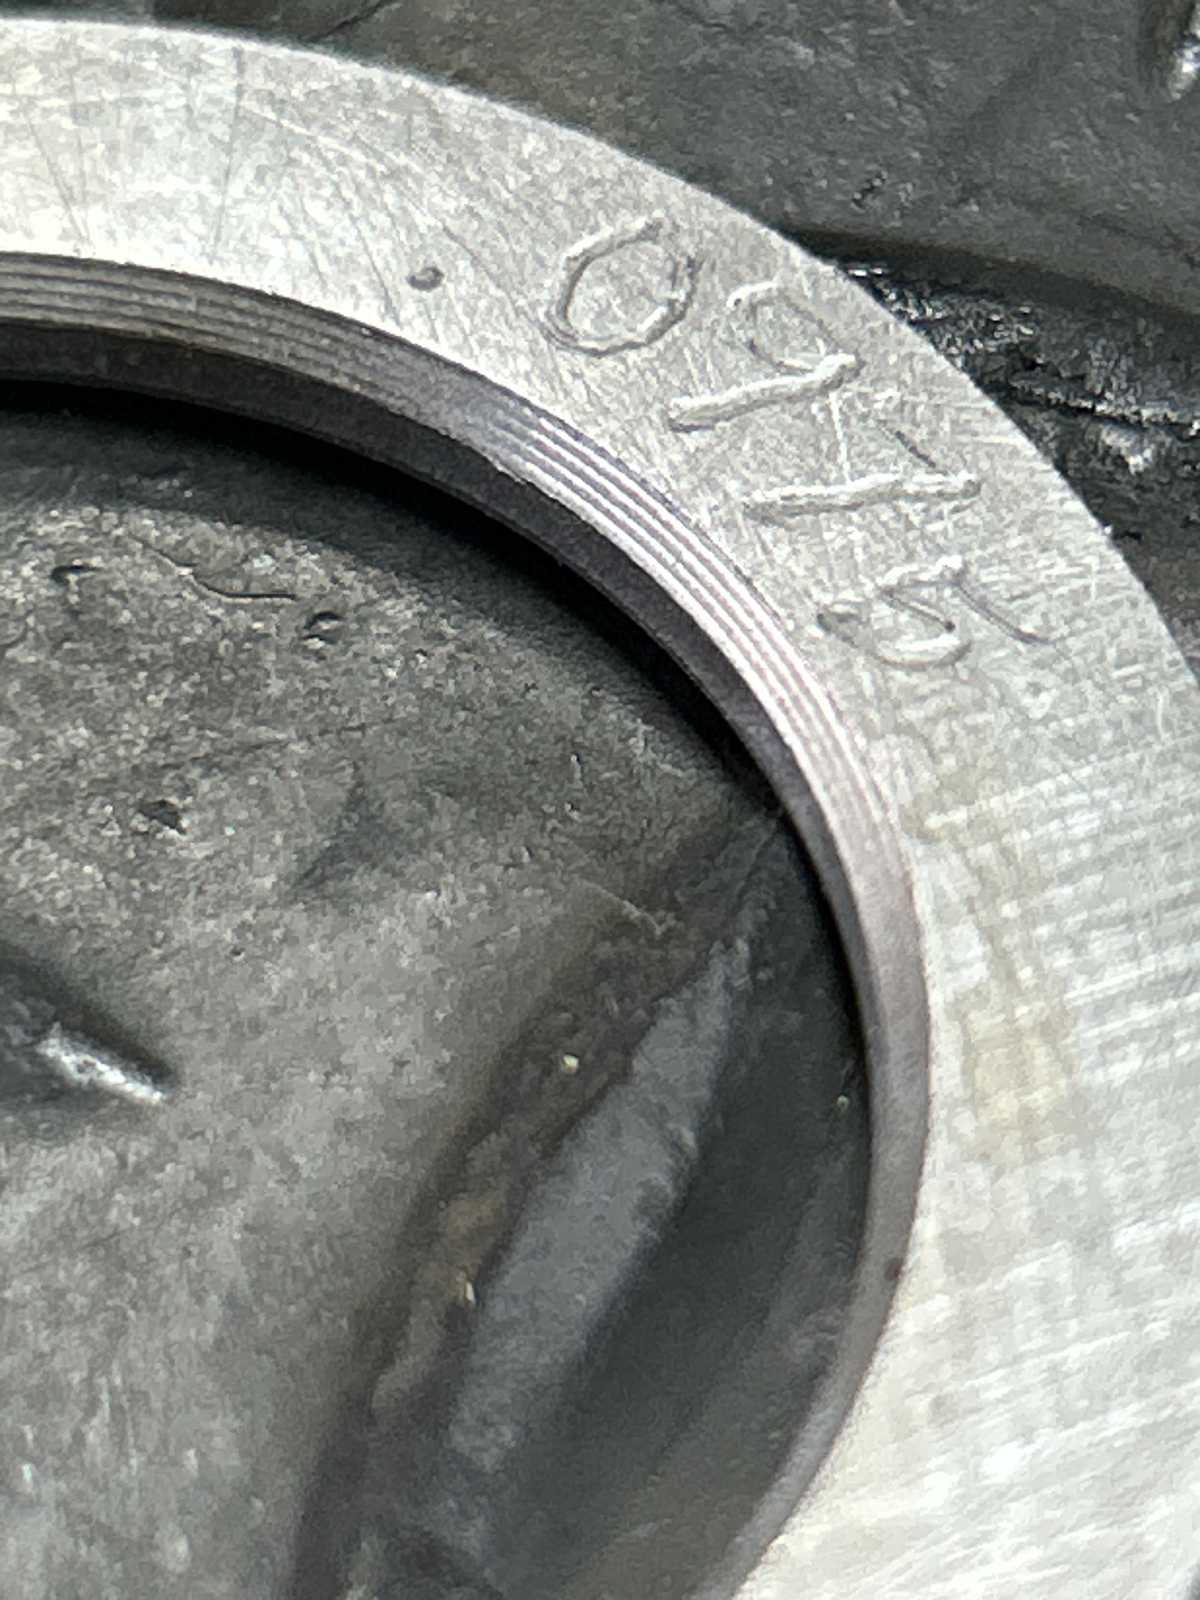
| The 1st pinion shim to try will be .0975" |
|
|
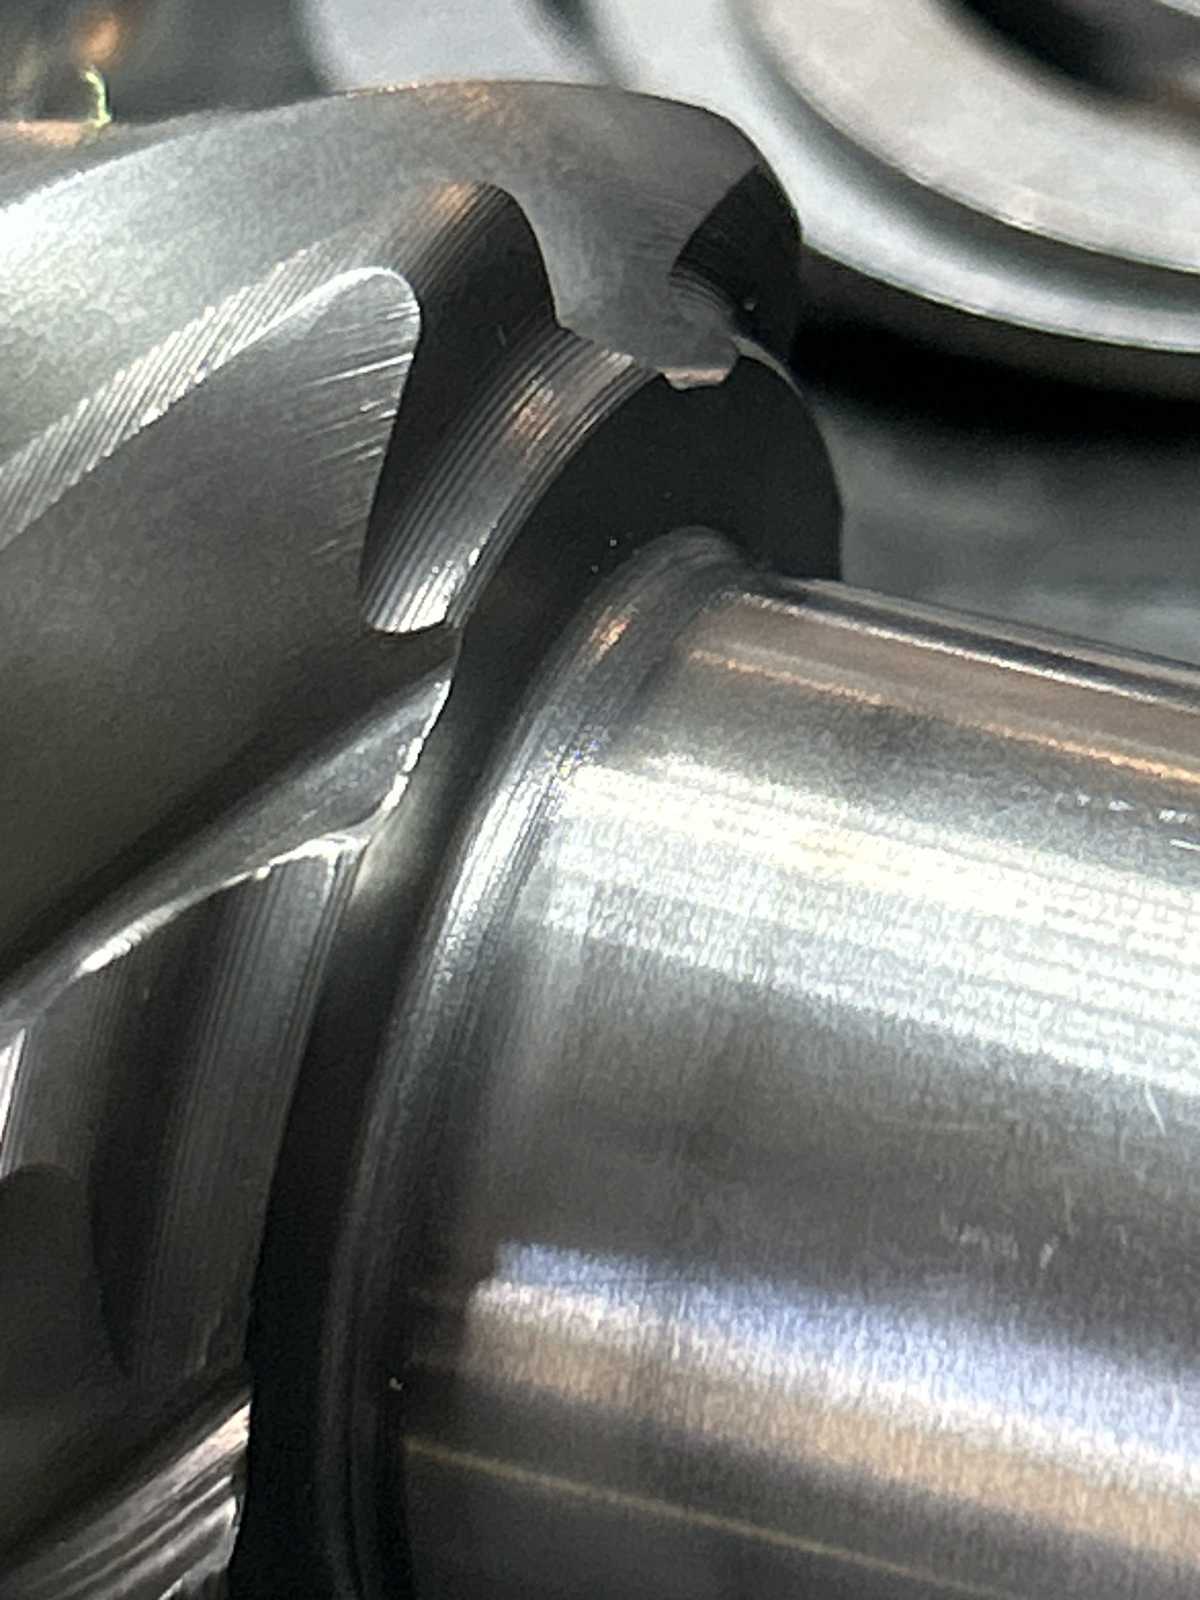
Japan does not do this but the chinese do.....they leave a transition from the pinion shaft to the flat shim surface..... |
|
|
So a tight fitting shim will not seat down all the way and will result in false patterns. Toyota bevels some of the shims and the ones that aren't have to be clearanced by a dremel or equivalent. |
|
| .0975" shim and bearing is pressed on. |
|
| A smooth 10 inch/pounds is noted. |
|
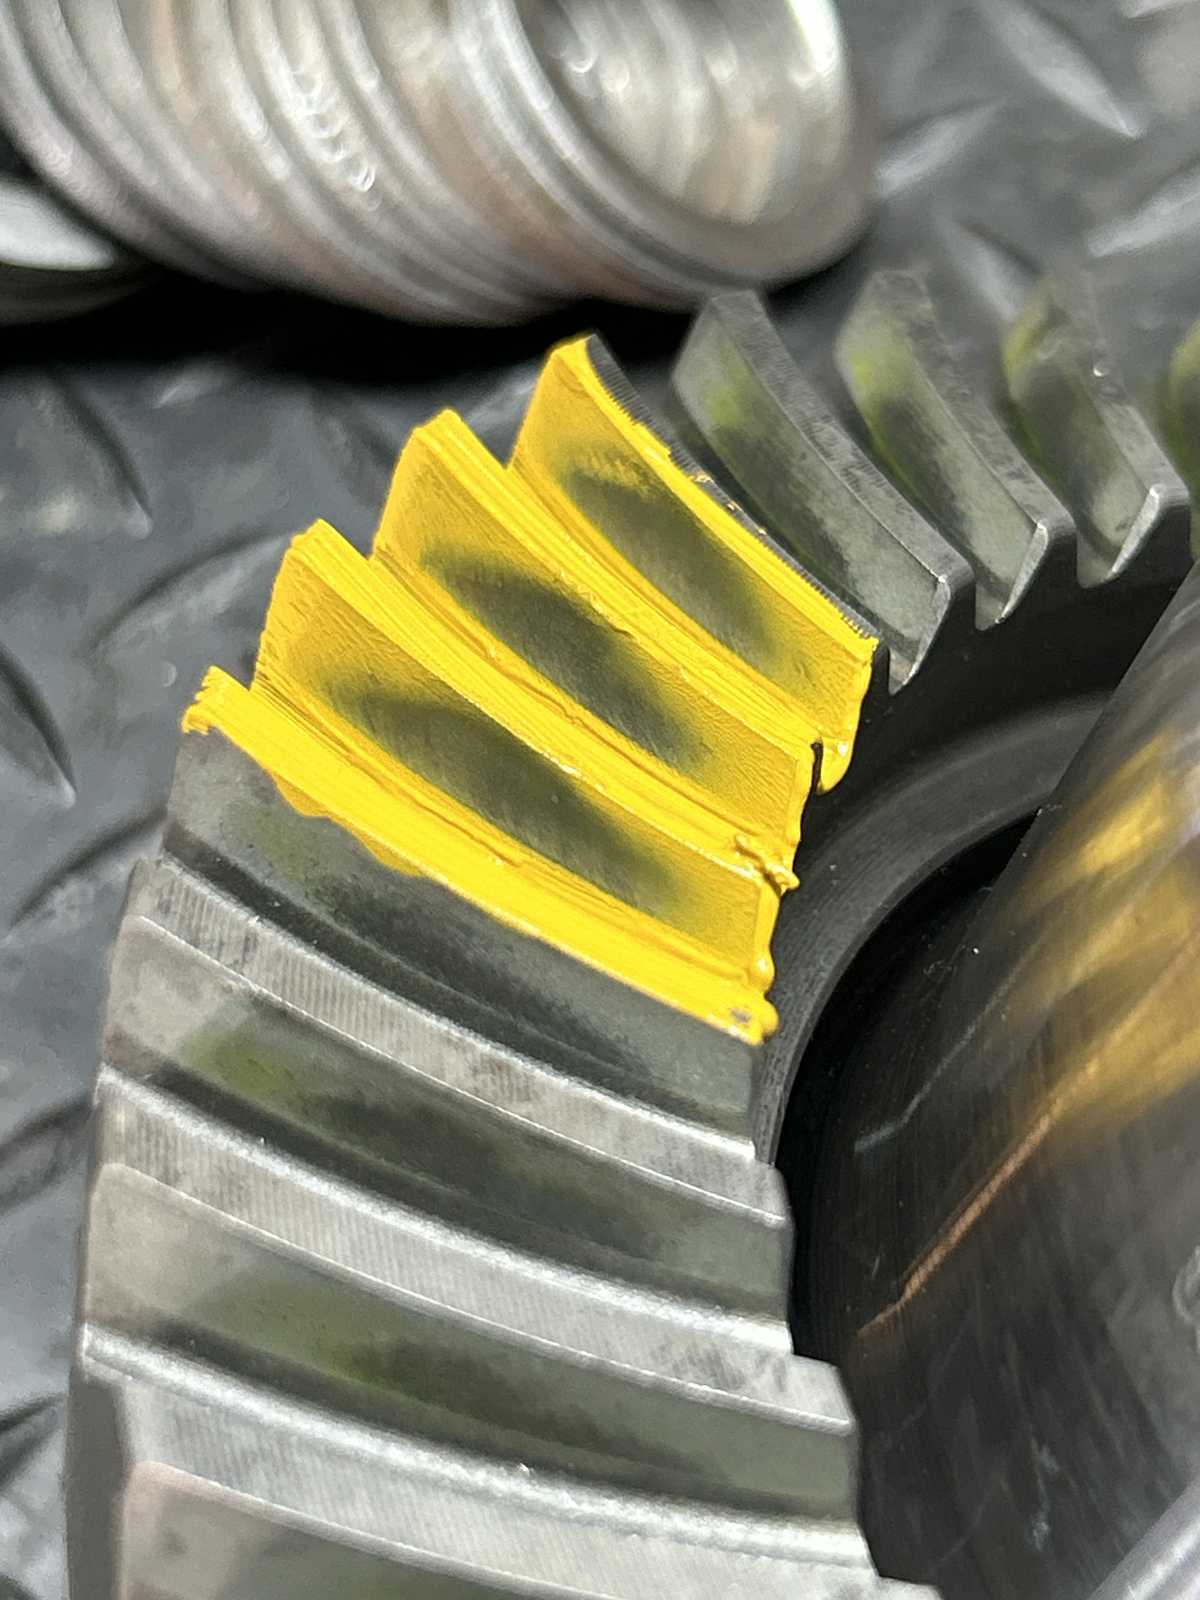
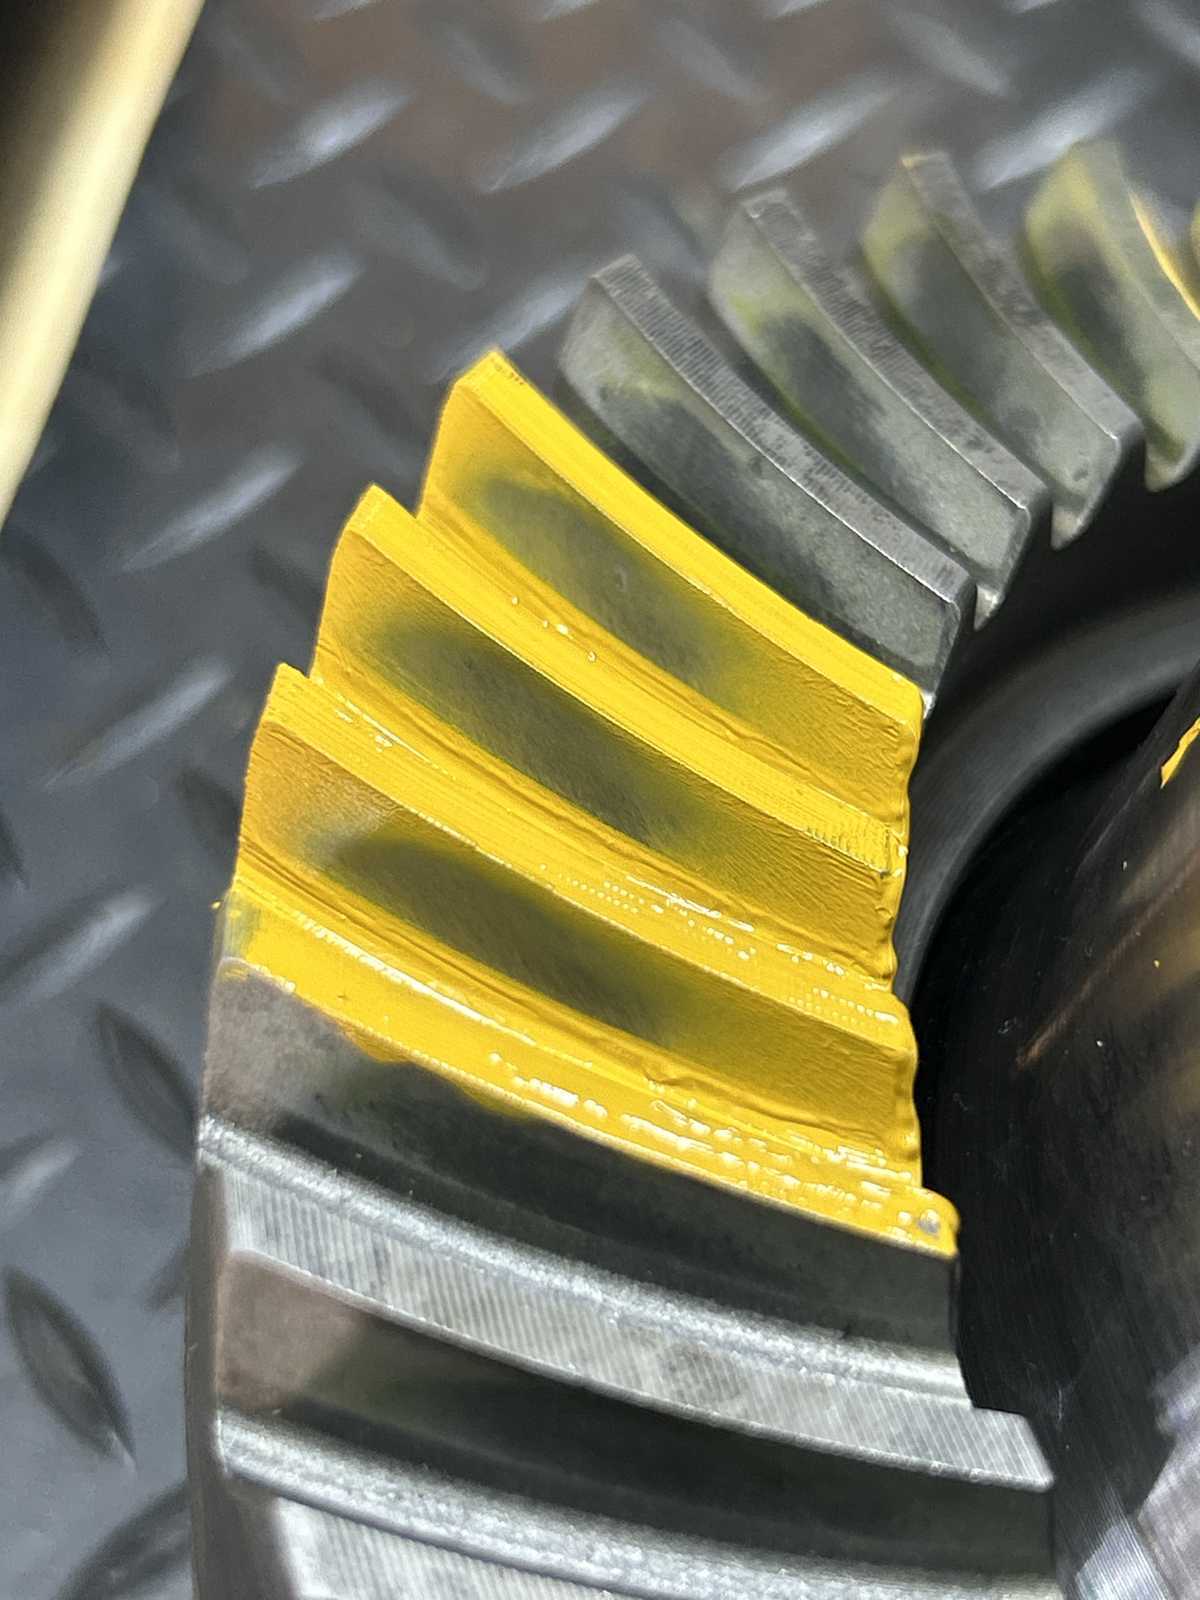
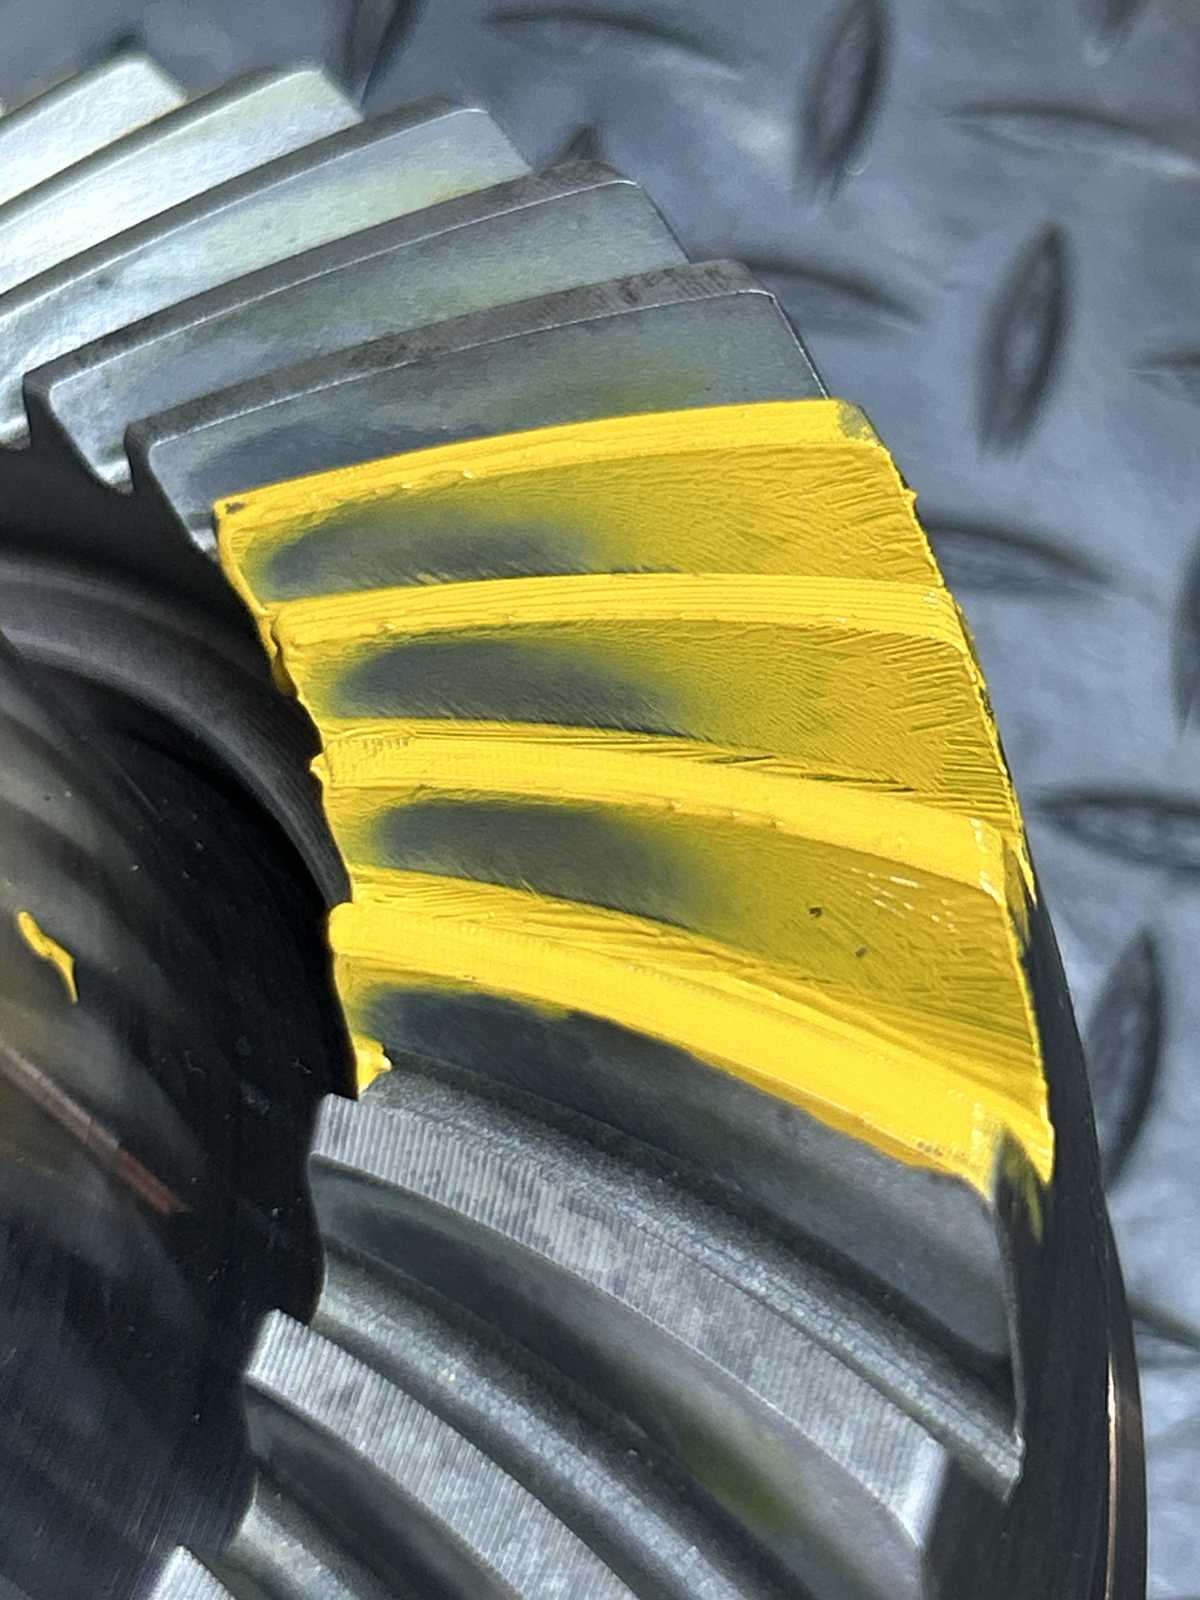
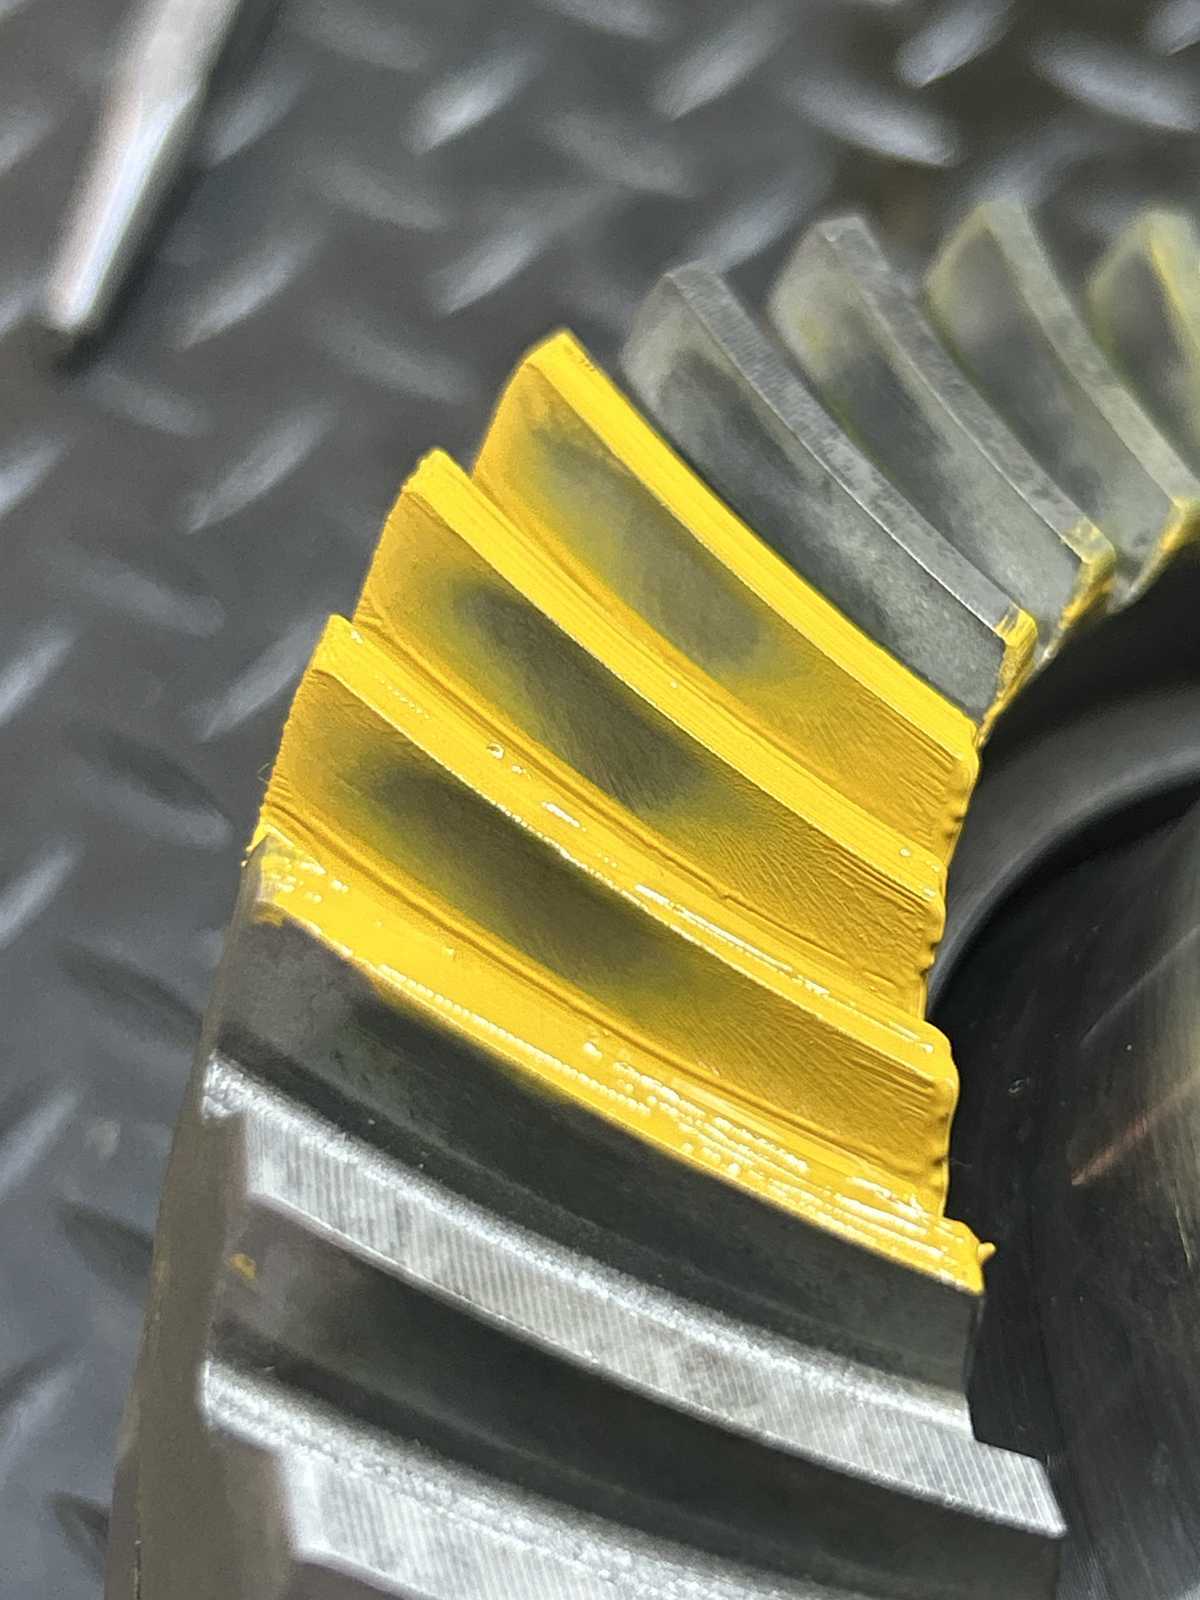
| Drive....way too deep. |
|
| drive reverse painted says the same thing. |
|
| Coast is screaming too deep. |
|
| coast reverse painted same thing. |
|
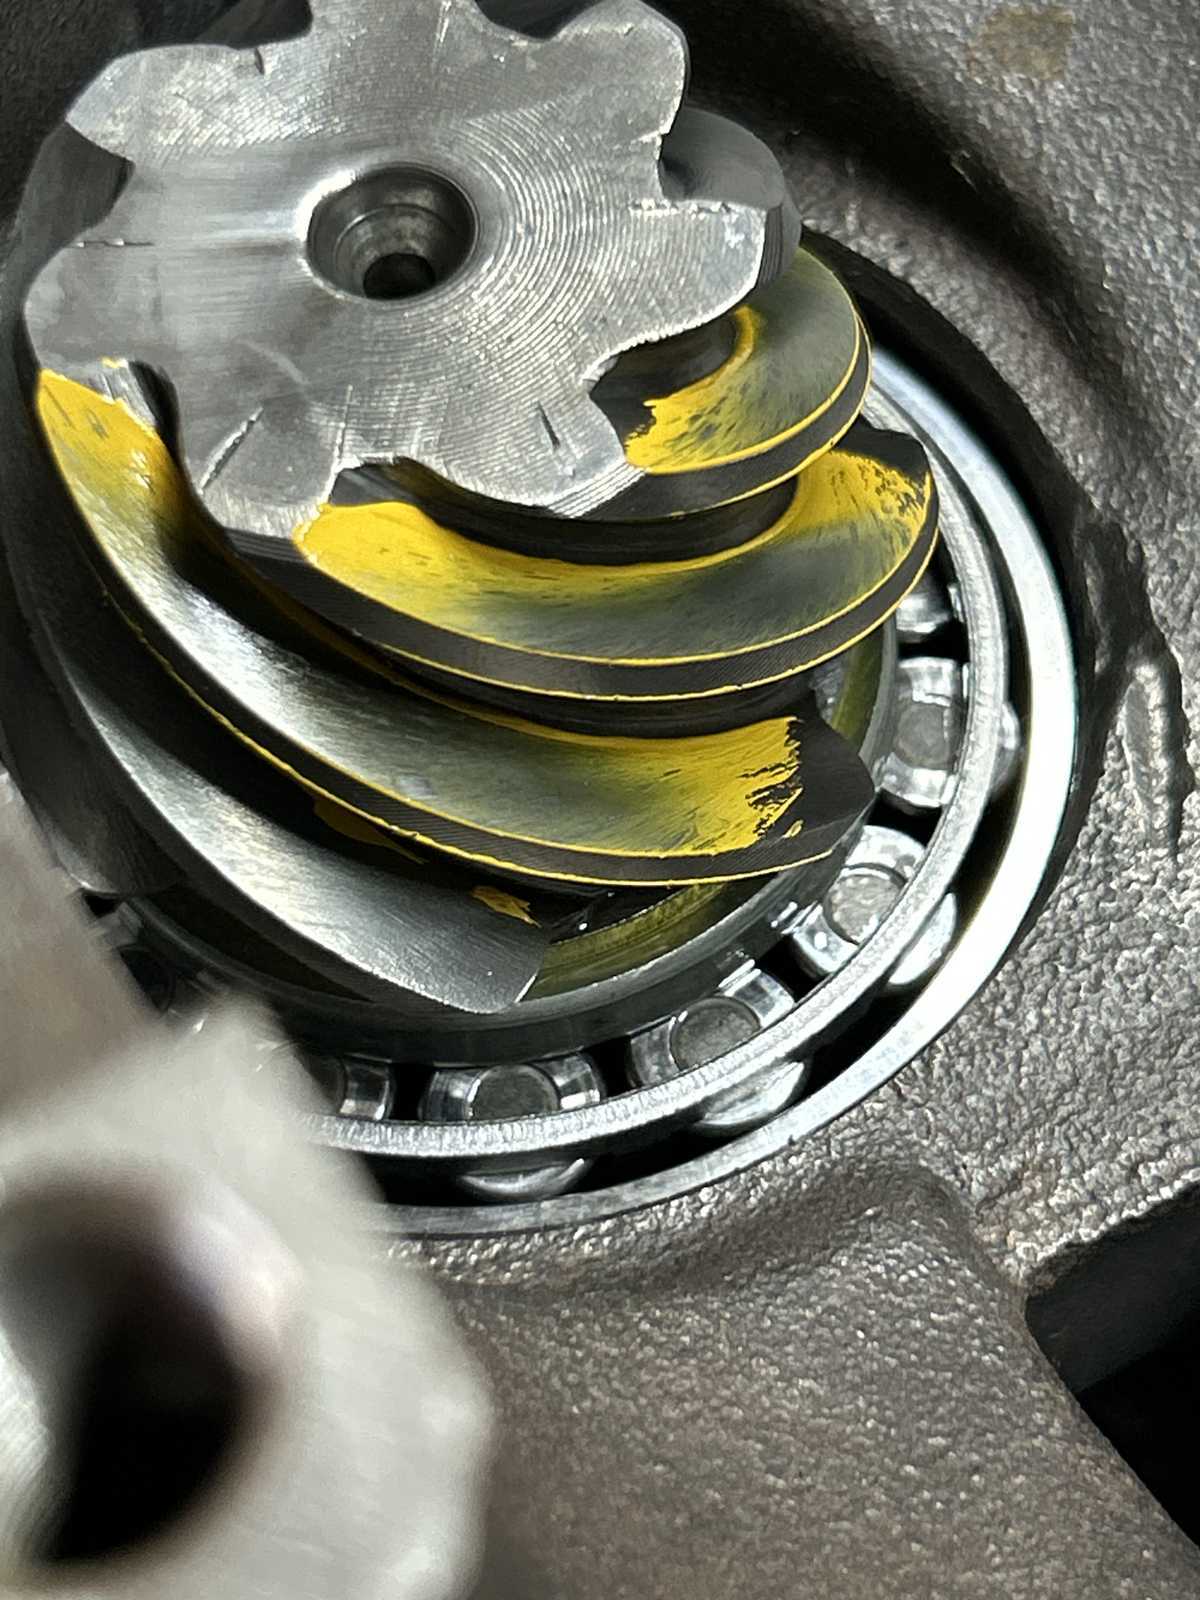
| Pinion tooth has a lot more contact on the outside edge verses the root of the tooth. |
|
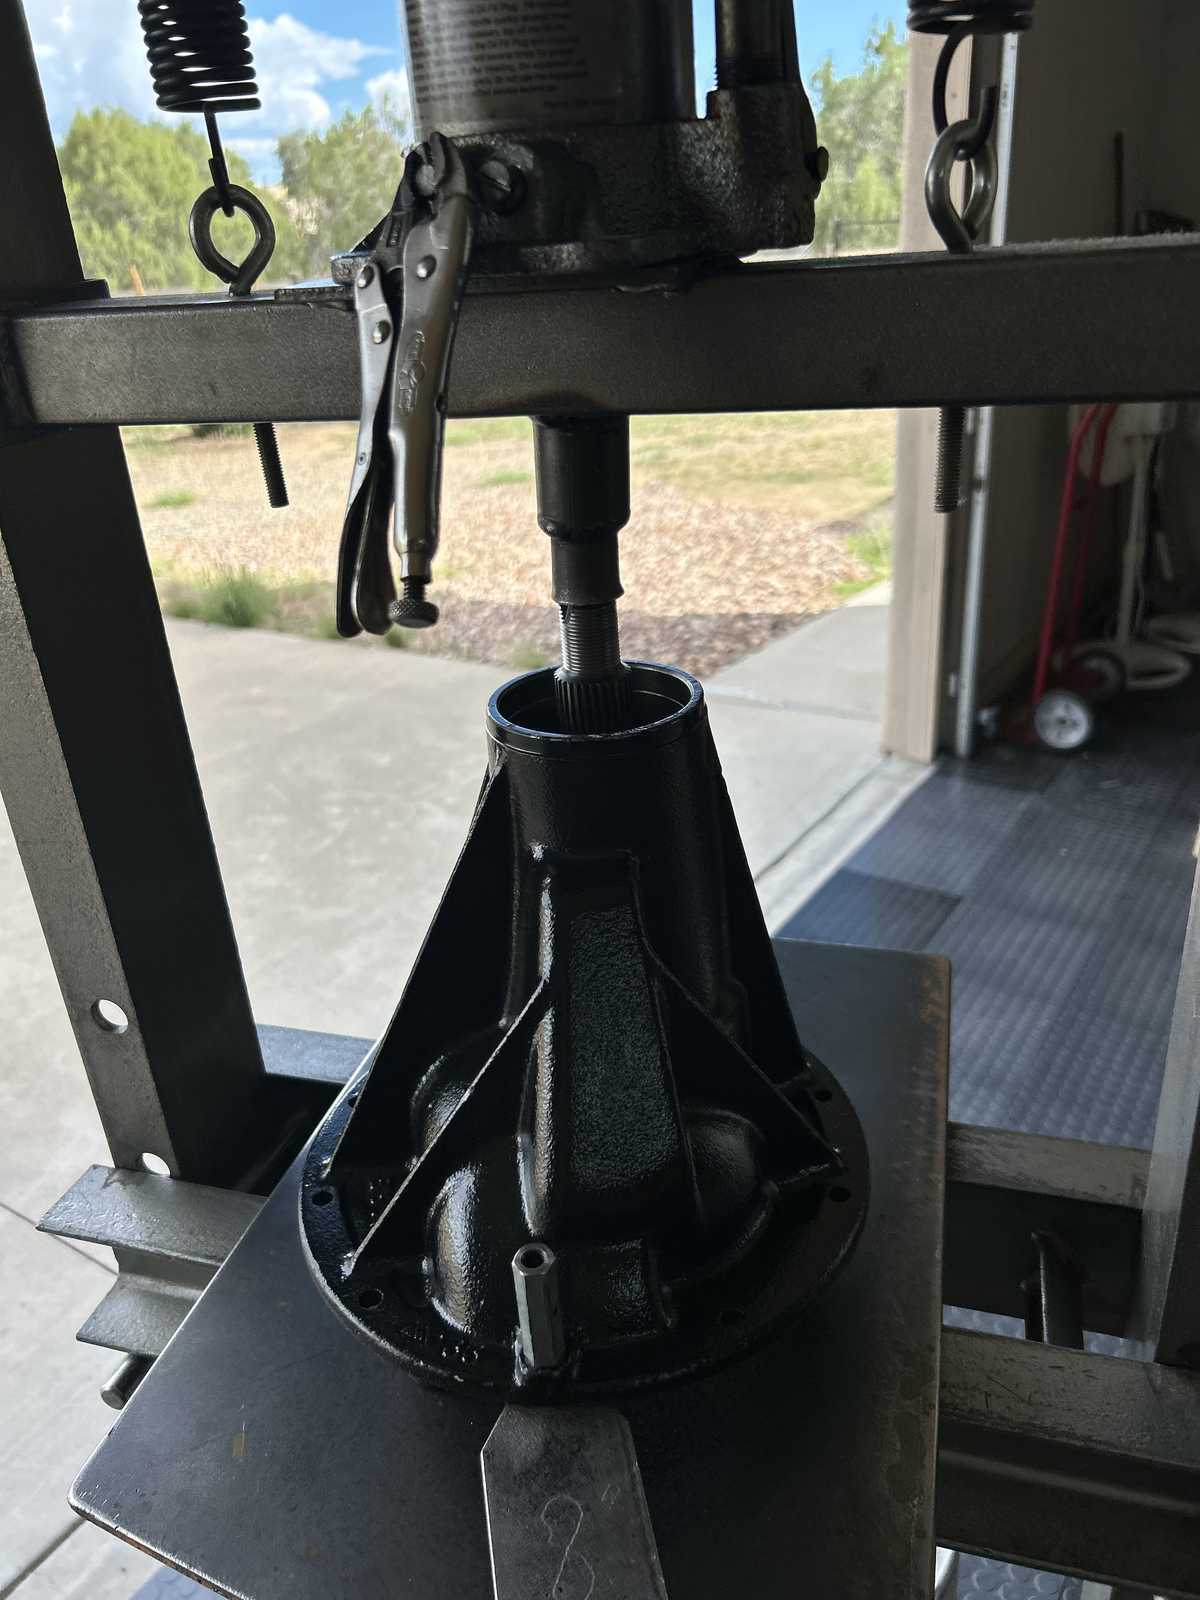
| Here we go....press the pinion out. |
|
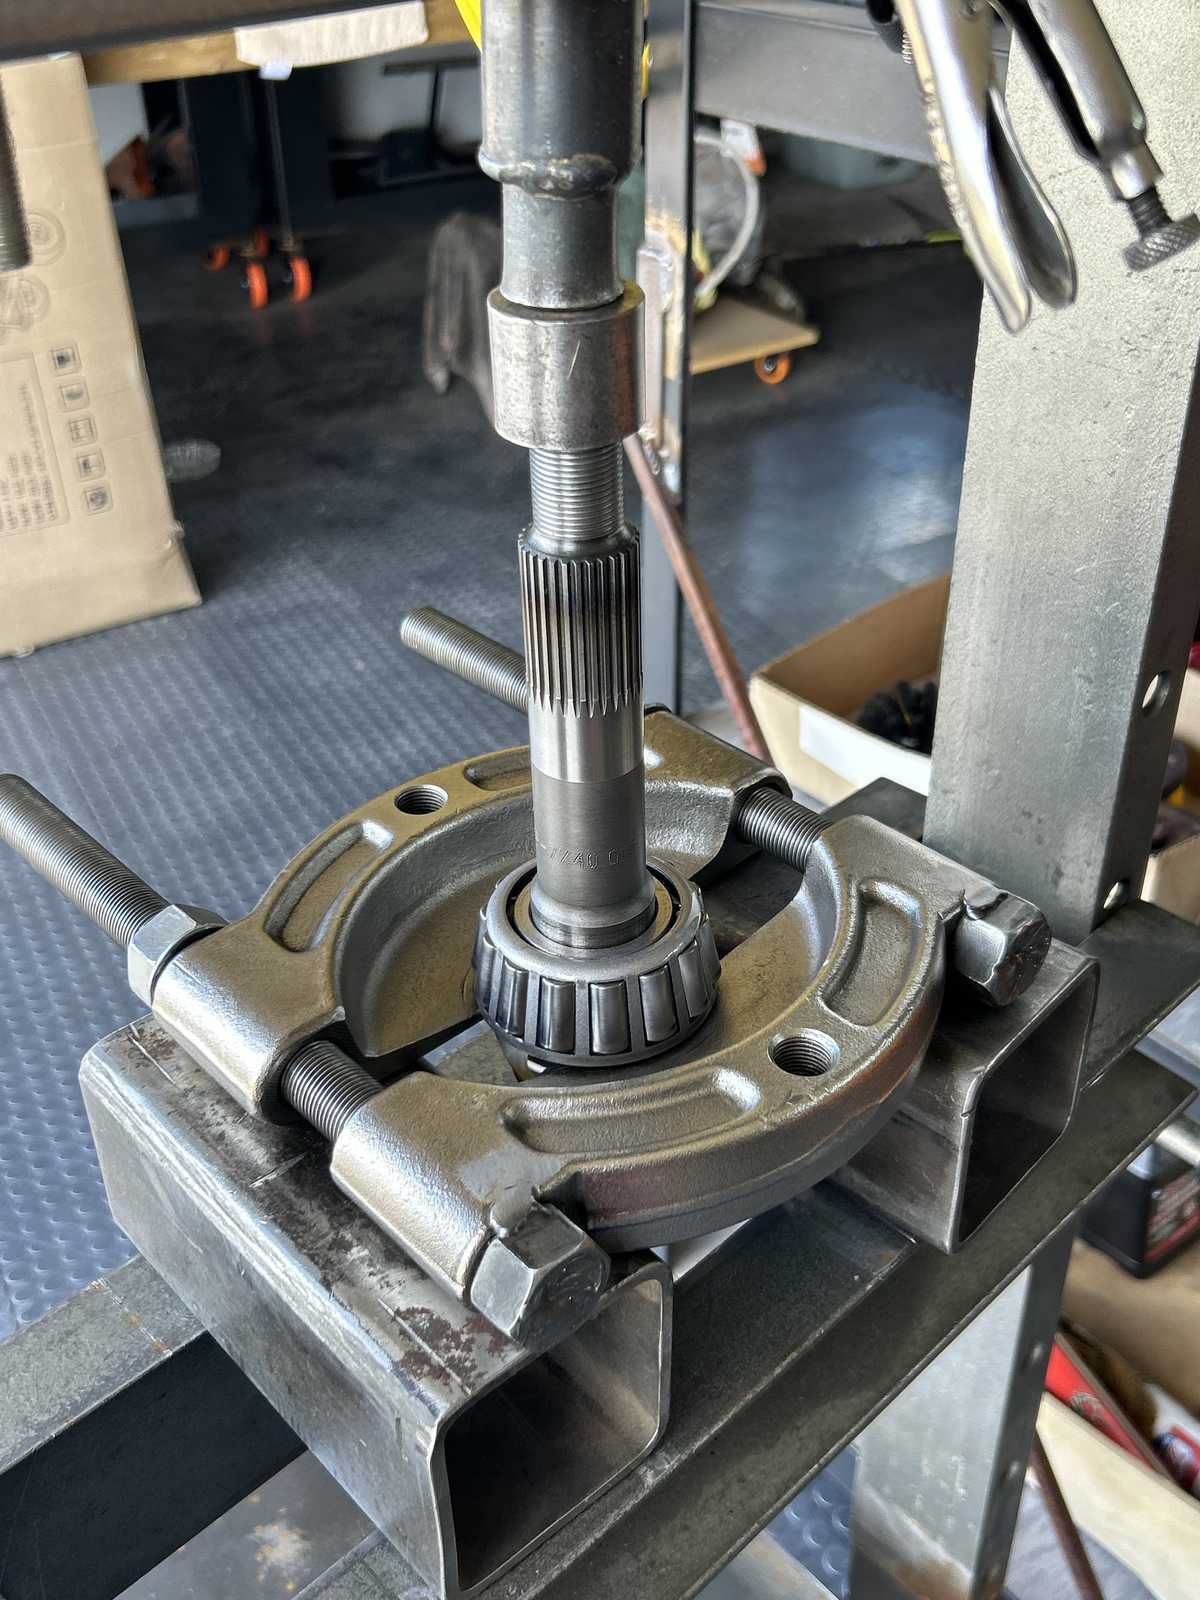
| Press the bearing off. |
|
| And let's try a thinner .089" |
|
| Drive ....still deep |
|
| drive reverse painted....deep |
|
| Coast....still deep. |
|
| Coast reverse painted....deep |
|
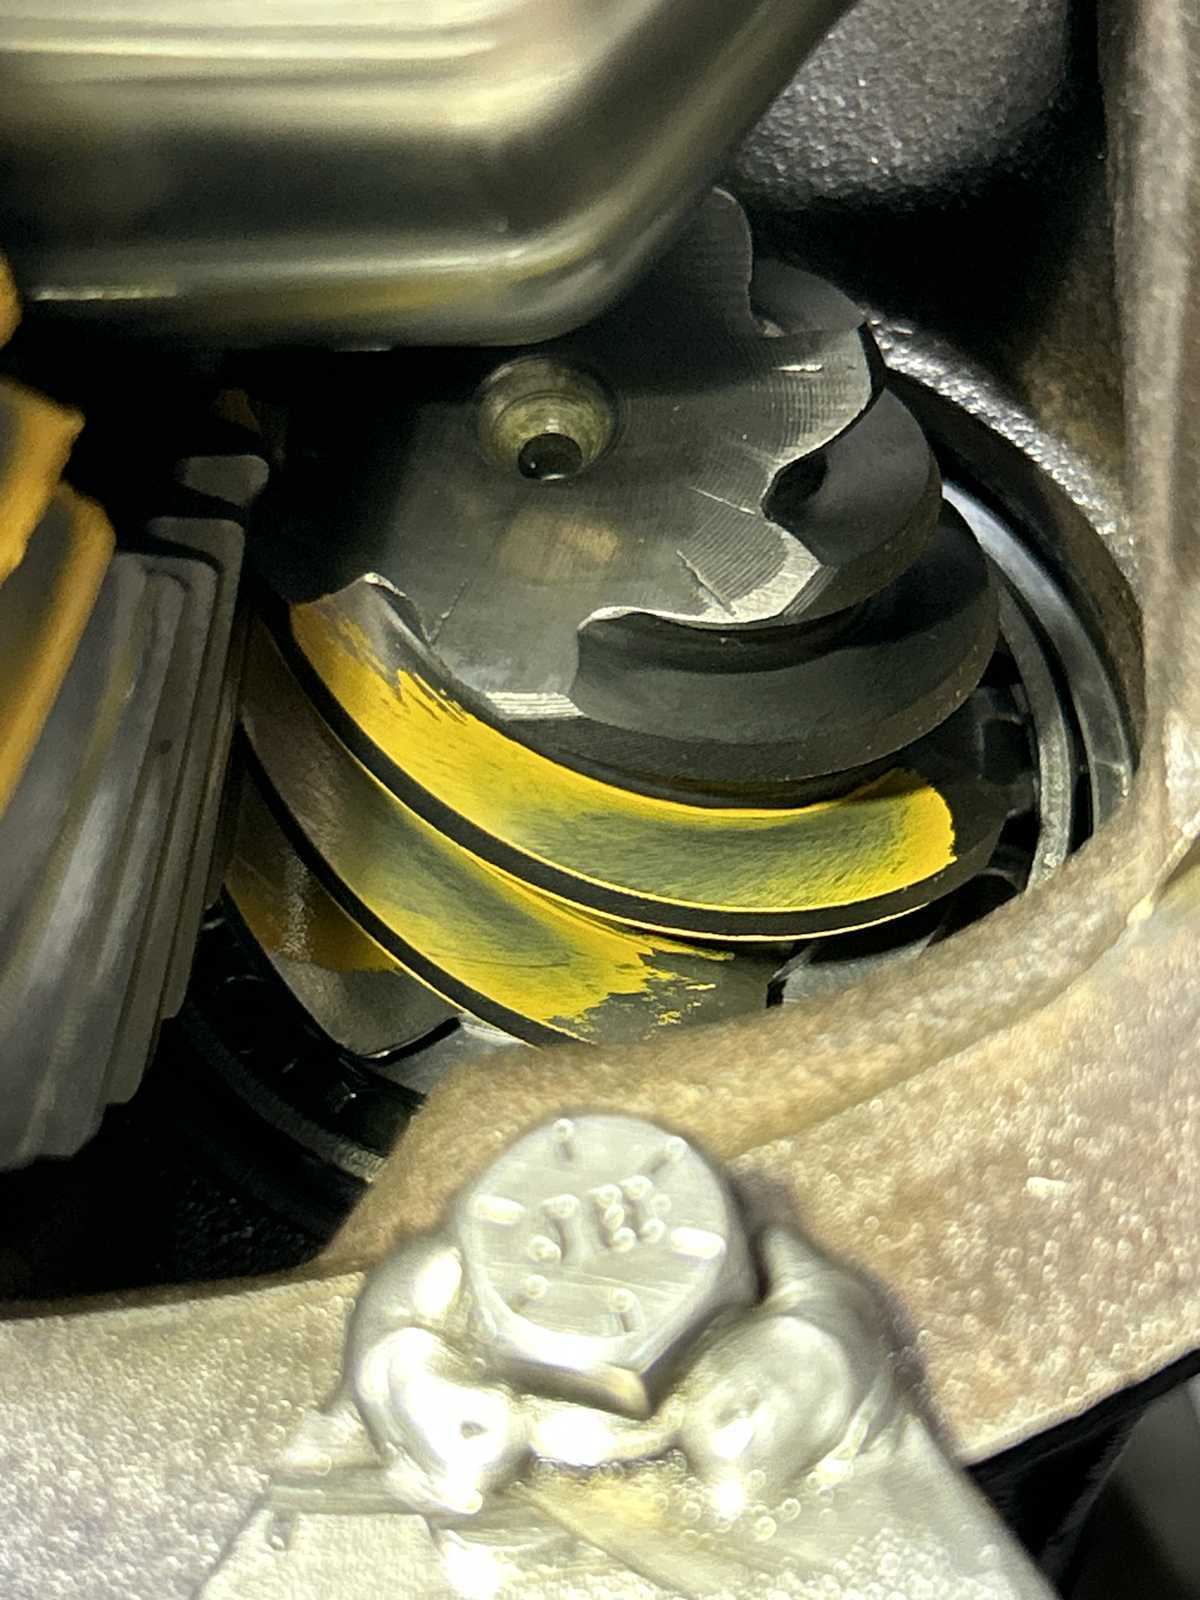
| Disassemble and let's try a thinner .085" |
|
| Drive so close...maybe a tad shallow now. |
|
| Drive reverse painted....slight shallow |
|
| Coast...favors the toe. |
|
| Coast reverse painted....favors toe. |
|
| Now the pinion tooth has a touch too much root contact. |
|
| ,,,,,,,,,,,,,,,,,,,,,, |
|
| ,,,,,,,,,,,,,,,,,,,,, |
|
| So this is the "fine tune" step....maybe .0015" thicker. This is .0865". |
|
|
And now the solid collar can be installed. Shooting for the same 2.440" so a .068" shim should do the trick. |
|
| Medium power and I see 4 in/lb so this will work perfect. |
|
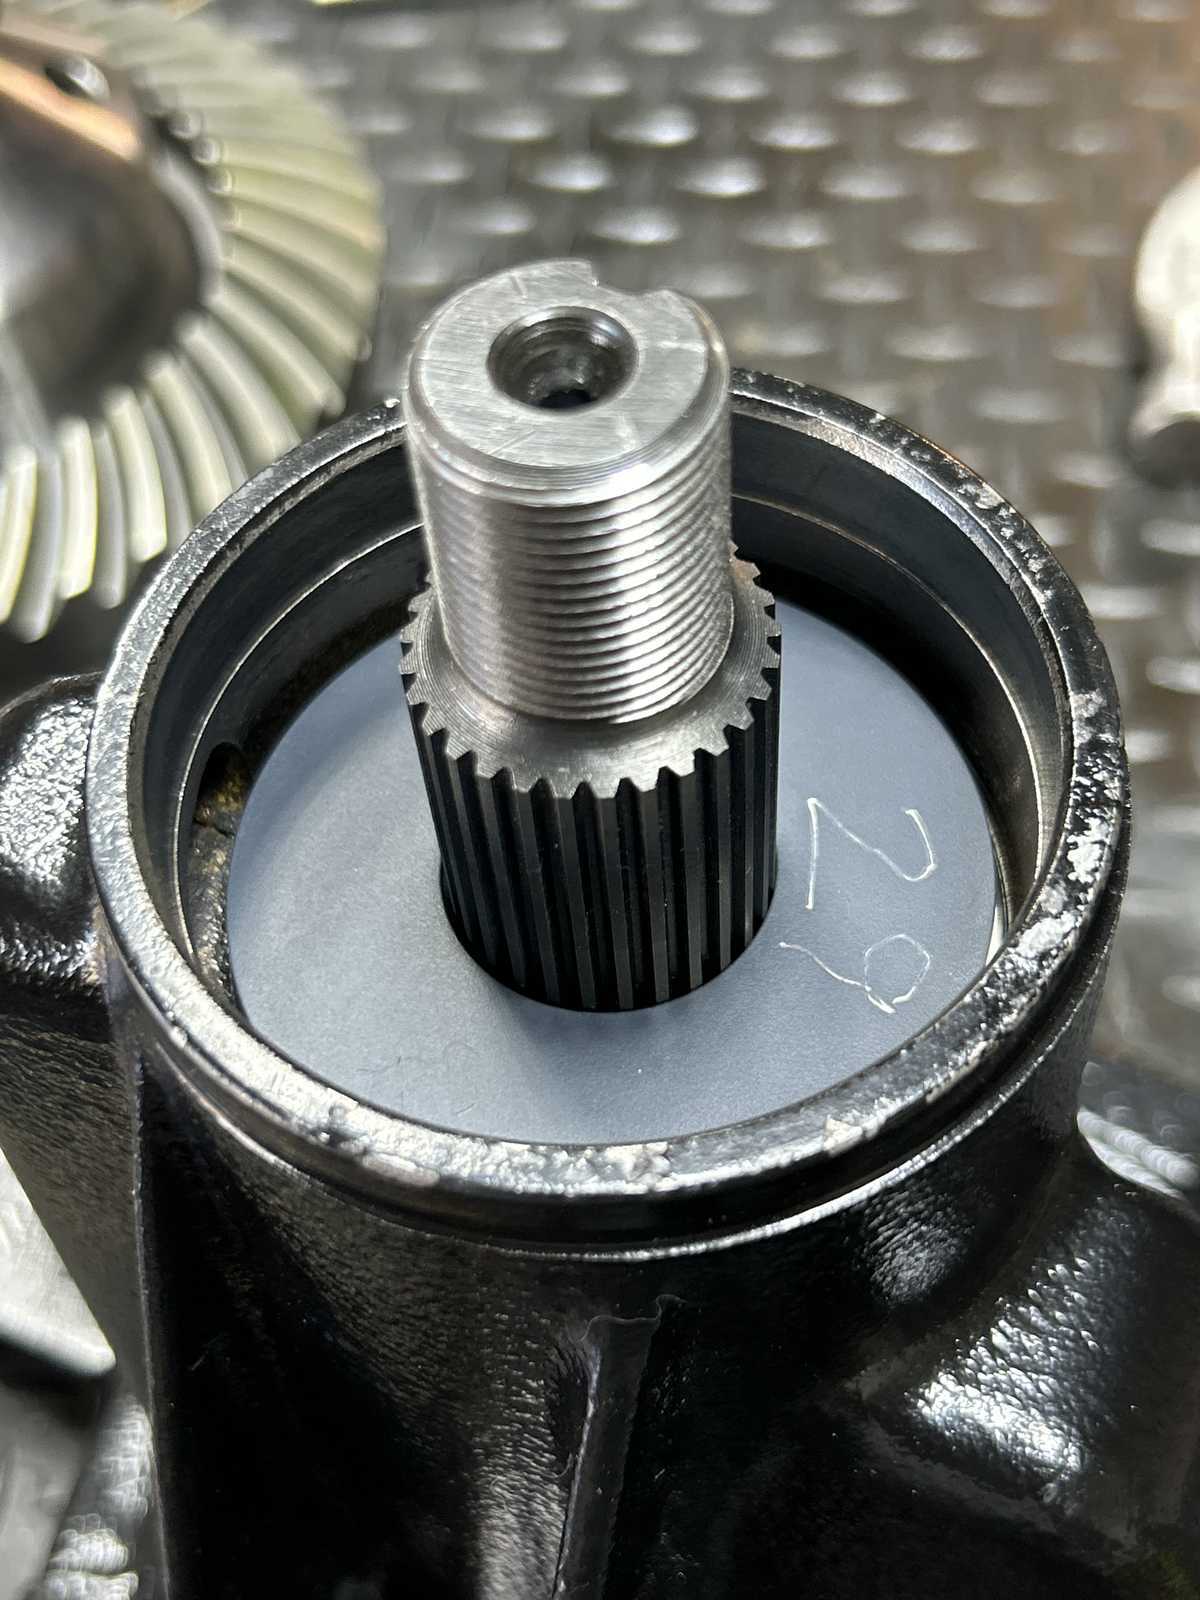
| This is a 29 spline pinion so a larger slinger goes in..... |
|
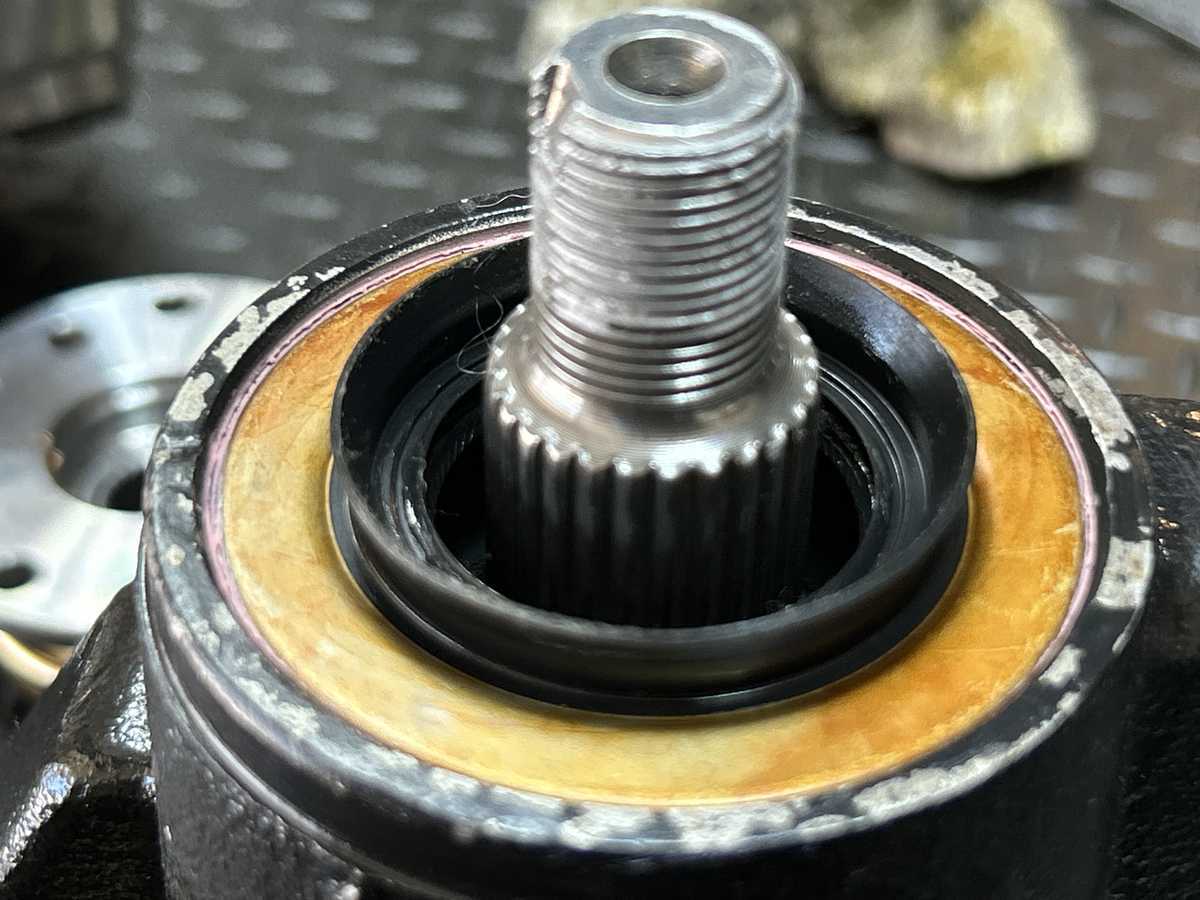
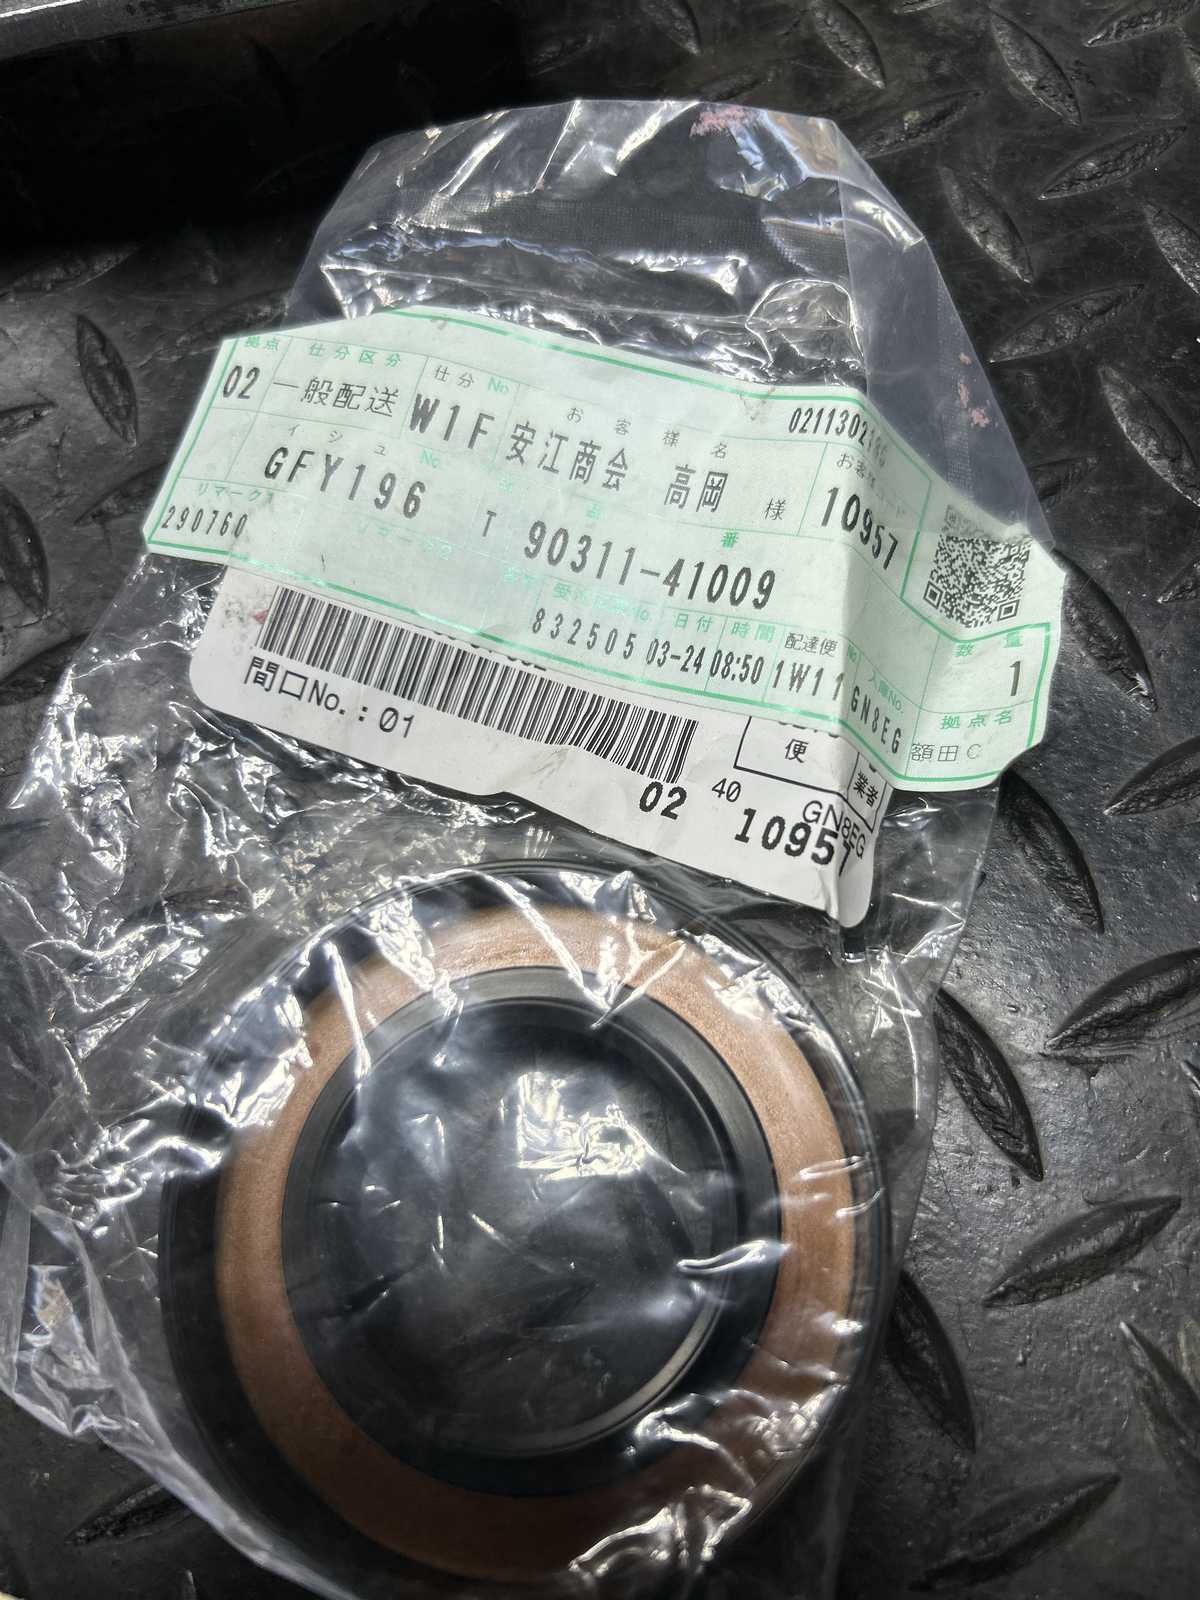
| 29 spline factory seal is the only way to go. |
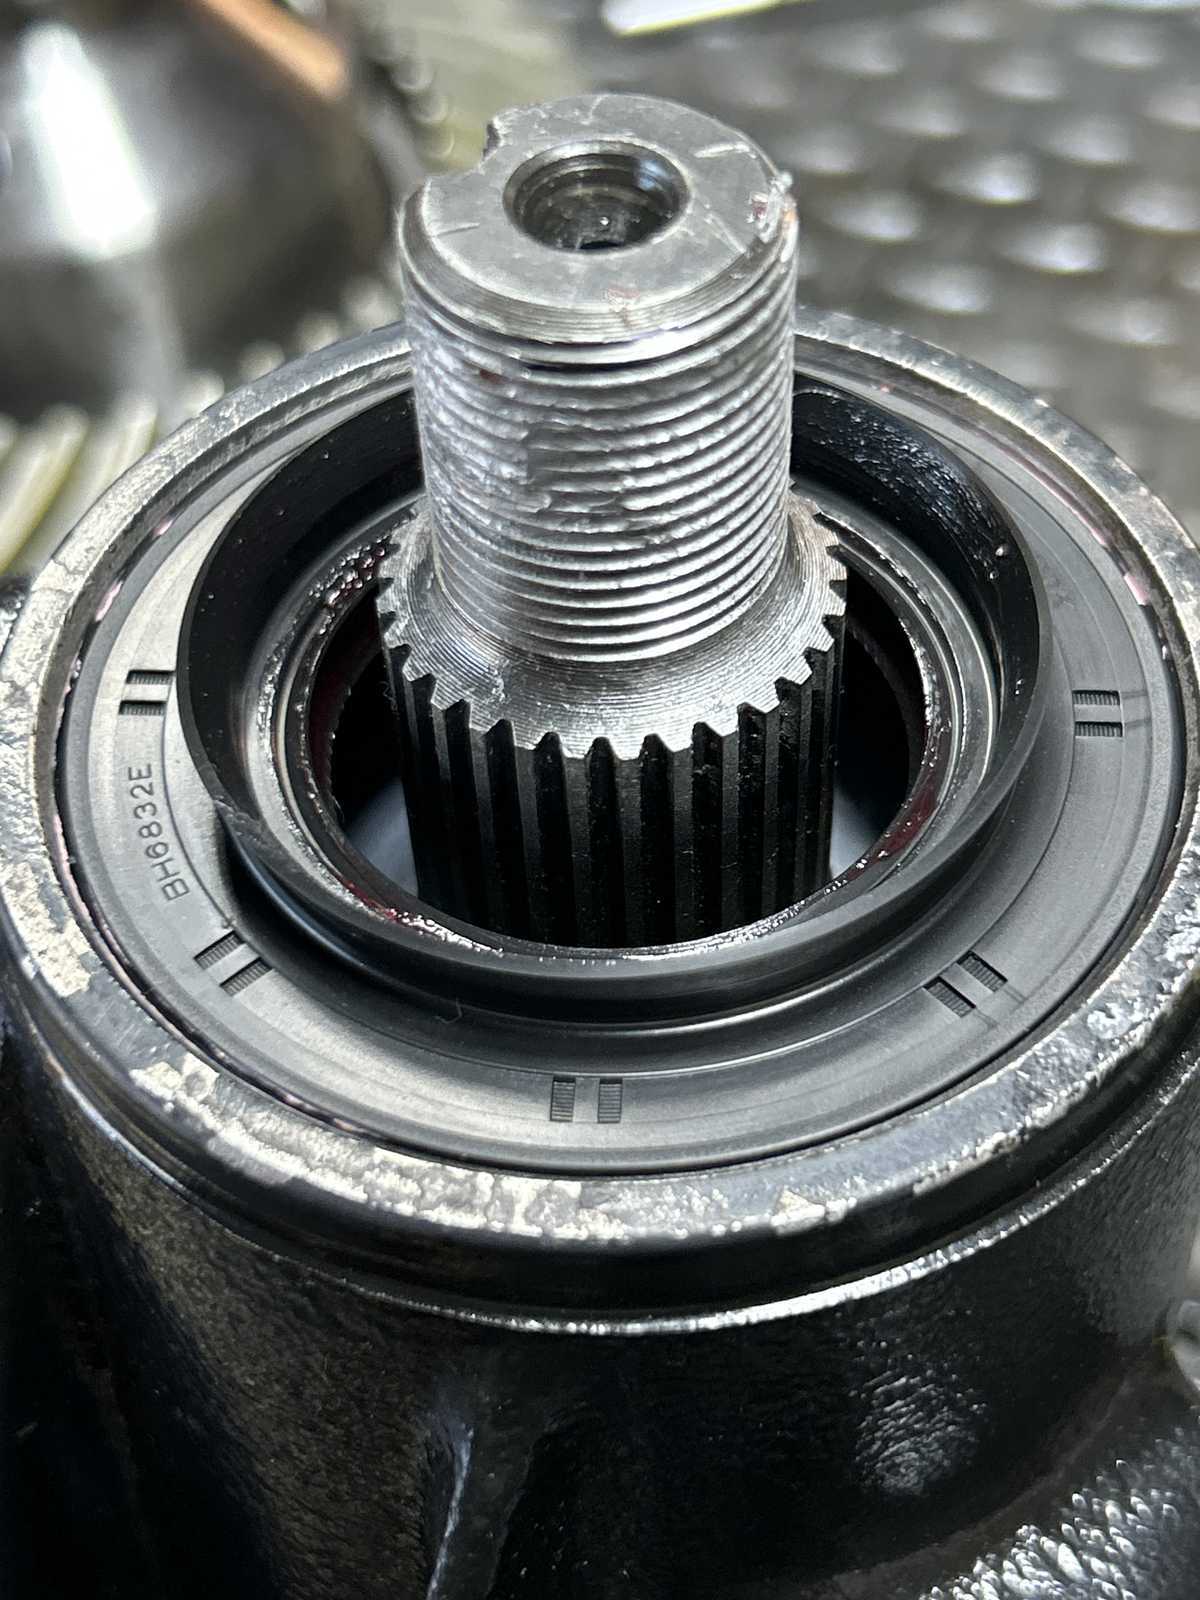
|
| Recessed down 1 mm. |
|
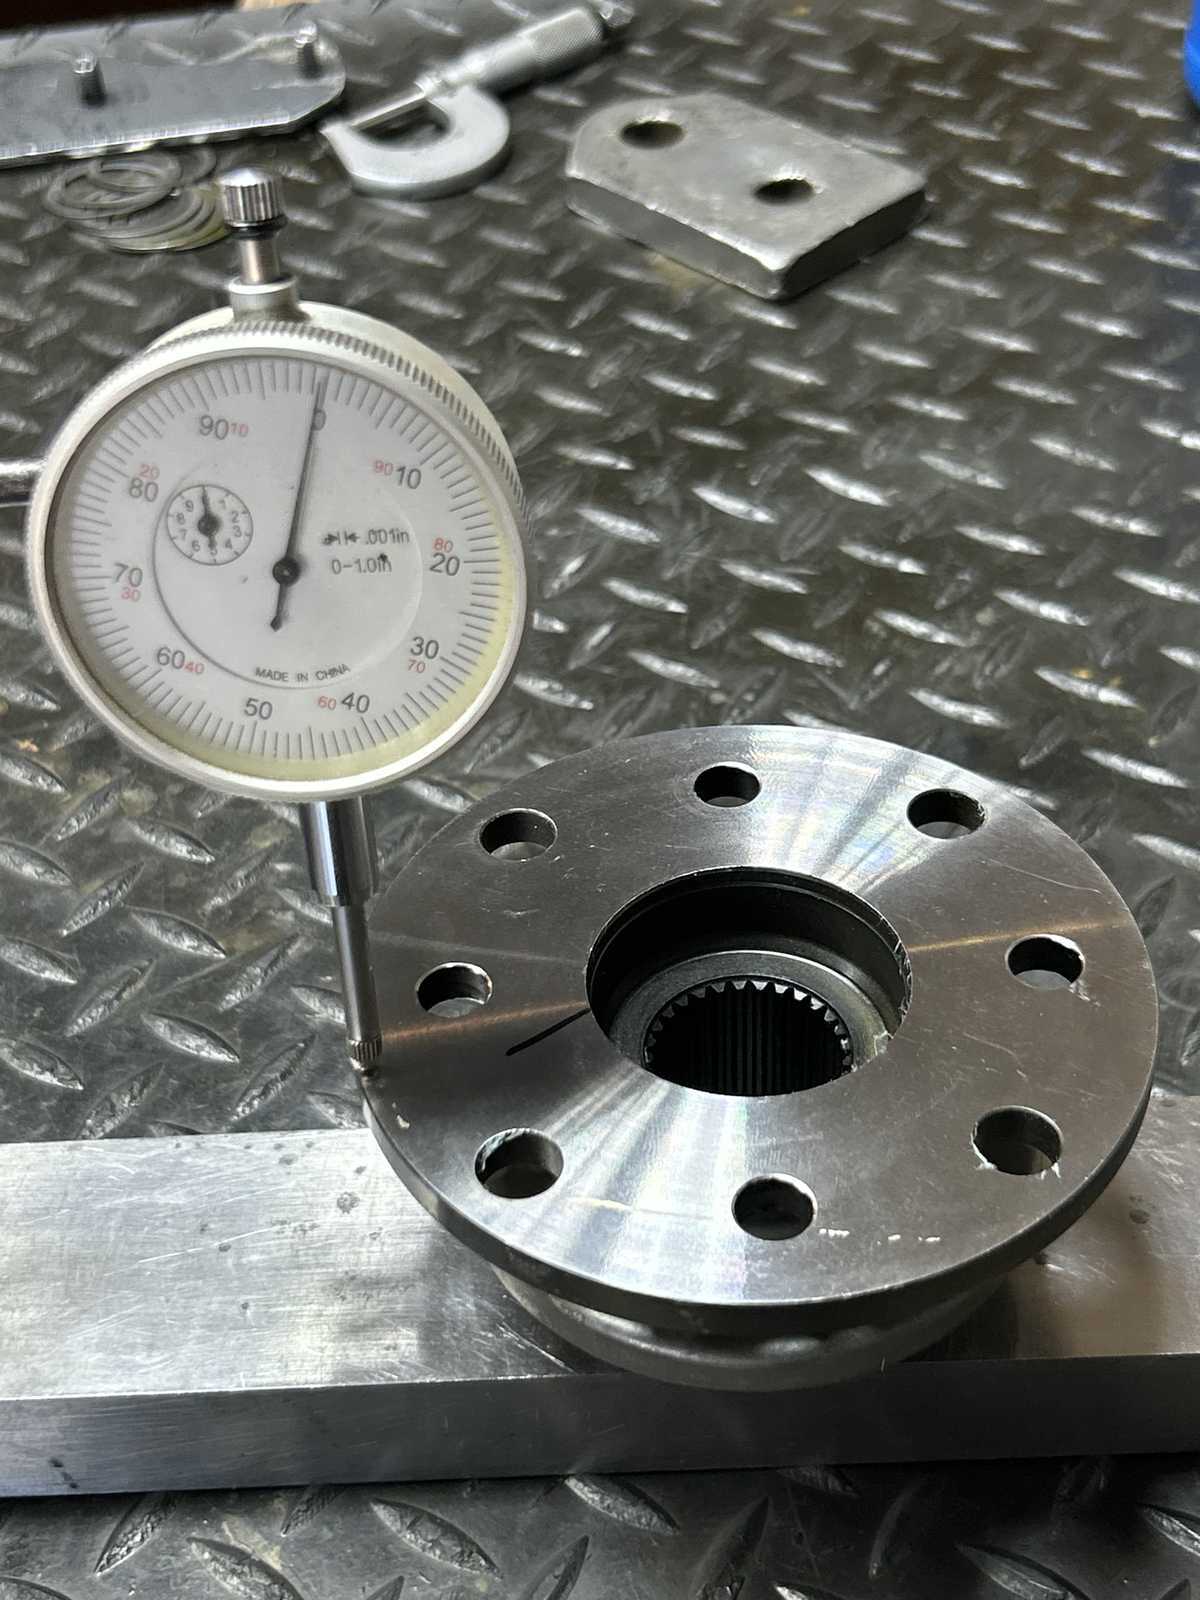
| The new flange was checked for run-out and was amazingly low at about 1/2 thou off. |
|
|
With the flange installed and anti-seize on the threads, the cordless impact was able to dial in 11 in/lb of PPL. |
|
| Ding the nut and this end is done. |
|
|
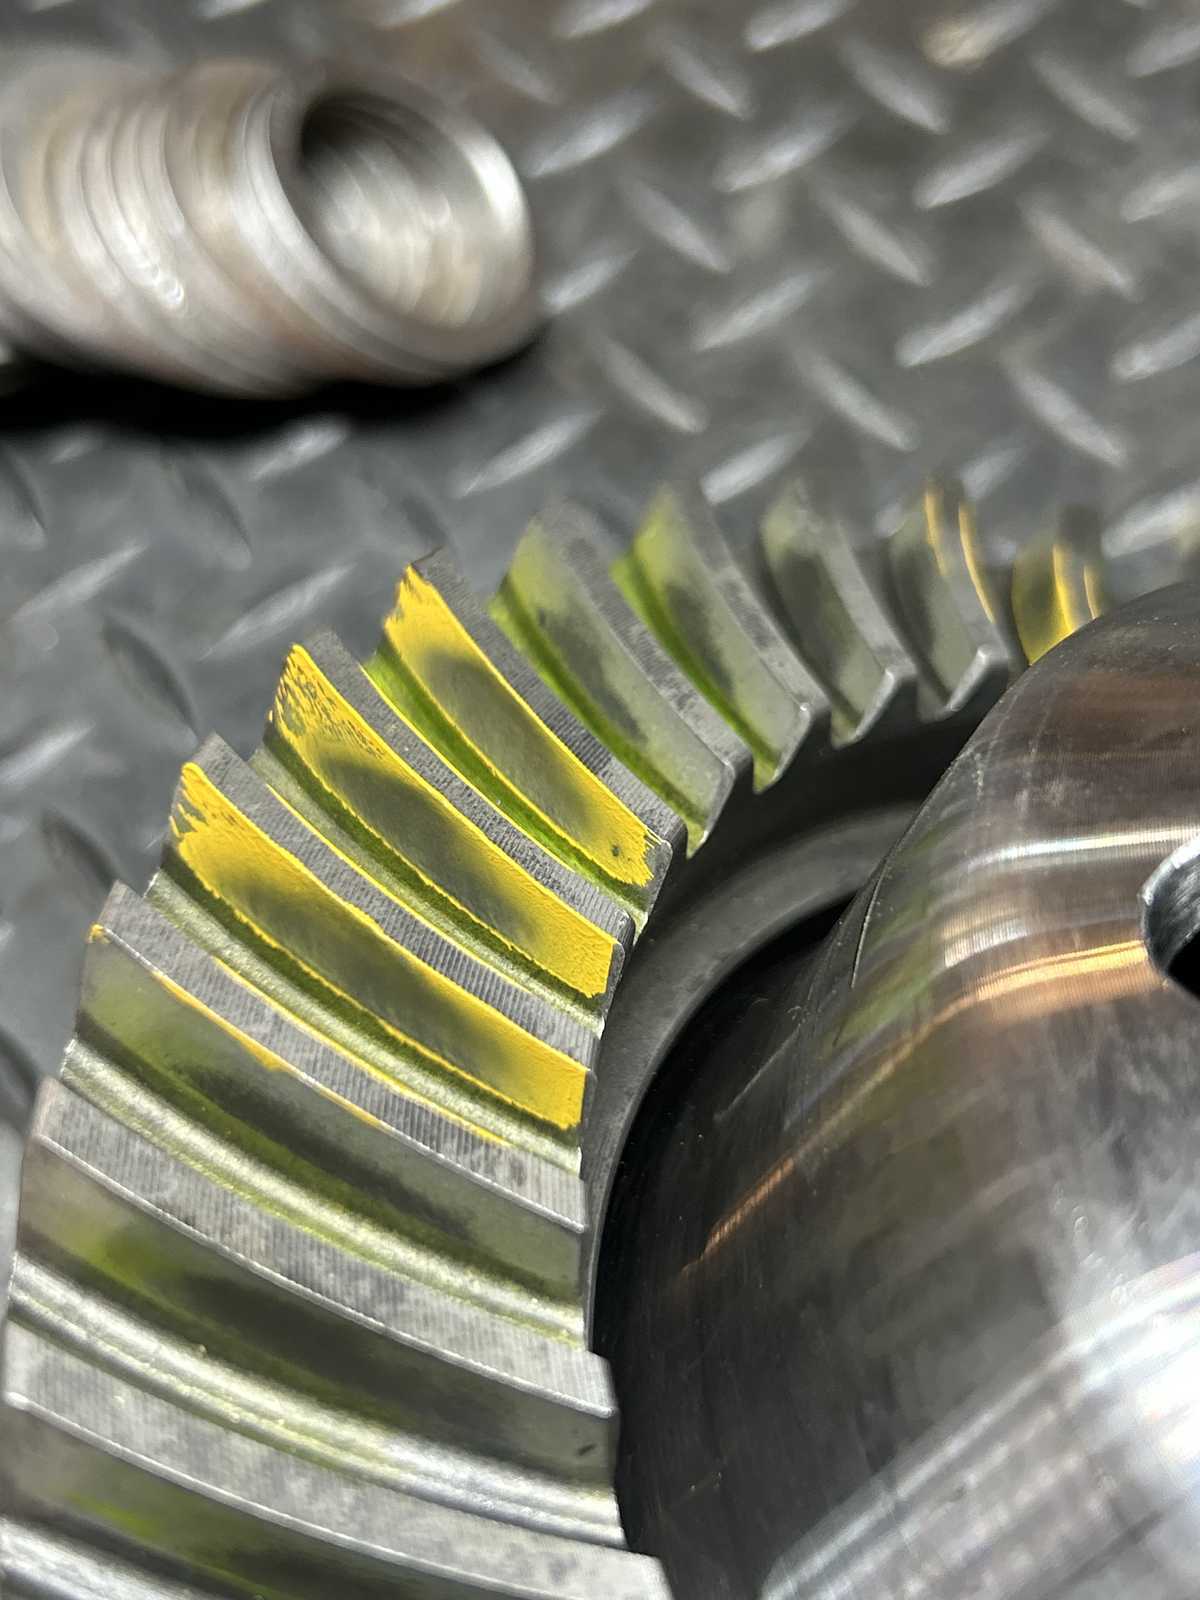
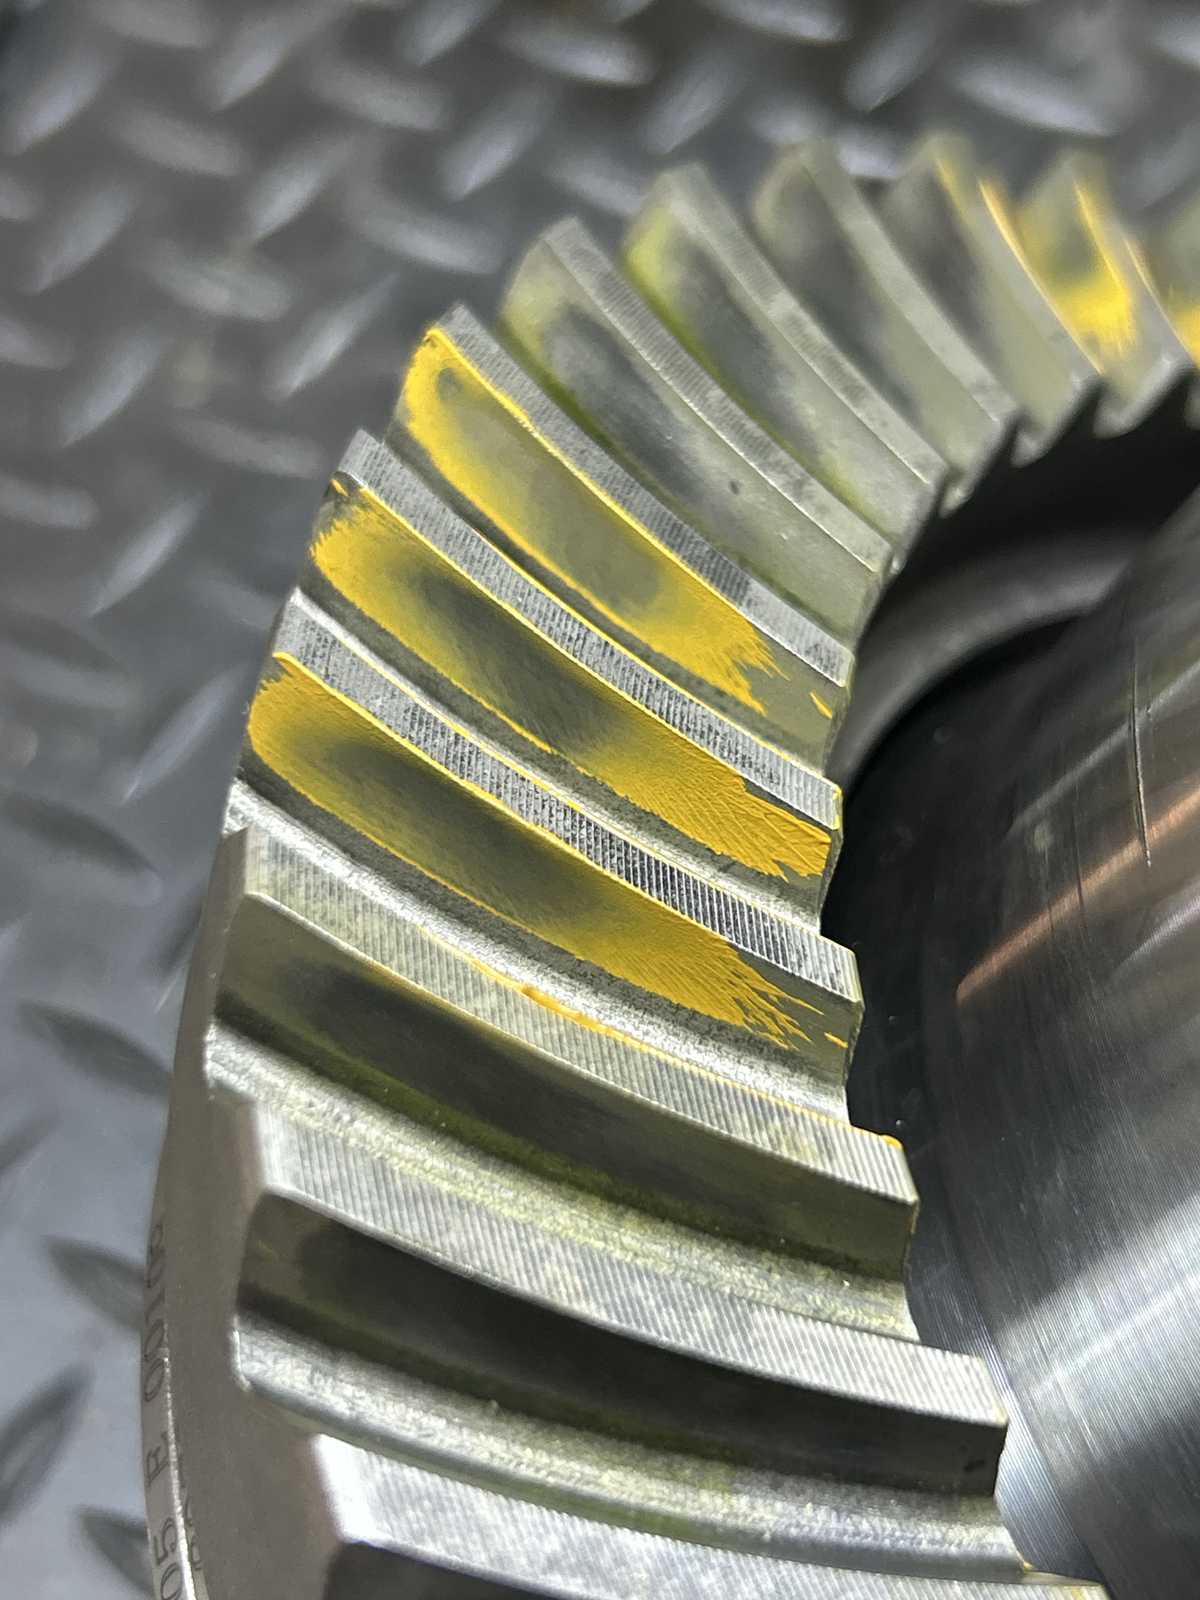
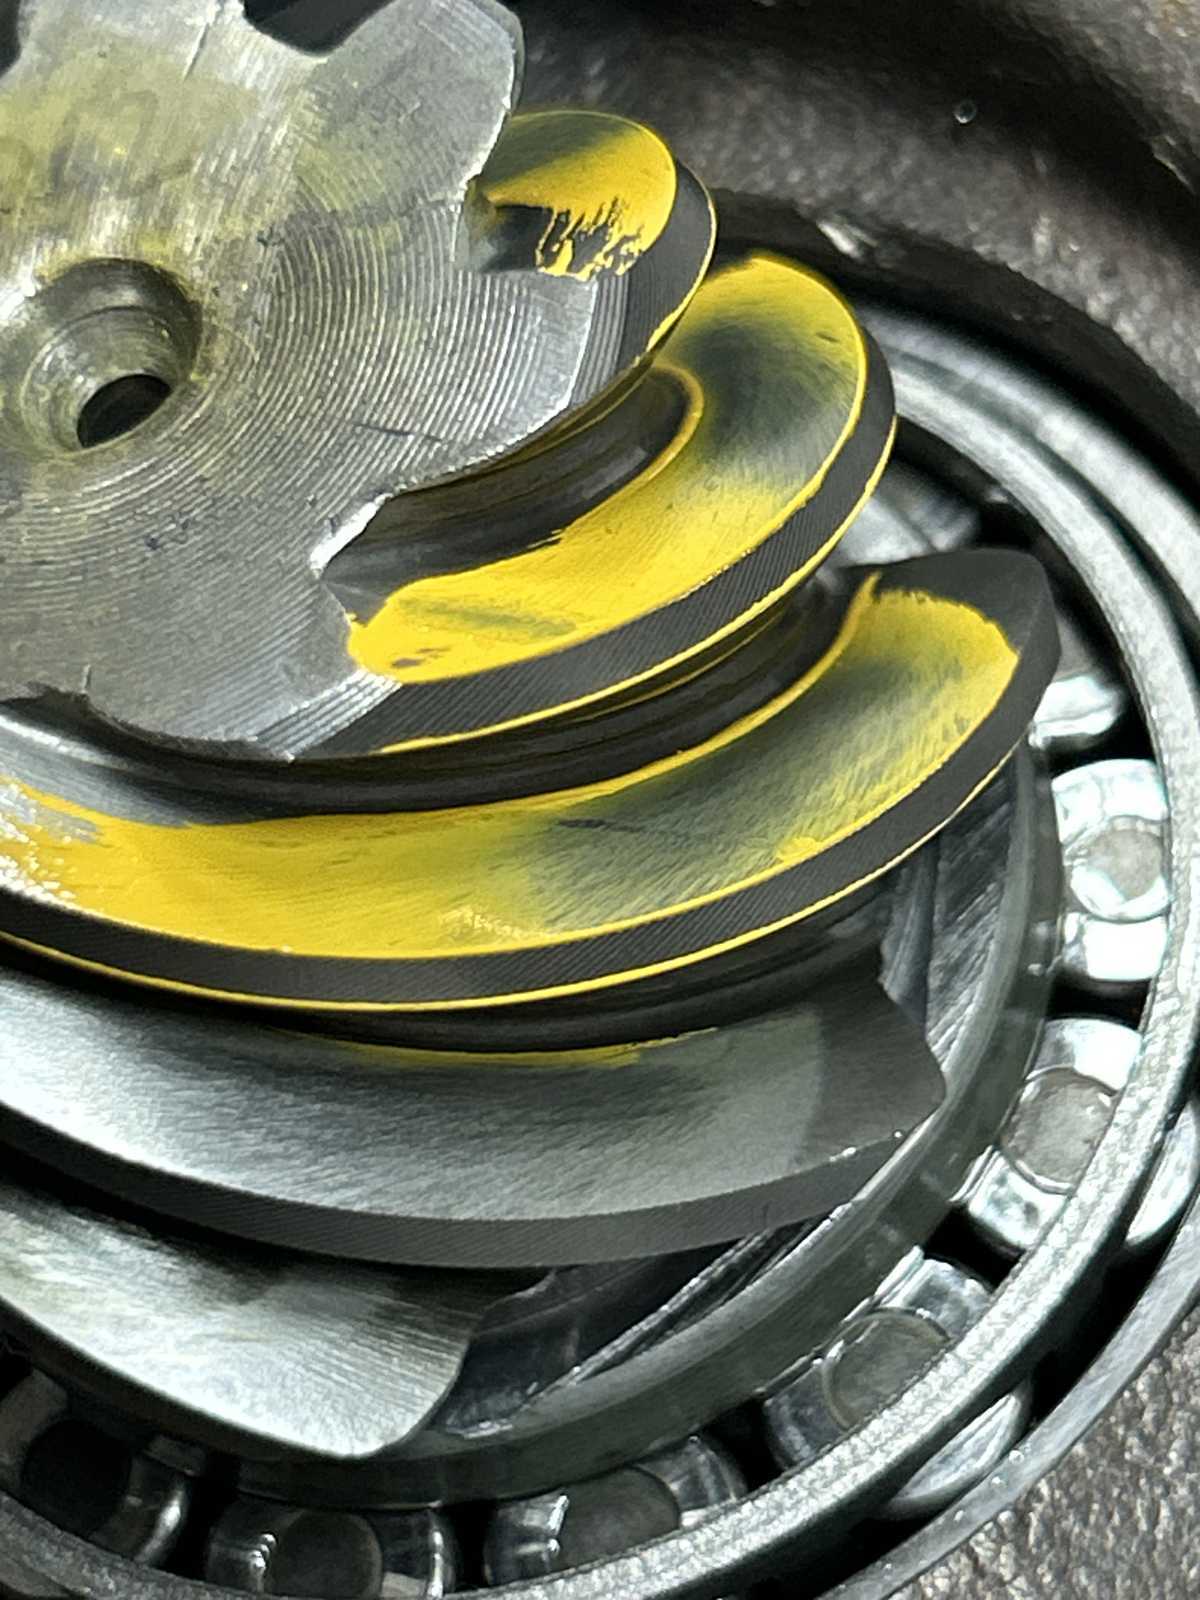
The other end went together easy and the final pattern check..... this is the DRIVE....nice. |
|
| Drive reverse painted.....nice. |
|
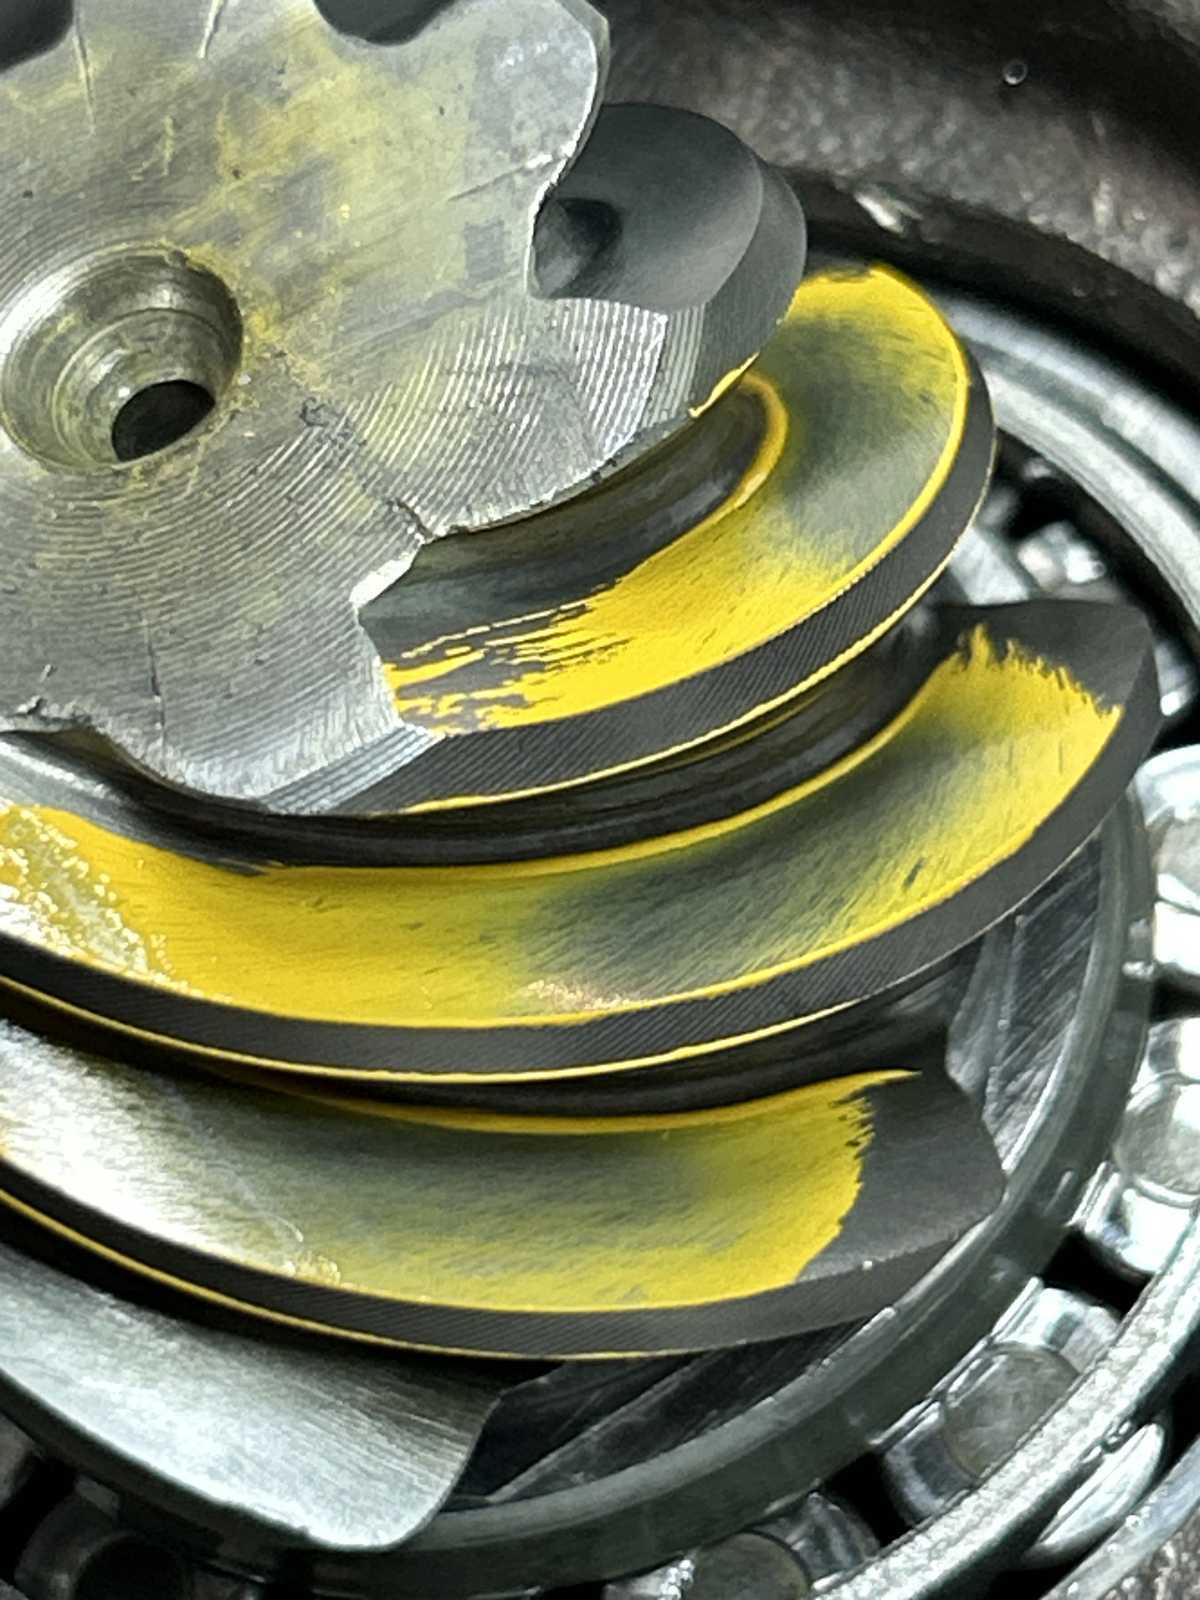
| Coast...favor the toe but nice. |
|
| Coast reverse painted....nice |
|
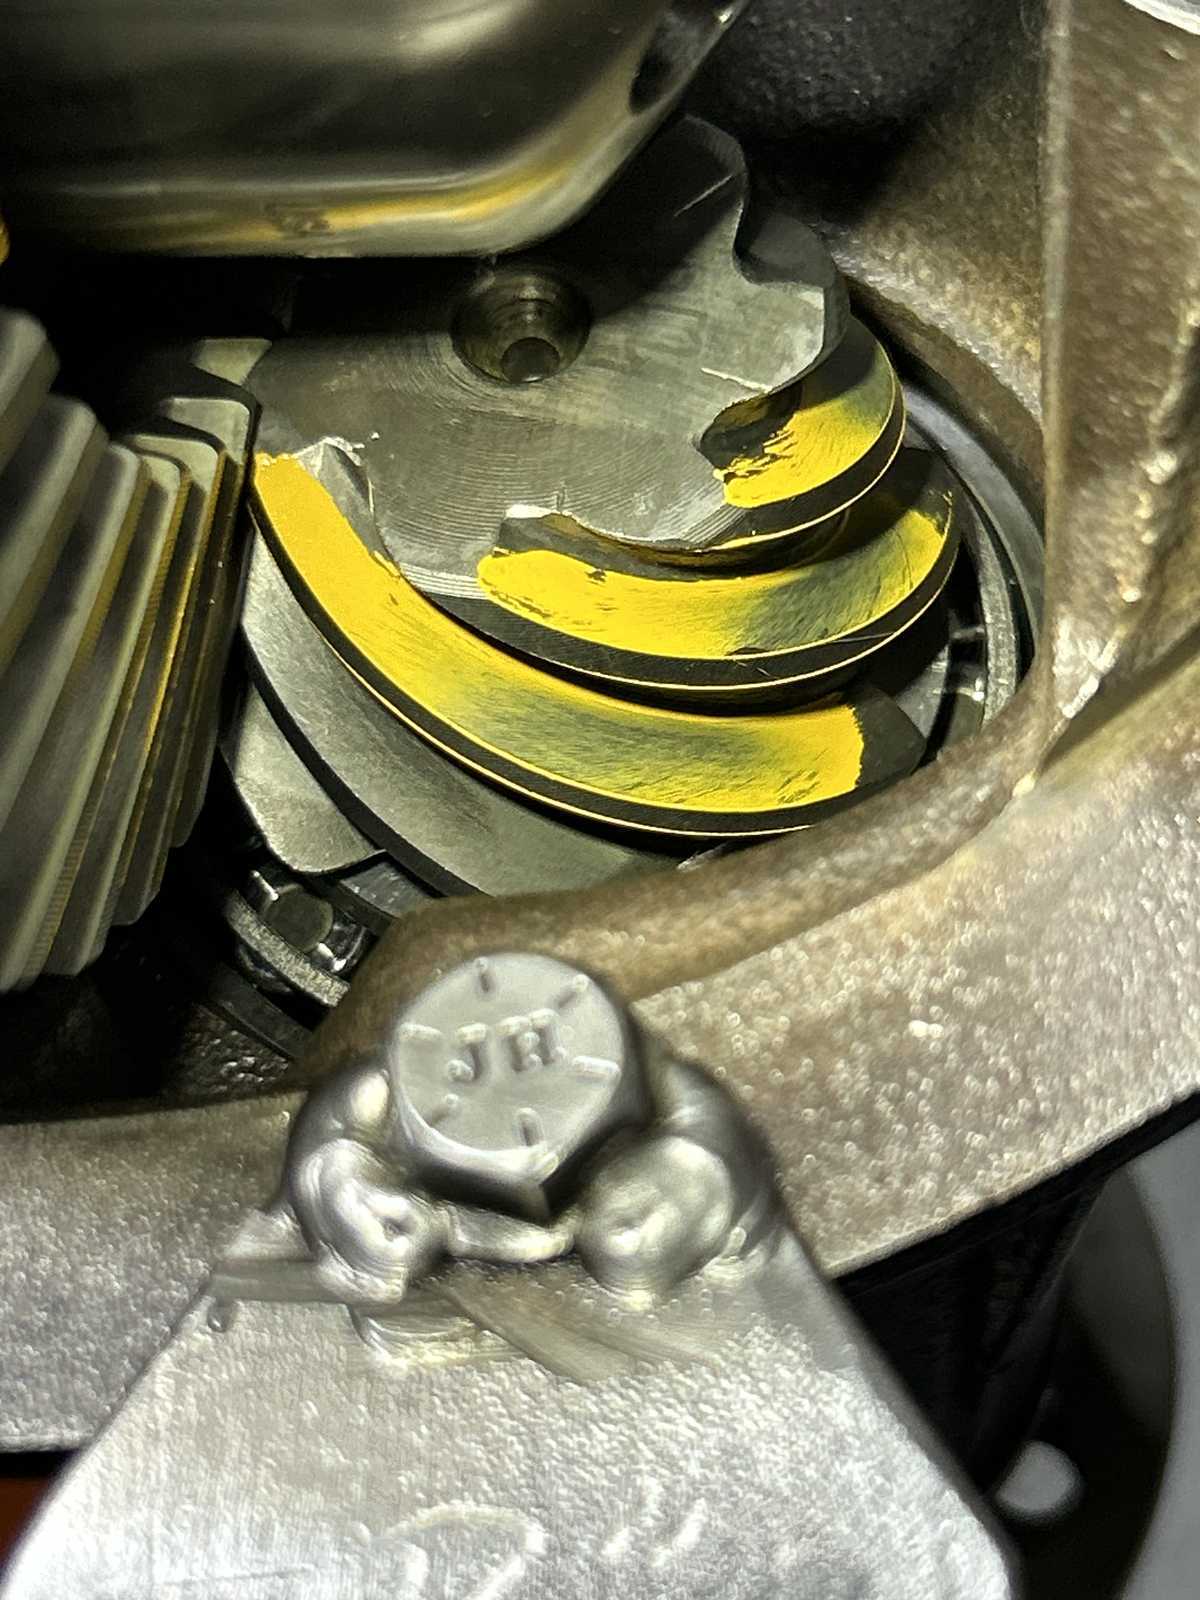
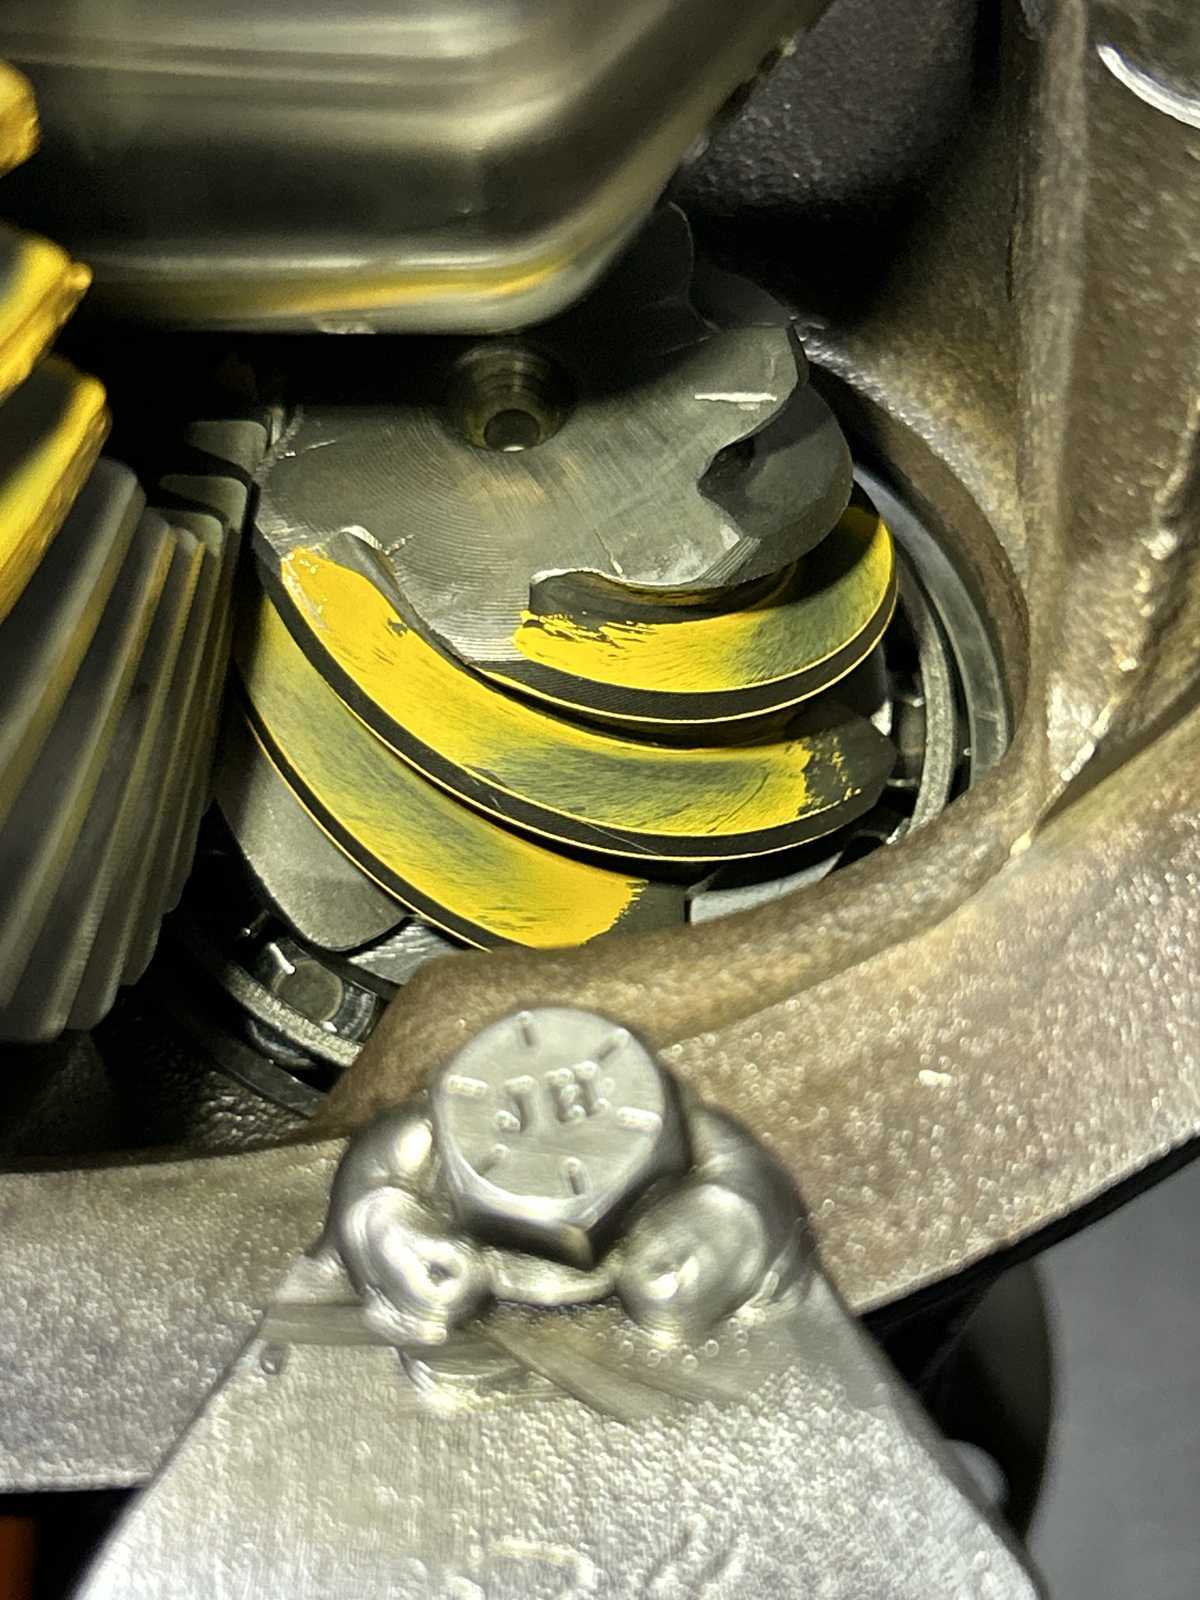
| pinion tooth.....equal line length in the root and on the face. Nice. |
|
| ,,,,,,,,,,,,,,,,,,,,,,, |
|
| ,,,,,,,,,,,,,,,,,,,,,,,,,, |
|
| Date coded.... |
|
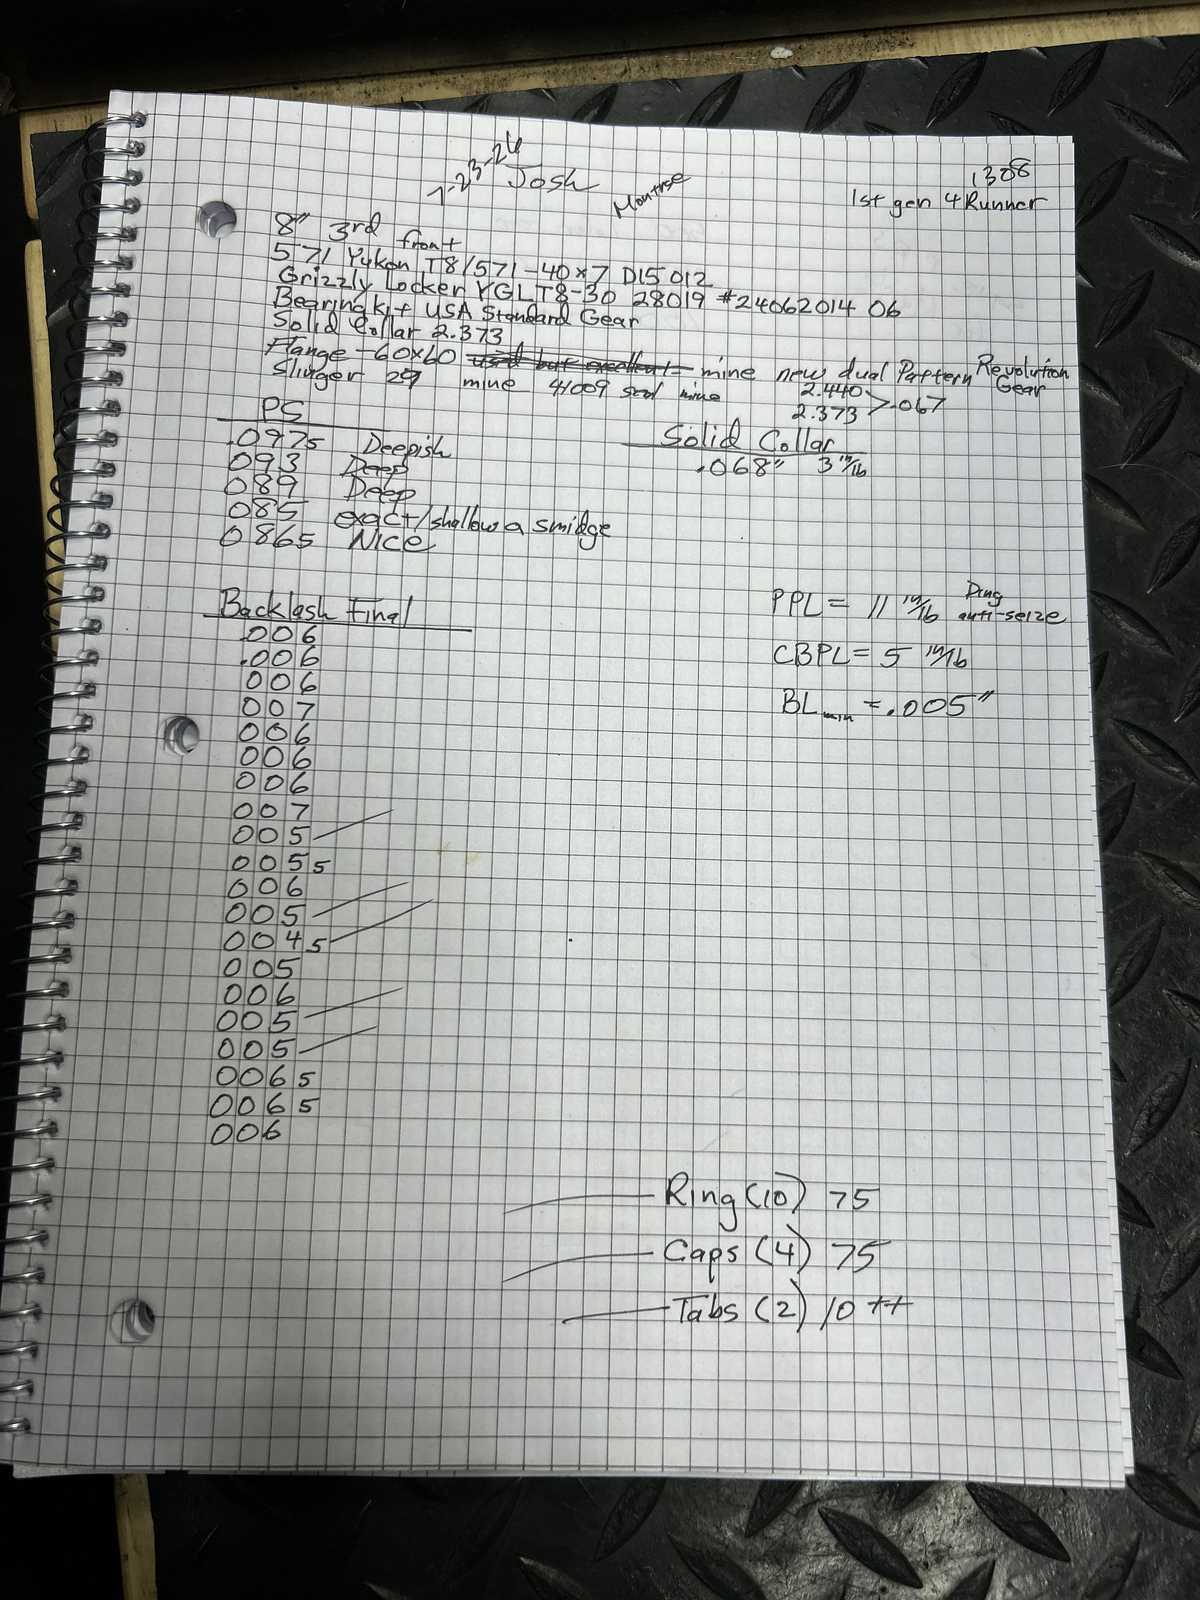
| Final notes. |
|
|