| Chris's 2014 Tundra also sees a set of Nitro Gear 488's for the front 9" clam |
|---|
| (86 BIG pics loading) |
|---|
| JULY 21 2017 |
|---|
|
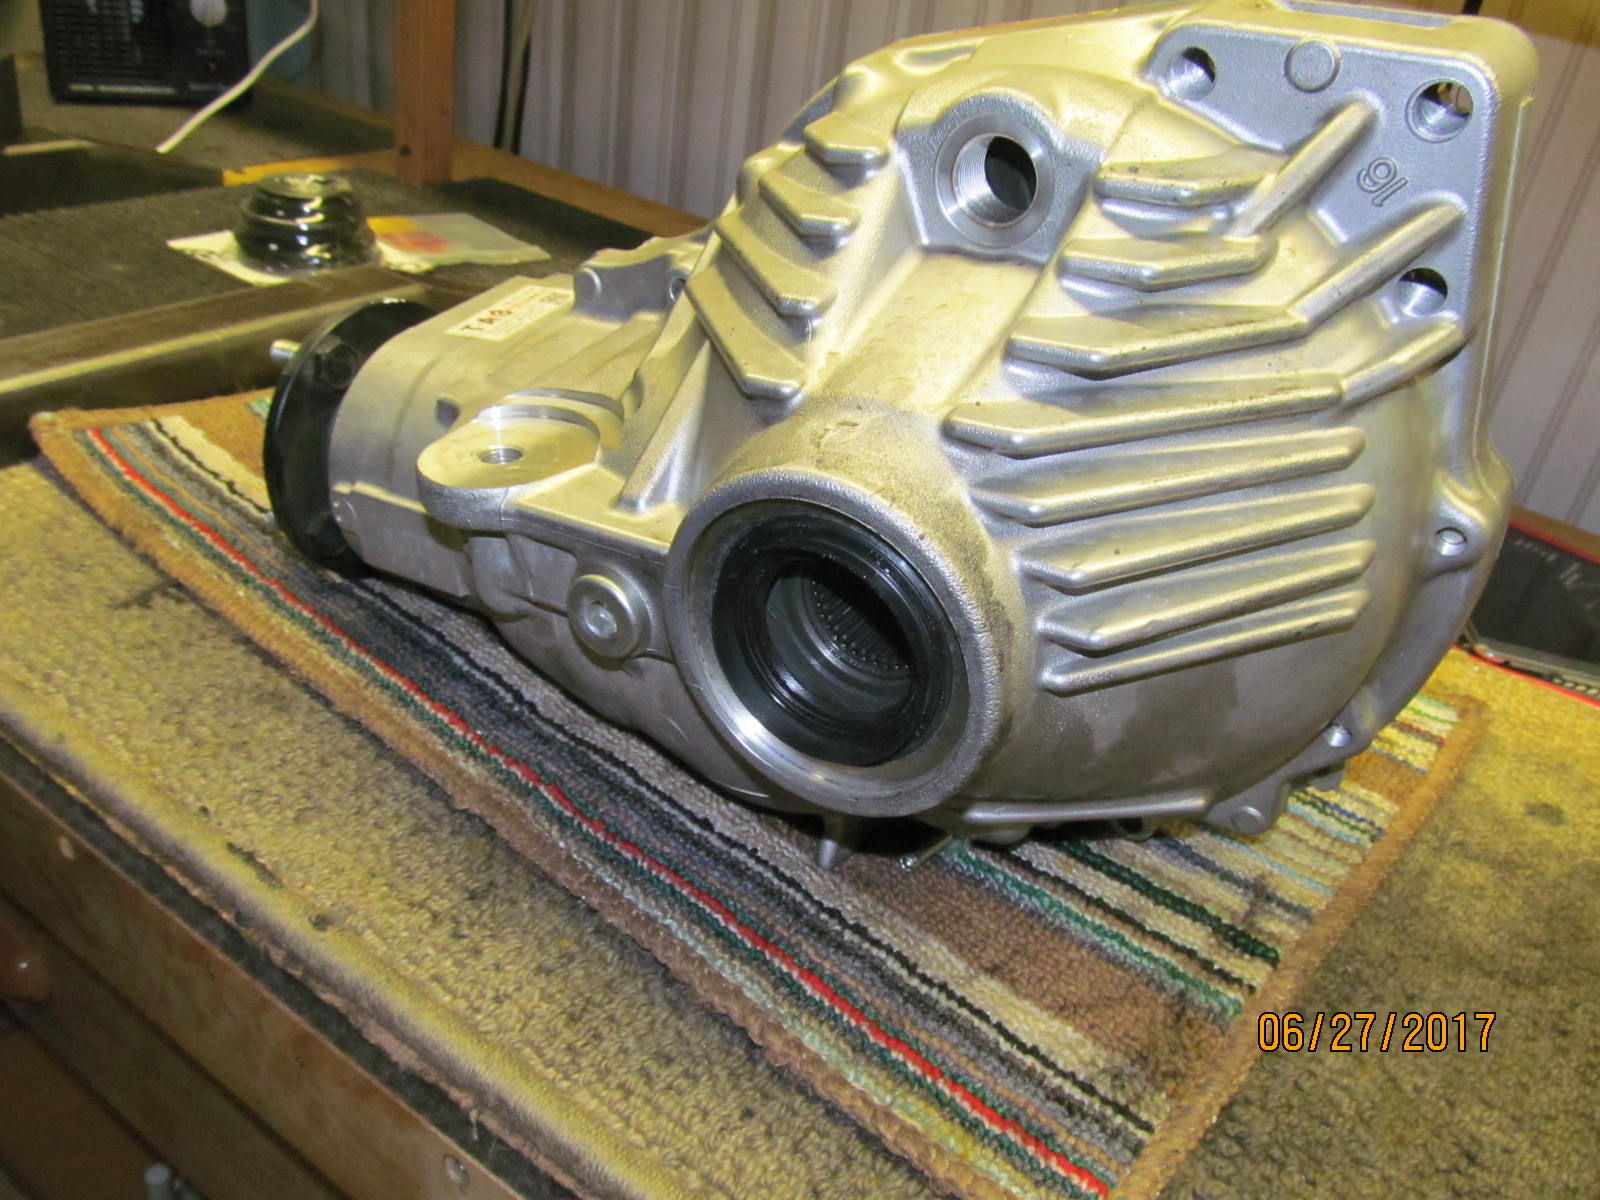
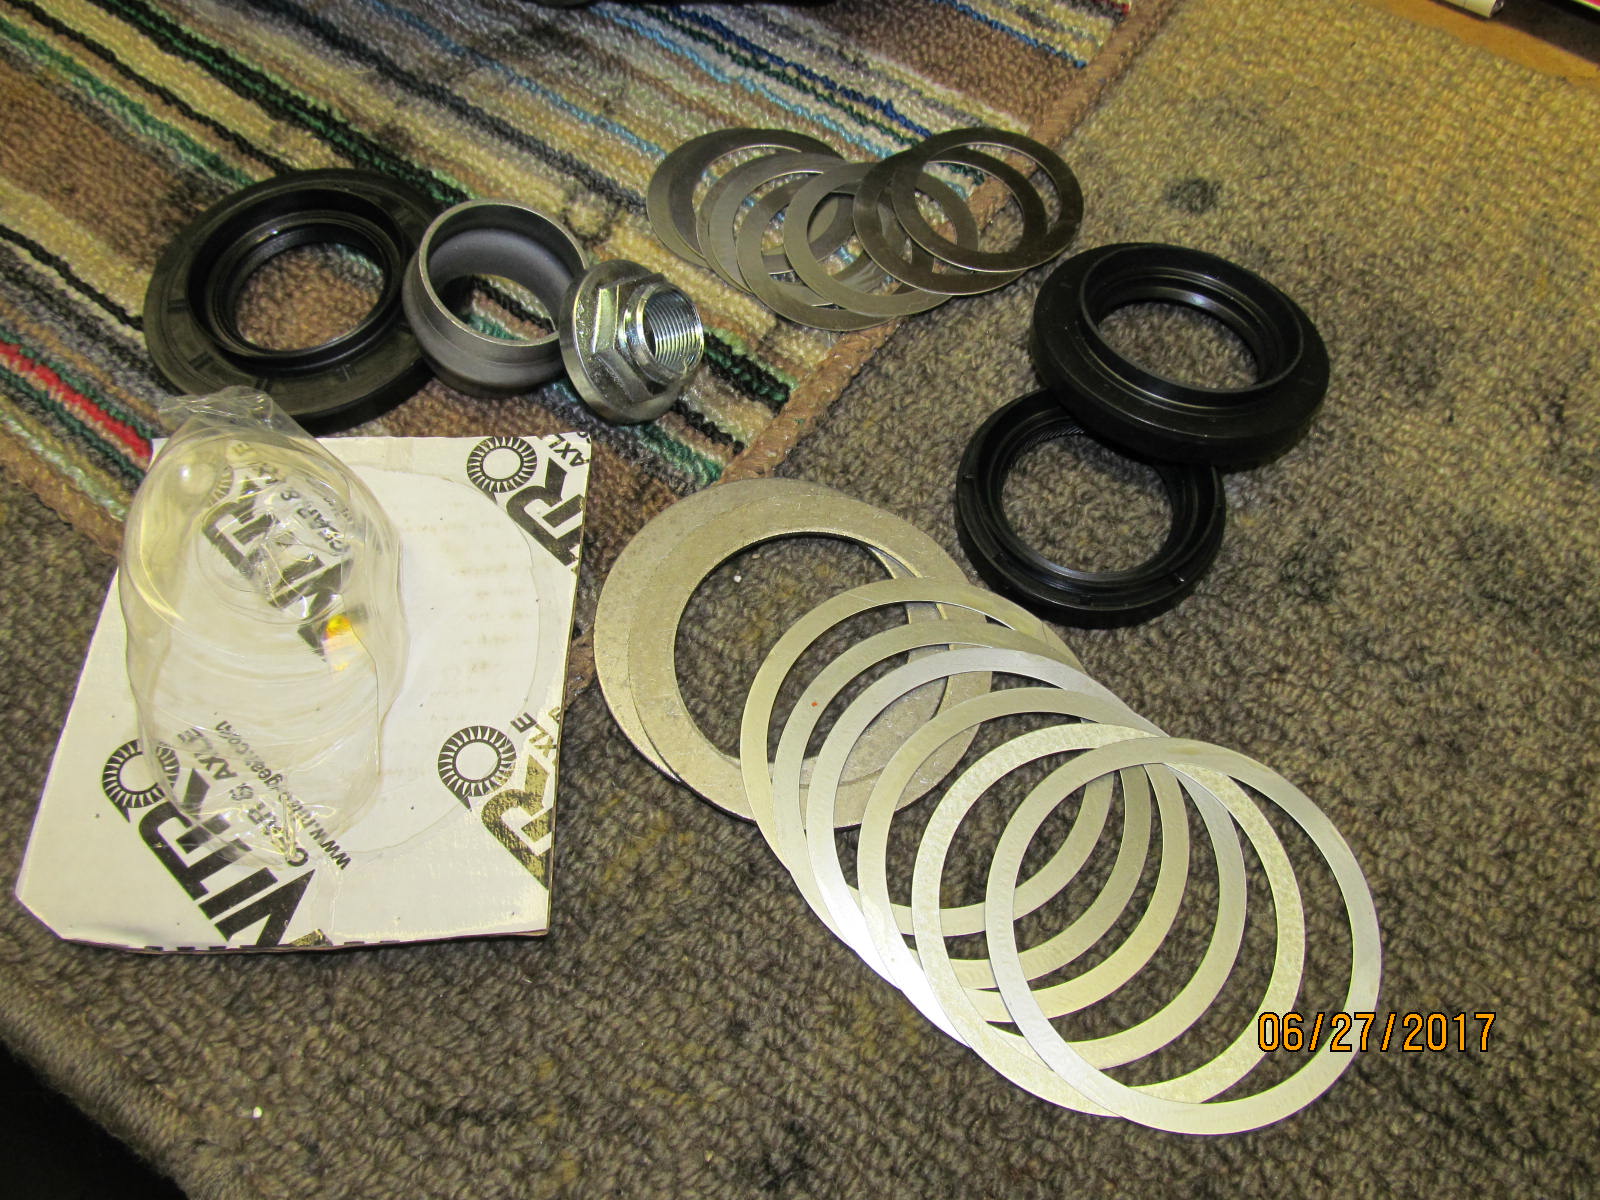
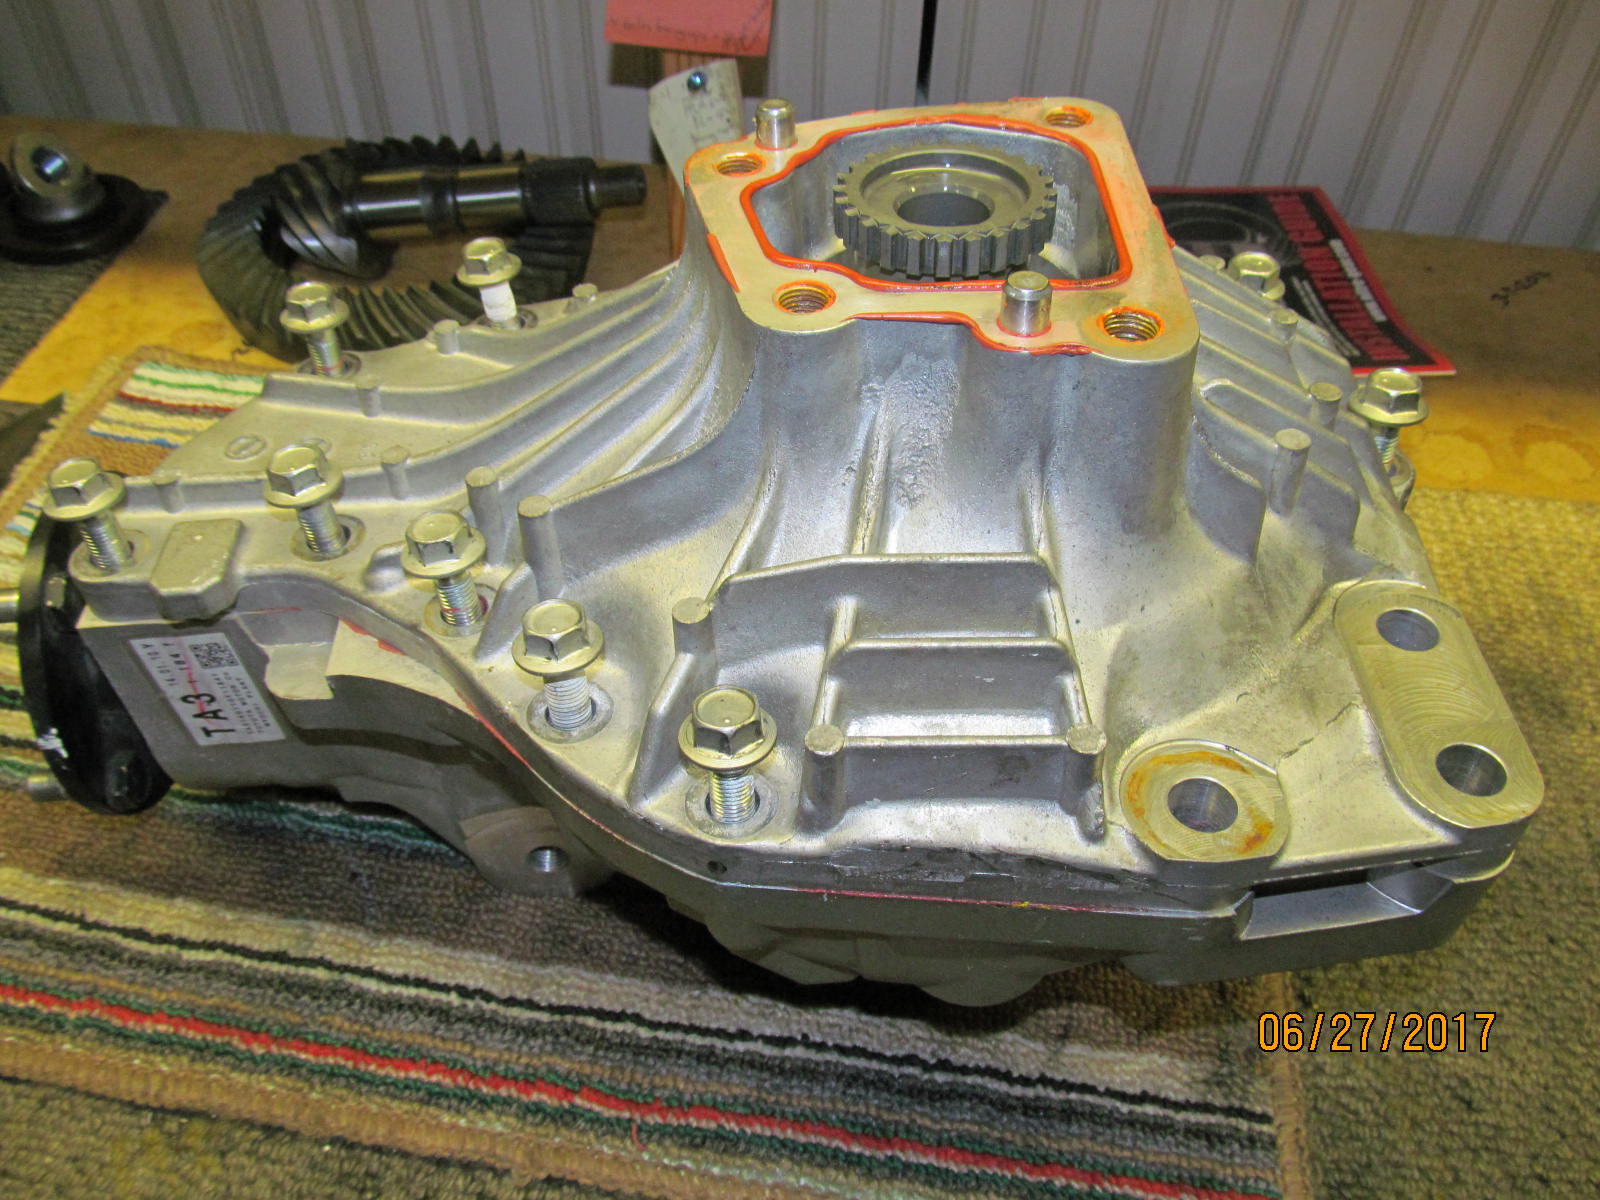
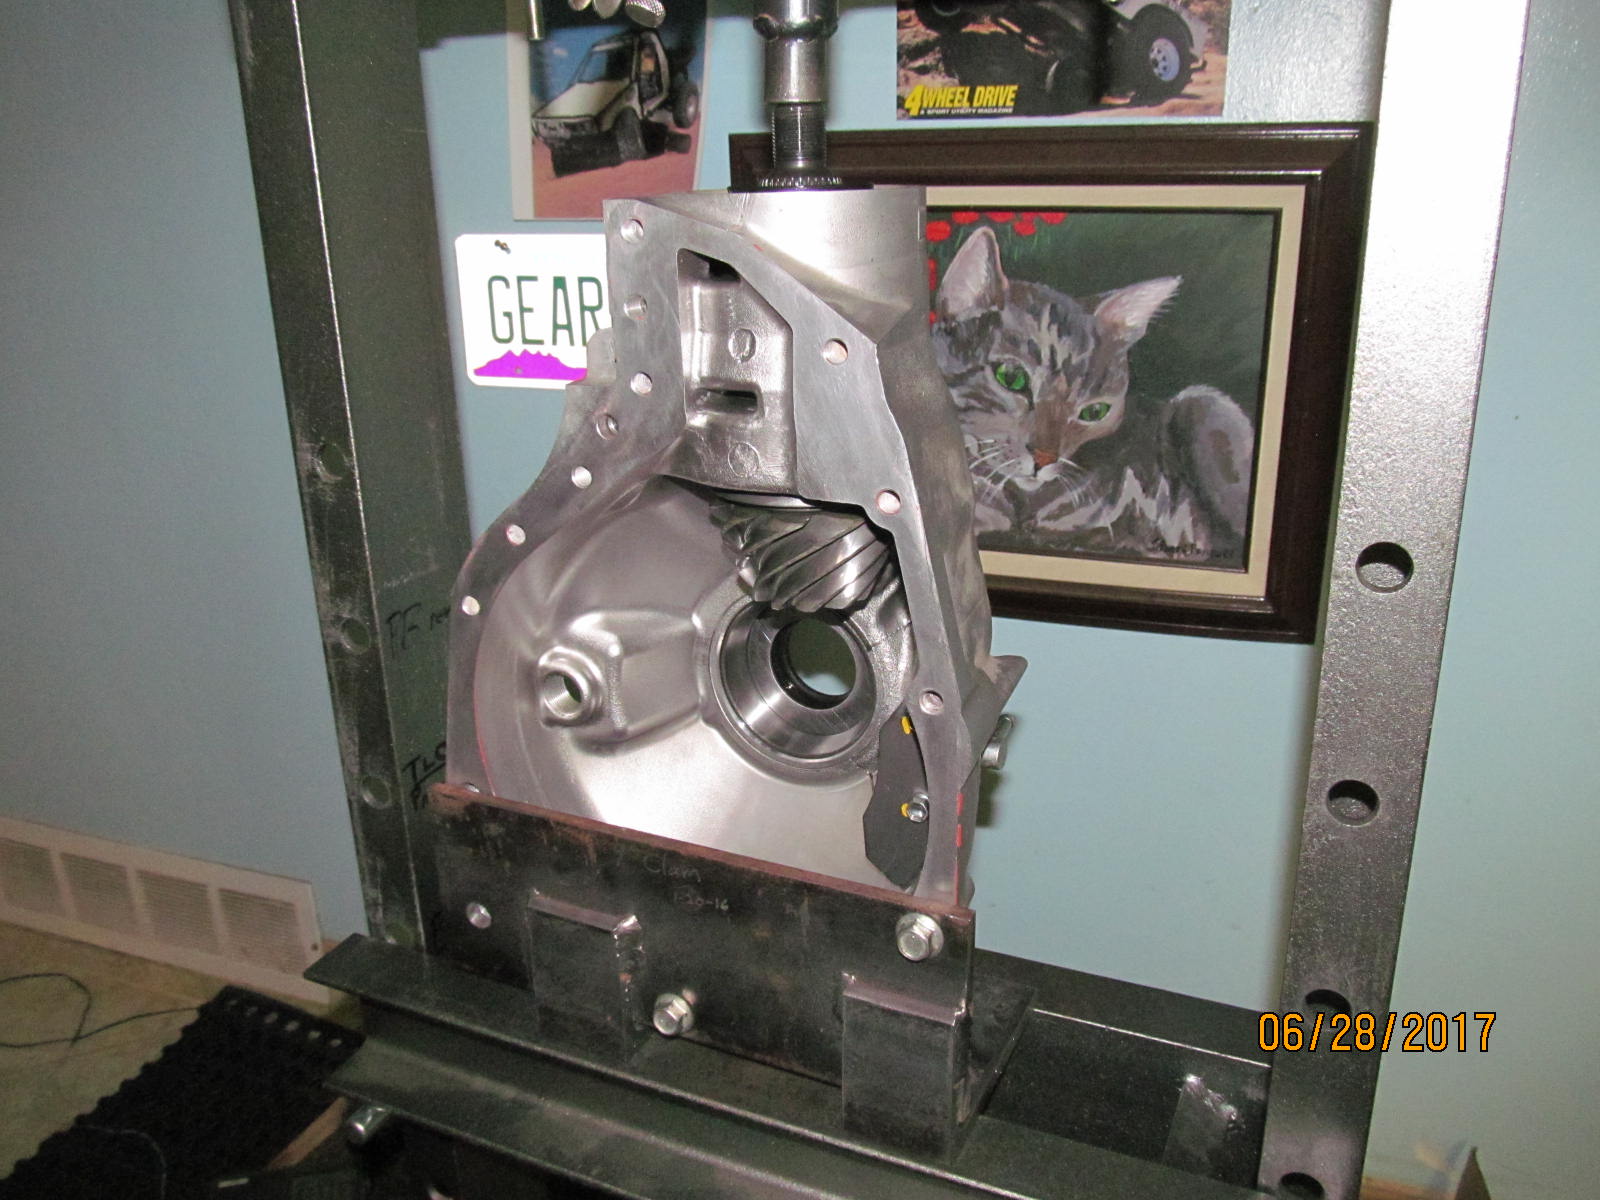
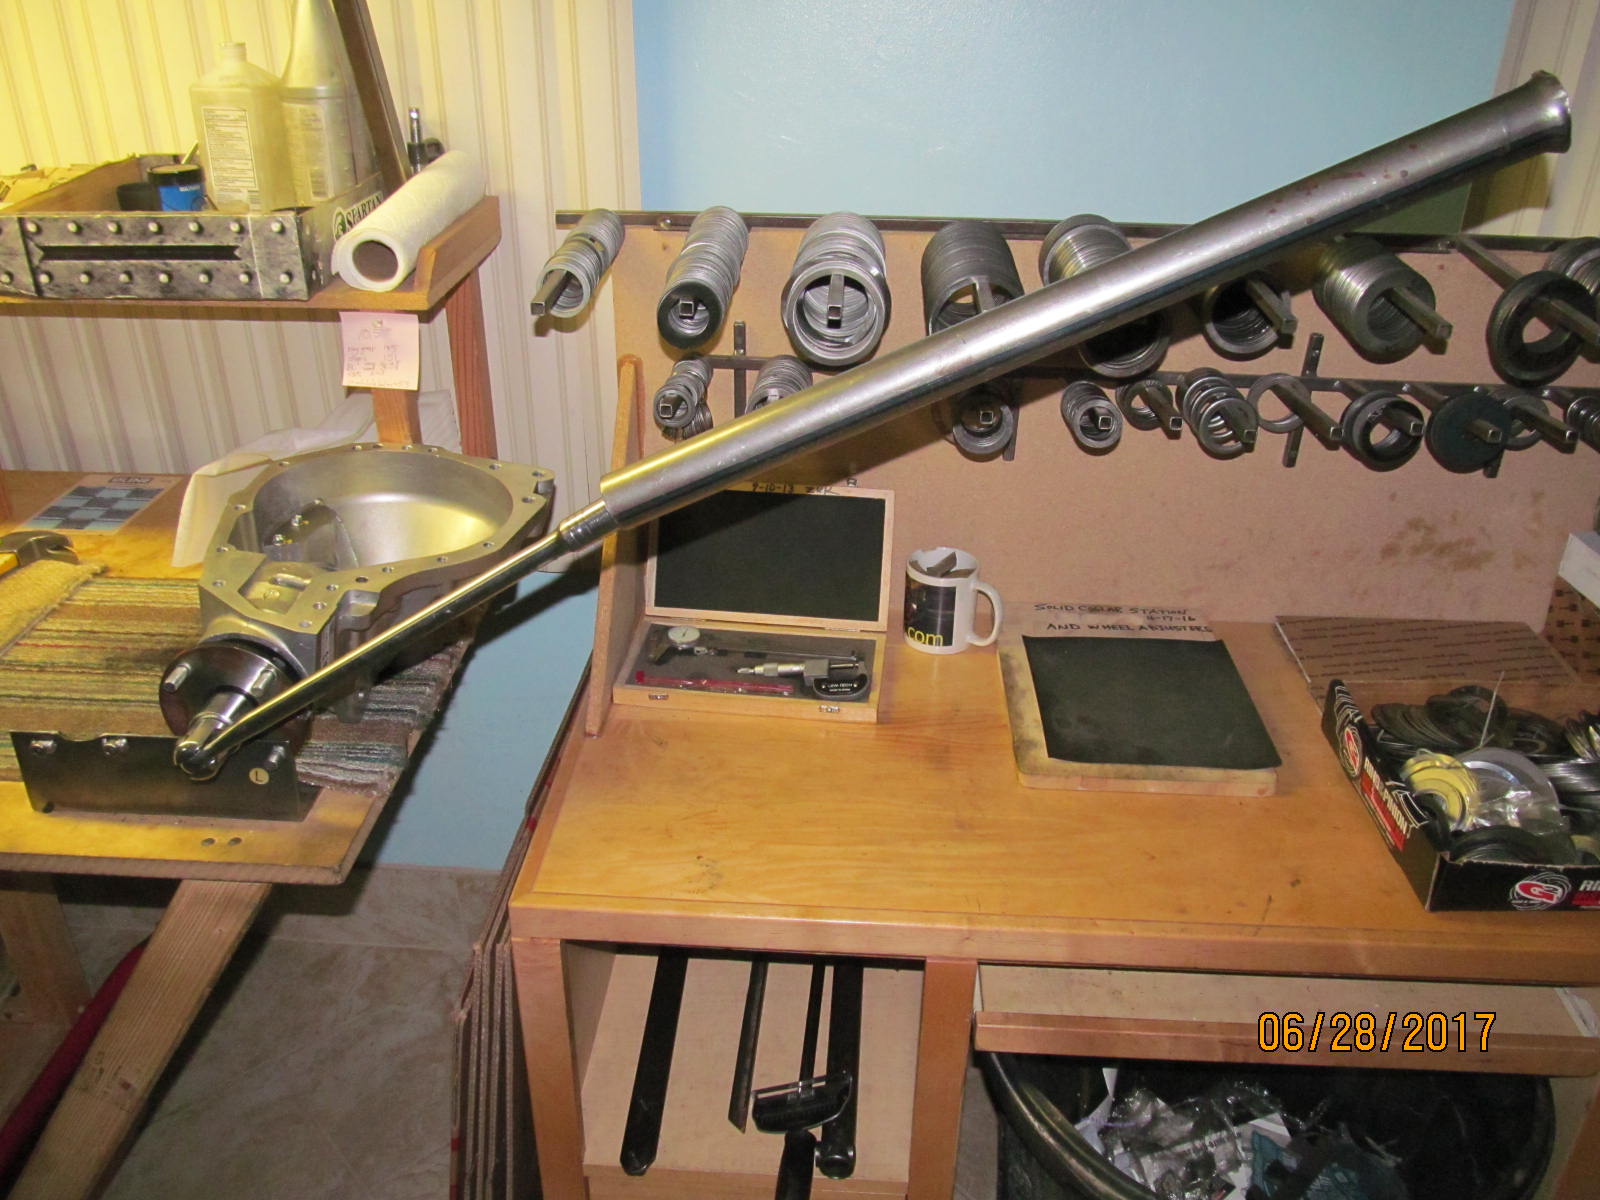
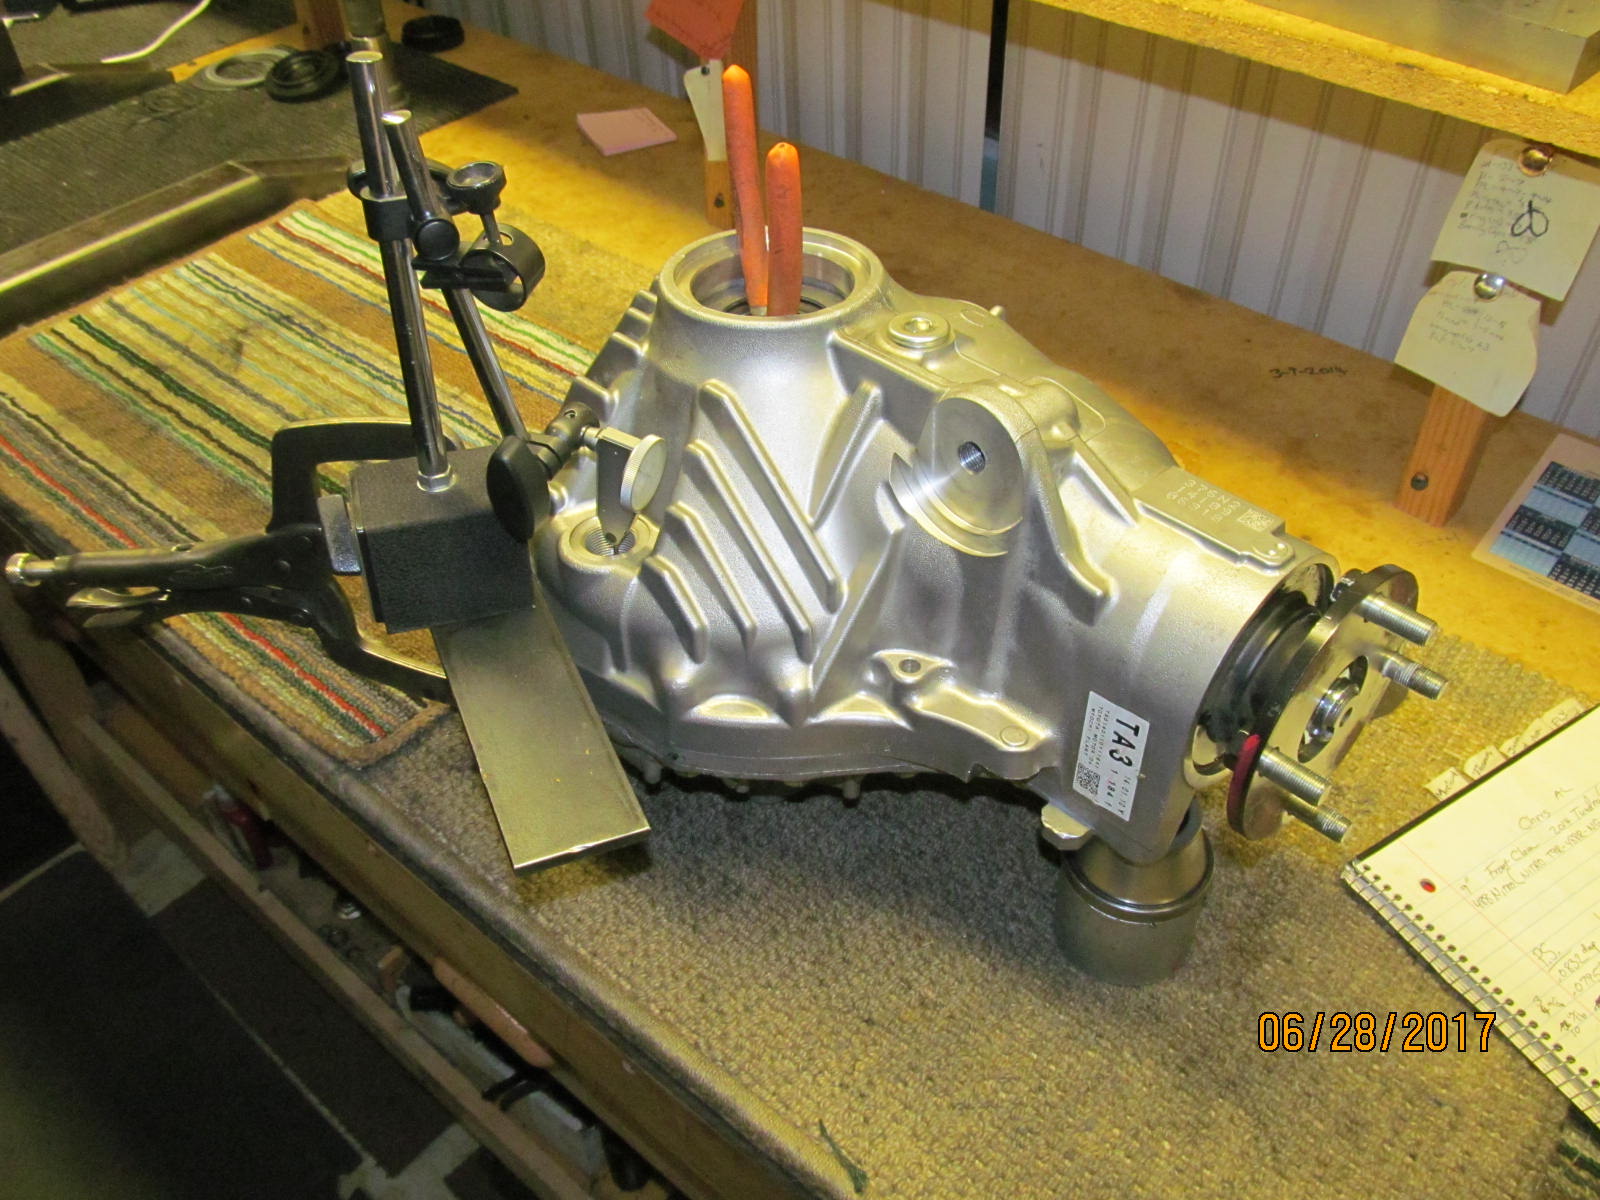
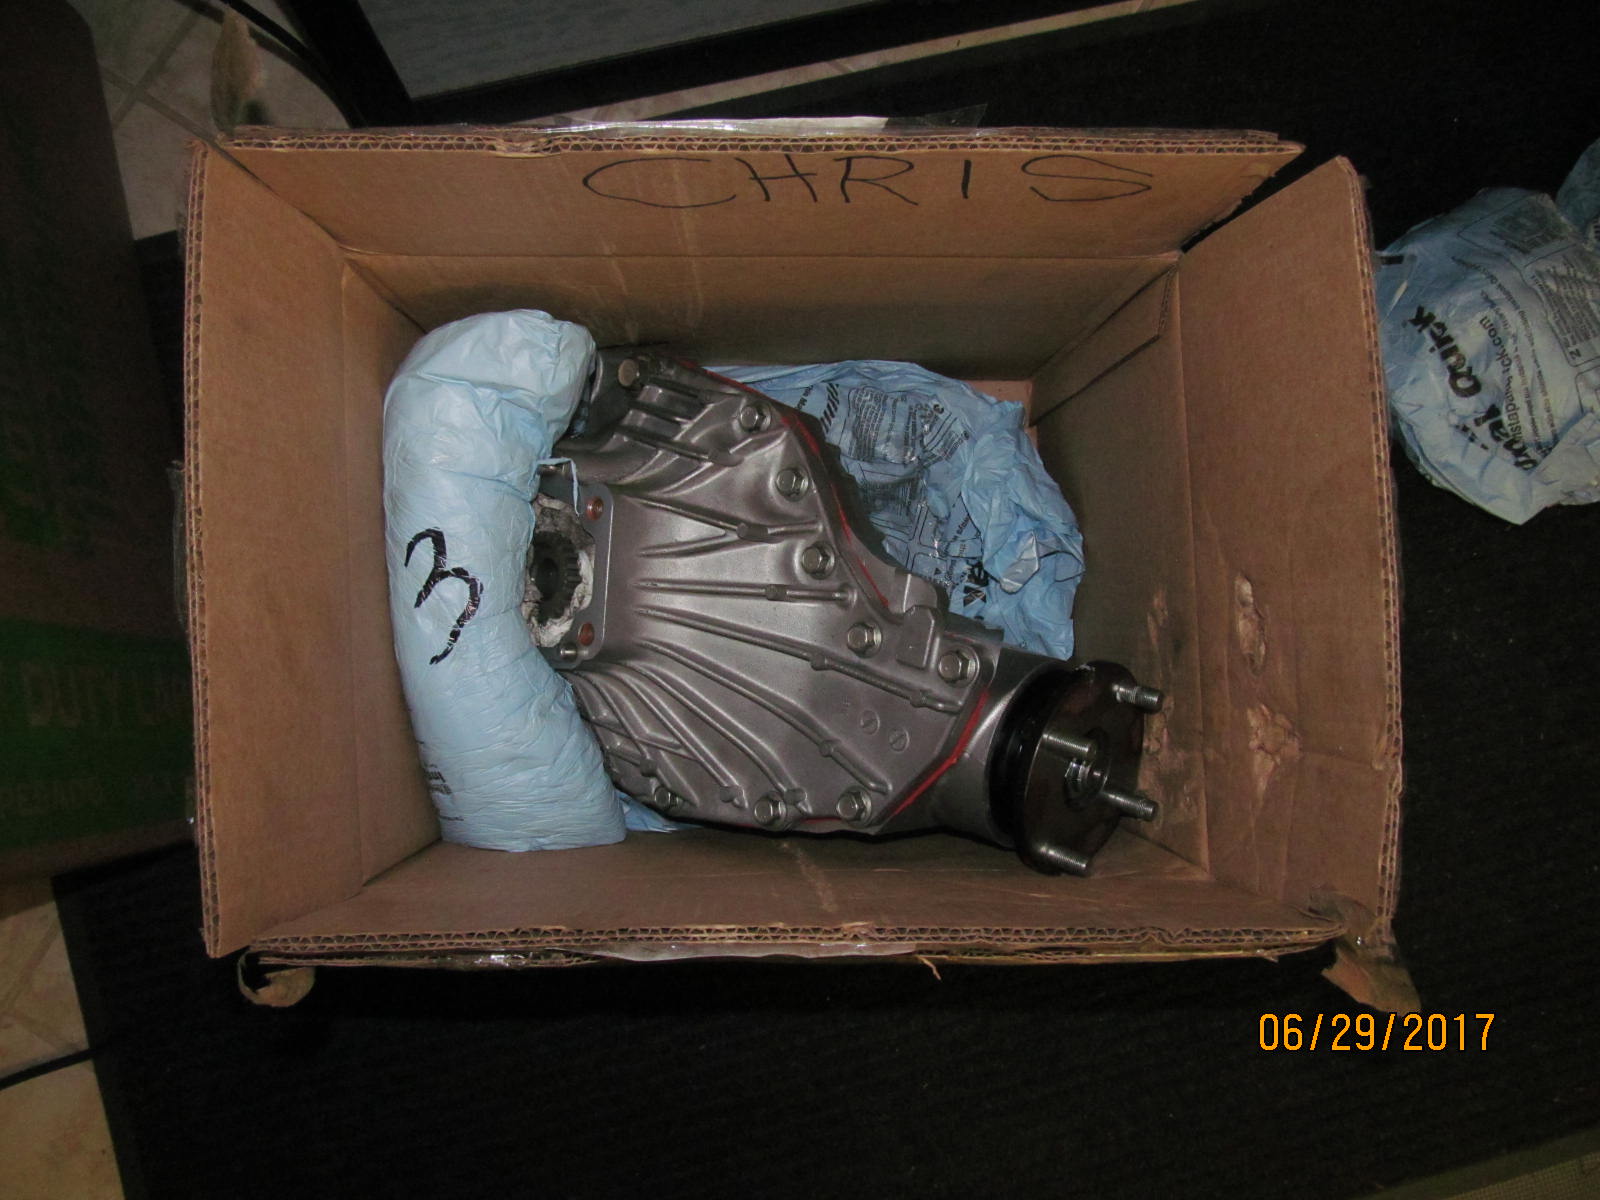
| The stout aluminum clam only weighs about 65 pounds. Nitro mini install kit shown in the background. |
|---|
|
|
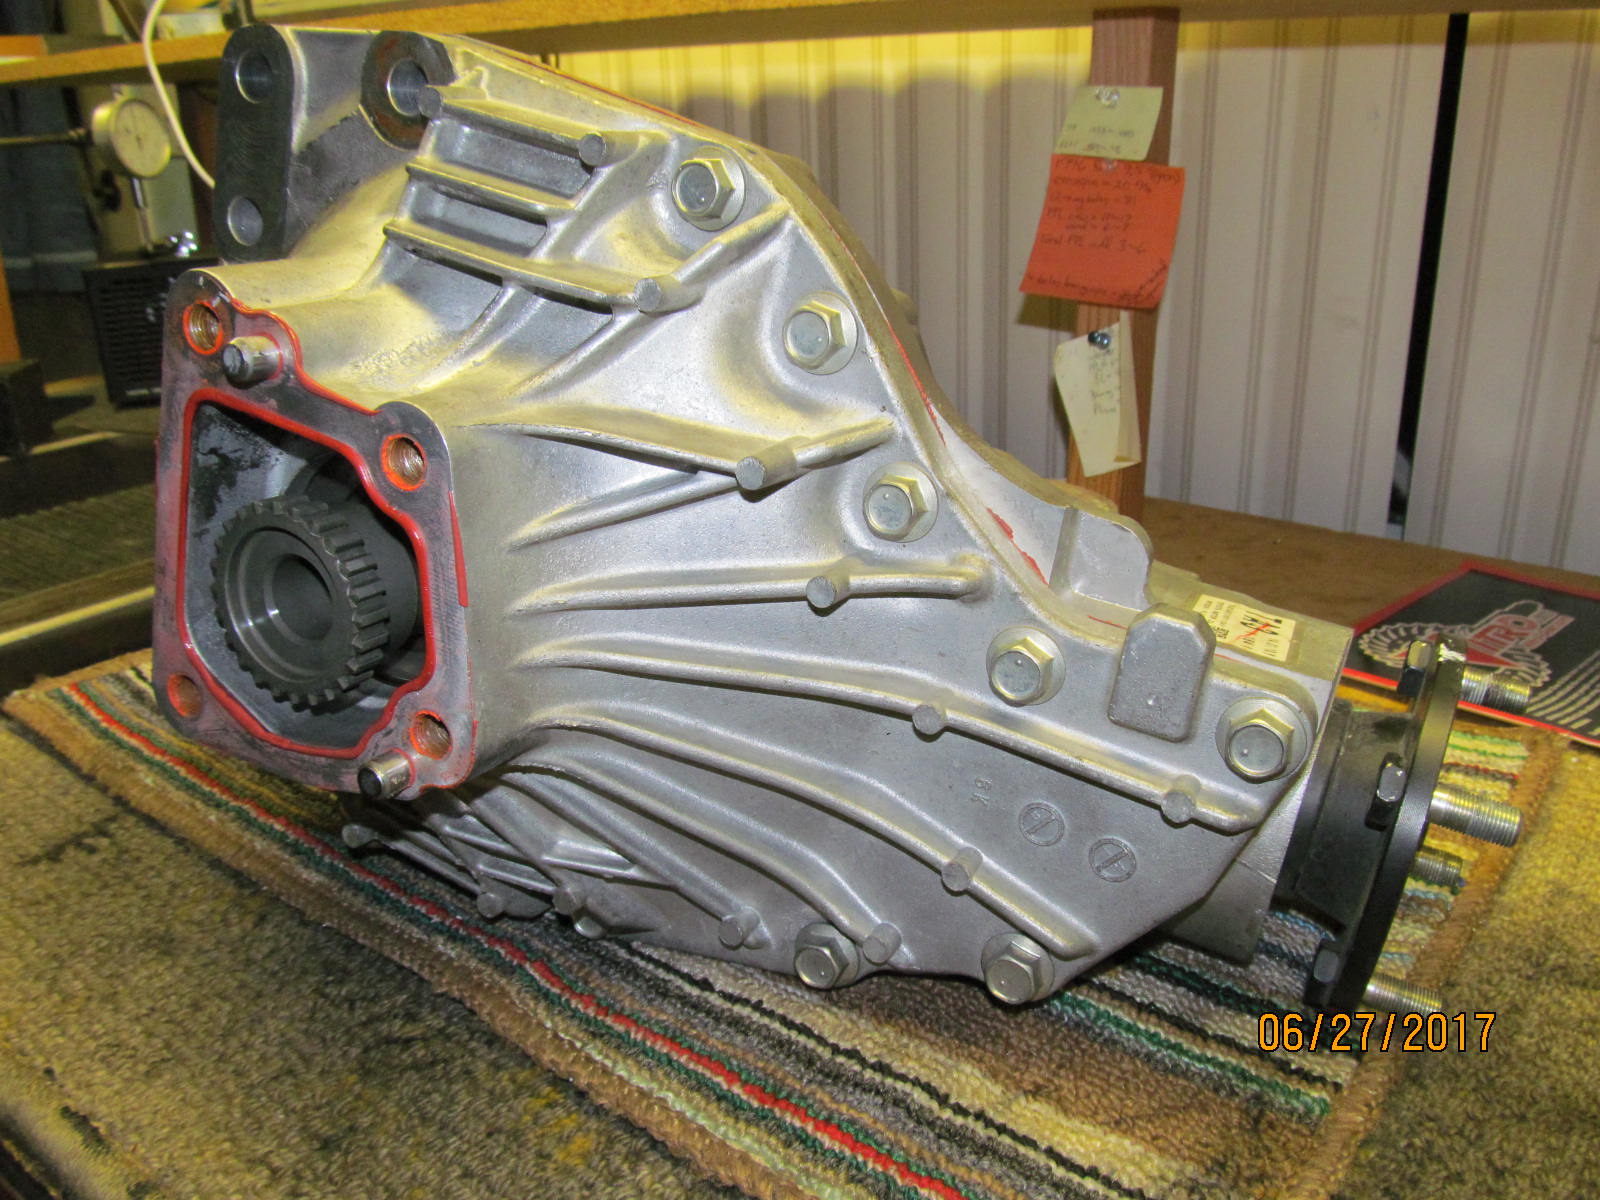
| 11 bolts hold the lid on. |
|---|
|
|
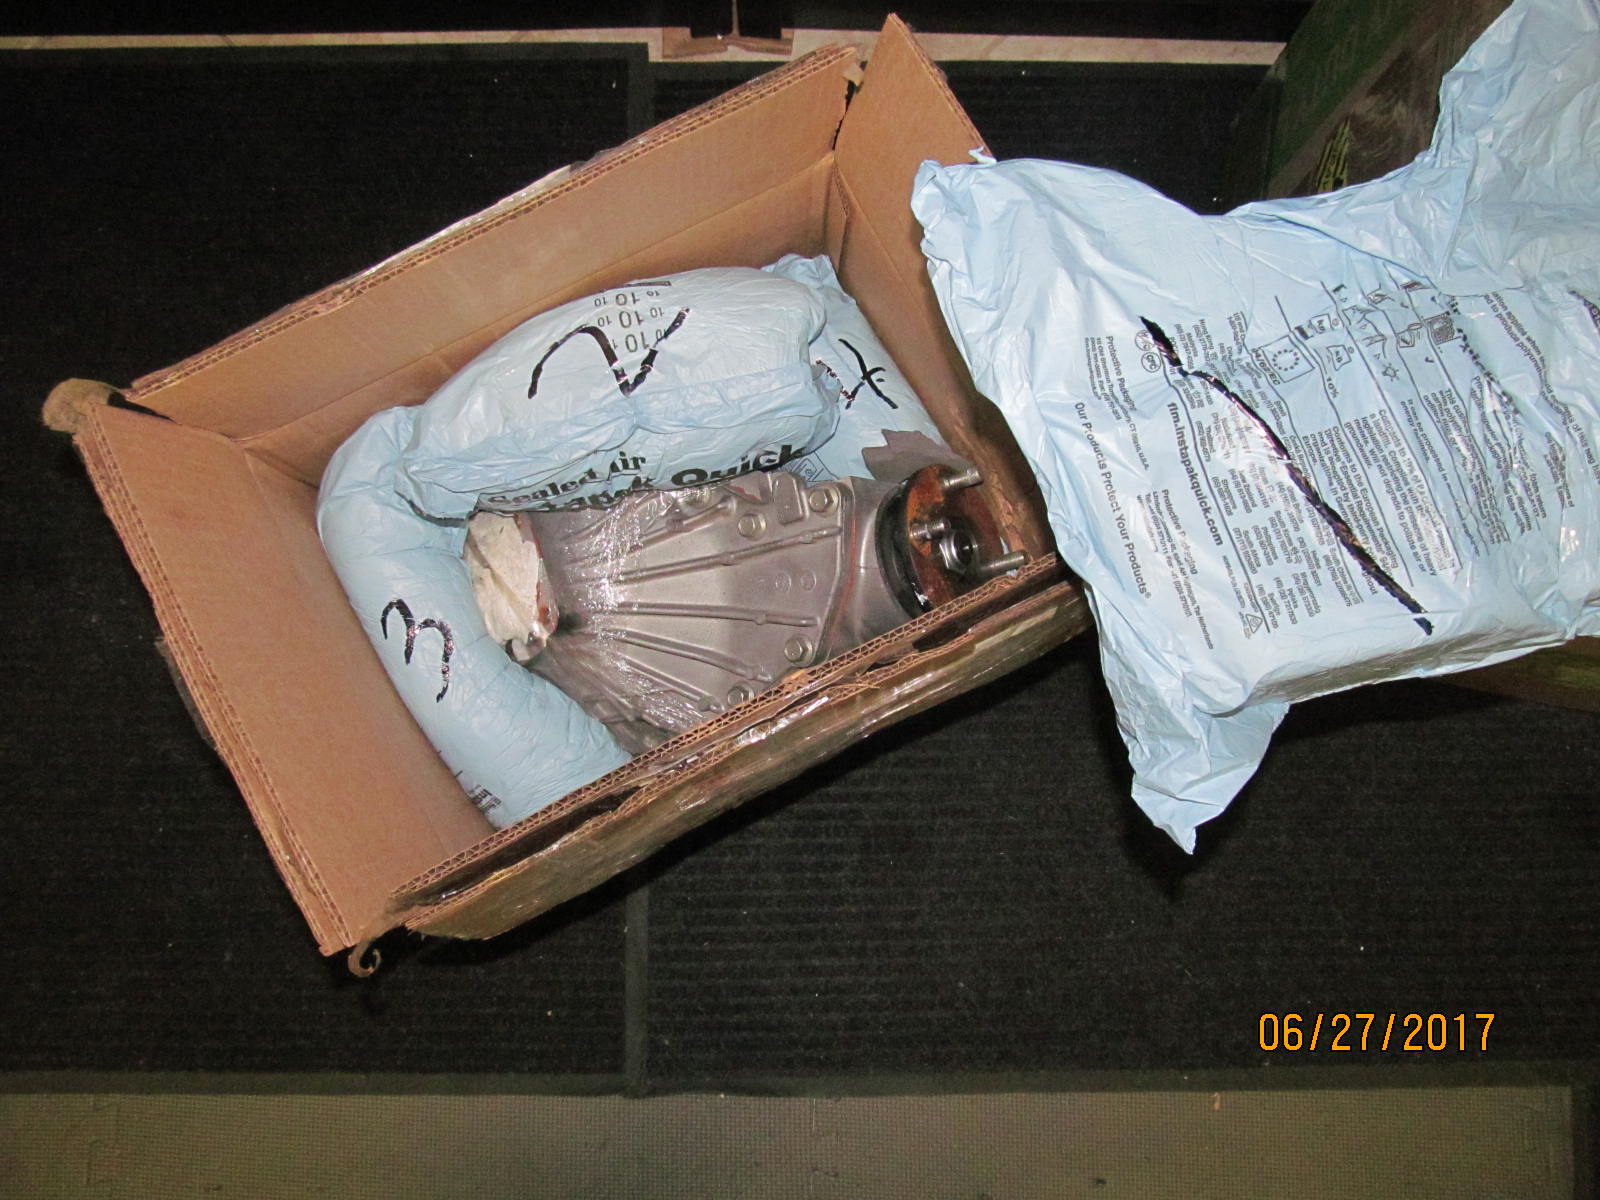
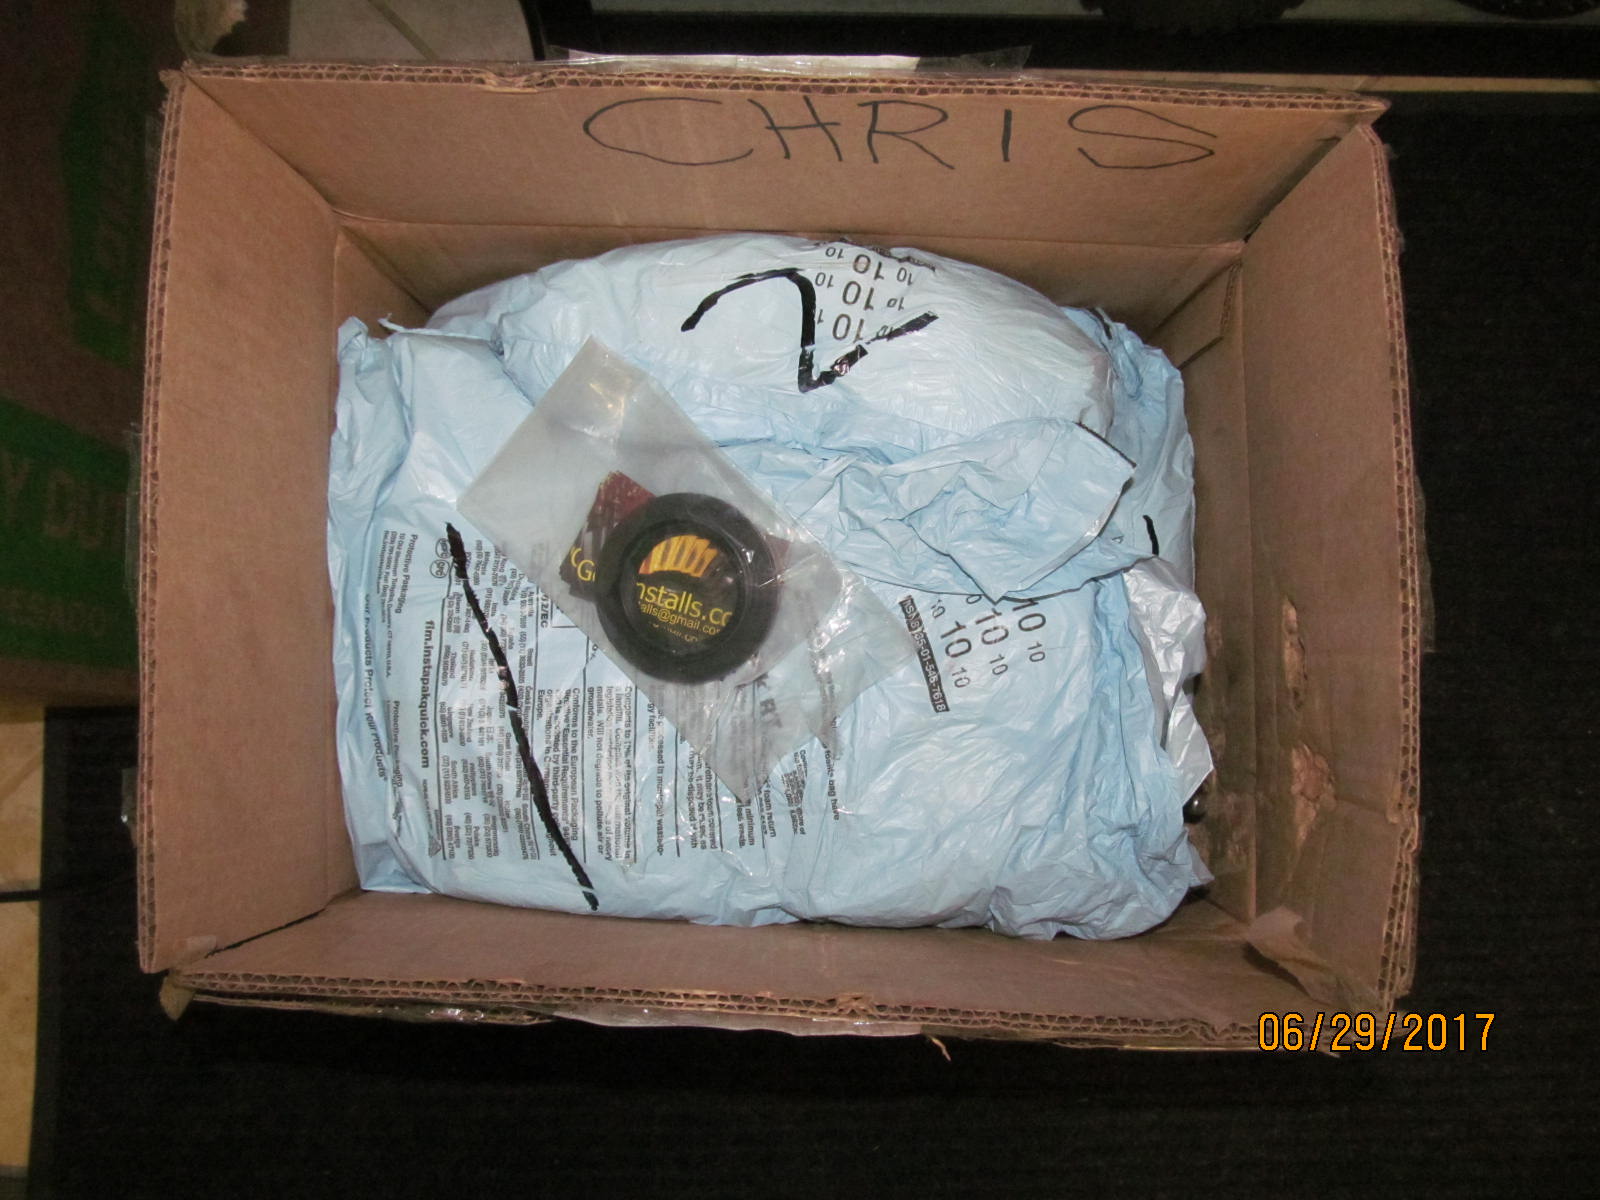
| It only took 5 instapacks of foam to secure the clam for the trip from Alabama. |
|---|
|
|
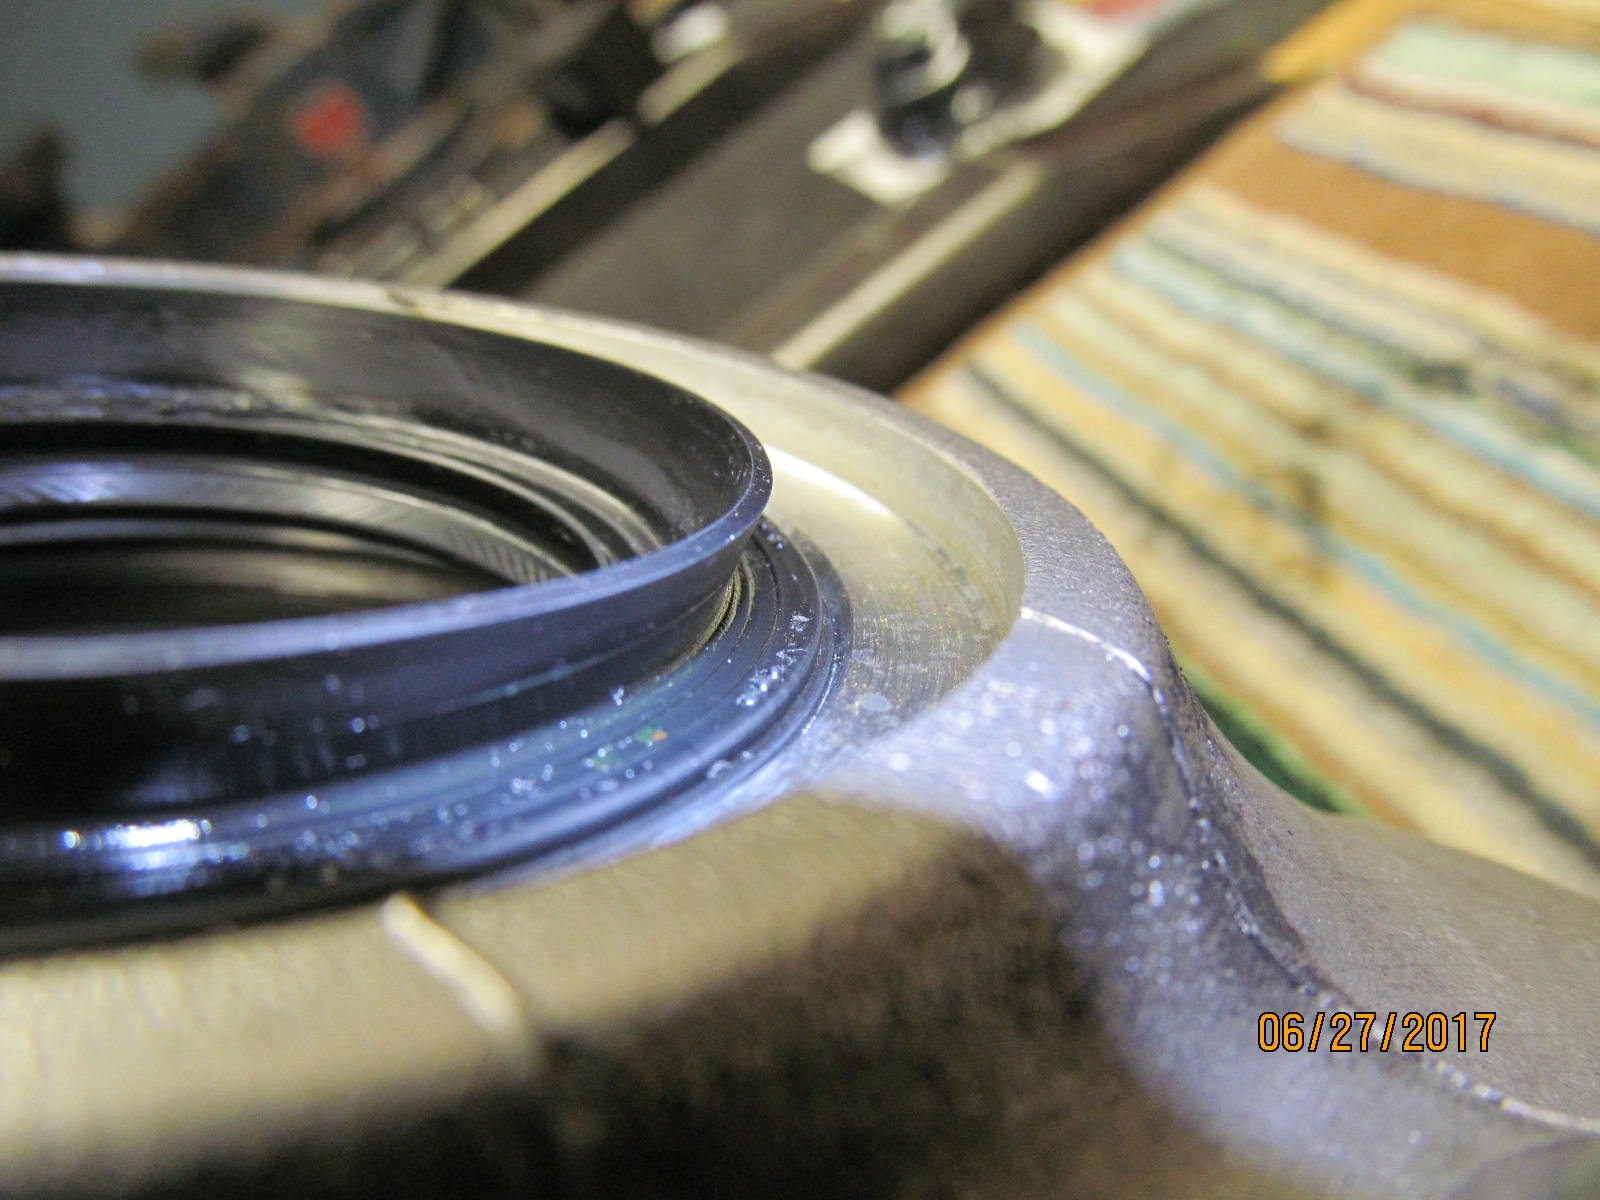
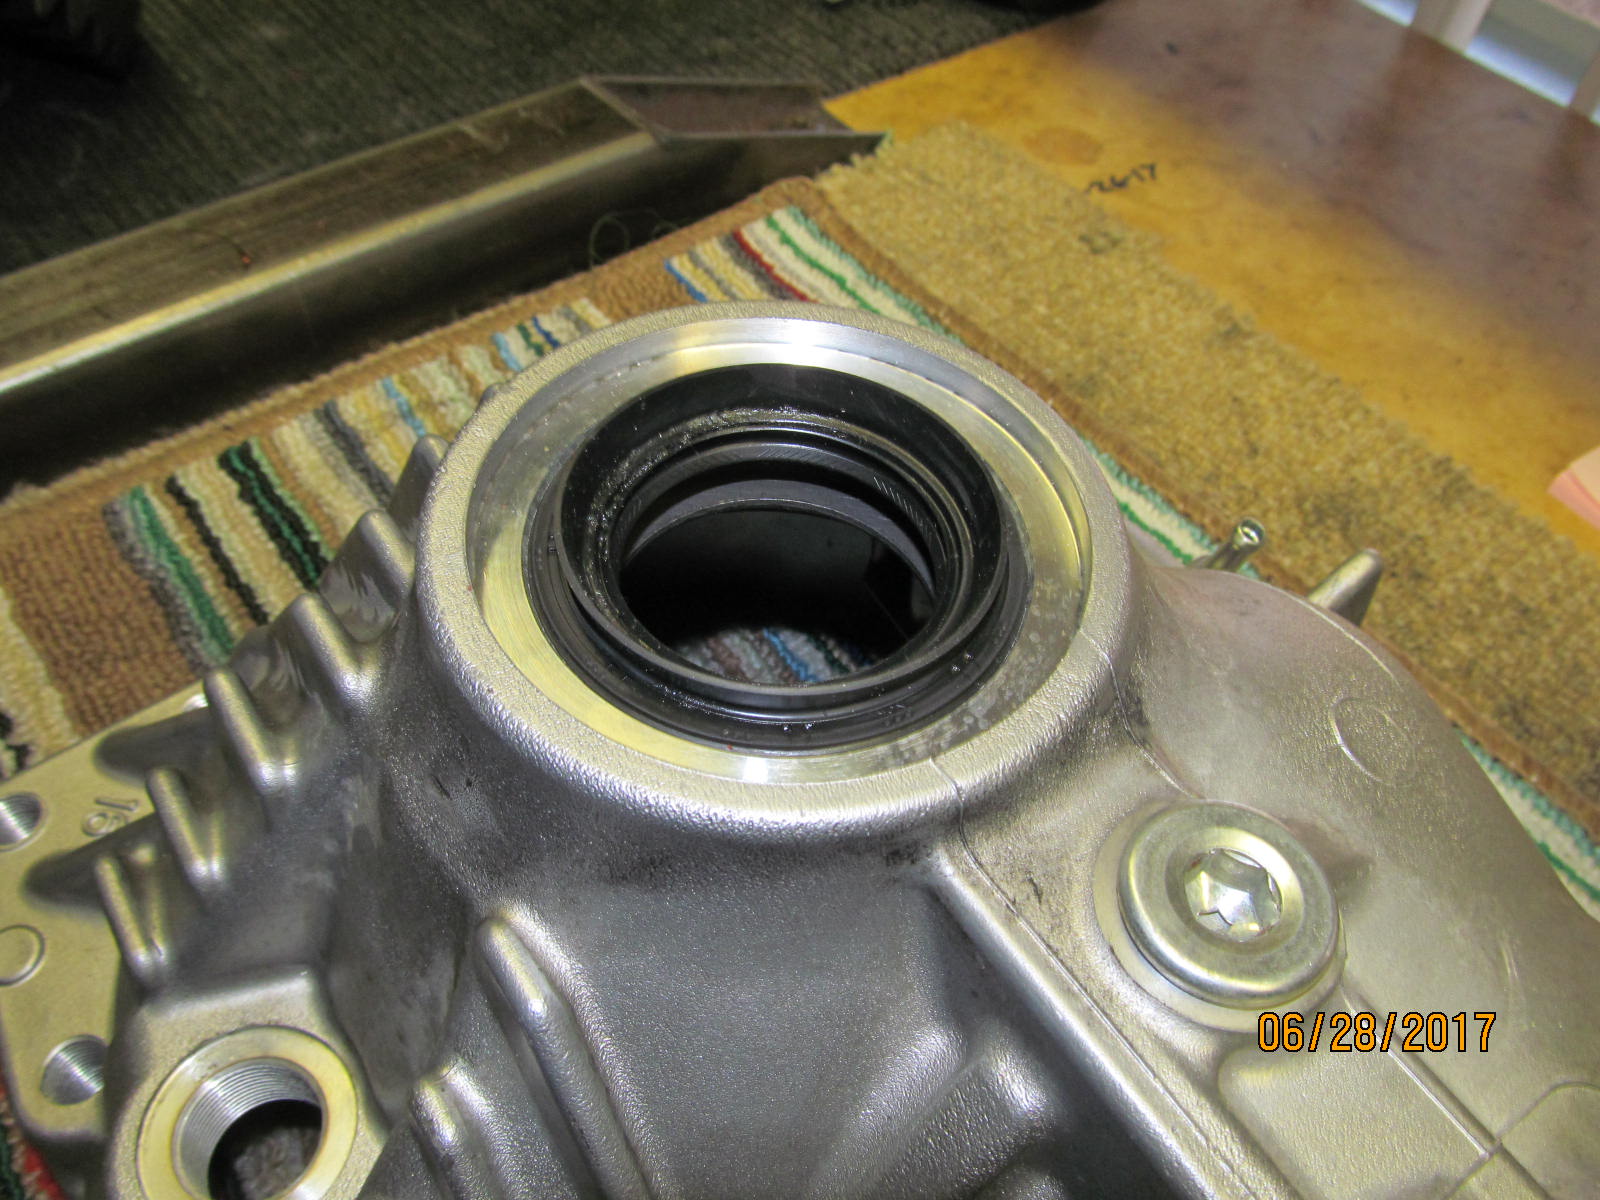
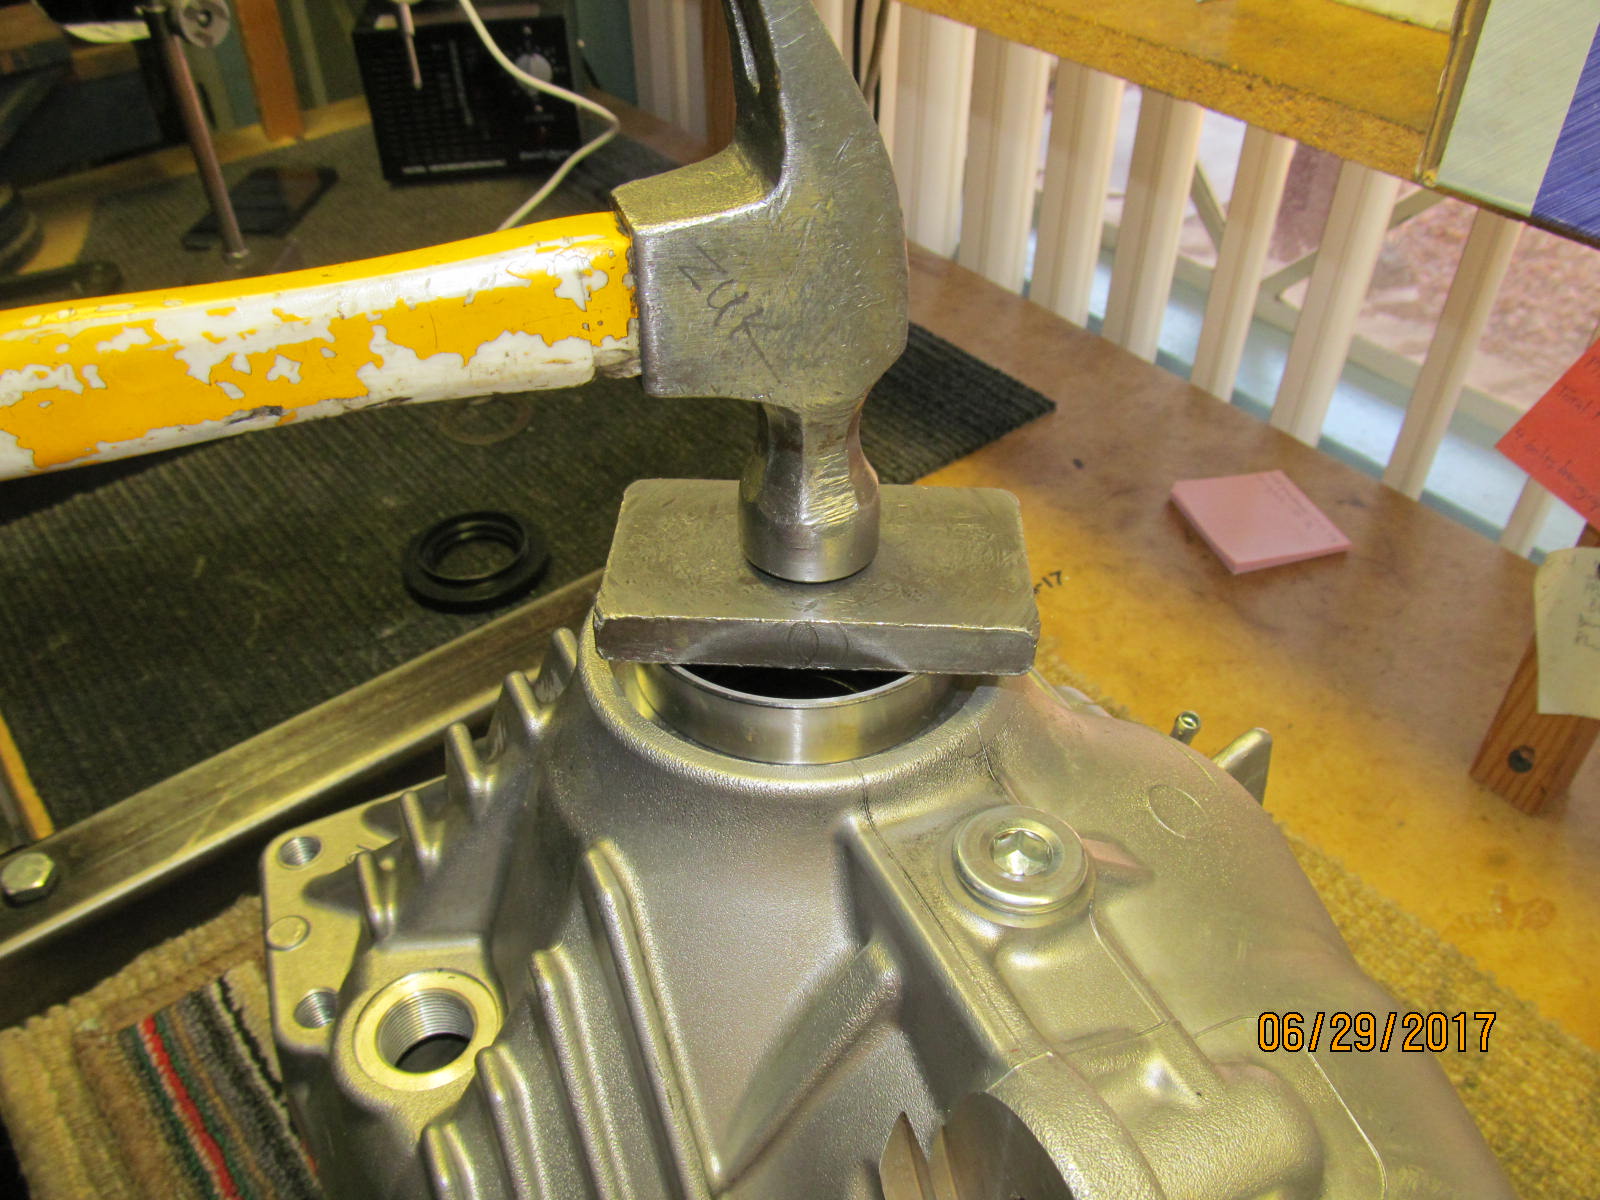
| This axle stub seal was tapped on flush from the factory and I will do the same with the new one. |
|---|
|

|
The other side shown here has a steel tube that bolts in 4 places. This short axle stub was being stubborn.
It would not pry out so it will be removed with the lid. |
|---|
|
|
| This is the Nitro mini install kit that Chris included in the box. |
|---|
|
|
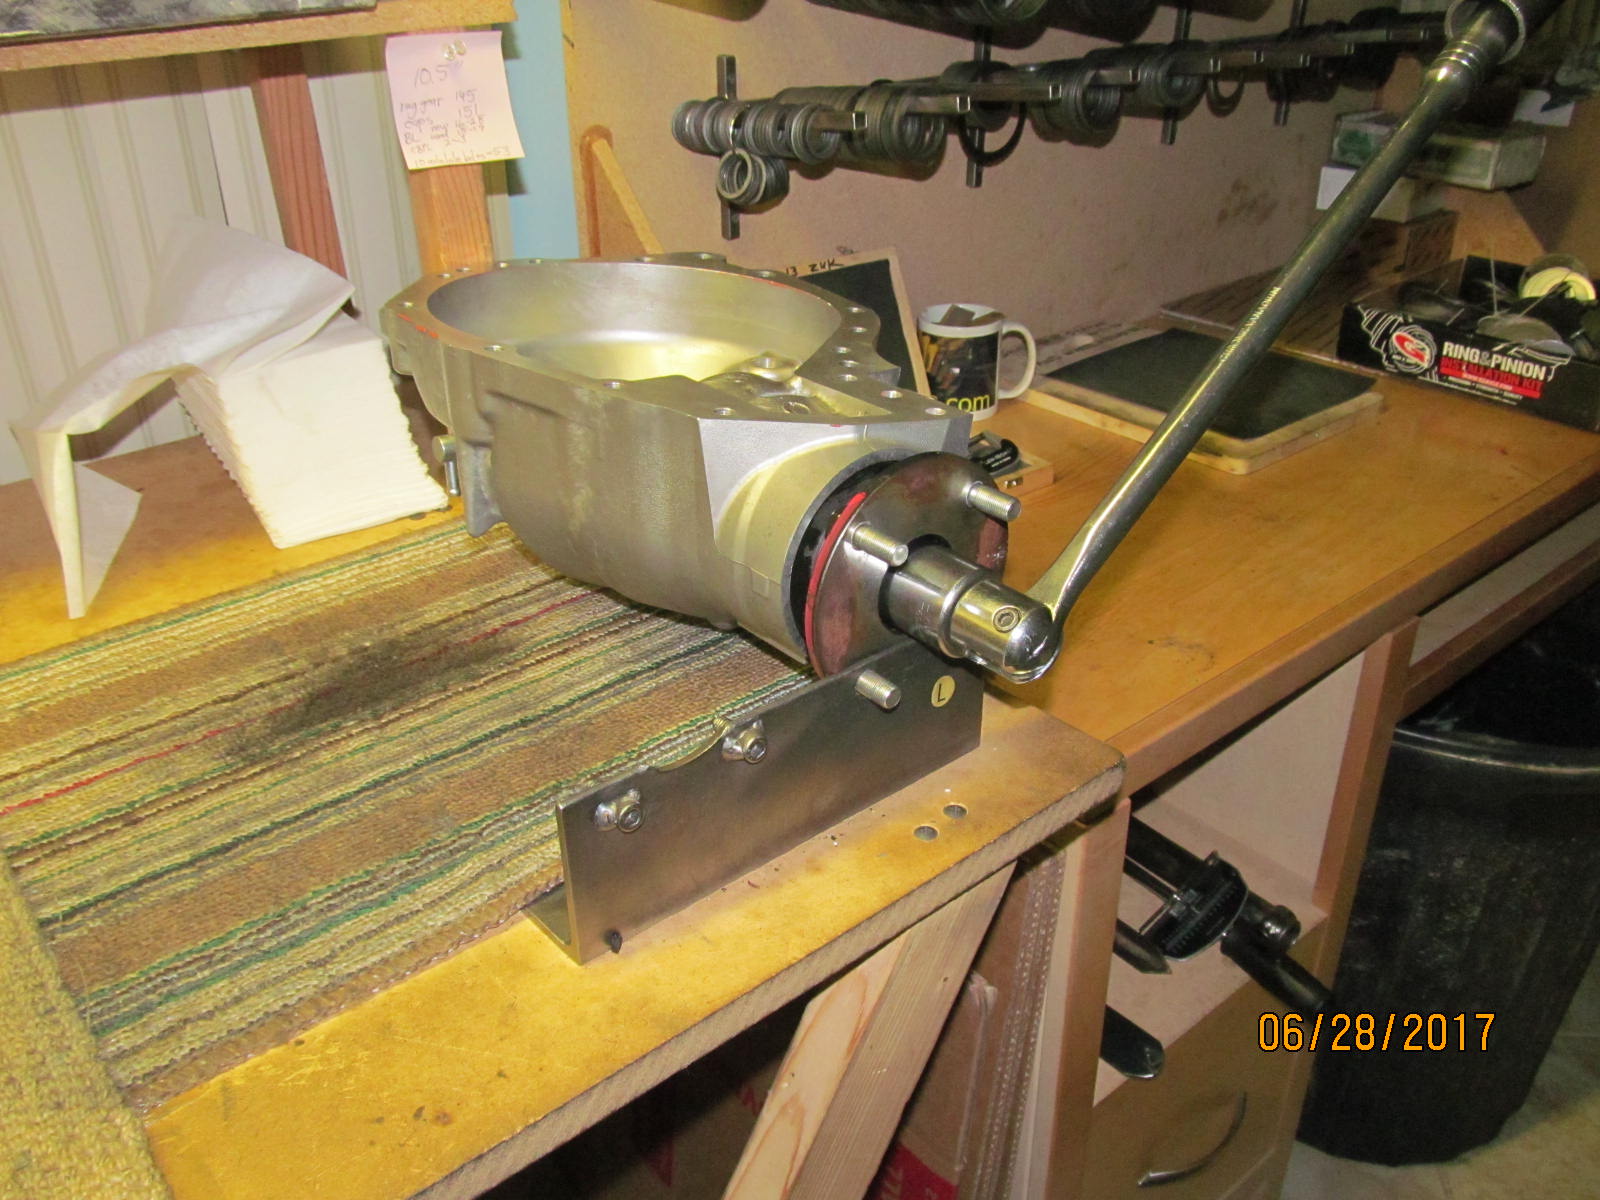
| Now to remove the lid. |
|---|
|
|
| Tap tap and it came off with no real fanfare. |
|---|
|
|
| The mini-stub was not cooperating........ |
|---|
|
|
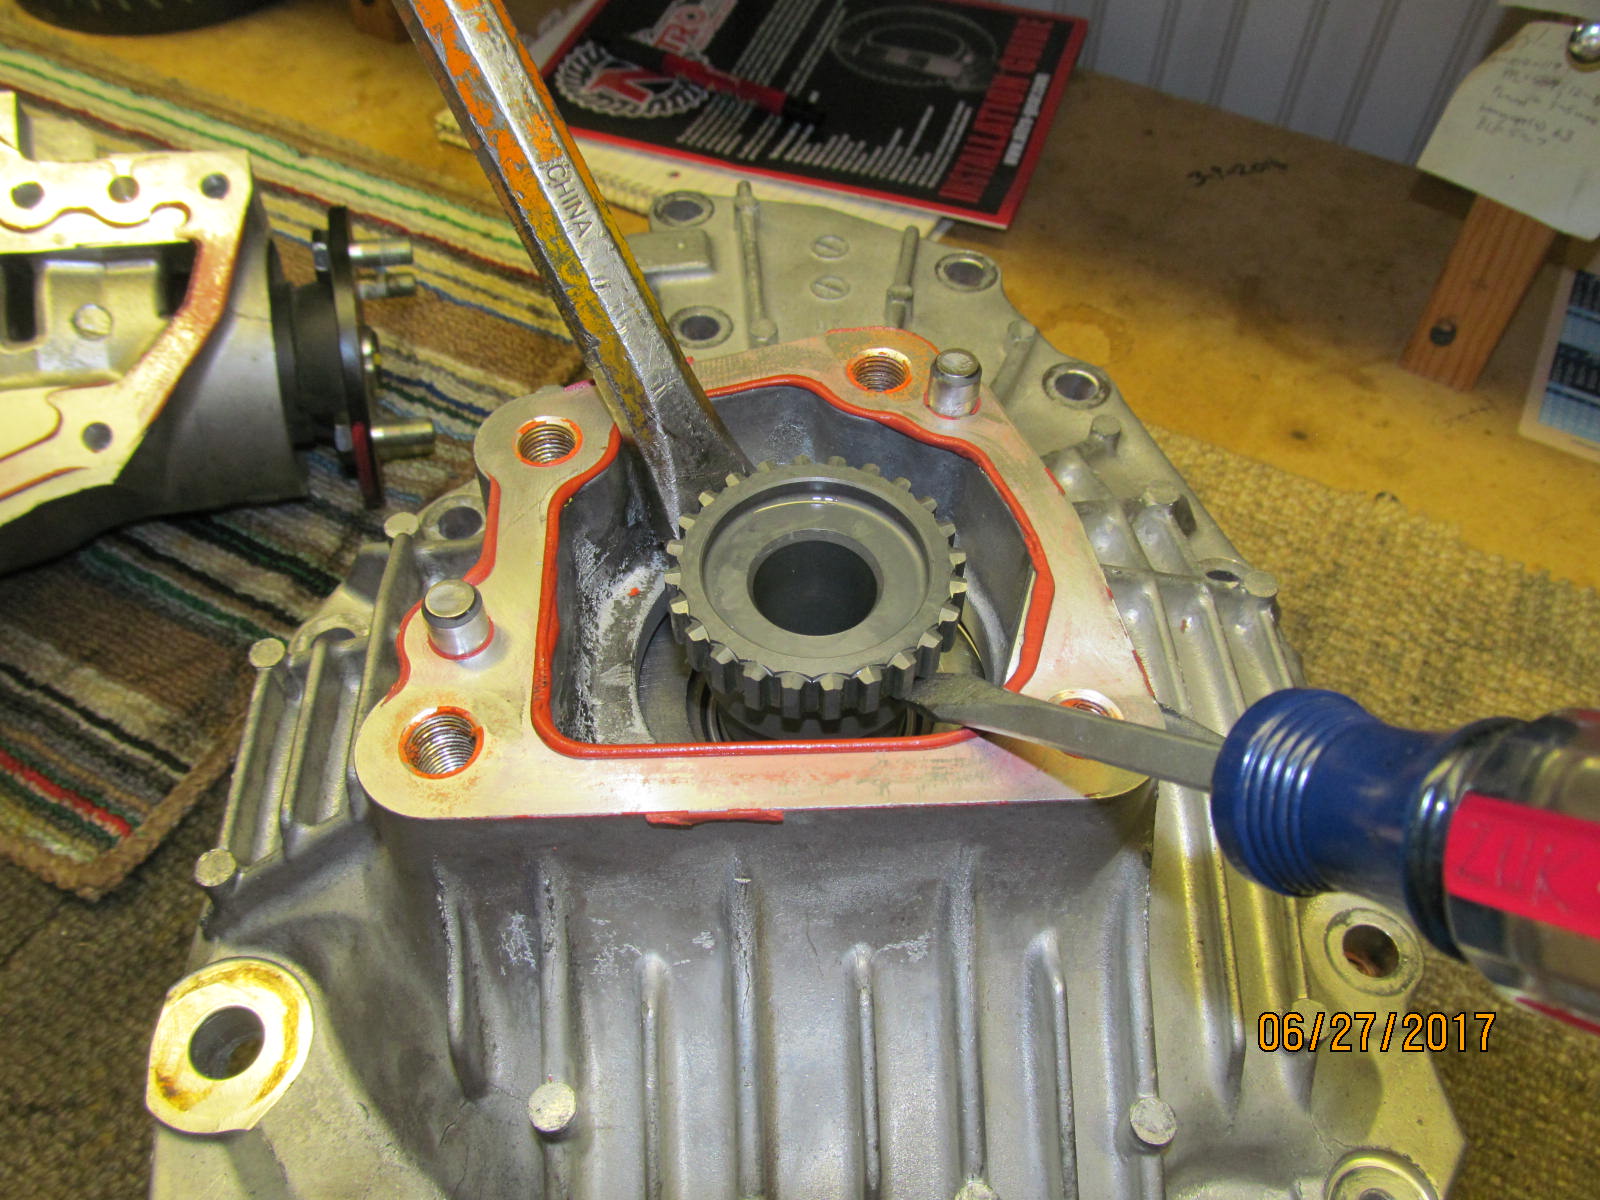
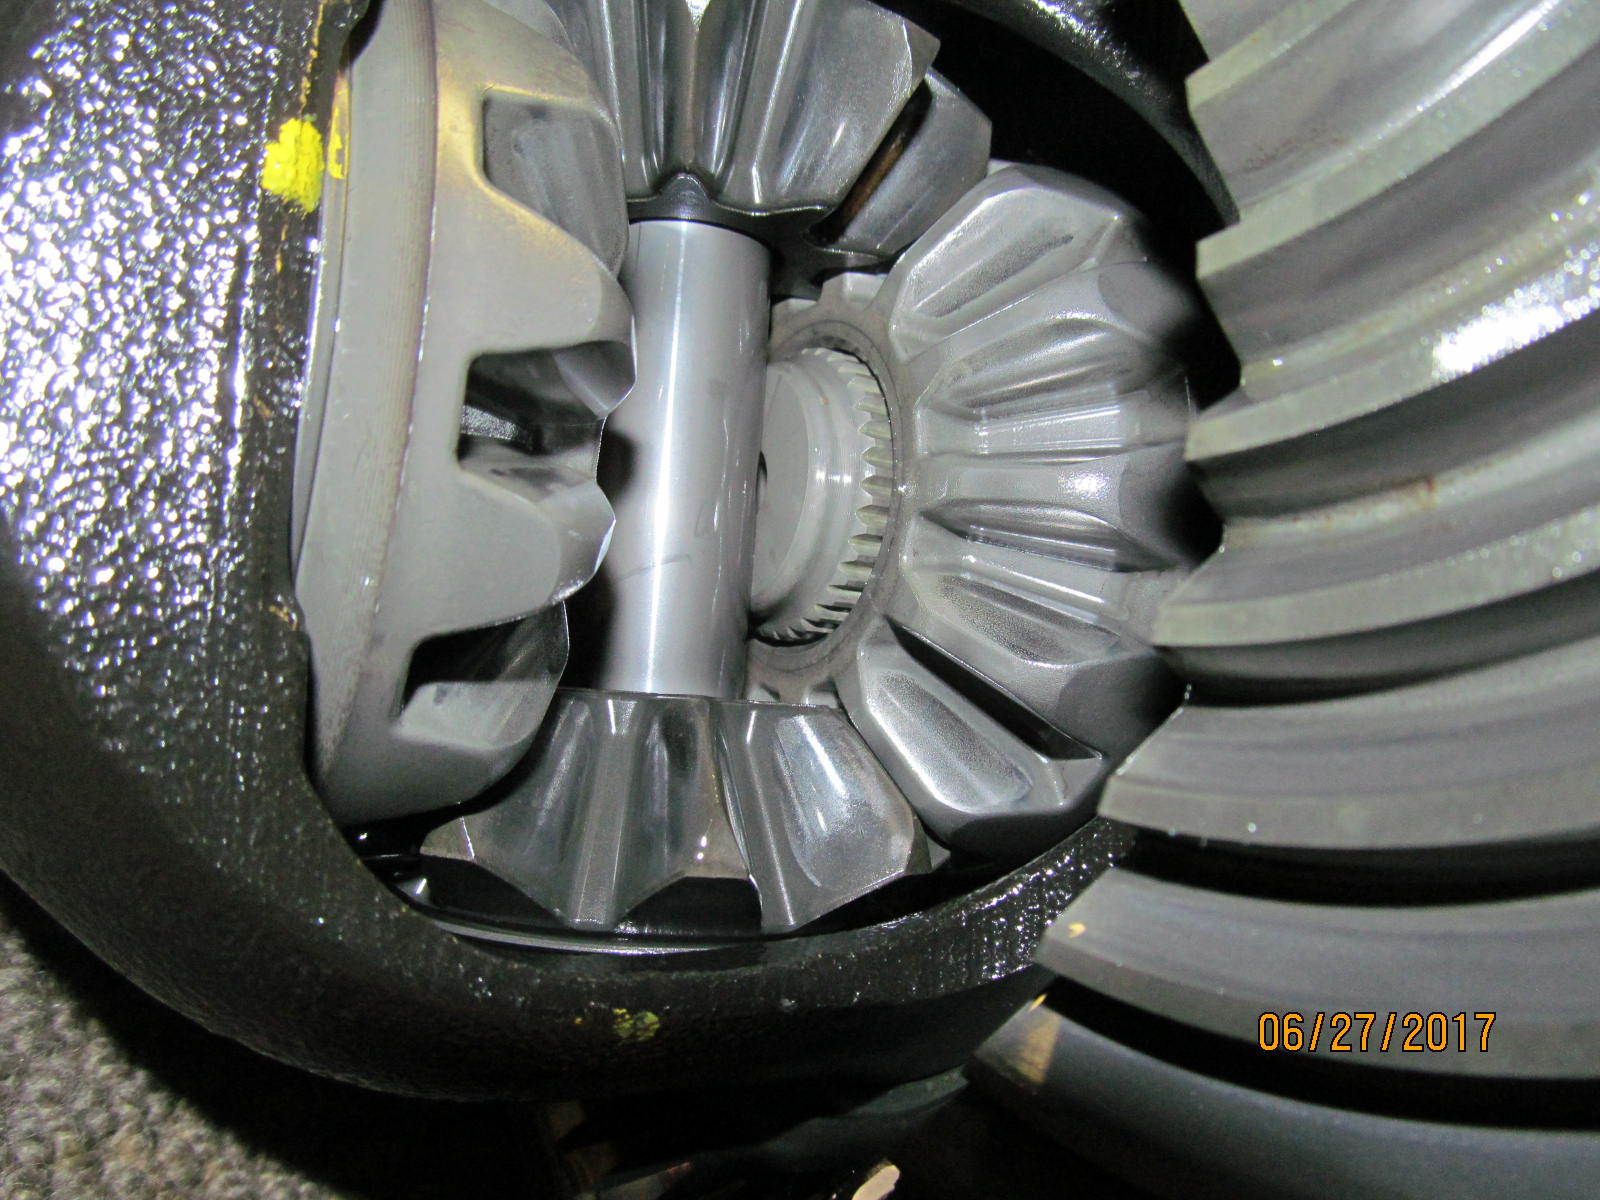
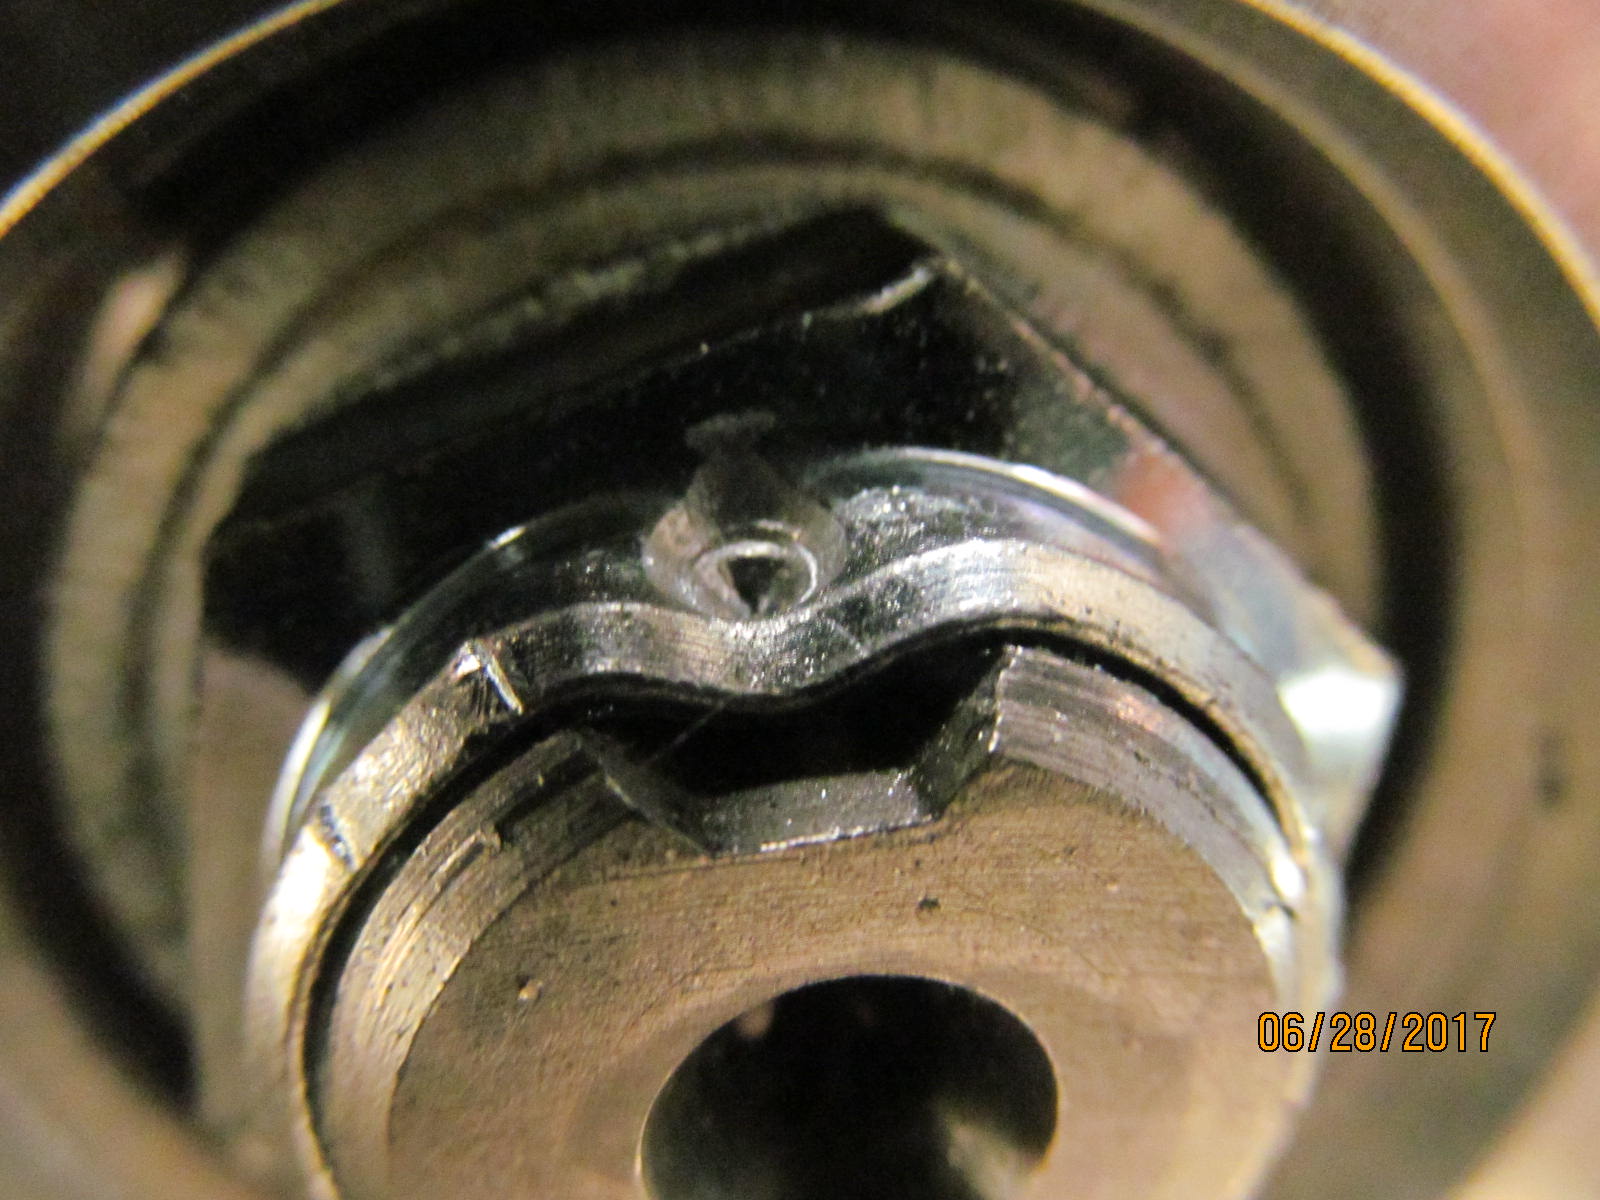
| .....so it was much easier to just access the stub from the inside. |
|---|
|
|
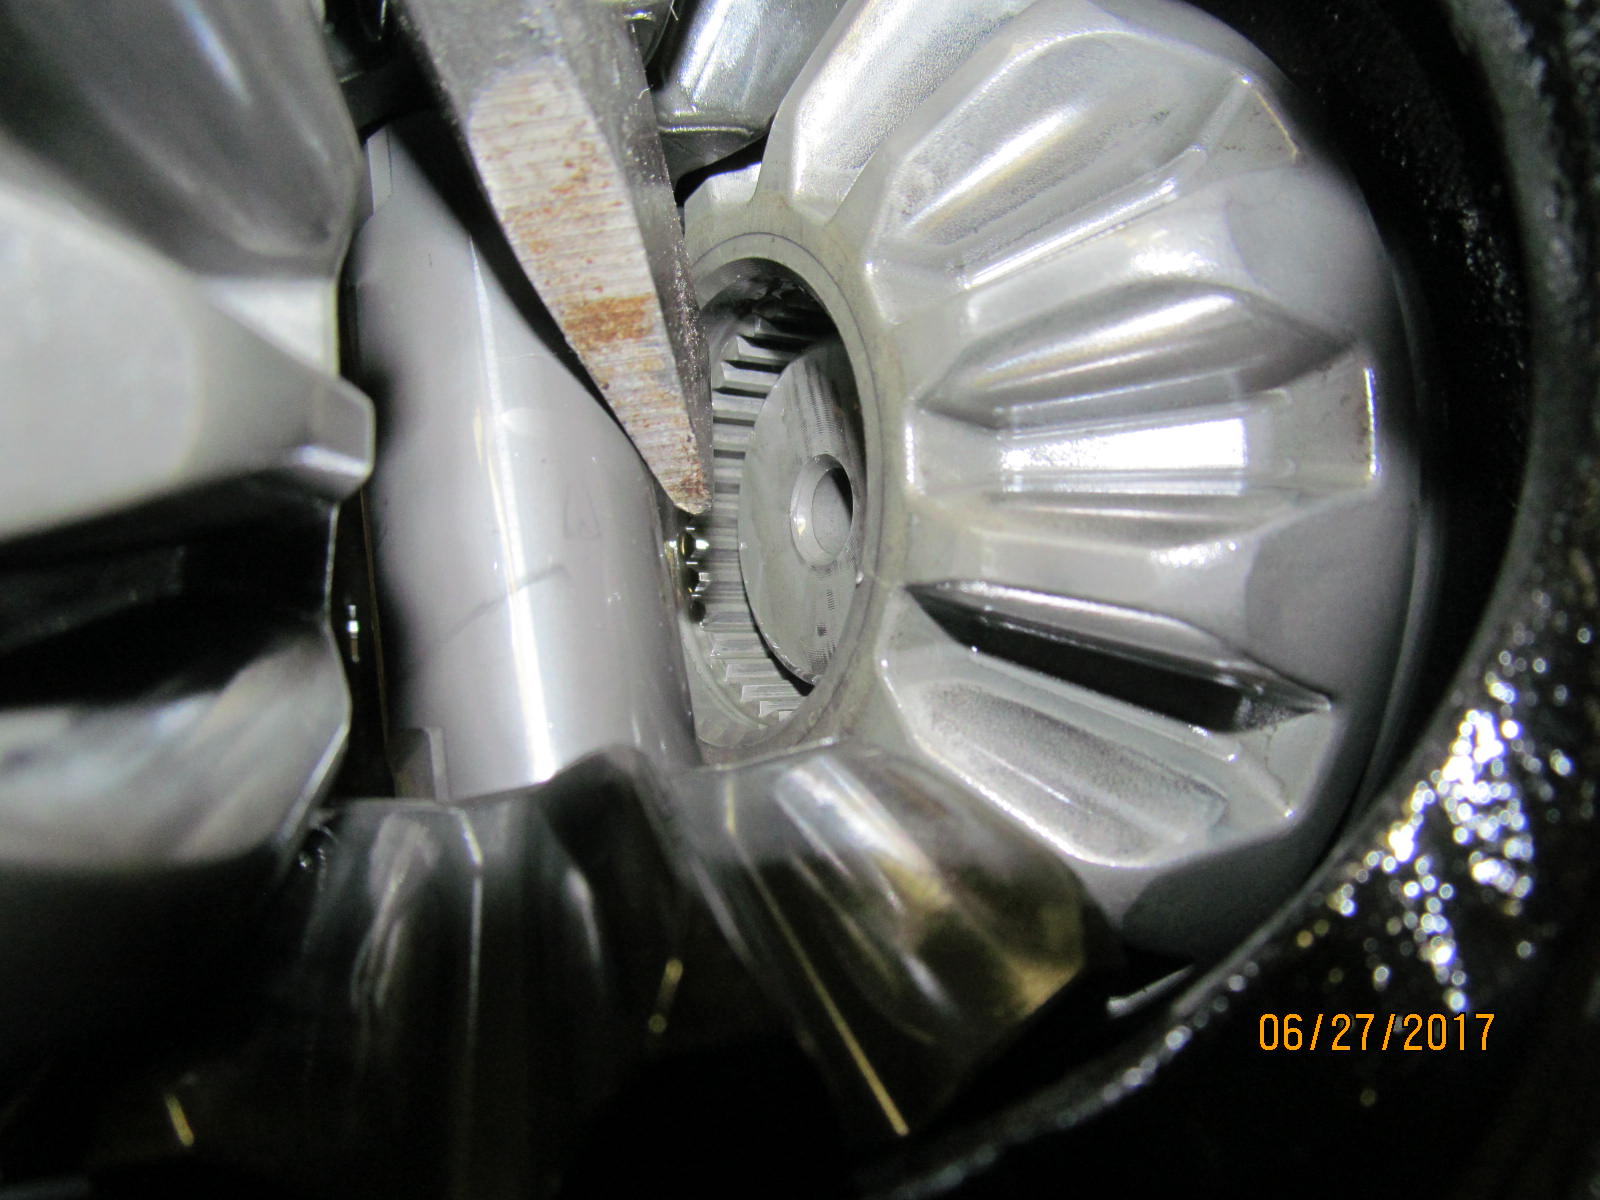
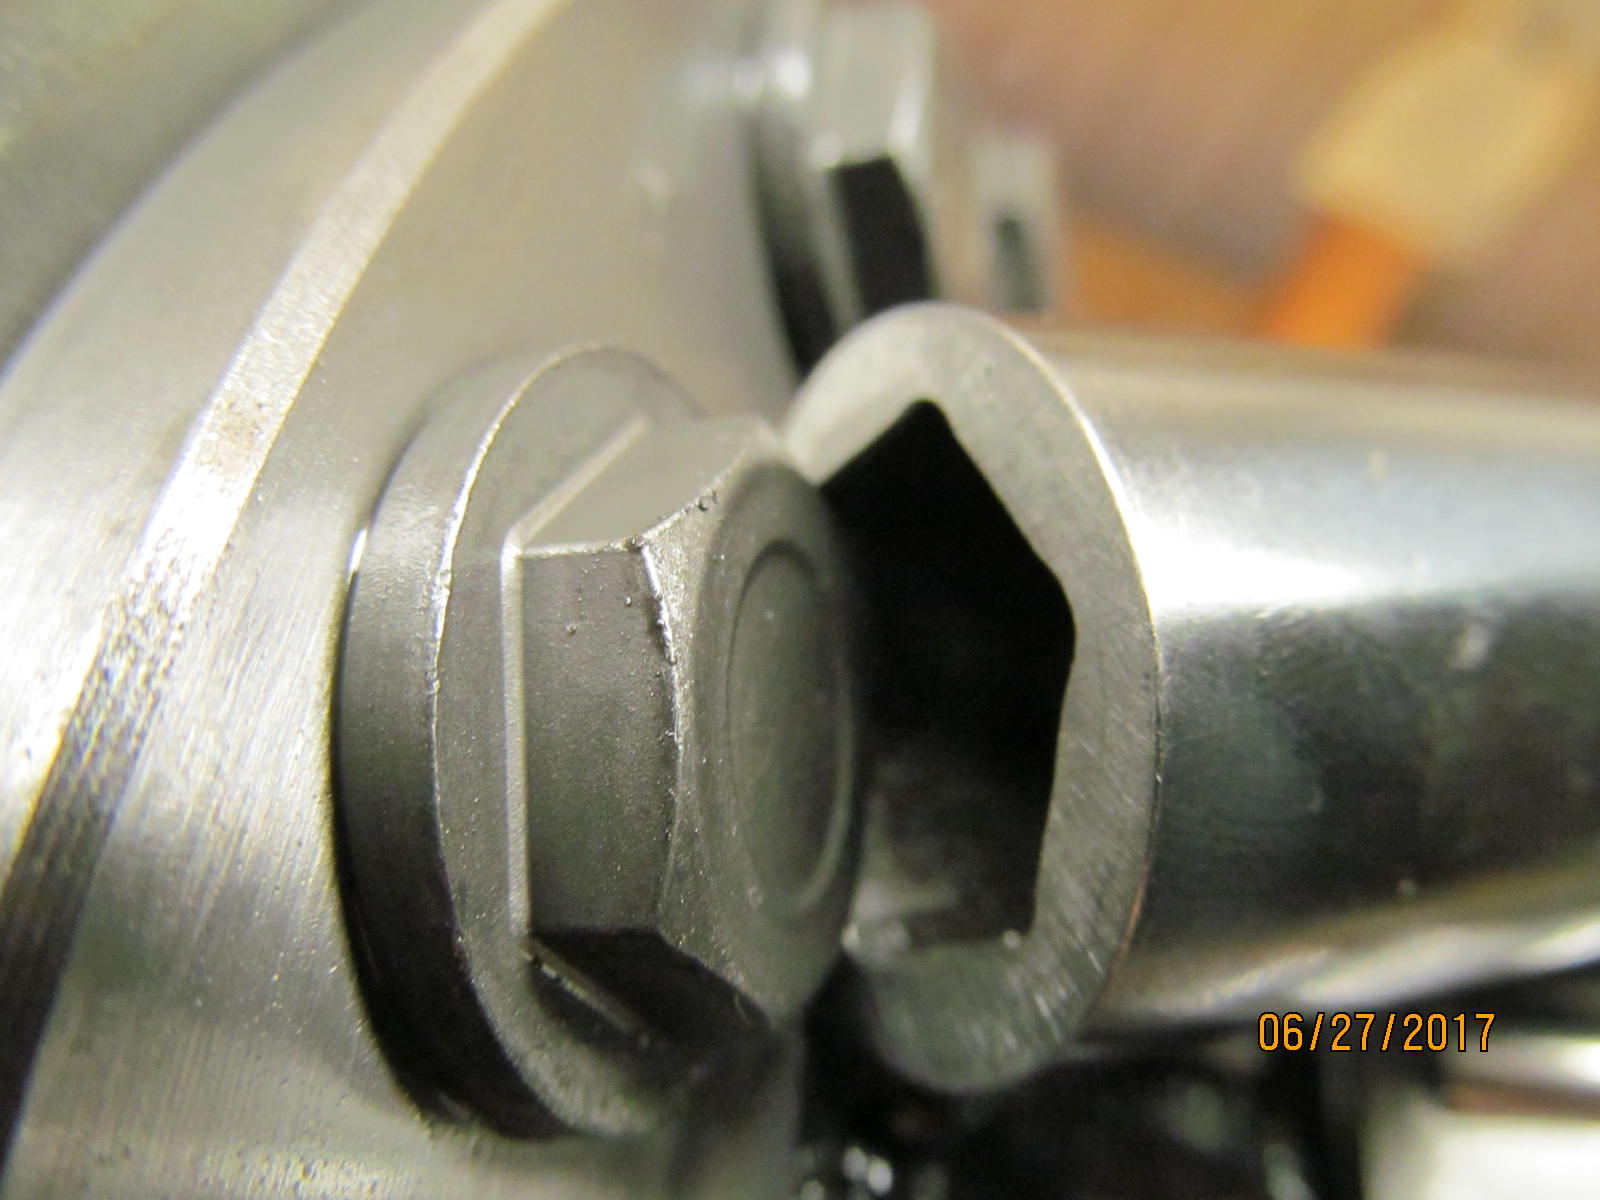
| Wedge a chisel or large screwdriver next to the crosspin...some gentle taps.... and then it pushed out rather easy. |
|---|
|
|
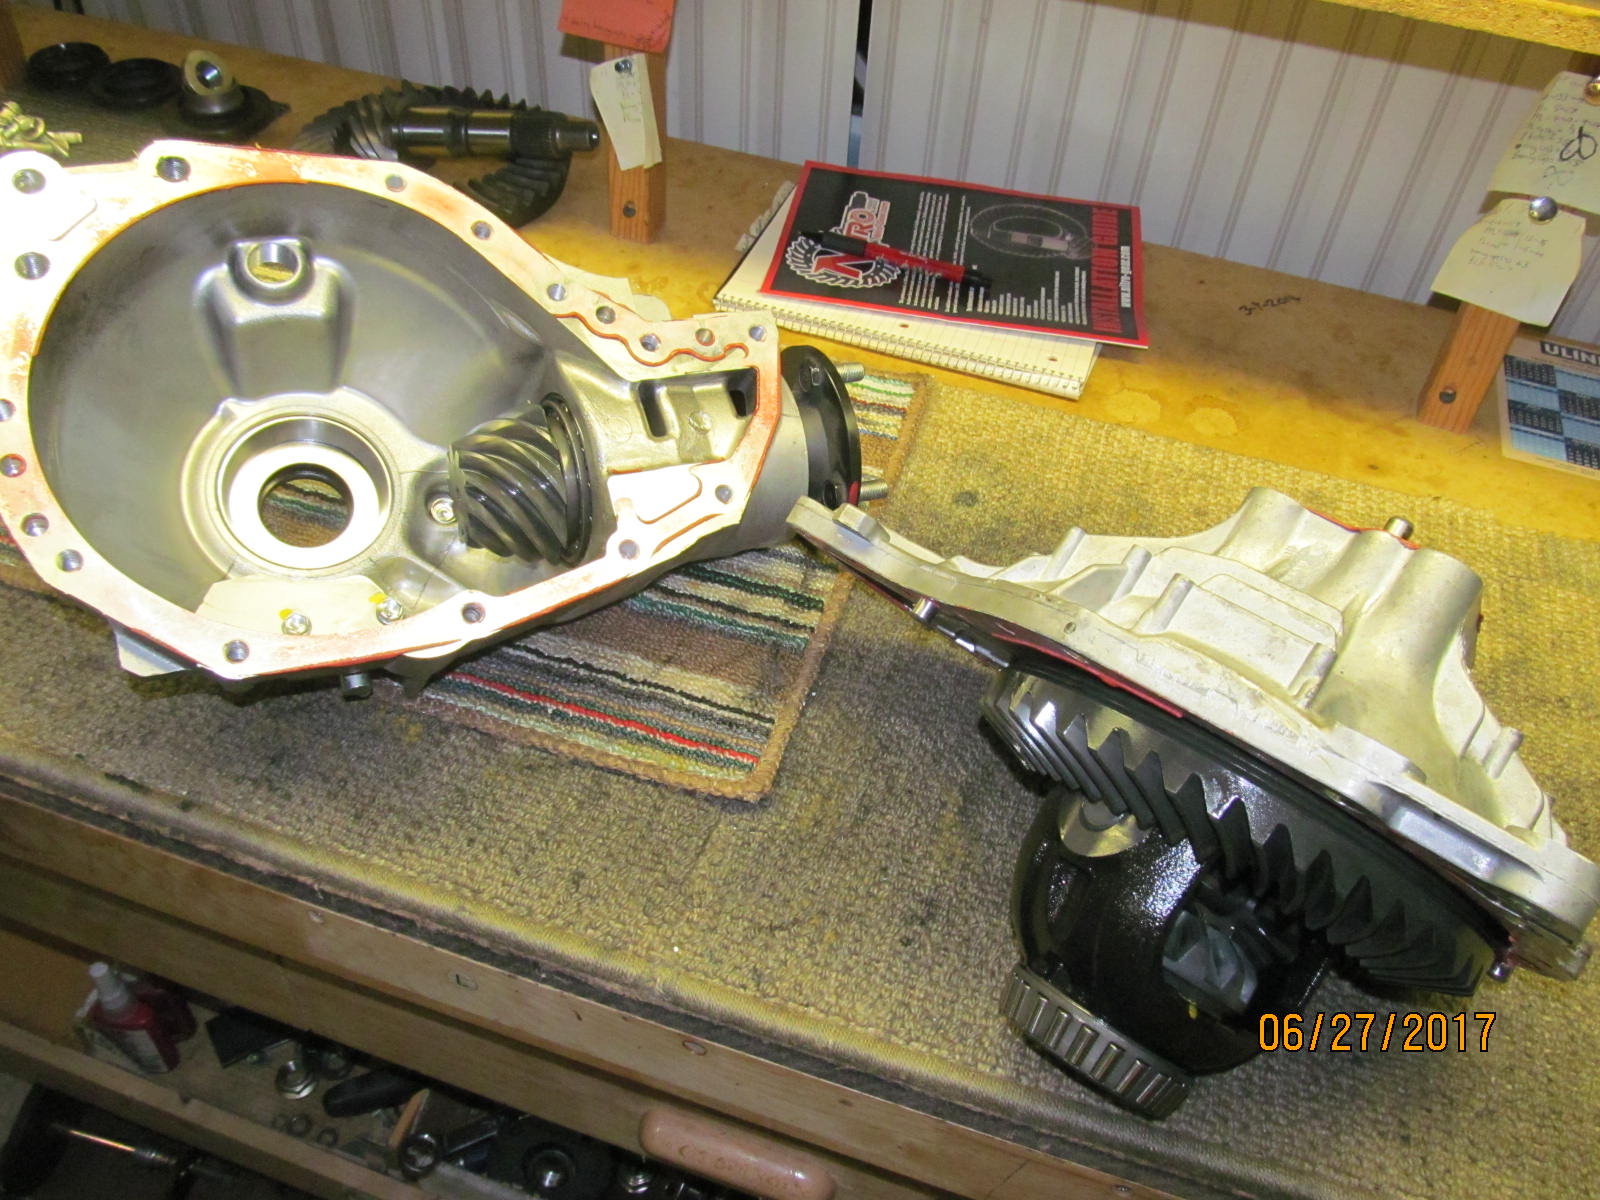
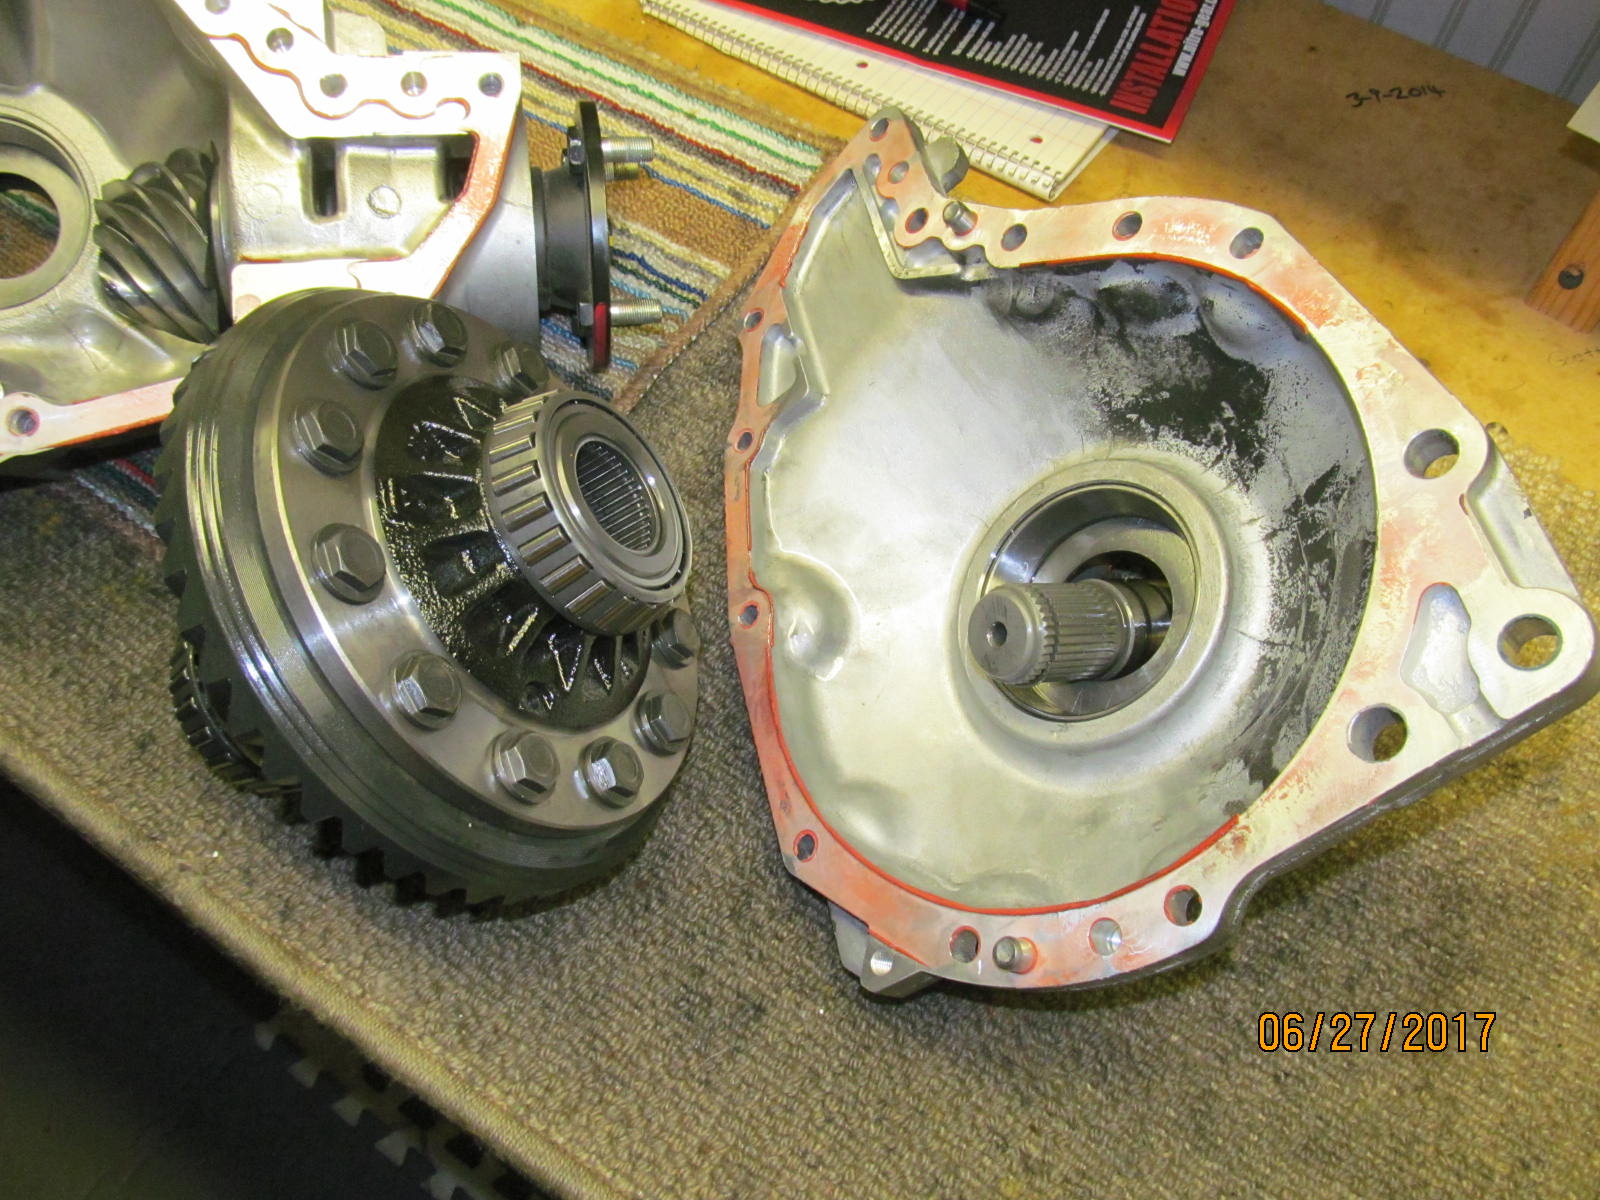
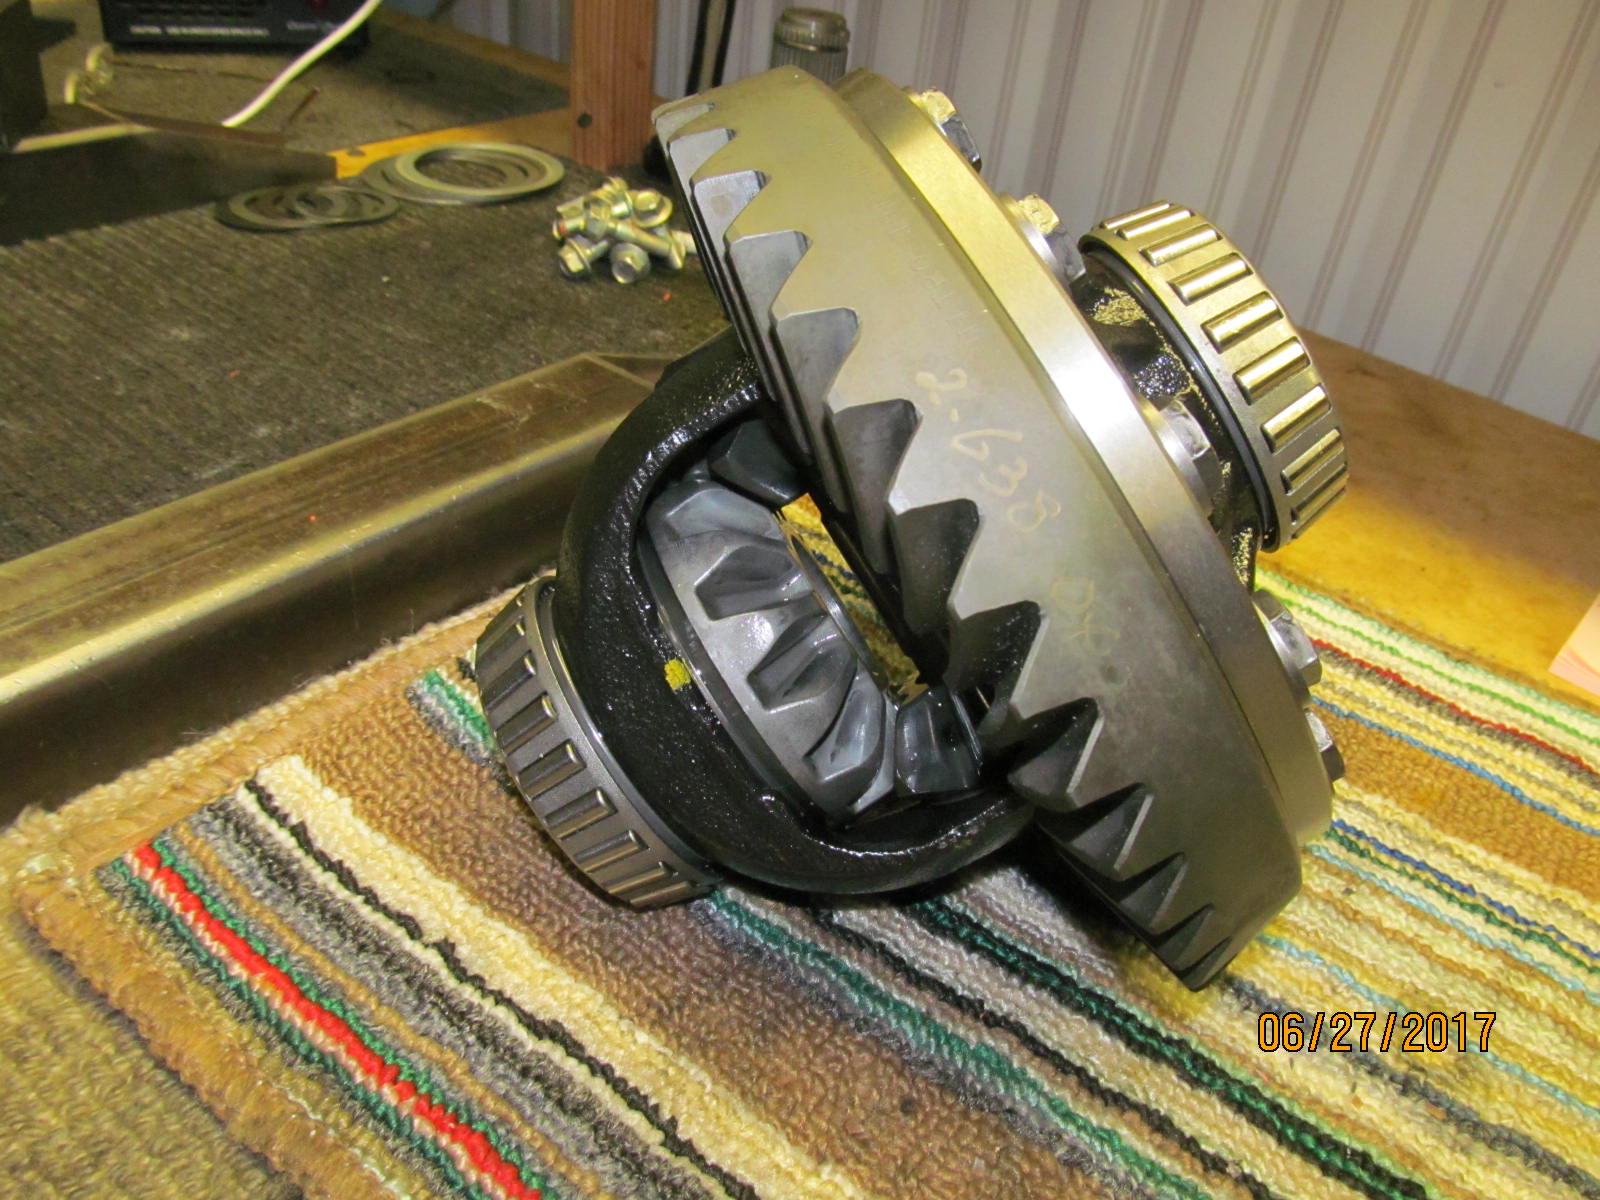
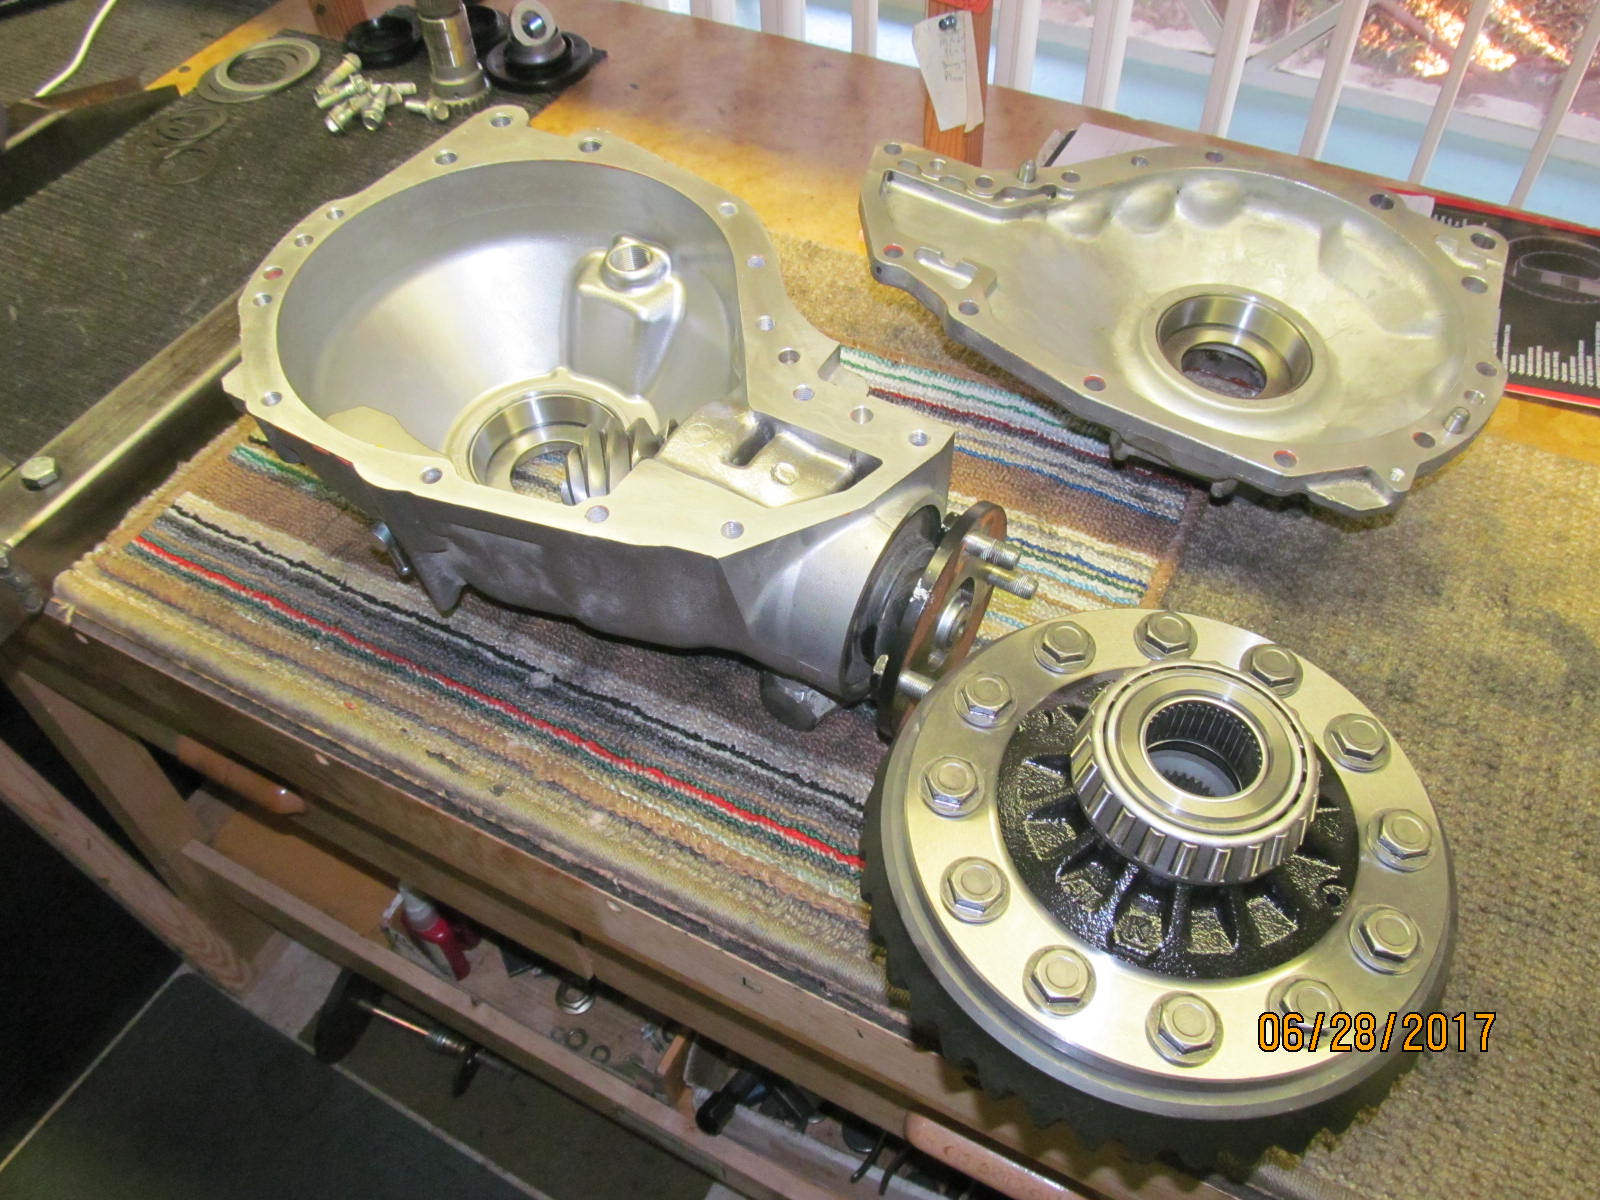
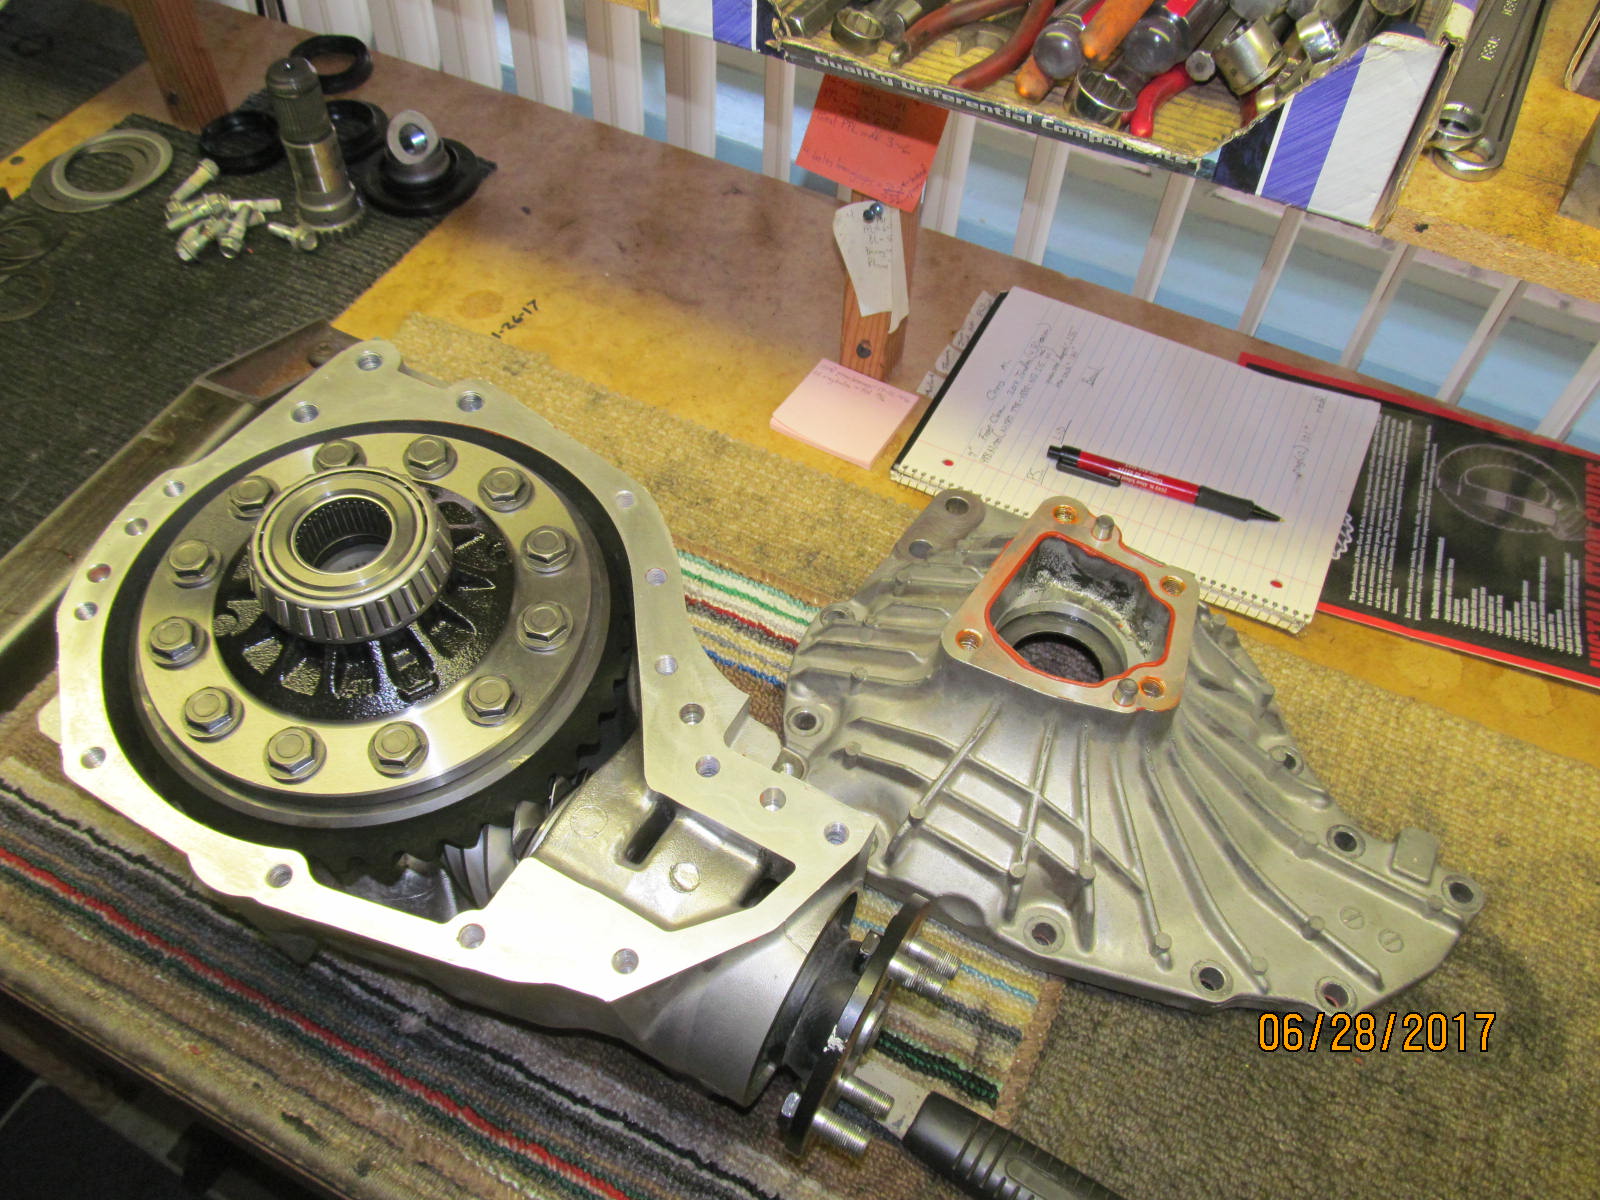
| Separated finally. |
|---|
|
|
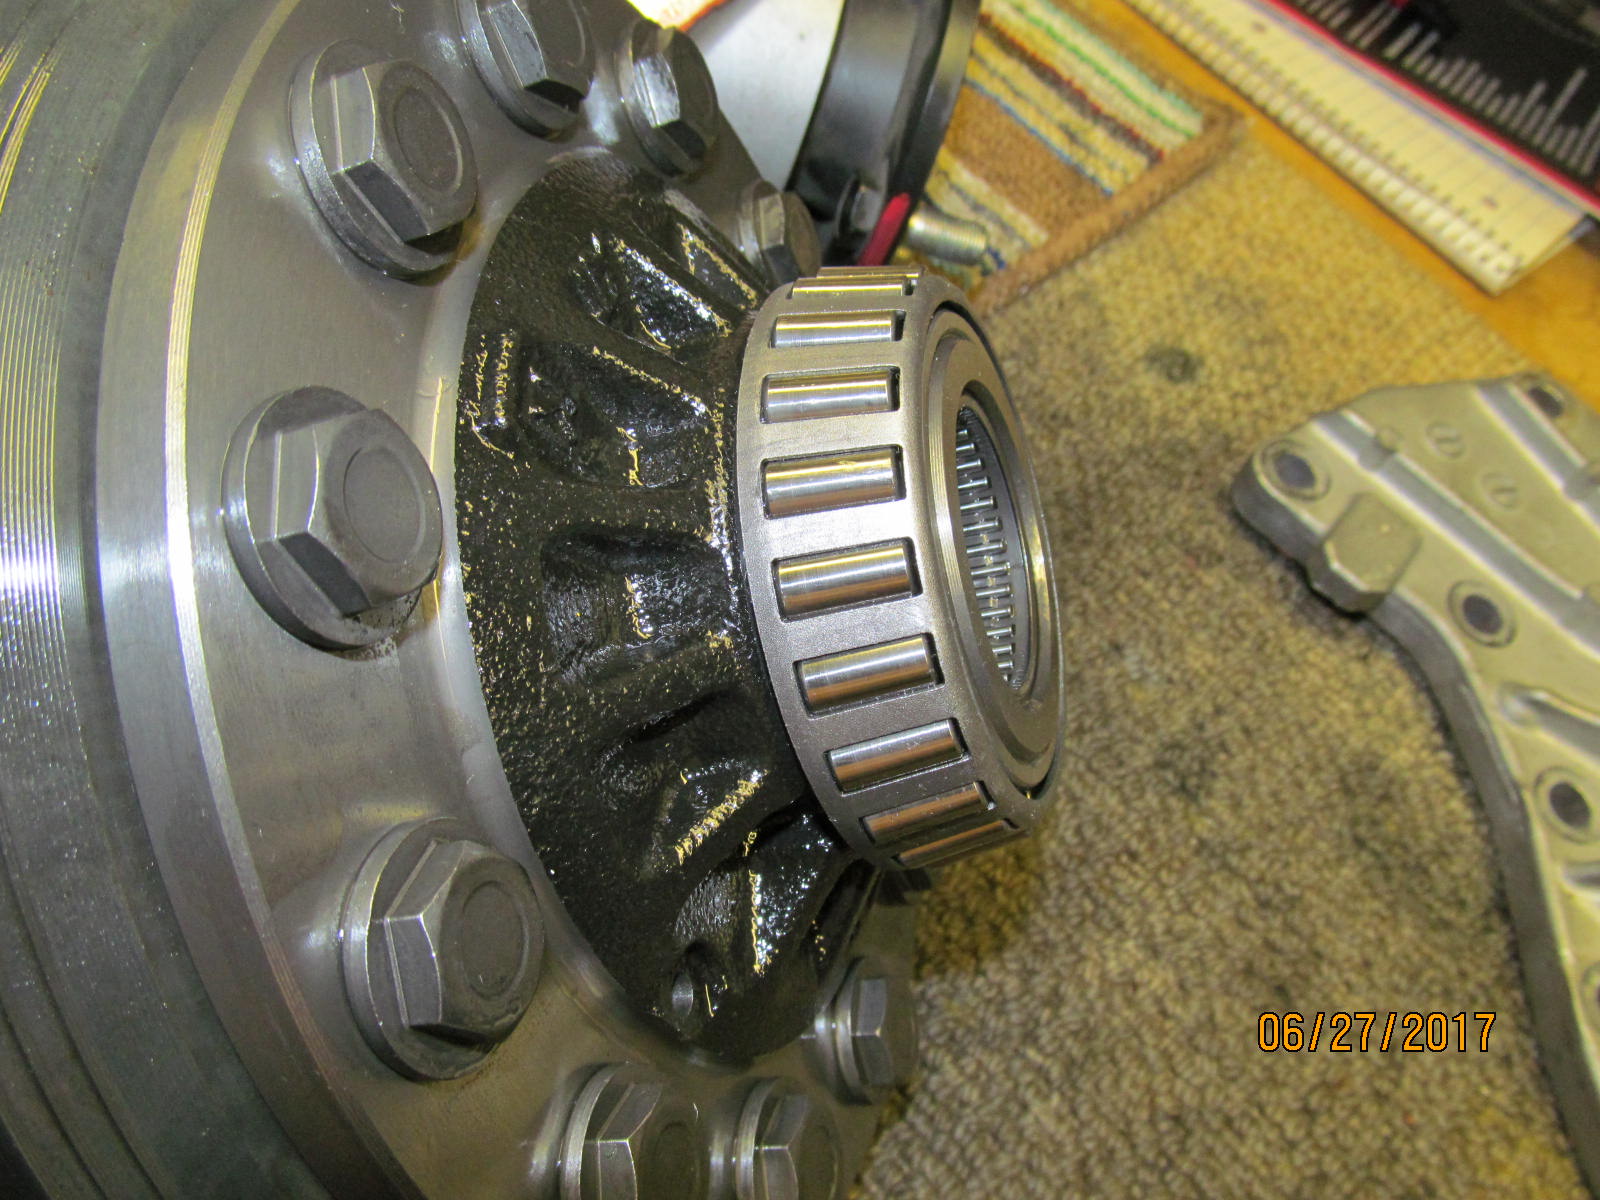
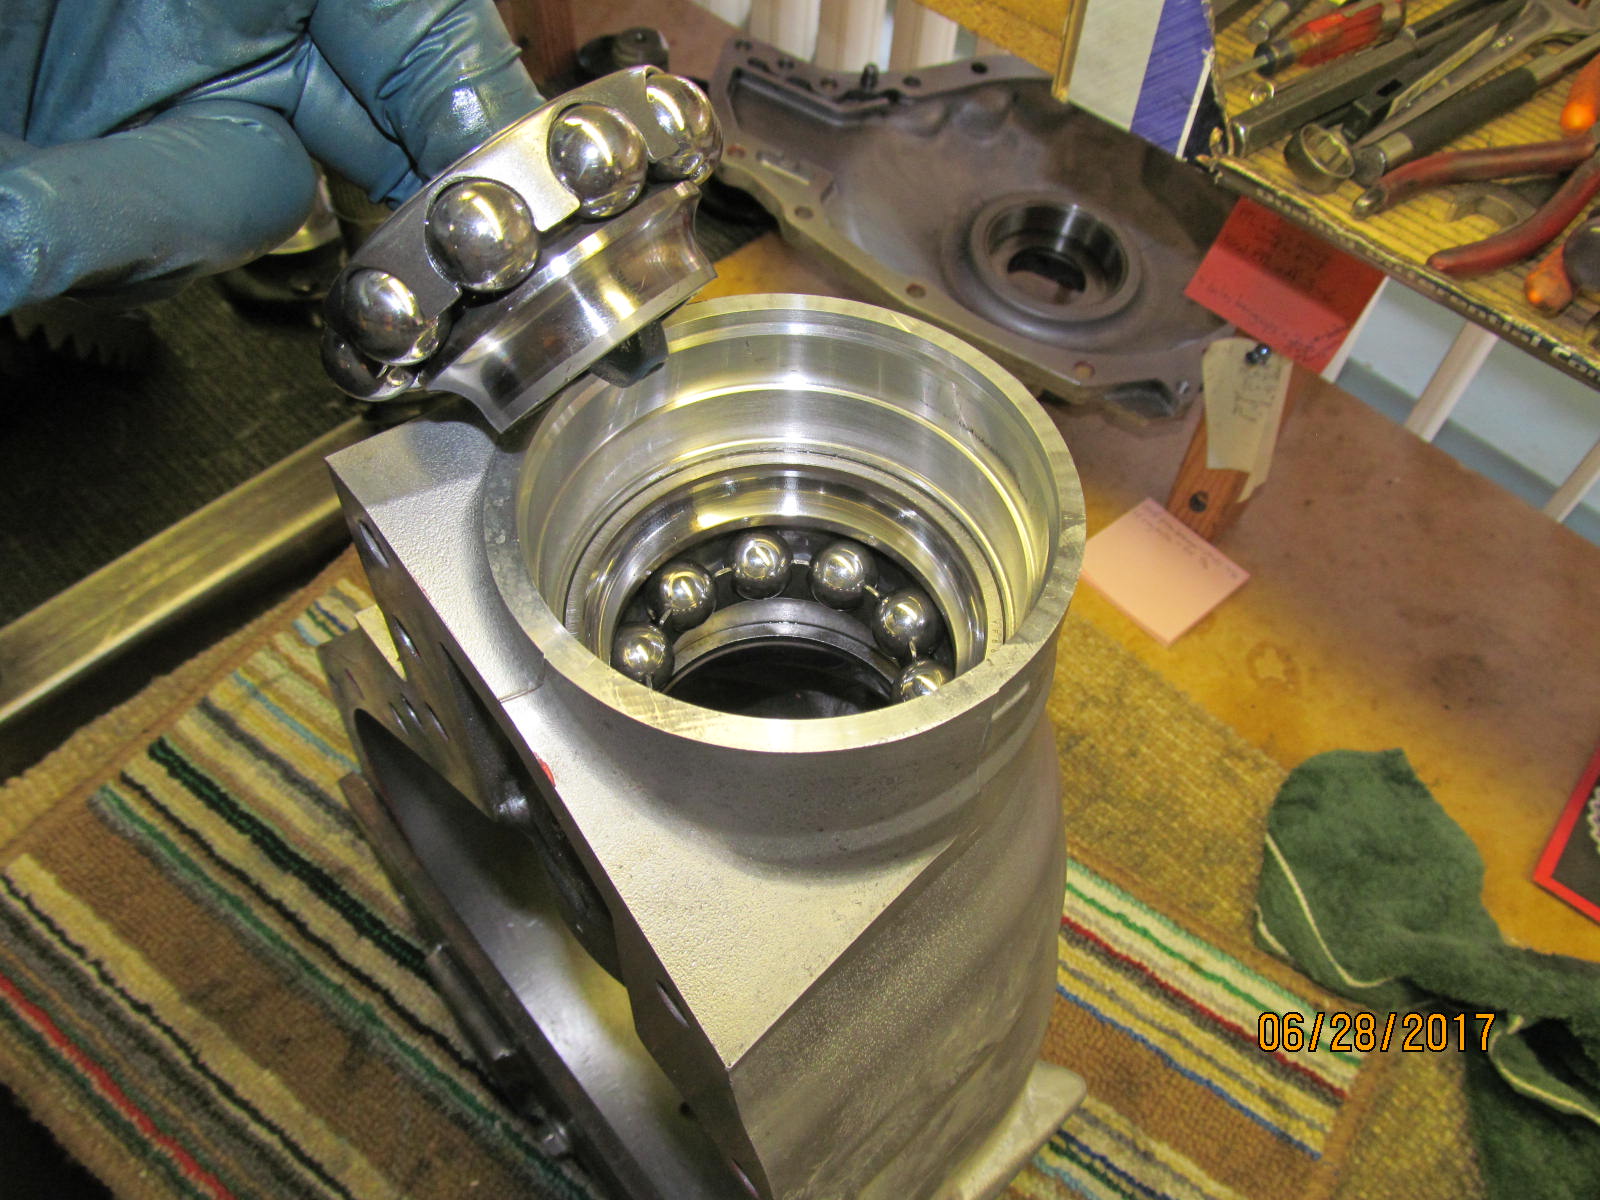
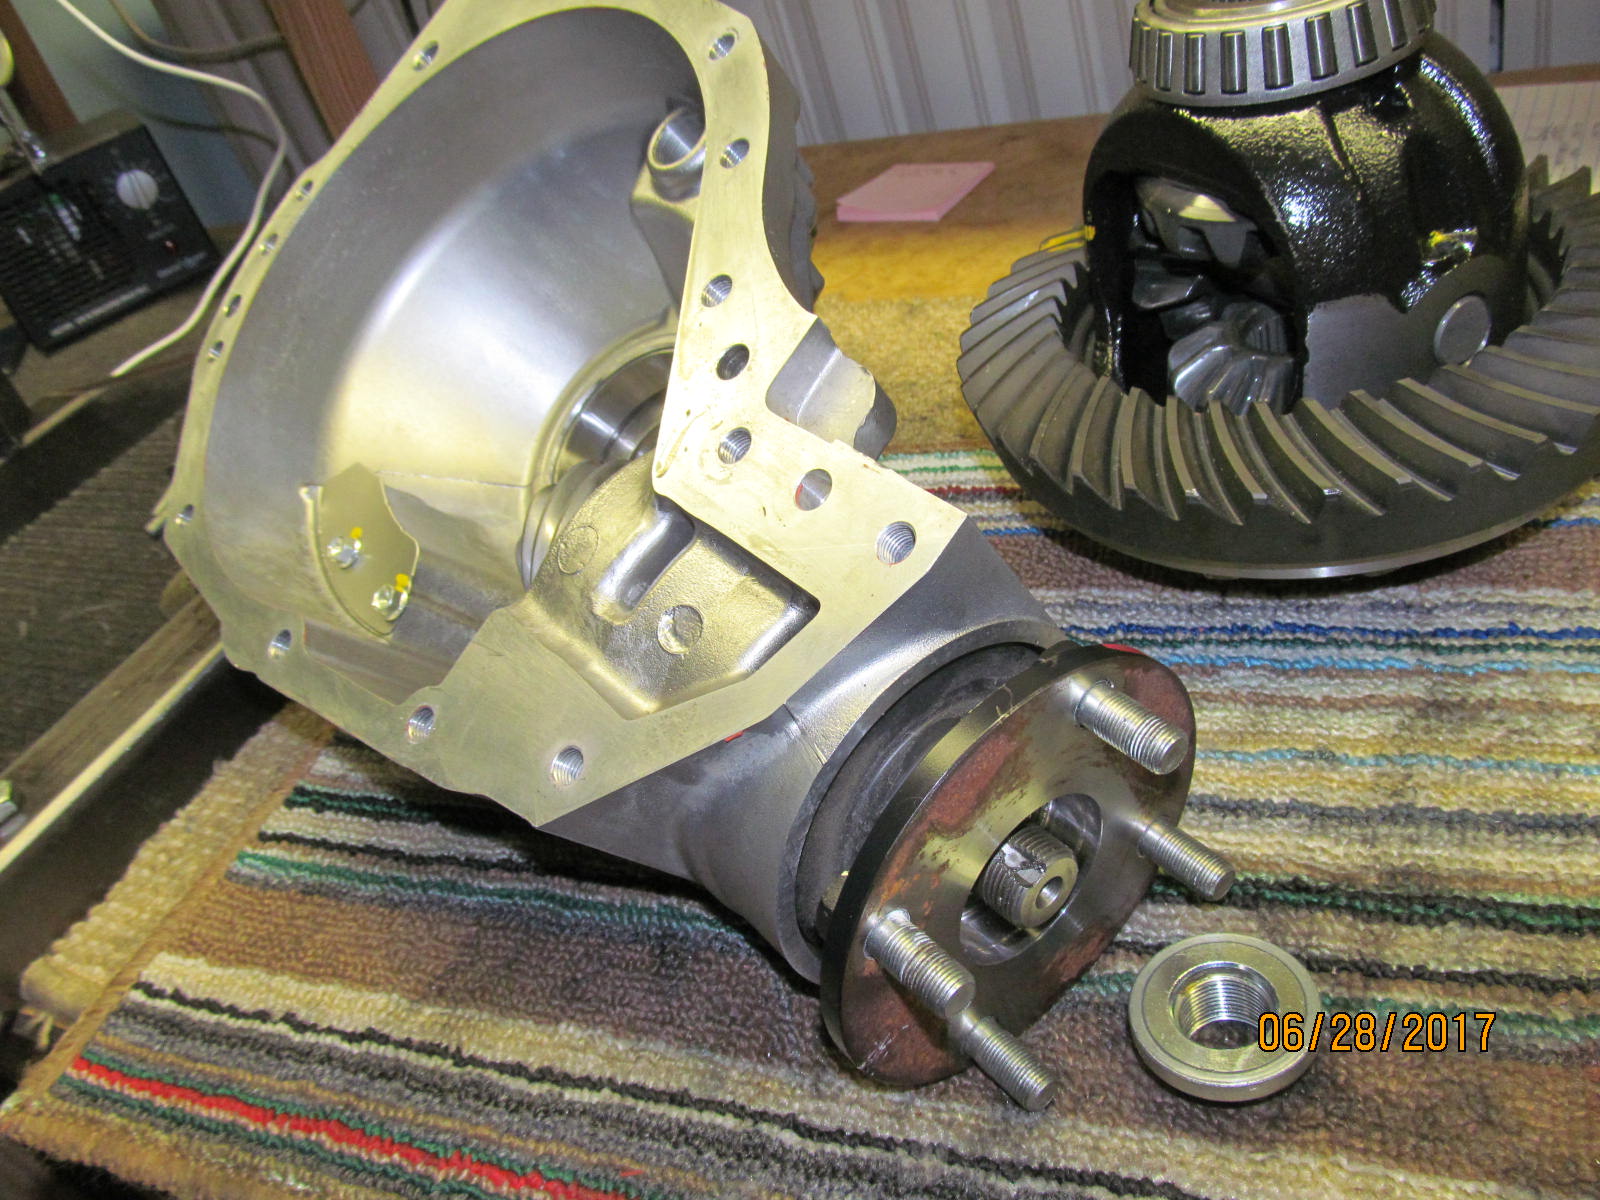
| The carrier bearings on this 2014 model are in super condition....totally reusable. |
|---|
|
|
| ,,,,,,,,,,,,,,,,,,,,,,, |
|---|
|
|
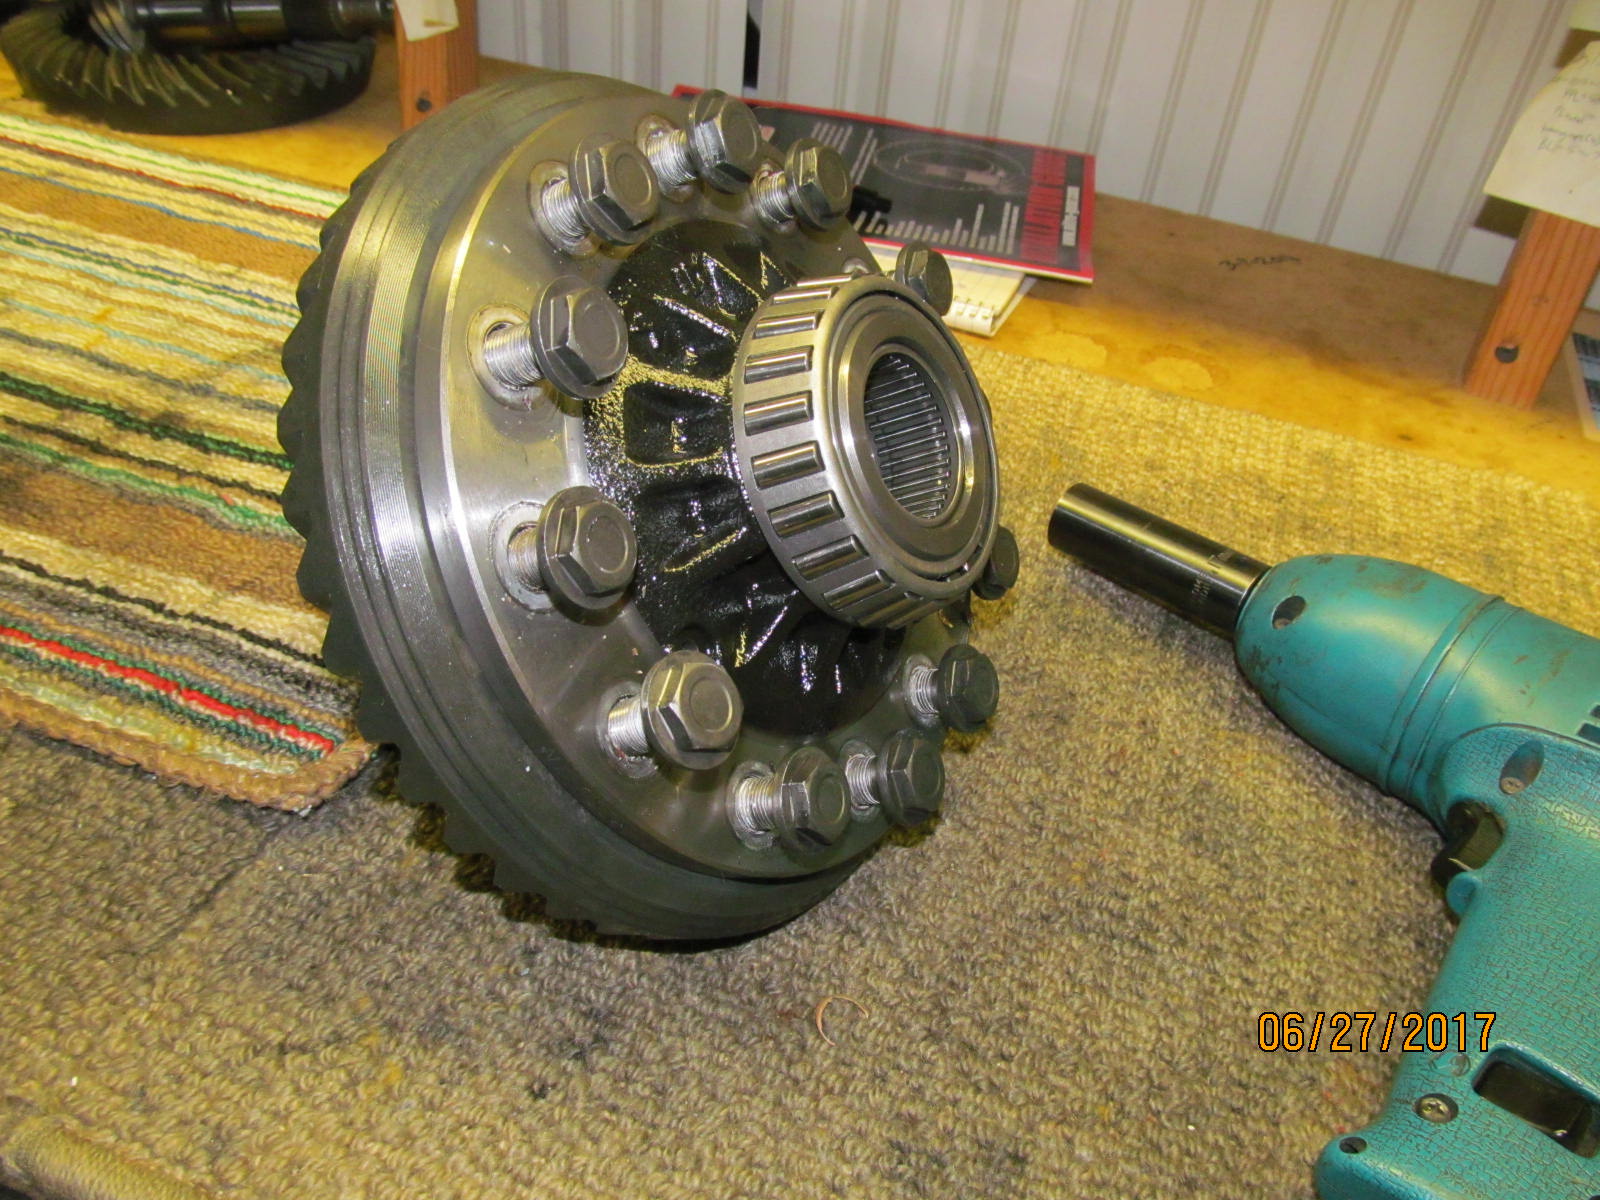
| It's important to have an impact socket that will fully contact the limited surface area on the 12 flange style ring gear bolts. |
|---|
|
|
| The Makita electric impact made quick work of it. |
|---|
|
|
| A few taps from a hammer and the old ring gear fell off. |
|---|
|
|
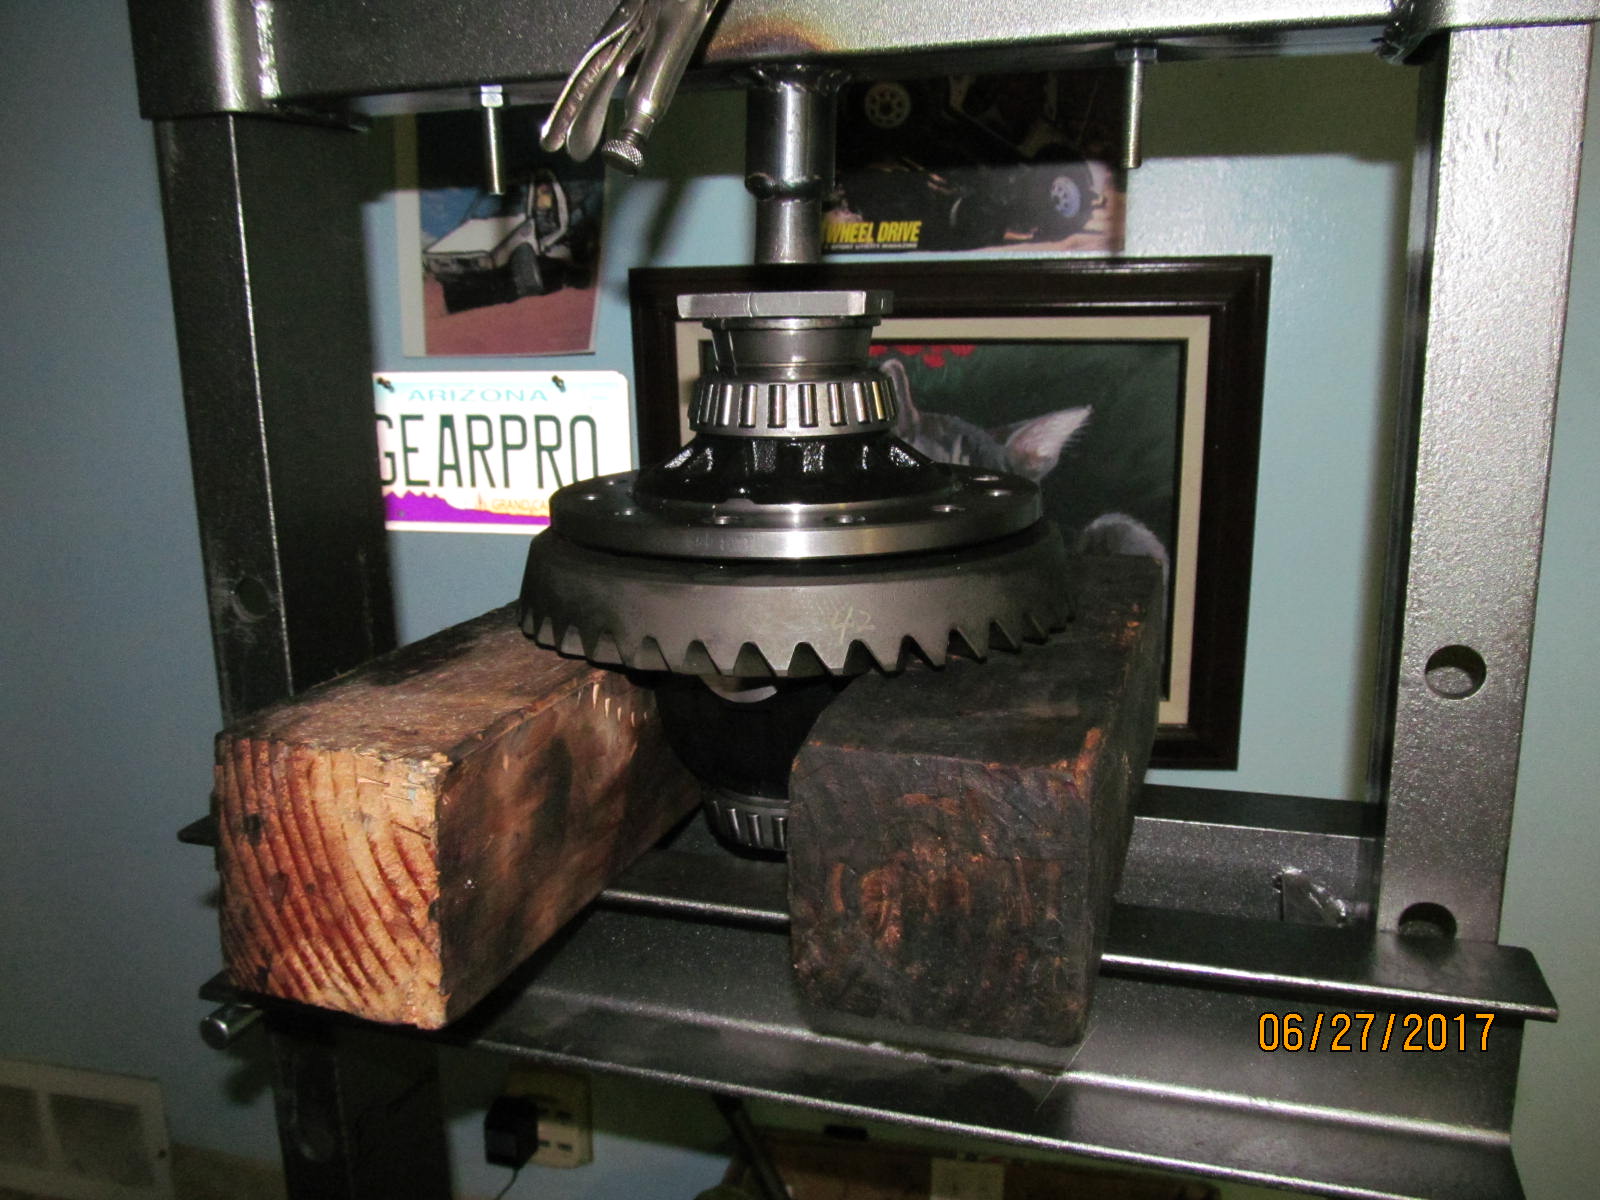
| The new Nitro 488 took some good pressure to coax it on. |
|---|
|
|
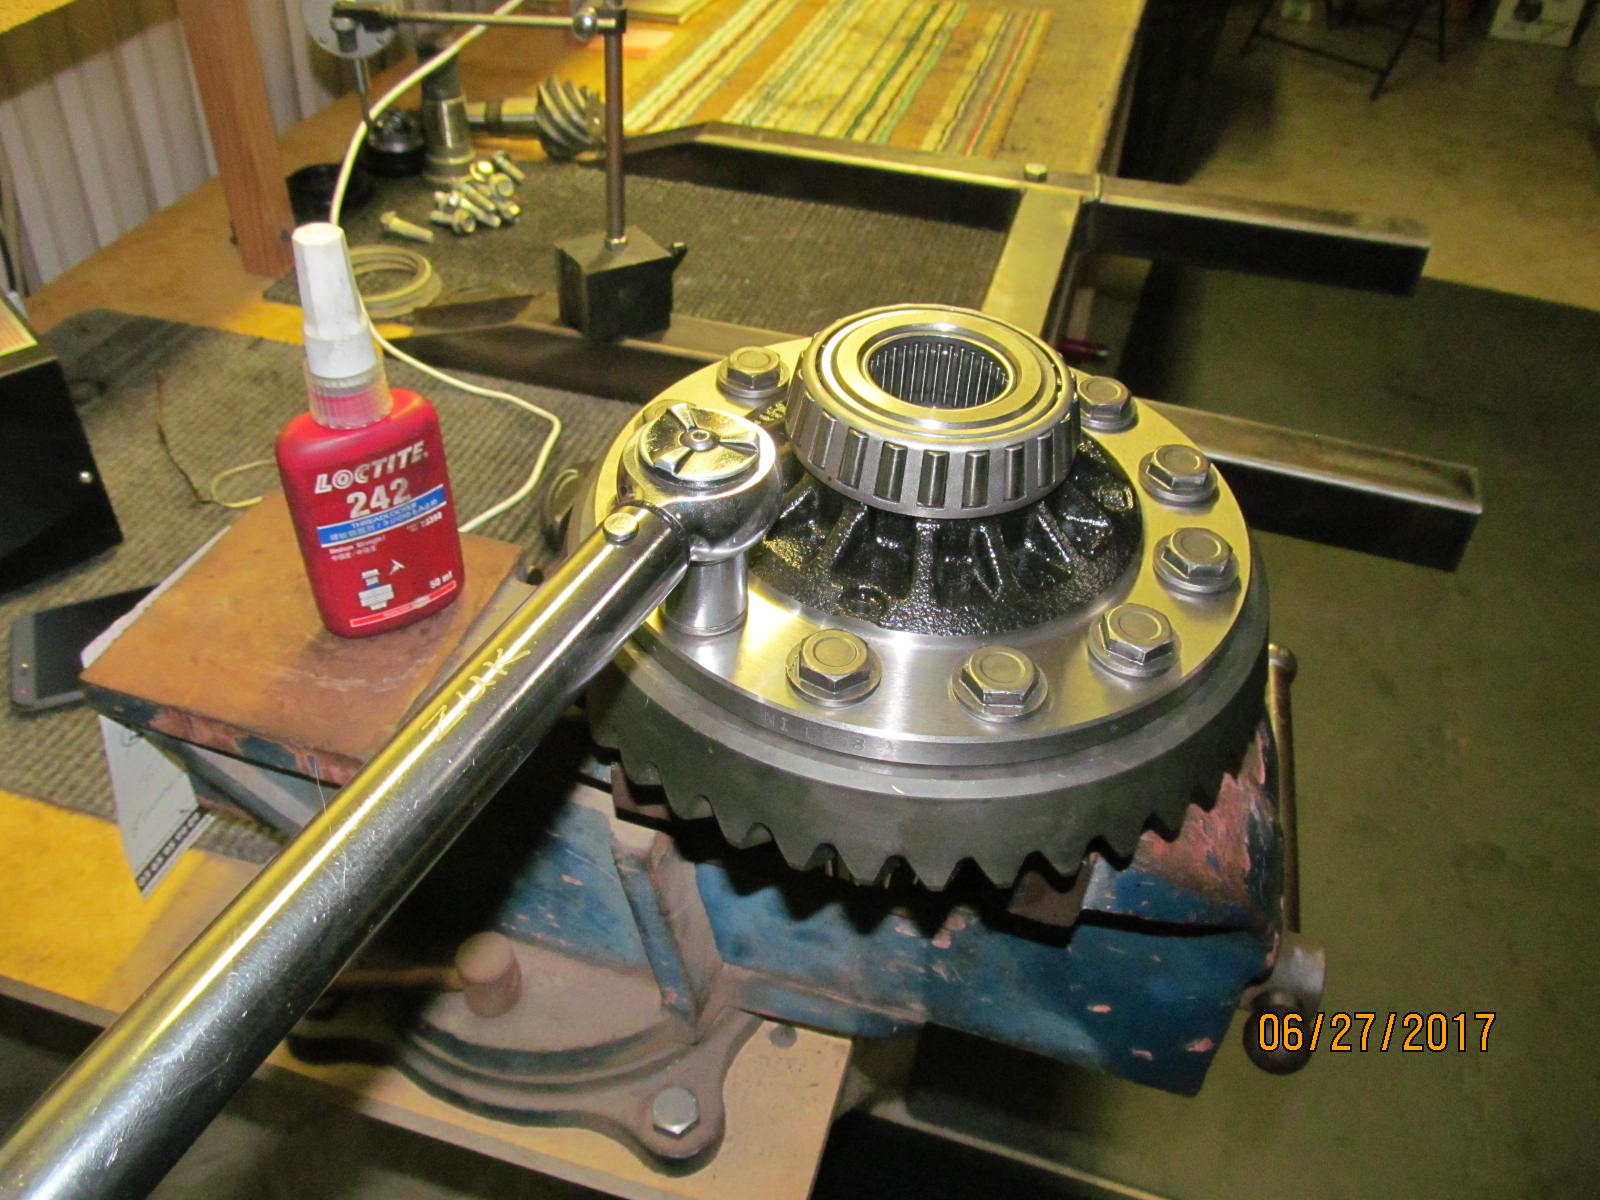
| Blue Loctite and 101 ft/lb per the FSM service manual. |
|---|
|
|
| This piece is complete. |
|---|
|
|
| Pinion end next. Remove the pinion nut. |
|---|
|
|
| Something I welded up last year for the big 9" clams. The pinion pressed out so very nicely. |
|---|
|
|
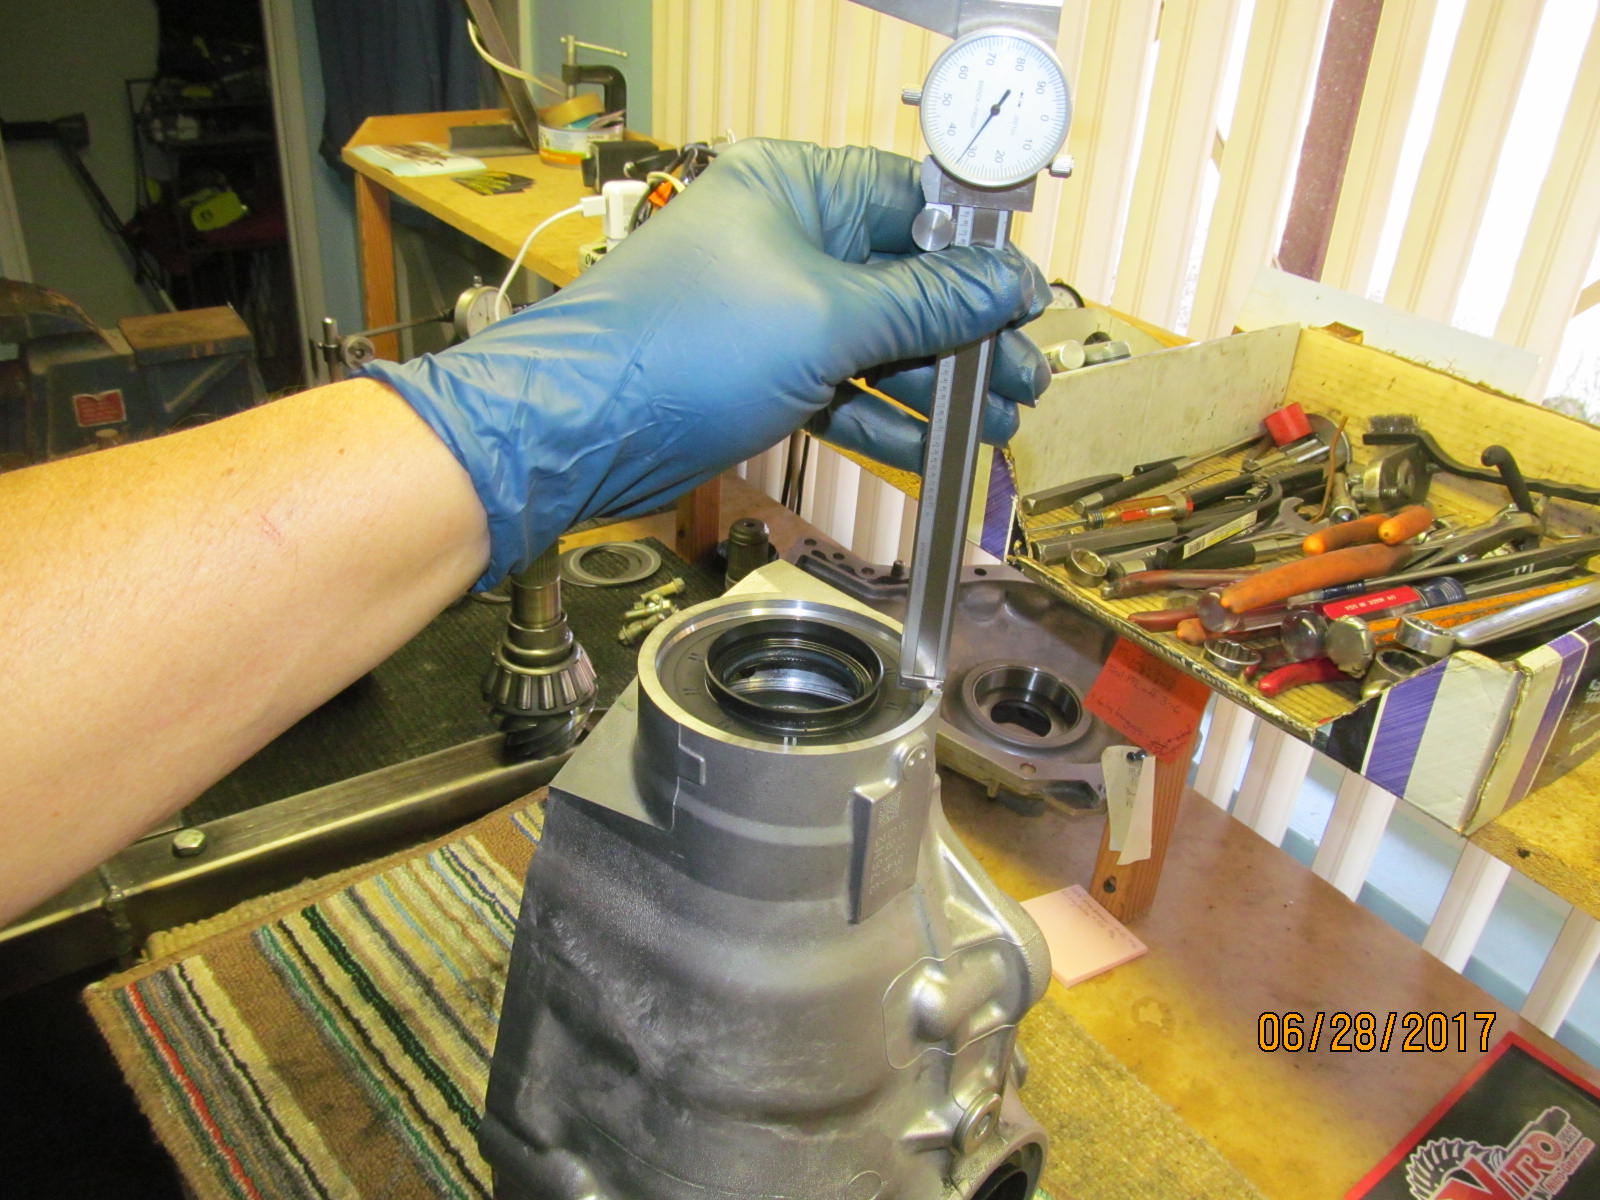
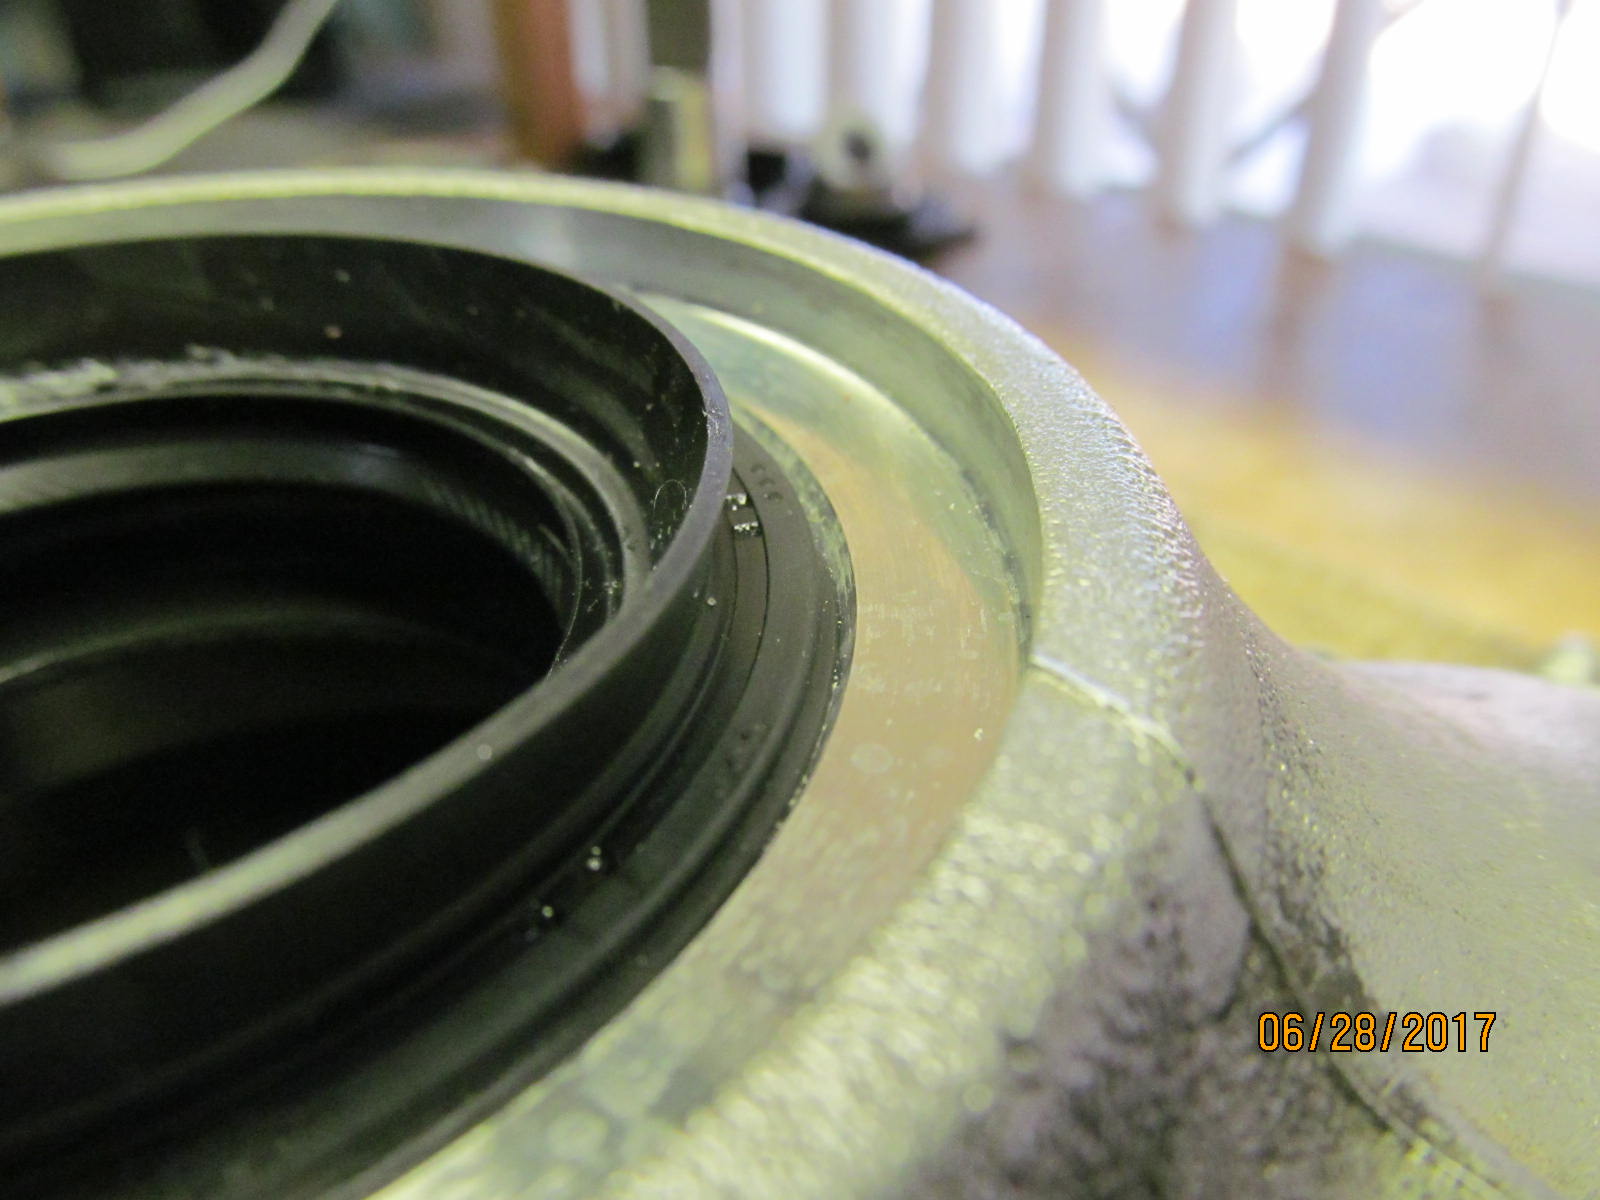
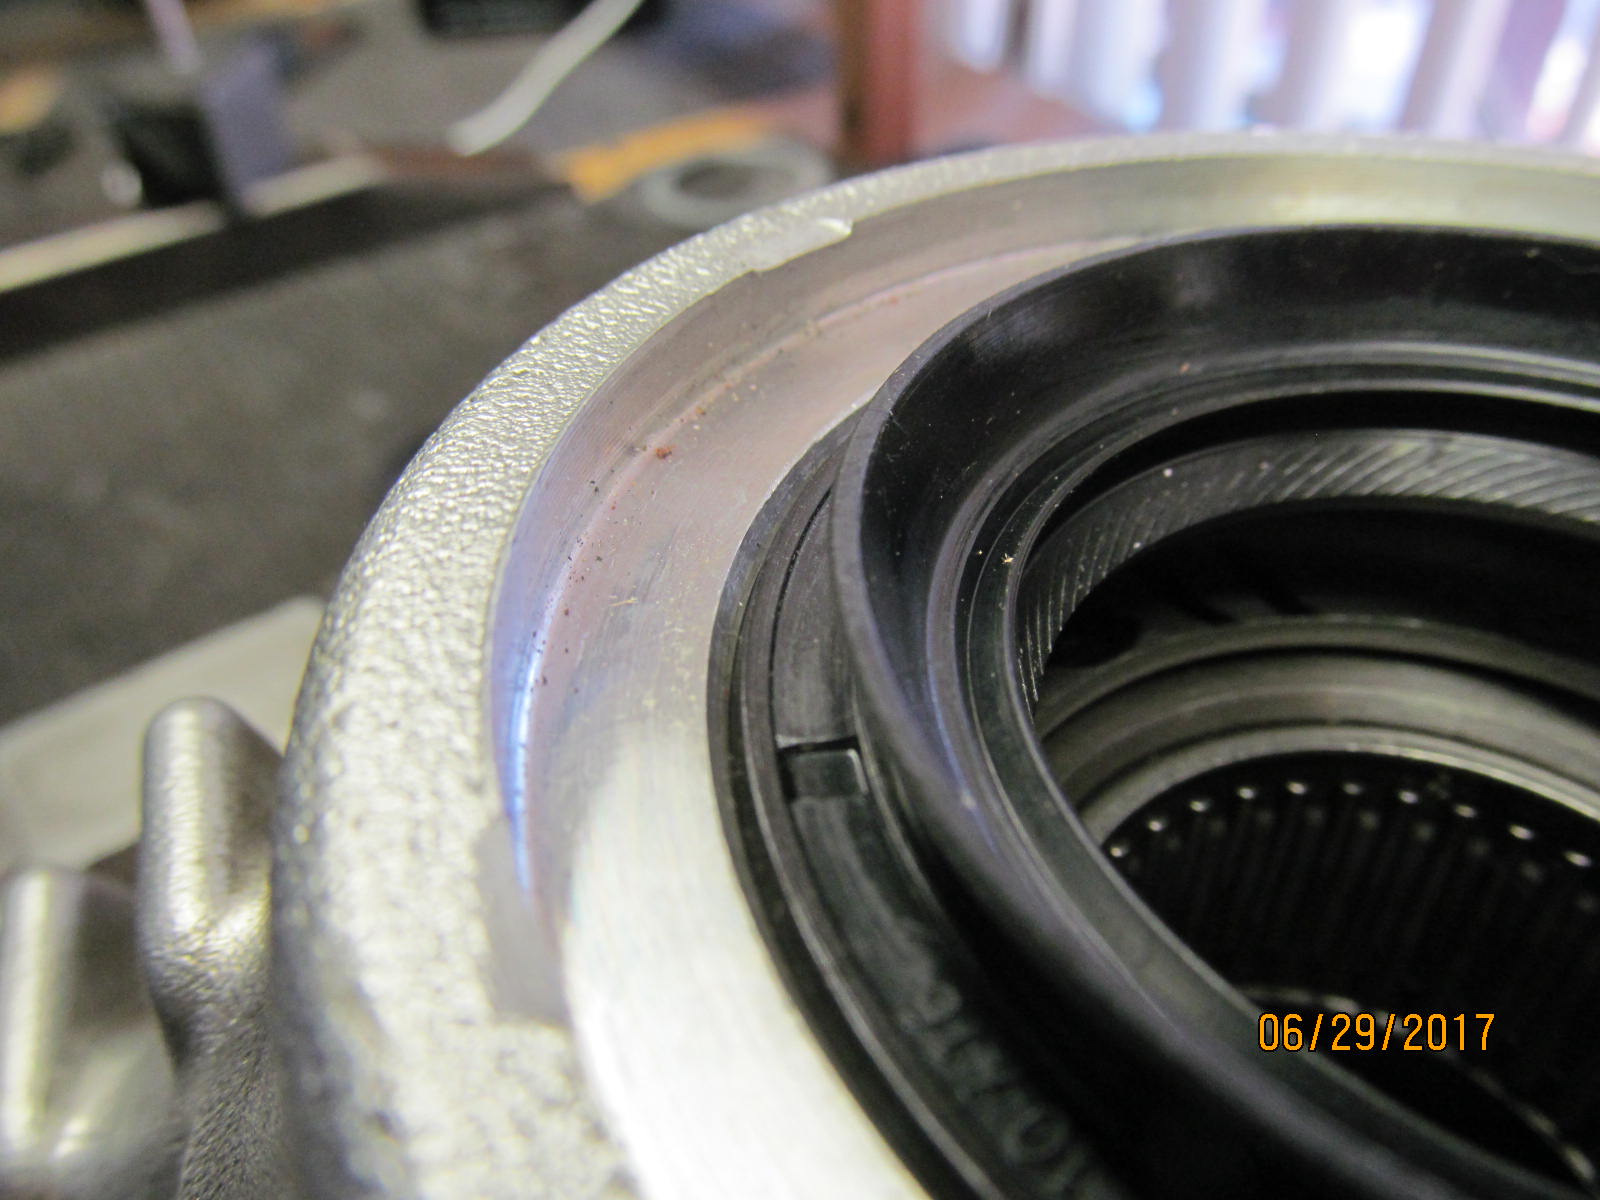
| The factory had the pinion seal recessed about .235" |
|---|
|
|
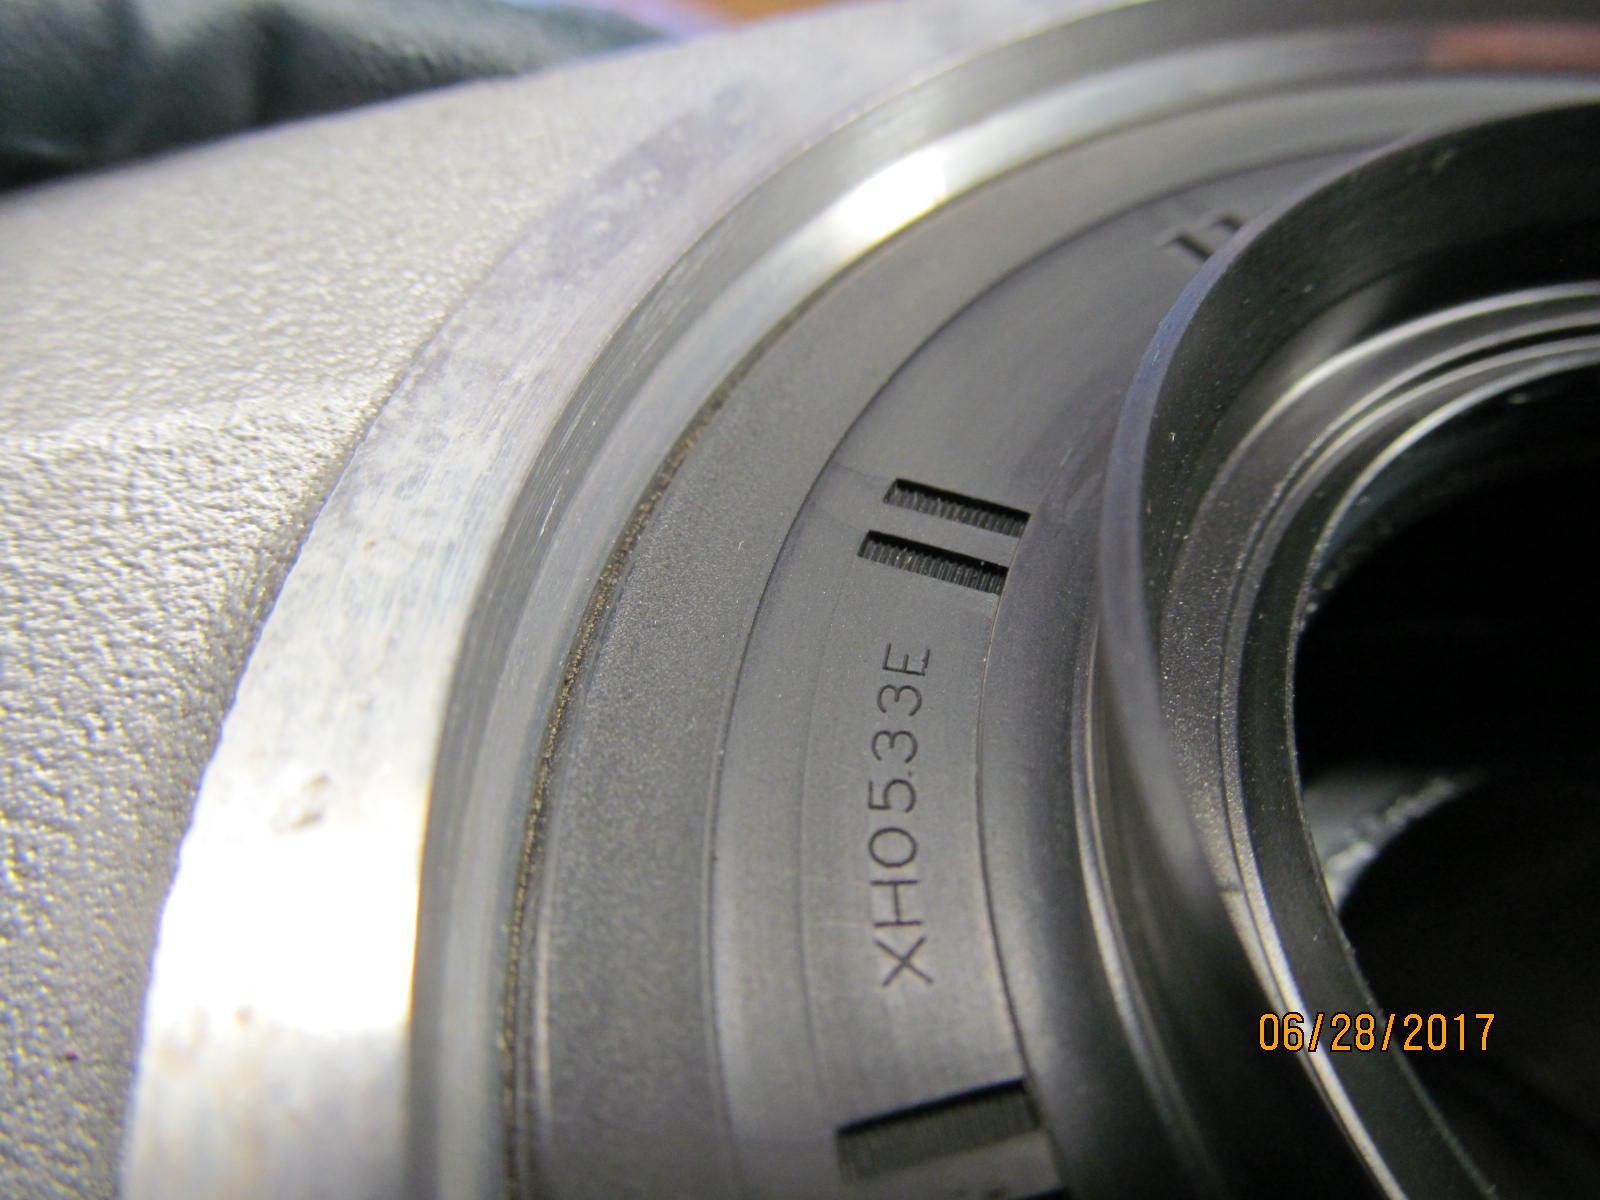
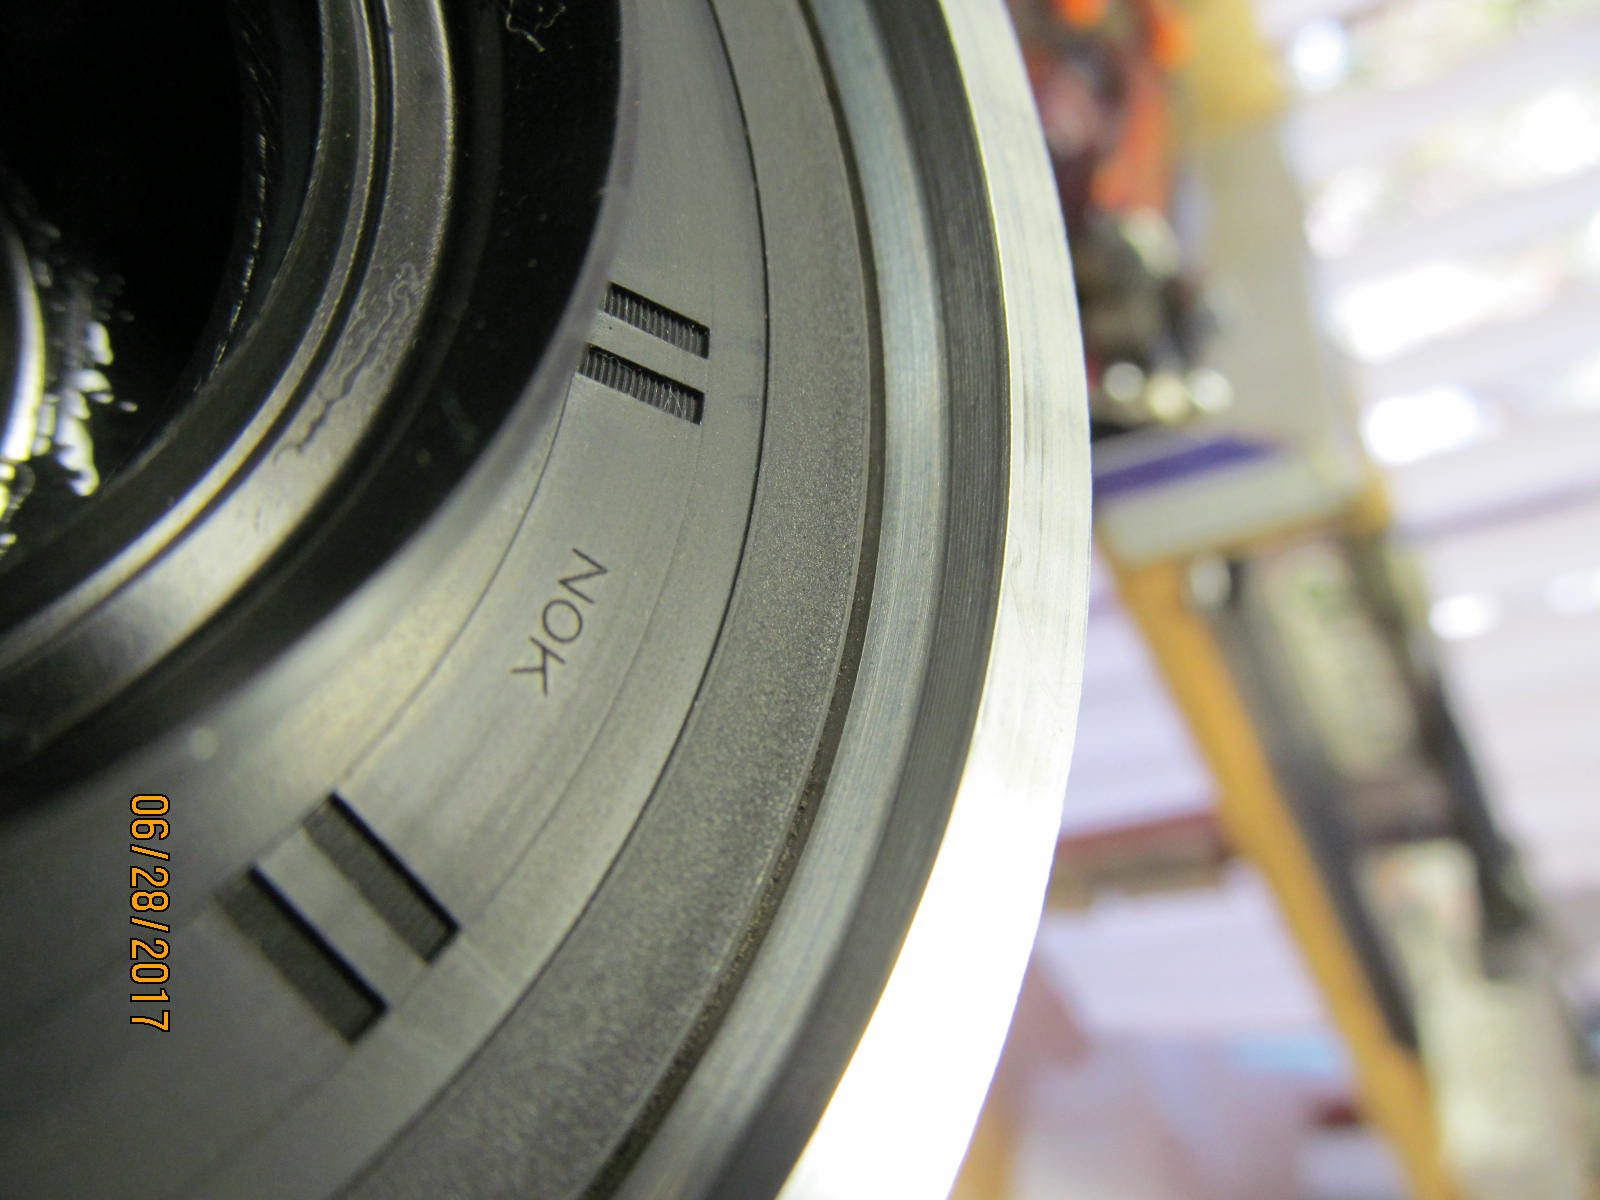
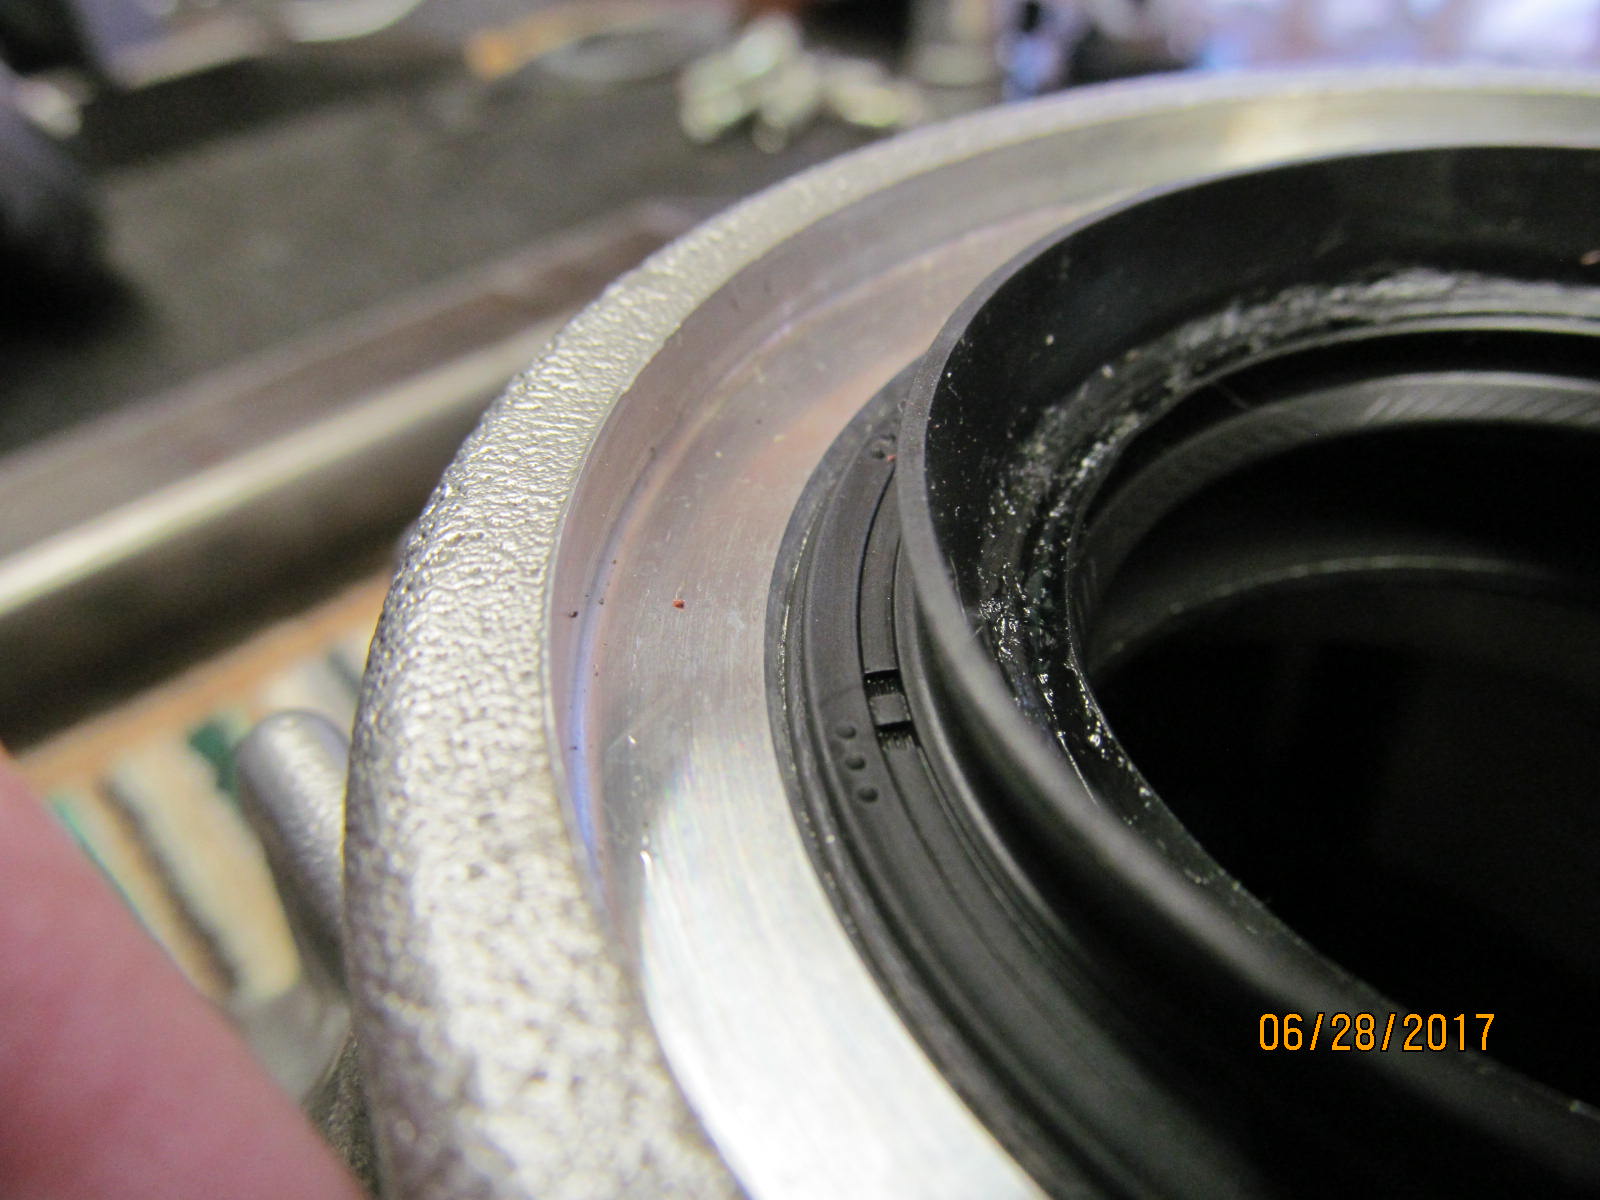
| Genuine OEM part number on the factory pinion seal. |
|---|
|
|
| Made by NOK...Japan's first oil seal manufacturer in 1951. |
|---|
|

|
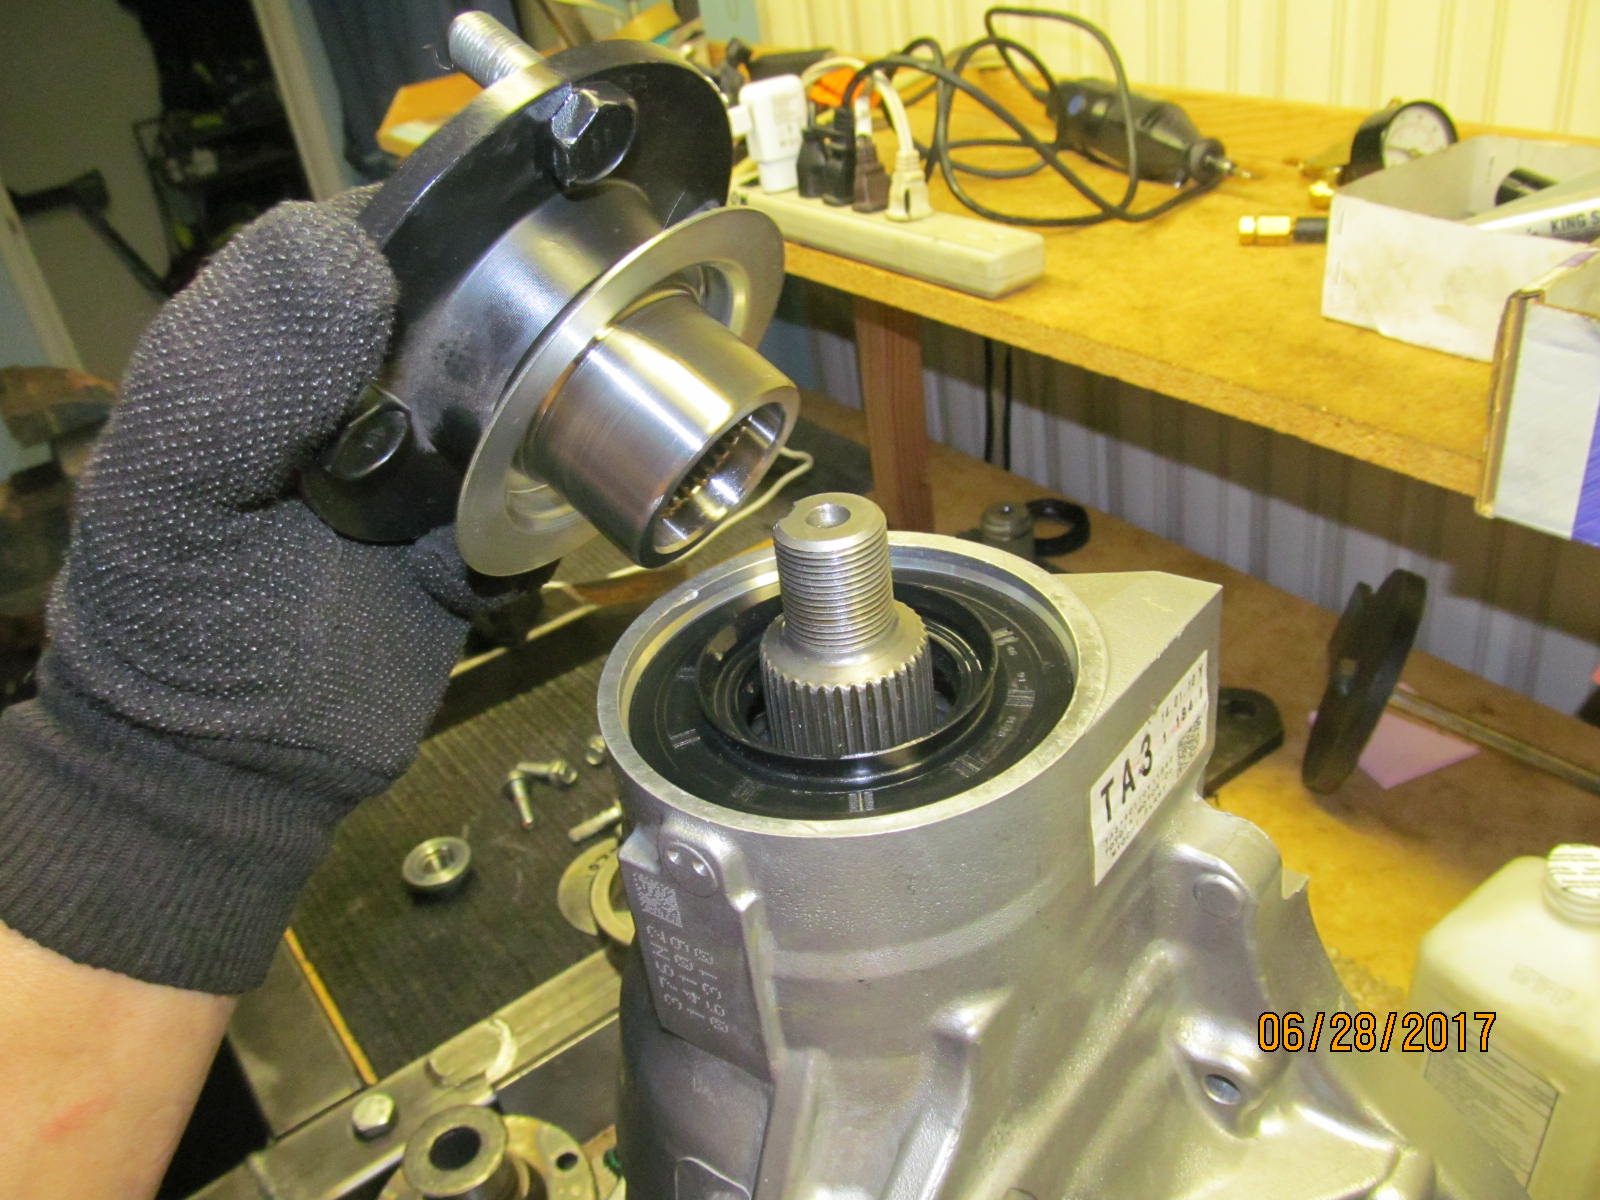
| Pinion flange was removed first. |
|---|
|
|
Not a cheap outer pinion bearing. These ball bearings are in the same excellent condition as the carrier bearings.
No surprise with the low mileage involved. |
|---|
|
|
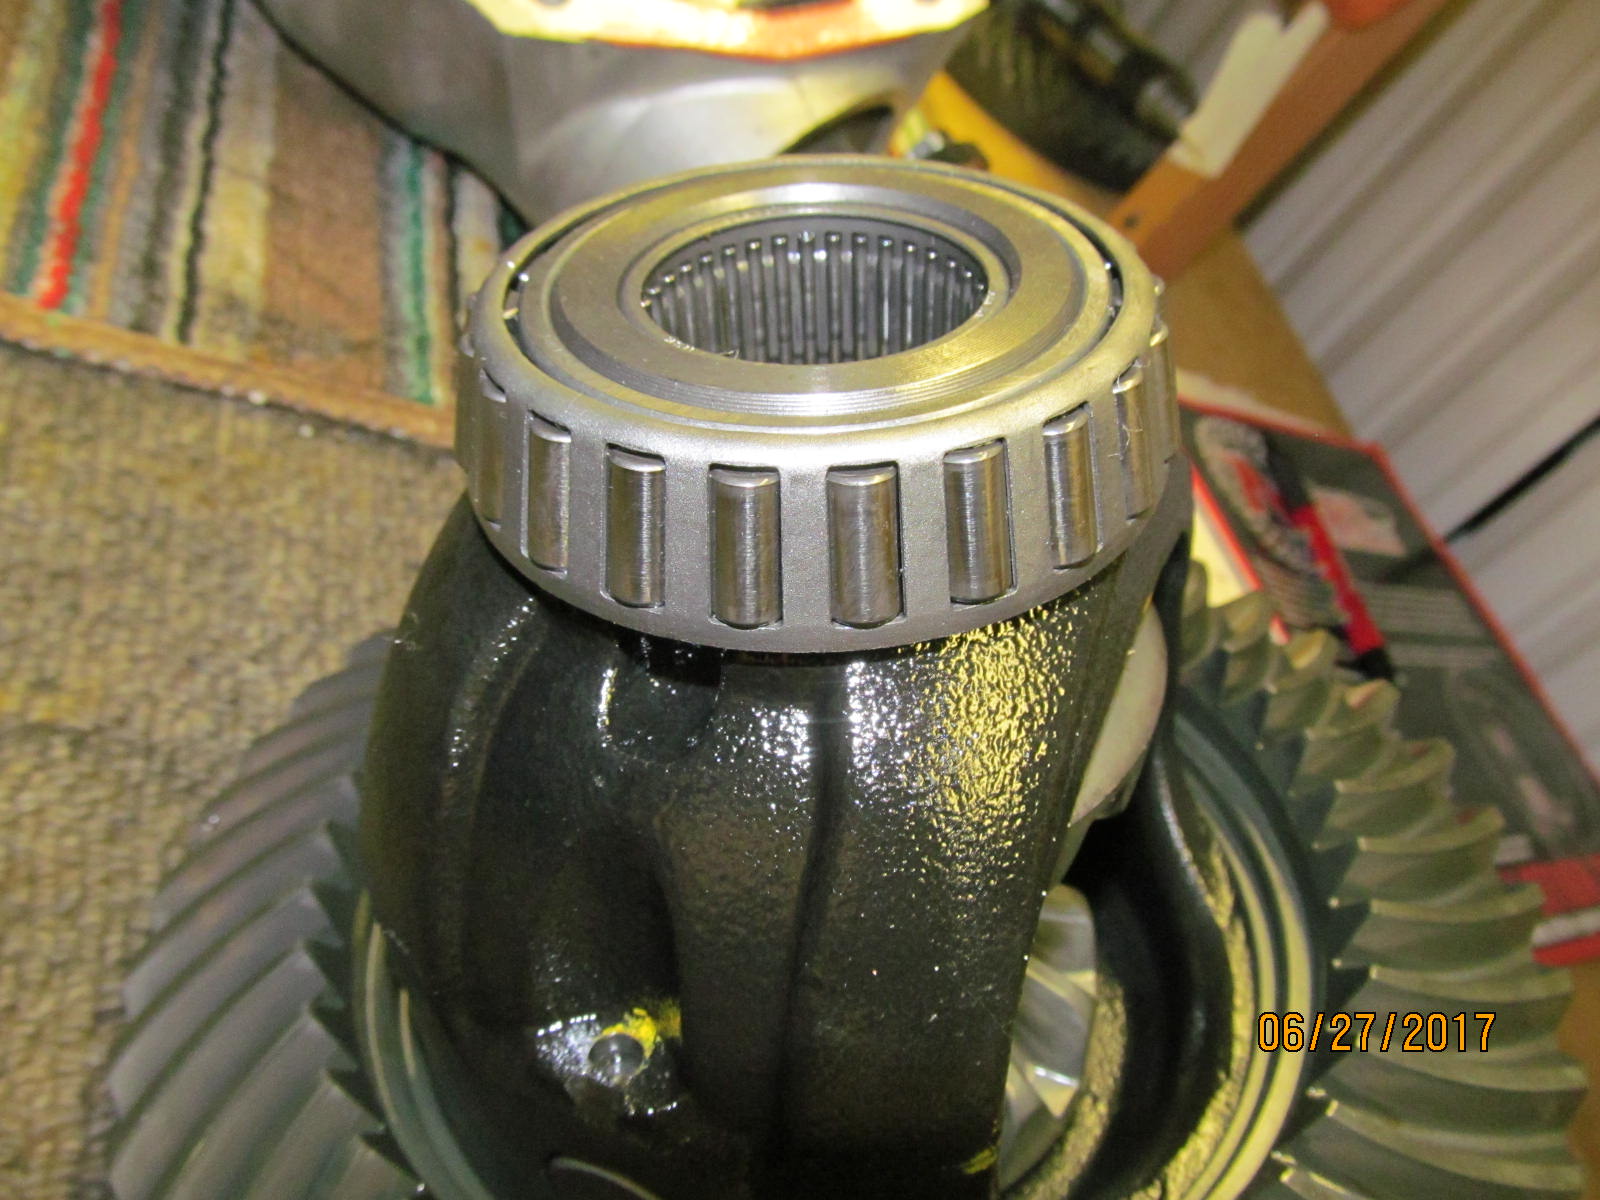
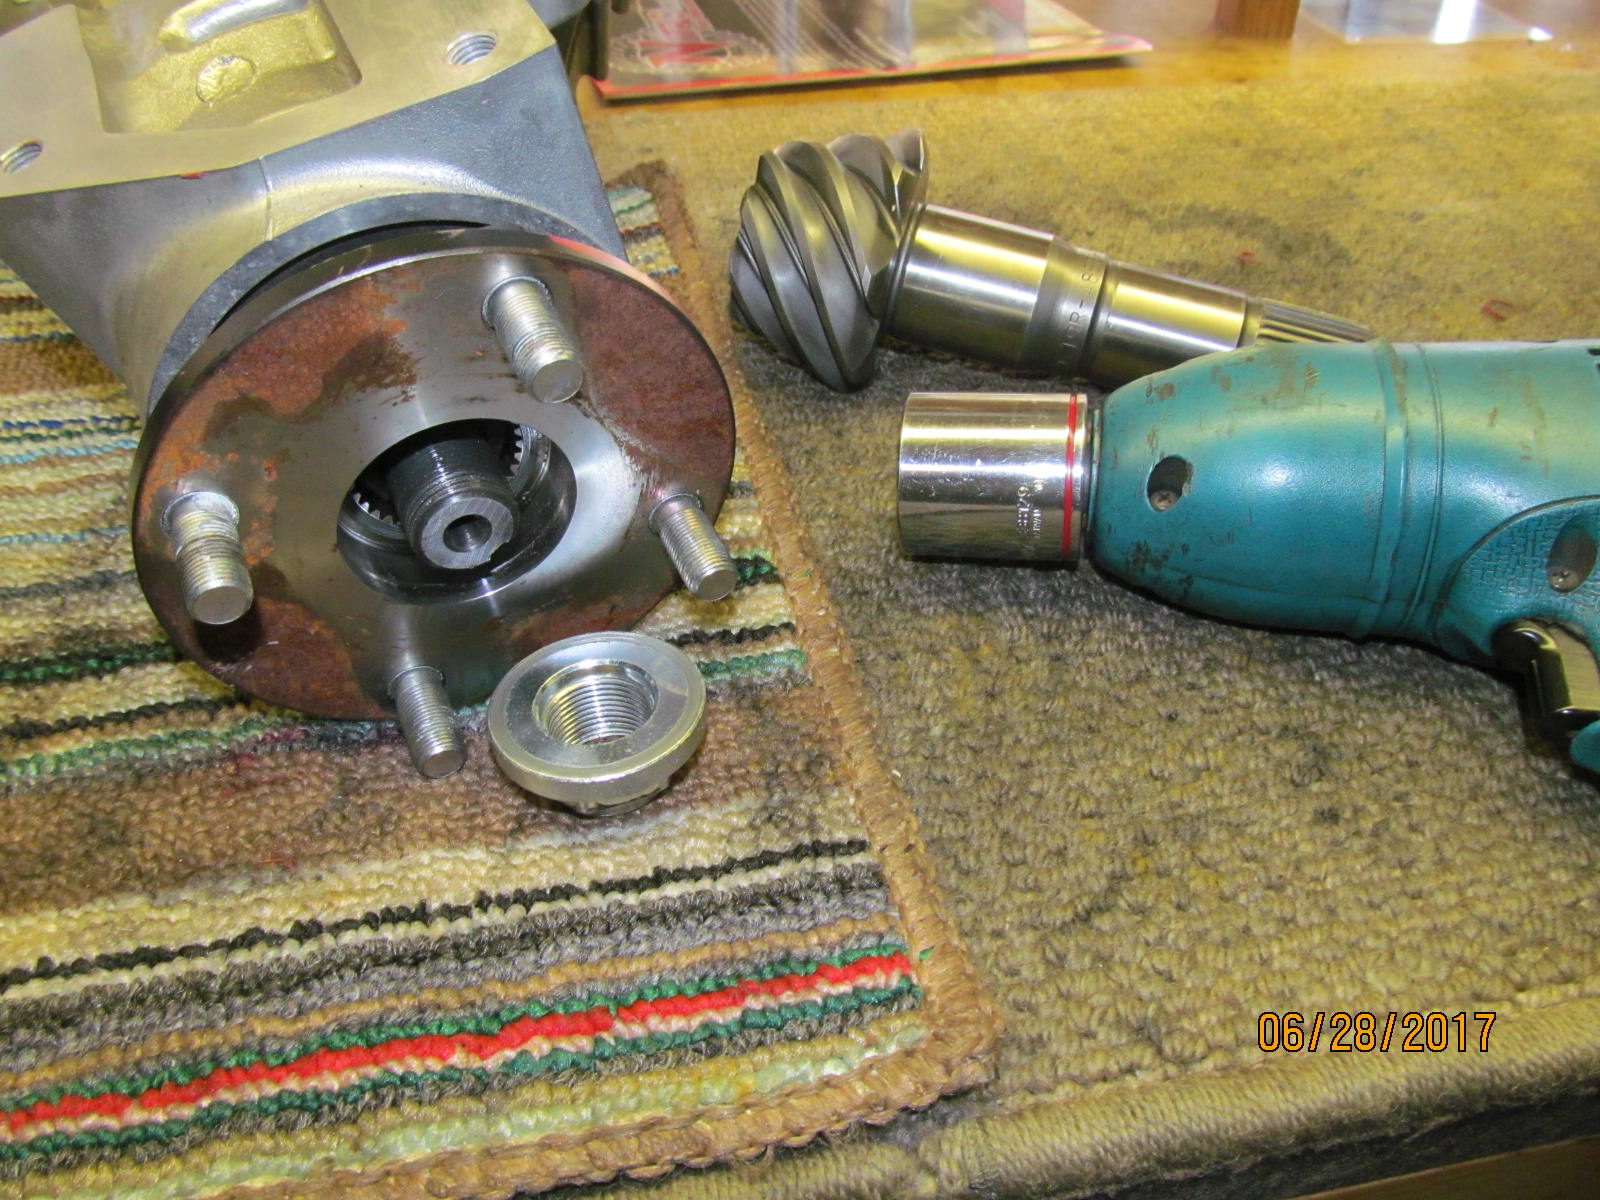
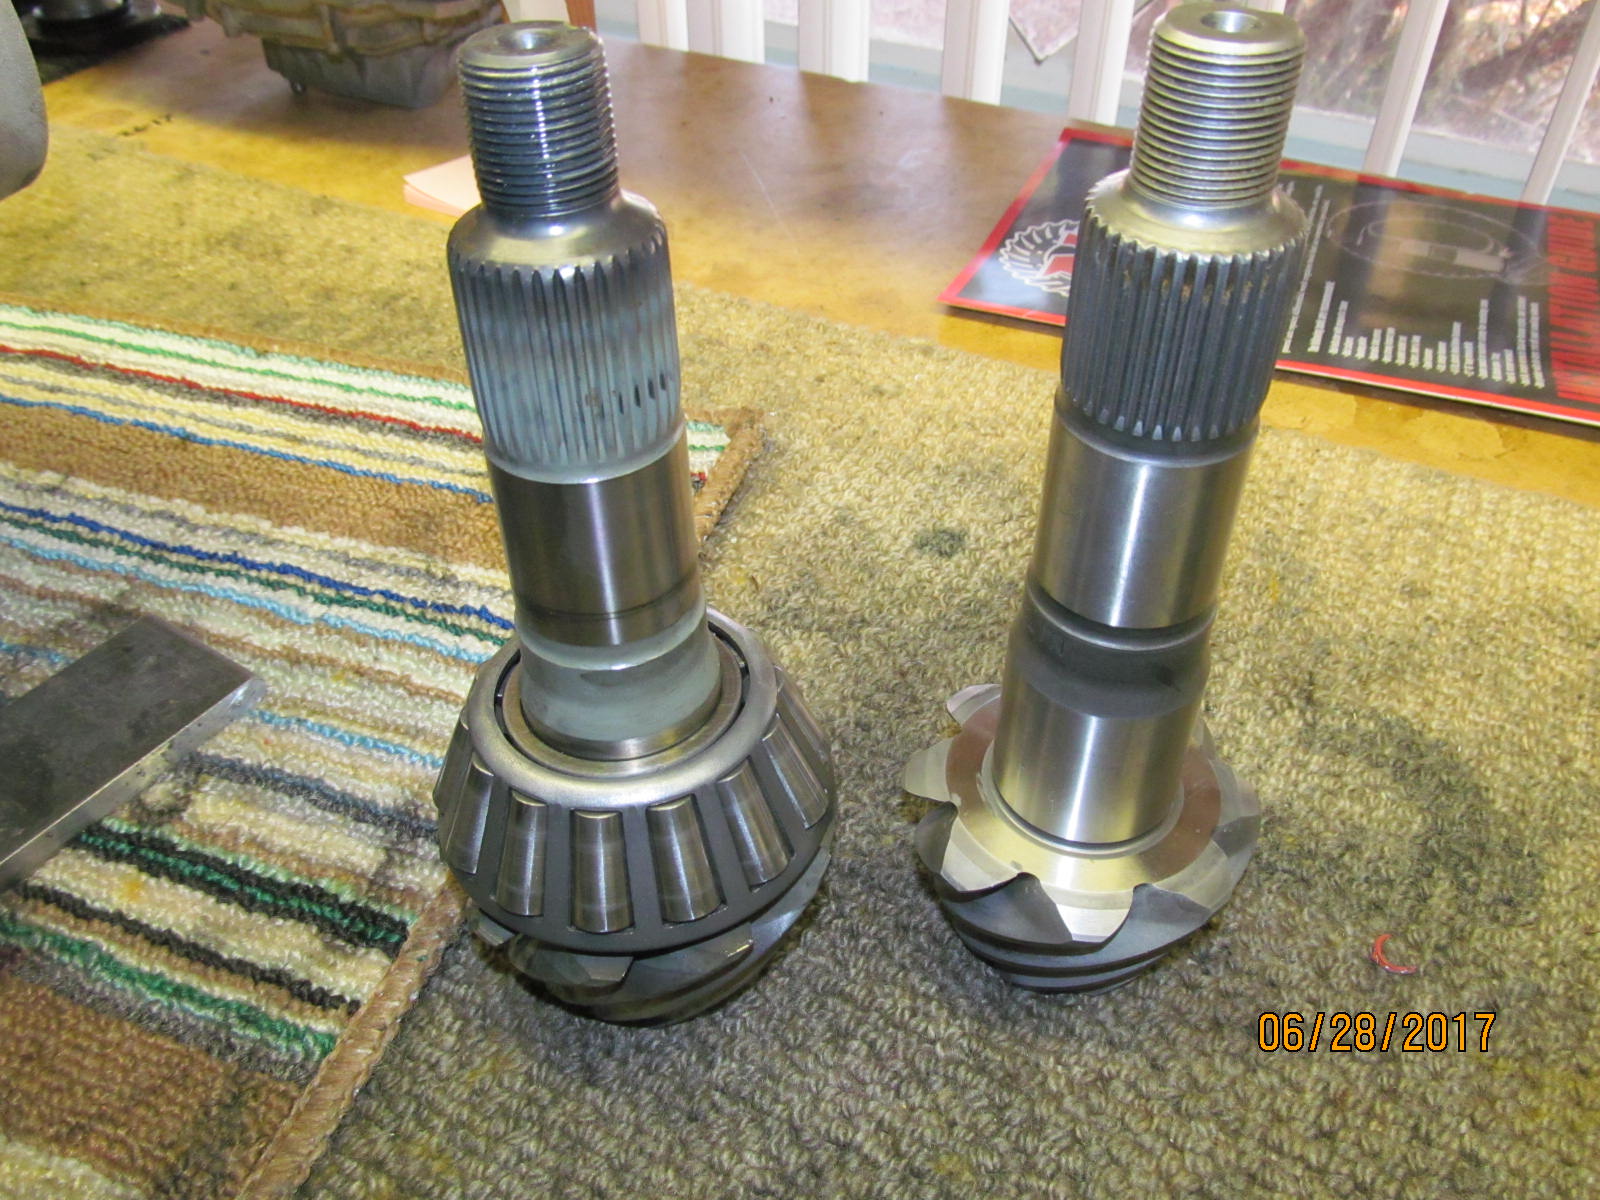
| The "old" inner pinion bearing will be transferred over to the new Nitro 488 on the right. |
|---|
|
|
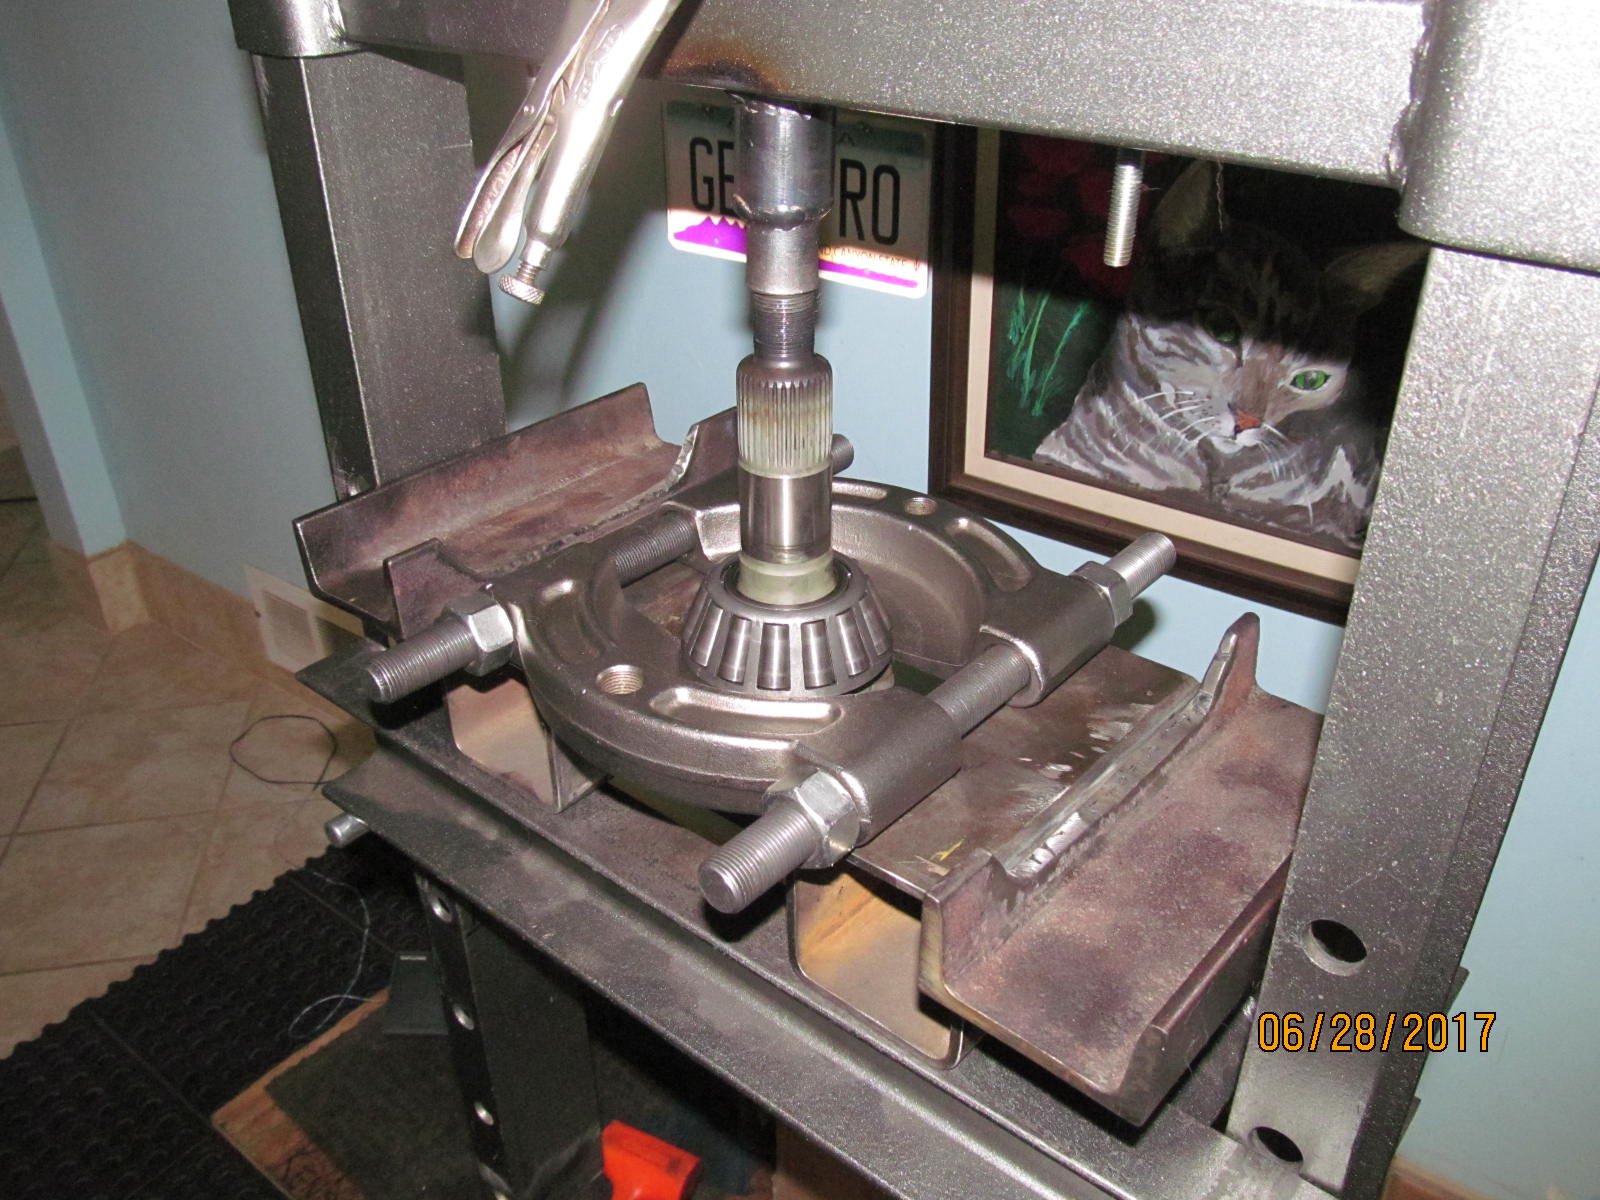
| A 12 ton Harborfreight press and a bearing splitter(QTC-1130) make the job easy. |
|---|
|
|
| The bearing is pressed onto the 488 pinion with a "tool" I fabbed up. |
|---|
|
|
| In order to remove the carrier bearing race and the washer plate, the cv axle seal will probably be coming off very soon. |
|---|
|
|
| ,,,,,,,,,,,,,,,,,,,, |
|---|
|
|
| ,,,,,,,,,,,,,,,,,,,, |
|---|
|
|
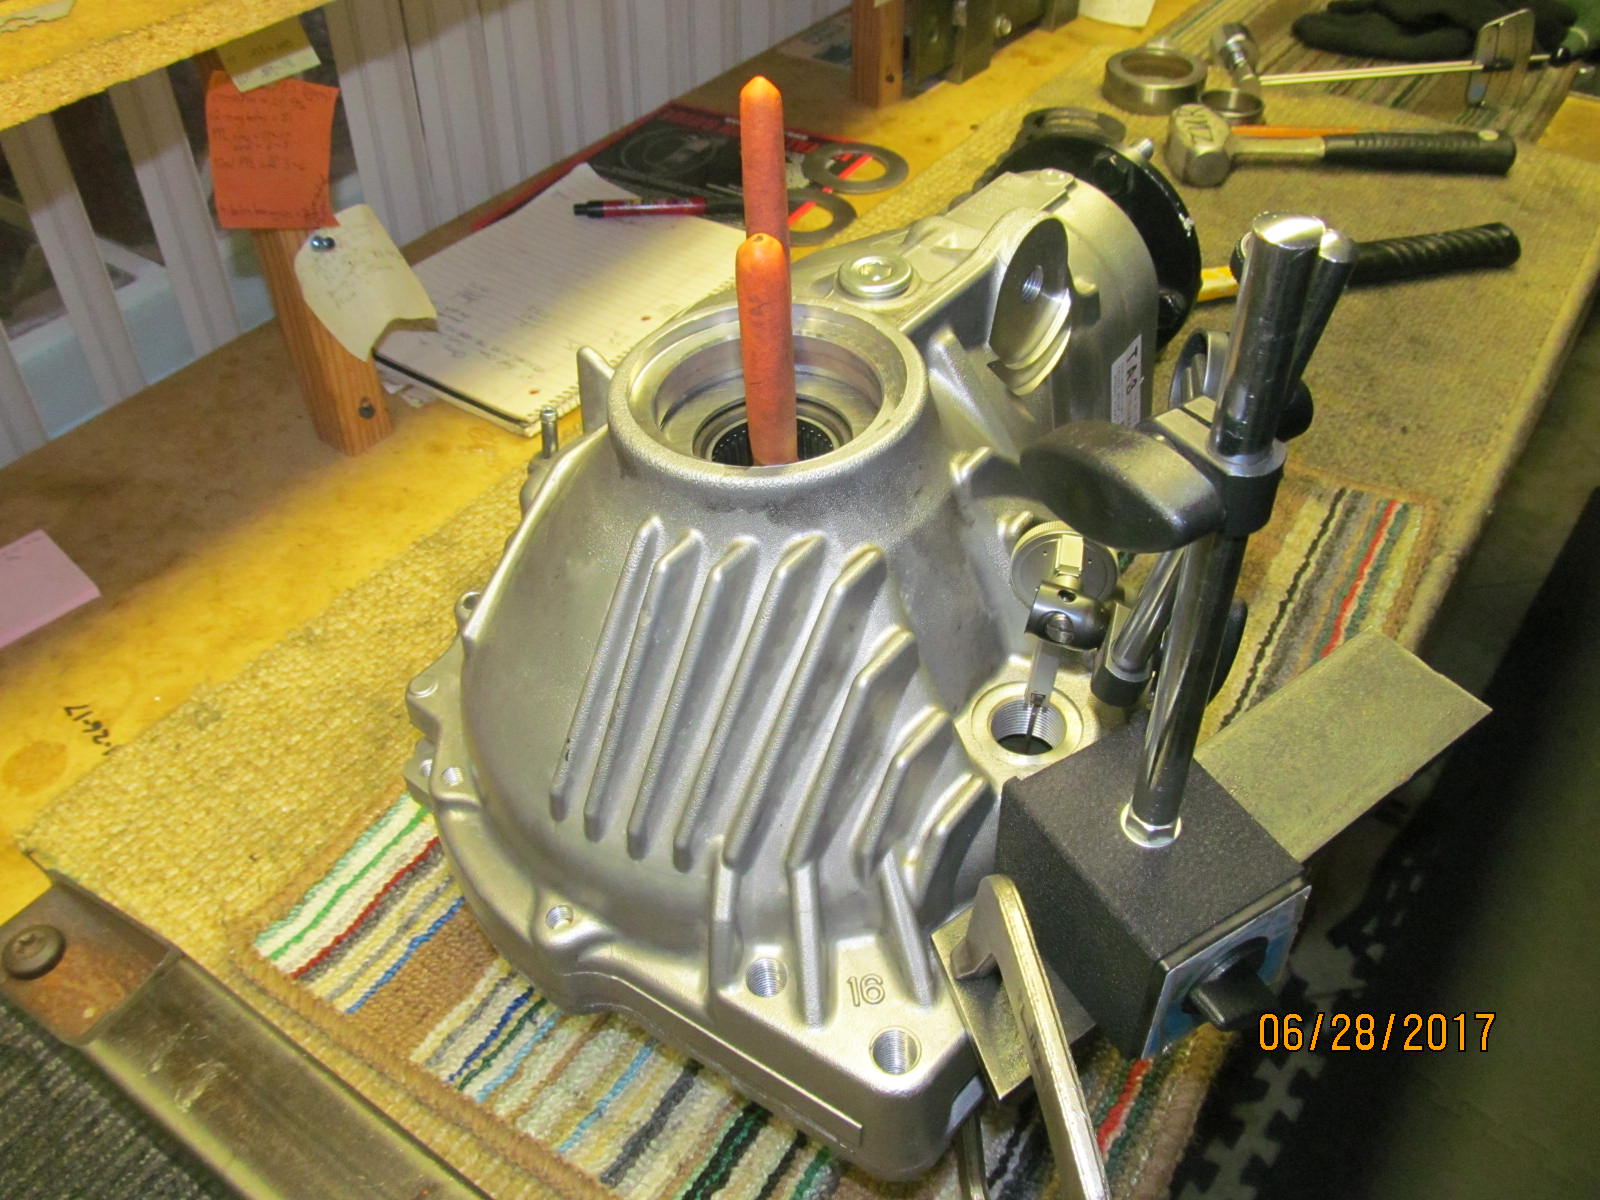
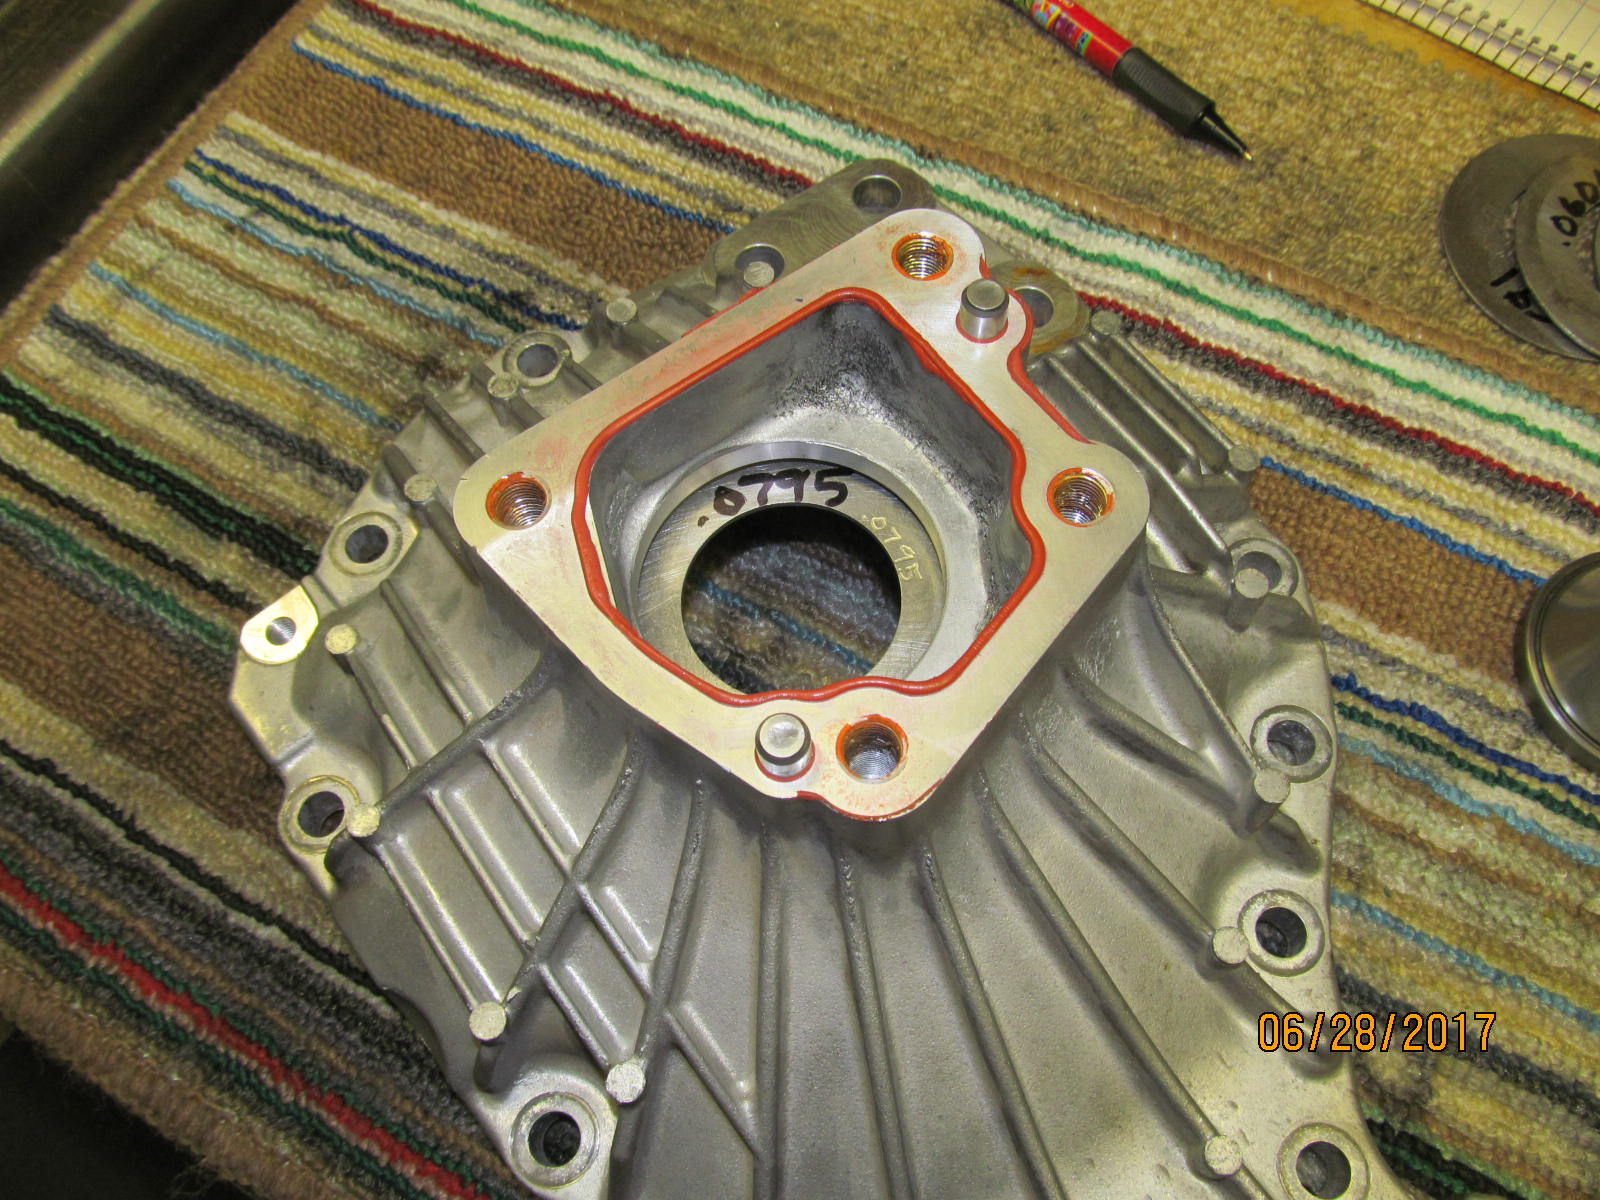
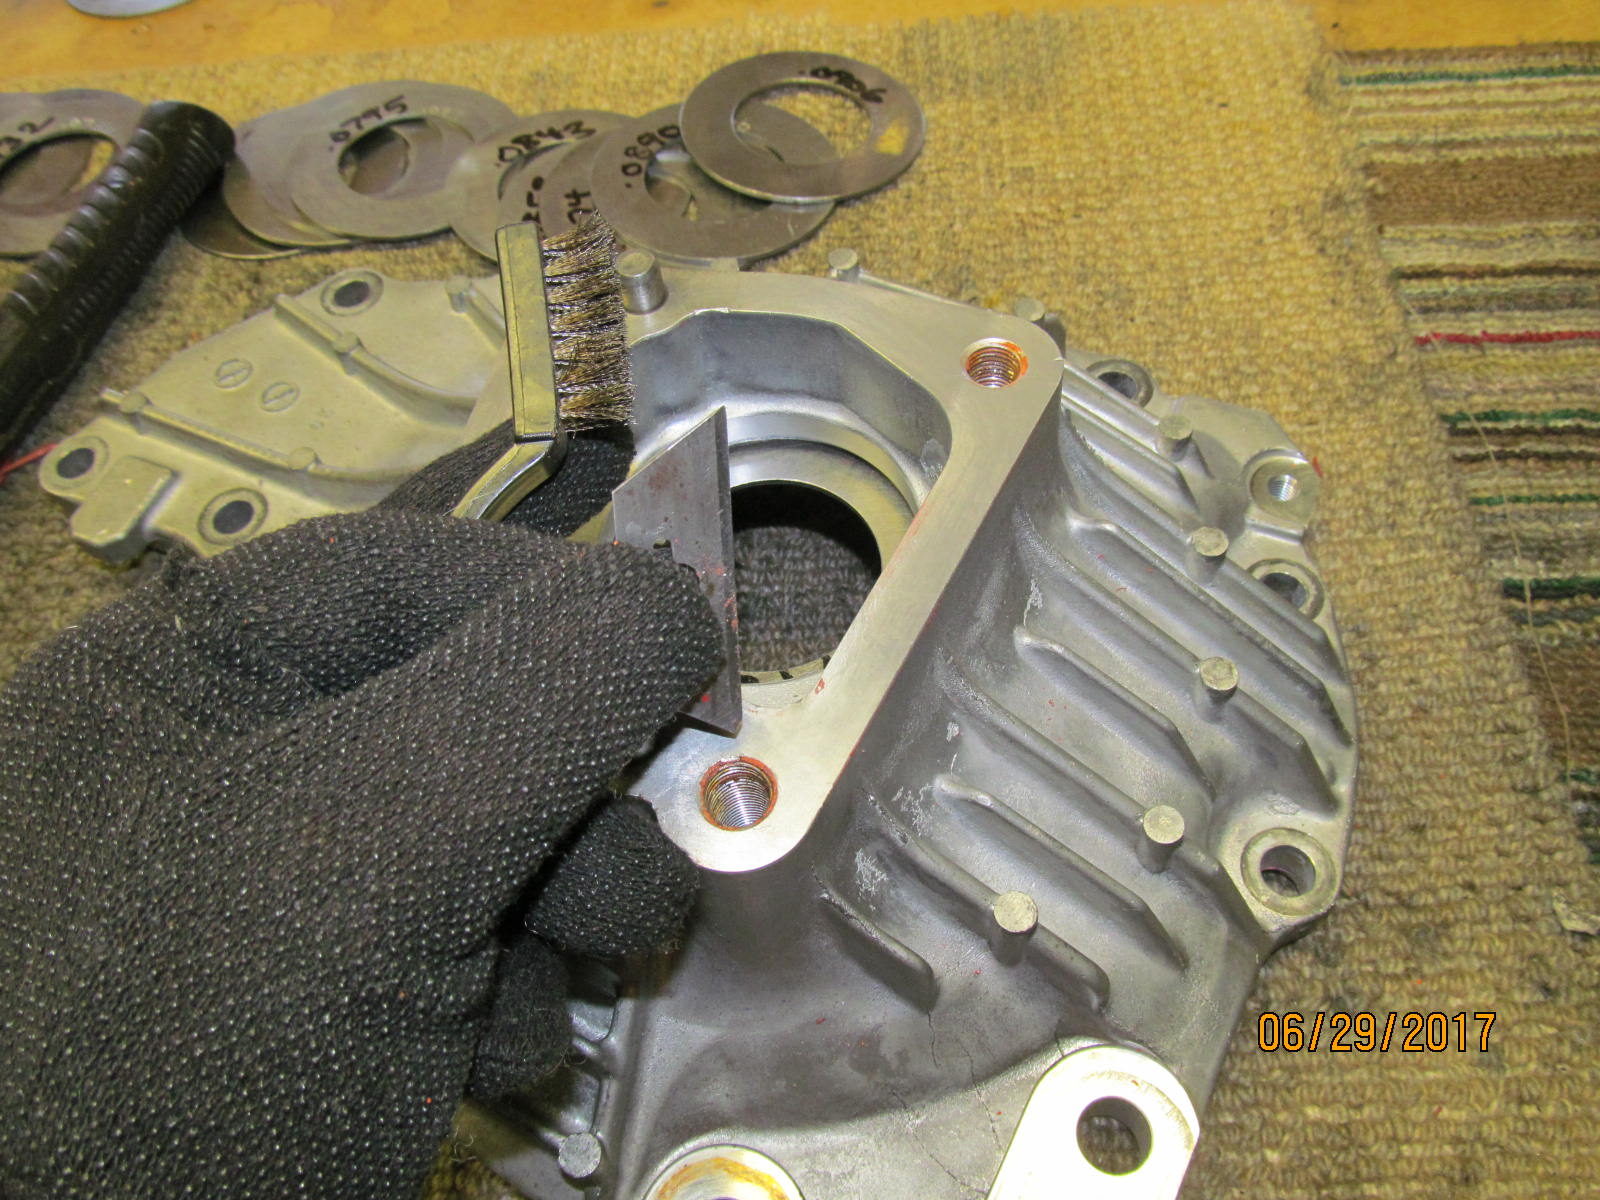
Pinion and pinion flange are reassembled and snugged up to give about 15 to 20 in/lb of pinion preload feel.
Notice that the red FIPG was wire brushed off of the case mating surfaces. |
|---|
|
|
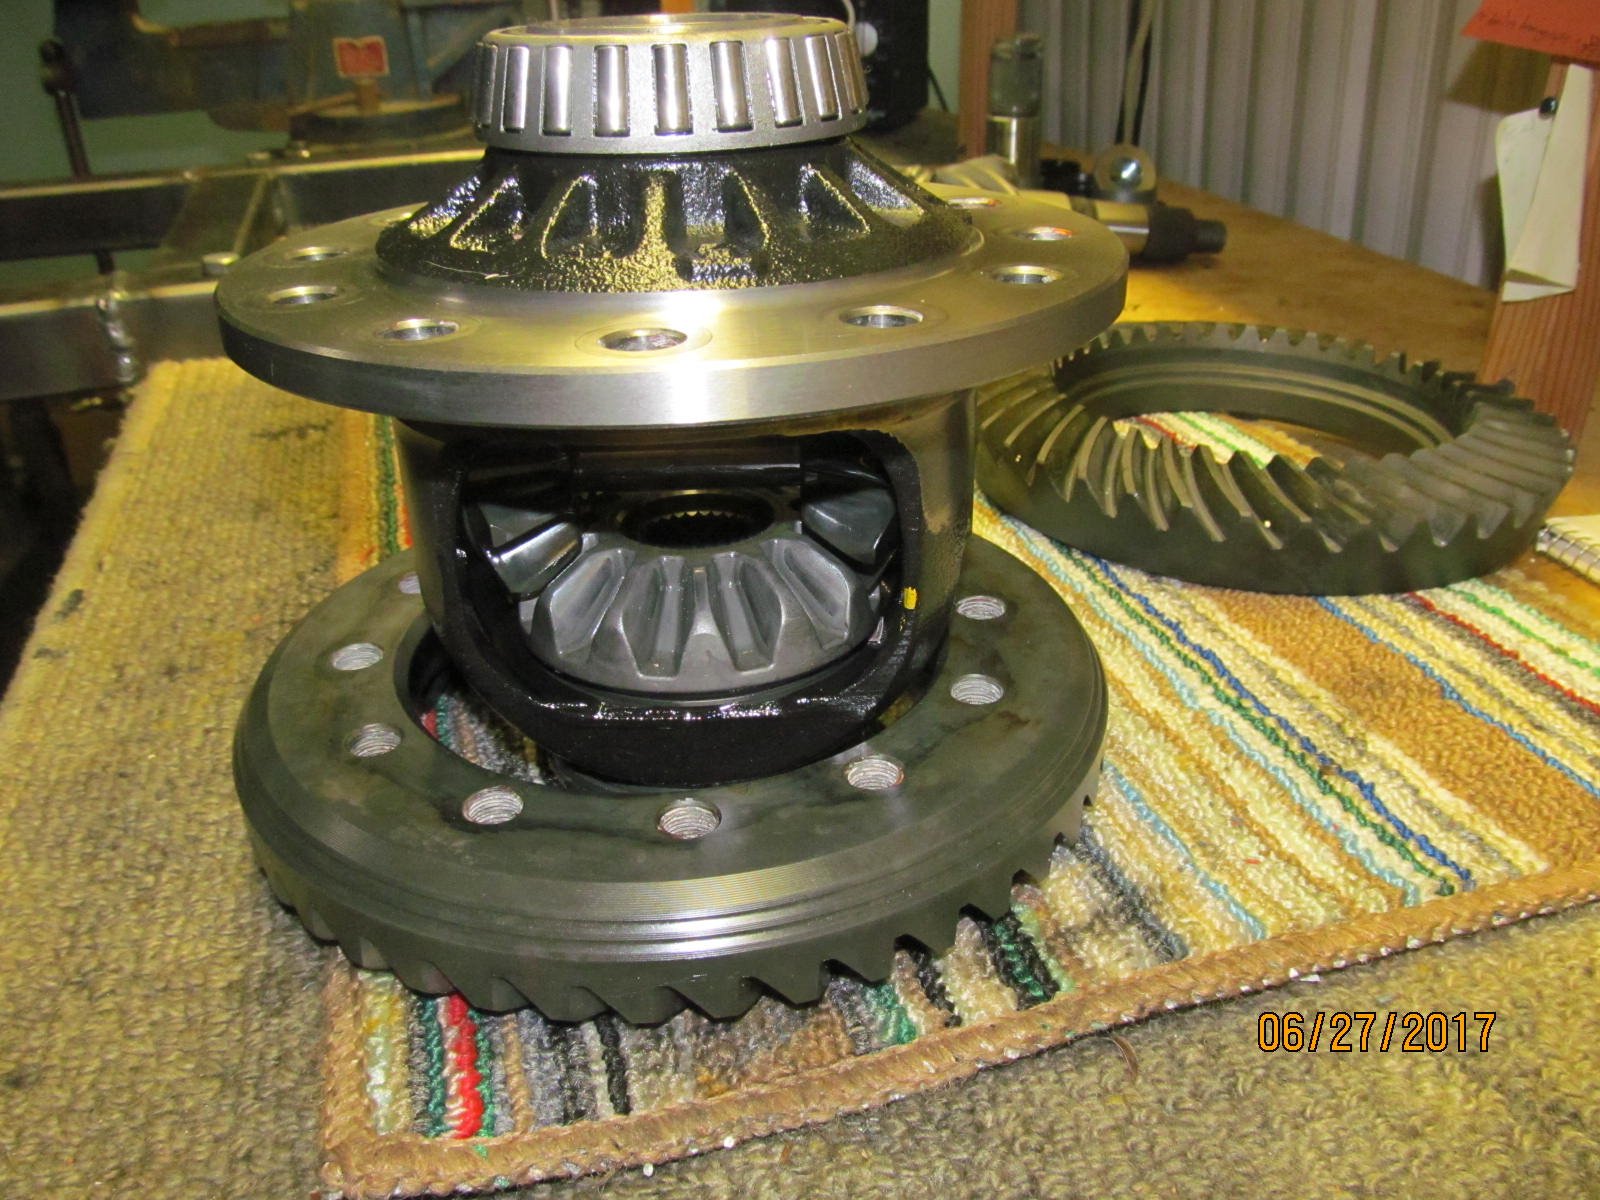
Placing the center carrier in place and then the lid on top showed right away that the backlash was close to zero
and a good paint test can't happen with zero BL. Washer plates have to be changed now. |
|---|
|
|
| Pressing the deep dish side washer plate out. |
|---|
|
|
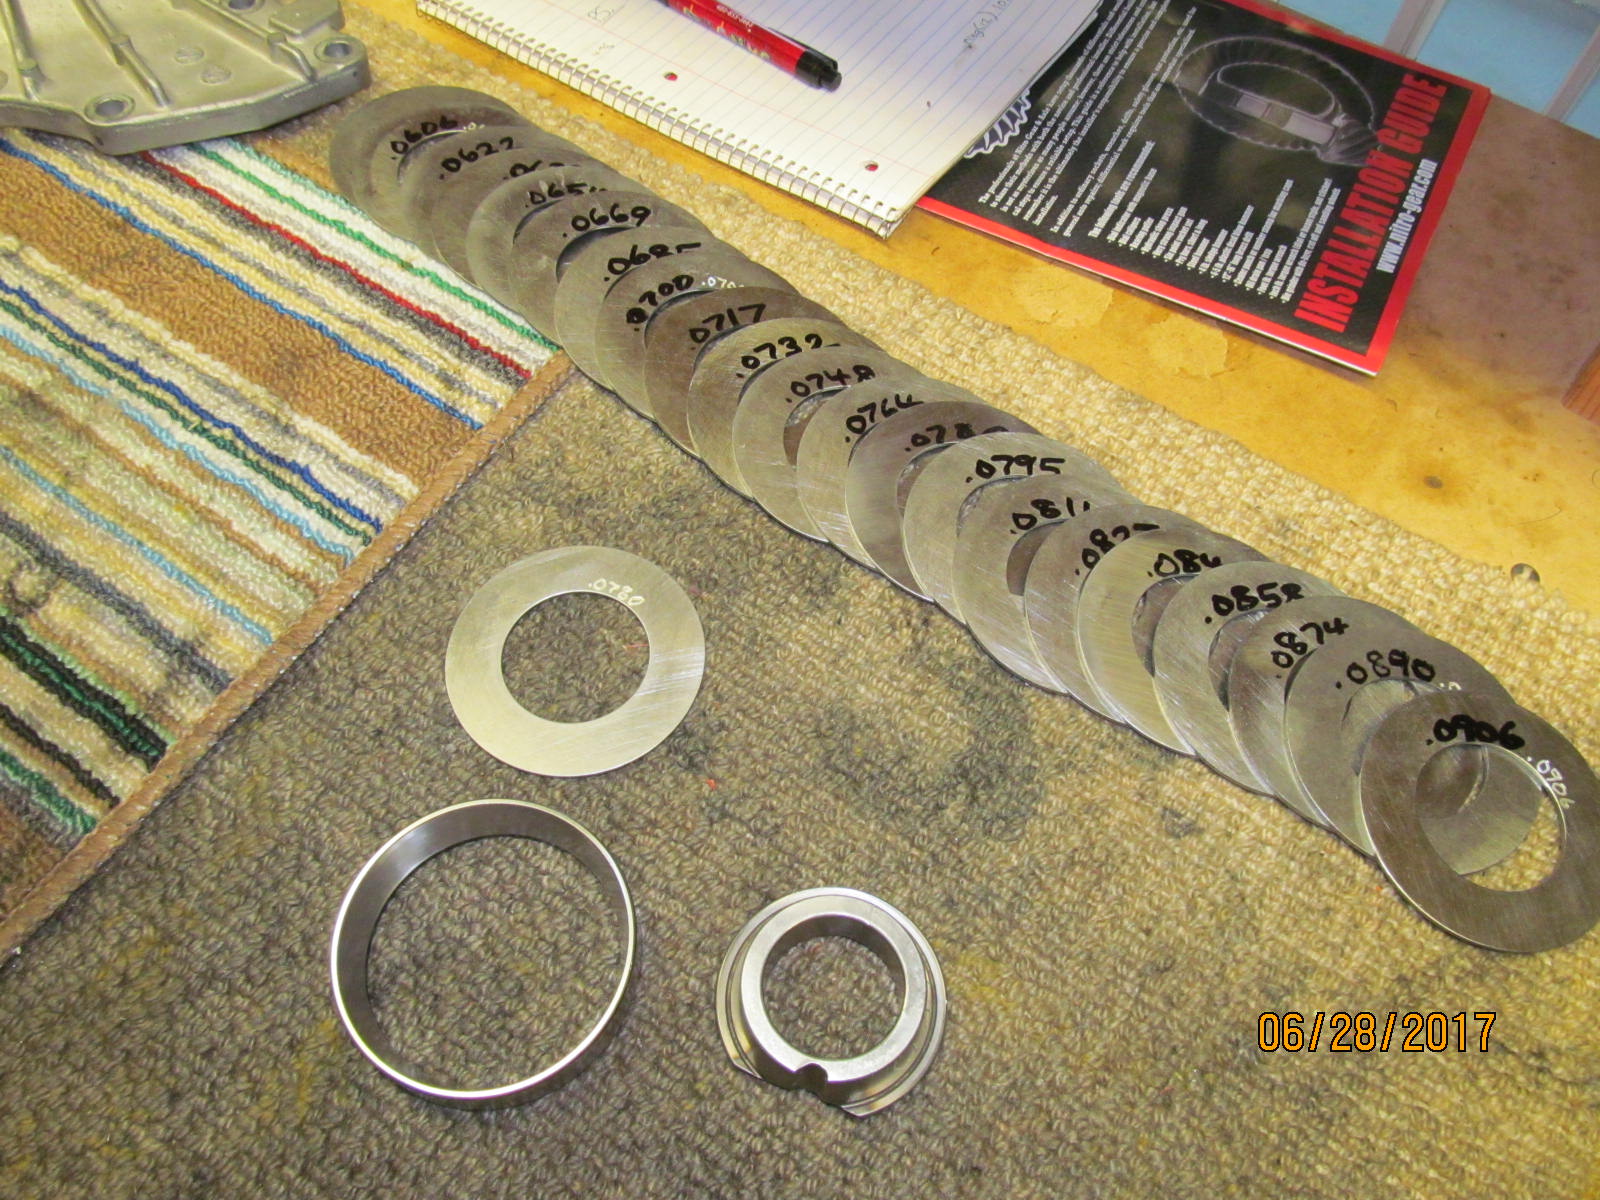
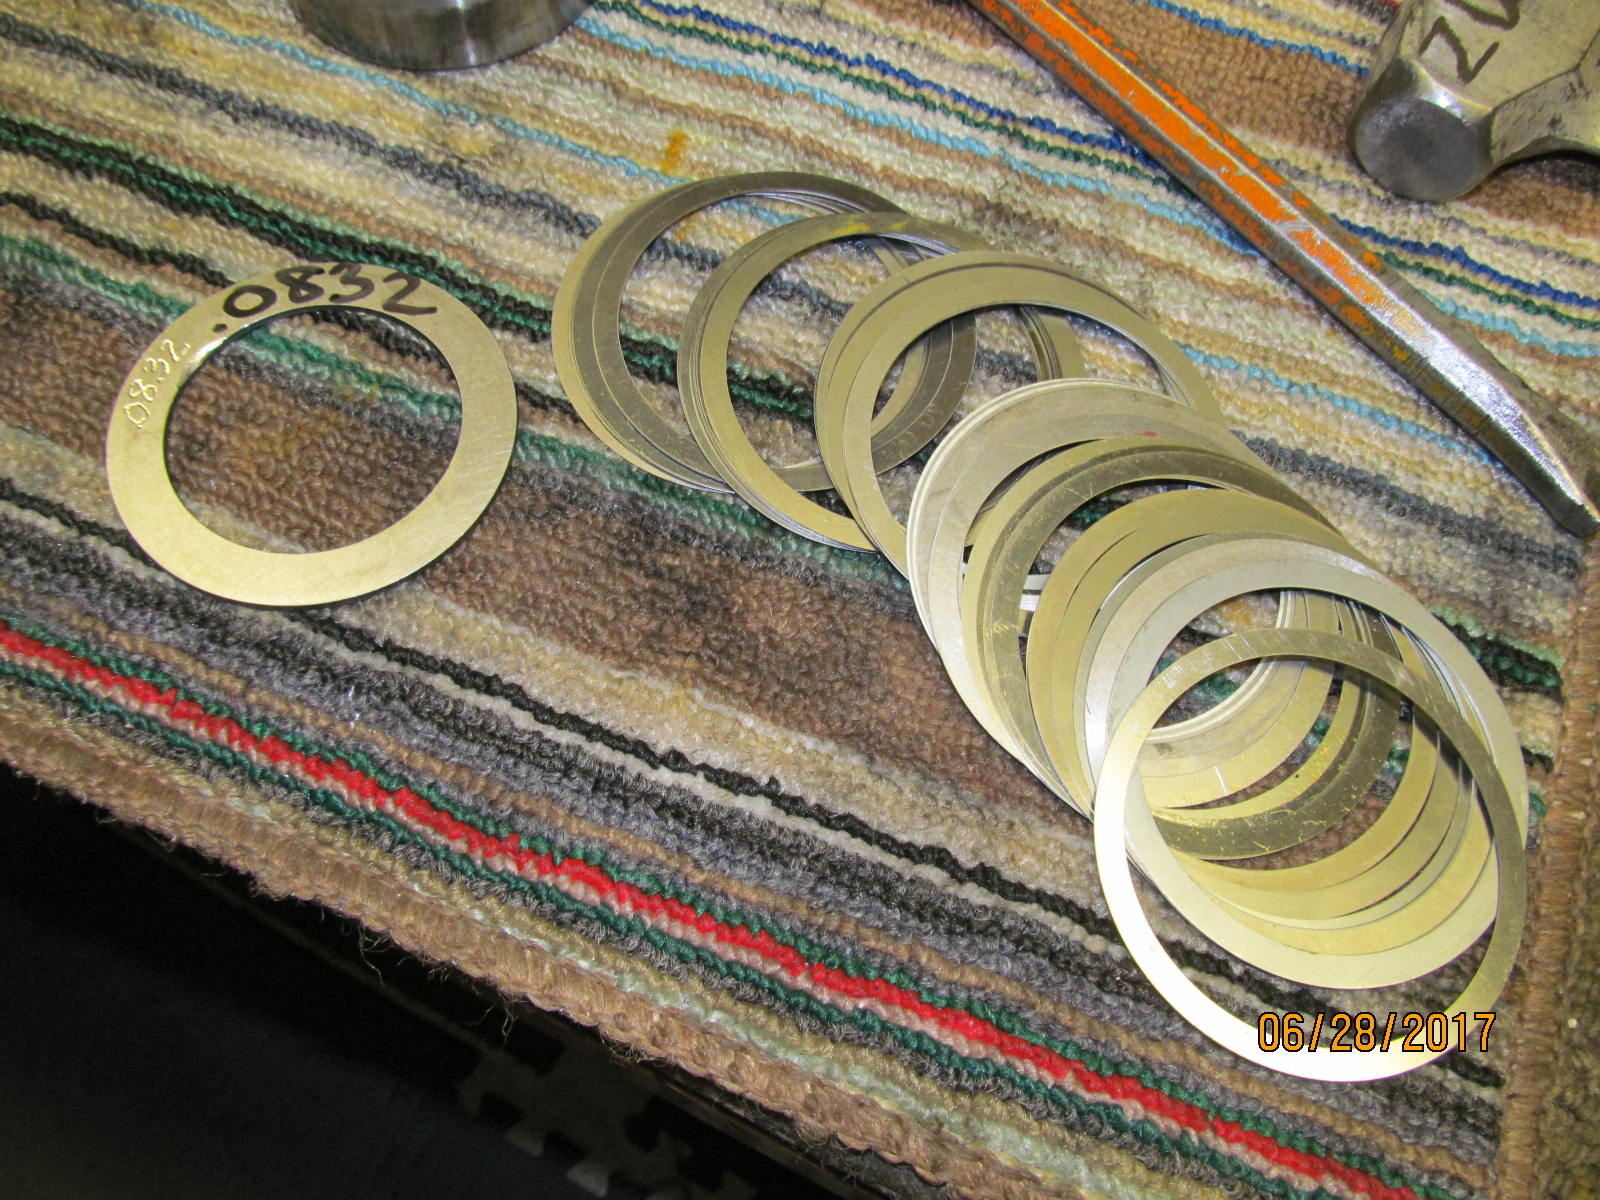
| It's good to have a decent selection of factory washer plates on hand. |
|---|
|
|
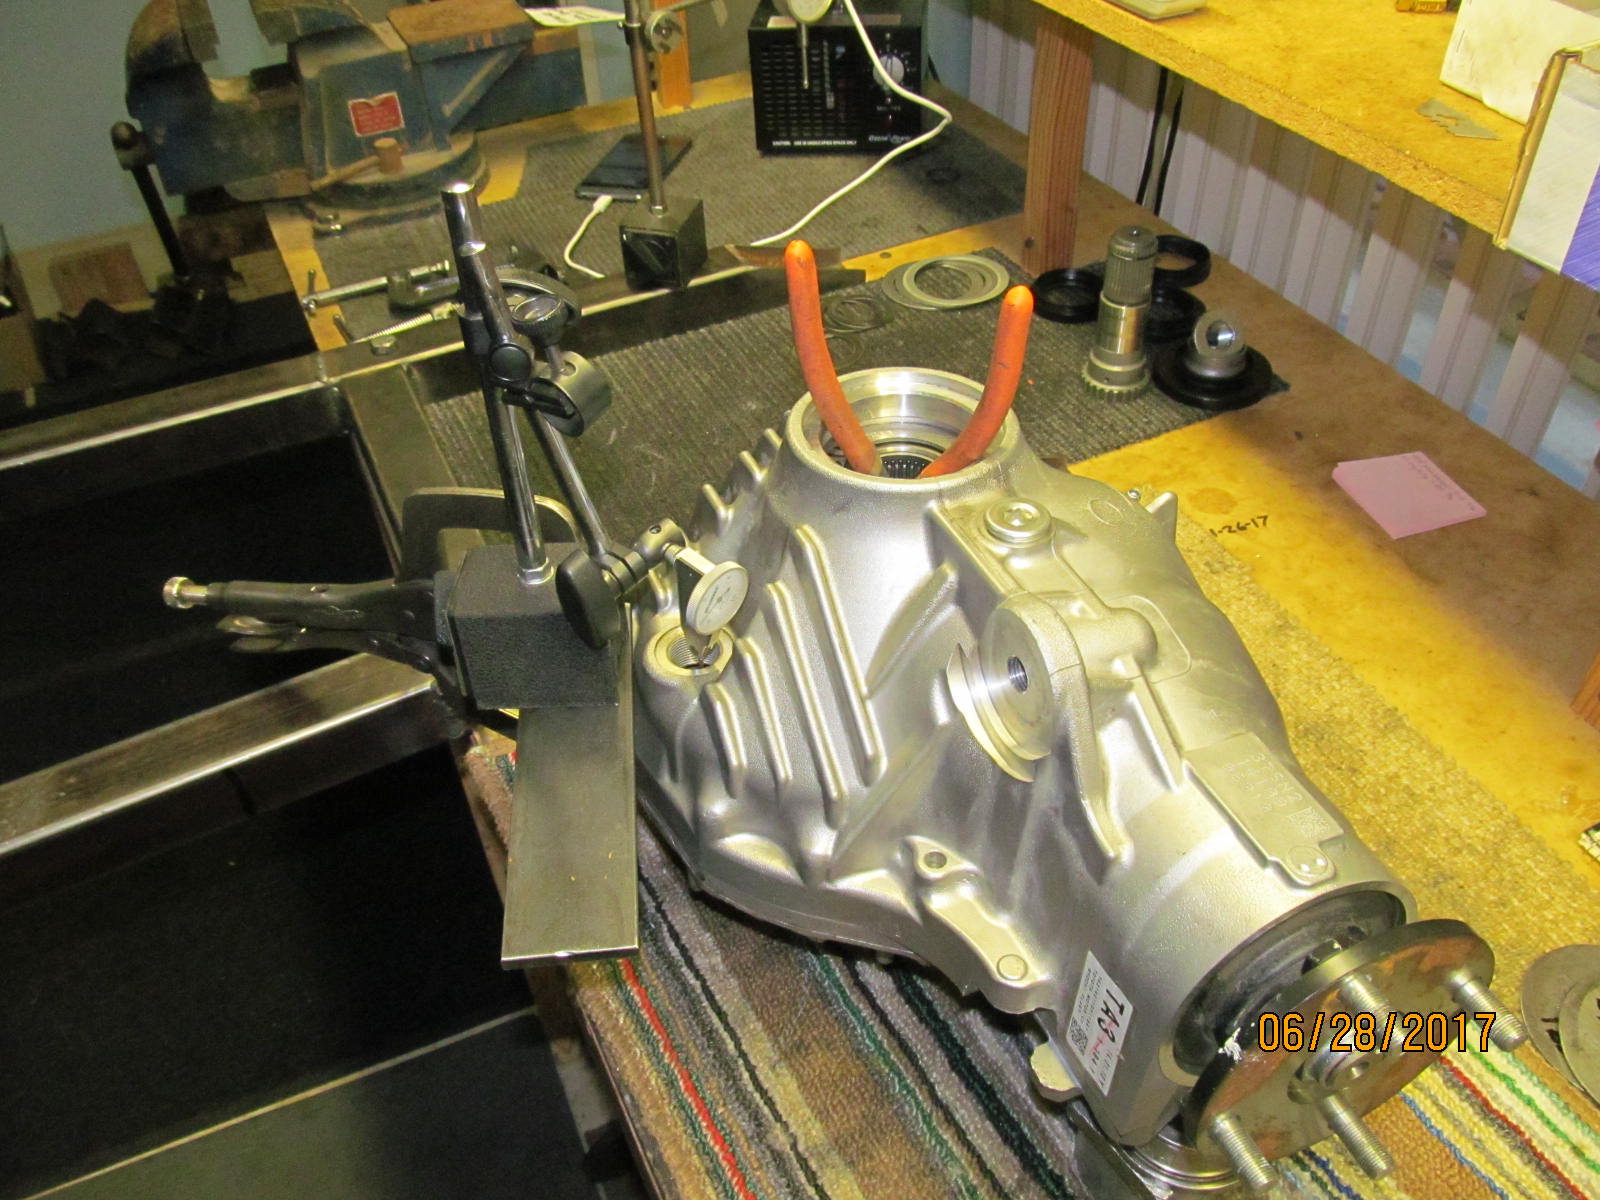
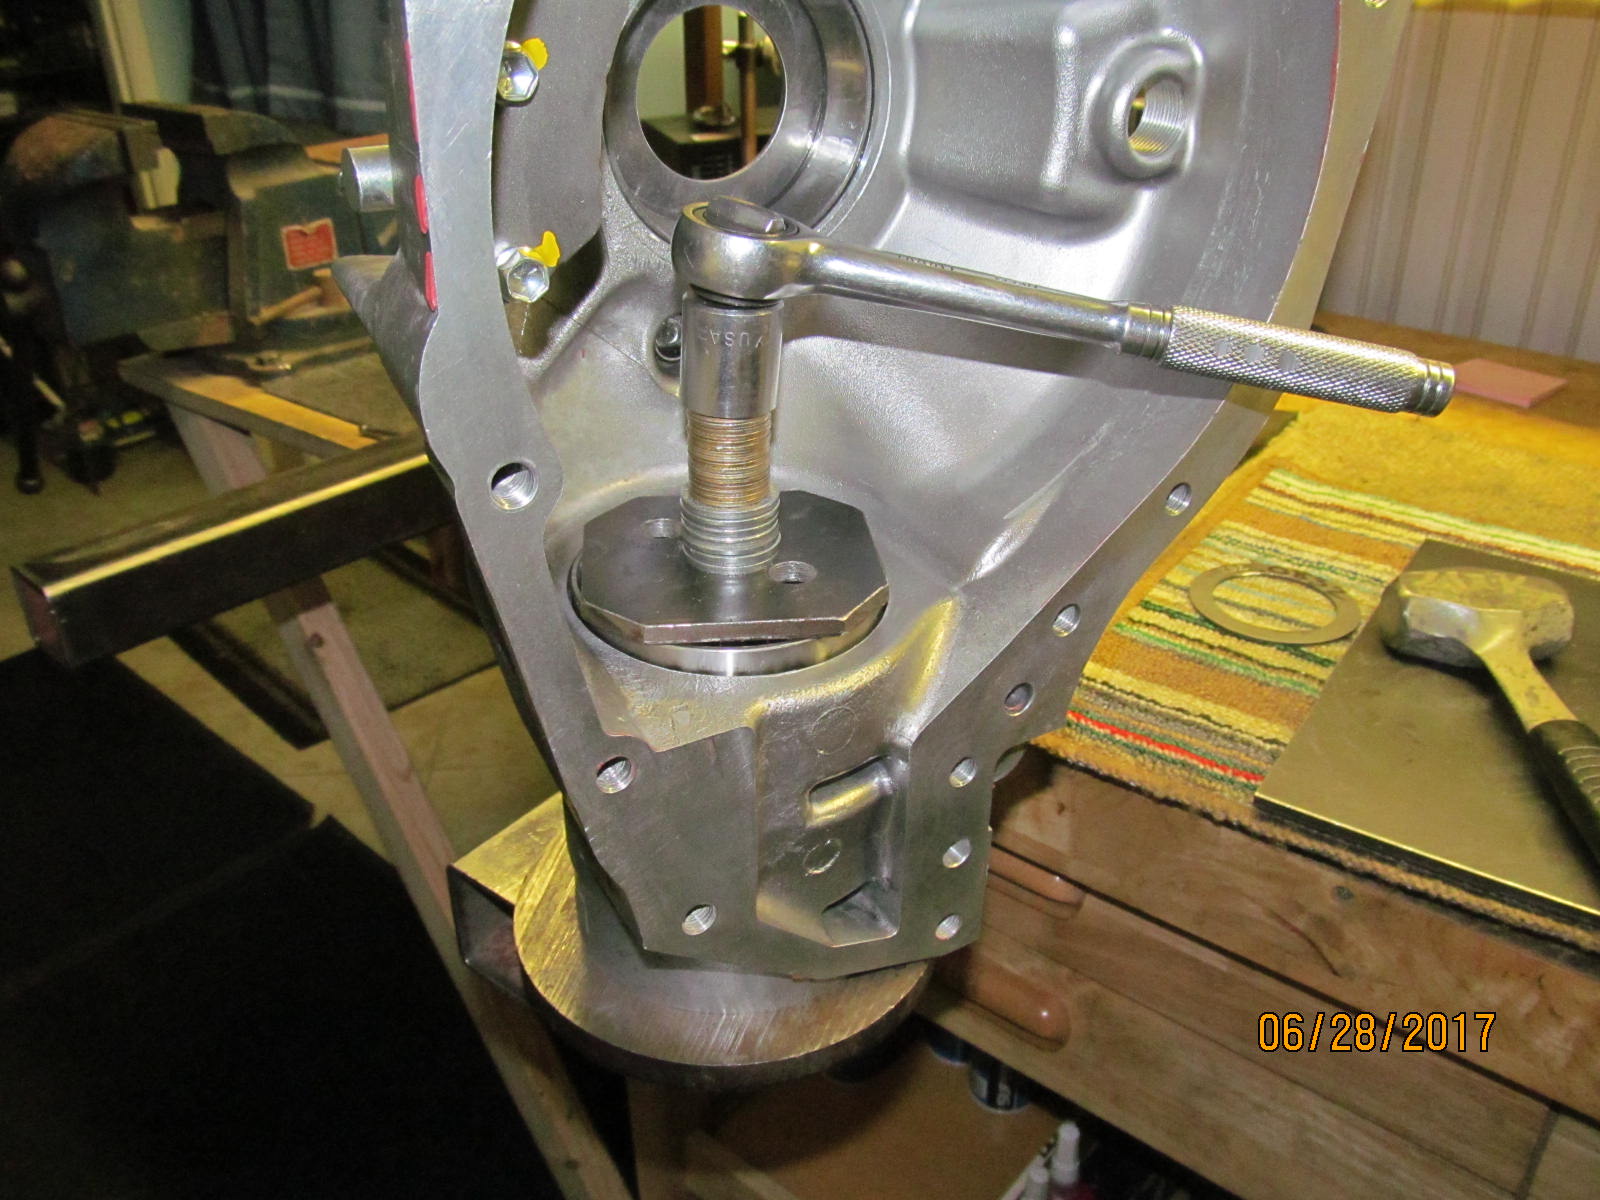
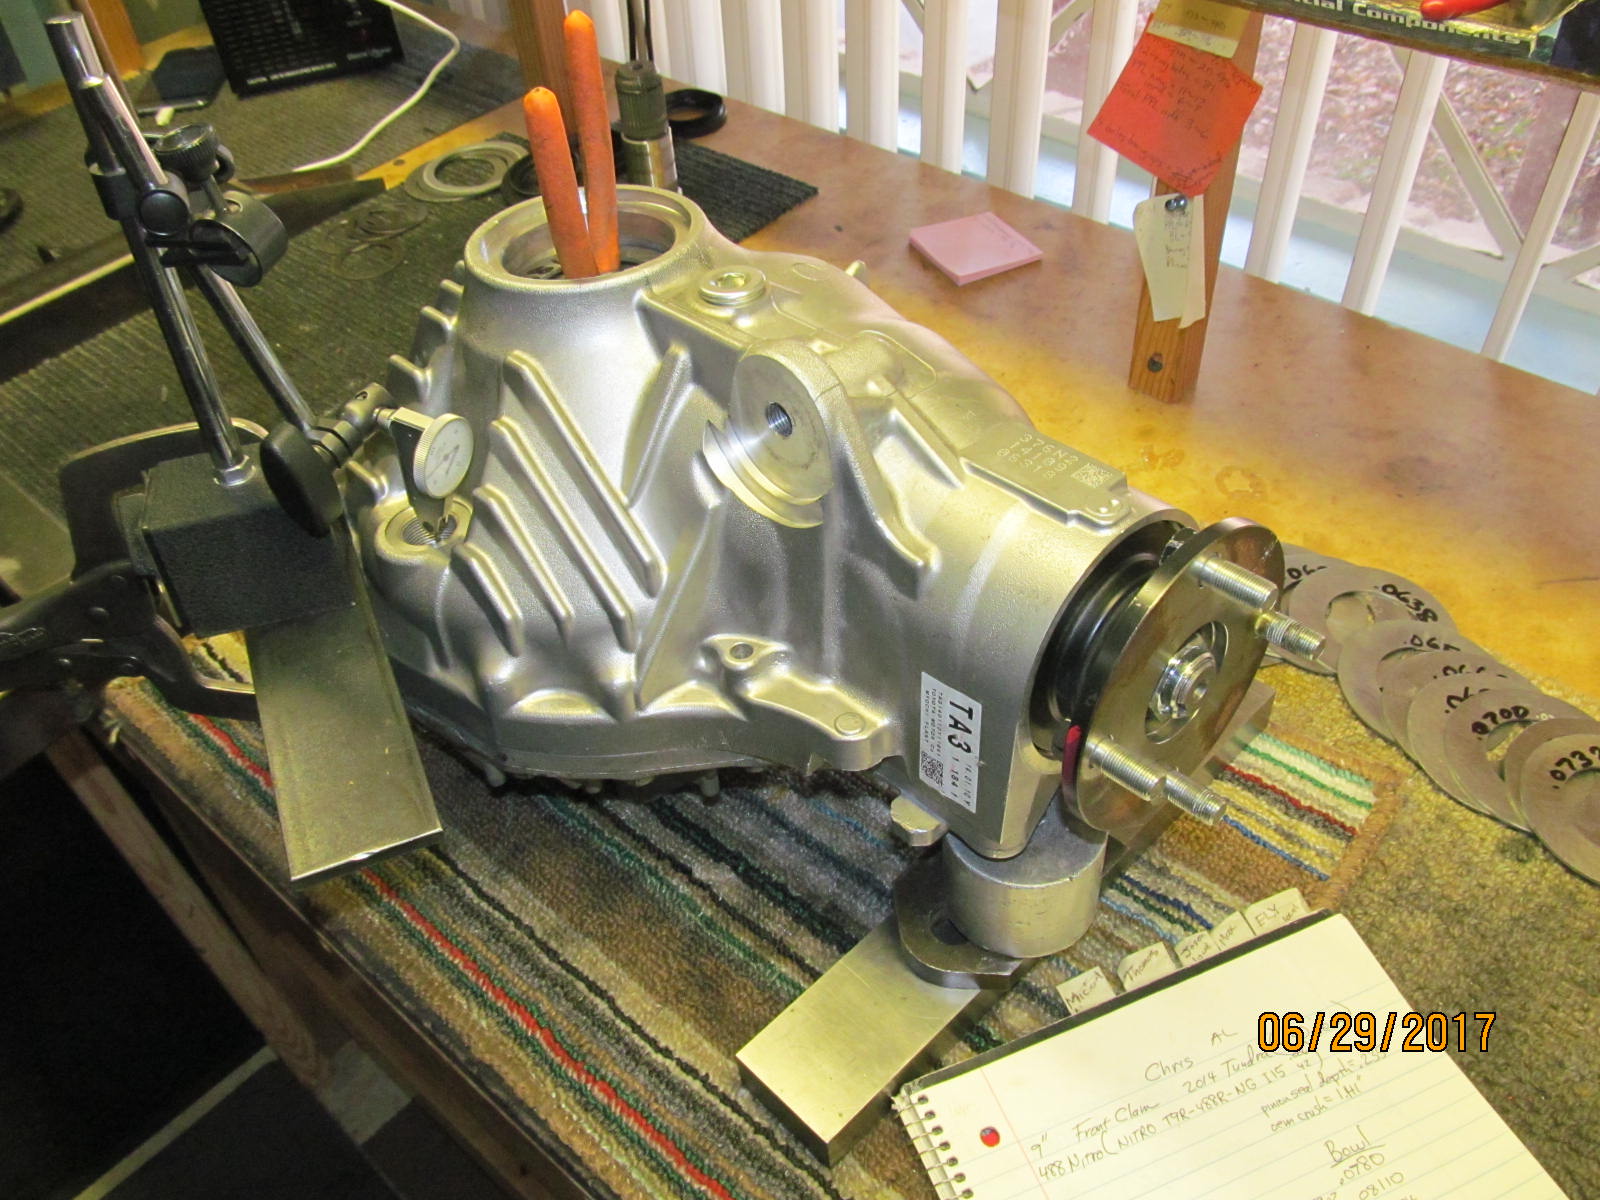
| It can be a bit tricky to measure backlash thru the gear oil drain hole but it can be done. |
|---|
|
|
| Backlash was checking in at .006" now so this will suffice. |
|---|
|
|
| Disassemble once again to paint the ring. |
|---|
|
|
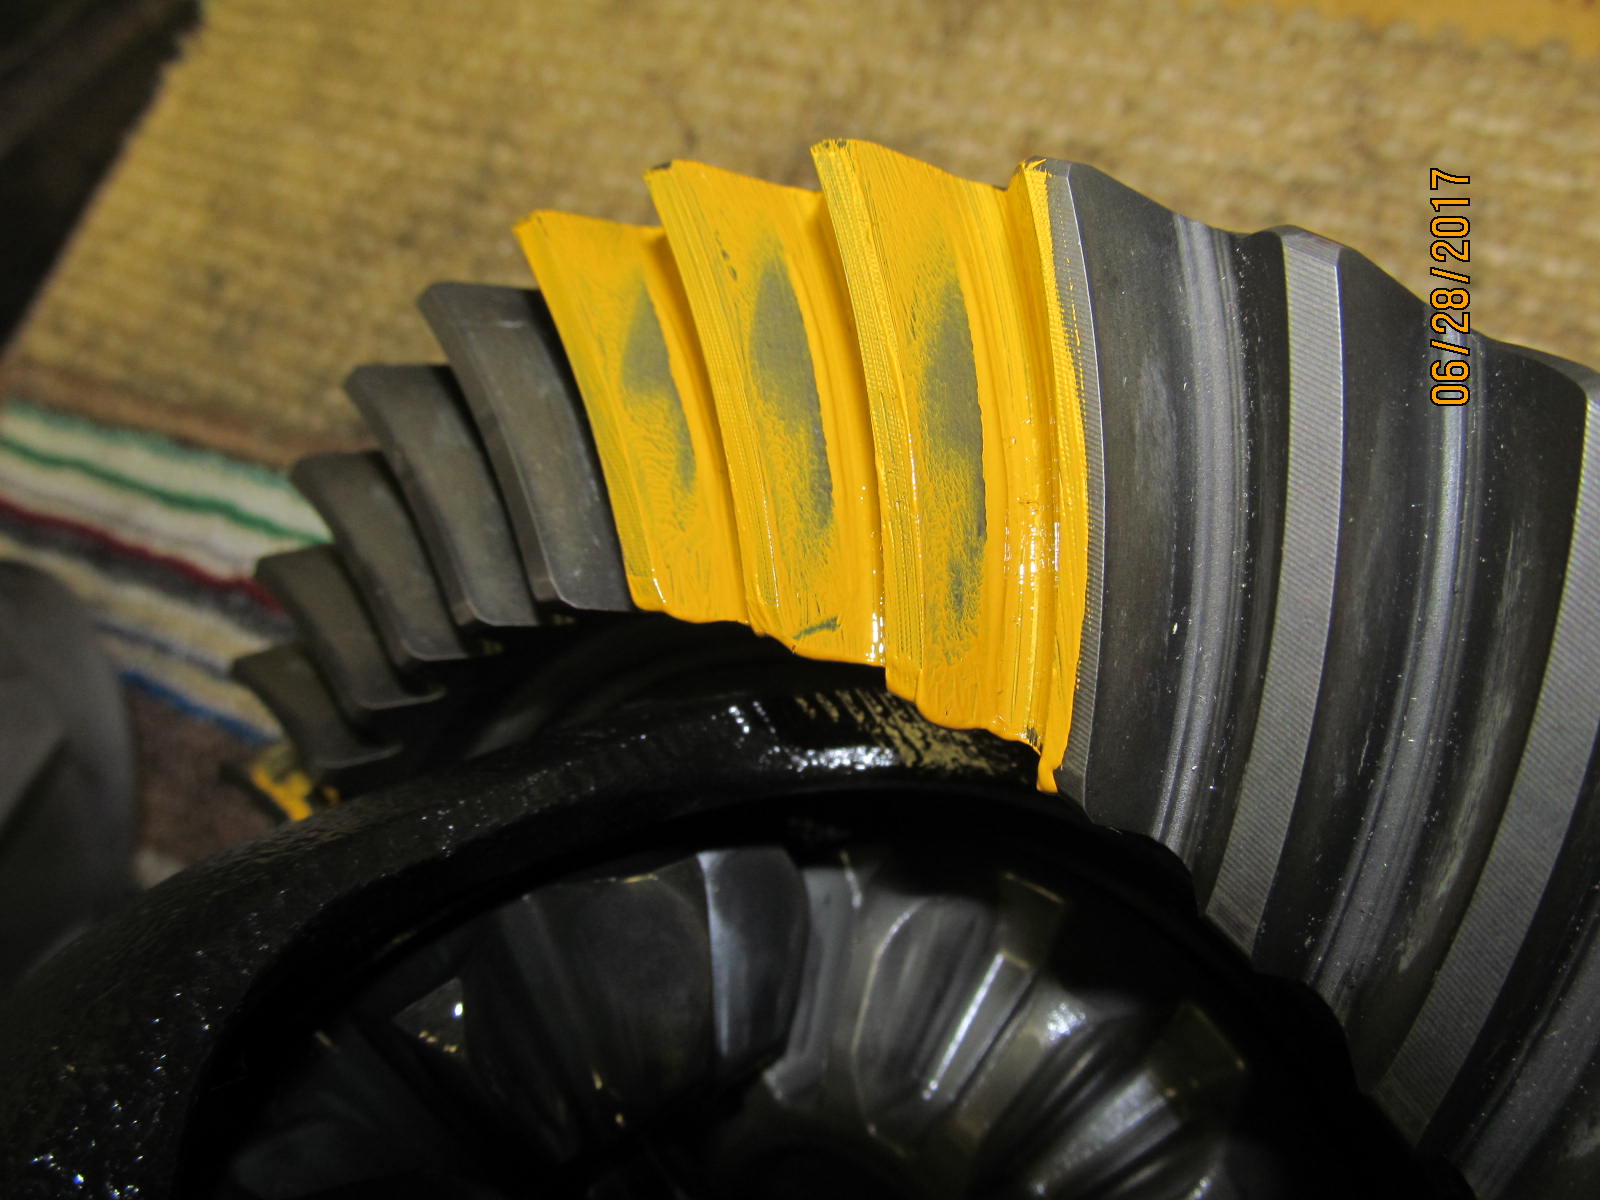
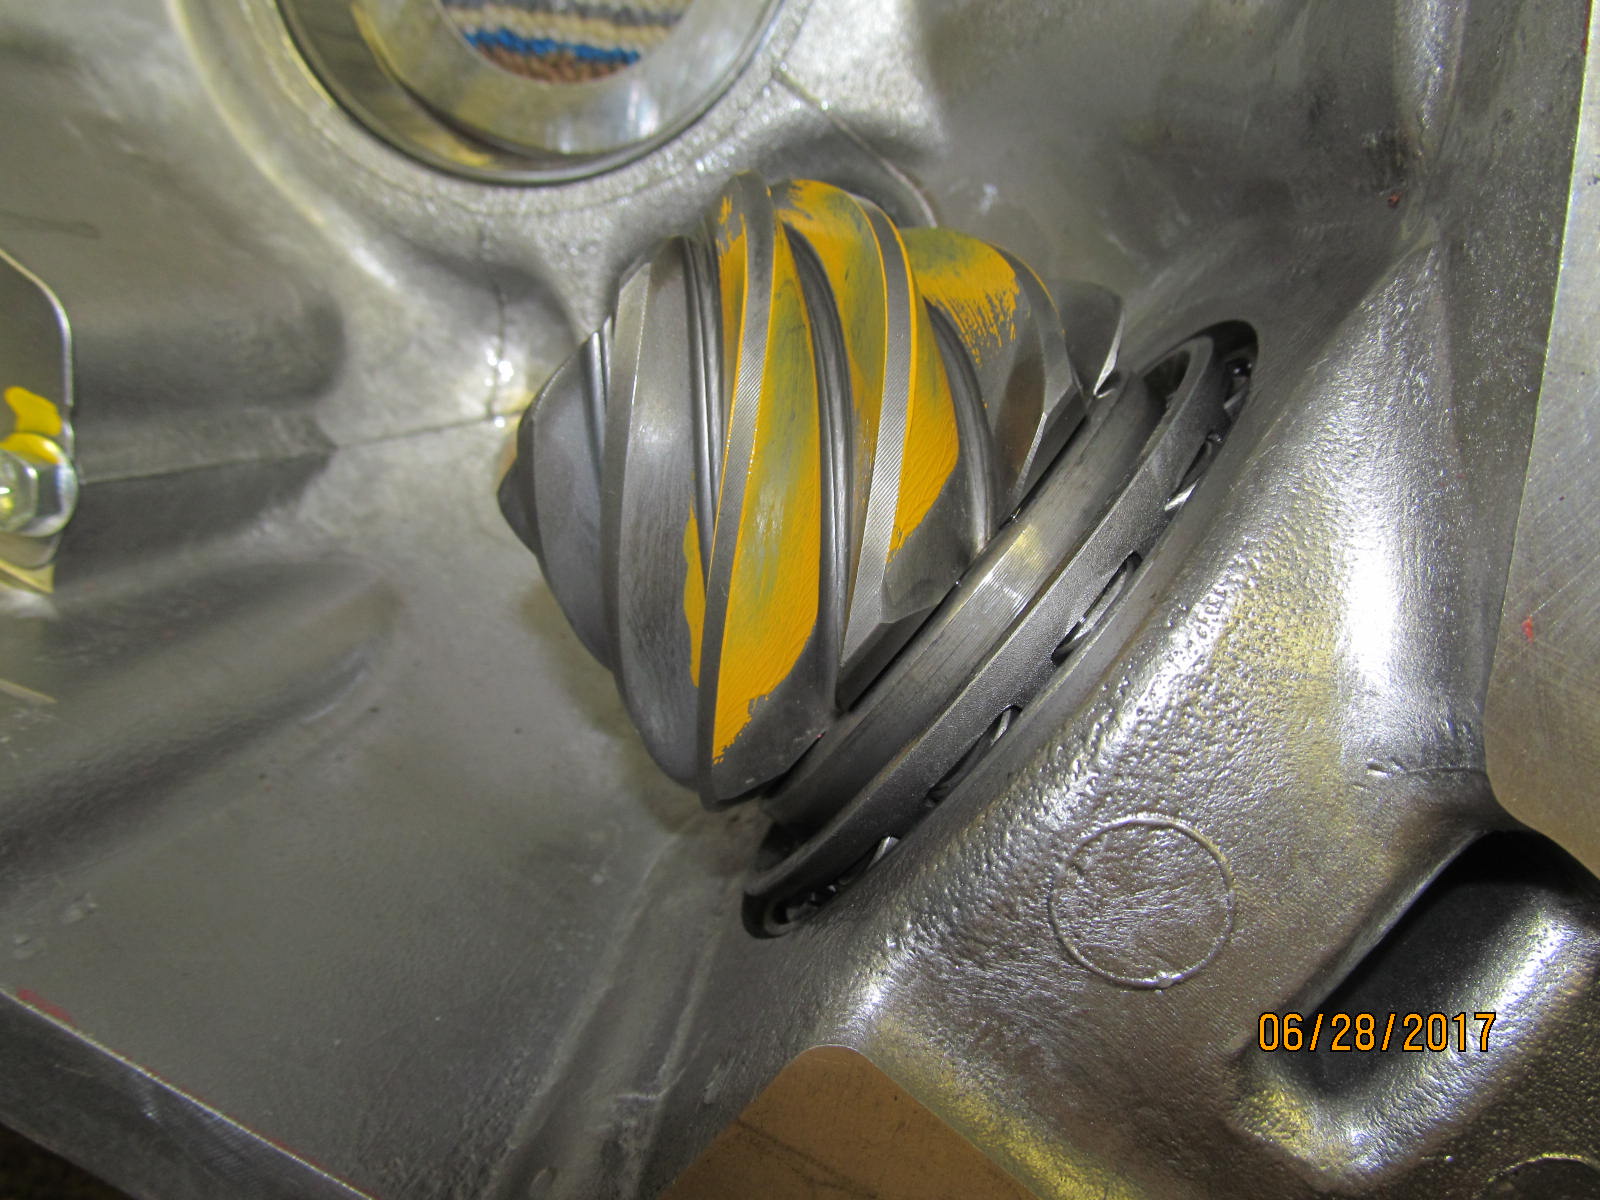
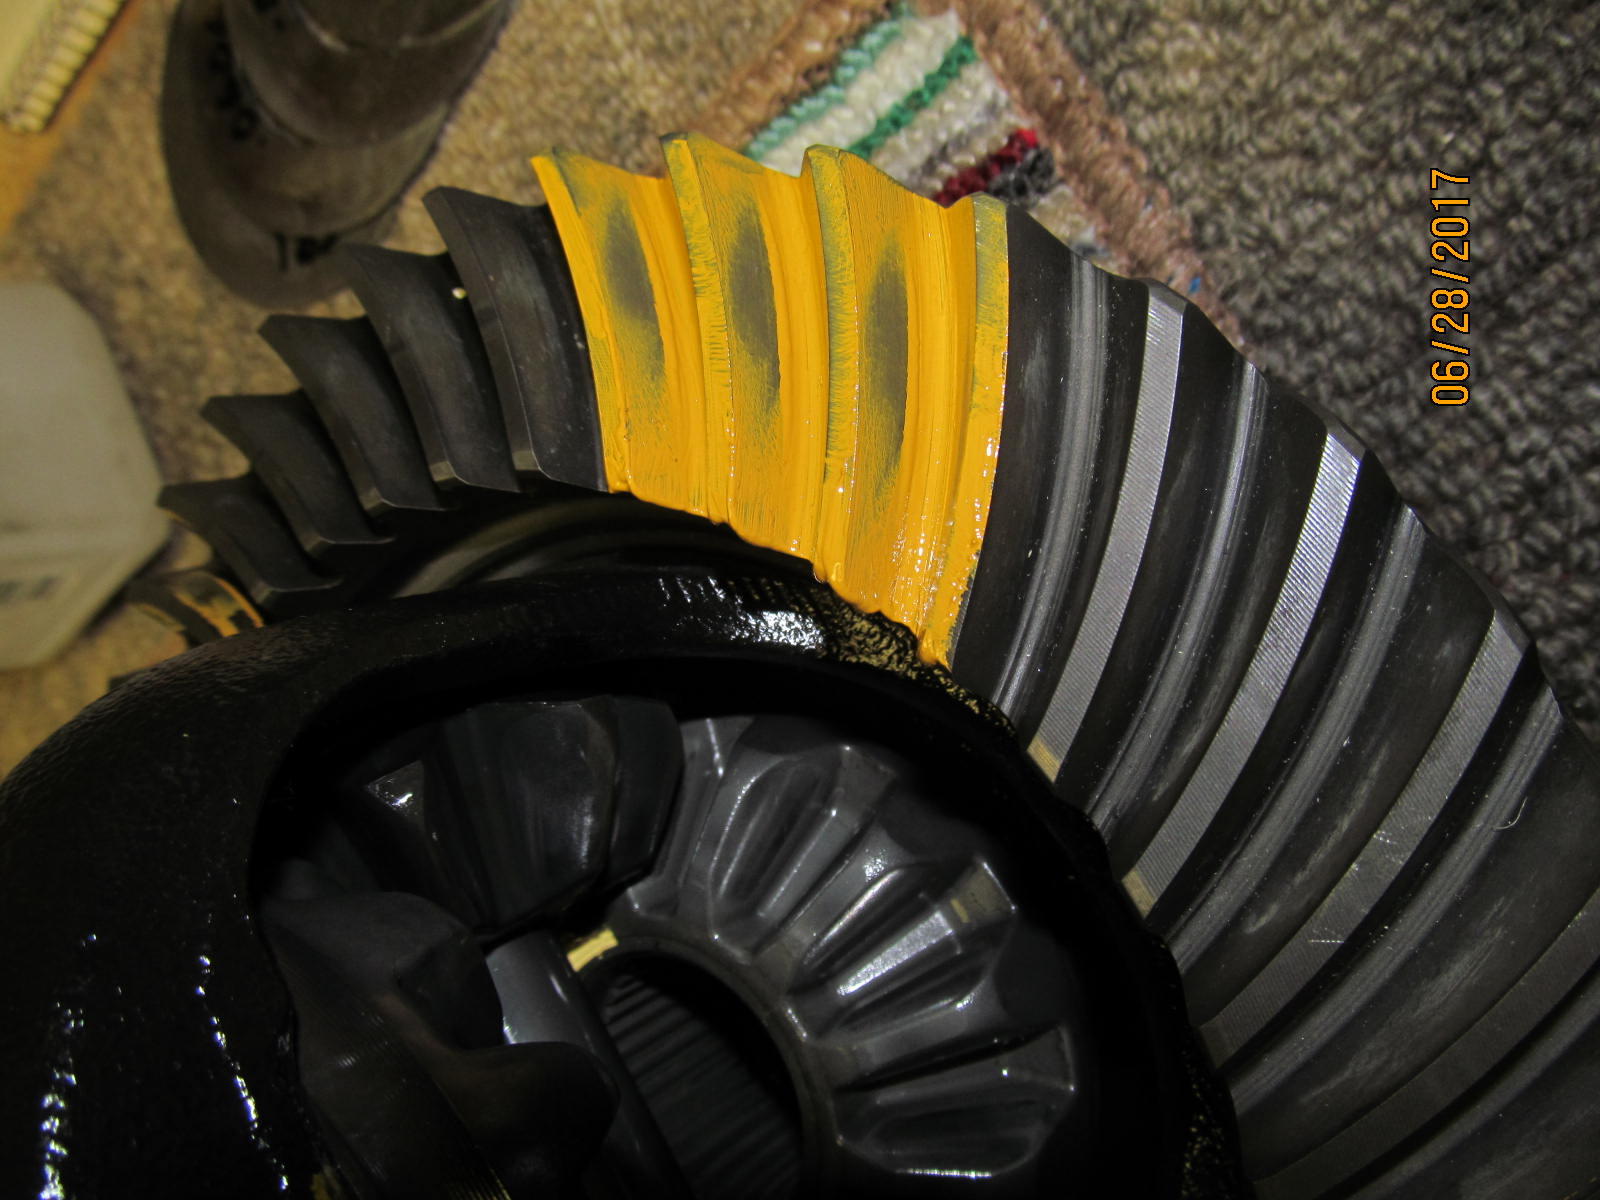
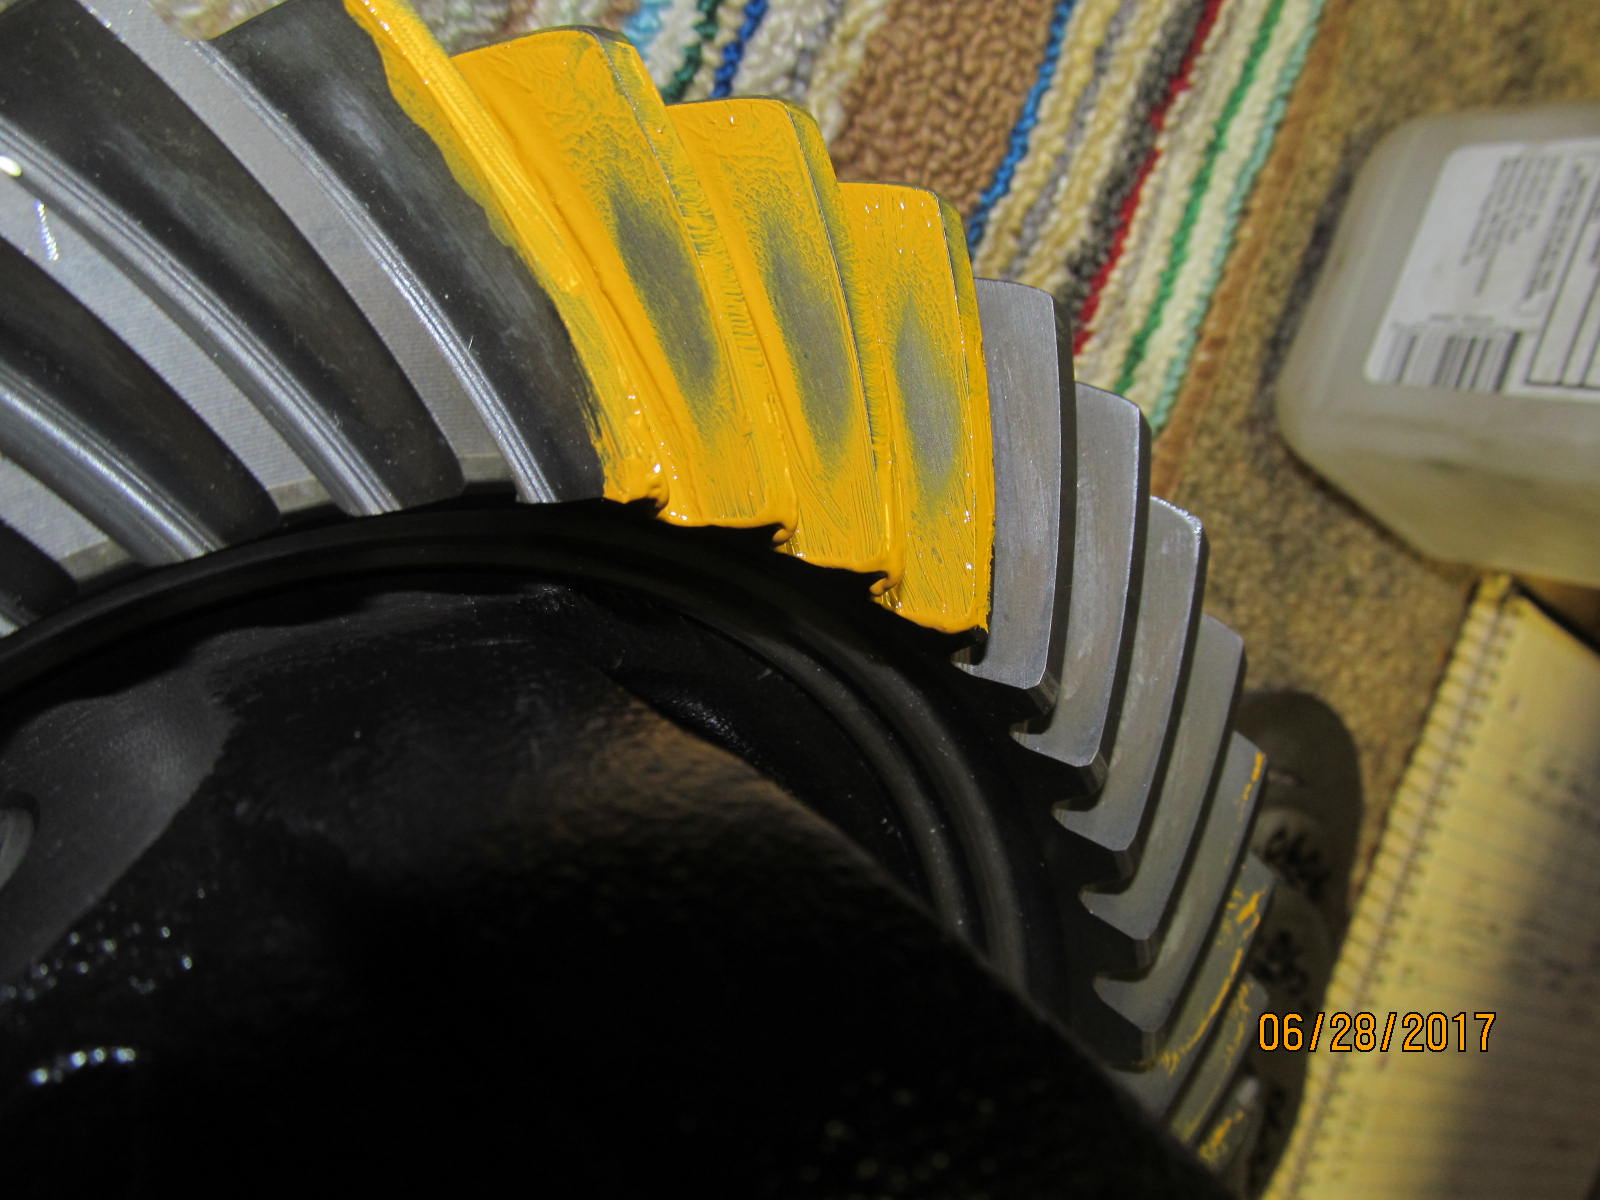
| Drive side with .083" and it's a little too deep. |
|---|
|
|
| Coast reflects that. |
|---|
|
|
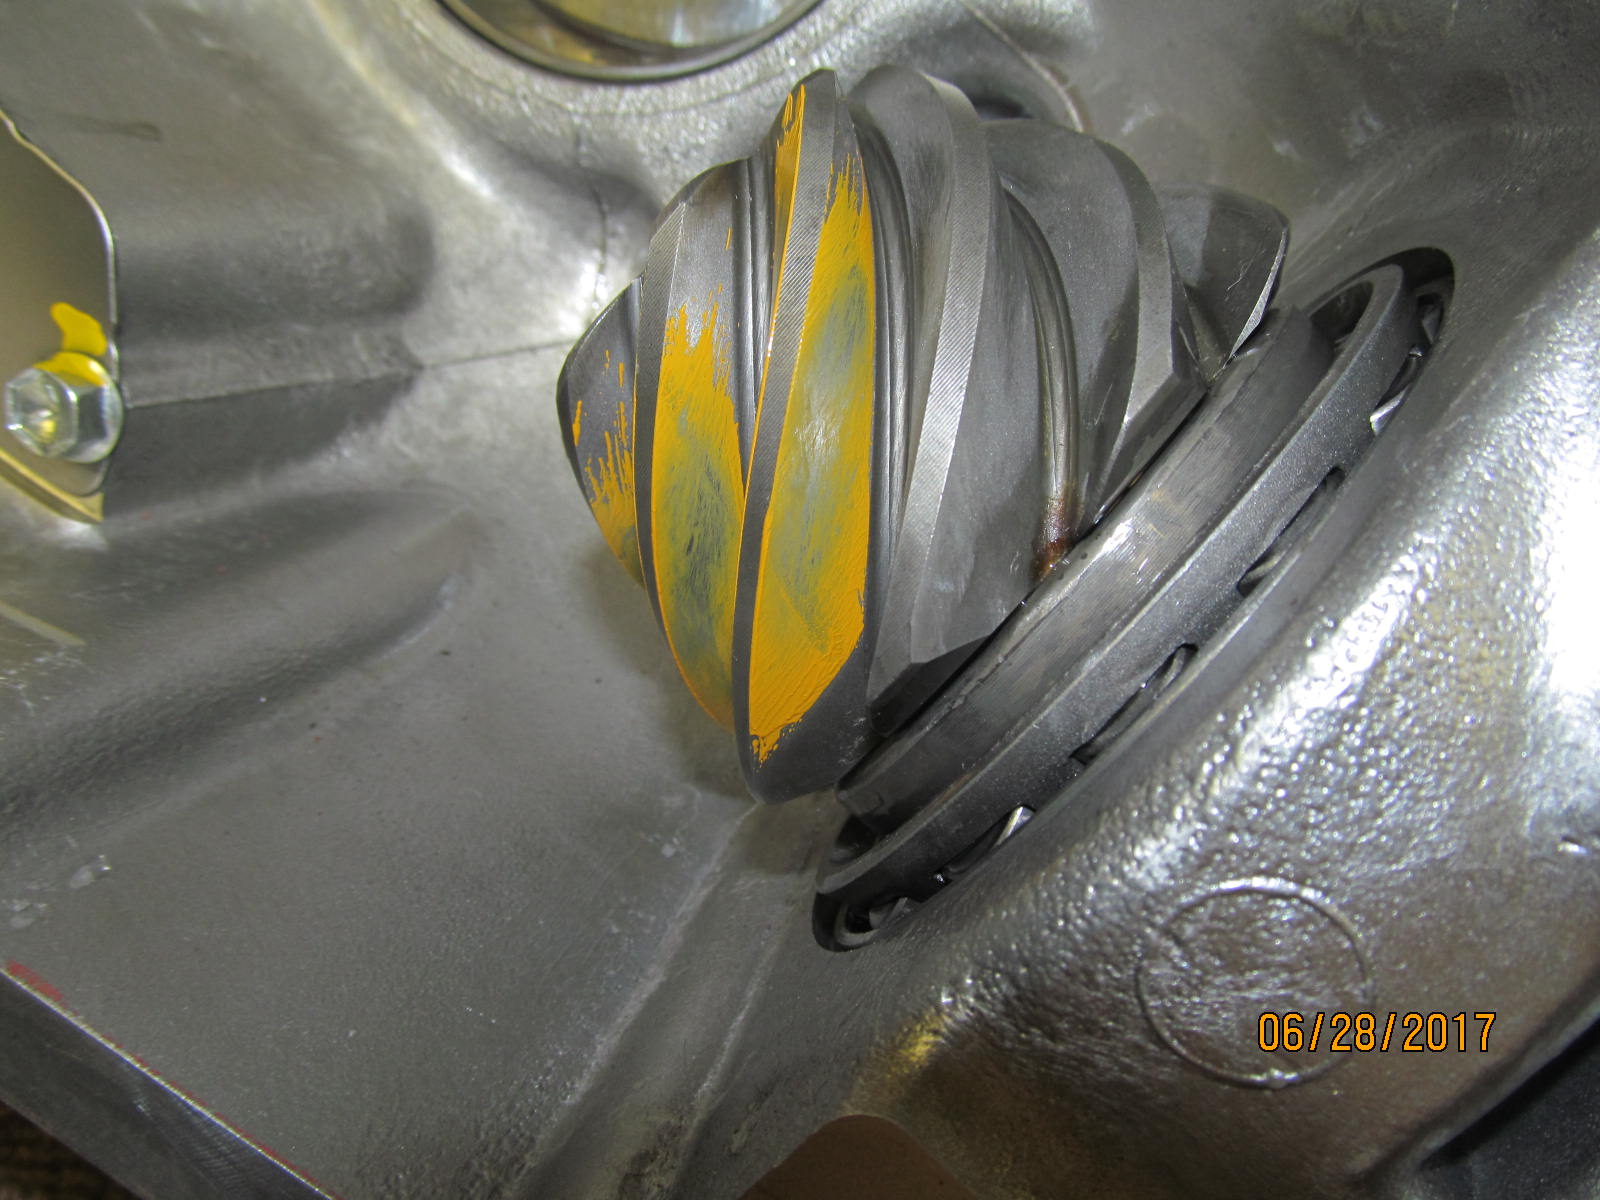
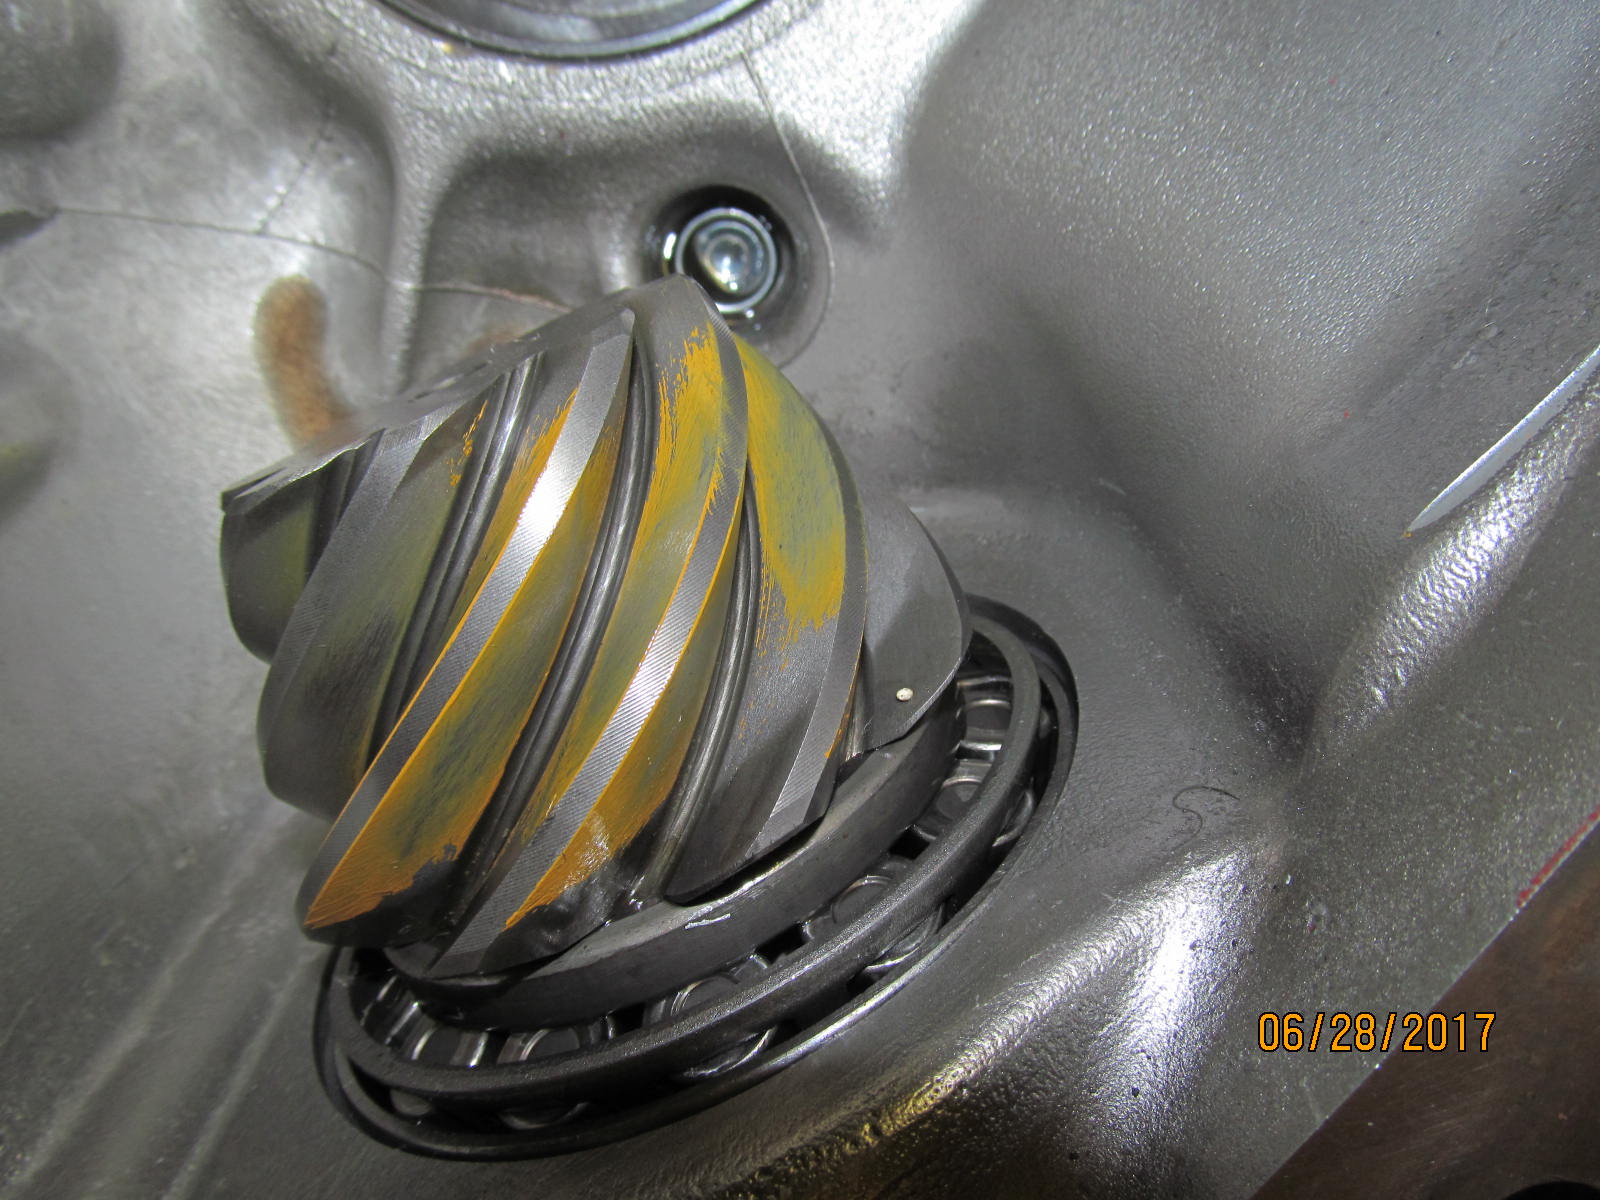
| Even the pinion tooth says too deep by having the comet tail swinging to the outside. |
|---|
|
|
| ,,,,,,,,,,,,,,,,,,,,,, |
|---|
|
|
| ,,,,,,,,,,,,,,,,,,,,,,, |
|---|
|
|
| The process of tearing it down again. To do one of the 9" clams correctly with pictures and documentation can take 6 to 8 hours. |
|---|
|
|
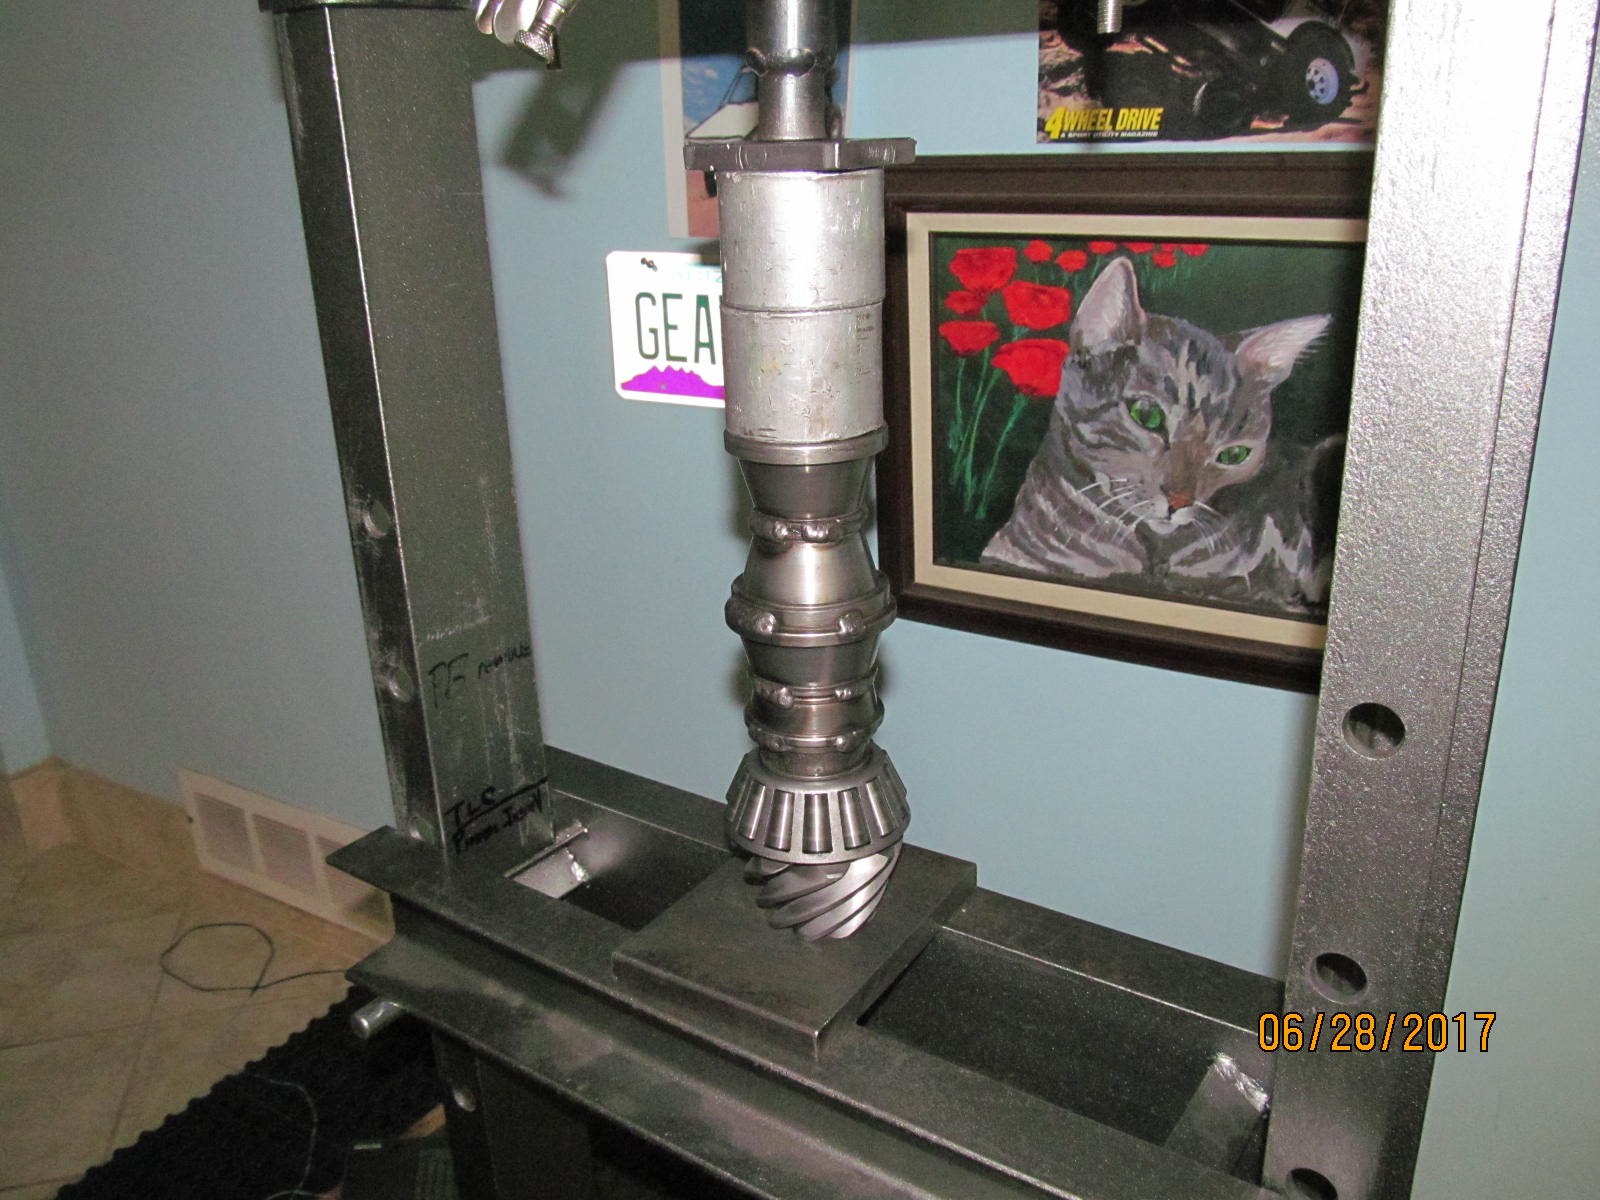
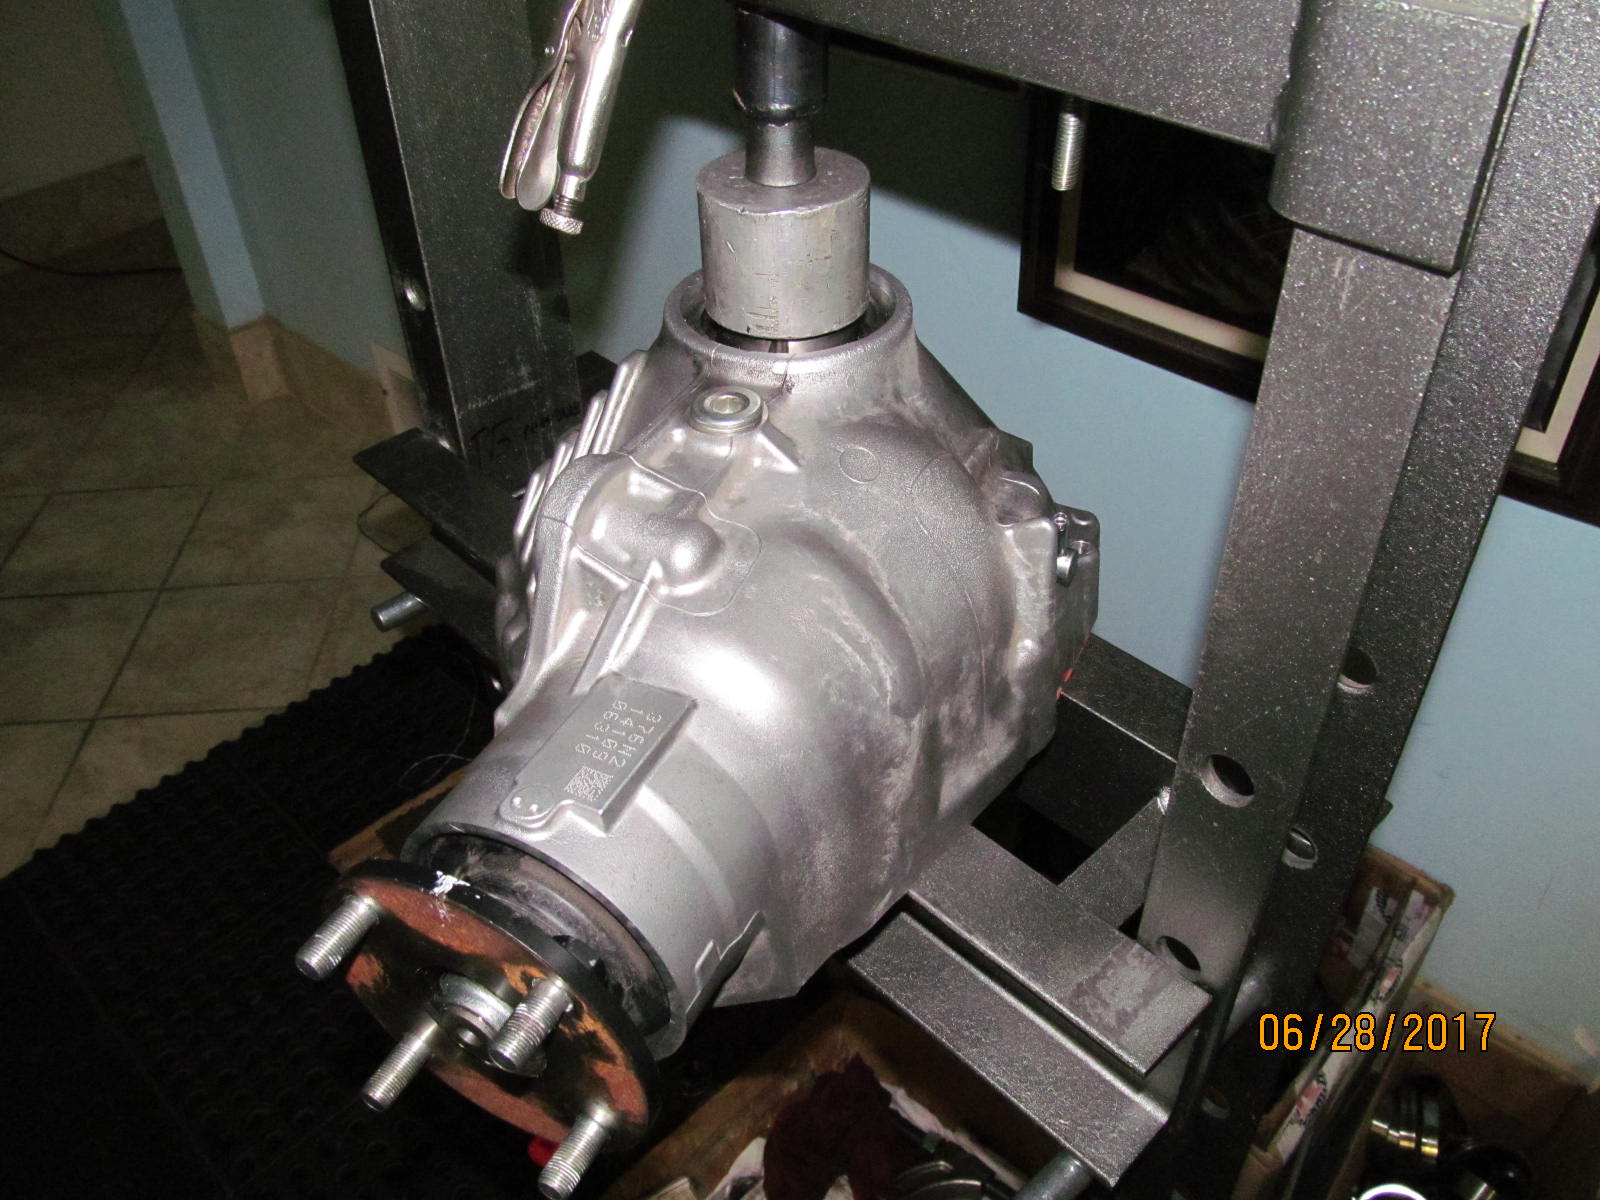
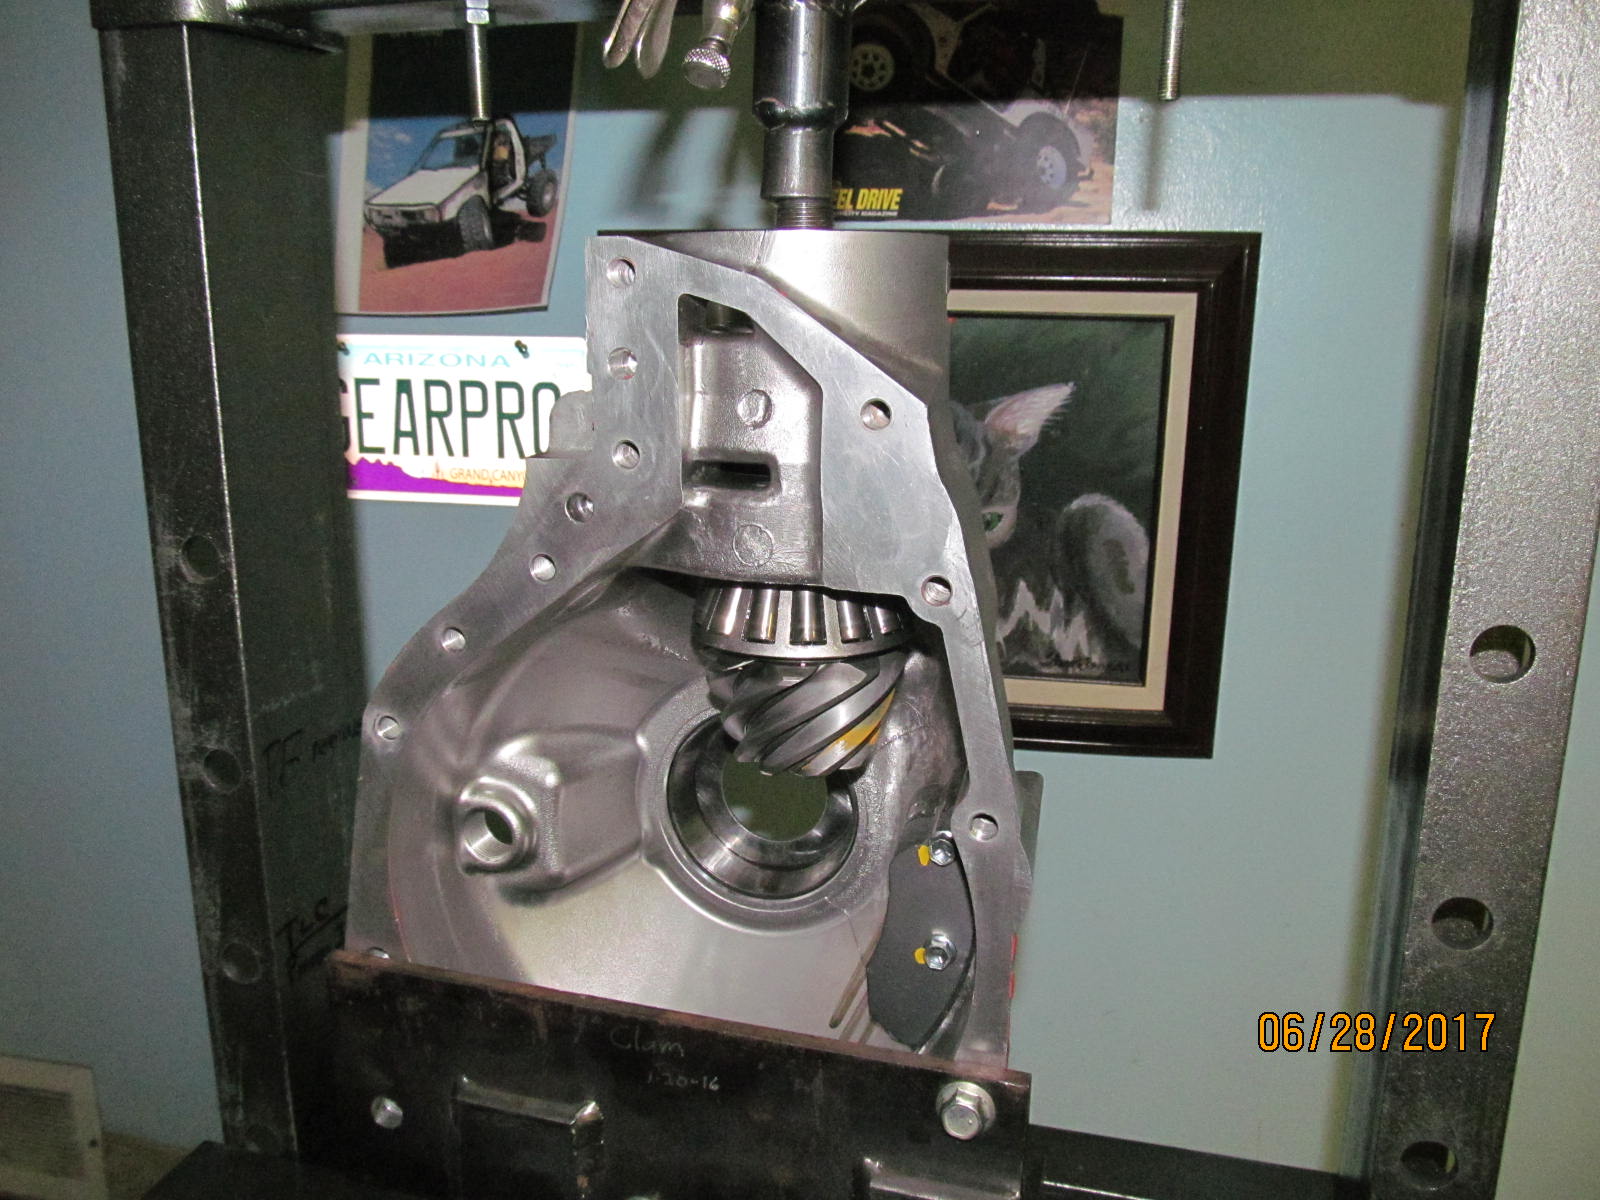
| Pressing out the pinion. |
|---|
|
|
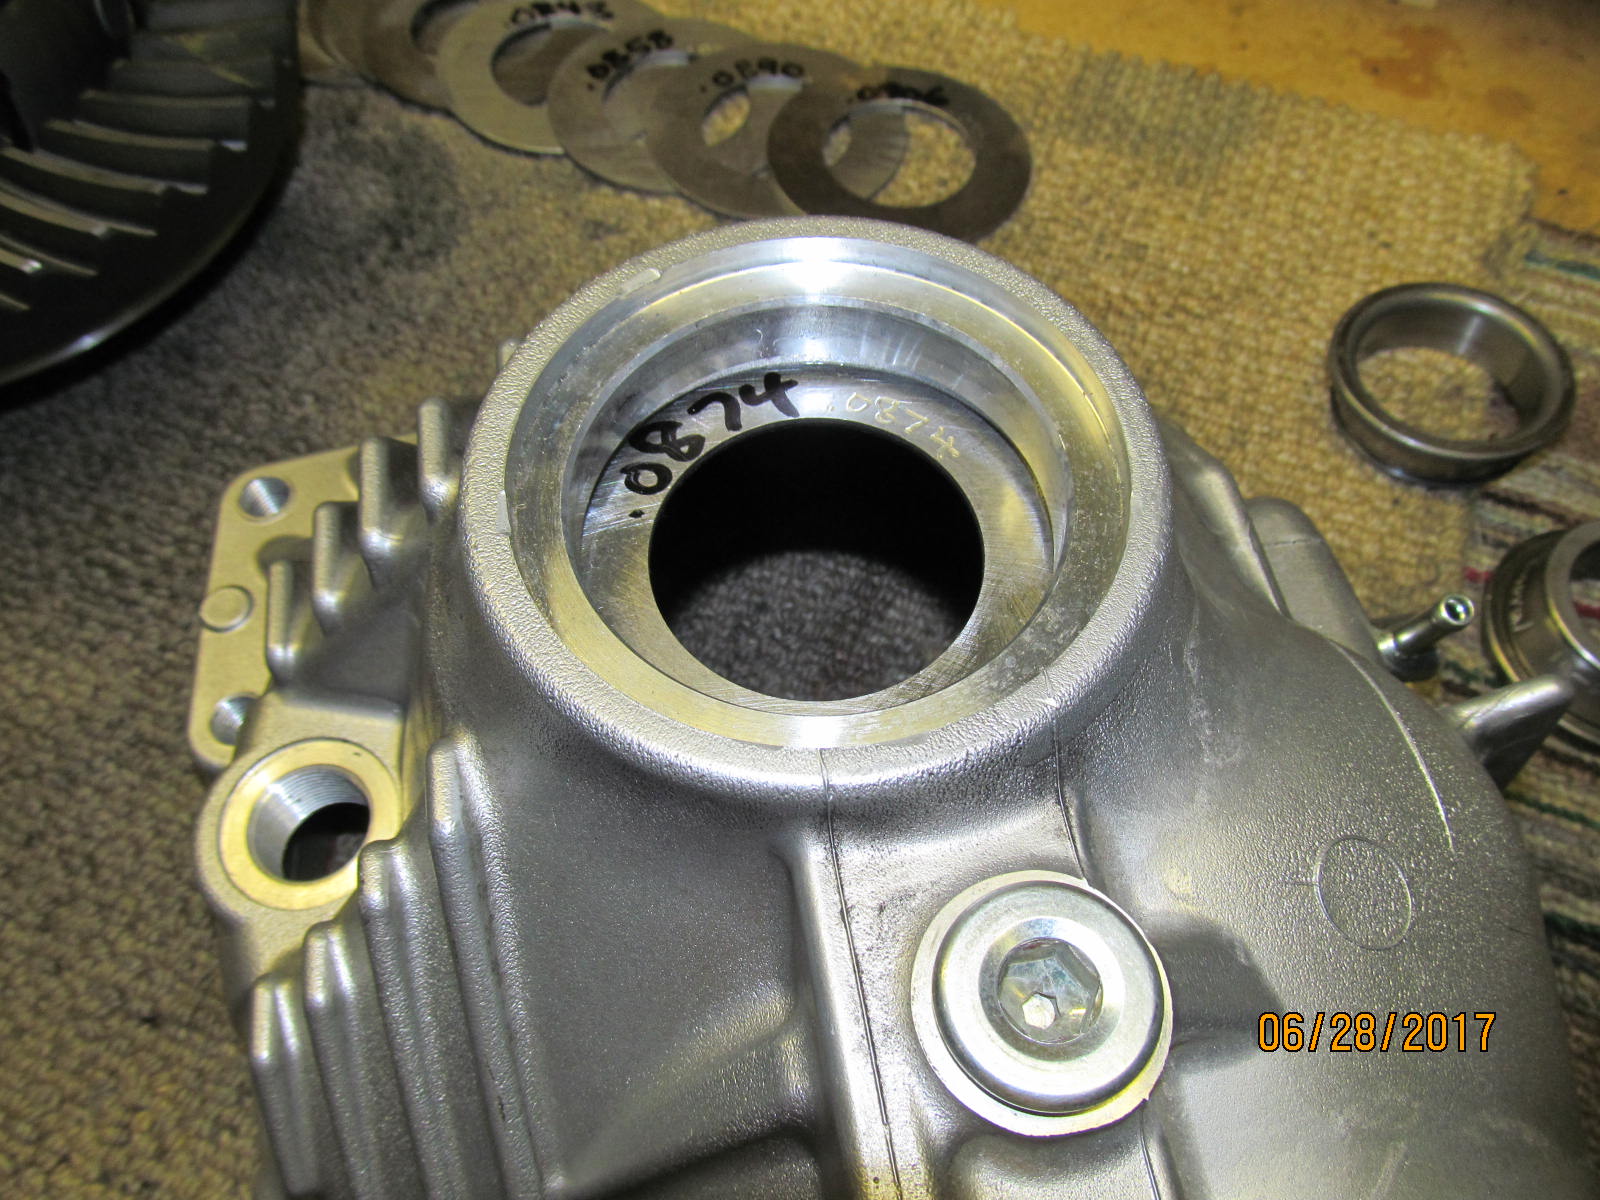
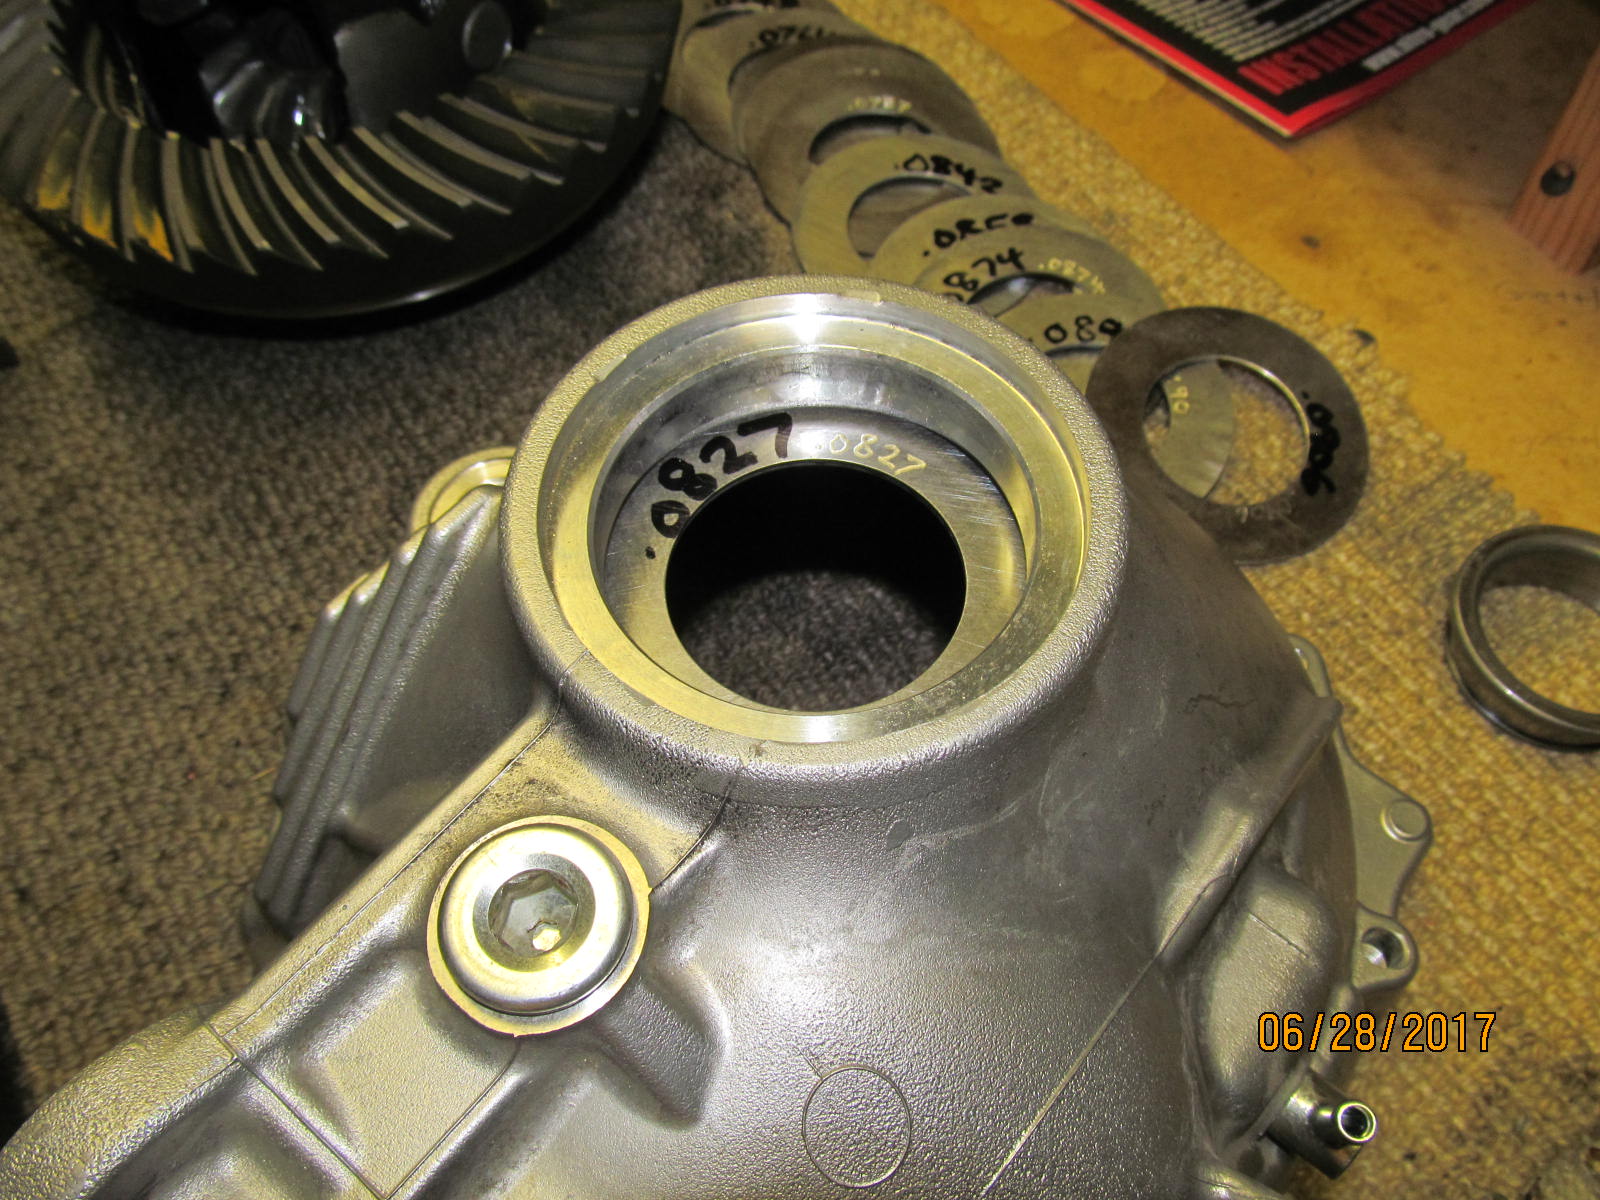
The shim is placed BEHIND the large inner pinion race. I have a very large selection of shims that will fit perfect.
OEM washer plate was .083" so will try a little thinner .0795" and see how that looks. |
|---|
|
|
HA! This is the challenging part....to get the race back in without cracking the aluminum case
which has happened(not to me but to a shop over in Kauai). |
|---|
|
|
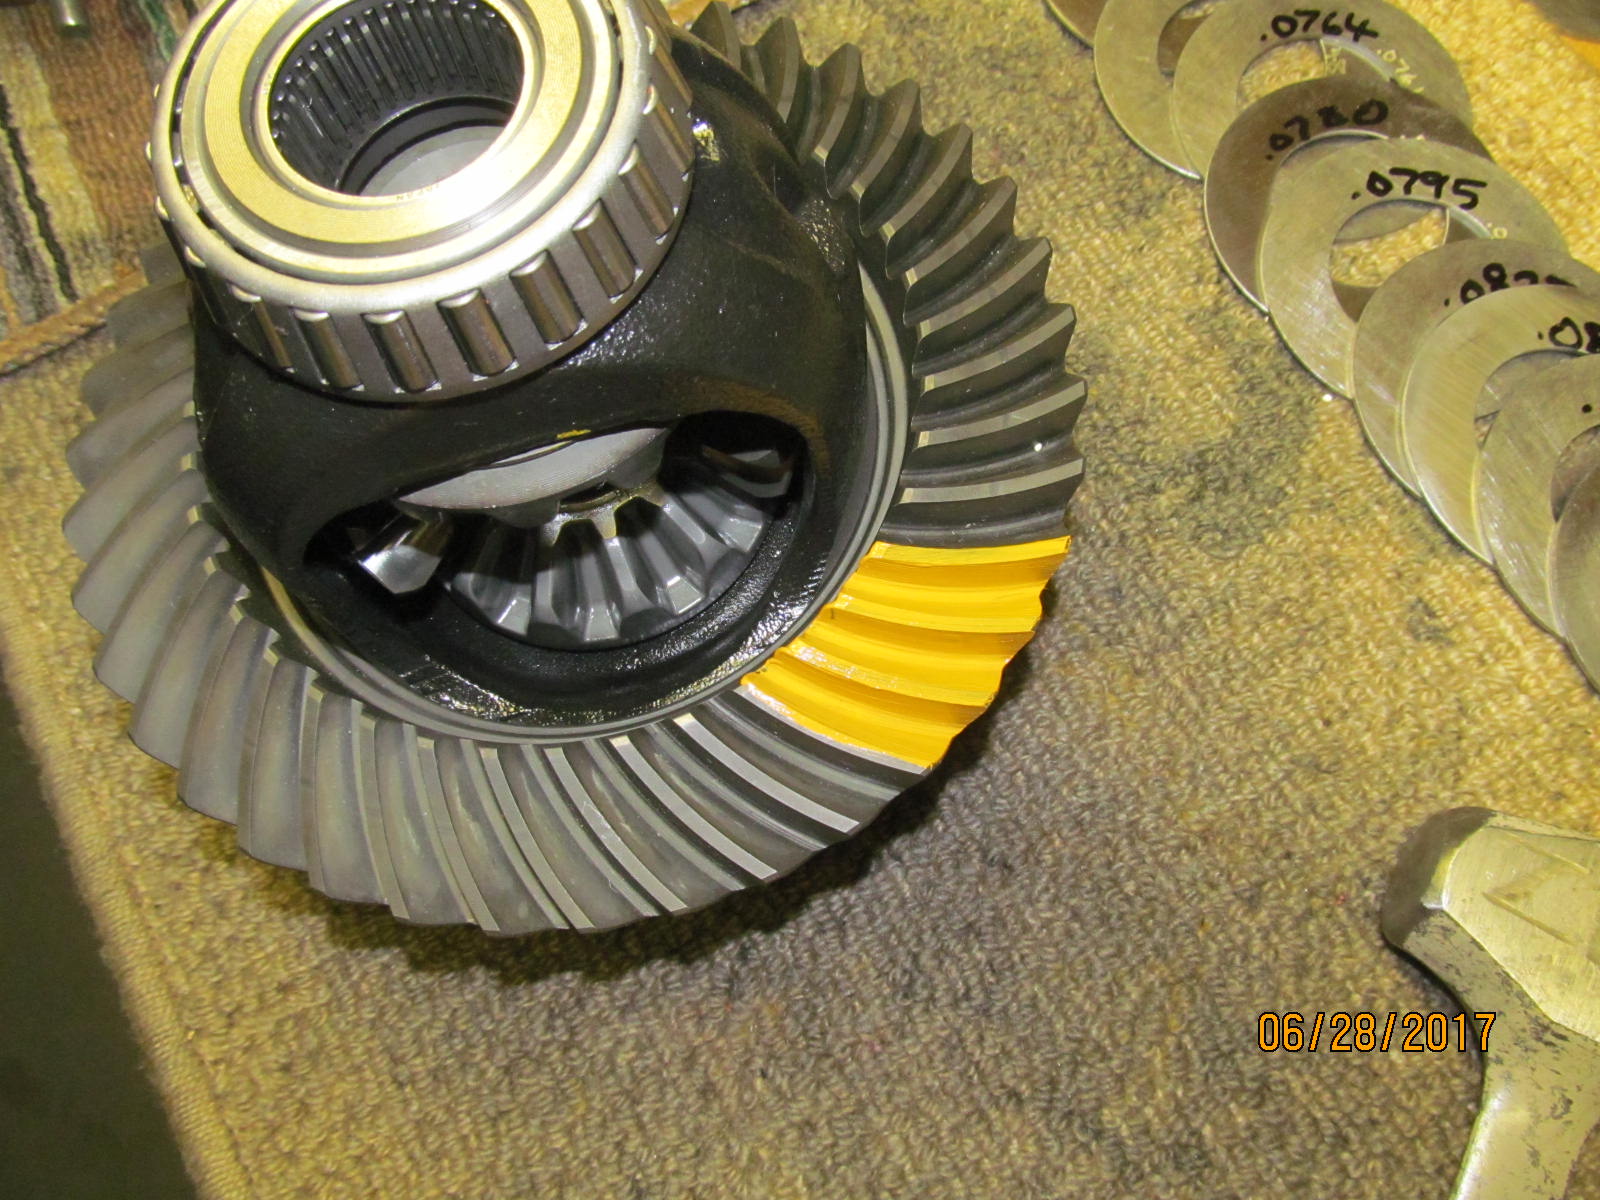
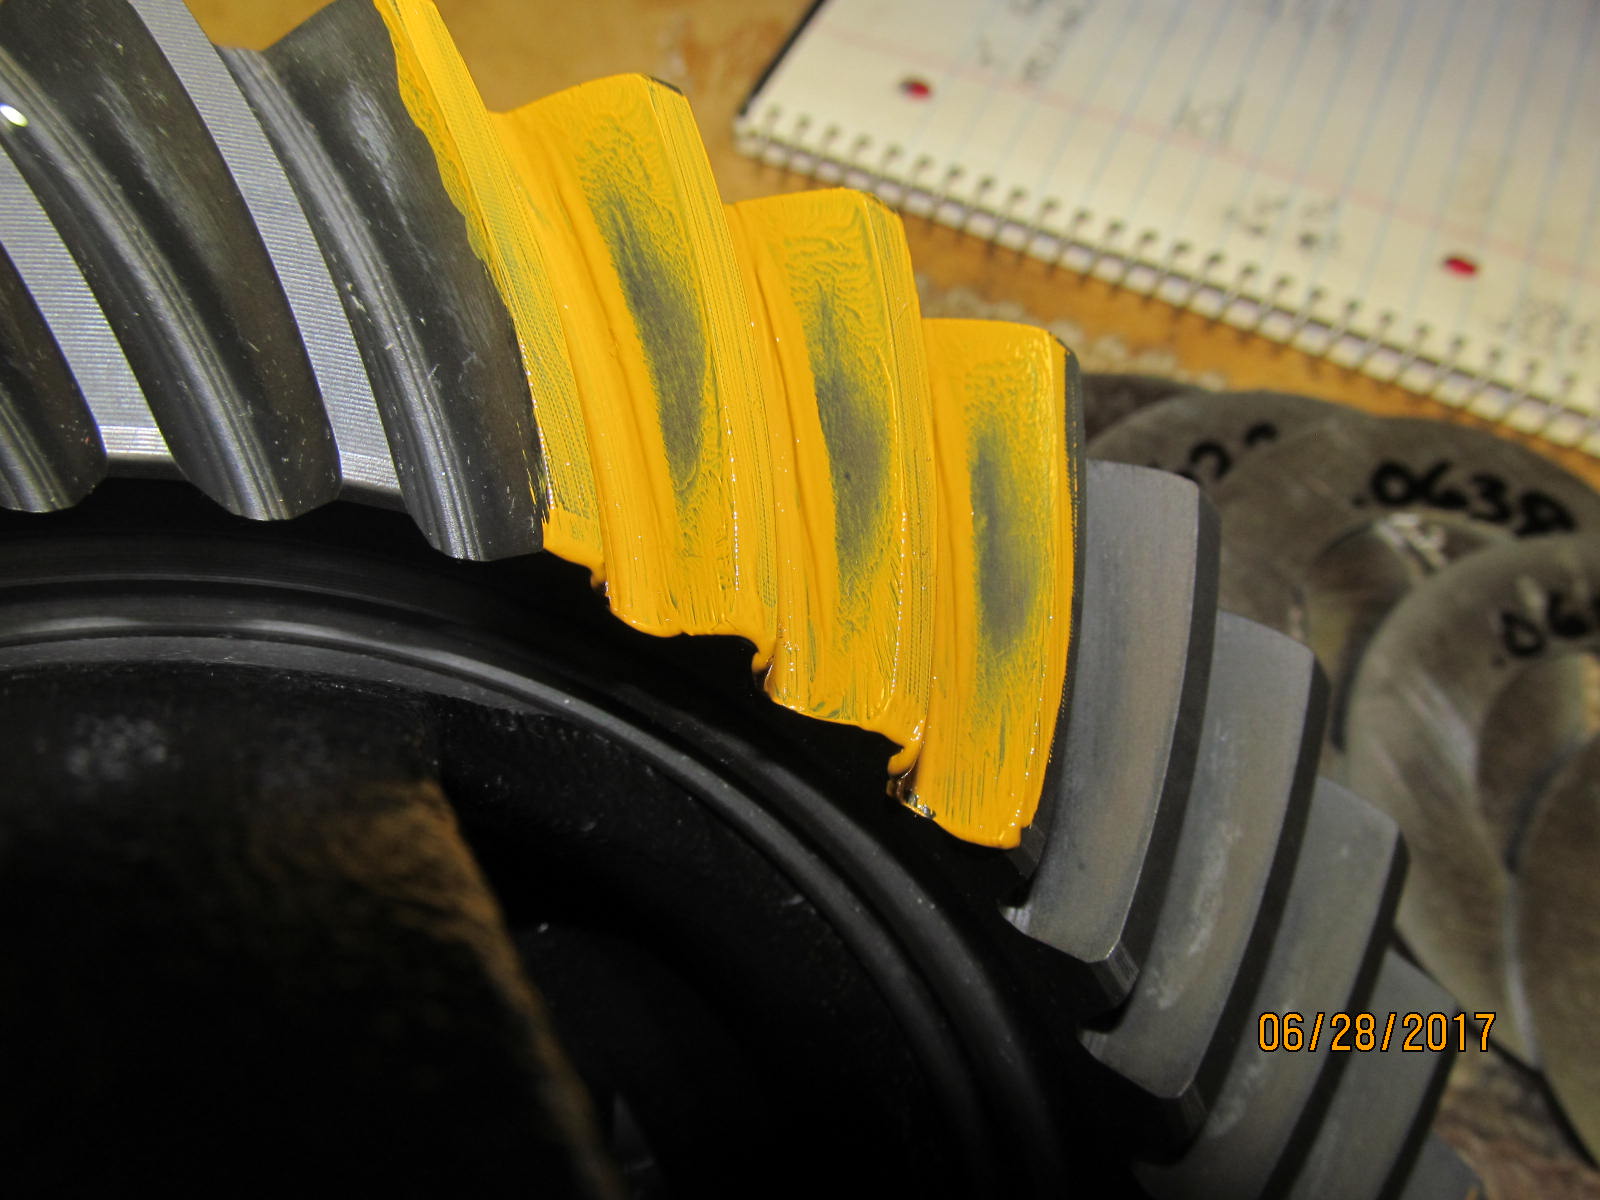
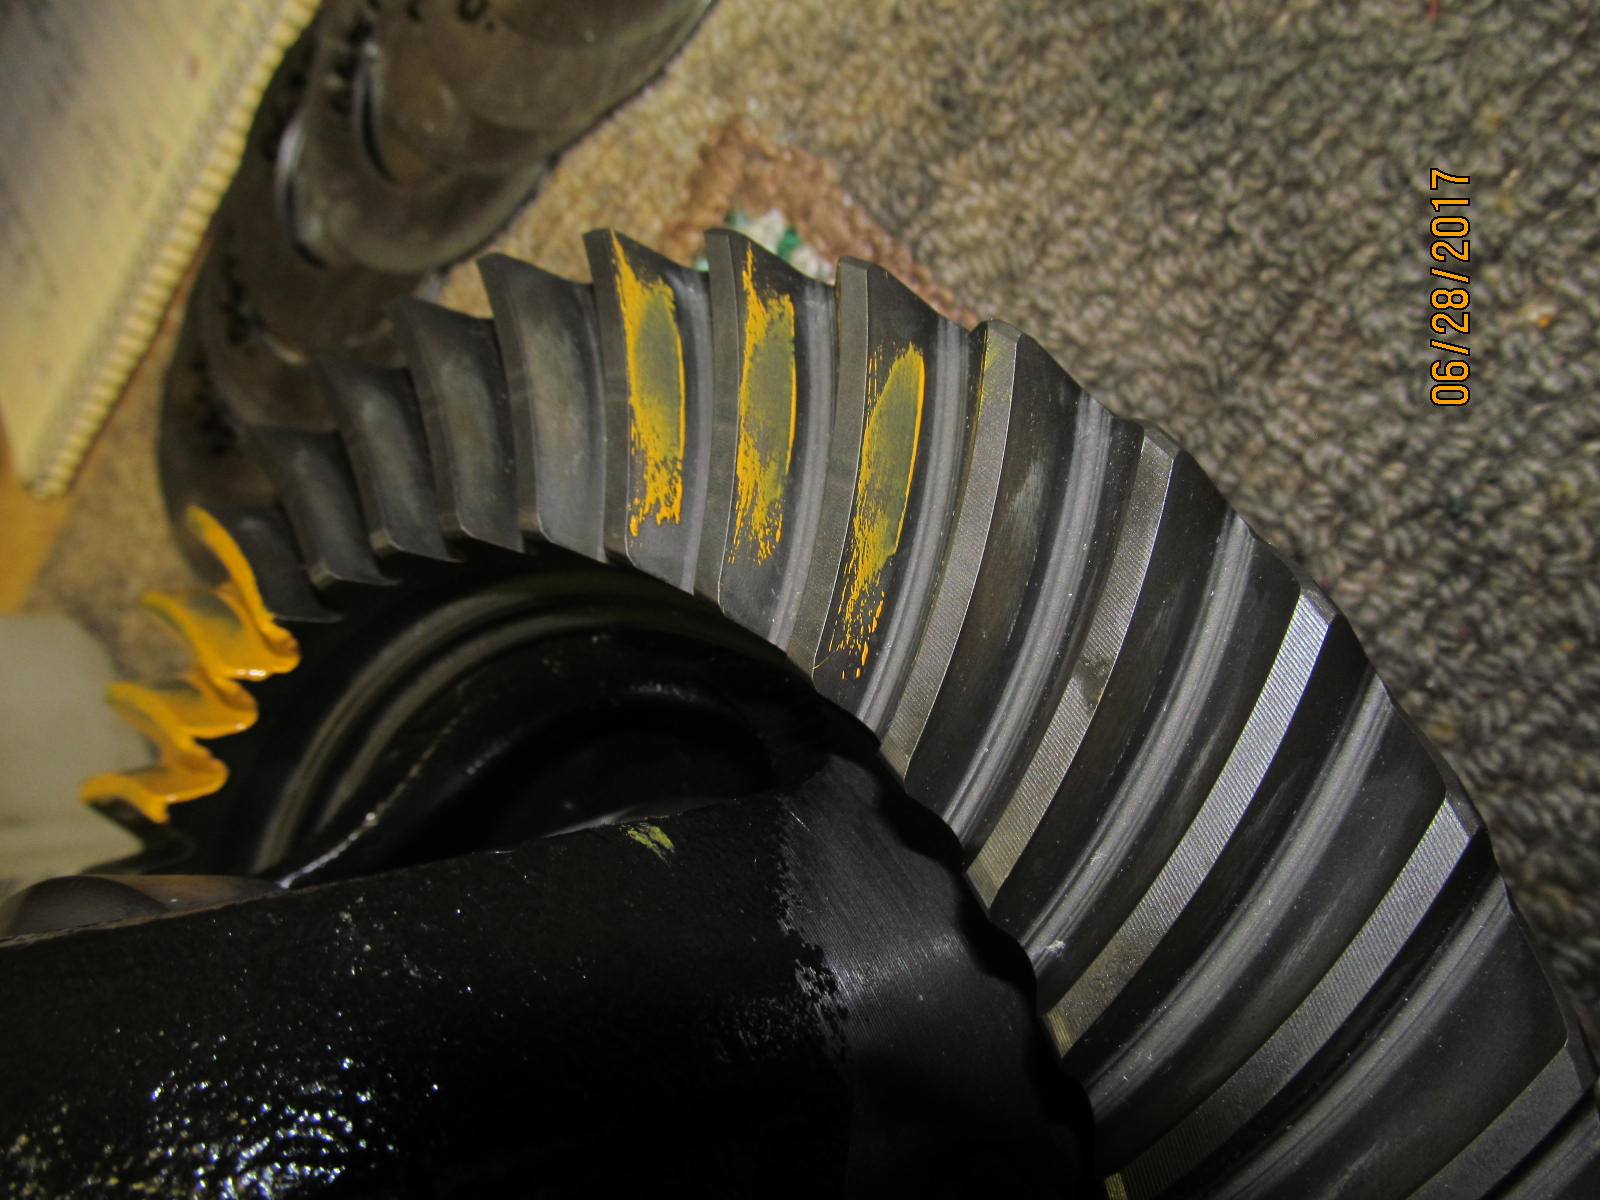
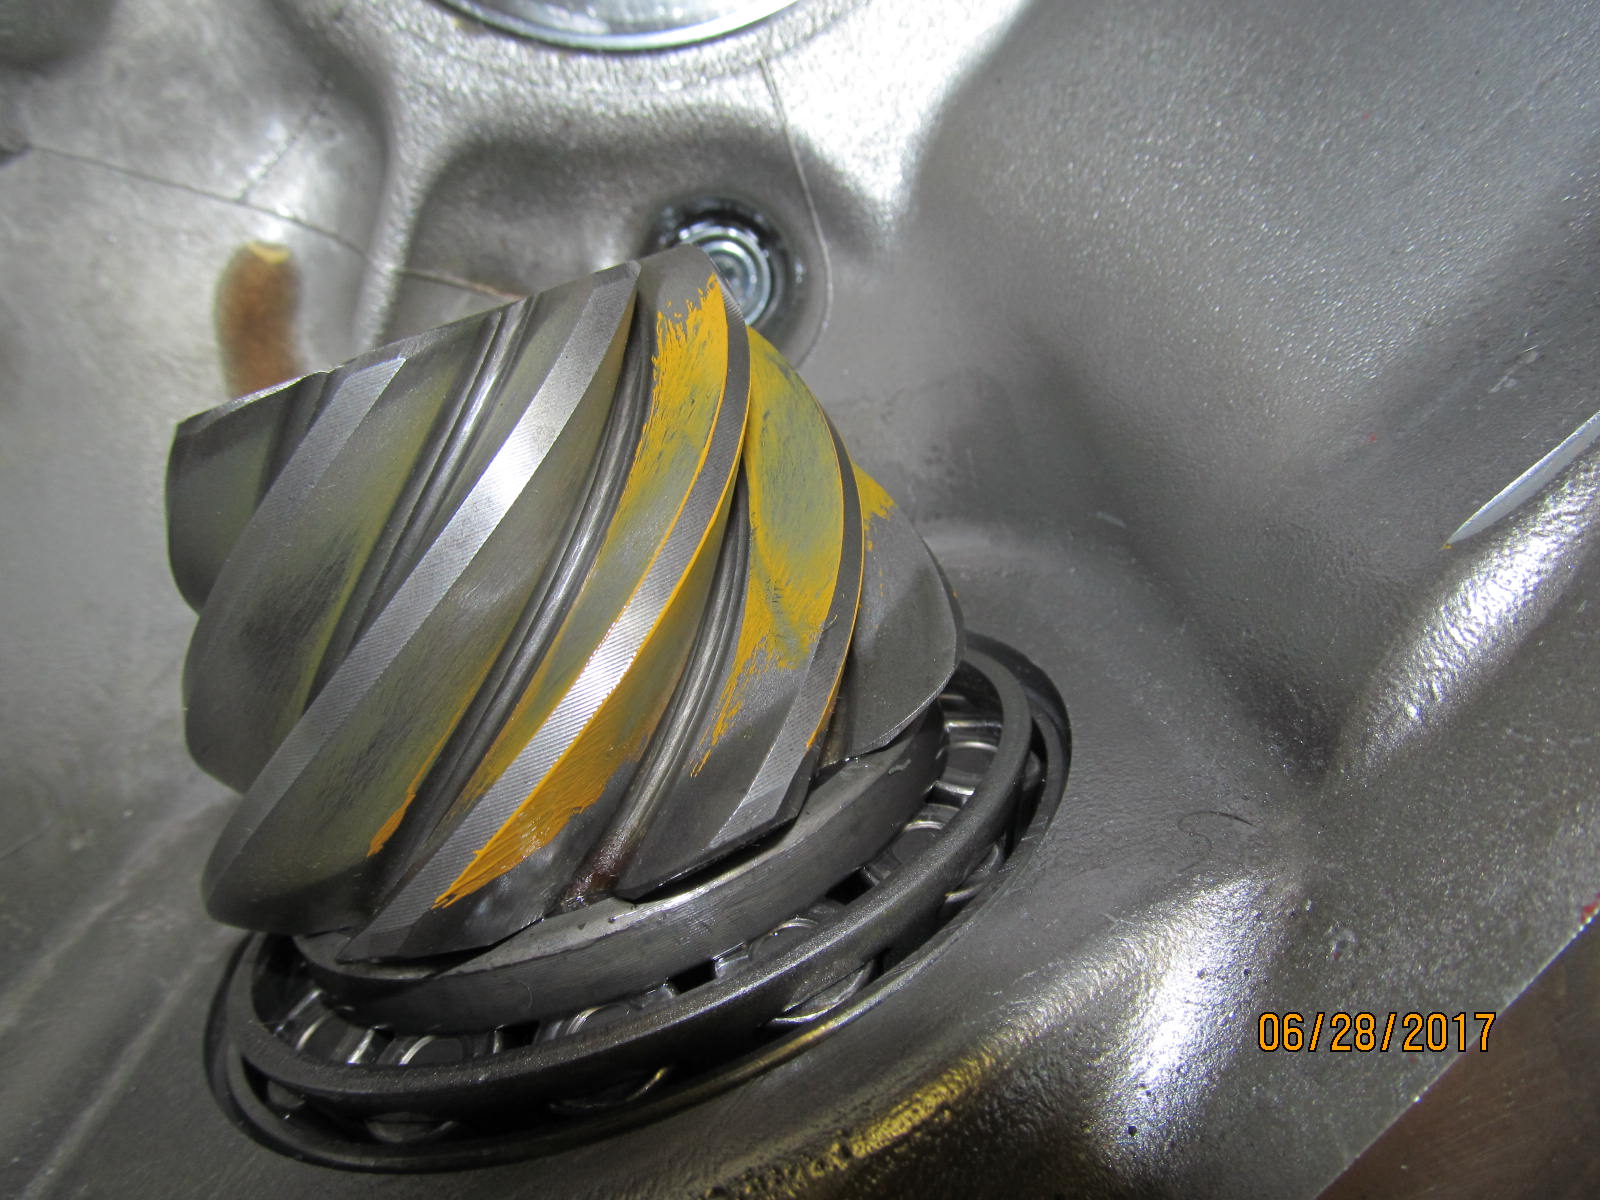
| All back together and fresh paint applied. This is the drive side and this looks much better. |
|---|
|
|
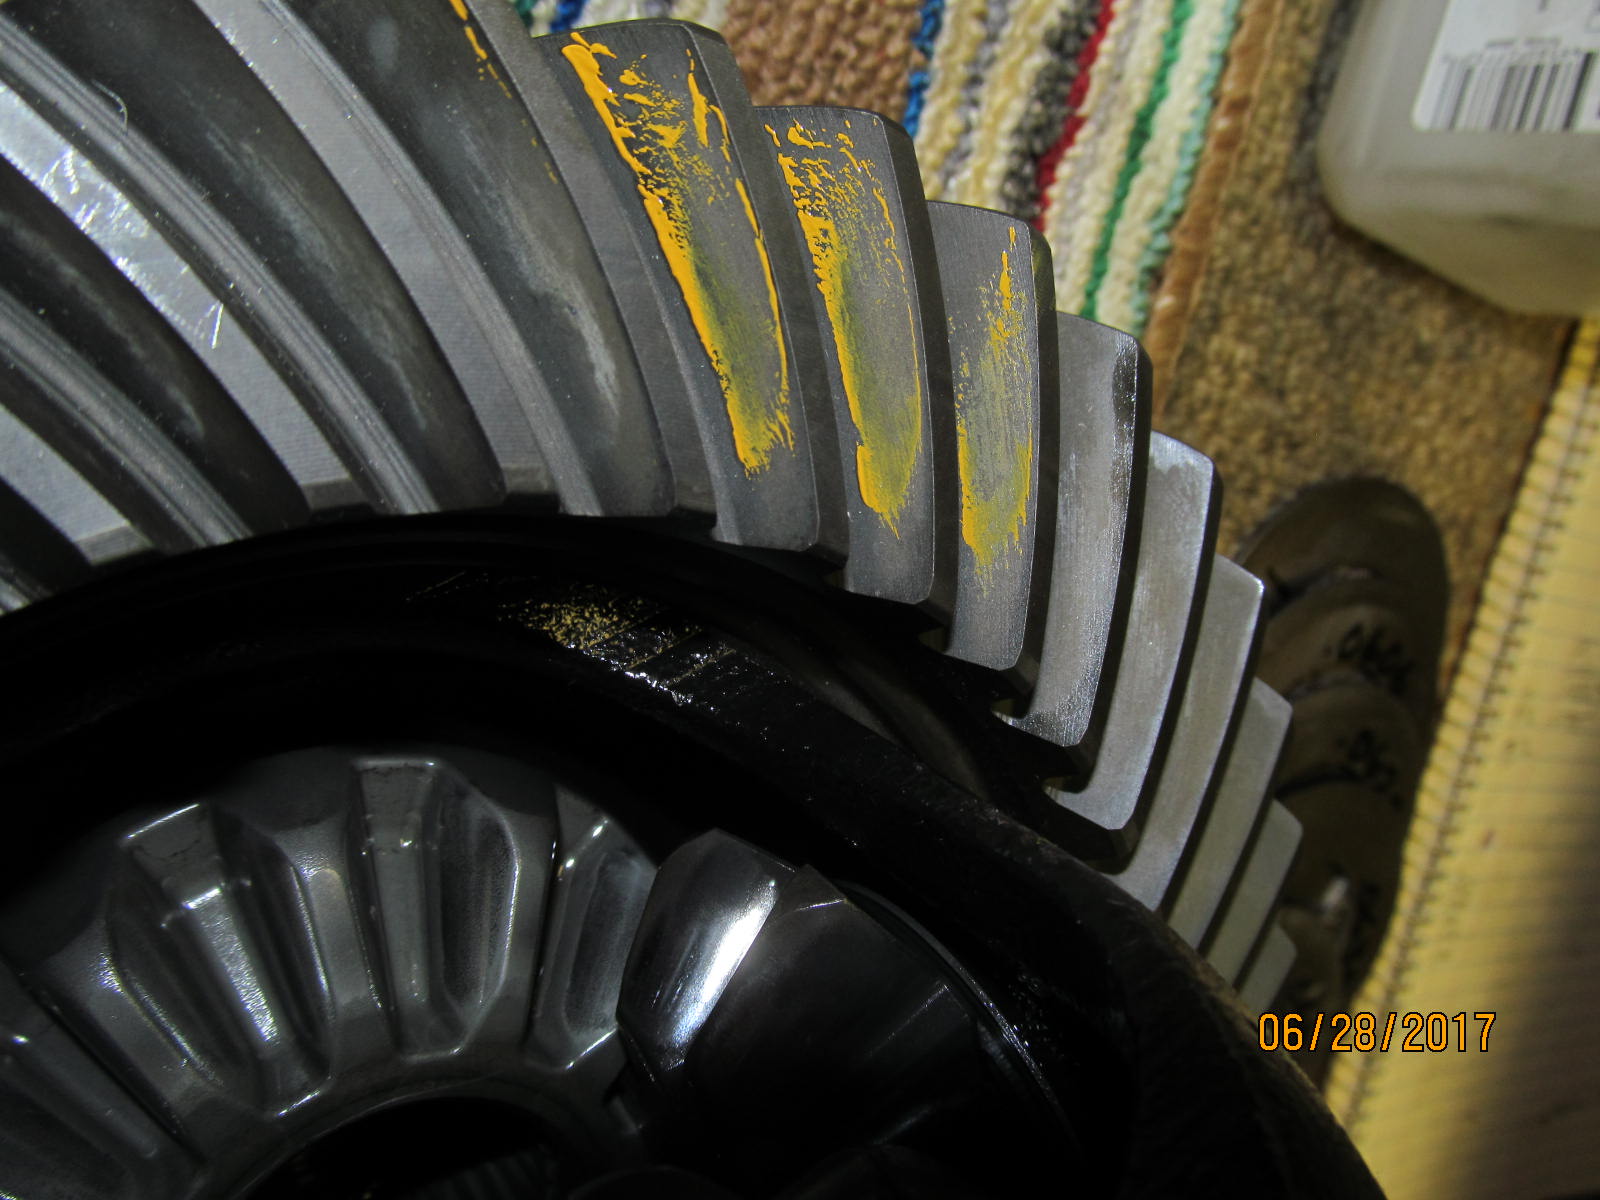
| Coast side is telling me the depth is perfect. |
|---|
|
|
| Reverse painted drive side. |
|---|
|
|
| Reverse painted coast side. |
|---|
|
|
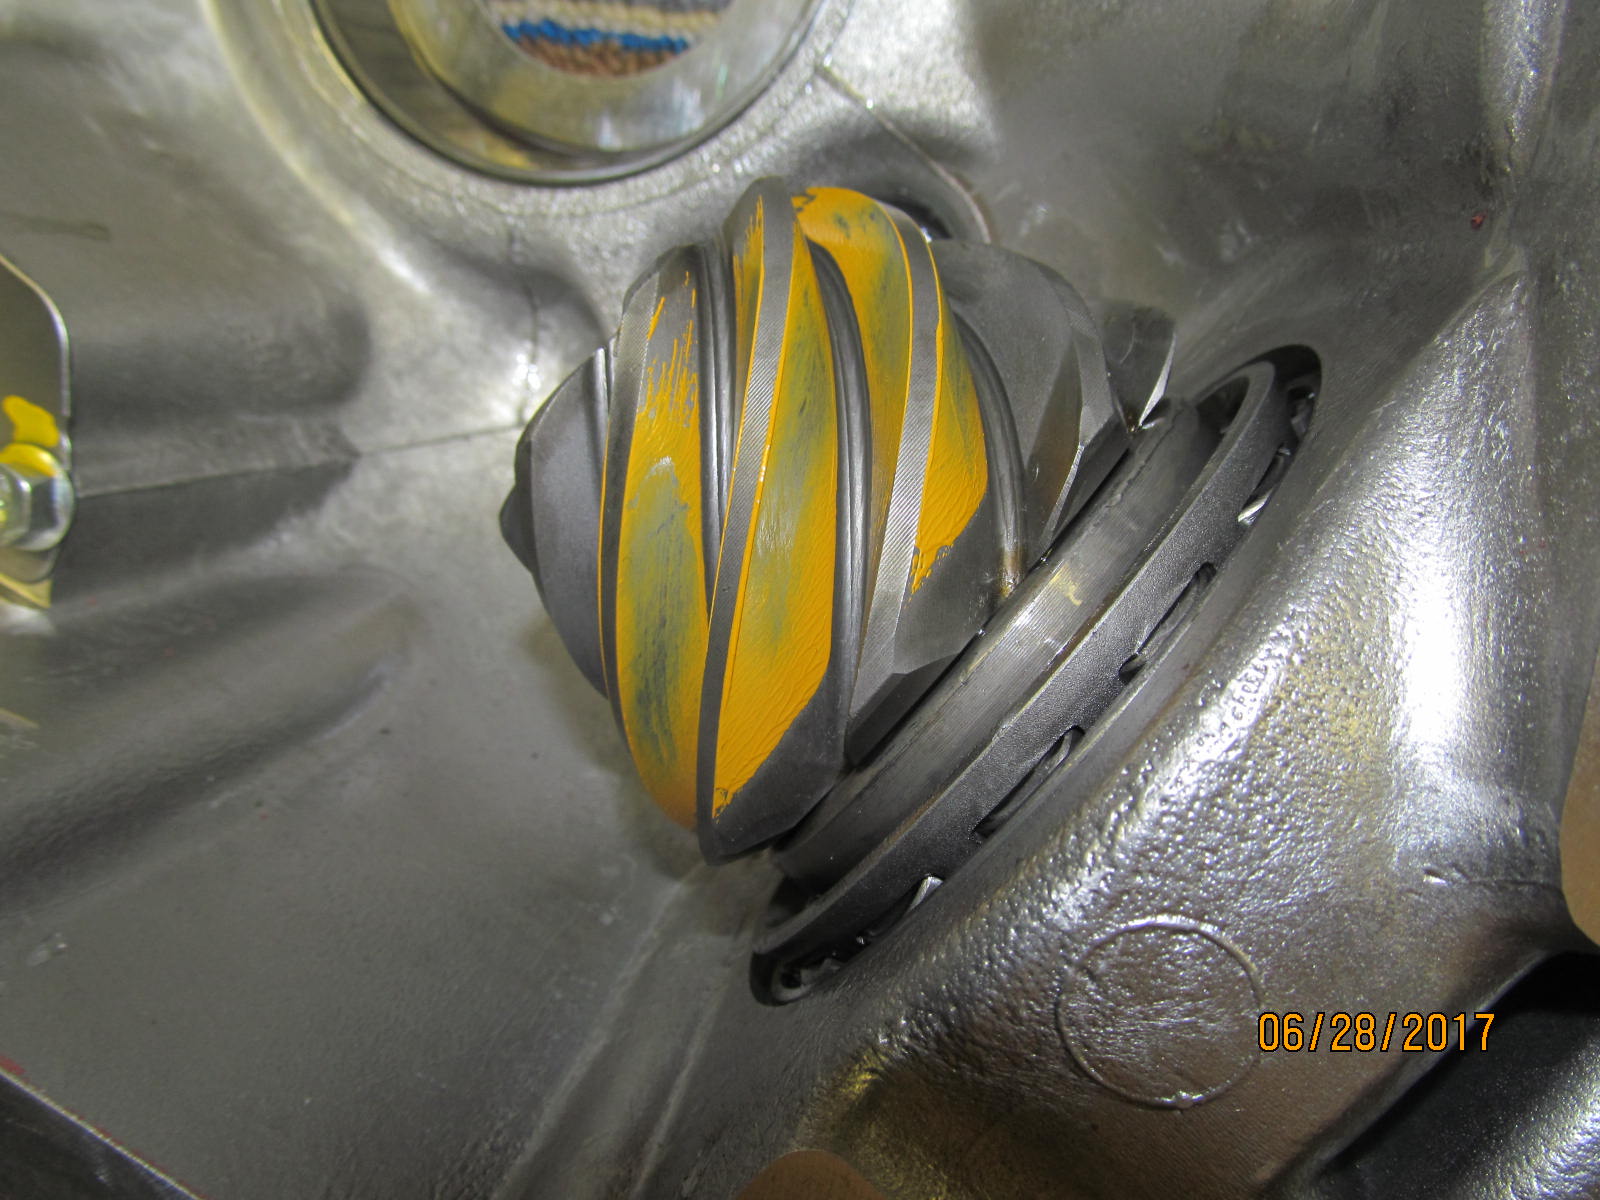
| Nice. The comet tail is flaring right in the middle of the tooth. |
|---|
|
|
| ,,,,,,,,,,,,,,,,,,,,,, |
|---|
|
|
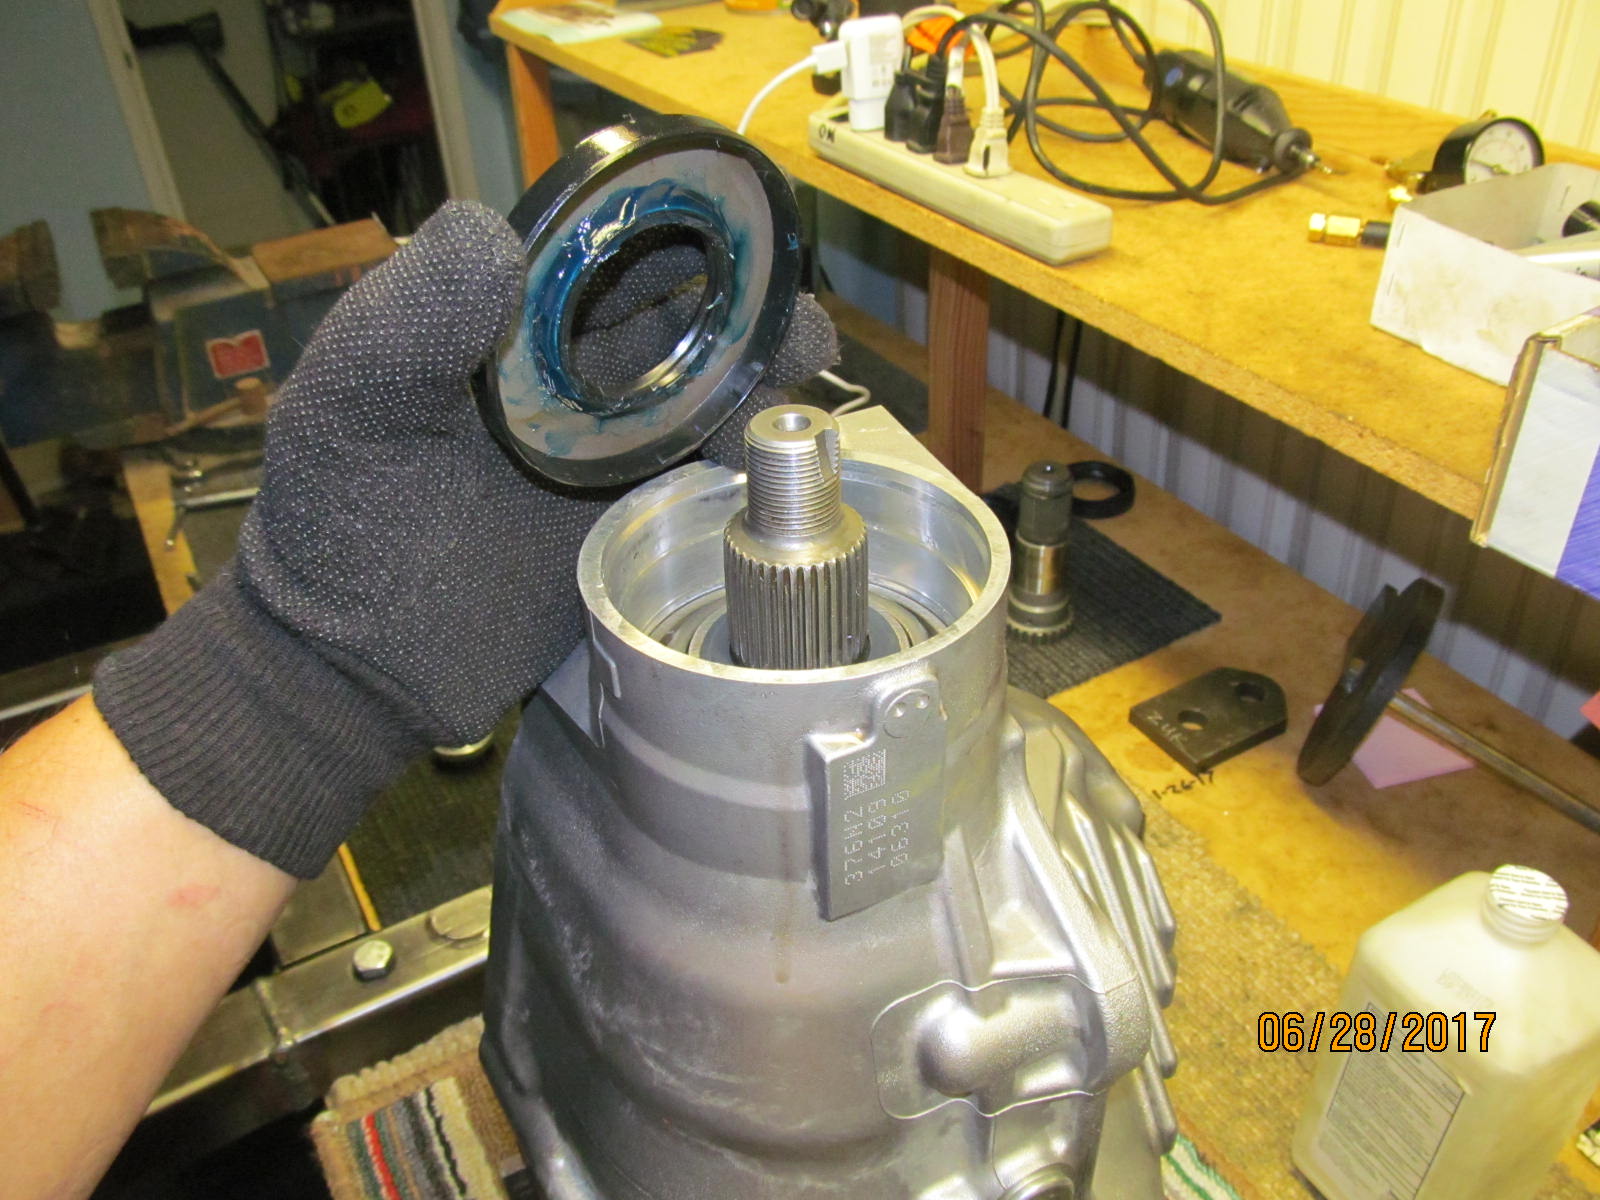
Disassemble again and add the new crush sleeve in. Now to put the OEM pinion seal in.
The grease is to prevent the garter spring from popping loose. |
|---|
|
|
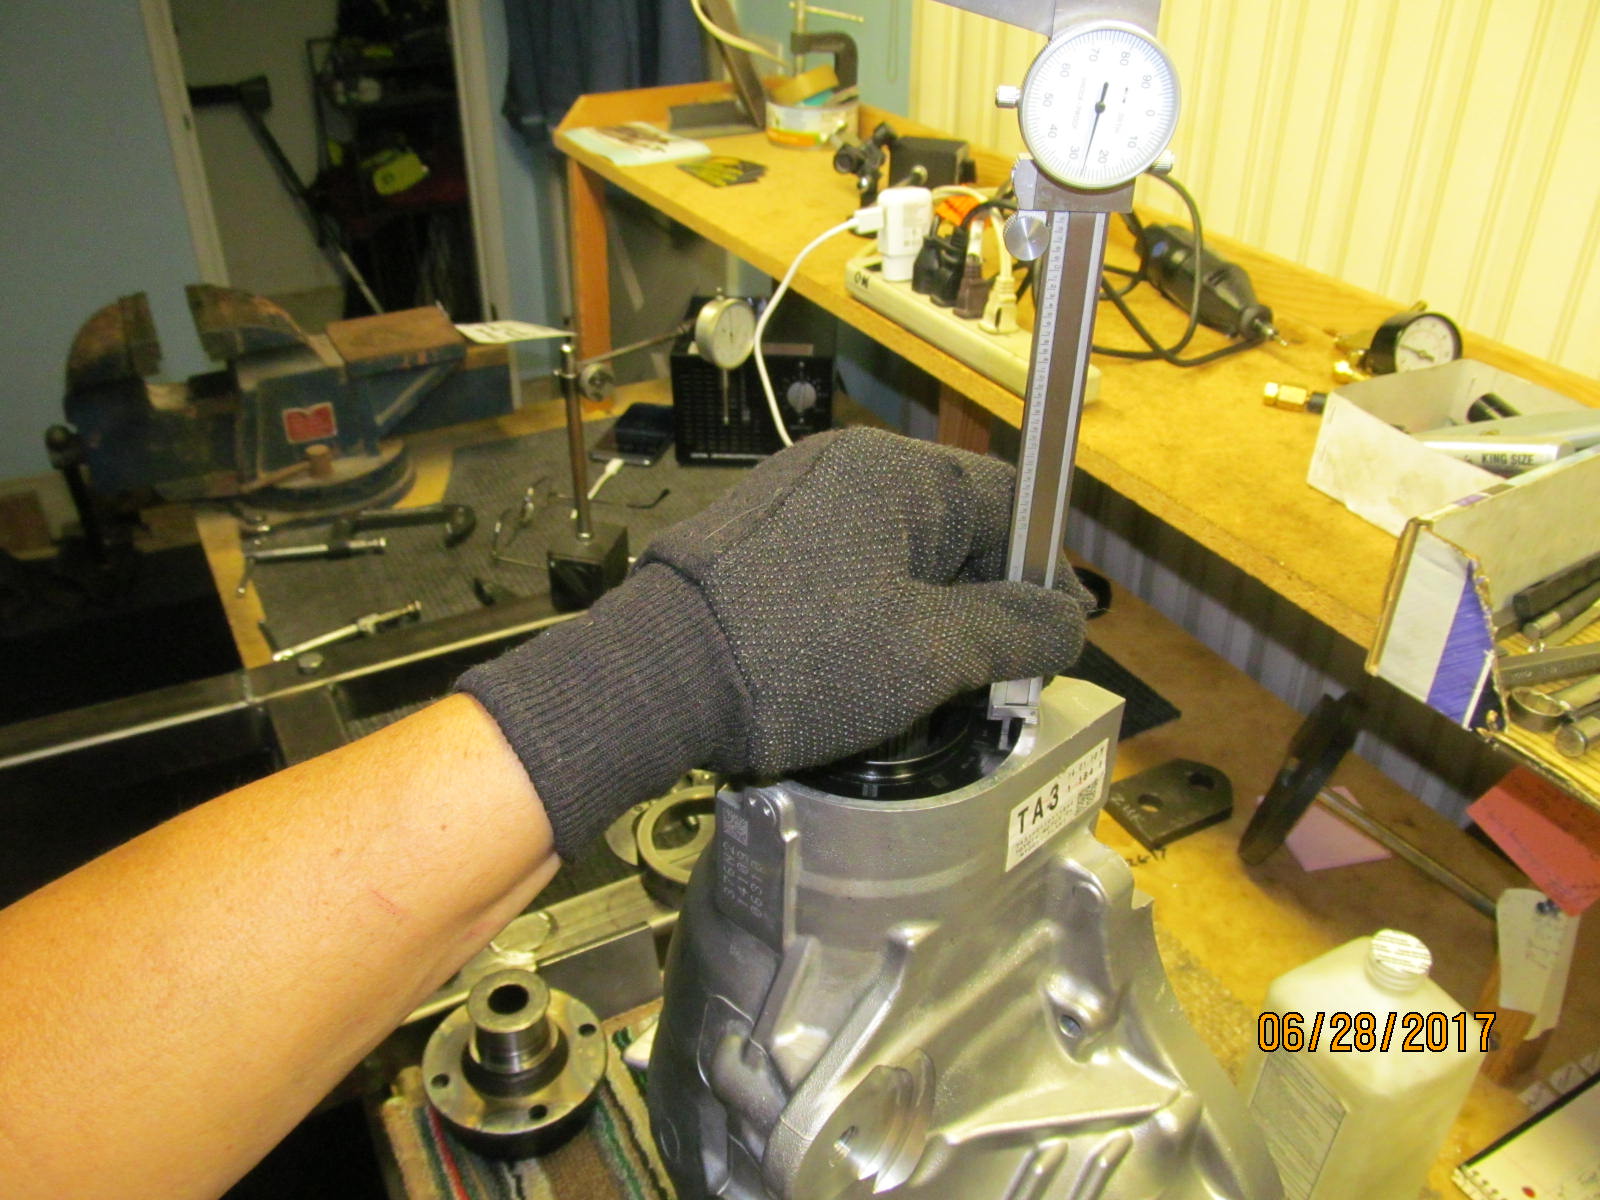
| Tap it carefully down til it is recessed .230" all the way around. |
|---|
|
|
| The flange surface was in excellent condition but I now always sand all the flanges with 1500 wet/dry paper. |
|---|
|
|
| Crushing the crush sleeve with extra leverage. |
|---|
|
|
| ,,,,,,,,,,,,,,,,,,,, |
|---|
|

|
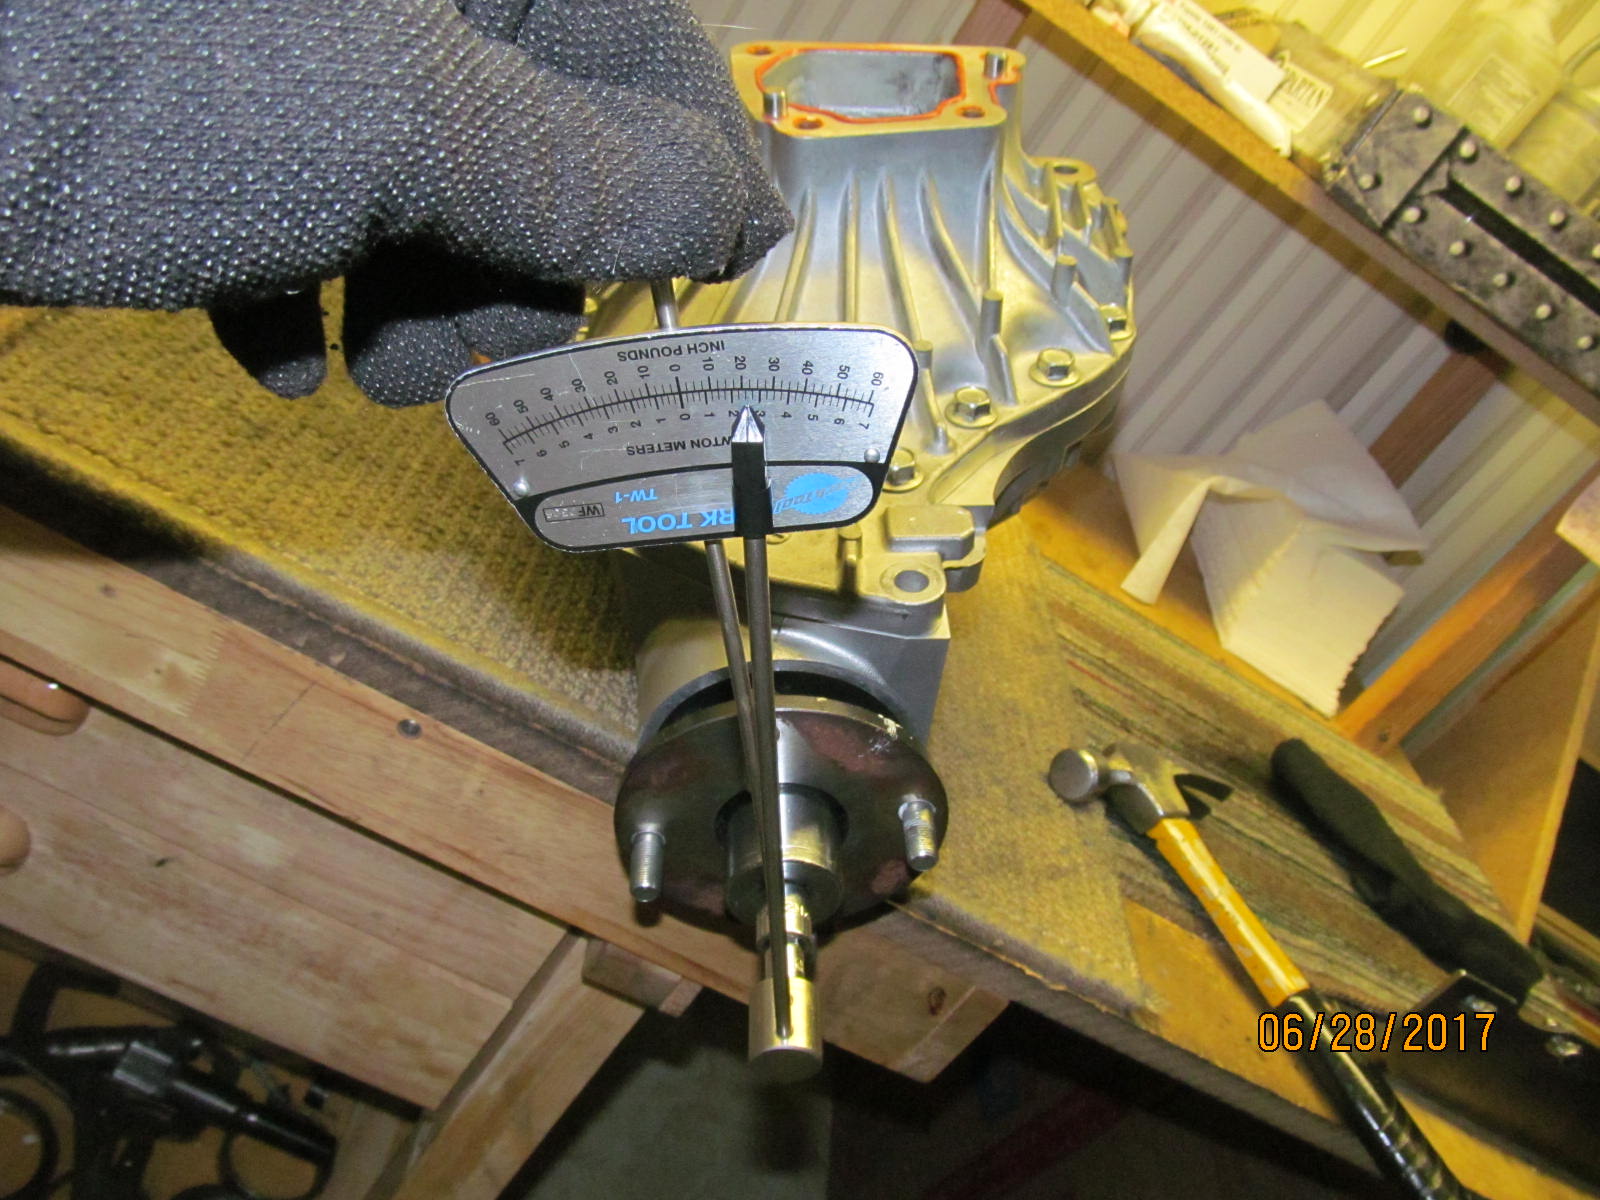
| Measuring repeatably 14 in/lb of pinion preload(start torque). |
|---|
|
|
| DING!! and the pinion end is complete. |
|---|
|
|
| Now we can start the tweaking process of balancing backlash and the carrier bearing preloads. |
|---|
|
|
| This side was changed a couple times.... |
|---|
|
|
| ...and so was this side as indicated by the notes at the end of this link. |
|---|
|
|
| ,,,,,,,,,,,,,,,,,,,,,,, |
|---|
|
|
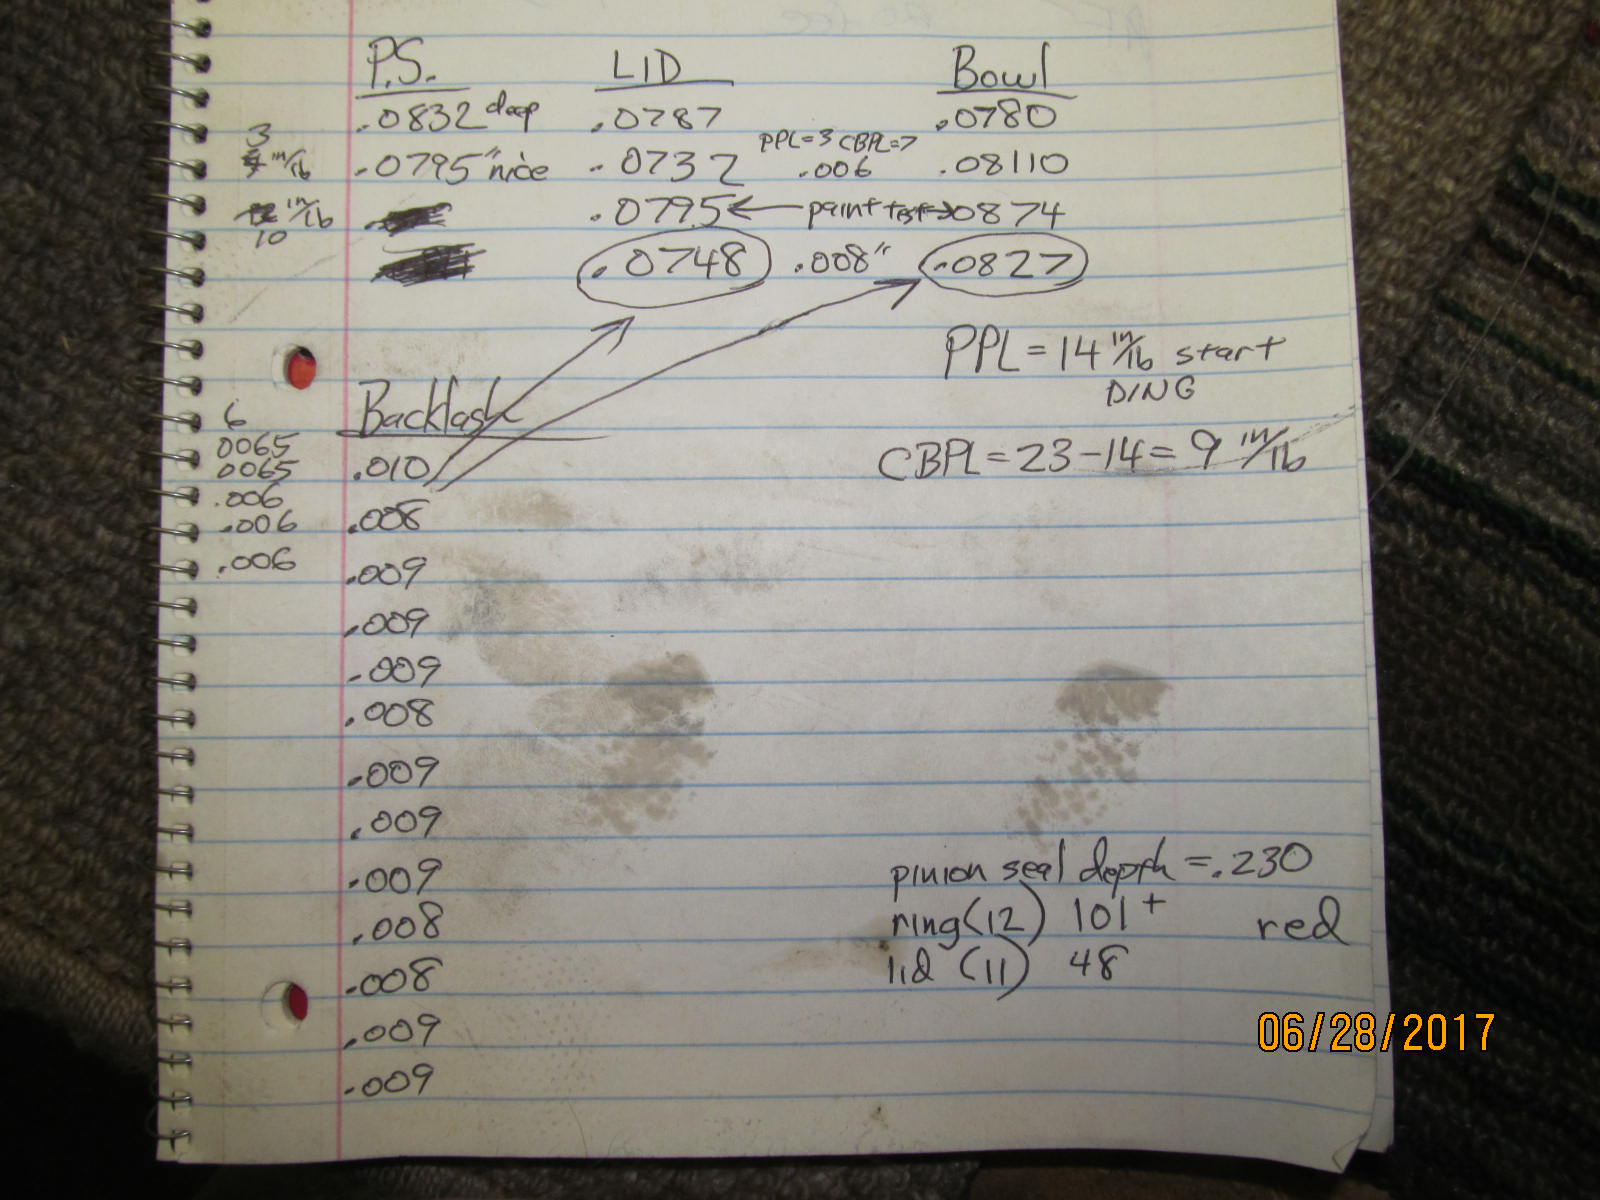
| I finally arrived at 23 inch/pounds of total preload...... |
|---|
|
|
| ....and the backlash was in balance with .007" minimun BL. |
|---|
|
|
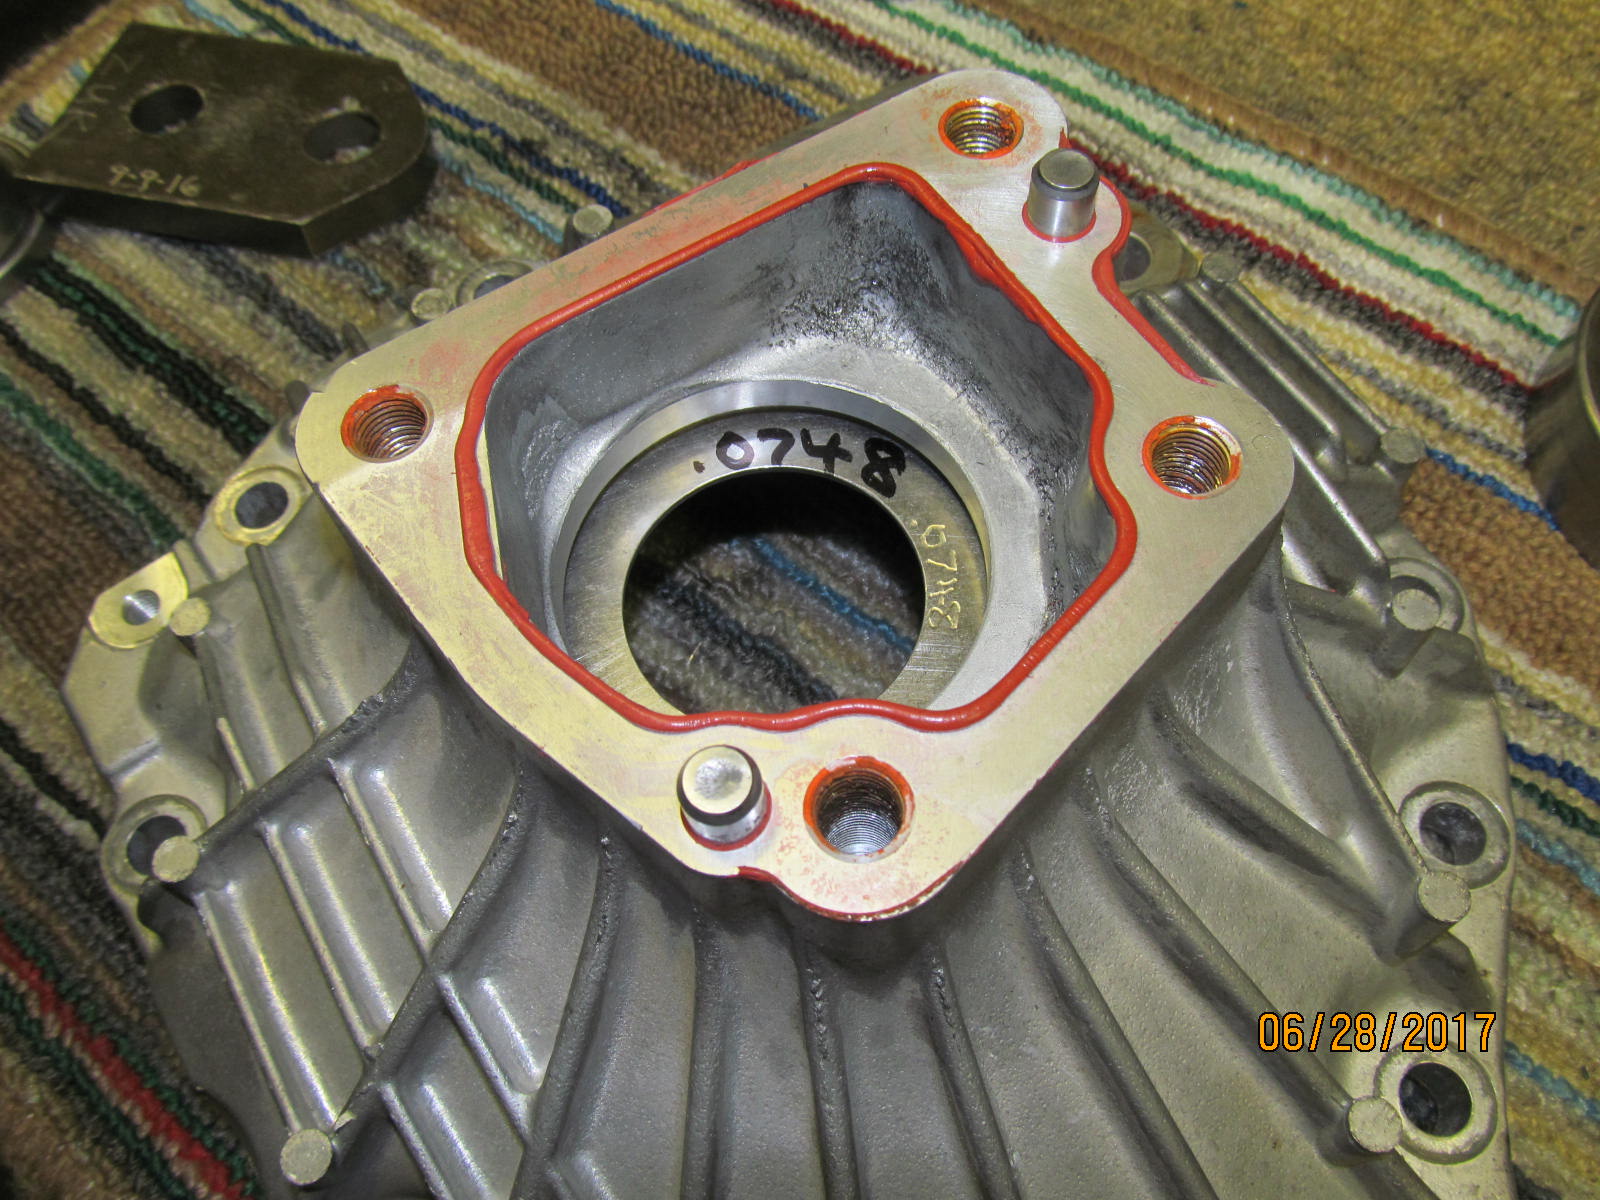
| Using .0748" and .0827" was very close but I made one more tweak to get the backlash to .007" |
|---|
|
|
| Just cleaning the last bits of FIPG off. |
|---|
|
|
| Final backlash check and .007" is what I was happy with. |
|---|
|
|
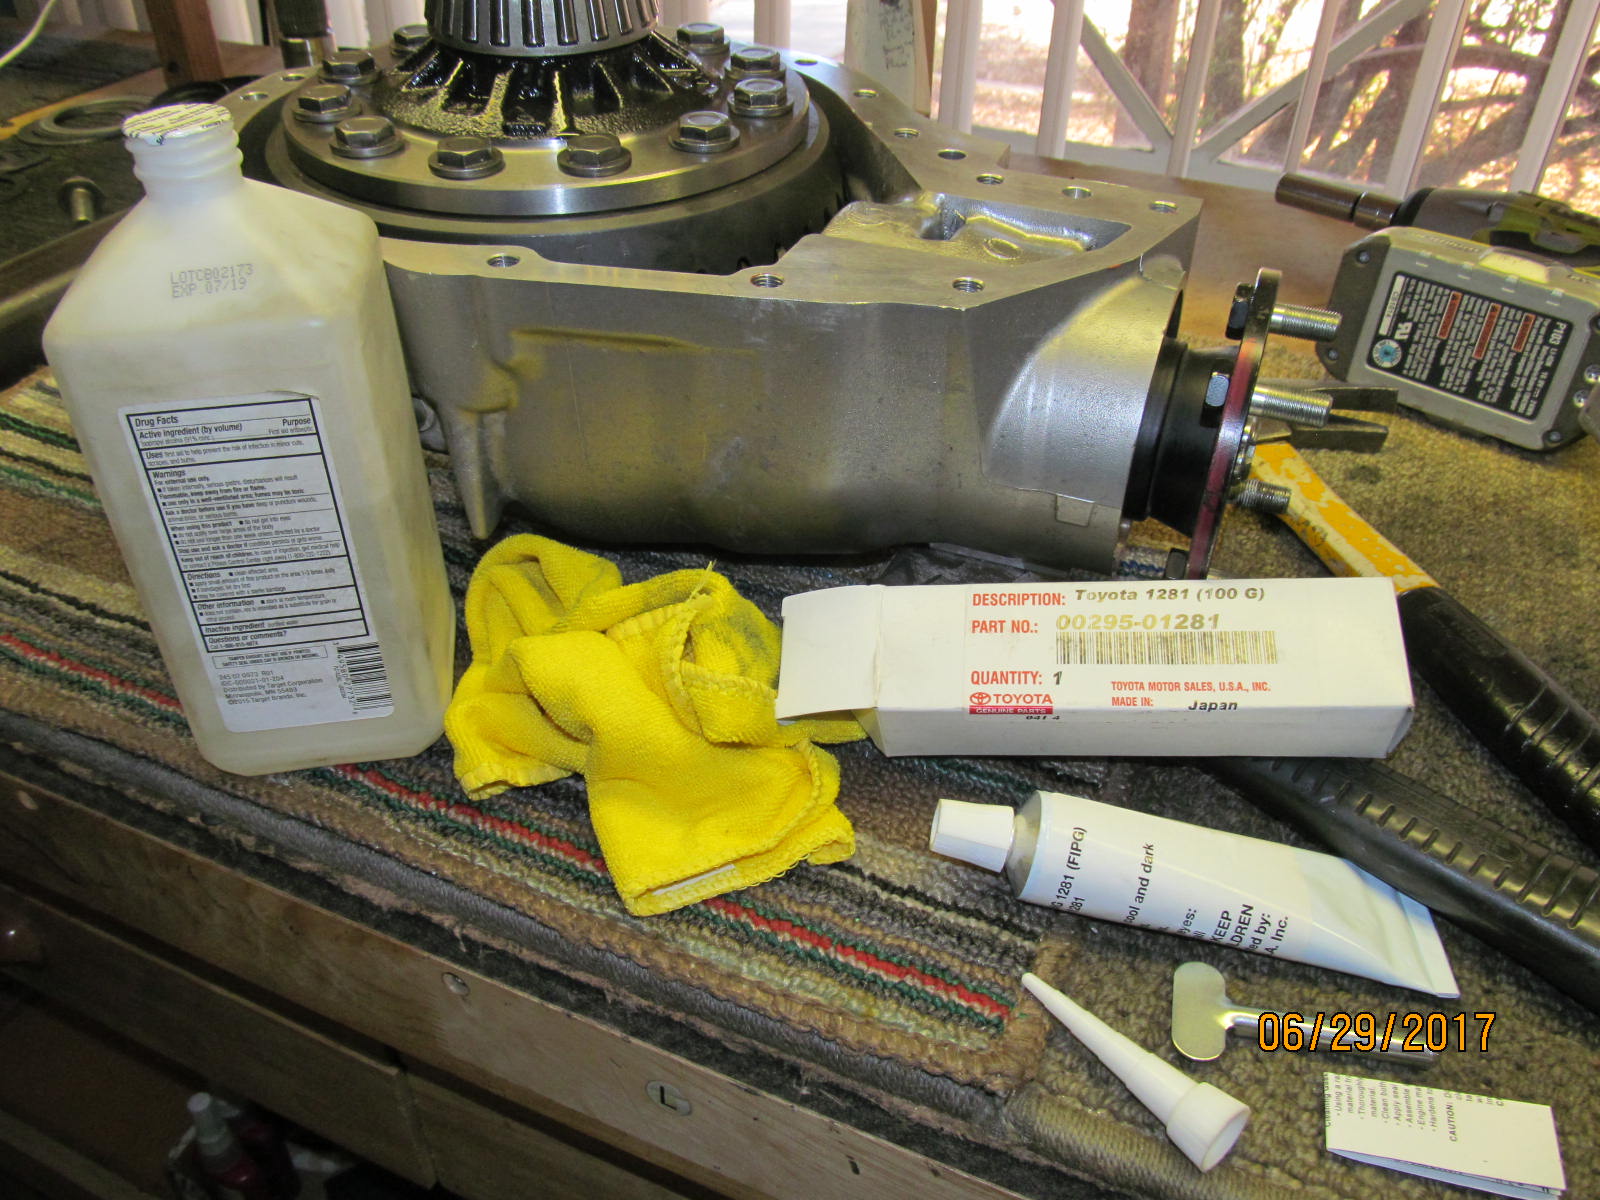
| The FSM recommends 00295-01281 FIPG for these surfaces. |
|---|
|
|
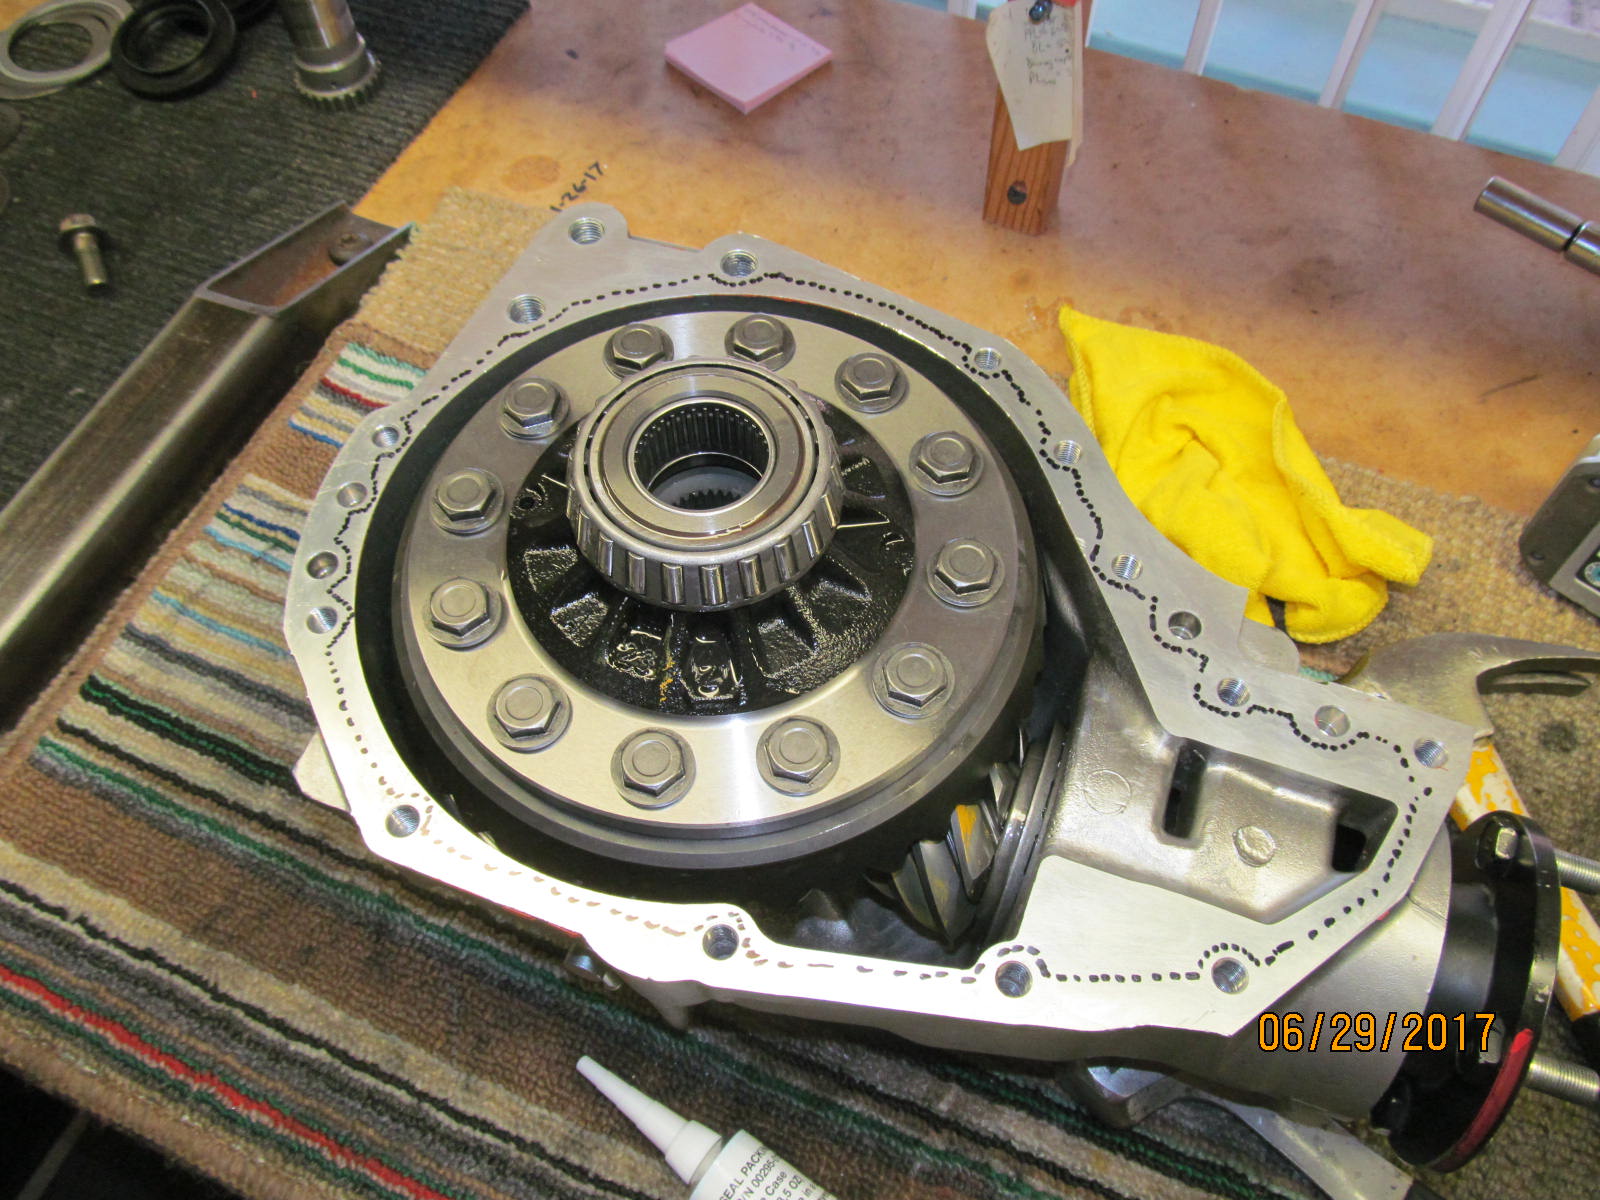
| I guess this is the path I will follow with the red stuff. |
|---|
|
|
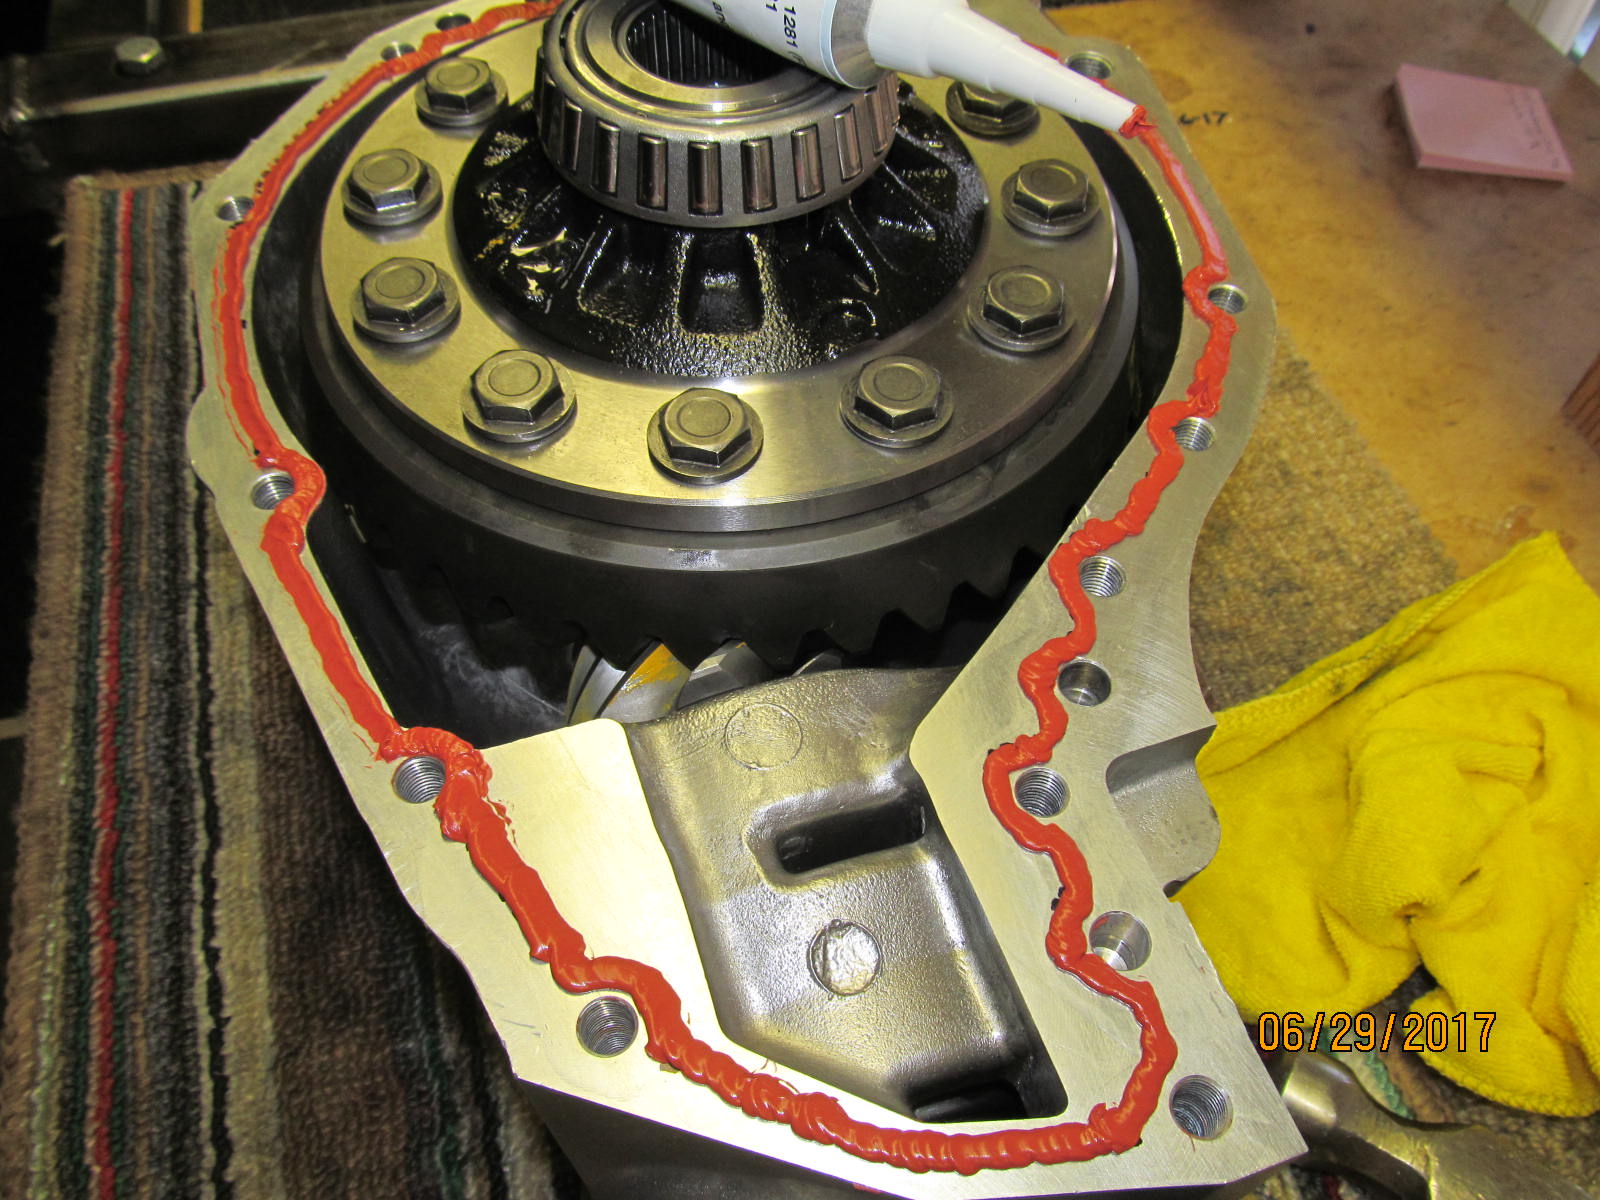
| I can do this :) |
|---|
|
|
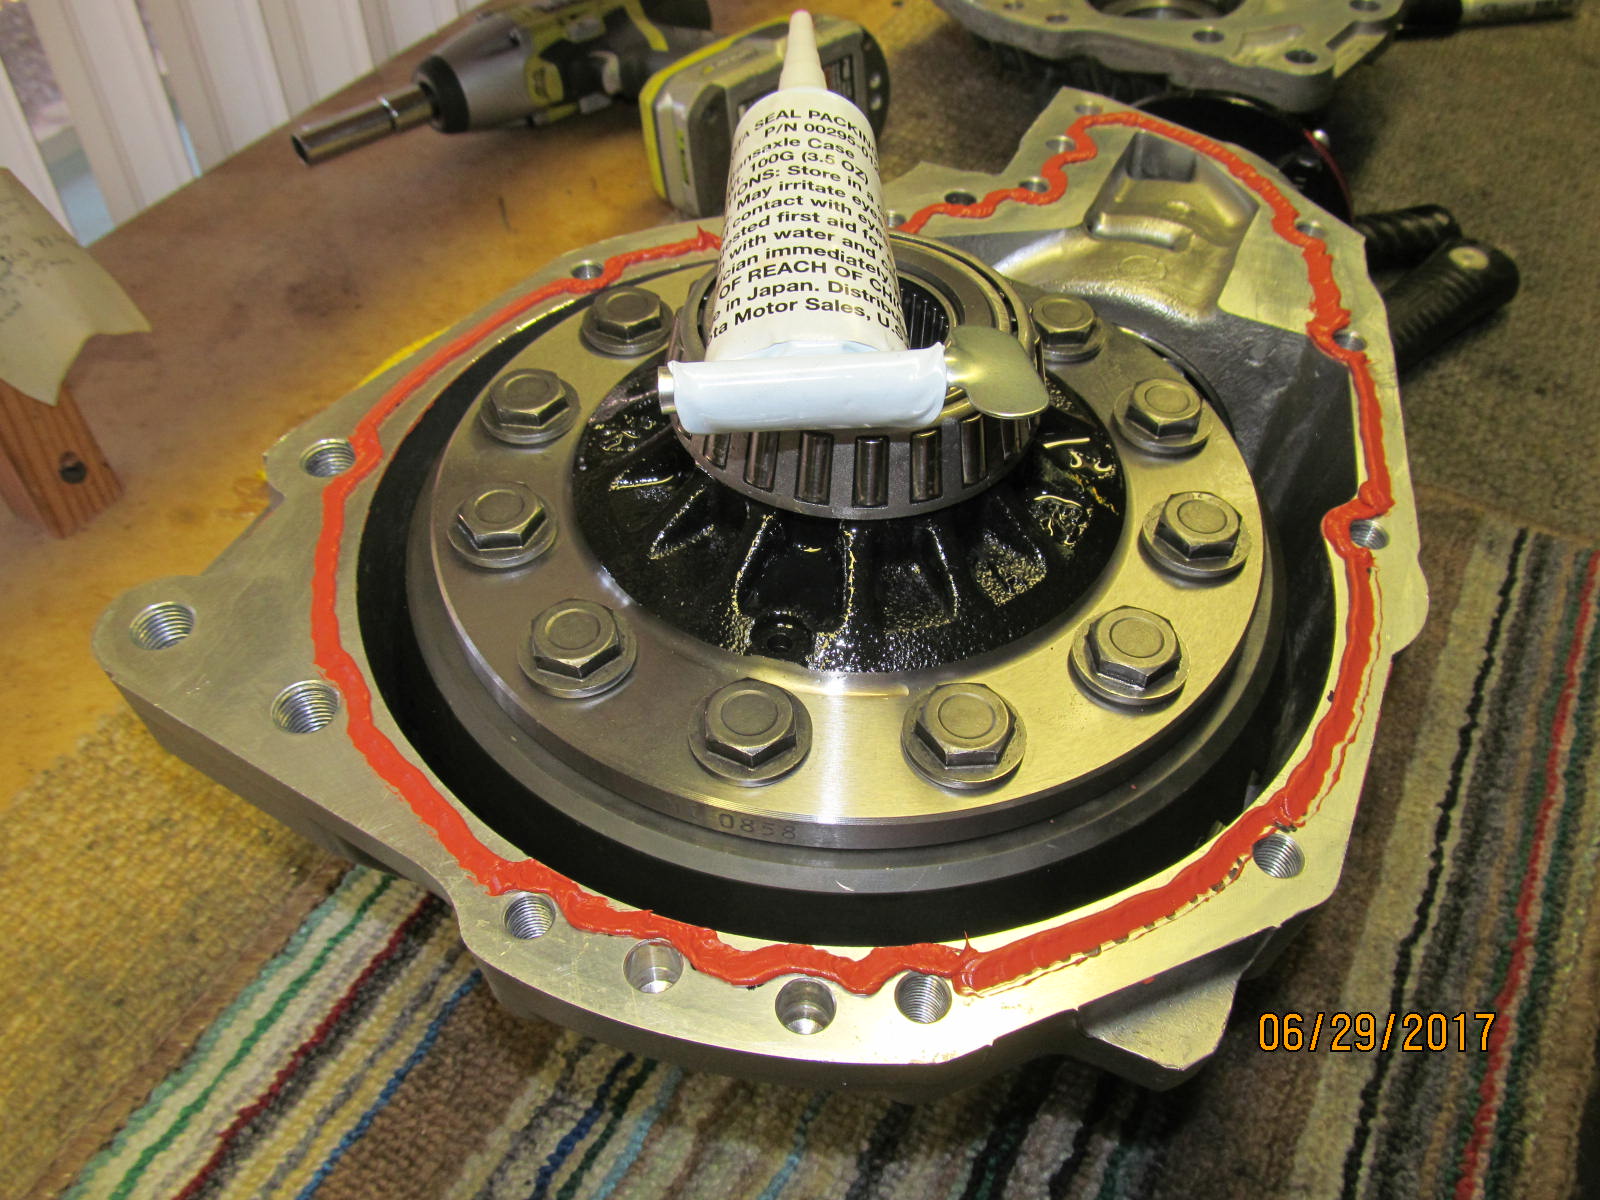
| Good coverage. Lid was loaded in place and 48 ft/lb per the FSM on all 11 bolts. |
|---|
|
|
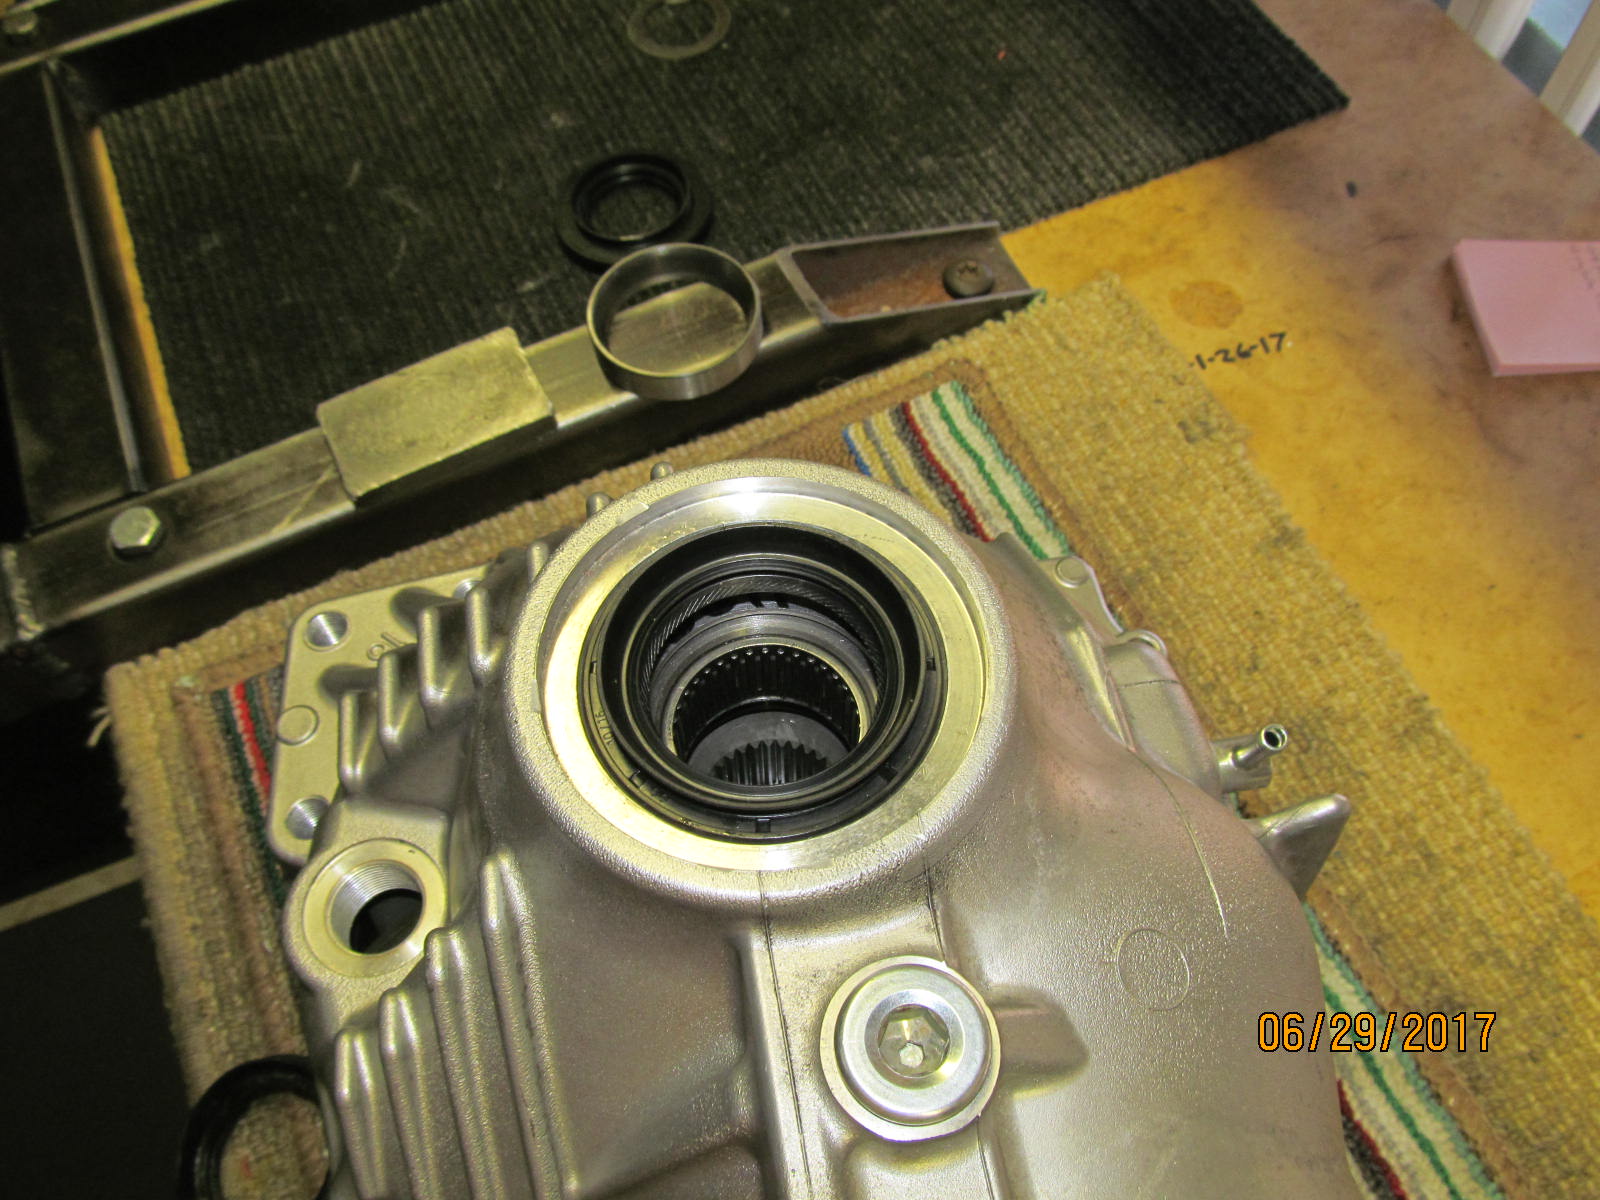
| New cv axle seal is tapped in place. |
|---|
|
|
| ,,,,,,,,,,,,,,,,,,,,, |
|---|
|

|
| ,,,,,,,,,,,,,,,,,,,, |
|---|
|
|
| ,,,,,,,,,,,,,,,,,,,, |
|---|
|
|
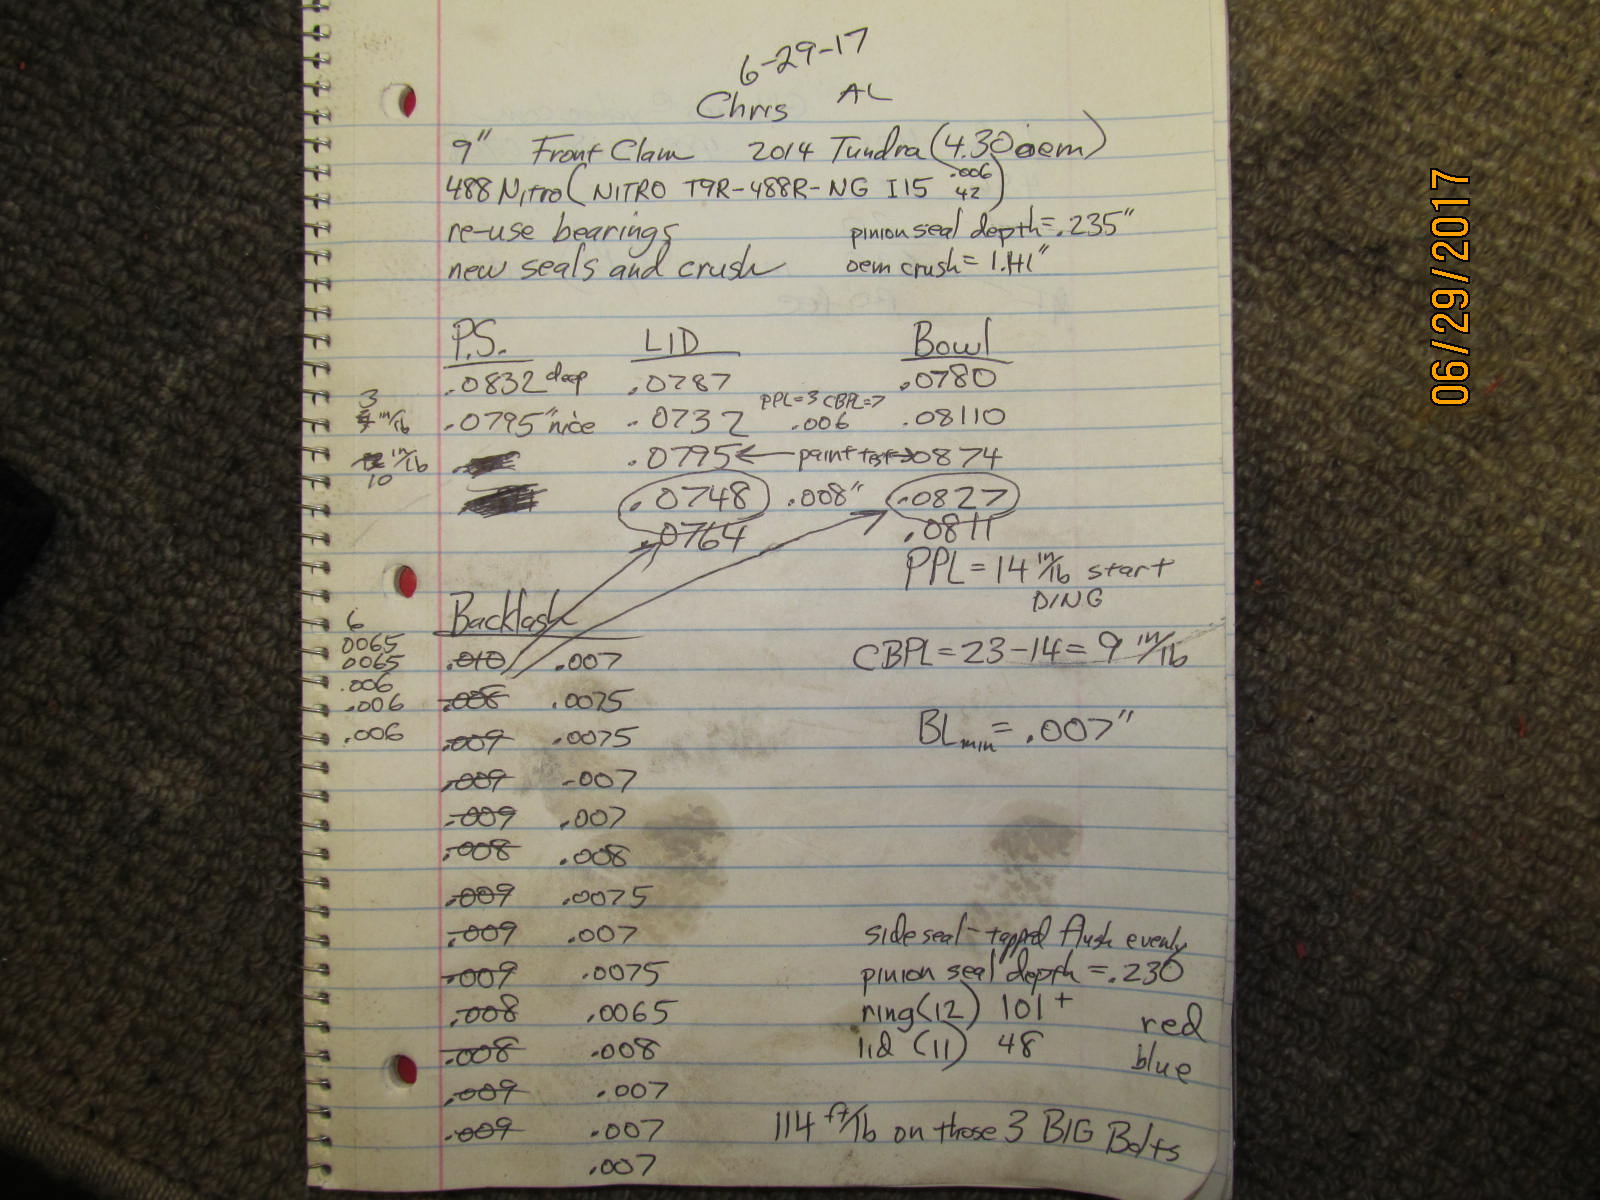
| Notes taken of the install. |
|---|
|
|
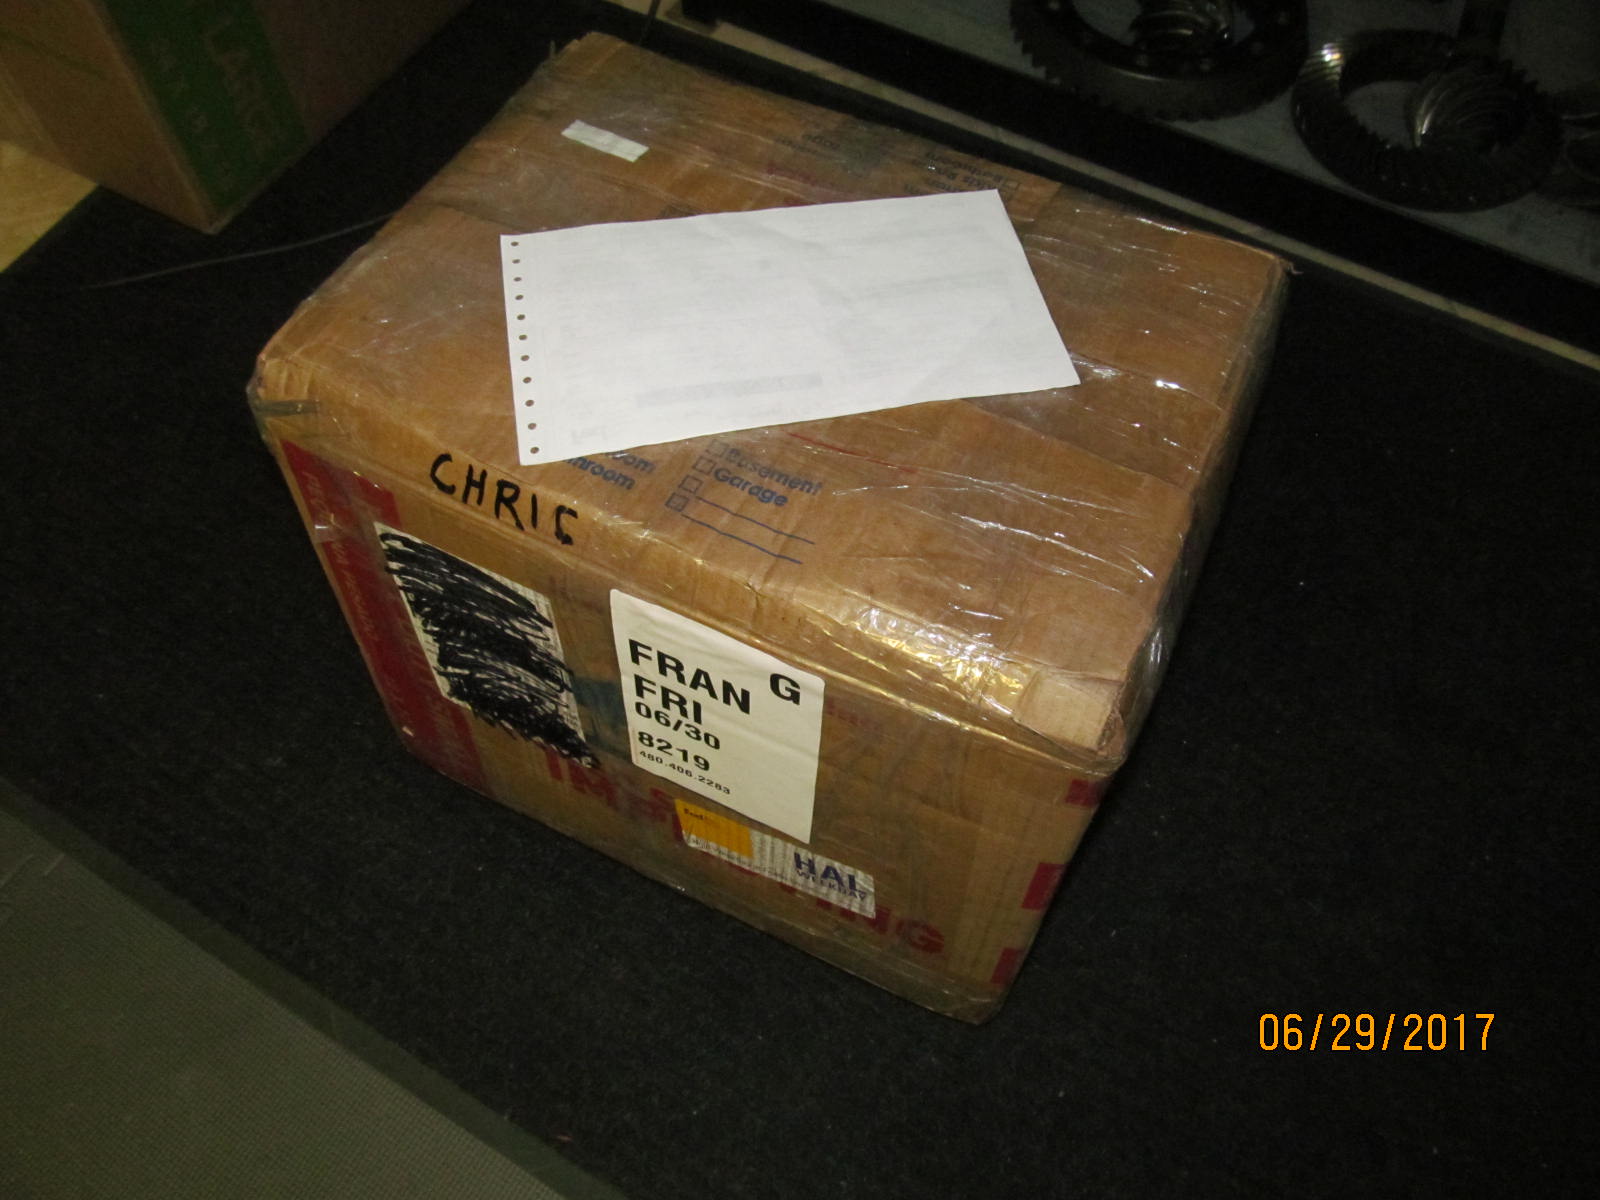
| Now to pack it in the same manner as Chris packed it since he did such nice job in the first place. |
|---|
|
|
| Business cards and the seal for the long axle tube side are sent to Chris. |
|---|
|
|
| Fedex ground. |
|---|
|
|

|