| Derek's front 8" clam gets cryo treated 488 Nitro thick gears and an upgraded collar. |
|---|
| (67 BIG pics loading) |
|---|
| DEC 24 2017 |
|---|
|
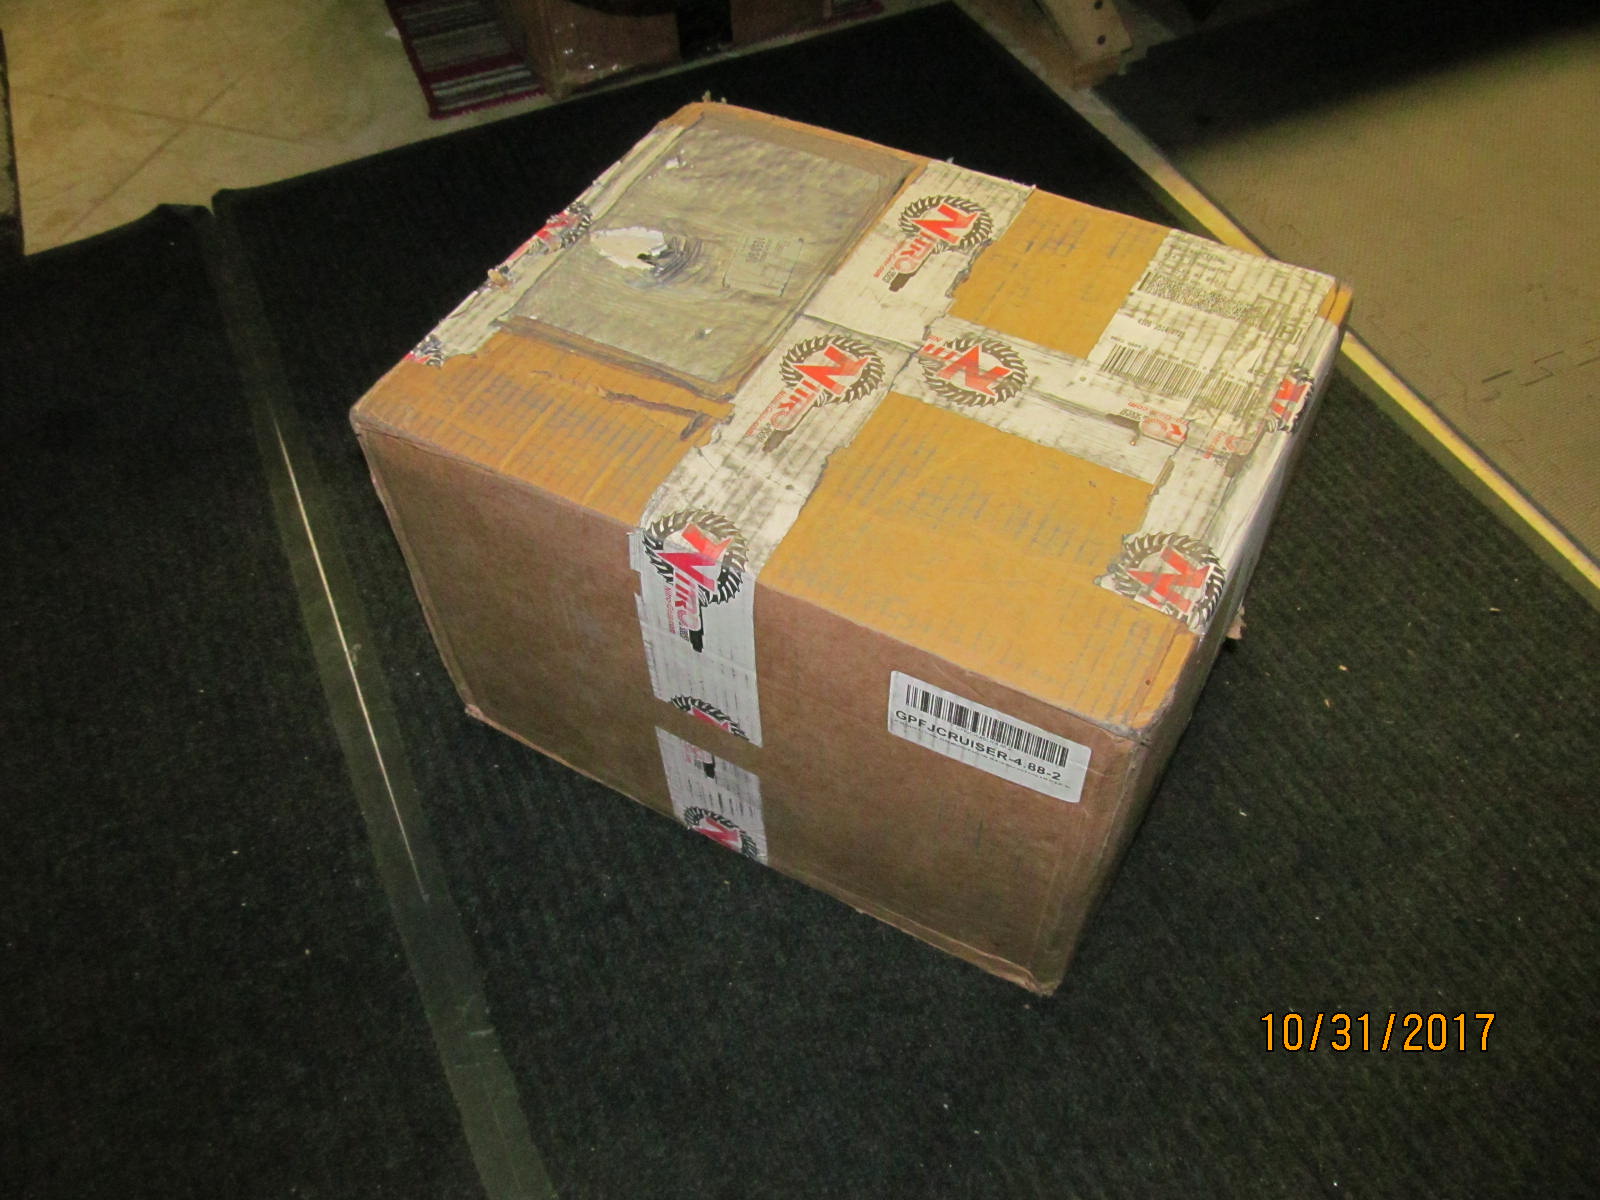
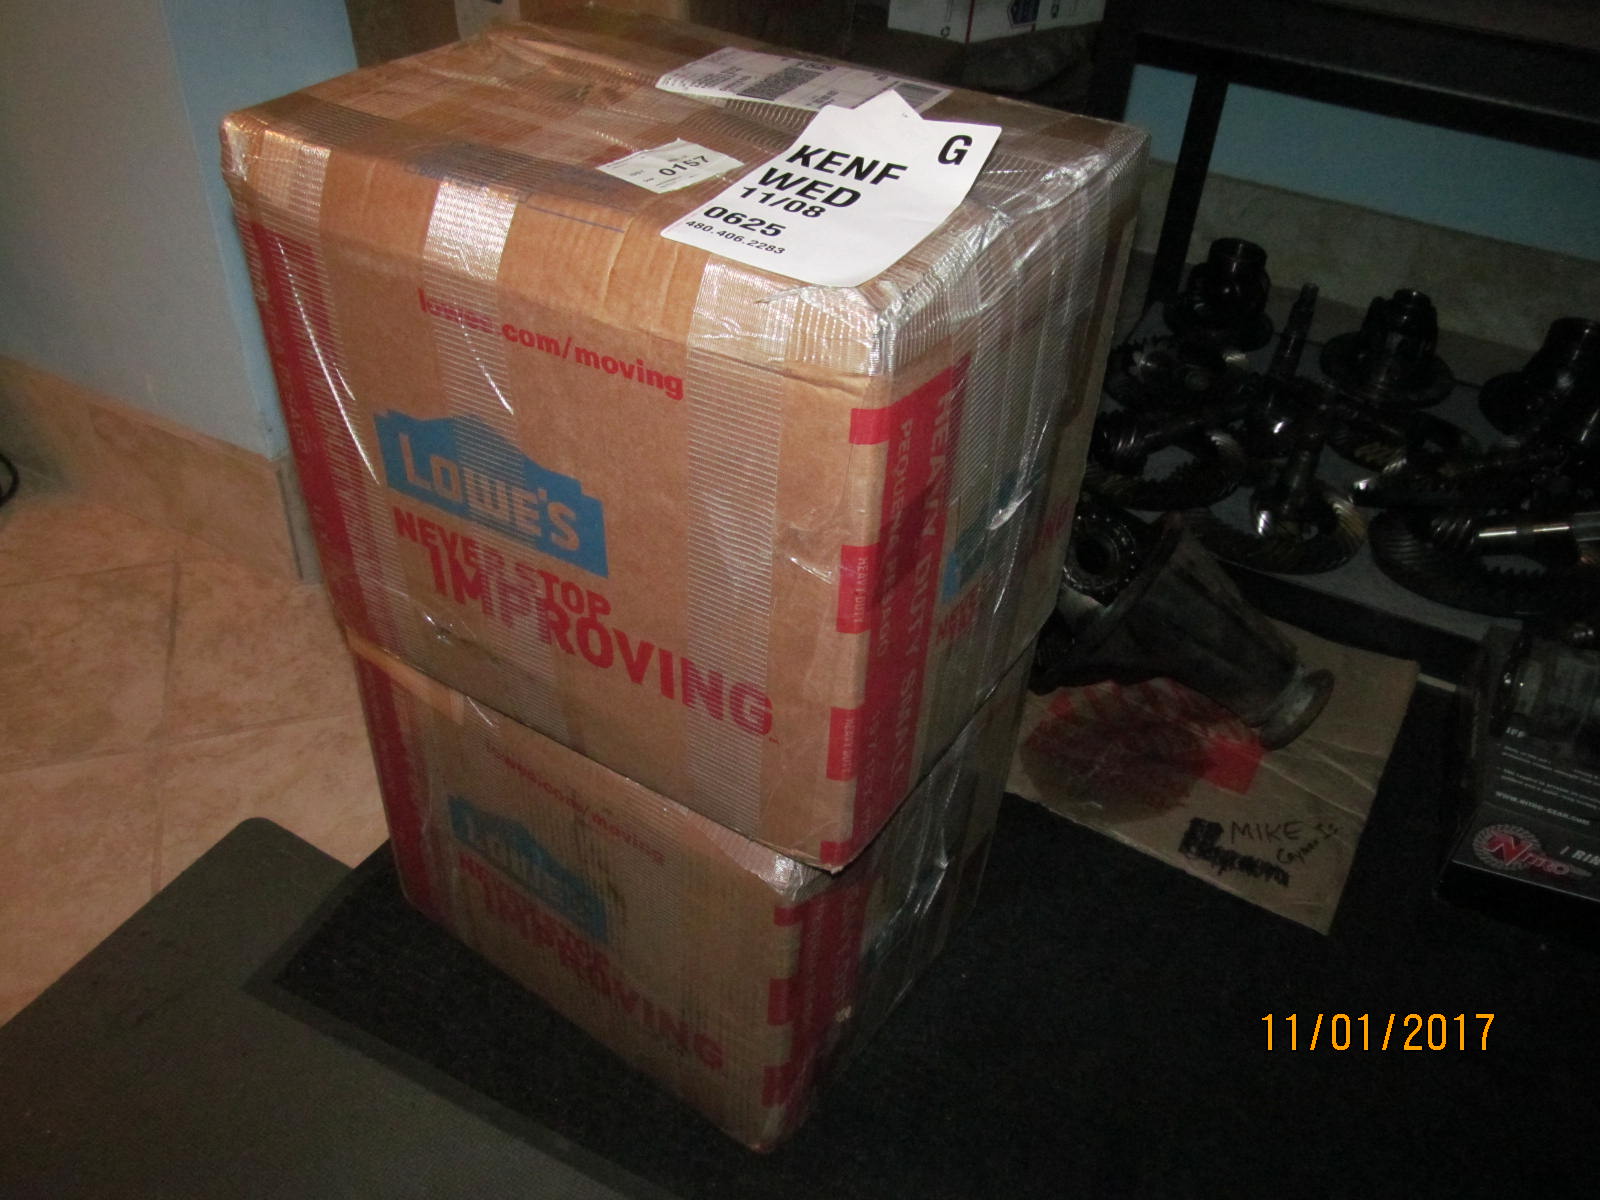
| This arrived from JustDifferentials.com |
|---|
|
|
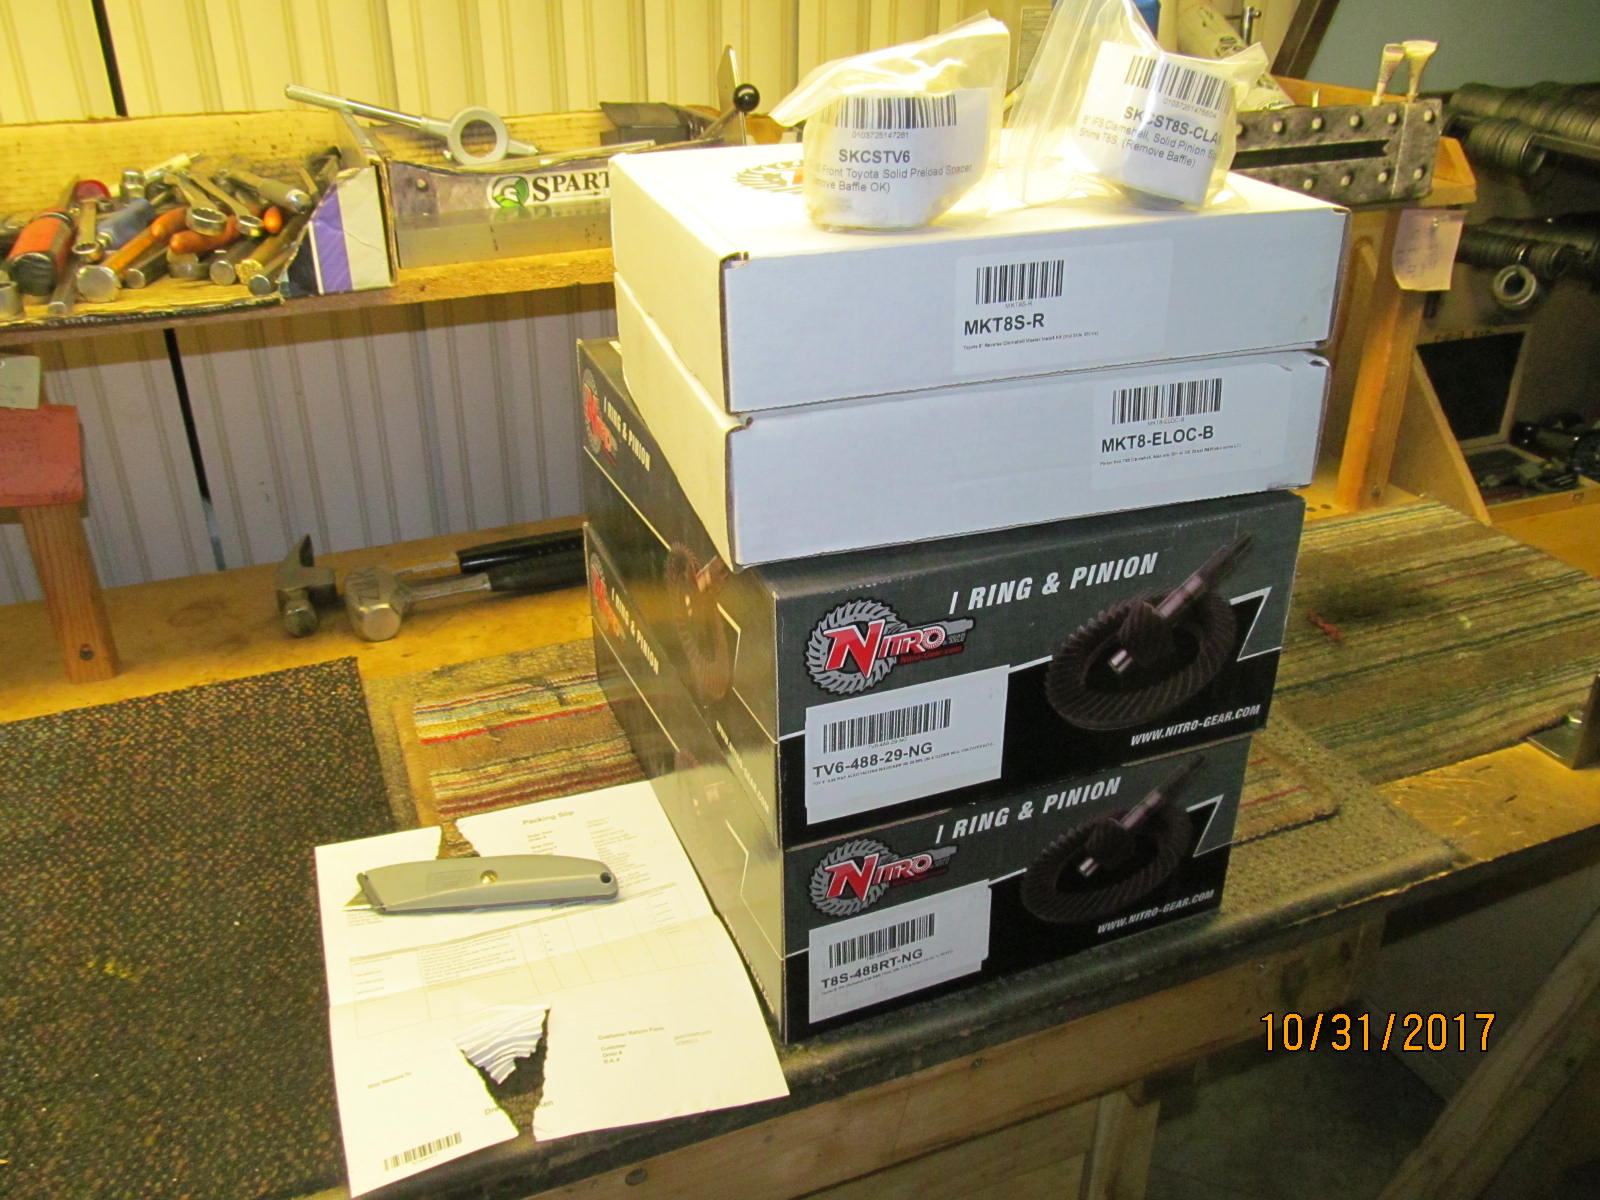
Everything needed to regear the front and rear diffs in the FJC to 488.
The gear package from JT's basically consists of 4 boxes and 2 solid collars in baggies.
This kit works great as long as the original gears are the 373 ratio.
If the oem gears are 390 or 410 then a new carrier with the lower deck height would be needed....something ZUK probably has. |
|---|
|
|
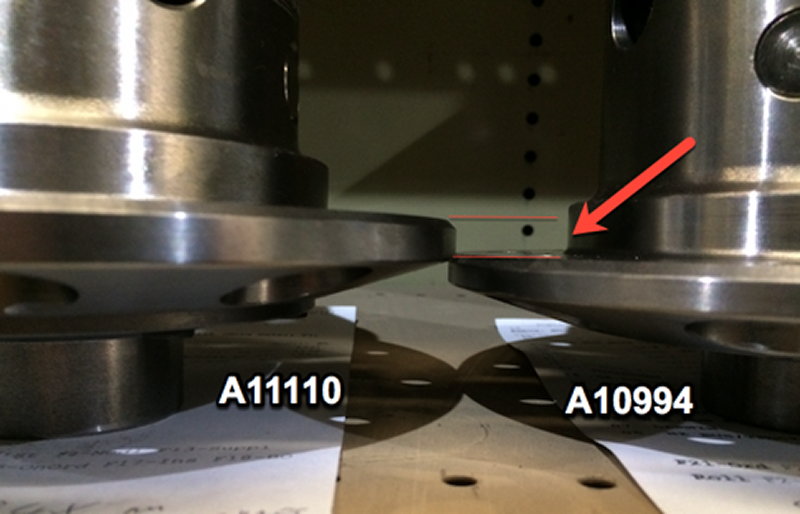
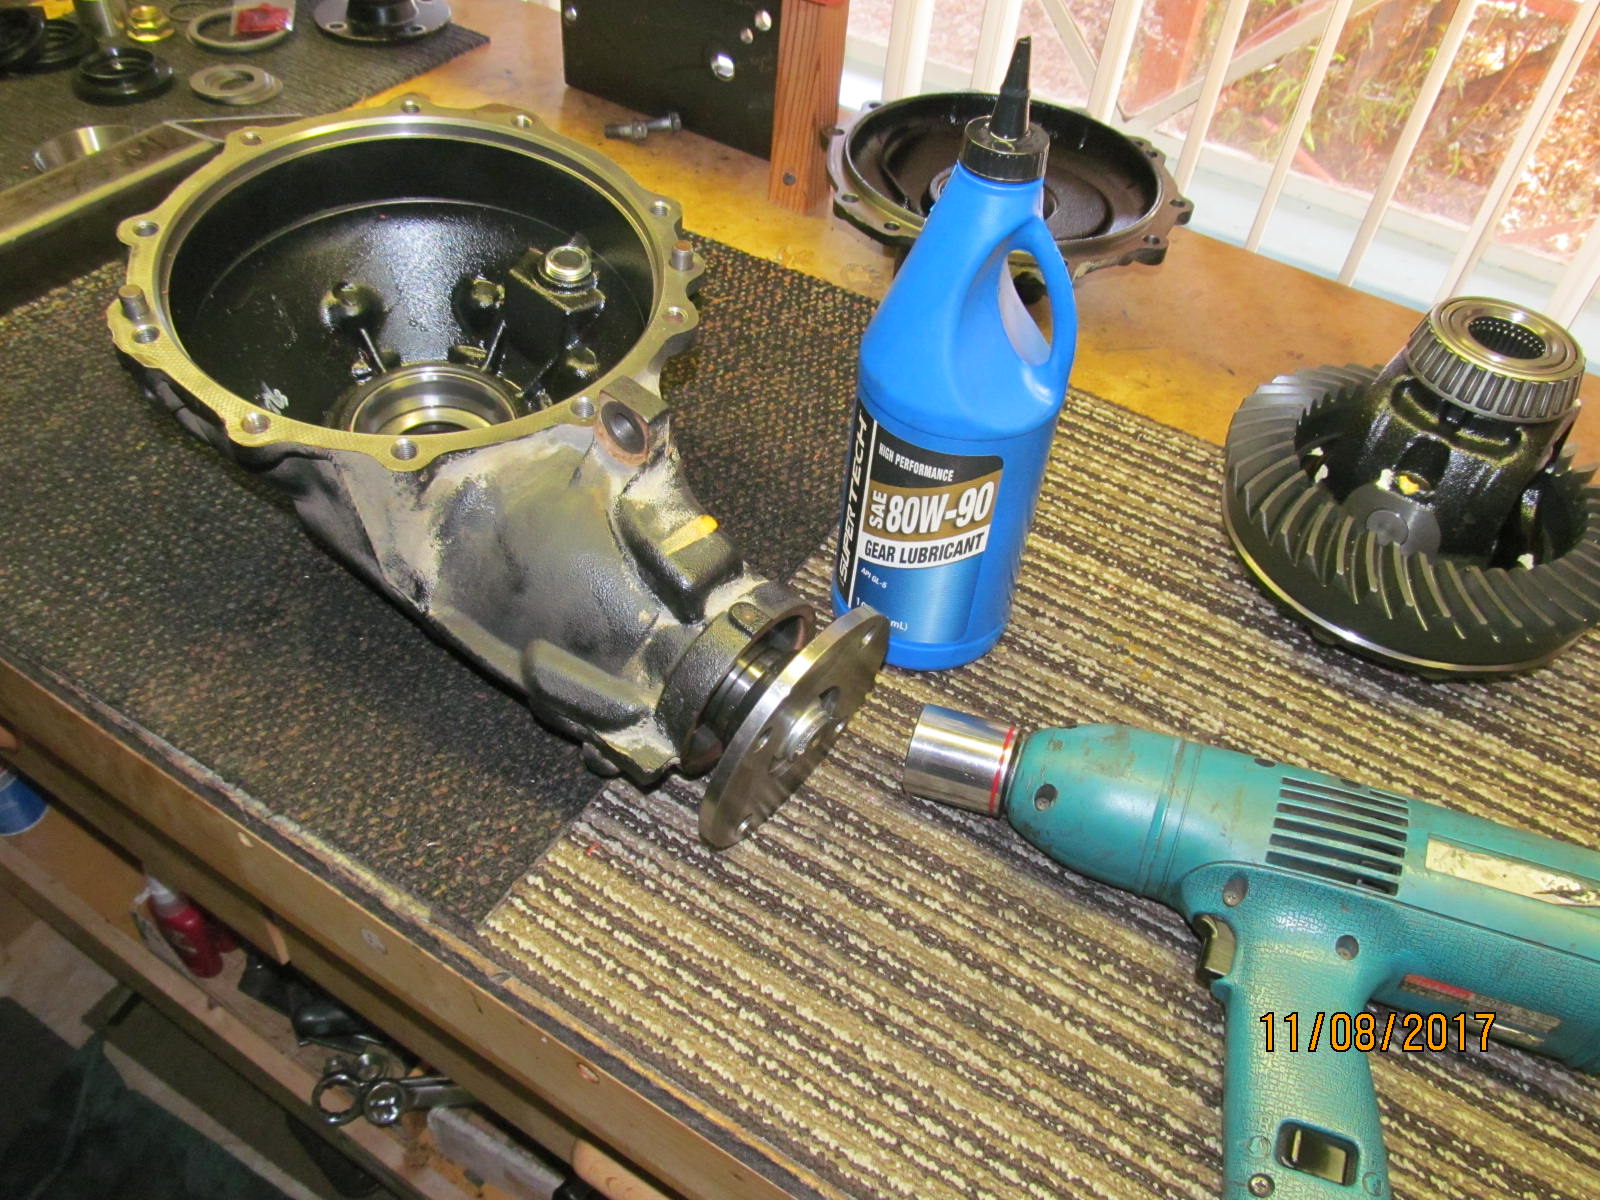
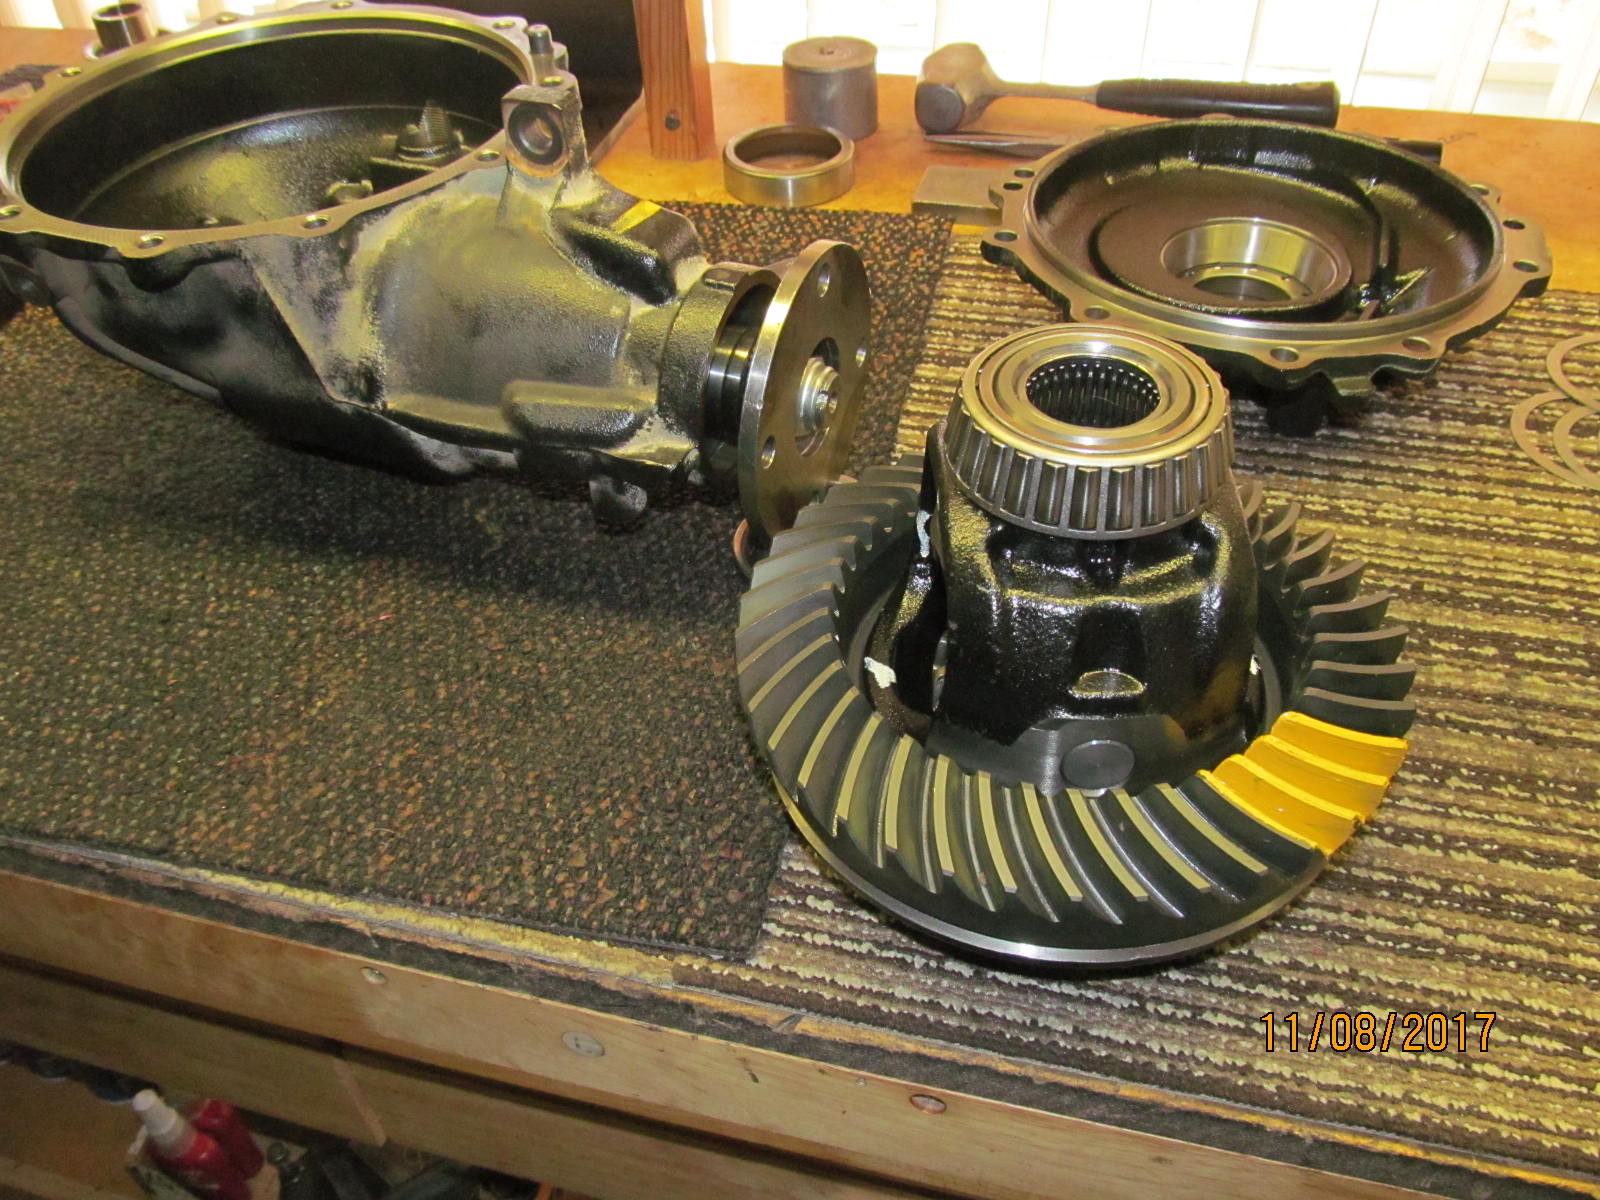
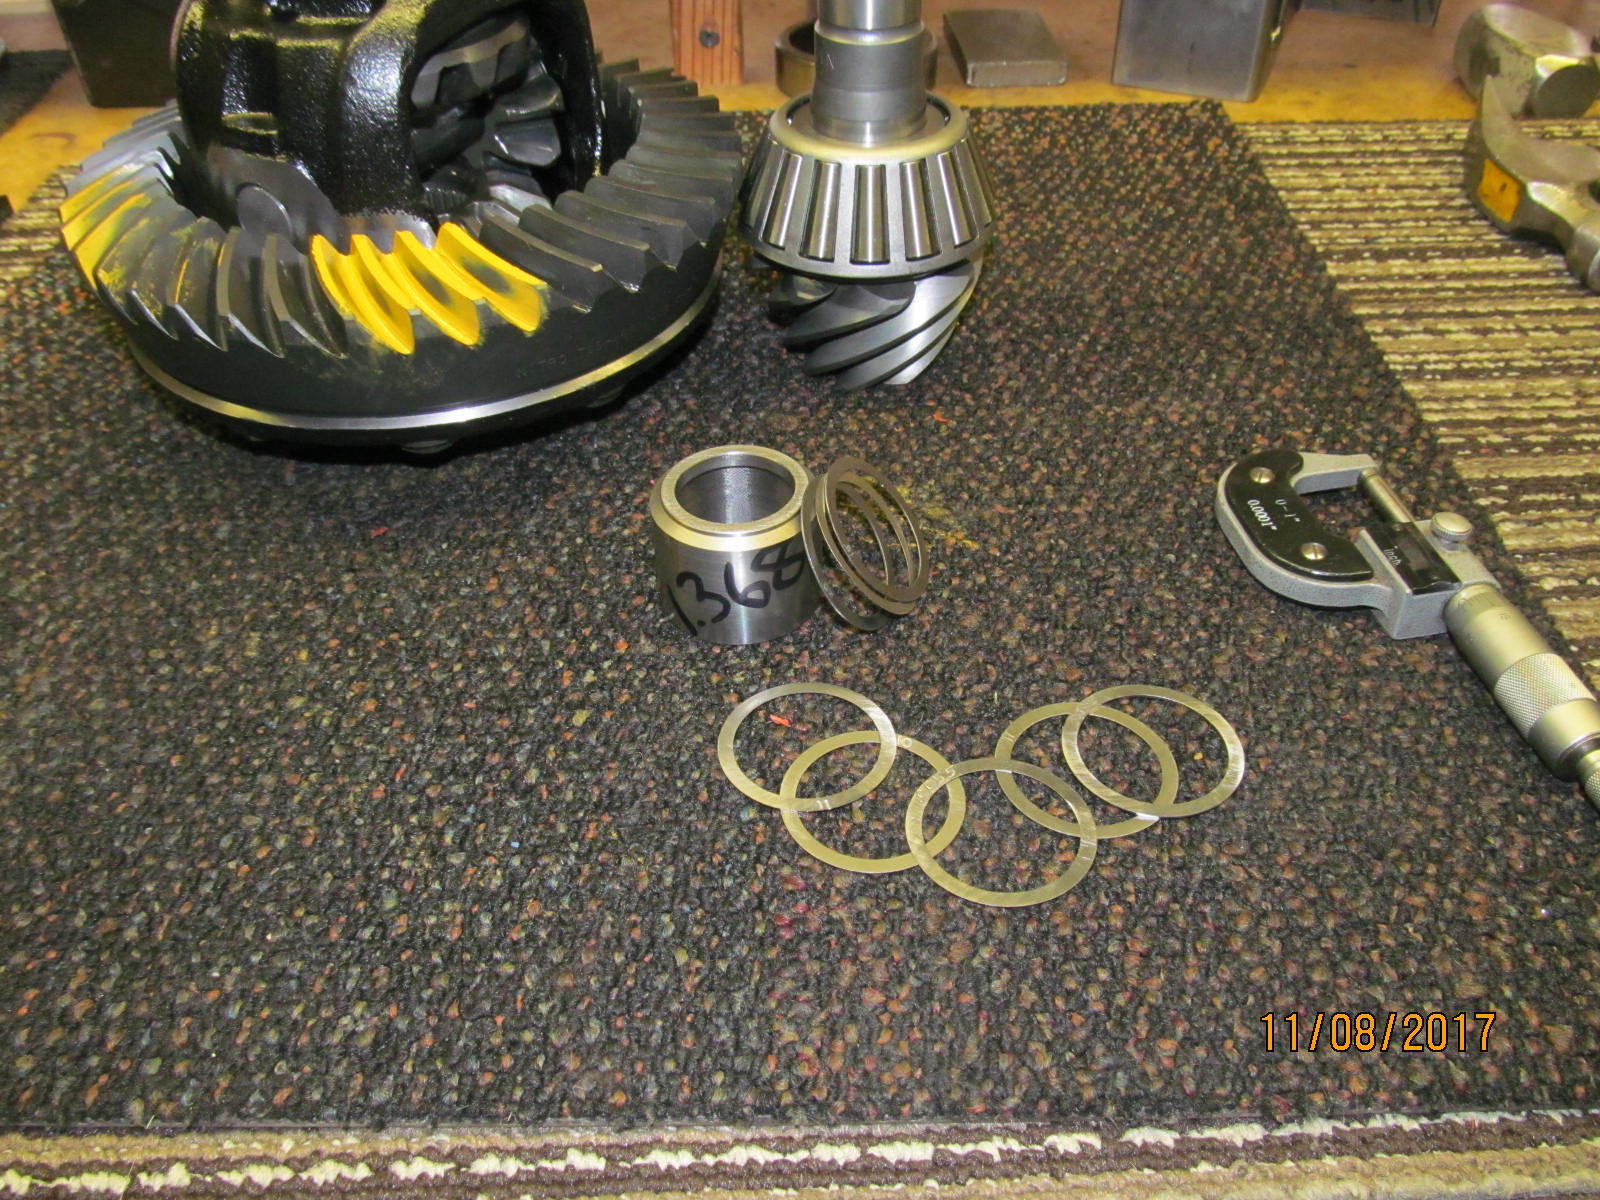
The above picture shows the carrier split that only the 8" clamshell has.
The oem 373 carrier on the right has a lower deck height....
the 11 tooth pinion is much larger in diameter so the ring gear
has to move farther away and that carrier allows it to happen. |
|---|
|
|
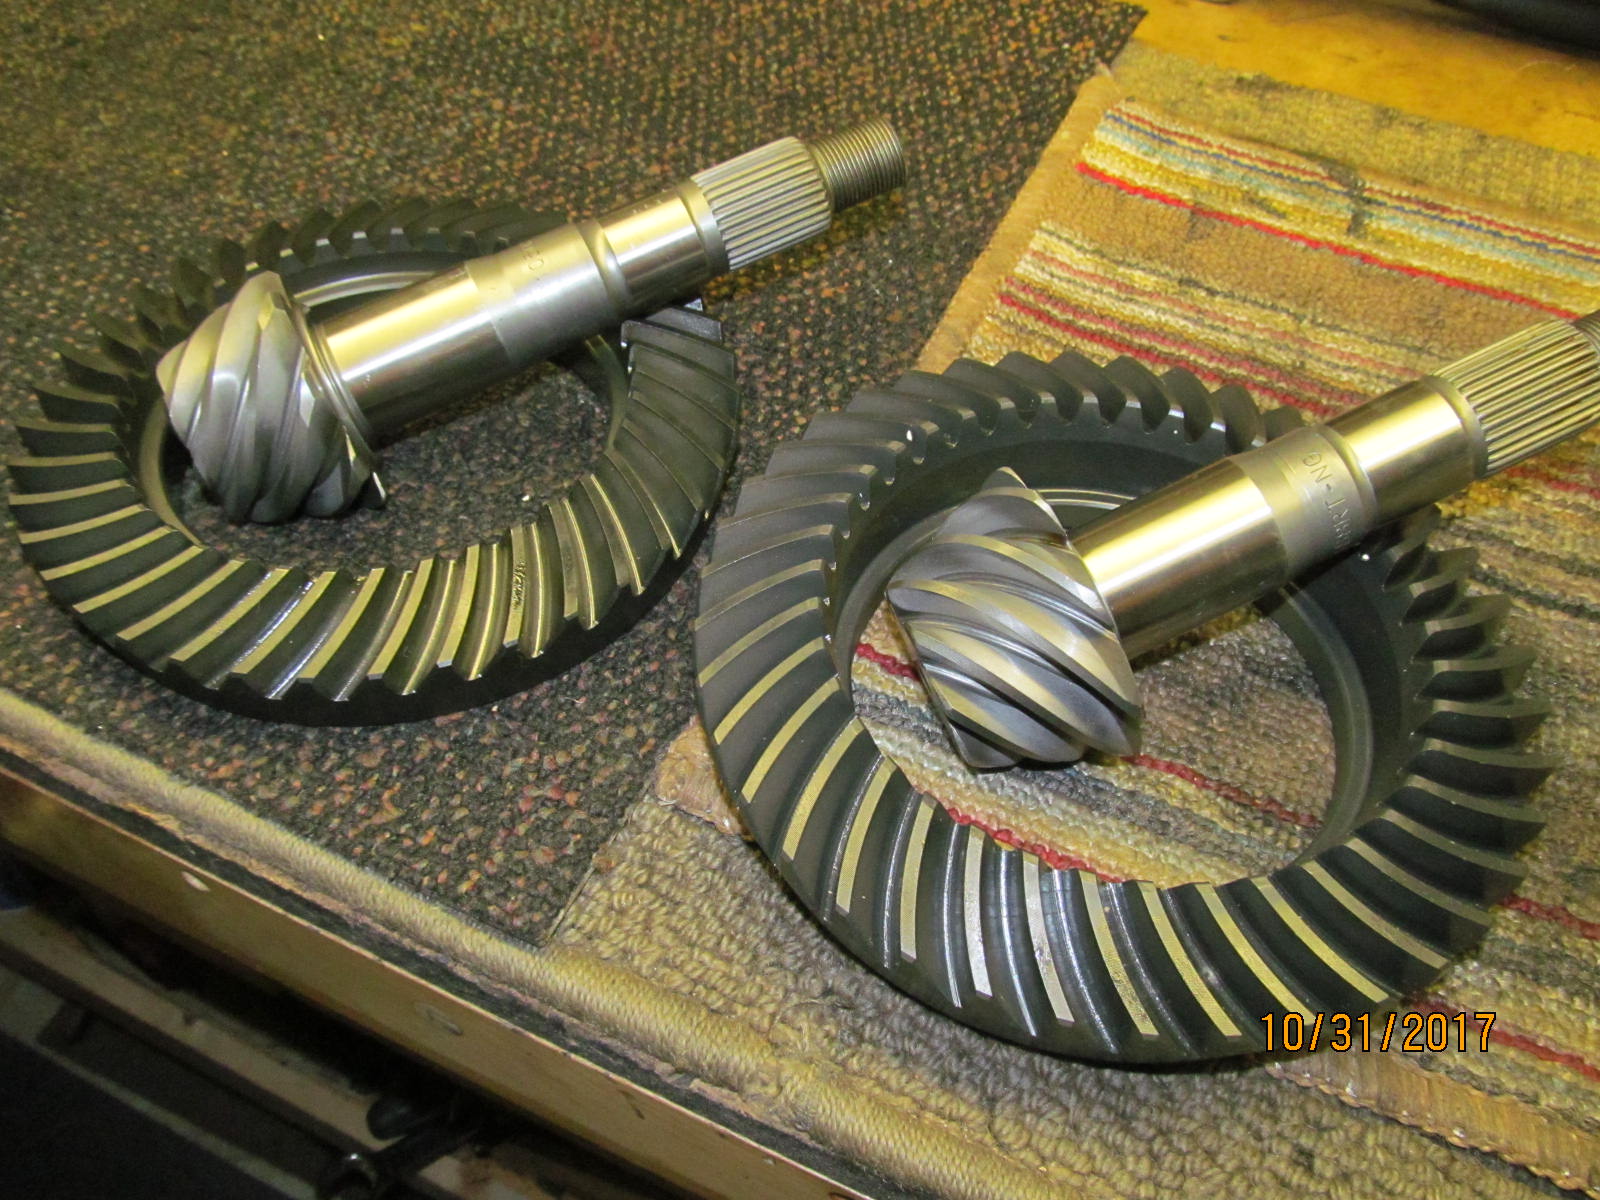
| The rear 8" on the
left....front hi-pinion reverse cut ring/pinion on the right. They will be at
Cryogenics International tomorrow. |
|---|
|
|
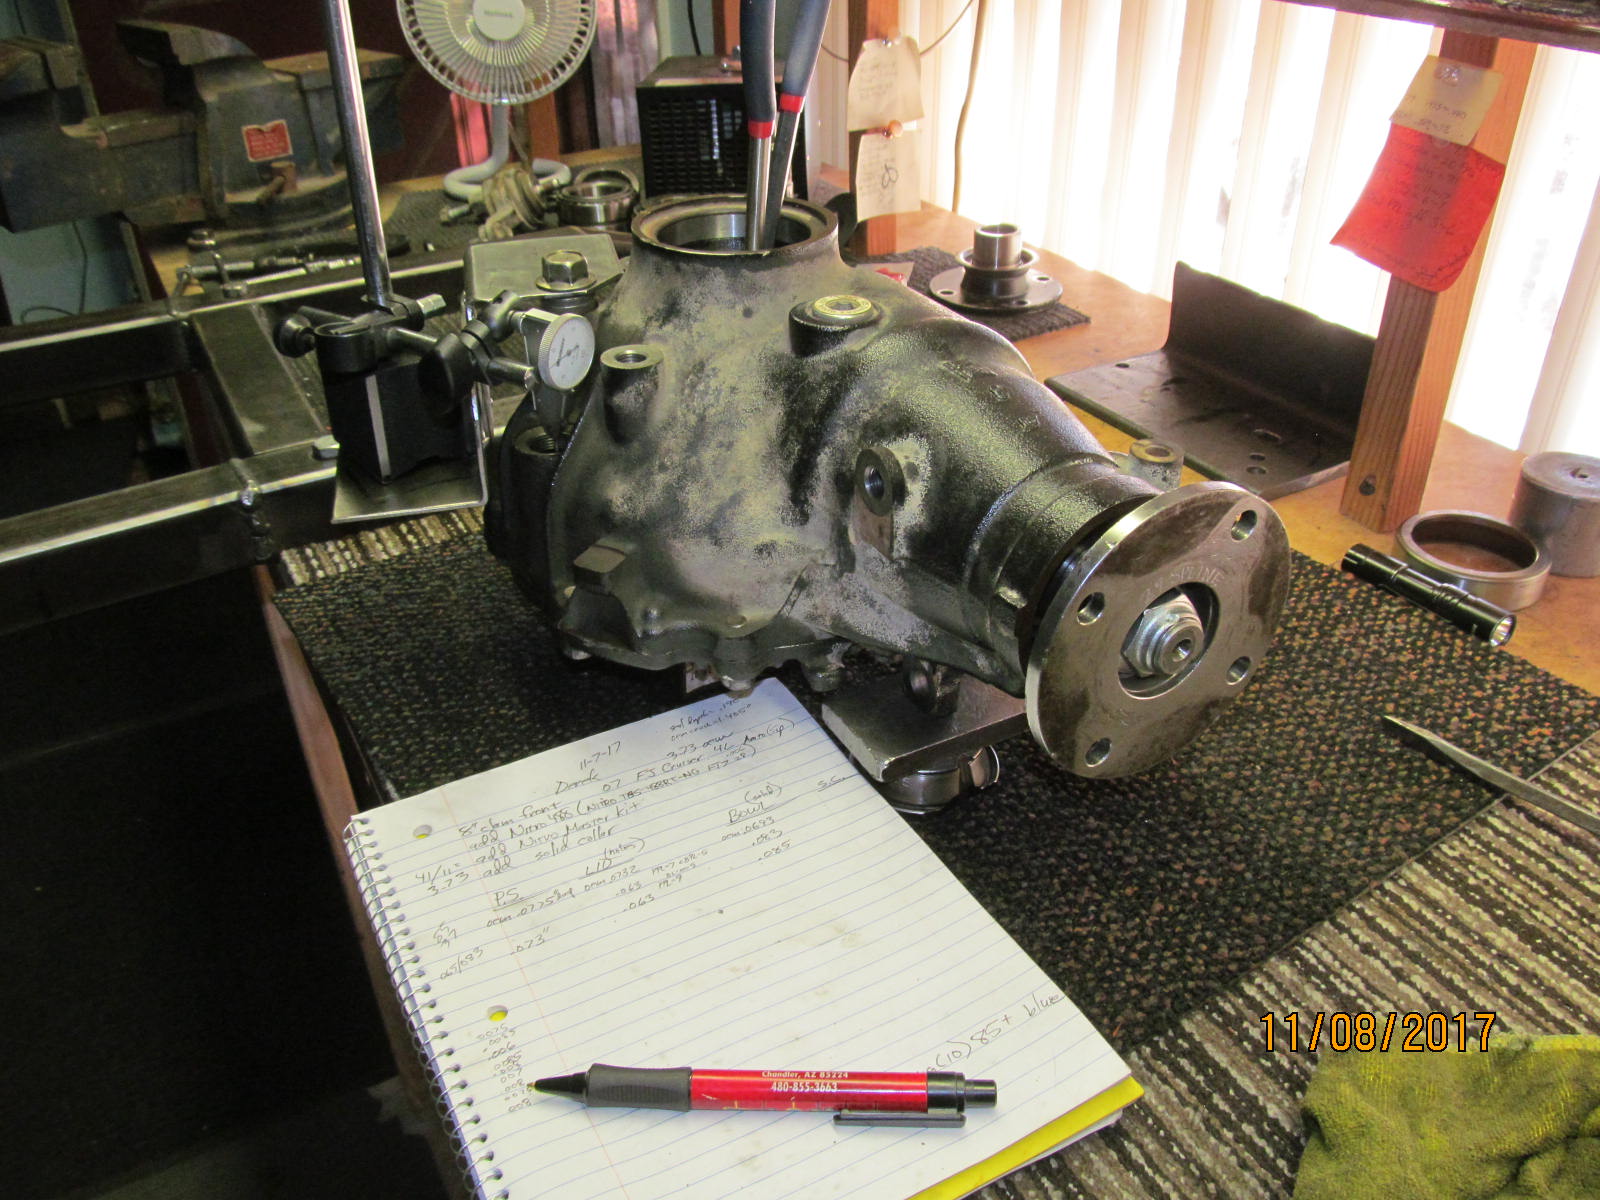
| Derek sent his diffs to me here. |
|---|
|
|
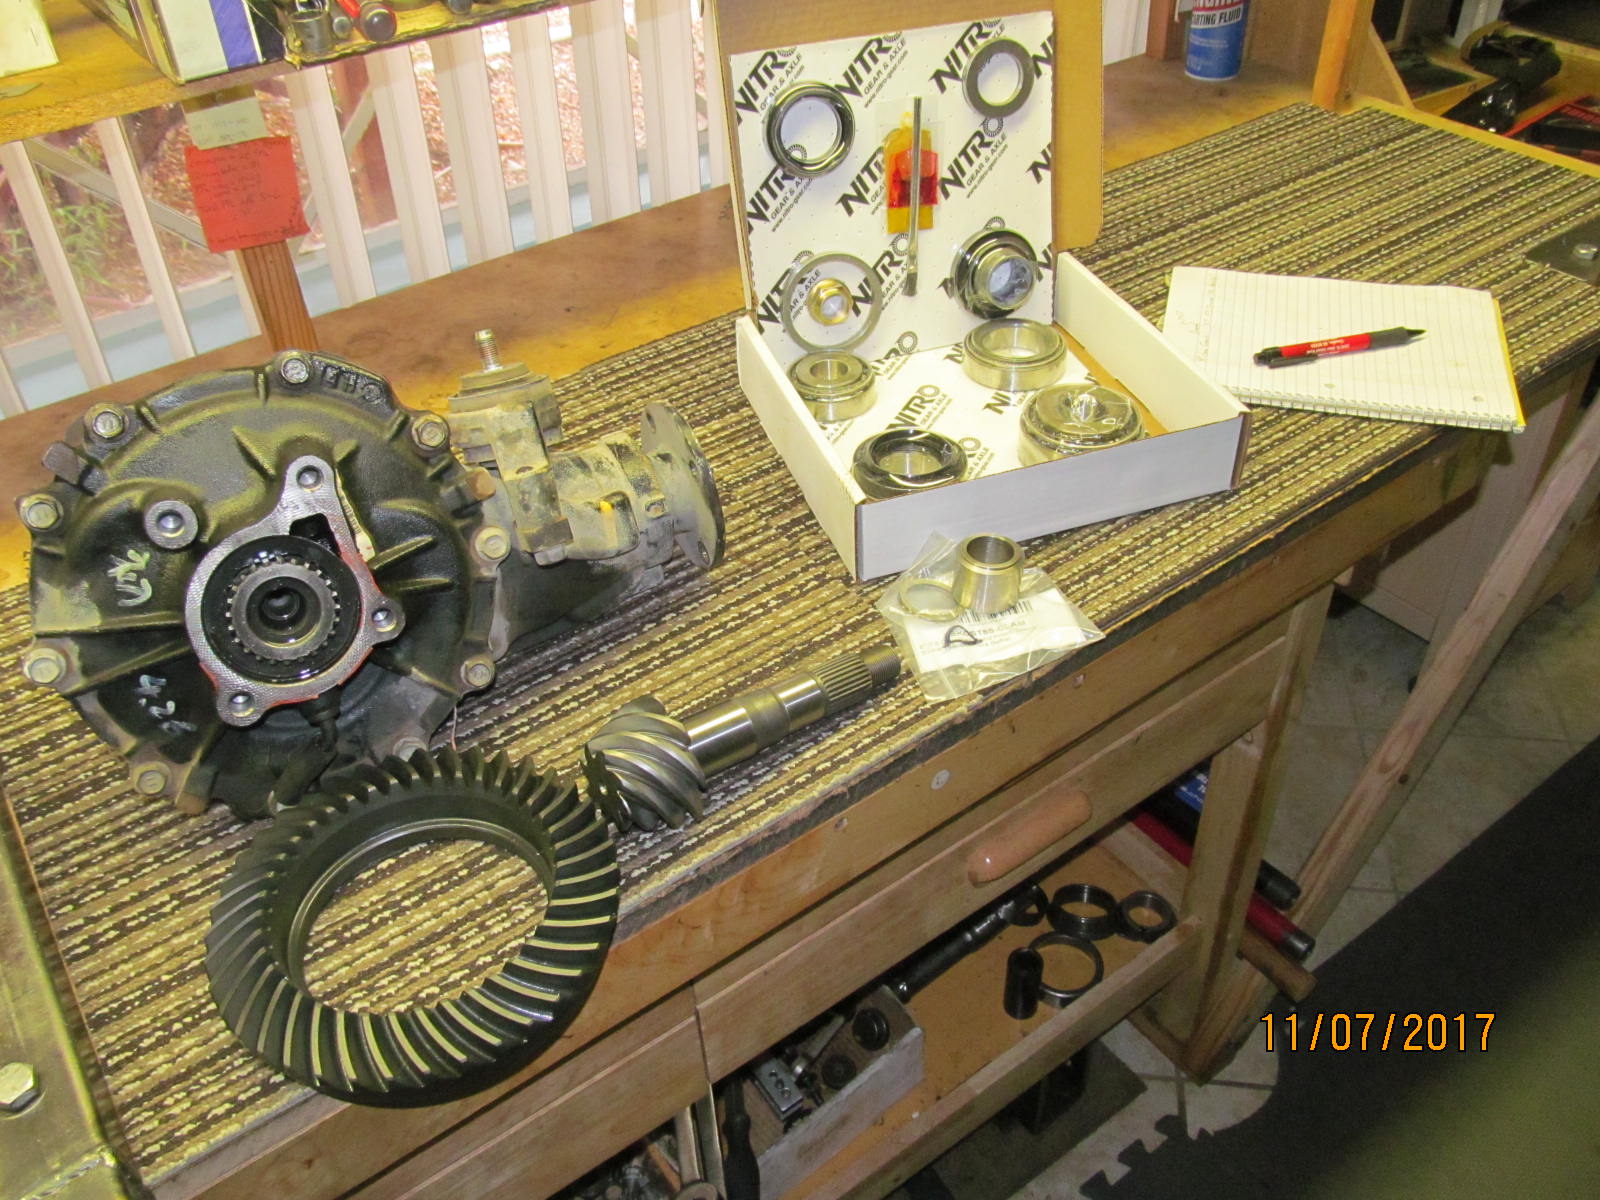
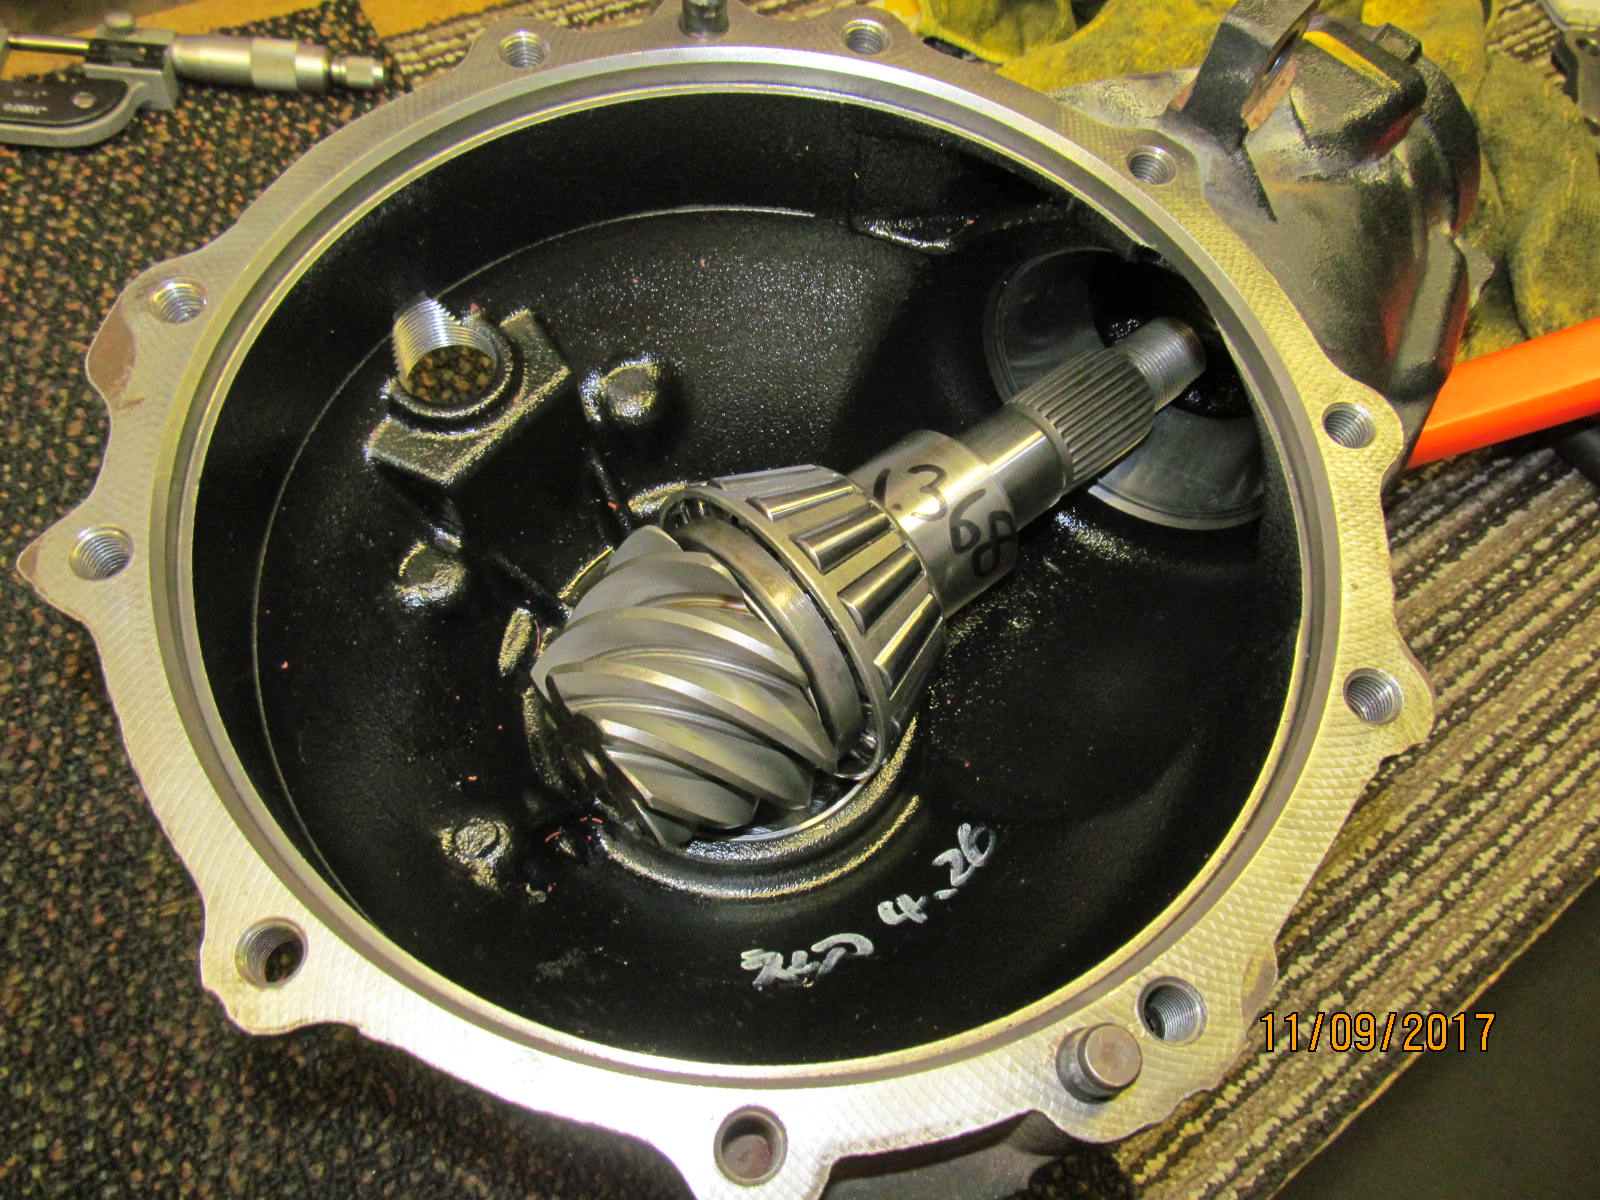
| Gears are back from cryo. Derek's front clam....488 gears....Nitro master kit....and the solid collar. |
|---|
|
|
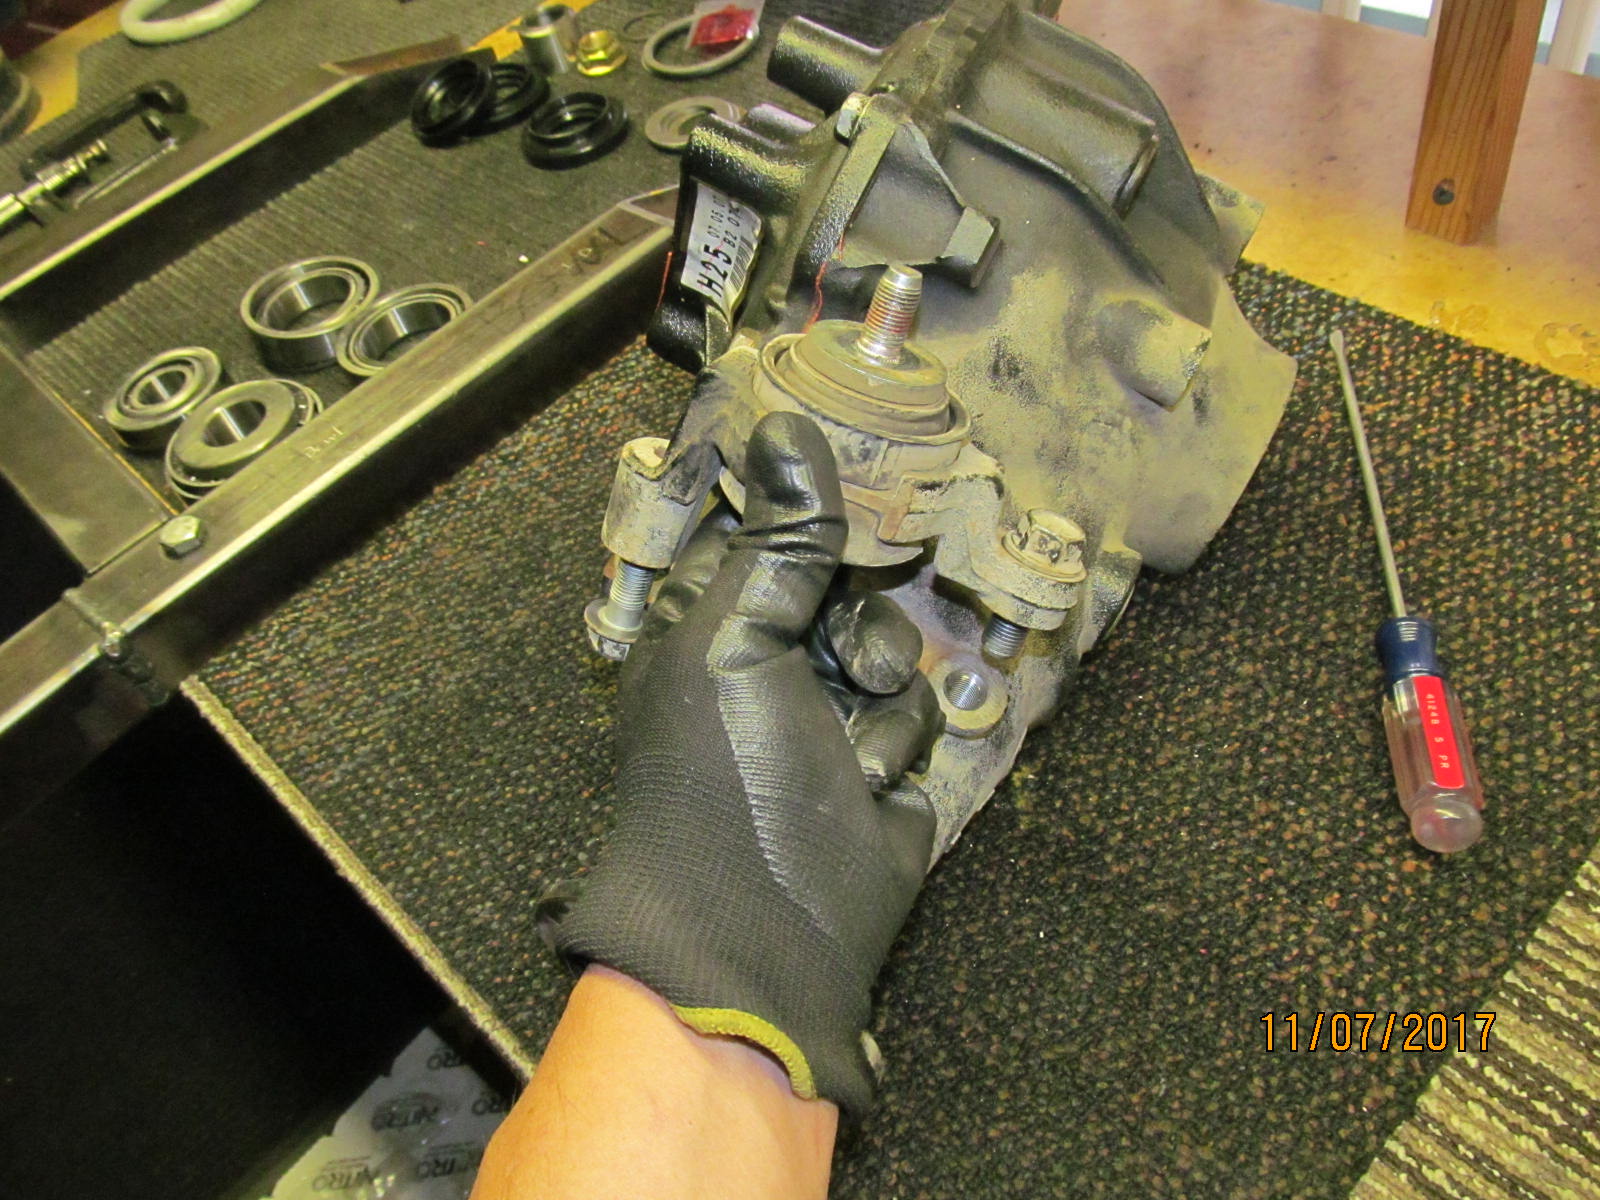
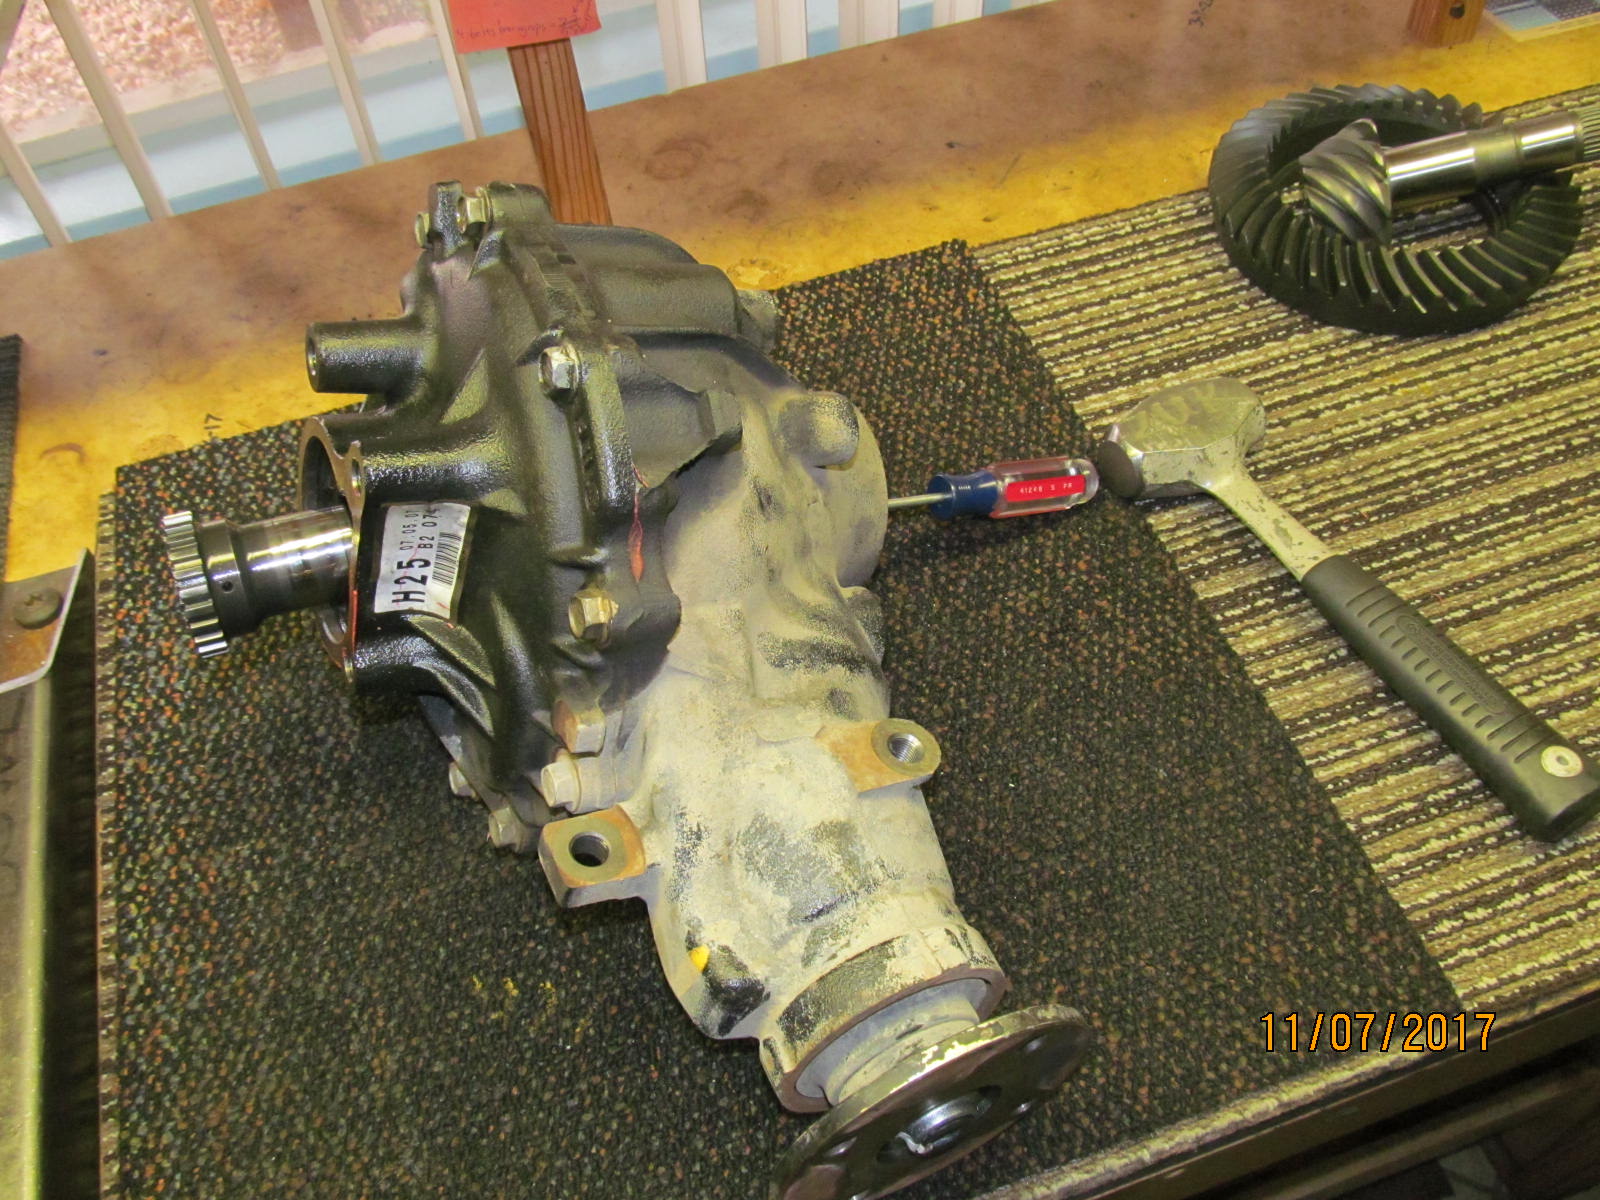
| Remove the un-needed stuff. |
|---|
|
|
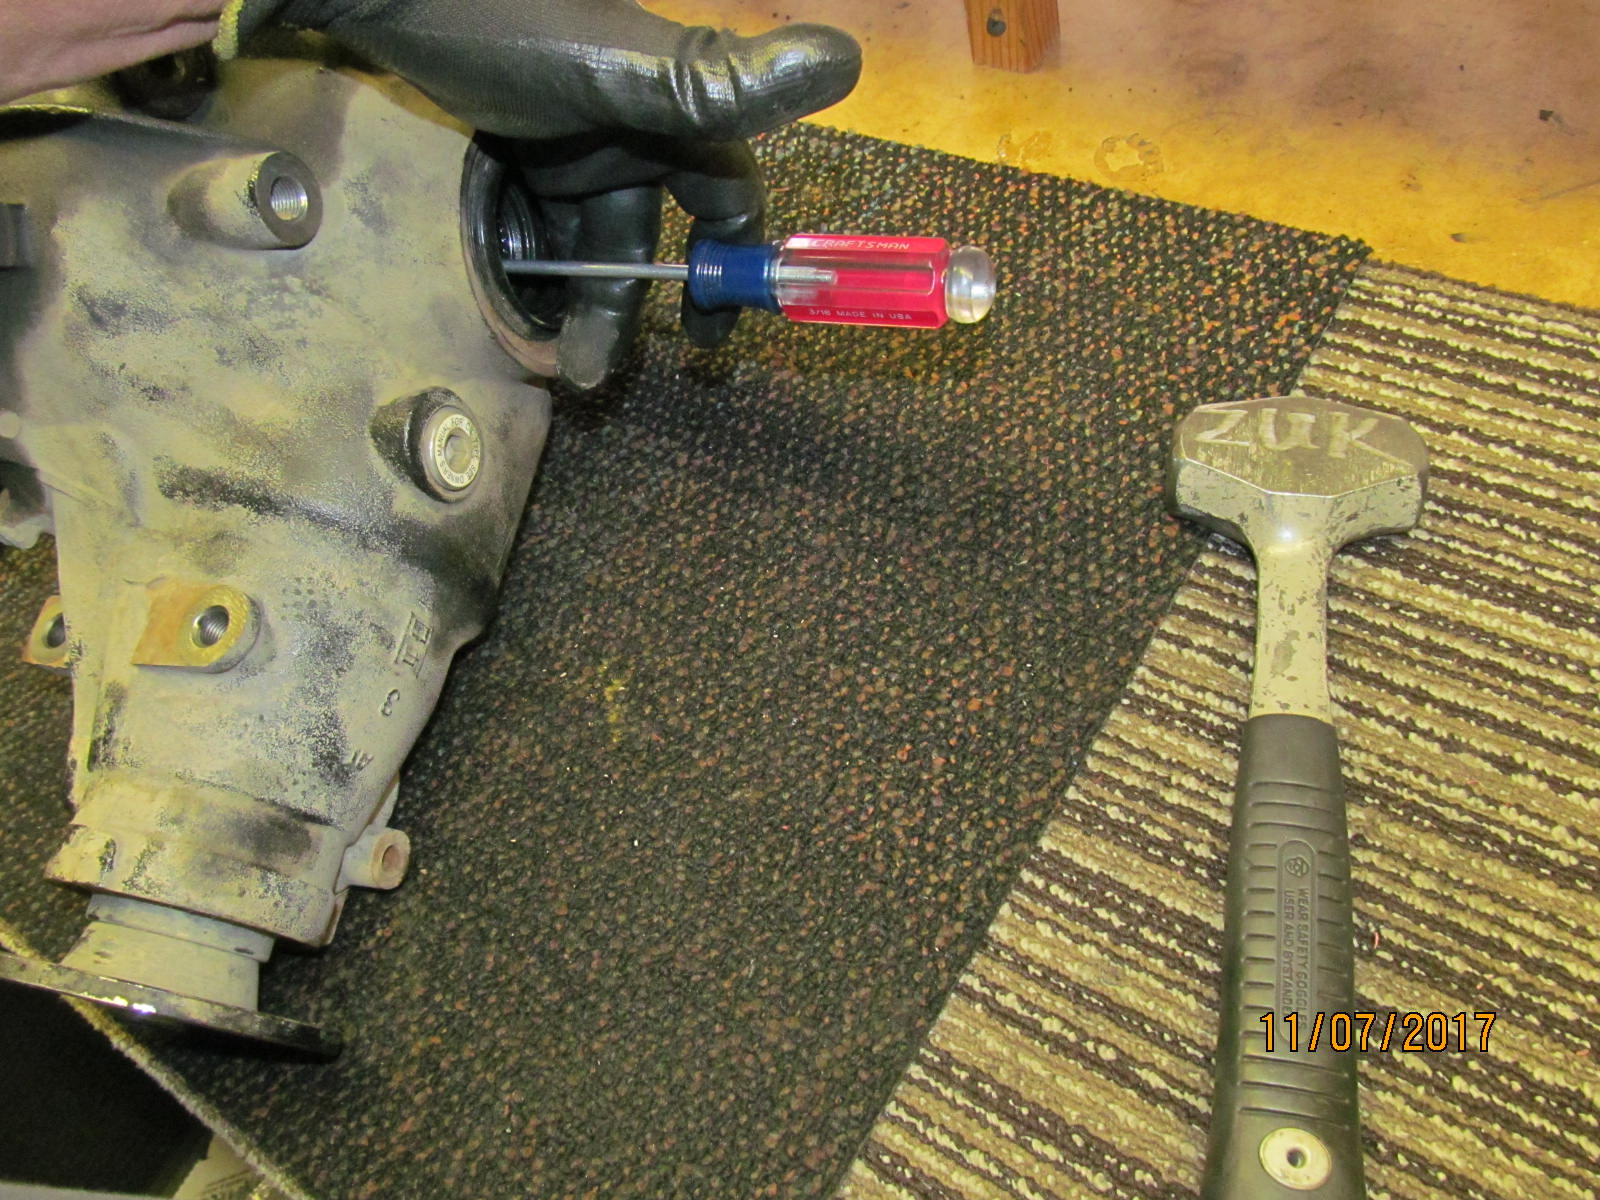
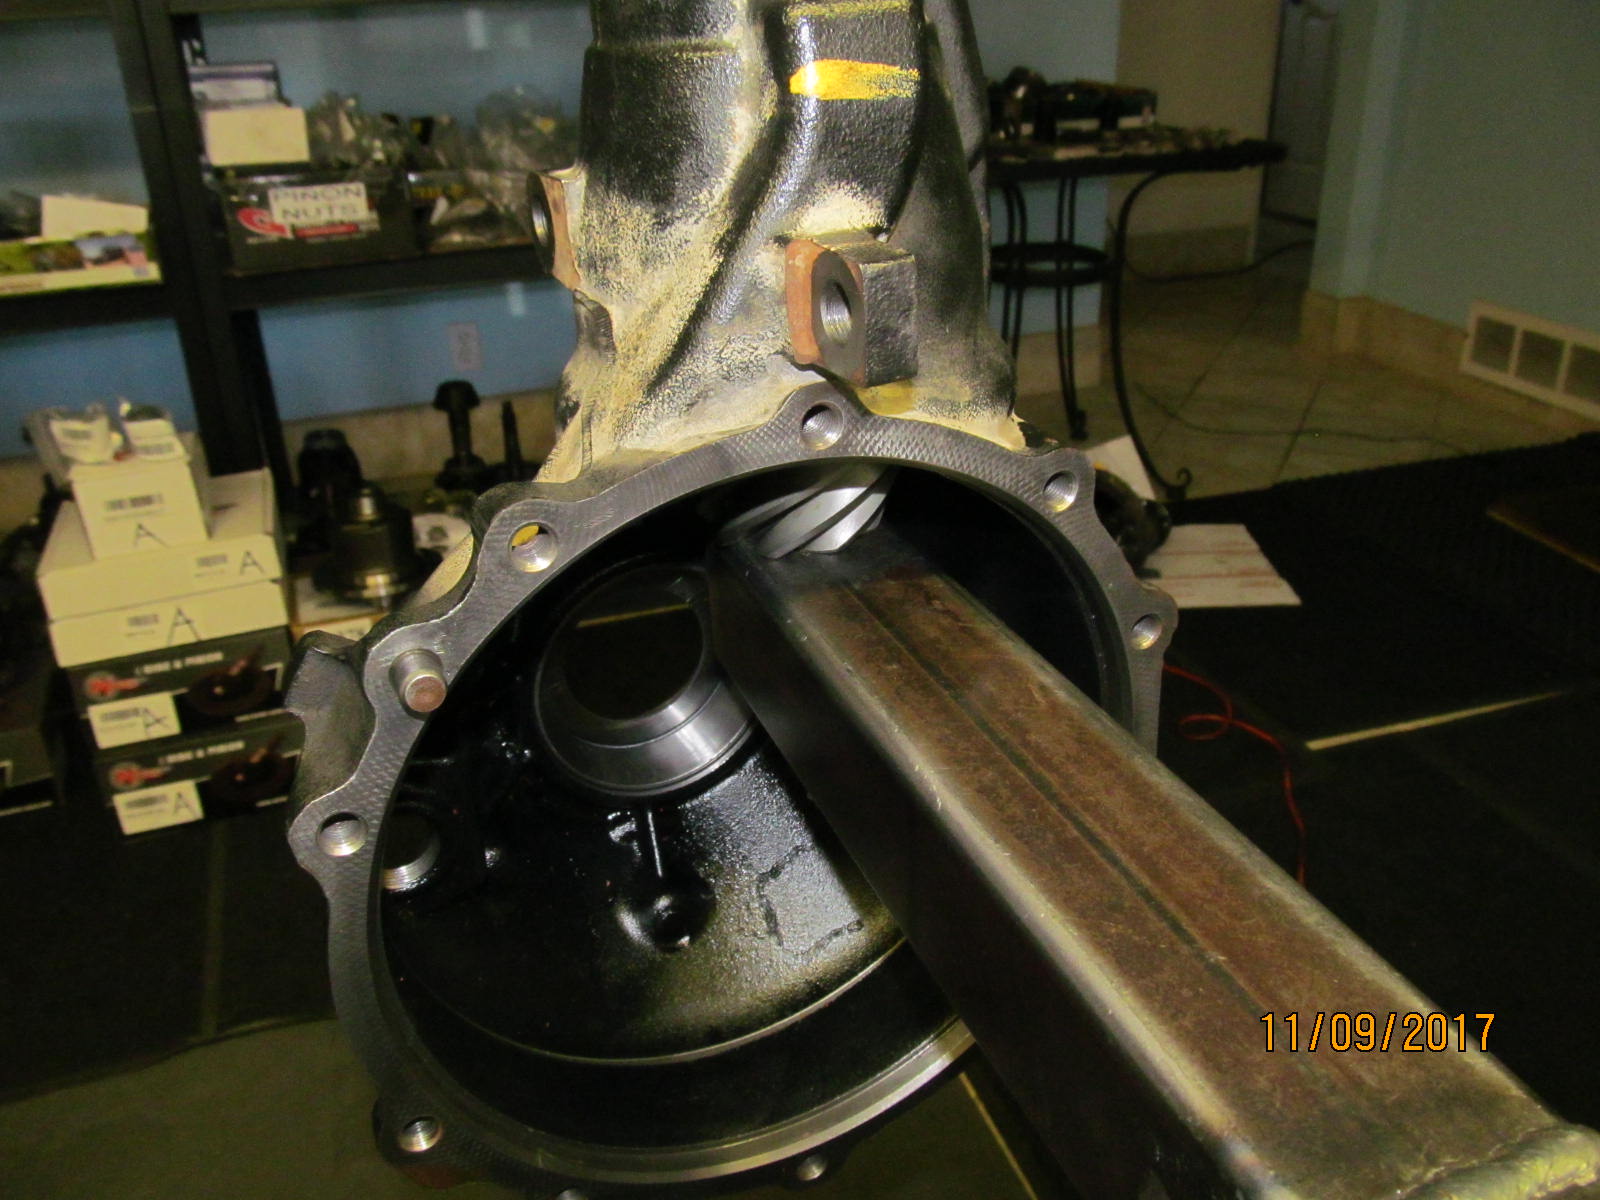
| This short axle stub comes out easy.... |
|---|
|
|
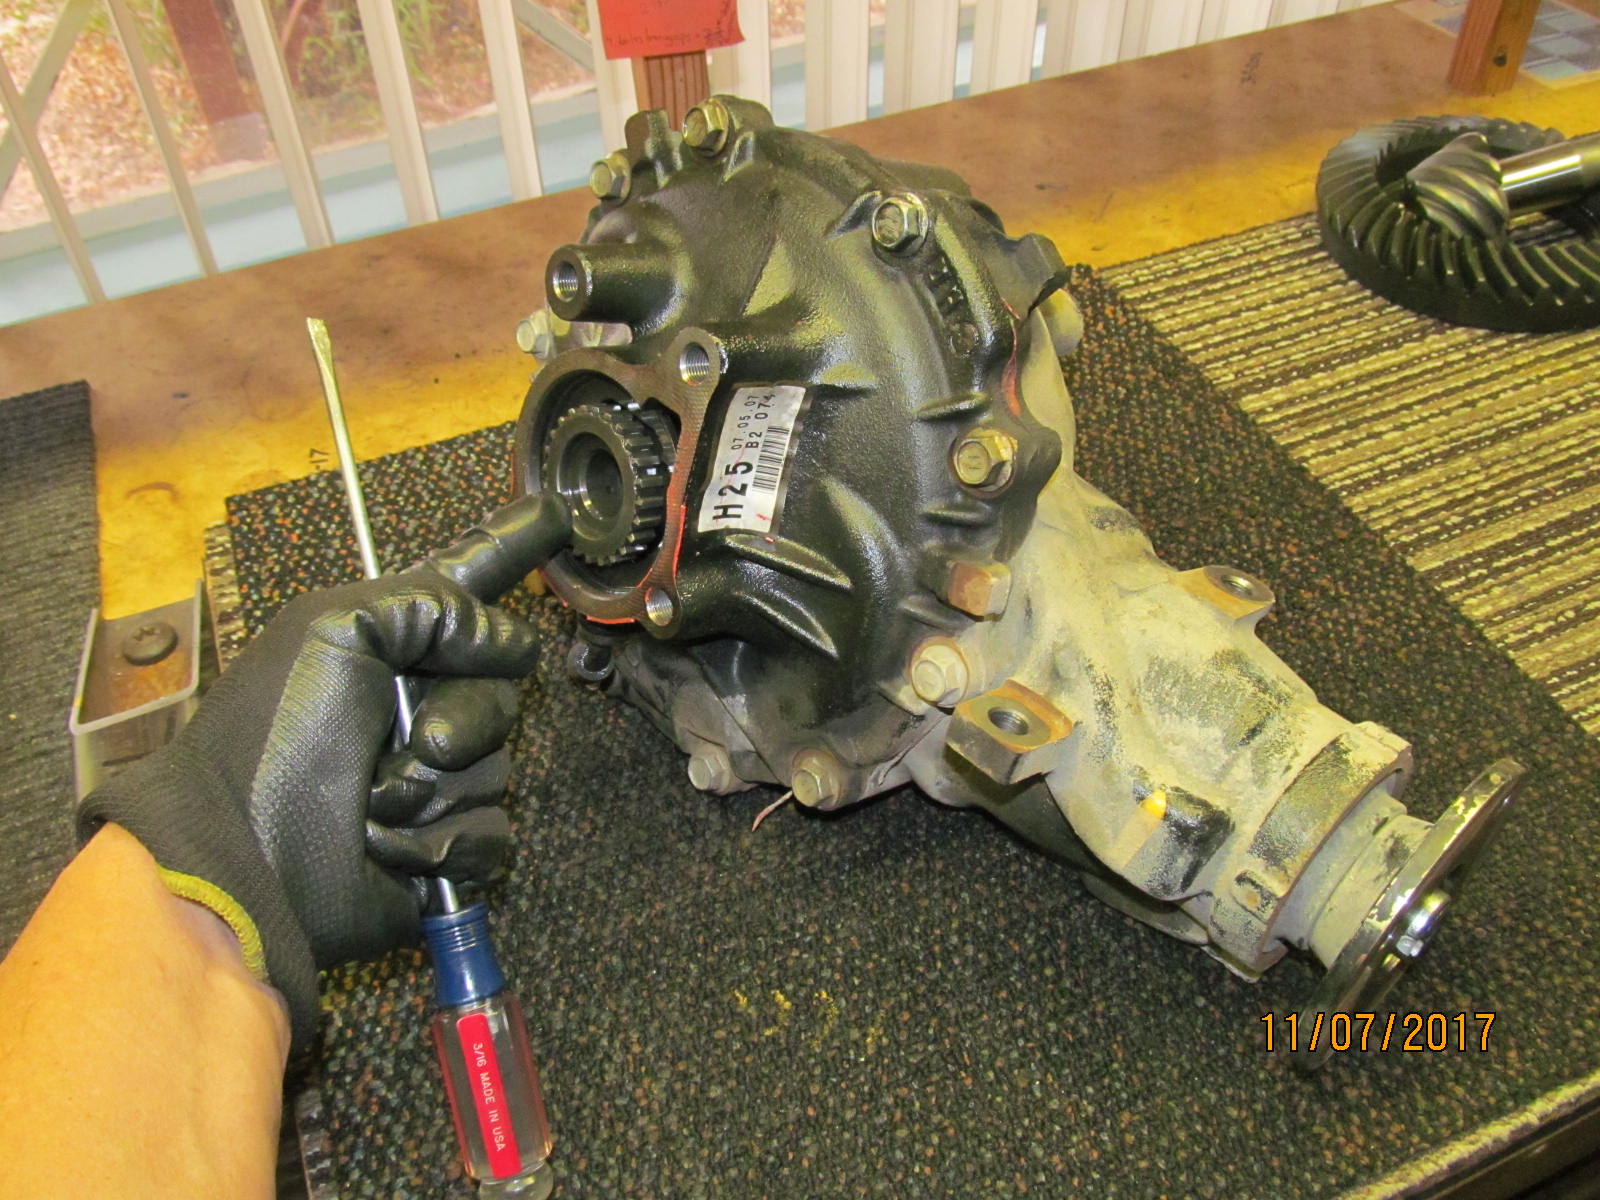
| ...from the other side. |
|---|
|
|
| Easy as butter. |
|---|
|
|
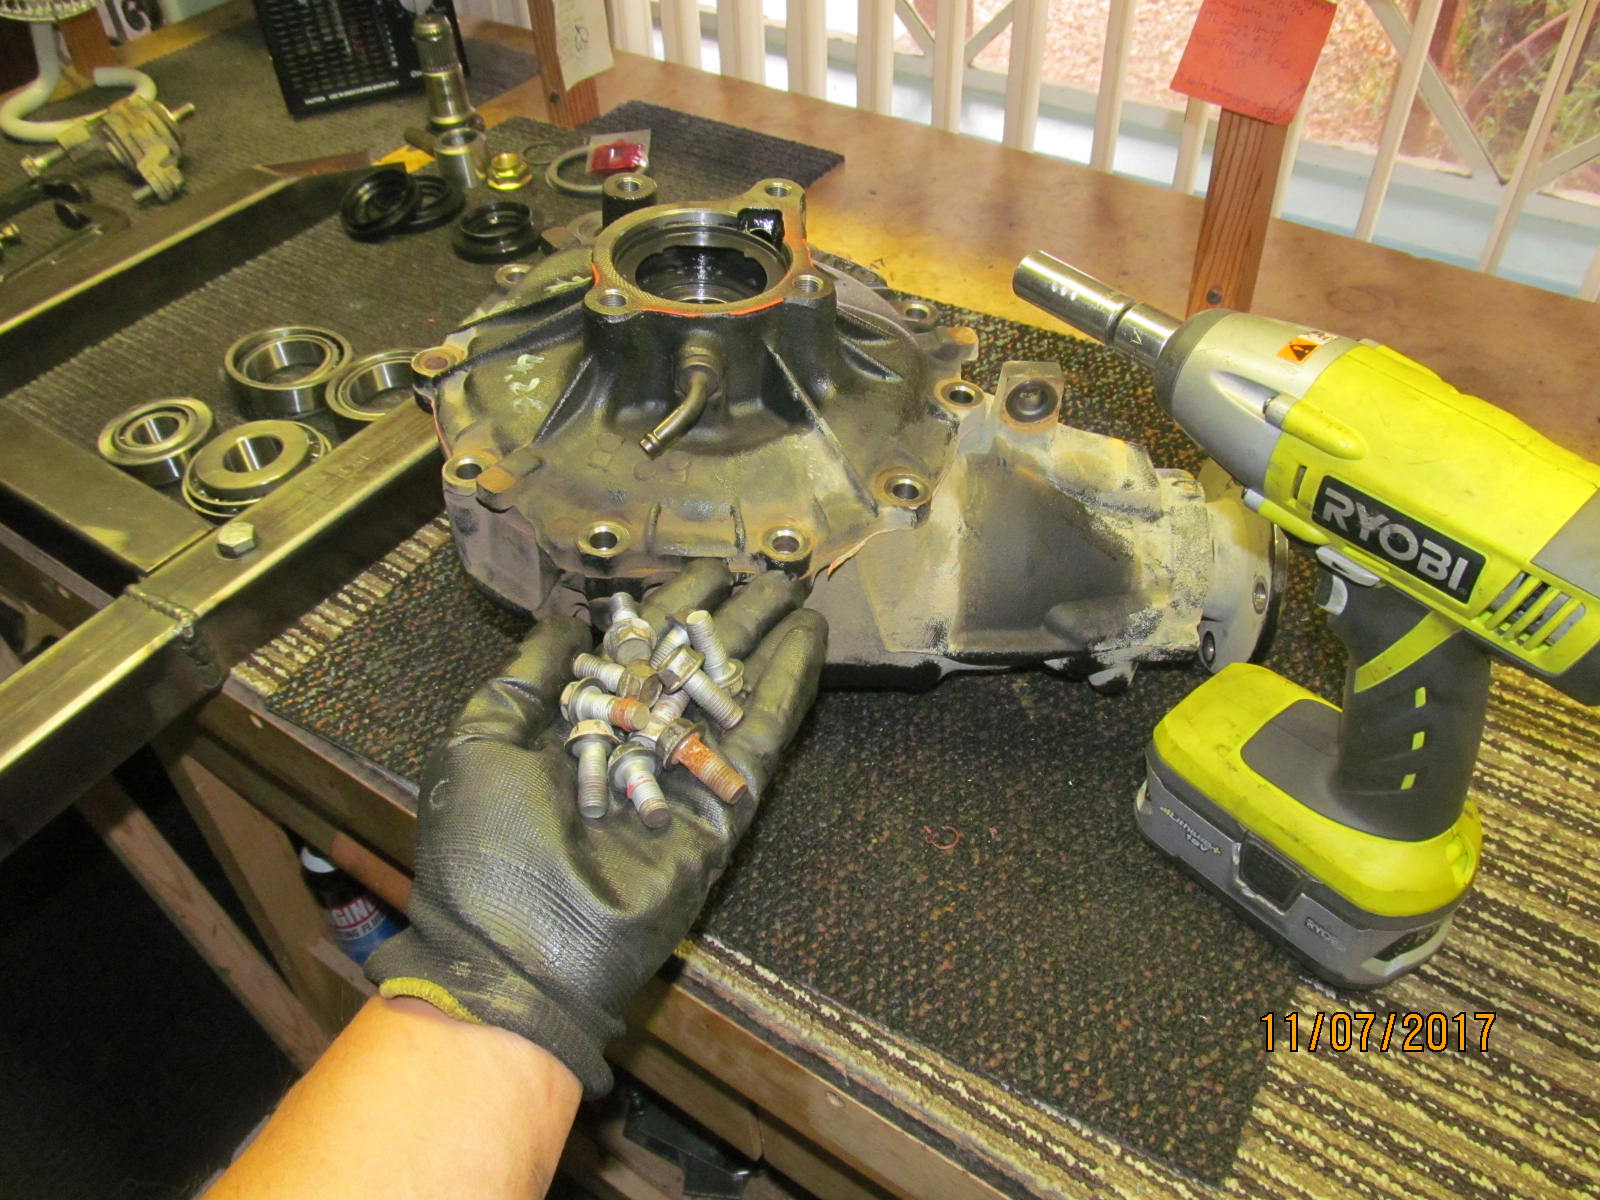
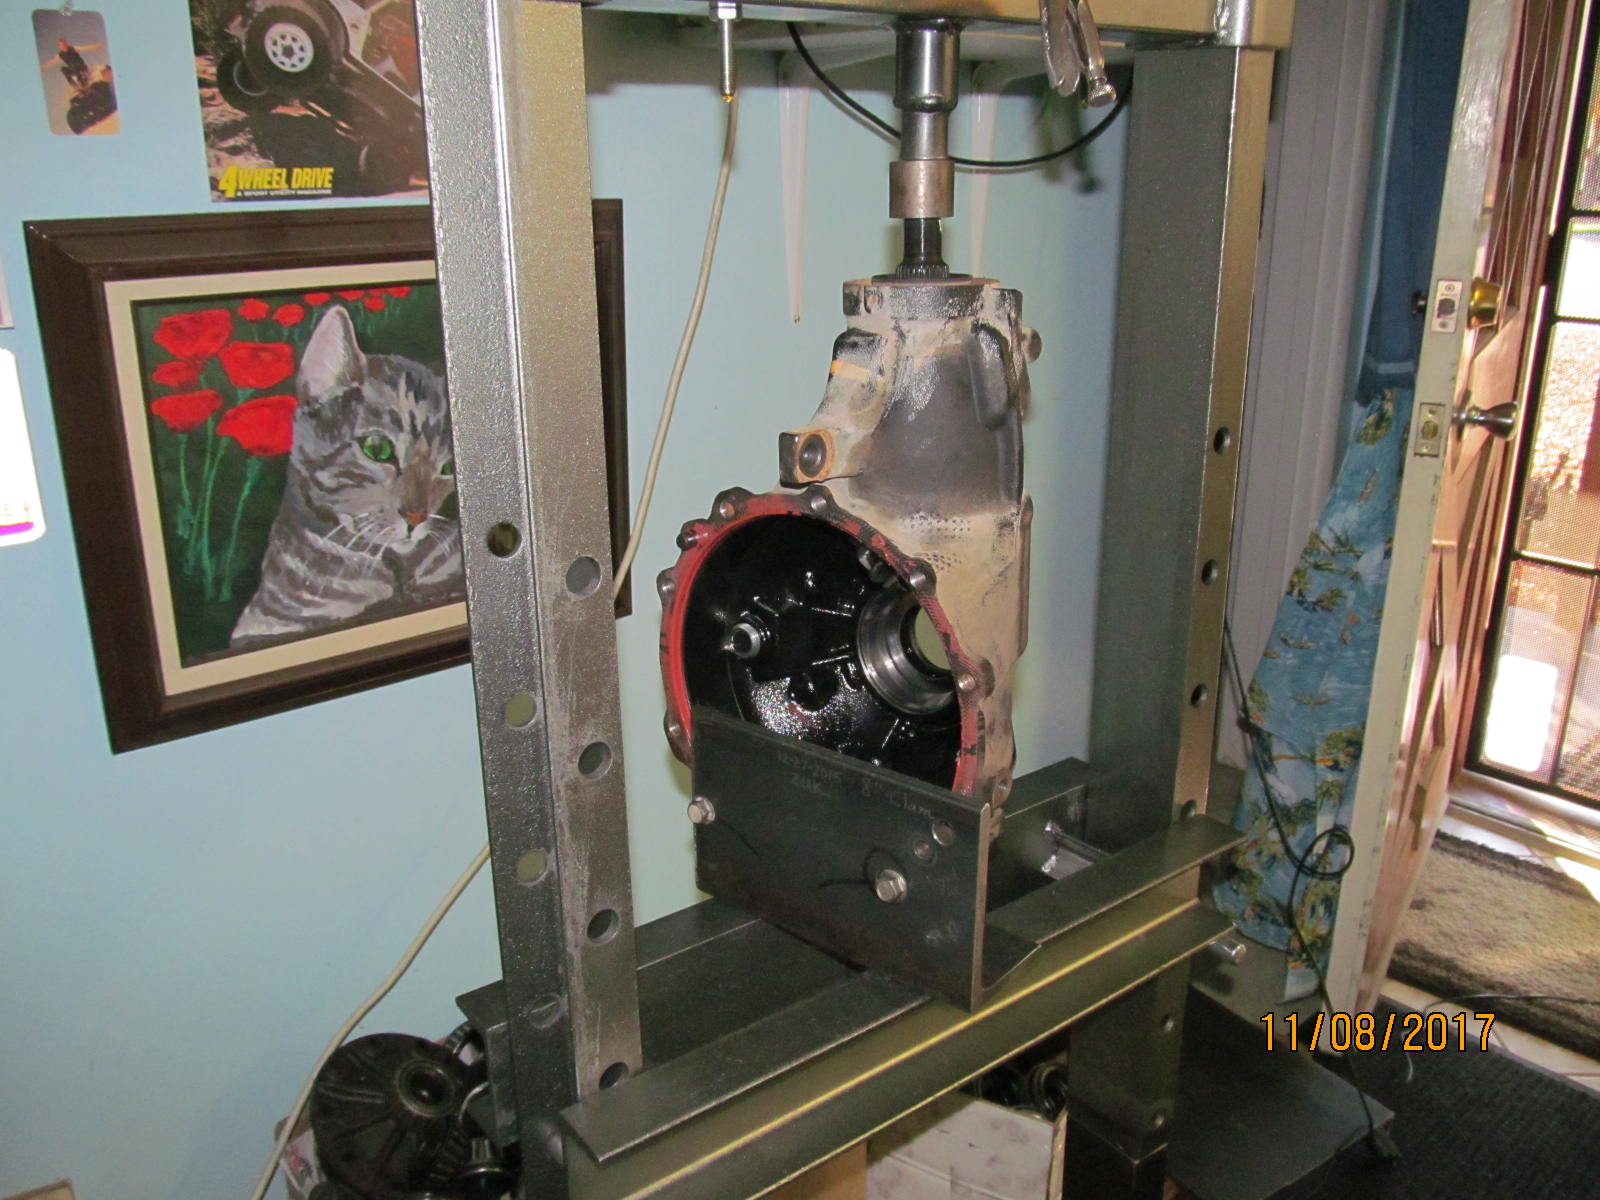
| Take the 10 bolts off that secure the lid. |
|---|
|
|
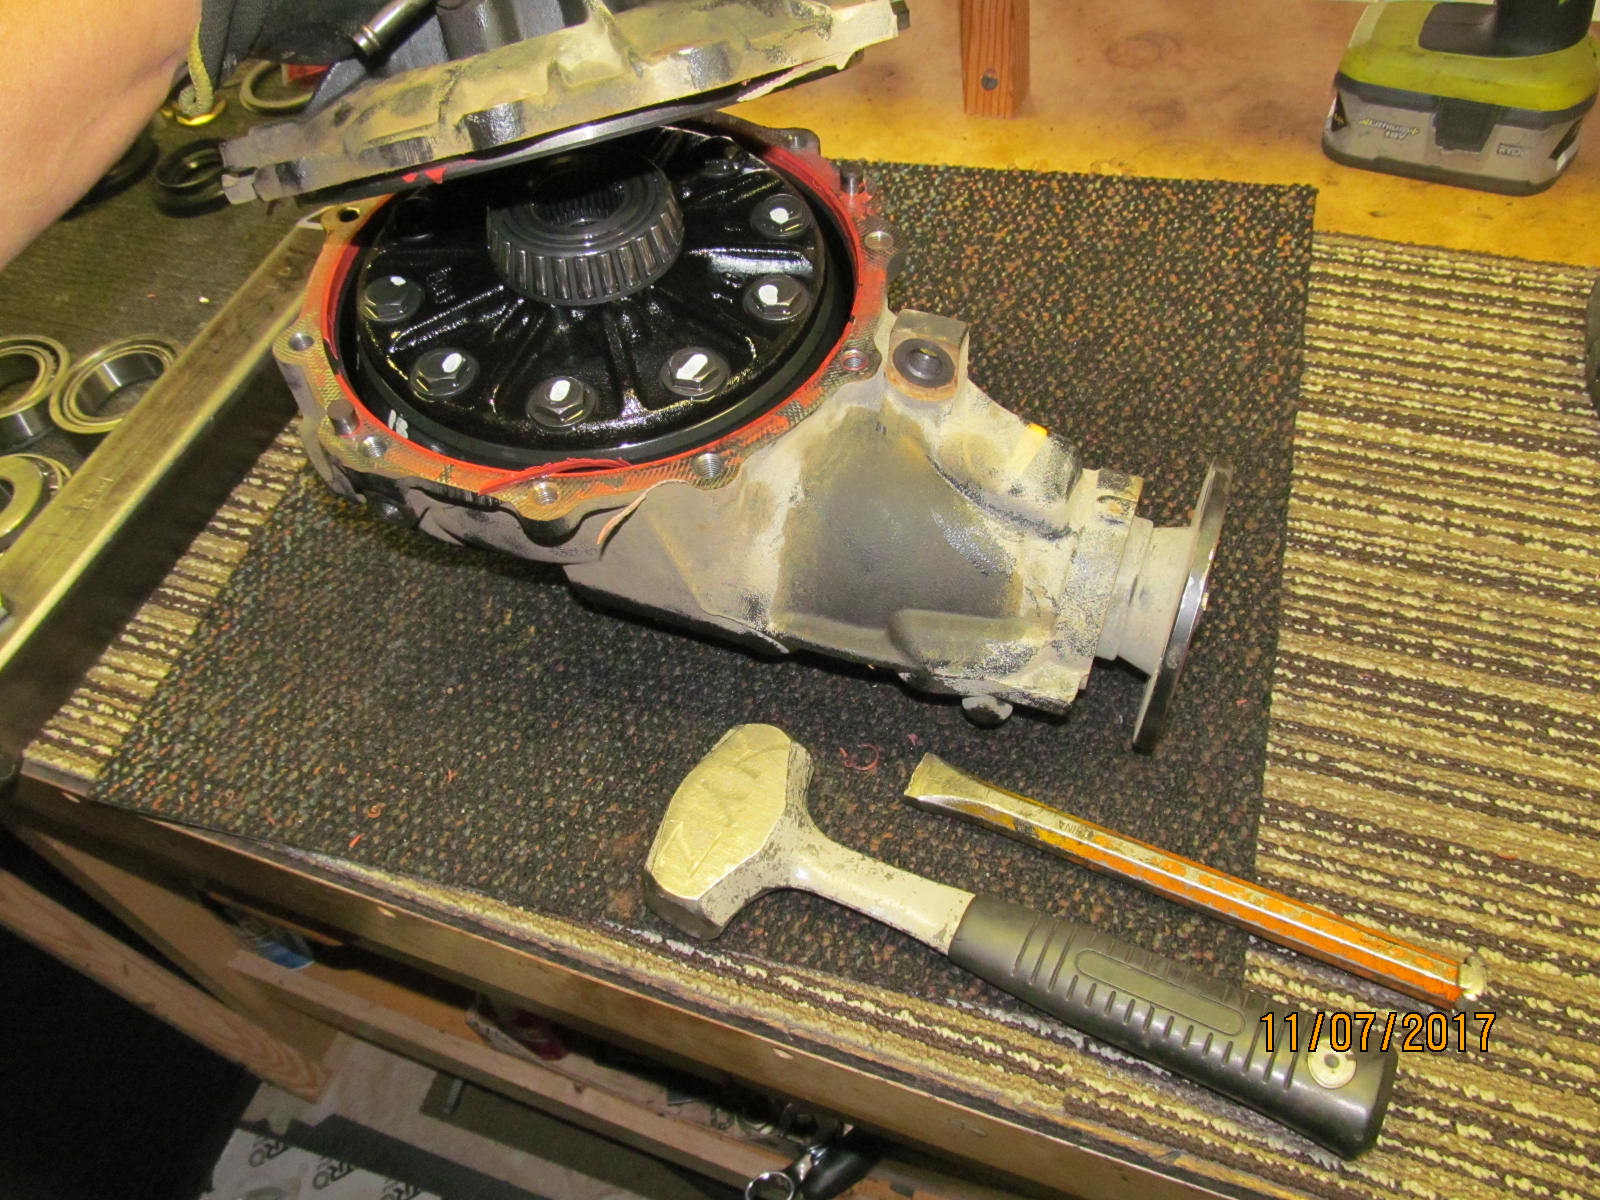
| Lid's off. |
|---|
|
|
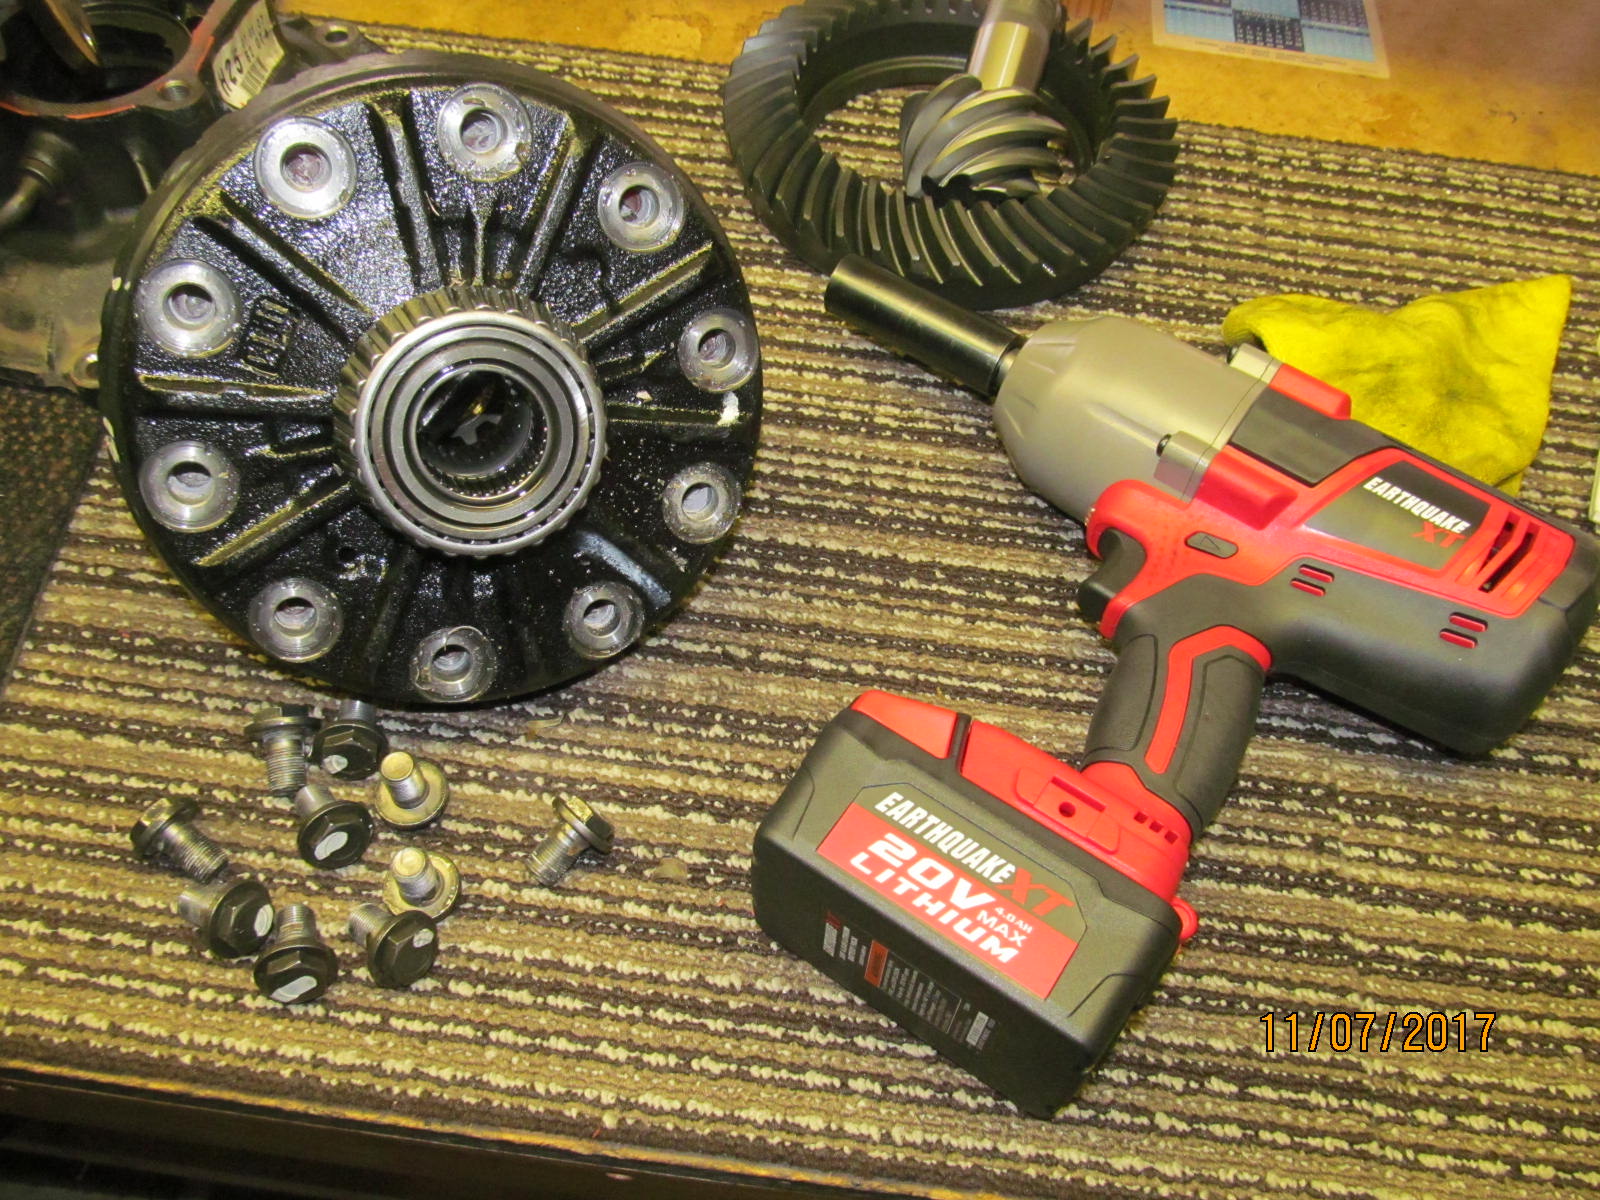
| Remove the 10 flange style ring gear bolts. Good luck. Better have a really good socket and a really super impact wrench. |
|---|
|
|
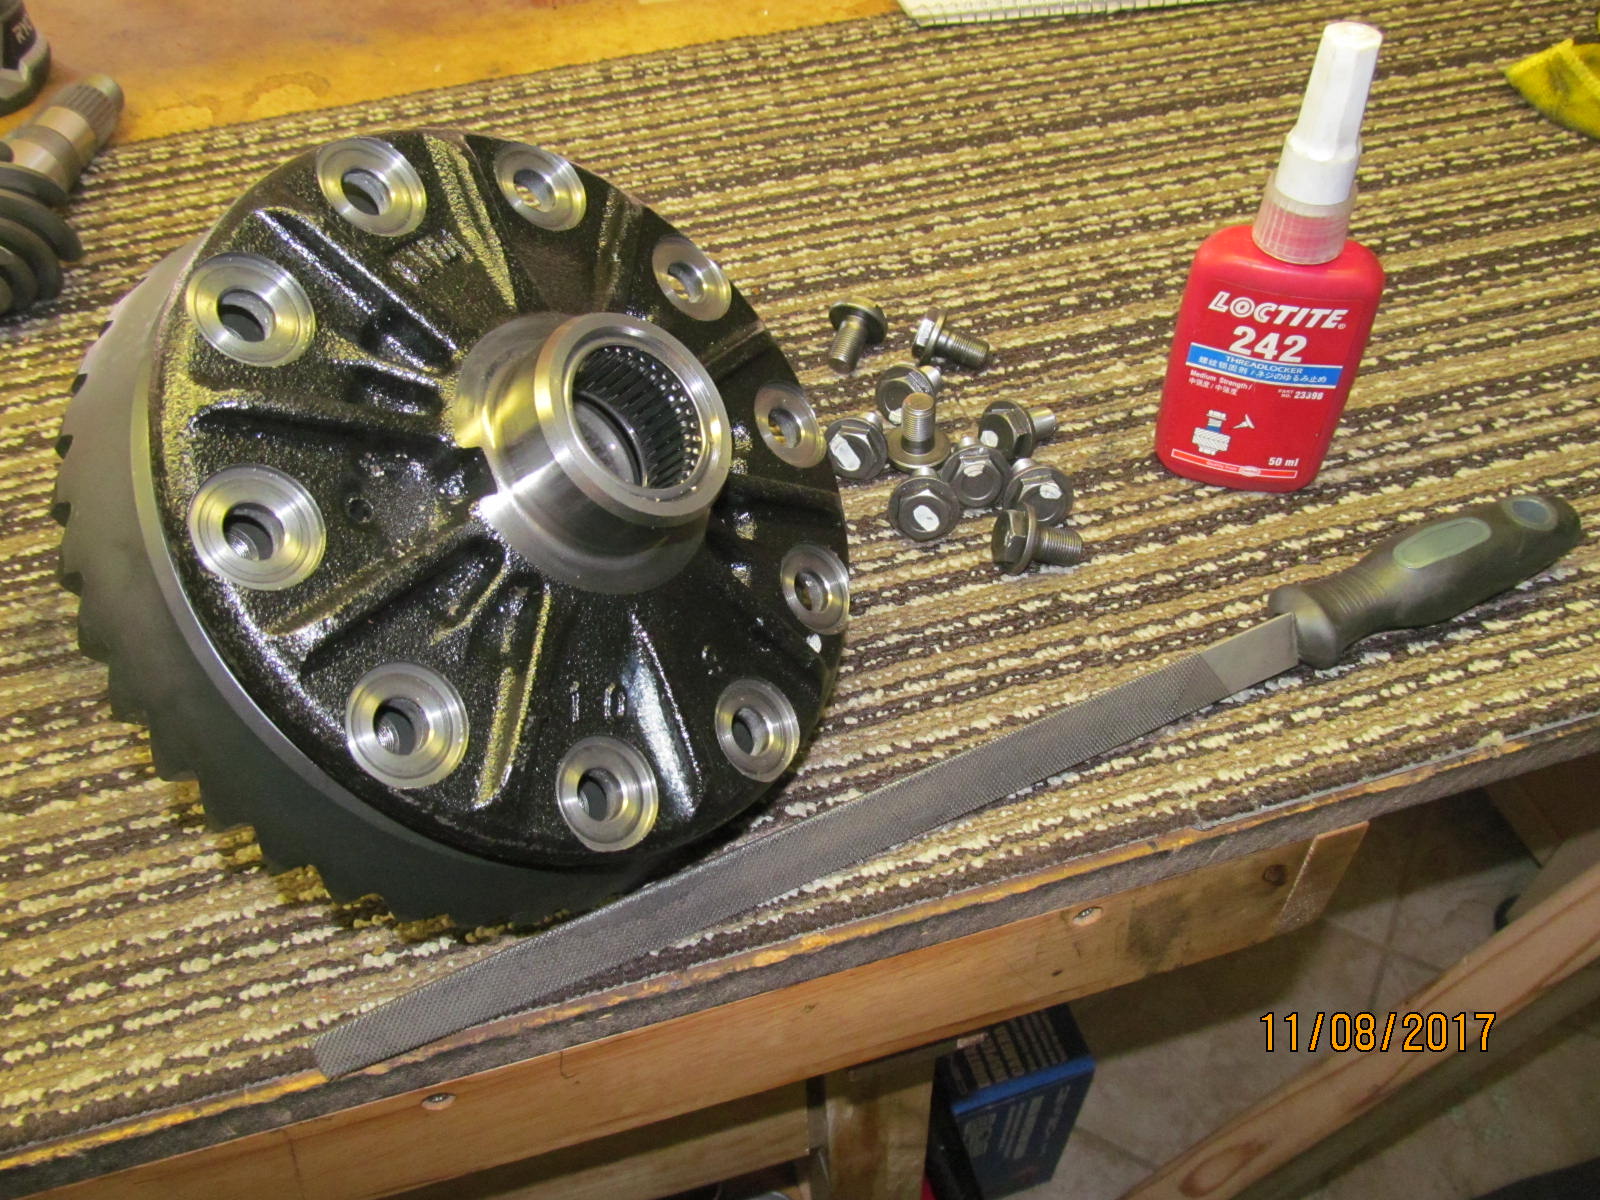
| The thick Nitro 488 ring is now installed. Careful alignment initially to get the bolt holes to be in perfect alignment. |
|---|
|
|
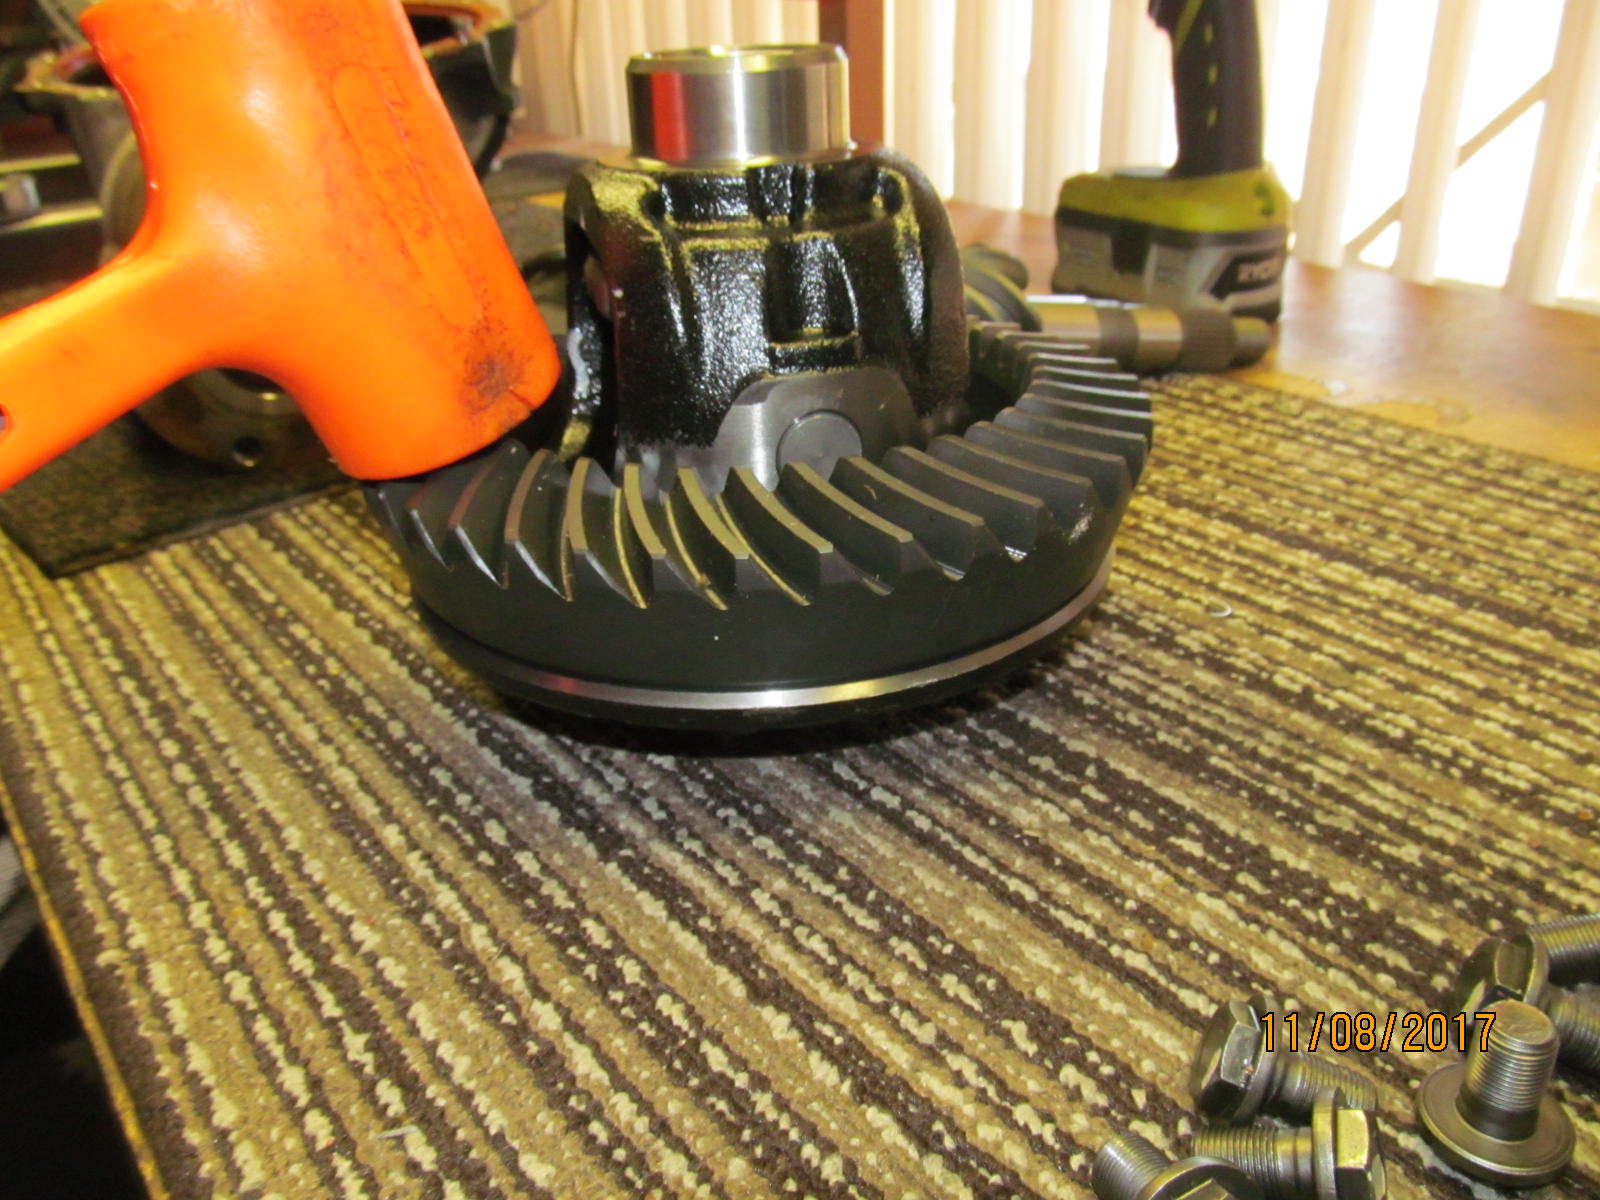
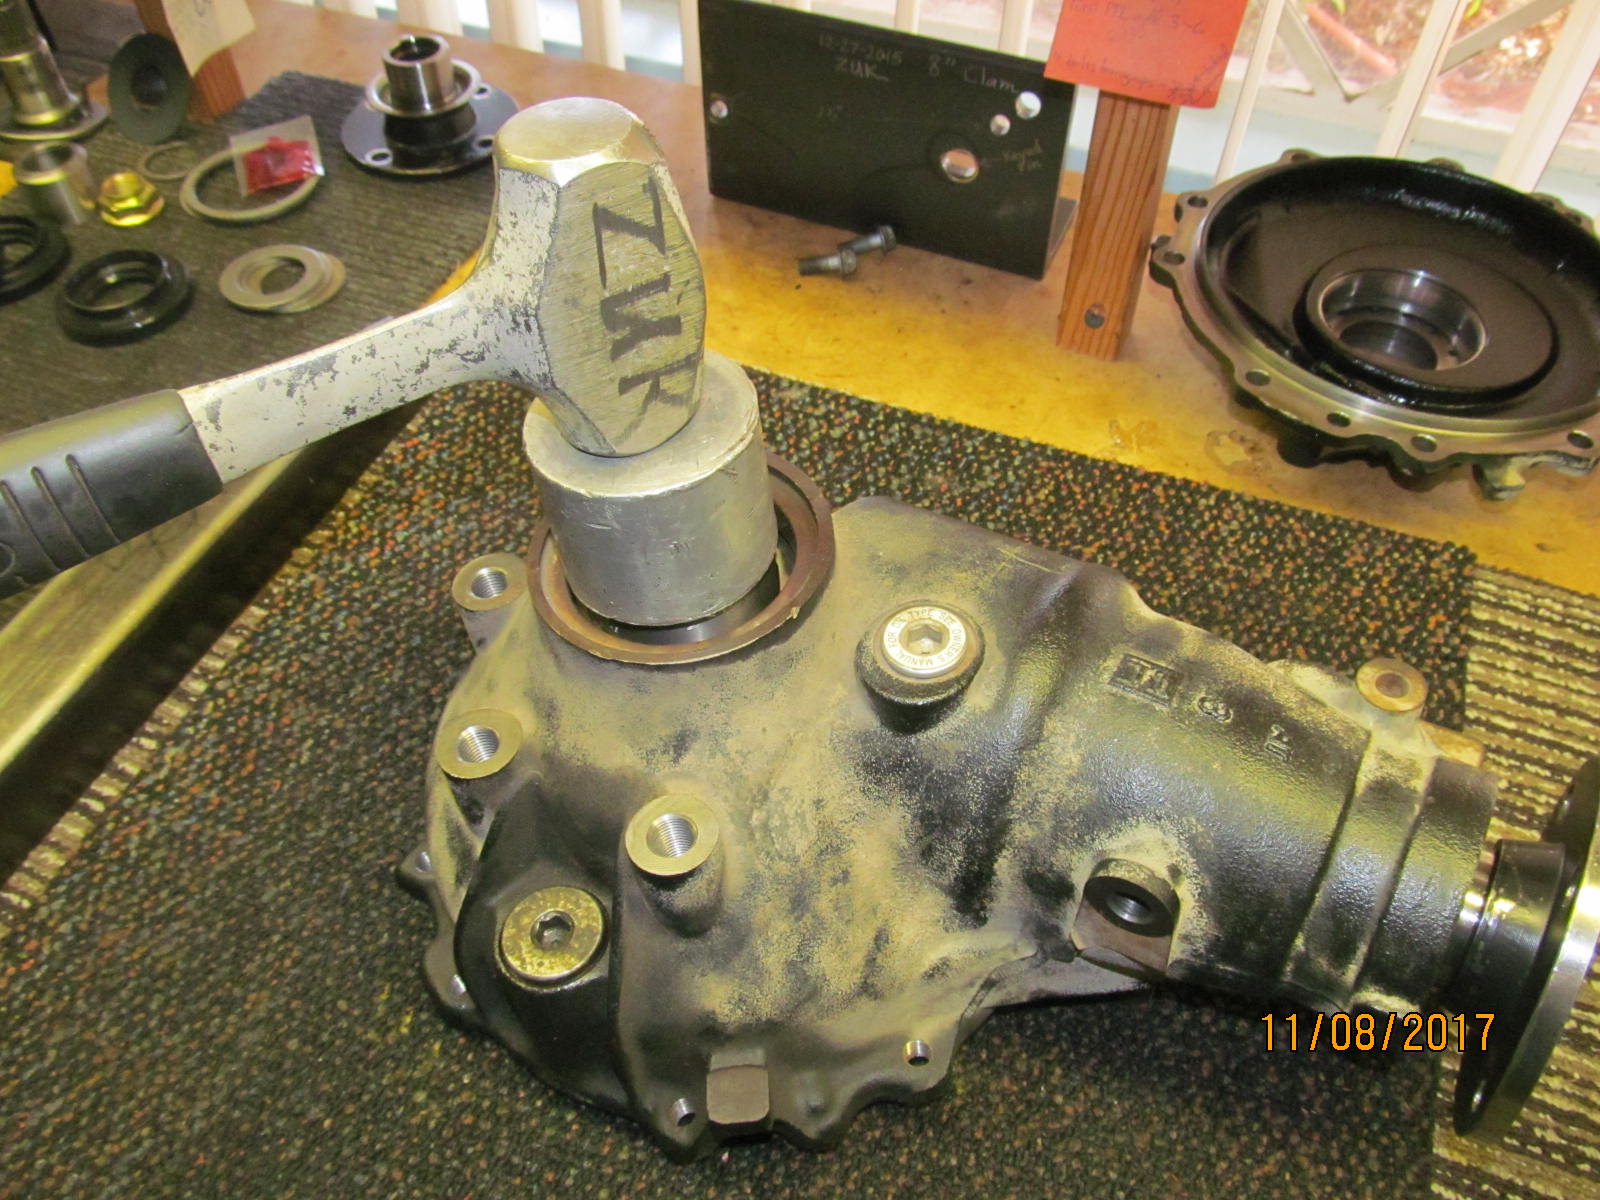
| Lots of tapping with the lead filled plastic hammer to seat the tight ring gear. |
|---|
|
|
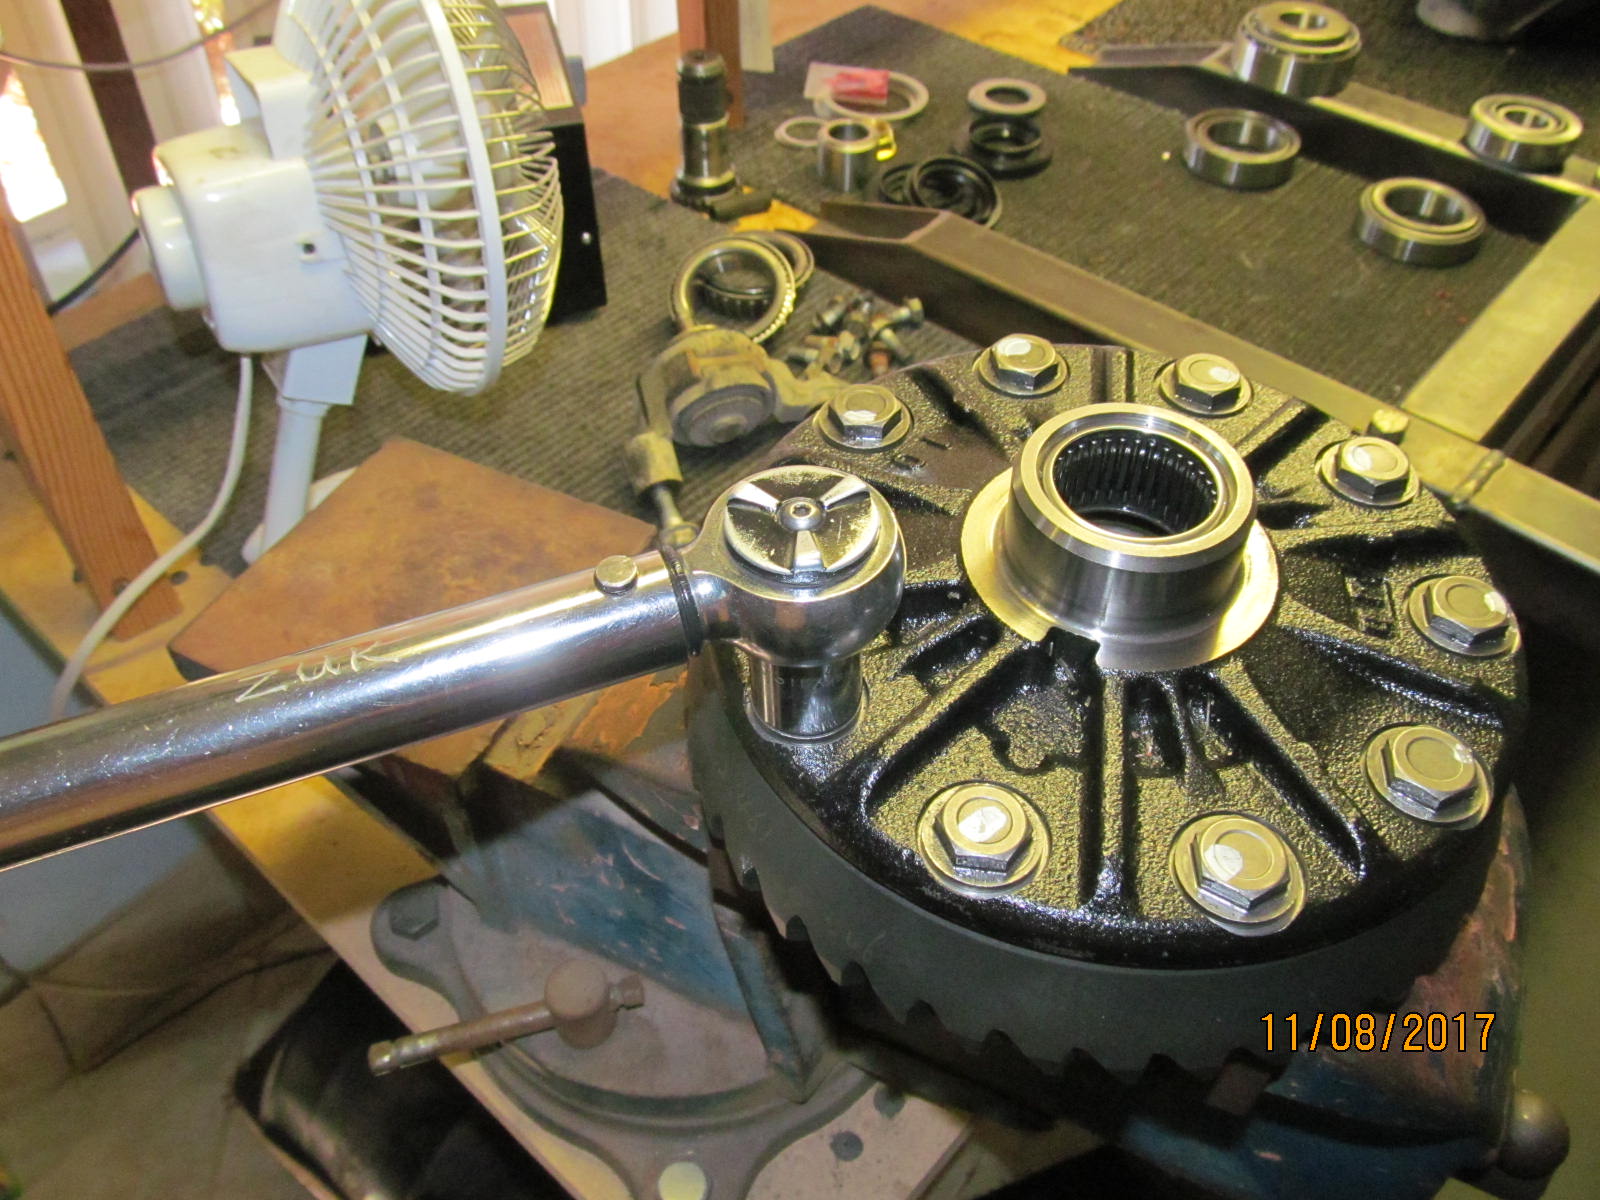
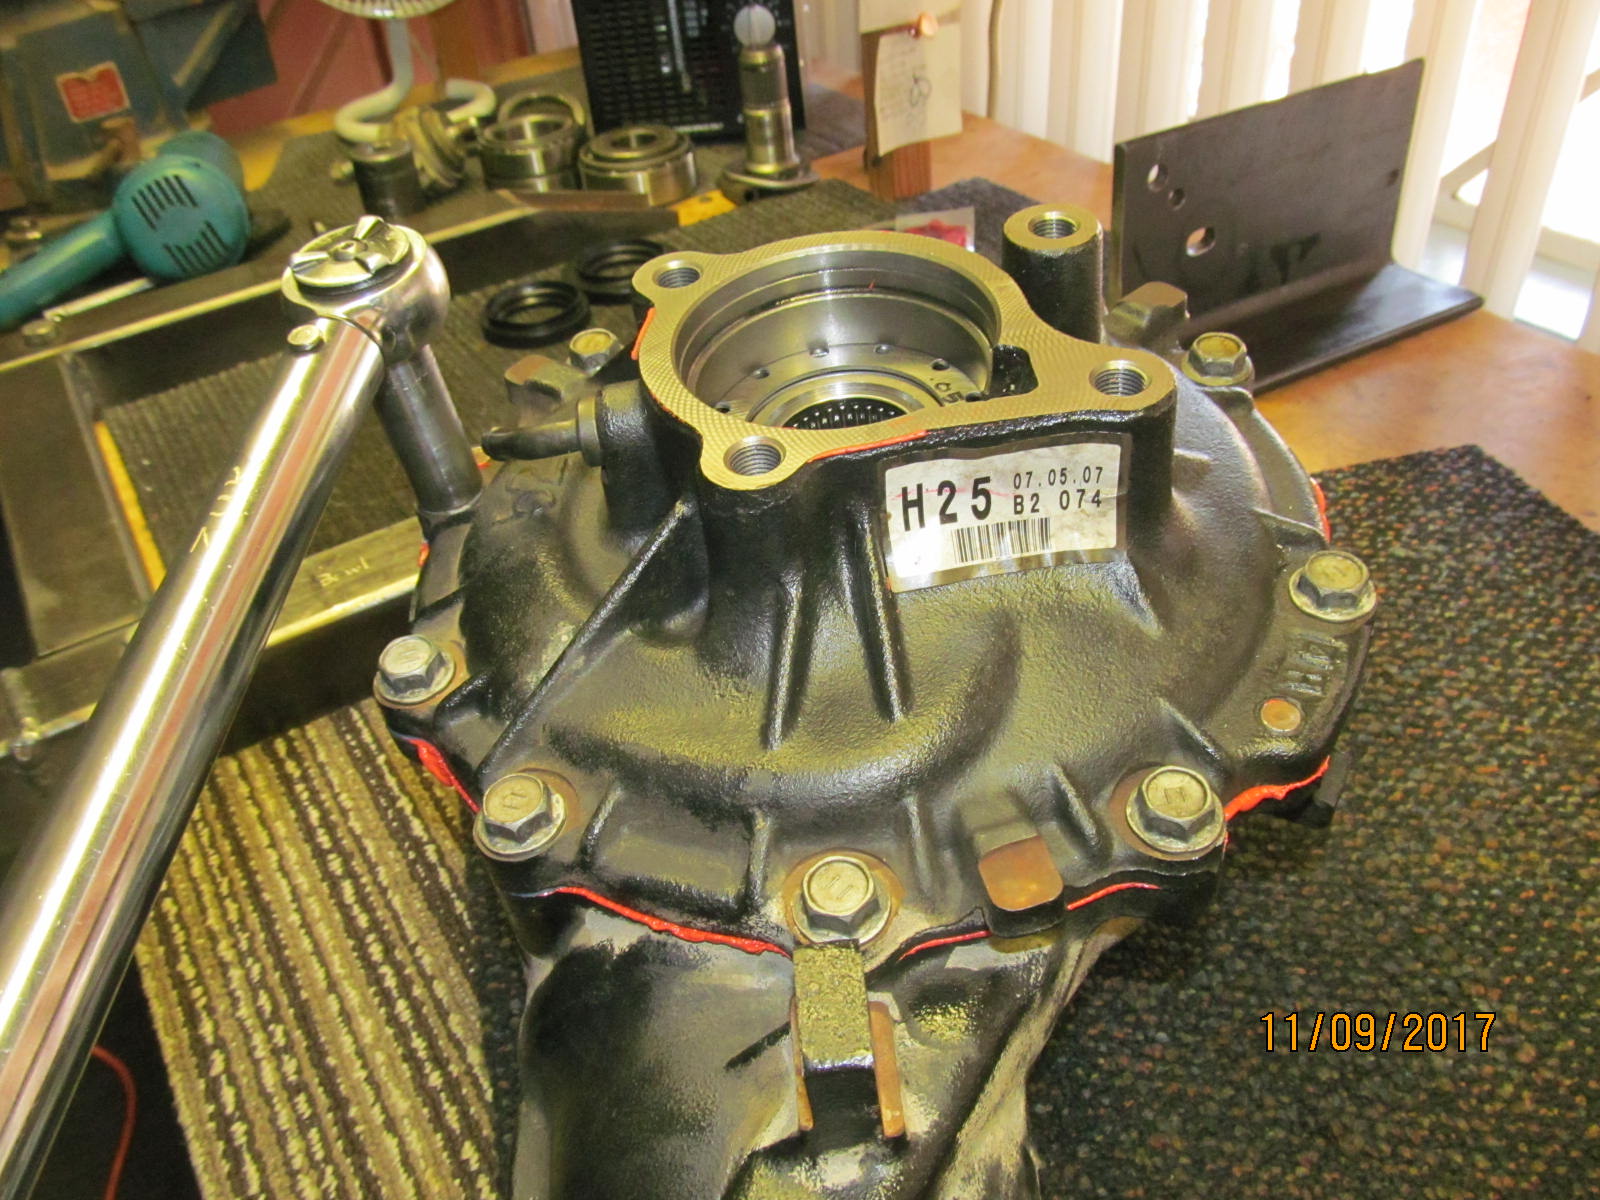
| 85 ft/lb per the FSM with blue loctite. |
|---|
|
|
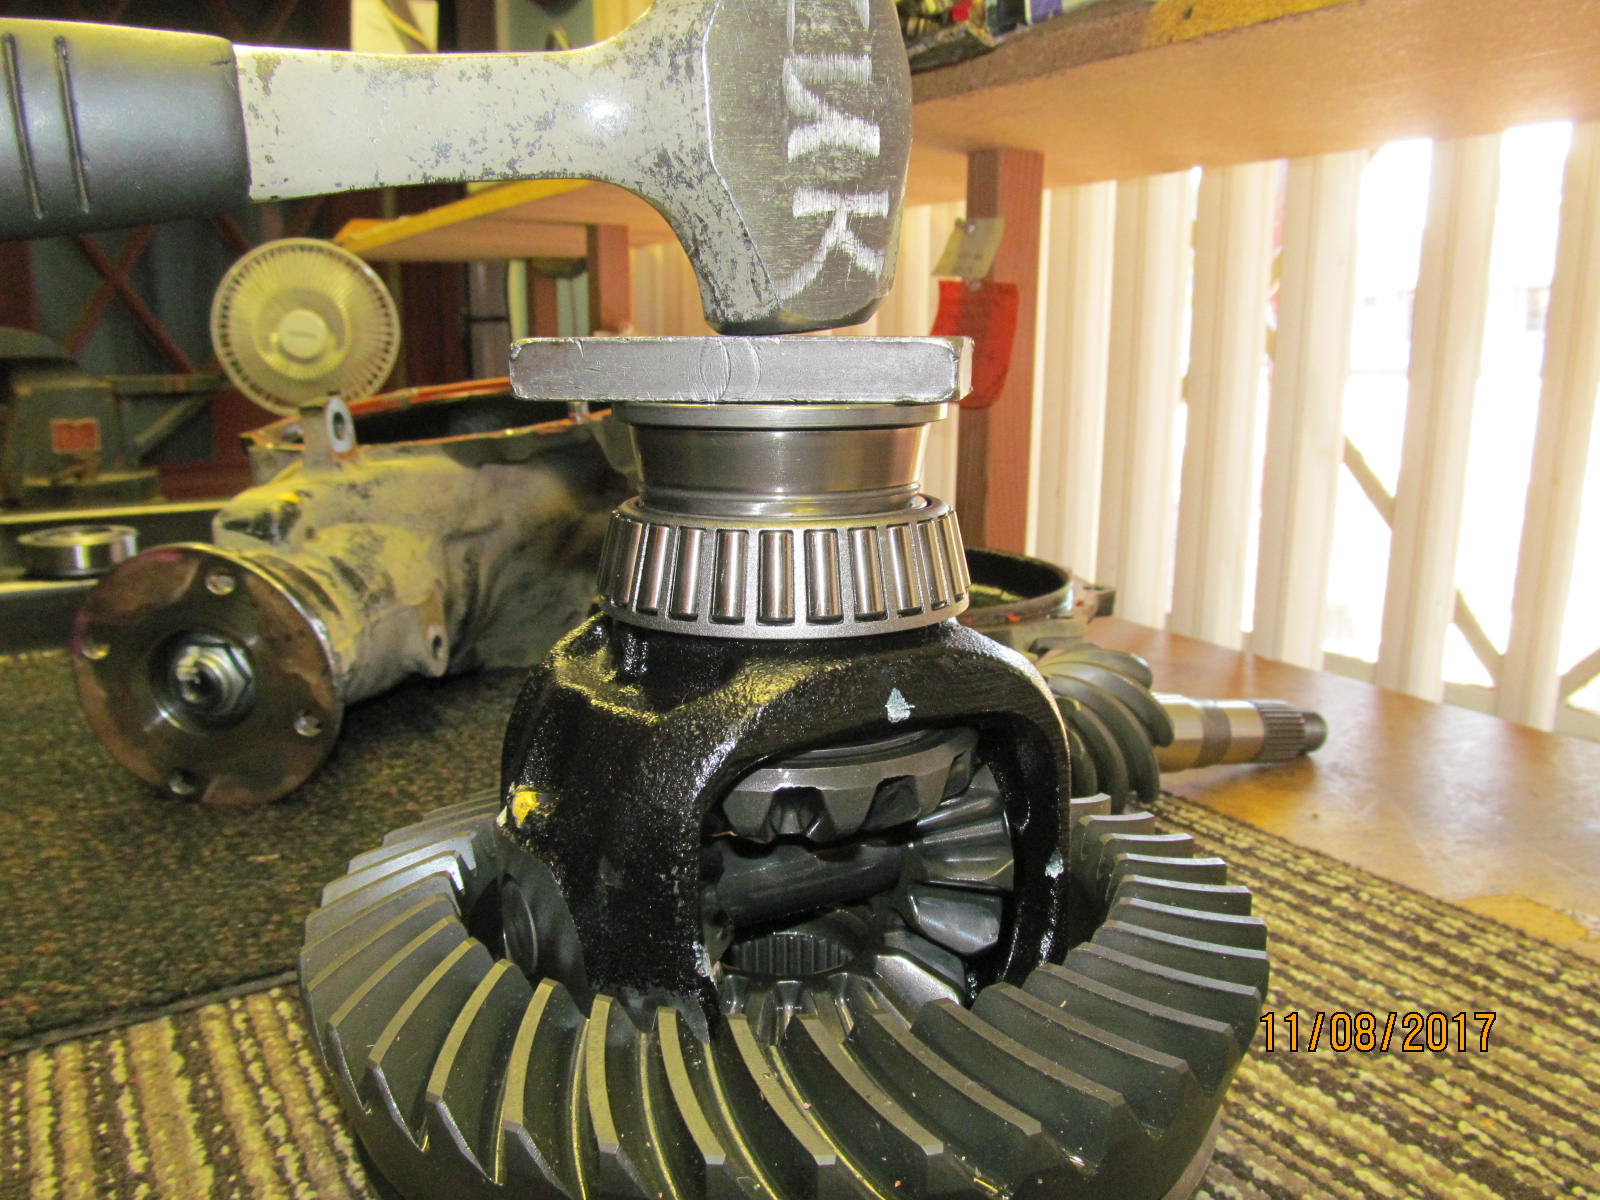
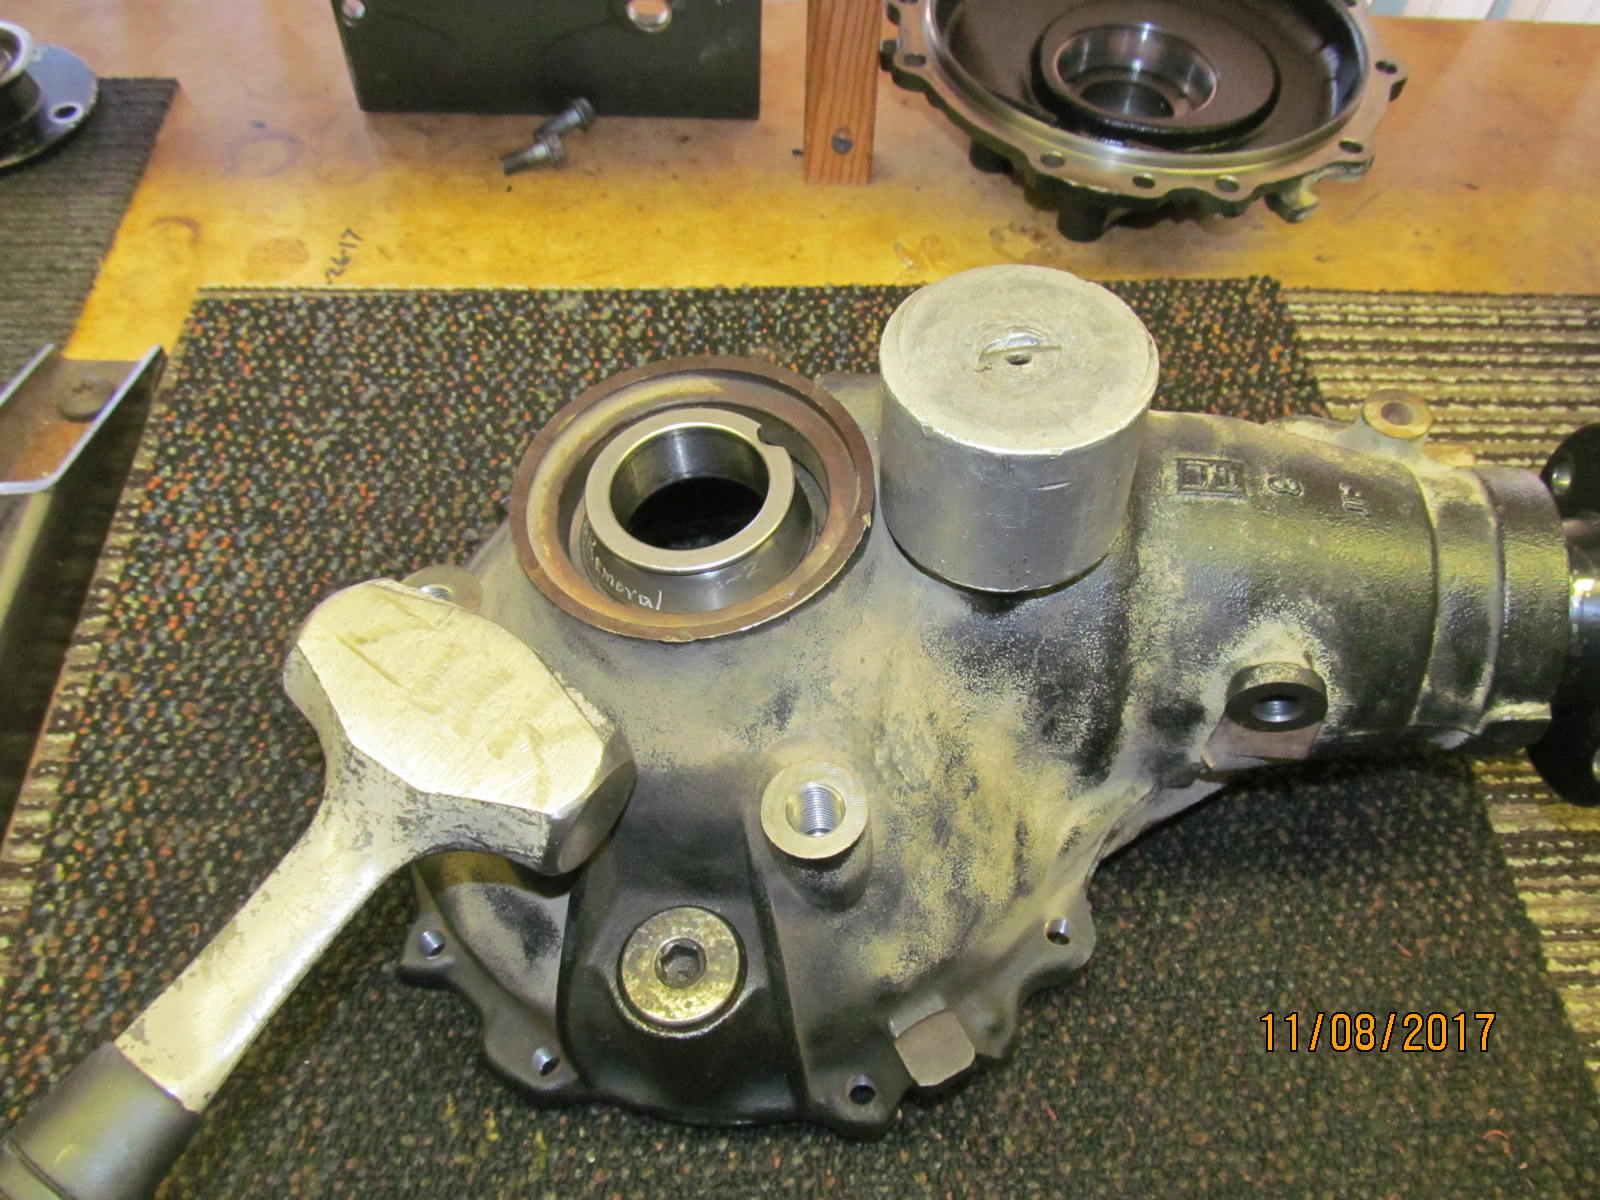
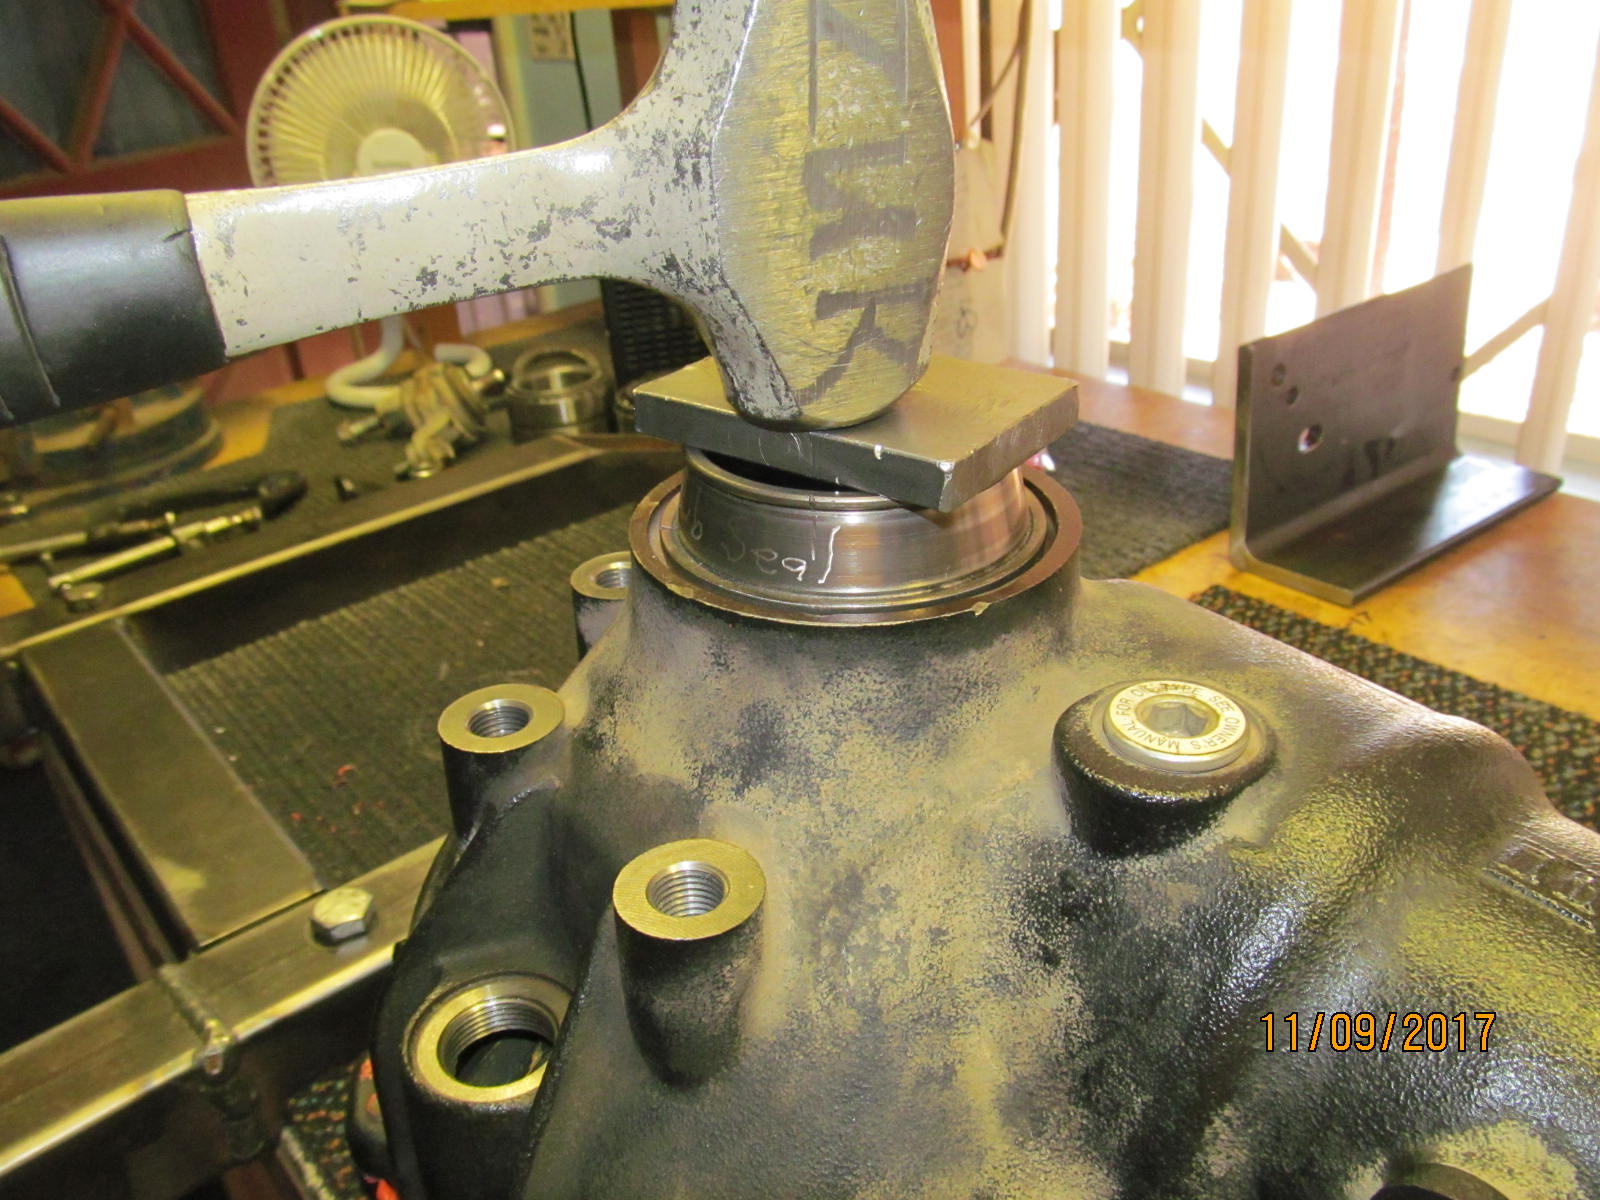
| New Koyo carrier bearings were really a tight fit but this hammer was up to the task. This end done. |
|---|
|

|
| Now onto the pinion end. Remove the flange. |
|---|
|
|
| Press the old 373 pinion out. |
|---|
|
|
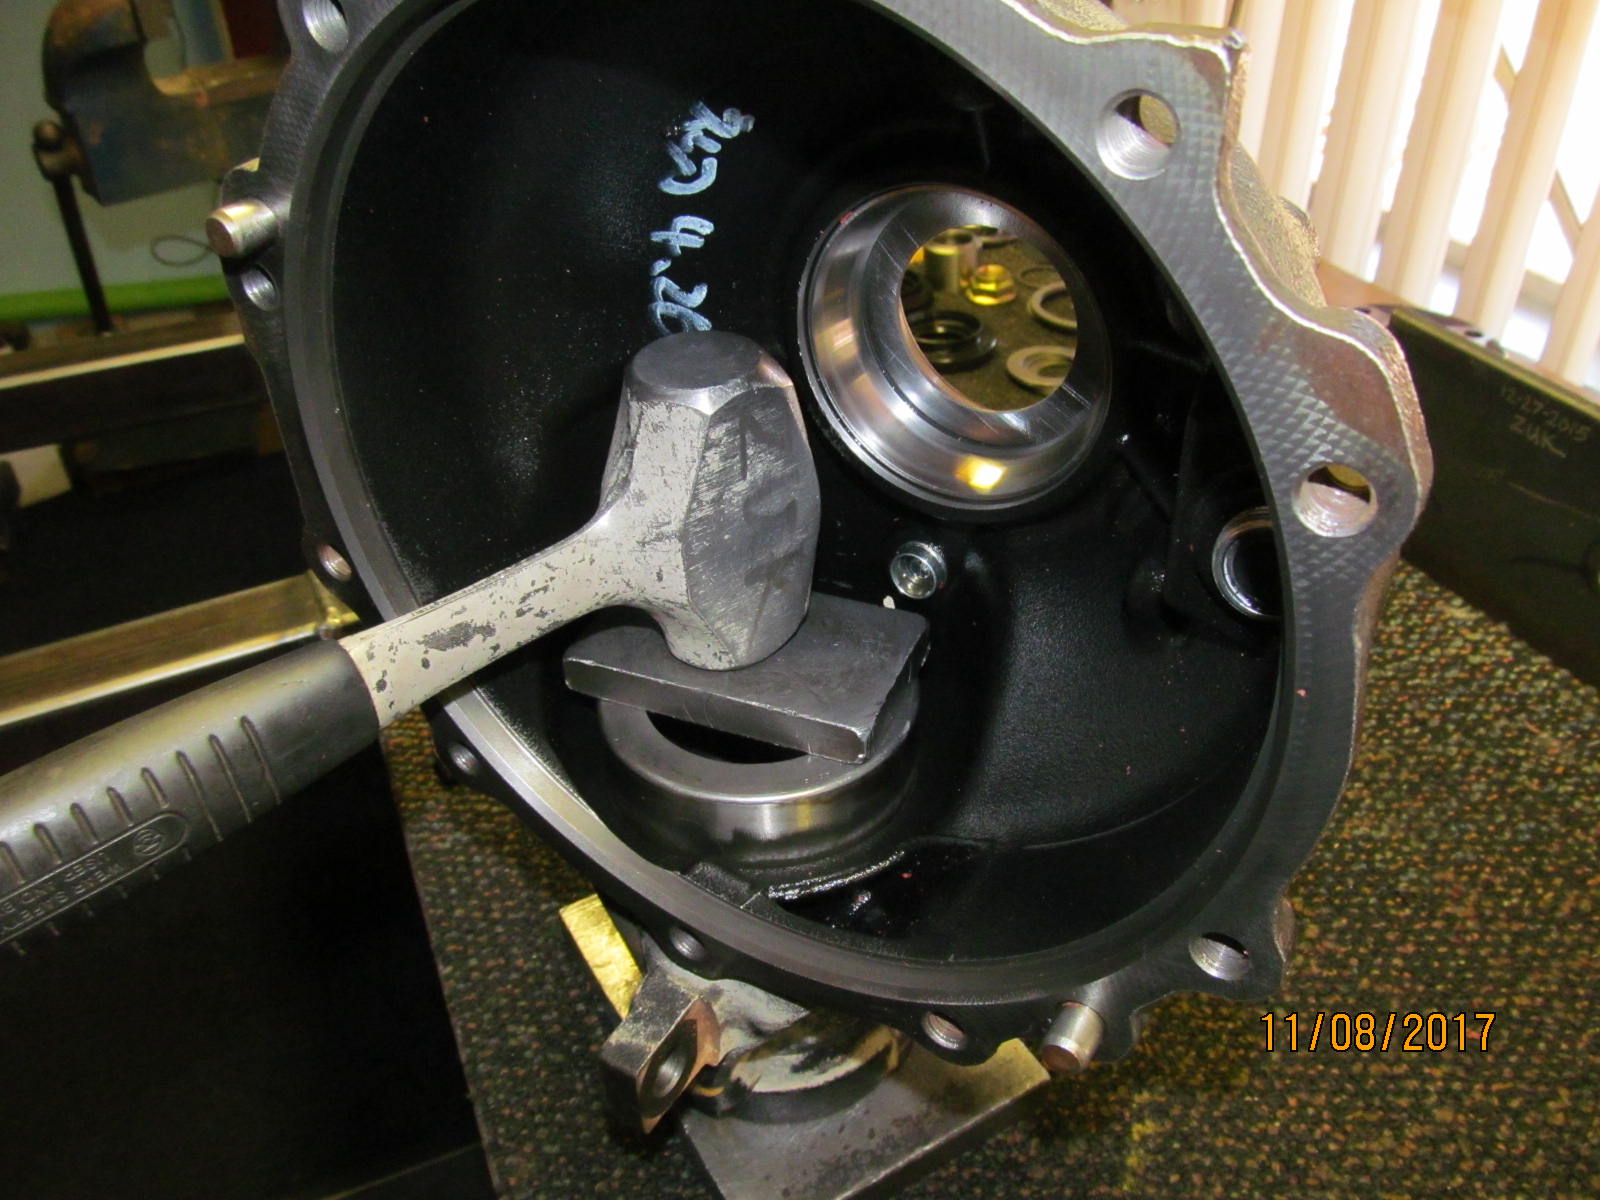
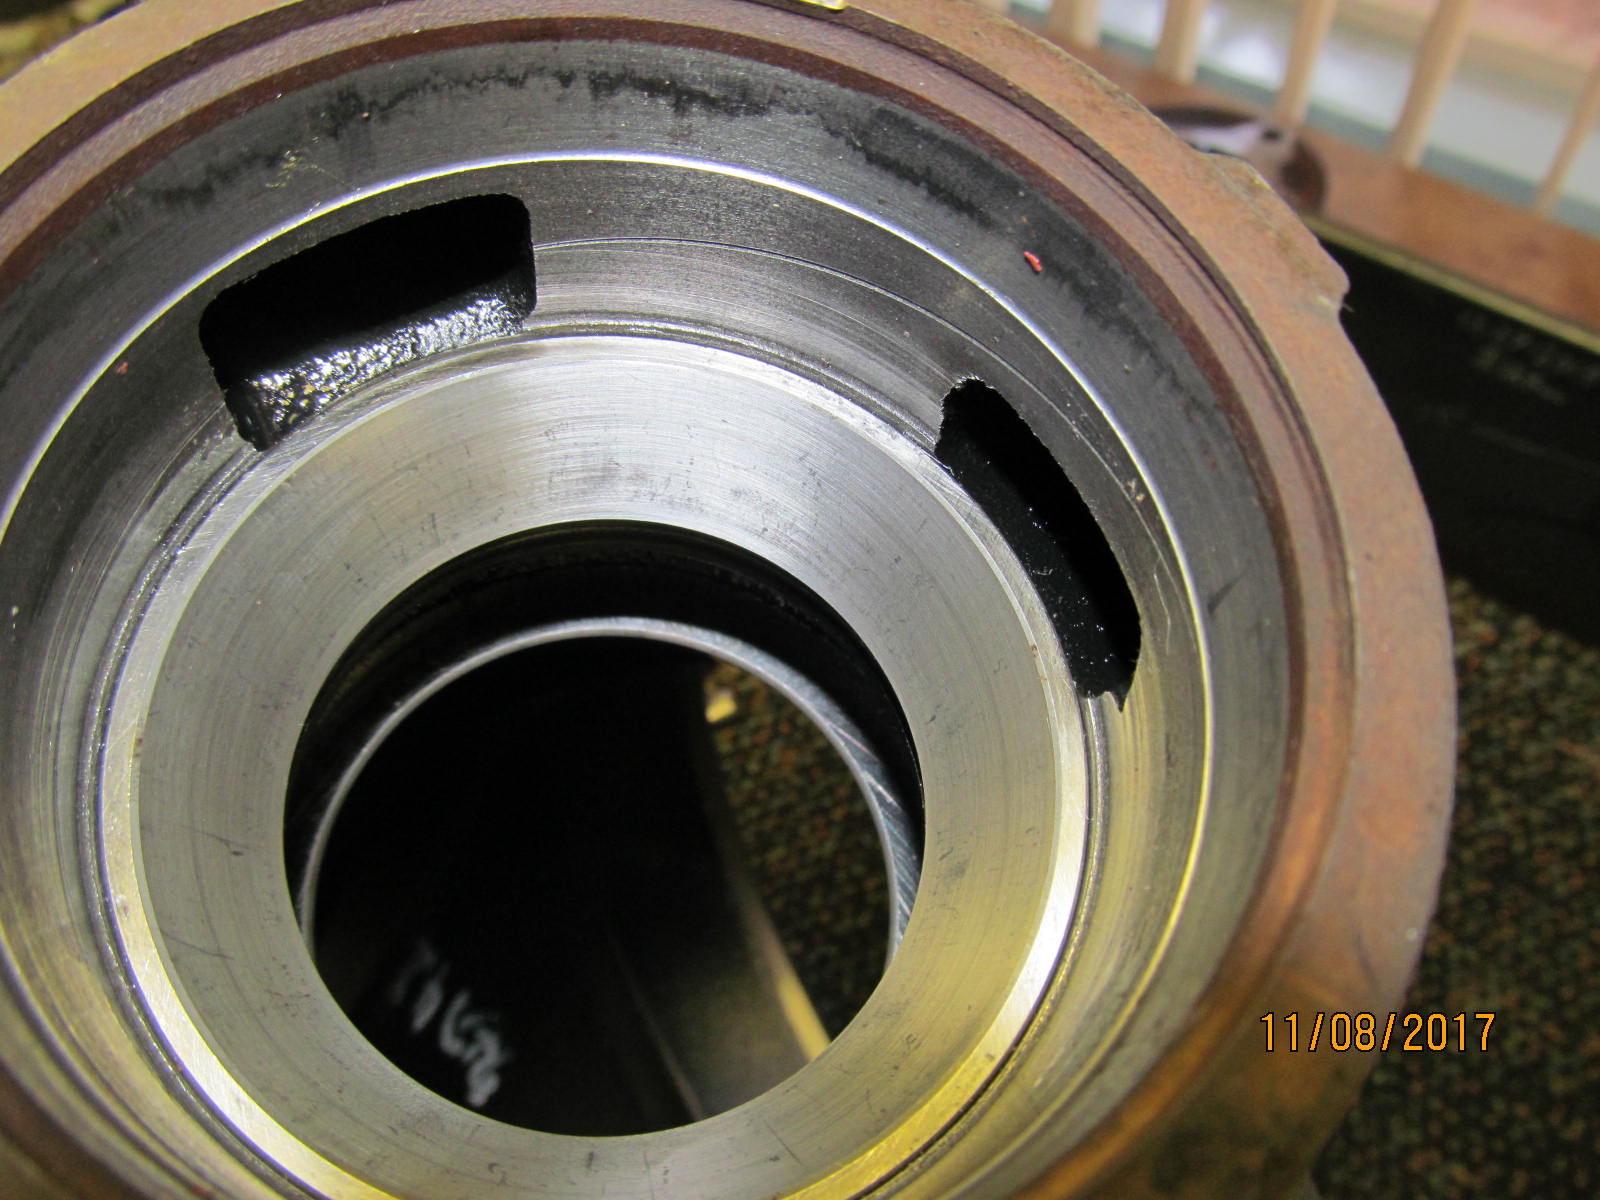
There is a special tool to pull the inner pinion race in place.
As far as I can tell, it's not needed.
I have no trouble using a stub hammer that fits in the limited space. |
|---|
|
|
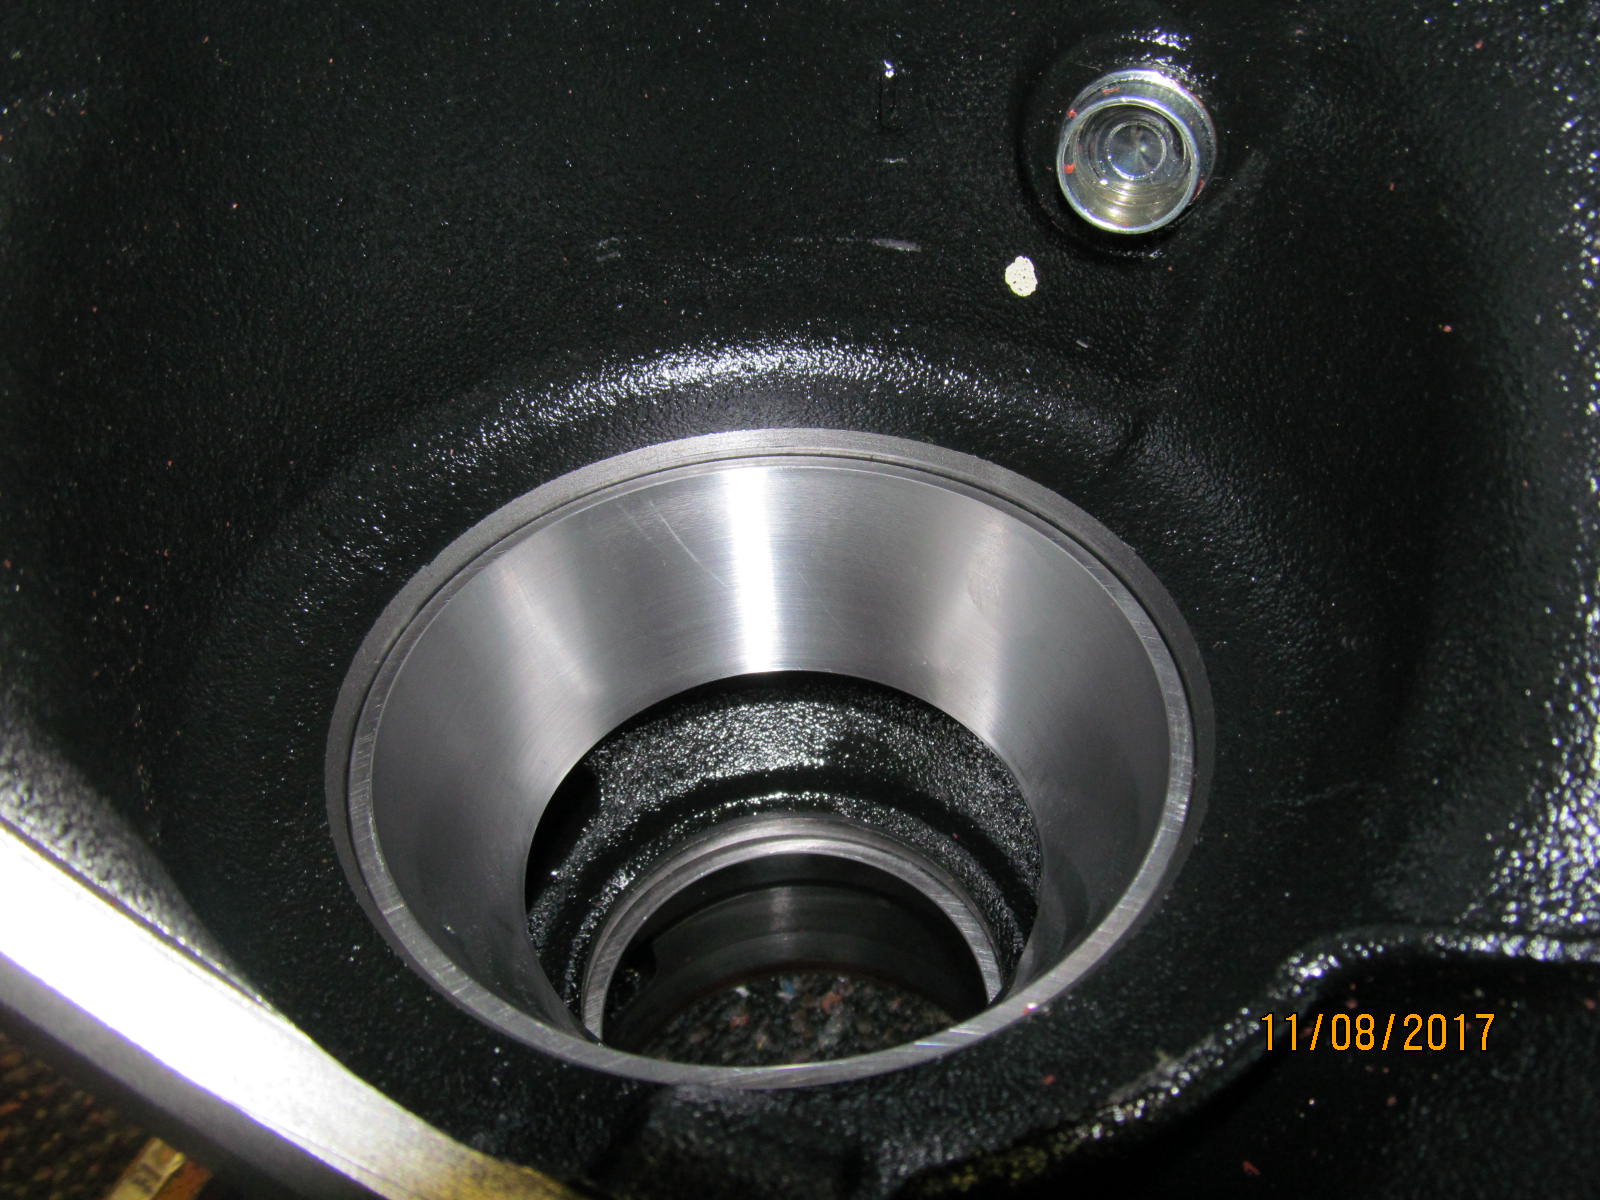
| Fully 100% seated down and no damage. |
|---|
|
|
| The outer race is even easier. |
|---|
|
|
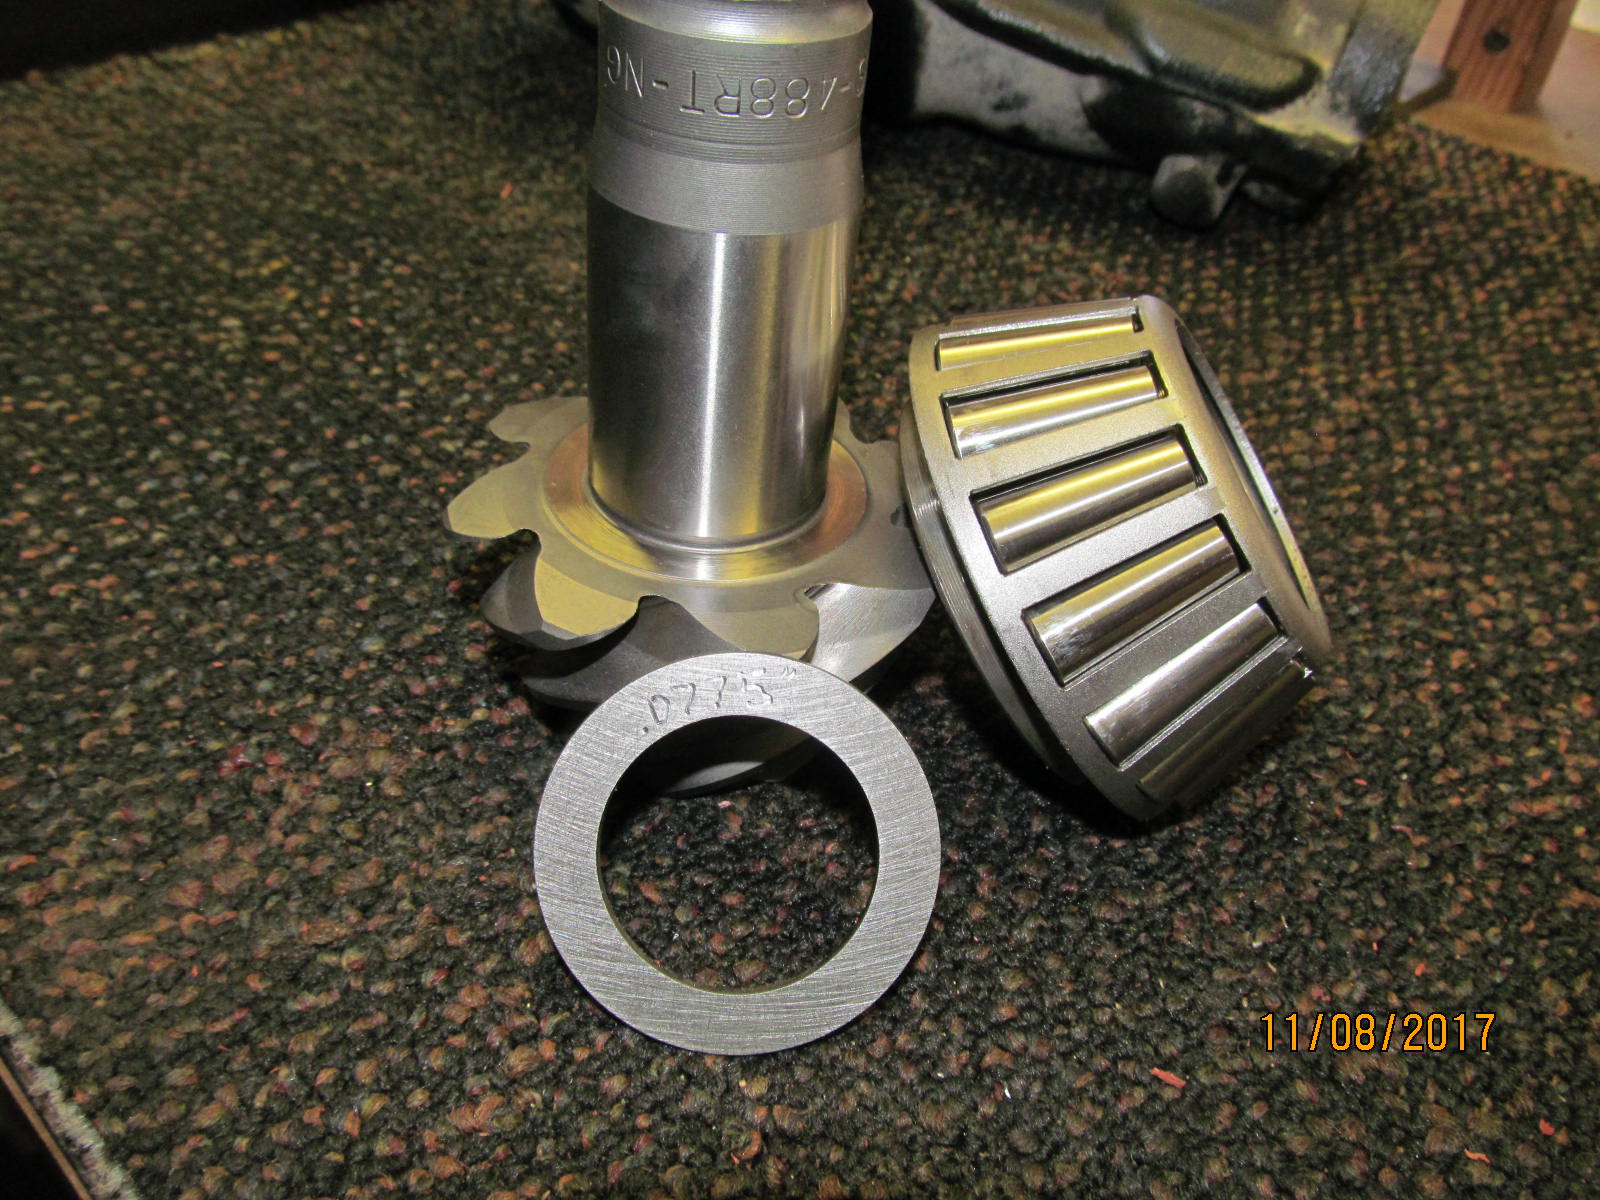
| Starting with a .0775" pinion shim on the new bearing. |
|---|
|
|
| Lots of gear oil on the pinion bearings and tighten the pinion nut only enough to get about 15 in/lb bearing preload. |
|---|
|
|
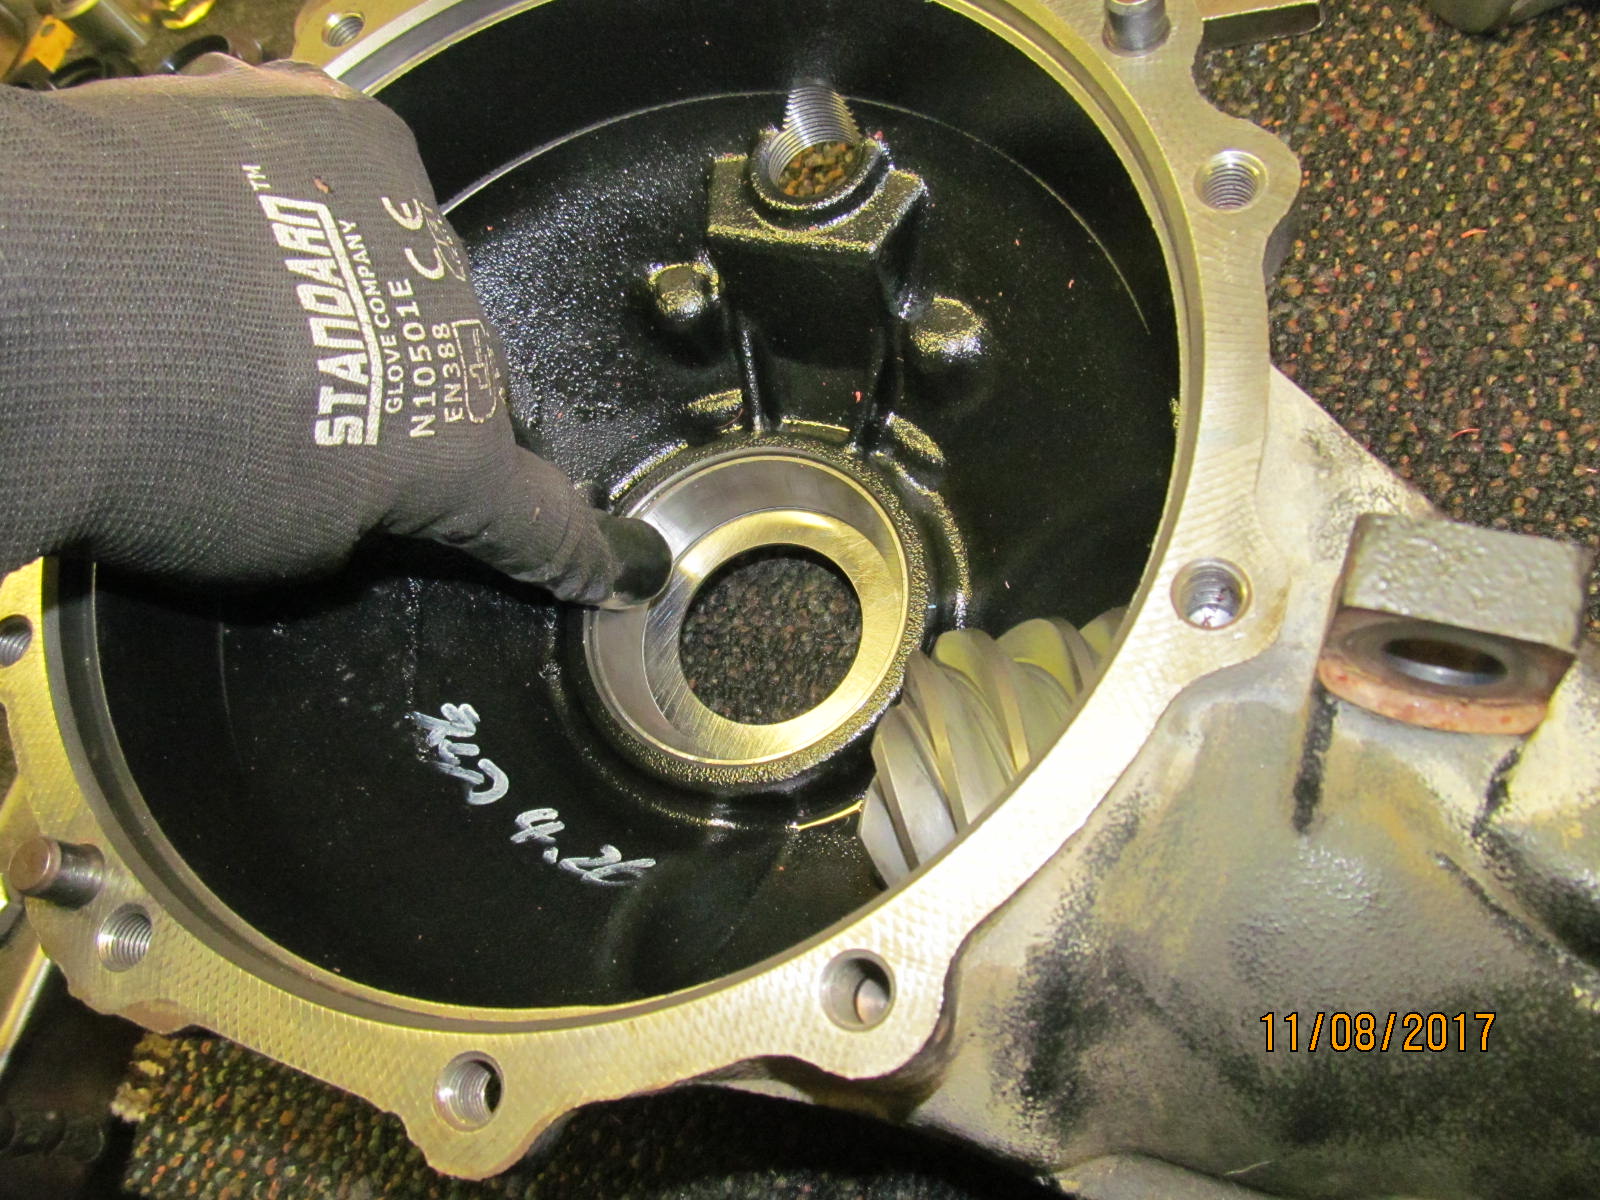
A quick way to determine if the backlash is even there....place the center carrier in and check for wiggle.
There was none here so can't run a paint test without backlash. |
|---|
|
|
| Using that just perfect scrap bearing part.... |
|---|
|
|
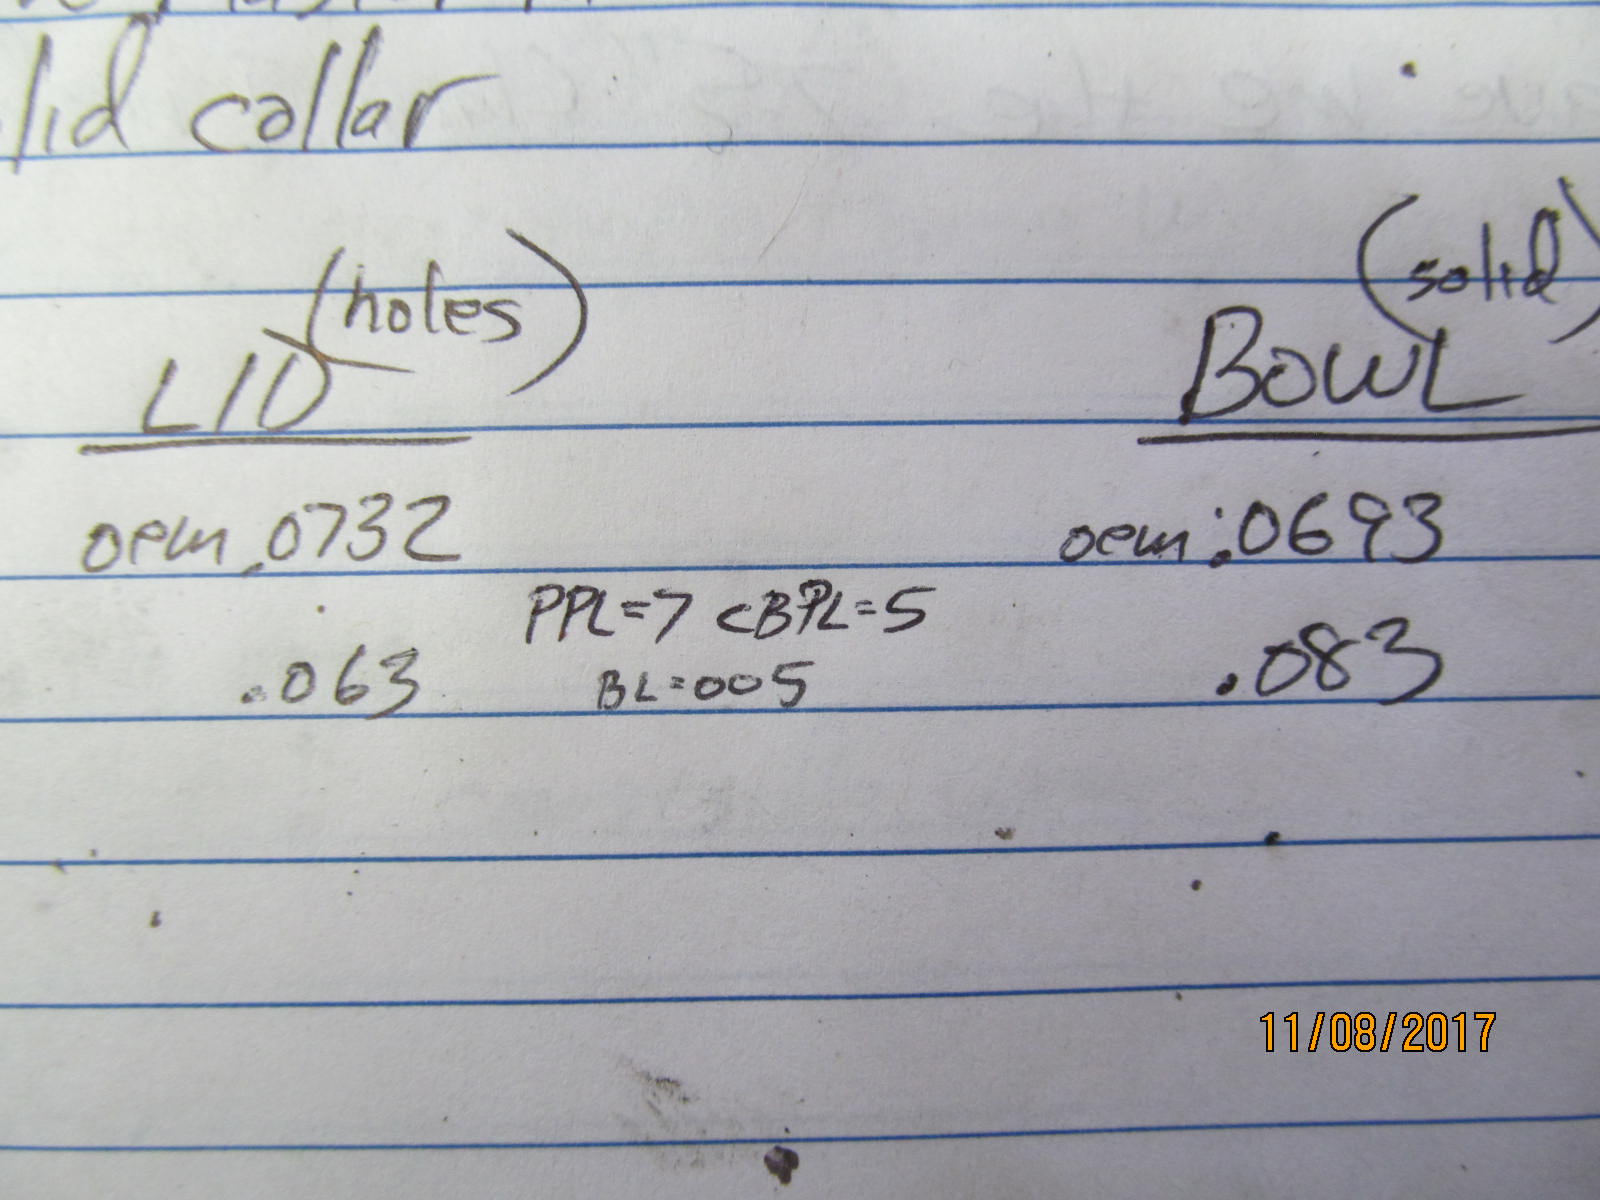
....Tap out the washer plate from the "bowl" and in my case here, went from a thin .069" to a .083".
And change out the washer plate on the lid side also.
Without a good washer plate selection, this can become a frustrating task.
Fortunately, I have a near full selection :) |
|---|
|
|
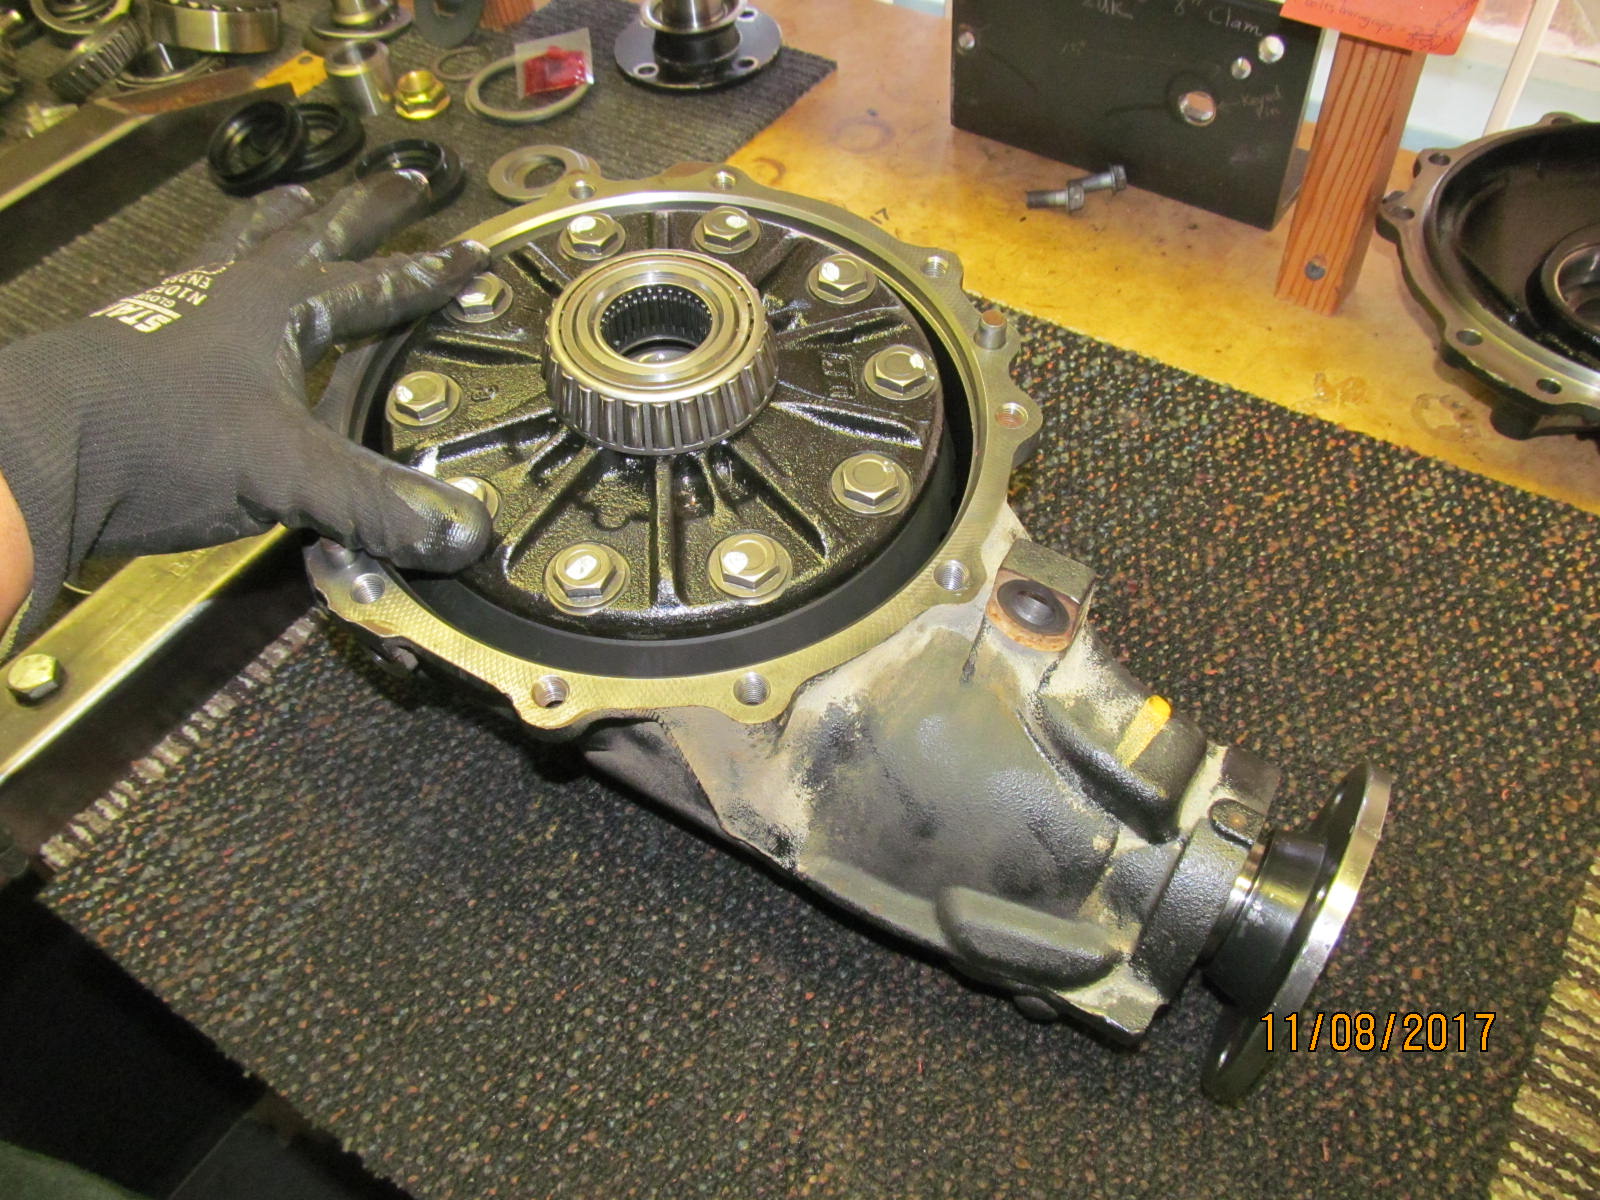
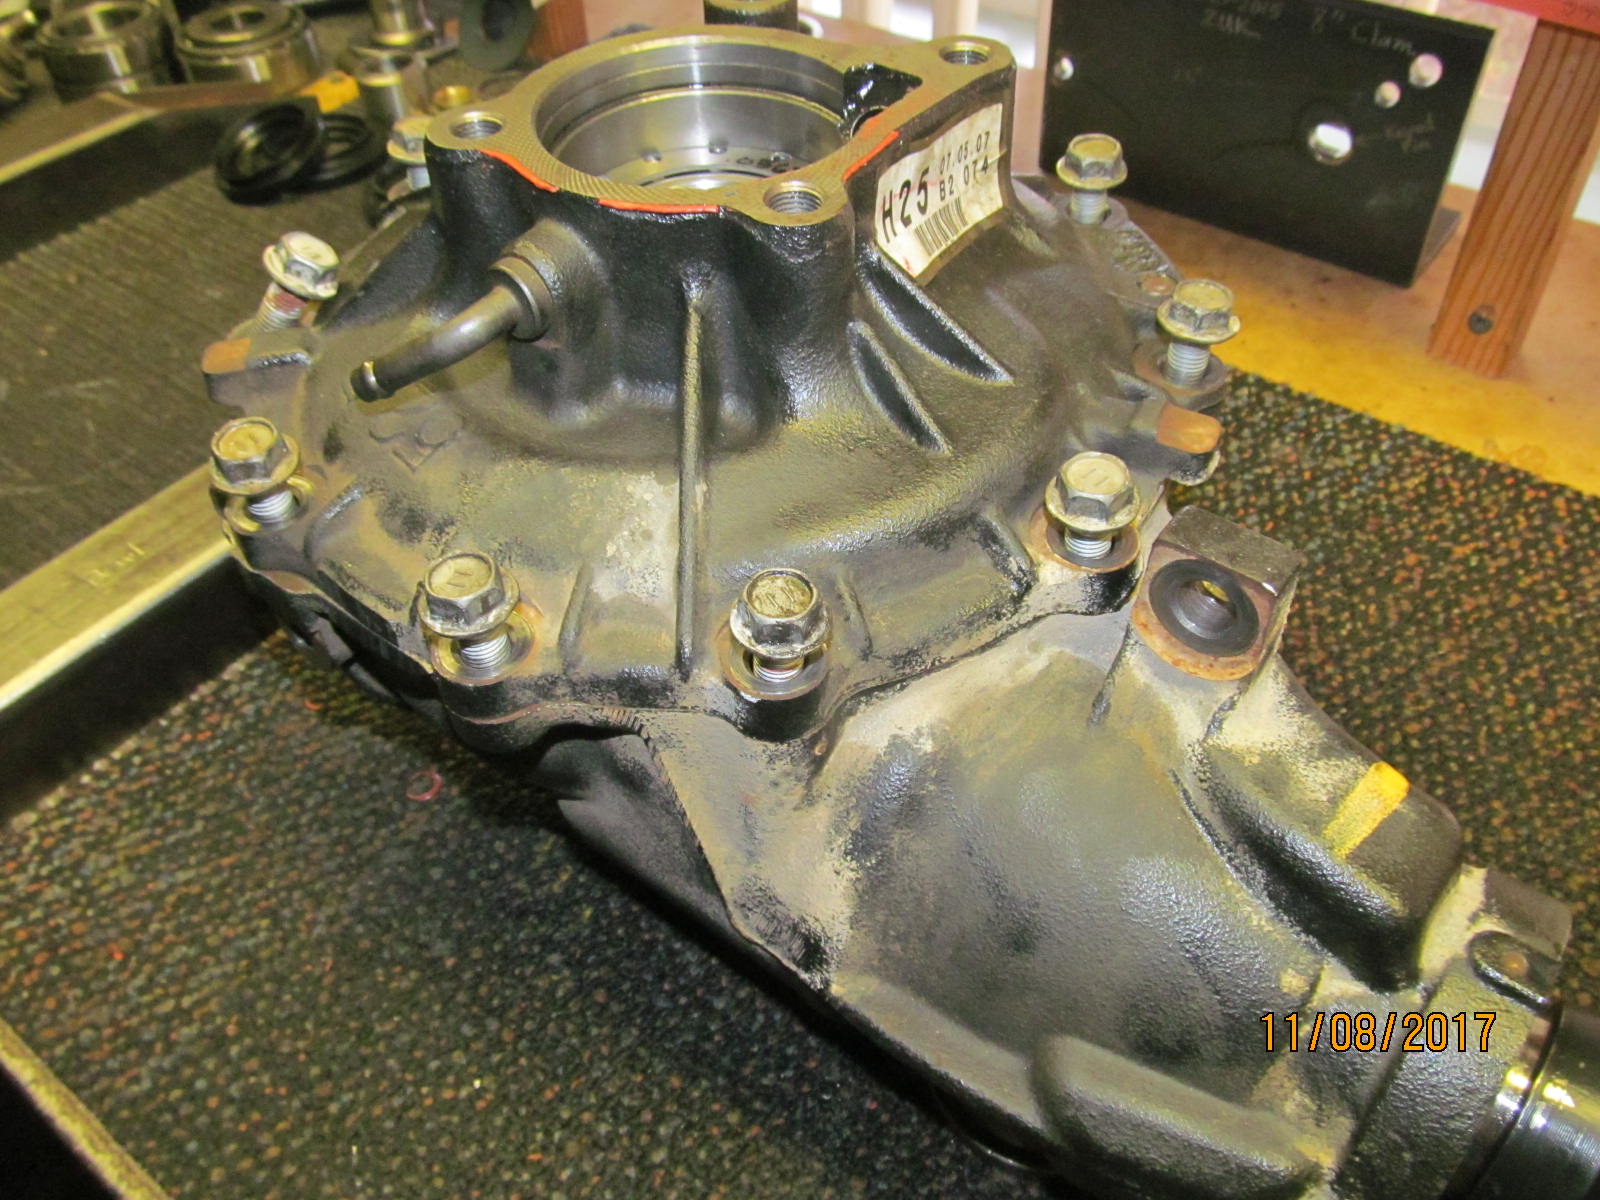
| Bolt it all back together. |
|---|
|

|
| So, with the lid bolted down....at least some carrier bearing preload....at least some backlash values in the ball park.... |
|---|
|
|
I got lucky...only had to change the washer plate on each side only once to get a preload of about 5 in/lb and have a snug backlash of .005".
This is good enough for a paint test. |
|---|
|
|
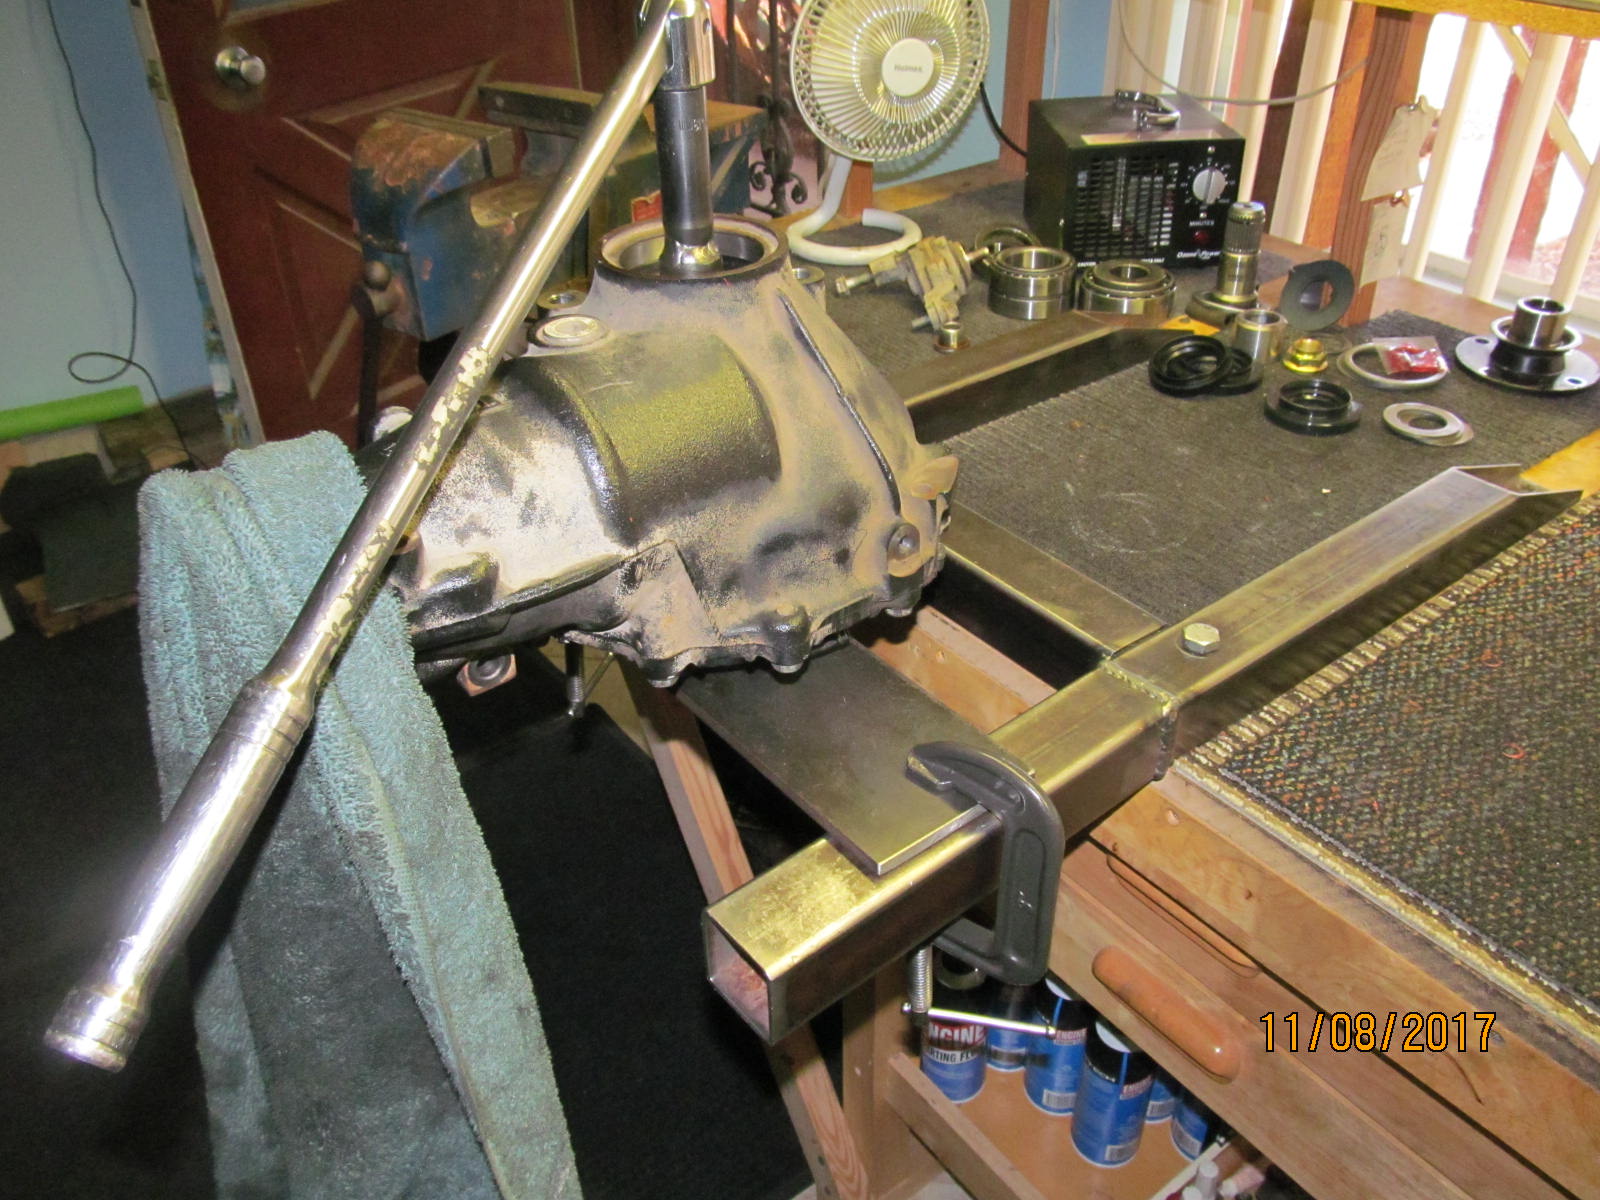
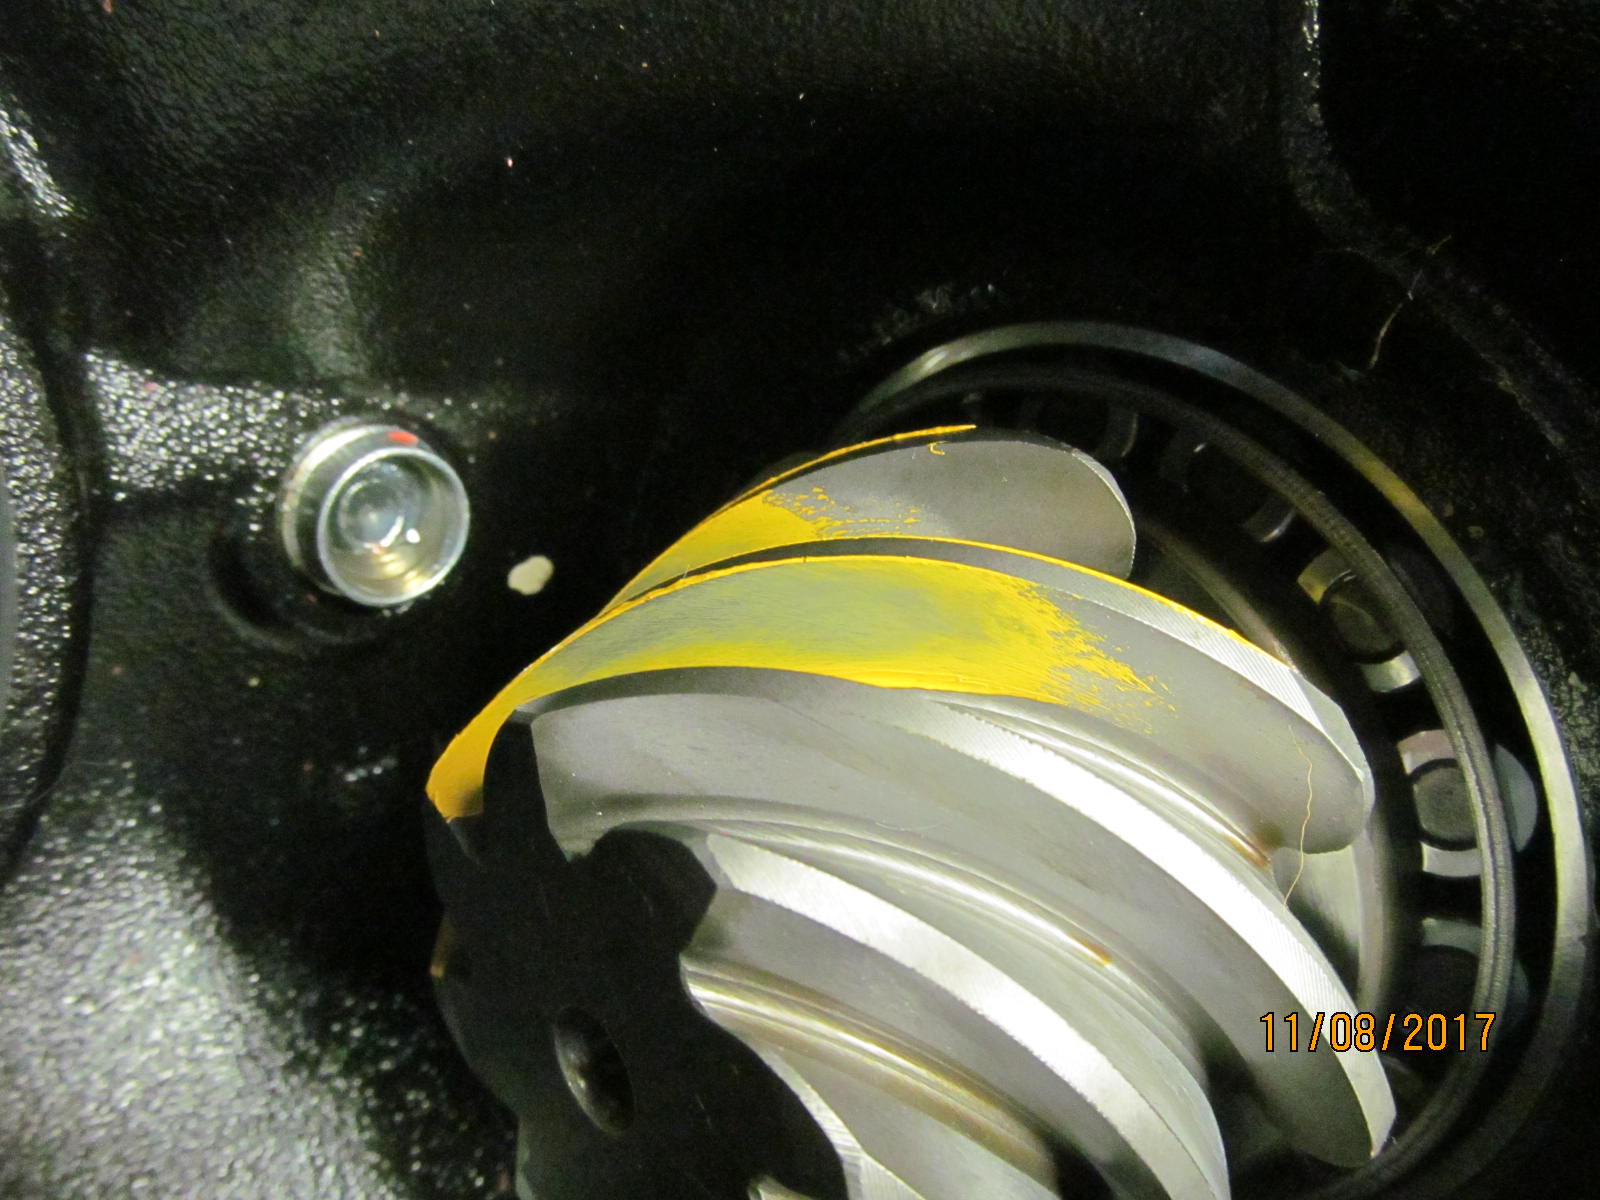
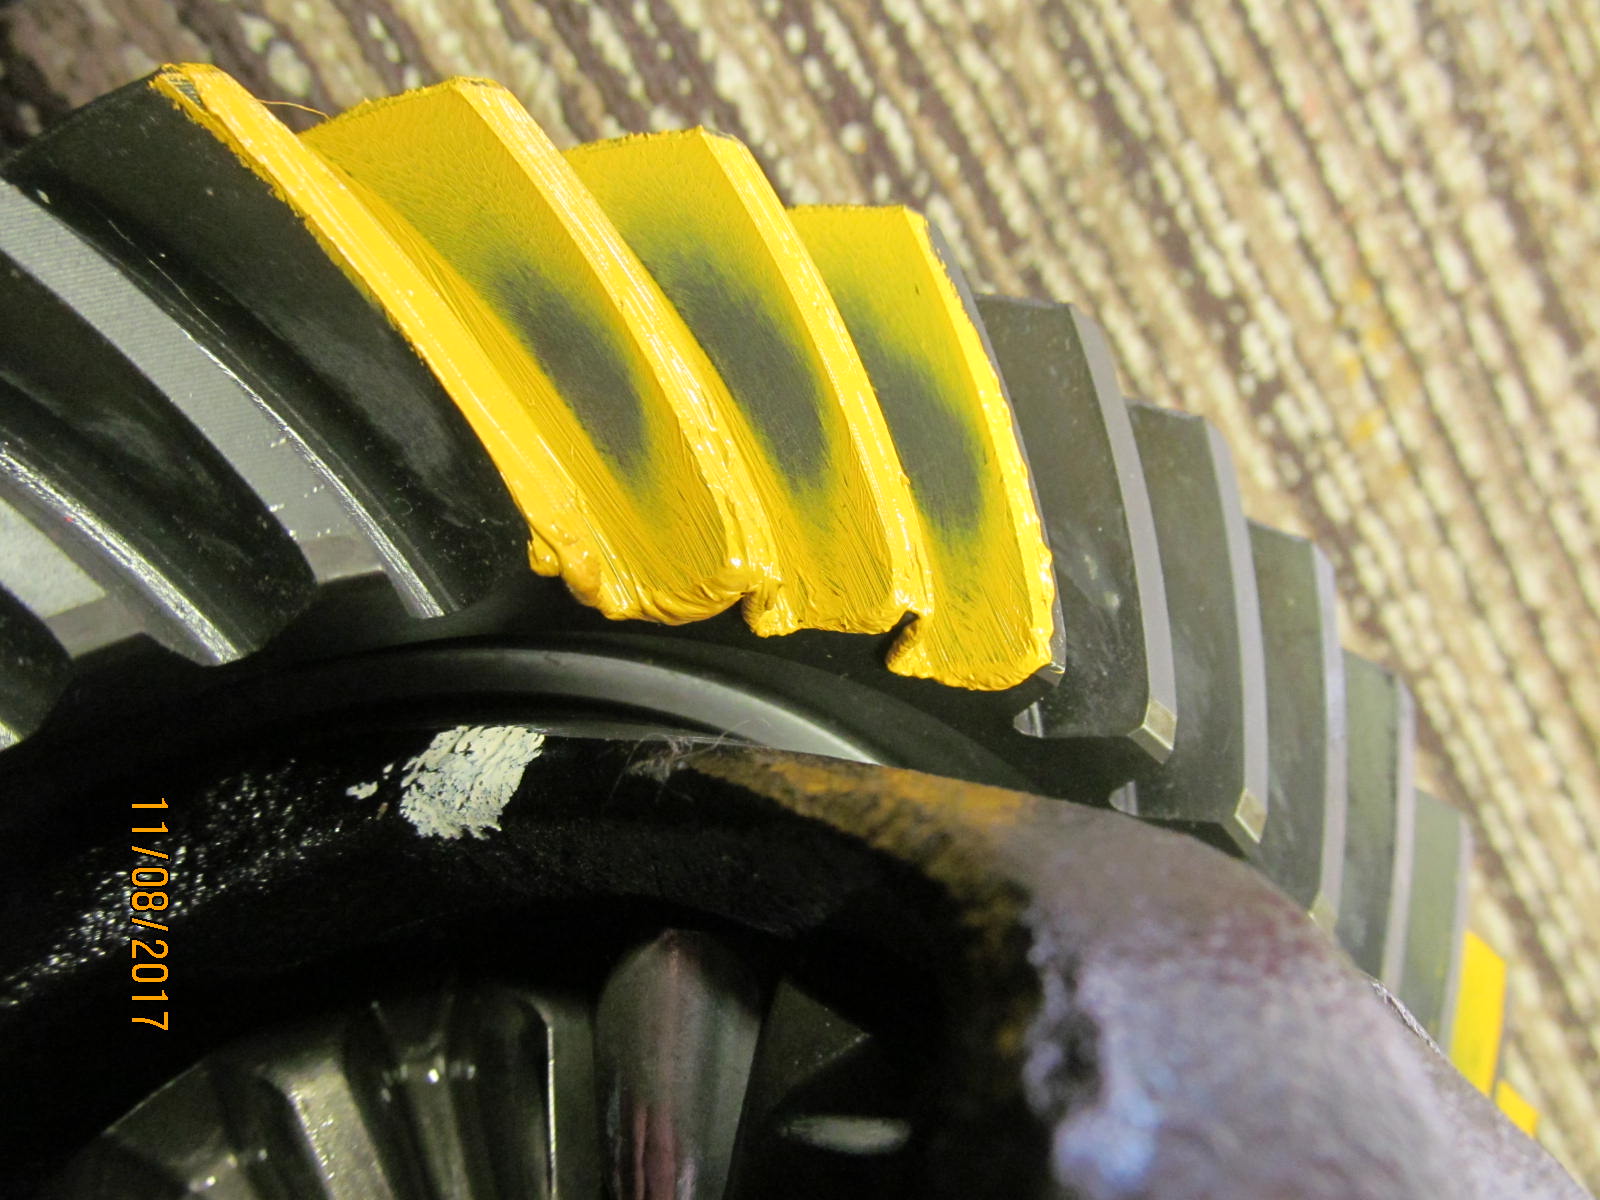
| I already had painted 3 teeth ahead of time, and now, to offer resistance on the pinion flange while turning the sidegear with a cheater bar. |
|---|
|

|
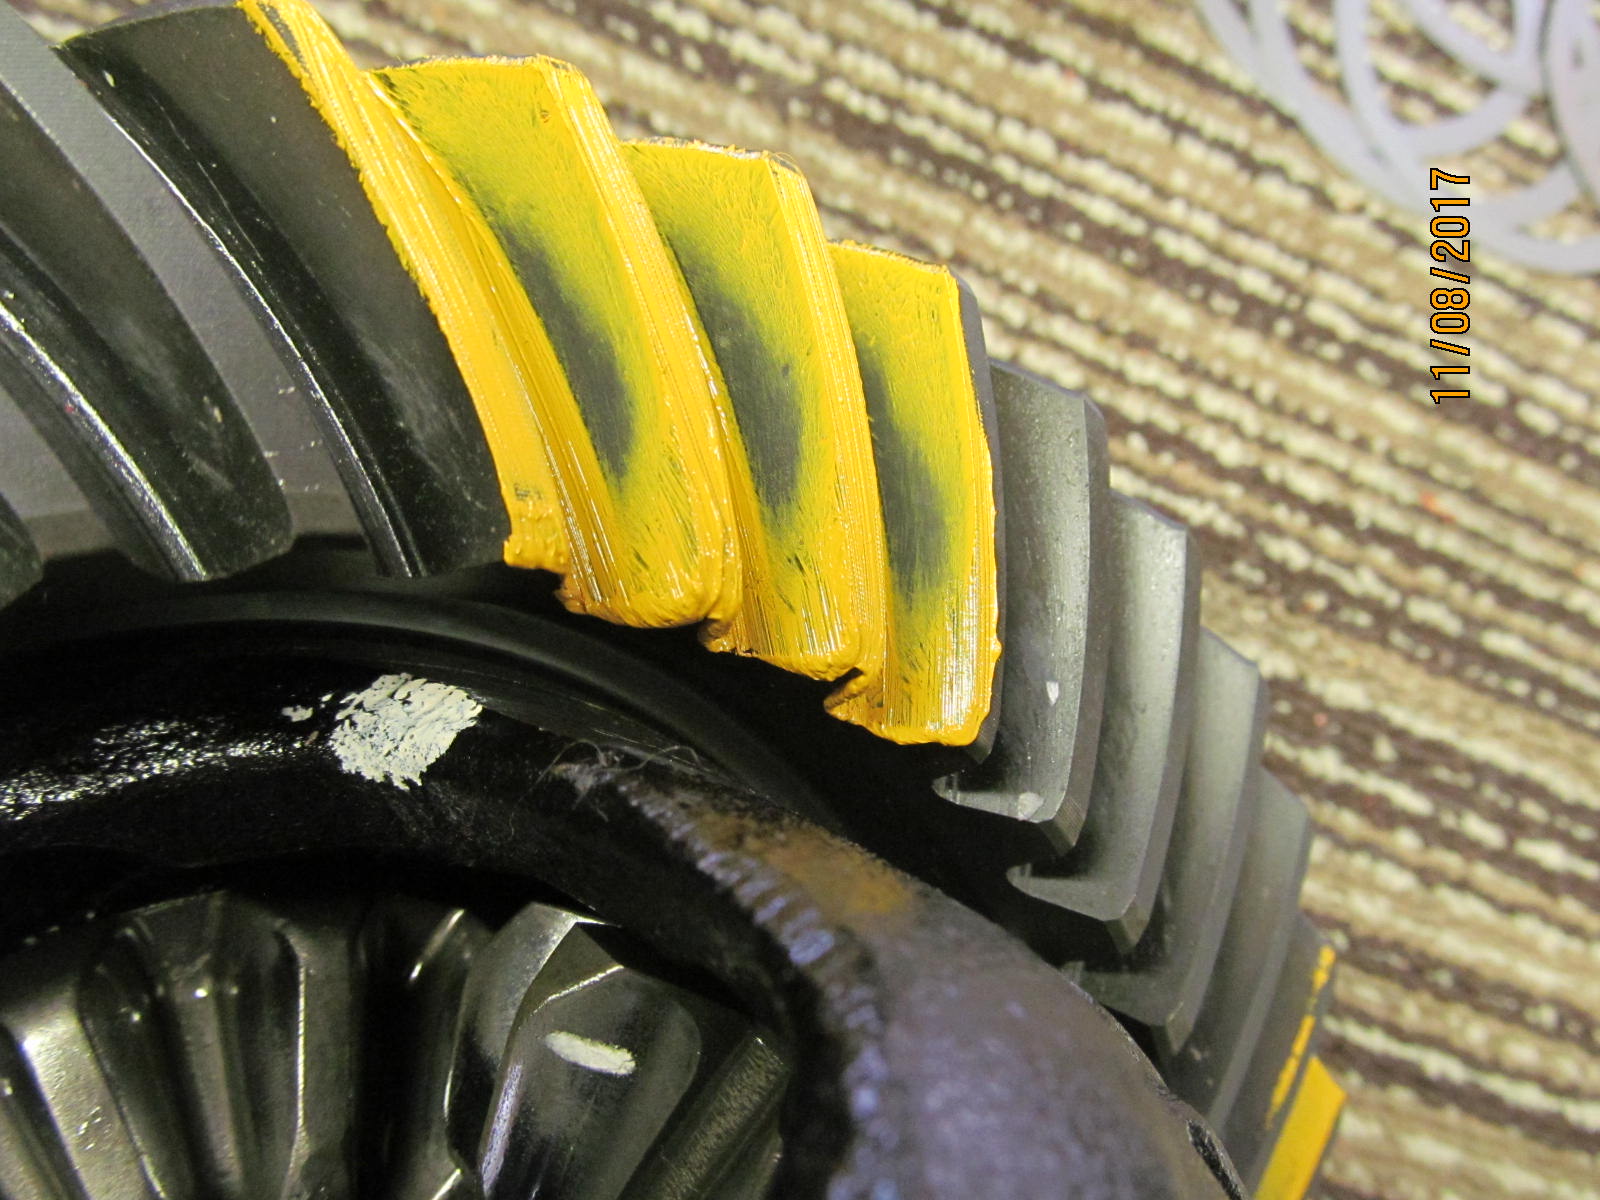
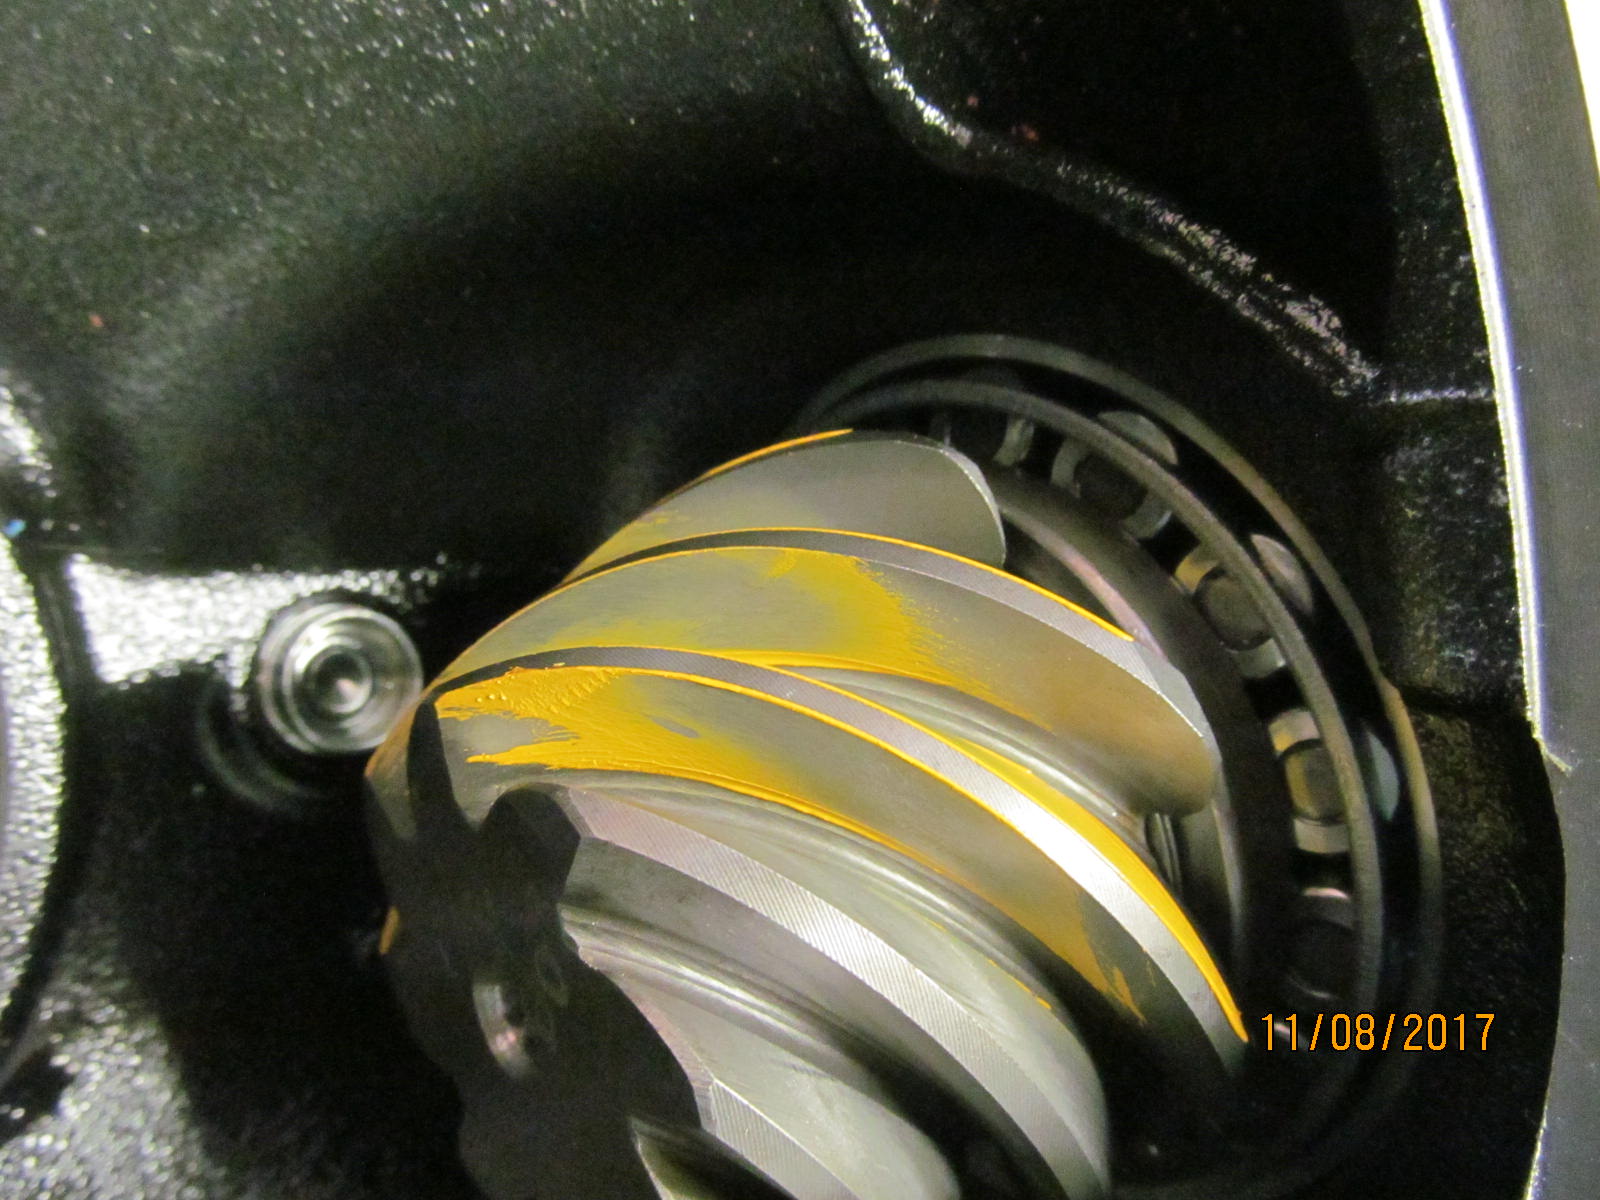
This gives me enough contact resistance to get an easy to read paint.
Here's the drive side and it's a bit too deep.....centered but deep. |
|---|
|
|
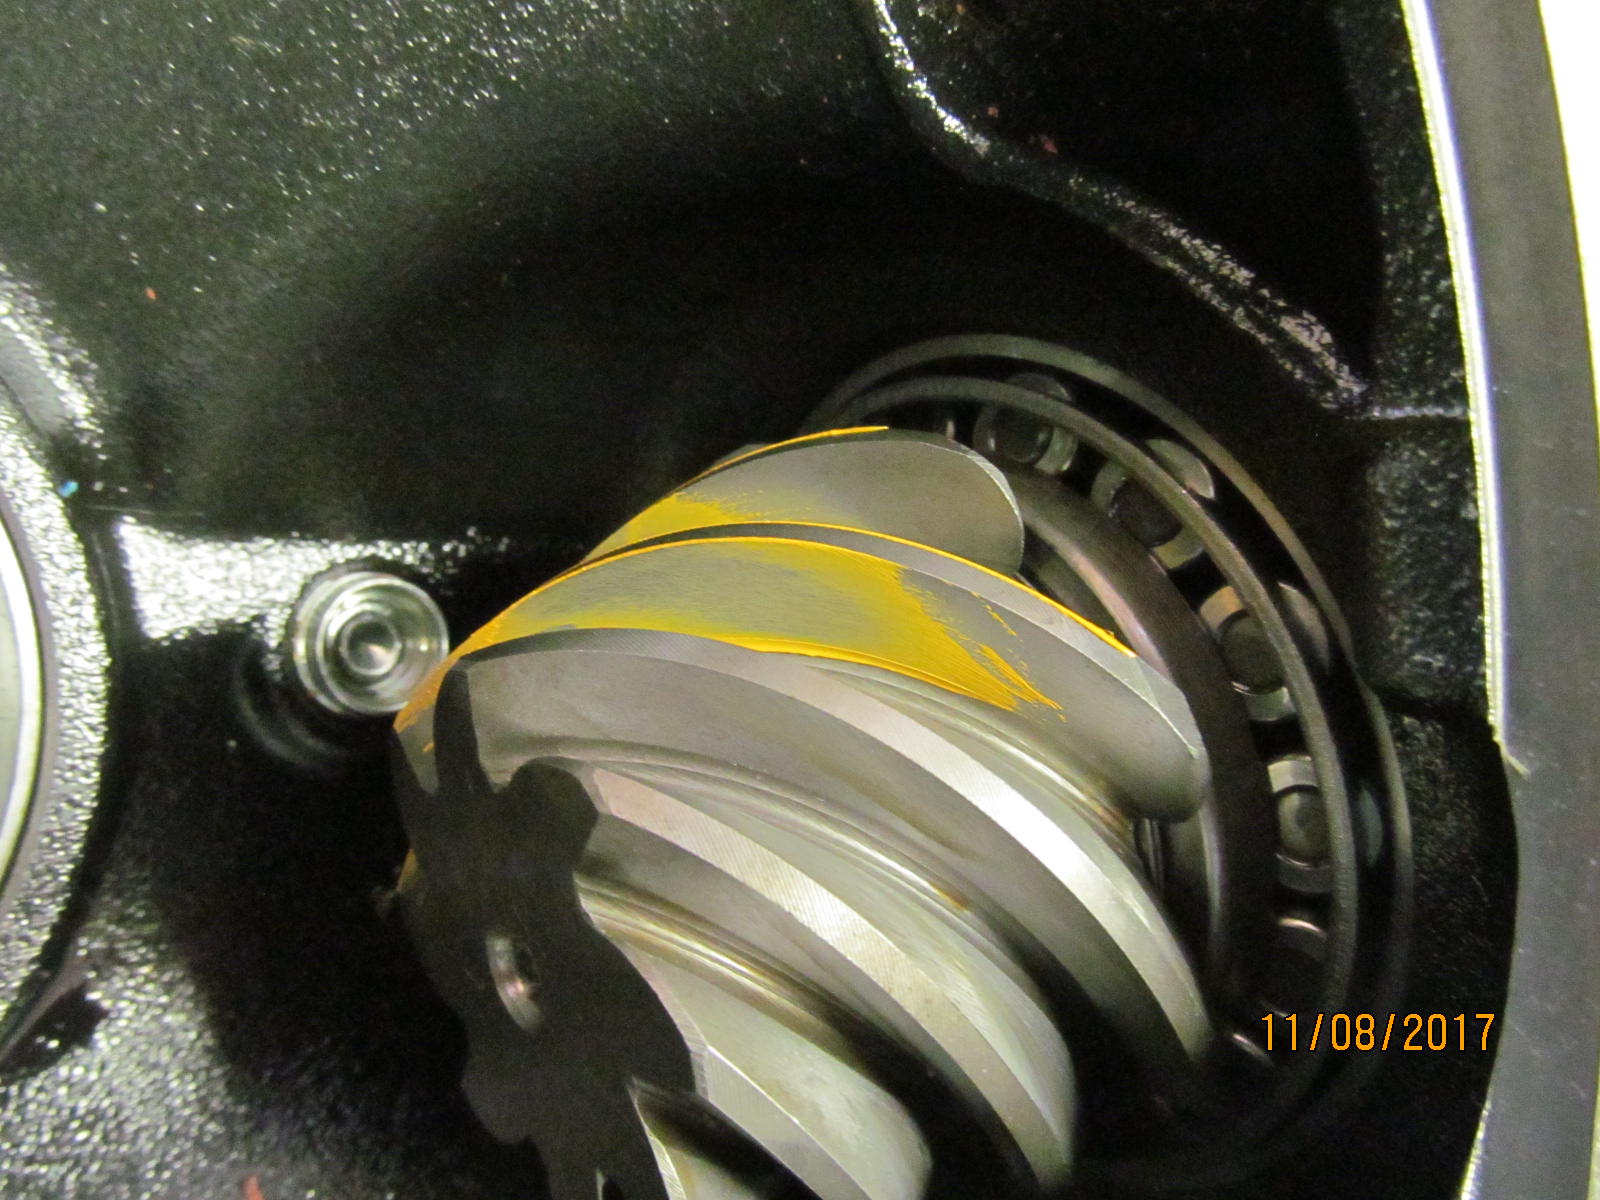
| The coast appears too deep also. |
|---|
|
|
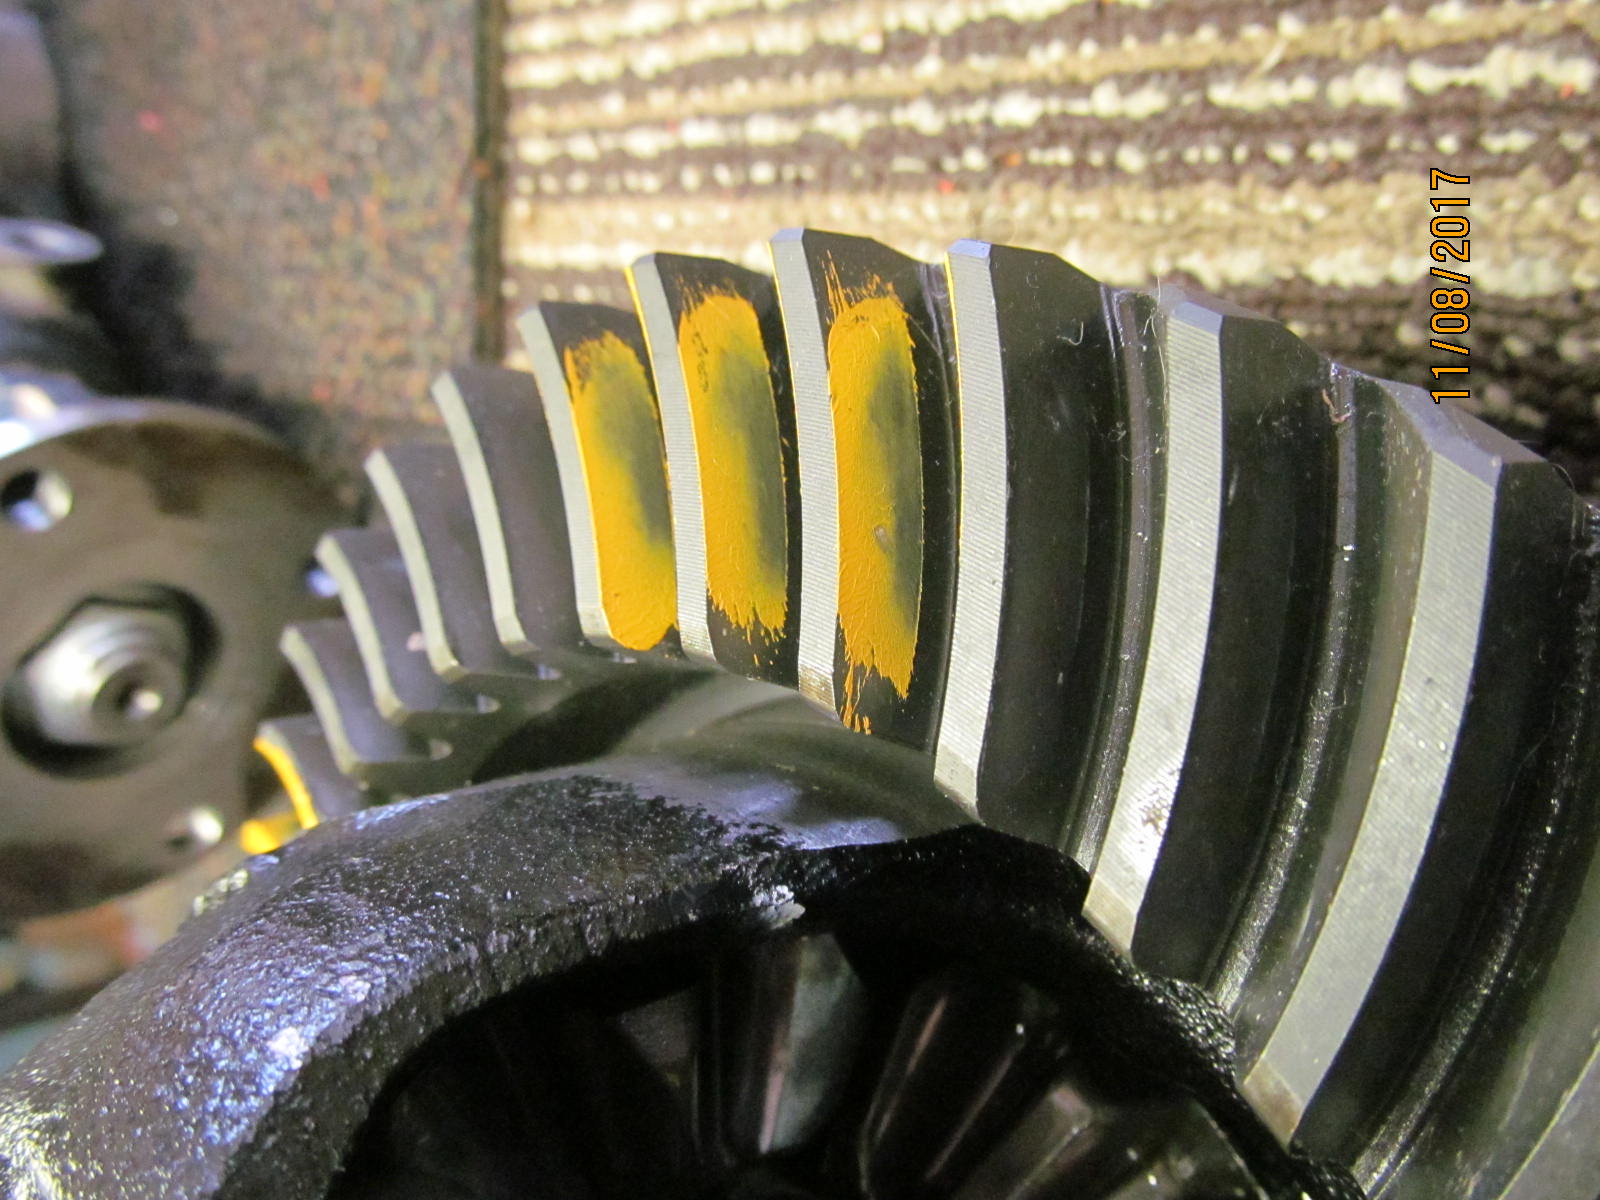
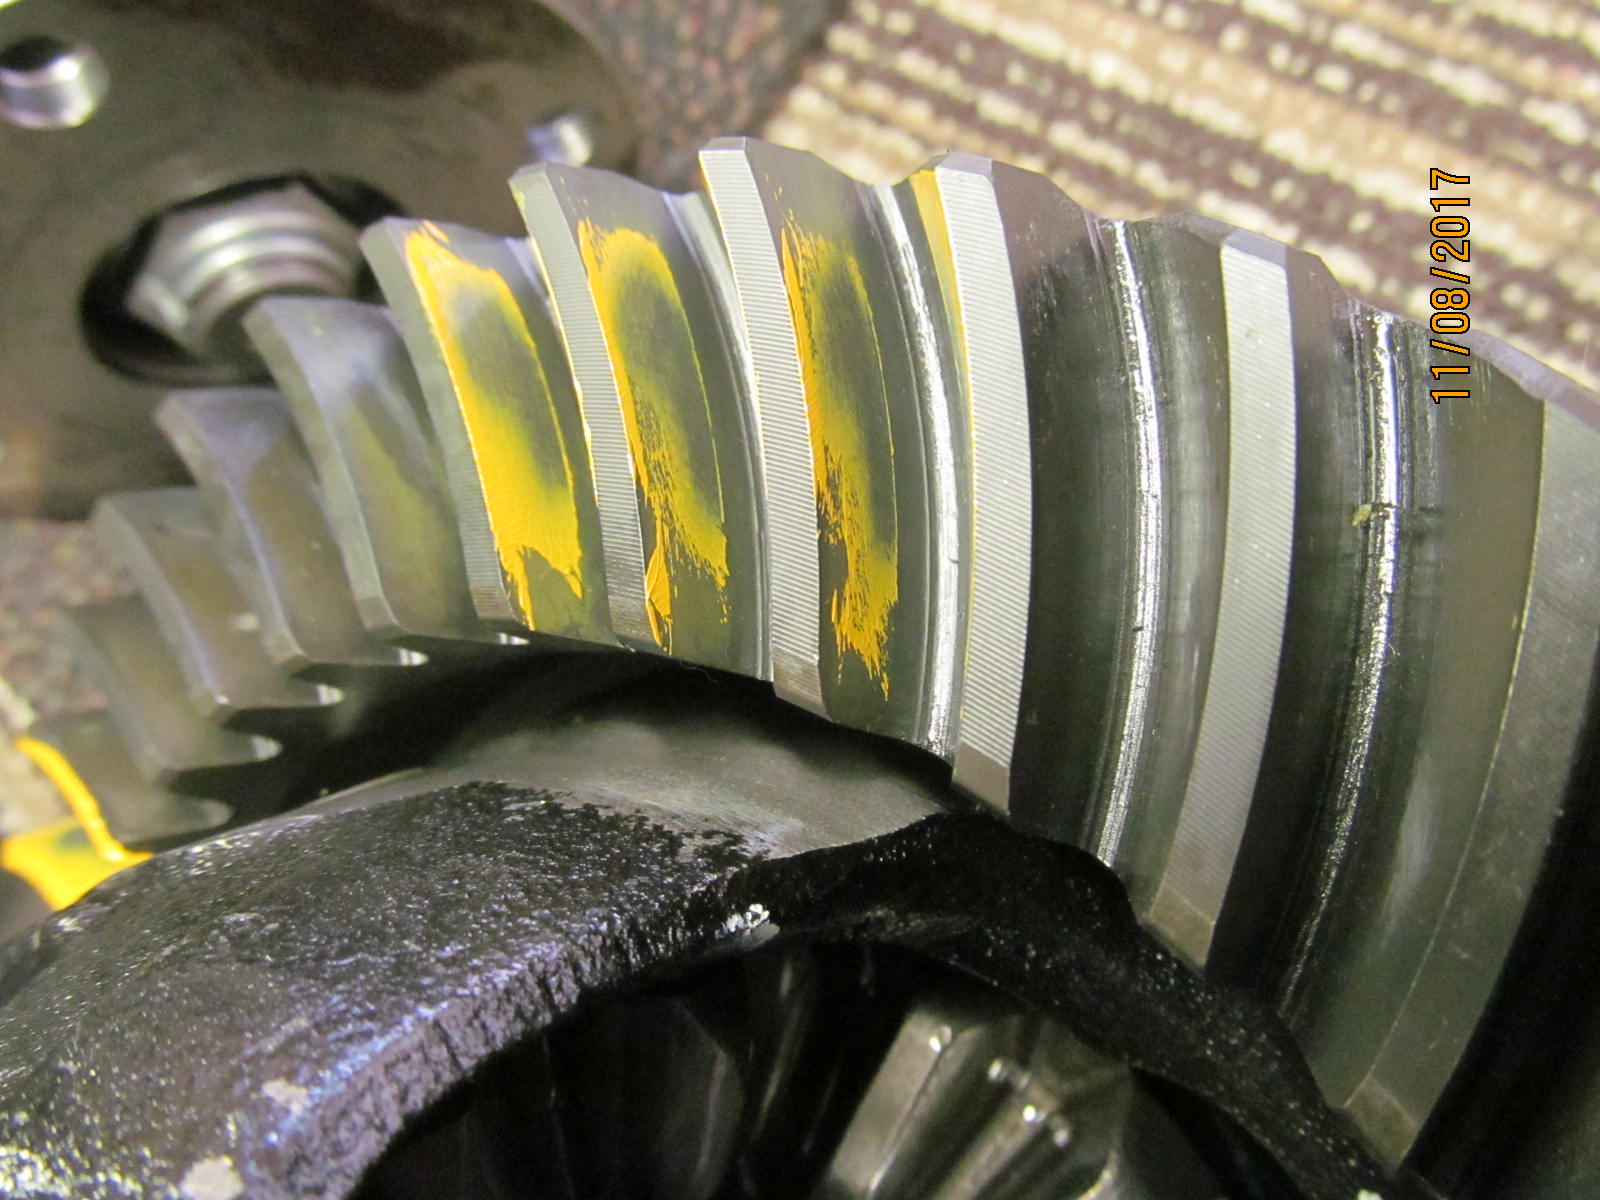
| Drive....reverse painted. |
|---|
|

|
| Coast....reverse painted. |
|---|
|
|
| The comet tail on the pinion tooth is way too close to the face of the tooth(edge). |
|---|
|

|
| ,,,,,,,,,,,,,,,,,,,,, |
|---|
|
|
| ,,,,,,,,,,,,,,,,,,, |
|---|
|

|
| Let's try something thinner like .073" |
|---|
|
|
Good time to increase the thickness of the washer plate in the bowl by .002" (from 083 to 085).
That will open up the backlash a little more....as well as increase the preload a little more. |
|---|
|
|
| Repaint the teeth... |
|---|
|
|
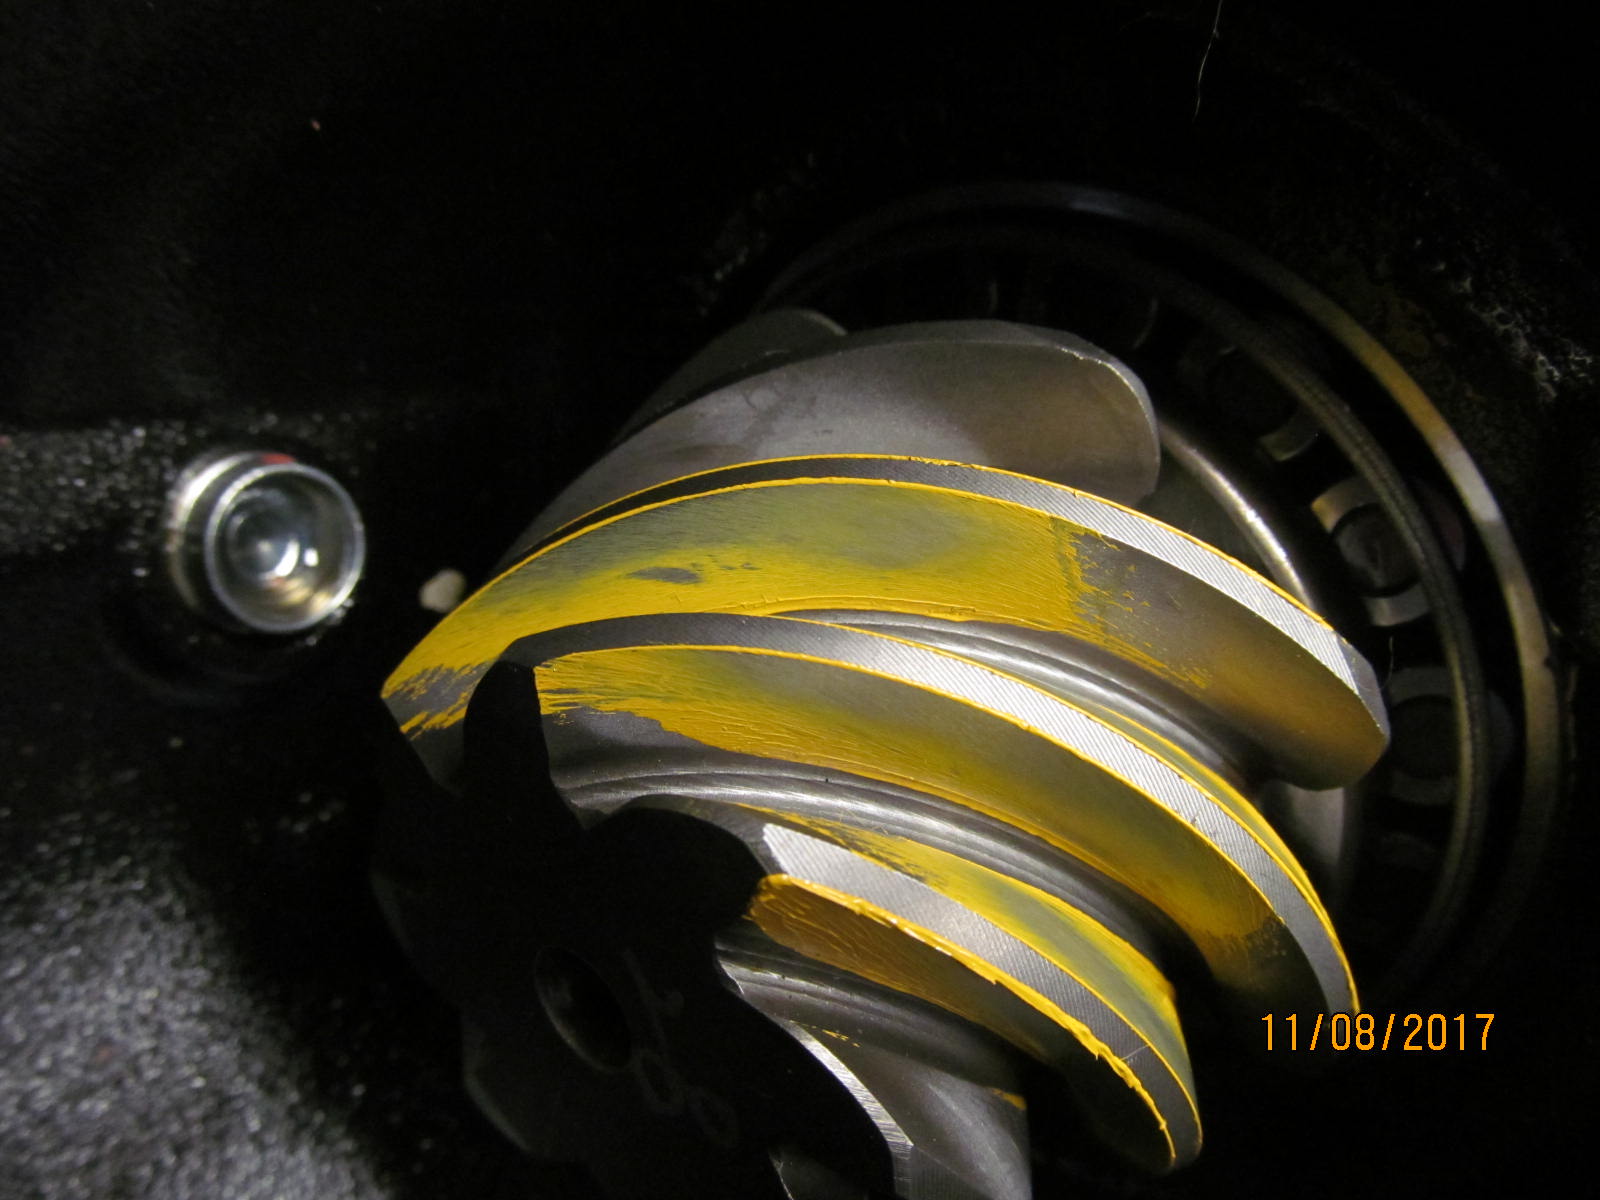
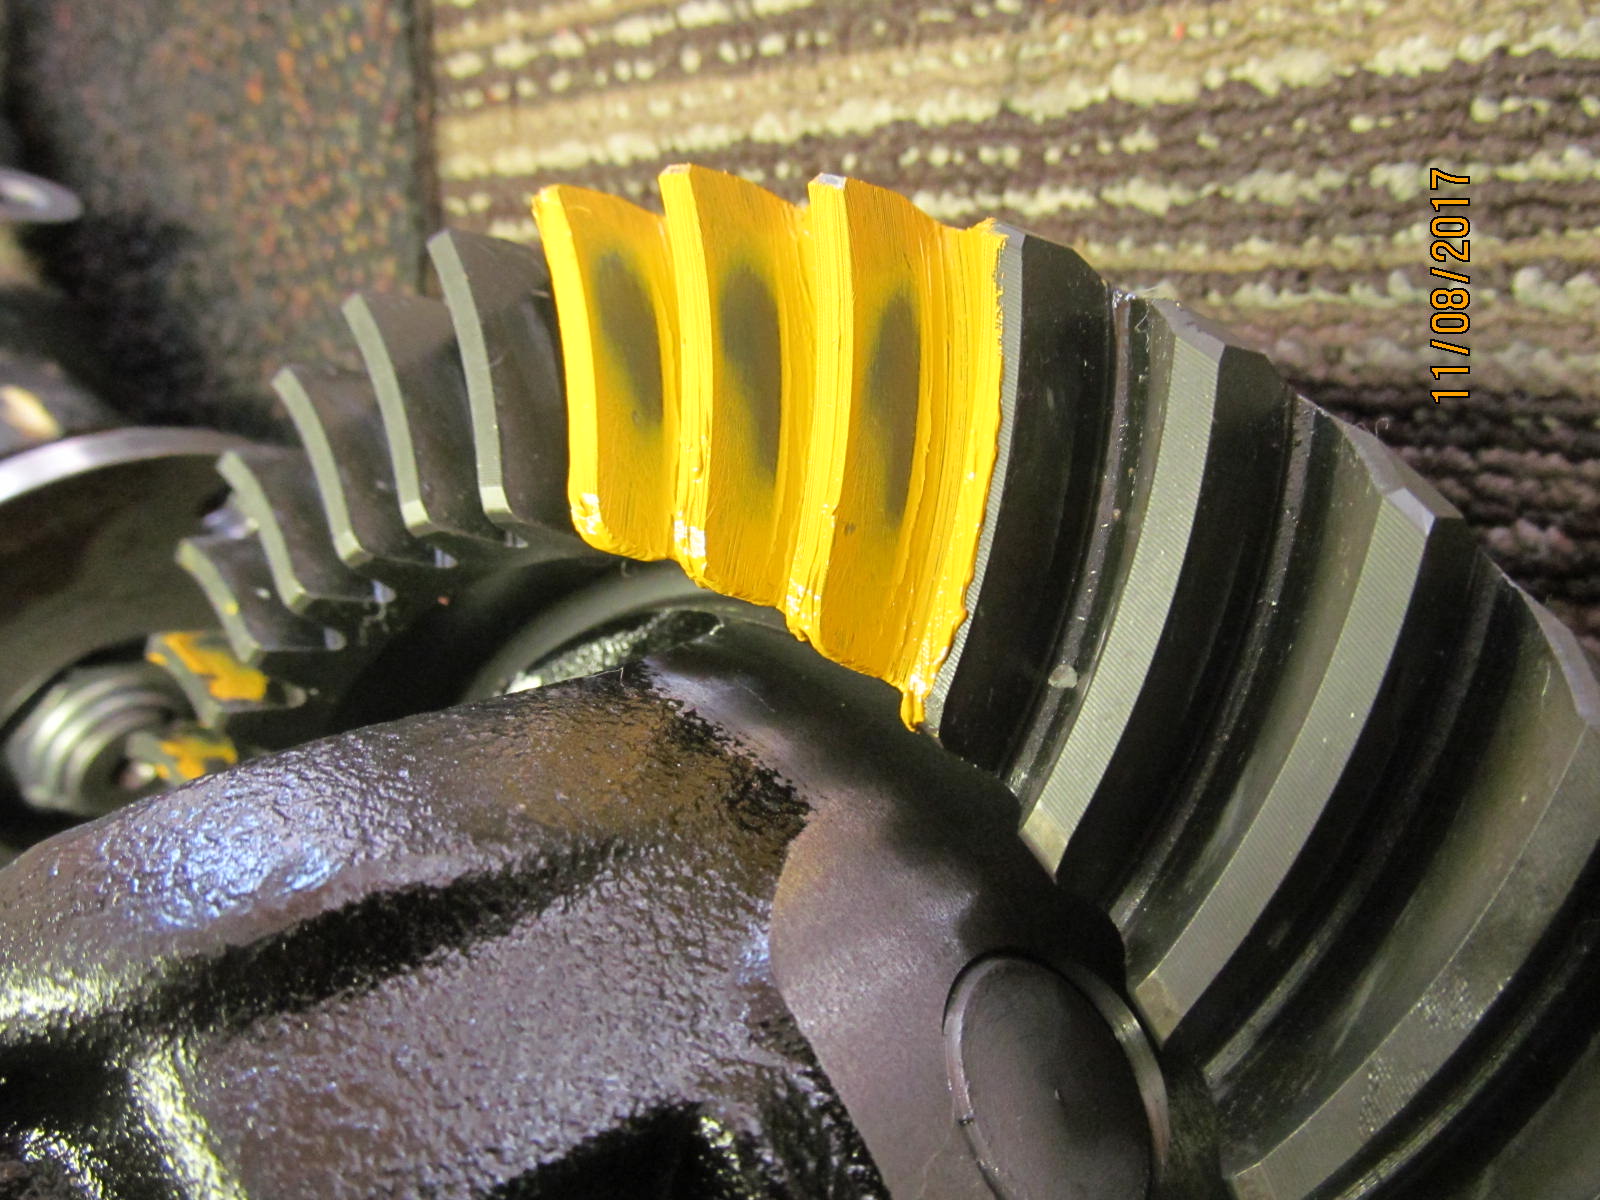
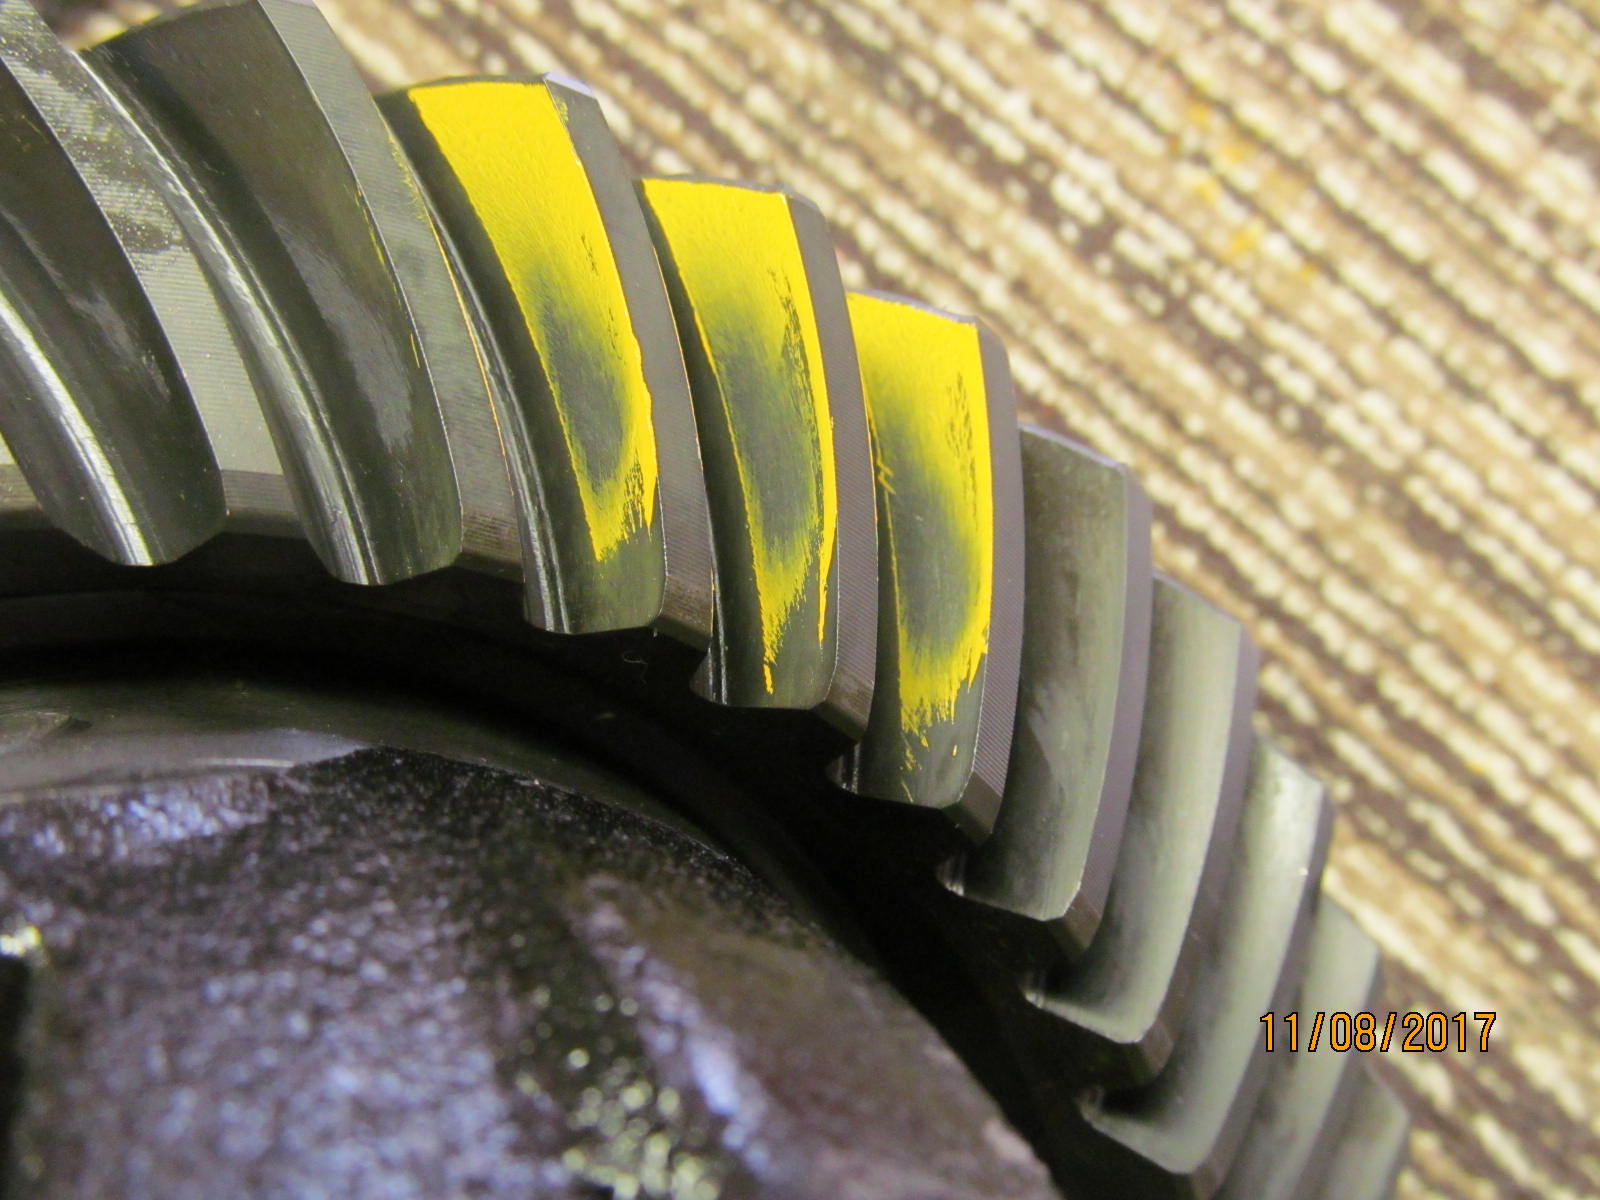
Repeat and turn the cheater bar back and forth 3 times. Remove the carrier and this is the result.
This is with a pinion depth shim of 073. Just a touch deeper than I want so will use 072 and that will be the winner. |
|---|
|
|
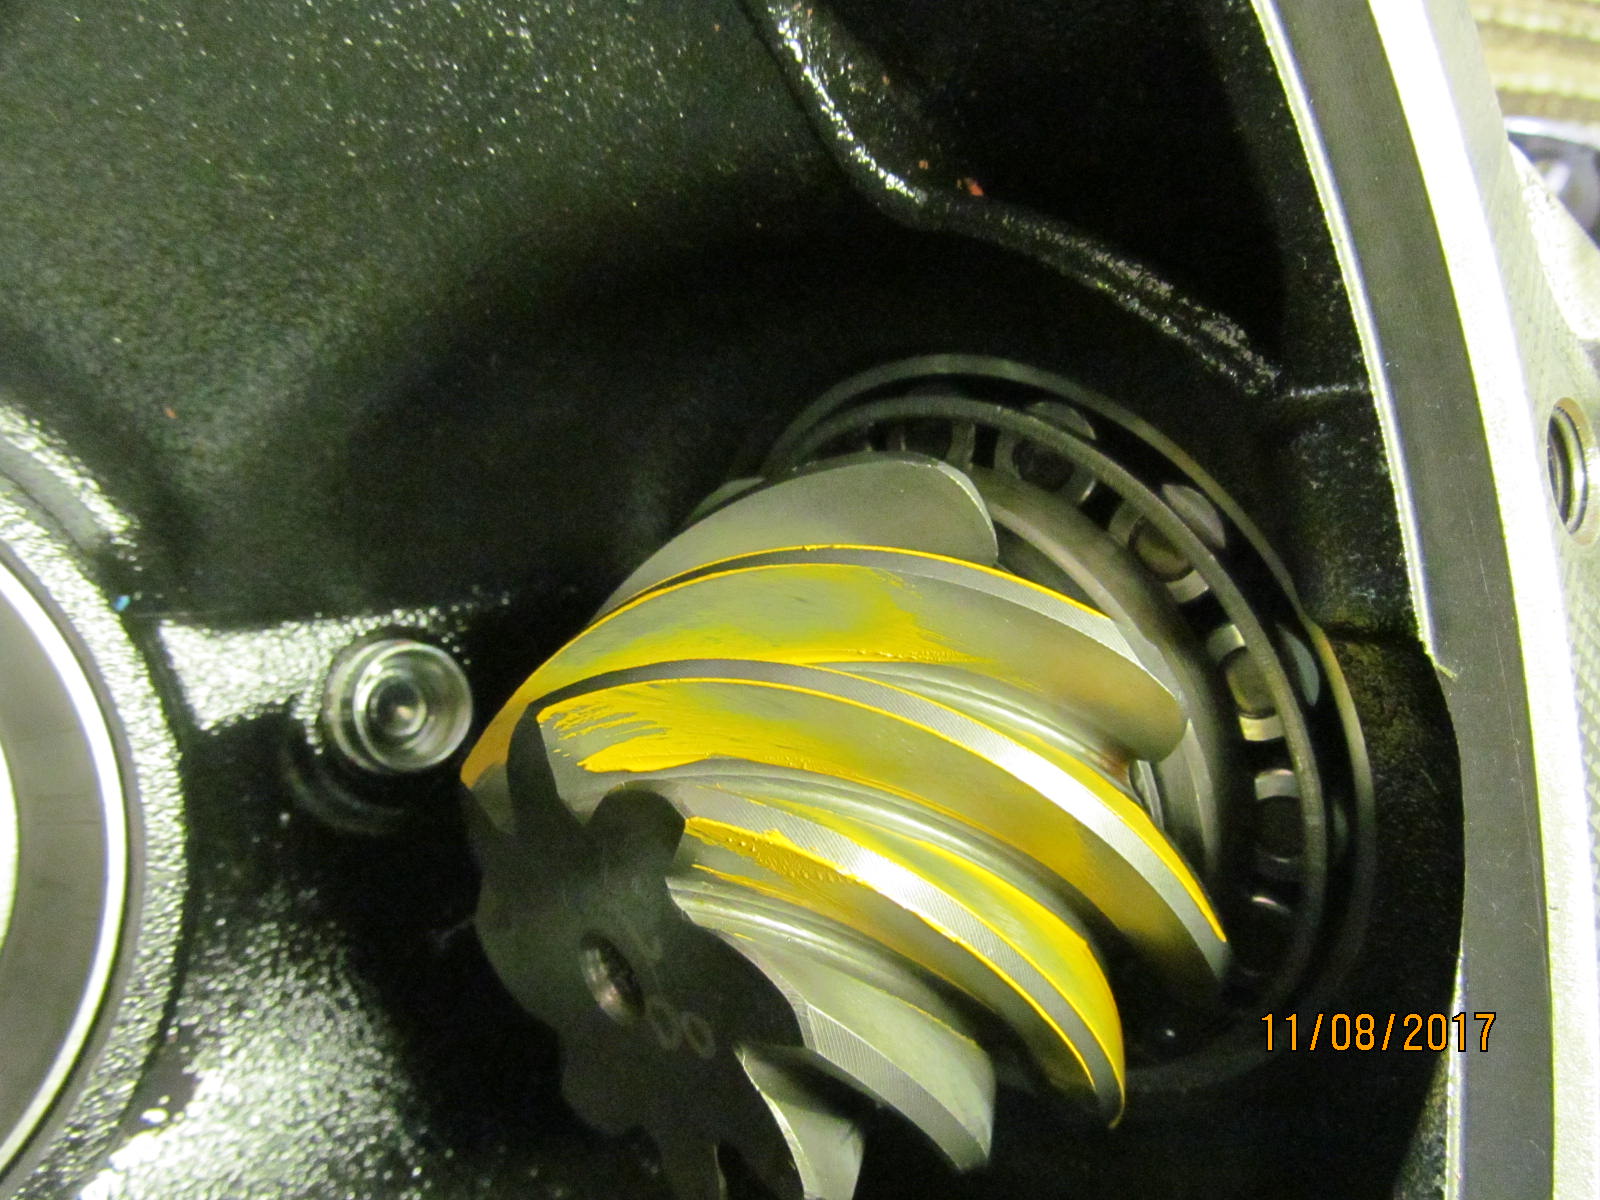
| Coast |
|---|
|
|
| Drive....reverse painted. |
|---|
|
|
| Coast...reverse painted. |
|---|
|
|
| .................... |
|---|
|
|
| ....................... |
|---|
|
|
| ........................ |
|---|
|
|
| More backlash checks....all looks in spect at this point which is almost the endpoint. |
|---|
|
|
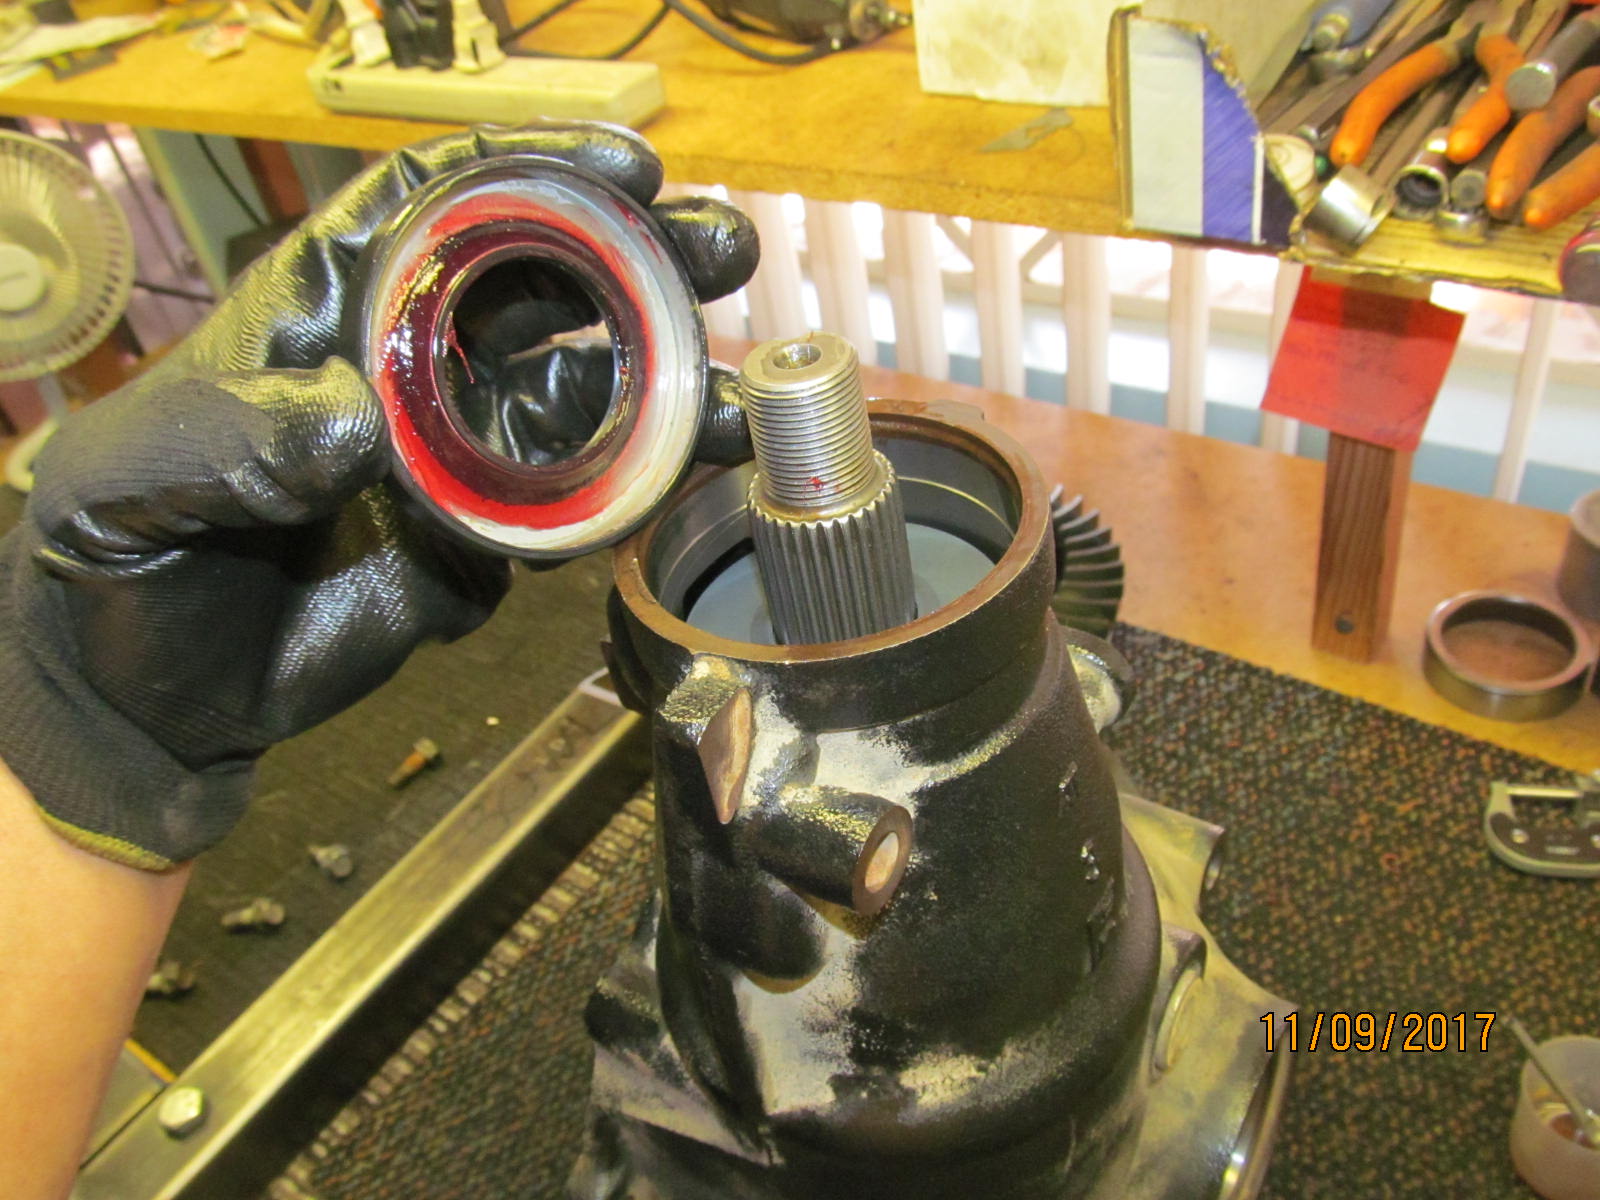
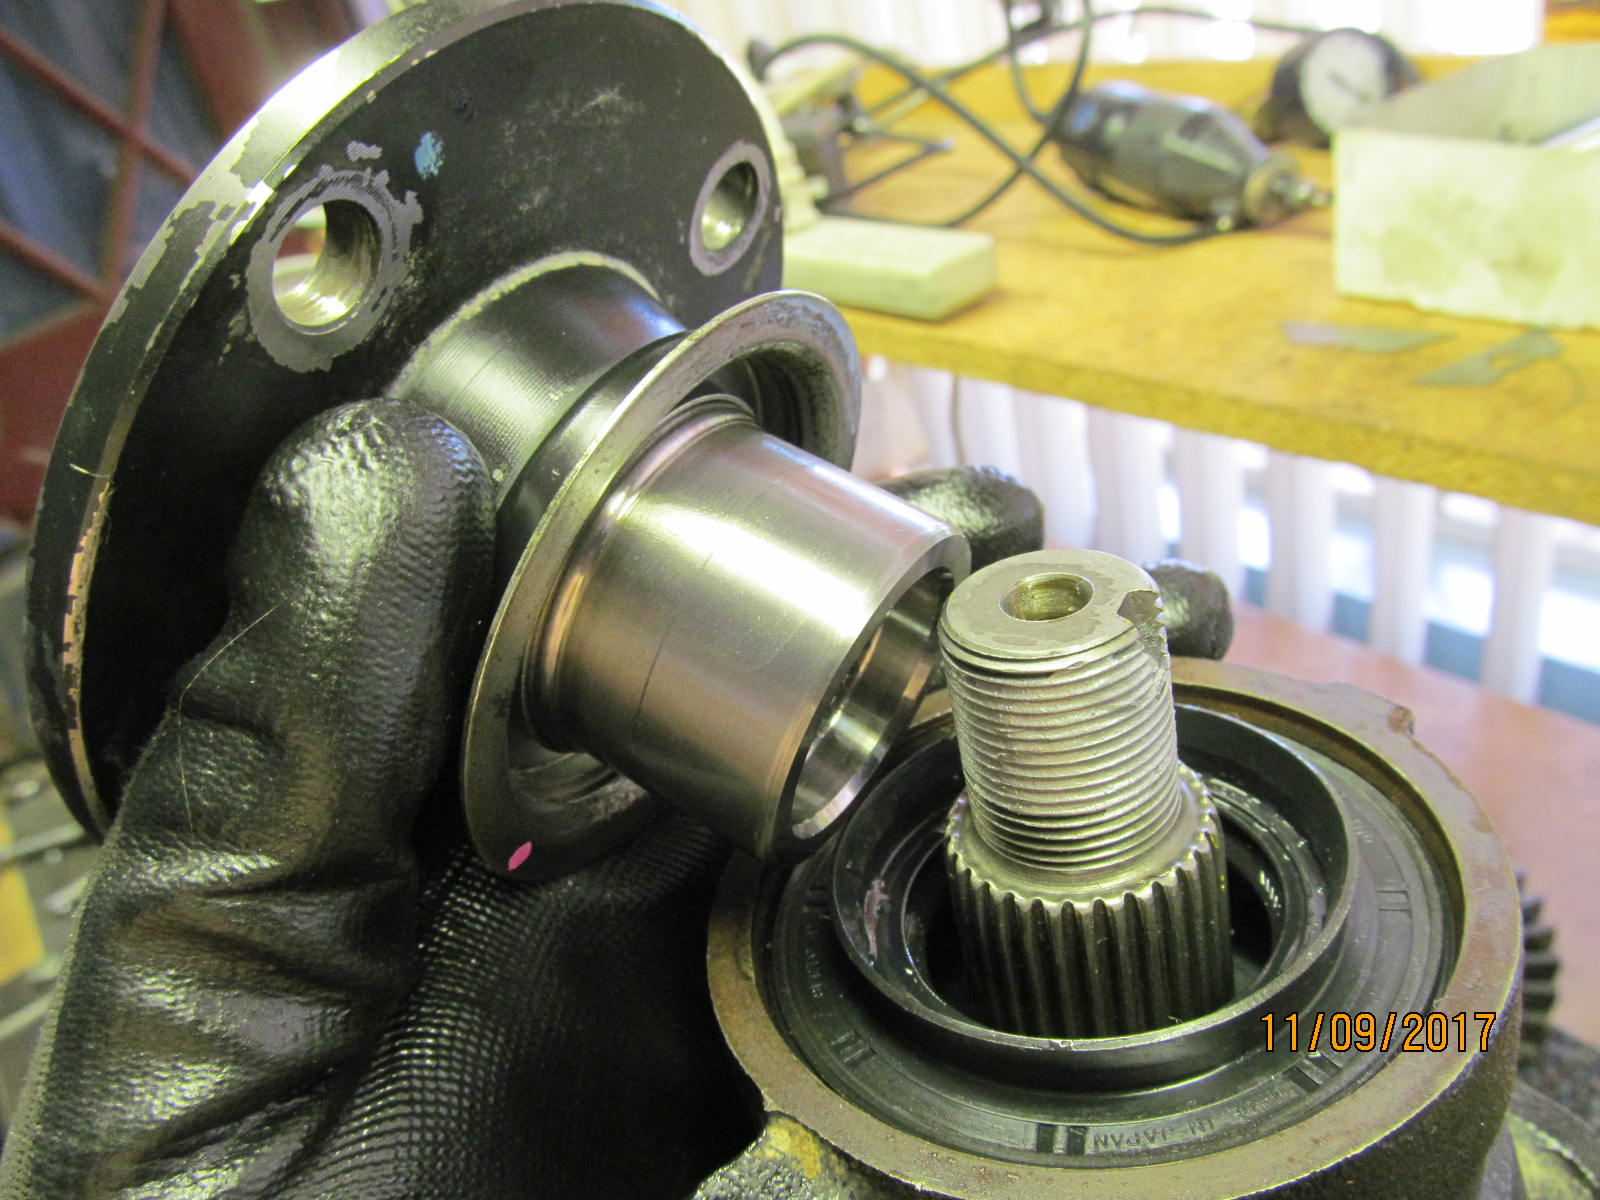
| Now to finish up the pinion end, we just need to put the solid collar and seal in. |
|---|
|
|
| Took about 5 times to get the shimming right on the collar....typical. |
|---|
|
|
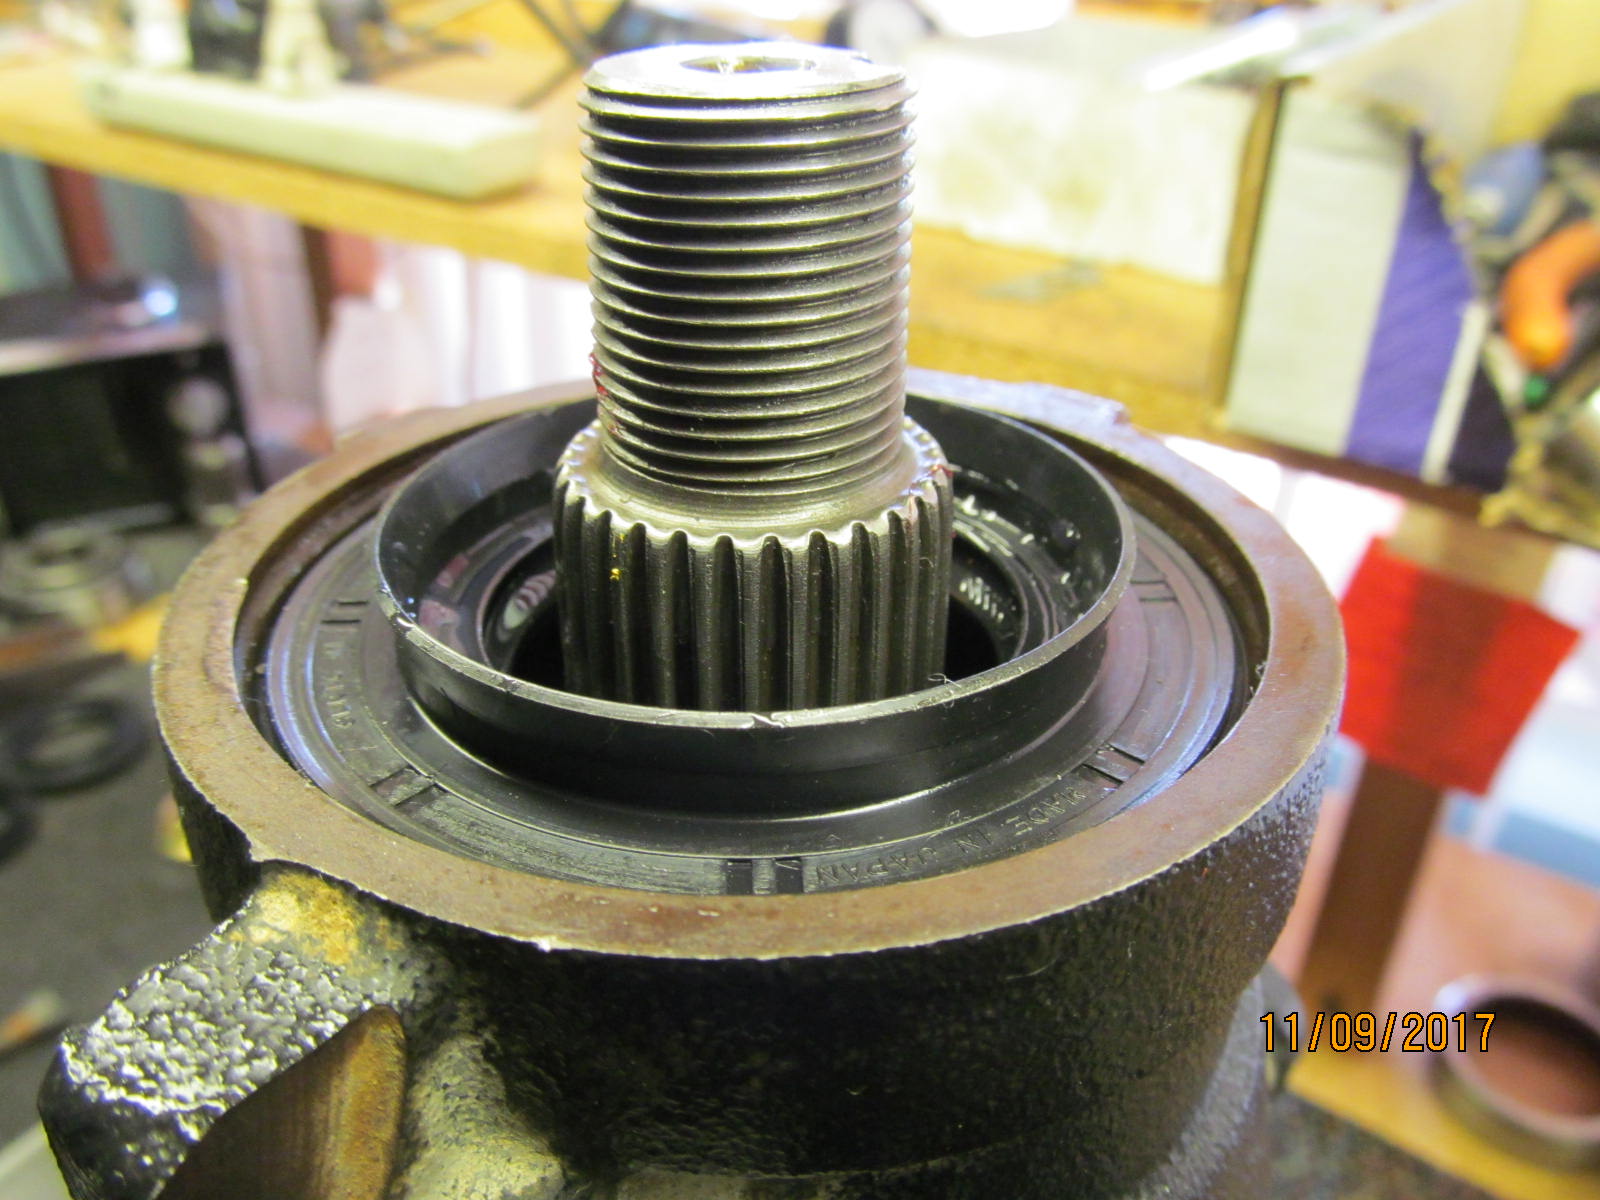
| With the shimming set it's just a matter of supporting the pinion in the hole... |
|---|
|
|
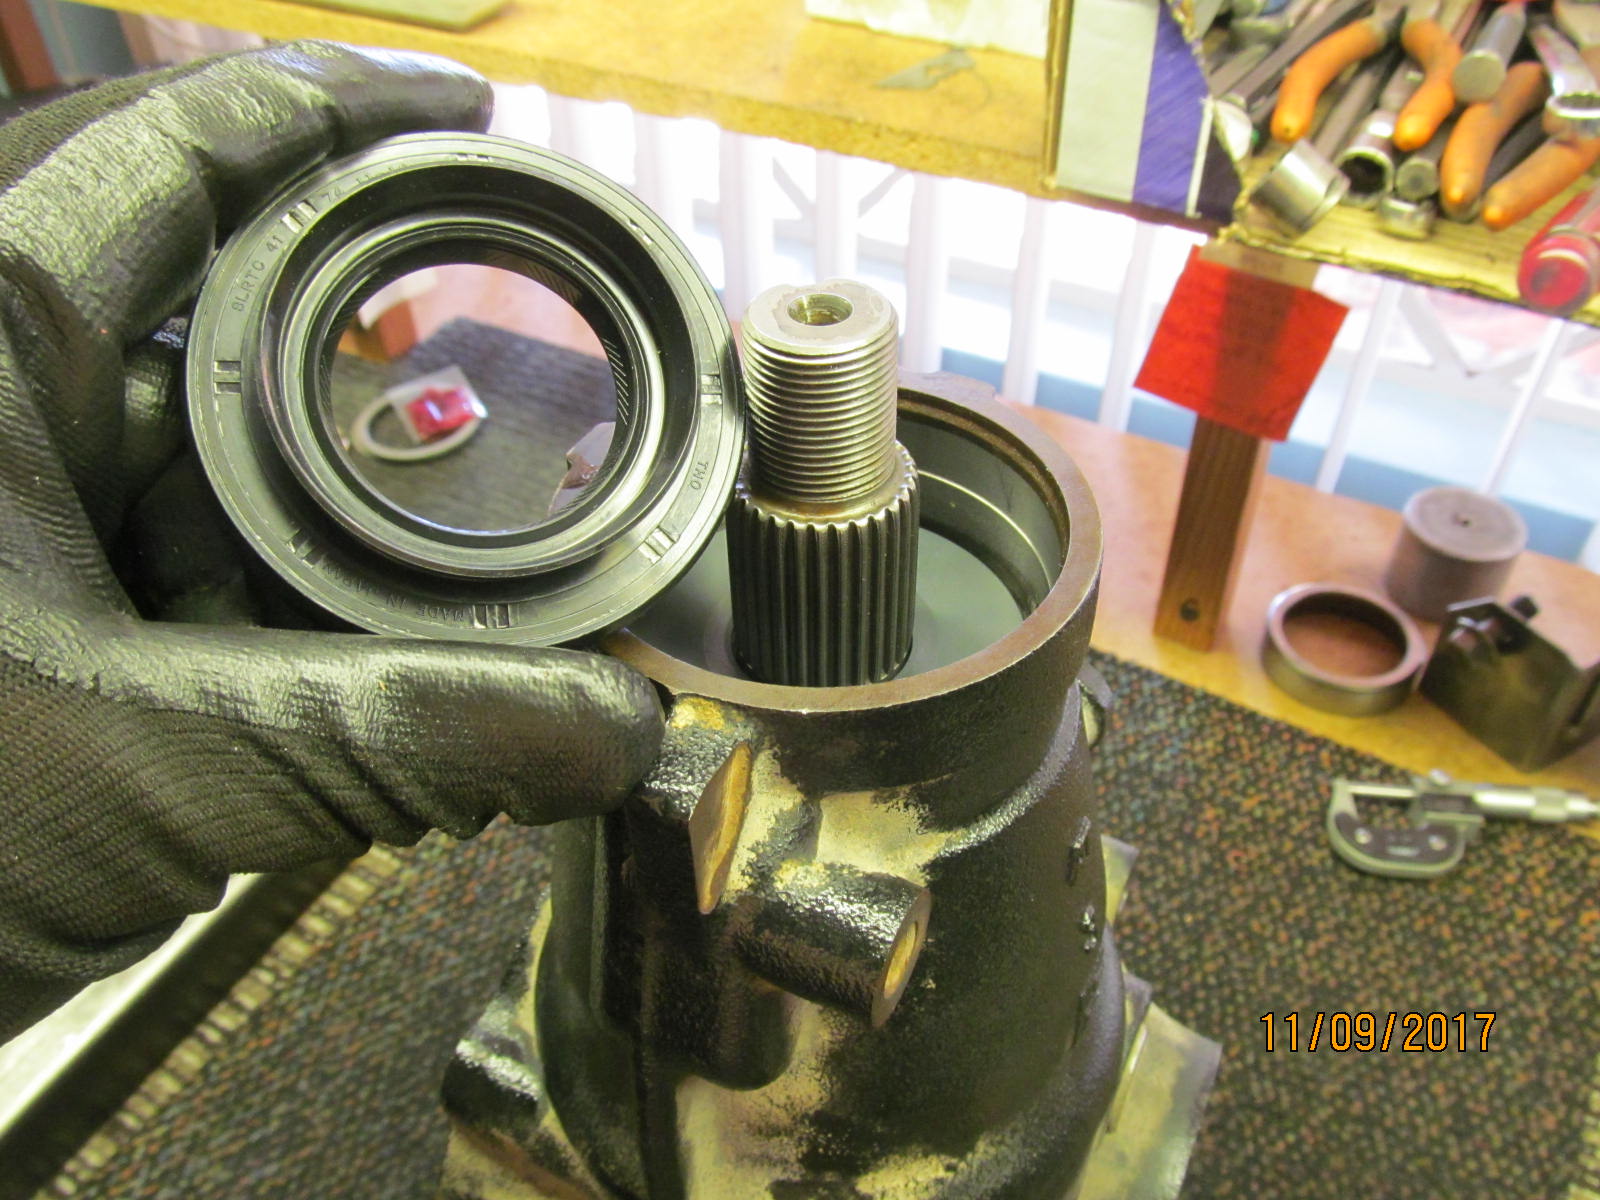
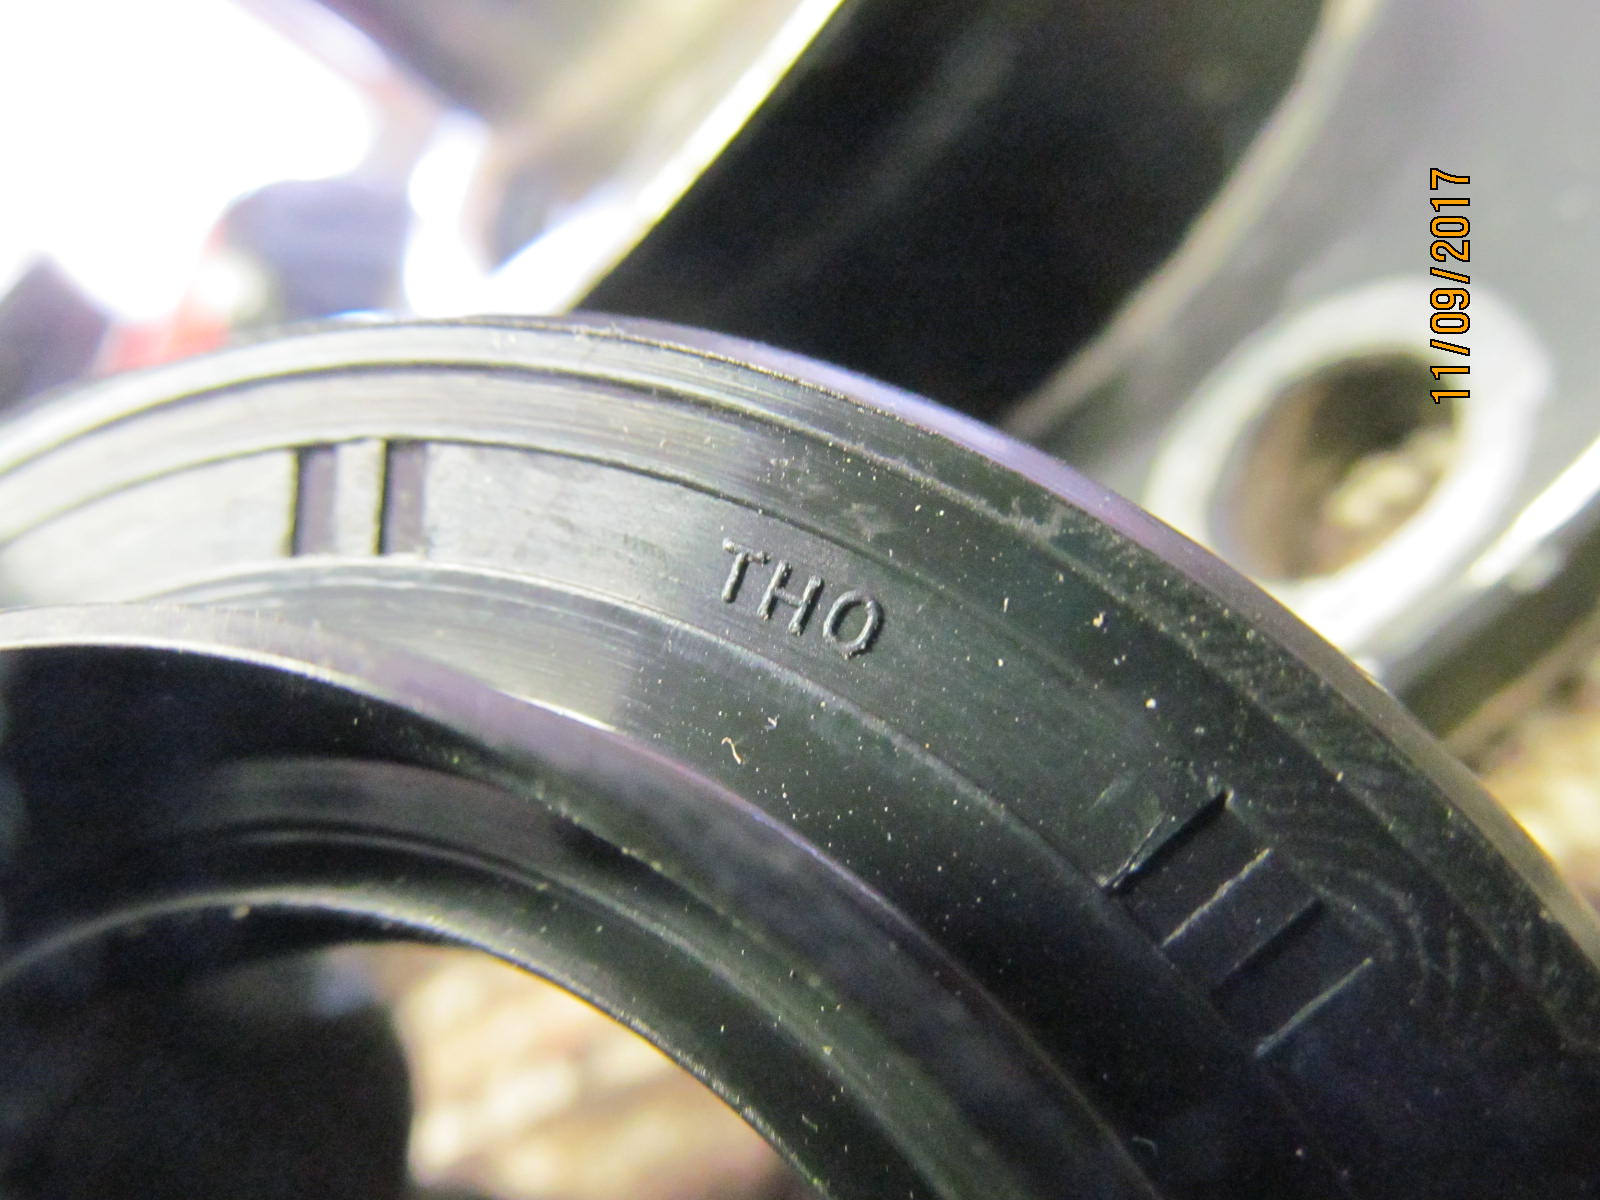
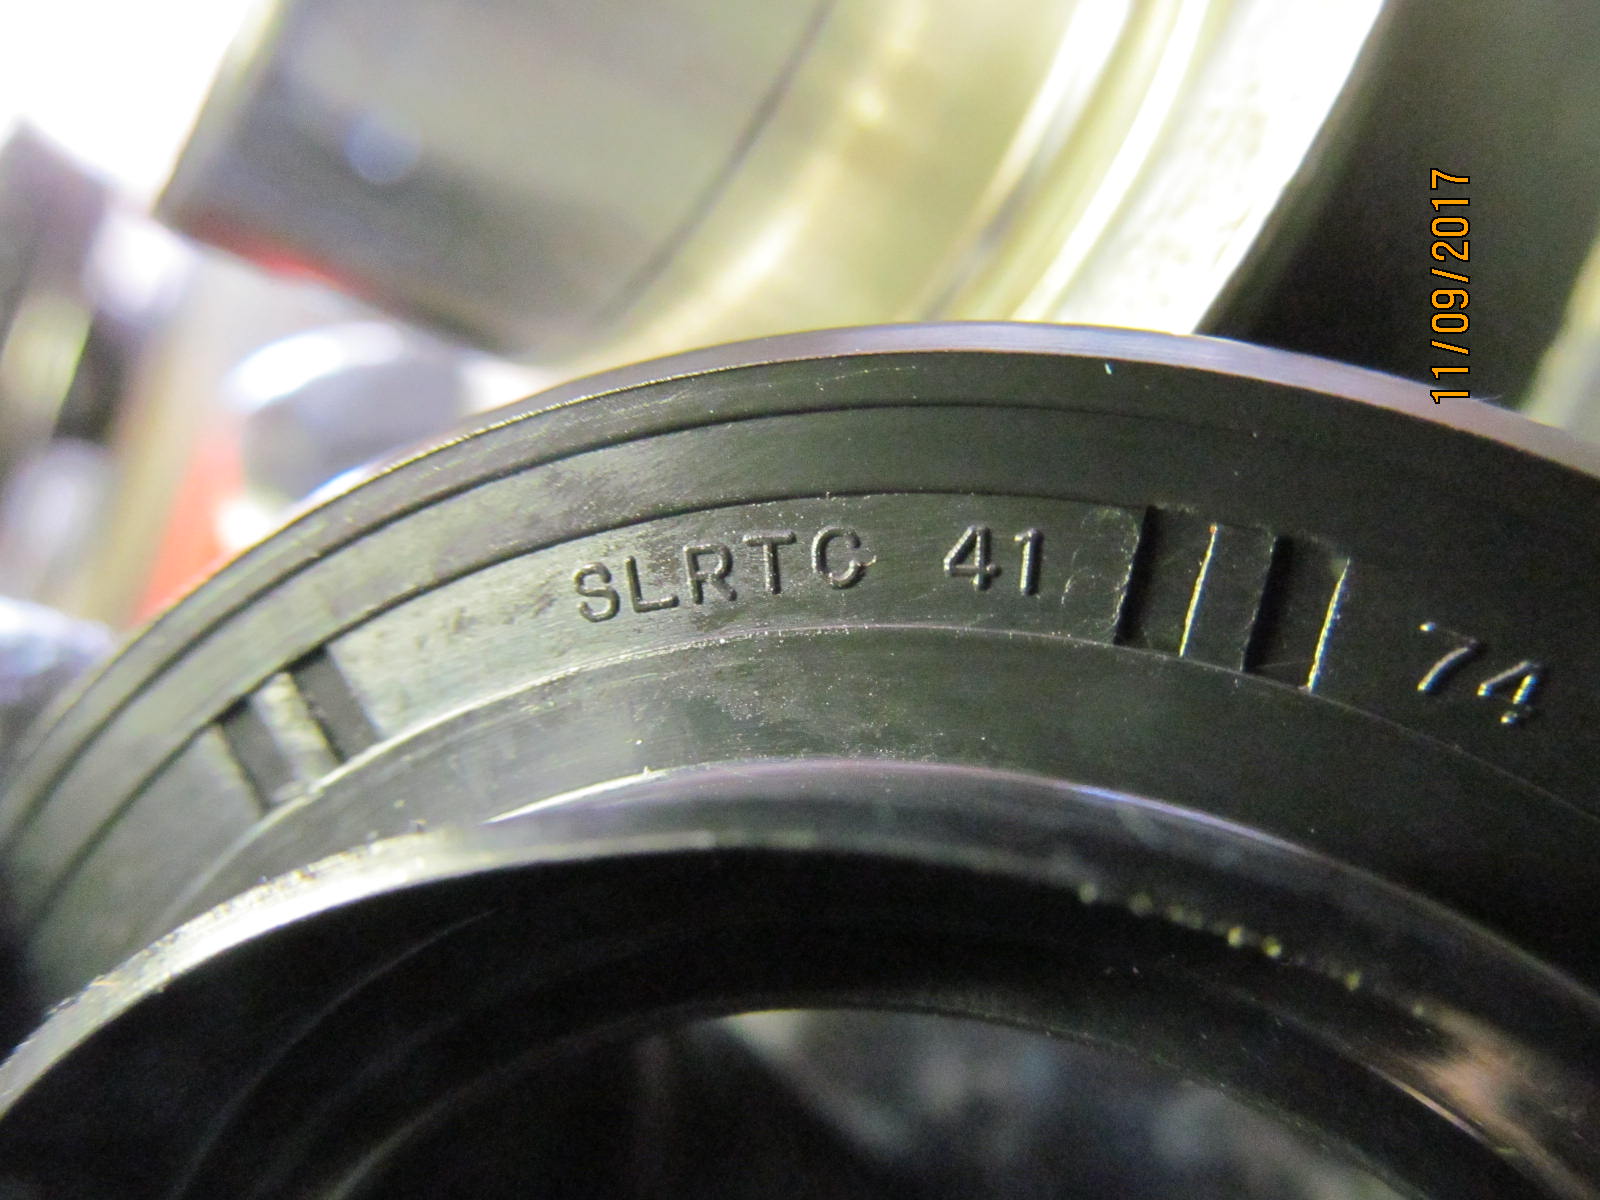
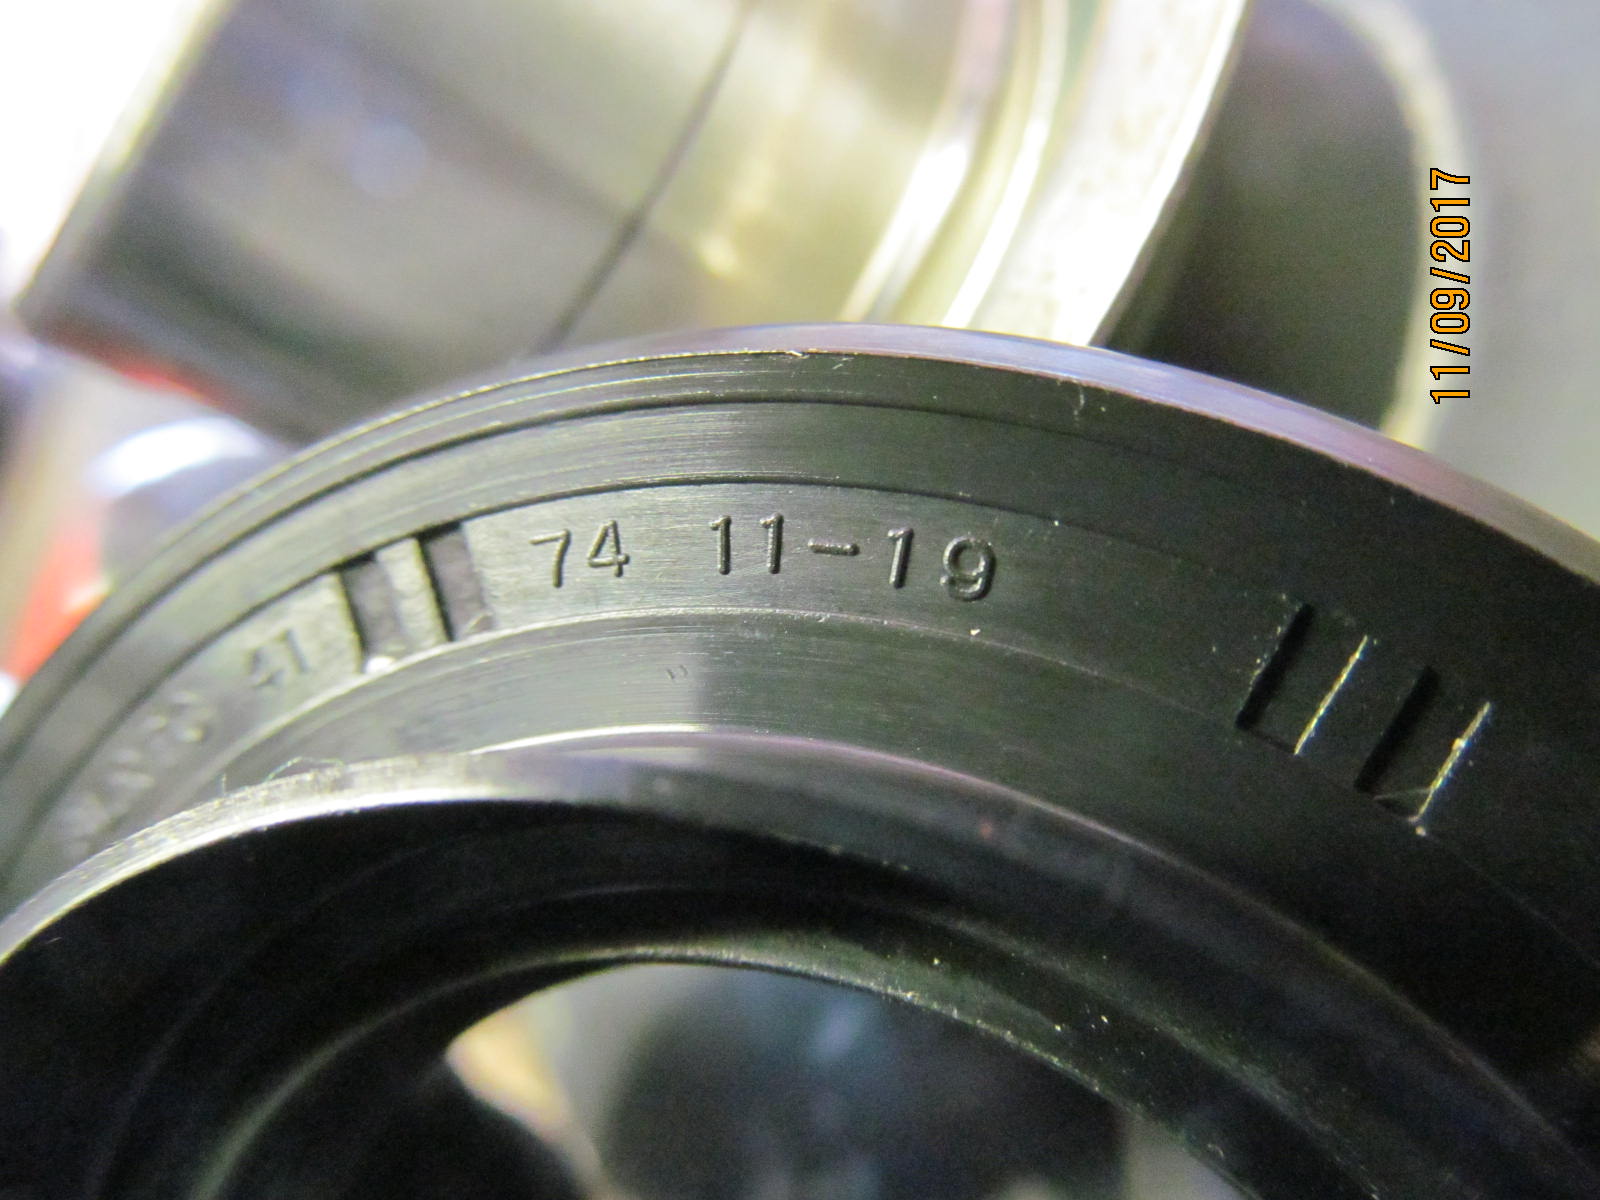
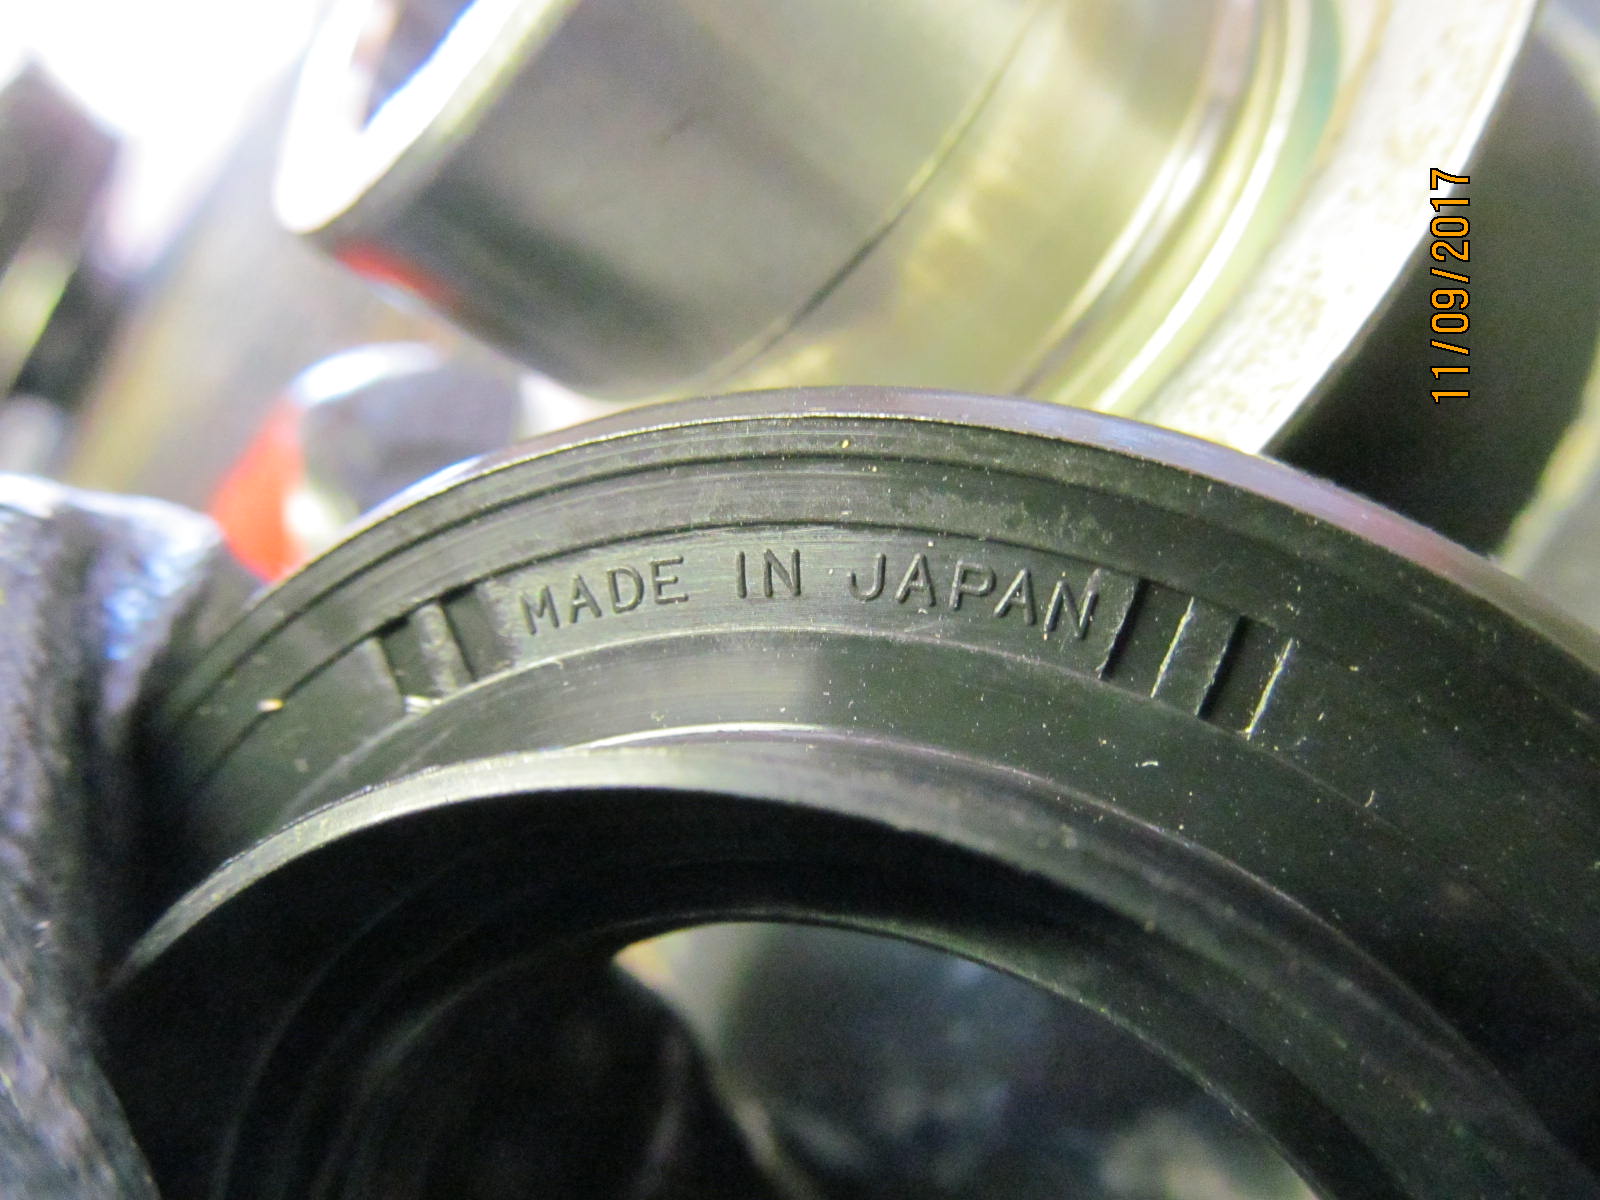
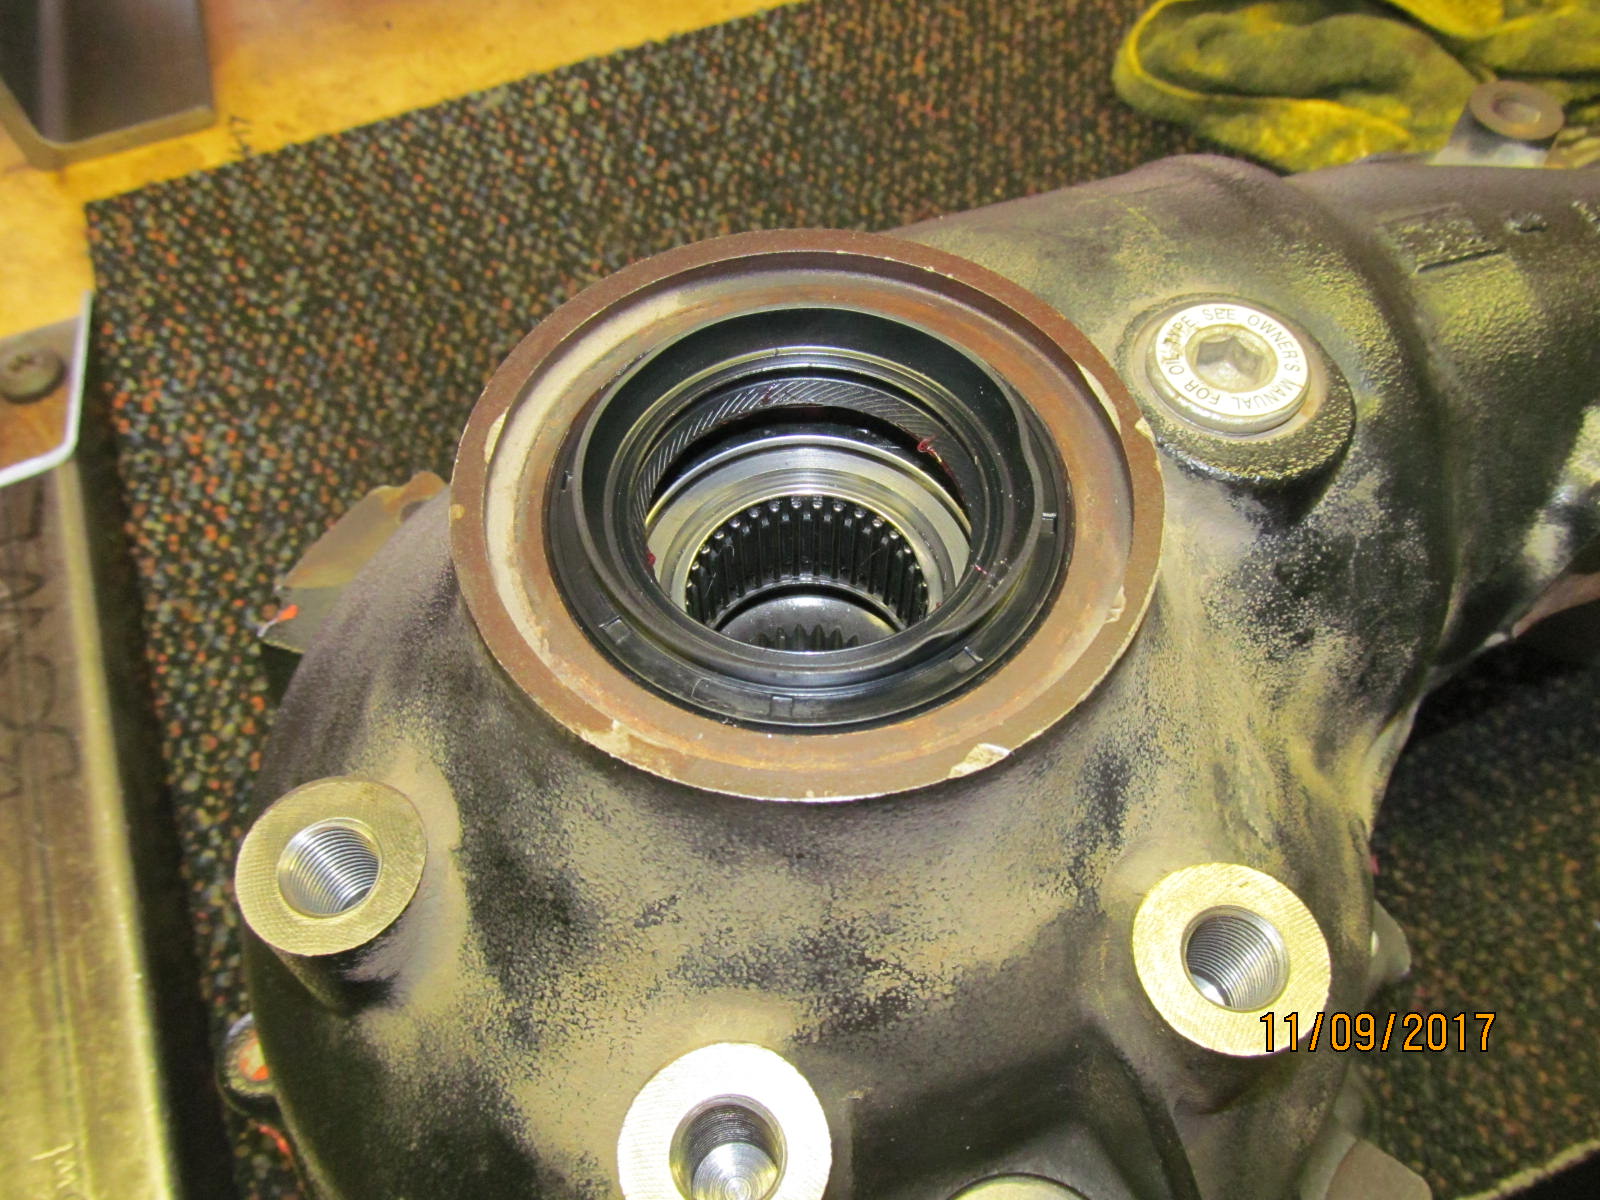
| ...and tap the outer bearing in place and put the seal in also. This is a good seal...THO....Made in Japan. So we will use it. |
|---|
|
|
| ,,,,,,,,,,,,,,,,,,,,,,, |
|---|
|
|
| ,,,,,,,,,,,,,,,,,,,,,,,, |
|---|
|
|
| ,,,,,,,,,,,,,,,,,,,,,,,, |
|---|
|
|
| ,,,,,,,,,,,,,,,,,,,,,,,,,, |
|---|
|
|
| The THO seal is next. |
|---|
|
|
| Recessed down .190"....evenly. |
|---|
|
|
| The oem flange was in excellent shape but #1500 sandpaper still made an appearance. |
|---|
|
|
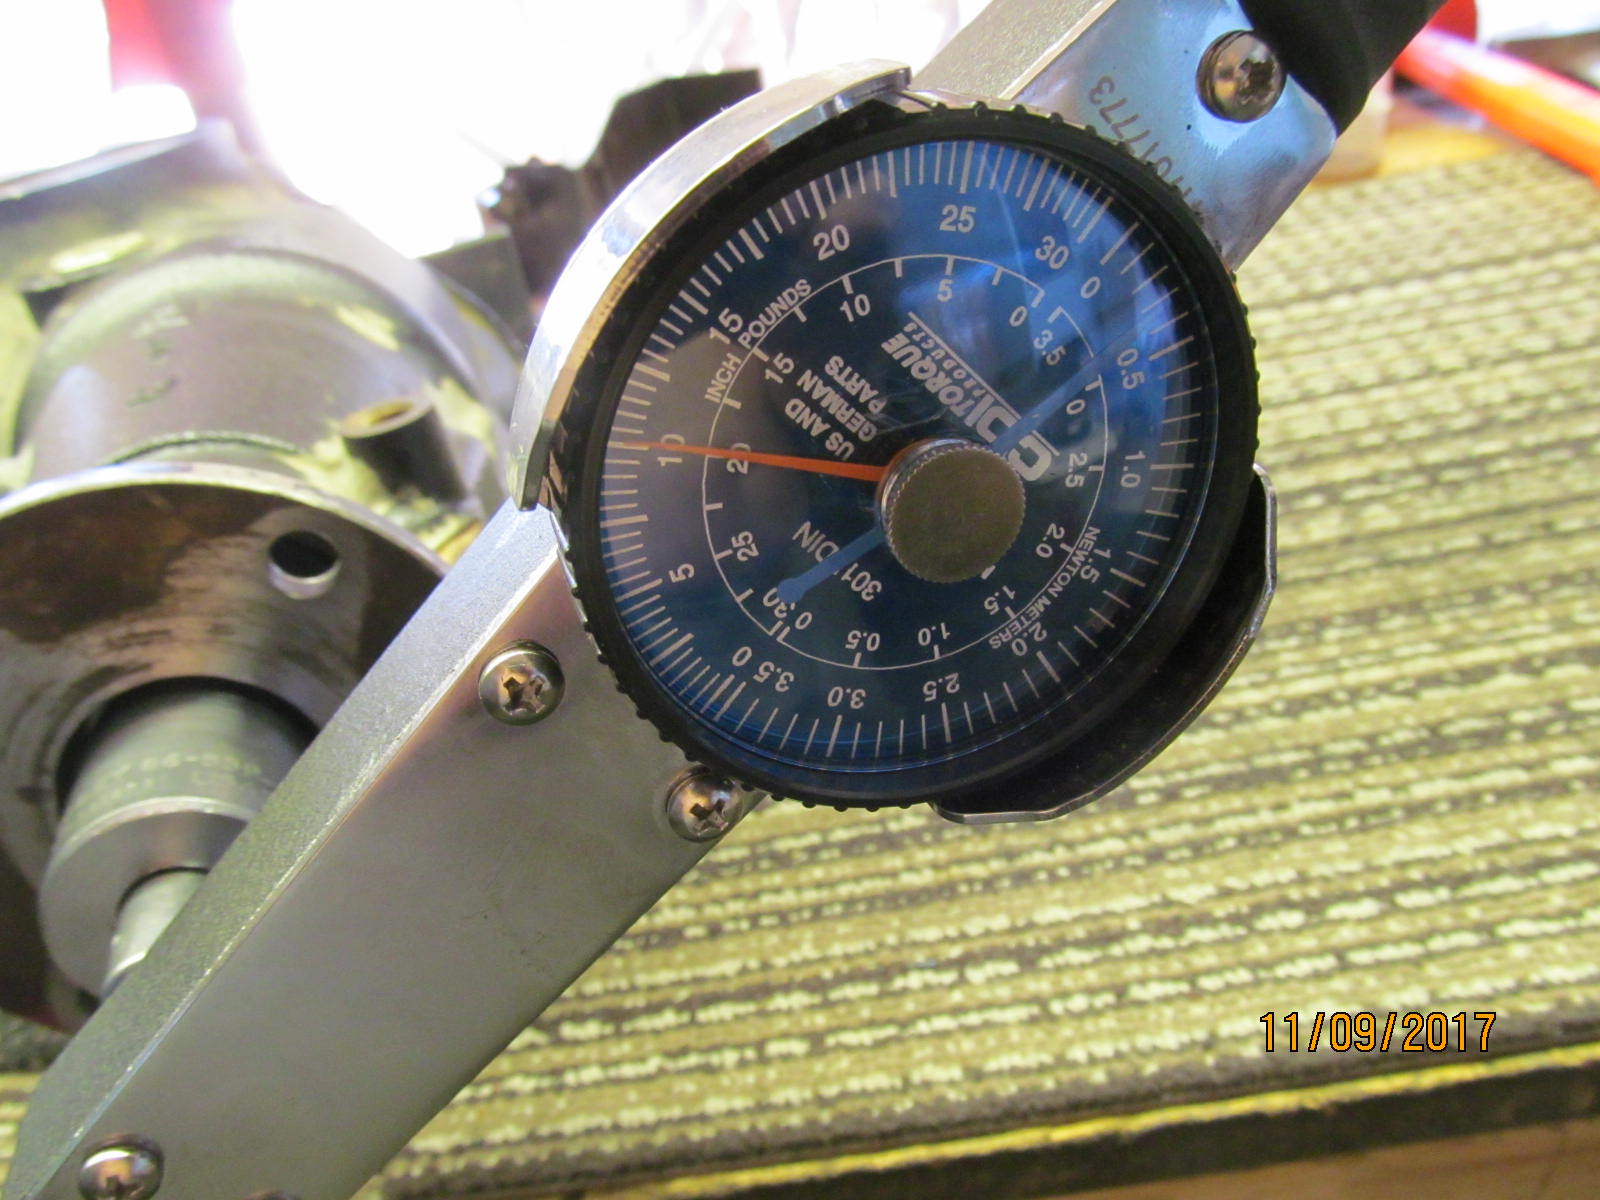
| The high accuracy torque meter measured a smooth 10 in/lb. |
|---|
|
|
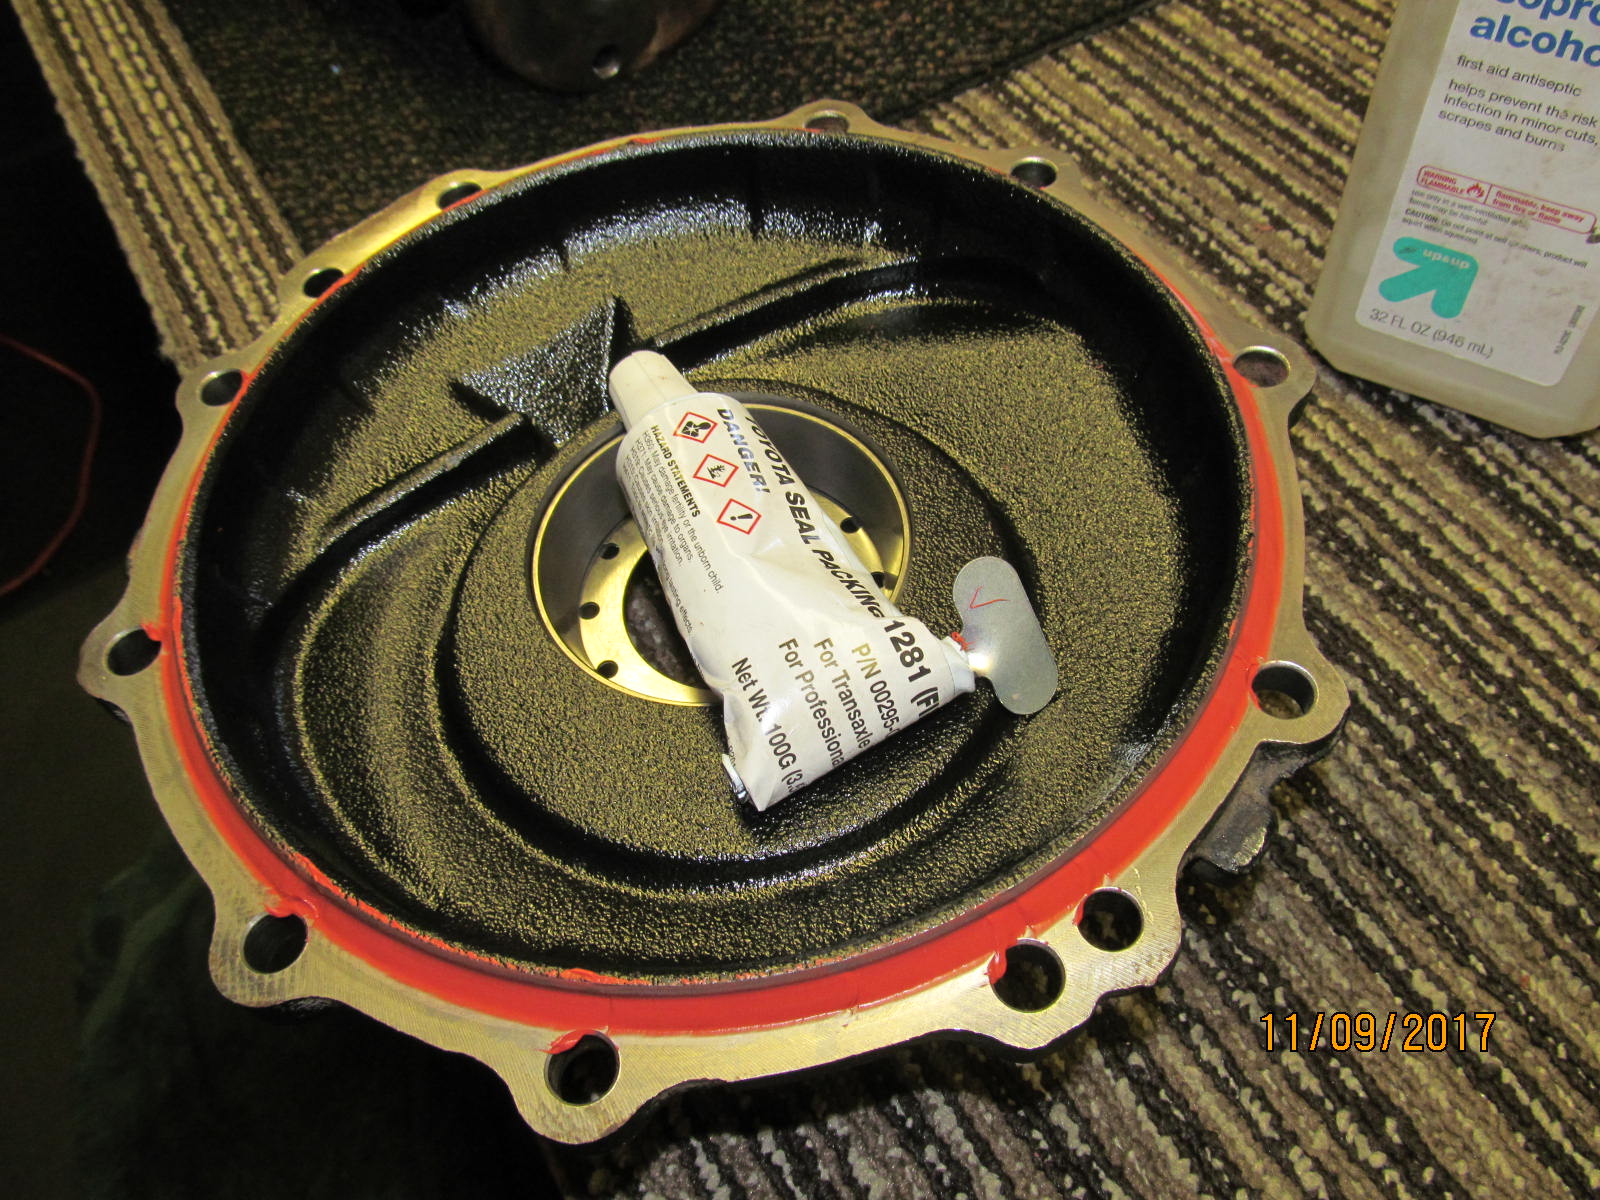
| FIPG for the lid. |
|---|
|
|
| 45 ft/lb per the fsm with blue loctite. |
|---|
|
|
| The new drivers side seal is tapped in. |
|---|
|
|
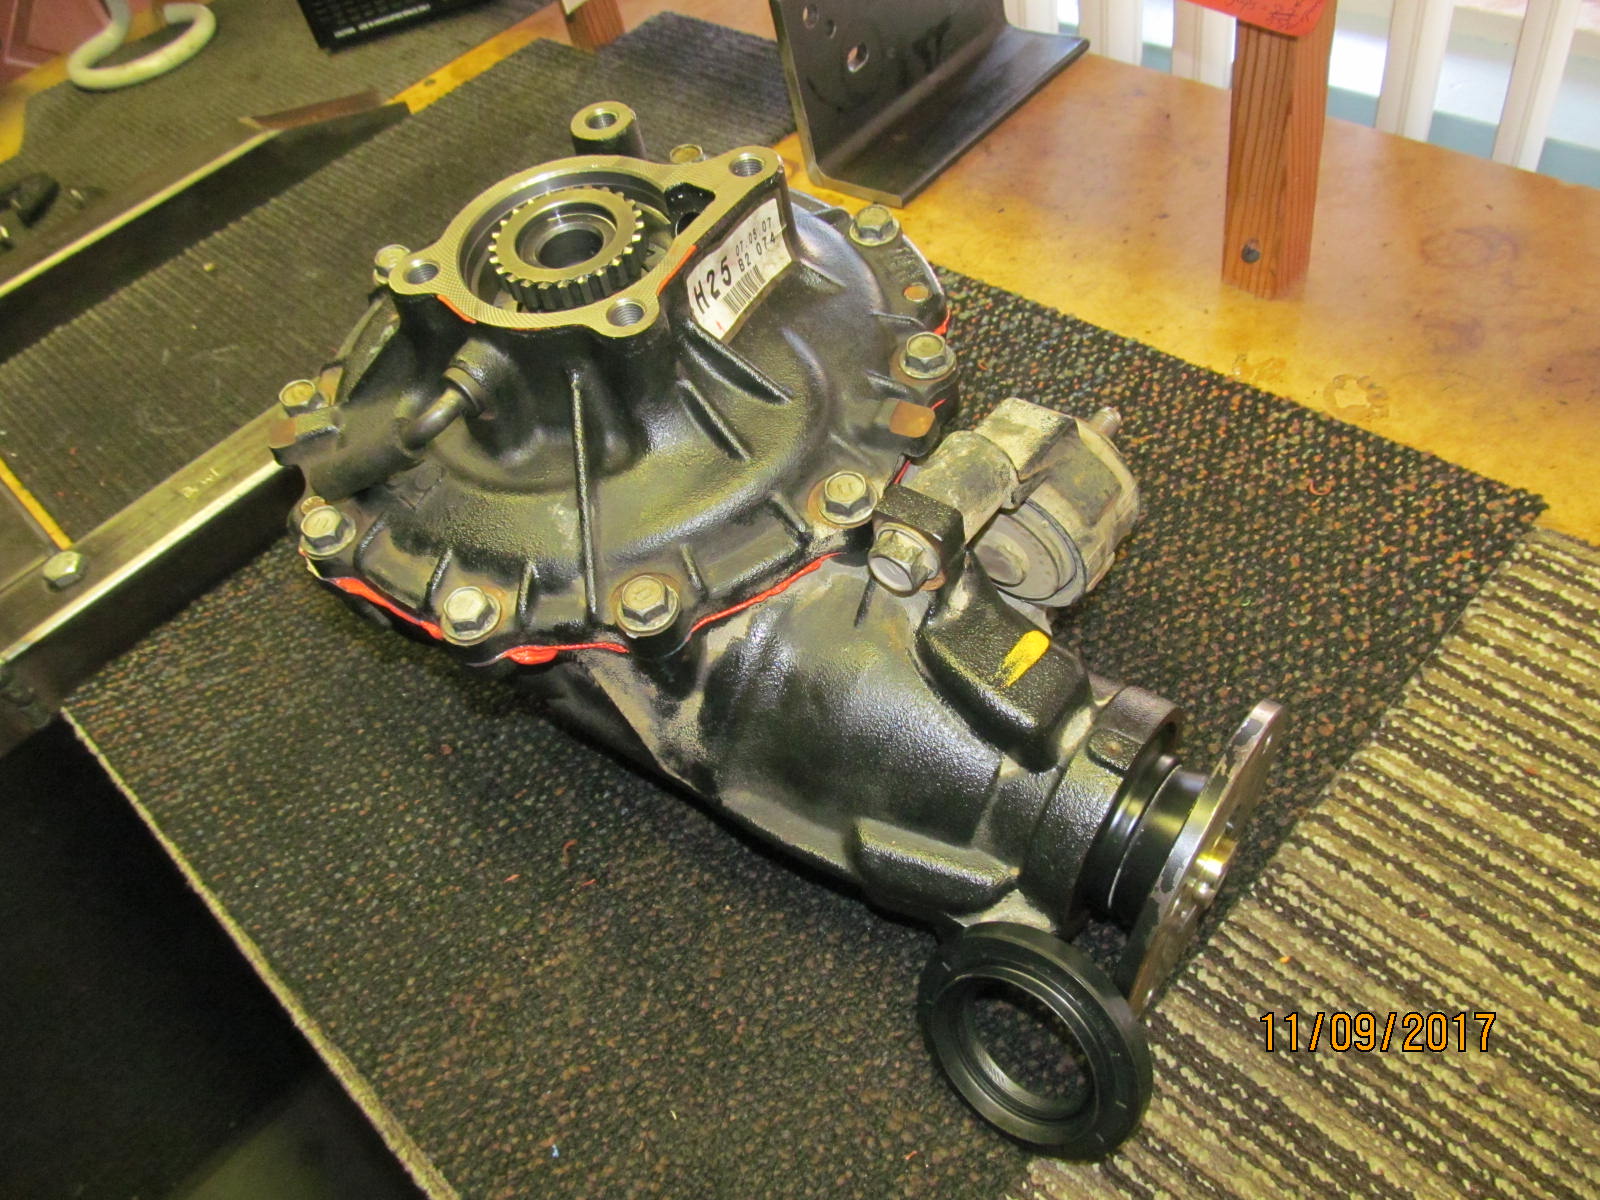
| Looks good. |
|---|
|
|
| ,,,,,,,,,,,,,,,,,,,,,,,, |
|---|
|
|
| ,,,,,,,,,,,,,,,,,,,,,,,,,,,, |
|---|
|
|
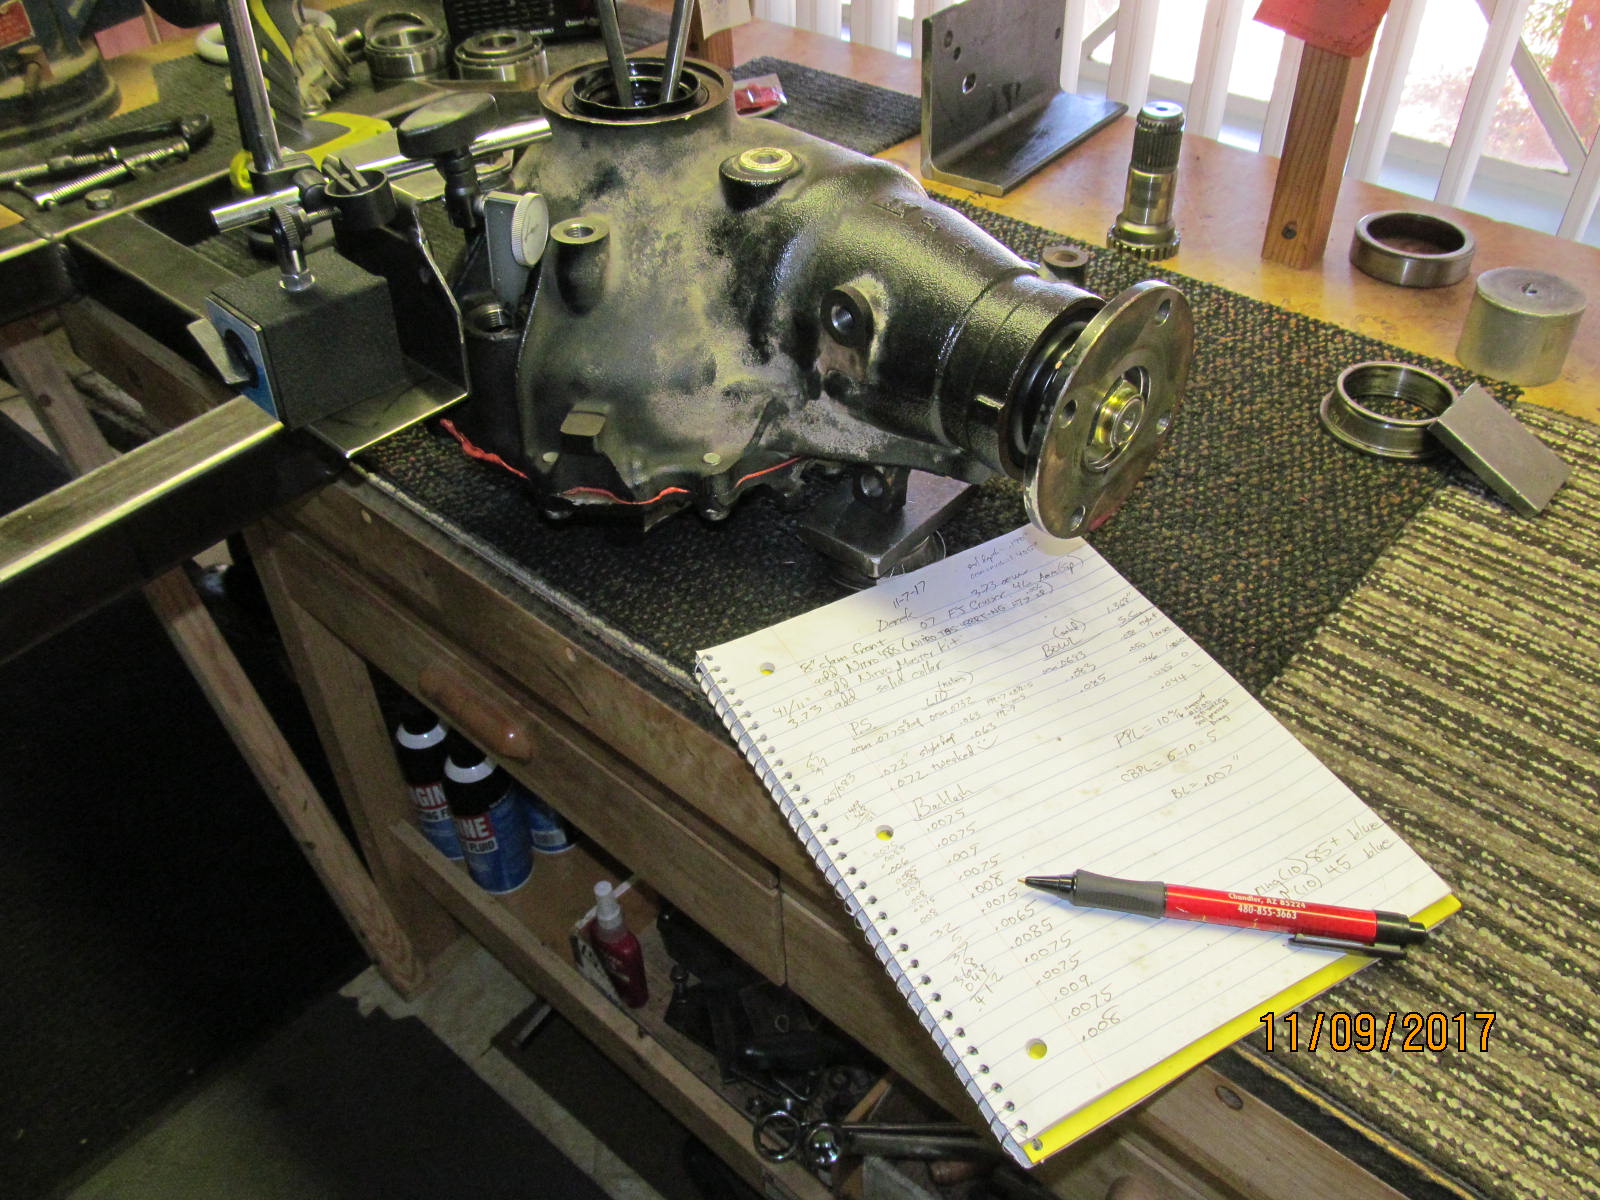
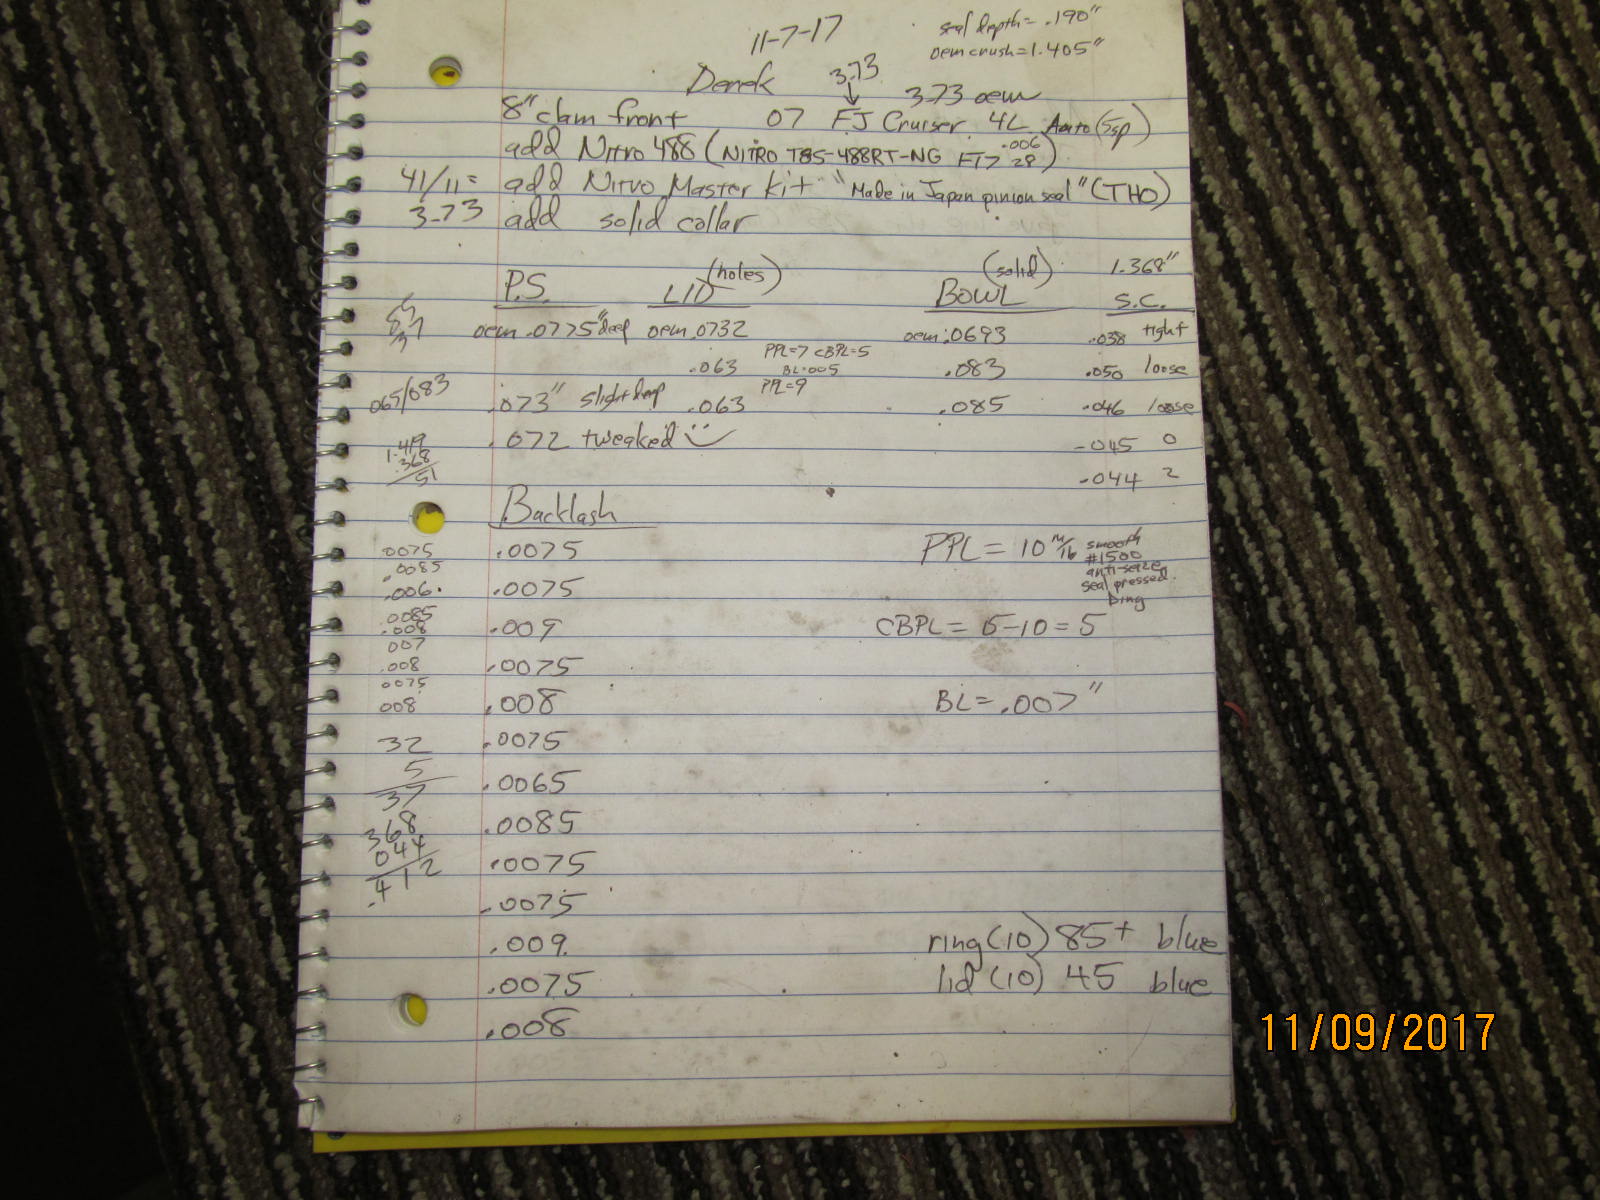
| Notes. |
|---|
|
|

|