| Fergie's 2014 Tundra 4.88 regear was a disaster! |
|---|
| (138 BIG pics loading) |
| MAY 19 2025 |
|
|---|
|
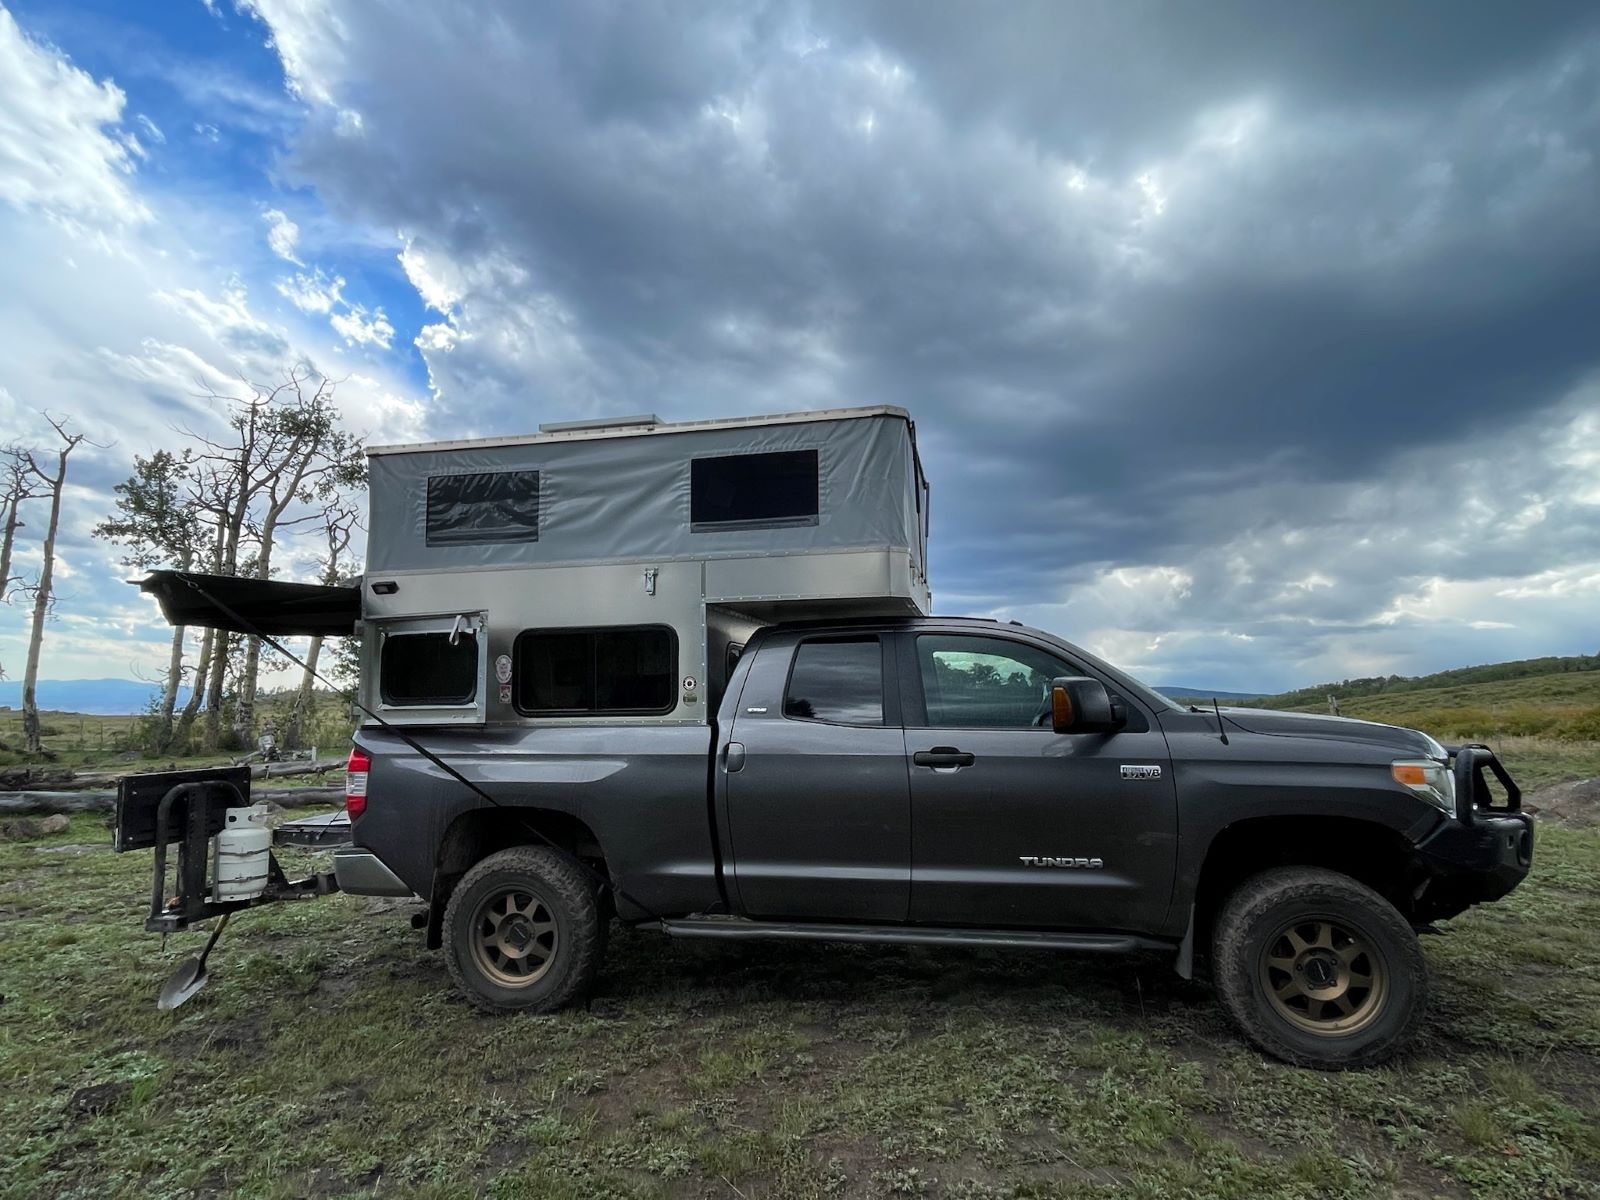
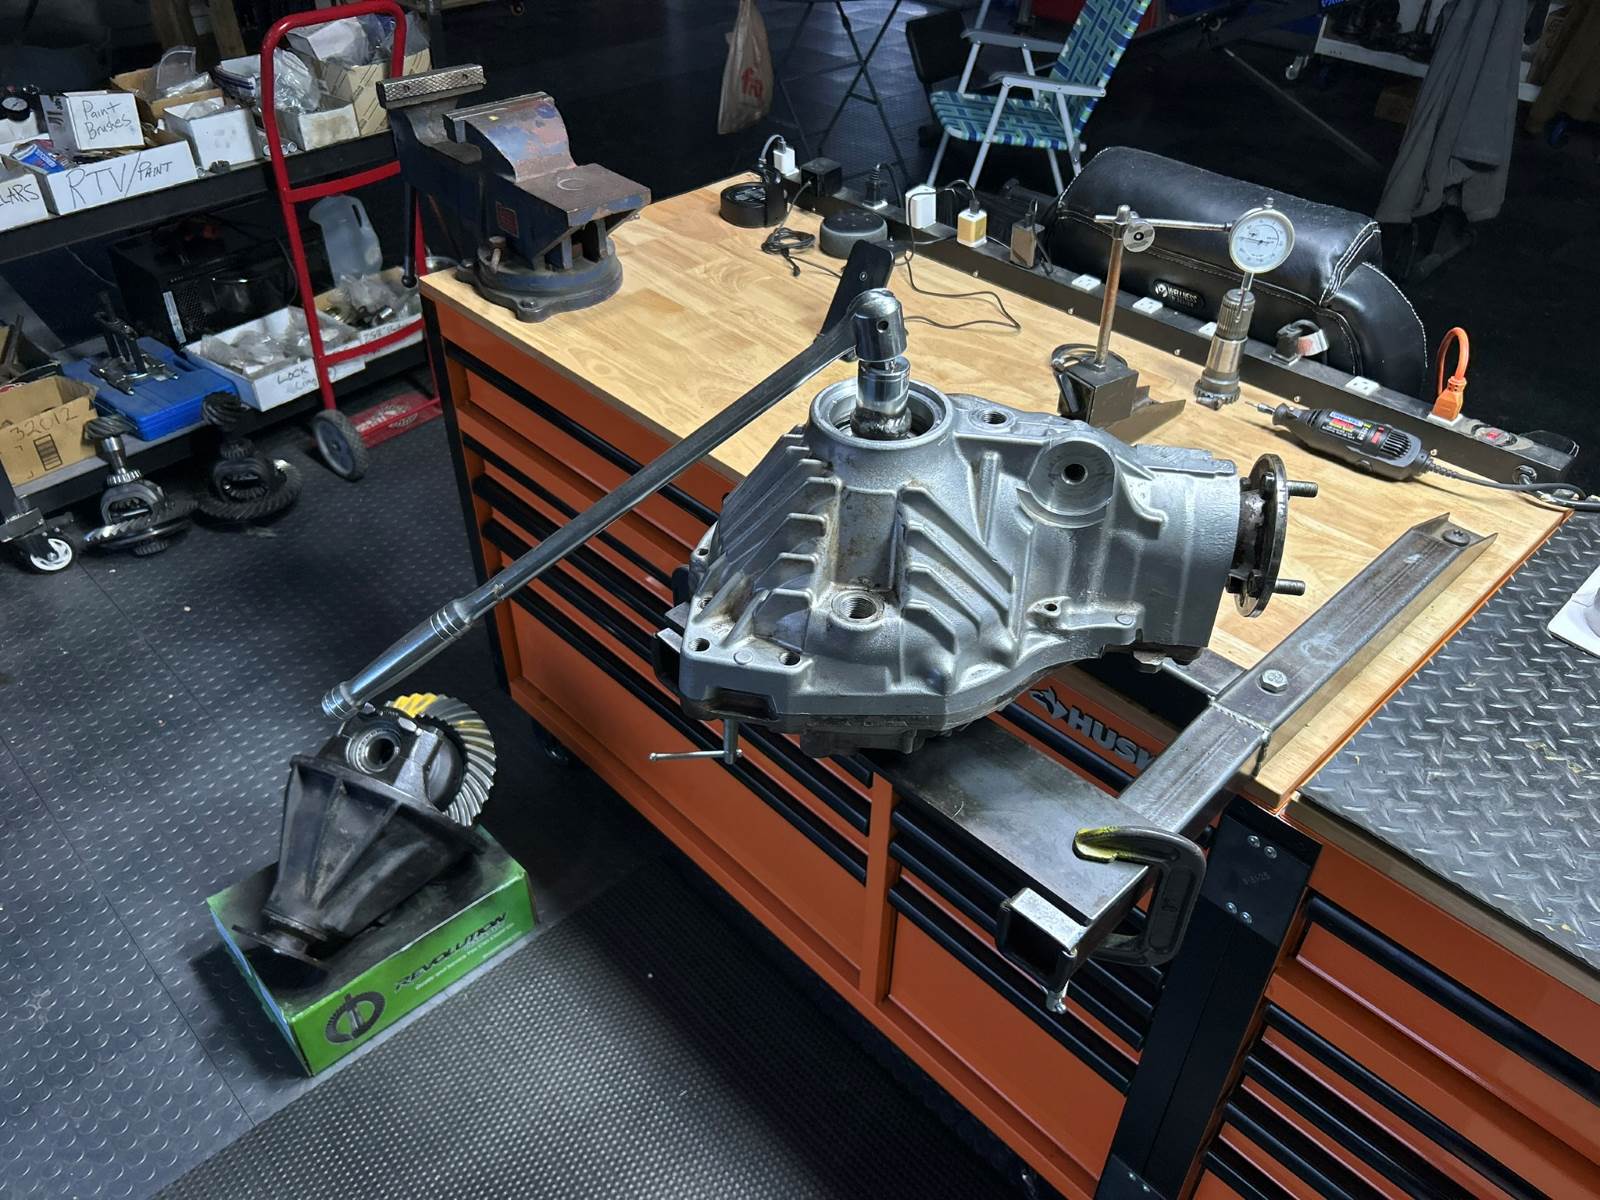
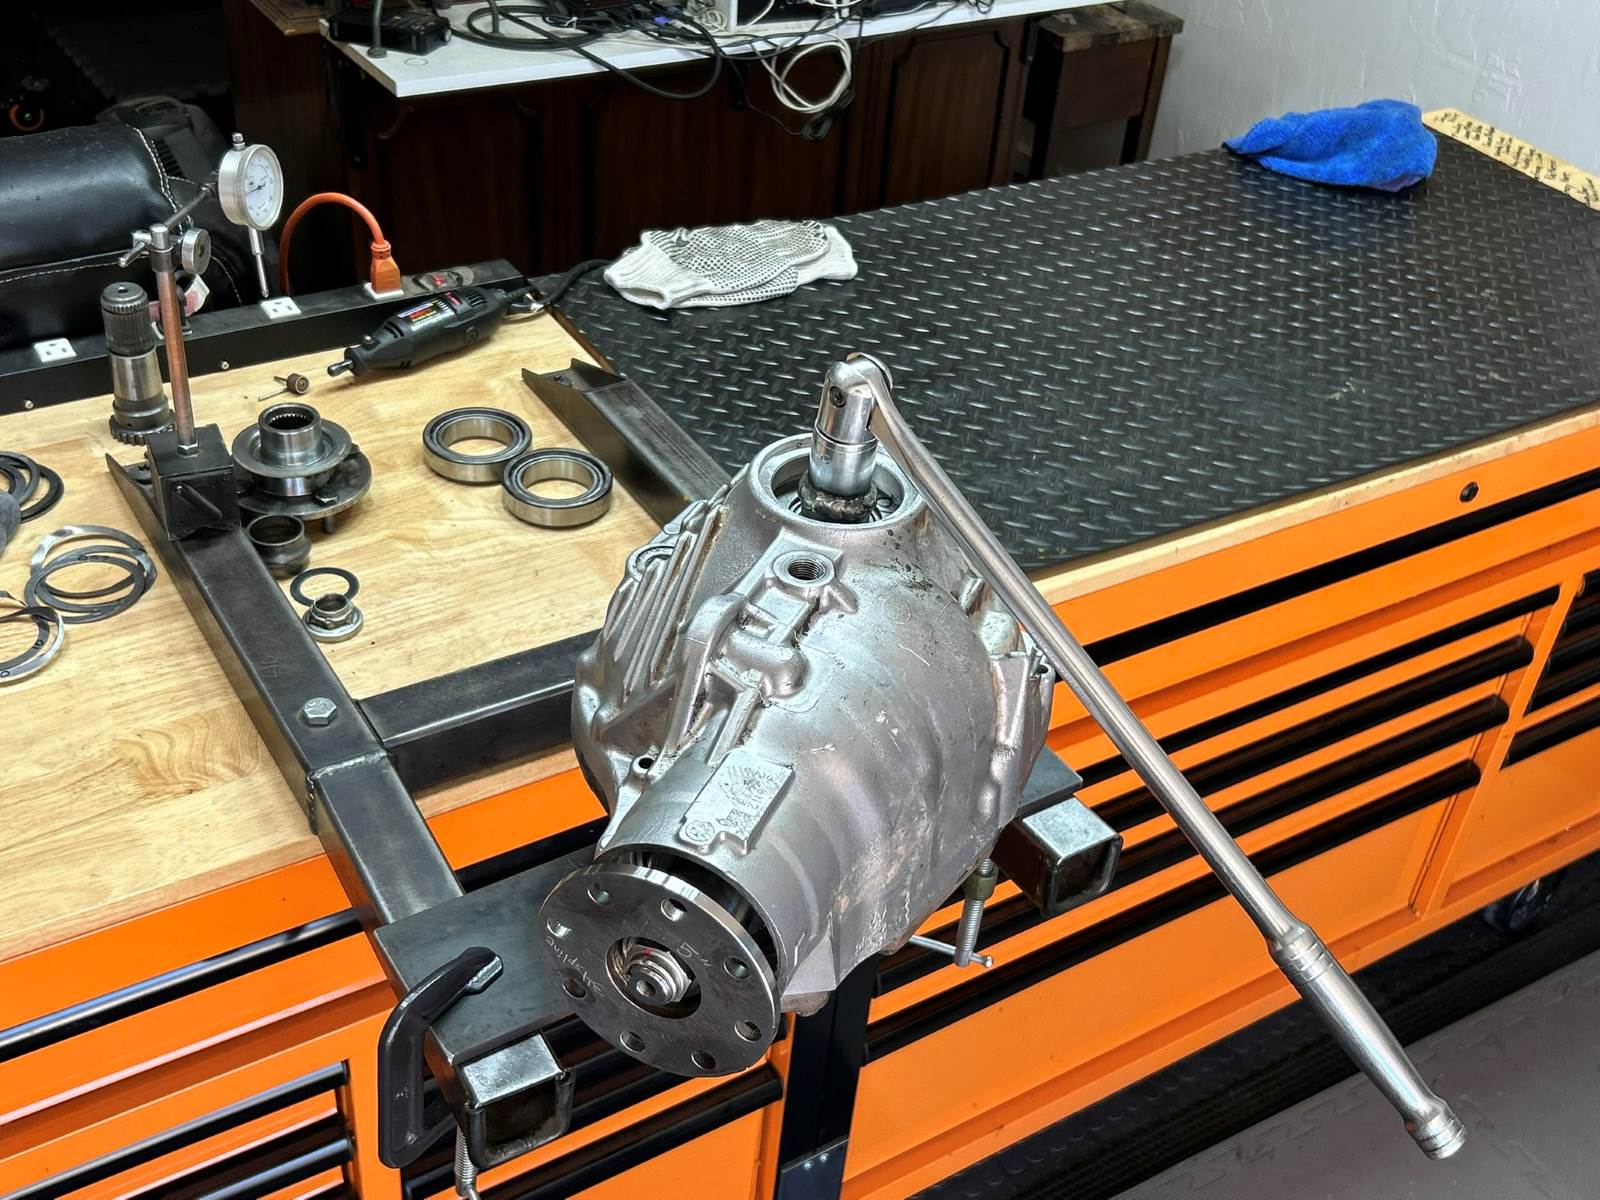
Fergie's 2014 Tundra was regeared about a year ago and the noise has been getting louder and louder over time. He's semi-local so the diffs were pulled and he drops them off at my place here in Prescott. Instead of 4.88's, it's gonna be 5.29 this time around :) The regear was done at a shop in northern Arizona somewhere. I wasn't told the exact location and I don't want to know either. I can summarize what I found wrong with both the rear and the front diffs here and then you can read down and see how screwed up they were. For the 10.5" rear, I first noticed the carrier bearings were freely moving back and forth with about a .060" air gap. Basically, the thick washer plates that are resposible for setting backlash and carrier bearing preload were MIA and a couple of token skinny shims were in their place. Also, the pinion shim was about . 017" too thick resulting in a pattern that was way out of spec. Also, the solid collar was not shimmed correctly with a large .080" air gap and was basically rattling around. The front was a similar situation....the crush sleeve was never crushed and that resulted in about .050" of in/out pinion play. The pinion shim was almost twice the thickness it should have been (.126" vs .077") resulting in no pattern at all. And the same thing with the carrier bearings....the original washer plates were left out and a couple of skinny shims were in their place. This means the carrier bearings were also just wobbling around. |
|
|
|
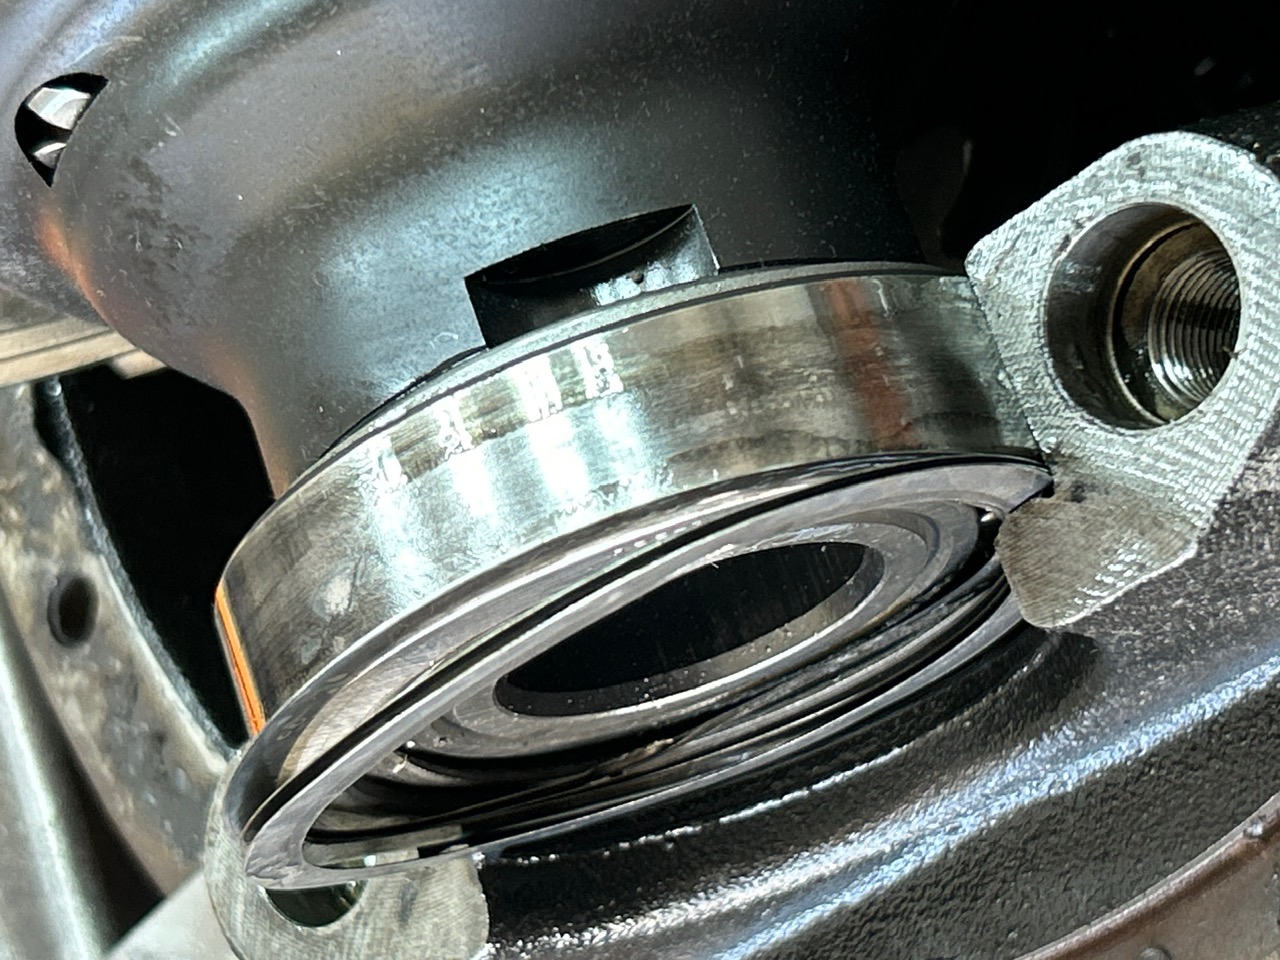
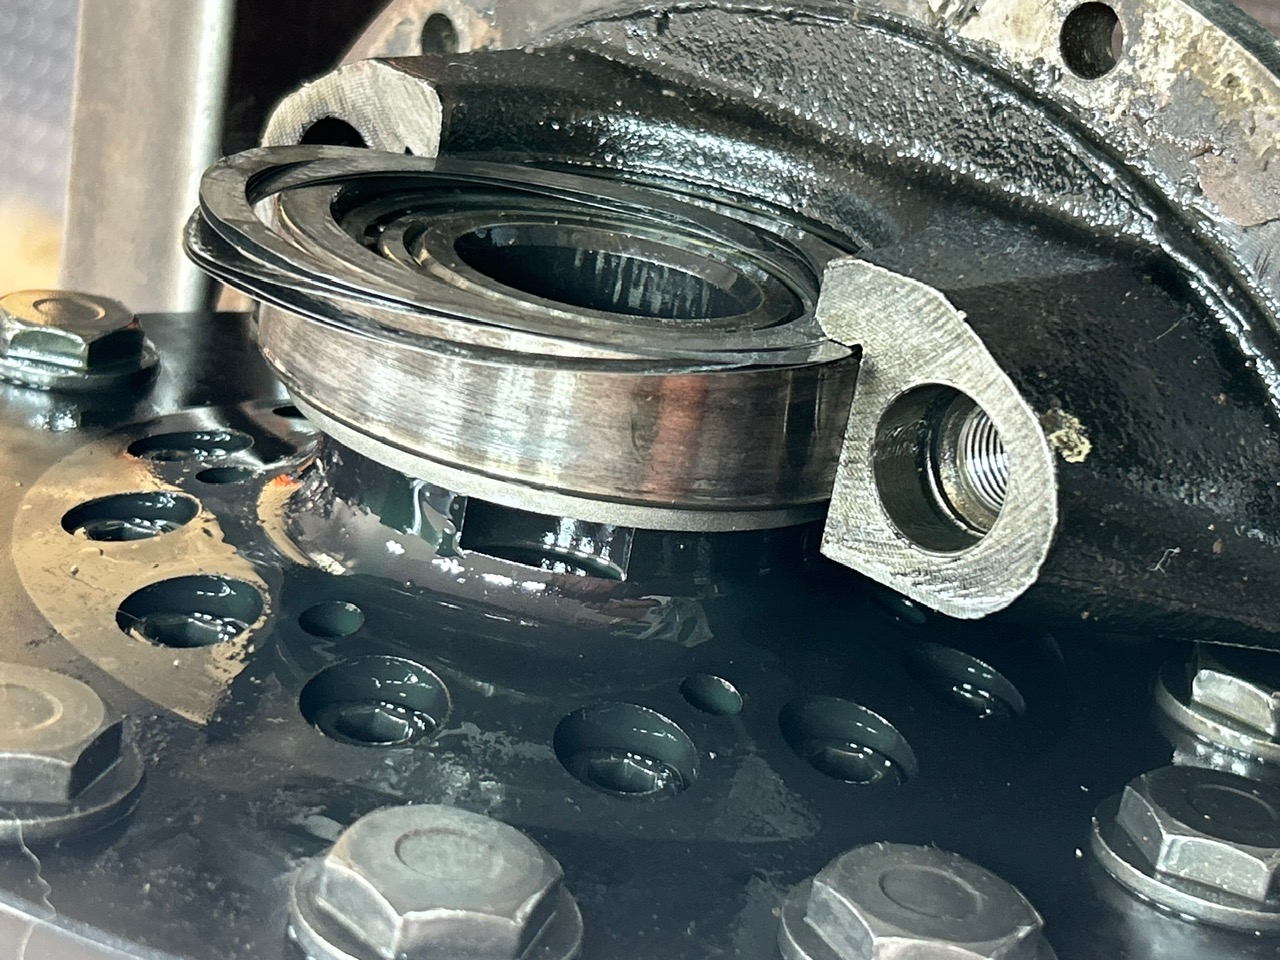
First, let's tear into the rear 10.5"......I start dis-assembly....the washer plates next to the carrier bearings are missing. A couple of thin aftermarket shims are in their place. |
|
| Same situation for the other side. What happened to the factory washer plates? |
|
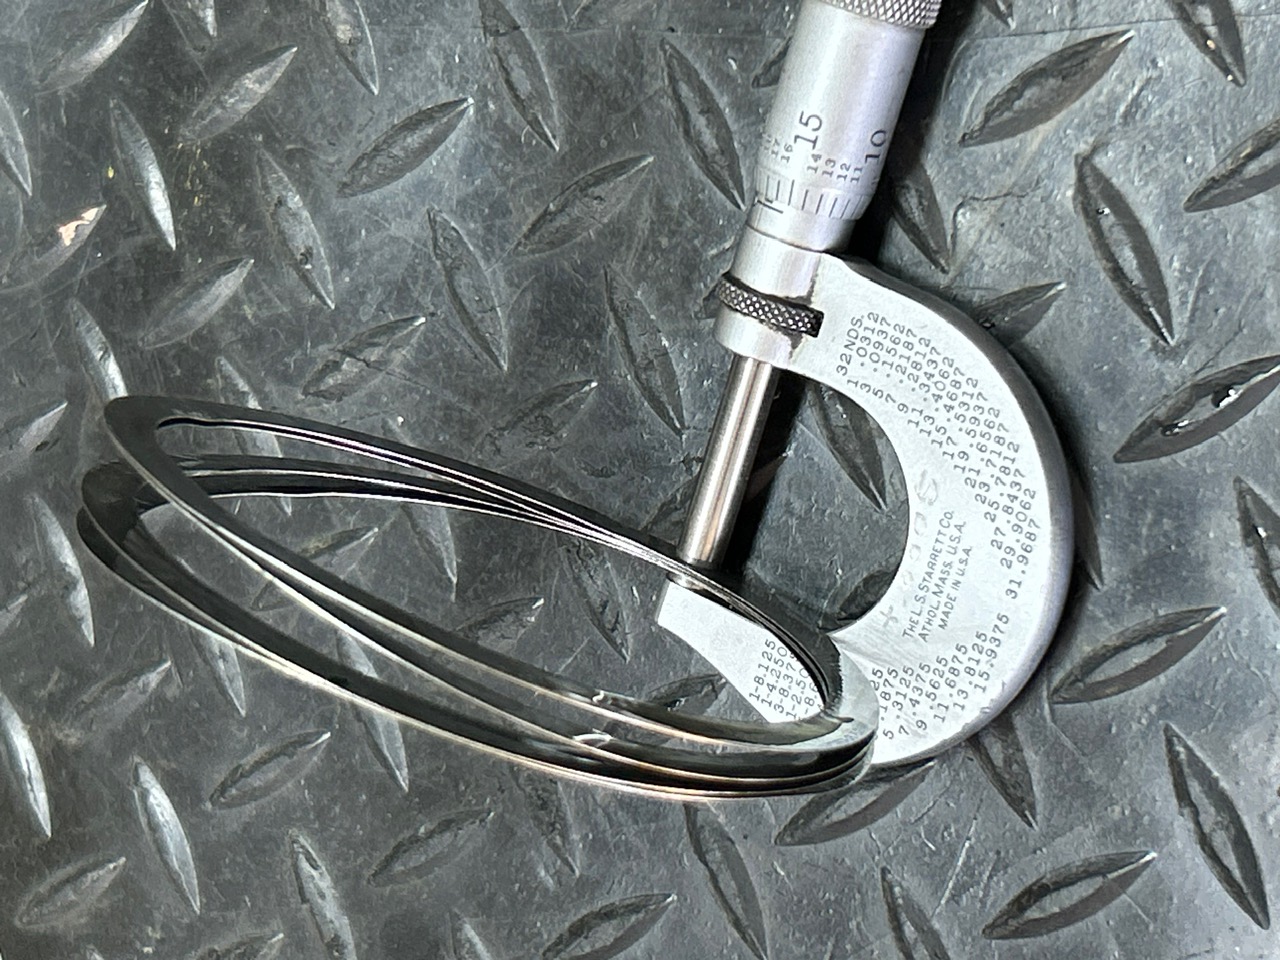
| This is about half the shim needed for proper preload. Amazing. |
|
|
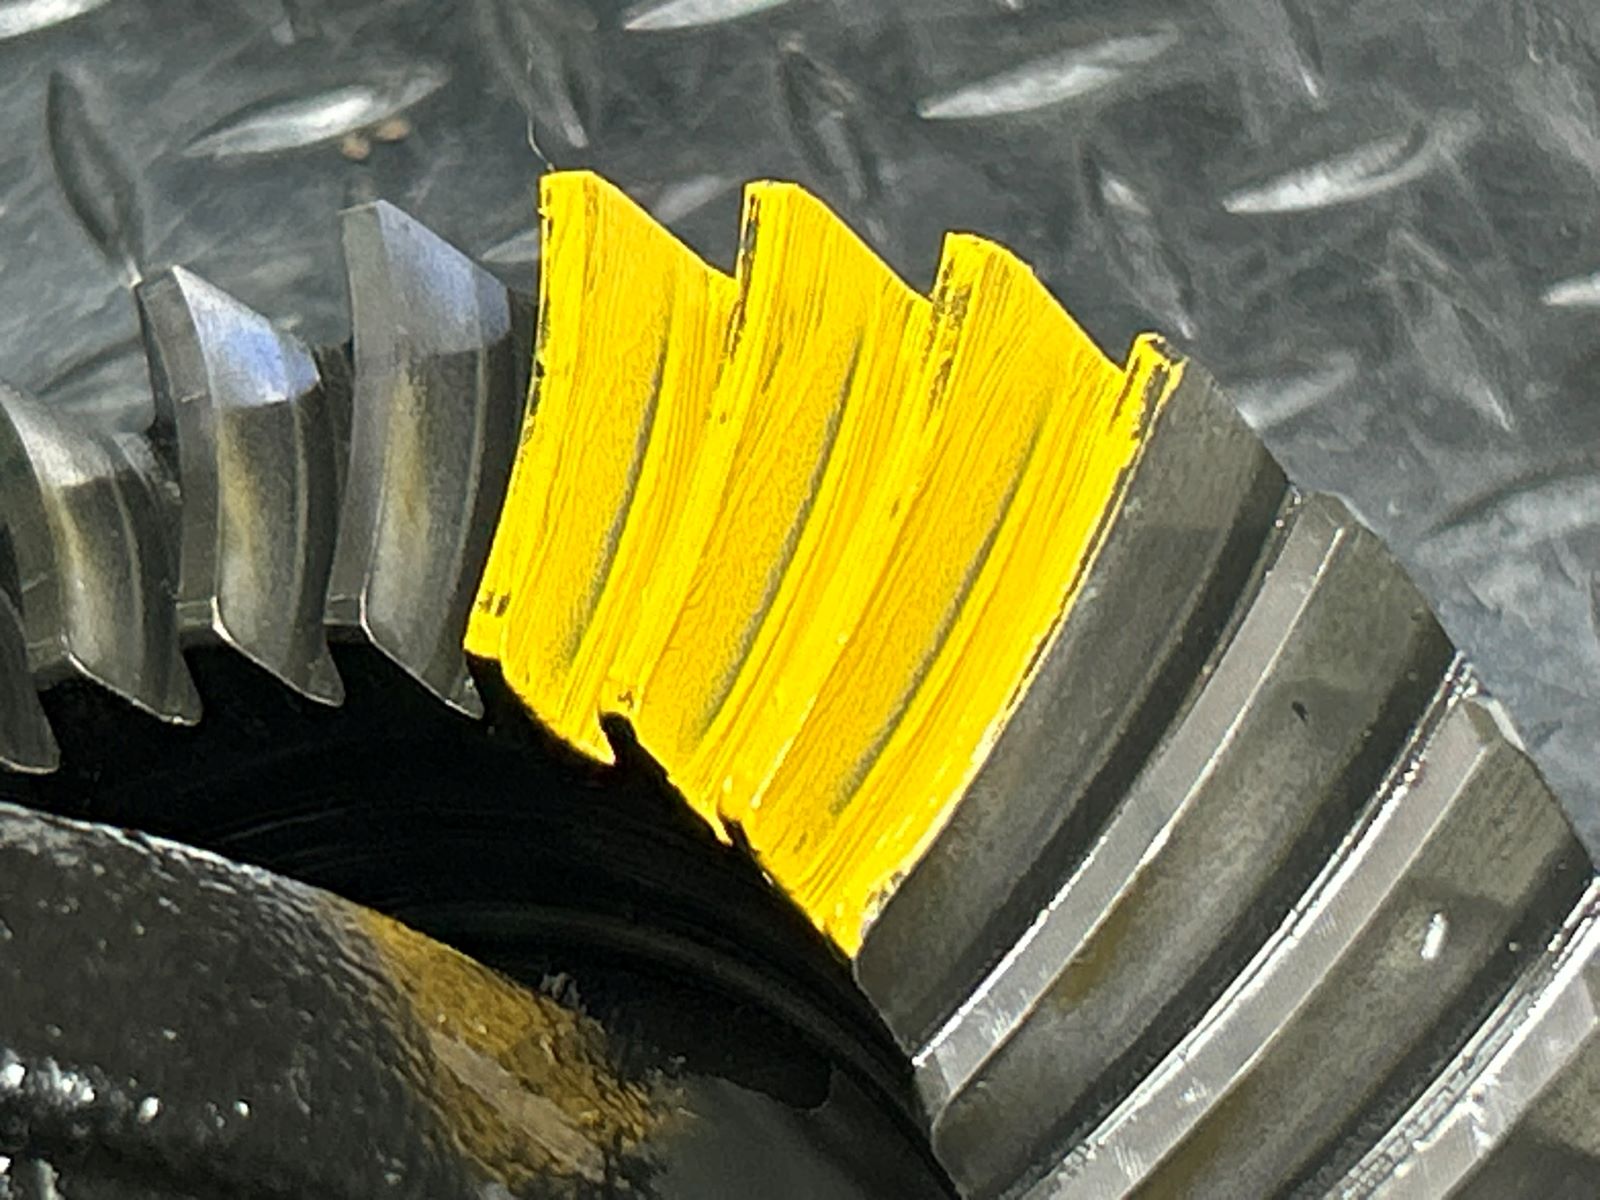
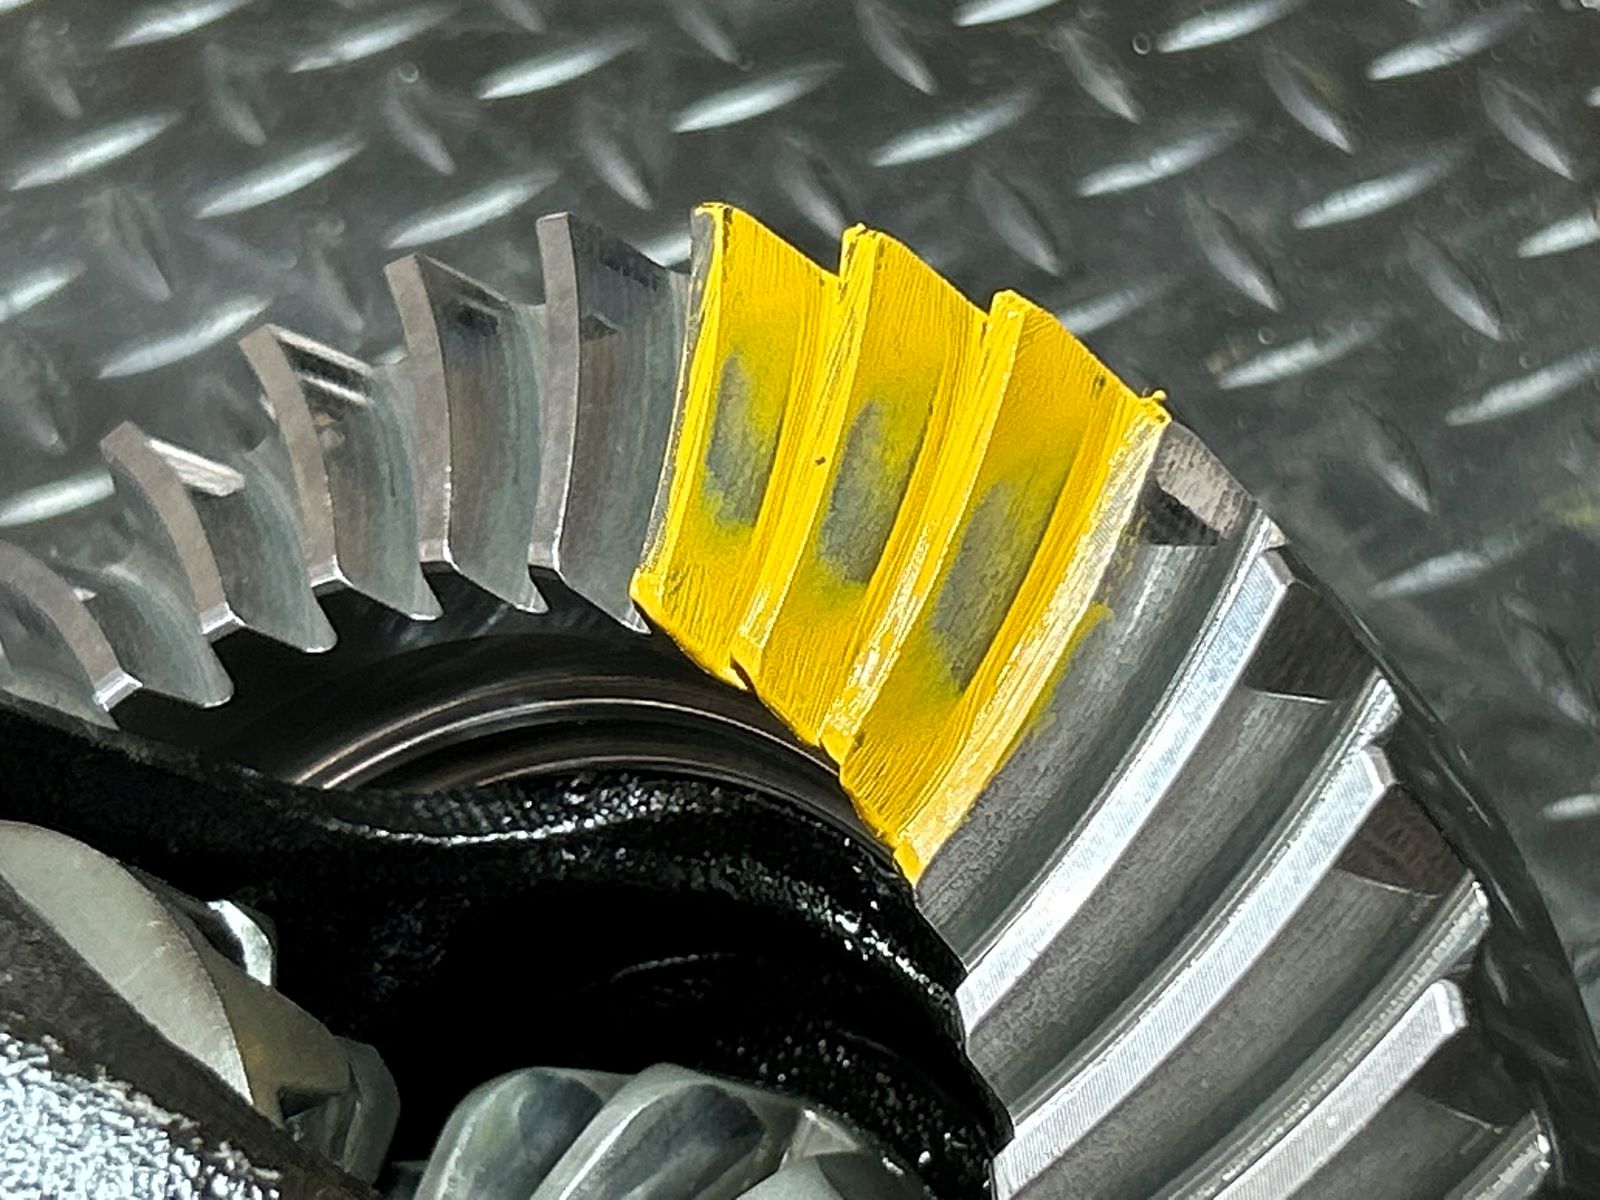
A pattern check was not even possible until it was shimmed up at least close to the spec.... With that done, we can see this pattern is too deep. Actually, I'm quite surprised that the teeth are not chipped or sheared off....a testimonial to the strength of the 10.5". |
|
| Coast side too deep. |
|
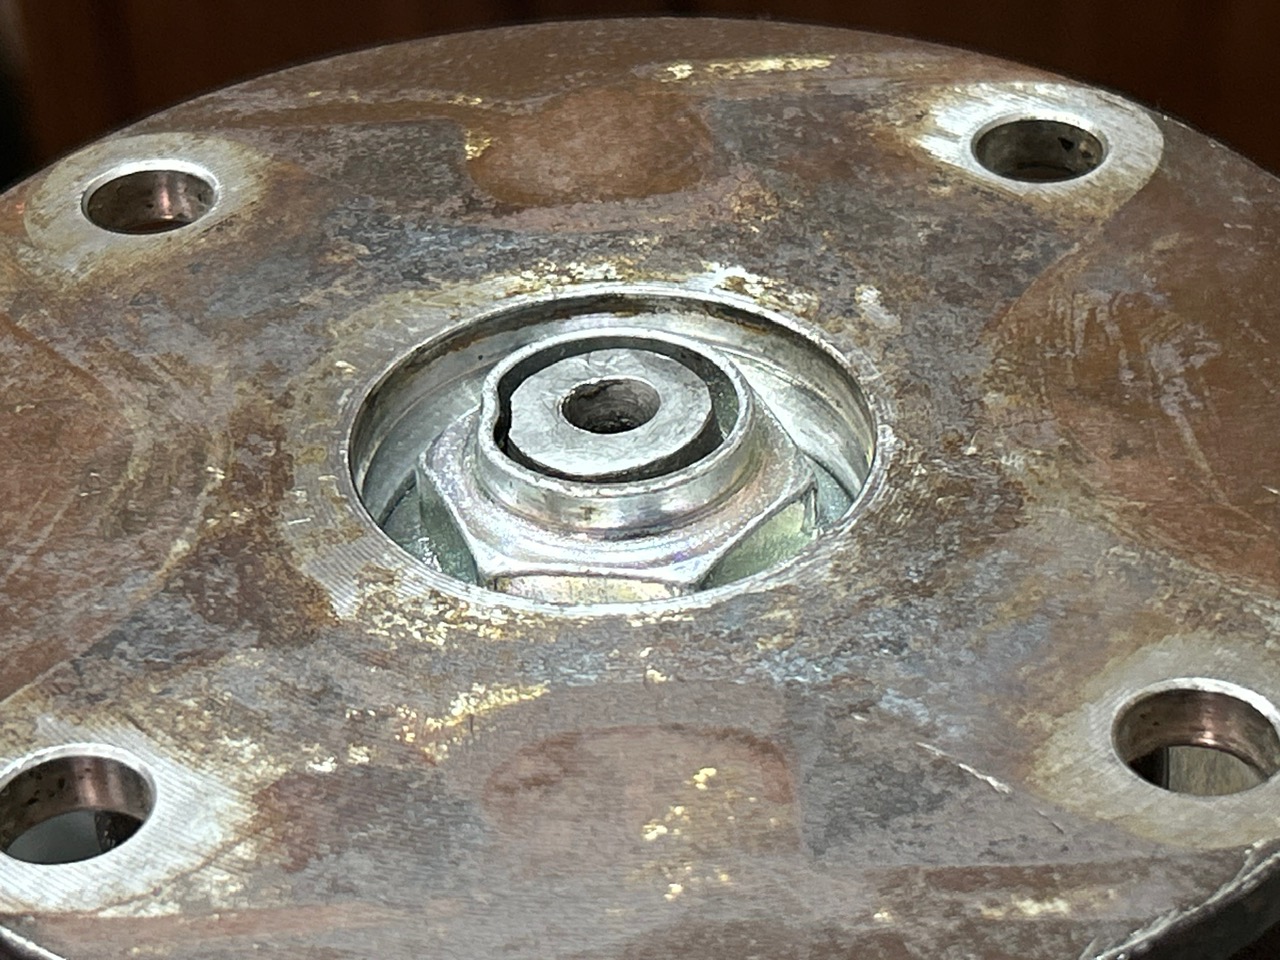
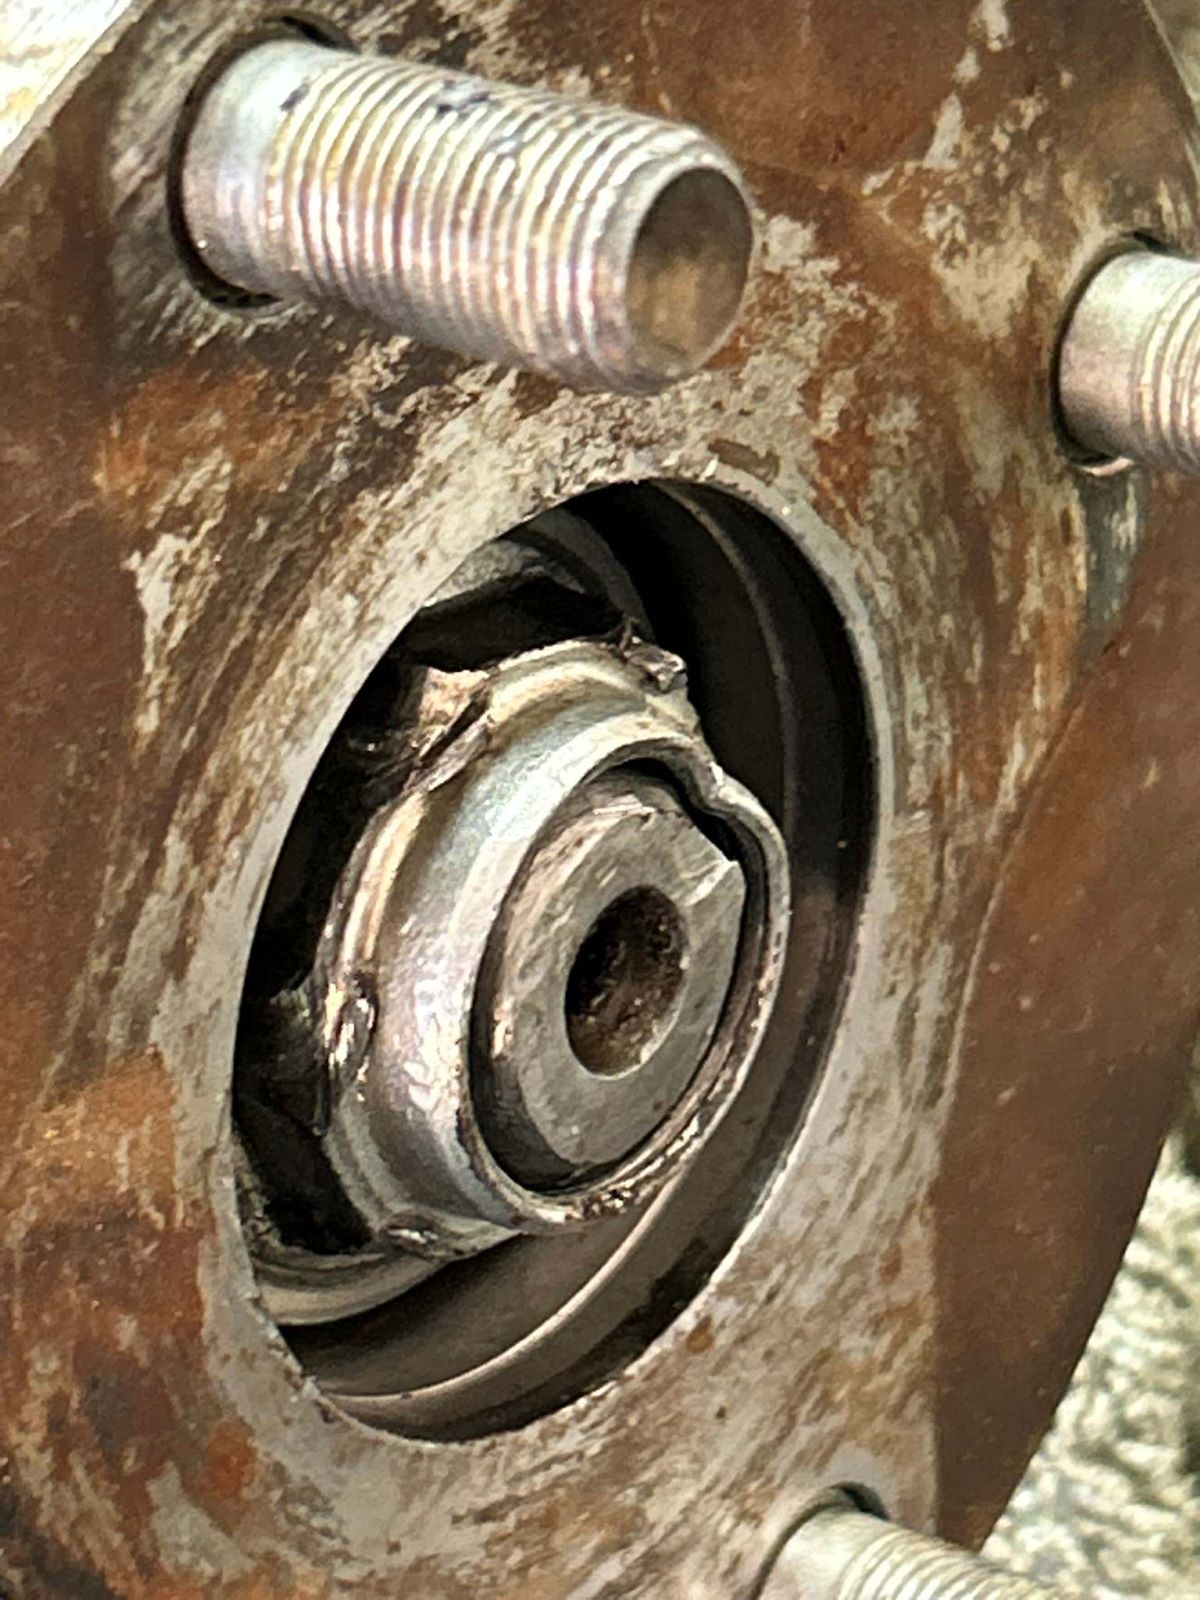
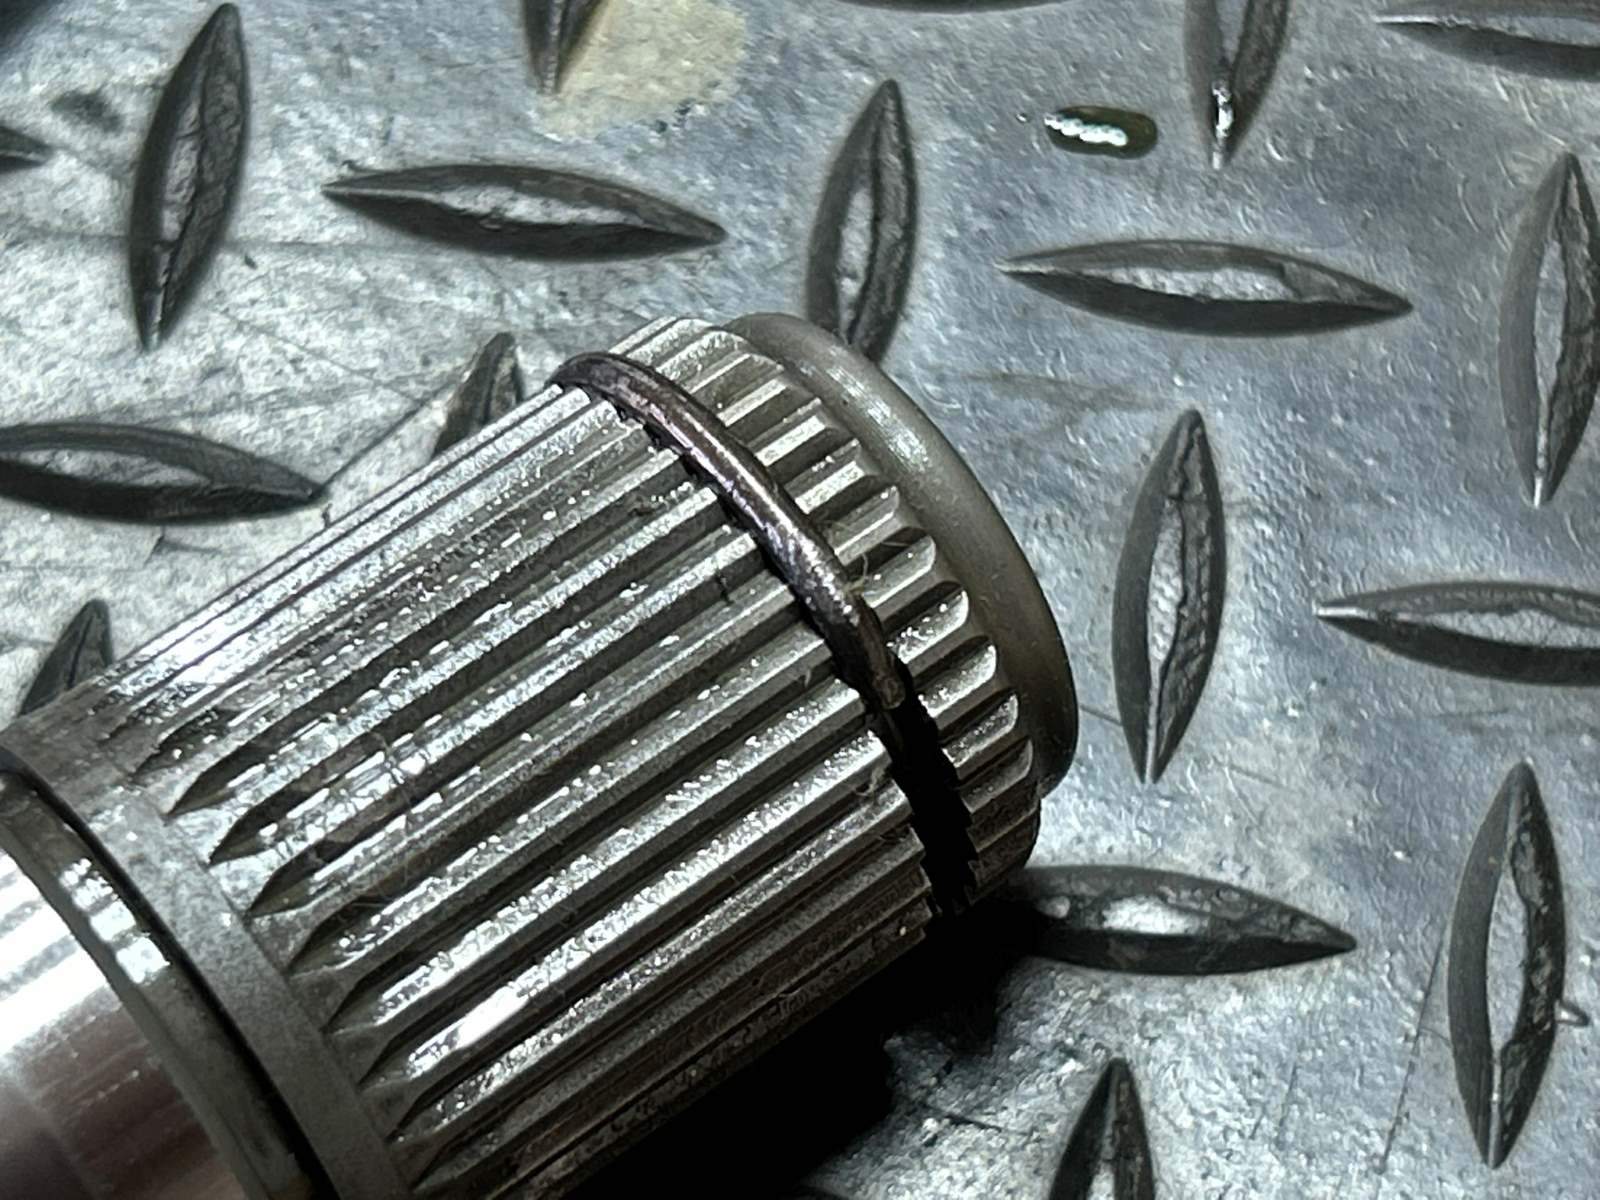
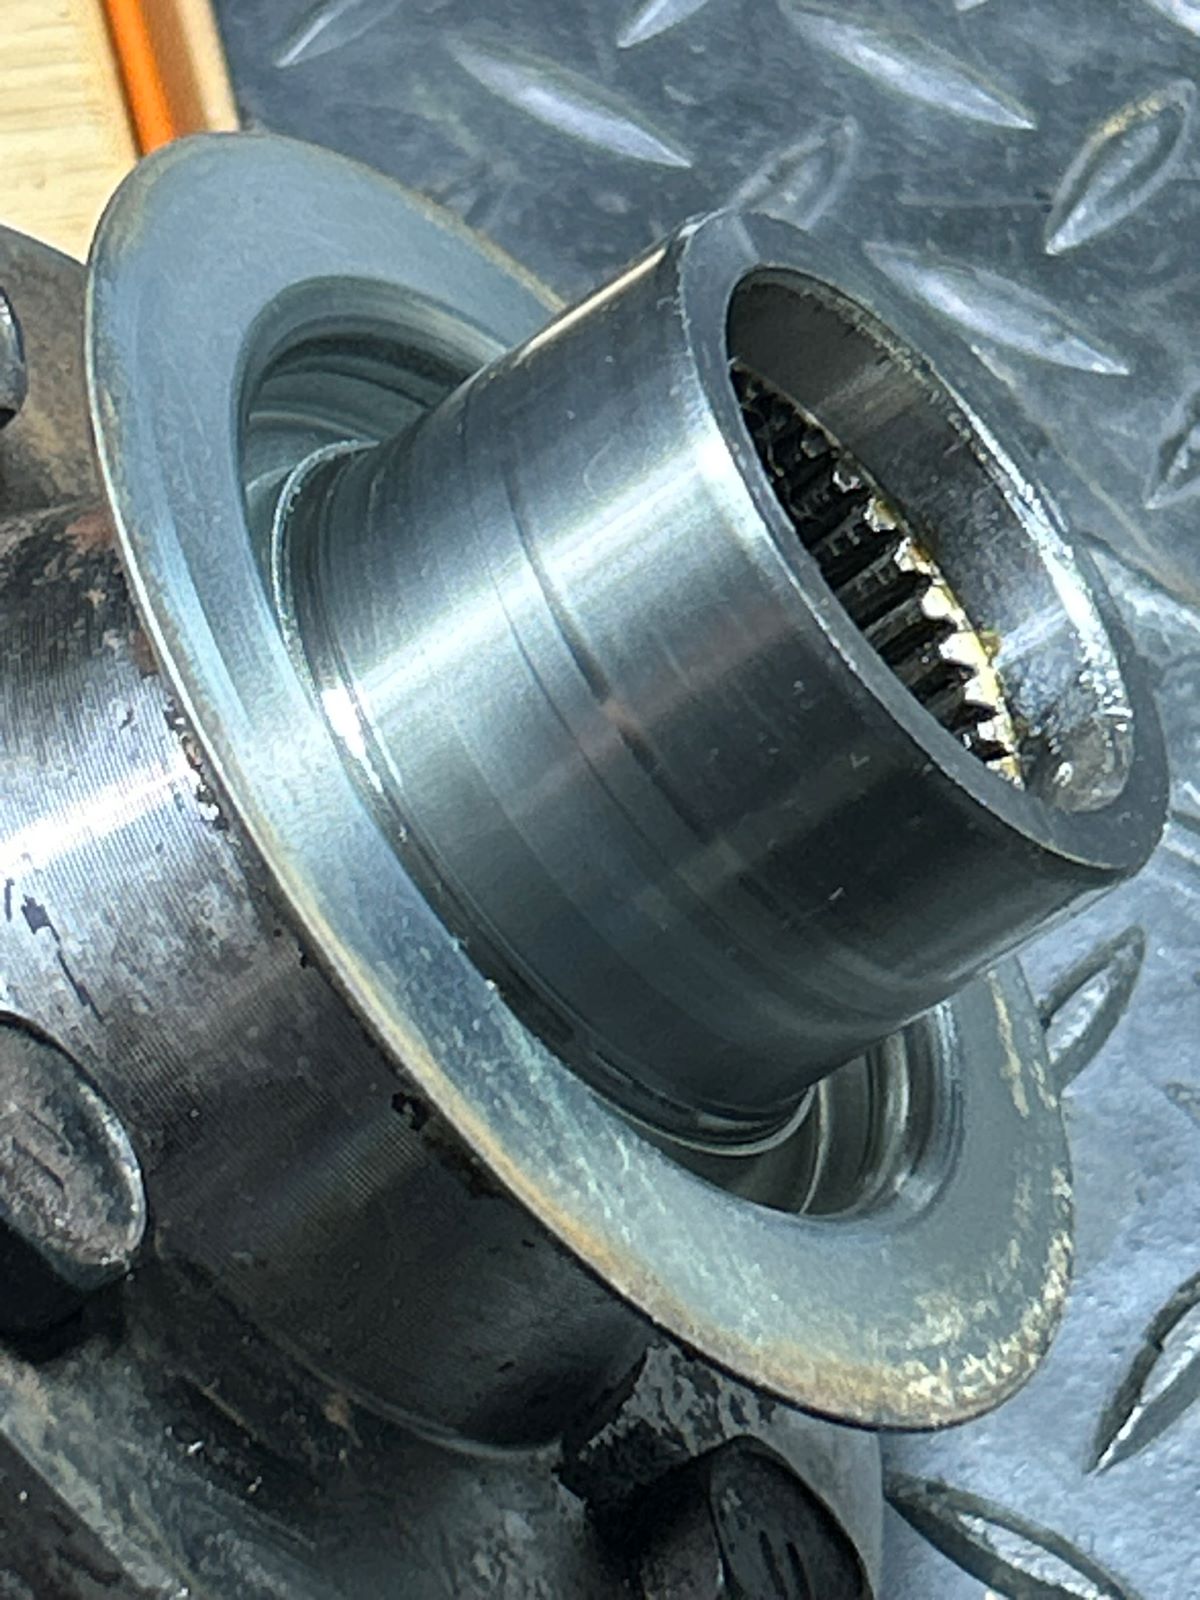
| What is going on with the pinion threads here? |
|
|
I suspect they damaged the thread ends by trying to beat the pinion out with a hammer and chamferring was the repair. Also, the pinion seal was been beat down with a hammer.... it's deformed and not level. It looks like the hammer was the "go to" tool for this install. :) |
|
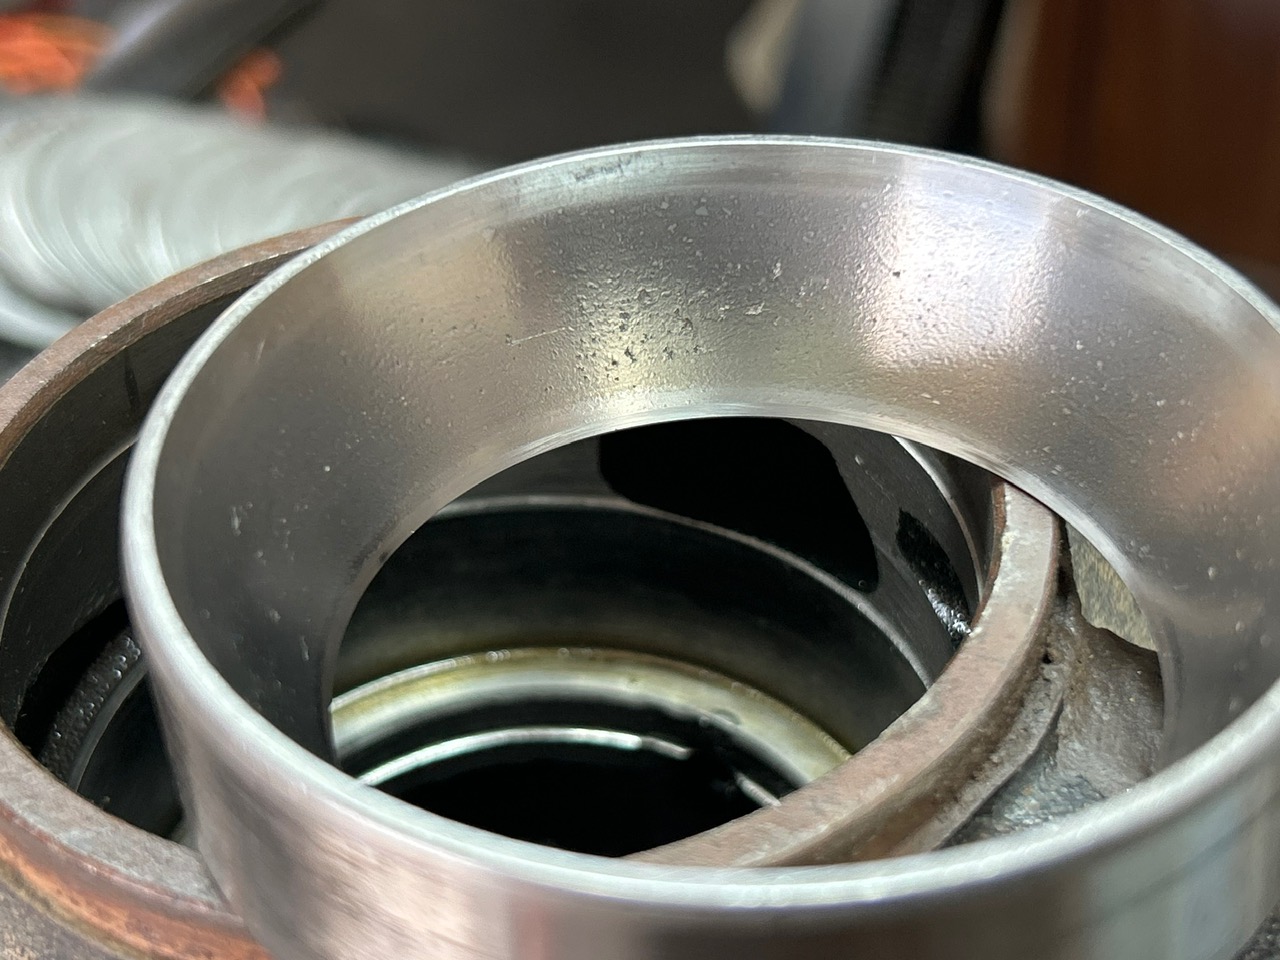
| The outer pinion race is badly pitted. |
|
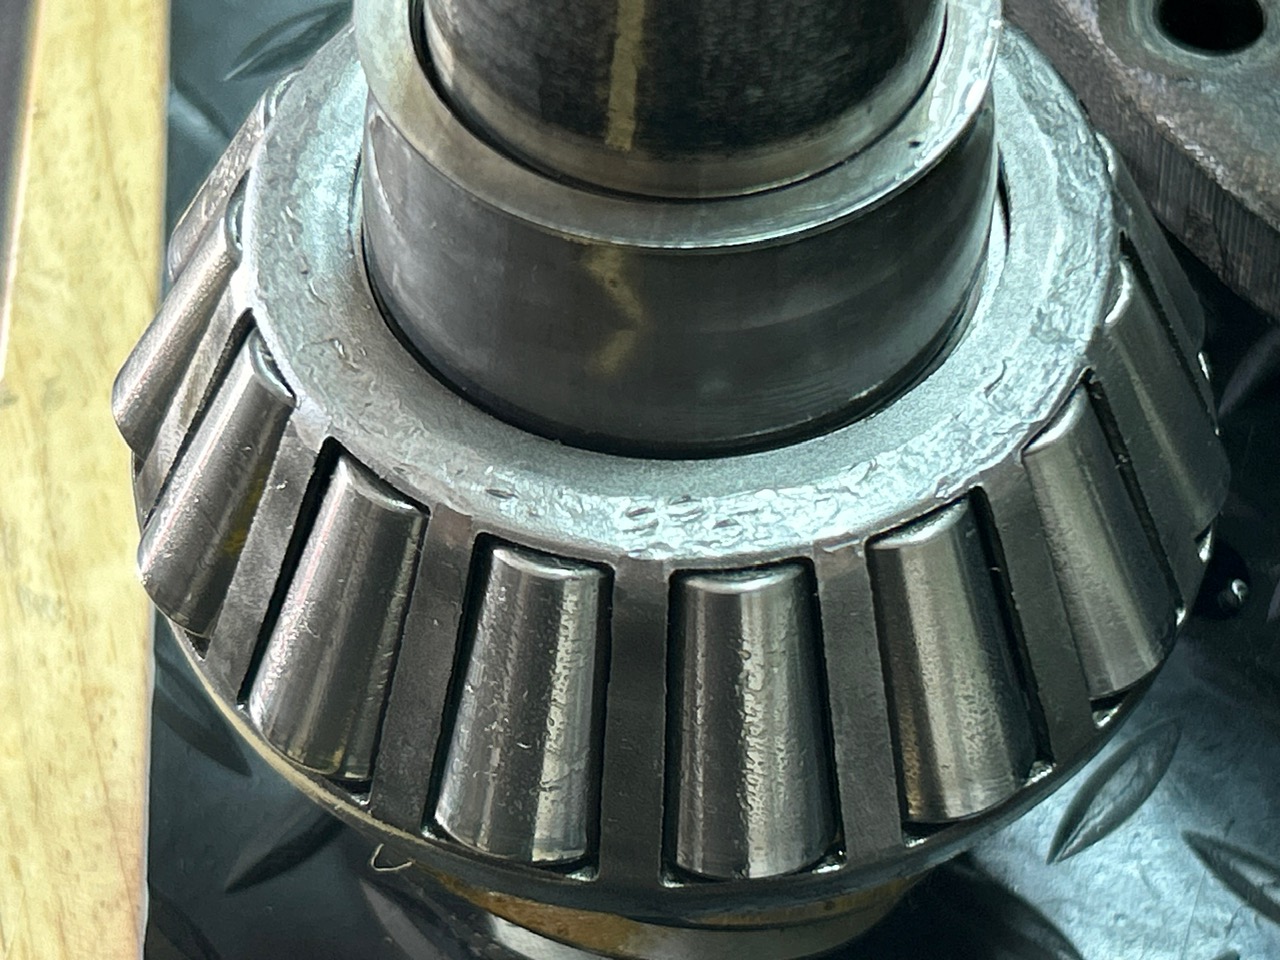
| The inner pinion bearing appears to have been beaten on with a hammer on the cage!!!! |
|
| Outer pinion race removed....a better shot of the pitting. |
|
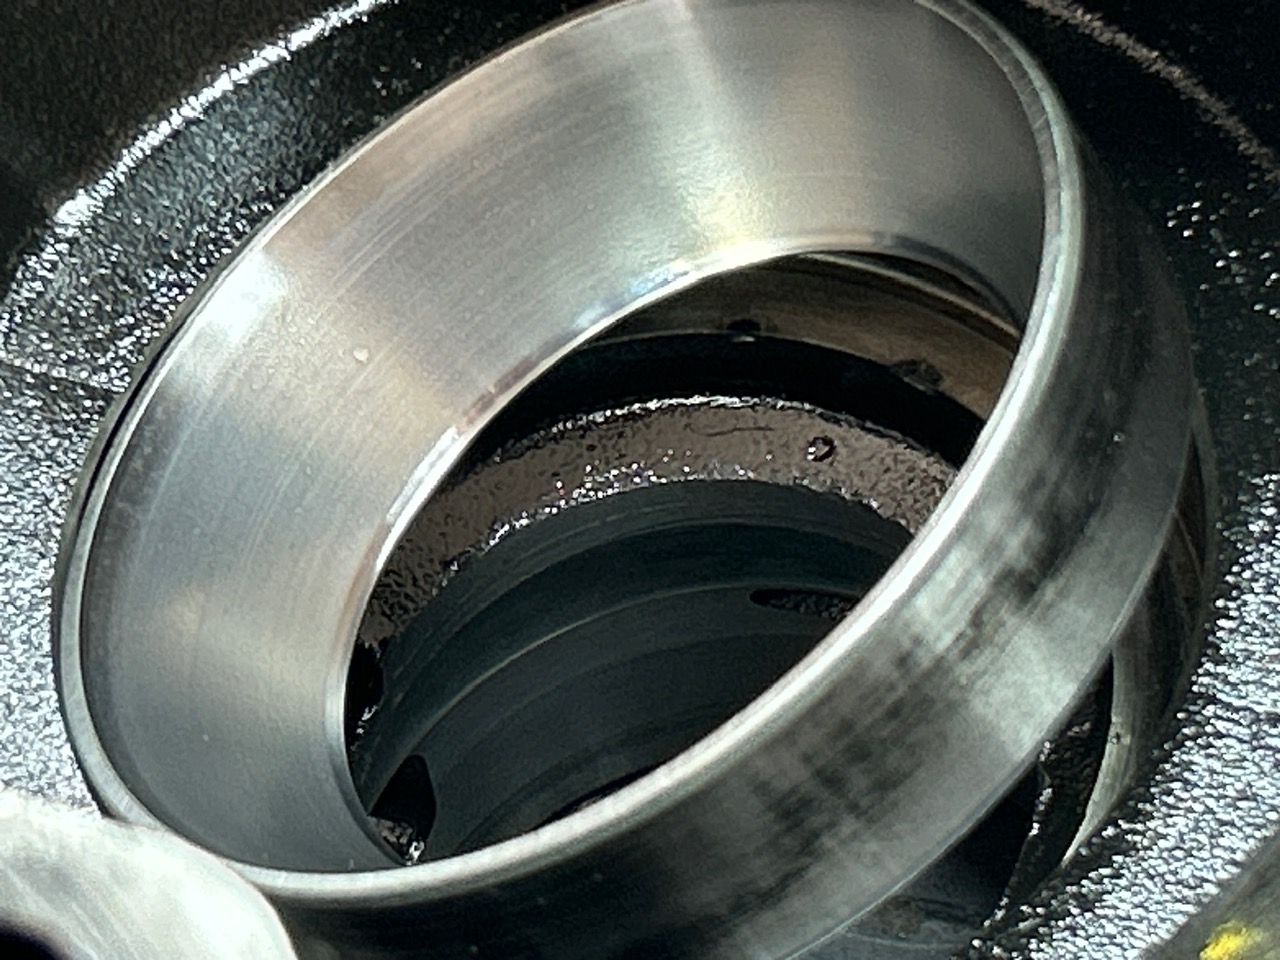
| The large inner pinion race also shows major trauma. |
|
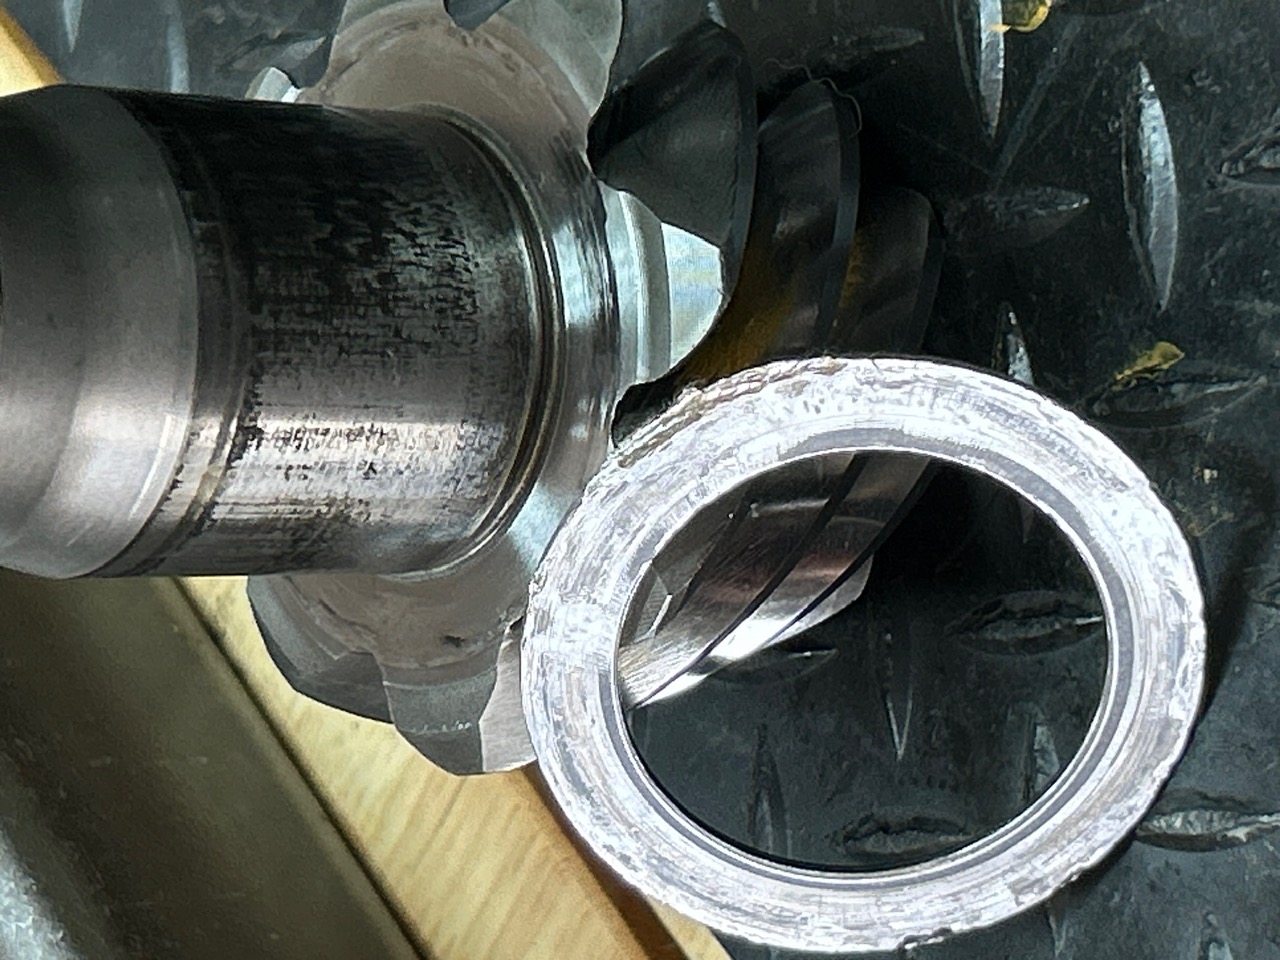
| Heck, even the pinion depth shim is torn up. |
|
|
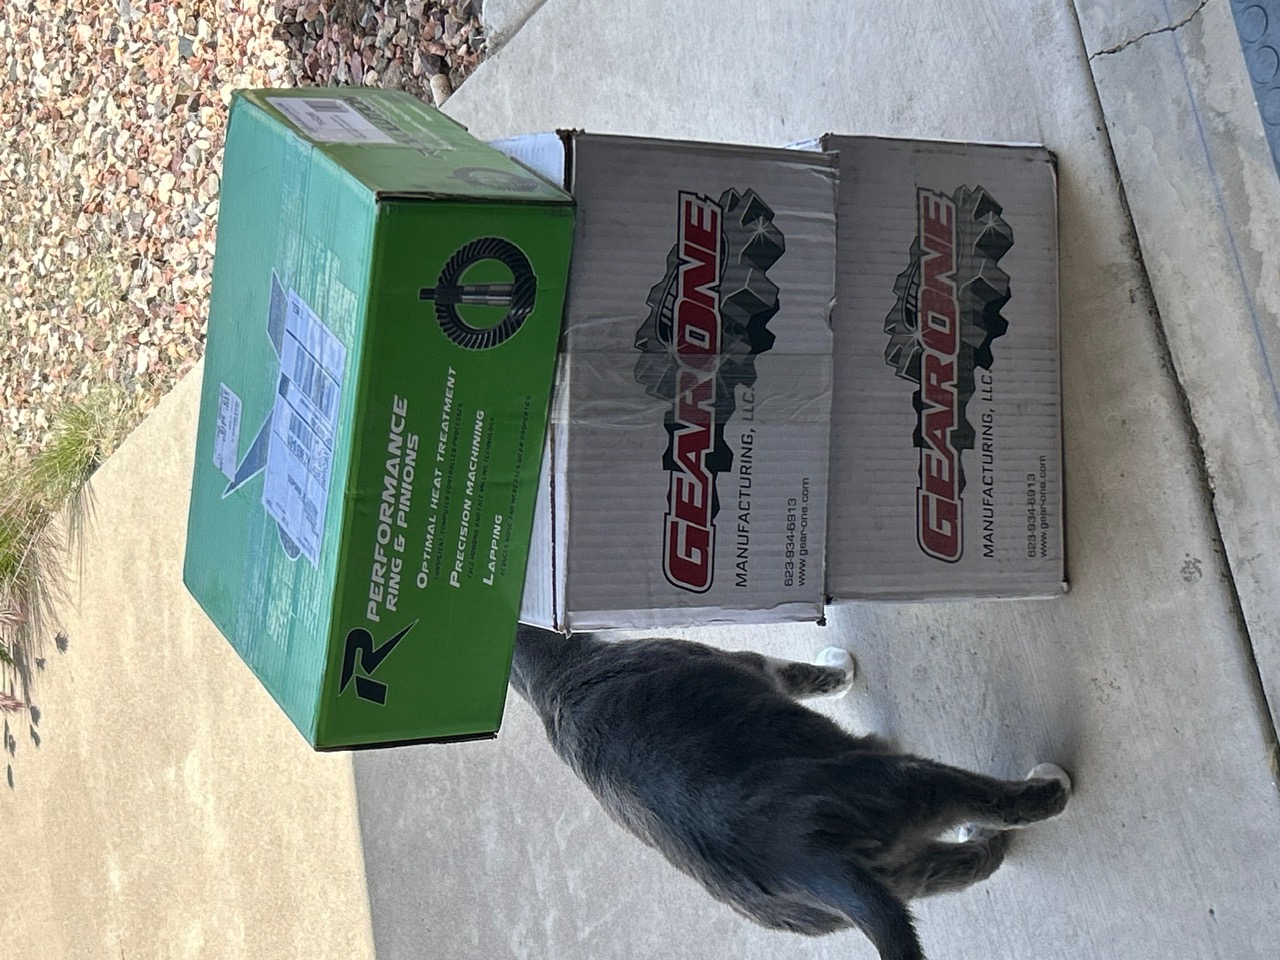
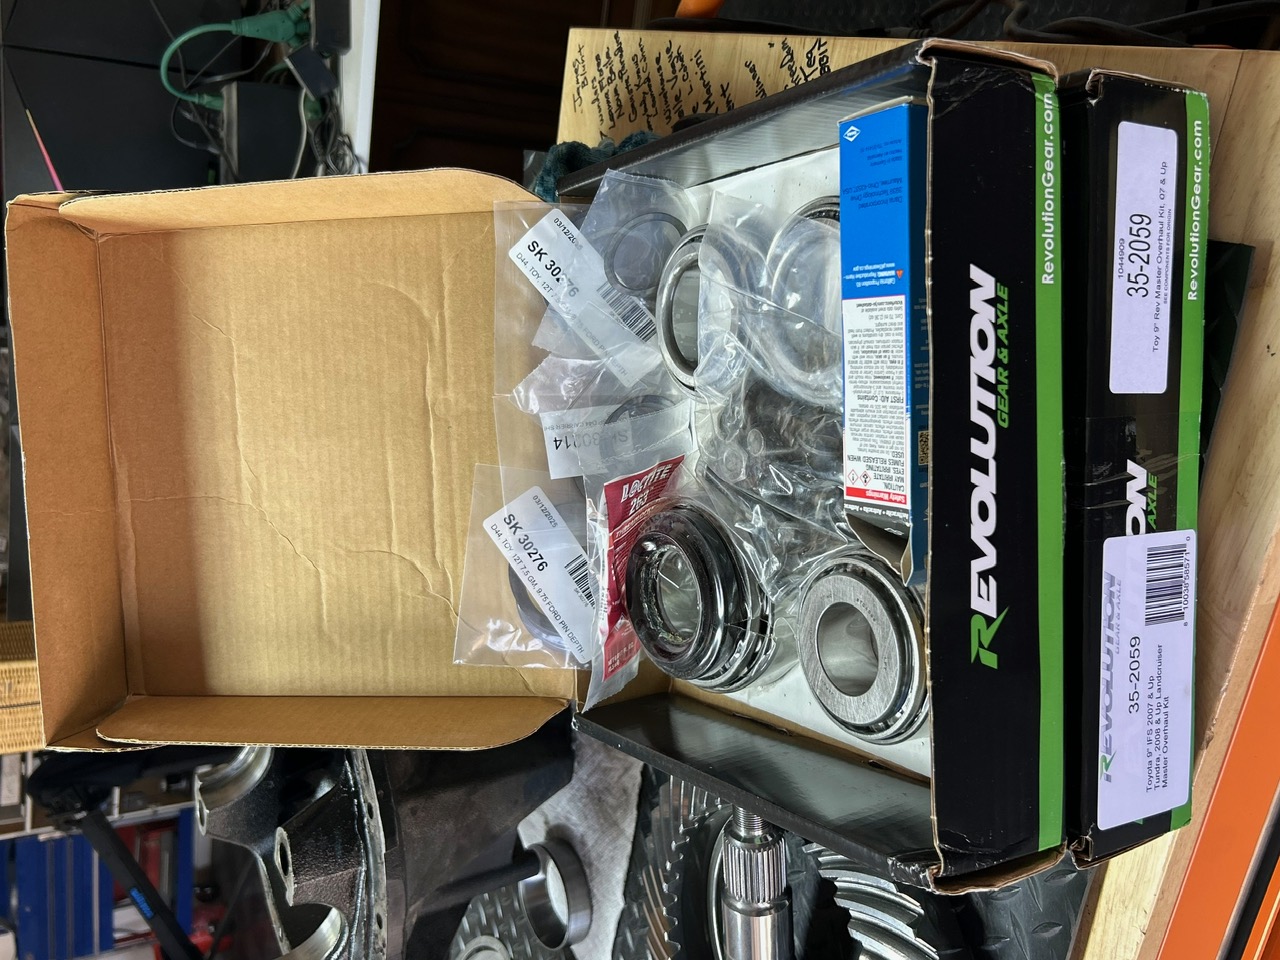
A package is dropped off via UPS. Looks like the 529 gears and the master install kits have arrived. PS---Cola is one happy kitty up here in Prescott. She's about 13 years old now. |
|
|
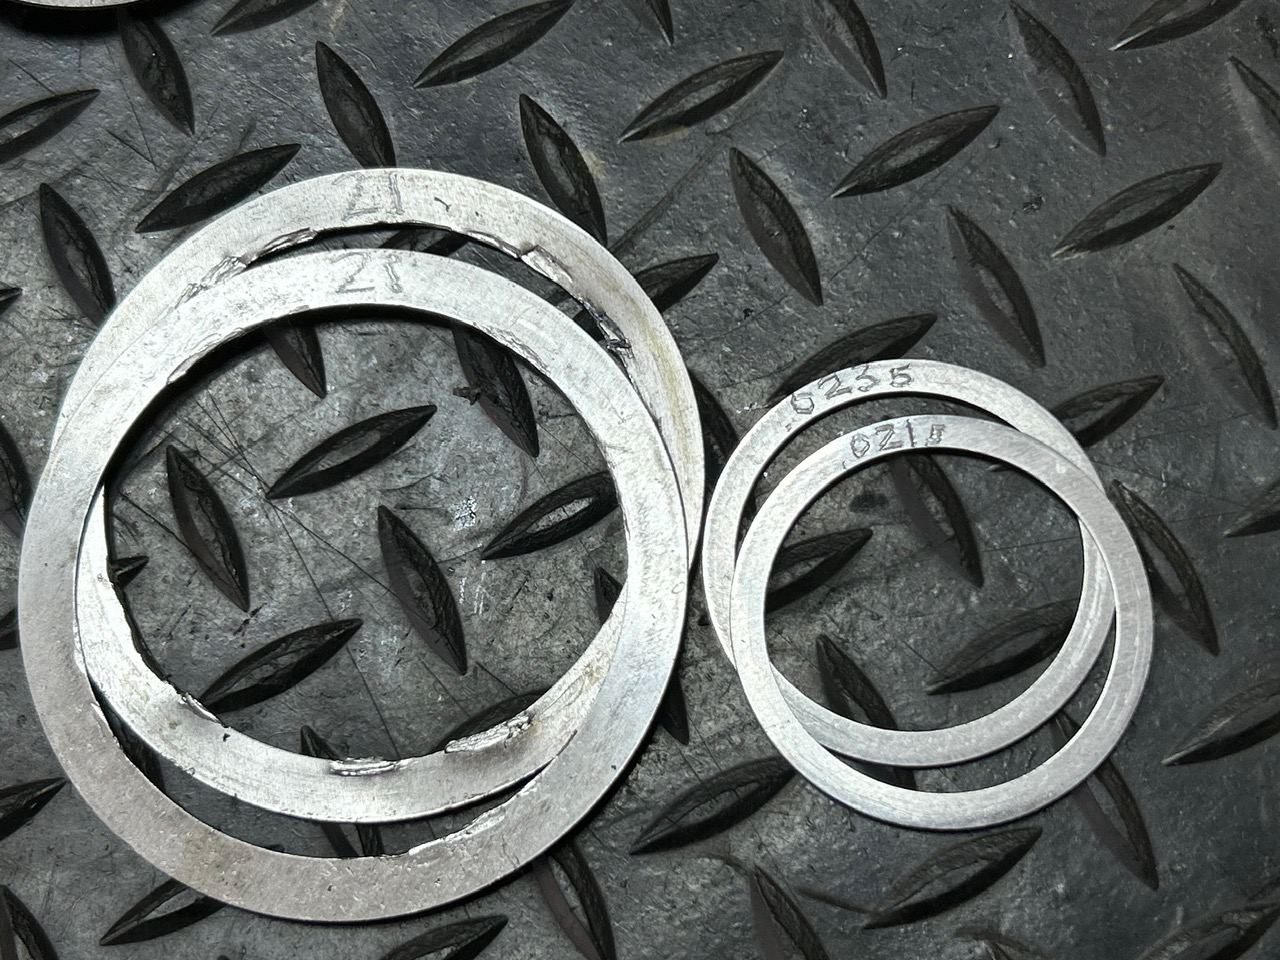
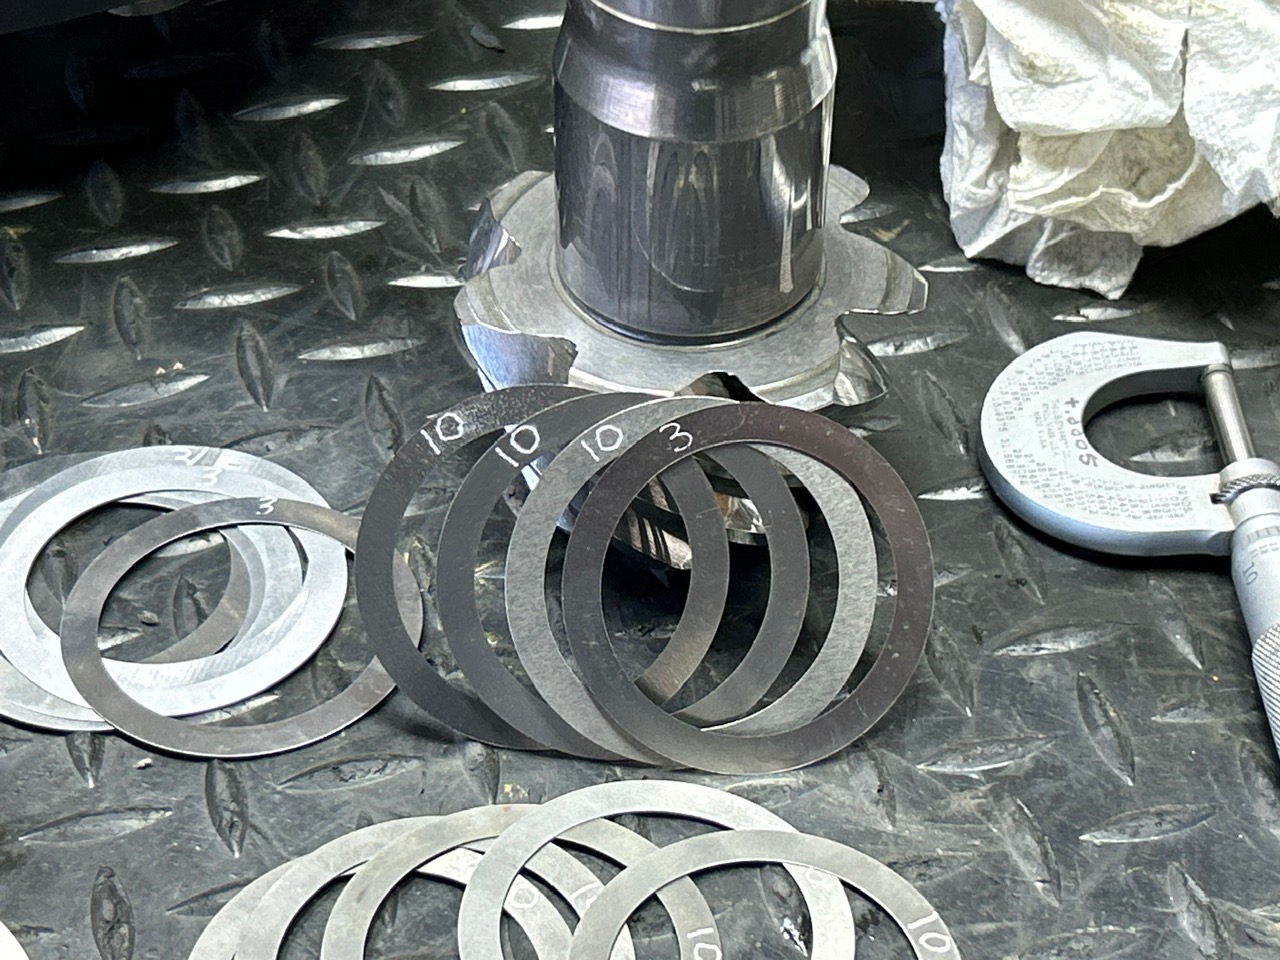
I continued dis-assembly... Shims on the left total .045"....but the solid collar normally requires about .166" as shown on the right. This means the solid collar was slopping around and not doing anything. |
|
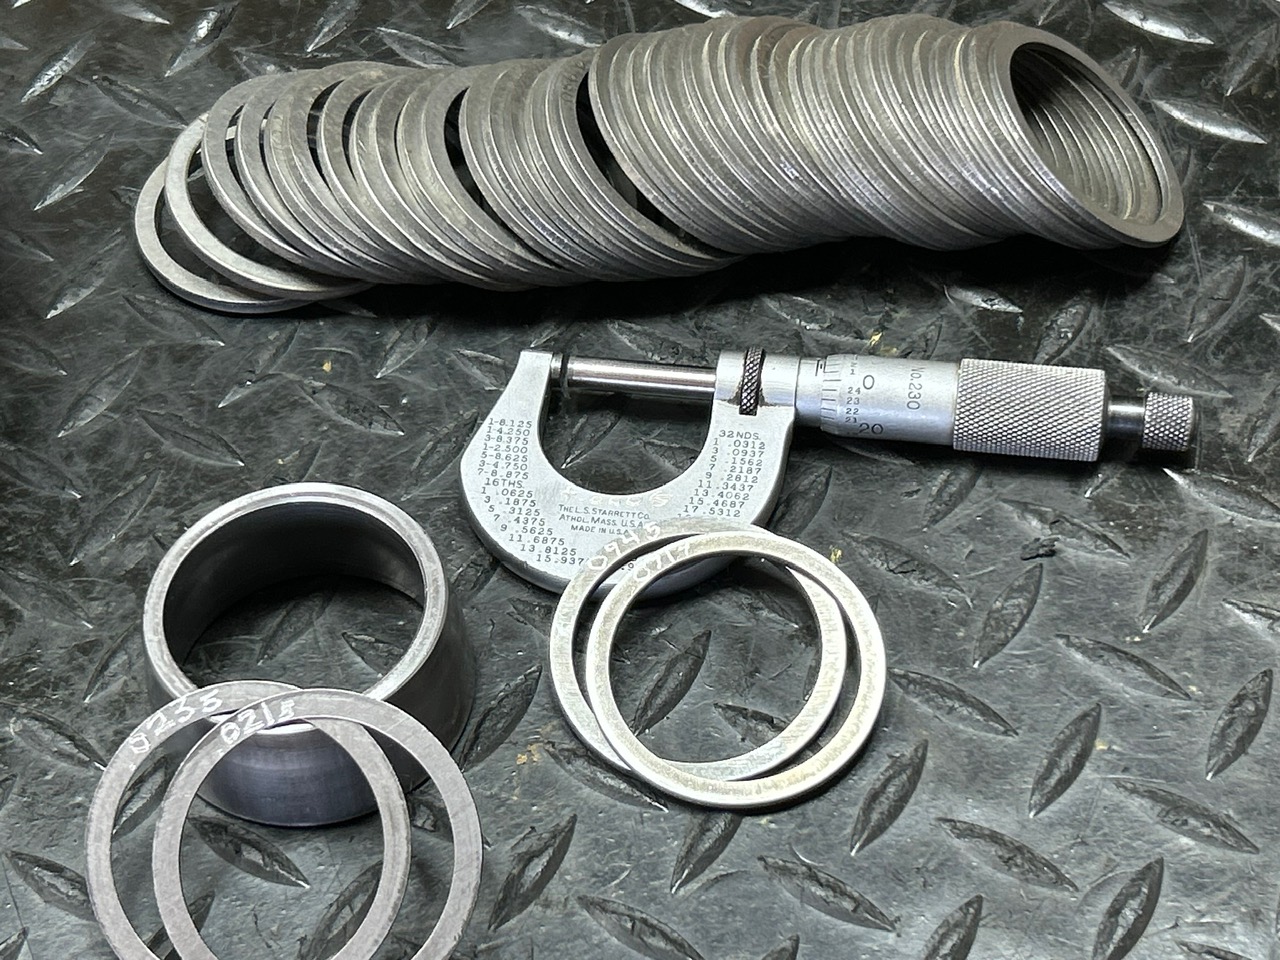
| Having a full selection of the factory shims for the solid collar is very helpful. |
|
|
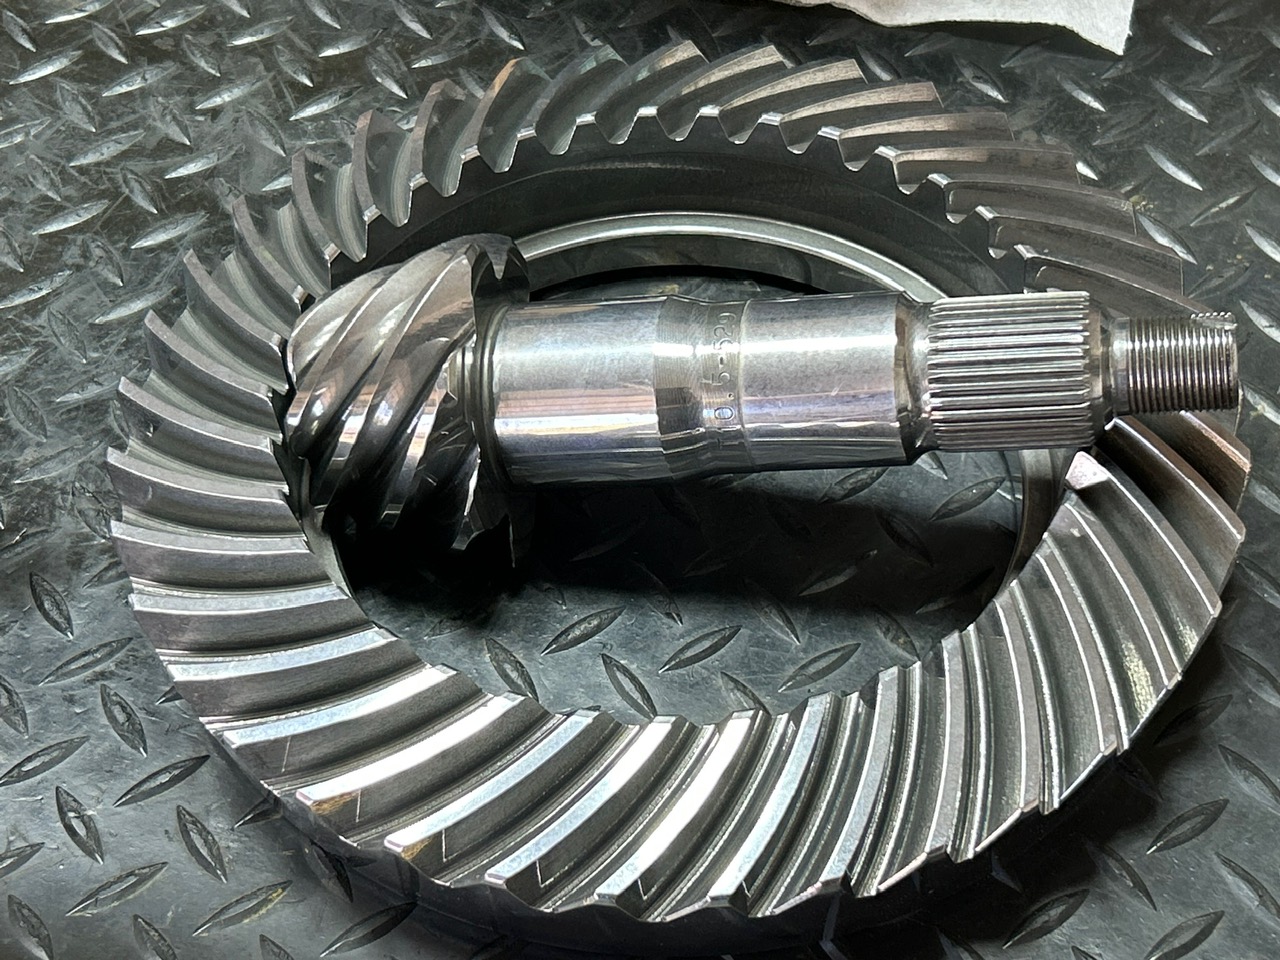
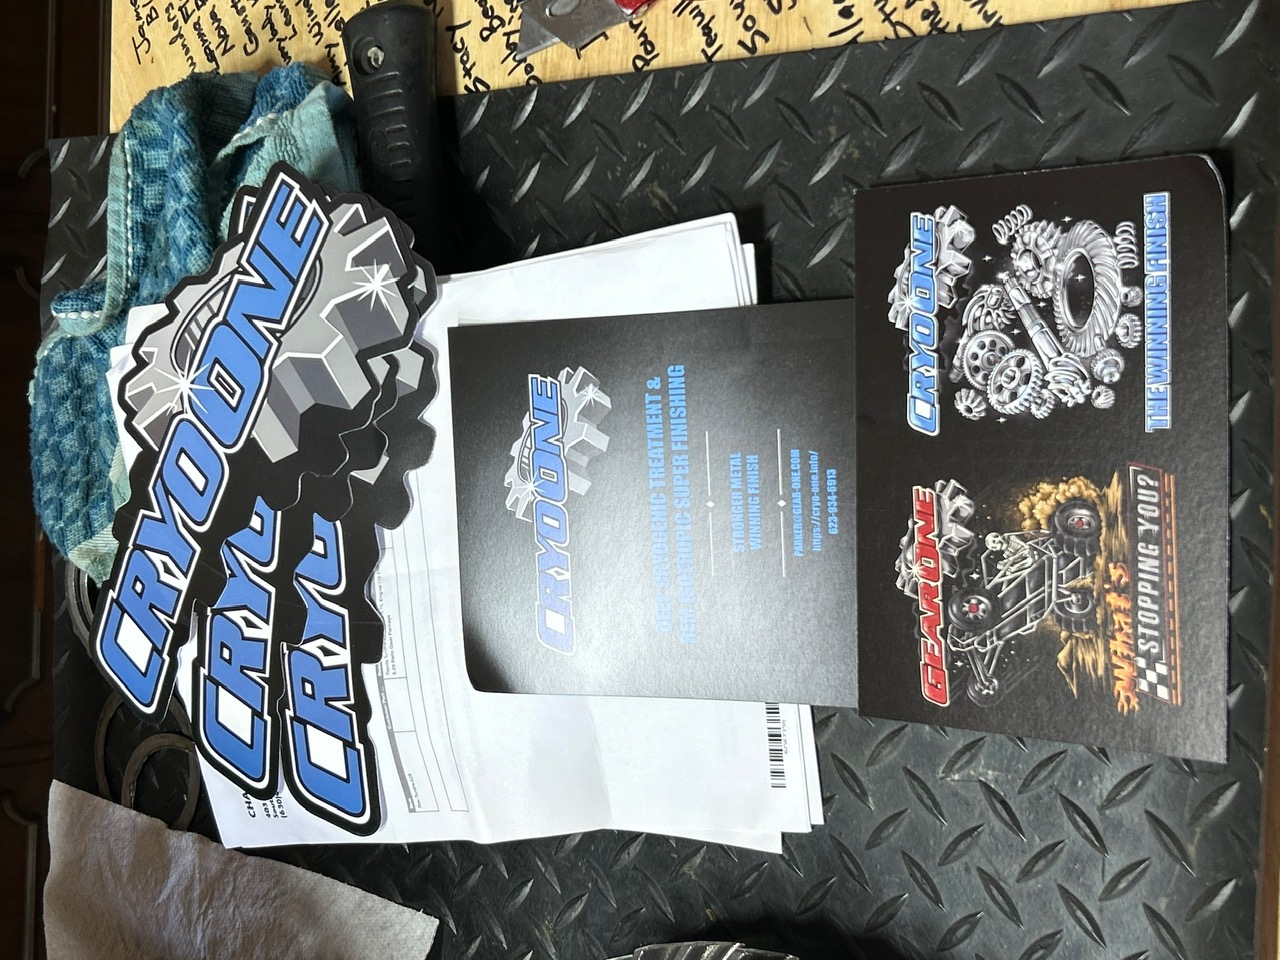
Back to the shipment I just received...both Revolution ring and pinions have been "super polished" by Ayers Gear and Machine Shop in the Phoenix area. Let it be known that they did a superb job....a nice shine but not so much so that the bearings no longer fit tight. The trick is to remove MOST of the tooling marks but not too much material. Otherwise, the bearings might not press on with a tight fit. Remove about 4/10ths of a thou (.0004") of material and all is good. Their website is Ayers Gear 623-934-6913 ask for Parker |
|
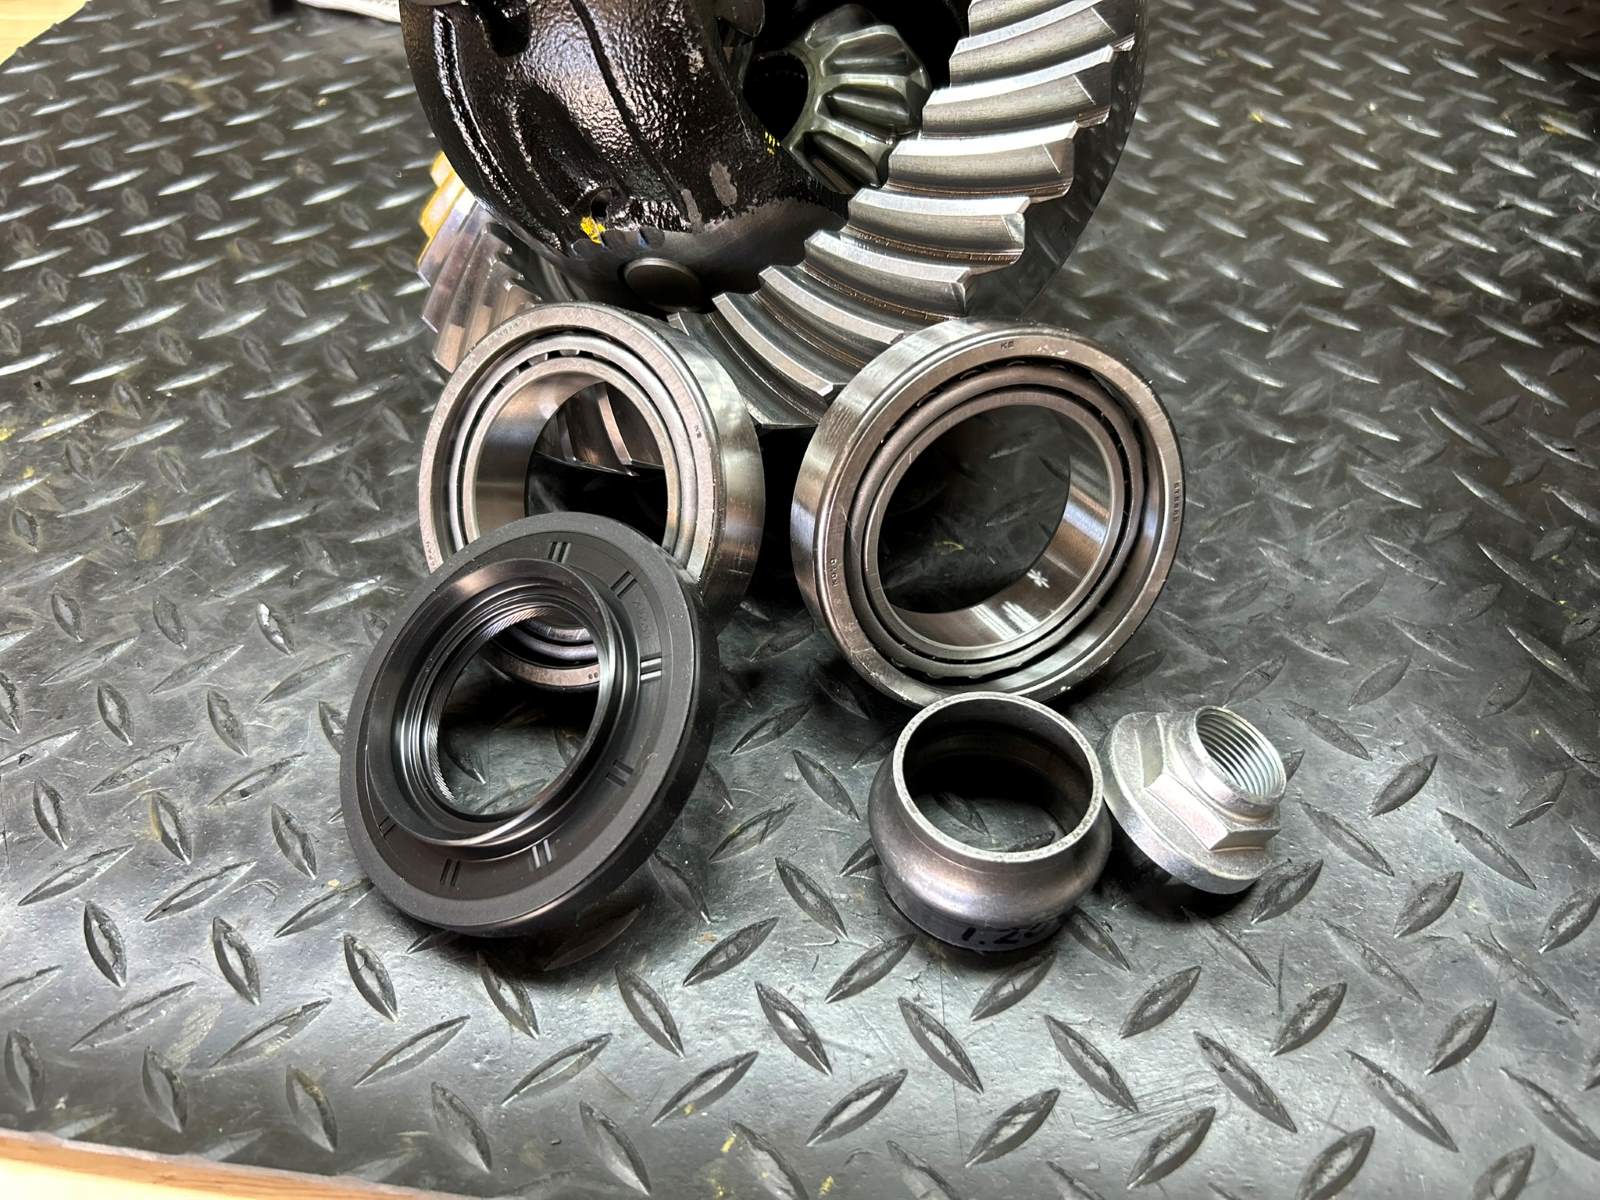
| Fergie had them send both Revolution master install kits. |
|
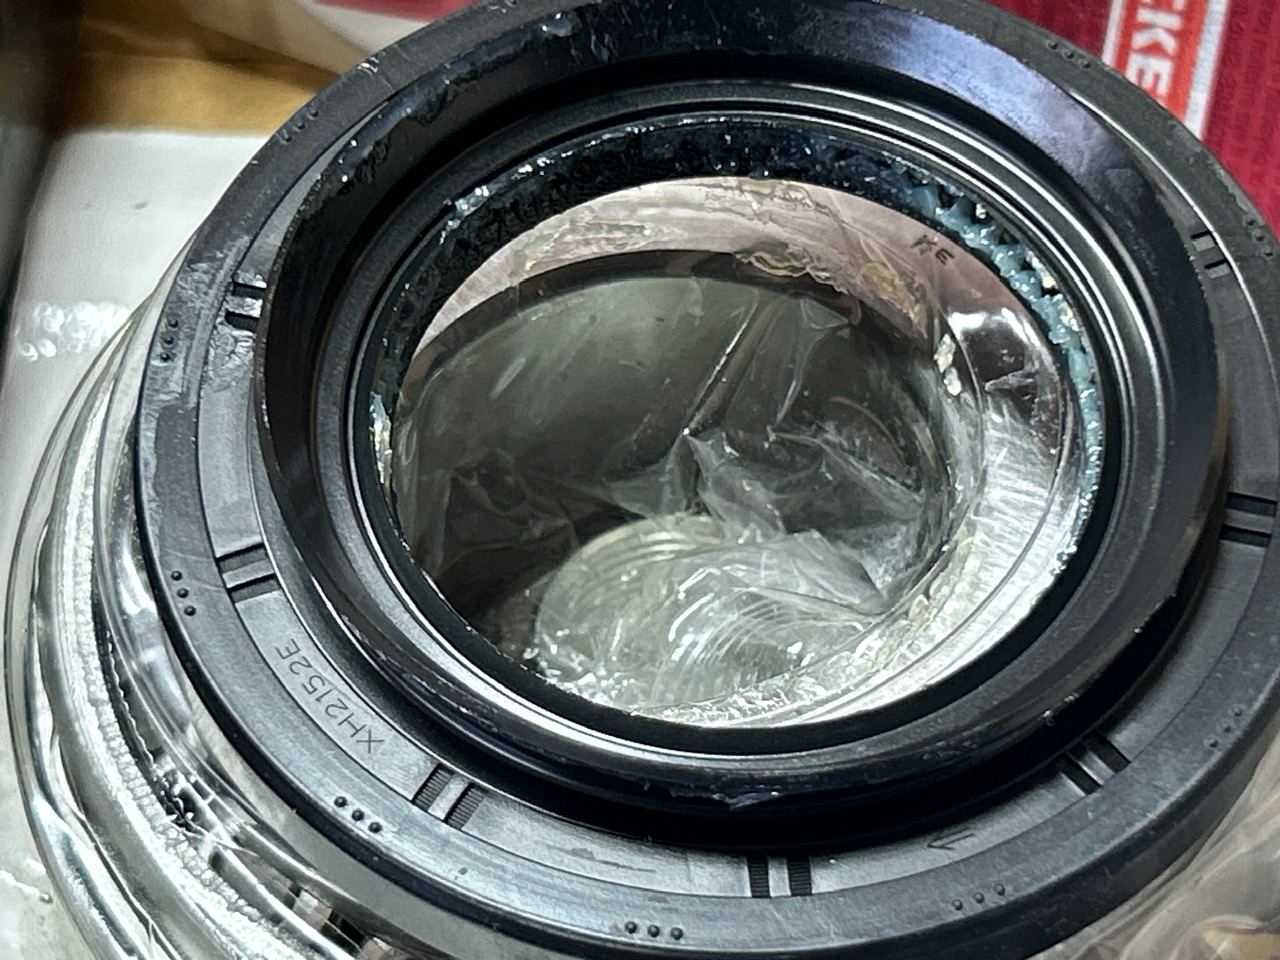
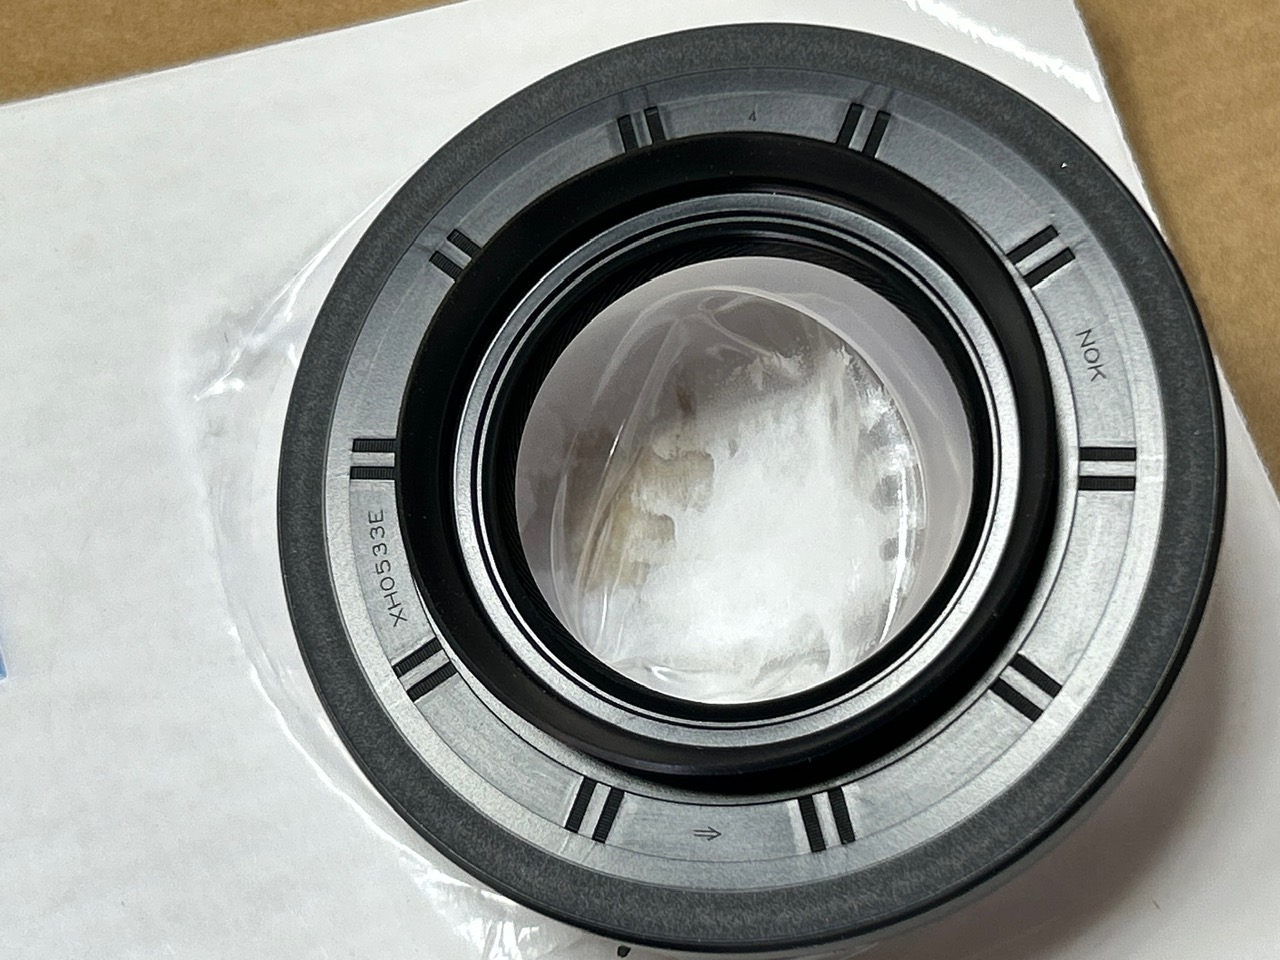
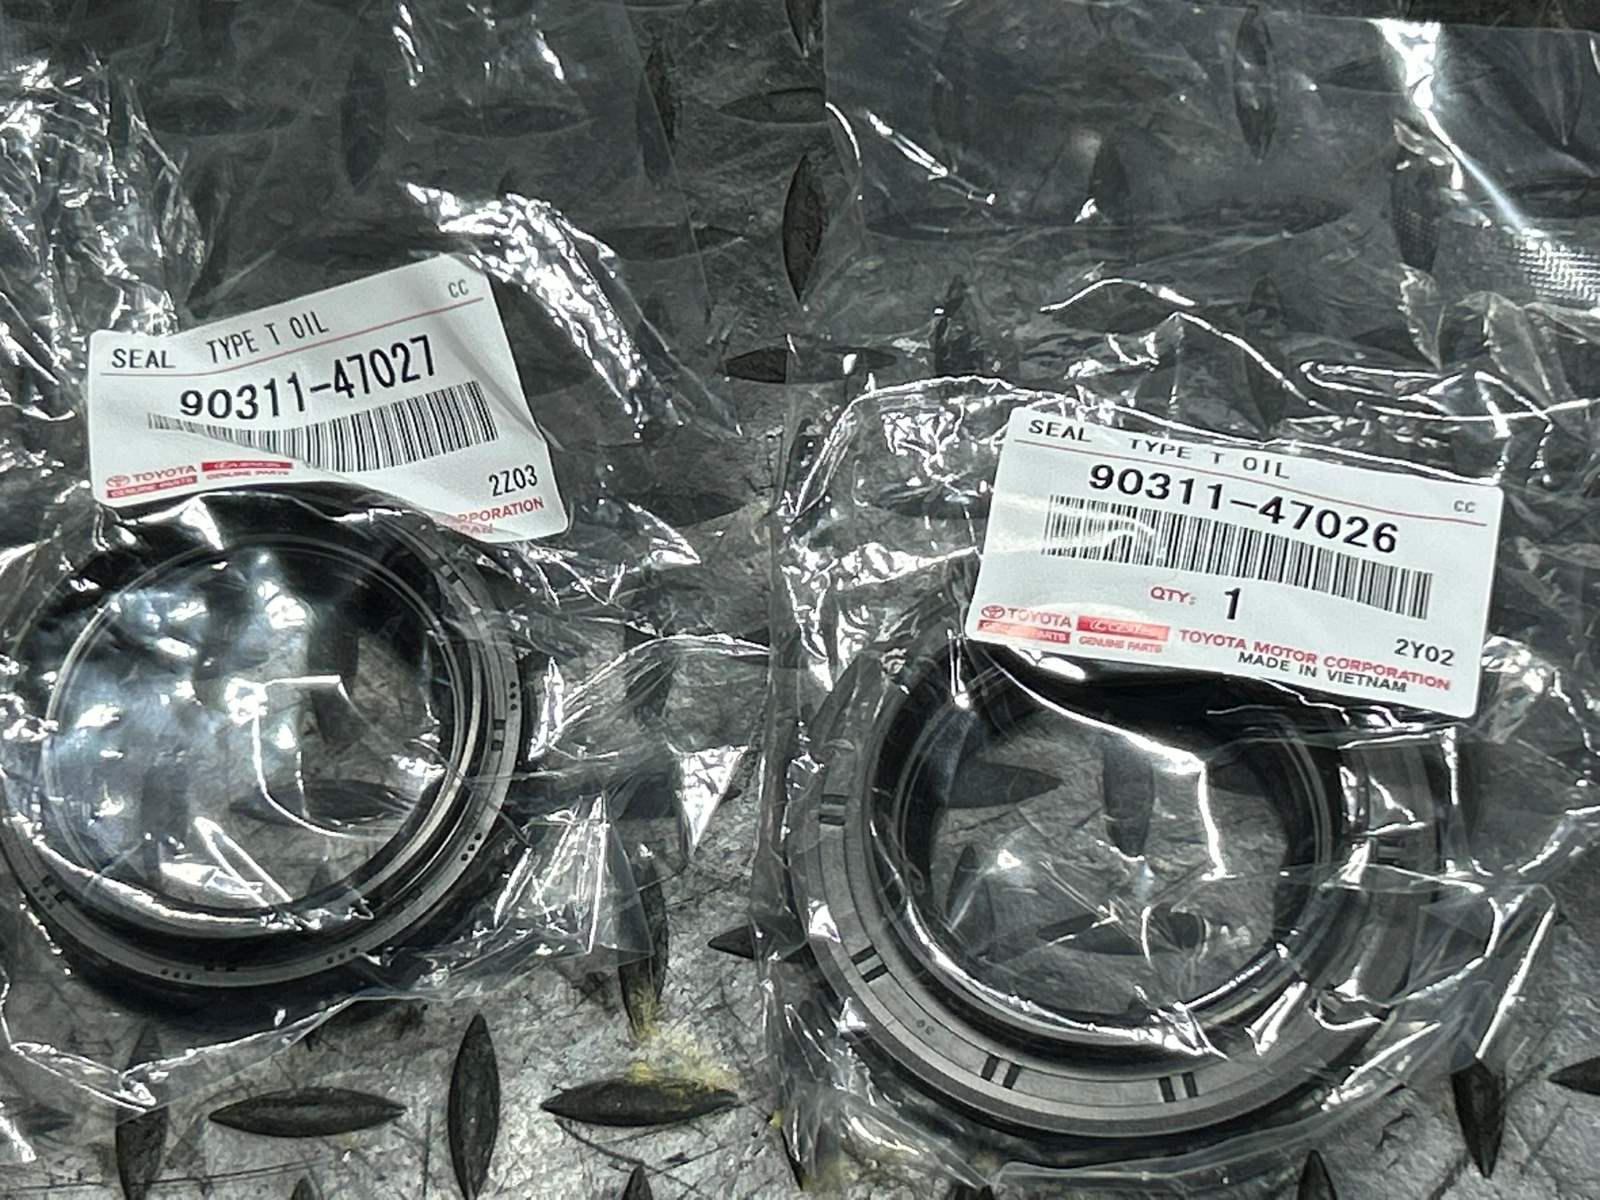
| Good for Revolution...rear 10.5" pinion seal....genuine factory seal :) |
|
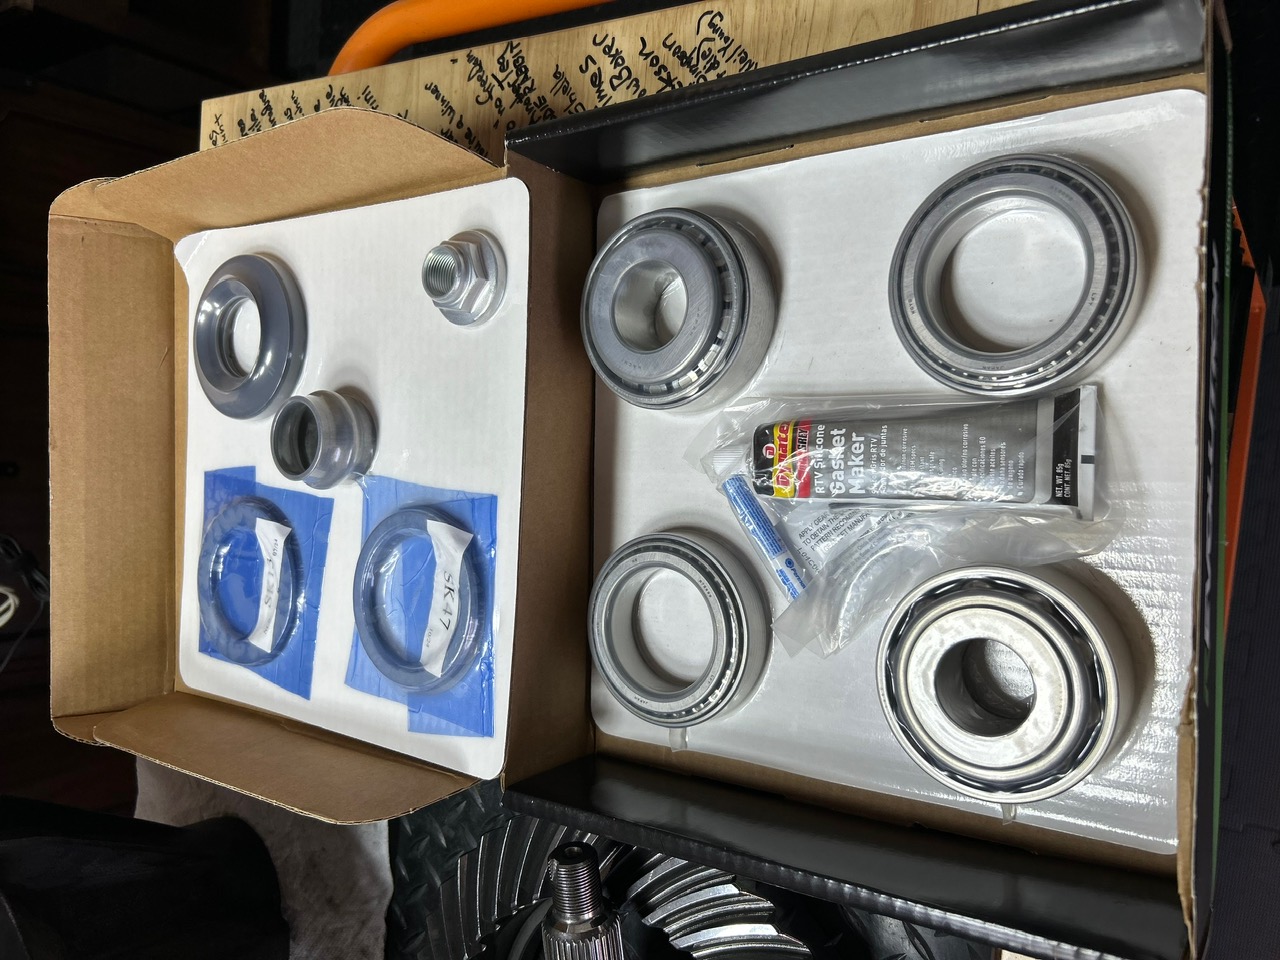
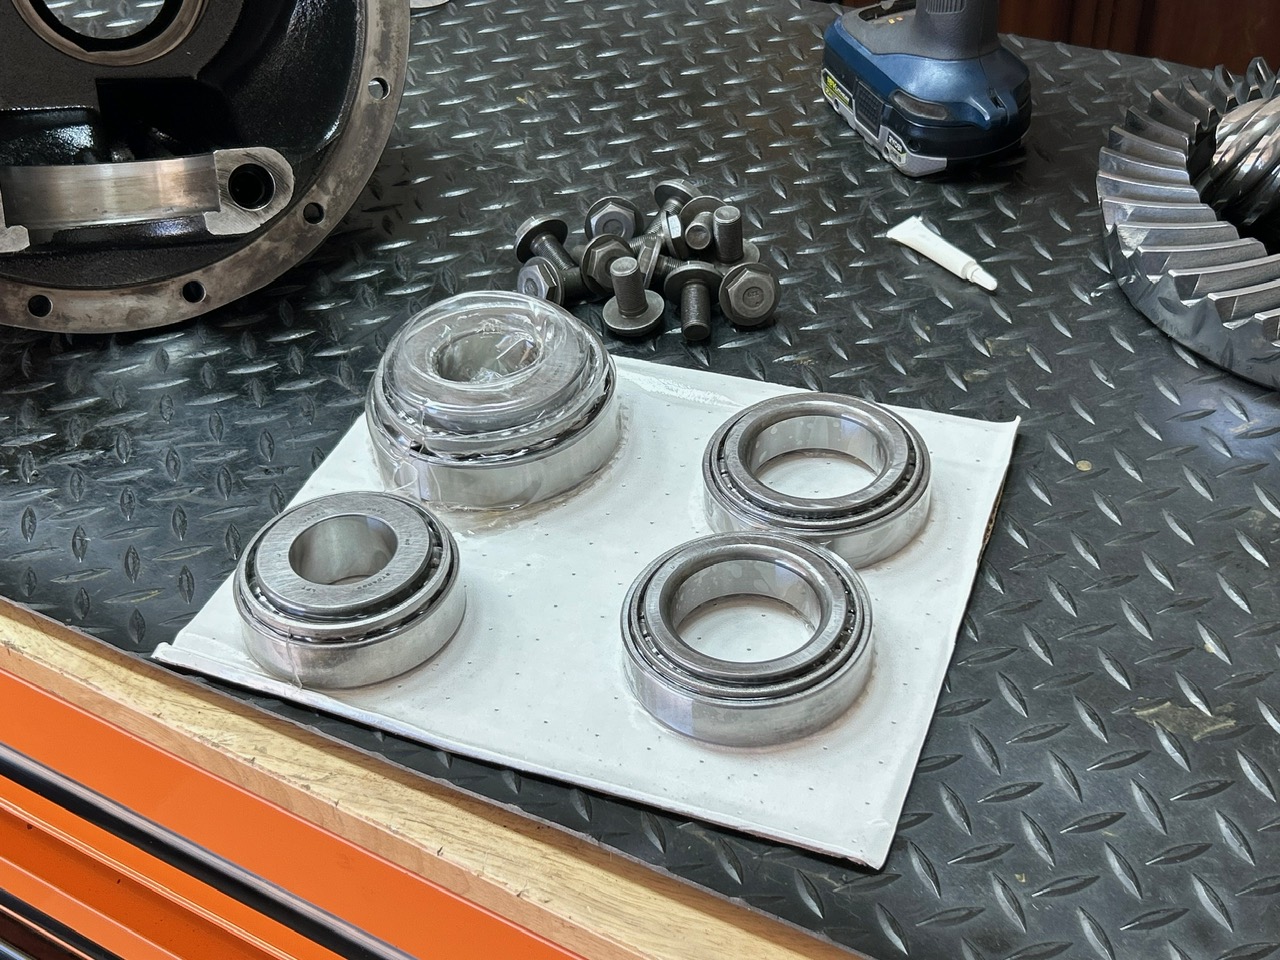
| Bearings are the exact factory part numbers also. |
|
| I checked the front master install kit and it also had the real McCoy. |
|
|
Ayers Gear and Machine can not only super polish (ISF Isotropic Super Finish) but they can also cryo treat the ring and pinions...it's a double win with BOTH processes. :) Cryo-One Same Ayers Company... just 4 nice shiney pics for now CRYO process is a liquid Nitrogen -320 celcius process that re-aligns the metal atoms throughout the entire ring/pinion for maximum strength.... recommended for serious rockcrawlers and Nascar IMO. REM Super Finish process is a vibrating vat with ceramic materials that knocks off the mountain peaks on the metal surface. The gears will mesh very smoothly and run very cool...no heat. Recommended for EVERY ring and pinion IMO. Regarding the REM Super Polish....Pretty much all aftermarket ring/pinions are 90% done and have a rough tooth surface. REM completes the last 10% with a smooth surface. No break-in, no heat, no dirty oil. |
|
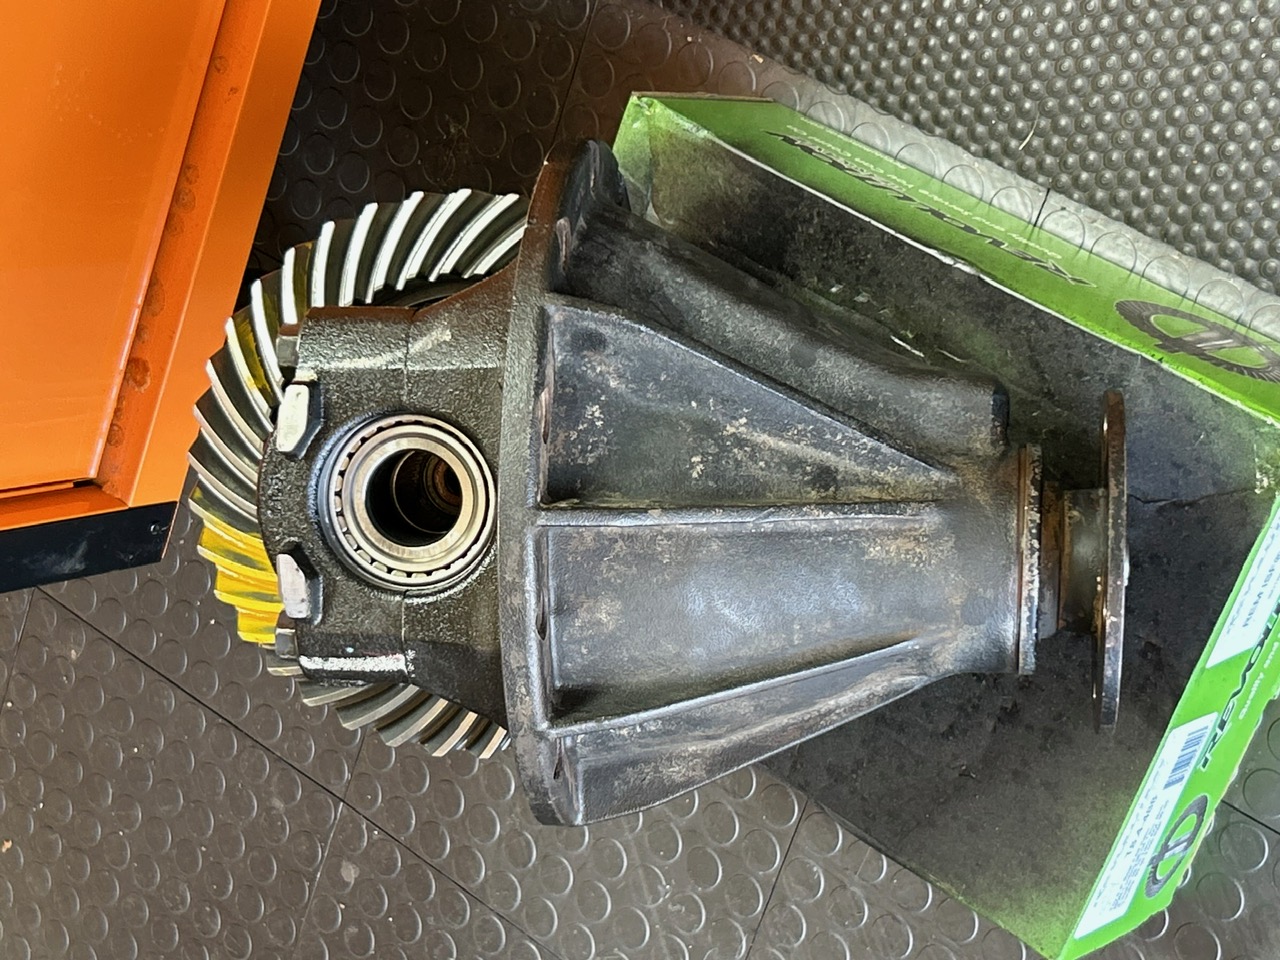
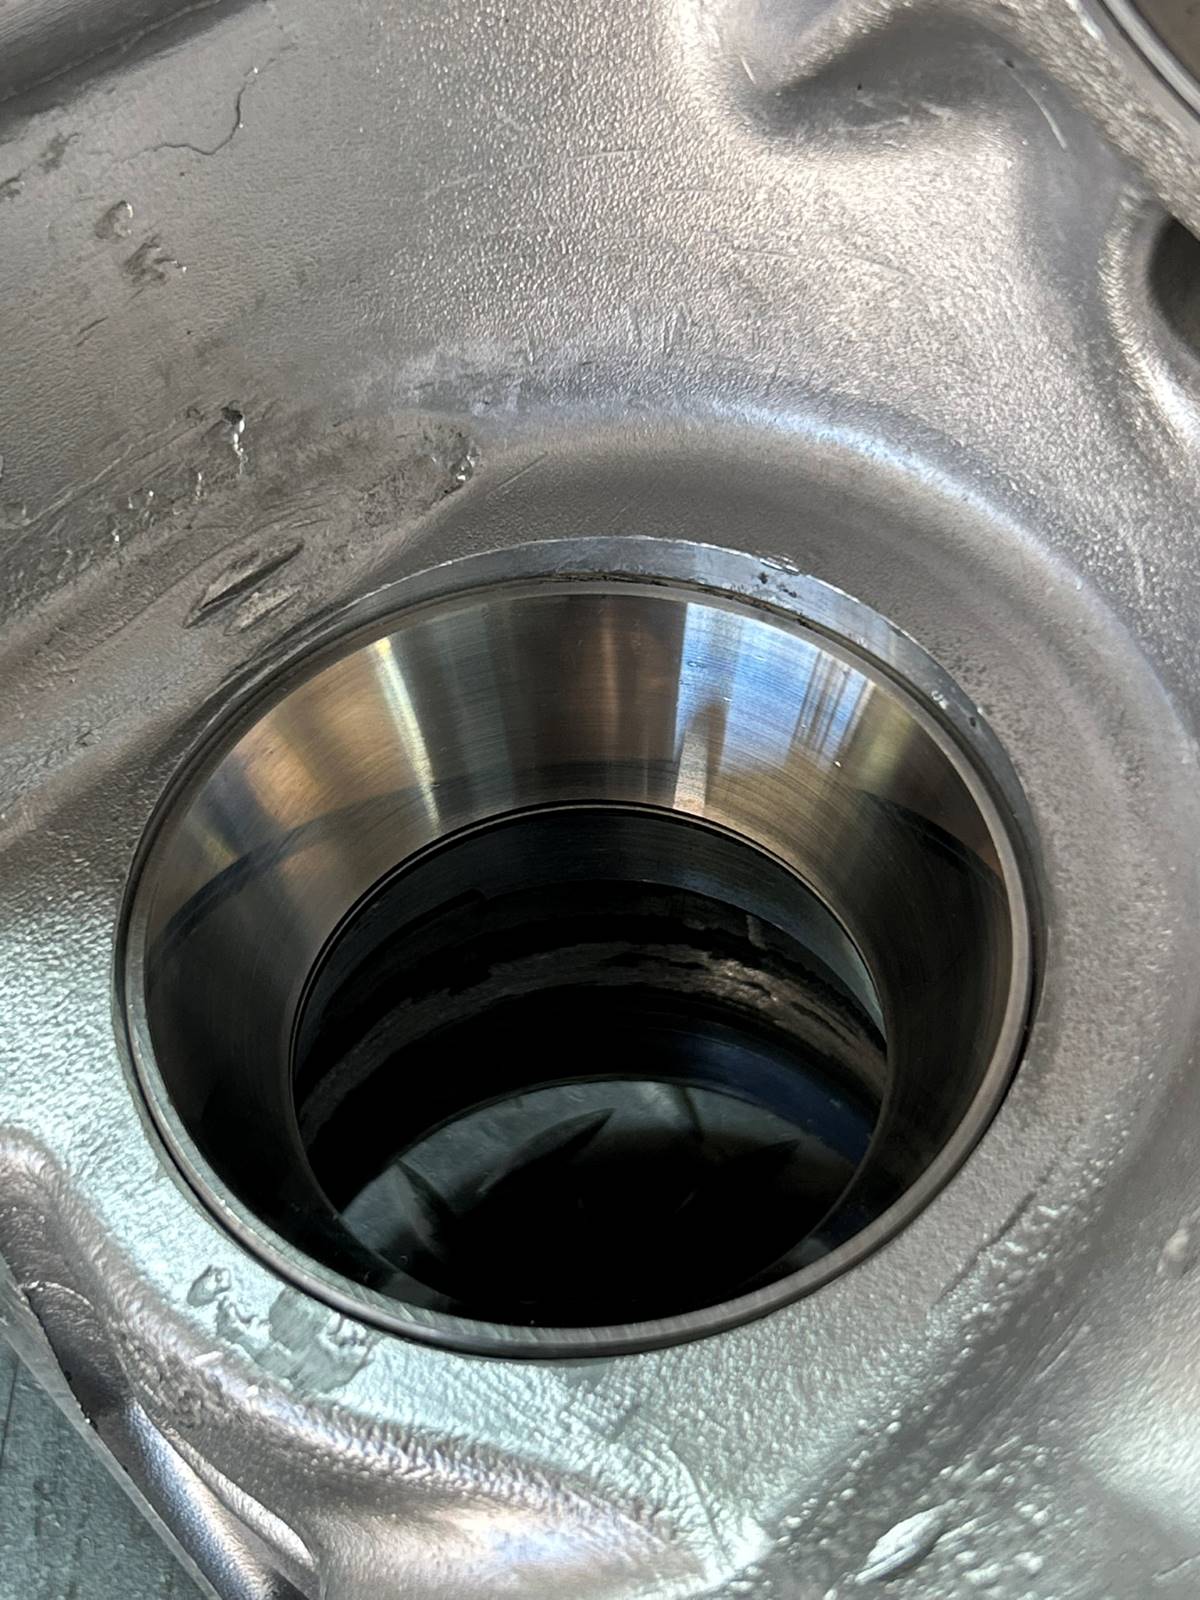
| The bare 3rd has been cleaned up. |
|
|
This rear 10.5" bearing kit from Revolution has the same exact bearing stampings as factory. These are perfectly fine to use in a quality install. |
|
|
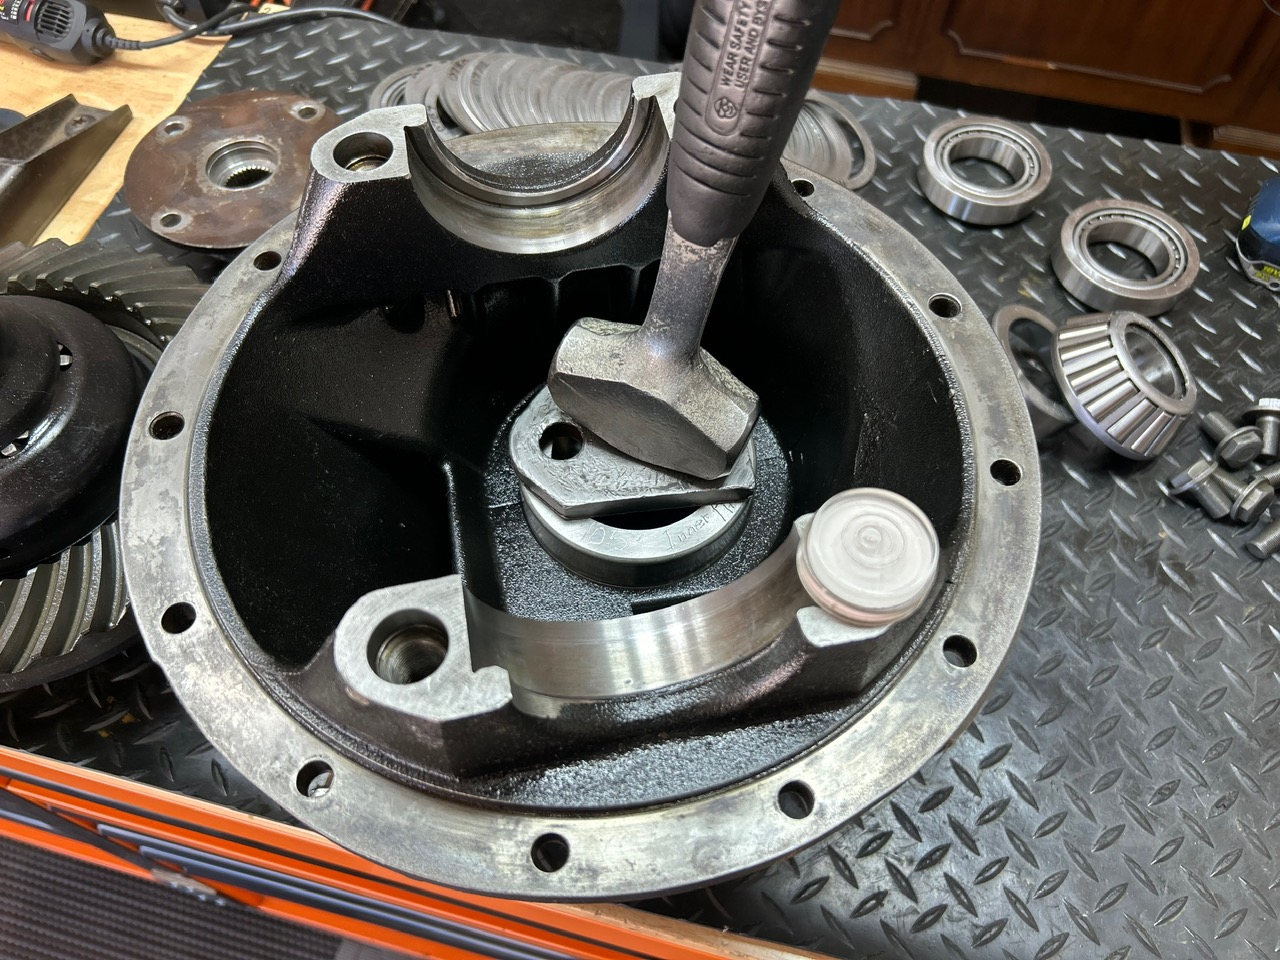
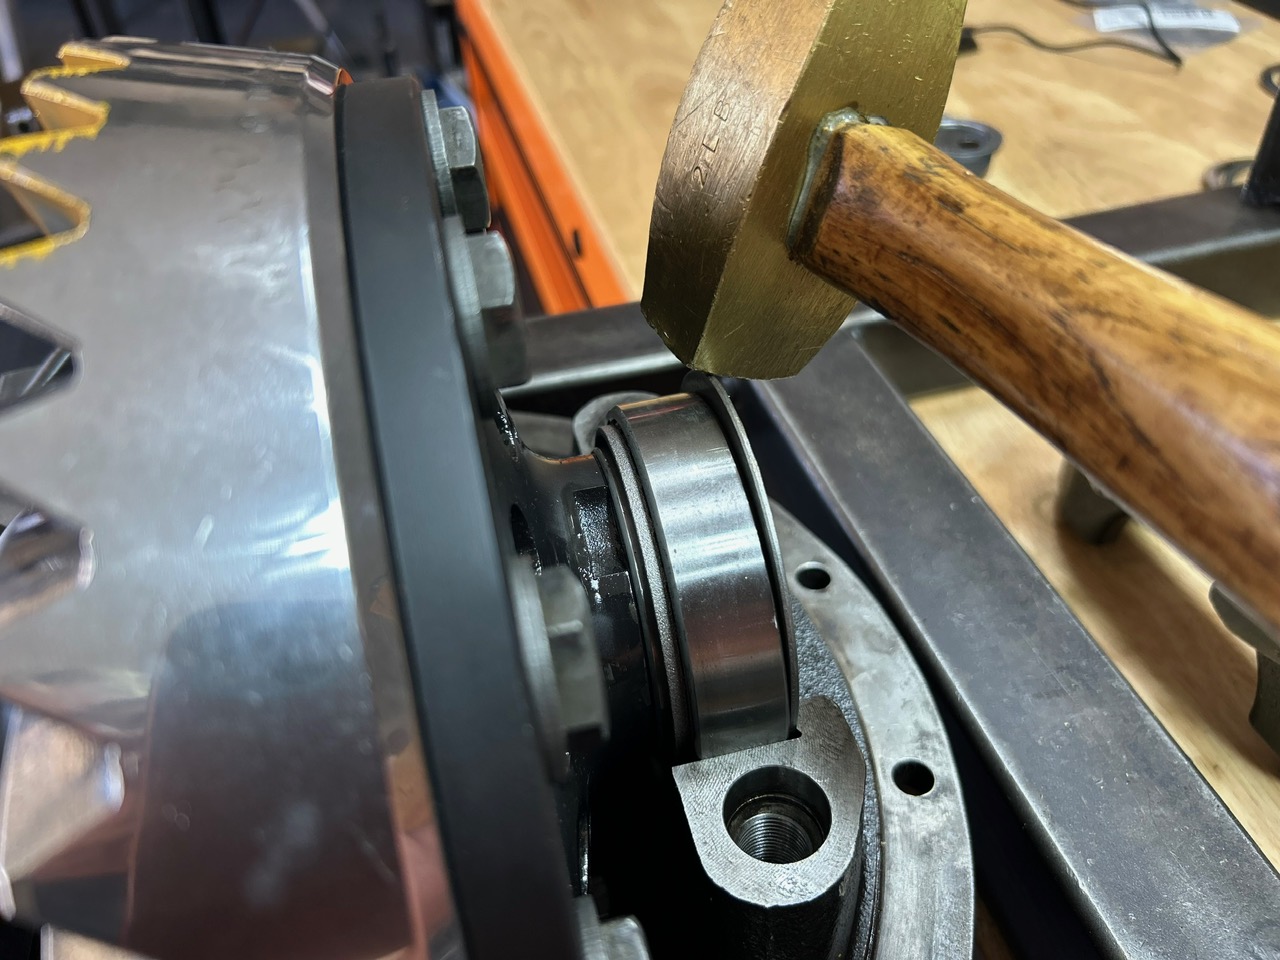
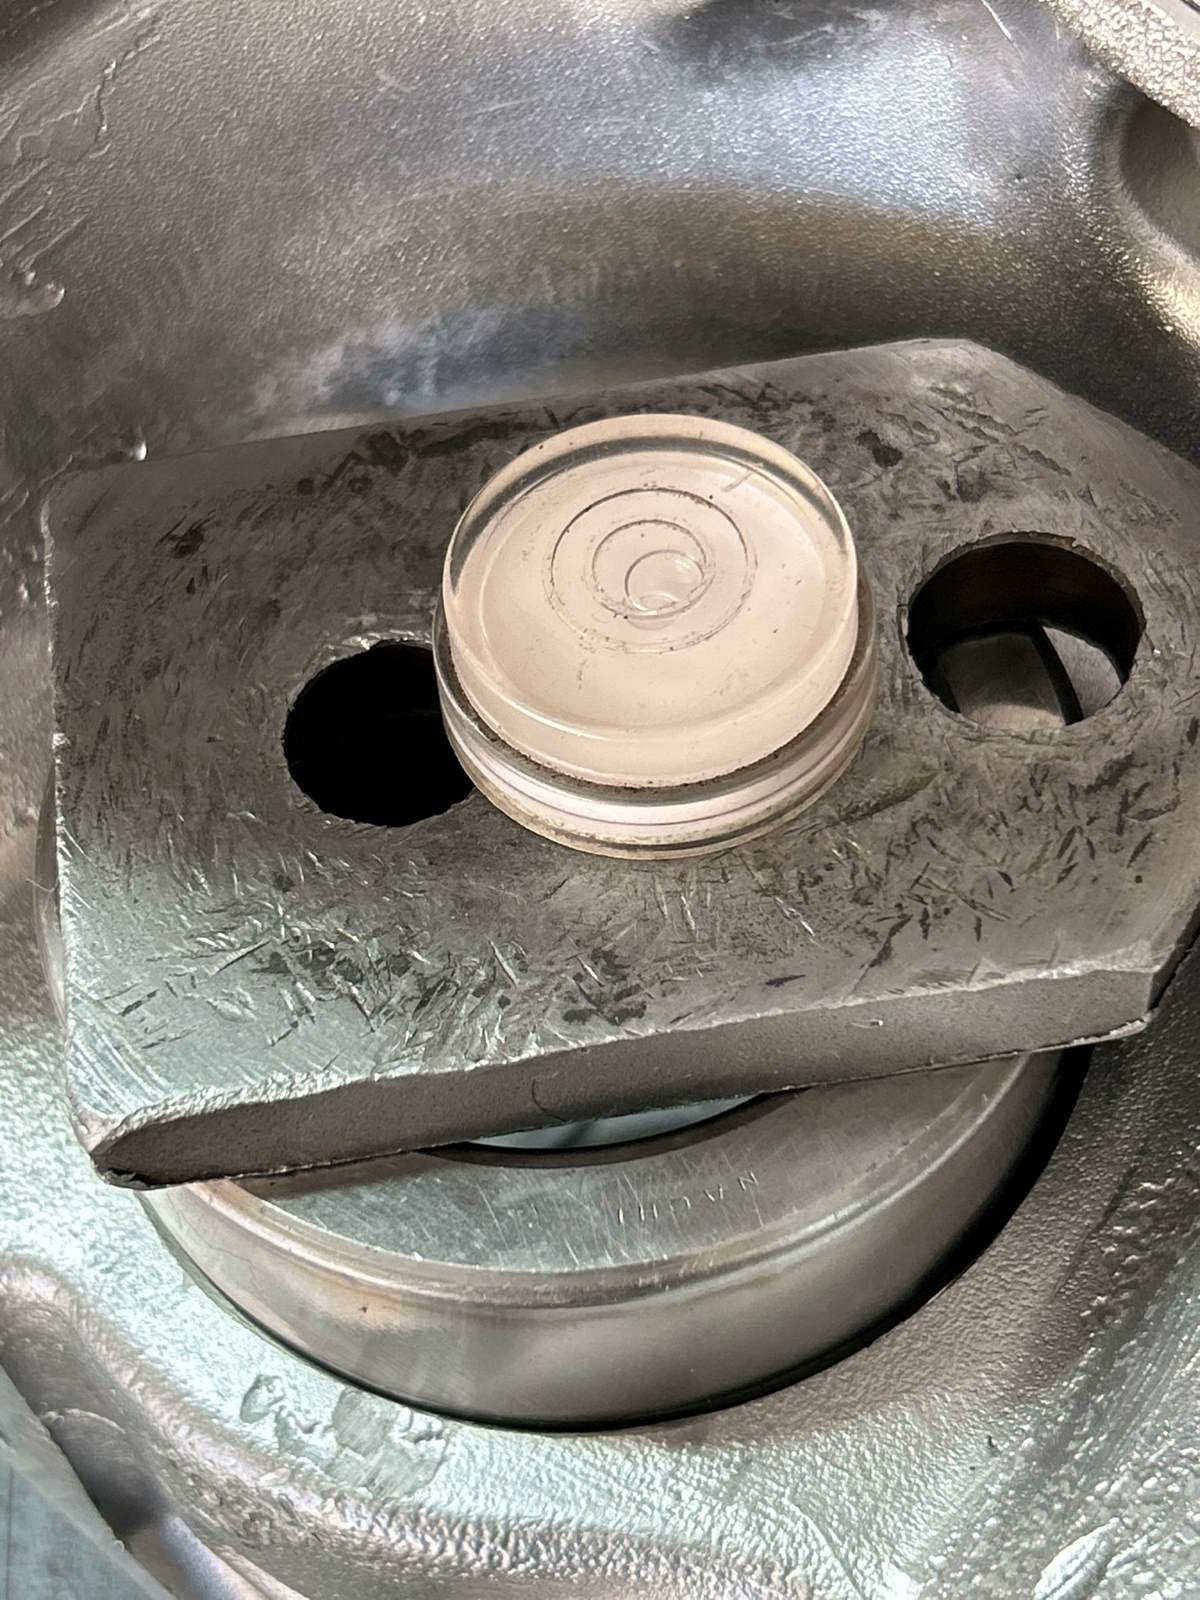
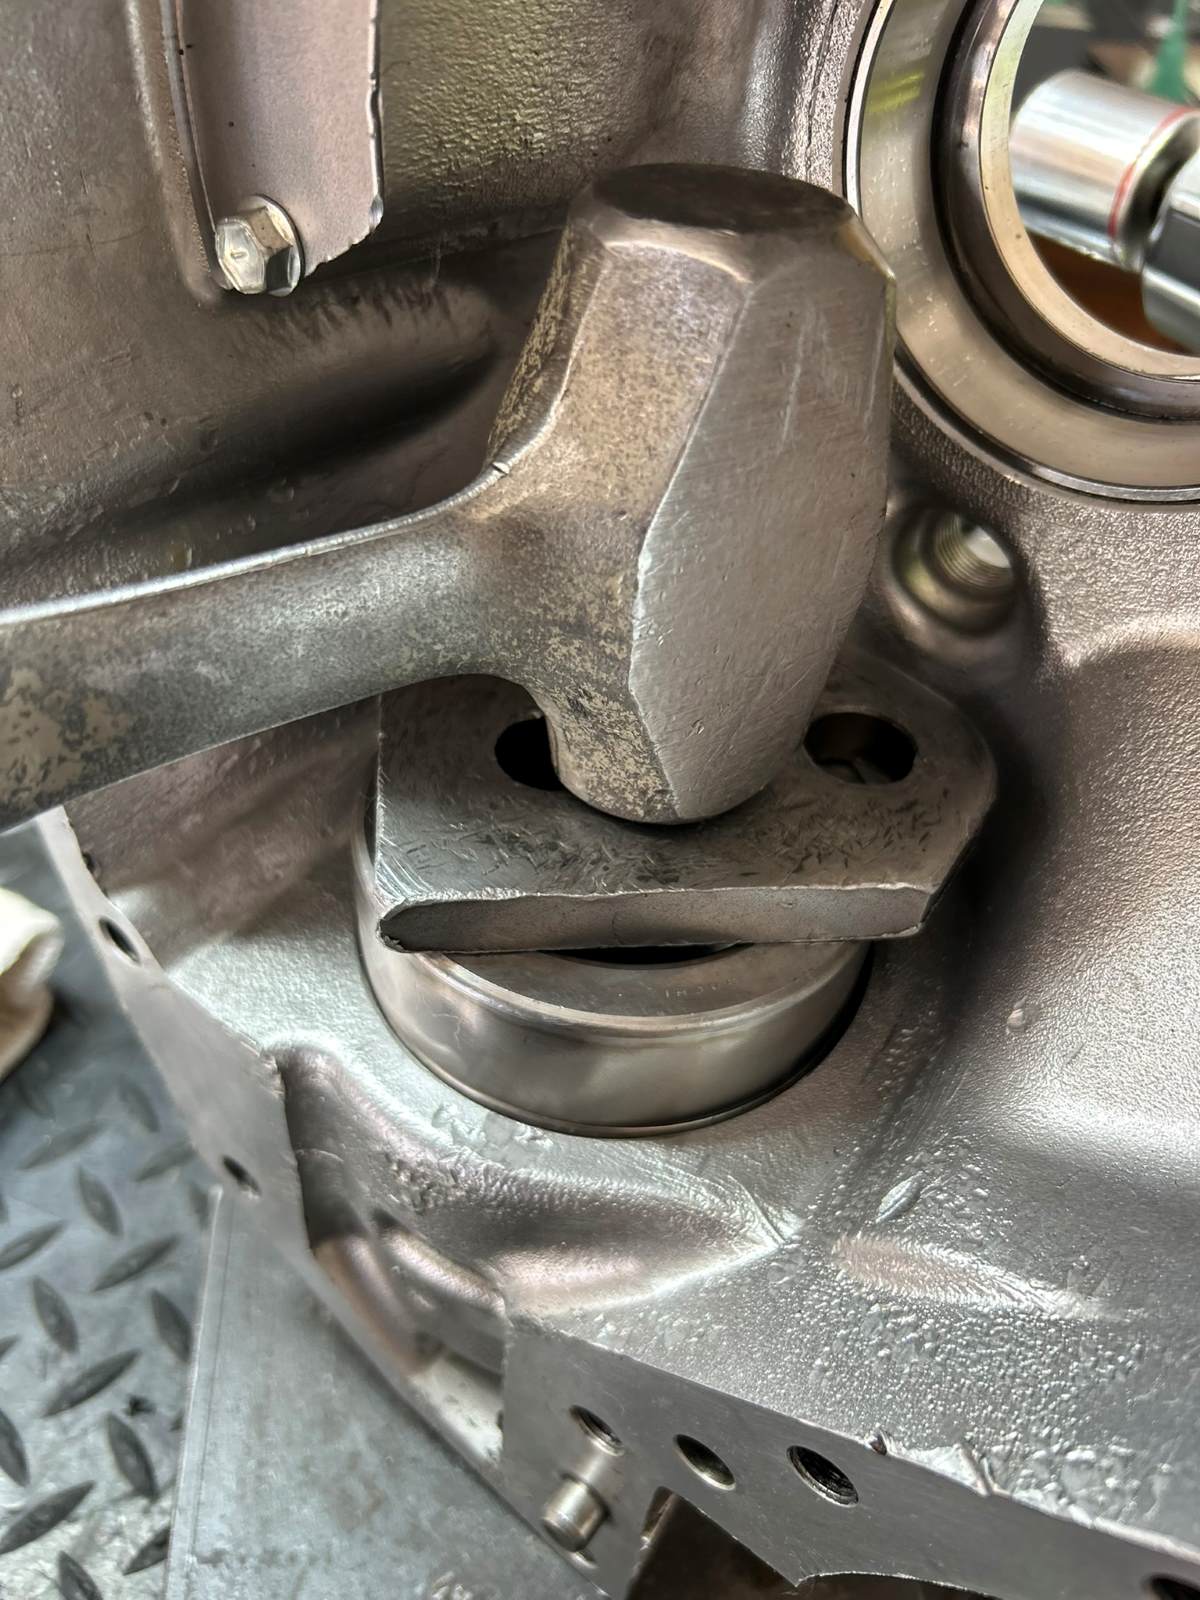
The new massive inner race is tapped into the bore fully 100% down. The bubble leveller and old race parts allow that to happen easily. |
|
| The outer race is much easier to tap in... |
|
|
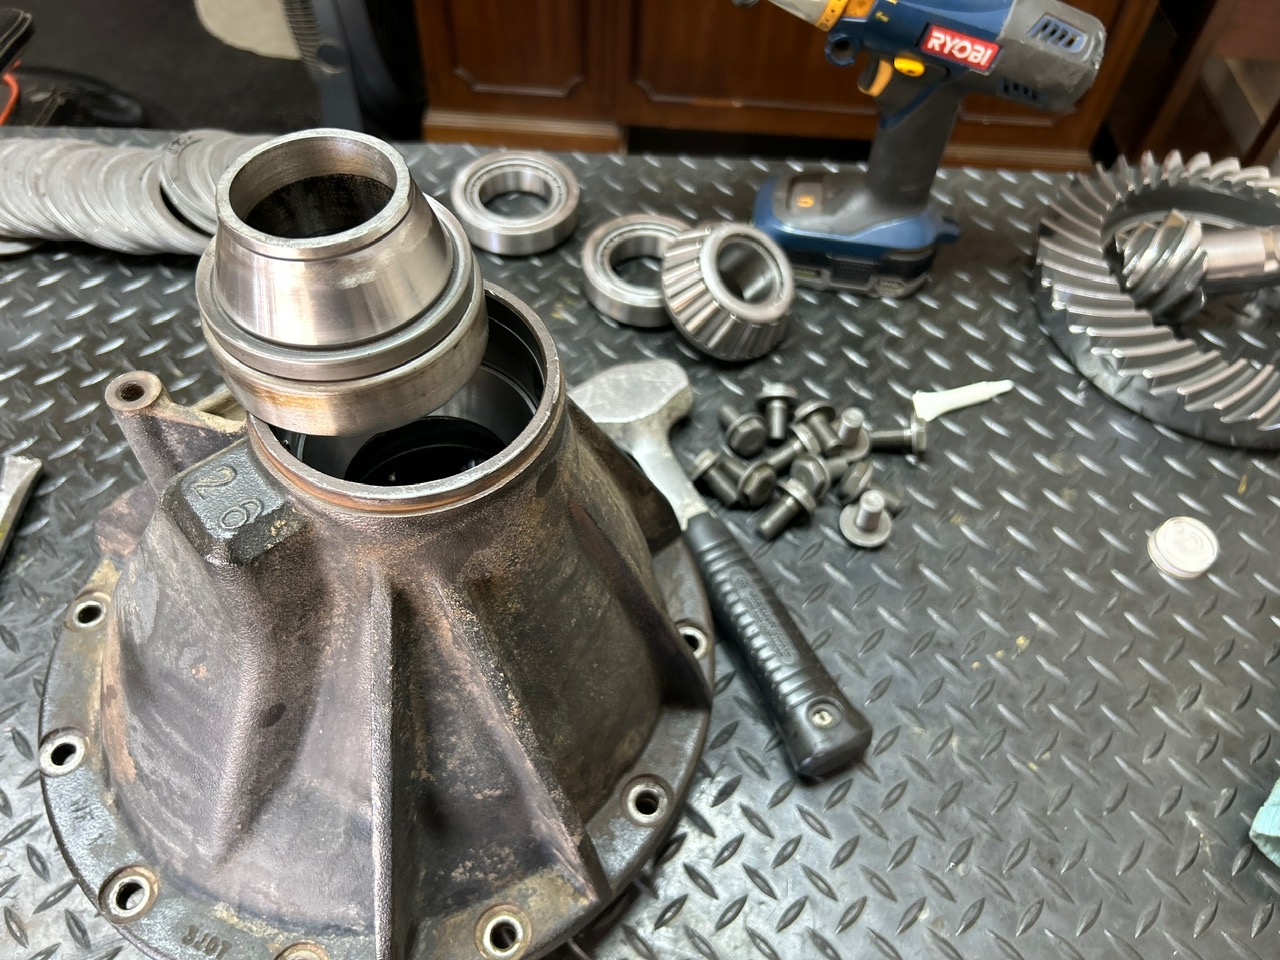
Old on the left....new one on right. The new bearing will soon be pressed onto the shiney pinion soon. |
|
|
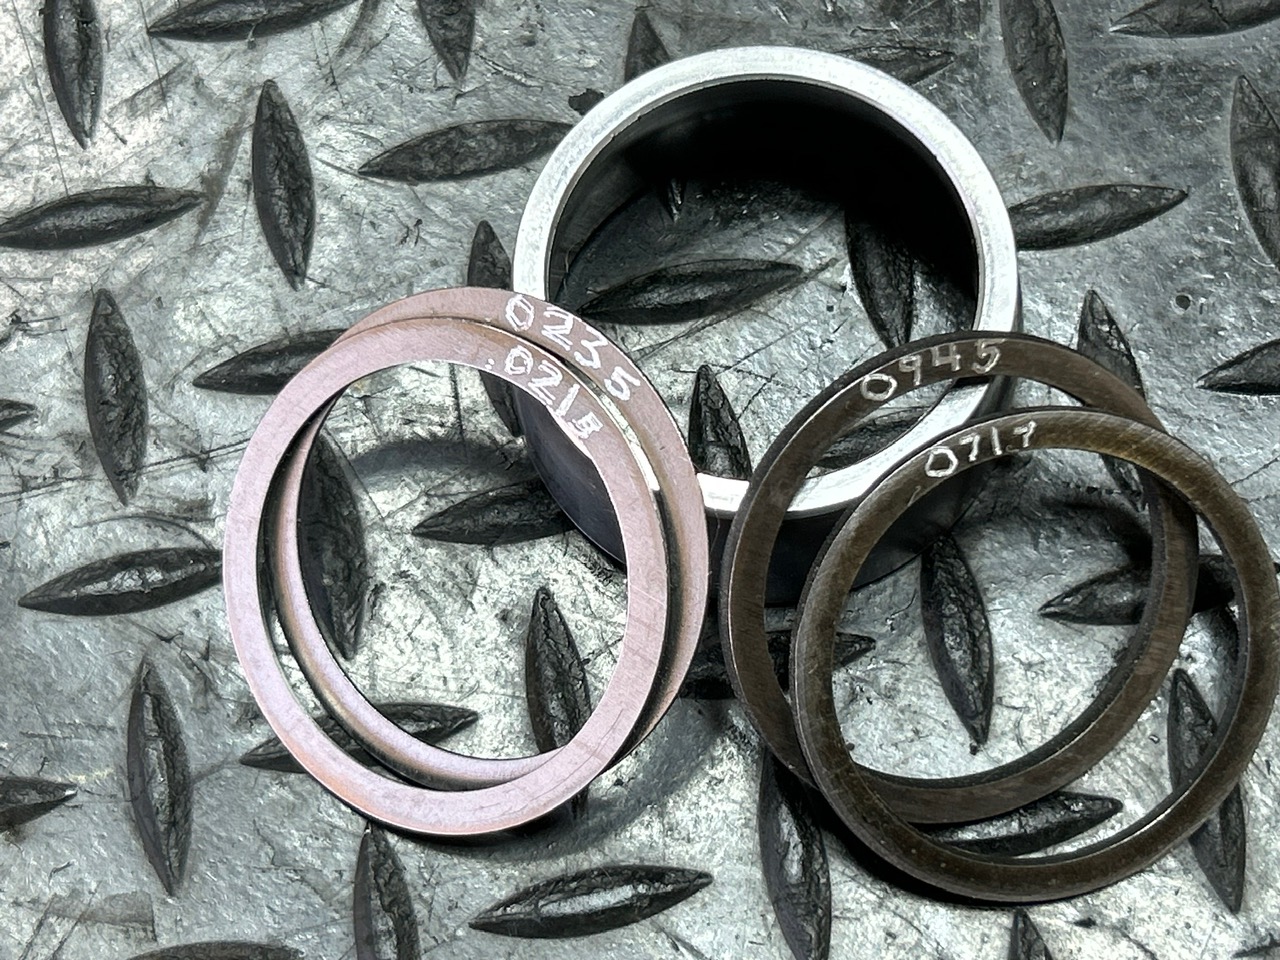
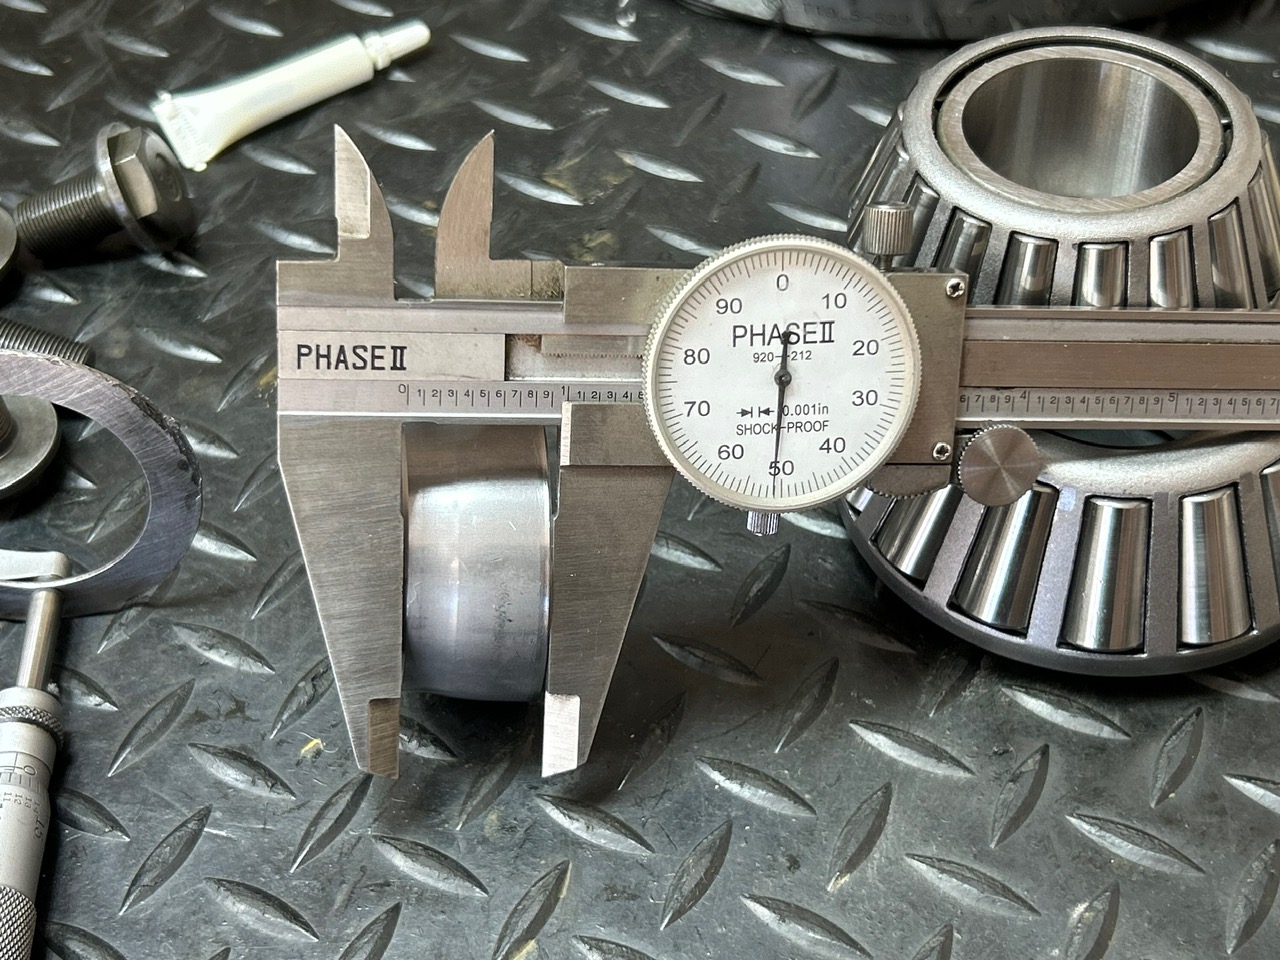
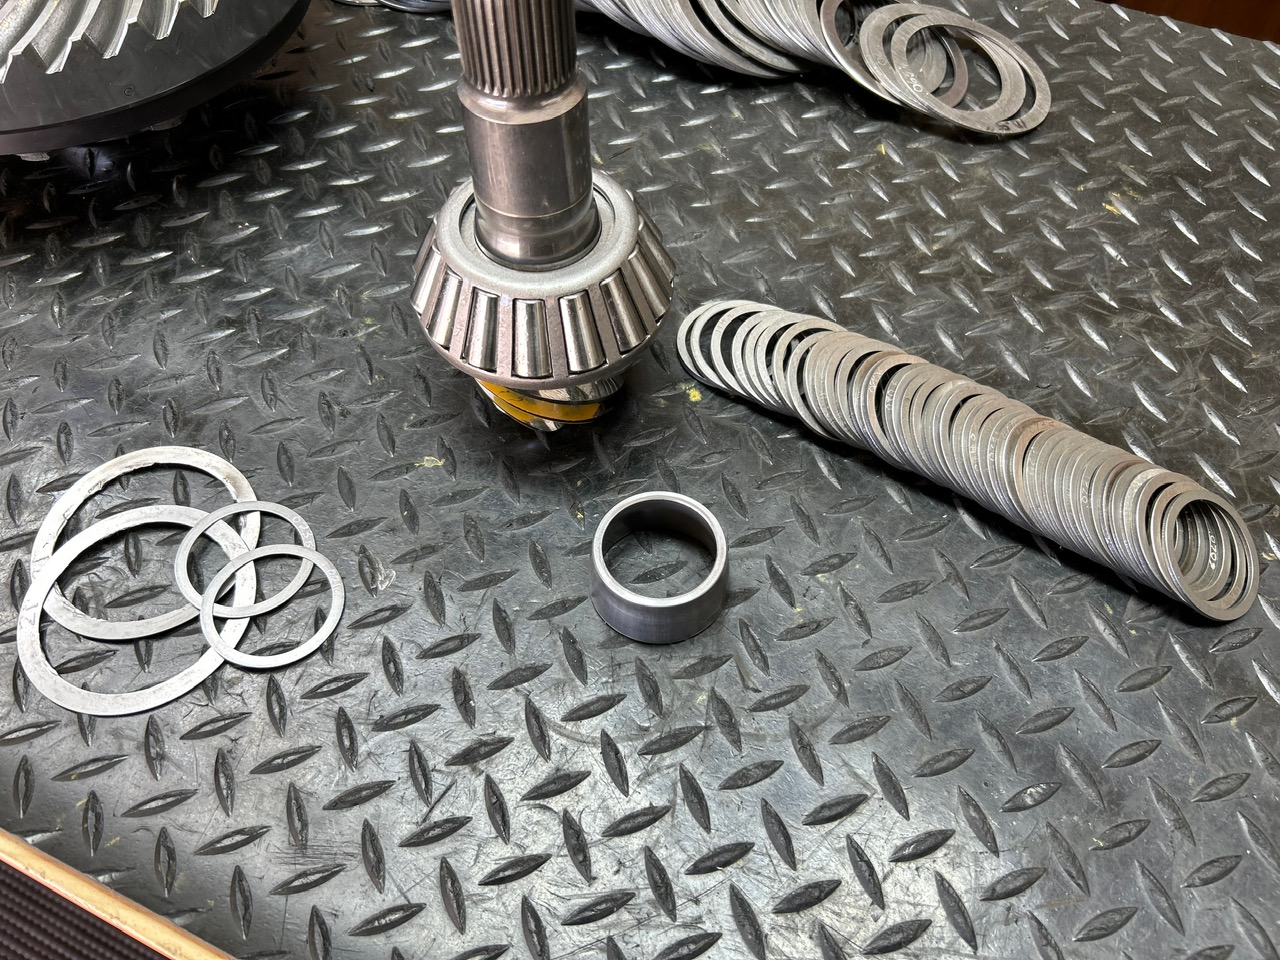
But first to inspect the solid collar arrangement. The 10.5" is the only 3rd to come from the factory with a solid collar. The collars are very much around .951" in length and are always finalized with 2 rather thick shims. |
|
|
There were 4 thin shims used in conjunction with the solid collar. These 4 shims only added up to about .087" which is a long way from the typical .165" needed to set the collar correctly. |
|
|
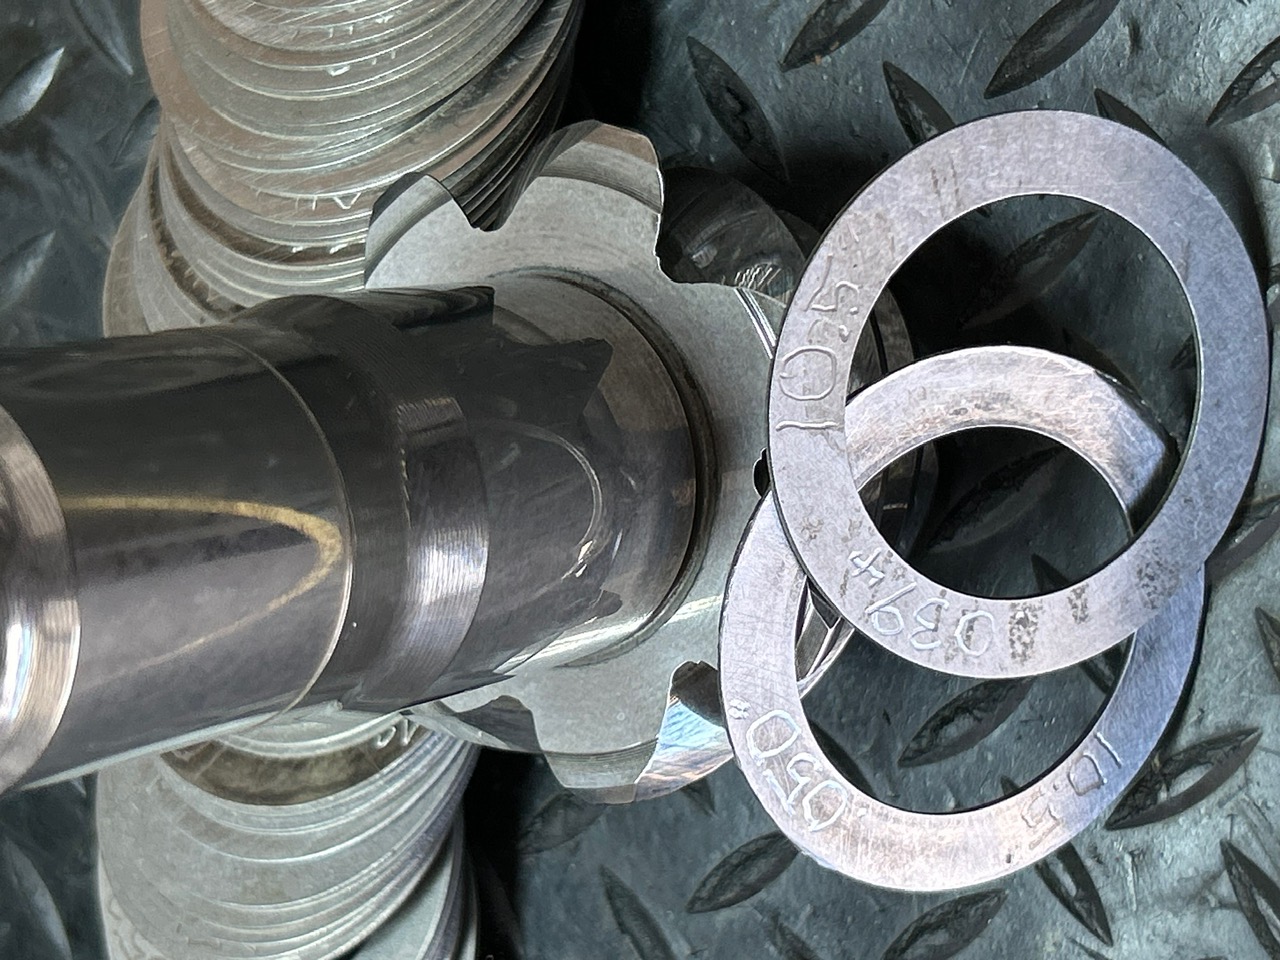
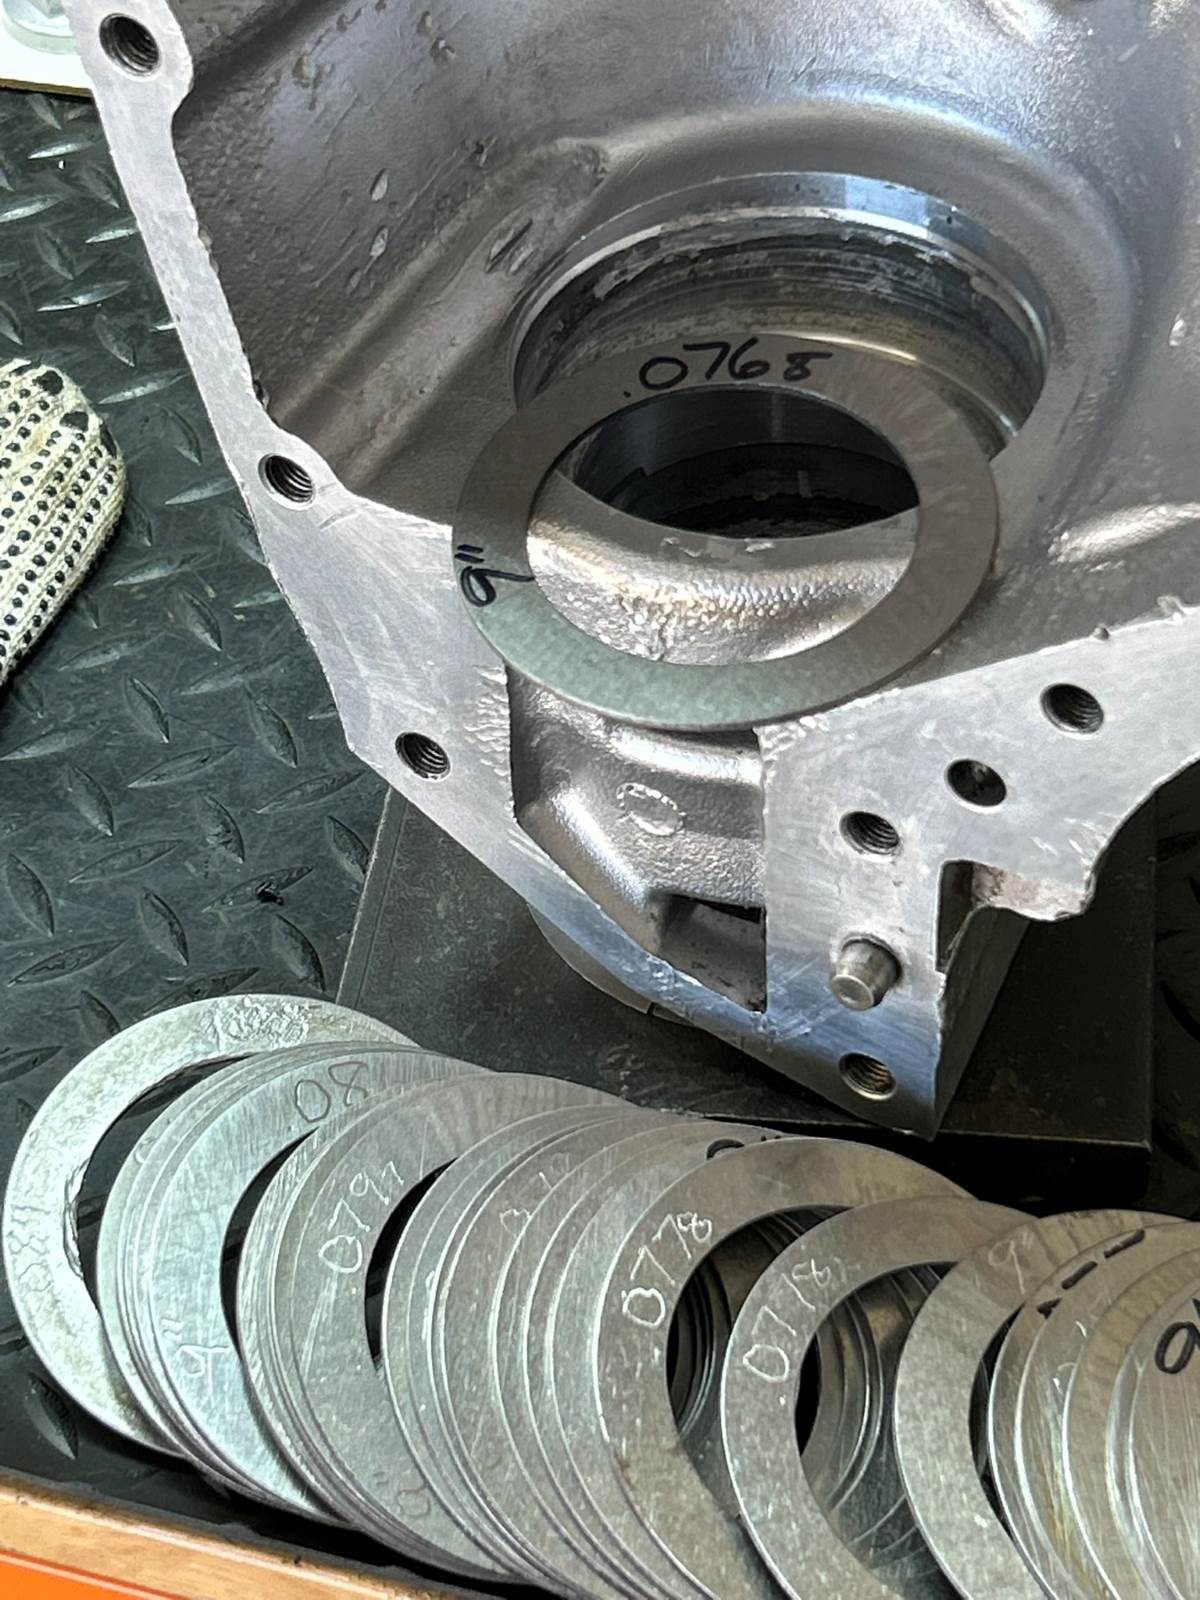
The factory .050" pinion shim on the left was smoothed out using a sheet of 80 grit sandpaper on a flat surface. Based on previous installs, a .039" will be the starter shim to try. |
|
| The bearing is pressed on with the 039 shim. |
|
|
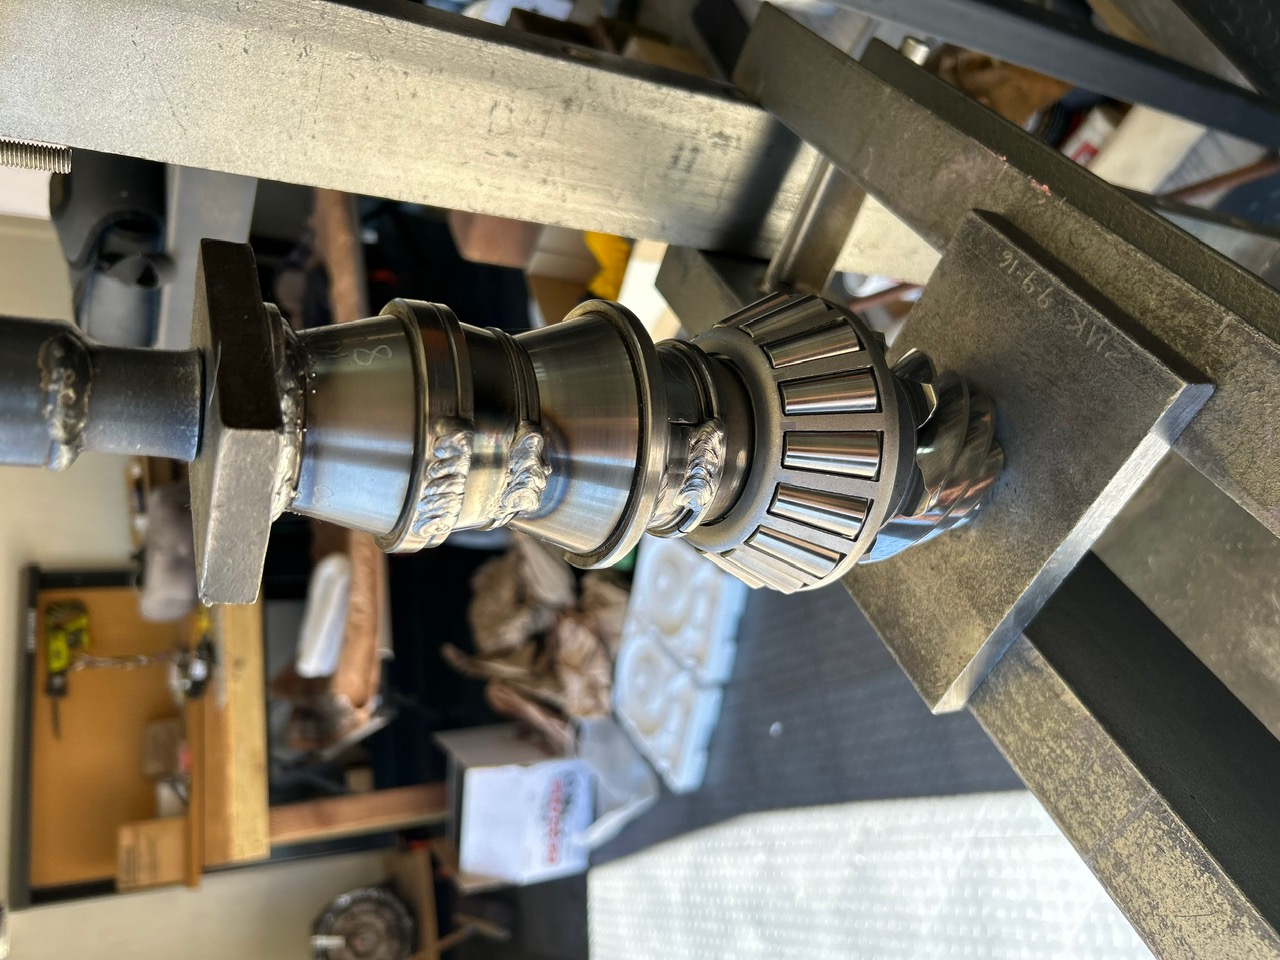
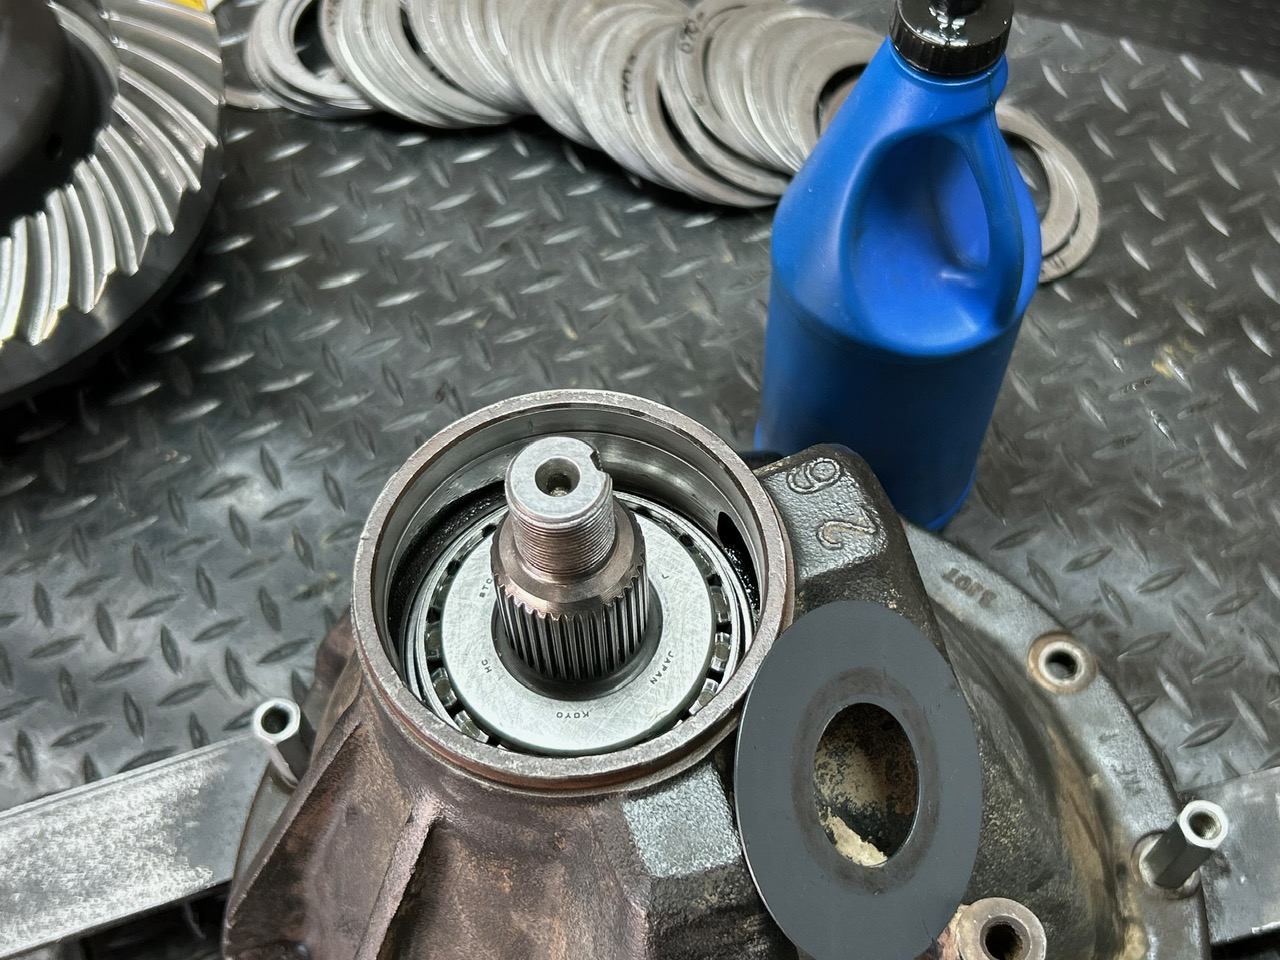
The pinion is then mounted up, bearings oiled, and a nice 15 inch/pounds of bearing preload is measured. The solid collar is not to be installed until the very end. |
|
|
Now is the time to mount up the new shiney ring gear and new carrier bearings. Remove the old one.... |
|
| Holy smokes! The old carrier bearing just fell apart at the same time. |
|
|
And when I was wiping the gear oils off the other side then this one did the same. Goes to show that carrier bearings that are slopping around like these ones were will end up self destructing. |
|
|
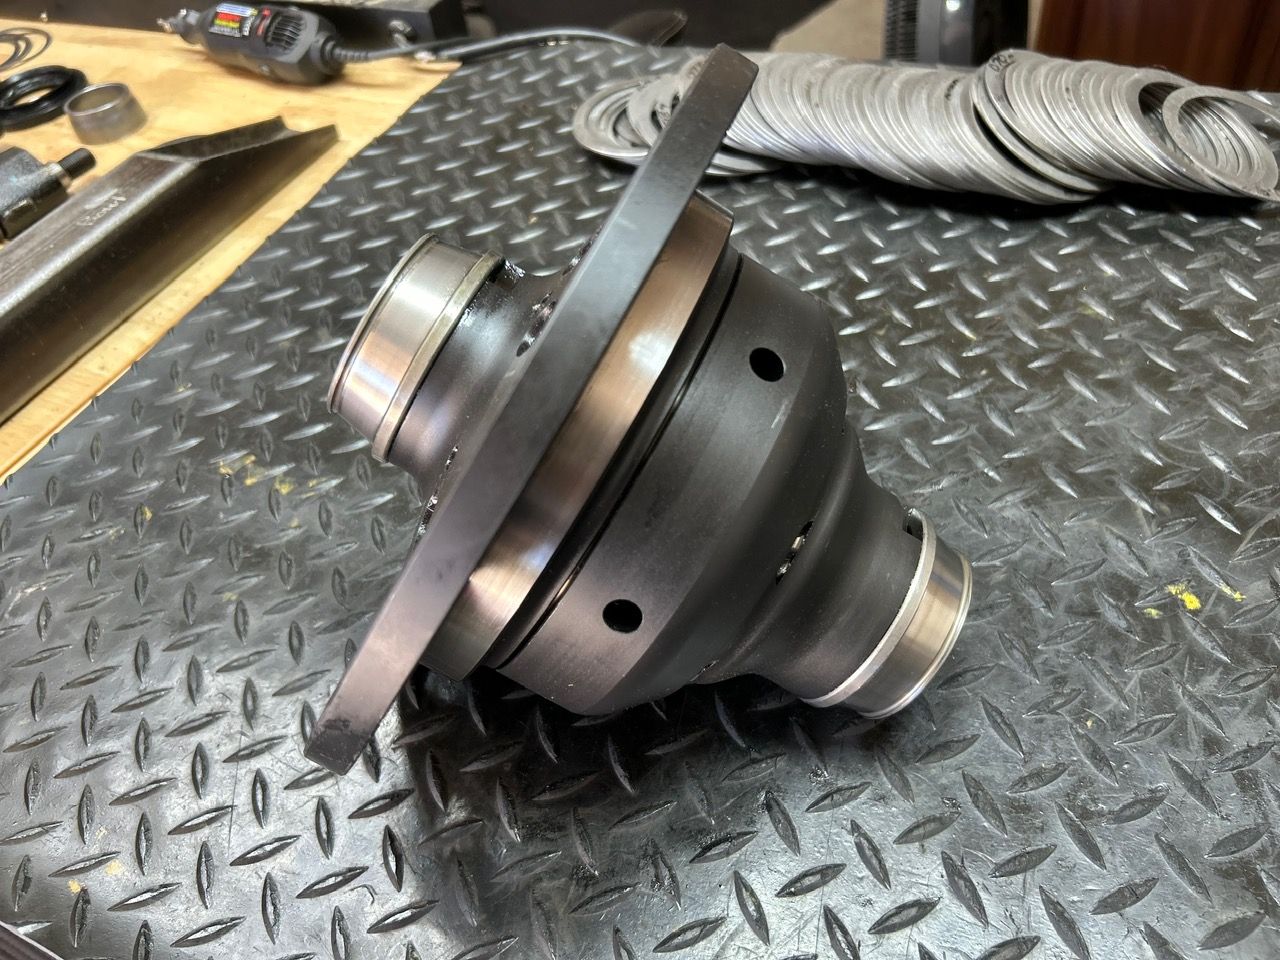
The LSD center carrier was not damaged in any way. By the way, upgrading the 10.5" center diff to a much stronger LSD is very common. The factory 2 pinion open diff carrier is a known weak point. |
|
|
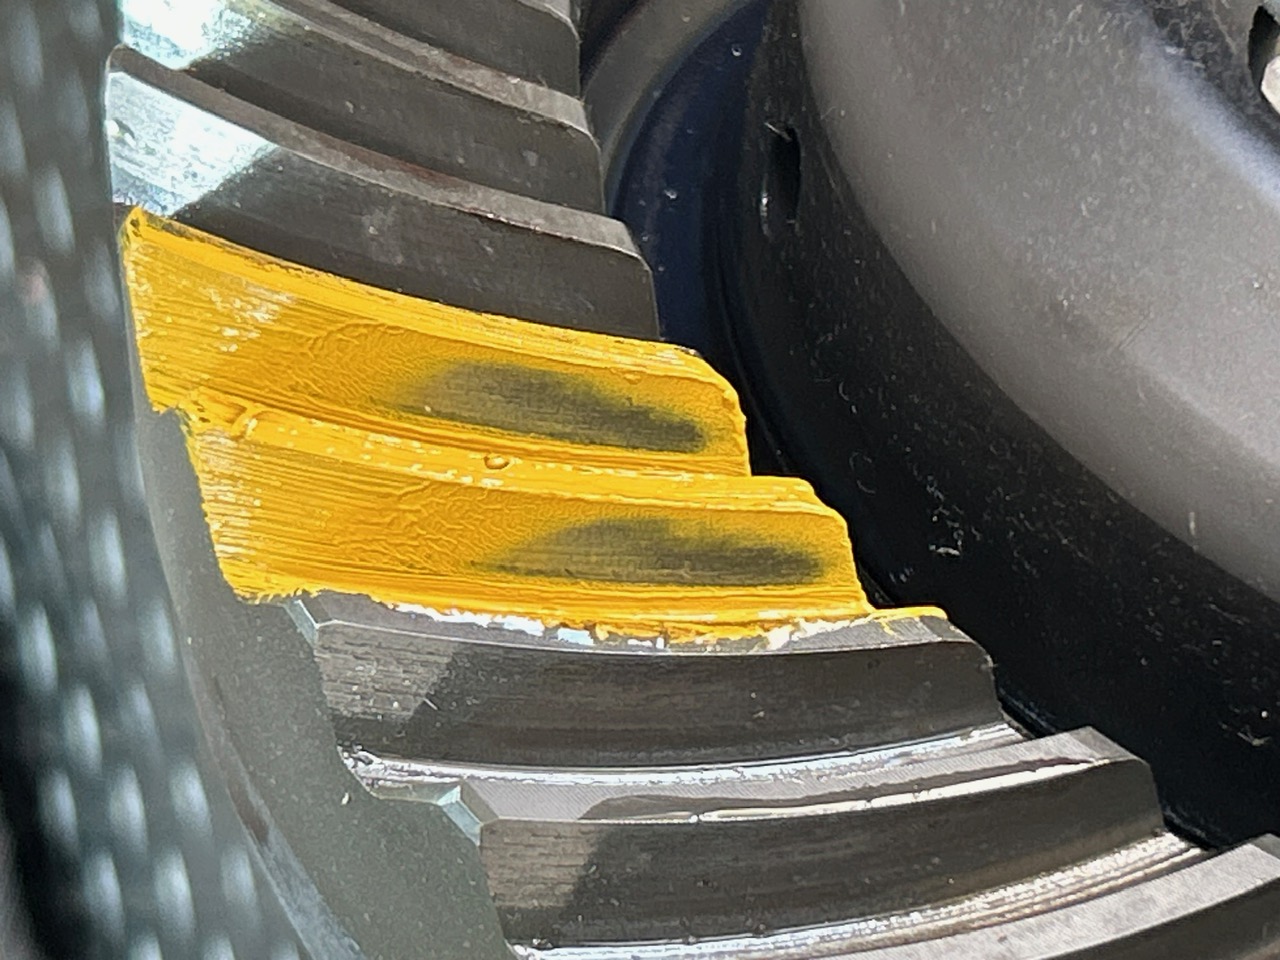
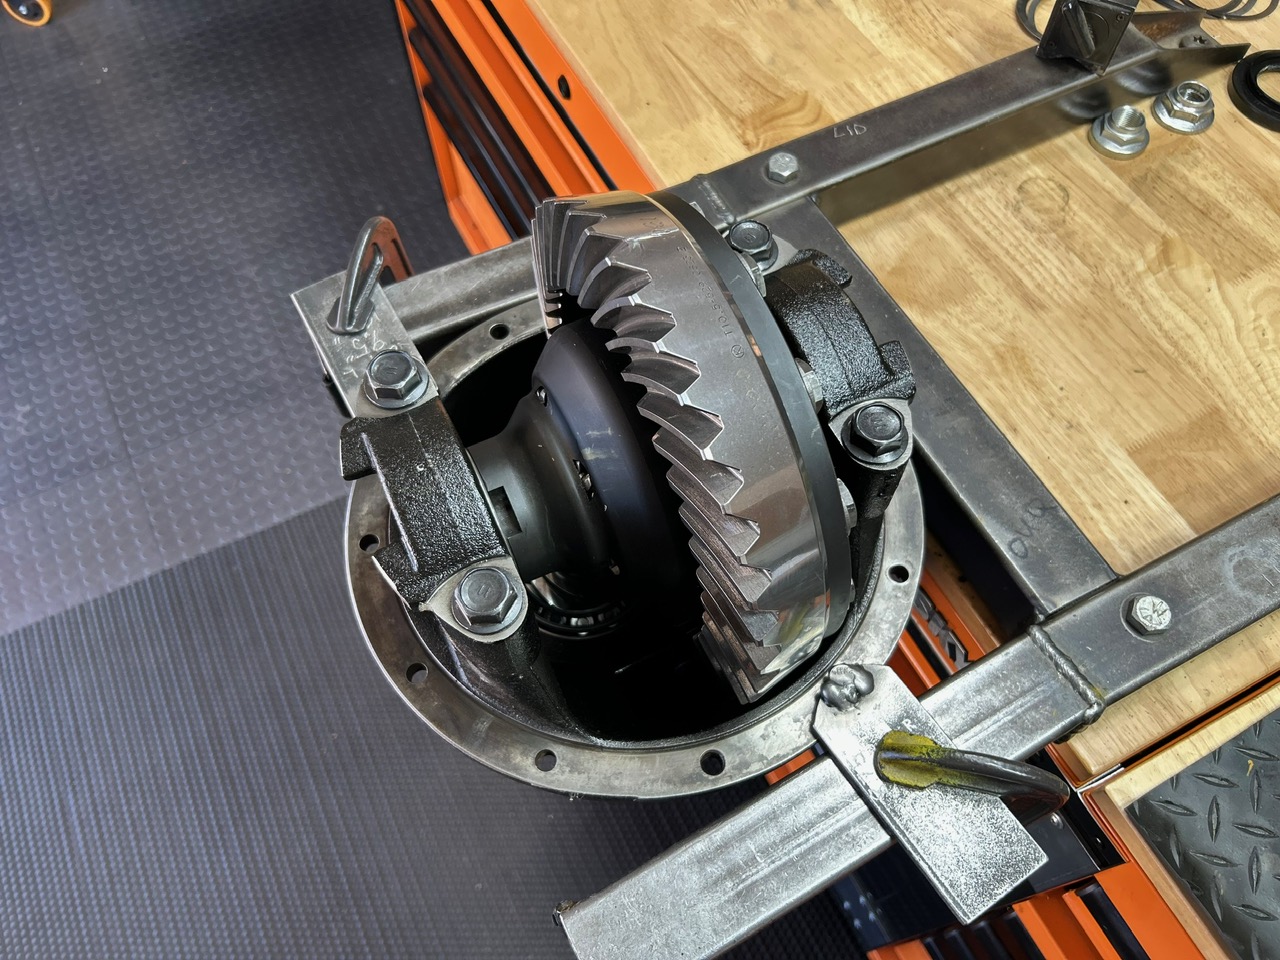
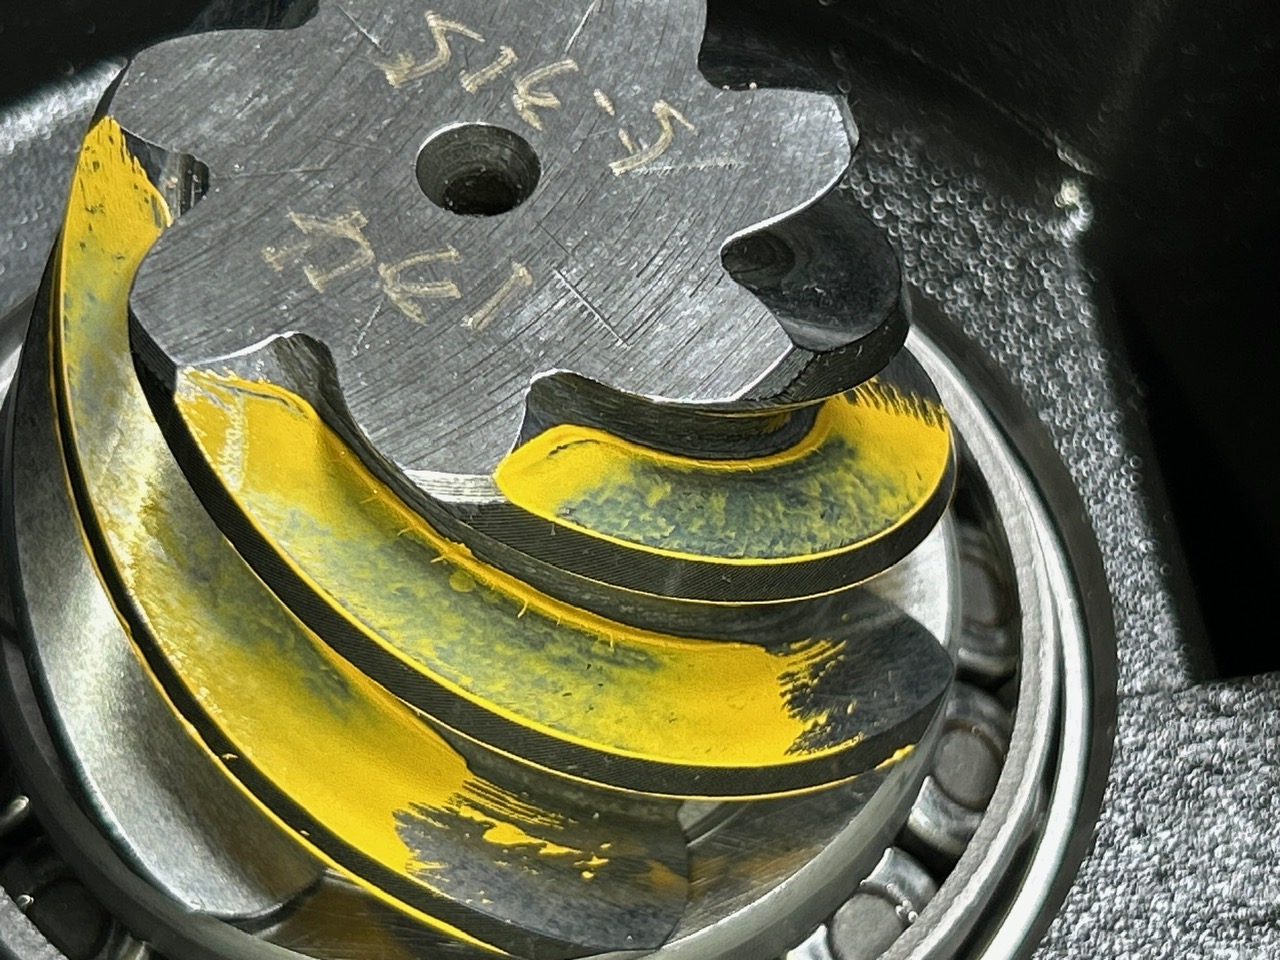
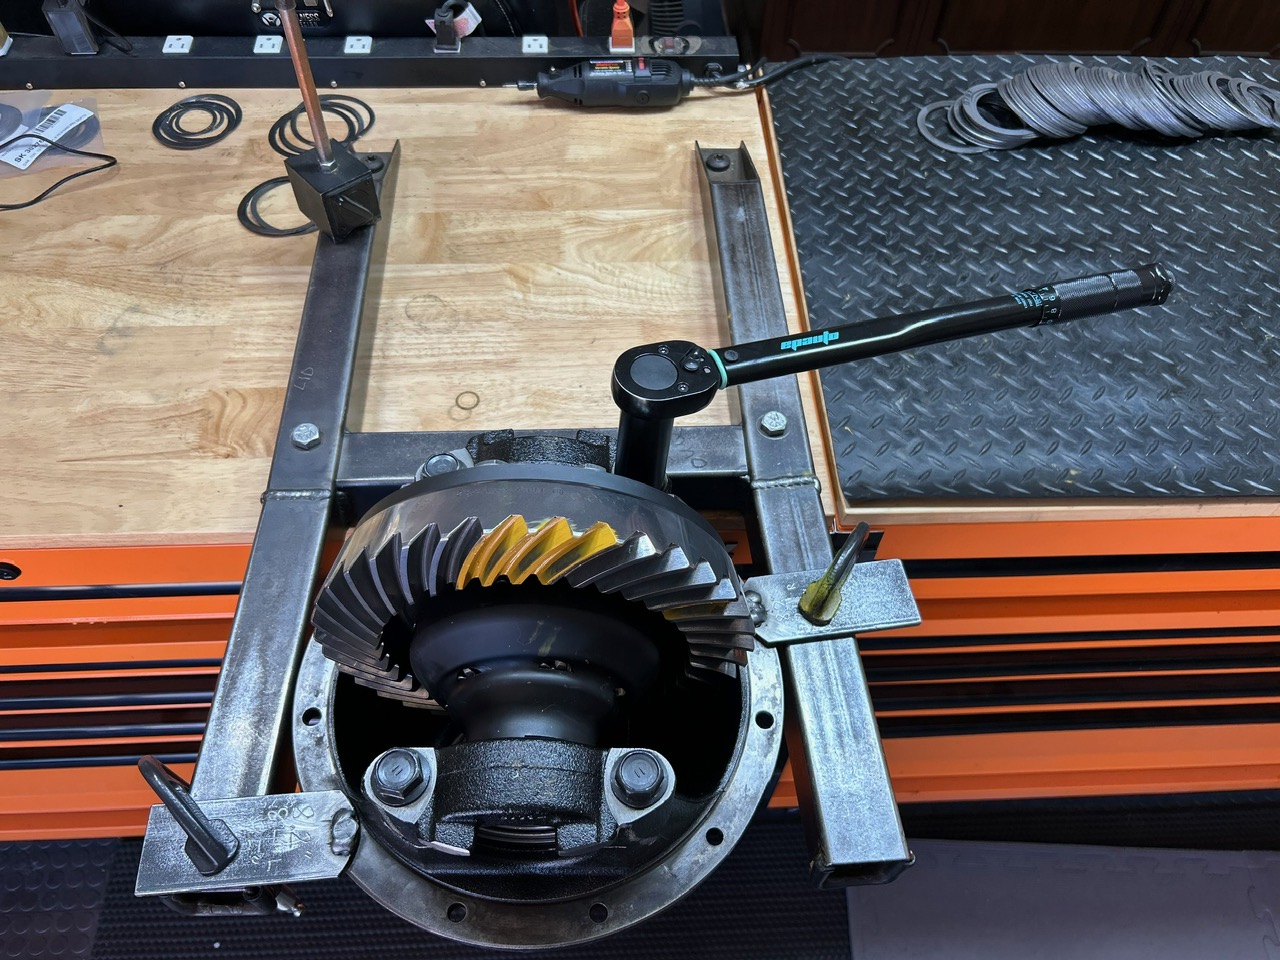
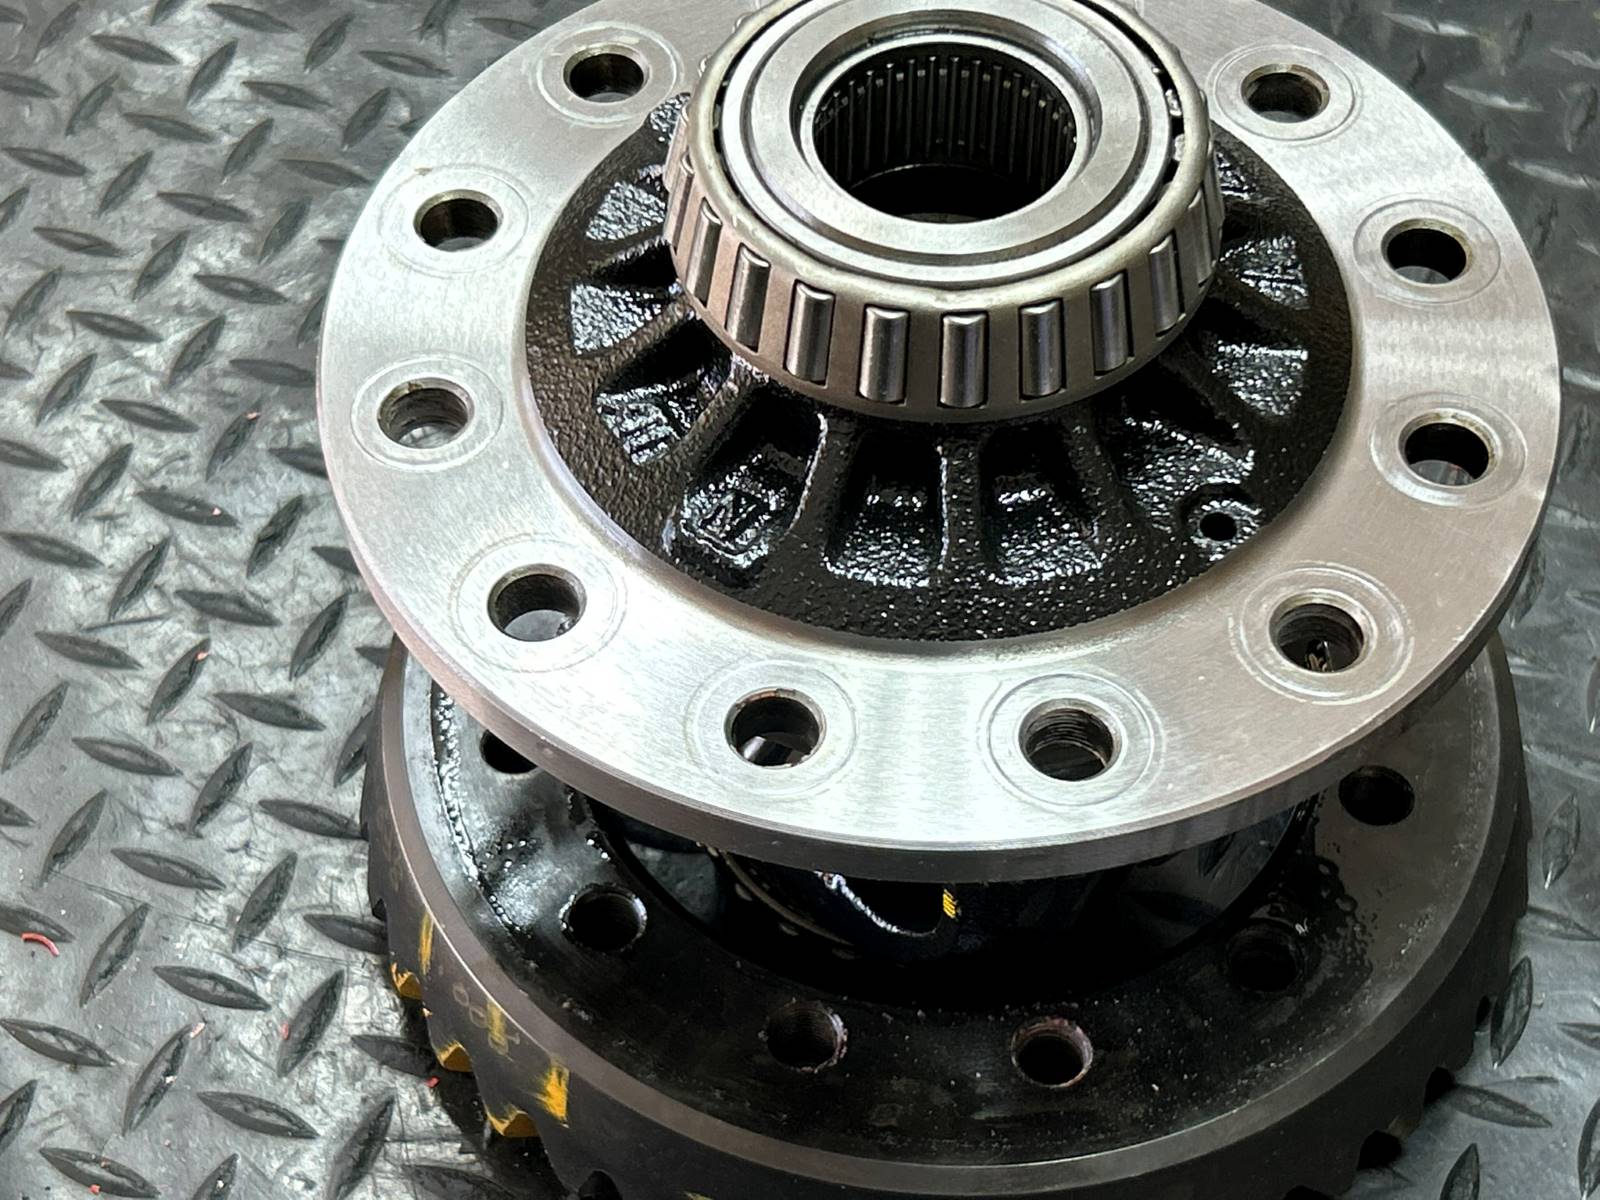
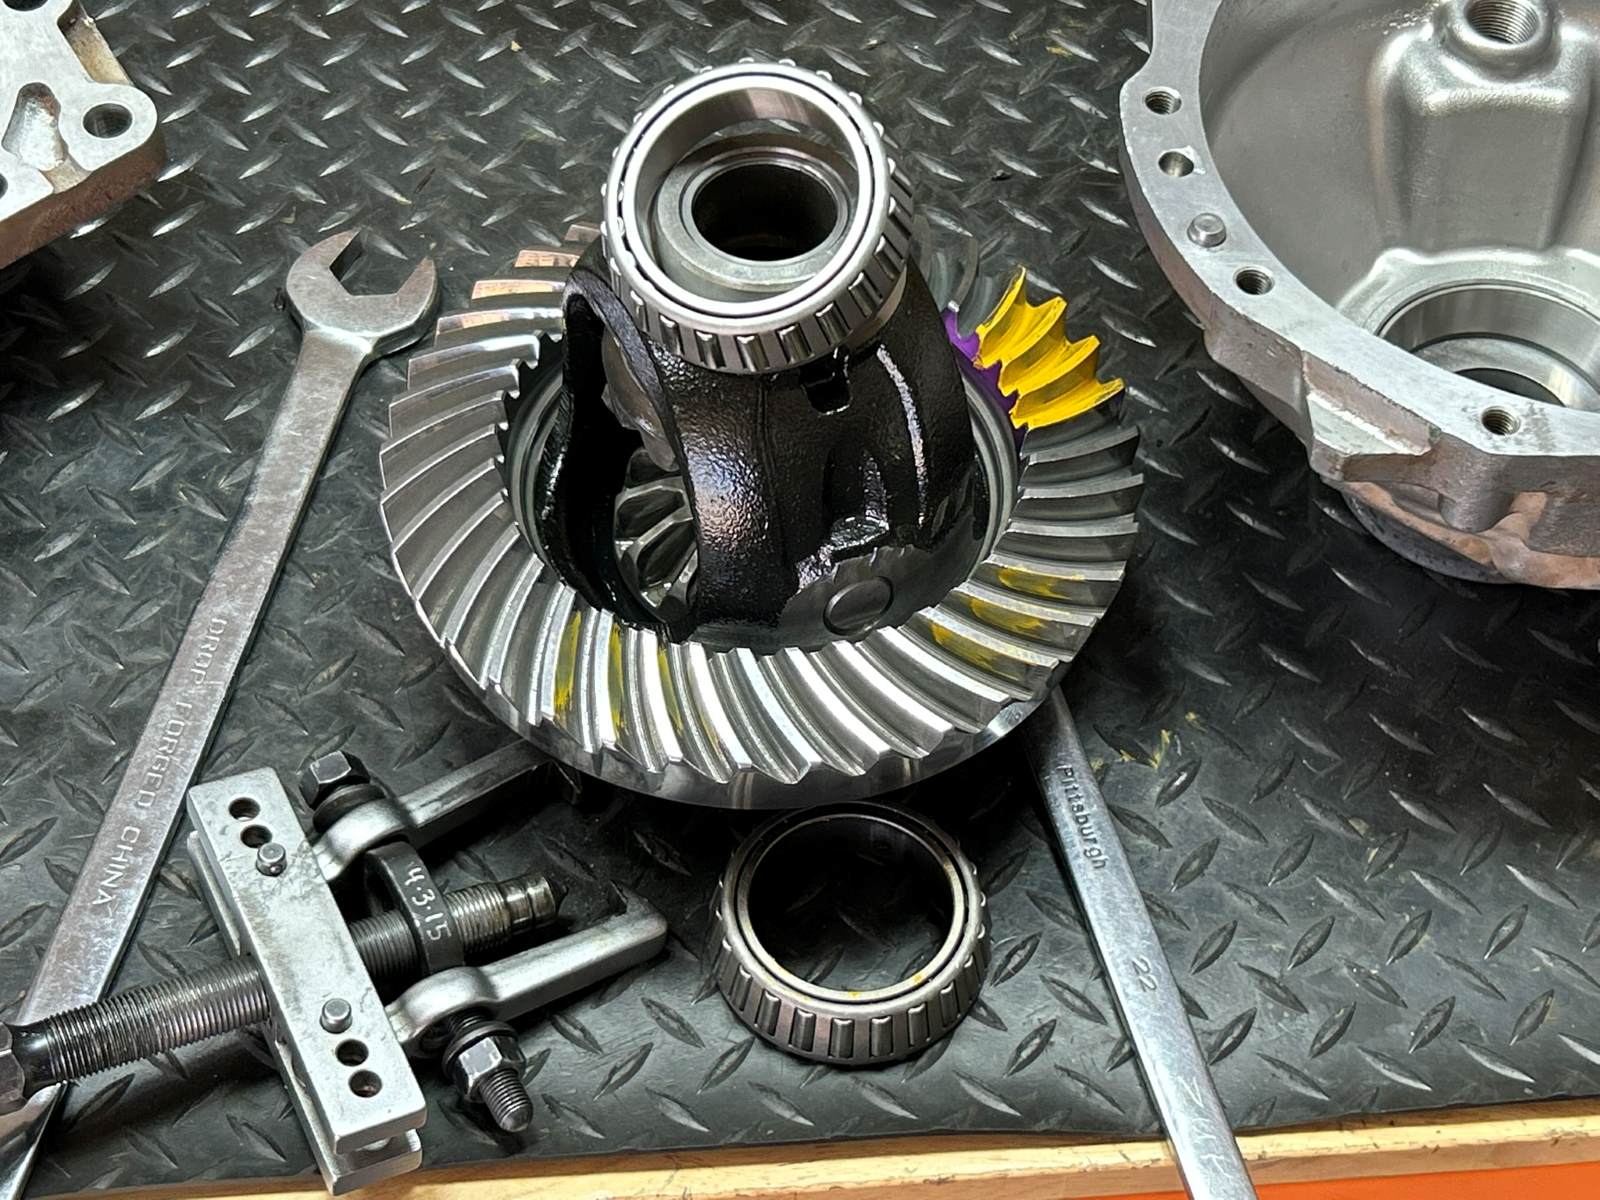
With the ring gear mounted up and 145 ft/lb on all 12 bolts....and new carrier bearings pressed on, the 3rd is ready for some yellow paint. I did use factory washer plates on both carrier bearings for a proper backlash and bearing preloading. |
|
|
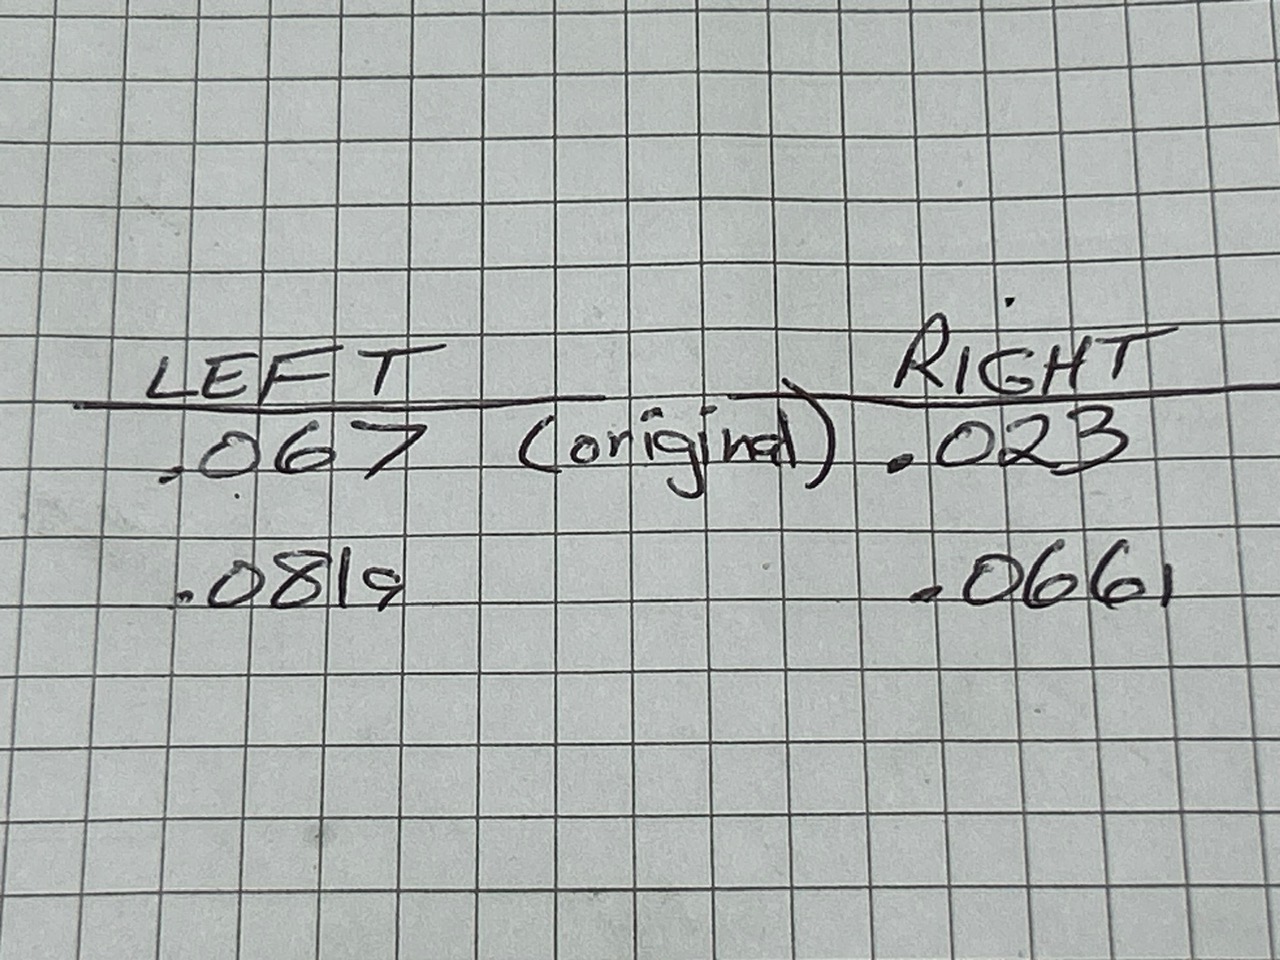
Originally, there was 067 of thin shims on the left and a scant .023 on the right side. To do this paint check, I used thick OEM washer plates and you can see why the carrier bearings were slopping around so much. |
|
| Drive with .039" shim...still too deep so I will remove some shim. |
|
| Coast with 039....too deep. |
|
| Let's try .033" |
|
|
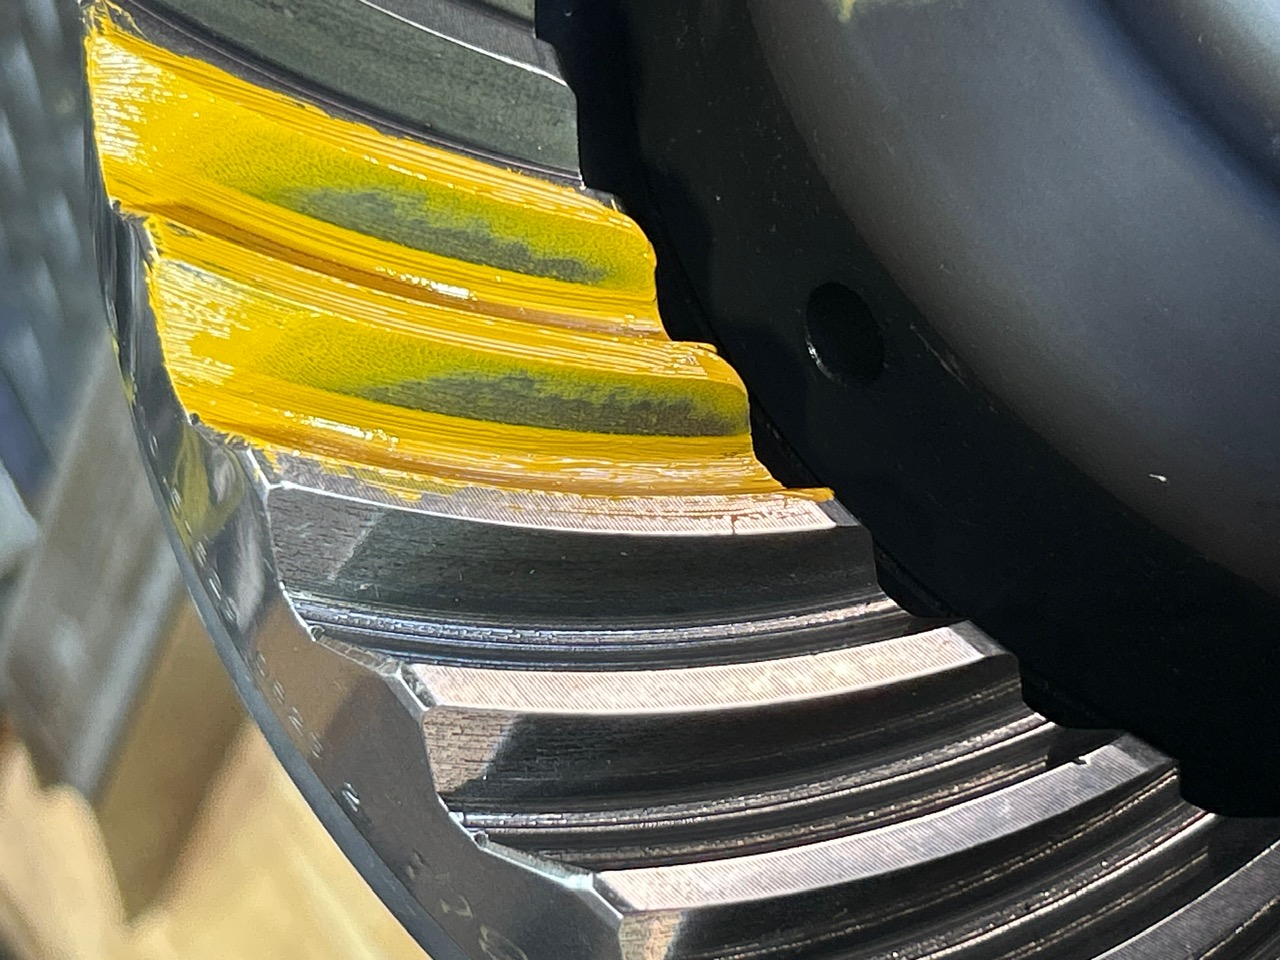
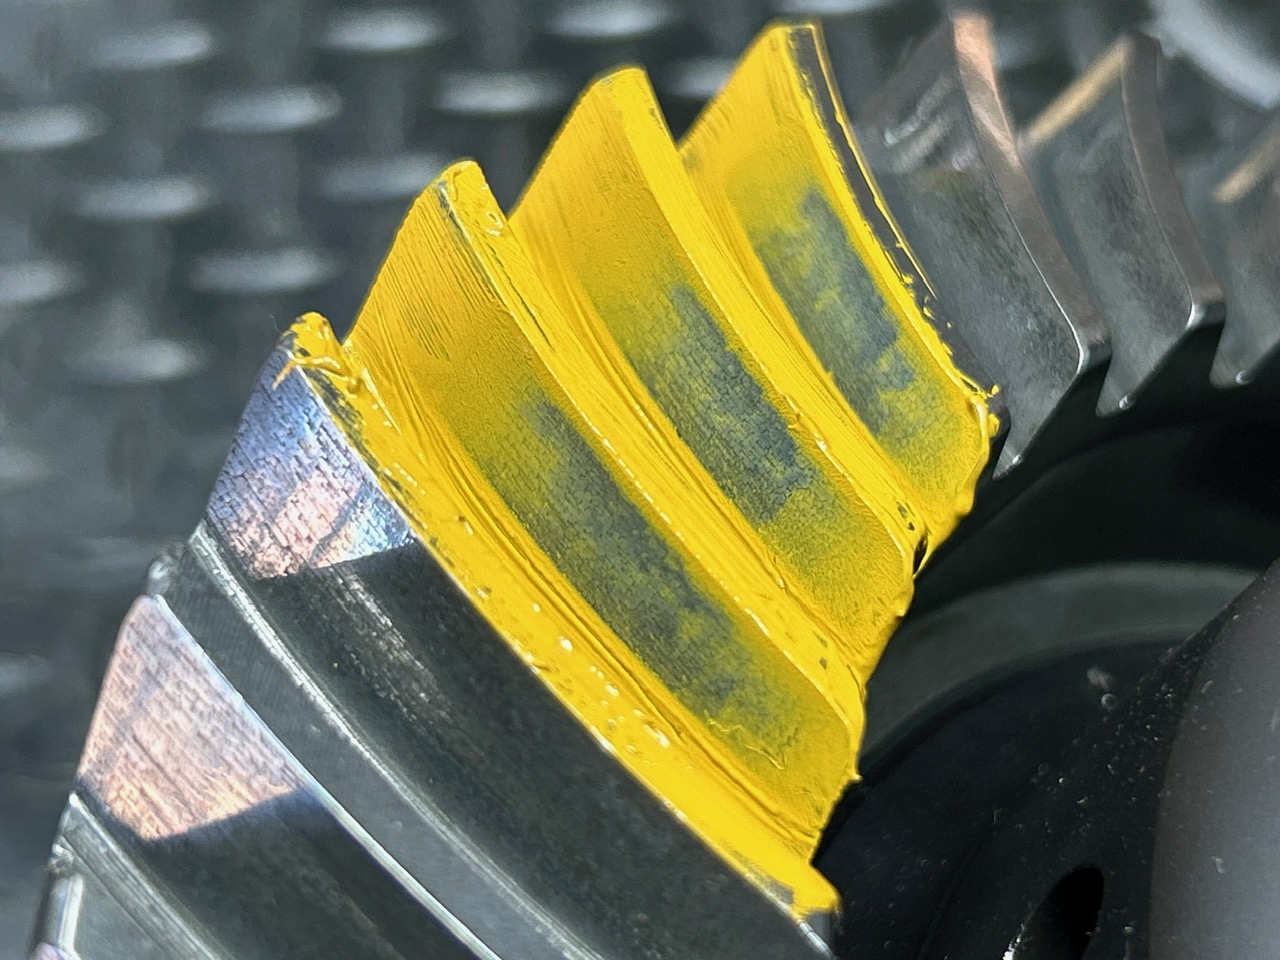
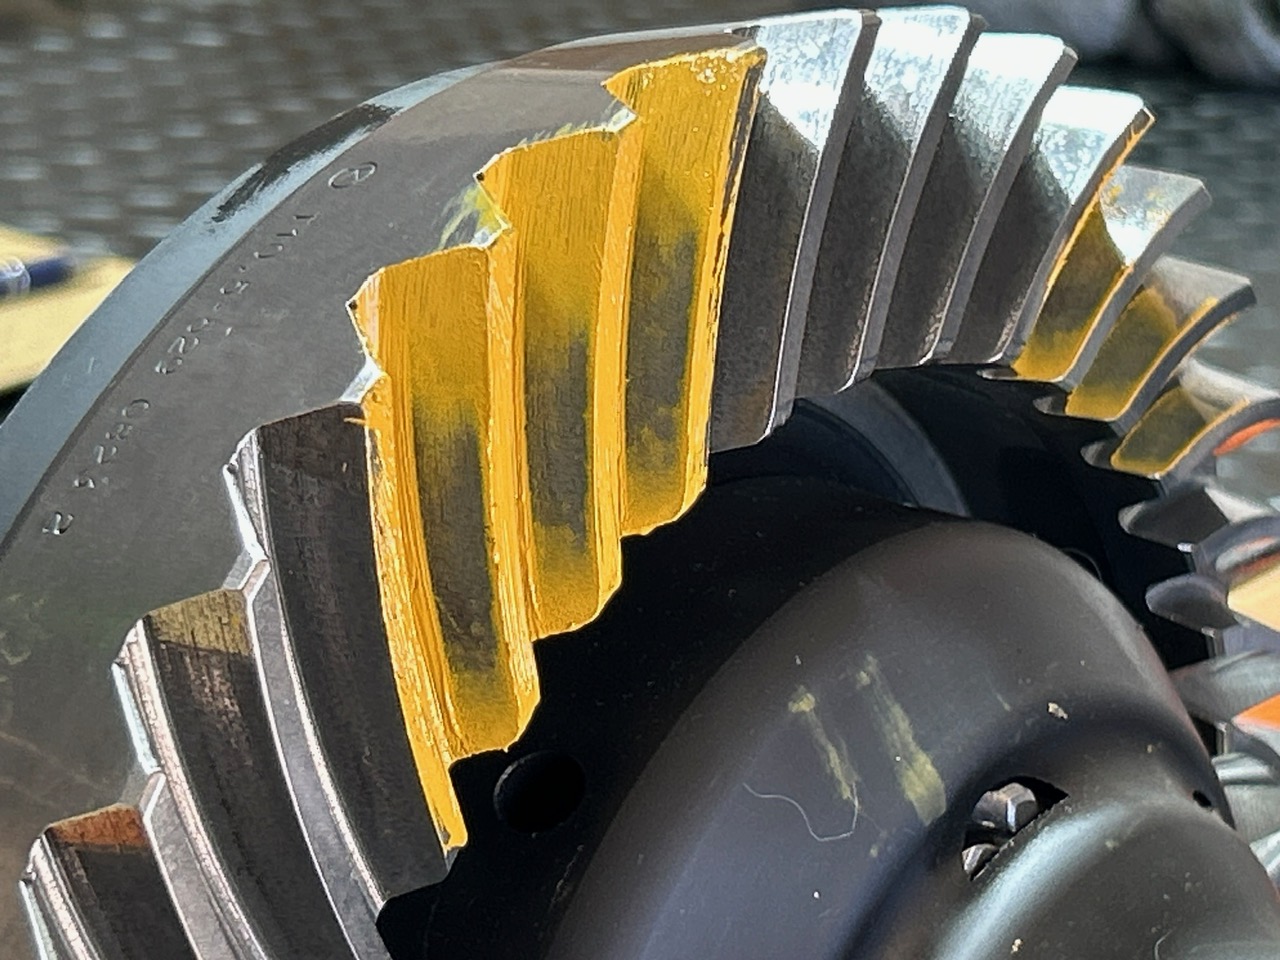
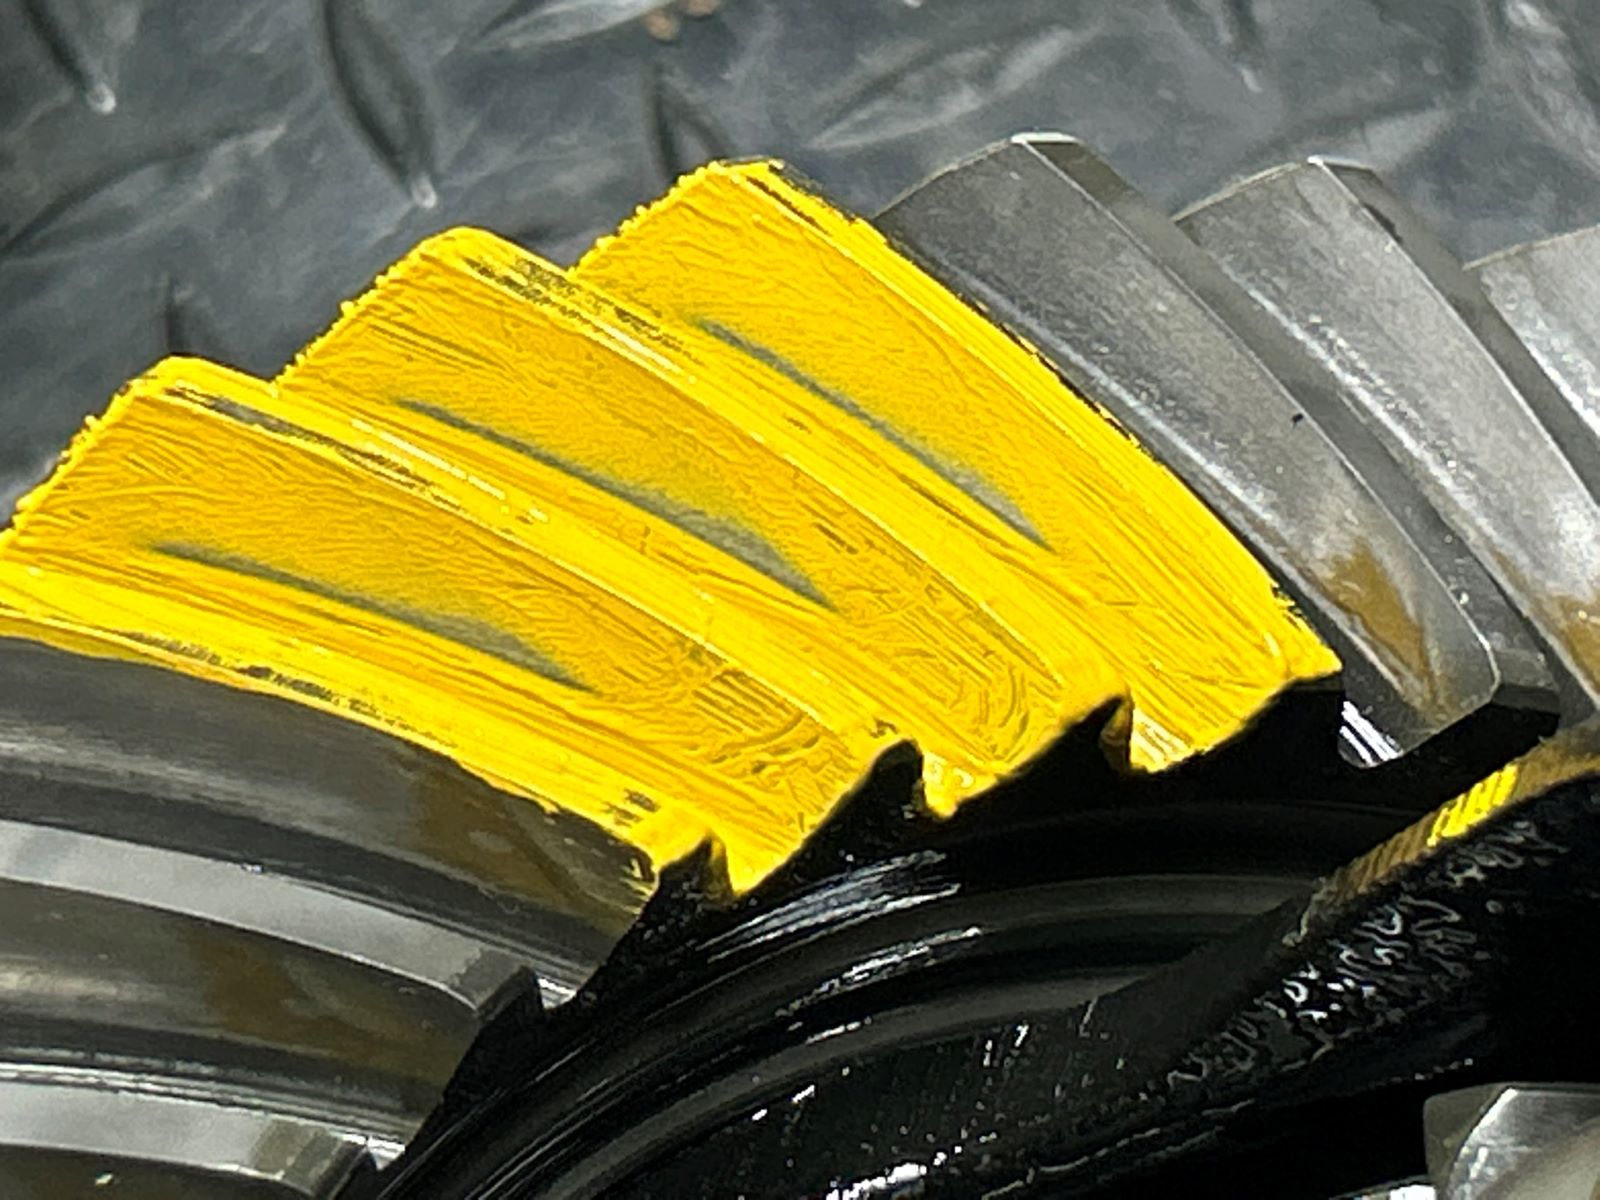
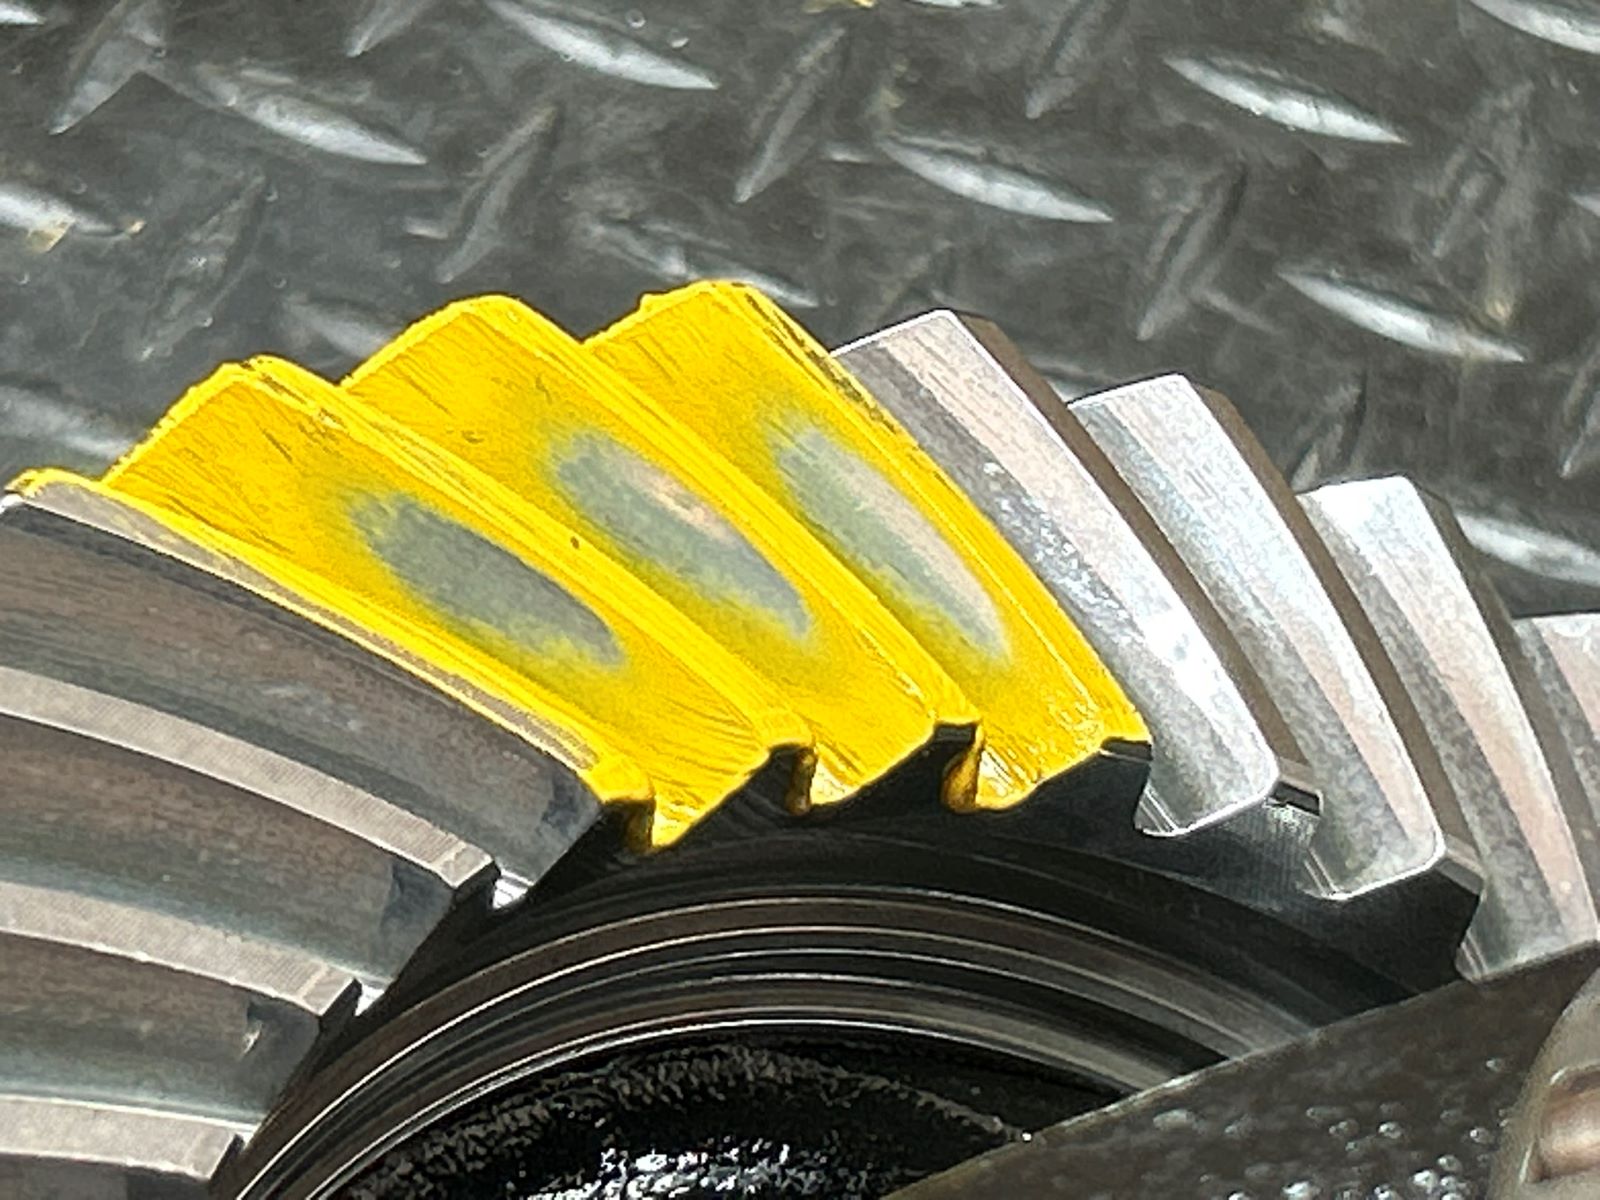
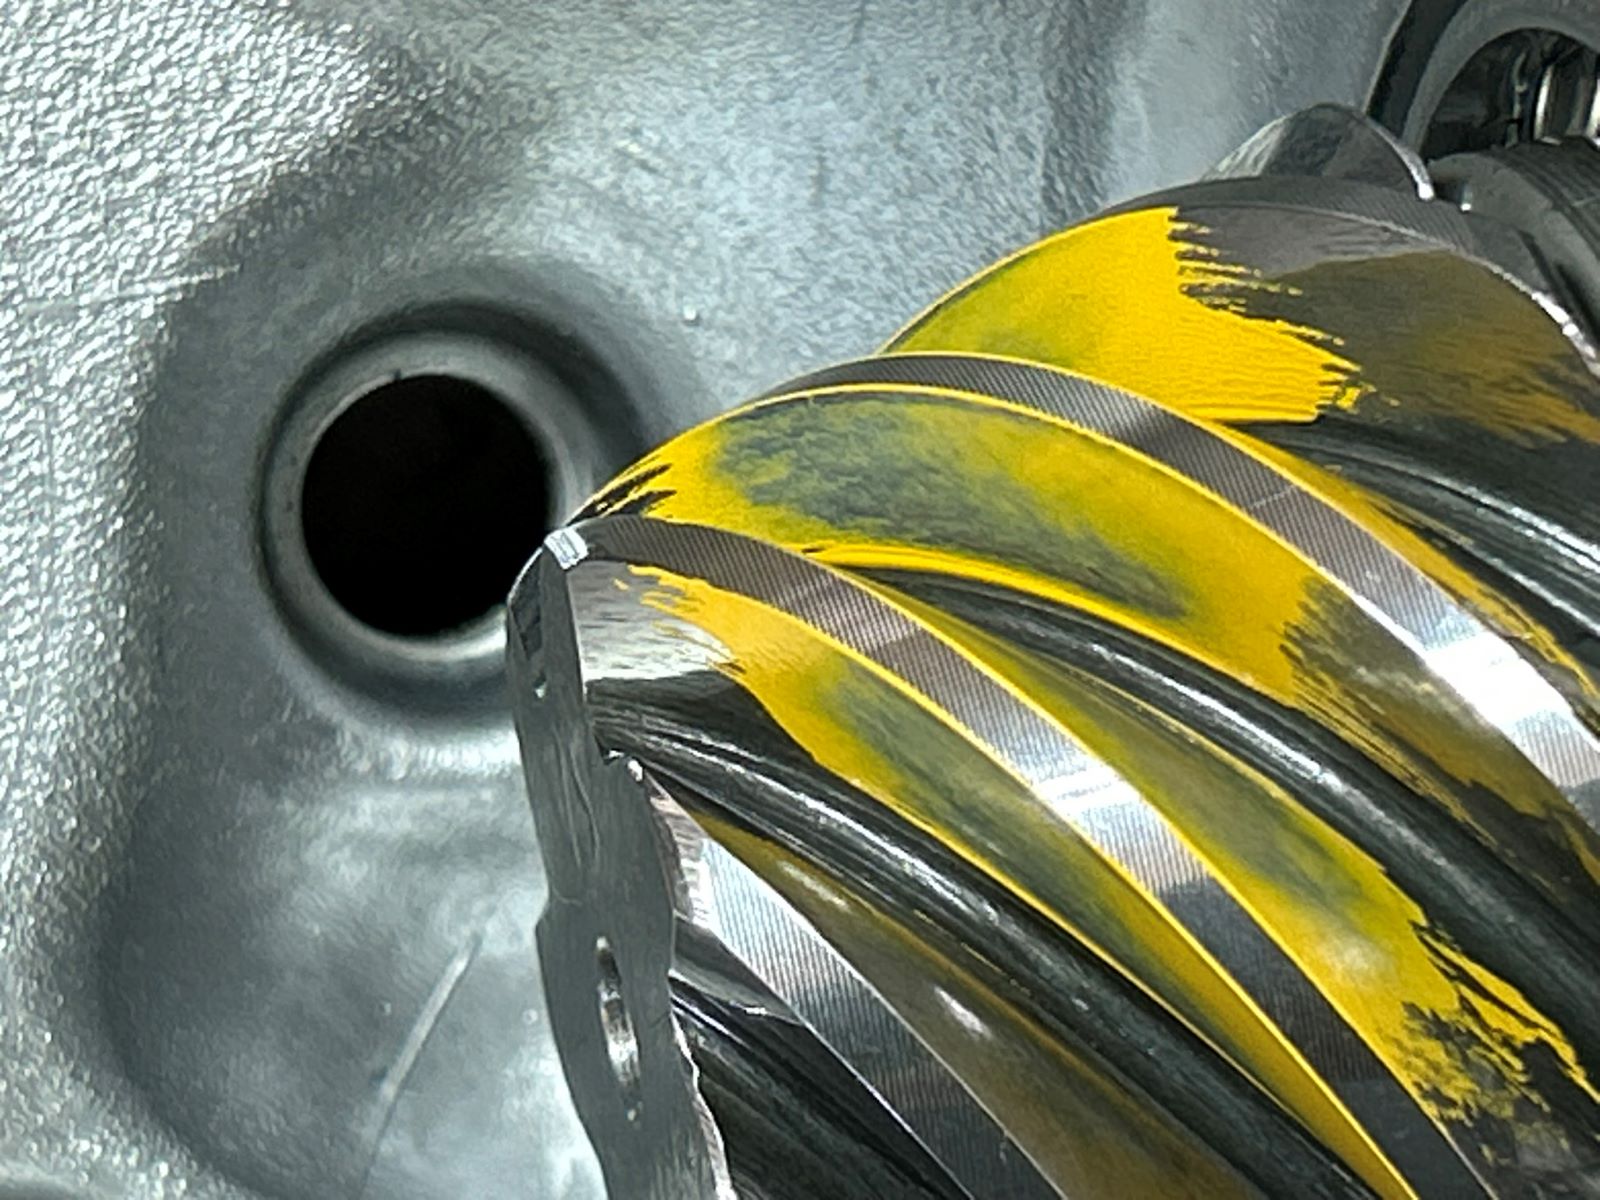
Drive side with .033"....much better. This appears to be a home run. Excellent balance from the root to the top. The spread is "even". |
|
| The coast looks great. It's a bonus that it is relatively centered from left to right. |
|
| Even the pinion tooth shows equal root contact versus the top of tooth contact. |
|
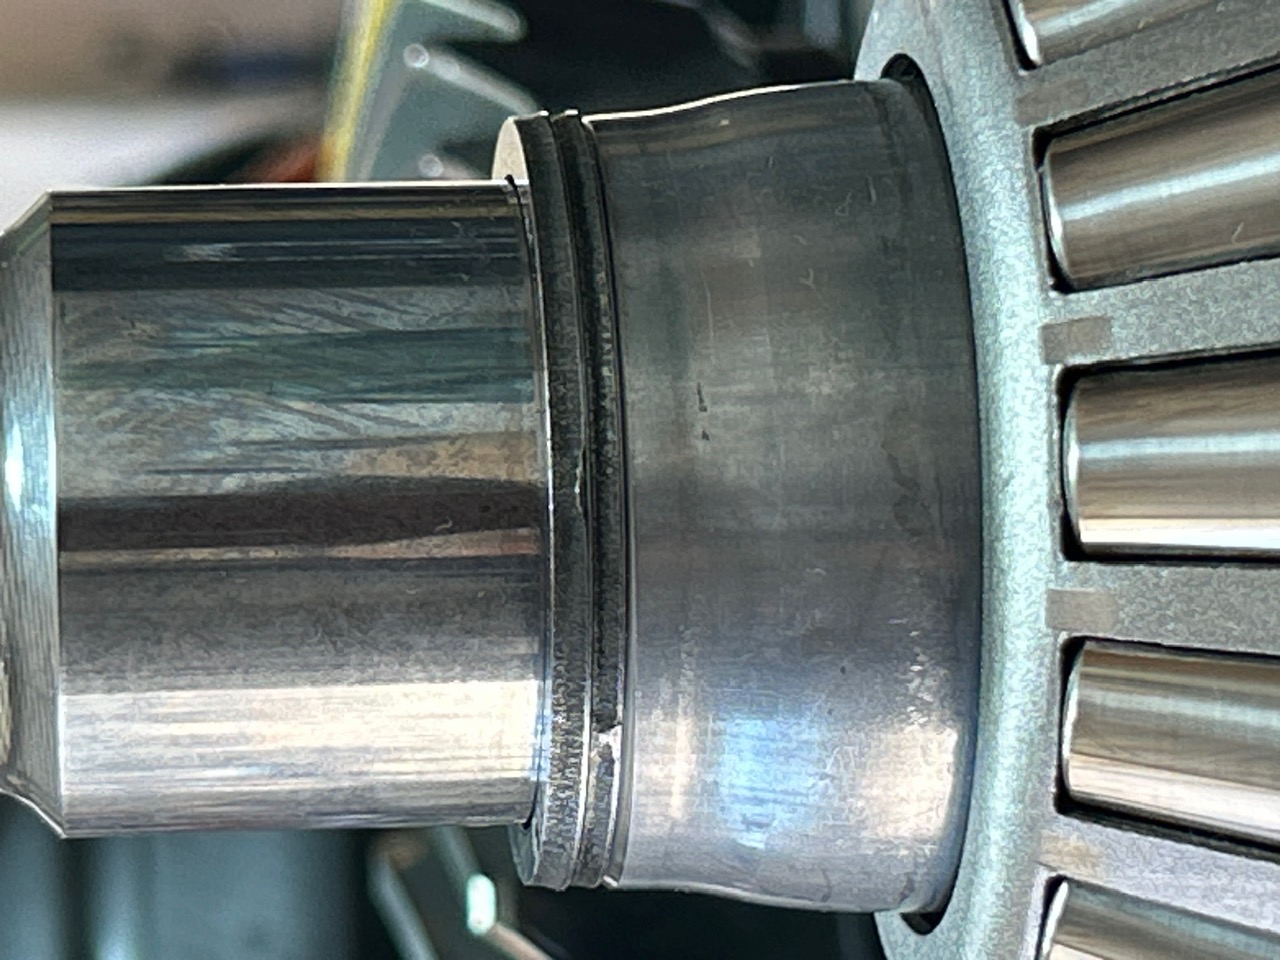
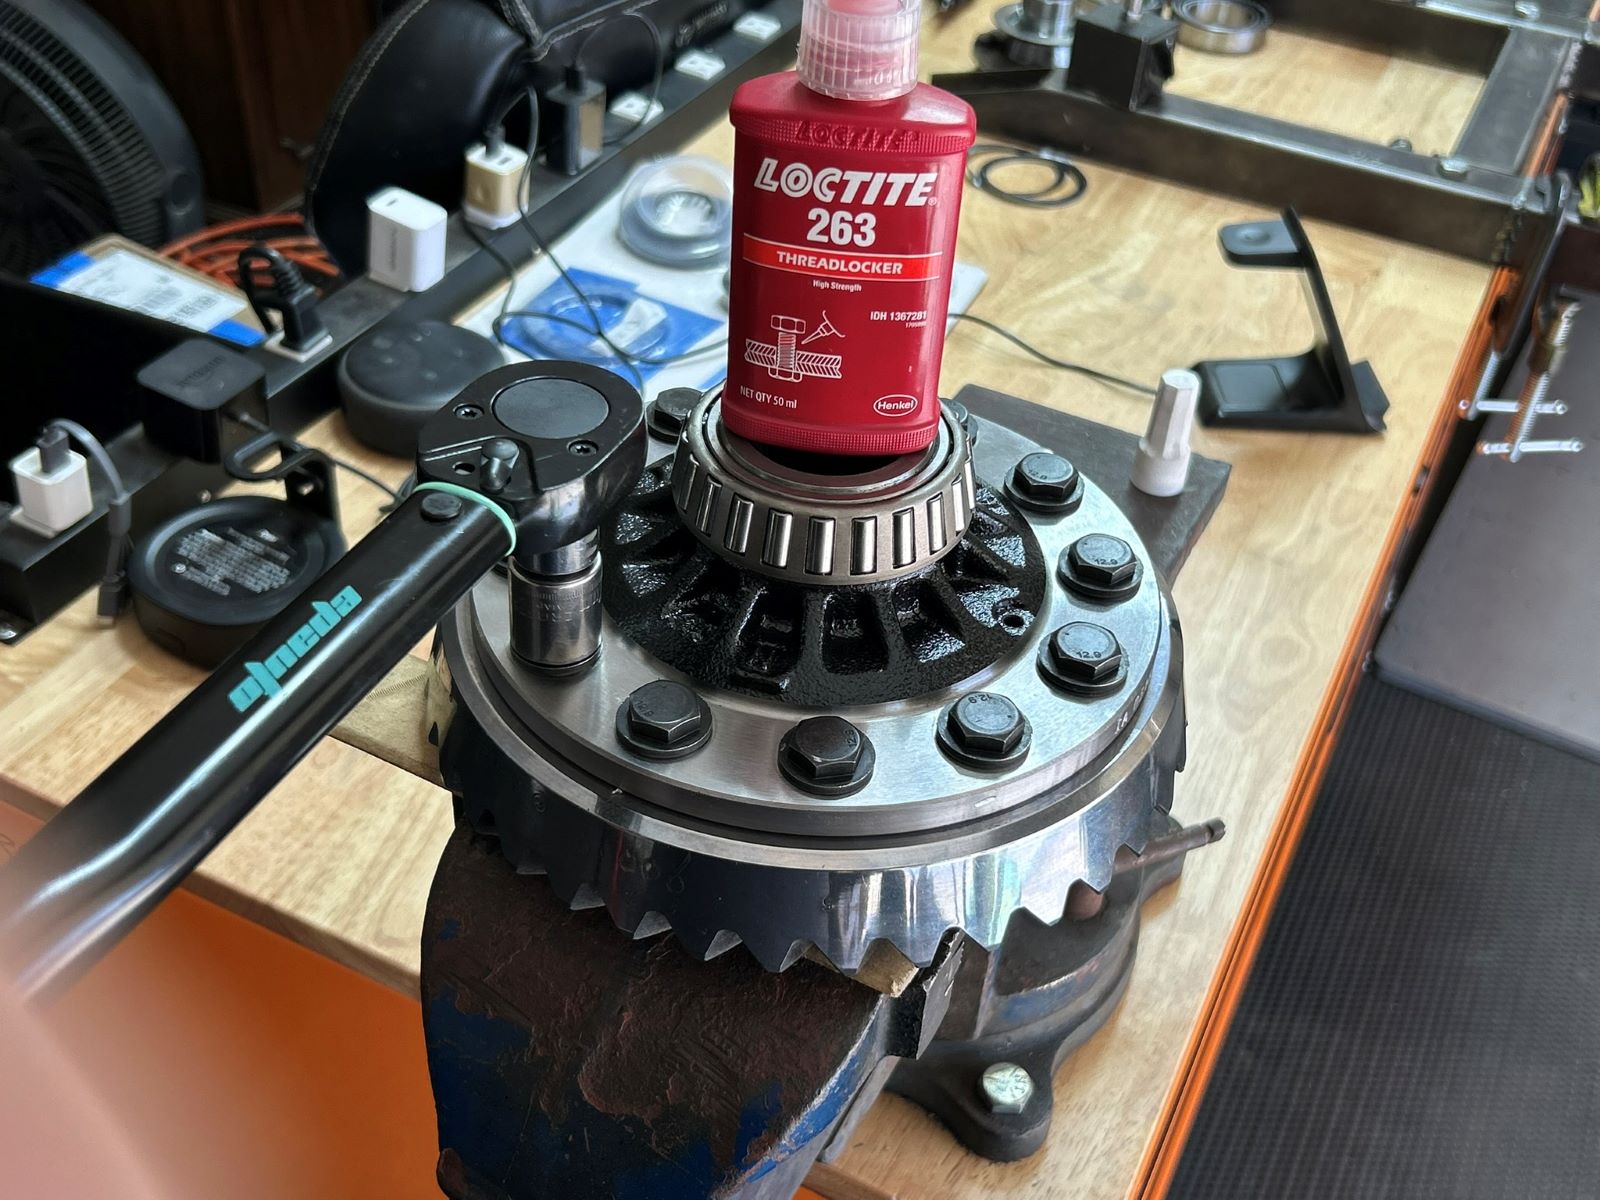
| Now that the perfect pinion depth has been found, now we can install the solid collar. |
|
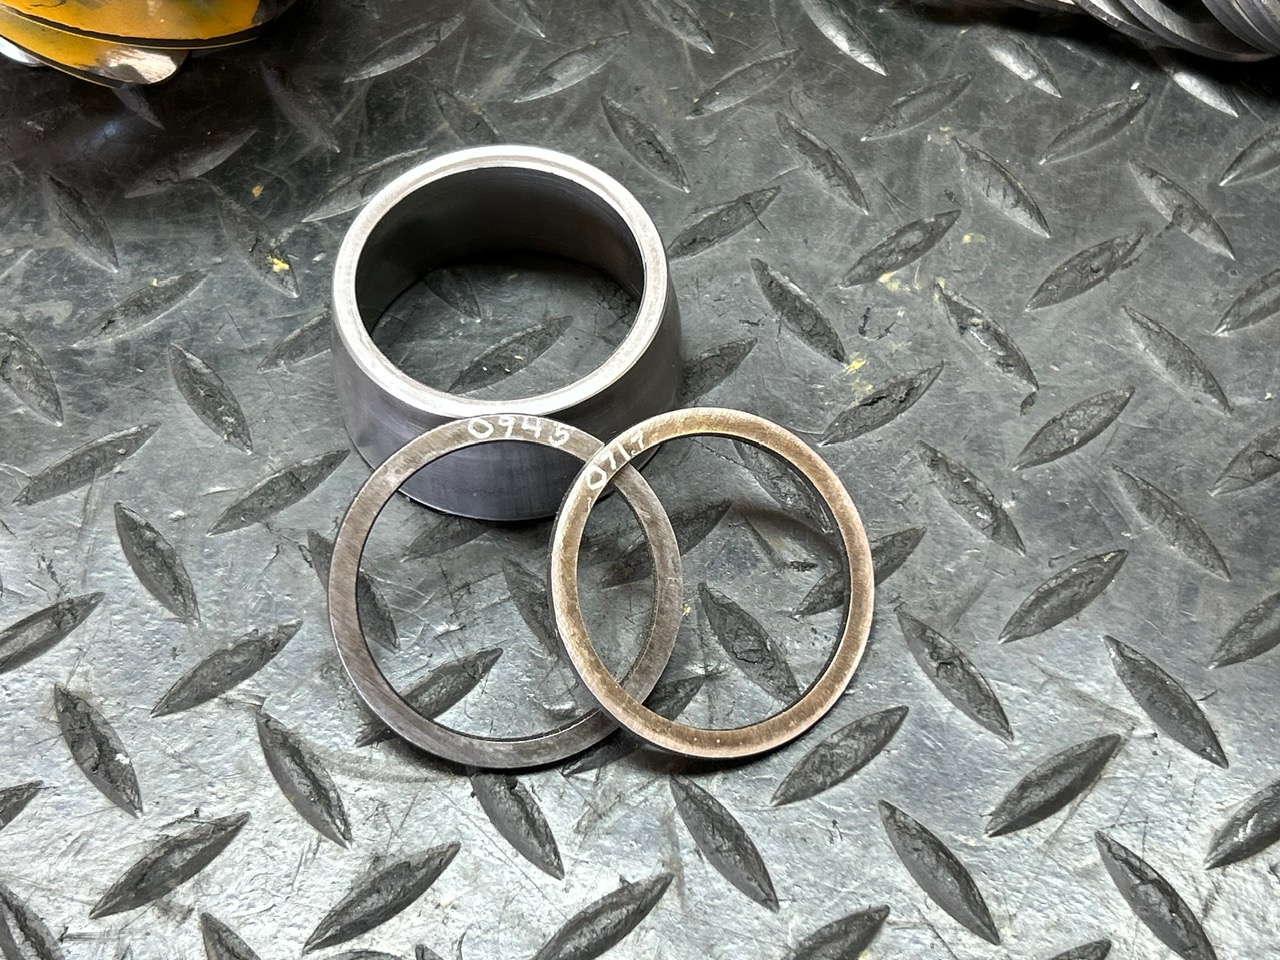
| Install the solid collar with 2 thick factory part number "shims" |
|
|
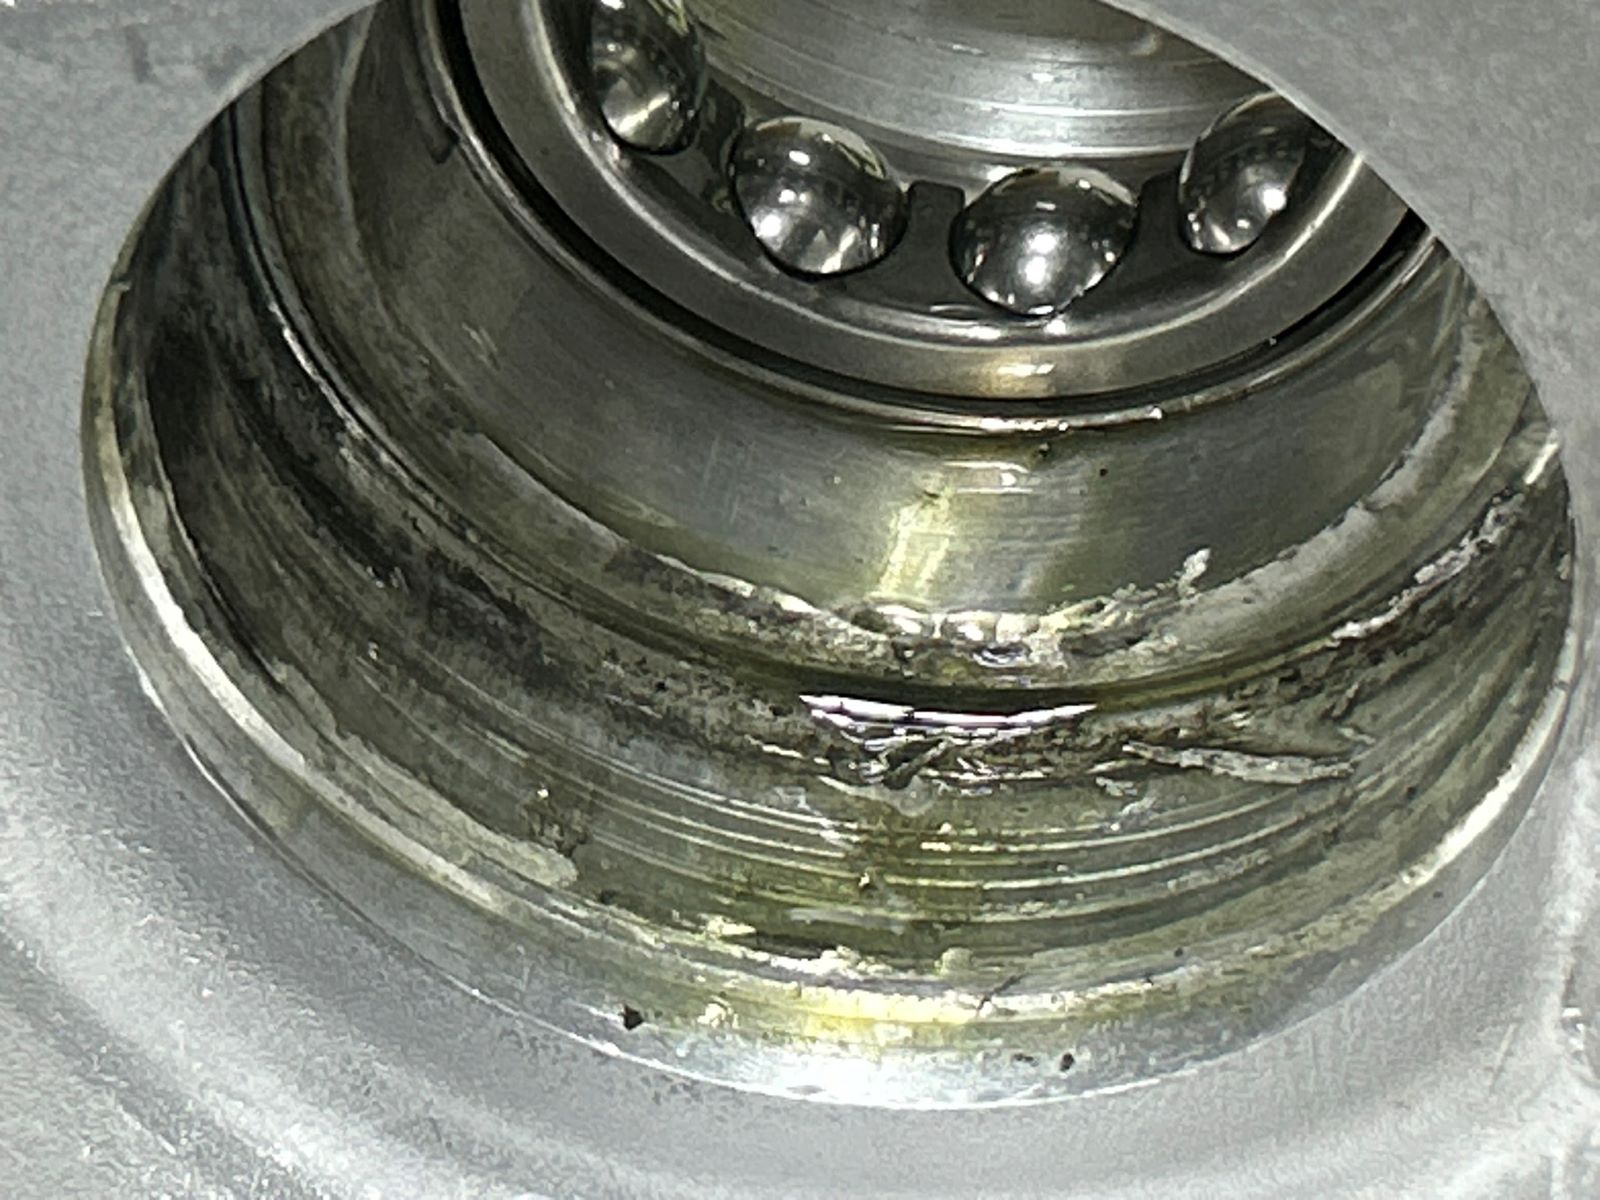
.1662" was the first try and it was a heavy 30 inch/pounds of preload. The .0717 was replaced with .0736 and now 20 inch/pounds. .0736" was finally replaced with .0740" and a nice 16 preload was achieved. |
|
| Now to re-assemble... |
|
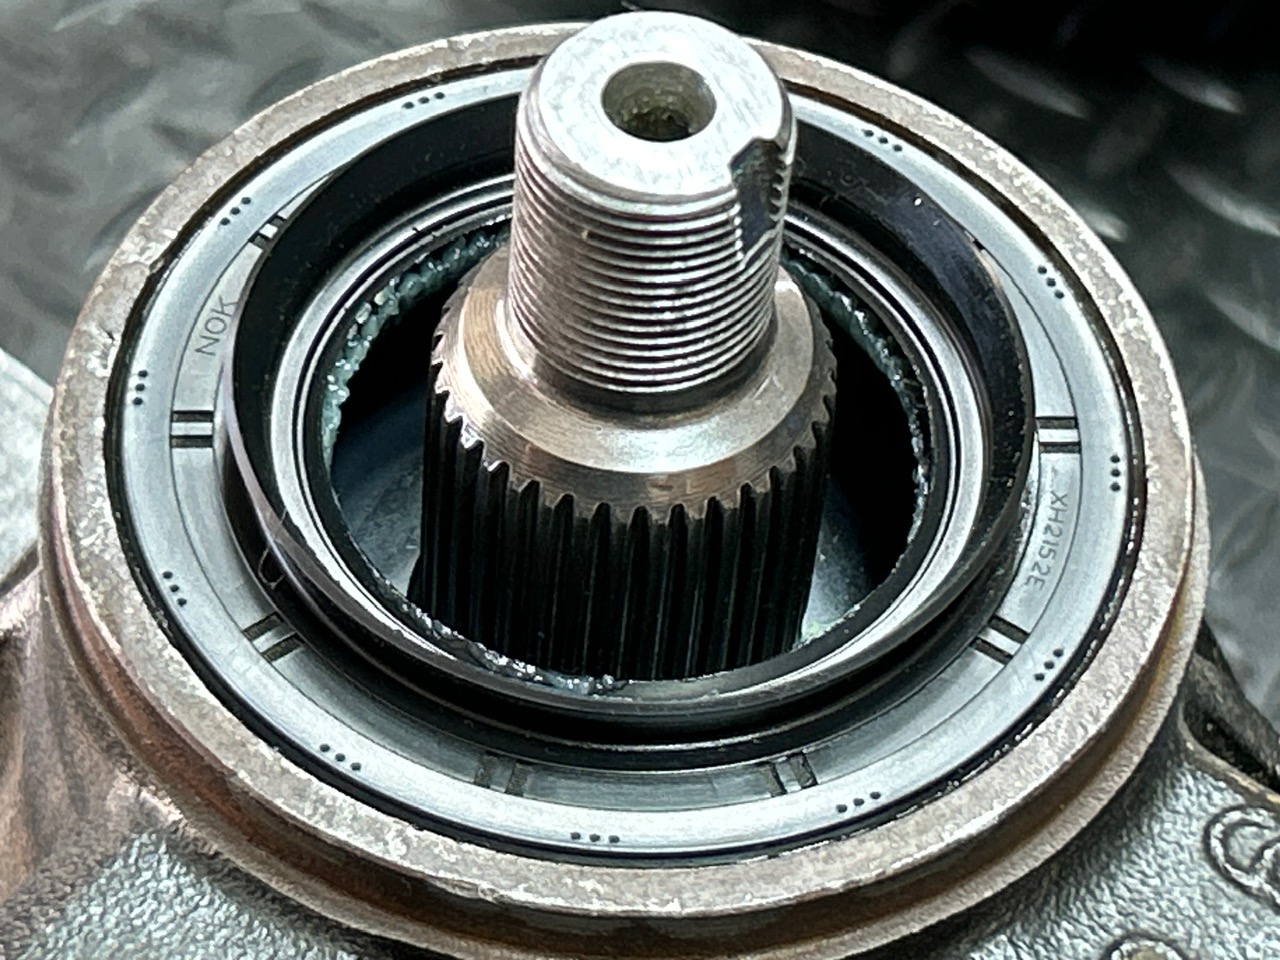
| The factory seal can also be installed now that everything is shimmed properly. |
|
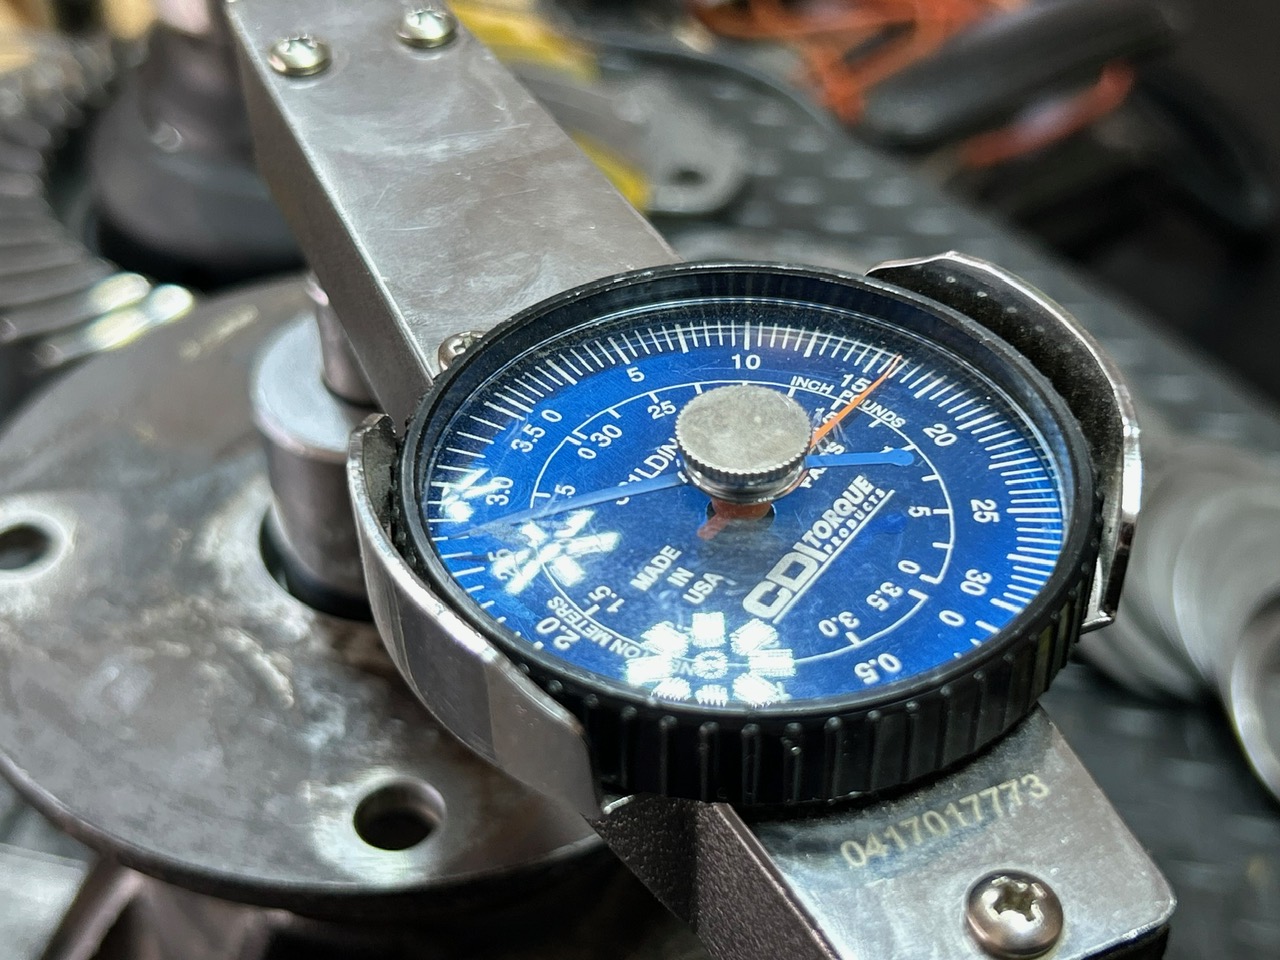
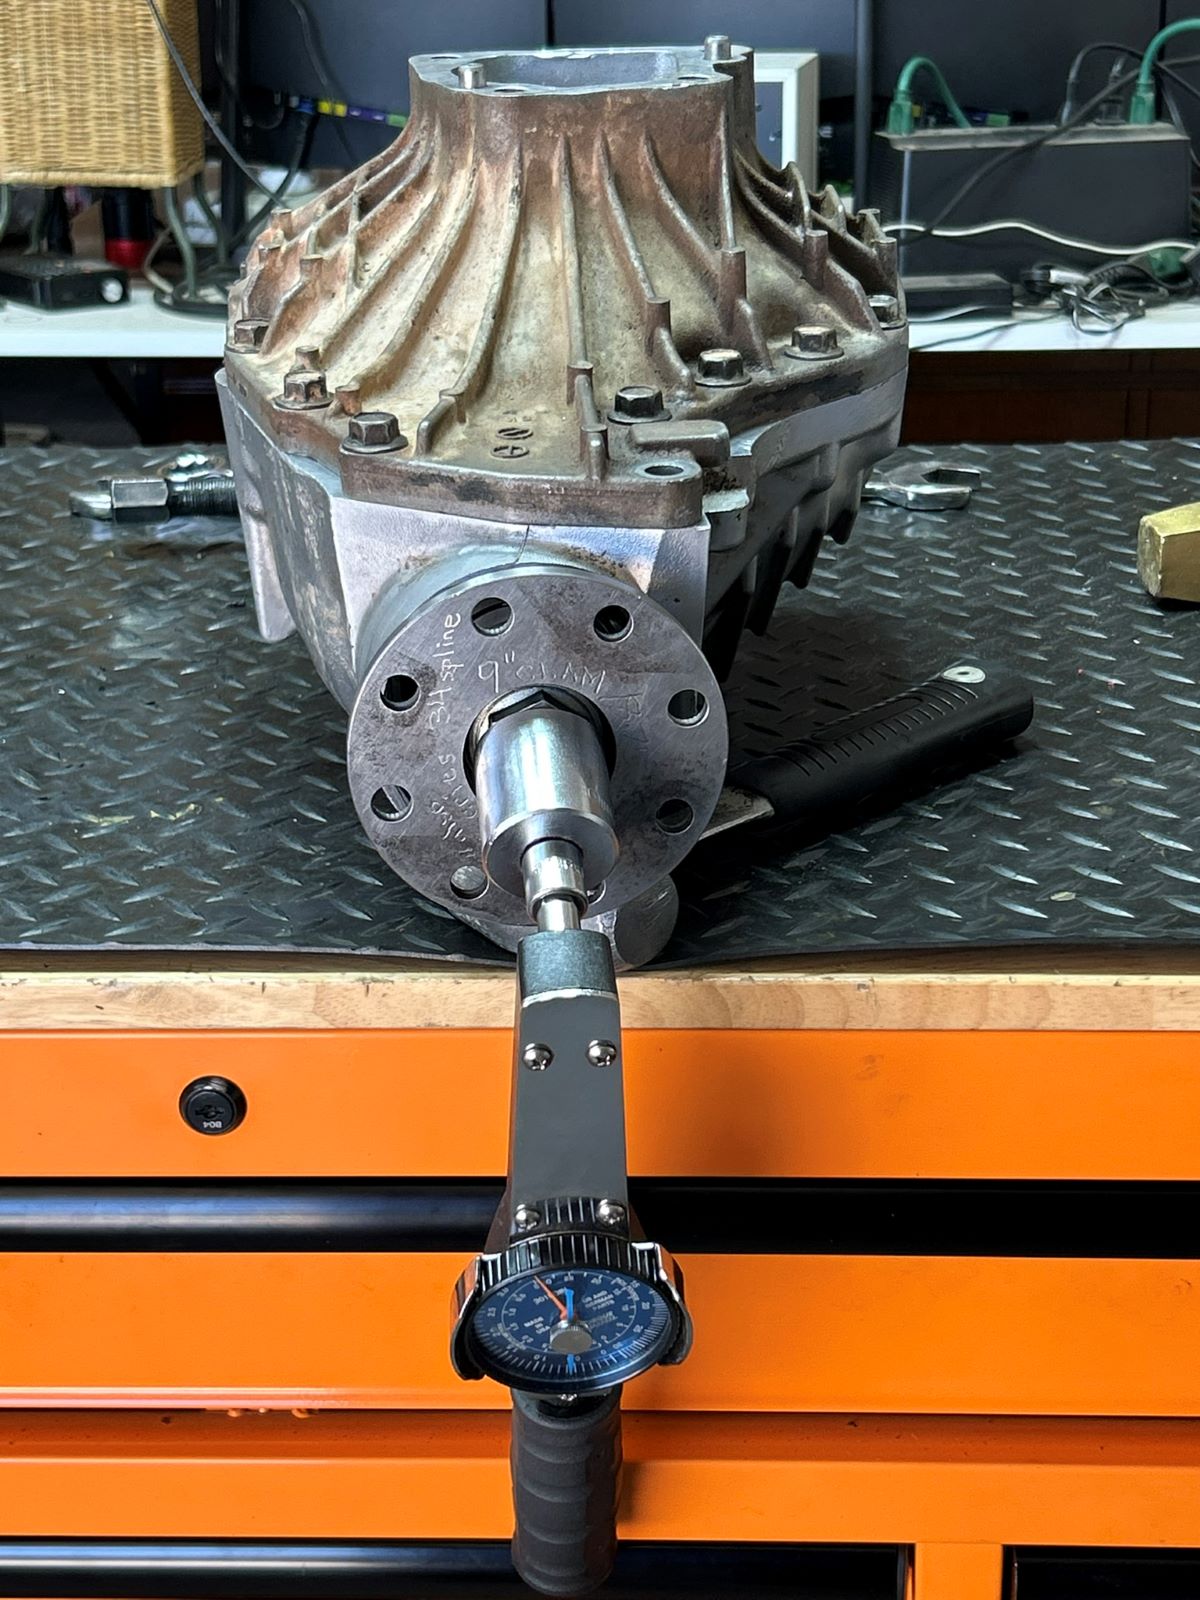
| Well oiled bearings and a smooth 16 inch/pounds of pinion bearing preload :) |
|
| Ding! and this end is complete. |
|
|
Those little skinny thin shims do not work here with the carrier bearings.... It has to be 1 thick washer plate or nothing. The preload was already fair but decided to add .003" to both sides. Backlash was unchanged but the preload went UP nicely. |
|
| 145 ft/lb times 4 bolts... |
|
| One more final pattern check and beautiful. |
|
| Coast looks nice....centered in all directions.. |
|
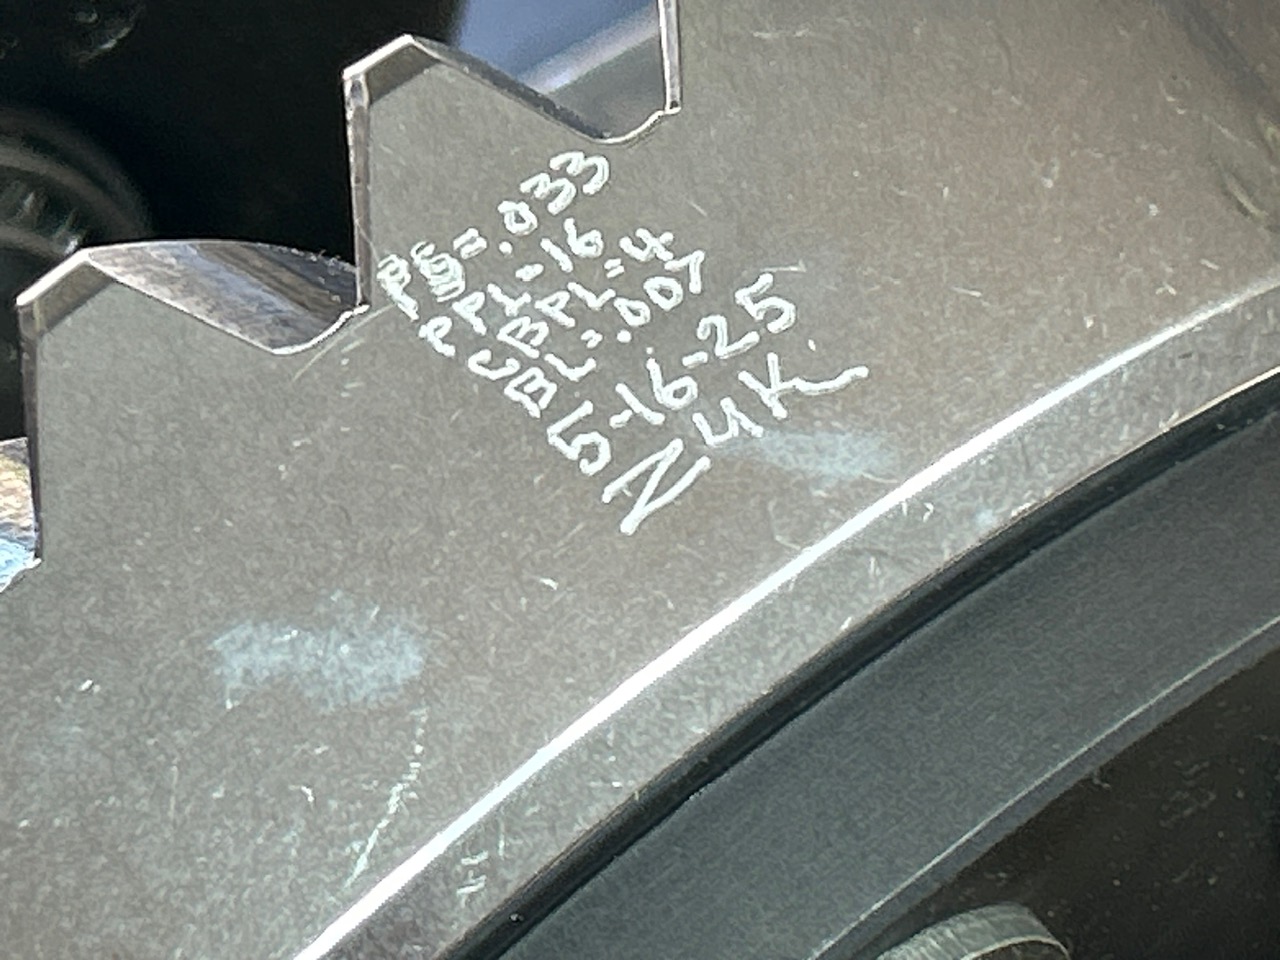
| Date coded.... |
|
| What a monster! 115 pounds |
|
|
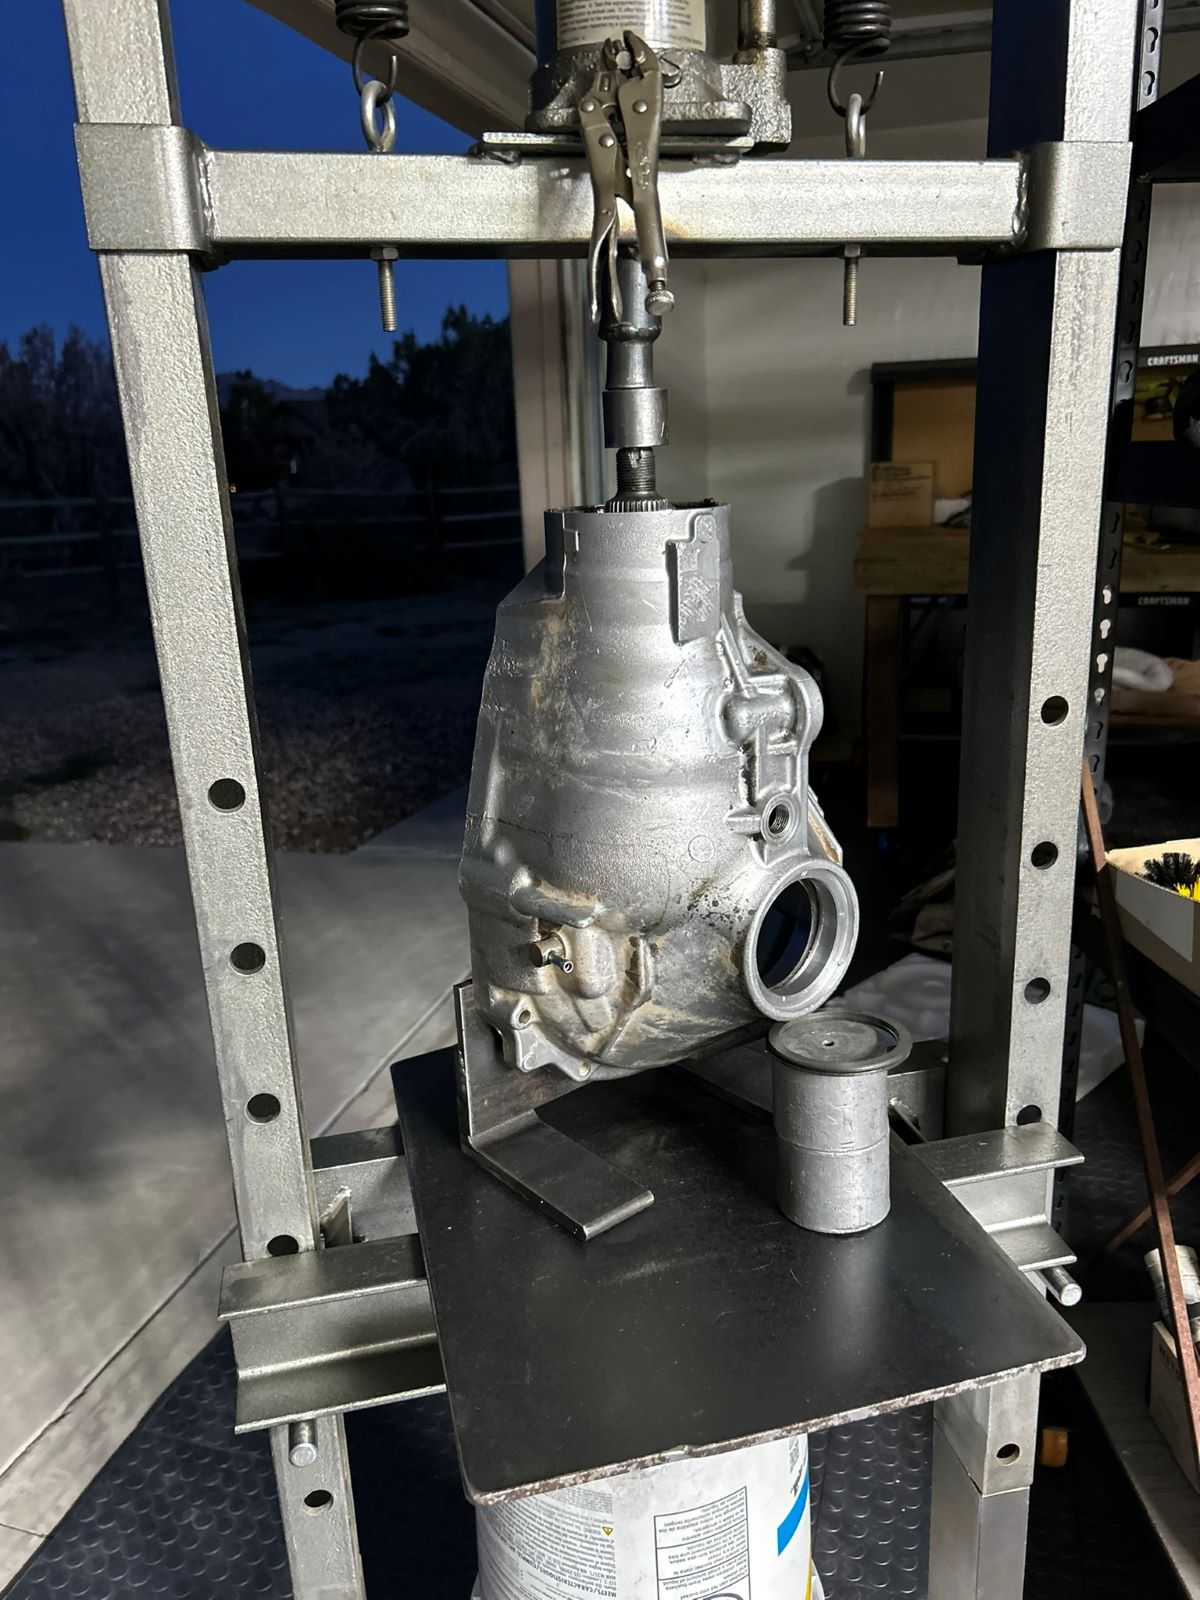
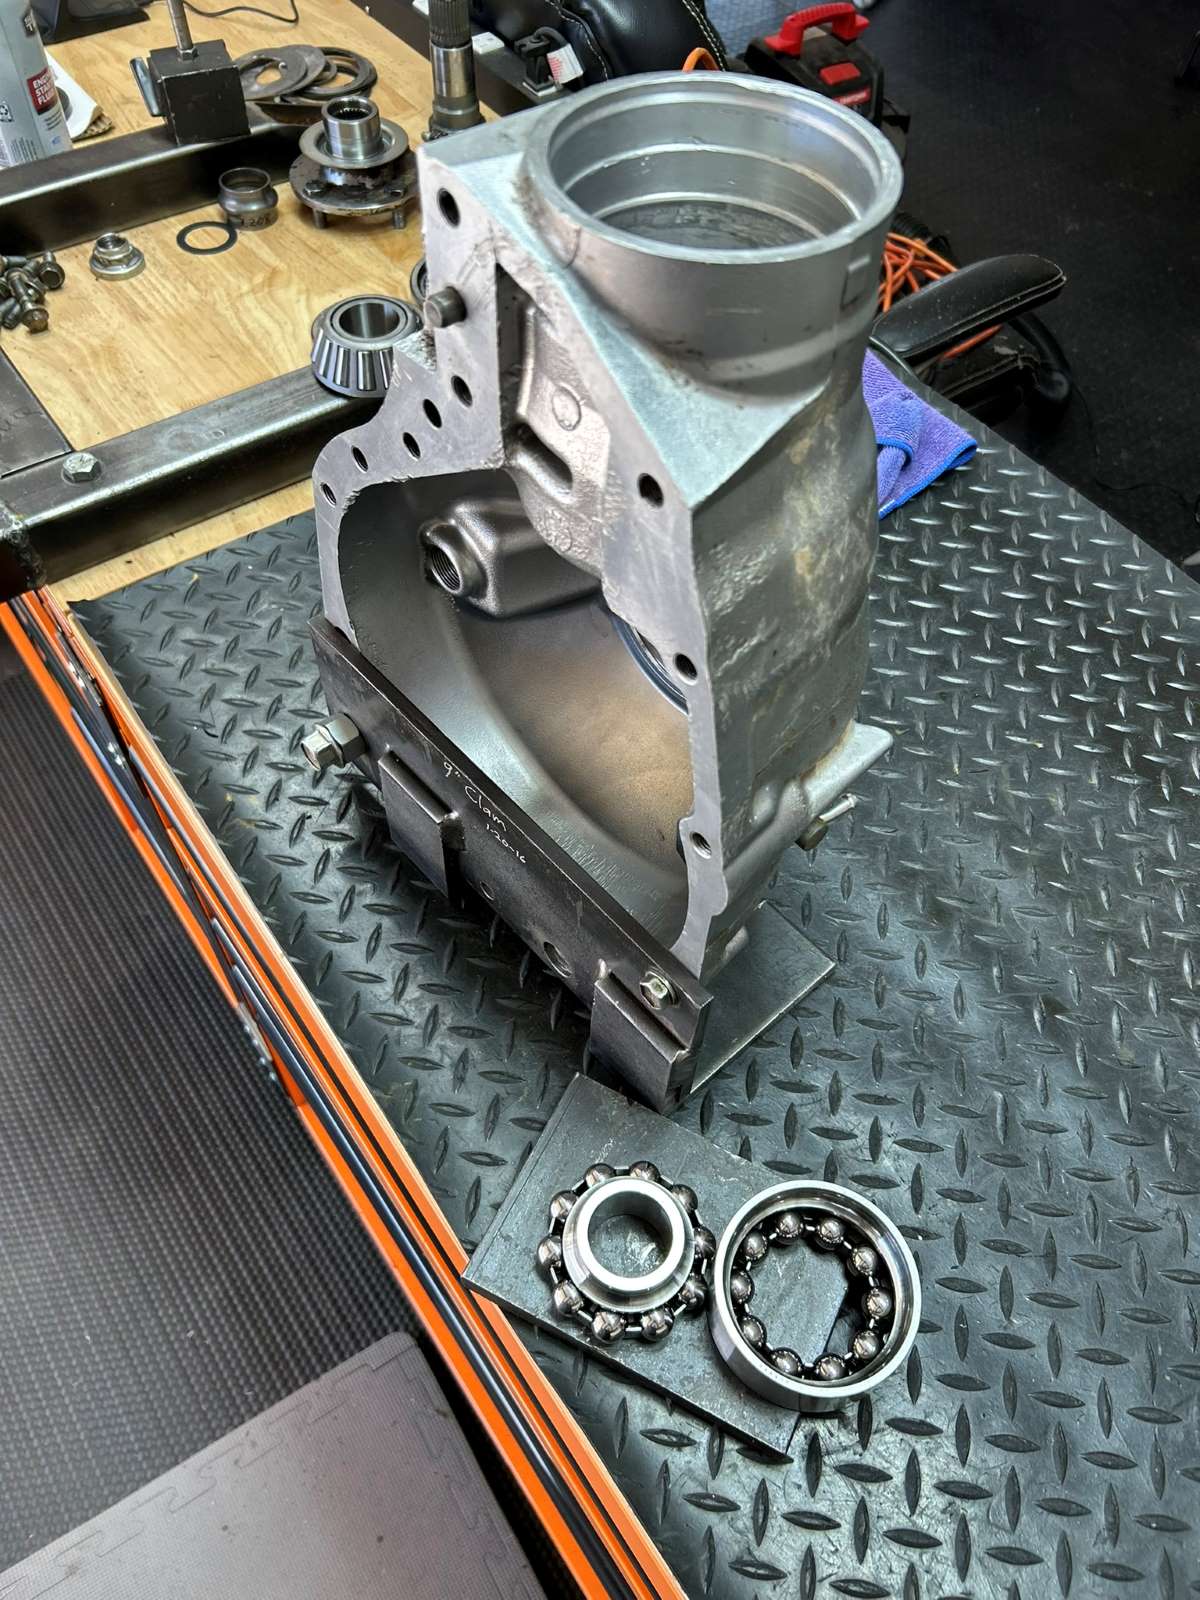
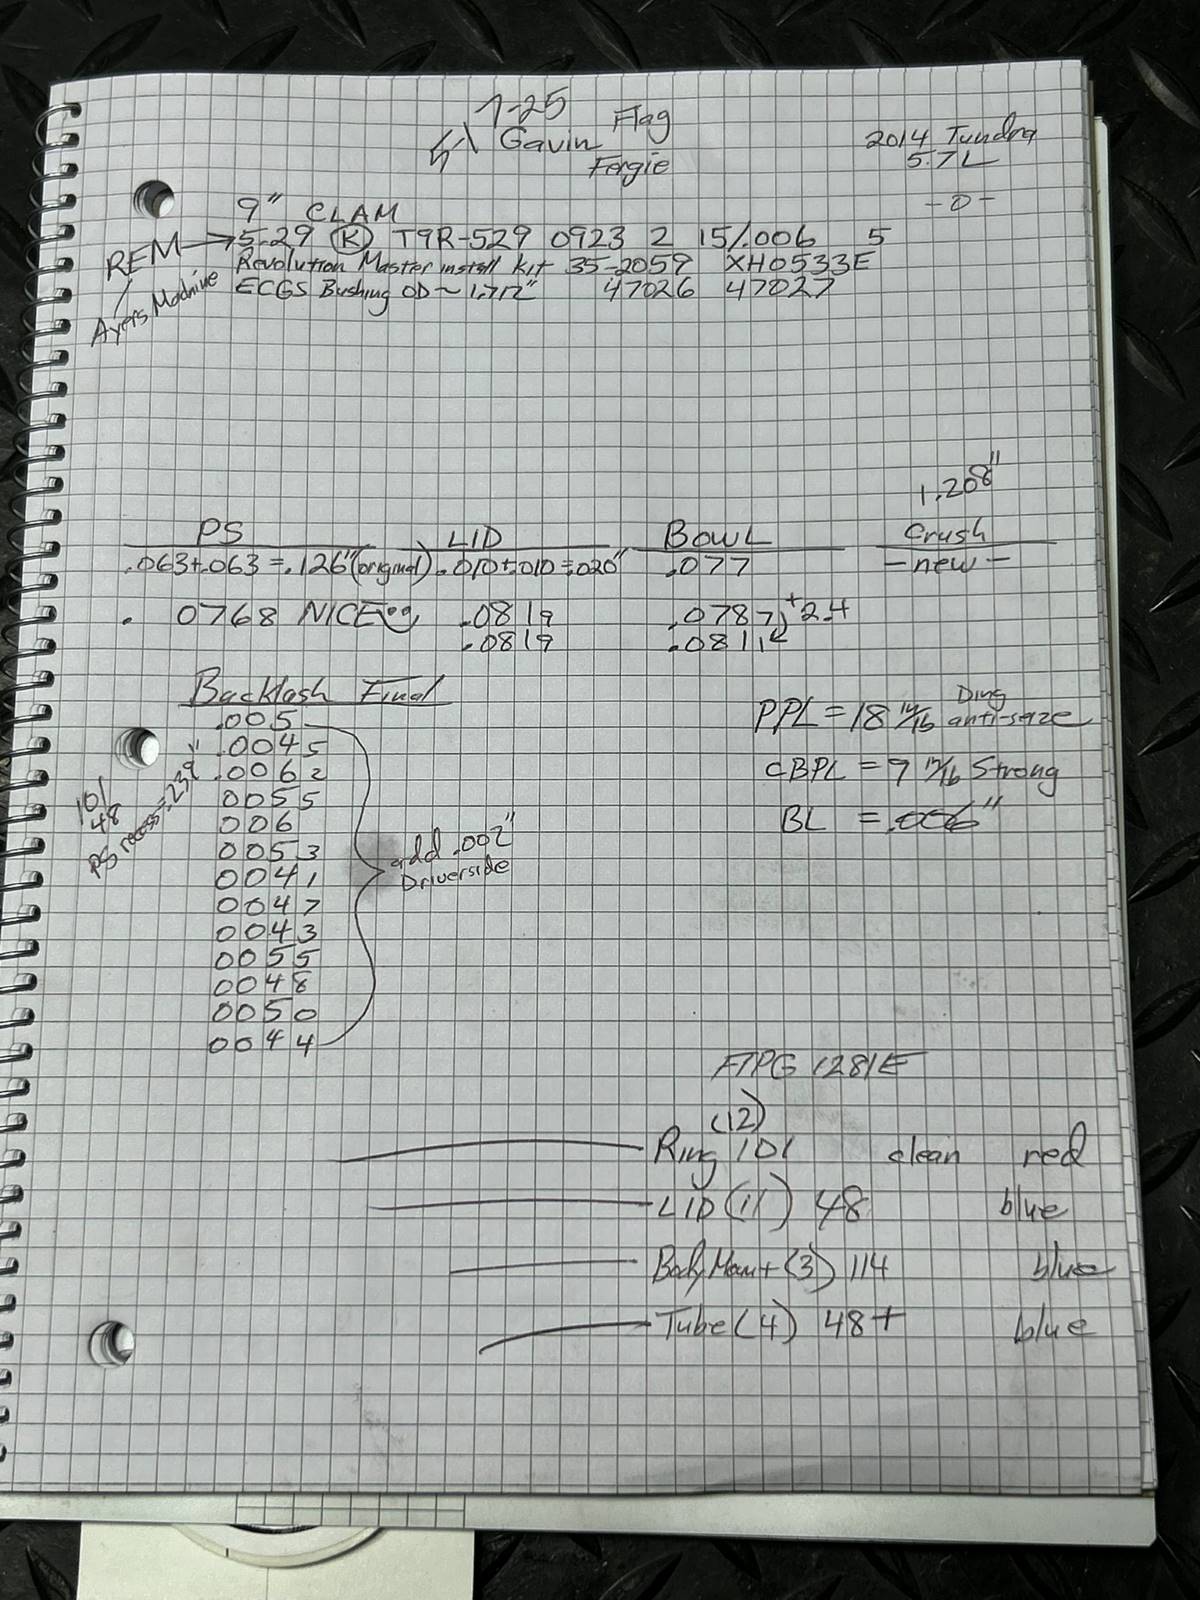
Notes taken during this rear install..... Now to make room for the front 9" aluminum clam. |
|
|
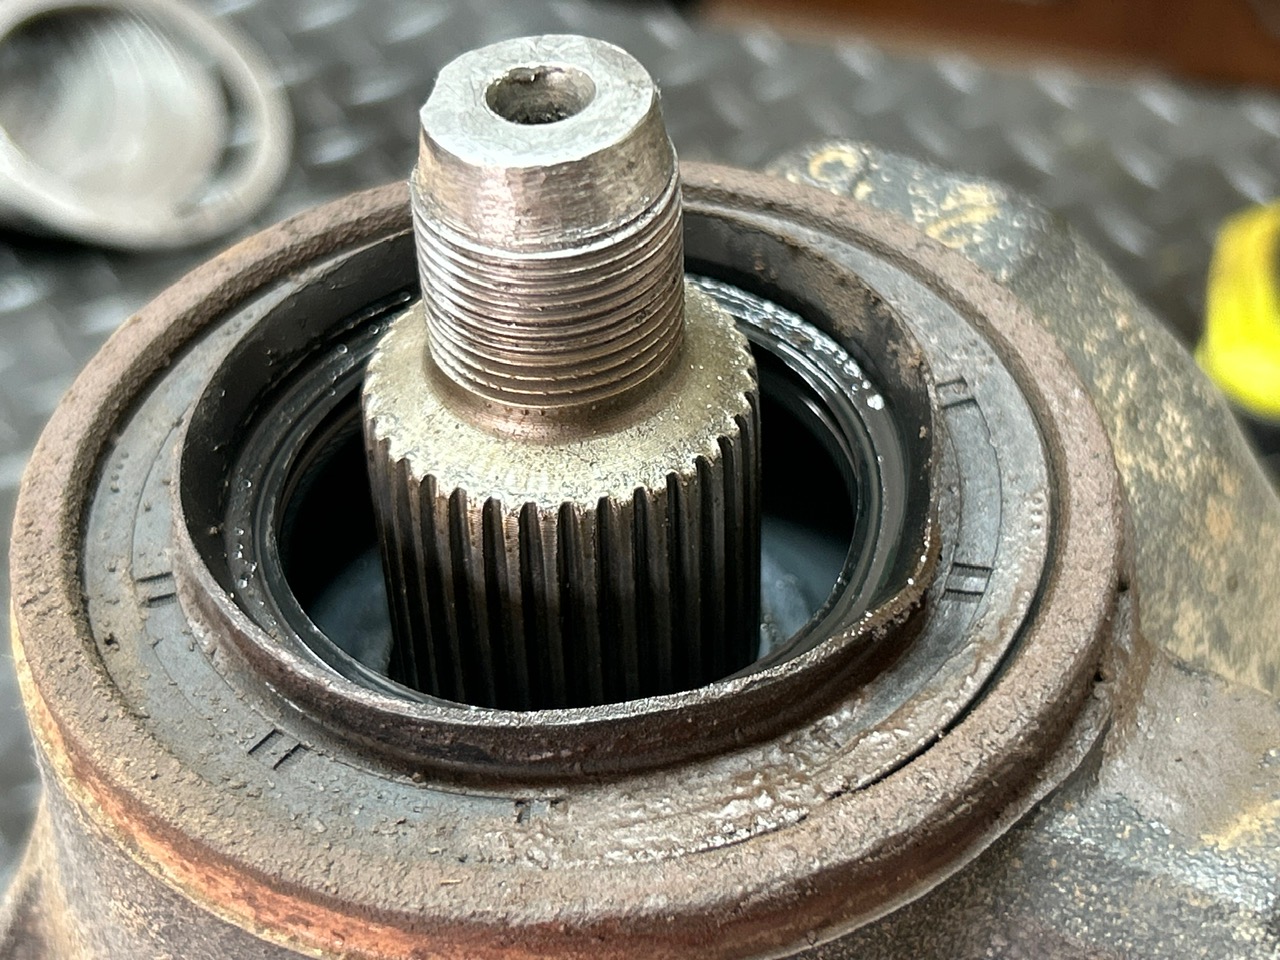
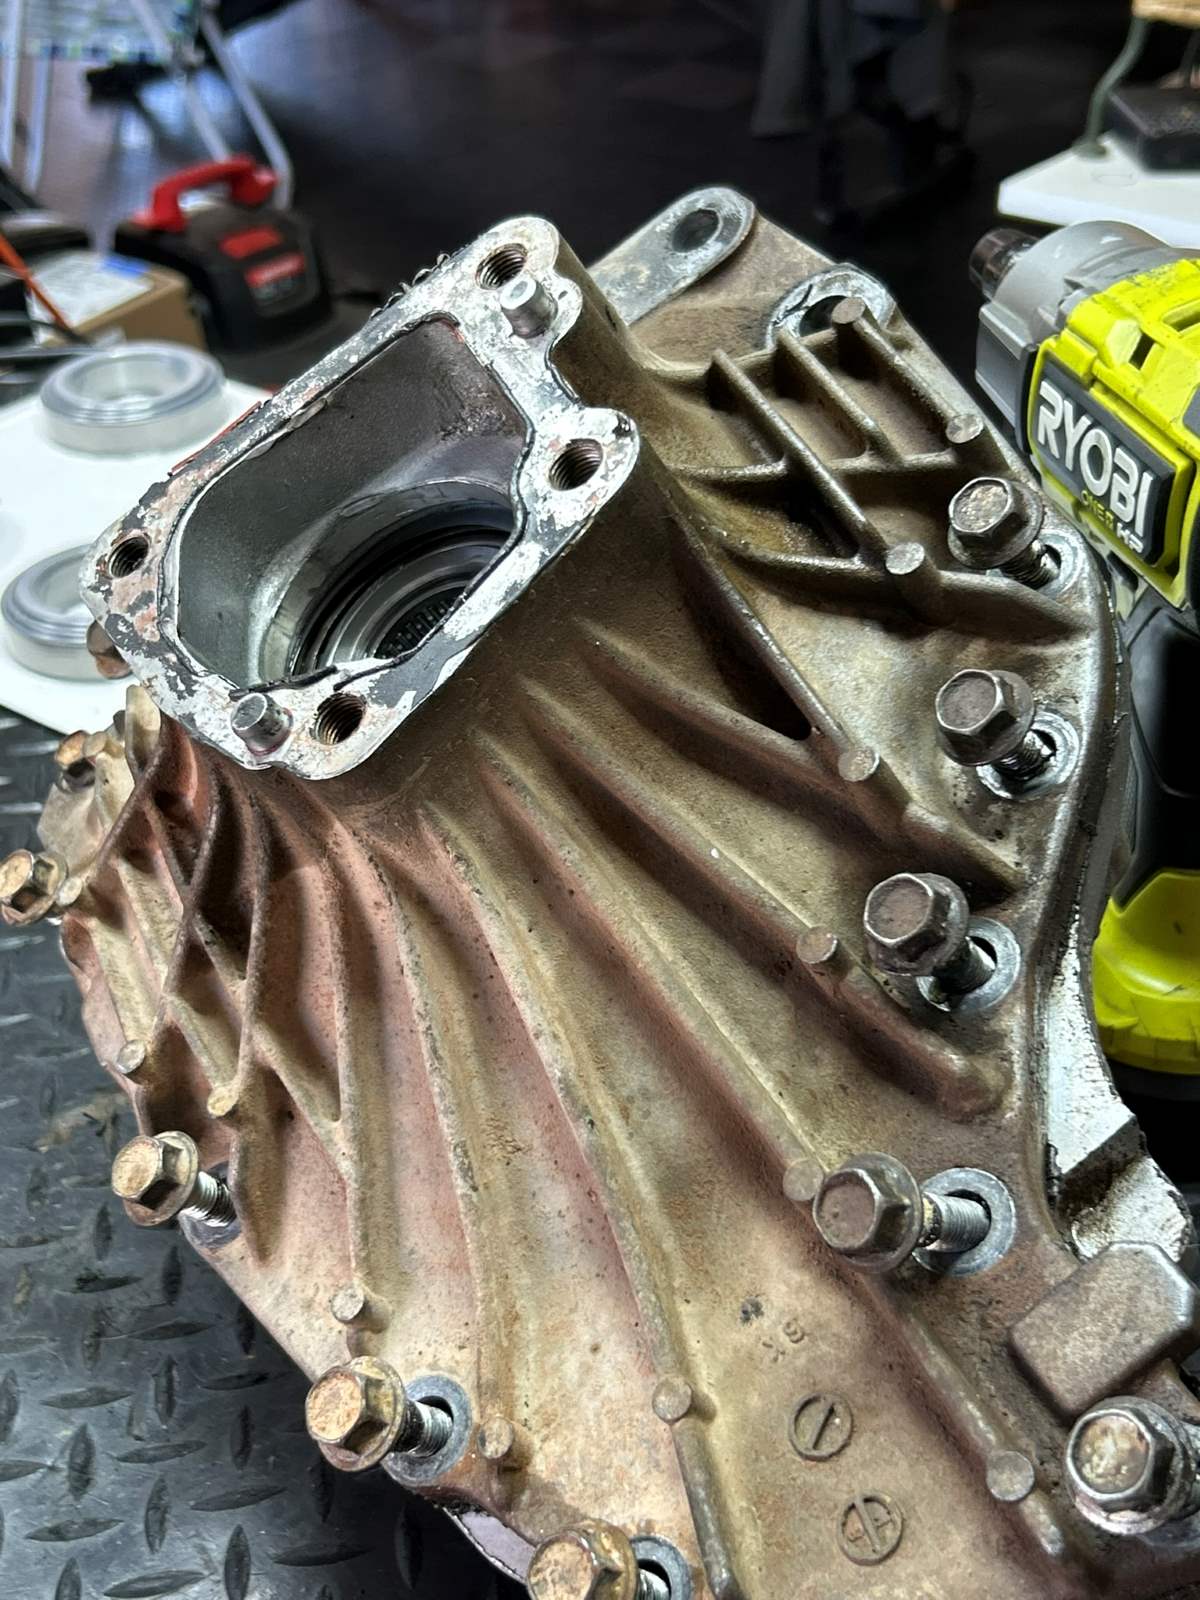
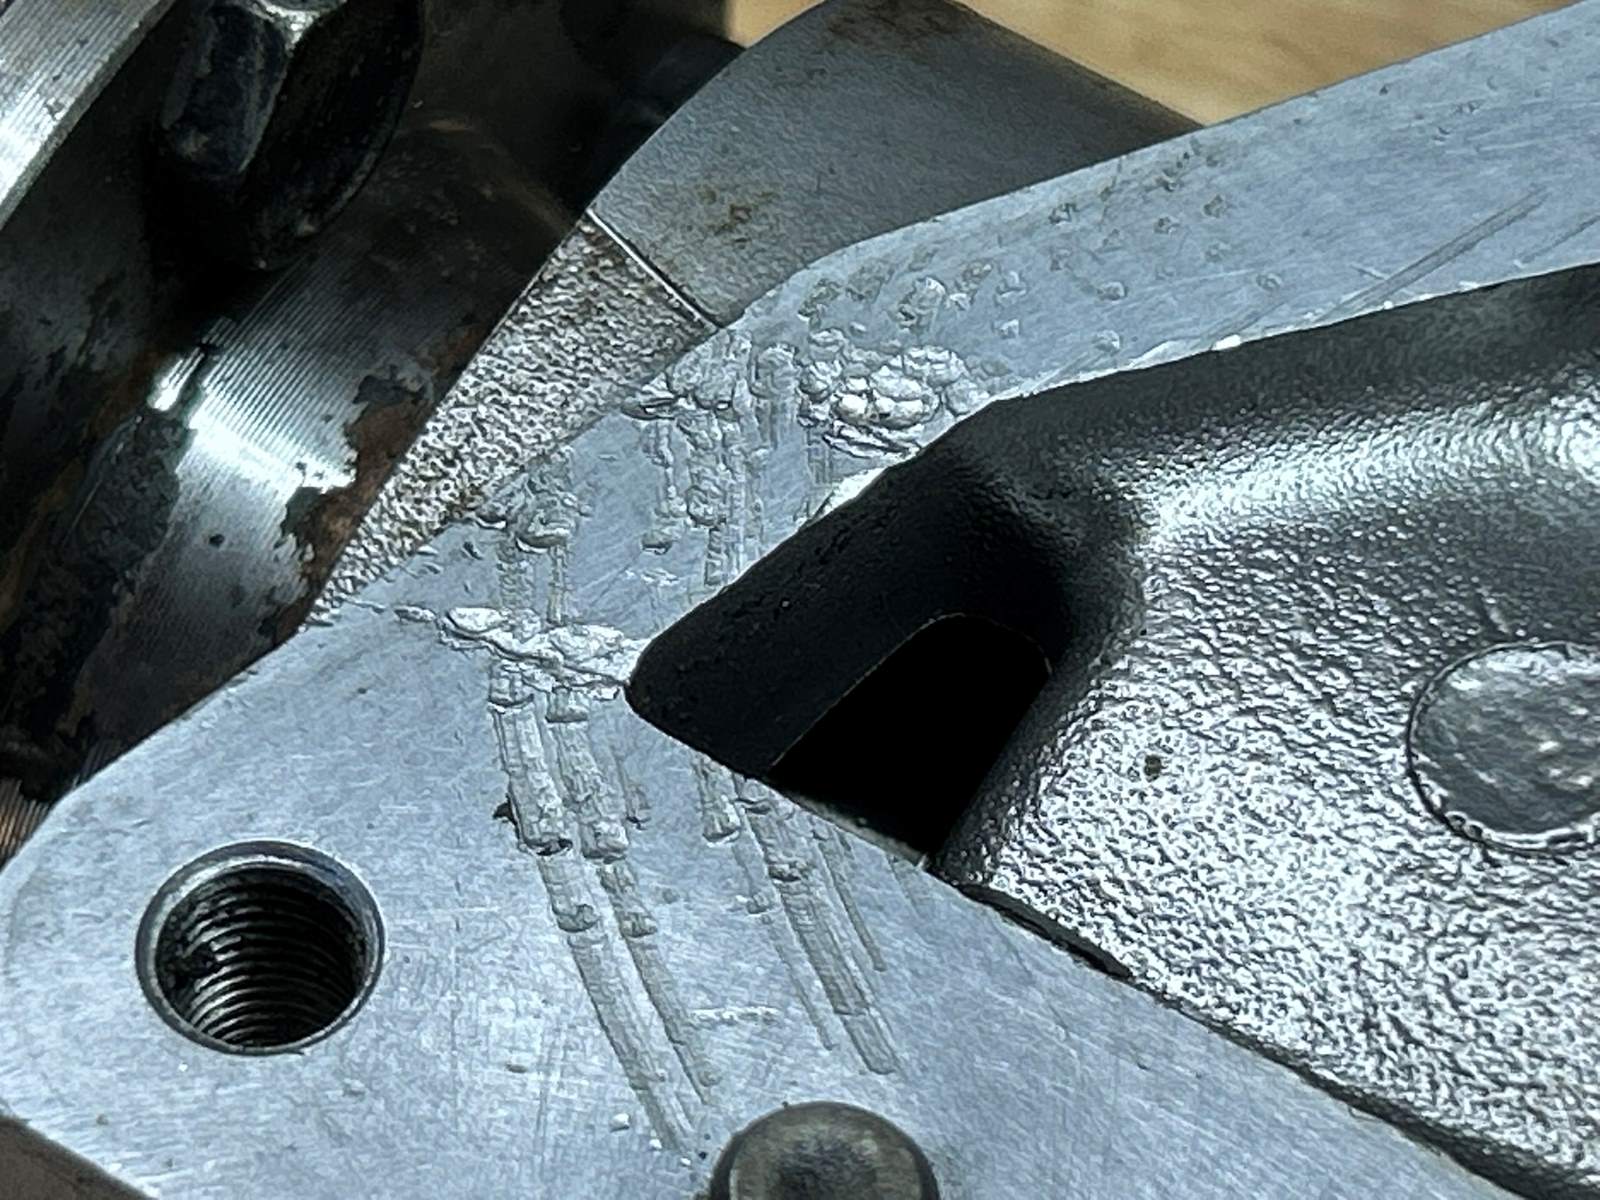
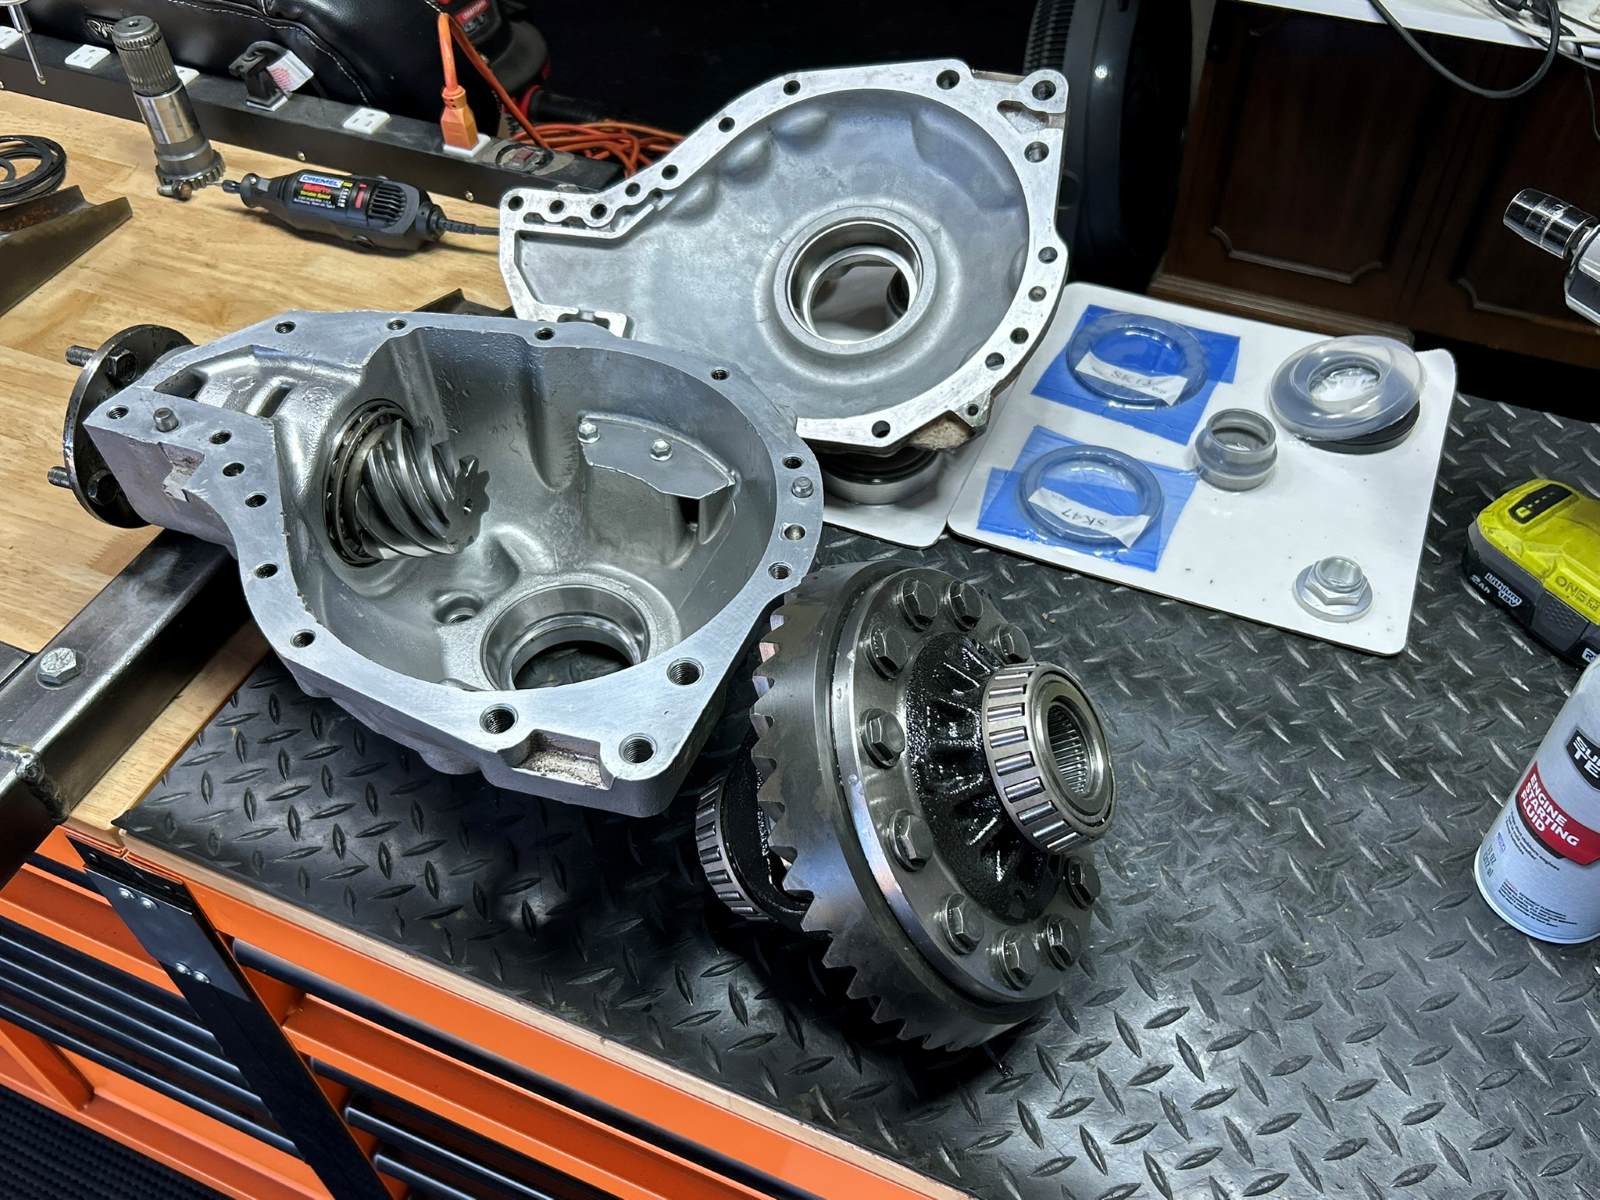
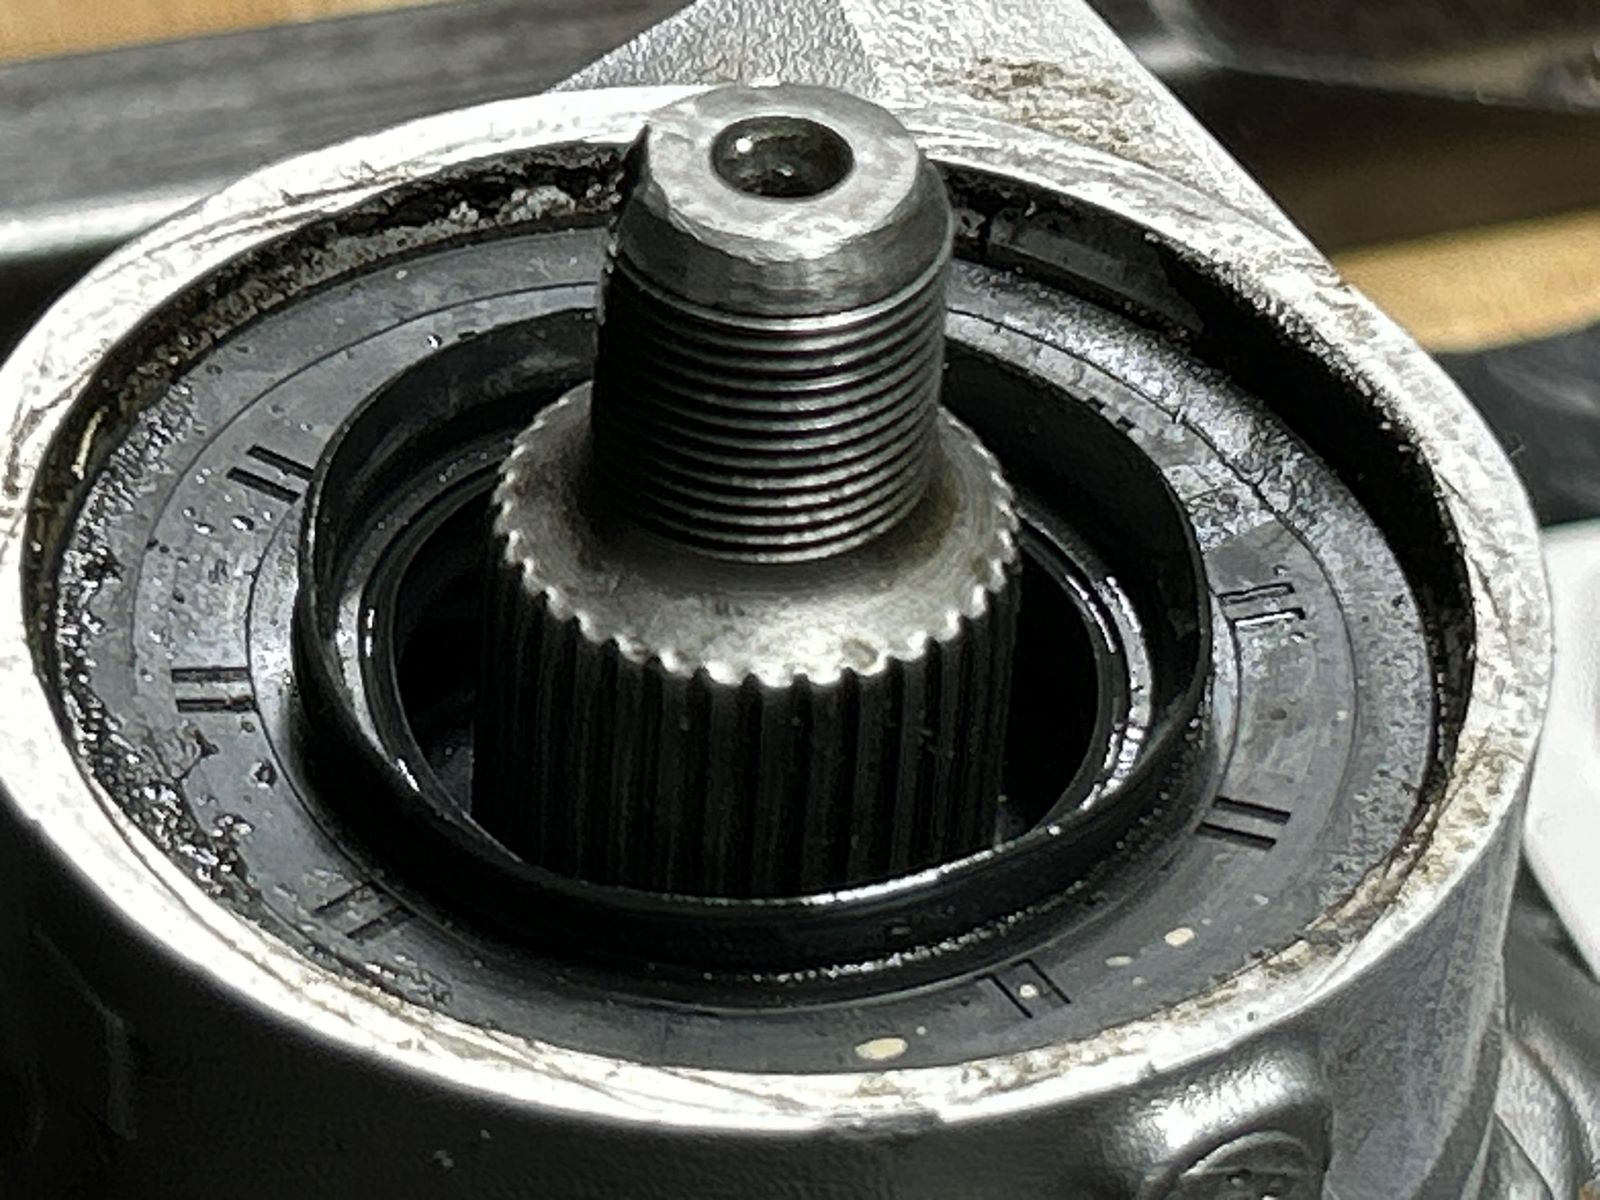
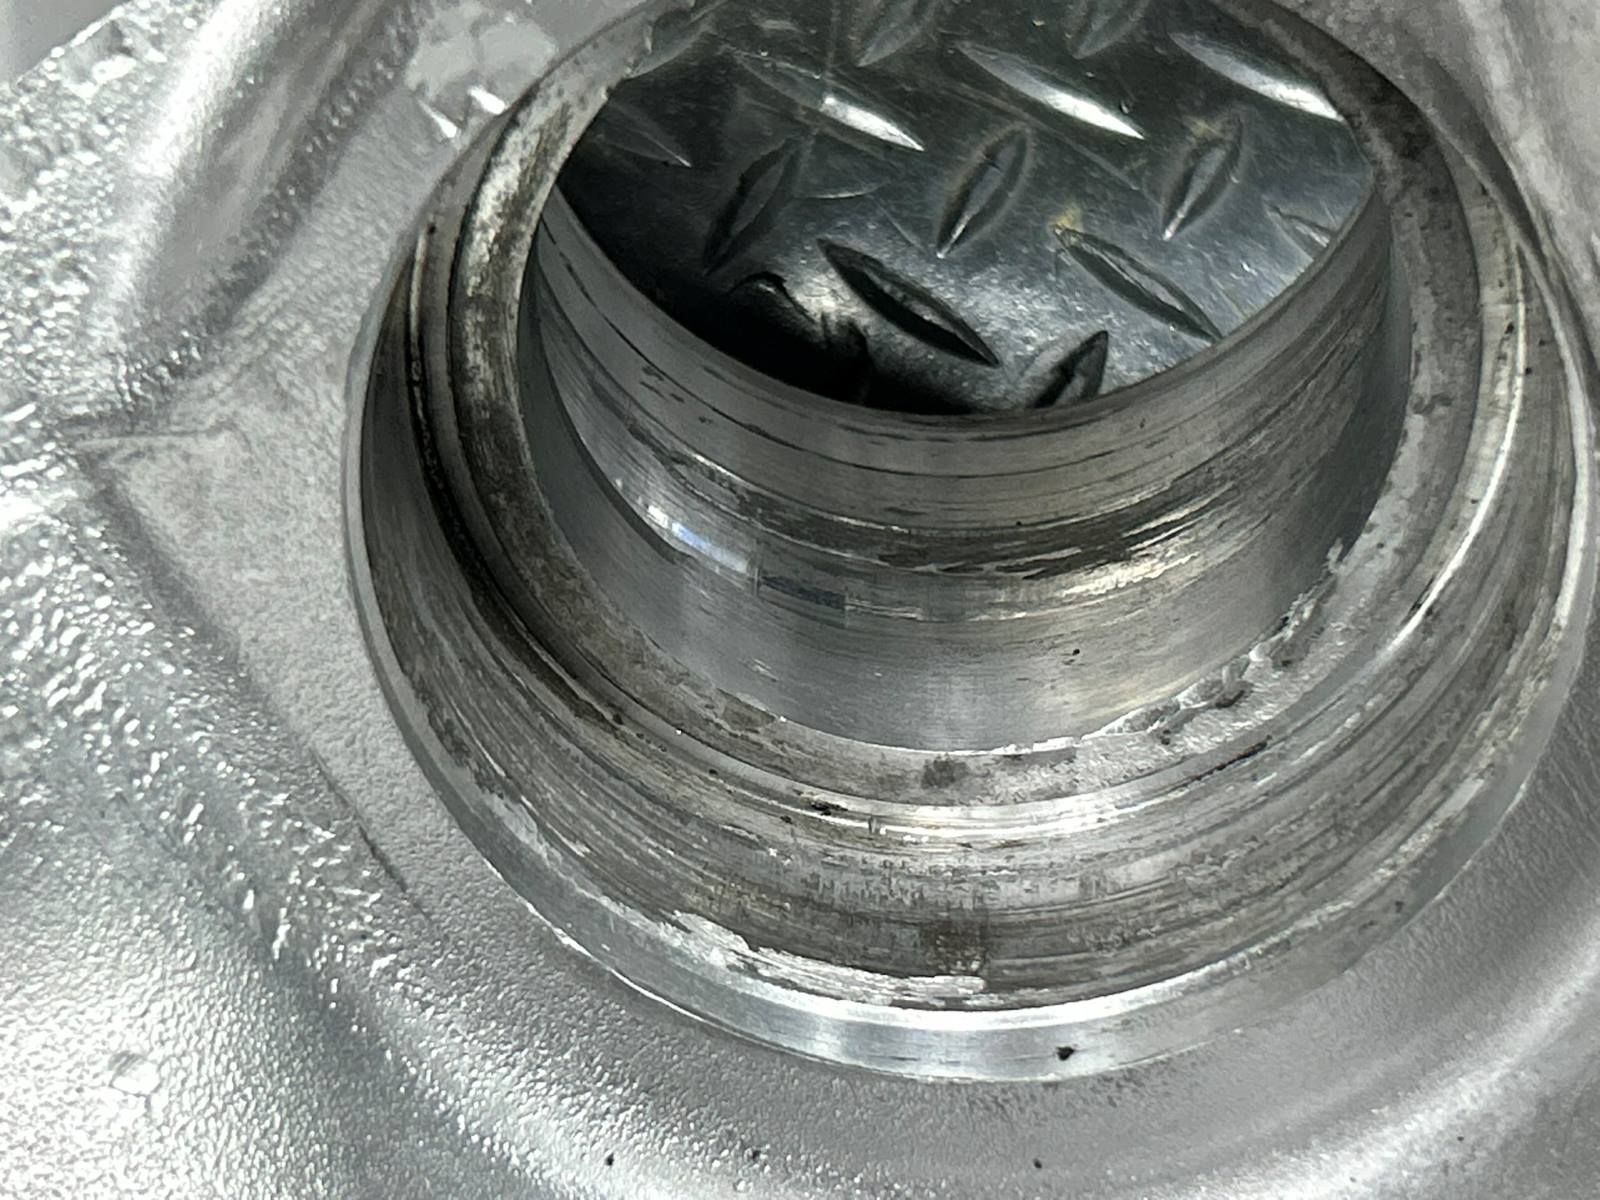
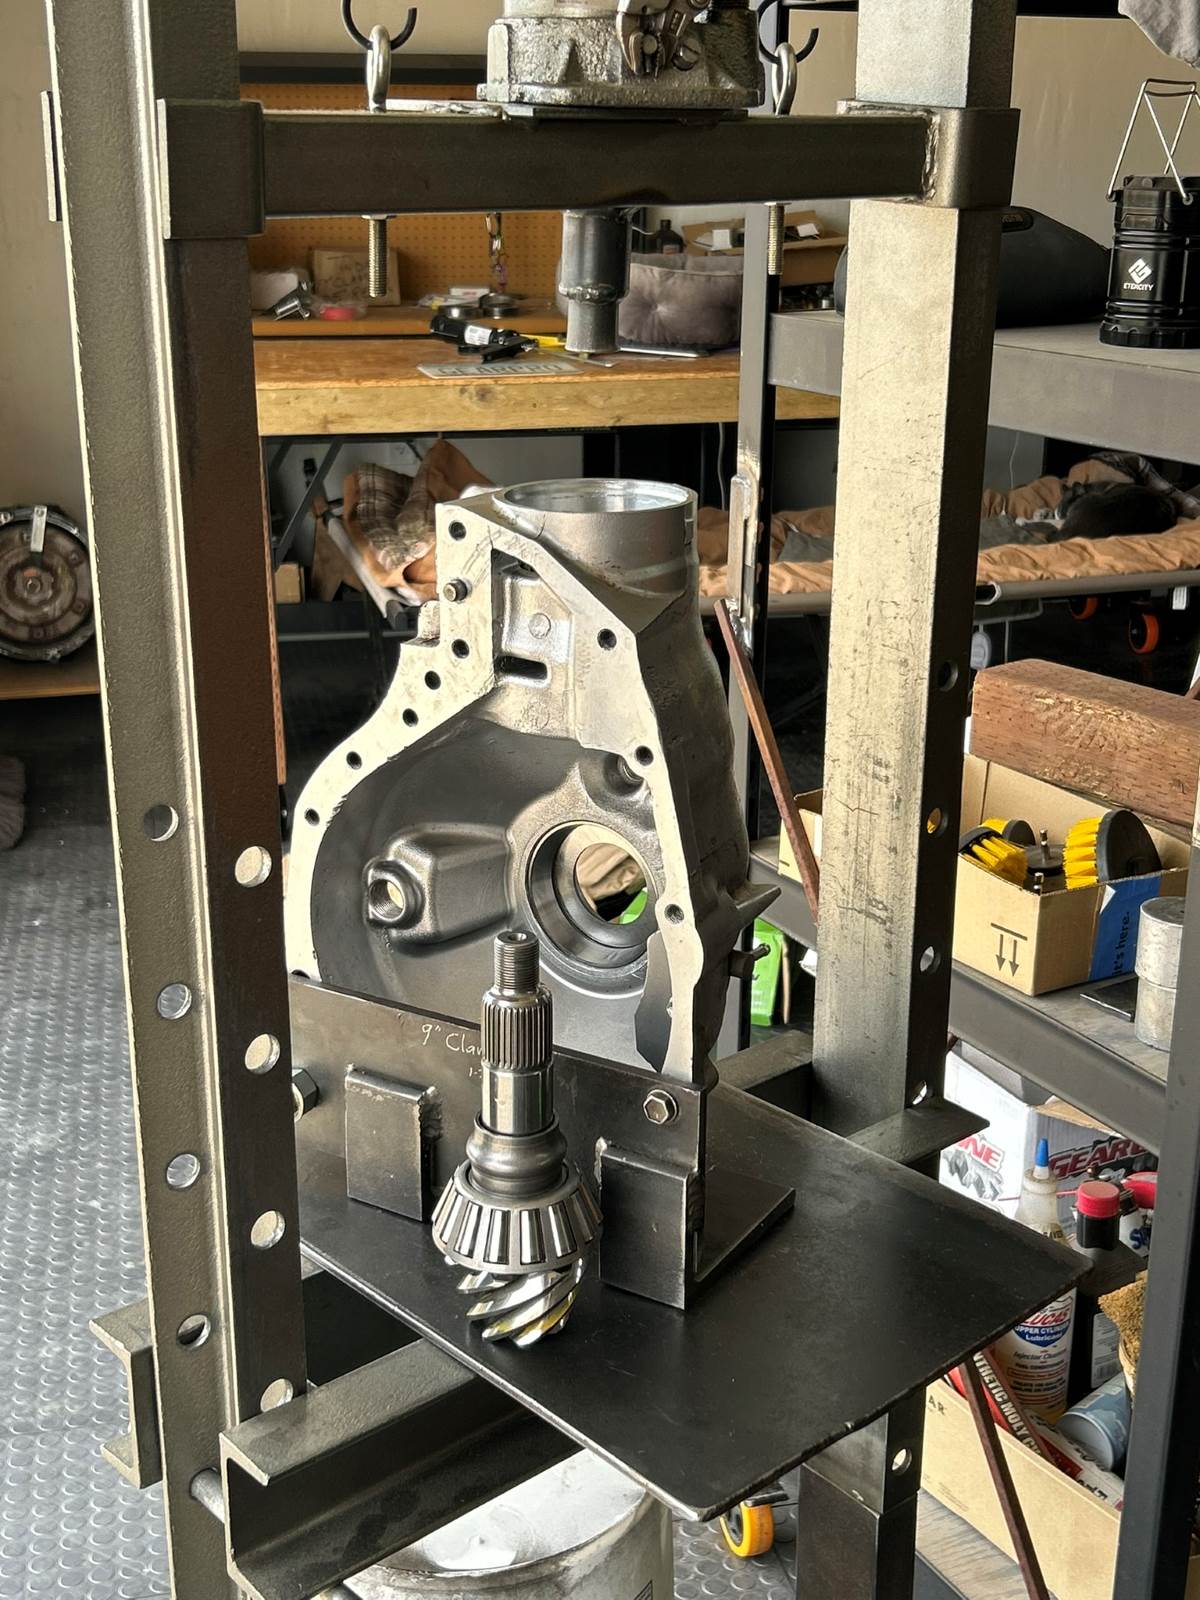
9" clam is now on the bench and it looks just like the rear pinion shaft did. They boogered up the threads with a sledge hammer and had to shave off some damaged threads. |
|
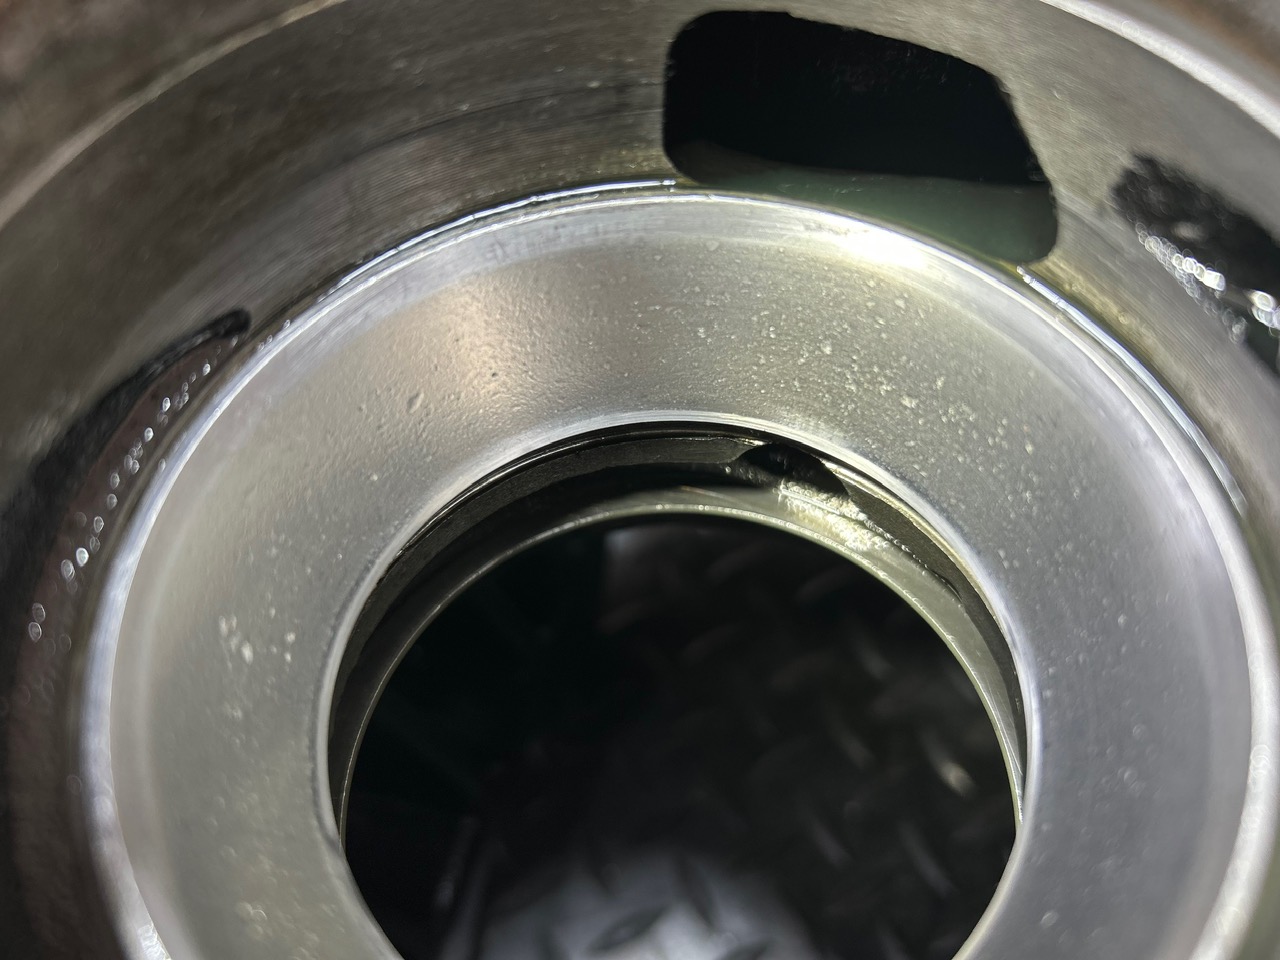
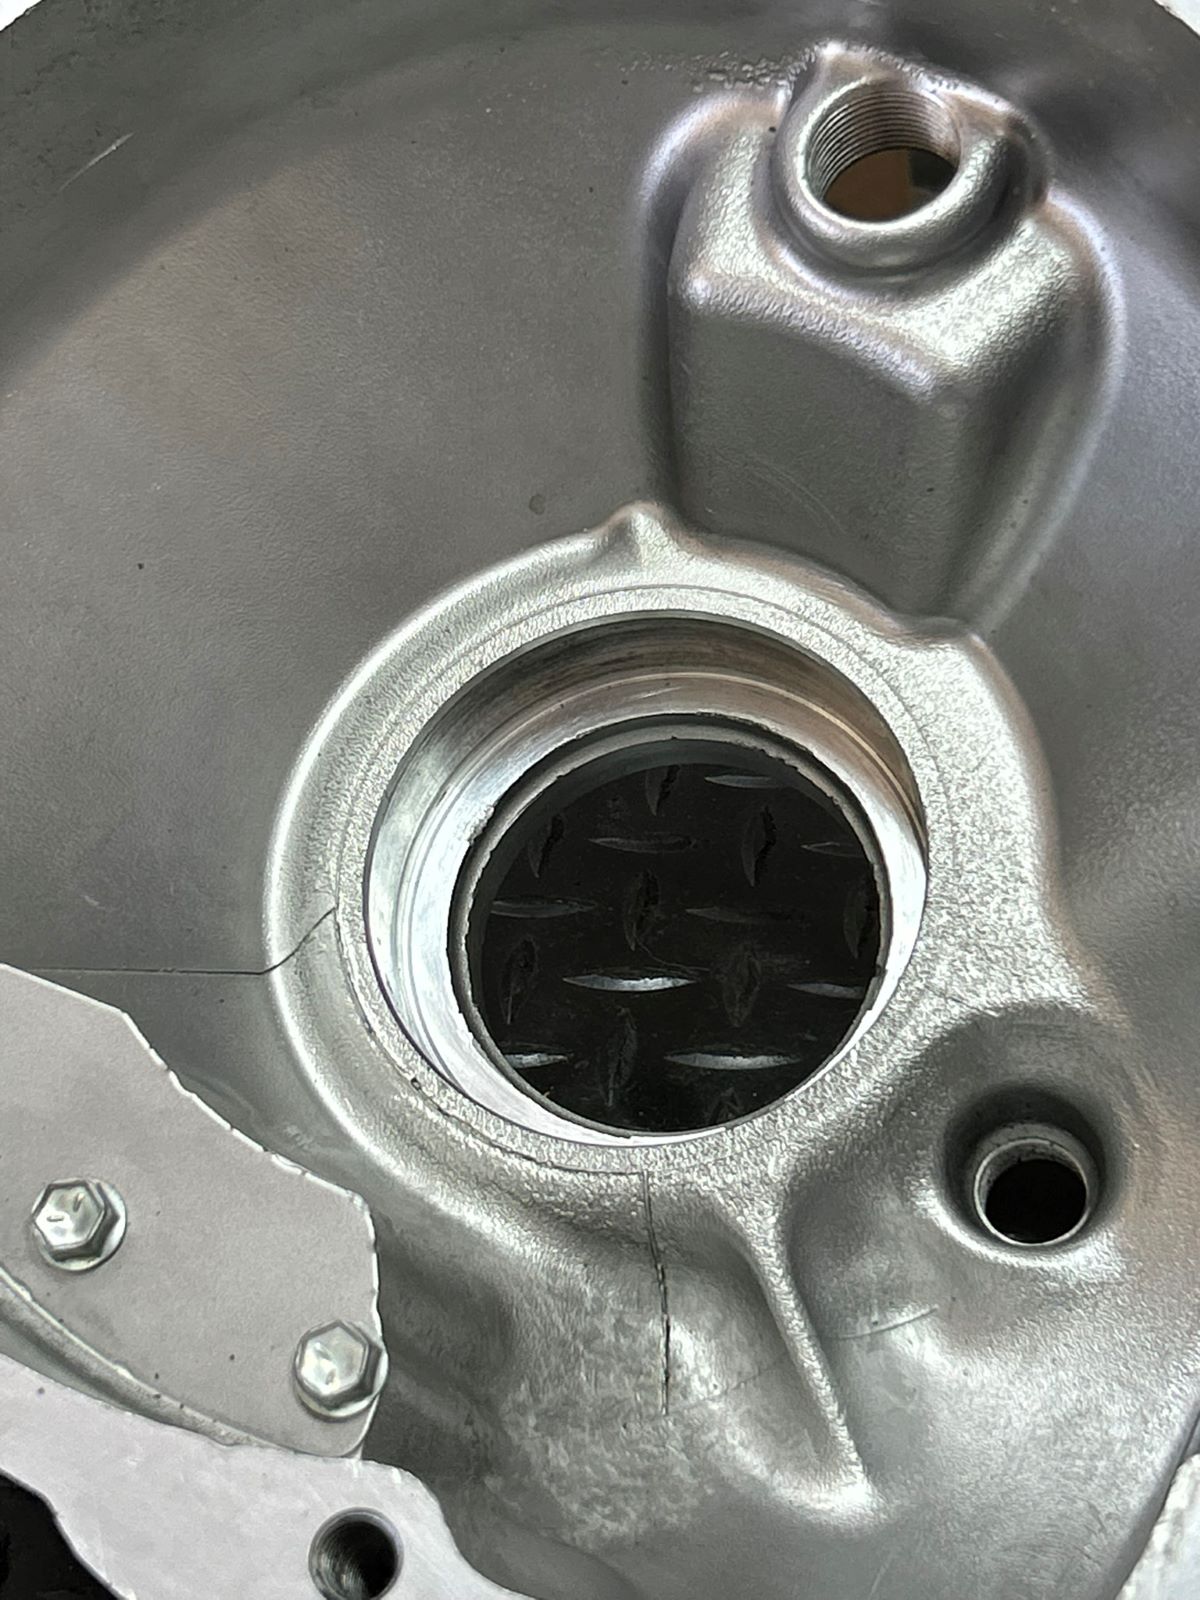
| The ECGS bushing is not tapped in all the way. |
|
|
Removing the driverside seal you can see that the bushing needs another 1/4" of tapping in. |
|
|
This is the intermediate stub shaft and removal is easy if you have a super long screwdriver and tap it out from the other side. |
|
| The half clip is good to re-use. |
|
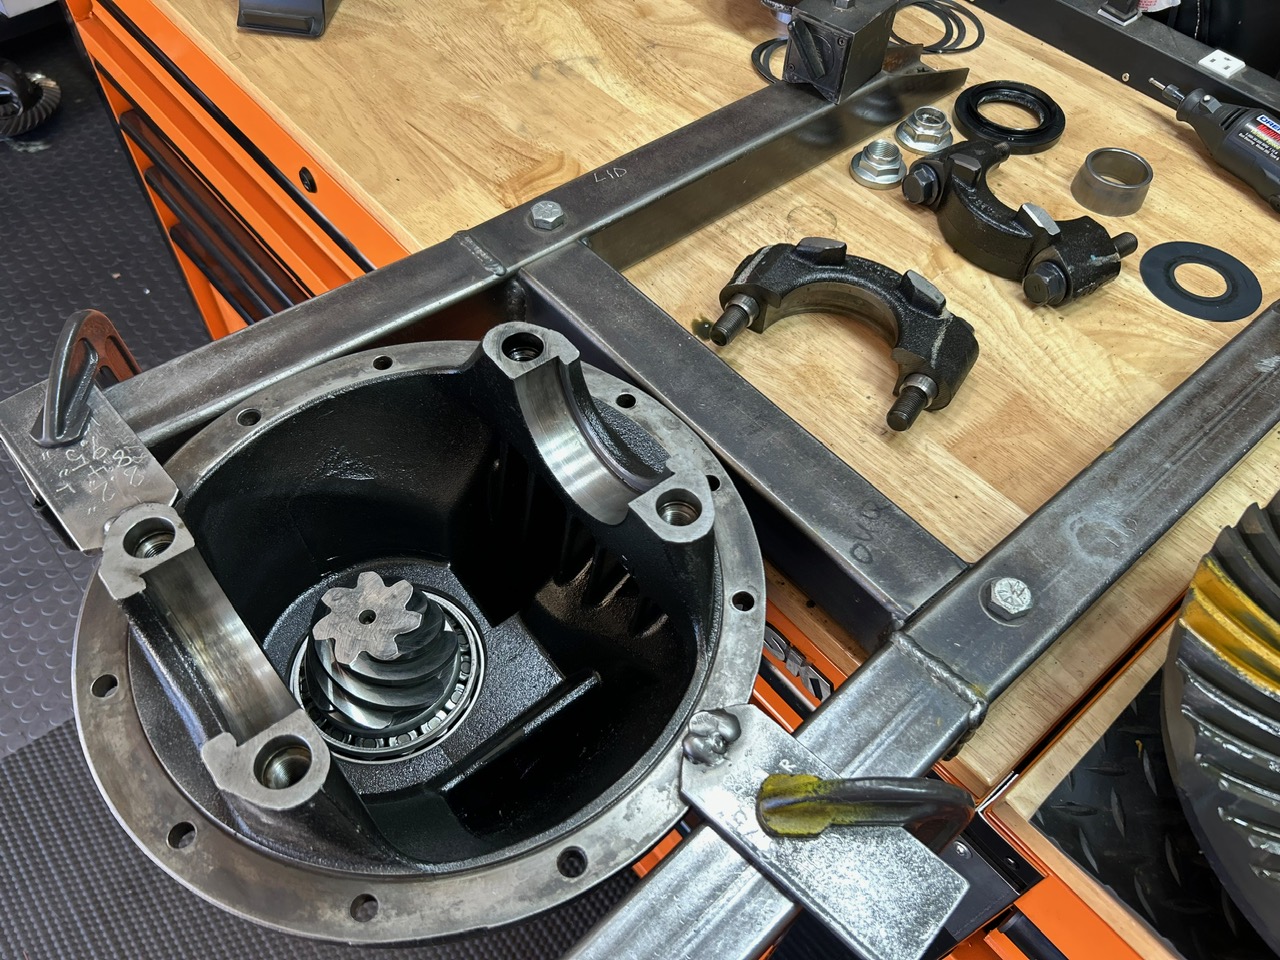
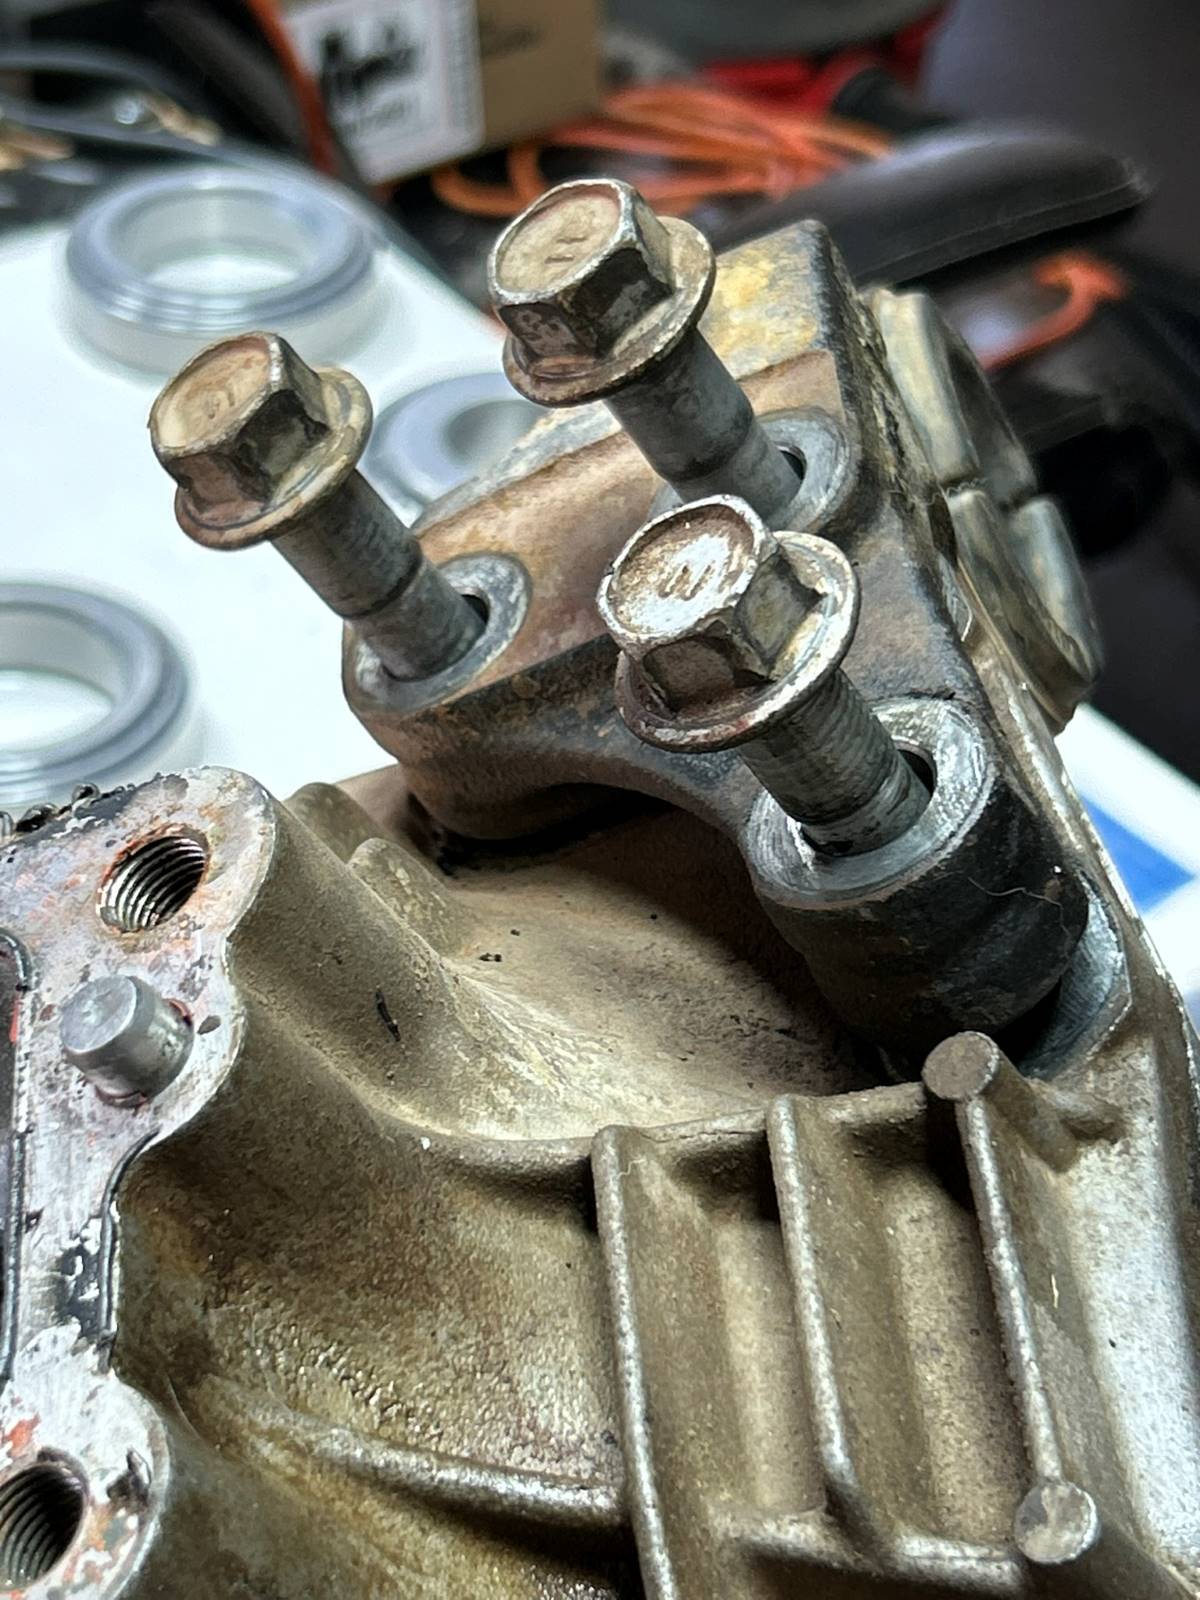
| Remove these 3 bolts and the 11 smaller bolts and the lid should come off. |
|
|
A pre-check of those 11 bolts with just finger power and I found 1 that was outright loose. The other 10 were nowheres near the 48 ft/lb spec...more like 10 ft/lb. |
|
|
Now the lid will come off. The rtv sealant was pretty strong but it did come off with enough coaxing. |
|
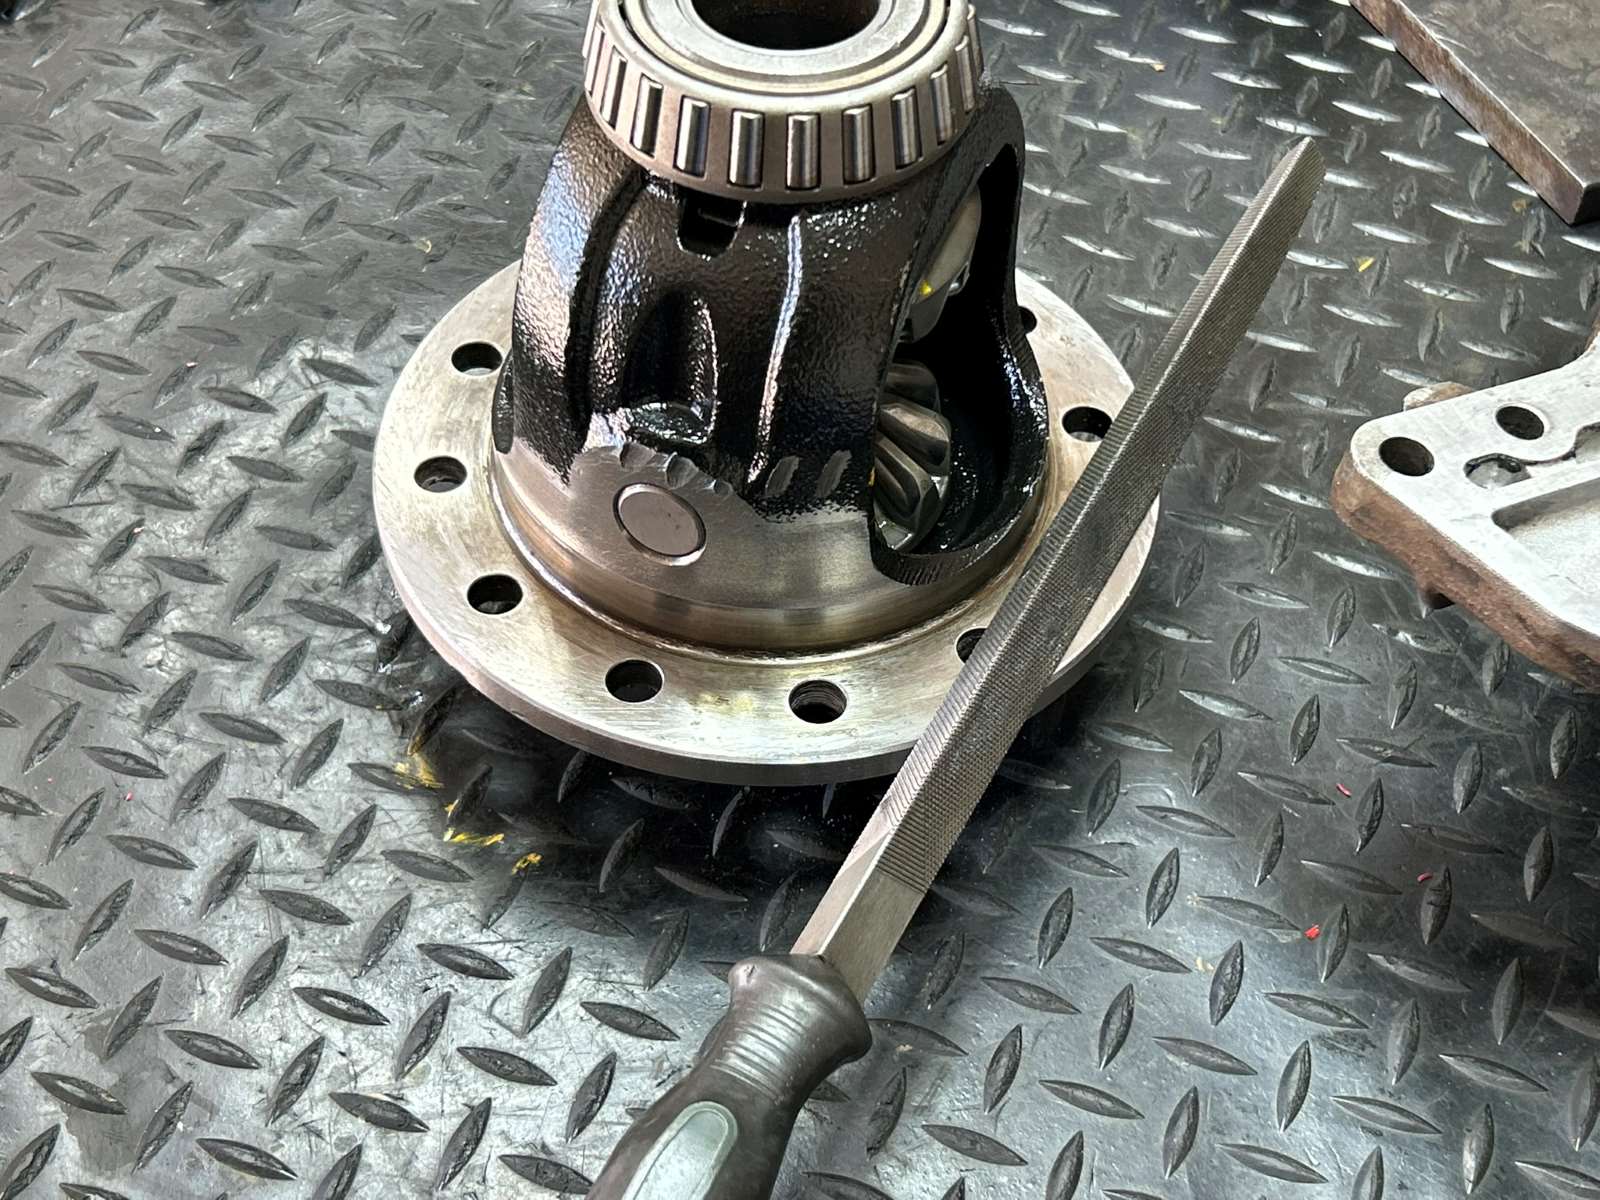
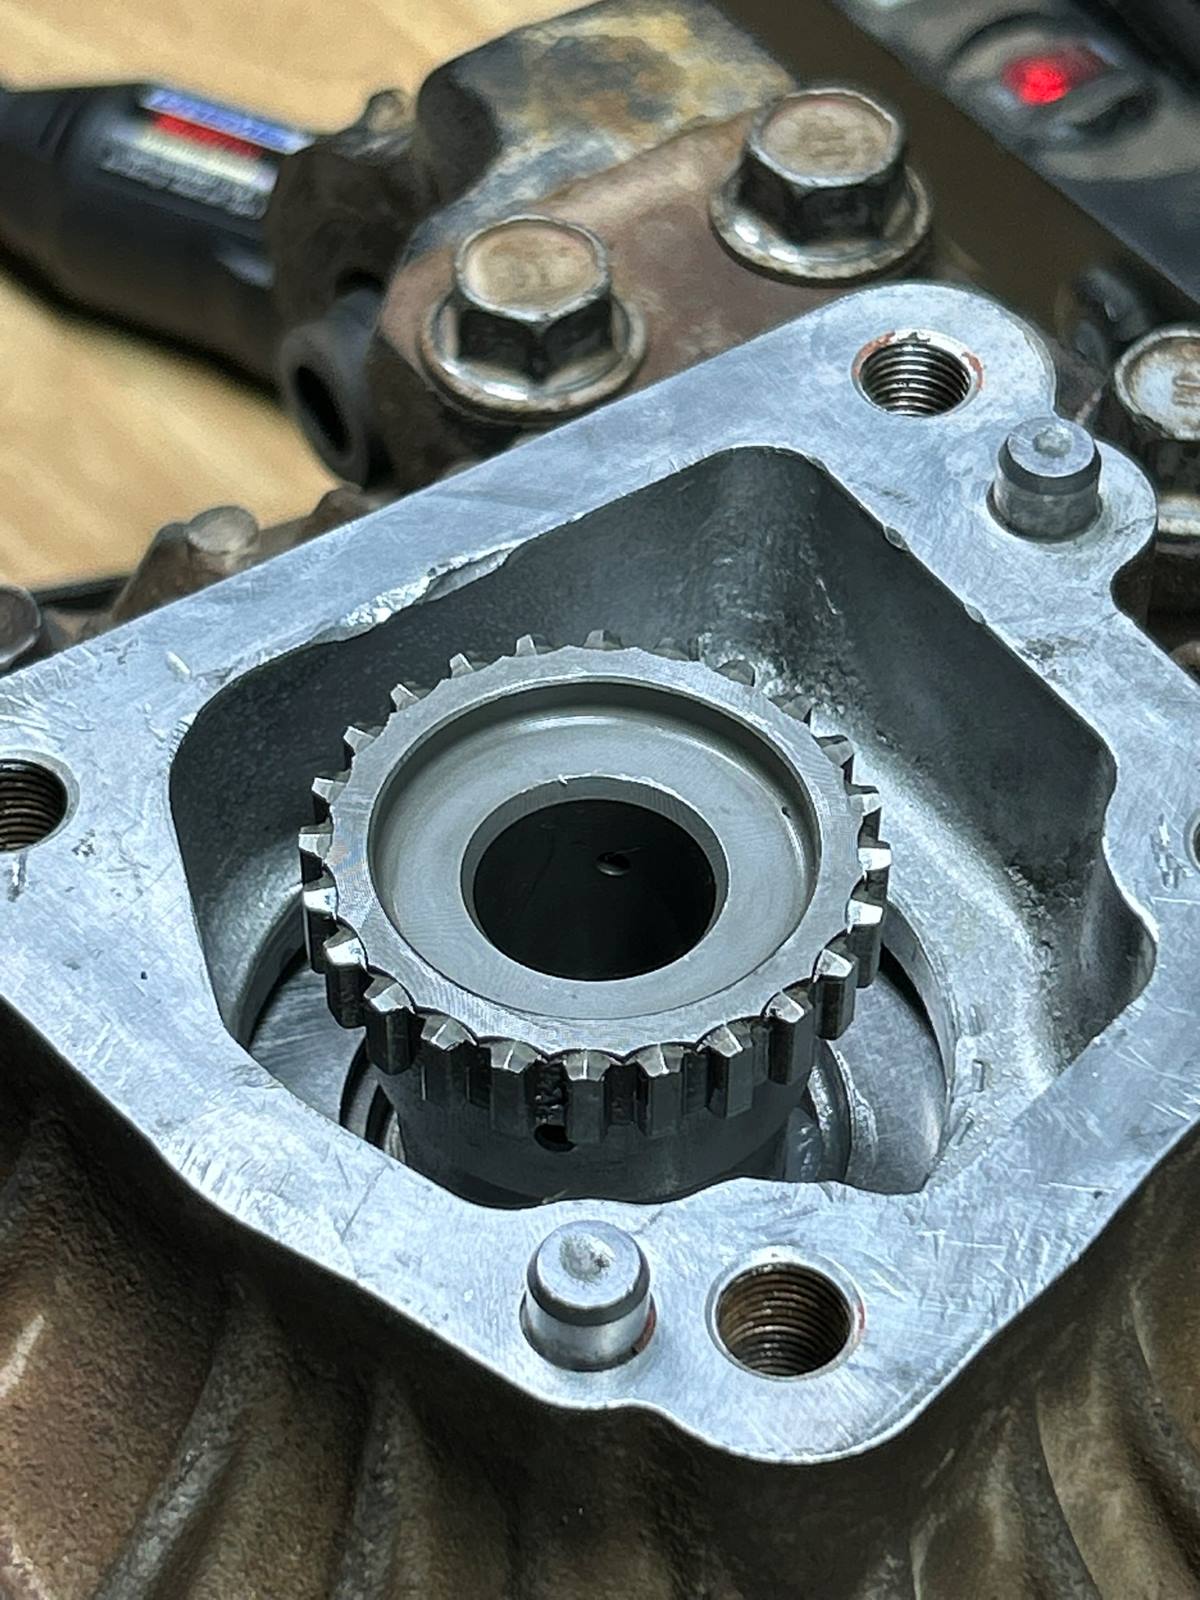
| Lid off....center carrier out....looks like the pinion teeth made some light contact at one time or another. |
|
| Found that just right widget and tapped the ECGS bushing just a little deeper than flush. |
|
| That's where it should be. |
|
|
It's a Nitro gear....comes from S. Korea and is very good quality. Revolution comes from the exact same factories in S Korea. The cool thing about Revolution is that the West Coast online distributor offers the optional REM super polish before sending them out to the customer. |
|
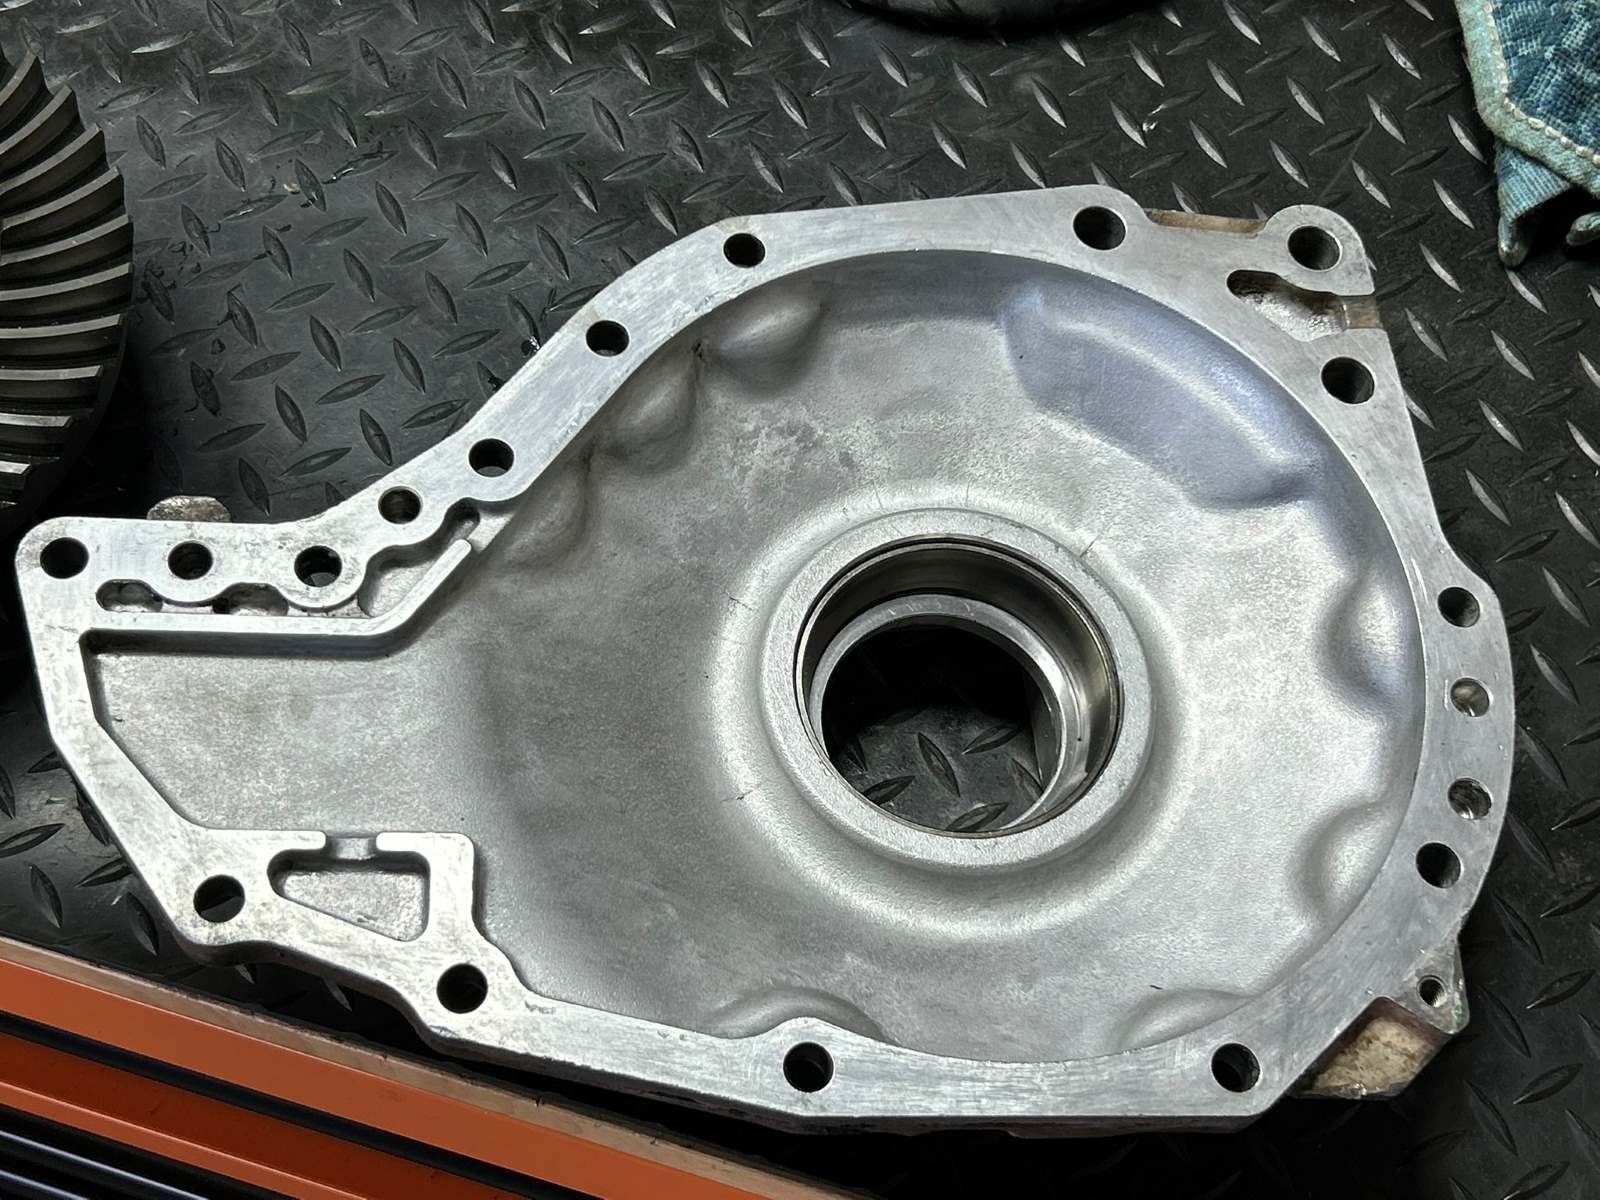
| The aluminum lid has been cleaned up. |
|
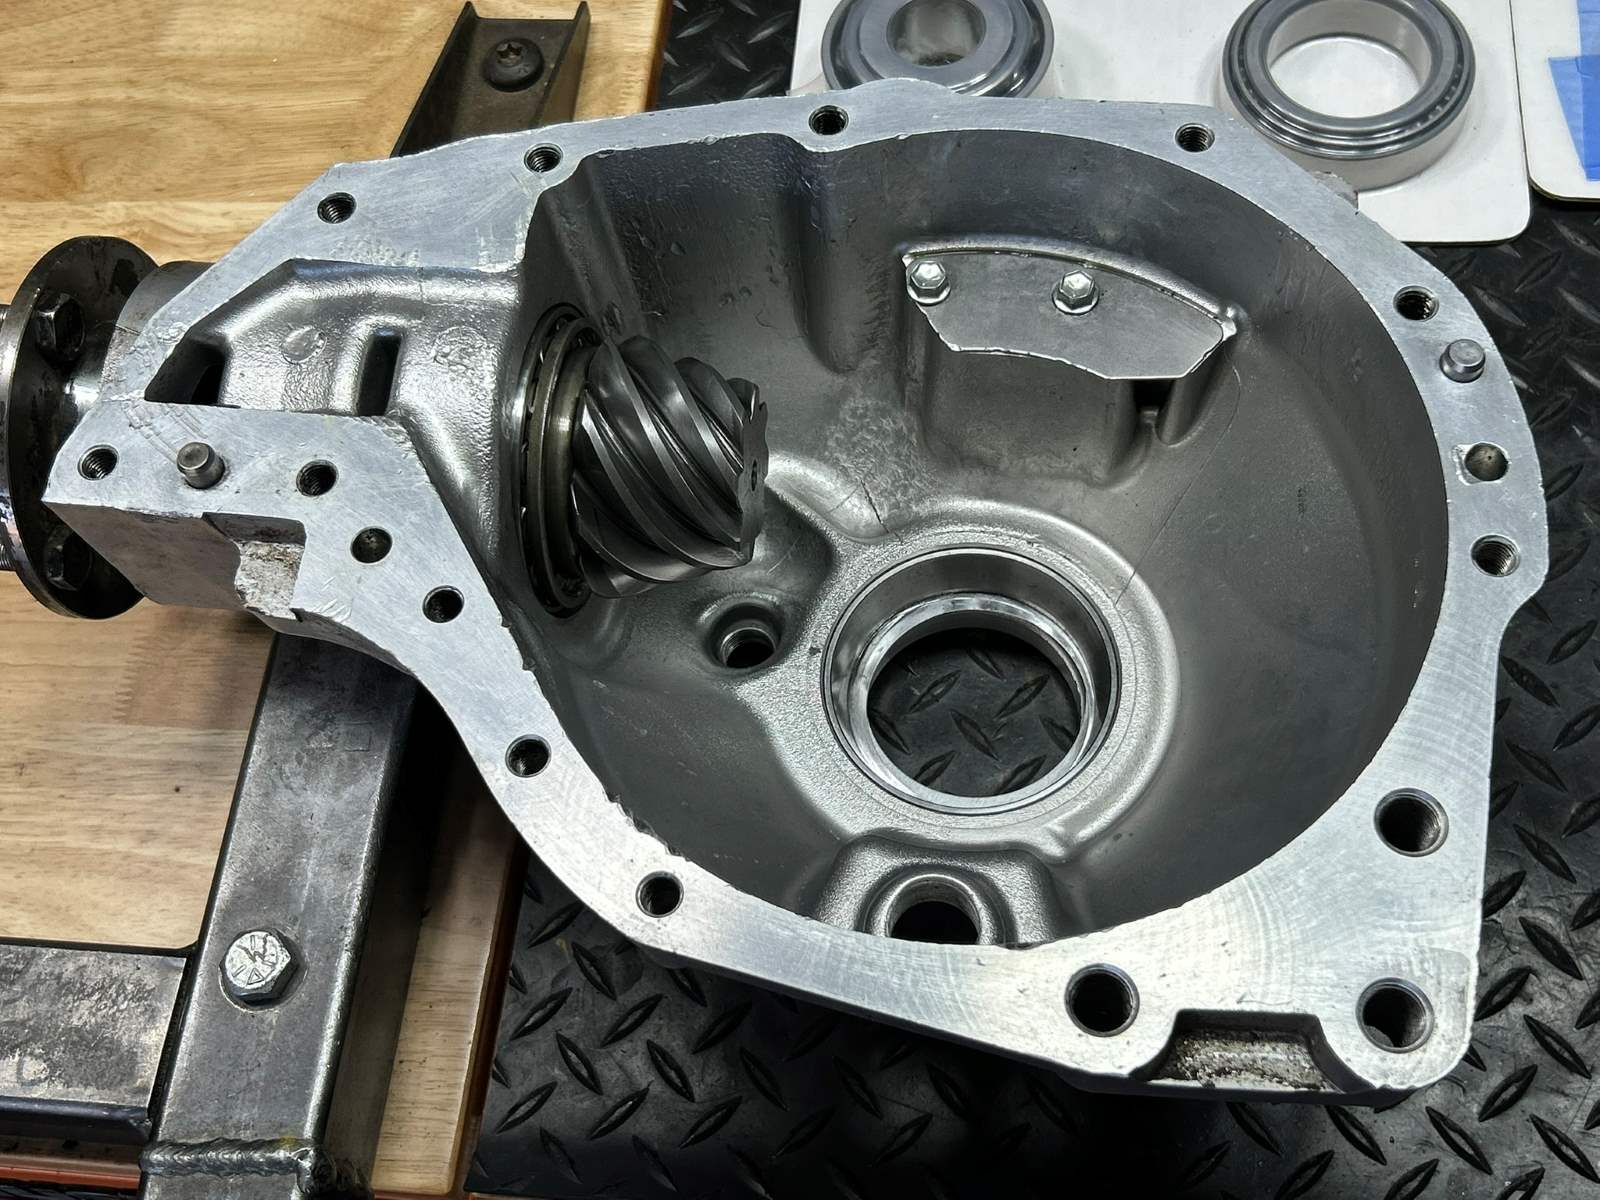
| The bowl has also been cleaned up. Look closely and those thin crappy shims are being used behind the carrier bearing race. |
|
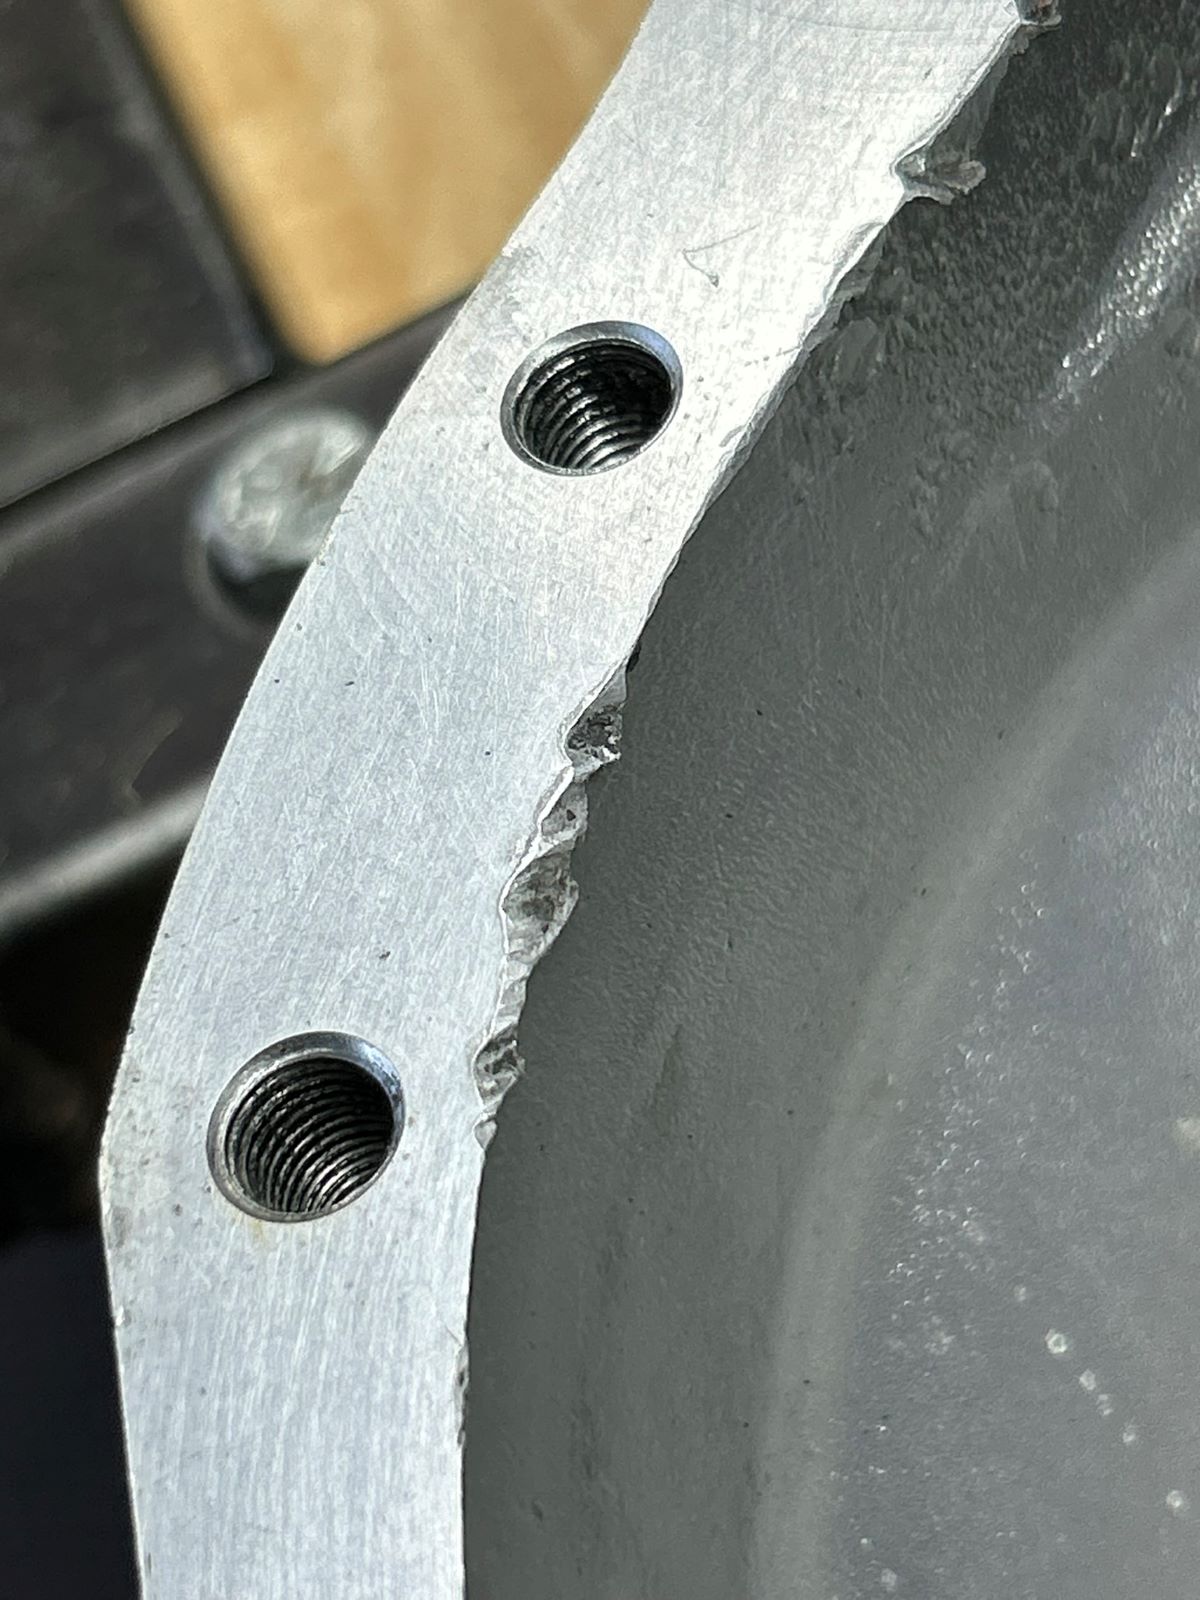
| Cosmetic dings here and there. |
|
| Especially here. |
|
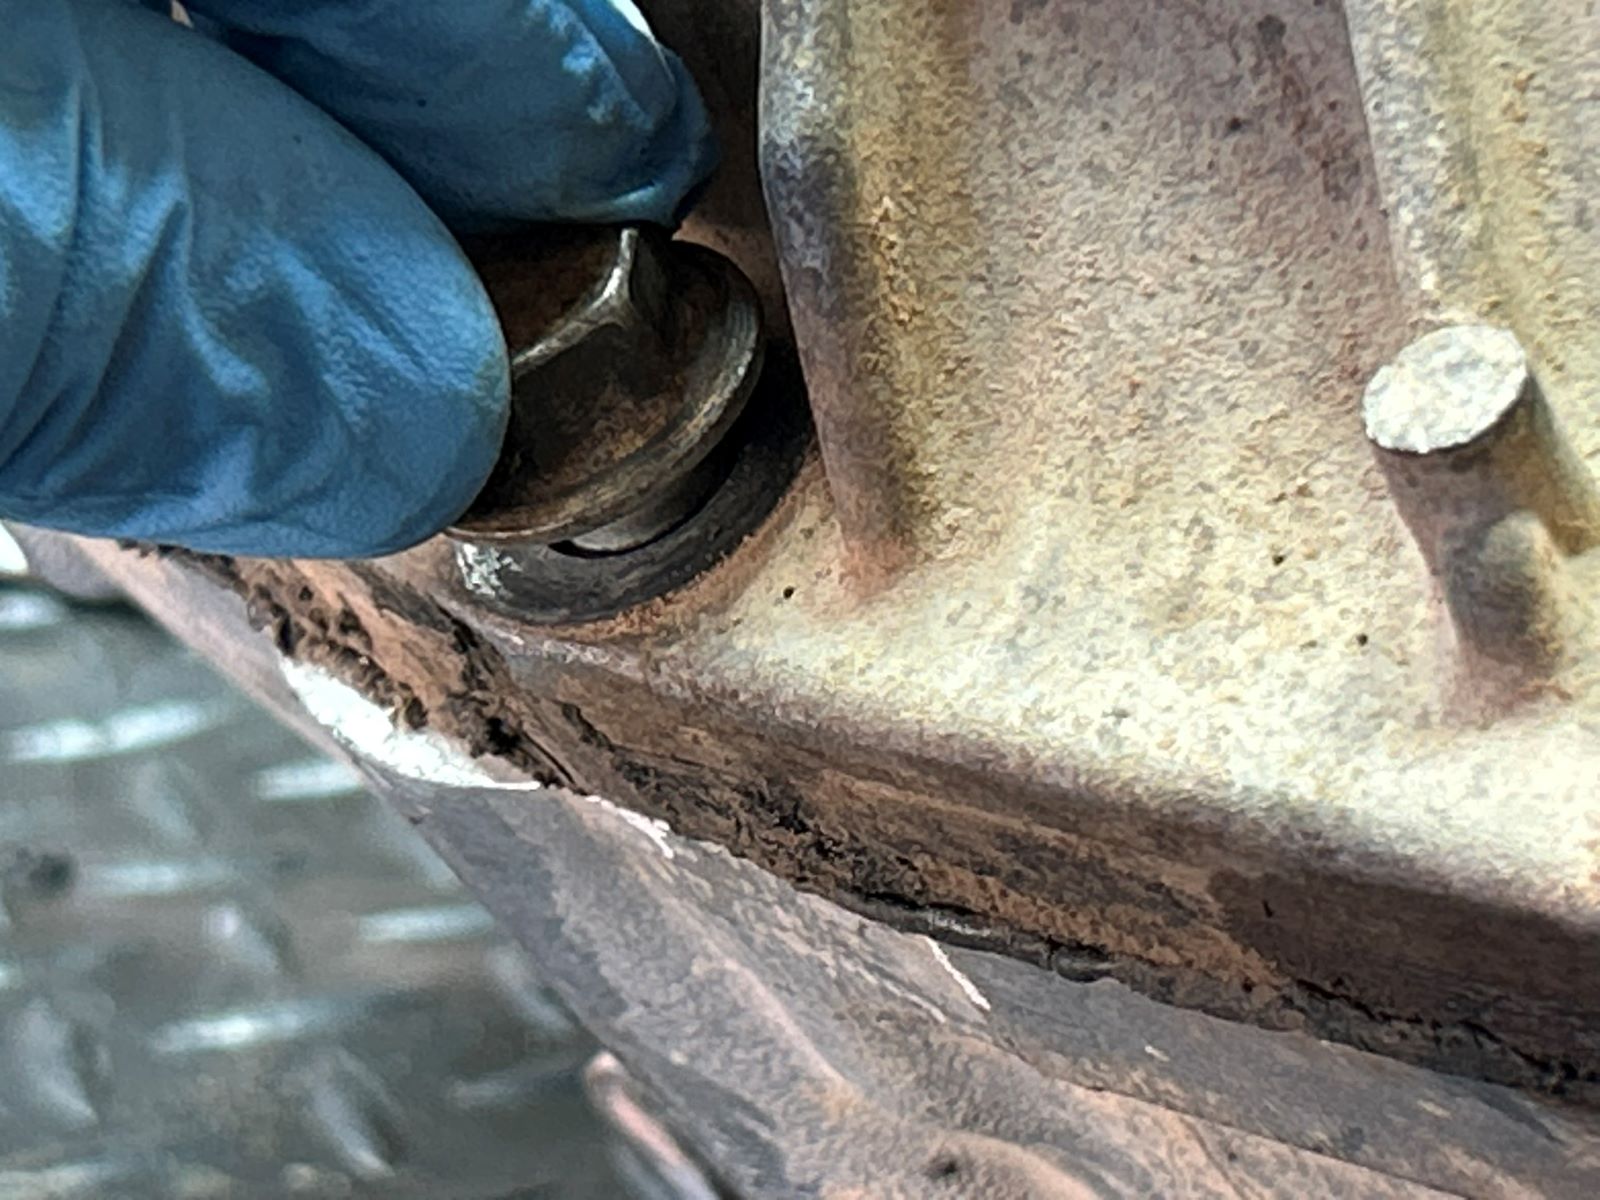
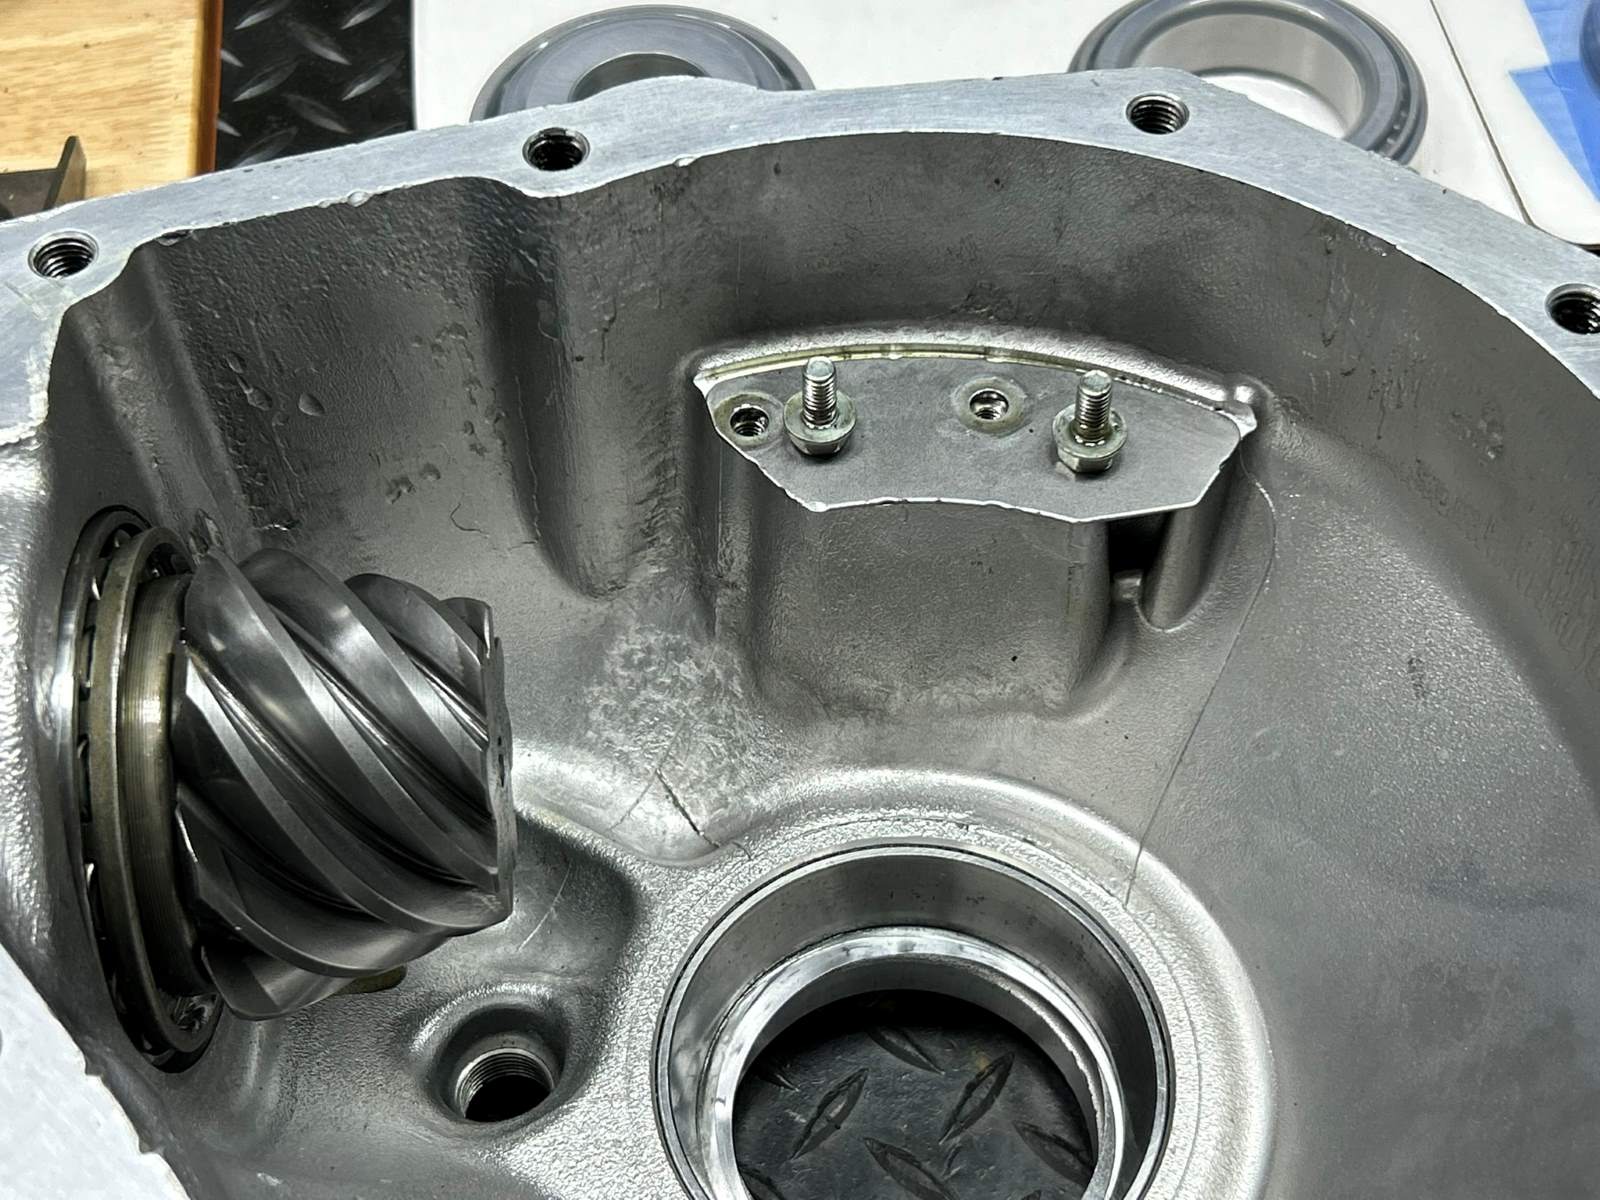
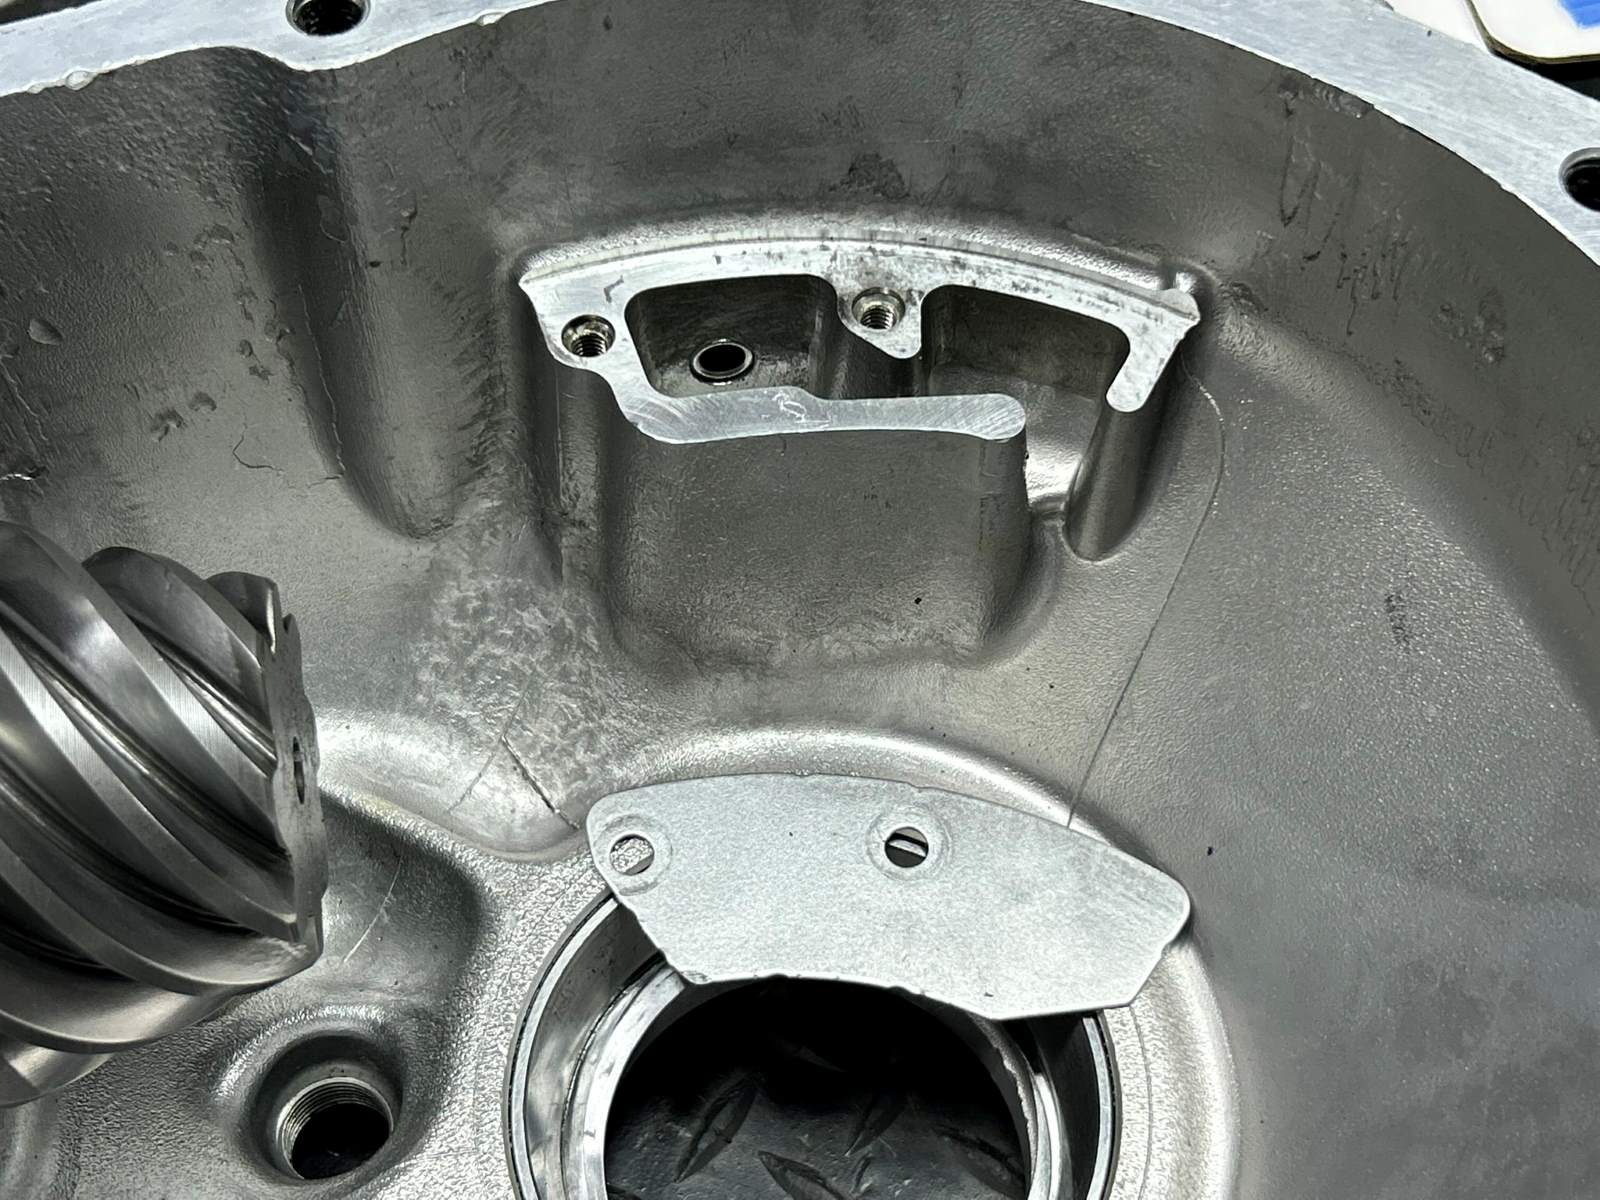
| Yikes these 2 bolts were only finger tight. |
|
| Those normally remain untouched. |
|
| 15 ft/lb with blue loctite and all is good again. |
|
|
So, before disassembly really starts, I wanted to run a paint test and see how well they were set up. I know the gears did not seem to mesh very well but let's run a pattern check just for fun. |
|
| Yellow paint was applied and the lid was bolted on again. Here's the jig for painting the pattern.... |
|
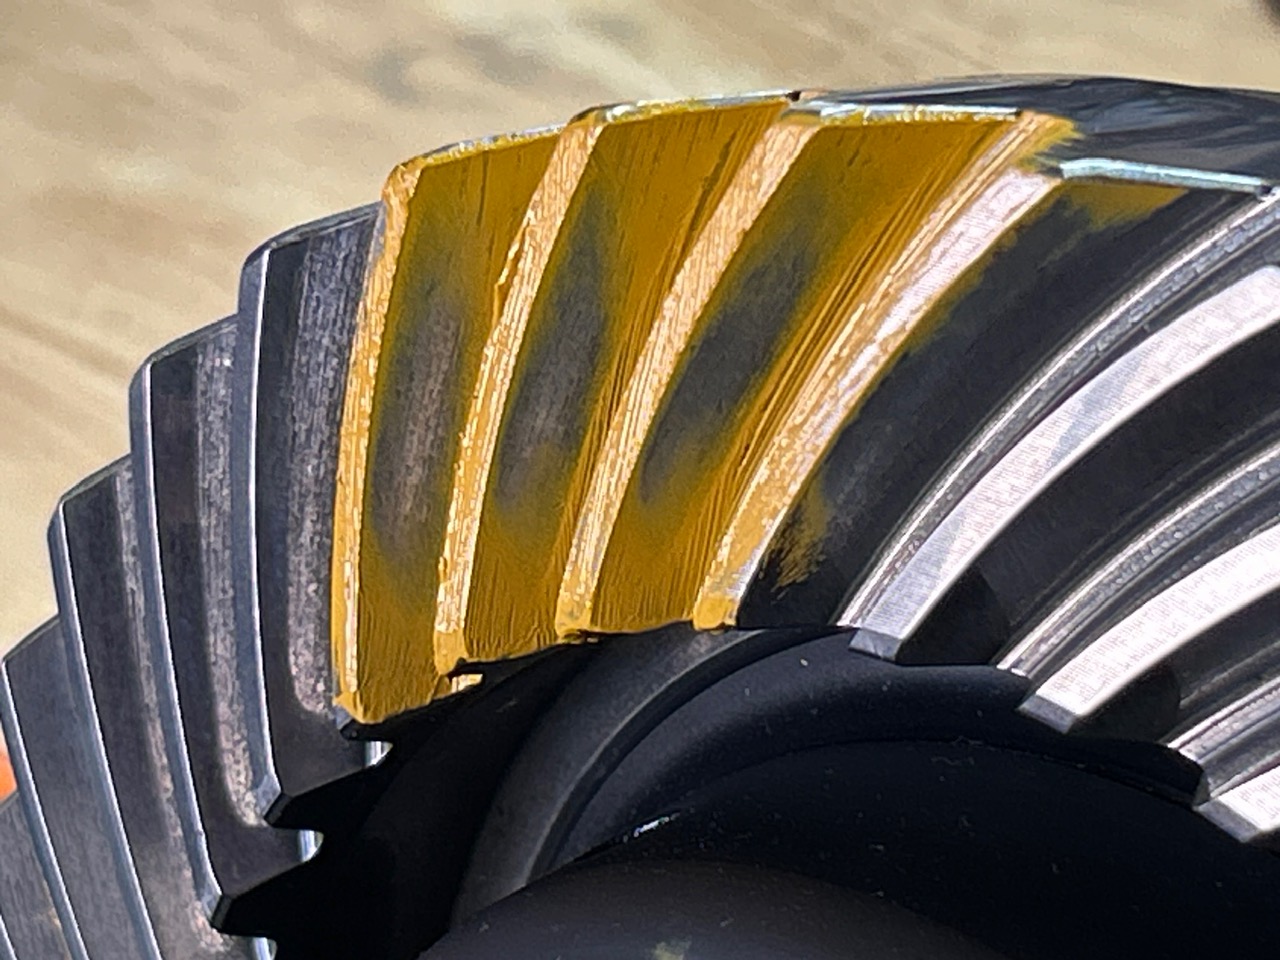
| Drive side....this is terribly deep. |
|
| Here's the coast.....terrible. |
|
| ,,,,,,,,,,,,,,,,,,,,,,,,,,,,,,,,,,,,,,,,,,,,,,,,,, |
|
|
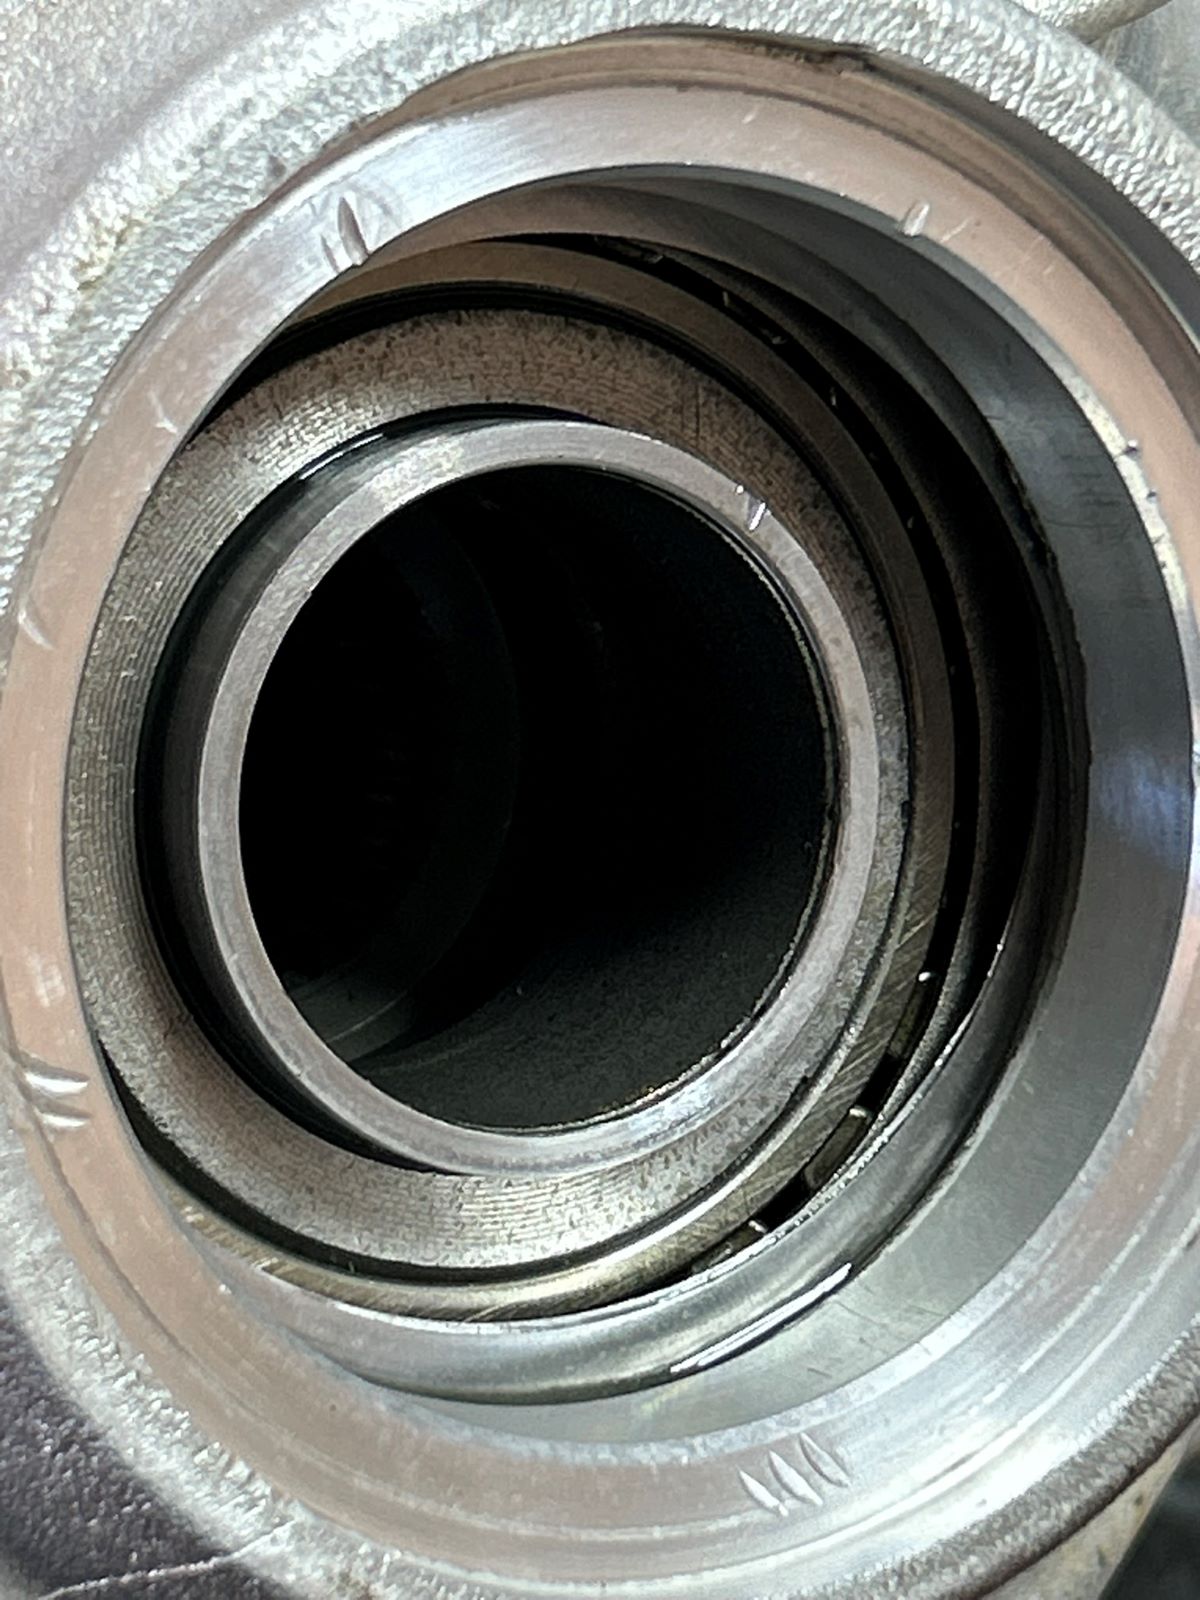
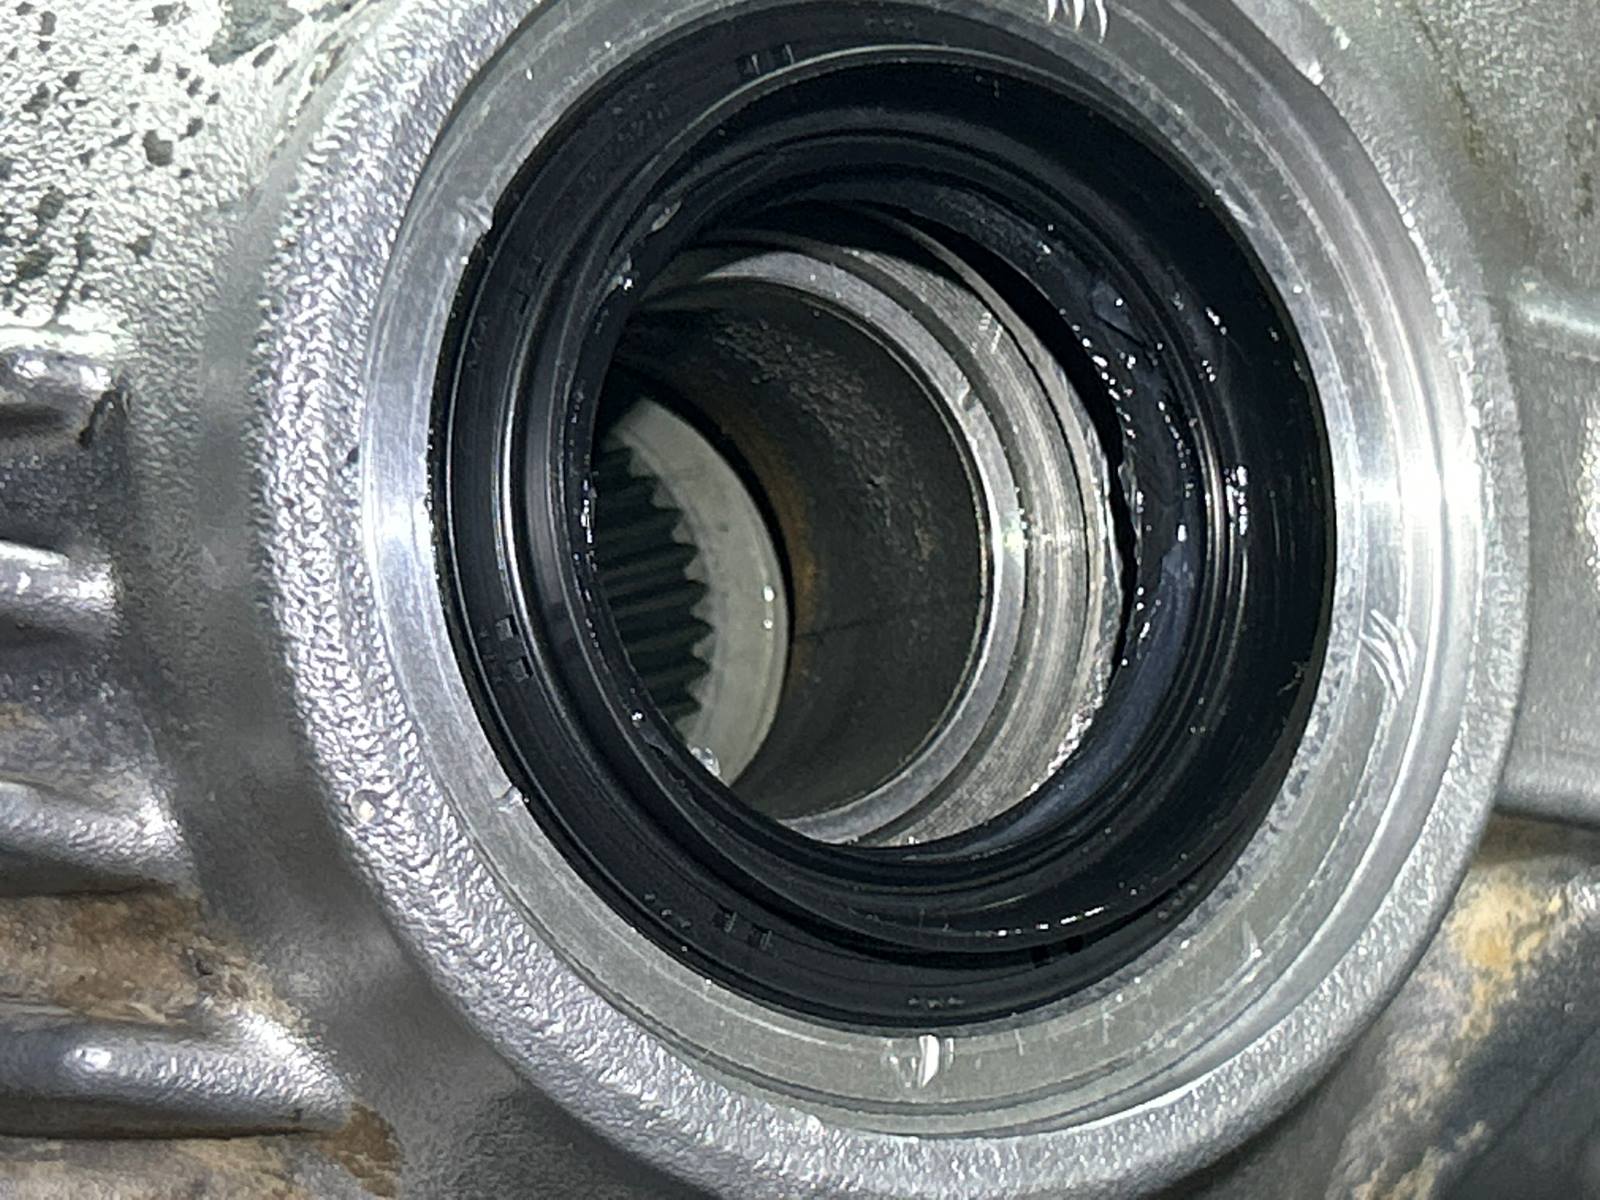
Because of the very low miles on this front clam ( as well as most front clams) the seal surface looks almost perfect. |
|
|
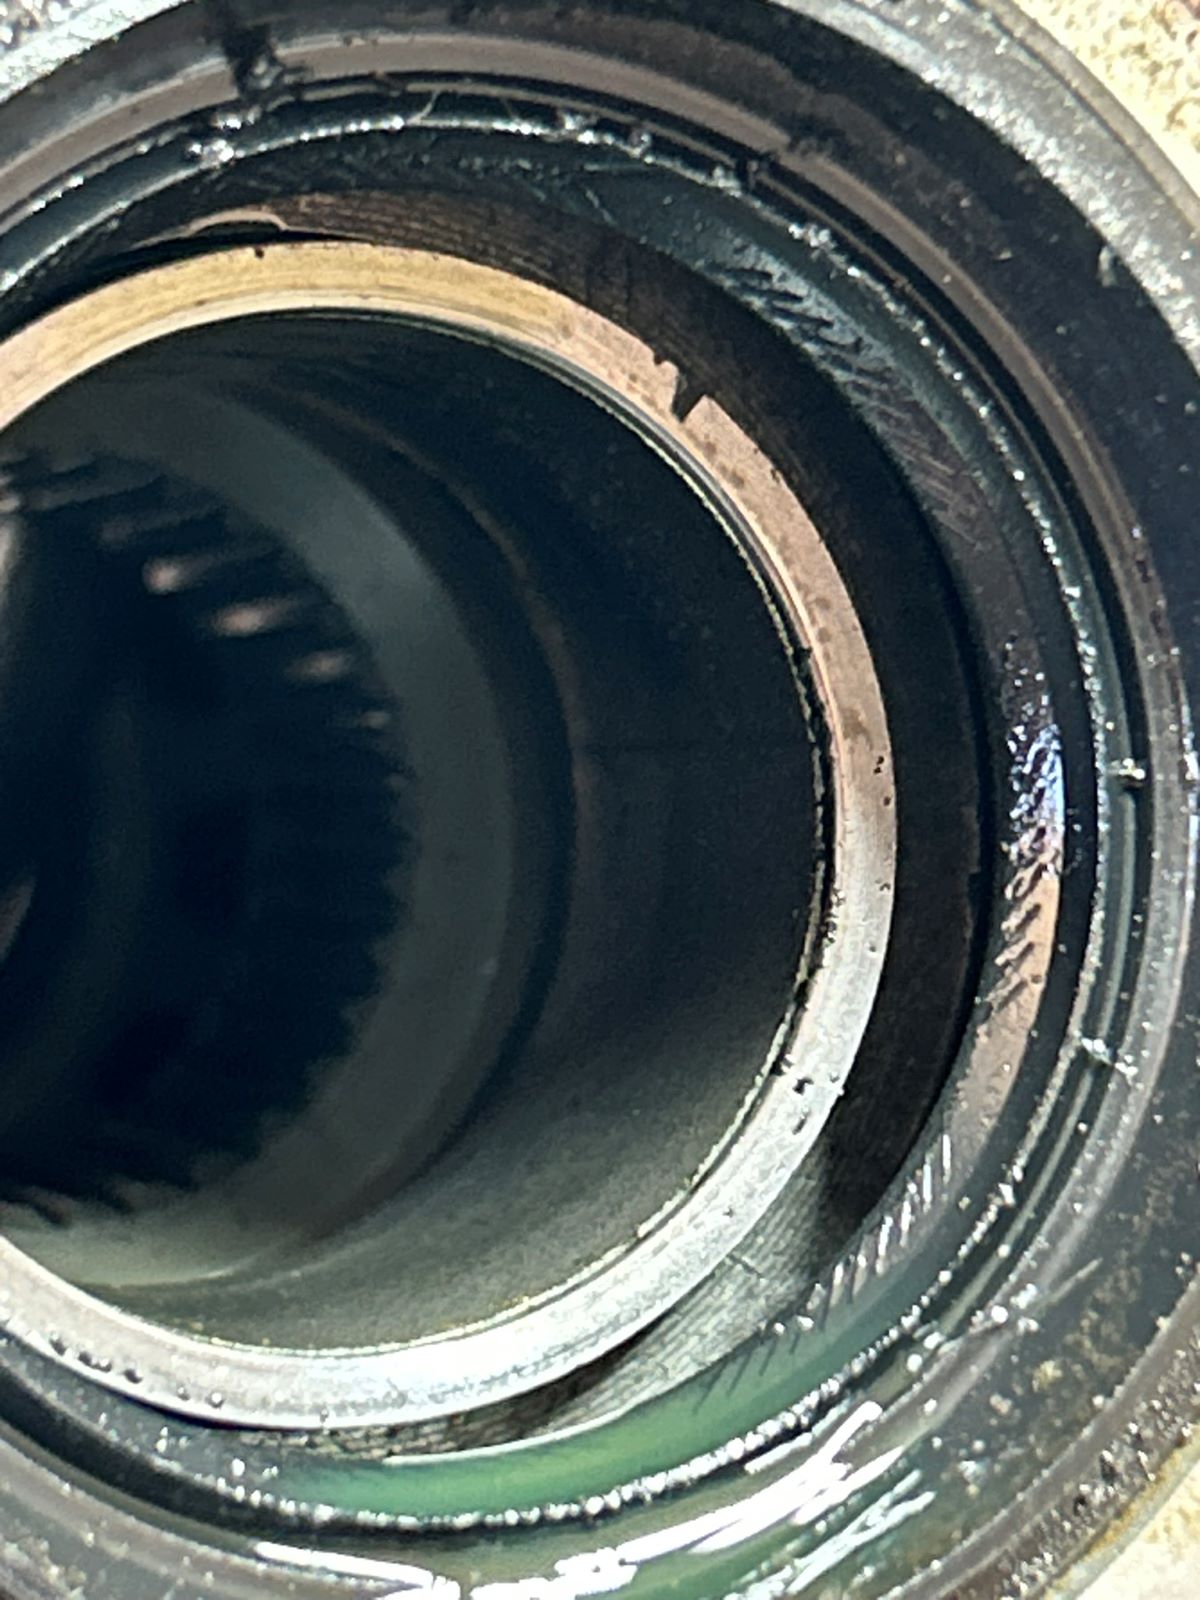
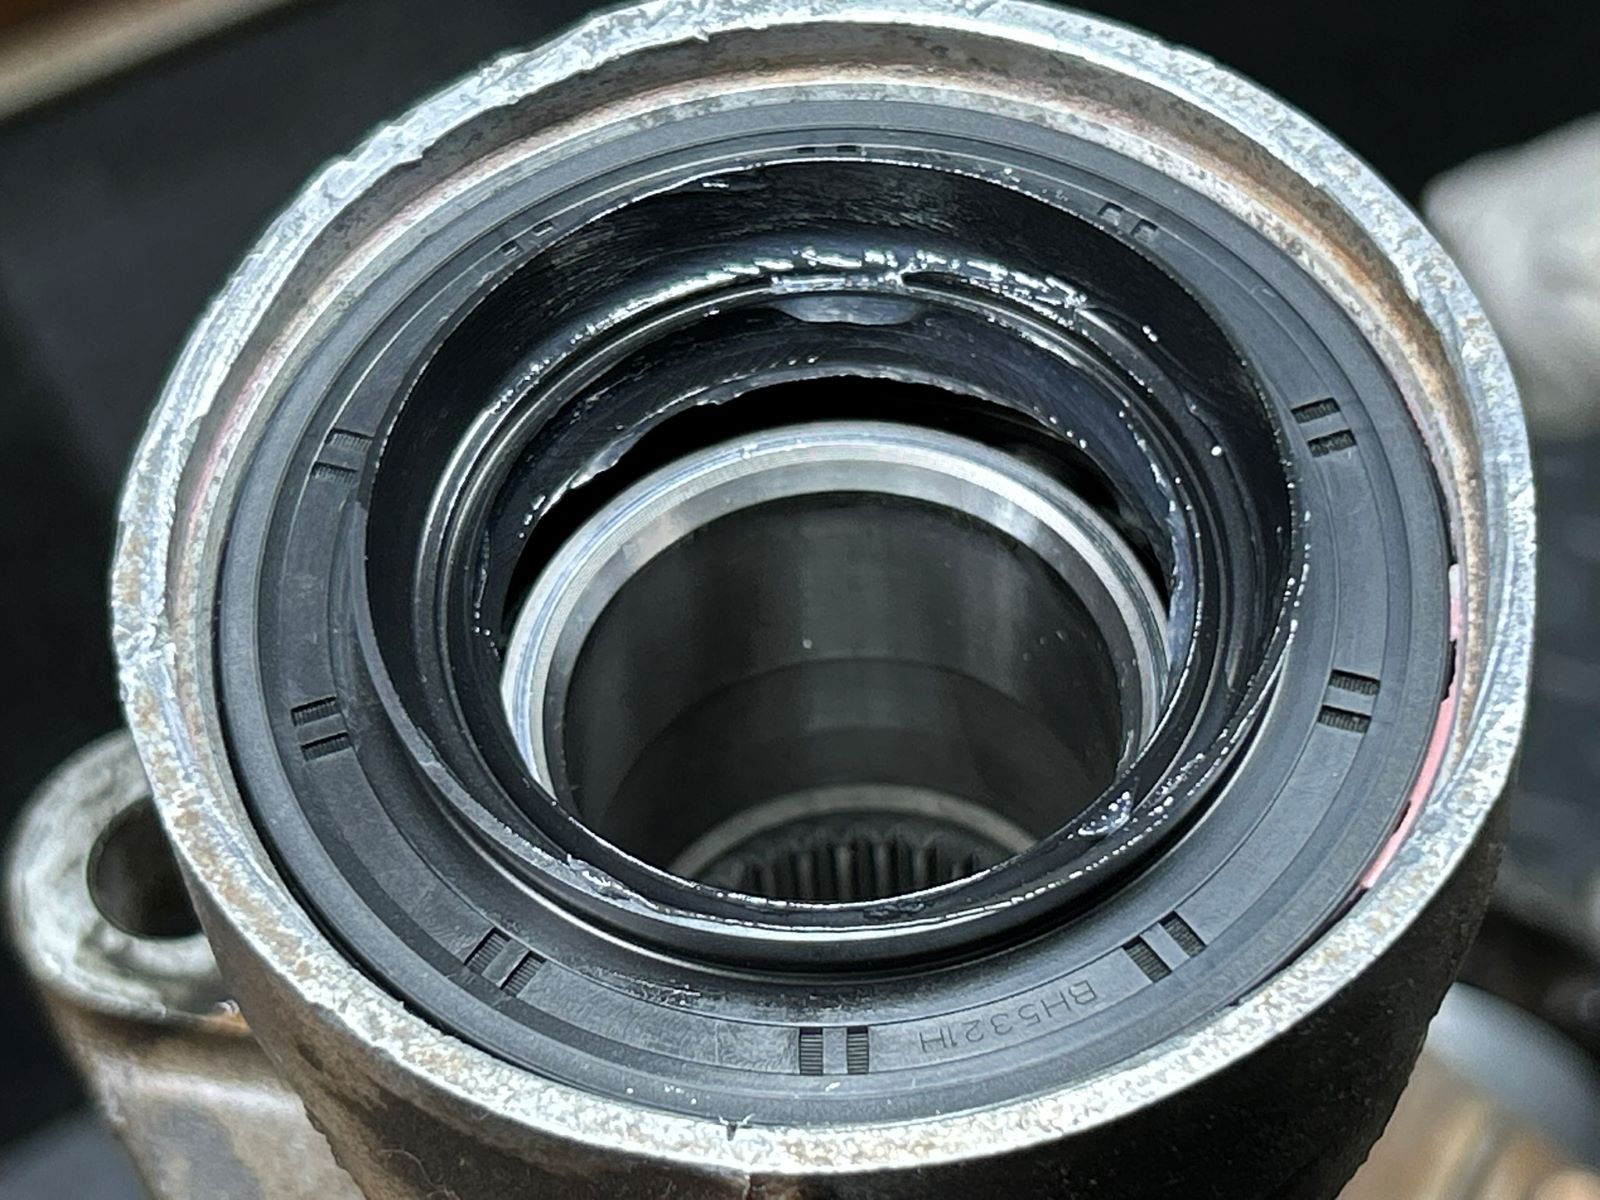
WOW...this is the pinion seal. No wonder Fergie was getting leakage here. It looks like they gave the Hammer Guy a shot at installing this seal, too. |
|
|
Another homemade stand made with the help of a MIG welder and chopsaw. Pinion is being pressed out. |
|
|
I see 2 thick shims just above the race...those are not the normal shims to use. |
|
|
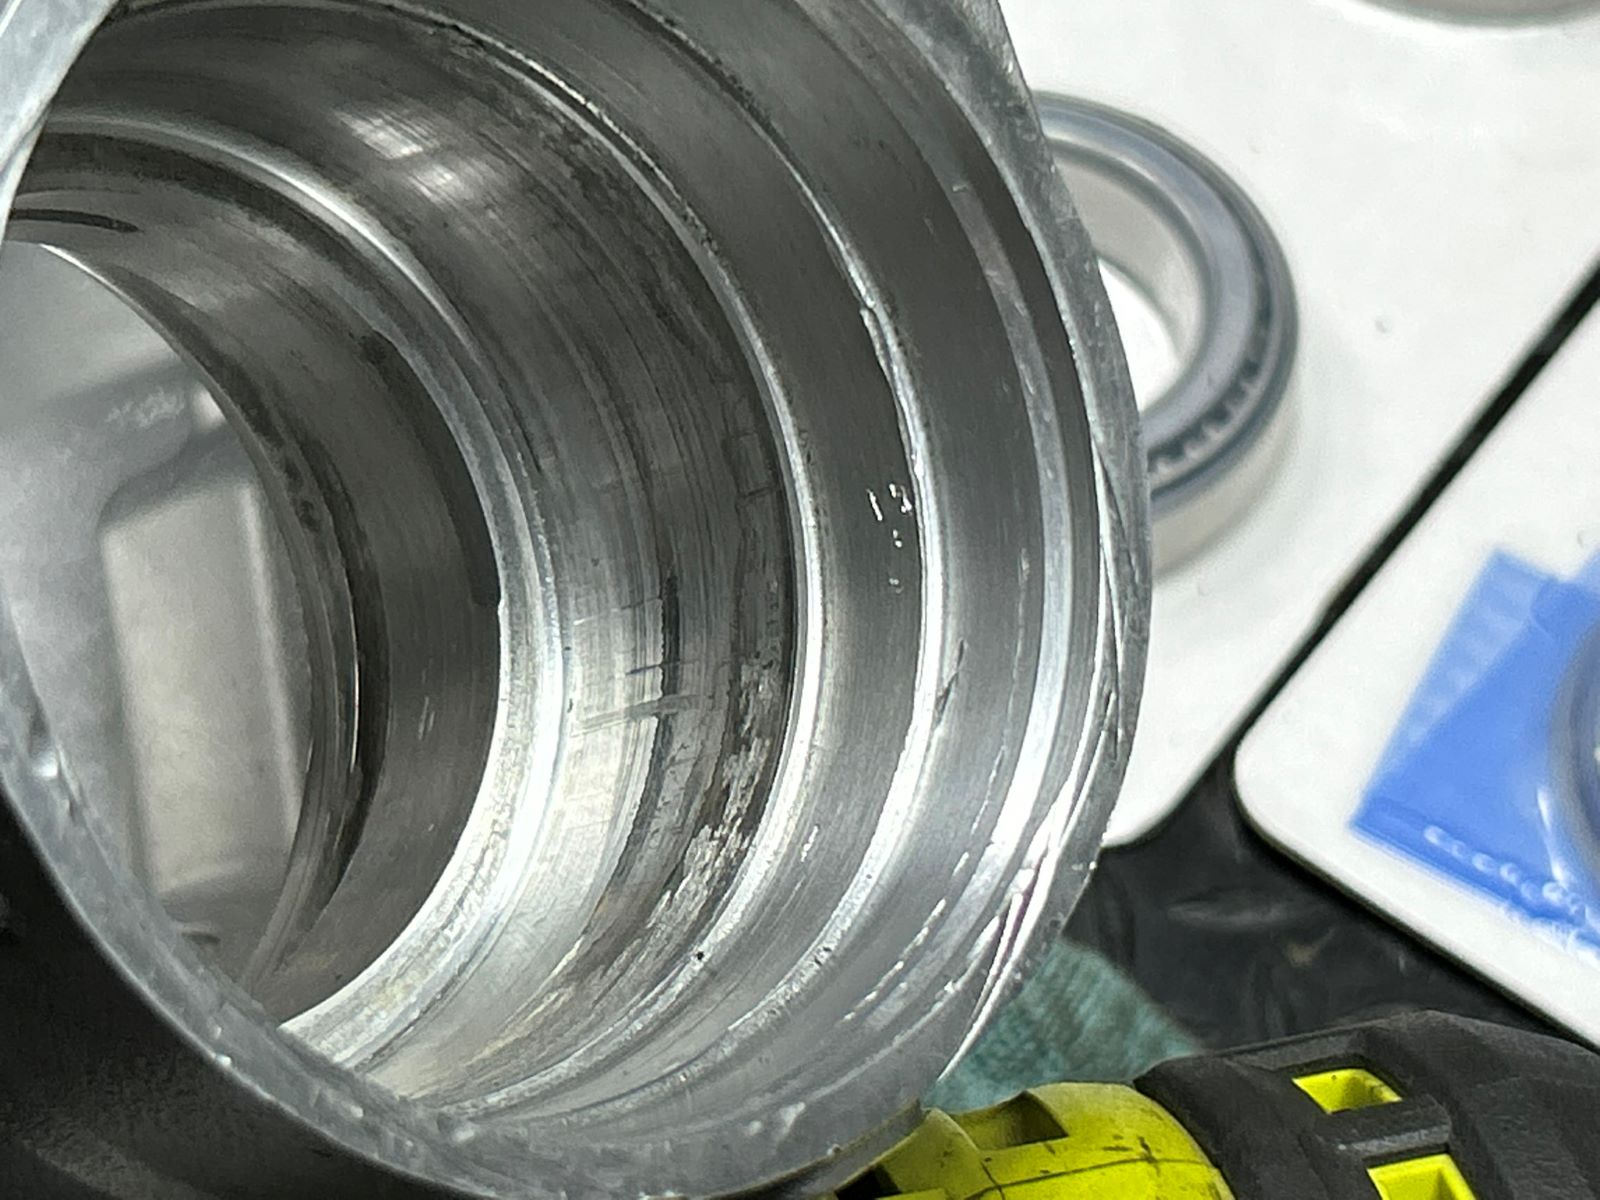
The race was gently tapped out and this is what I see. :( Hard to believe but the new race fits in with a tight fit and appears ok to keep using it. |
|
|
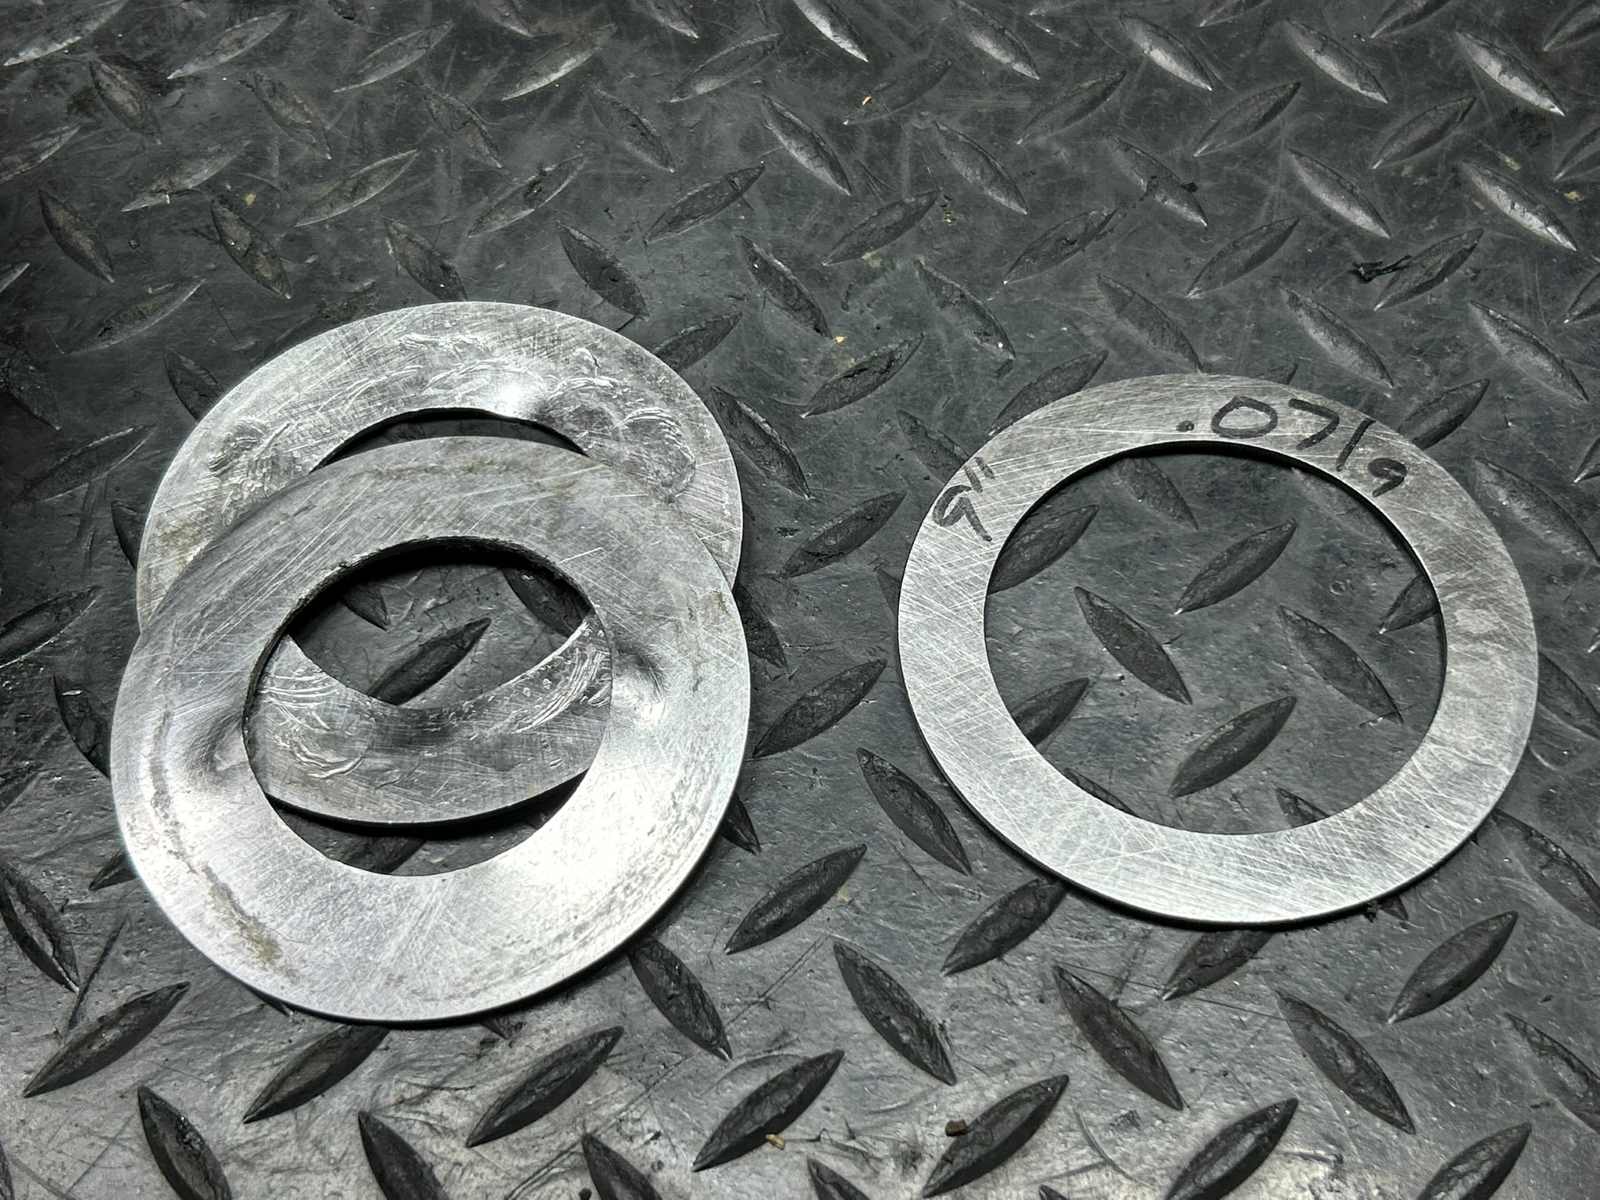
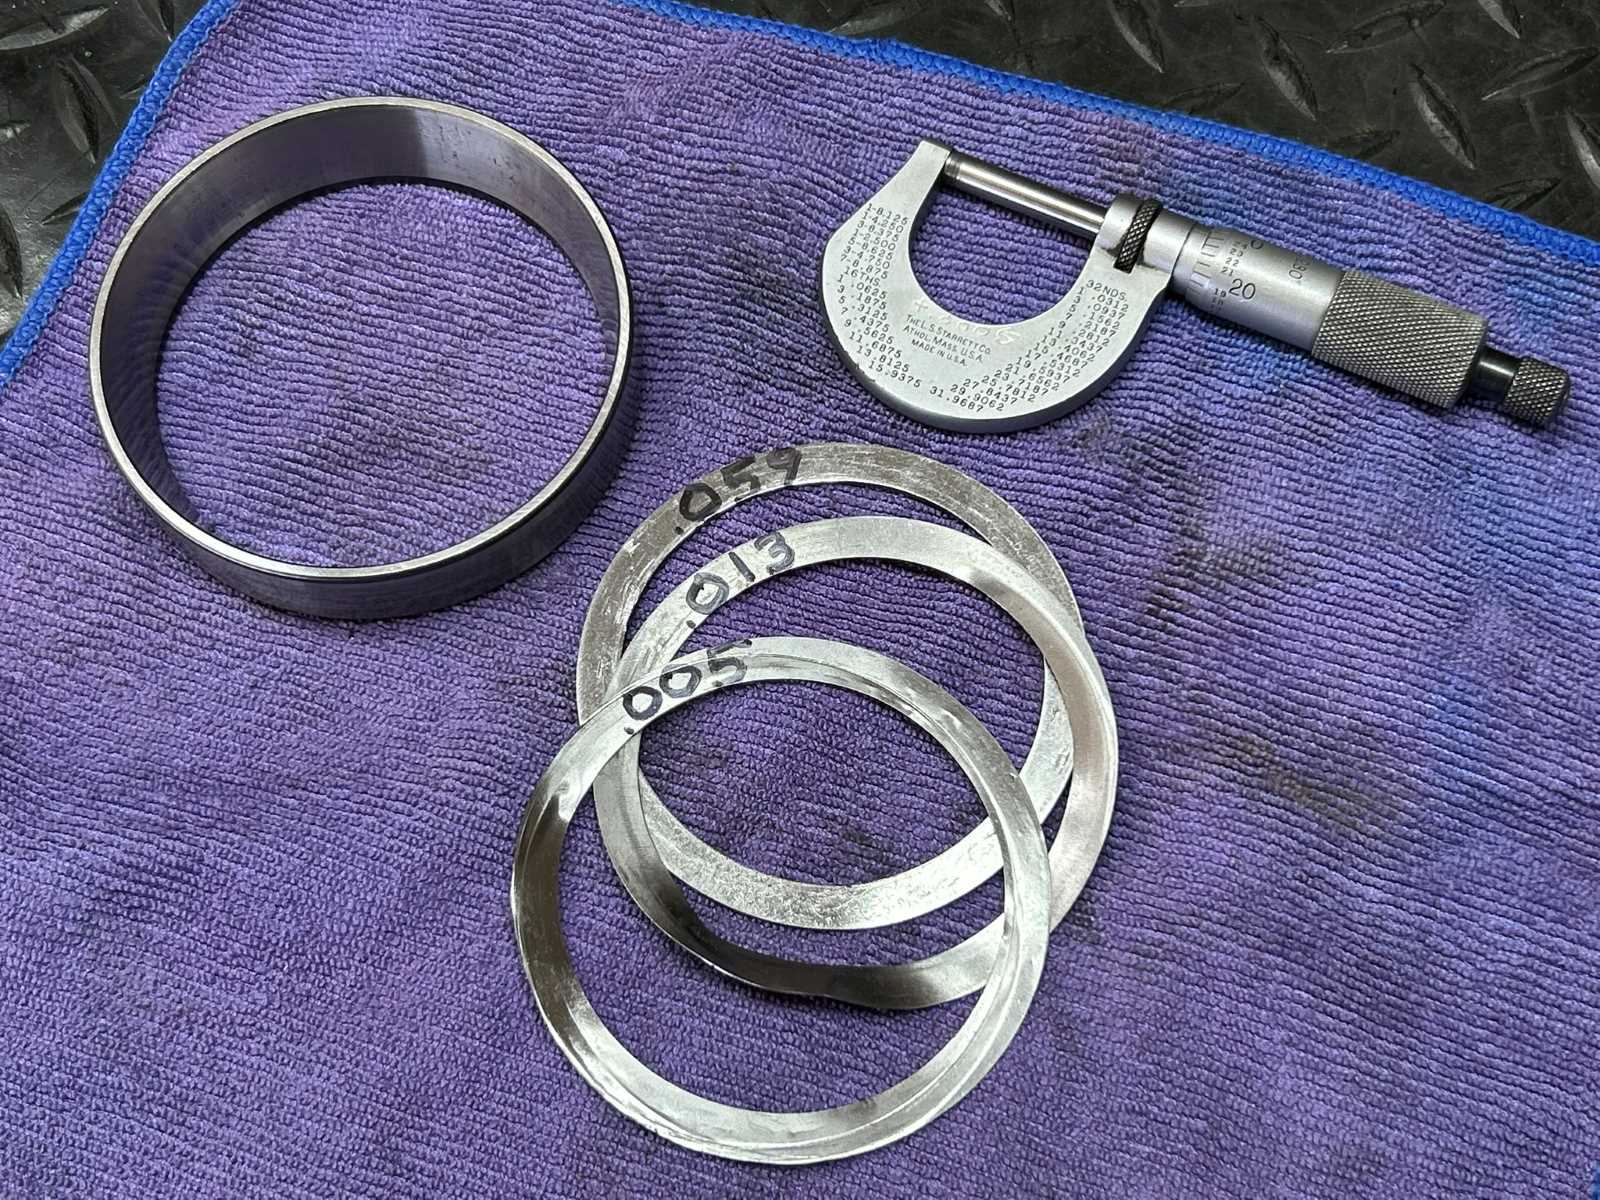
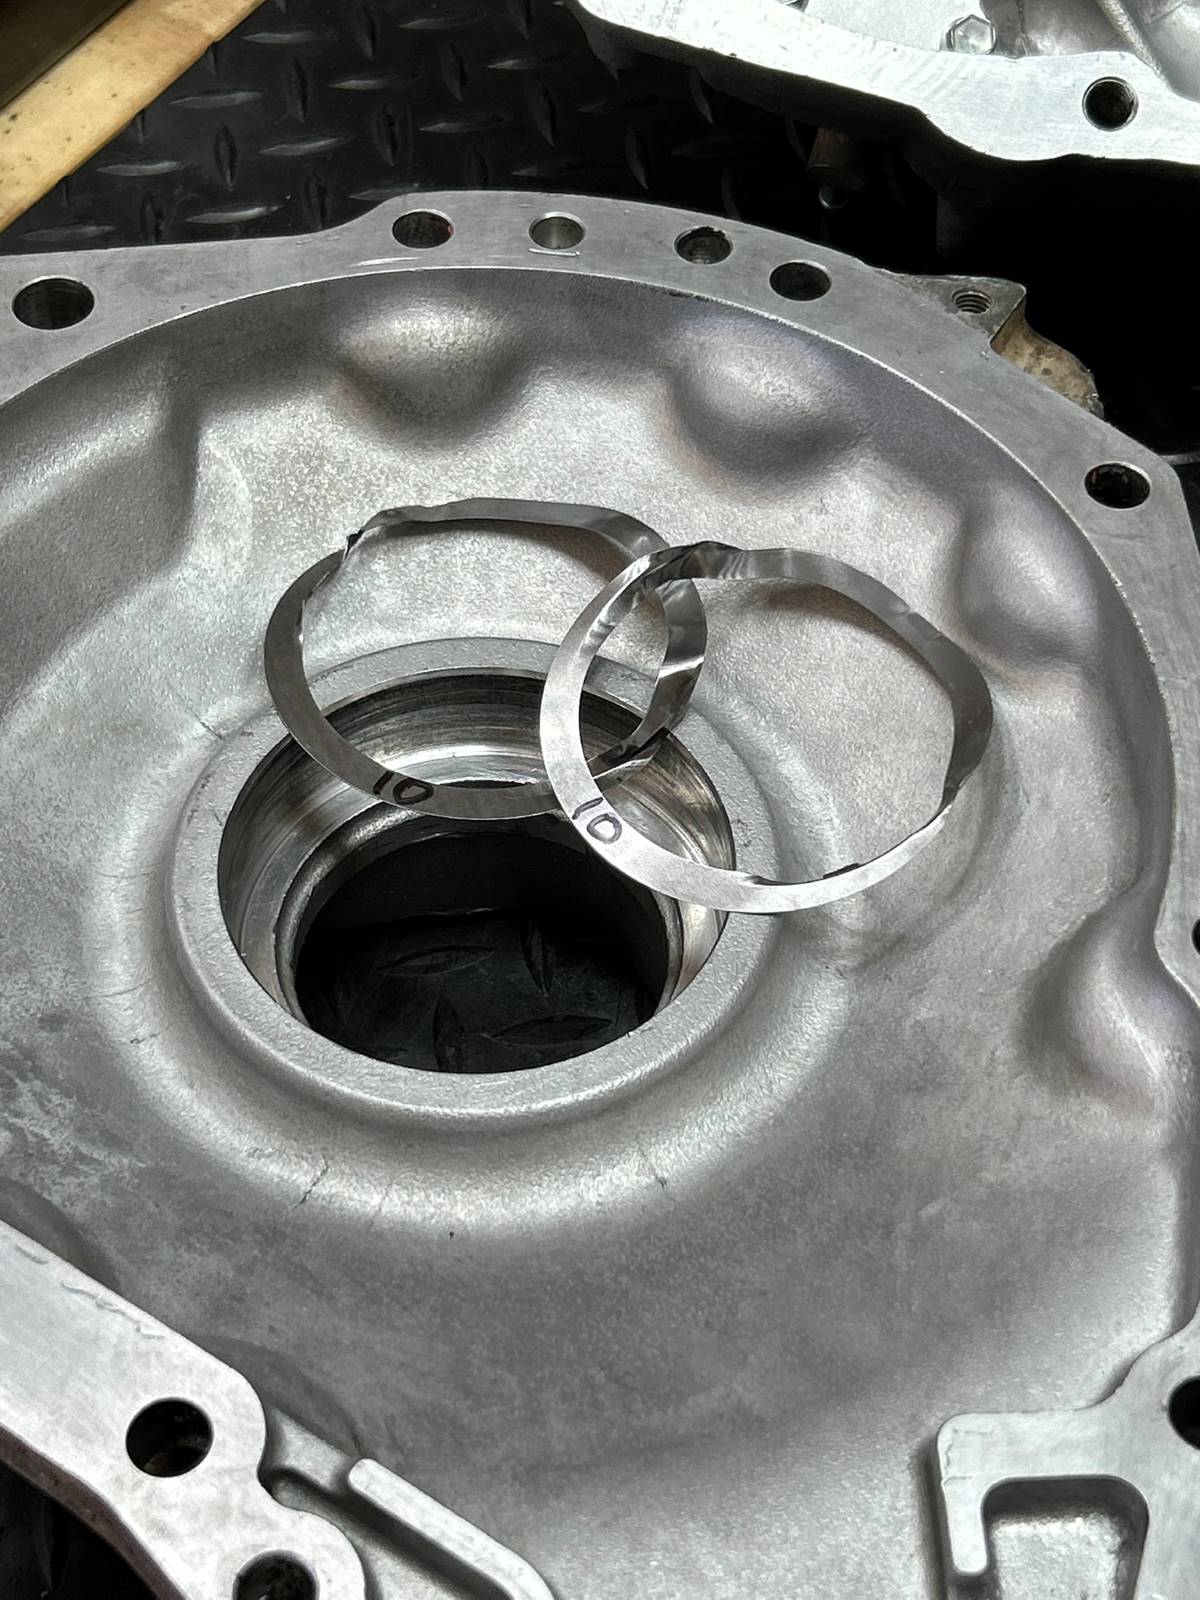
They had these 2 big ugly washer plates on the left in there....they totalled up to .126" On the right is what you might typically find in there .072" is a normal starting shim. |
|
| The surface was wiped clean of the oils and loose strips of aluminum. |
|
| Some filing of ridges and hi-spots...and I think it's gonna live. |
|
| .077" starter shim(washer plate) seems like a better choice. |
|
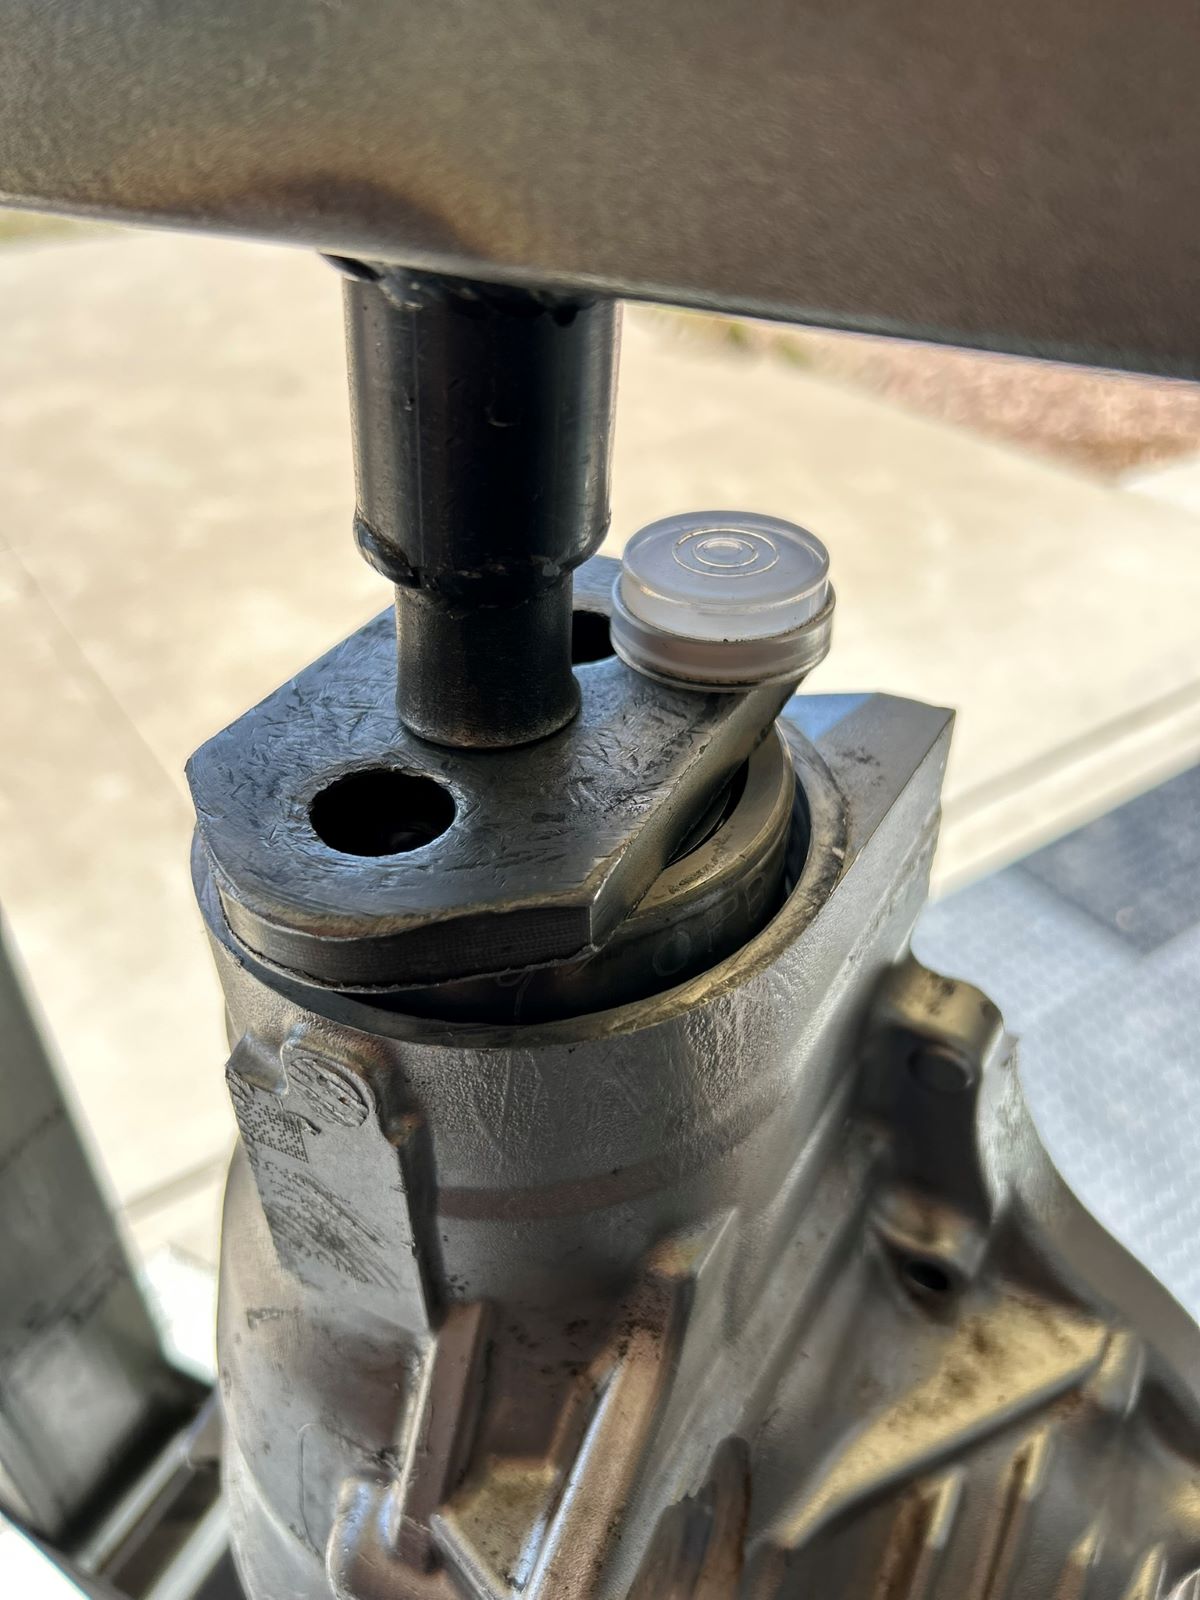
| Keeping the race as perfectly level as possible helps in driving it home. |
|
| The hammer is your friend here :) |
|
| That went in just solid enough where I have a good feeling about this working just fine. |
|
|
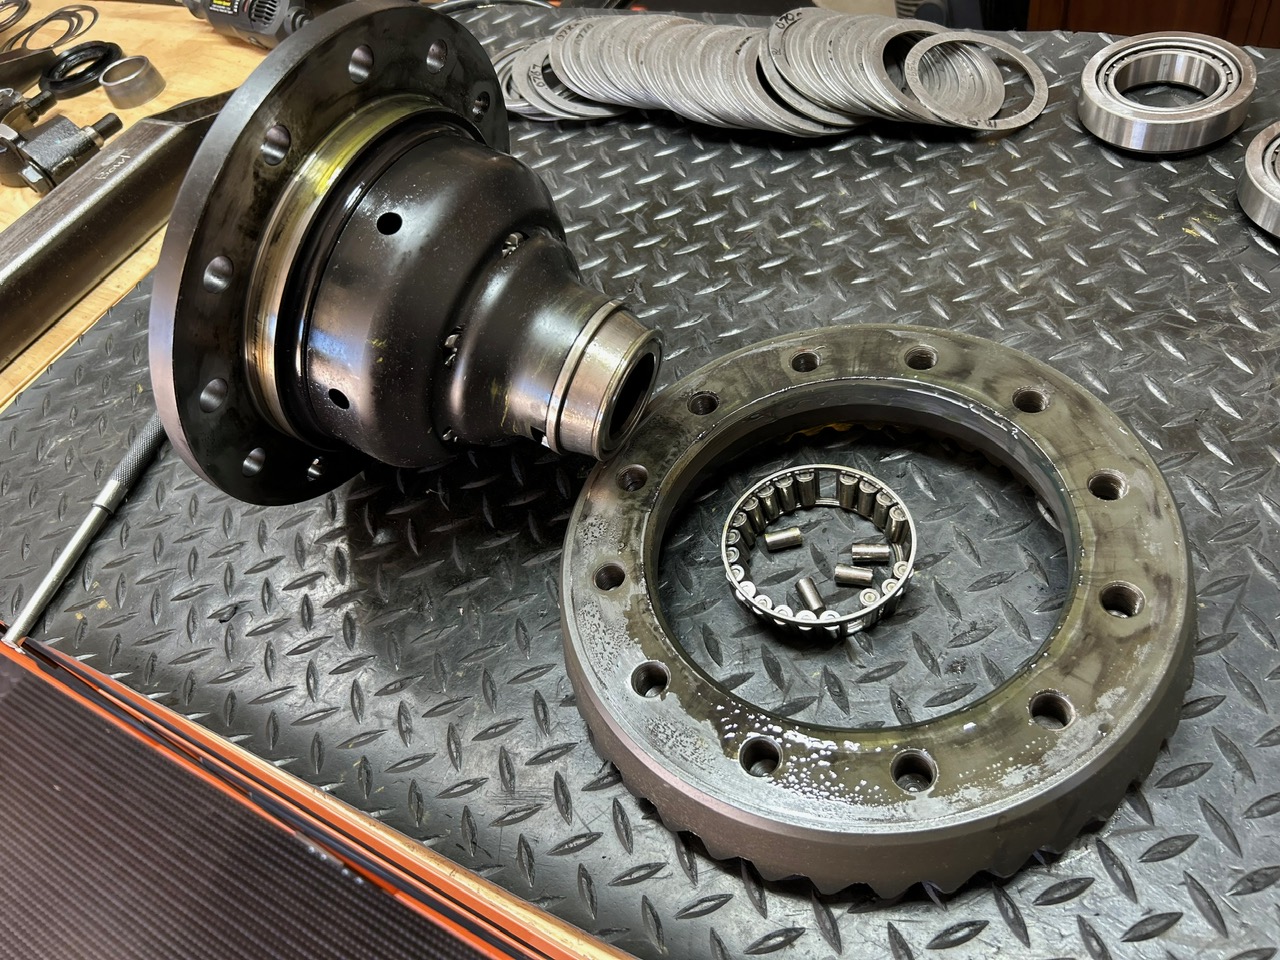
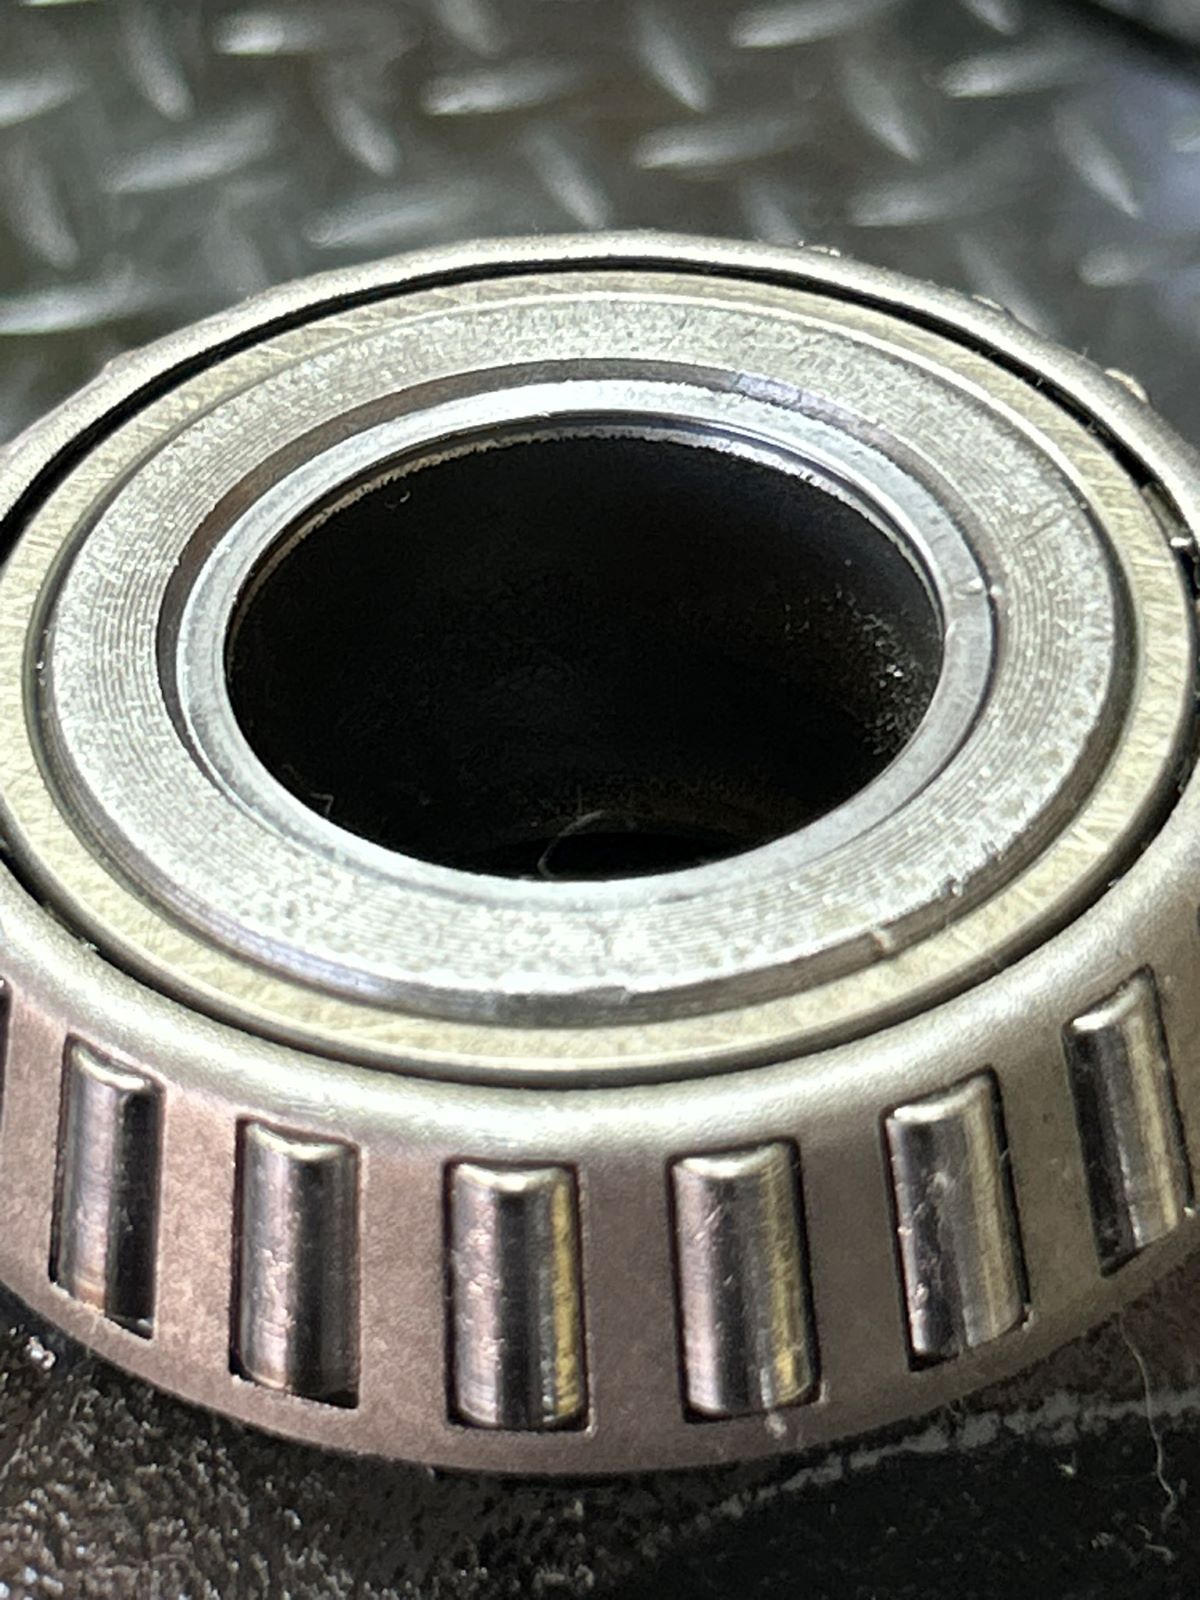
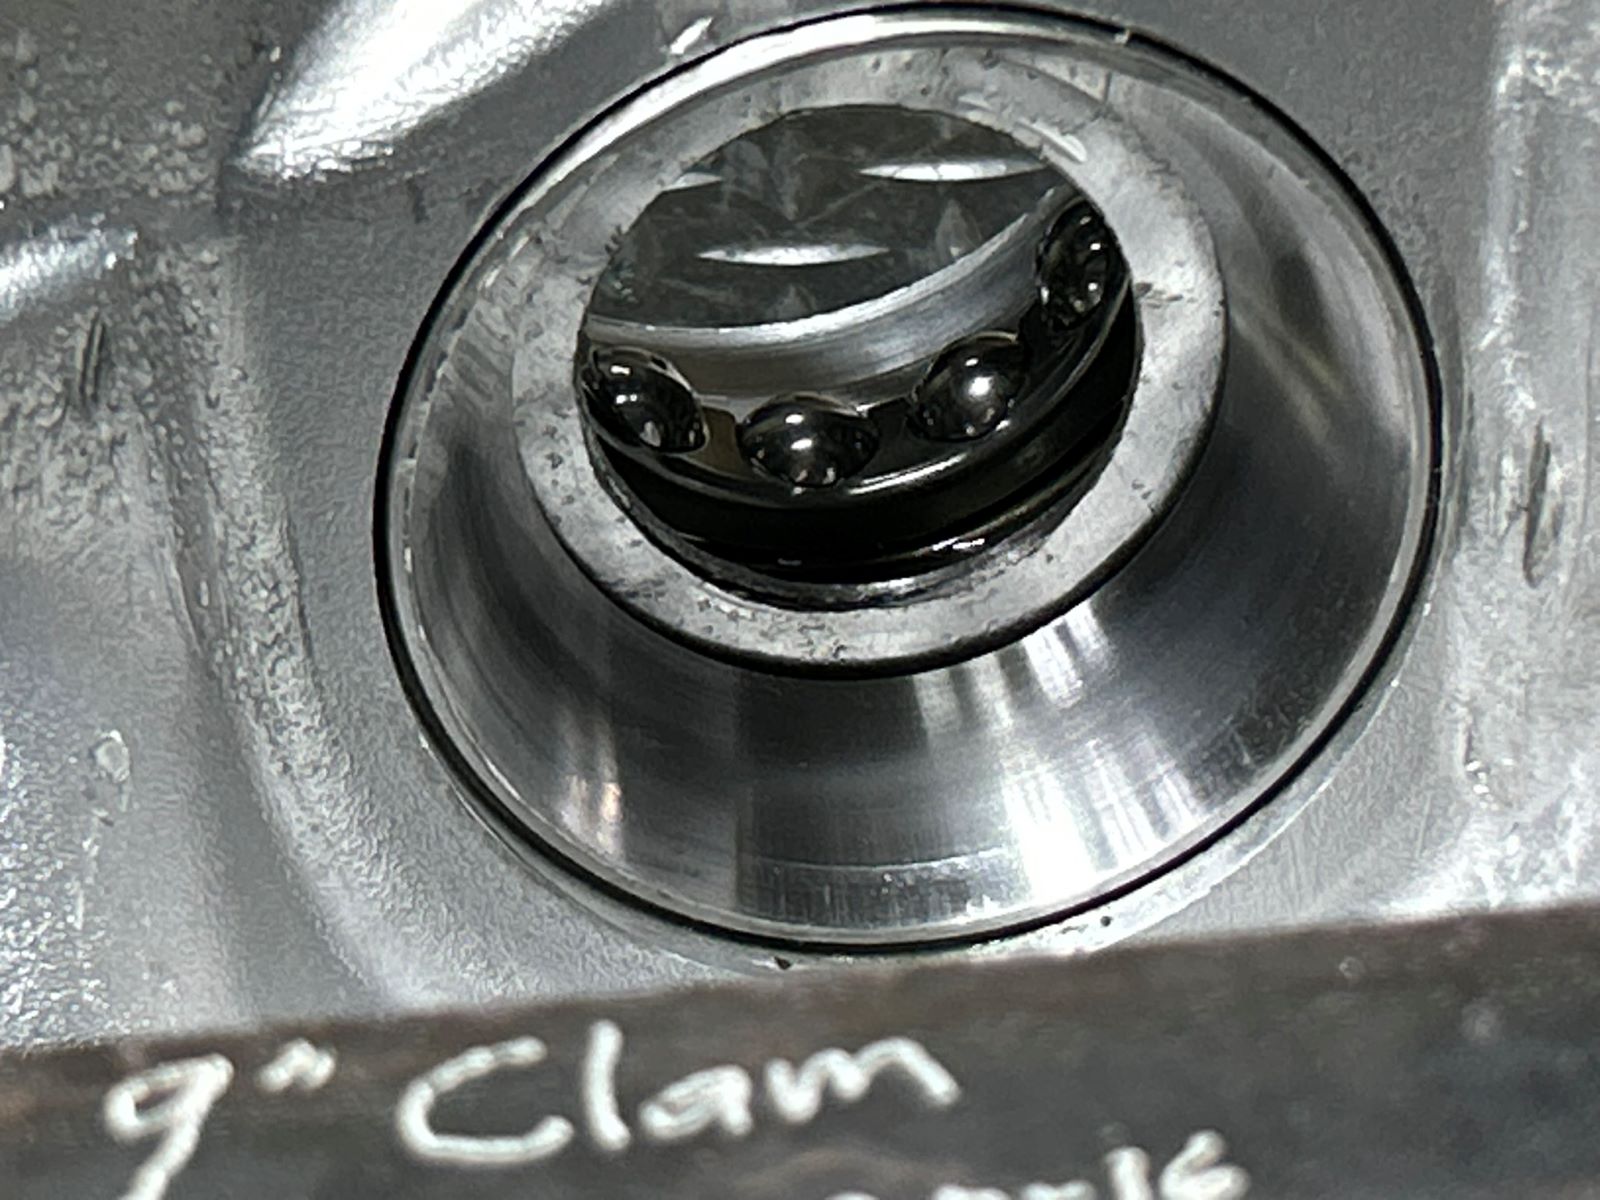
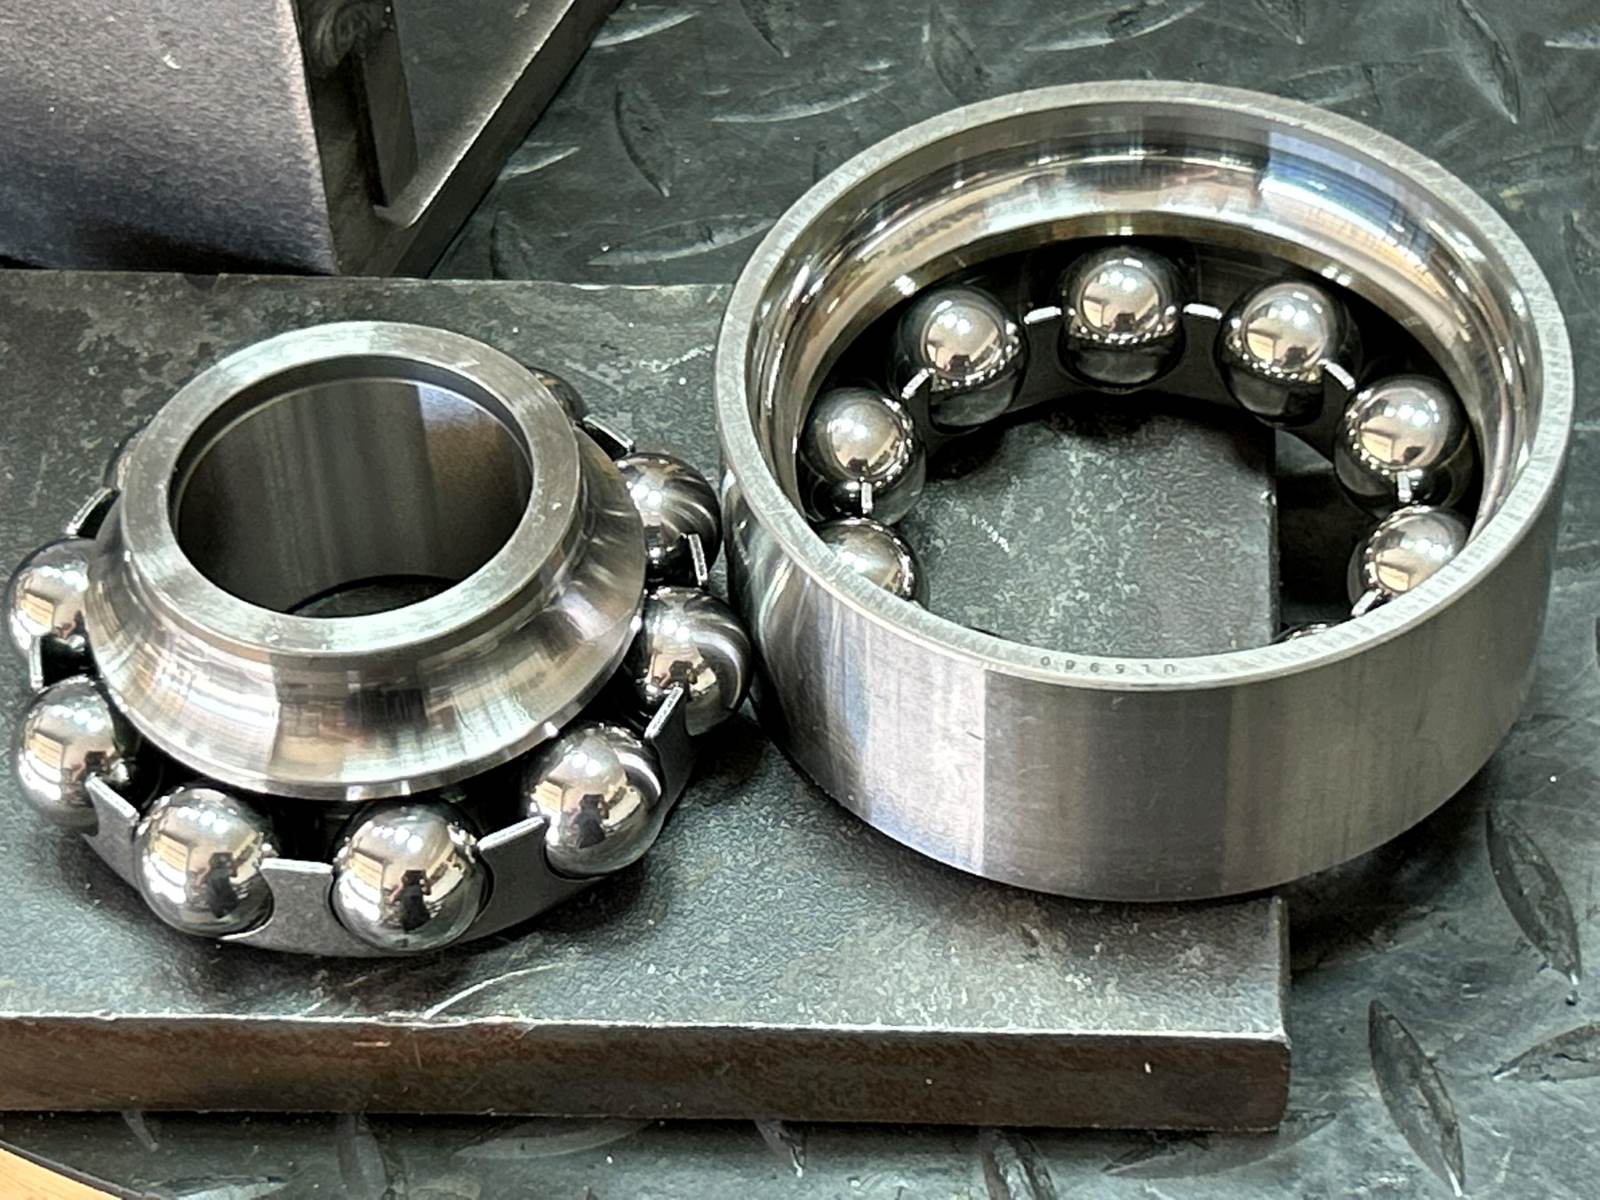
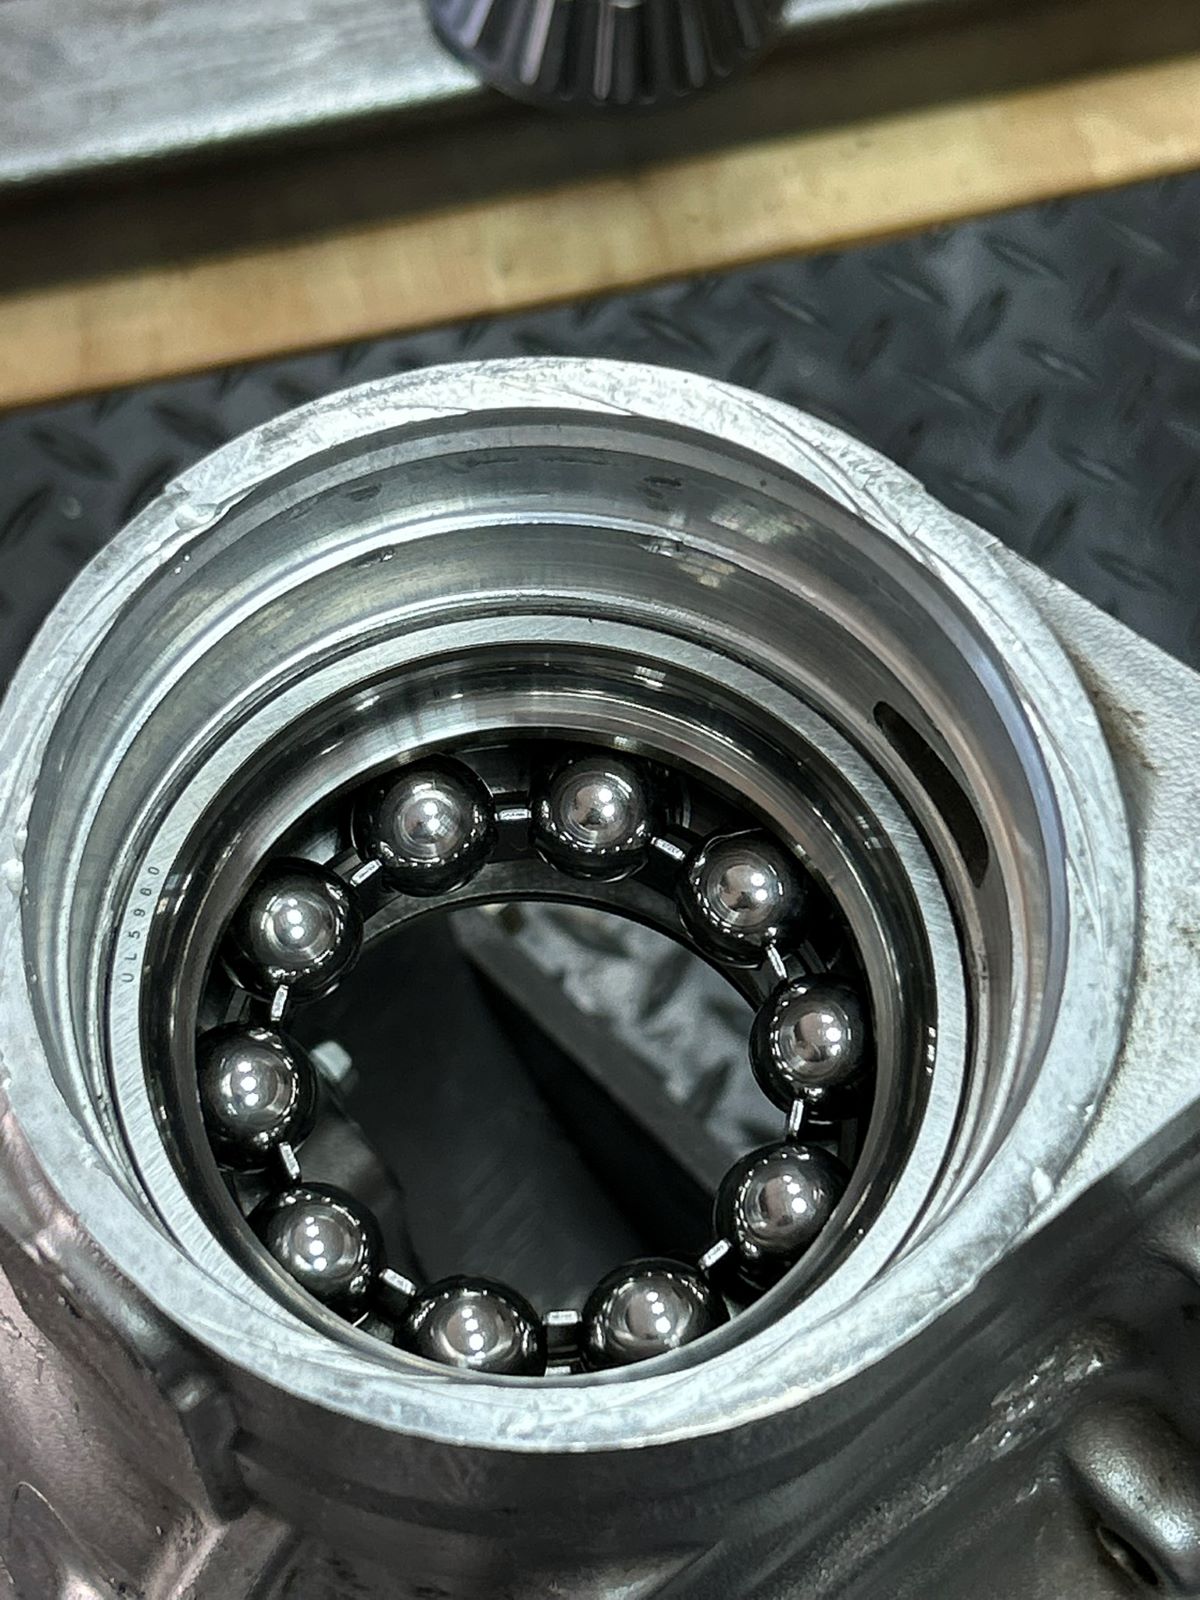
I don't show it but a special tool helps in removing this outer double row angular contact ball bearing. |
|
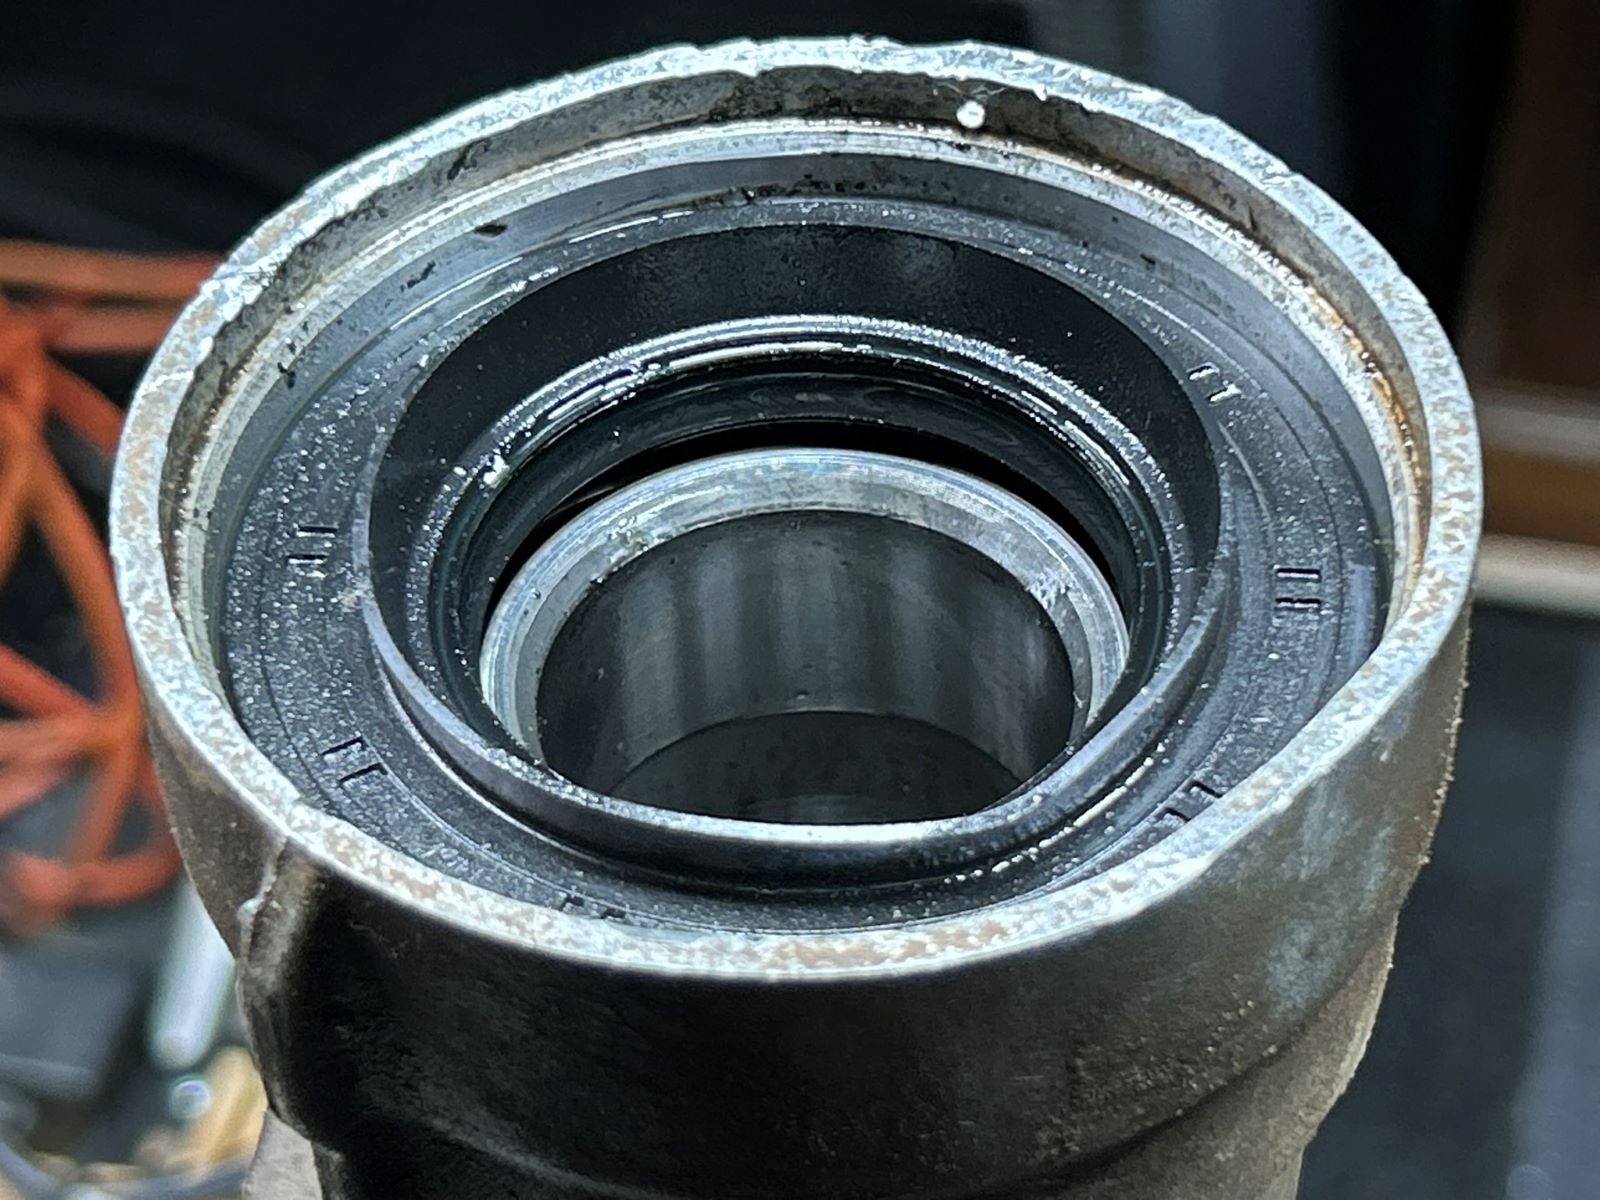
| This is a crazy looking bearing and looks like it is overkill for the application. |
|
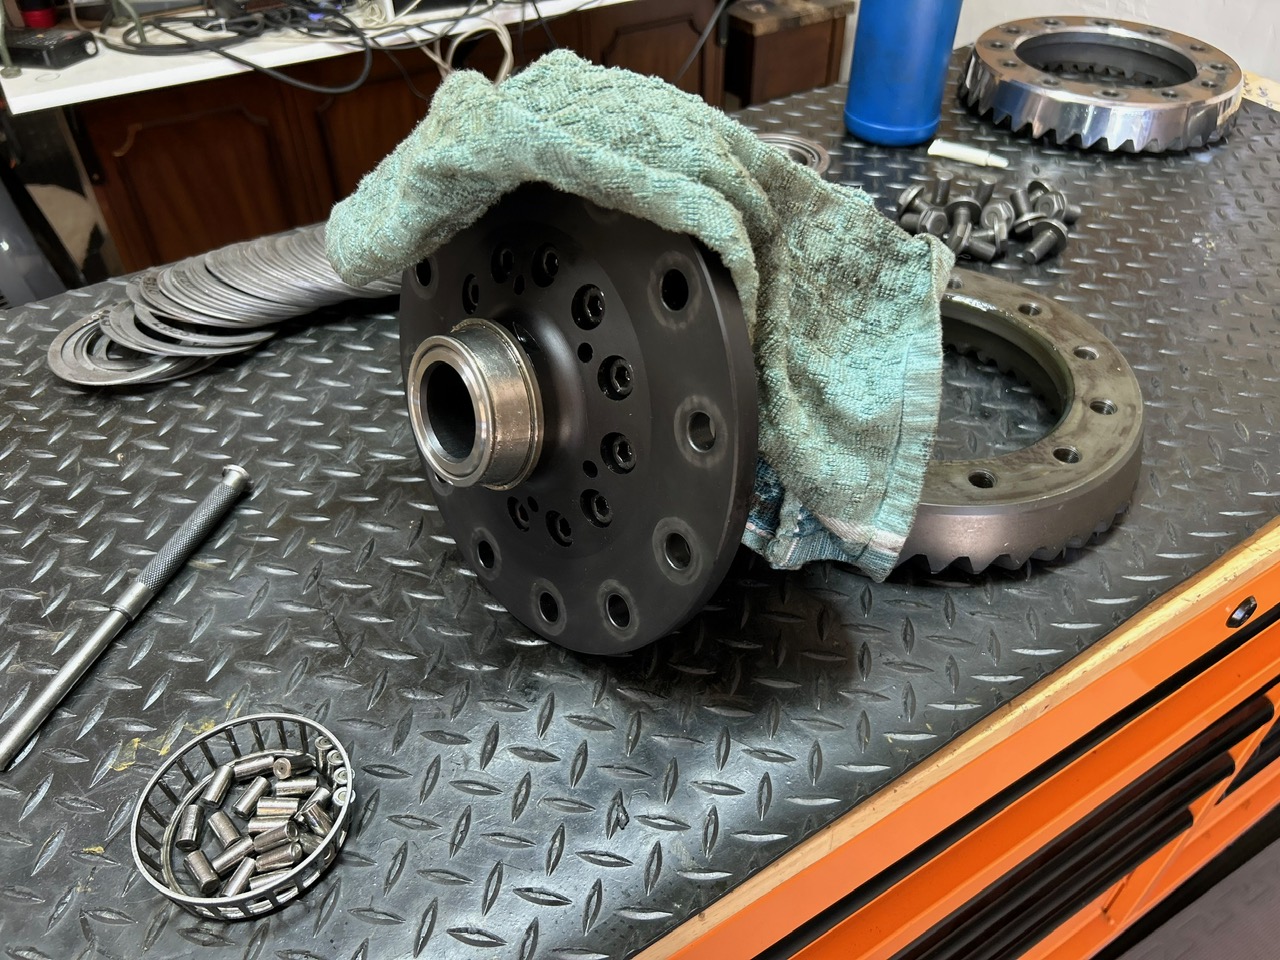
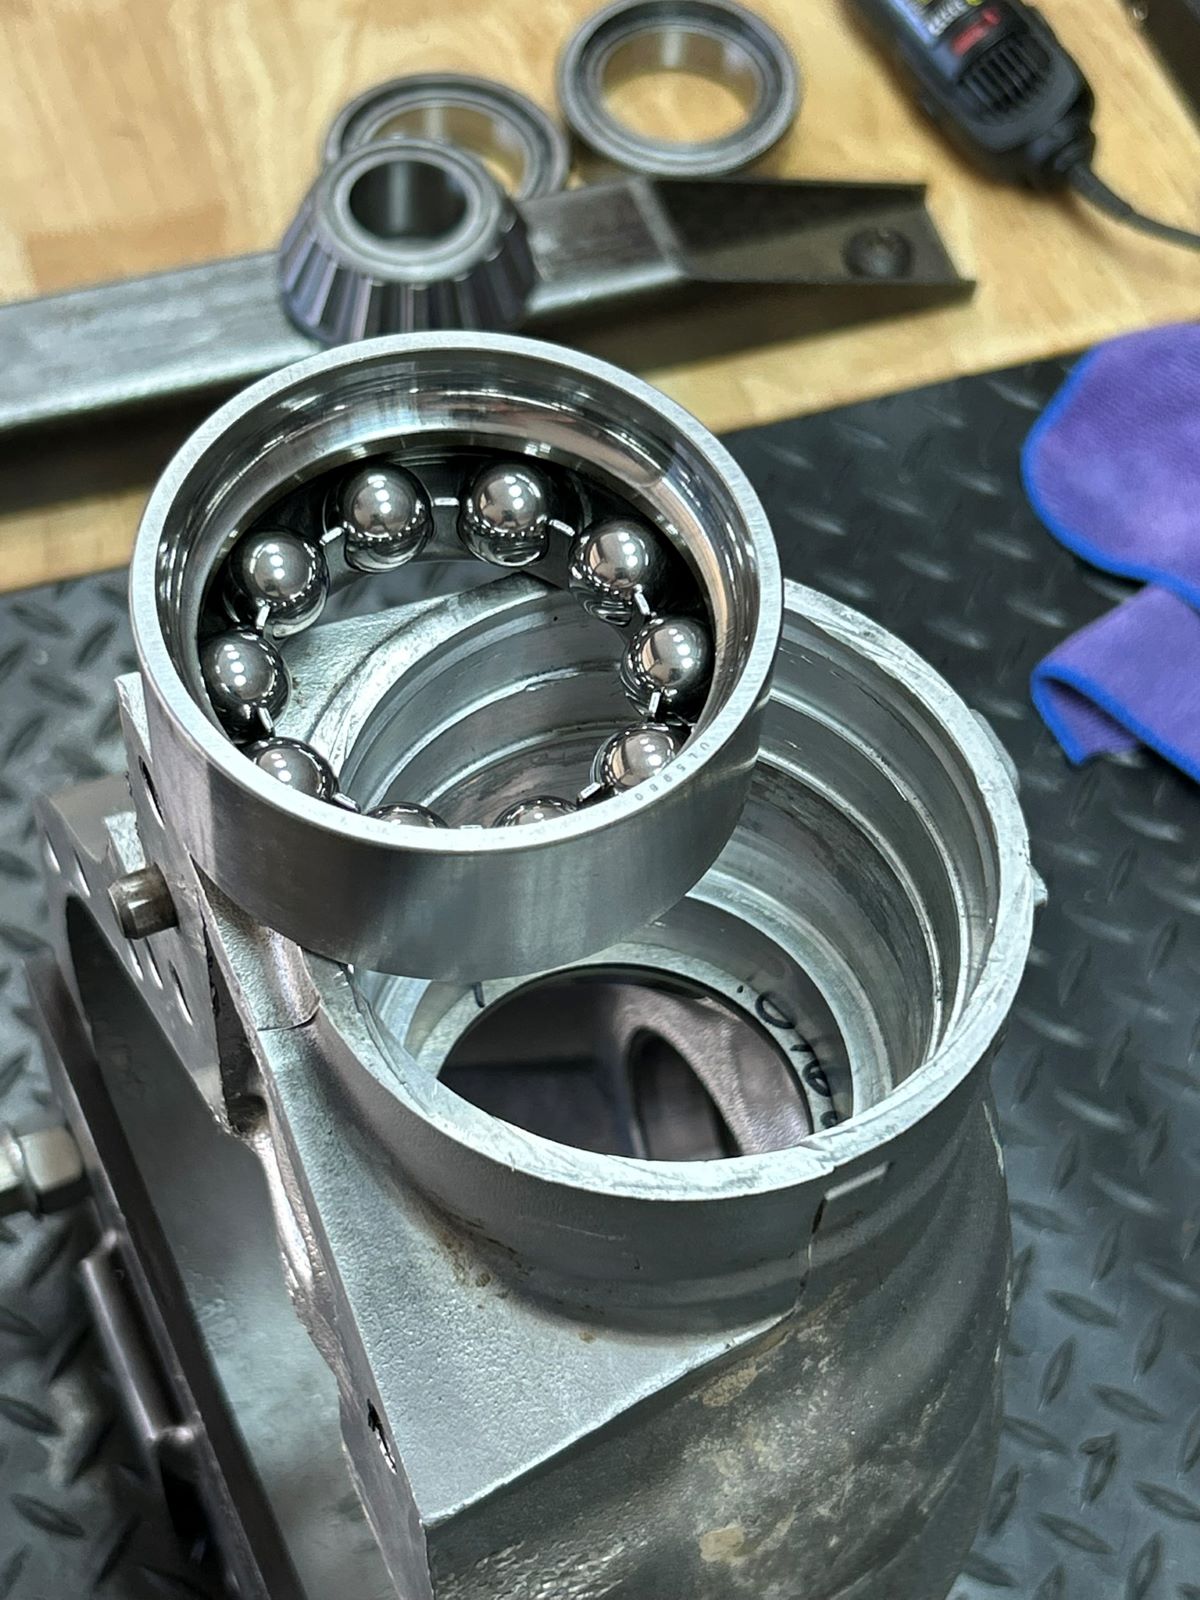
| New one will go in.... |
|
| I elected to press it in....gently. All went well. |
|
| ,,,,,,,,,,,,,,,,,,,,,,,,,,,,,,,,,,,,,,,,,,,,,,,,,,,,, |
|
|
The pinion shim is already mounted behind the race so this bearing gets pressed on with no additional shim. That is one shiney looking pinion ....nice job there, Ayers Gear and Machine :) |
|
|
The pinion bearing pressed on with normal force...the super polishing of the bearing mount surface did not compromise the press fit. That is because Ayers did it right and did not allow too much material to be removed. |
|
| ,,,,,,,,,,,,,,,,,,,,,,,,,,,,,,,,,,,,,,,,,,,,,,,,,,,,,,,,,, |
|
|
Behind one of the carrier bearings they actually had it shimmed fairly close to good numbers... but the other side was so far off that the center carrier was effectively just slopping around. |
|
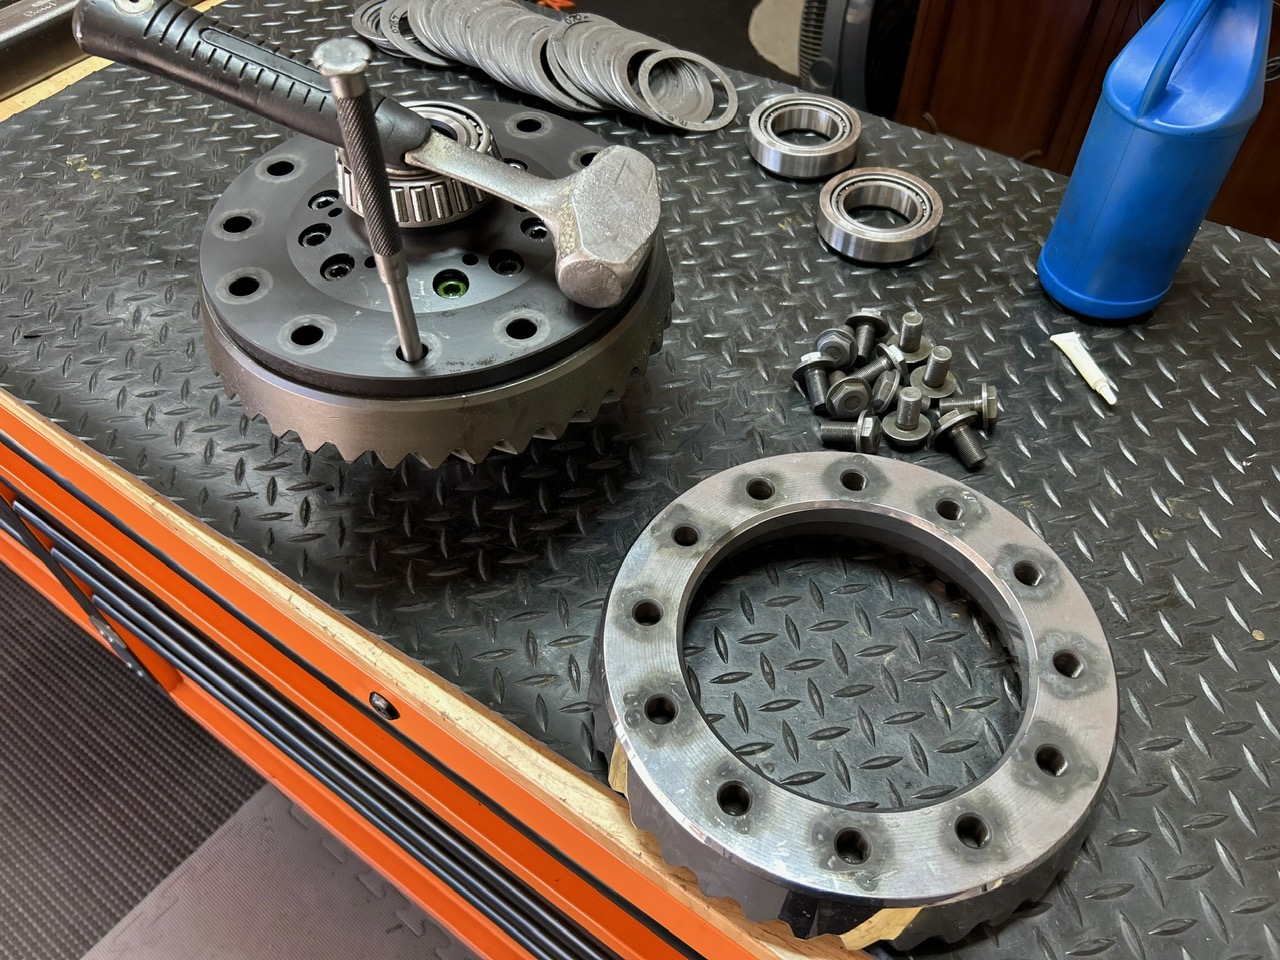
| Remove the Nitro 488 ring..... |
|
| Check surfaces for burrs.... |
|
| ....and put new shiney 529 on with red loctite and 101 ft/lbs. |
|
| Bearing surfaces are in great shape. |
|
|
There was only .020" on this side...normally there's about .080" so you might imagine how much slop was involved. |
|
| Pinion end put together and feeling a nice smooth 15 inch/pounds of resistance. |
|
| Put in fresh new washer plates behind the carrier bearing races which sets the backlash and preload. |
|
| Feels good....I can feel the resistance of the carrier bearing preload. |
|
| The jig for running a paint check..... |
|
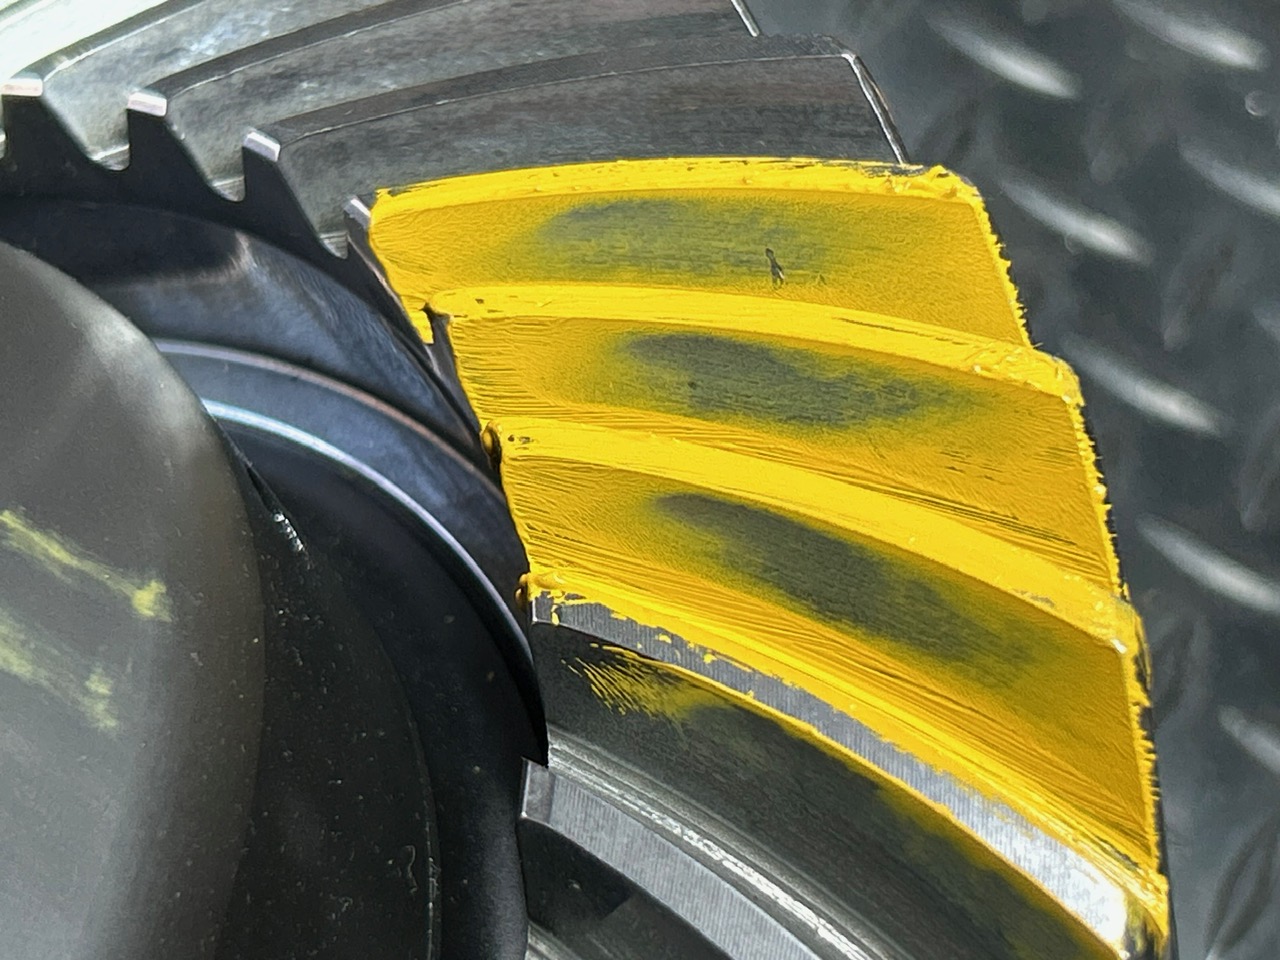
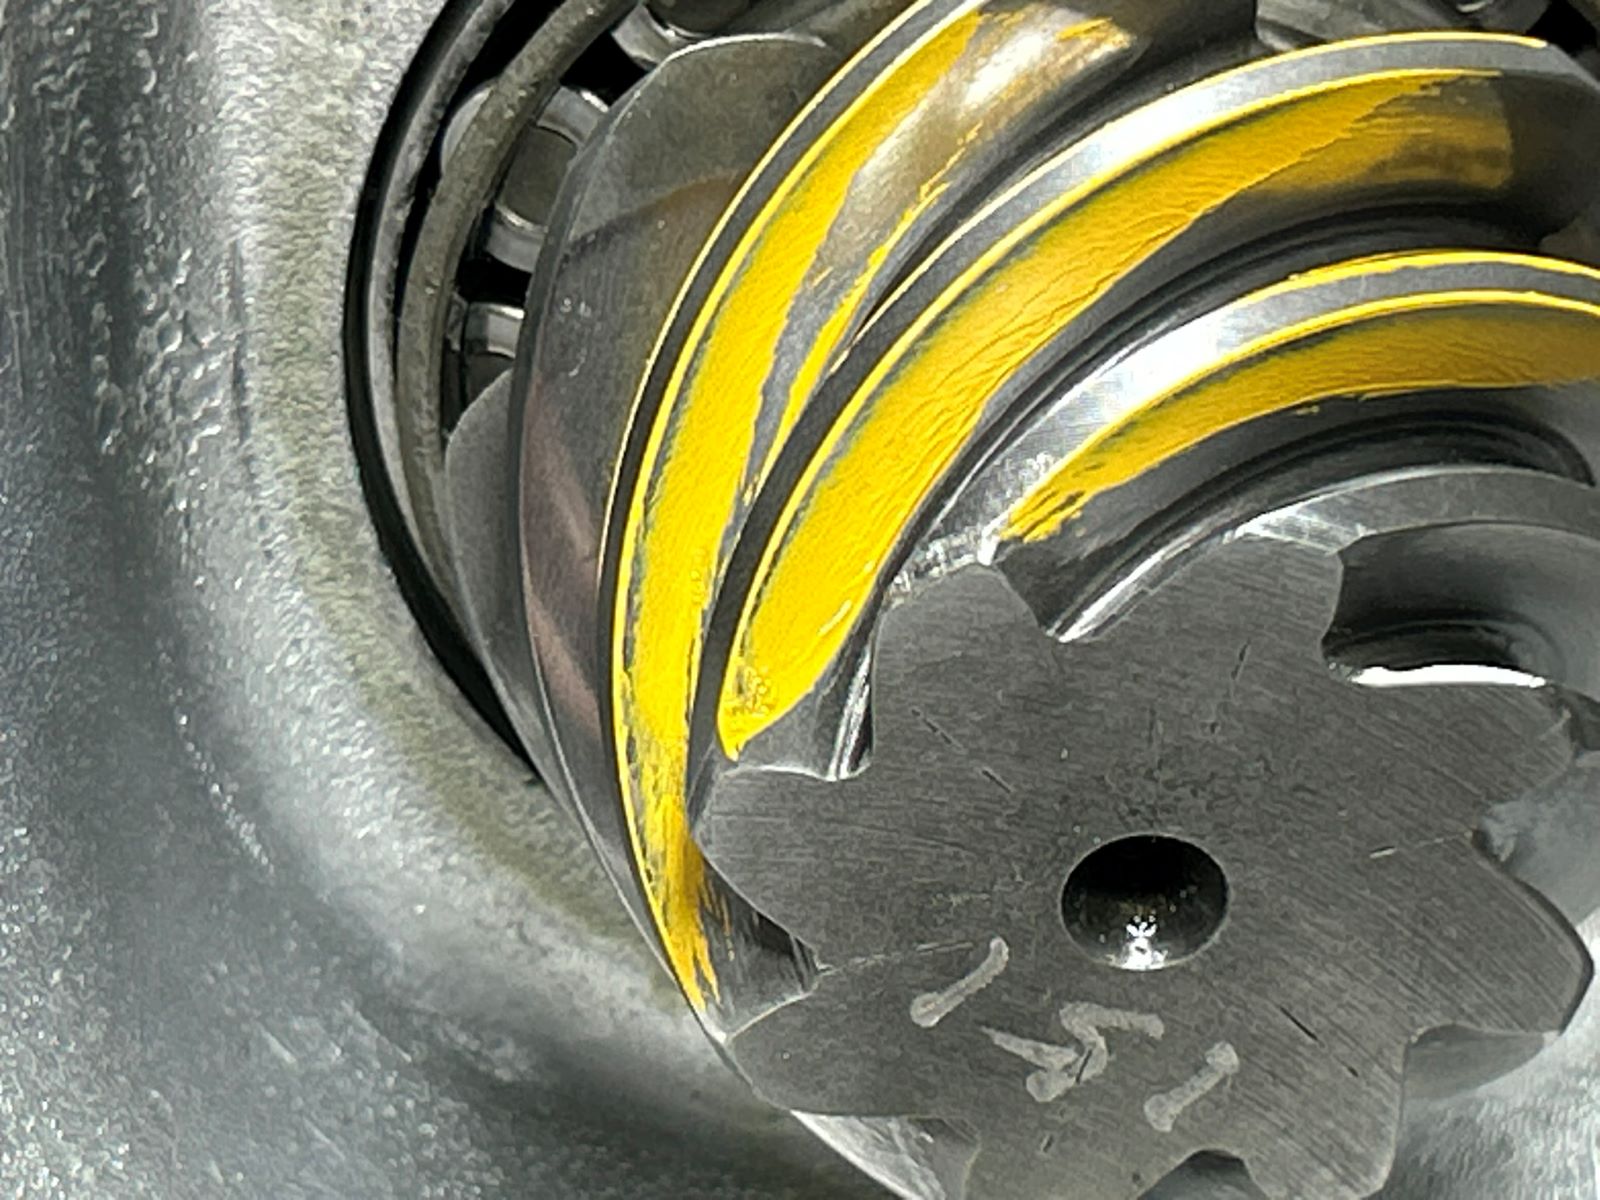
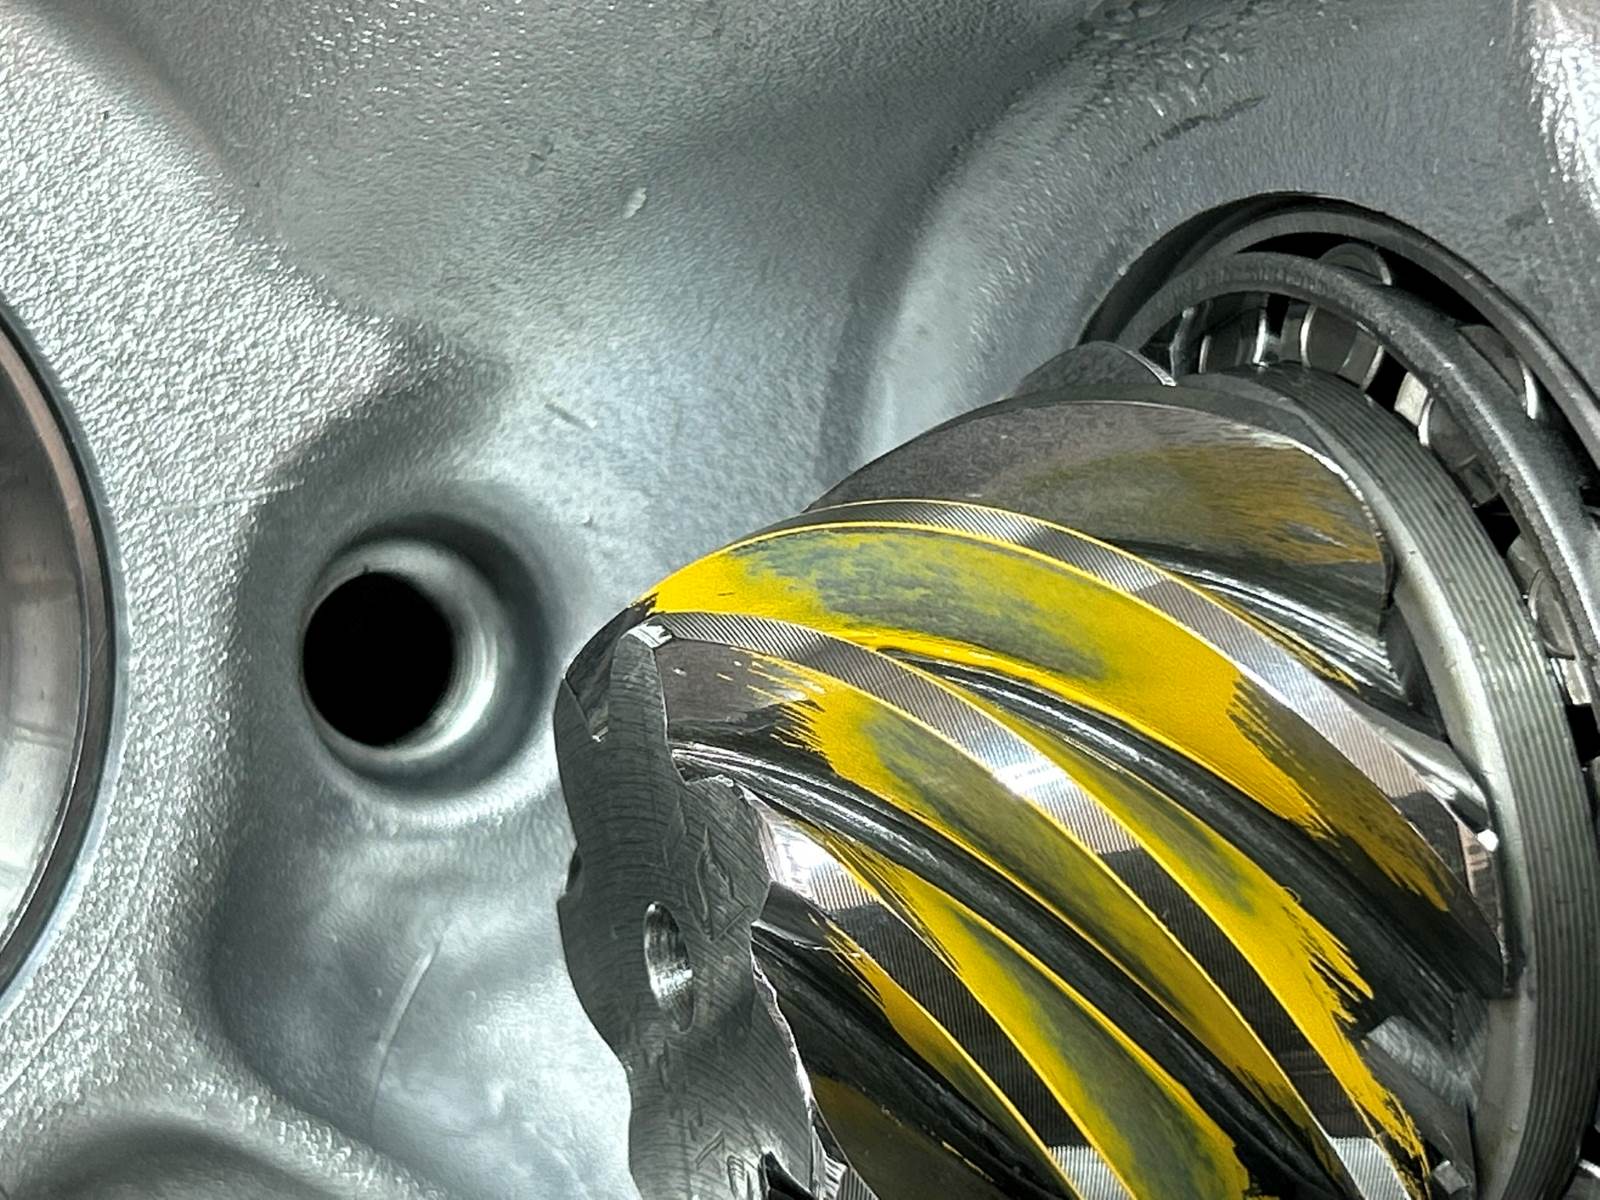
| Bingo! Got lucky again. Driveside is perfect. |
|
| Coast is very nice. |
|
| Pinion teeth all look nice. |
|
| ,,,,,,,,,,,,,,,,,,,,,,,,,,,,,,,, |
|
| ,,,,,,,,,,,,,,,,,,,,,,,,,,,,,,,,,,,,,, |
|
| It's now 99% done. Now to just put the new carrier bearings in and a few other things and Fergie can pick them up. |
|
| New carrier bearings go on..... |
|
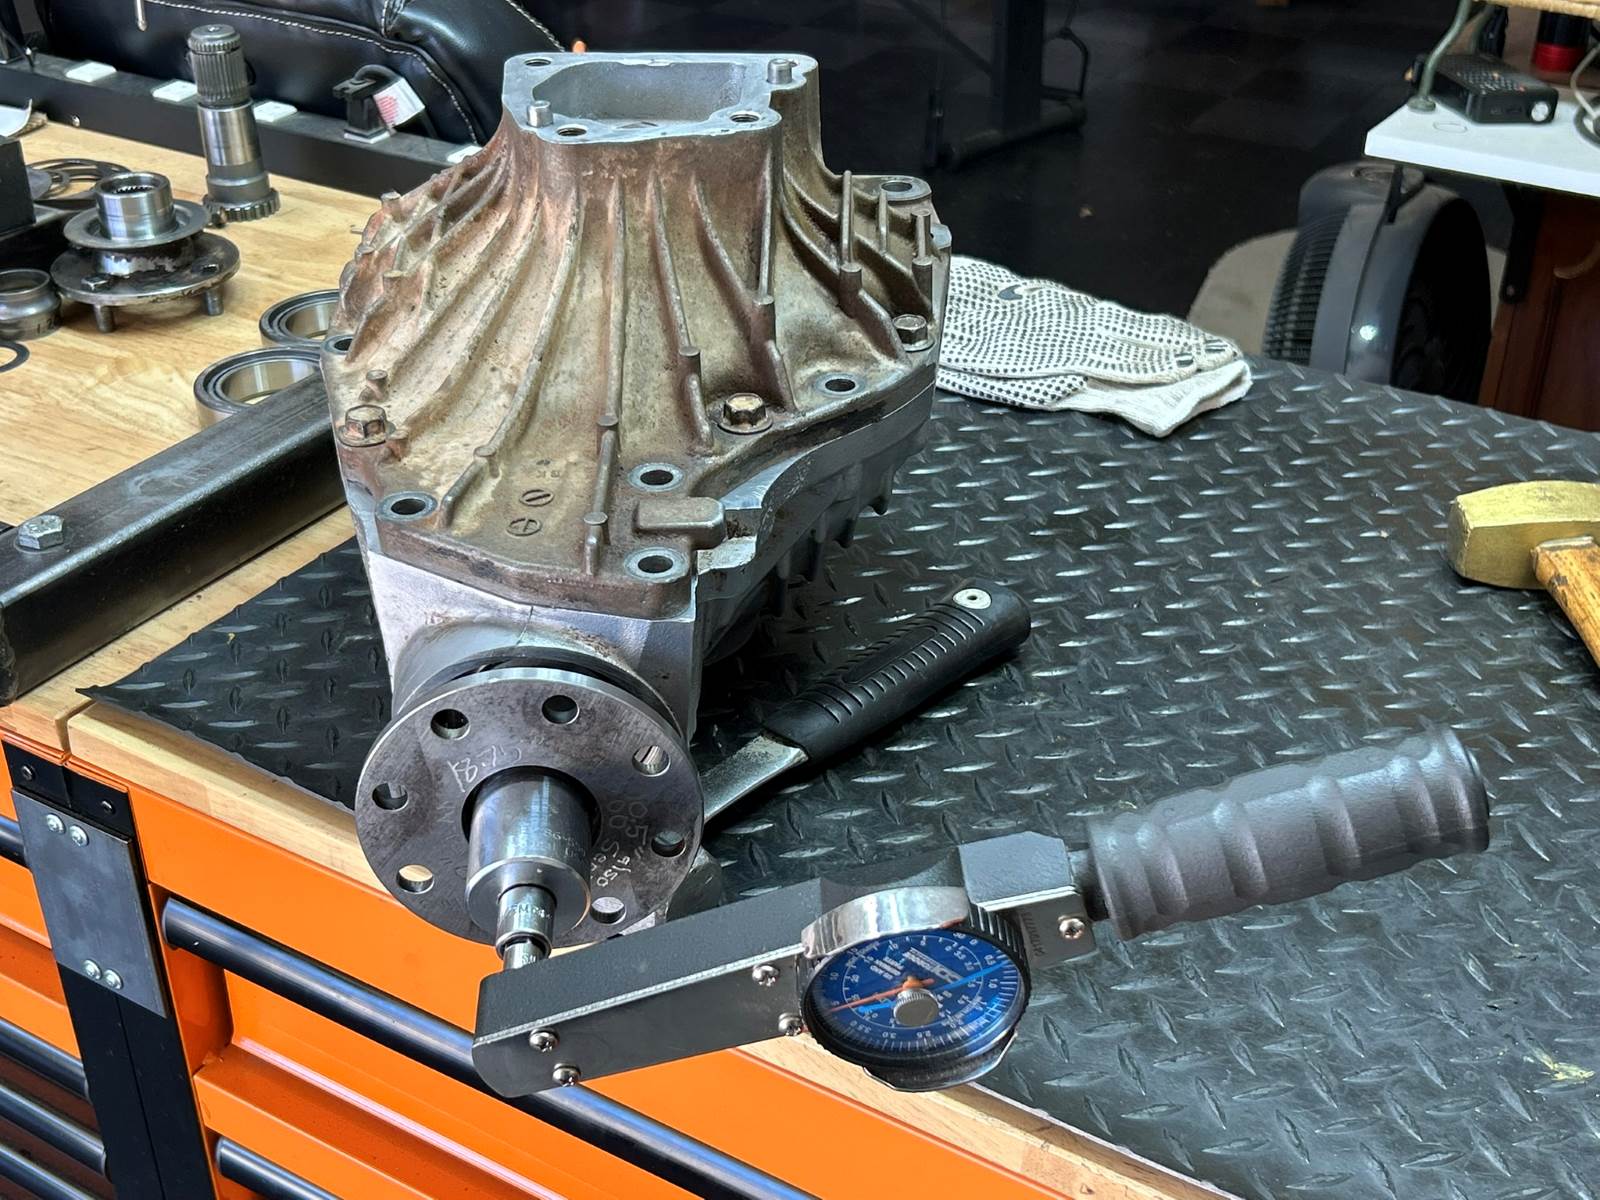
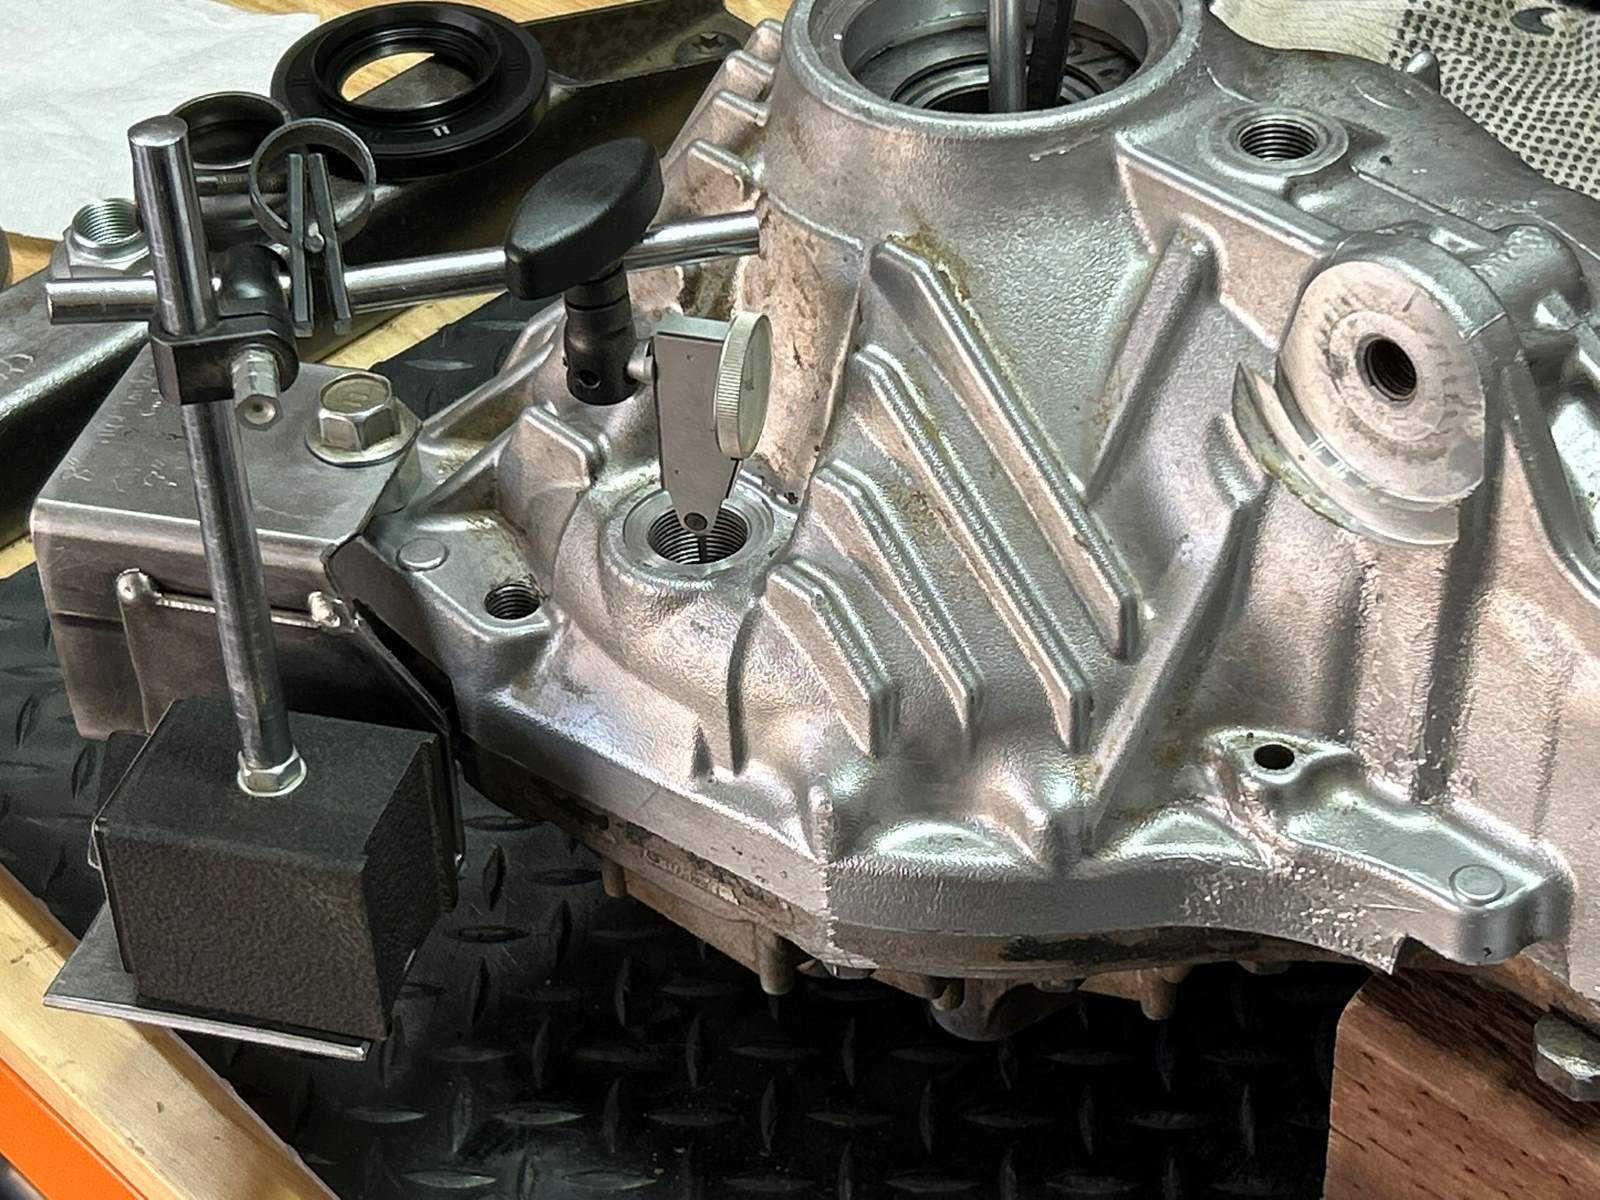
| Getting ready to do a final backlash check.... |
|
| Now checking backlash...every 3rd tooth. |
|
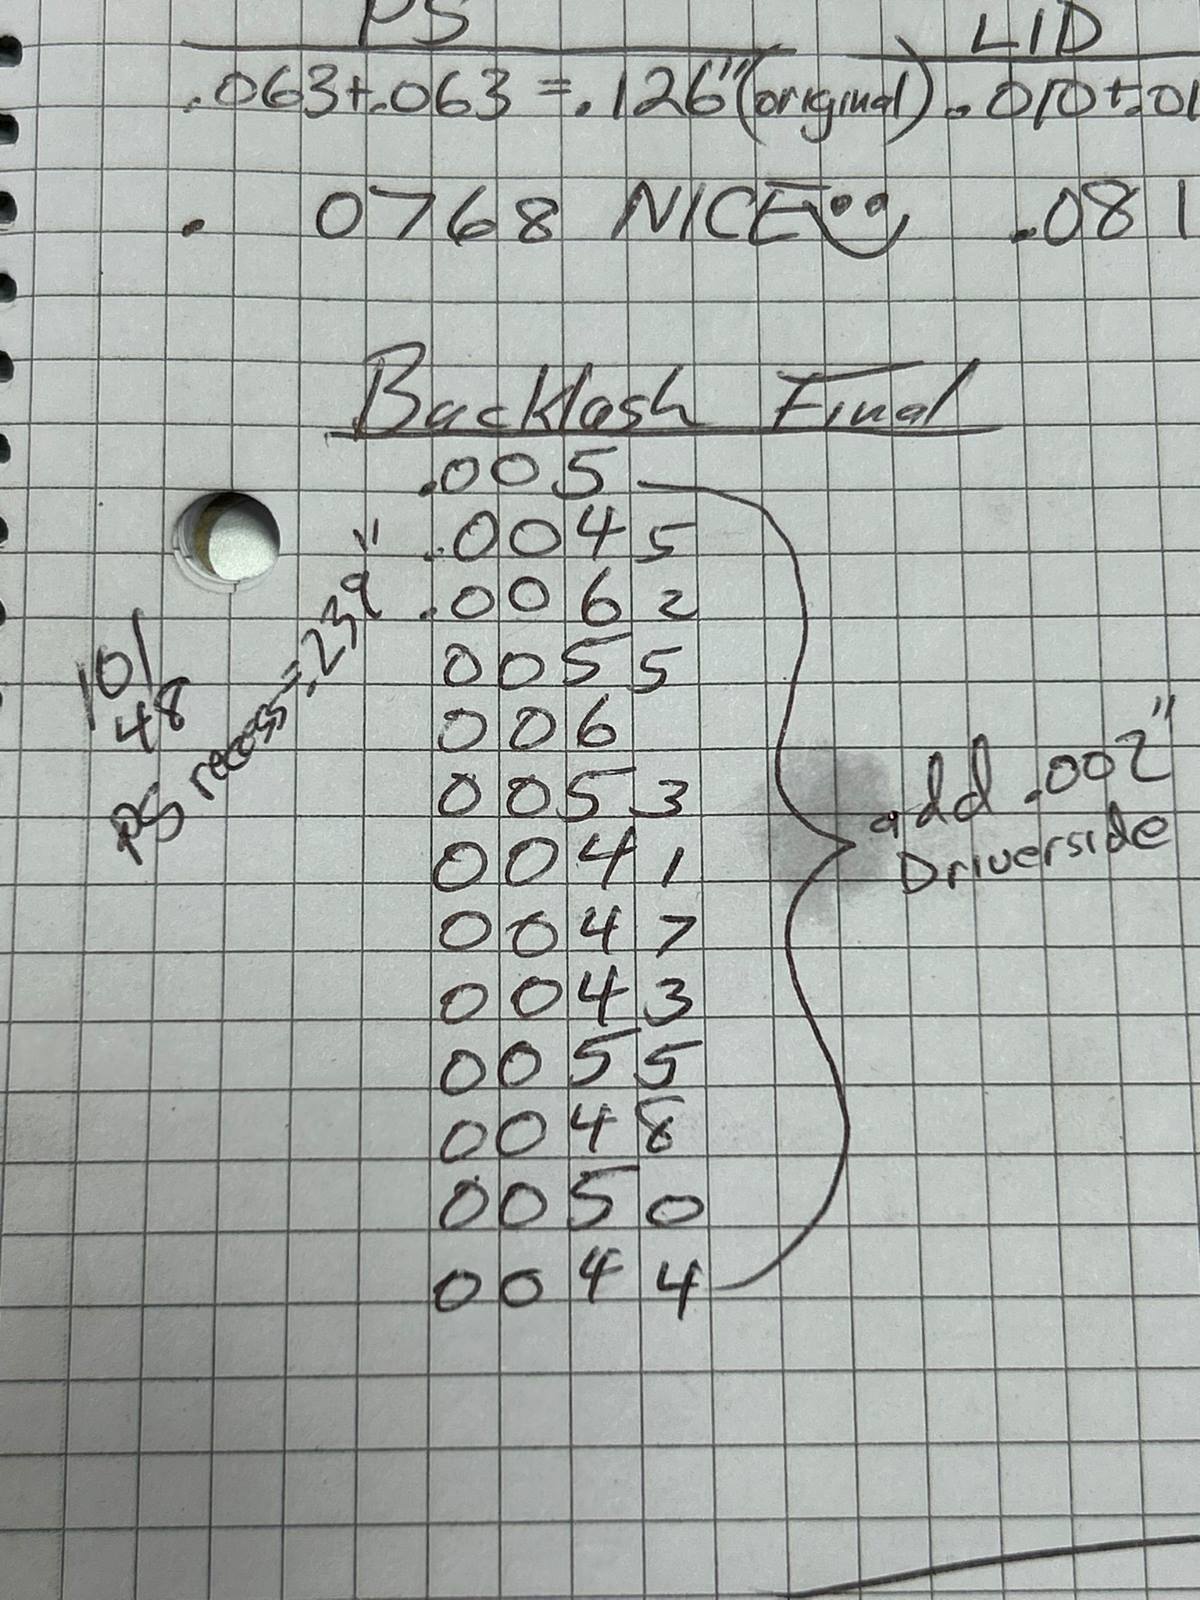
|
These are the numbers I recorded. The backlash is just a tad tight so will add .002" to the bowl (driverside). |
|
| This washer plate is .0024" (2.4 thou) thicker now. |
|
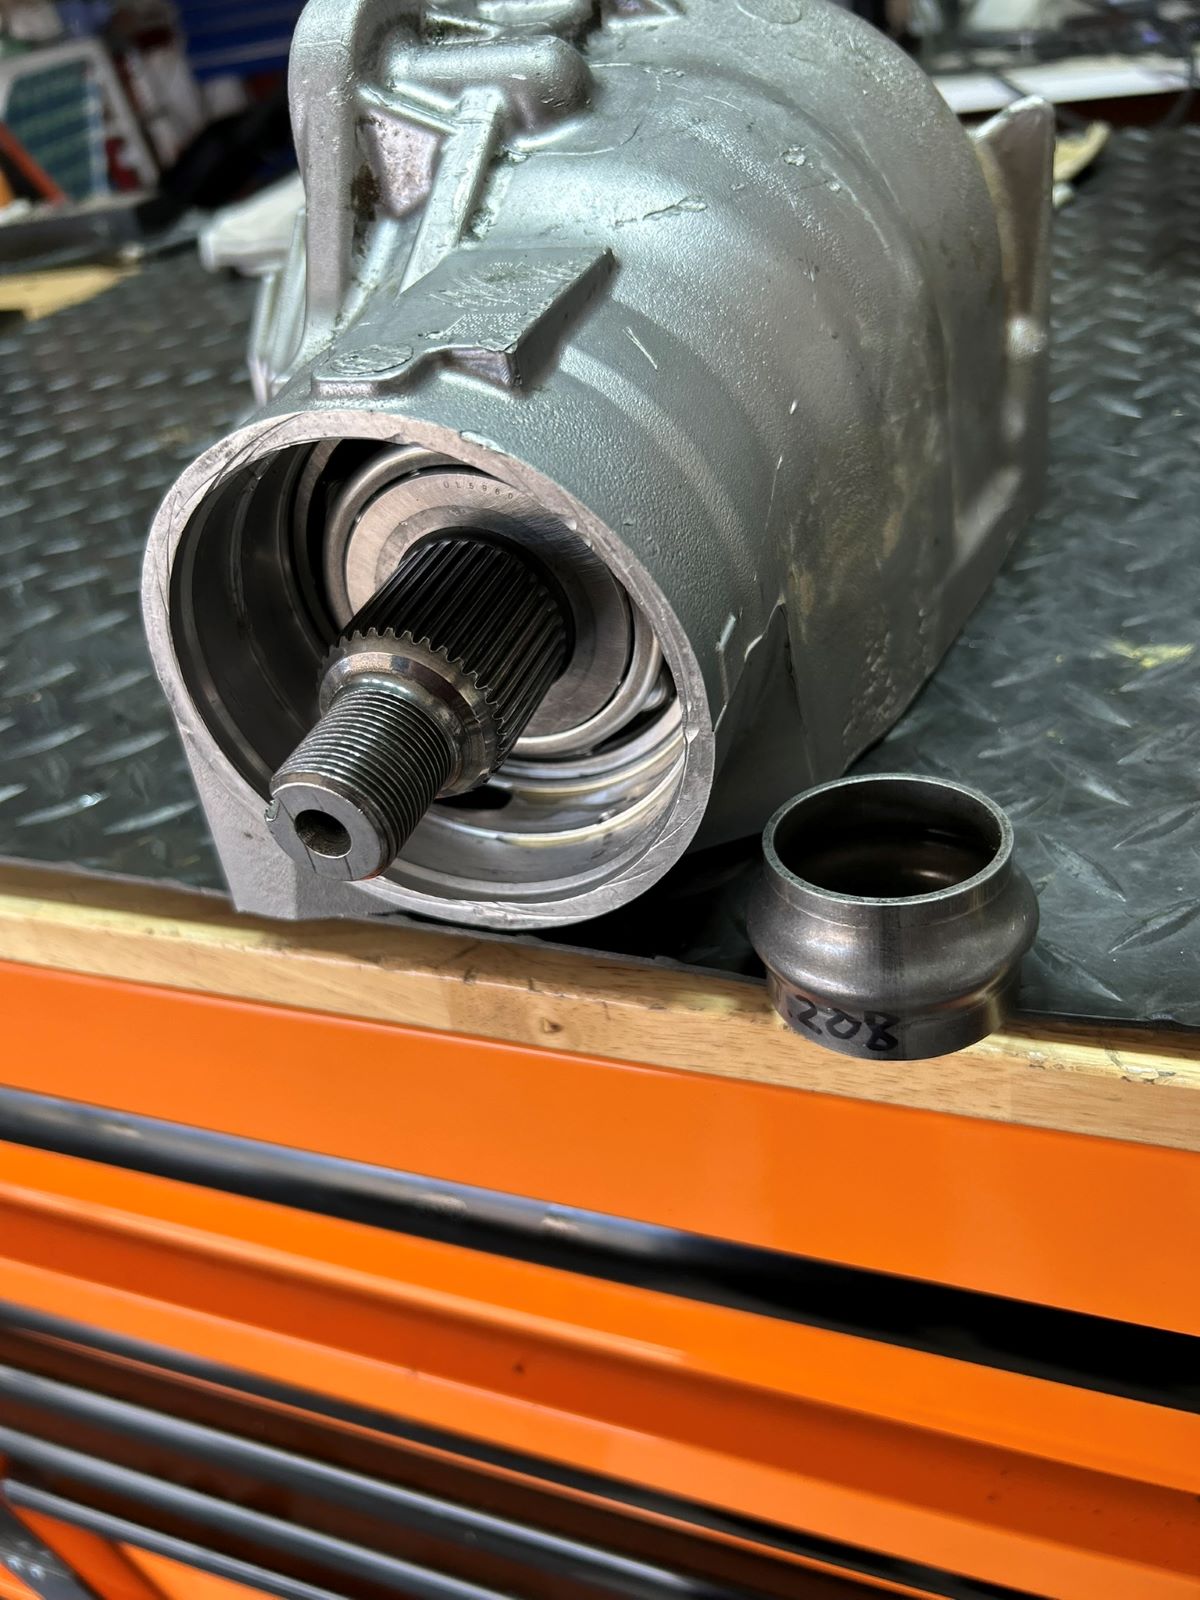
| And now I can push the pinion out and add the new crush sleeve. |
|
| Keyword "push"....no hammering...just a little bit of 'press'...... crush sleeve is now in place... |
|
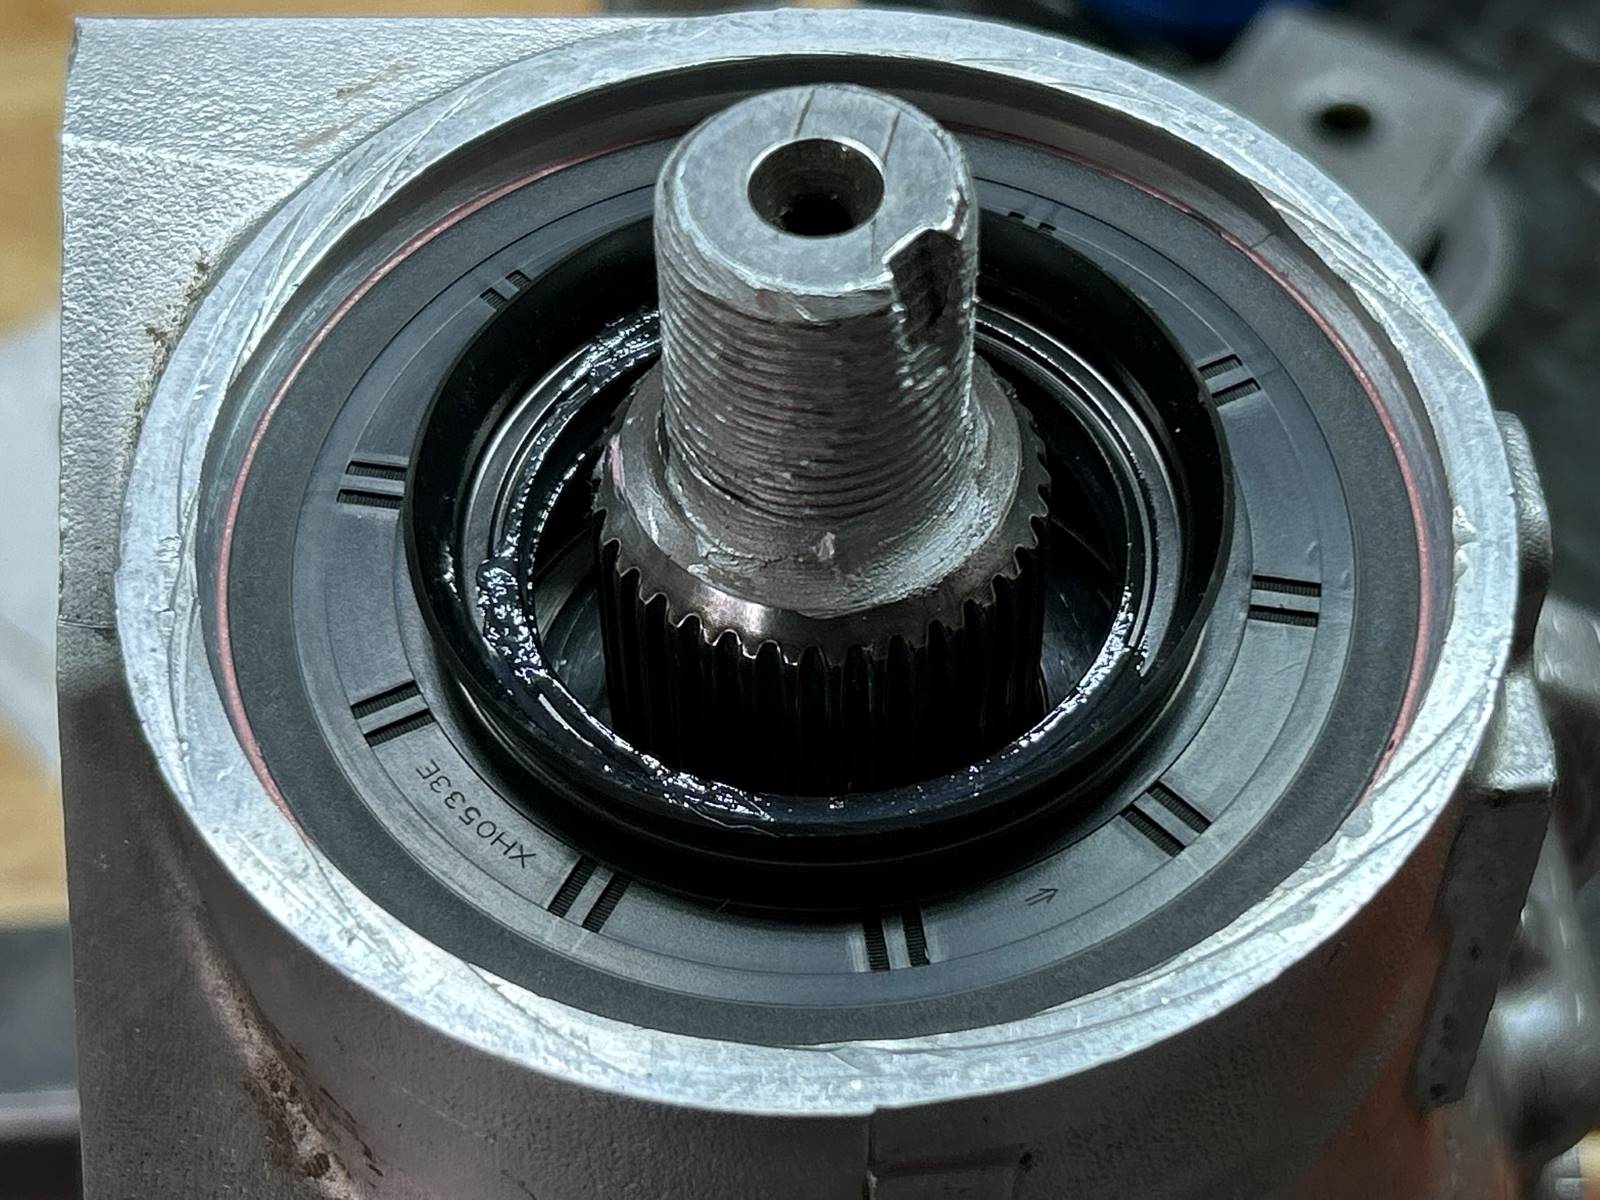
| The new seal is tapped down with washer plates that are the just right dimensions. |
|
|
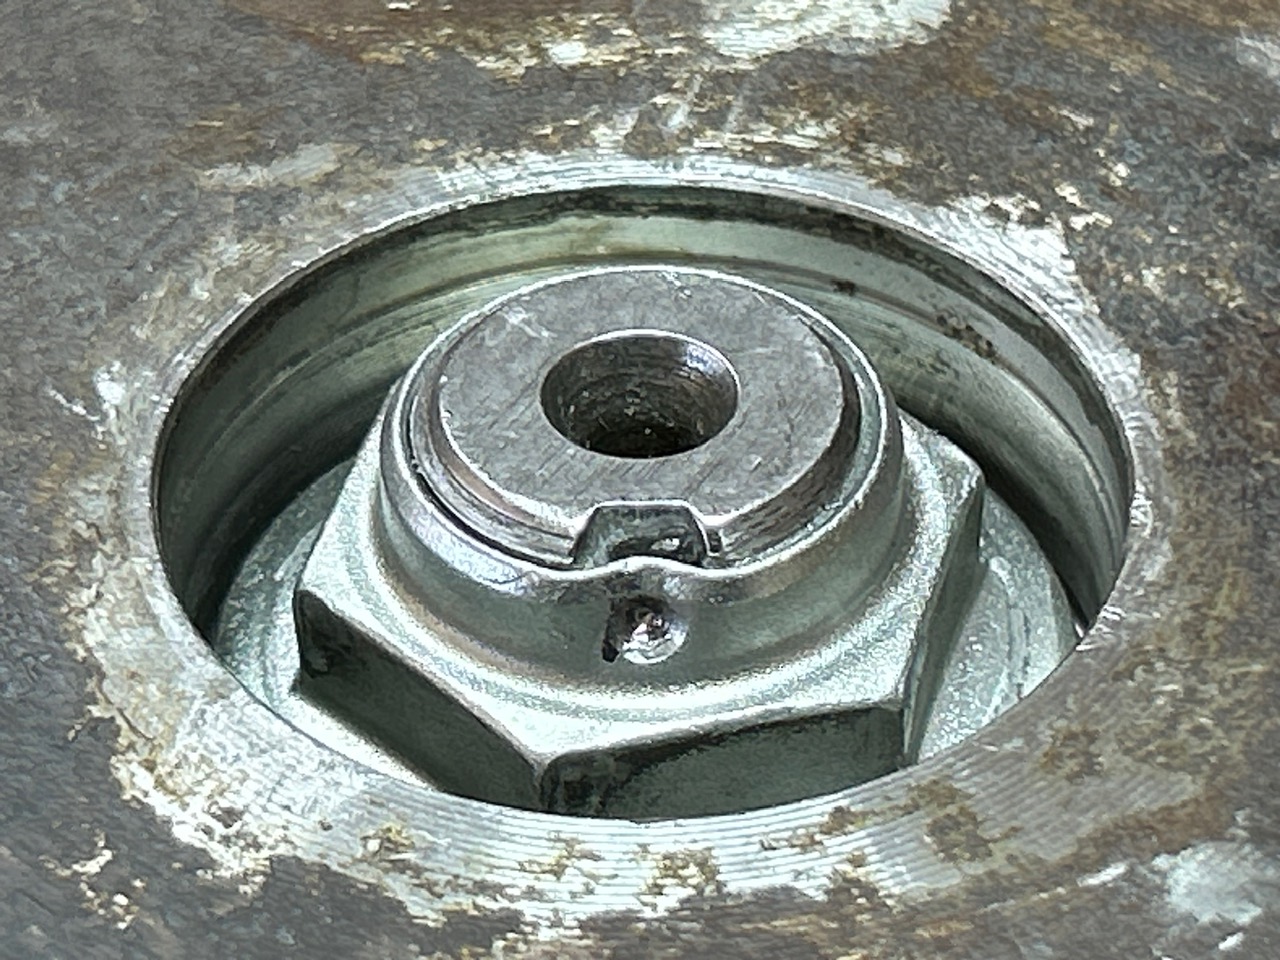
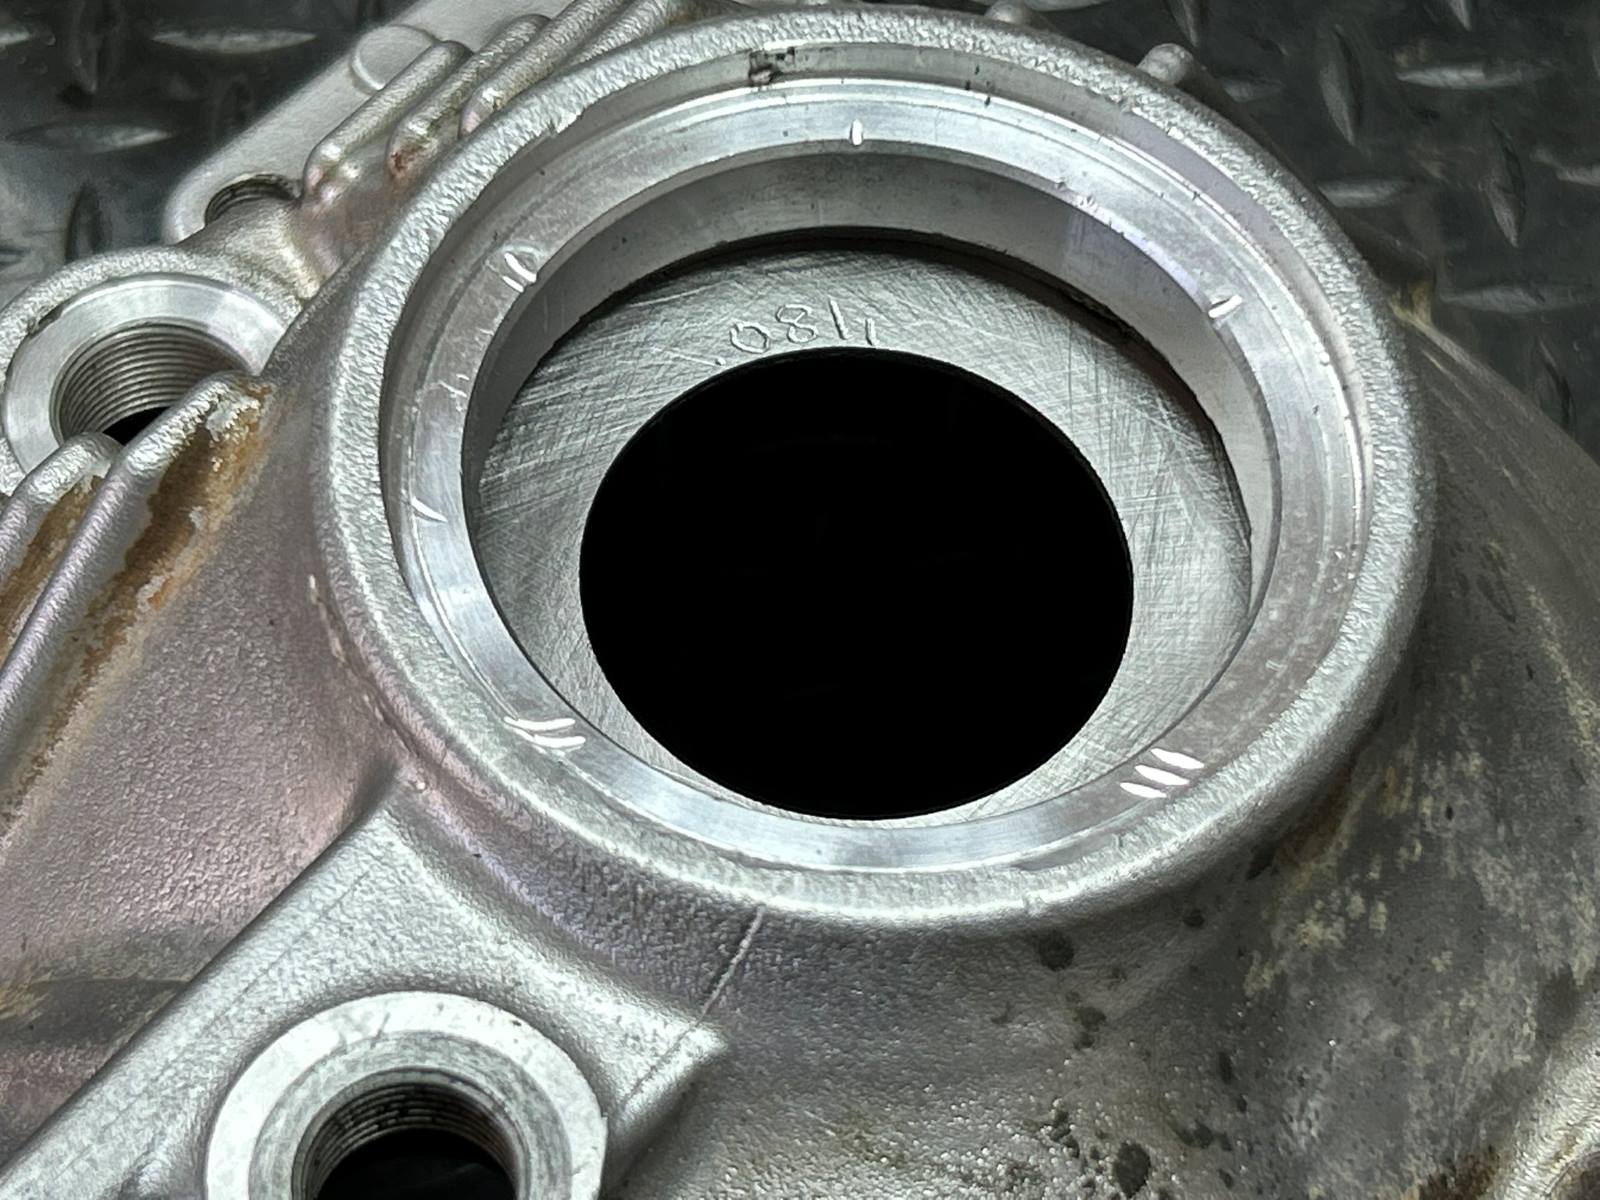
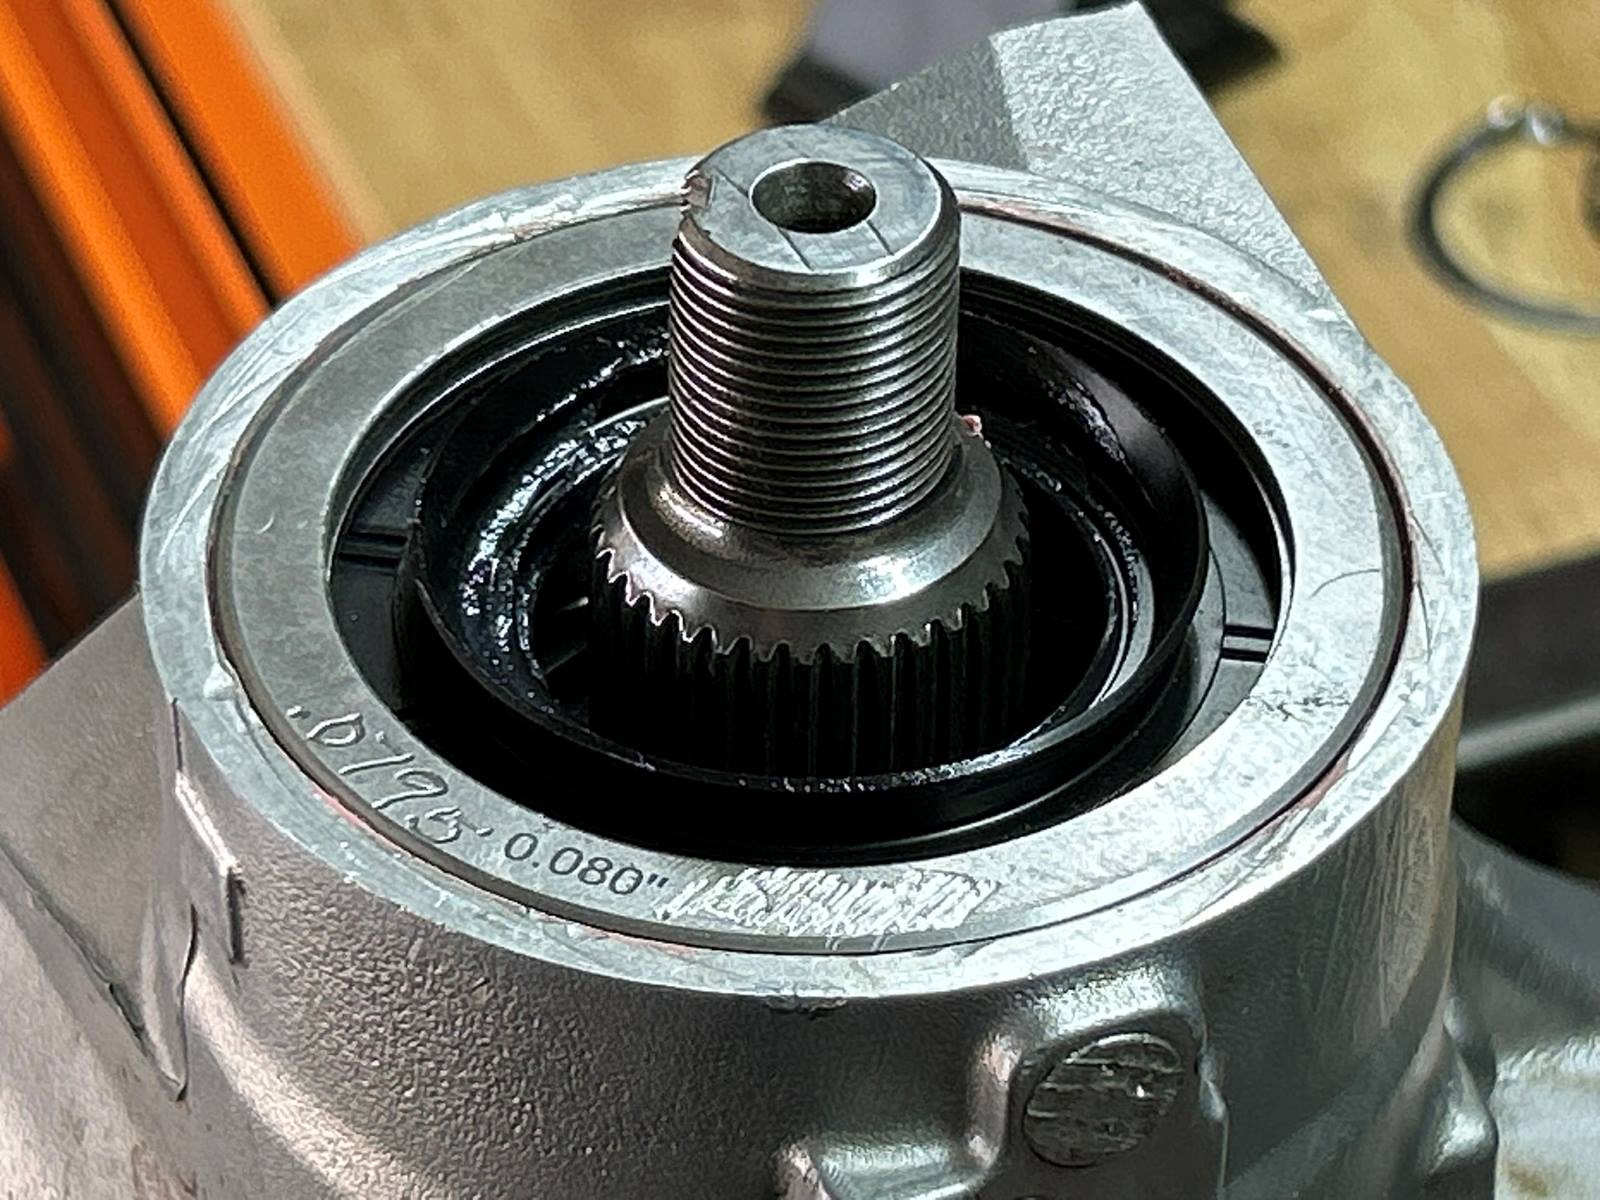
Bingo .239" recessed Hard to see but the threads have aluminum based anti-seize on them.... |
|
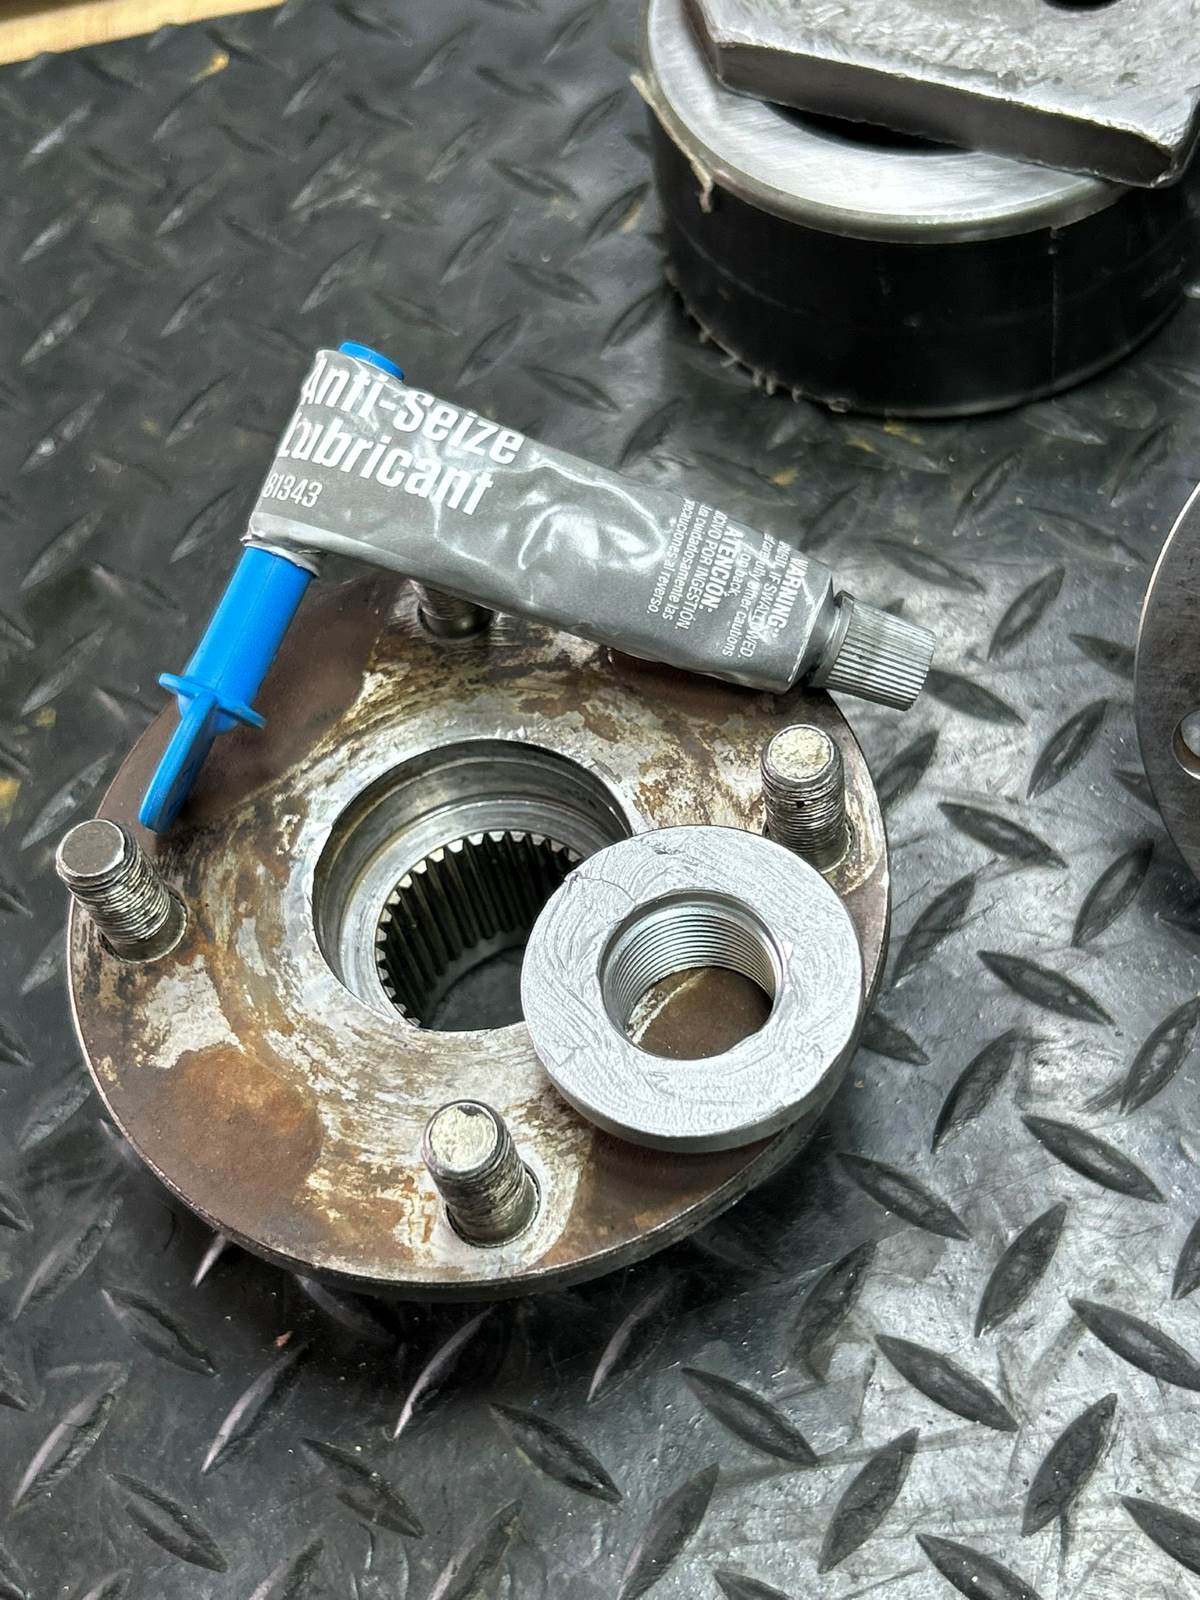
|
And anti-seize is now applied to the underside of the pinion nut. Friction and resistance have now been minimized ..... |
|
|
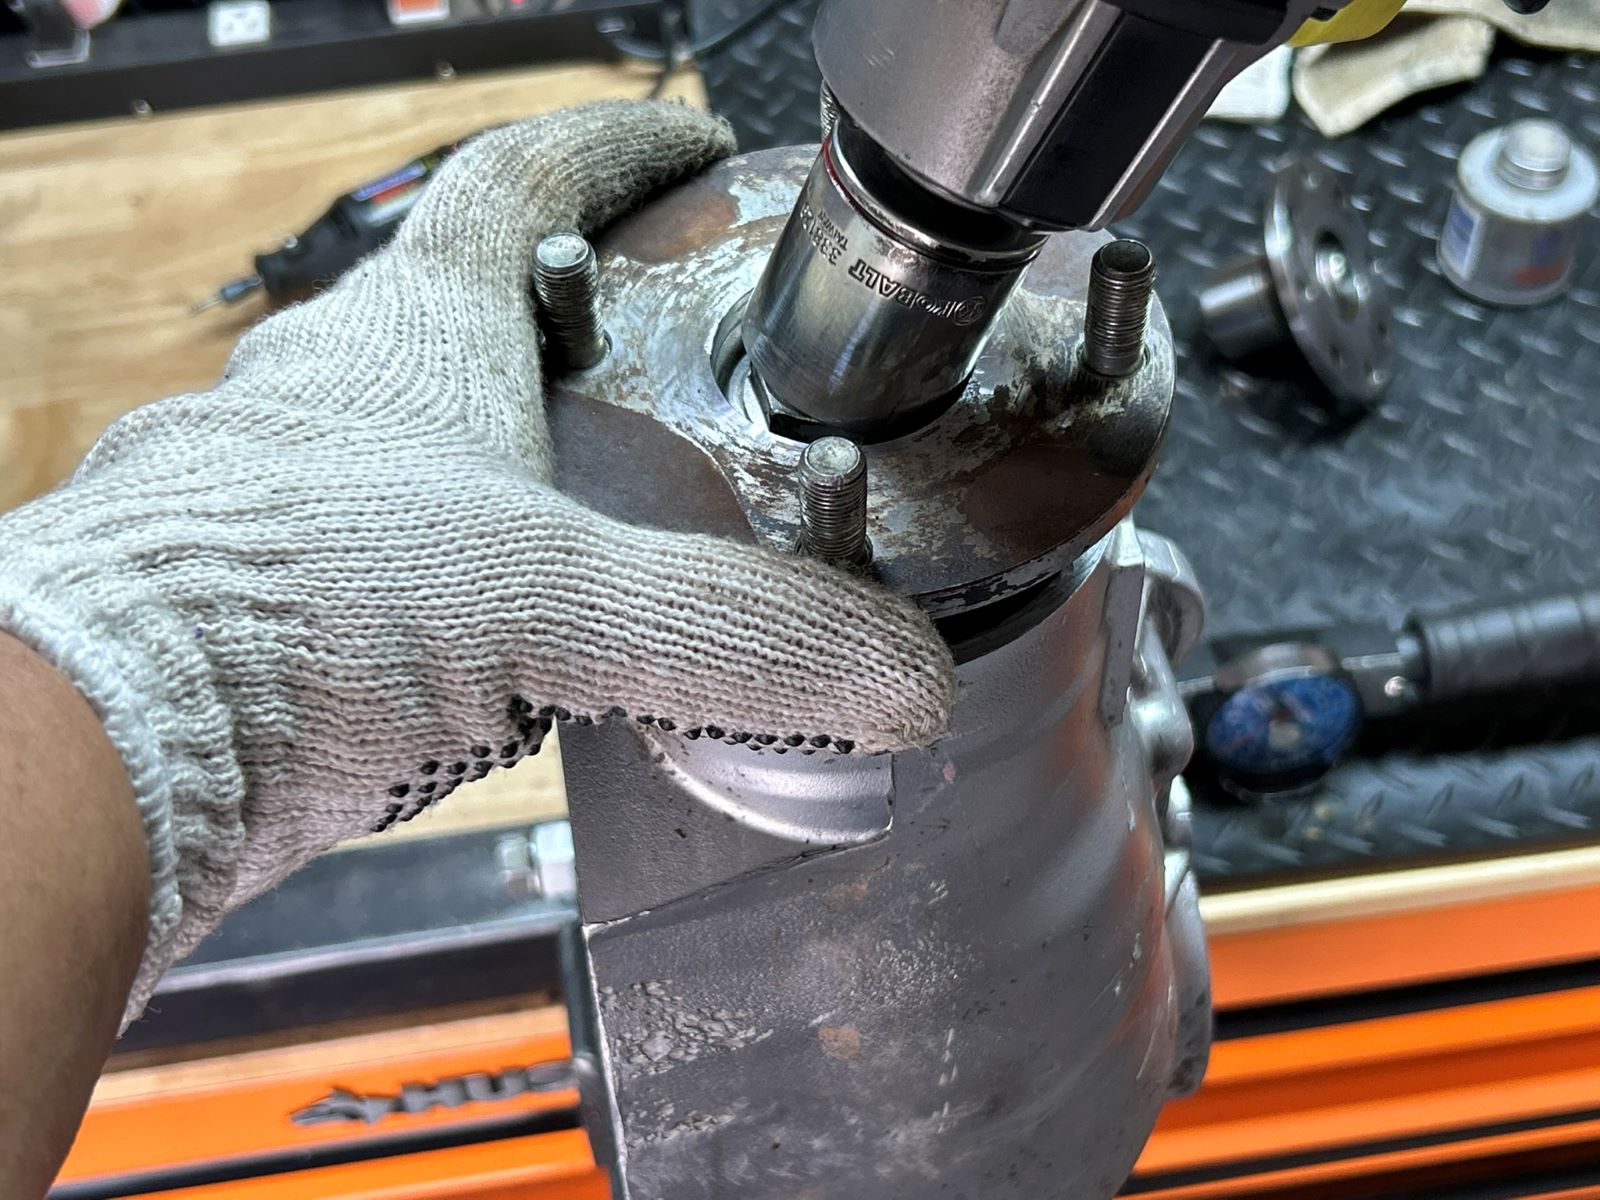
....and it's now possible to just hold the flange with the left hand and crush the crush sleeve with the cordless impact wrench. It's just a trick of the trade but I see so few doing it on Youtube. Anti-seize on threads and on the bottom of nut and Bob's your Uncle.. |
|
|
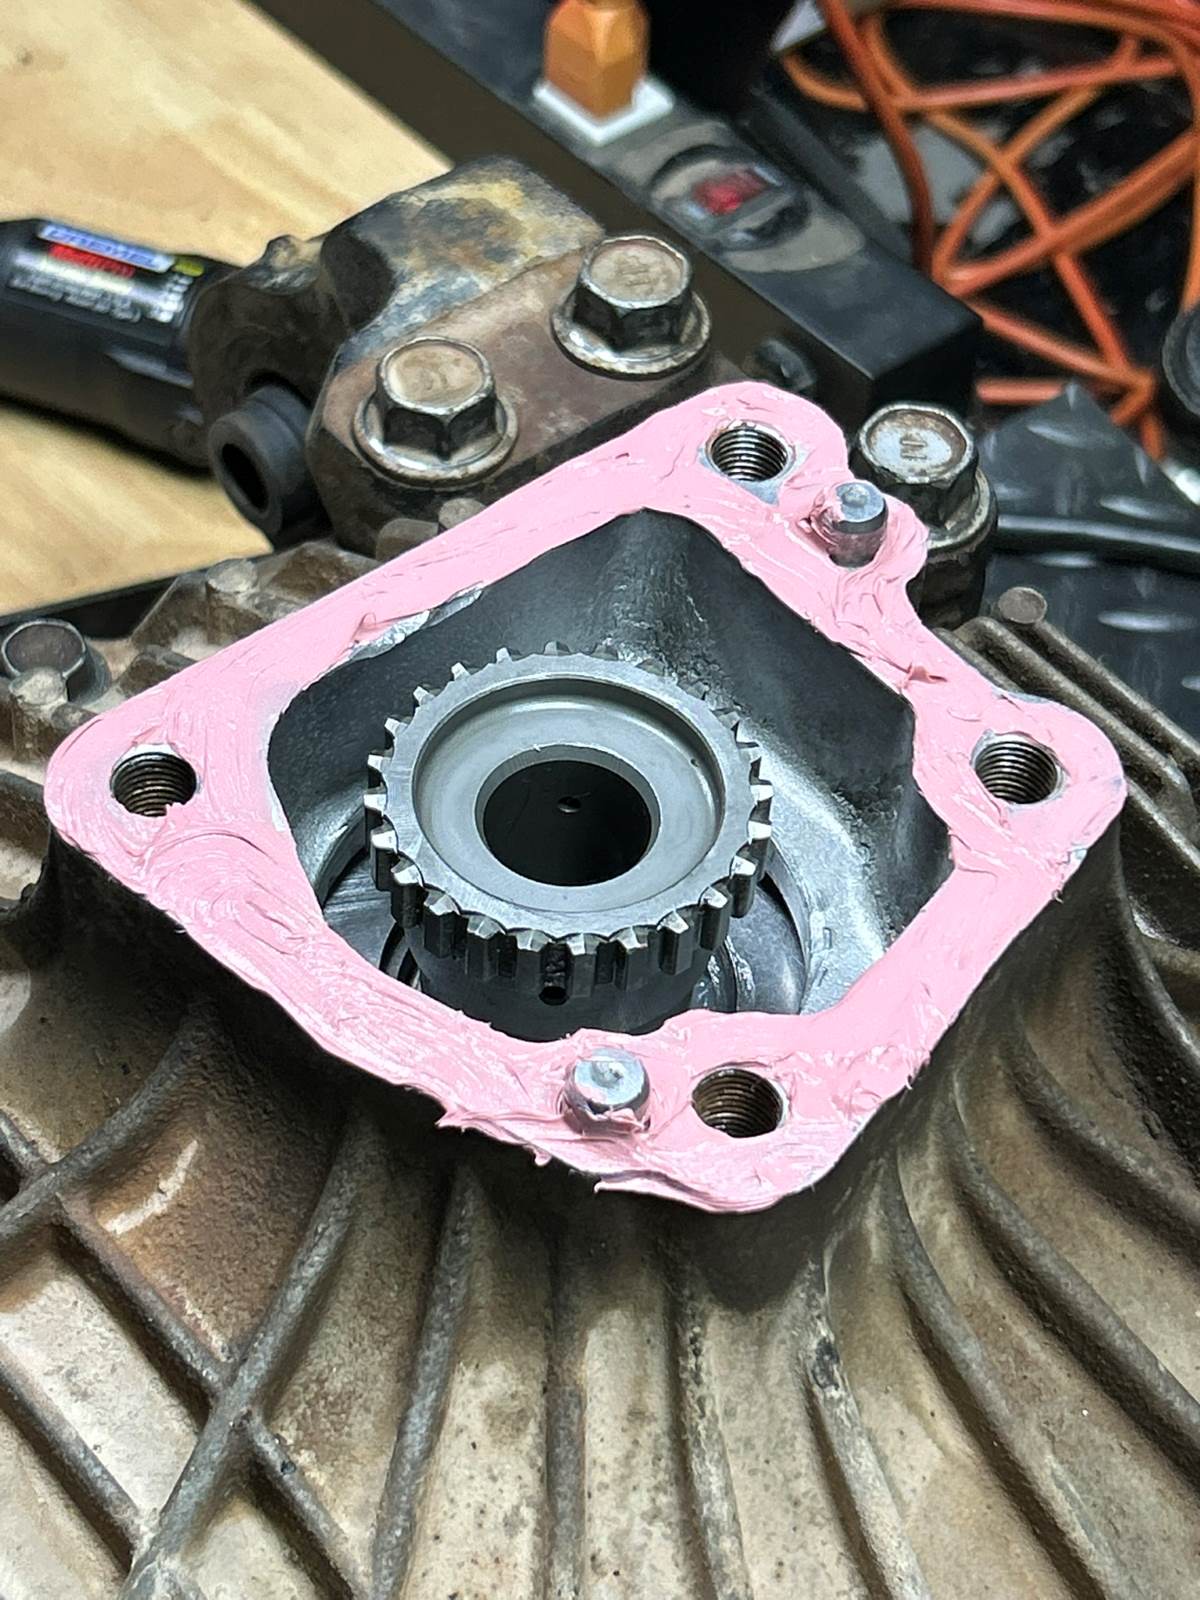
Ahh yes.....The FIPG that has been improved # 1281E....the pink stuff. It spreads so much better. |
|
| 48 ft/lb on the smaller 11 bolts....114 ft/lb on the big 3. Blue loctite of course. |
|
| Tap the stub shaft in..... |
|
| 1281E |
|
| The FSM specifies 48 ft/lb on the 4 big bolts so that and blue loctite sends it home. |
|
| This passengerside cv axle seal was pounded in way too far. |
|
| I'll use the seal on the right for the passengerside.....seal on the left goes to driverside. |
|
| This passengerside seal is recessed down .239" |
|
| The driverside is tapped in flush. |
|
|
Notes of the front clam 529 install. Text update from Fergie 5-31-25 "Got her on the road this AM!!!! Holy cow this truck is quiet now. I honestly think the gears were boogered from the very get go, and I just assumed that was normal. Ken, I cannot thank you enough for doing the rebuilds........ If the diffs had failed w my wife and kids in the truck, who knows......" |
|
|