| John's 2005 Tacoma Prerunner gets a Harrop Elocker and Nitro 488 gears |
|---|
| (48 BIG pics loading) |
|---|
| Jan 16 2018 |
|---|
|
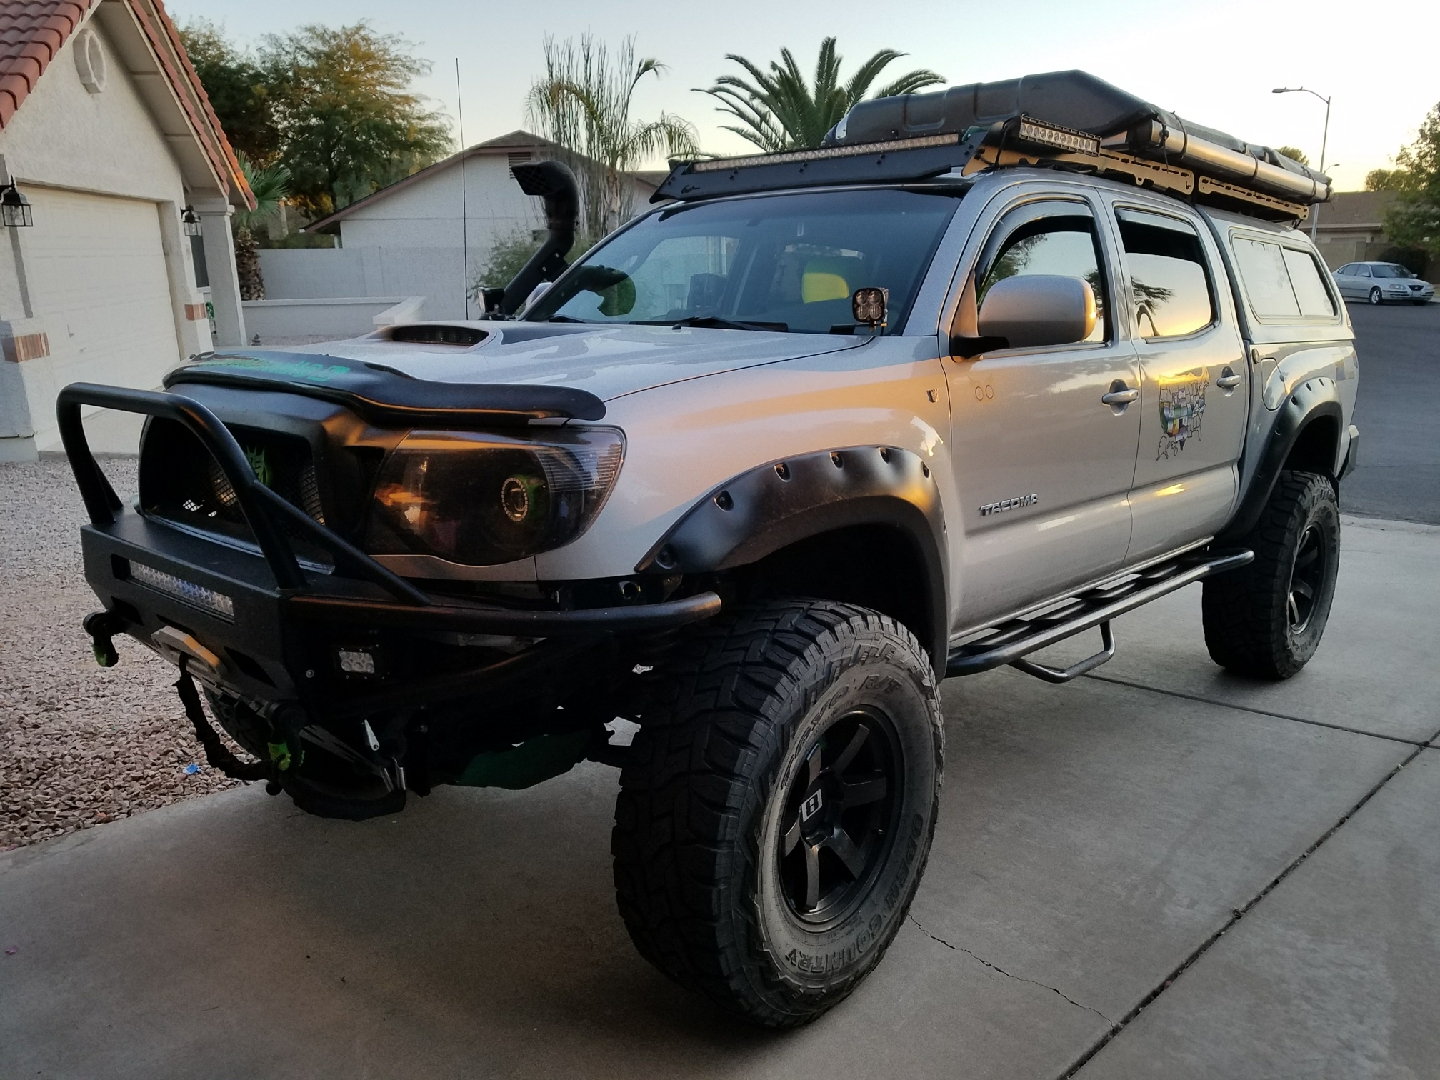
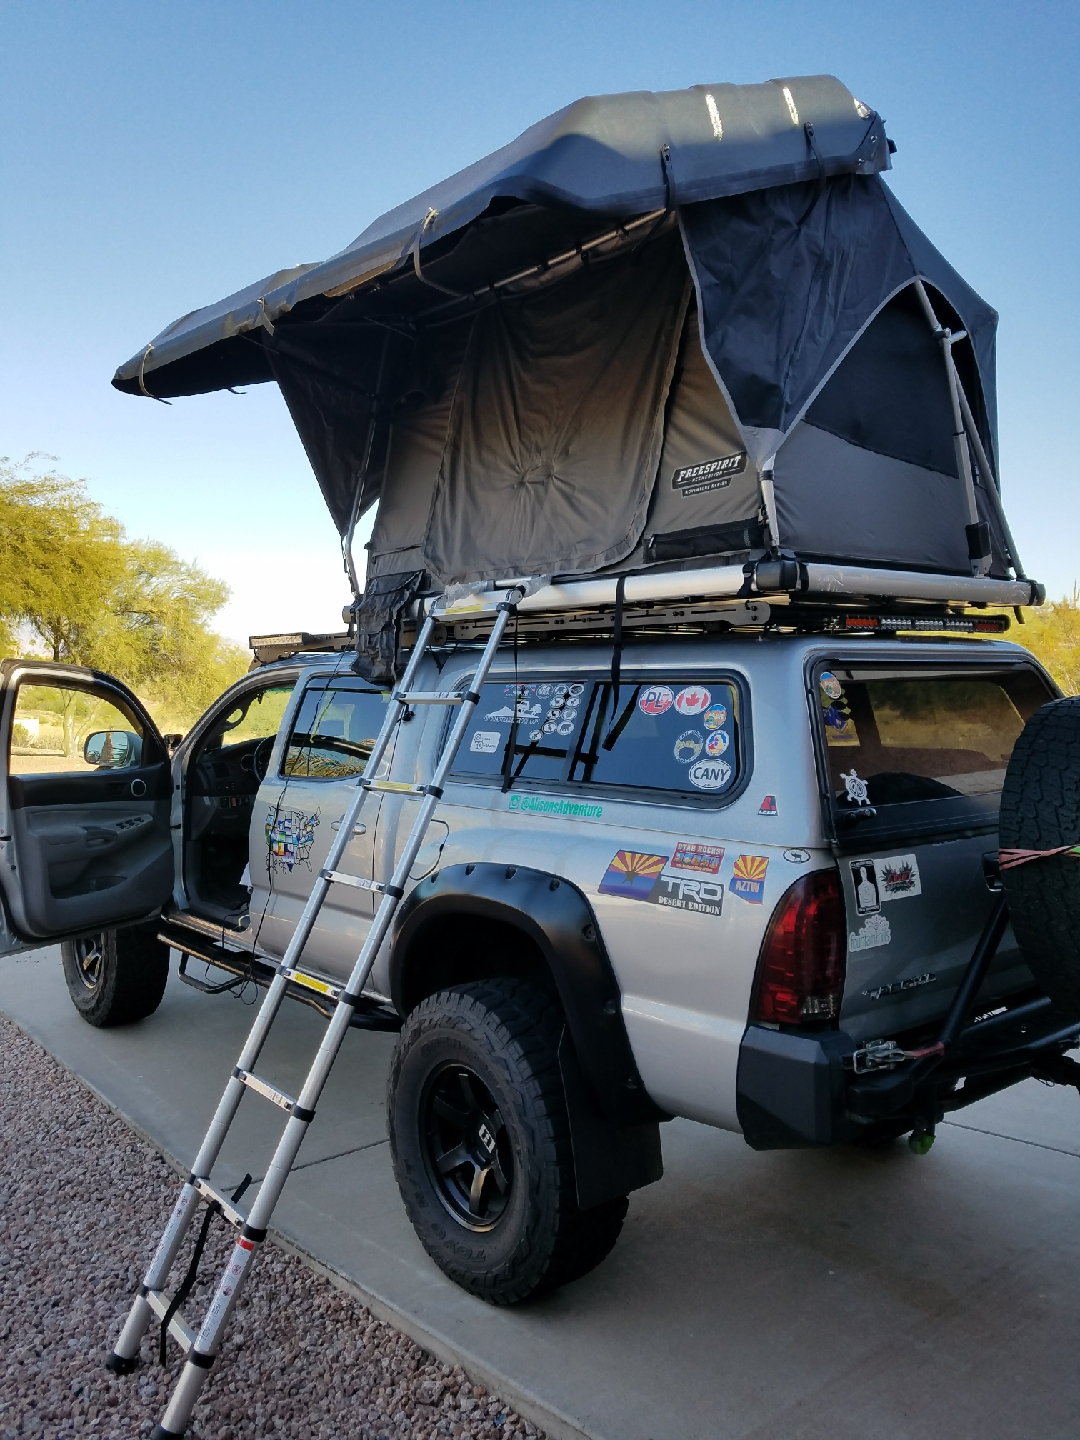
| John is local to me and has his 2WD Prerunner model set up for camping and some exploritory duties. |
|---|
|
|
| Some of the harder to reach campspots push the 8.4" open differential to the traction limits.....enter the Harrop elocker. |
|---|
|
|
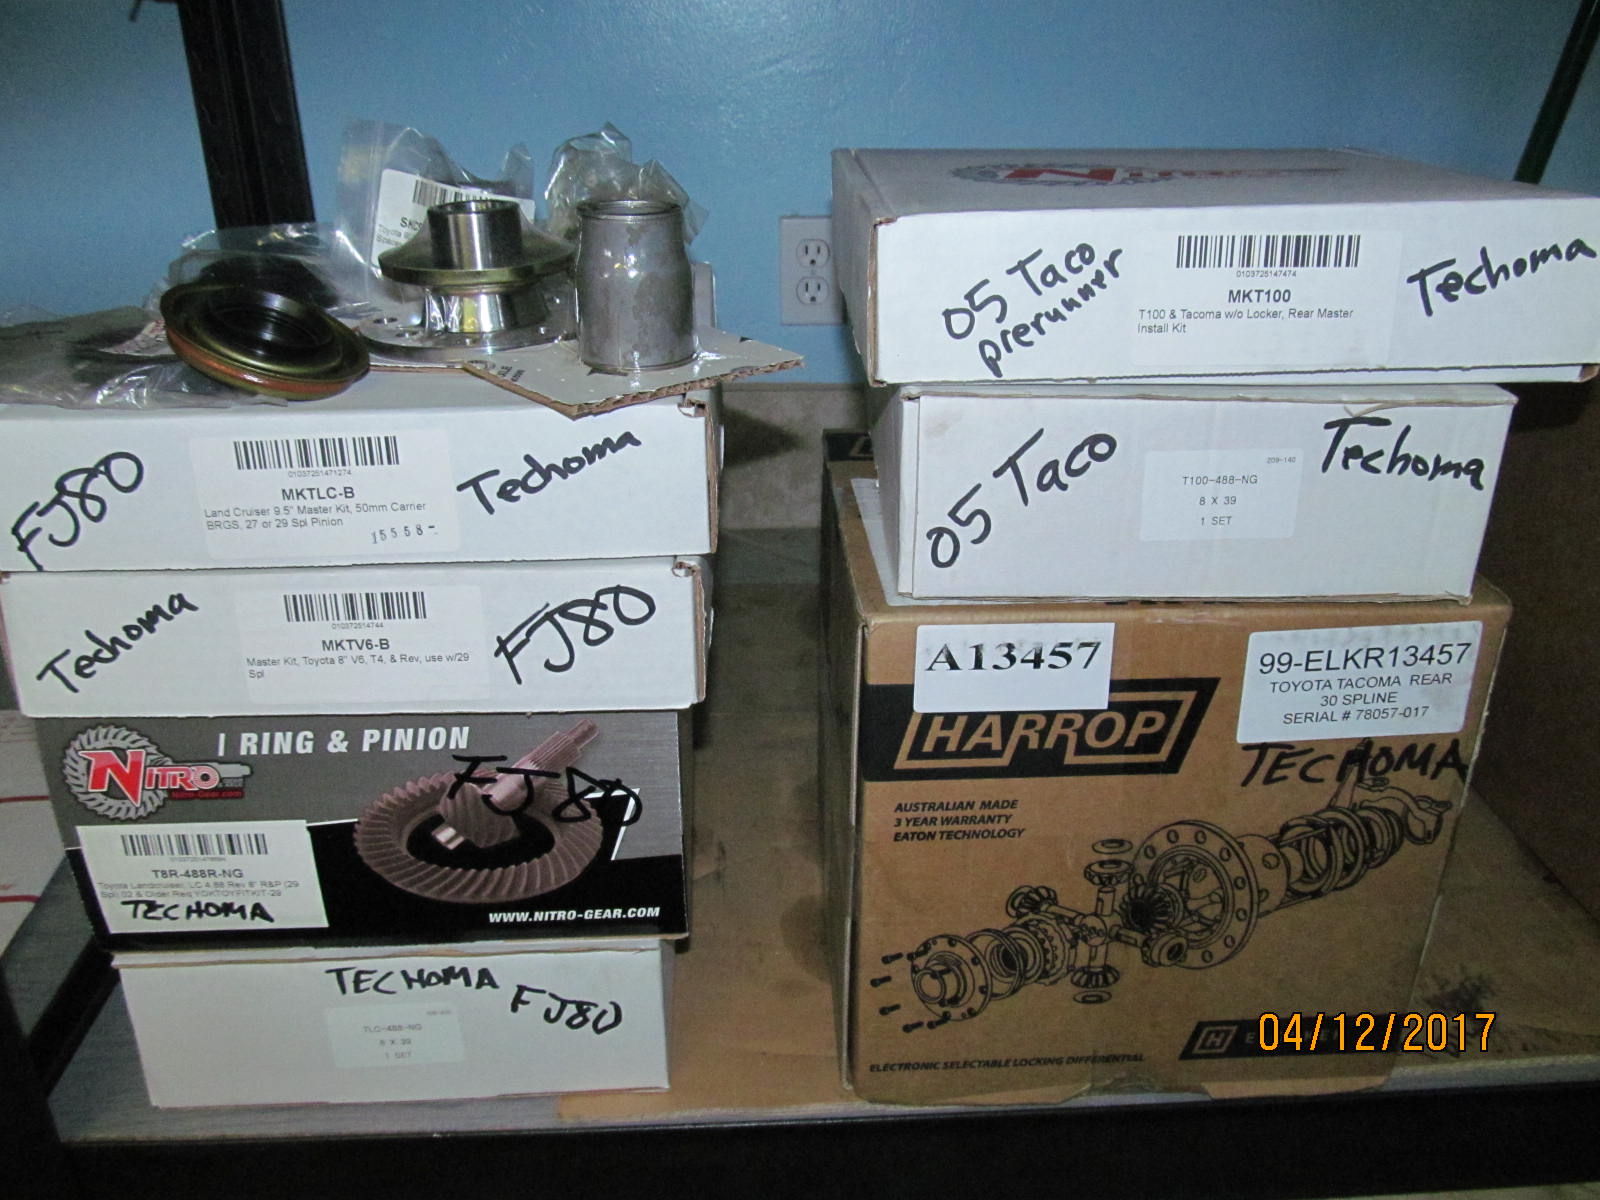
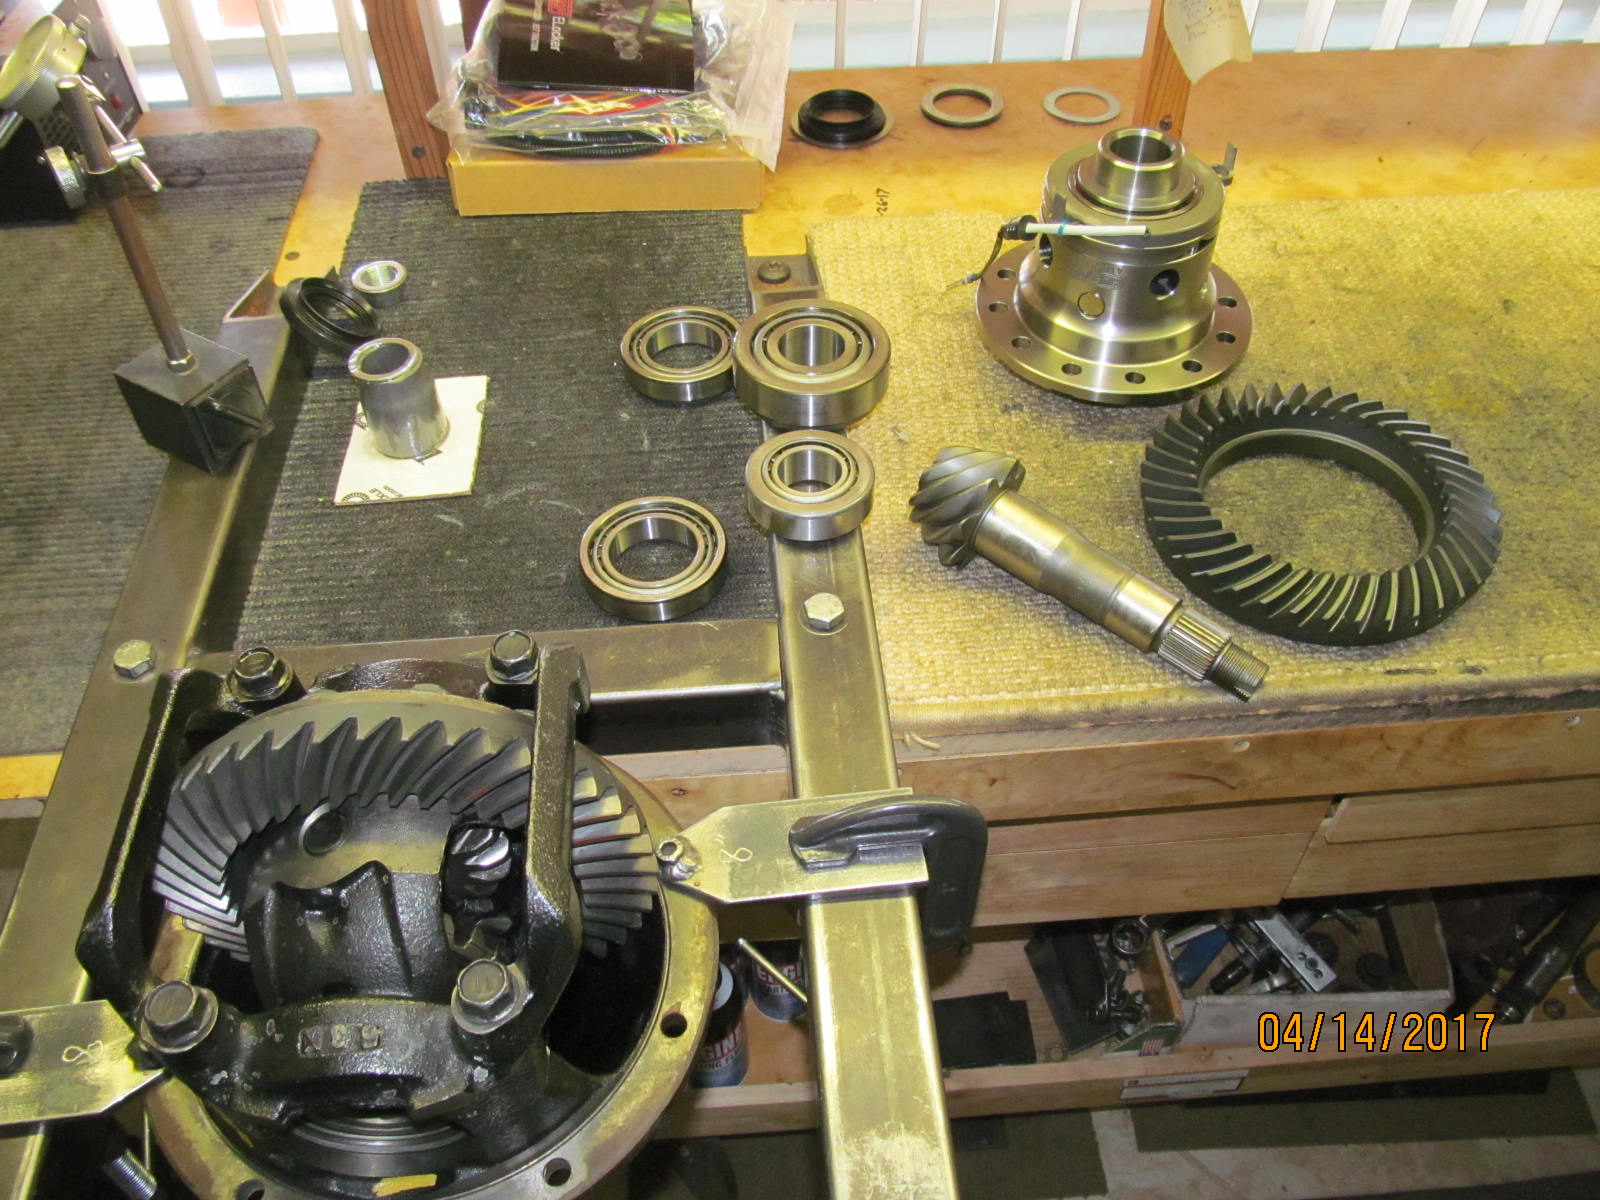
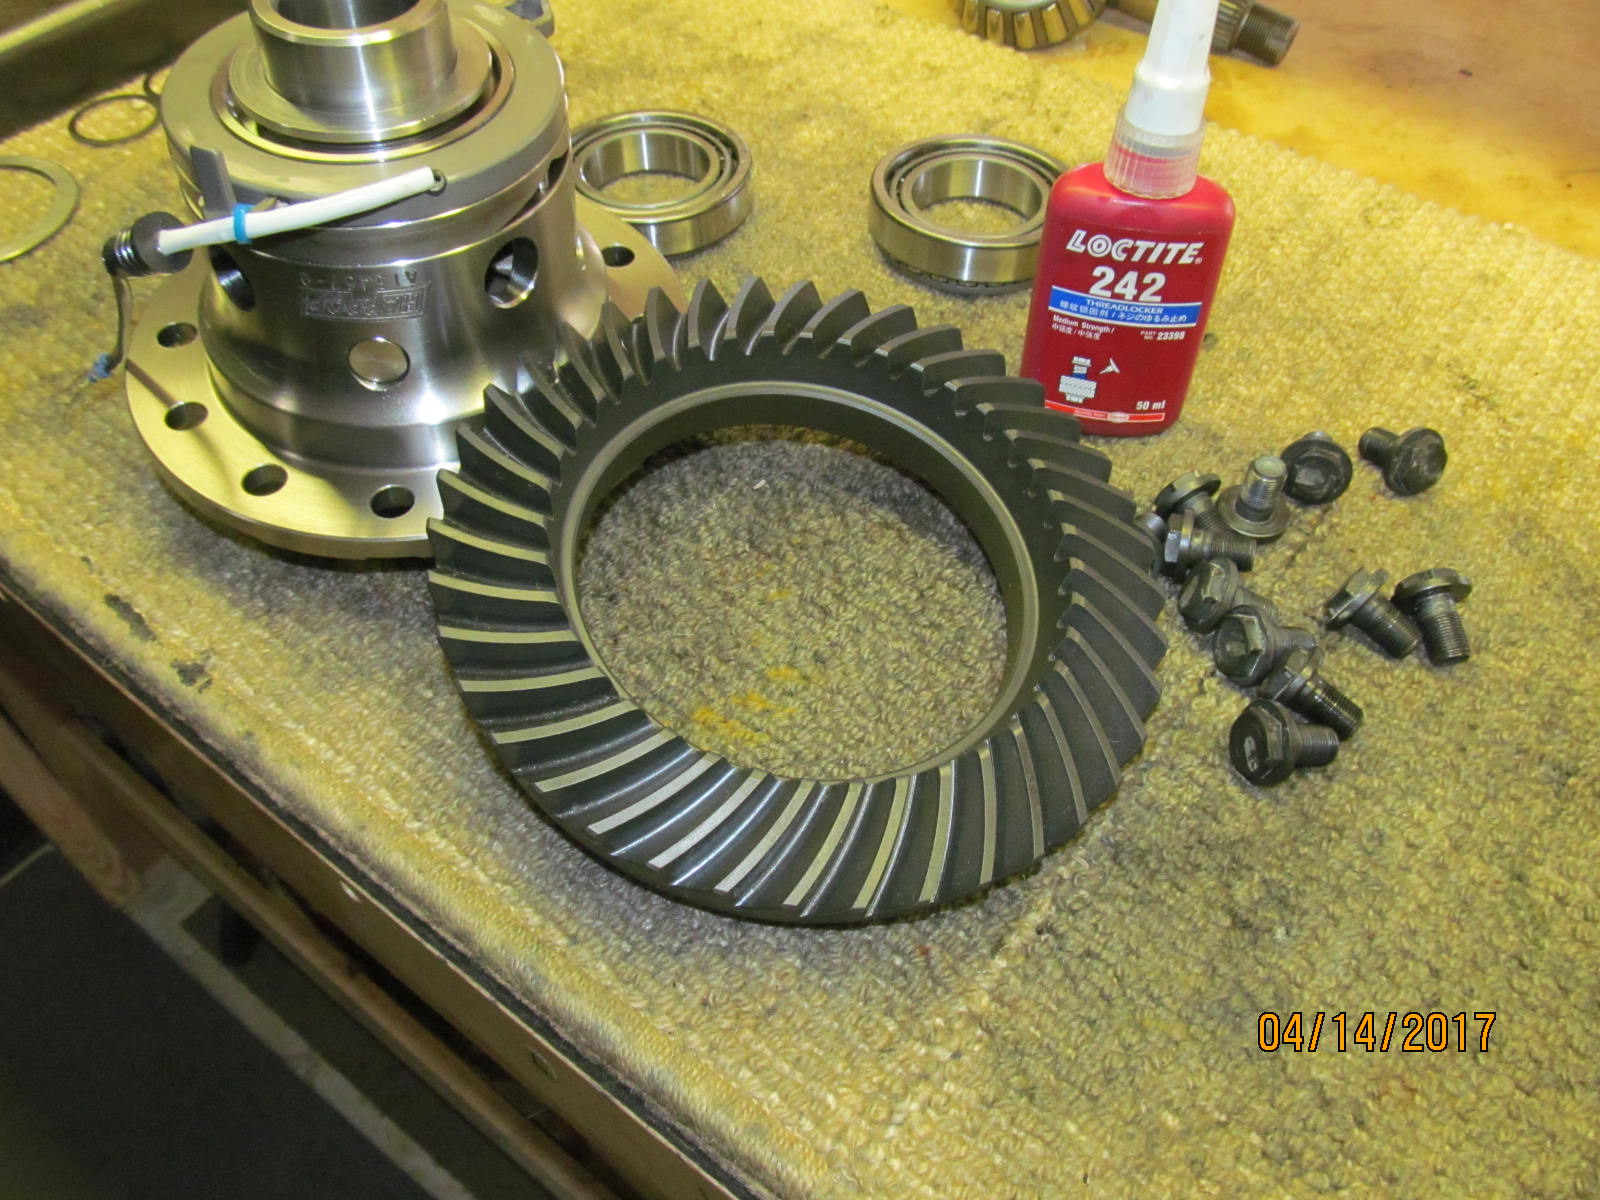
John also has a nice lifted FJ80 on 35's and the product on the left is for that but this write-up is for his Taco stuff shown on the right.
A Harrop 13457 elocker for the 8.4" diff...Nitro 488 gears...and a Nitro master kit. |
|---|
|
|
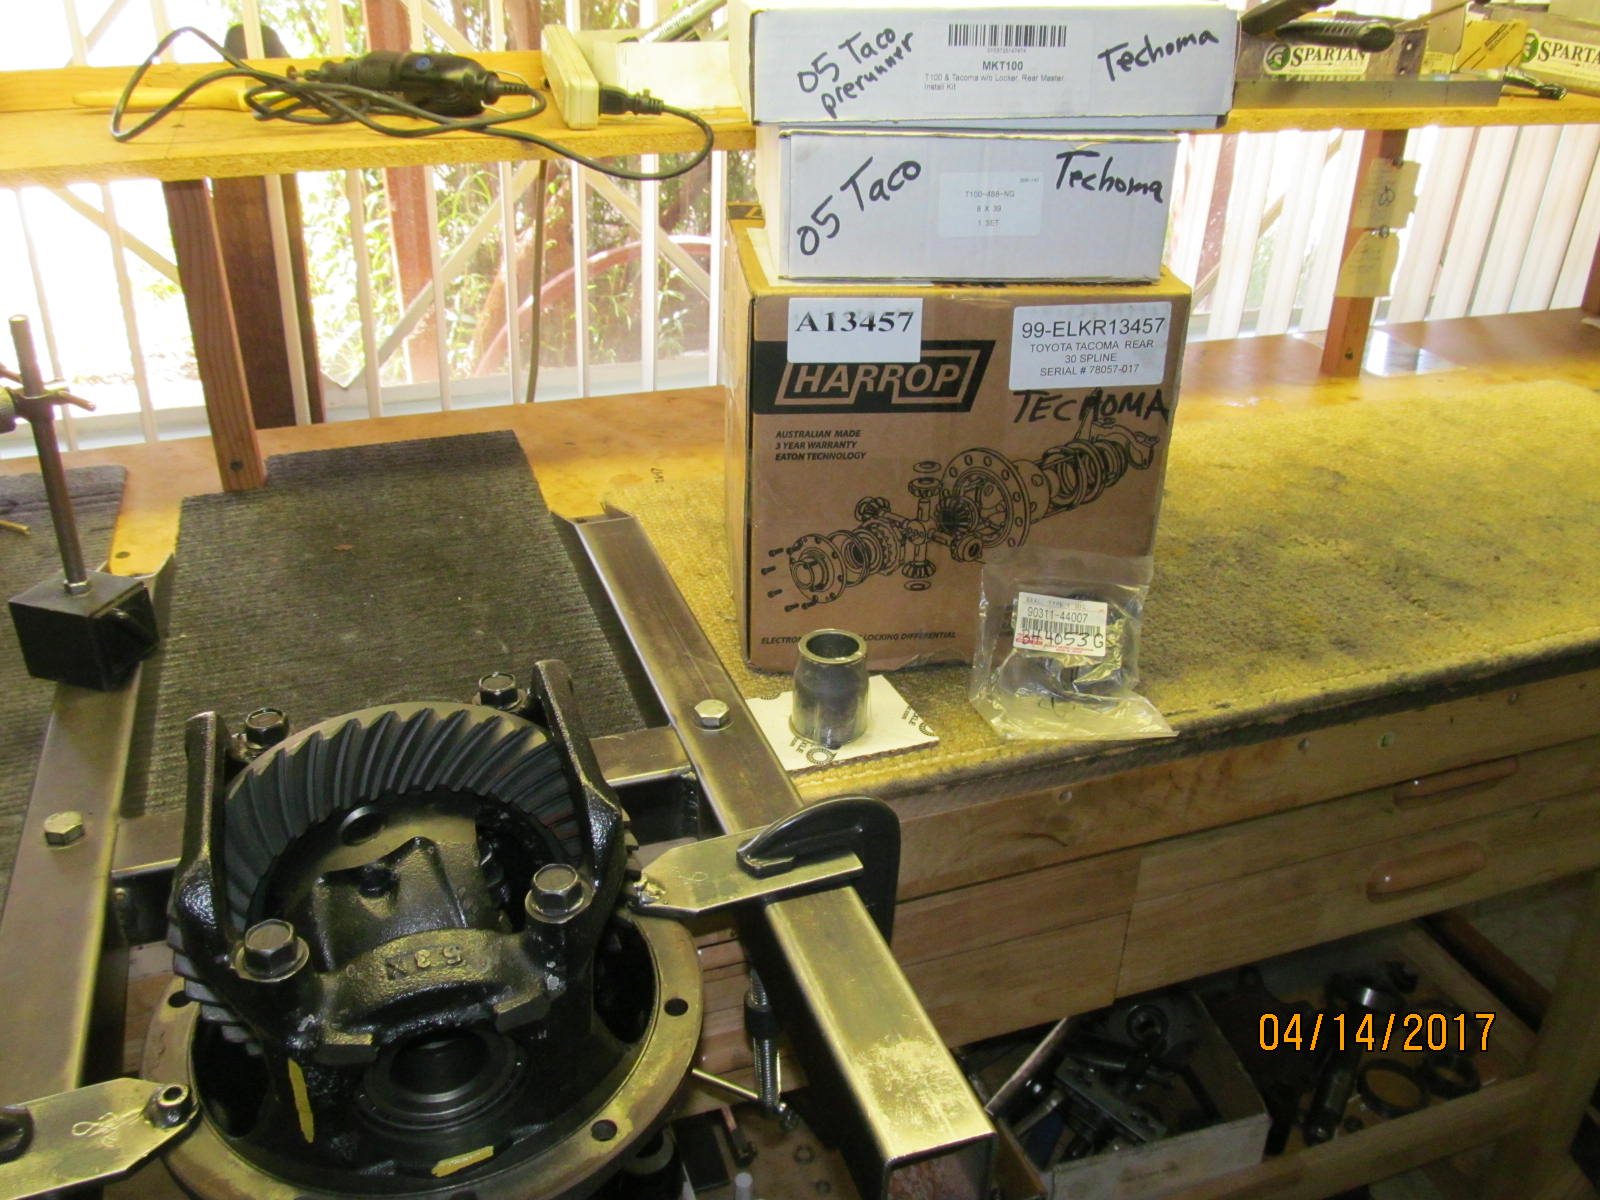
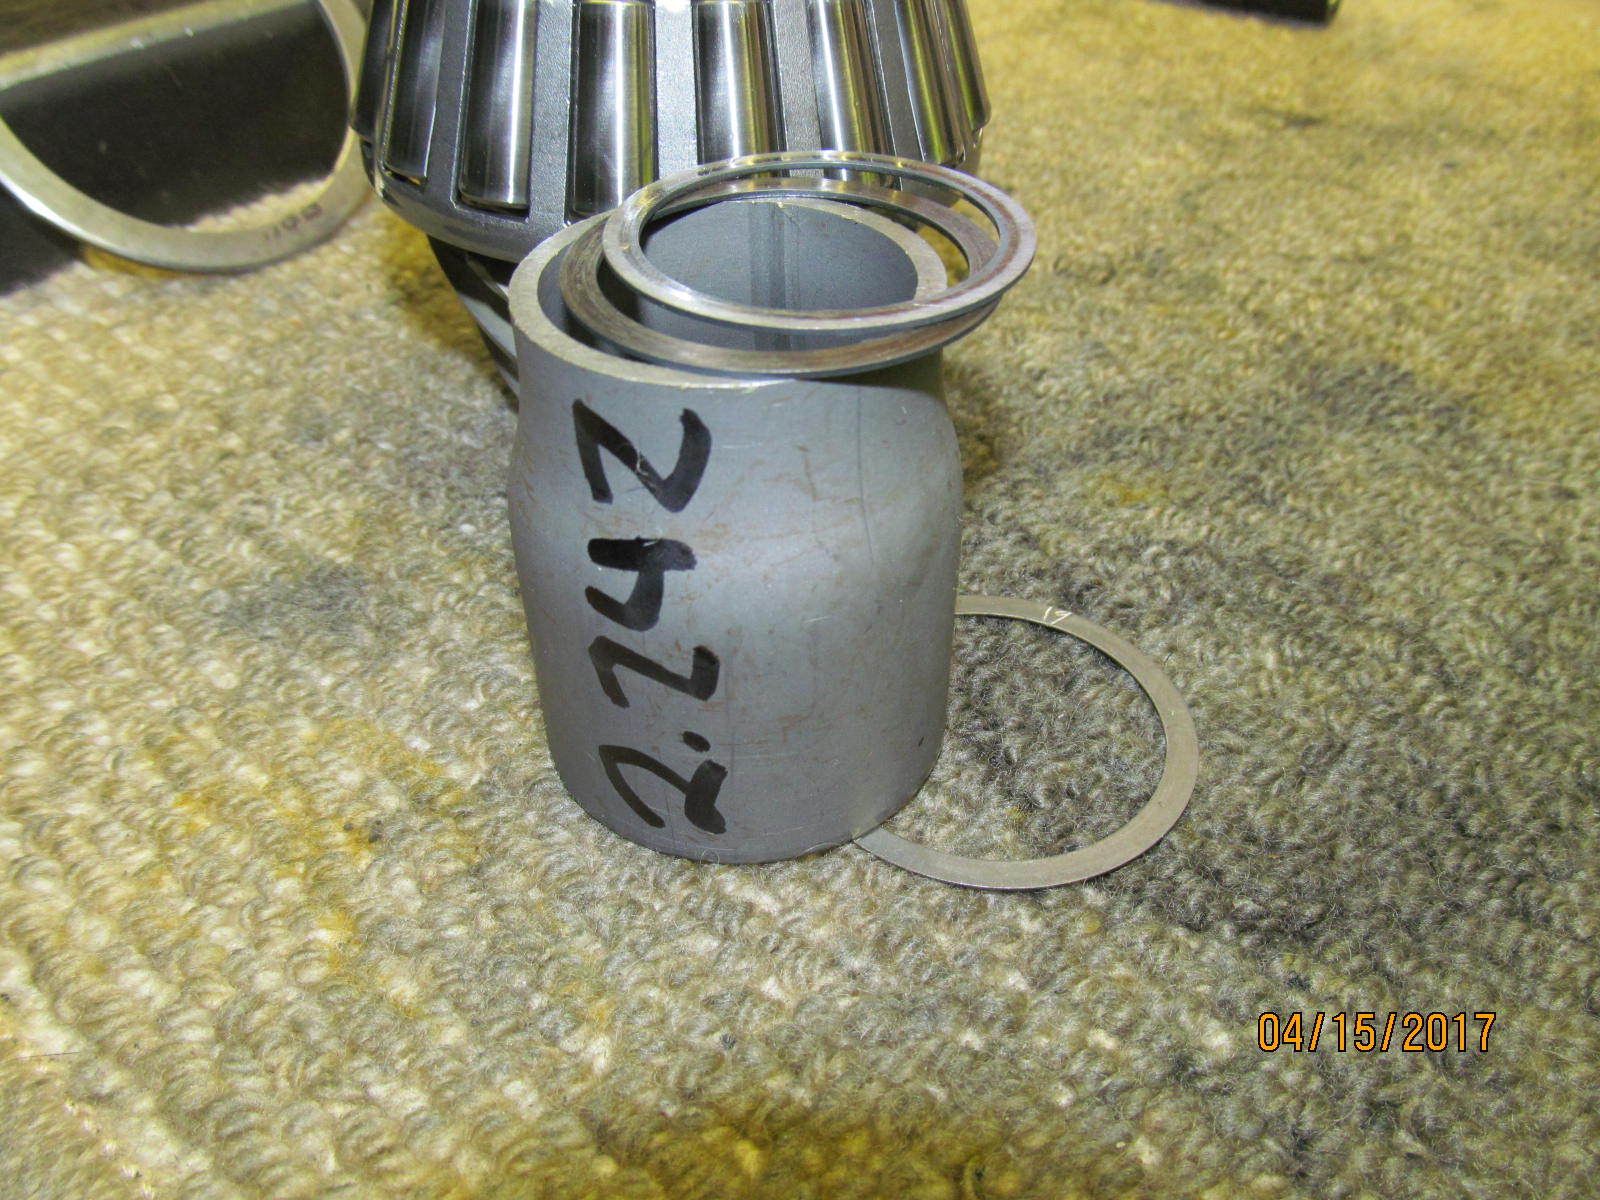
| A solid collar and a genuine Toyota pinion seal will be used. |
|---|
|
|
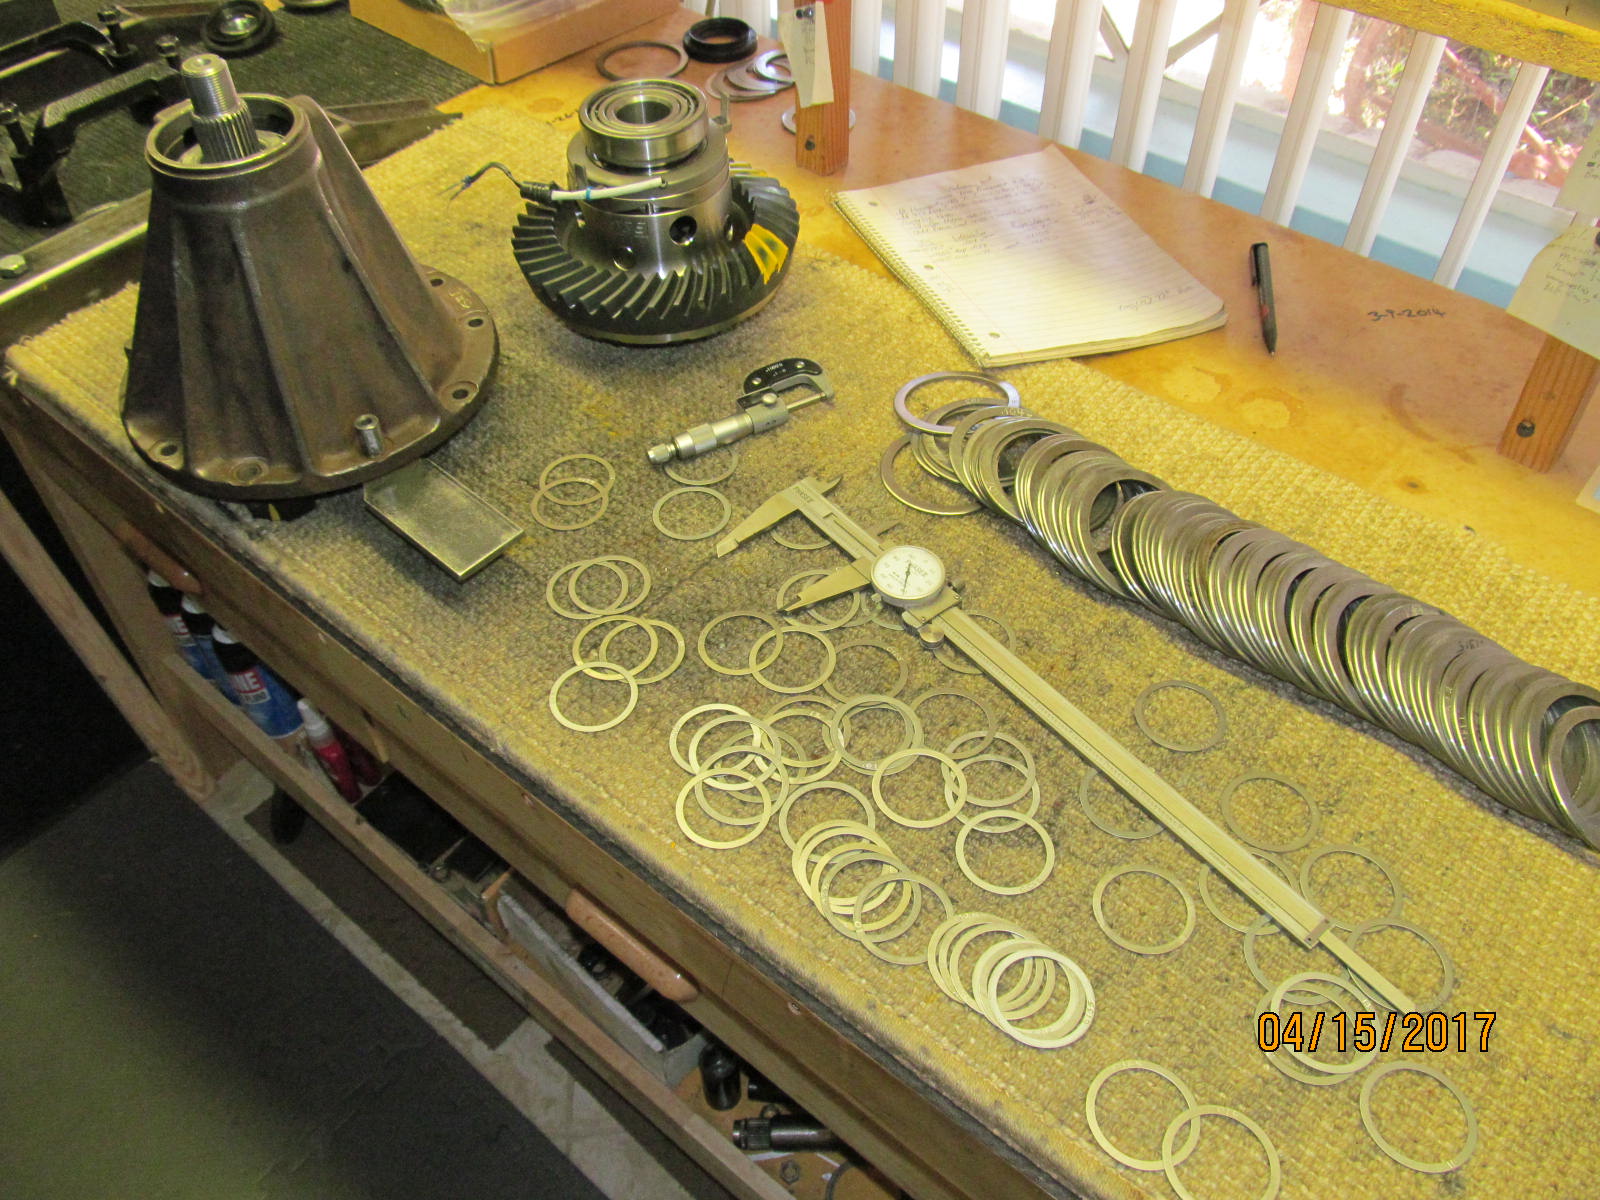
| Parts are organized on the bench. |
|---|
|
|
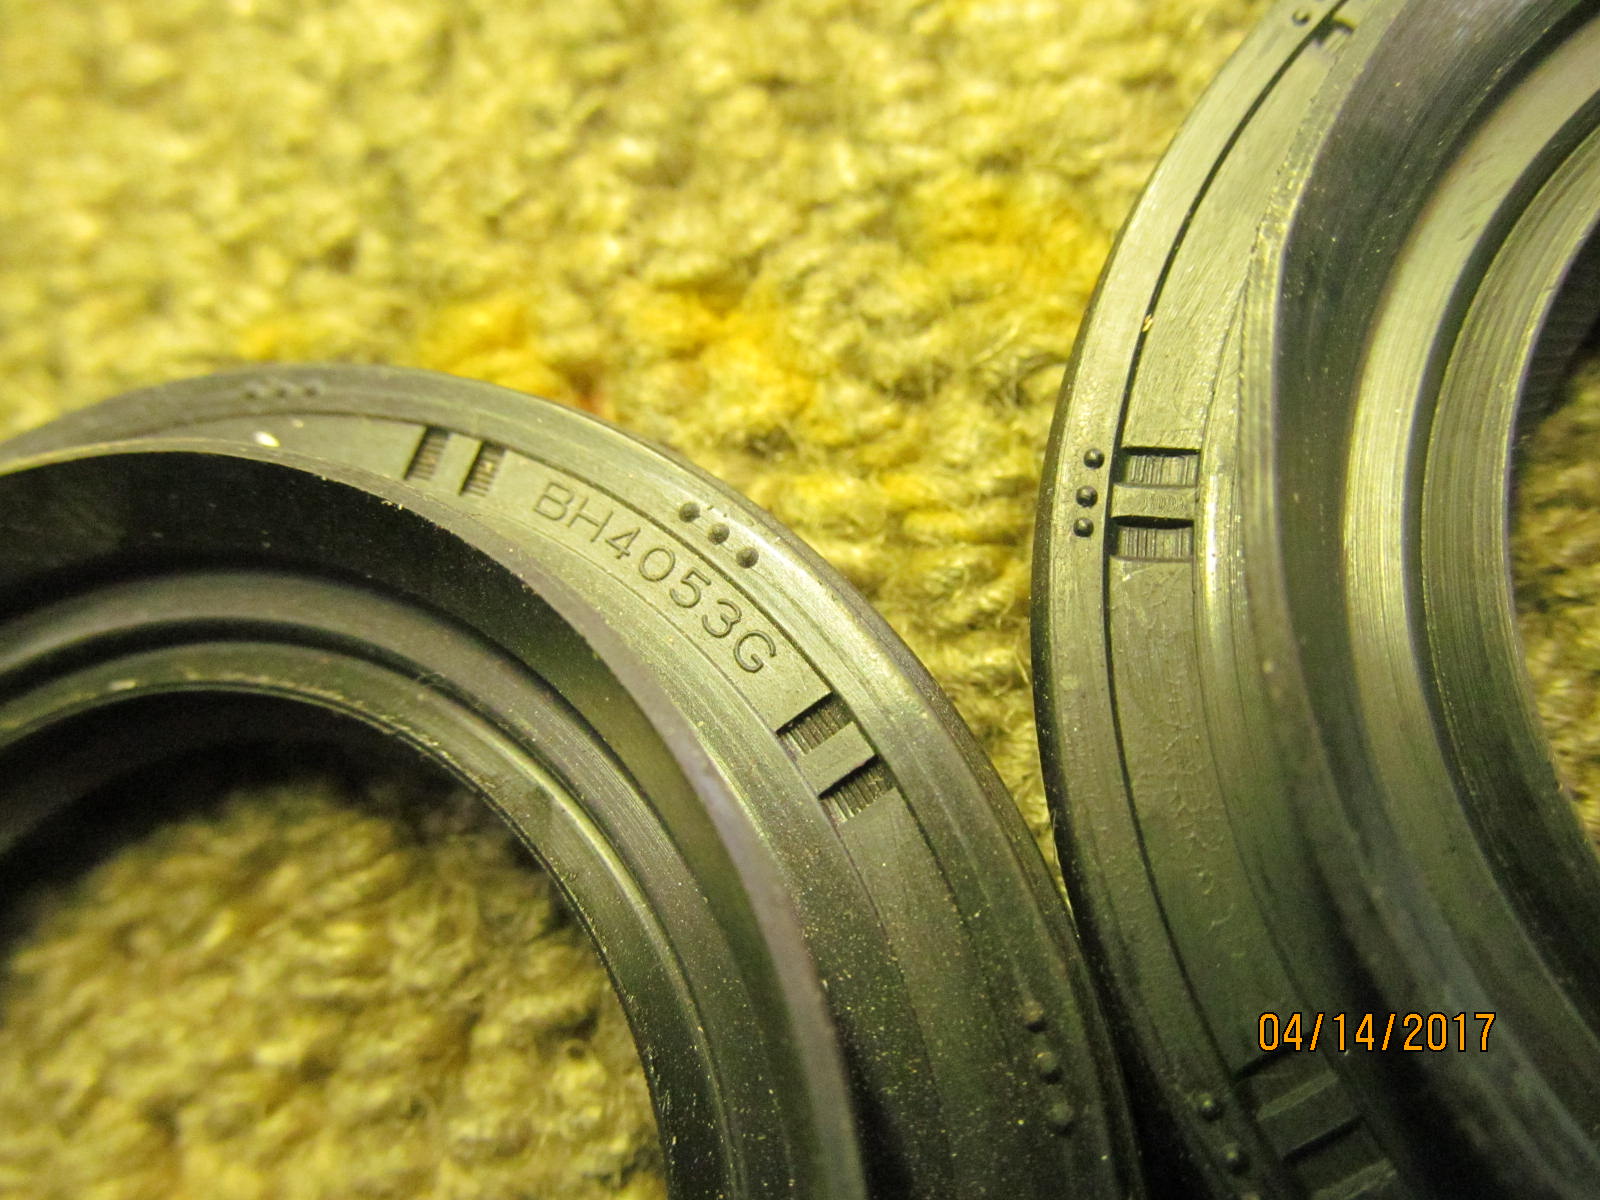
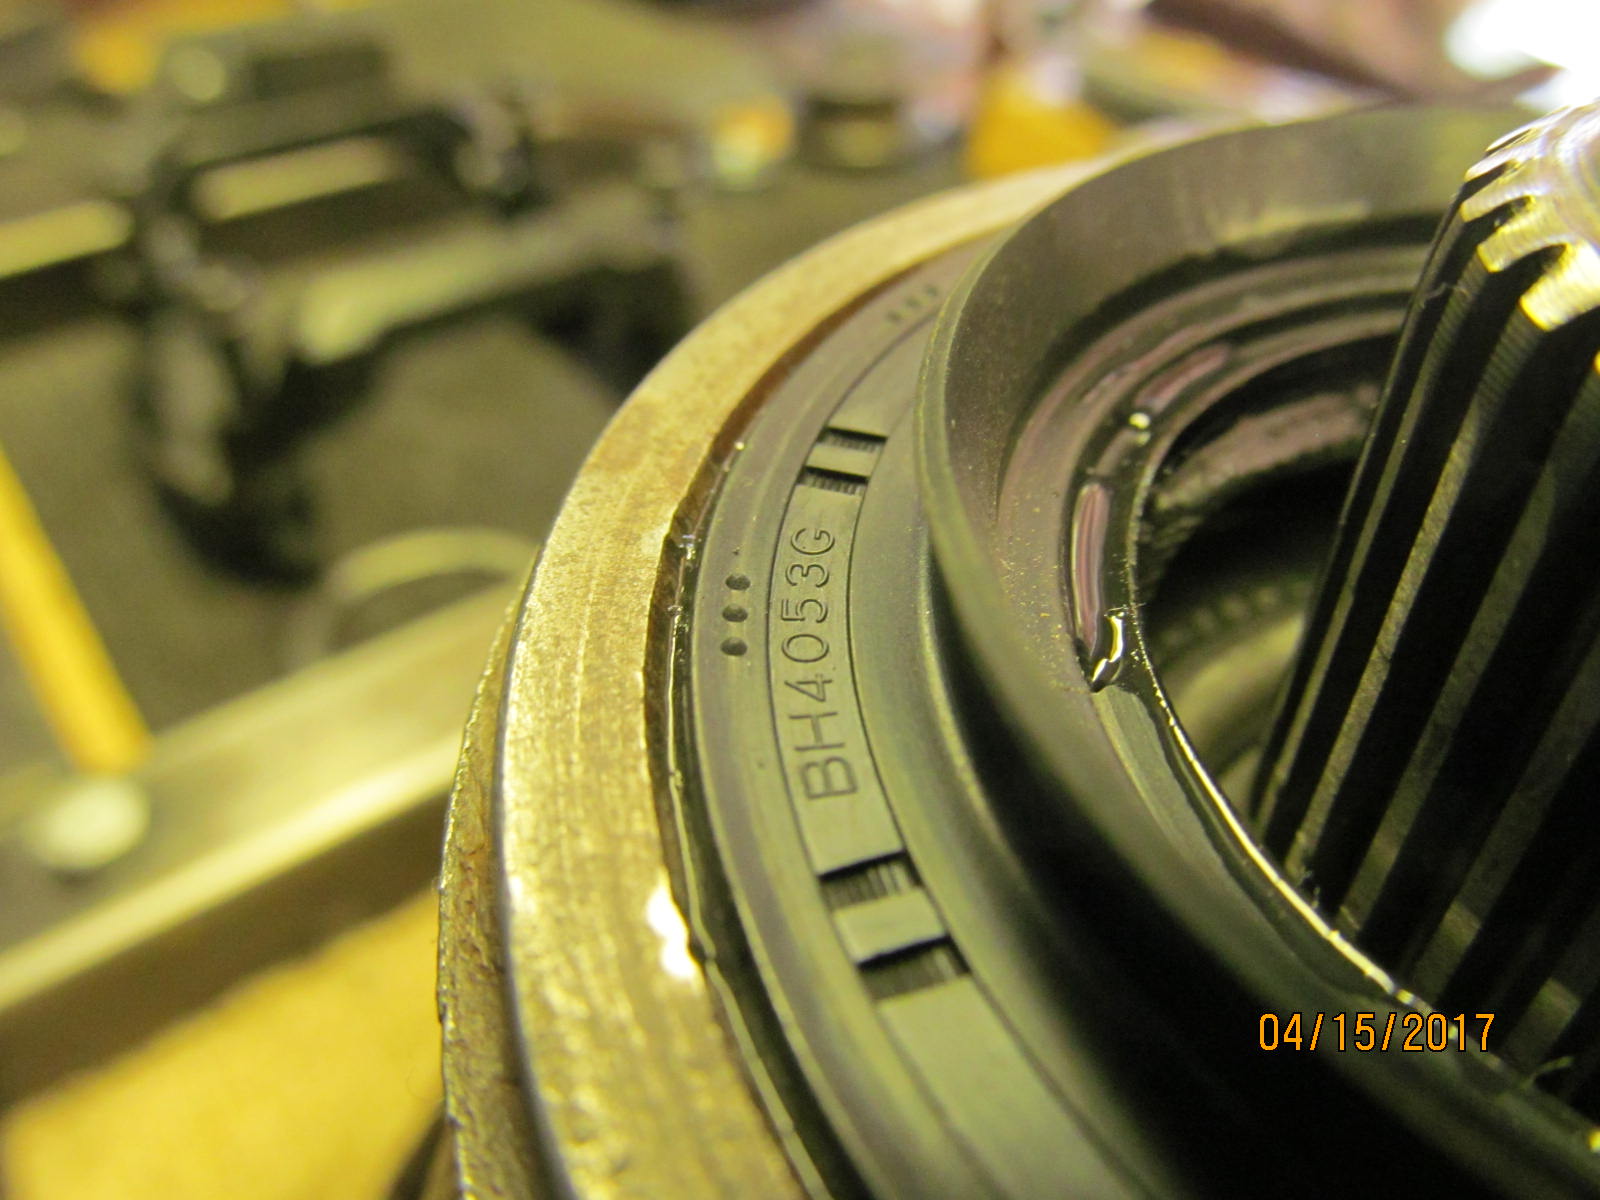
| BH4053G is the best insurance against having a pinion seal leak. |
|---|
|
|
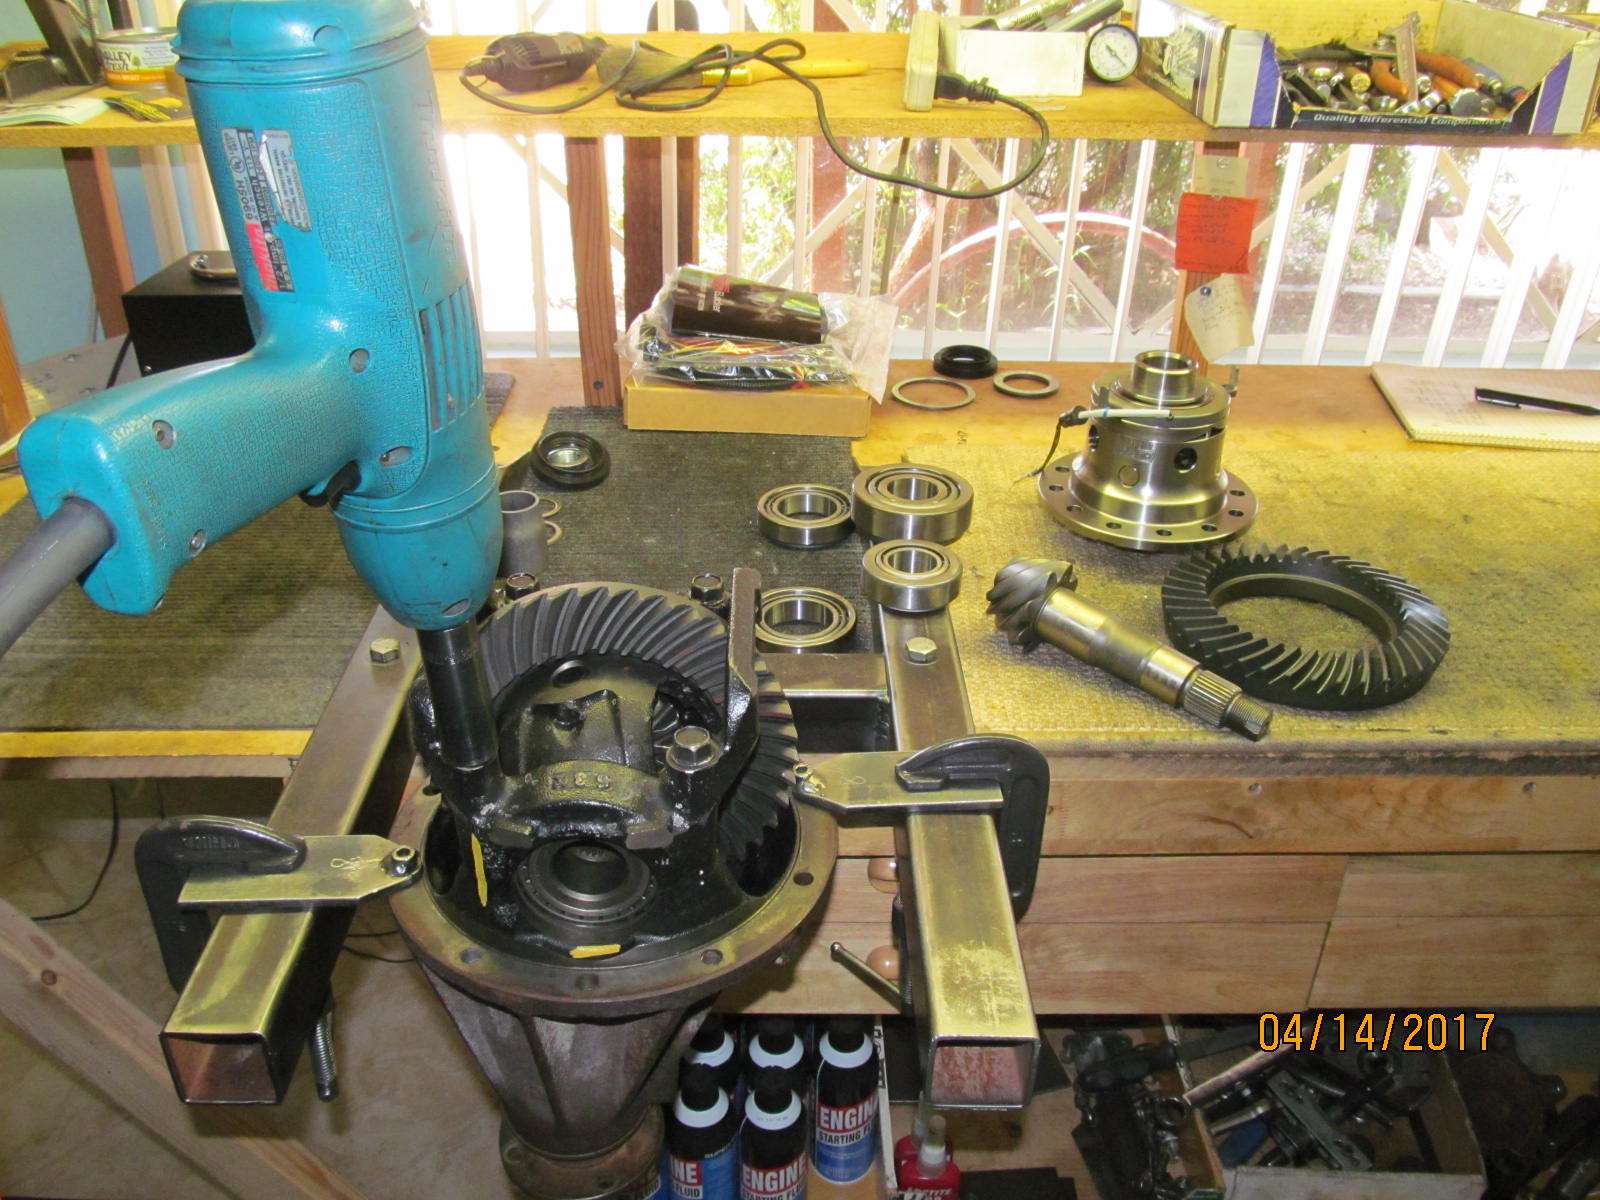
| The bearing cap brace is removed with the electric impact. |
|---|
|
|
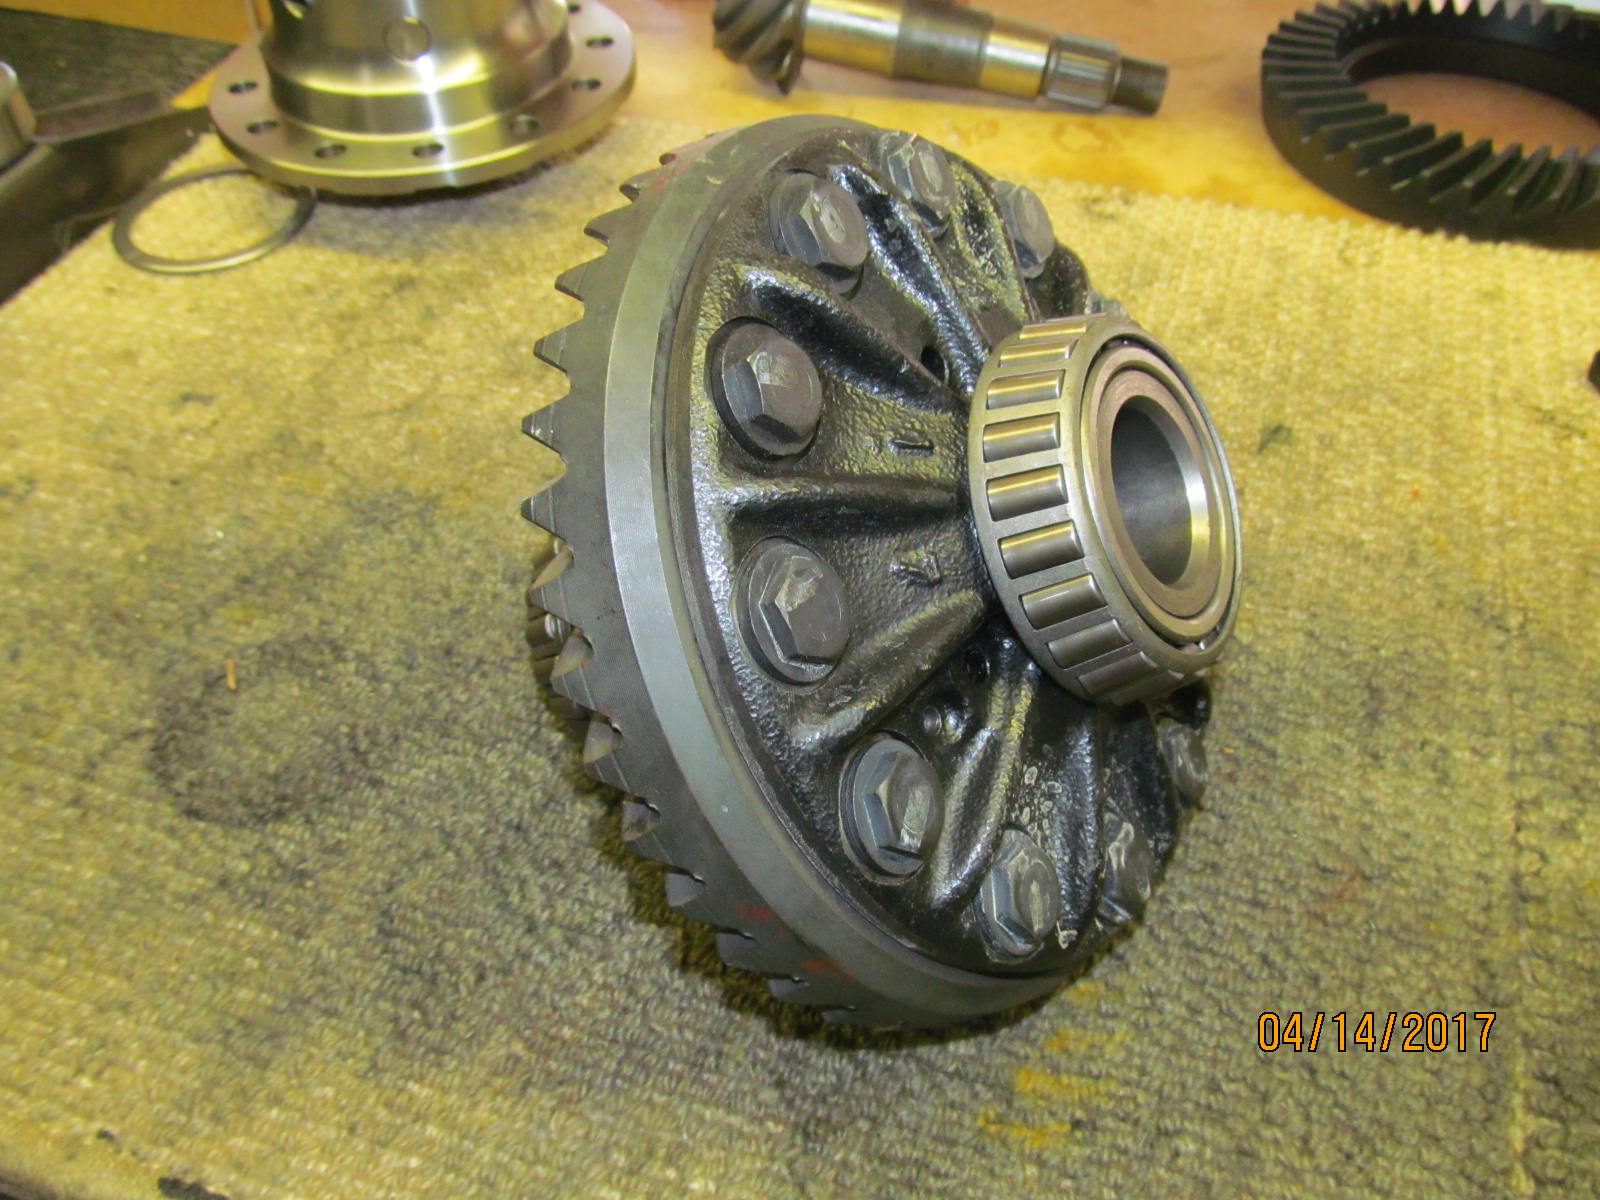
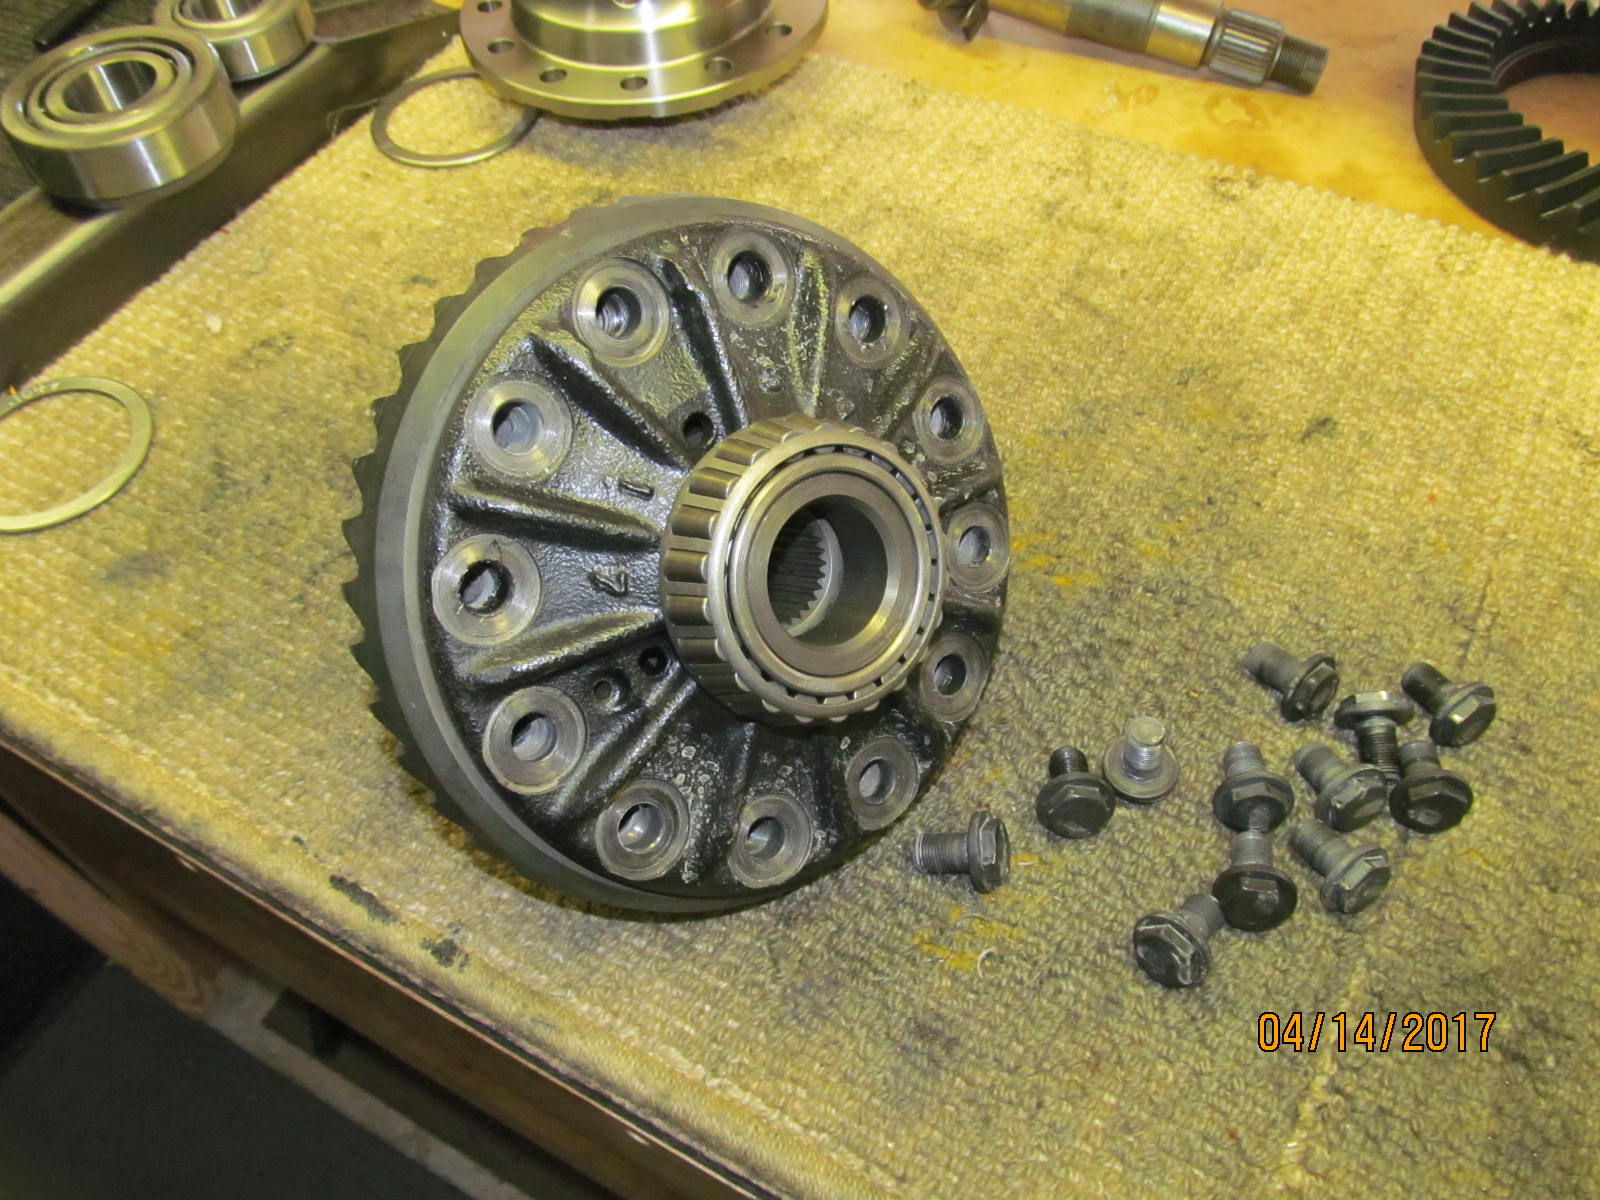
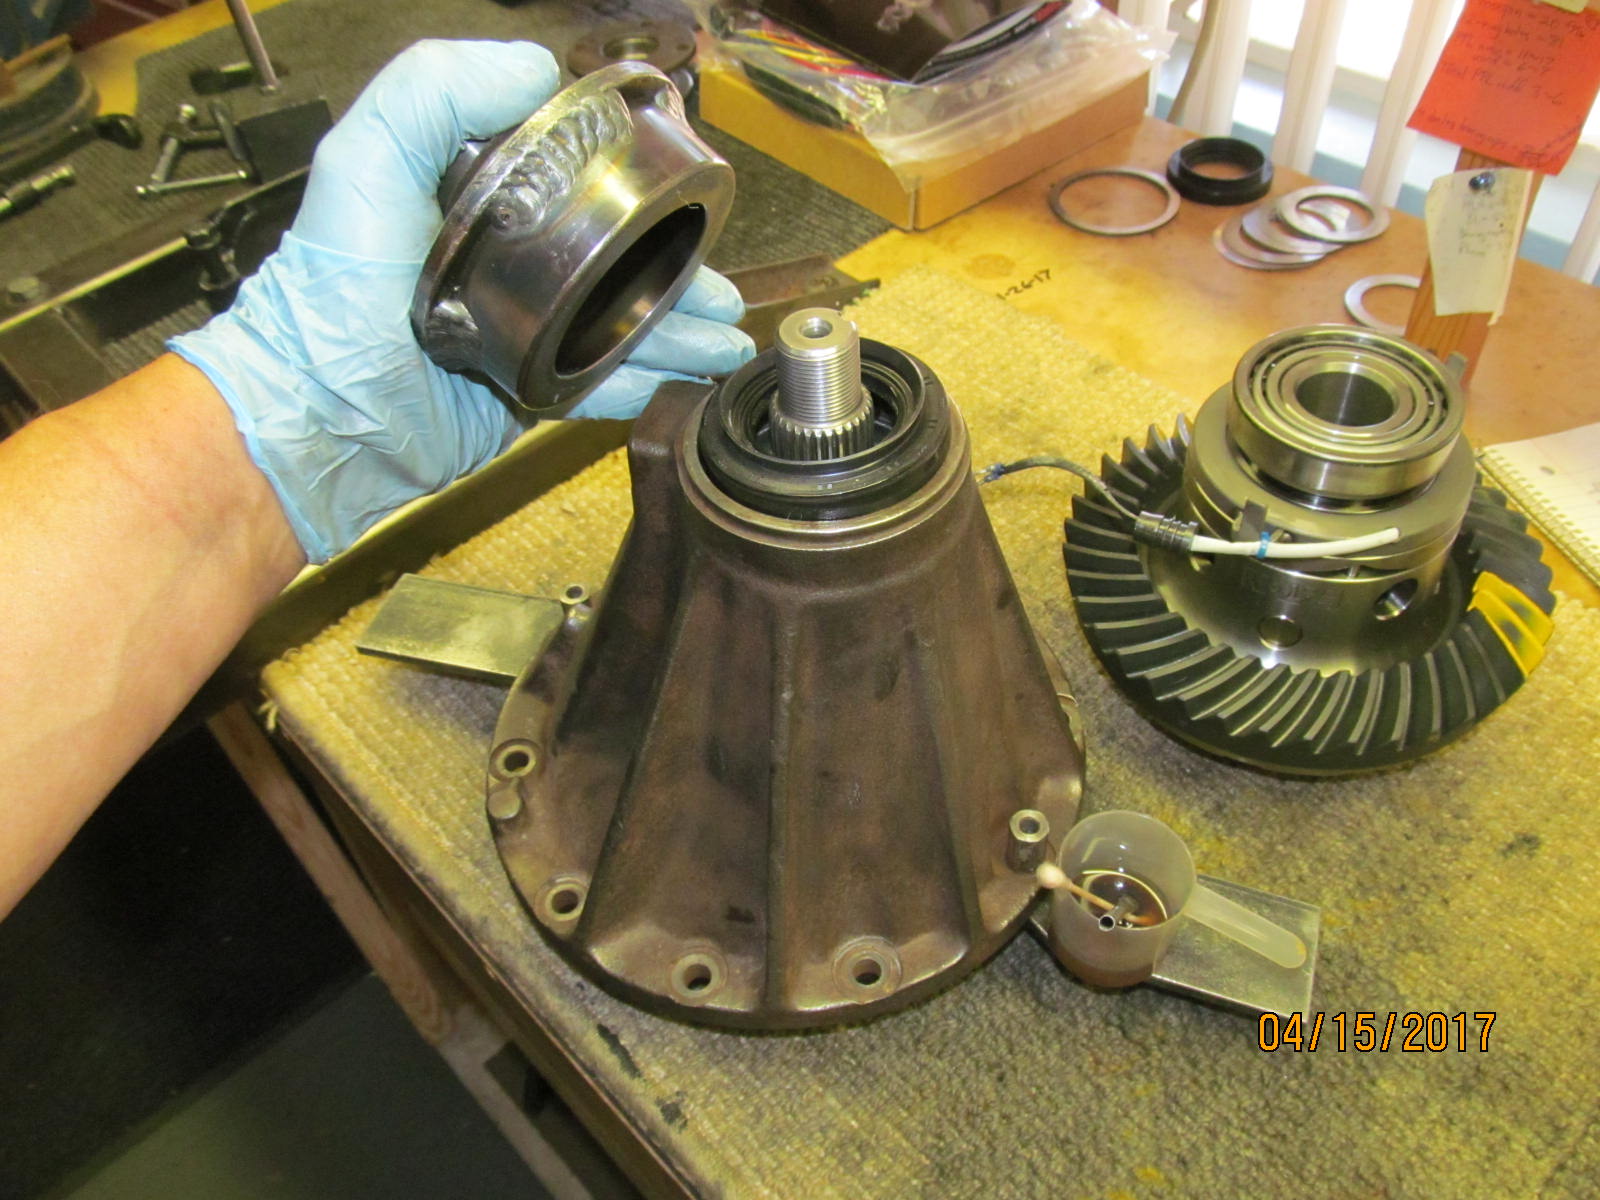
| The Harrop will basically replace this standard open diff assembly. |
|---|
|
|
| Only the 12 fancy flange style ring gear bolts will be re-used. |
|---|
|
|
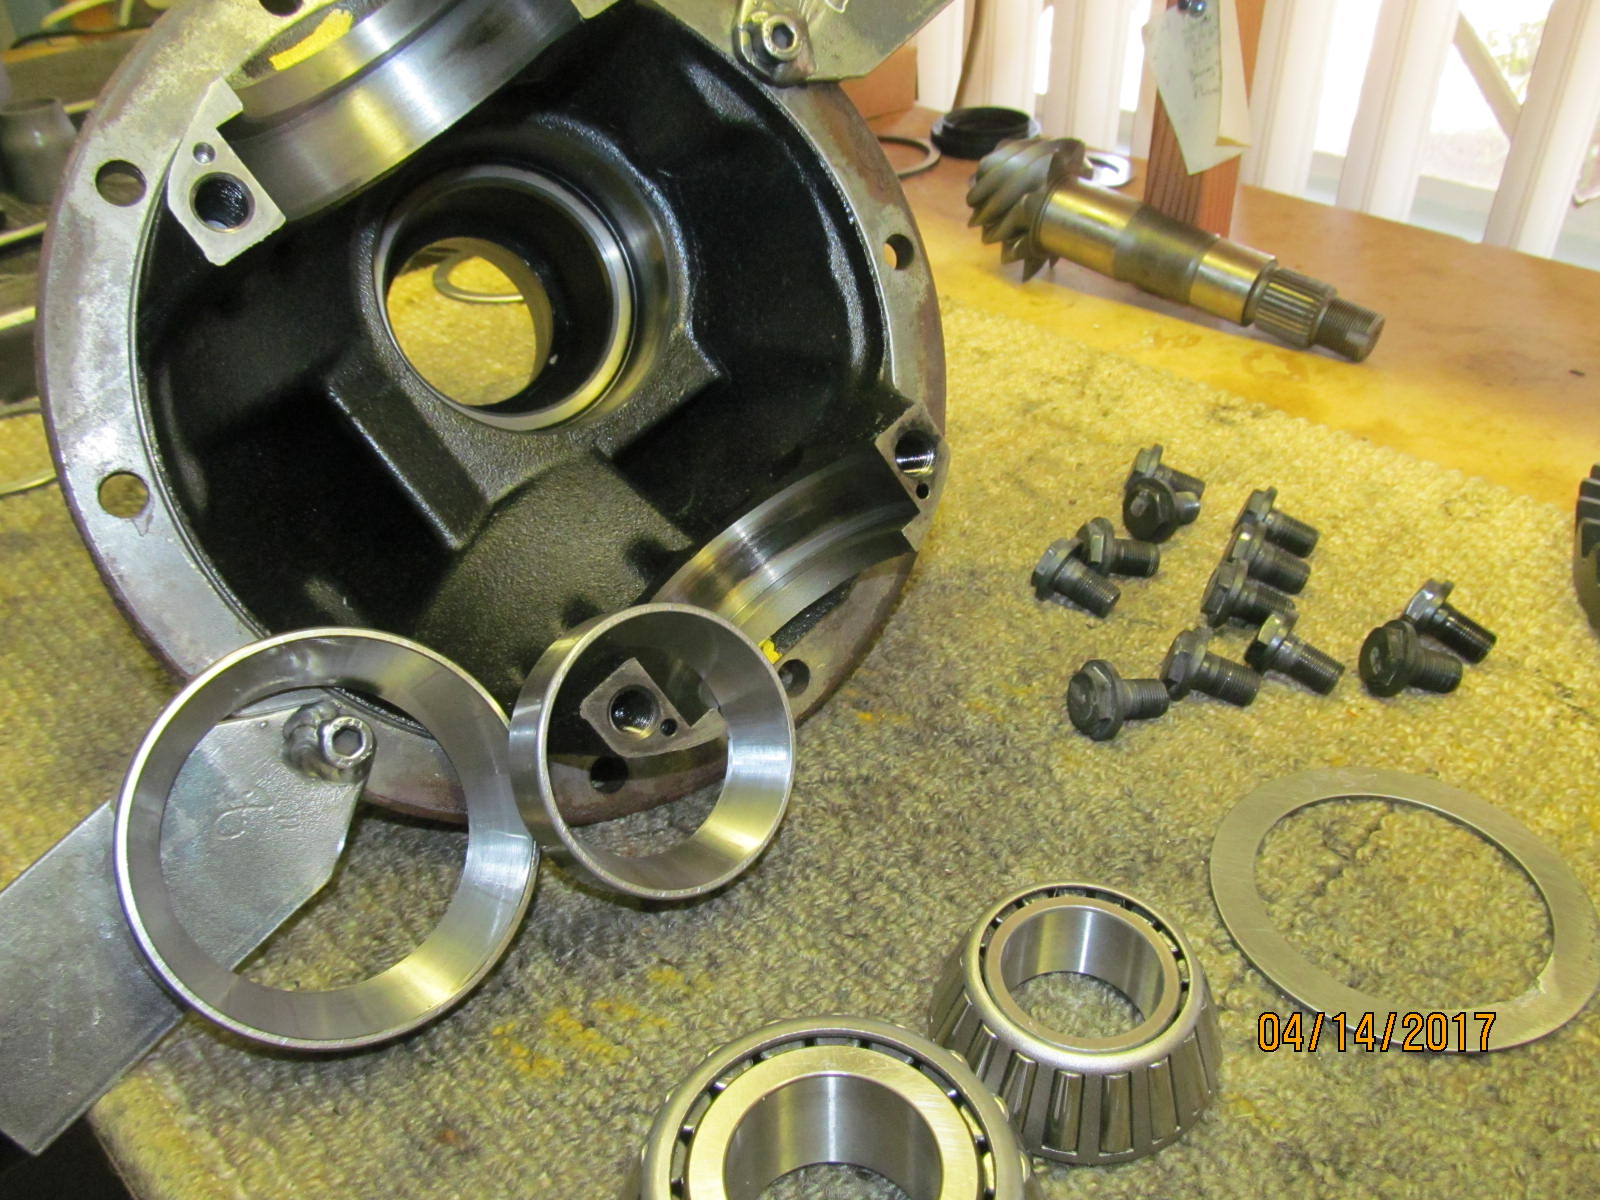
| The old pinion was removed....races were removed...a general cleaning and now the new pinion bearing races can be tapped in. |
|---|
|
|
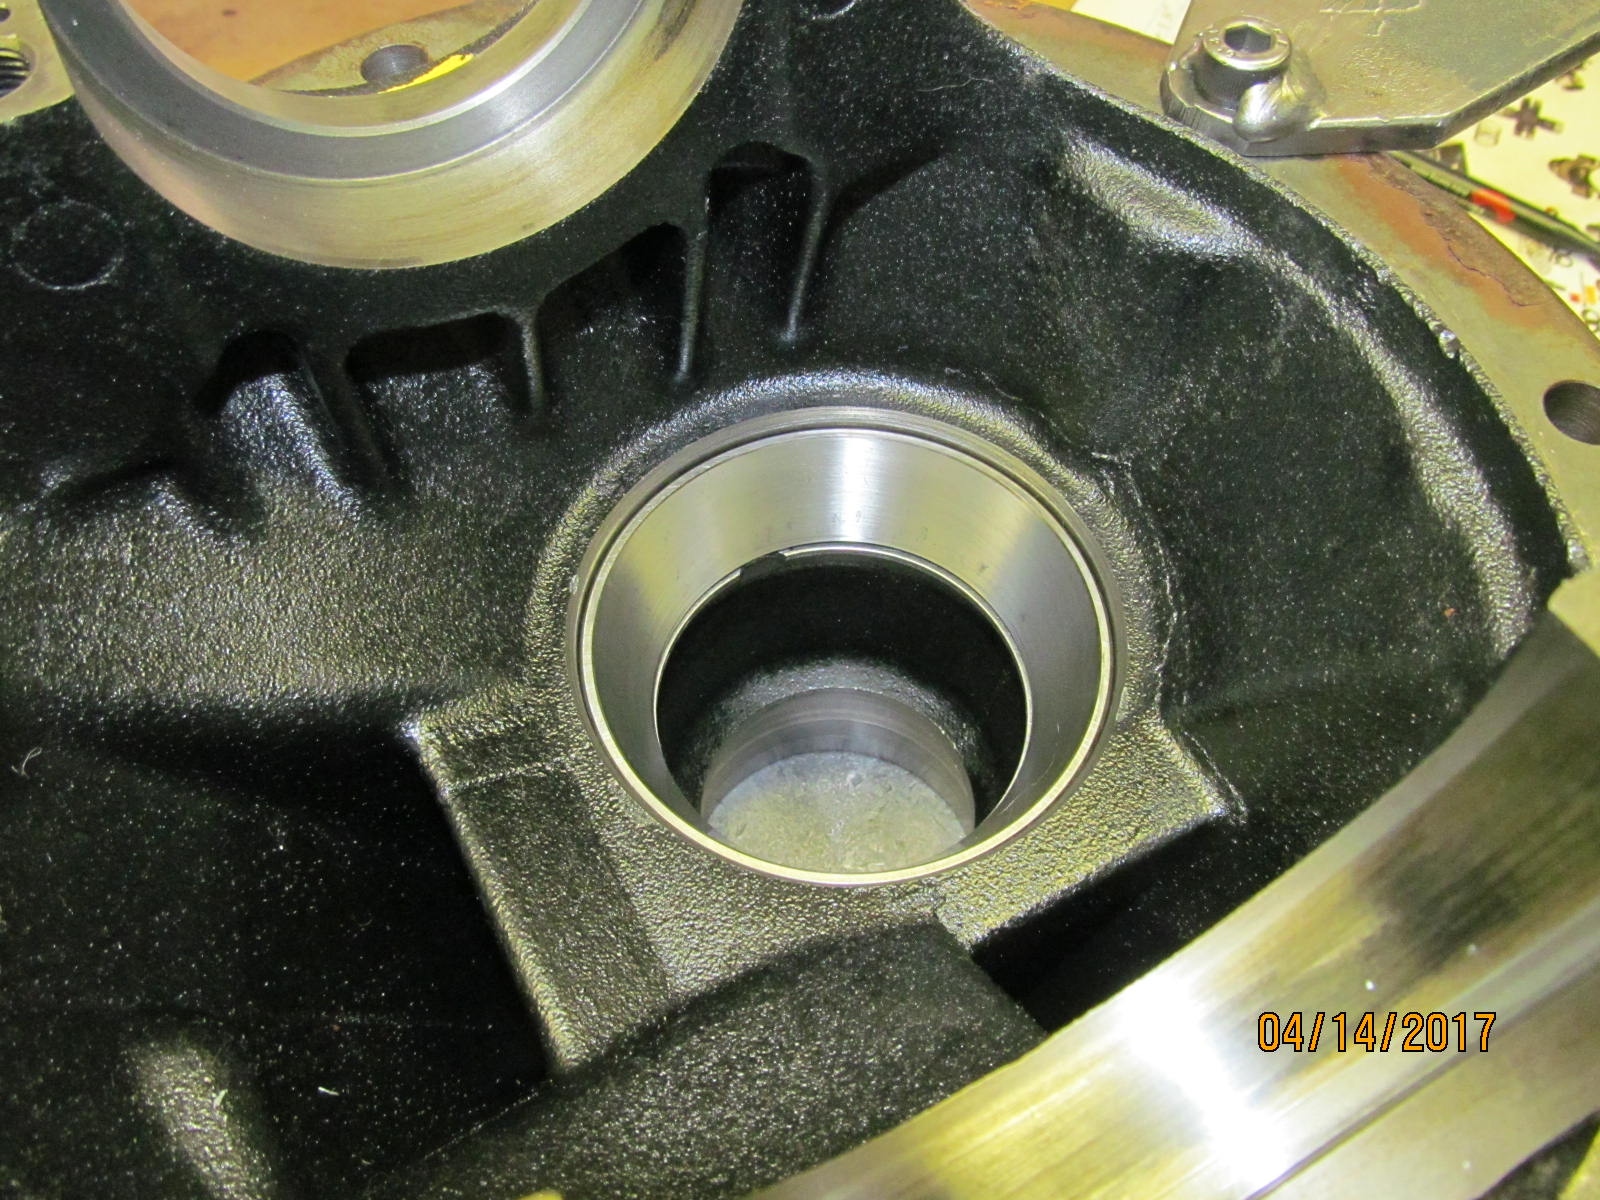
| The new Koyo race was tapped in with a pinion washer depth plate of thickness .086". |
|---|
|
|
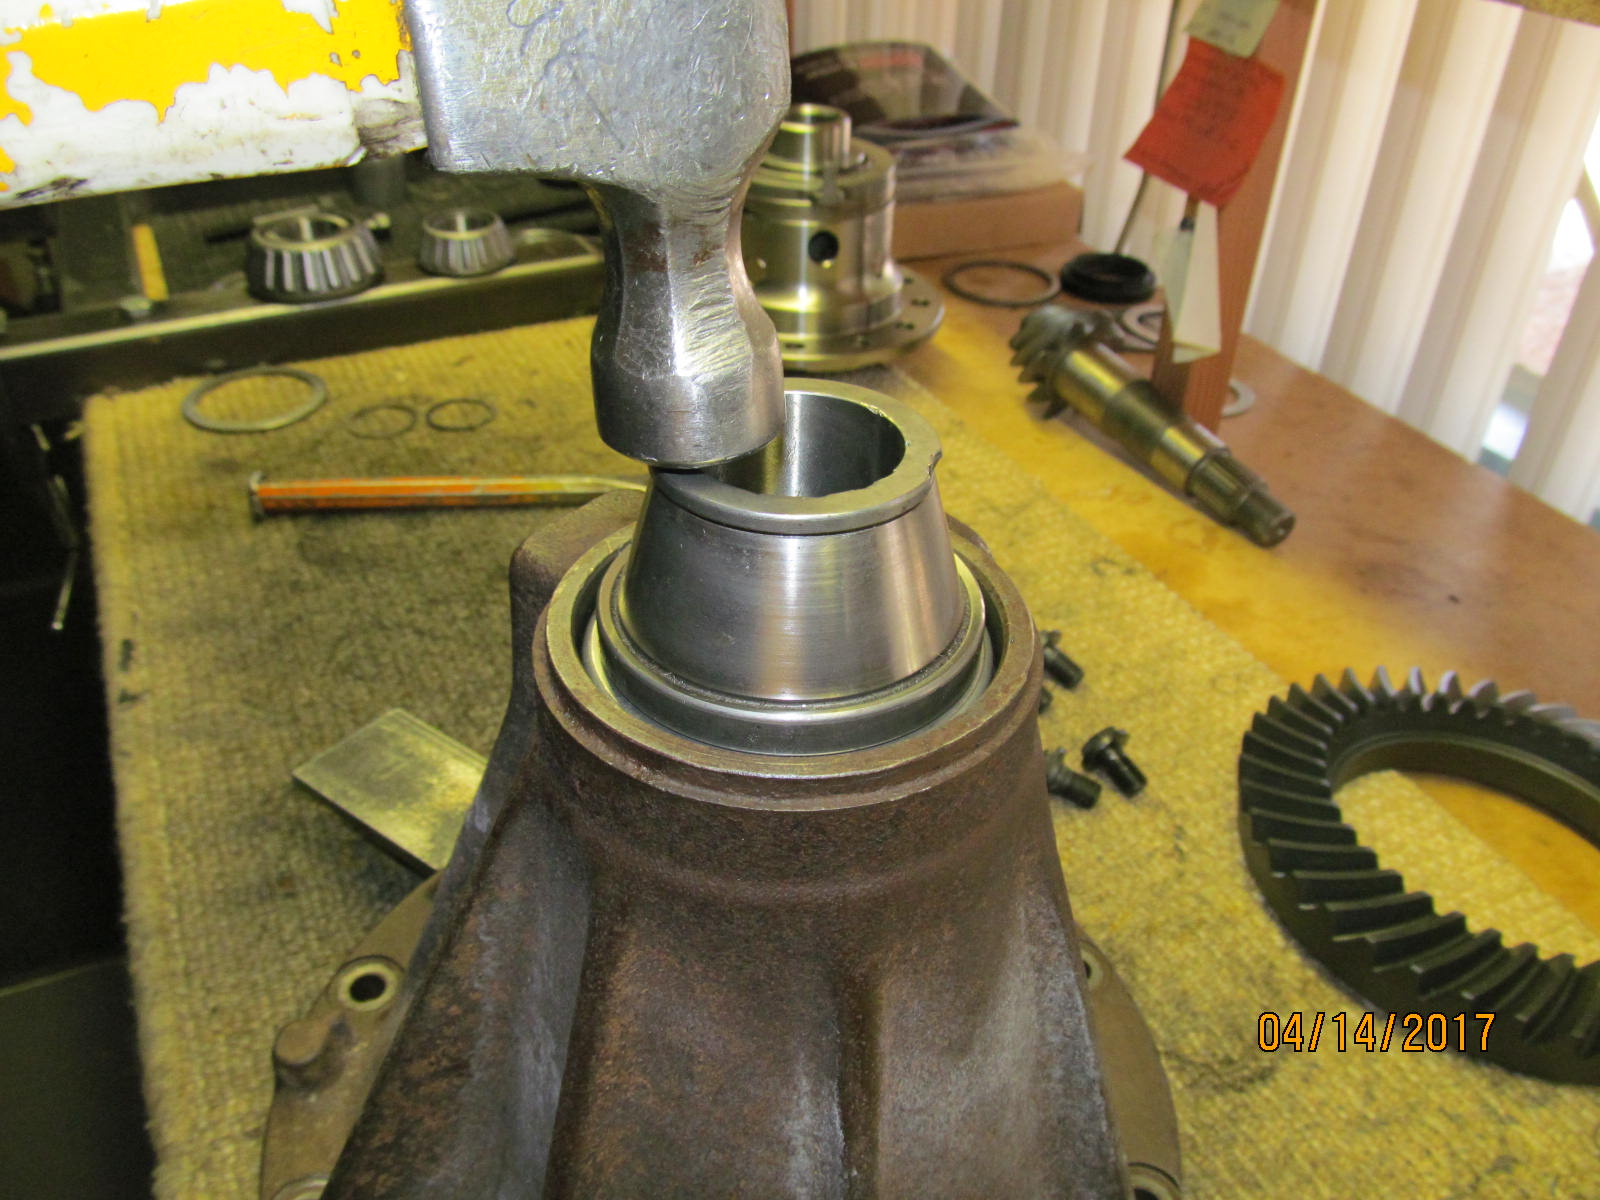
| The outer race is tapped in. Old bearing parts can be valuable tool aids. |
|---|
|

|
| ,,,,,,,,,,,,,,,,,,,,, |
|---|
|
|
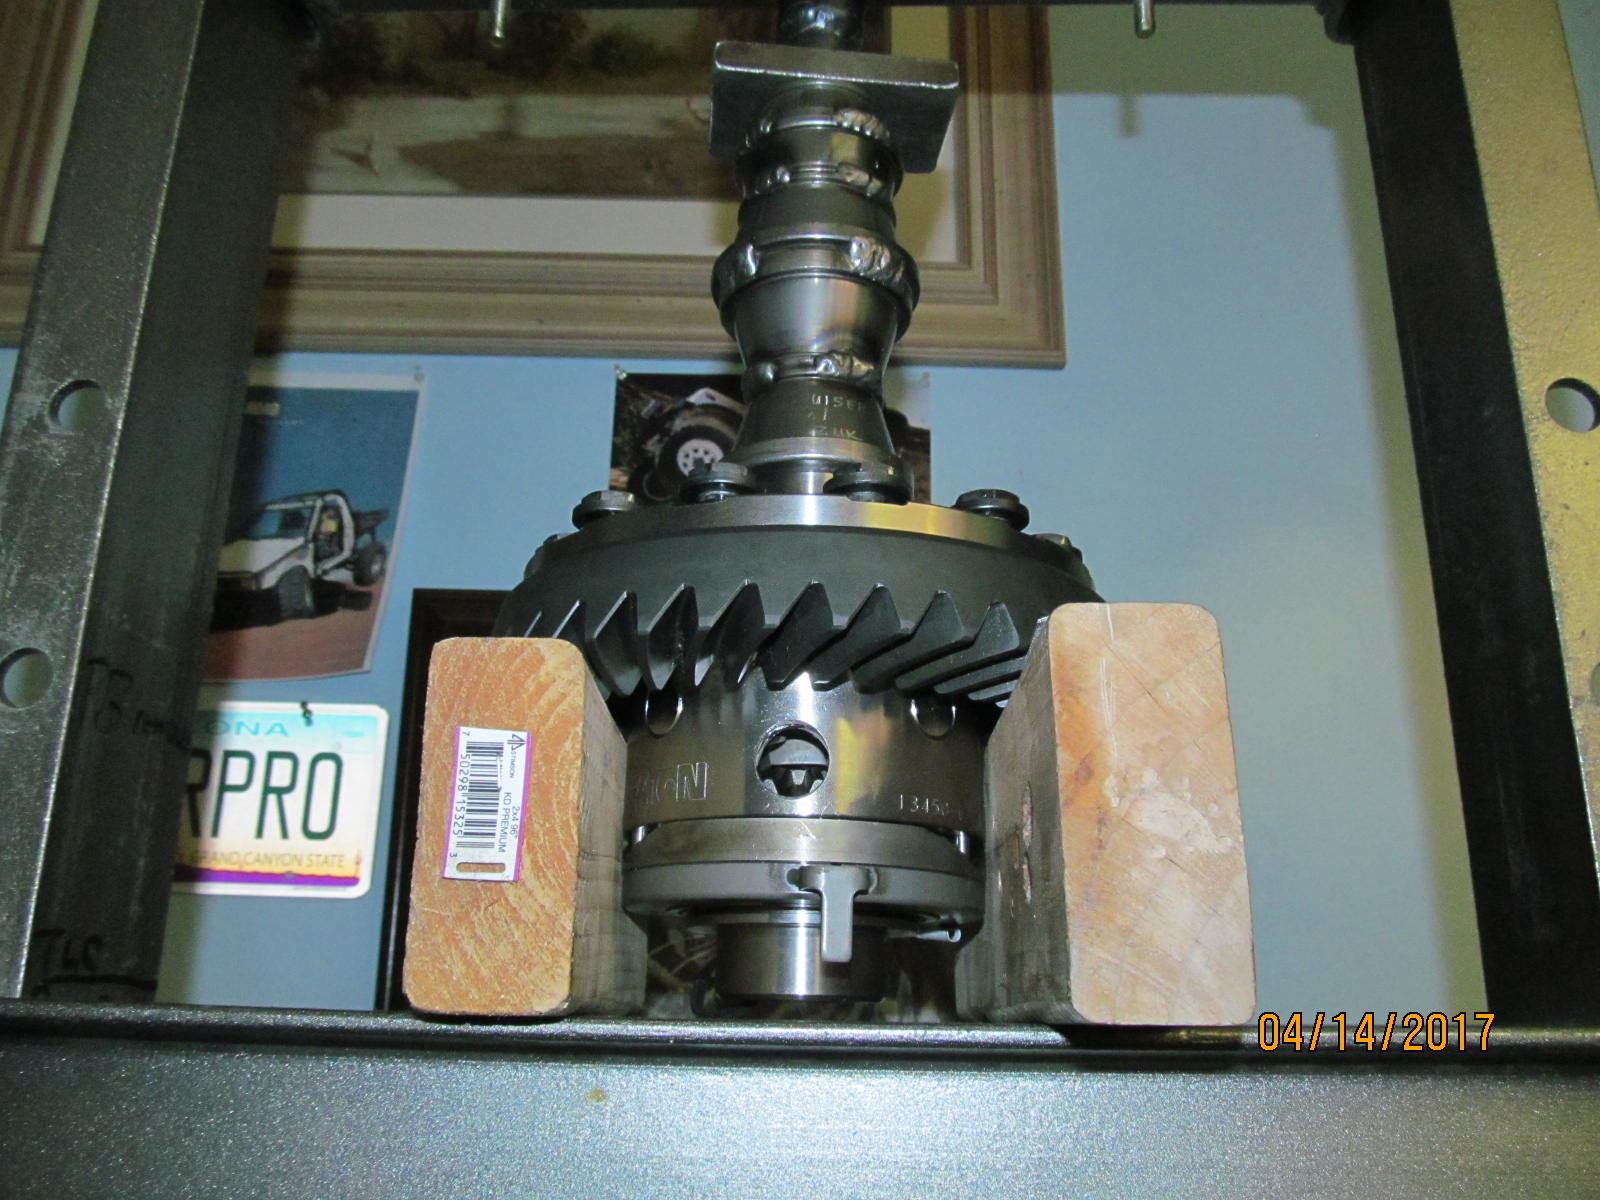
| The Nitro 488 ring will be mounted first. |
|---|
|
|
| It was a tight fitting ring so the press and some wood blocks helped a lot. |
|---|
|
|
| ,,,,,,,,,,,,,,,,,,,,, |
|---|
|
|
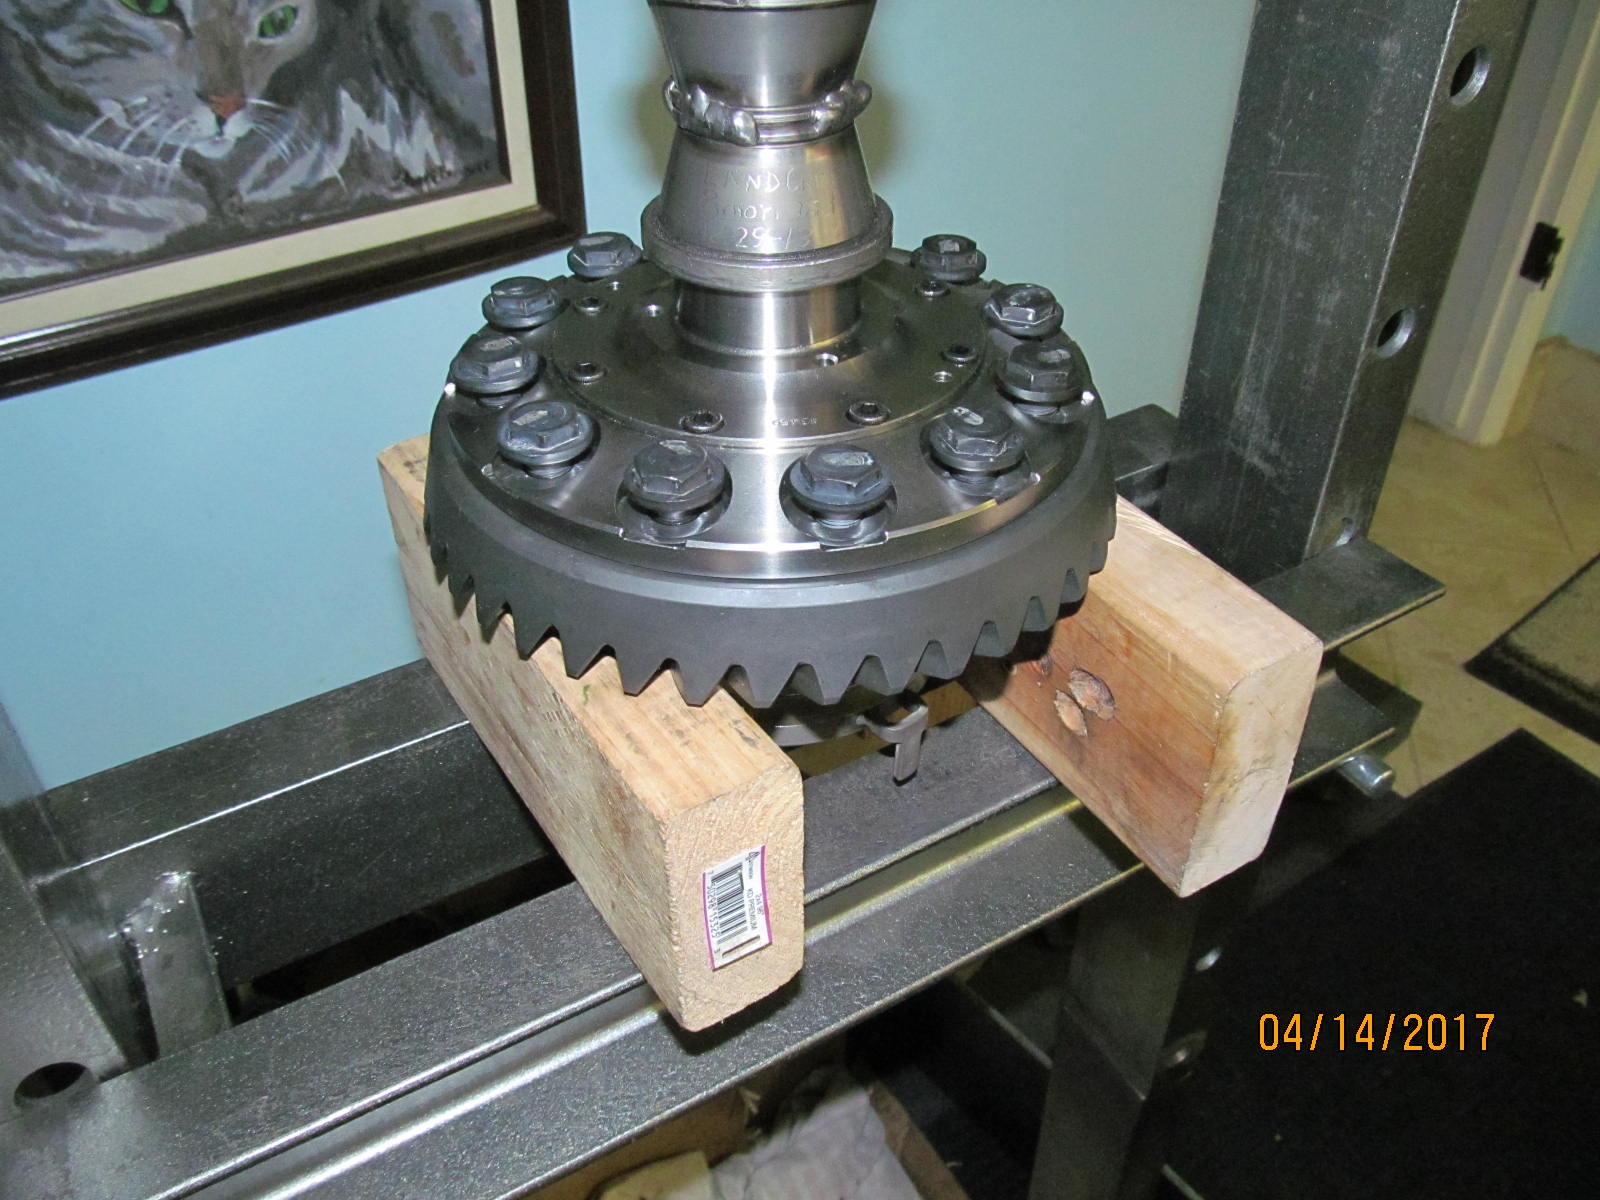
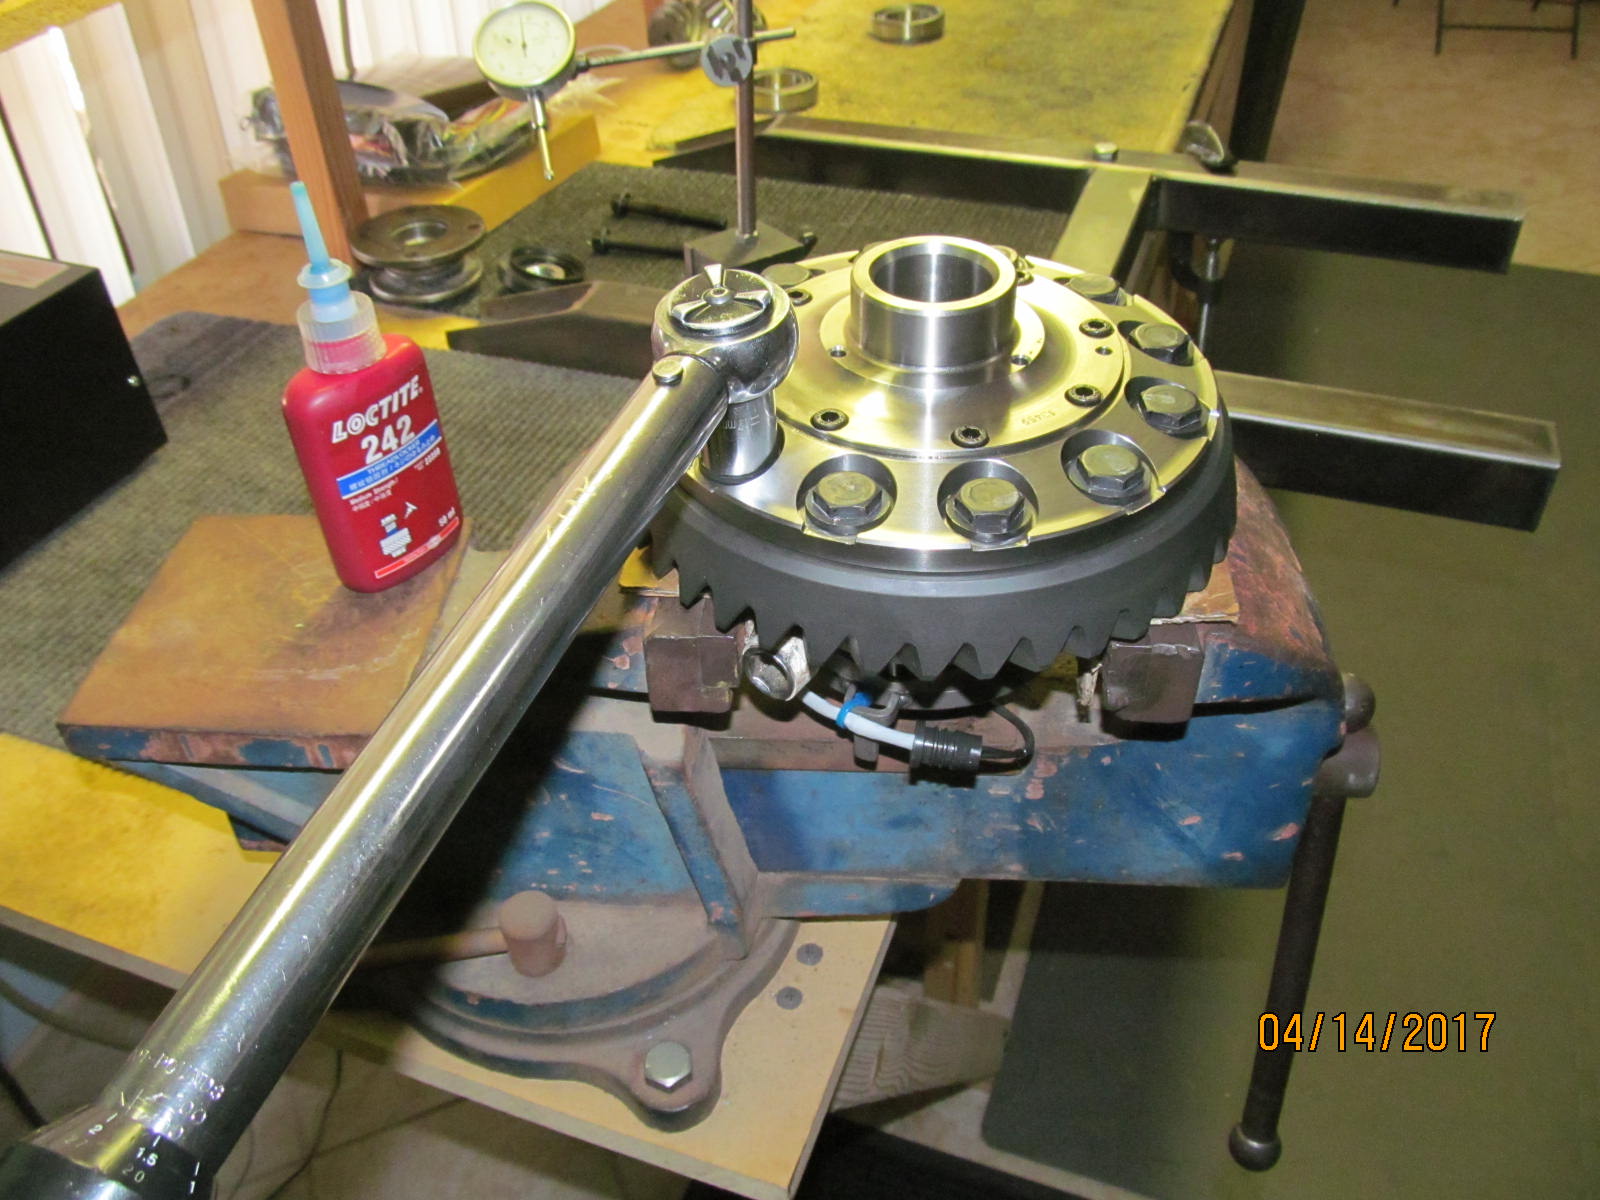
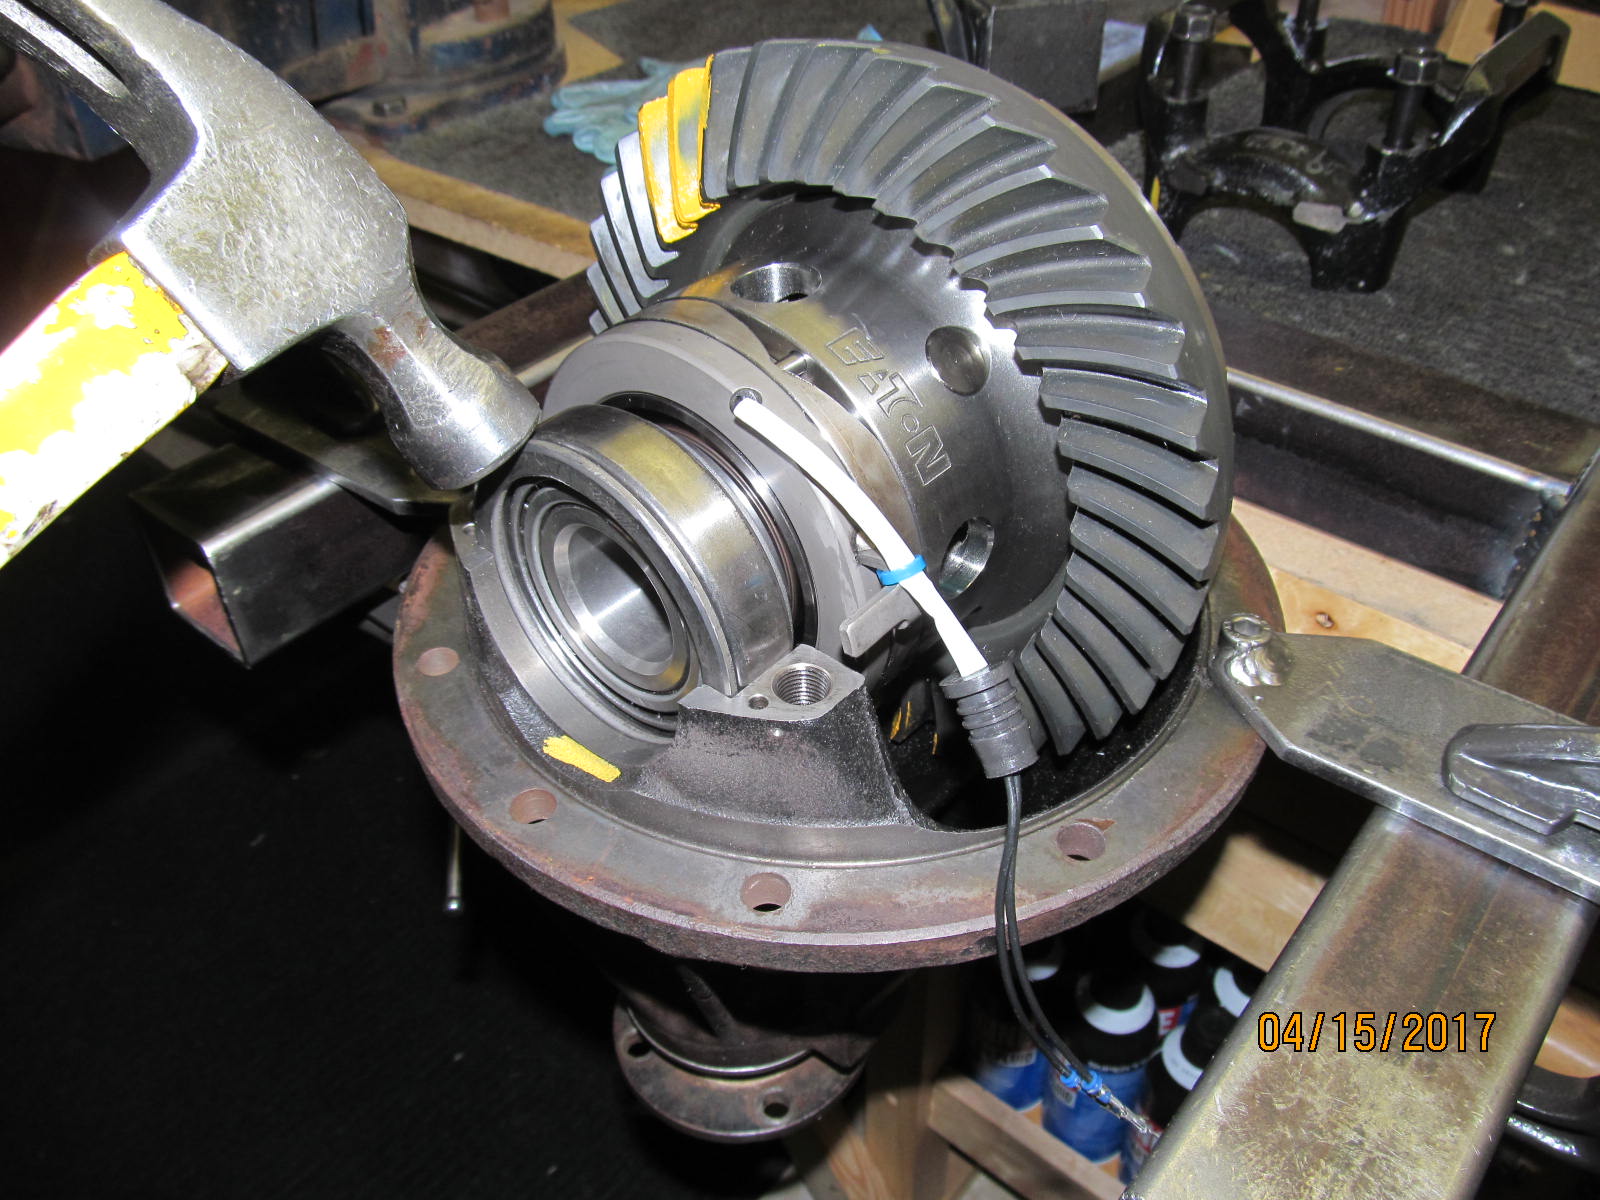
Securing the Harrop case such that it remains scar free and won't rotate while the ring gear bolts are final tightened.
I'm very careful anytime the anti-rotation tabs are near a press or vise. |
|---|
|
|
| 92 ft/lb per the FSM. |
|---|
|
|
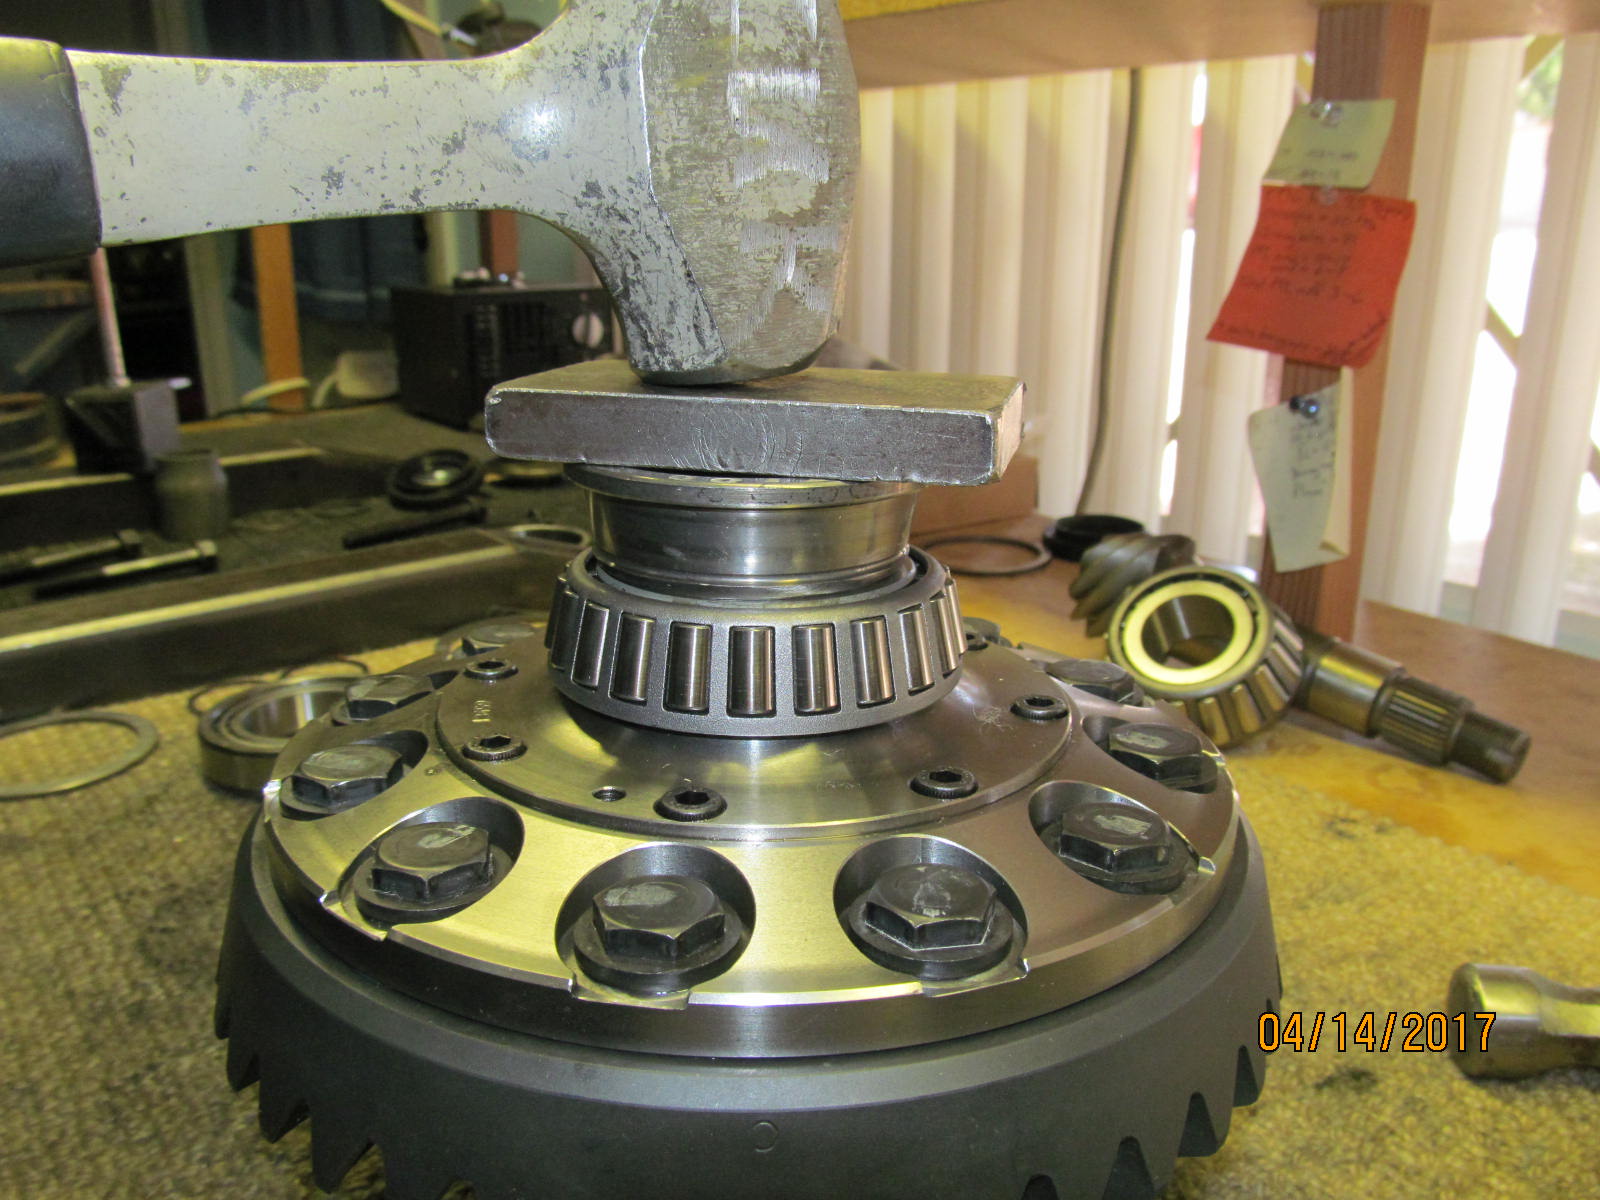
| The carrier bearings were a nice tight fit. |
|---|
|
|
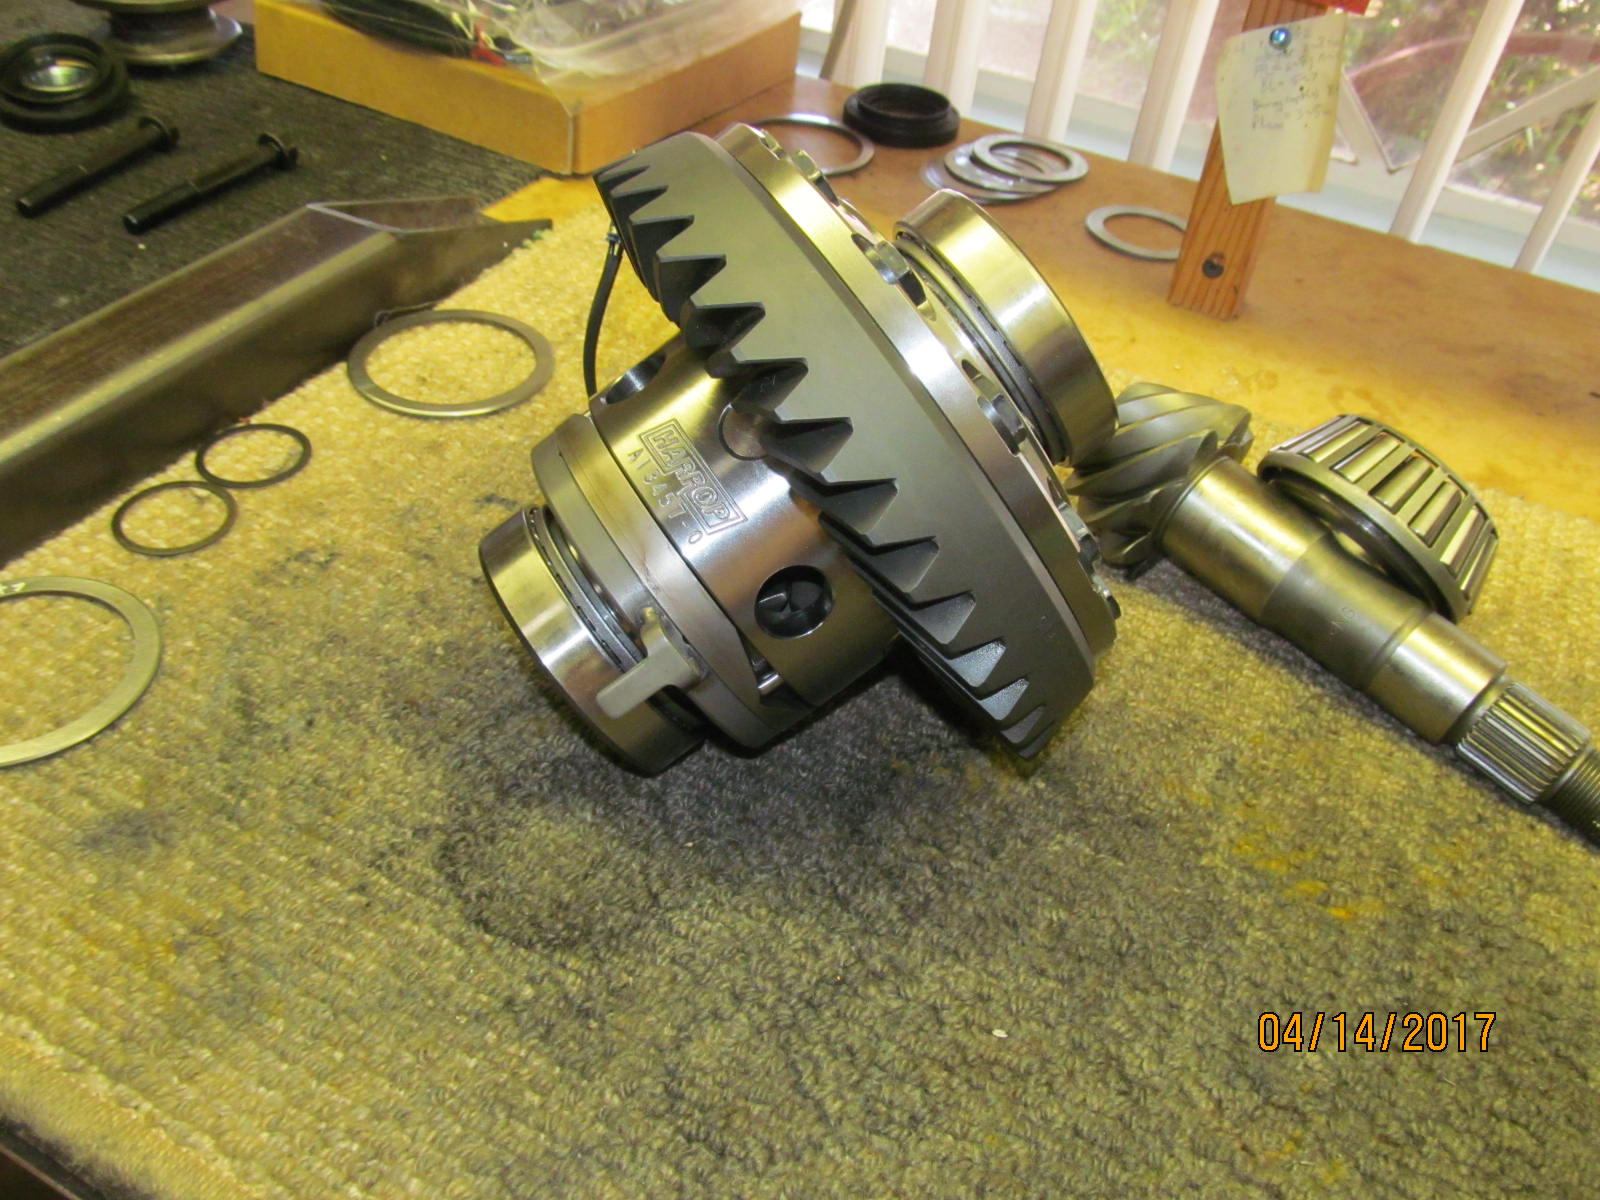
| The harrop carrier is now put to the side and now to the pinion.... |
|---|
|
|
| The pinion shim is already behind the race so none needed here....just press the bearing on. |
|---|
|
|
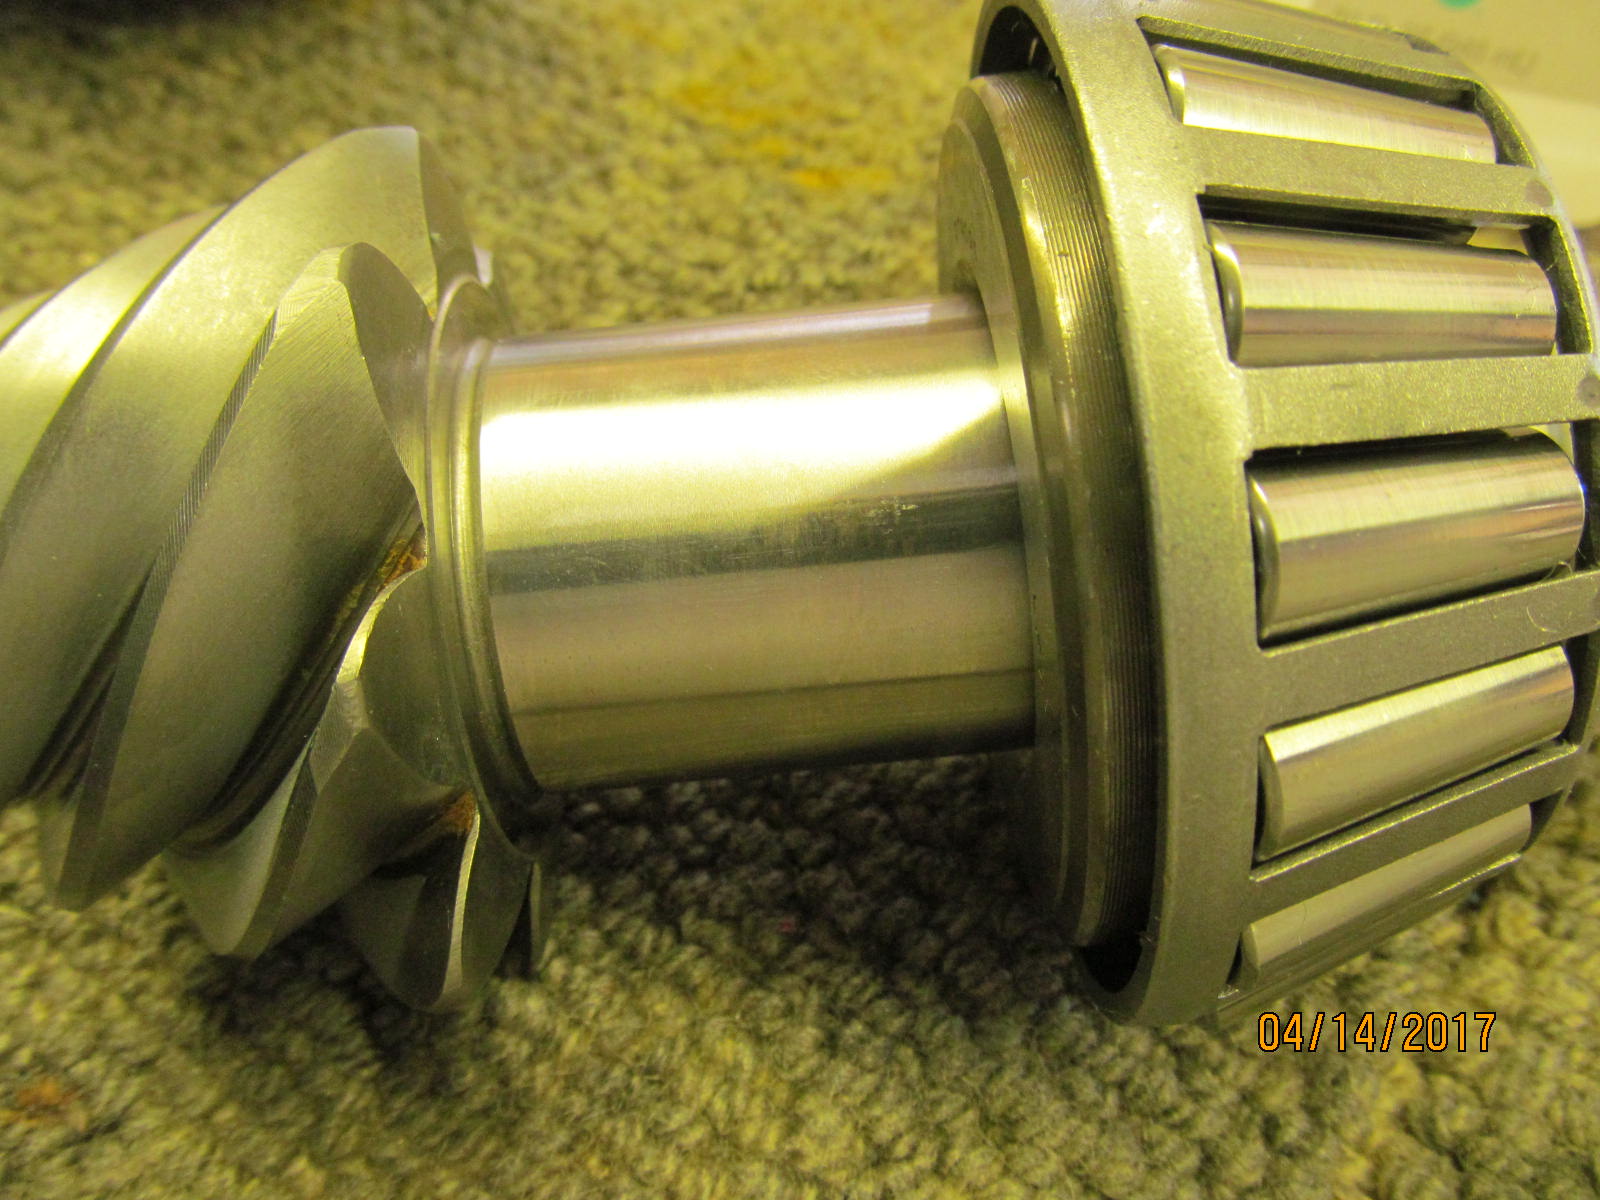
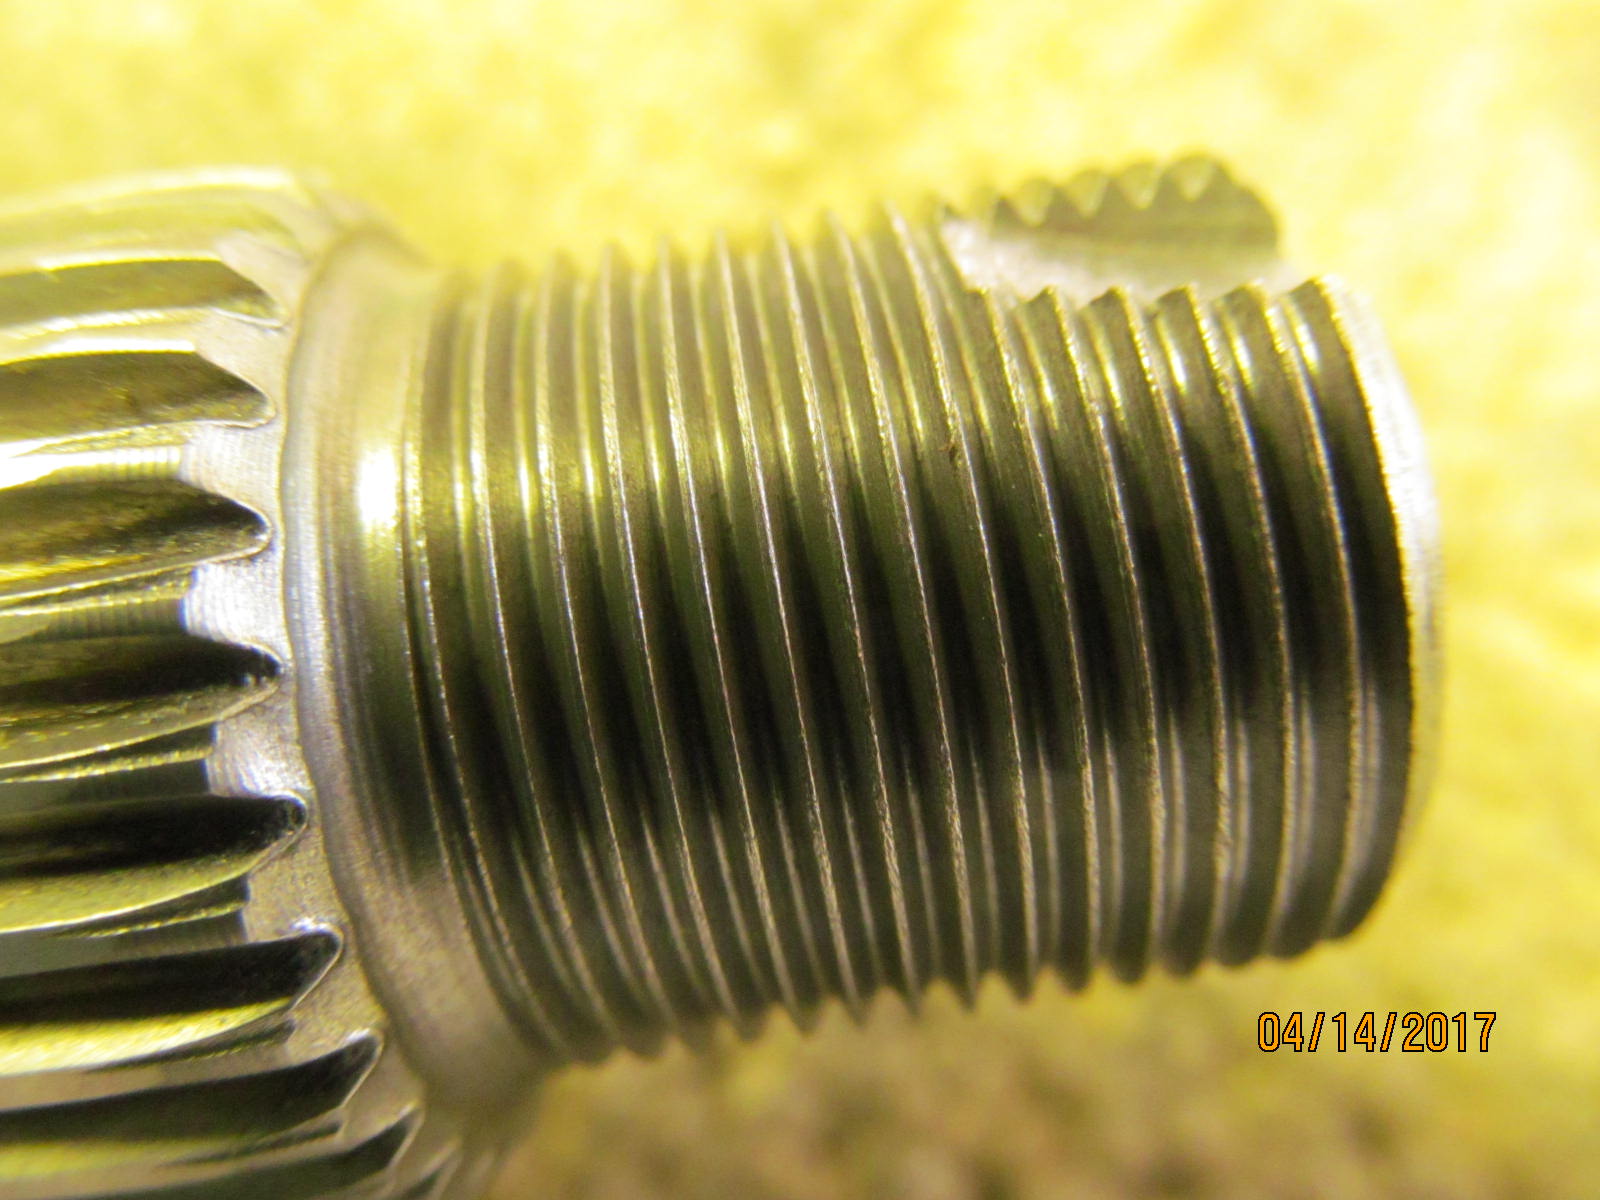
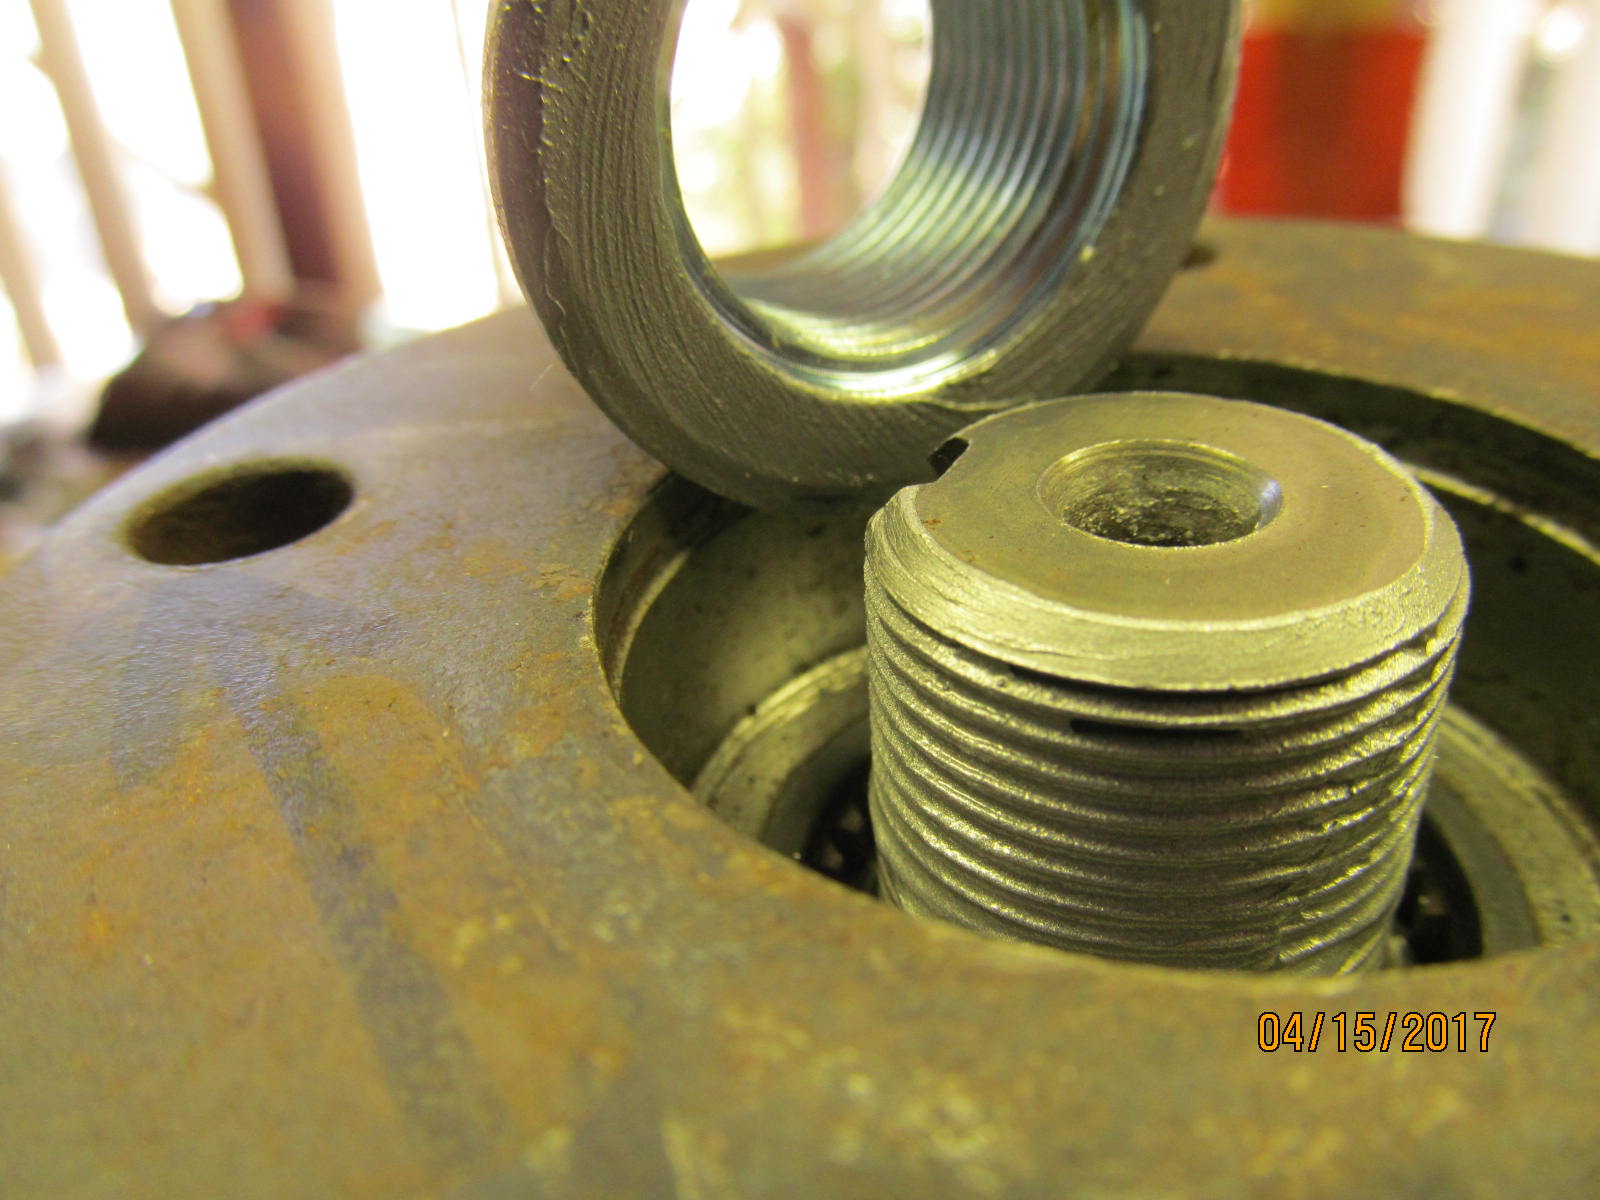
| I don't know why I took a picture of the threads....but that Canon PowerShot SX150 sure has a decent macro mode. :) |
|---|
|
|
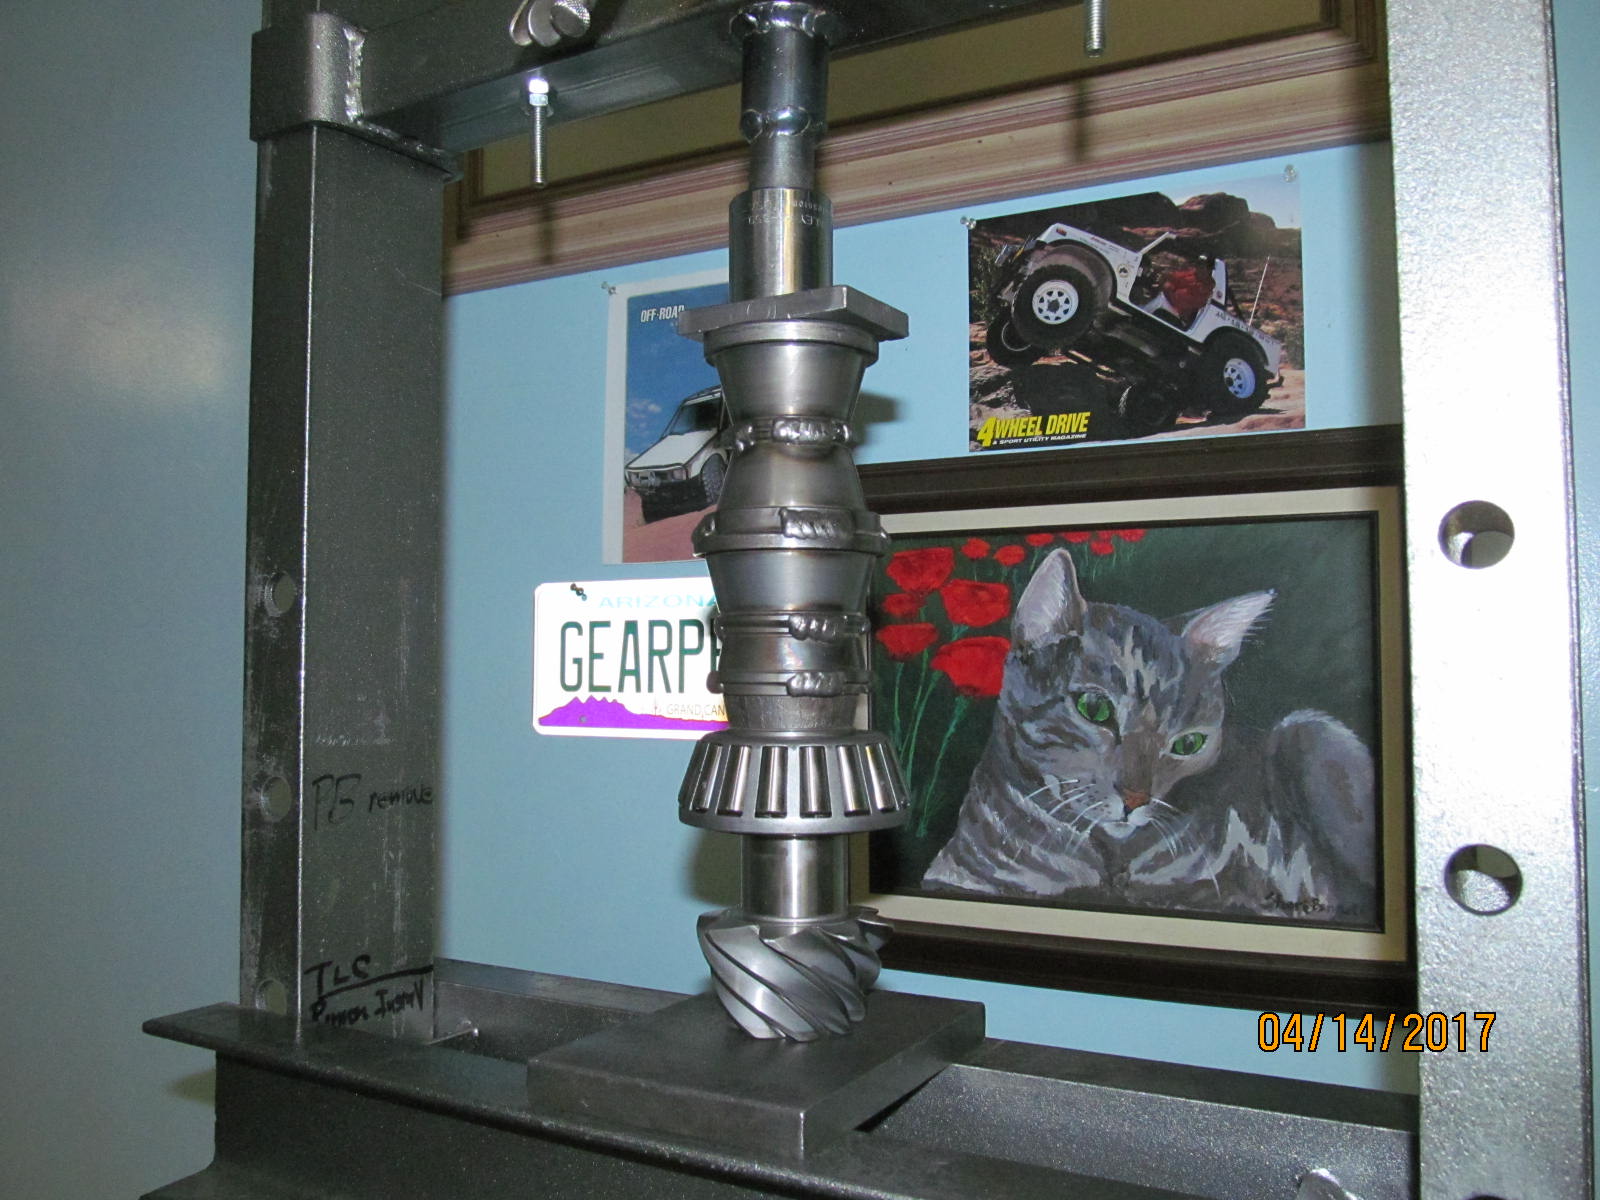
| The bearing is pressed on with the Harborfreight 12 ton. |
|---|
|
|
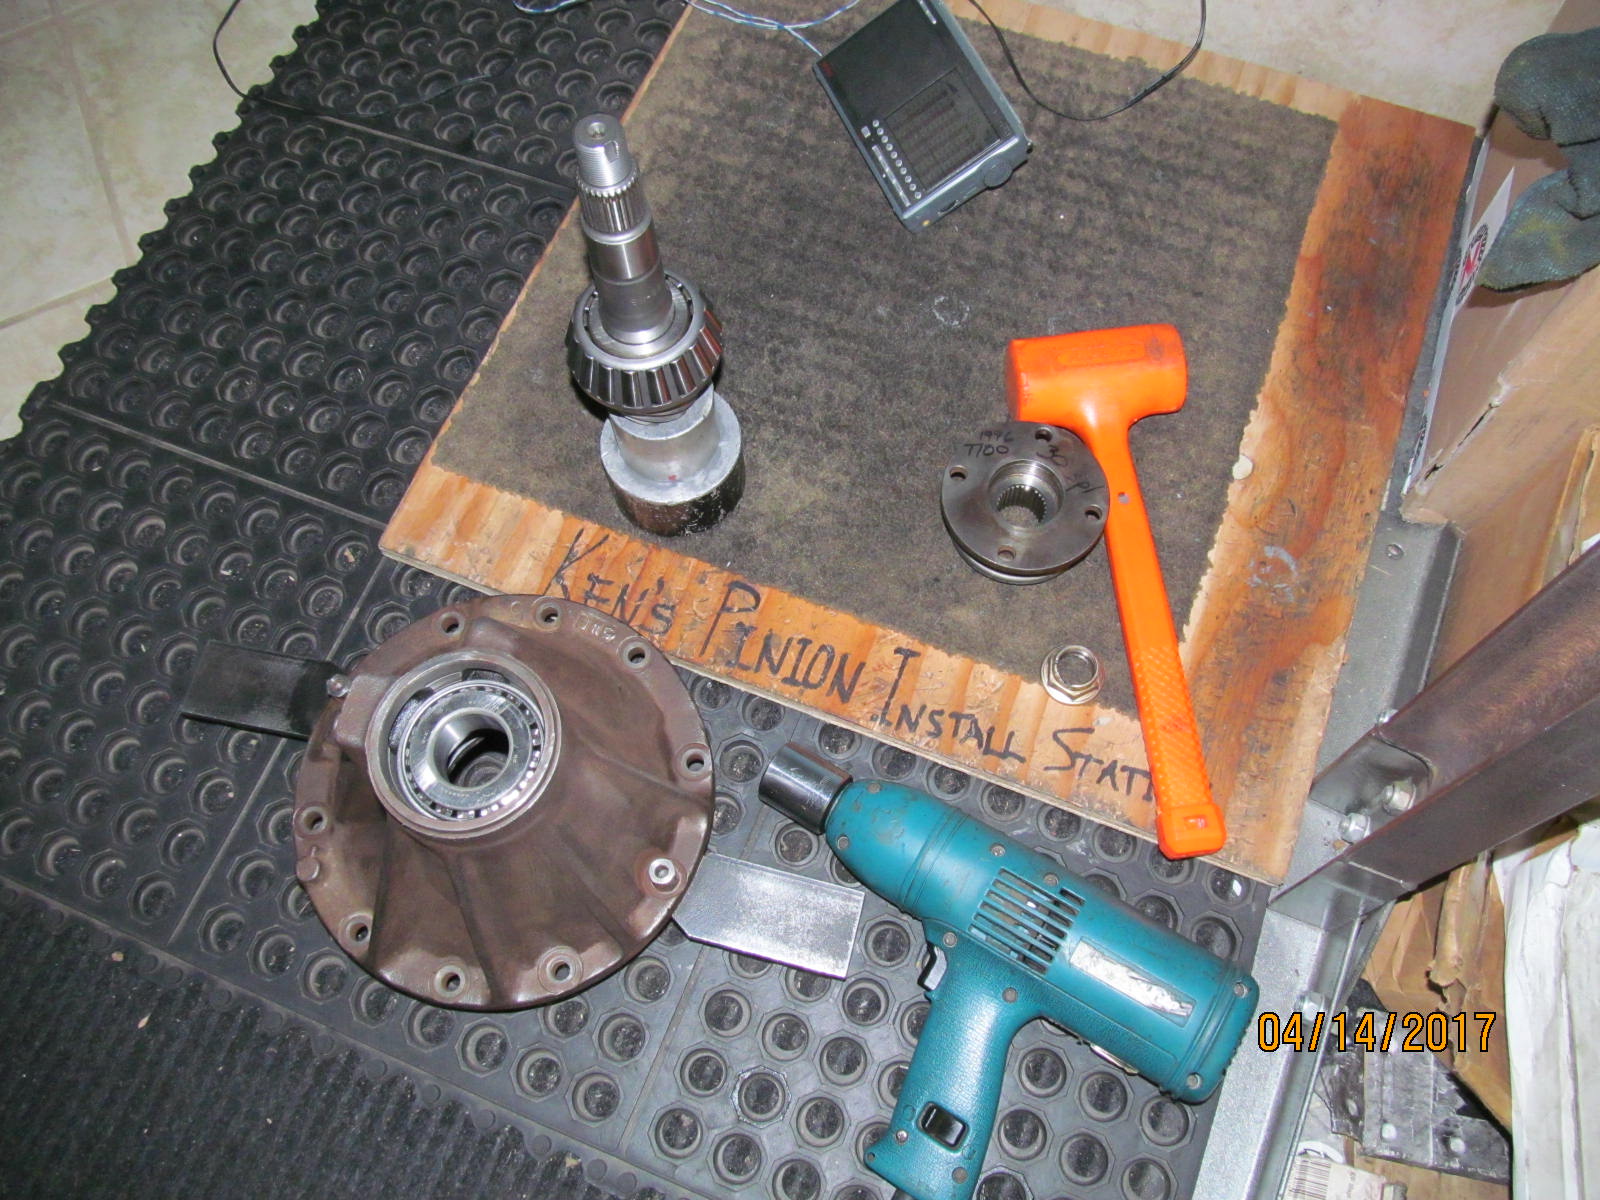
| Now the pinion assembly can be loaded into the differential carrier(the empty 3rd). |
|---|
|
|
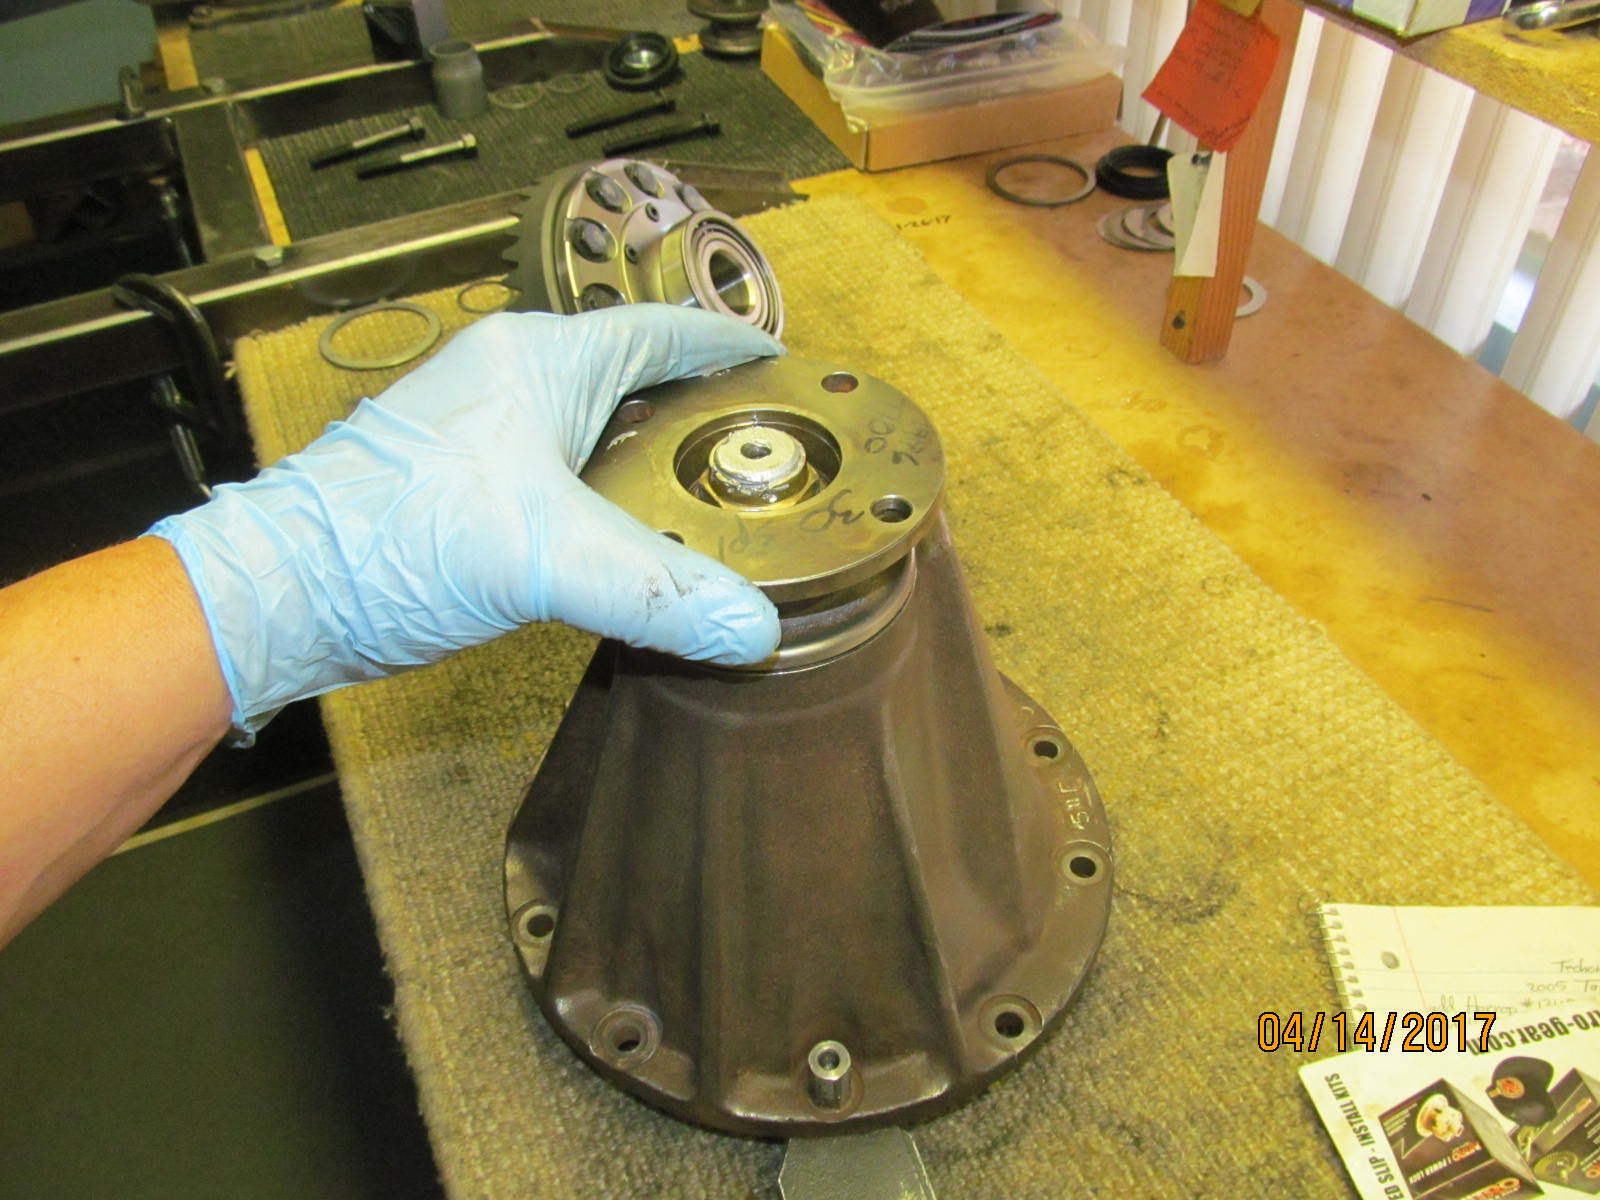
| The electric impact was used to snug up the pinion nut just enough to get a good amount of "bearing drag" (preload). |
|---|
|
|
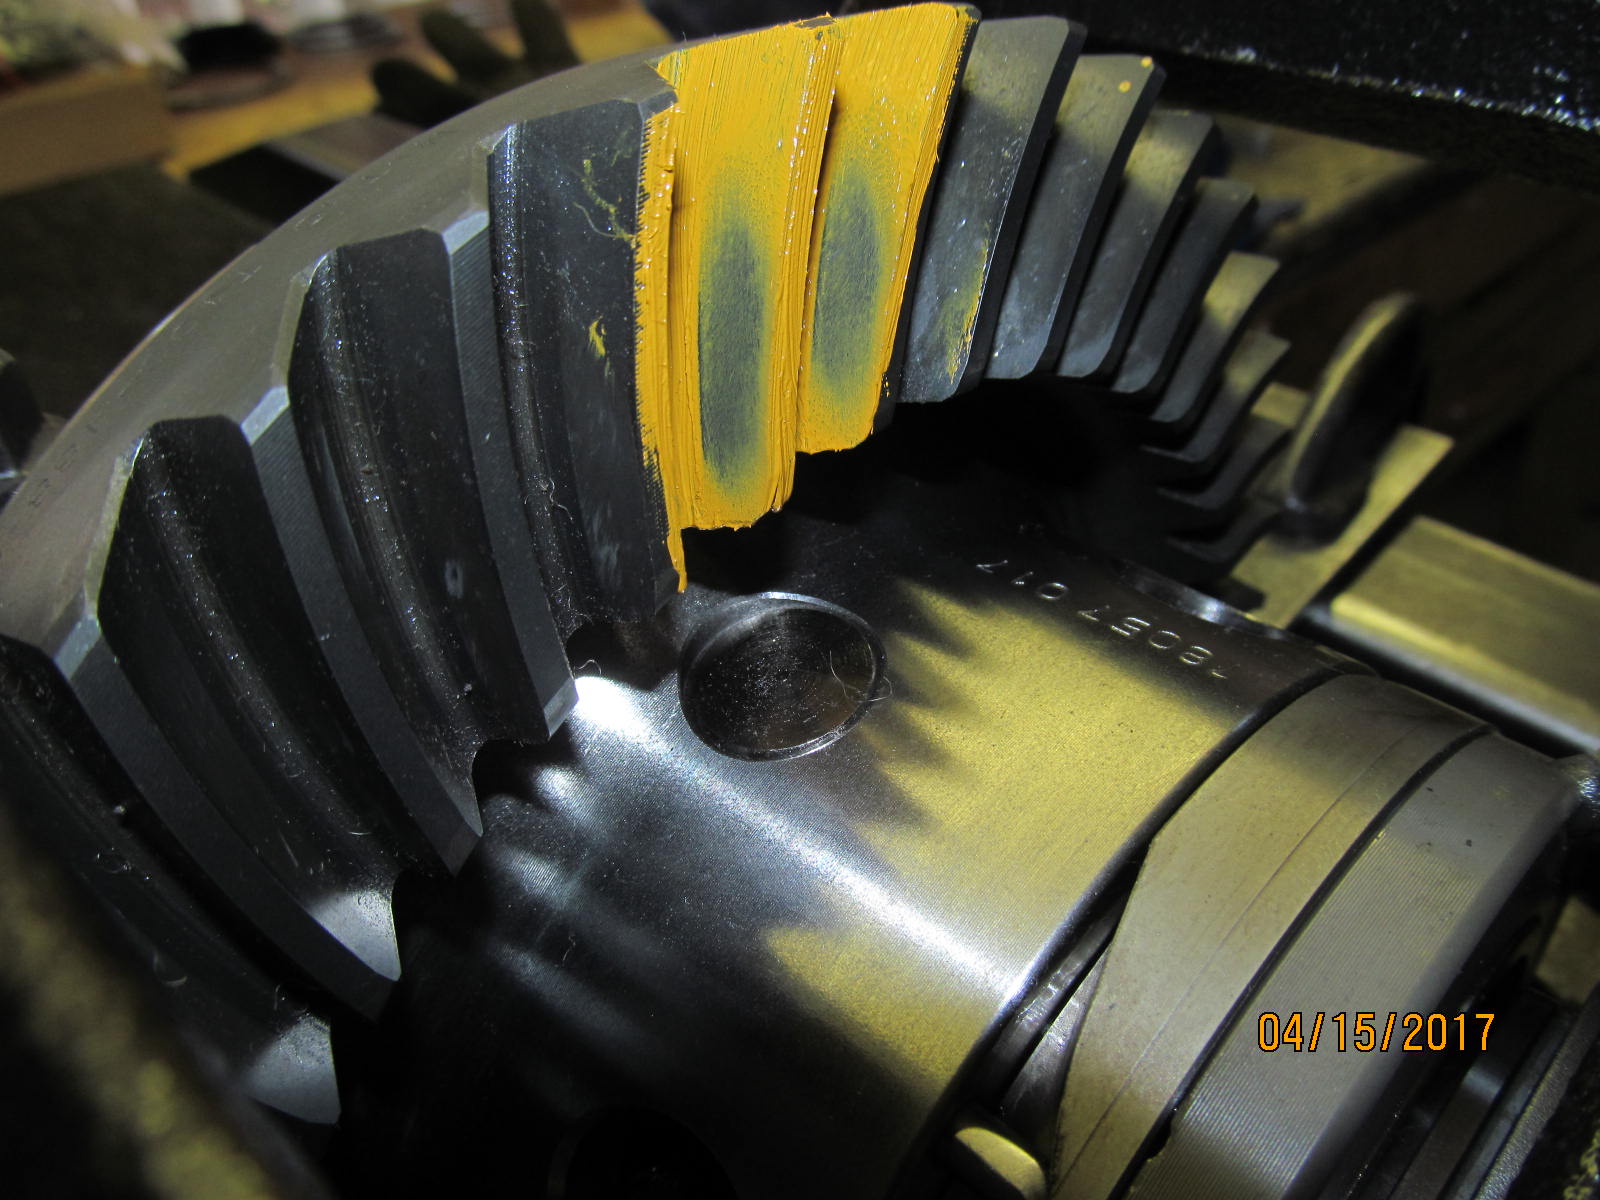
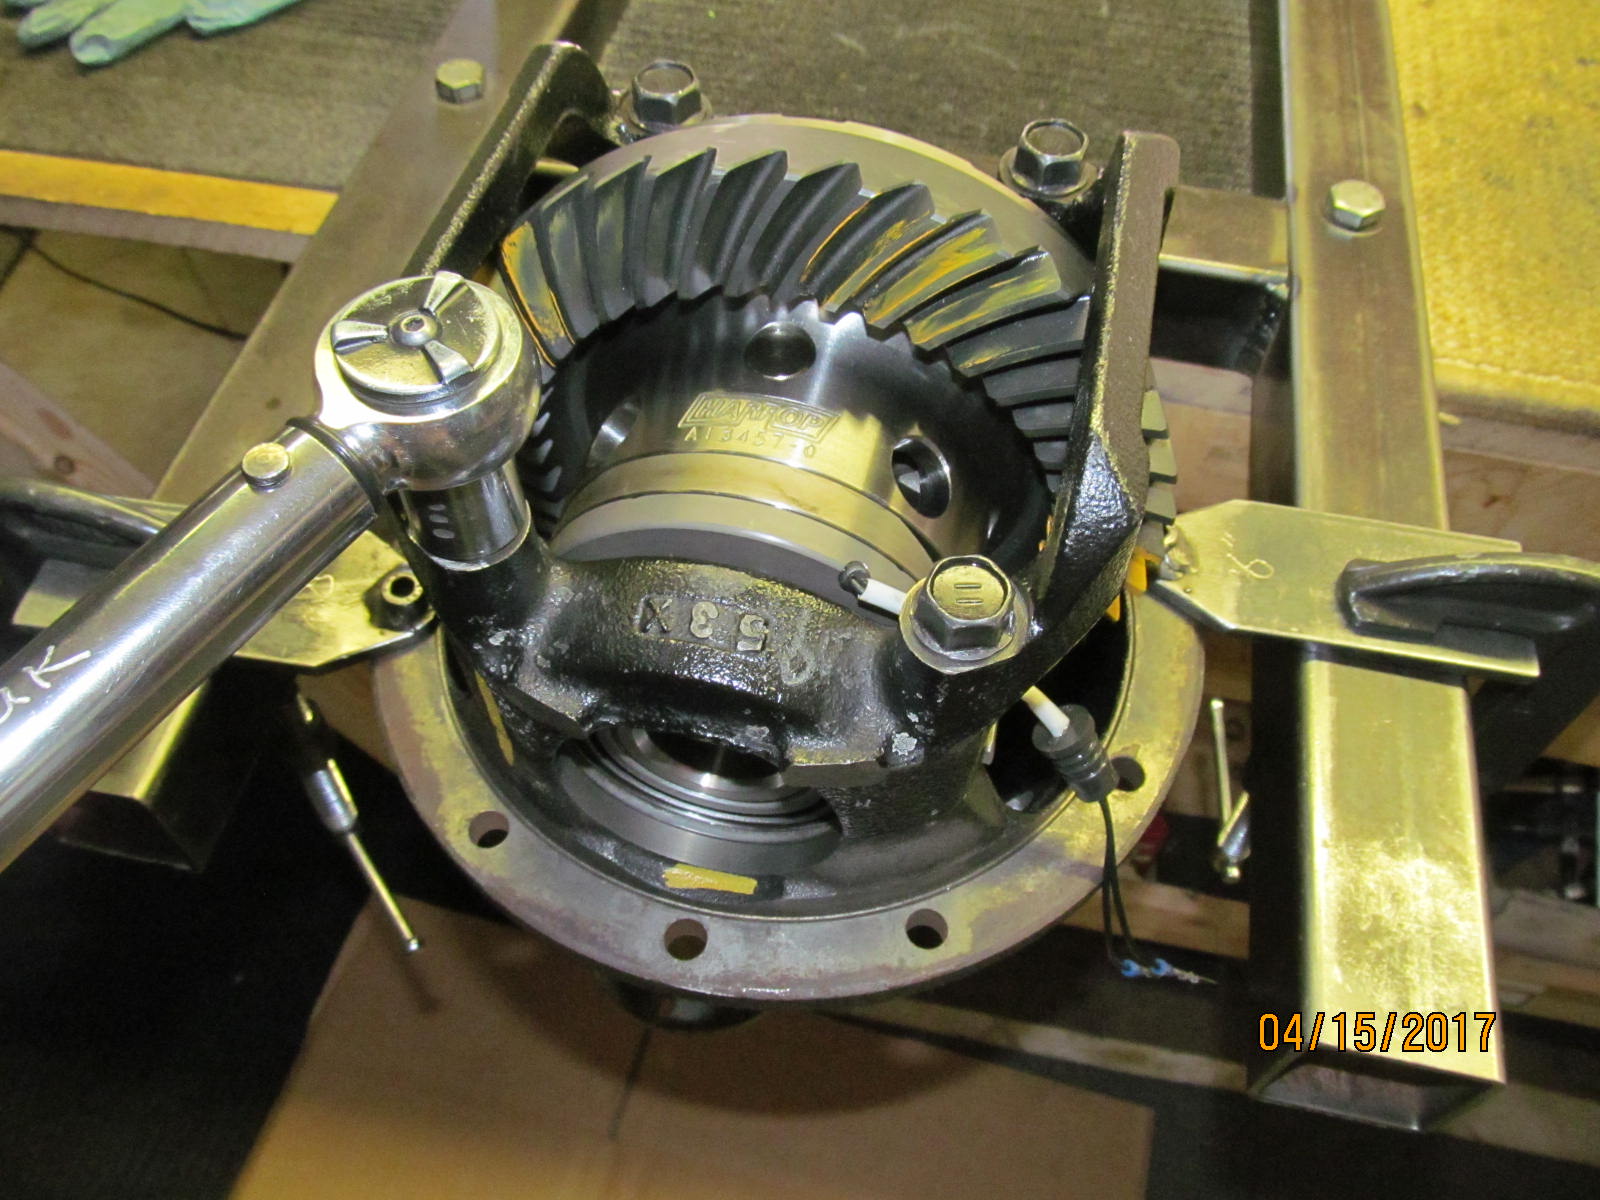
Harrop elocker carrier loaded in place and 2 teeth were painted and spun.....
The first pinion shim thickness of .086" was too deep looking so it was reshimmed to 082 and this is the result.
Drive side shown above is beautiful....a slight deep pattern that favors the toe some. |
|---|
|
|
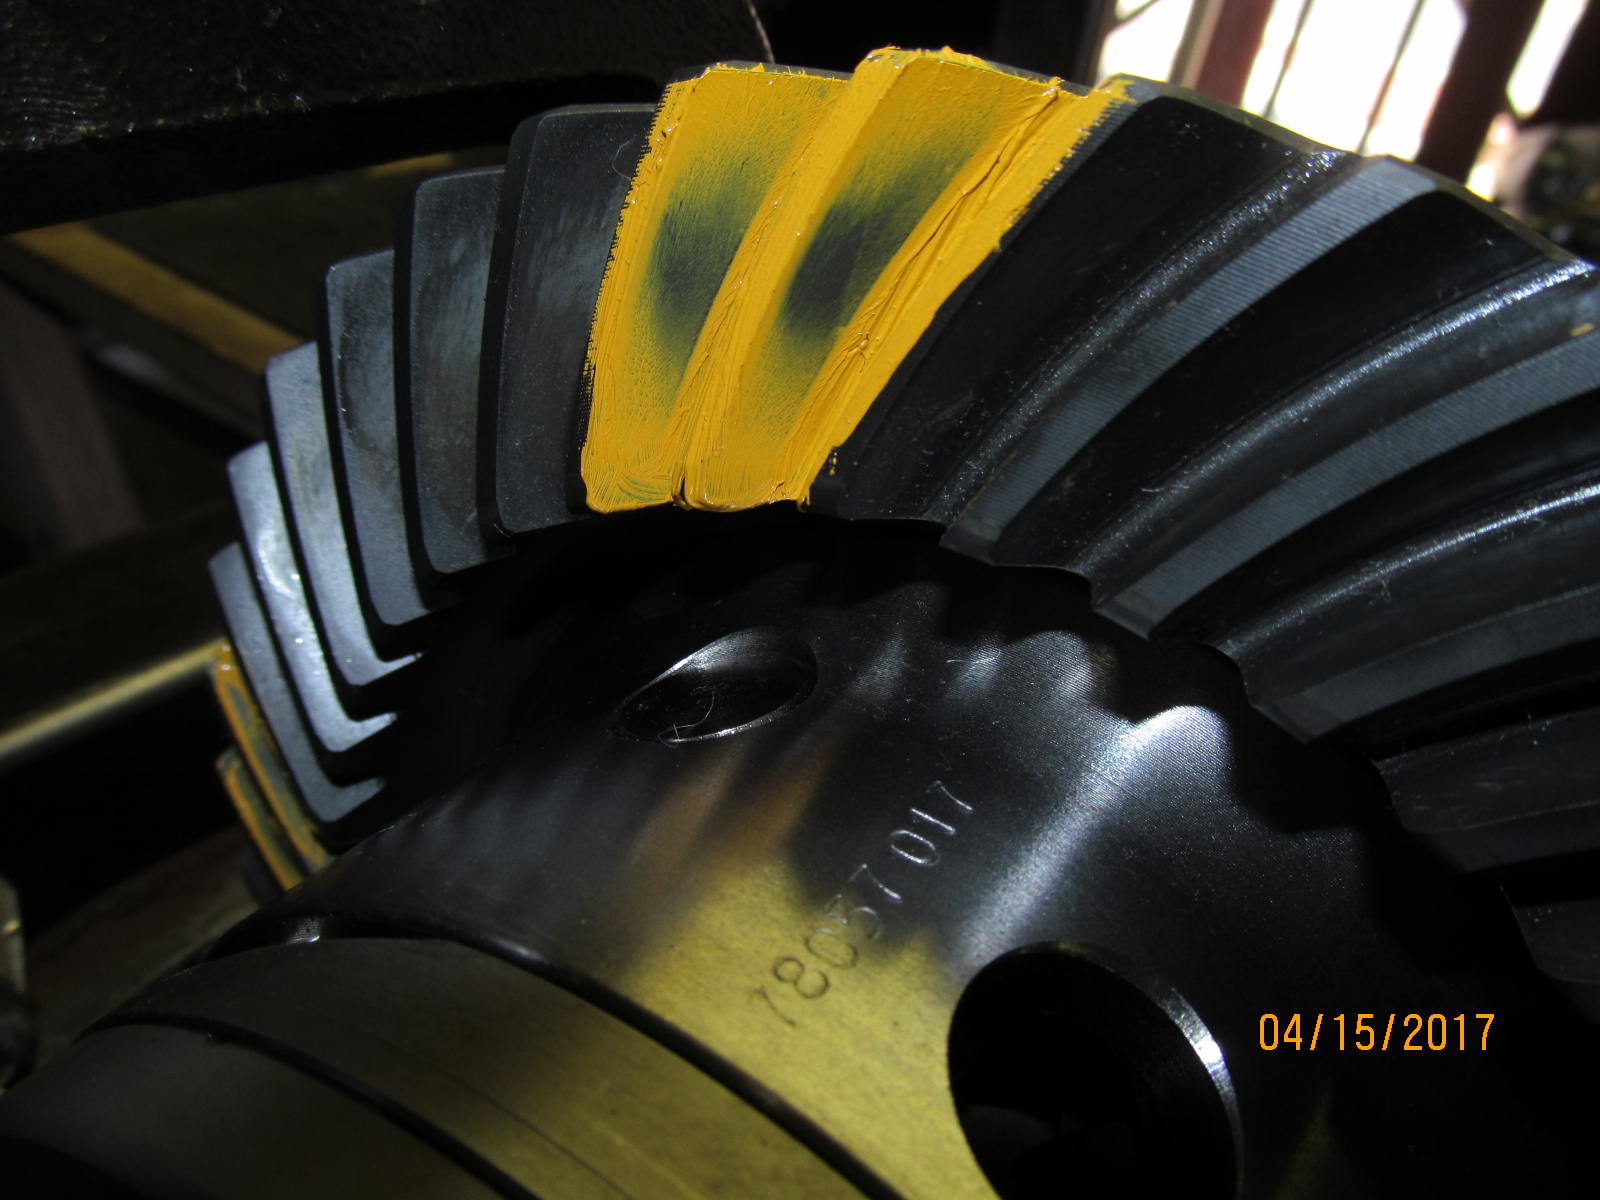
| Coast.....Nice. It's pretty much centered also. |
|---|
|
|
| The comet tail is in the center. That means it's as deep as it ever should be. Do not go any deeper. |
|---|
|
|
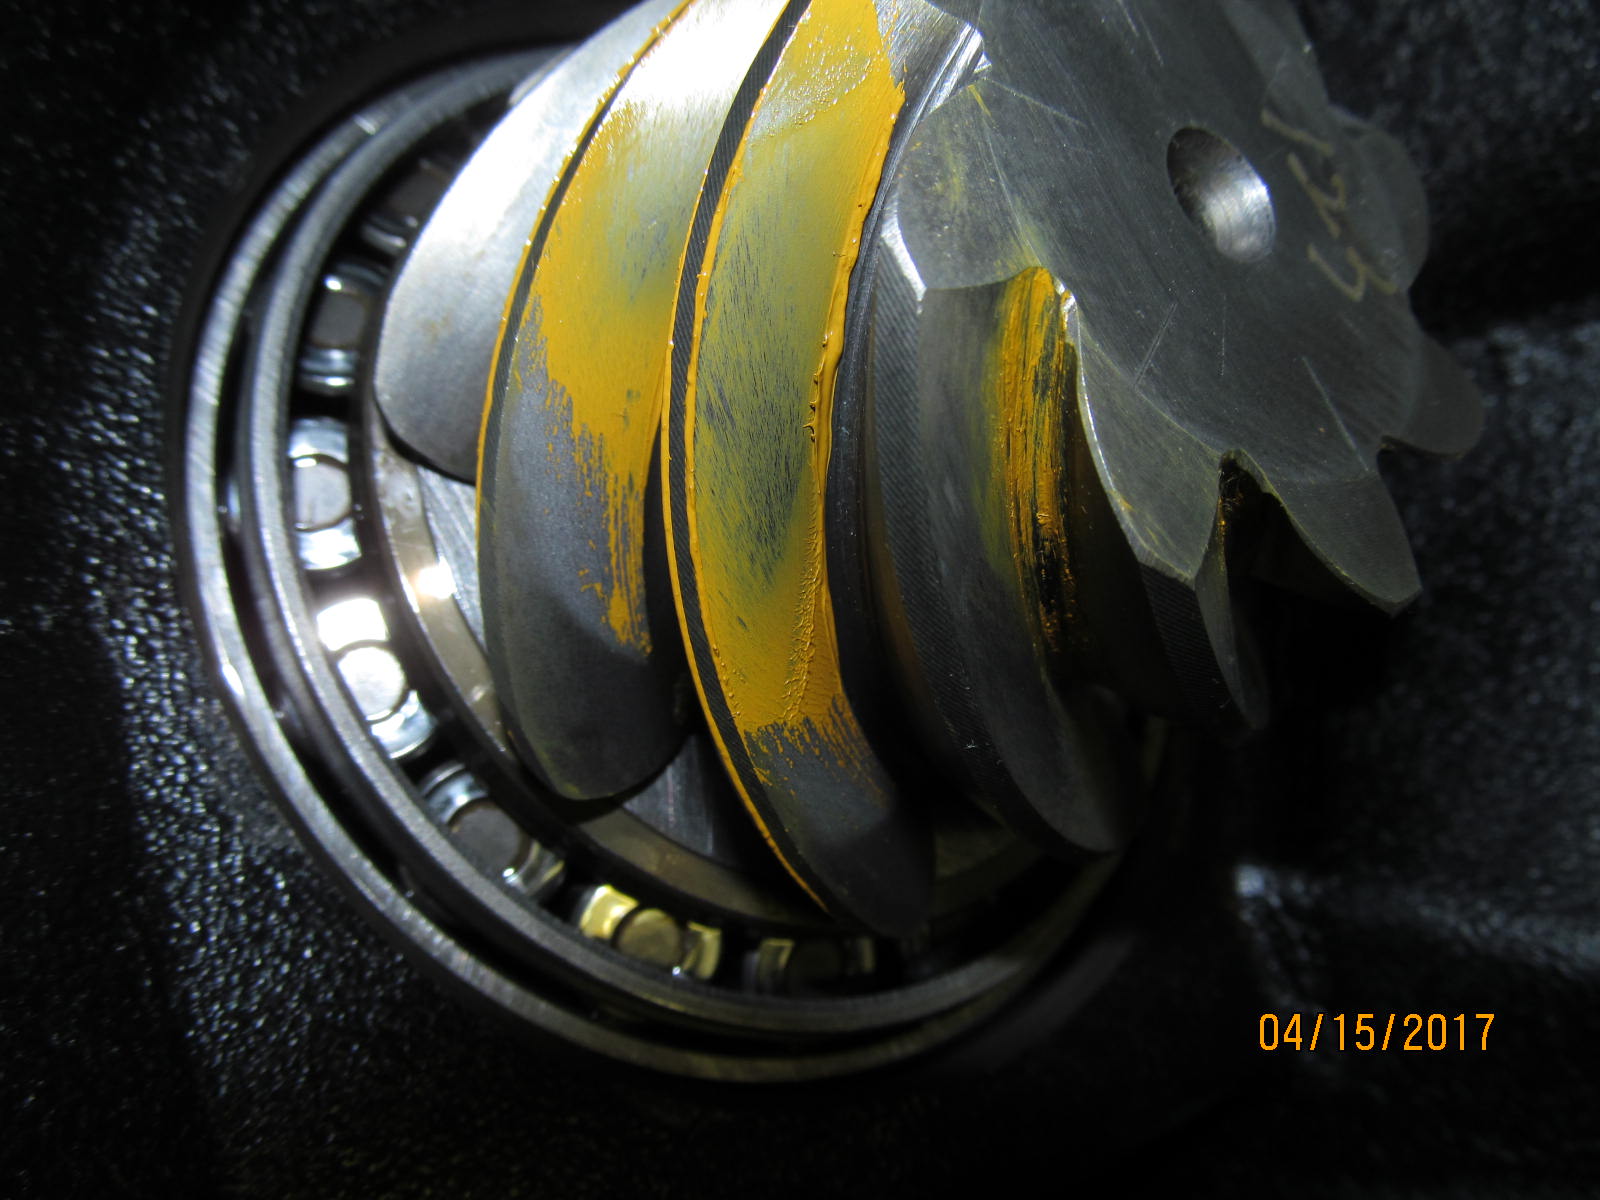
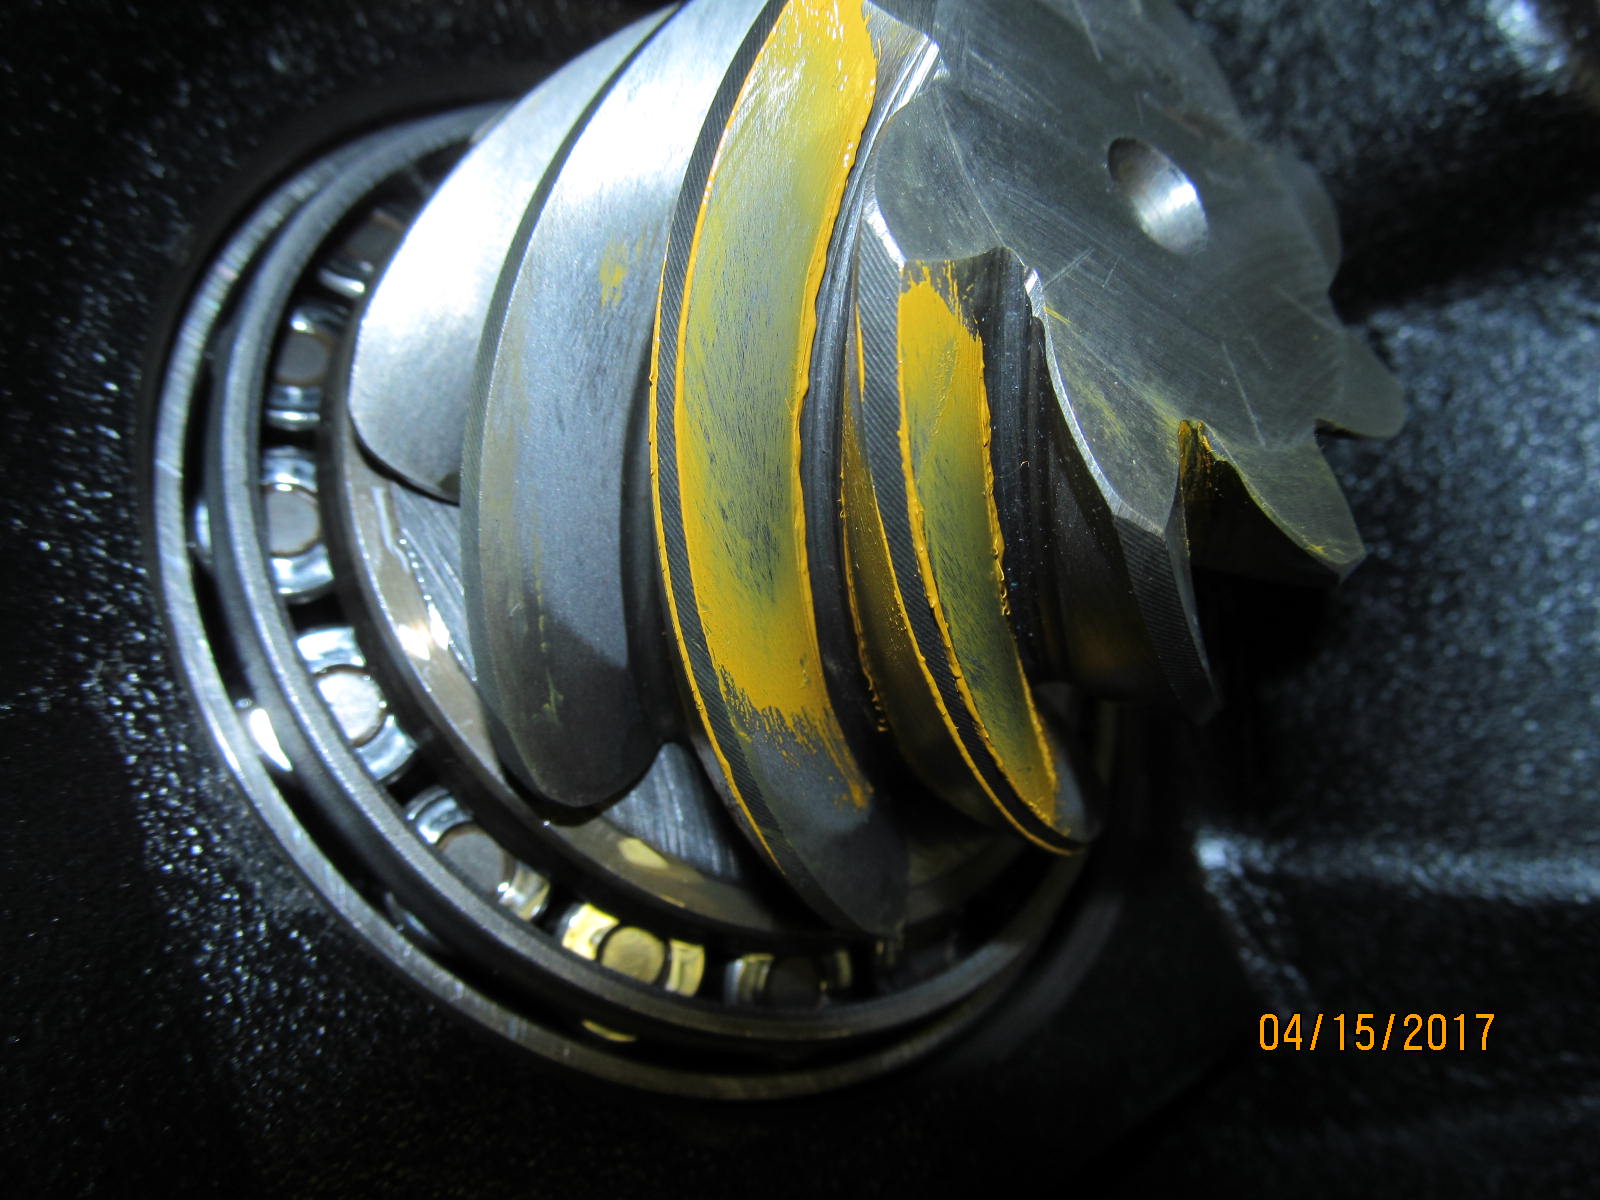
| Tooth #2 is in complete agreement. :) |
|---|
|
|
| Now to disassemble and shim the solid collar. |
|---|
|
|
The 1st shim attempt (081) resulted in a touch too much preload.
082" was the magic shim. |
|---|
|
|
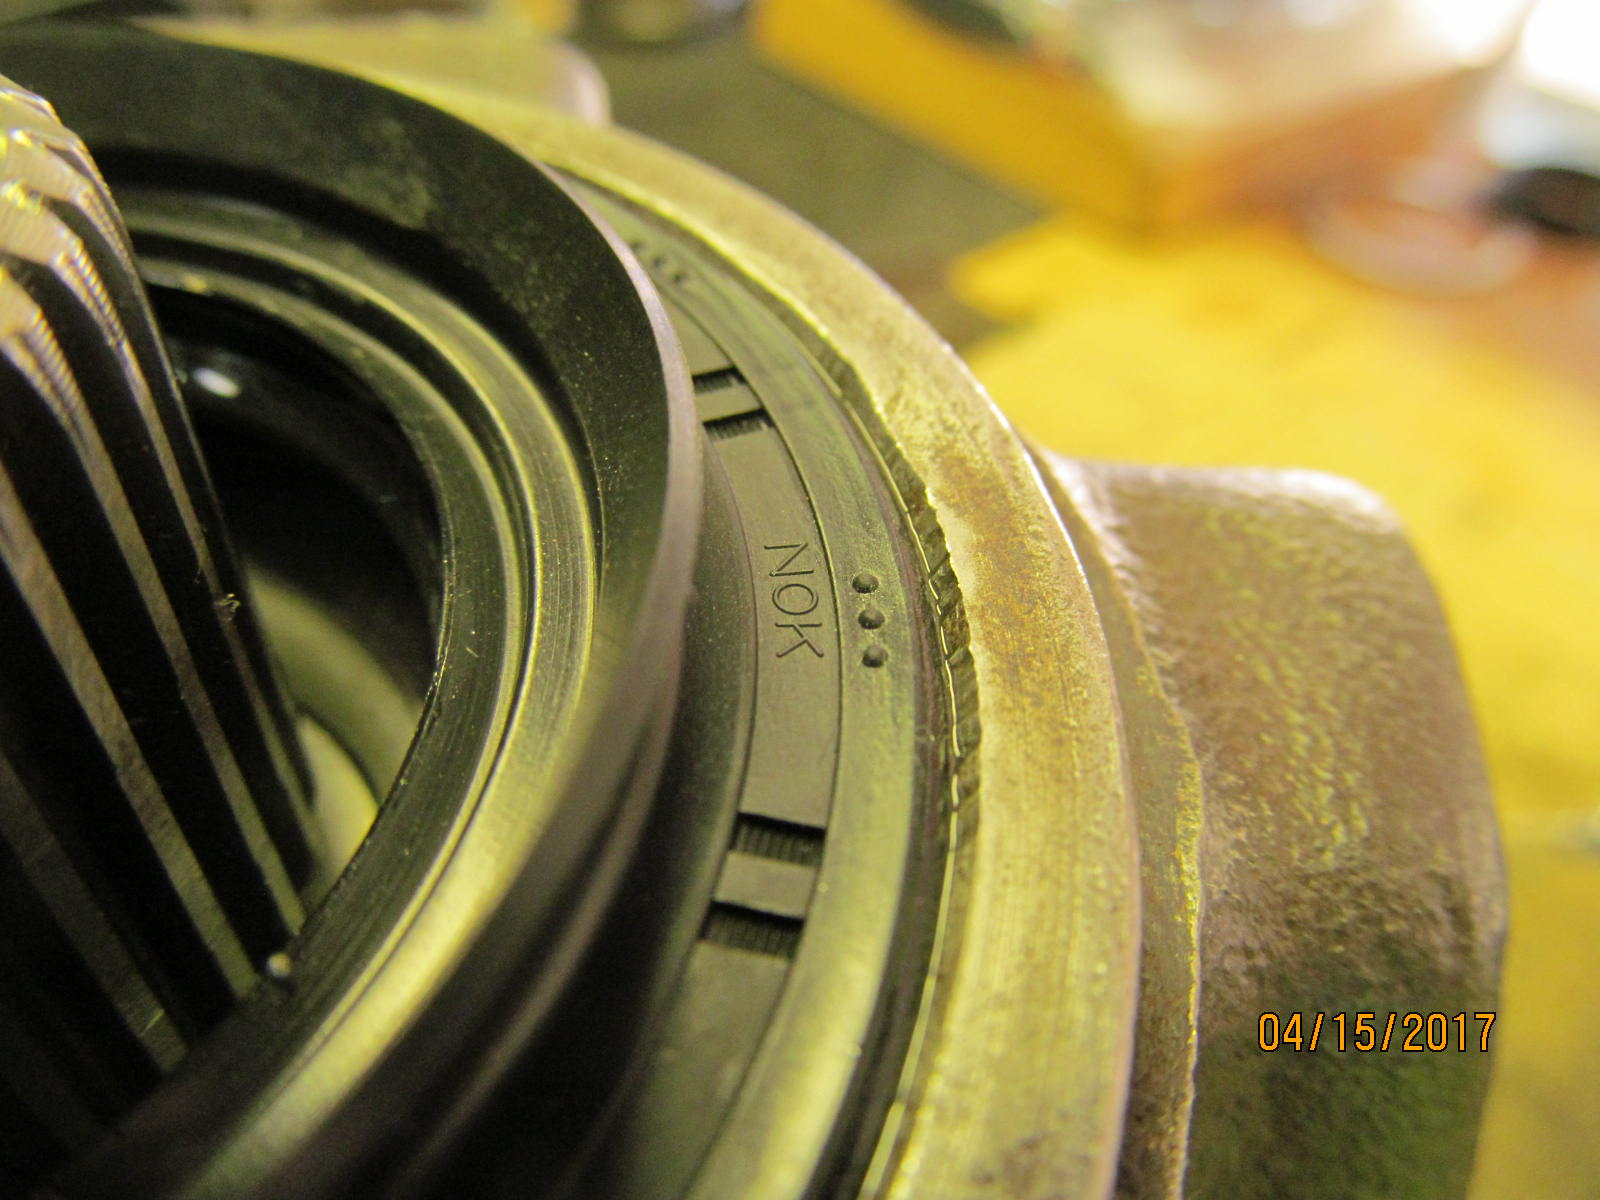
| New OEM seal will be tapped in with 360 degree support. |
|---|
|
|
| The best seal for the 8.4" is the NOK seal that the factory uses..... BH4053G |
|---|
|
|
| ,,,,,,,,,,,,,,,,,,,,,,,,, |
|---|
|
|
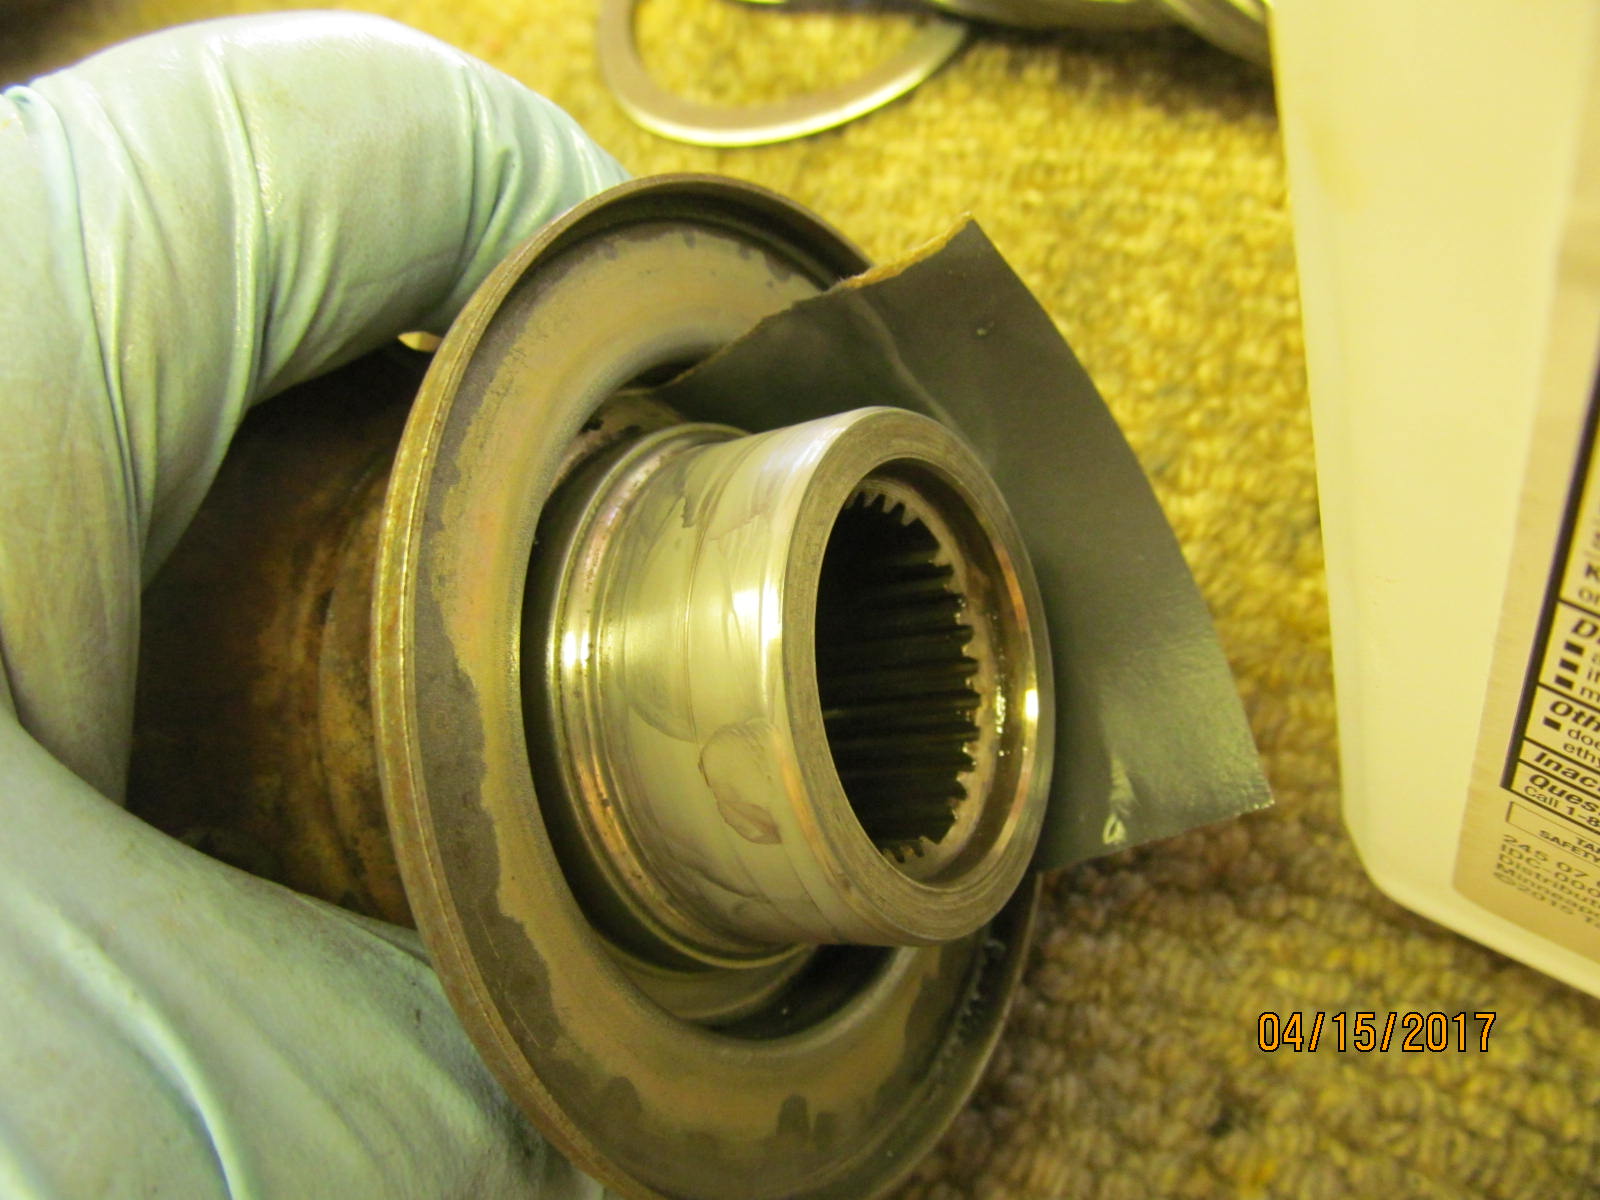
| Wet sanded with #1500 sandpaper. |
|---|
|
|
| ,,,,,,,,,,,,,,,,,,,,,,,,, |
|---|
|
|
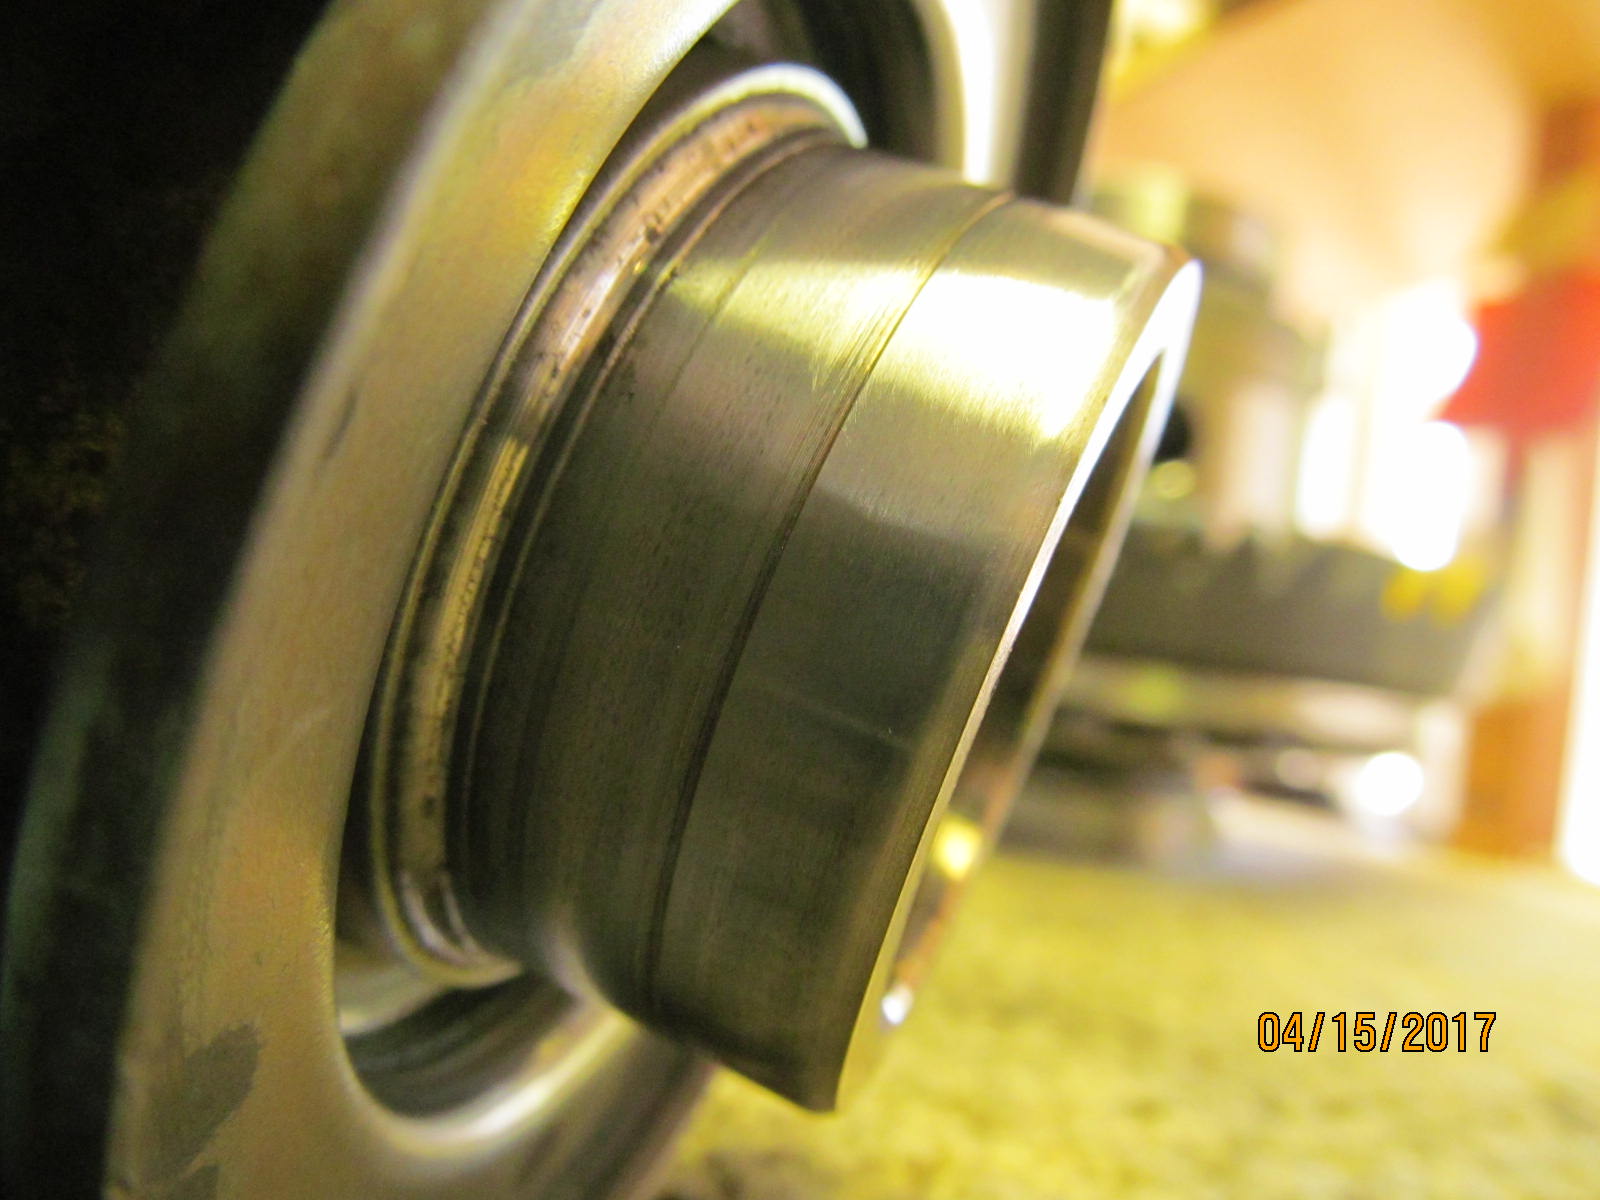
| To reduce thread tearing and reduce friction, anti-seize was applied to the threads and even to the bottom of the flange nut. |
|---|
|
|
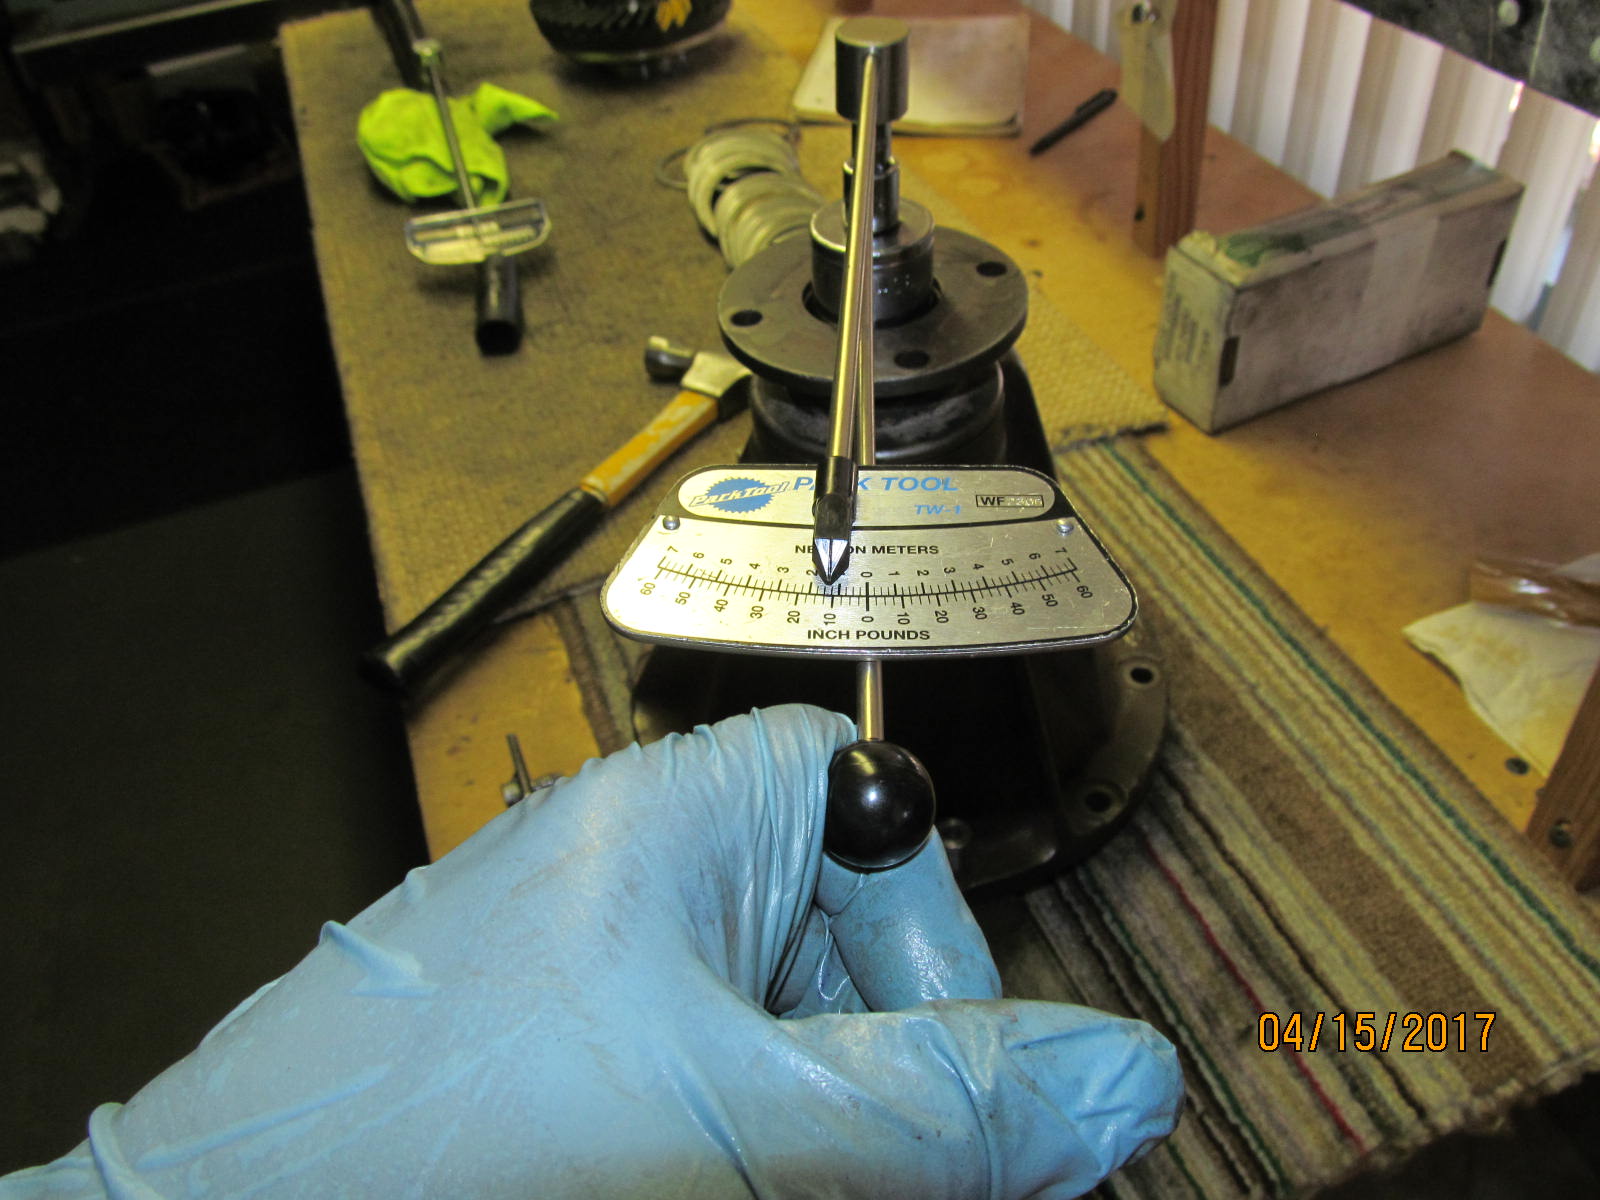
| Pinion preload measured at 11 in/lb. |
|---|
|
|
| Ding. |
|---|
|
|
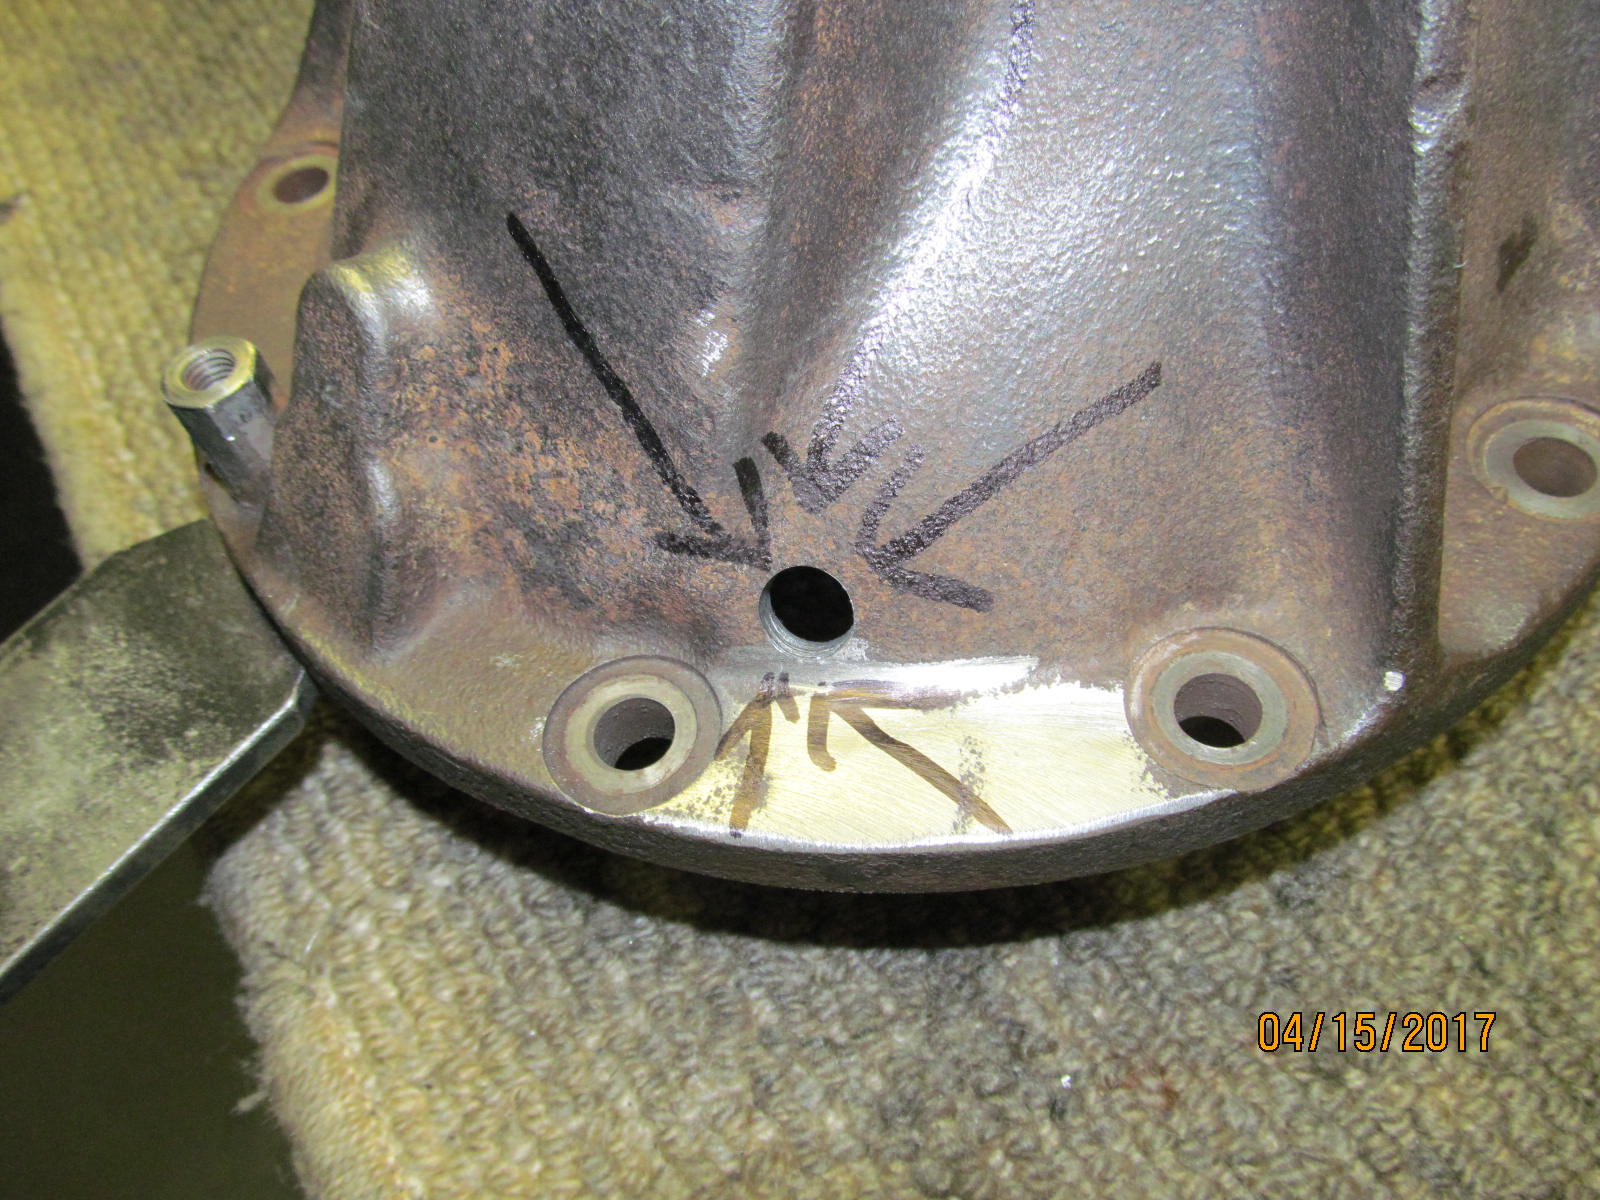
| The 29/64" hole was drilled. |
|---|
|
|
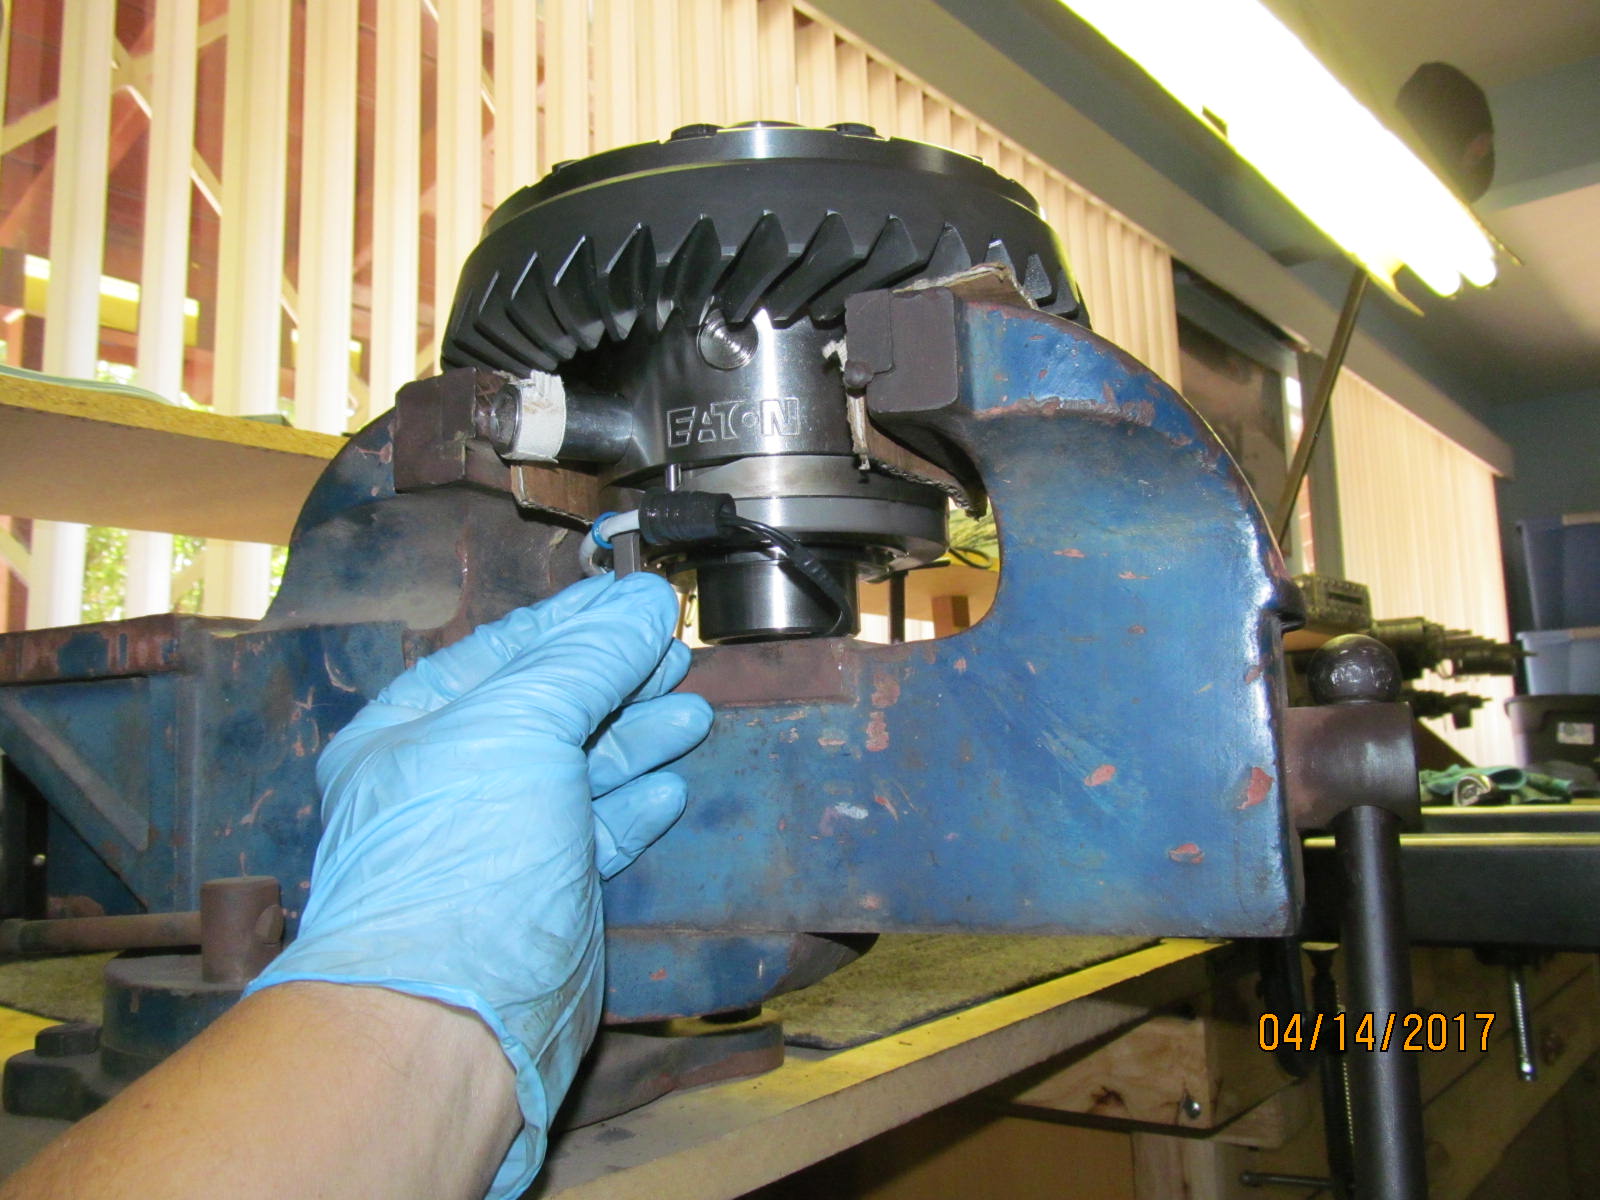
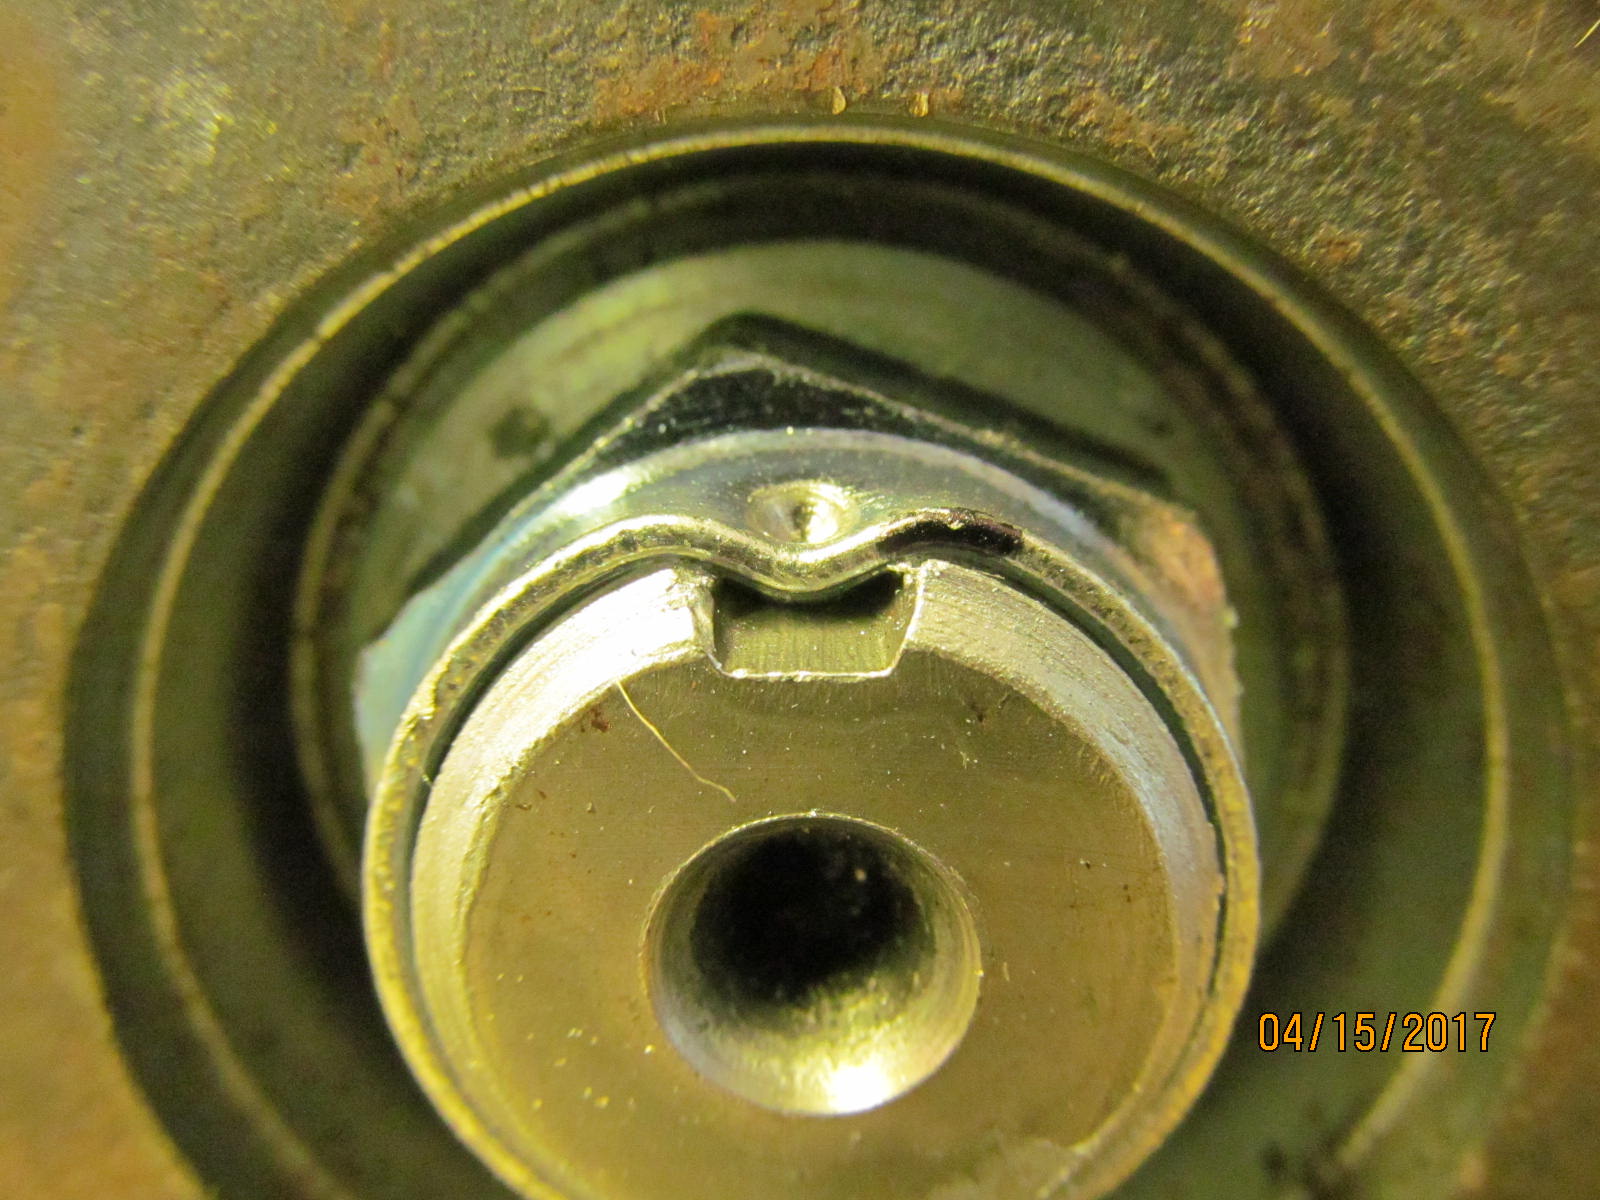
| The freeplay of the anti-rotation tab was adjusted and checks in at 3 mm. |
|---|
|
|
| Thrust washers were very tight fitting and they have to be. |
|---|
|
|
| The brace is bolted in place....83 ftlb. |
|---|
|

|
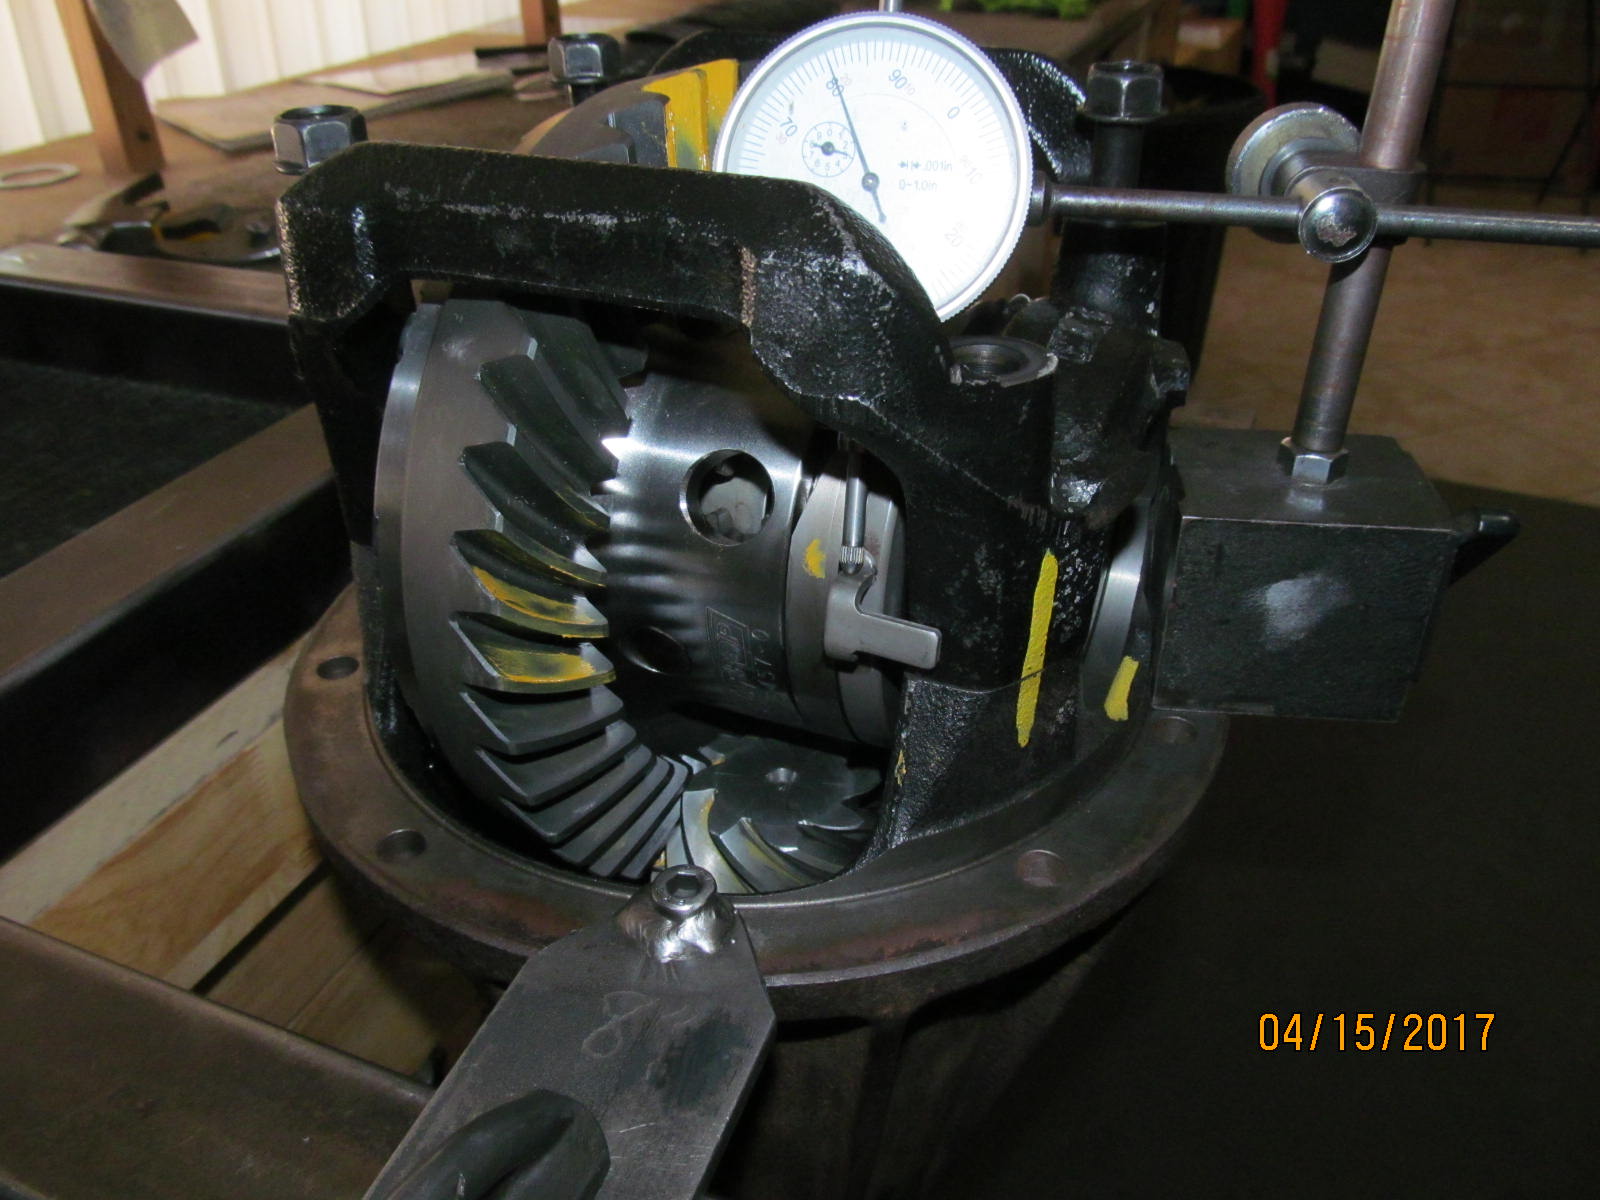
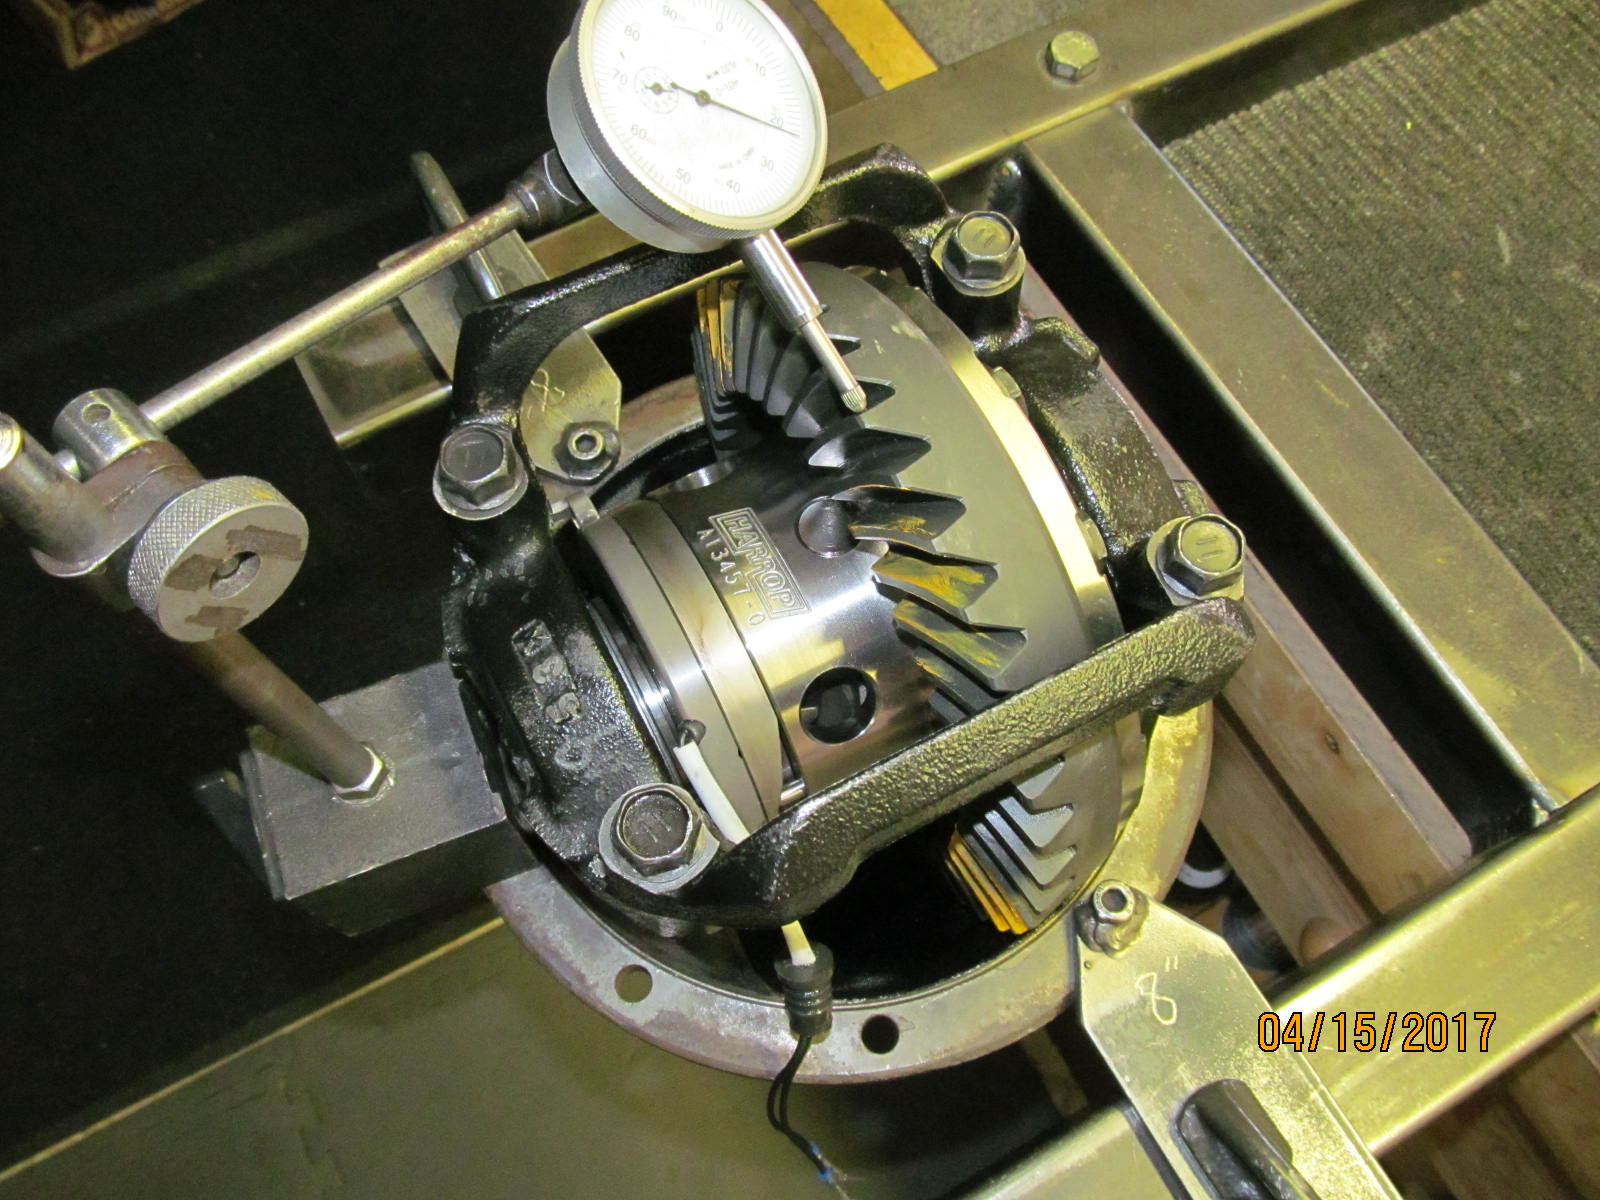
| Total preload measured at 17 in/lb |
|---|
|
|
| Backlash was checked on every other tooth. Minimum backlash was .007" |
|---|
|
|
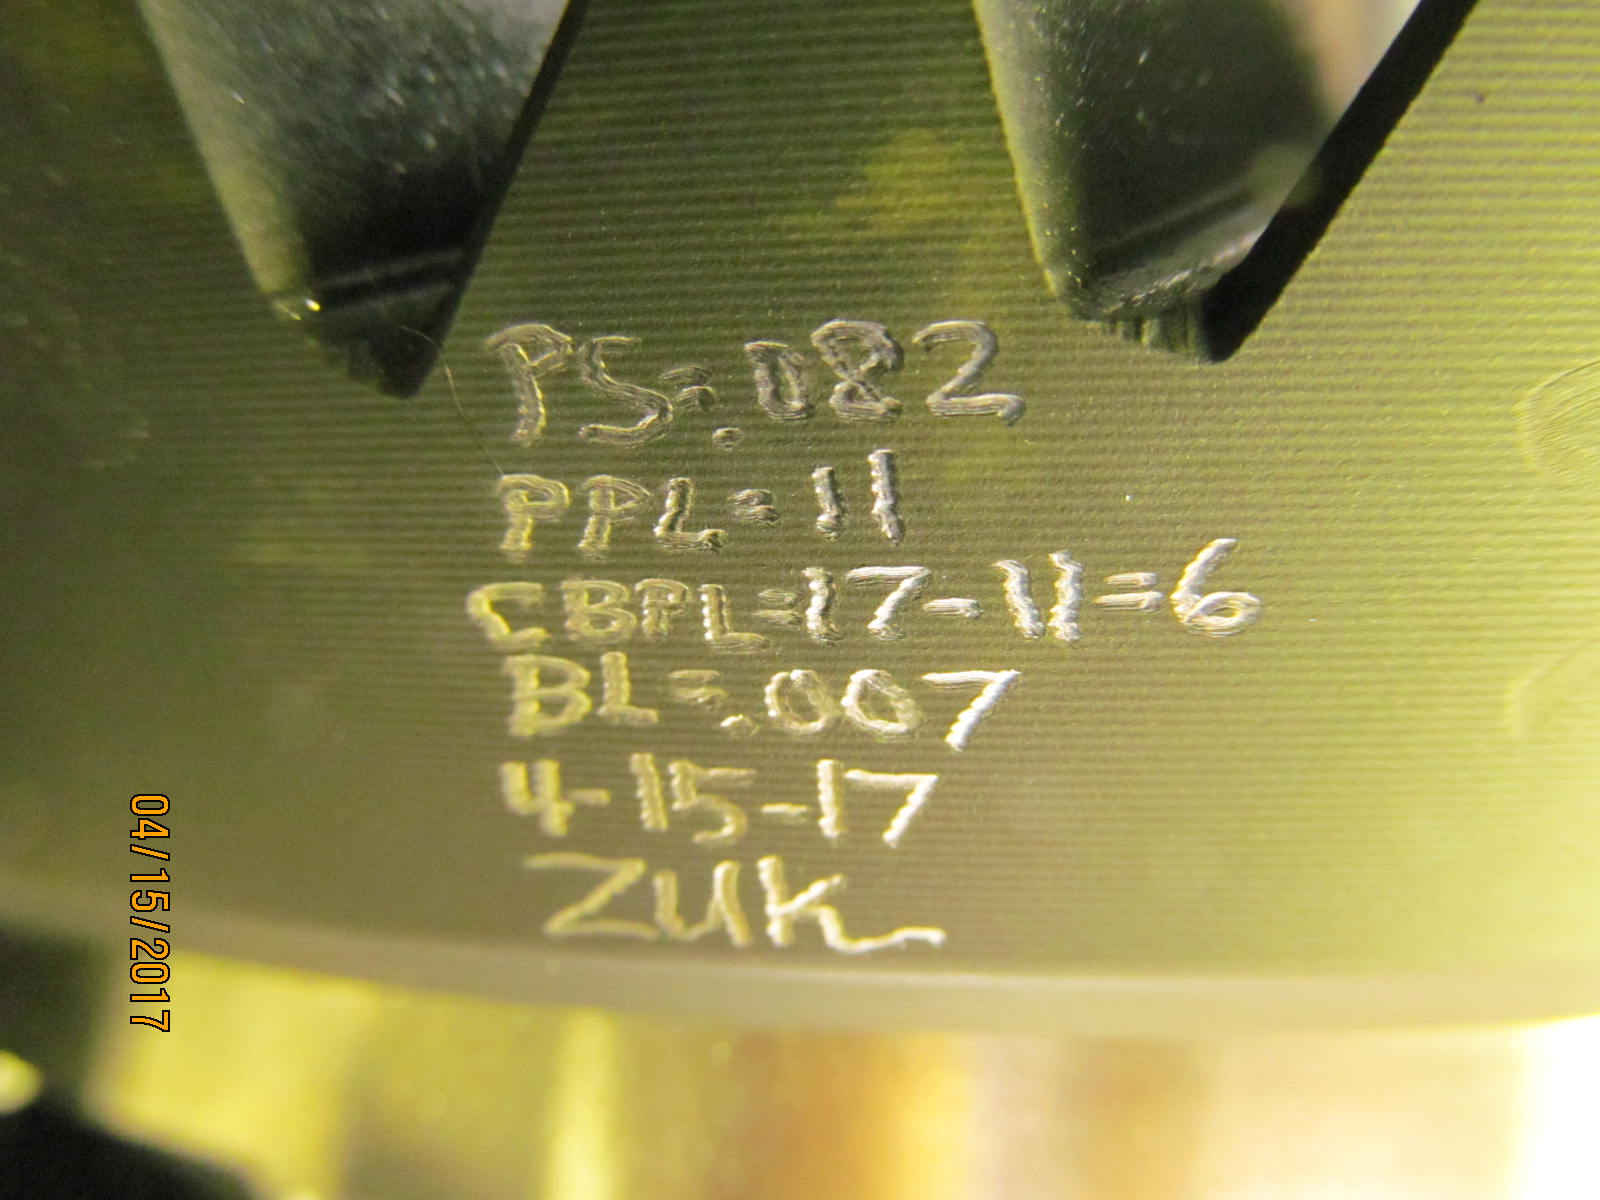
| Date coded |
|---|
|
|
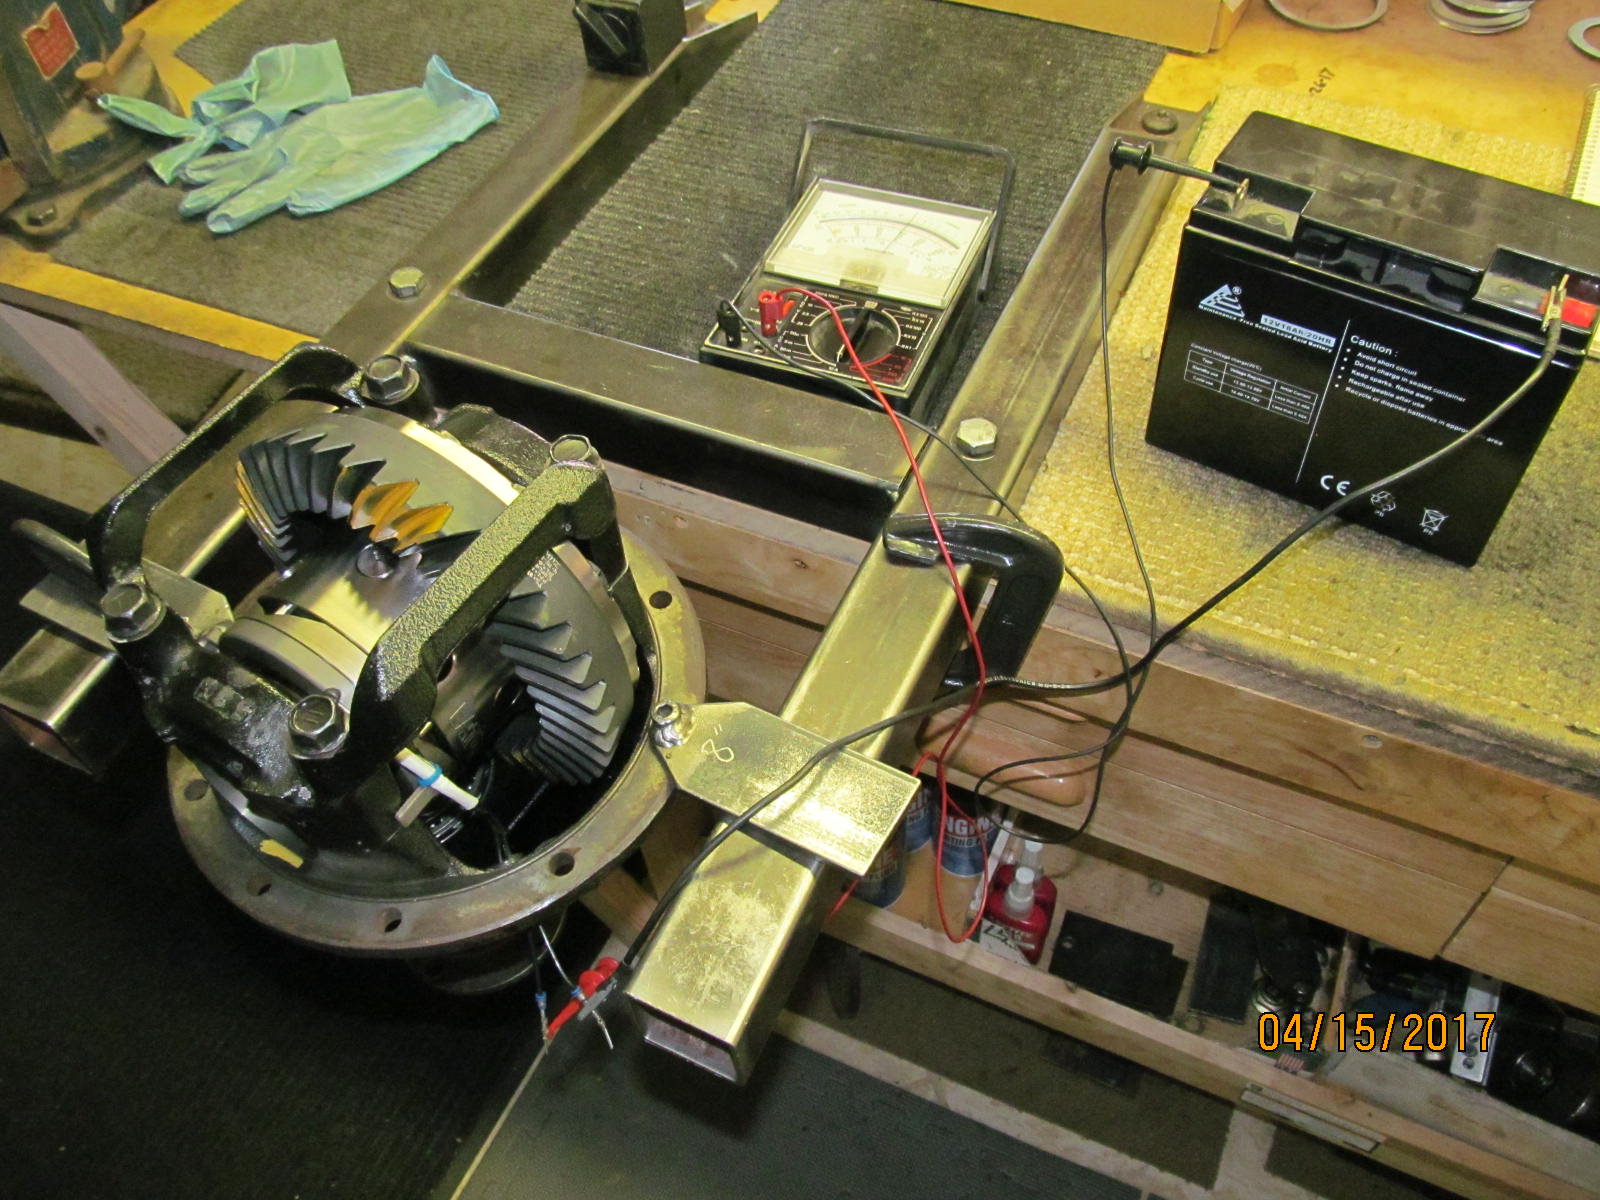
| The resistance of the electro-magnet was measured on the Micronta as 4.1 ohms. |
|---|
|
|
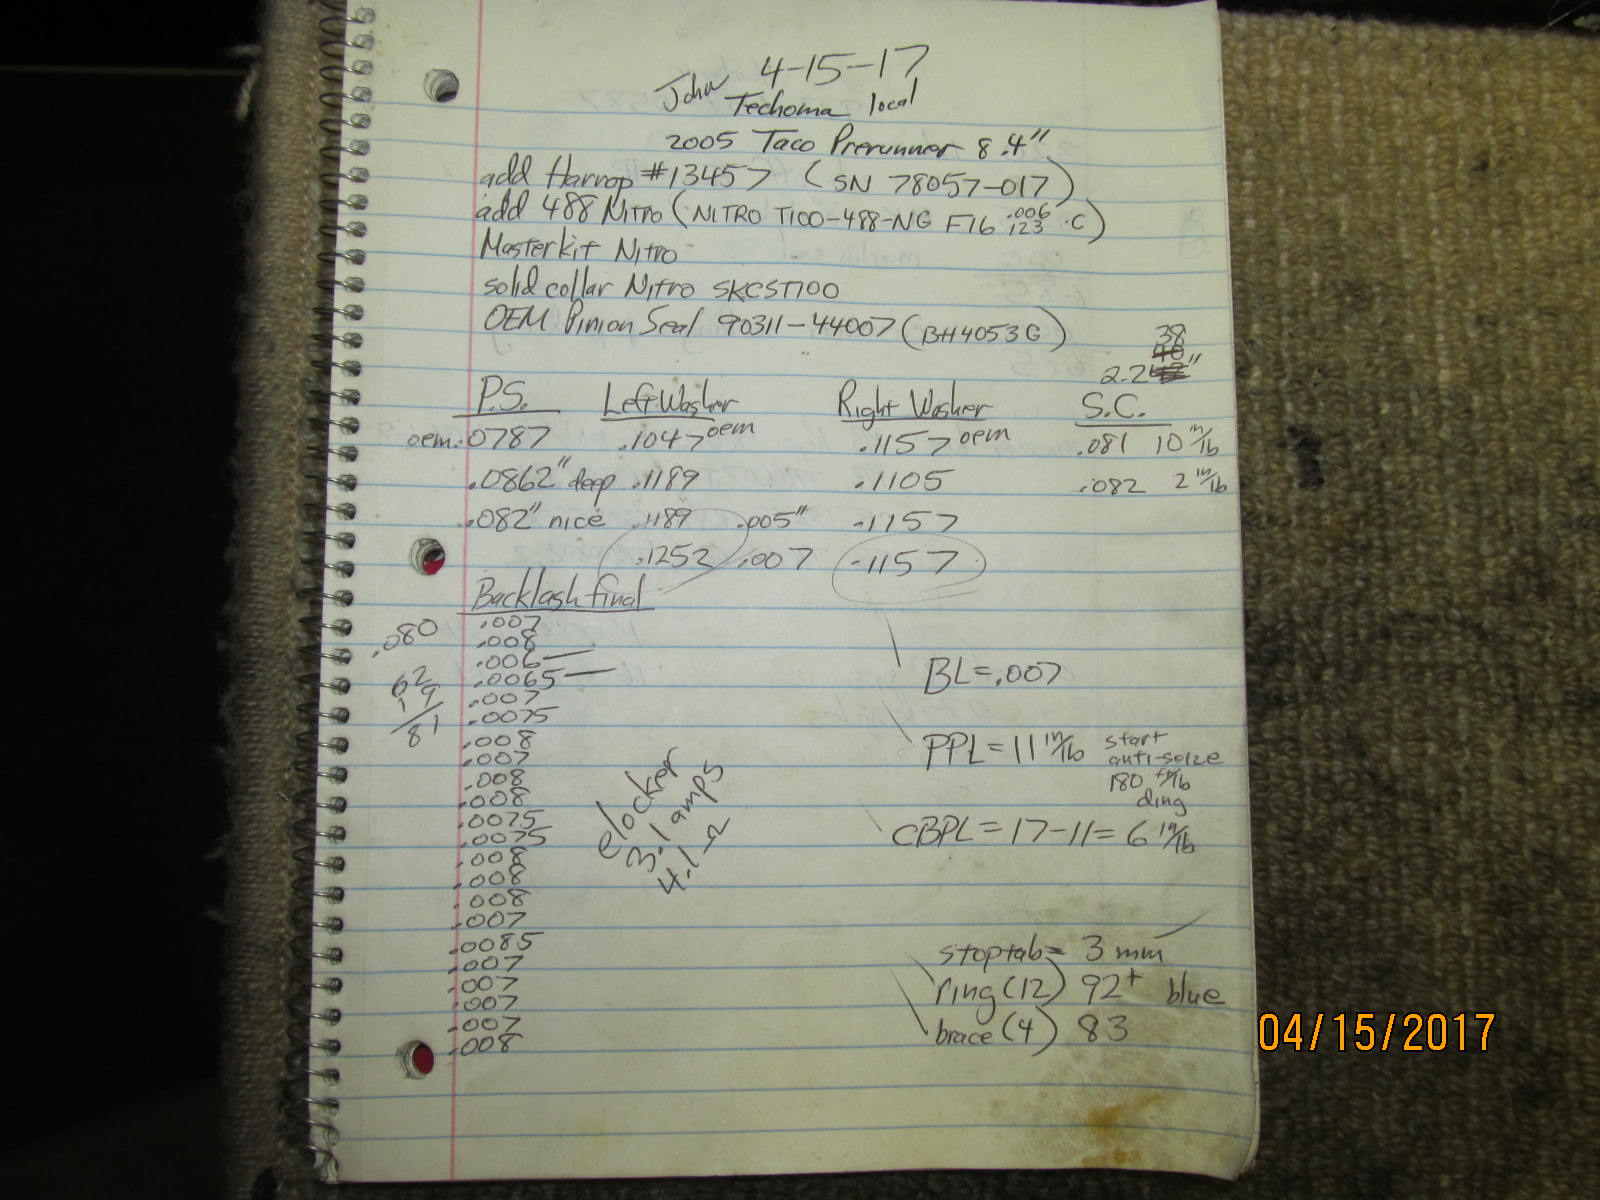
| Notes taken and now ready for pick-up. |
|---|
|
|

|