| Juan's 2004 100 series Landcruiser gets a front Harrop and Nitro 488R gears |
|---|
| (66 BIG pics loading) |
|---|
| January 4 2018 |
|---|

|
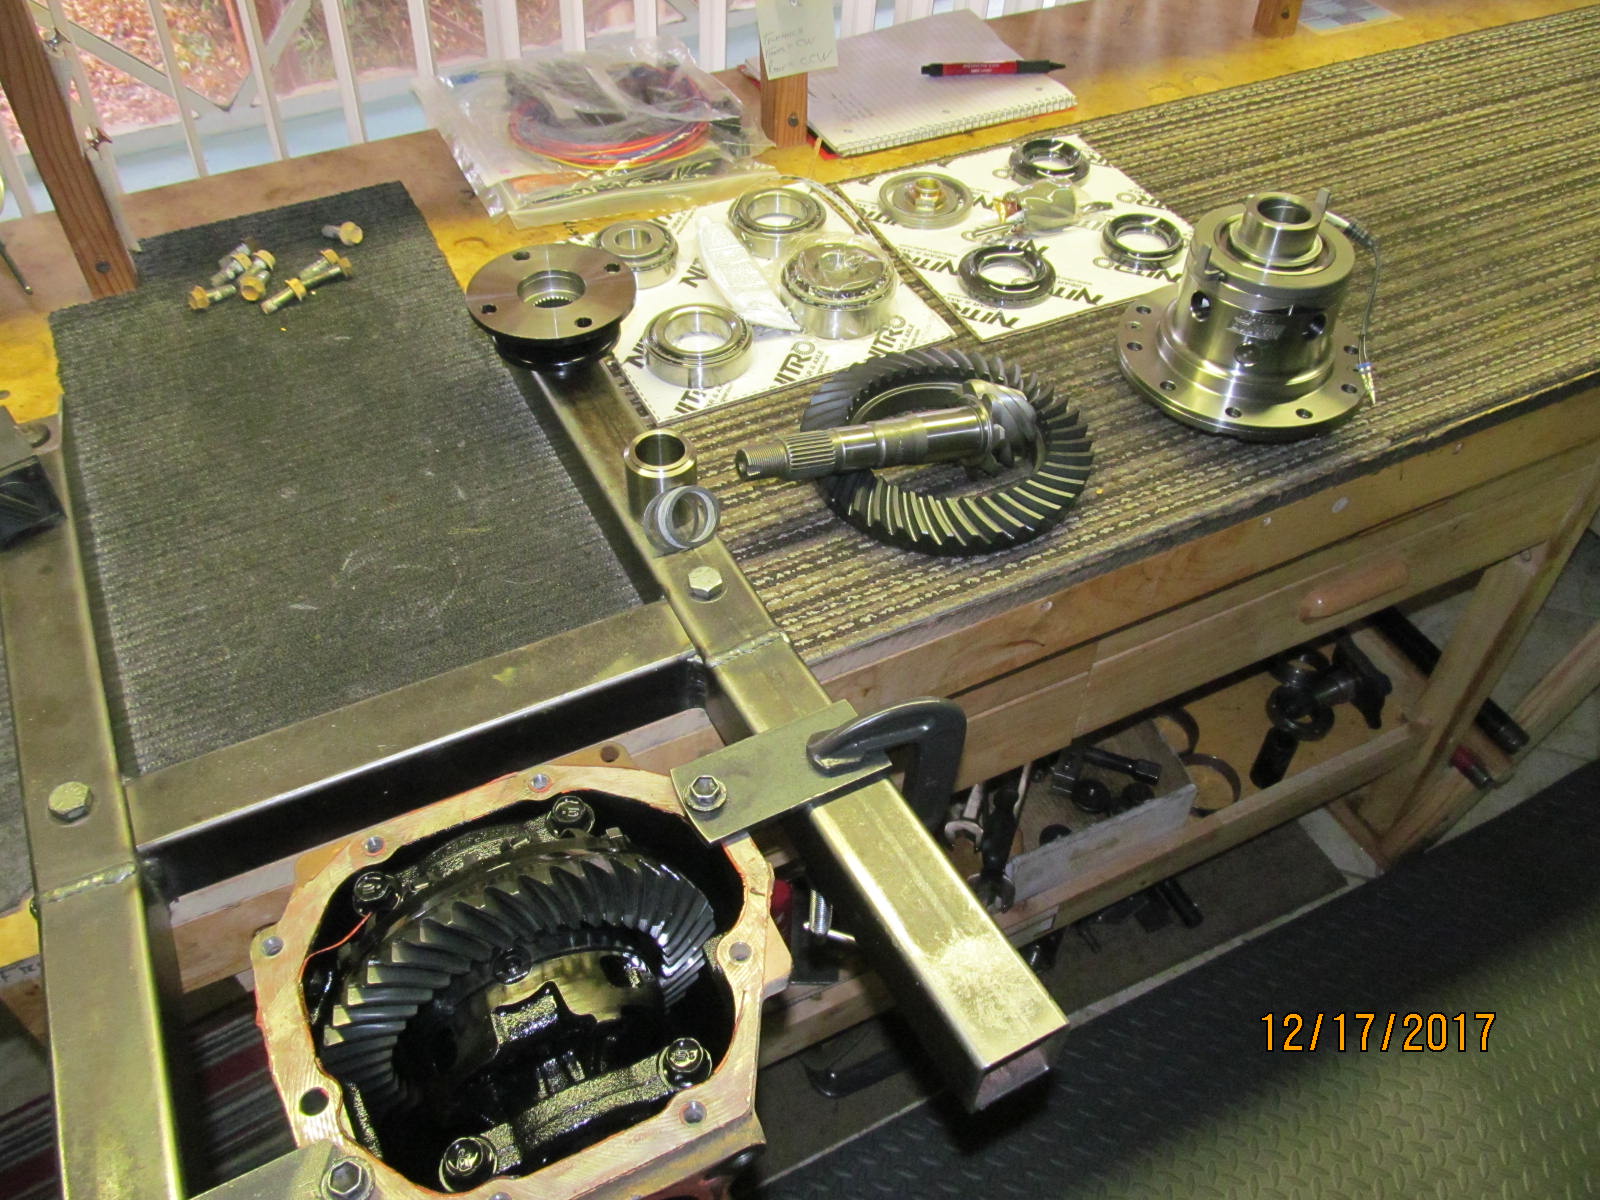
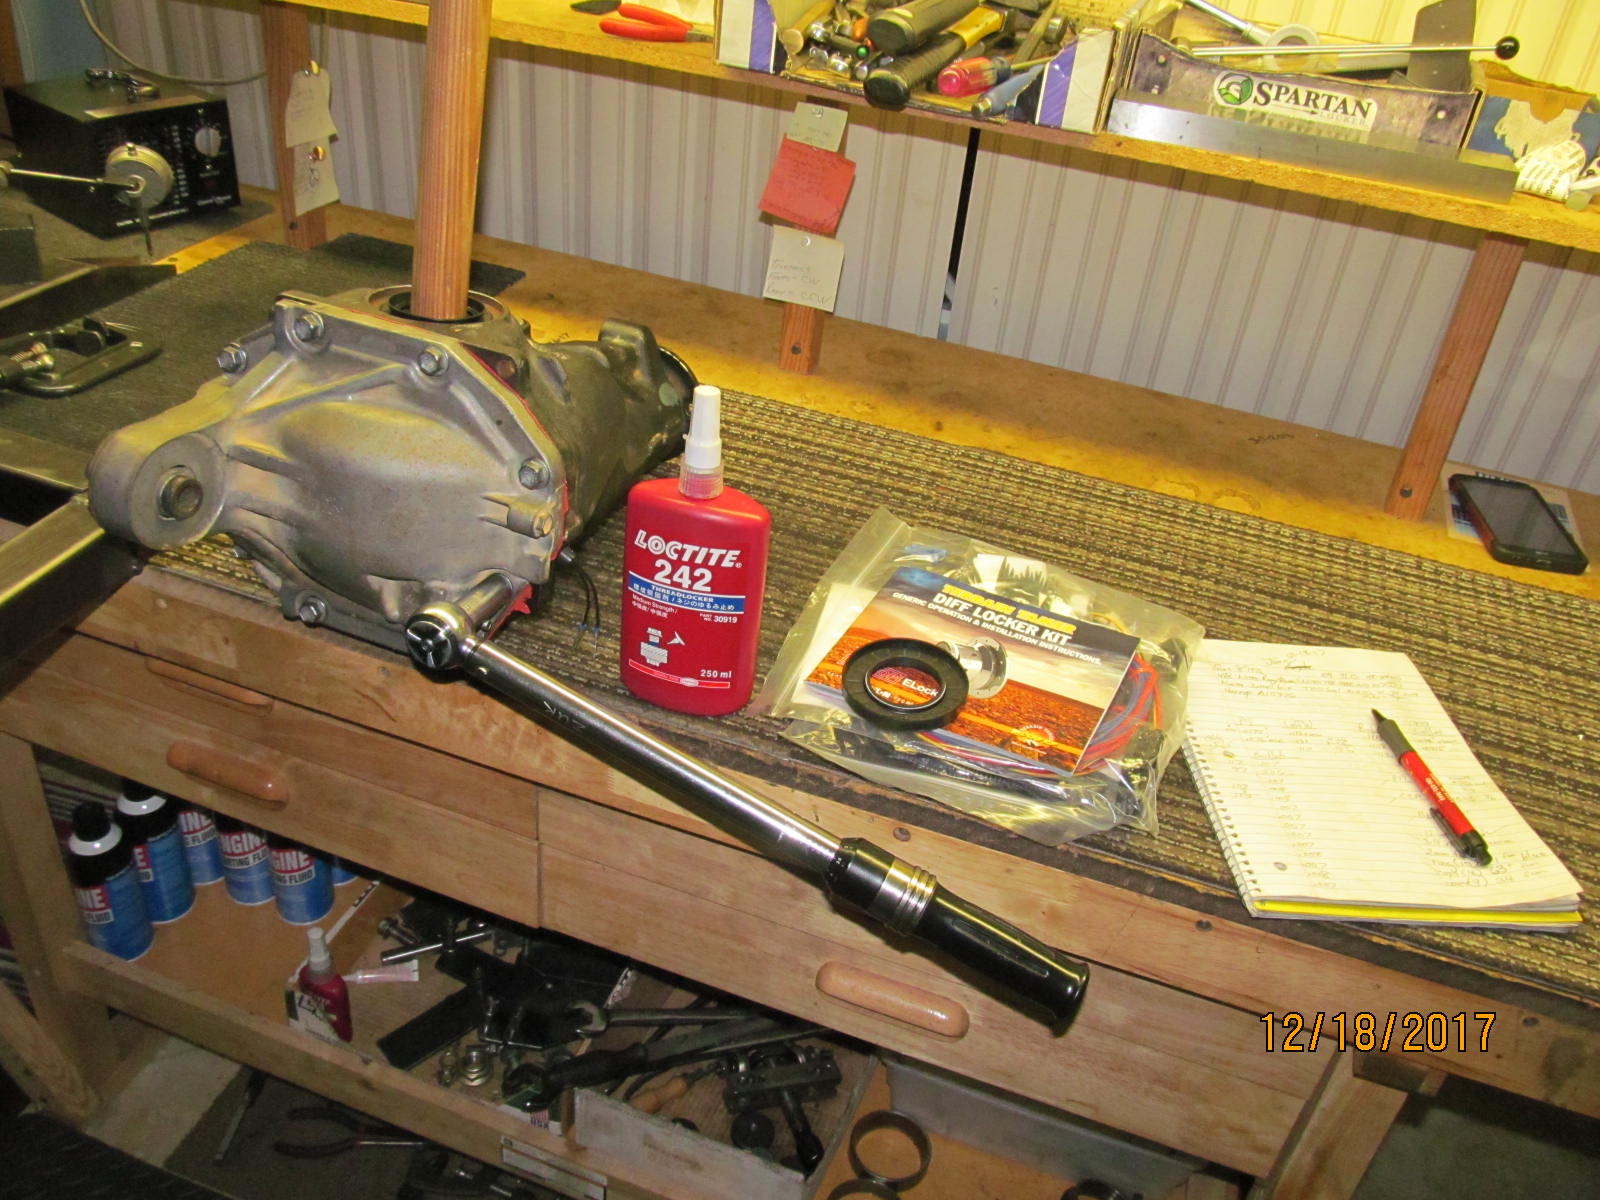
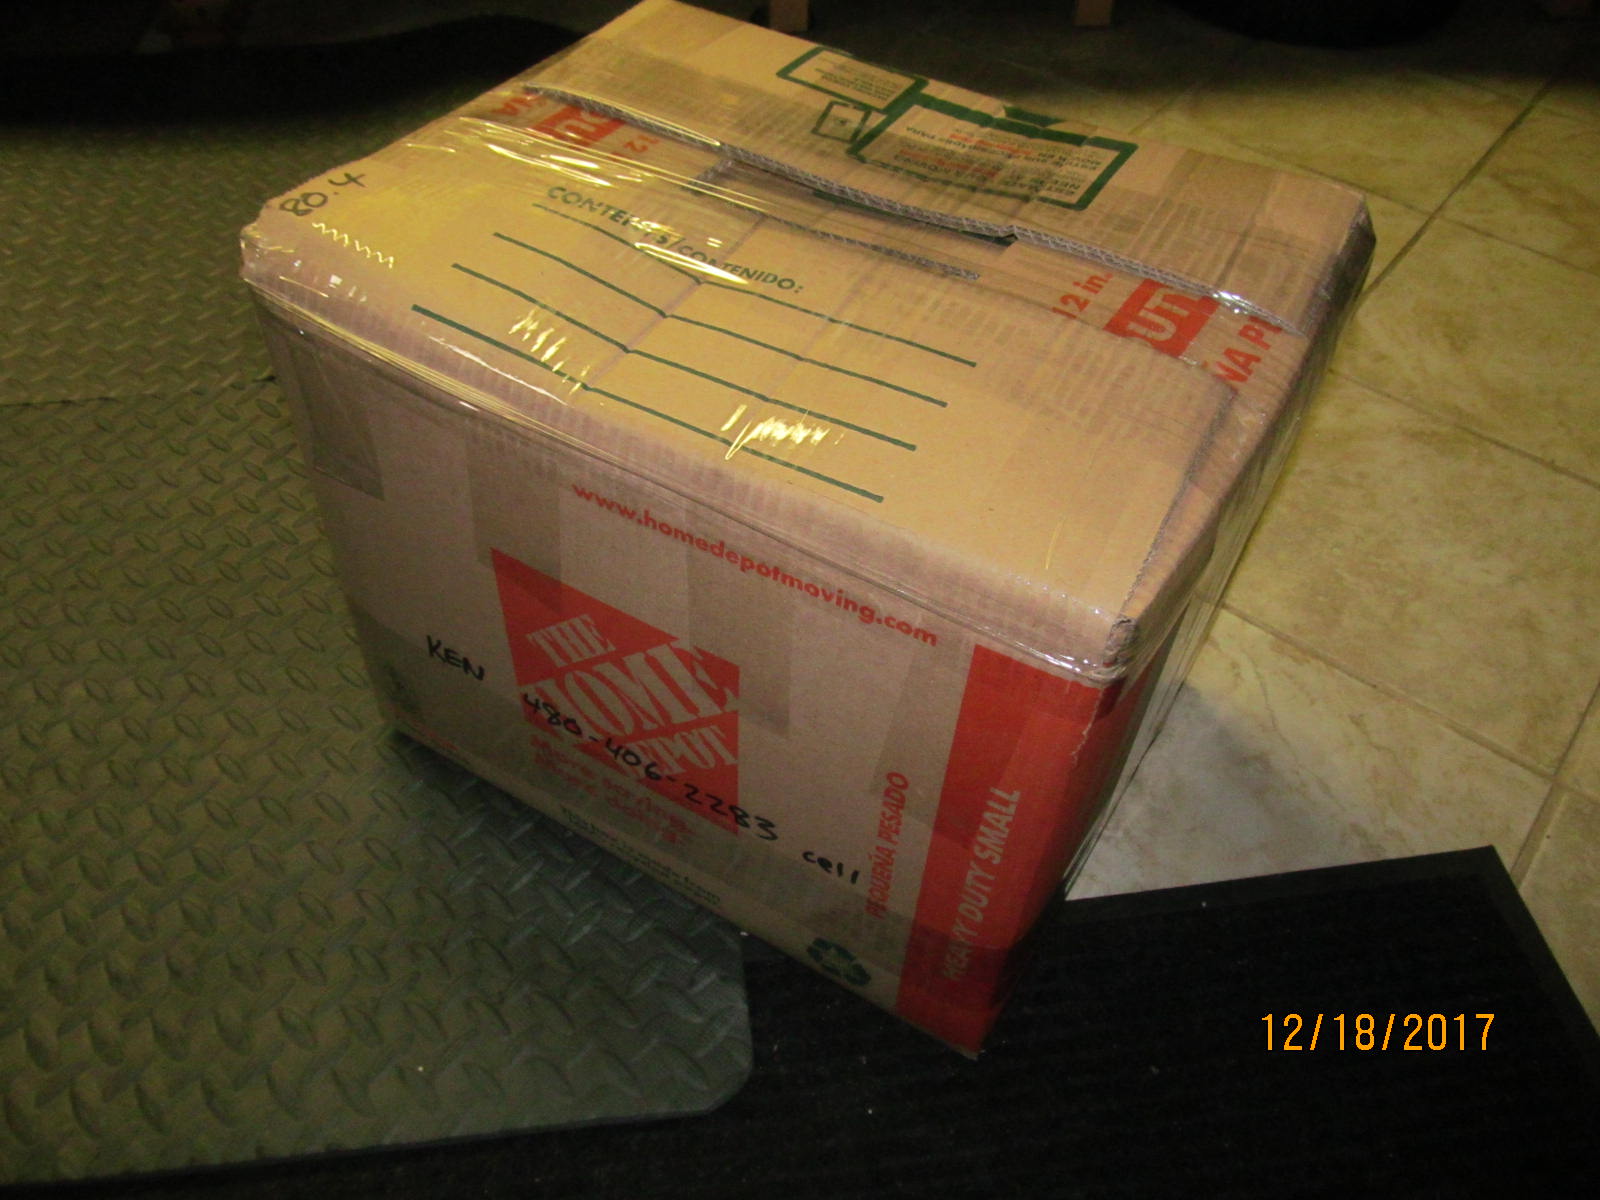
| Juan shipped me both of his diffs from Alabama. The Harrop elocker can be seen with the Nitro product. |
|---|
|
|
| A solid collar will be added and new flange, also. |
|---|
|
|
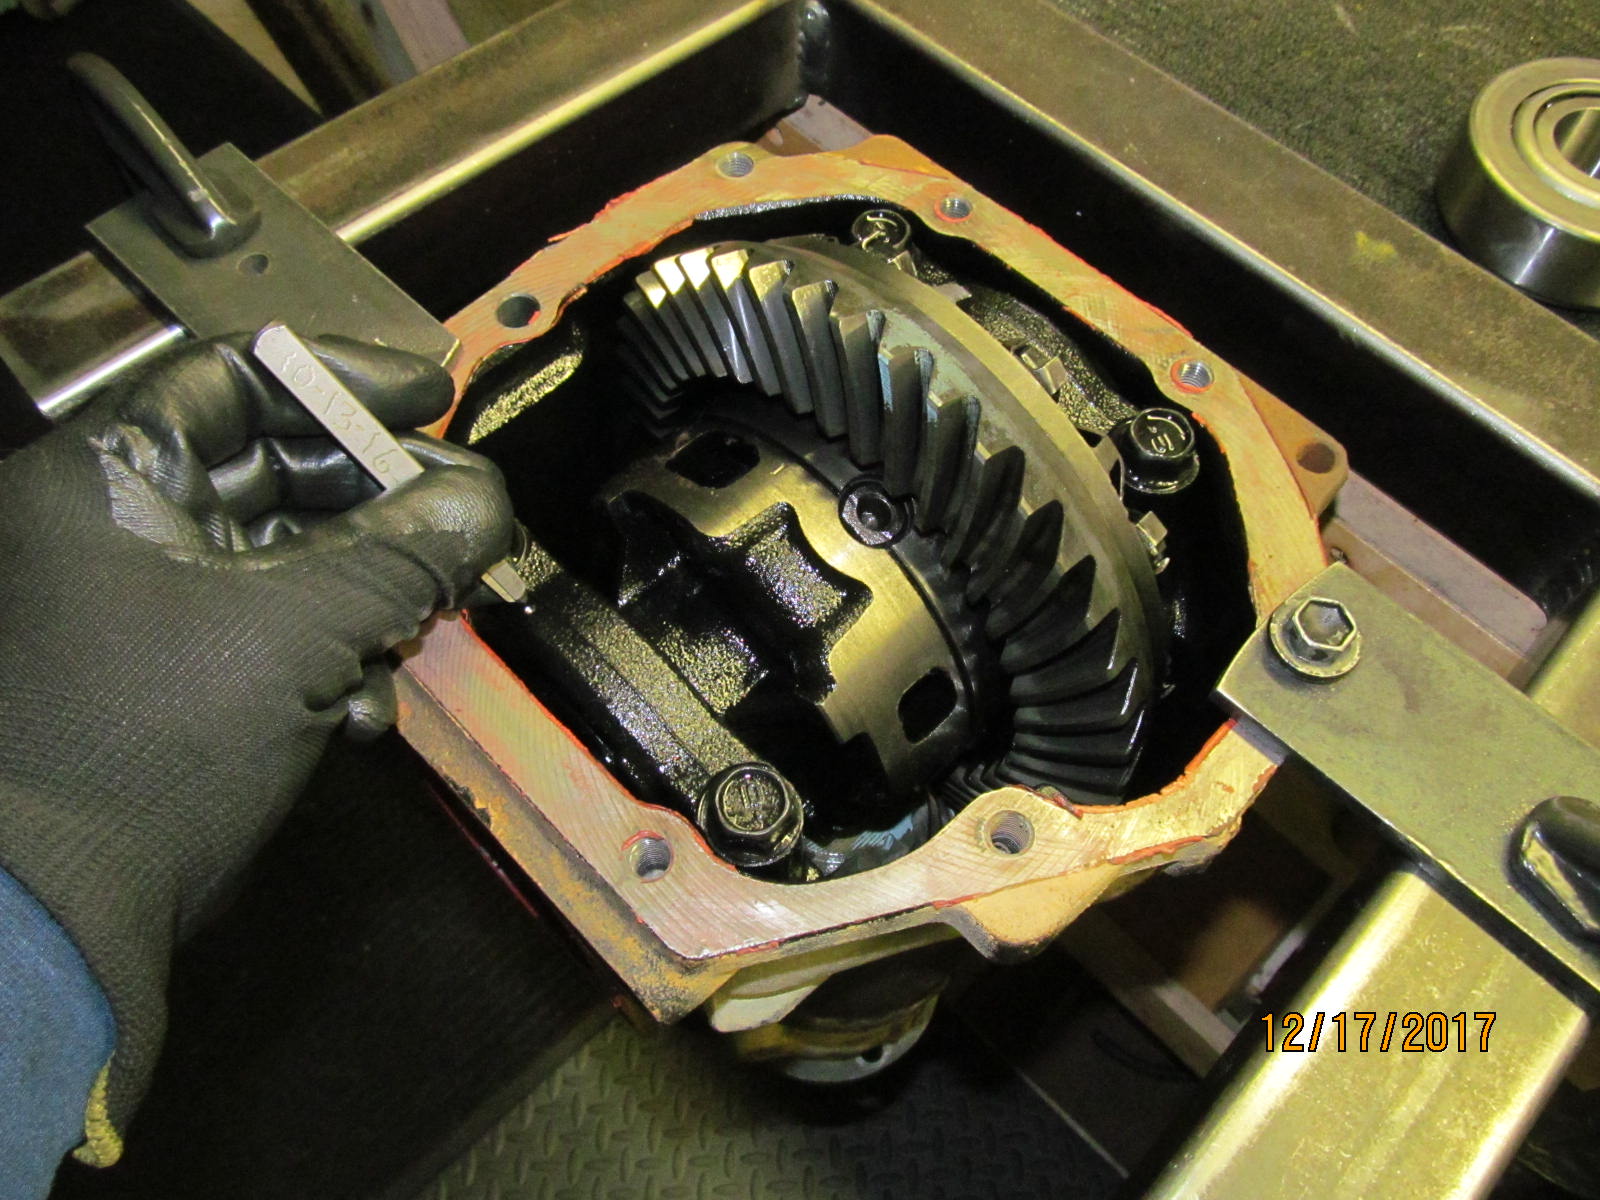
| Both caps are marked in such a way that they cannot get flipped around or interchanged. |
|---|
|
|
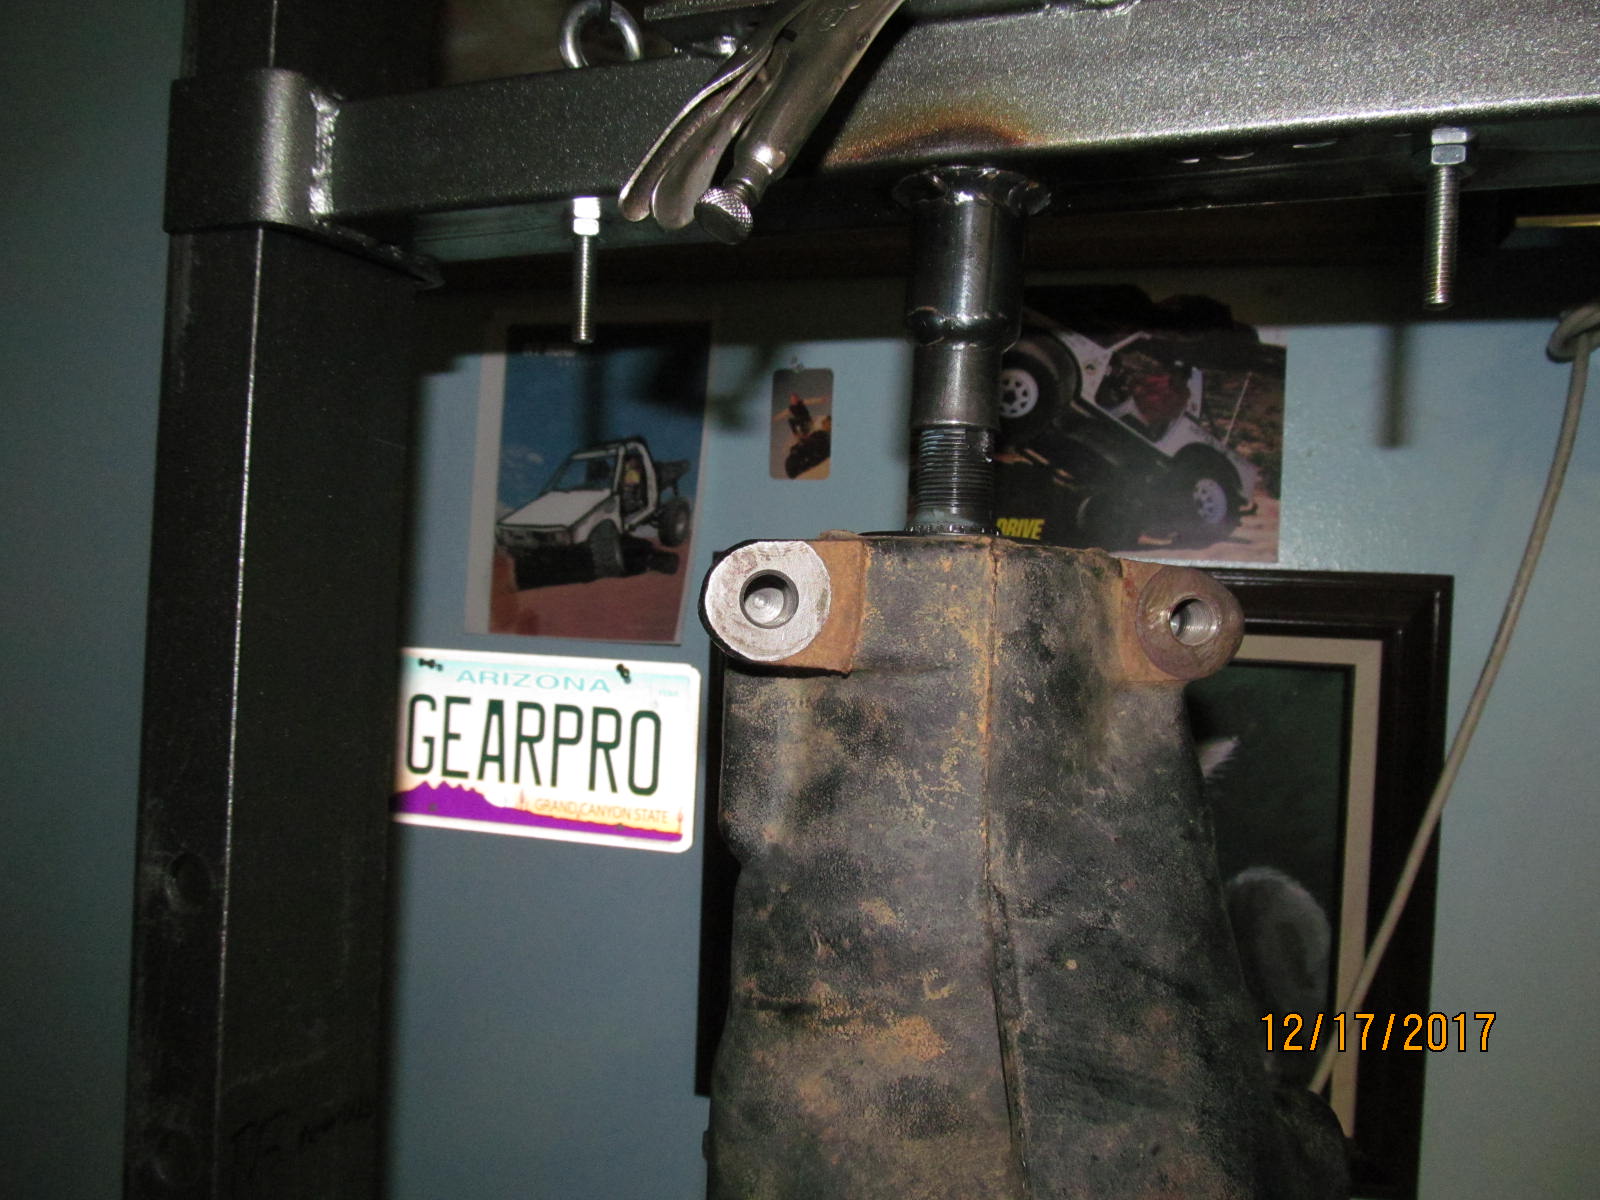
| Start with pressing the old pinion out. |
|---|
|
|
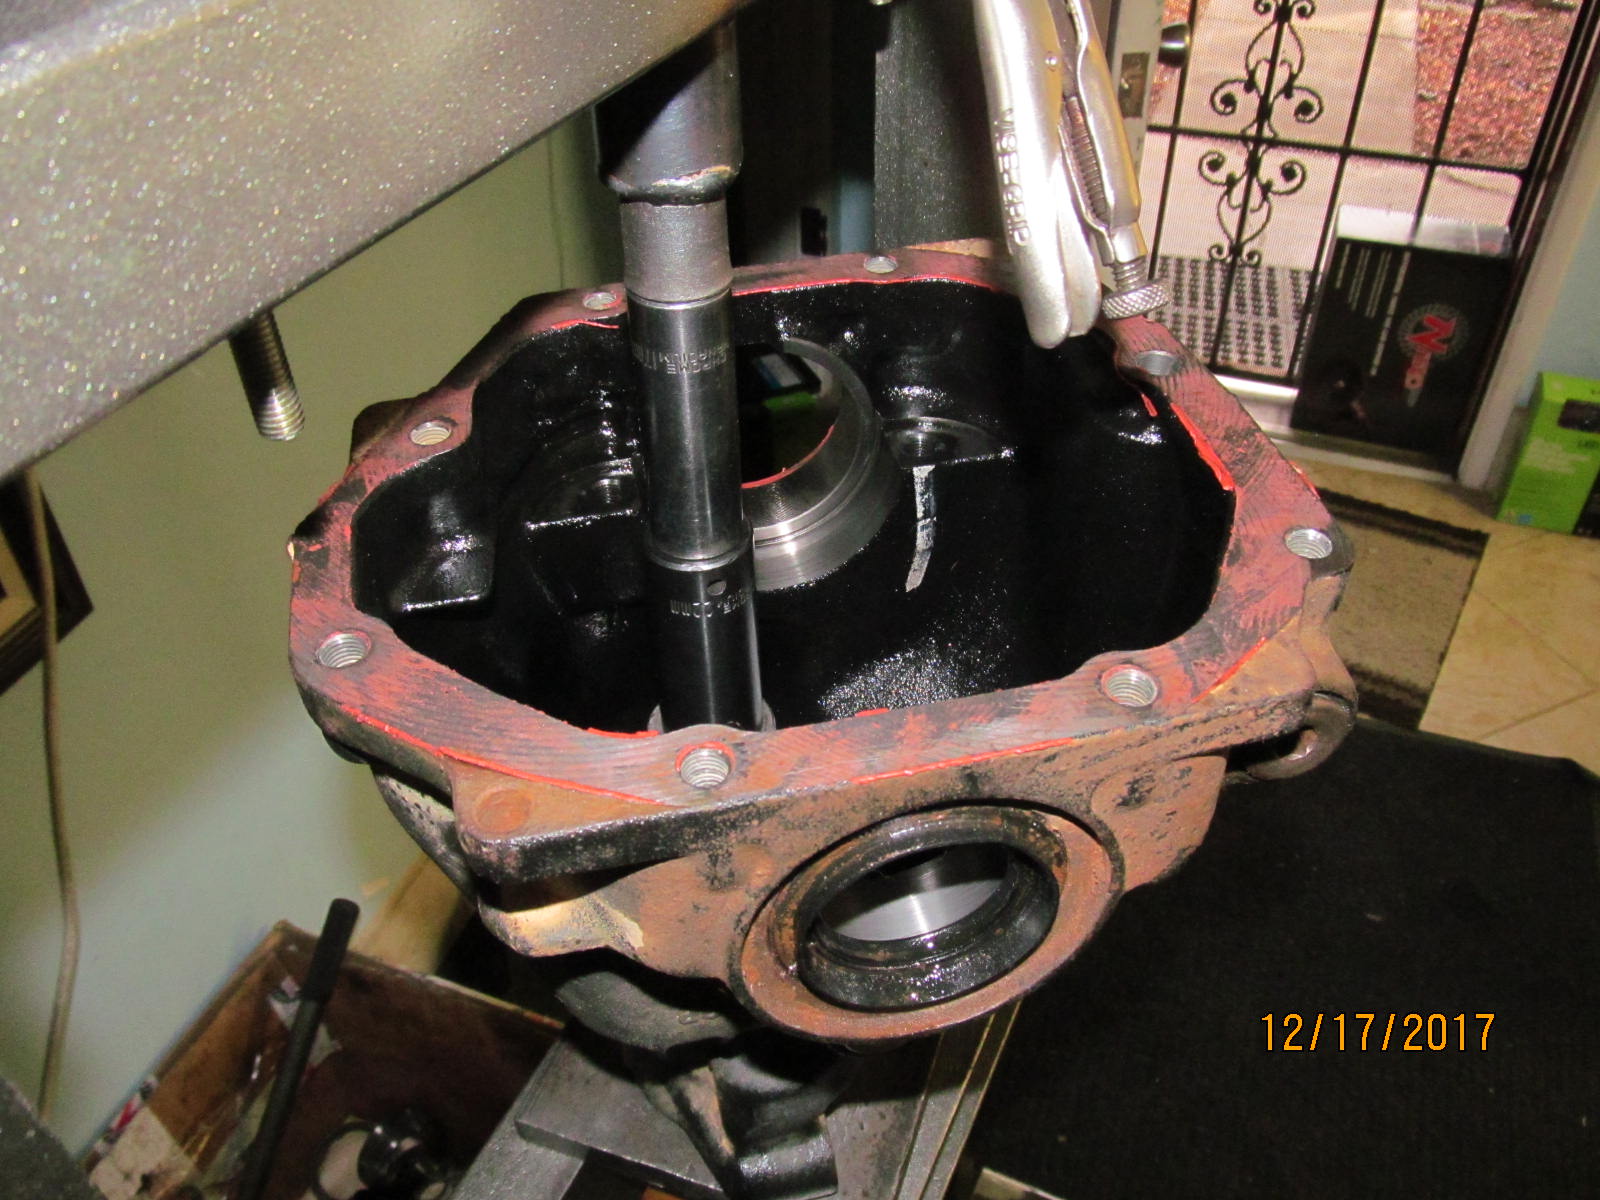
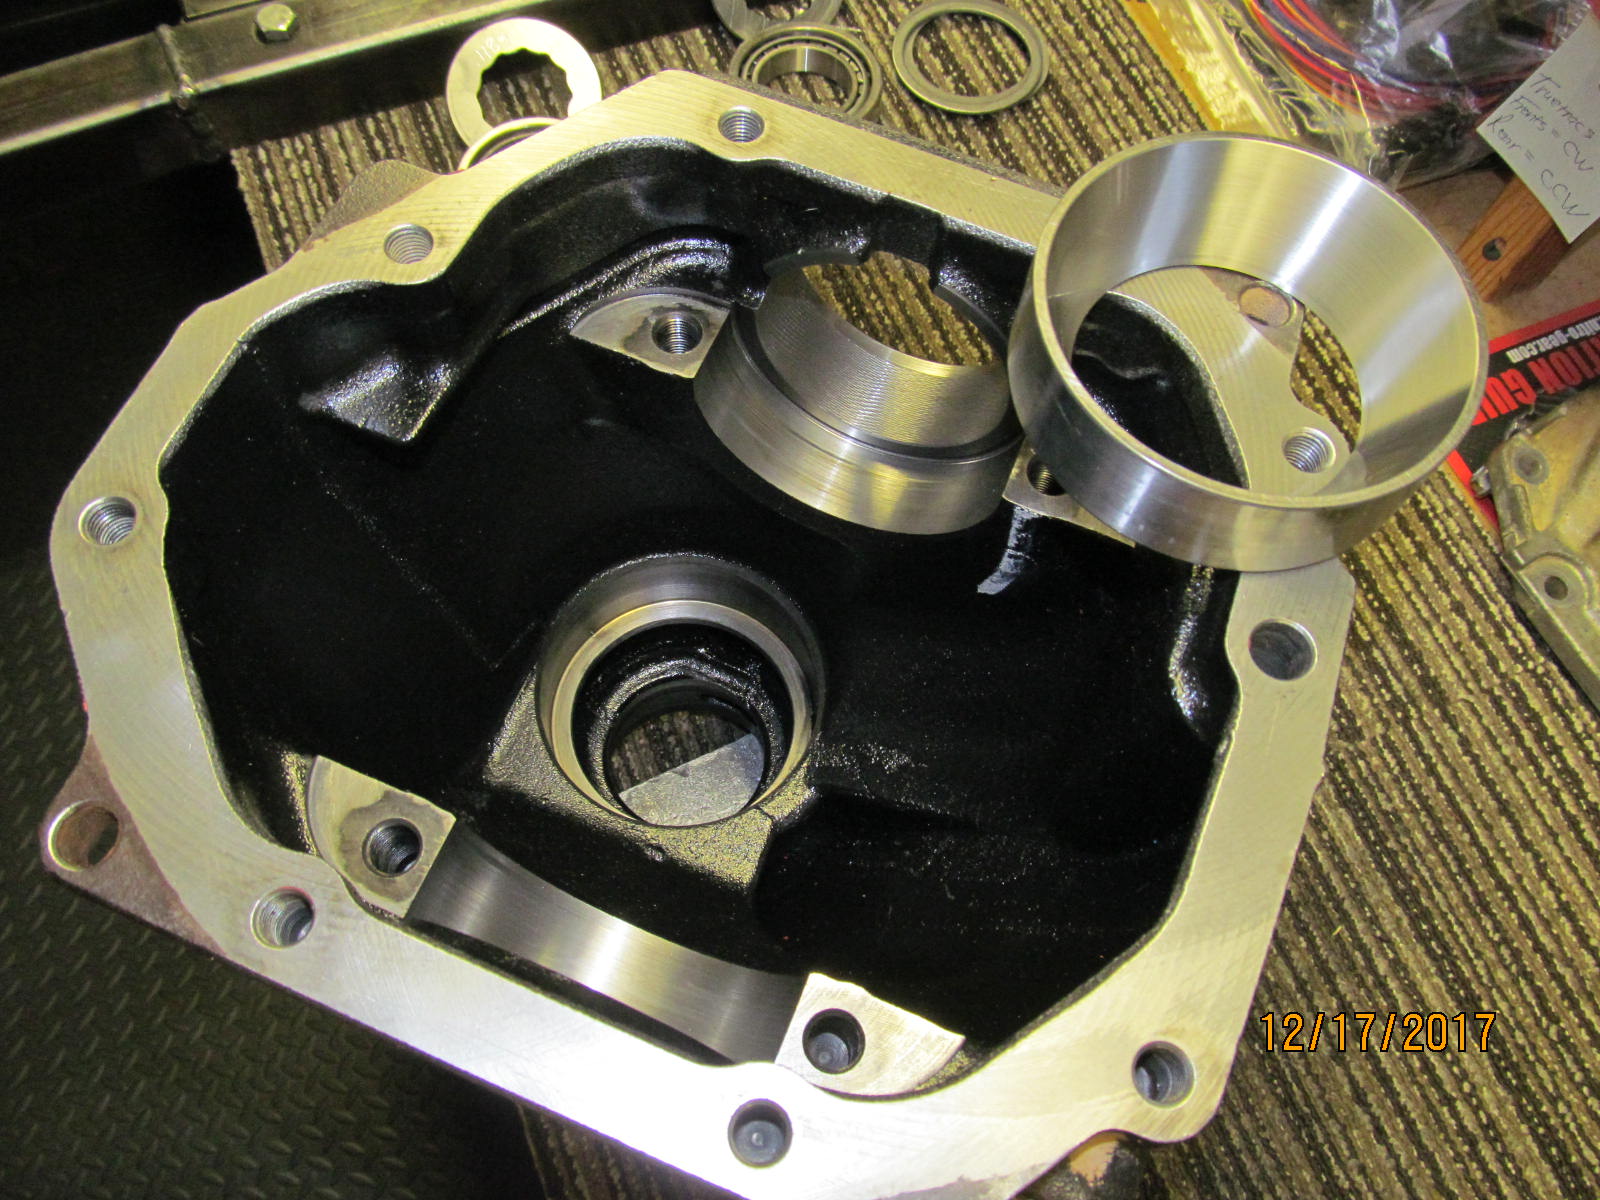
| Now press the outer race out. The large inner race also gets pressed out. |
|---|
|
|
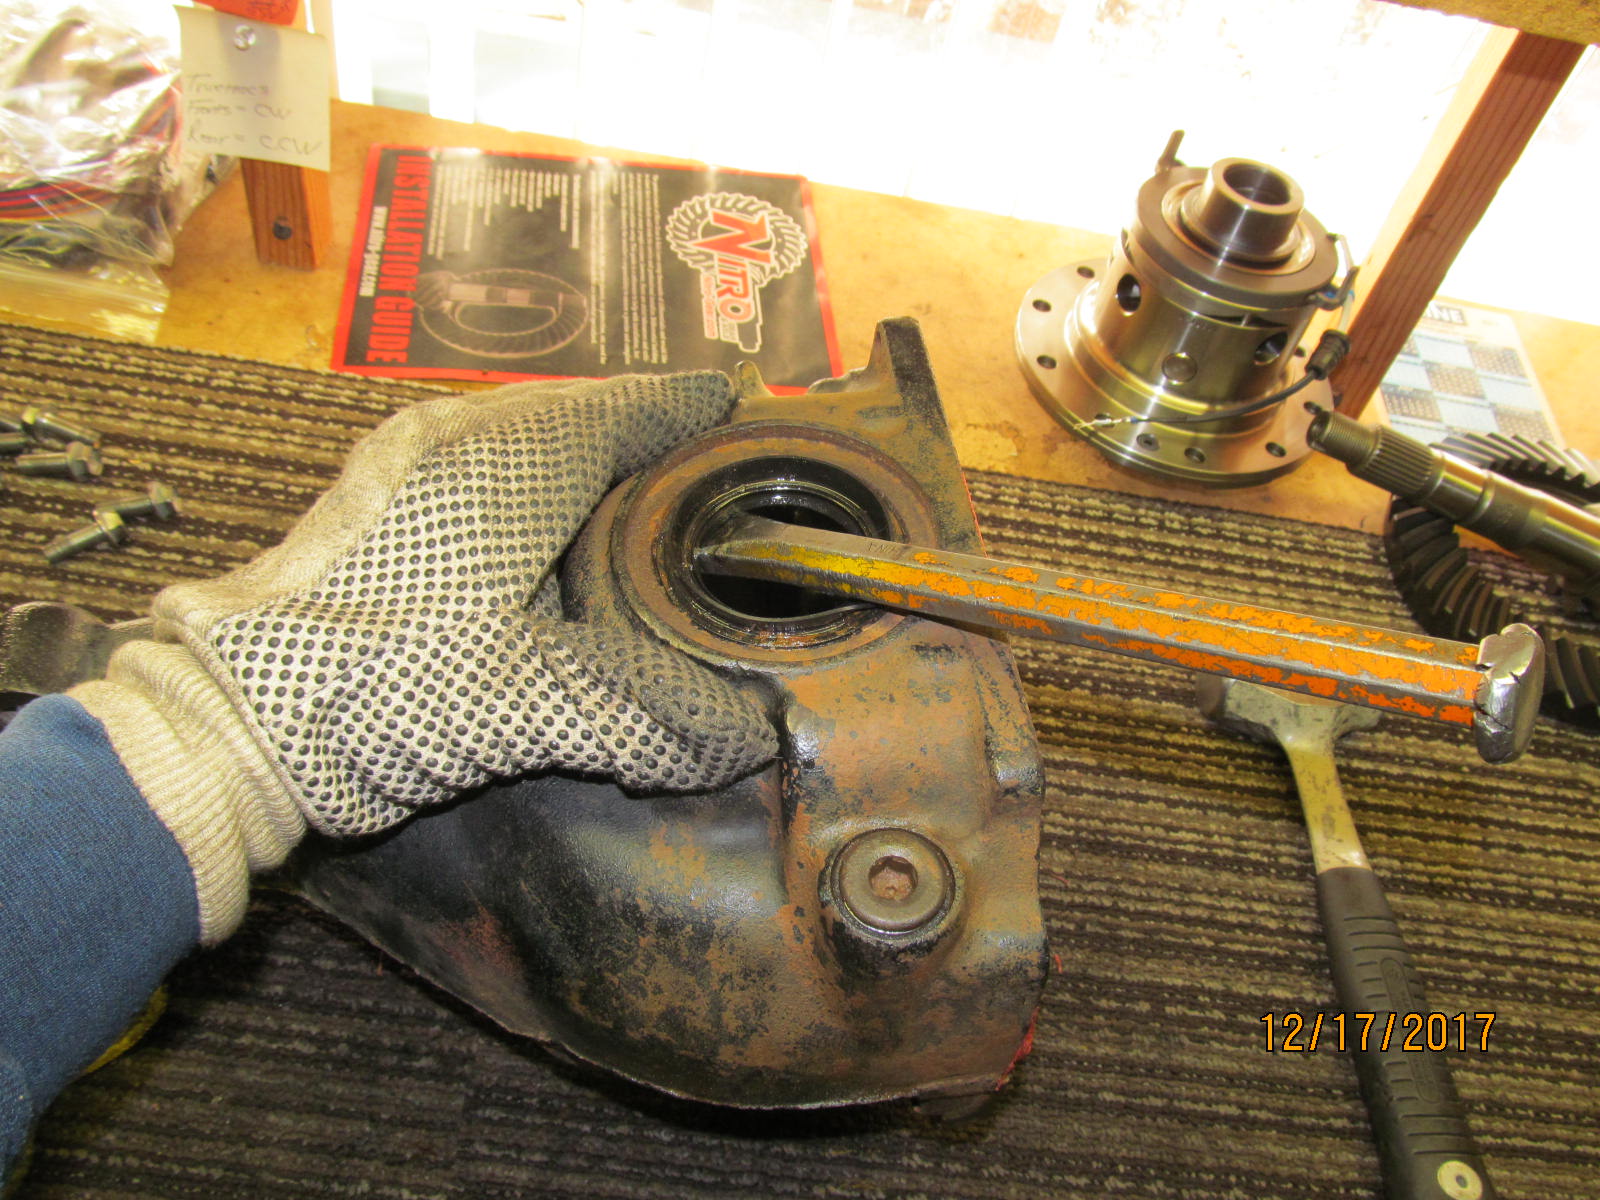
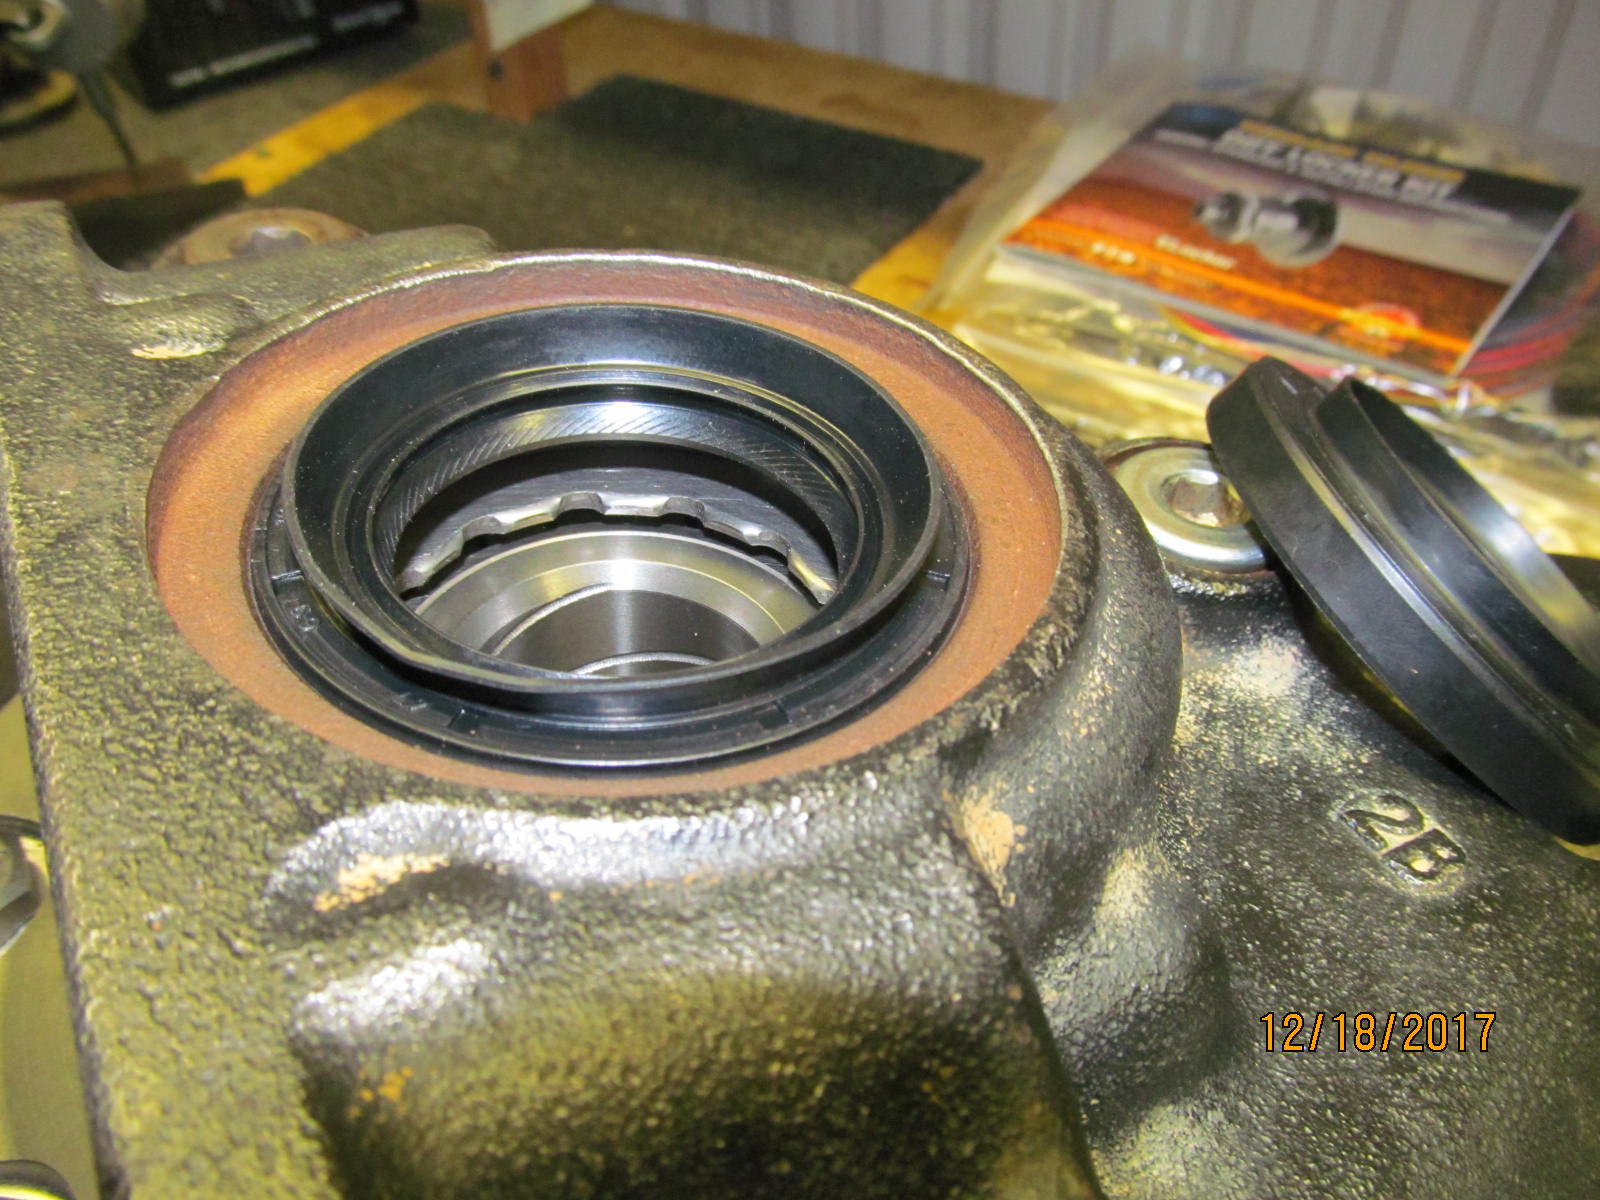
| Take this nasty looking CV axle seal out. |
|---|
|
|
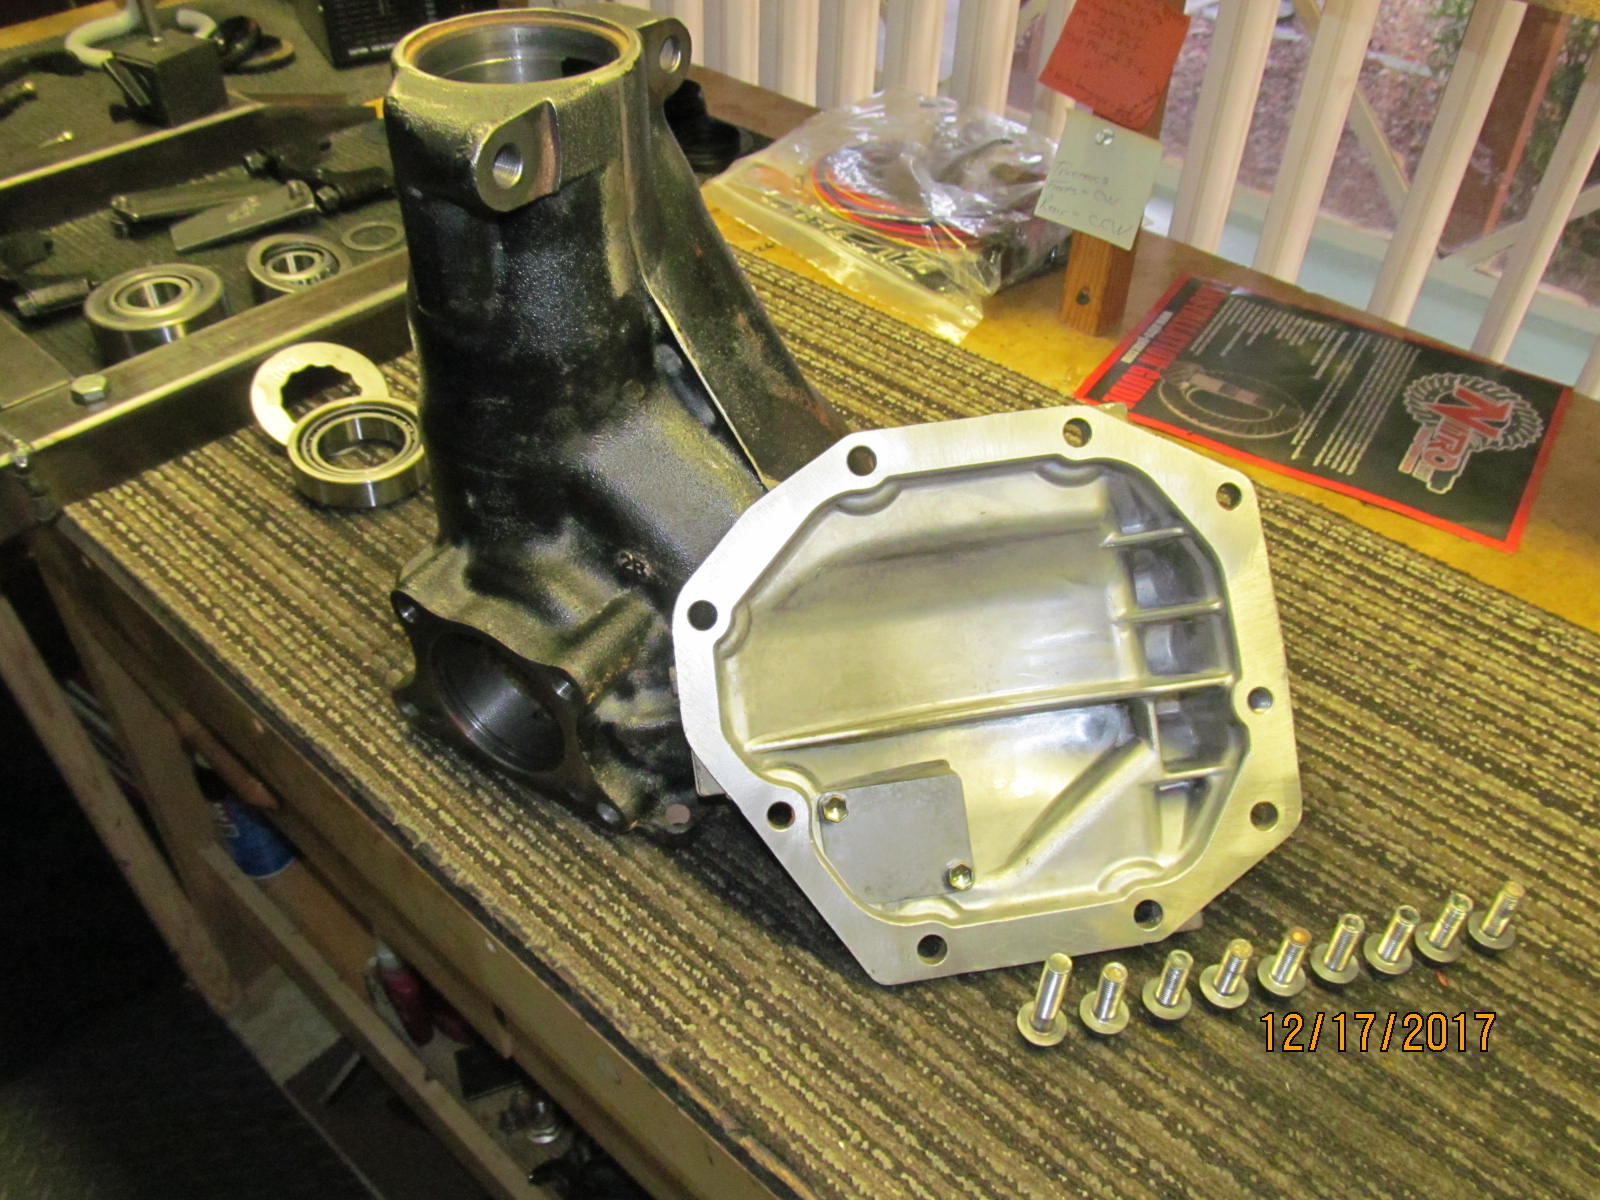
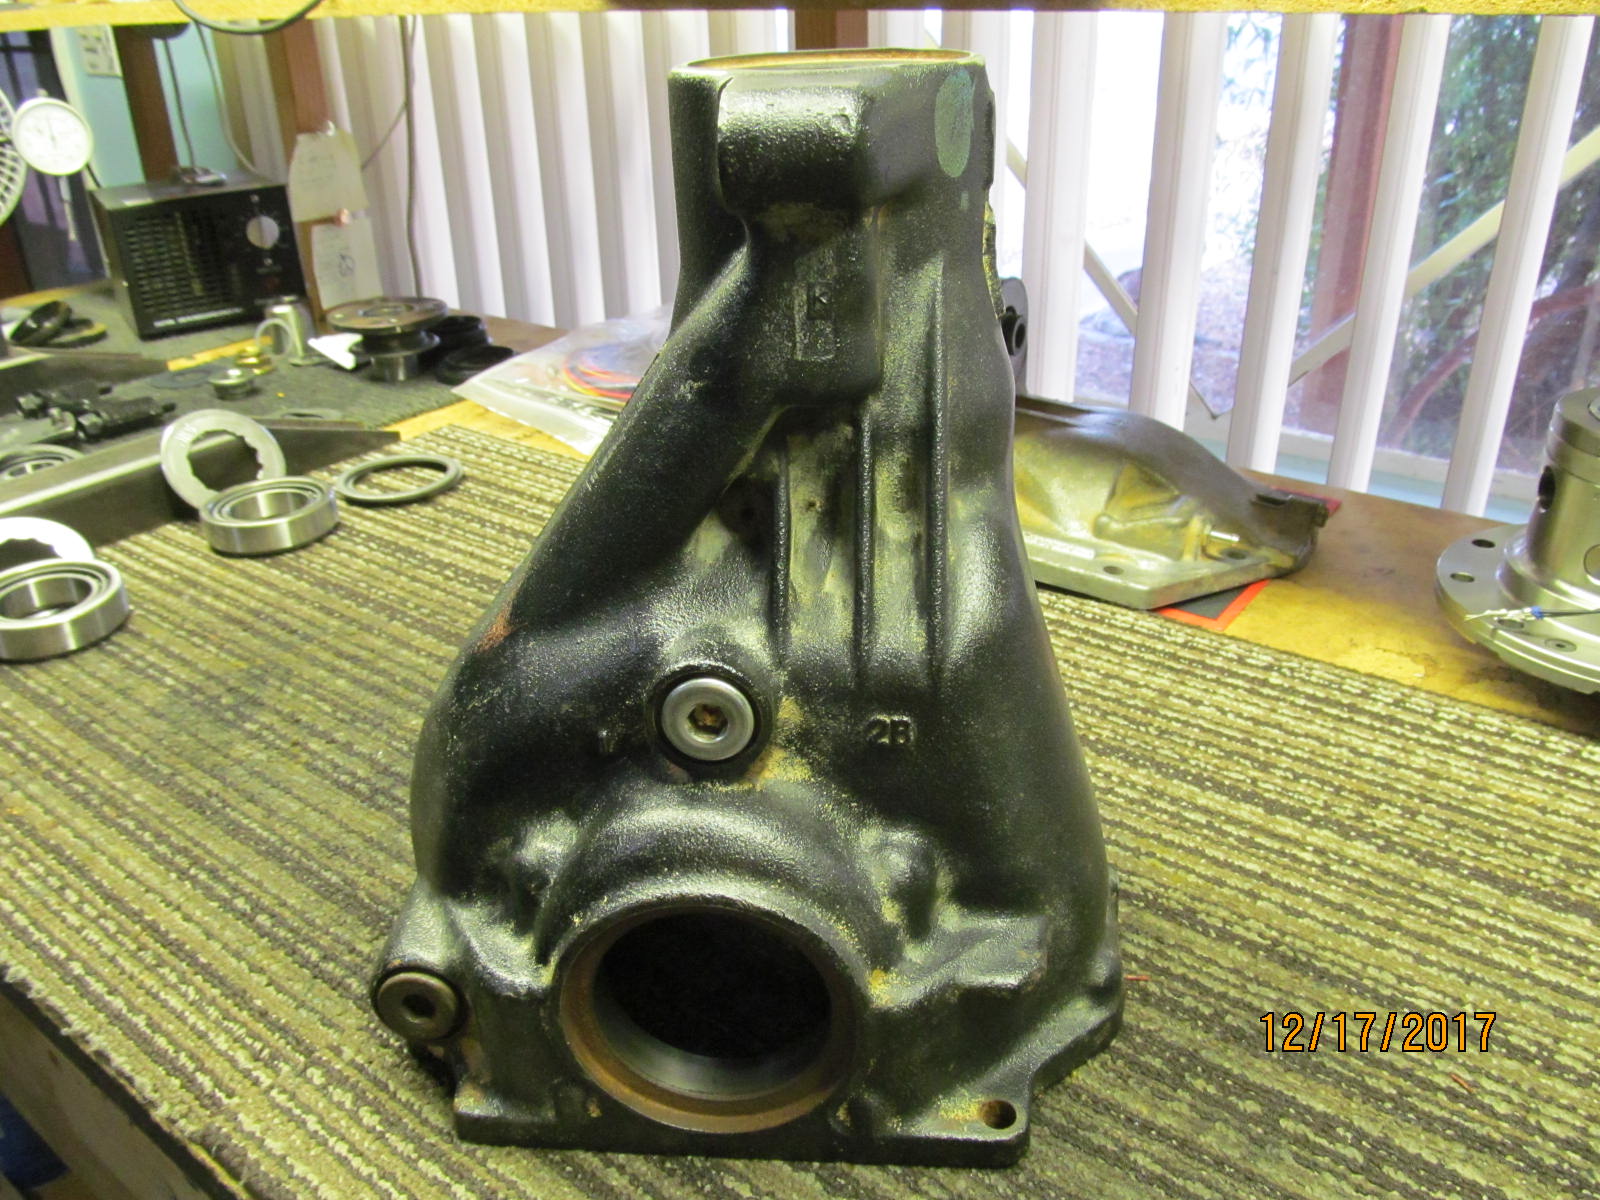
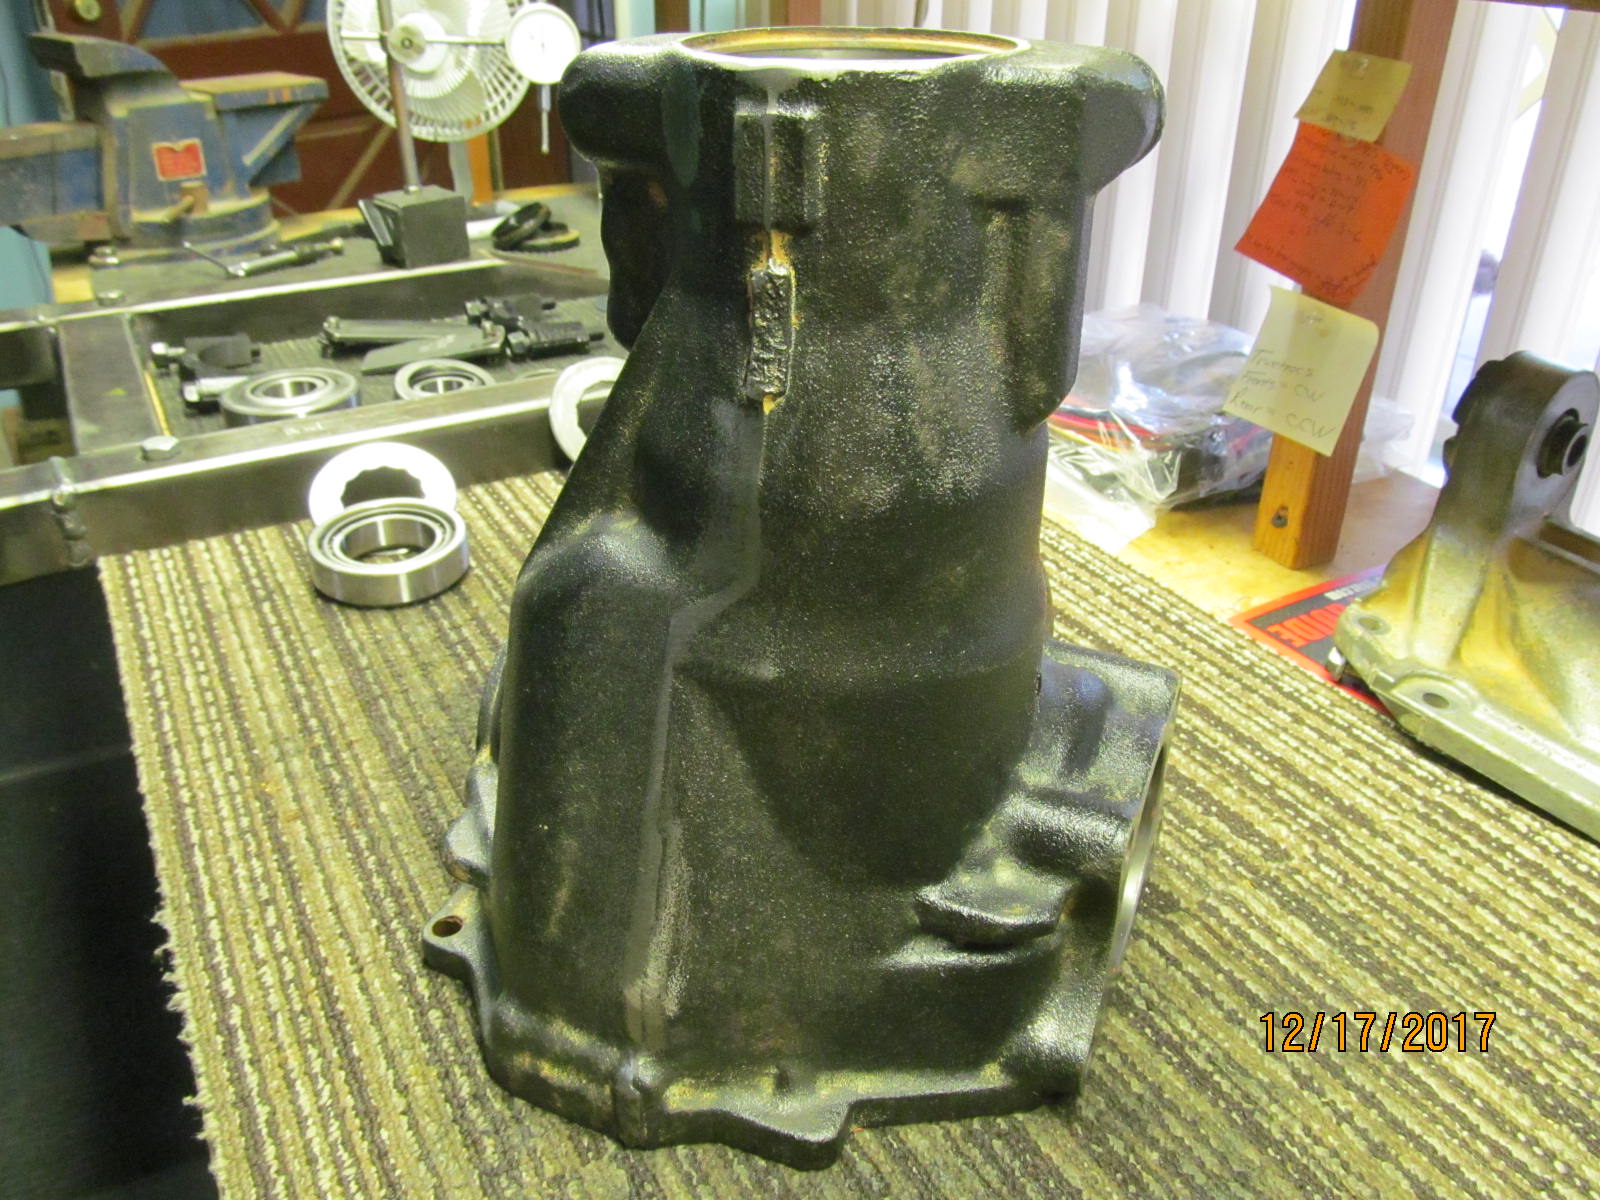
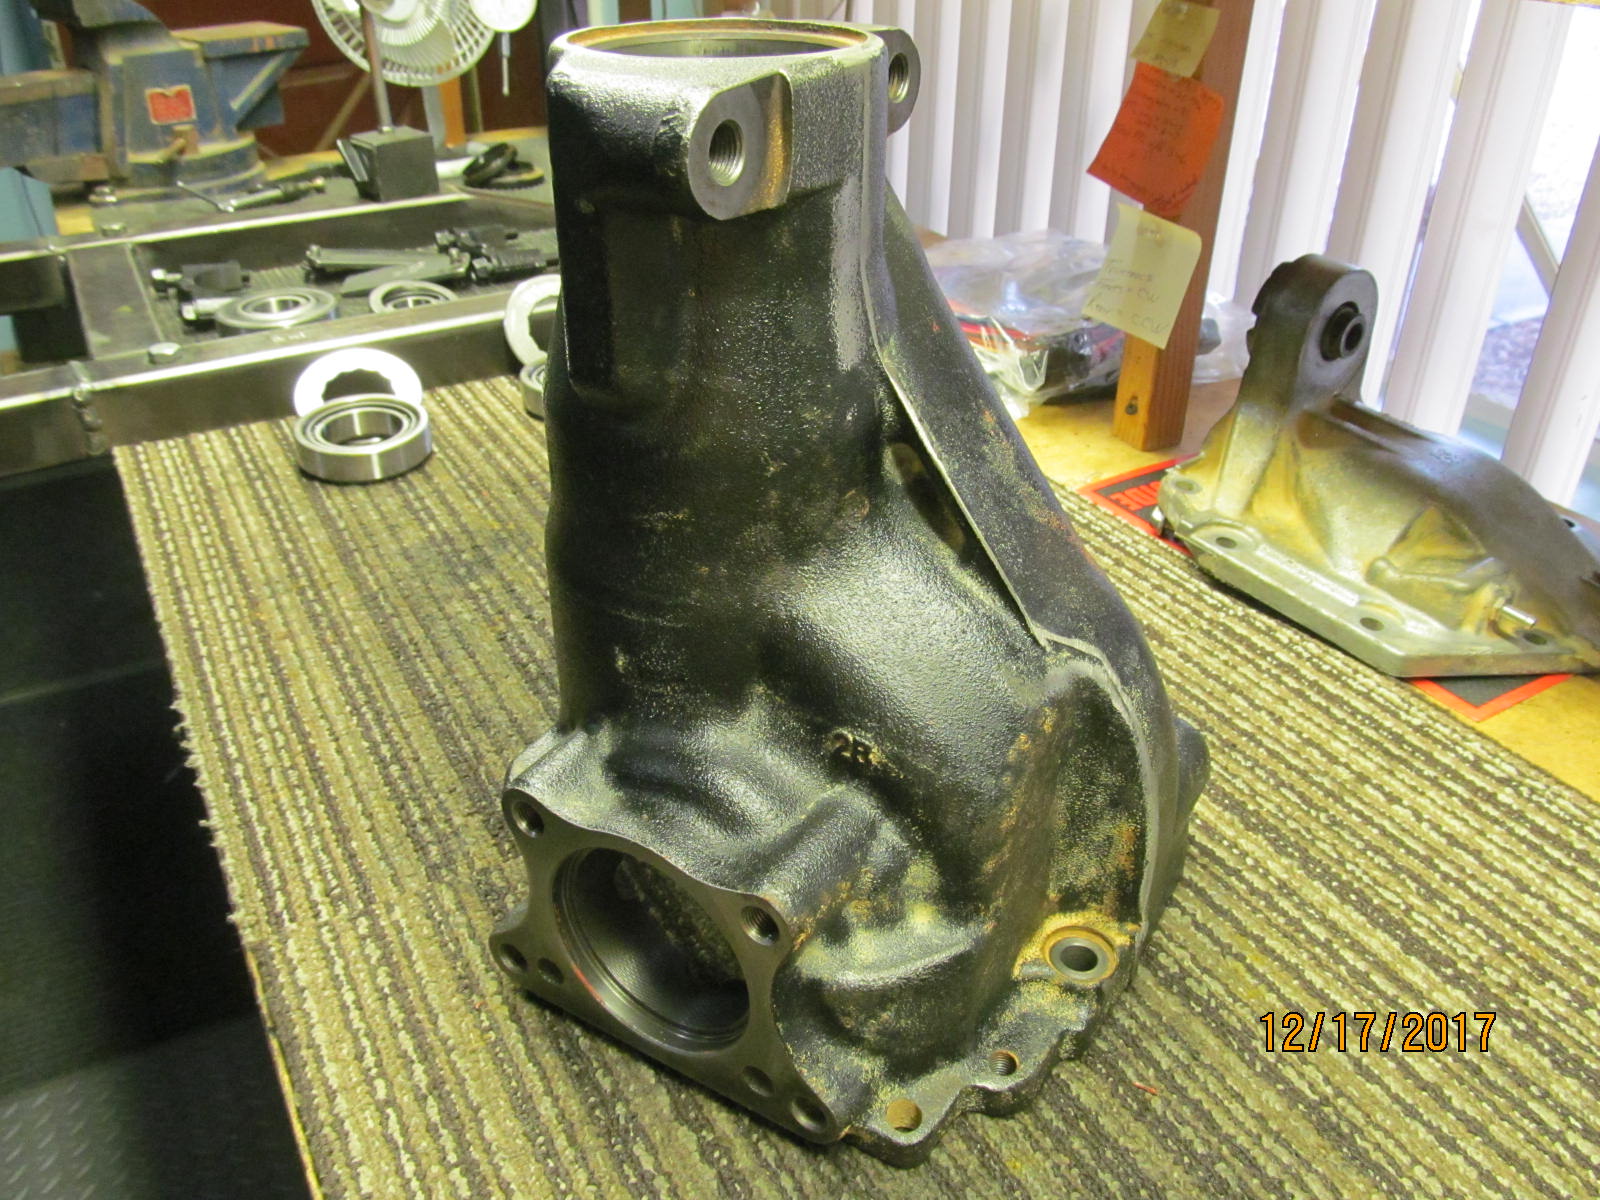
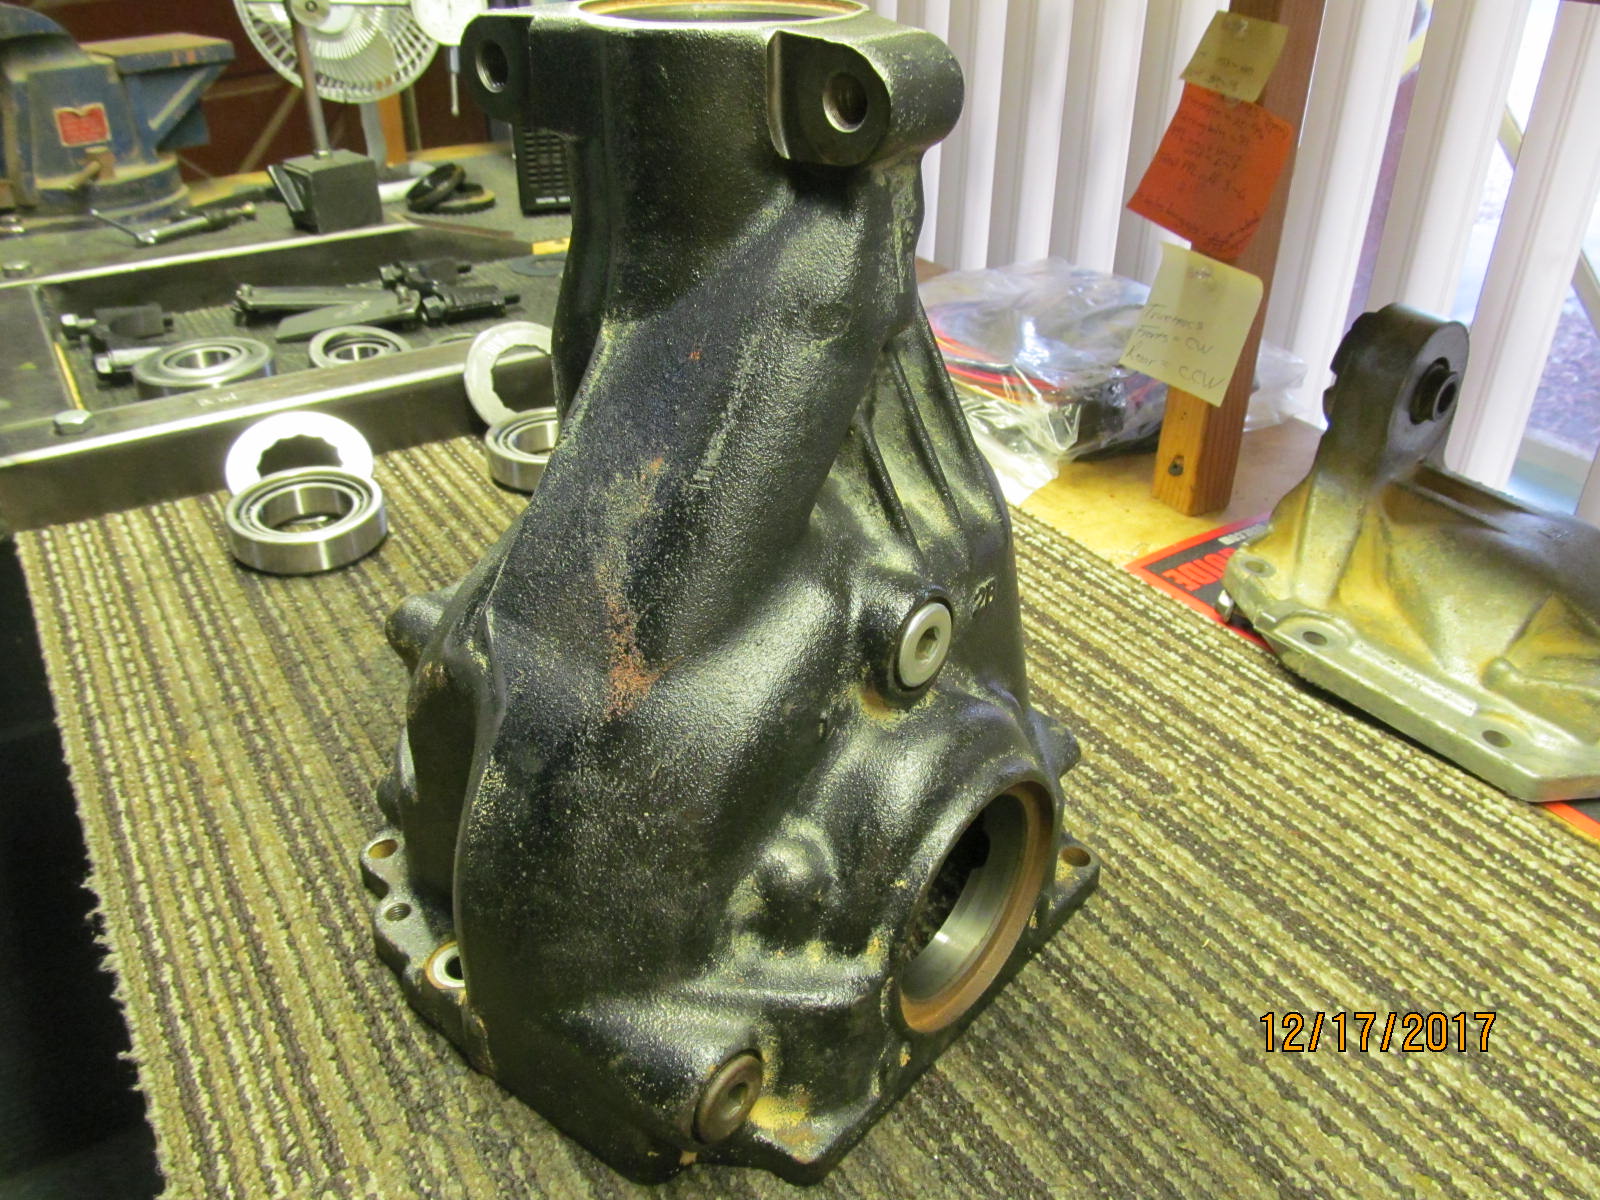
| Both related bodies have been cleaned properly. |
|---|
|
|
| ,,,,,,,,,,,,,,,,,,,,,,,,,,,,,, |
|---|
|
|
| ................................. |
|---|
|
|
| All loose grit has been removed...mostly with a toothbrush size wire brush. |
|---|
|
|
| ,,,,,,,,,,,,,,,,,,,,,,,,,,,, |
|---|
|
|
| ............................... |
|---|
|
|
| ................................... |
|---|
|
|
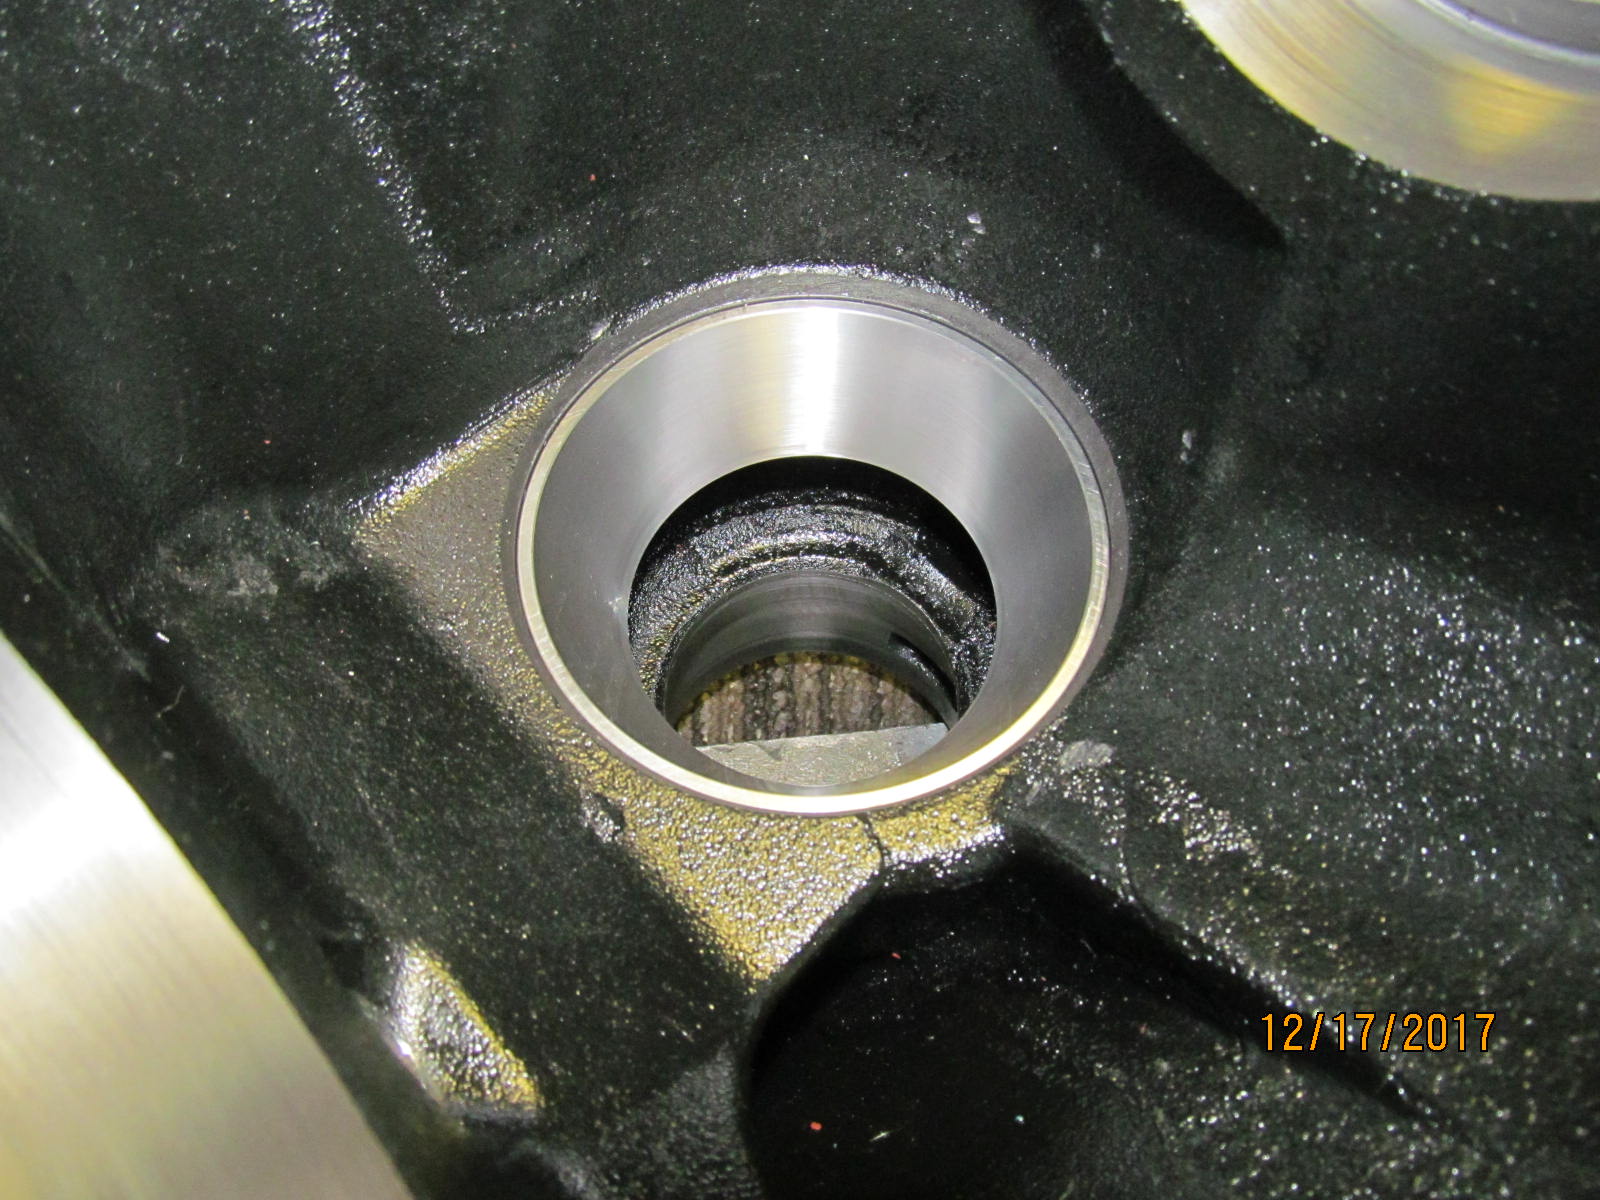
| With everything stripped down and clean, now the new Koyo inner race can be tapped in place. |
|---|
|
|
| Verified 100% seated down. |
|---|
|
|
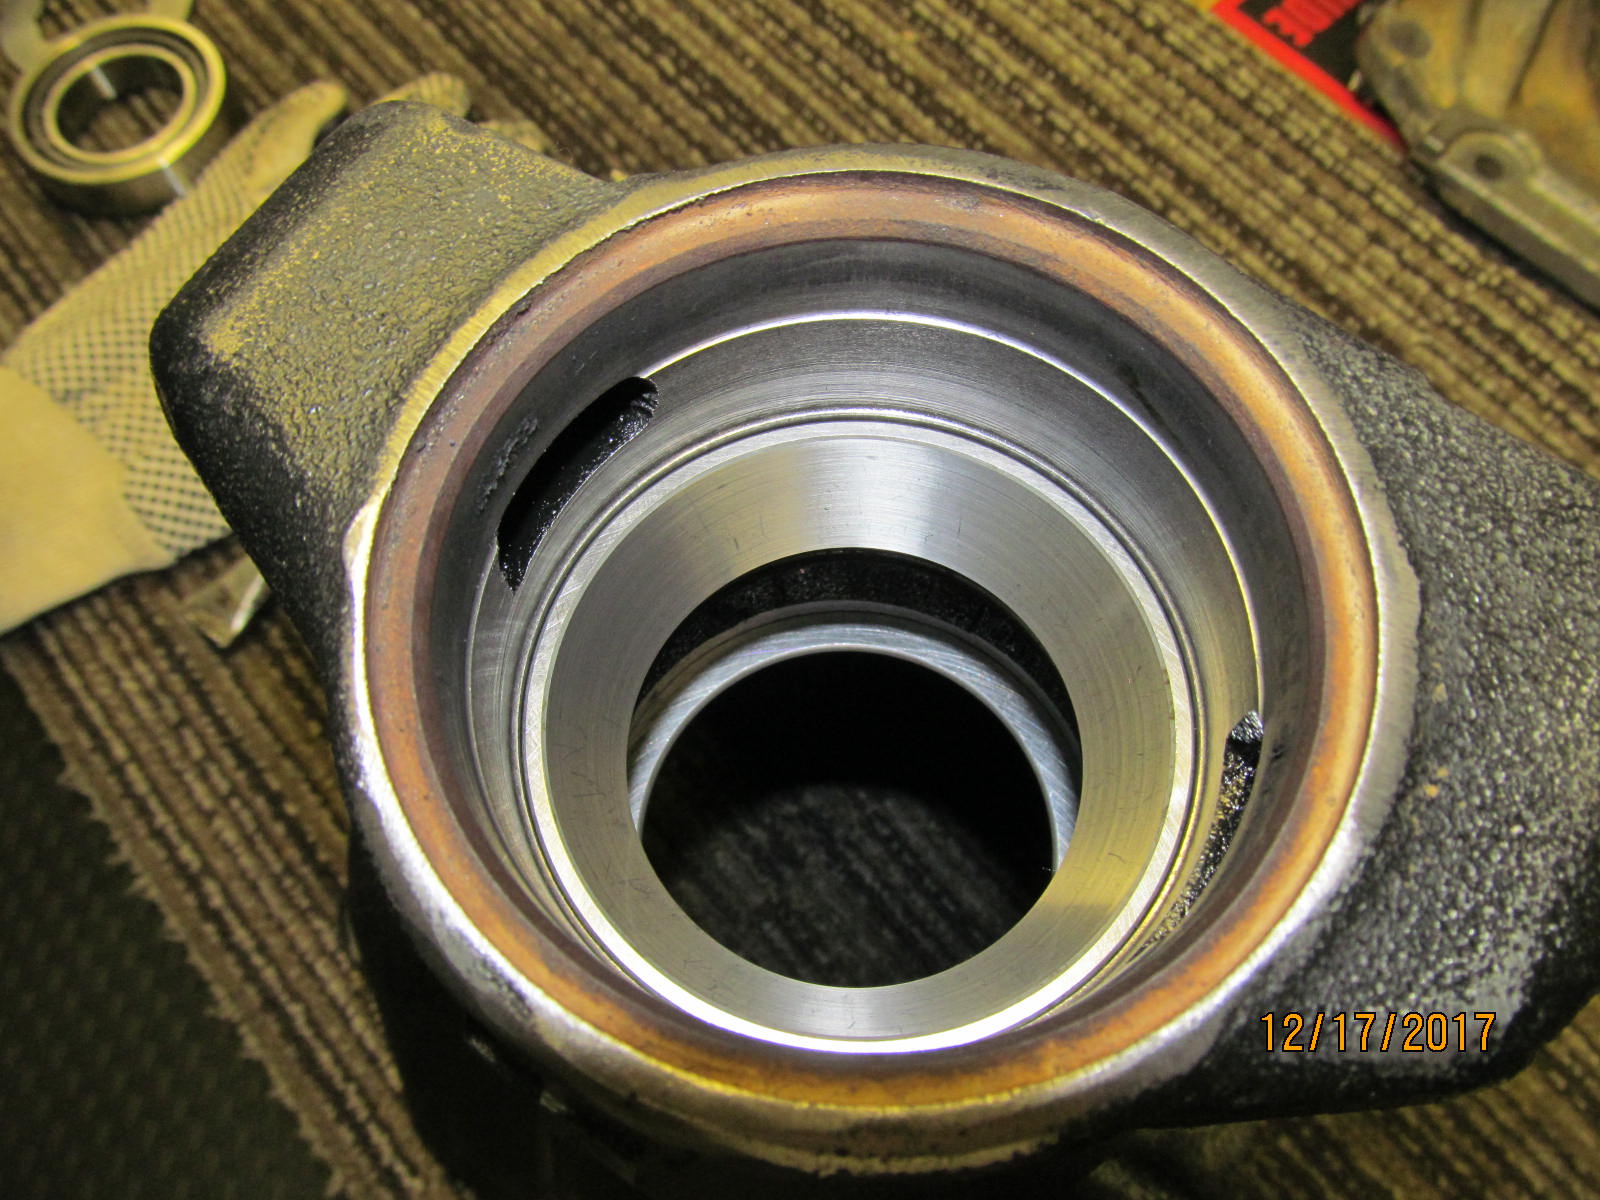
| Same with the new outer race....100 seated down. |
|---|
|
|
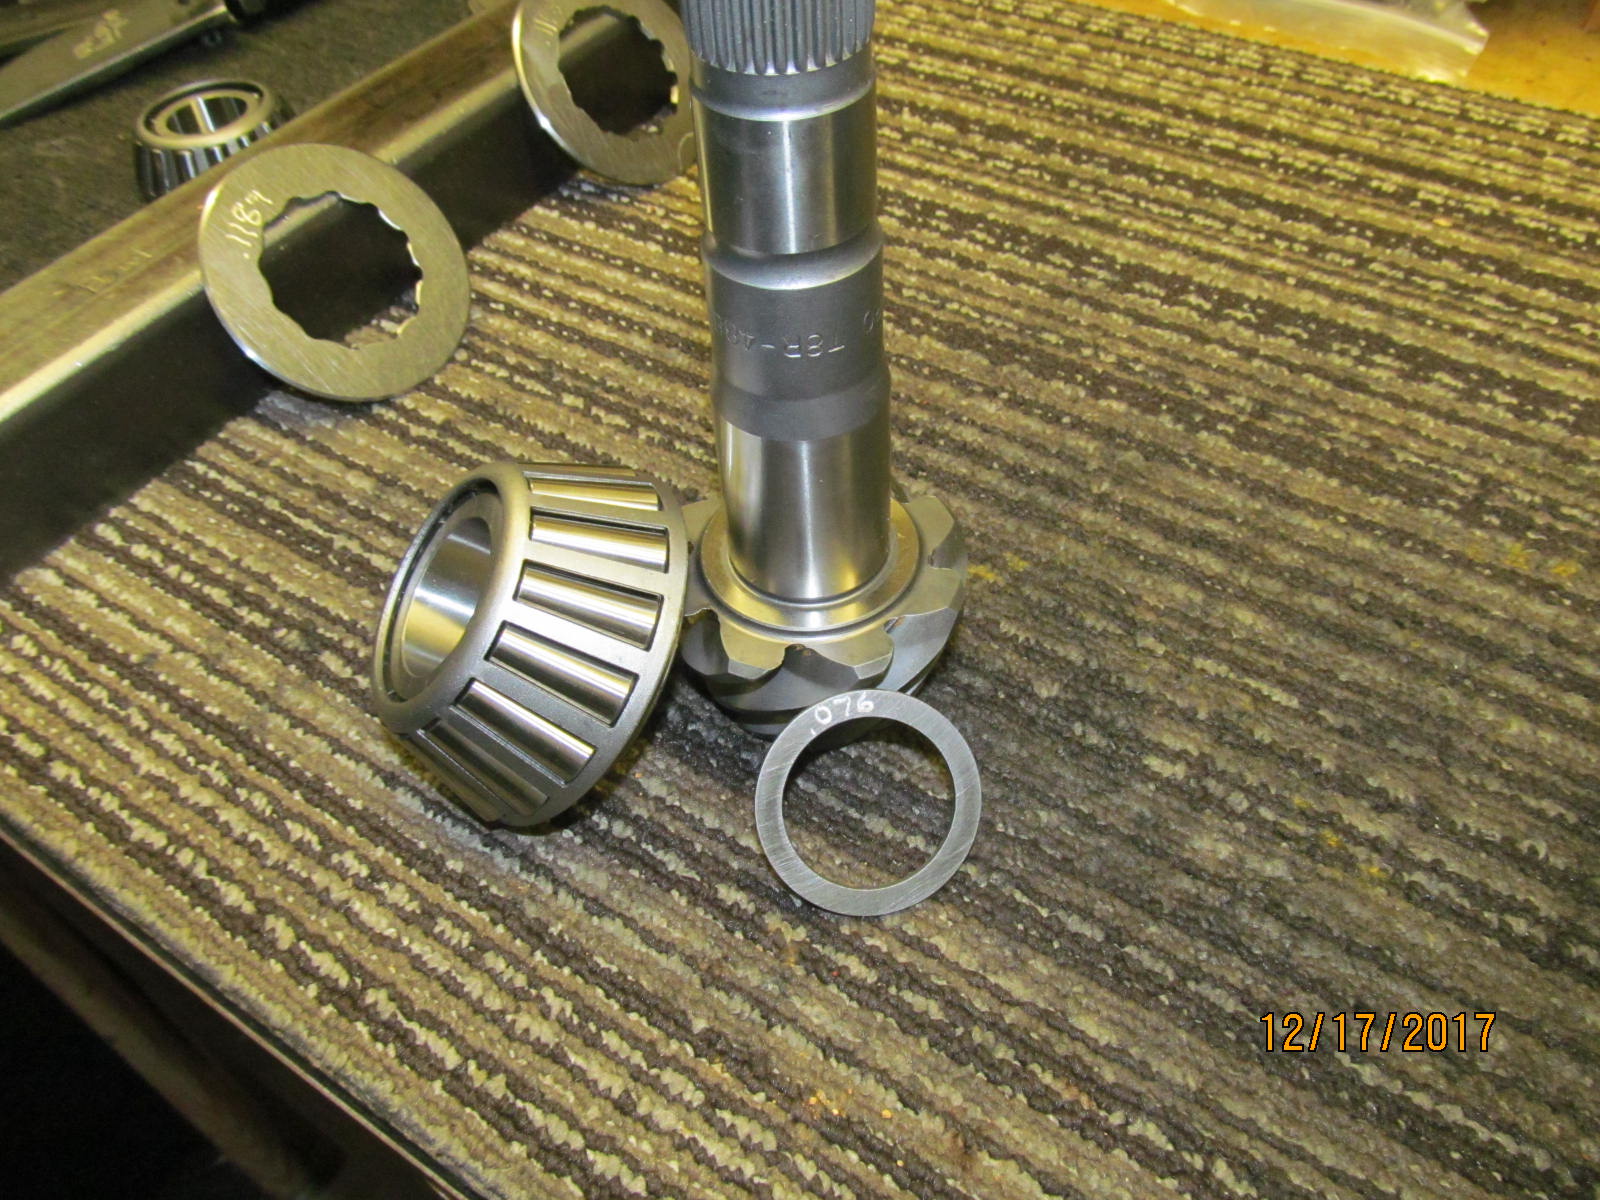
| .076" will be the 1st try at proper pinion shim depth. |
|---|
|
|
| The new pinion bearing is pressed on with the 076 shim. |
|---|
|
|
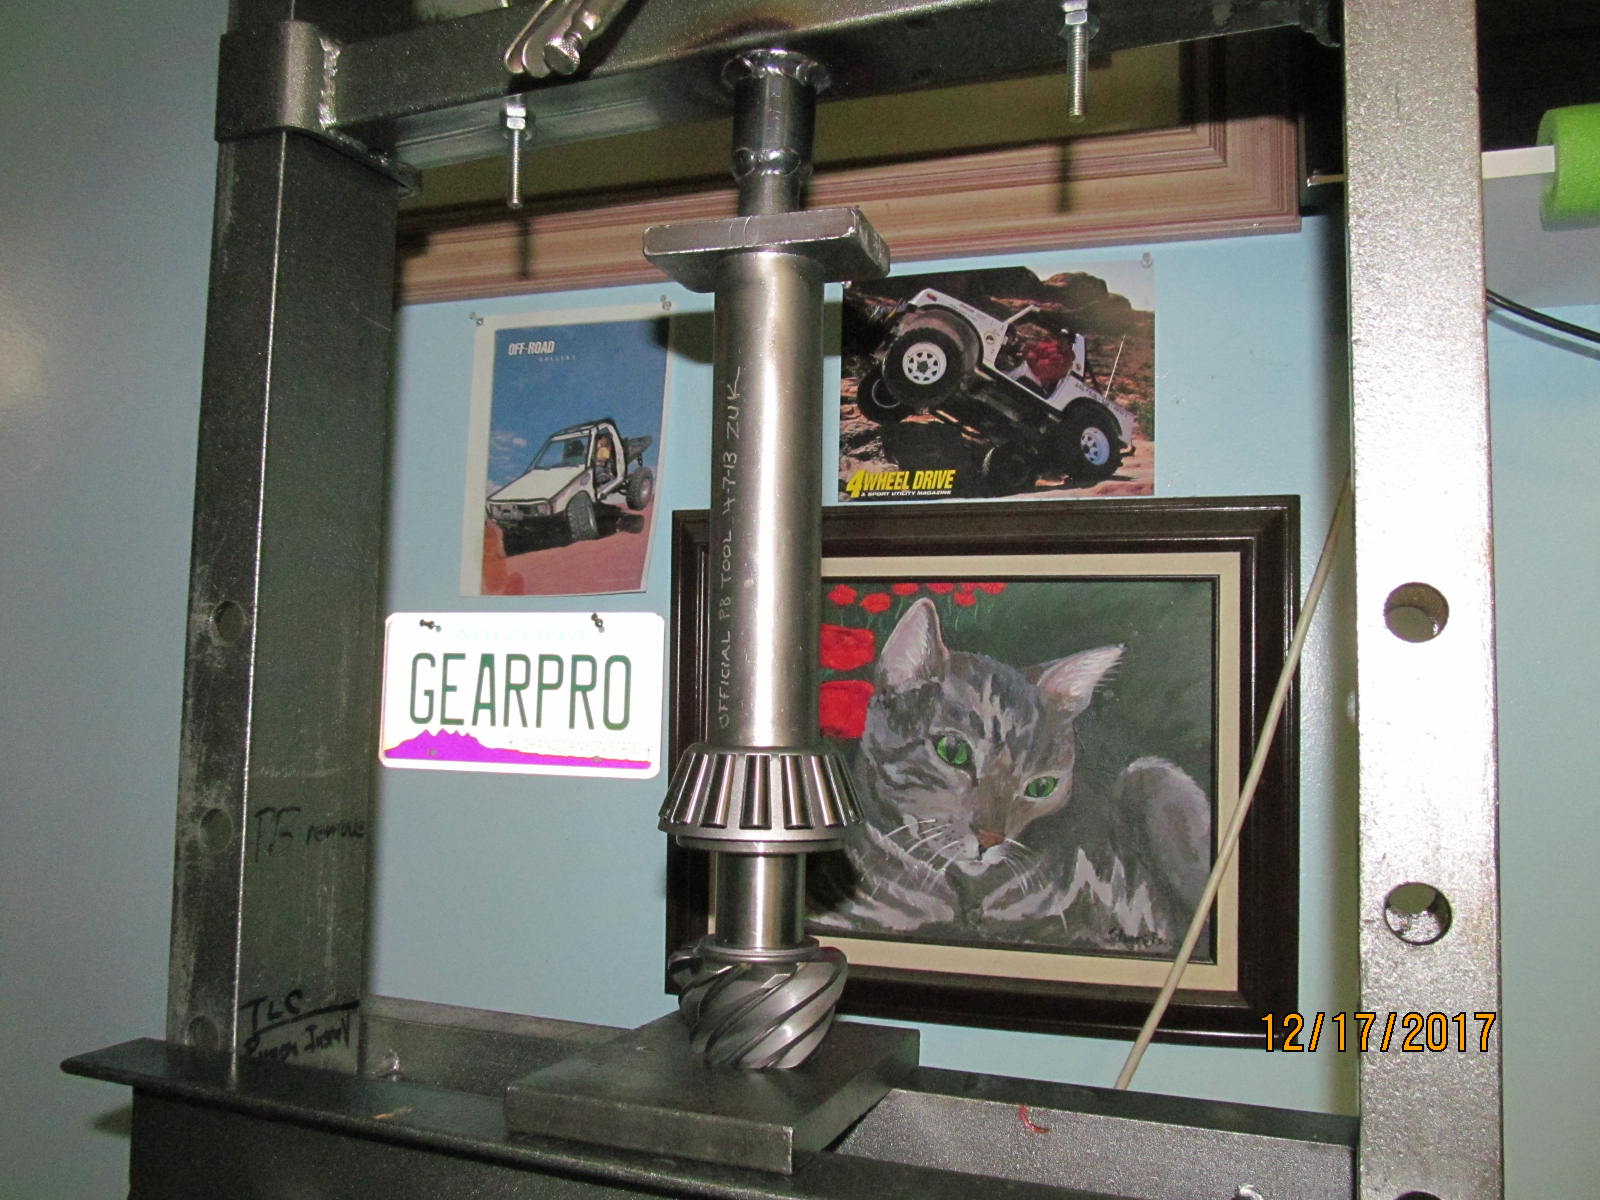
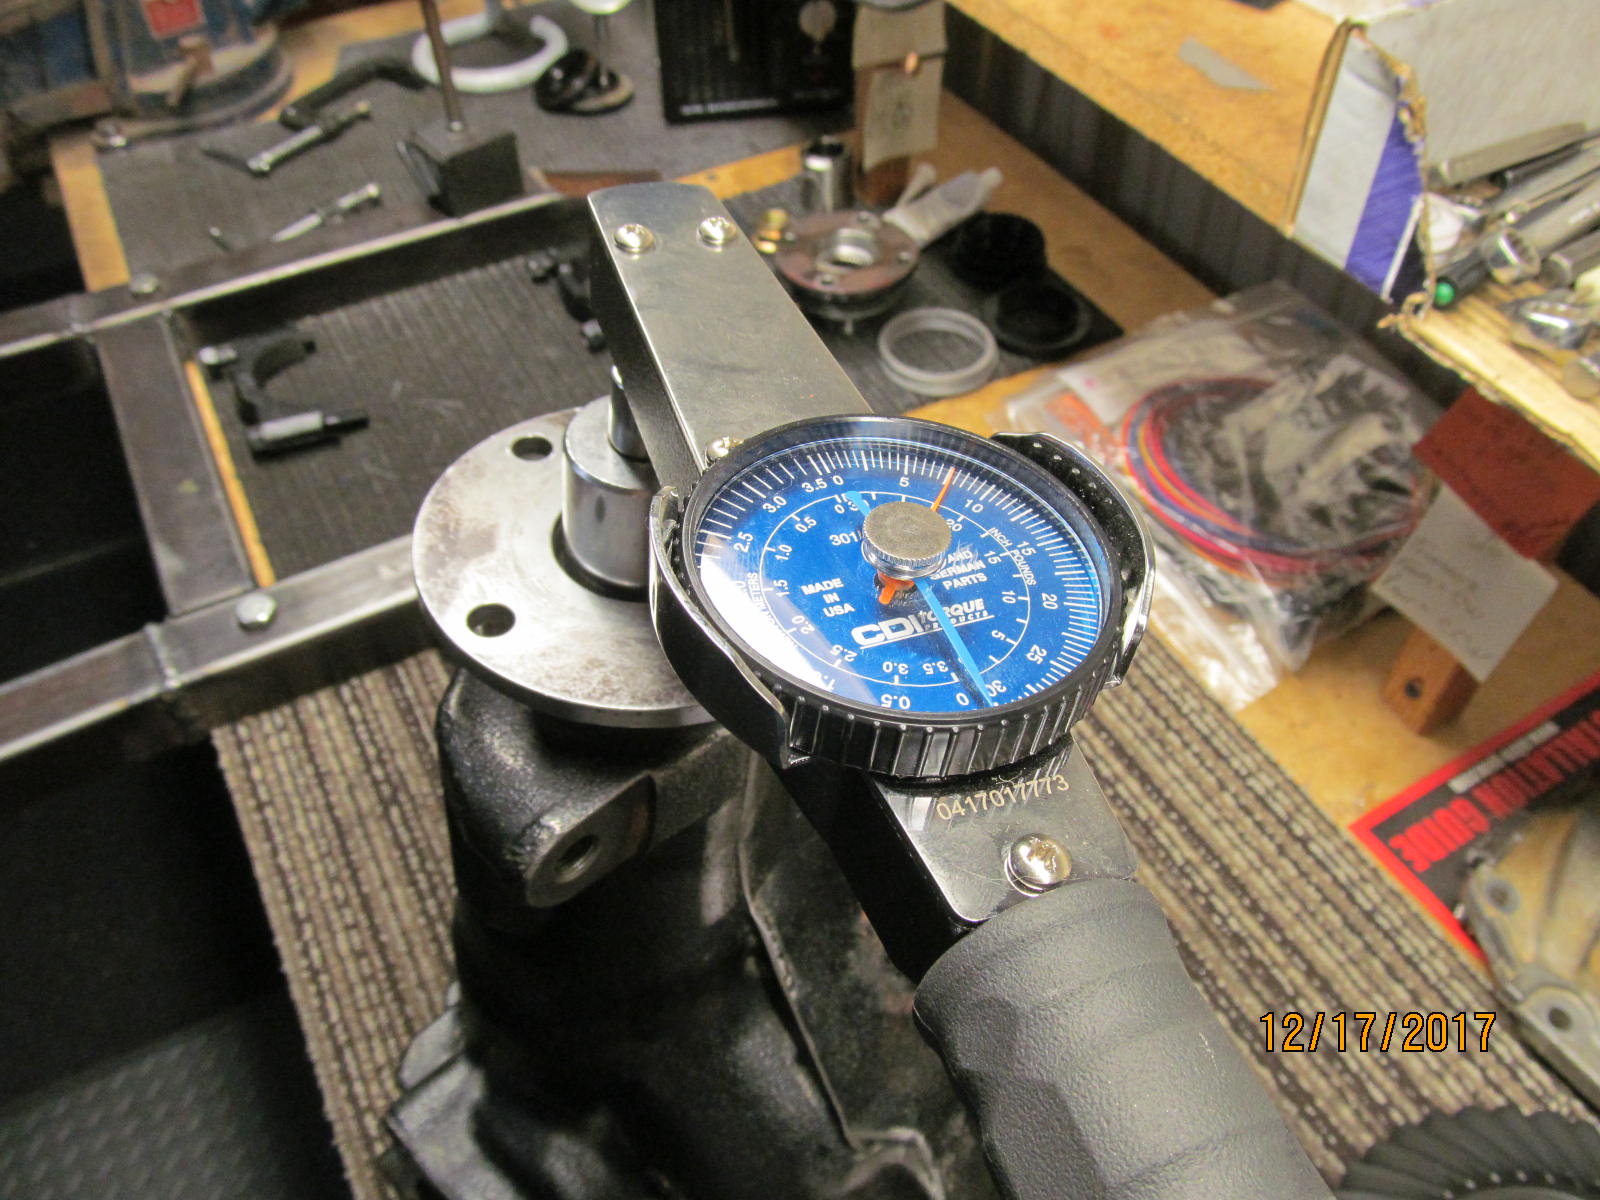
This is just for a paint test but I was curious ....and wanted to show off my fairly new torque measuring tool.
A modest 8 in/lb of torque but just fine for this paint test. |
|---|
|
|
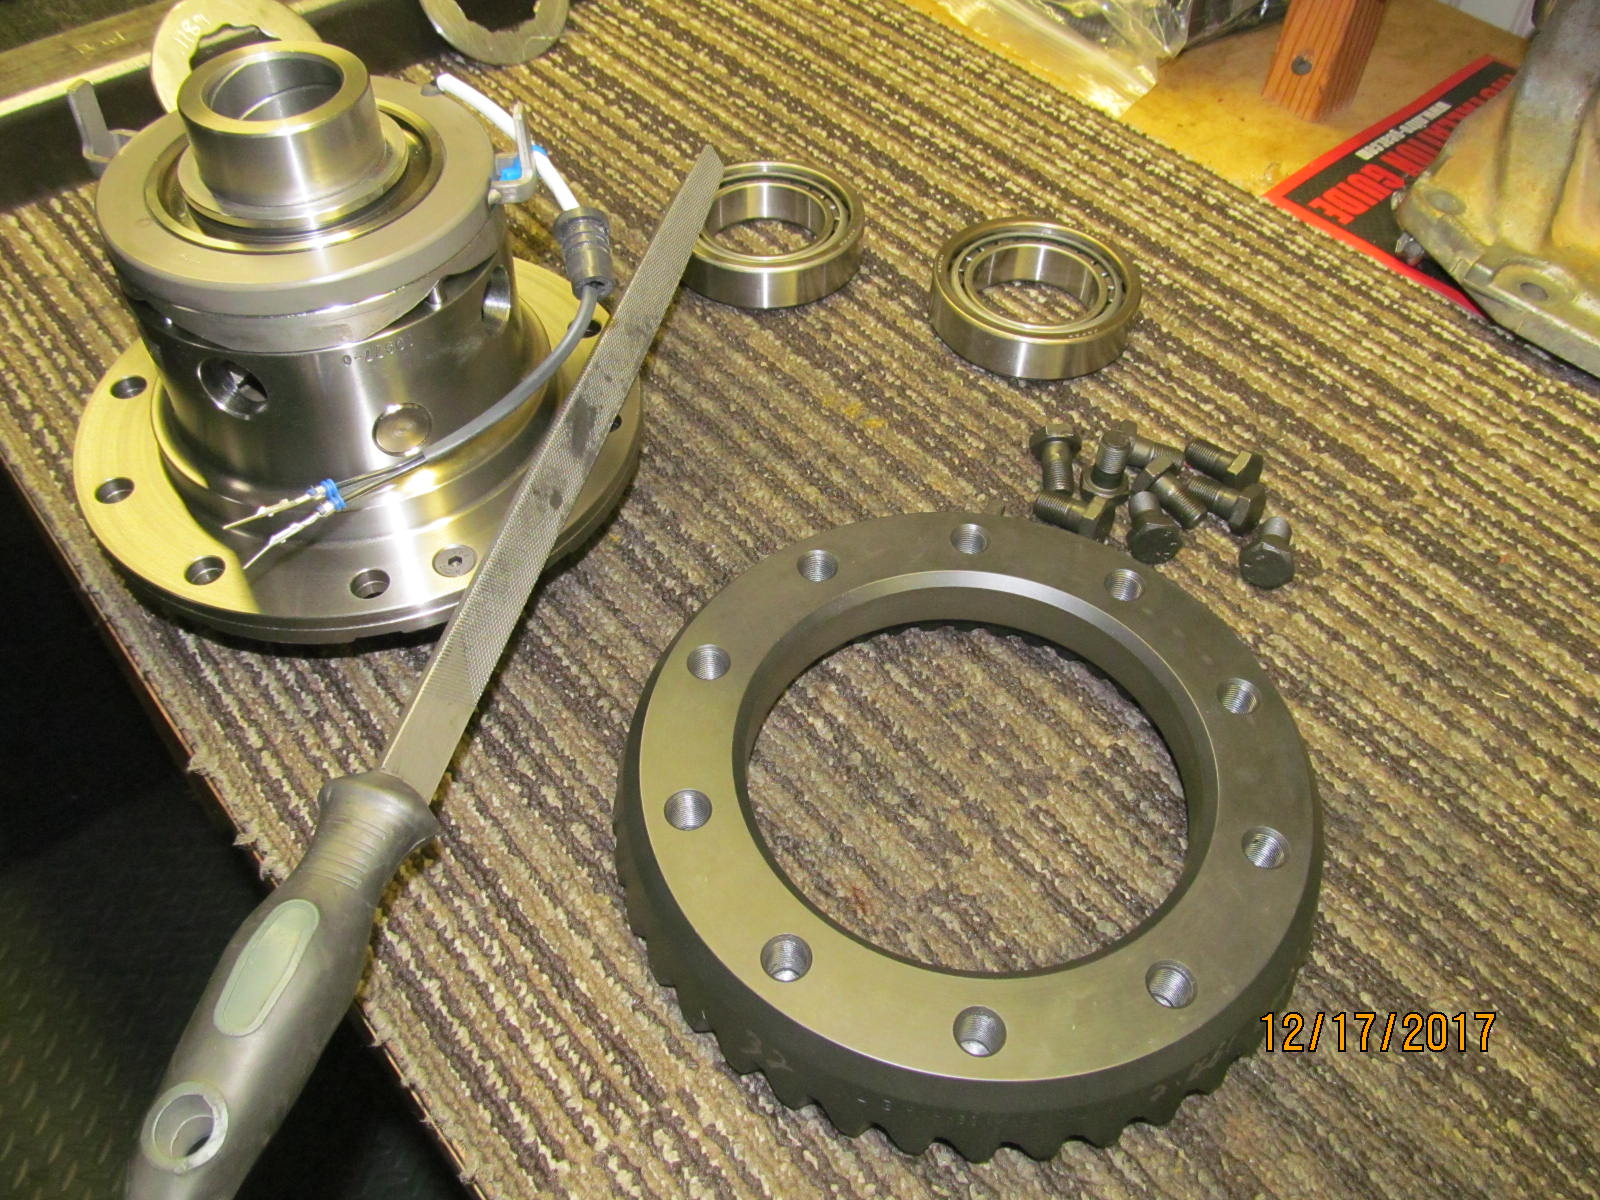
Surfaces are checked with a file and no unusual burrs were found.
Carrier bearings and the ring gear do need to be mounted up. |
|---|
|
|
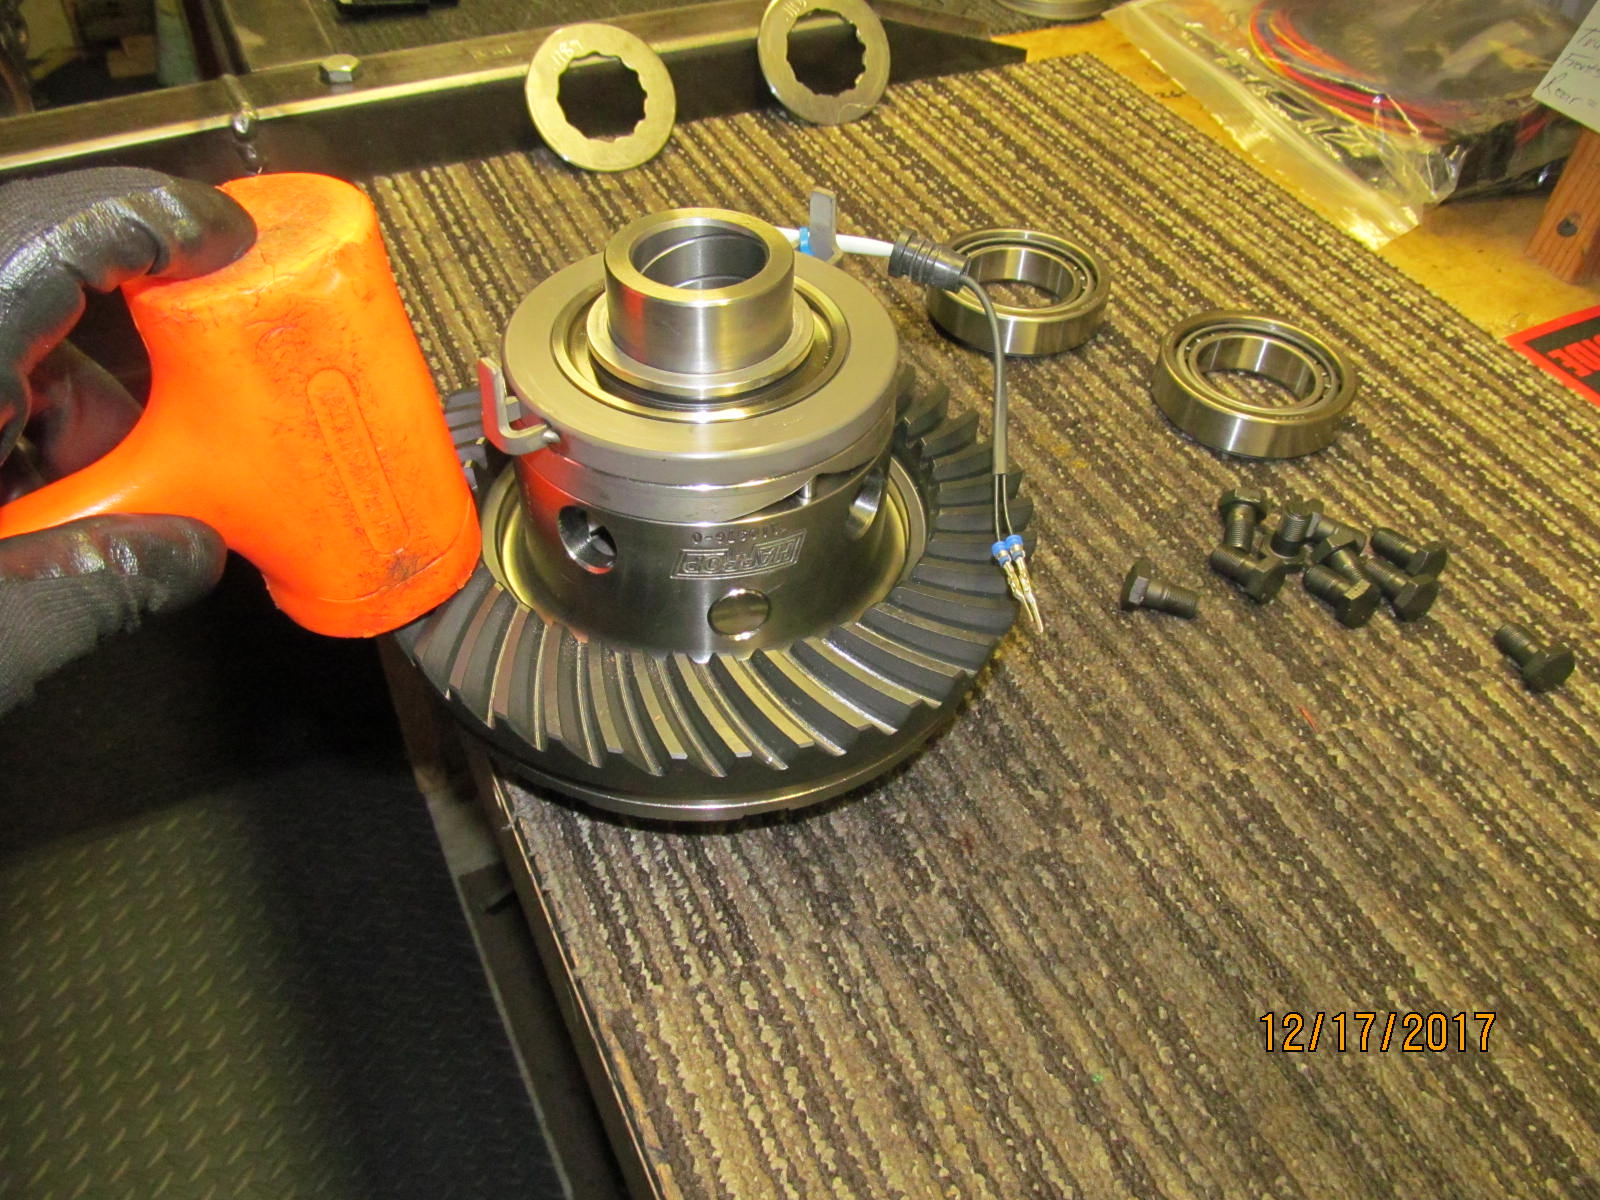
| As indicated by my dainty grip near the hammer head, this ring gear went on easy. More of a slip fit. |
|---|
|
|
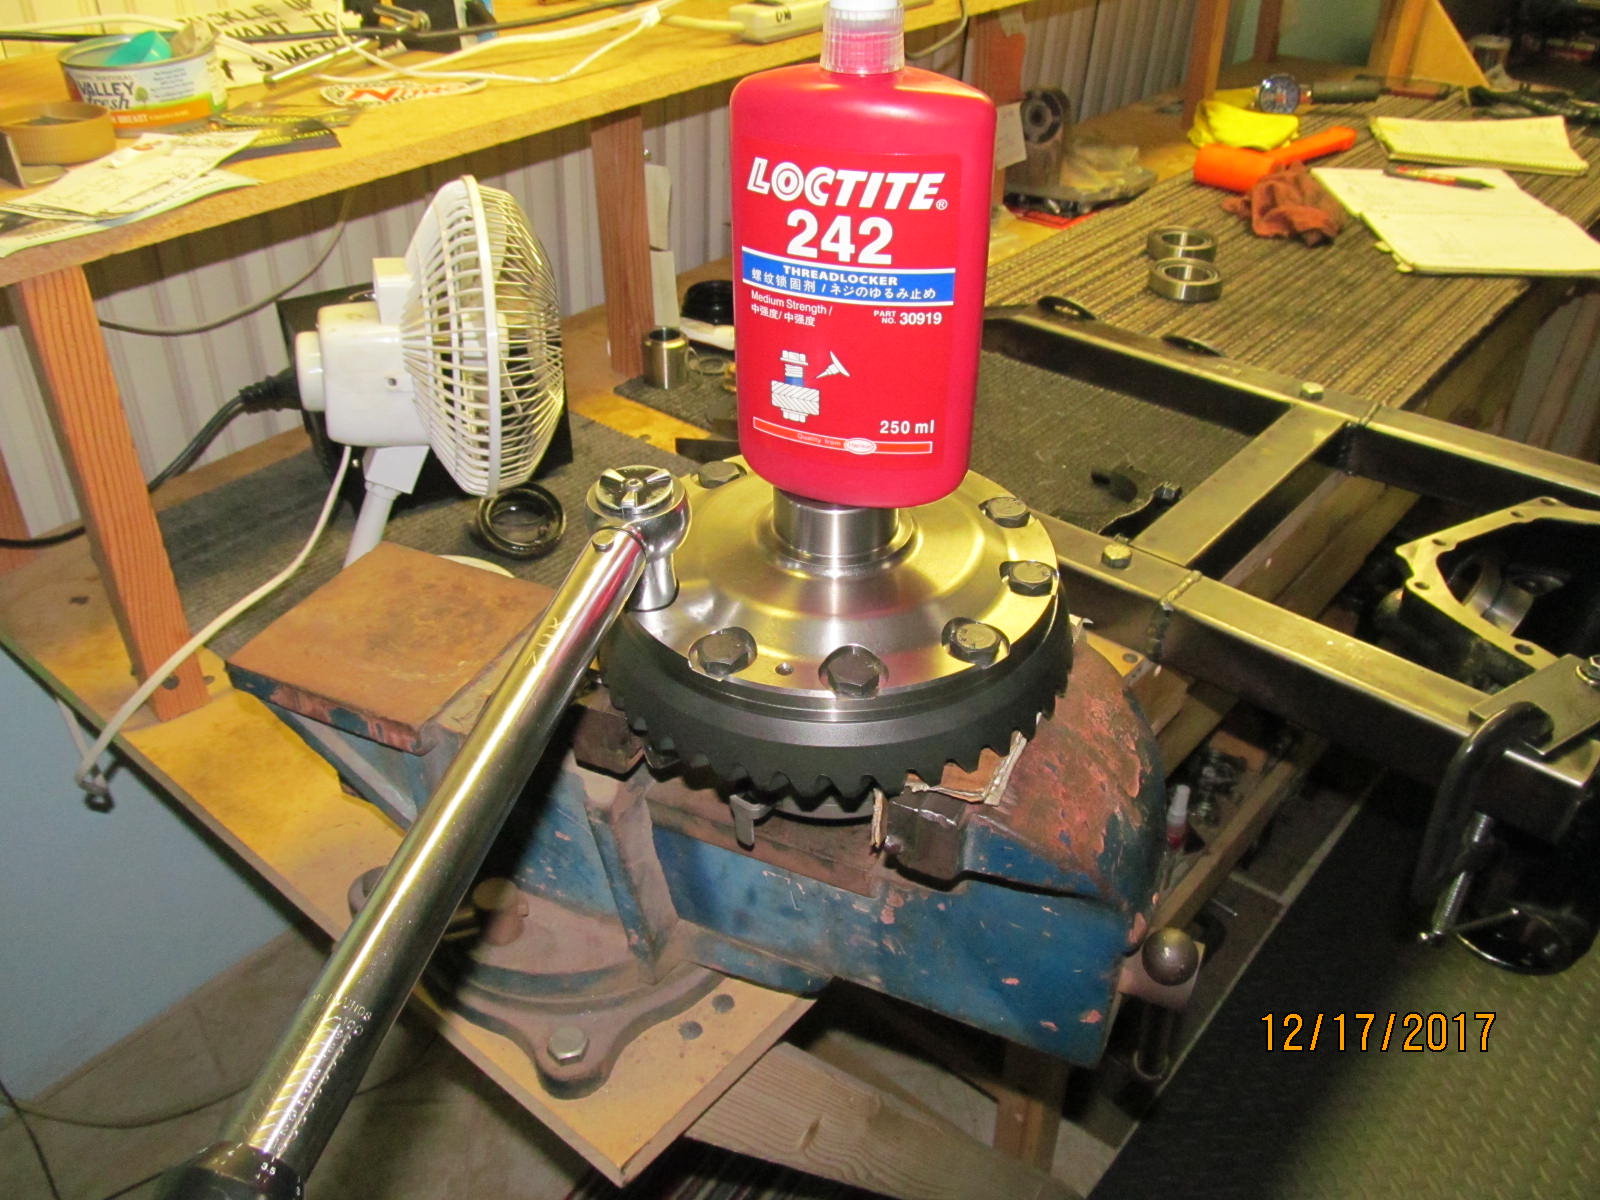
| 71 ft/lb per the fsm and a little blue Loctite. |
|---|
|
|
| With the right widget, the new carrier bearings can be tapped into place. |
|---|
|
|
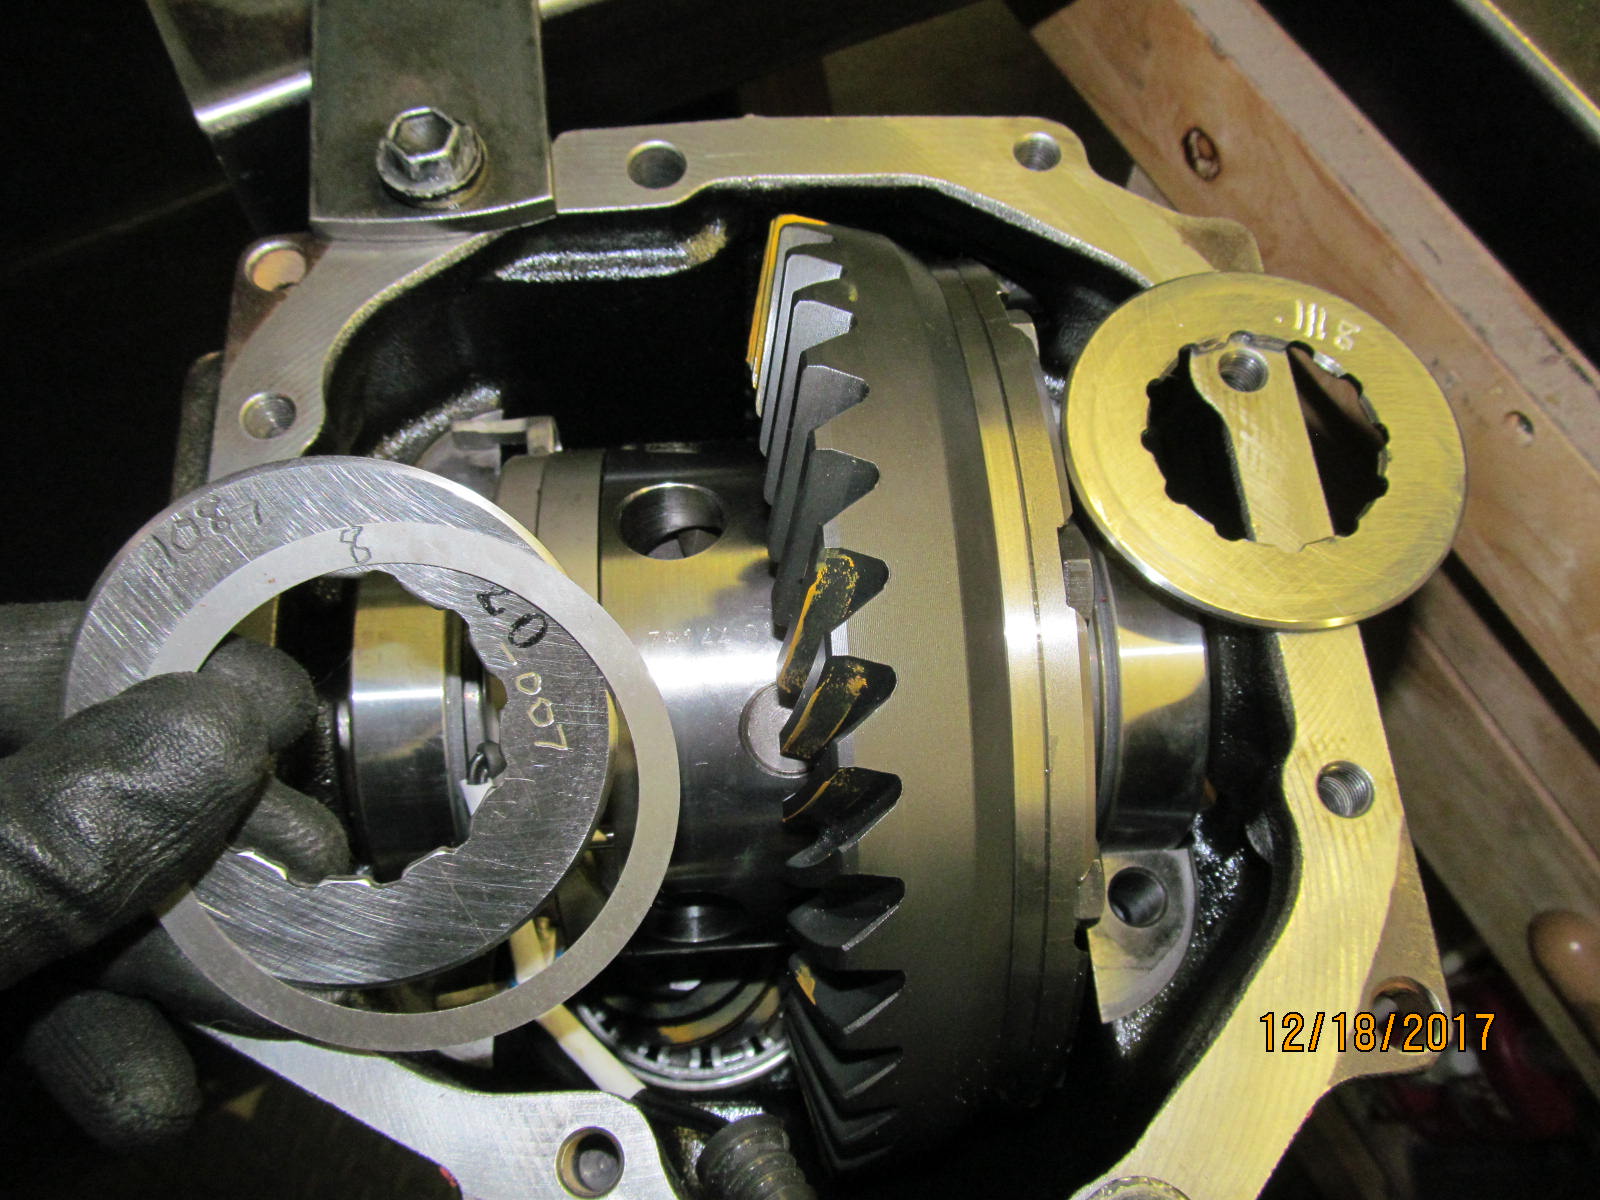
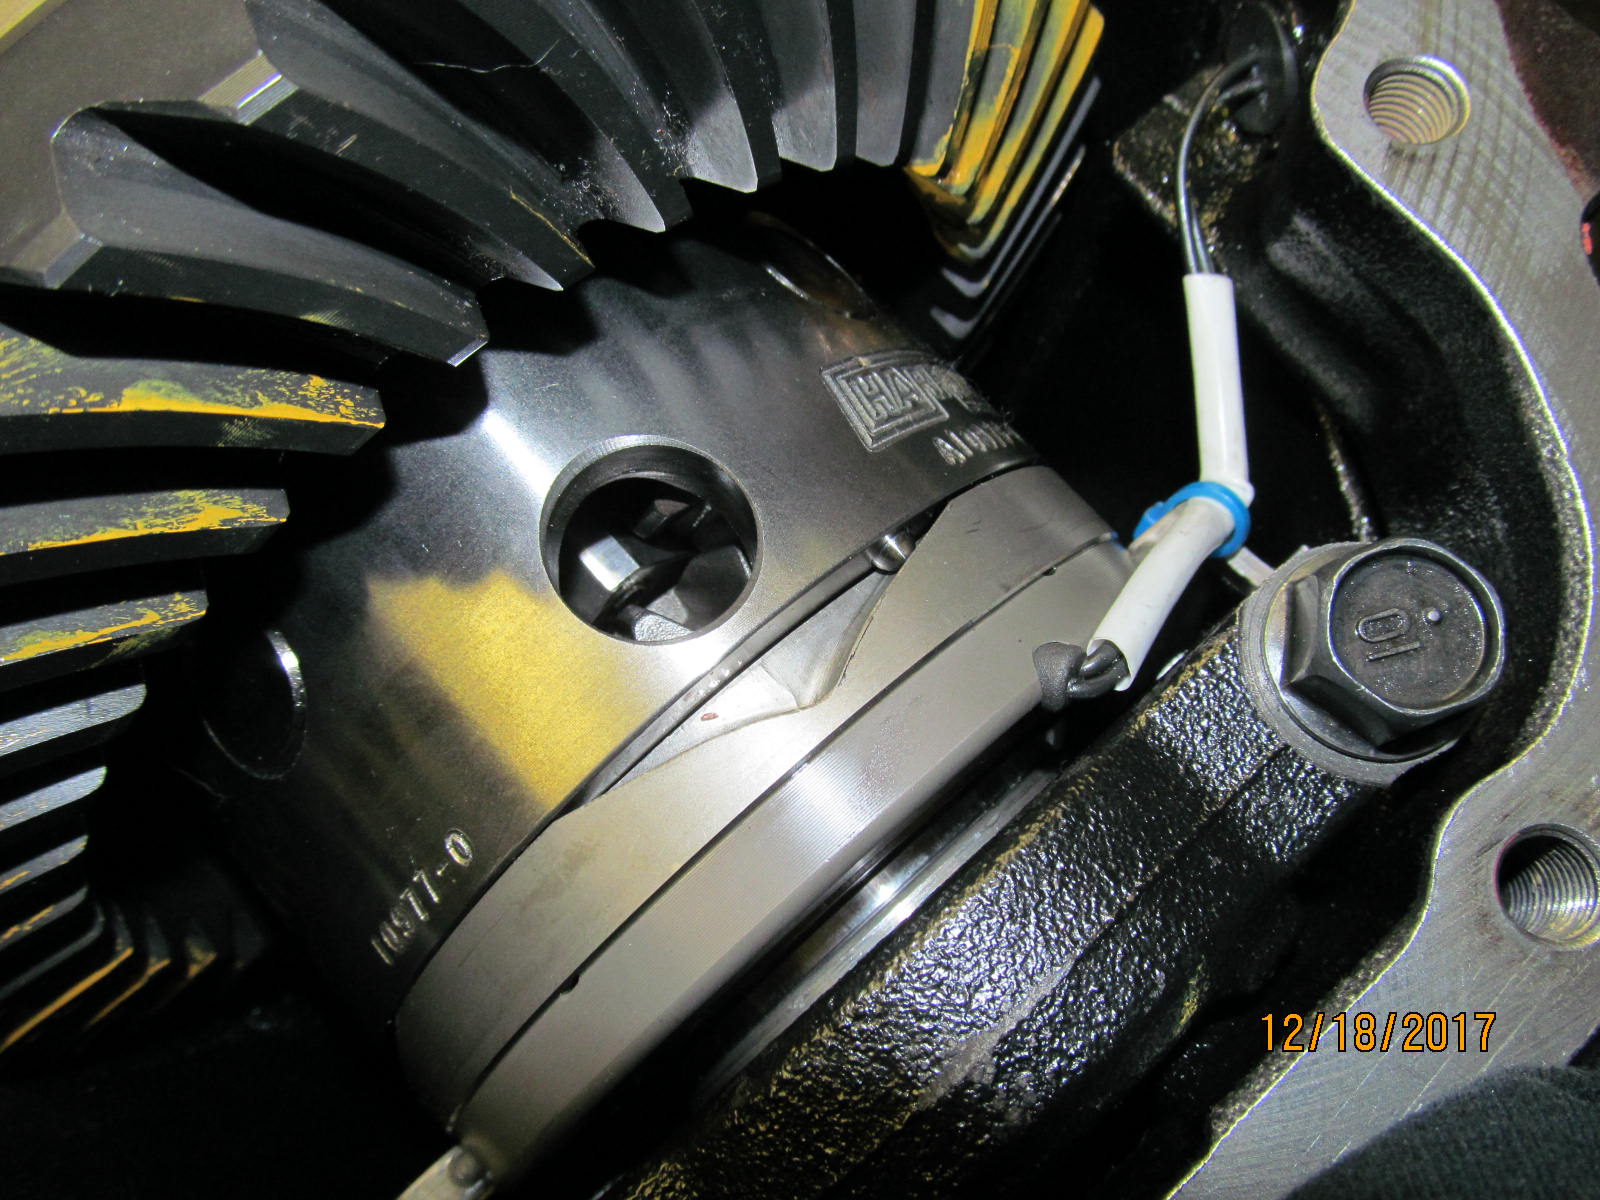
| Then the Harrop case is loaded in place and caps tightened up. |
|---|
|
|
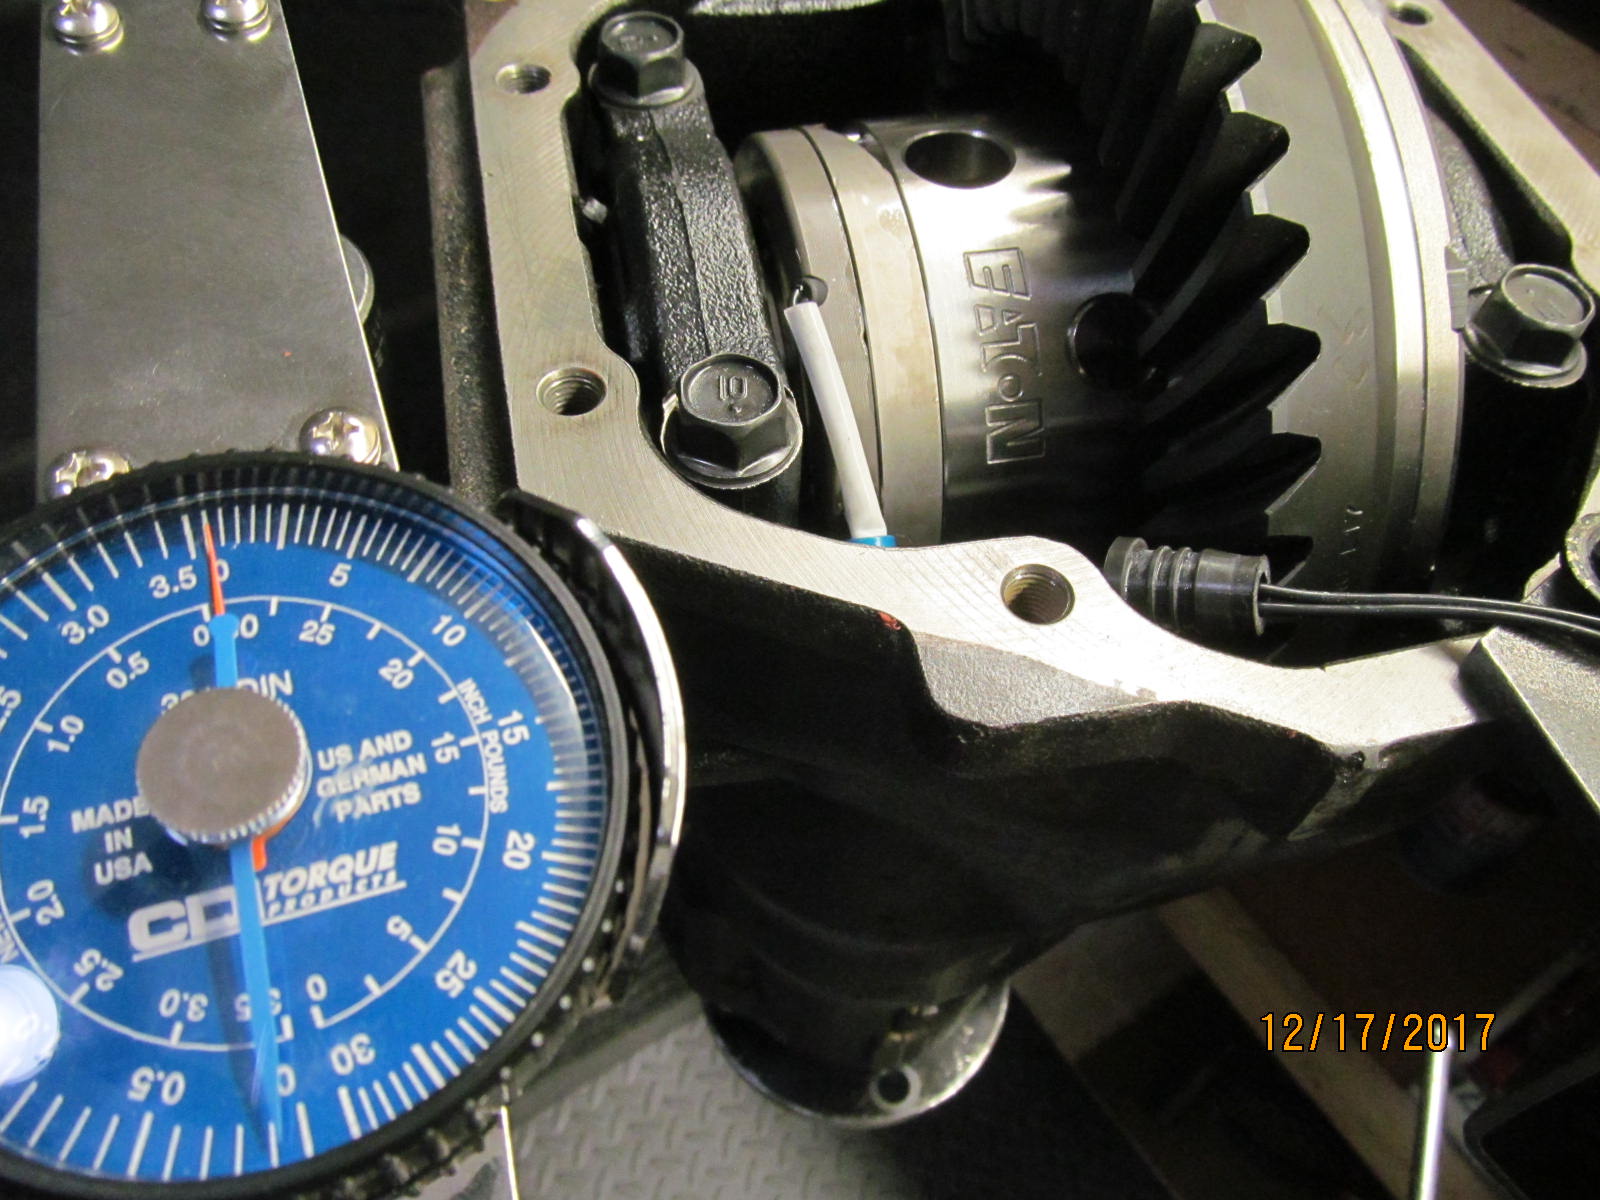
Re-using the existing washer plates resulted in 22 in/lb of total preload.....a little high but ok for a paint test.
The backlash was about .008" so no issues there. |
|---|
|
|
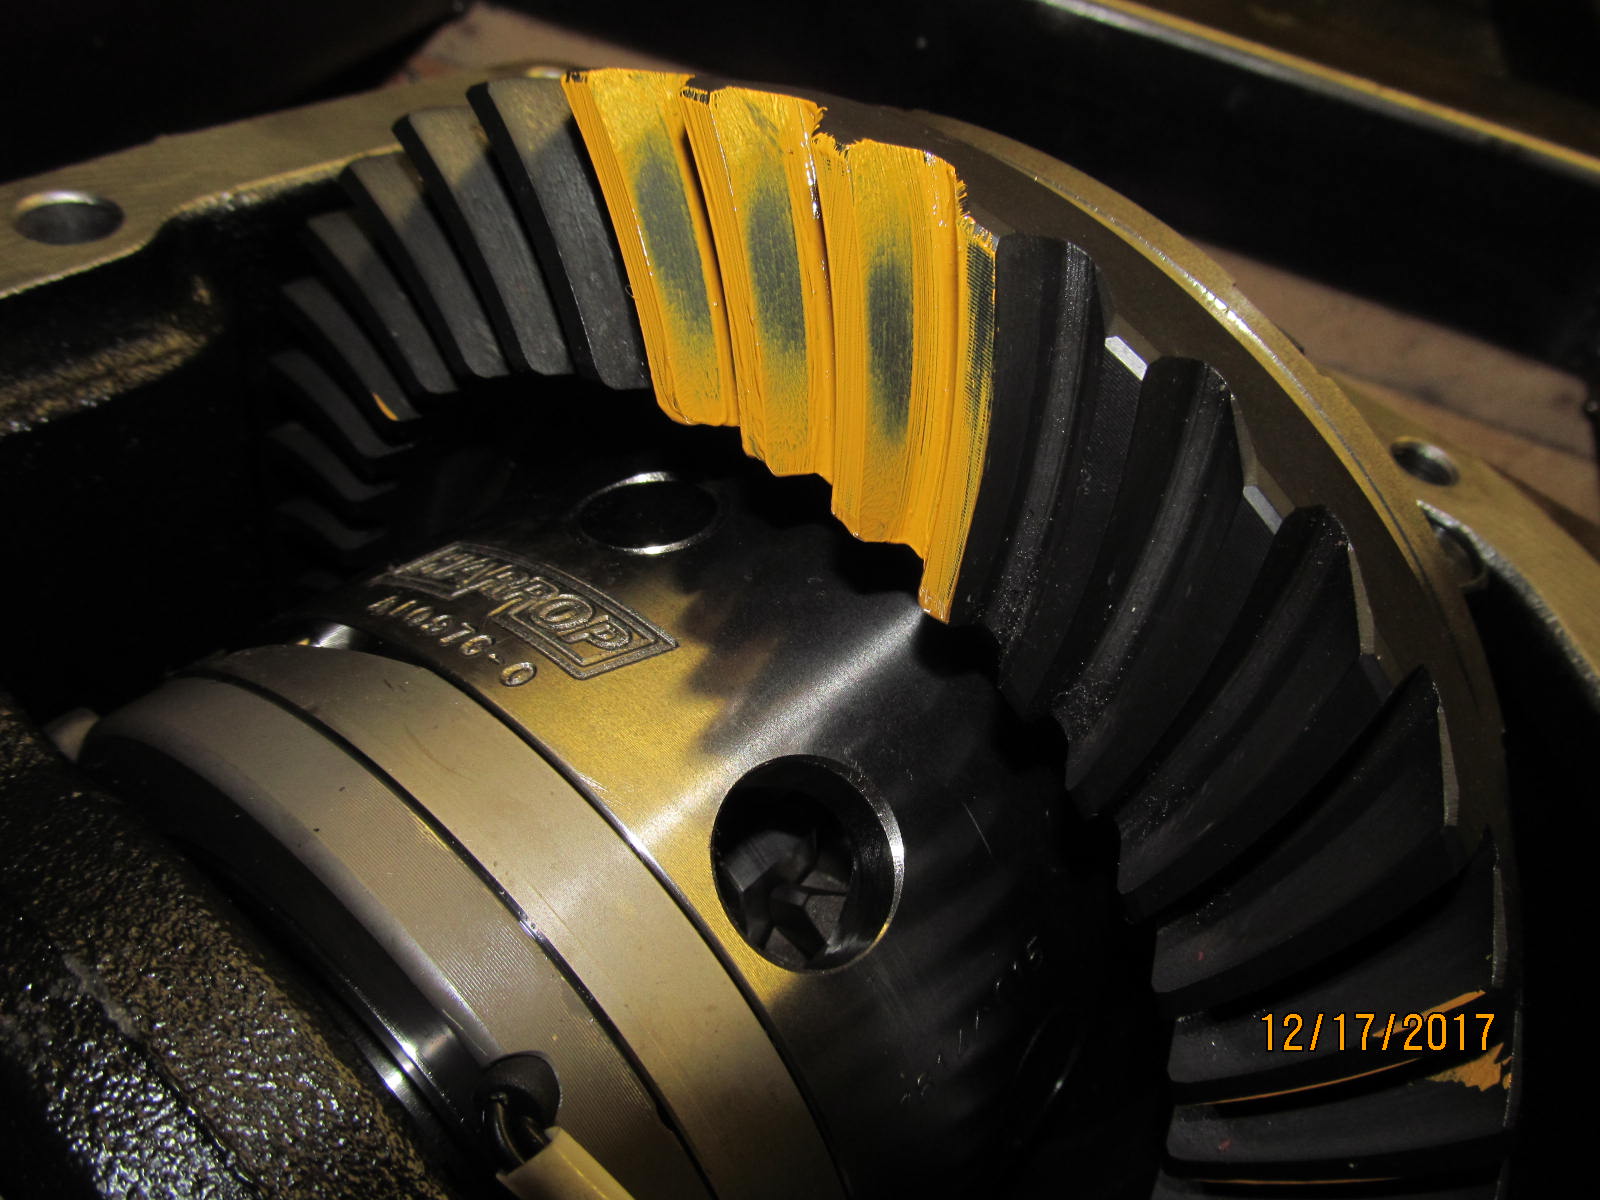
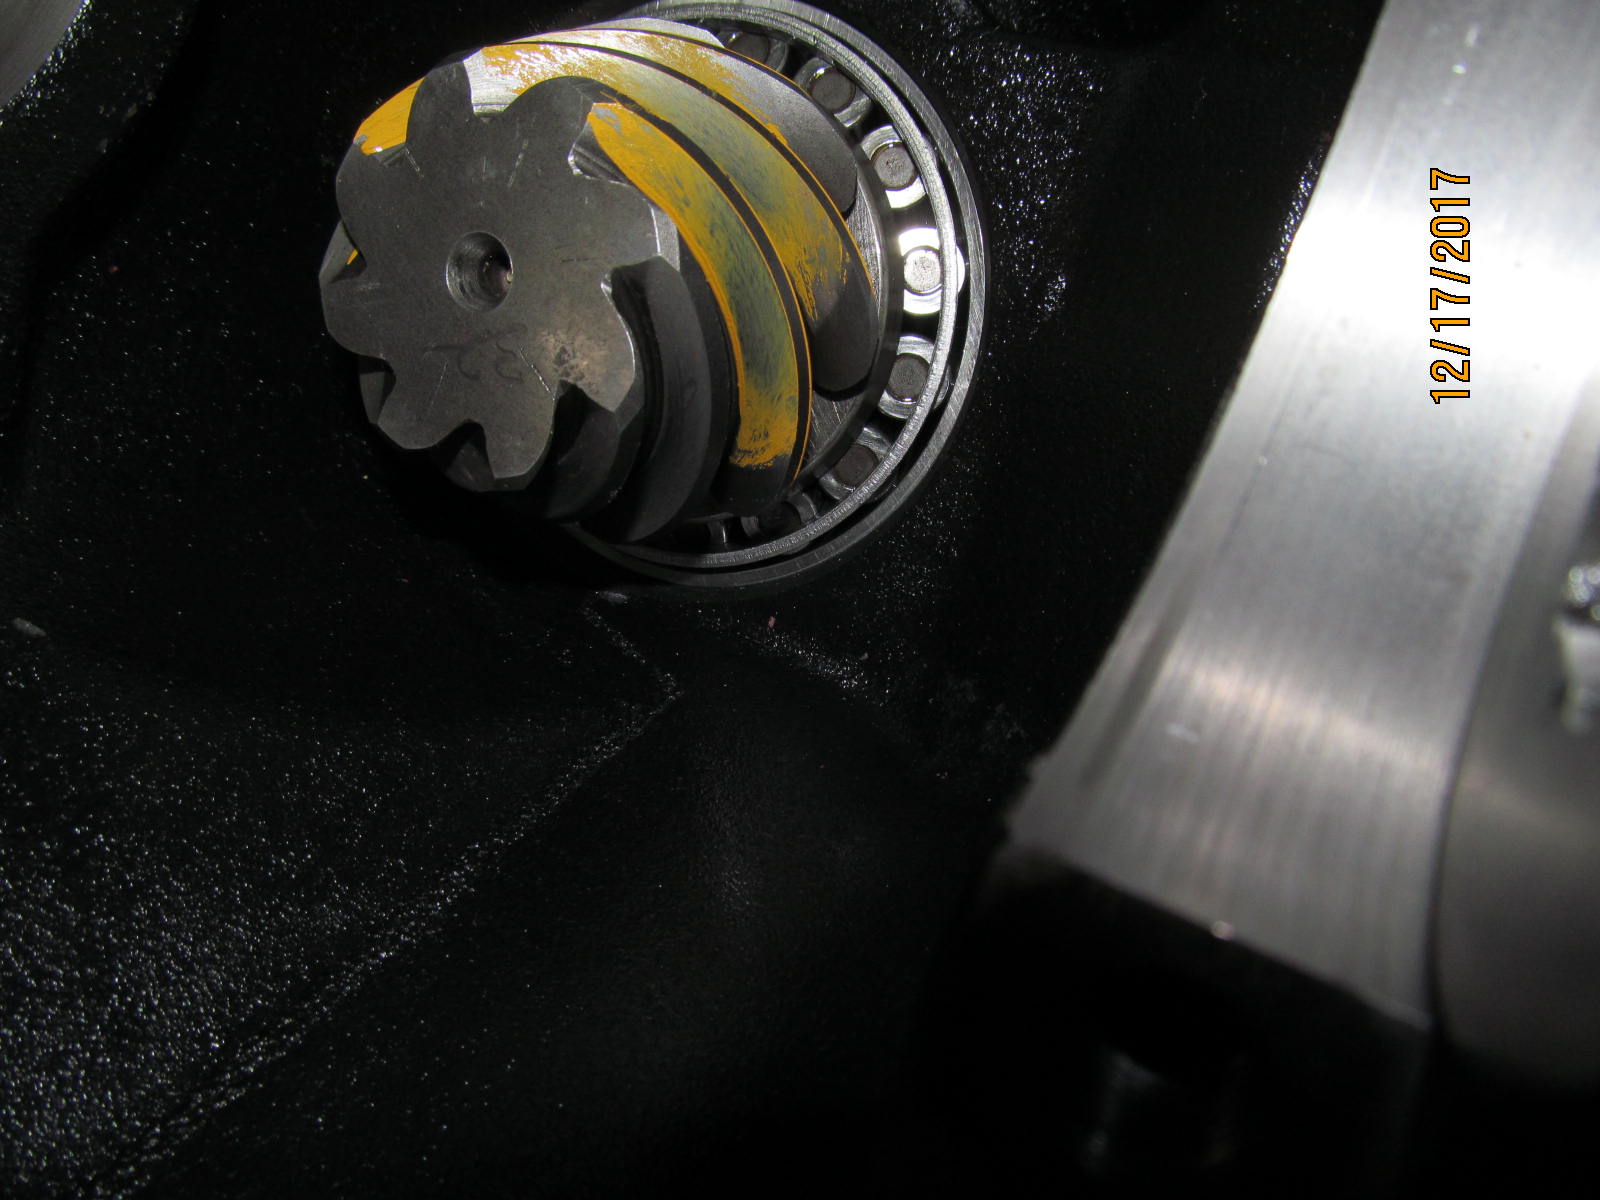
Drive side....the pattern depth seems surprisingly good and appears to be a keeper.
Slight favoring to the heel but very little can be done about that. |
|---|
|
|
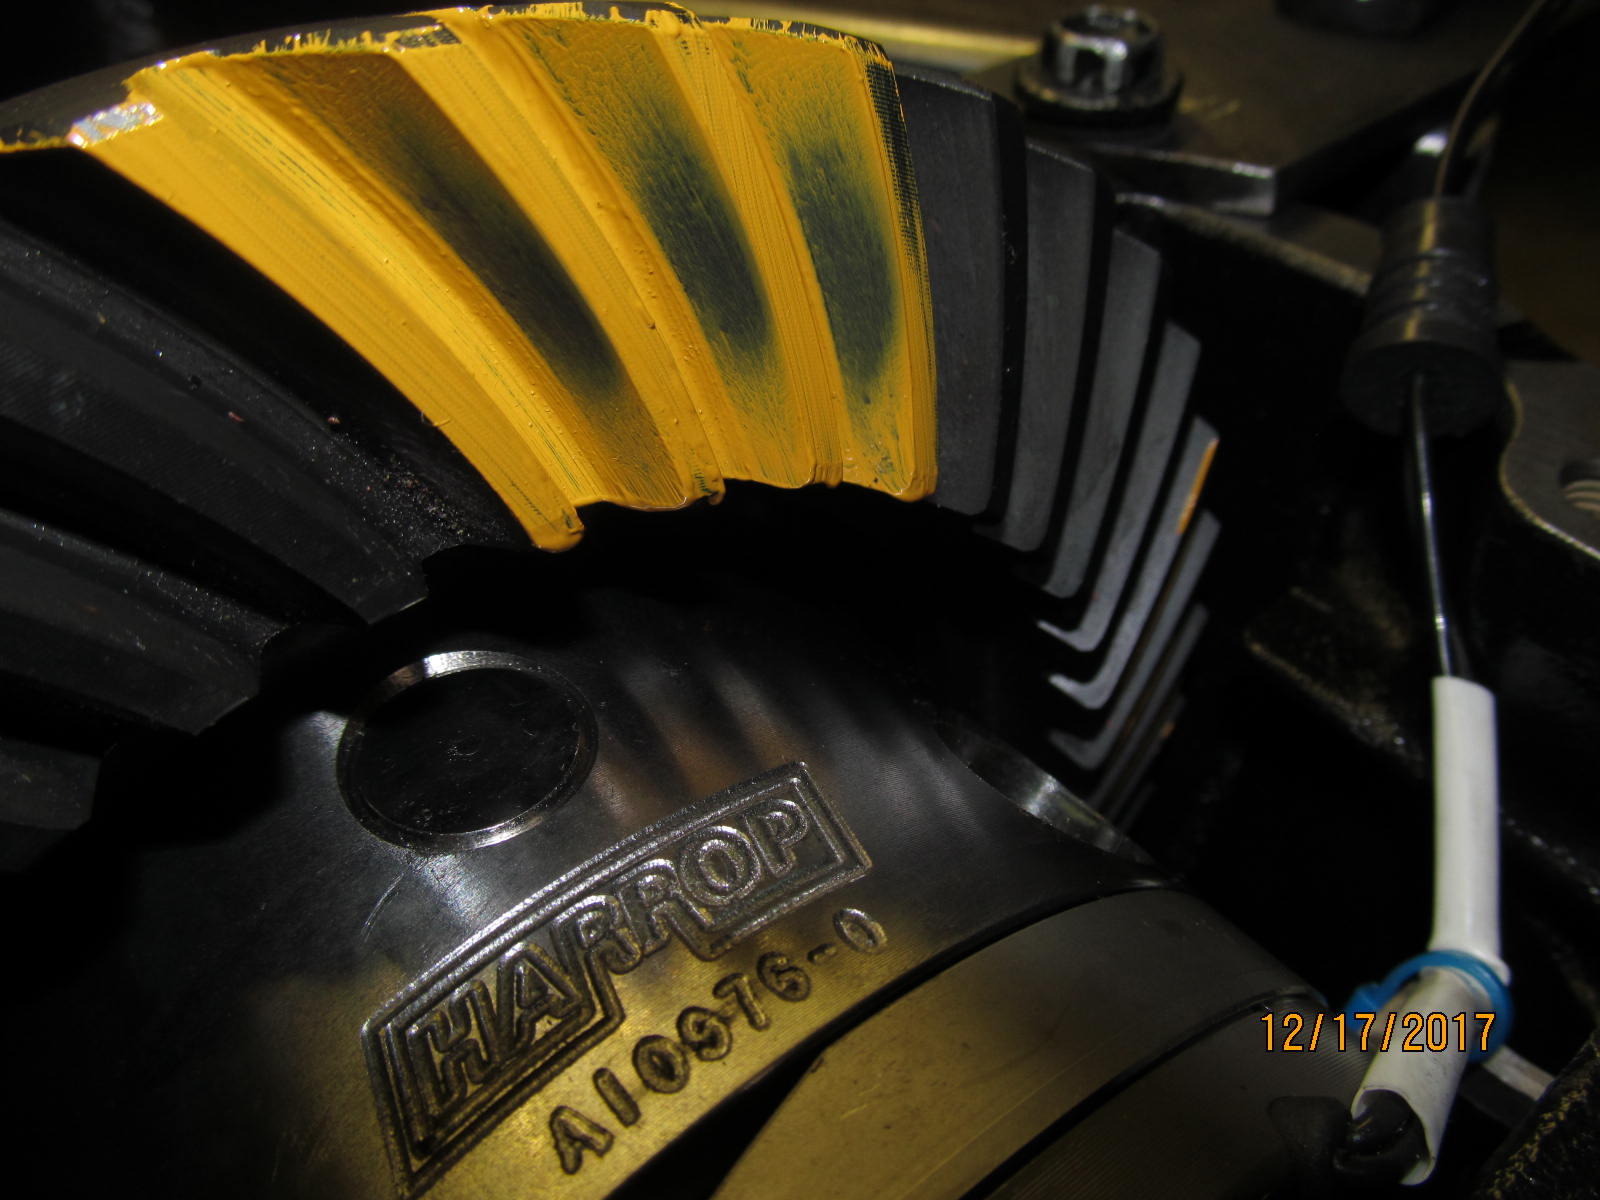
| Coast....appears to be at the ideal depth and well centered in the tooth. |
|---|
|
|
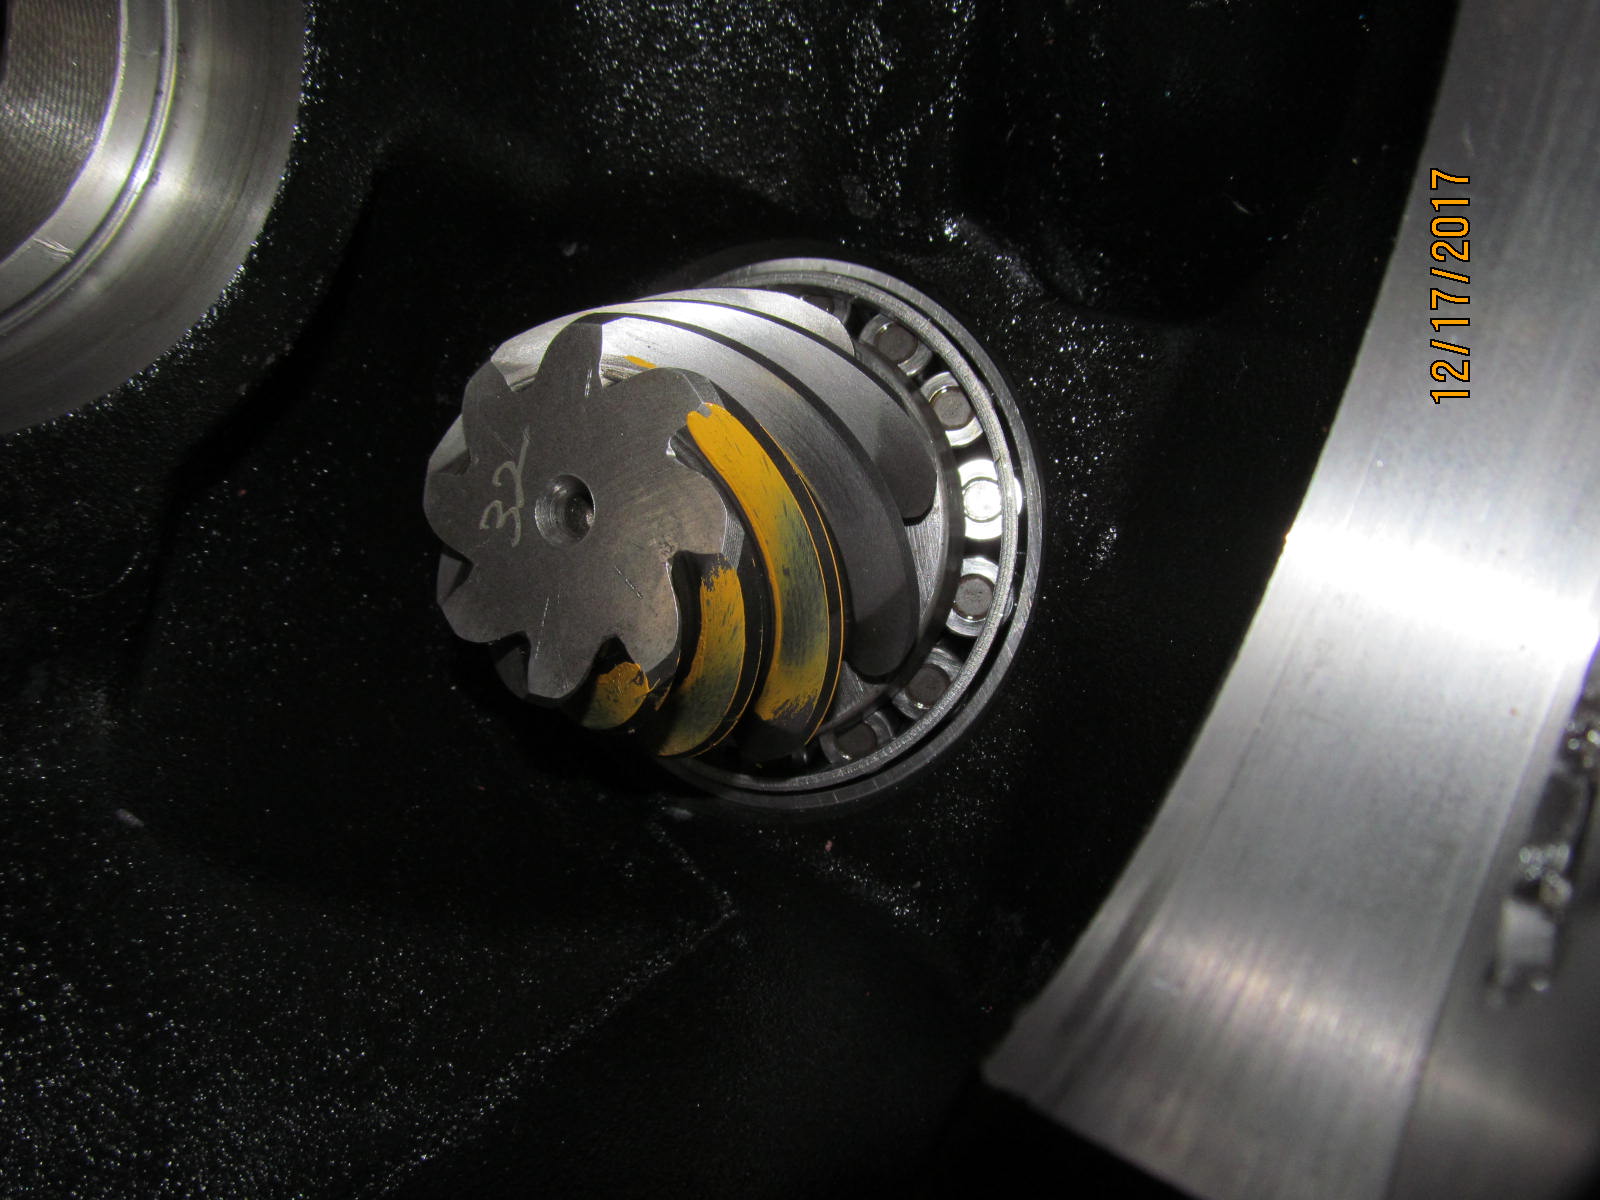
| Comet tail is not harshly tucked into the root. |
|---|
|
|
| Easier to see the comet tail trying to be a bit in the center. |
|---|
|
|
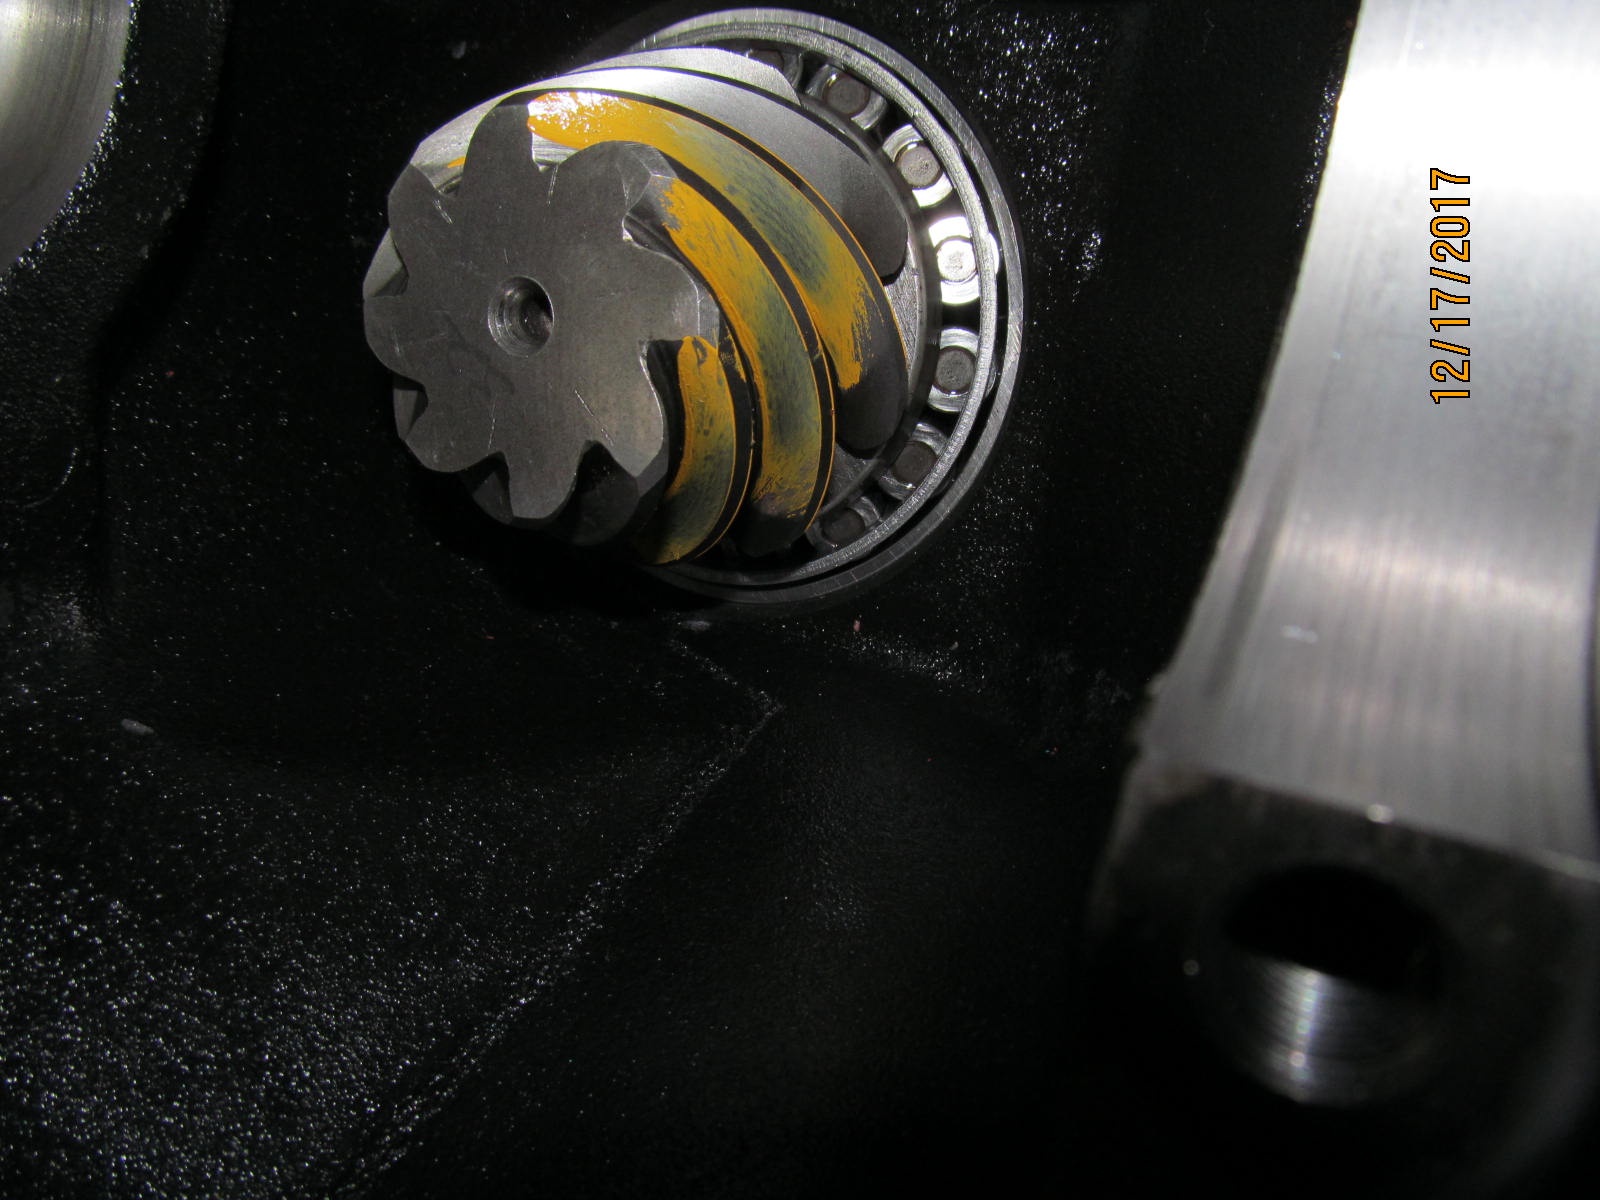
Really easy to see it in this shot....the comet tail is indeed in the center
and that means the pinion shim is in a "slight deep" state and leave it alone. |
|---|
|
|
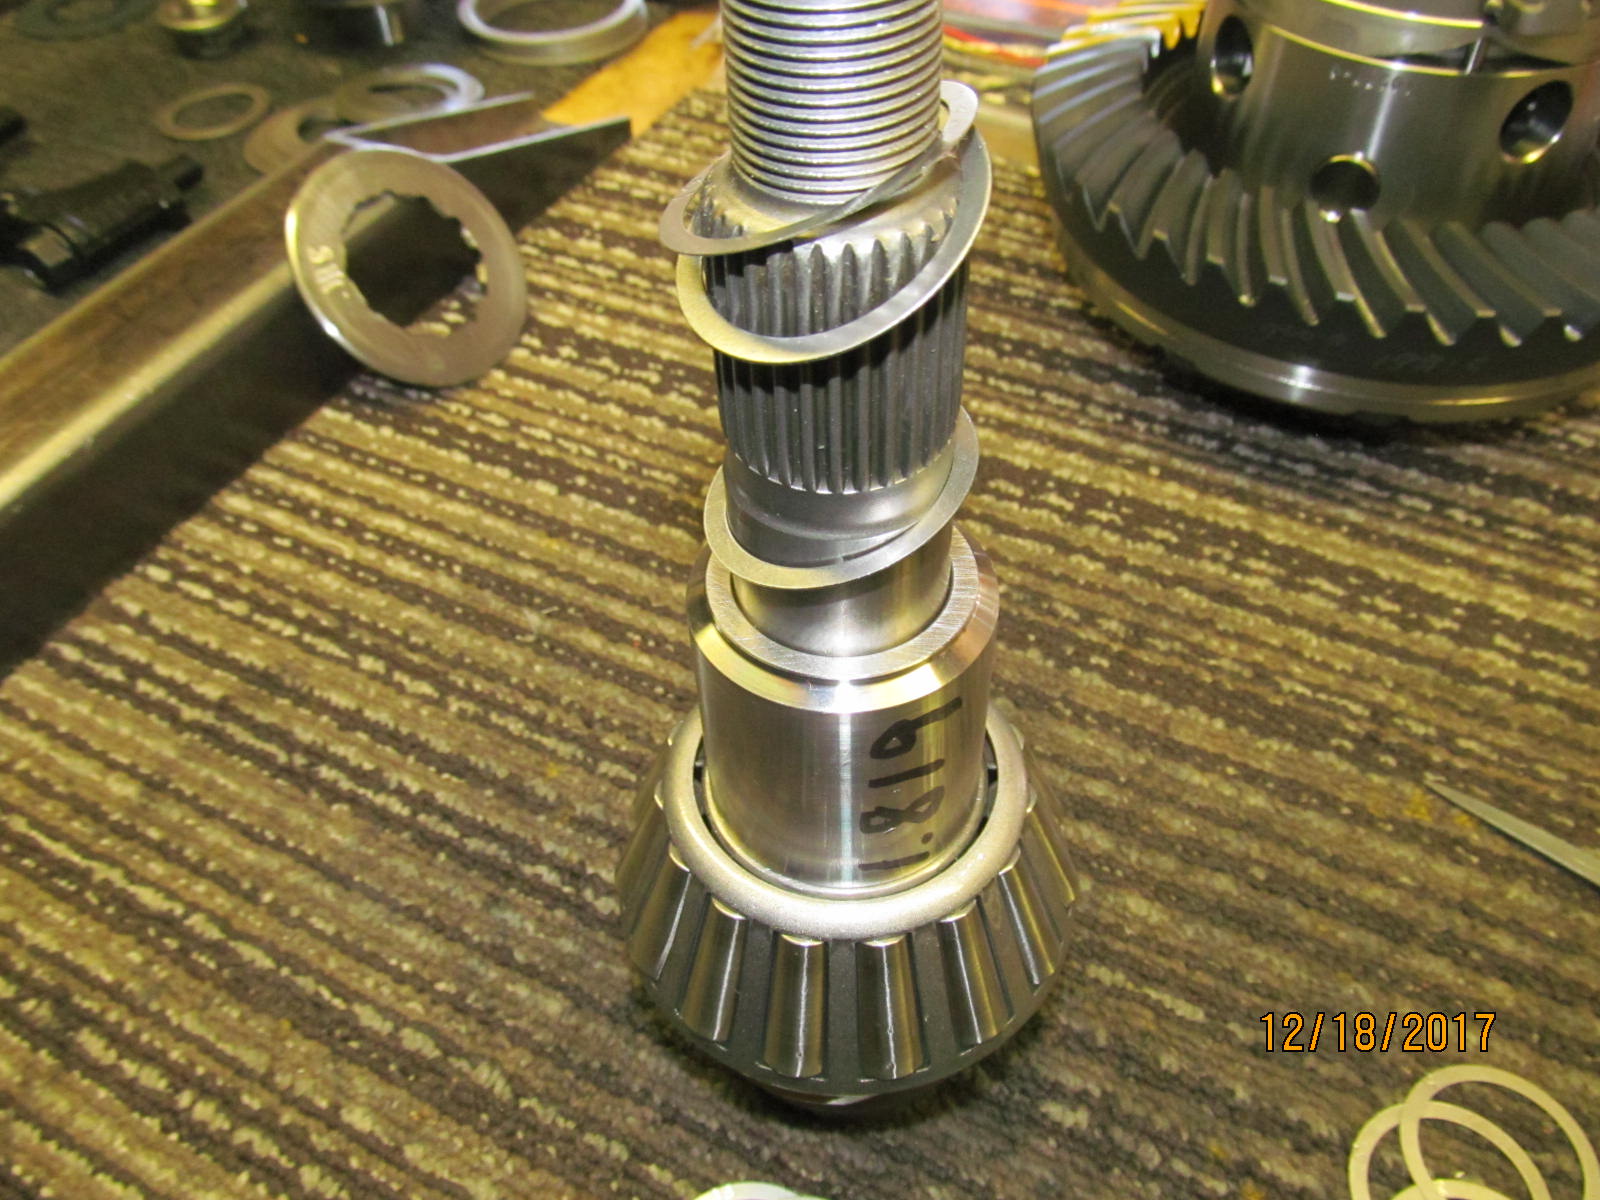
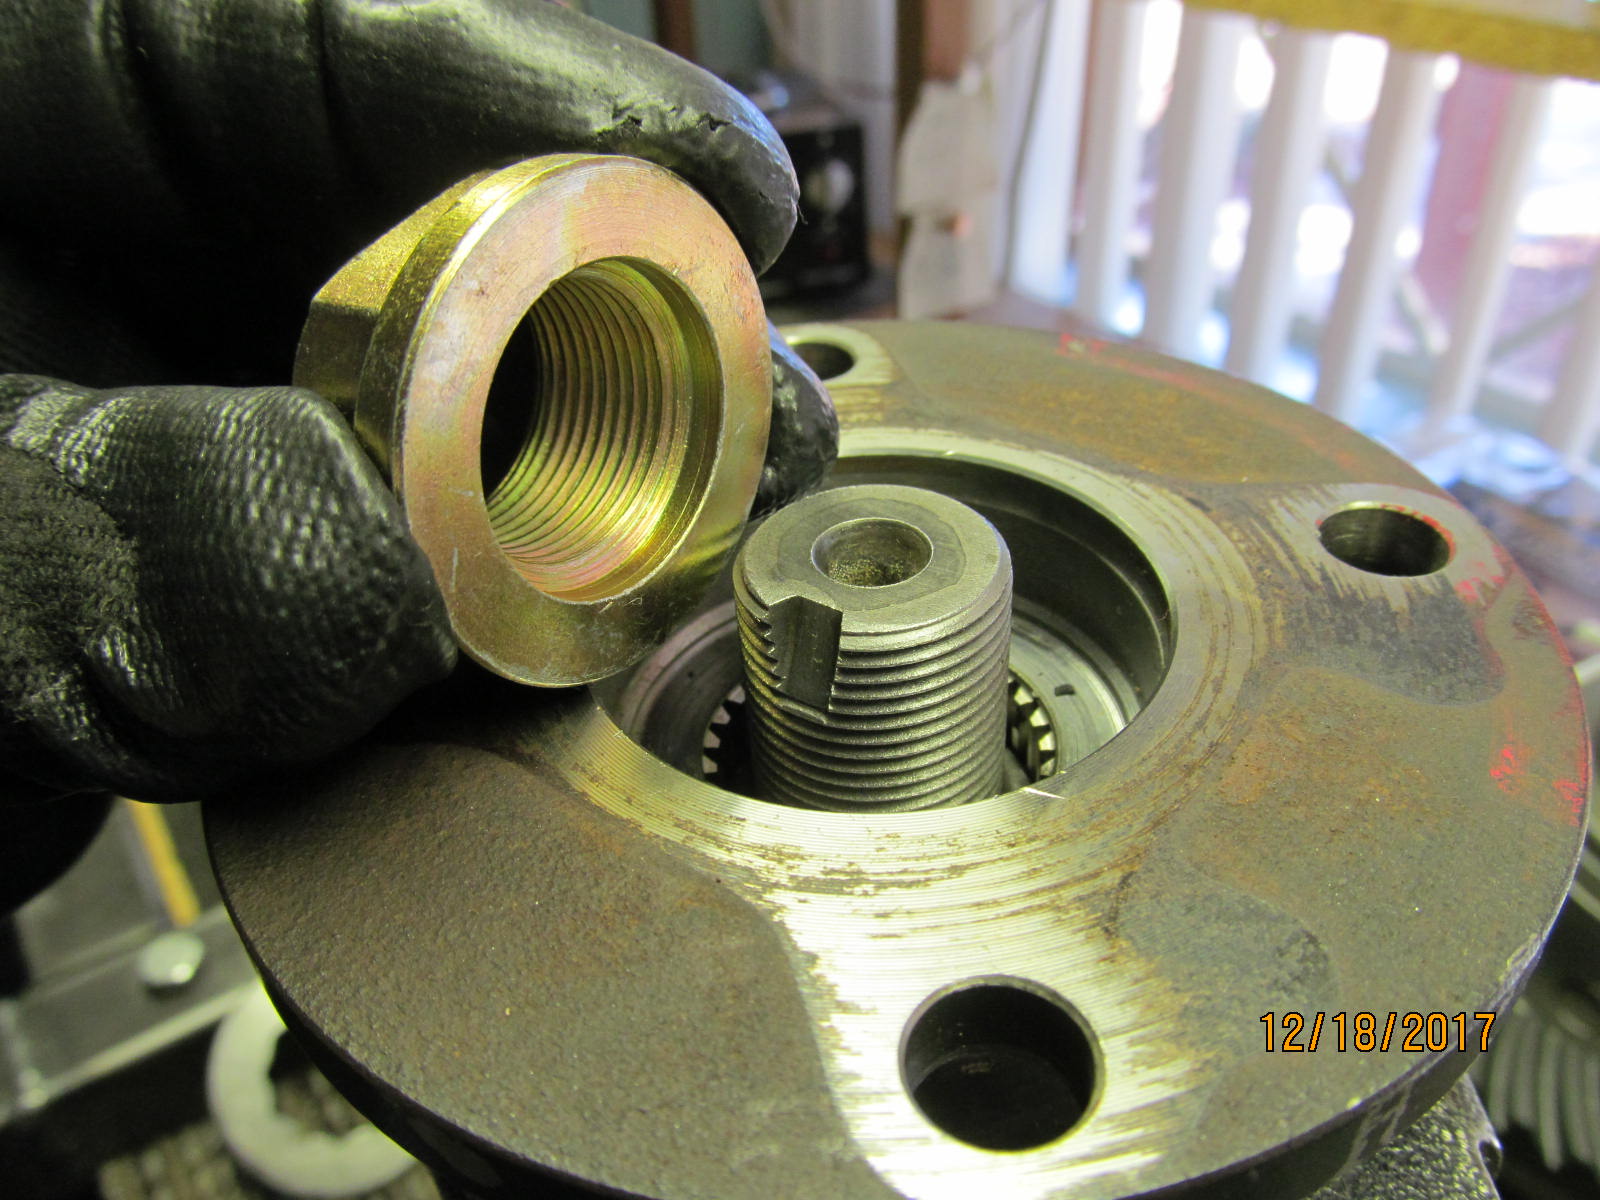
| With depth established, now to install the solid collar. |
|---|
|
|
| On the second try, the perfect shimming was found. |
|---|
|

|
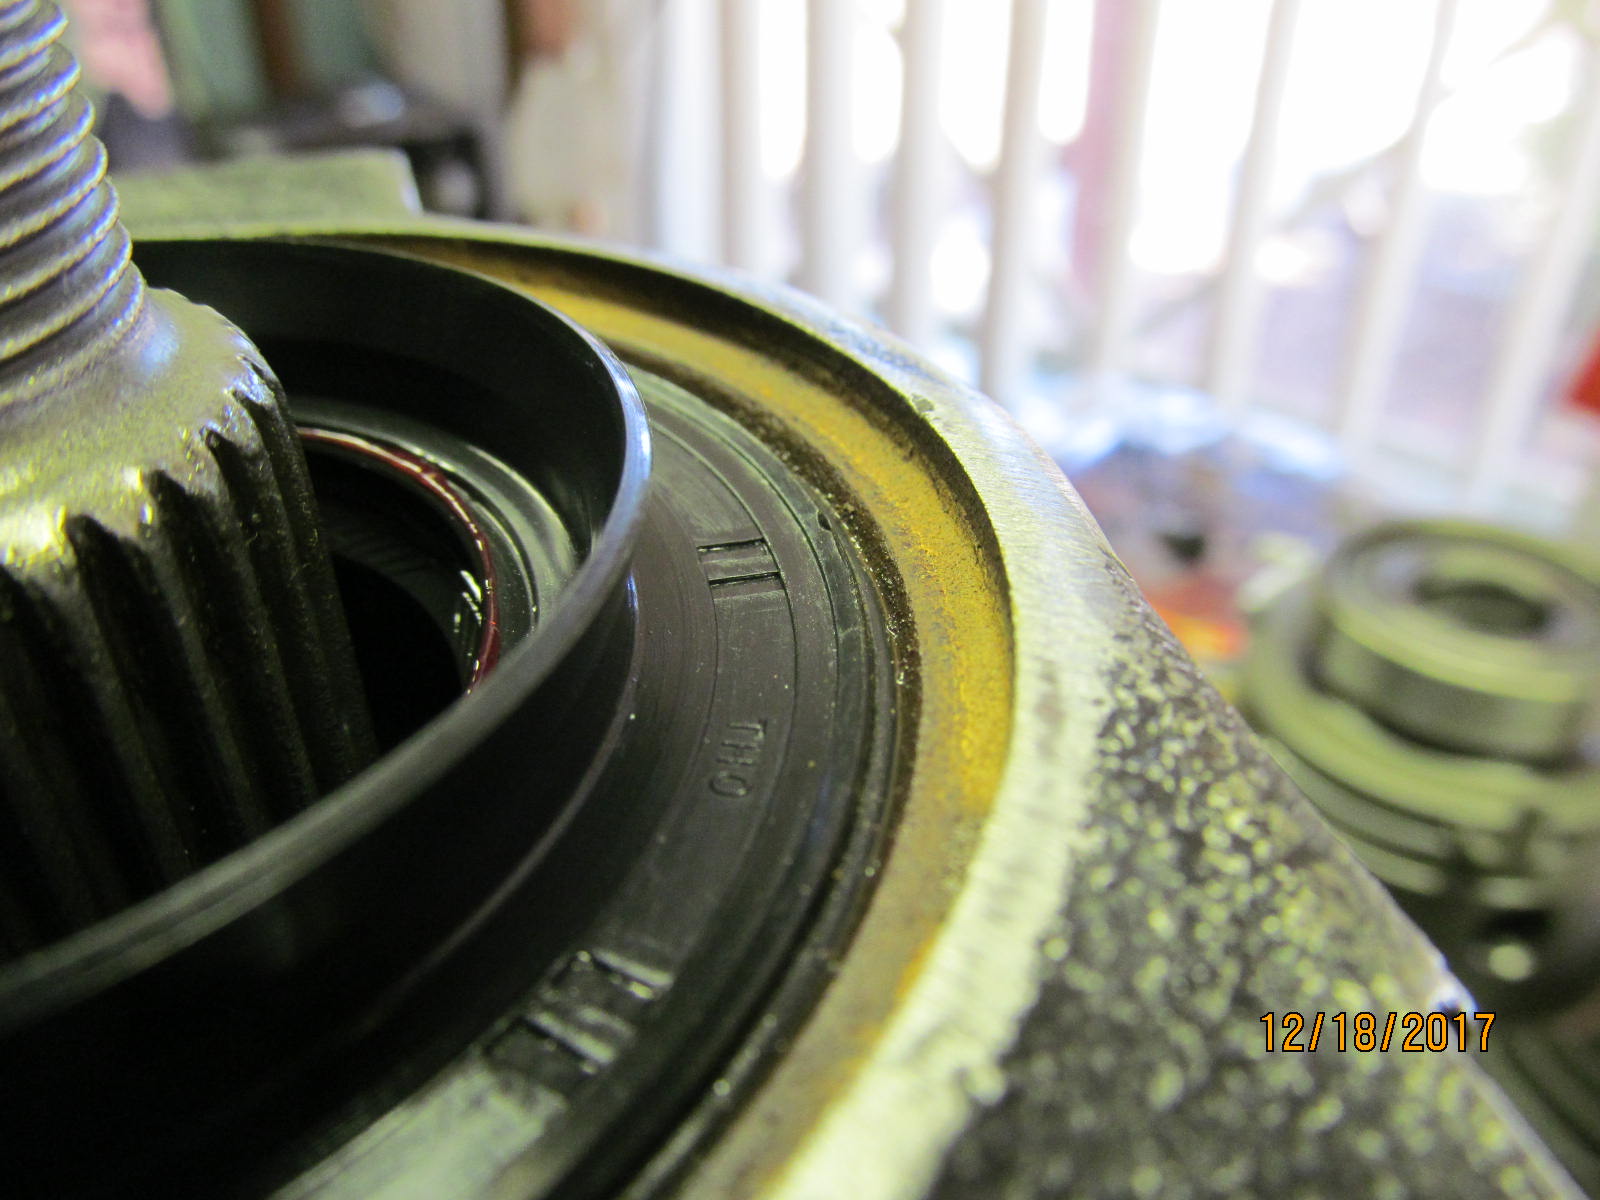
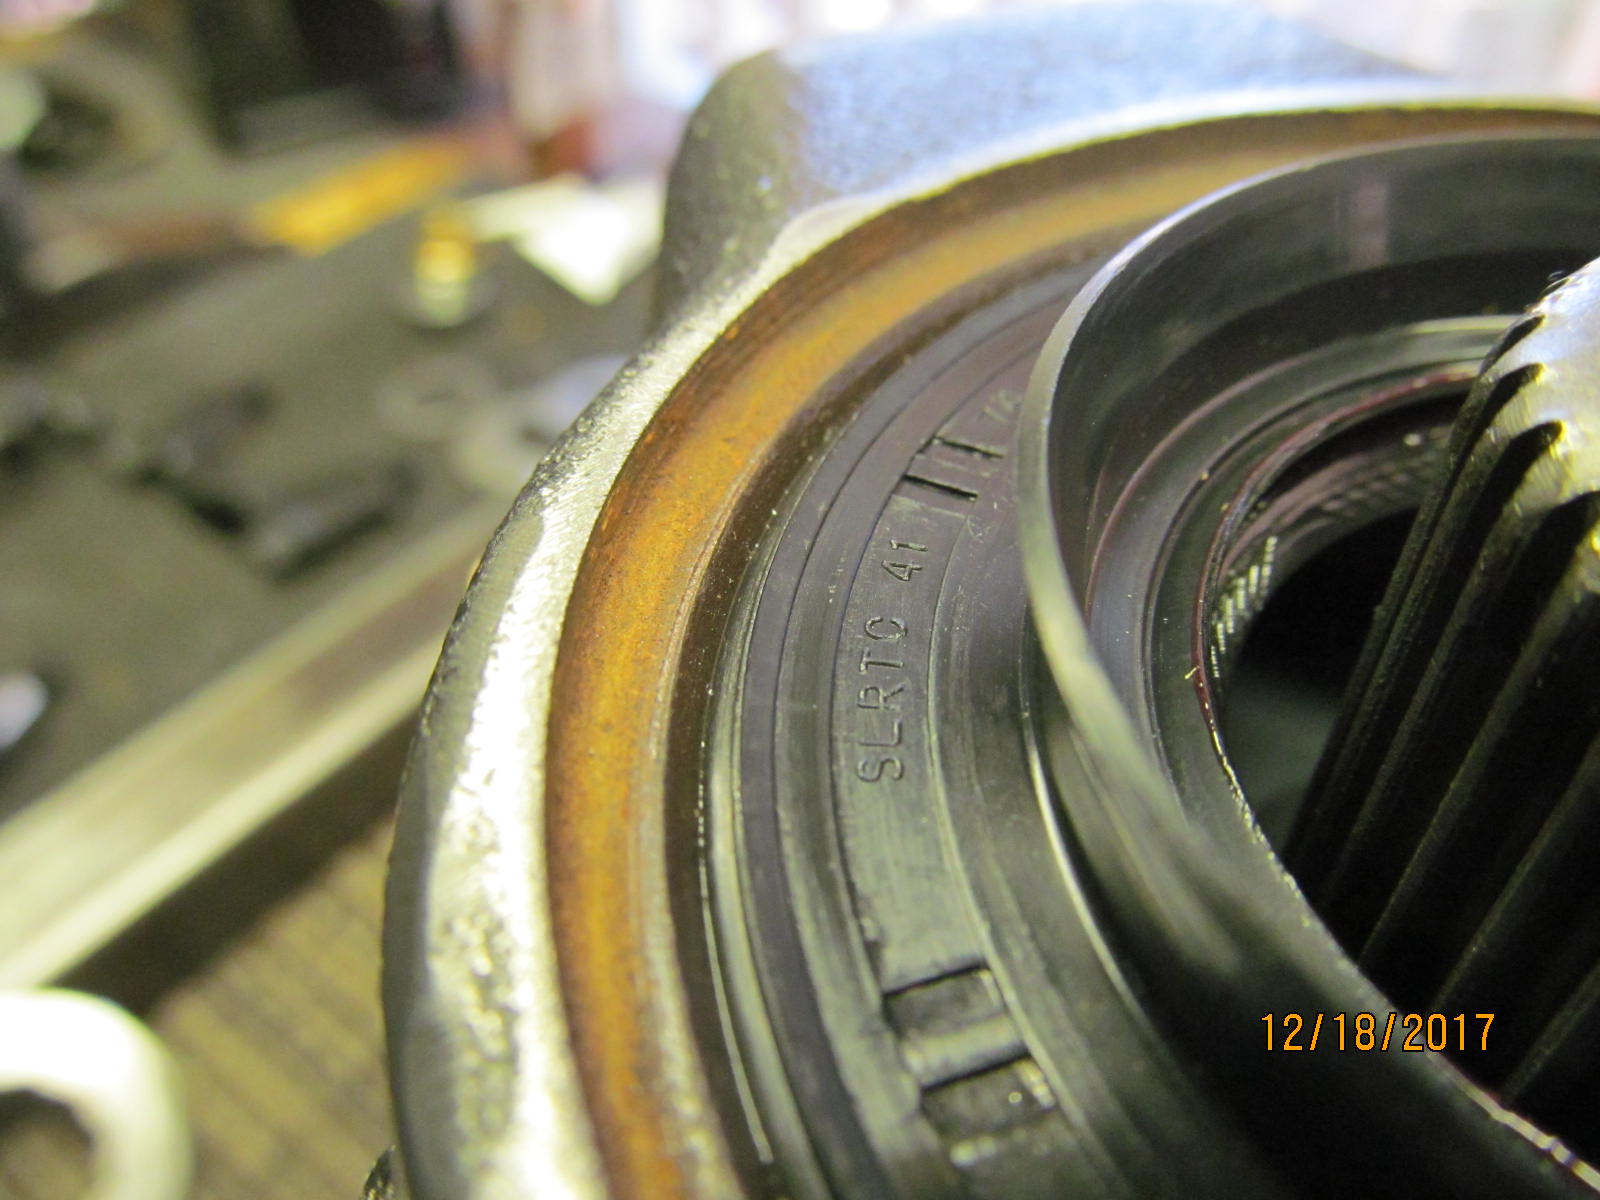
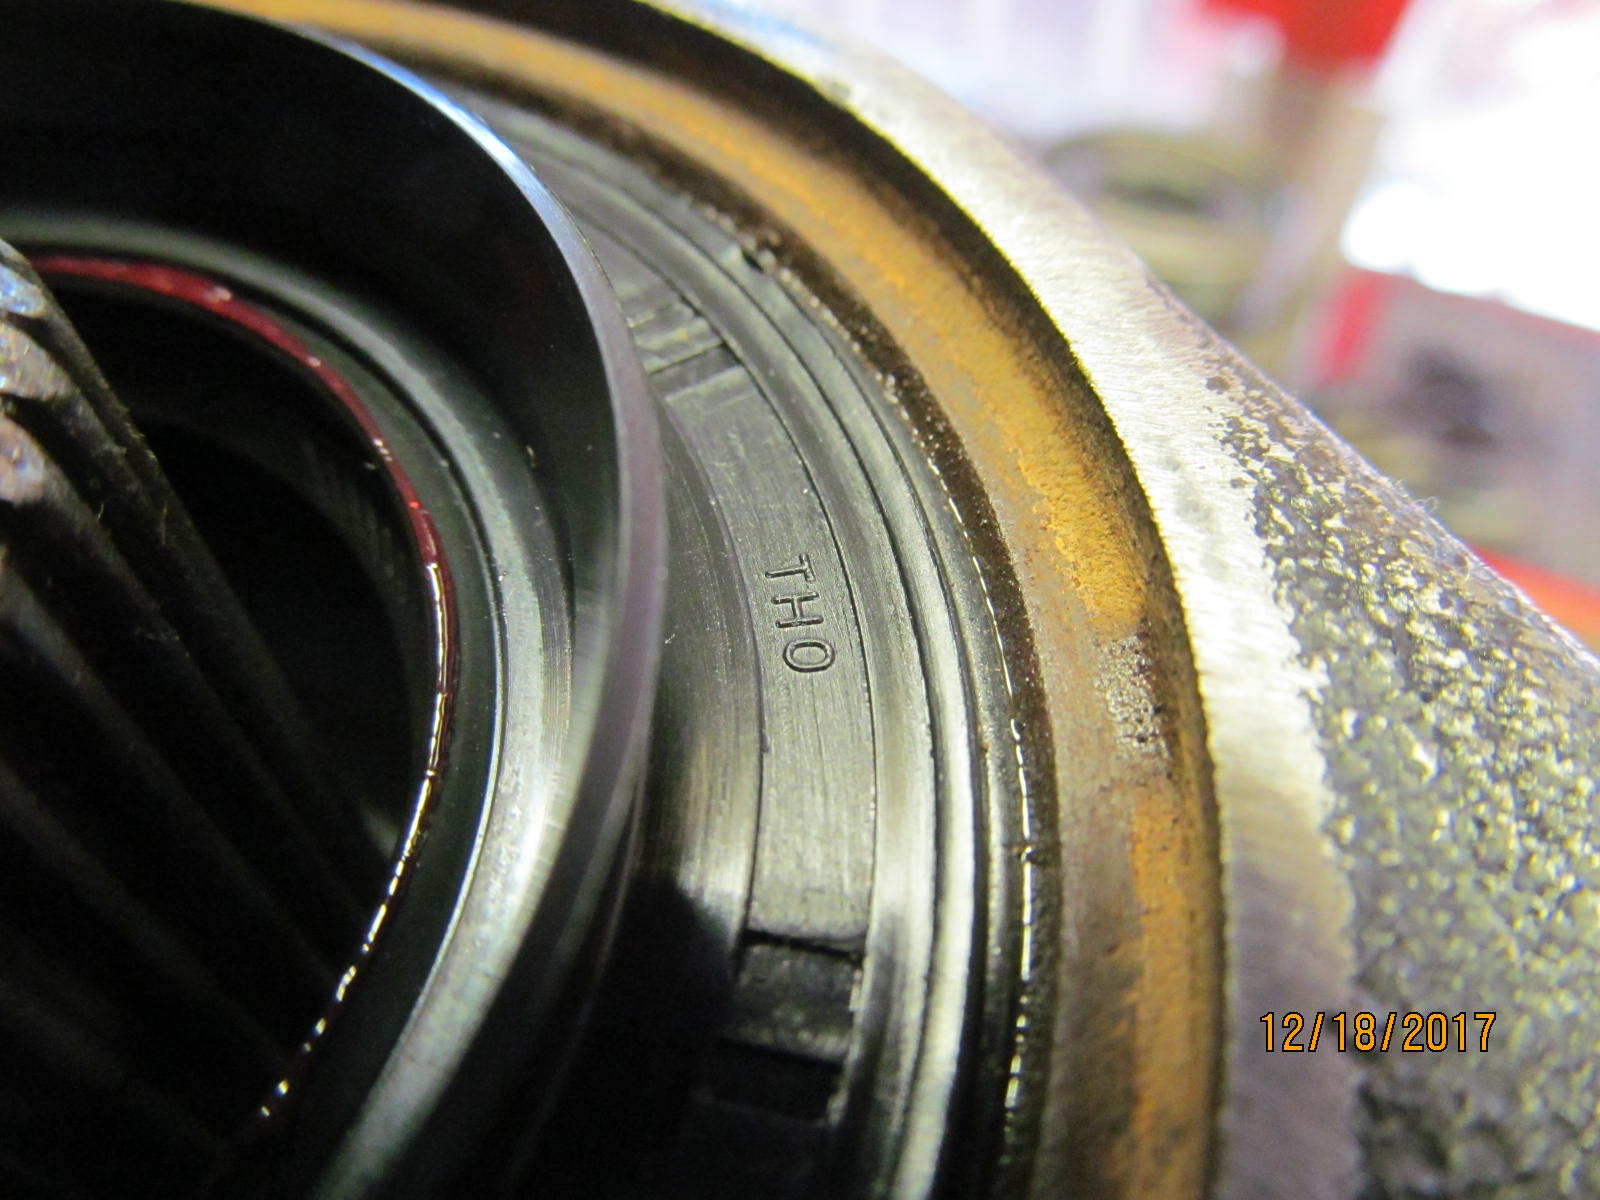
| This is a good quality seal made by THO in Japan so let's use it. |
|---|
|
|
| '''''''''''''''' |
|---|
|
|
| '''''''''''''''''''''' |
|---|
|
|
| "THO" located in Japan. |
|---|
|
|
| New flange style nut. |
|---|
|
|
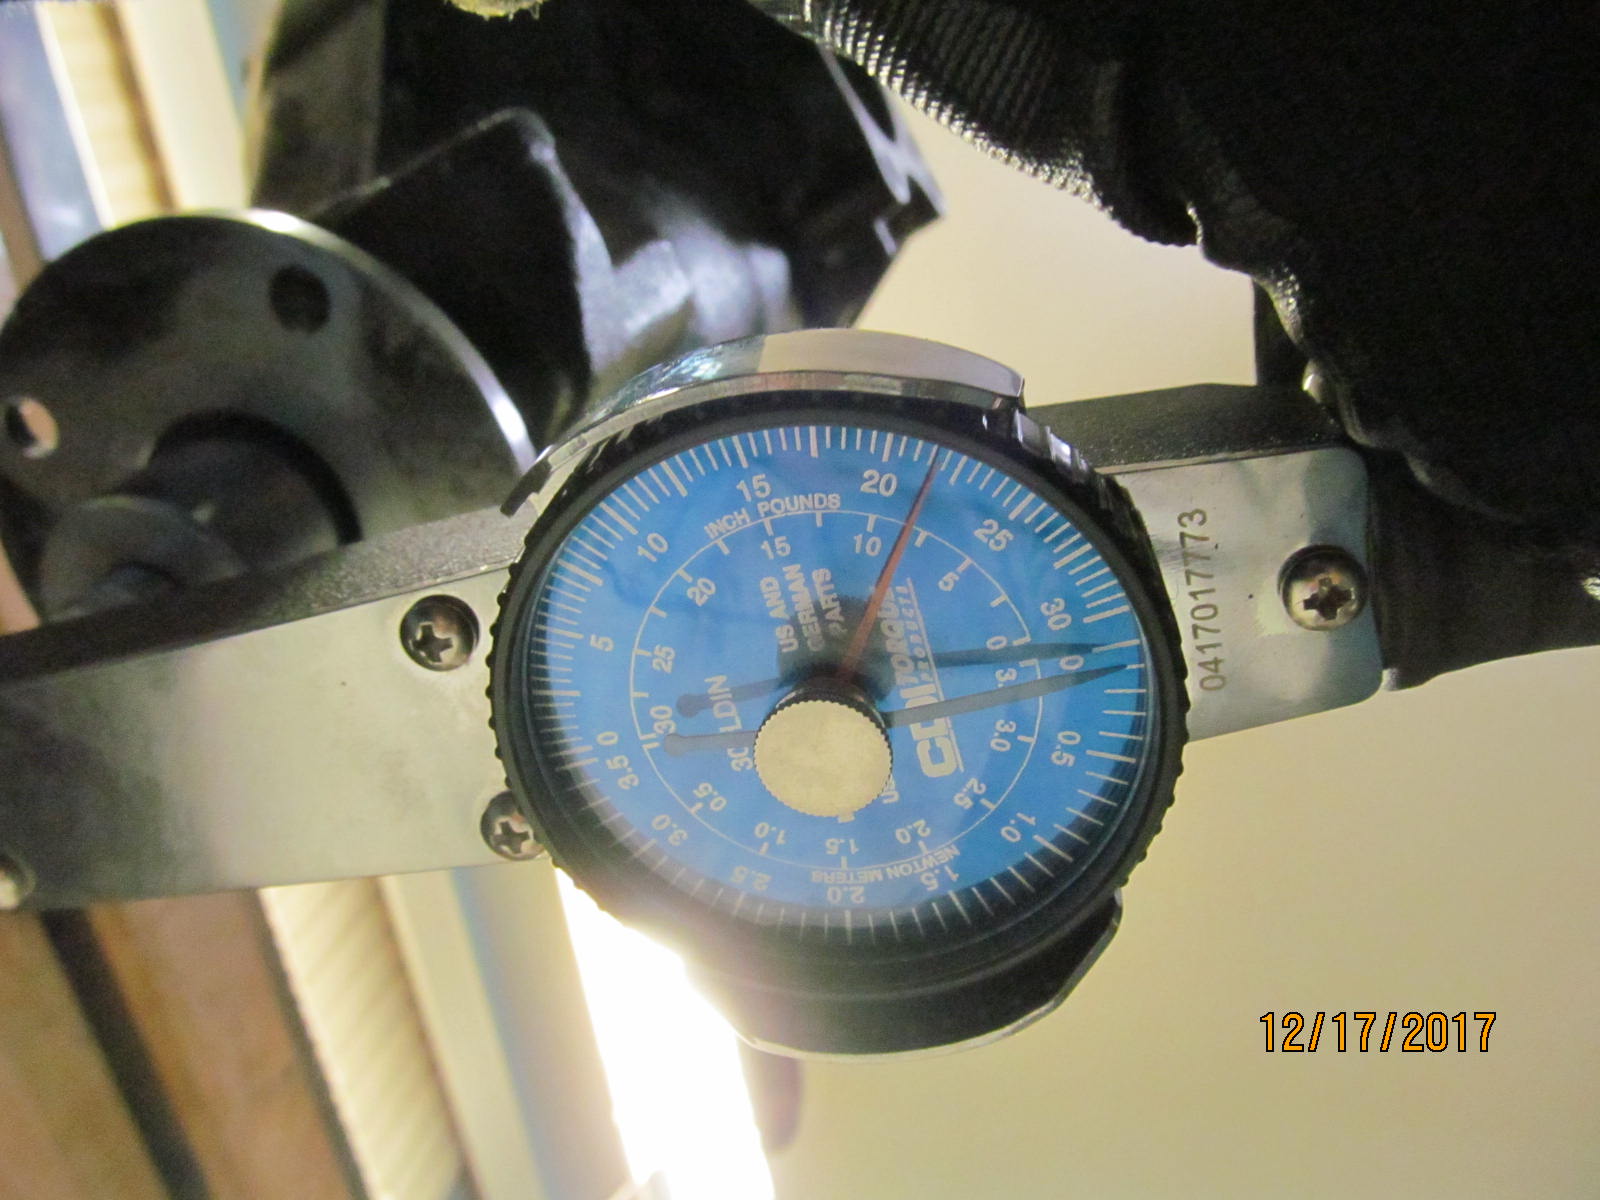
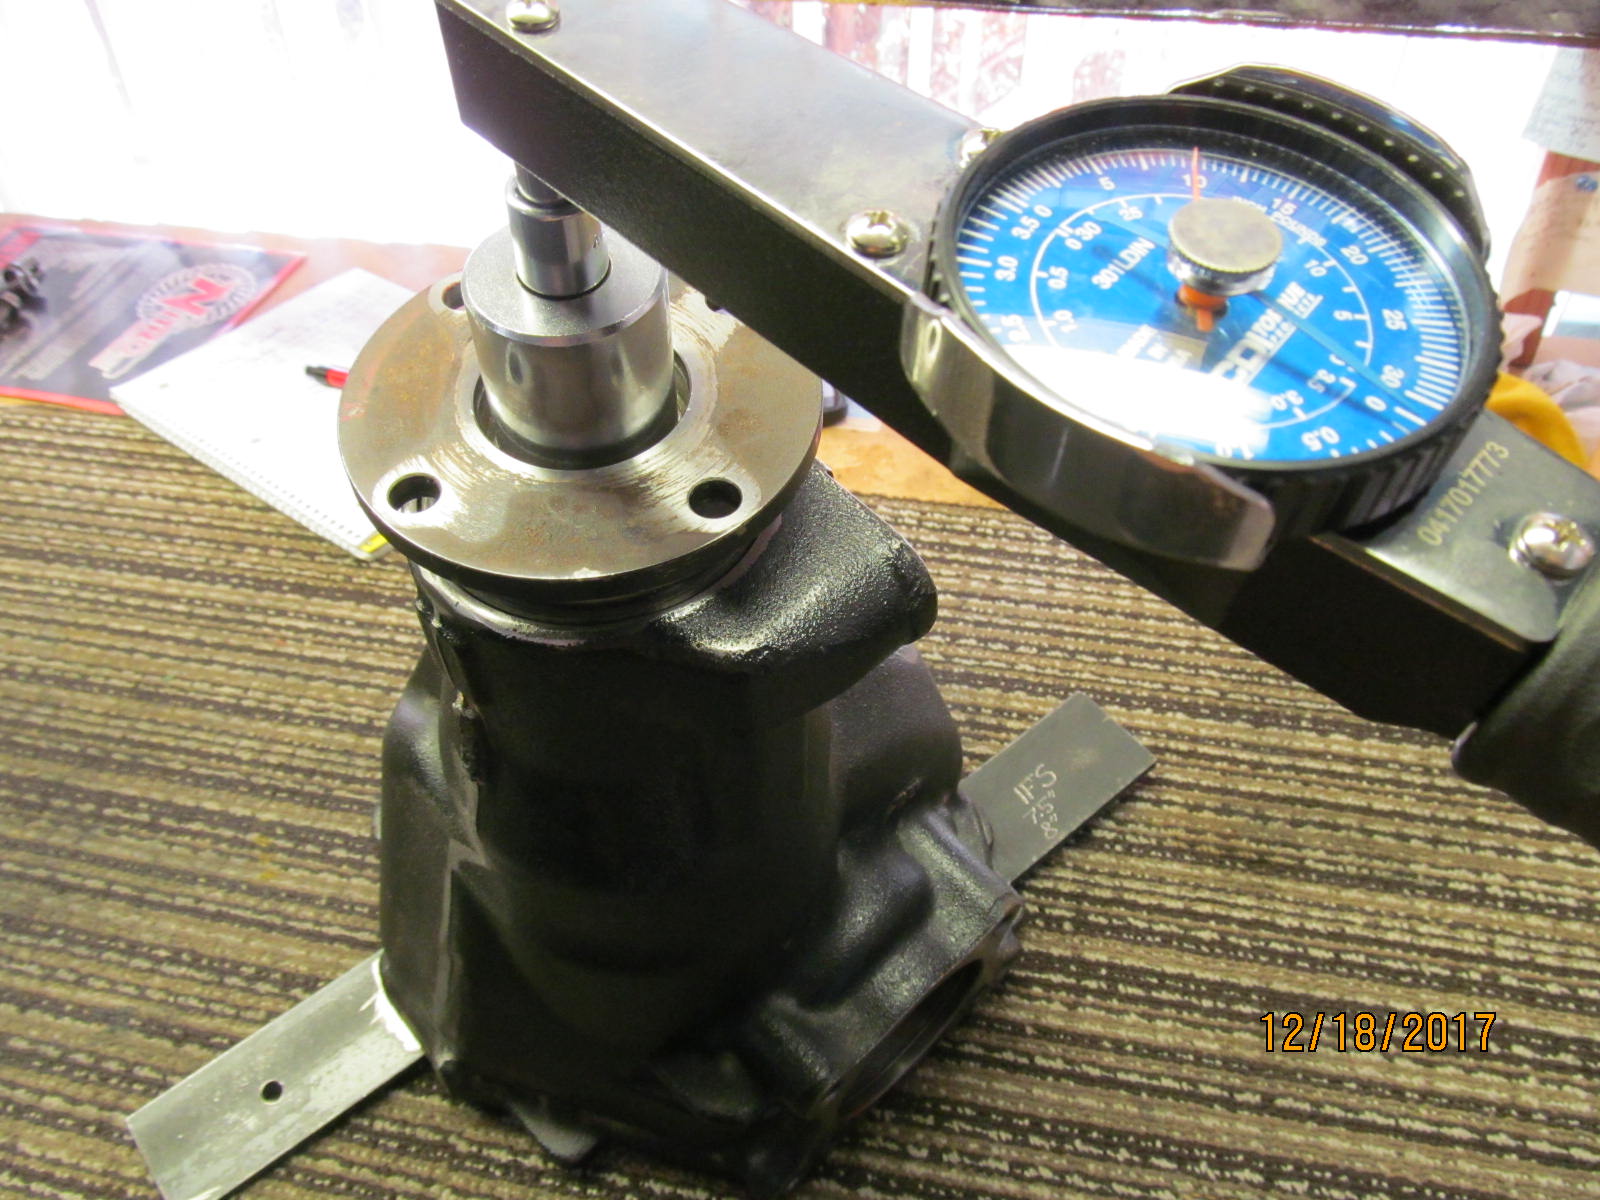
| Pinion preload was verified with the torque wrench. A nice, smooth 10 inch/pounds of pinion preload. |
|---|
|

|
| DING! and this end is done. |
|---|
|
|
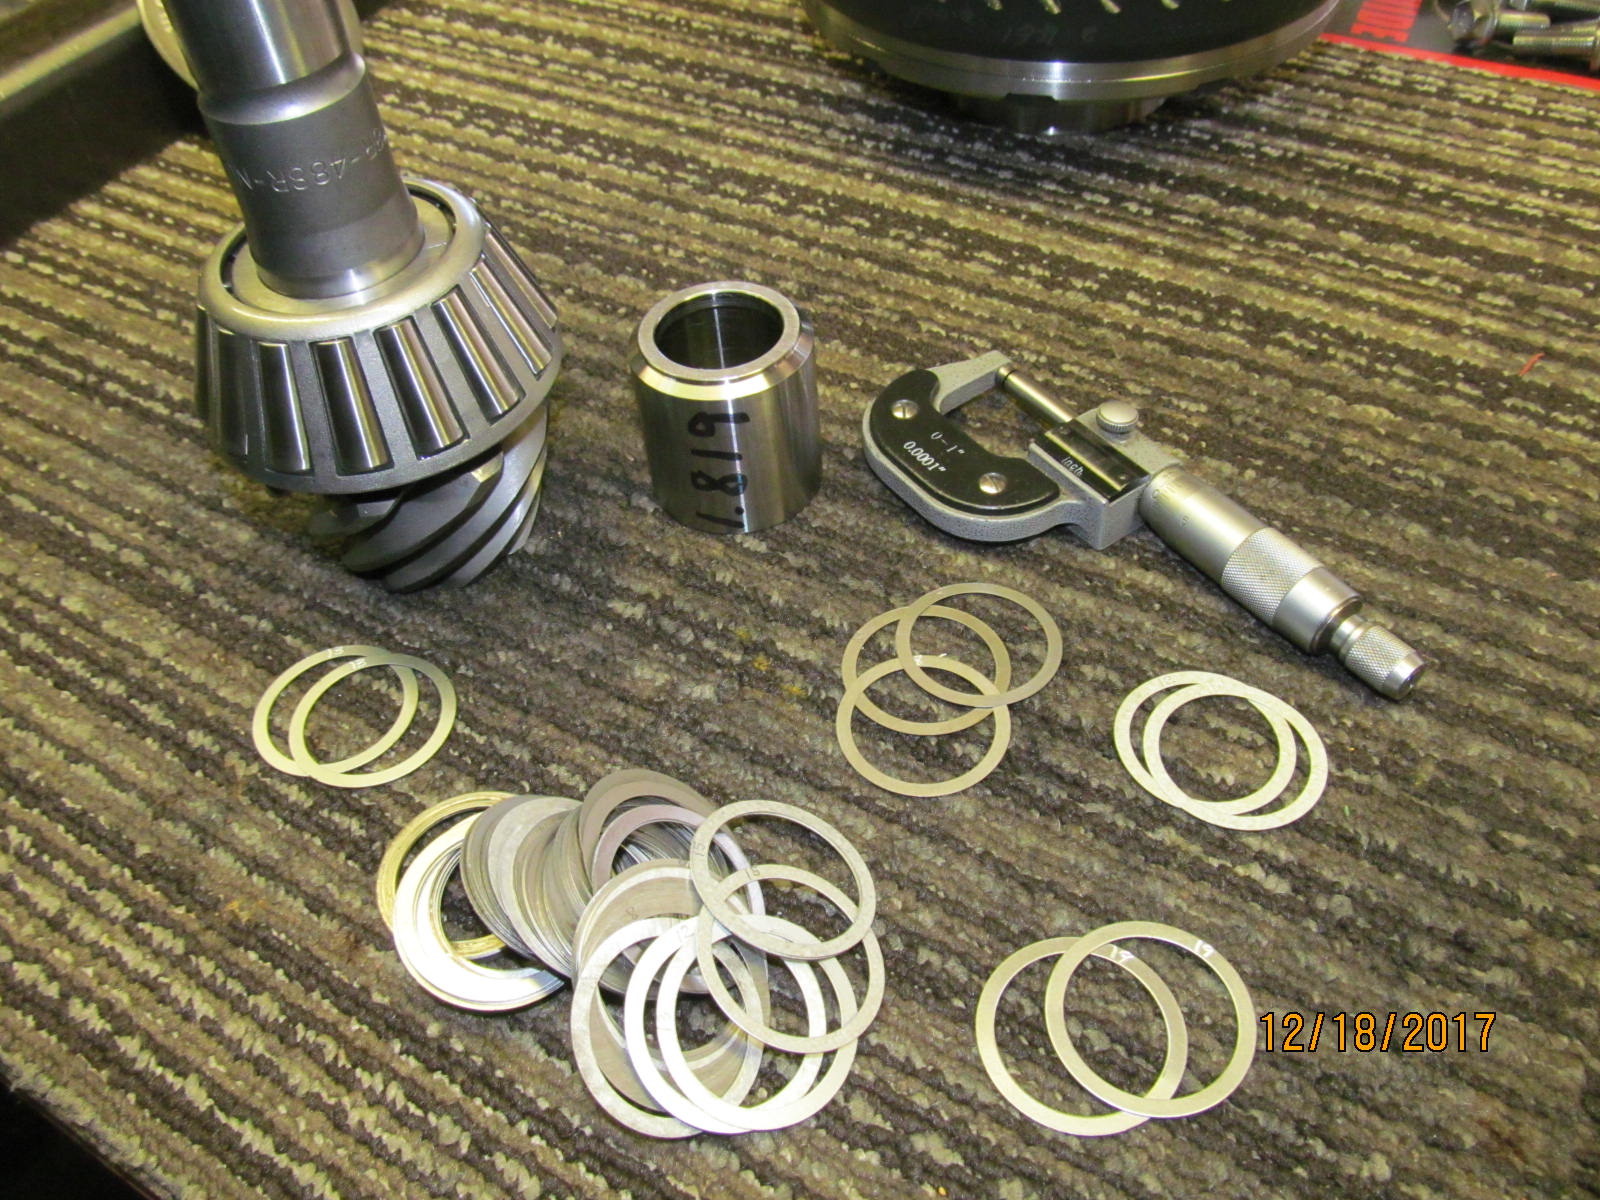
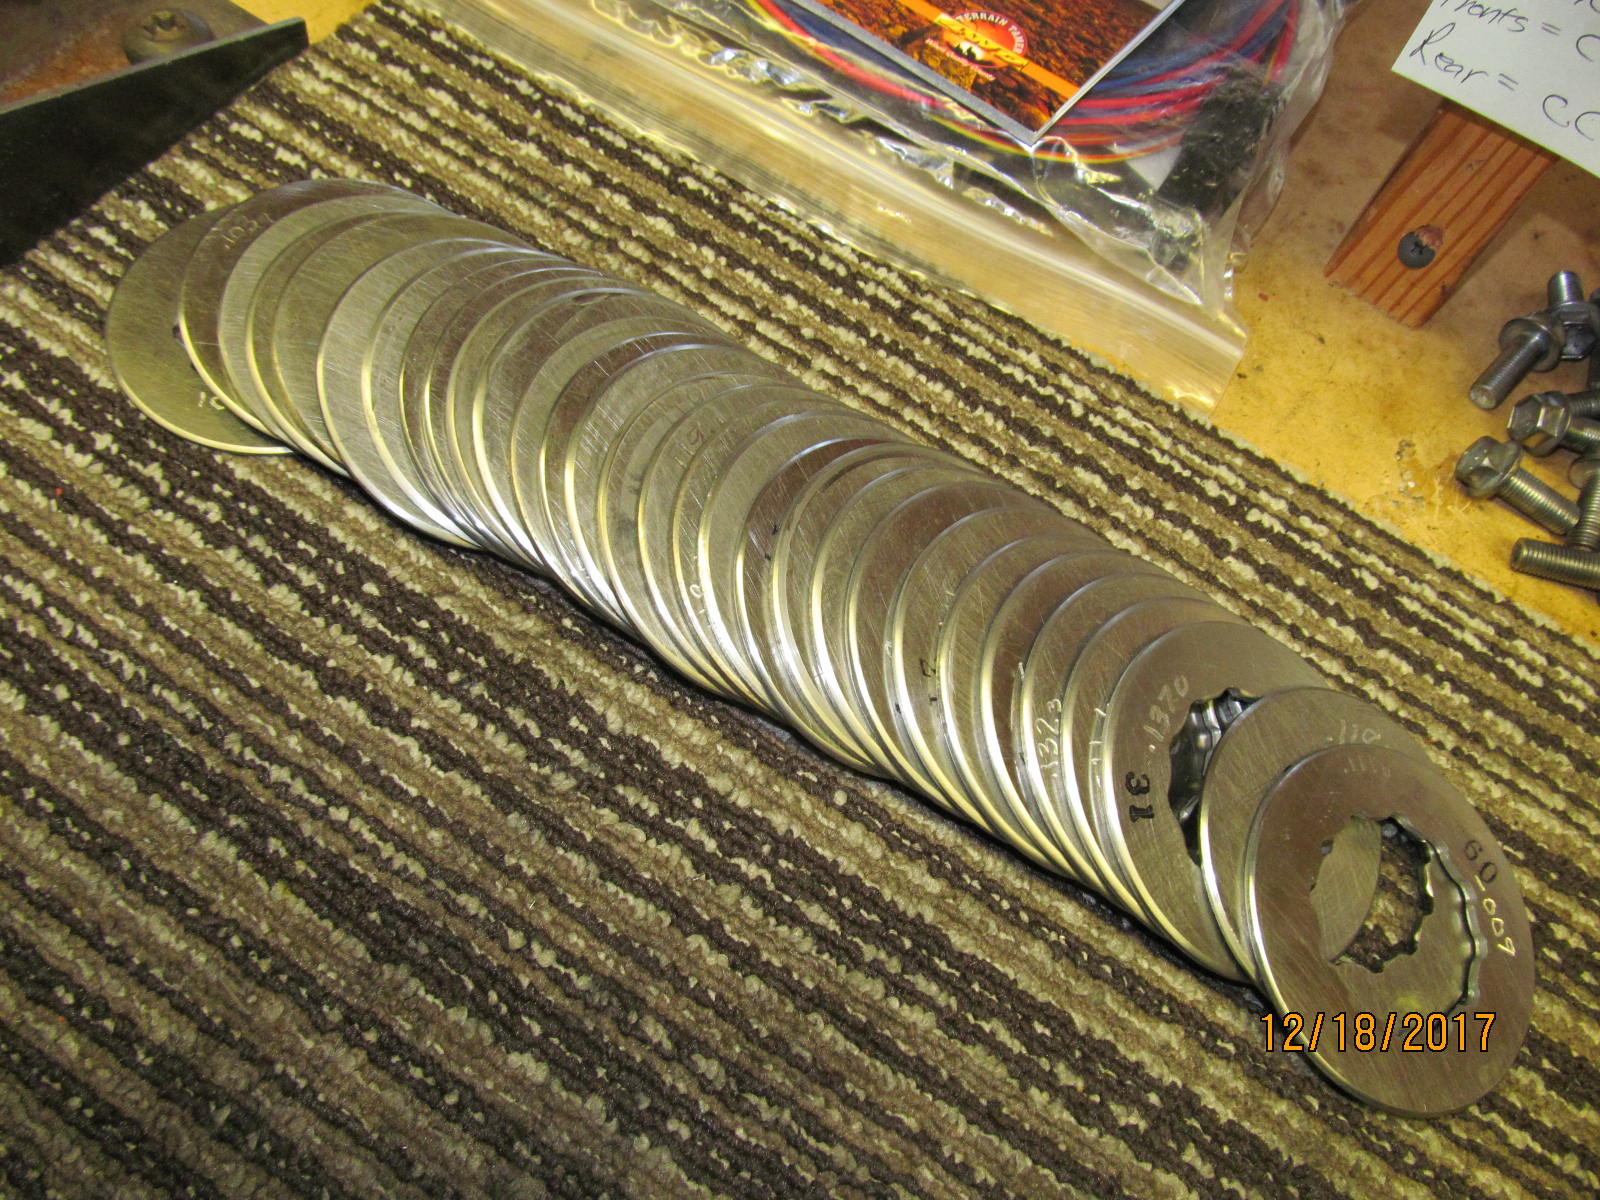
| For setting the backlash and carrier bearing preloads, a good selection of washer plates is a plus. |
|---|
|
|
| A fine tuning of the backlash while reducing the preload somewhat was the goal and .117" on the left side did the trick. |
|---|
|
|
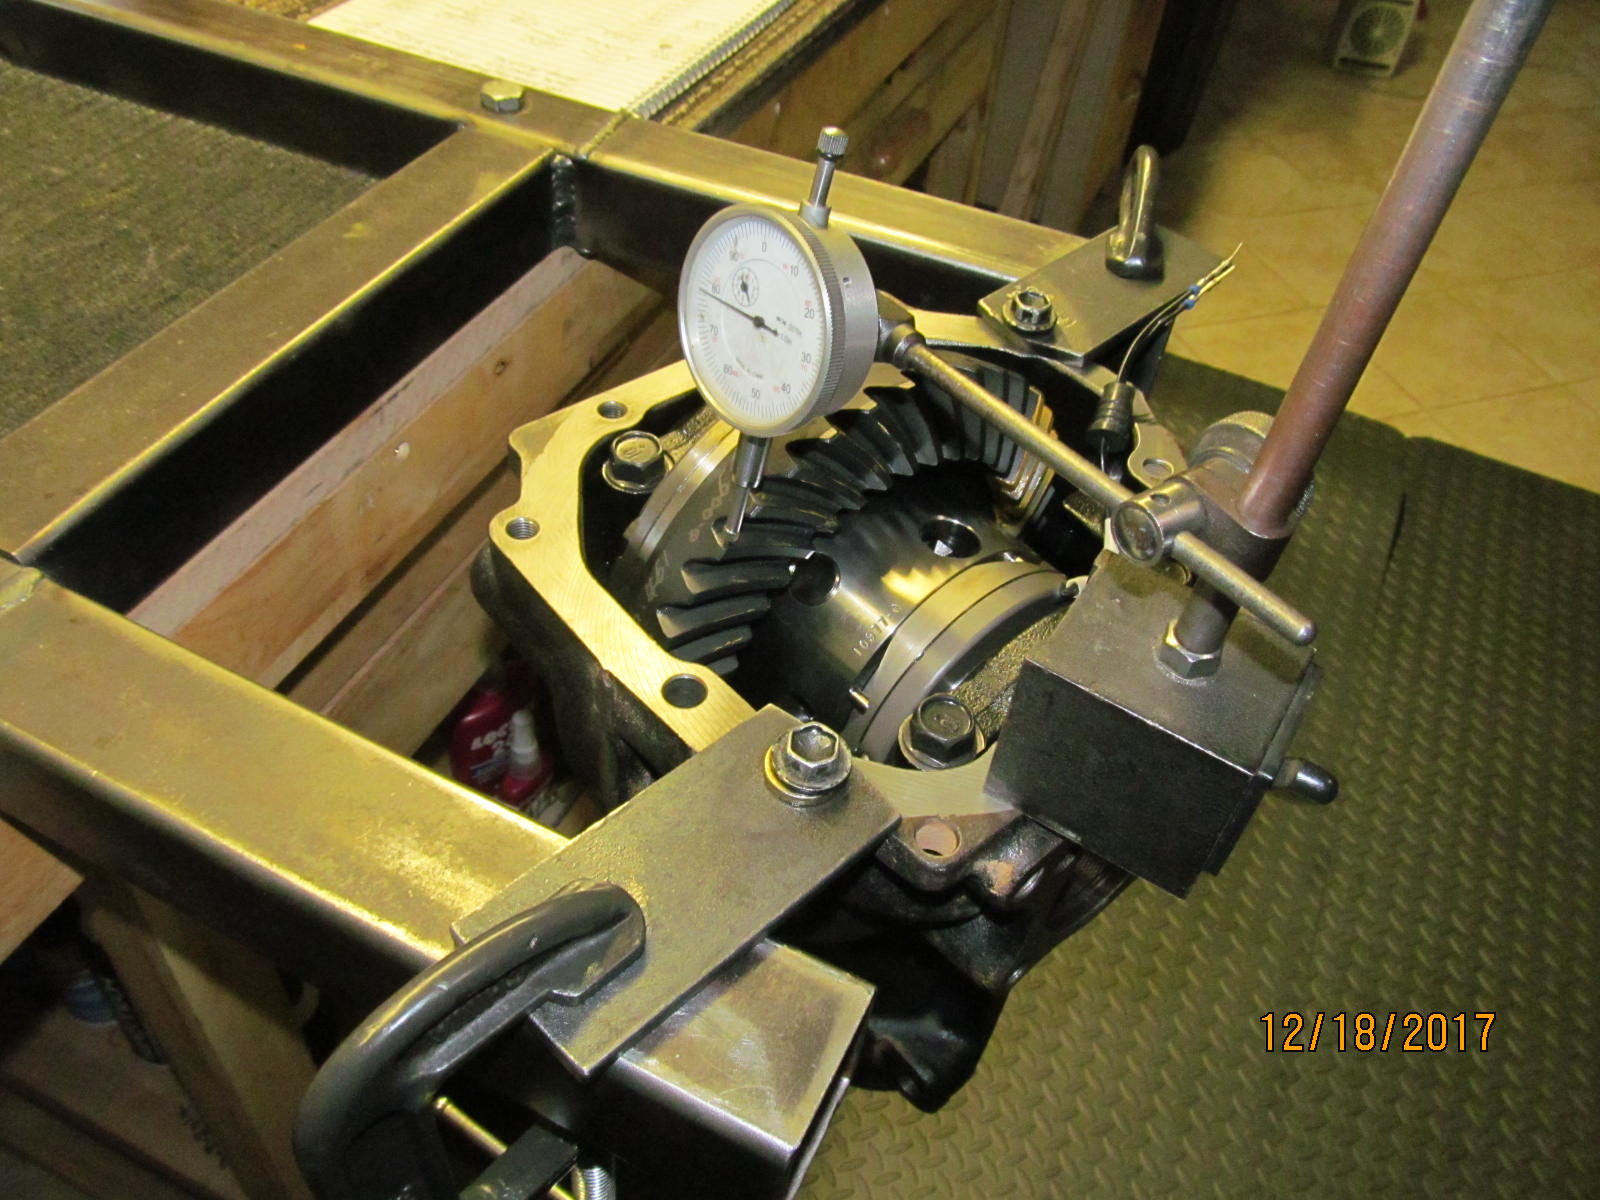
| Backlash was recorded on approximately every other tooth. |
|---|
|
|
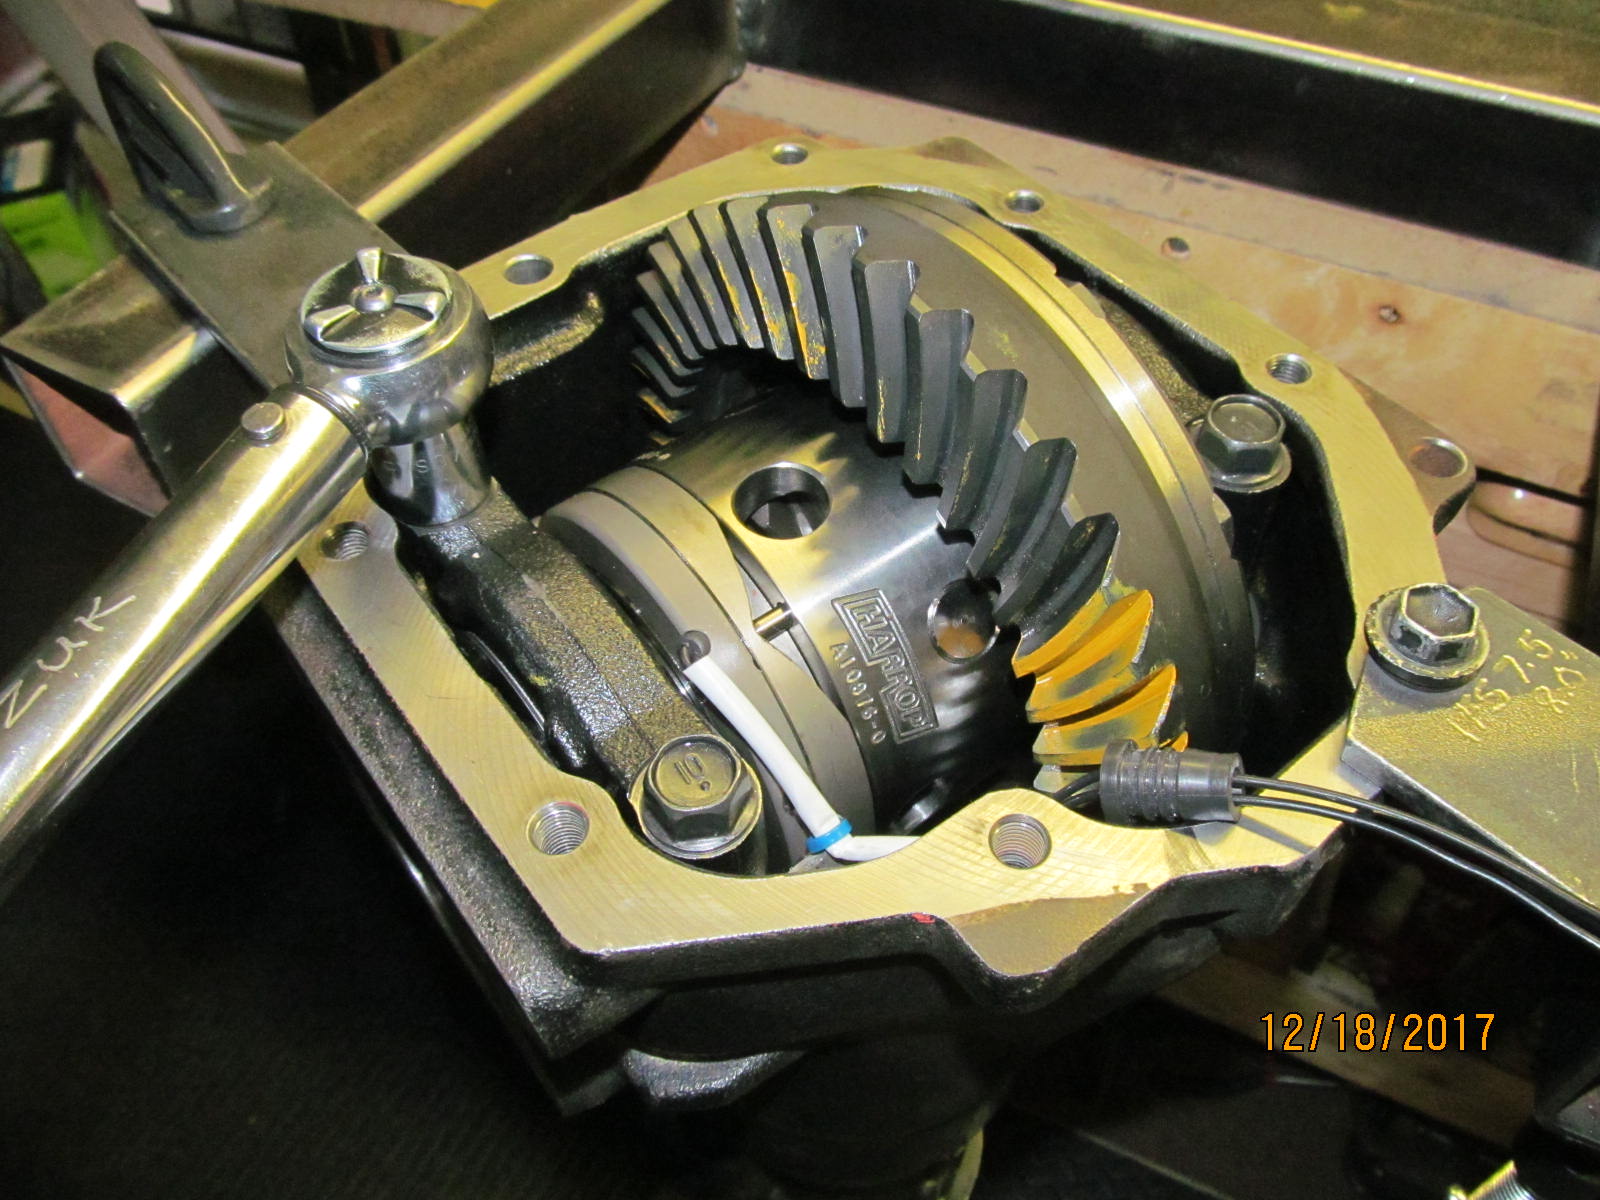
| The 4 bearing cap bolts were verified to be at 63 ft/lb per the fsm. |
|---|
|
|
Good luck finding installation notes on the A10976 Harrop because there are none.
Common sense goes a long way :) Some grinding on the caps. |
|---|
|
|
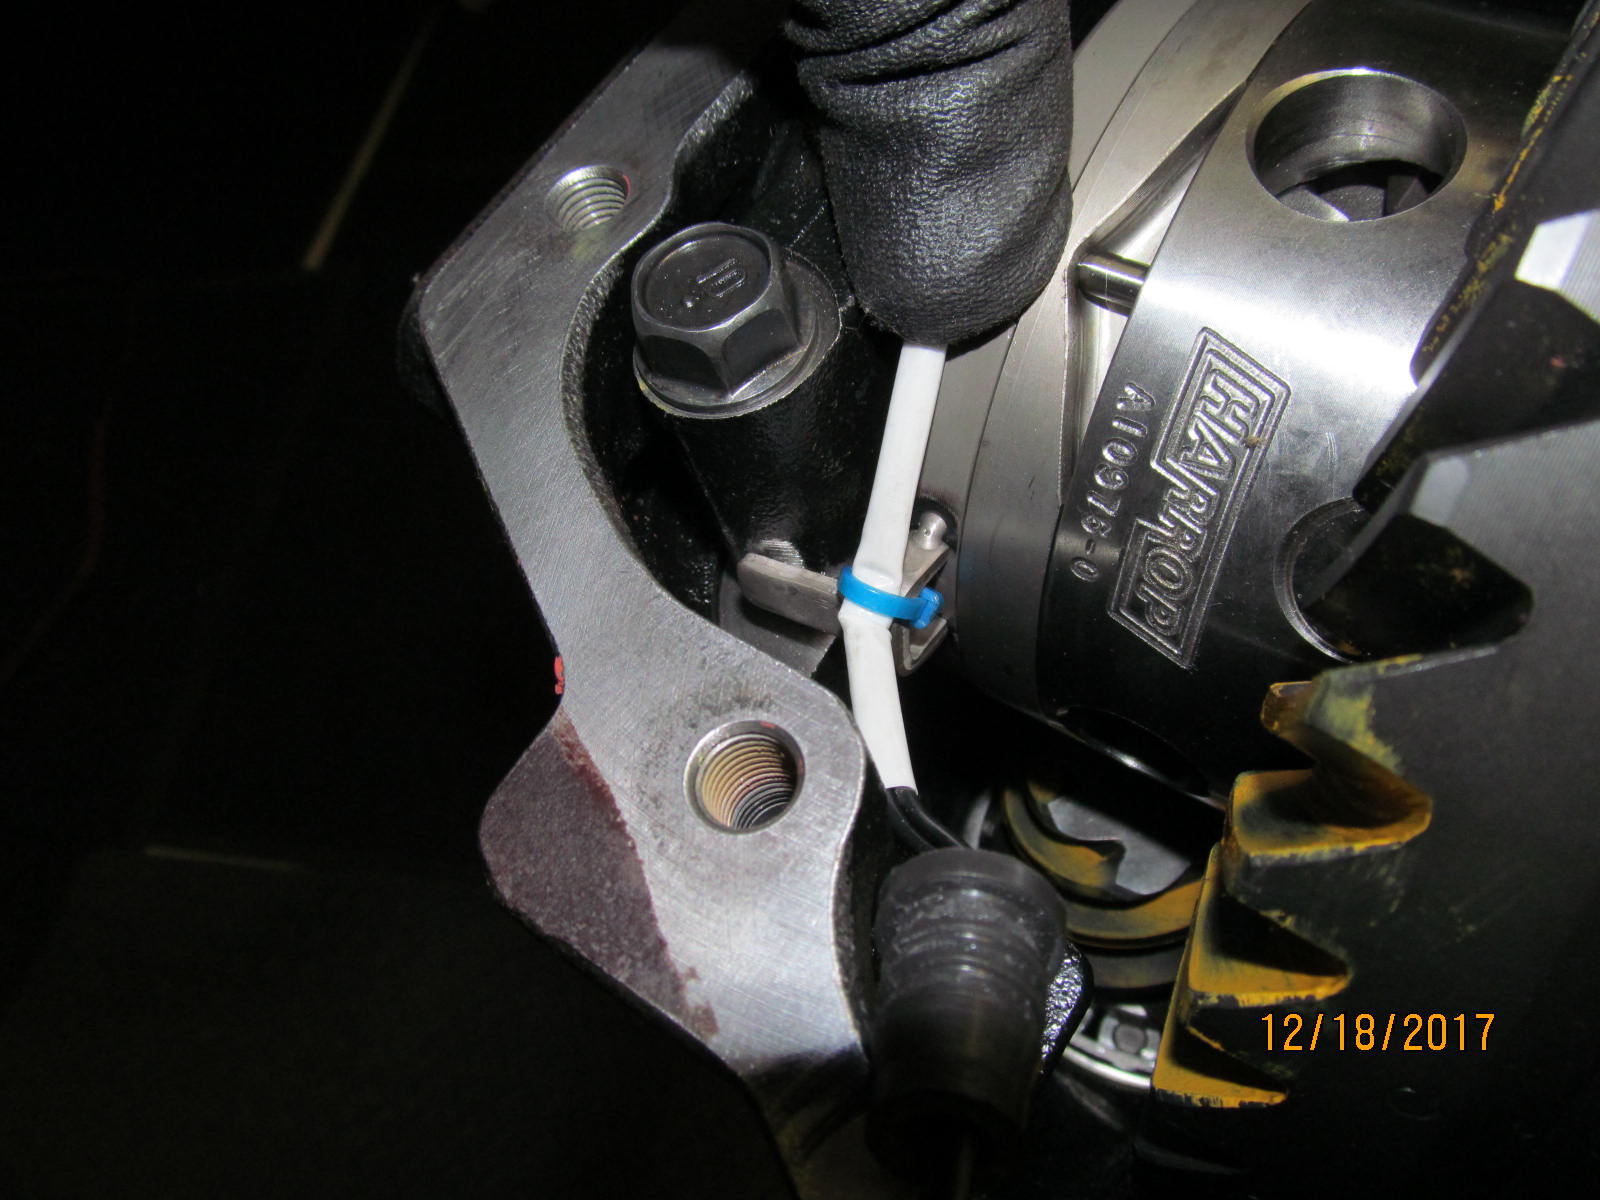
| Drill the 29/64" hole just about where it is shown here. Coat the rubber grommet with black rtv. |
|---|
|
|
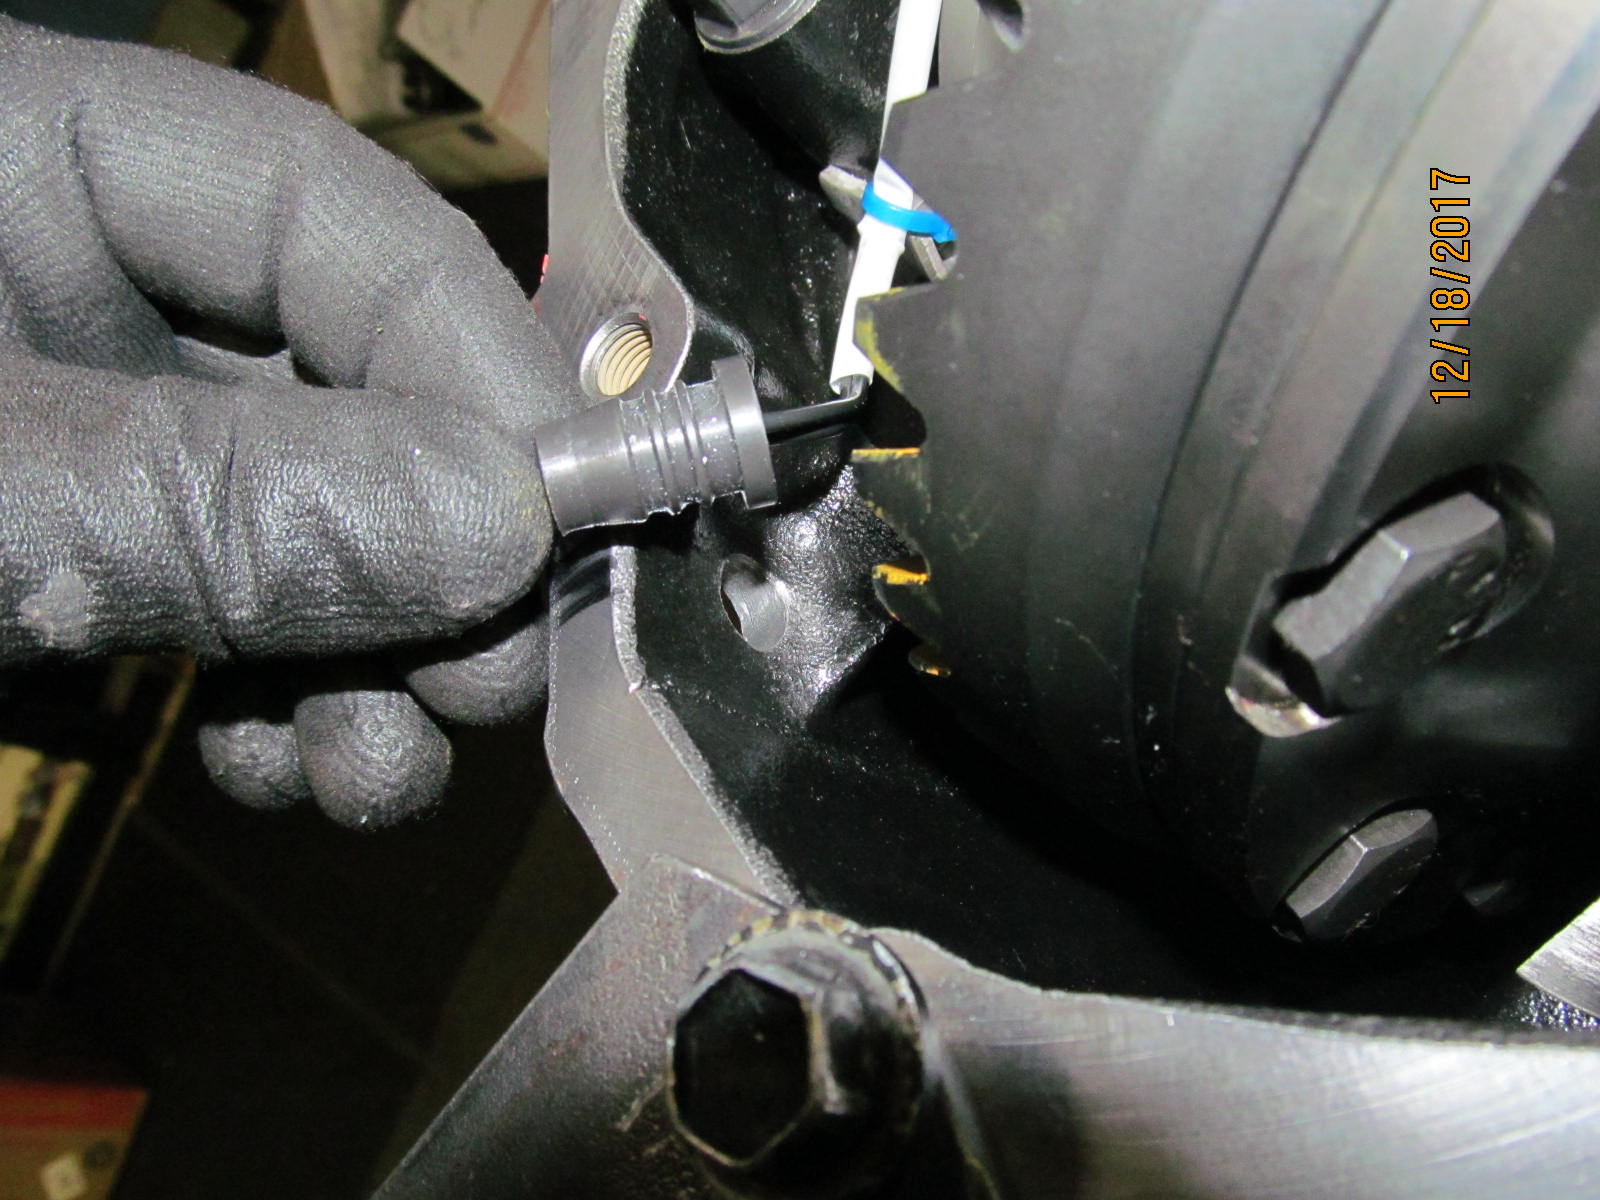
| And it slides thru as easy as butter maybe. |
|---|
|
|
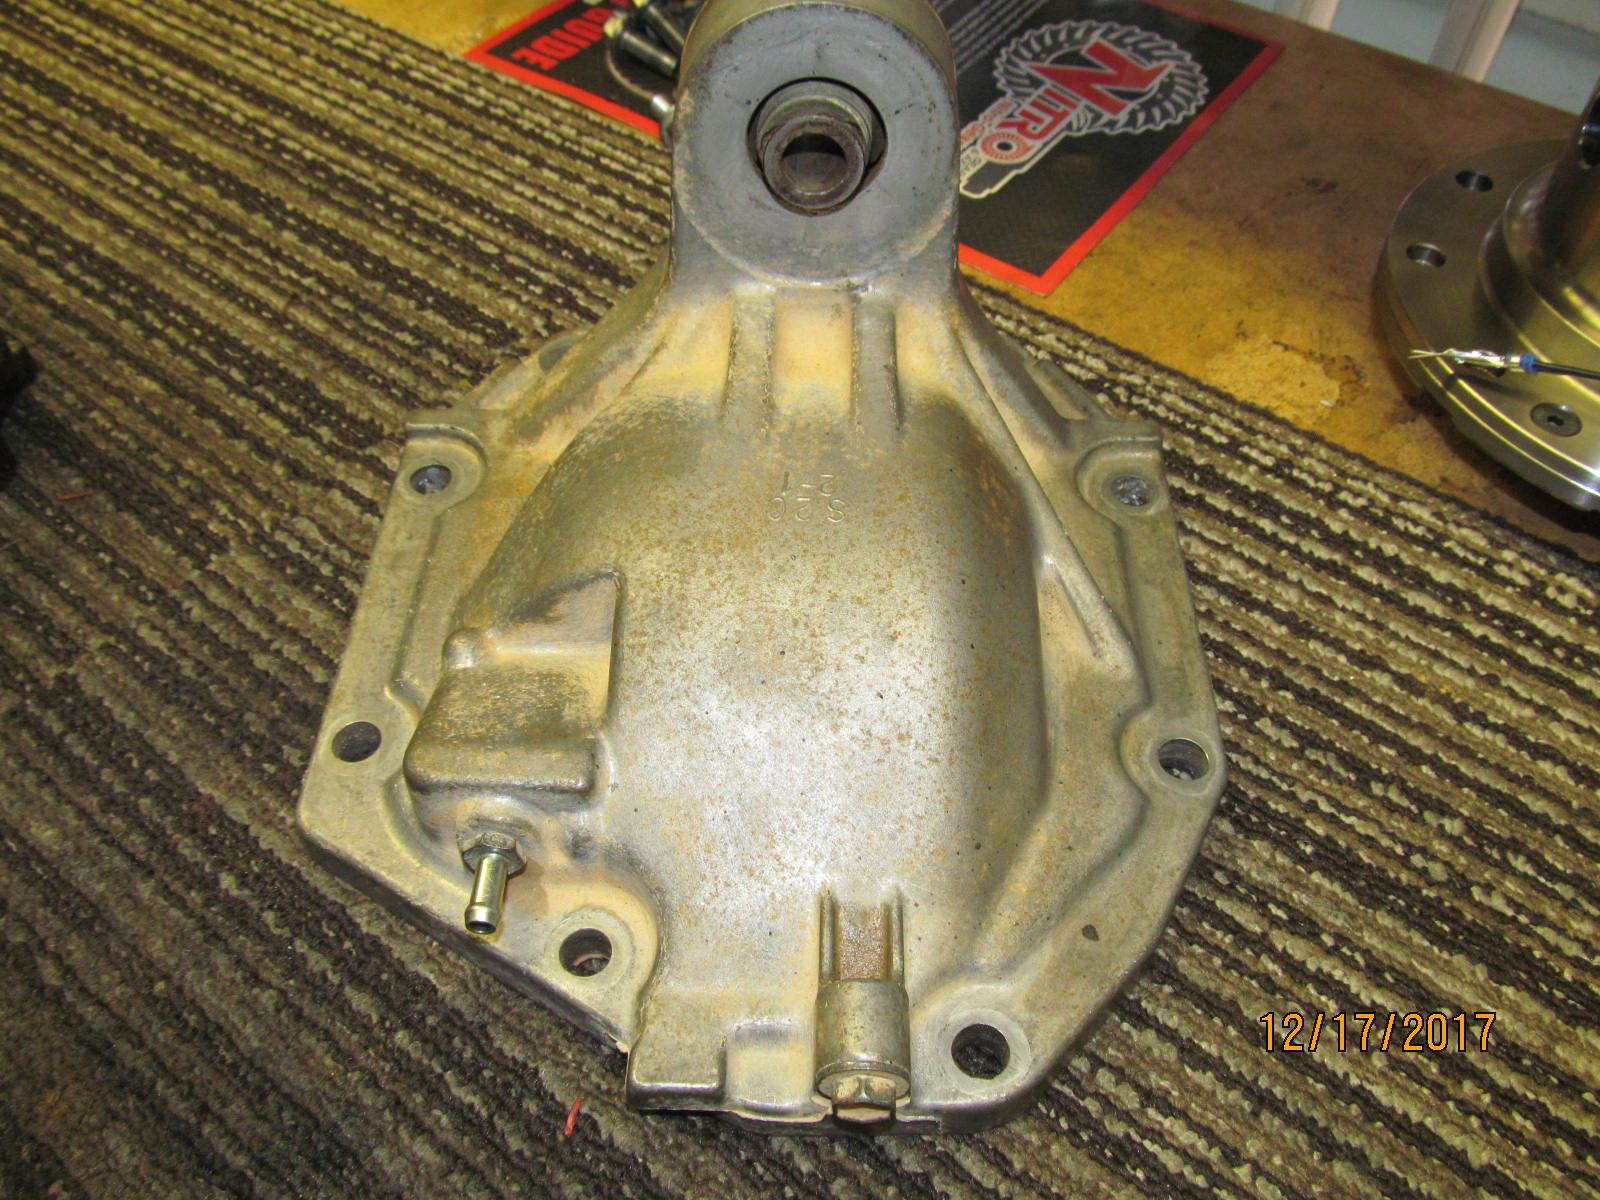
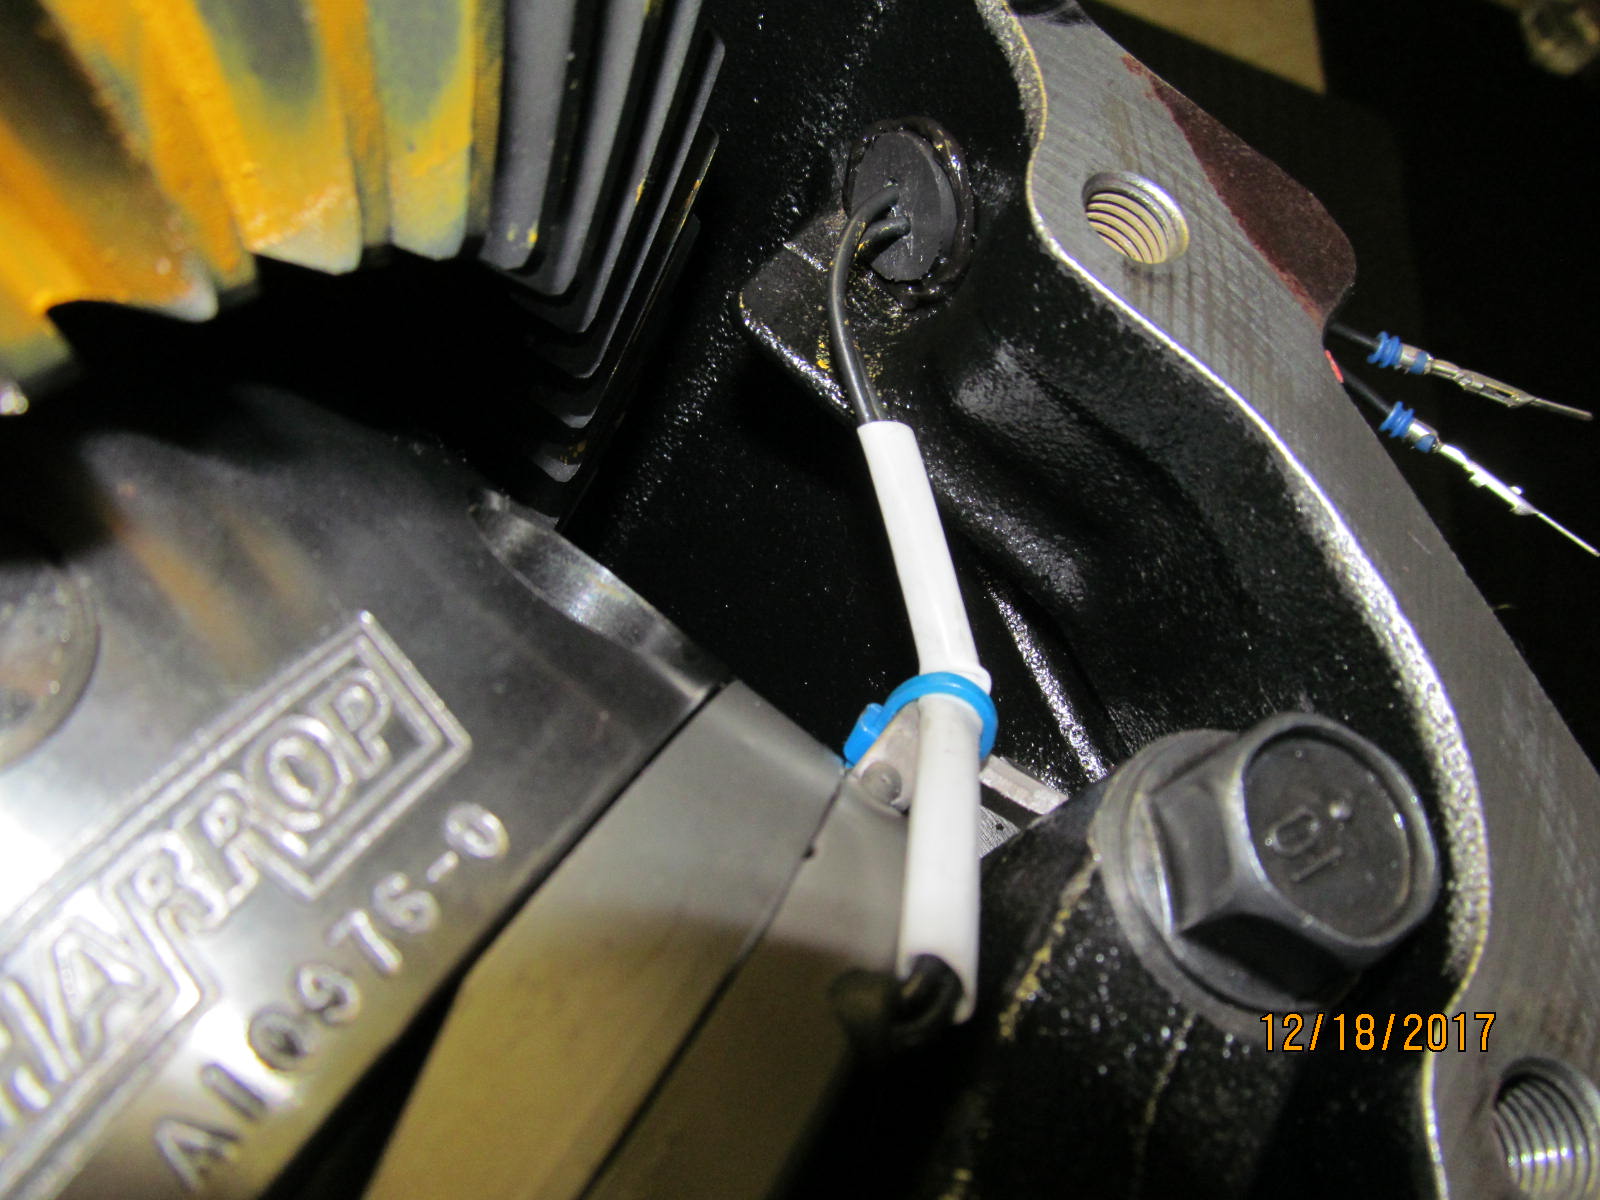
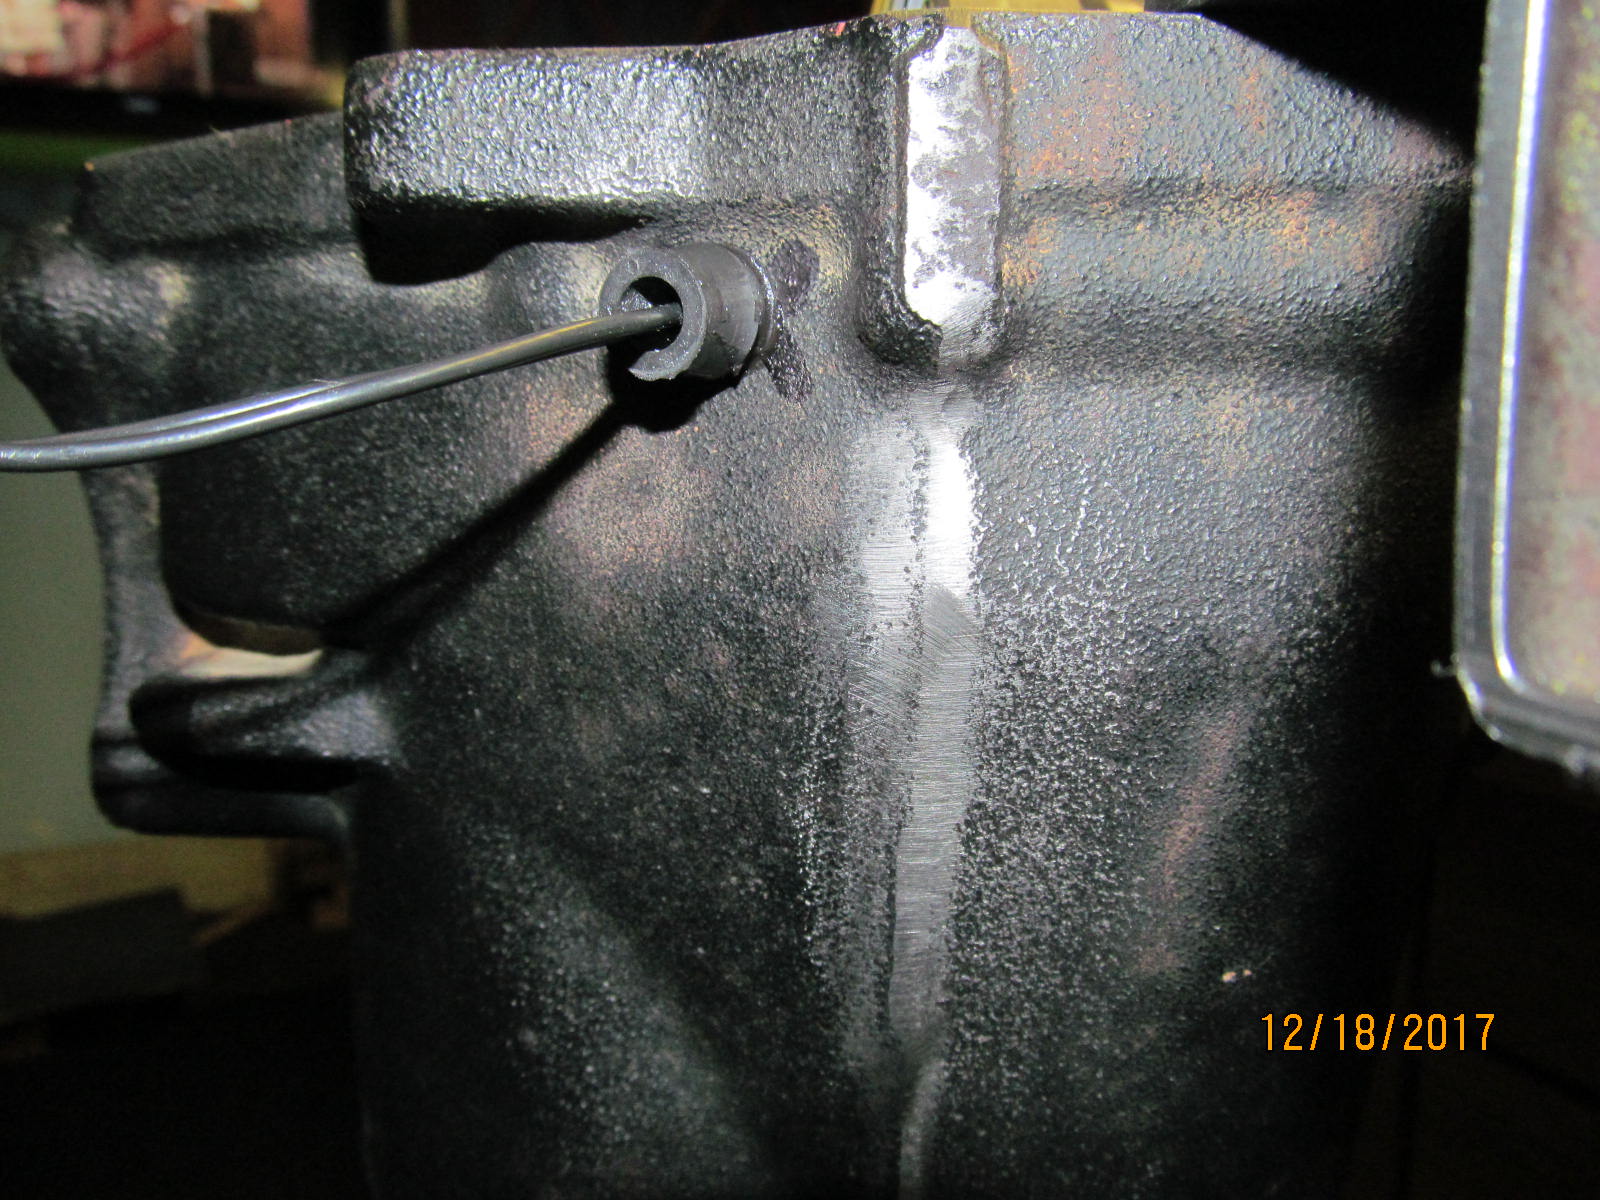
| Here's what the placement looks like on the outside. |
|---|
|
|
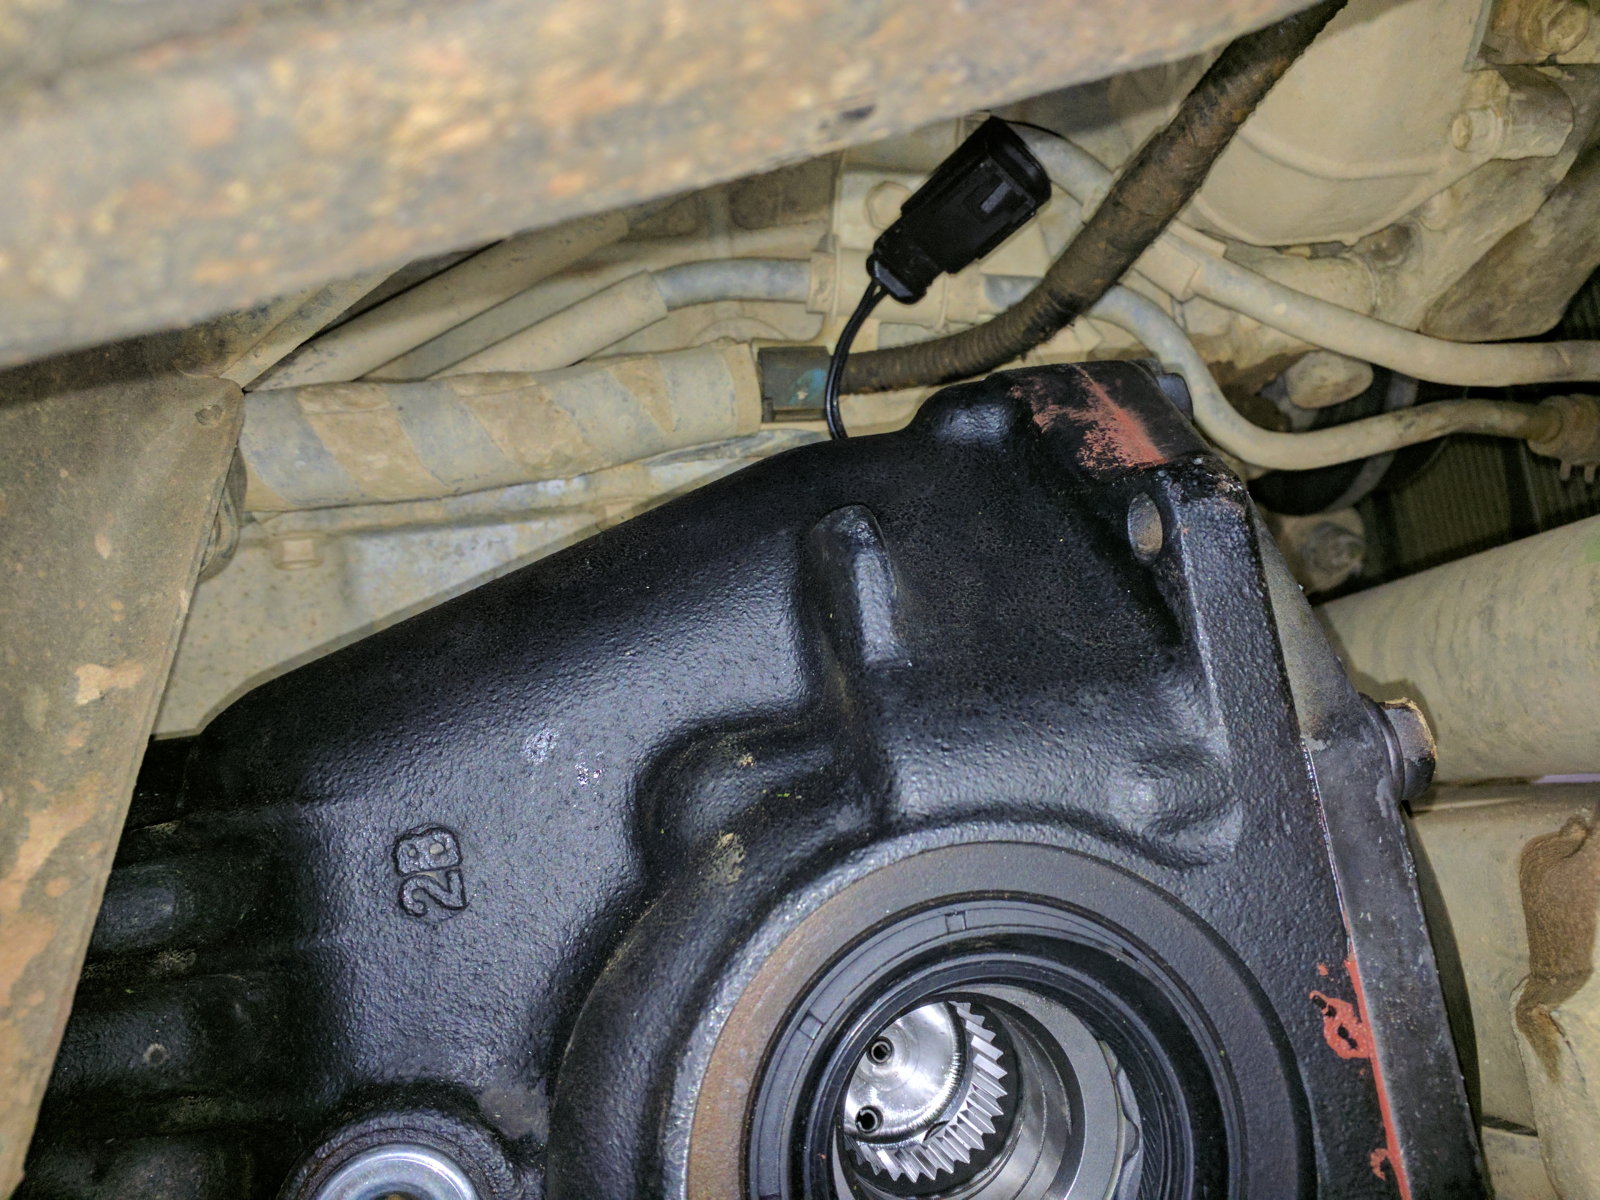
This is a picture that Juan sent me of the nearly finished installation under his Cruiser and there is
plenty of room for the connection on top. No interference issues. |
|---|
|
|
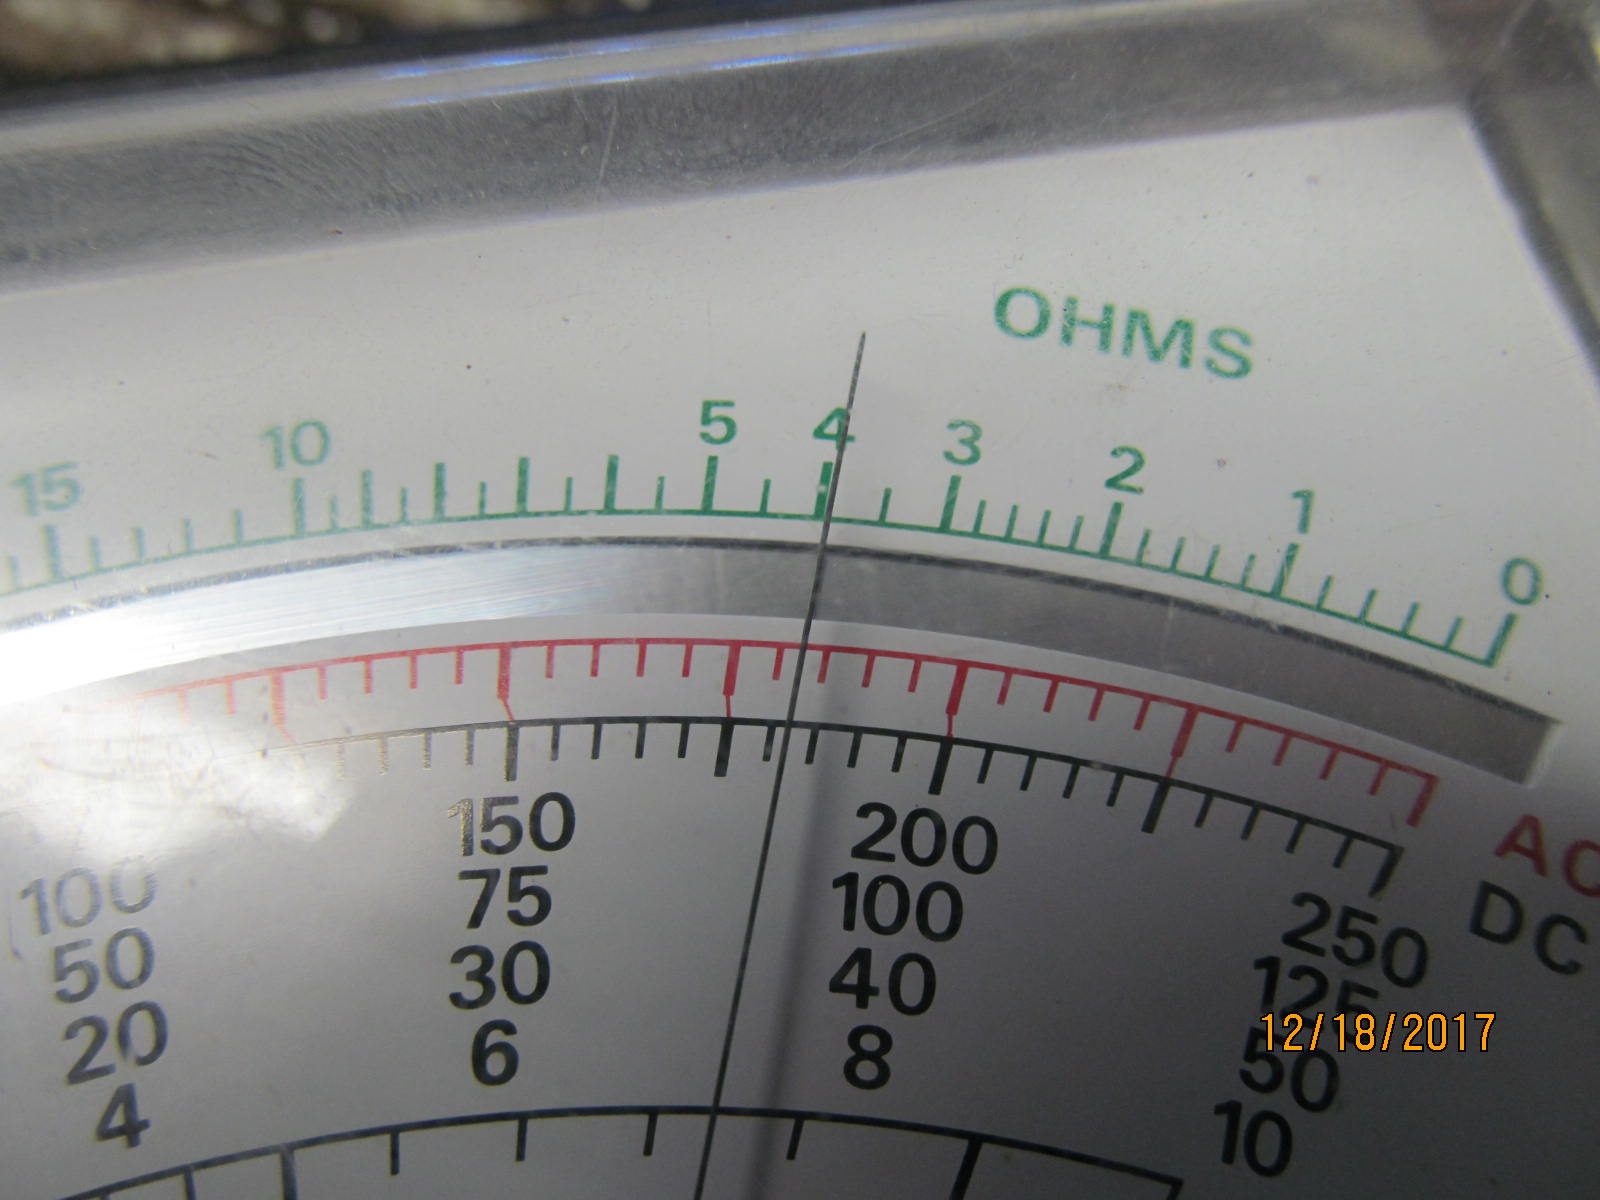
| Back to the testing of the Harrop....the measured resistance was 3.9 ohms. |
|---|
|
|
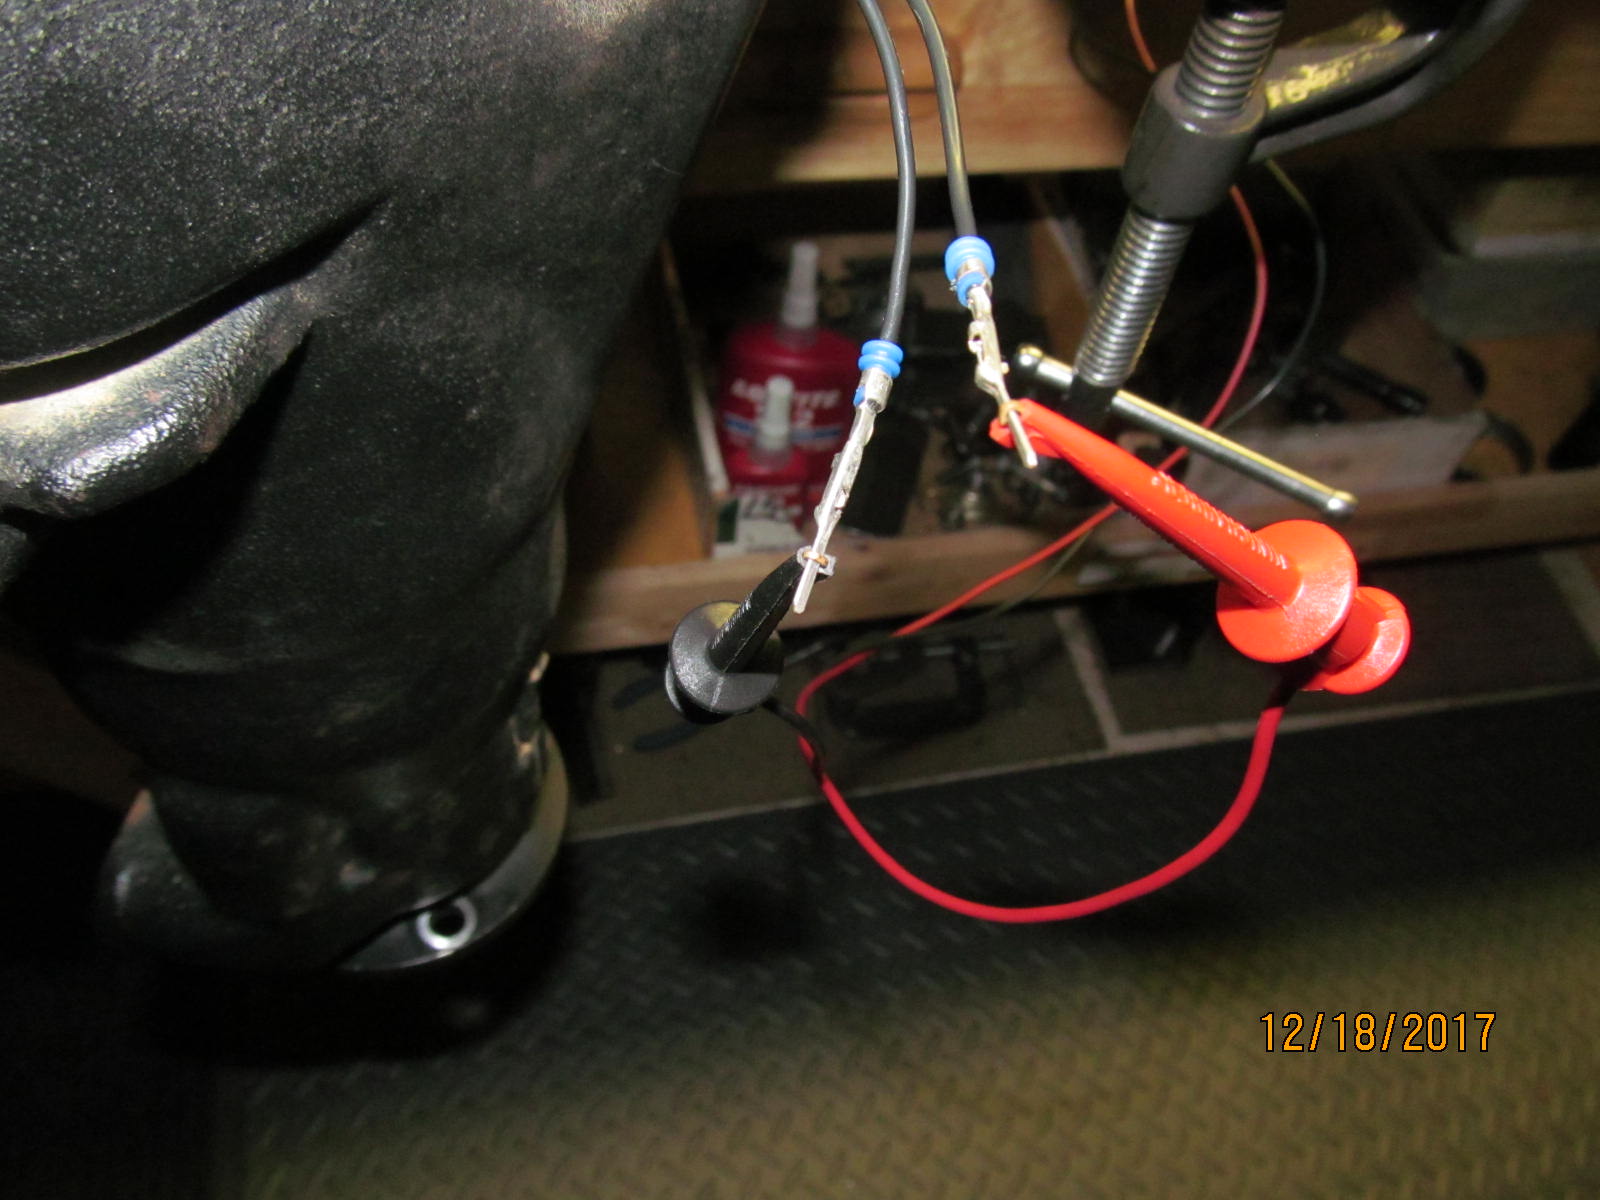
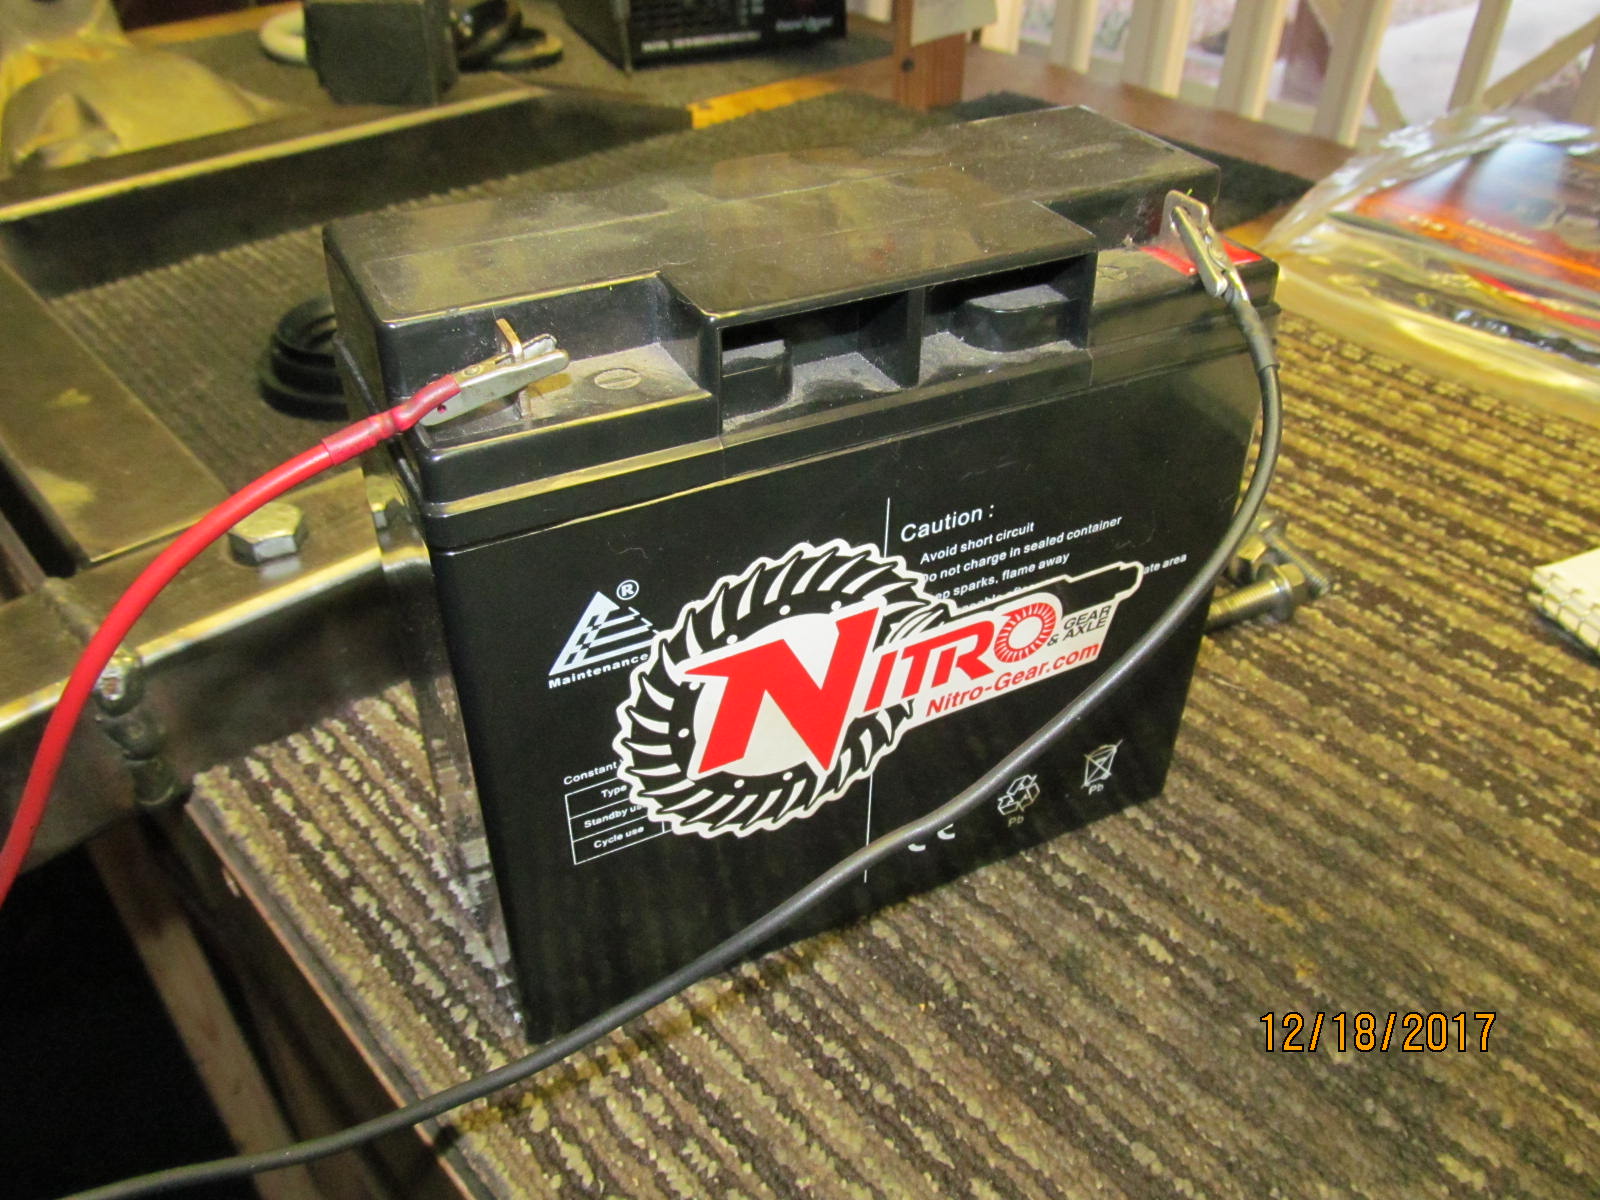
Now the 12 volt battery test. No polarity on these 2 black wires
so it does not make any difference which way it is hooked up....
just as long as it is hooked up. |
|---|
|
|
Apply red to (-) and black to (+)....or is it the other way around 
It makes no difference. :) |
|---|
|
|
With the electromagnet engaged, the ramp ring is held firmly to it.
So turning the pinion flange which turns the ring gear results in
the 3 engagement pins being pushed in the case. The locker is fully engaged now. |
|---|
|
|
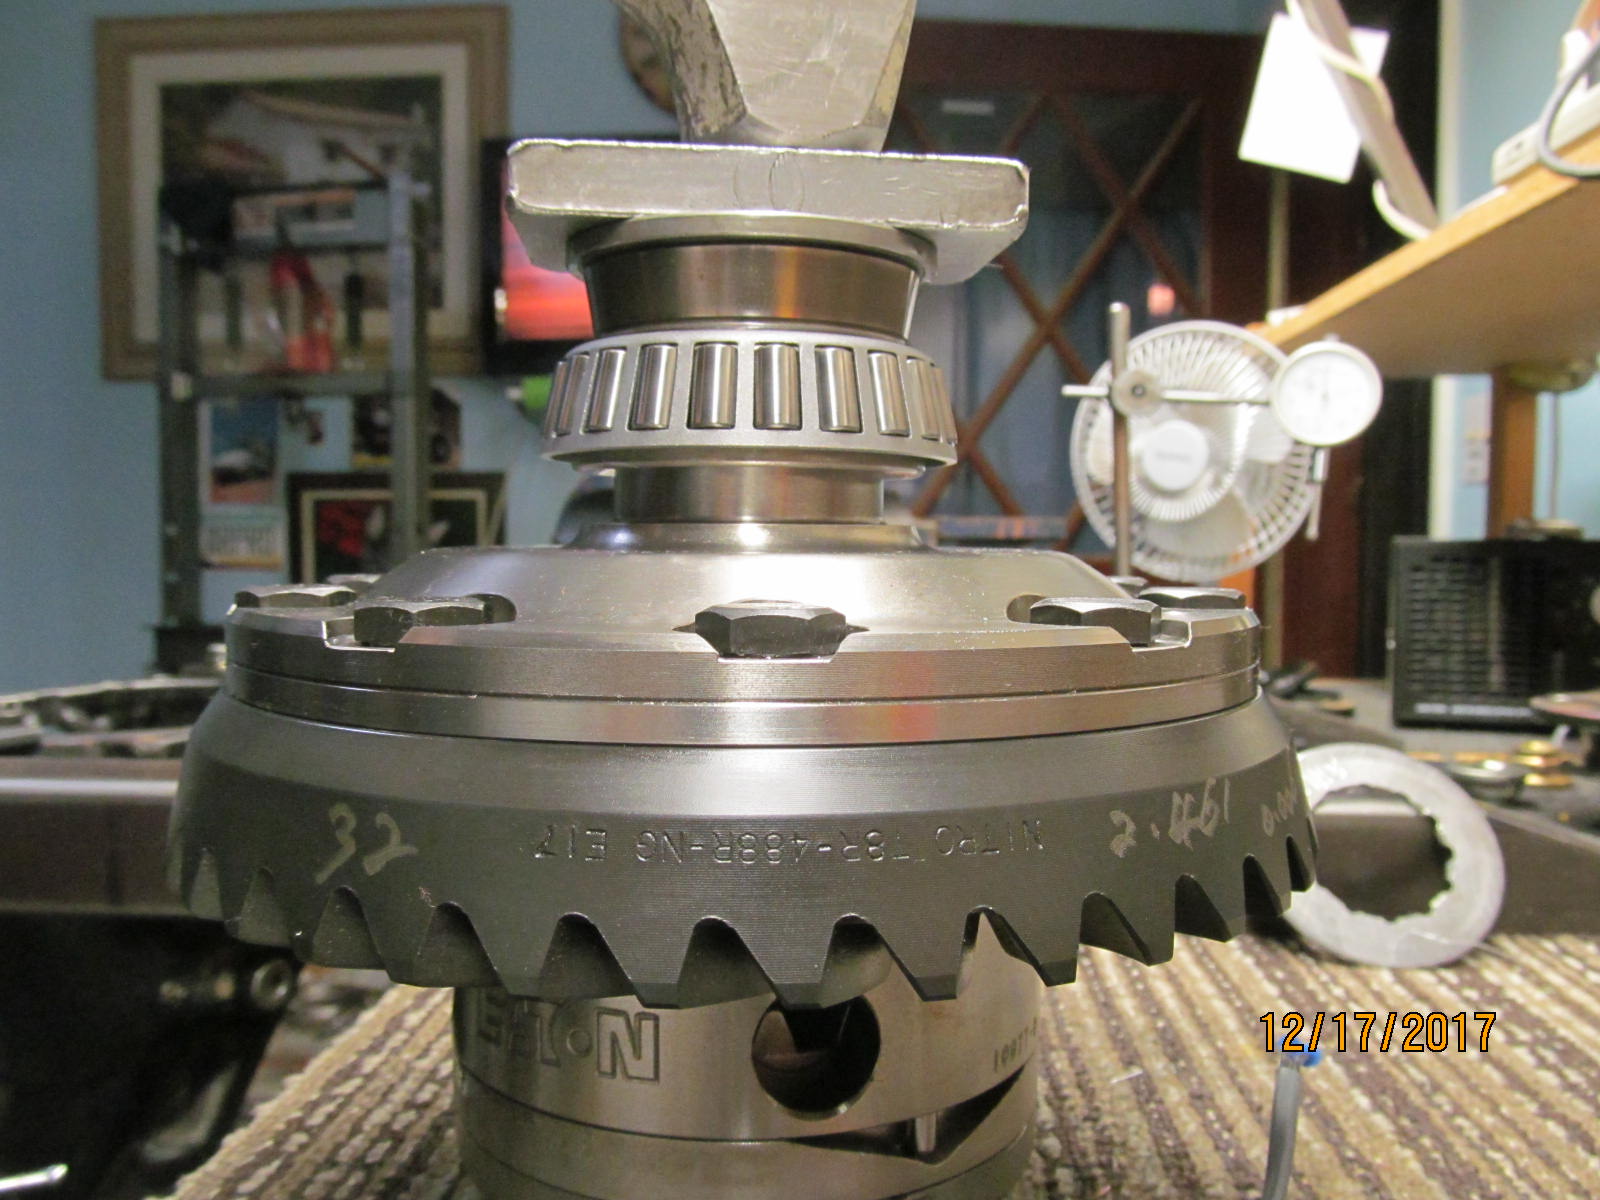
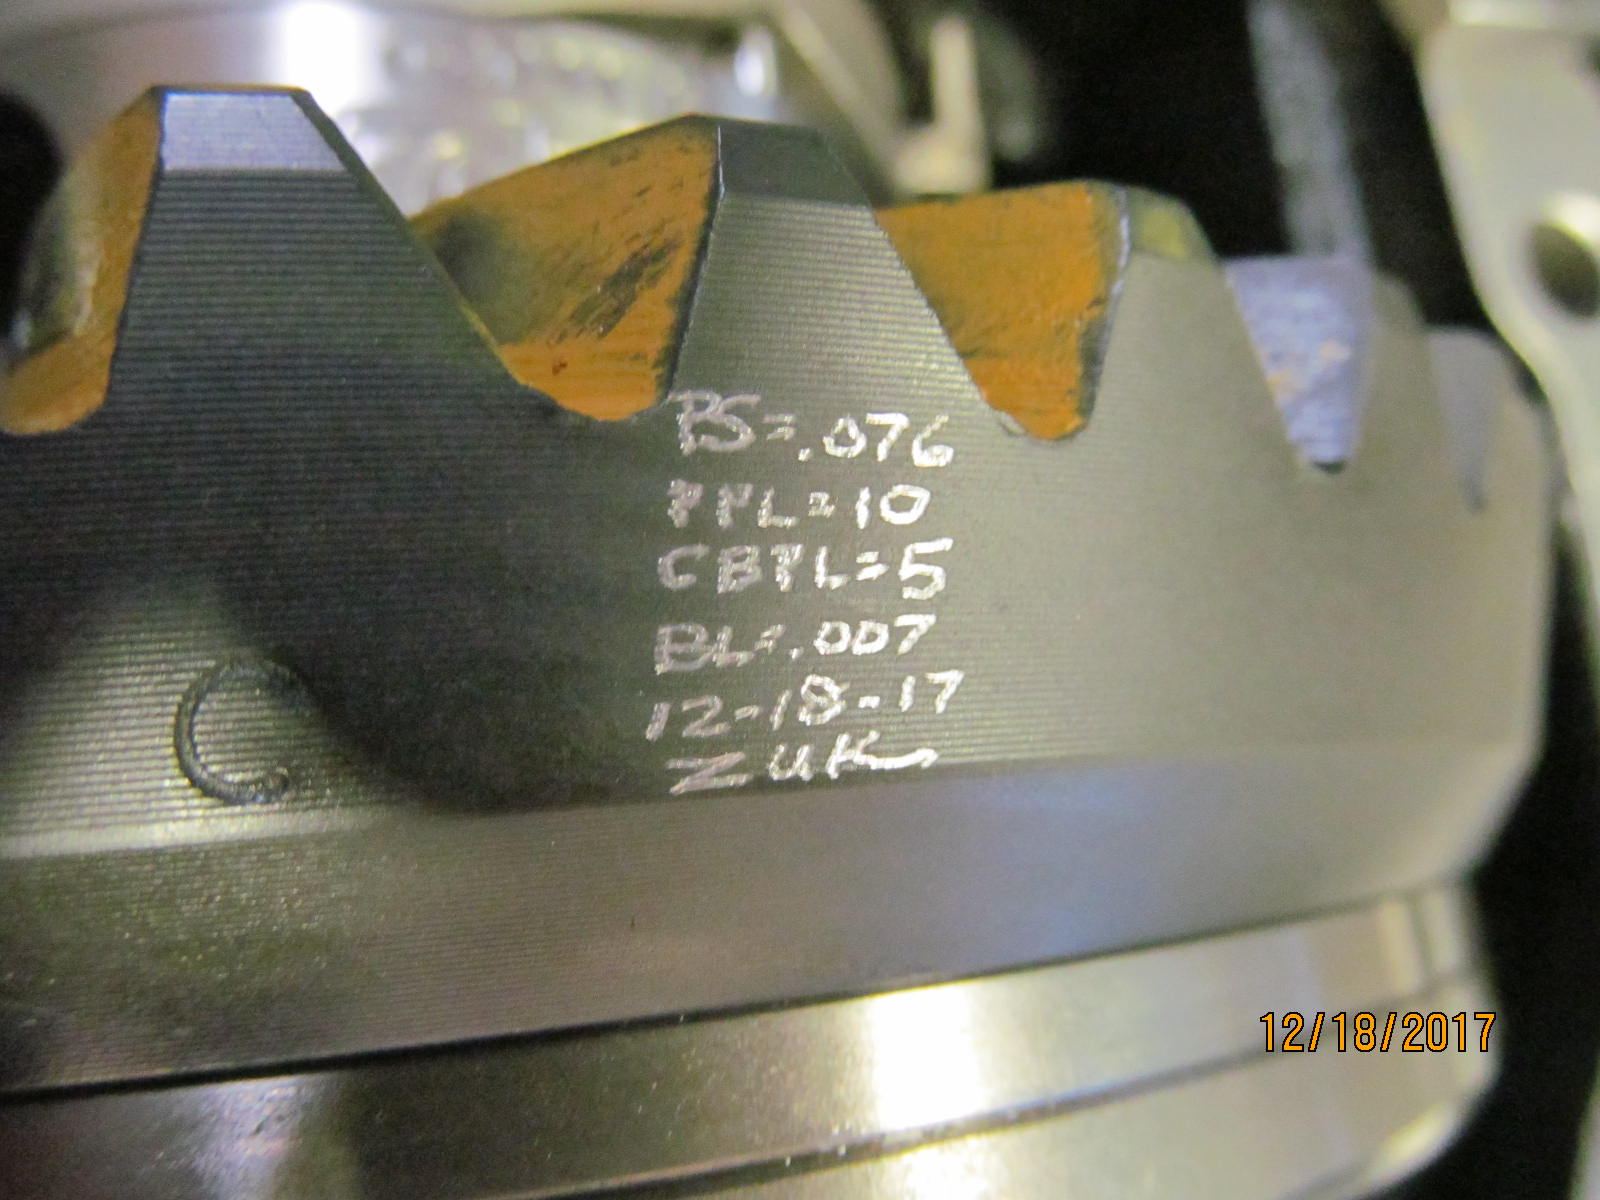
| Notes are scribed on the ring gear. |
|---|
|
|
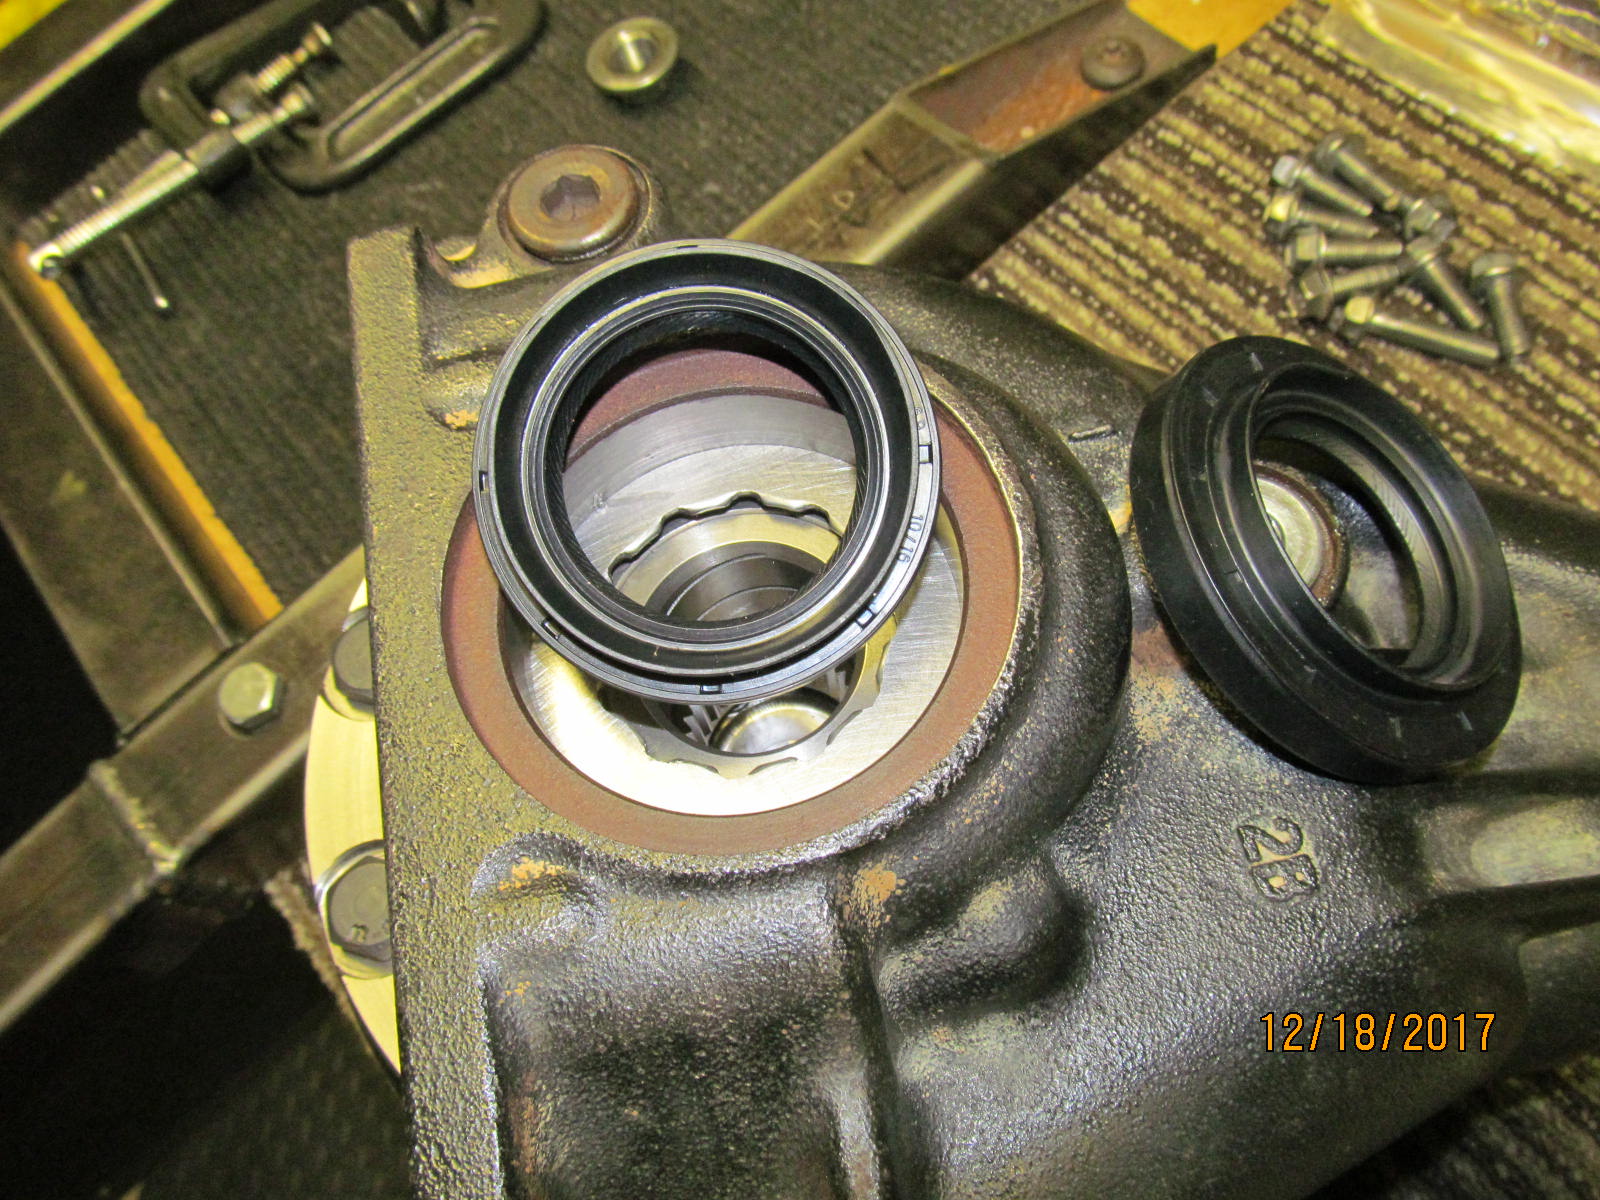
| Seals are next. |
|---|
|
|
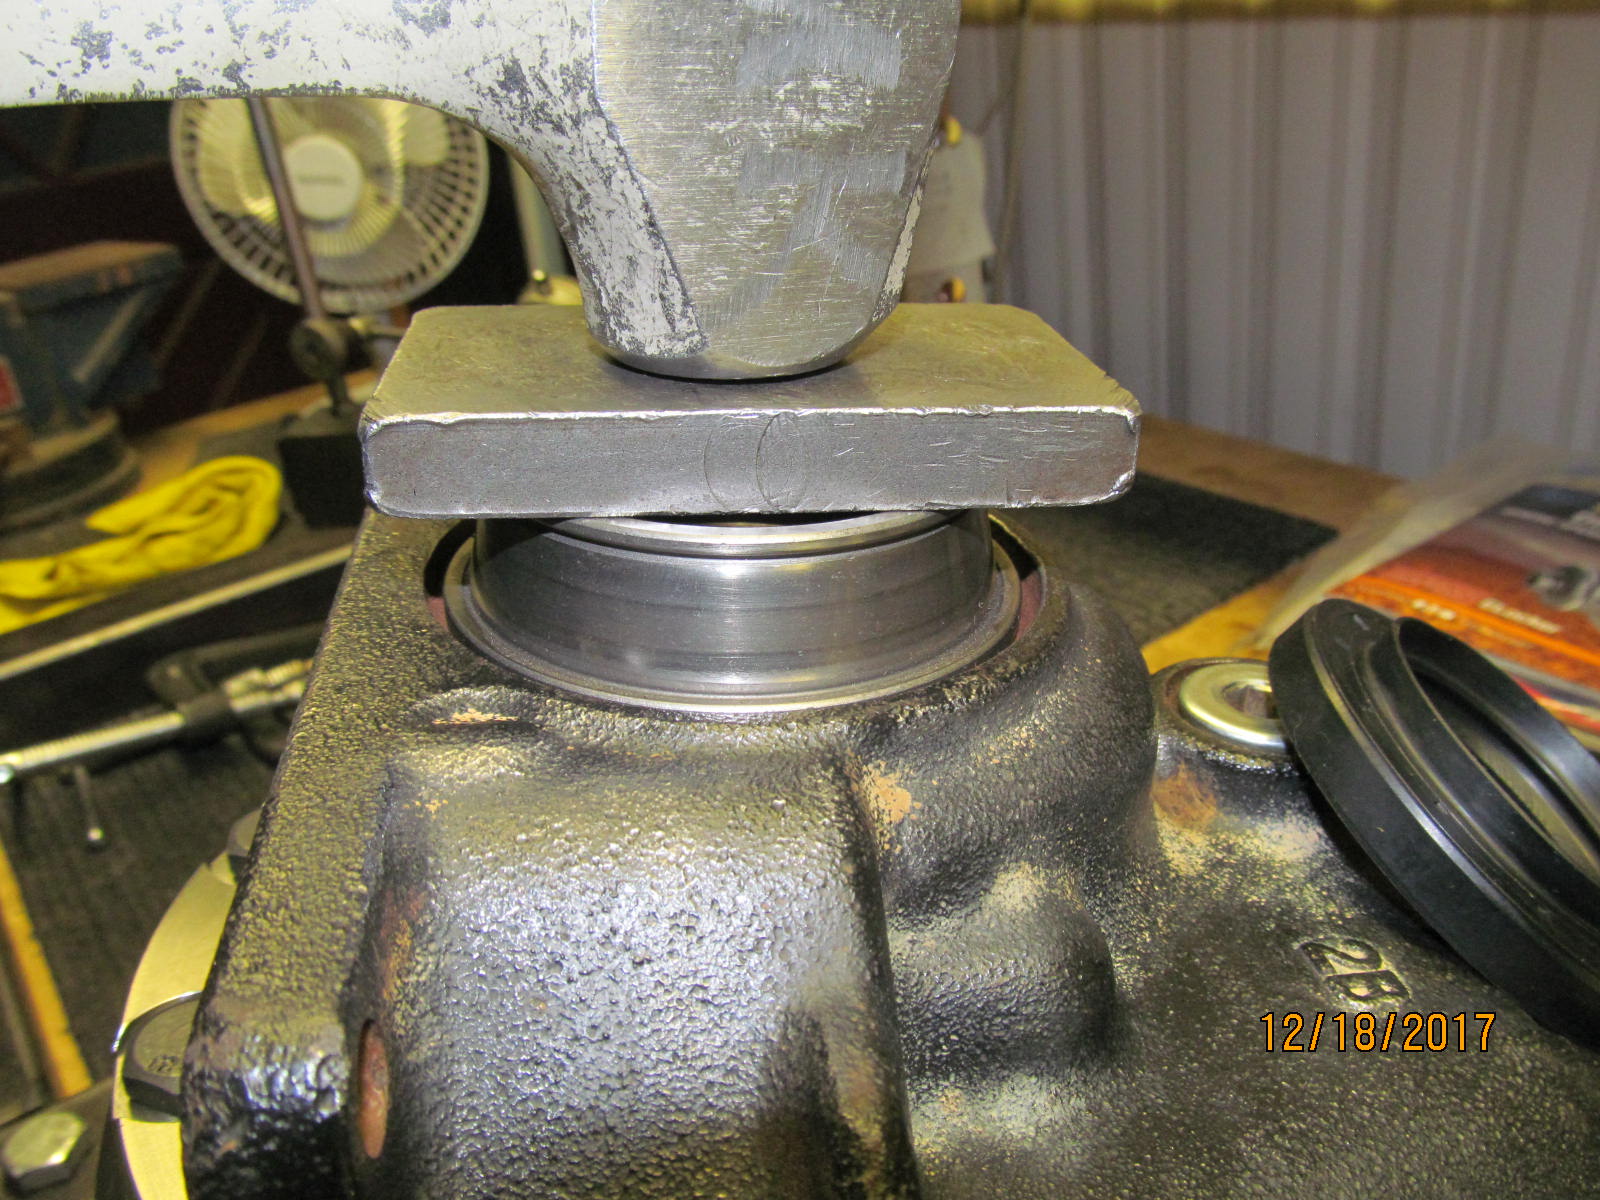
| tap tap. |
|---|
|
|
| This CV side seal is fully in now. |
|---|
|
|
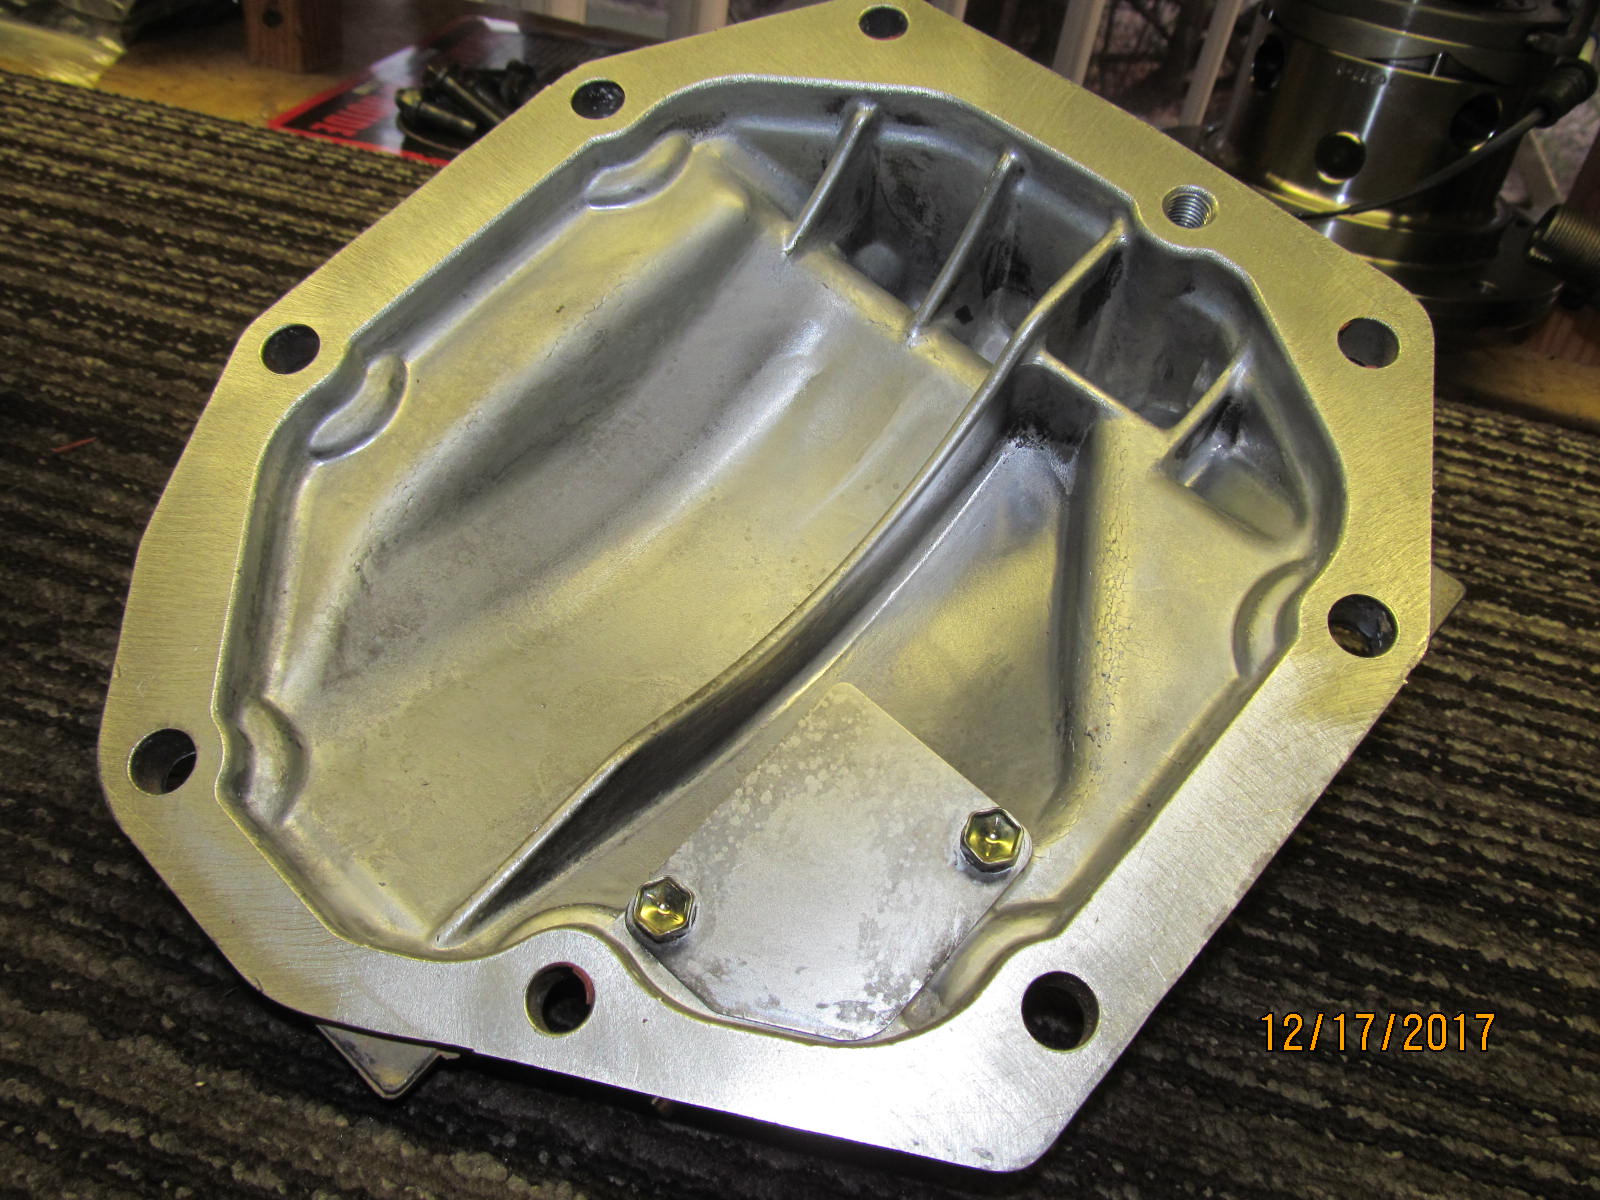
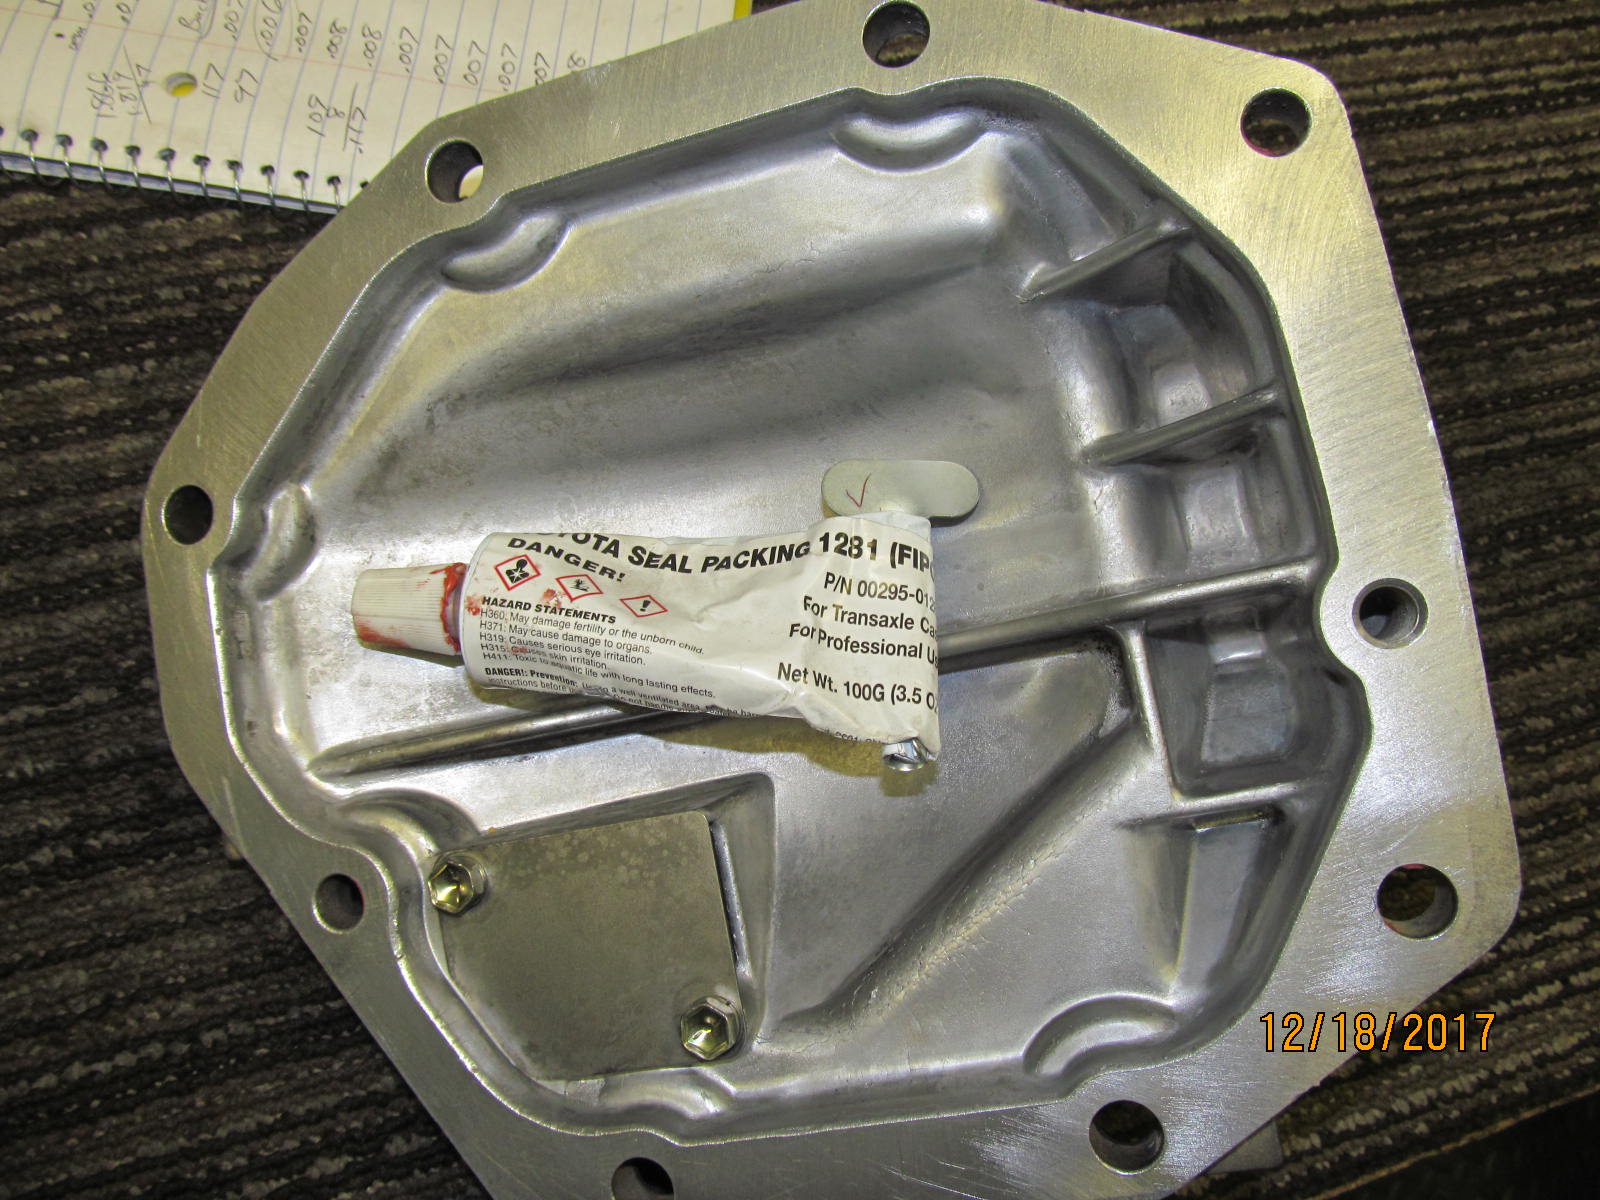
| Aluminum cover is clean.... |
|---|
|

|
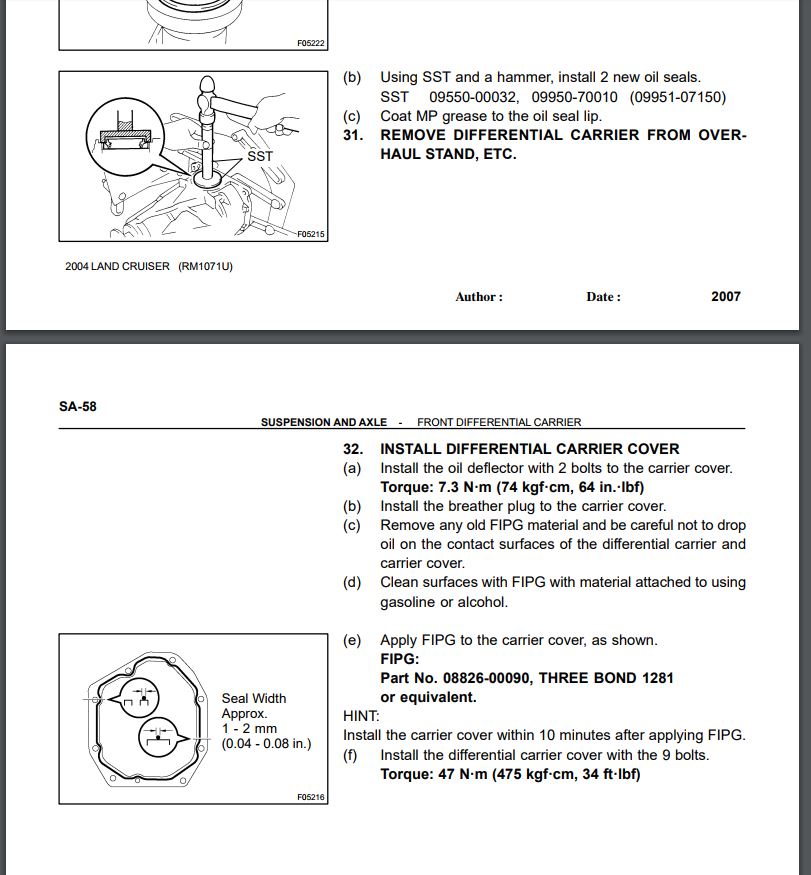
| ...apply the FIPG. |
|---|
|
|
| Tighten the 9 bolts to 34 ft/lb per the fsm. One of the 9 is a hidden bolt. |
|---|
|
|
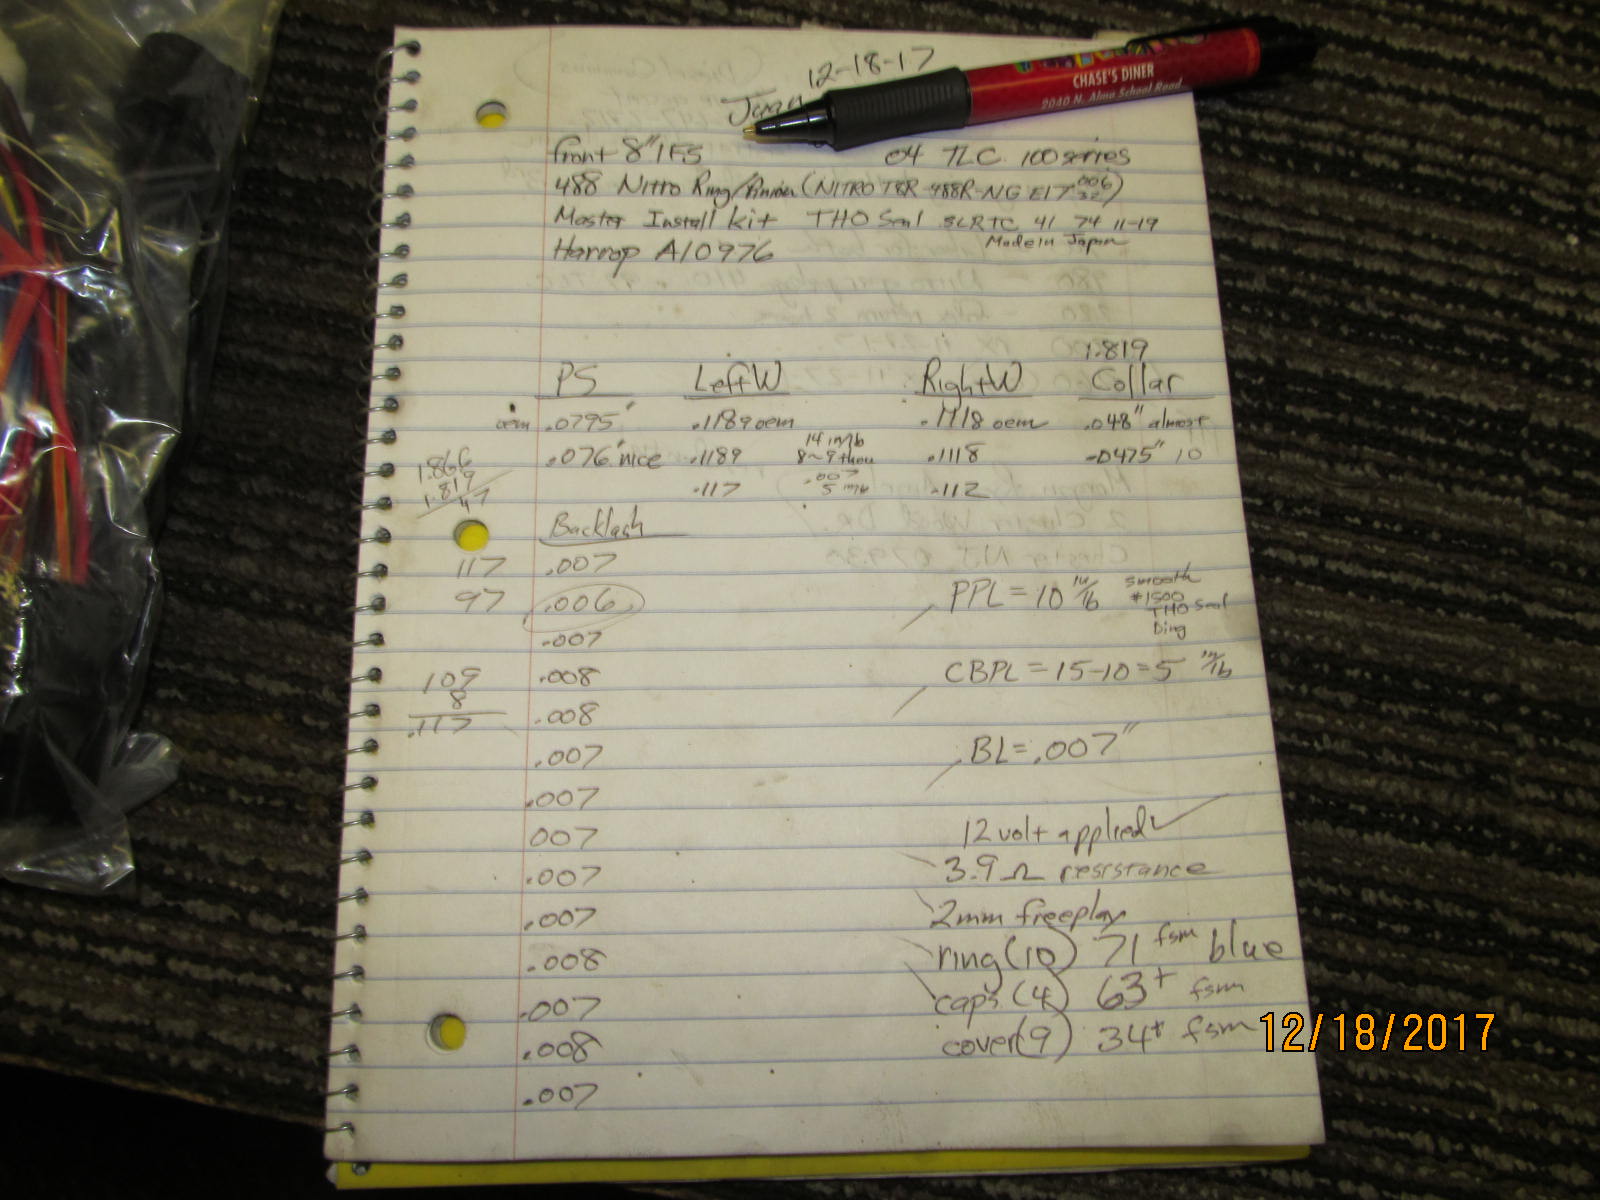
| My notes of the install of the 488 gears and the Harrop. |
|---|
|
|
| Ready for the trip back to Alabama. |
|---|
|
|
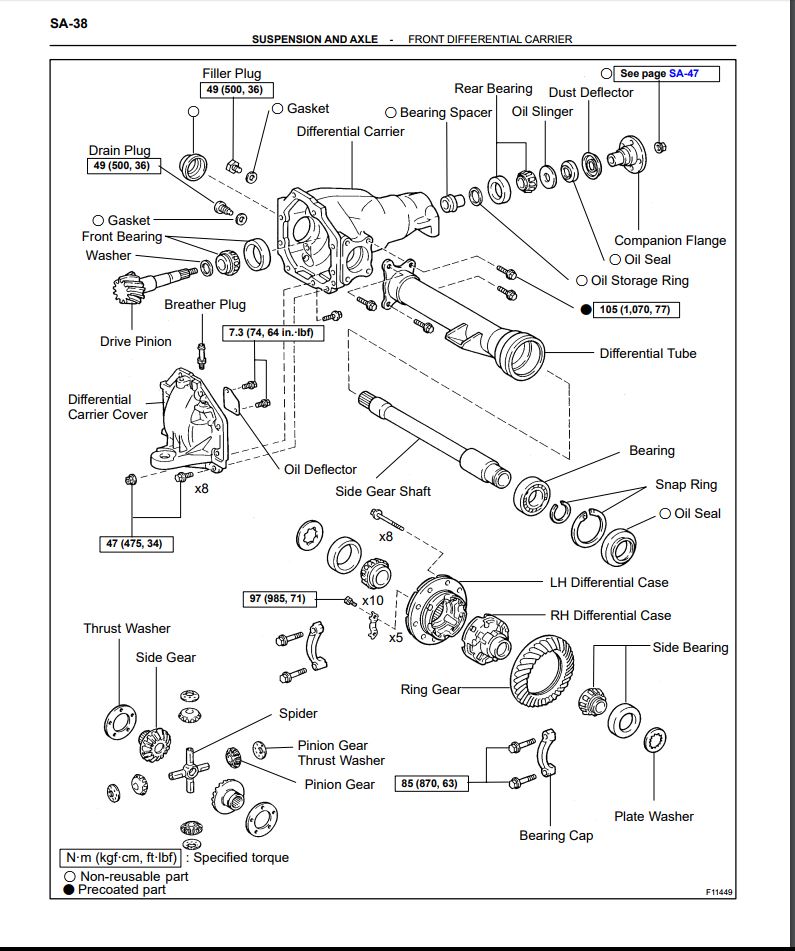
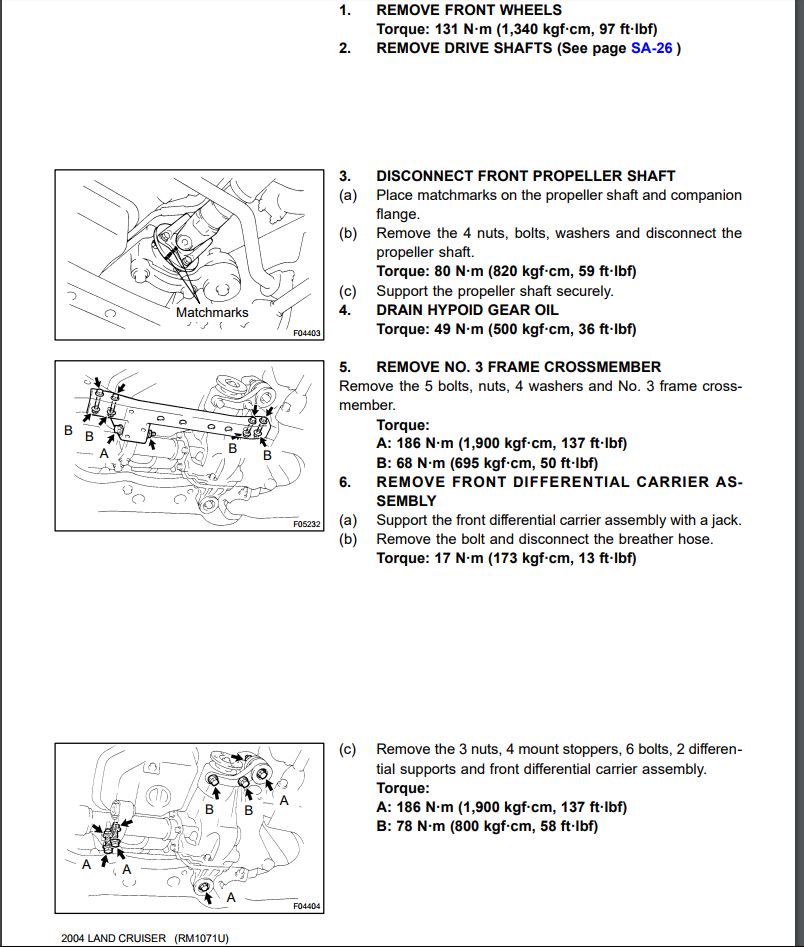
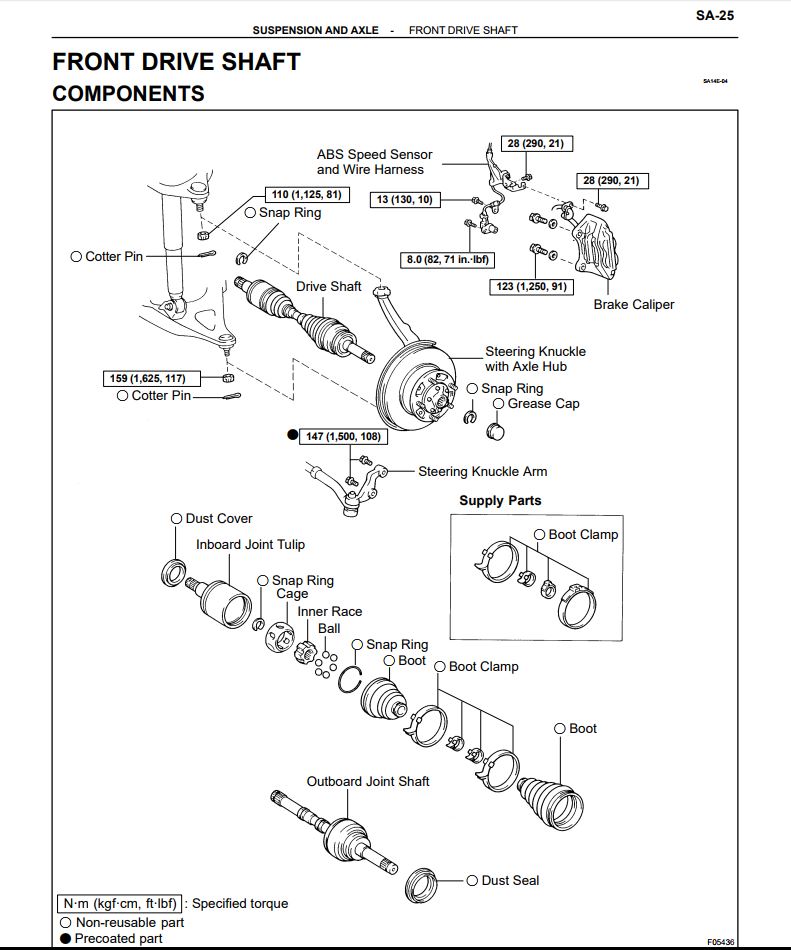
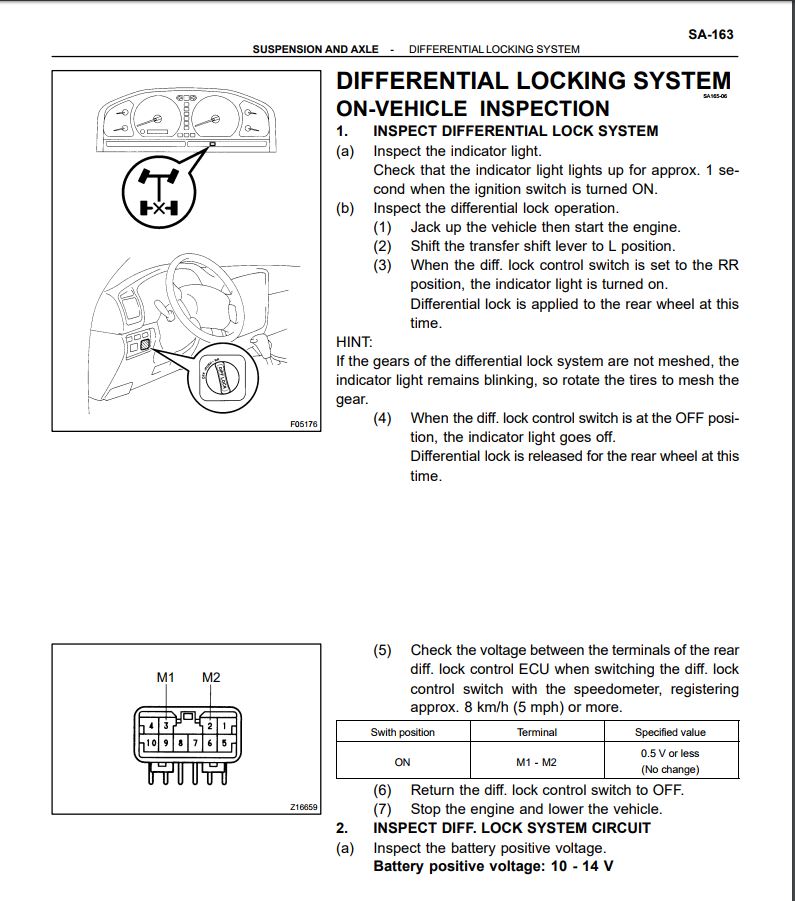
| Some fsm pages of the 8" IFS that I would like to share. |
|---|
|
|
| |
|---|
|
|
| |
|---|
|
|
| |
|---|
|
|
| |
|---|
|
|

|