| Justin's 2008 200 series Landcruiser 9.5" rear 3rd gets Nitro 488 gears |
|---|
| (39 BIG pics loading) |
|---|
| October 9 2017 |
|---|
|
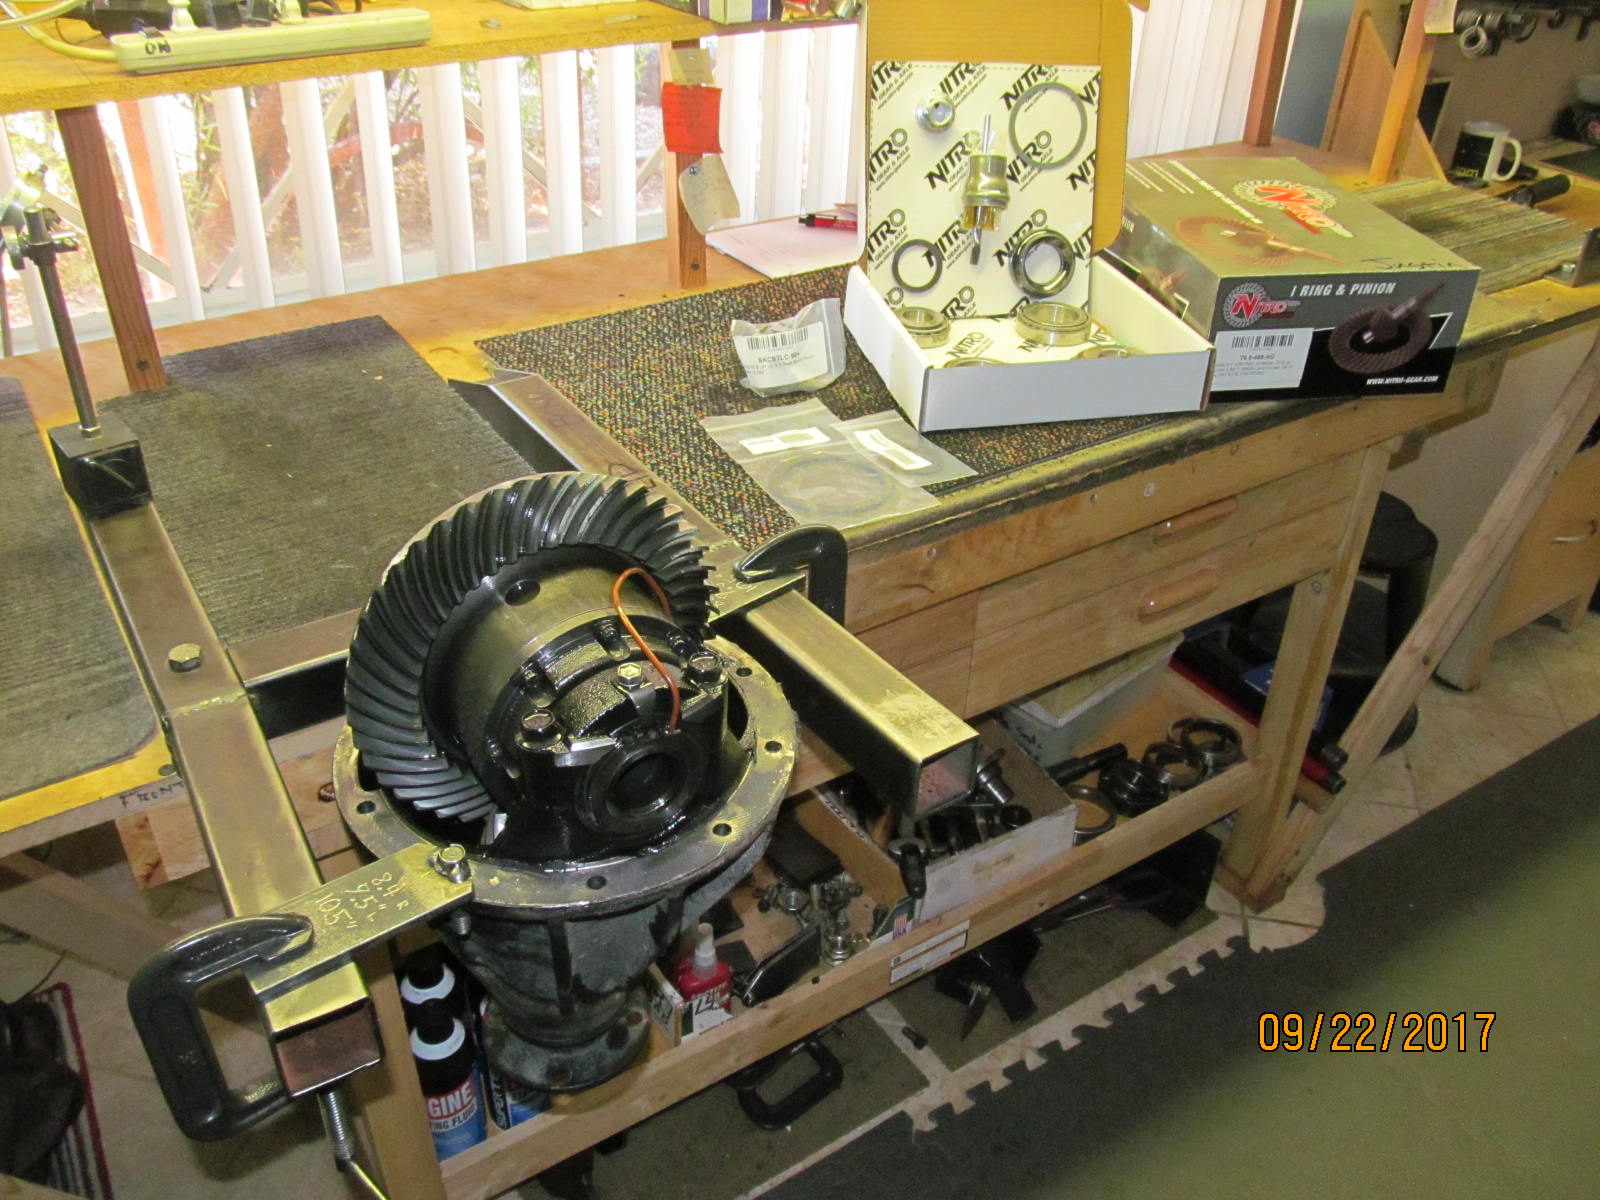
This page is for the REAR install of the 488 Nitro Gears/Nitro master kit and seals for the aging ARB RD64.
Justin does not have the facilities to actually remove the 3rds so worked it out with Camelback Toyota
in Phoenix to put it on one of their lifts and have the 3rds delivered to me.
They have the inhouse capabilities to do the gear install I am told.
Eric Murphy is the contact. |
|---|
|
|
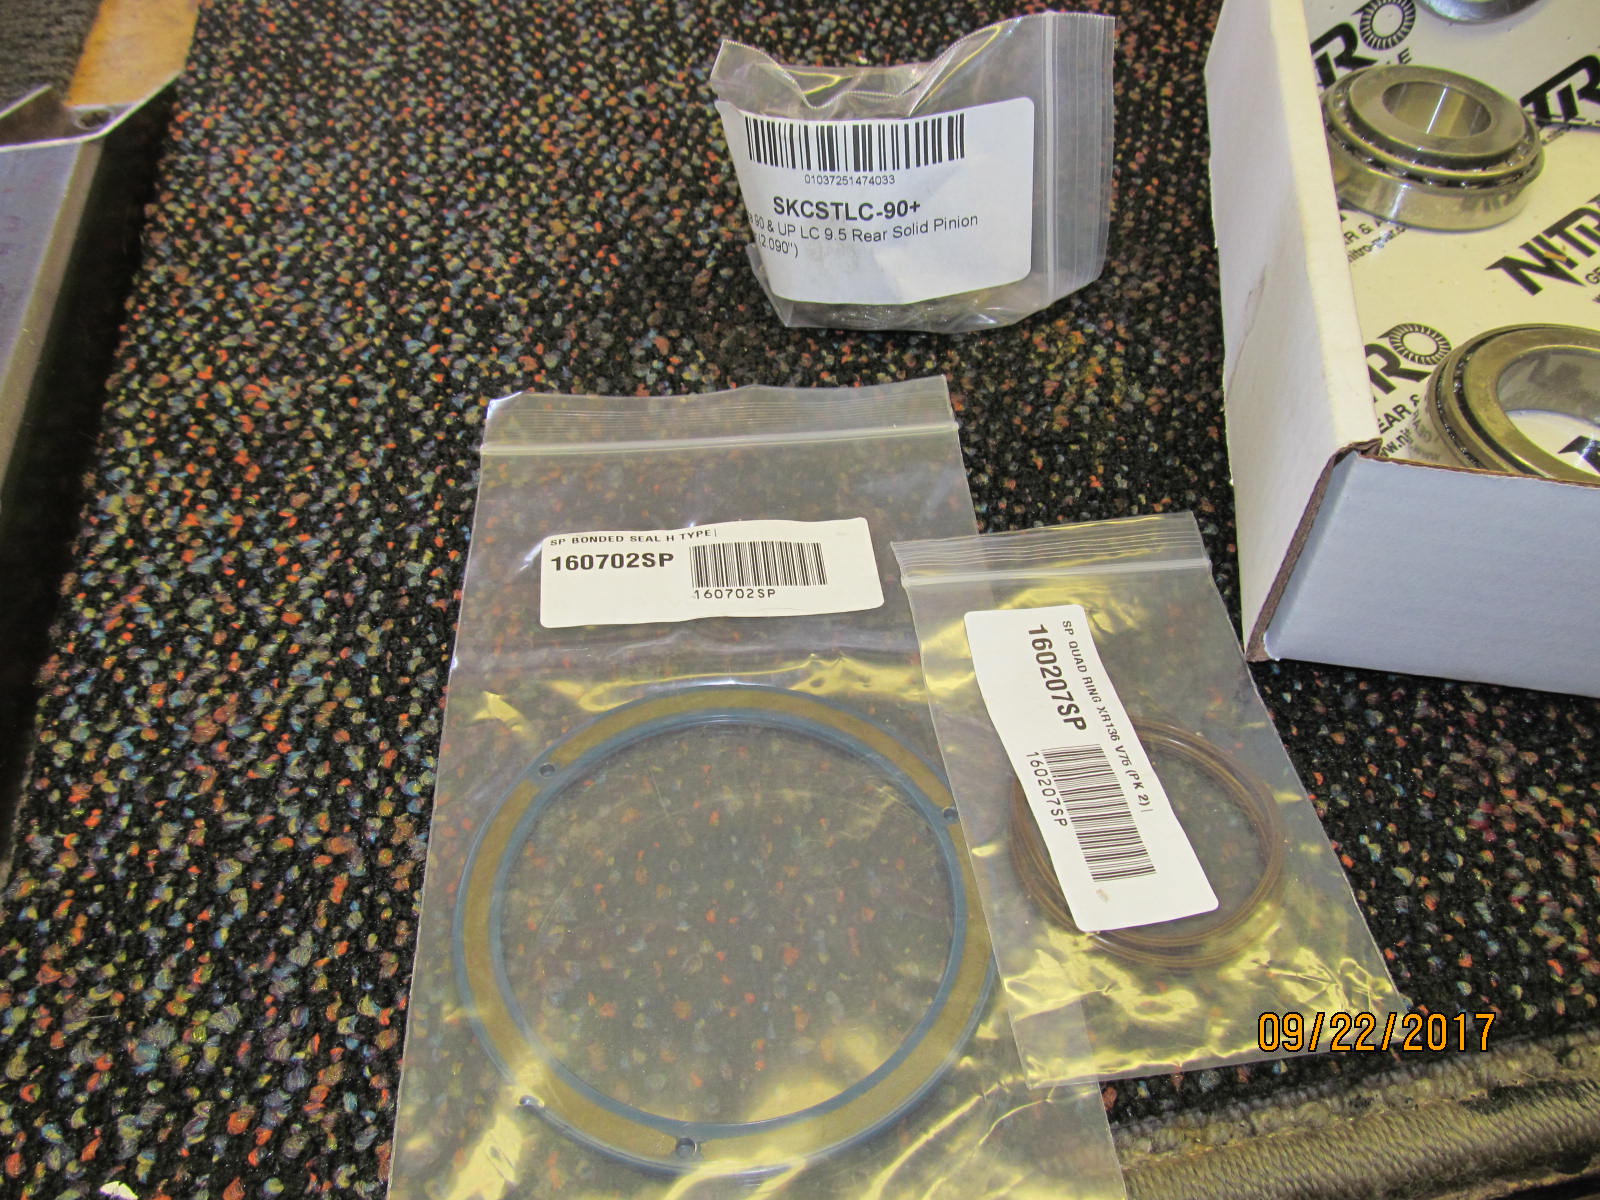
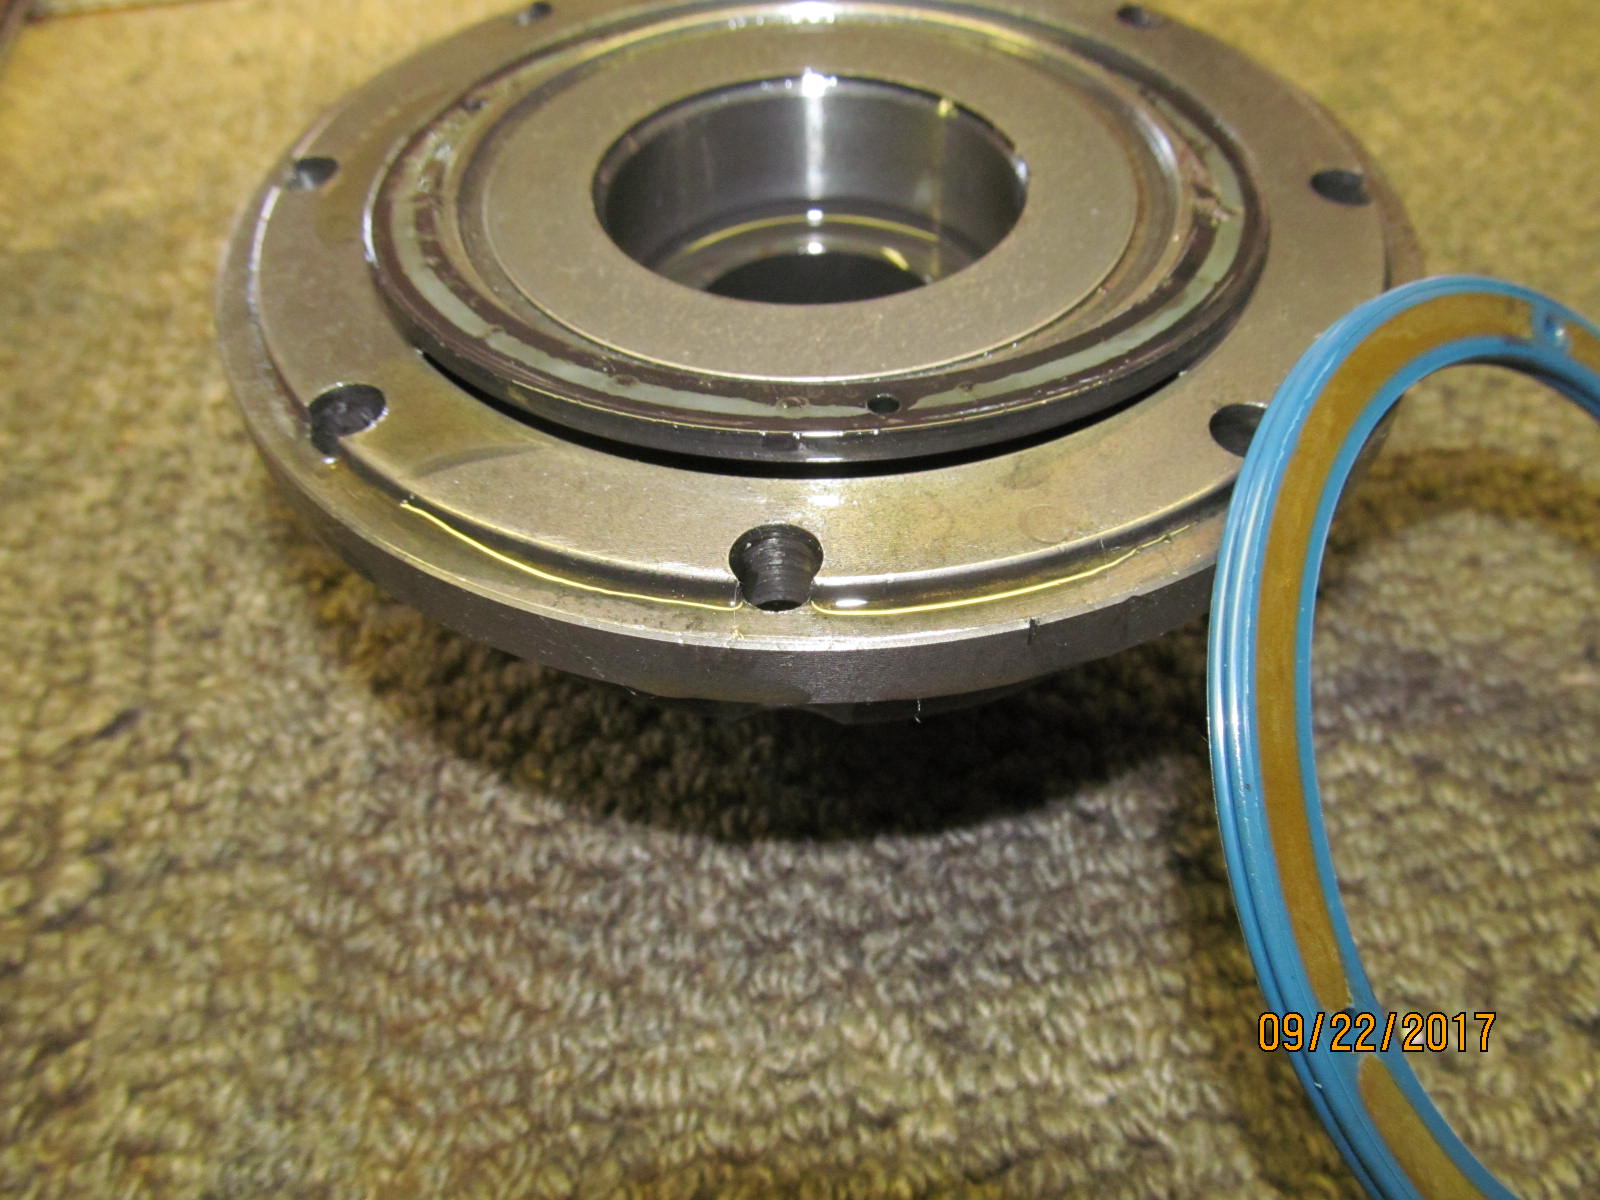
| Shown is the new bonded seal with the 2 x-ring seals and the master install kit with the solid collar. |
|---|
|
|
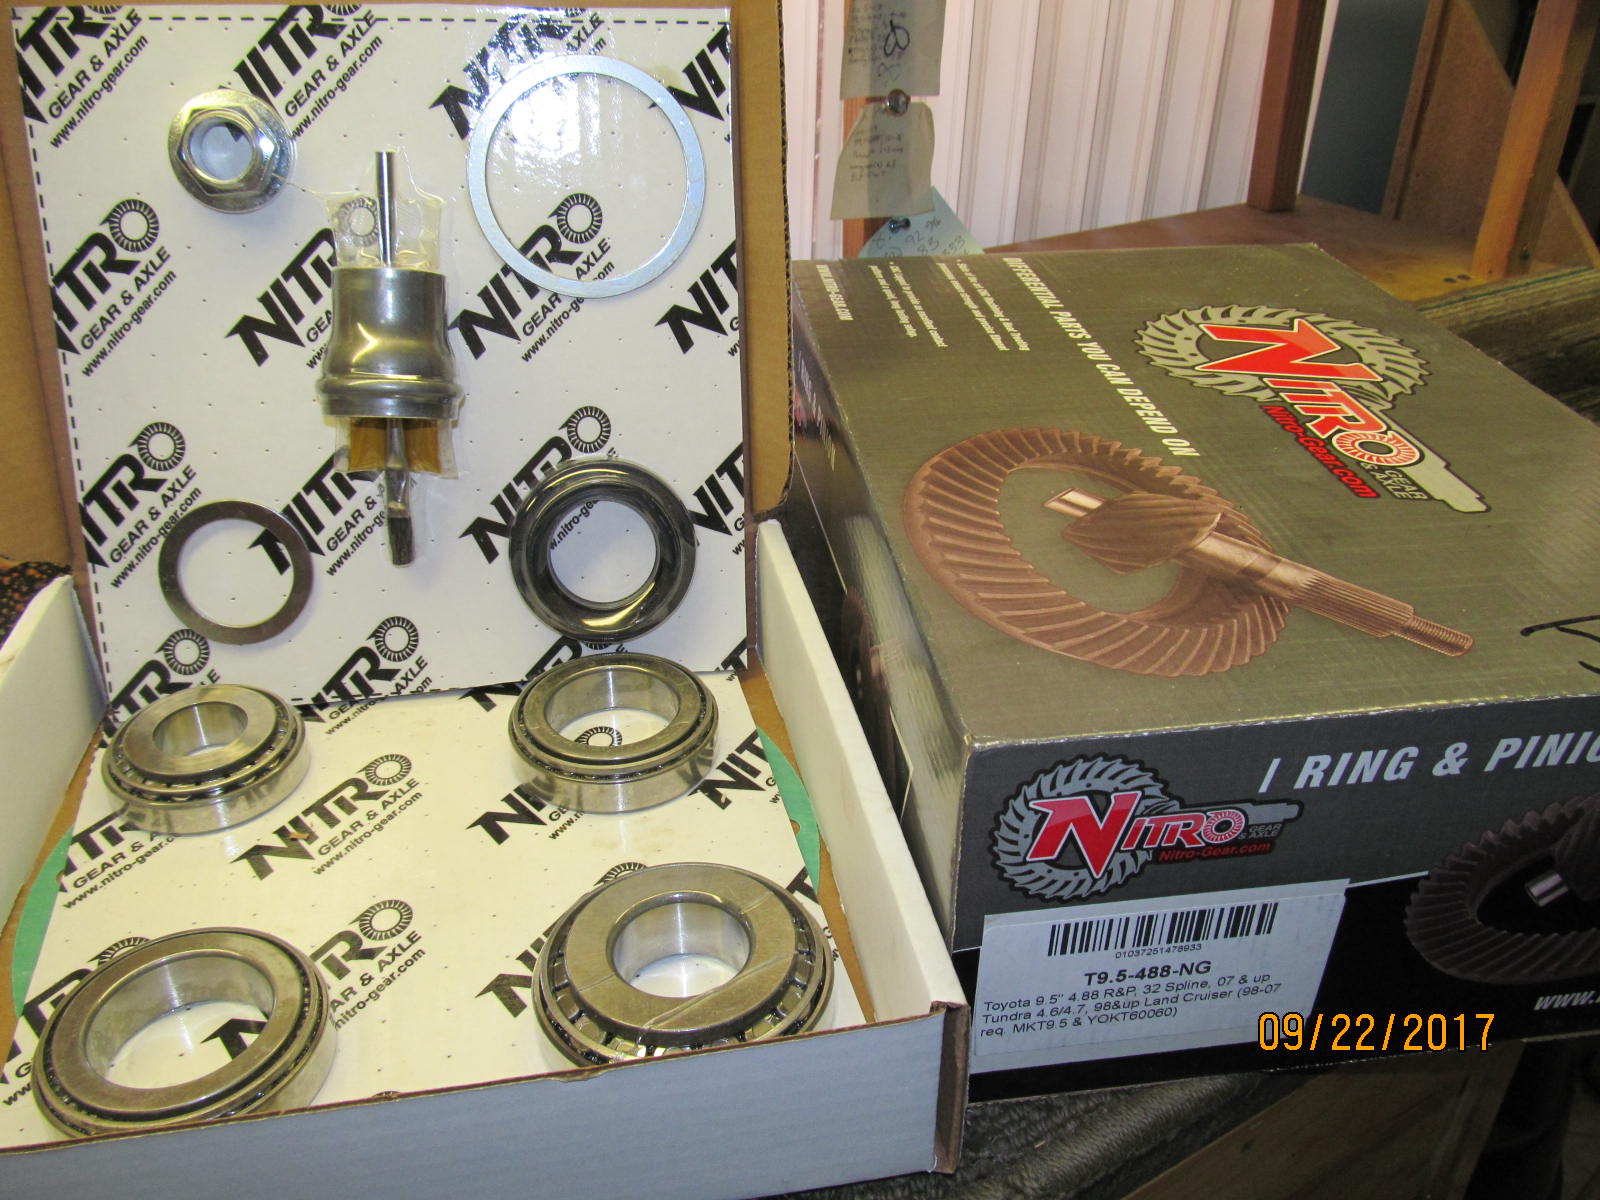
| The master kit and the Nitro 488. |
|---|
|

|
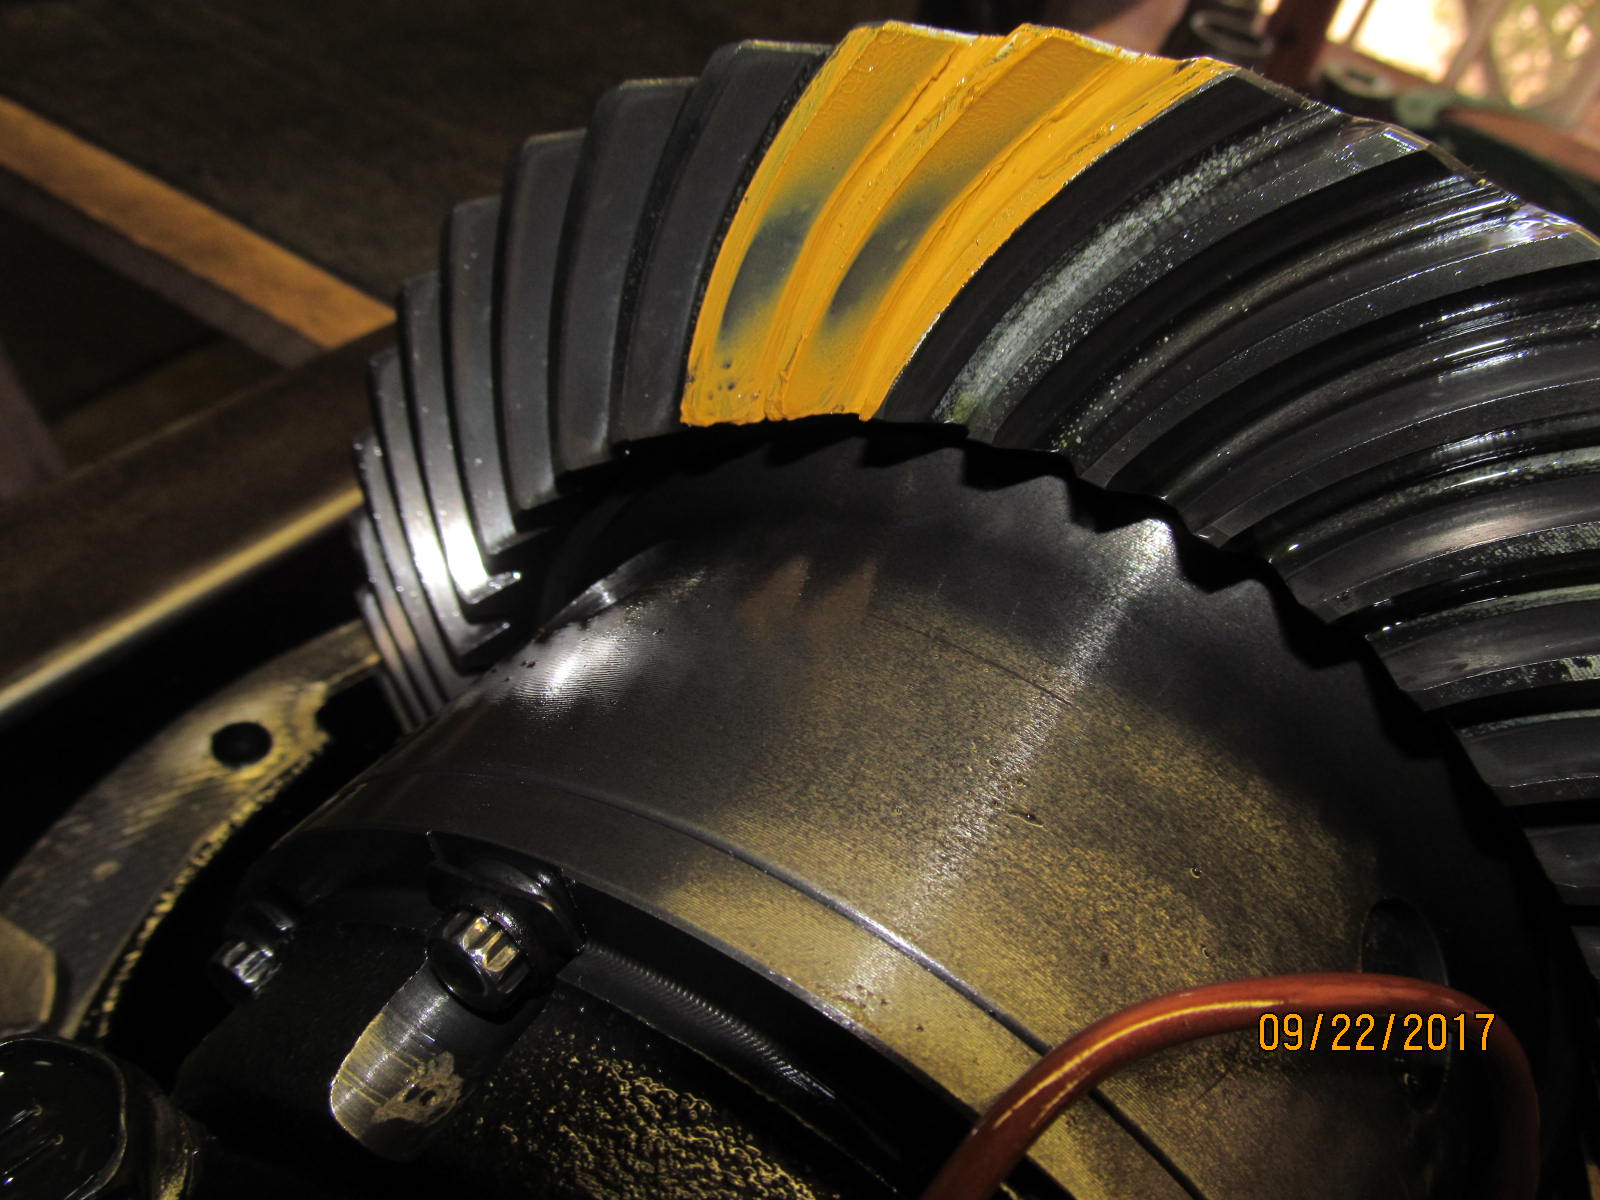
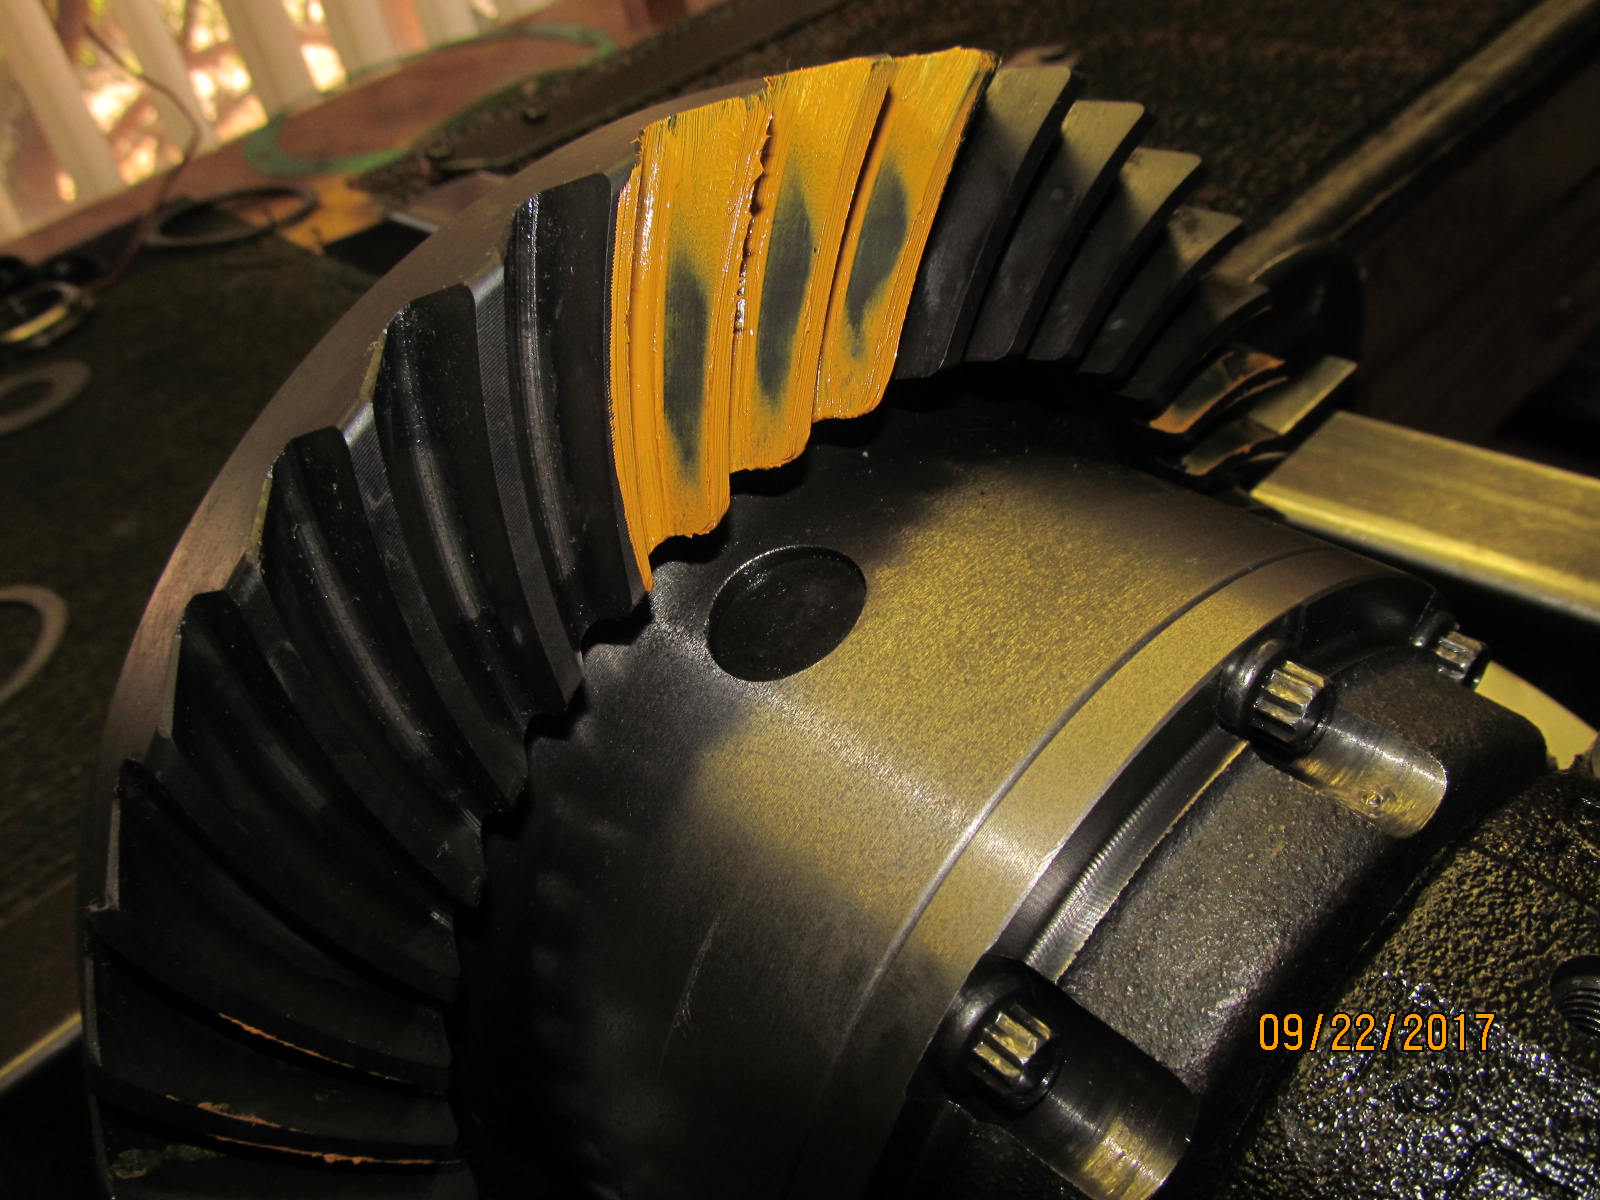
| Didn't have to but curiosity got the better of me and ran a paint test of the factory 390 gears. This is the drive side. |
|---|
|
|
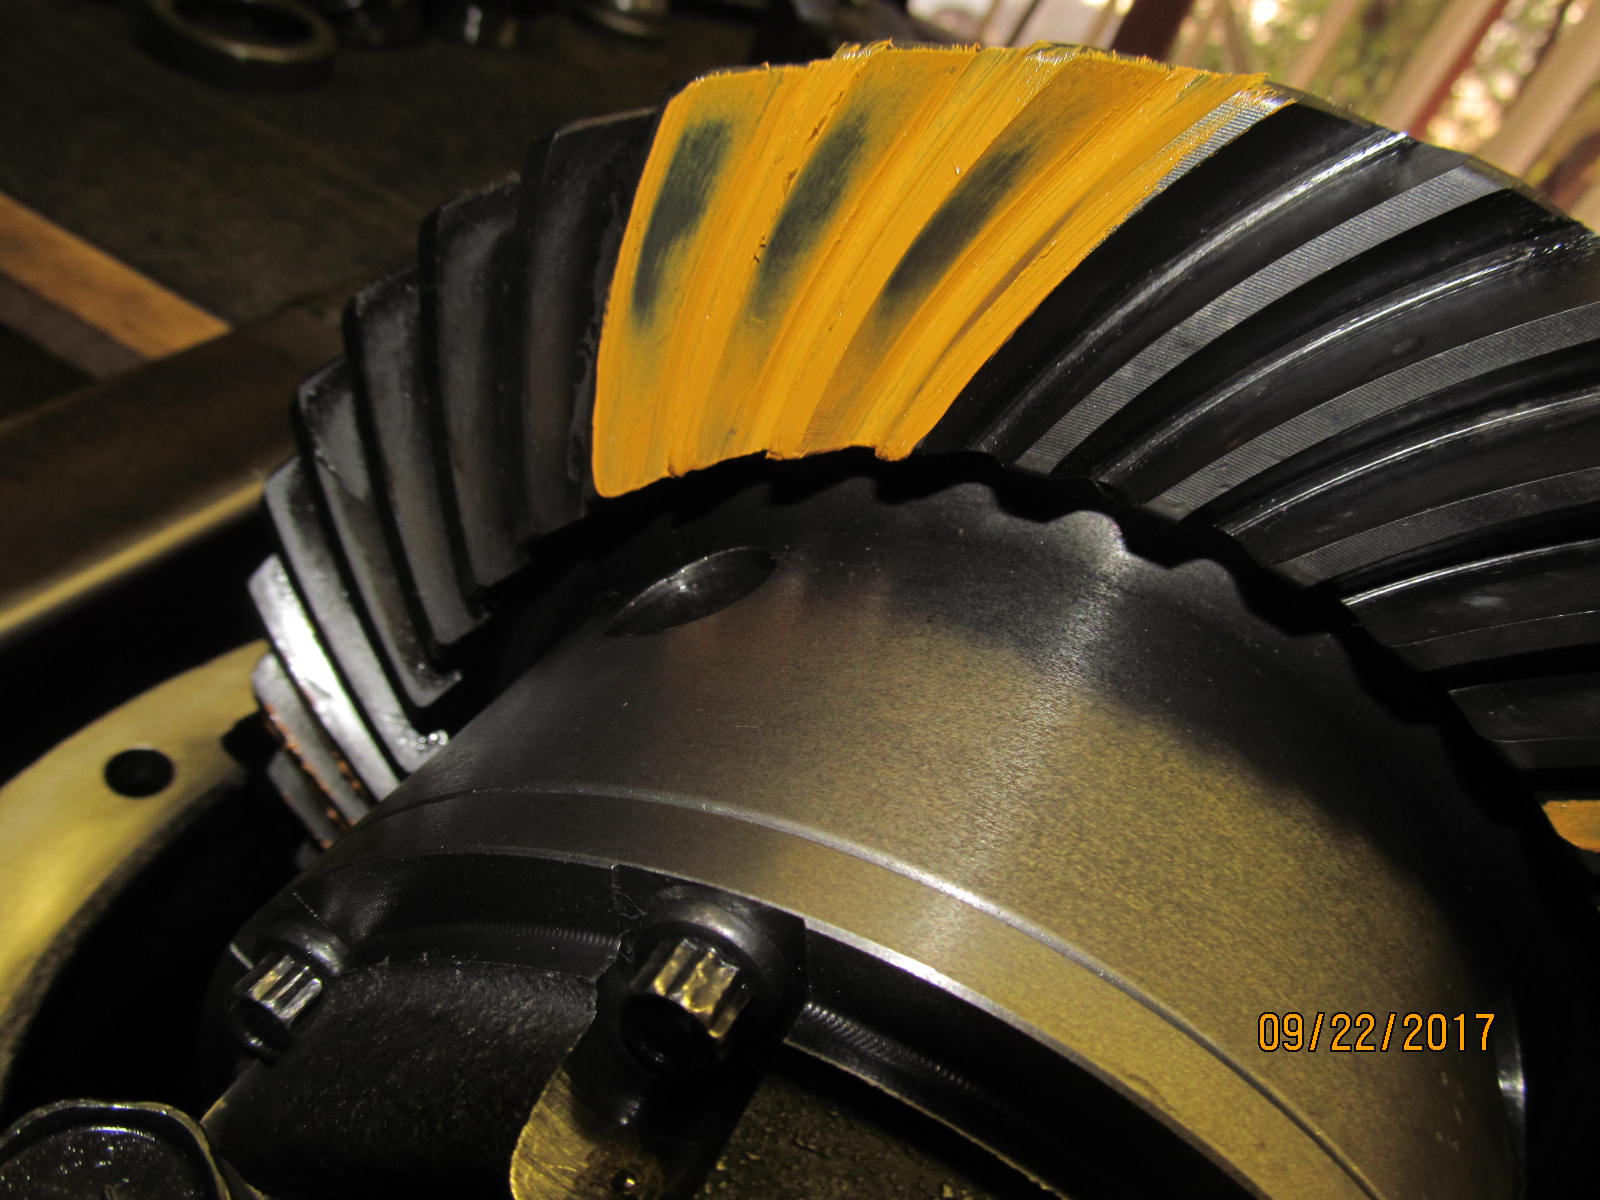
| Coast side. |
|---|
|
|
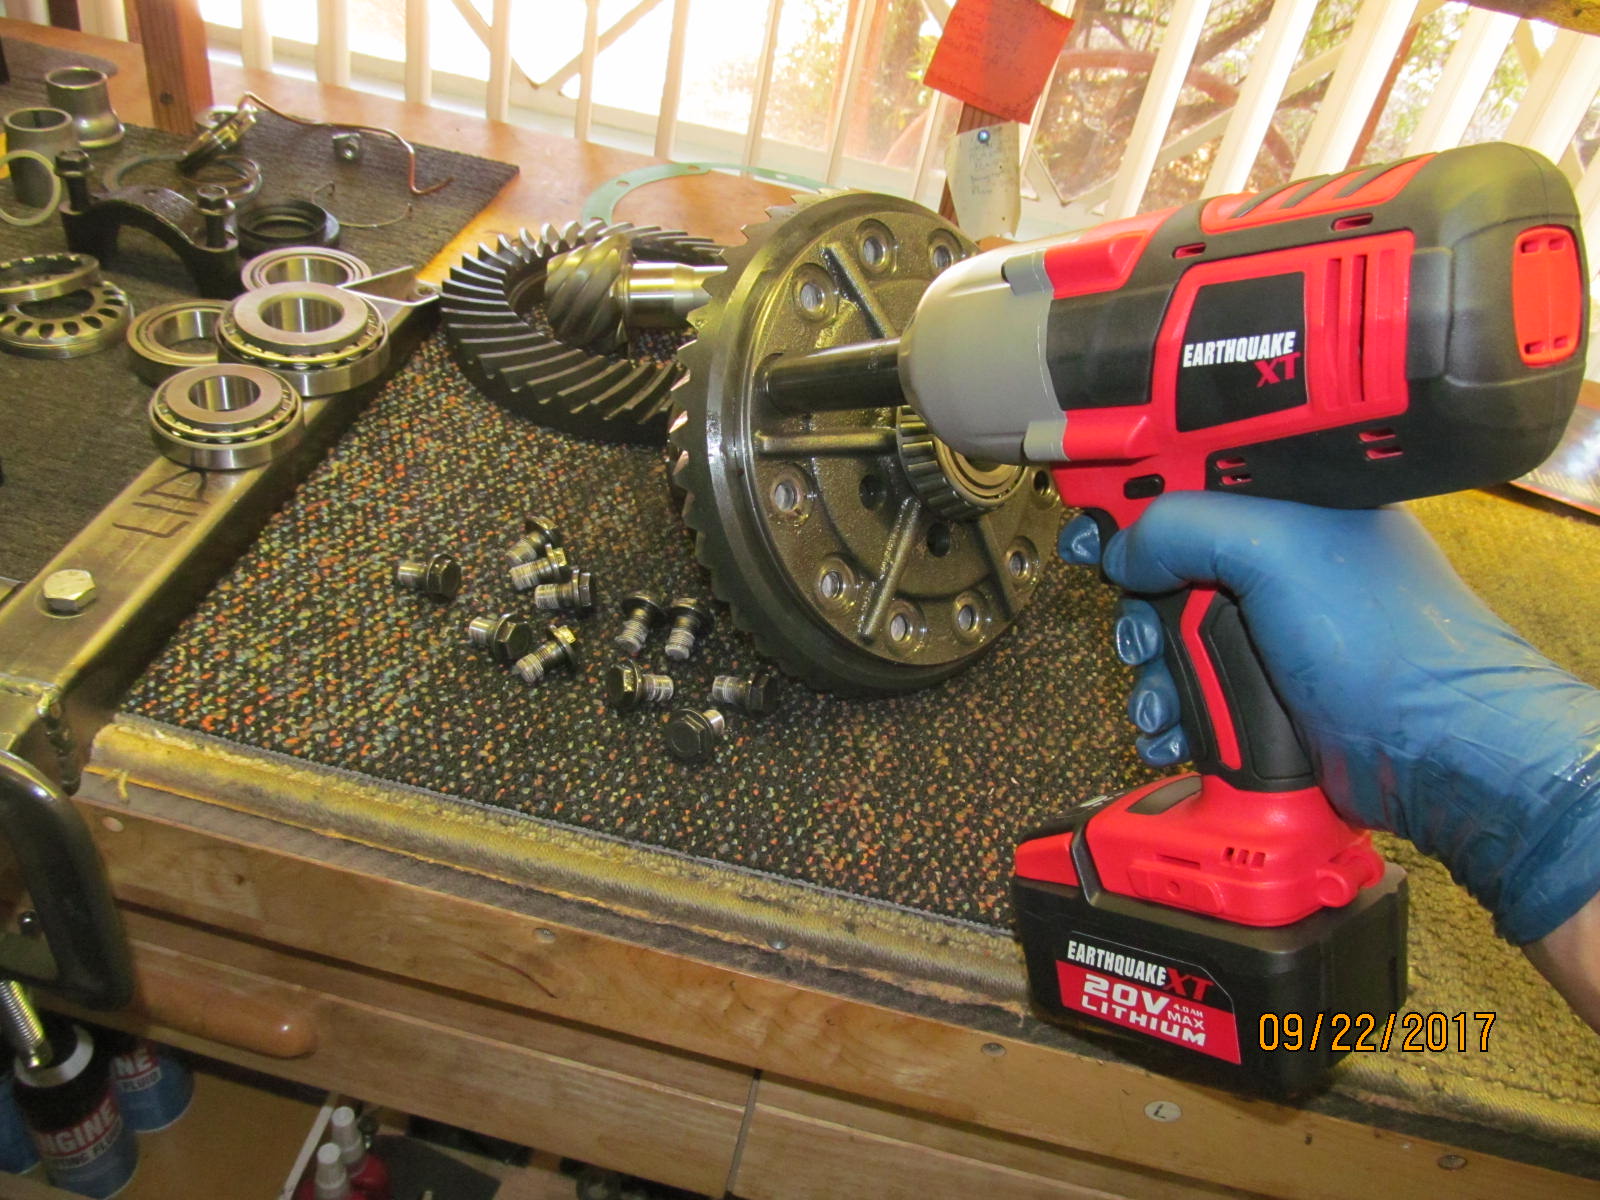
The cordless EarthQuake XT was amazing....took these 12 ring gear bolts off in no time at all.
These can be very troublesome bolts with the factory Loctite and the very low profile "bite surface".
Claims to have an amazing 1200 ft/lb of "bolt breakaway" torque. |
|---|
|
|
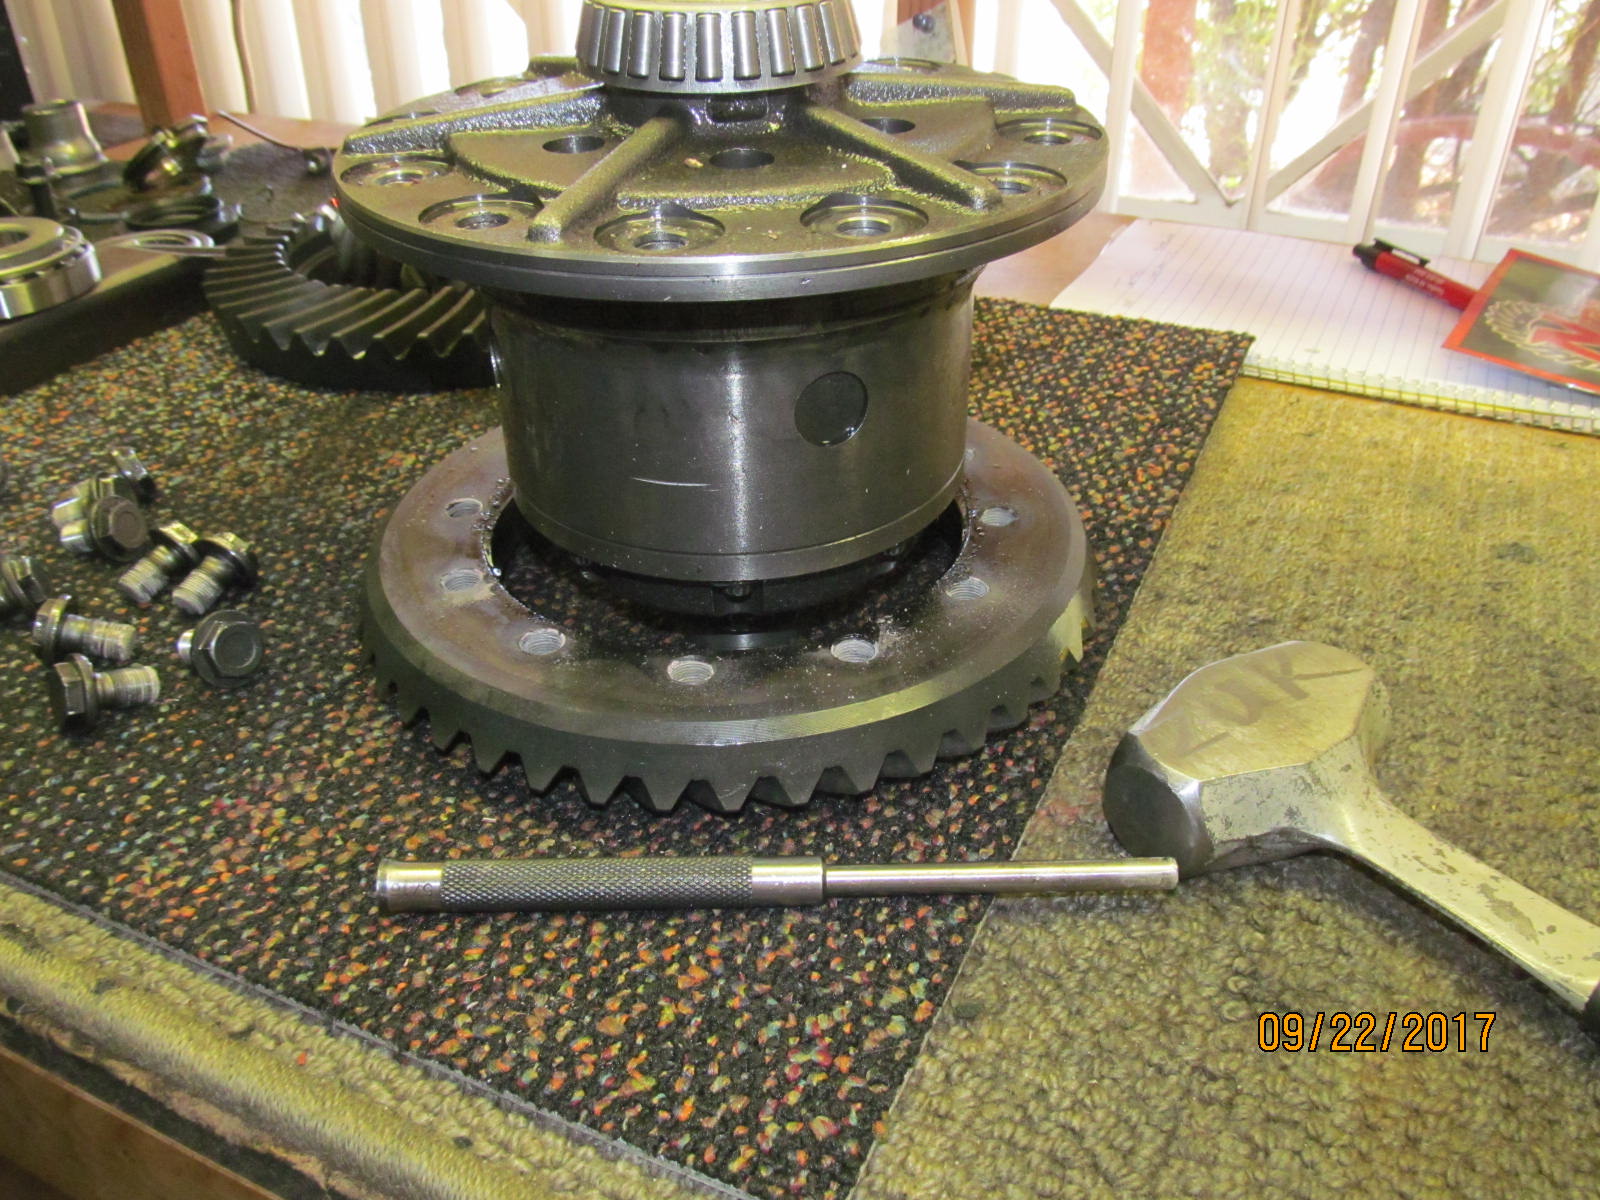
| Tap tap and the old 390 ring fell off. The lid can be lifted for a looksie. |
|---|
|
|
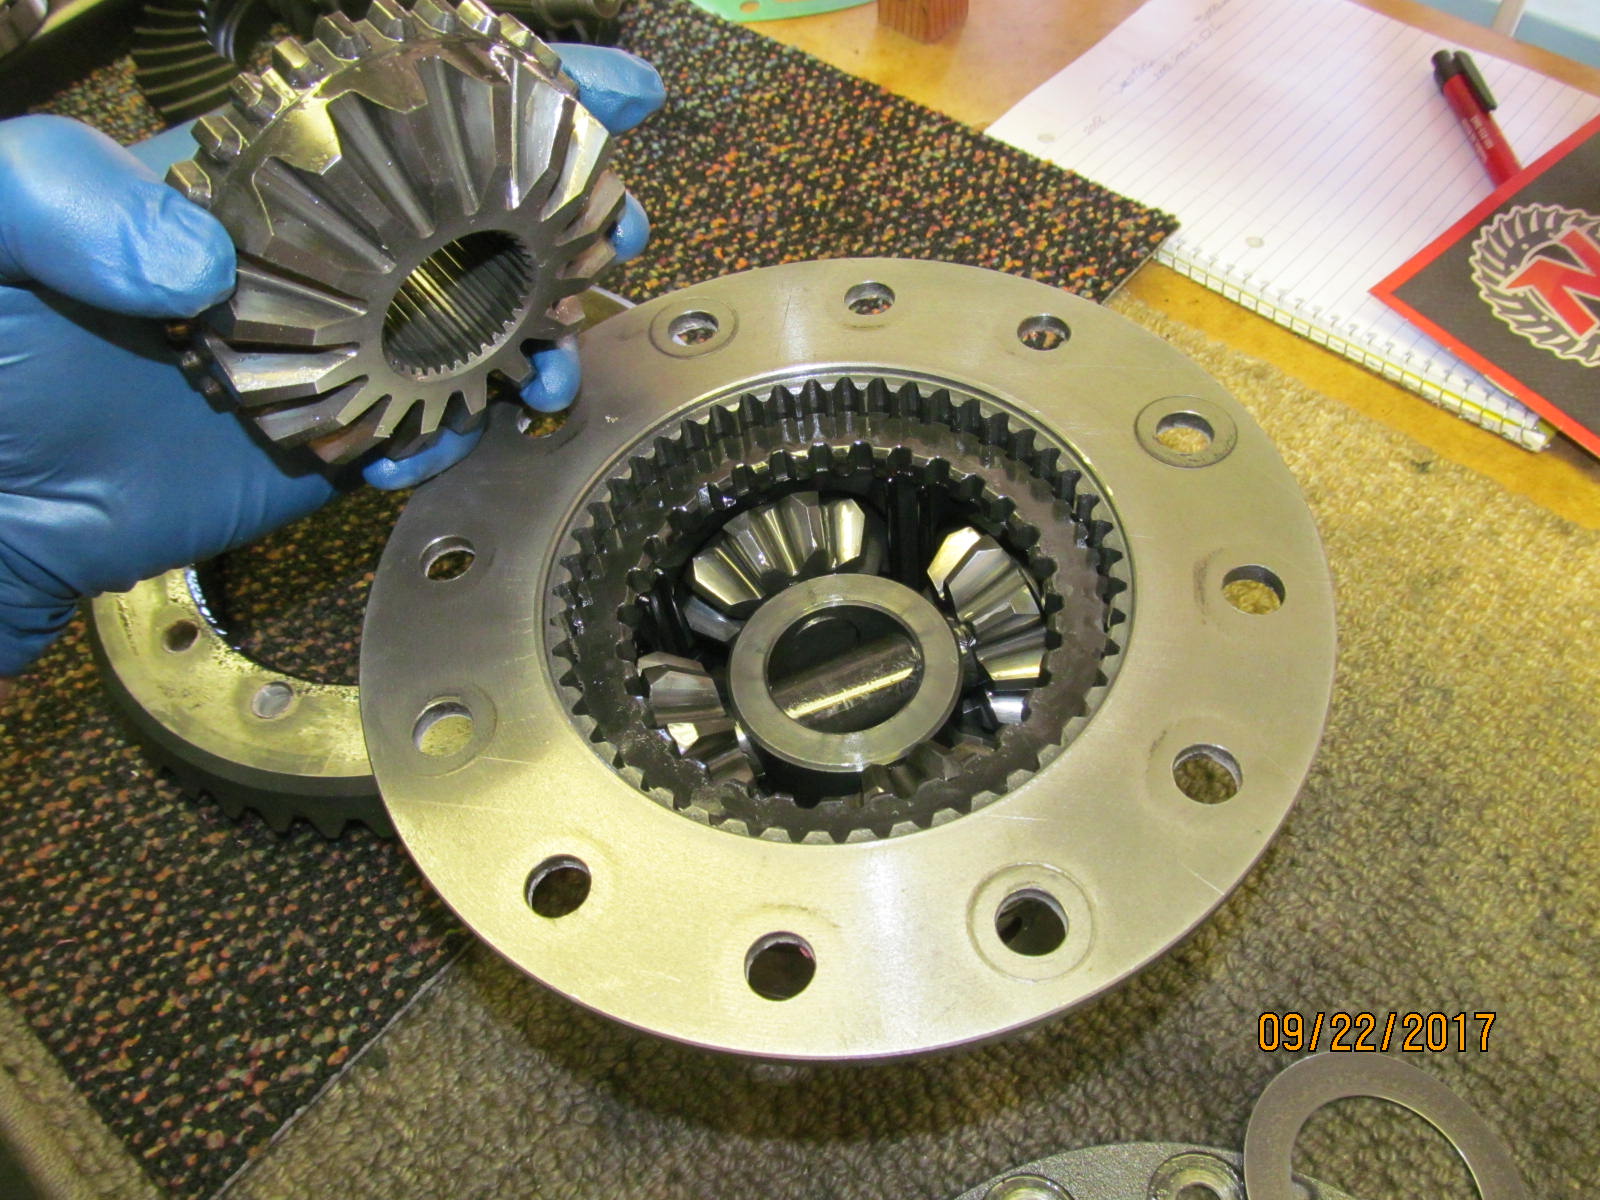
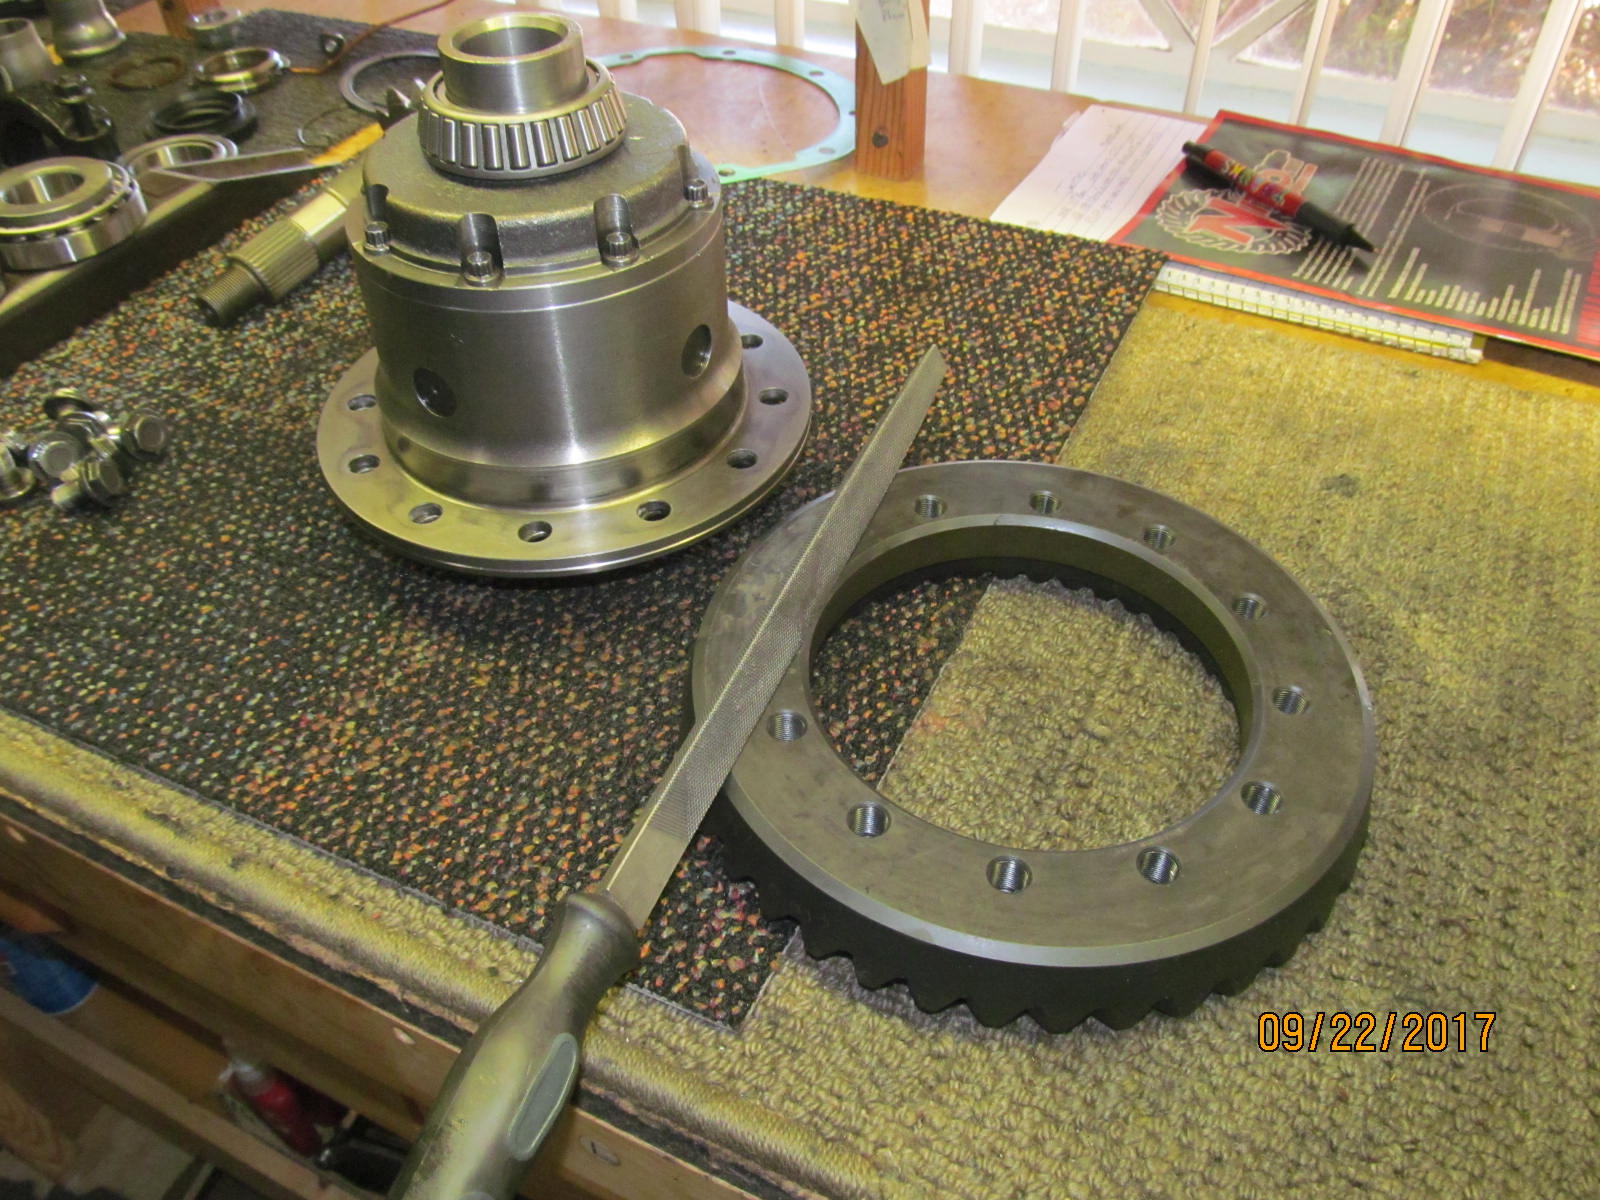
| Quality cut ARB side and spider gears. I just had to look. |
|---|
|
|
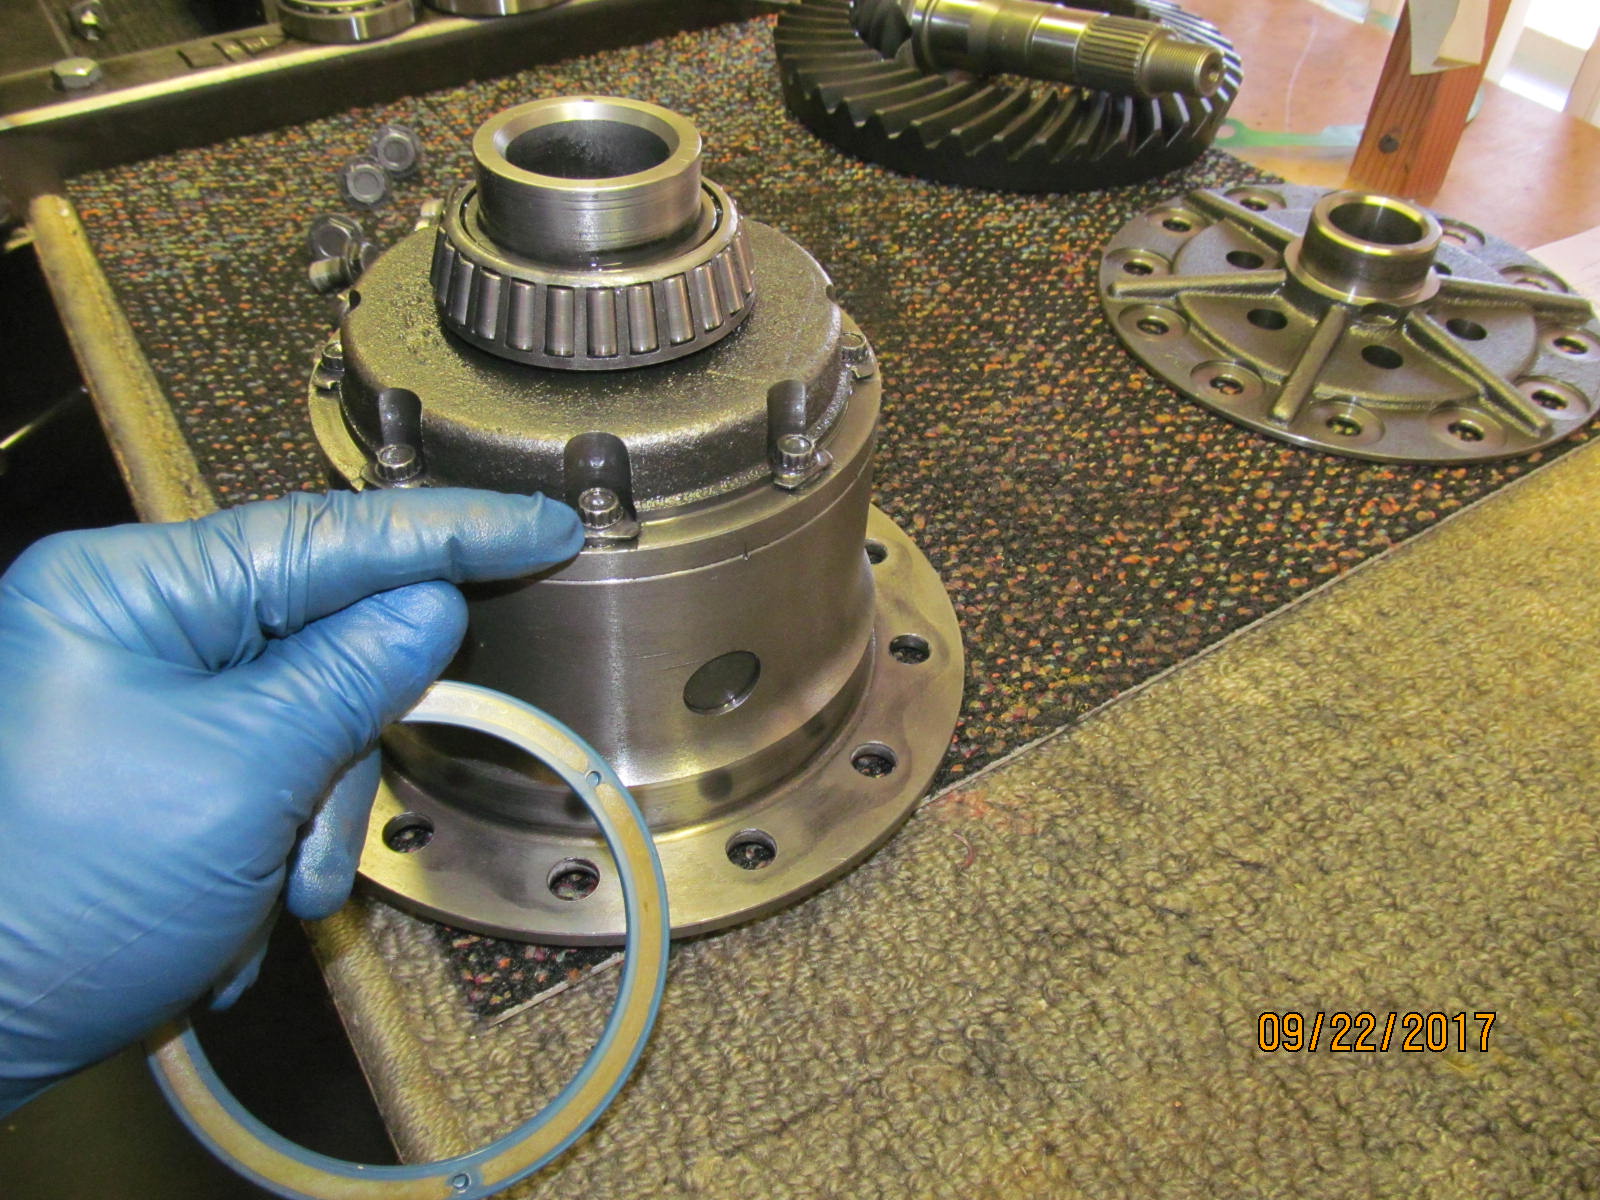
| The old carrier bearings can come off and the new ones will go on. |
|---|
|
|
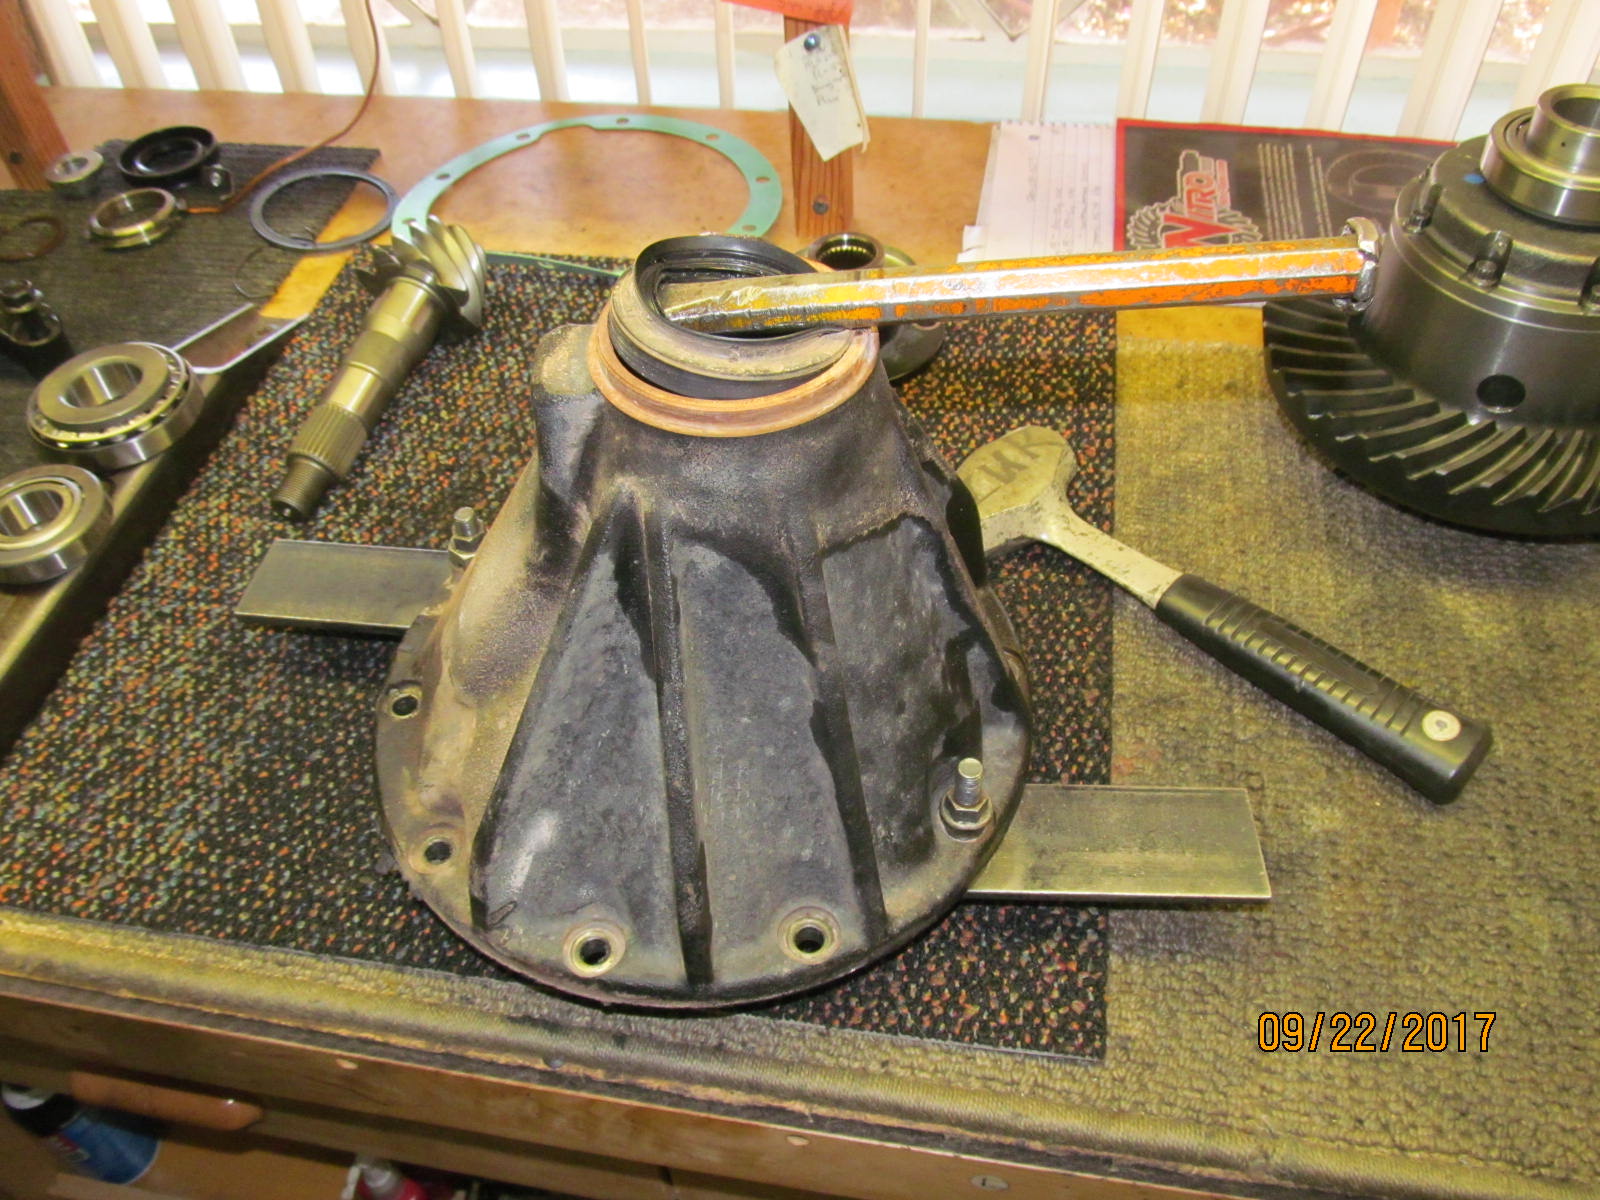
| To put the new bonded seal in this cap has to come off. |
|---|
|
|
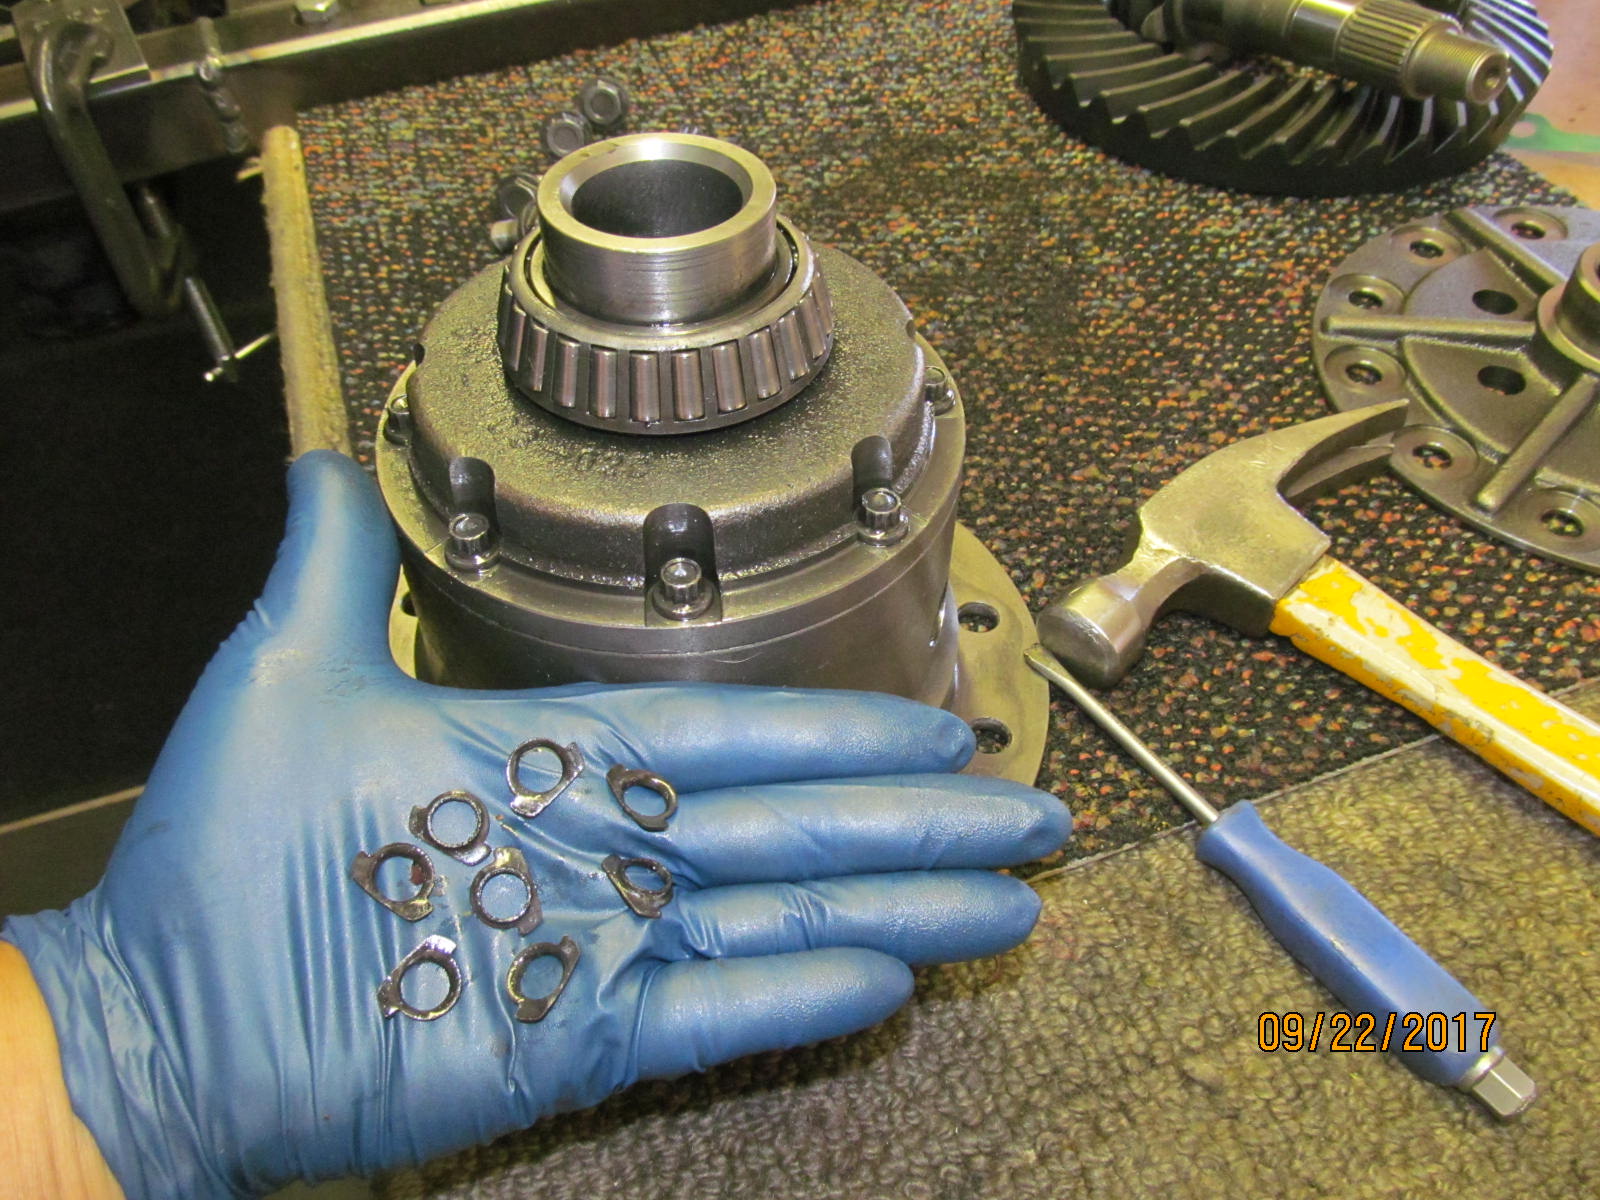
| These lock tabs go in the garbage. |
|---|
|
|
| Cap is coming off. |
|---|
|
|
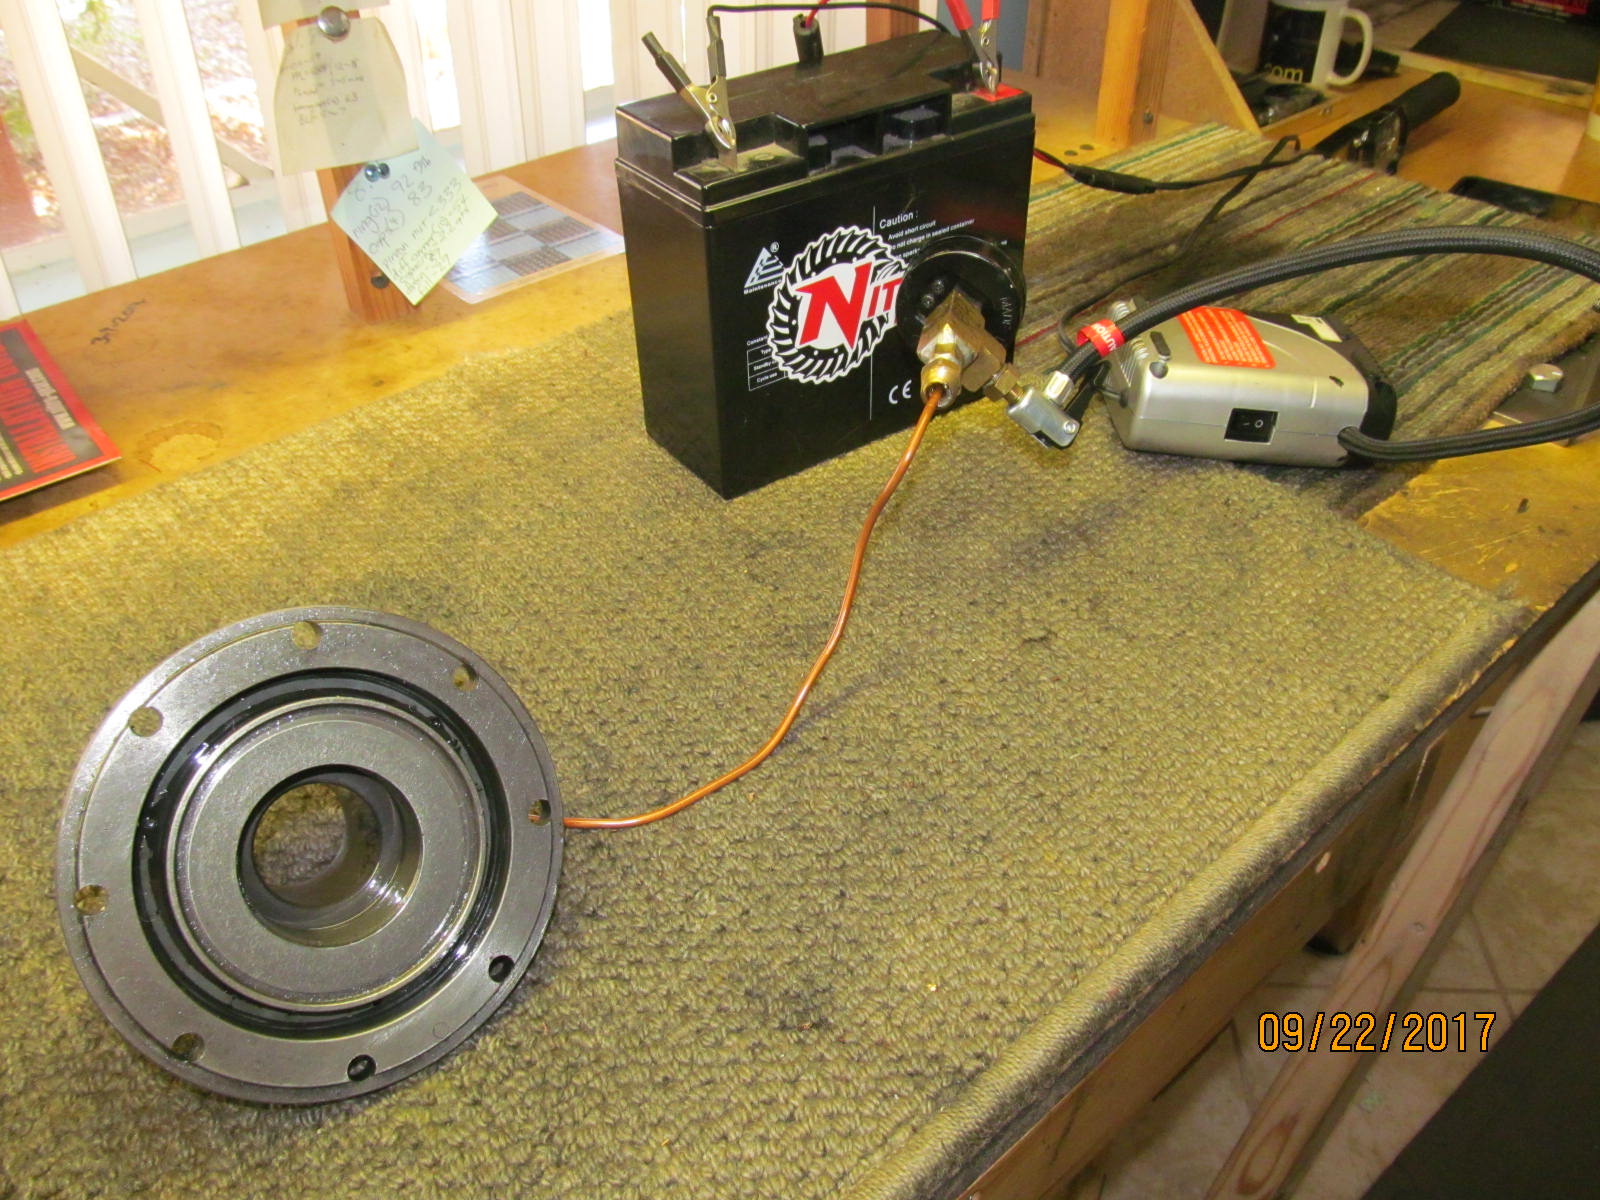
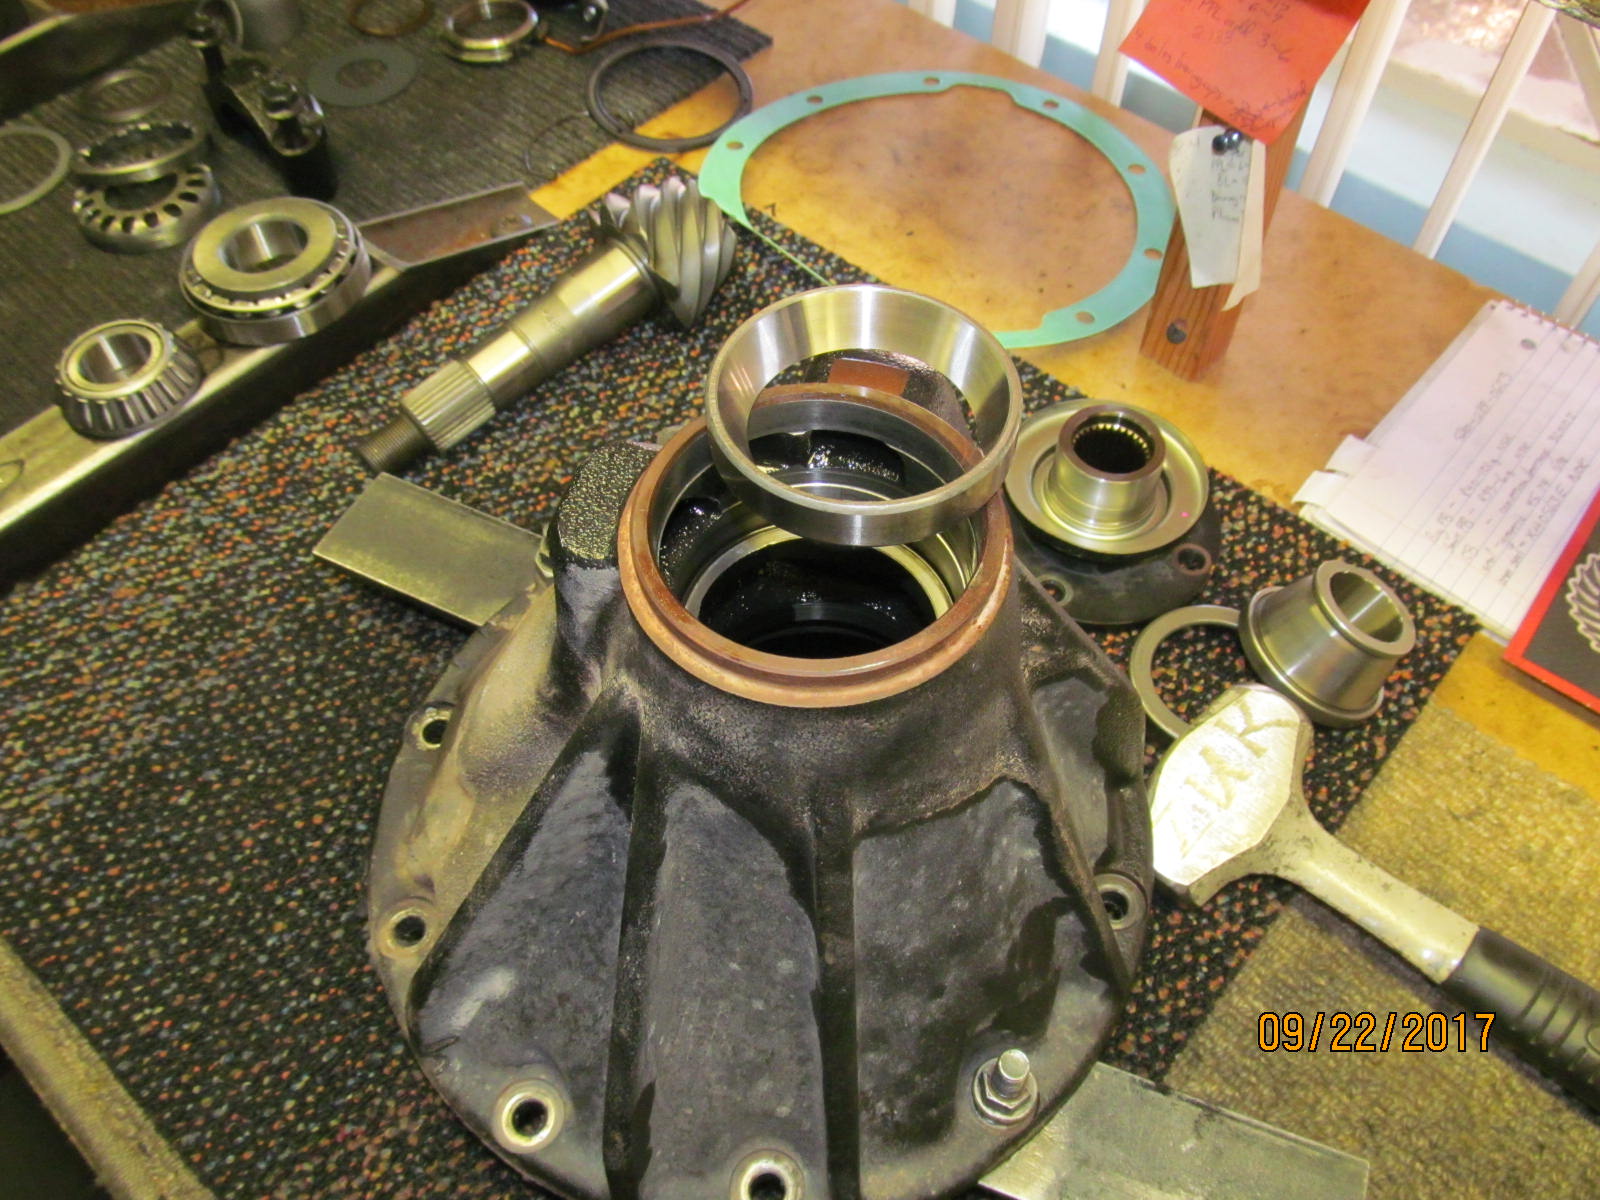
| The chamber is pressurized .............. |
|---|
|
|
| .......and the old seal pops out. |
|---|
|
|
| The old bearing was cut off and the new one pressed on. |
|---|
|
|
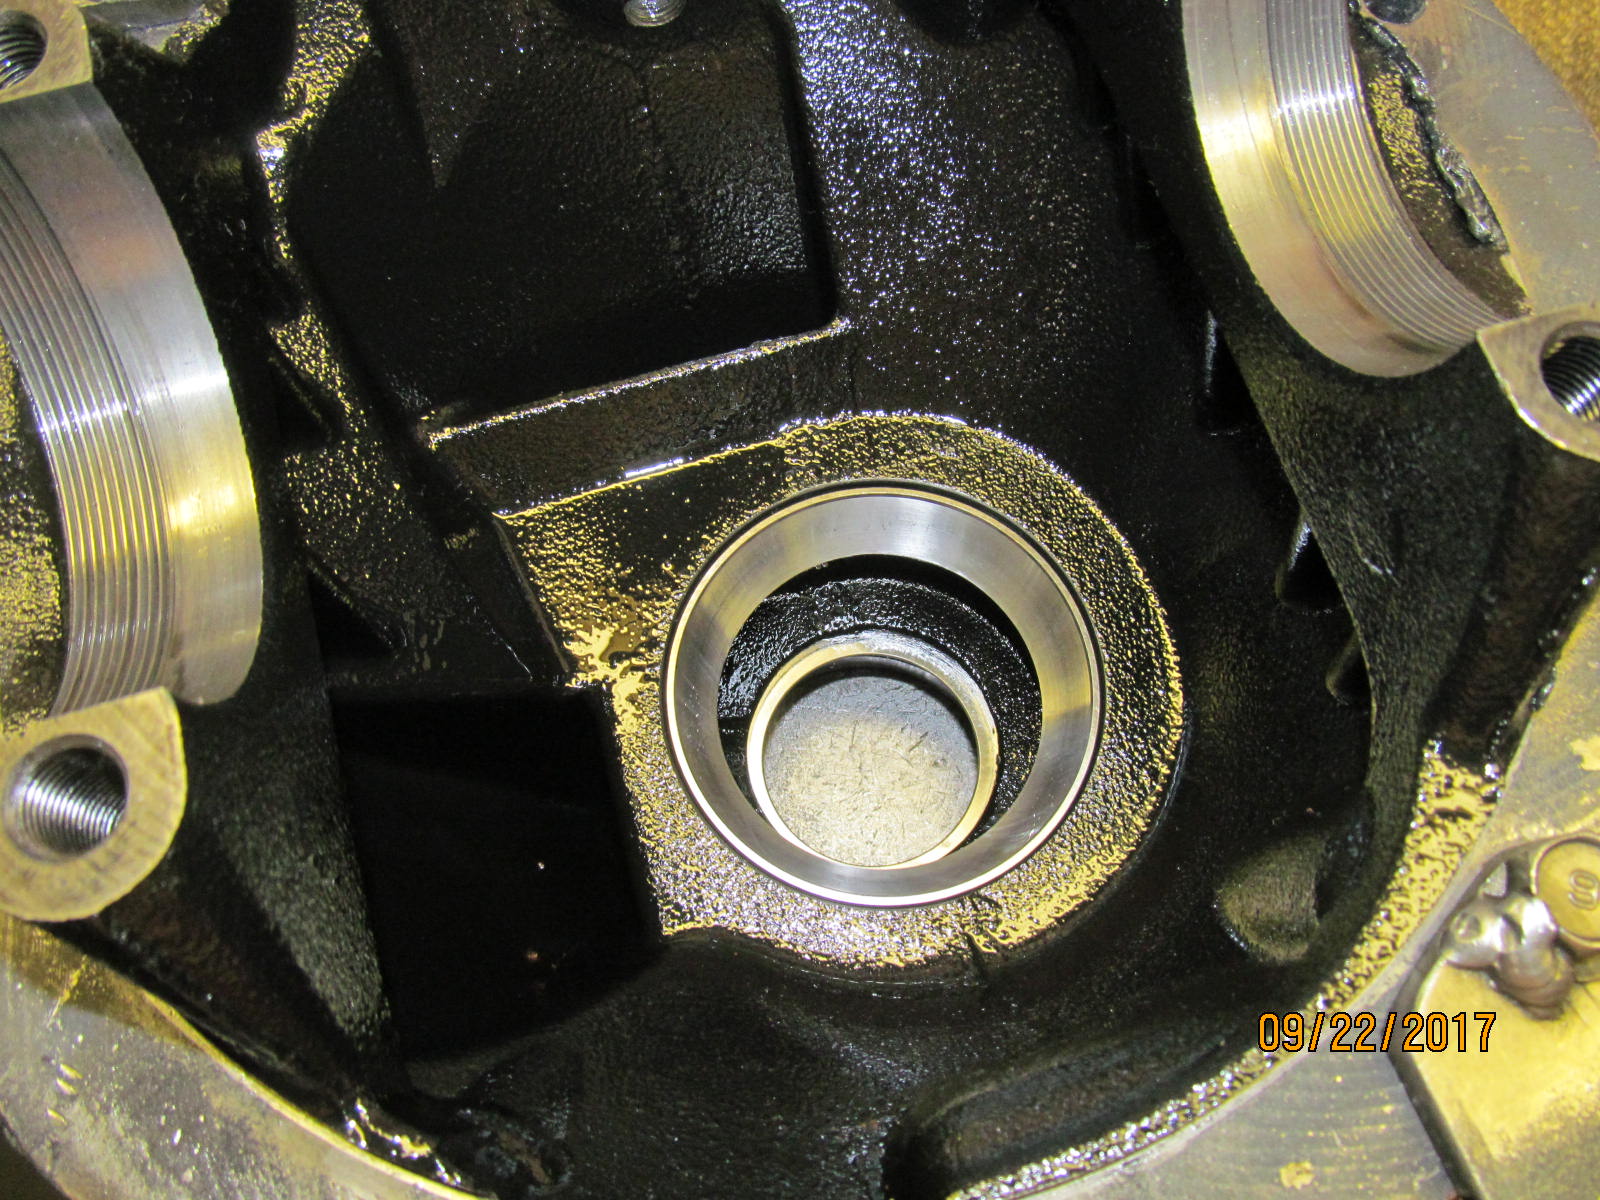
| Both surfaces were checked for high spots and burrs and all looked great. Never had a problem with a Nitro. |
|---|
|
|
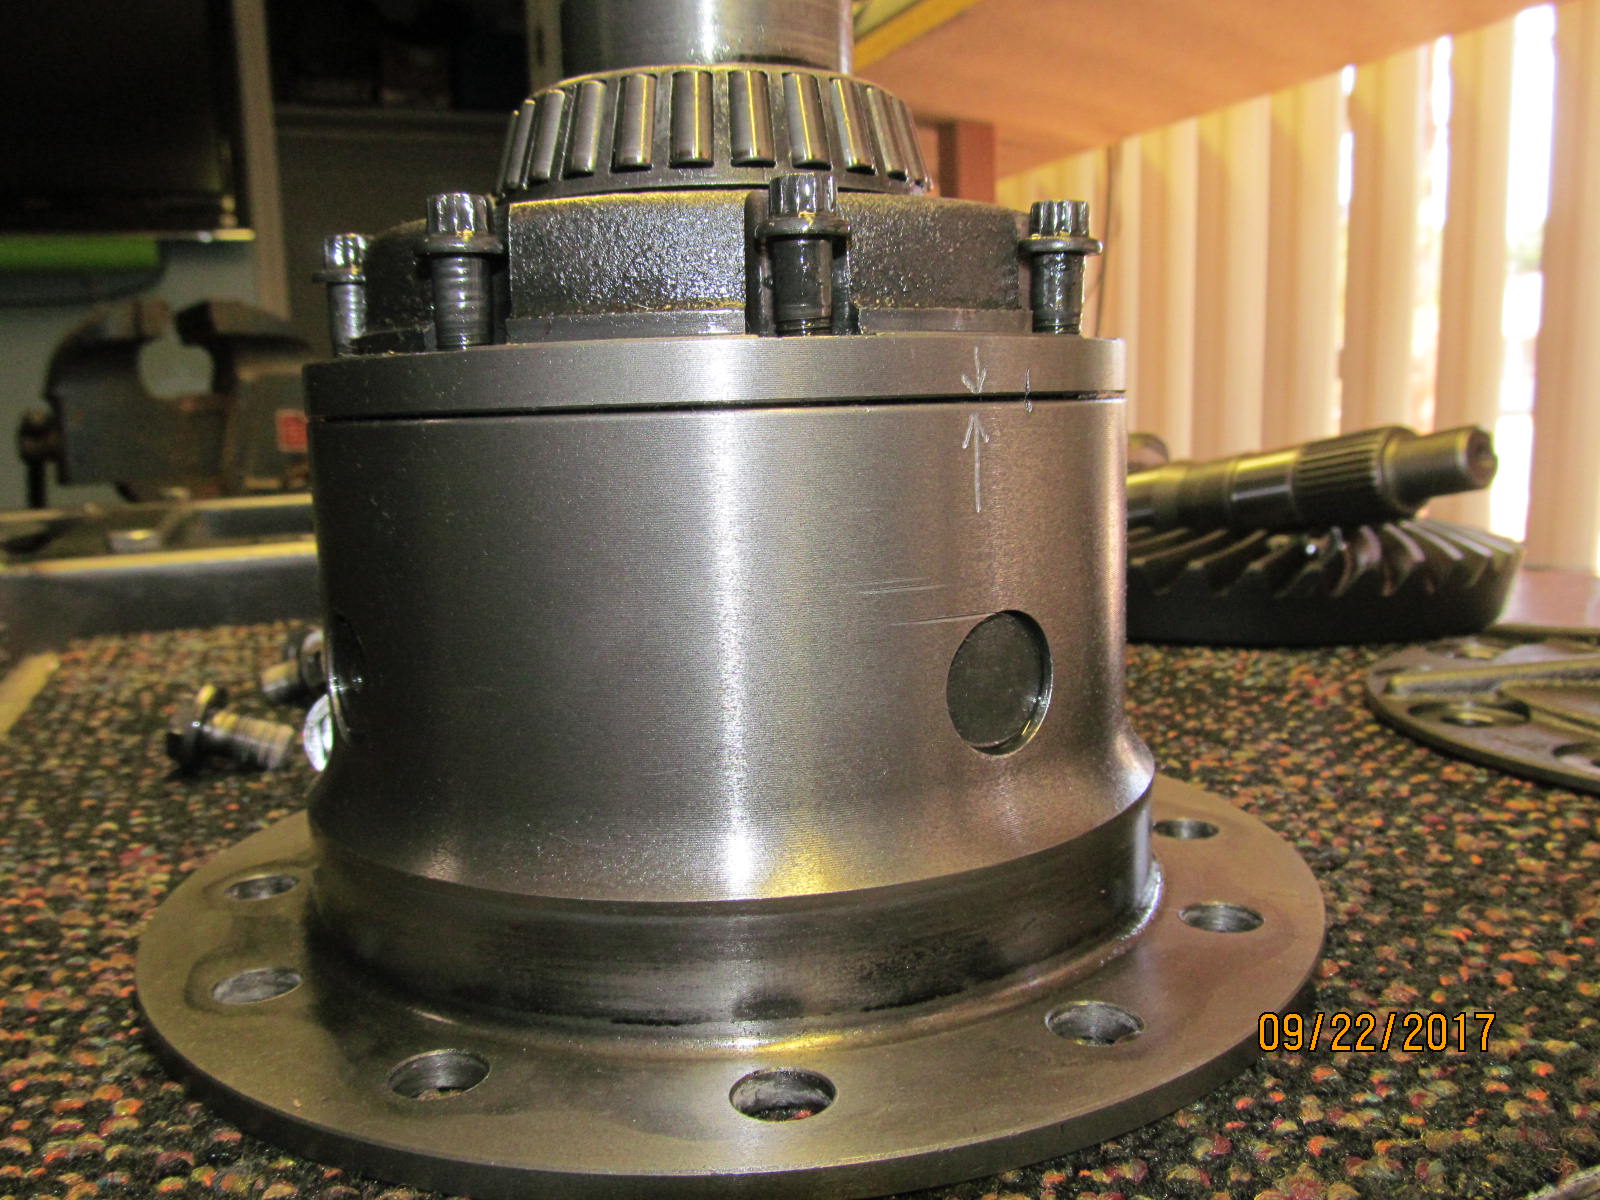
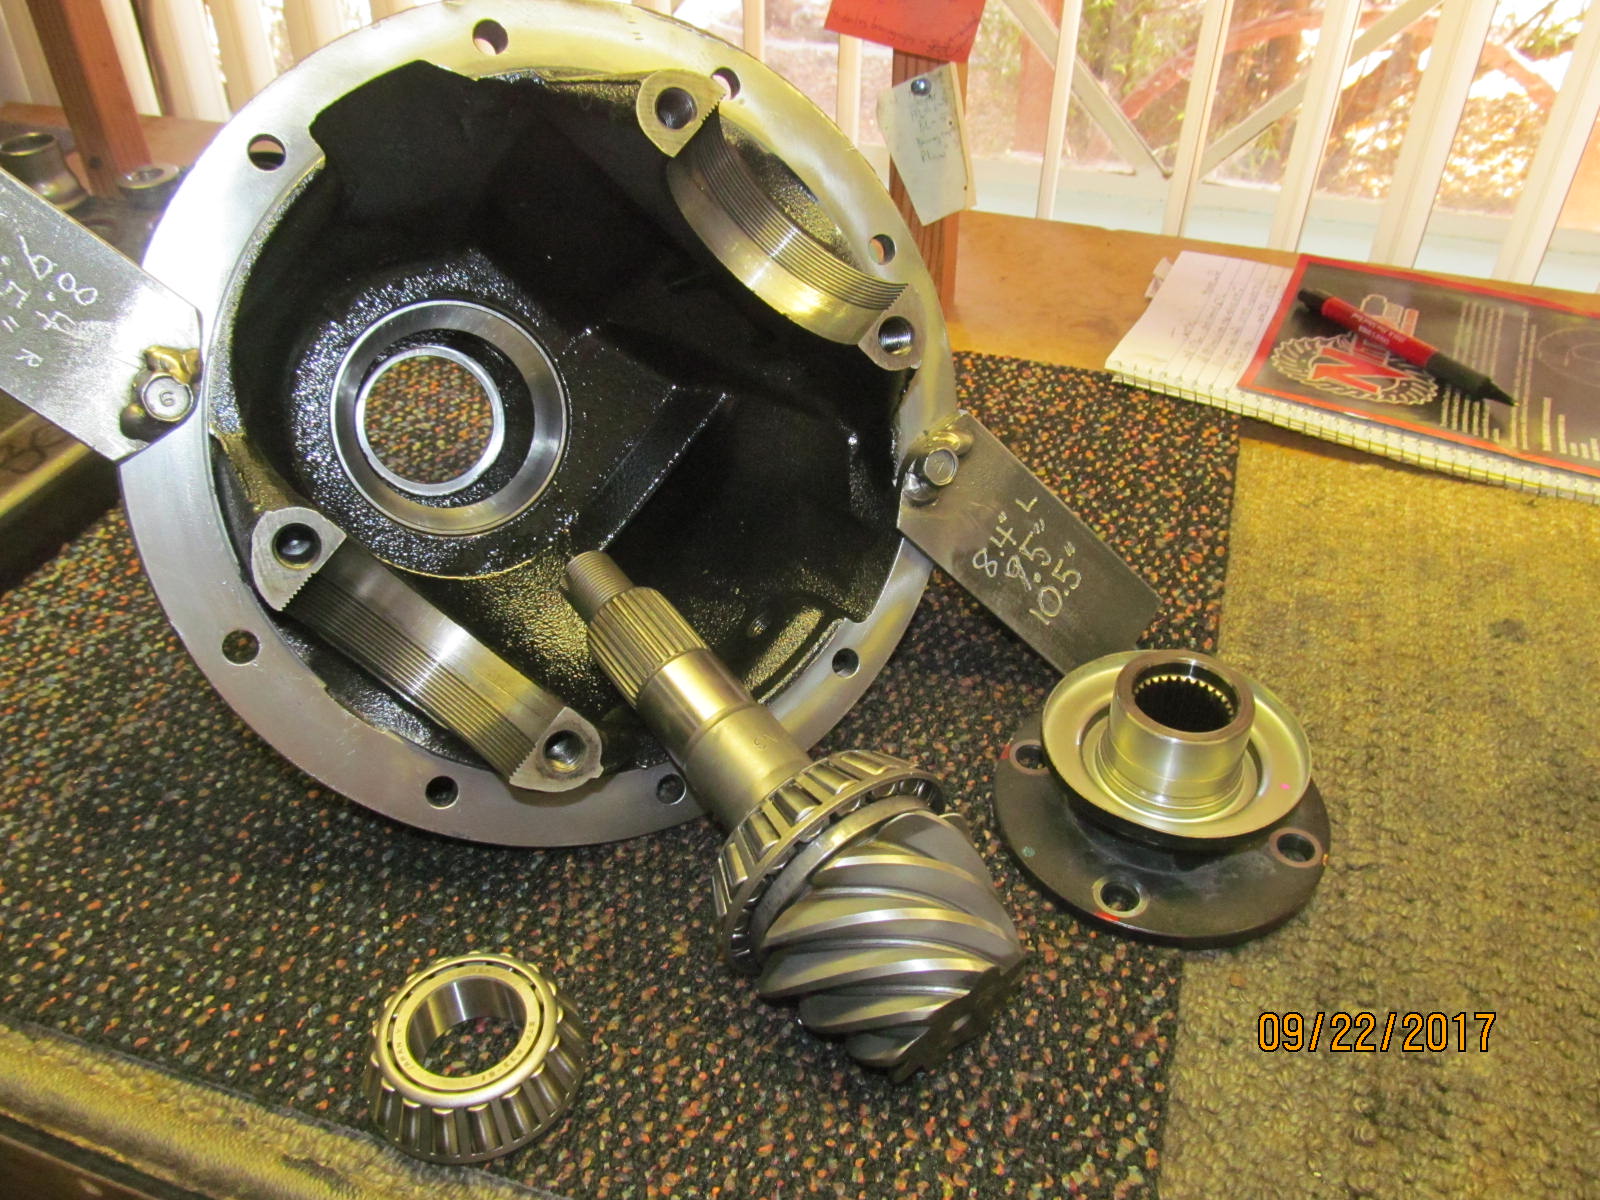
With the new bonded seal in, new carrier bearings pressed on, and all 12 ring gear bolts torqued to 101 ft/lbs
then this end is complete and waiting for a home. |
|---|
|
|
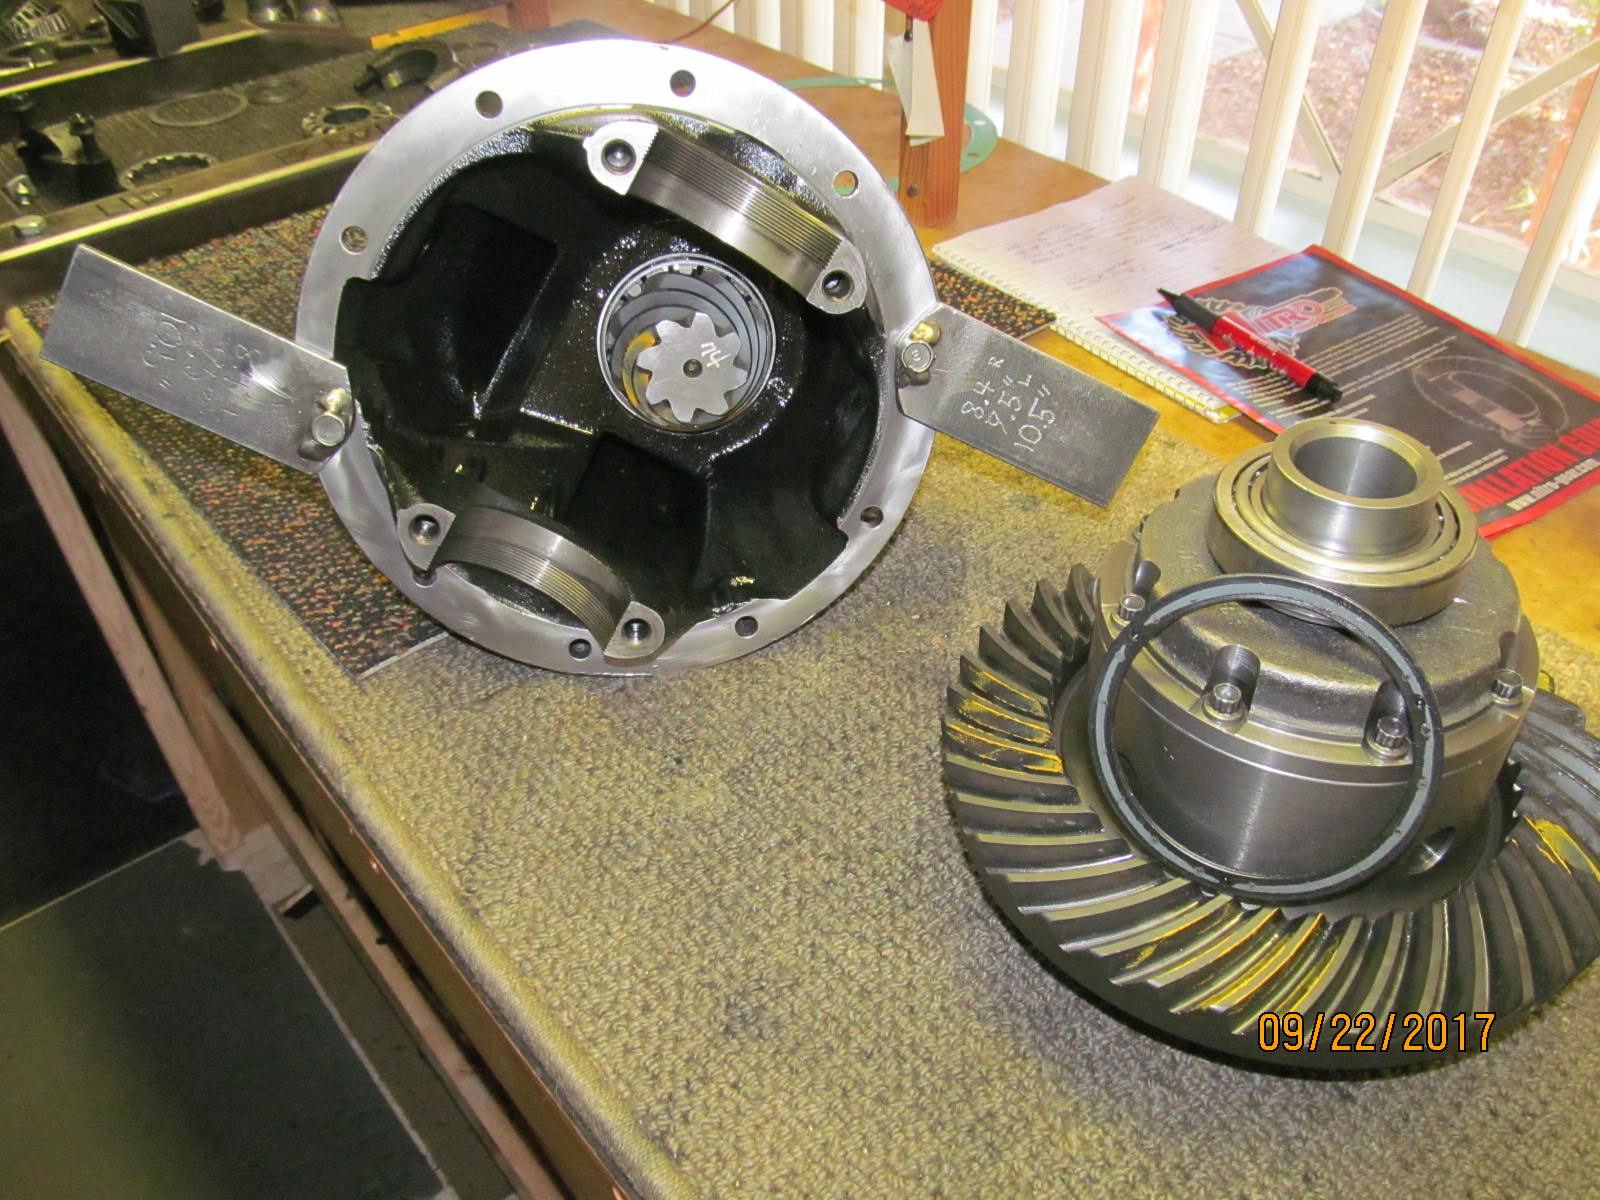
| This end needs new races. Like my seal remover? :) |
|---|
|
|
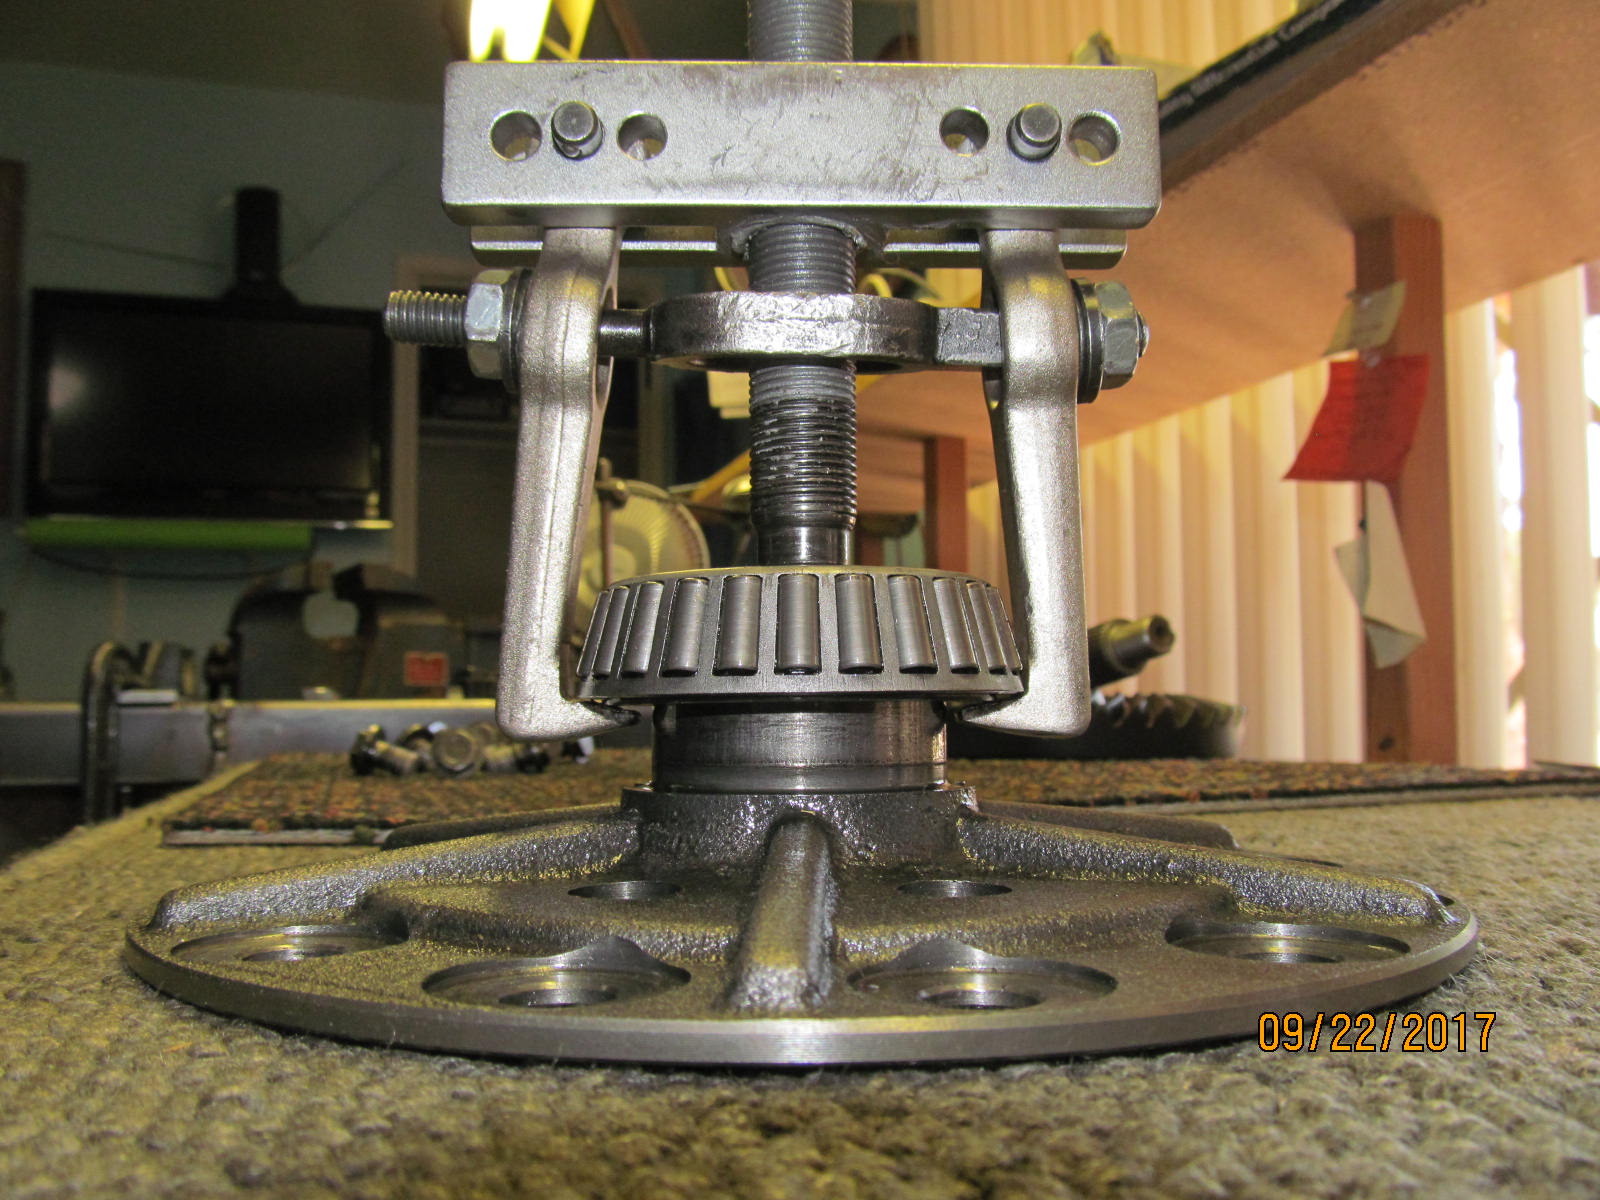
| Old race was tapped out and this new Koyo one is going in. |
|---|
|
|
| The inner race has to be started evenly but it will go down smoothly if properly motivated. |
|---|
|

|
| New Nitro 488 pinion....new bearing...and the original pinion shim(.046"). |
|---|
|
|
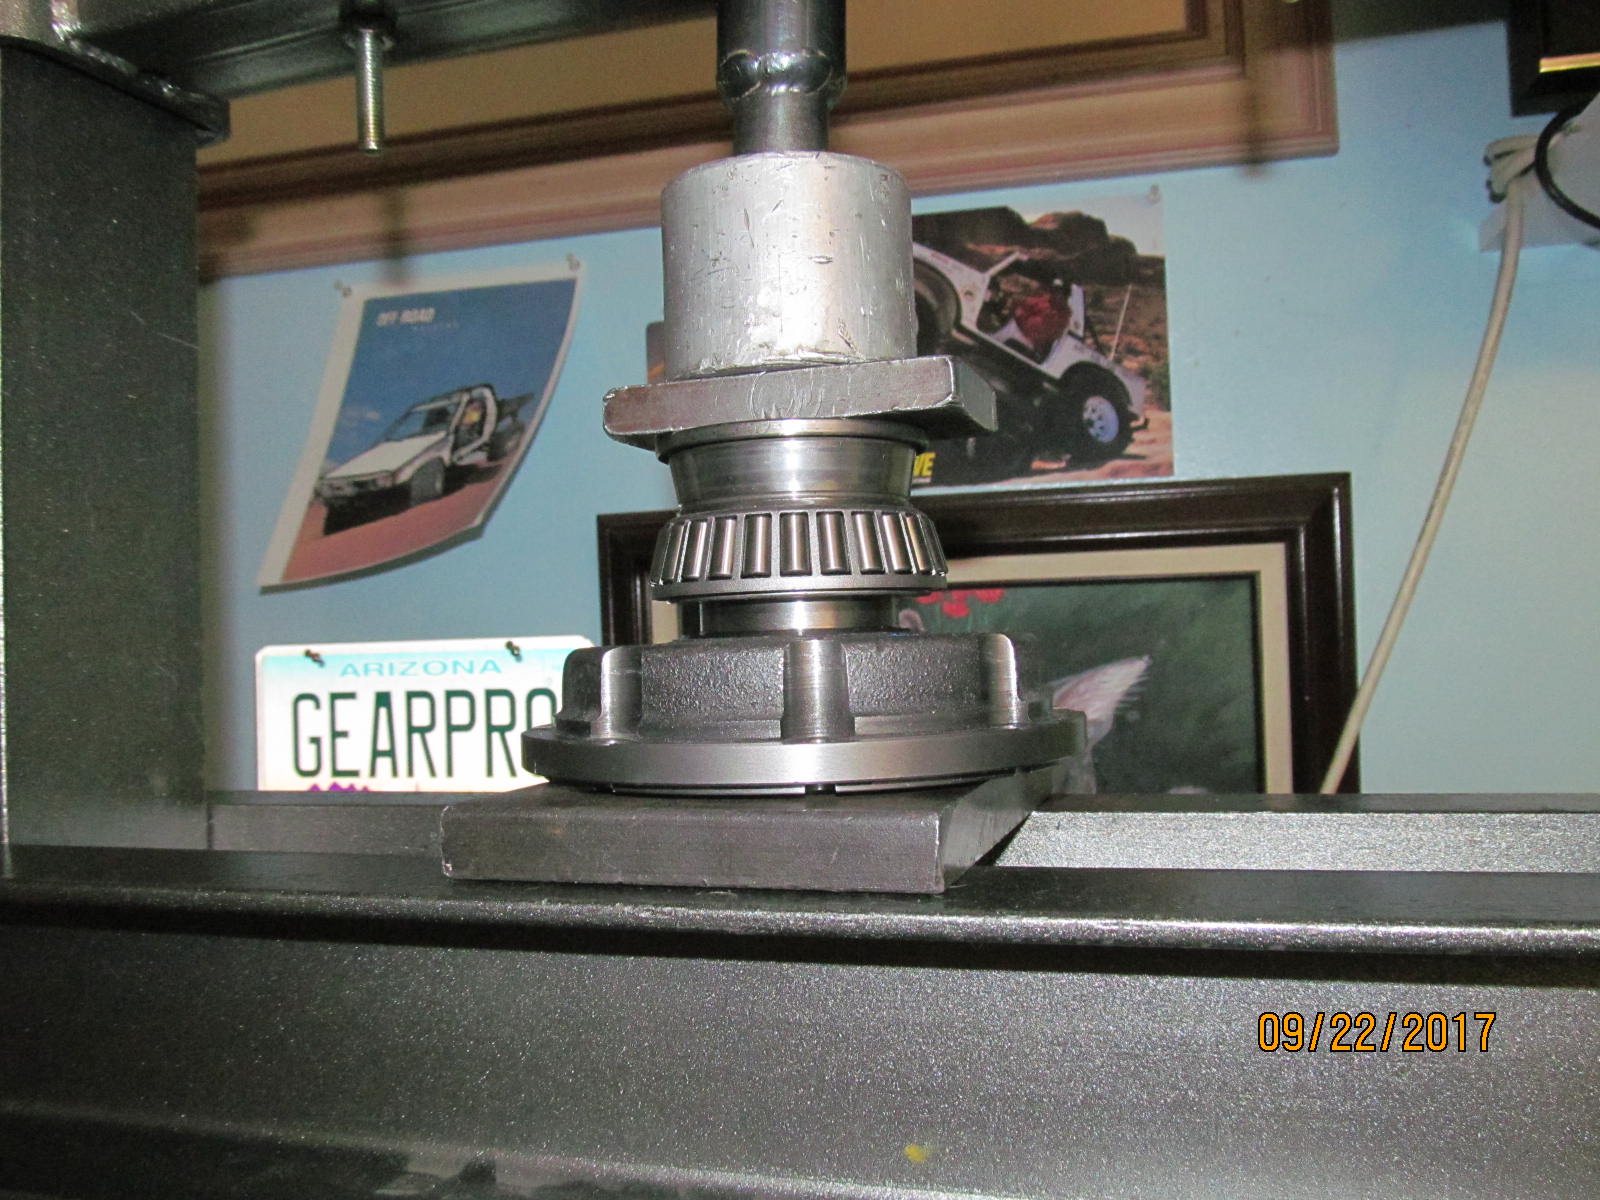
| Now to load up the pinion end with just enough preload for a test paint. |
|---|
|
|
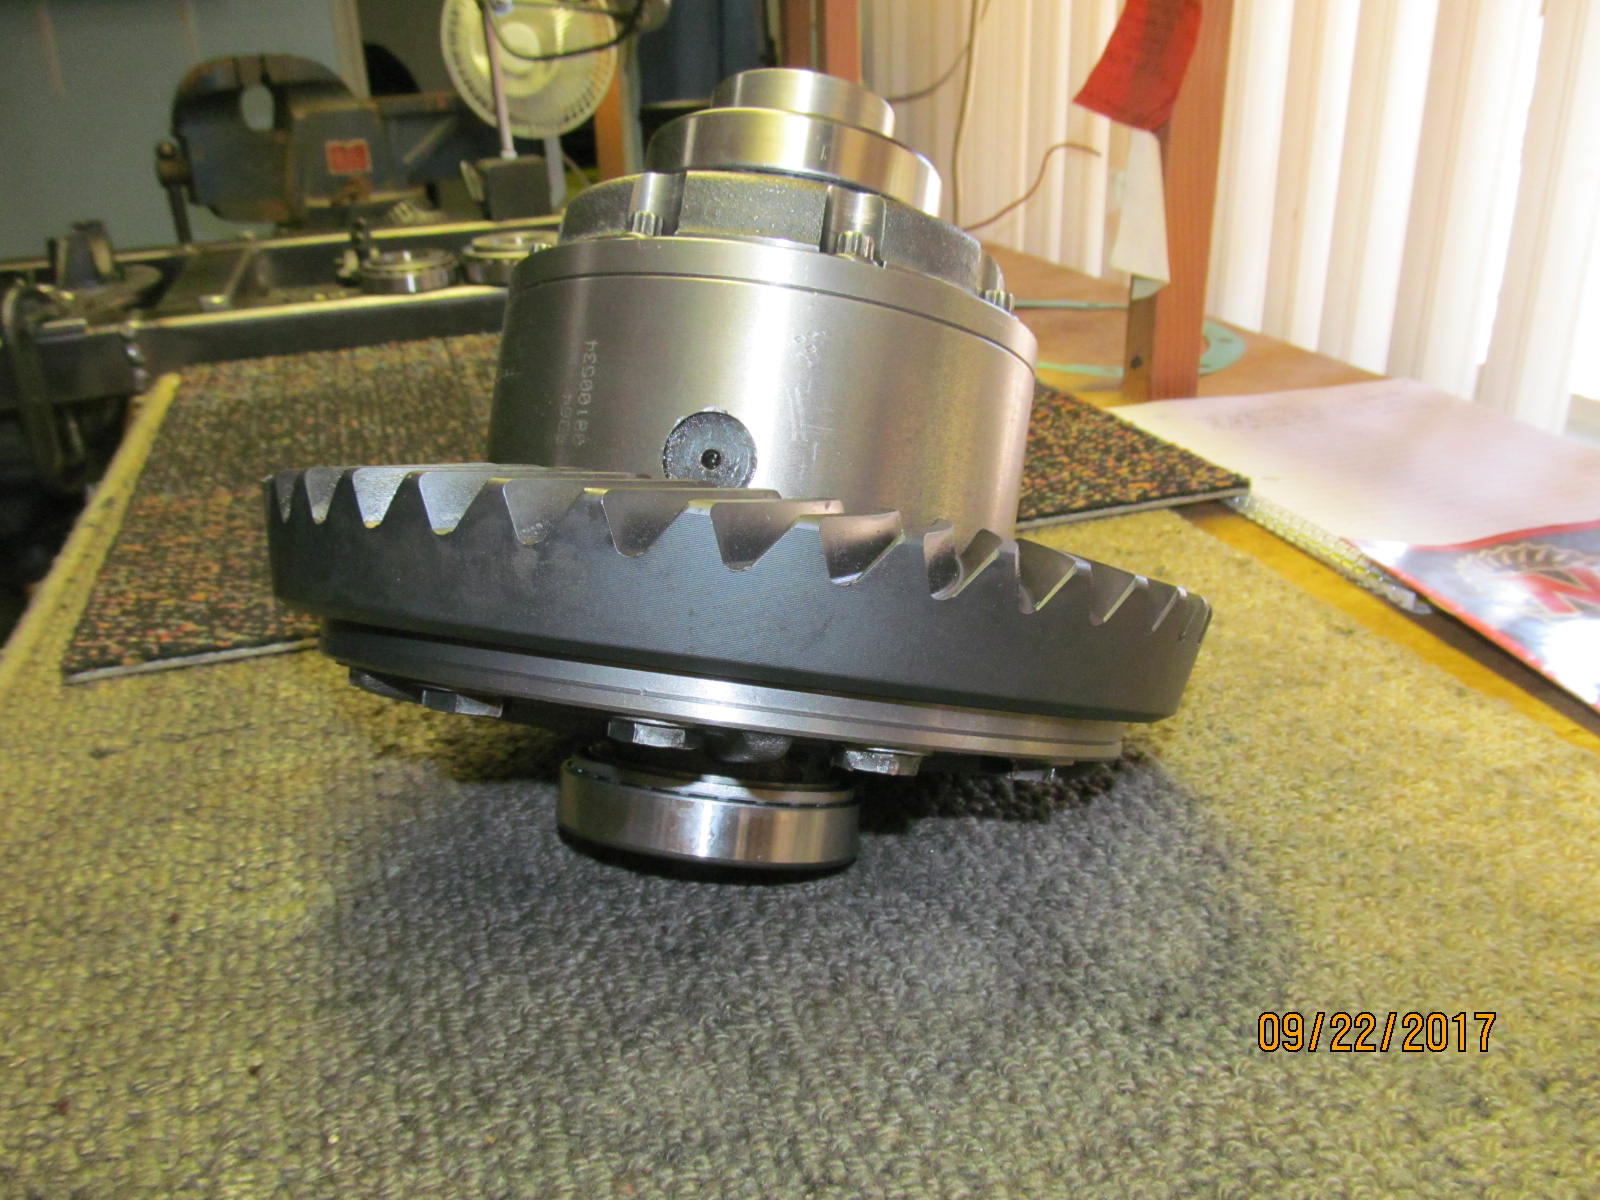
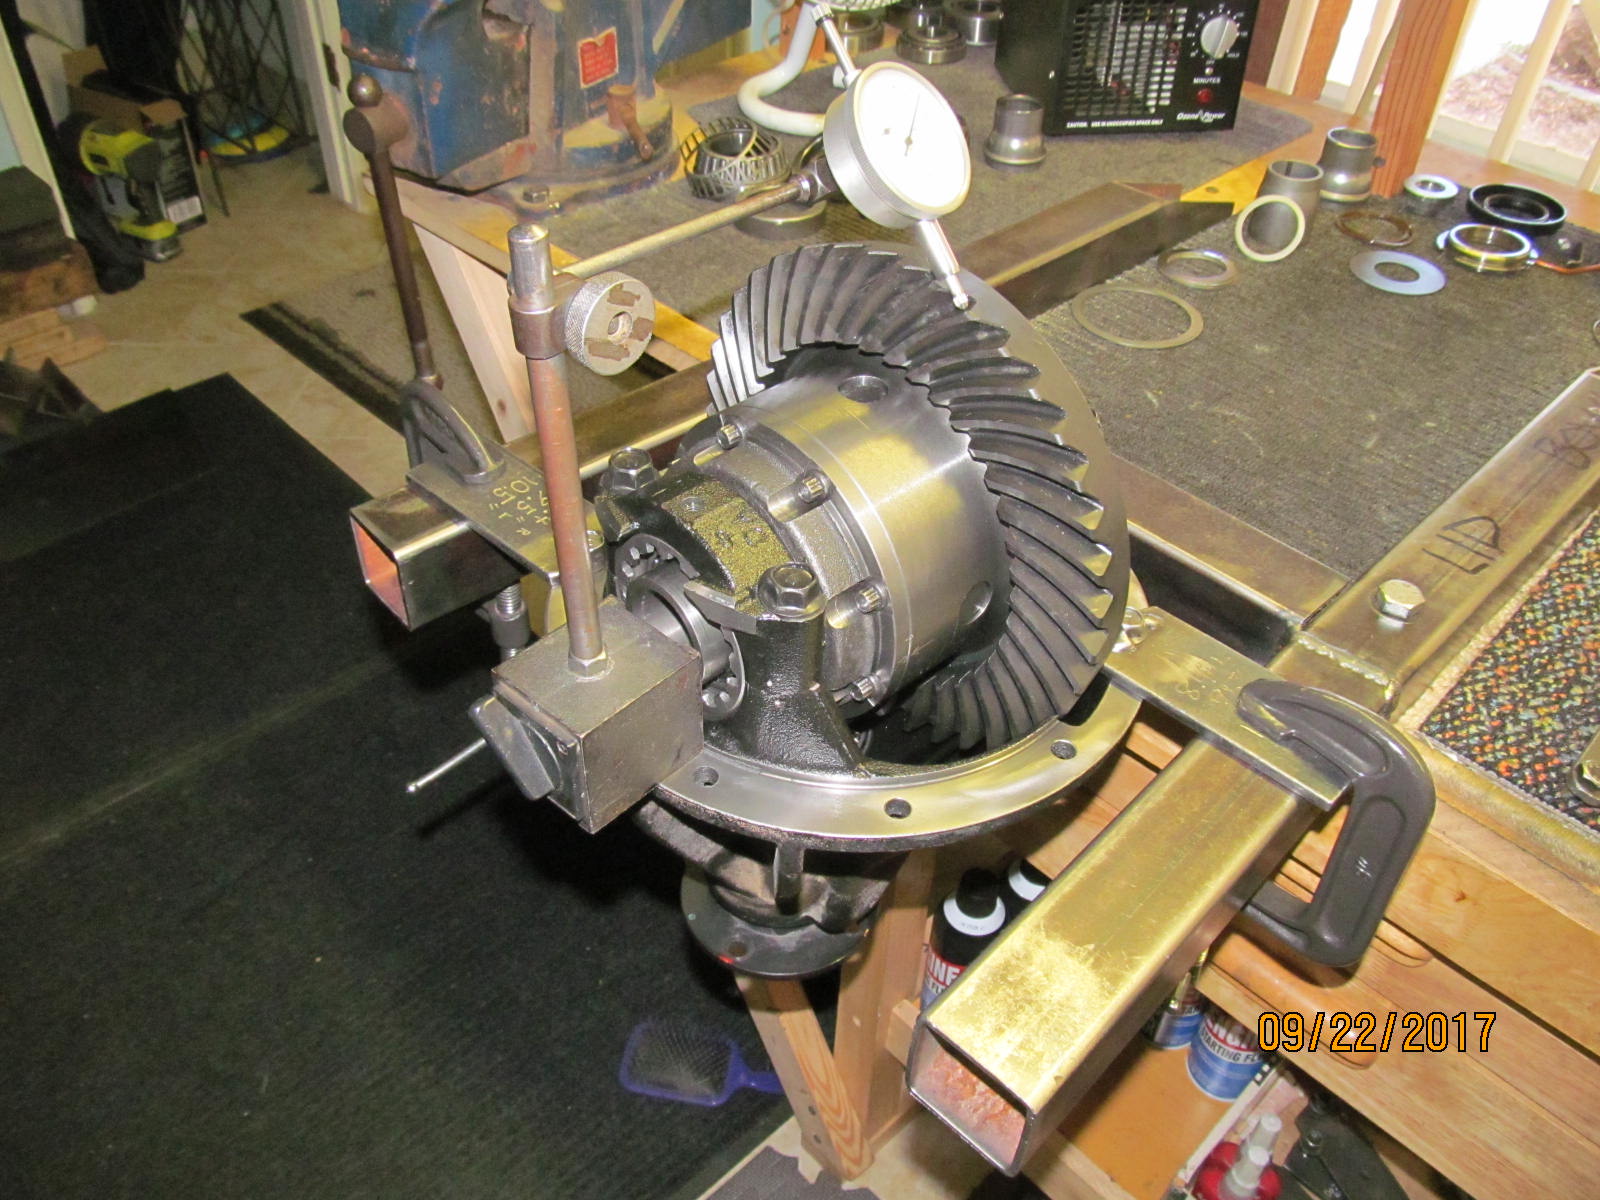
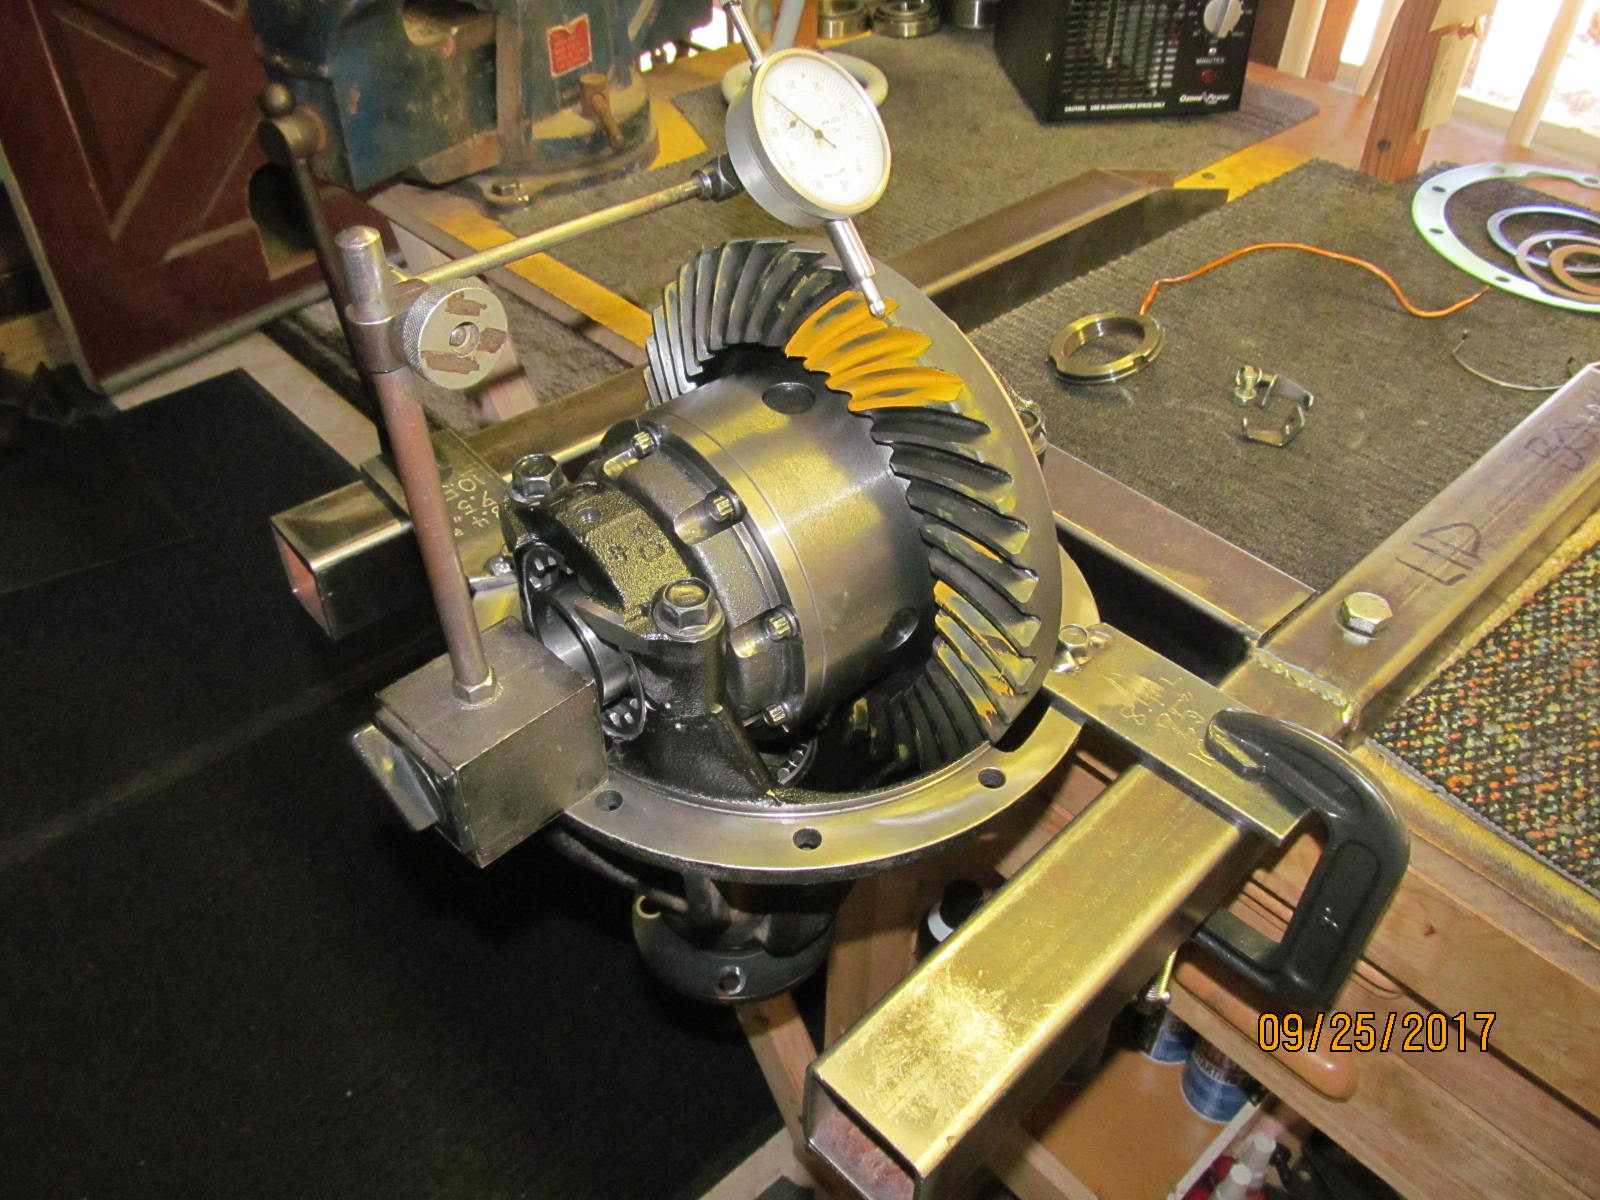
| The ARB case is bolted in place. Backlash is measured and some carrier bearing preload is dialed in. |
|---|
|
|
| Drive side....beautiful. Looks like the 046 shim is a keeper. |
|---|
|
|
| Good coast side. |
|---|
|
|
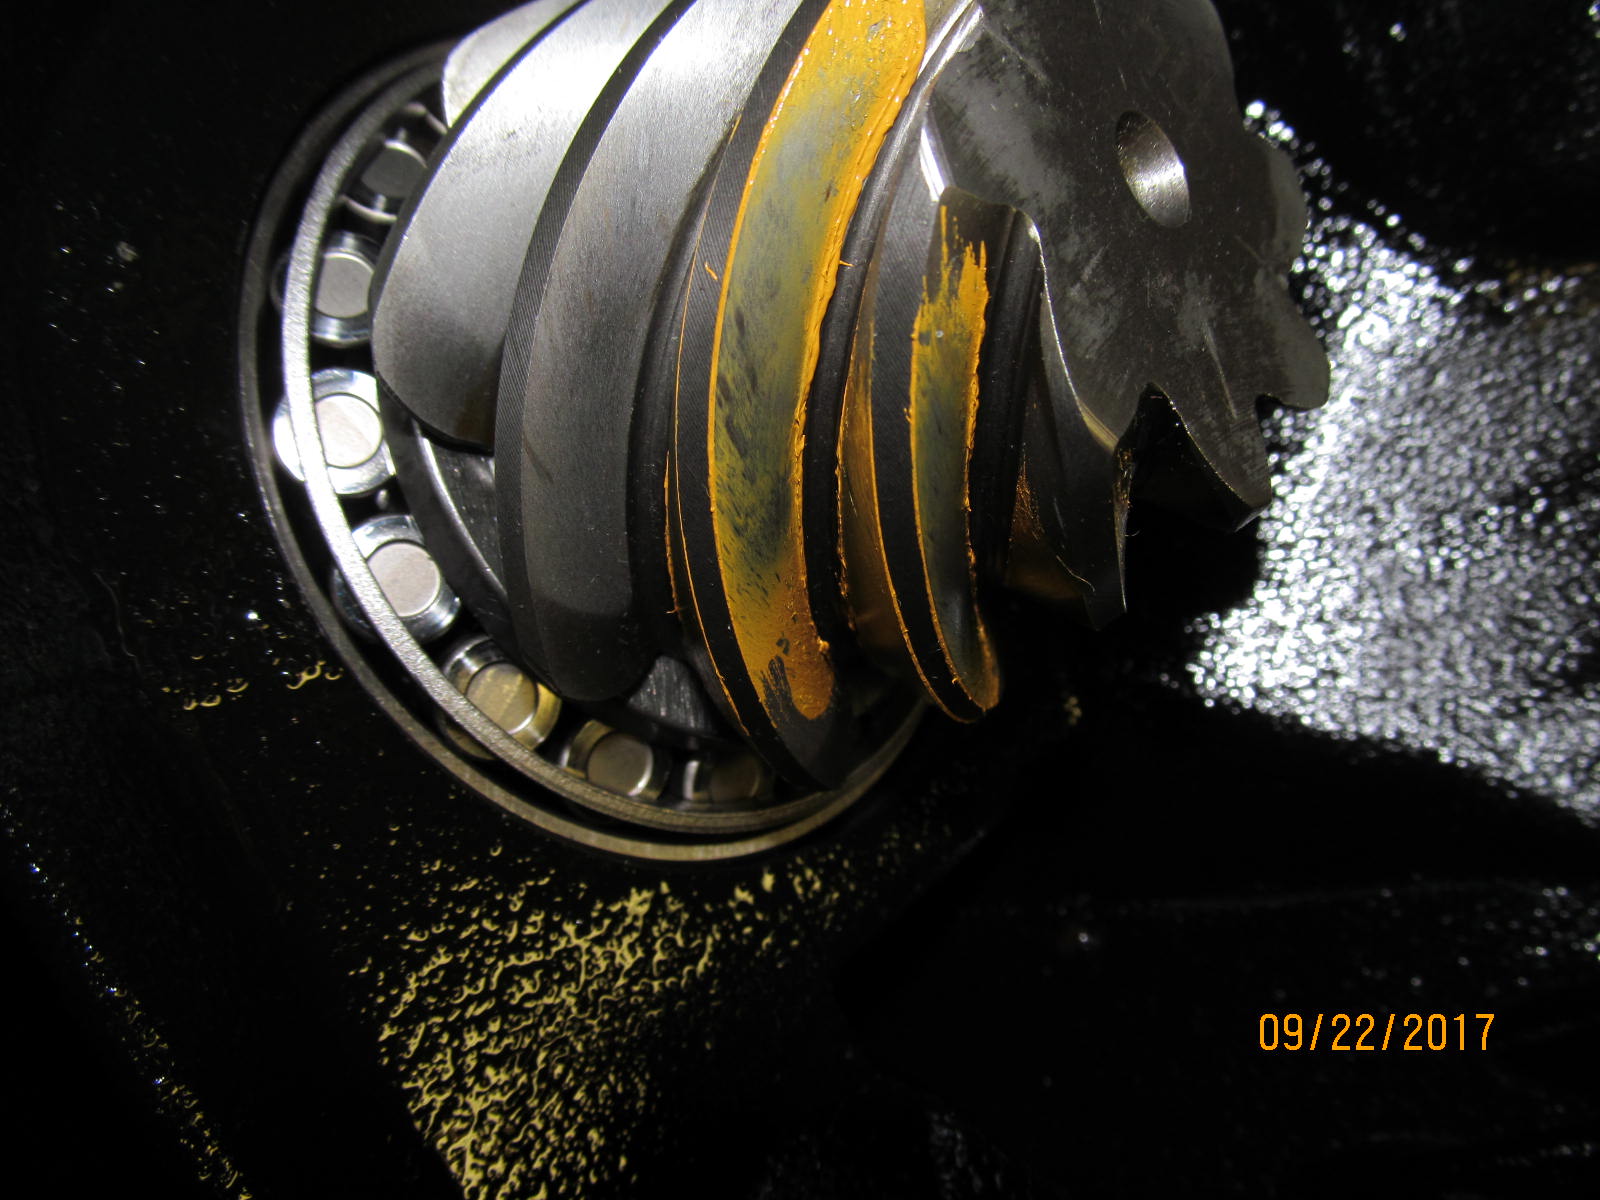
| Drive side of the pinion tooth. Comet tail pretty much in the center....ideal. |
|---|
|
|
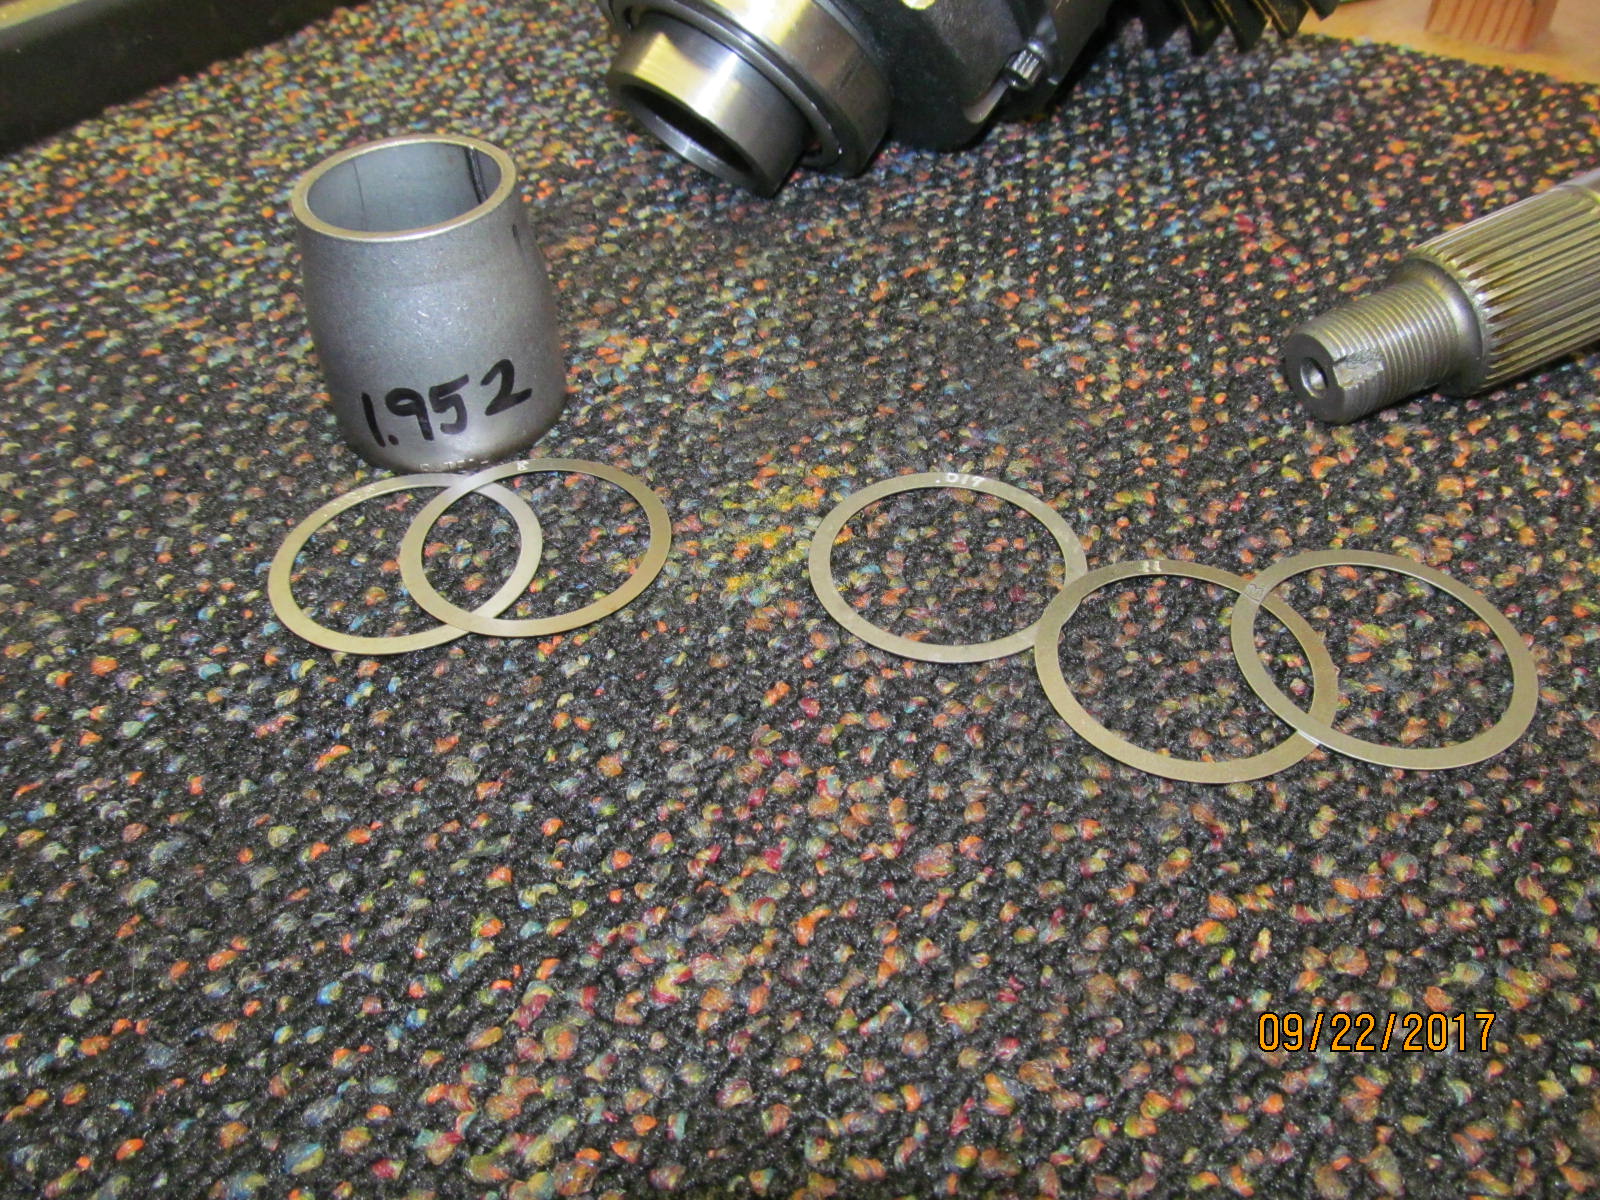
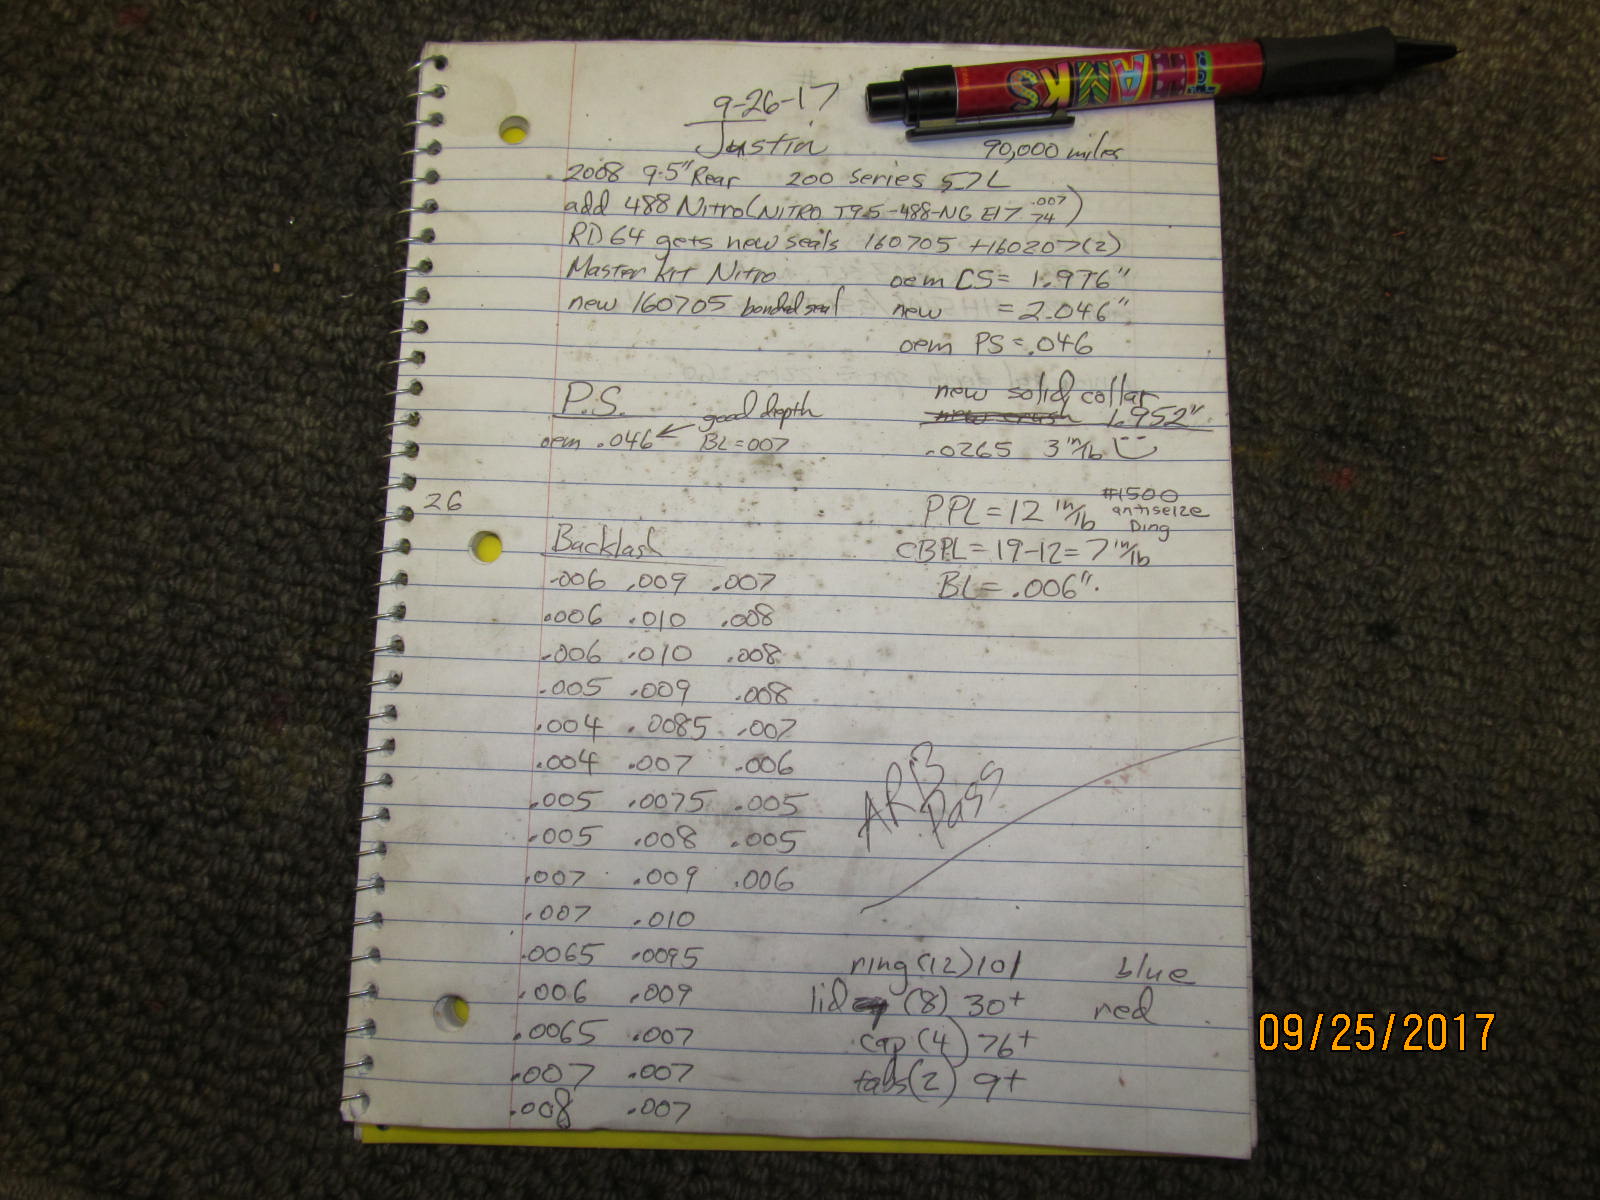
With depth established, now to dis-assemble one last time and put the solid collar and seal in. By measuring the original crush sleeve
and adding an extra .002" in I got lucky and nailed the solid collar shimming on the first try. Collar measured 1.952.......
final shim measured .0265" and the resultant preload checked in at 3 inch/pounds. That 3 would change with anti-seize
and additional torque on the nut. |
|---|
|
|
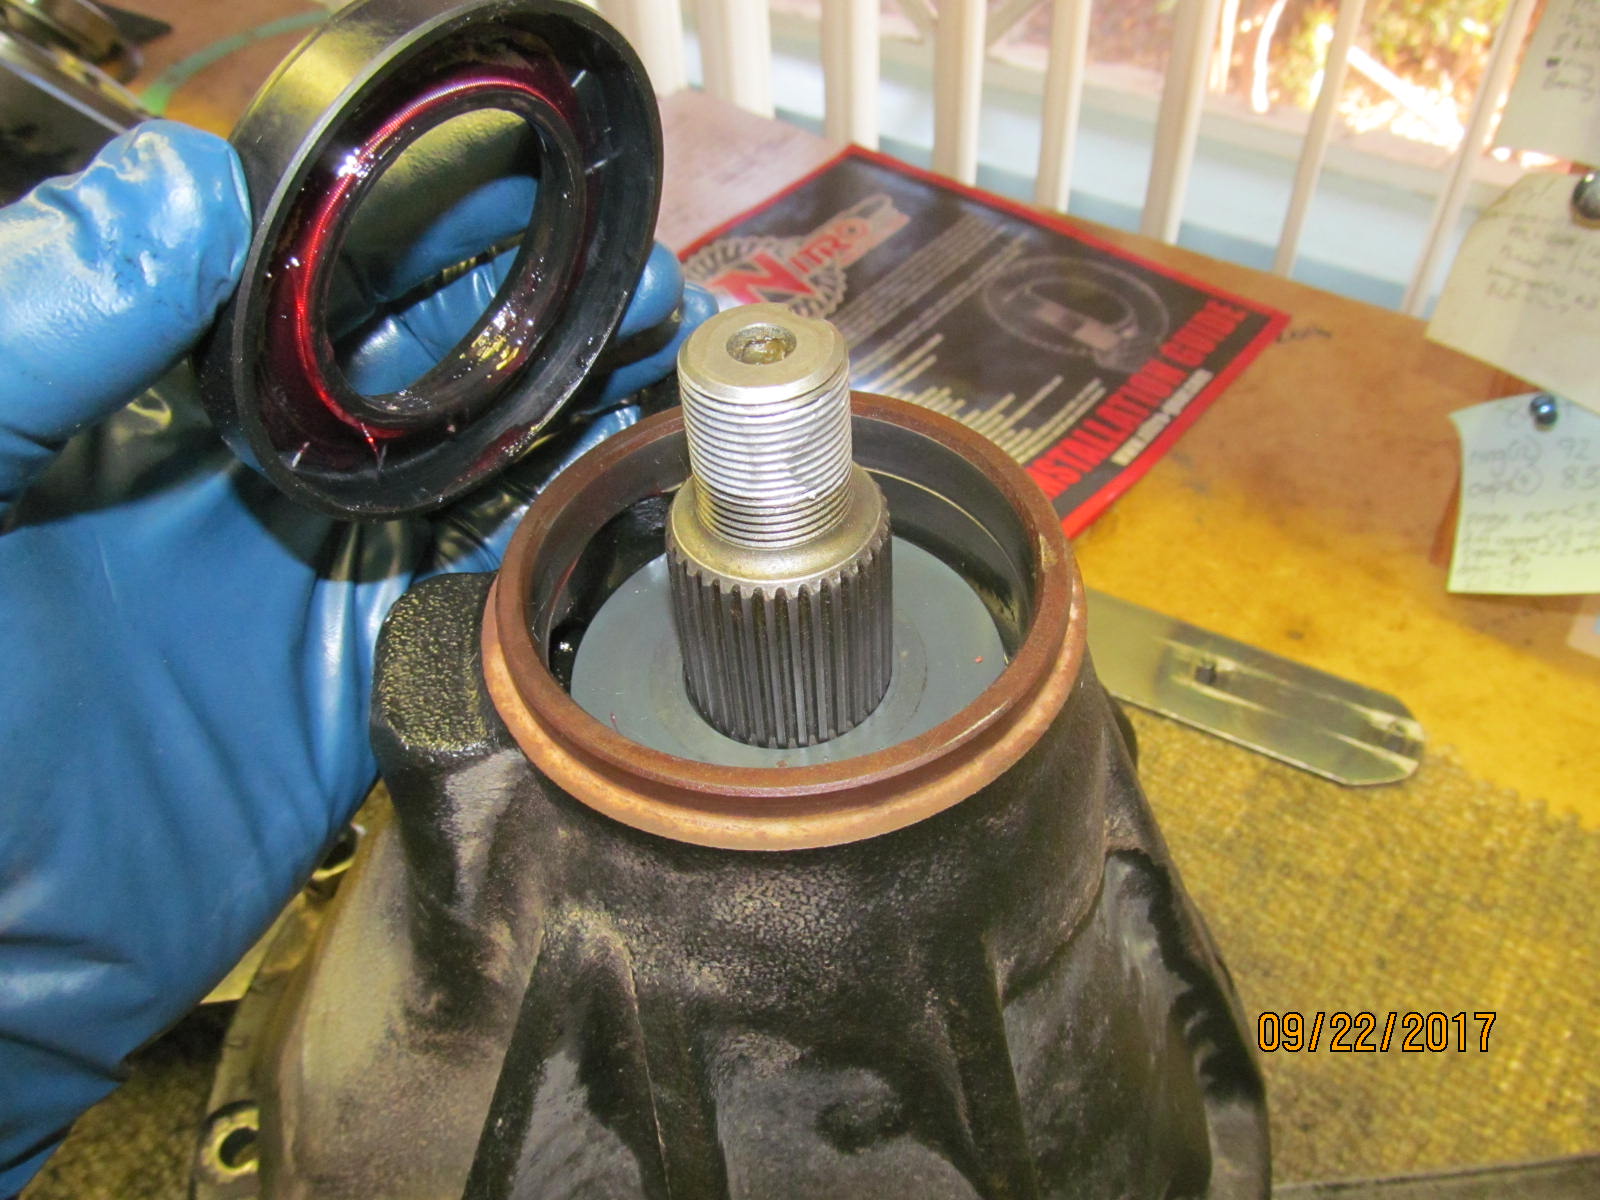
| Anti-seize on the threads and grease on the seal's garter spring. |
|---|
|
|
| The seal surface has been fine sanded with #1500 sandpaper to minimize any chance of a leak. |
|---|
|
|
| This really helps....anti-seize on the bottom of the nut like this. |
|---|
|
|
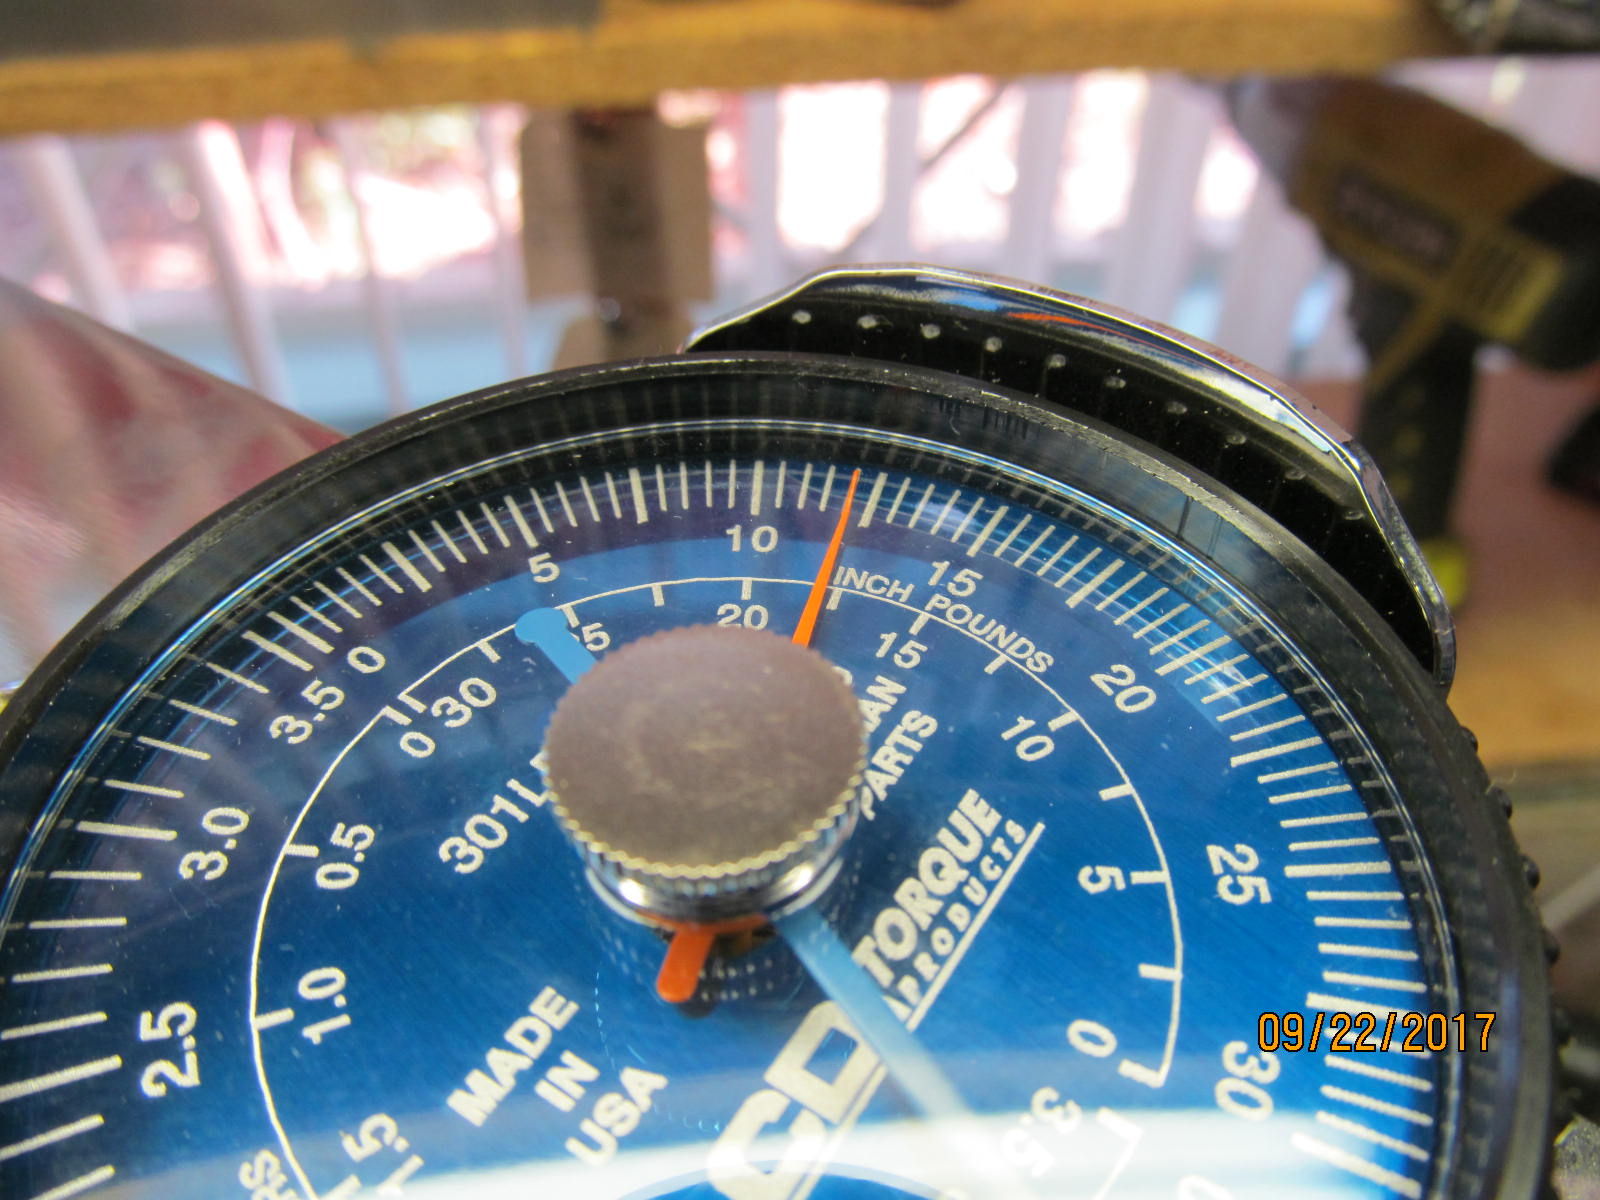
| Tightened just enough to get 12 inch/pounds of start torque and then DING the pinion nut. |
|---|
|
|
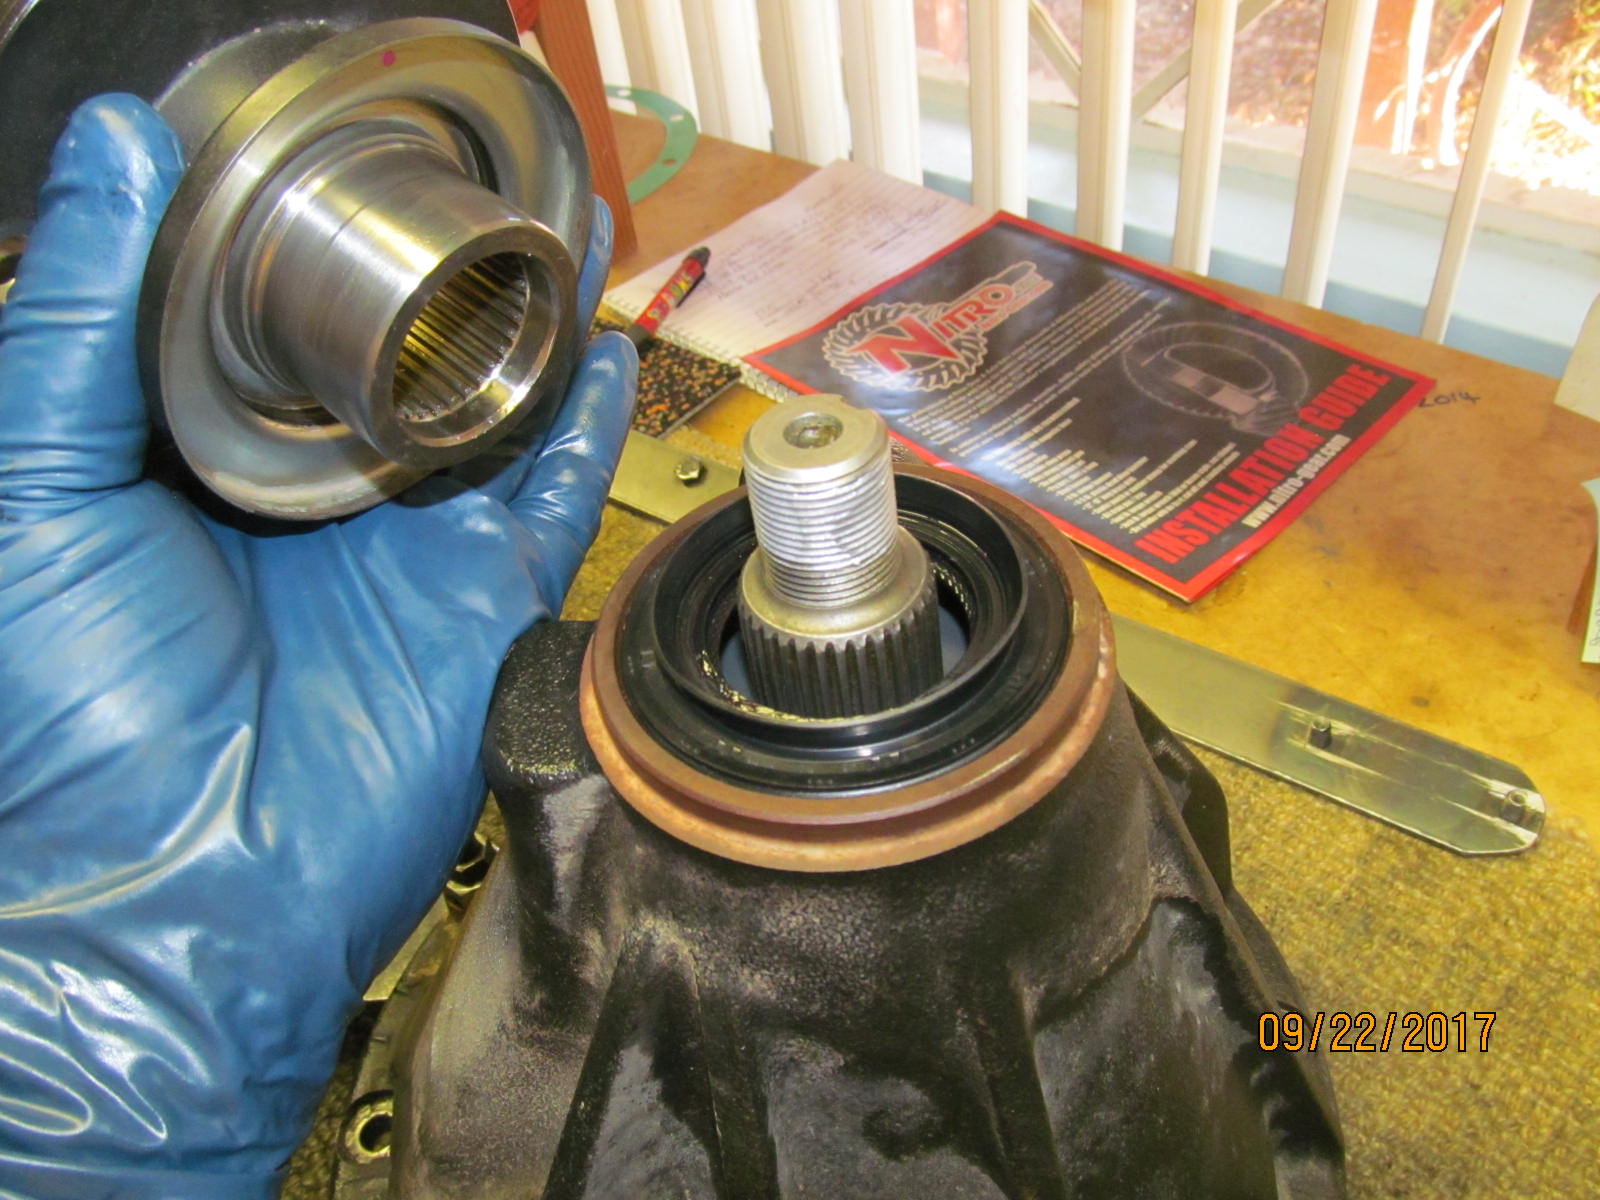
| The ARB case can now be installed..... |
|---|
|
|
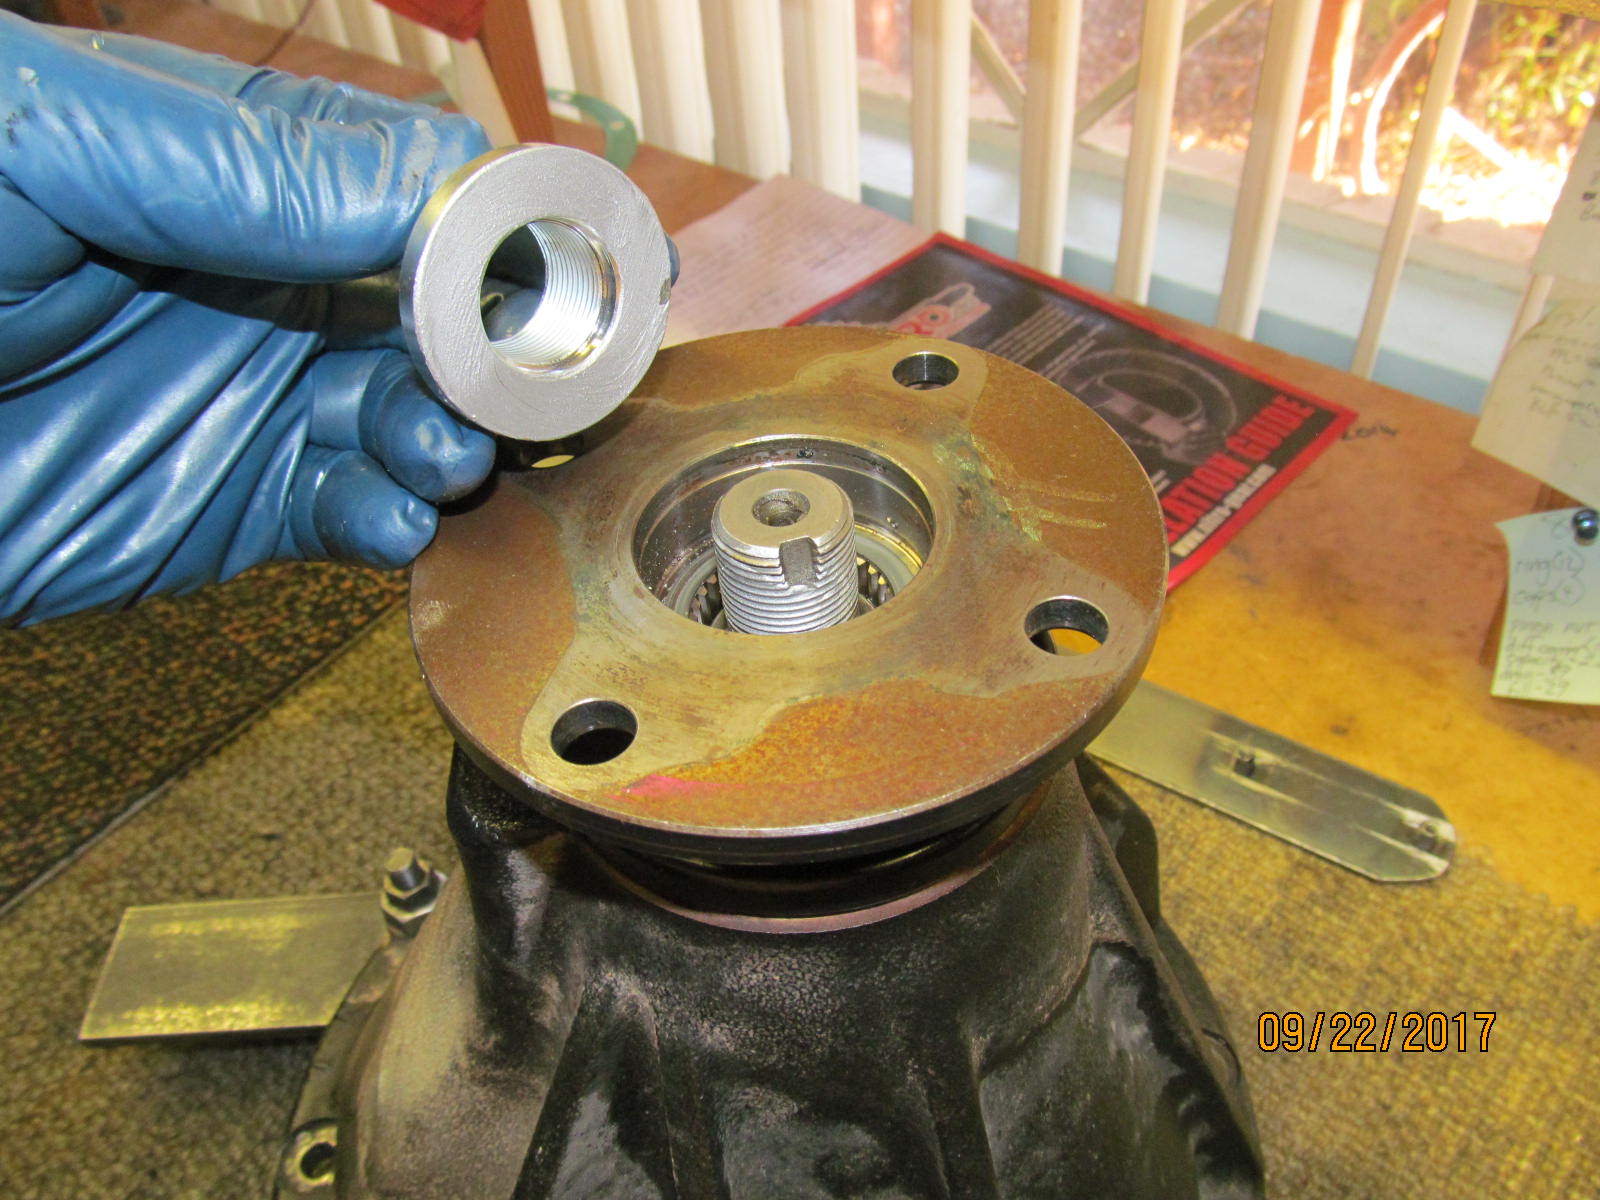
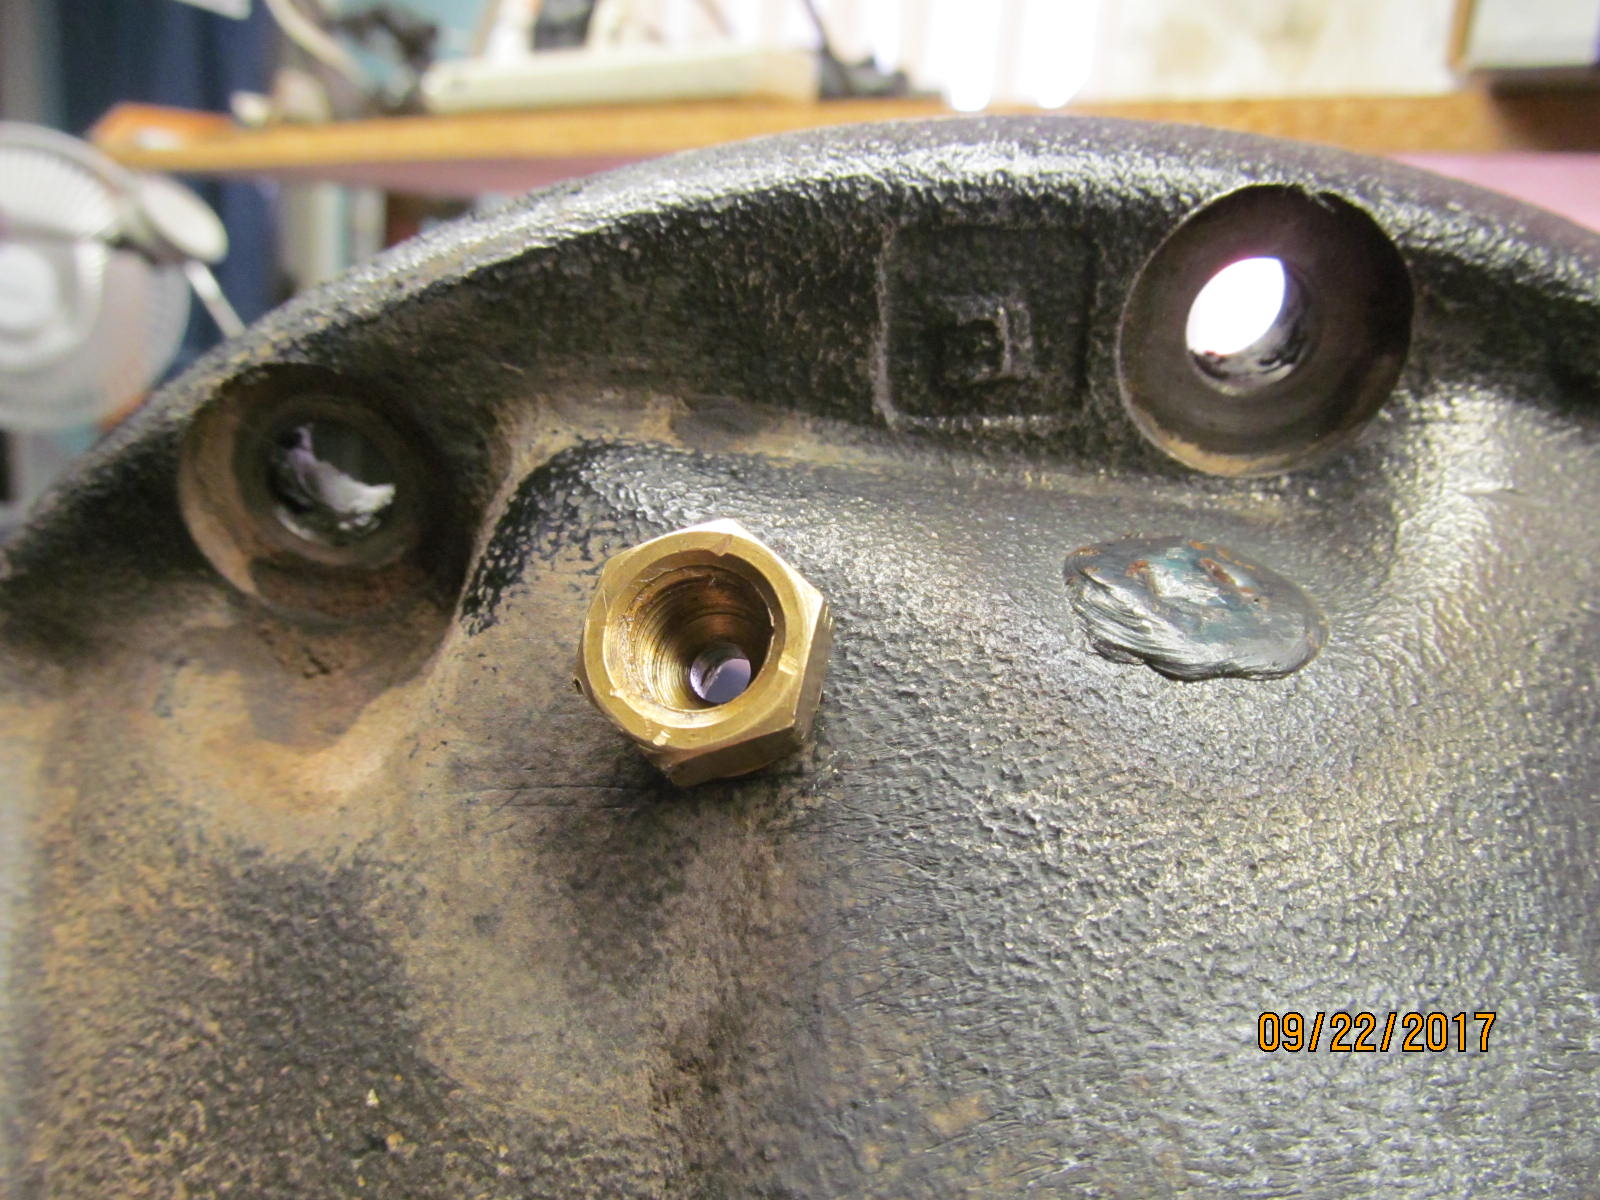
| ....right after the original hole is filled and re-drilled in a better spot. The old spot was in the way of the mounting stud. |
|---|
|
|
| The 8 lid bolts were verified to have 30 ft/lb and red loctite. |
|---|
|
|
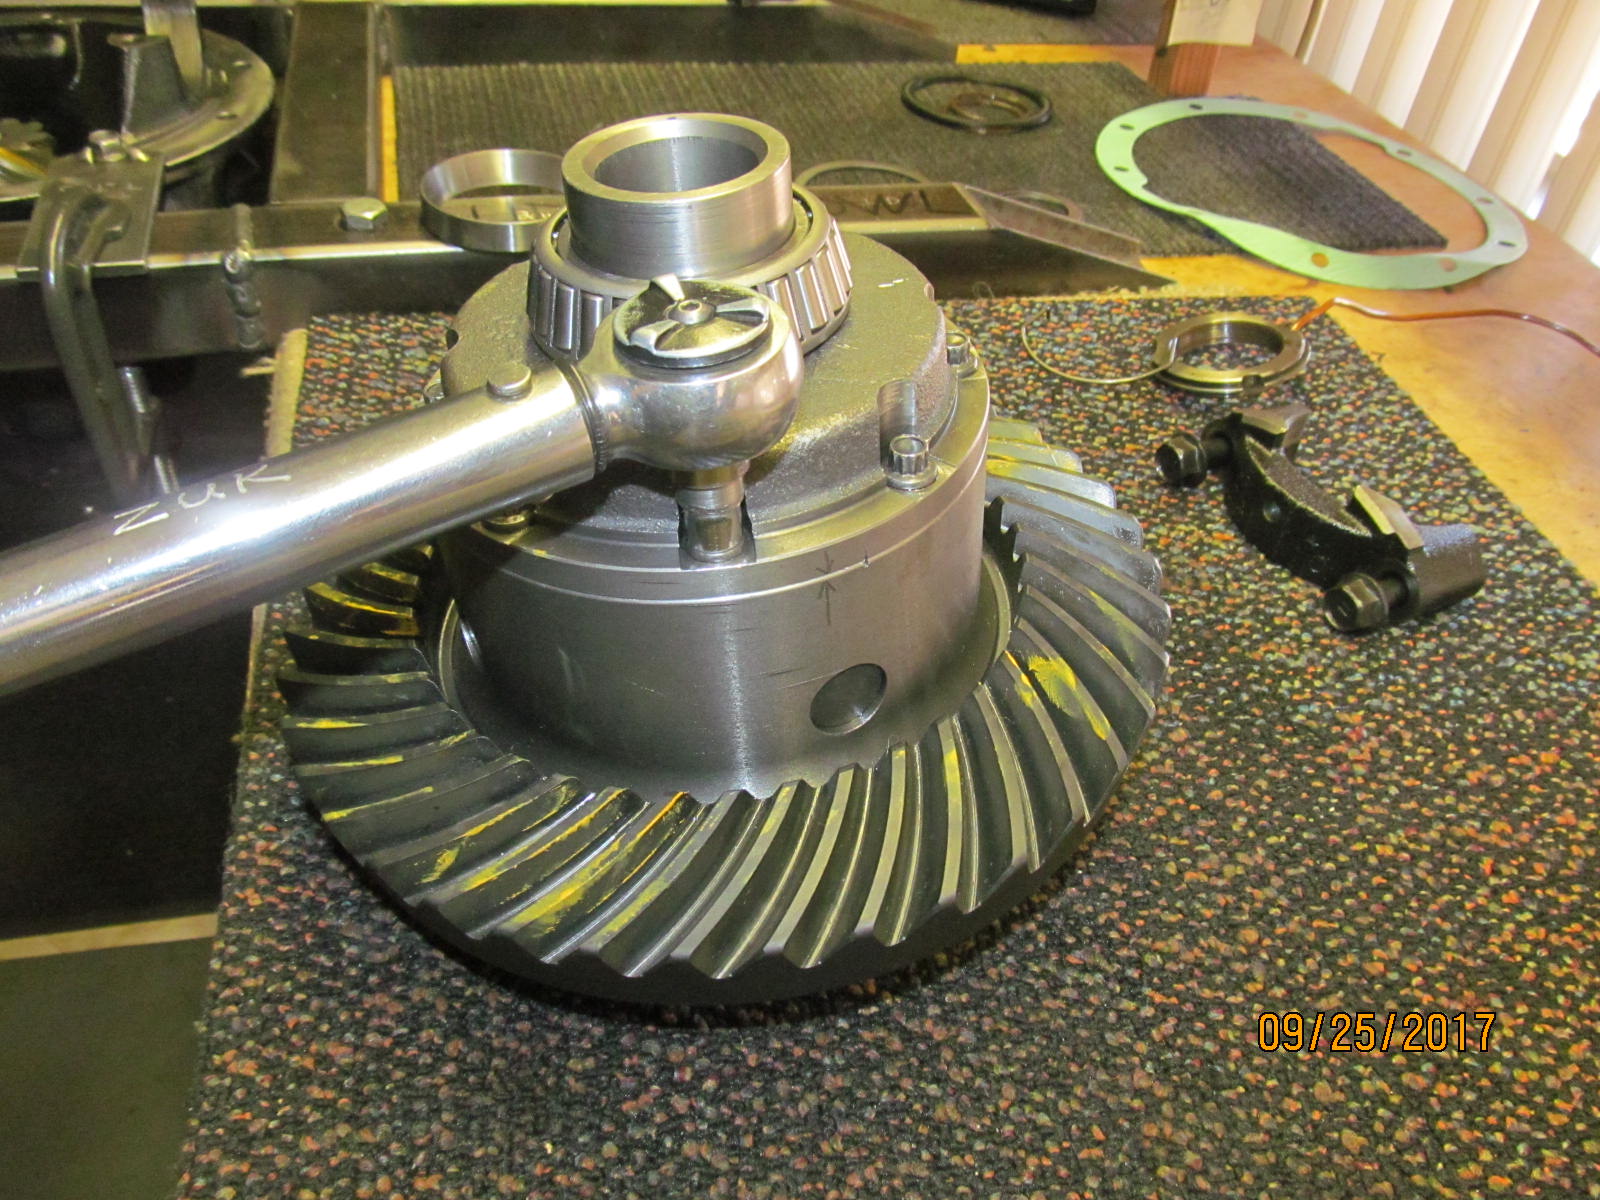
| ARB case is in...caps on....preload and backlash are dialed in. |
|---|
|

|
Caps are torqued to 76 per the fsm. A few pics missing here but just push the seal housing assembly on.....snap the retaining
clip in place.....and finally route the soft copper tube thru the bulkhead body. |
|---|
|
|
| Notes for Justins rear 9.5" build. |
|---|
|
|

|