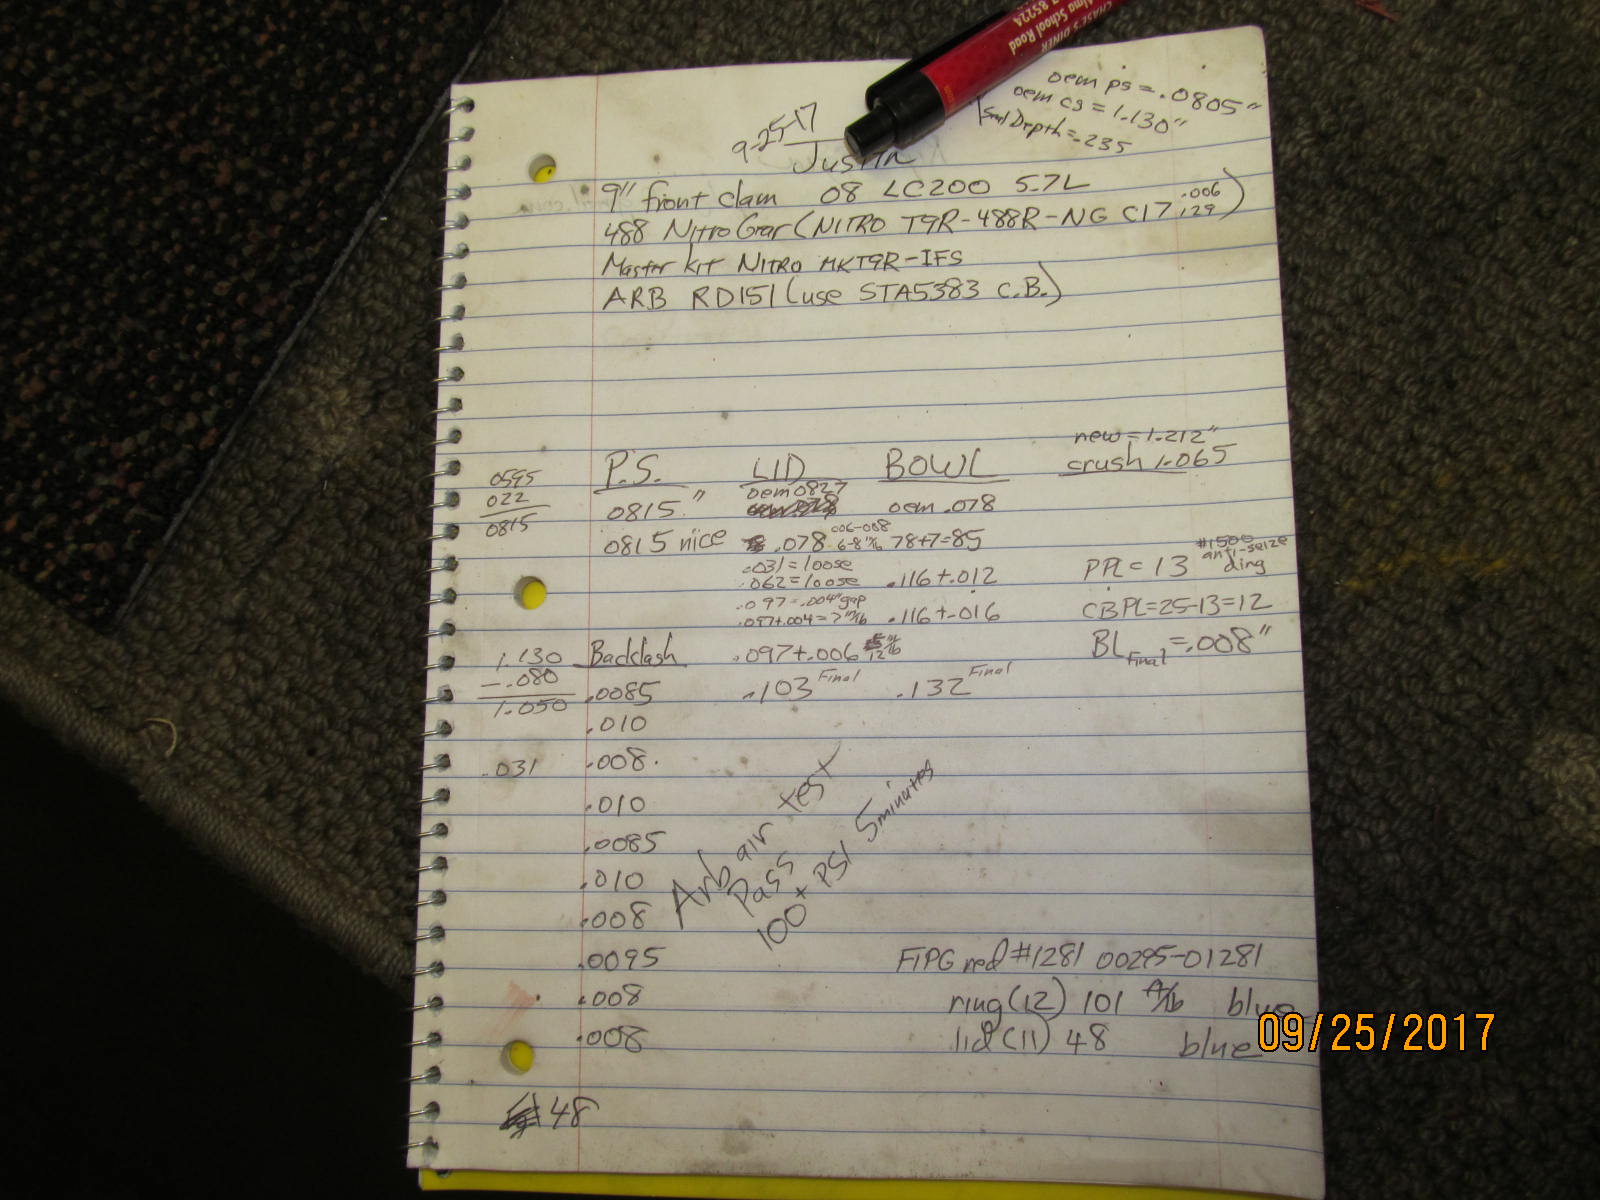
| Justin's Front 9" clam (2008 200 series) gets the 488 Nitro Gears and ARB RD151 |
|---|
| (66 BIG pics loading) |
|---|
| OCT 31 2017 |
|---|

|
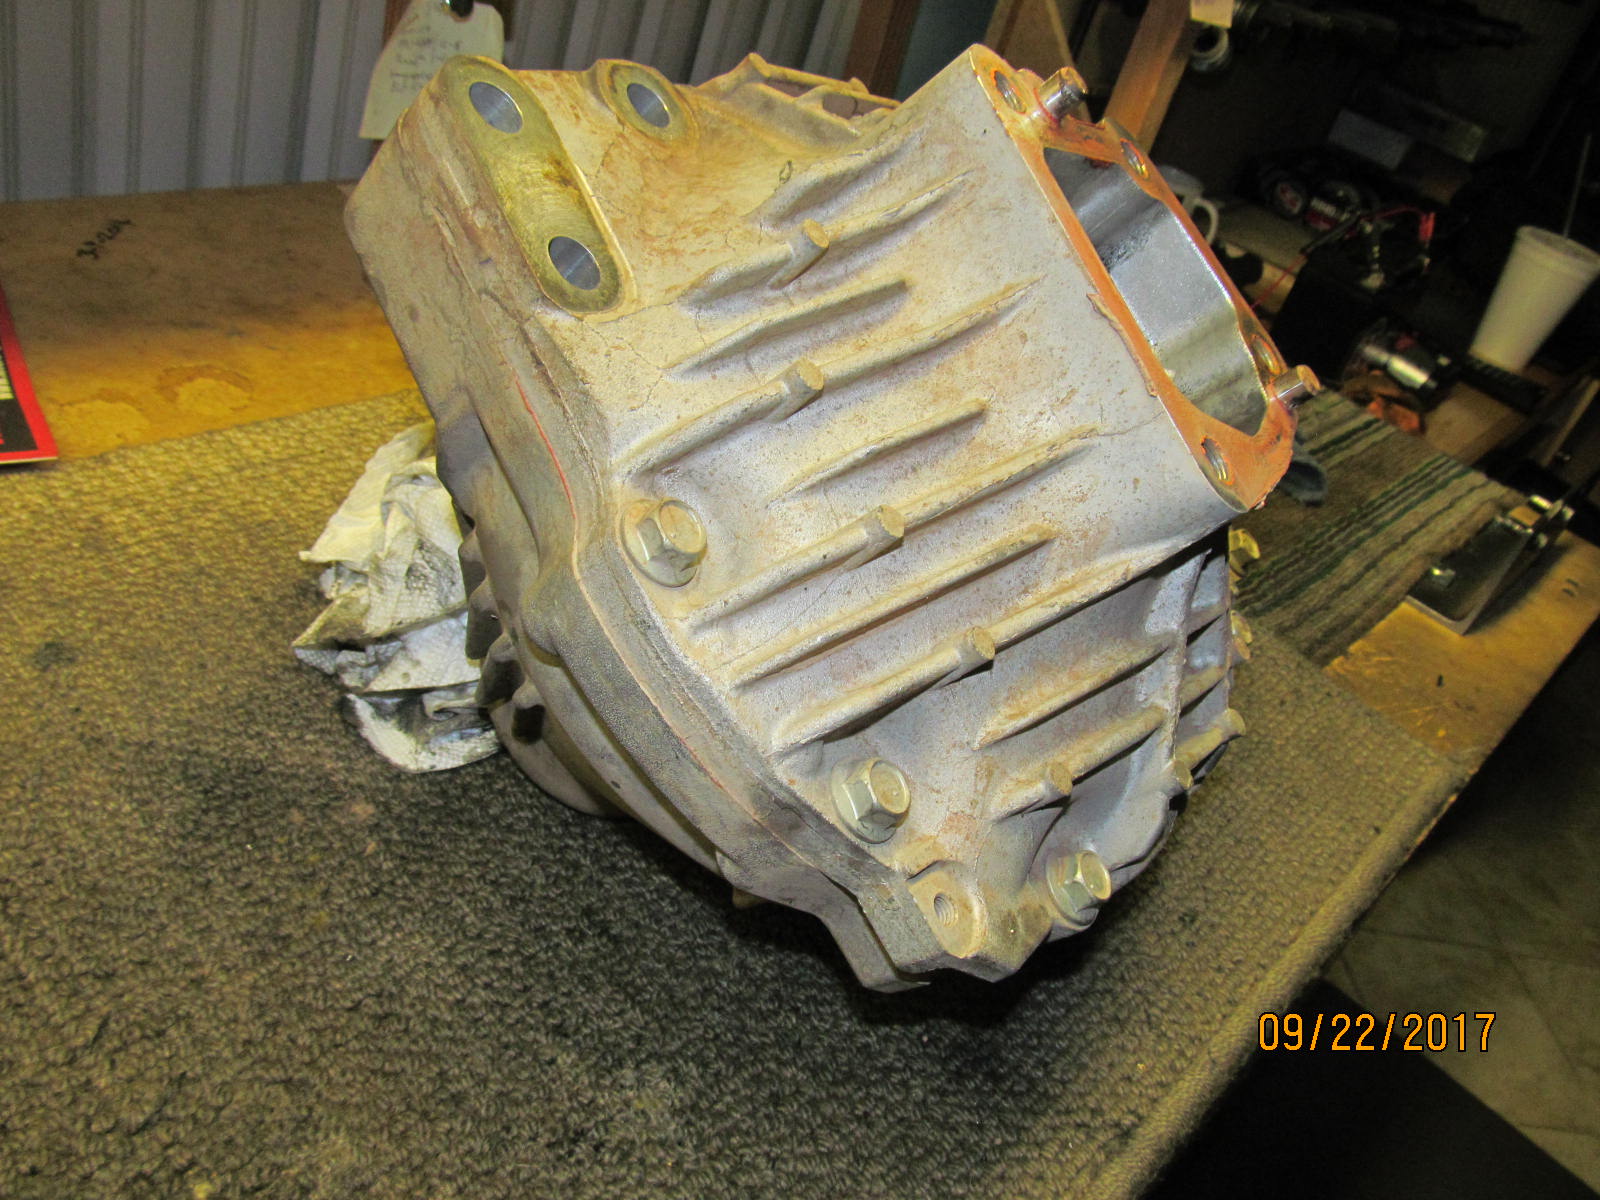
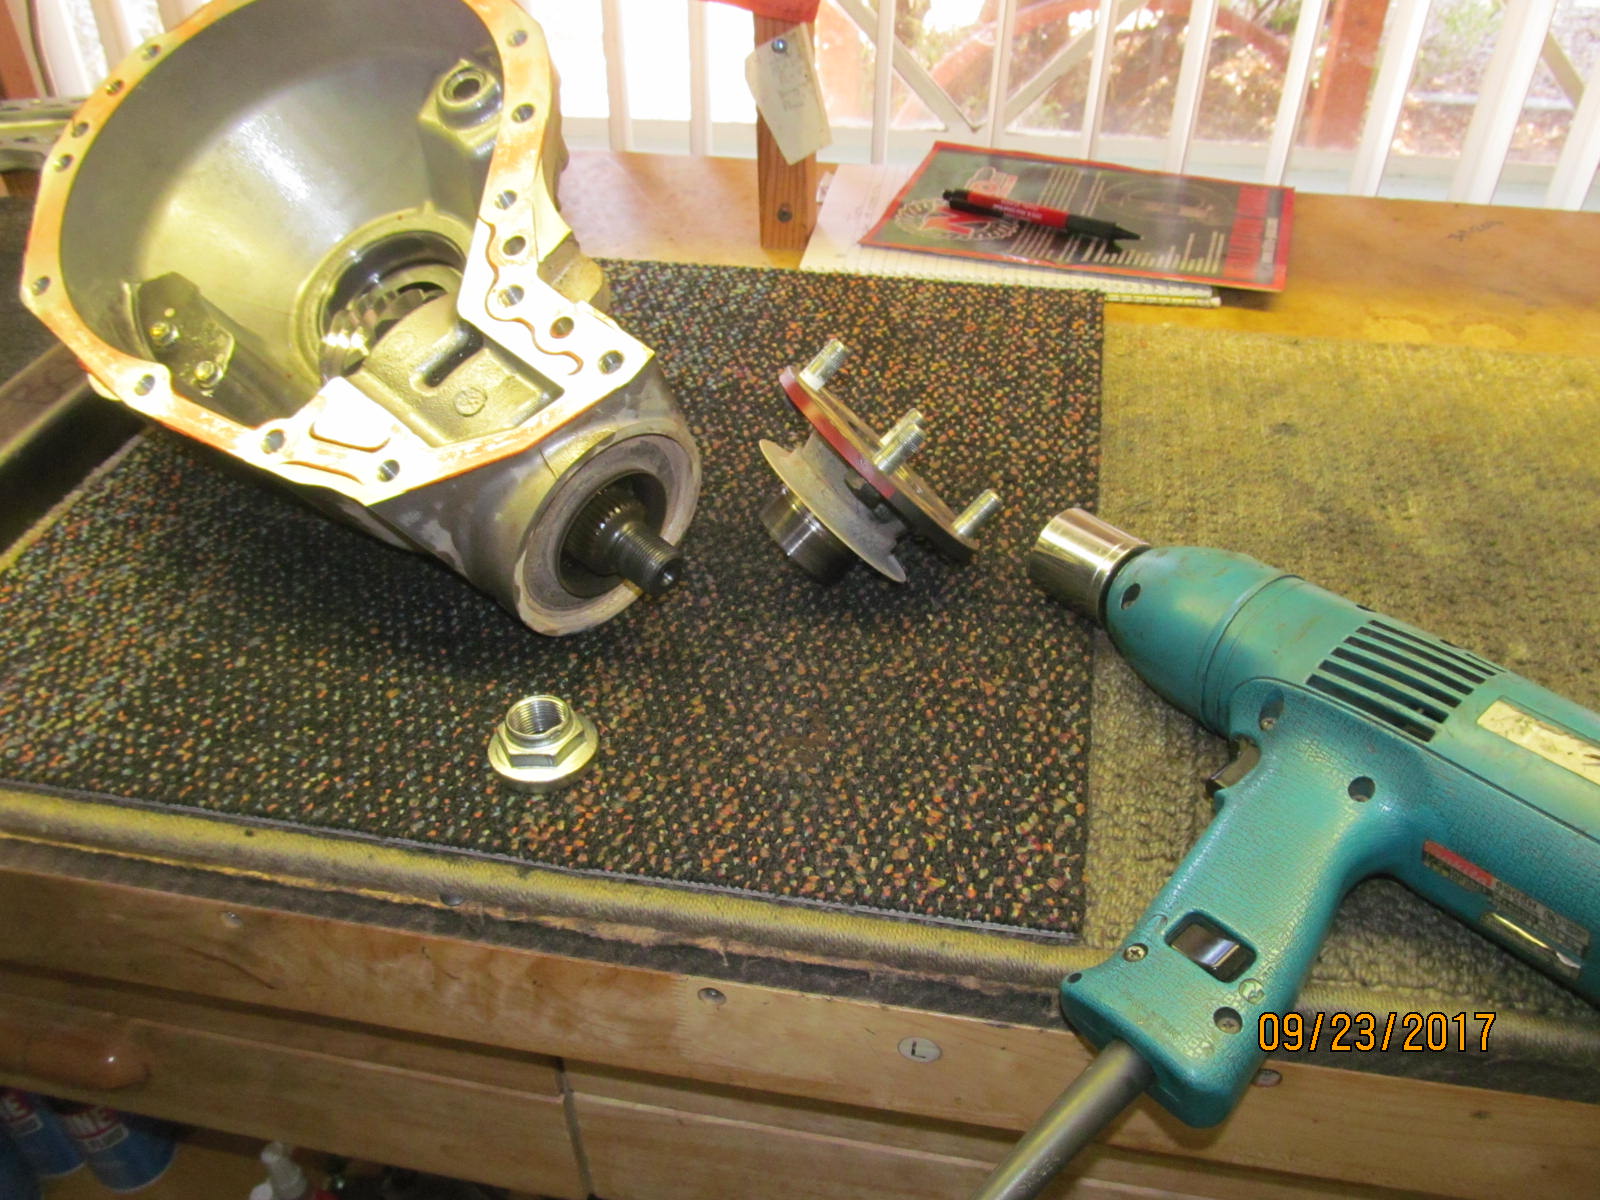
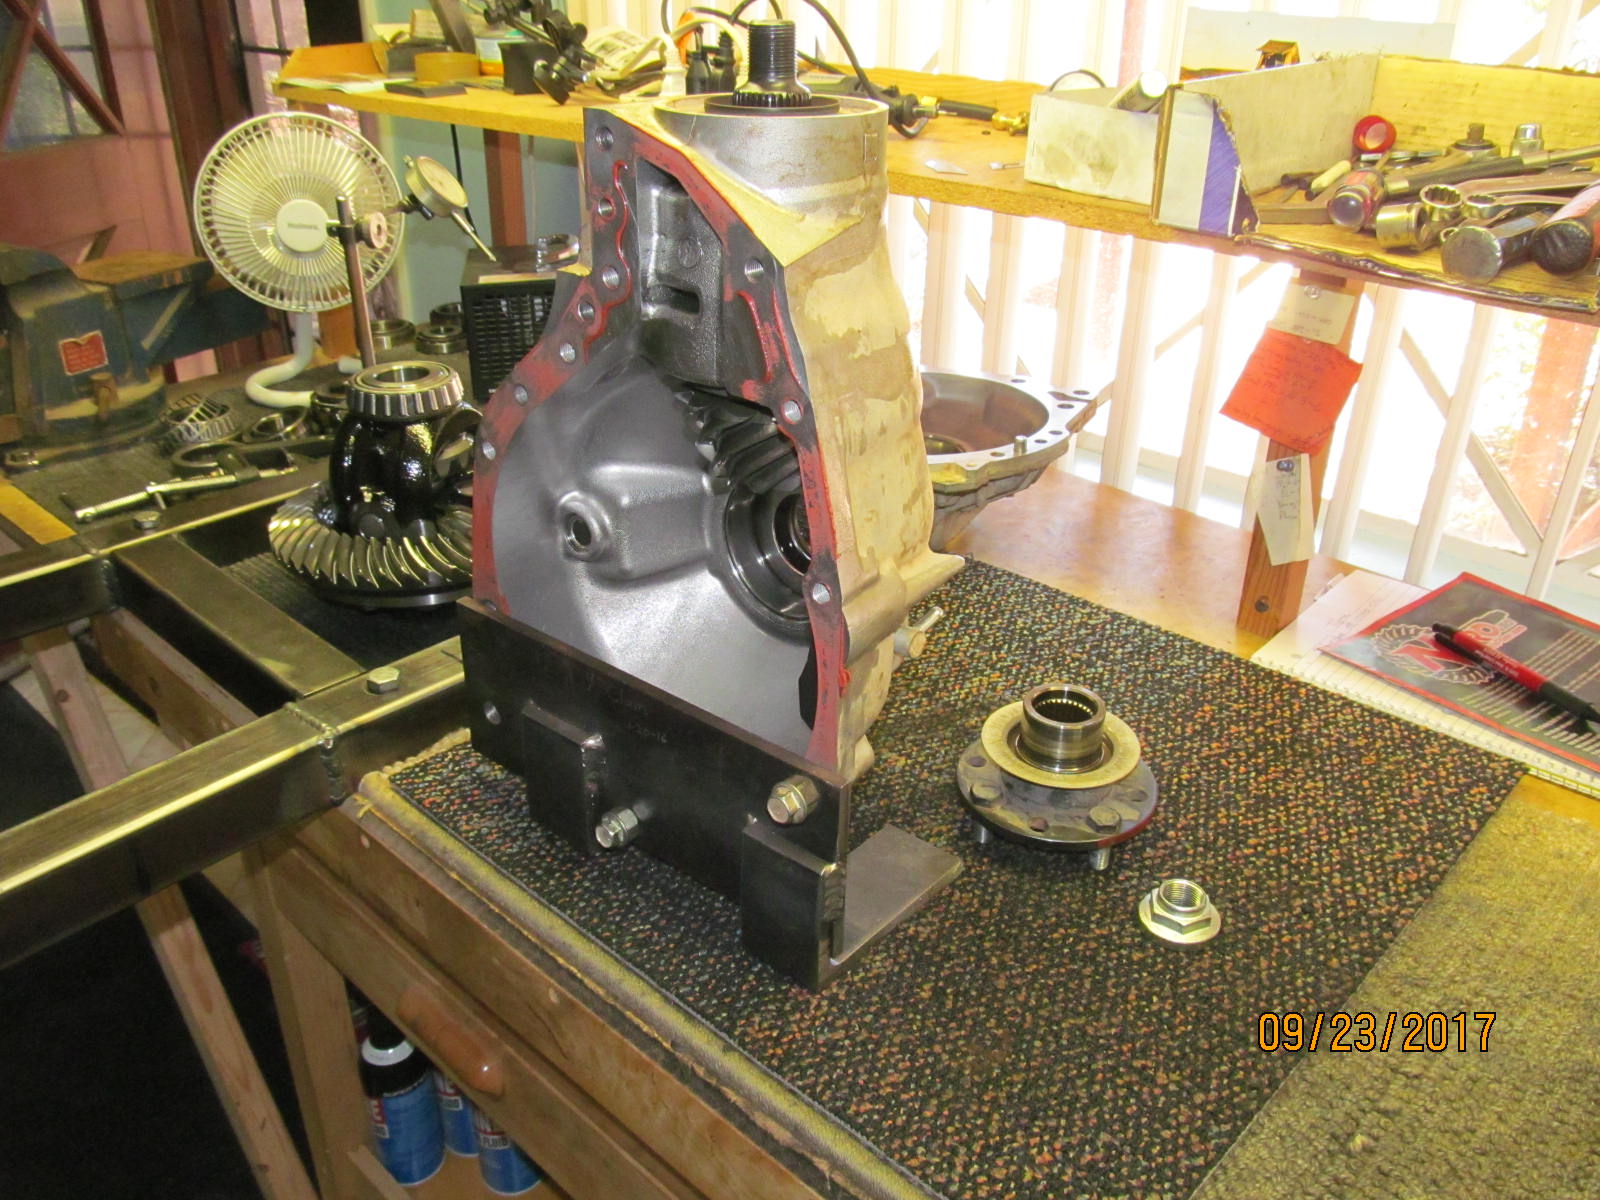
| The front clamshell of Justin's 2008 200 series was also delivered to me and thank you Camelback Toyota for doing so. |
|---|
|
|
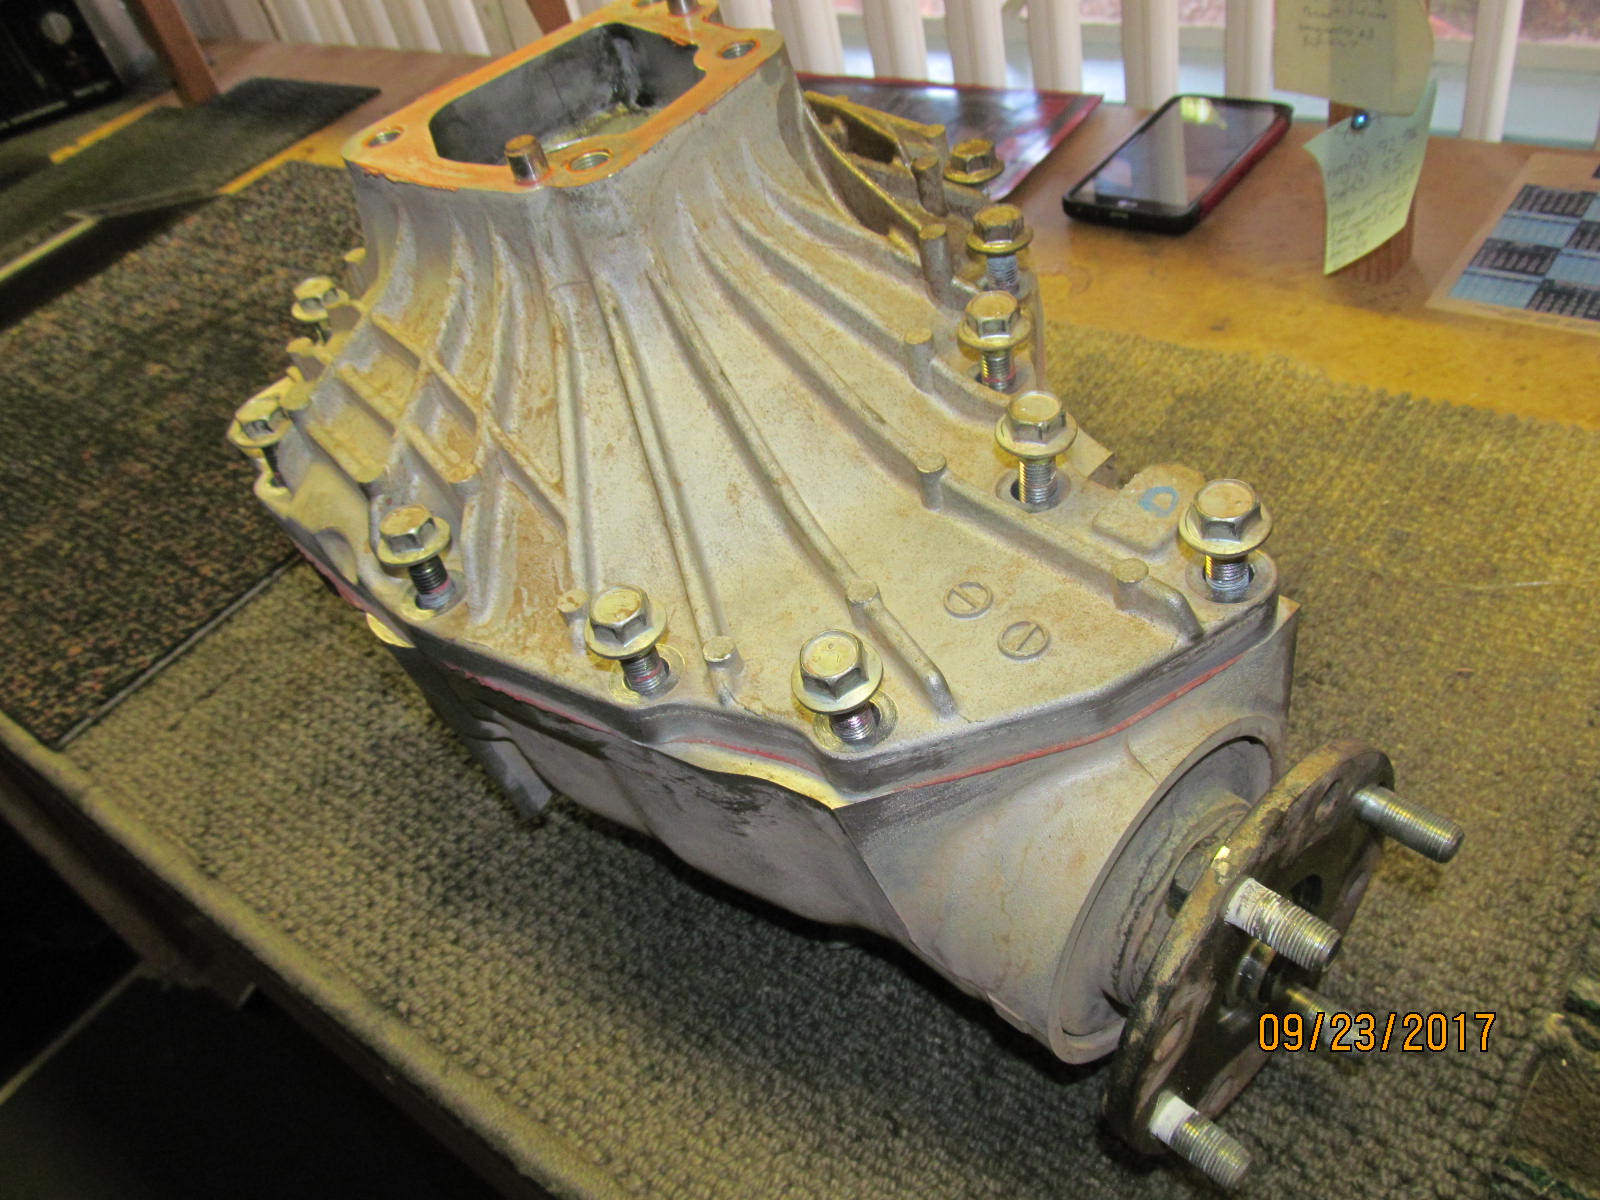
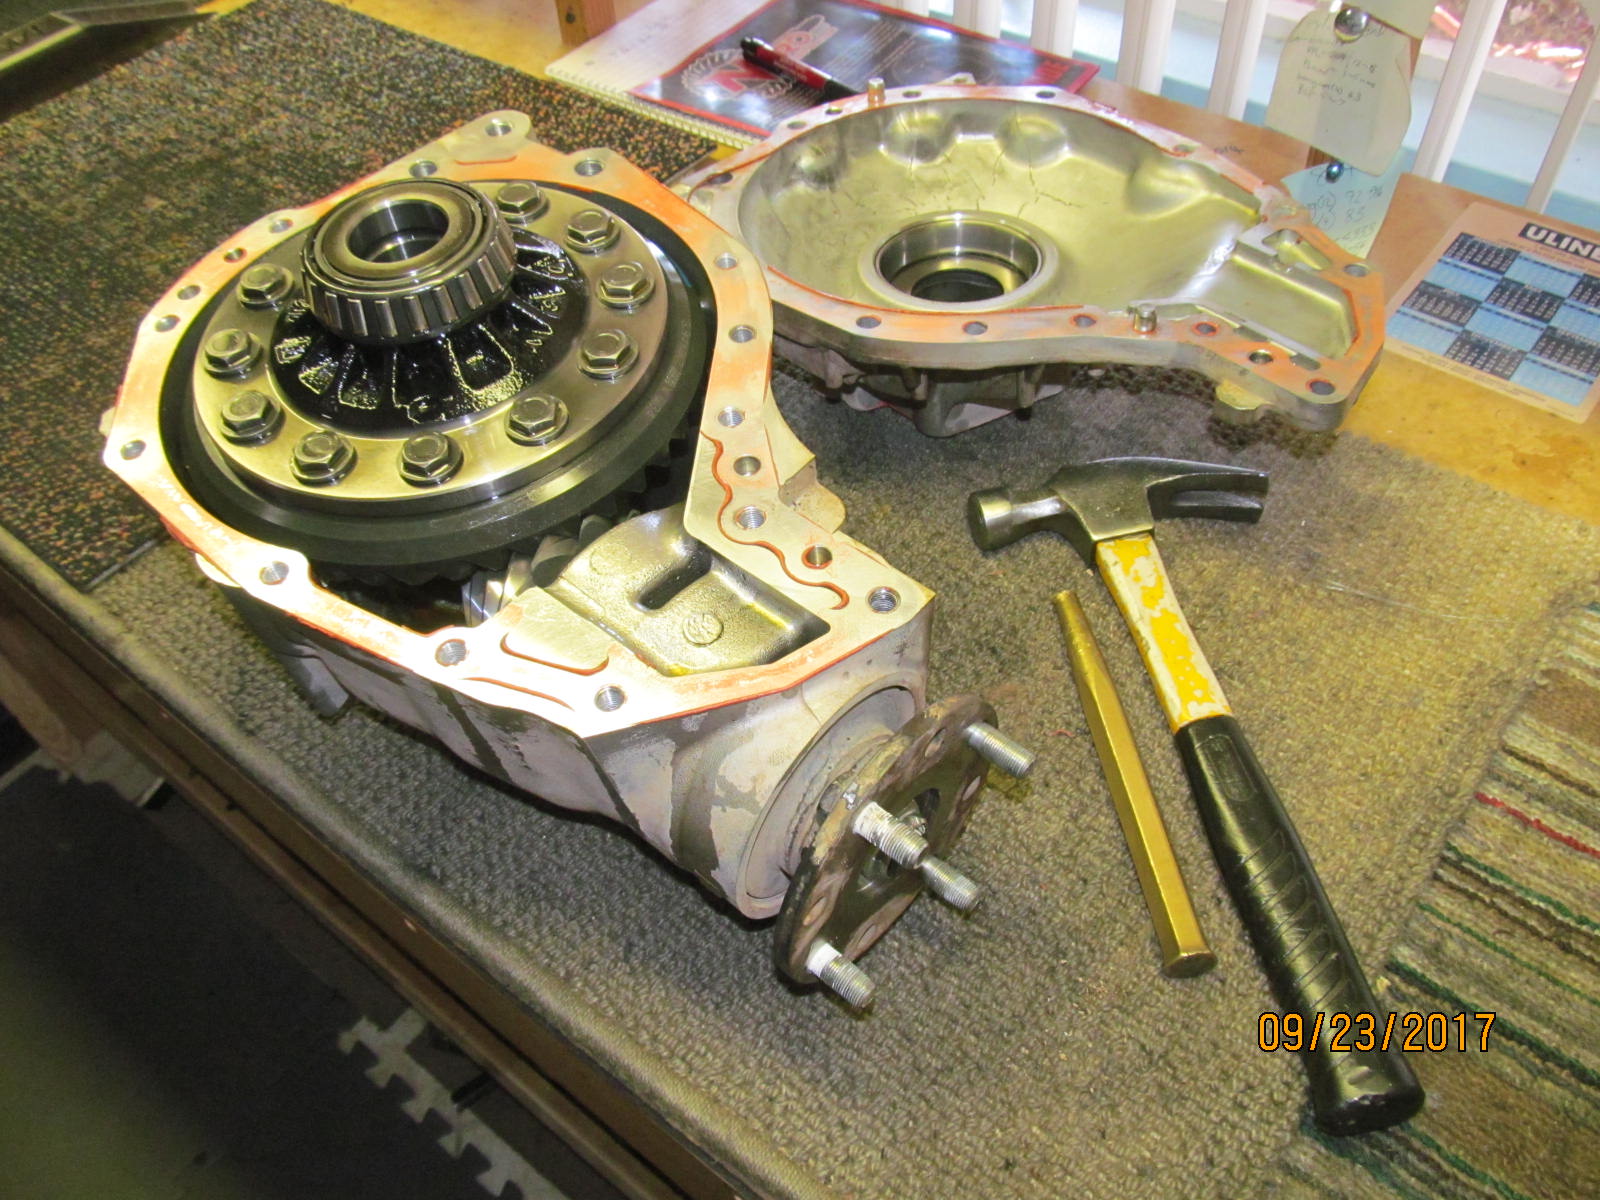
| 11 bolts hold the halves together here. |
|---|
|
|
| ............................ |
|---|
|
|
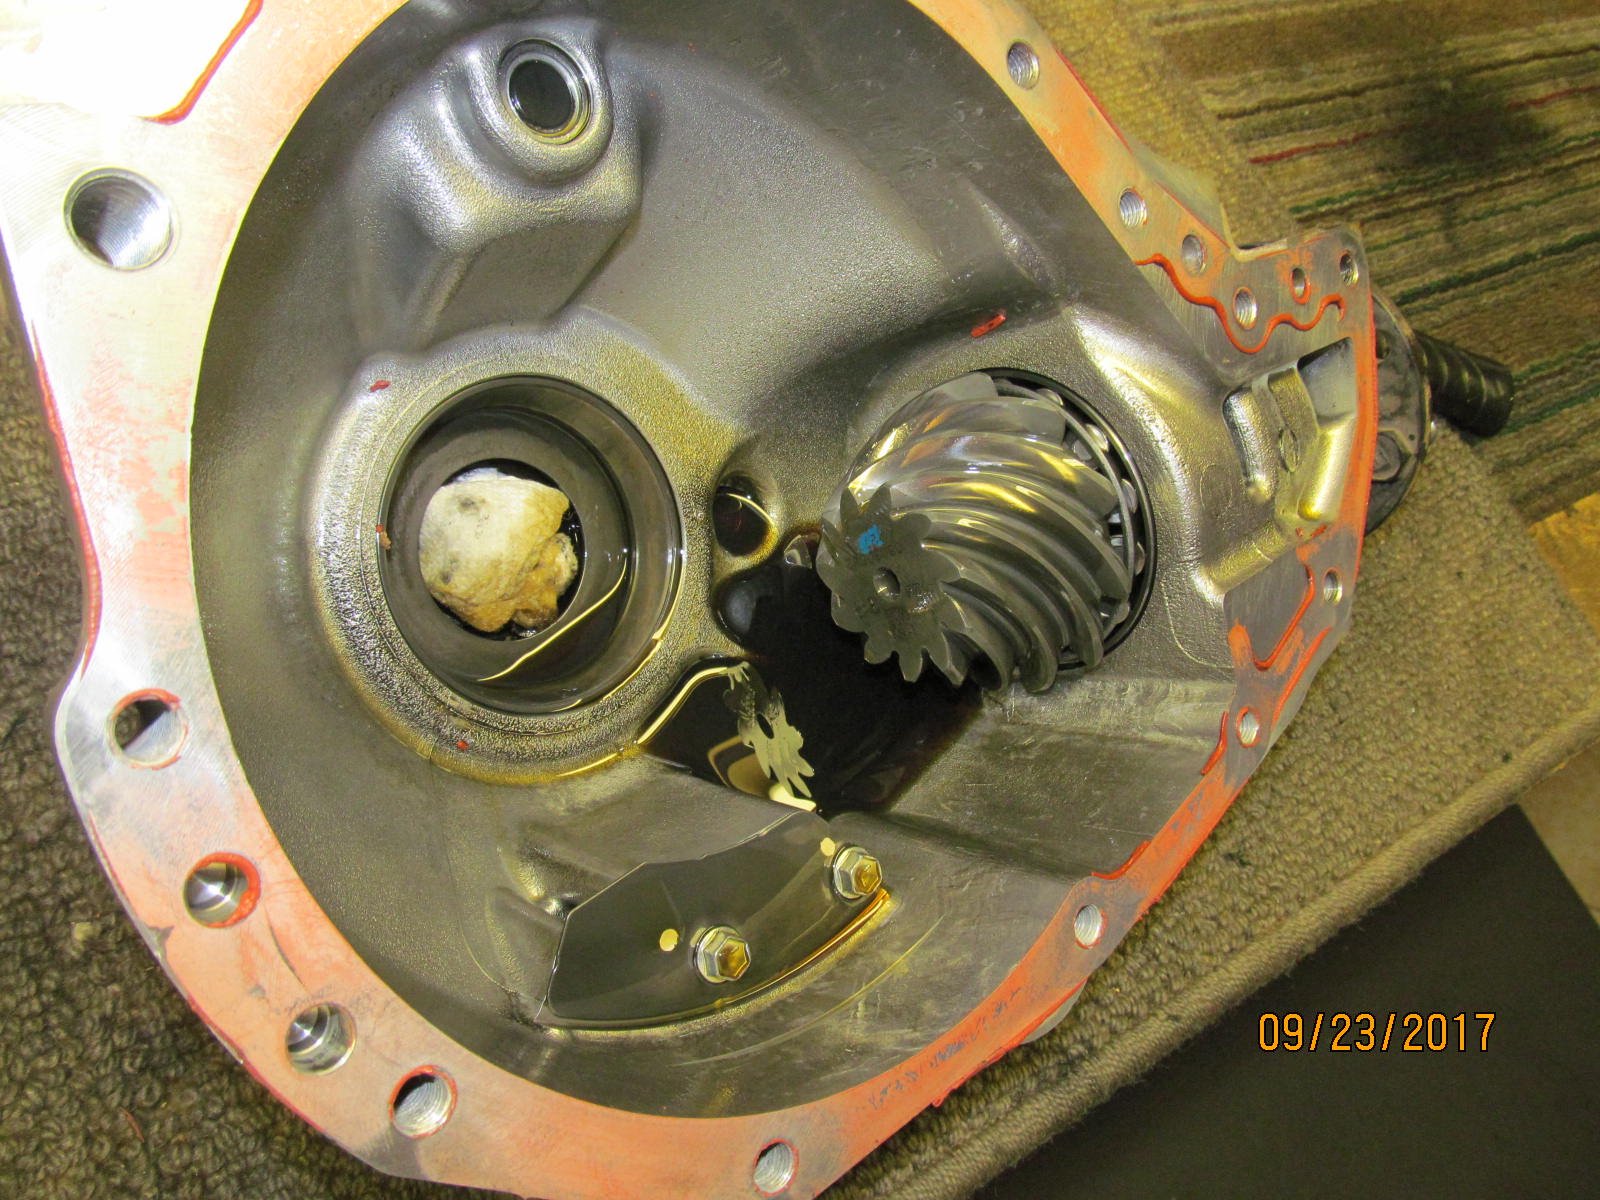
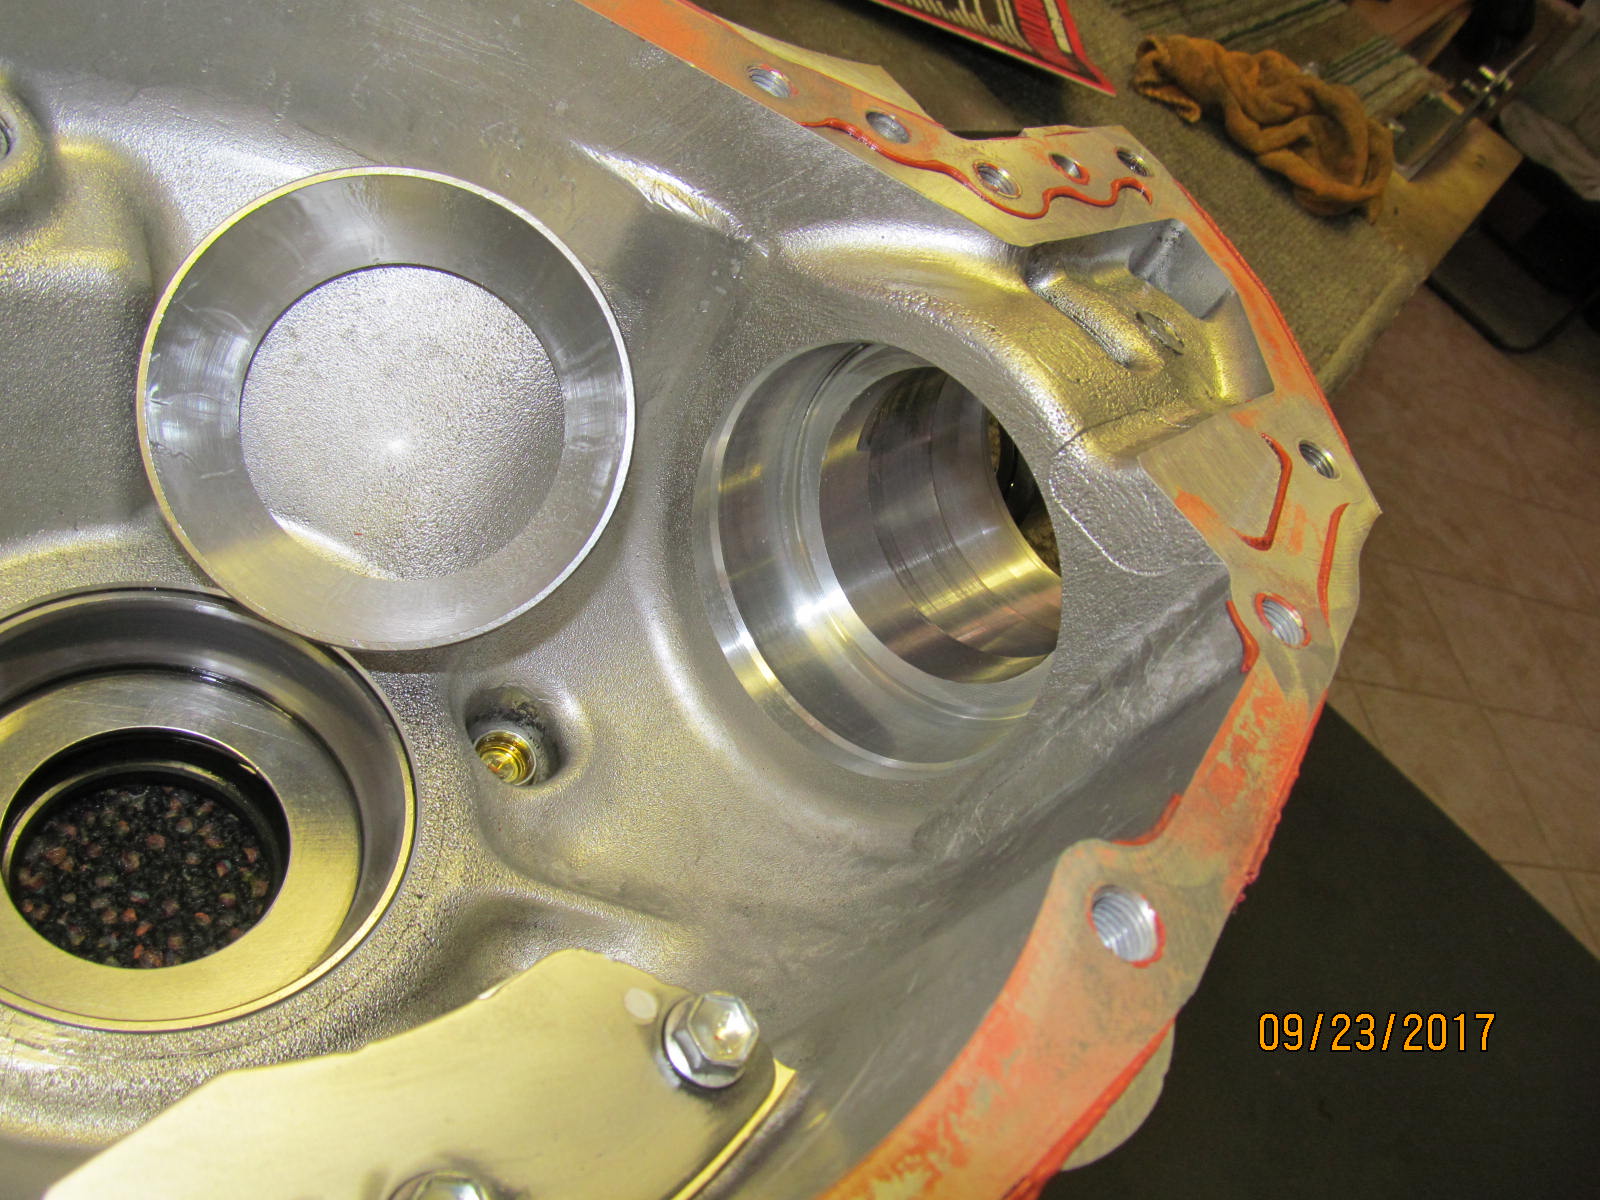
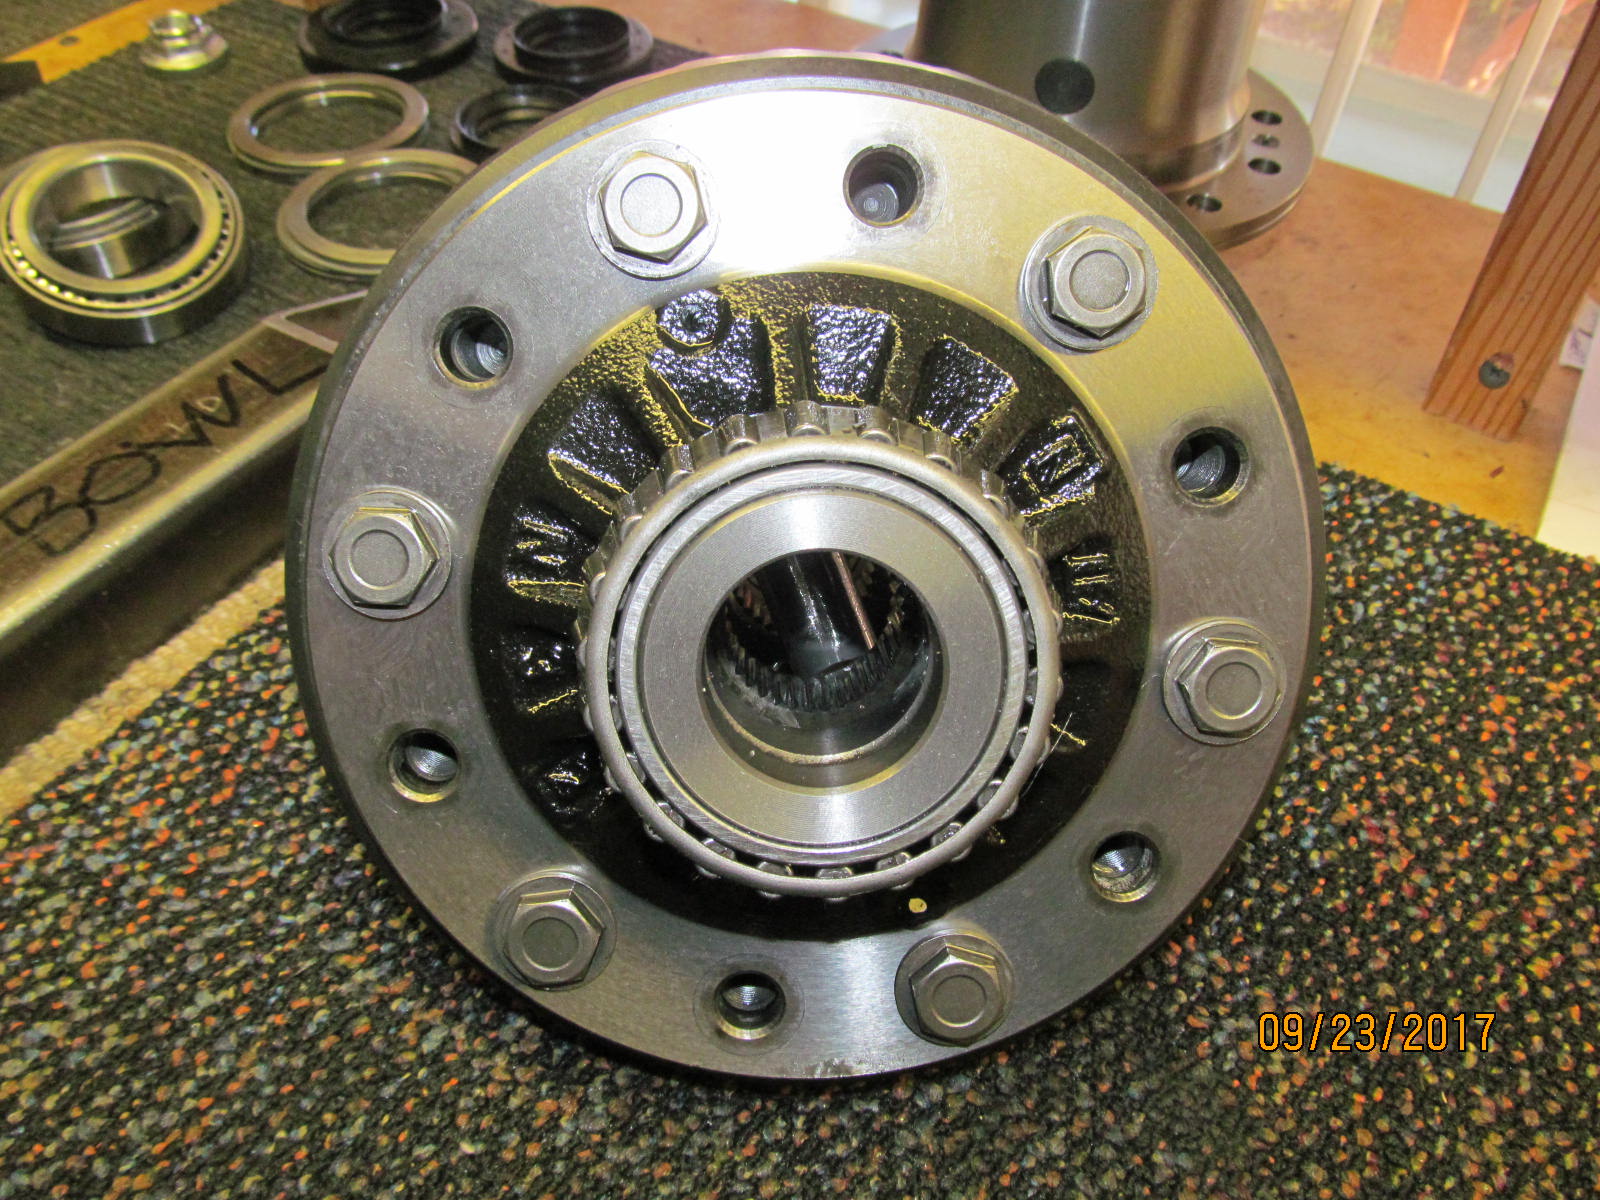
| These 9 year old carrier bearings are in very good shape |
|---|
|
|
| Some gear oil still clung to the crevices. |
|---|
|
|
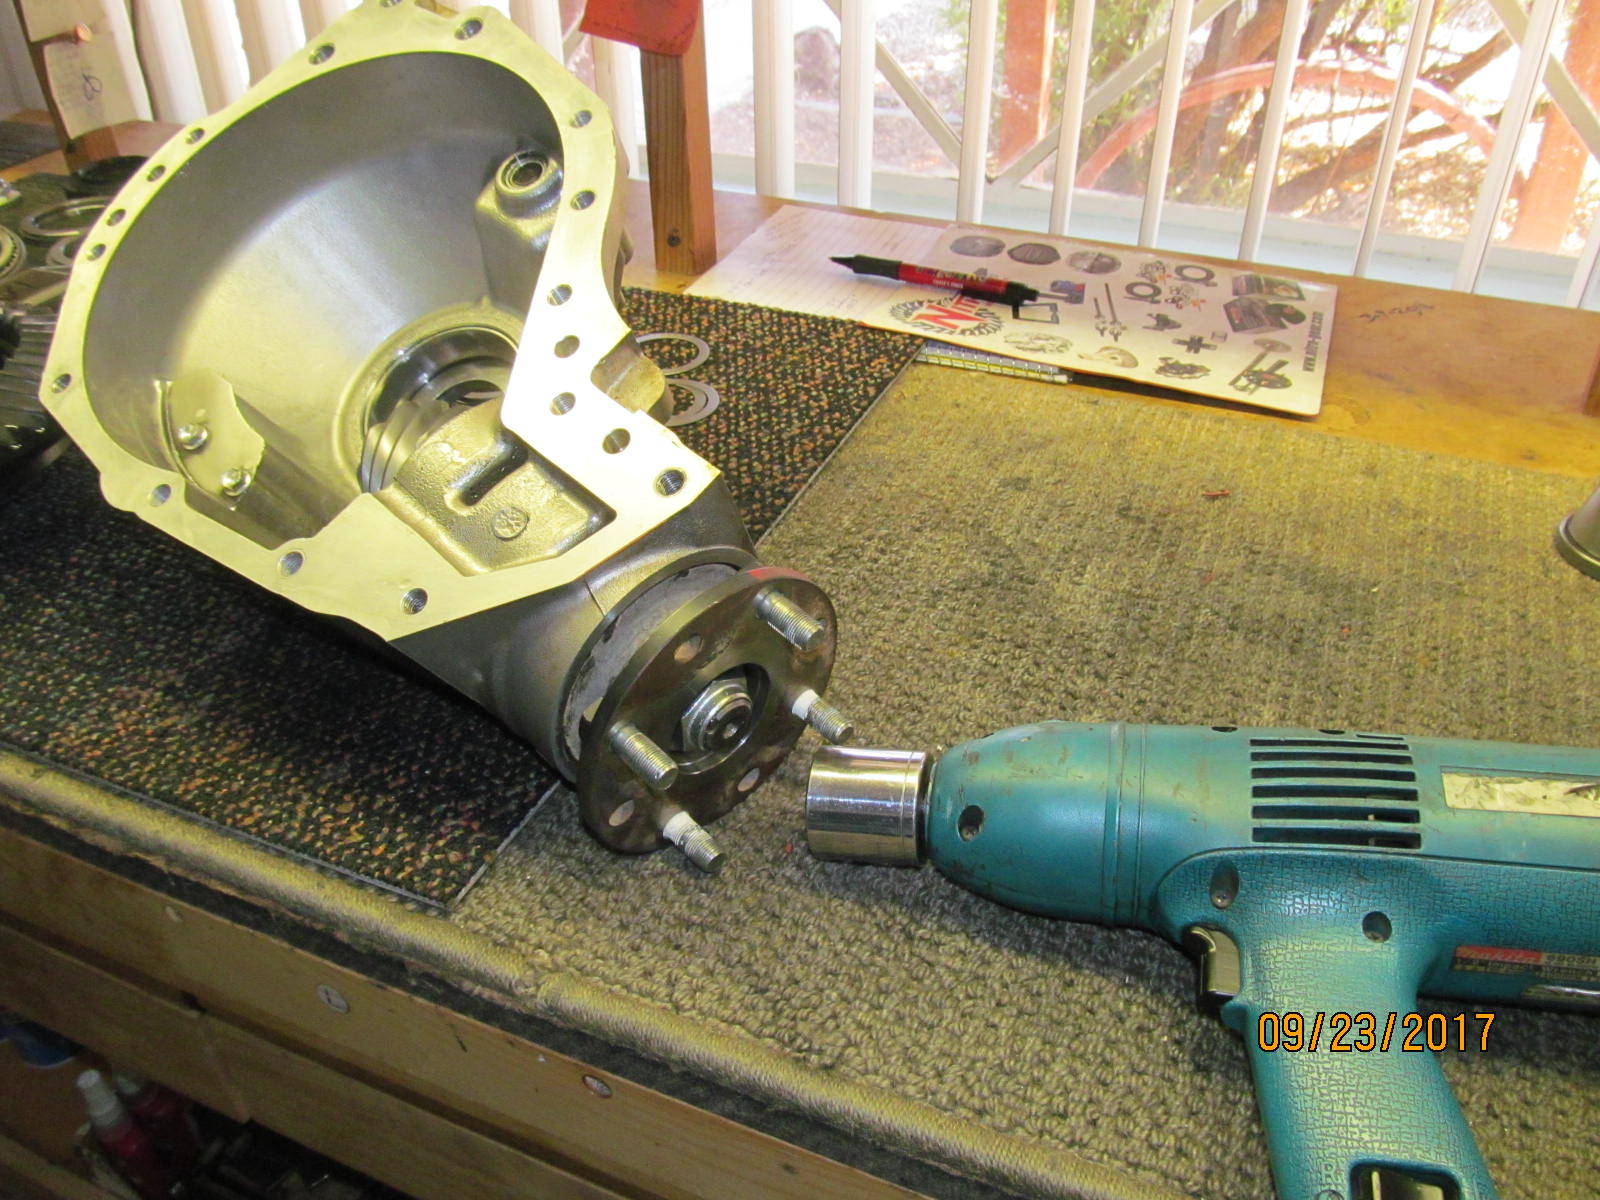
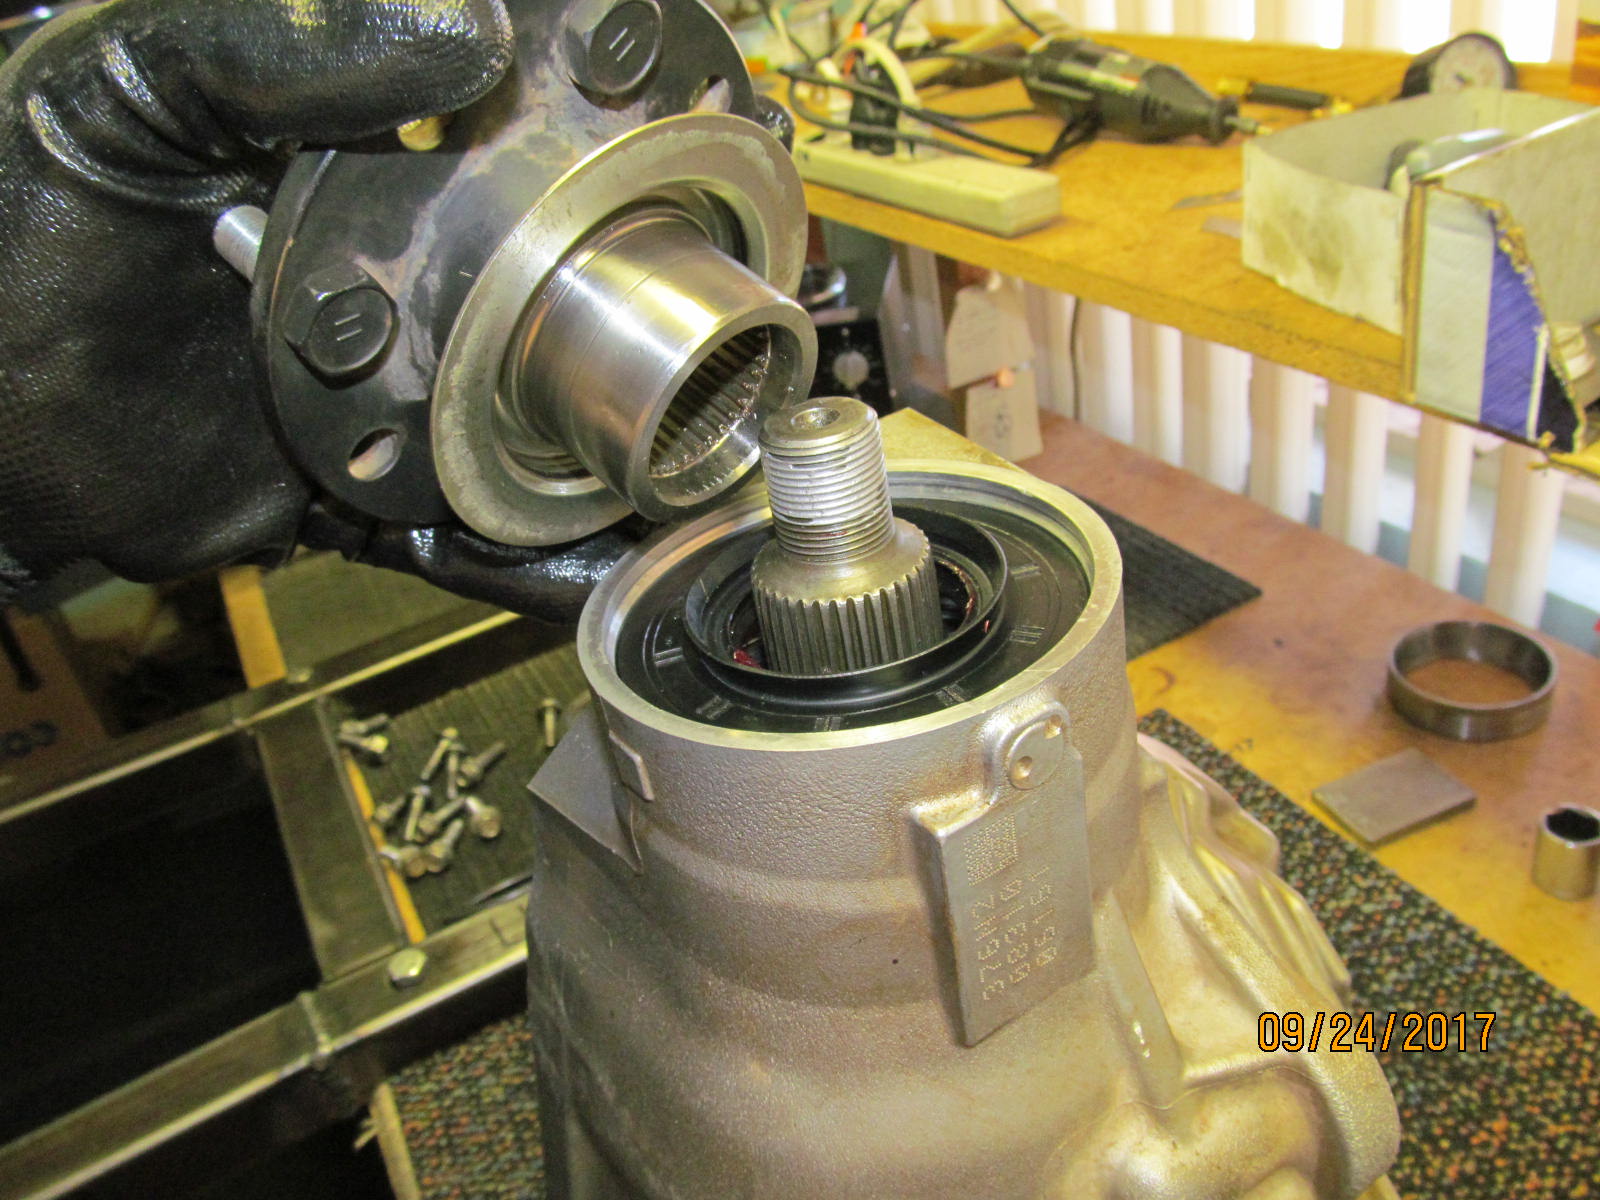
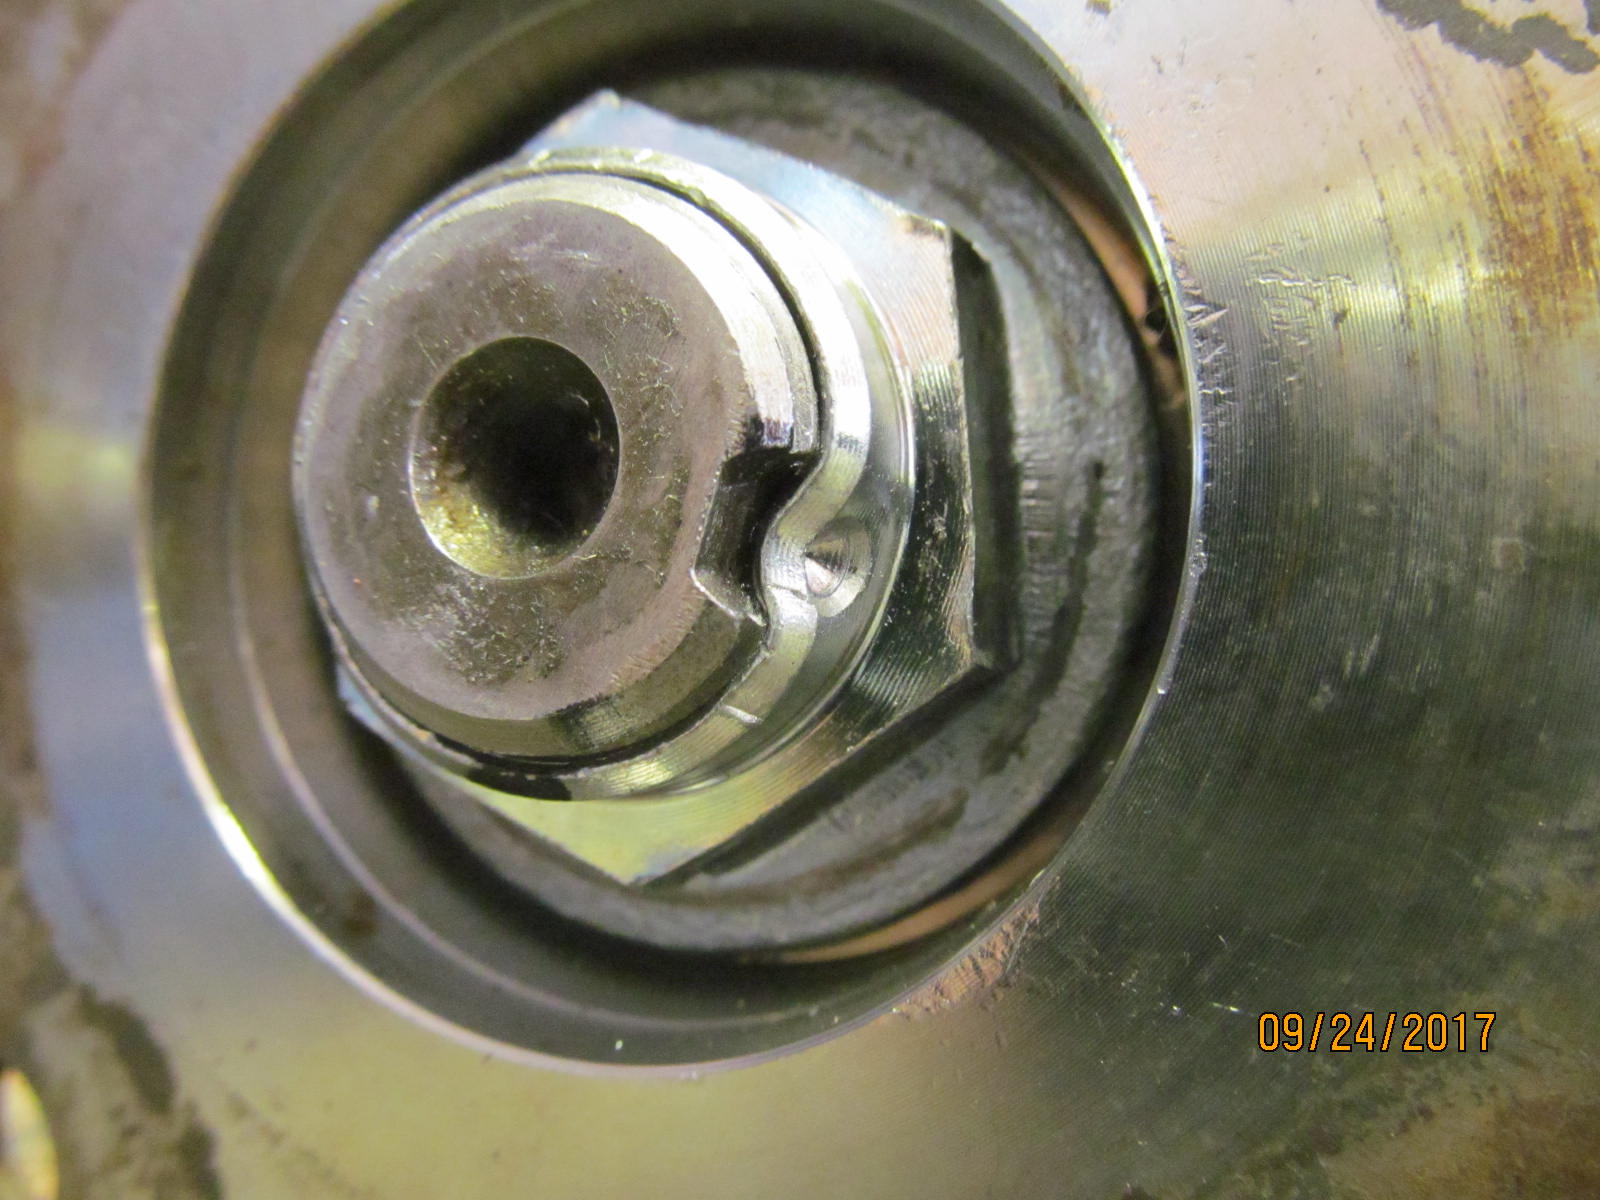
| Remove the pinion flange... |
|---|
|
|
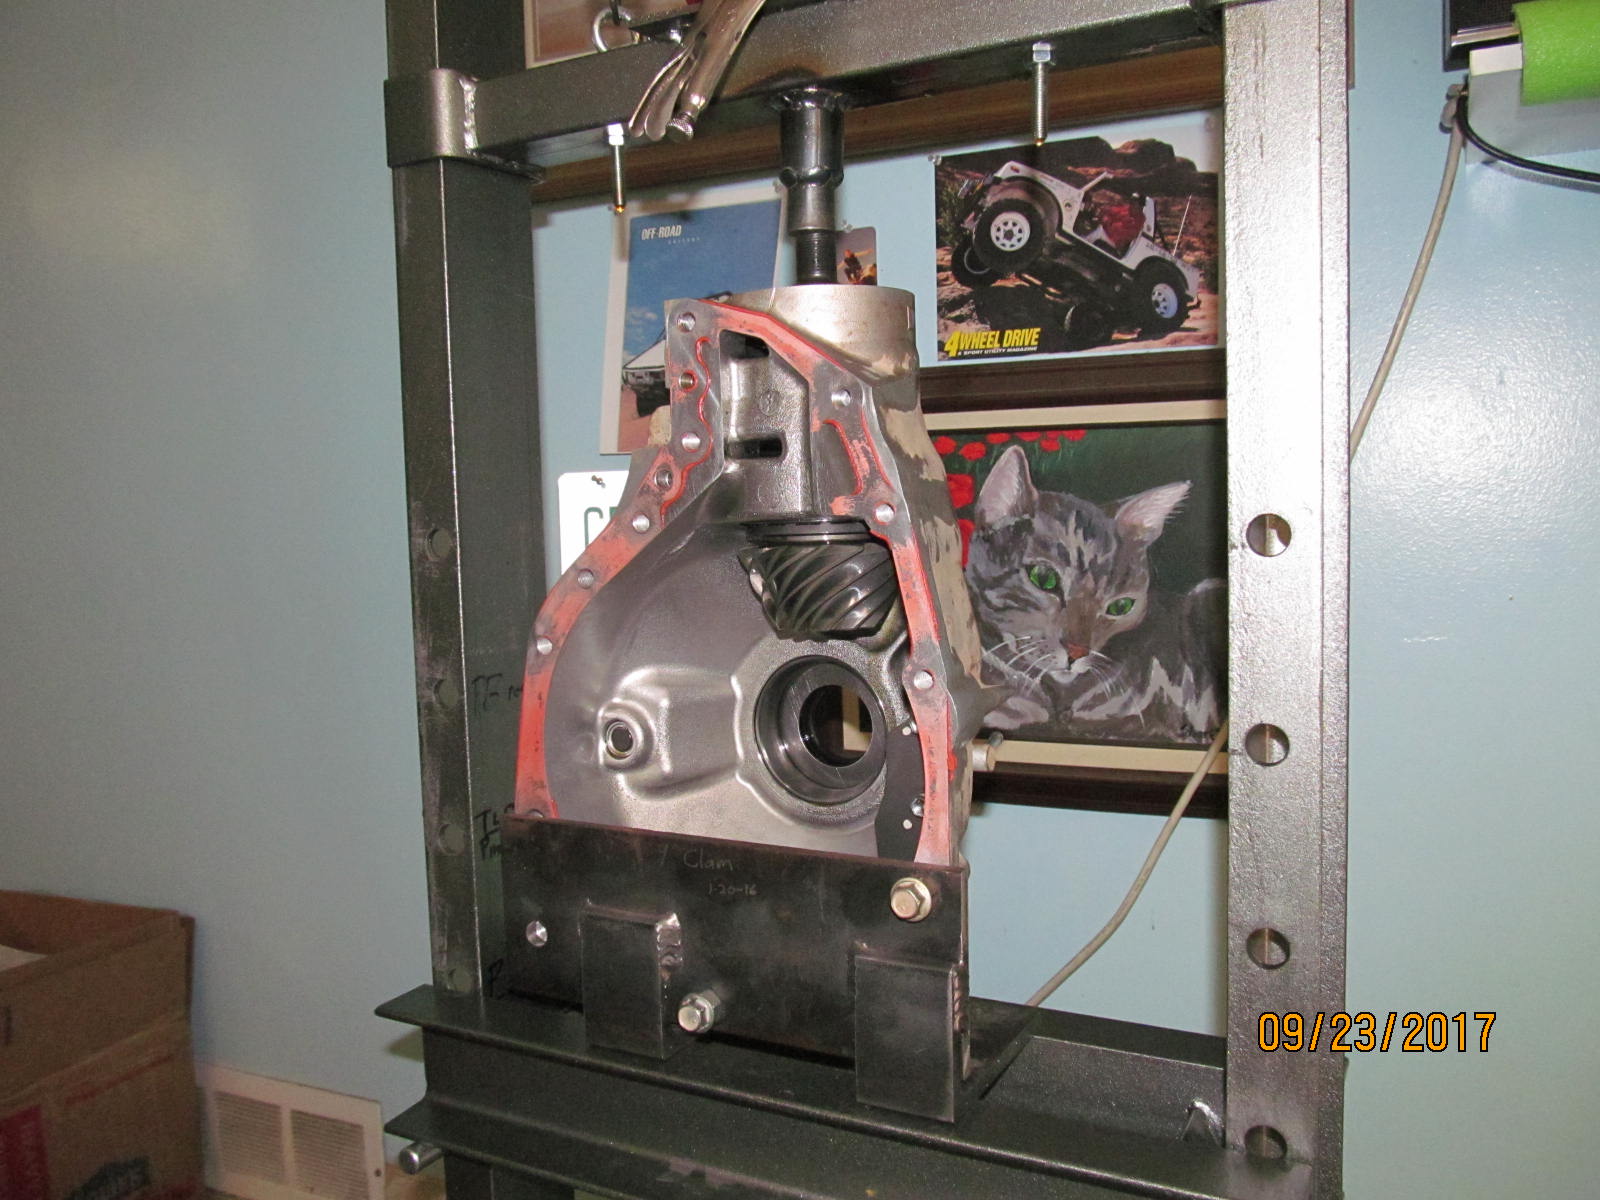
| A tool I made up with angle iron and the MIG. |
|---|
|
|
| Pressing out the pinion. |
|---|
|
|
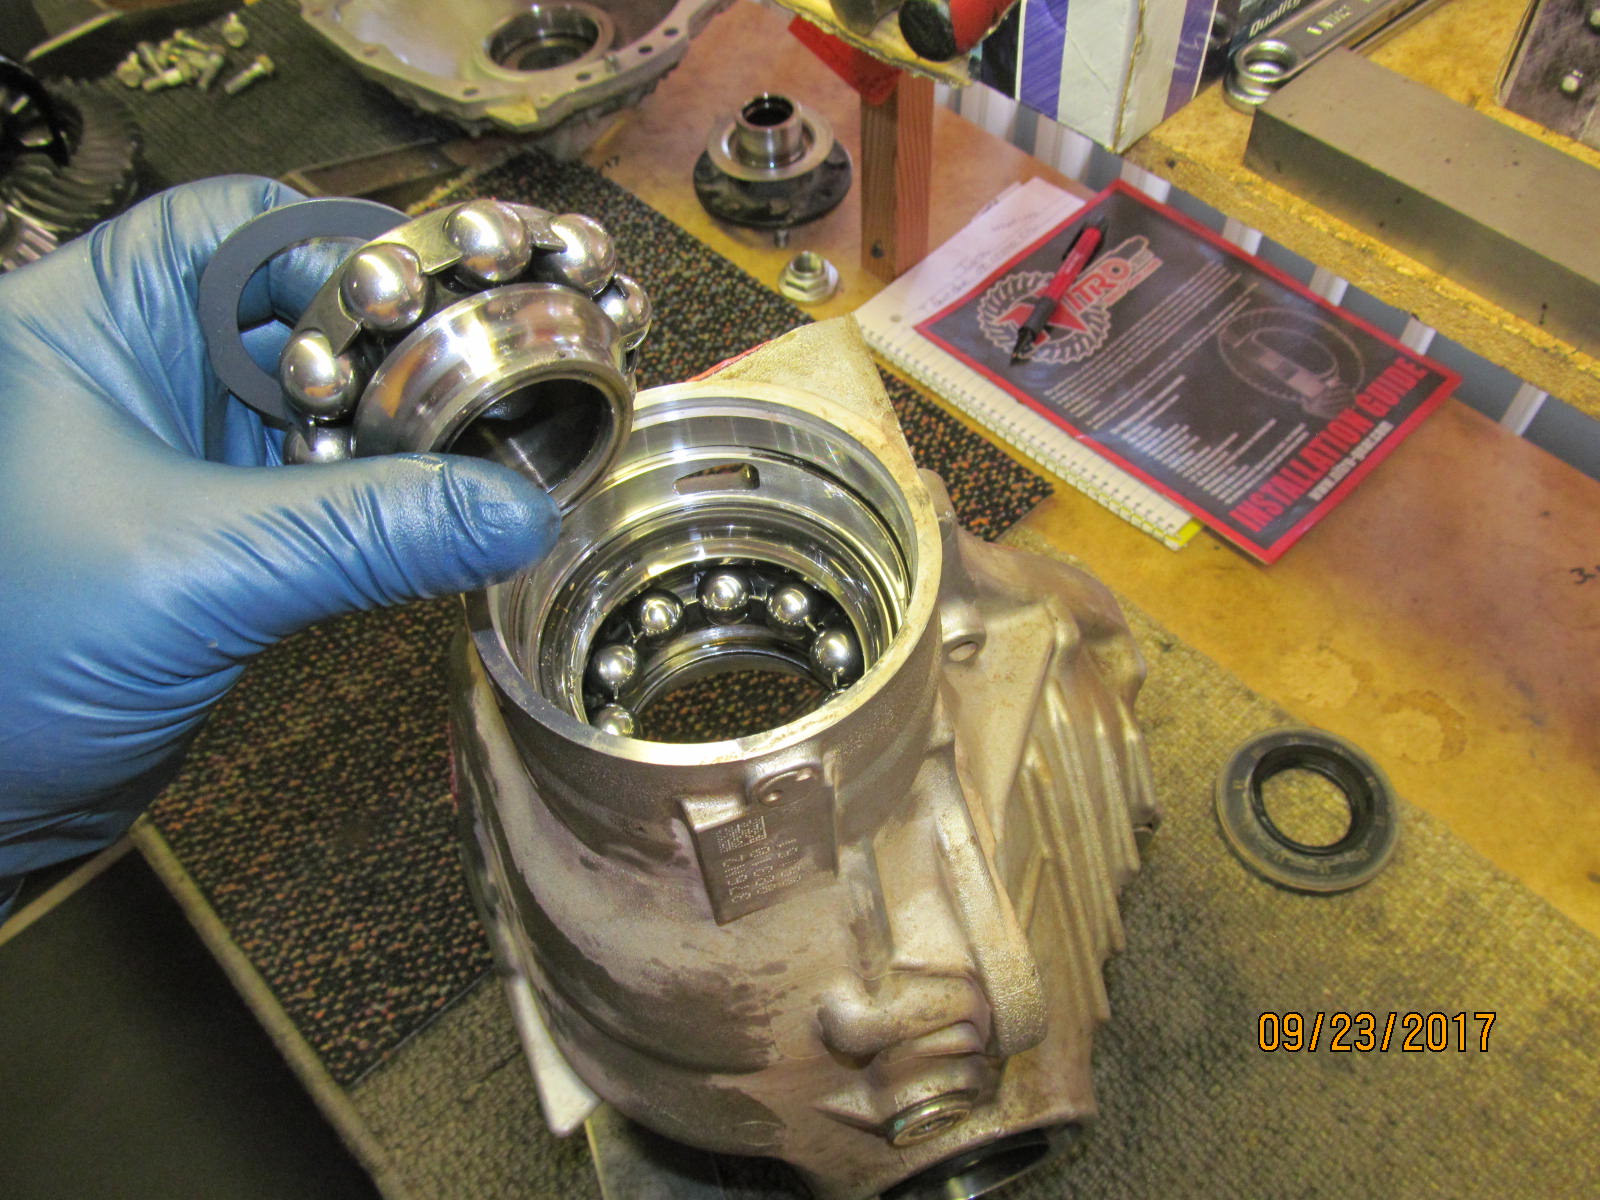
| The outer pinion ball bearing assembly was in especially good shape. |
|---|
|
|
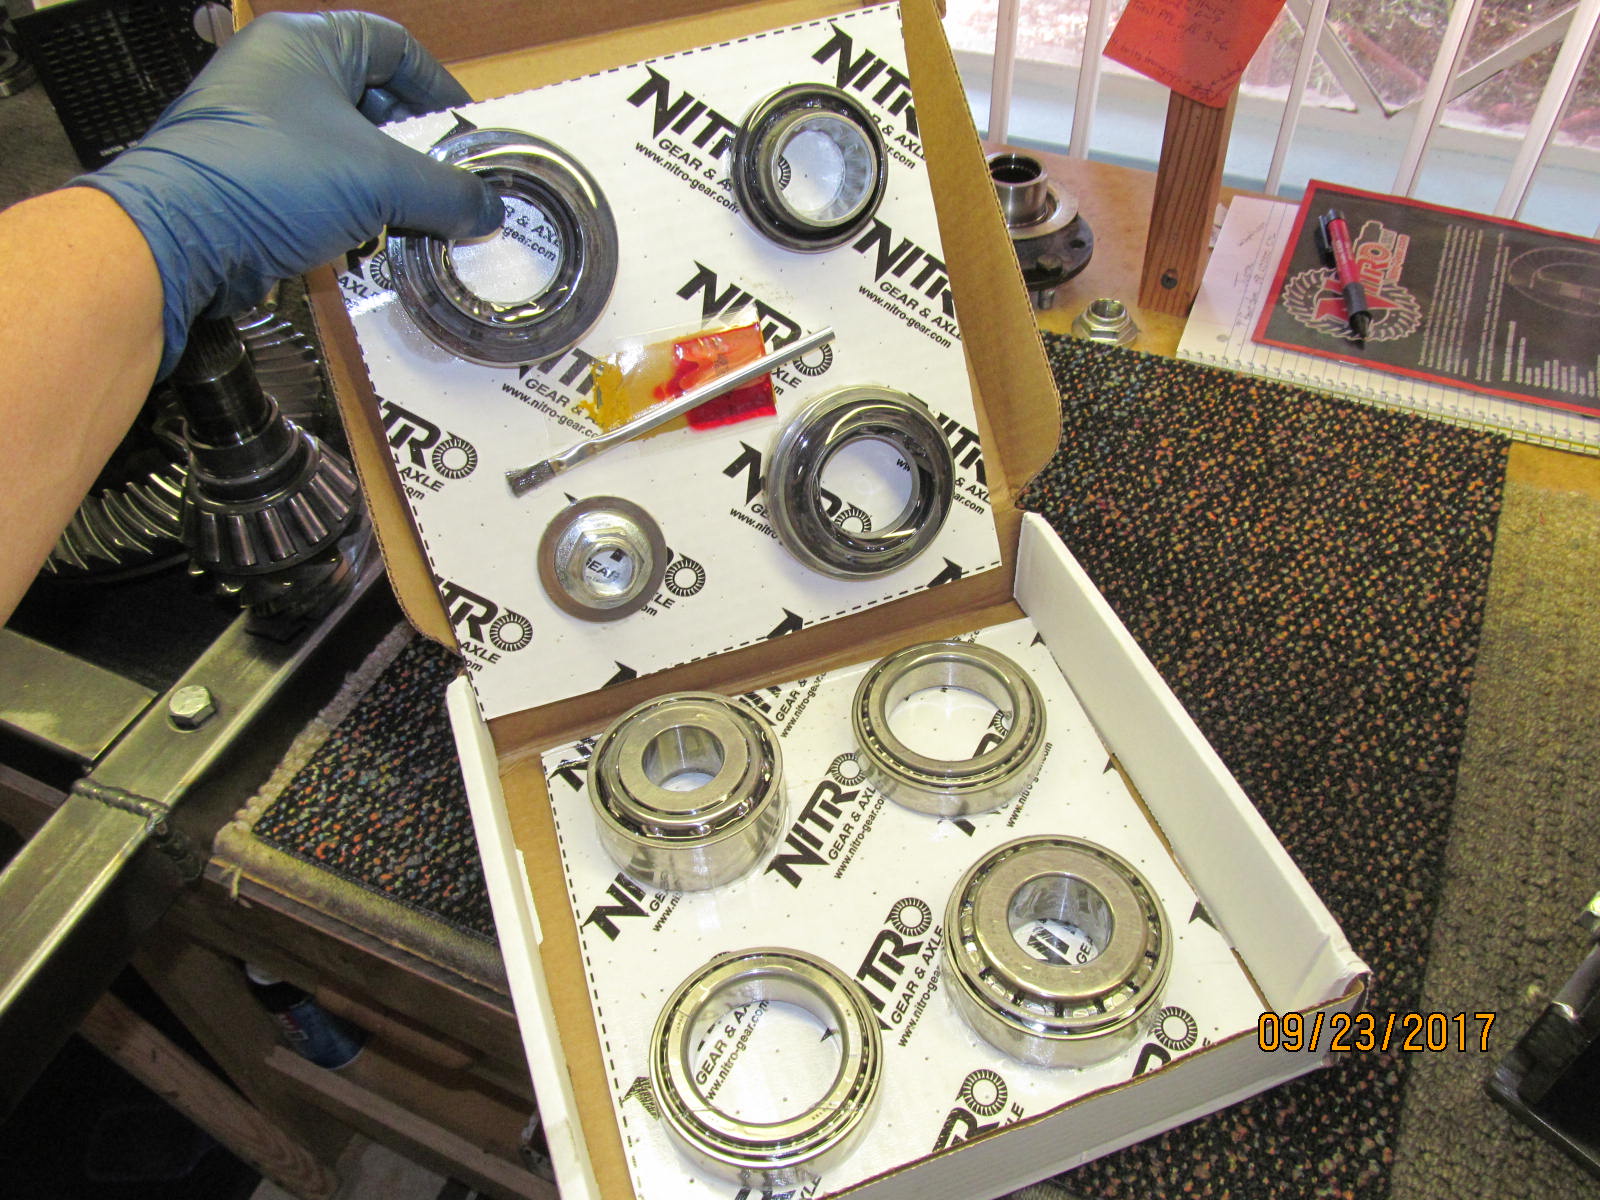
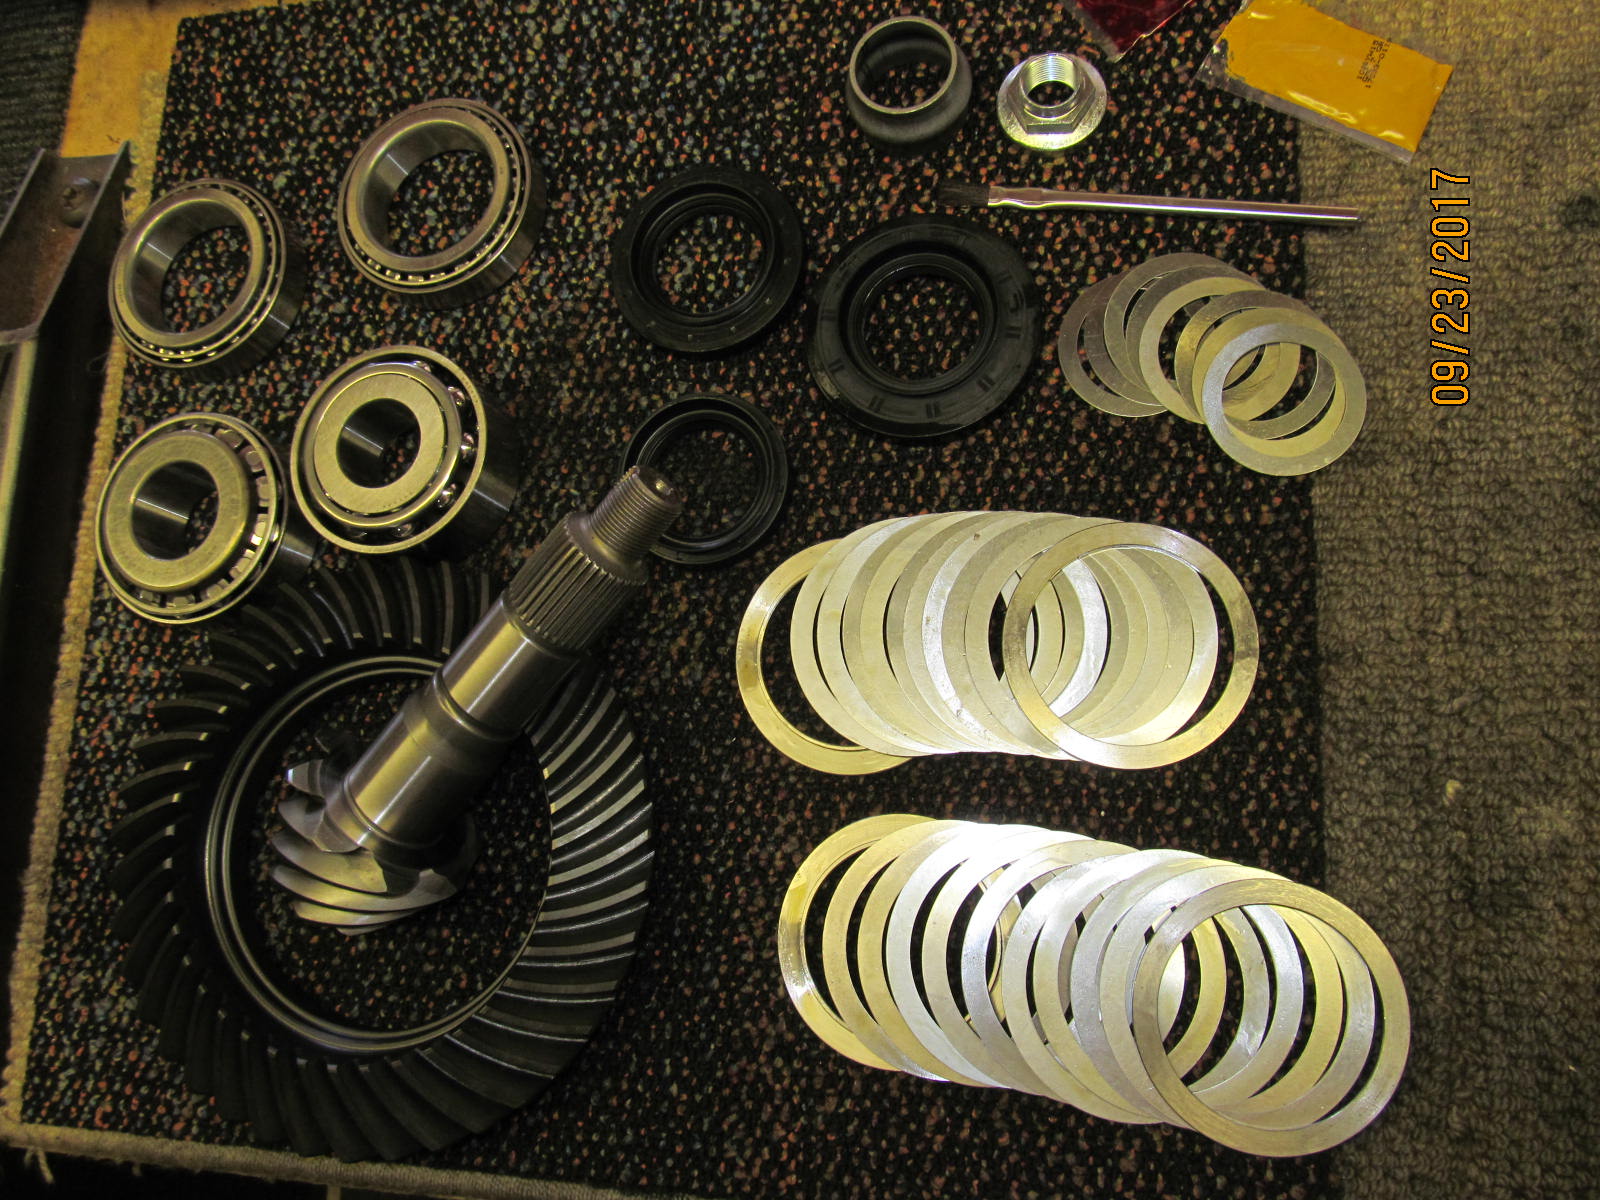
| The new Nitro master kit. |
|---|
|
|
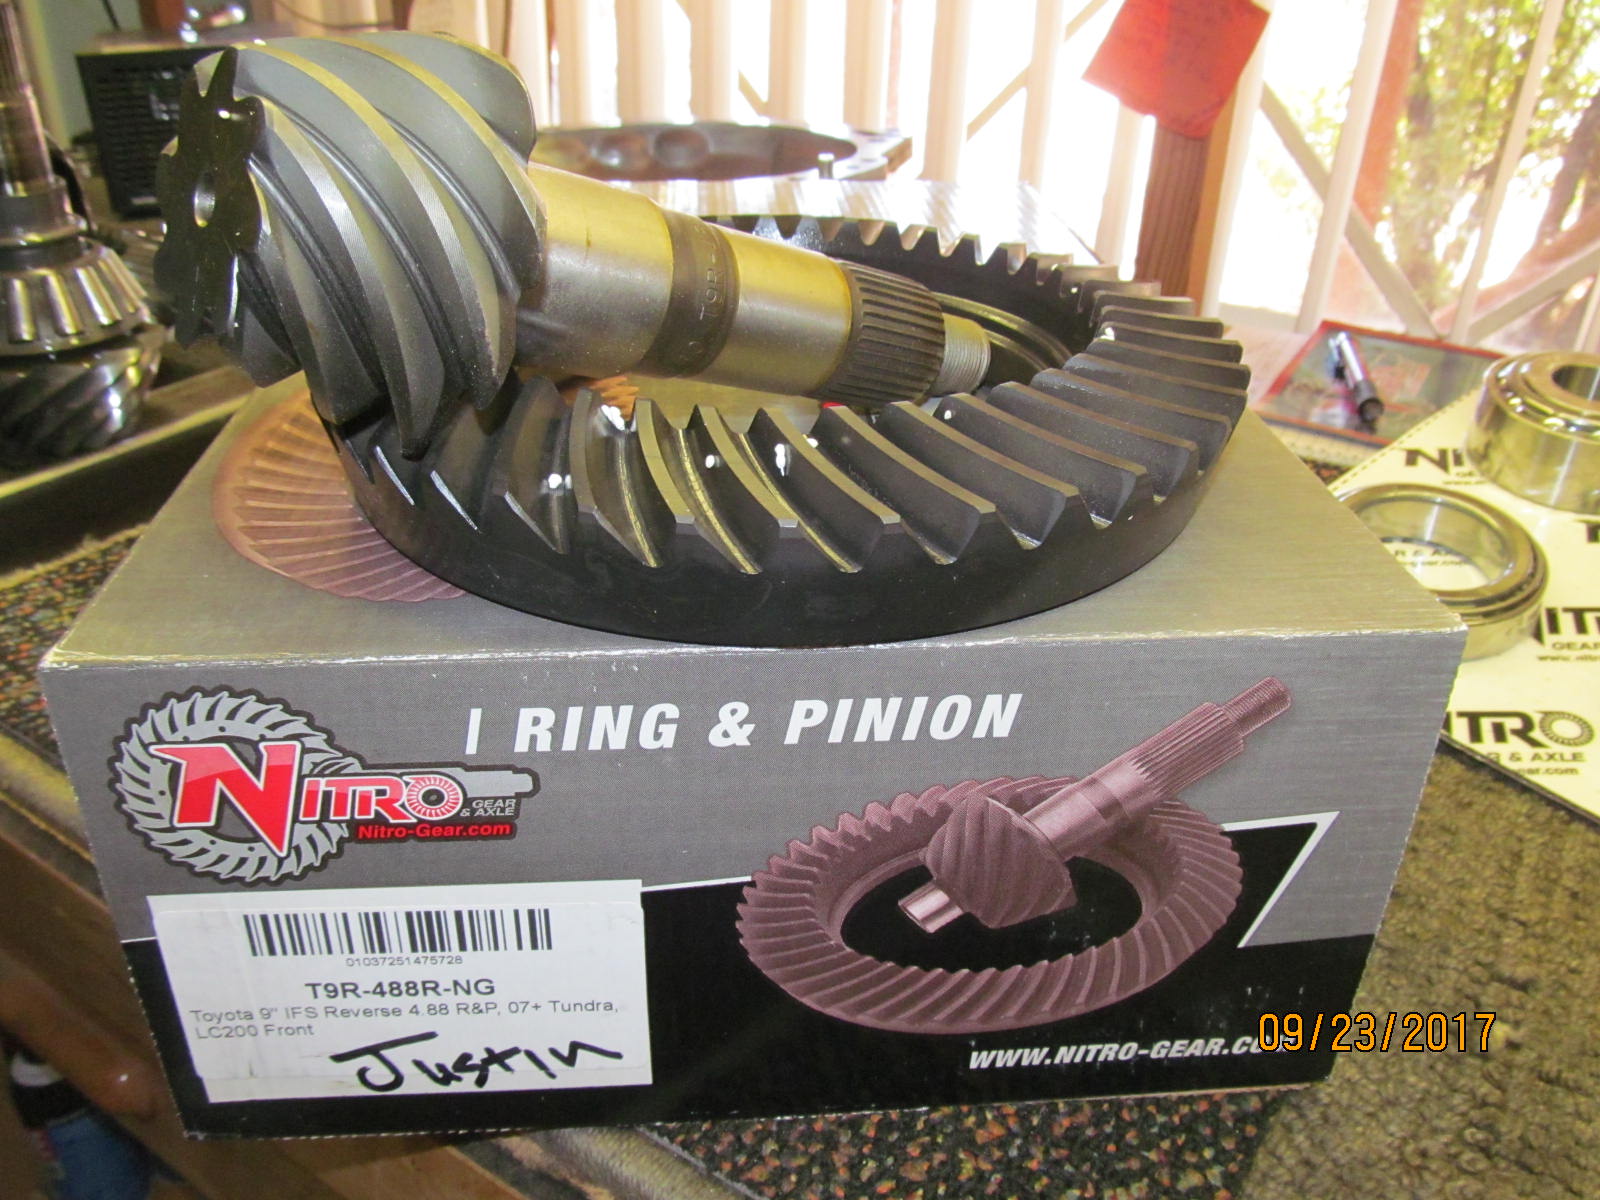
| The 9" reverse cut 488 ring/pinion. 488 is the only ratio available for the 200 series. |
|---|
|
|
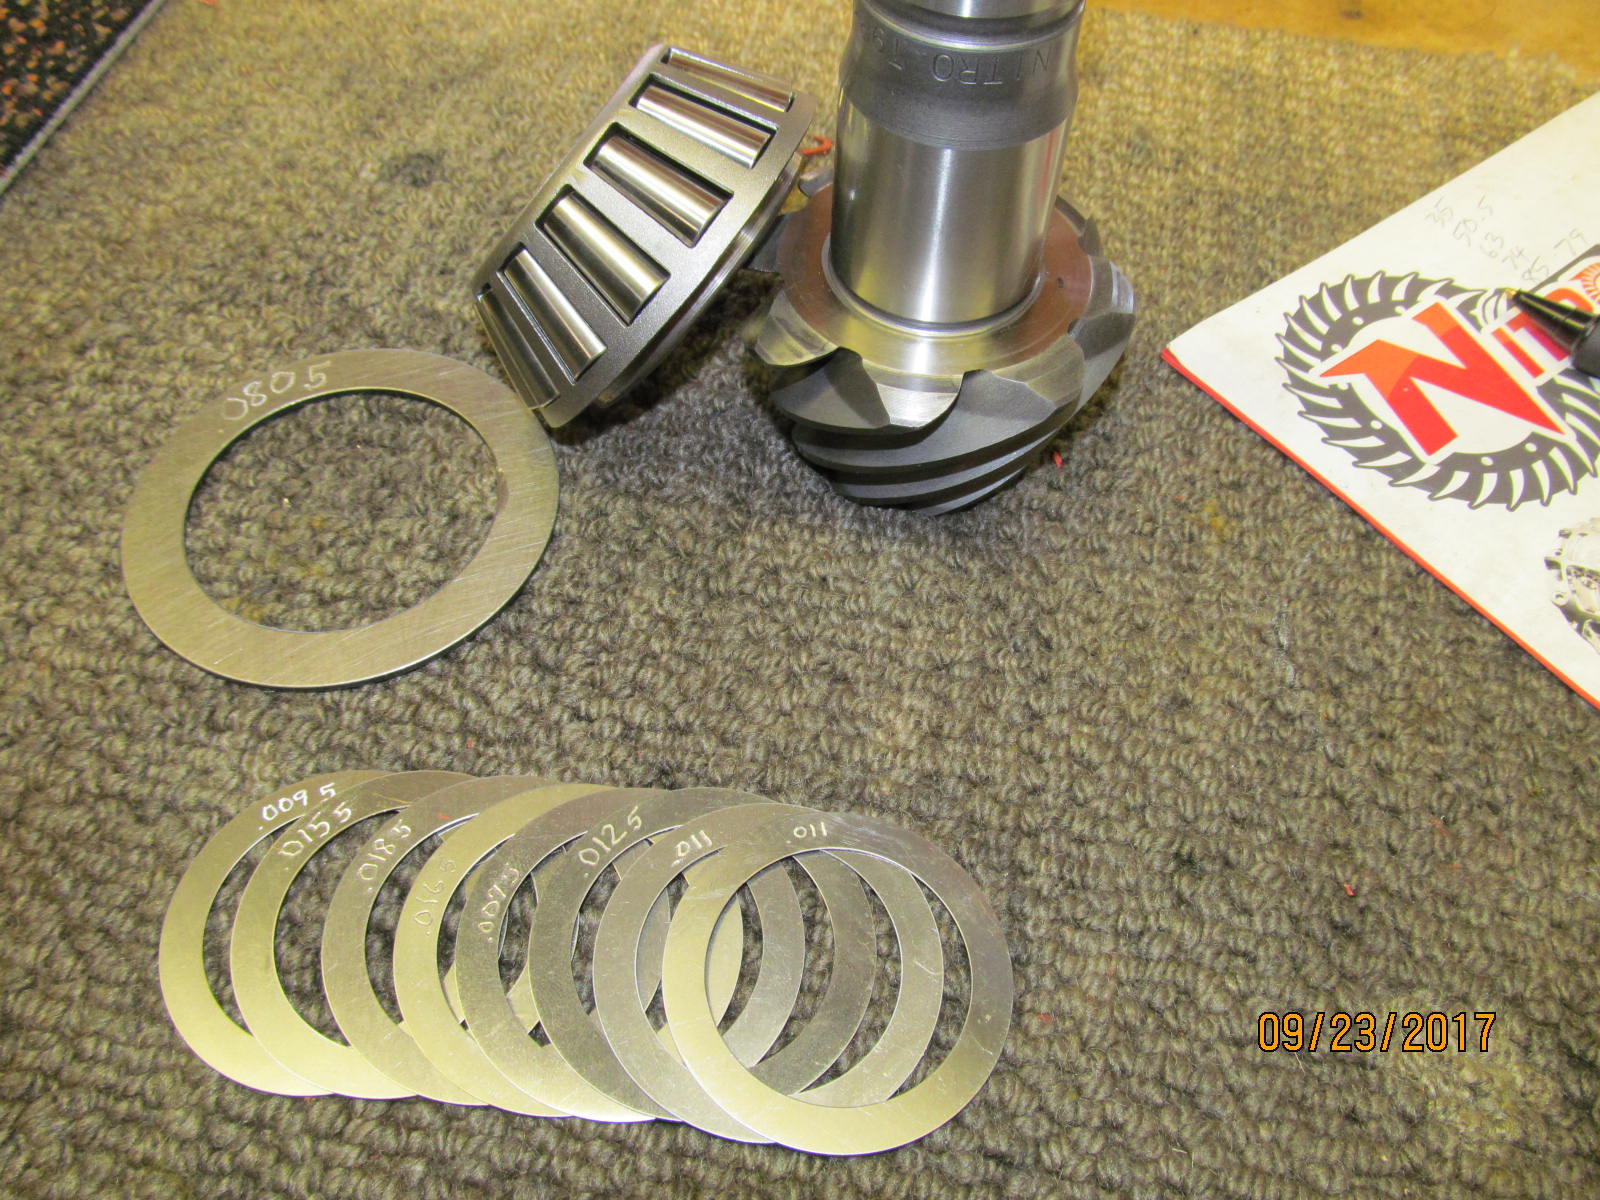
| The 4 Koyo bearings, the 3 seals, and a good shim selection is in the kit. |
|---|
|
|
| New Koyo bearing will go in here... |
|---|
|
|
| ...but first, wanted to put the more difficult inner race in first. |
|---|
|
|
| The pinion depth shim will not be put behind the race....it will live behind the pinion head. |
|---|
|
|
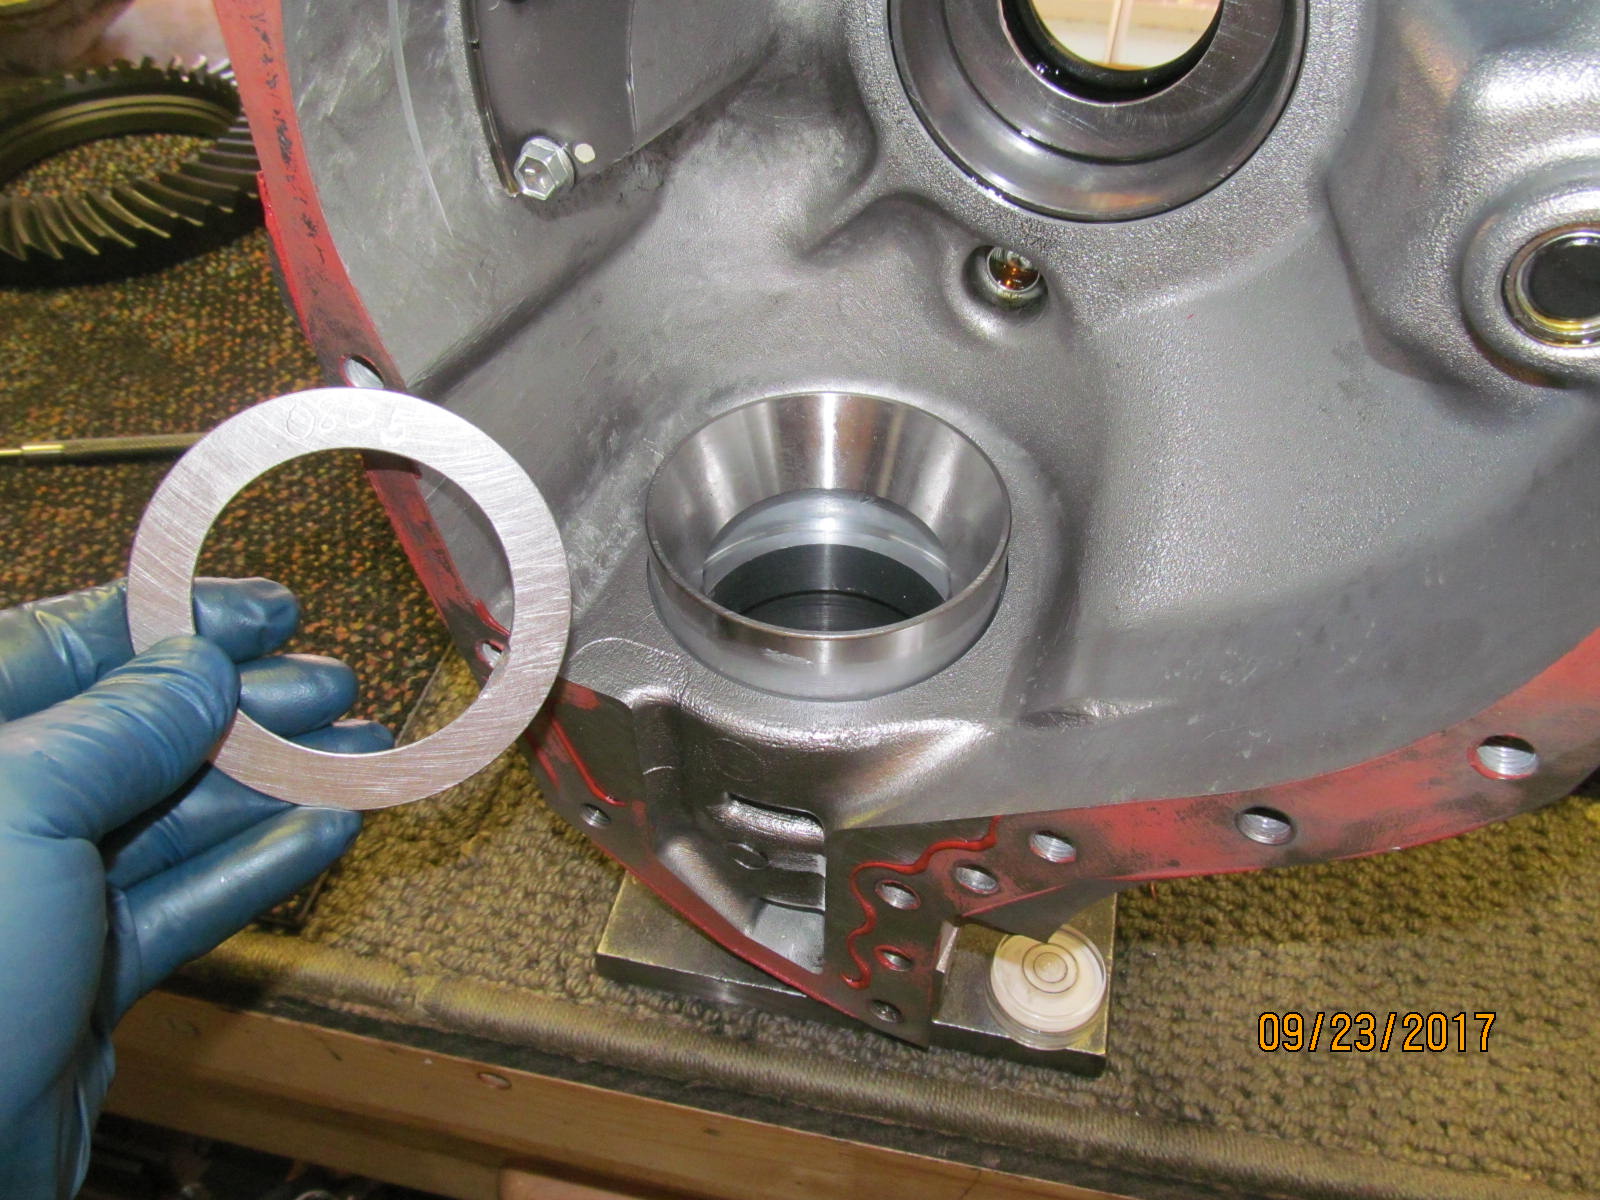
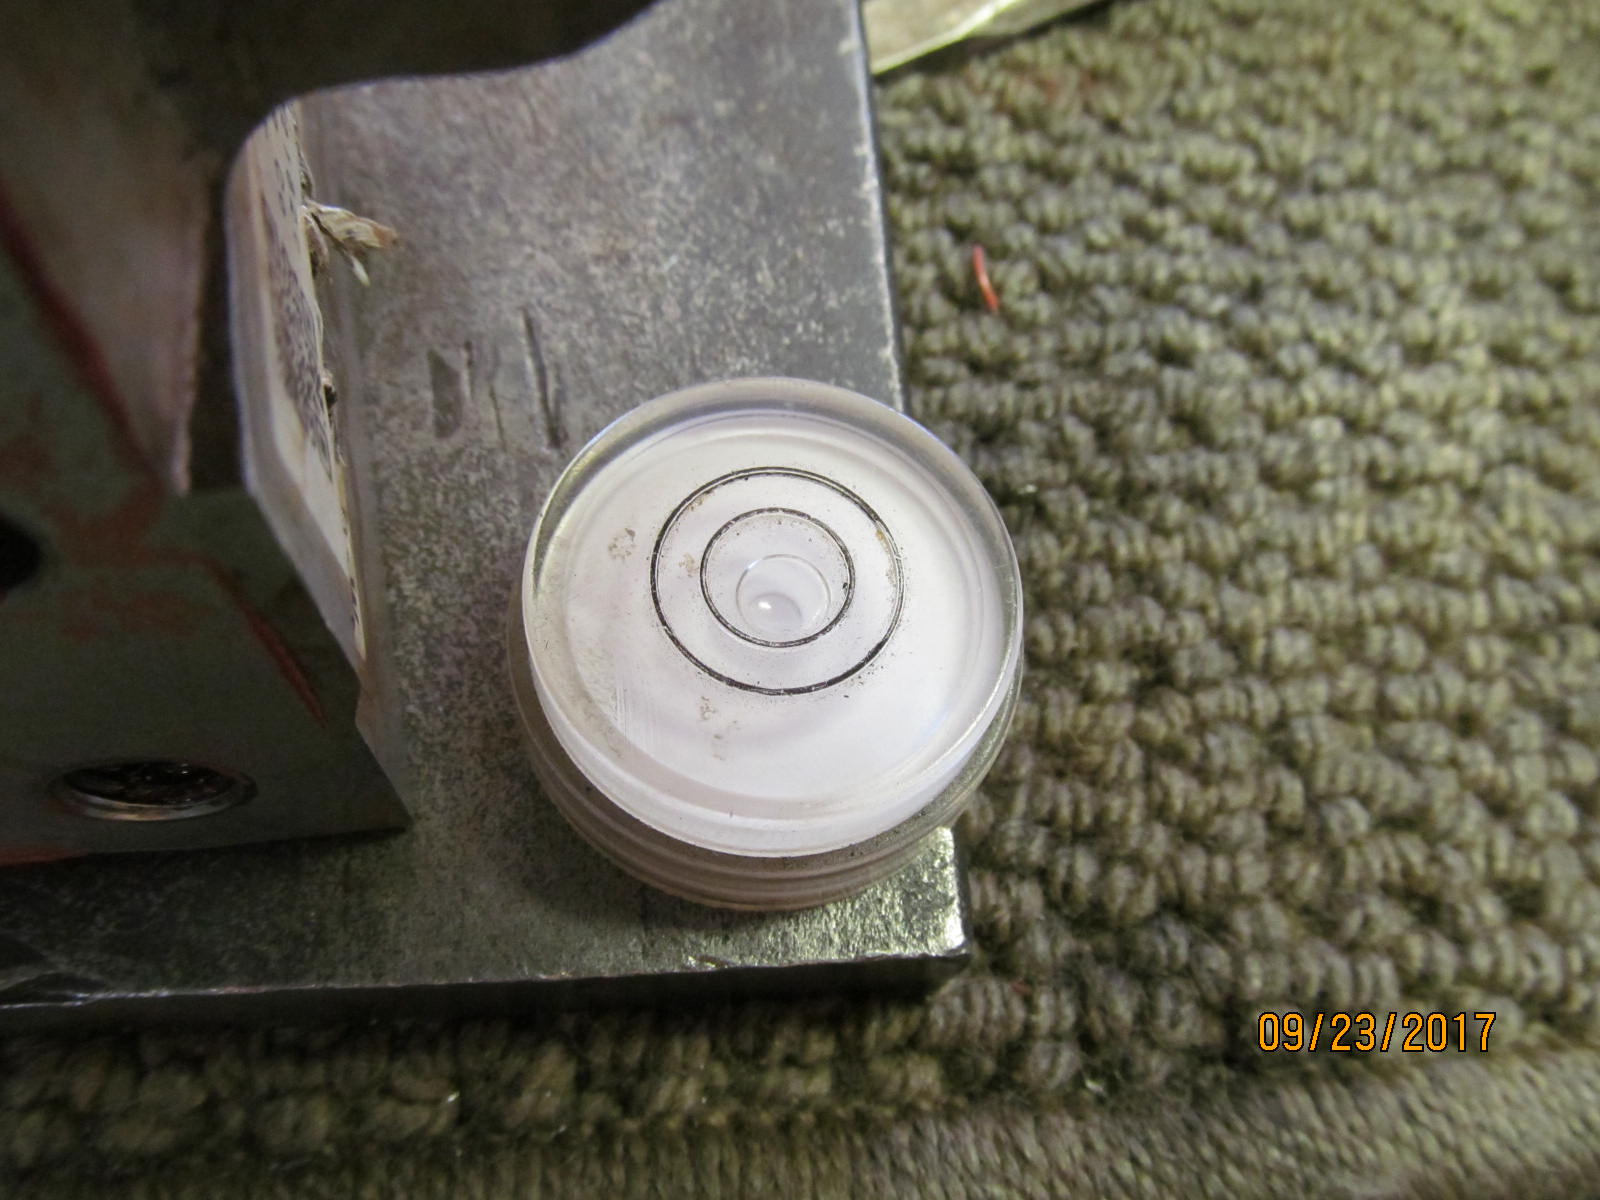
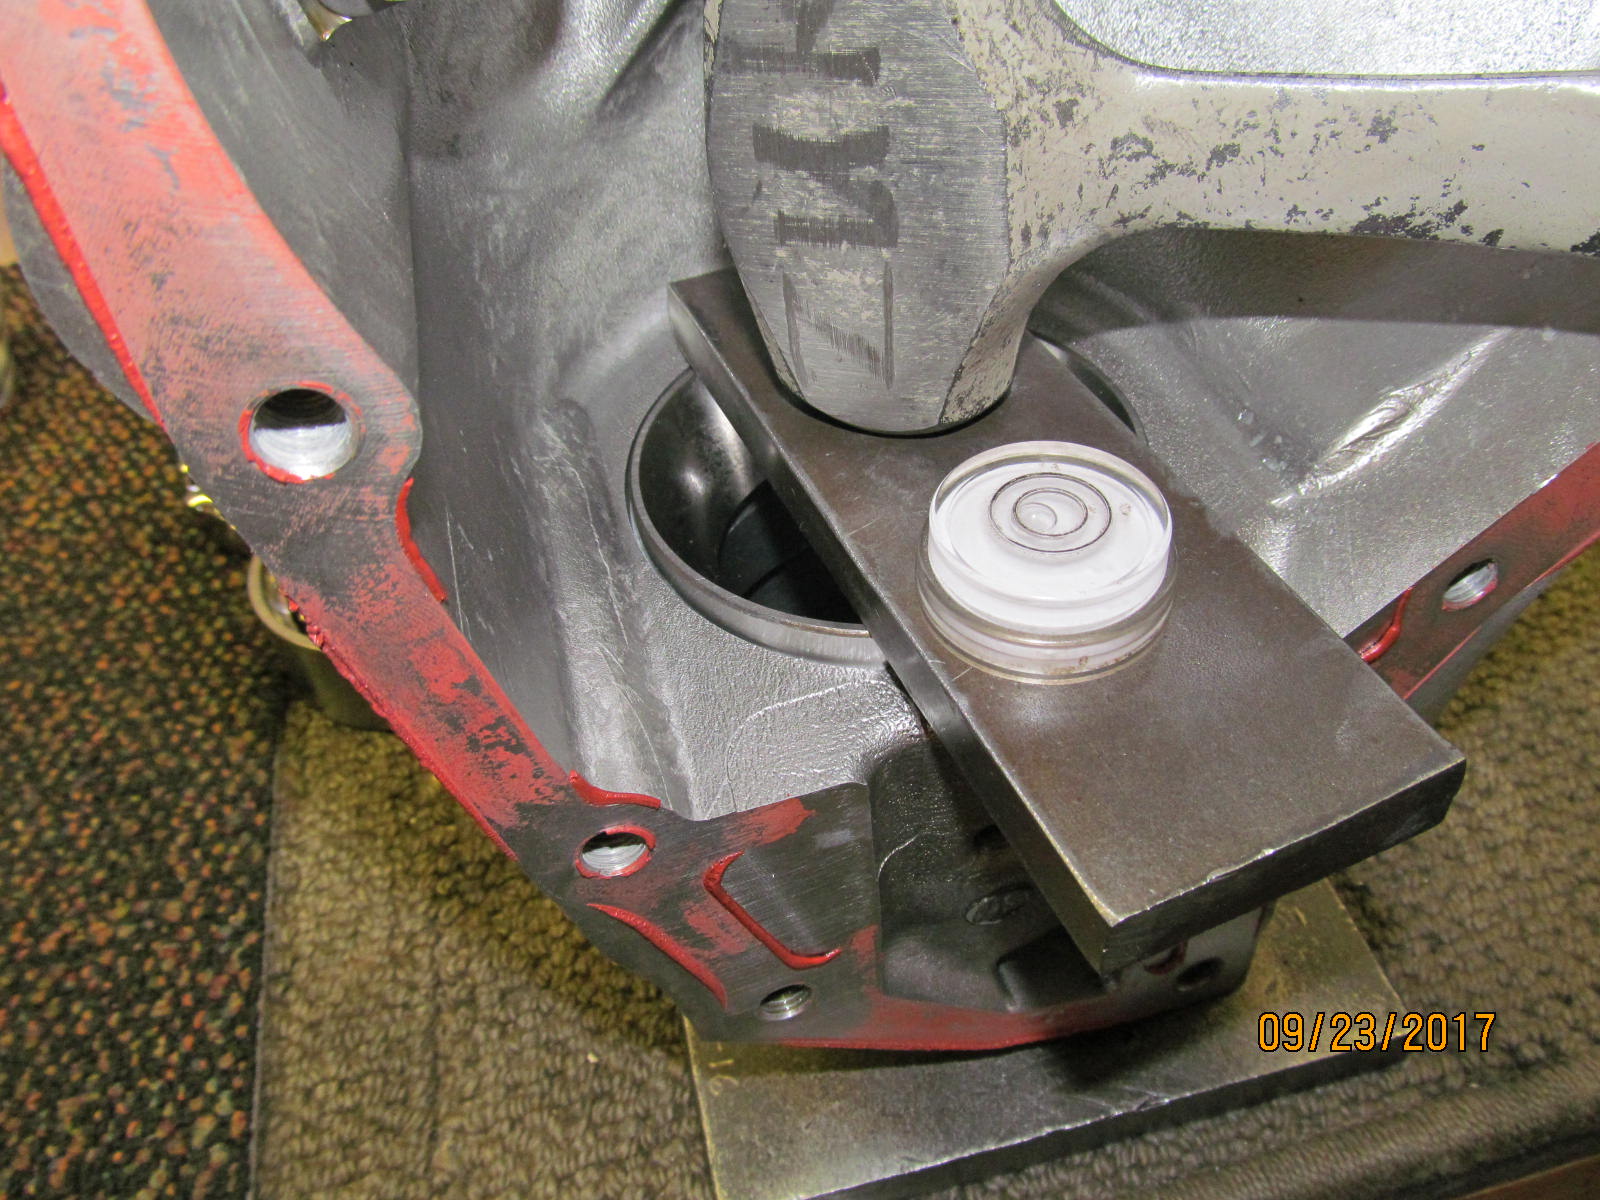
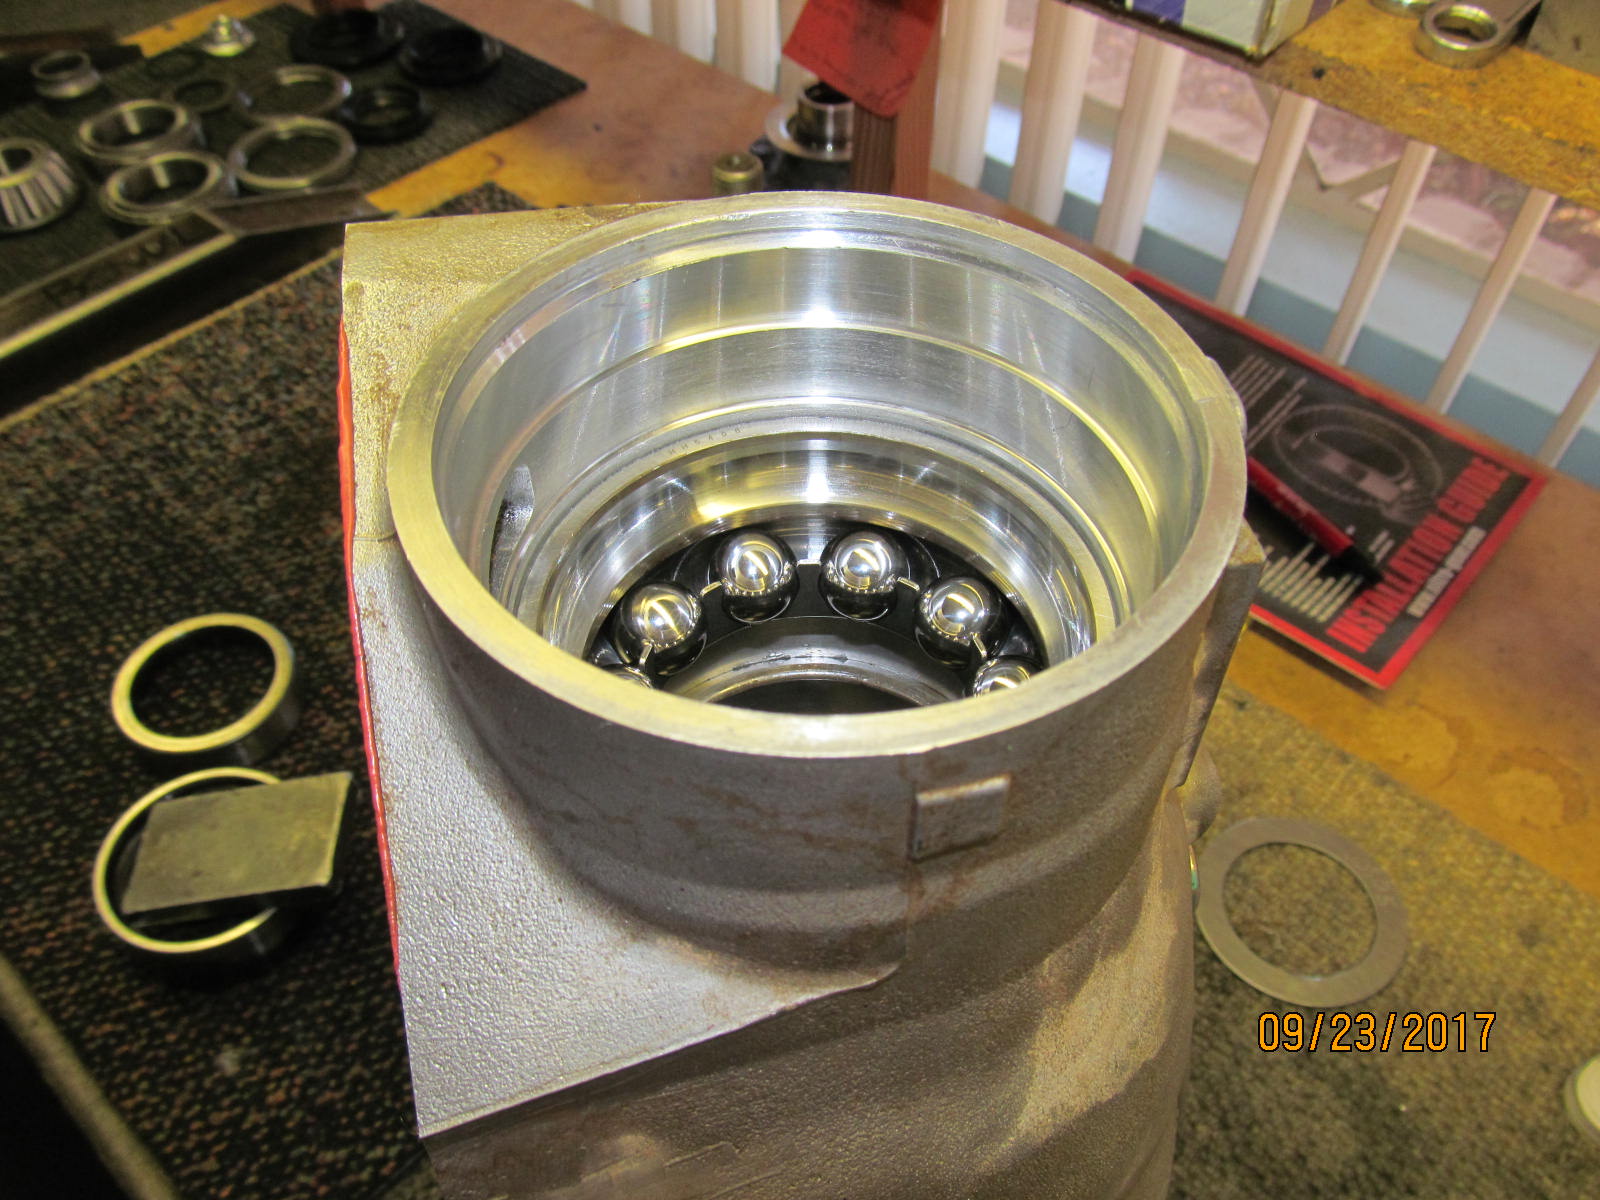
| This 99 cent bubble is so perfect for getting the race in level. |
|---|
|
|
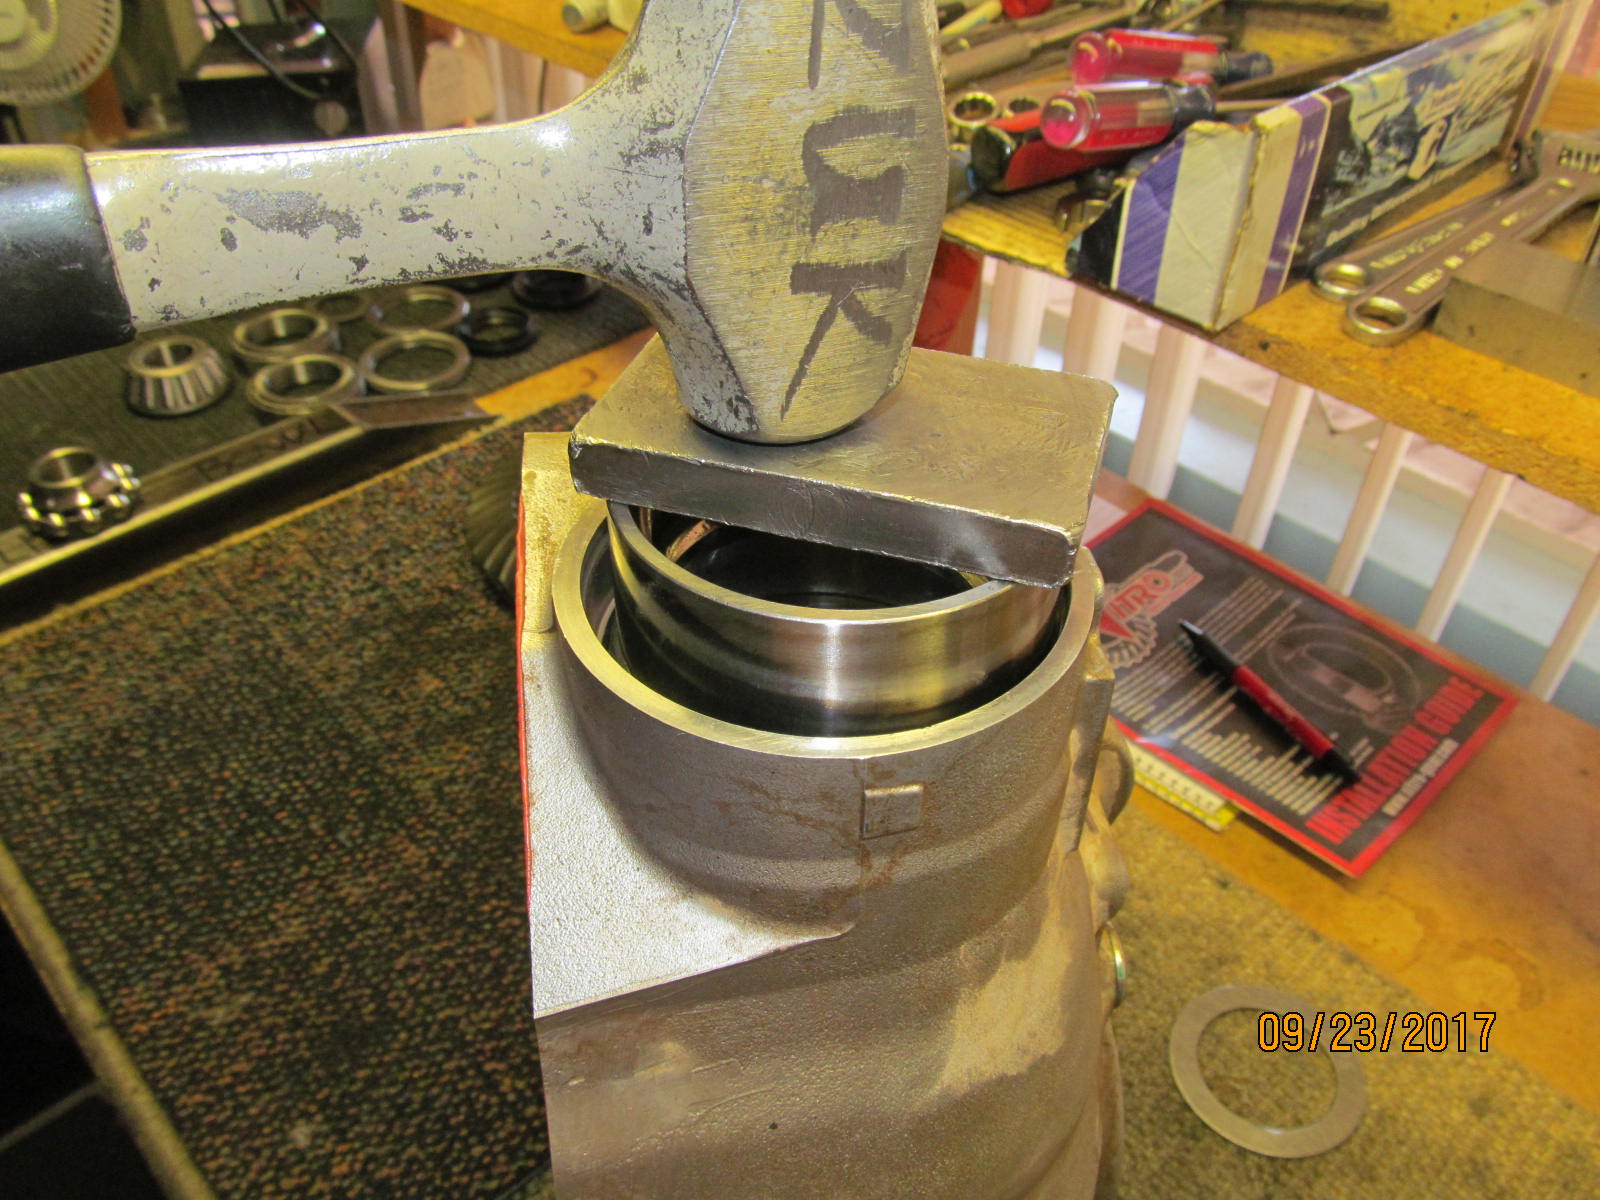
| Tat tap tap and no special/expensive tools were needed. |
|---|
|
|
| The outer bearing assembly taps in easier. |
|---|
|
|
| ...................... |
|---|
|
|
| Using some of the shims supplied in the master kit and .0815" will be the first starter shim to try. |
|---|
|
|
| .......................... |
|---|
|
|
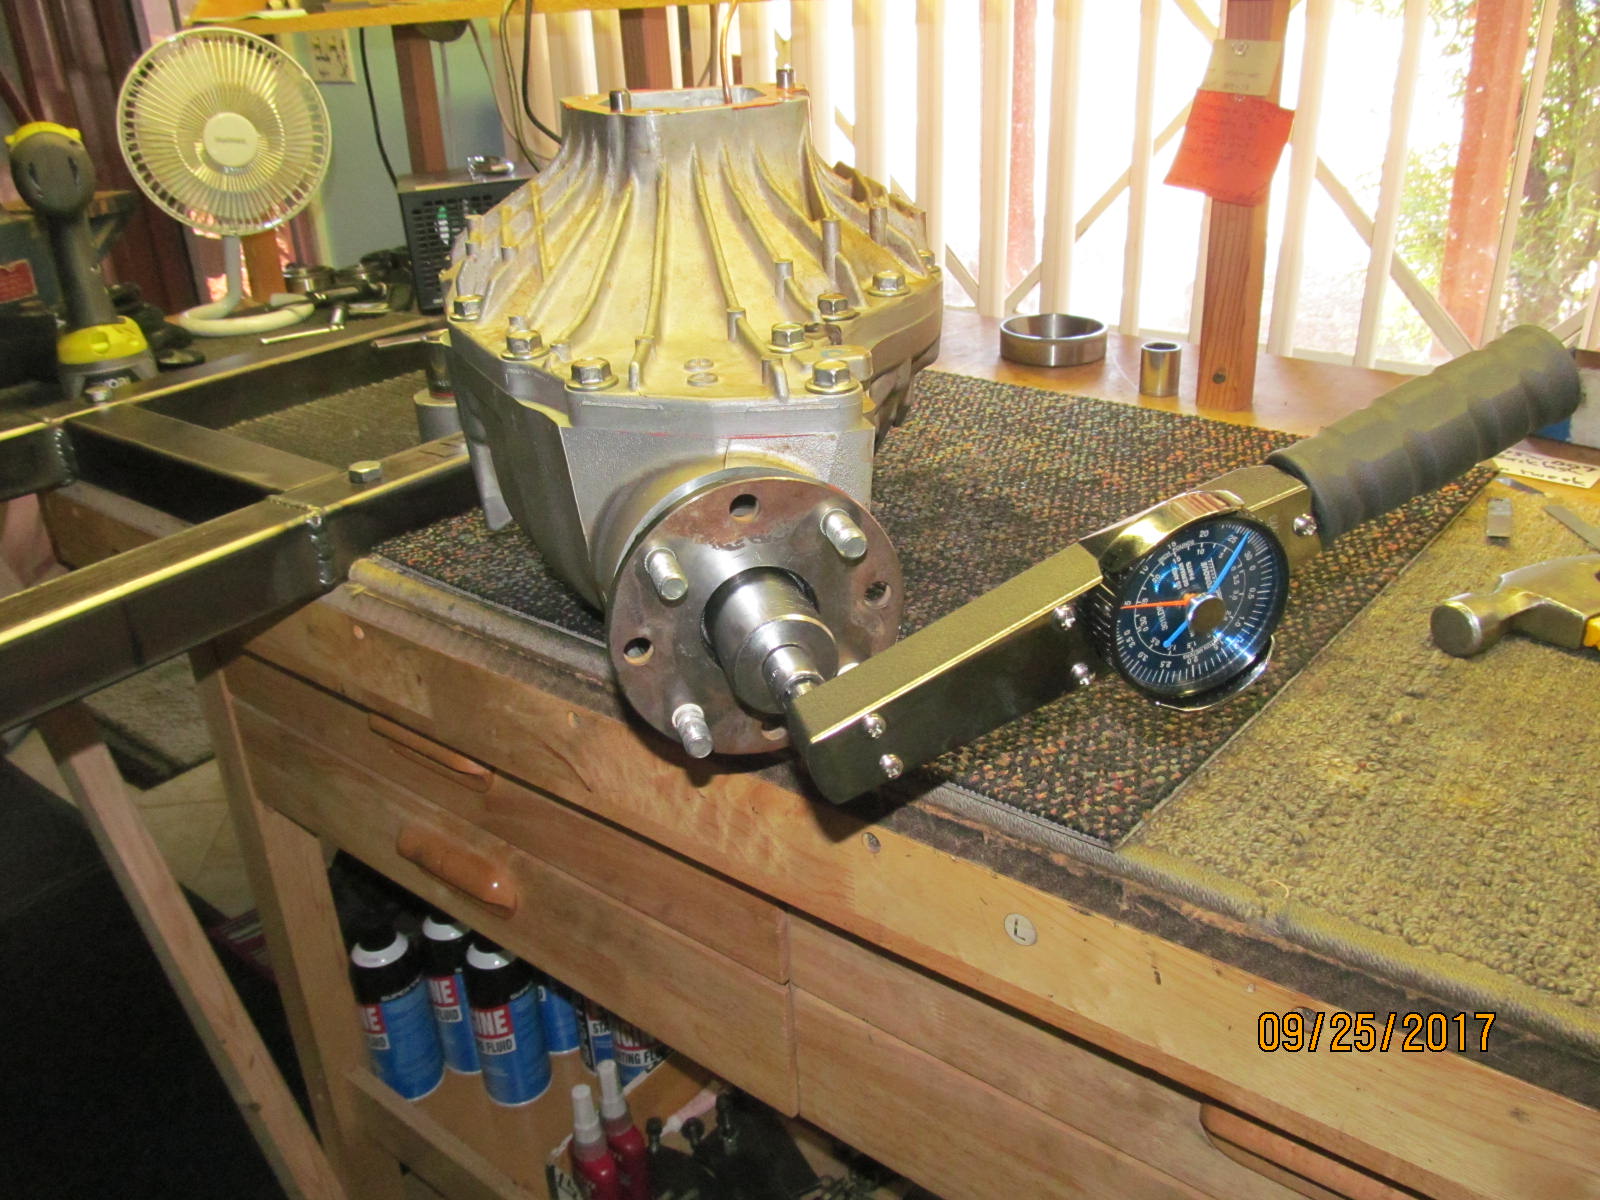
| The pinion nut was tightened just enough to develope the target 10~15 inch/pounds of pinion preload. |
|---|
|
|
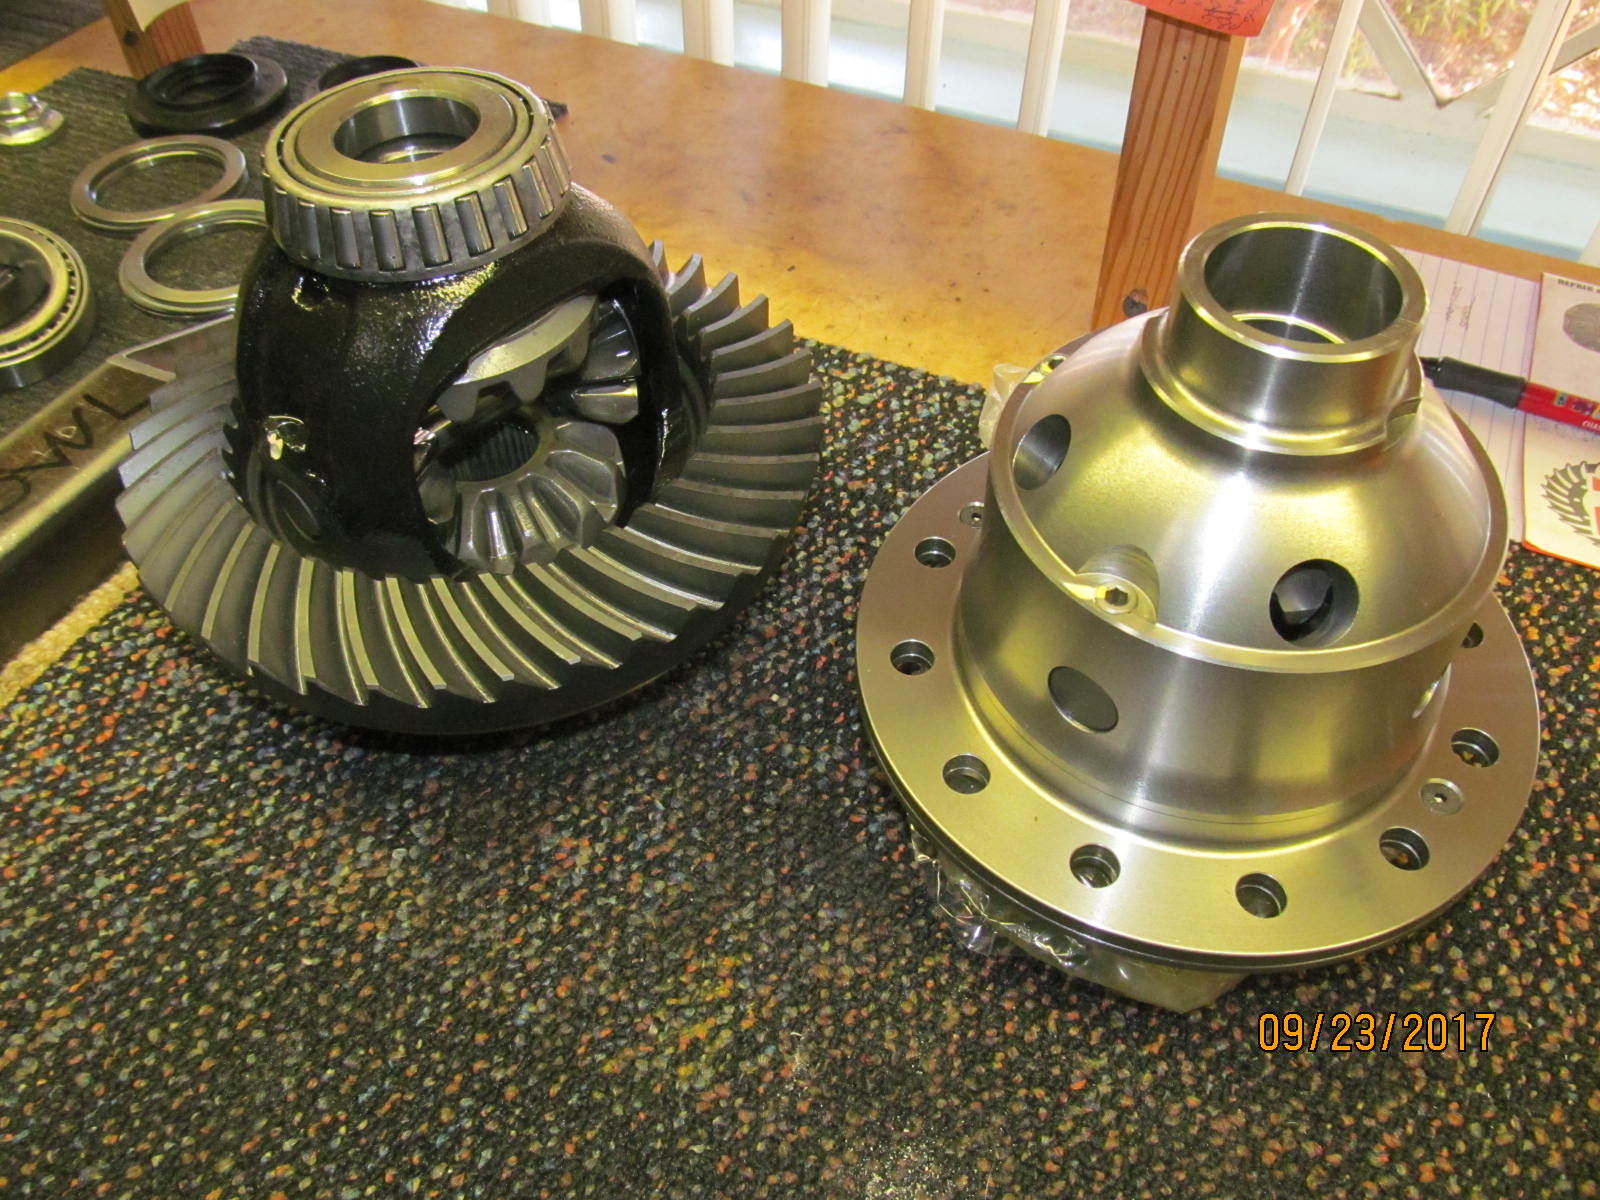
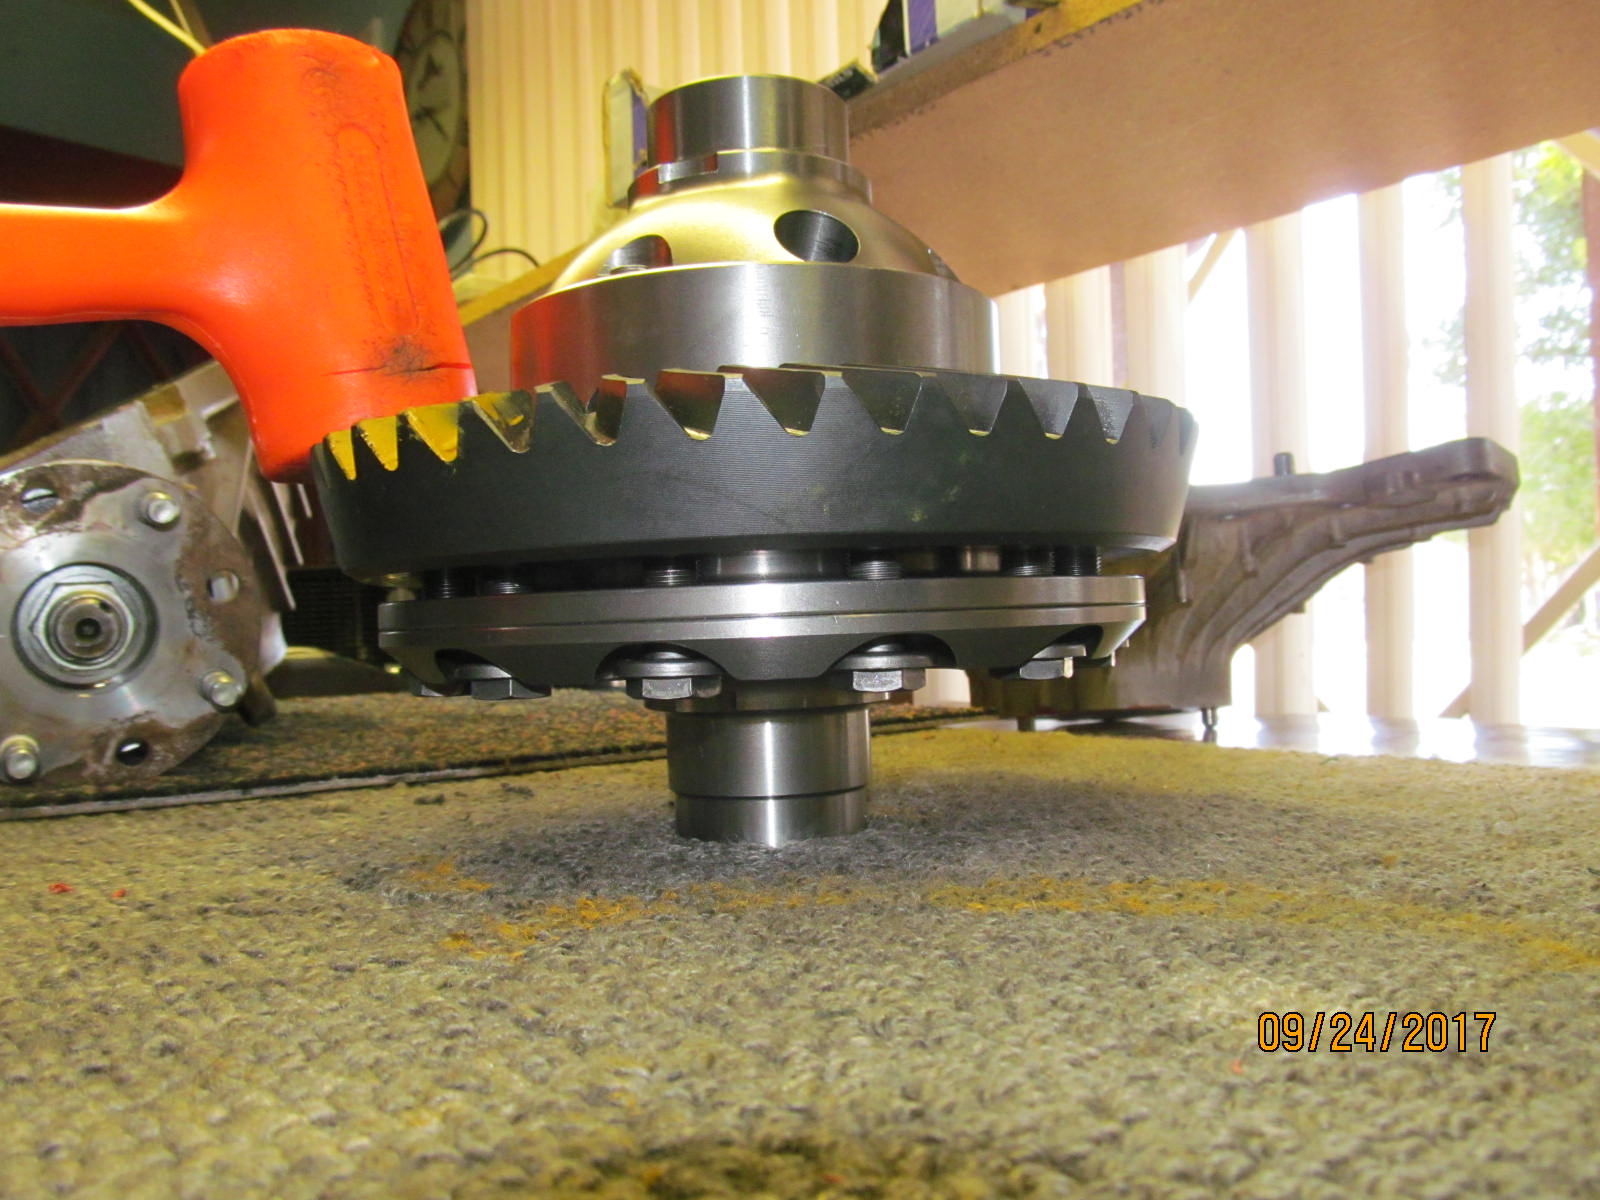
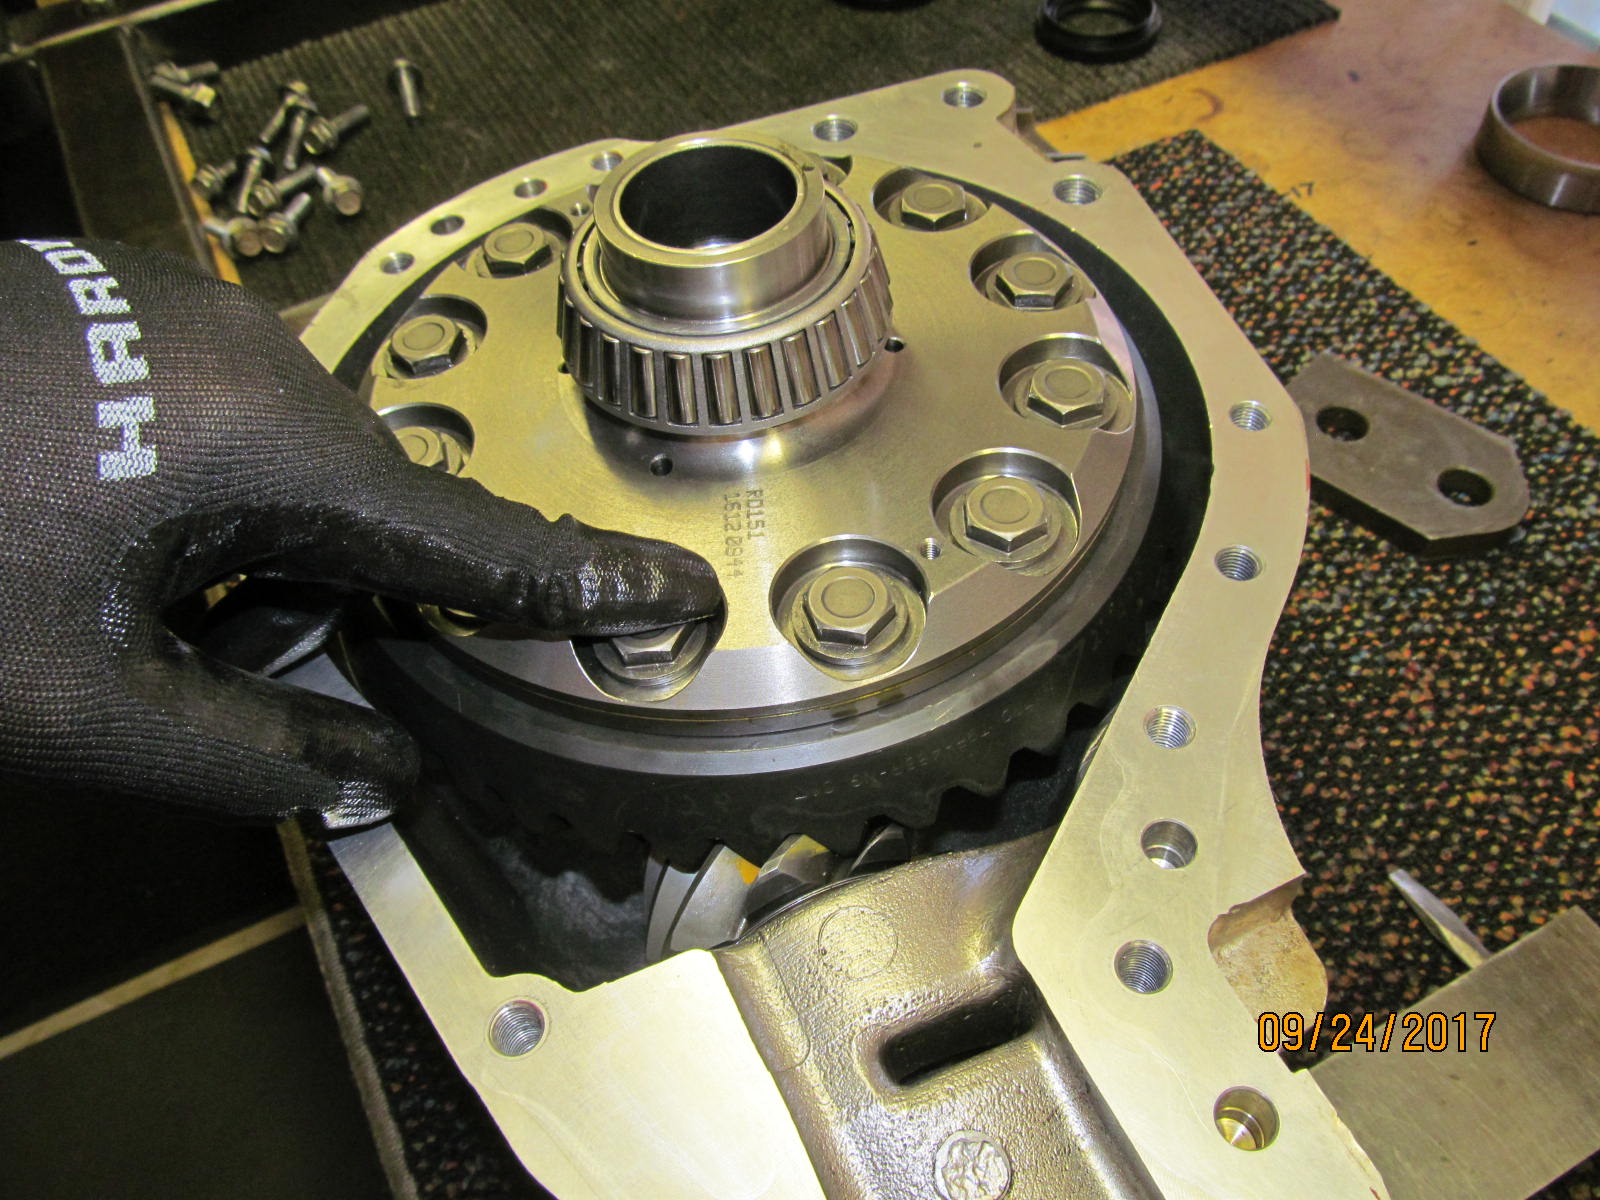
| OEM stock open 2 pinion carrier vs 4 pinion ARB RD151 air locker. |
|---|
|
|
| Did not need to do this but temporarily bolted the 488 Nitro ring to the open....was more curious then anything else. |
|---|
|
|
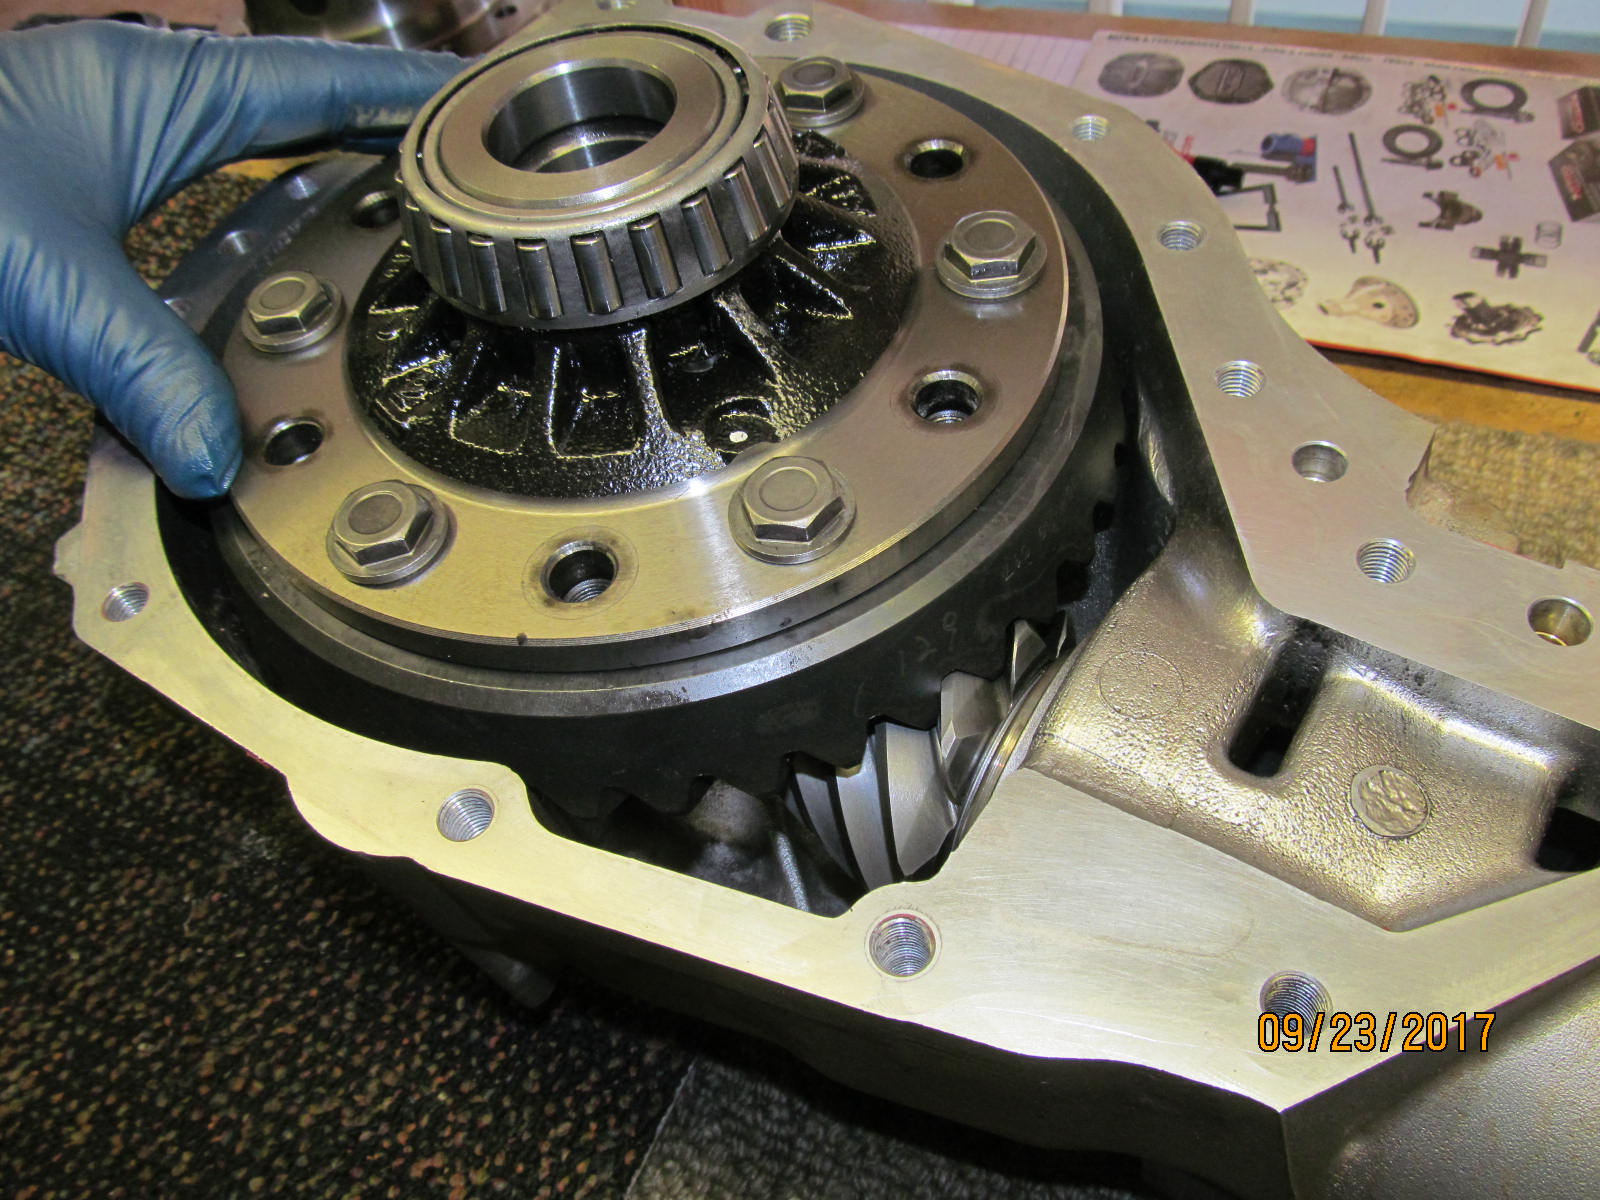
| After setting the carrier/ring in and started swapping out the washer plates. |
|---|
|
|
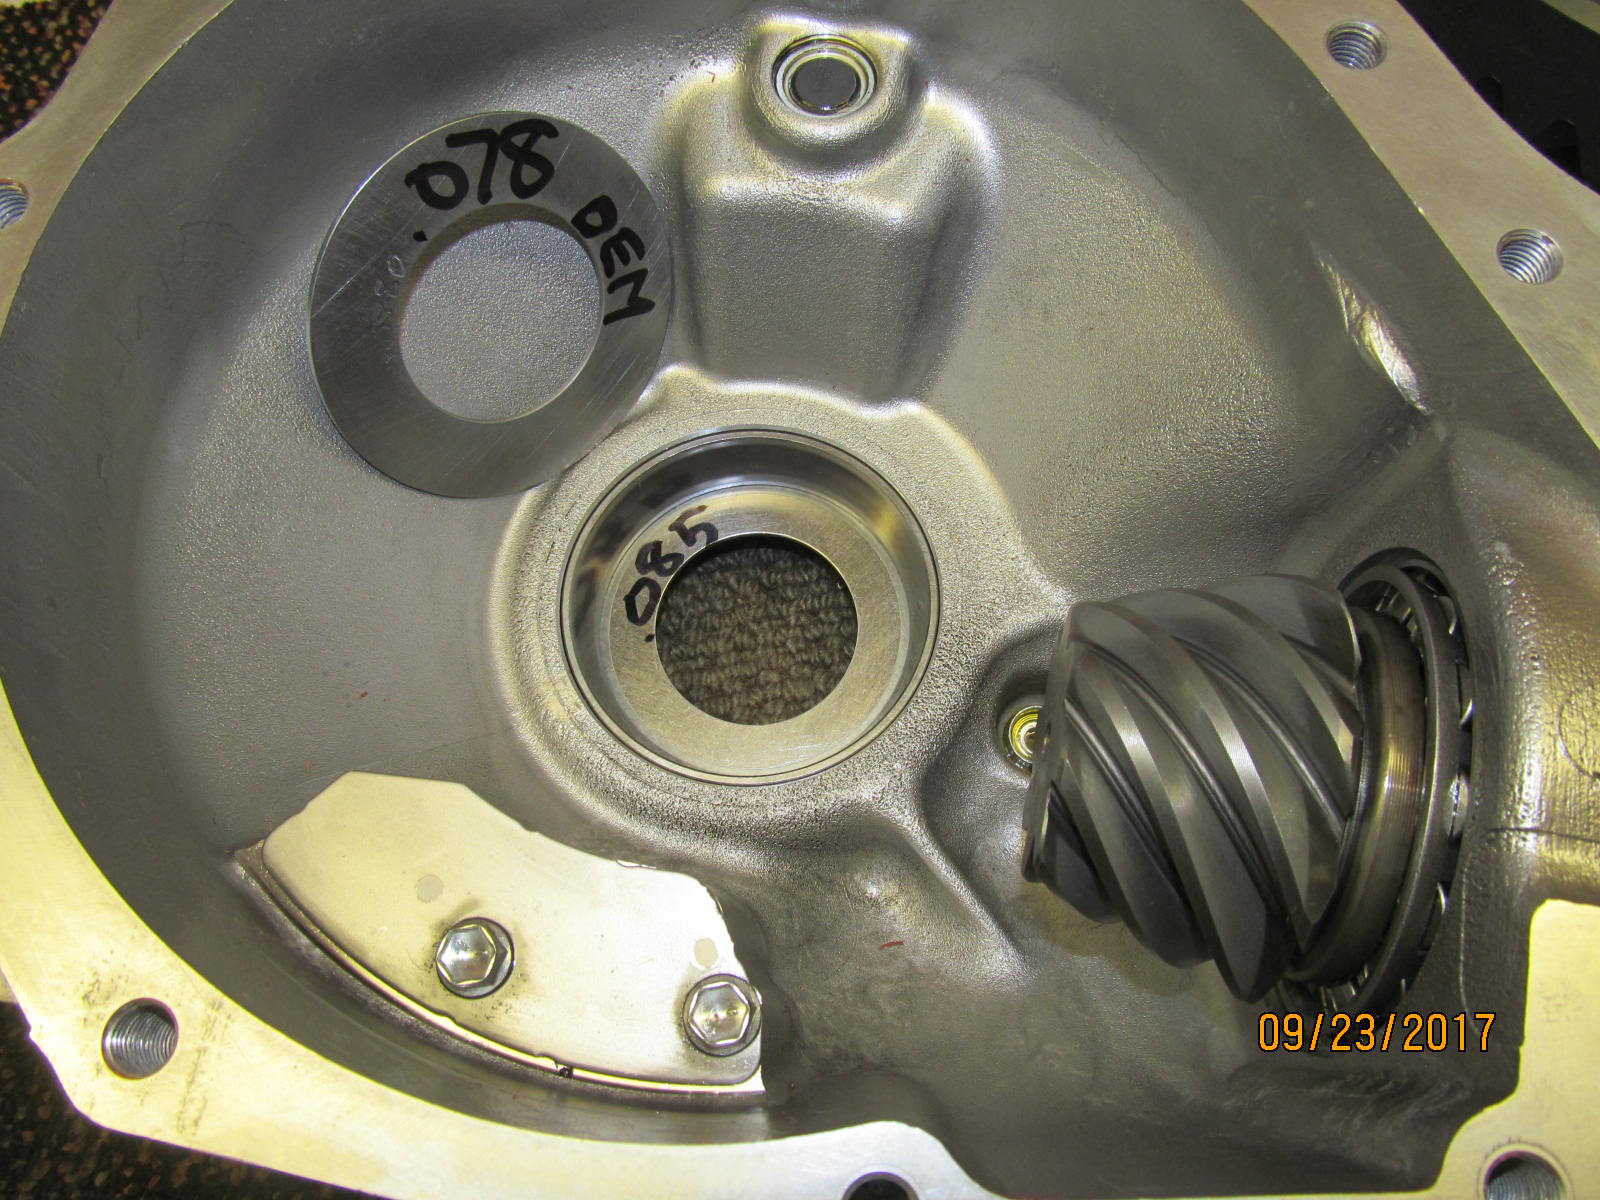
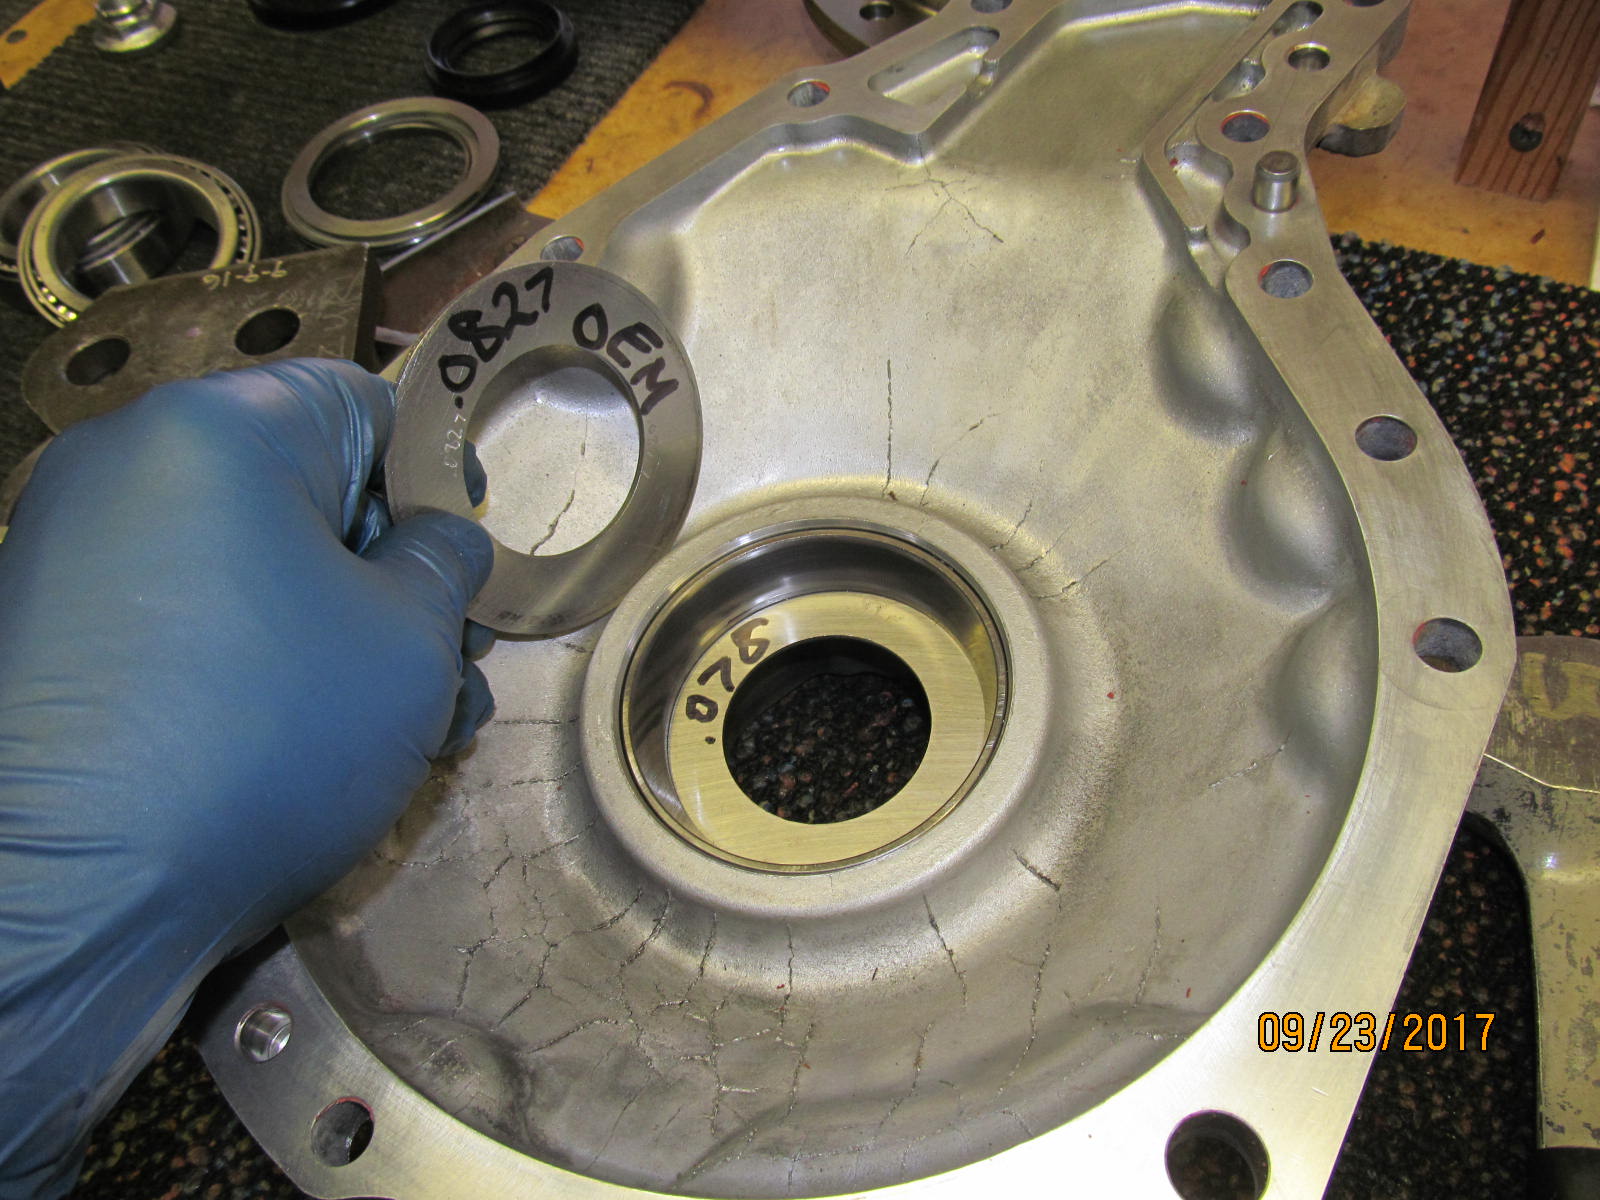
| Took the oem .078 washer plate out and substituted a thicker .085". |
|---|
|
|
| On the lid, took the .0827 out and used a thinner .078" |
|---|
|
|
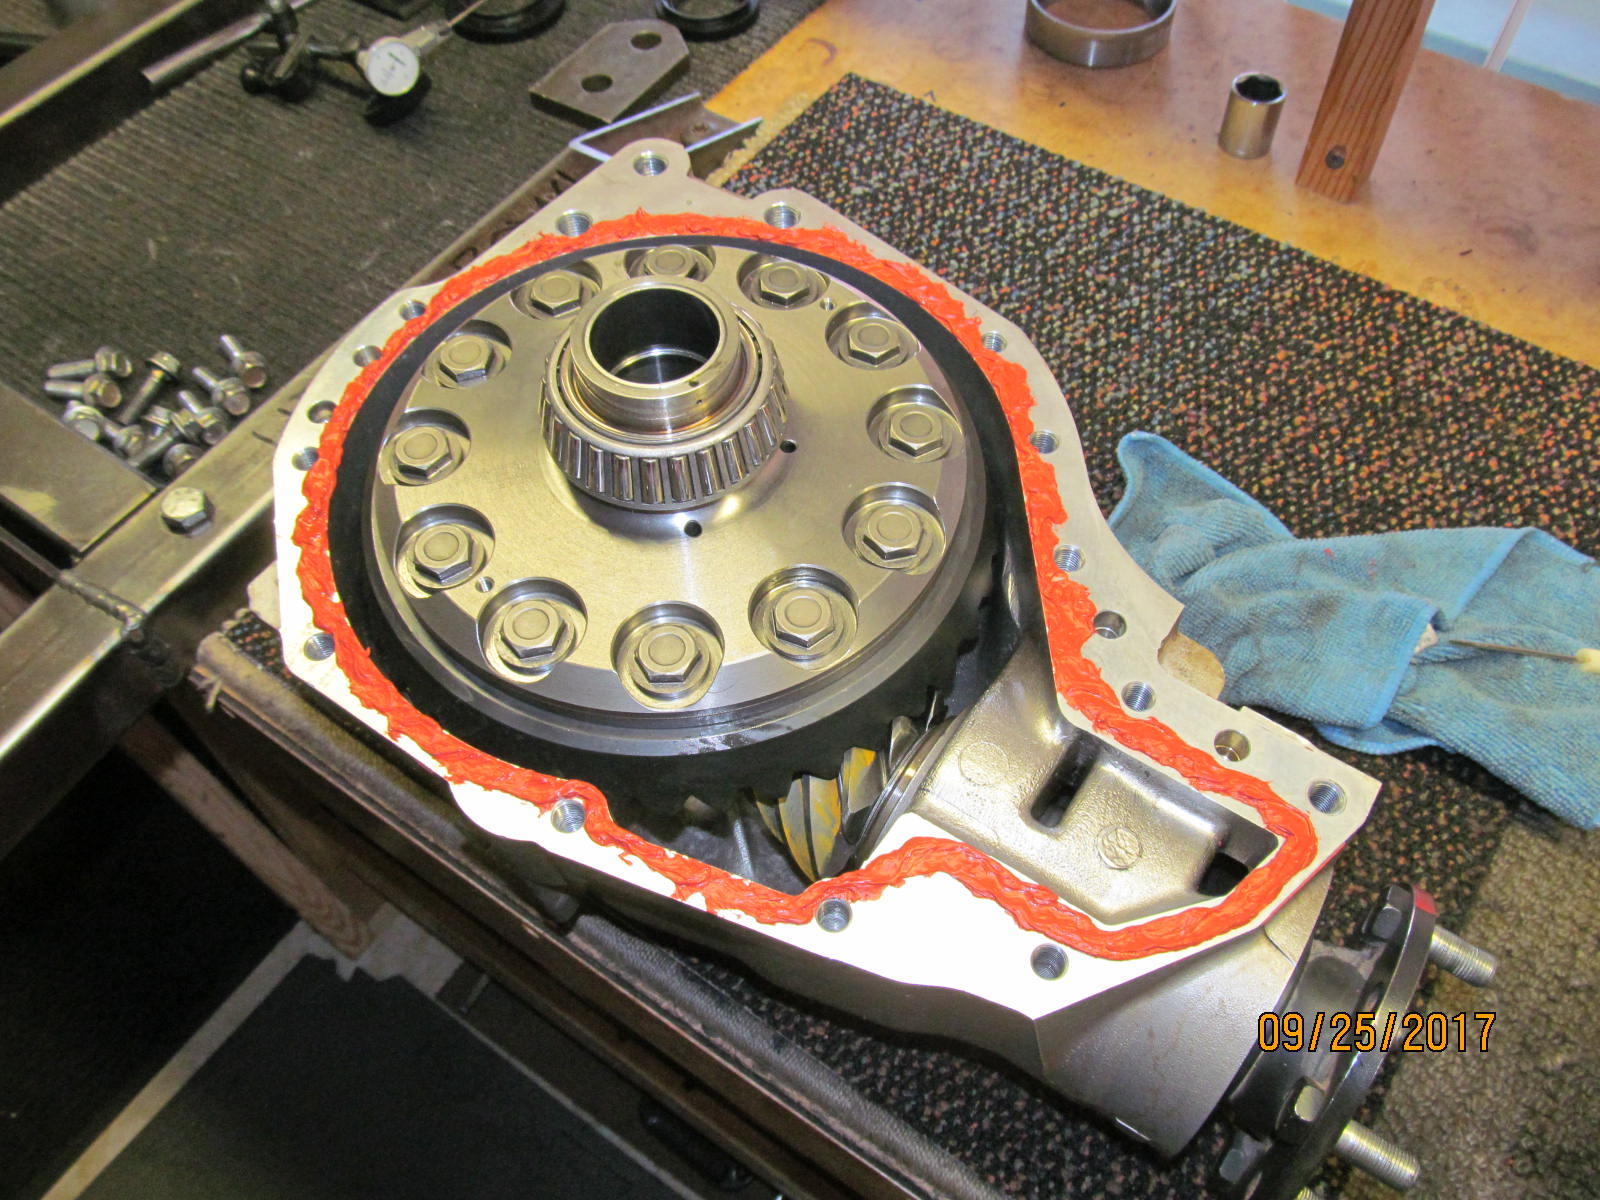
| Bolted the lid back on and noted the backlash which was checking in at a nice .007" |
|---|
|
|
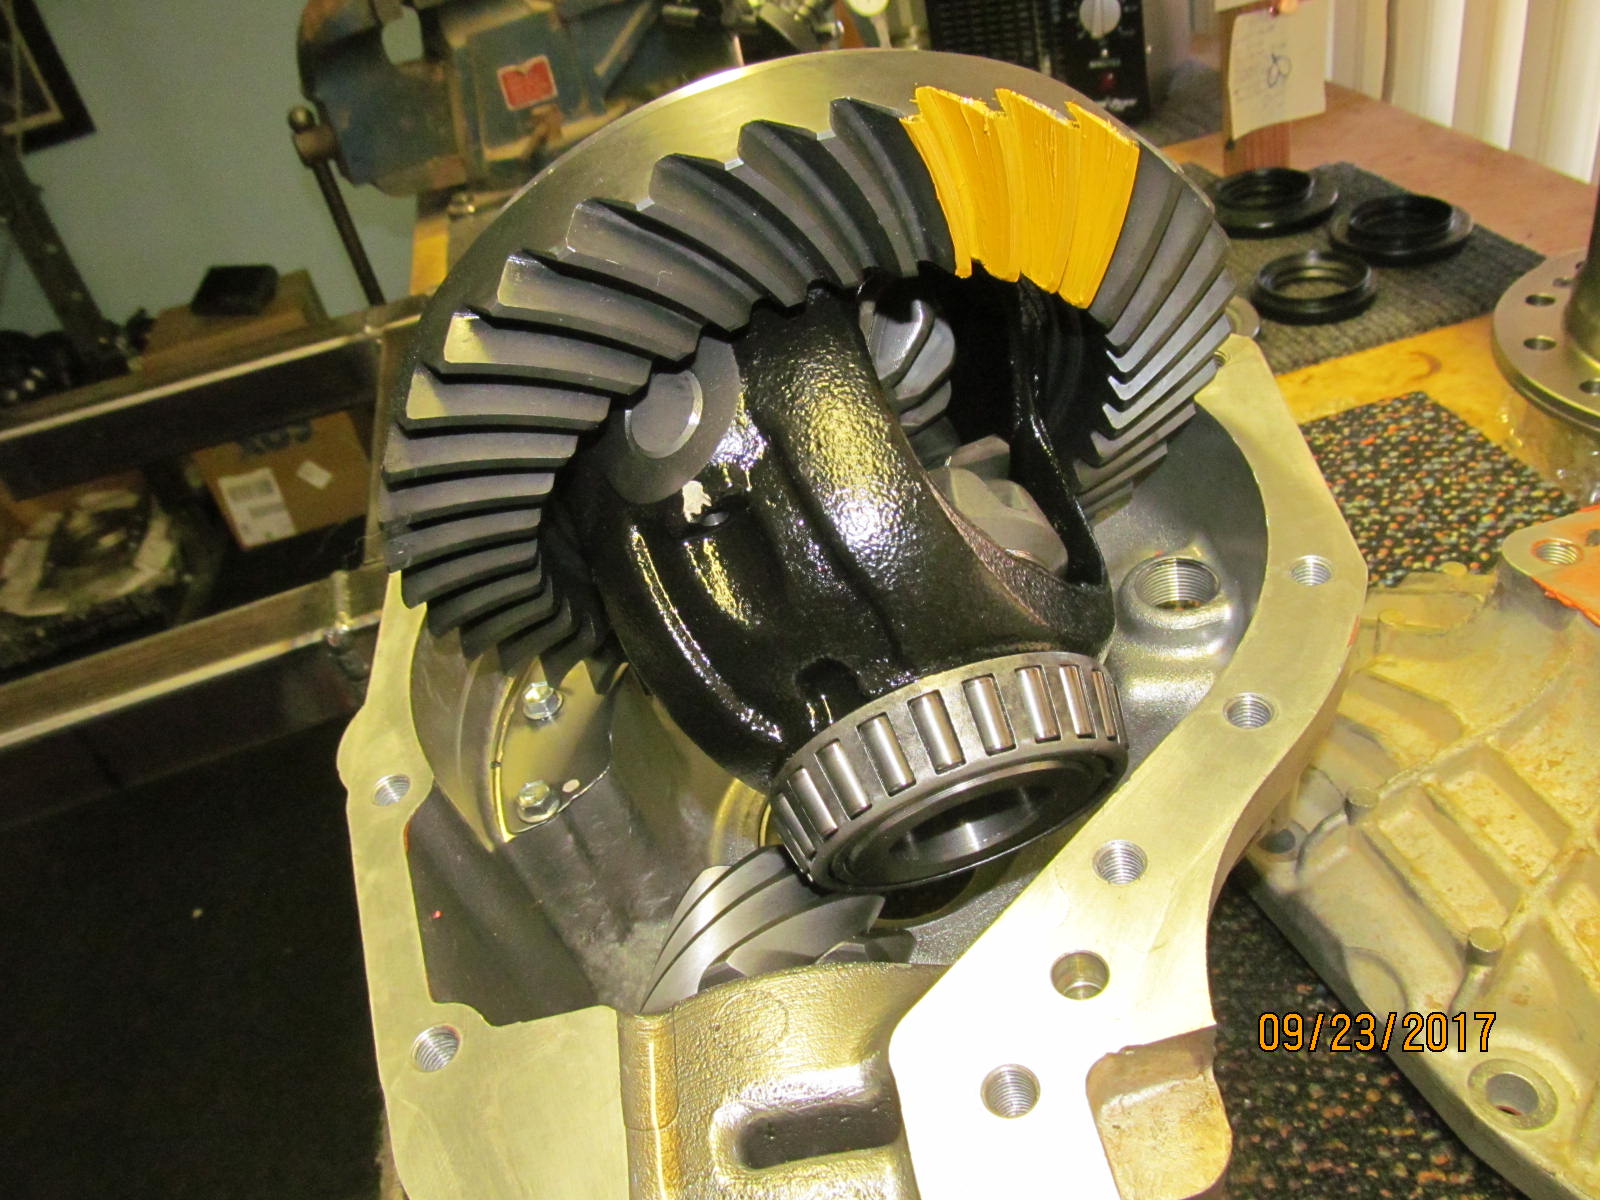
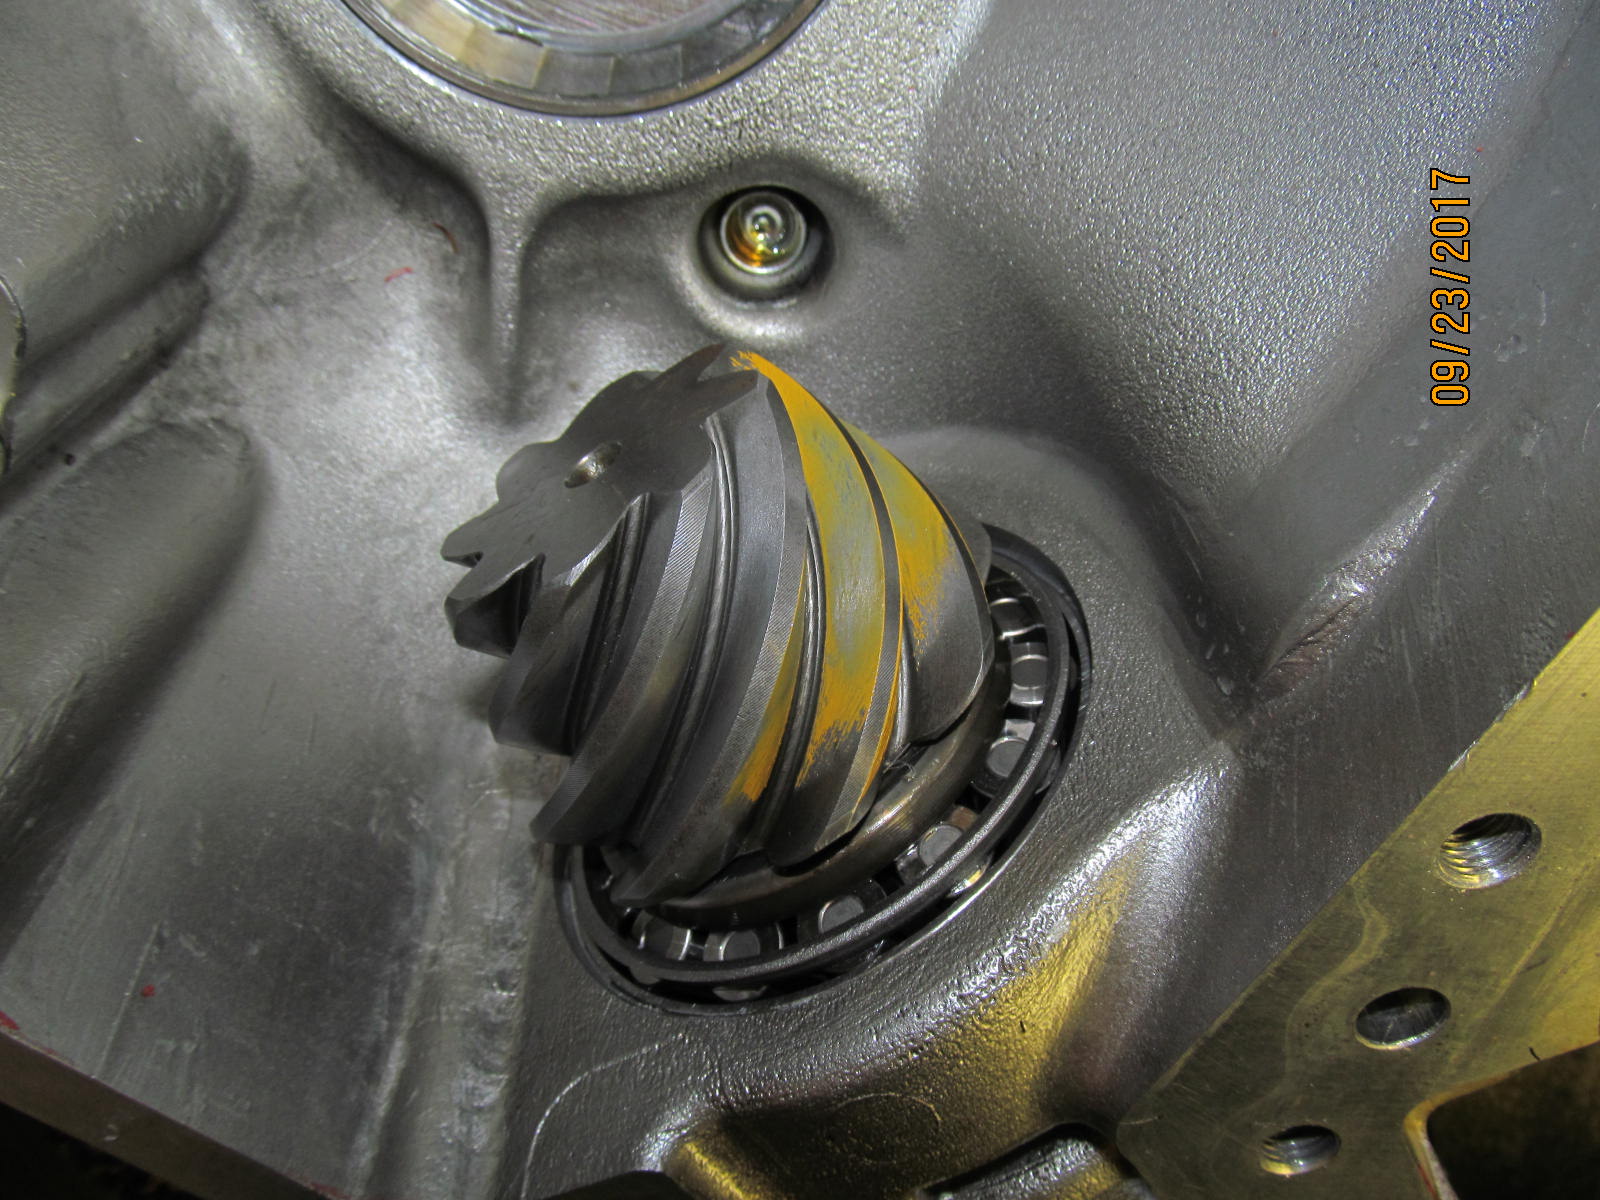
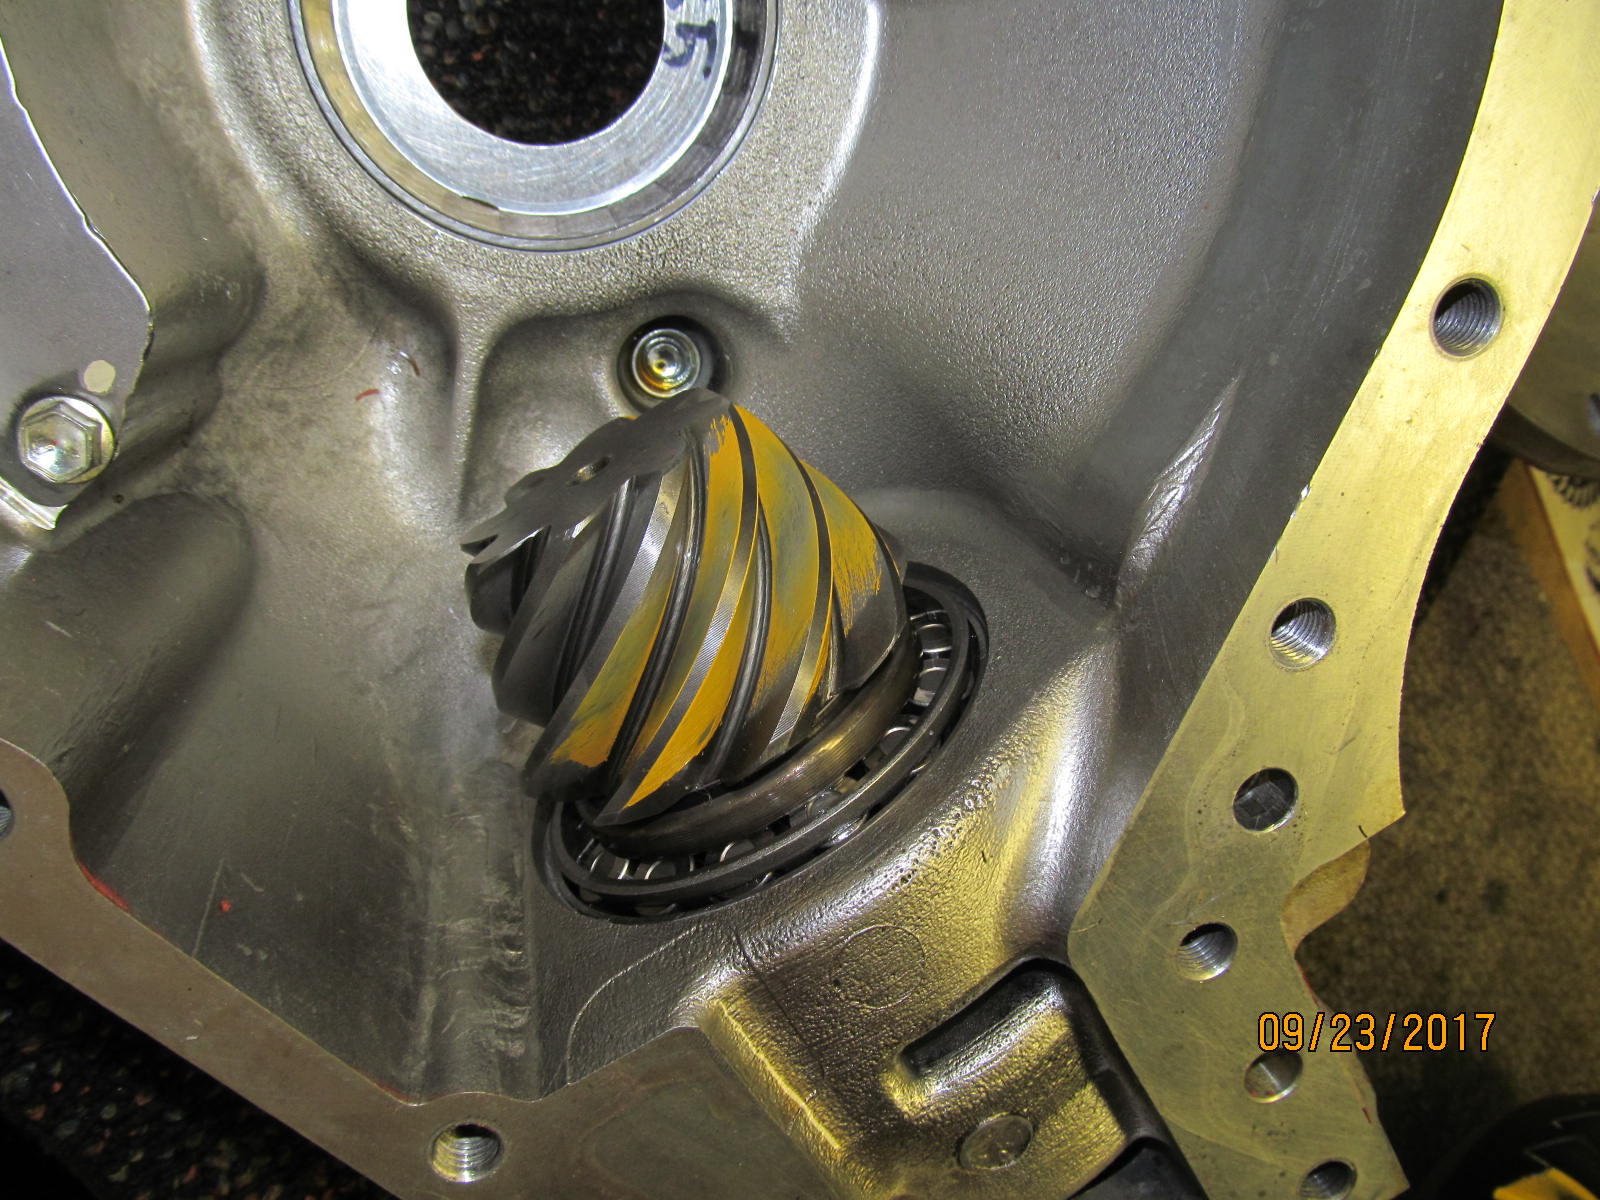
| Satisfied now with the backlash and the carrier bearing preload, now to paint the tooth contact. |
|---|
|
|
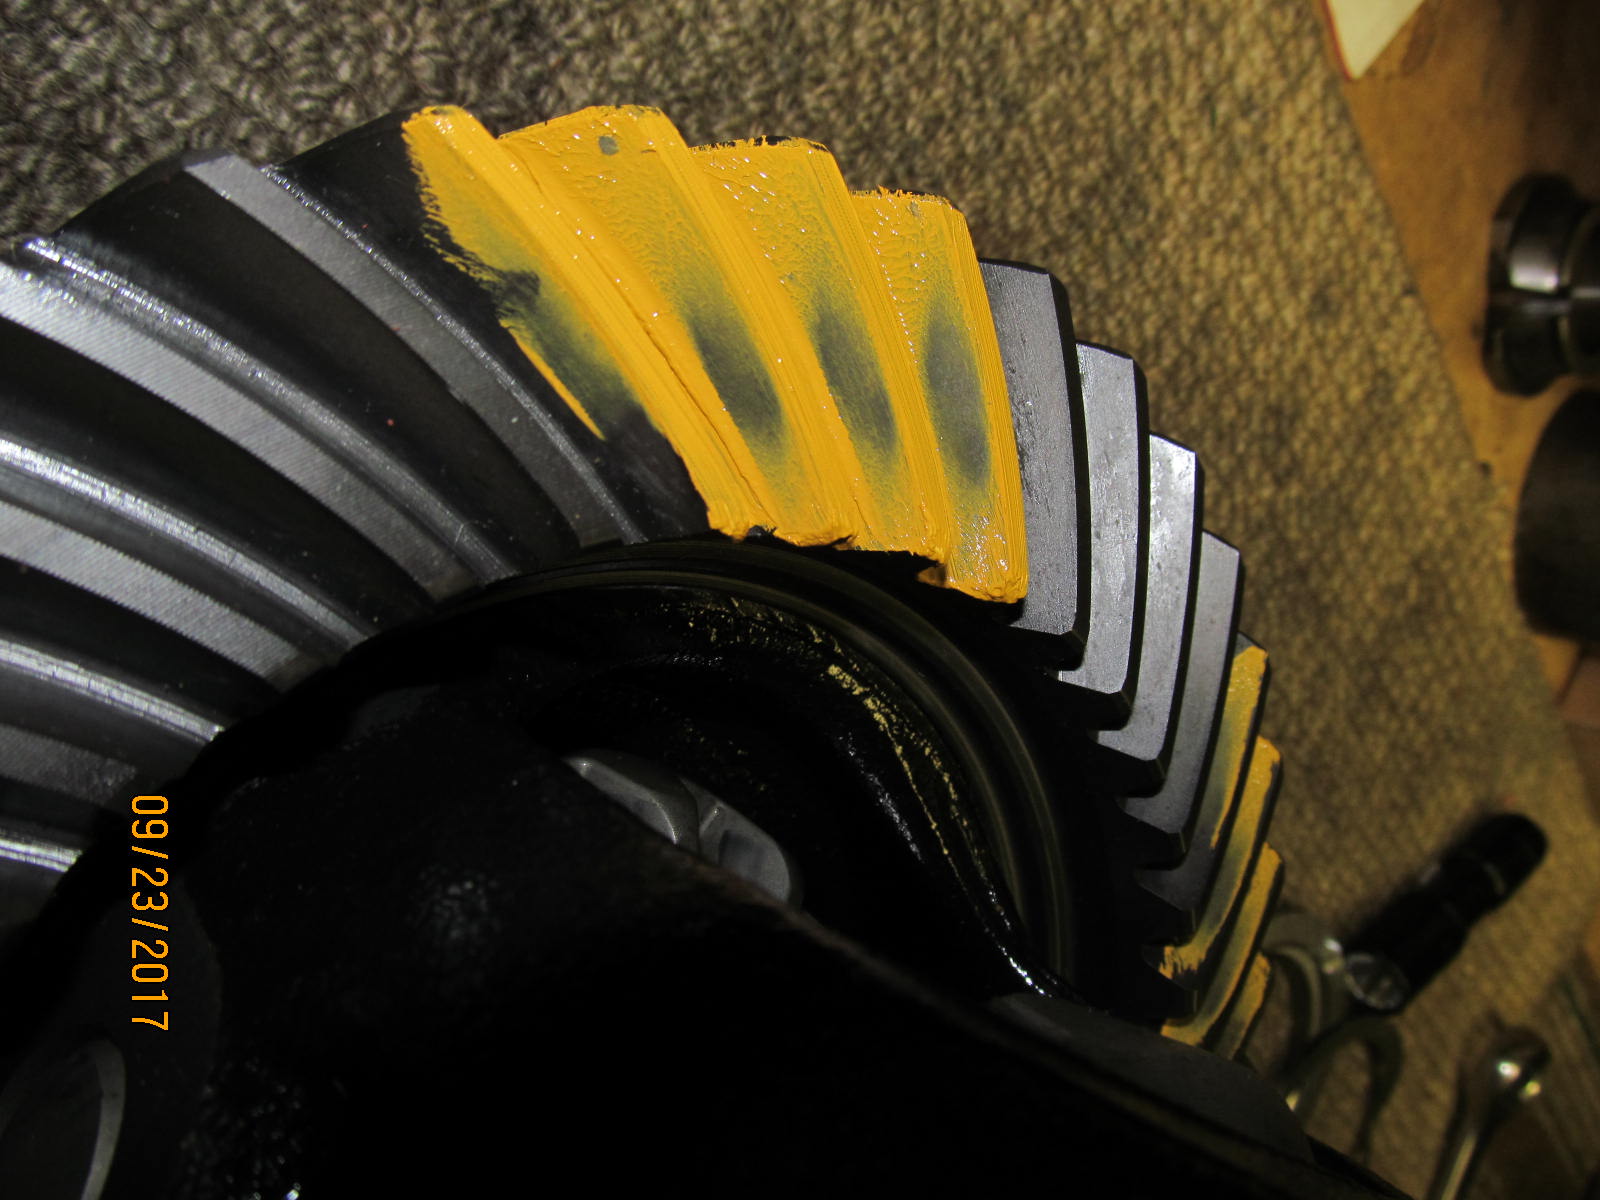
| Driveside....nice. |
|---|
|
|
| Coast......nice. |
|---|
|

|
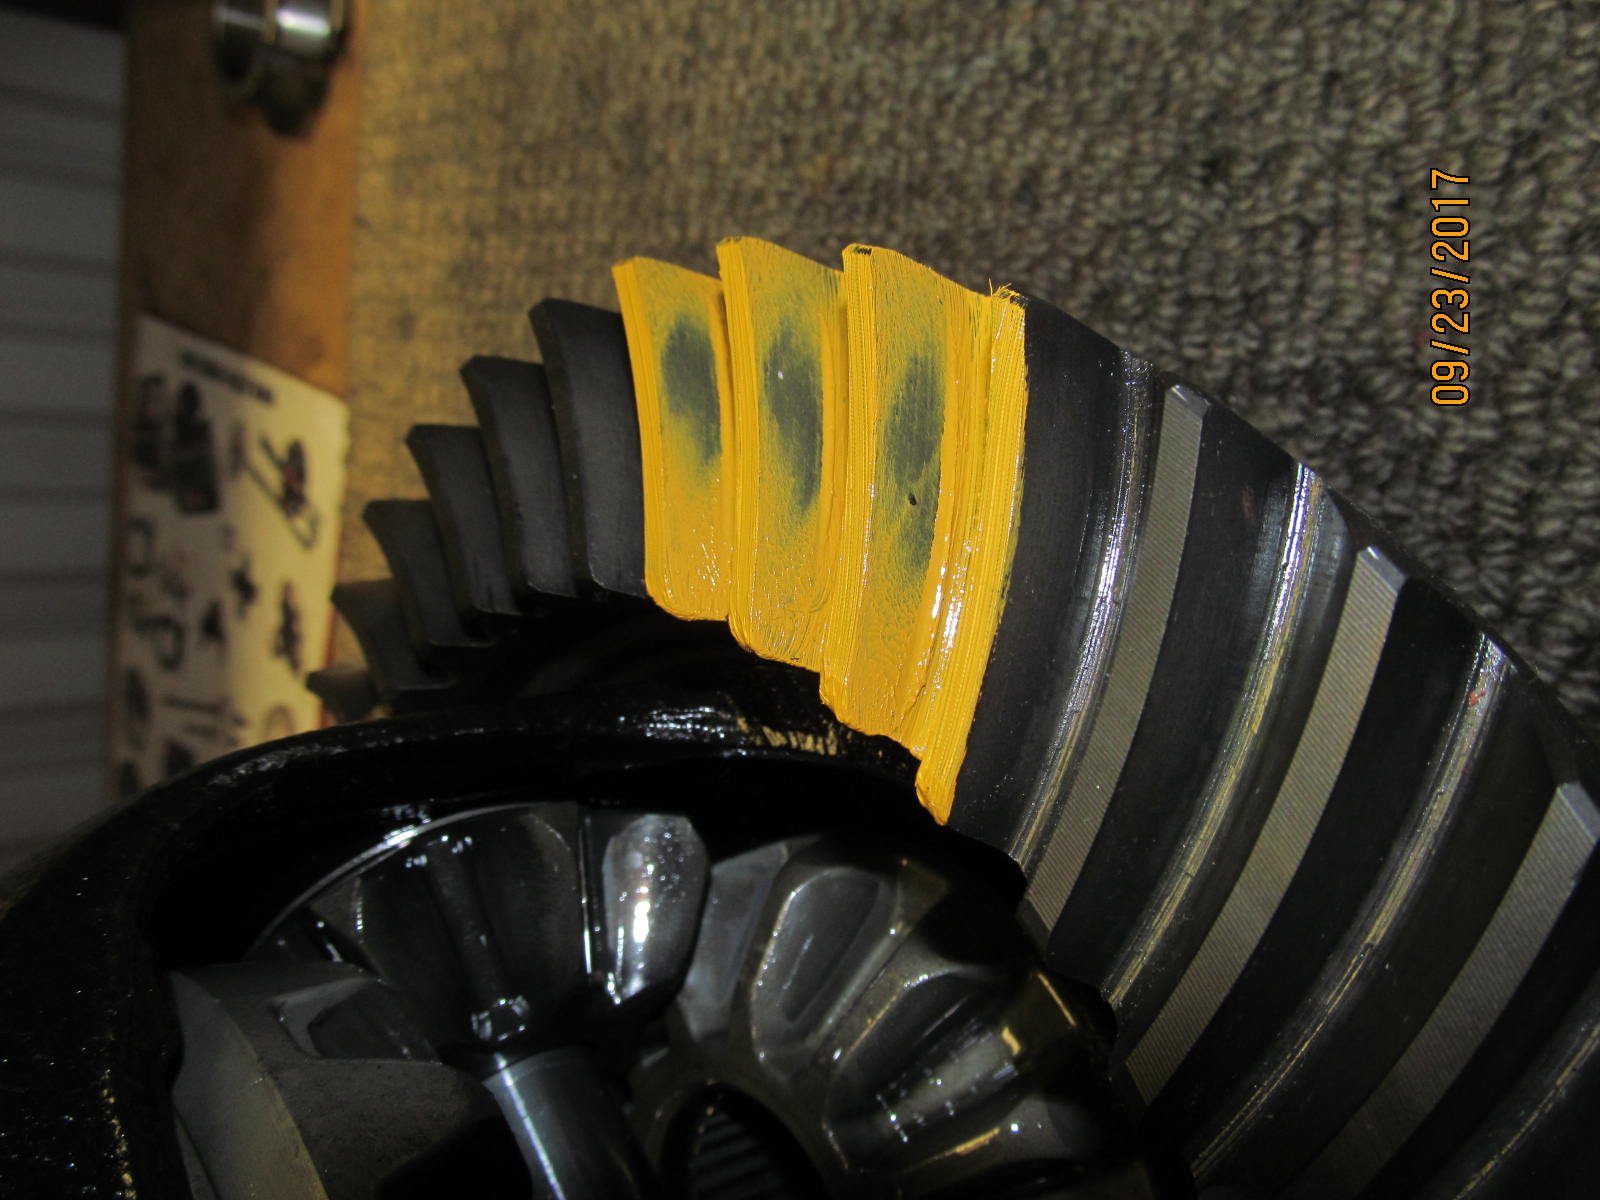
| drive ...reverse painted. |
|---|
|
|
| The drive side of the pinion tooth....comet tail is centered. Perfect. |
|---|
|
|
| ........................ |
|---|
|

|
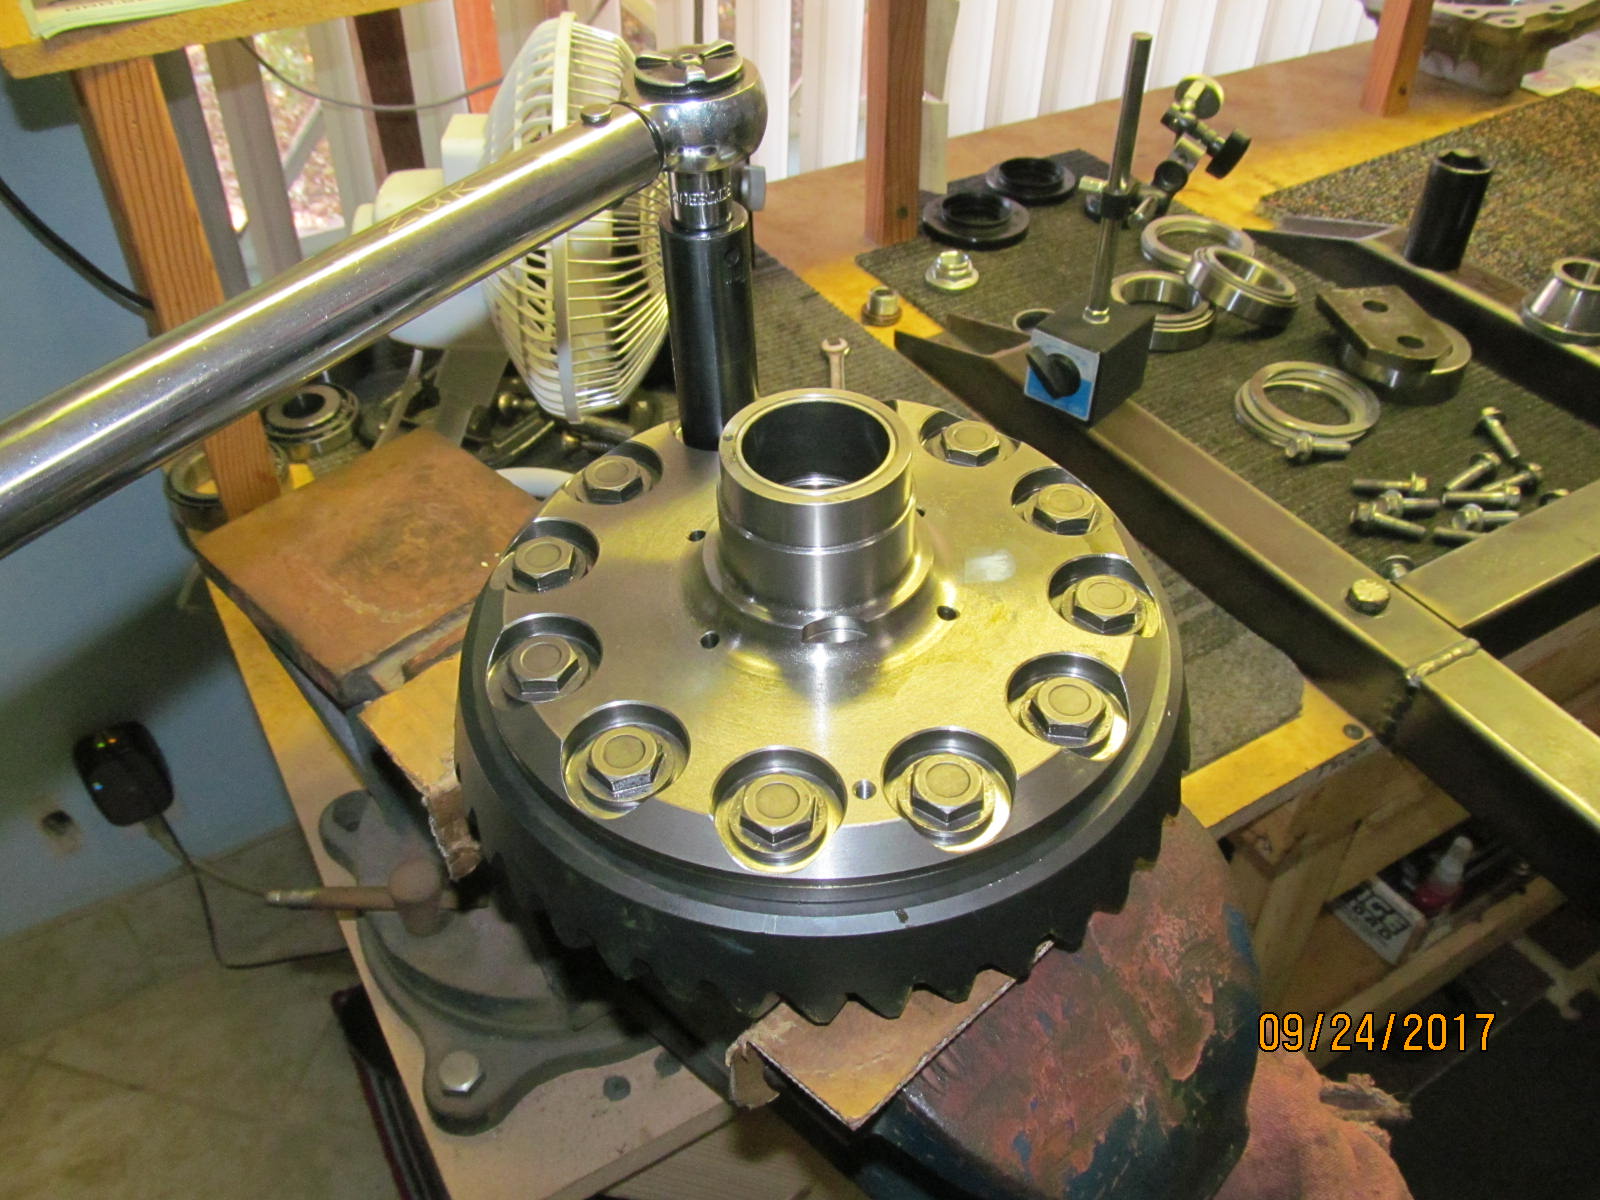
| Ring is now removed from the open carrier and permanently going to the ARB. |
|---|
|
|
| Careful eyeballing the 12 hole alignment and the plastic lead-filled hammer knocks the ring on halfway. All 12 bolts started nicely. I got lucky. |
|---|
|
|
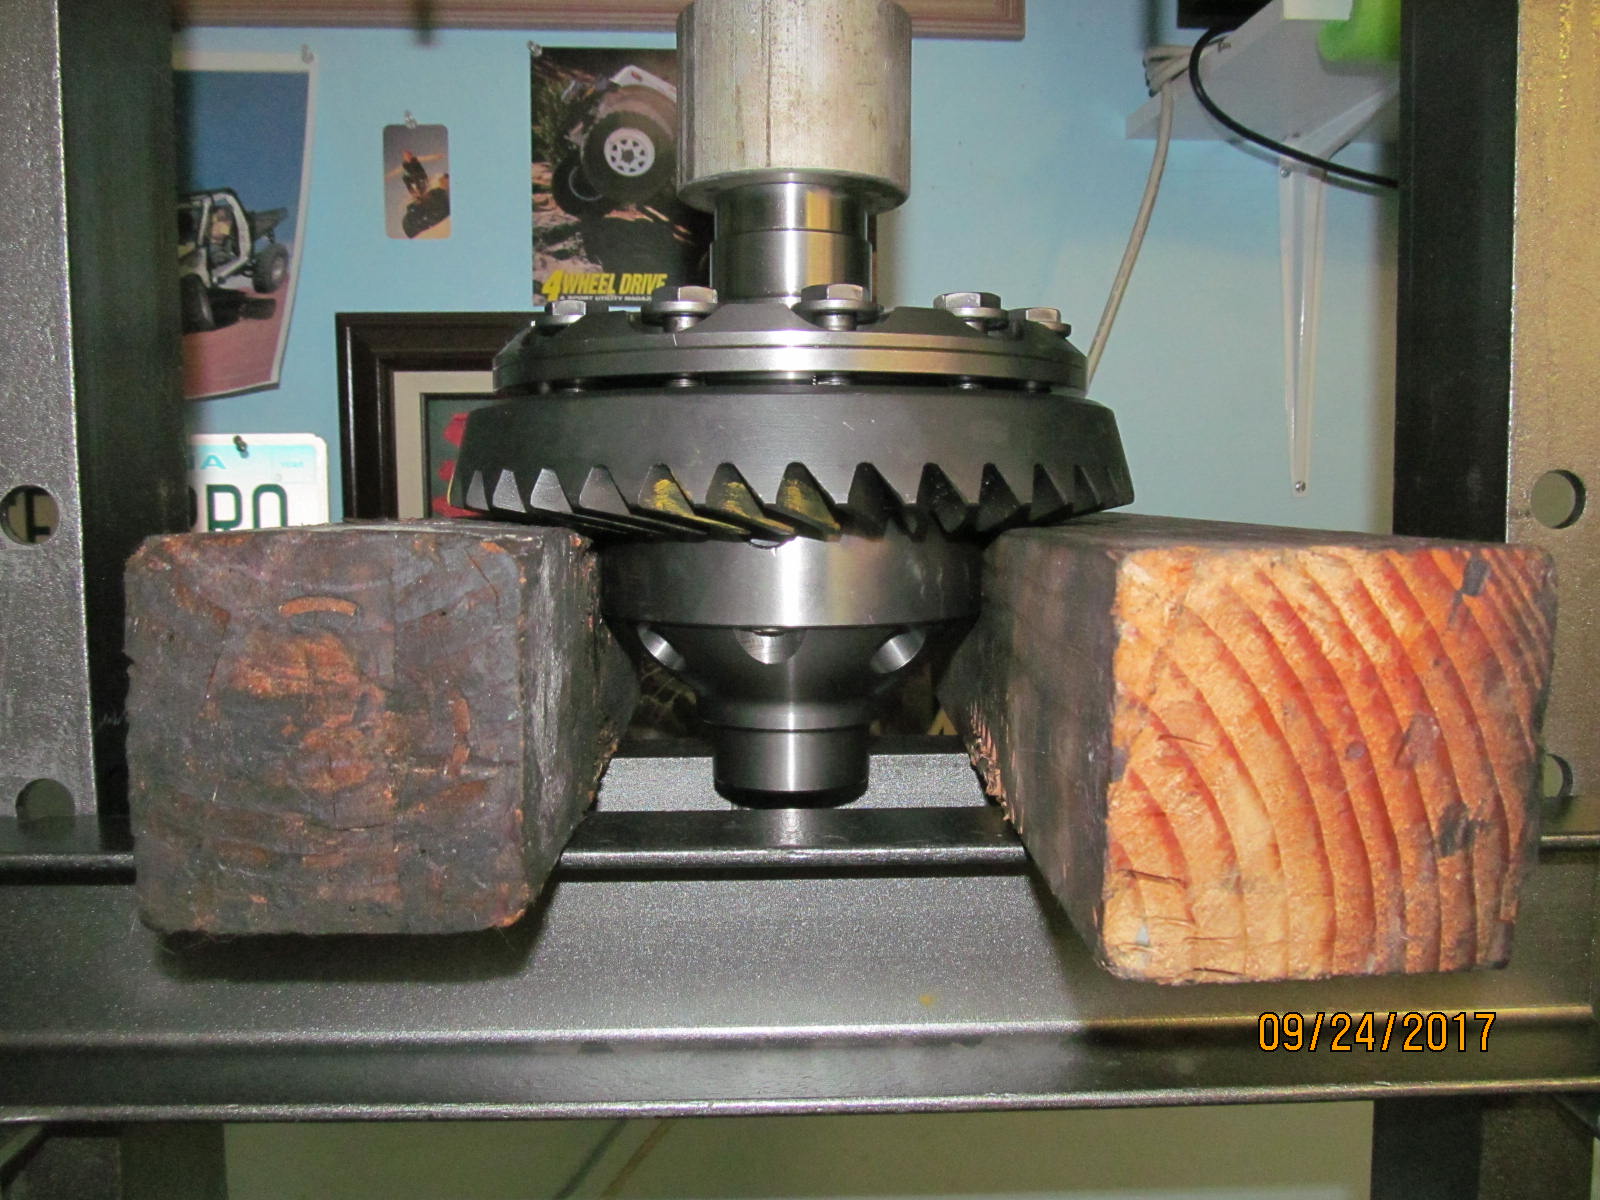
| 12 tons and some wood... |
|---|
|
|
| 101 ft/lb per the fsm. Blue Locktight. |
|---|
|
|
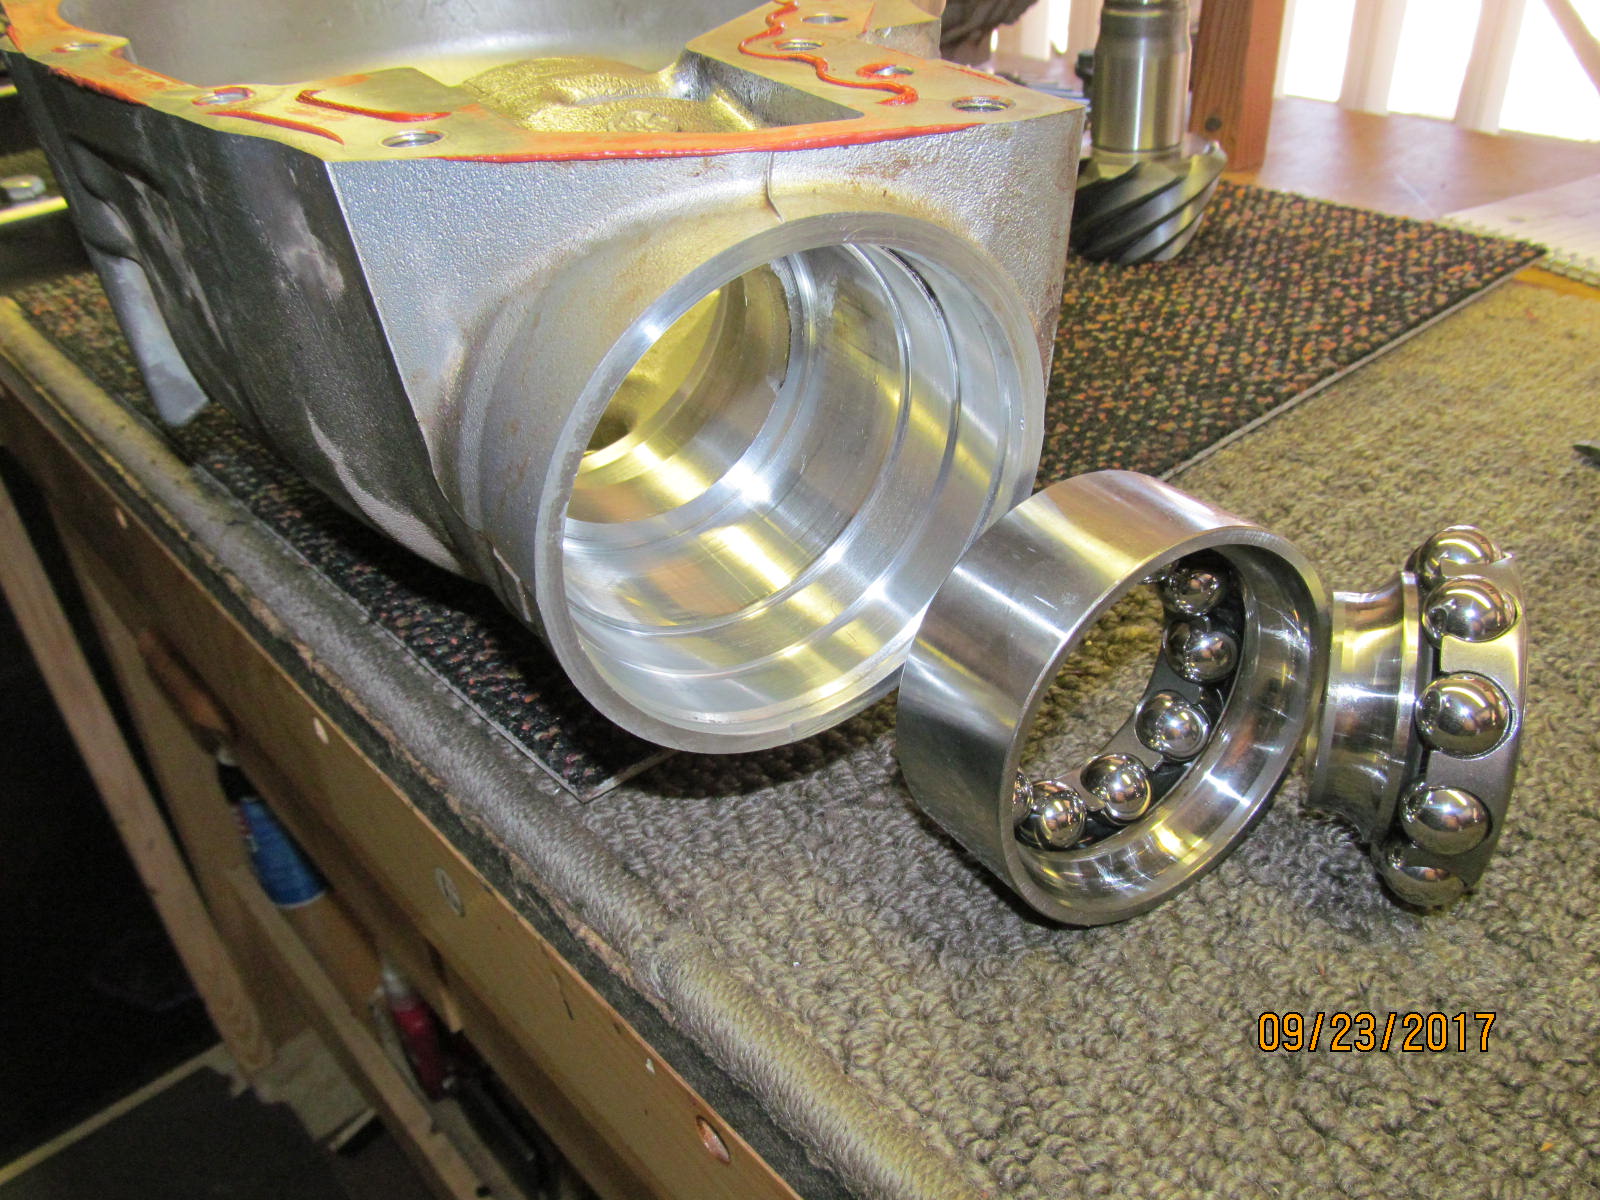
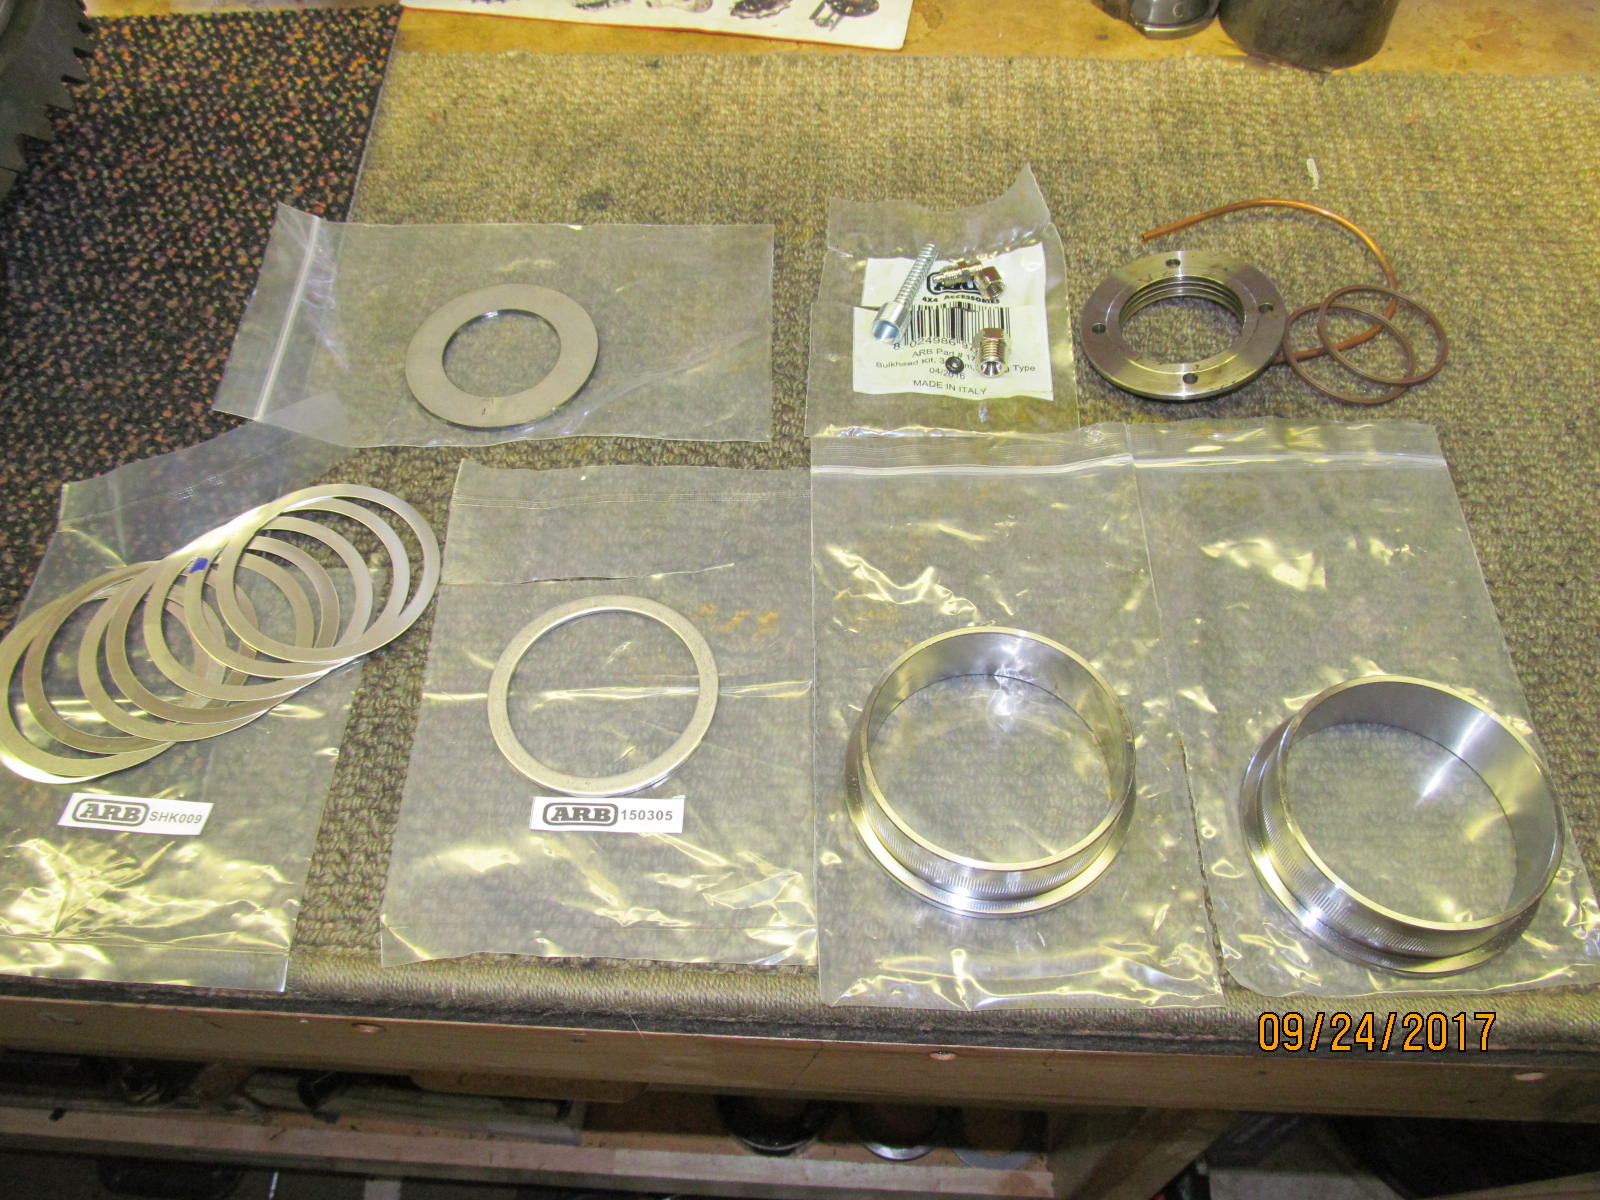
Parts suplied in the ARB box that will be used by this gear guy.
Lower right are the 2 "adapters" to resize the carrier bearing race bores to accept the Koyo ST5889 races.
They tap in very firmly in the existing aluminum bores with Sleeve Lock Retainer. |
|---|
|
|
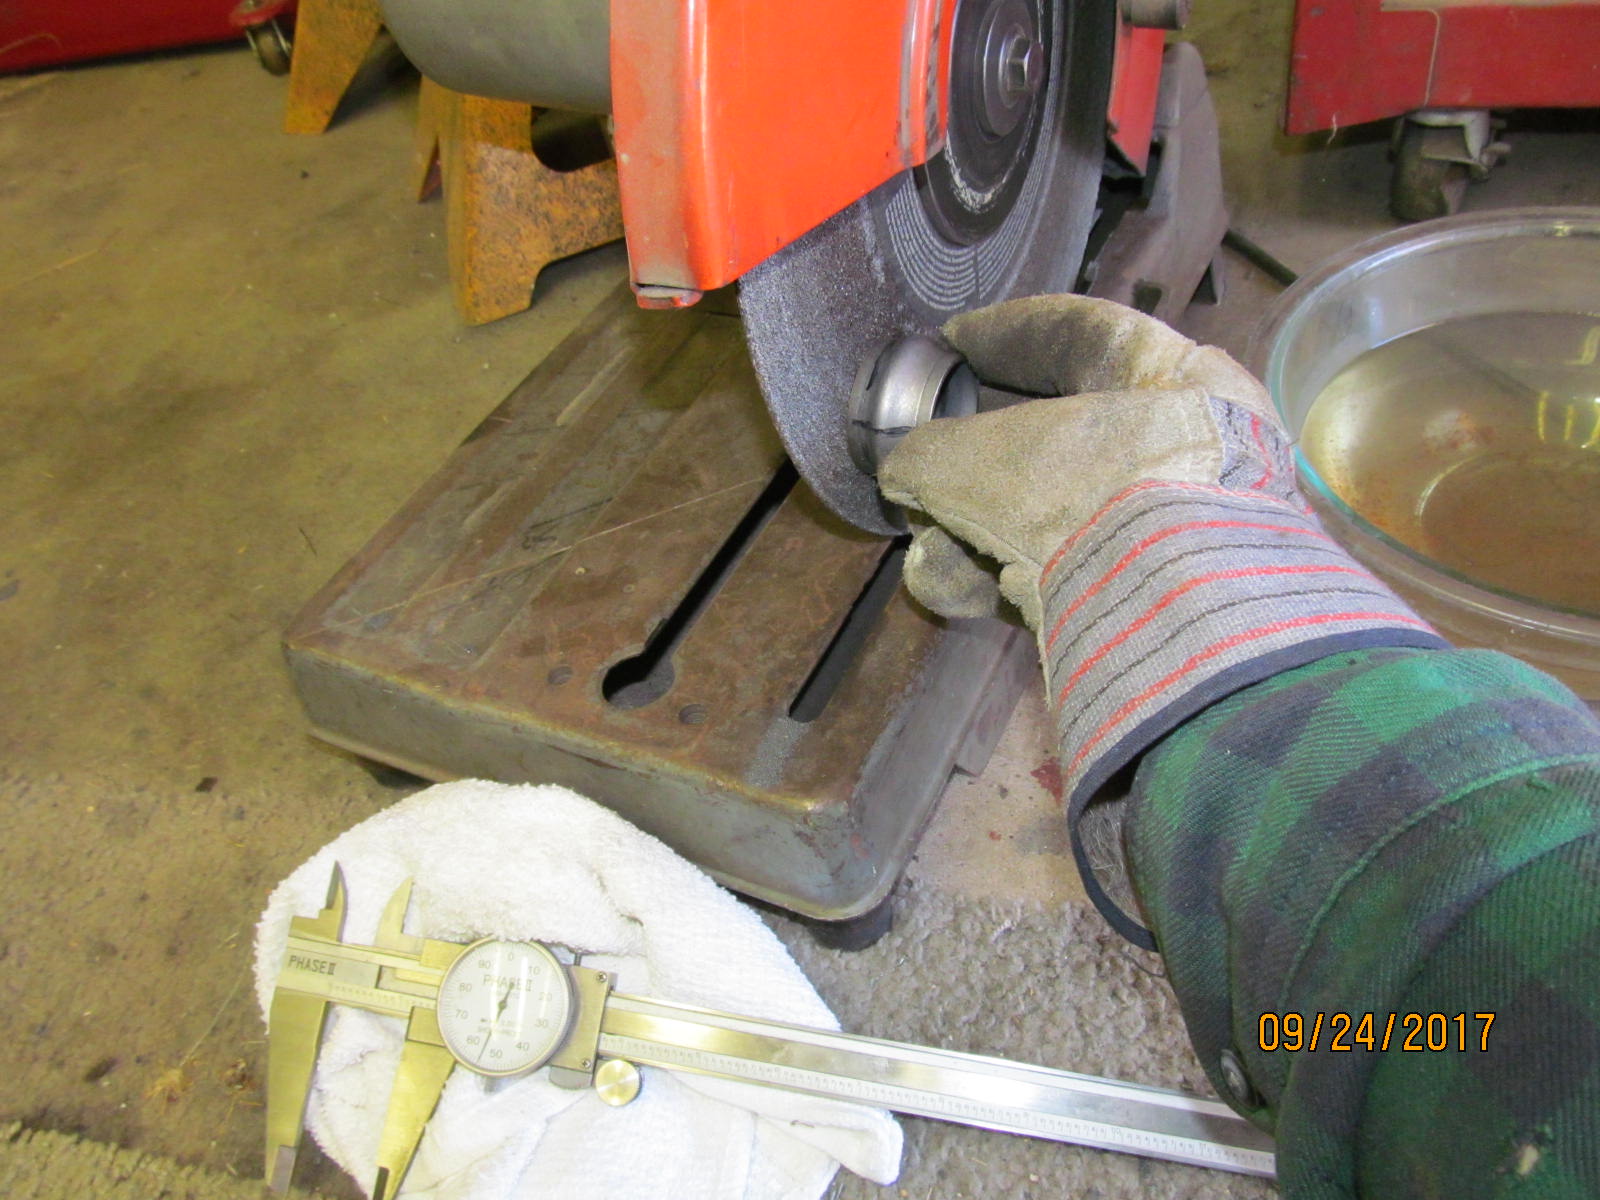
3 choices.....I could crudely crush it with the new nut and it would take about 3 full turns to hit target.....
or could precrush it in the 12 ton press to get it close to target....or could fine tune it on the side of a 14 inch cutoff wheel.
Not the way a 14 inch wheel is supposed to be used but it works for me :) |
|---|
|
|
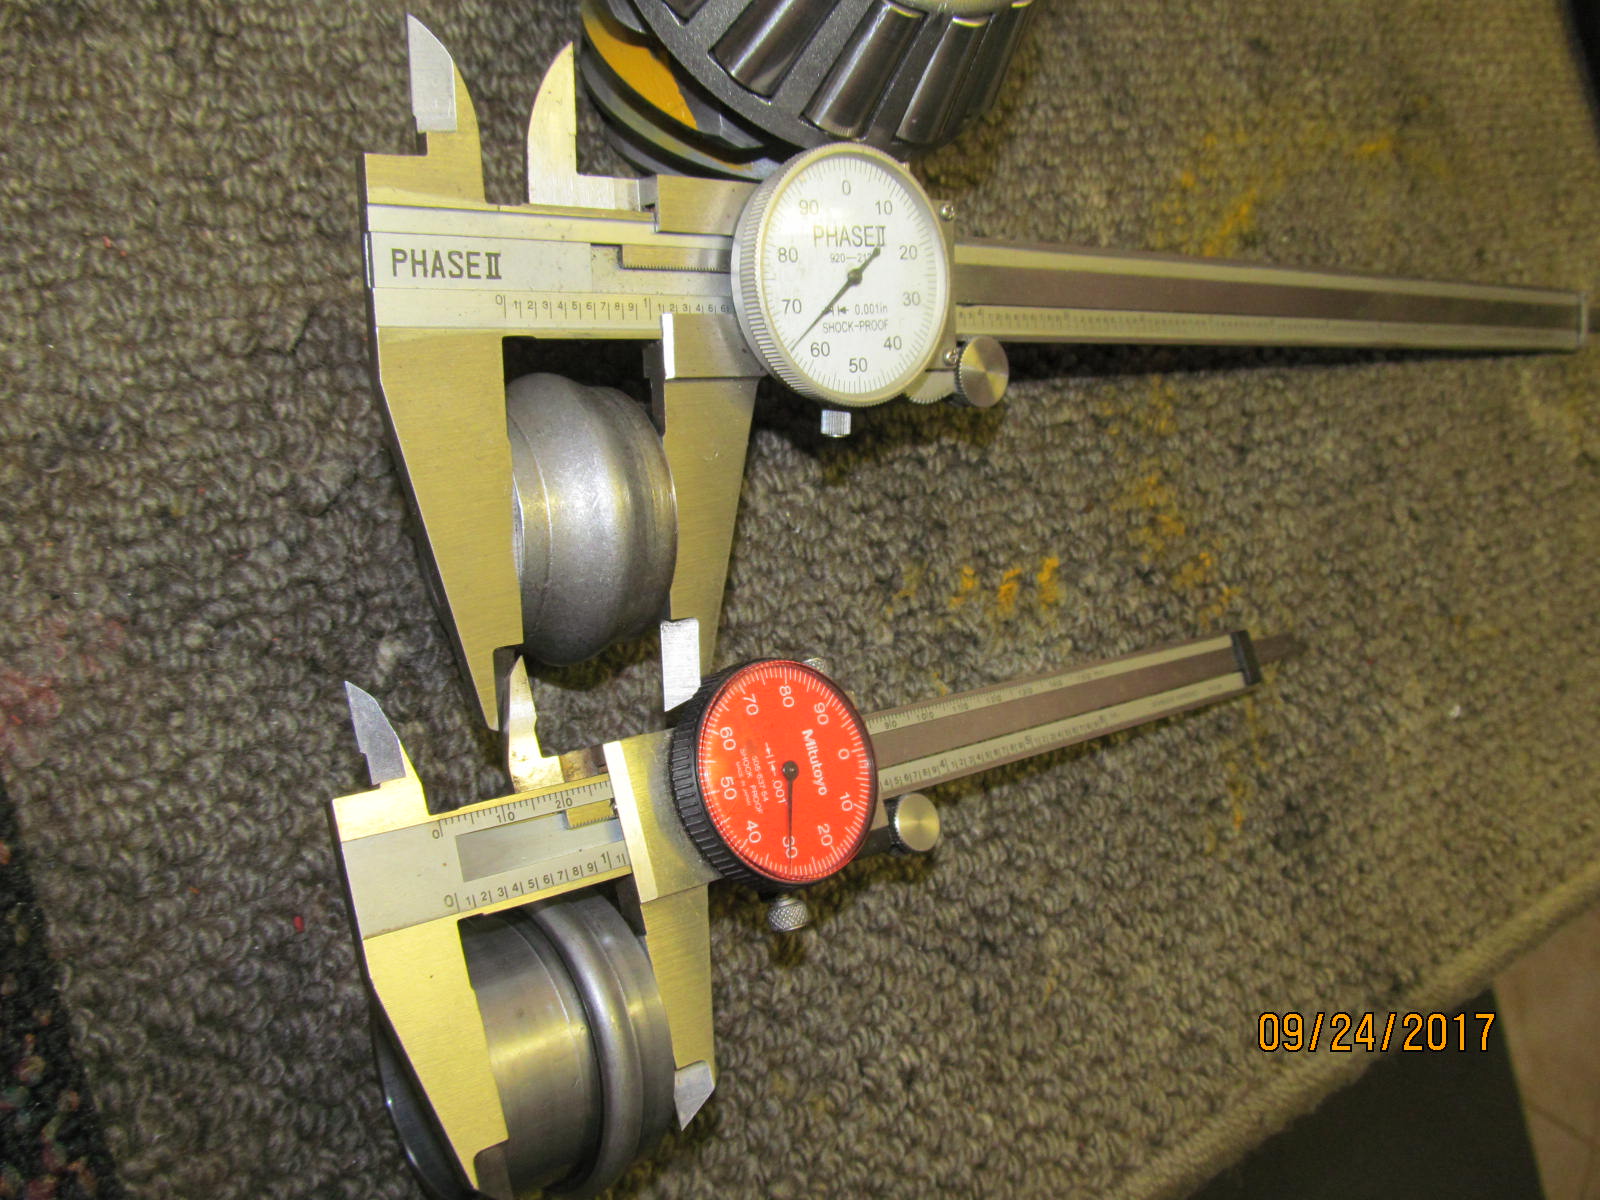
The original crush sleeve measured at about 1.130" and the new trimmed down one I stopped at 1.064". It may sound like I ground off too much
material but the crush distance has been "changed"....the pinion shim is no longer BEHIND the big race....it was moved to the pinion head.
With no .080" washer plate behind the race the distance just shrank .080" for crush length meaning 1.050" is now the final approximate
crush length....so 1.064 is long by about .014"....that's about 1/4 turn of pinion nut crush. |
|---|
|
|
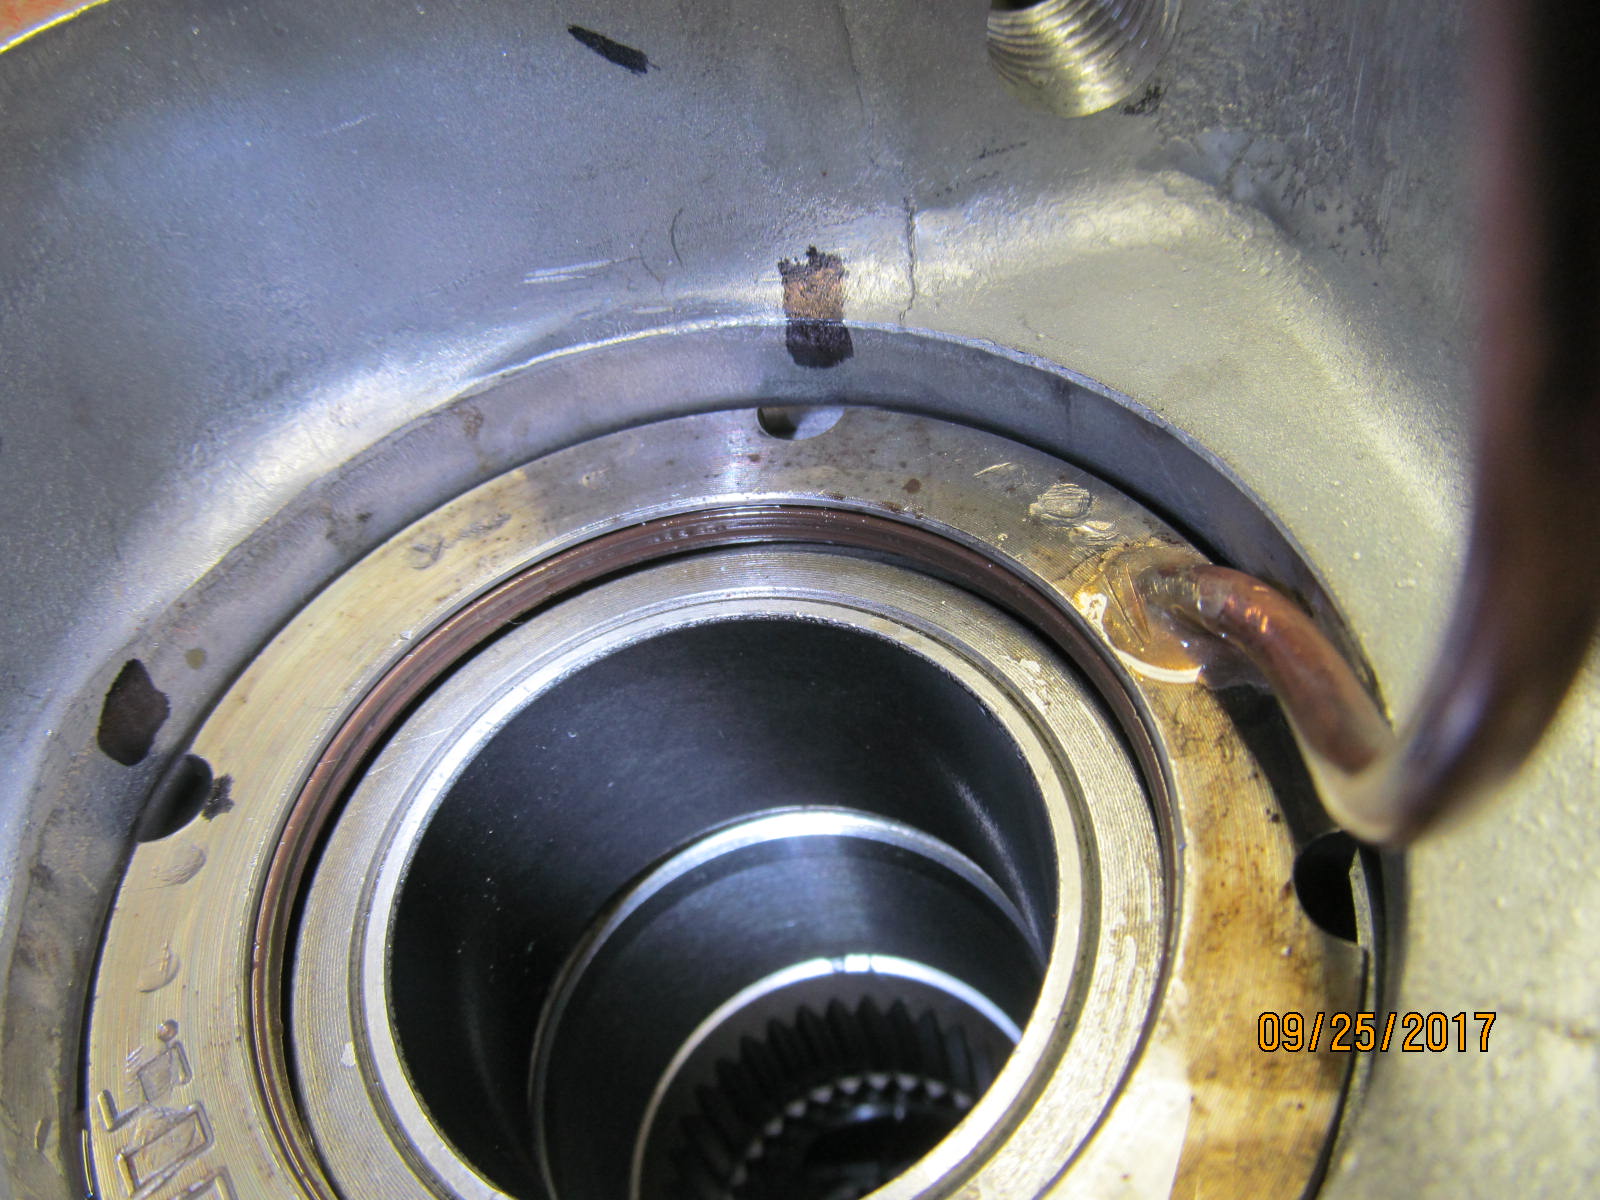
| The spec on the 9" clams for tapping the new seal below the top surface is .221~.260" and I was about in the middle. Anti-seize helps for the final crush. |
|---|
|
|
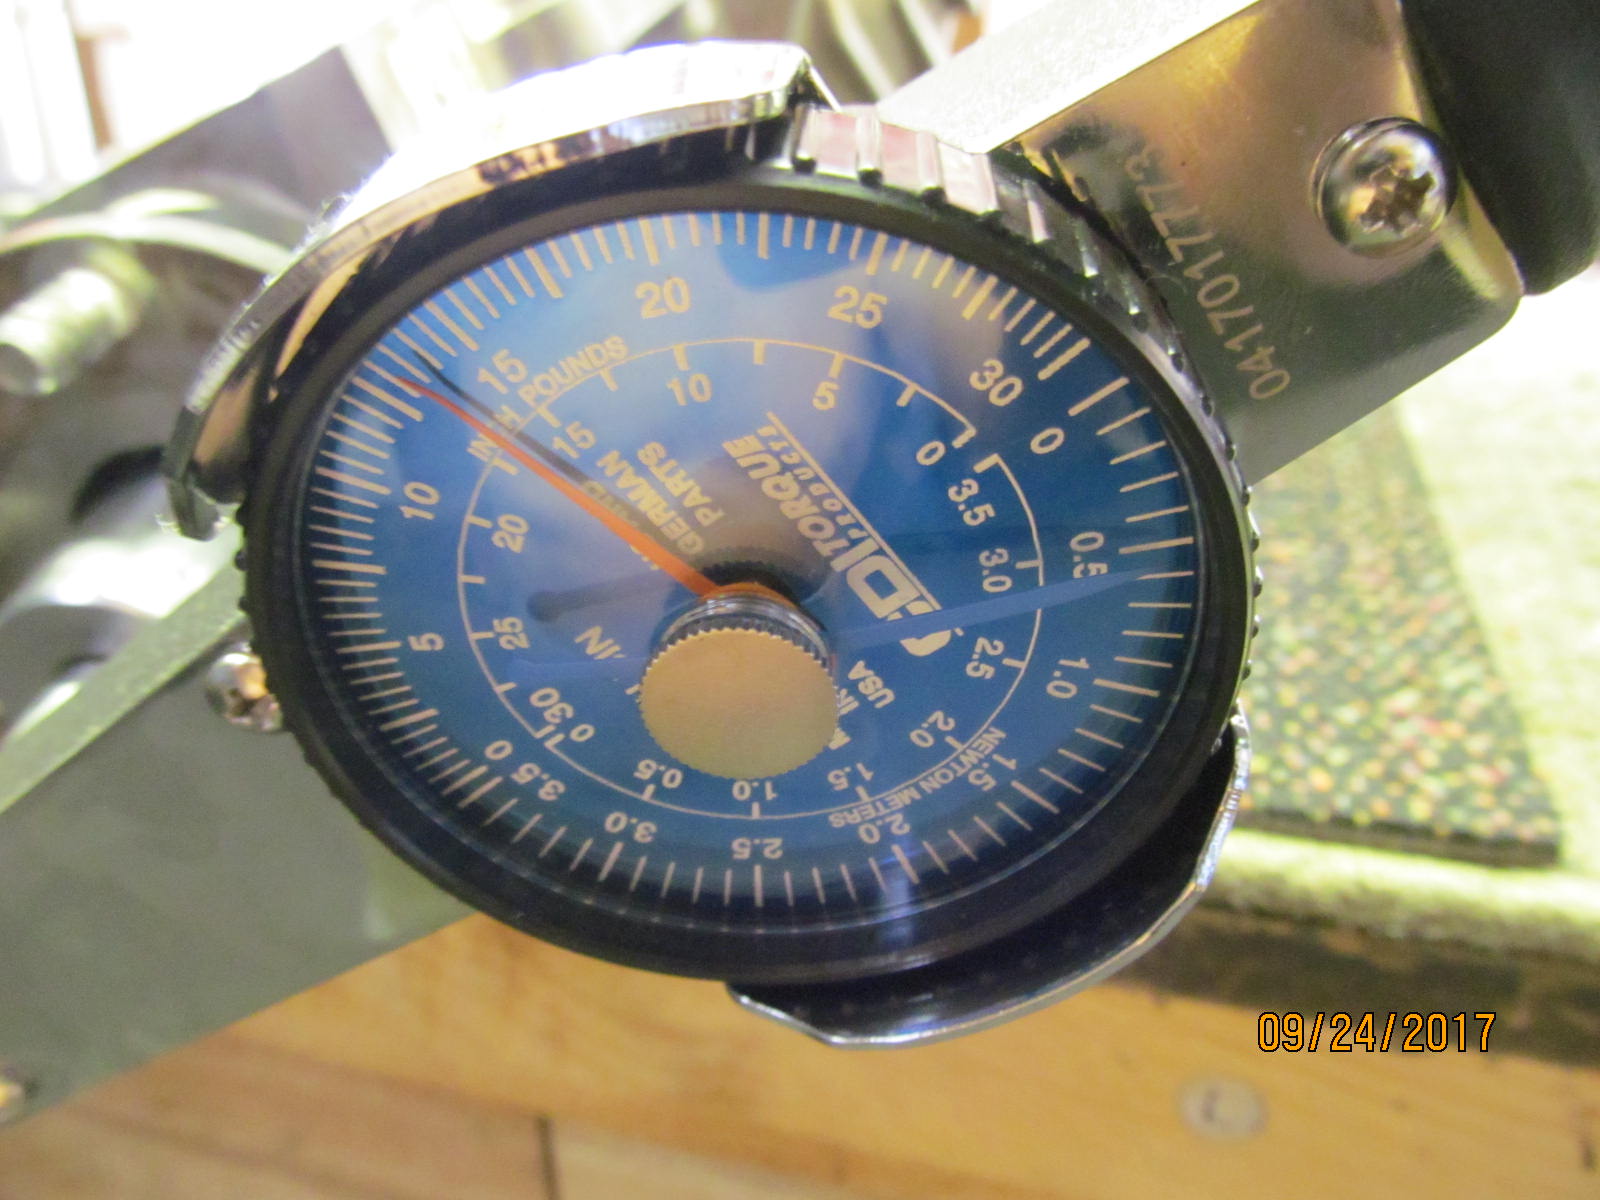
| Pinion bearing preload came in at 13 inch/pounds. |
|---|
|
|
| DING the new nut and this end is complete. |
|---|
|
|
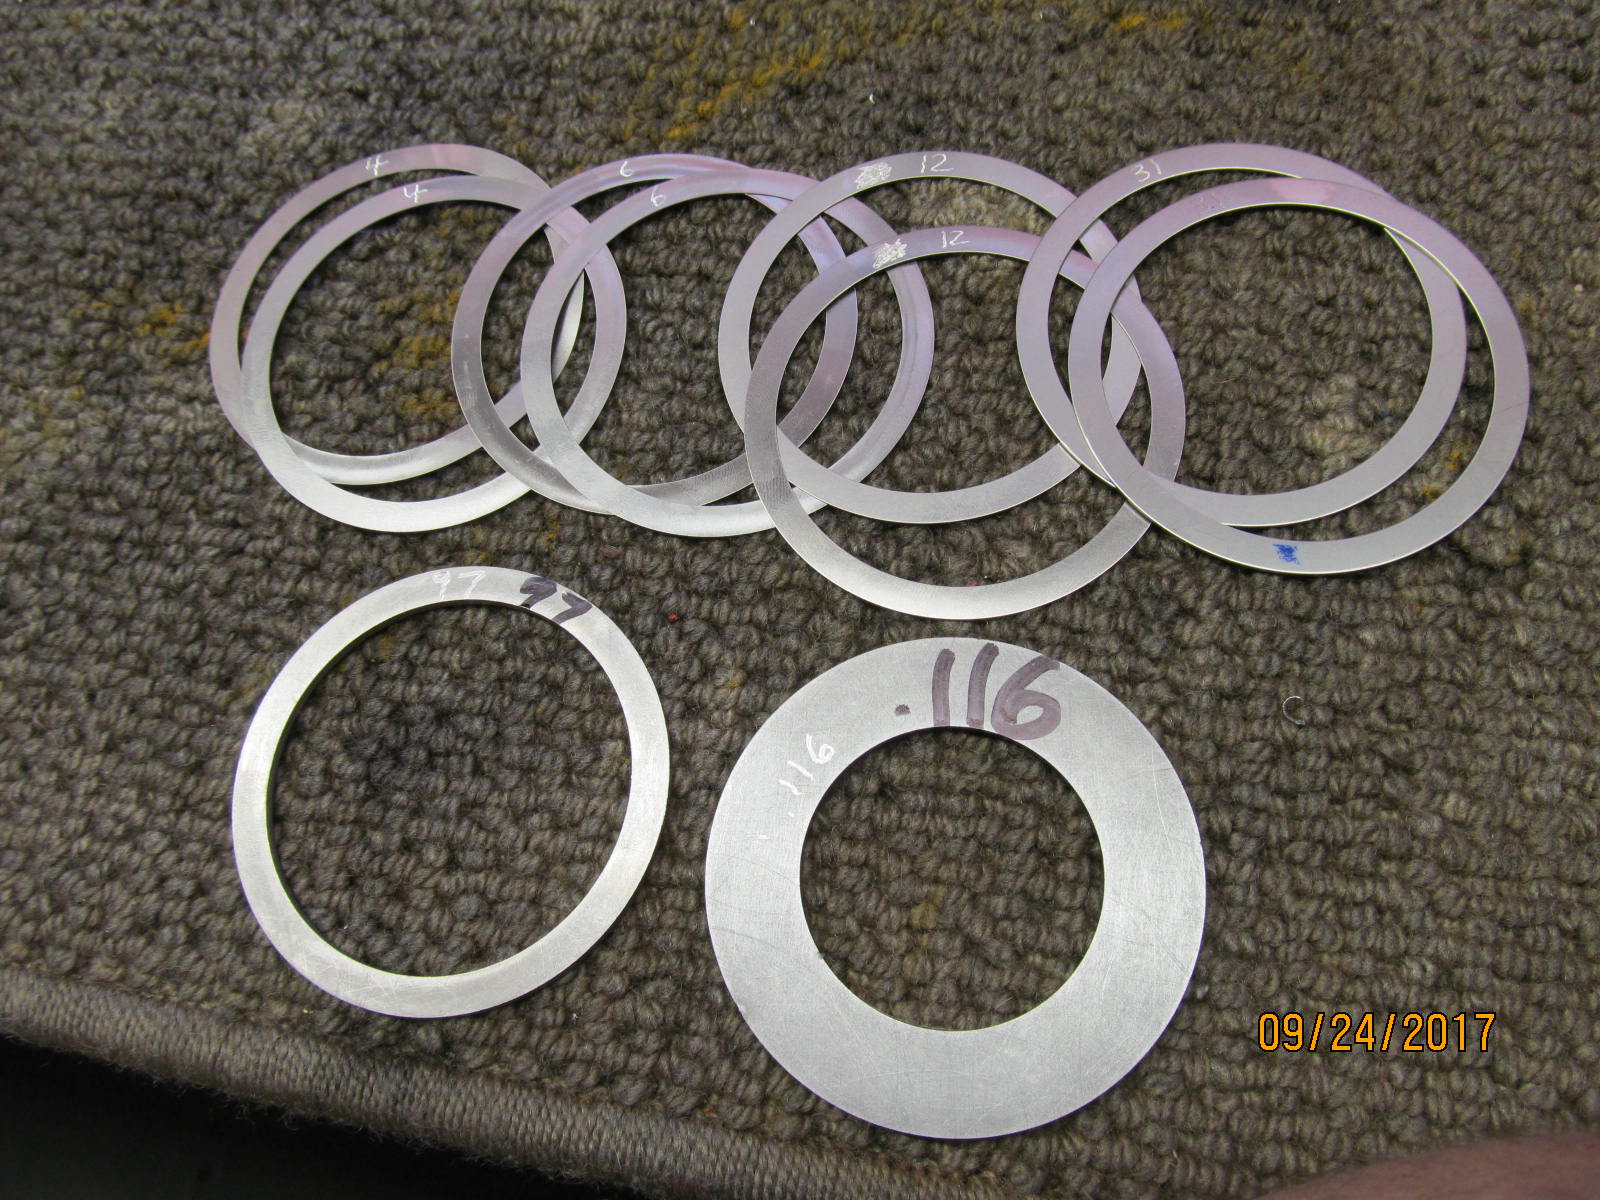
| These are the supplied washer plates and shims supplied in the Nitro kit. |
|---|
|
|
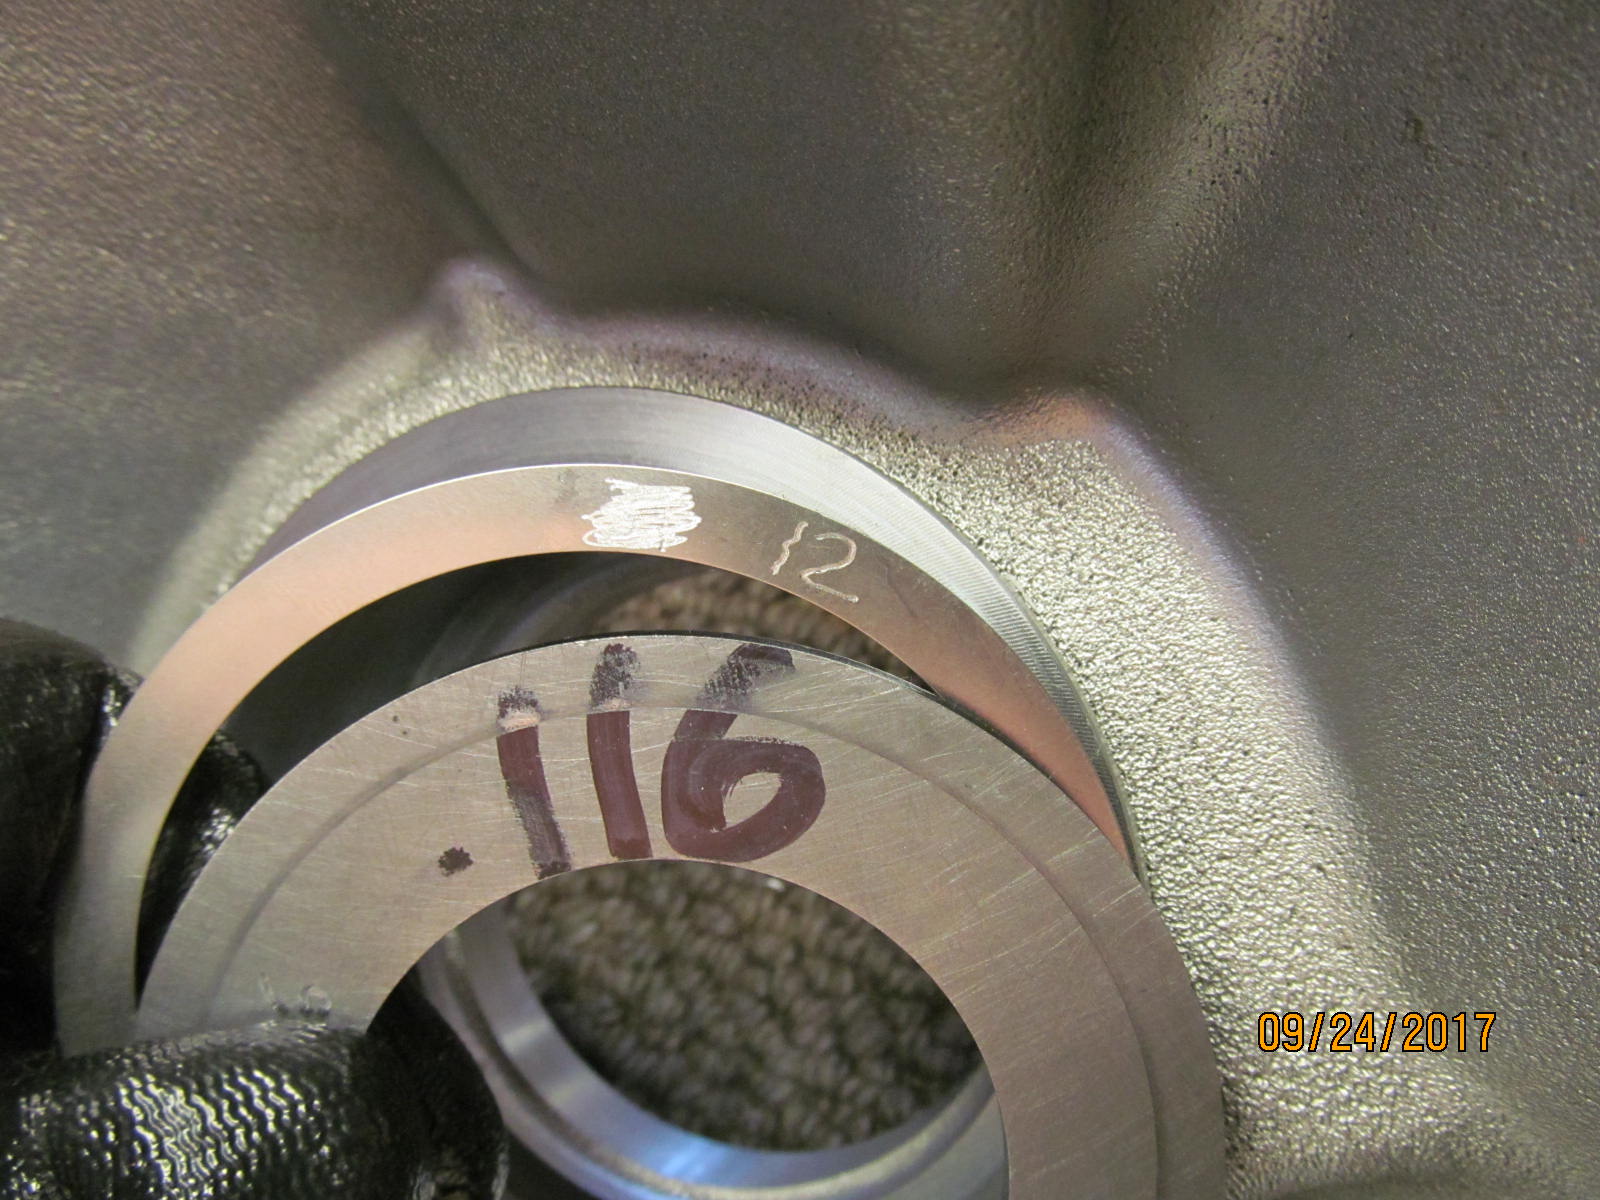
| I started with a thick .116 to see if the backlash was too large.... |
|---|
|
|
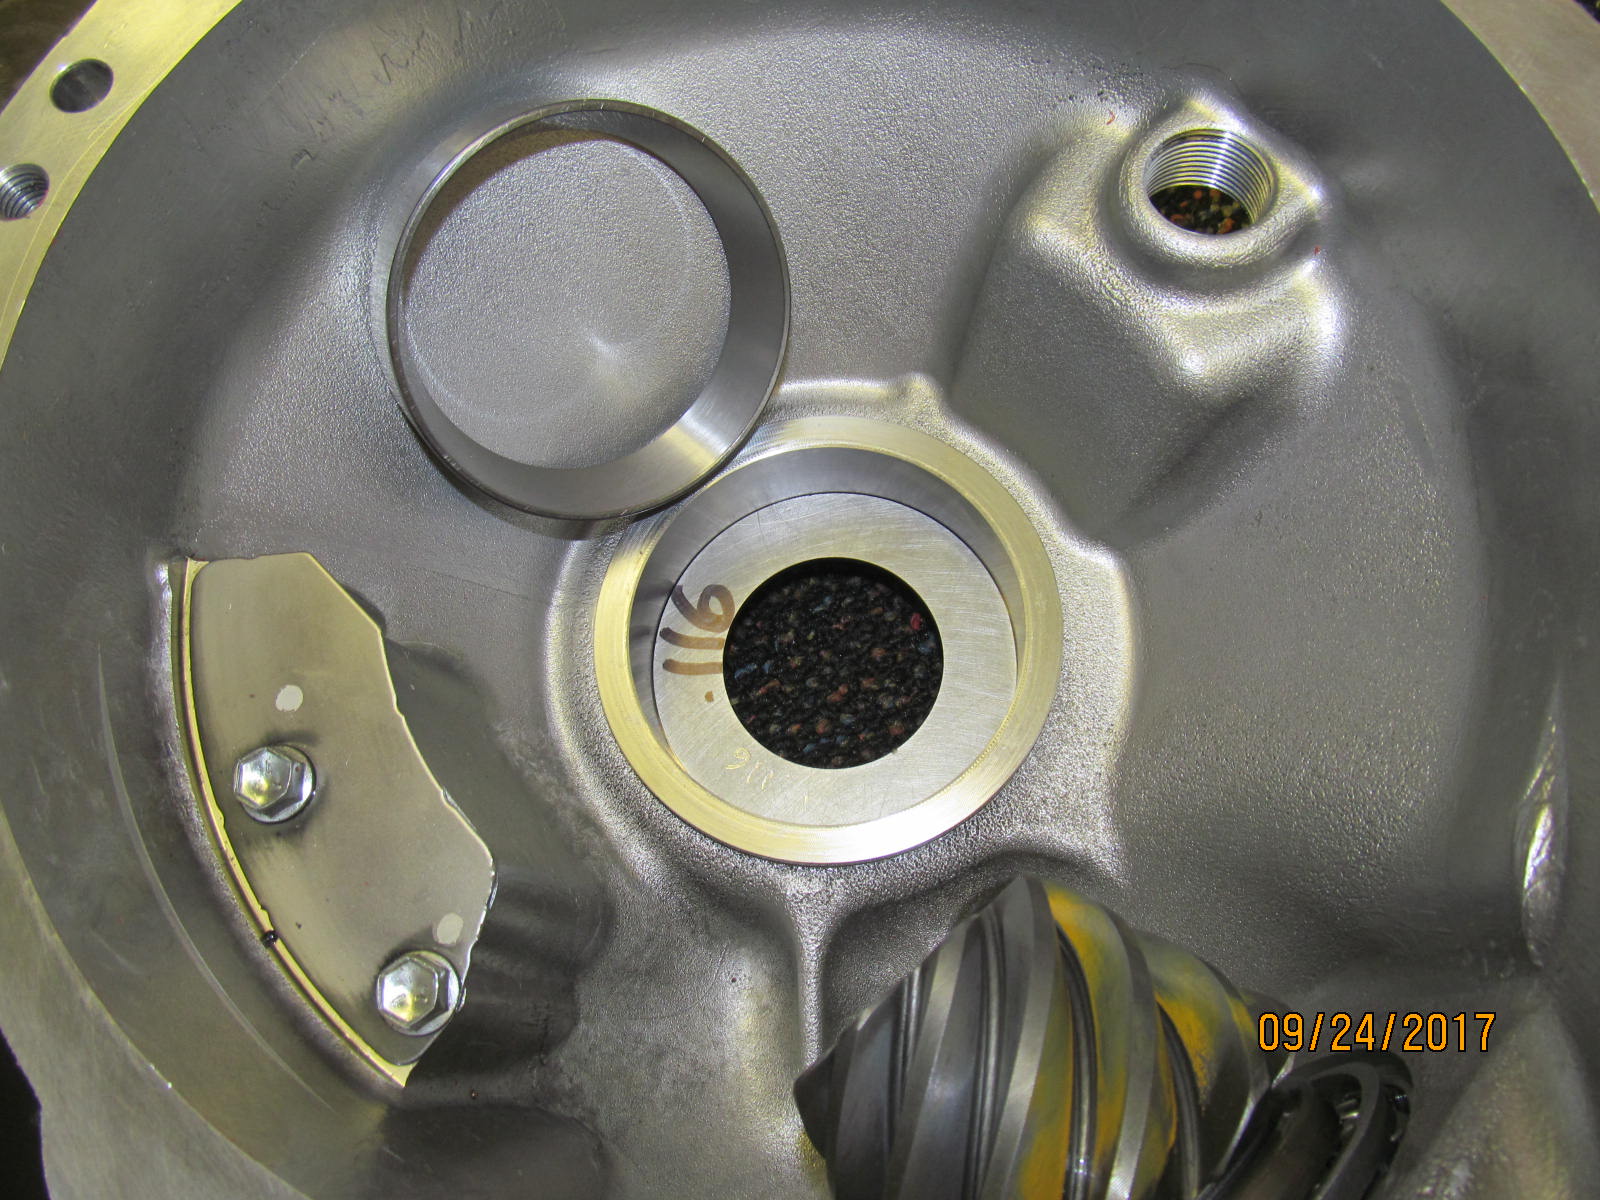
Placing the ARB in the bowl on top of the .116 showed that there was almost no "jiggle" to be felt or heard using my fingertip and that means
not enough backlash....means it needs to be even thicker. |
|---|
|
|
| So it was bumped up to .128" and then when the ARB cae was set in the bowl, I then could see and feel some real backlash :) |
|---|
|
|
| Before I played with the lid side shimming, it was decided to mark and drill the hole. |
|---|
|
|
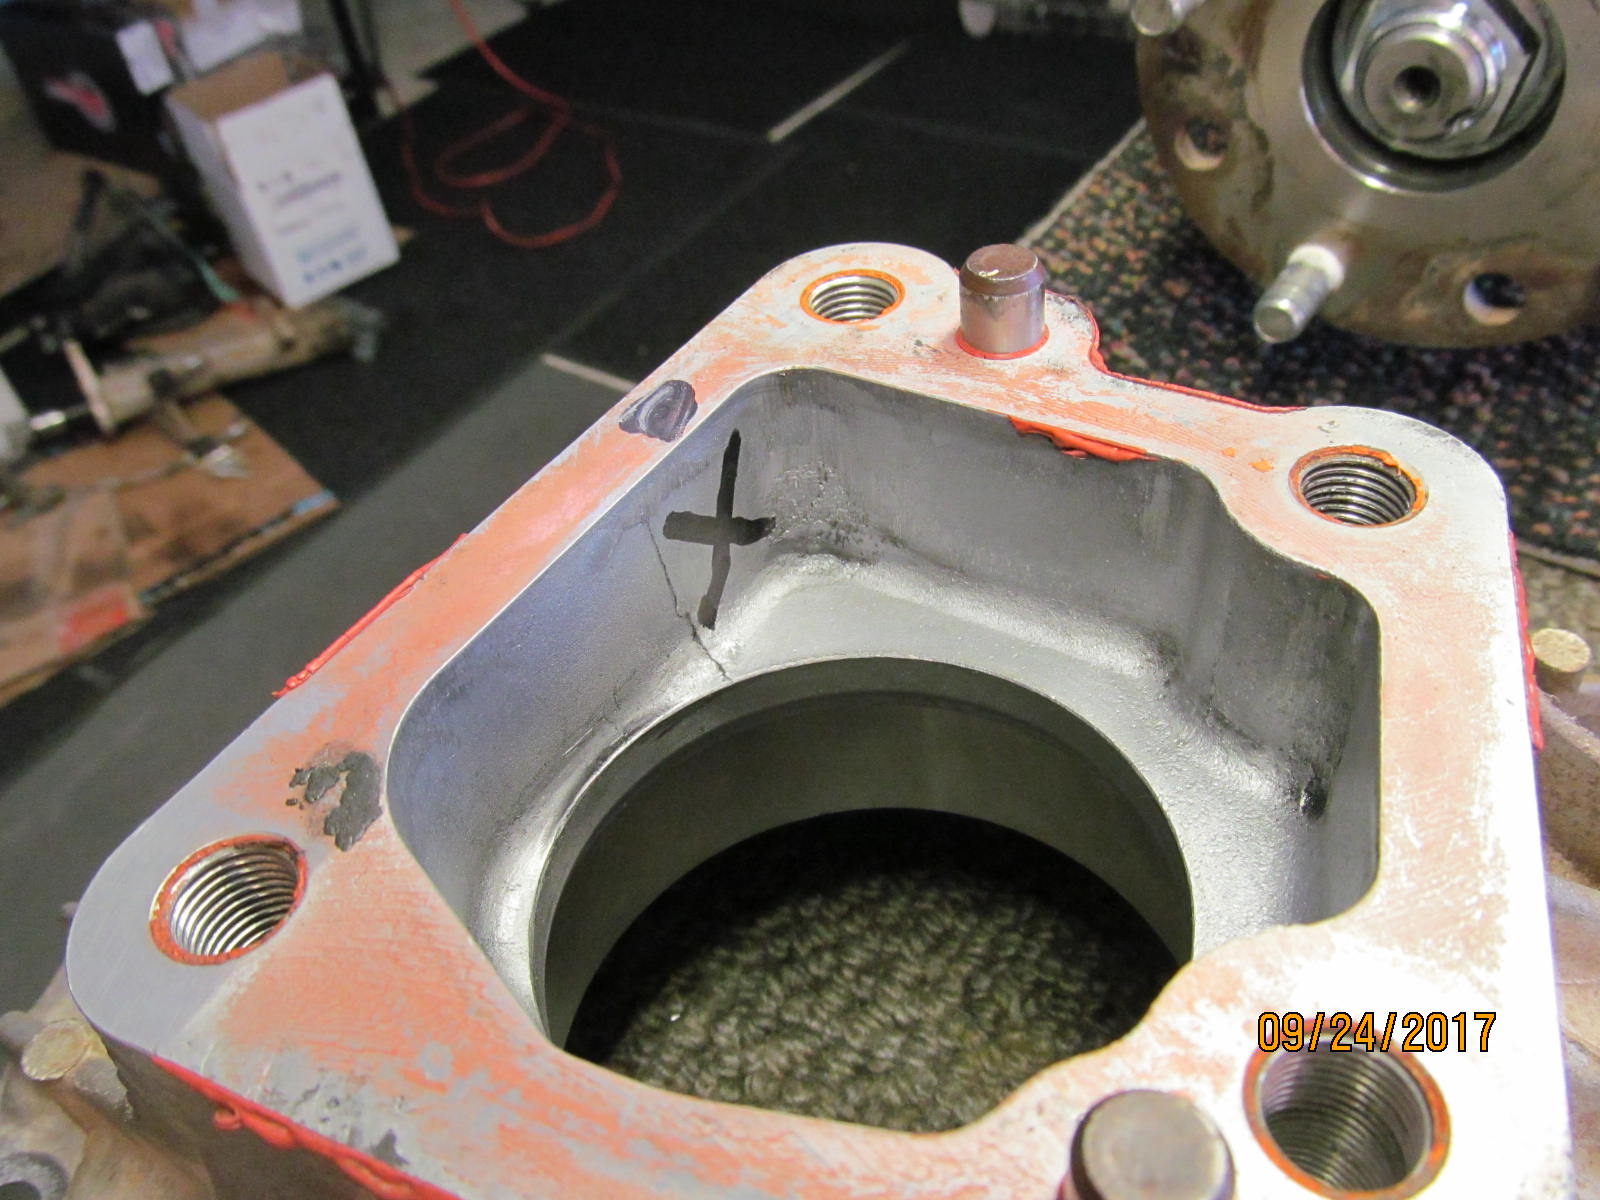
| Per the manual, the hole was precisely marked.... |
|---|
|
|
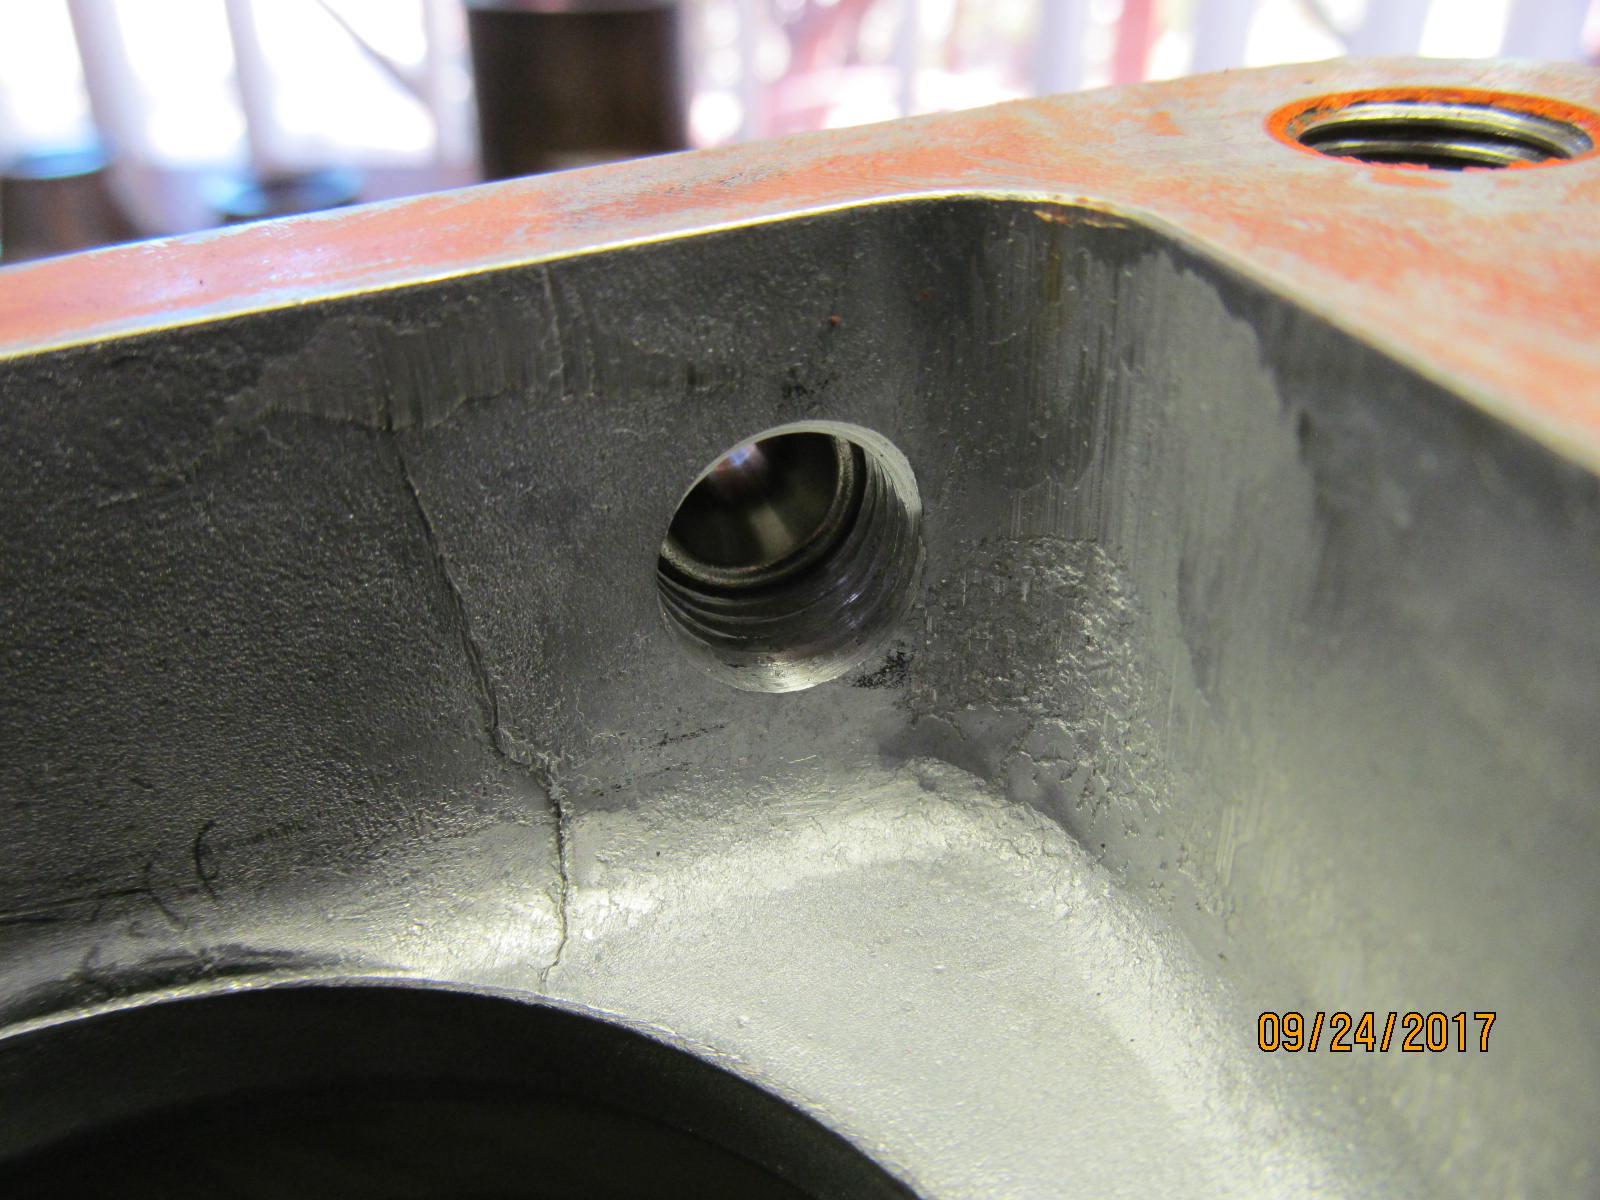
| ....drilled and tapped....7/16" drill bit an 1/4 NPT tap. |
|---|
|
|
| ,,,,,,,,,,,,,,,,,,,,, |
|---|
|
|
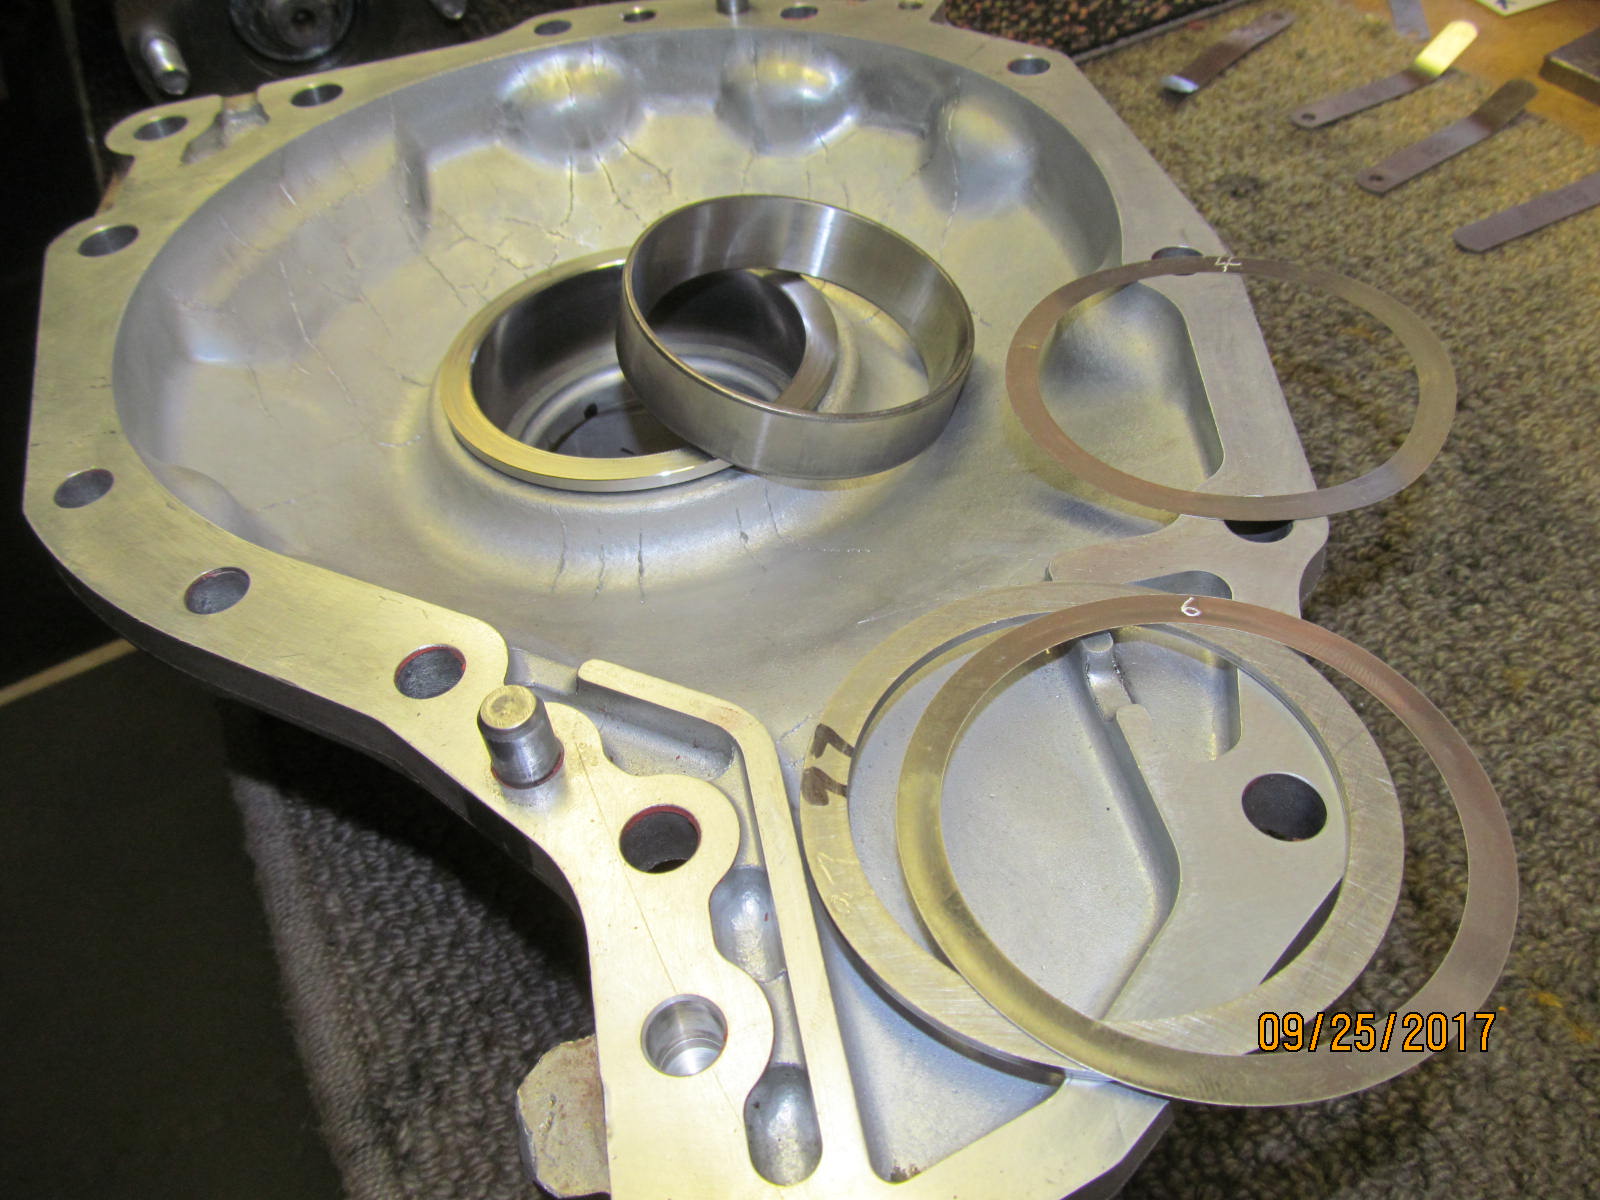
| Pressing the carrier bearing race out of the lid....extremely easy to do with the perfect sized widget. |
|---|
|

|
| 101" was used here. Notice that the steel bushing inserts for the aluminum bore holes has already been pressed in. |
|---|
|
|
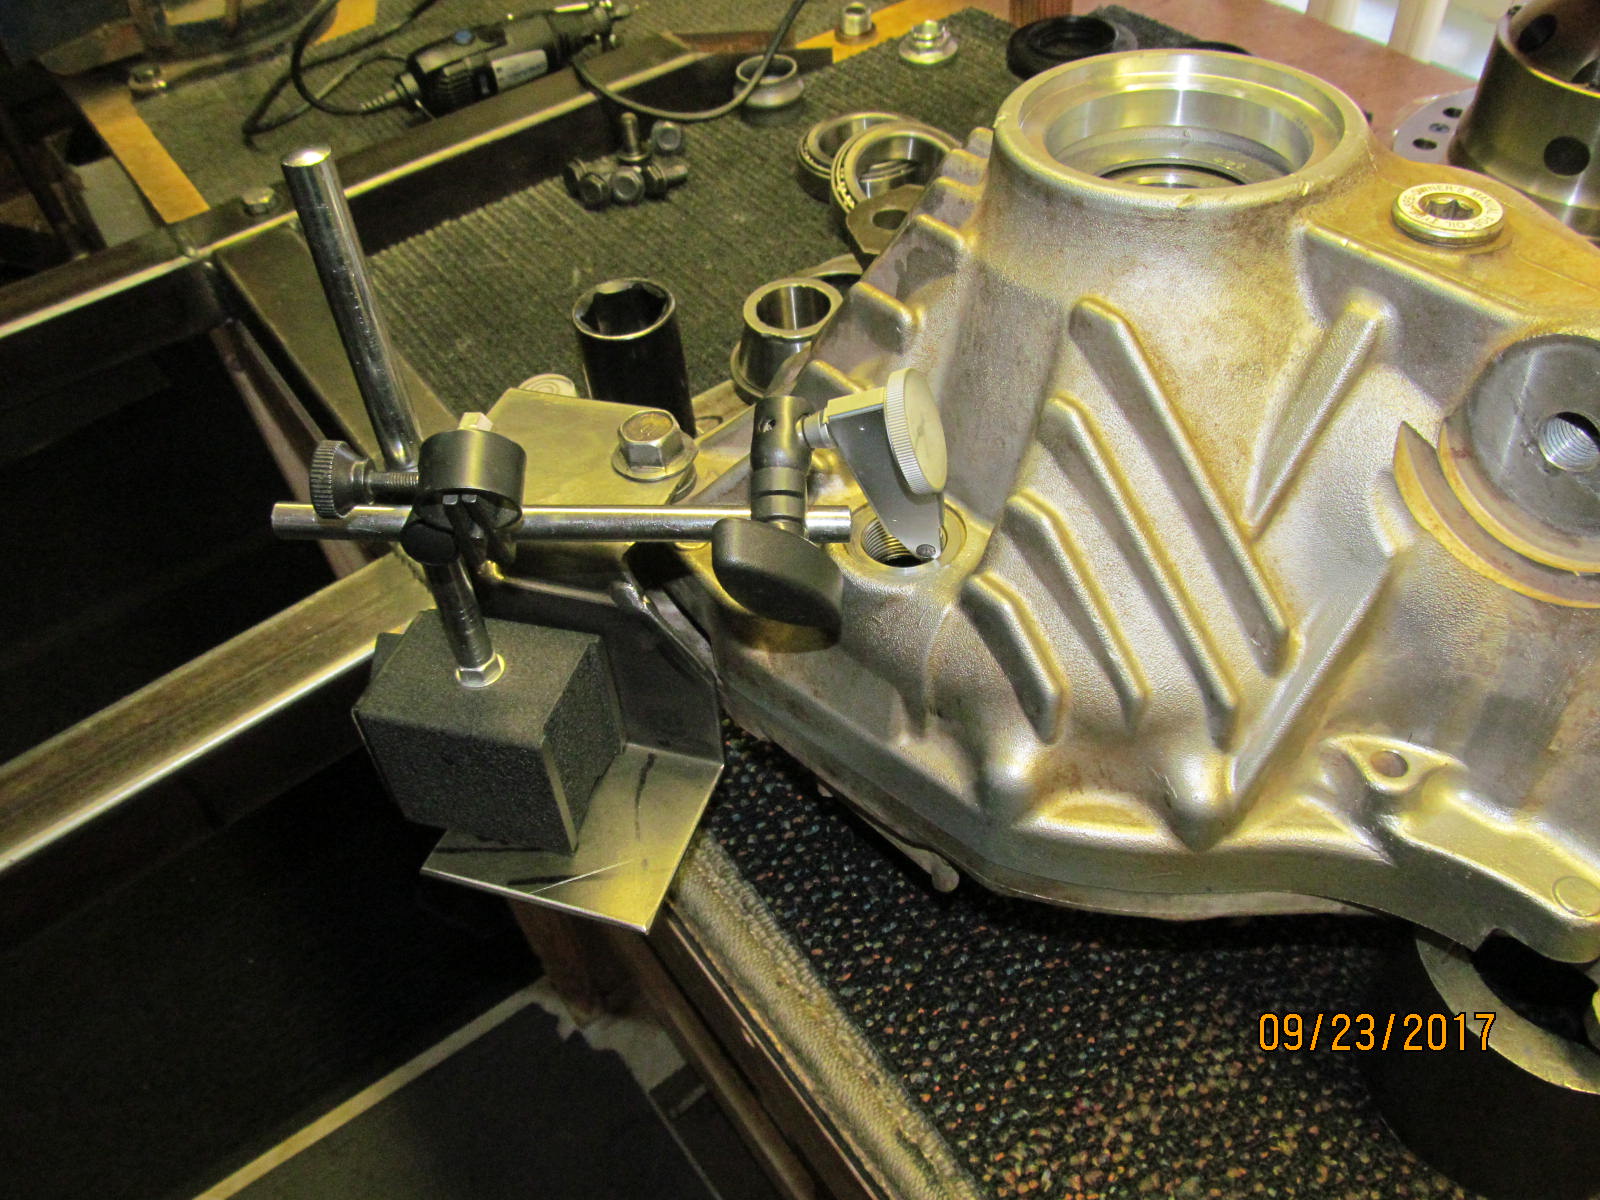
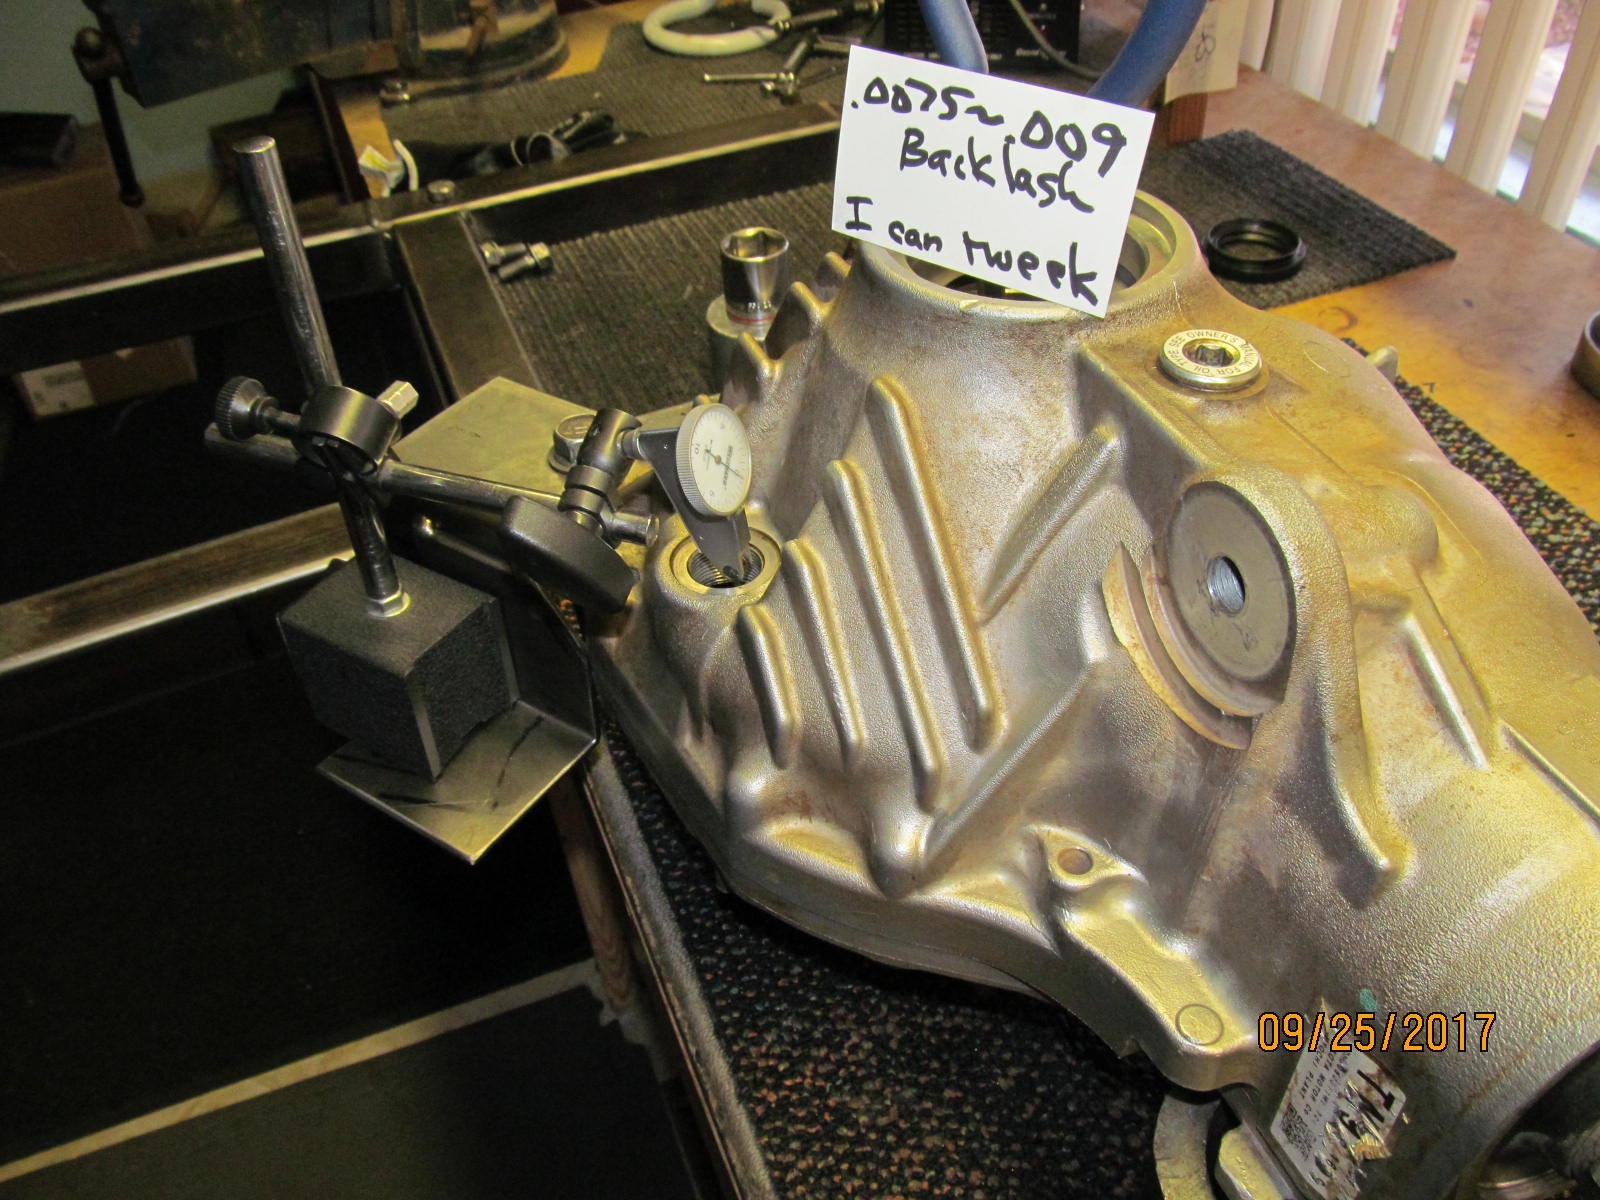
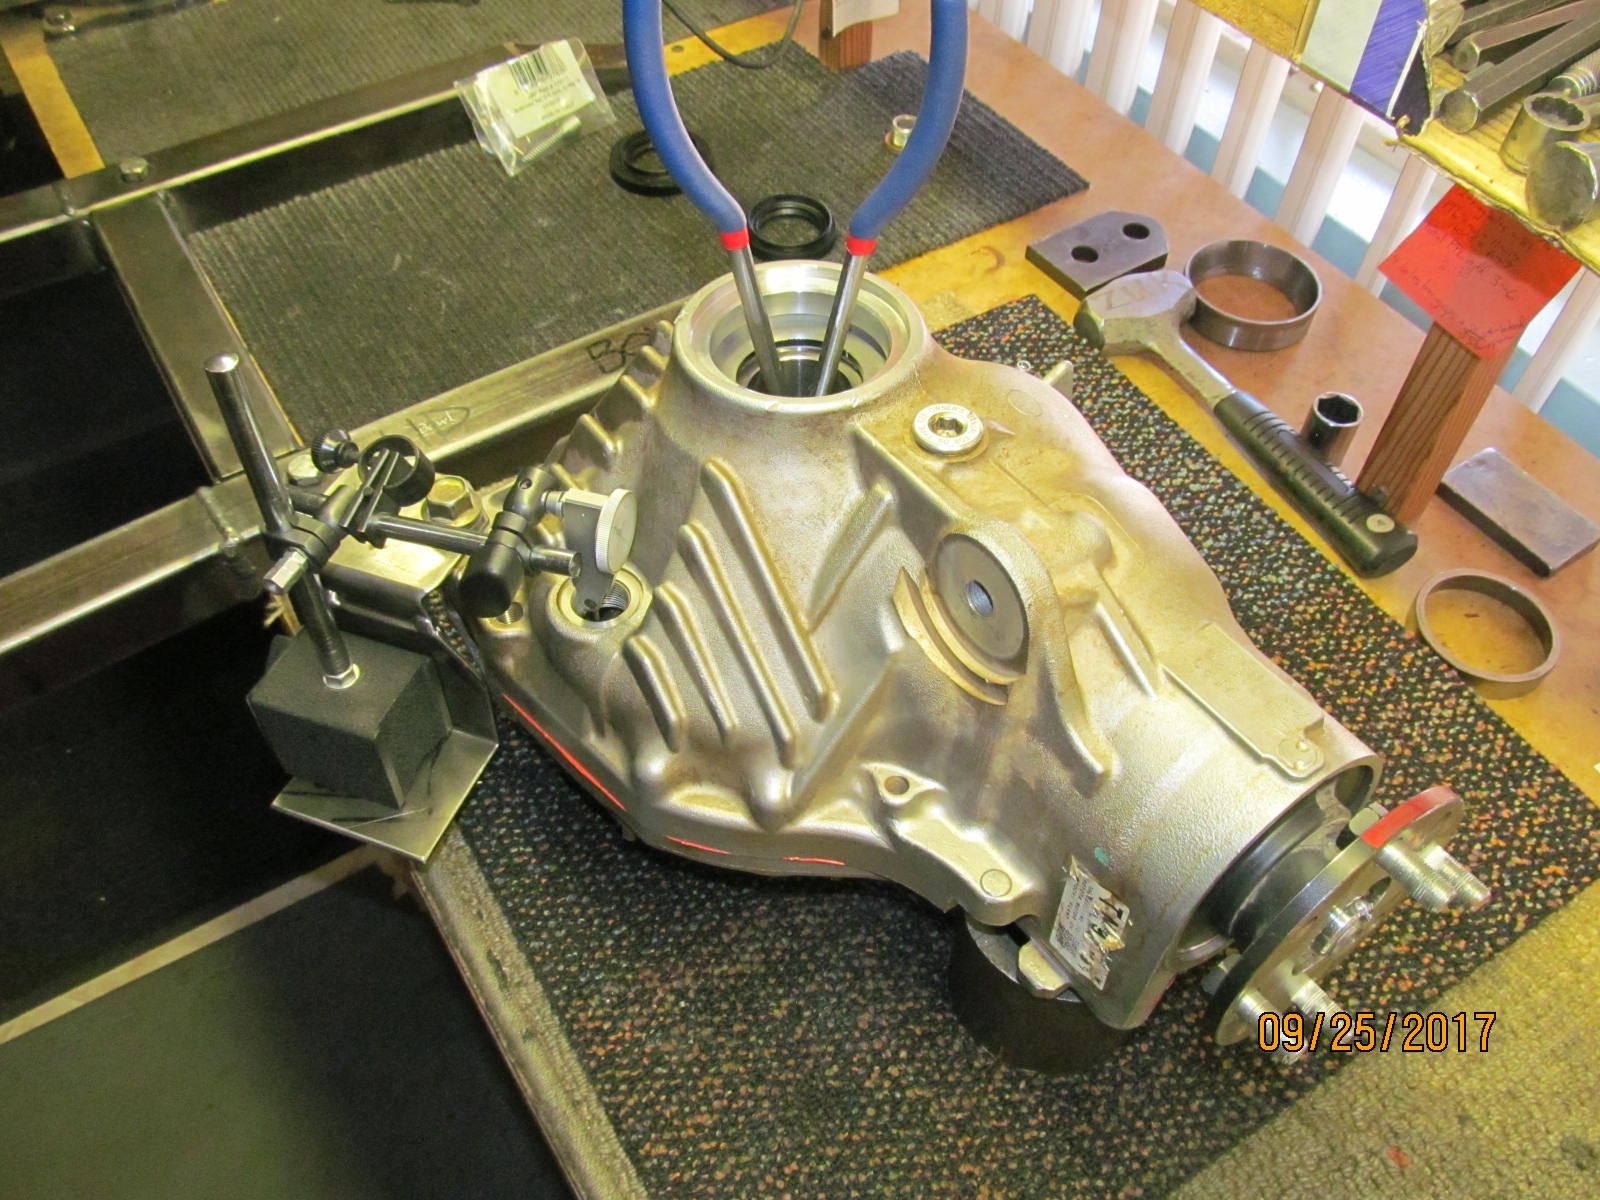
| Very close to finished....the lever dial indicator makes it possible to reach into the oil plud and measure backlash with considerable accuracy. |
|---|
|
|
| Final washer plate selection resulted in .103" for the lid and .132" for the bowl. |
|---|
|
|
| The carrier bearing preload was a respectable 12 in/lb with a minimum backlash of .008". |
|---|
|
|
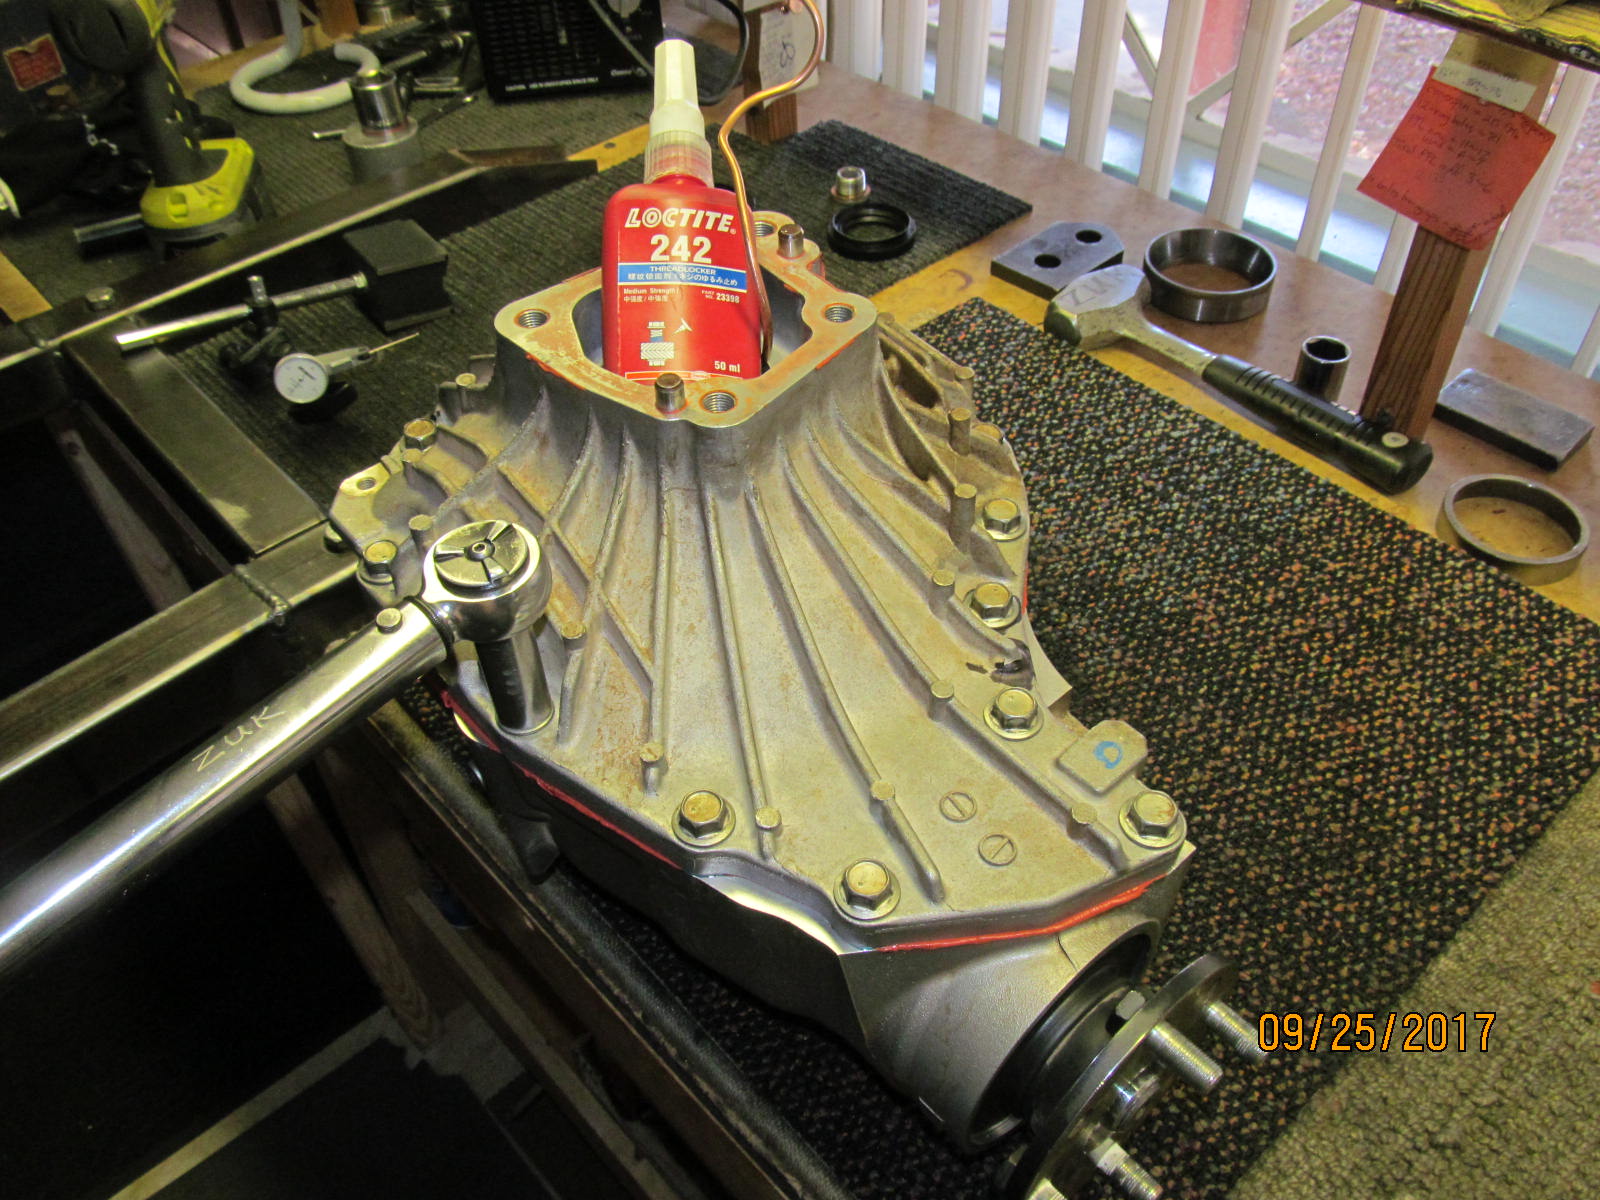
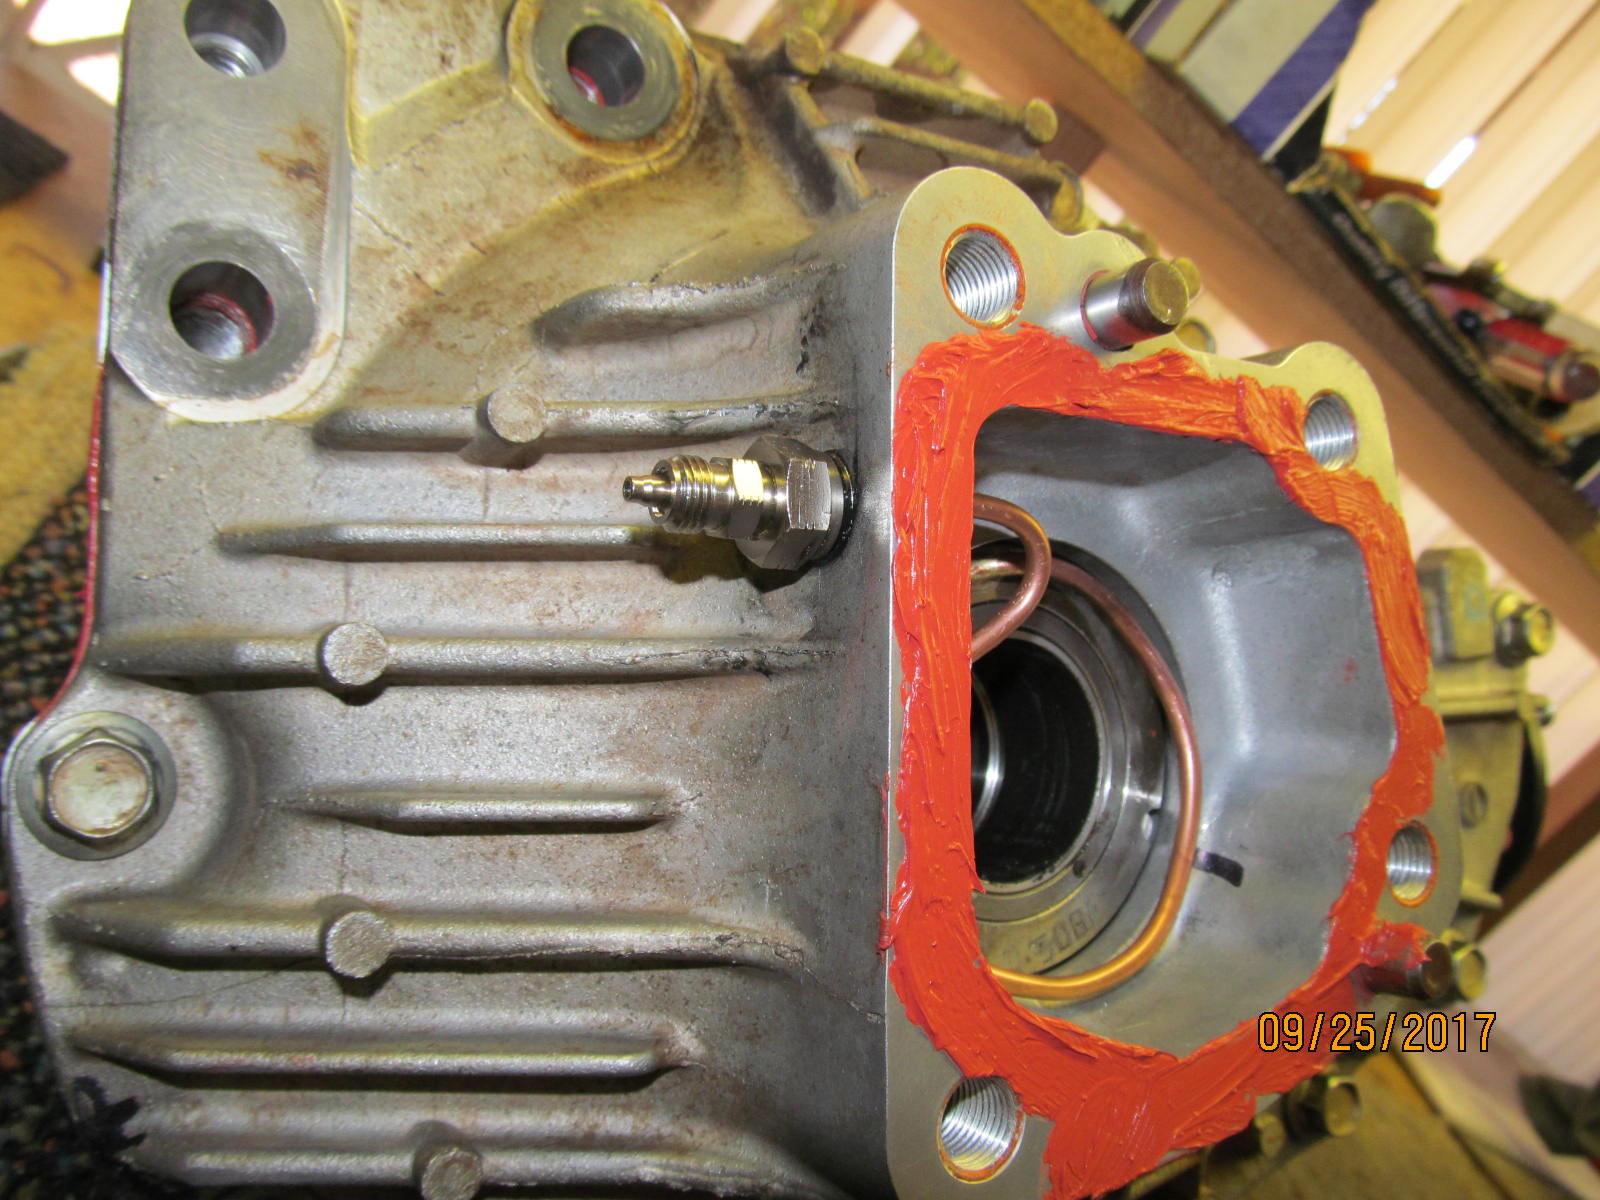
| #1281 FIPG part number 00295-01281 |
|---|
|
|
| Extra caution when passing the ARB journal thru the o-rings. Lots of oil lubrication. |
|---|
|
|
| Tighten the 11 bolts to 48 ft/lb with blue Loctite. |
|---|
|
|
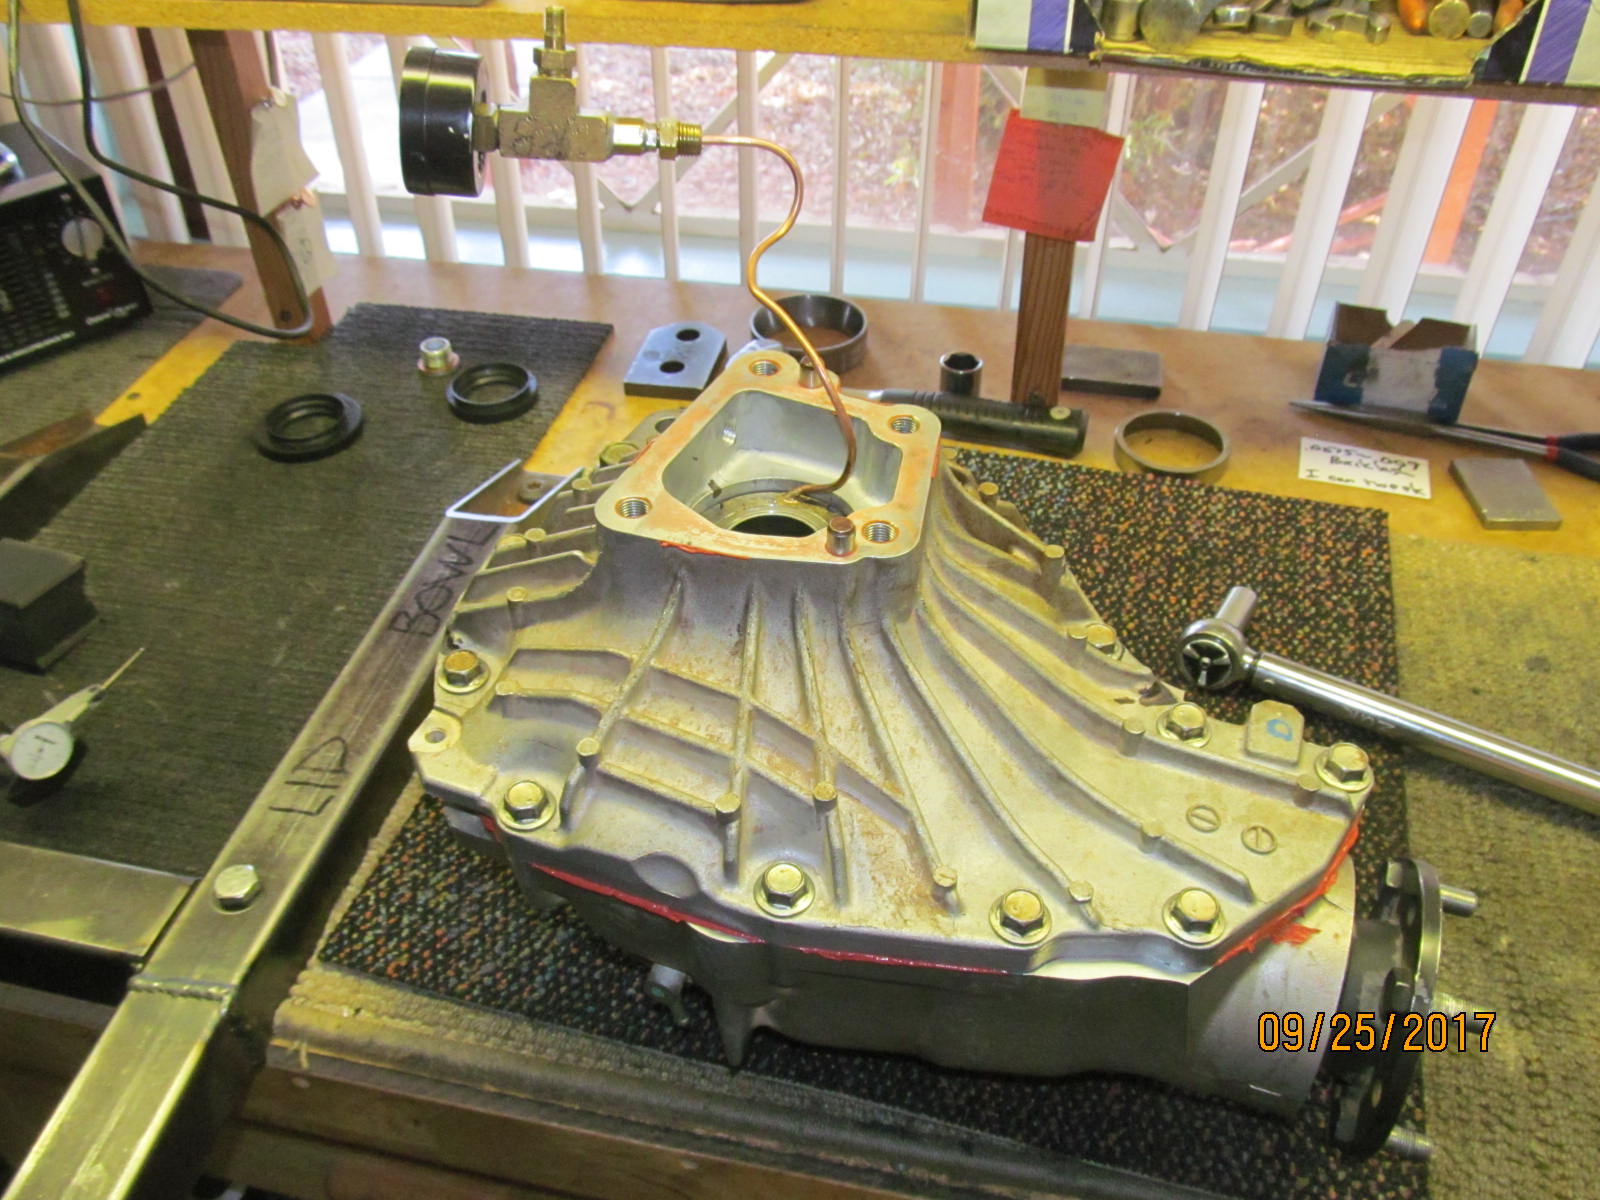
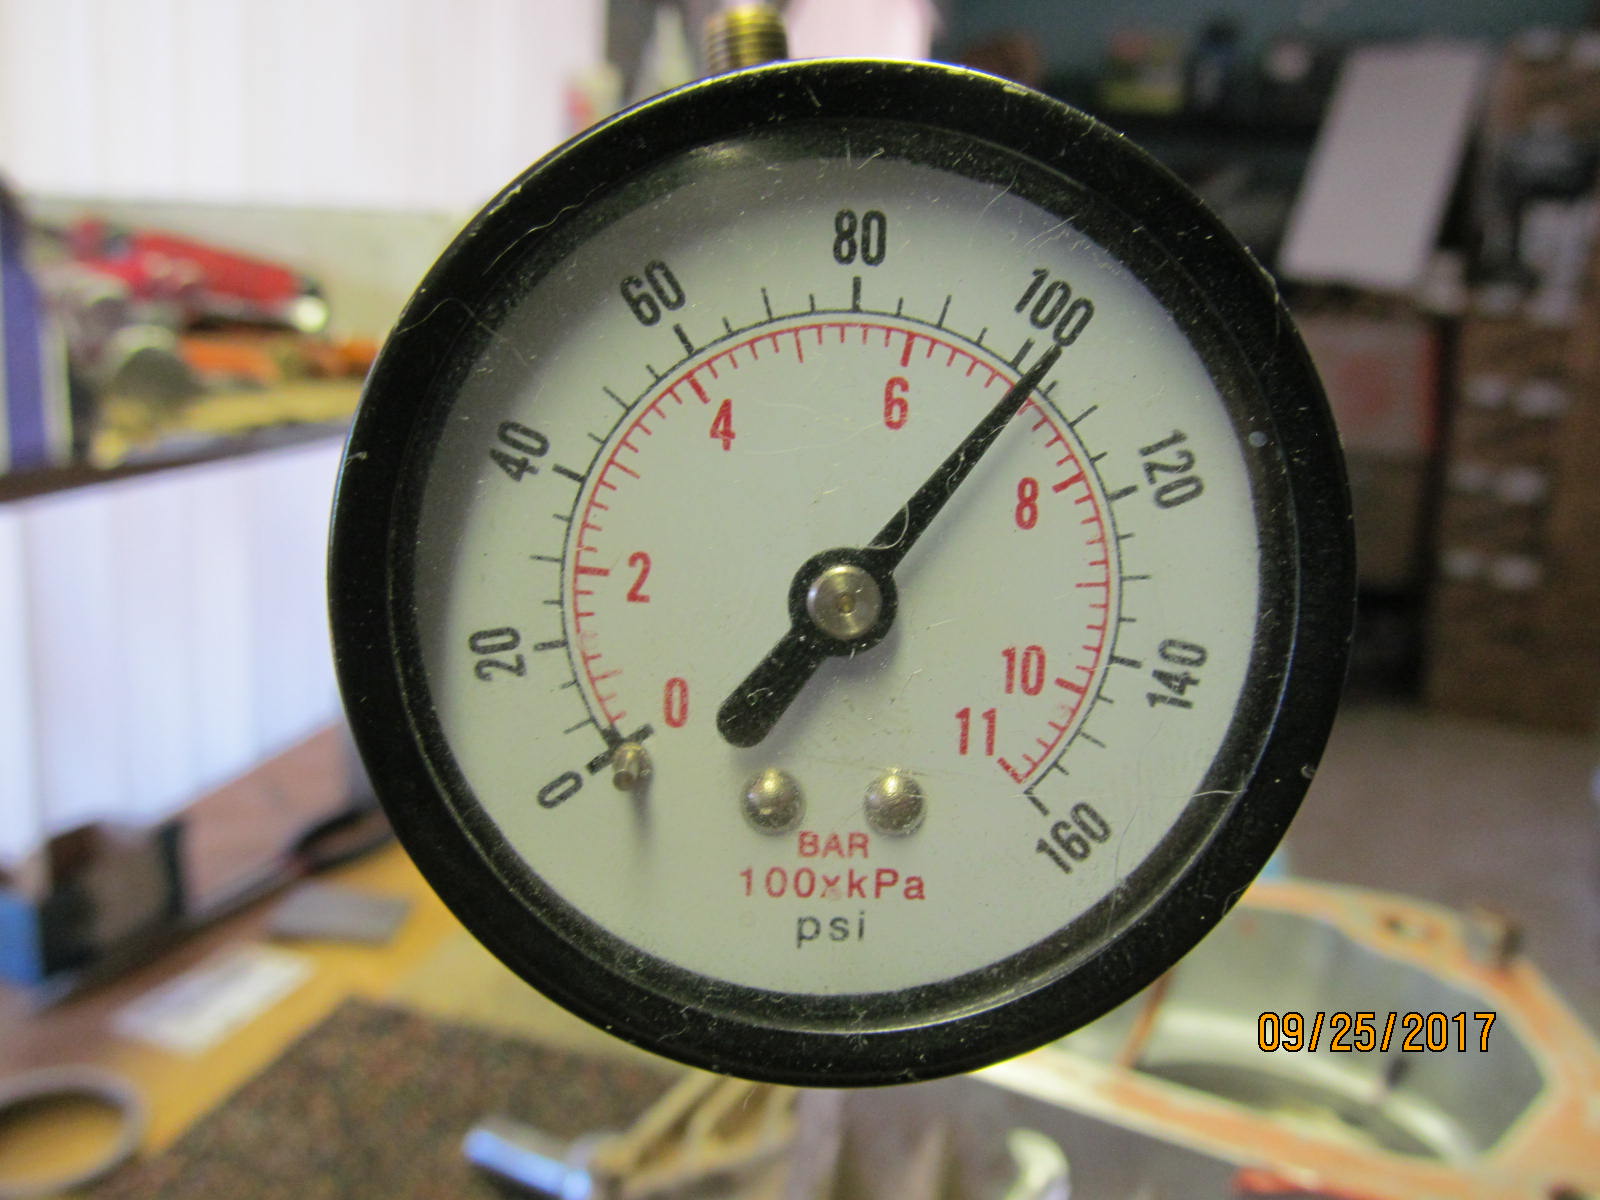
| Test ARB with 100 psi of air pressure and let sit overnight while the FIPG is drying. |
|---|
|
|
| ,,,,,,,,,,,,,, |
|---|
|
|
| Record the backlash values on every 3rd tooth. |
|---|
|
|
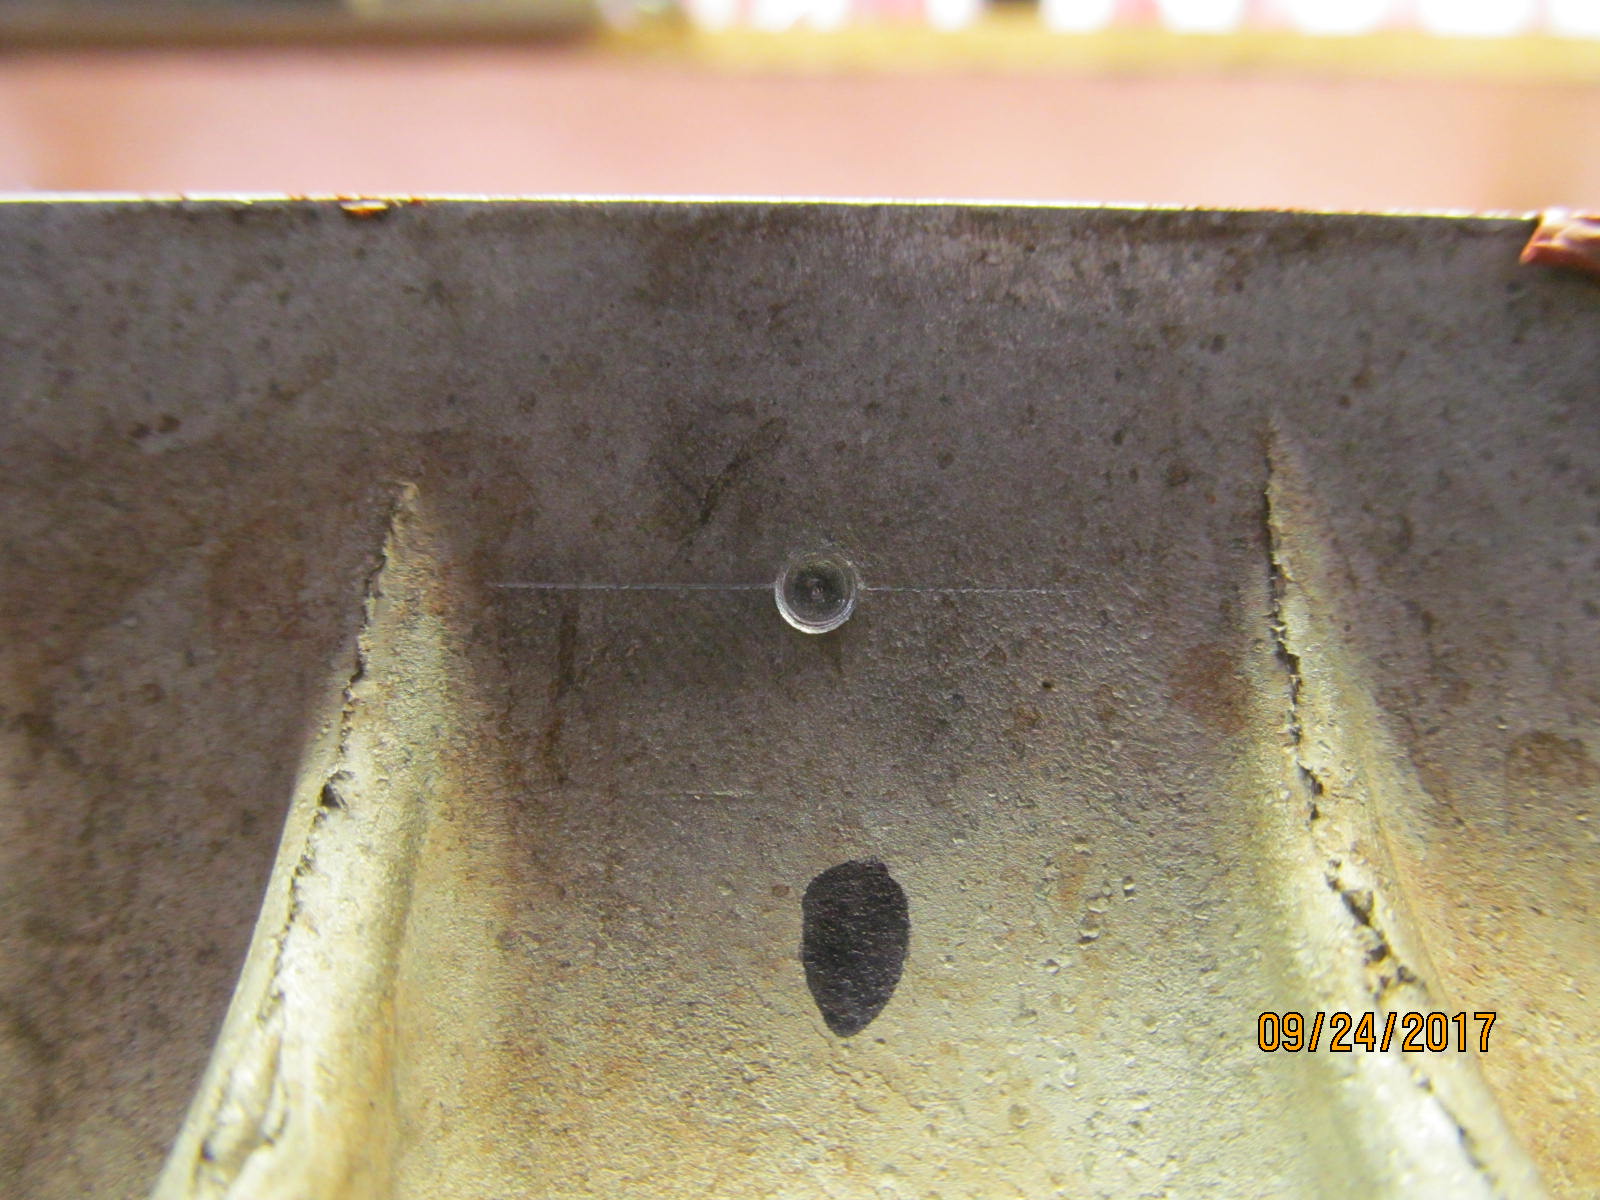
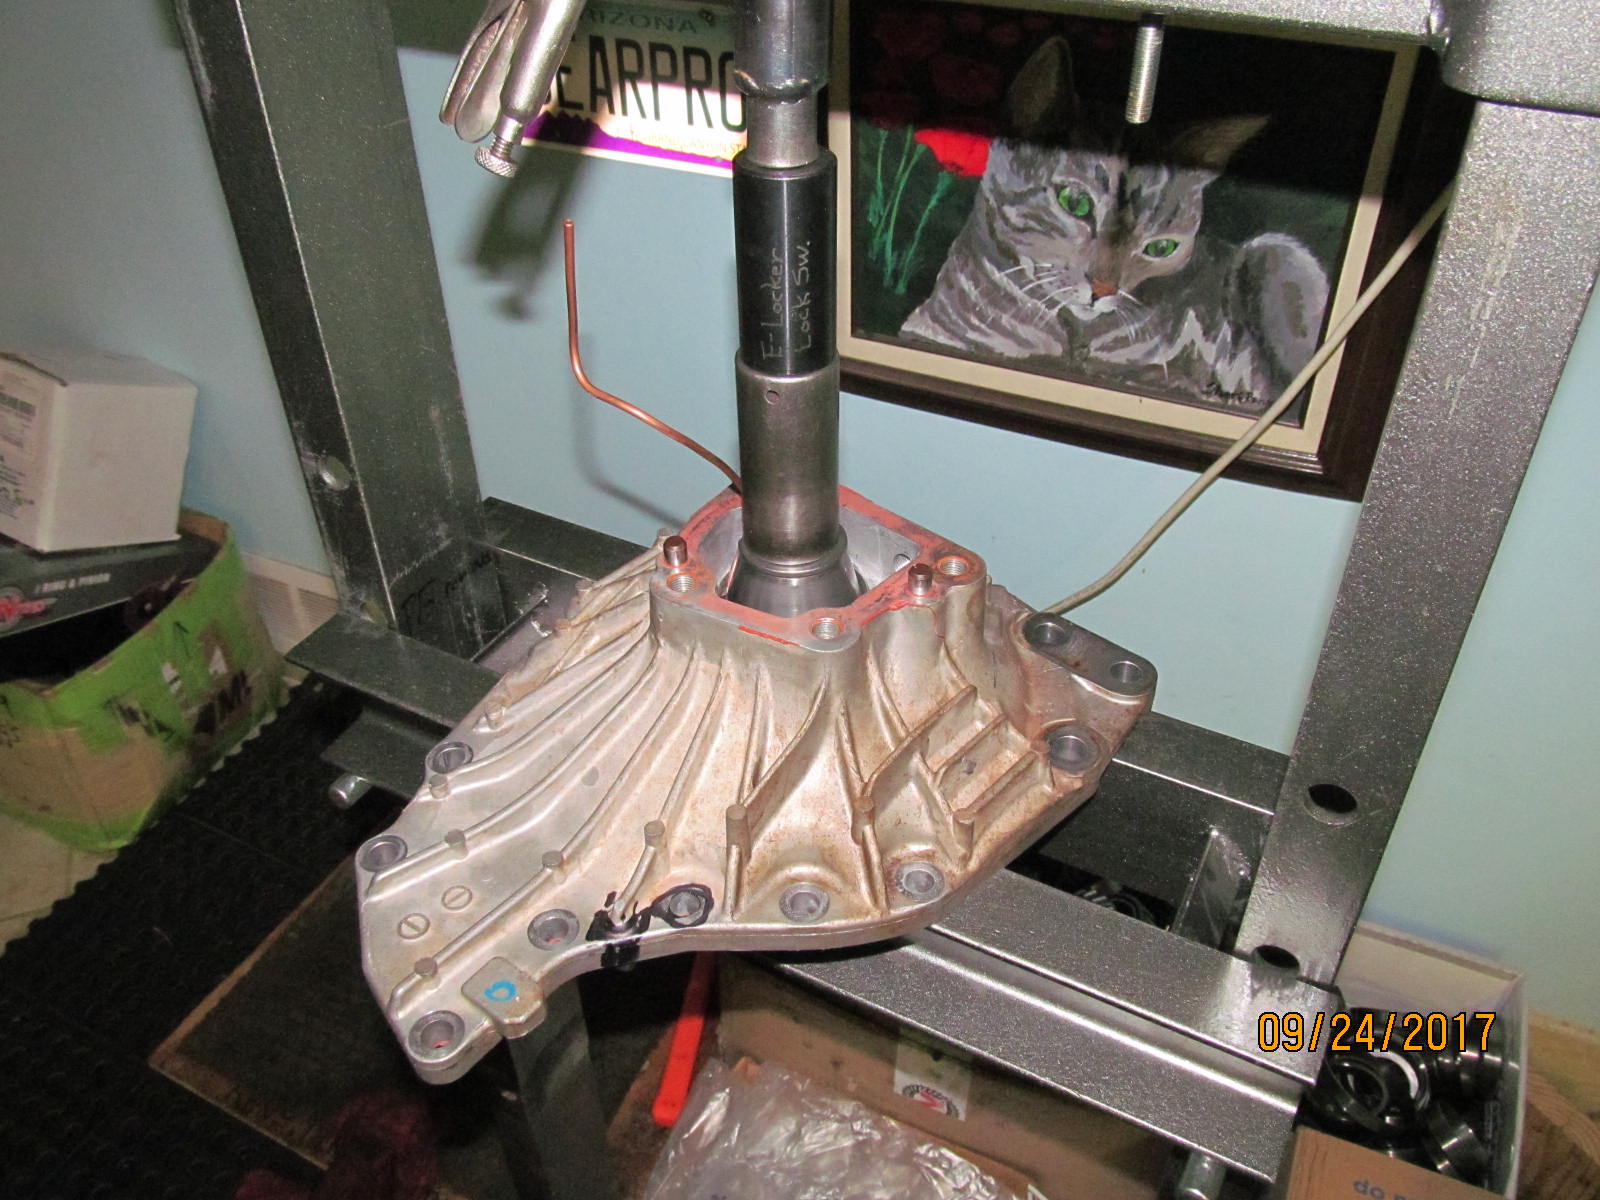
Soft copper line is properly routed. The axle will clear it just fine. FIPG is applied as shown and the long aluminum tube is bolted on
(that operation not shown). |
|---|
|
|
| Final notes. |
|---|
|
|

|