| Nick's 87 Toyota pickup gets a front Truetrac 911A644 and Nitro 529 Gears |
|---|
| (58 BIG pics loading) |
|---|
| May 25 2017 |
|---|
|
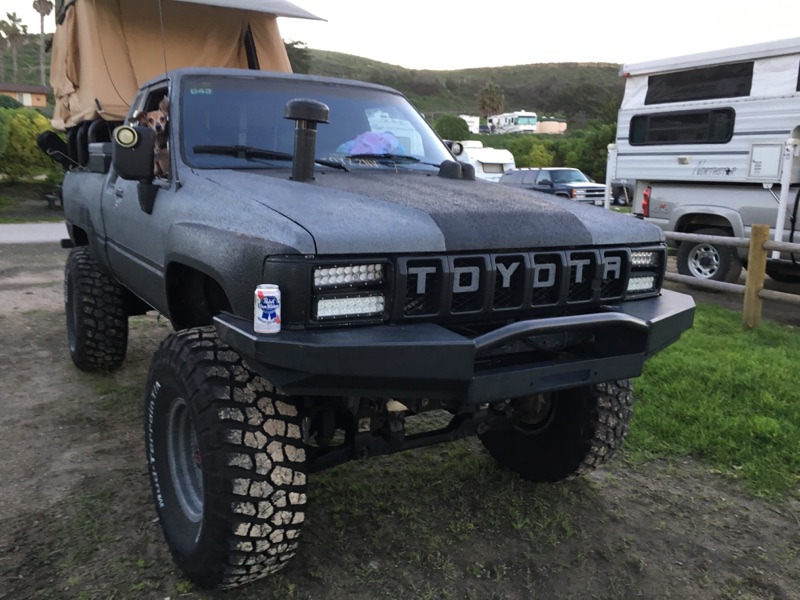
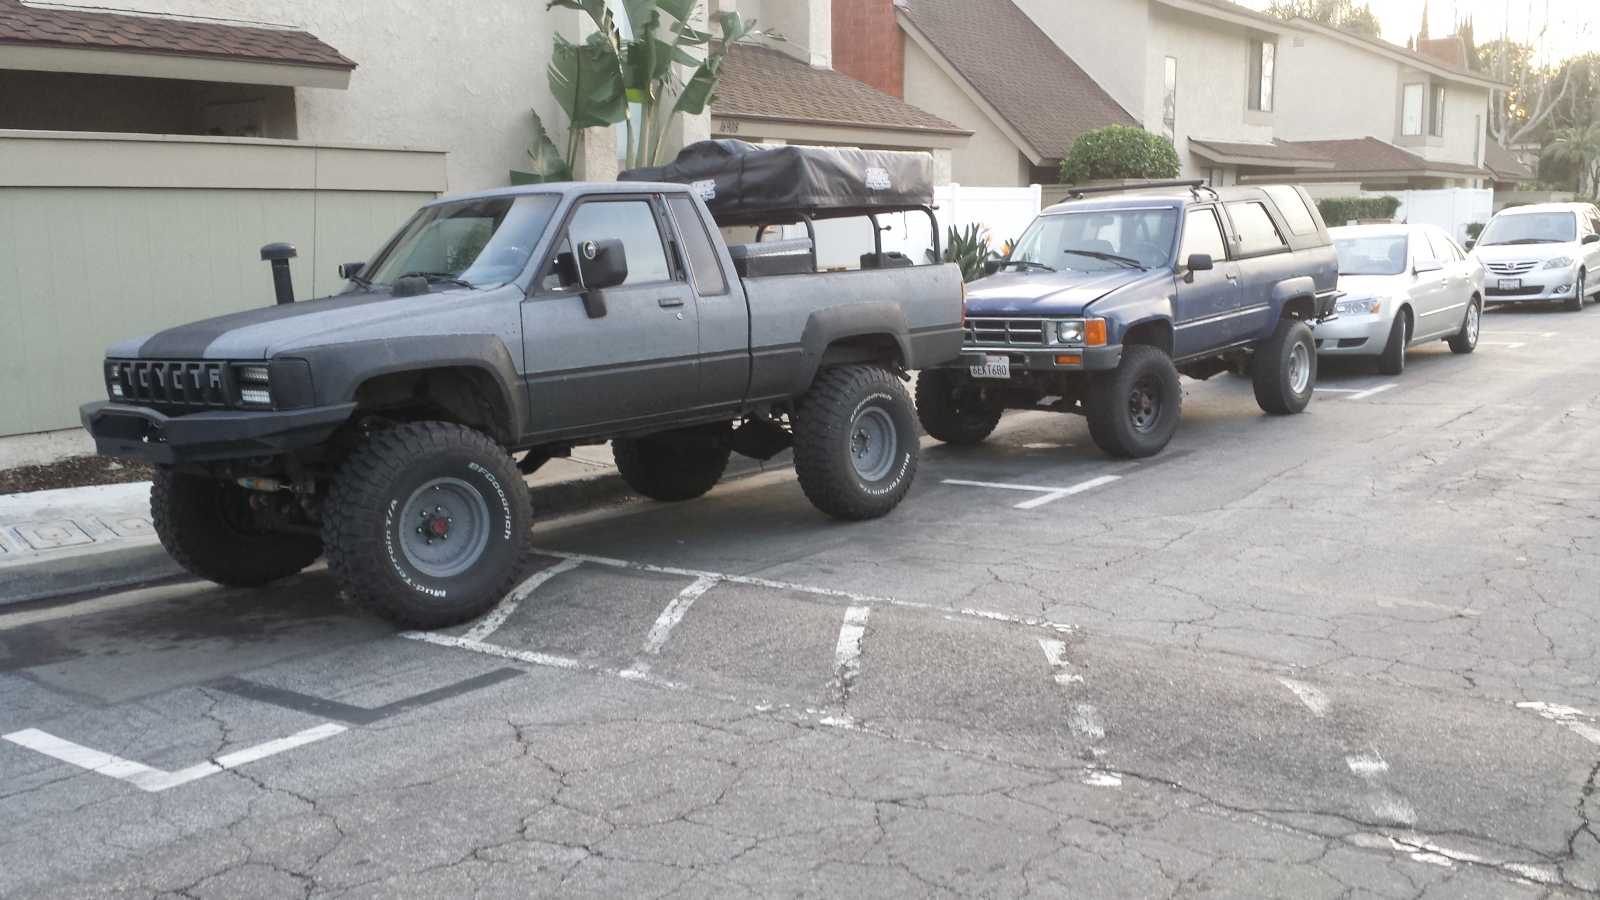
| Nick from California has a nice 1987 extra-cab with the proven 22RE and 5 speed. |
|---|
|
|
The "up high" tent is a big plus on camping trips. I asked Nick about any other mods he has and this is what he emailed me.....
zuk coil mod in the rear with ext shackles
4inch lift up front 35s
Engnbldr high performance head with cam
Roof tent, fridge ect for expedition type camping |
|---|
|
|
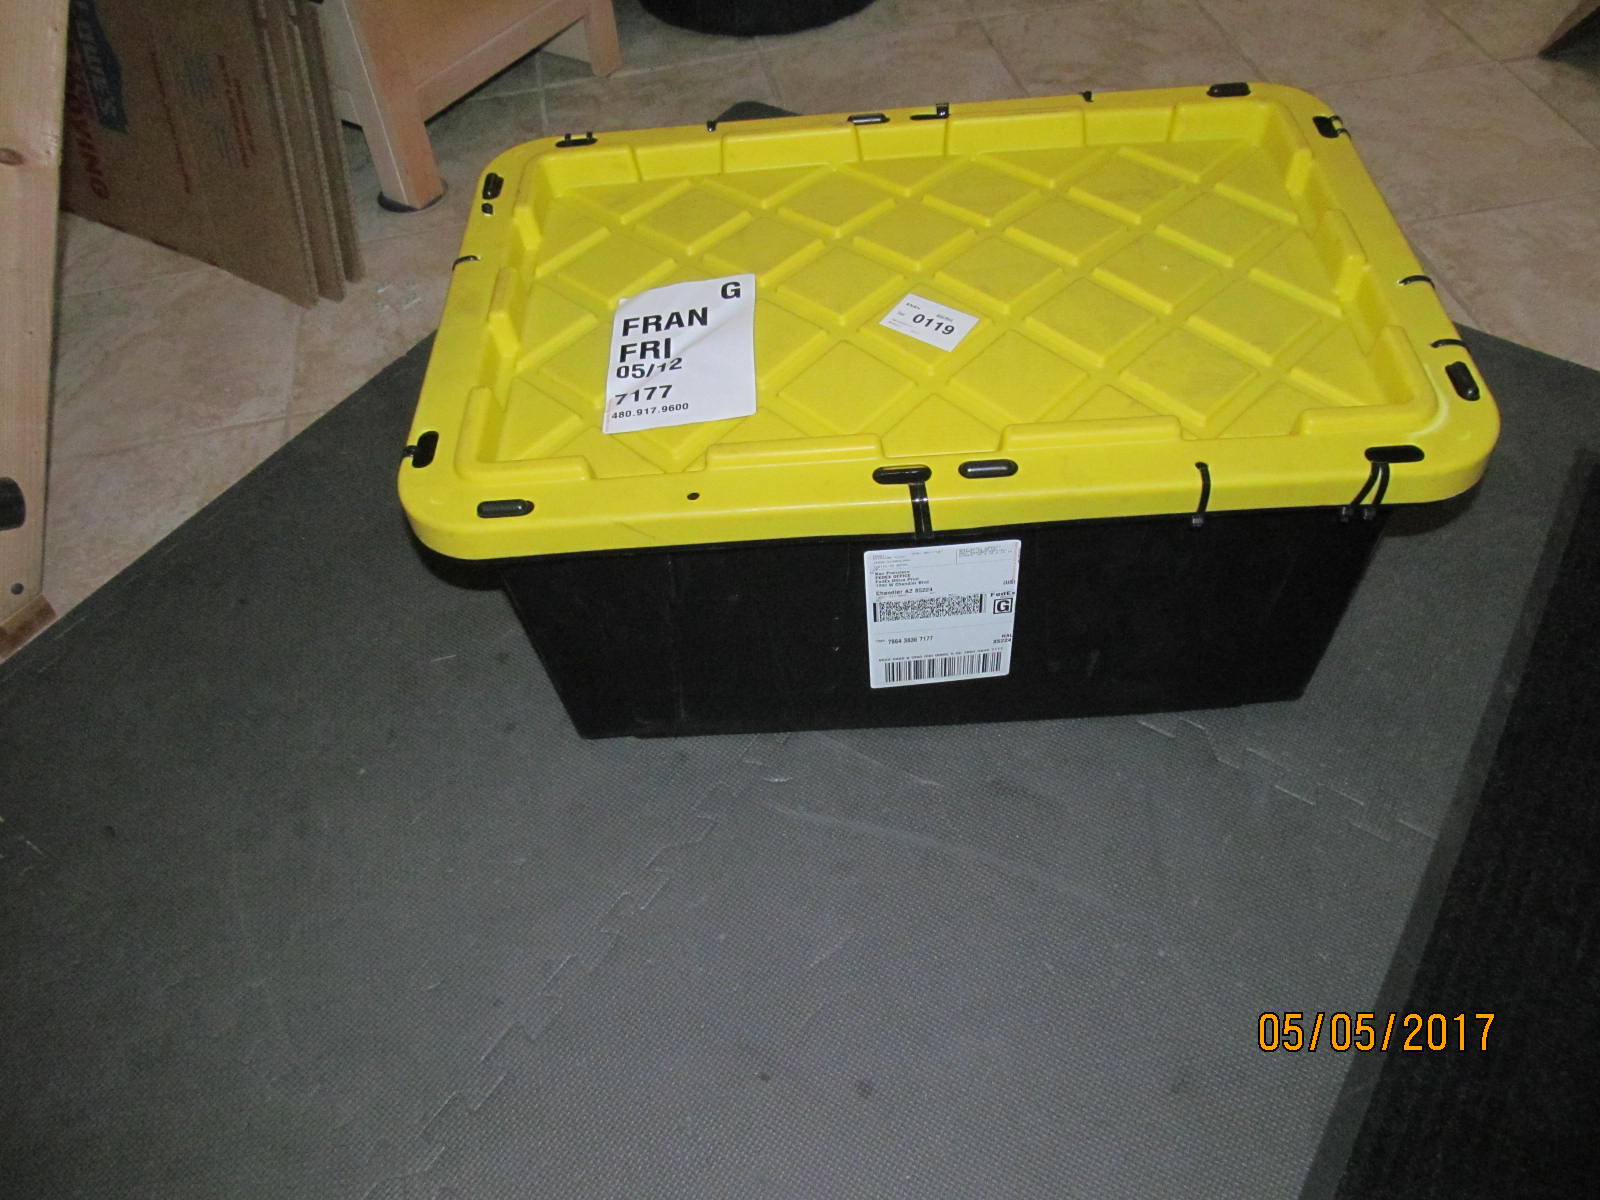
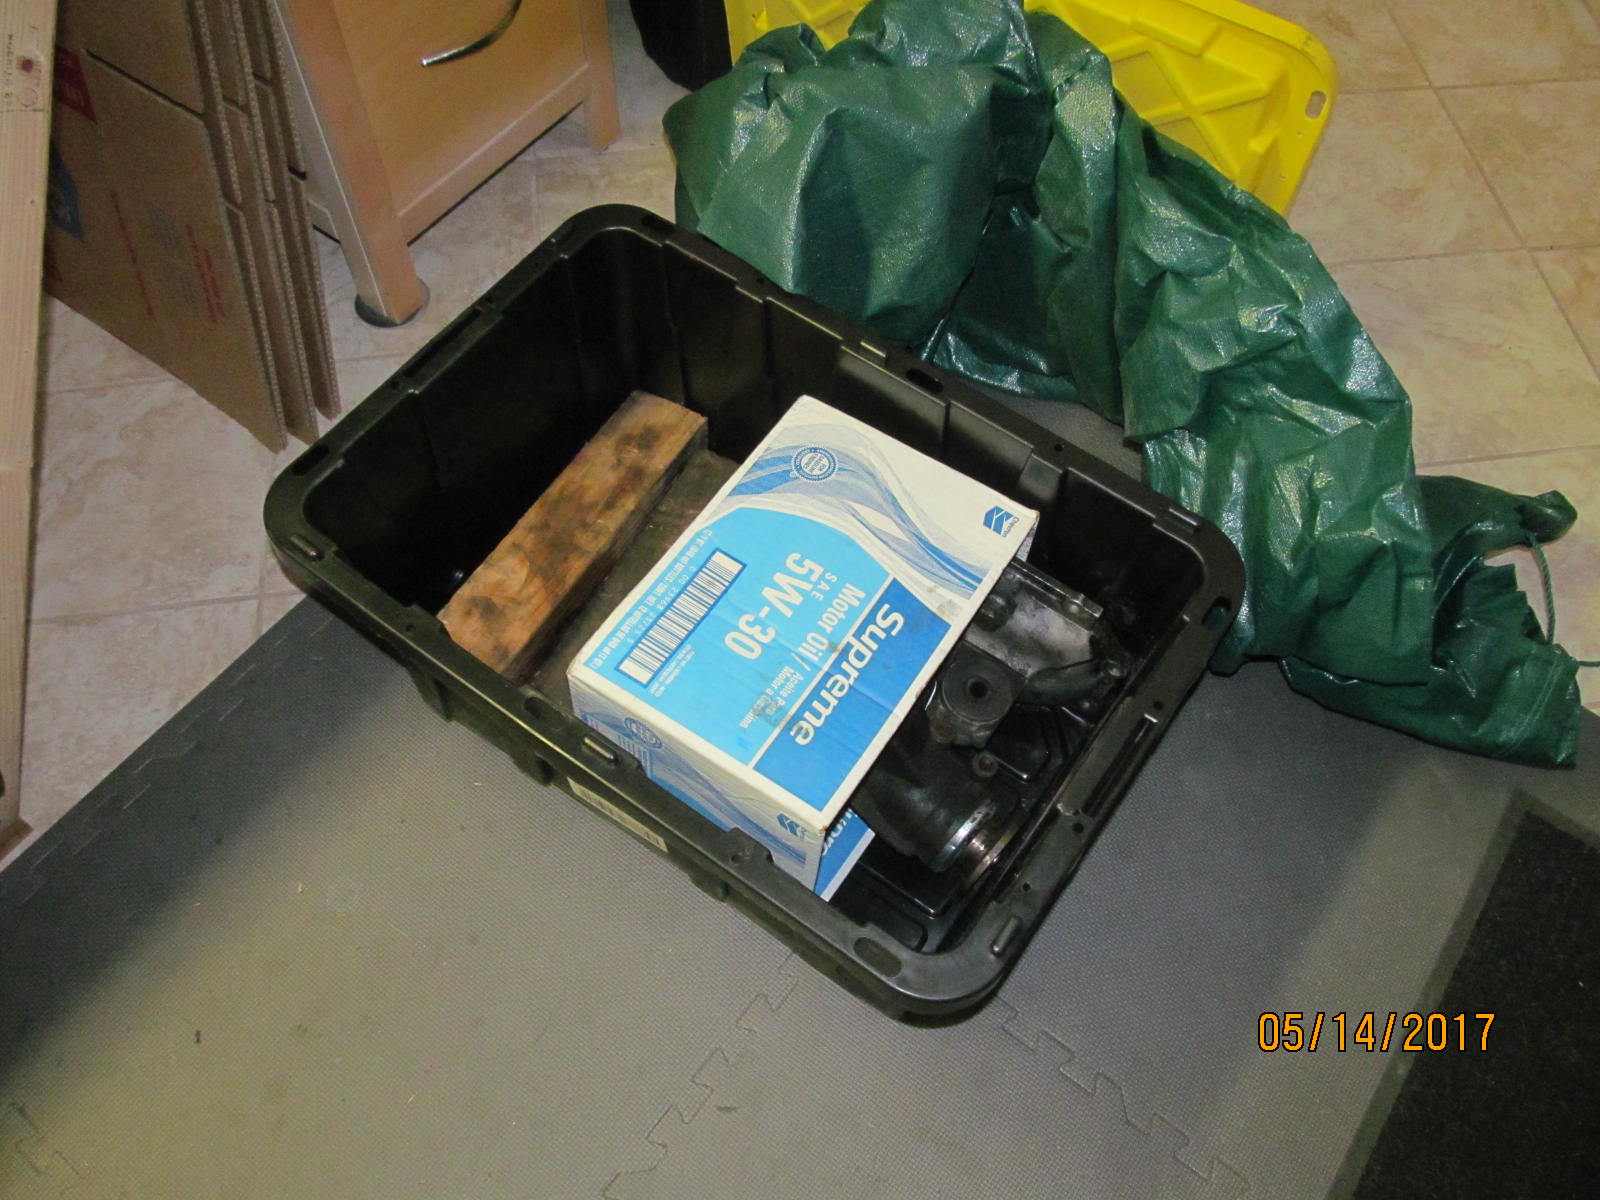
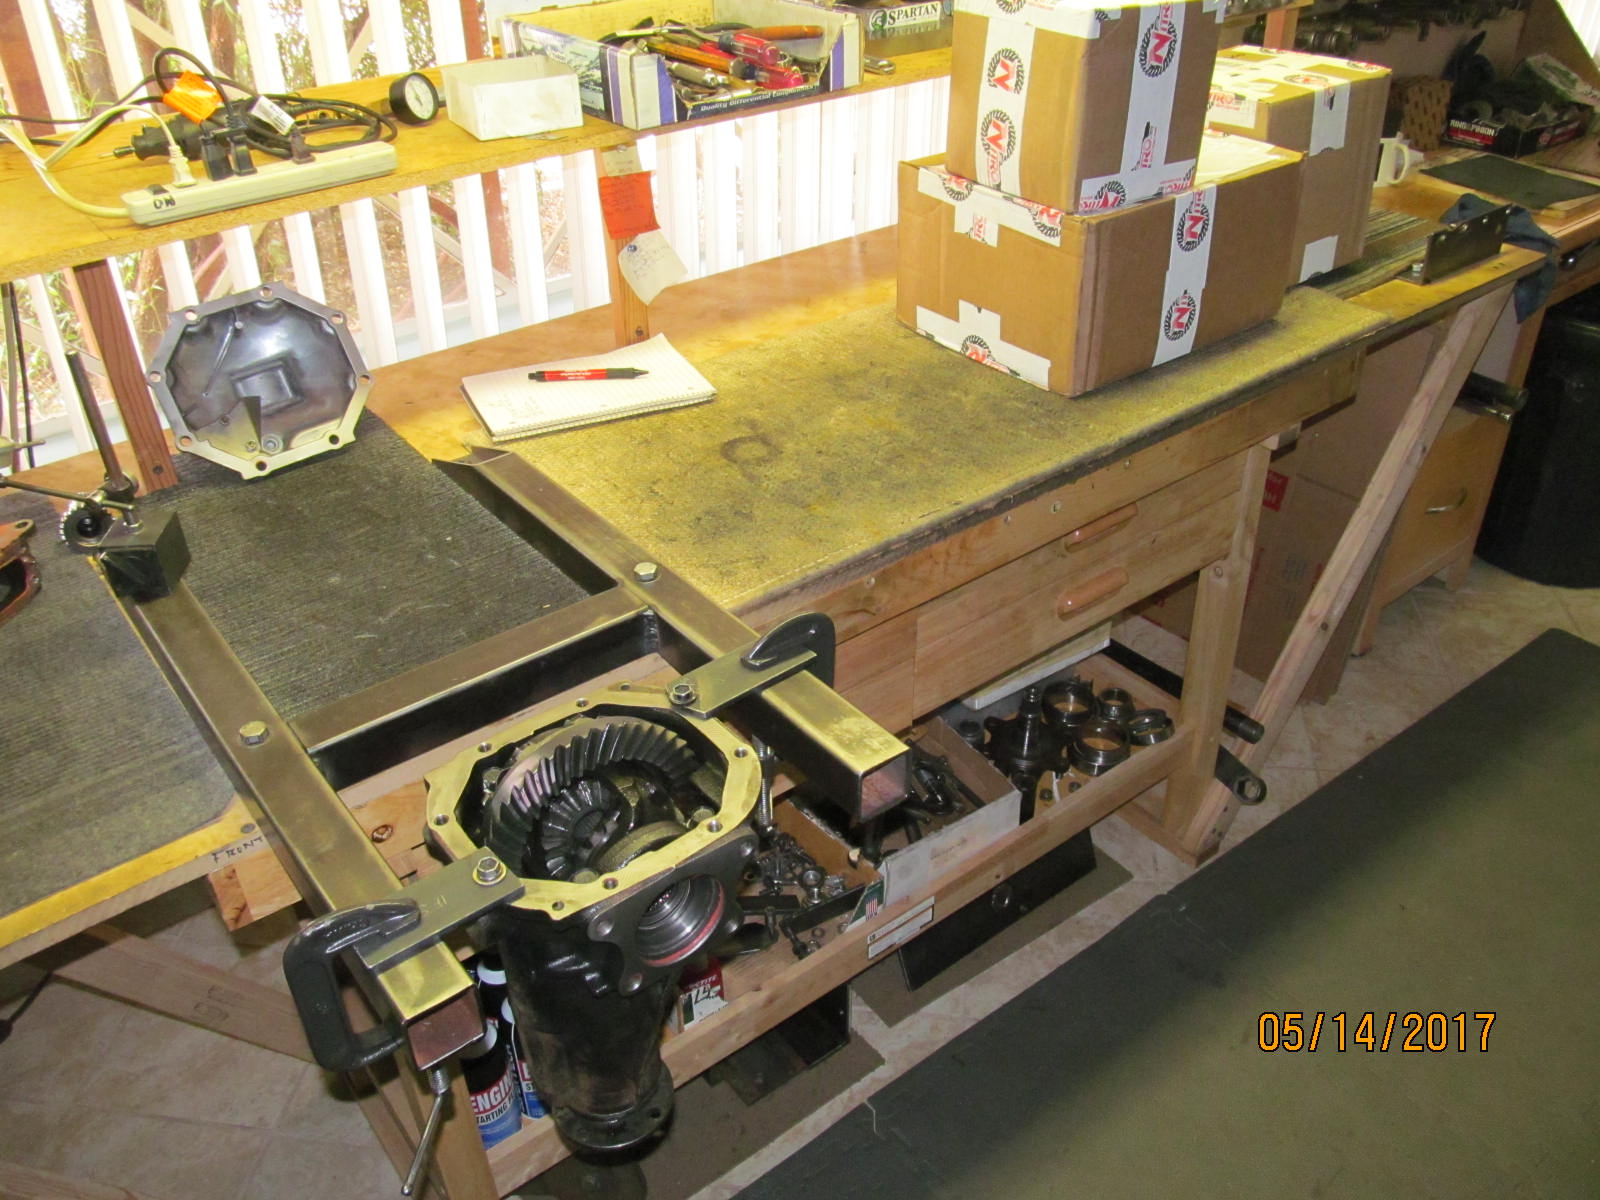
| The front 7.5" IFS 3rd was shipped to me in one of the yellow totes. |
|---|
|
|
| 3rd arrived amazingly in good shape....along with the tote. |
|---|
|
|
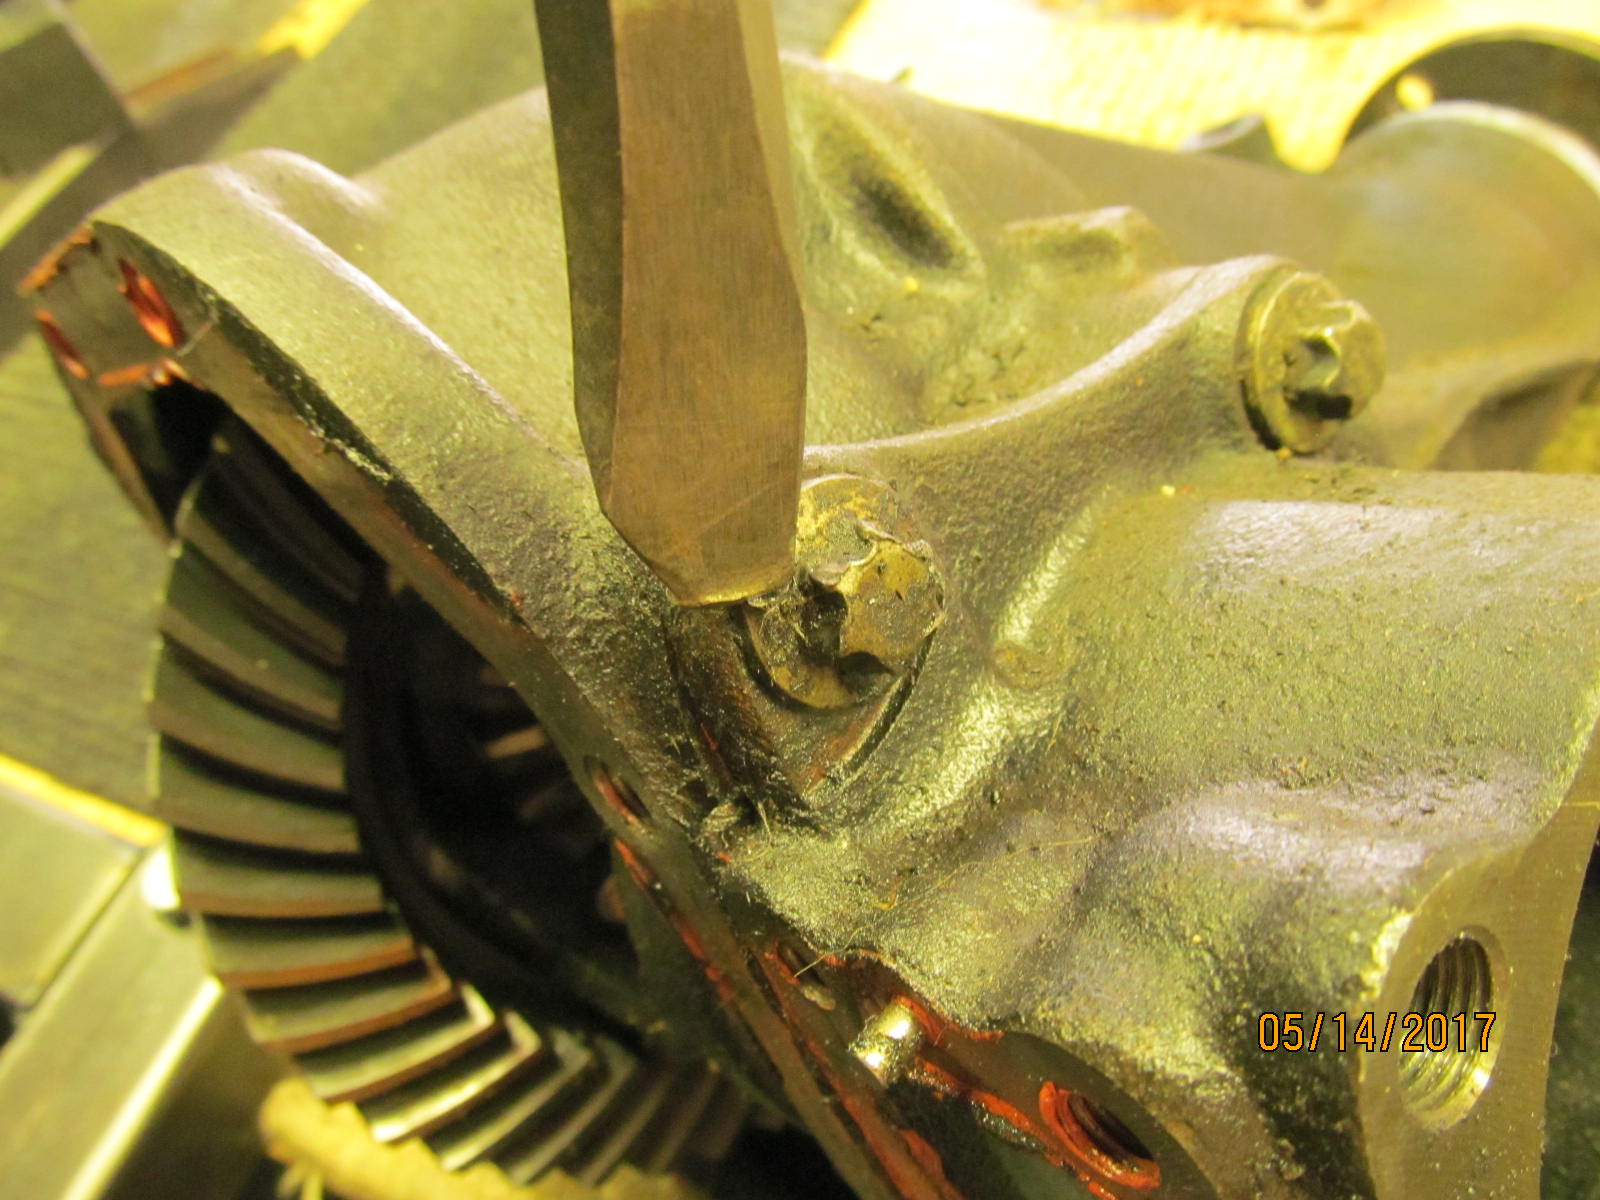
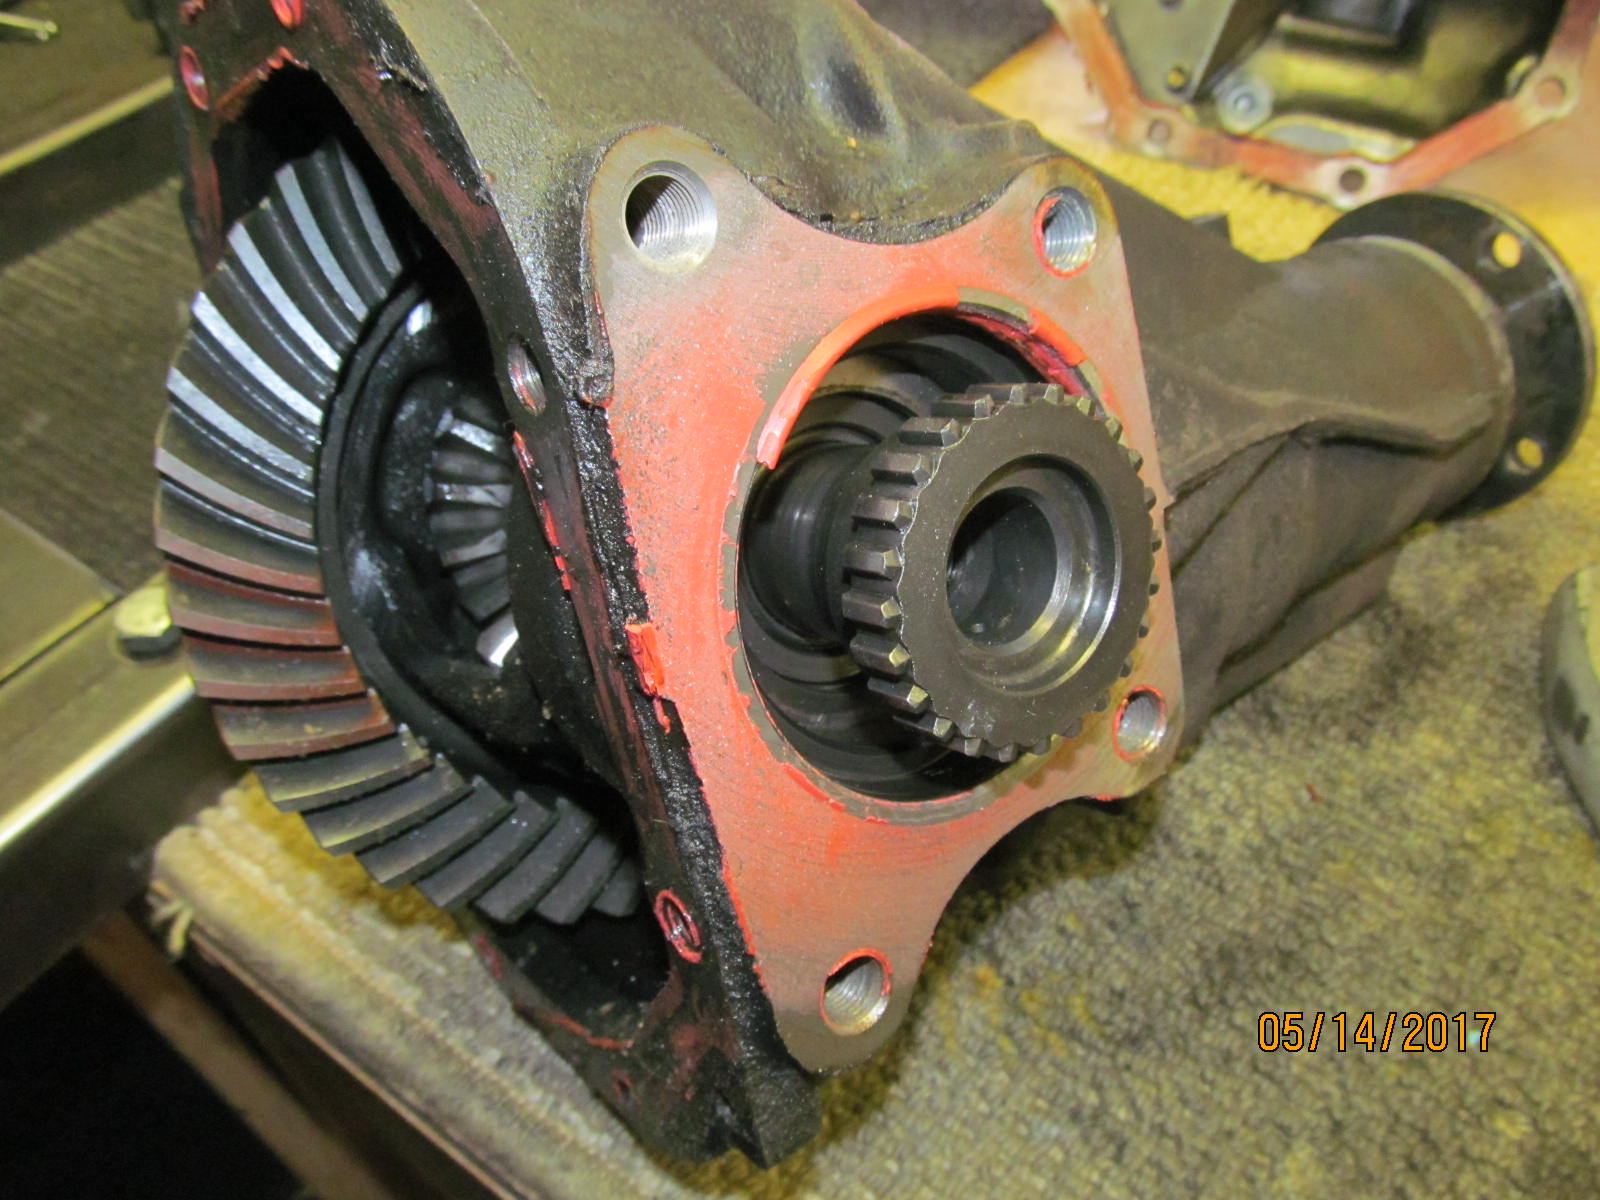
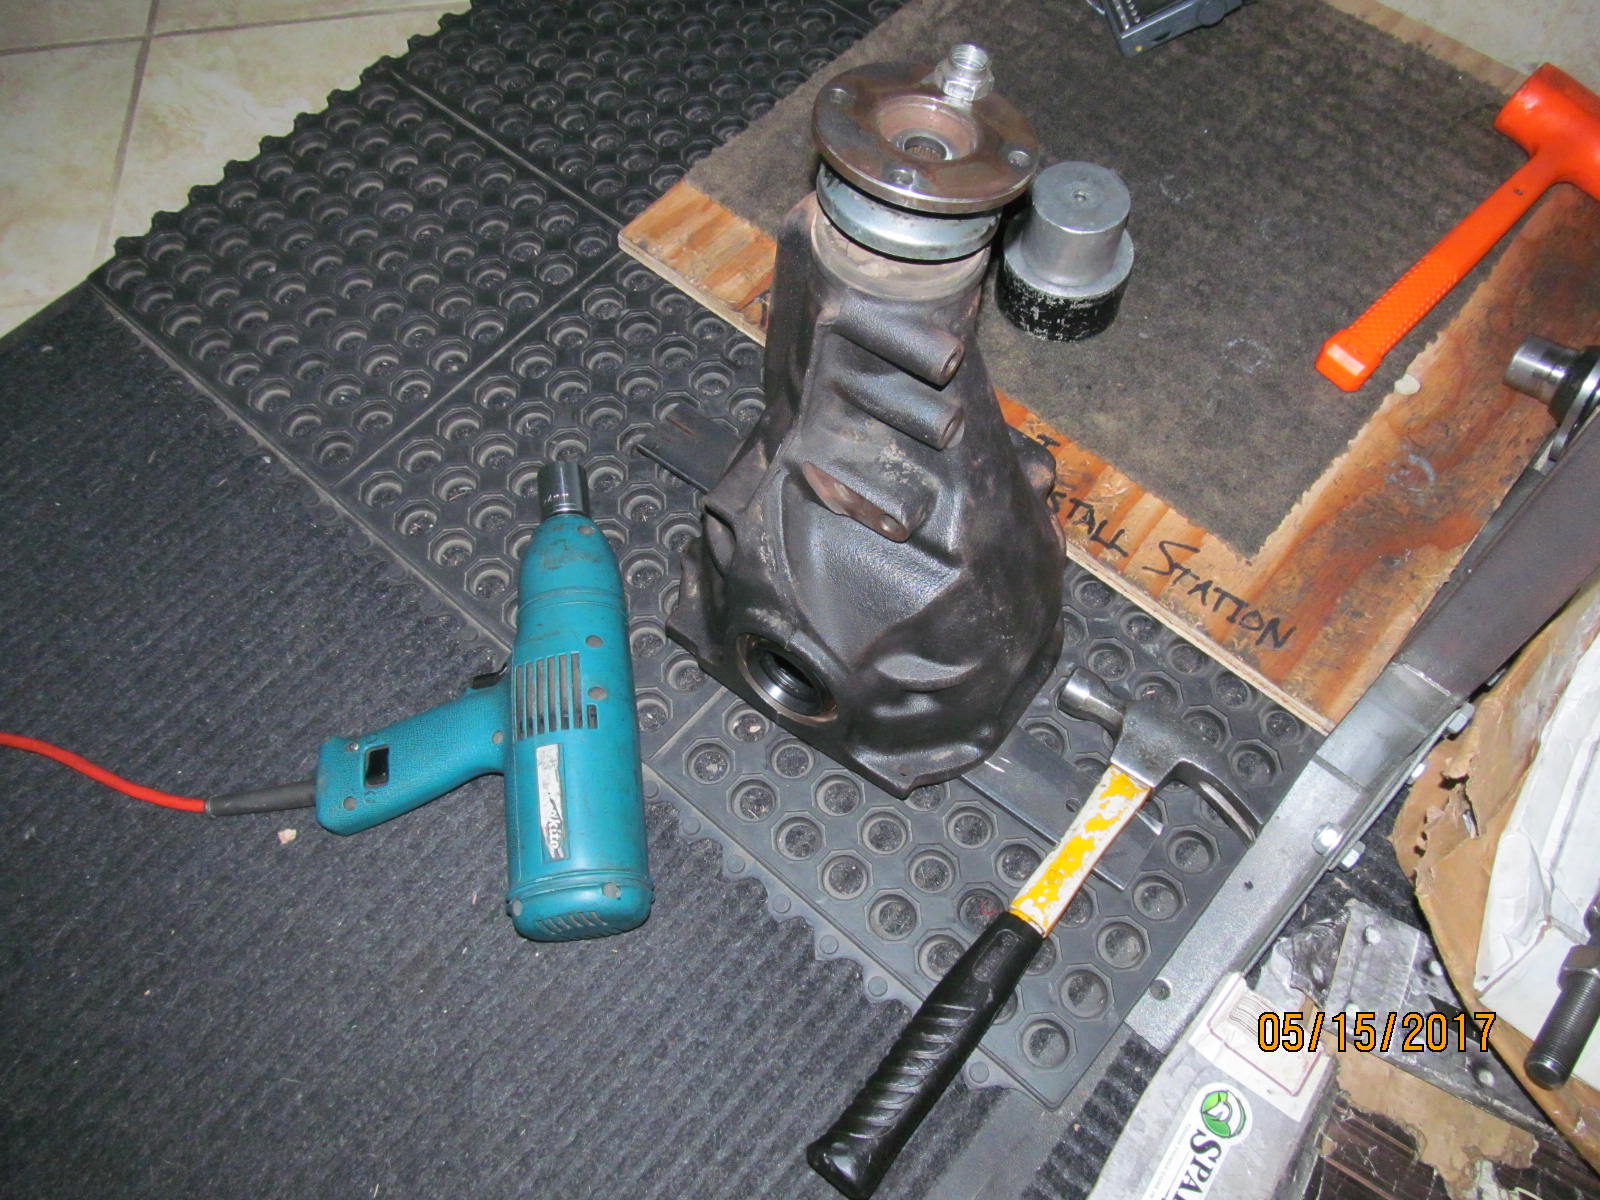
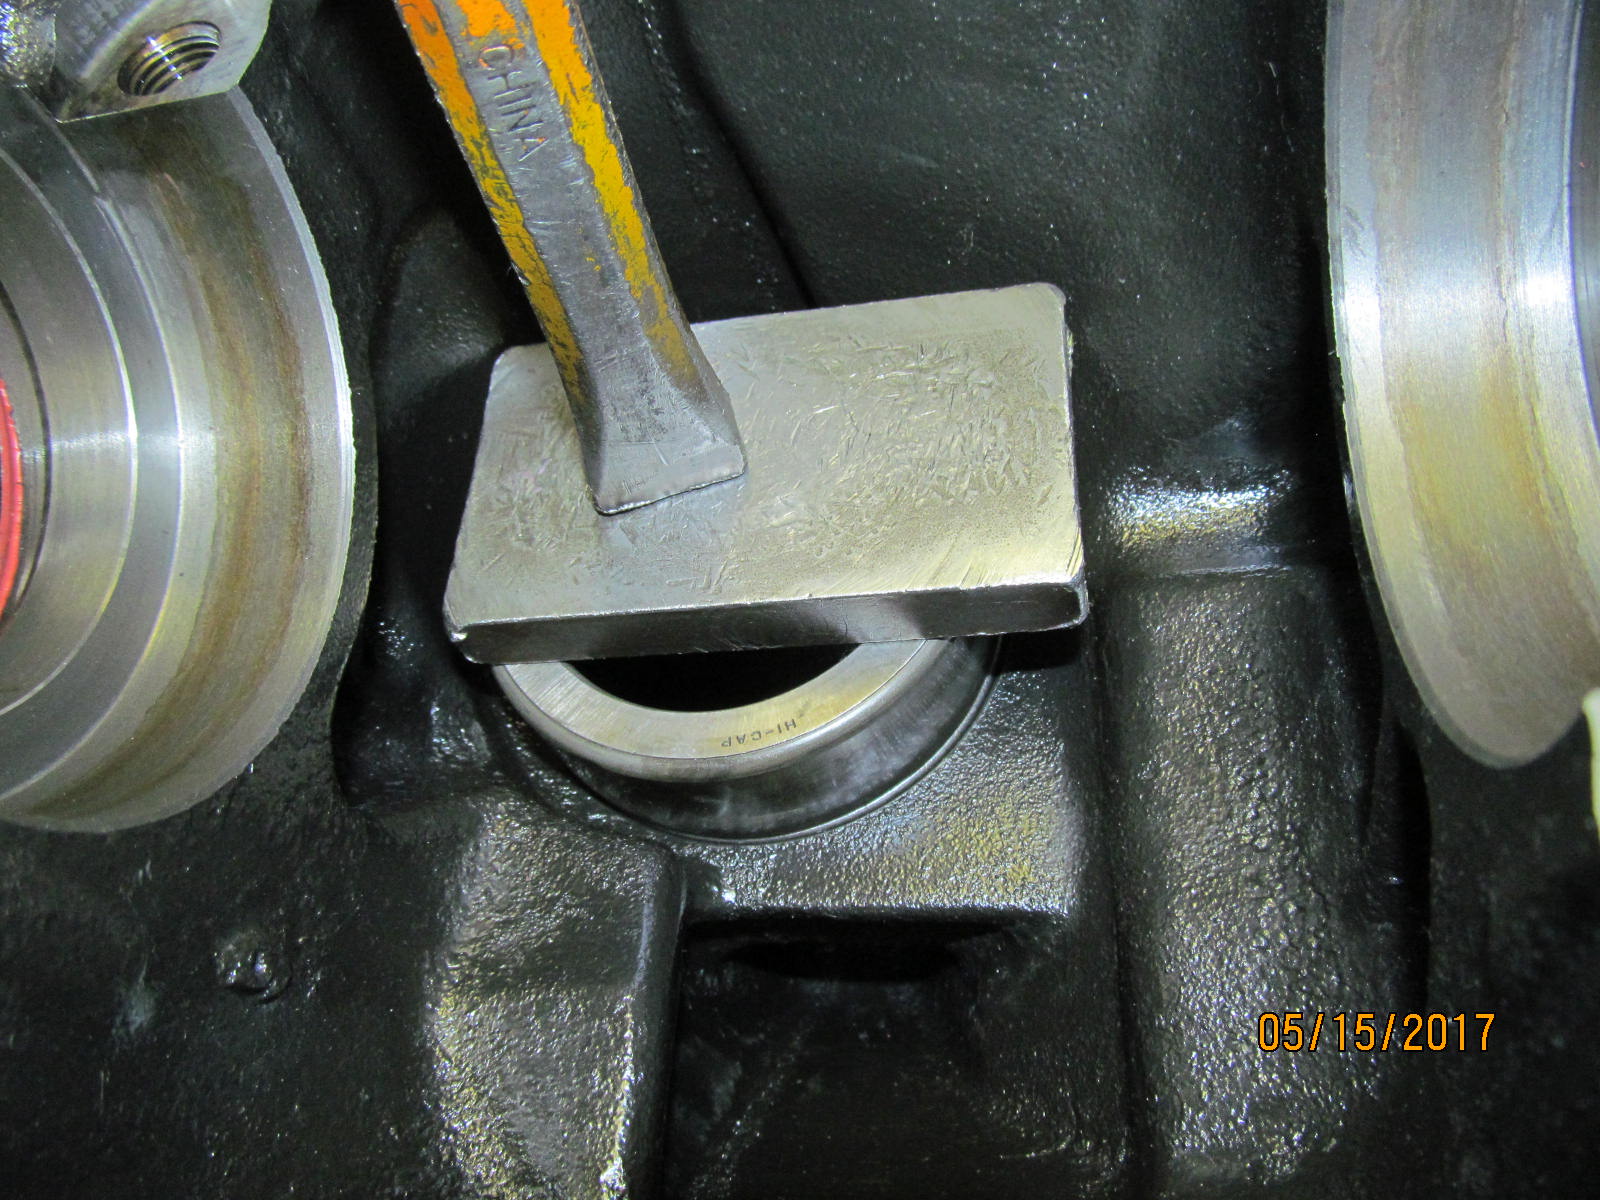
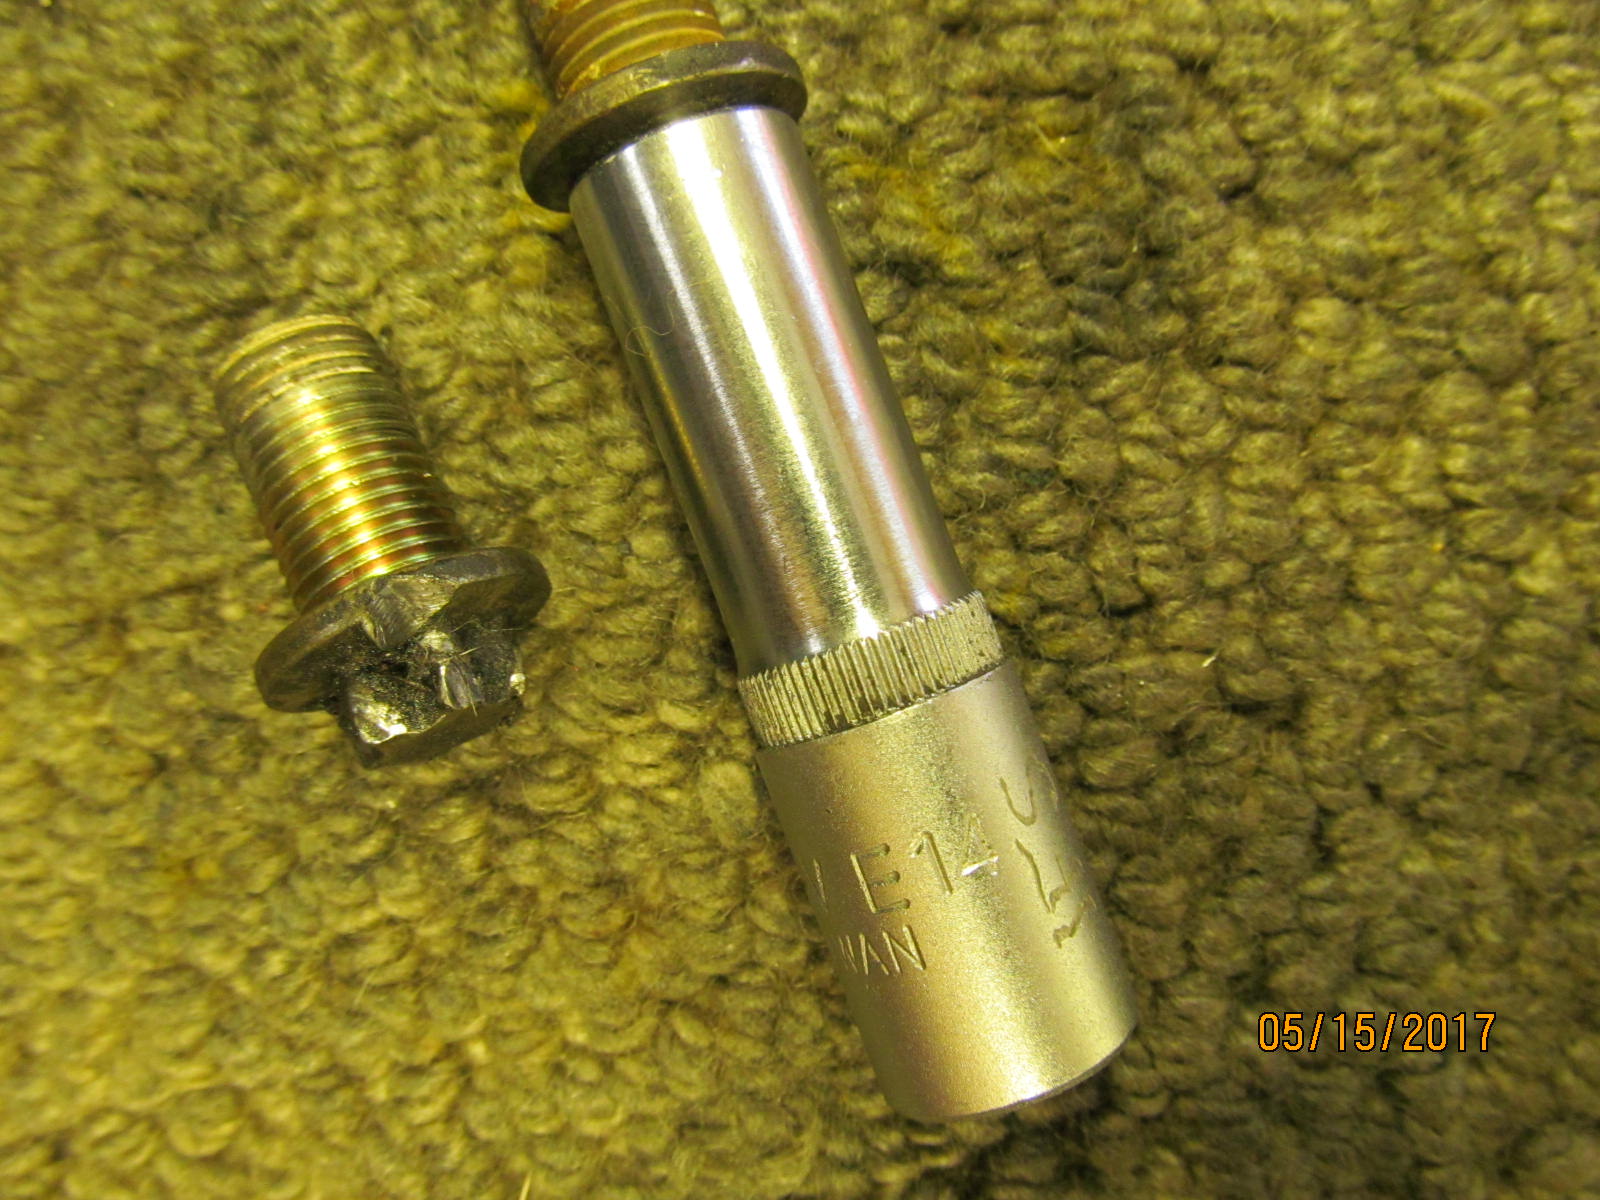
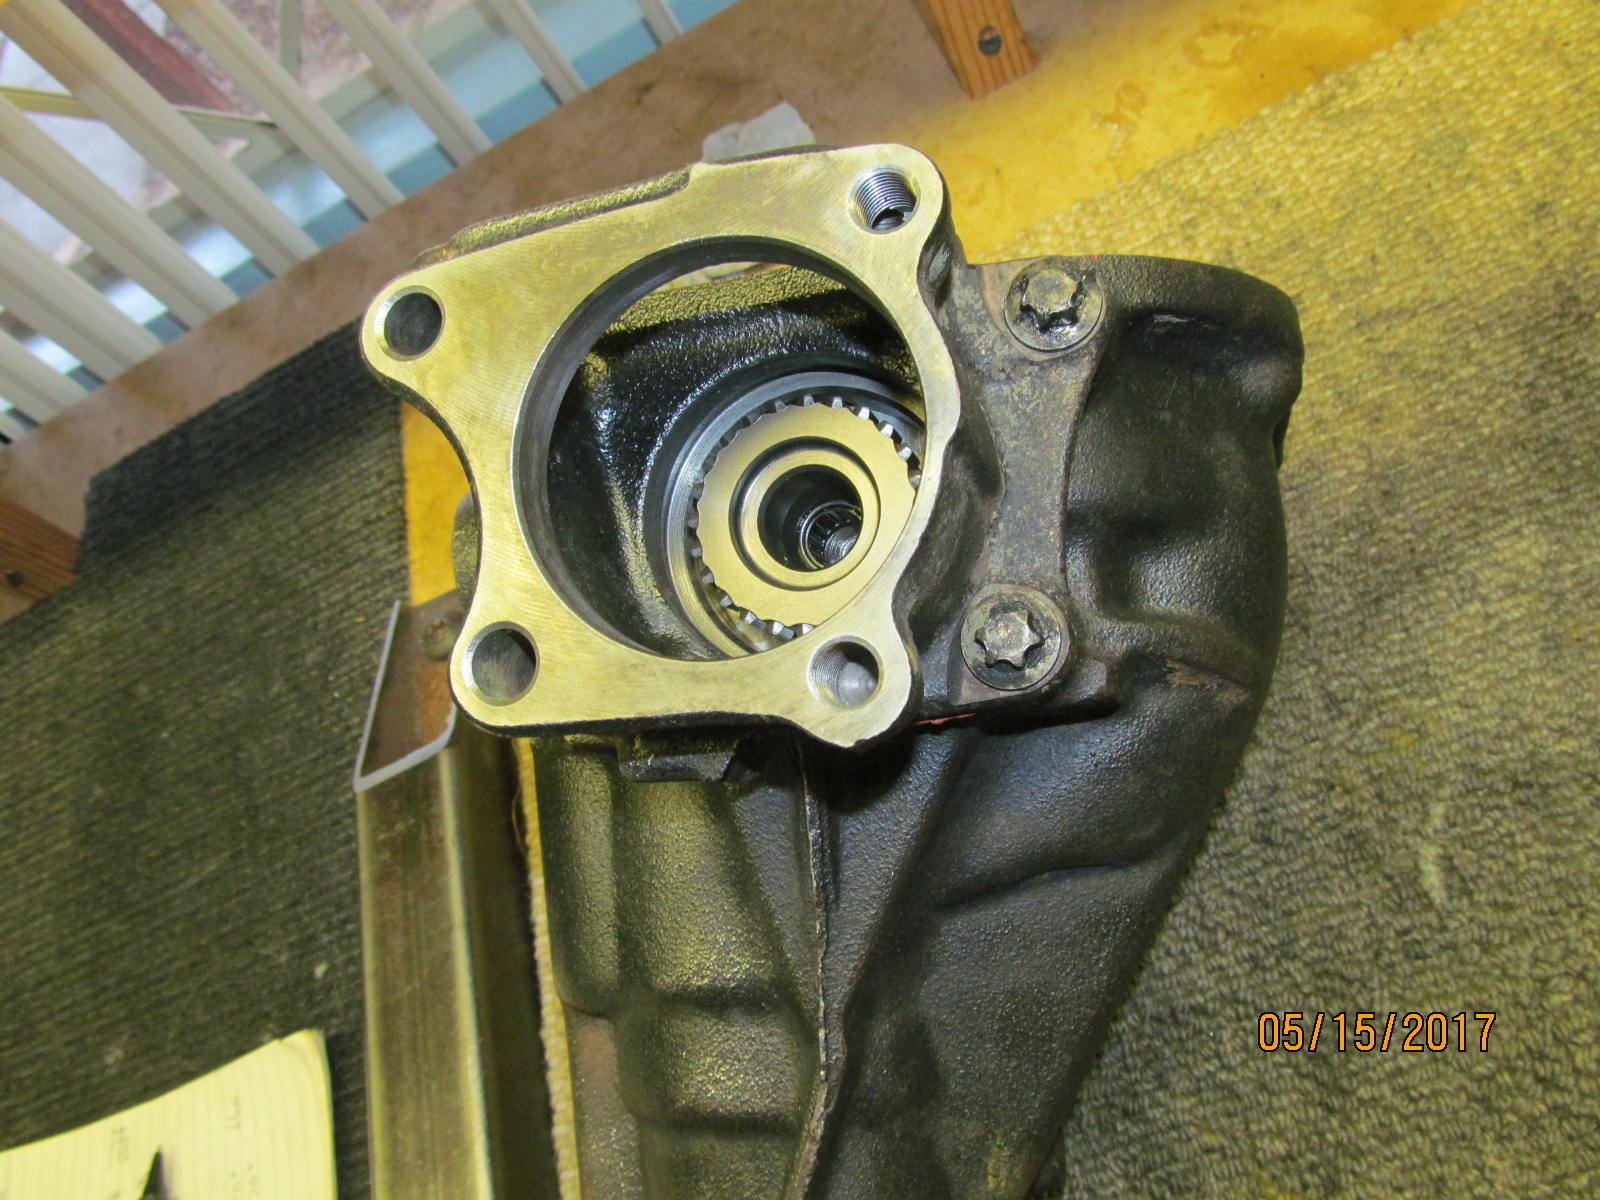
| This tube spacer was still attached and I saw how damaged the E14 torx head was so a little trick to break it loose. |
|---|
|
|
| A dull chisel is perfect for this. |
|---|
|
|
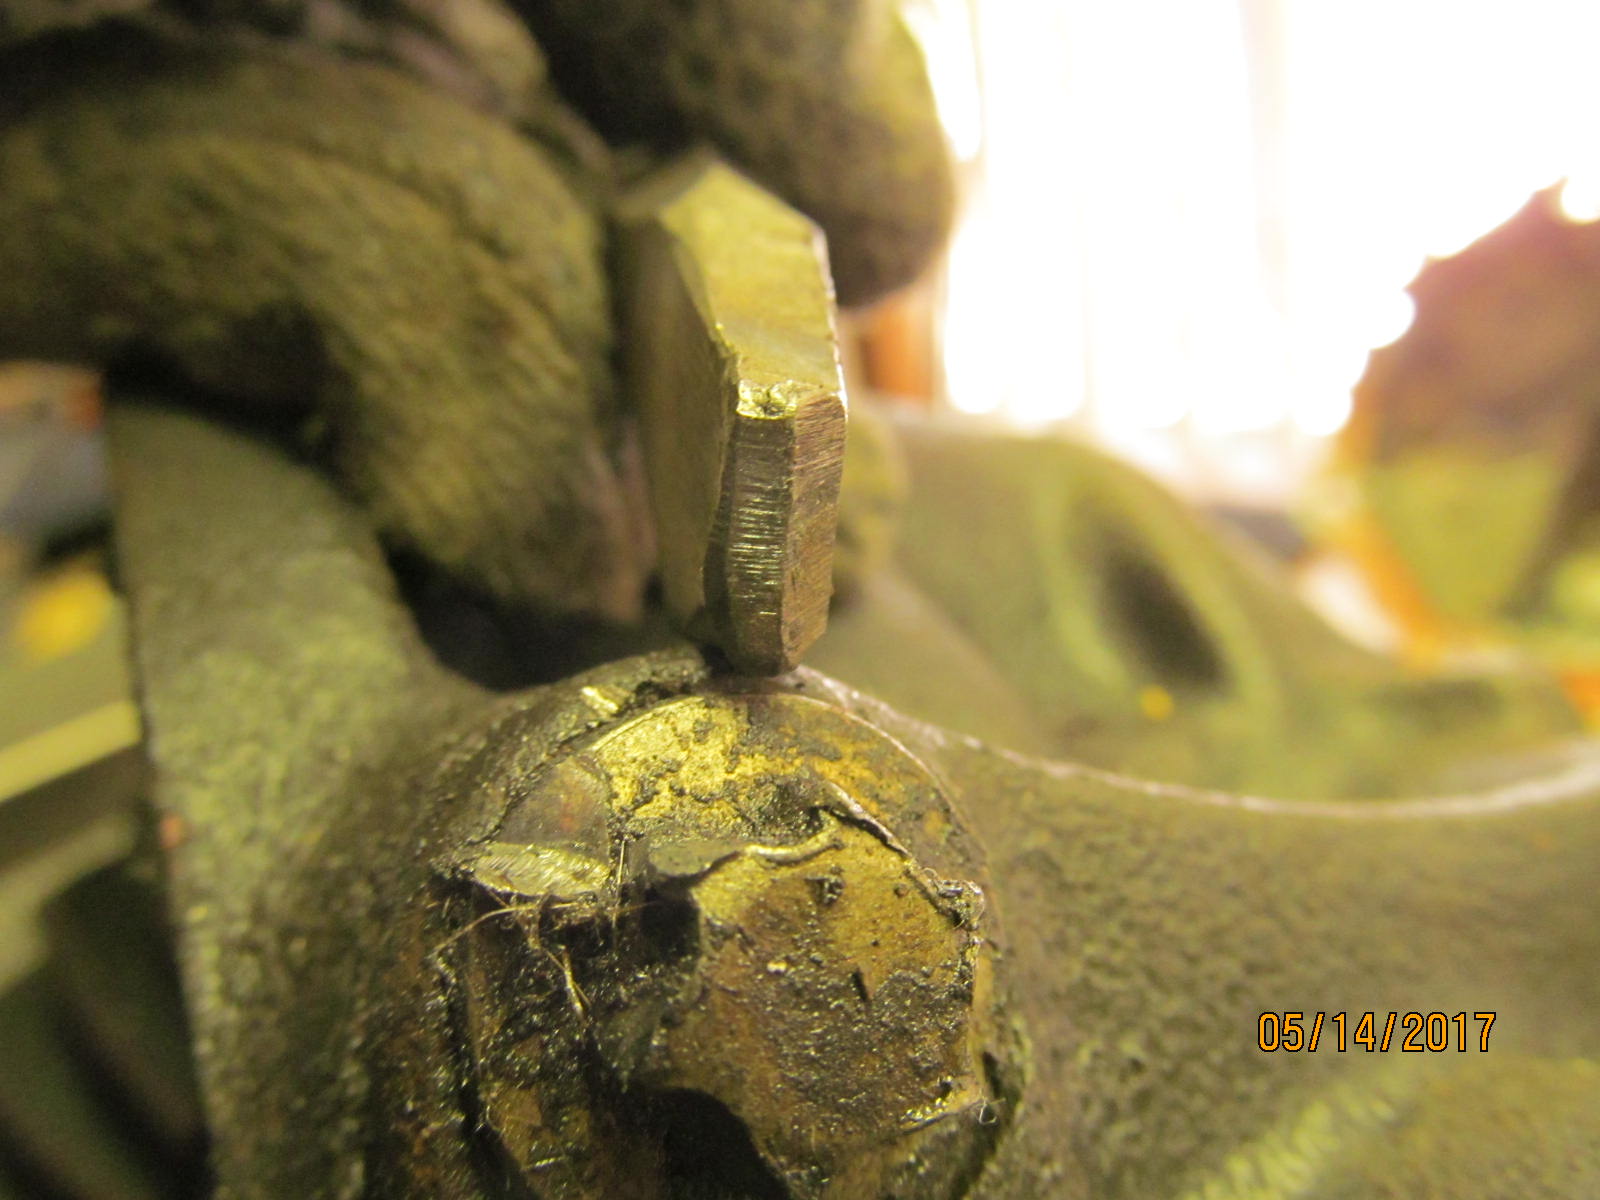
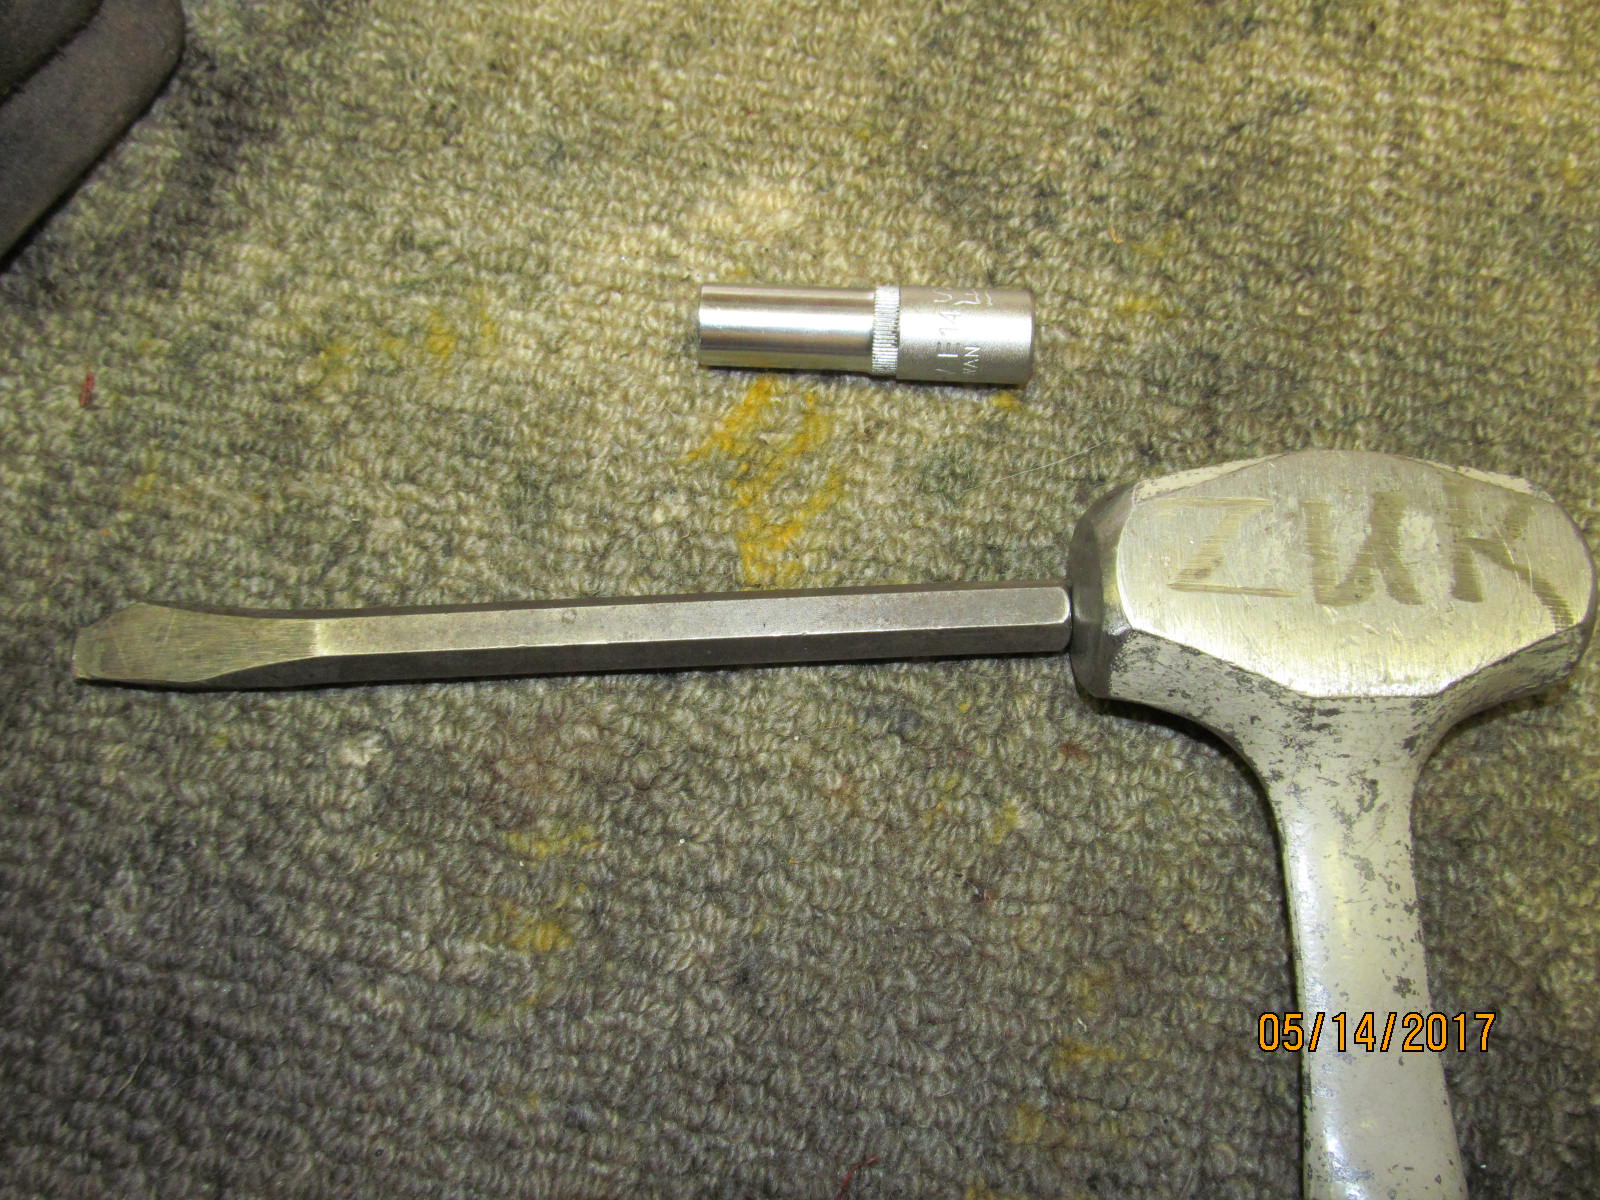
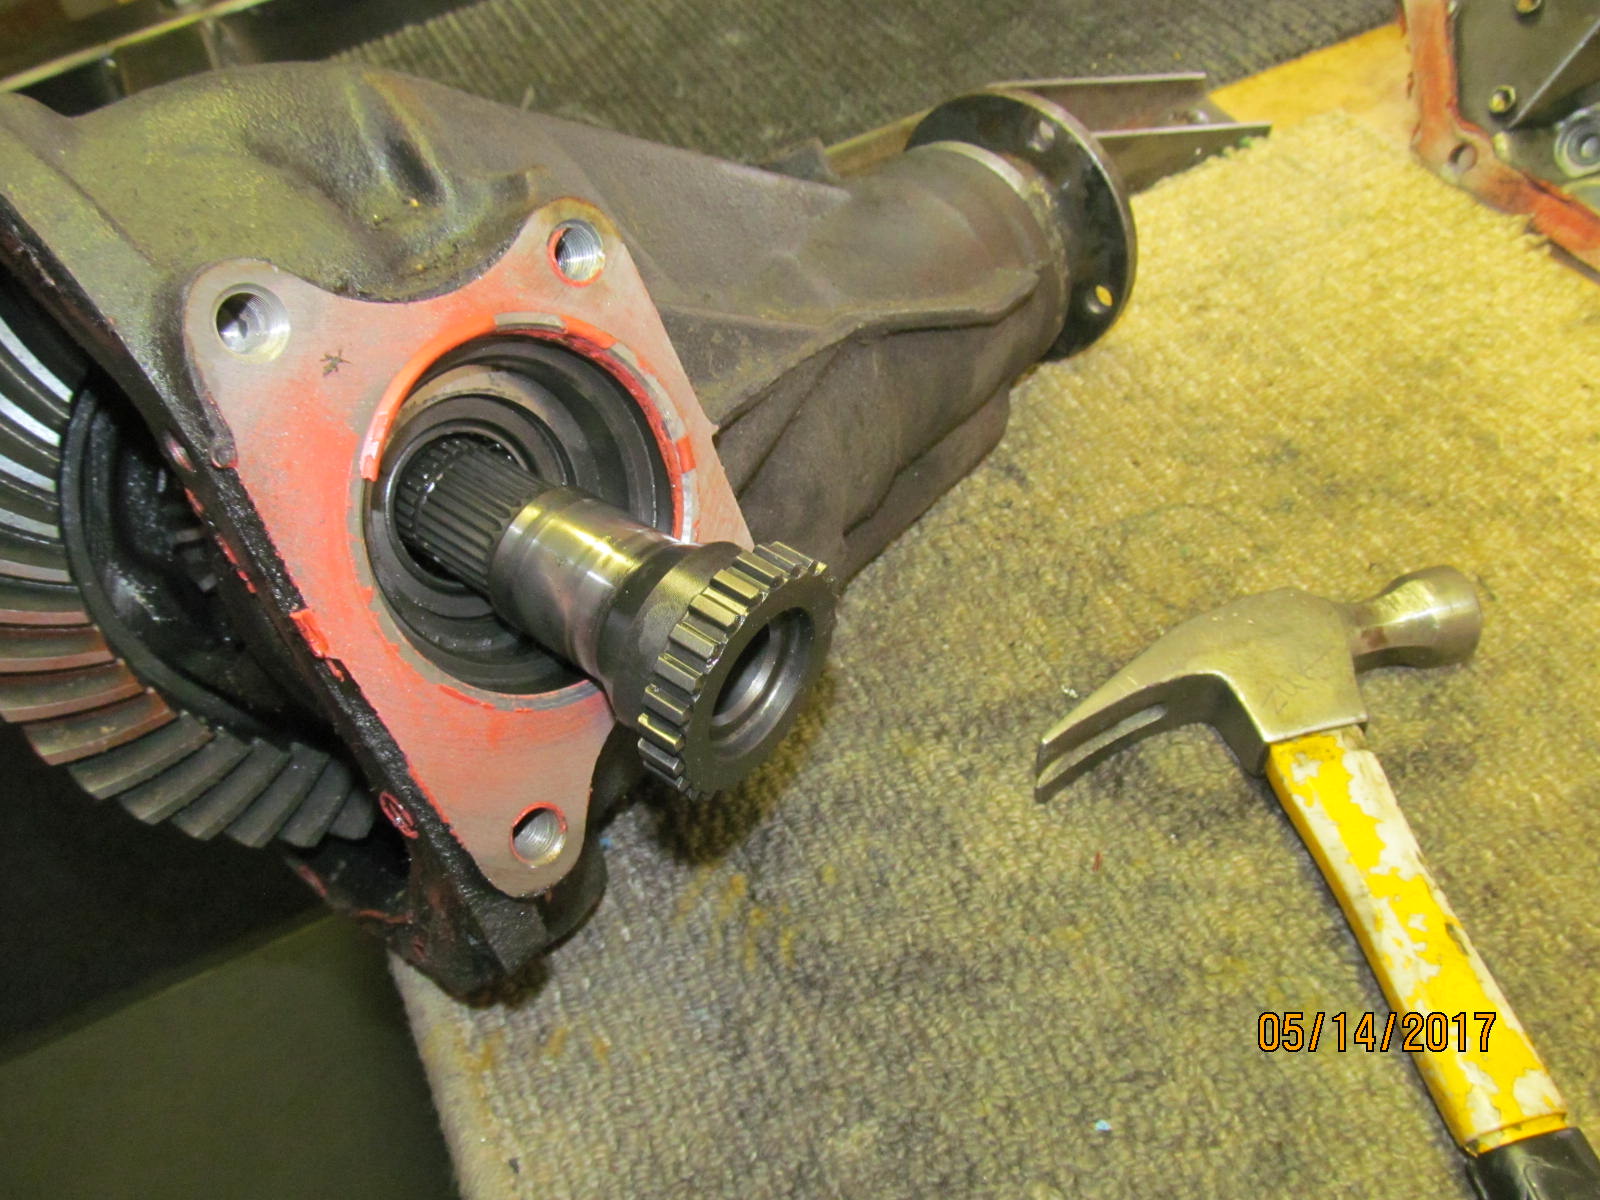
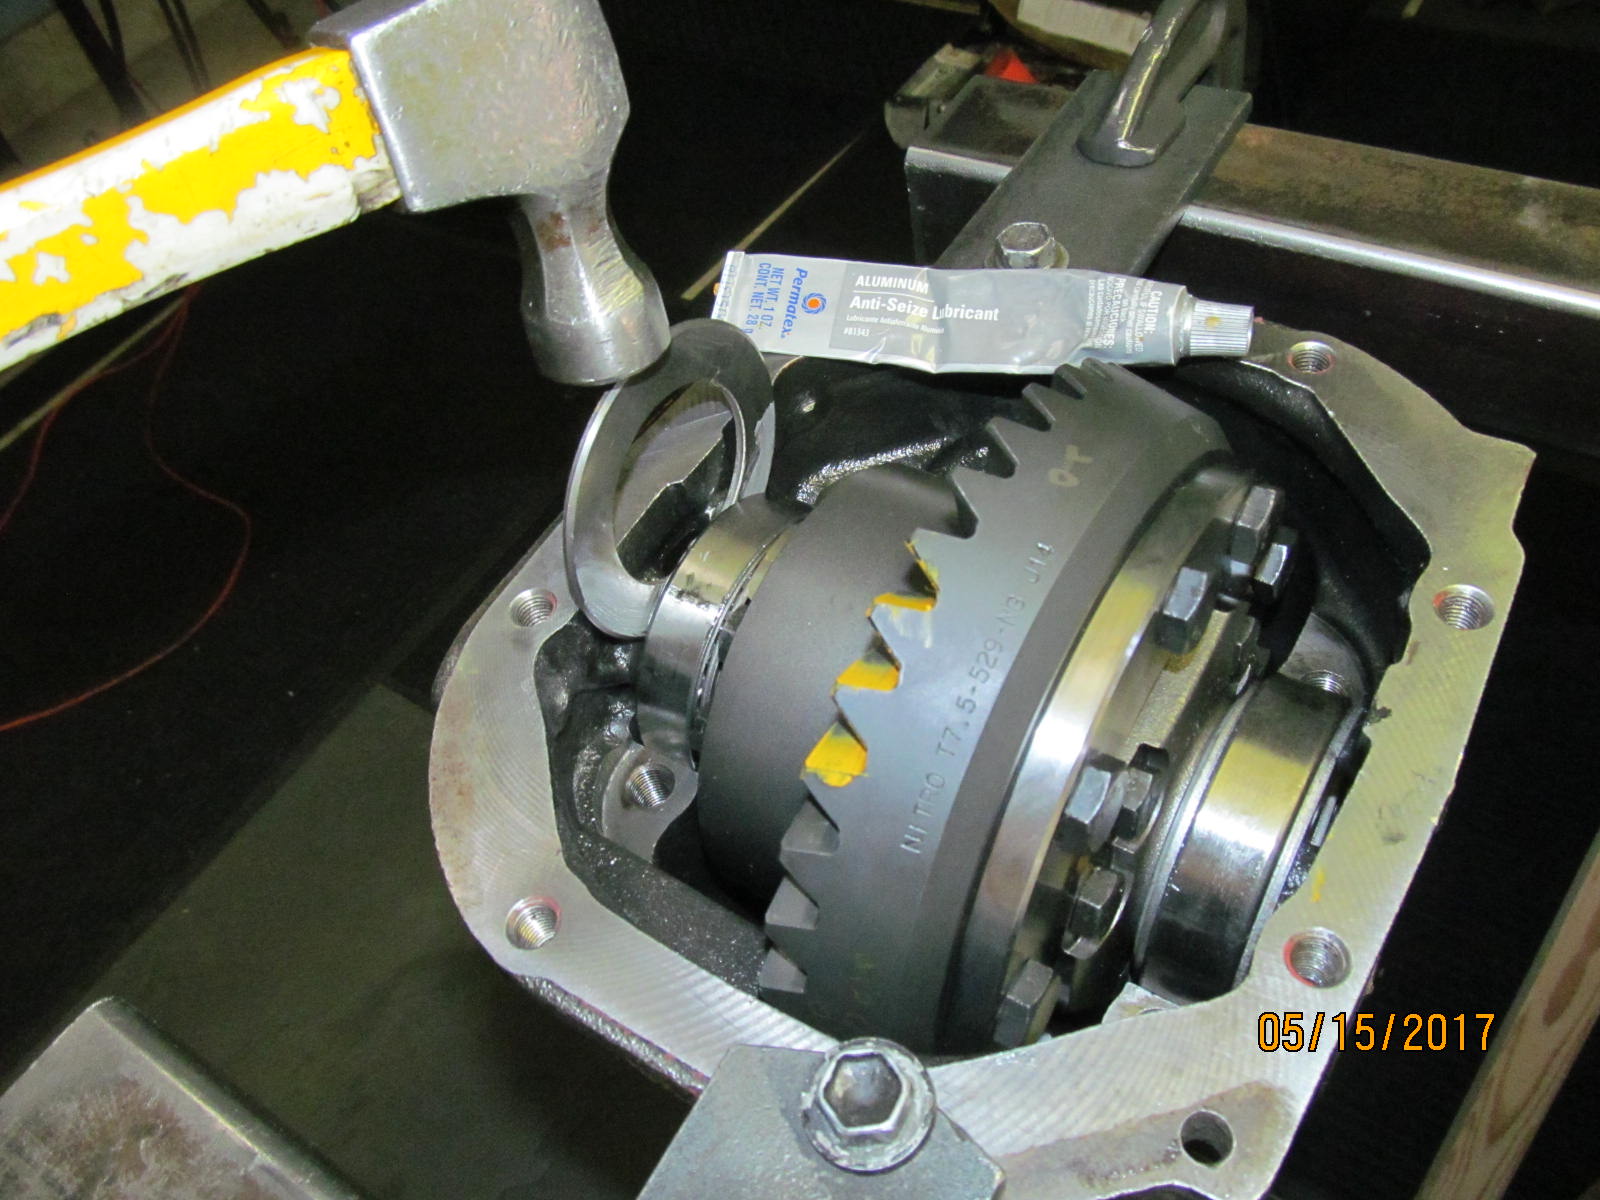
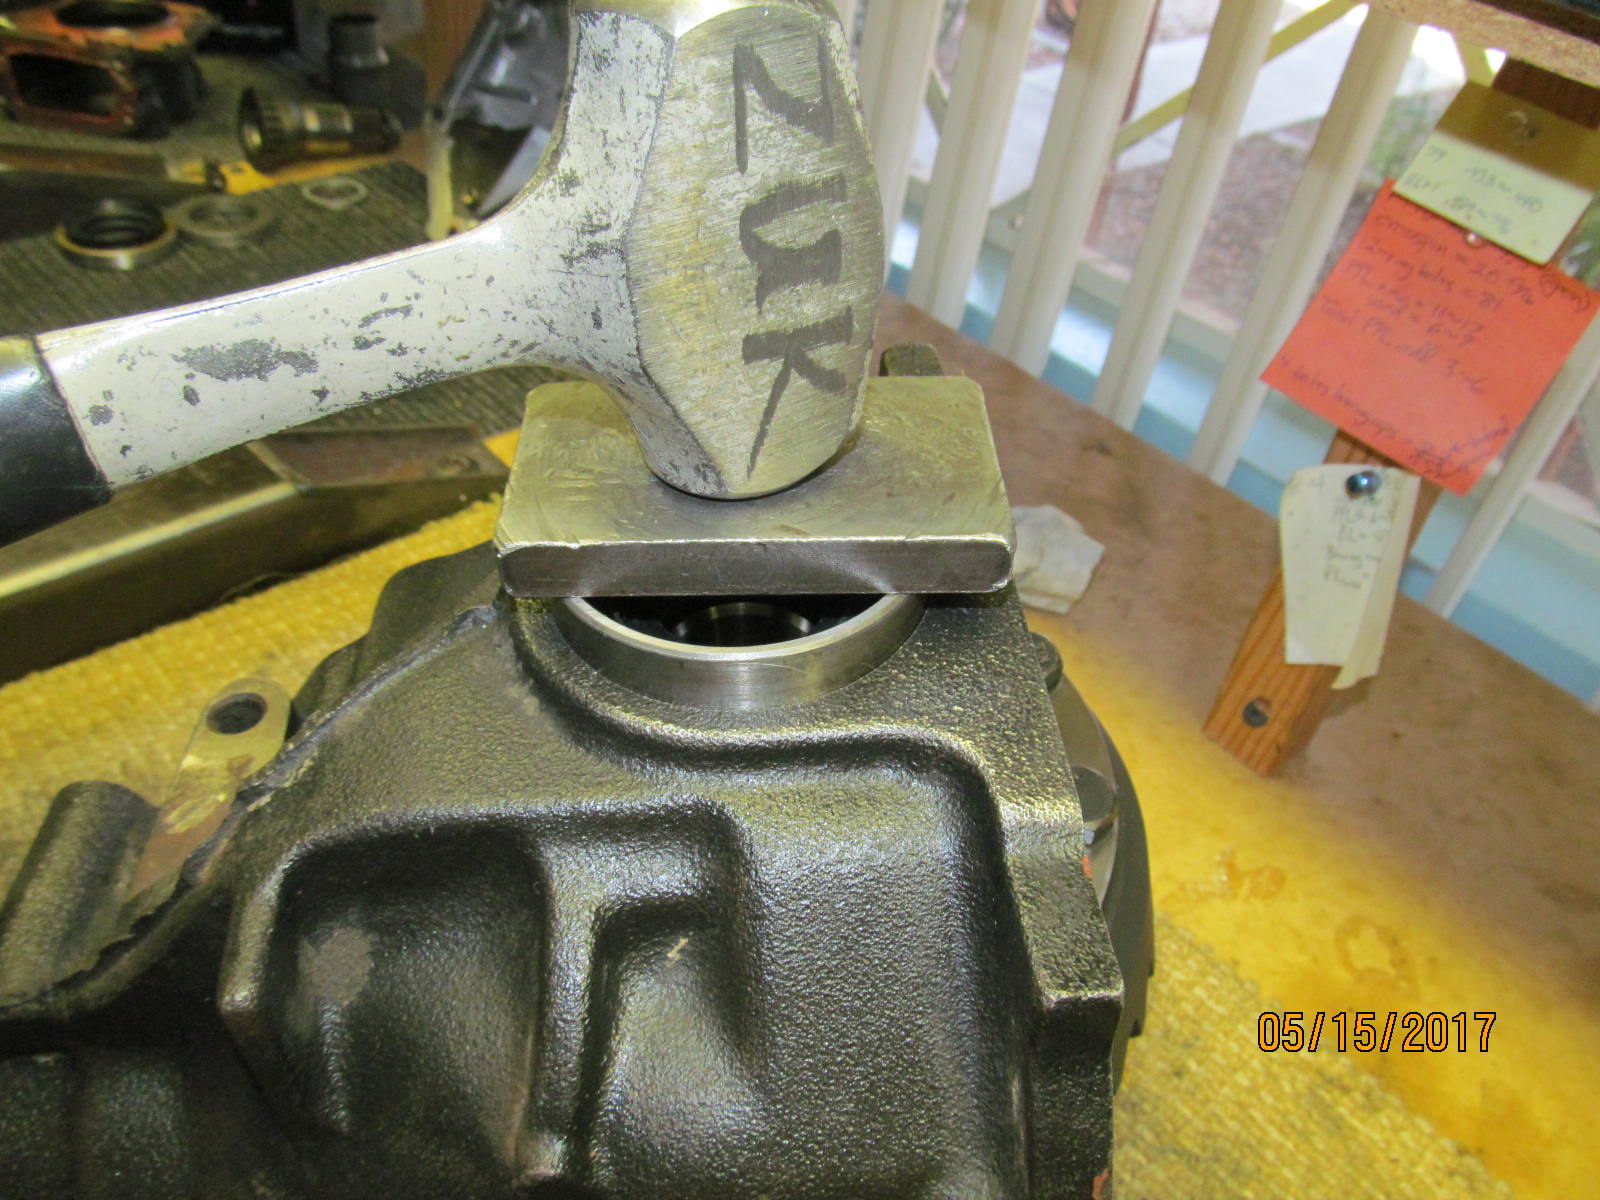
| The chisel and the heavy hammer used.....just one heavy hit and it was loose. |
|---|
|
|
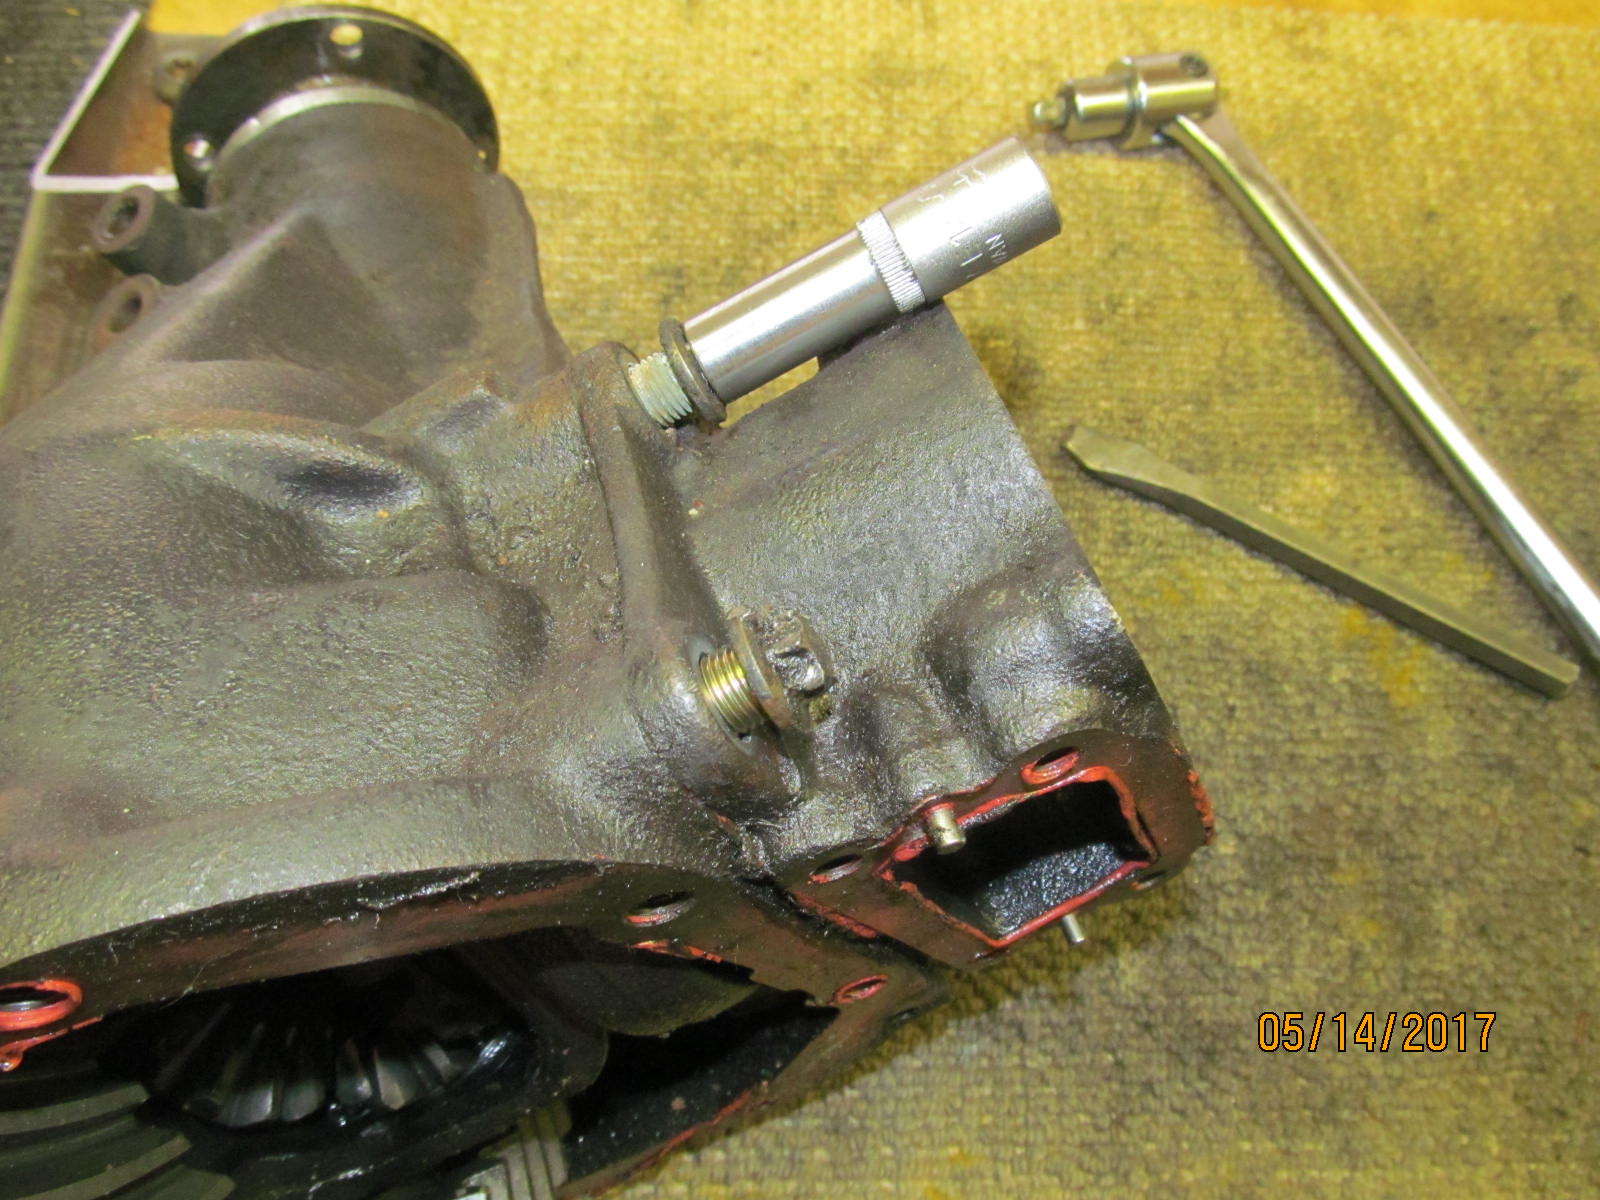
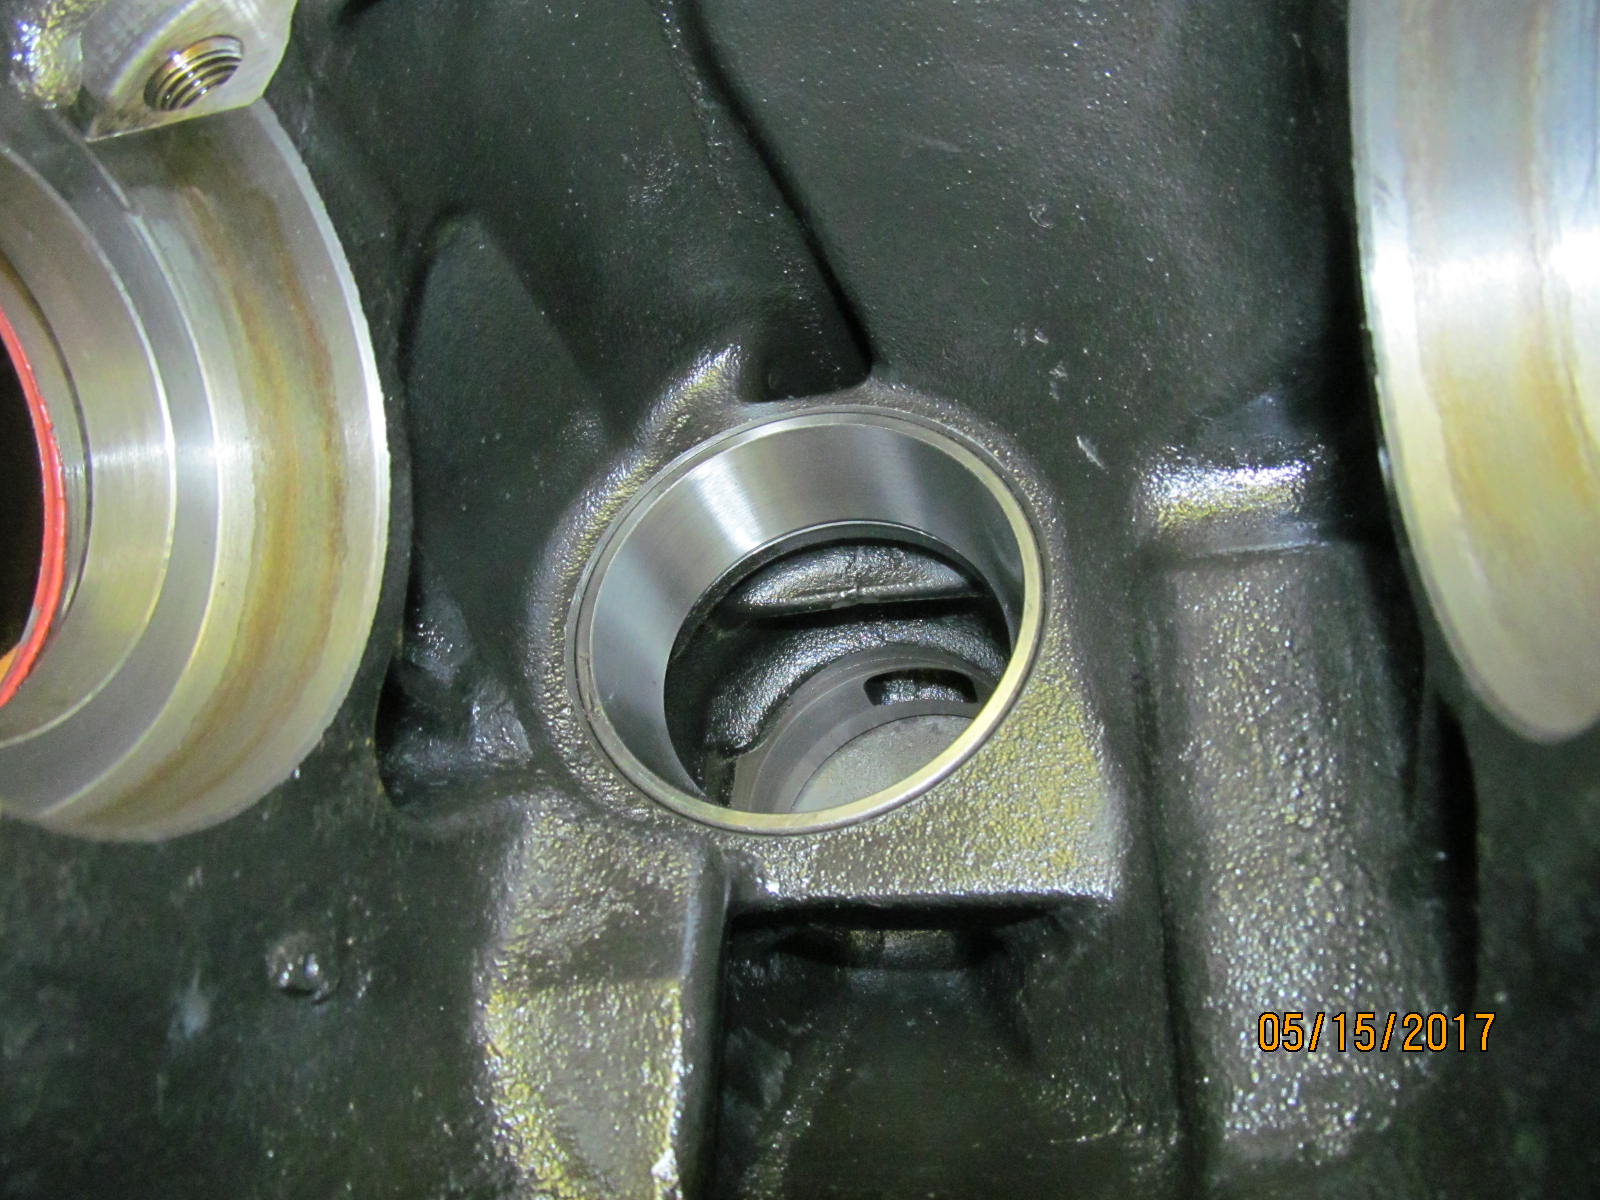
| The remaining other one came loose with the socket just fine. |
|---|
|
|
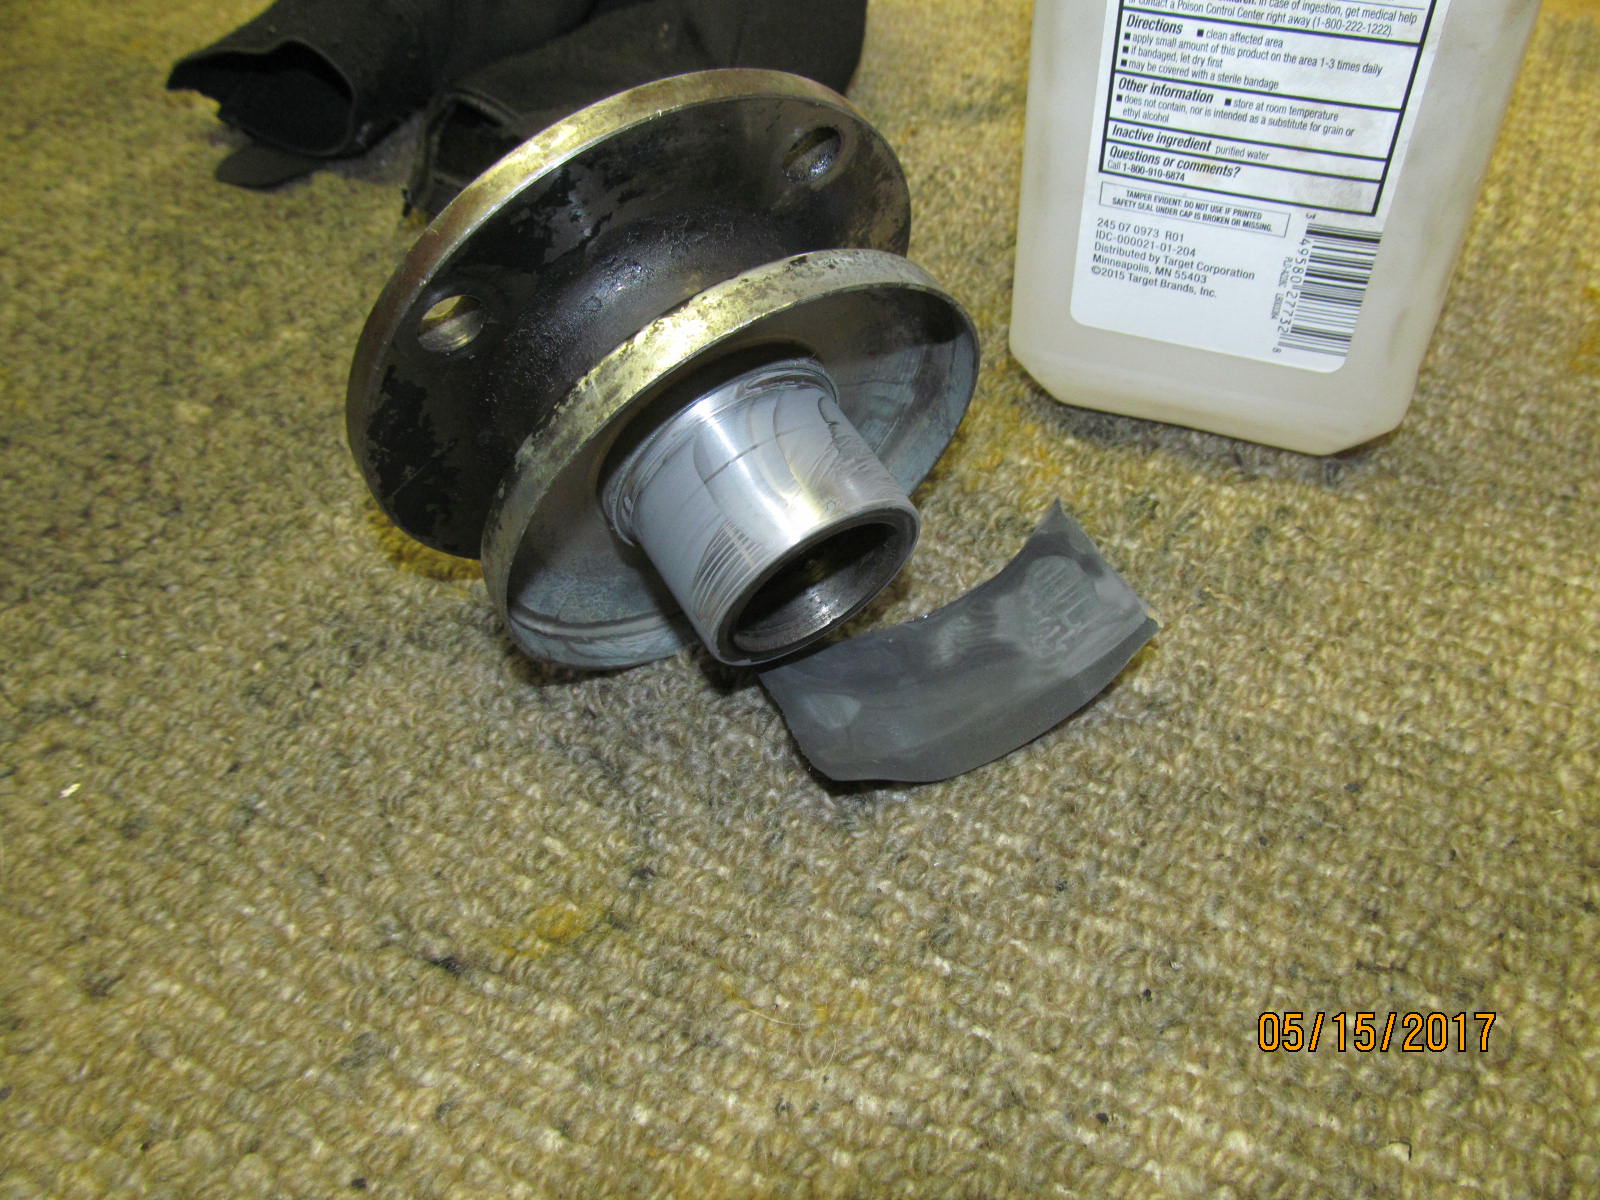
| The stub shaft came out with the help of 2 heavy duty screwdrivers. |
|---|
|
|
| ,,,,,,,,,,,,,,,,,,,,,,,, |
|---|
|
|
| Some basic clean-up....gasket surface cleaned up nice with a high speed wire brush. |
|---|
|
|
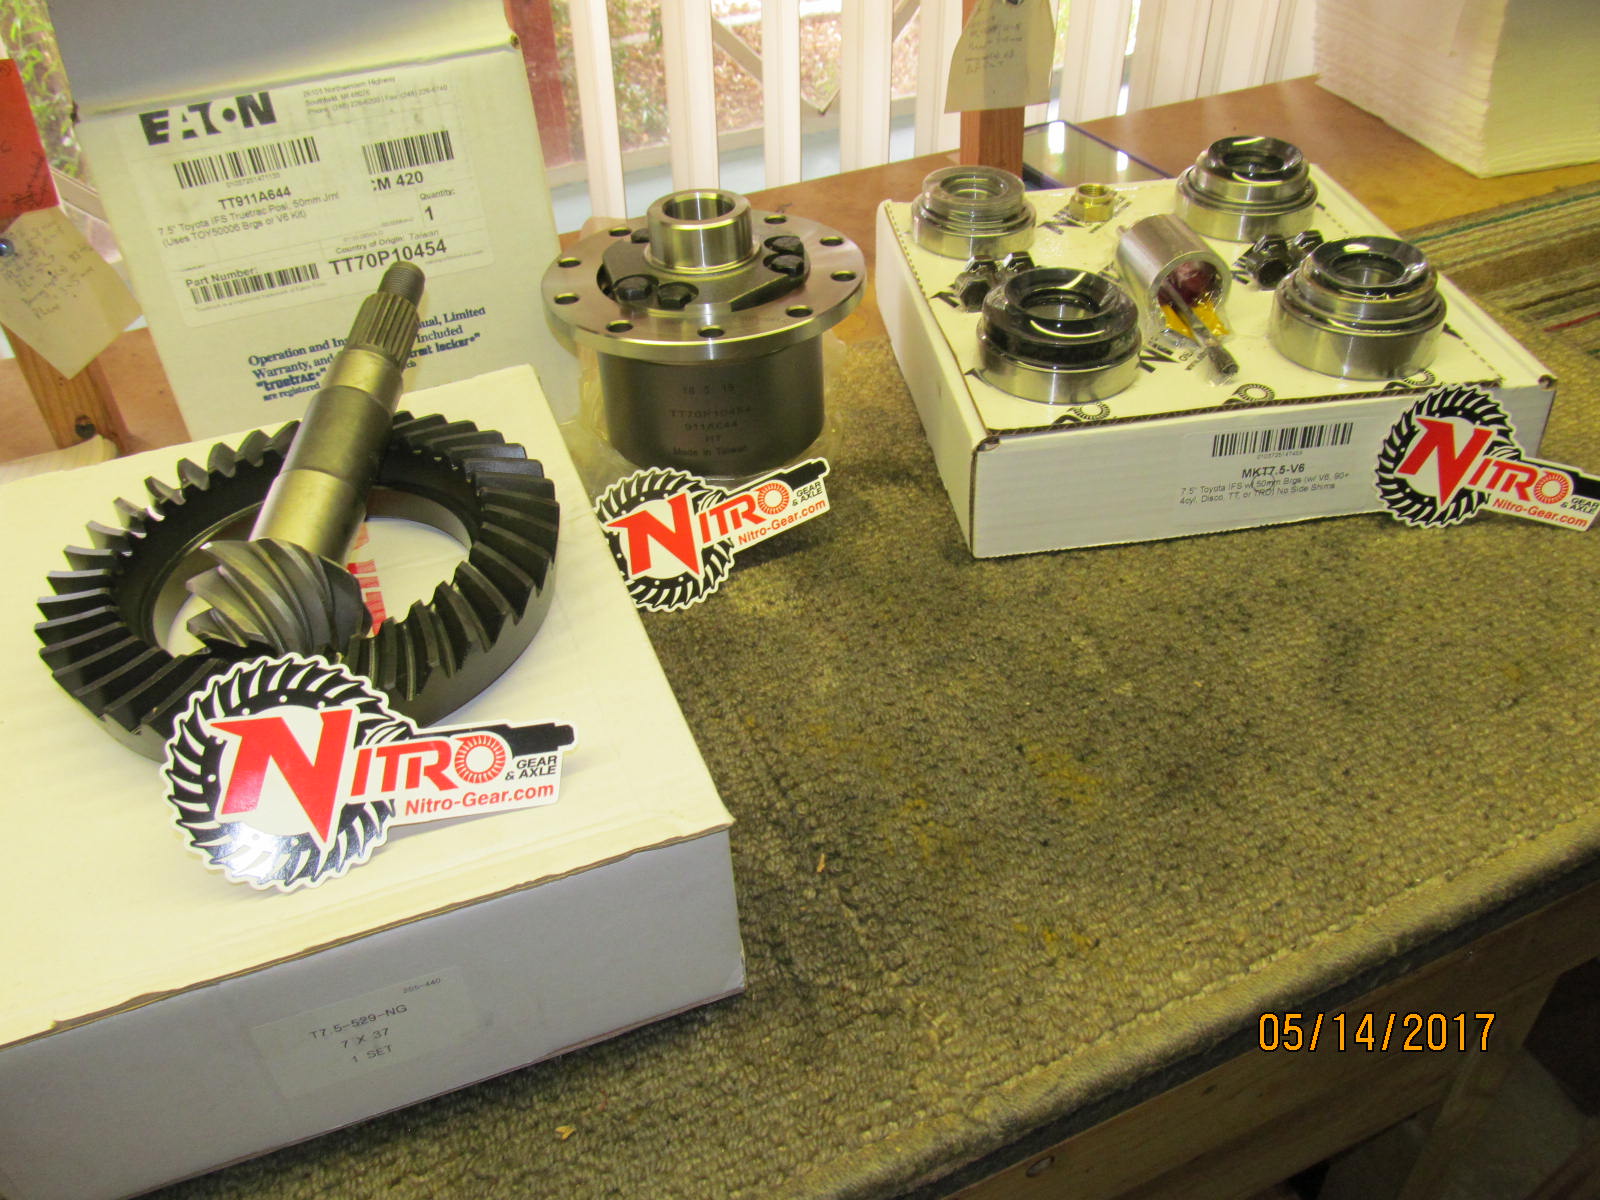
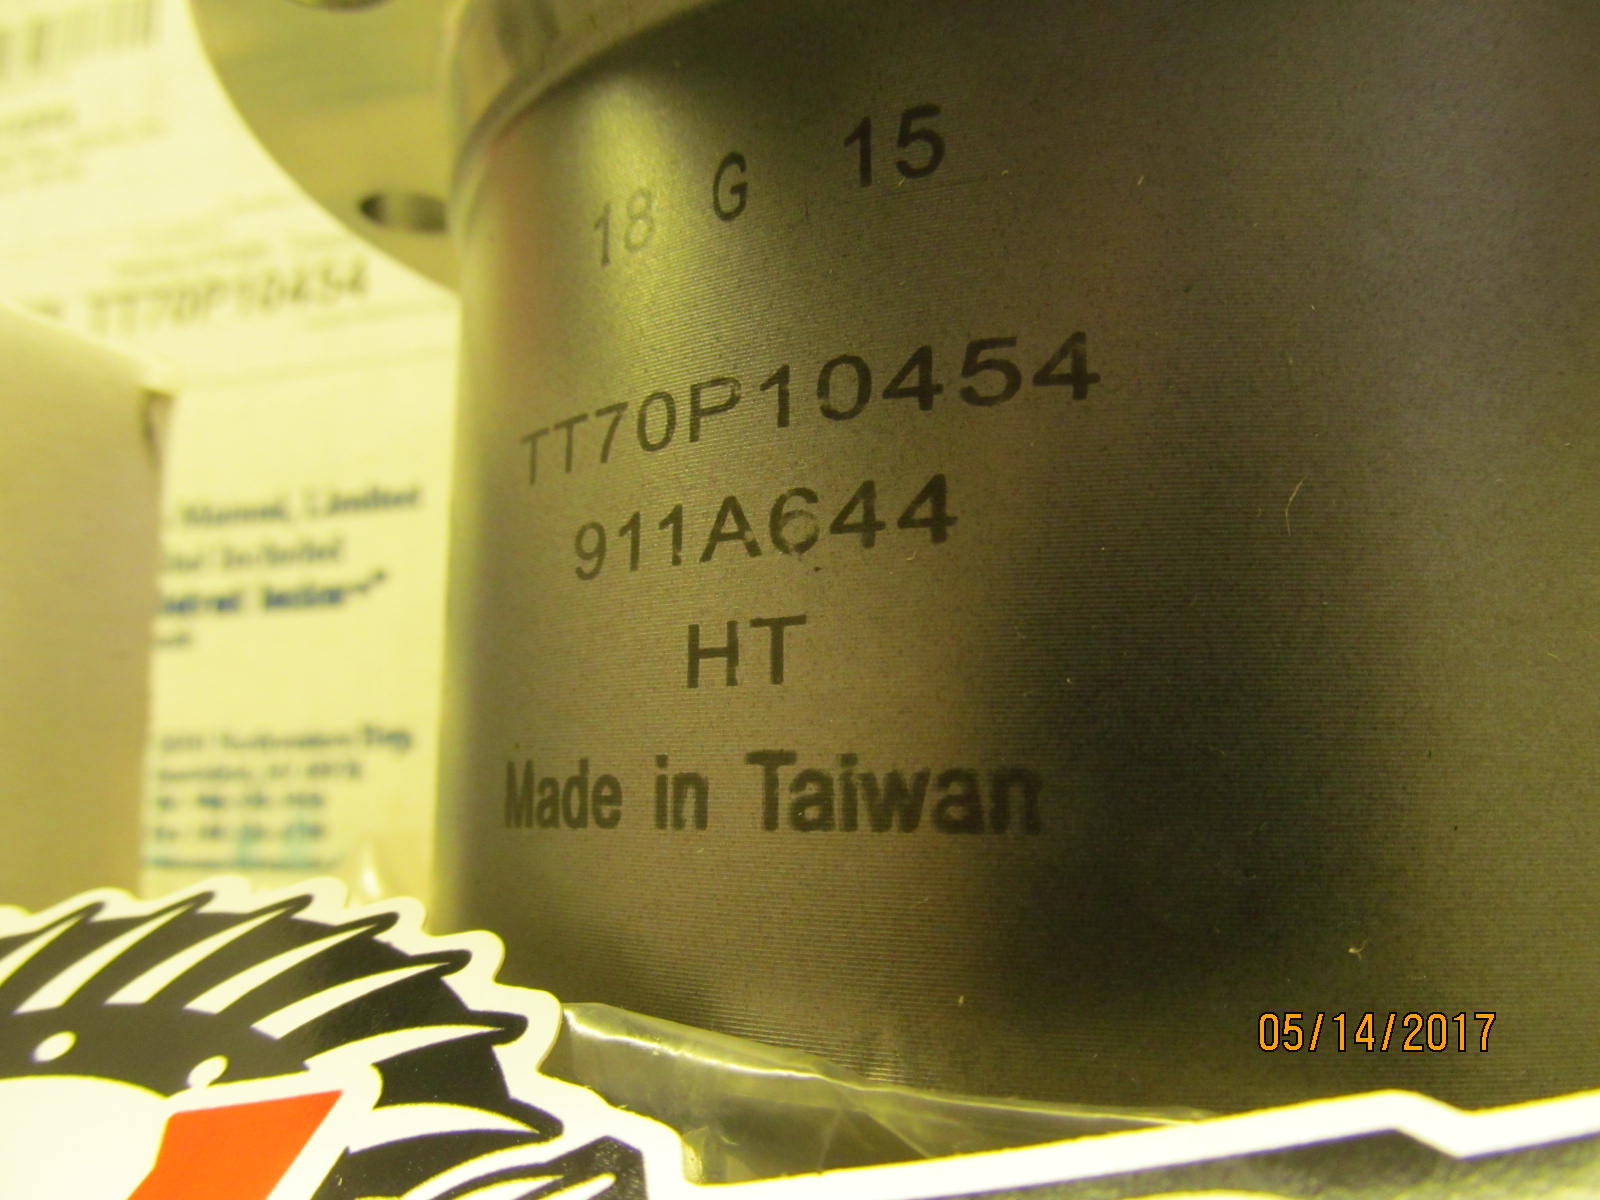
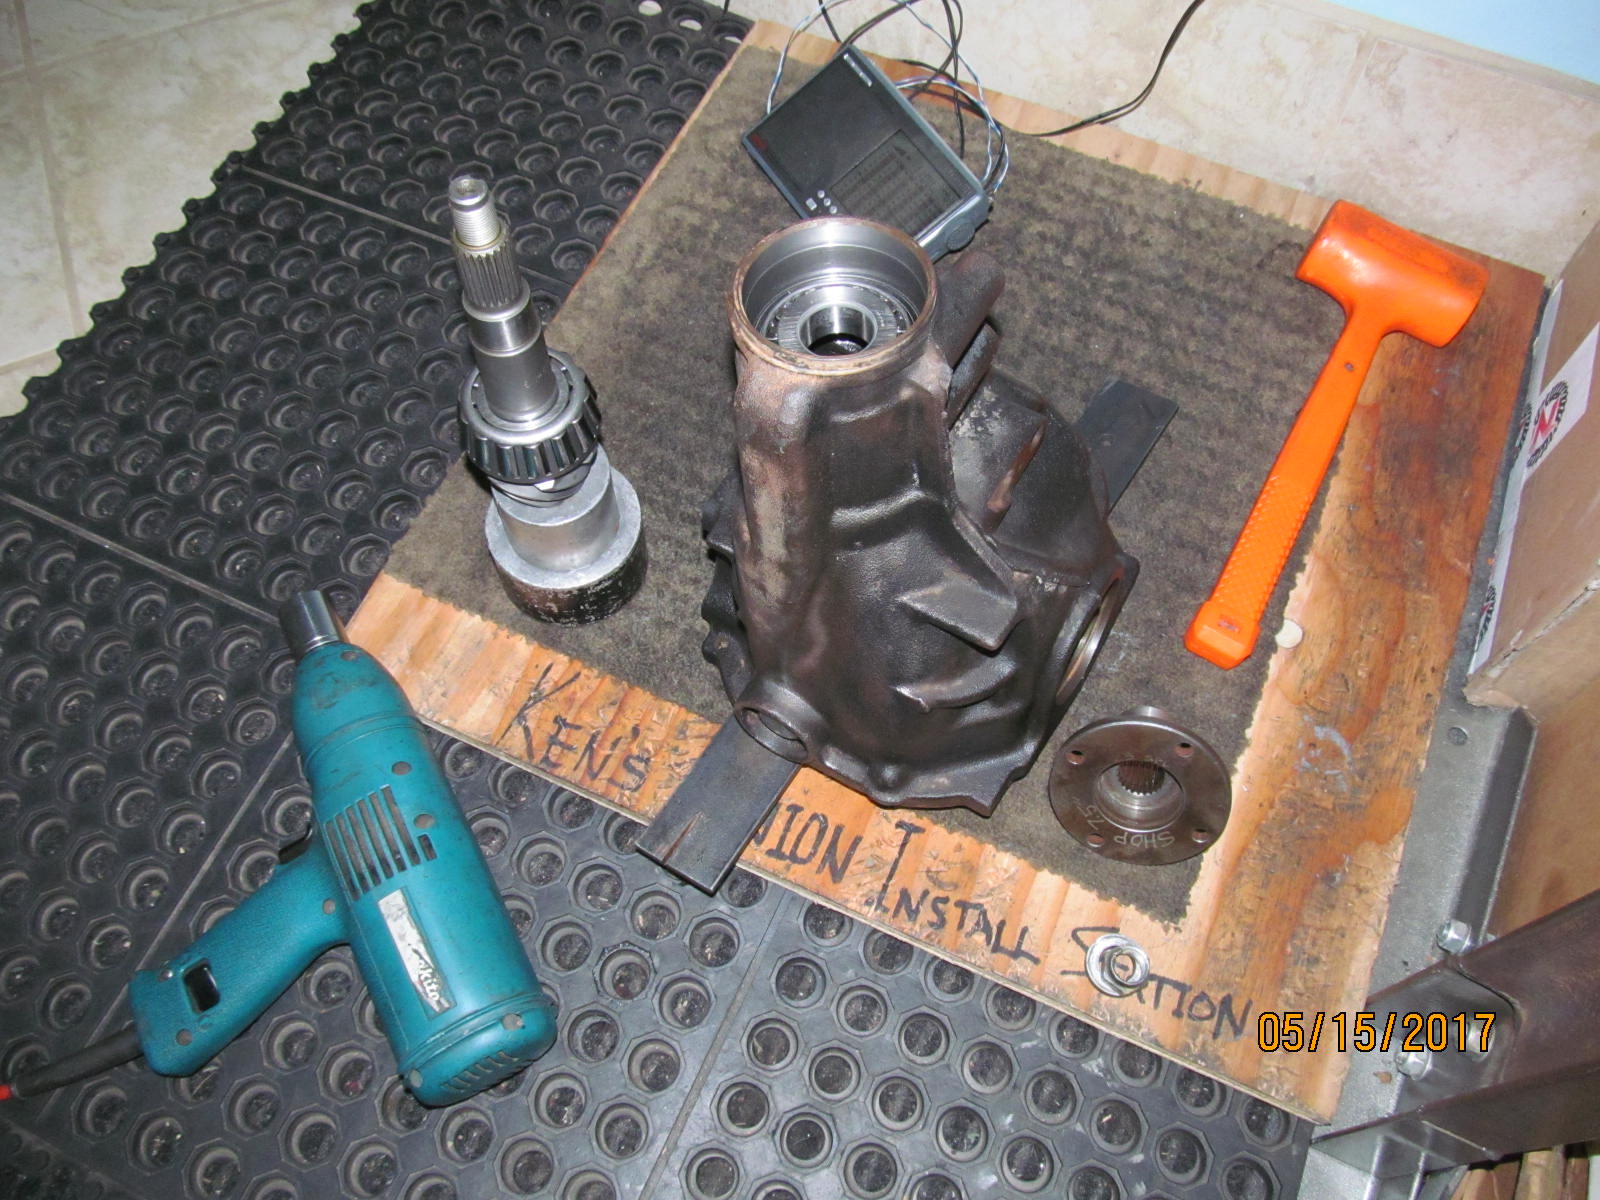
| Nitro 529 ring/pinion...A644 Truetrac...and the Nitro master kit. |
|---|
|
|
| ......................... |
|---|
|
|
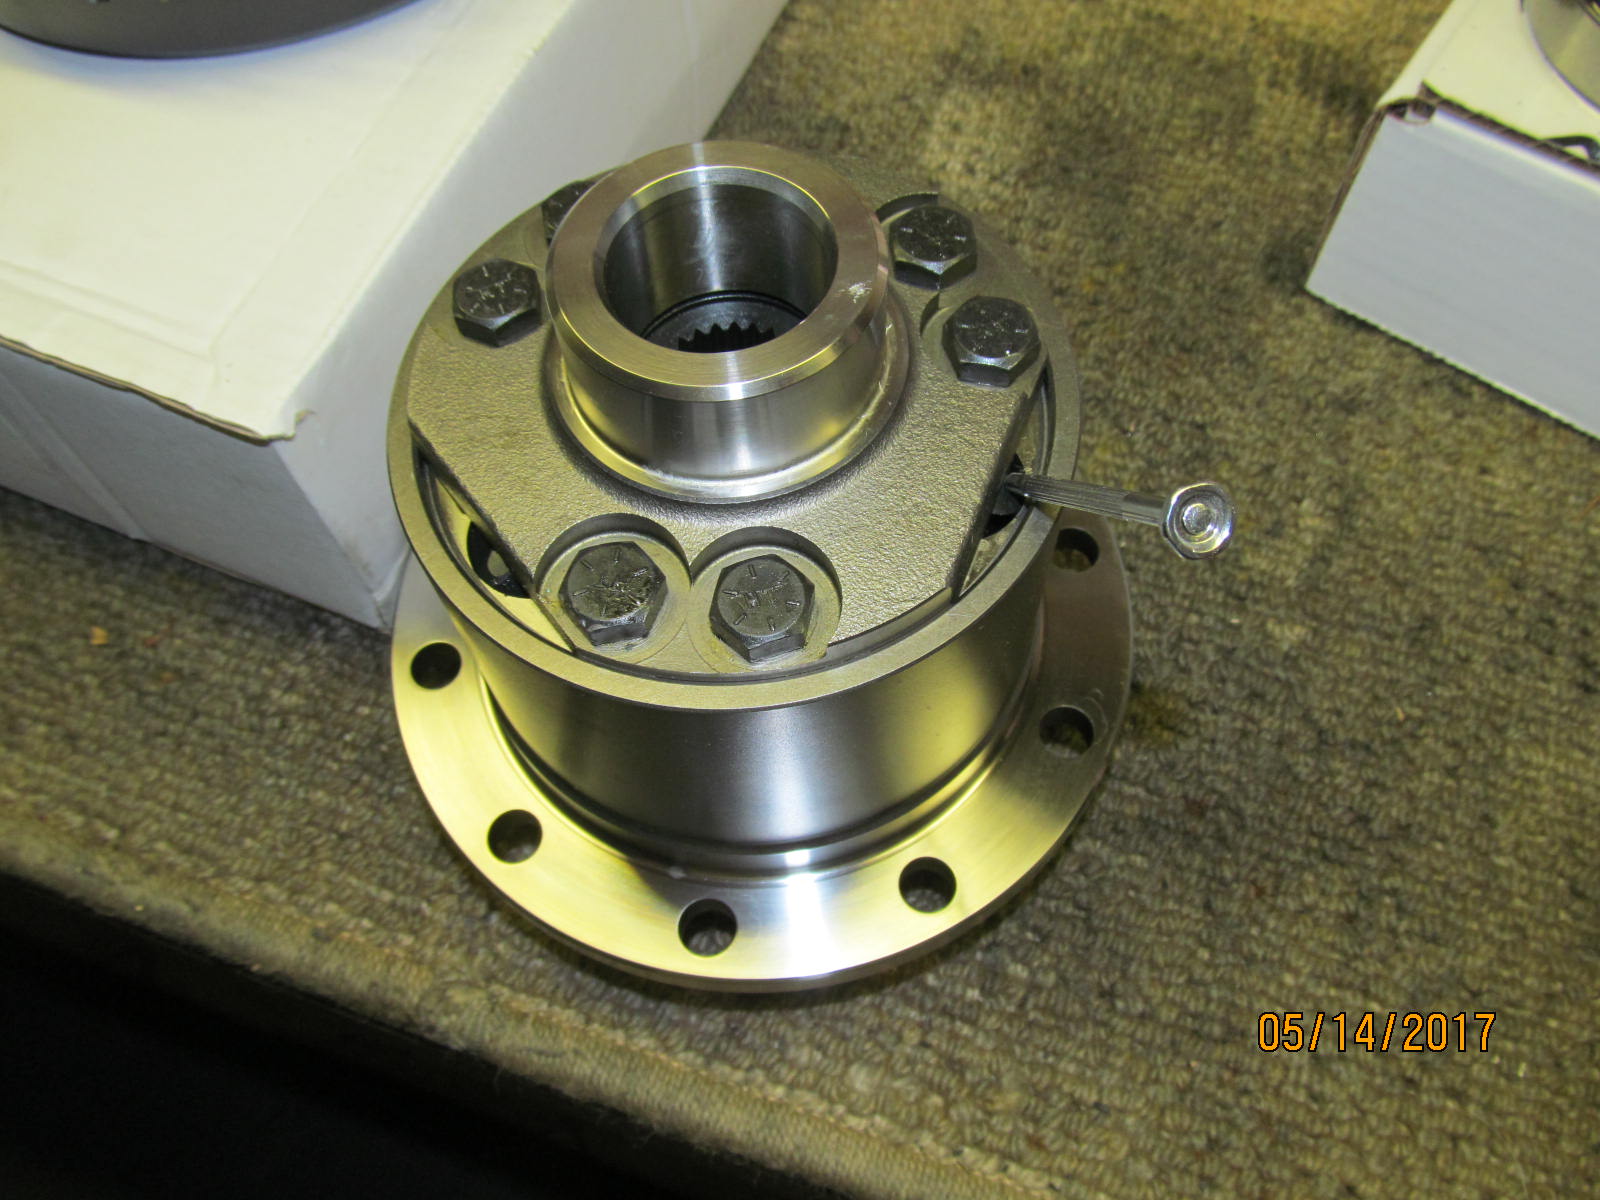
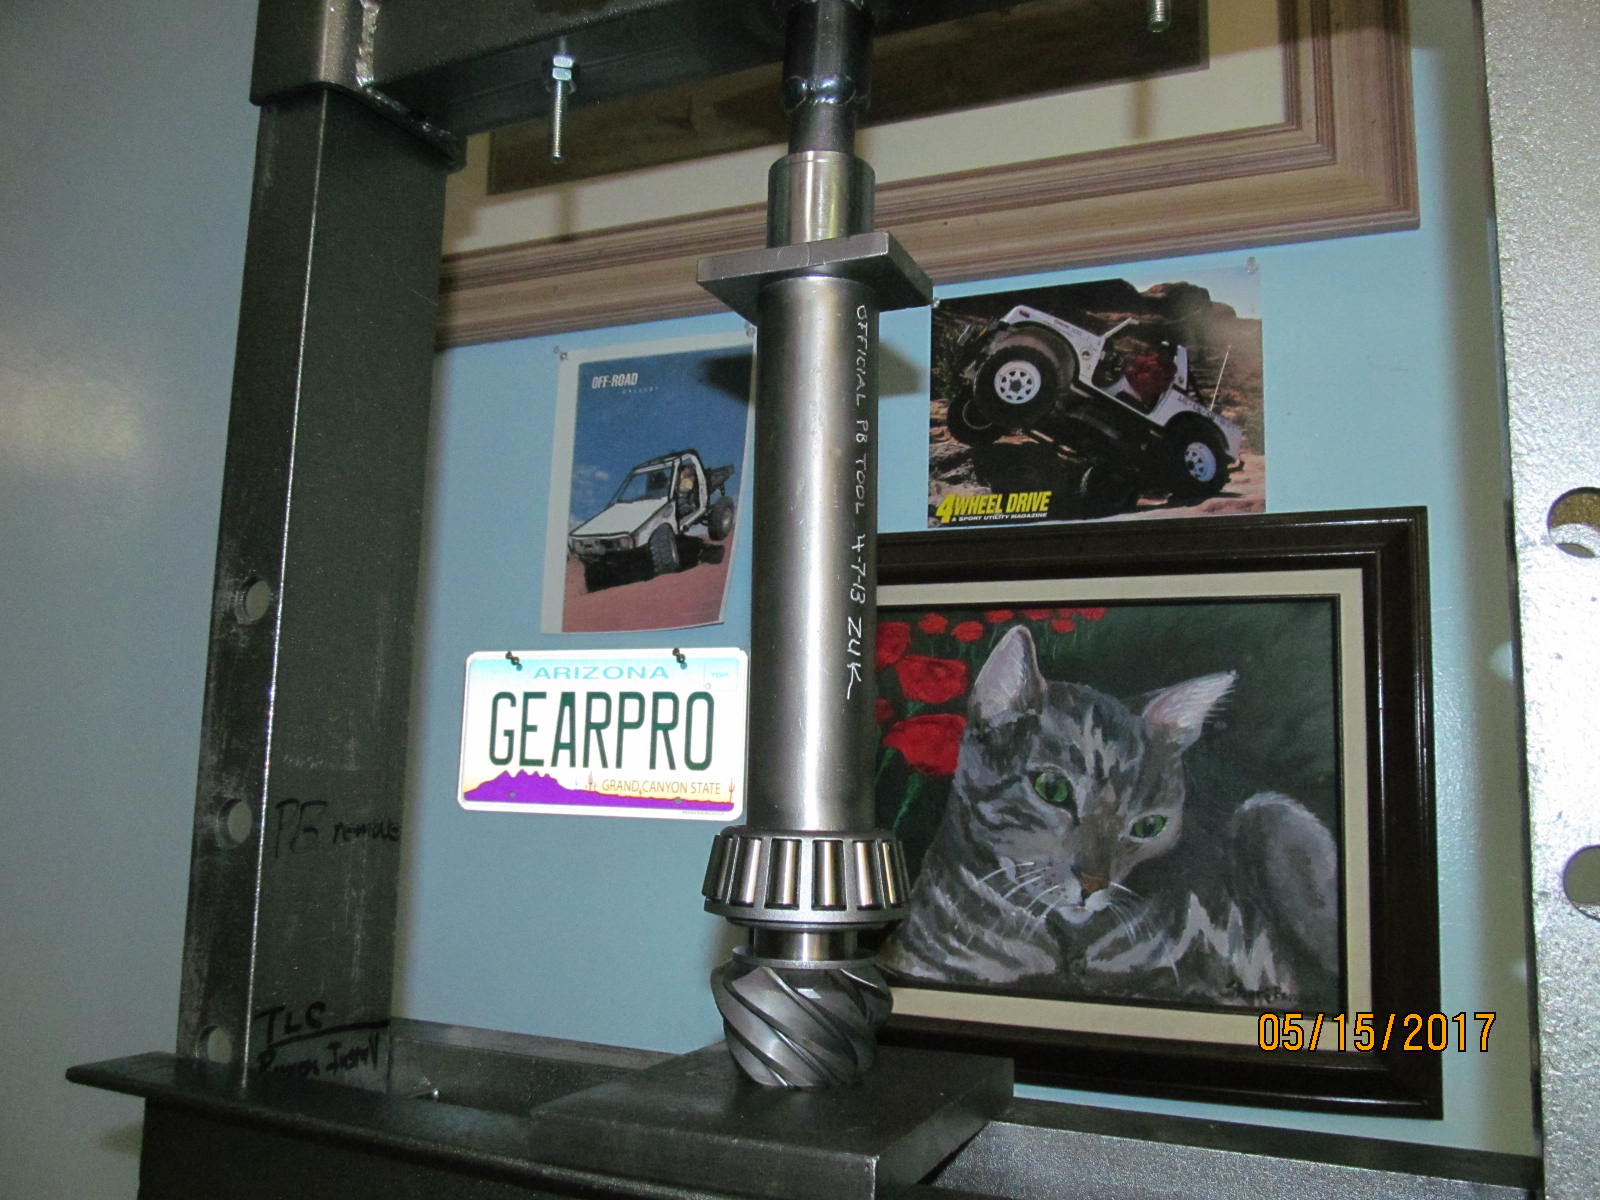
| Just double checking. The front application will have the 3 pinion gears rotating CLOCKWISE and these do just that. |
|---|
|
|
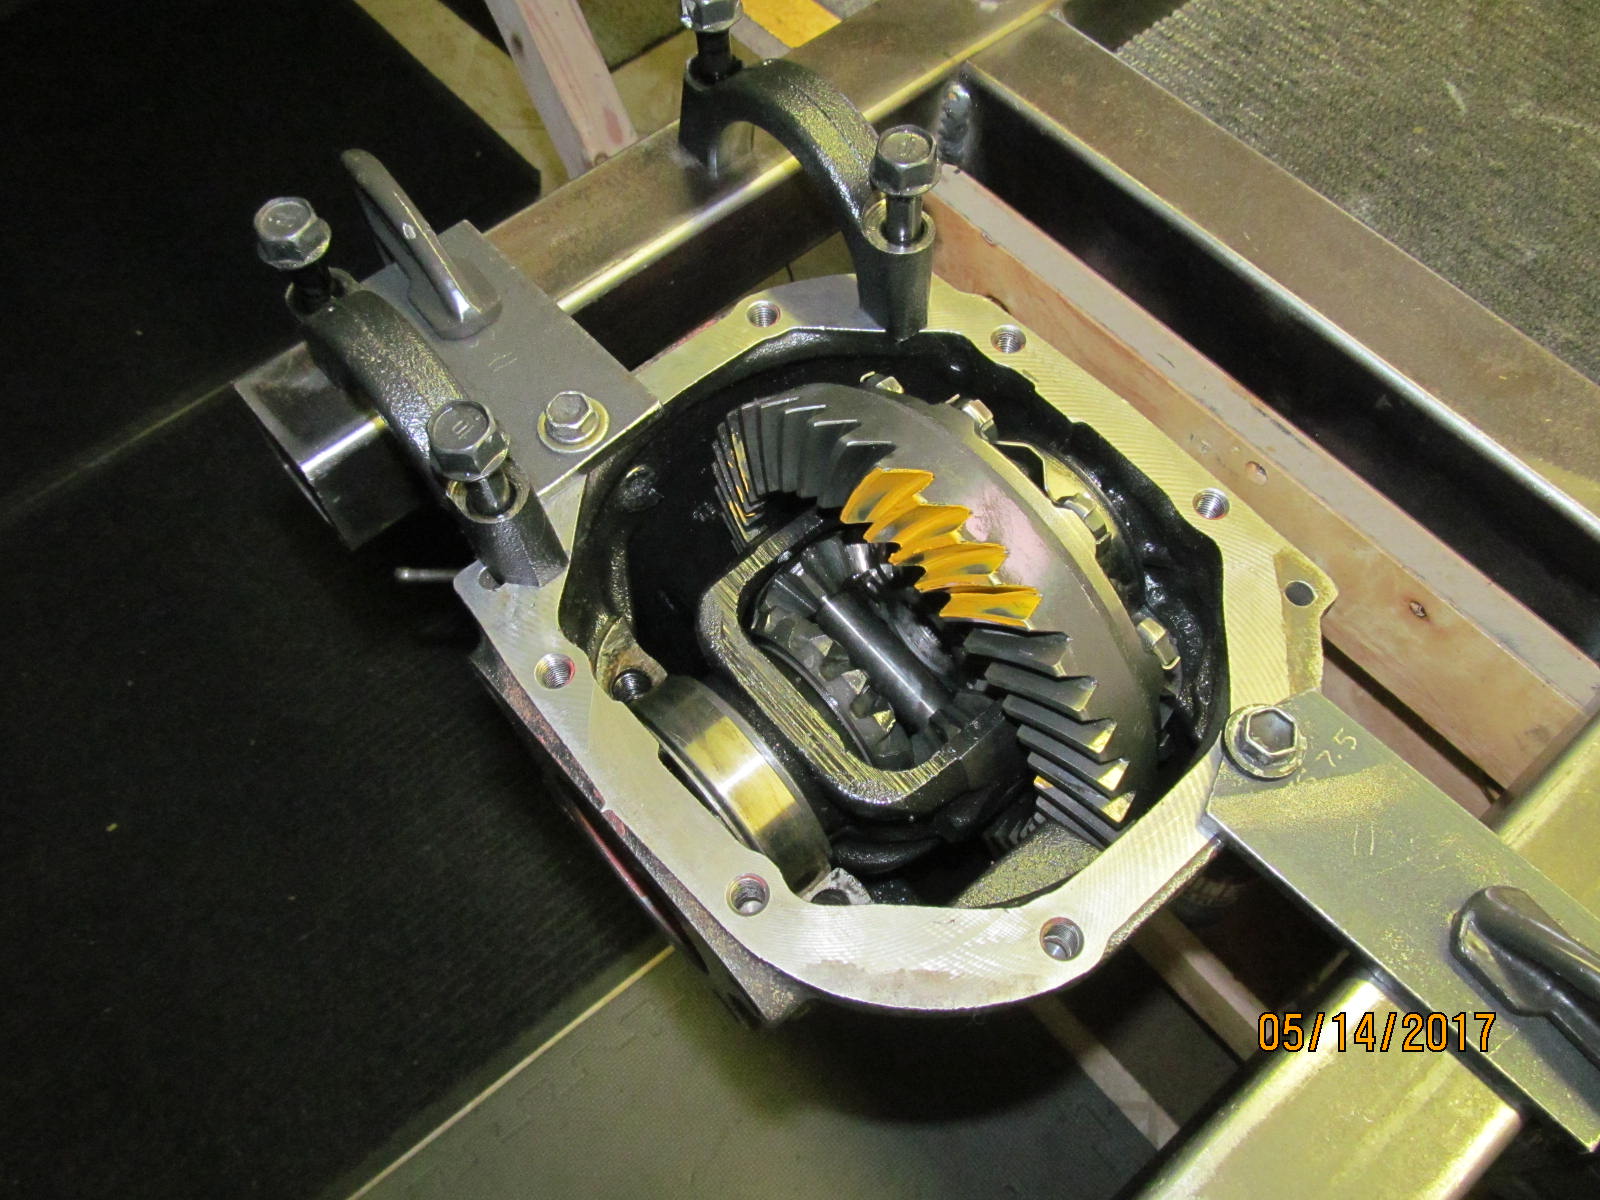
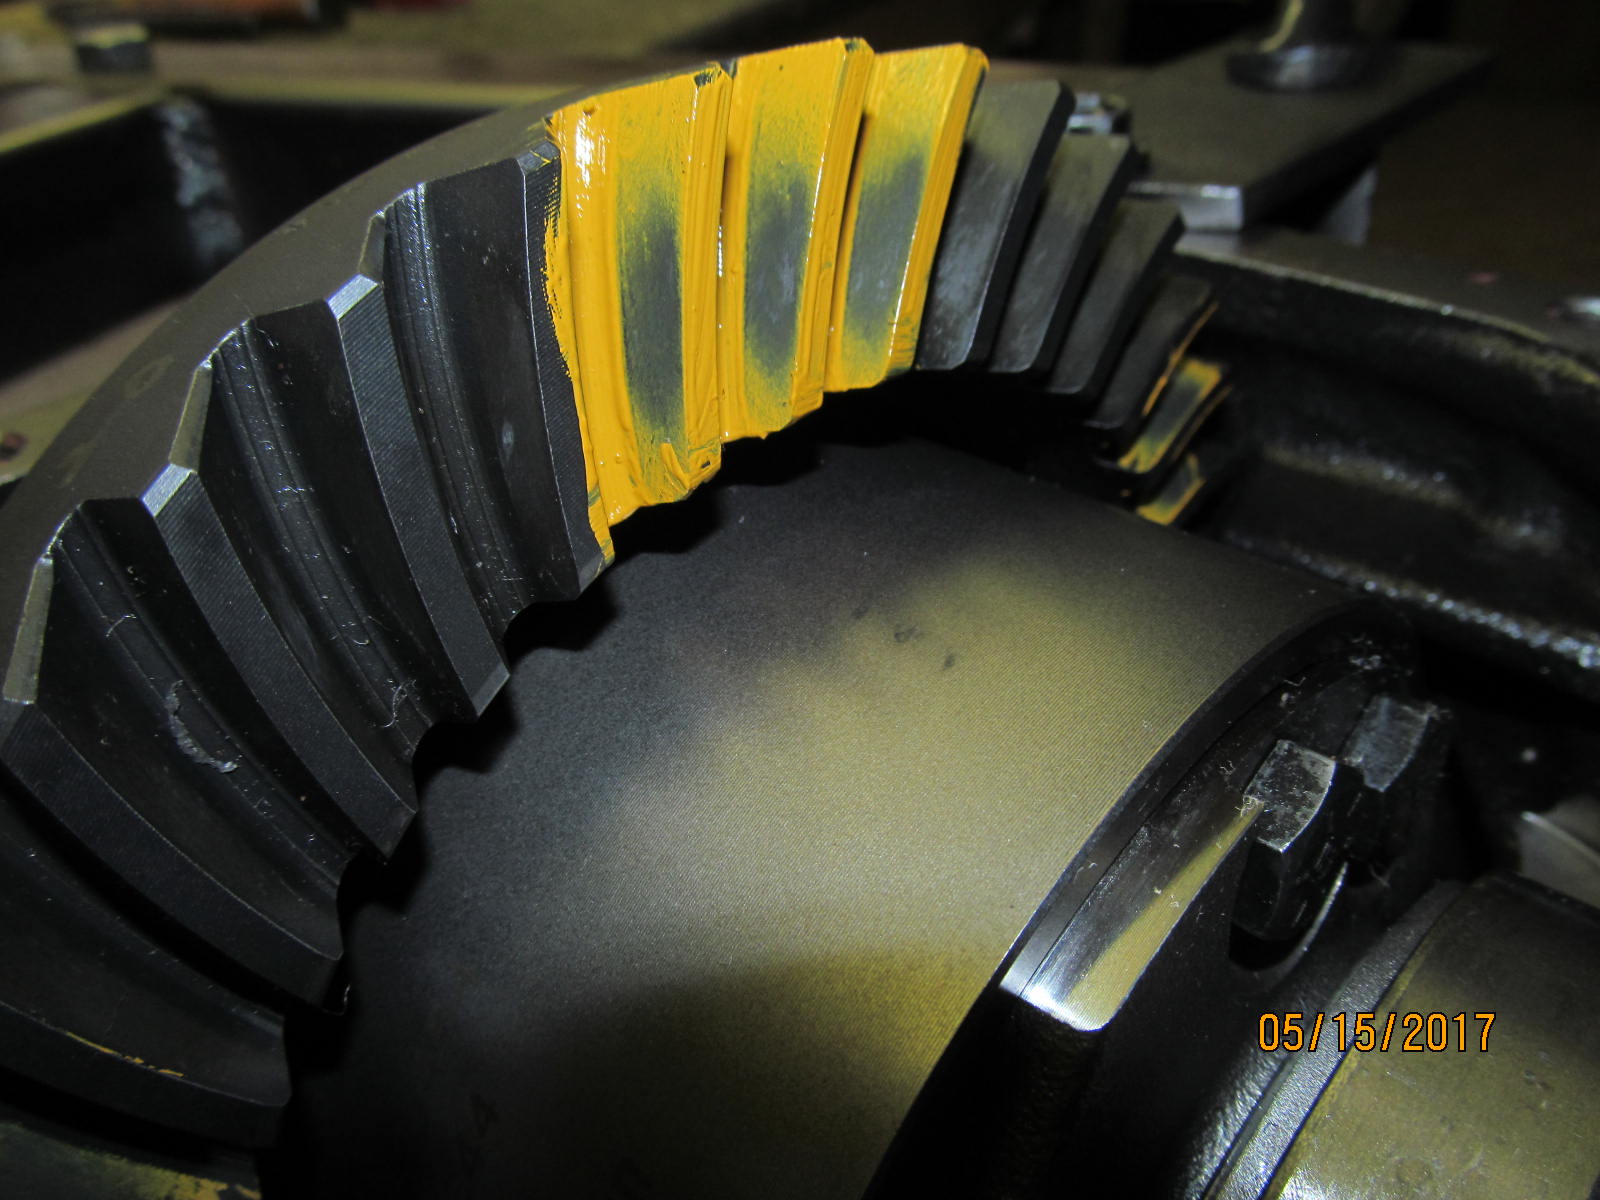
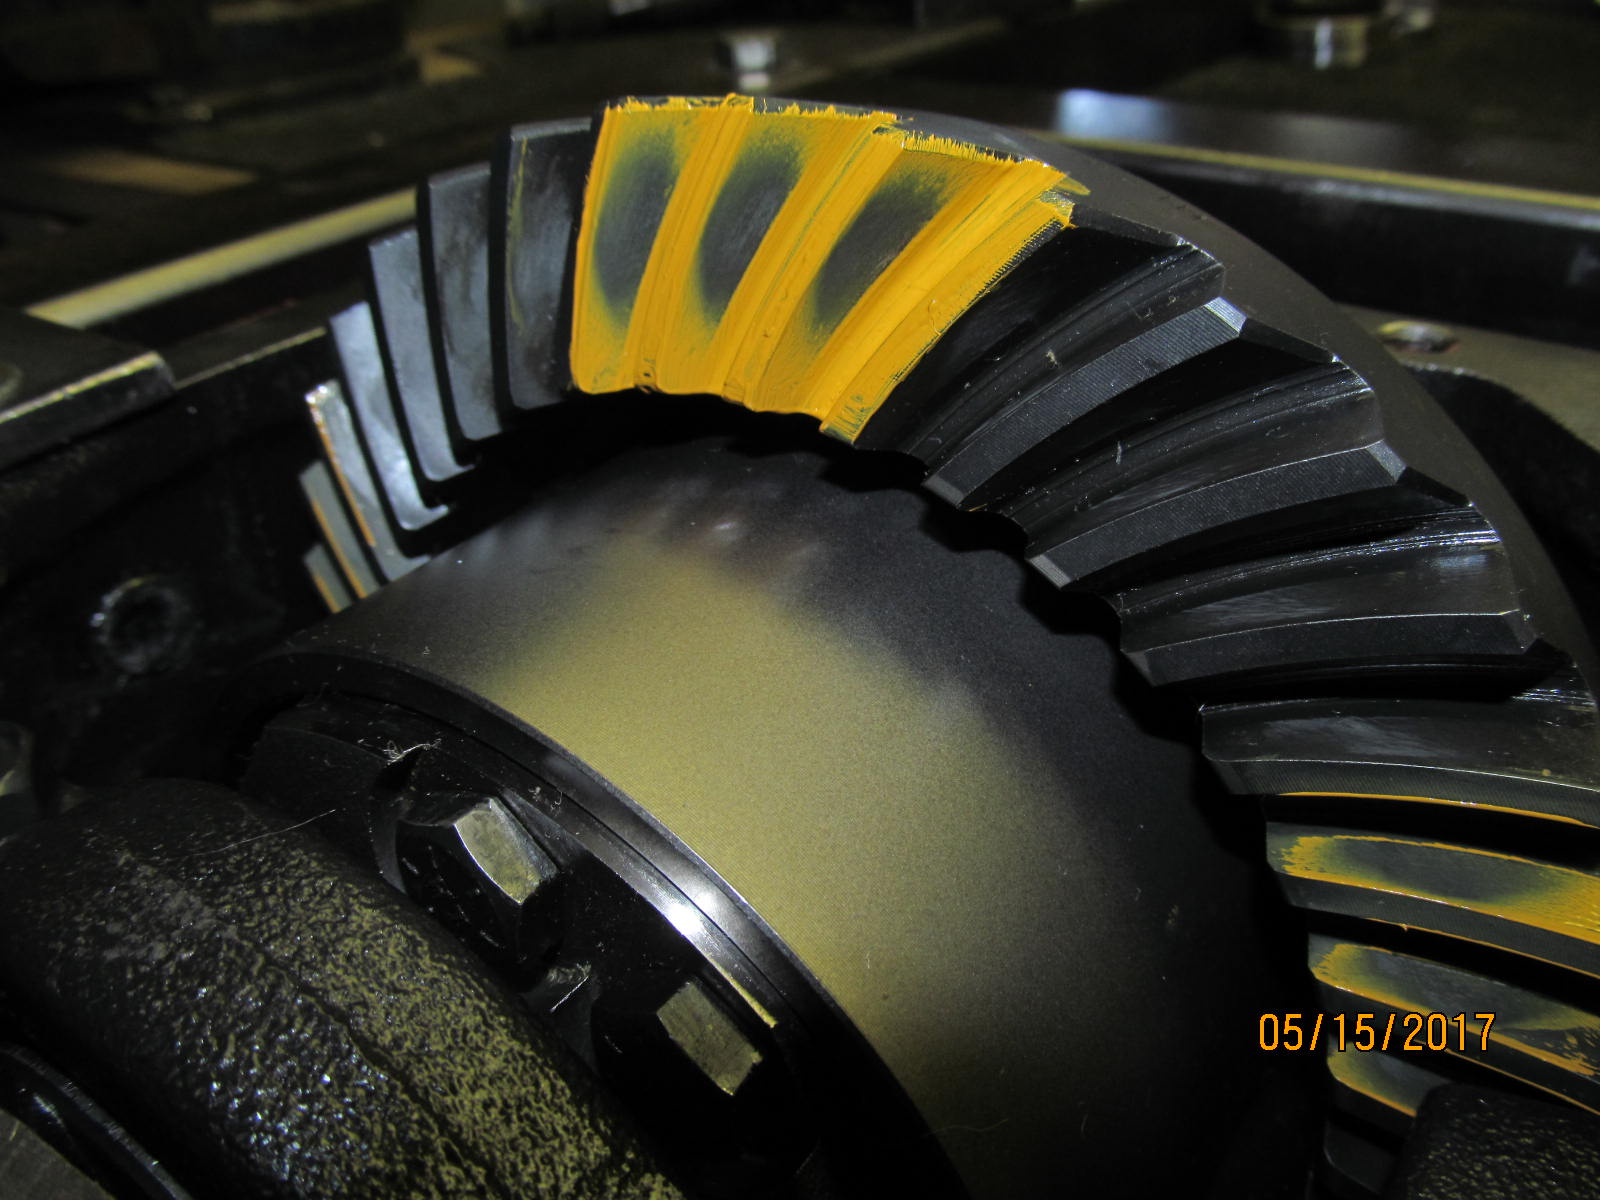
| Often, I run a paint check before removing the gears. The drive side was strangely on the extreme heel end. The coast was good though. |
|---|
|
|
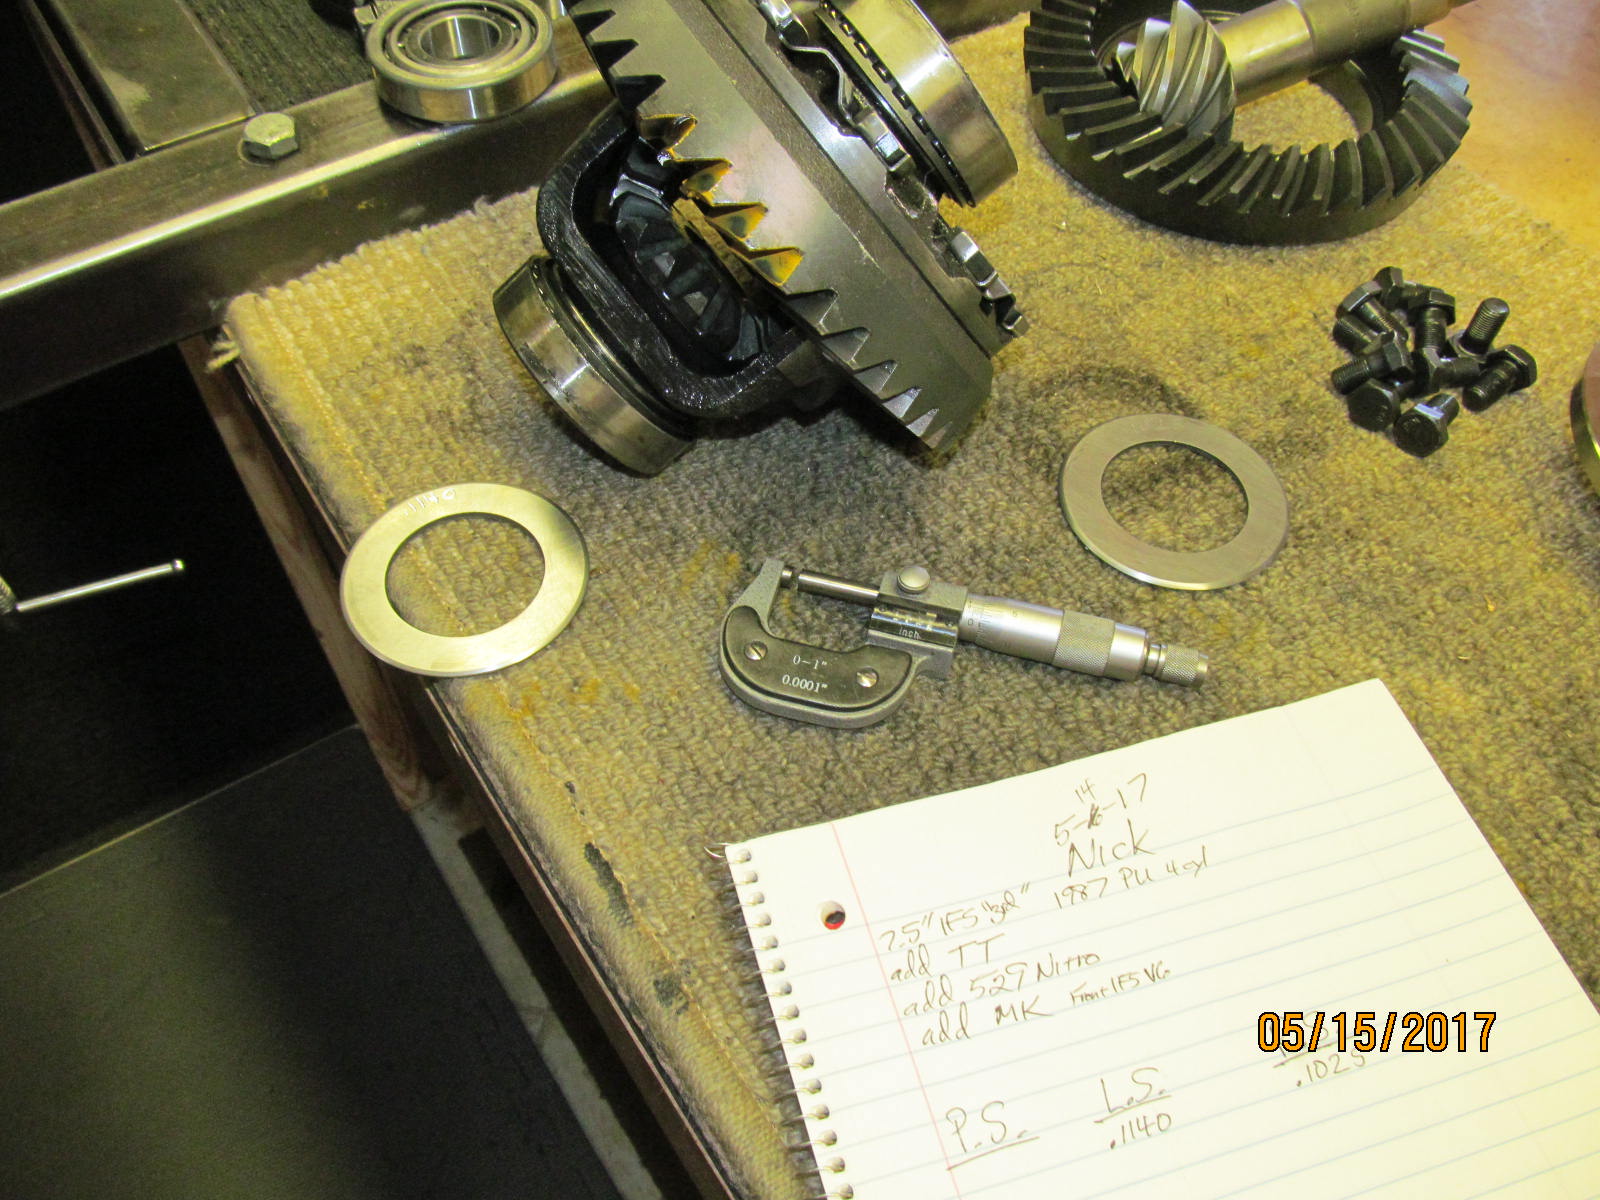
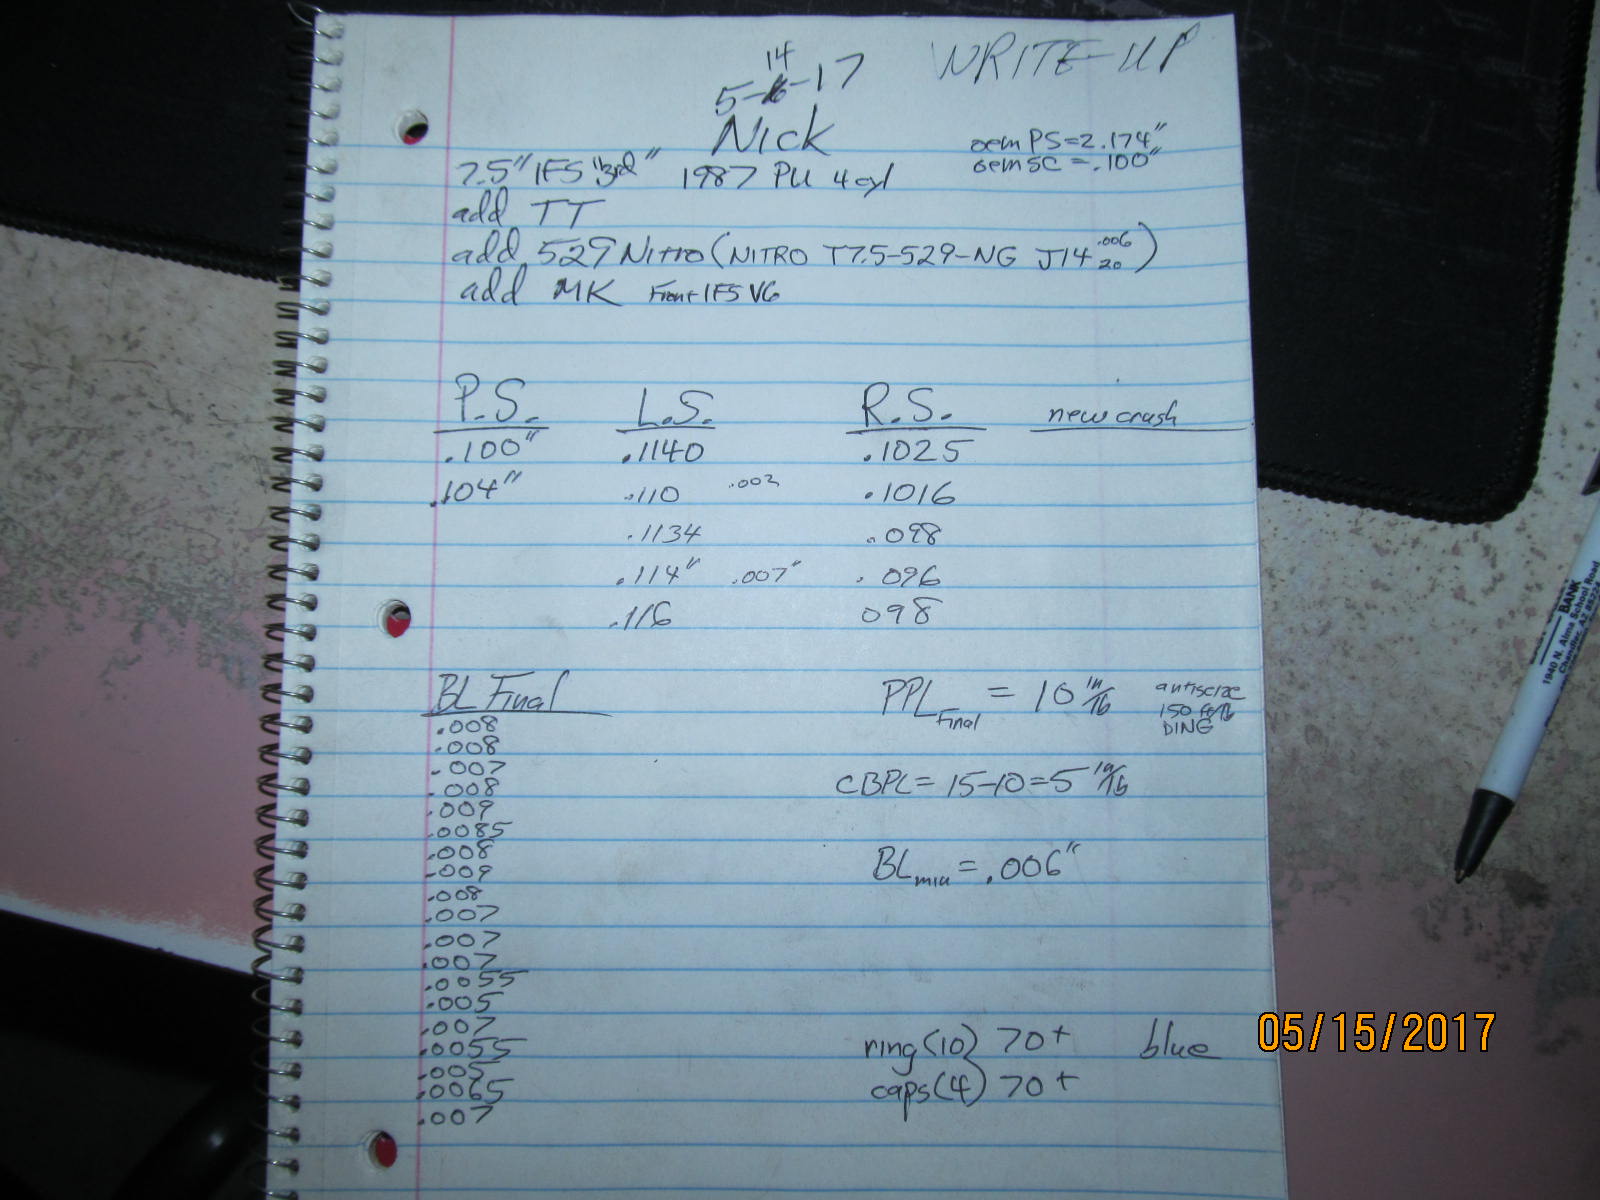
| Notes are started and dis-assembly begins. |
|---|
|
|
| Dis-assembly of the pinion end. |
|---|
|
|
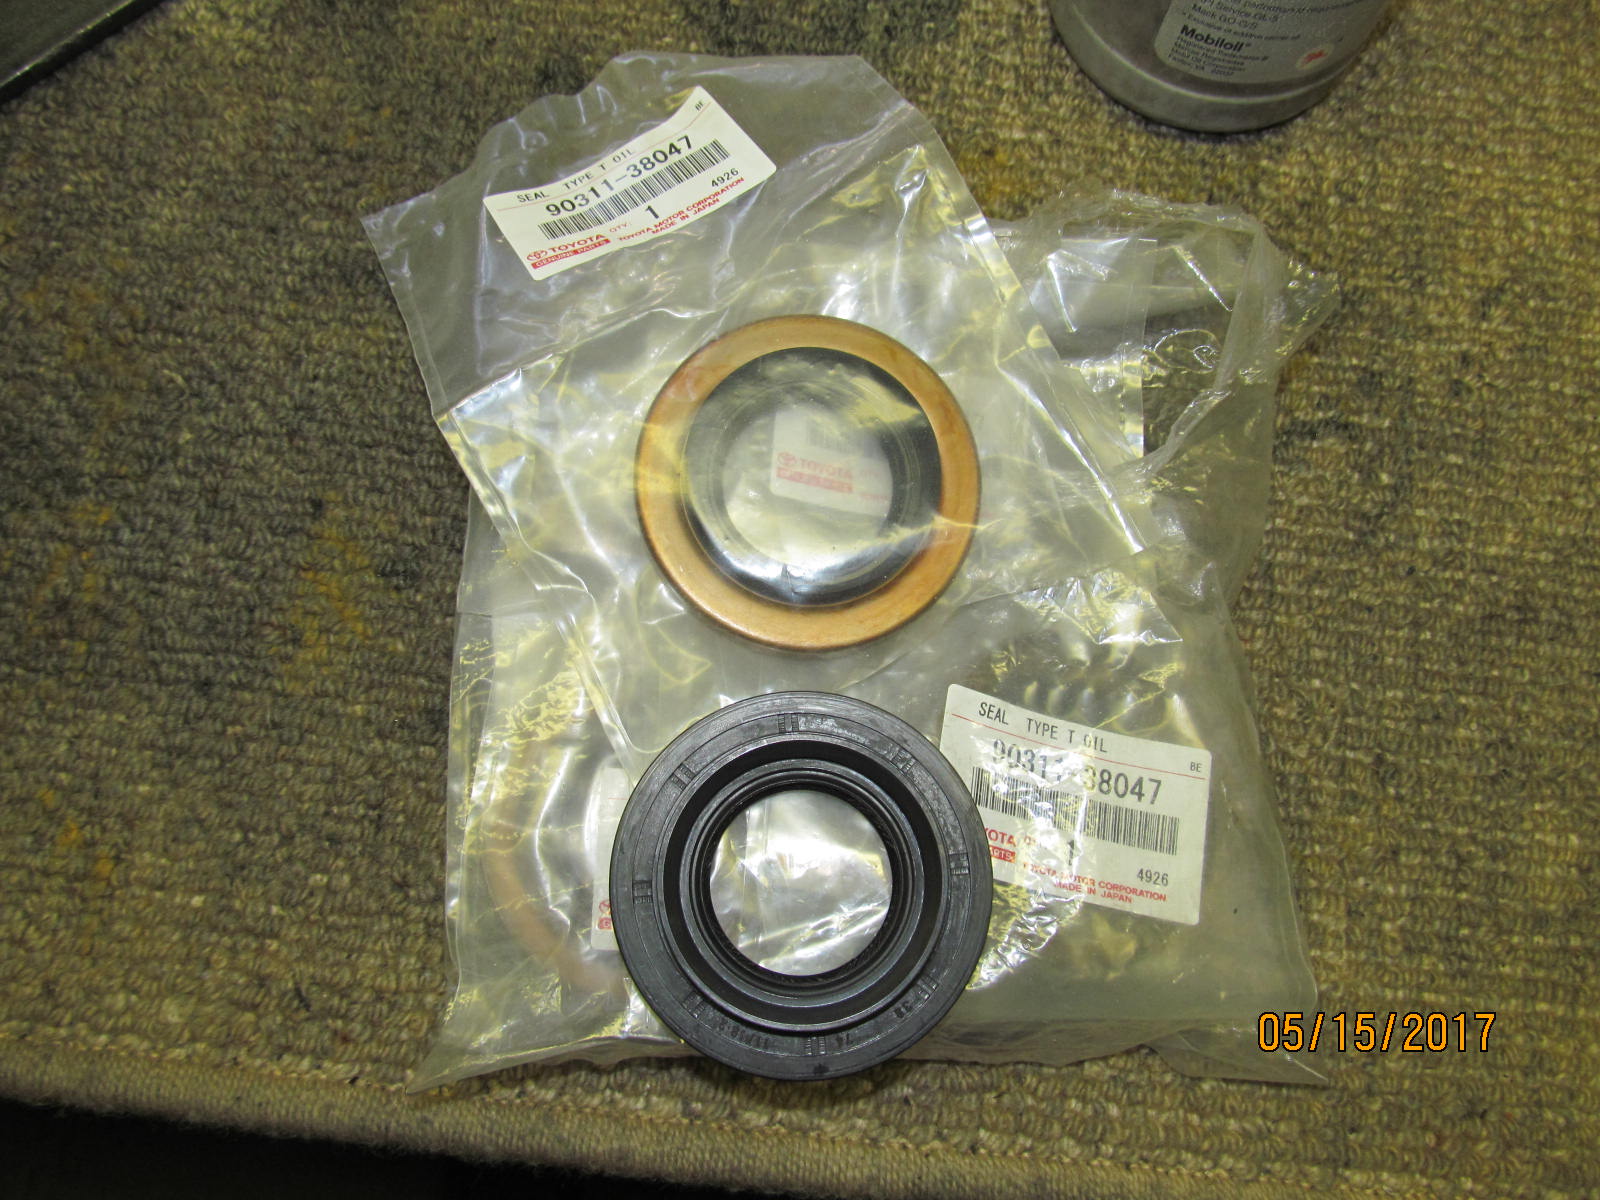
The protocol is to wet sand the seal surface with 1500 wet/dry sandpaper. That and to make sure a good seal is used.
Most of the master install kits come with a generic seal. I offer an upgrade to oem or maybe even the Marlin eco seal whenever possible. |
|---|
|
|
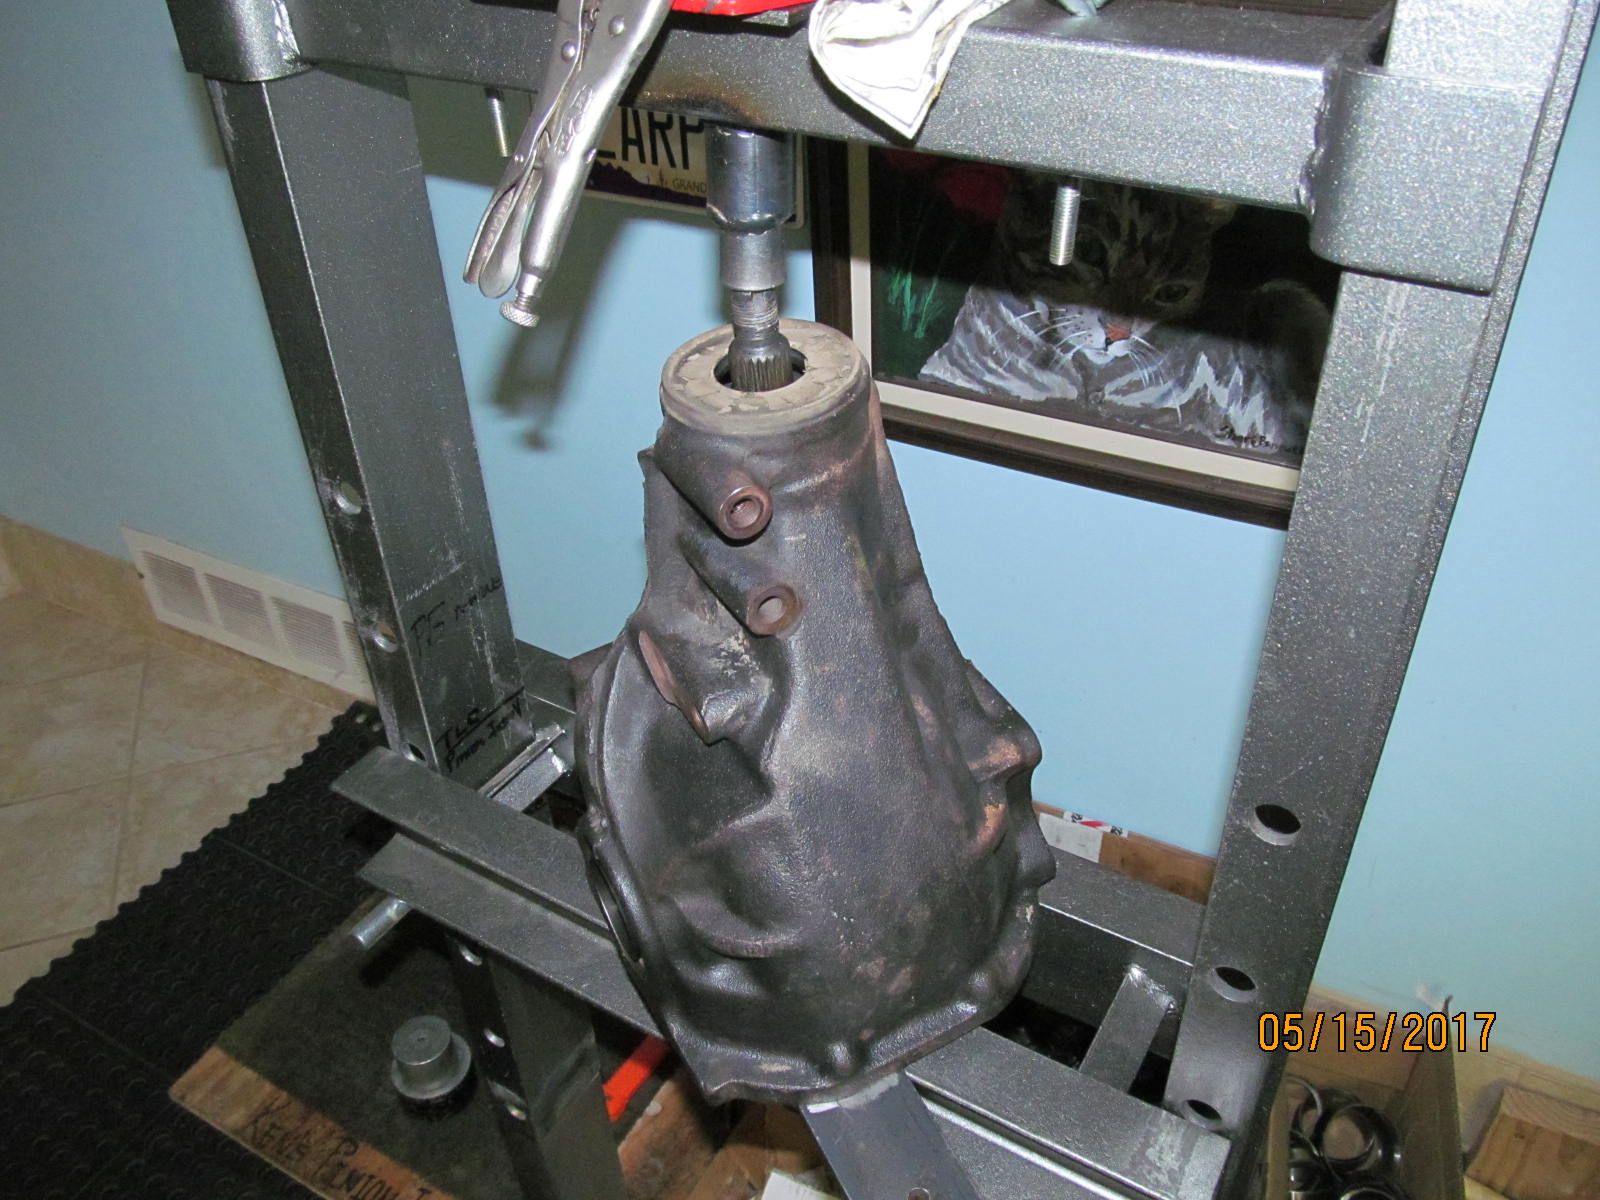
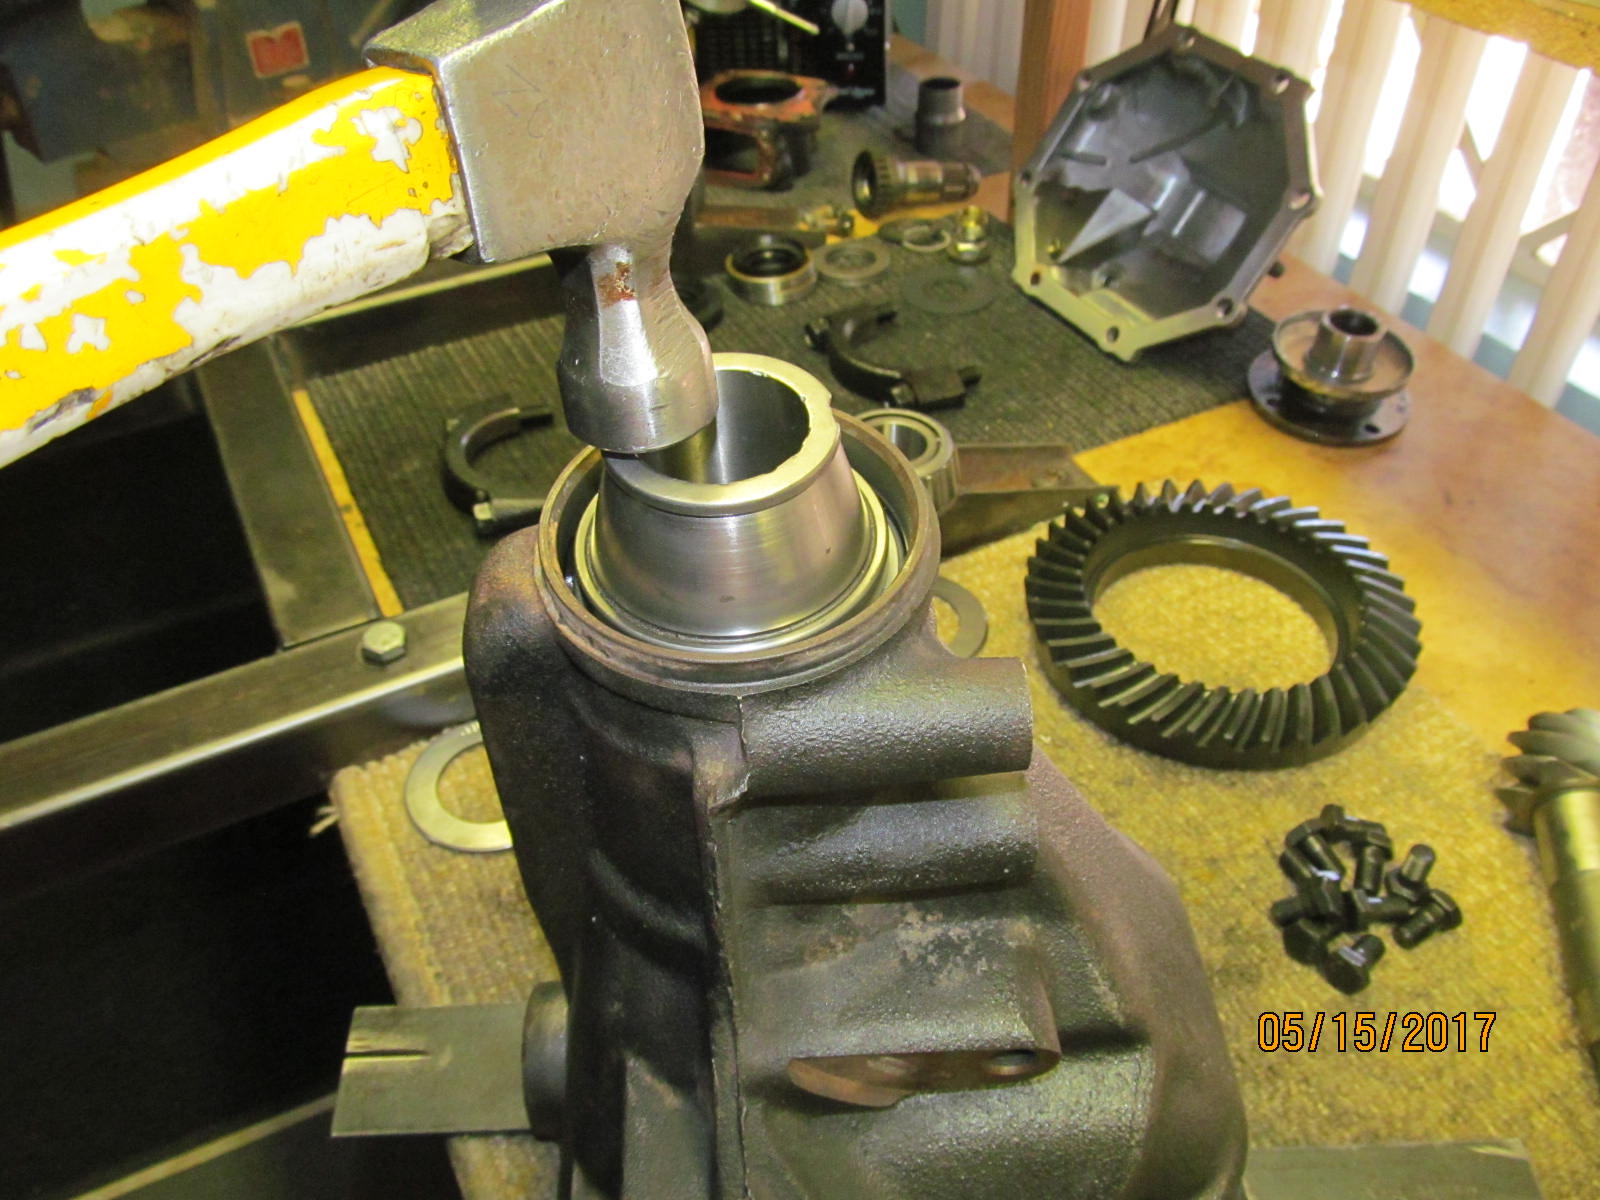
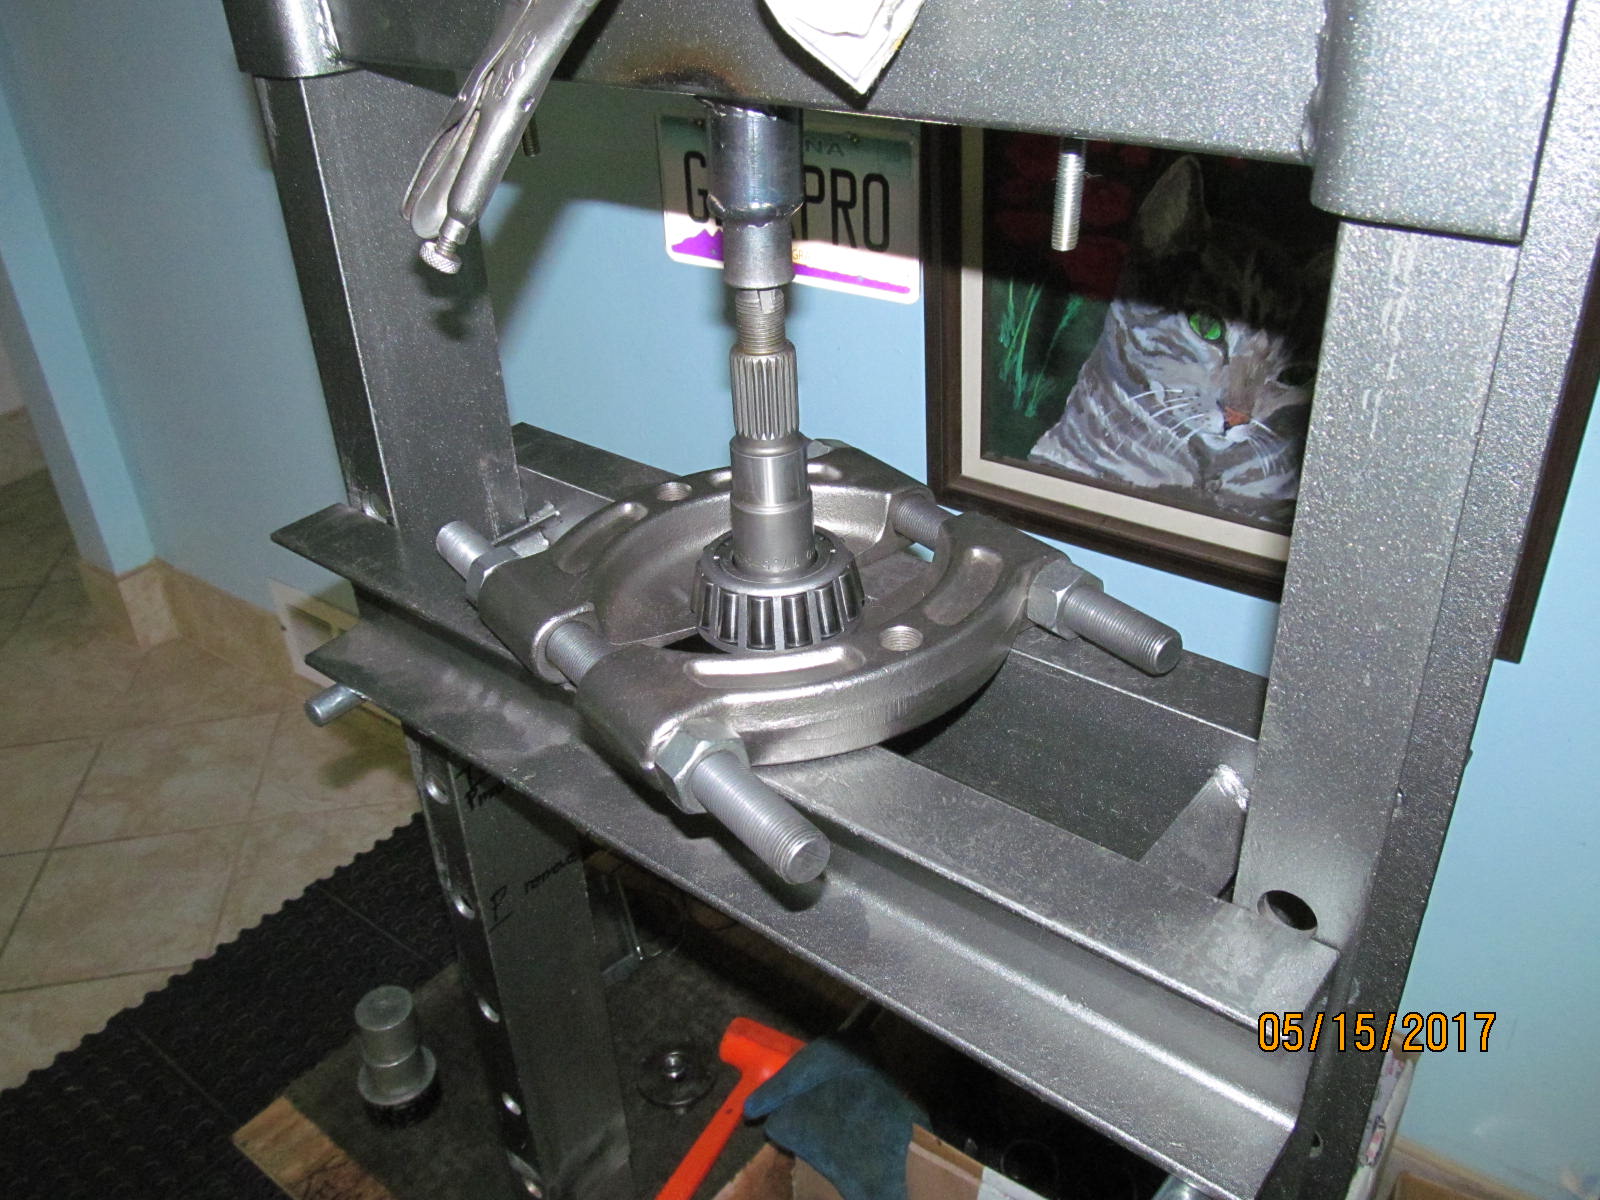
| Press the pinion out. |
|---|
|
|
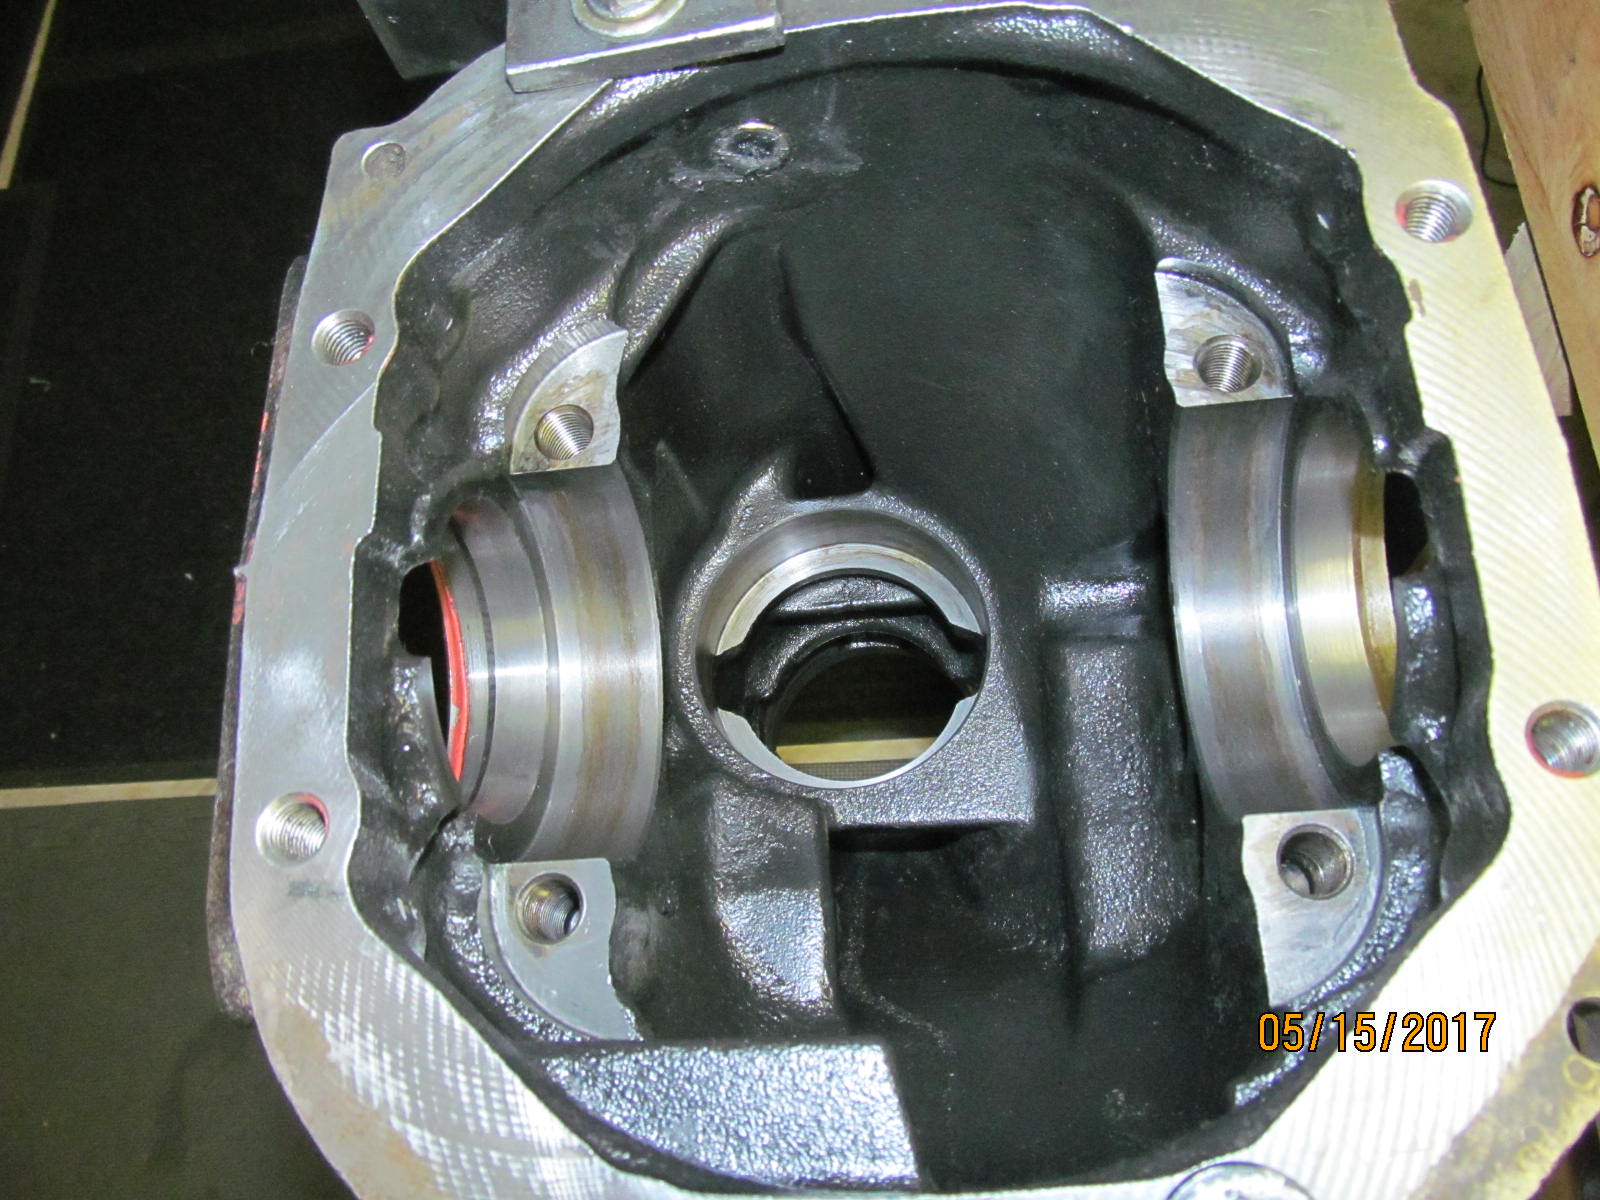
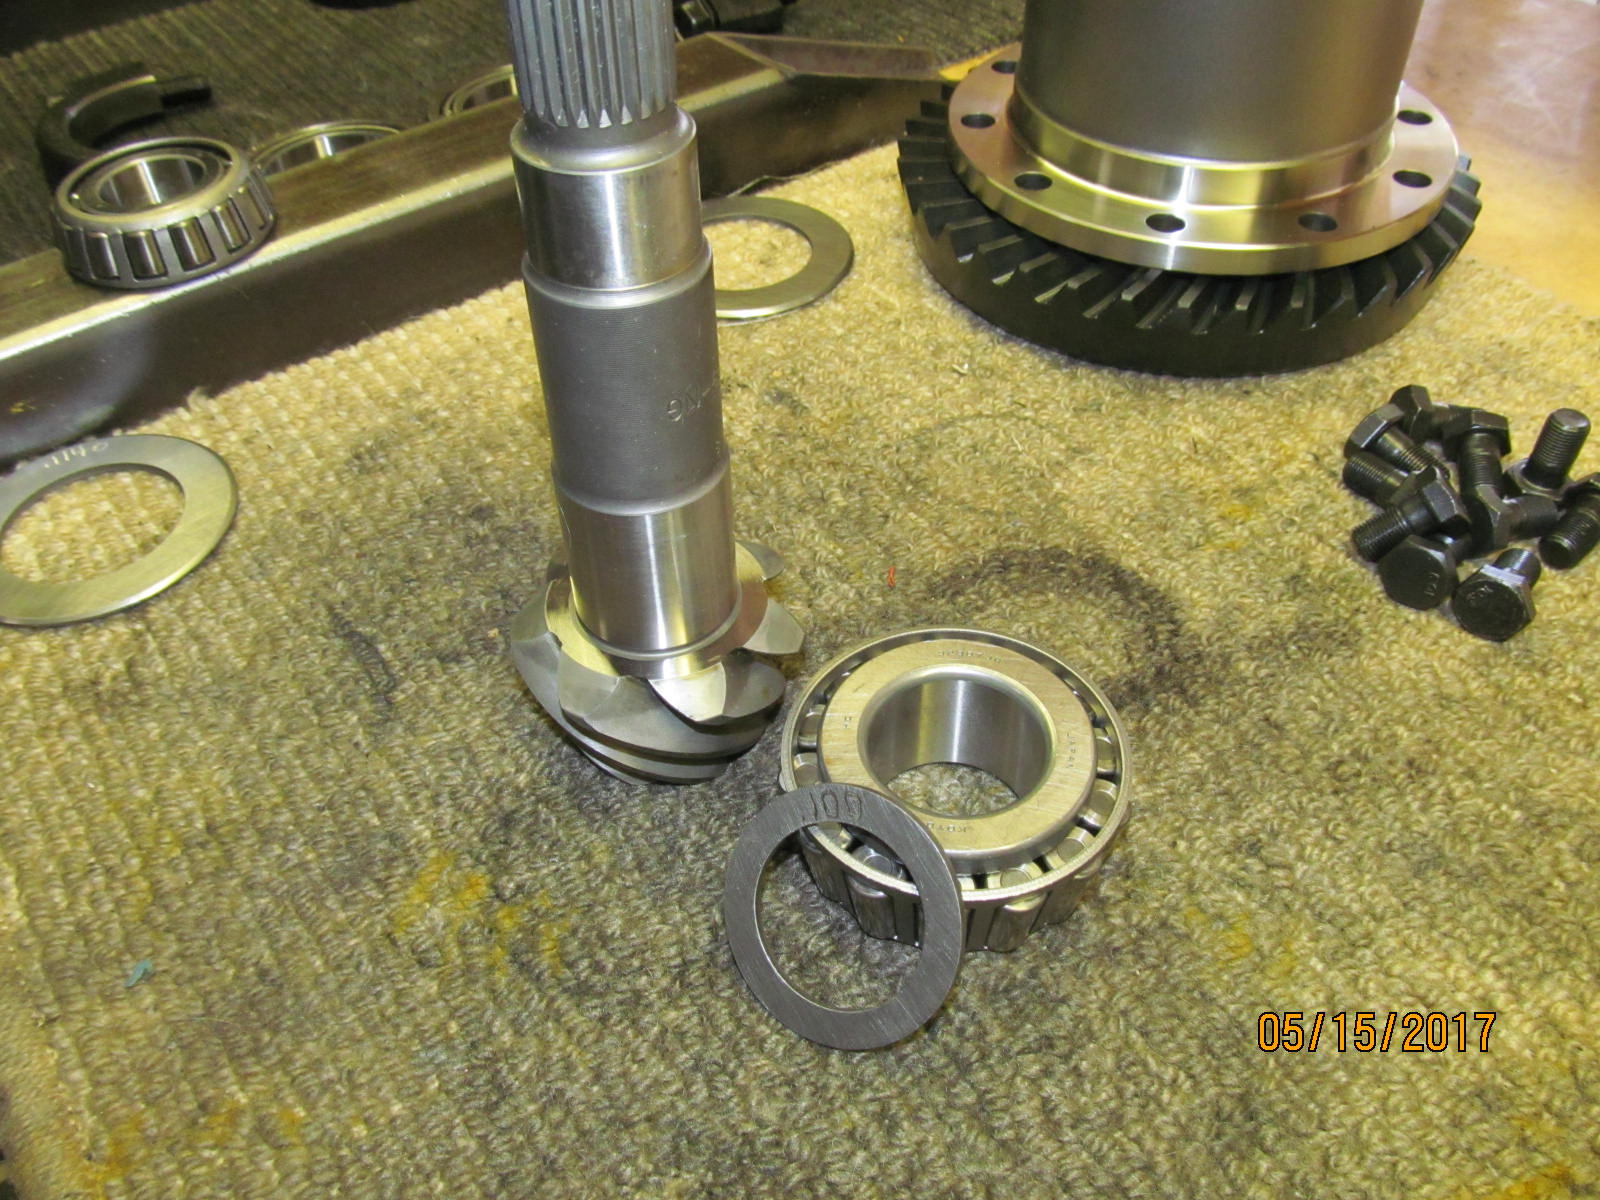
| Remove the races and general cleaning. |
|---|
|
|
| New races get tapped in....no more direct contact with the chisel these days. |
|---|
|
|
| New Koyo race...fully 100% seated. |
|---|
|
|
| New Koyo race on the outer end also. |
|---|
|
|
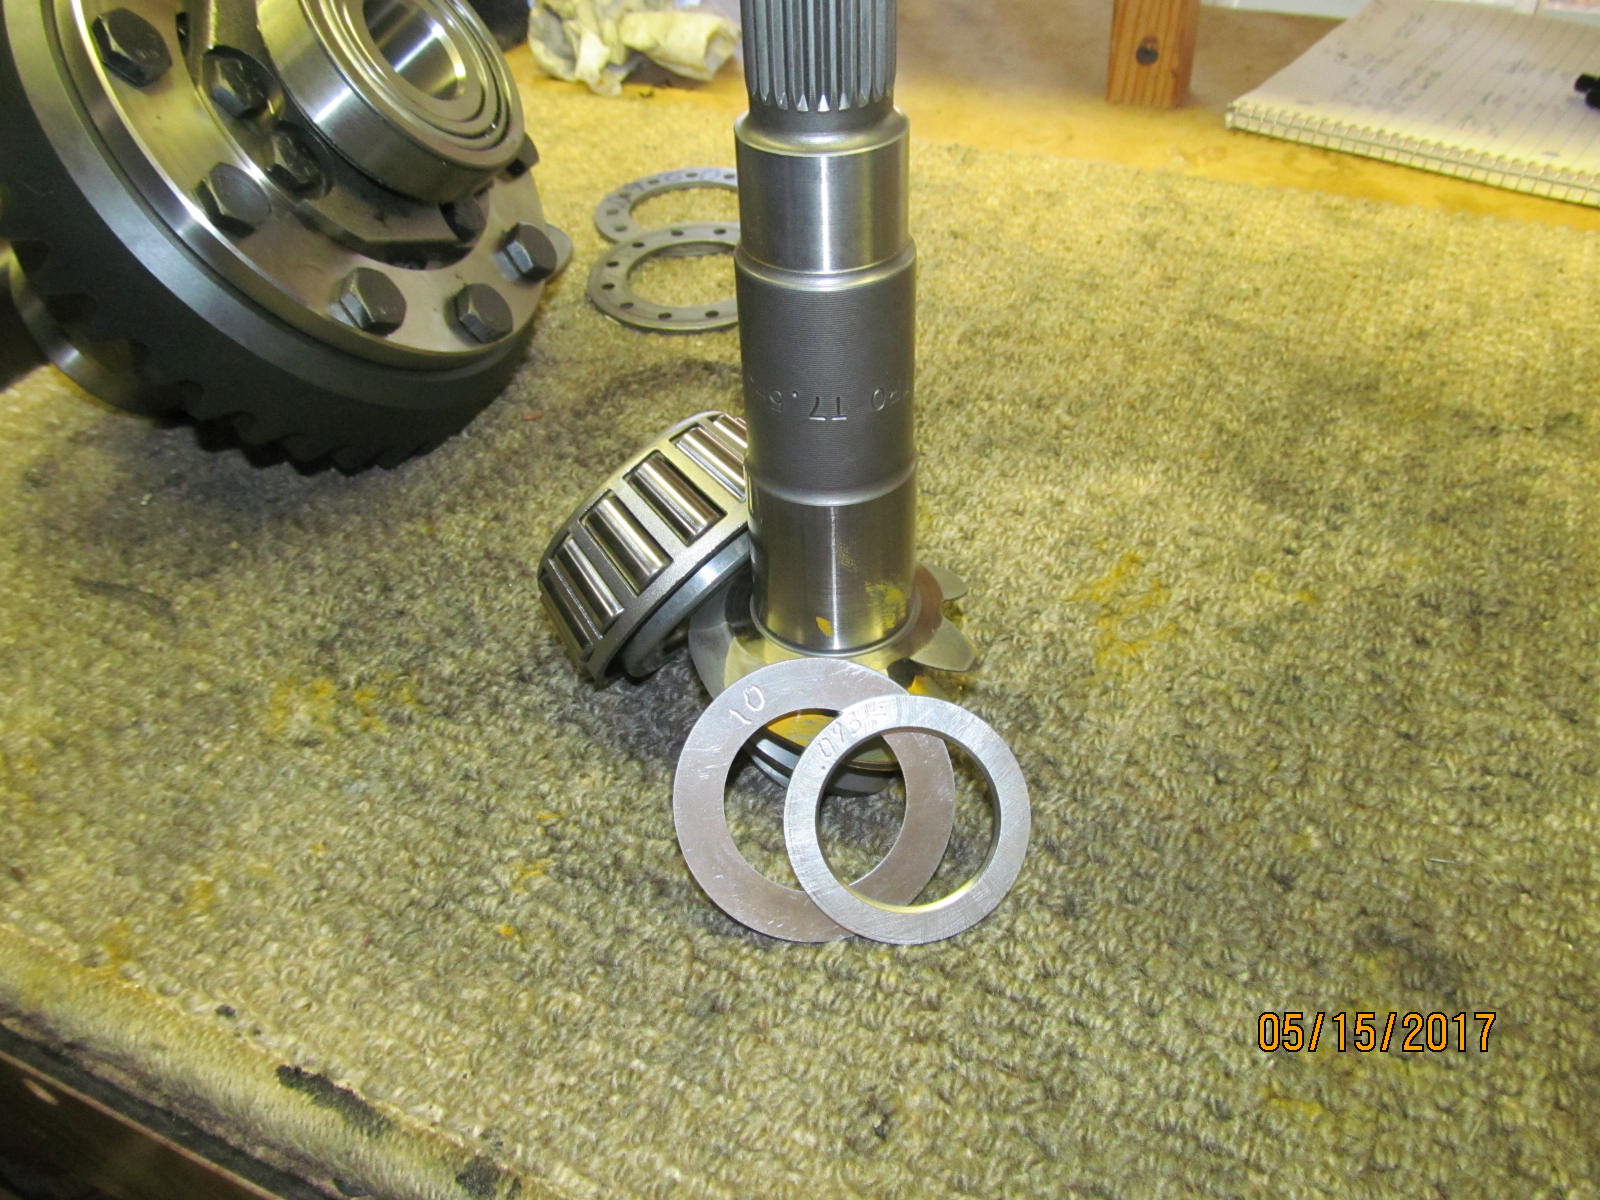
| Will try re-using the oem .100" shim. |
|---|
|
|
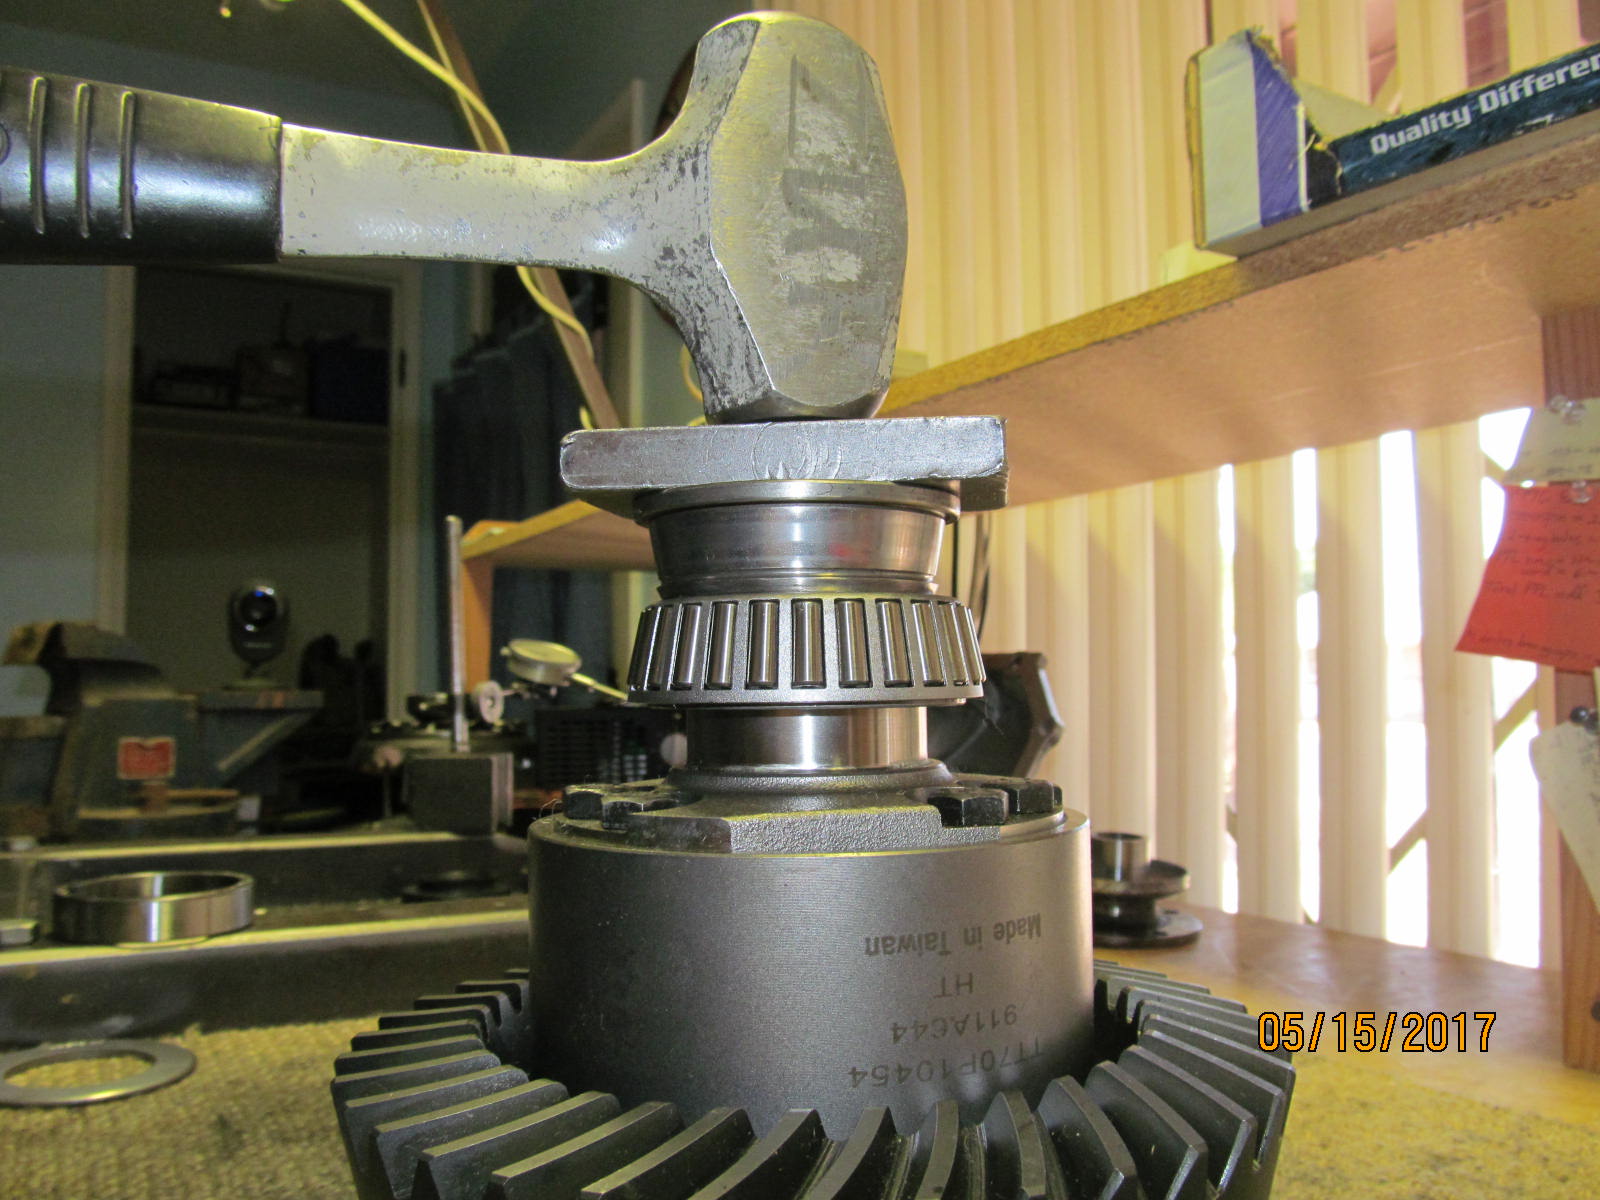
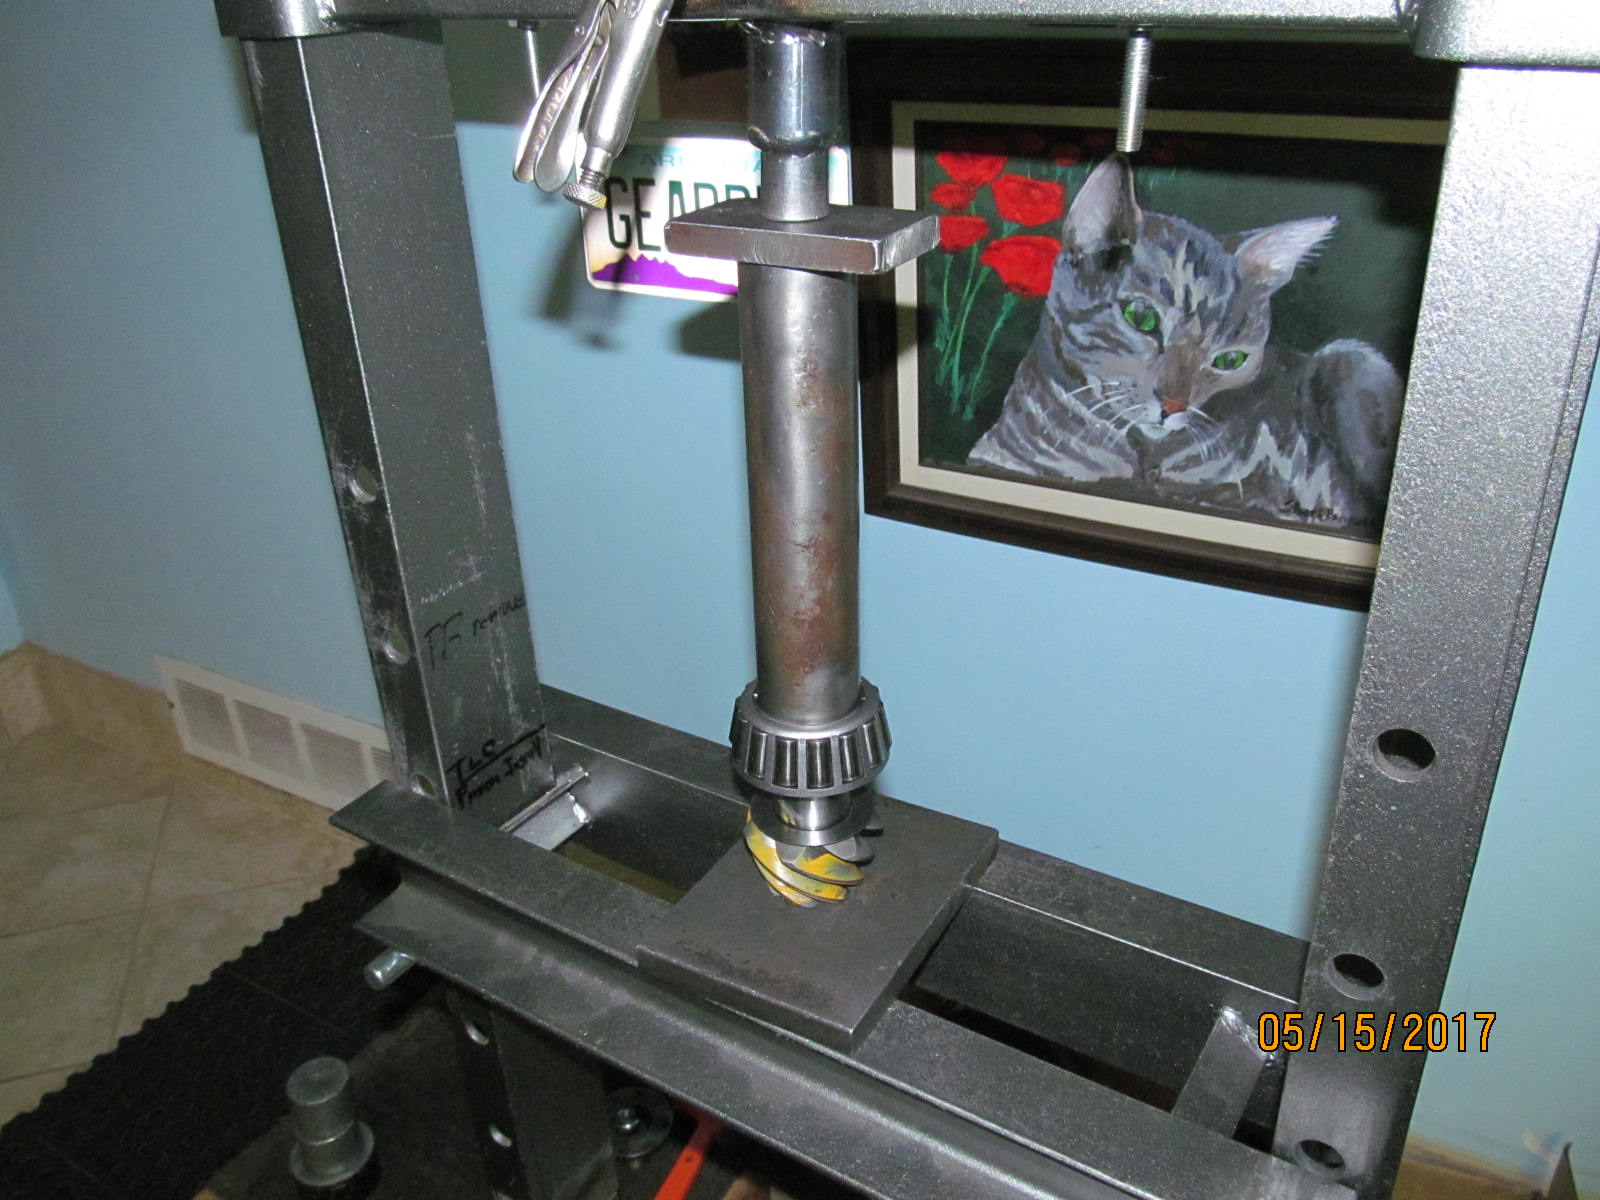
| Press the bearing on with the 12ton Harborfreight special. |
|---|
|
|
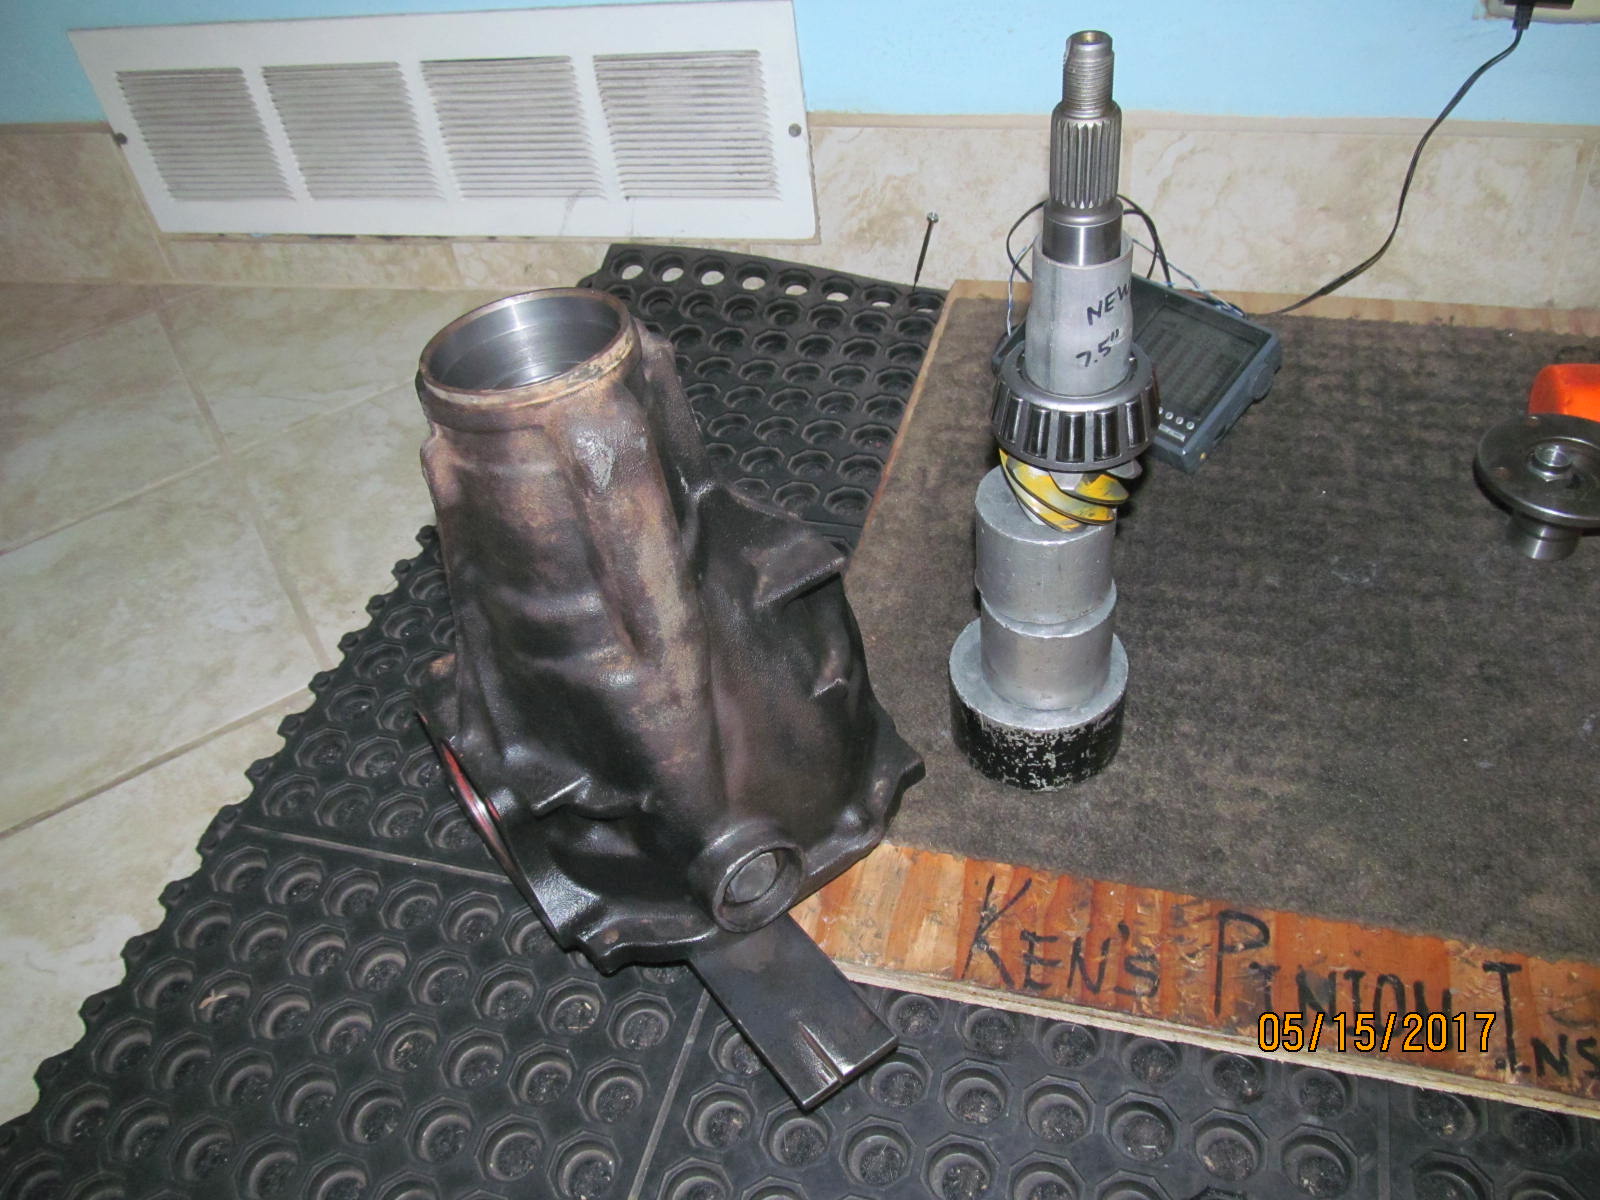
| Now to load the pinion into the 3rd... |
|---|
|
|
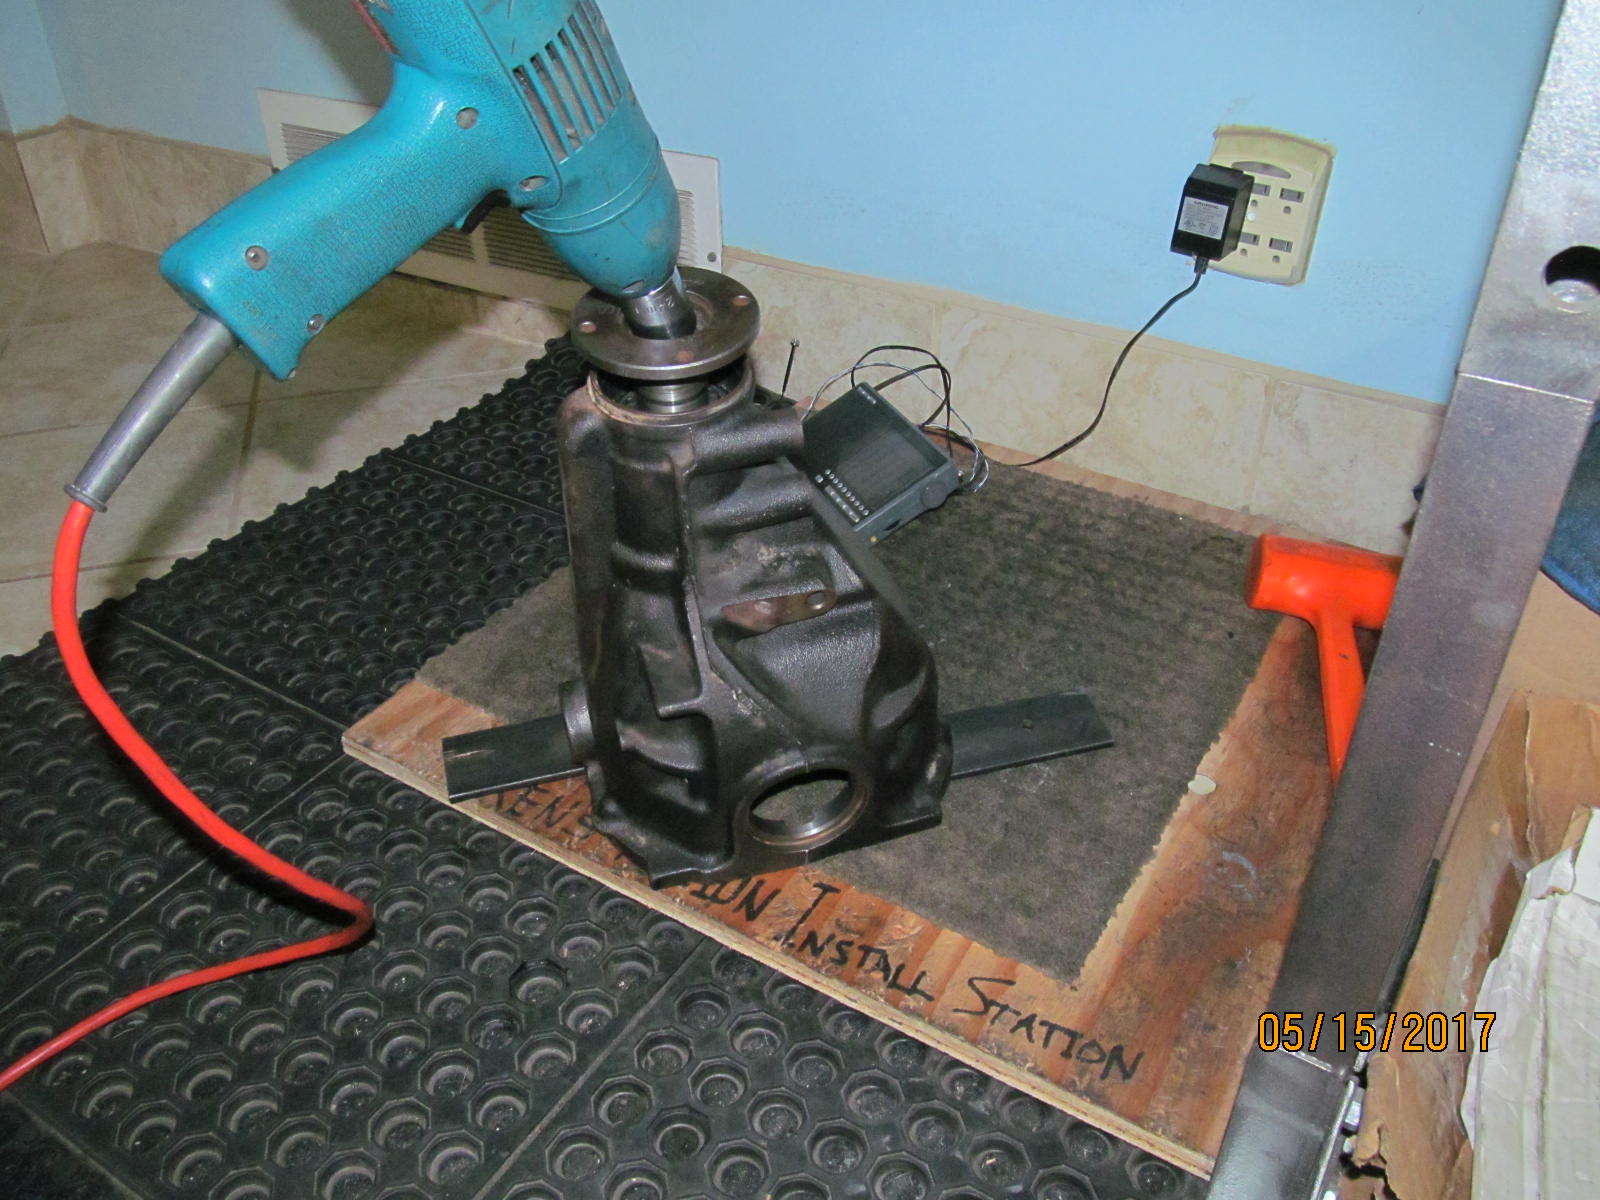
| Tap on the flange with the plastic hammer and snug the pinion nut up just enough to get normal preload. |
|---|
|

|
| Now onto the Truetrac end...File checks indicate all is normal. |
|---|
|
|
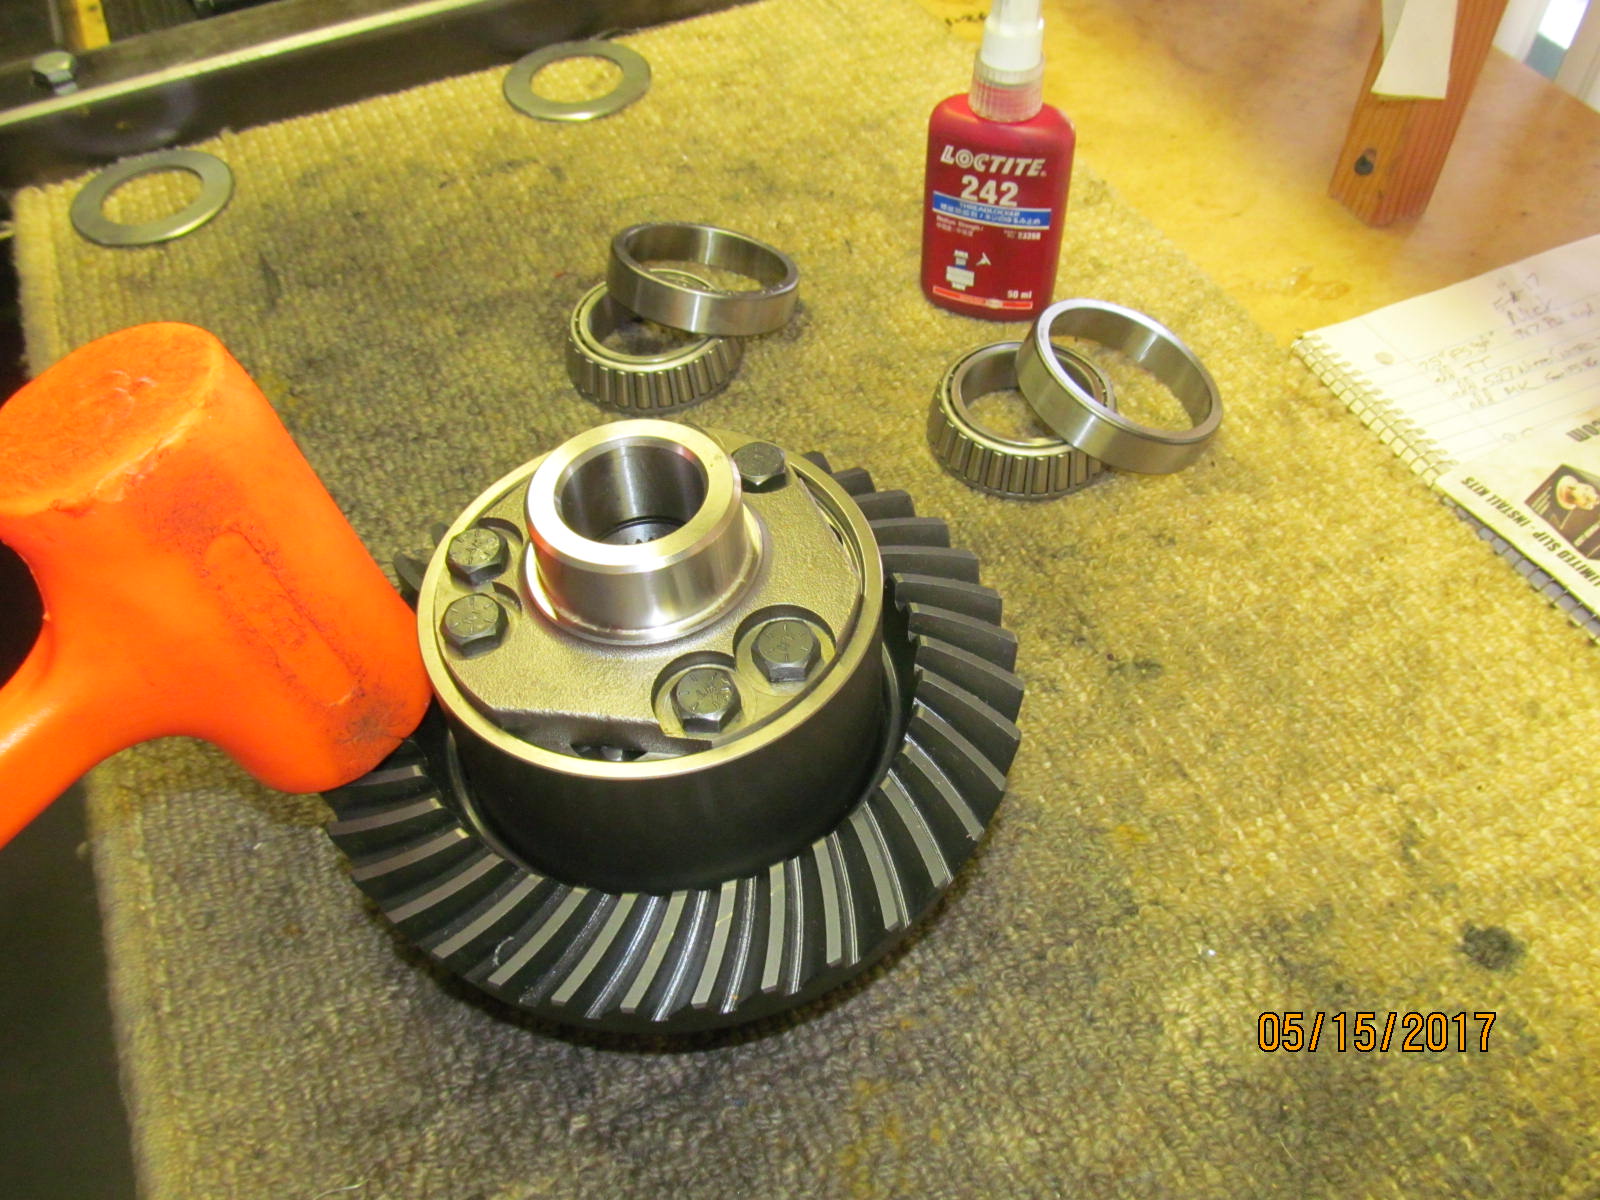
| The Nitro ring gear was a tight fit. |
|---|
|
|
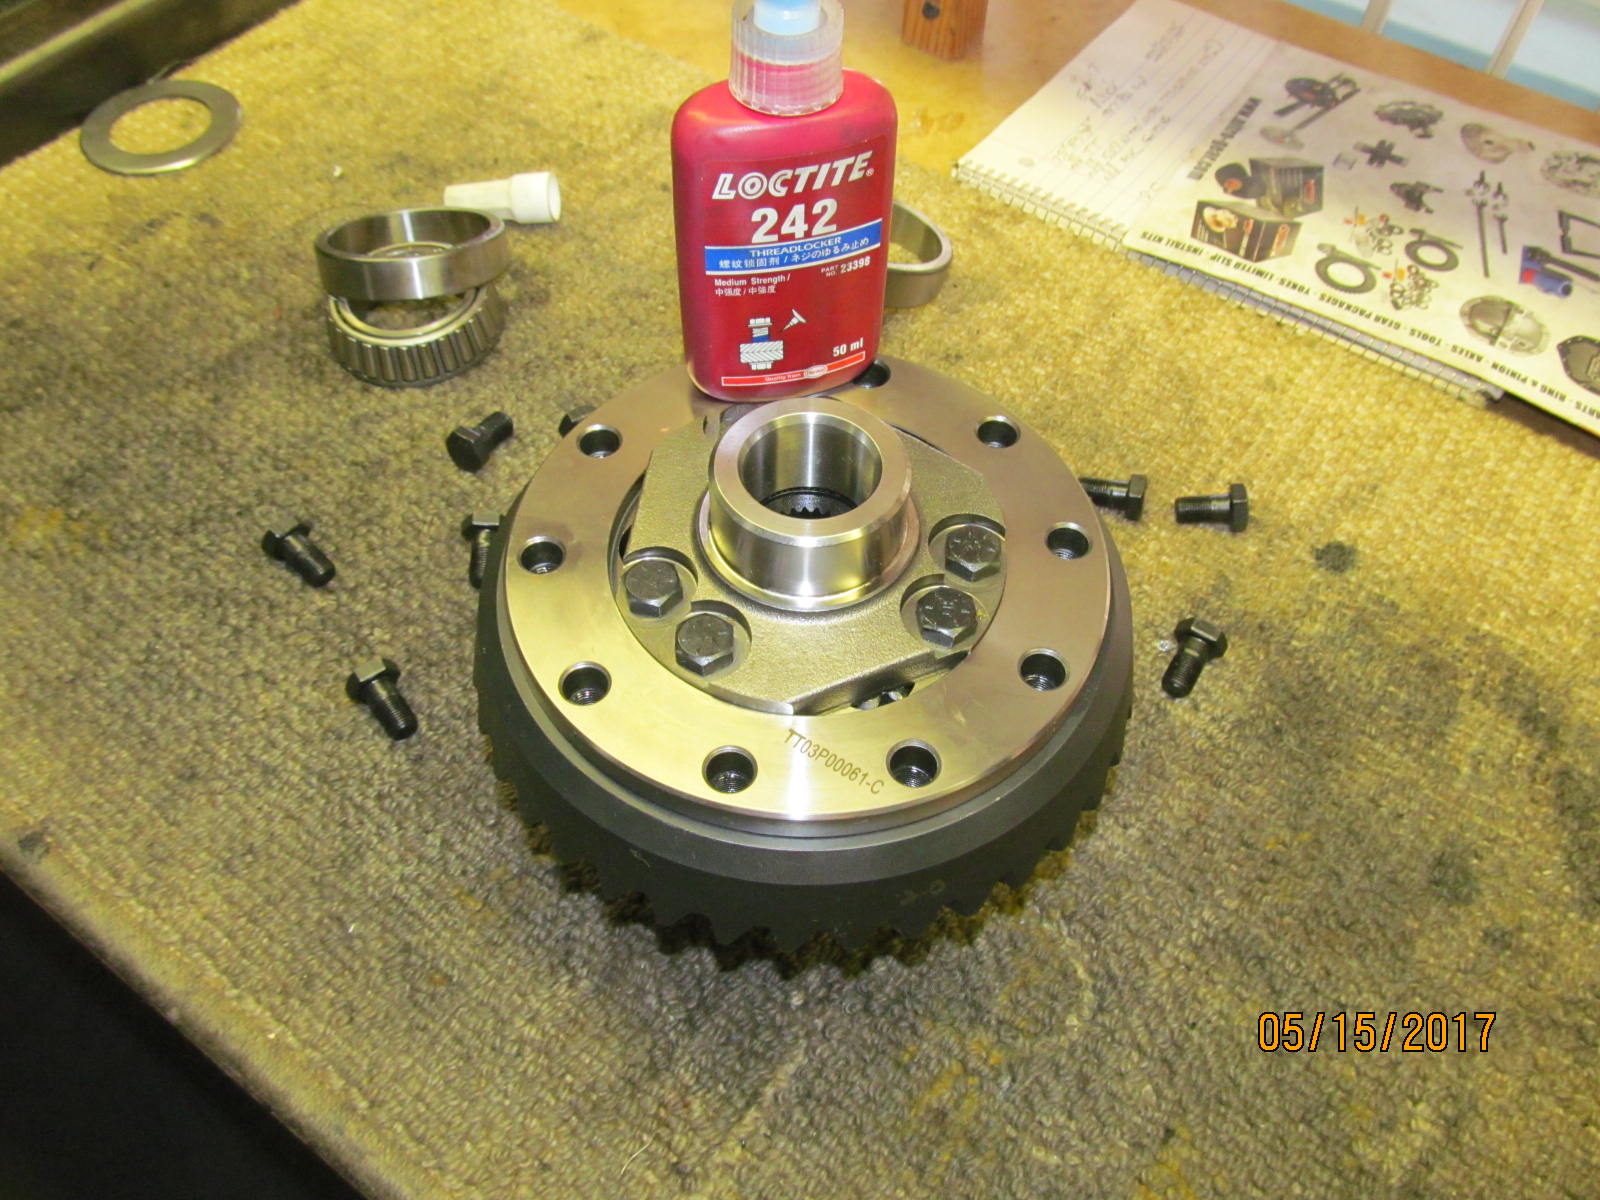
| I got lucky and all the ring gear bolts started to thread just fine. |
|---|
|
|
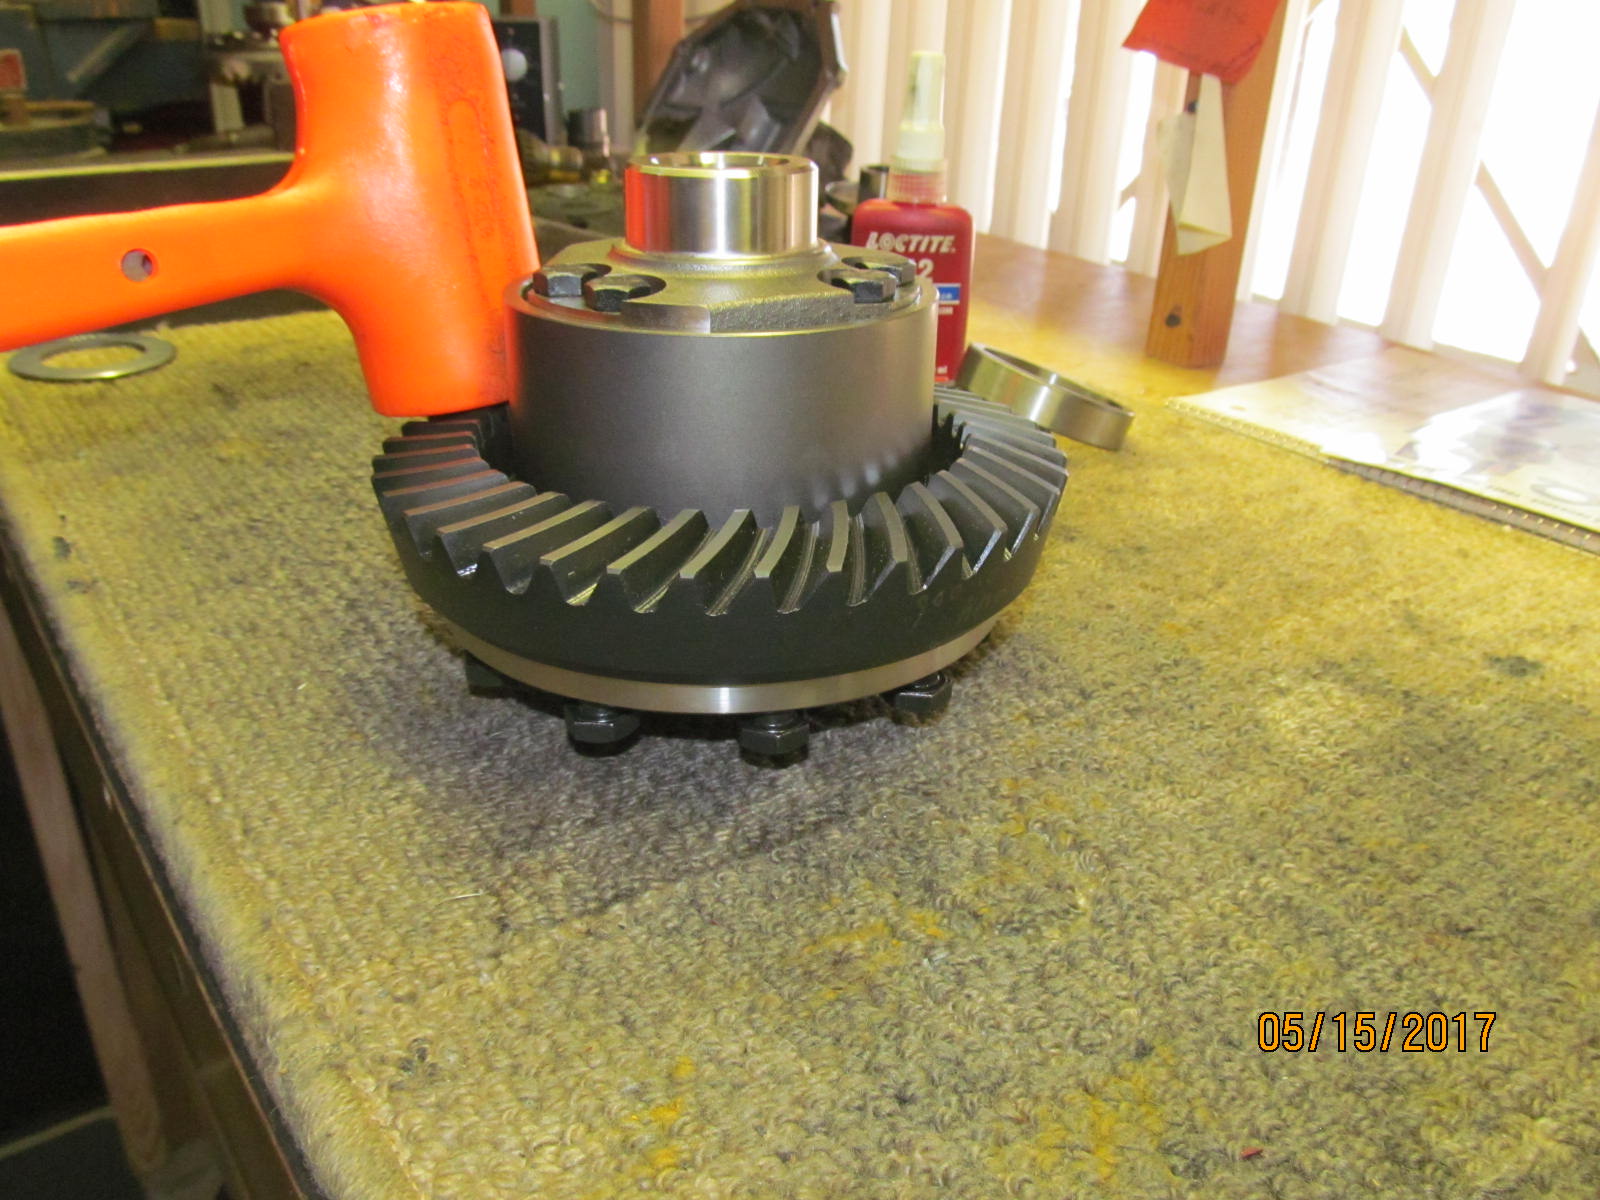
| So the ring gear was tapped on the remaining amount. |
|---|
|
|
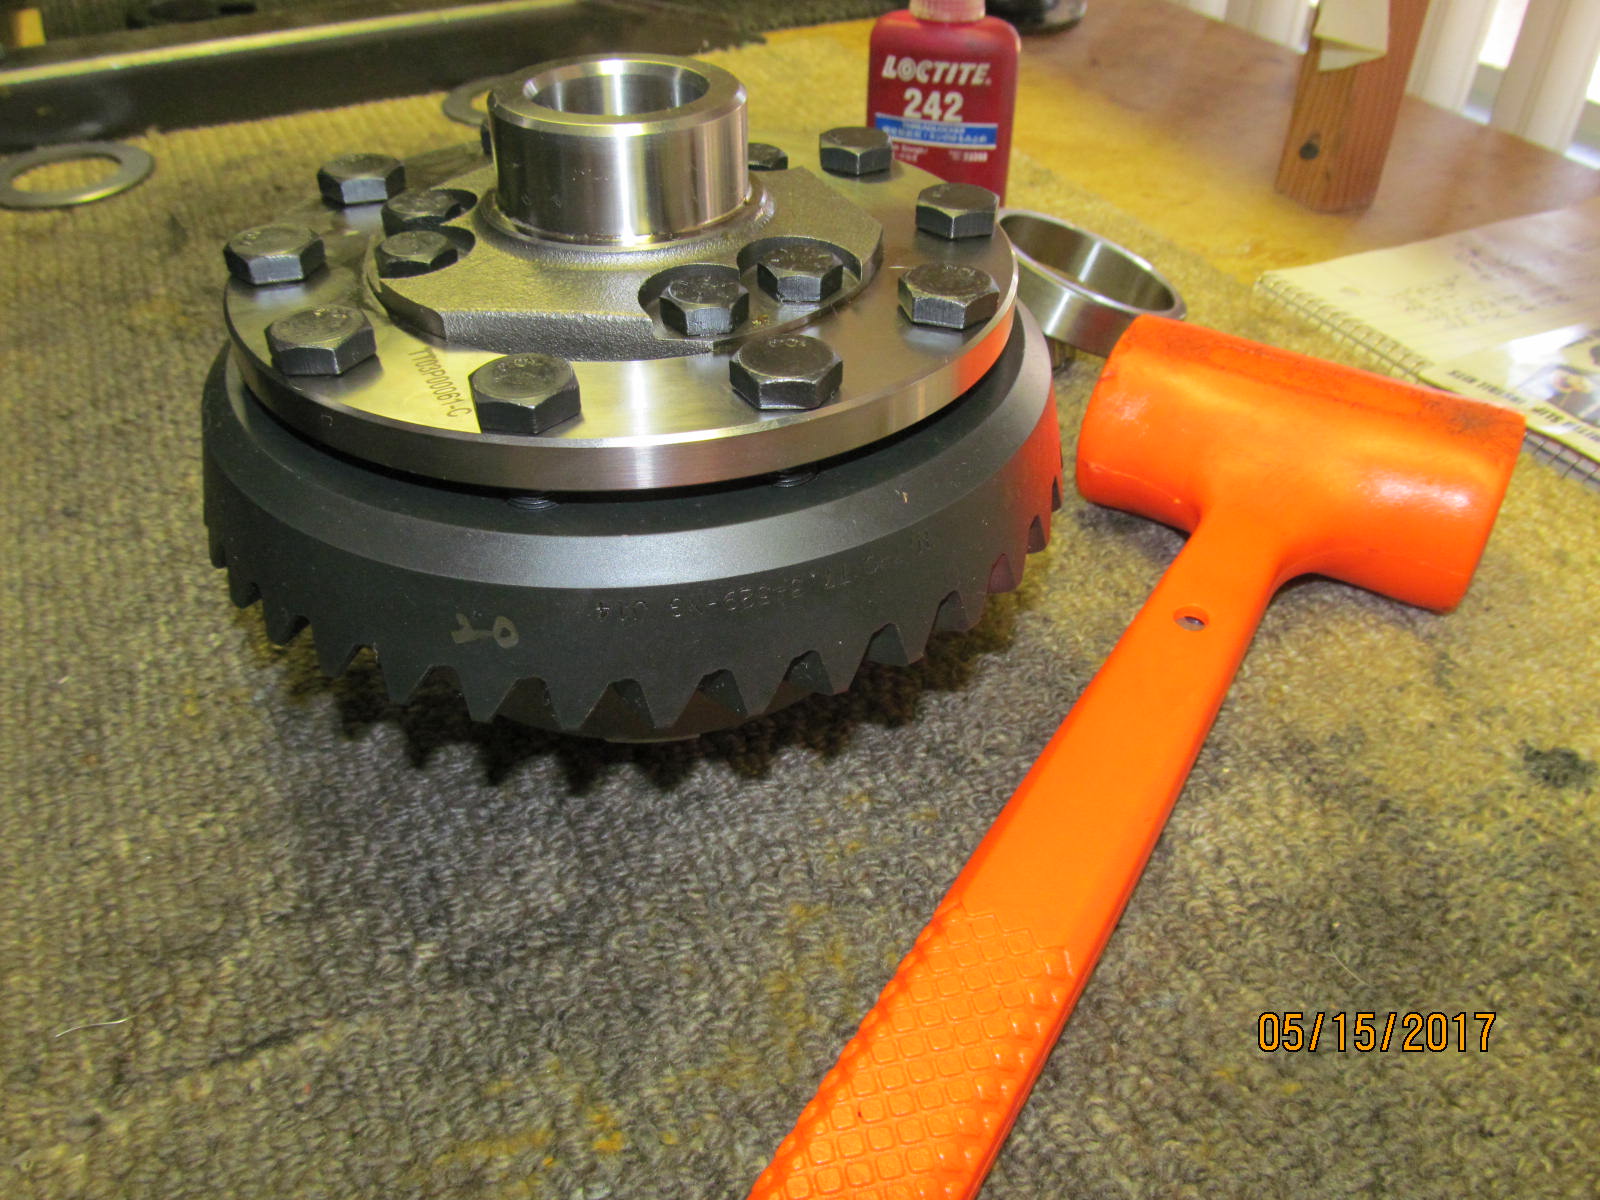
| Now a drop of blue loctite on all 10 bolts. |
|---|
|
|
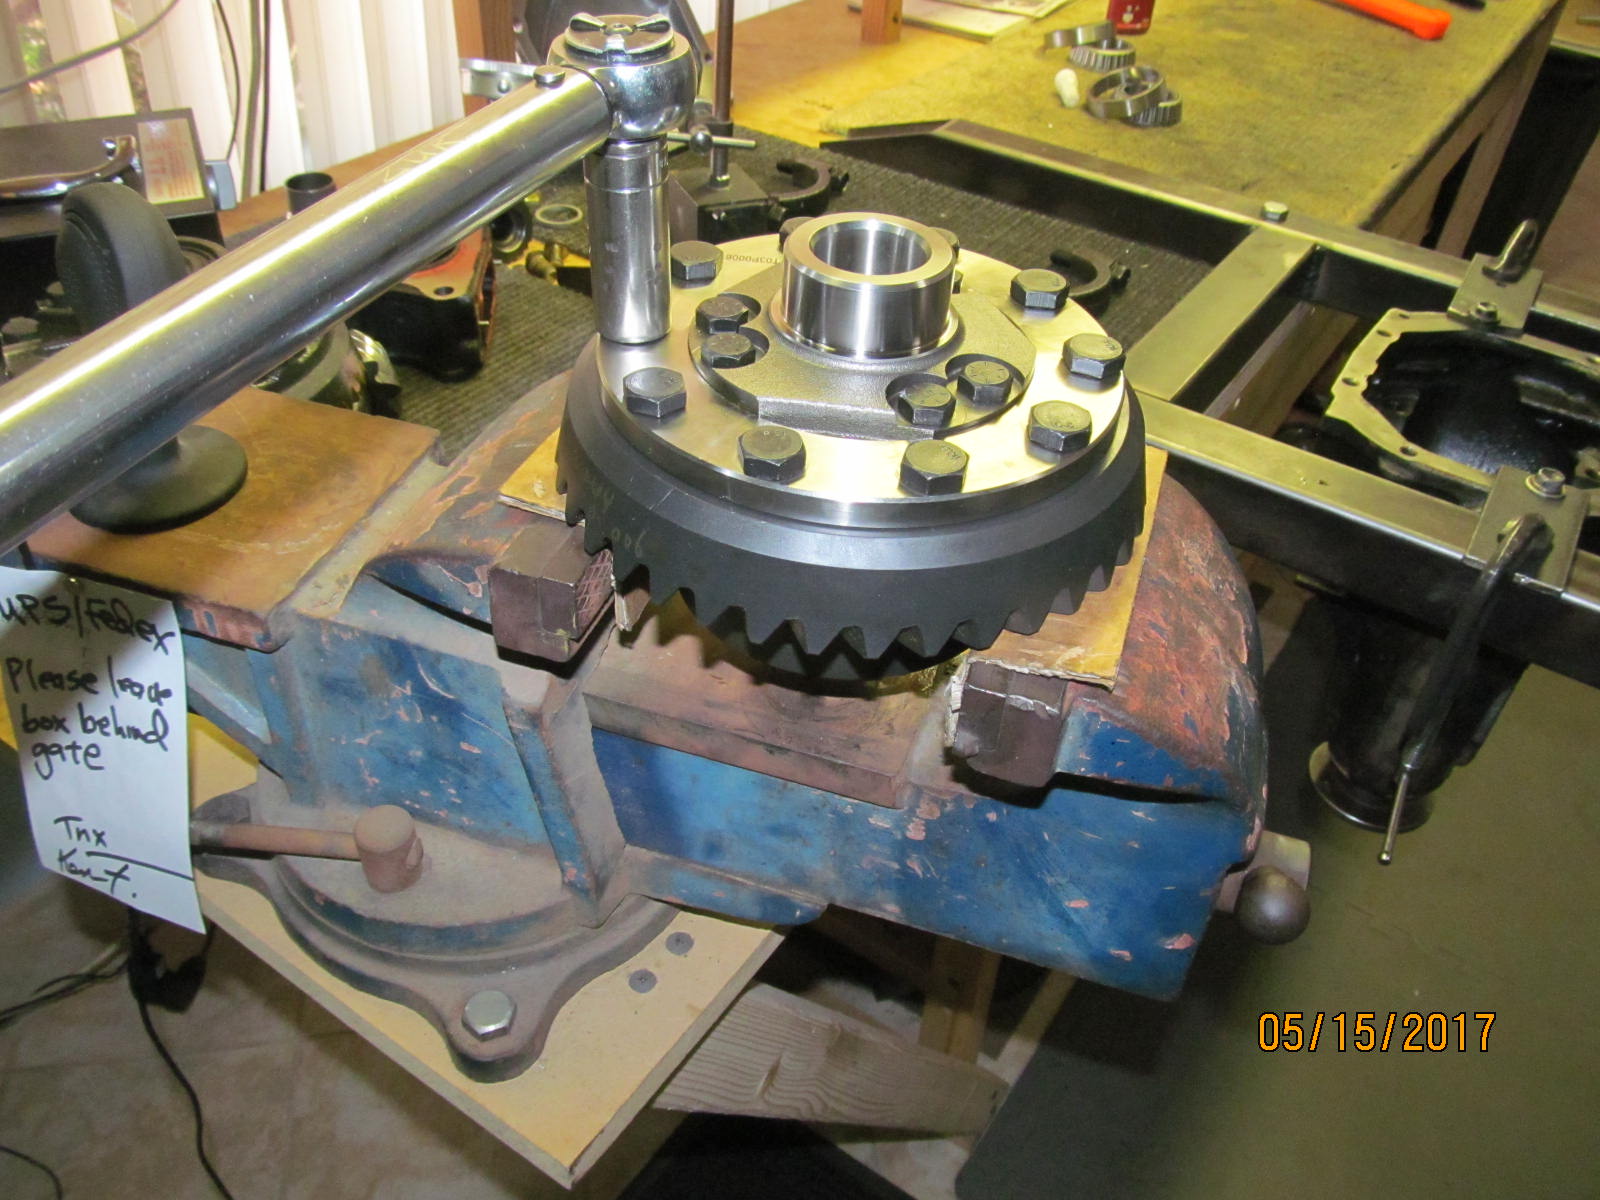
| 70 ft/lb on all 10. |
|---|
|
|
| Noted a tight fit also for the carrier bearings. |
|---|
|
|
| Drive side....not bad but obviously a touch to the shallow side. |
|---|
|
|
| Coast |
|---|
|
|
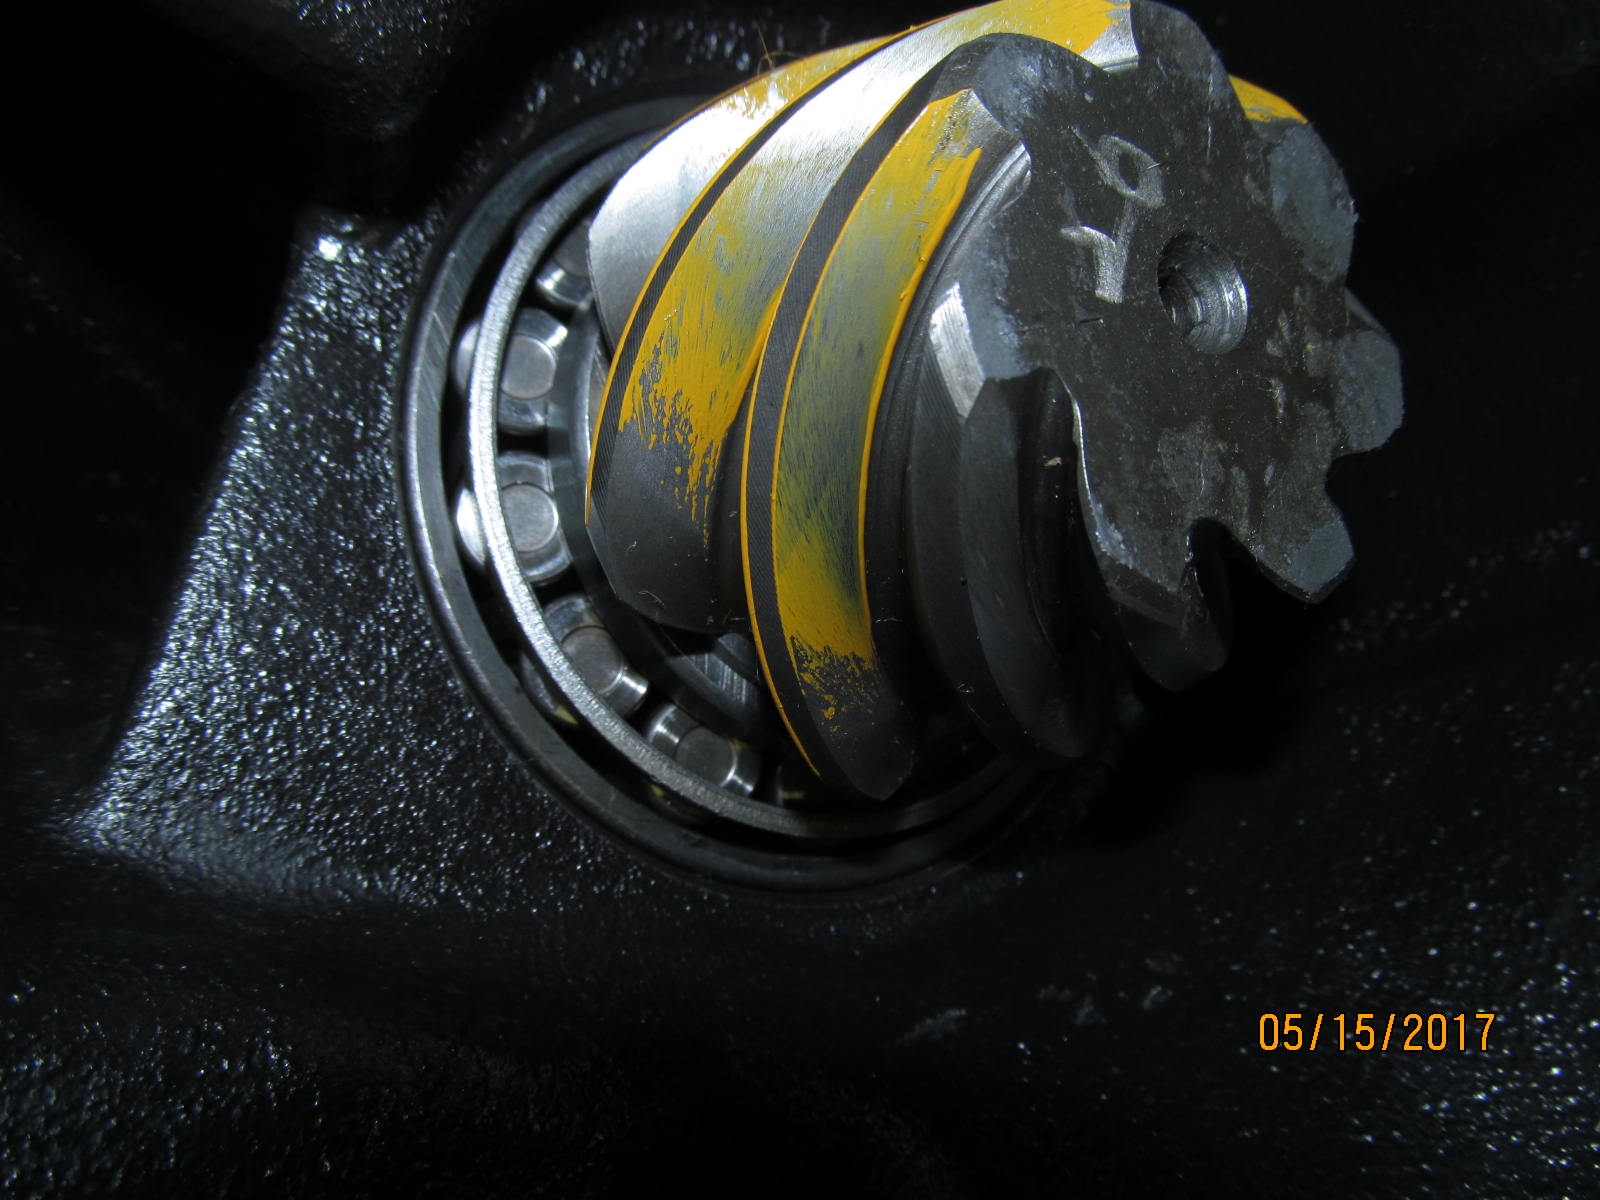
| Drive side of the pinion tooth. The comet tail is tucked into the root. |
|---|
|

|
| ,,,,,,,,,,,,,,,, |
|---|
|
|
| I know that if I add .004" to the shim that the depth will be the preferred "slight deep" condition that I strive for. |
|---|
|
|
| .104" |
|---|
|
|
| Press the bearing back on again... |
|---|
|
|
| Load it up again into the 3rd but this time with a new crush sleeve. |
|---|
|
|
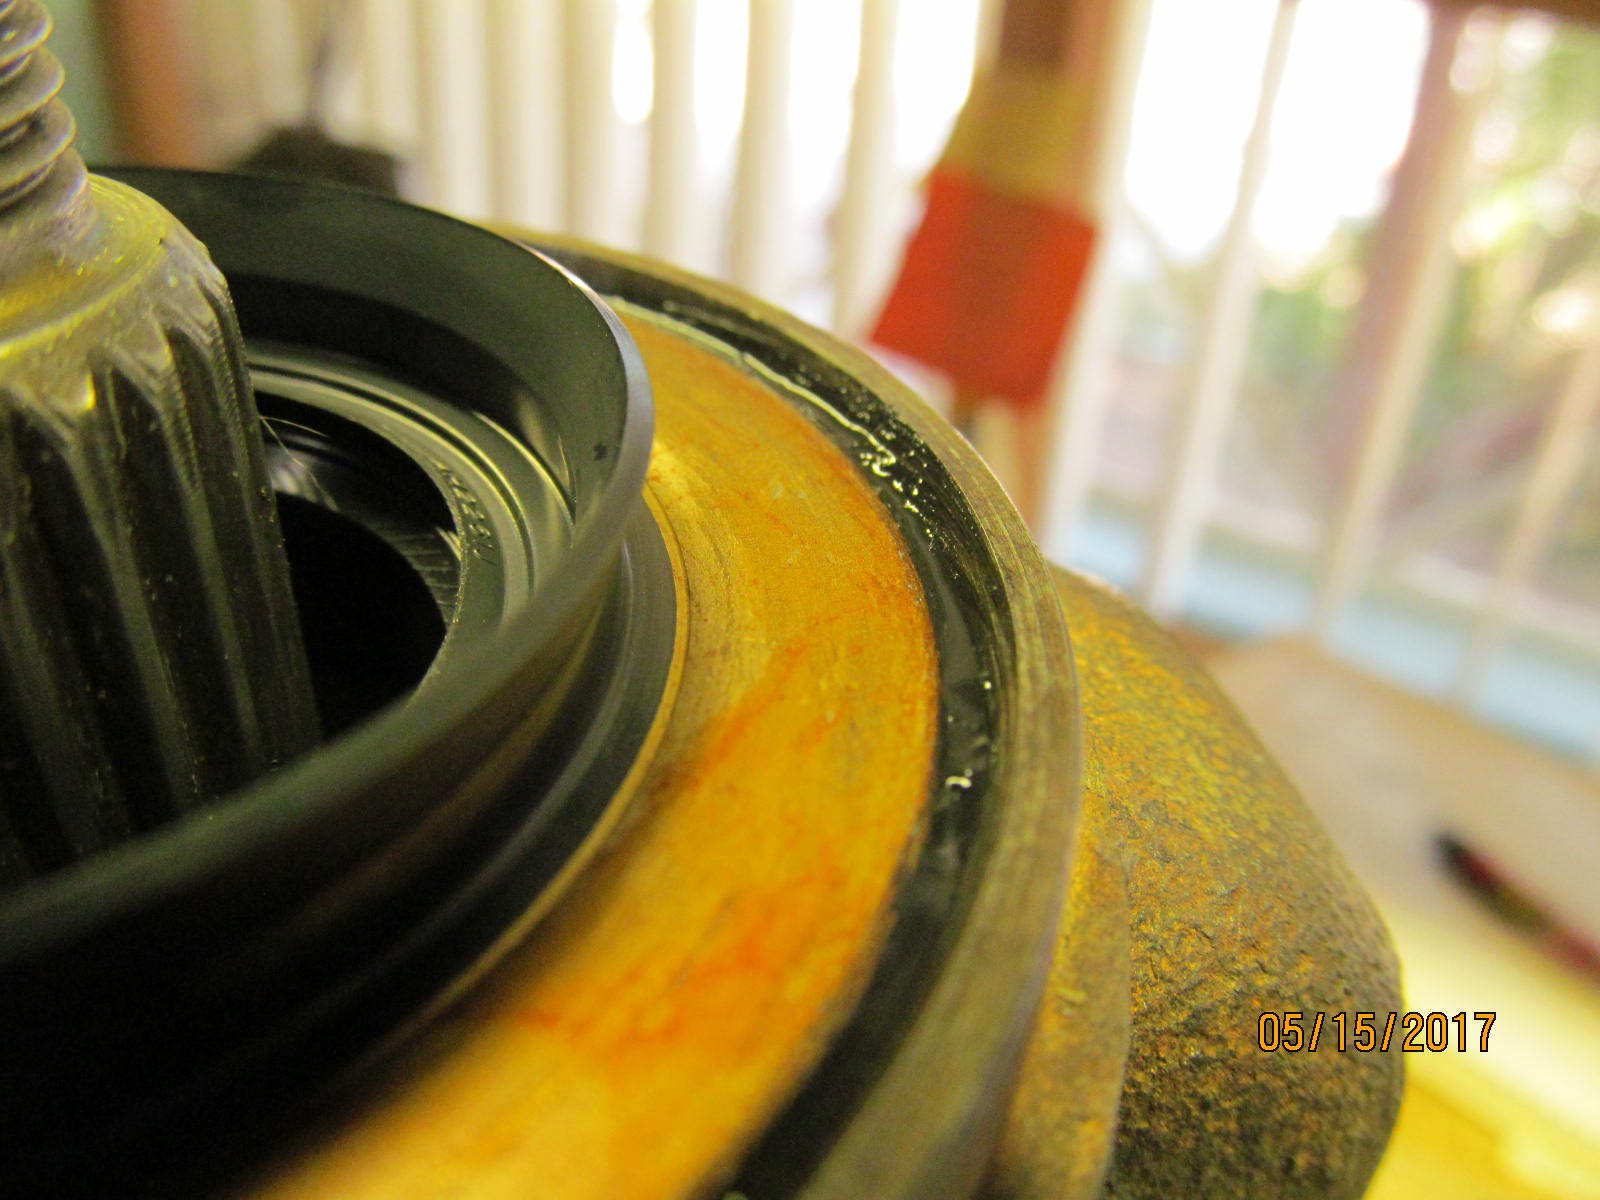
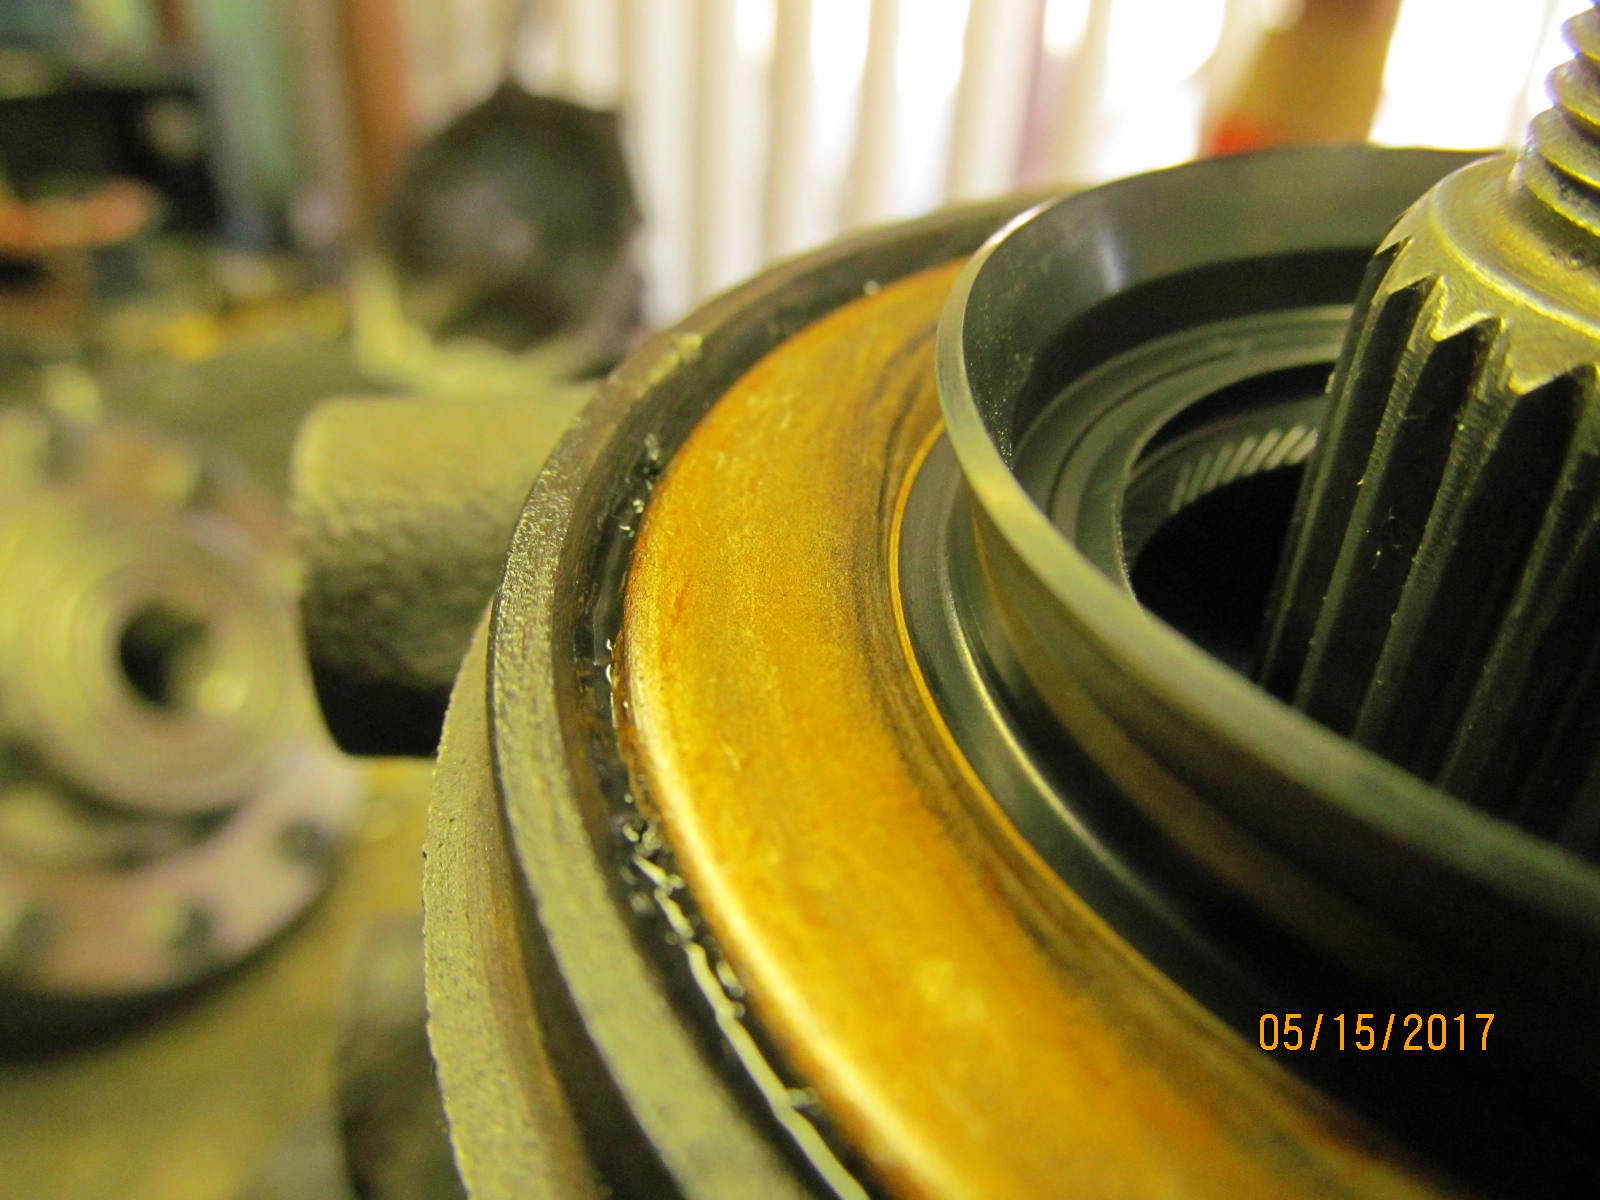
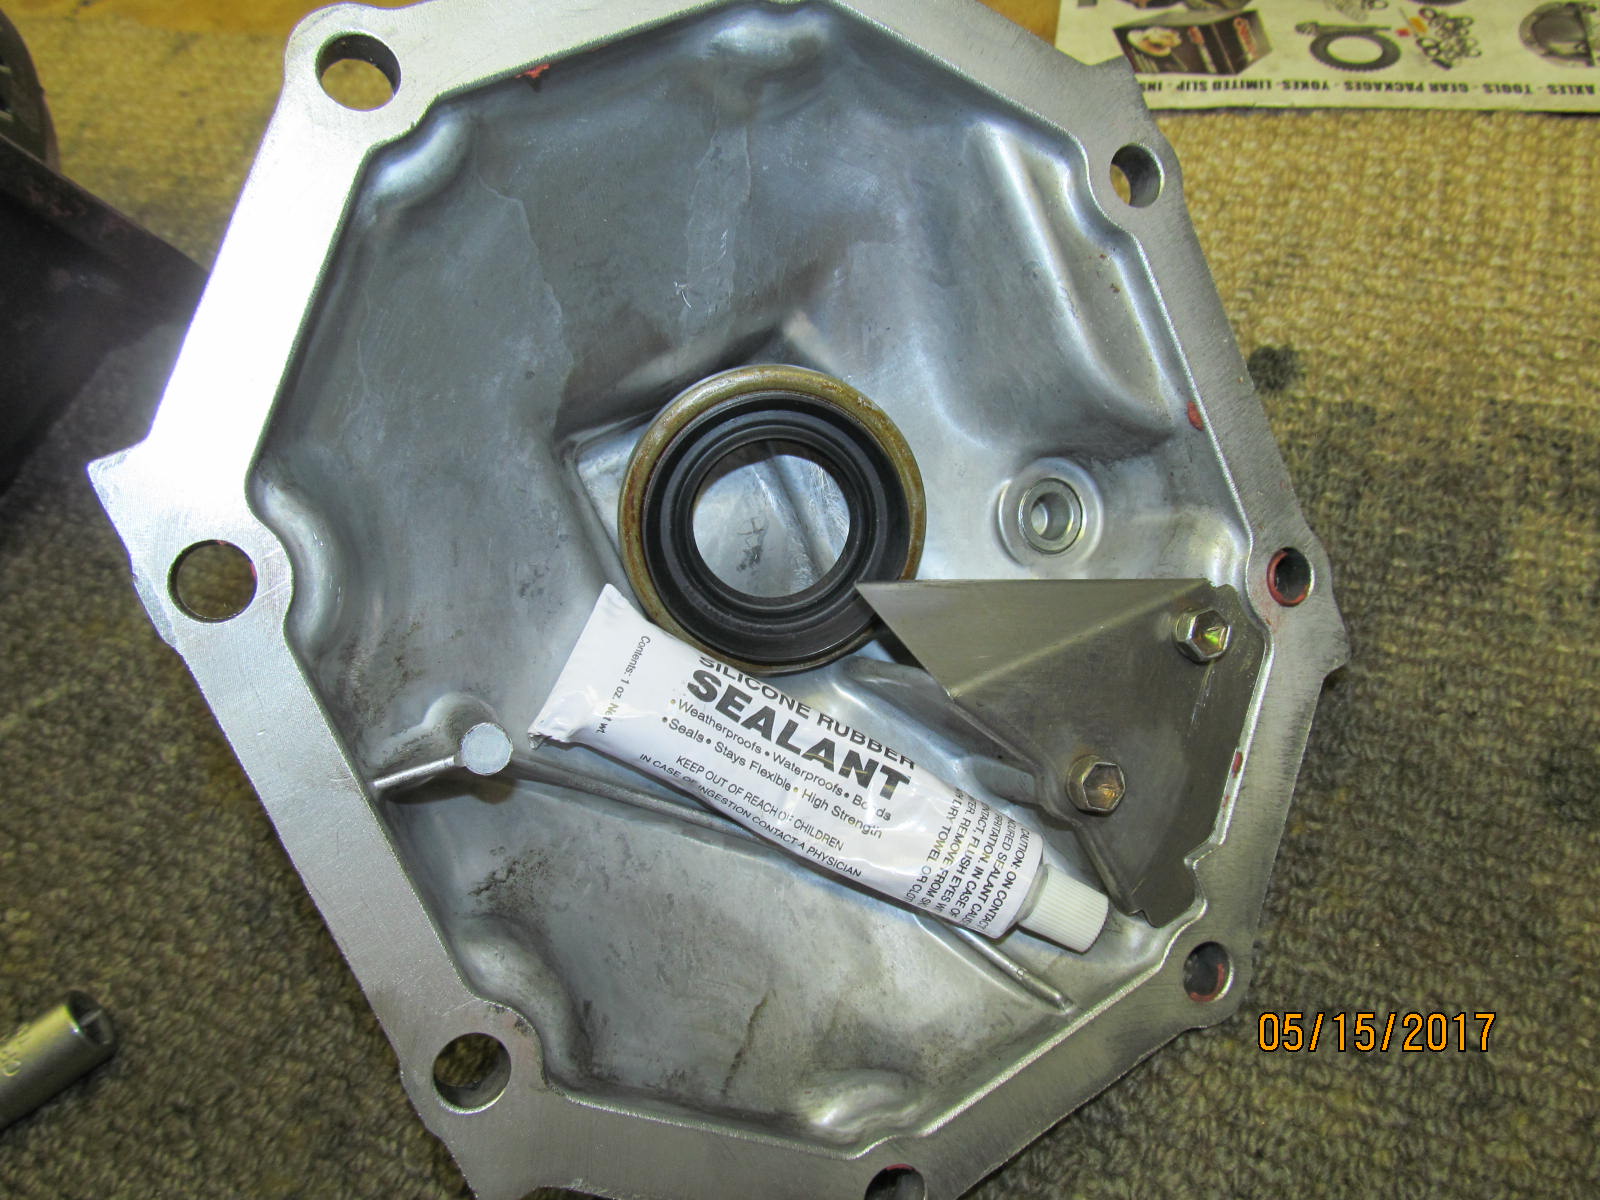
| The black generic seal was left out and a new OEM seal was tapped in place. Optional but a thin coating of rtv was applied to the surfaces beforehand. |
|---|
|
|
| Not shown but gear oil is always applied to the rubber before the flange gets pushed in place. |
|---|
|
|
| ,,,,,,,,,,,,,,,,,,,,,,,,, |
|---|
|
|
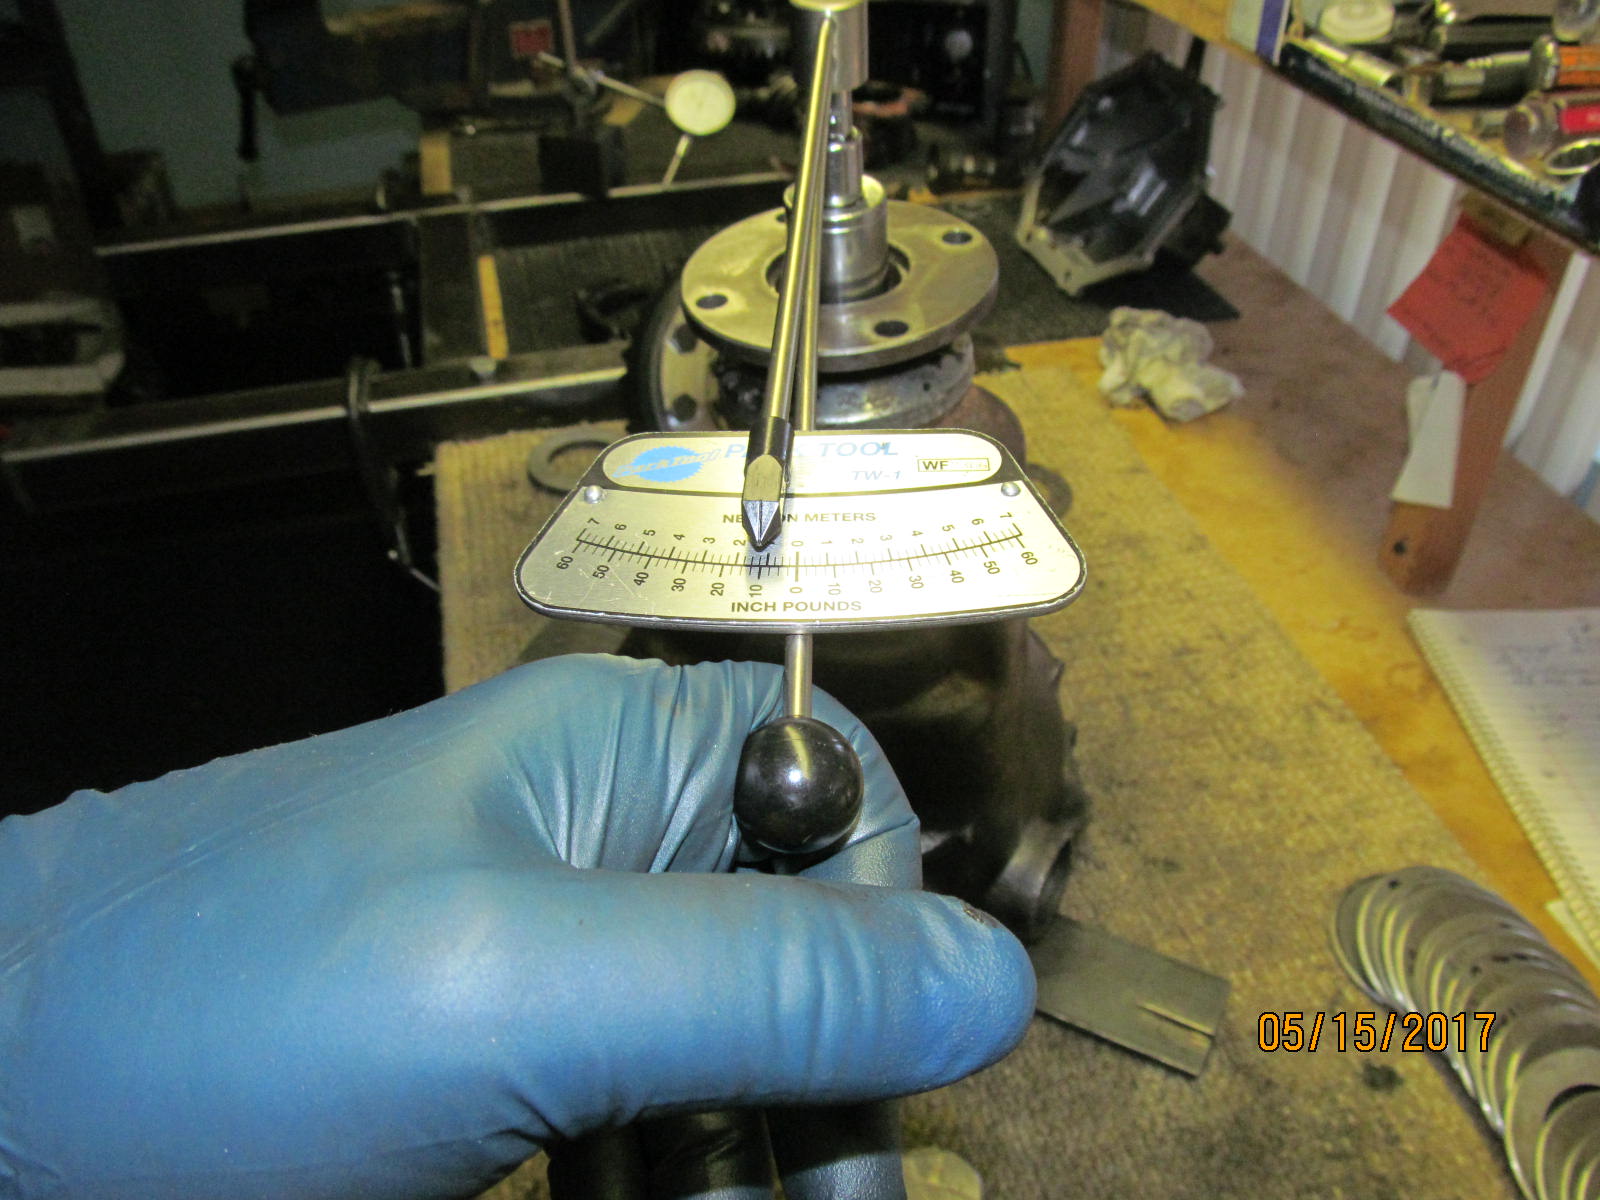
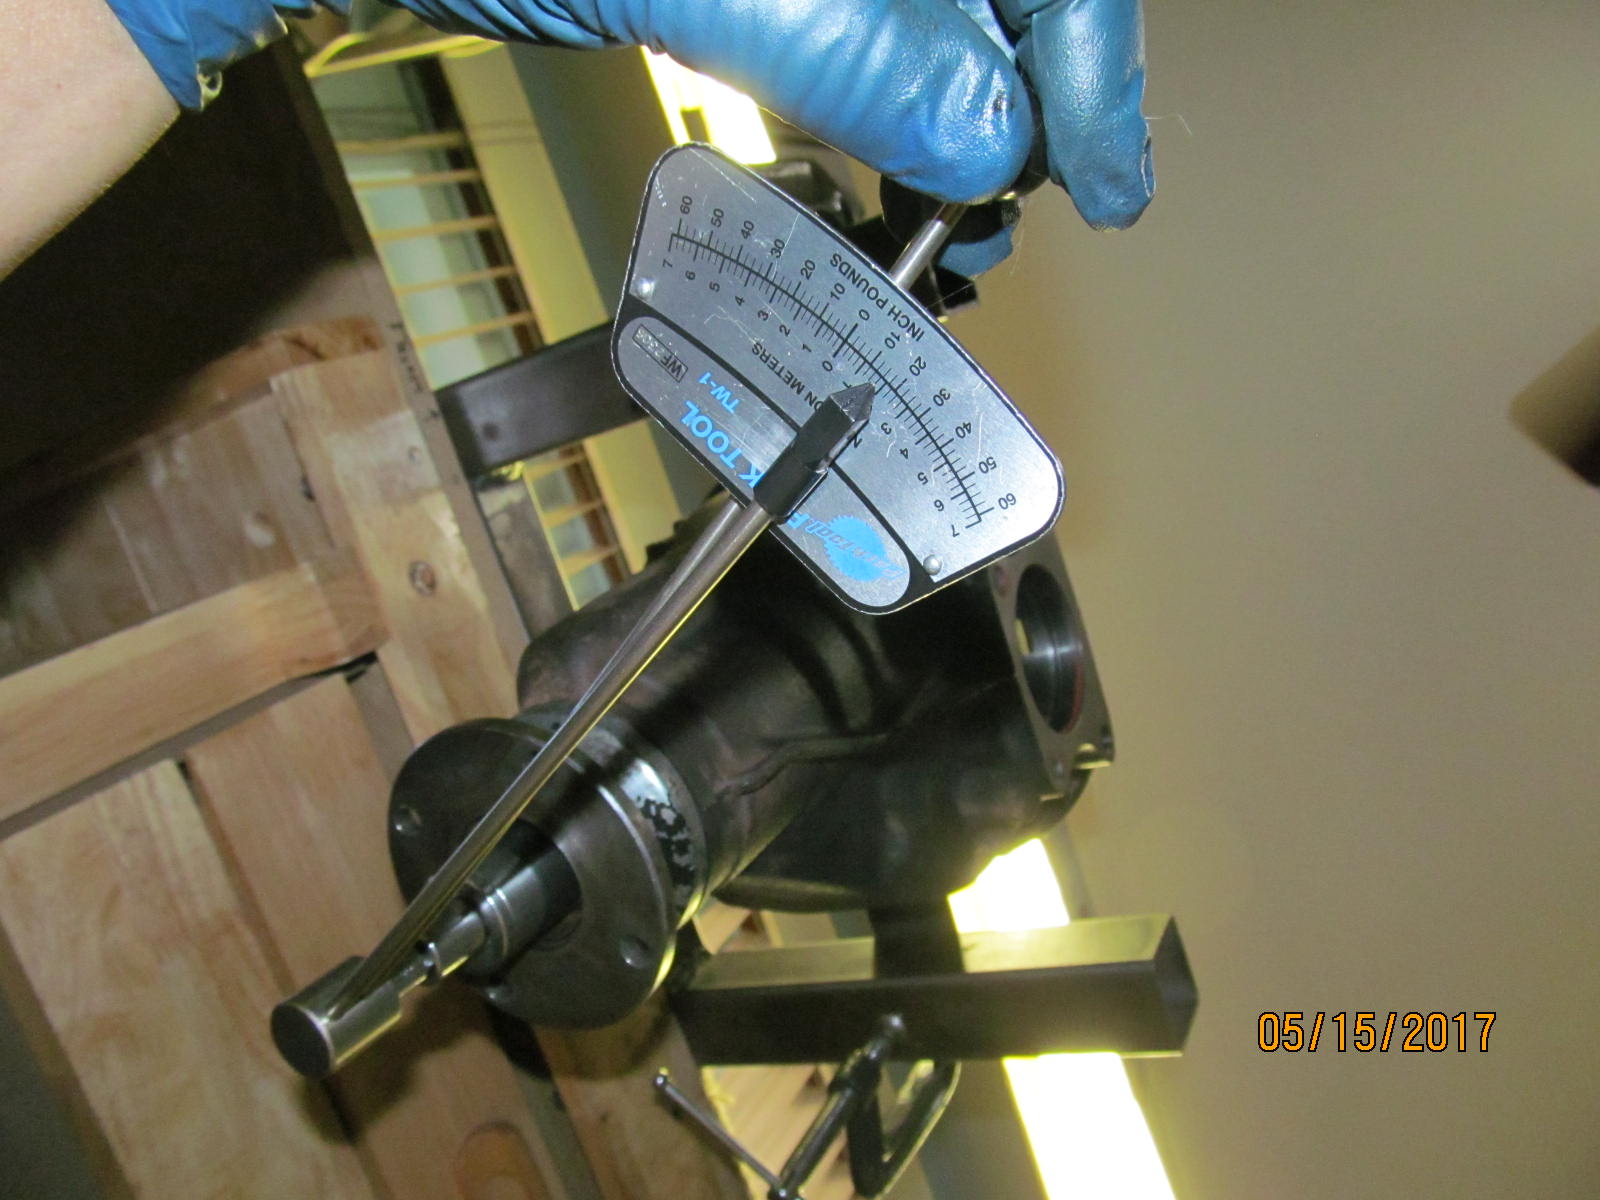
| The sleeve is crushed just enough to get 10 in/lb start torque of pinion bearing preload. |
|---|
|
|
It's important to have a good selection of carrier bearing thrust washer plates to get the backlash and preload dialed in like it should be.
Some aluminum based anti-seaize can help tap the washer plate into place. |
|---|
|
|
| Total preload measured in at 15 in/lb. |
|---|
|
|
| Final bearing cap check at 70 ft/lb on all 4. |
|---|
|
|
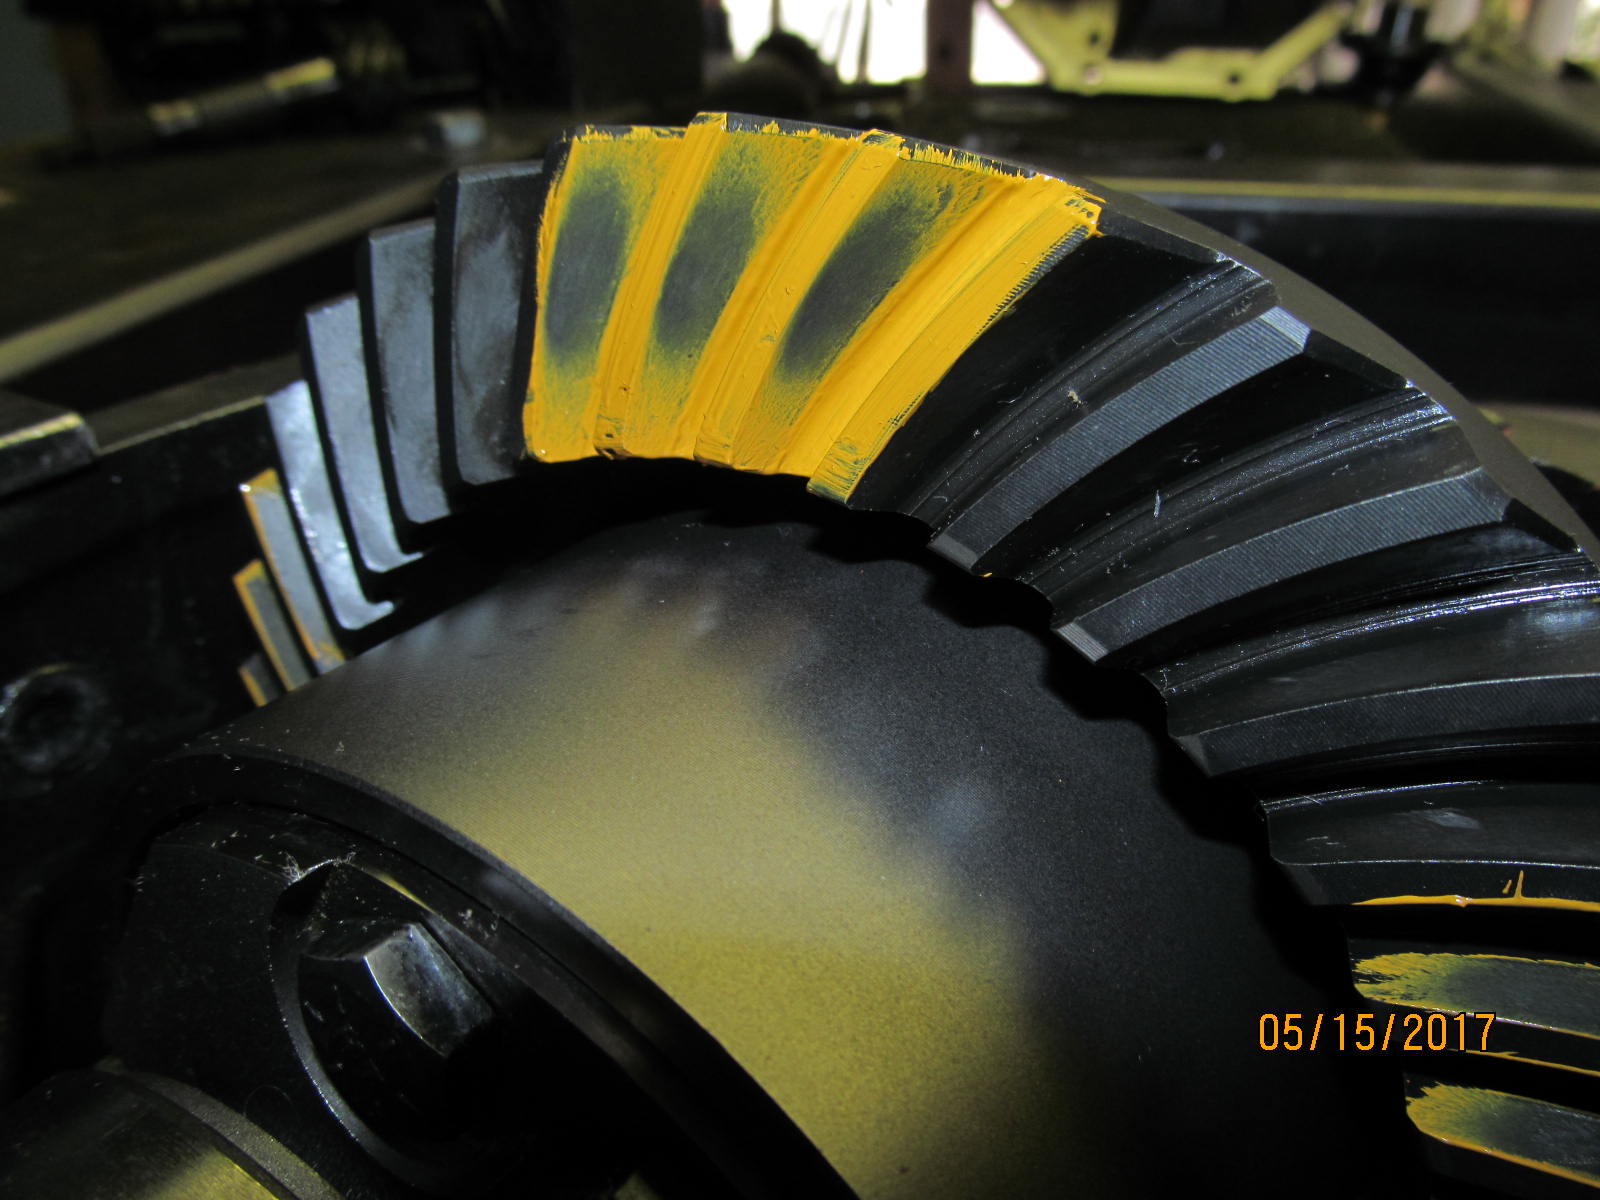
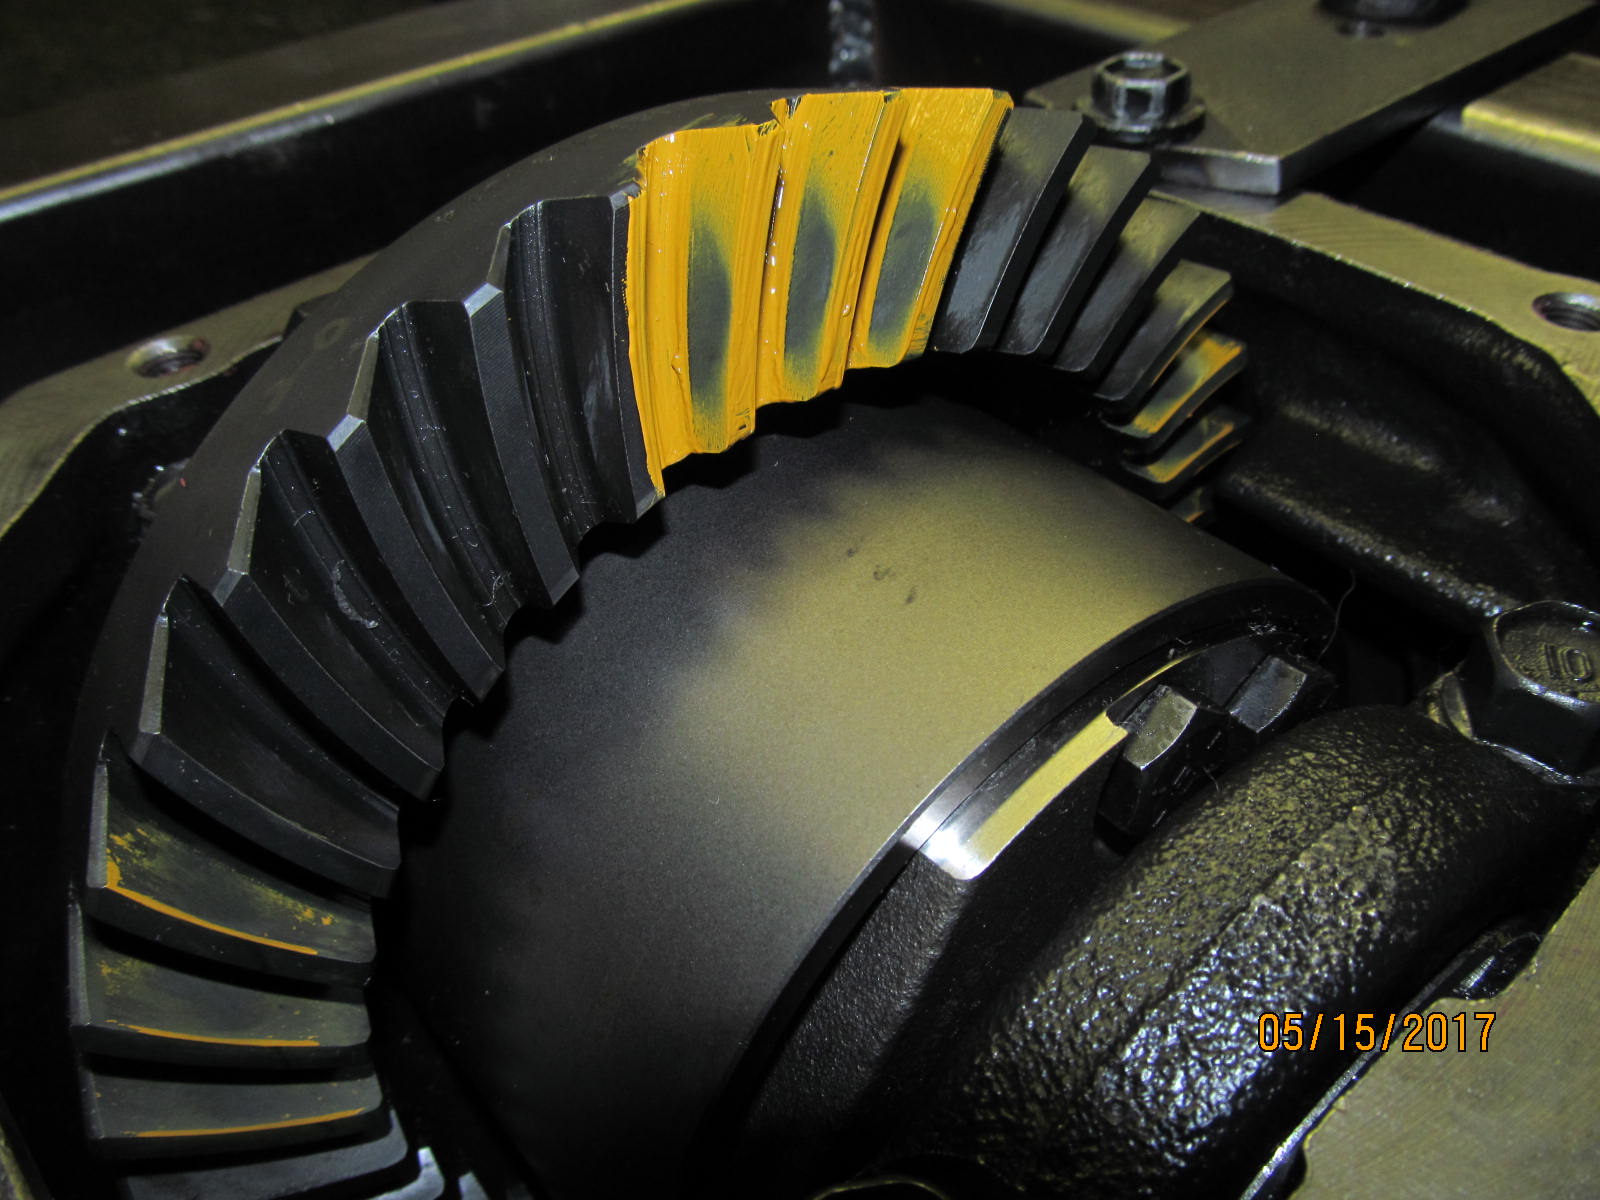
| Repainting the teeth....drive side....beautiful. |
|---|
|
|
| Coast looks nice. |
|---|
|
|
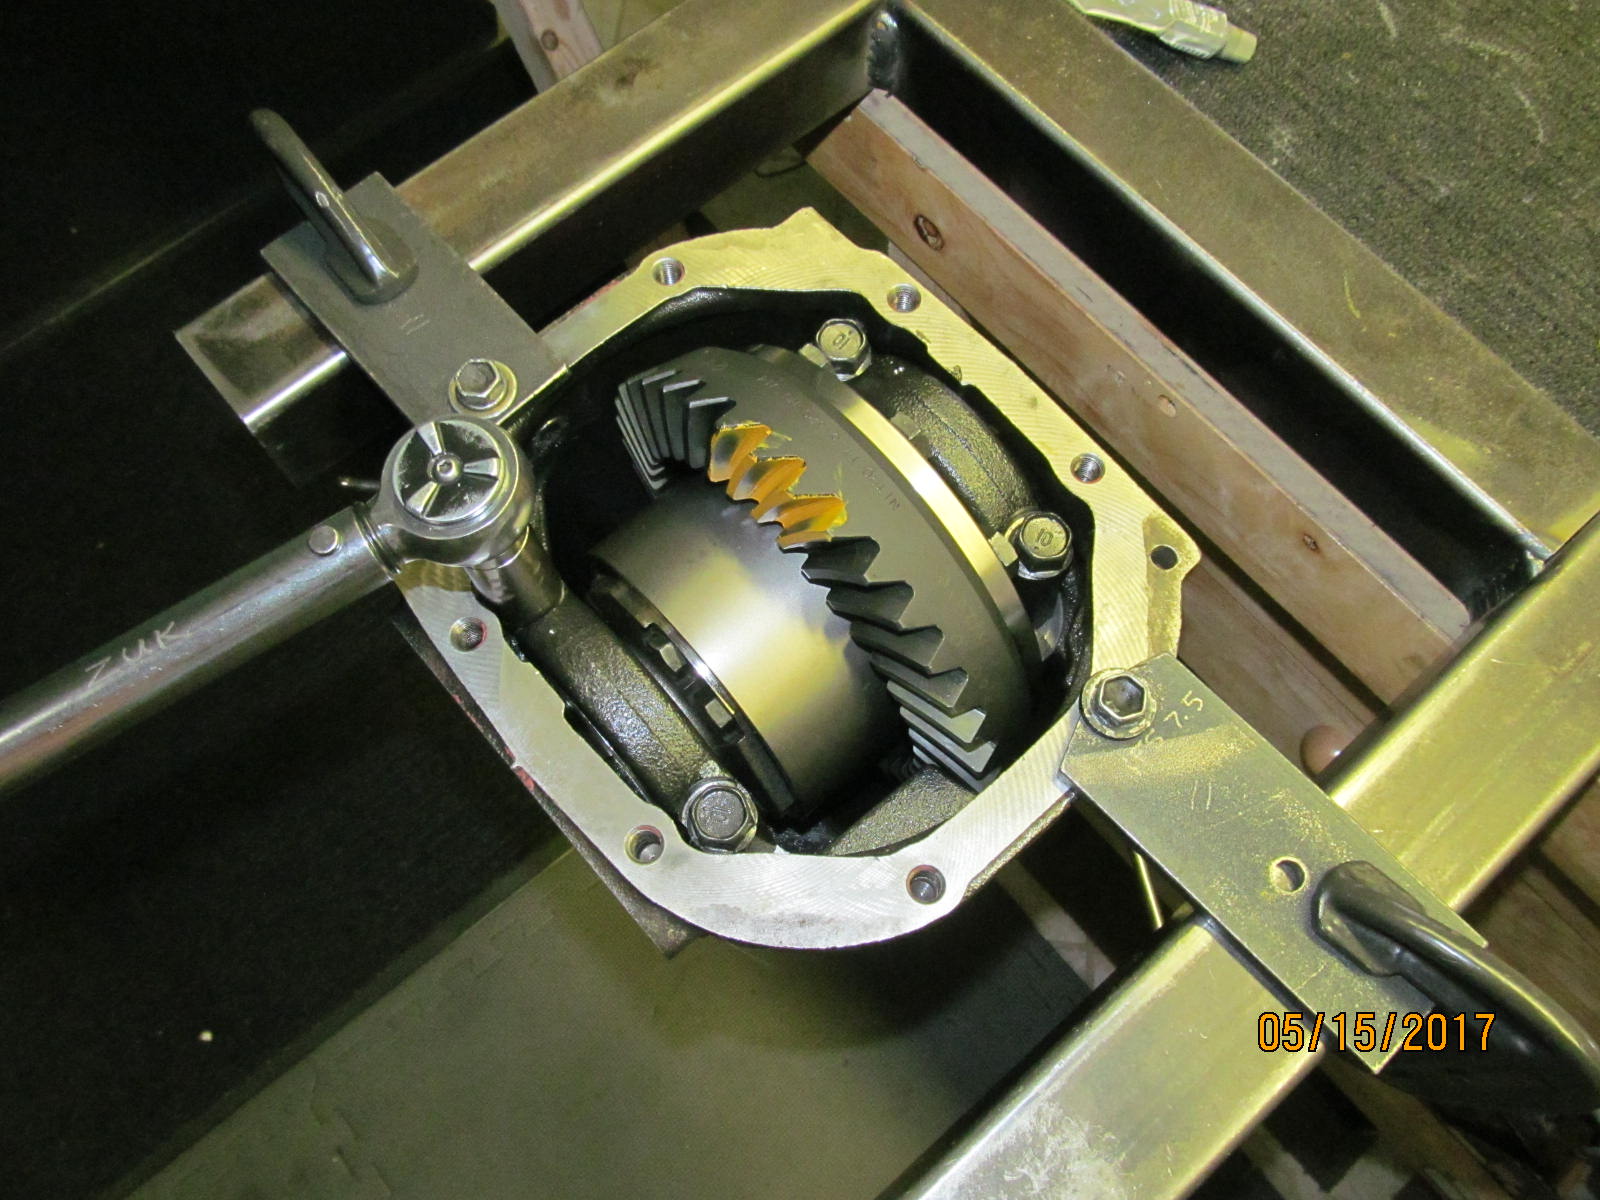
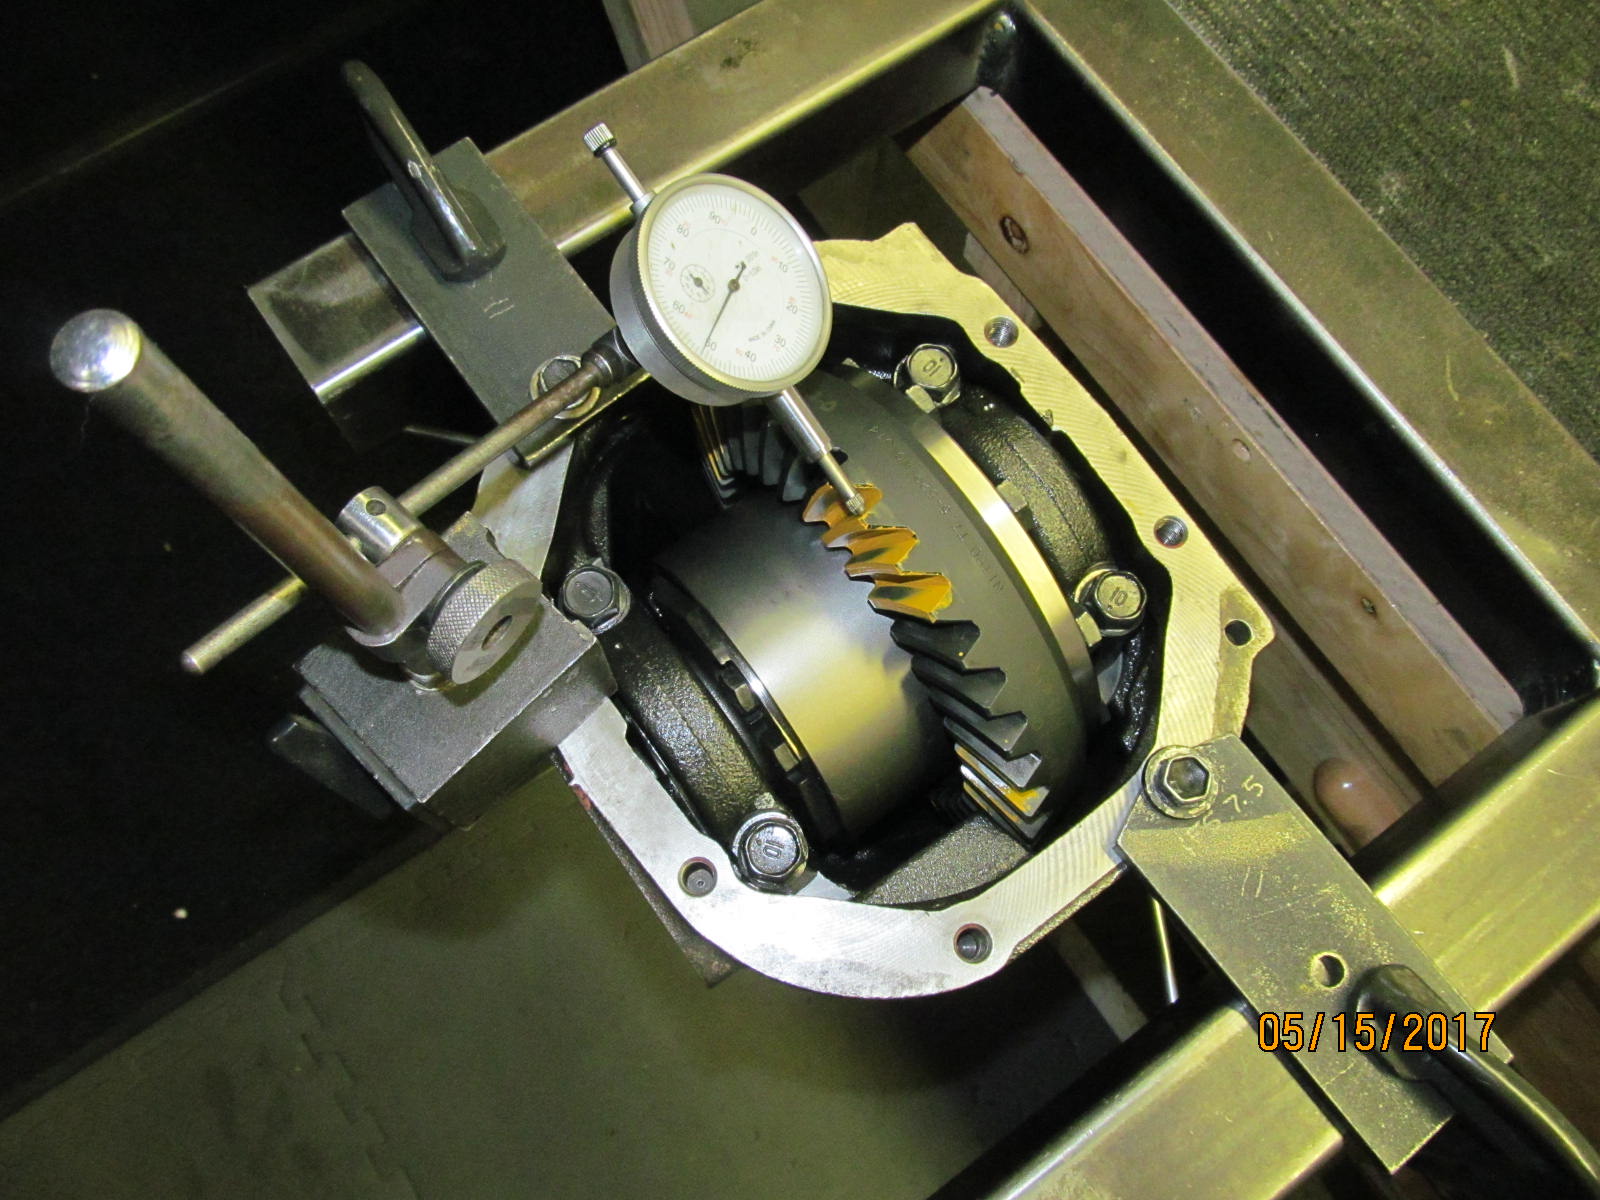
| Checking backlash on every other tooth. I measured the minimum right near .006" |
|---|
|
|
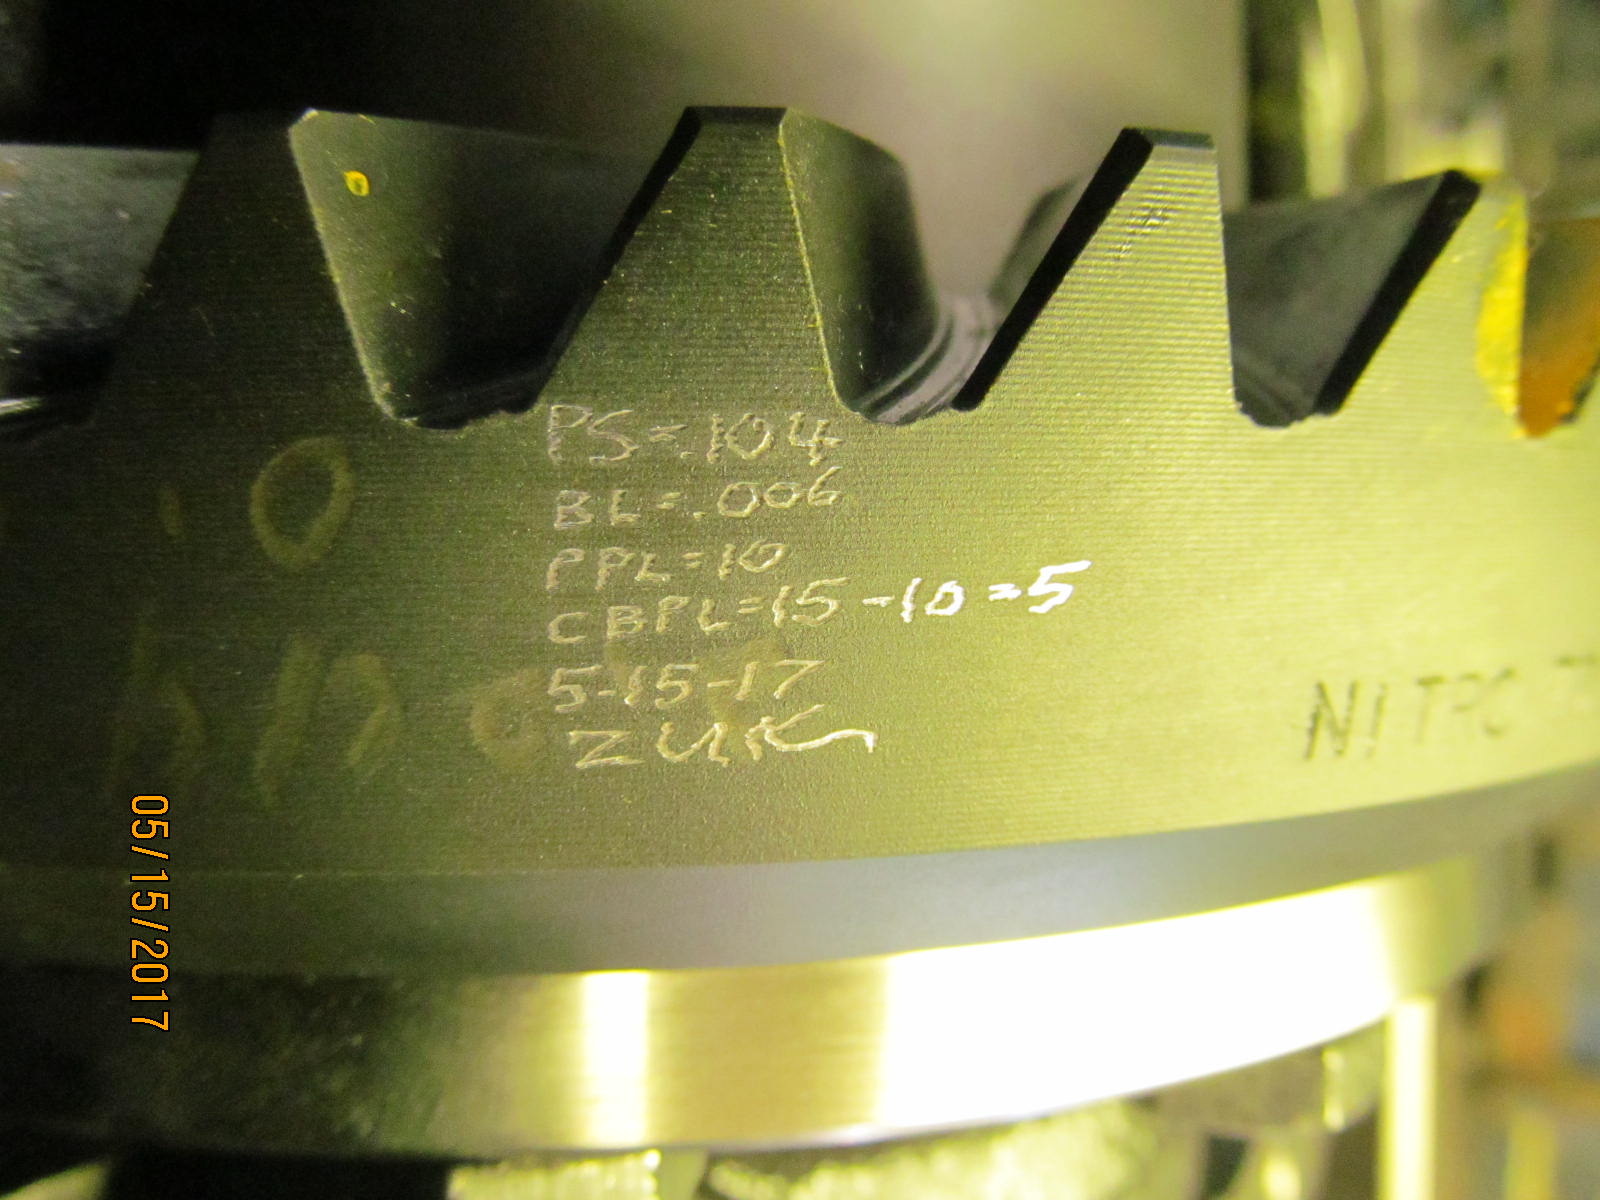
| Using the dremel tool and a diamond bit, measured values are recorded. |
|---|
|
|
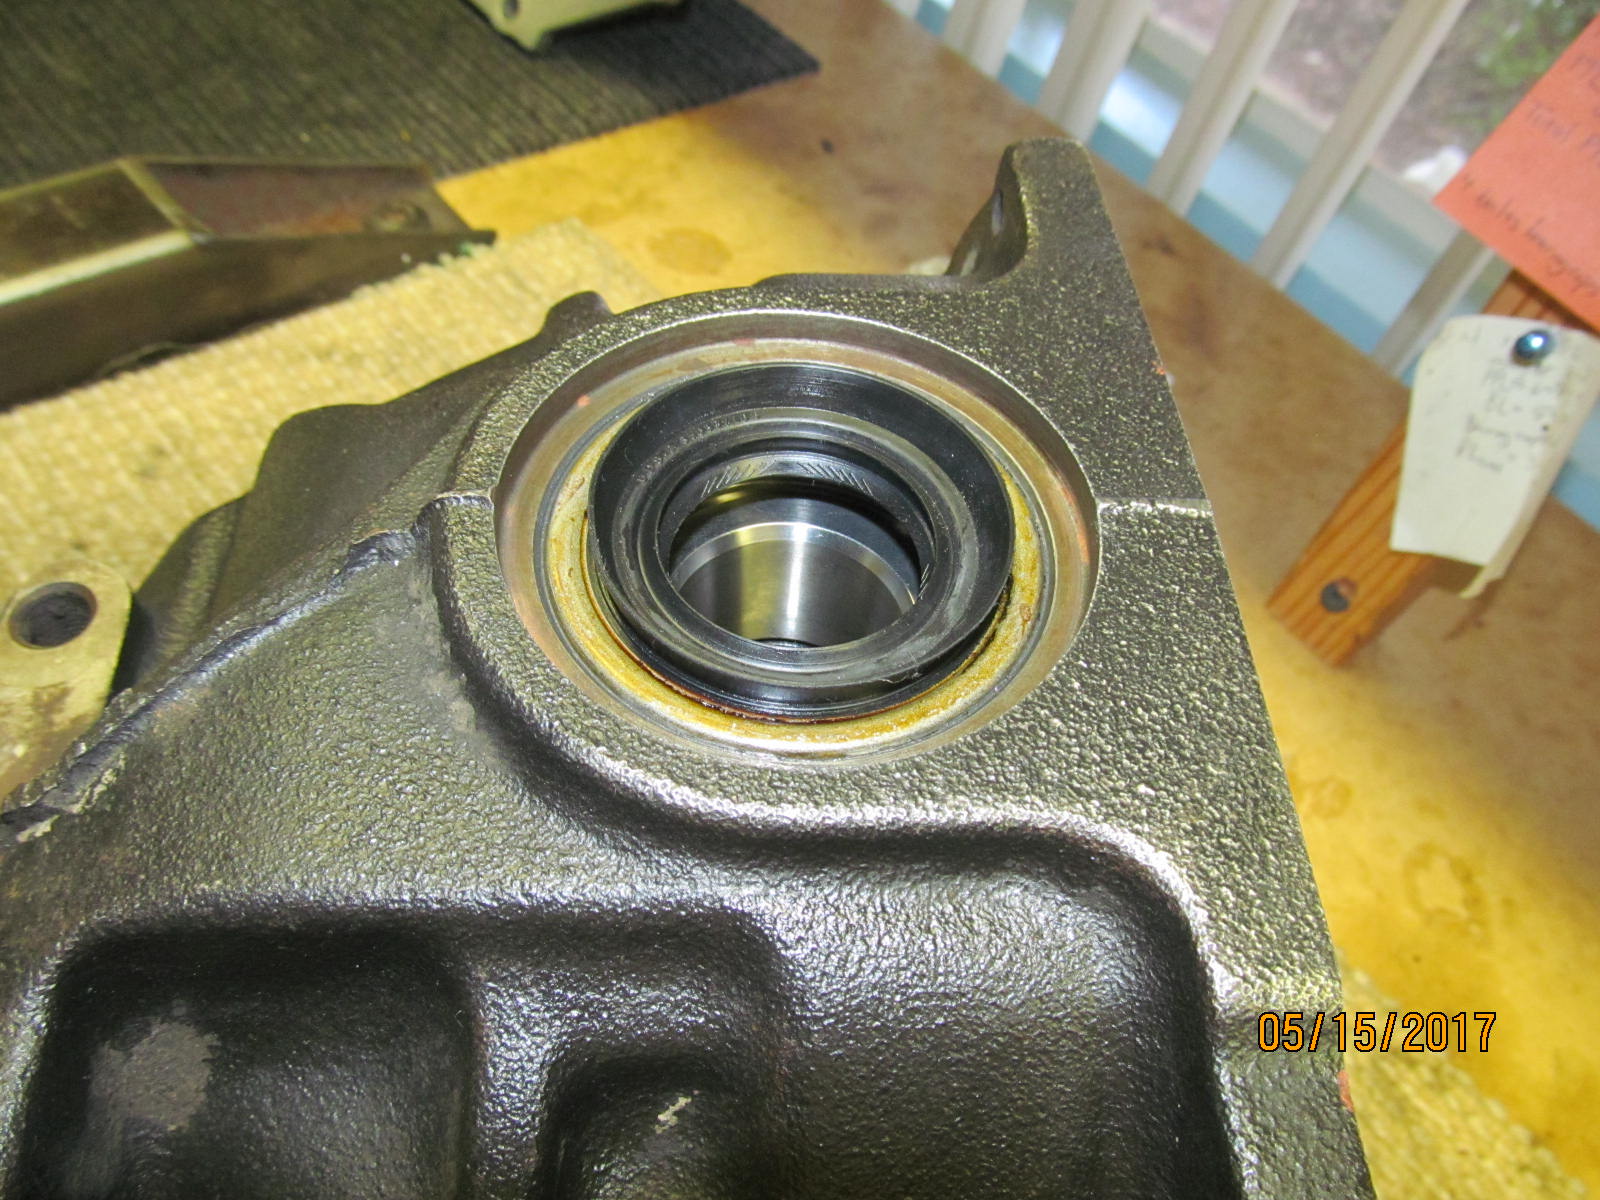
| Using an old race of the right dimensions, the axle stub seal is tapped in place. |
|---|
|
|
| ,,,,,,,,,,,,,,,,,,,, |
|---|
|
|
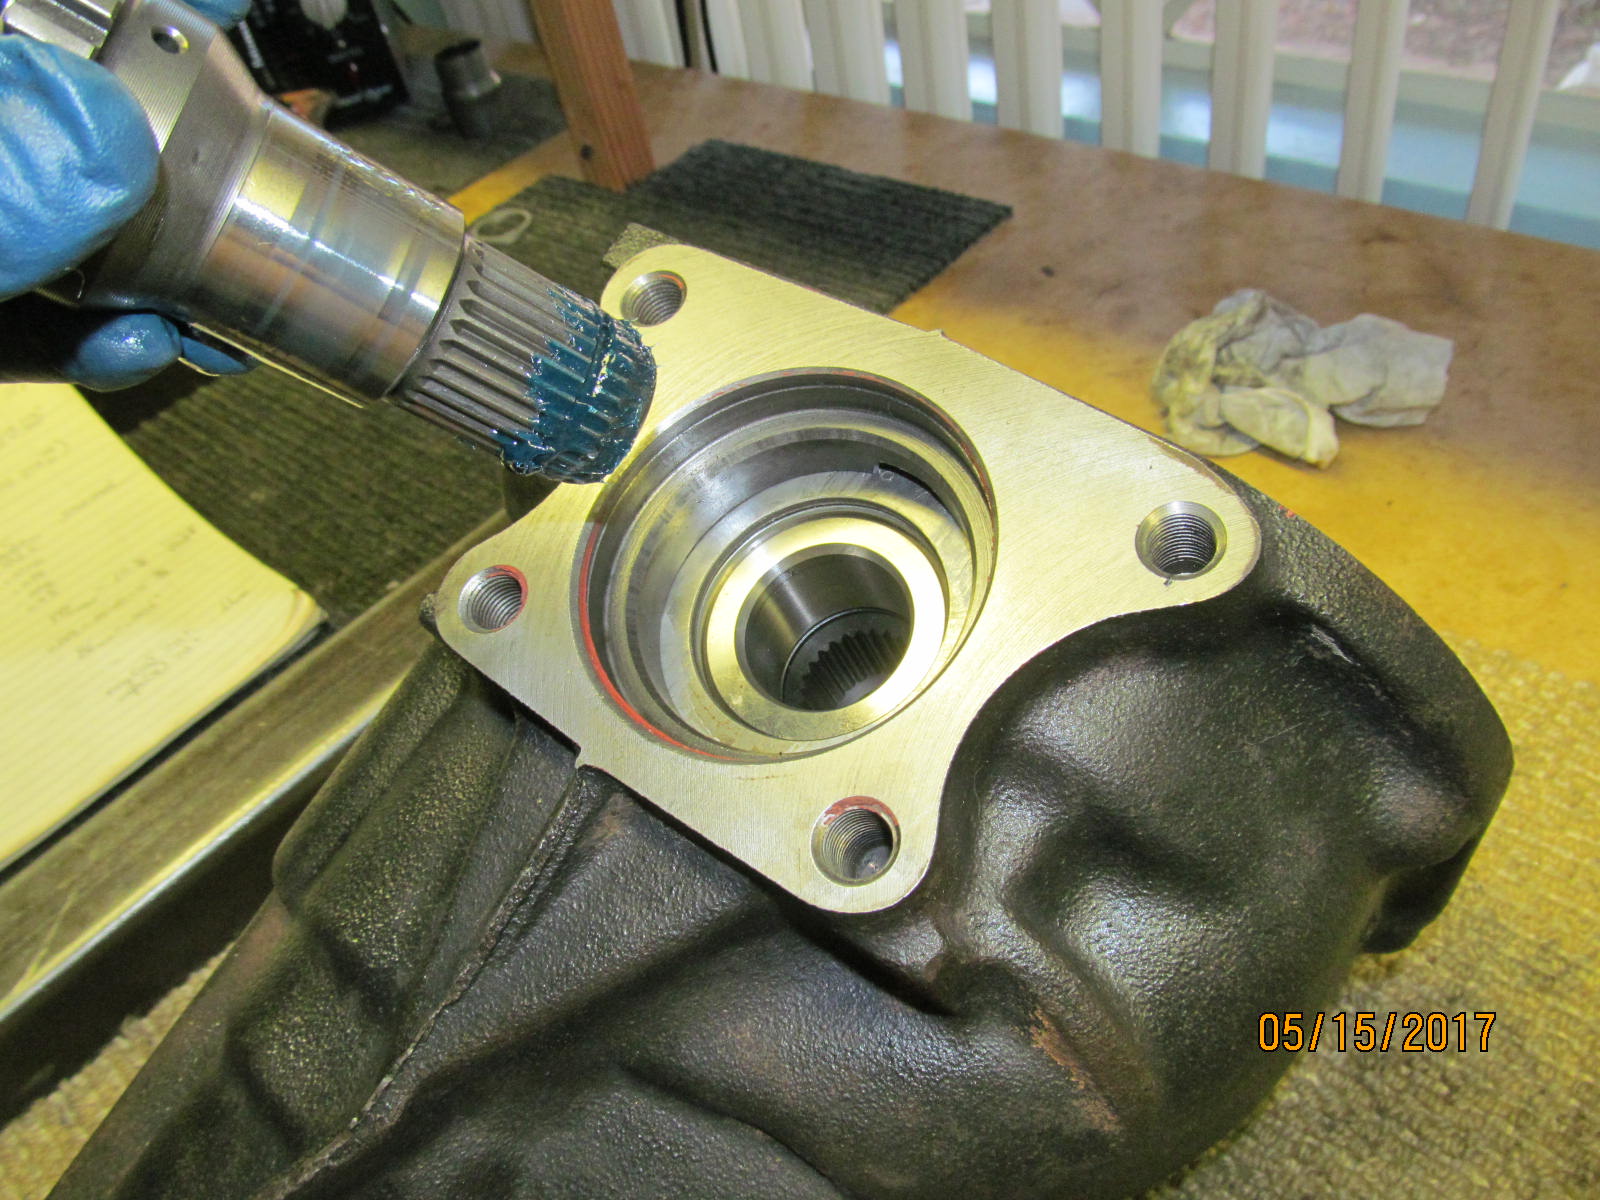
| On the other side, the stub axle can be tapped in. |
|---|
|
|
| ,,,,,,,,,,,,,,,,,, |
|---|
|
|
| The other seal is returned to Nick so he can finish installing it on the end of the long axle tube. |
|---|
|
|
| The 2 E14 bolts are snugged up hand tight for now. |
|---|
|
|
| Final notes. |
|---|
|
|

|