maximize grip on the low profile head. The impact socket was machined flat on the end to help out.
fit but the 12ton and a couple slabs of wood made quick work of it.
but it would have likely damaged the cage in this case.


| Sam's 2014 Tacoma gets 8.4" Nitro 4.56 Gears and a LockRight |
|---|
| (59 BIG pics loading) |
| June 3 2017 |
|
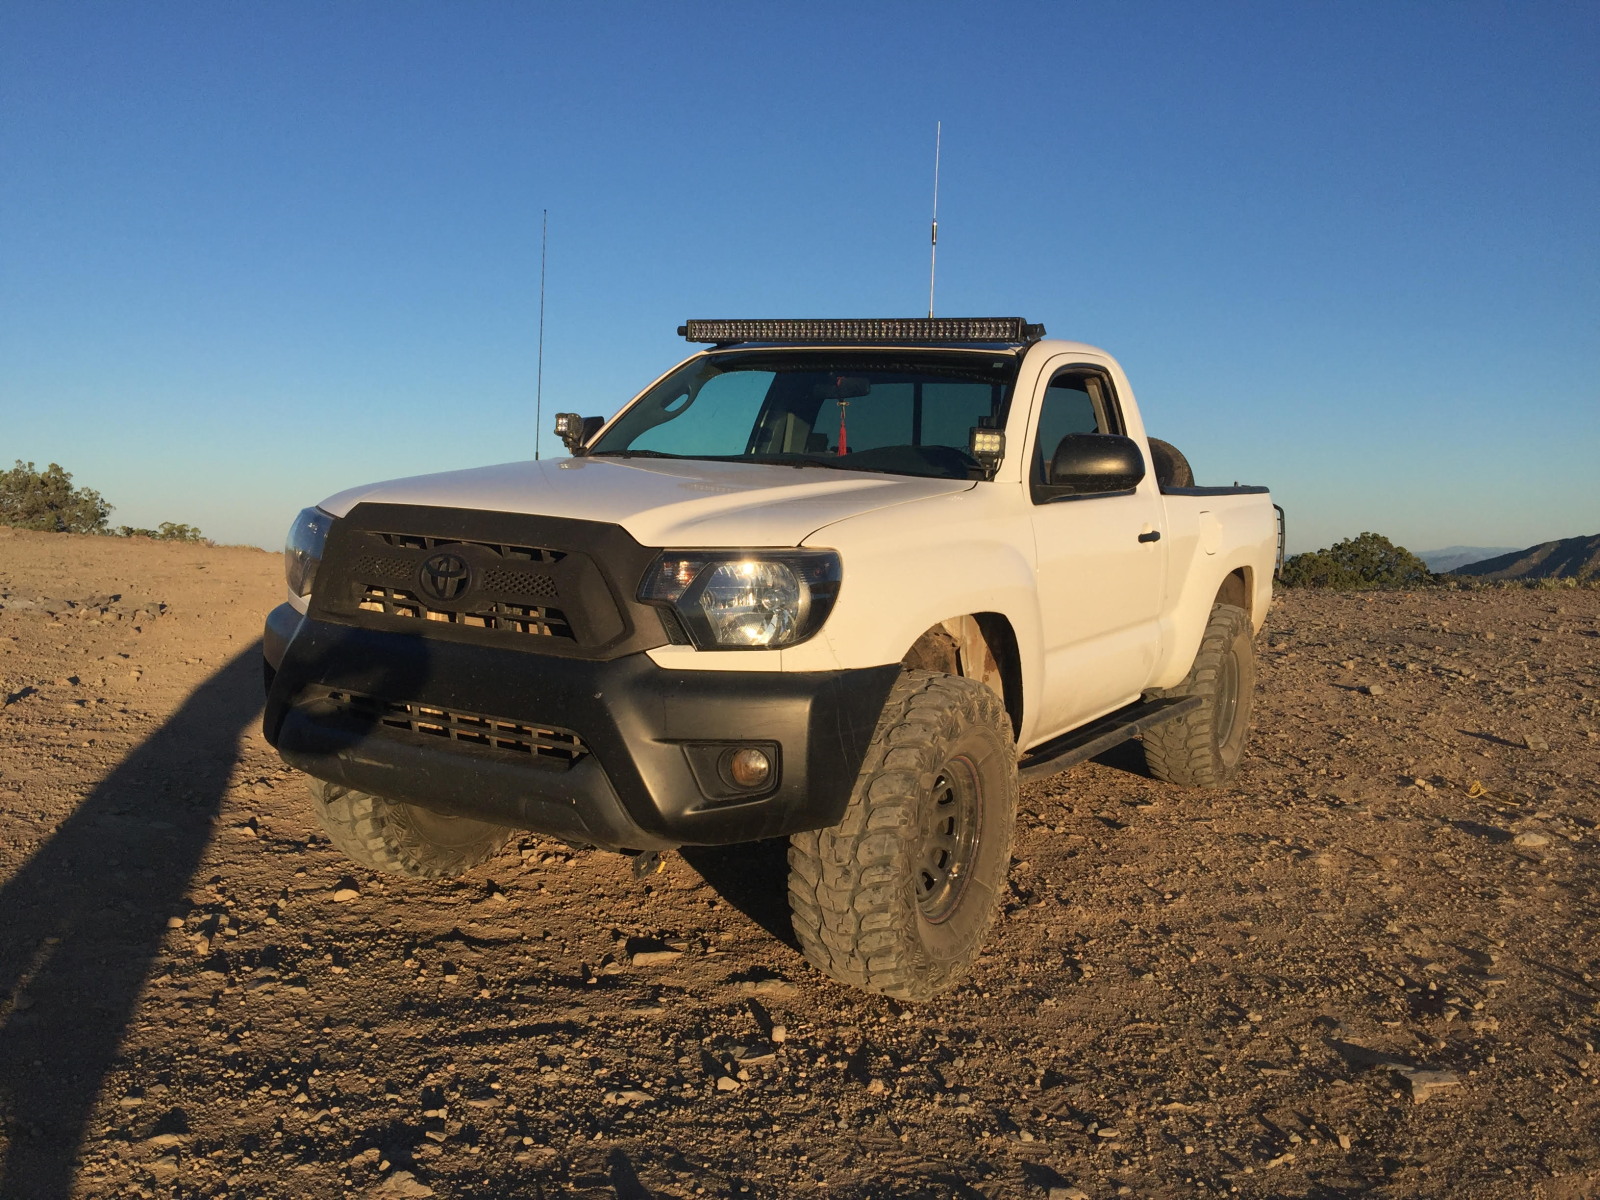
| Sam's 2014 Taco....used to have 3.58 gears. Those are 33" tires. Much bigger than the factory 27" tires. |
|---|
|
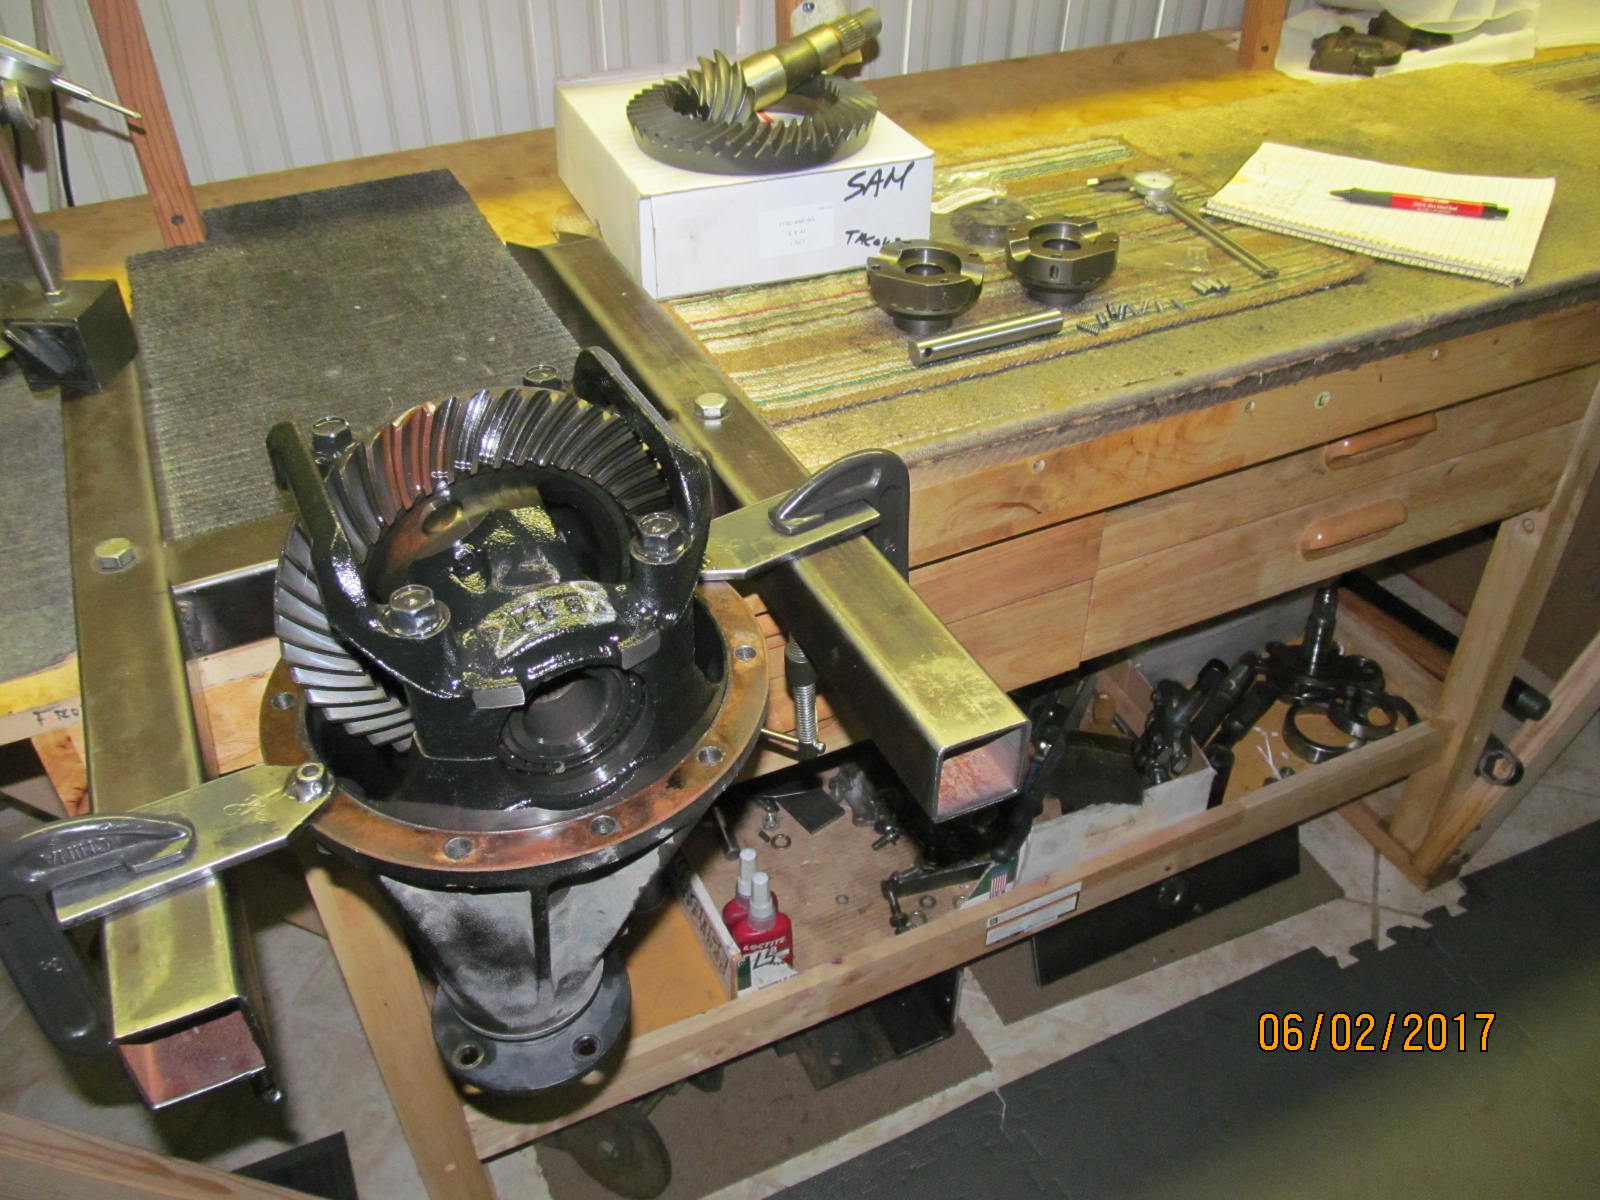
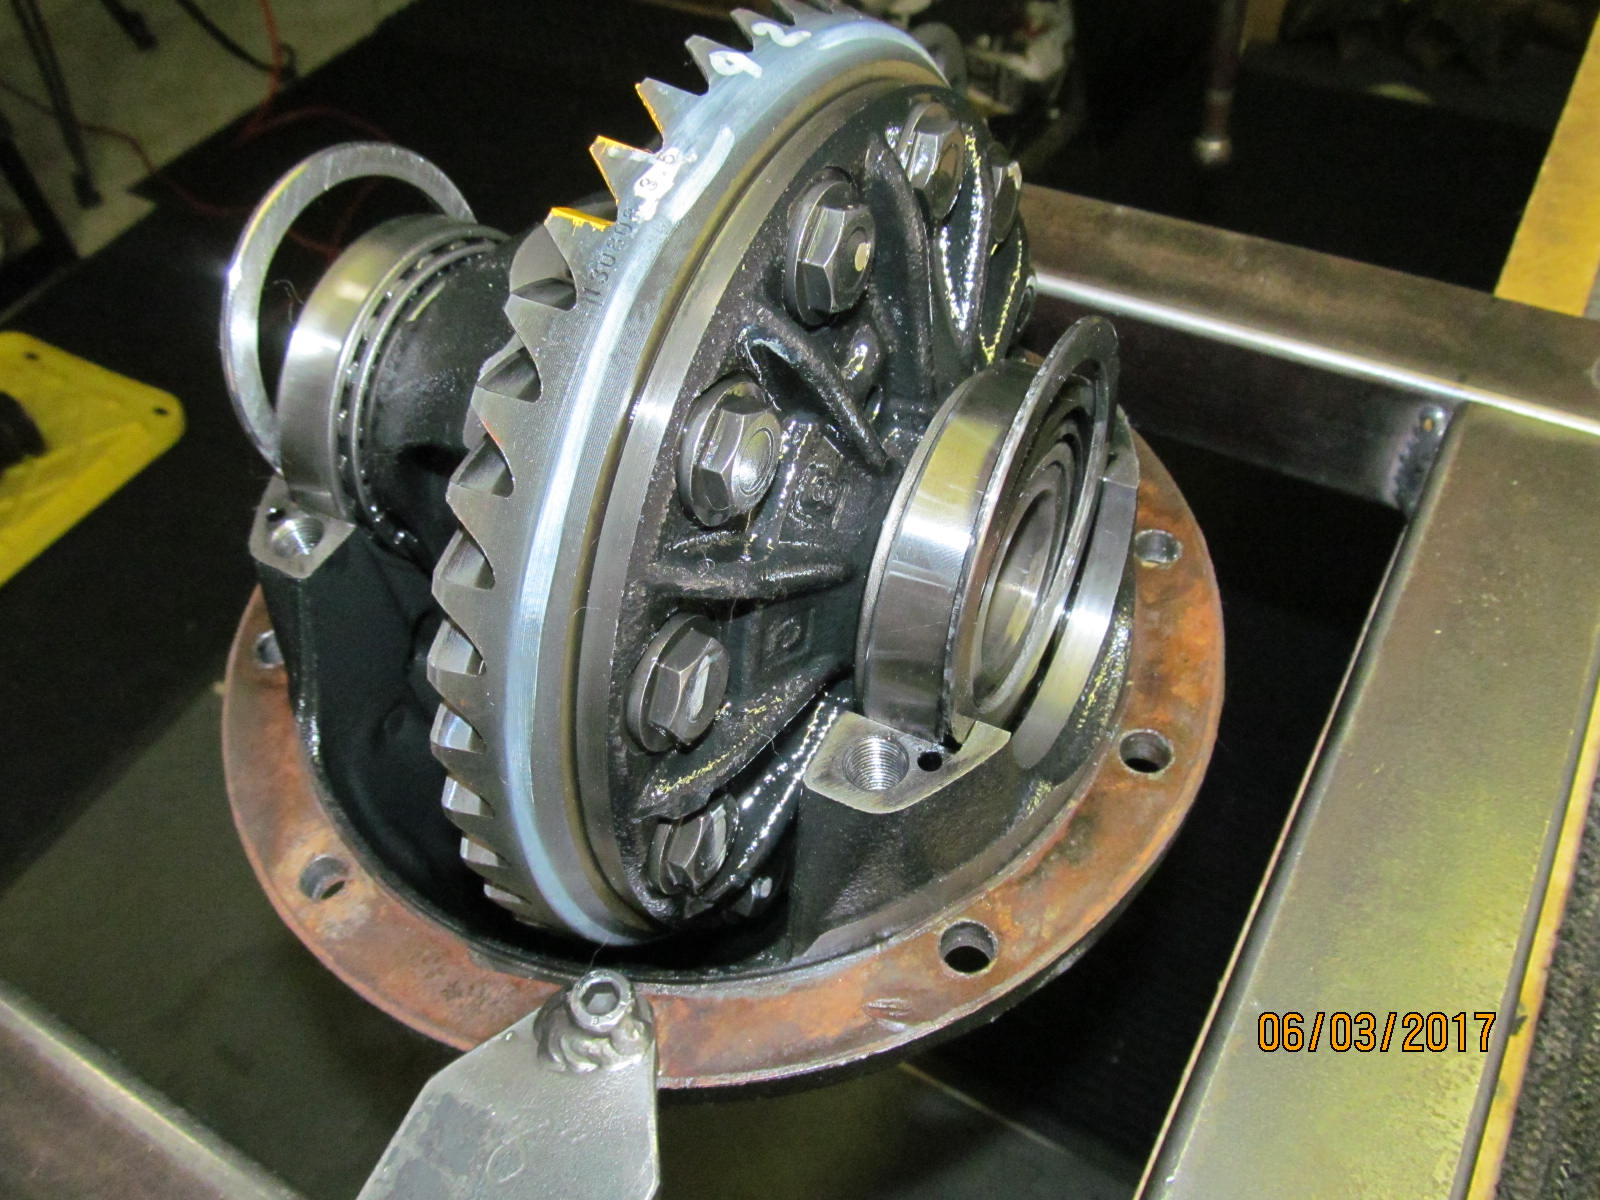
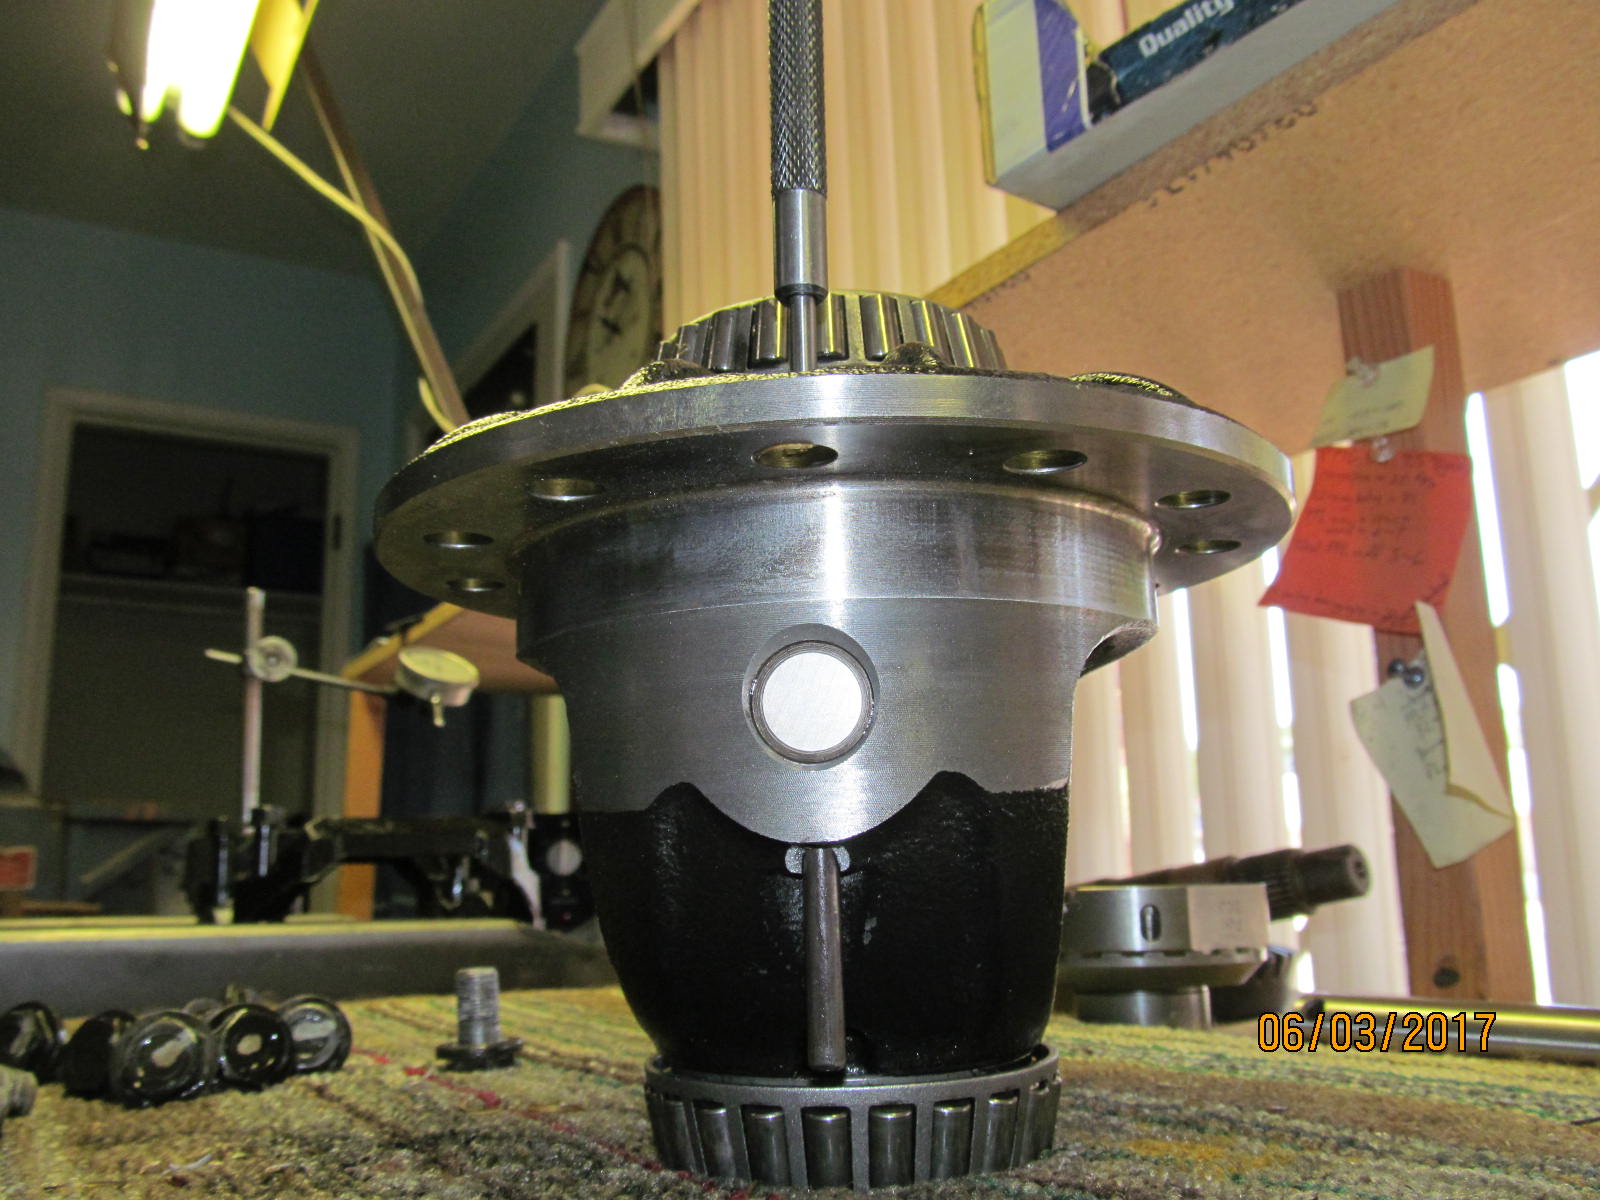
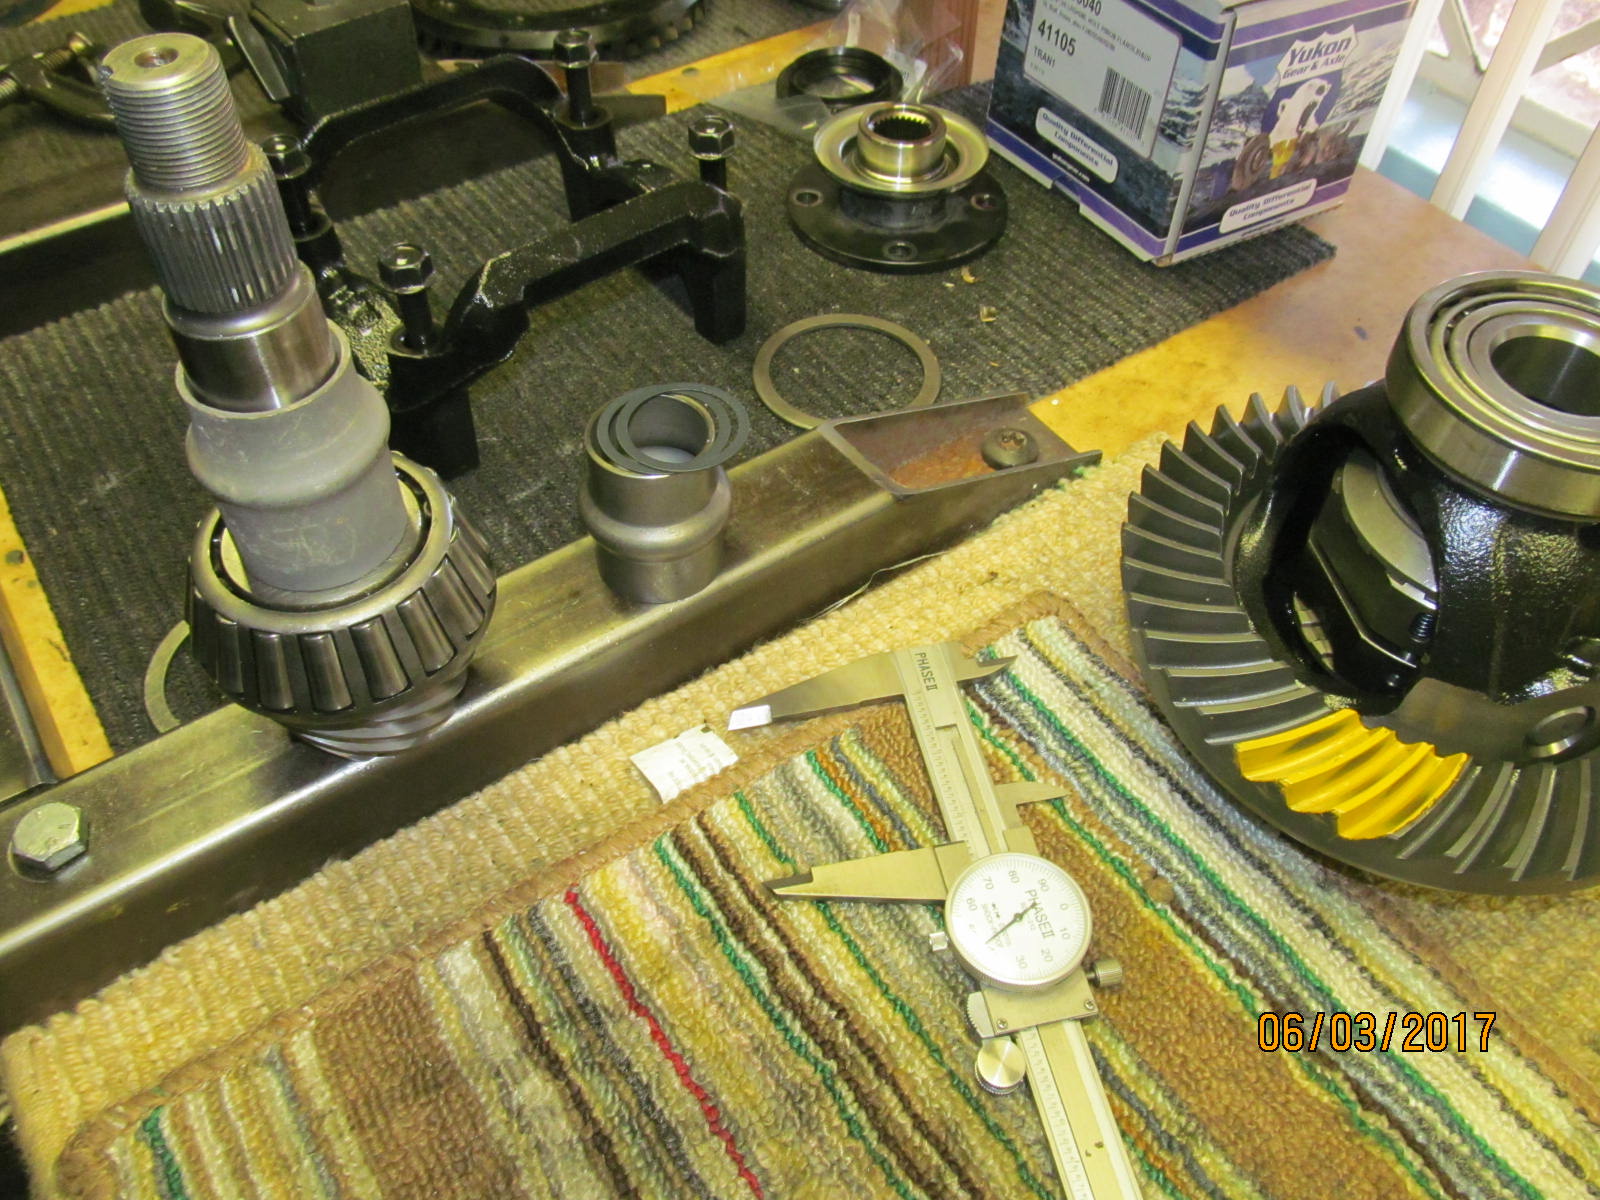
| Sam drops off the 8.4" 3rd member to me. |
|
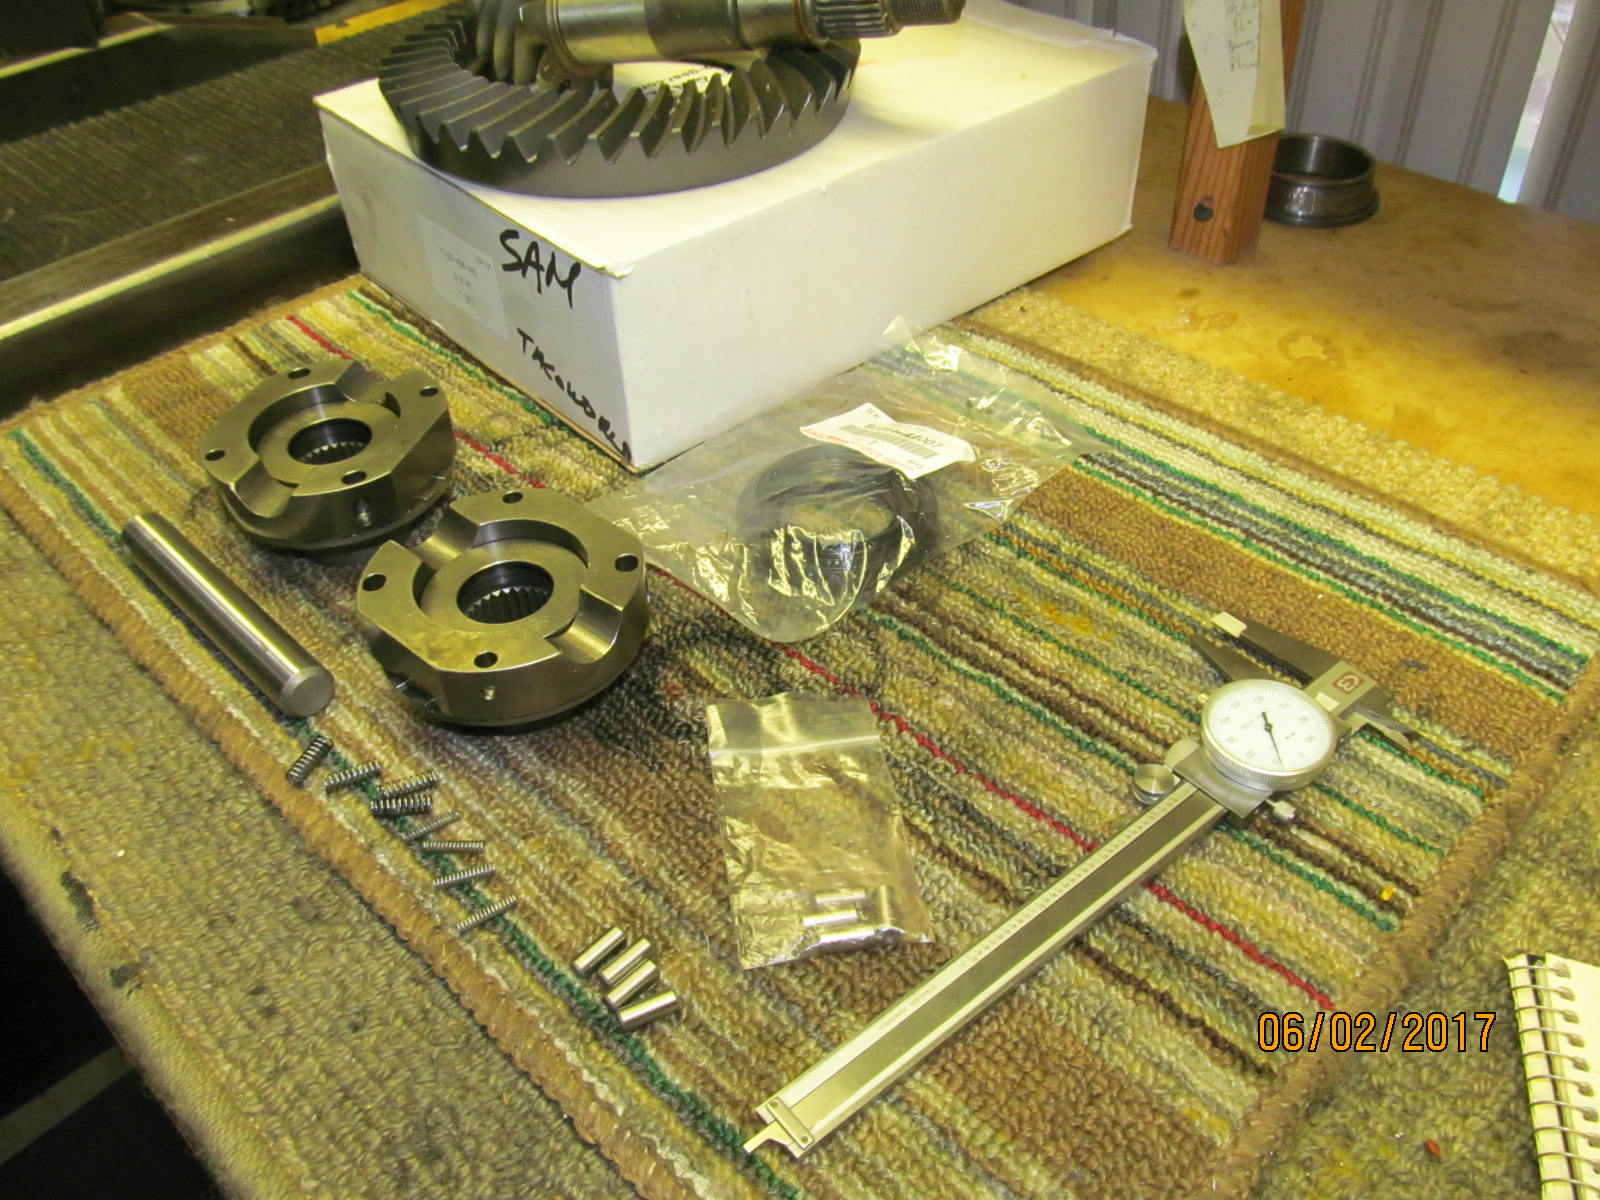
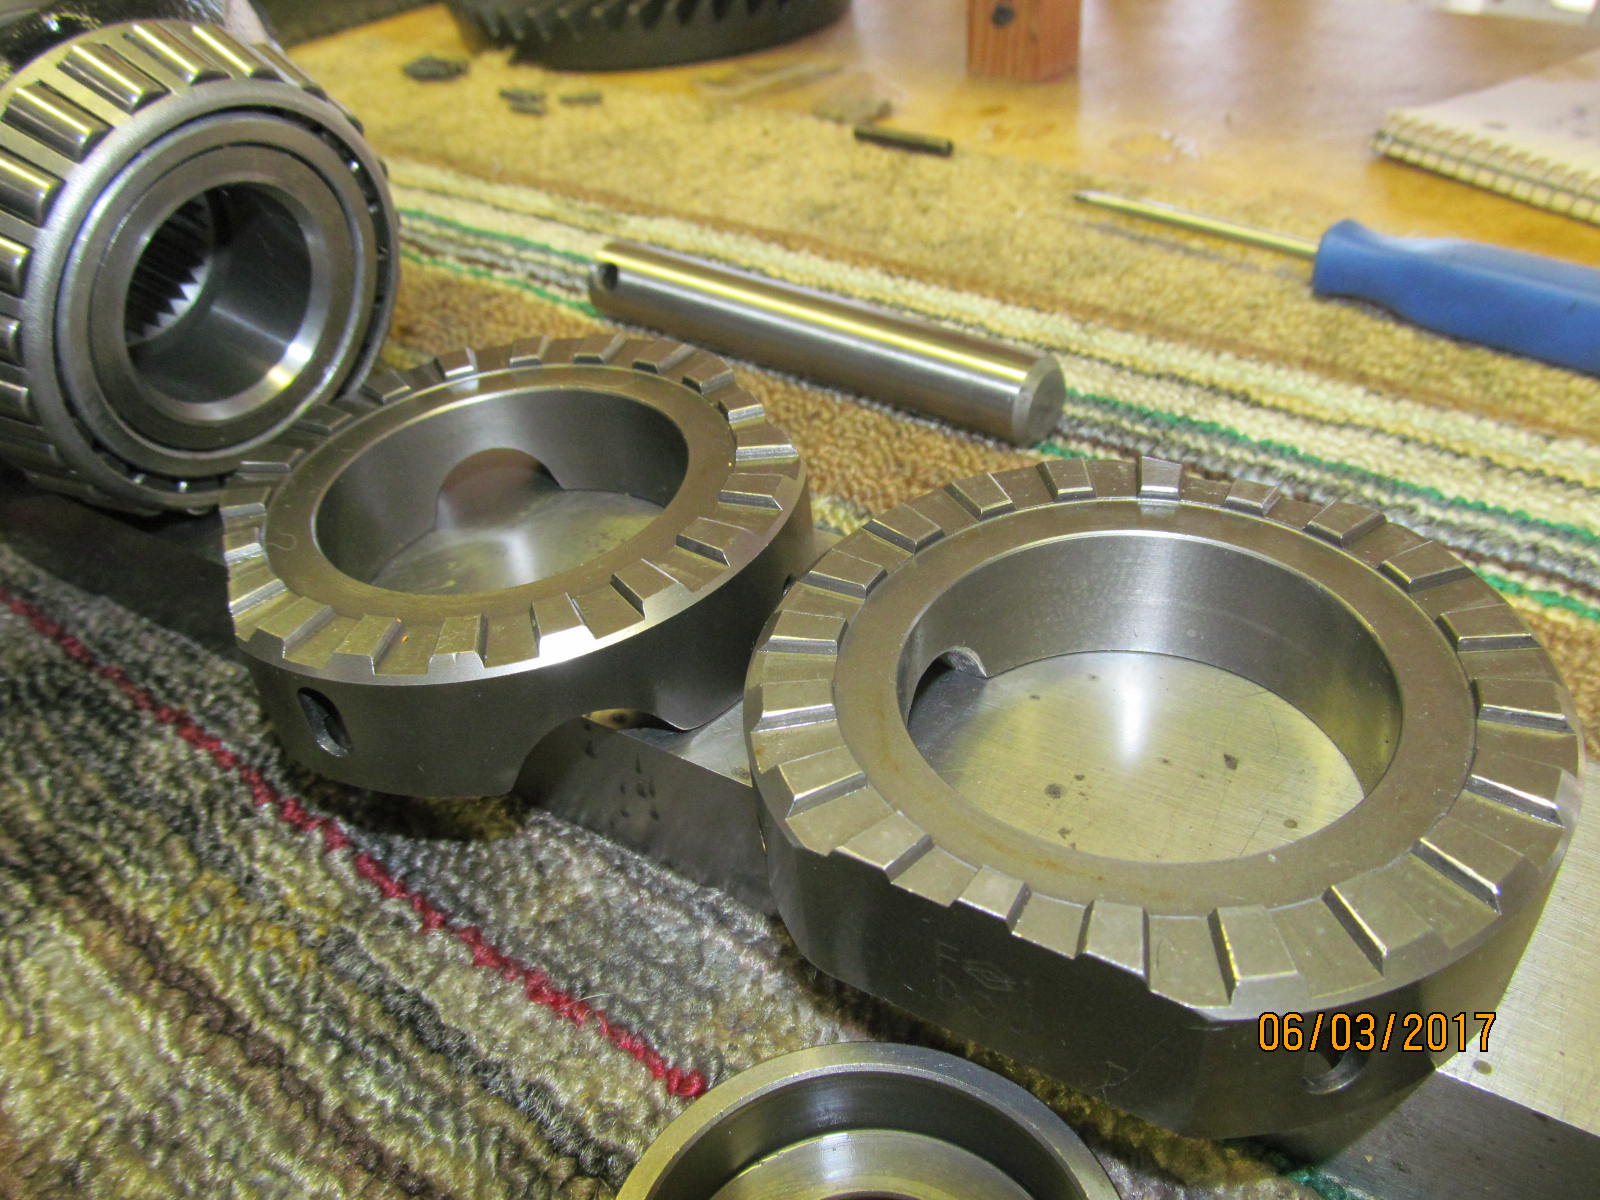
| Parts are organized. The 4.56 gears...the LockRight...the seal....and not shown is the new crush collar. |
|
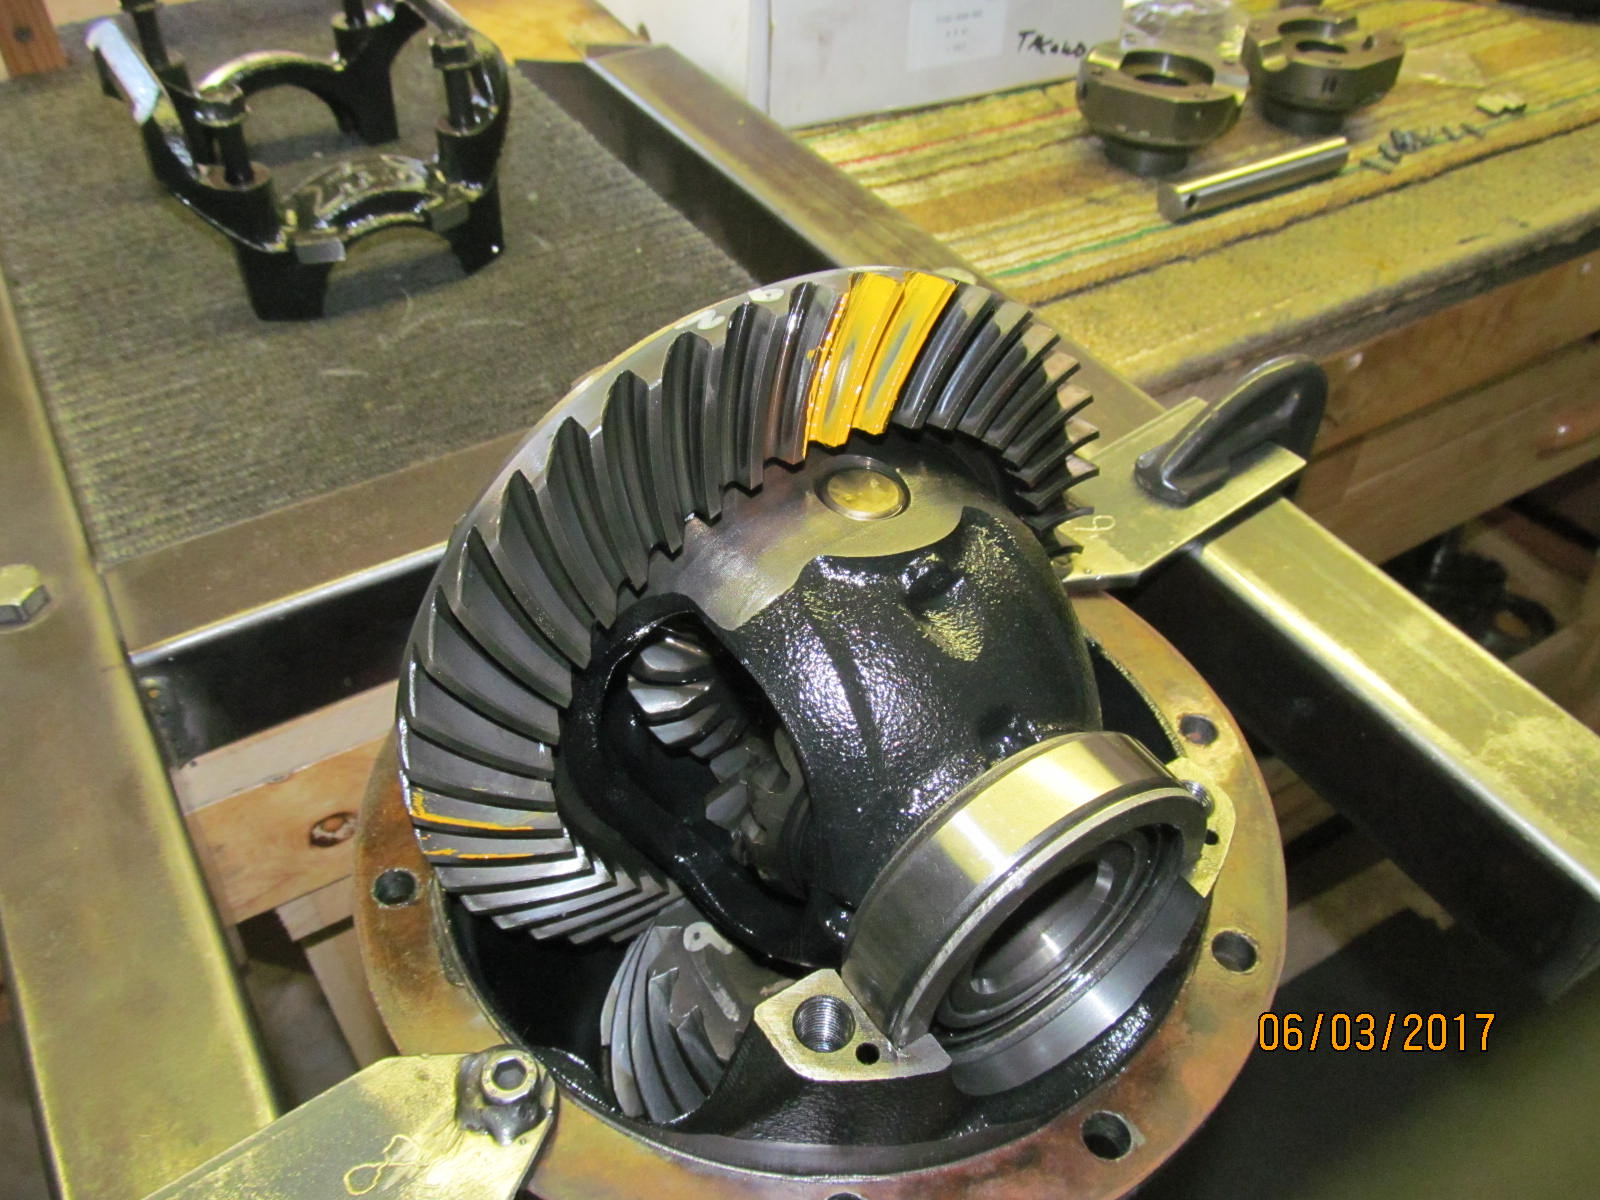
| The "old" gears have a pretty decent pattern still. |
|
| These are 3.58 gears so jumping to 4.56 represents a 27% improvement in power. I have this feeling that Sam will enjoy that 27%. |
|
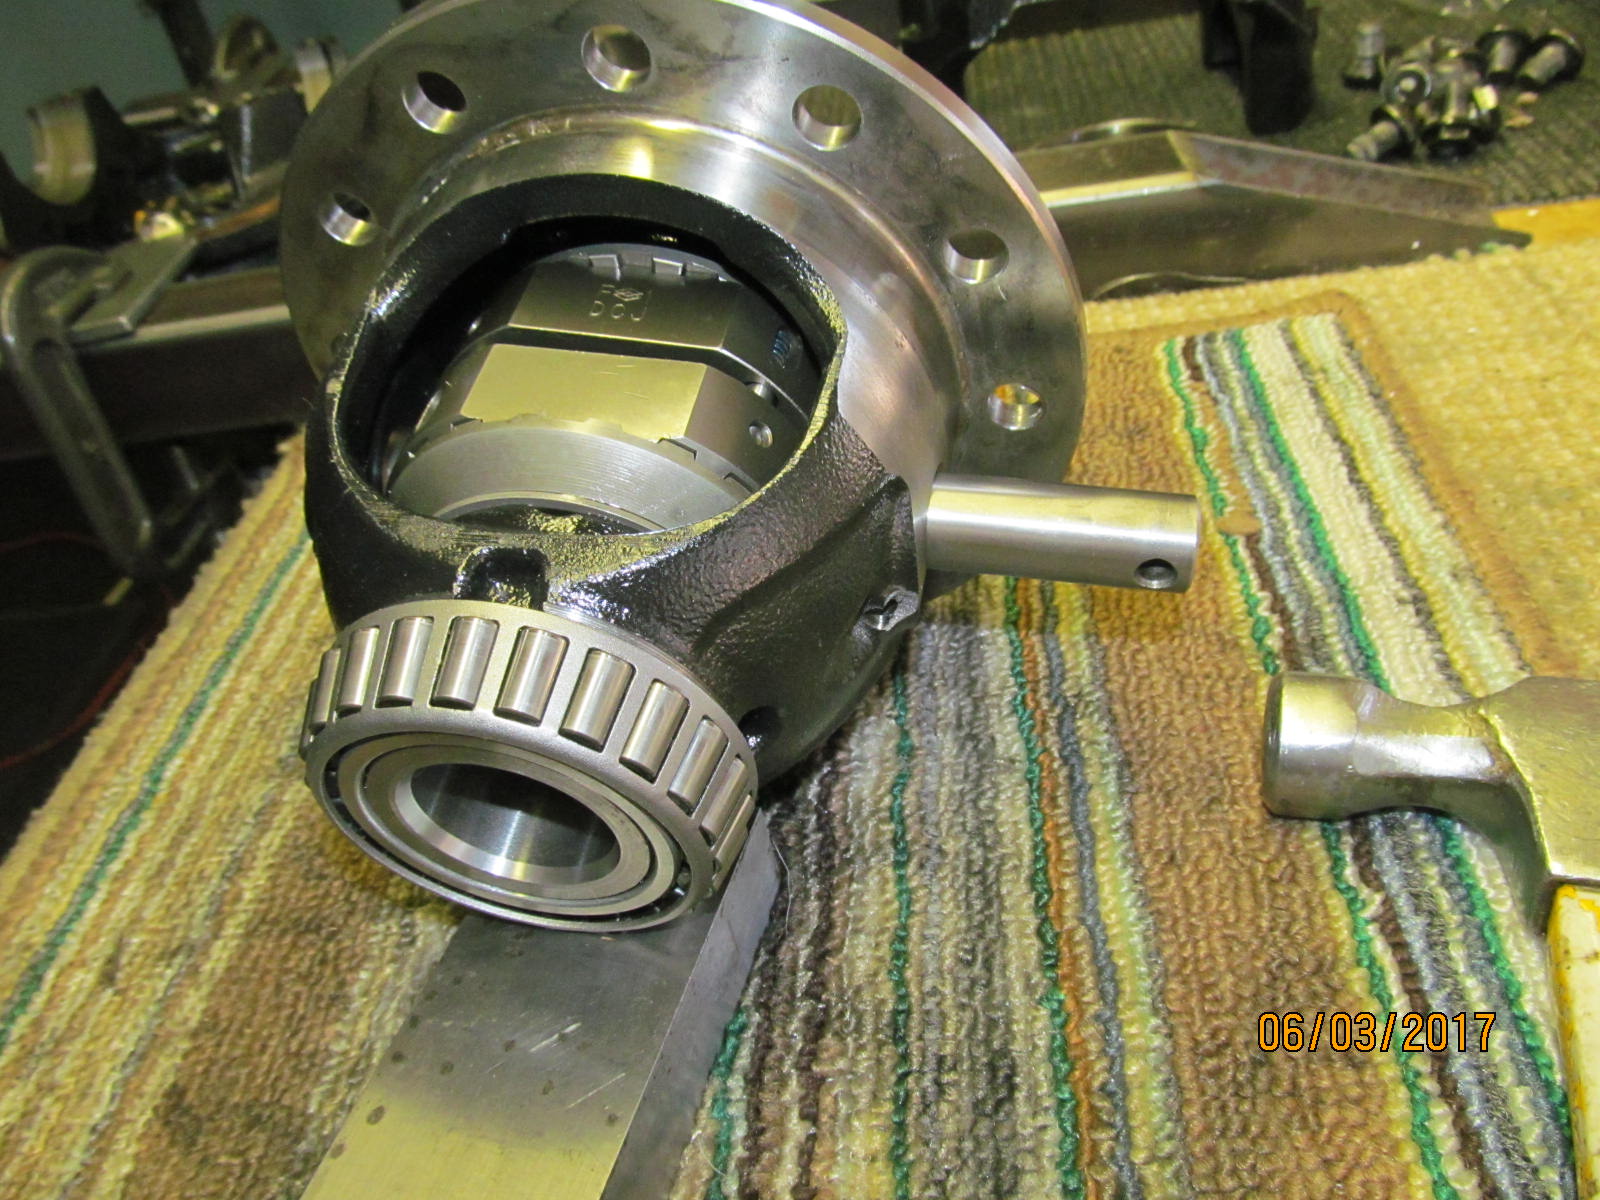
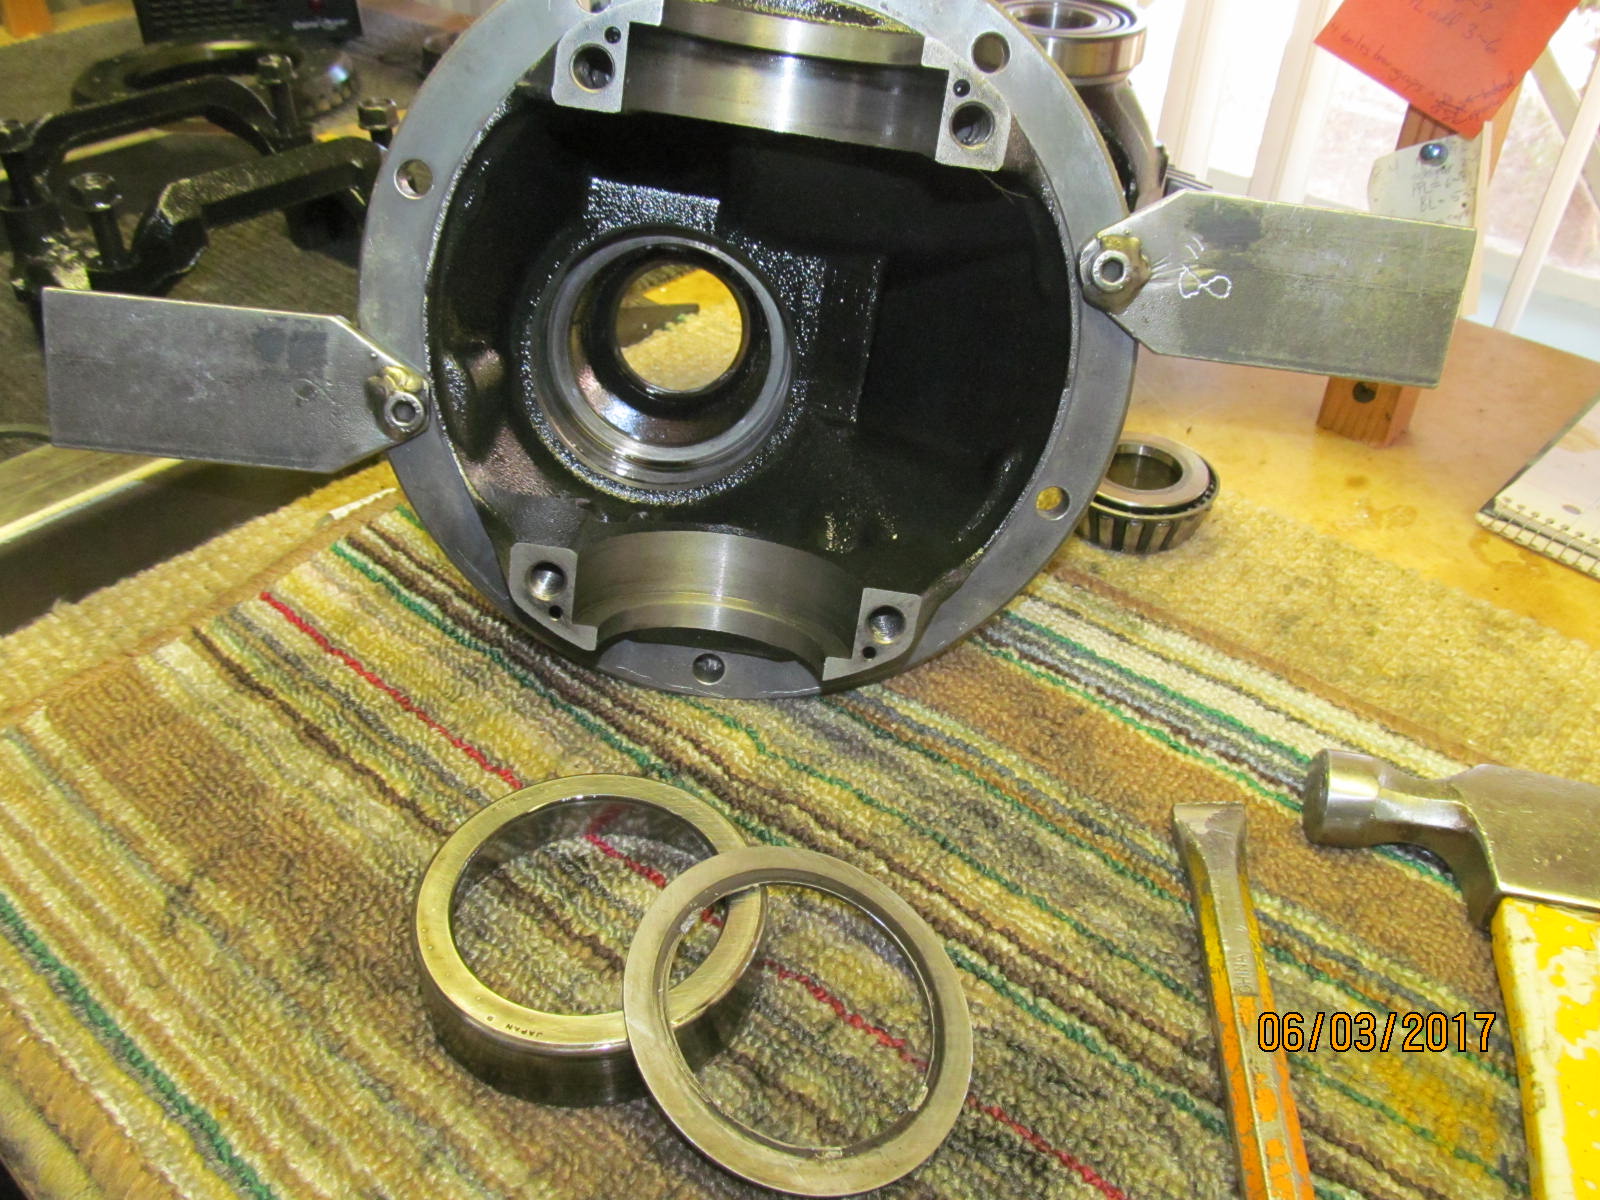
| The low mileage carrier bearings were inspected and looked great. |
|
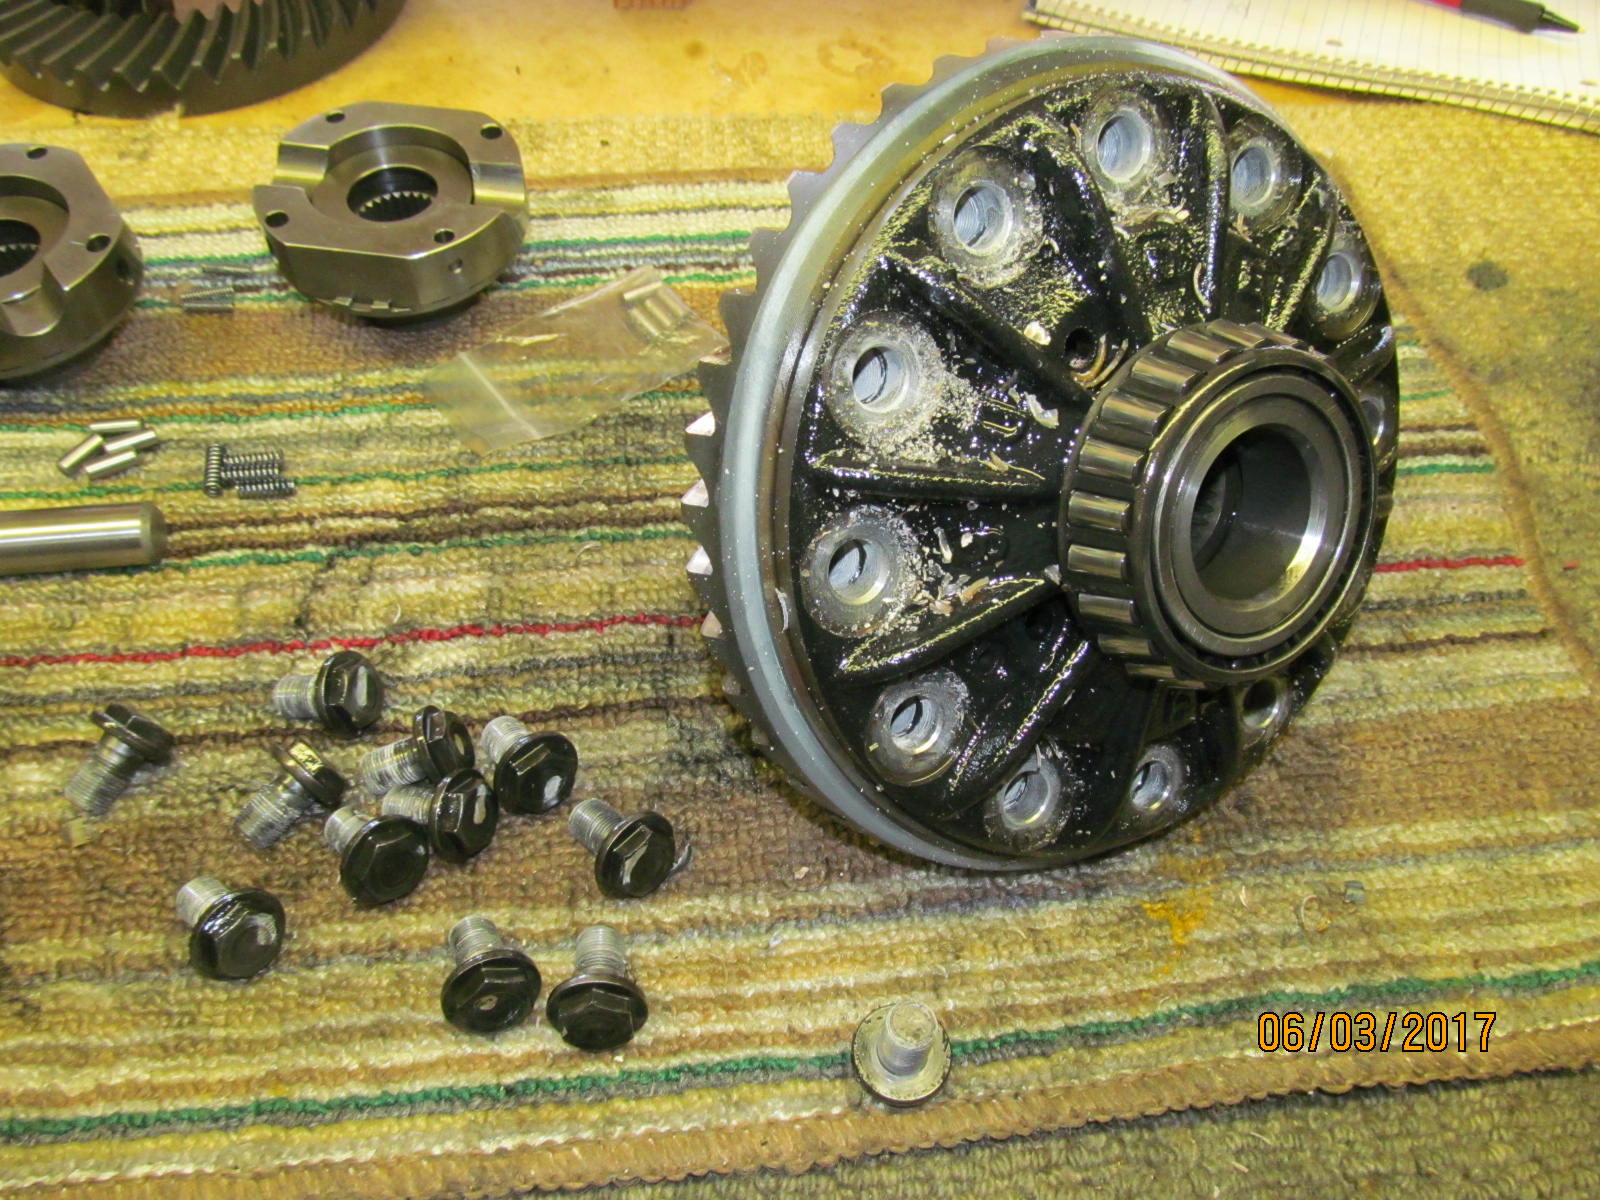
| Time to take the ring gear off. The factory employed a high strength loctite on the flange style bolts. The head is easy to round off making it important to maximize grip on the low profile head. The impact socket was machined flat on the end to help out. |
|
| All are out....and haven't rounded one out yet. |
|
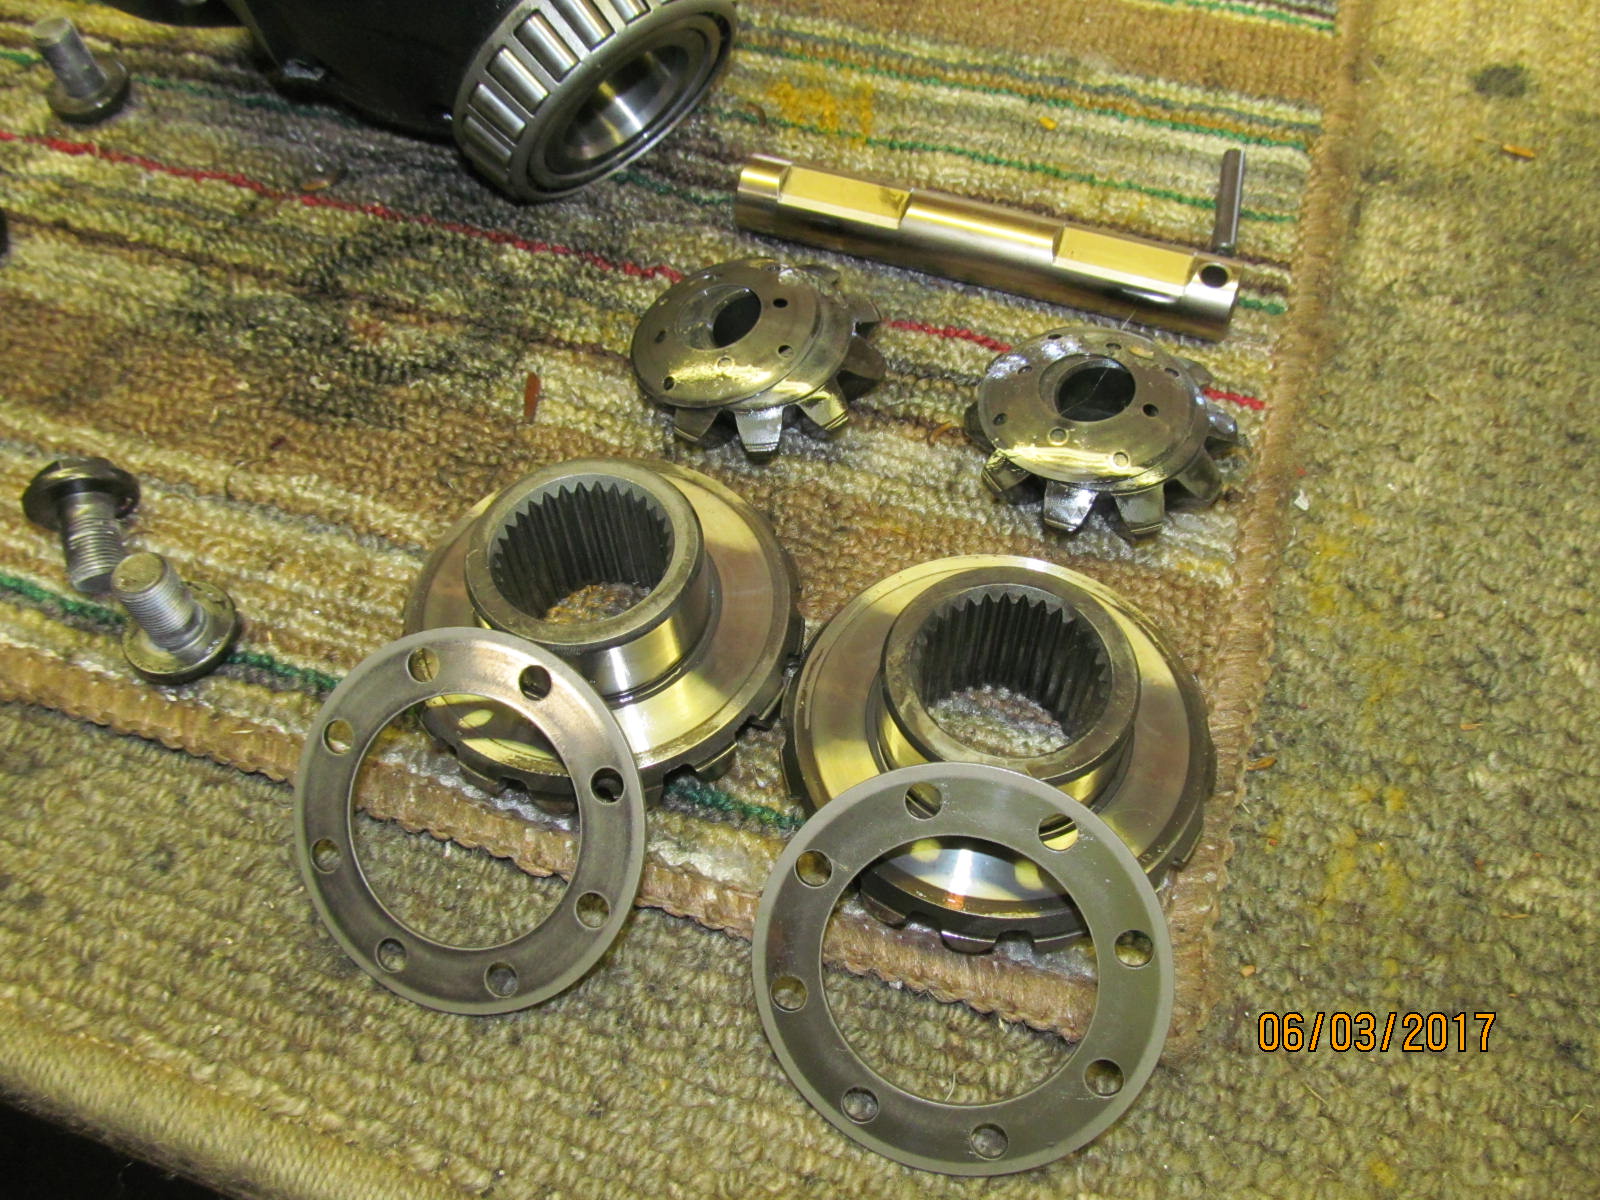
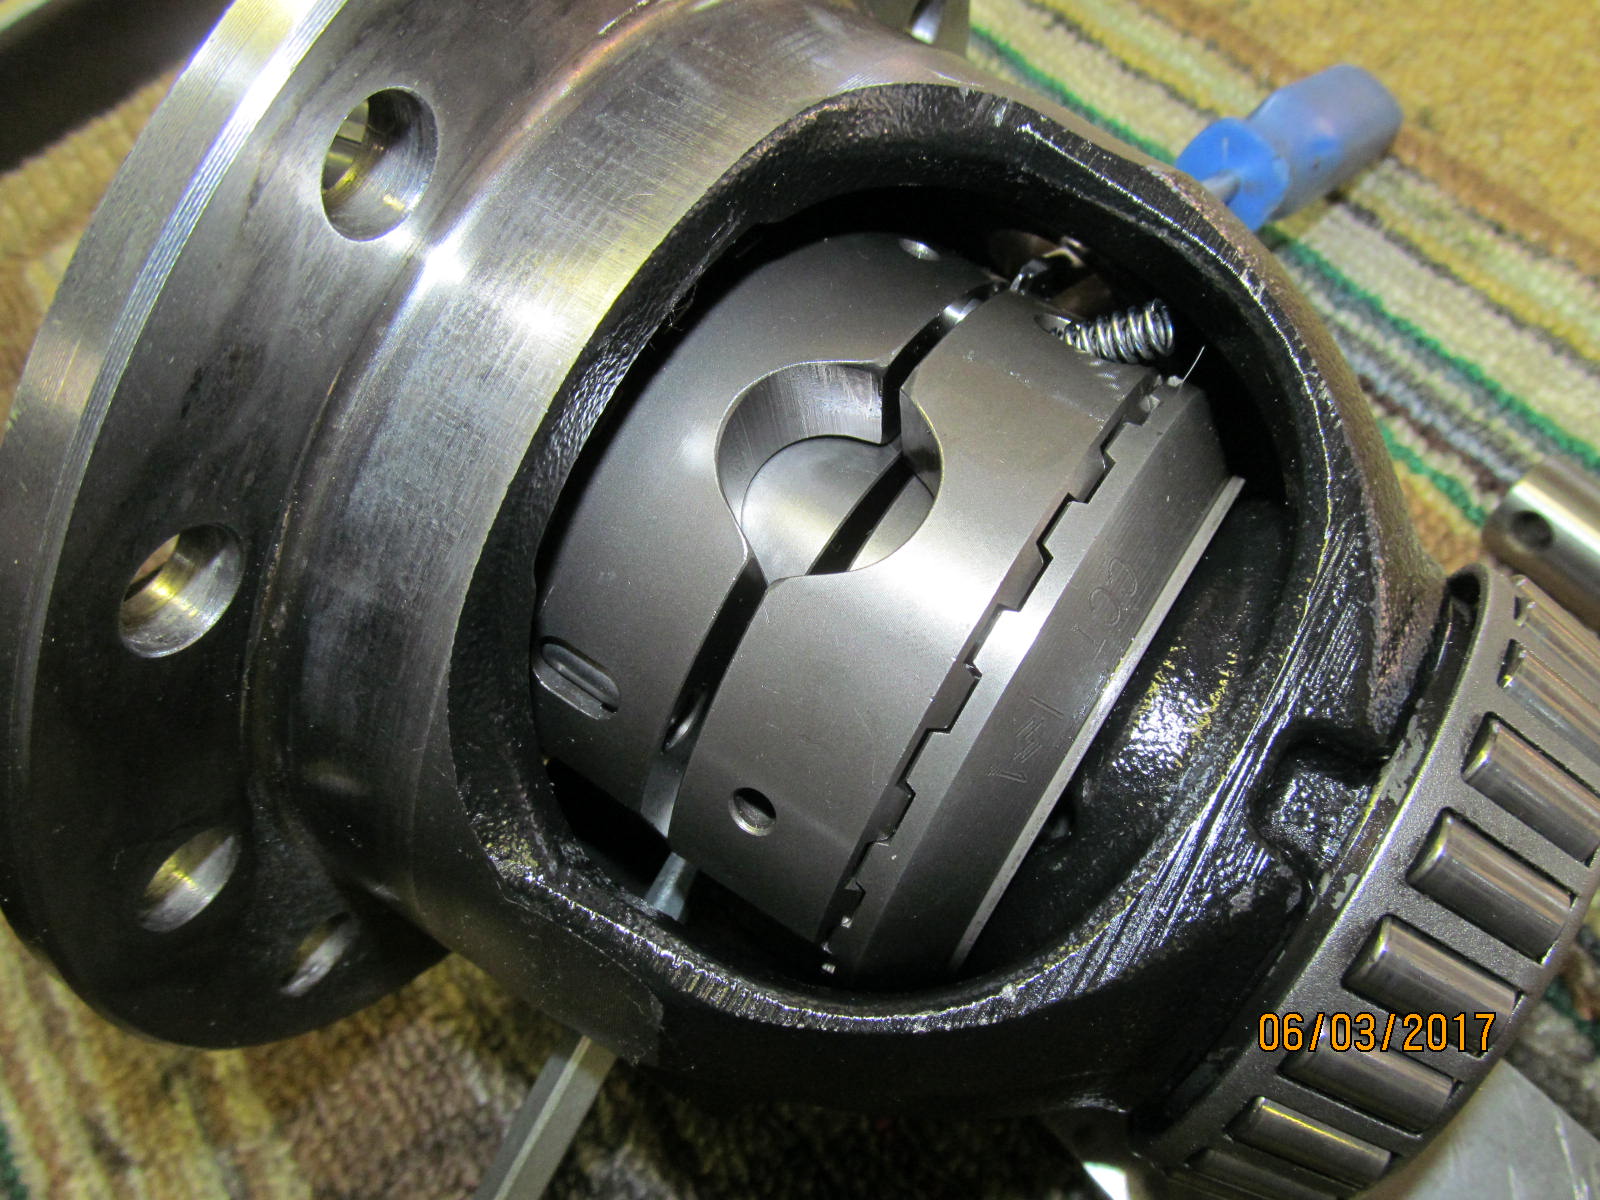
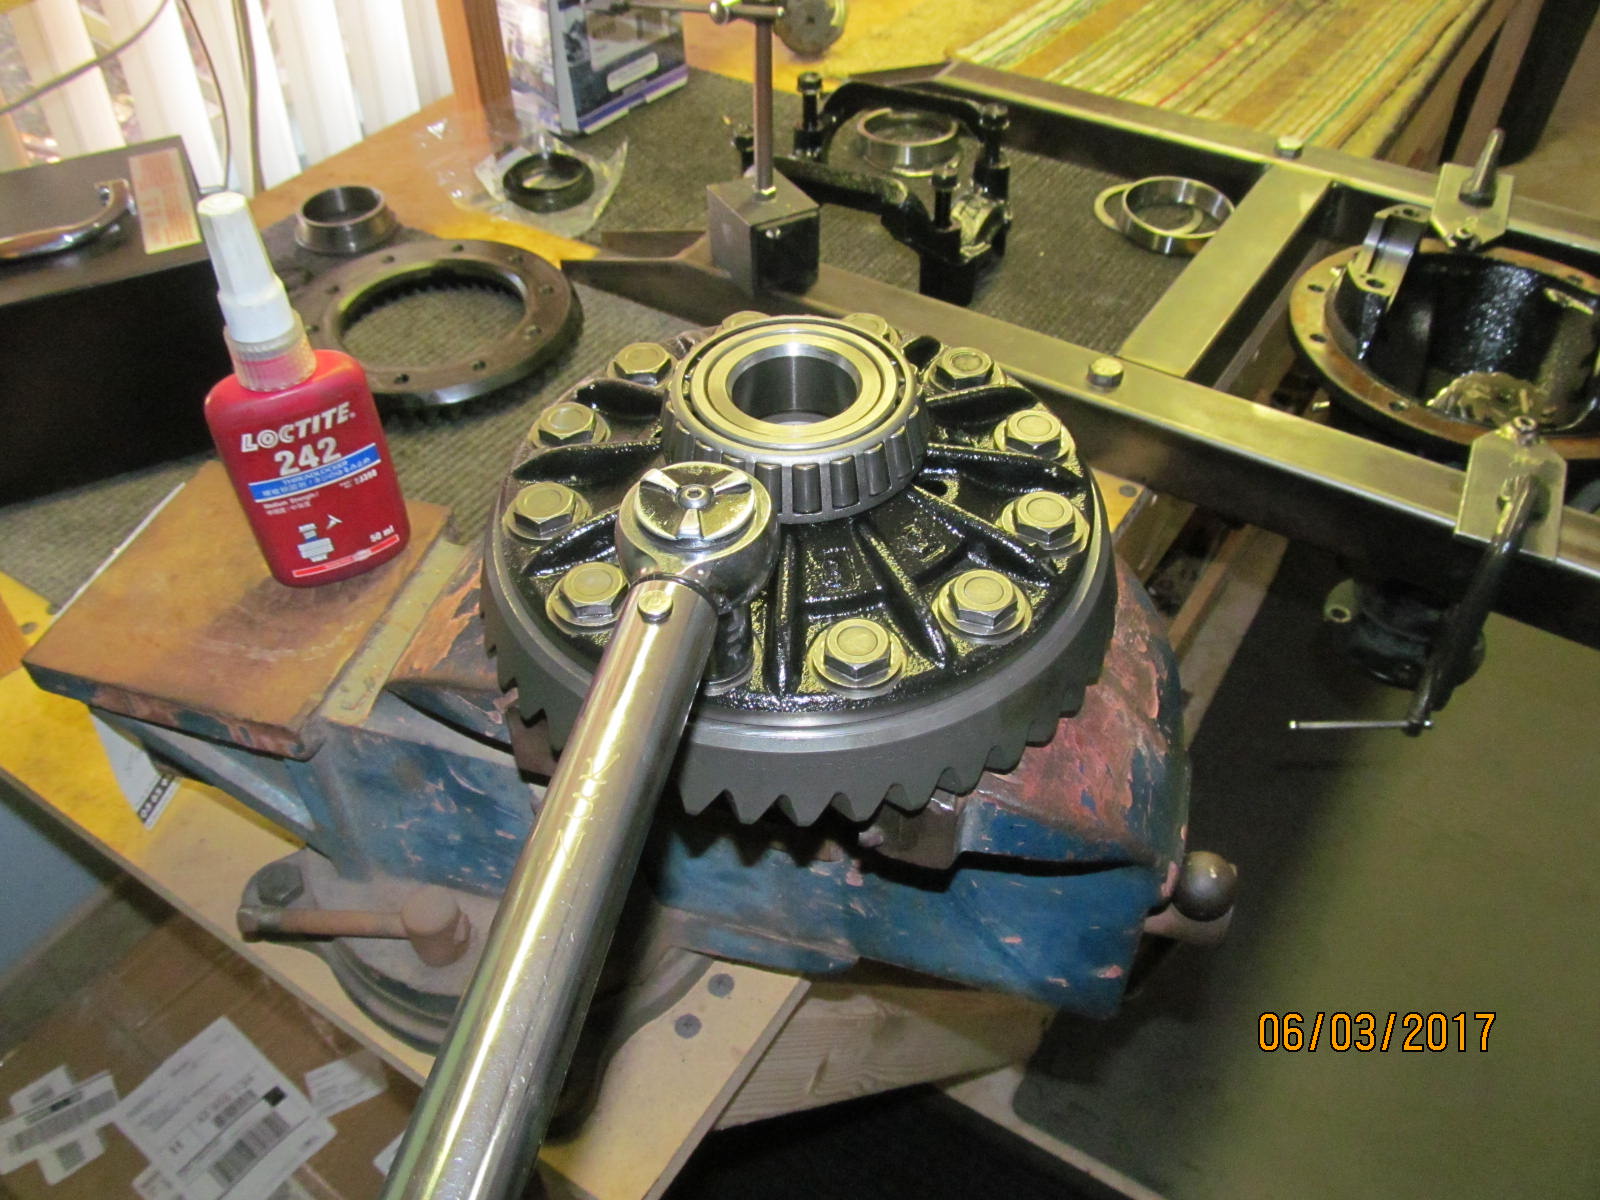
| Best to put the Richmond LockRight in now. Tap the pin out. |
|
| Only the sidegear washer plates(.063" thick each) will be re-used. |
|
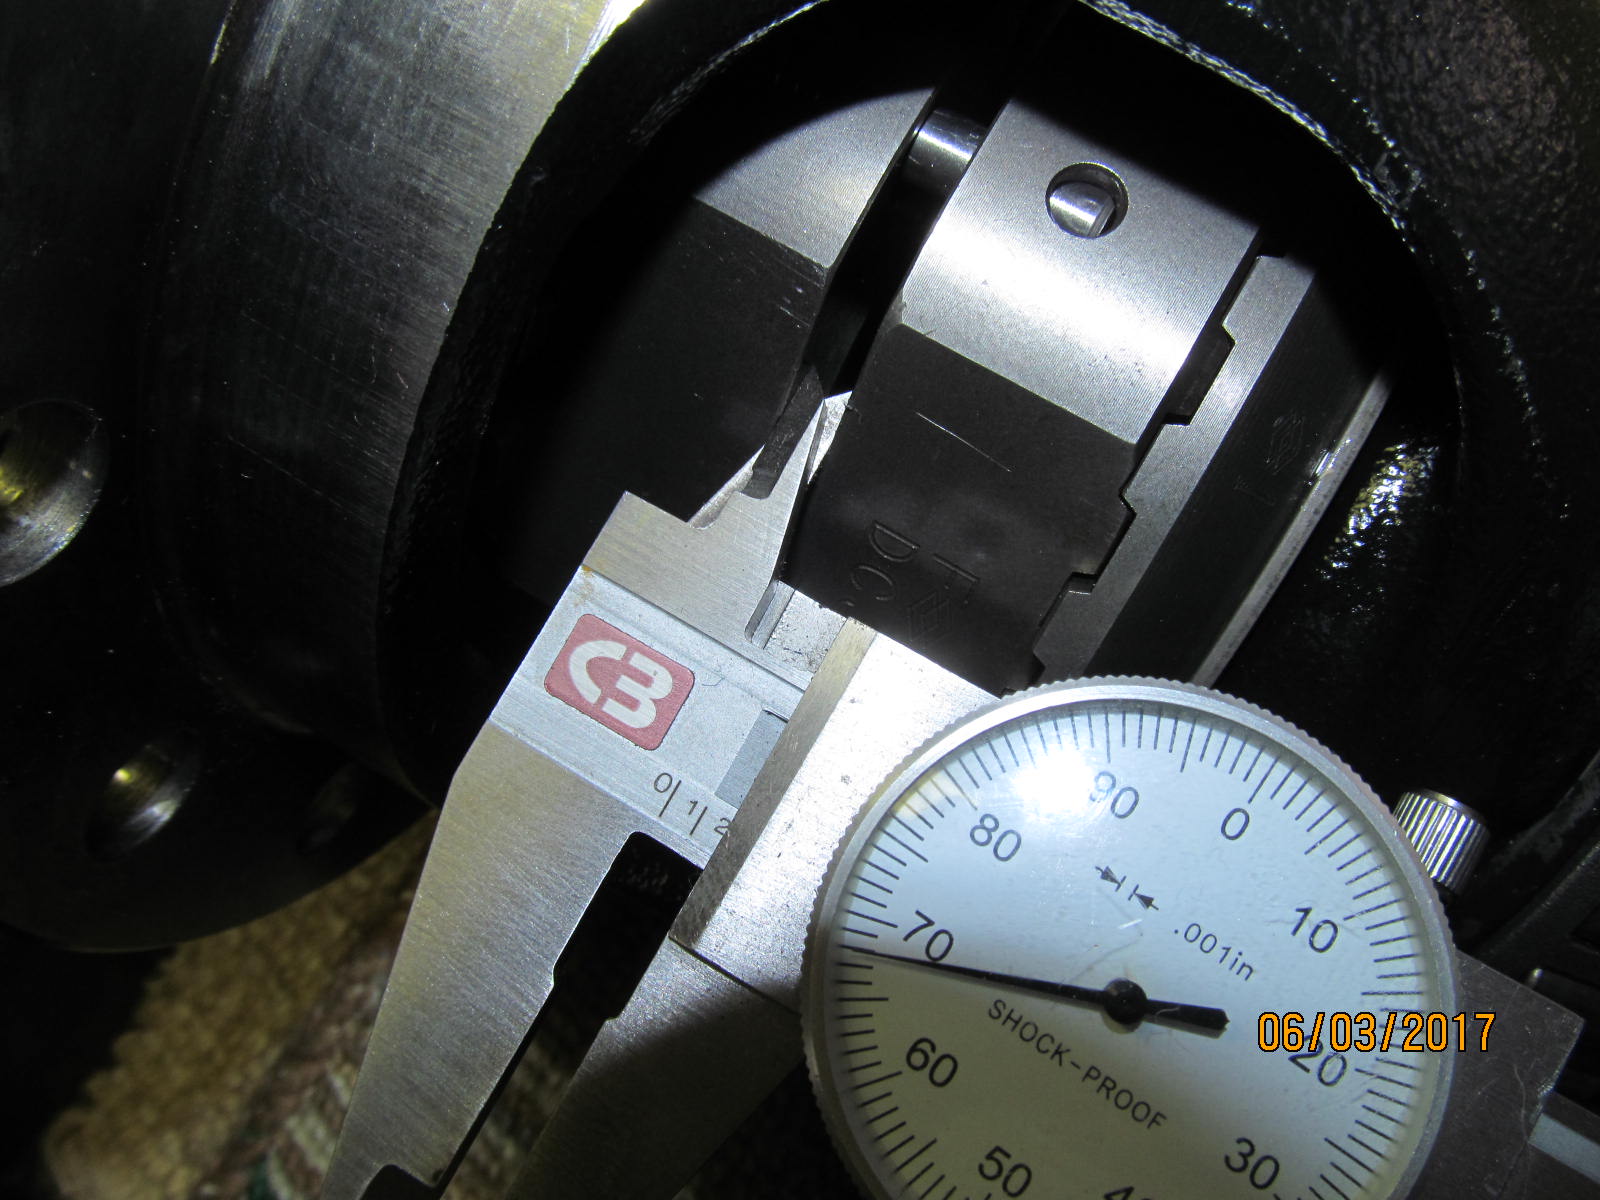
| One of the required checks is to measure the crosspin to spacer clearance. |
|
| .011" was consistently measured at all 4 spots. |
|
| Now the drivers can be installed. |
|
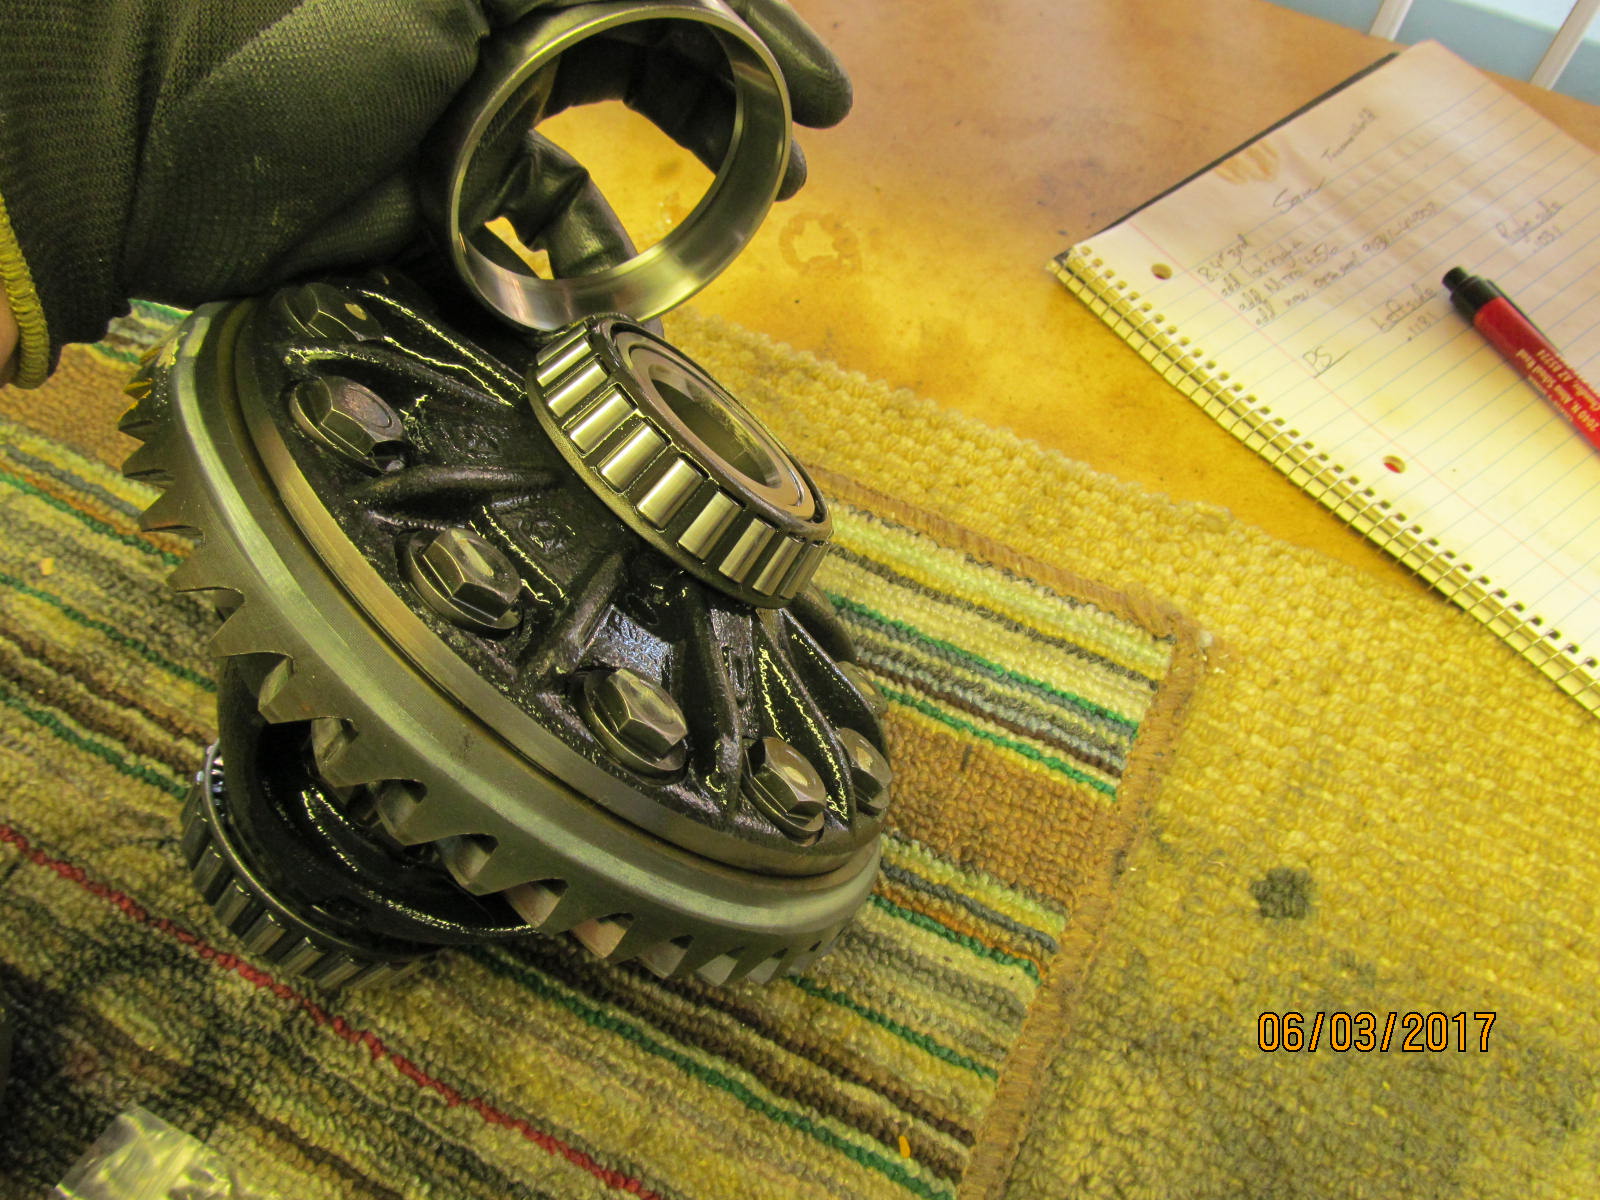
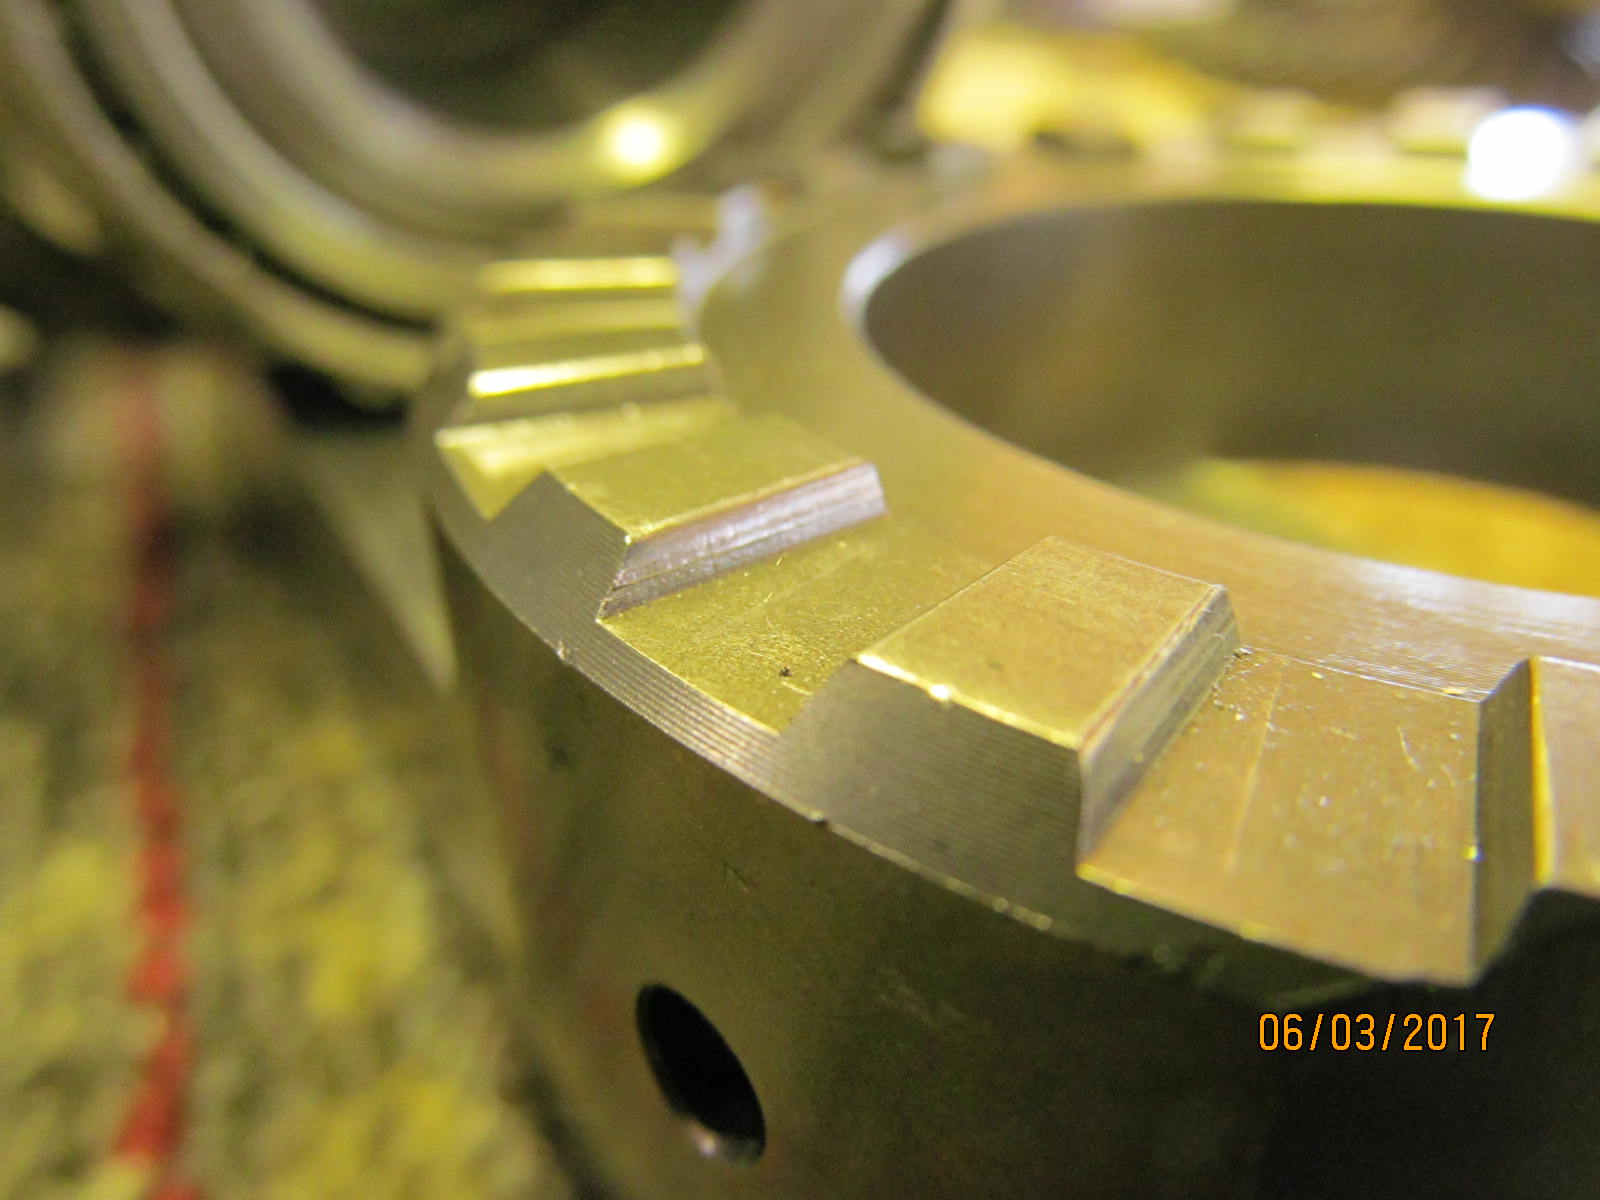
| Sam bought the LockRight slightly used....and I agree that the teeth are in excellent condition. |
|
| ........................... |
|
| Springs are the last thing to go in. |
|
| Crosspin is tapped in. |
|
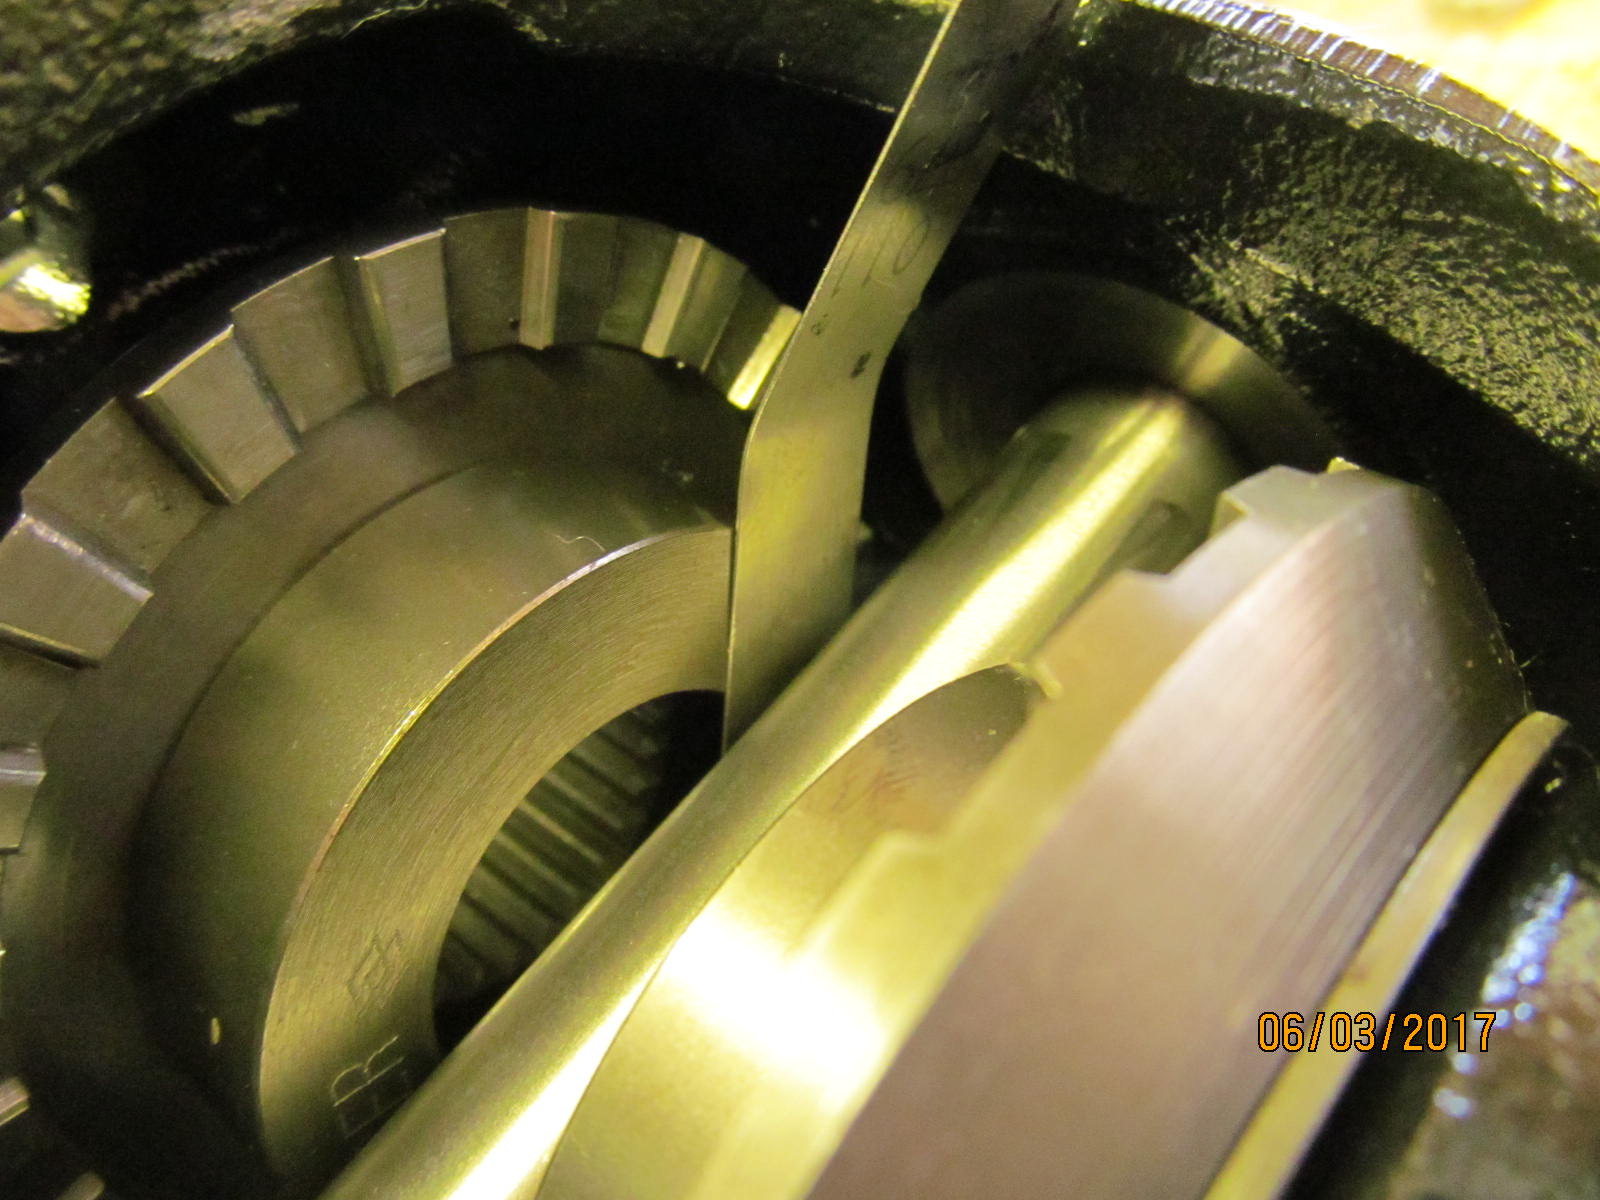
| I can now measure the driver distance. .168" which is ok. |
|
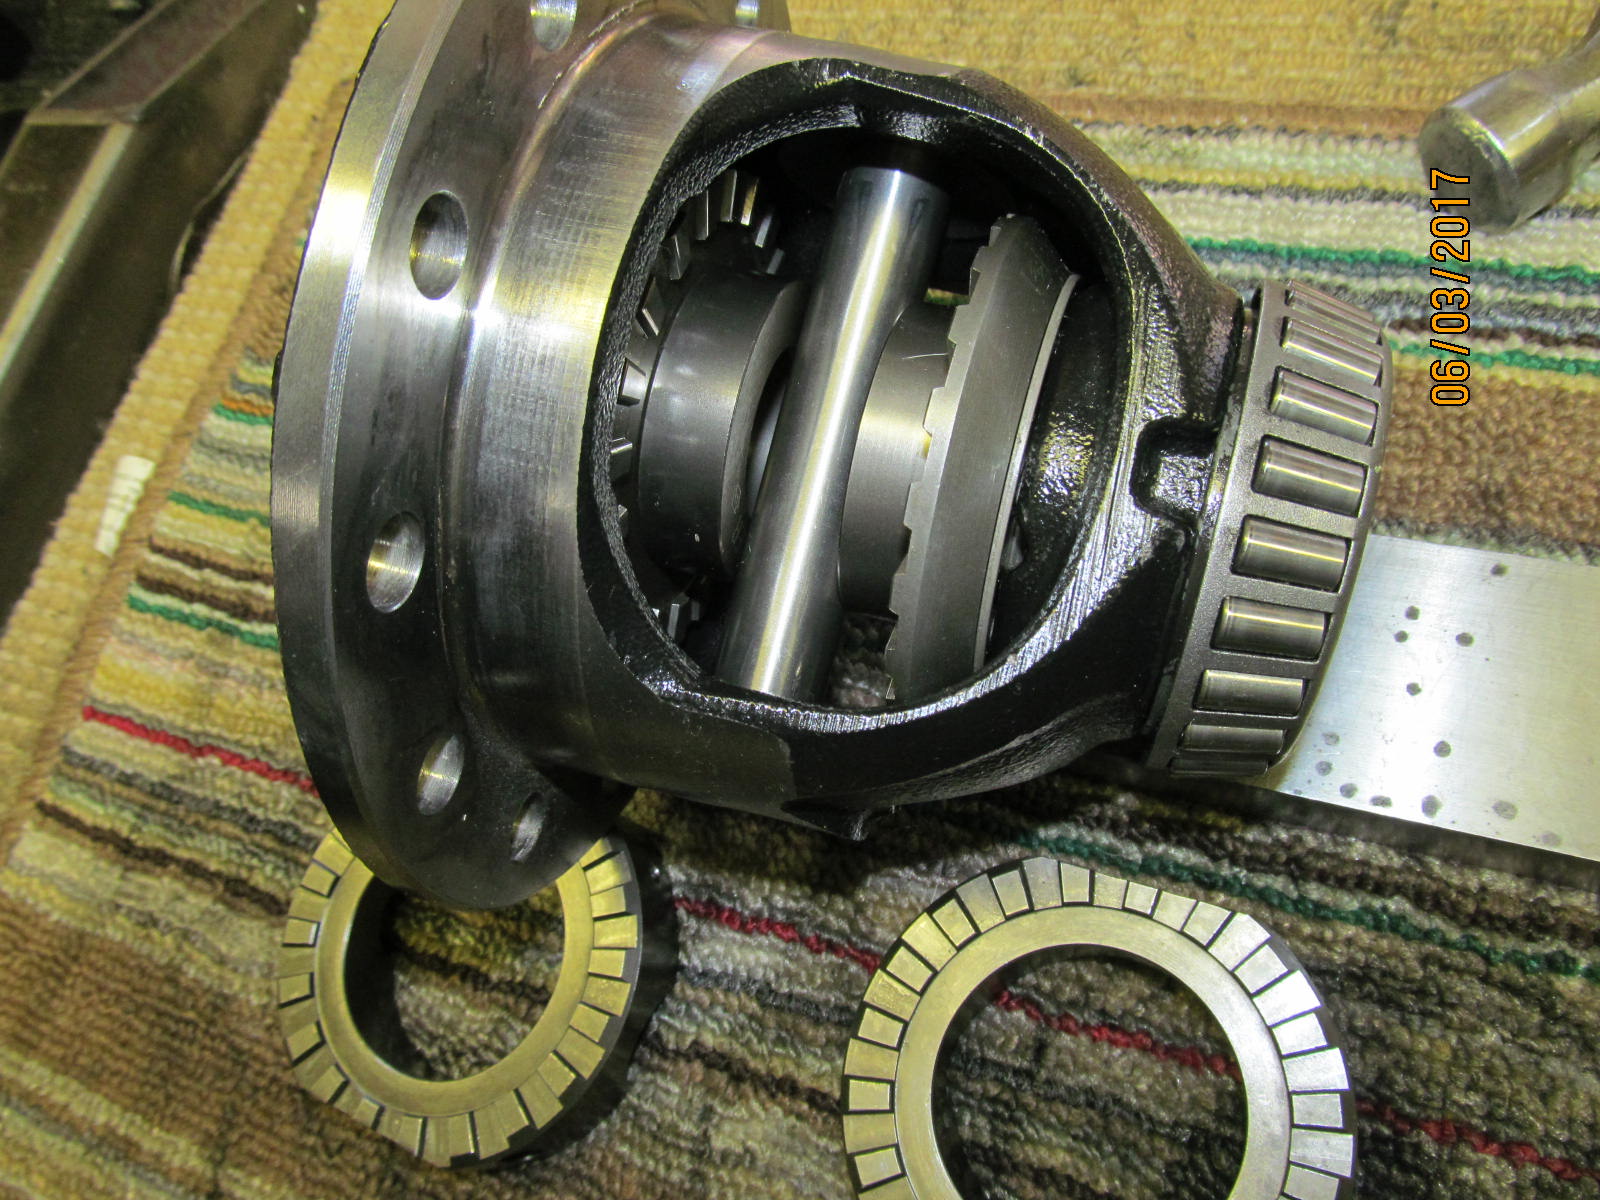
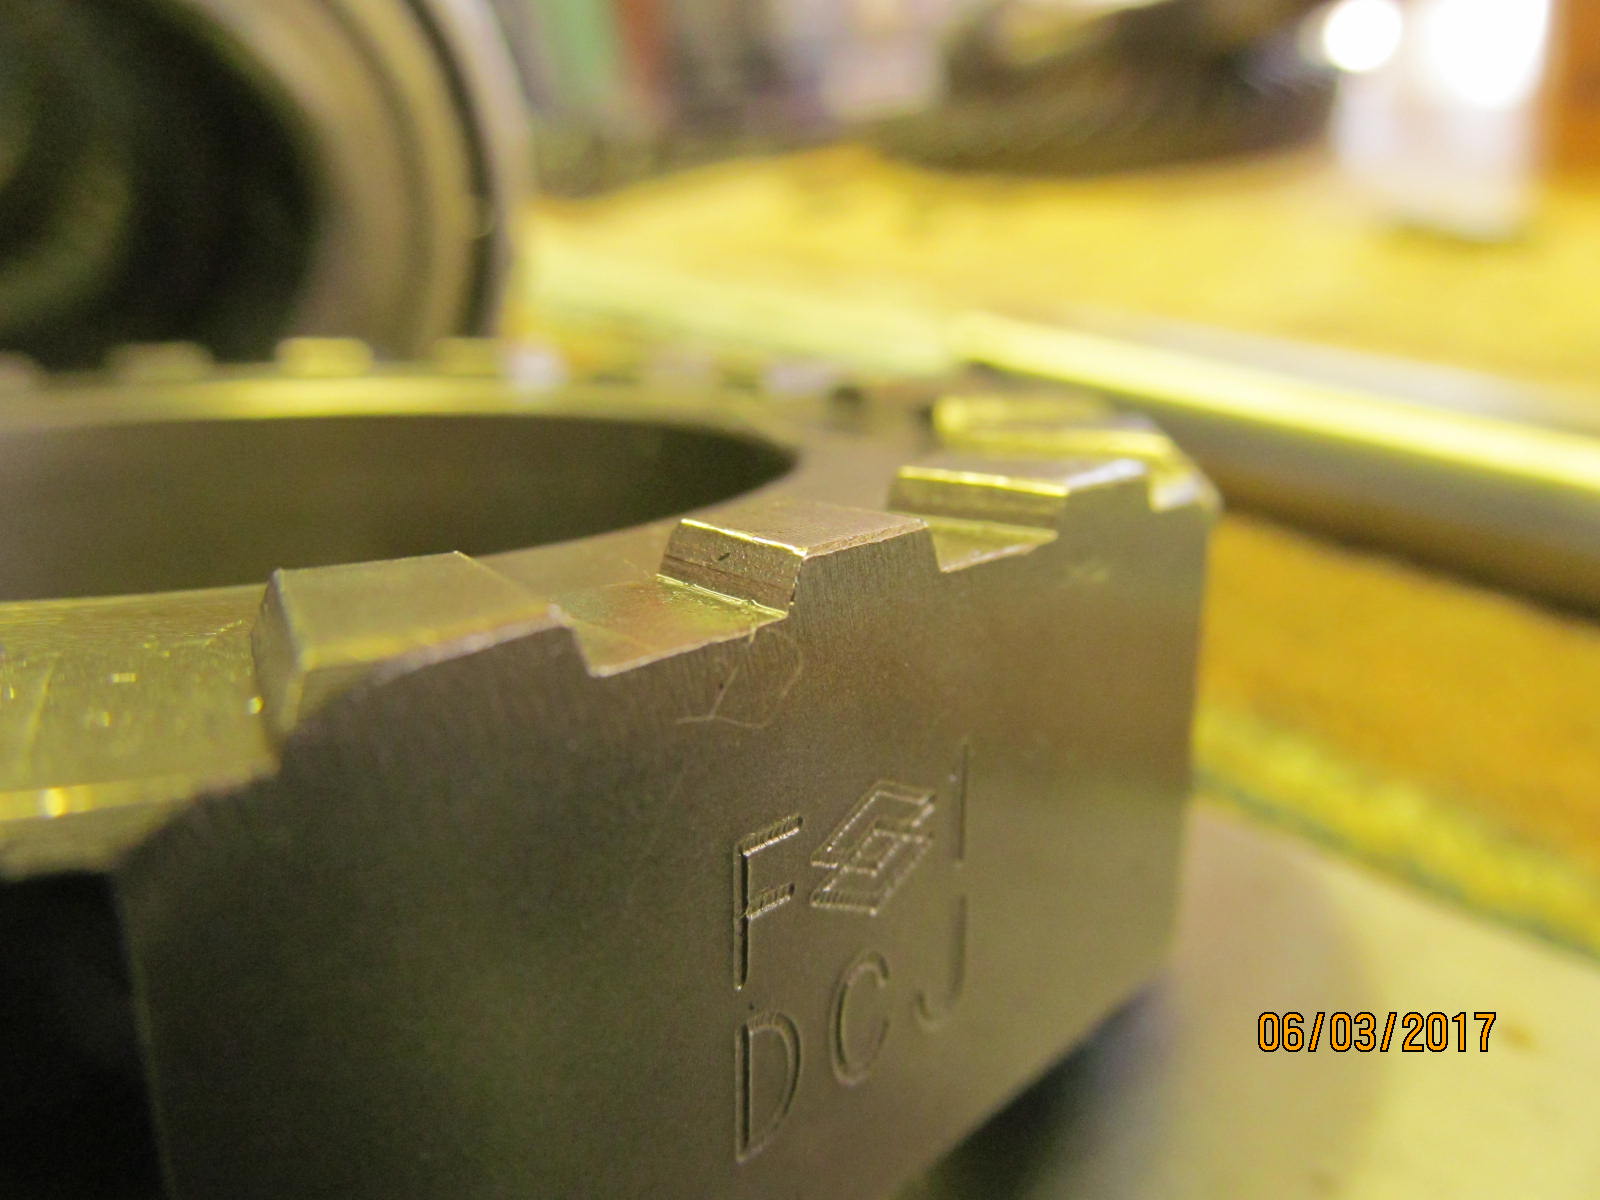
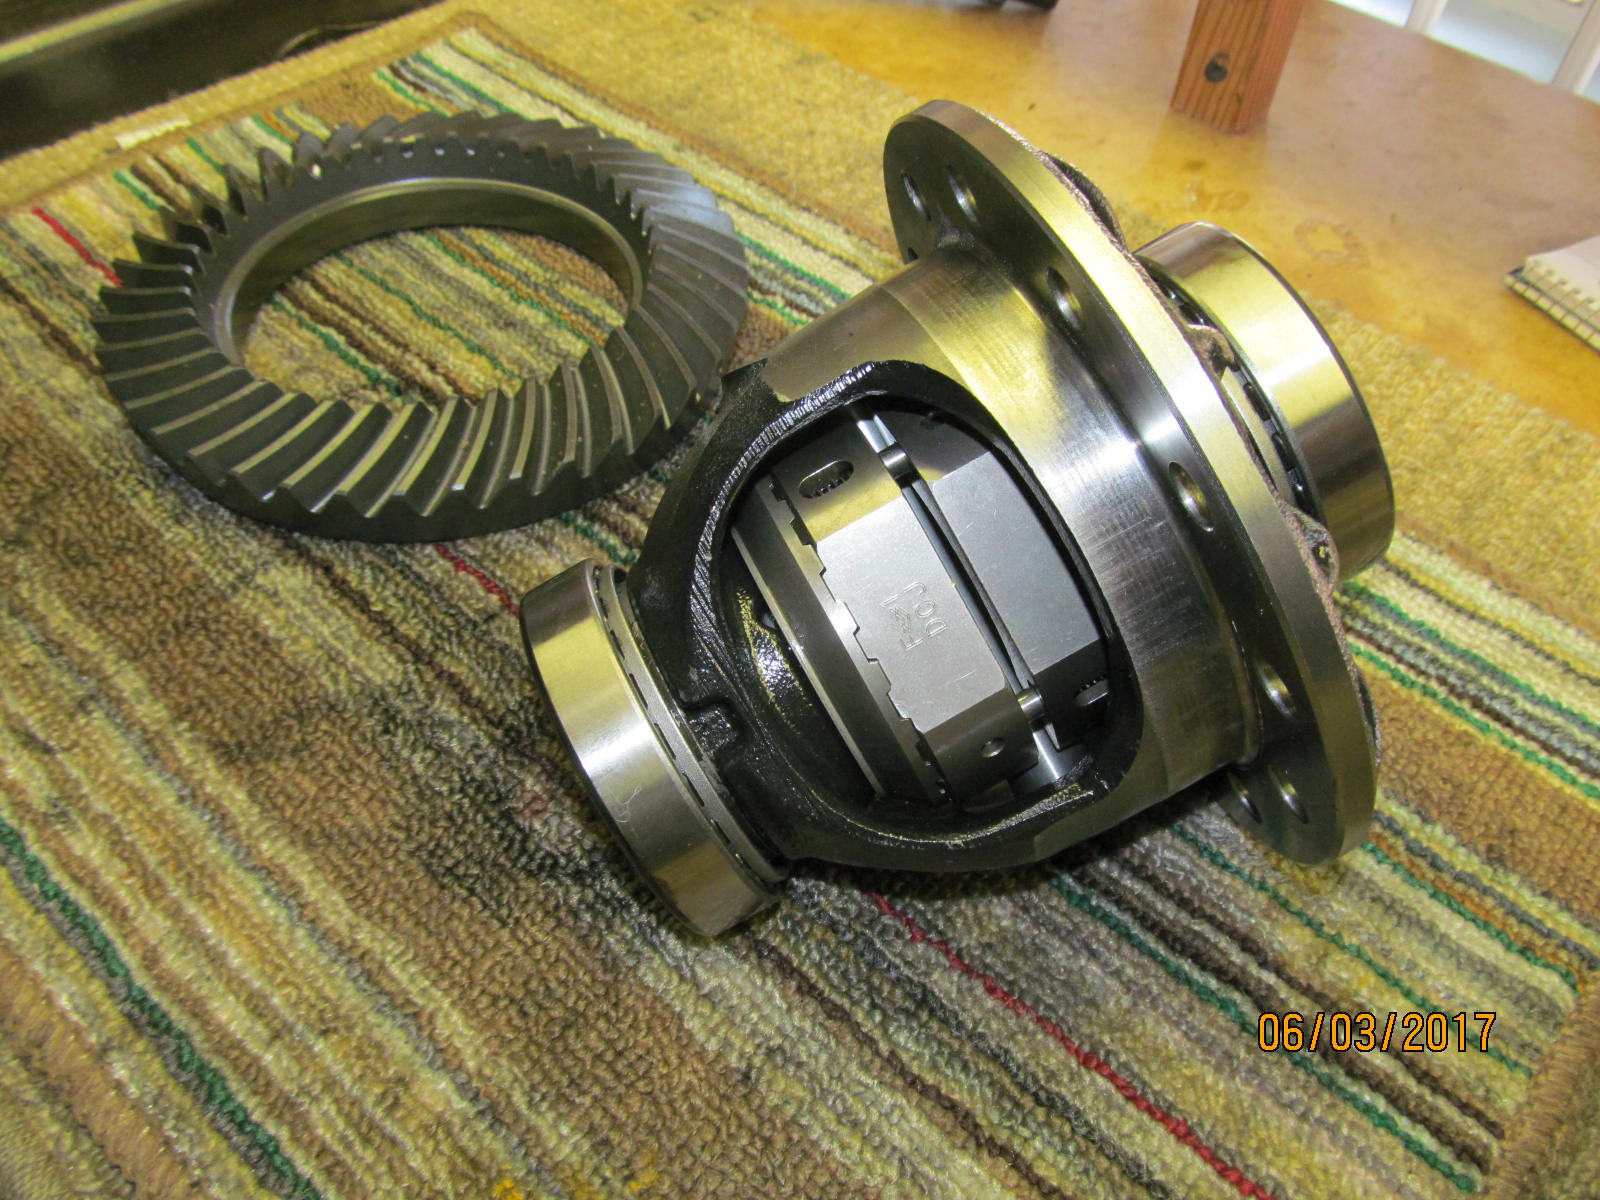
| Not shown but I put a dimple on the pin that holds the crosspin in. This diff carrier is now ready for the ring gear. |
|
| Surfaces are check for unusual high spots and all was good. |
|
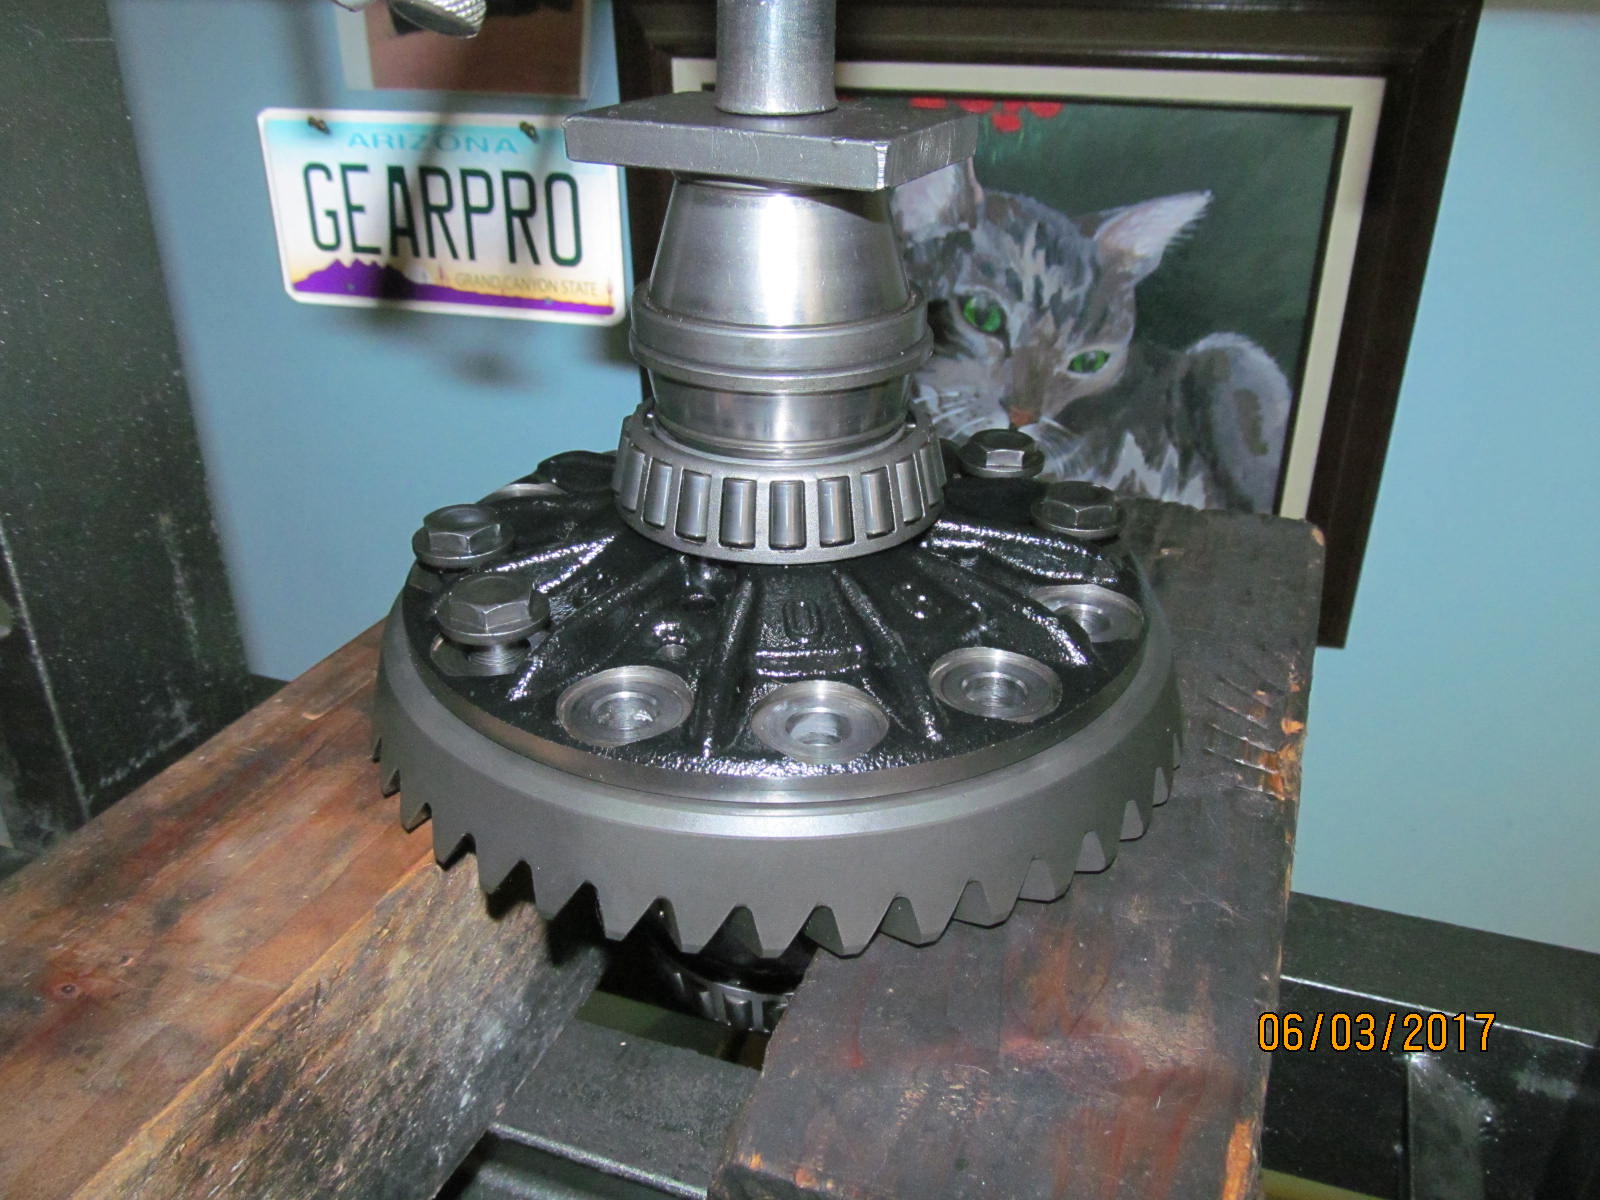
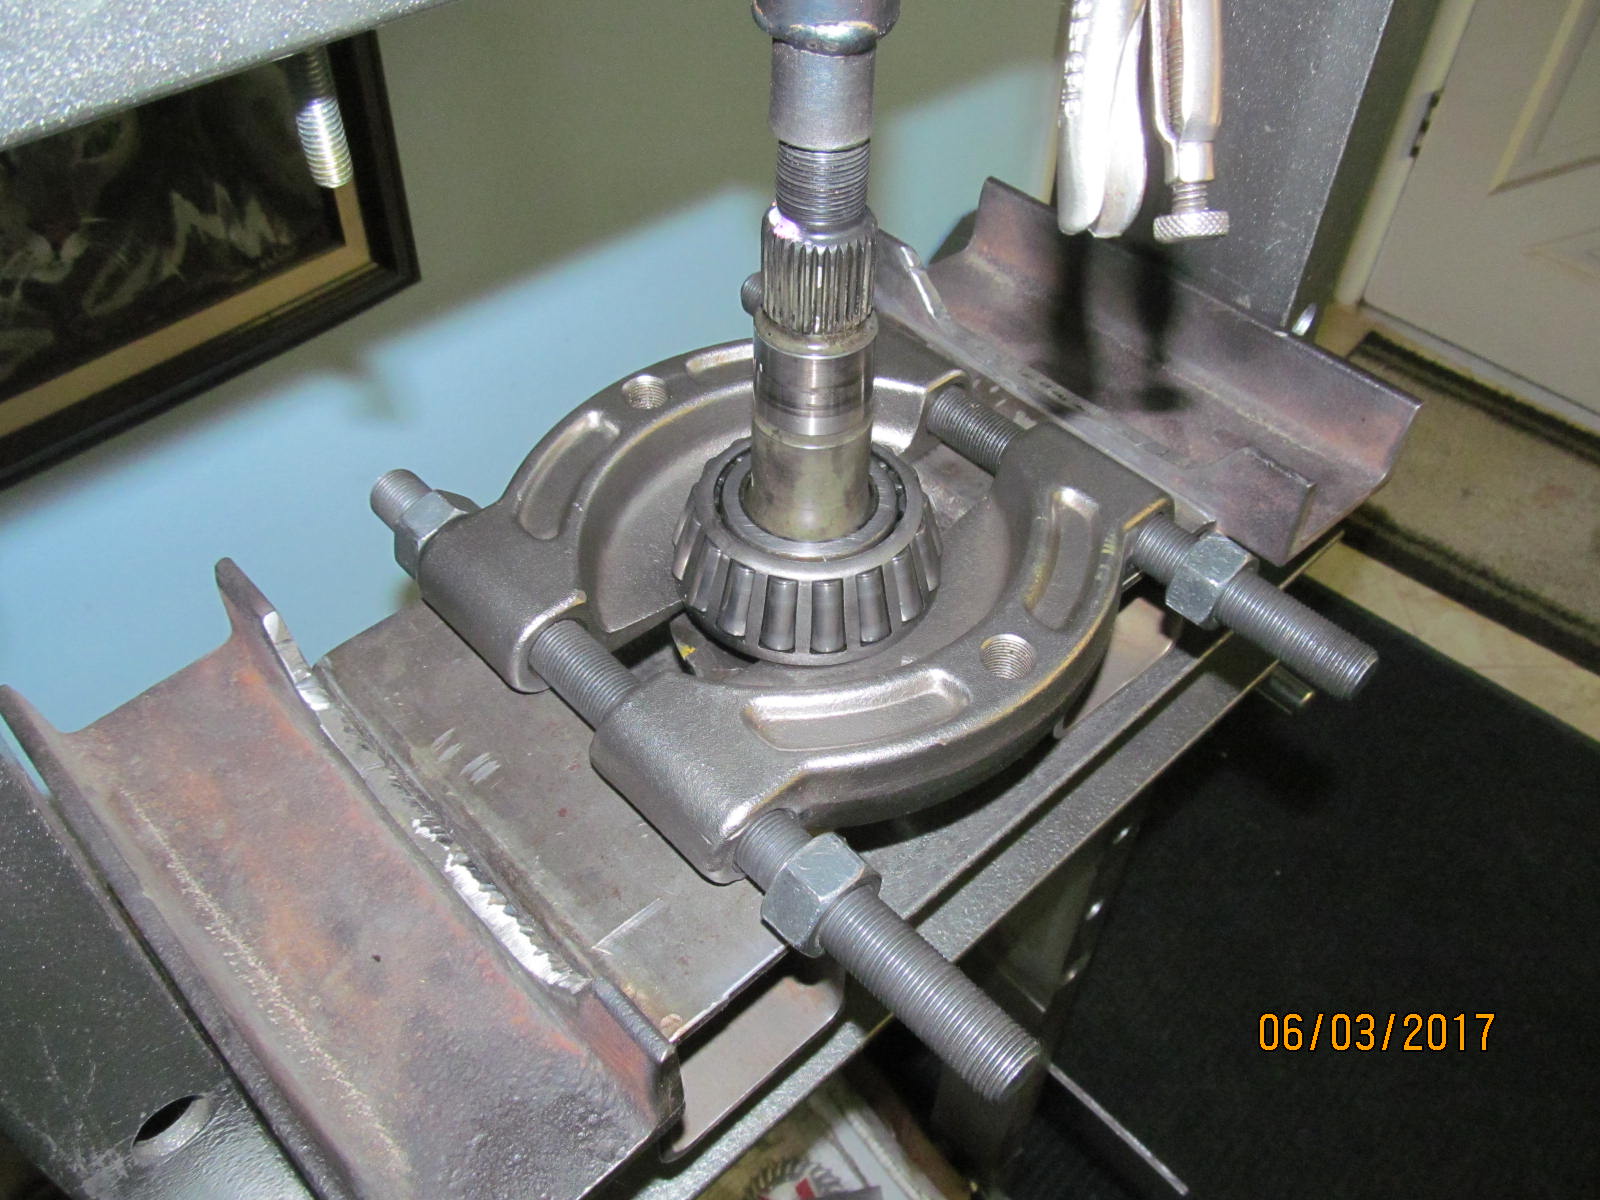
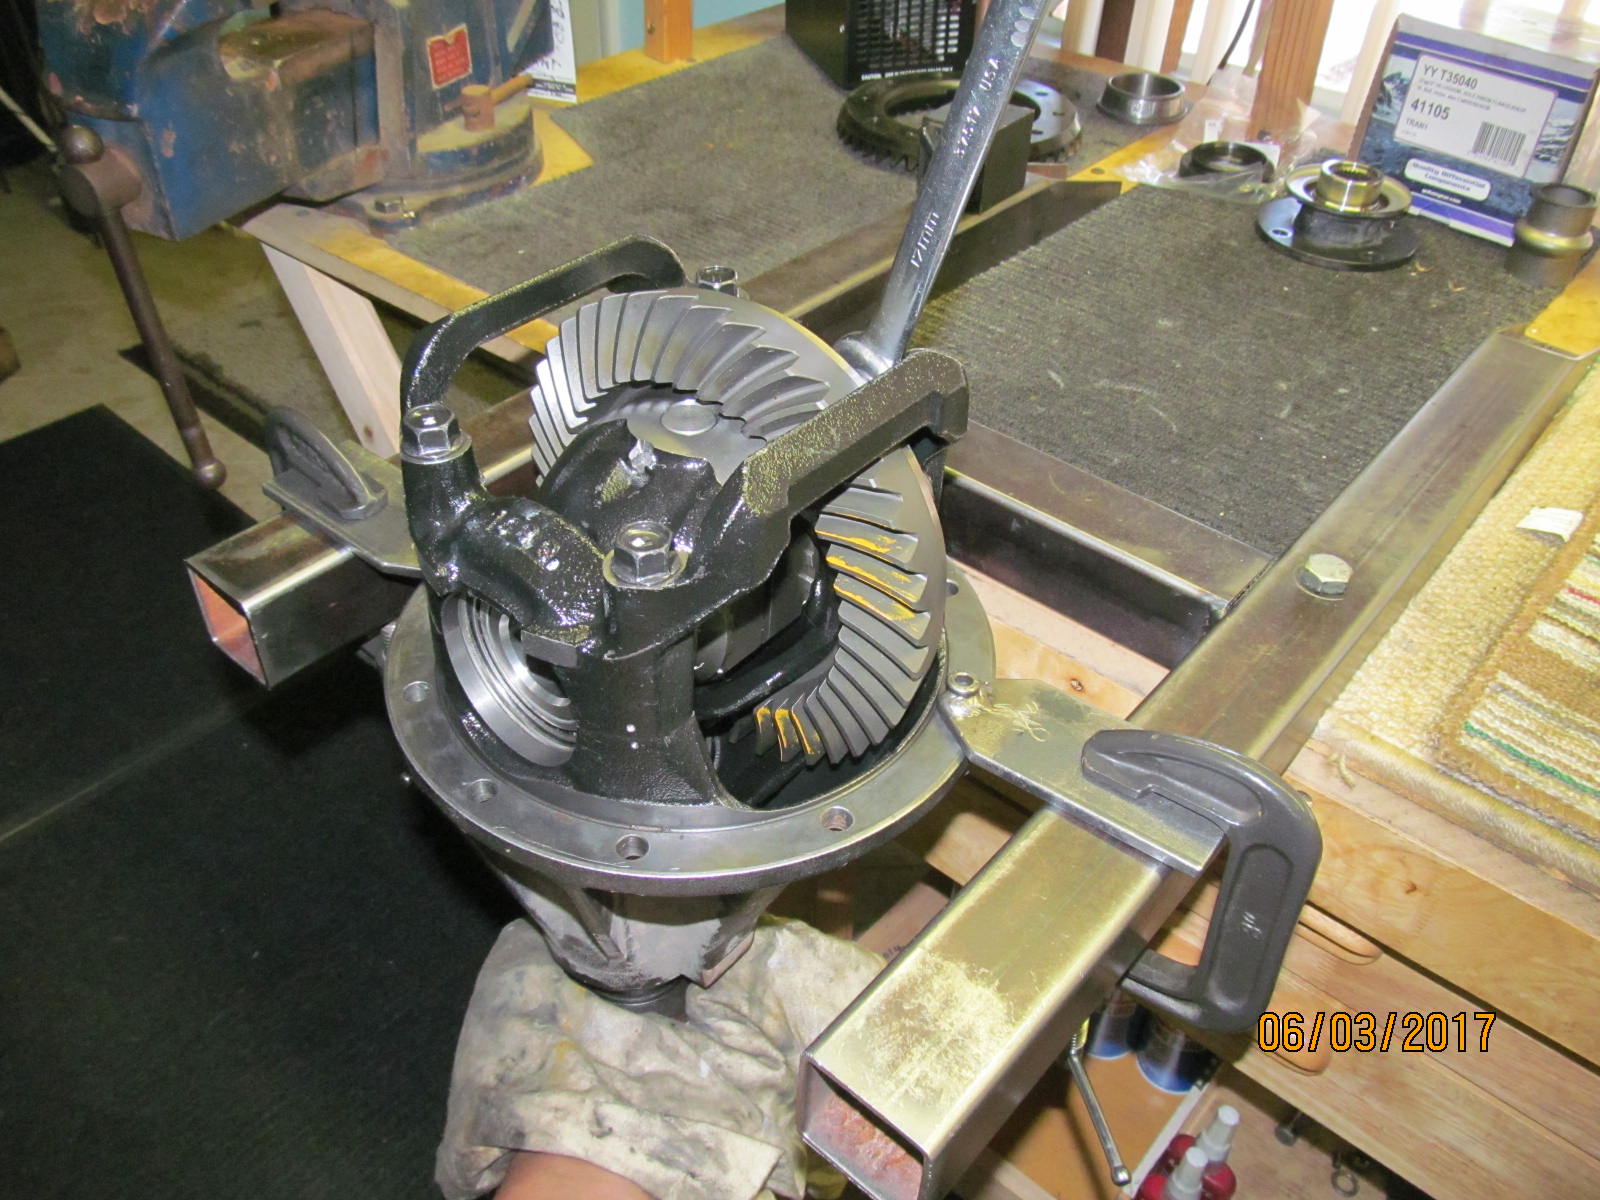
| Lining up the ring gear requires a good eyeball but it can be done on the first try sometimes. The ring was a very tight fit but the 12ton and a couple slabs of wood made quick work of it. |
|
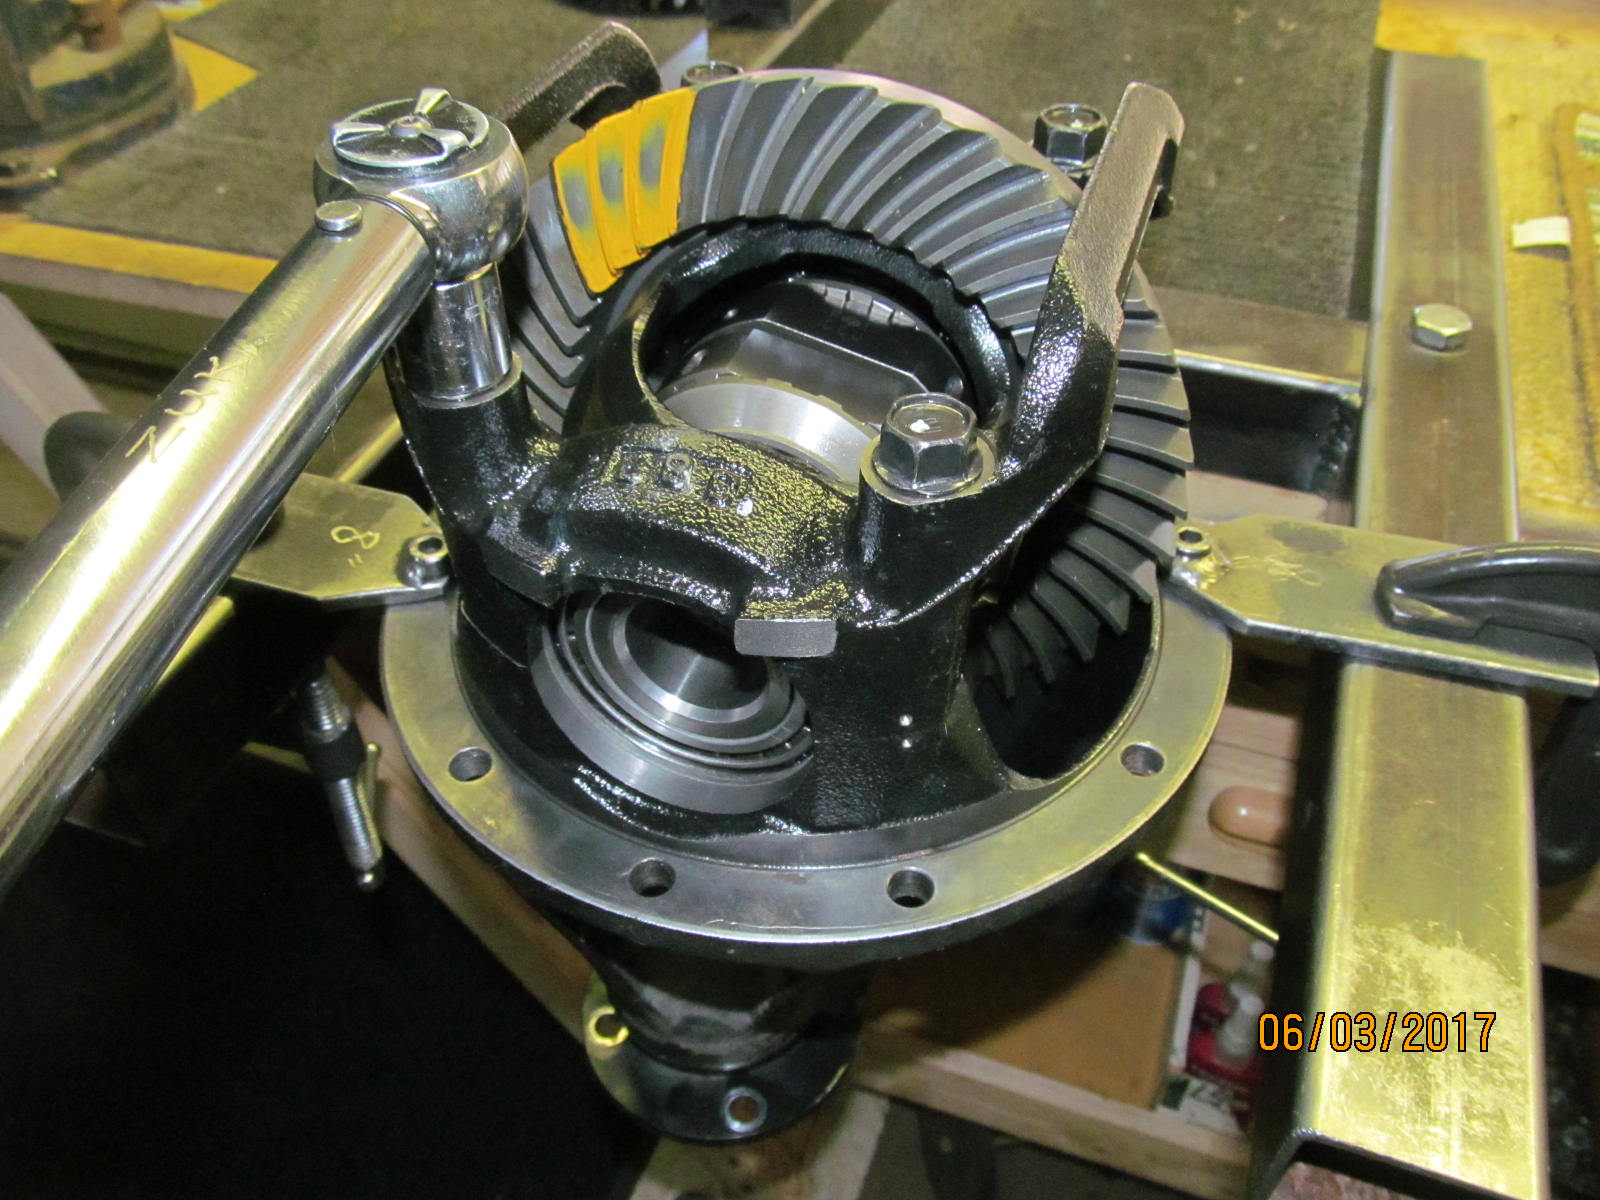
| 92 ft/lb and blue locktite on the 12 bolts. |
|
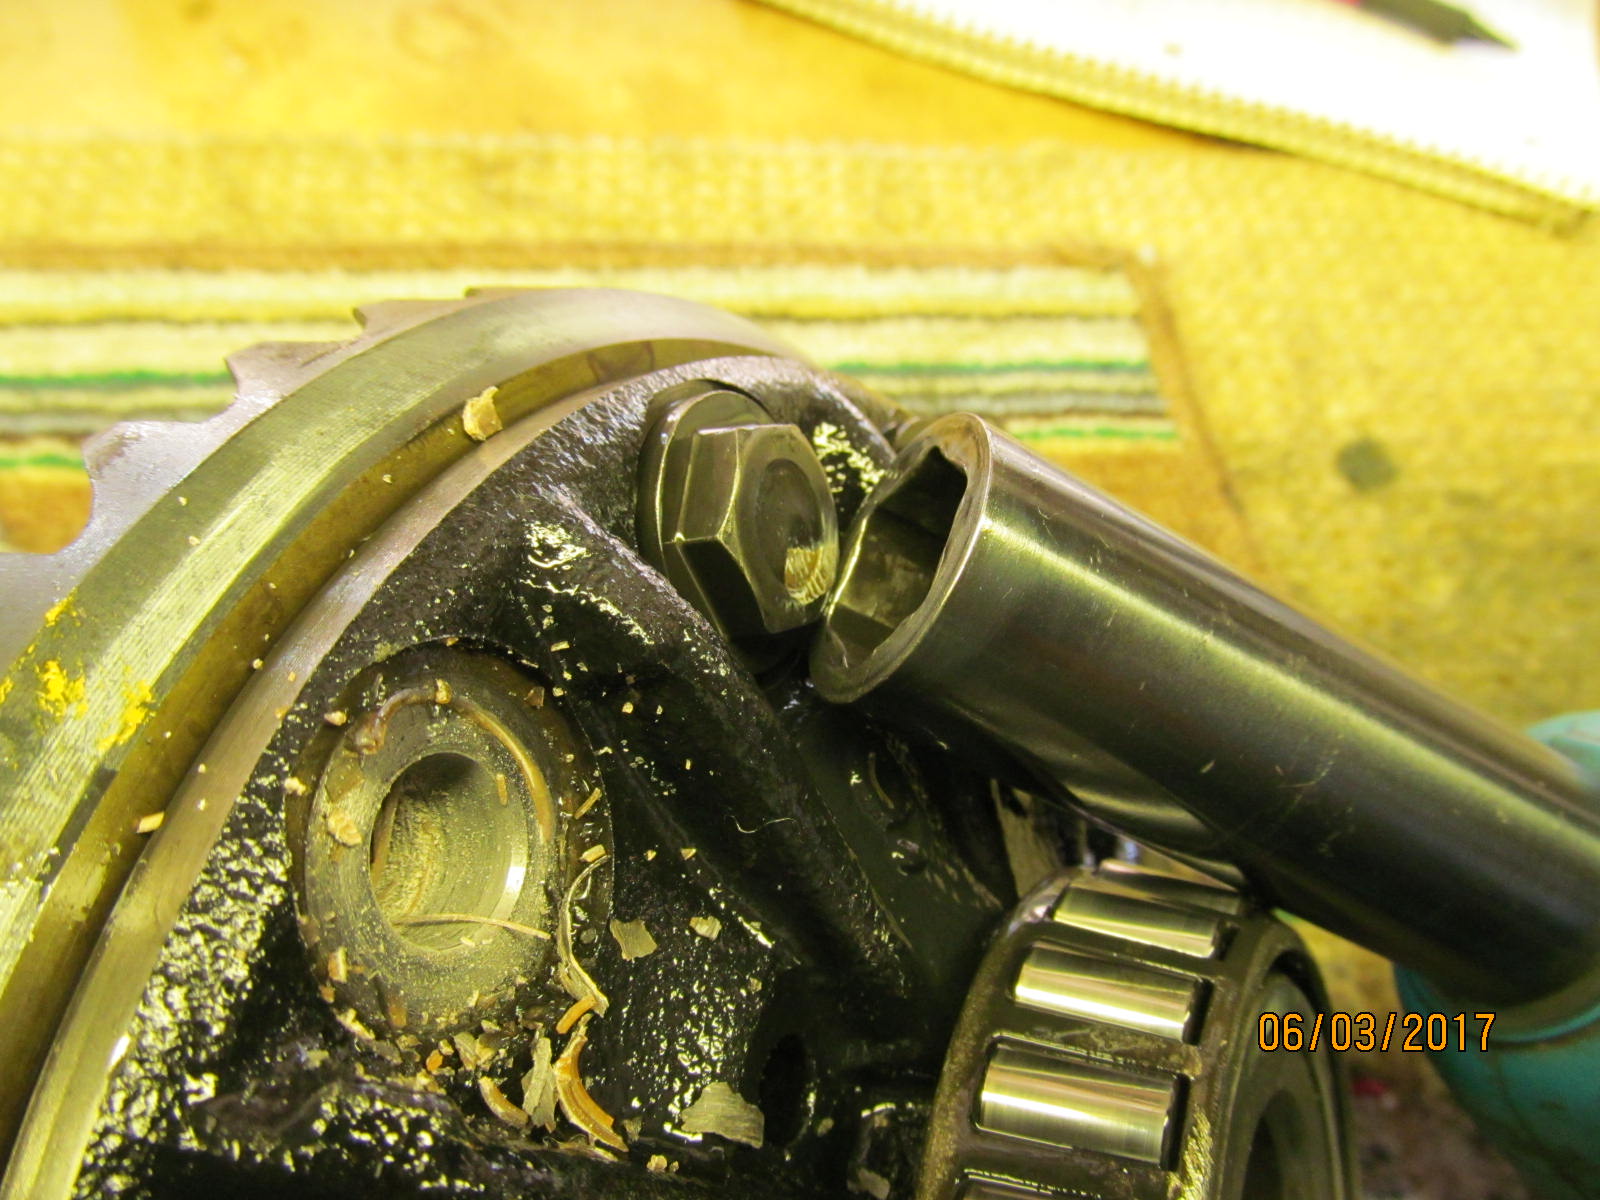
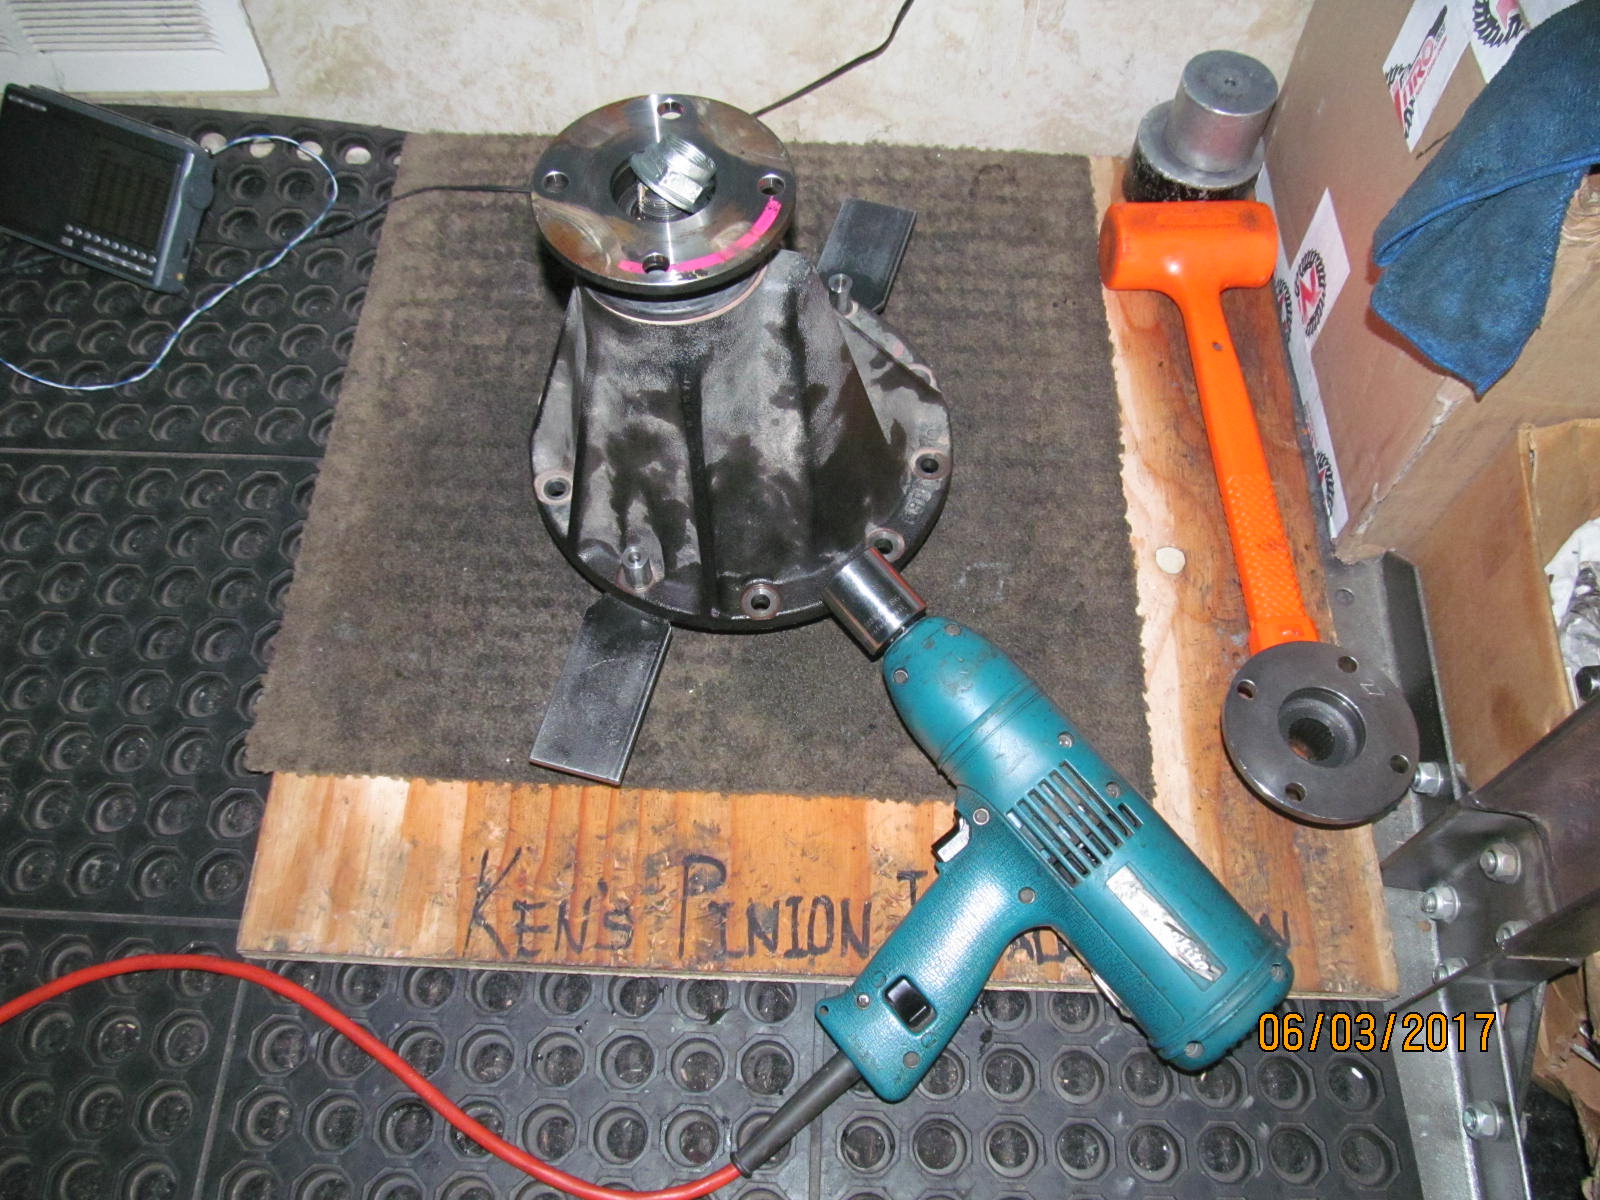
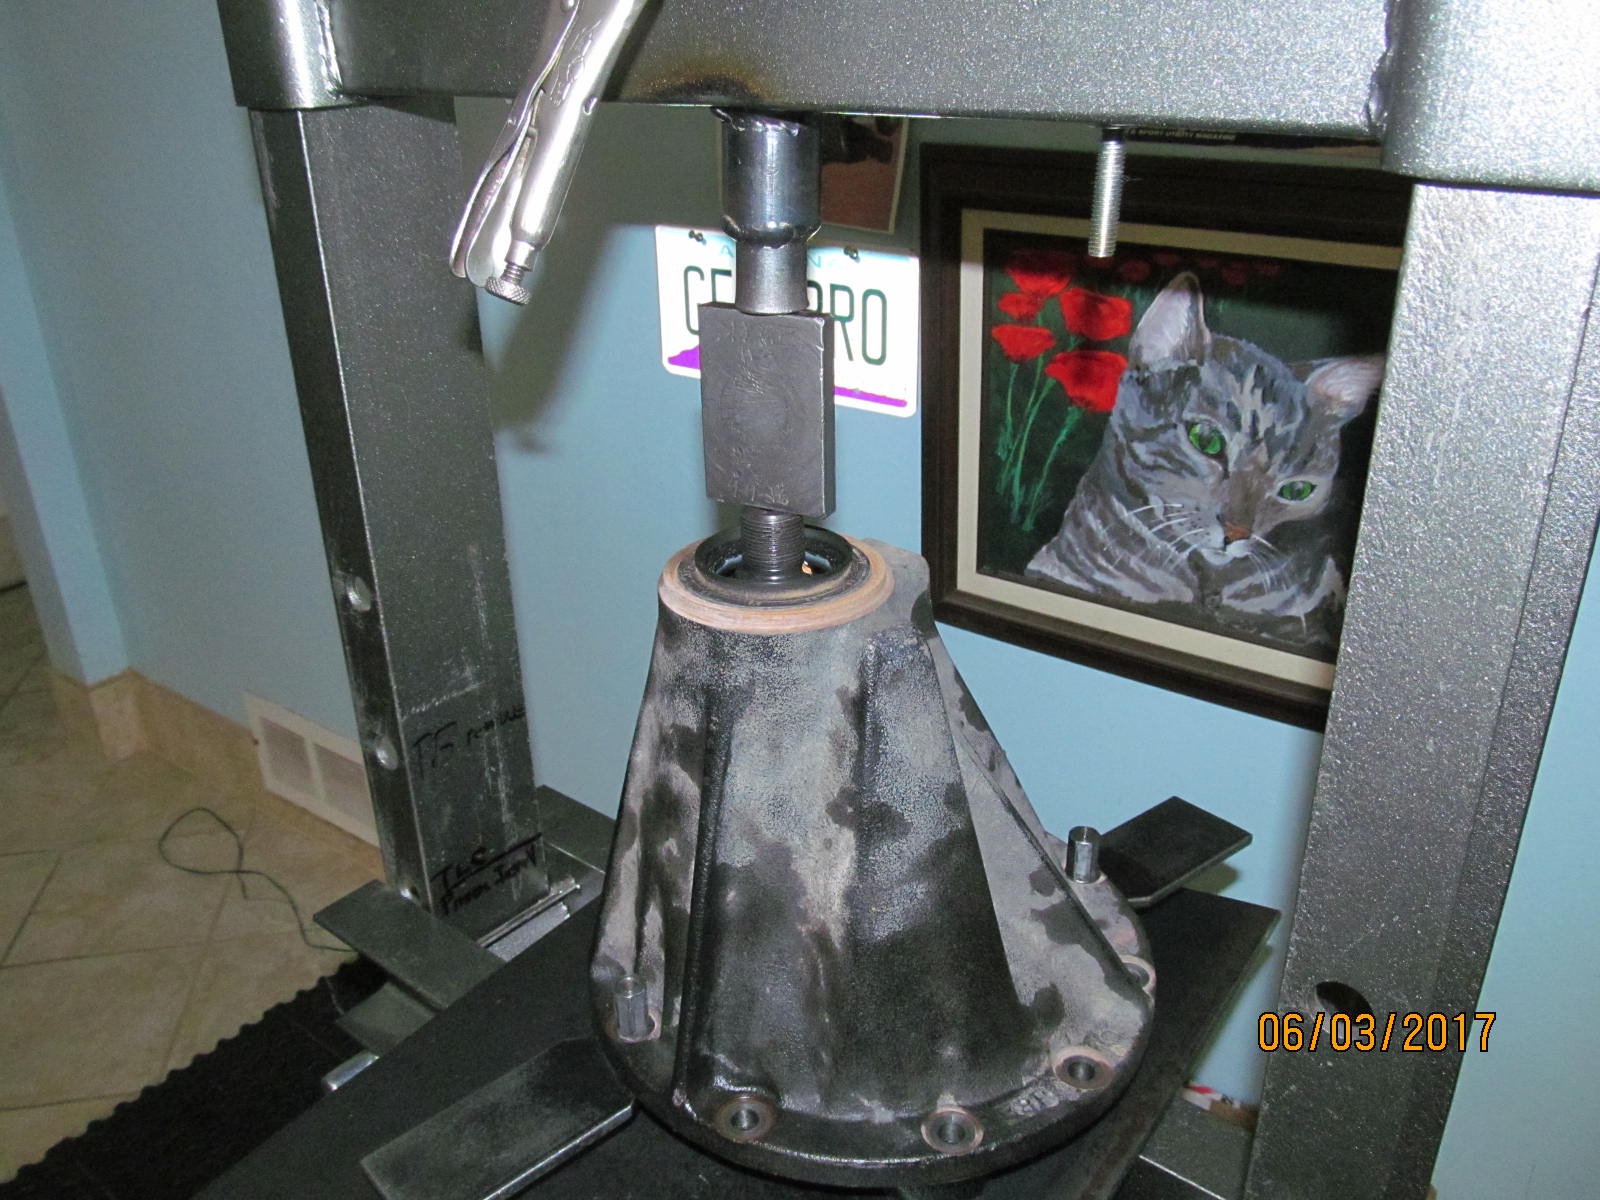
| Now to work on disassembling the pinion end. The electric impact easily spins off the pinion nut. |
|
| The ridge is so tiny that a little bit of 1500 sandpaper will make it like new. |
|
| Pressing the pinion out. |
|
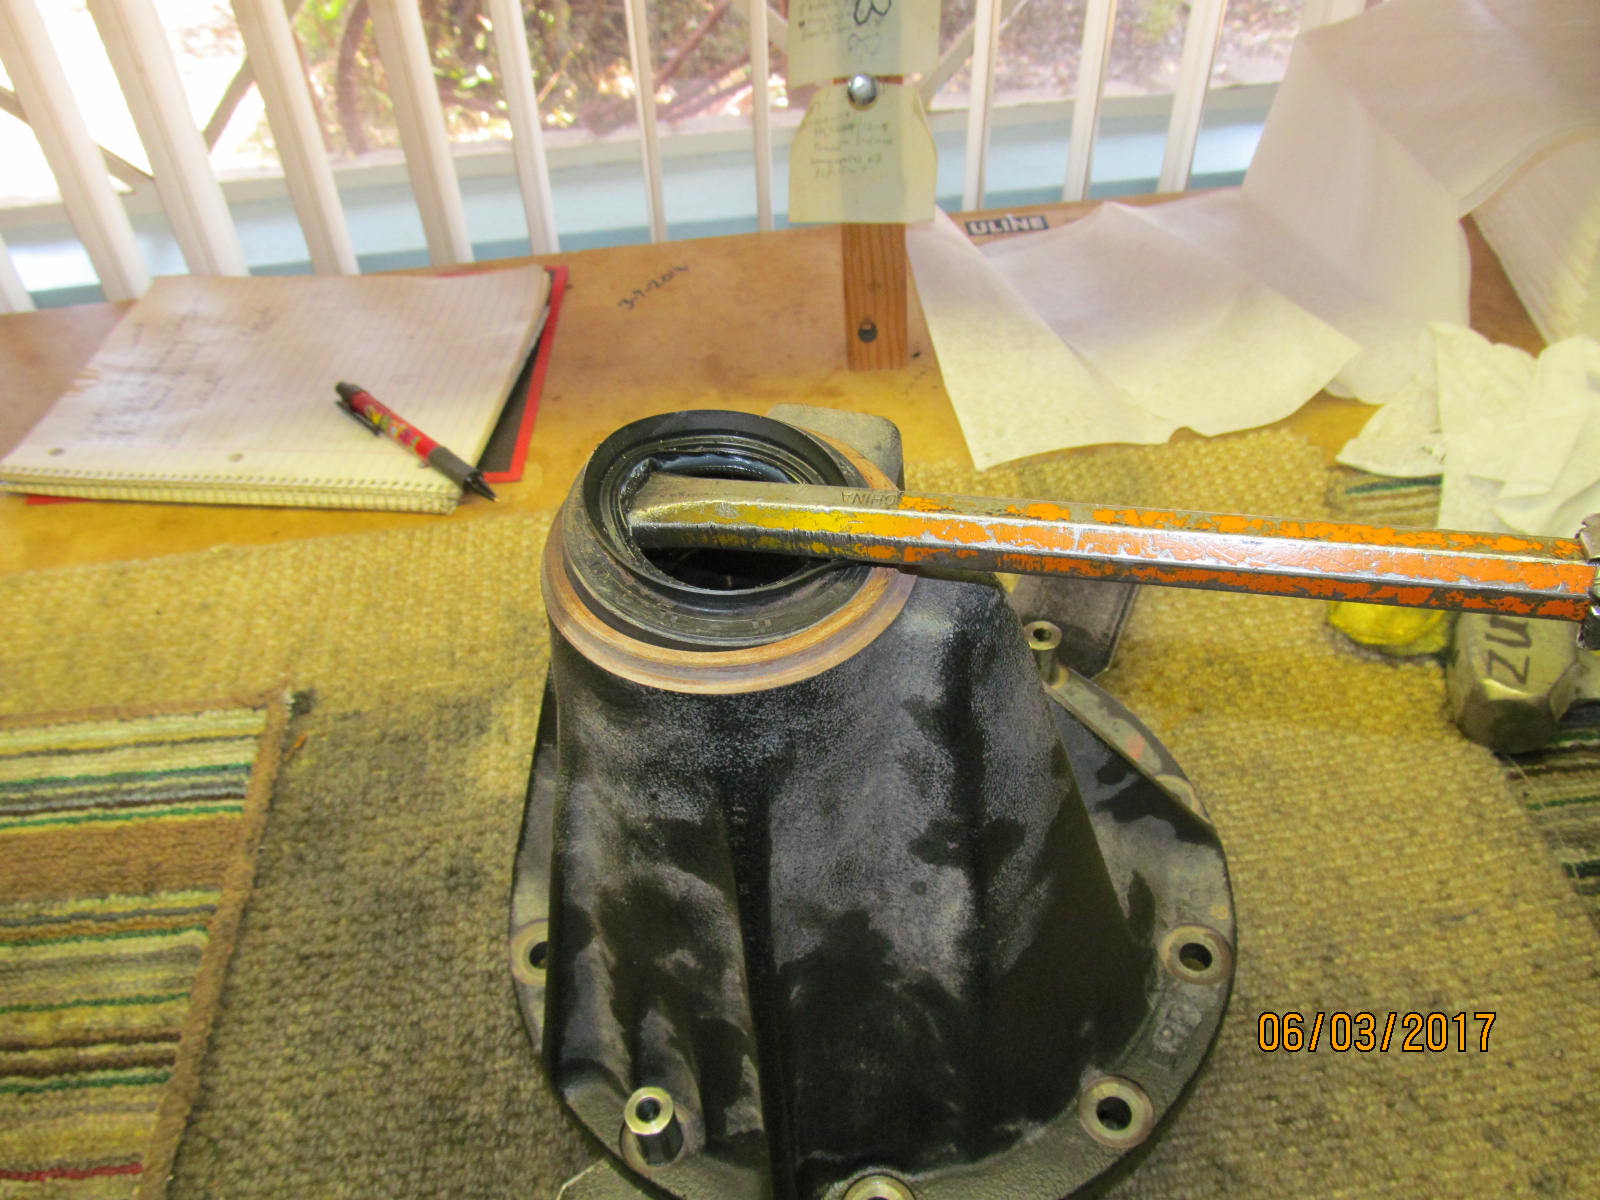
| The special tool I use to remove the old seal. |
|
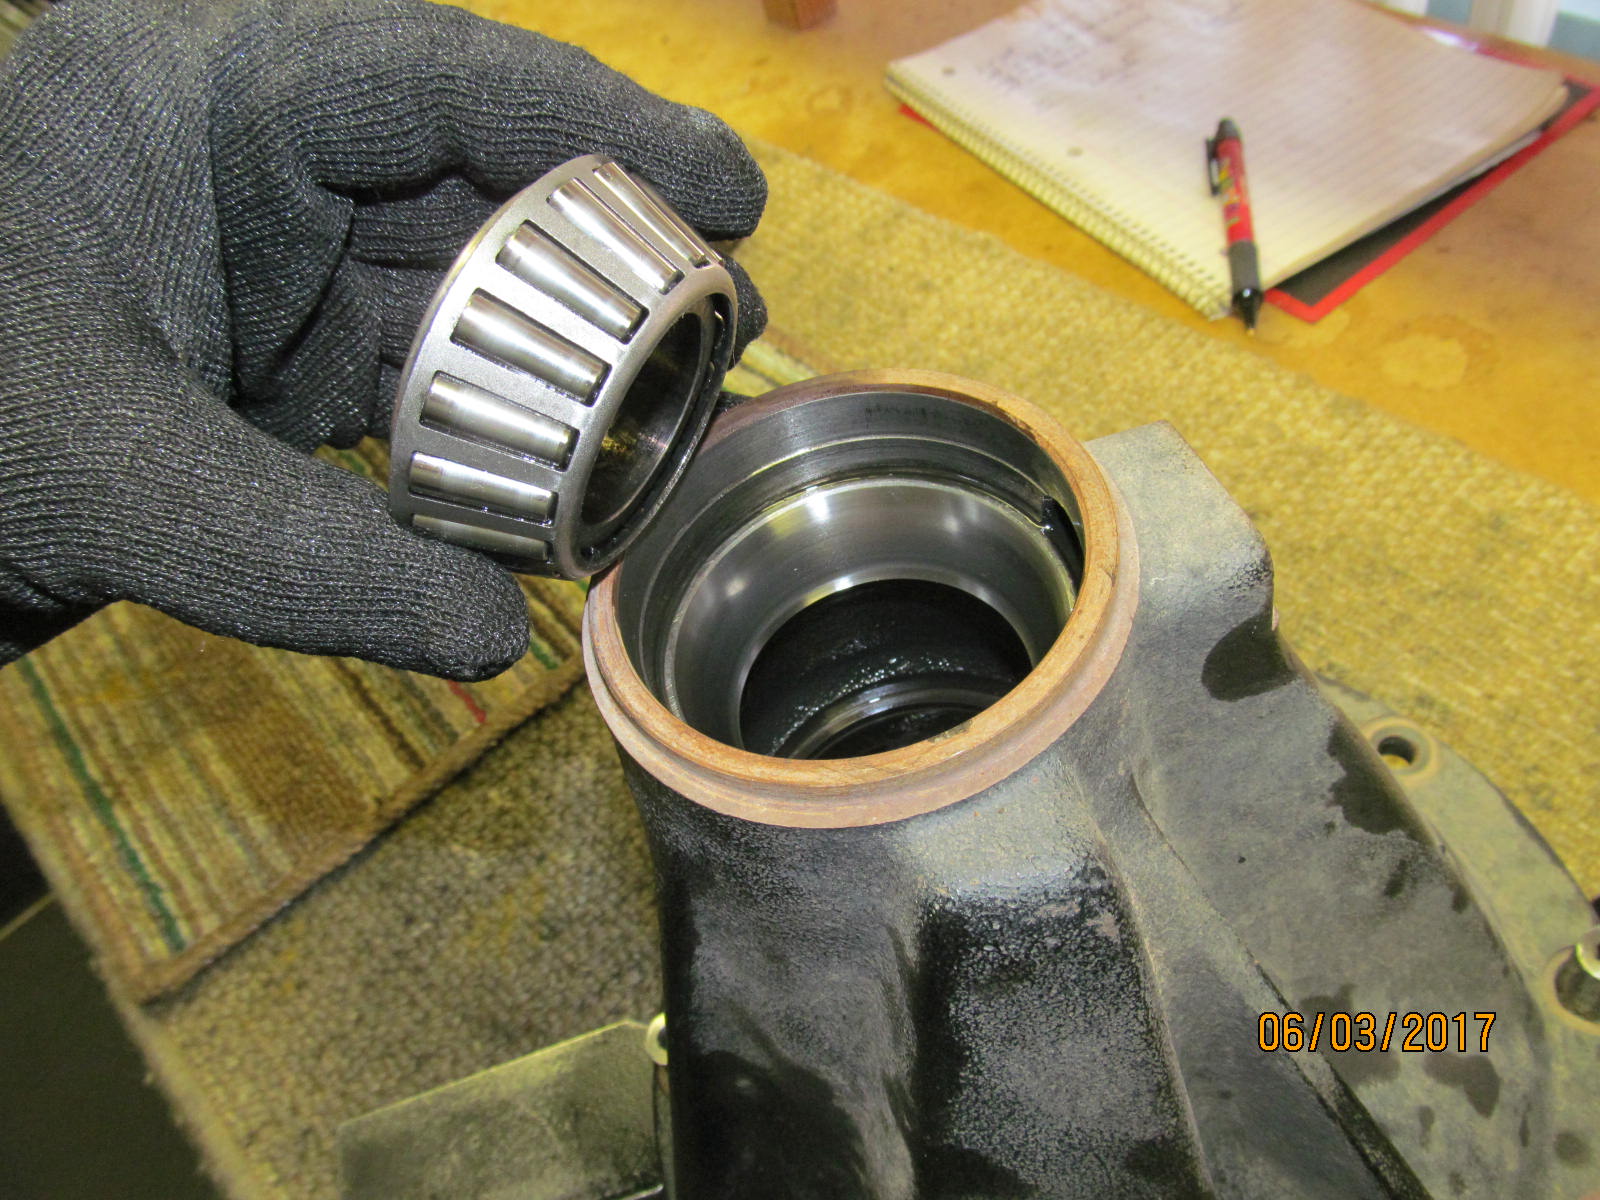
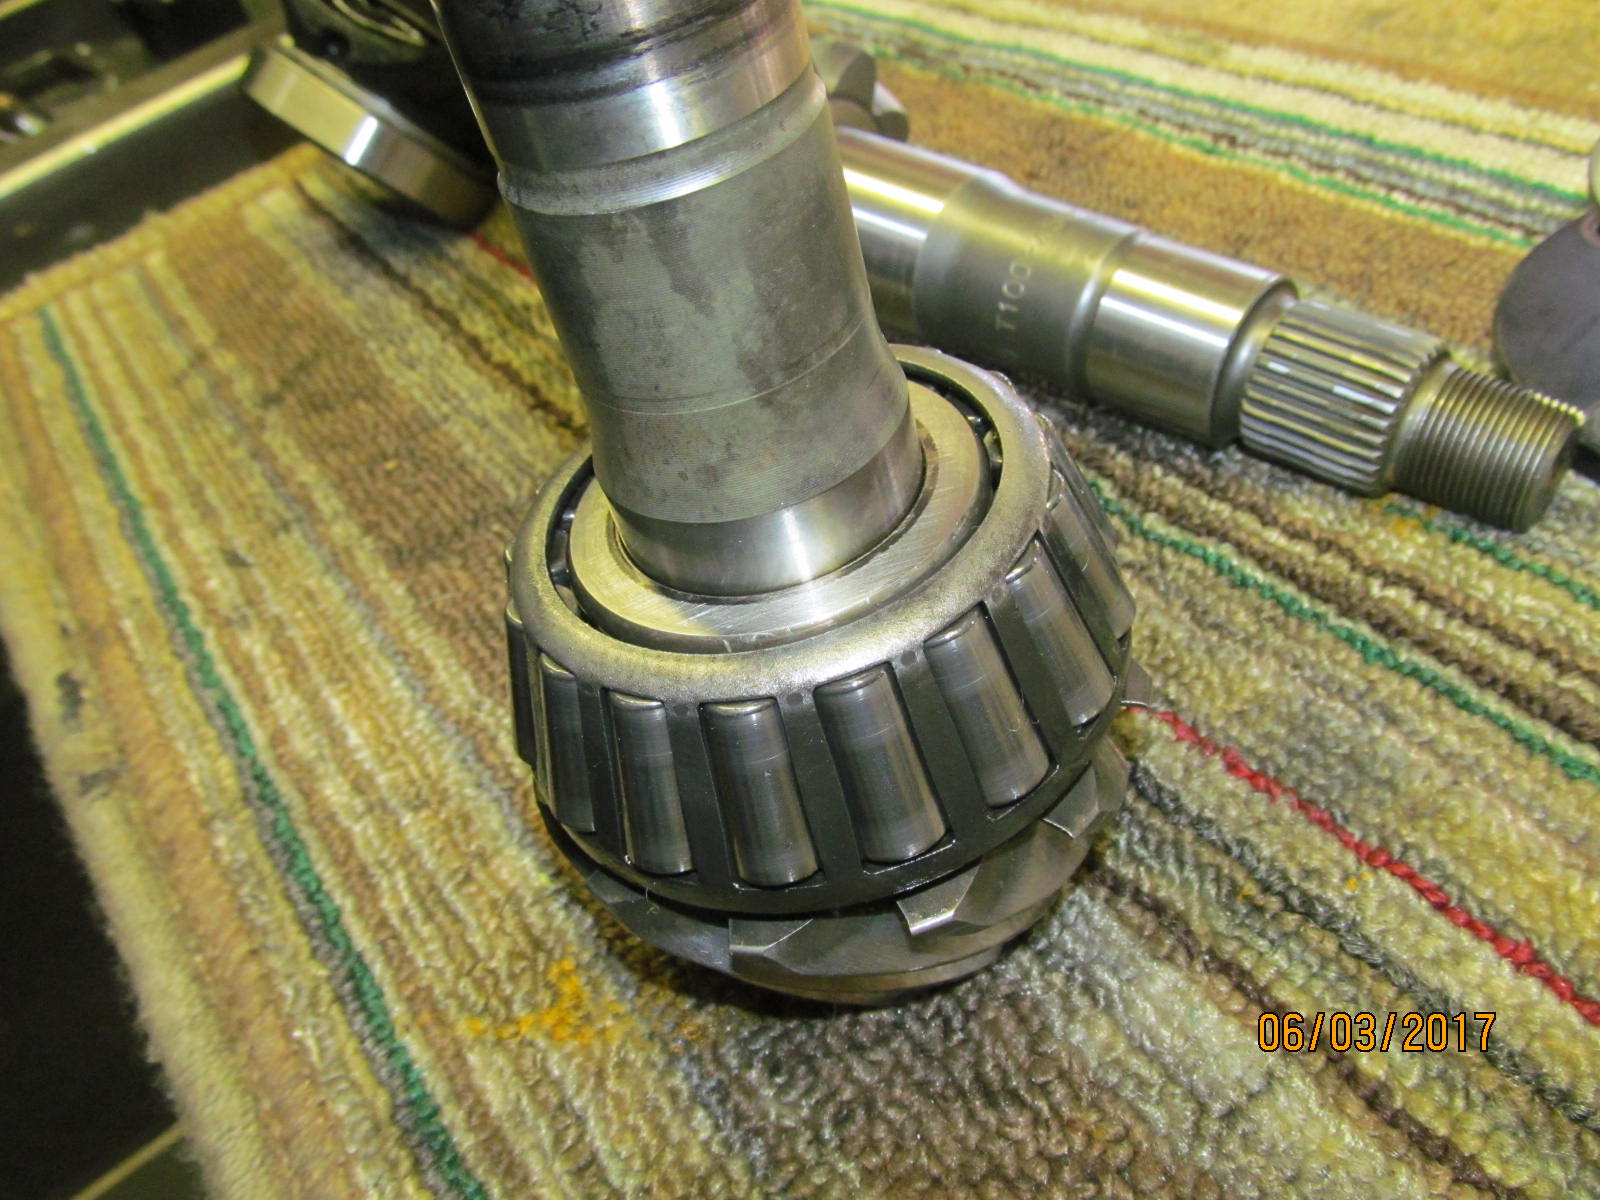
| This is the most likely bearing of the 4 to wear out first and this one looks very nice. OK to re-use. |
|
| Remember the supposed rule to never use a shim with a crush sleeve? Well, the factory has been doing just that for years. |
|
| Going to re-use the large inner pinion bearing so now to remove it. I tried to use the bearing separator but it would have likely damaged the cage in this case. |
|
| But this one will save the bearing from damage. More trouble to position and assemble though. |
|
| My electric impact had just enough power to spin it one or 2 turns. |
|
| Got it to move just enough...... |
|
| .....where I could use the other bearing separator to easily remove it. |
|
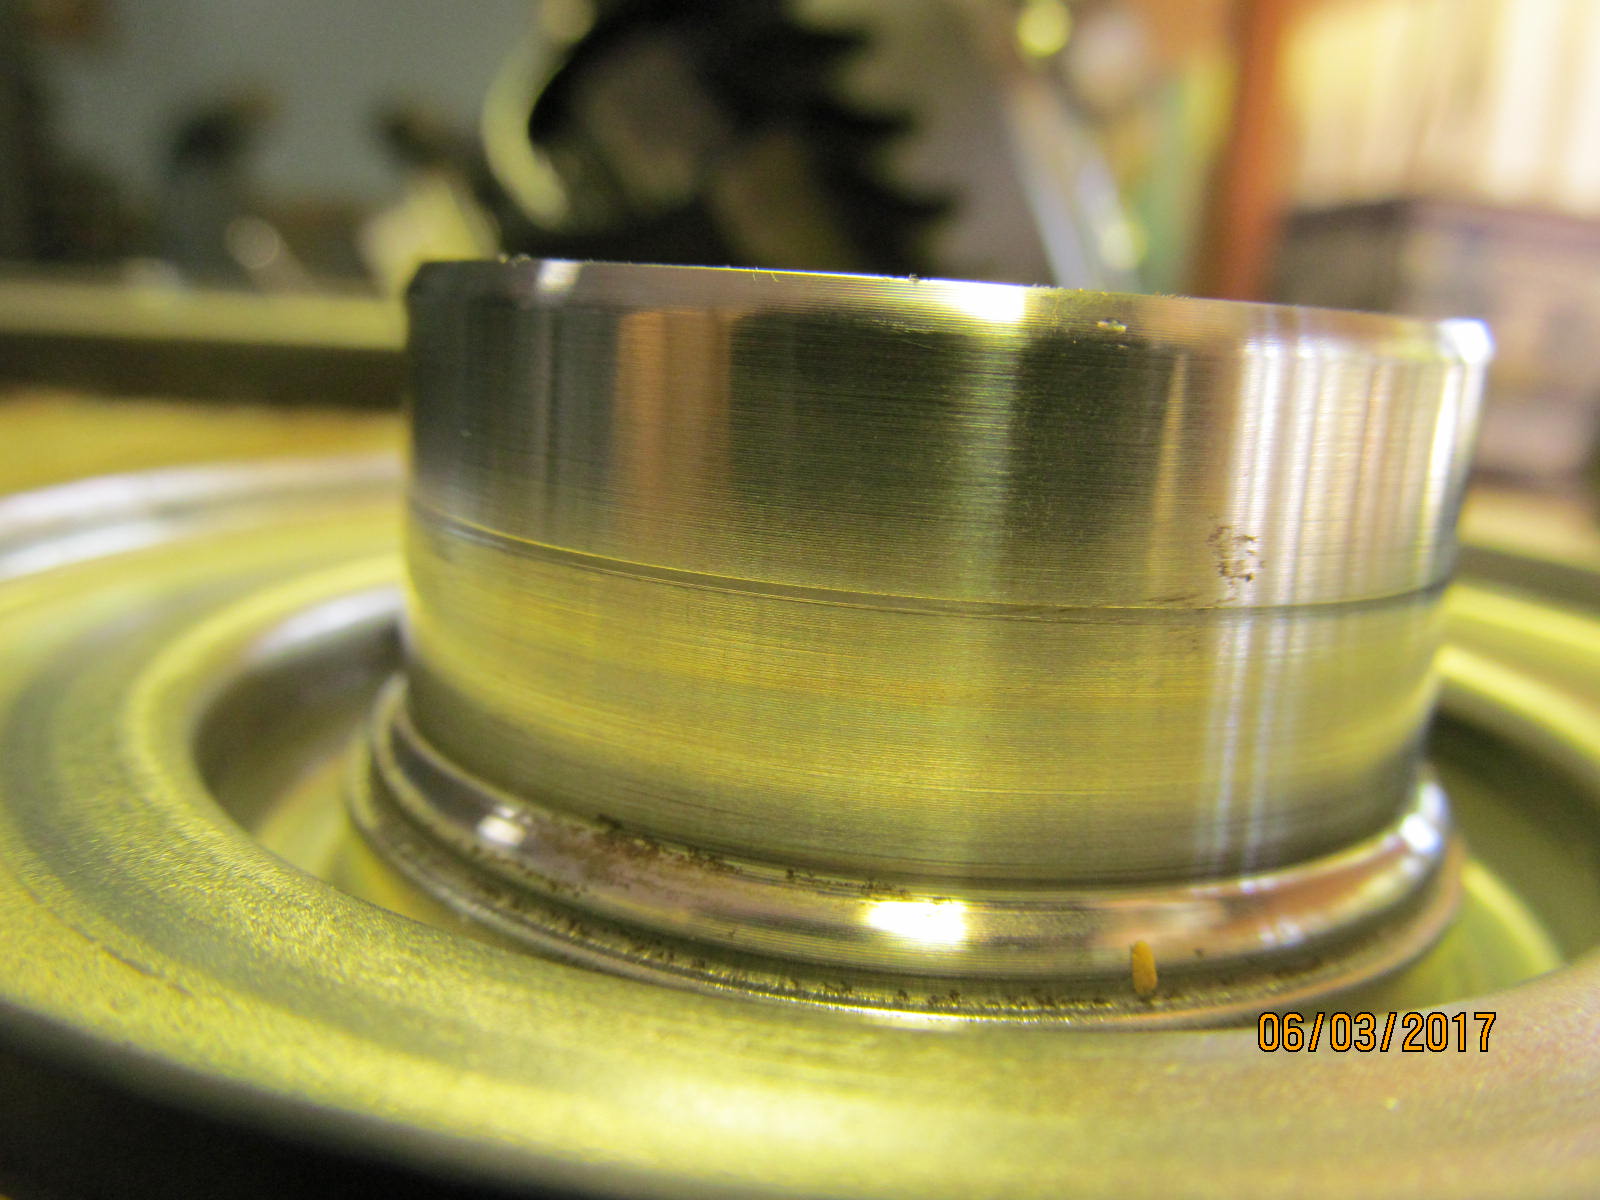
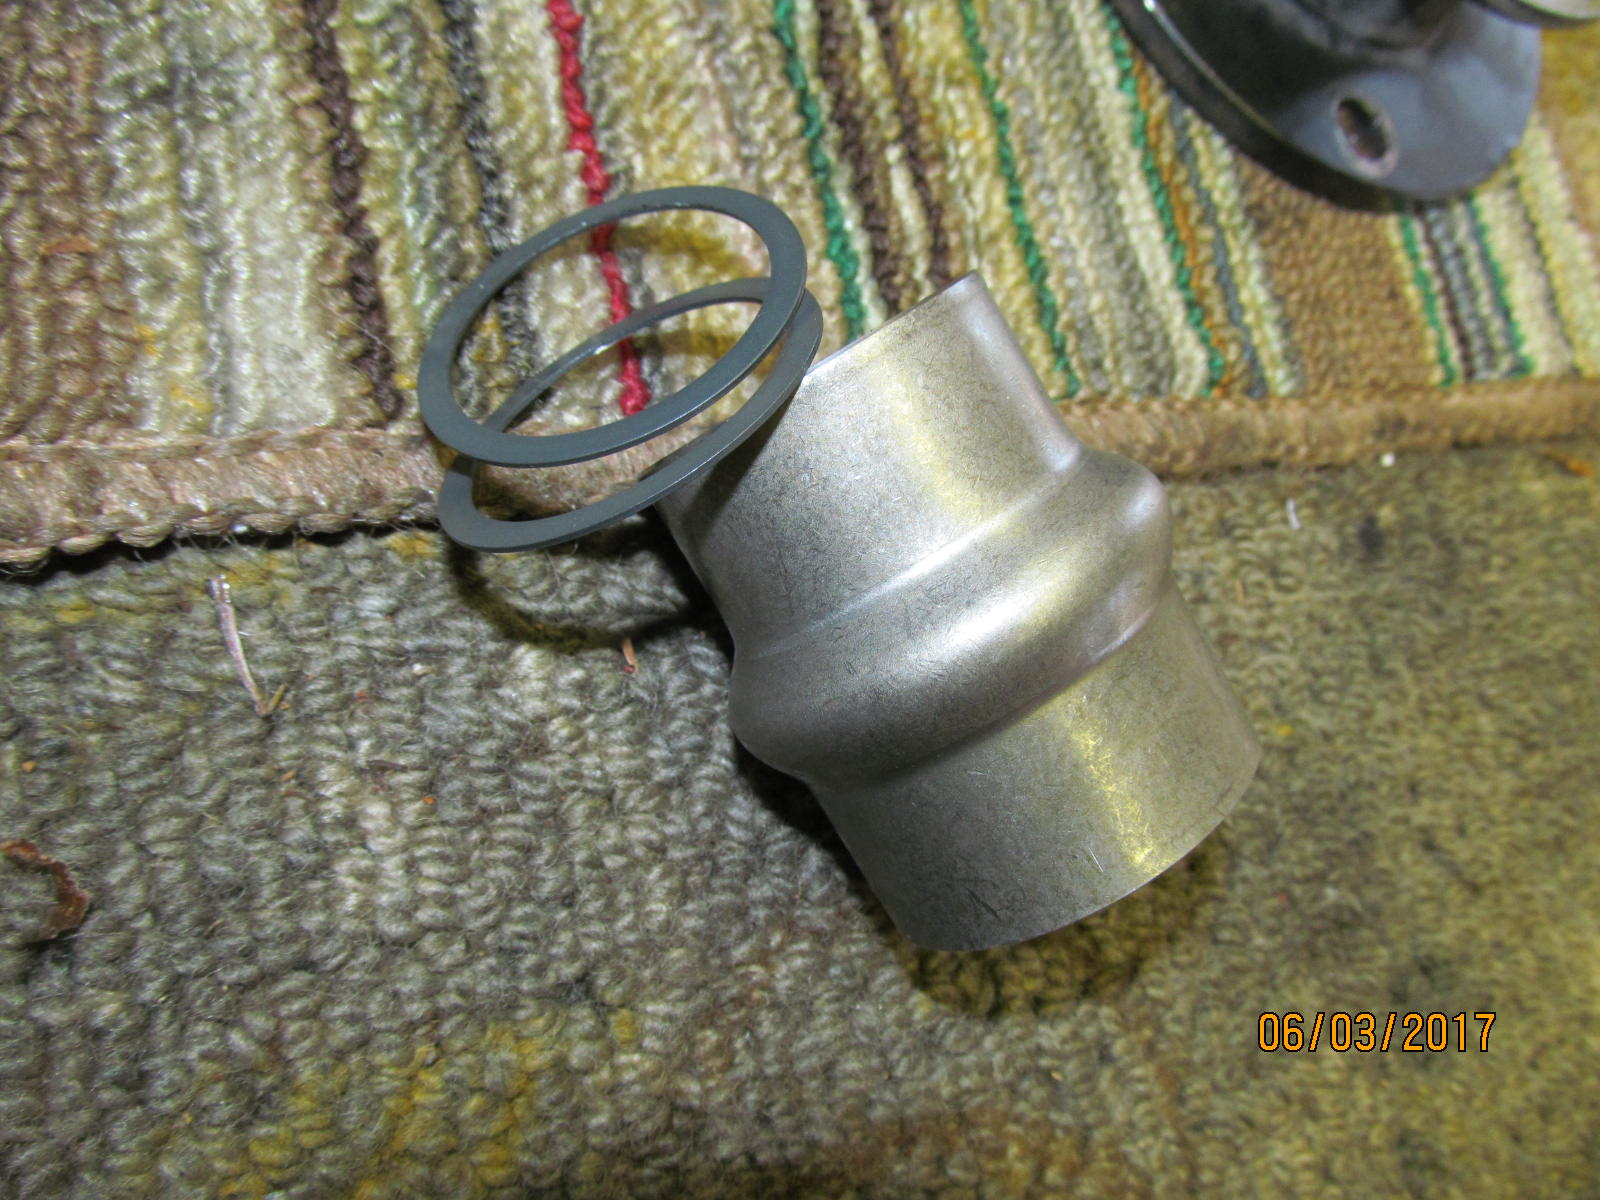
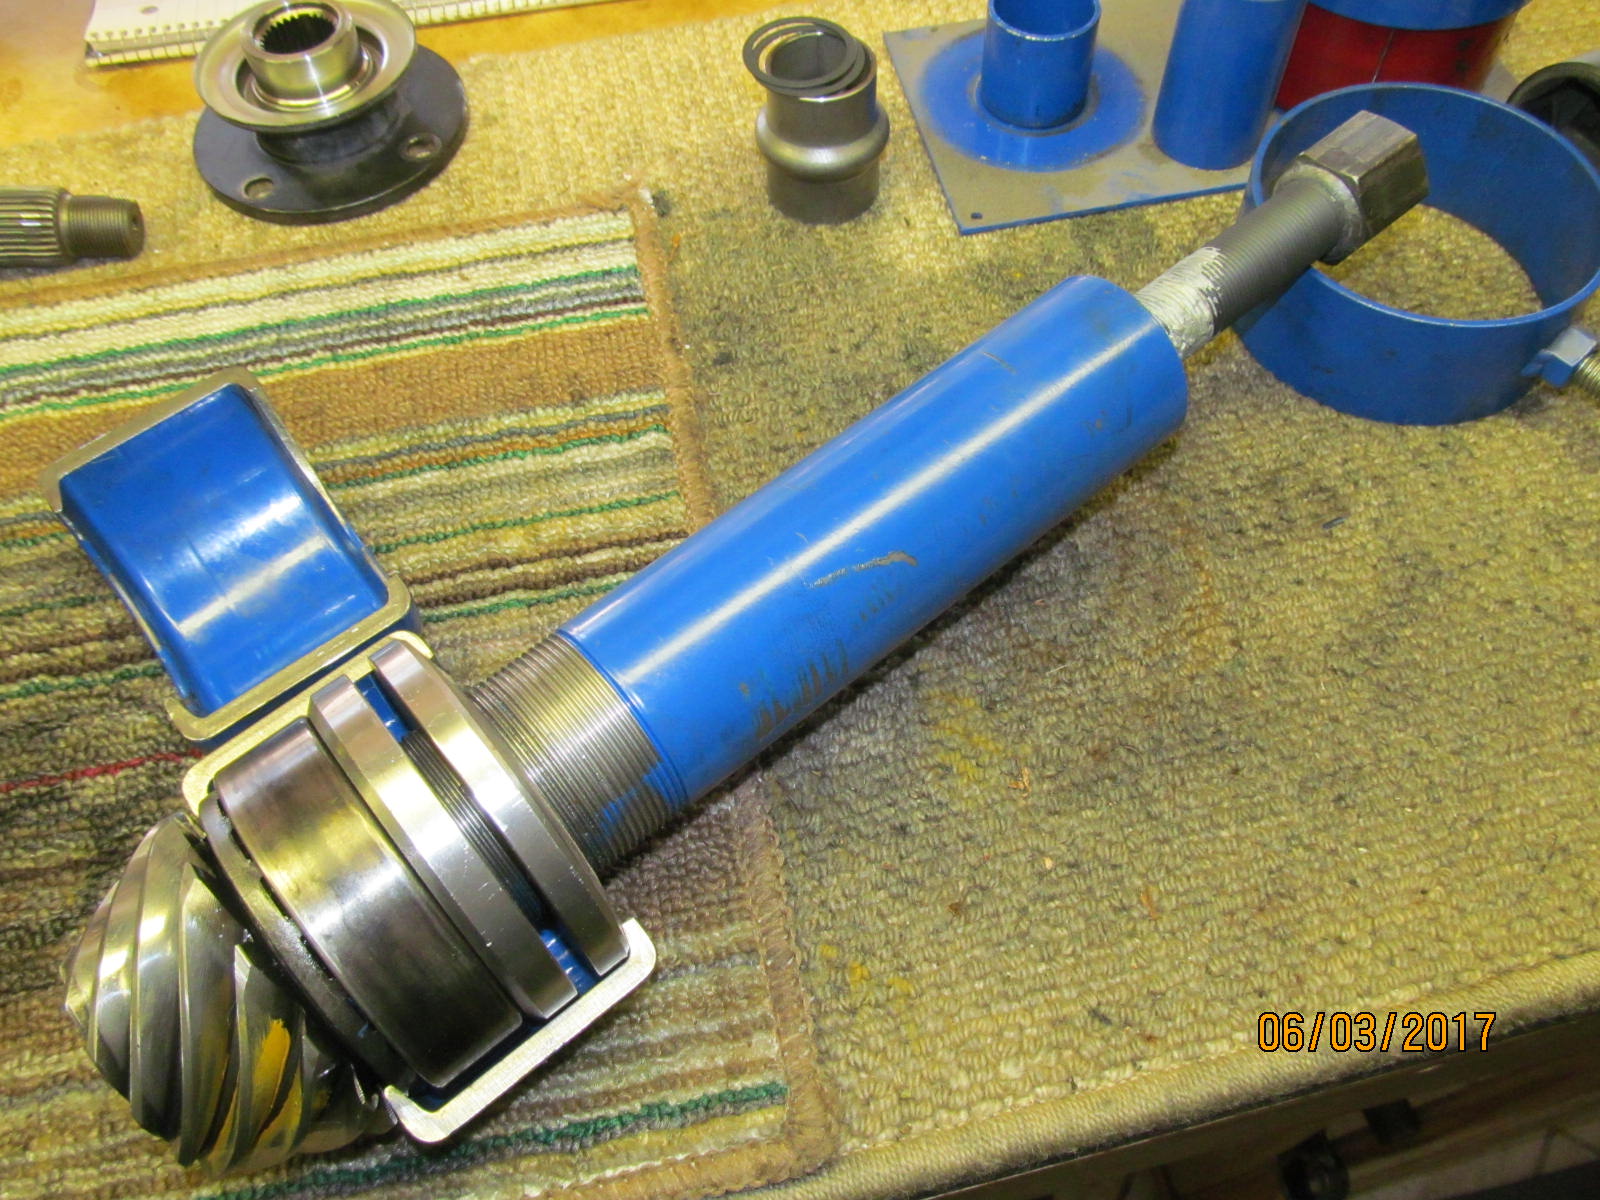
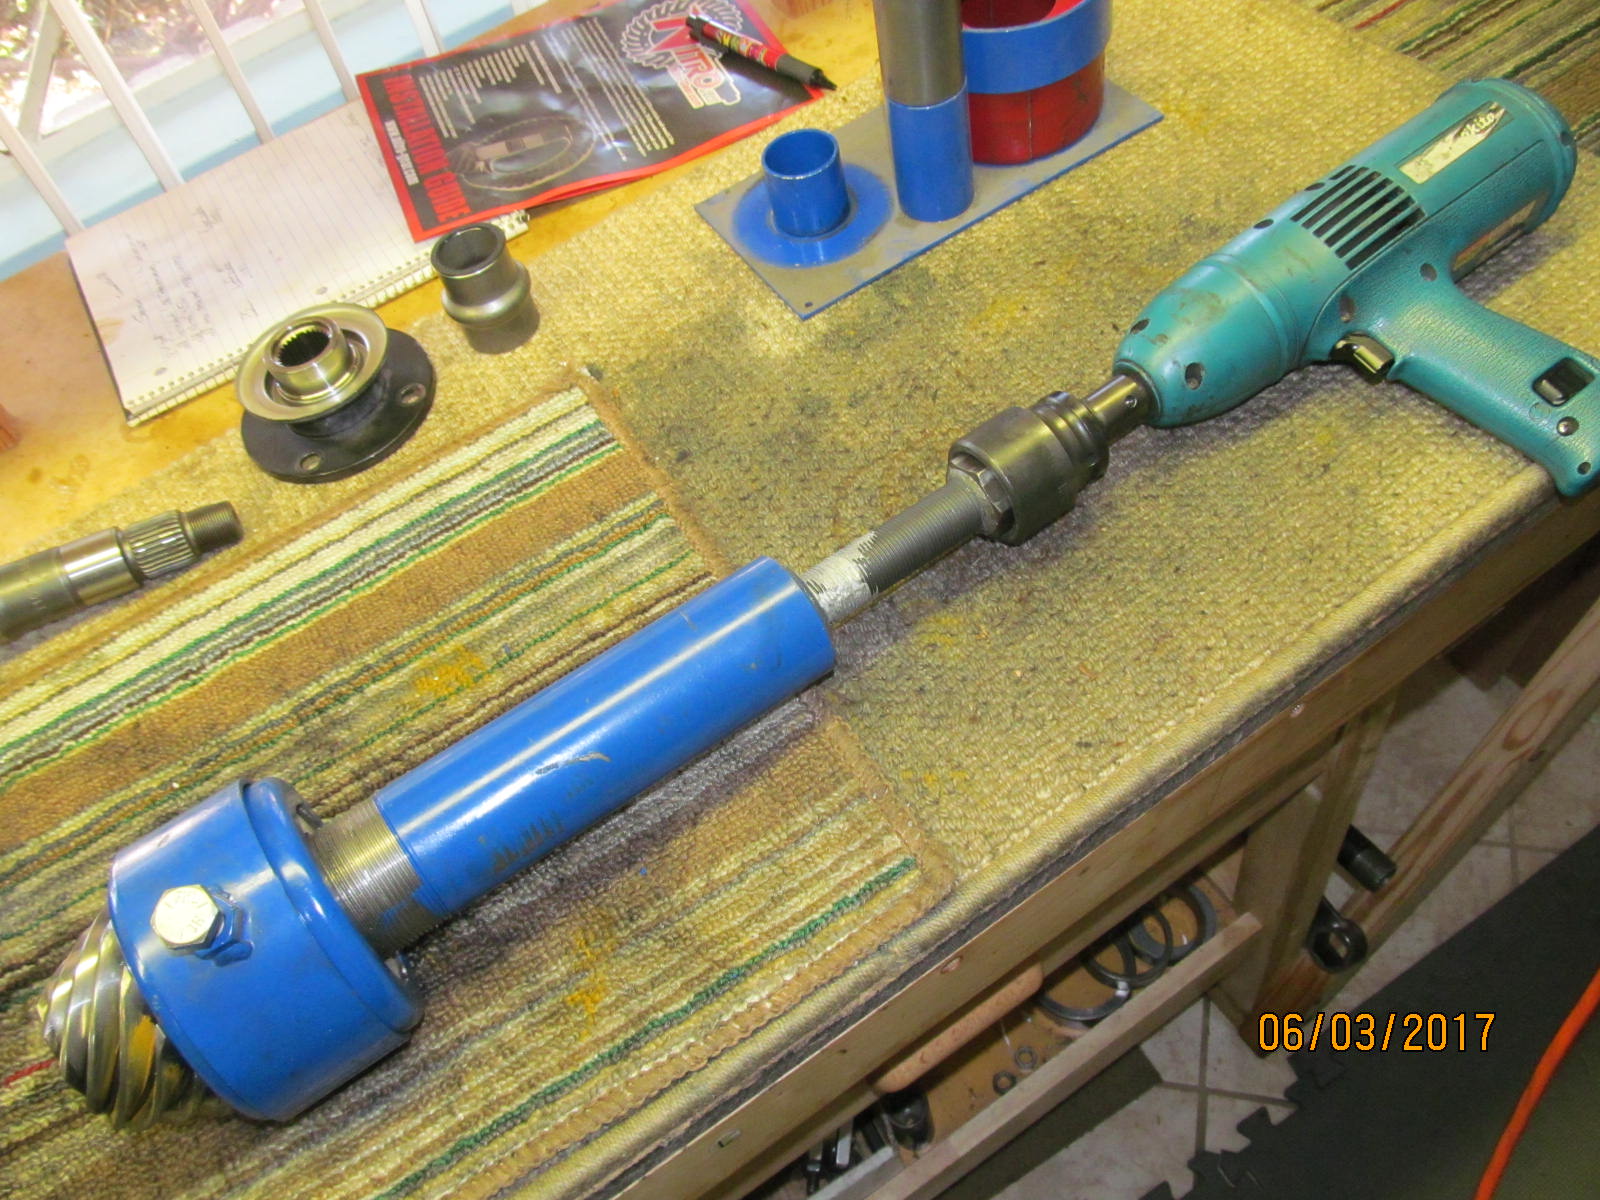
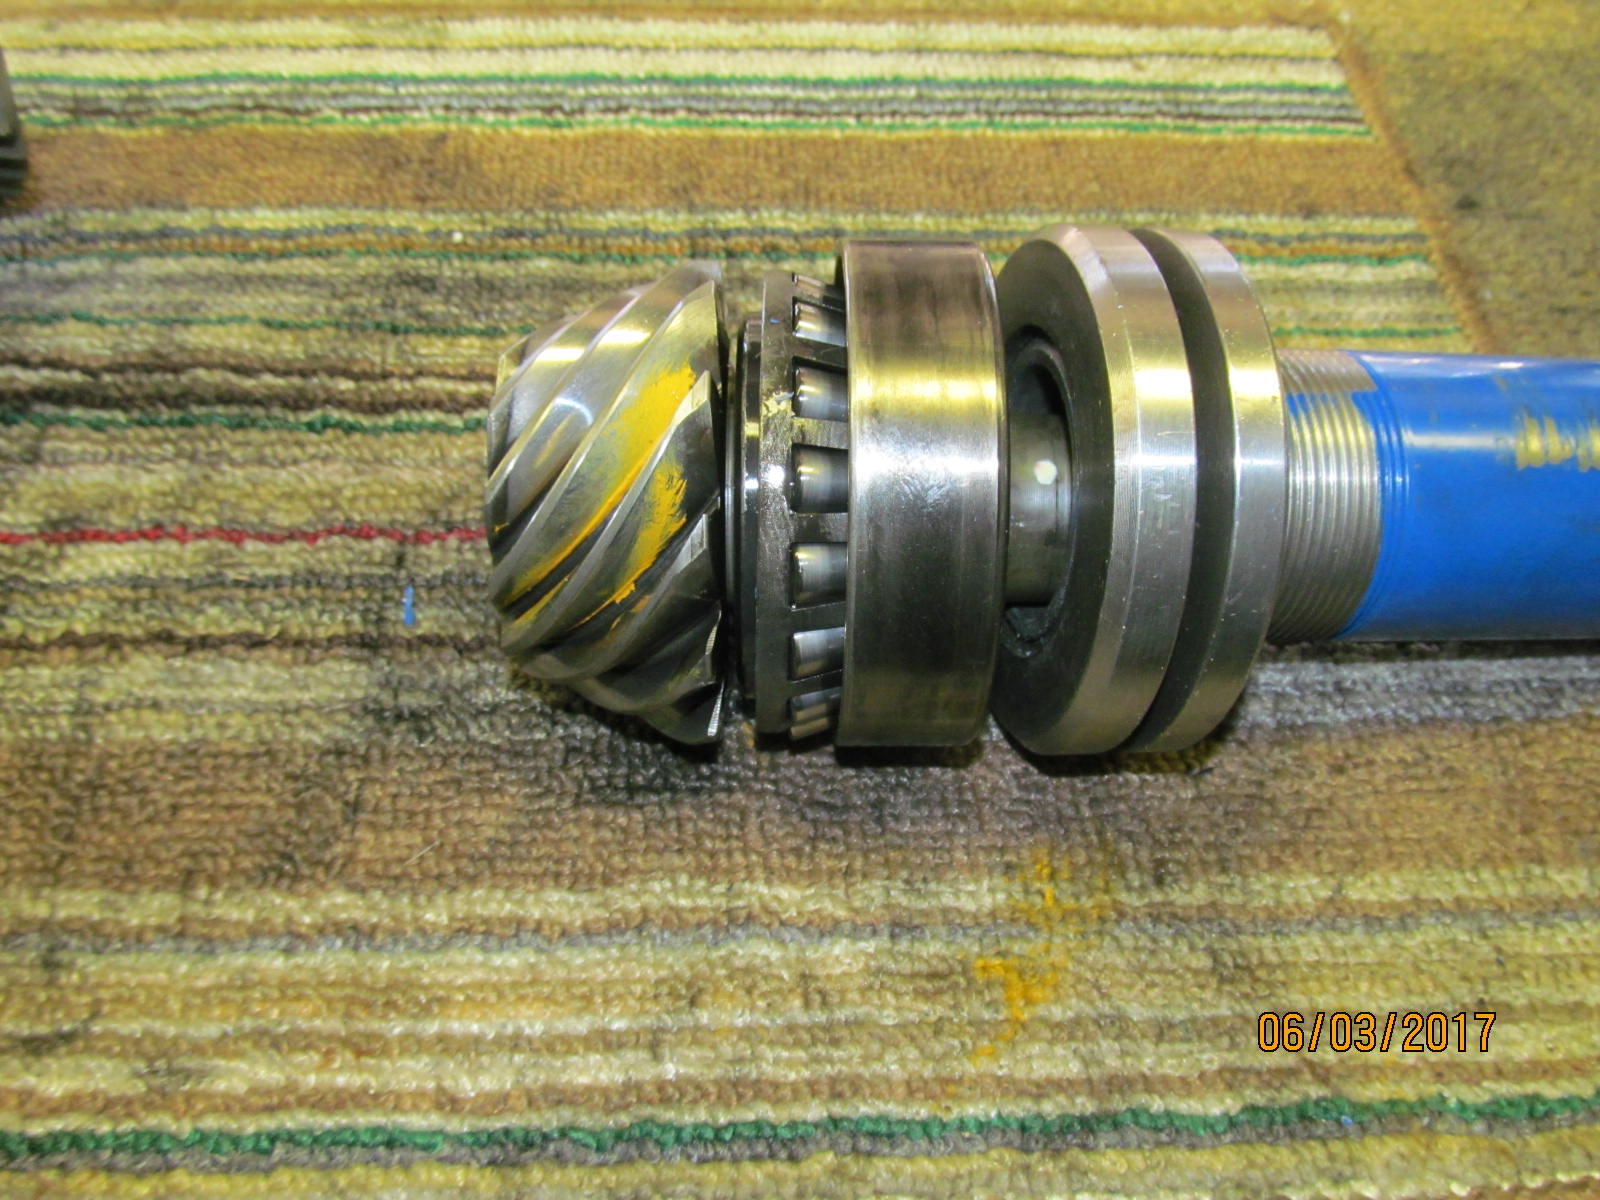
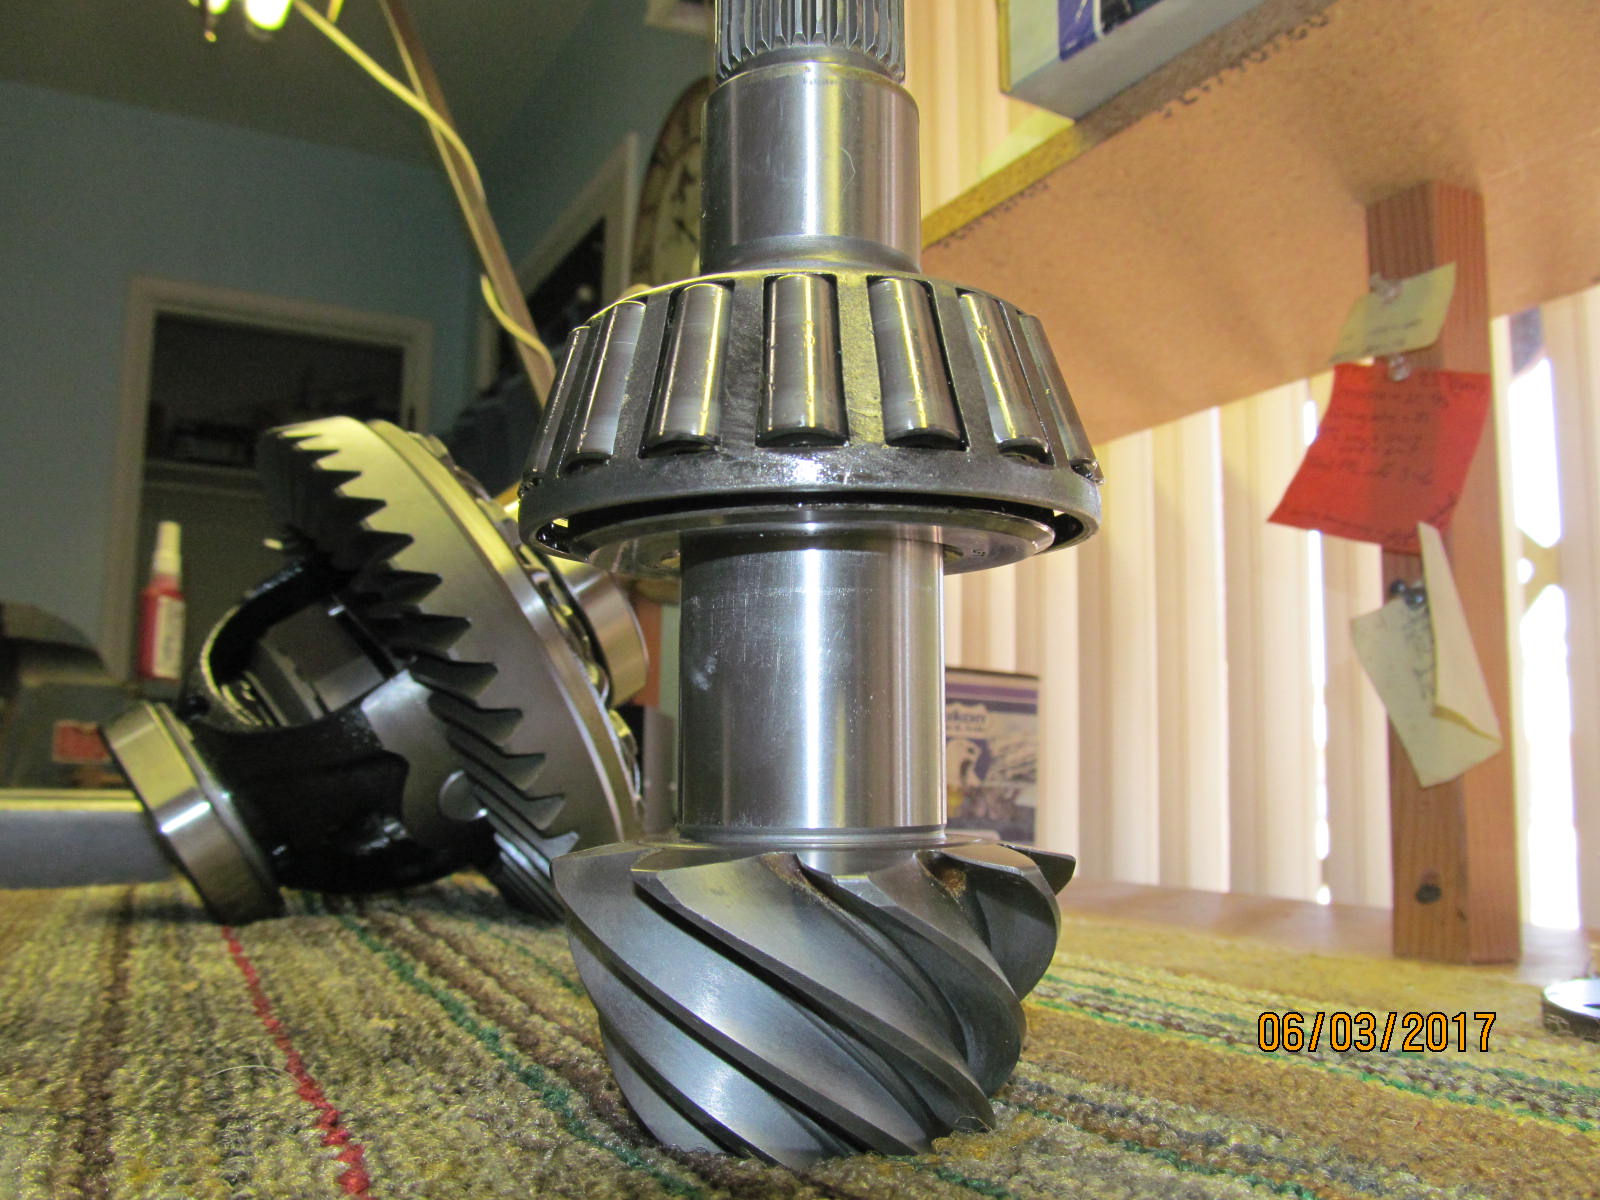
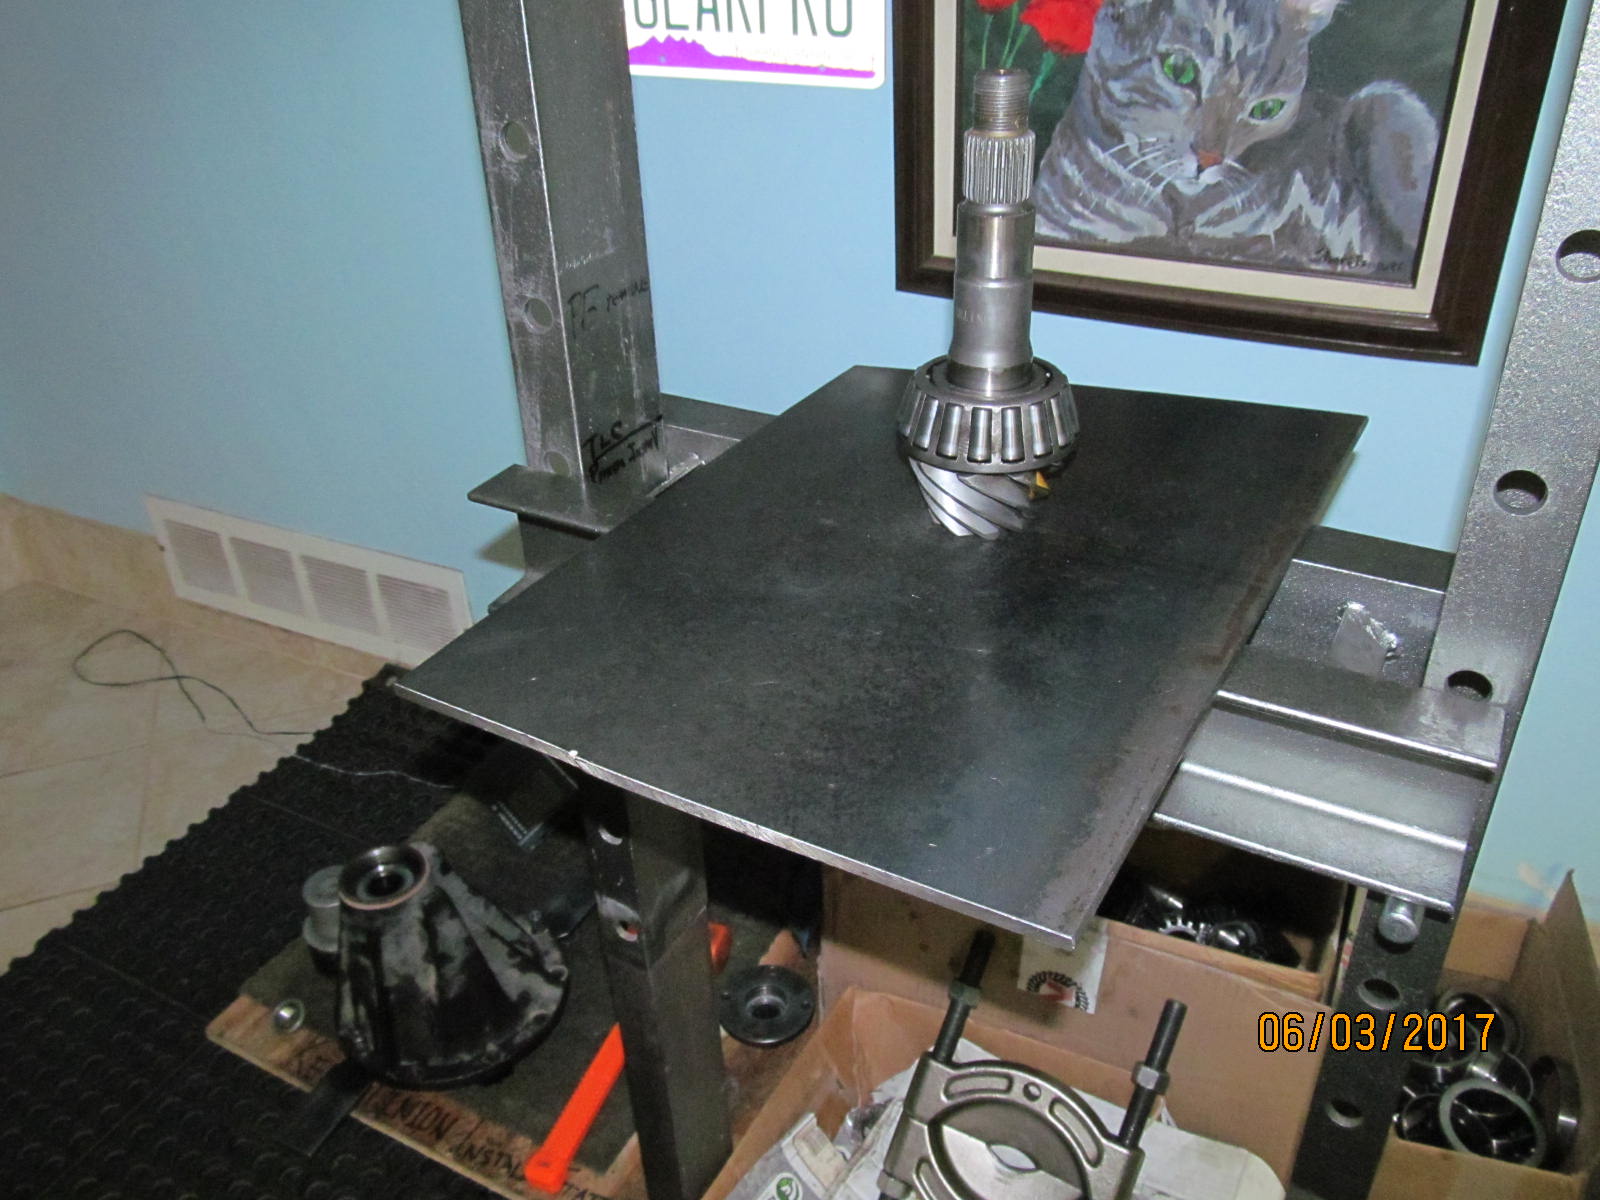
| The bearing is to be pressed on to the new 4.56 pinion shaft. |
|
| What I can make with my old bearing parts.... |
|
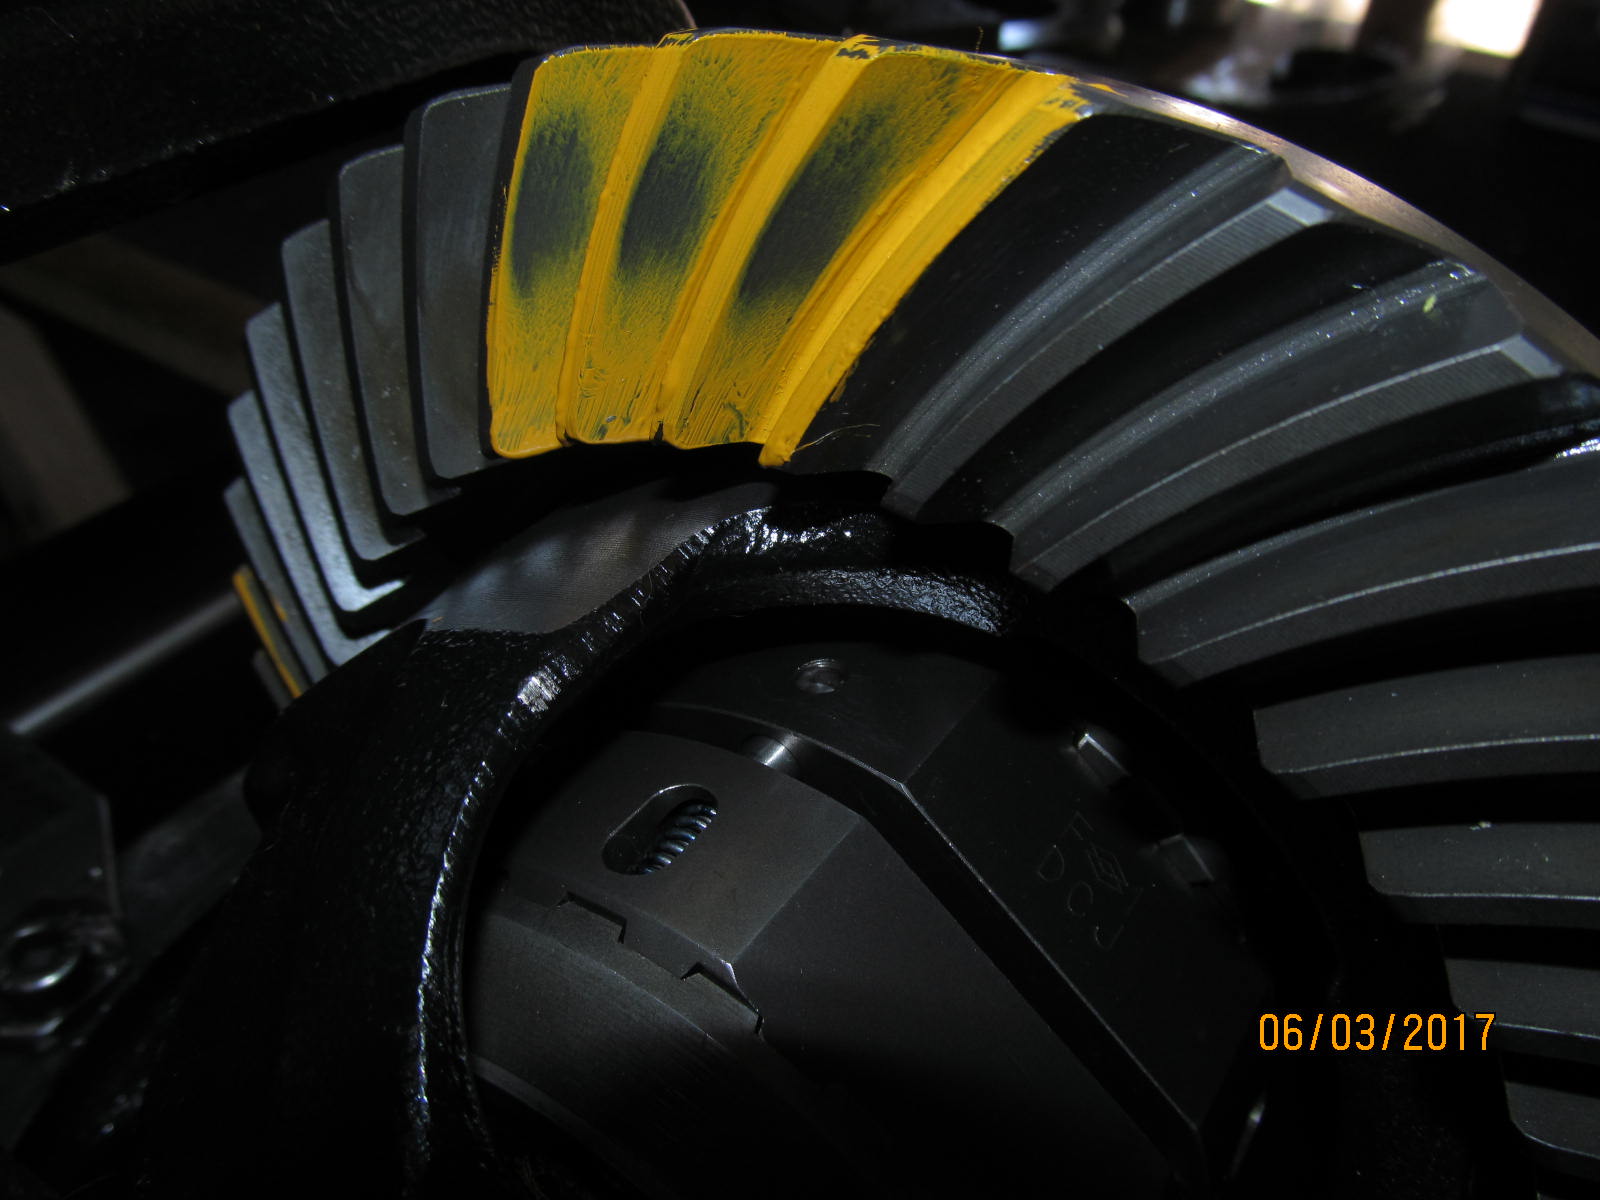
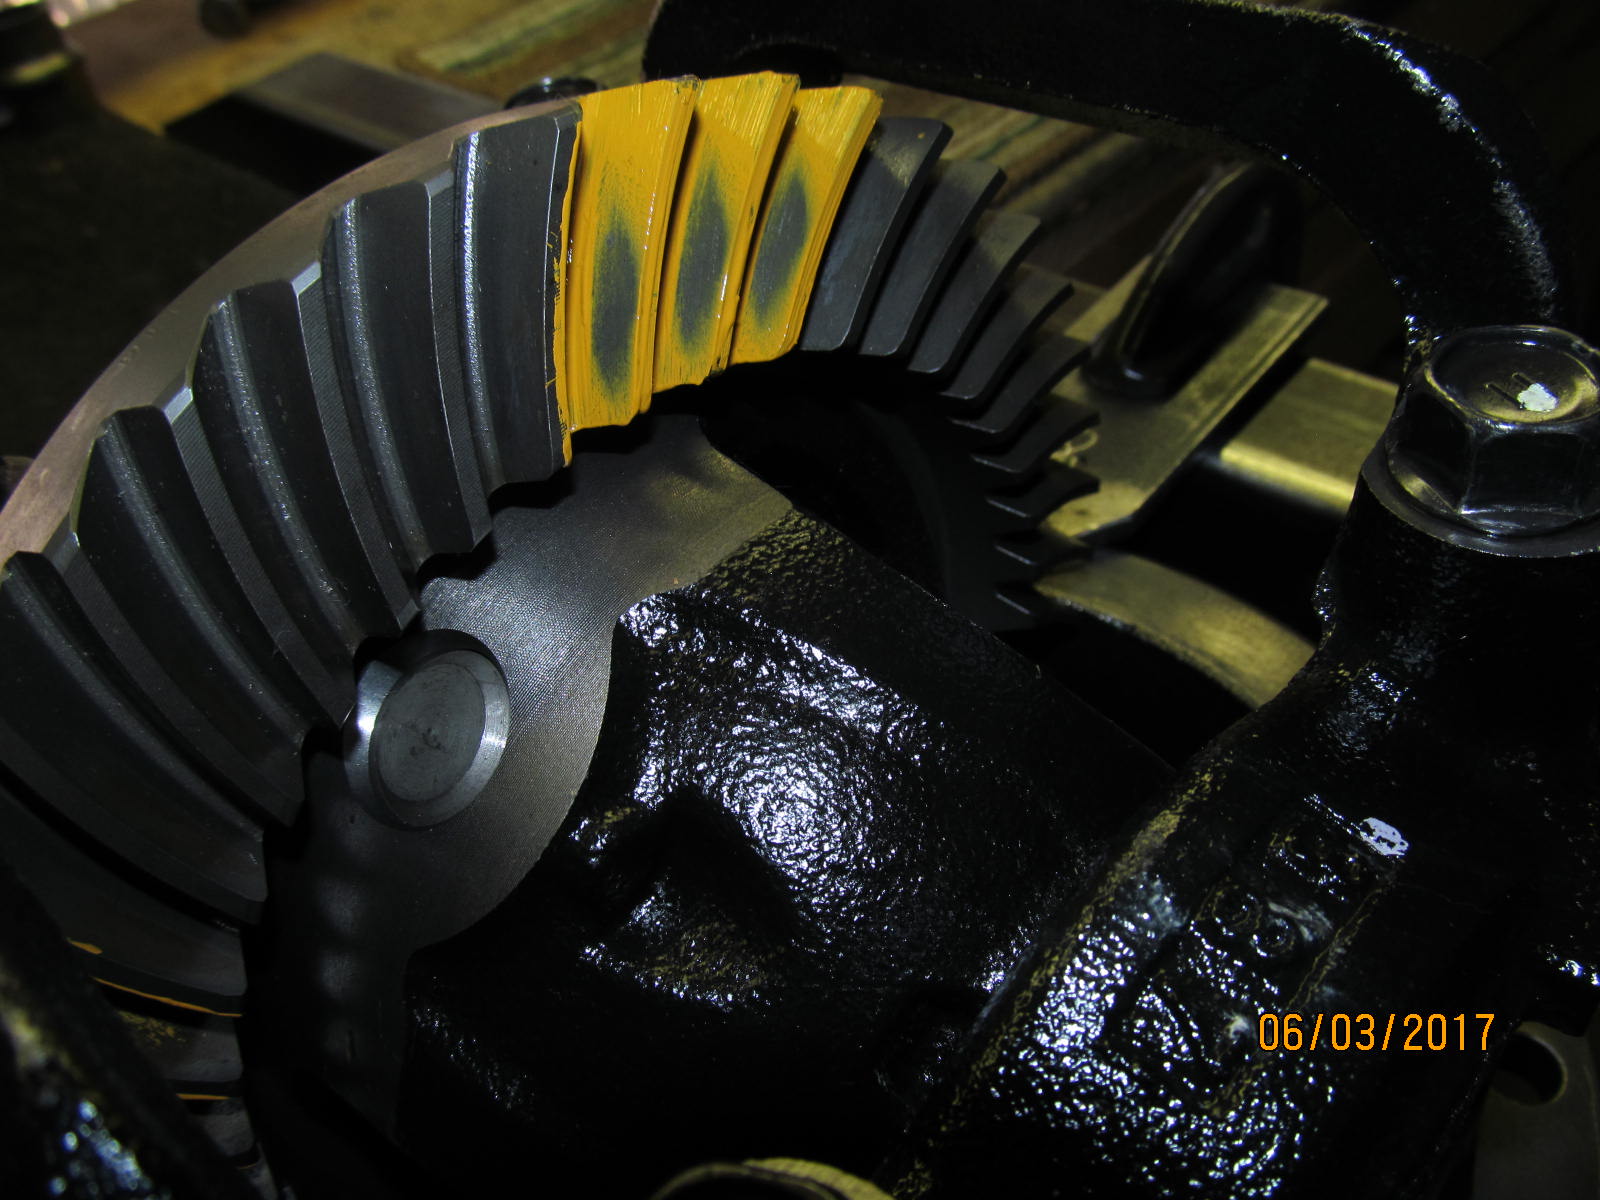
| We left the original pinion shim alone(located behind the inner pinion race) and will soon run a paint check. |
|
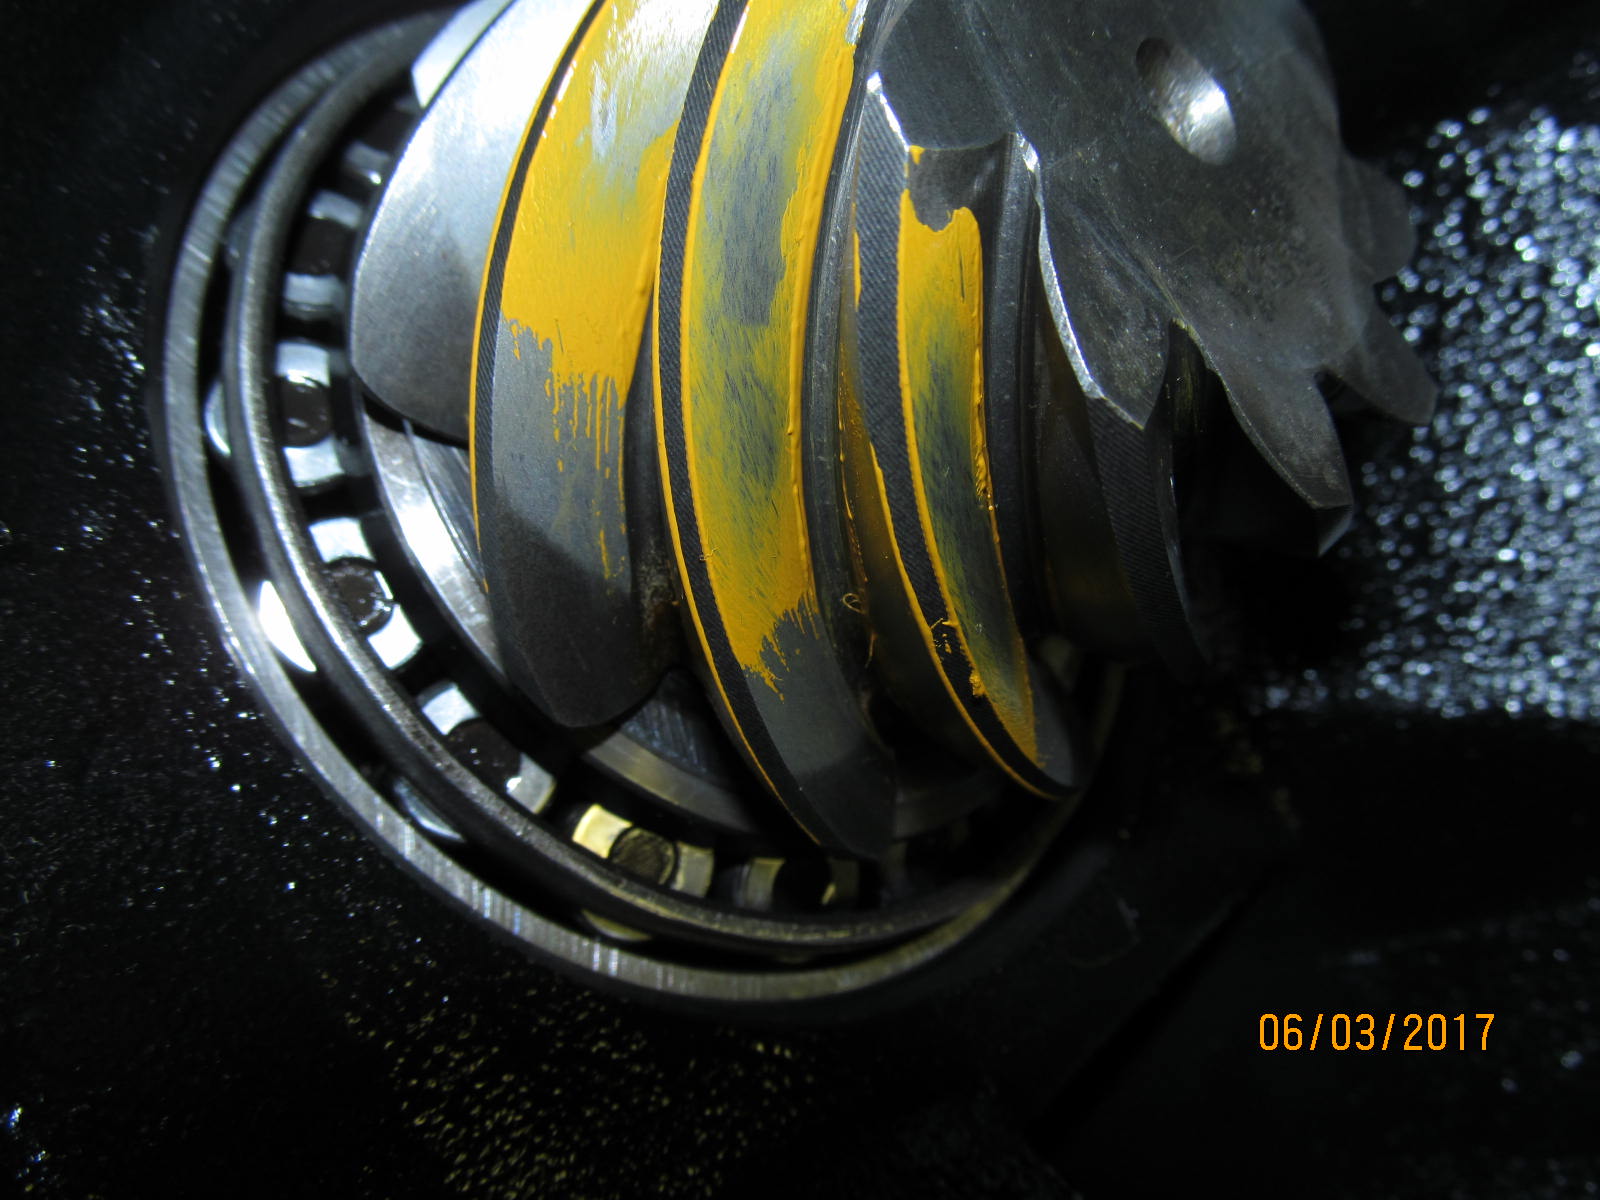
| Drive side.....slight shallow. |
|
| Coast. |
|
| Comet tail is tucking in too hard to the root of the tooth. |
|
| ................ |
|
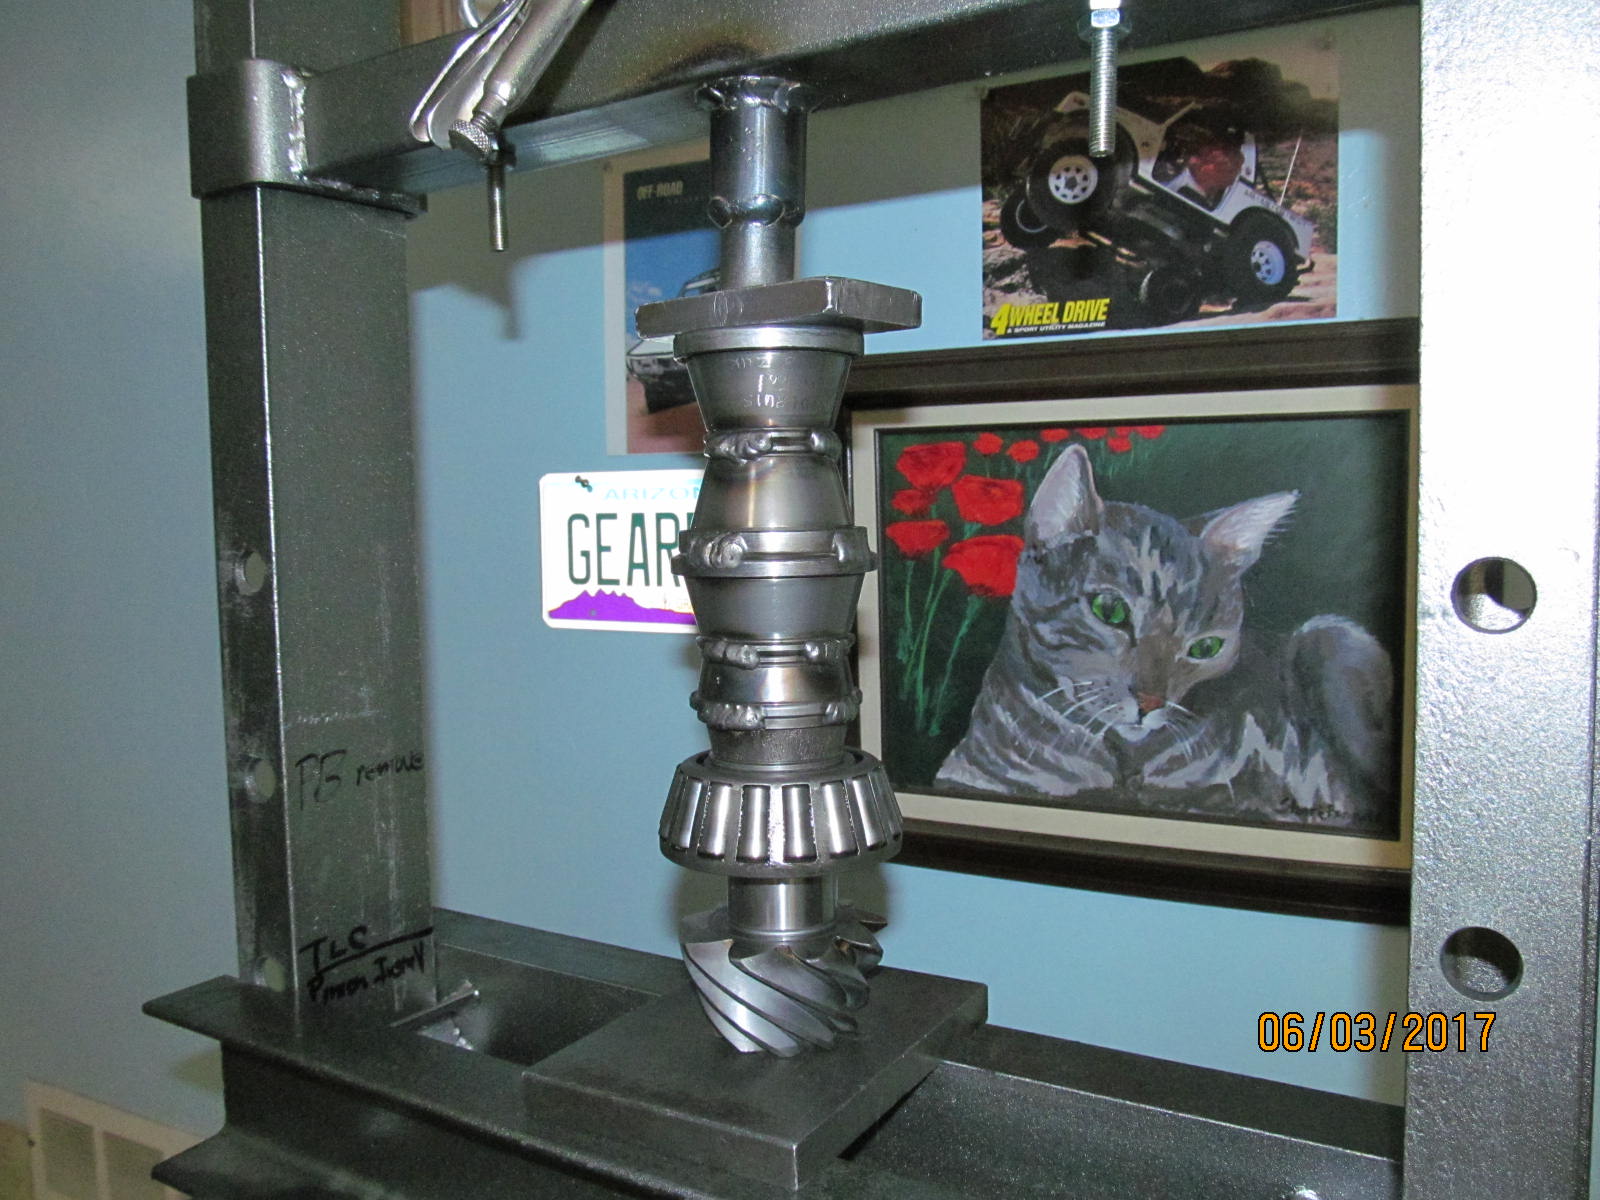
| The pinion assembly was pressed out of the differential 3rd member. |
|
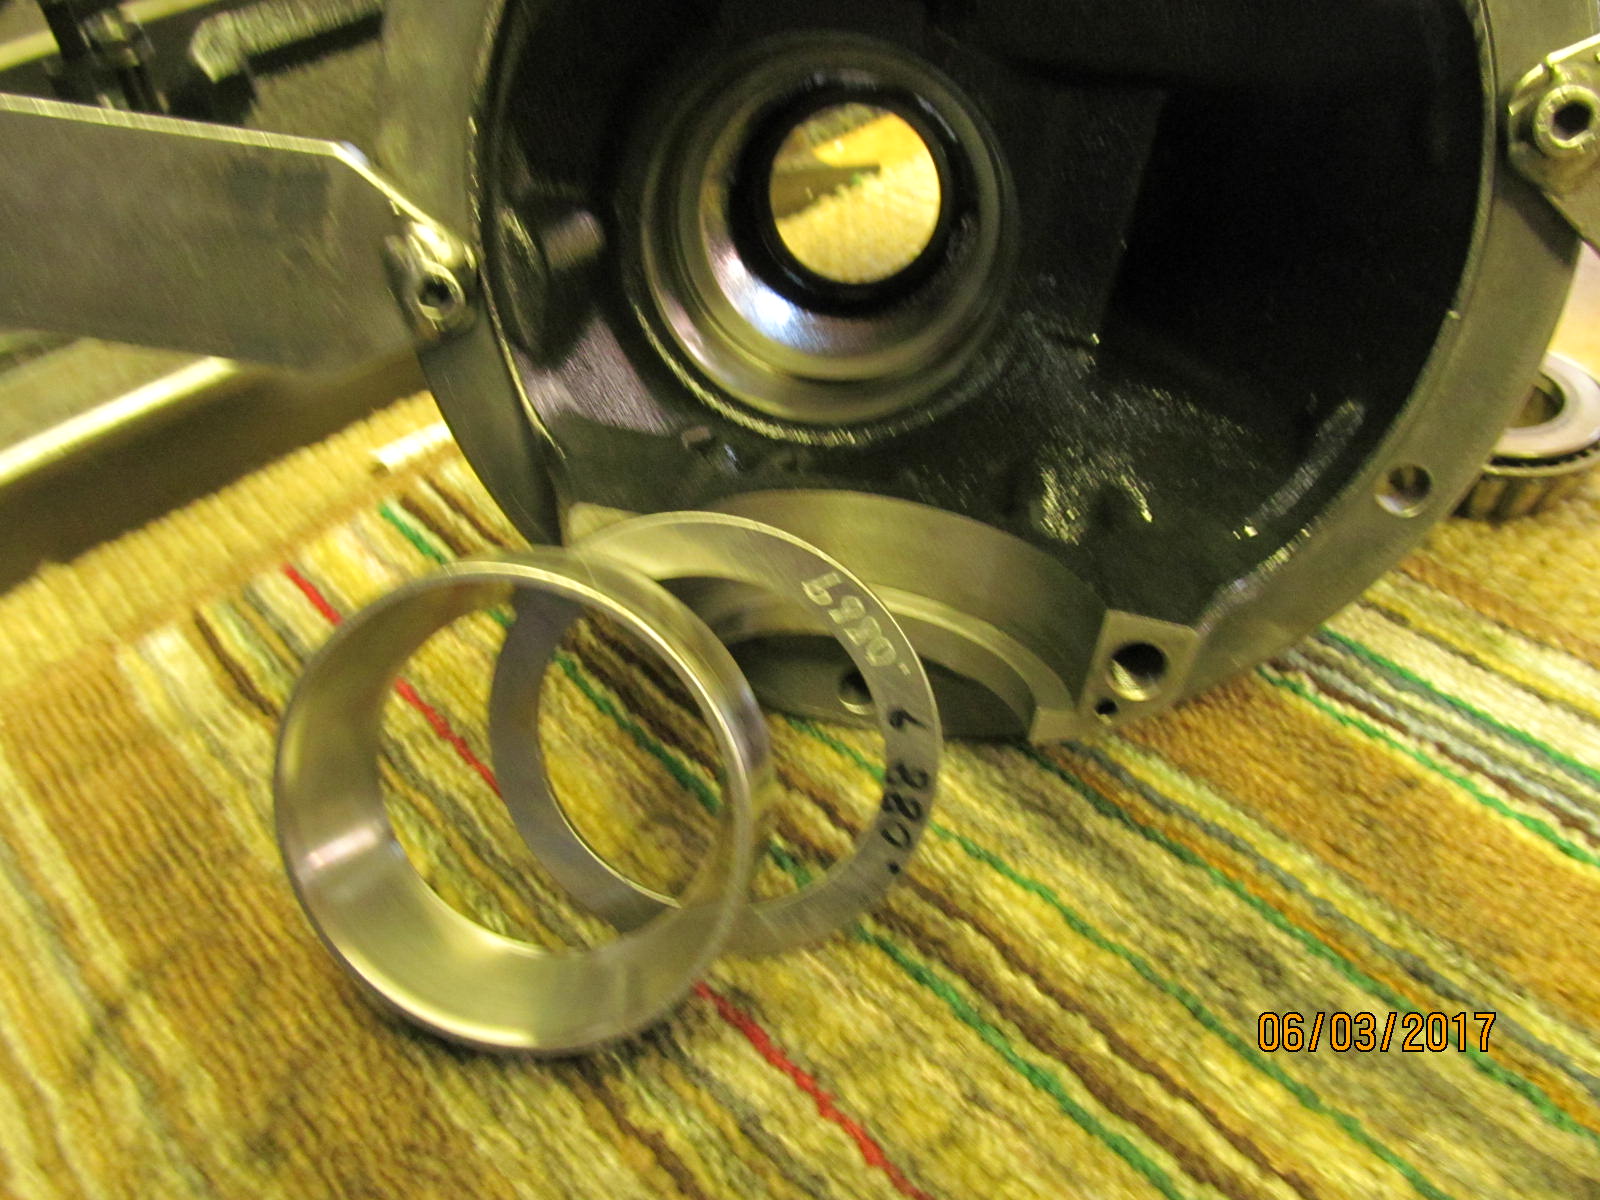
| The inner race was tapped out and the pinion washer plate can be seen here. |
|
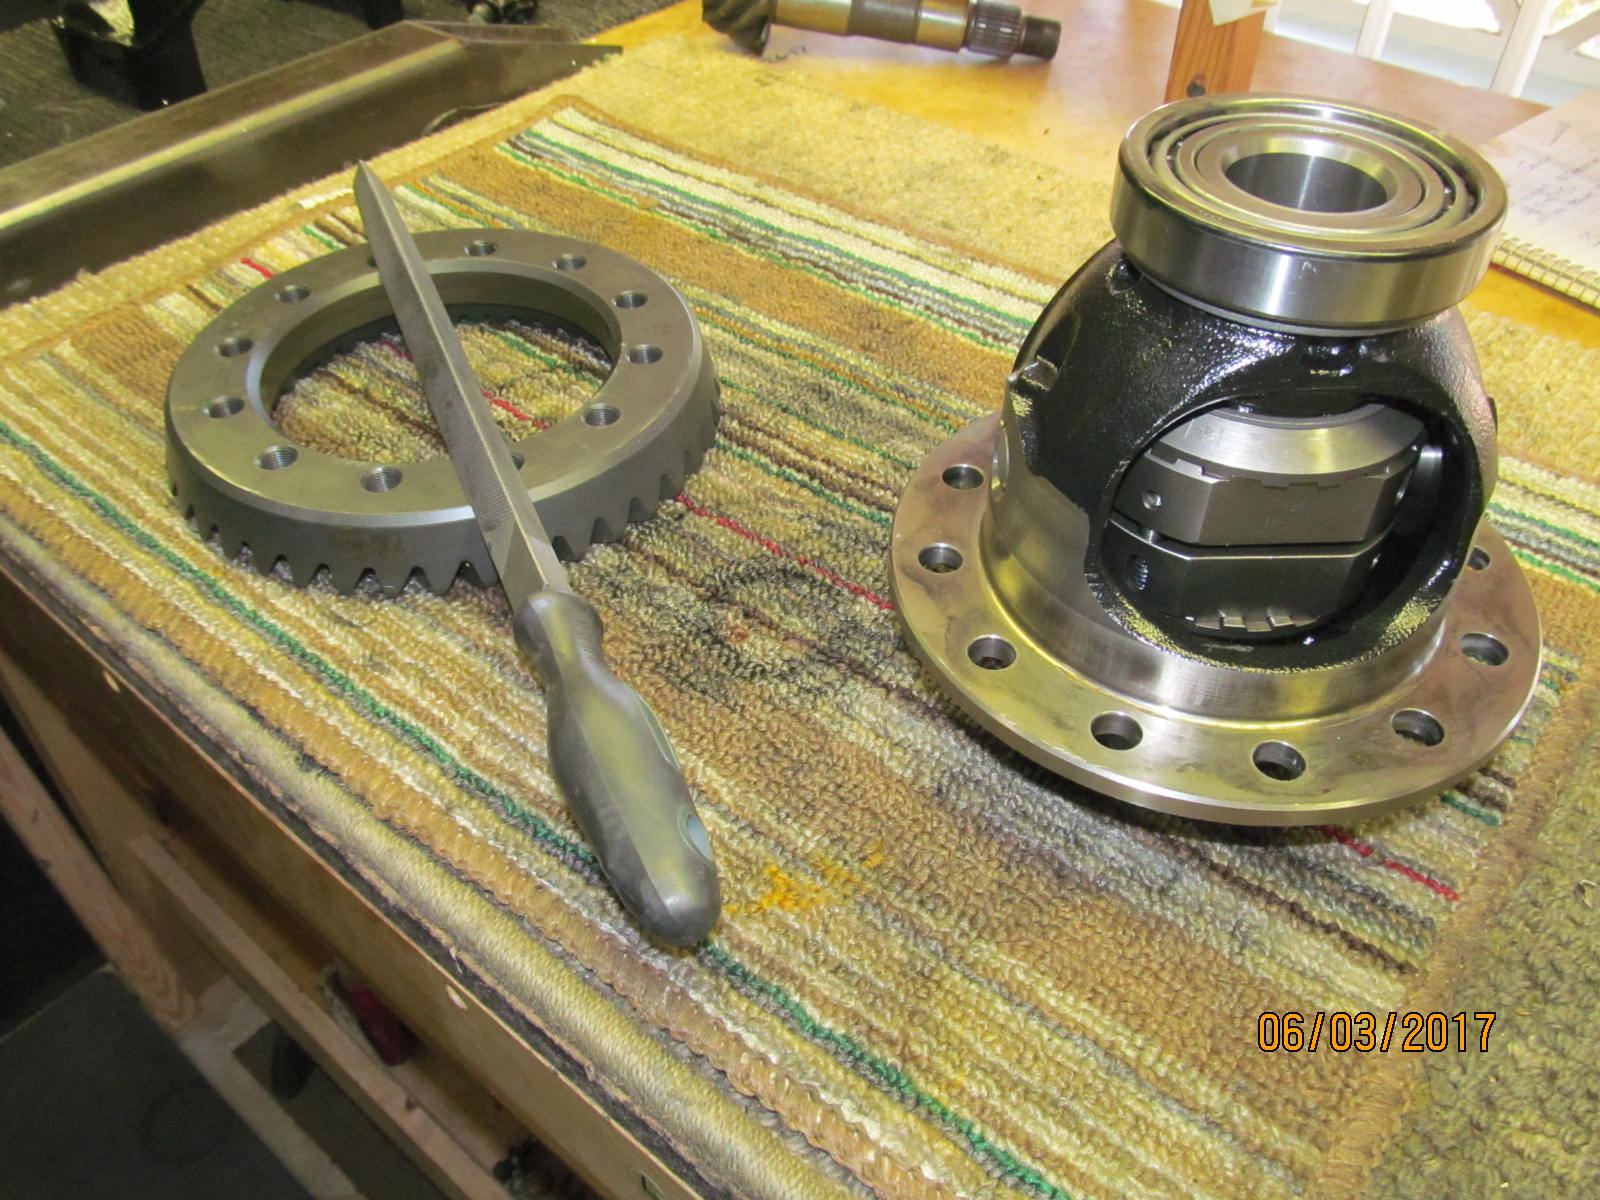
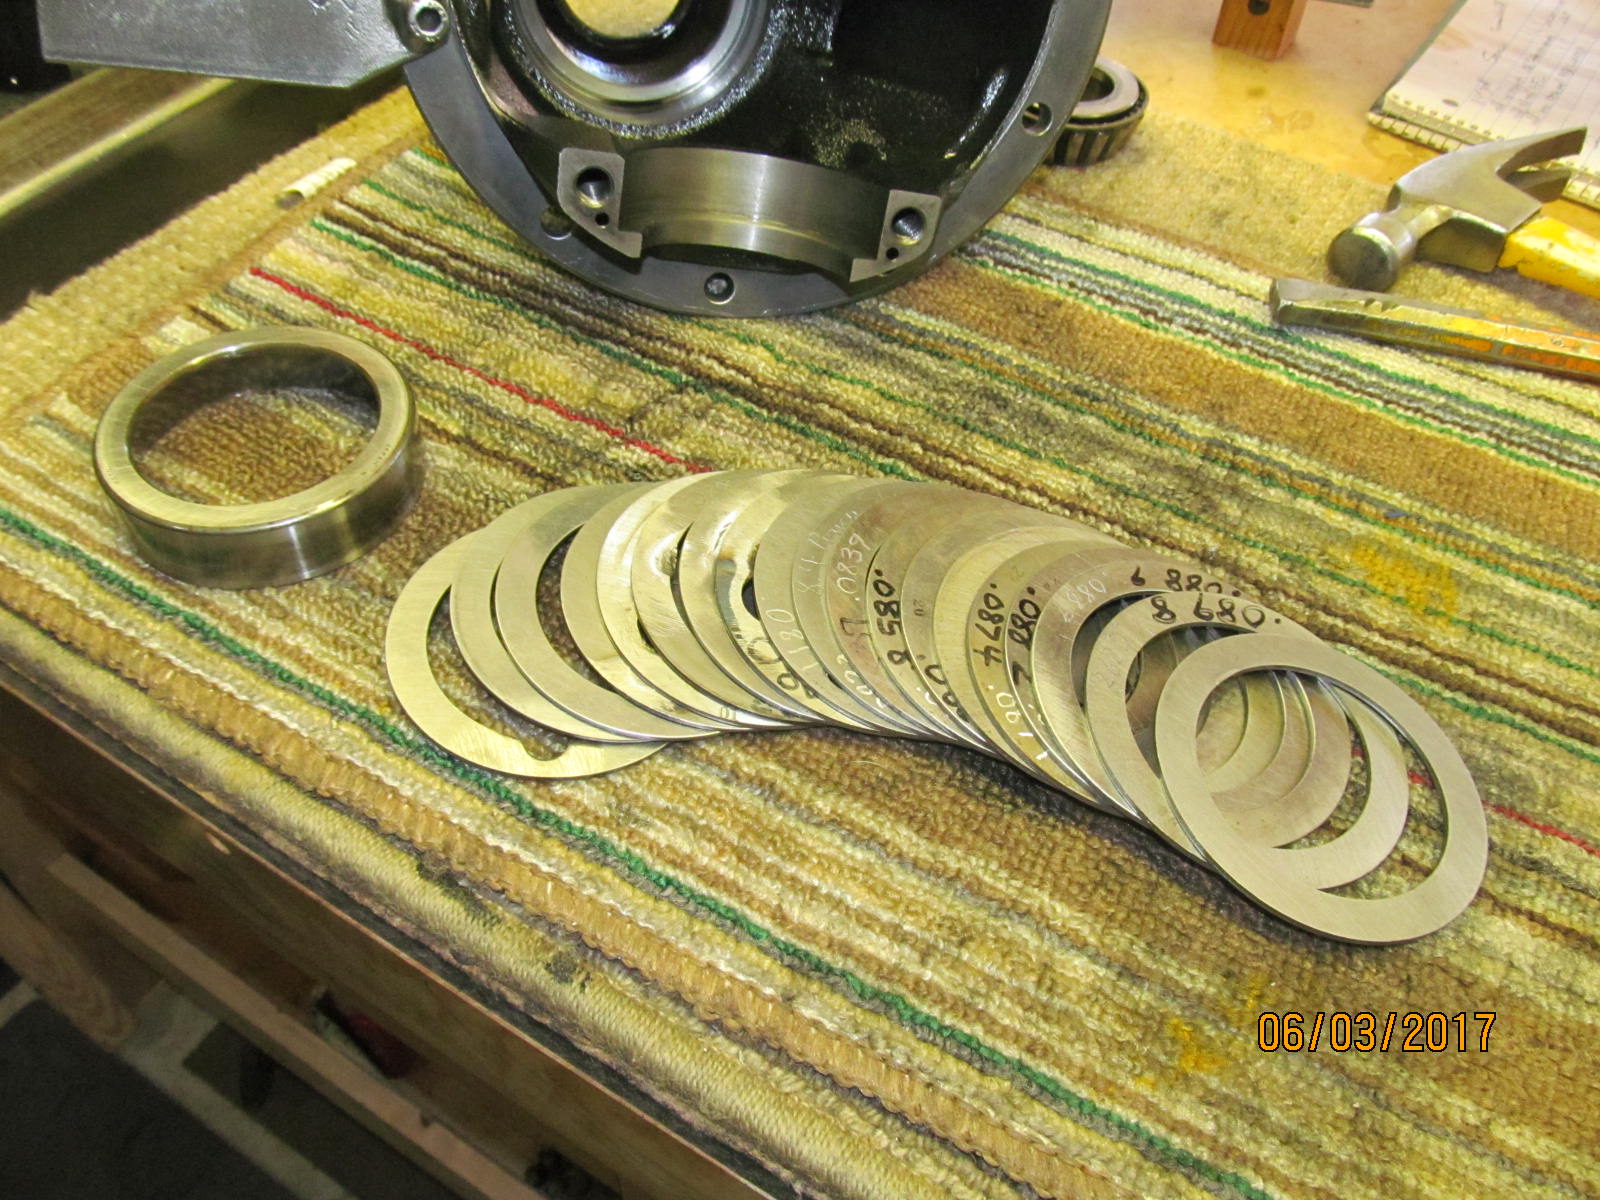
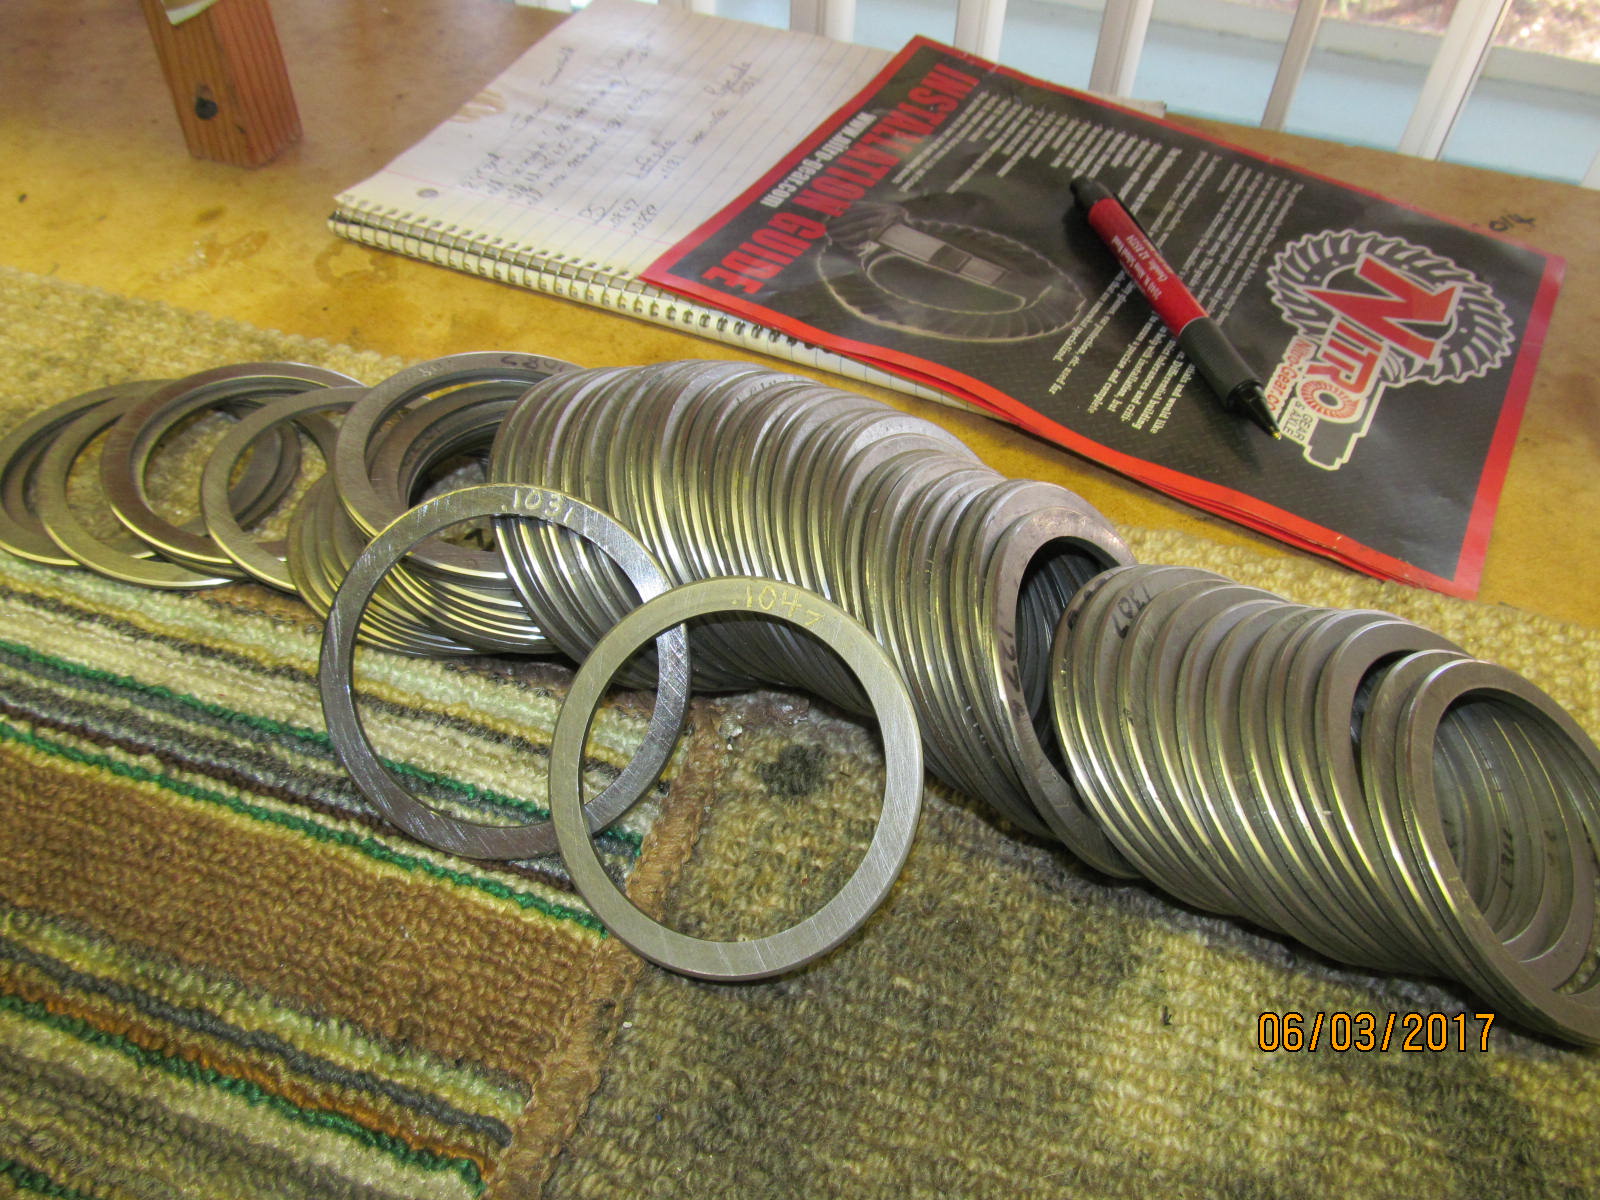
| A selection of oem washer plates is helpful. |
|
| I must have sneezed. This plate is .004" thicker than the oem one. |
|
| It's also almost mandatory to have a solid collection of carrier bearing washer plates. |
|
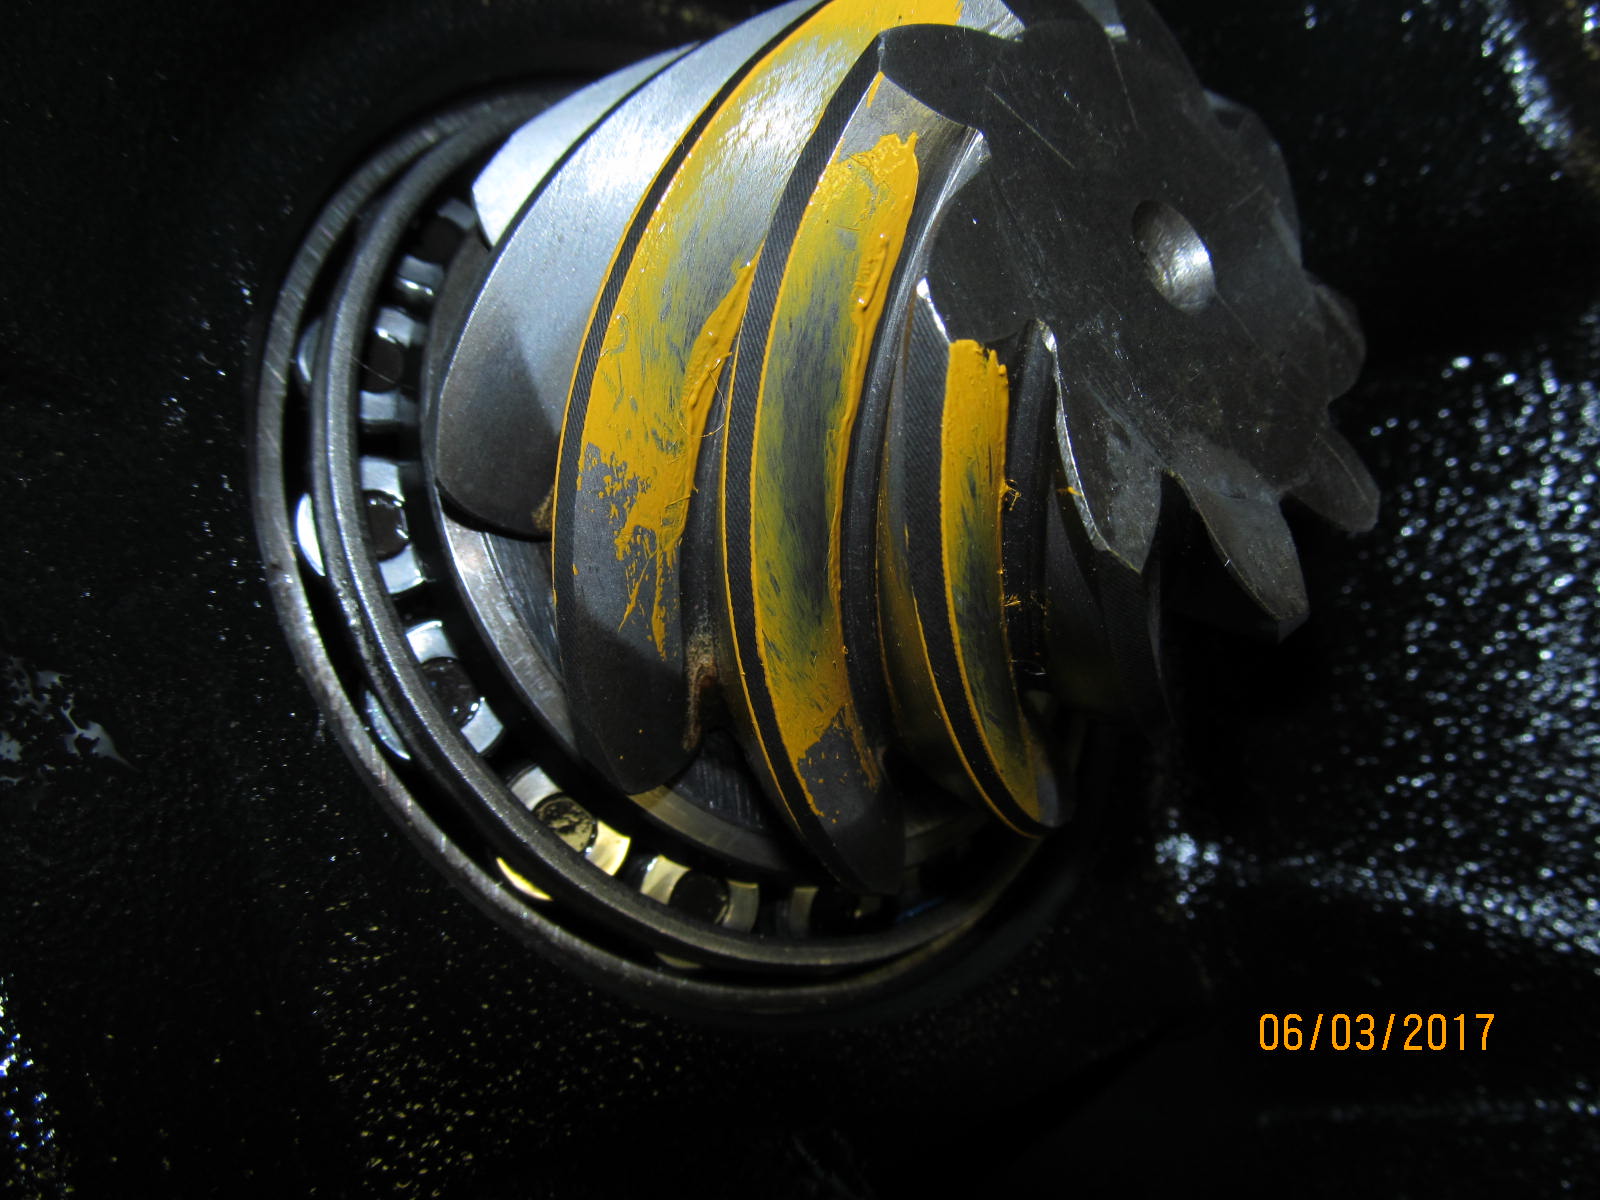
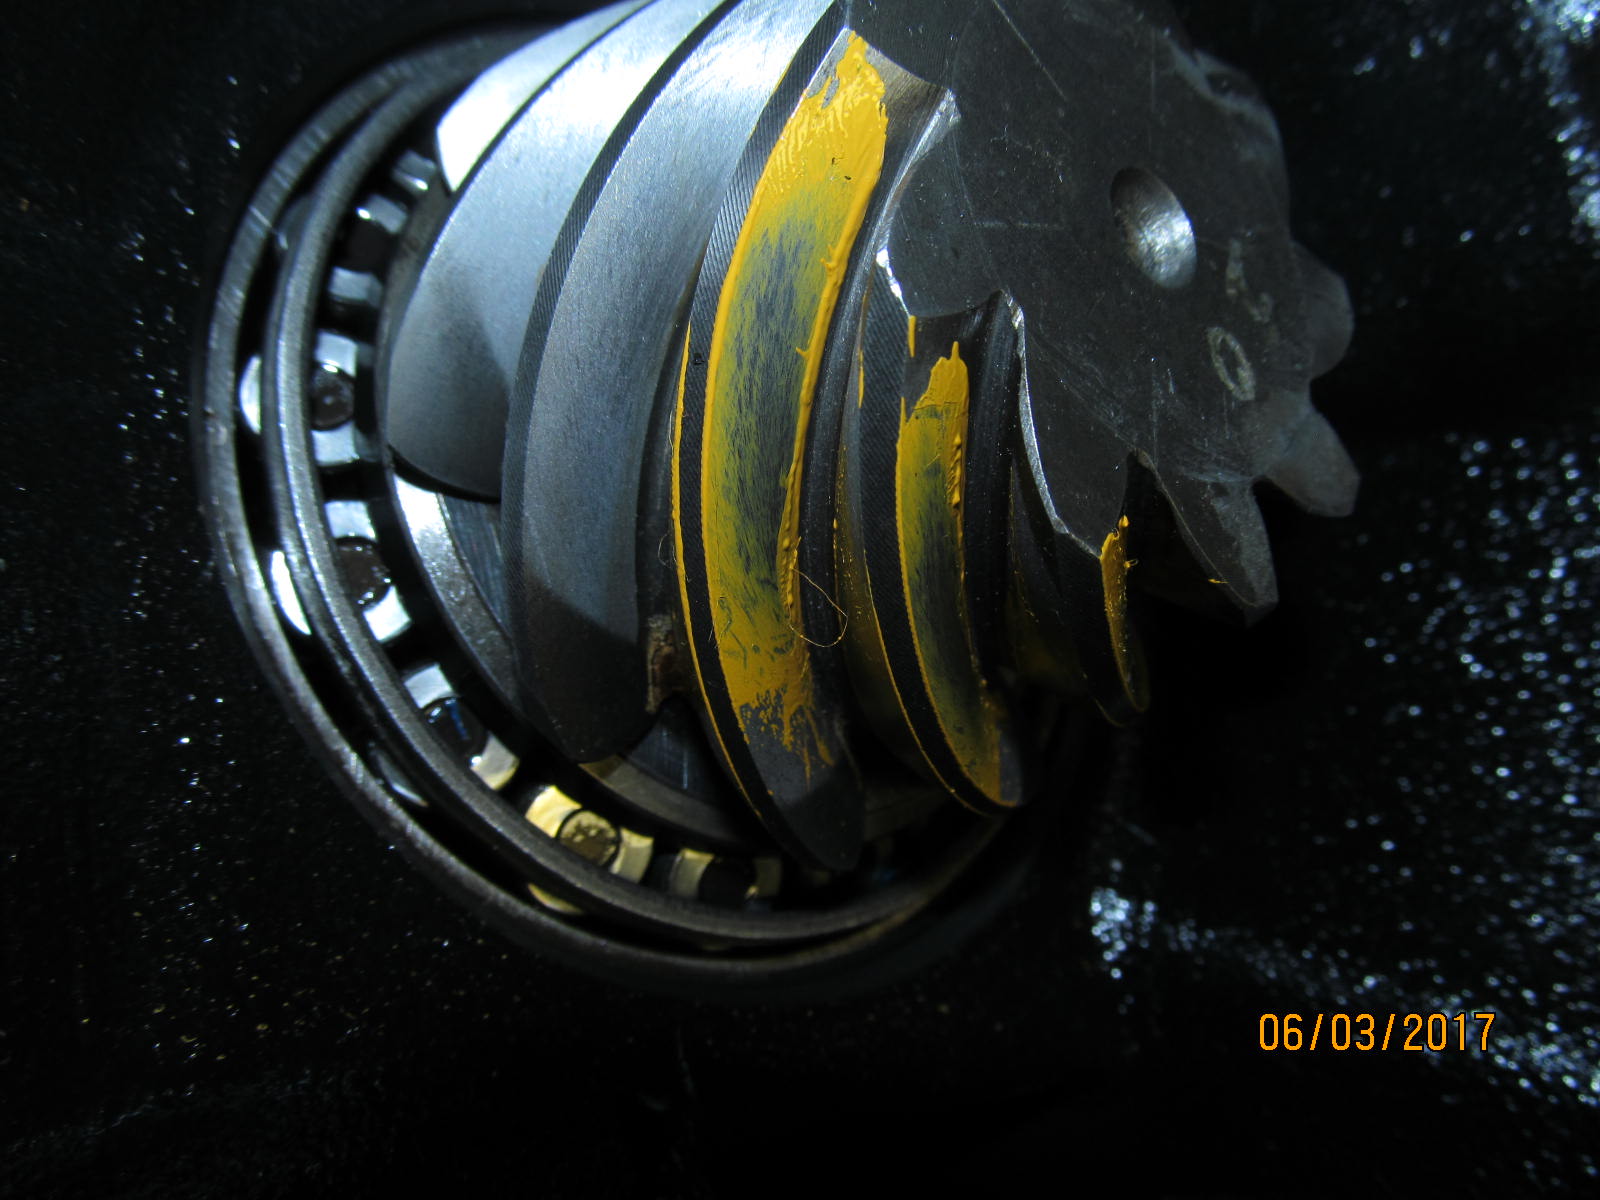
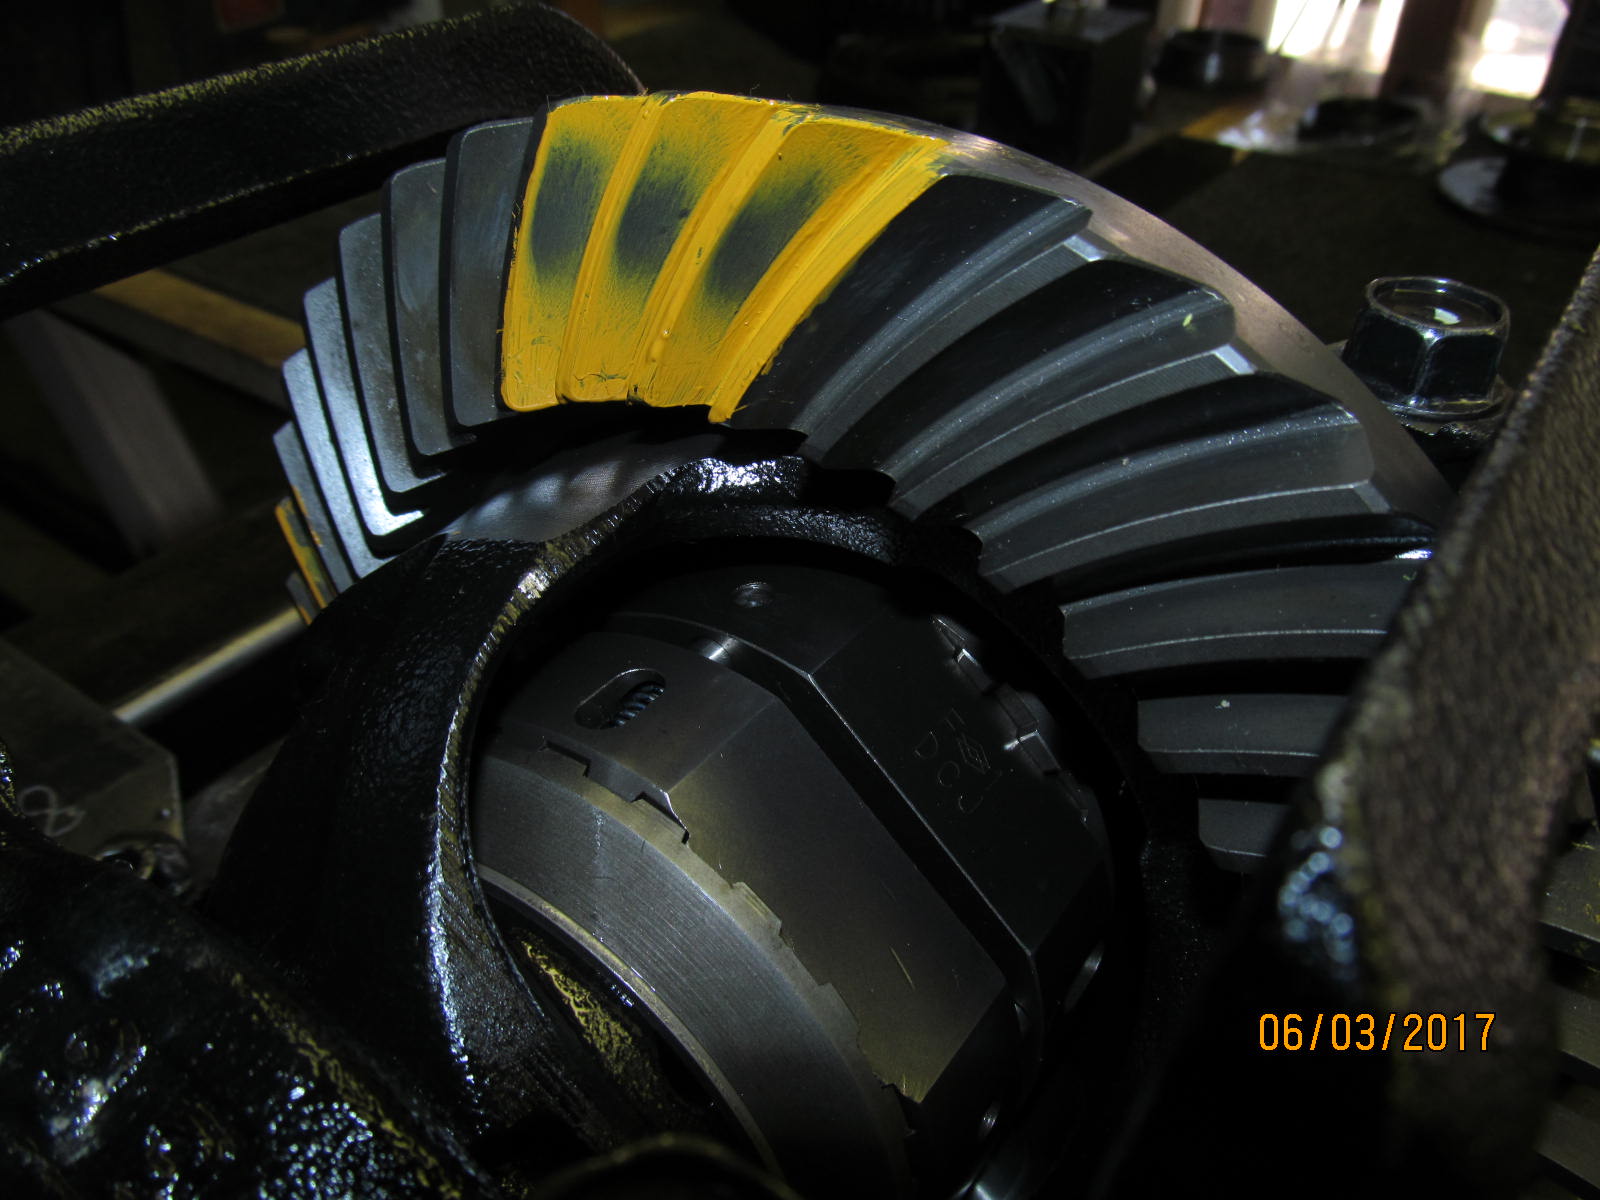
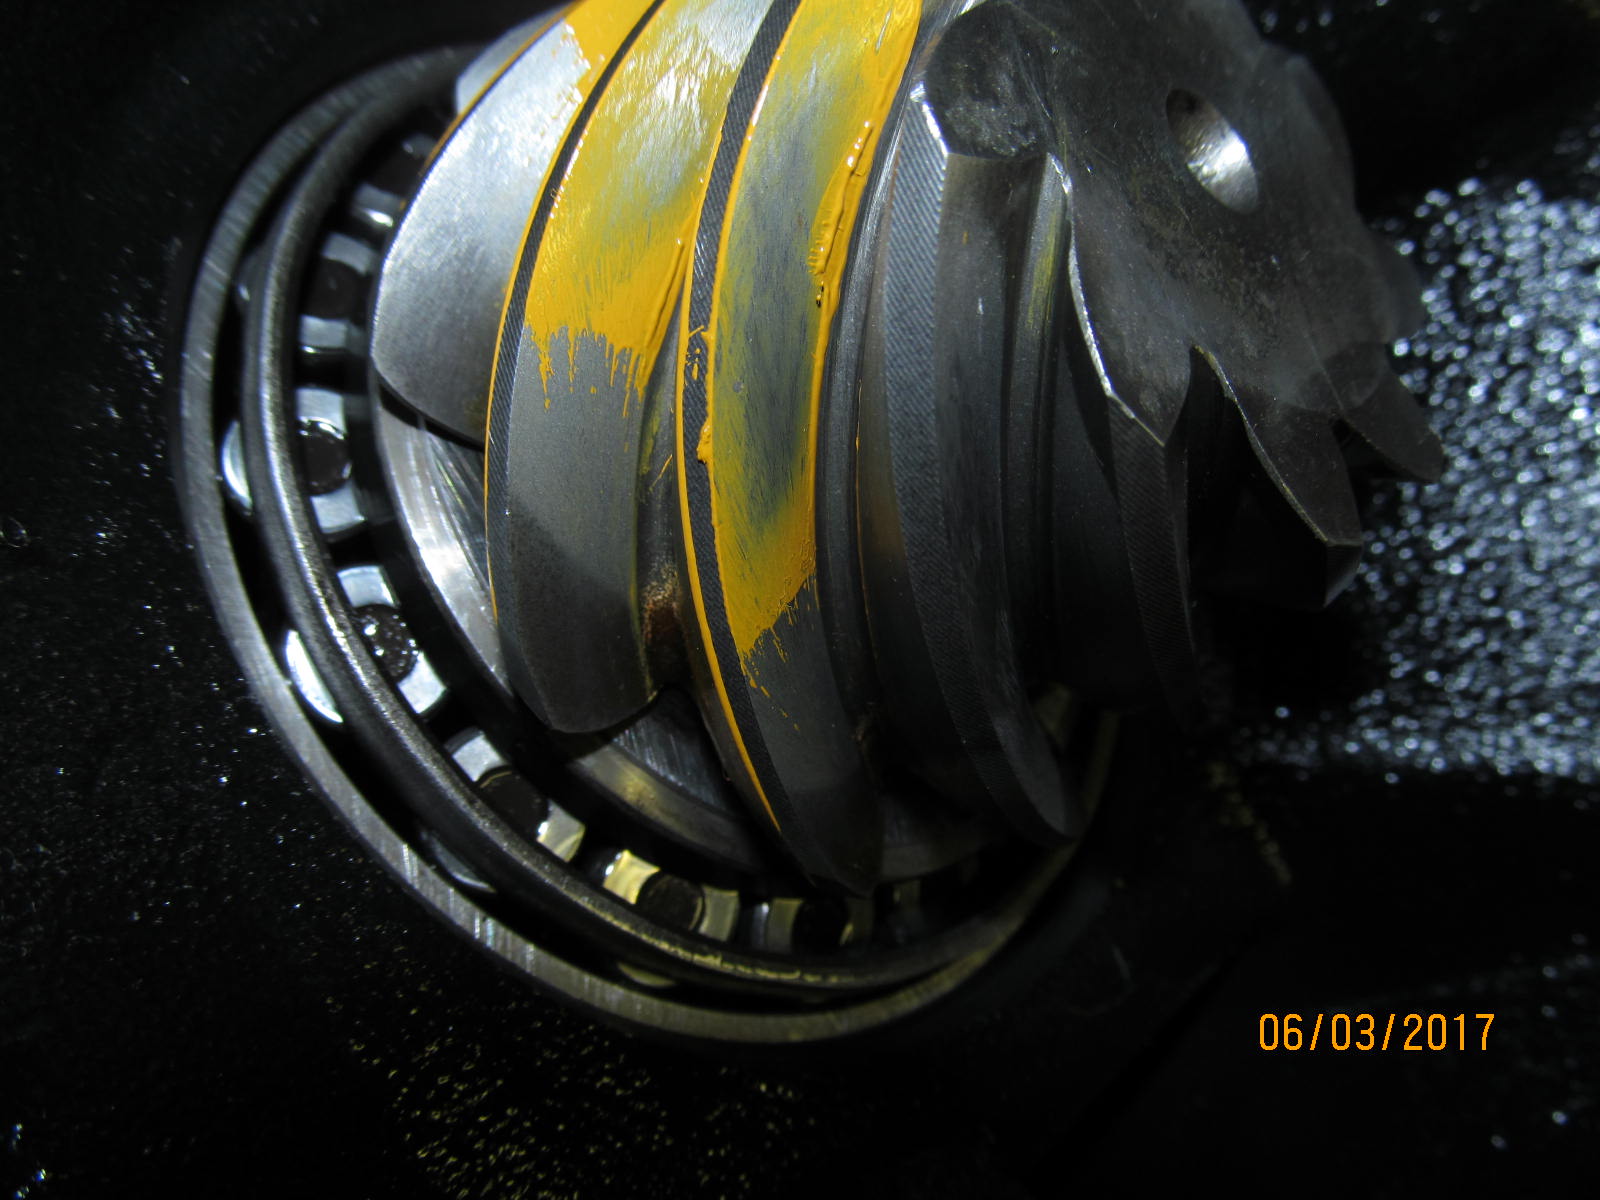
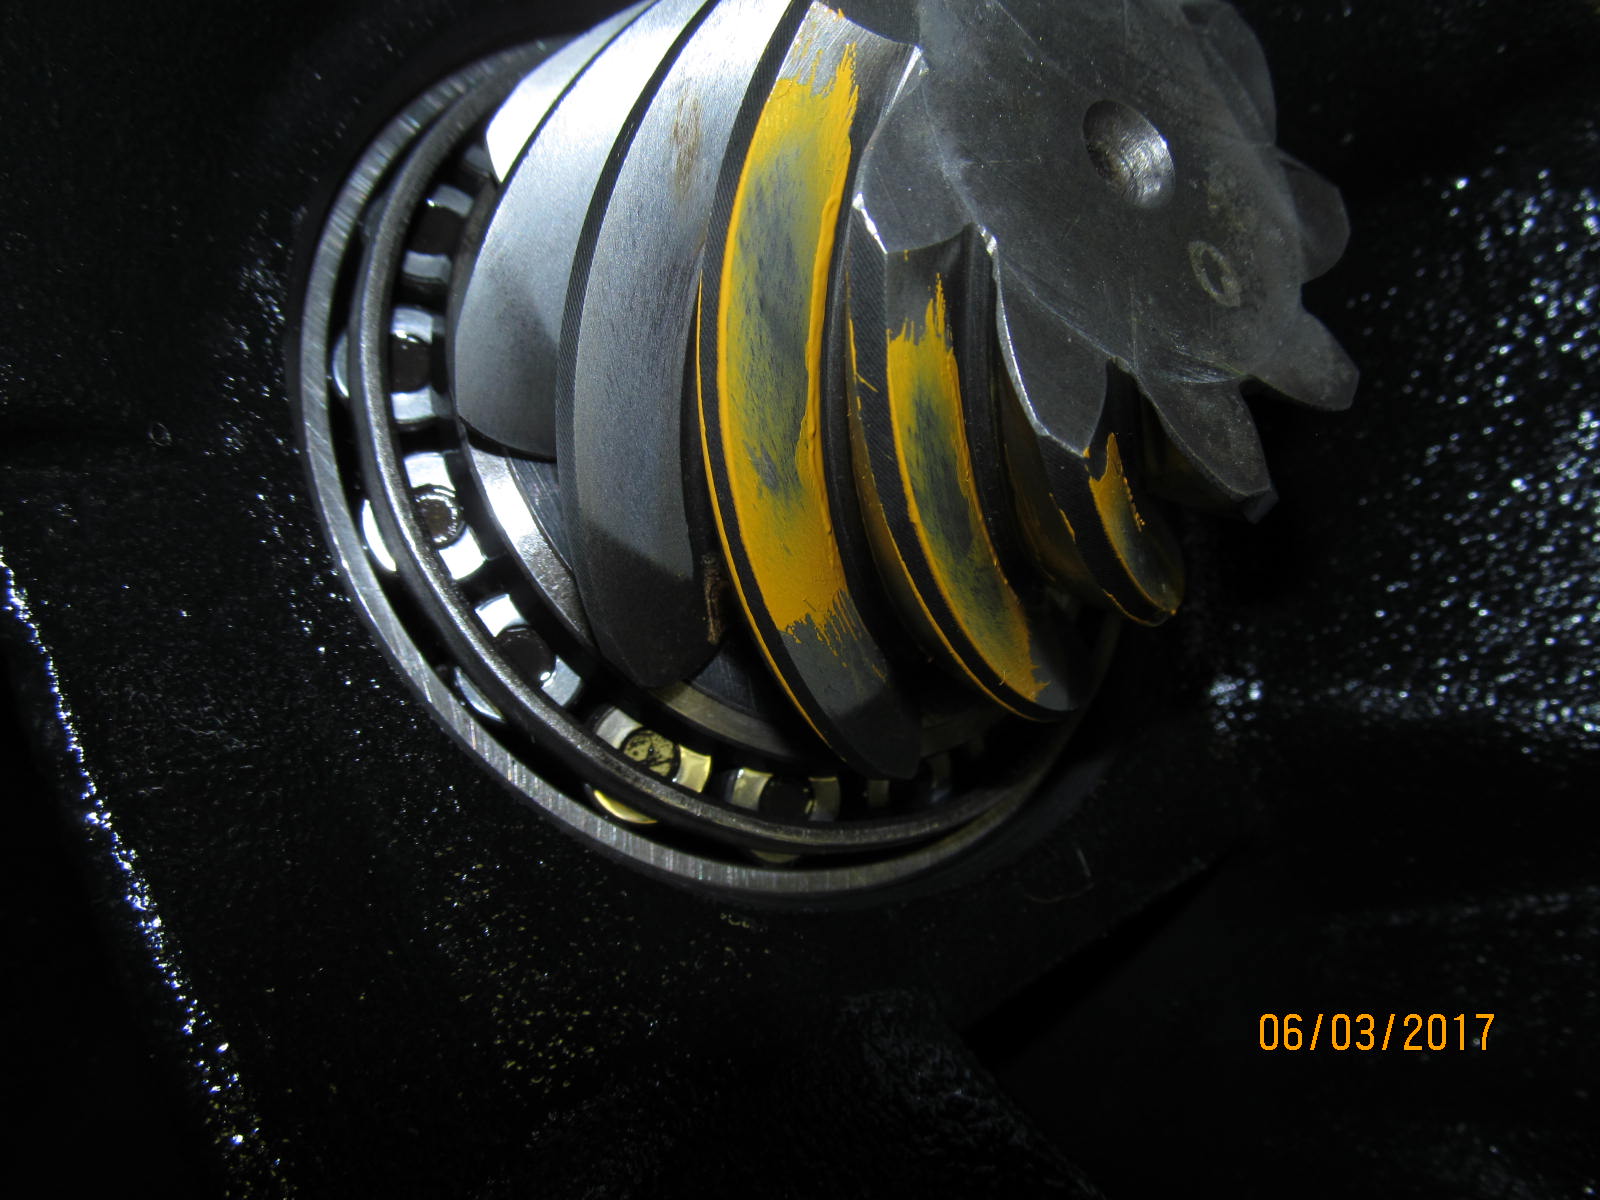
| How to properly get a good paint swipe....grip flange with a rag and turn the ring gear back and forth a few times with a 17mm wrench. |
|
| Now this is what I like to see. Drive is a slight deep condition. And favors the toe a little. |
|
| Coast. A slight favoring of the heel. |
|
| The pinion tooth says all is good. Tail is in the middle. |
|
| ...................... |
|
| ...................... |
|
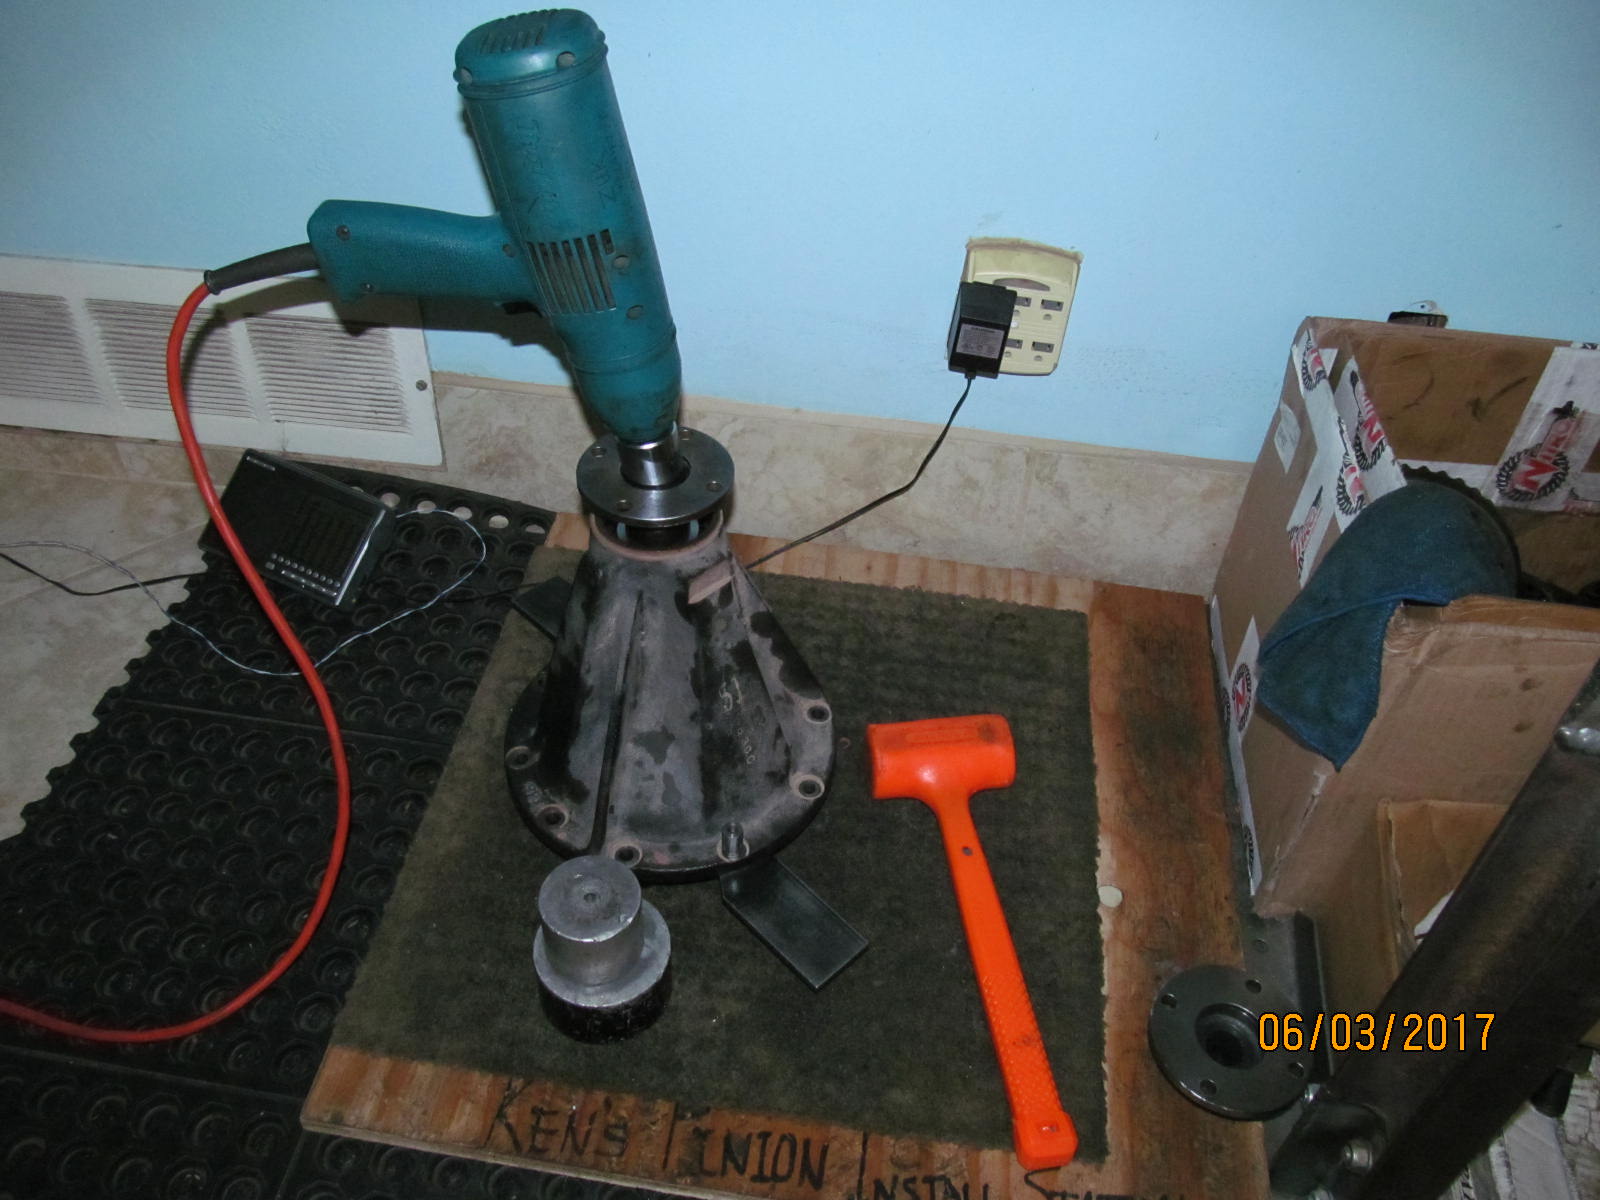
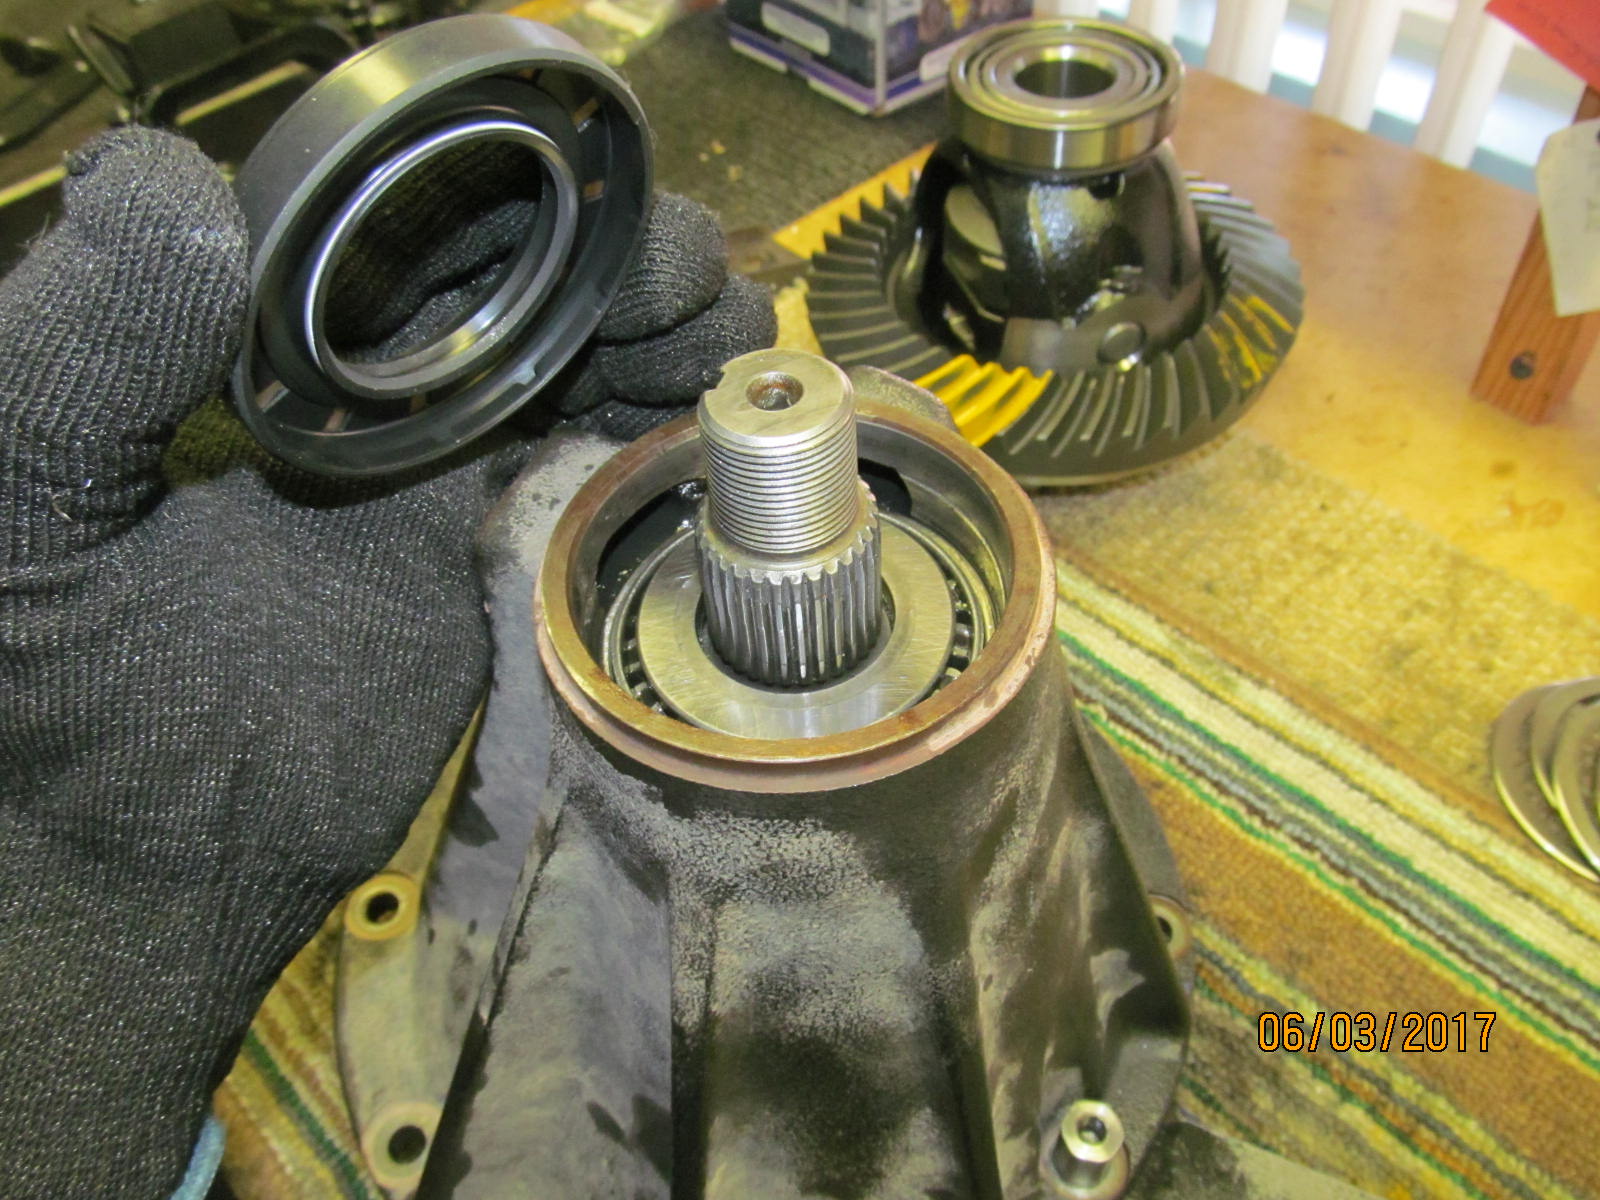
| Remove the pinion one last time to put the new crush collar on. |
|
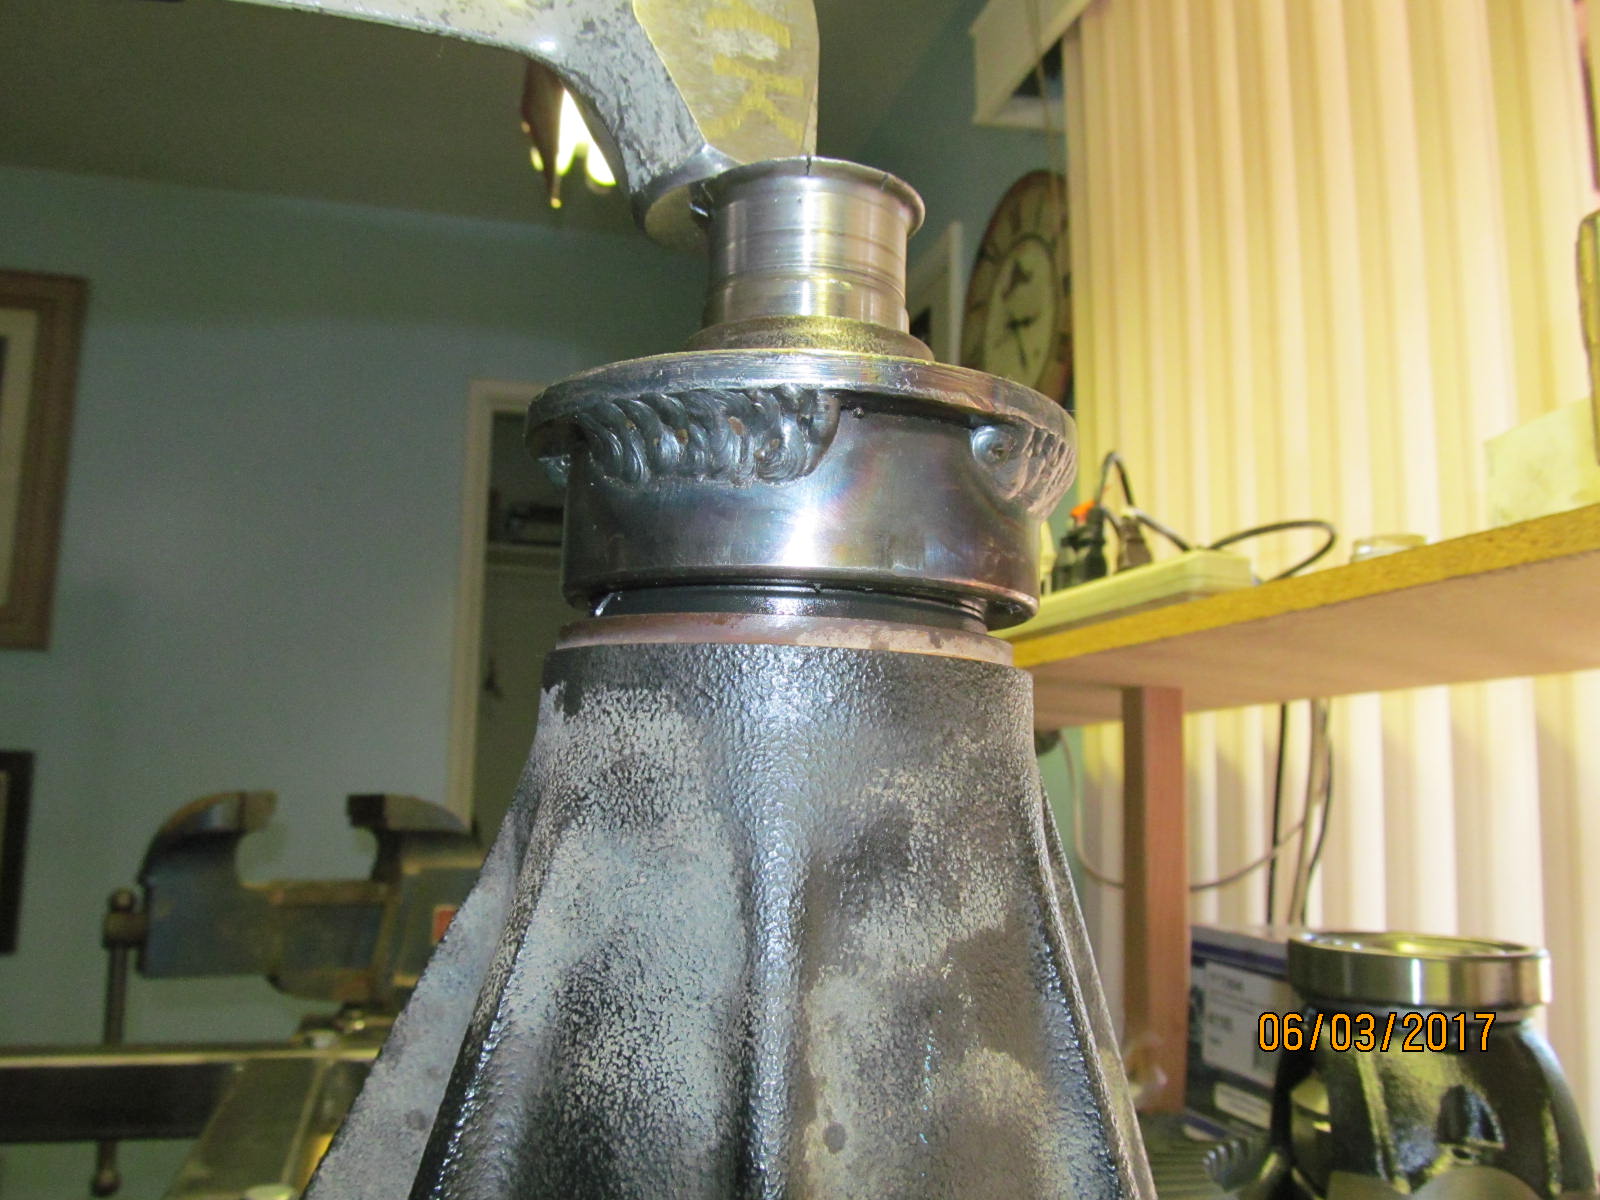
| And the new oem 90311-44007 seal on. |
|
| Seal is then tapped home with 360 degree support. |
|
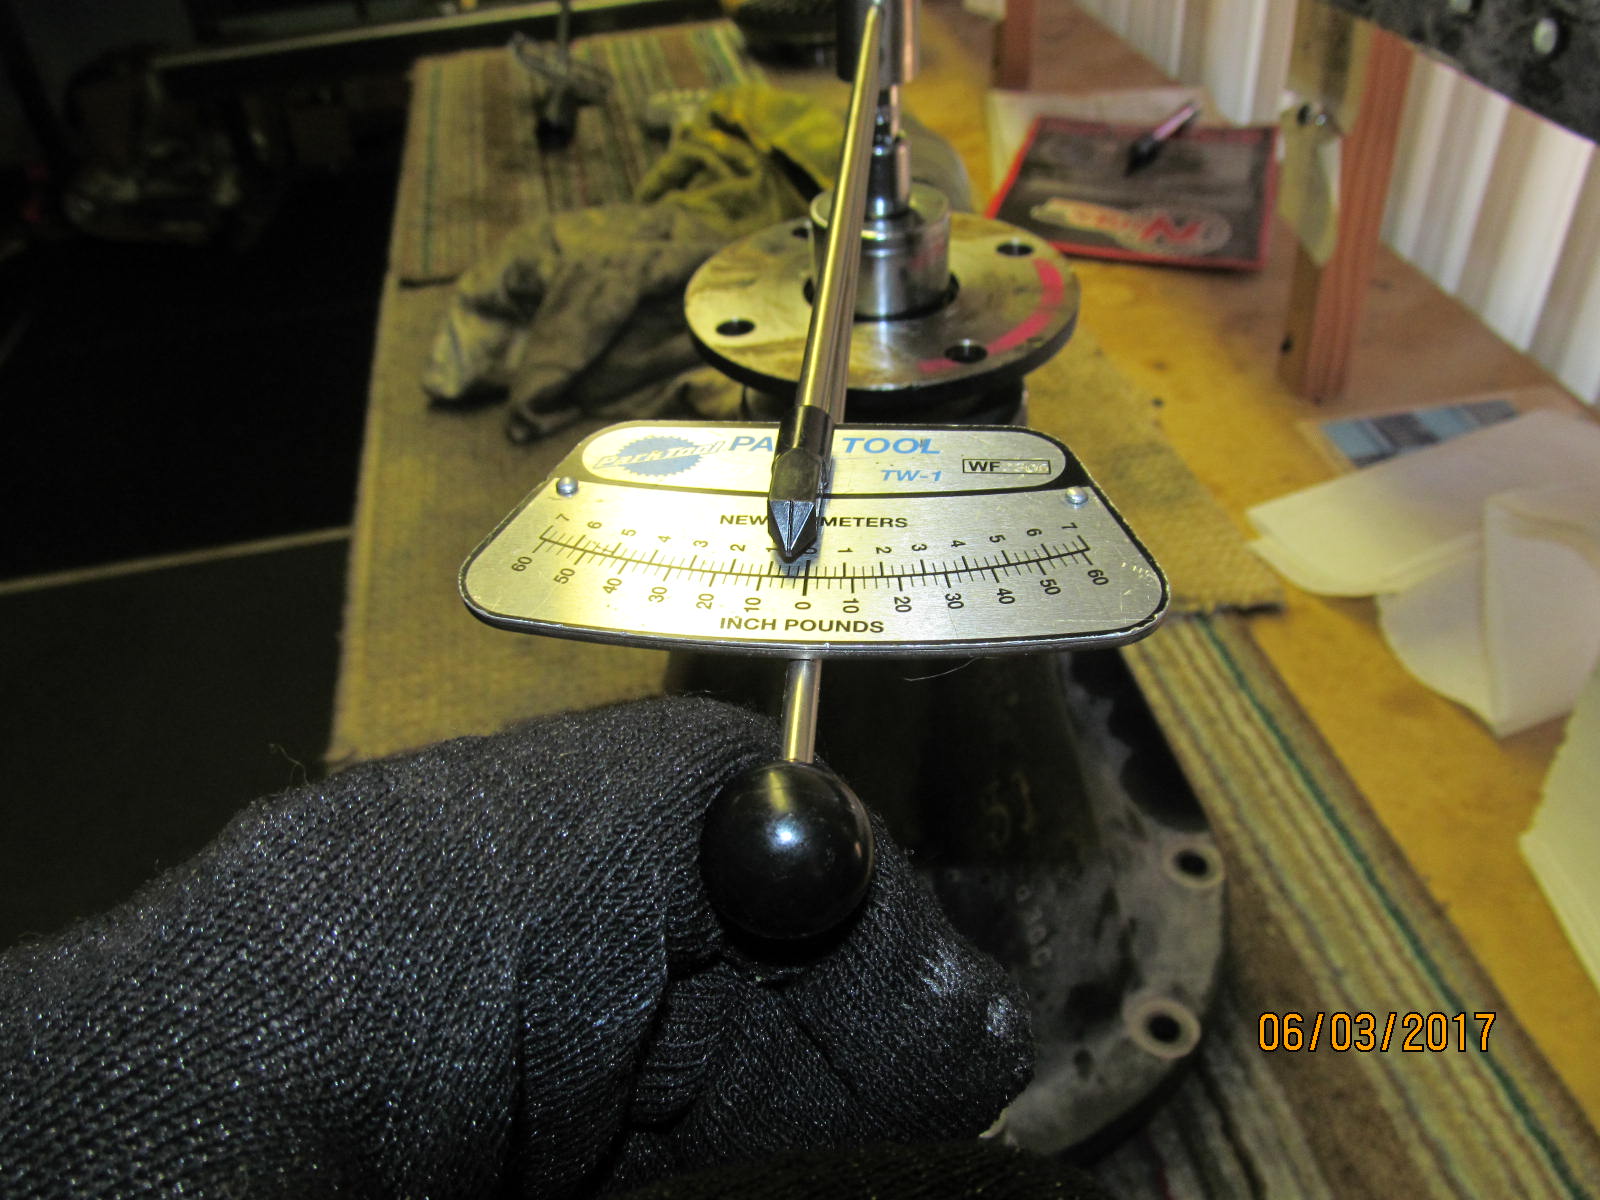
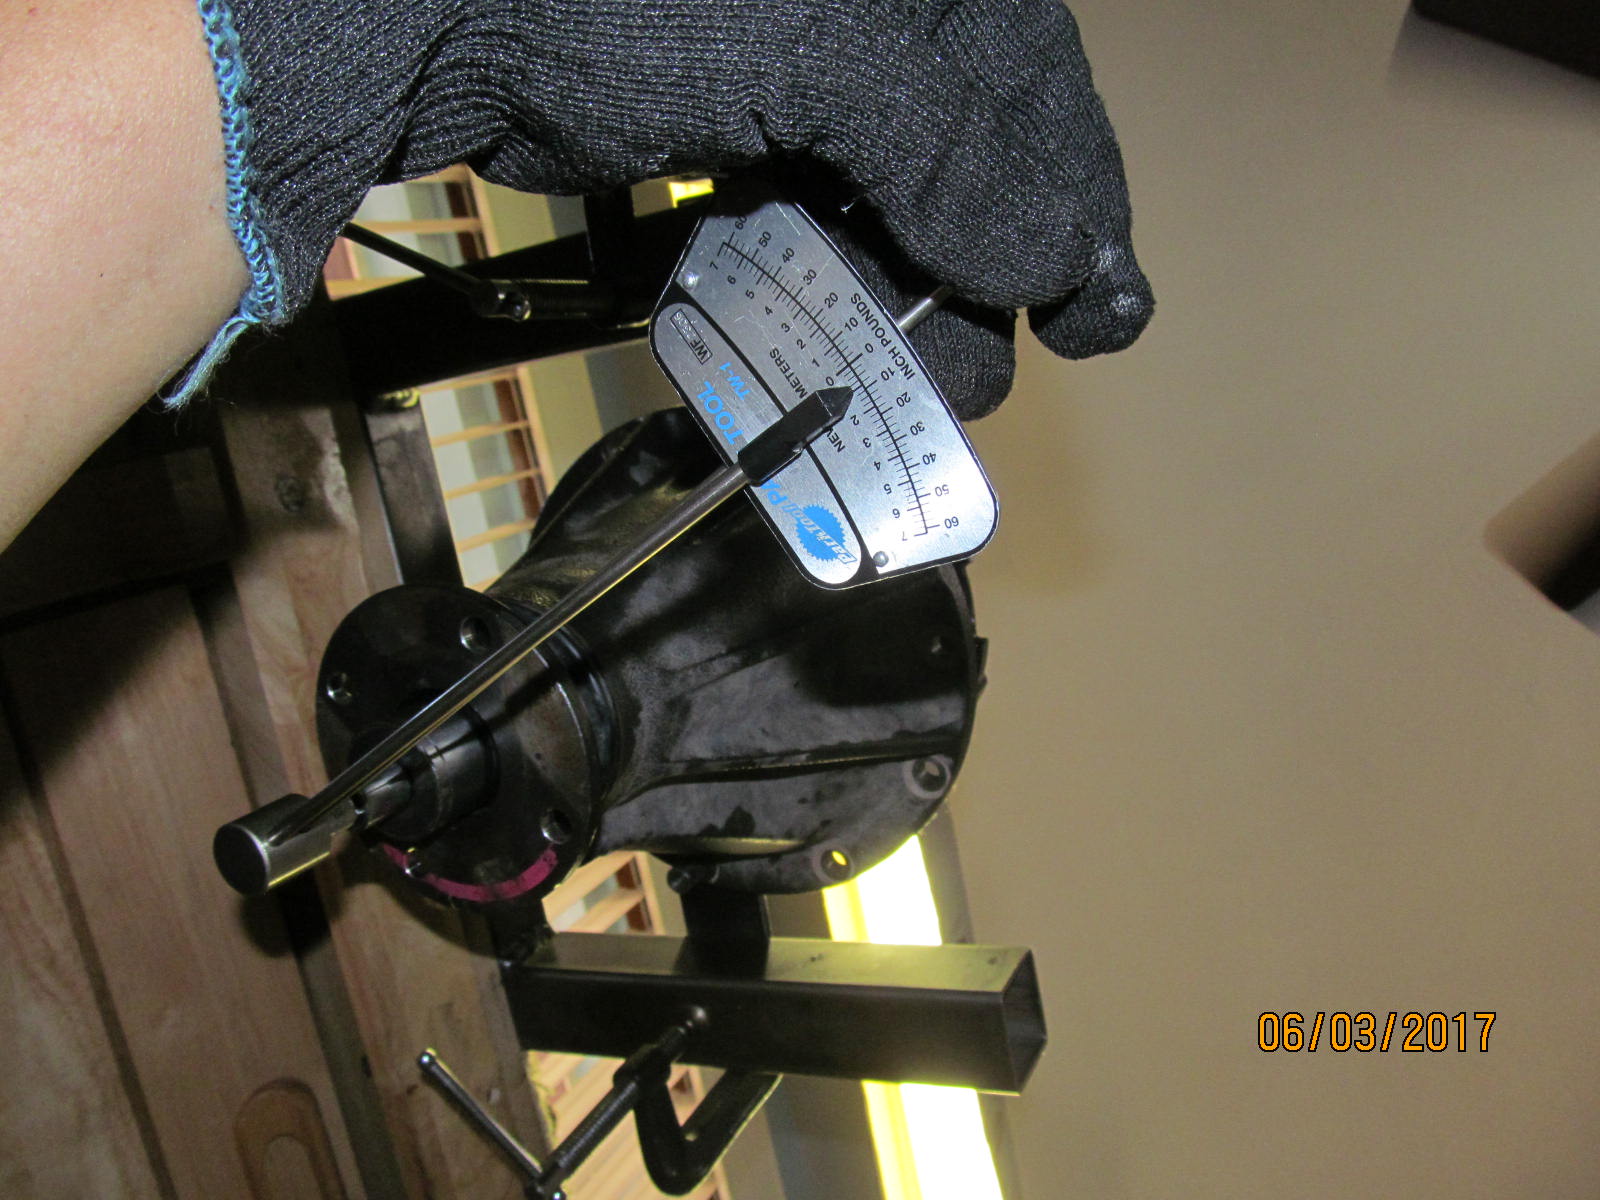
| These are used bearings.....I was measuring about 3 in/lb start torque. |
|
| Ding! and this end is done. |
|
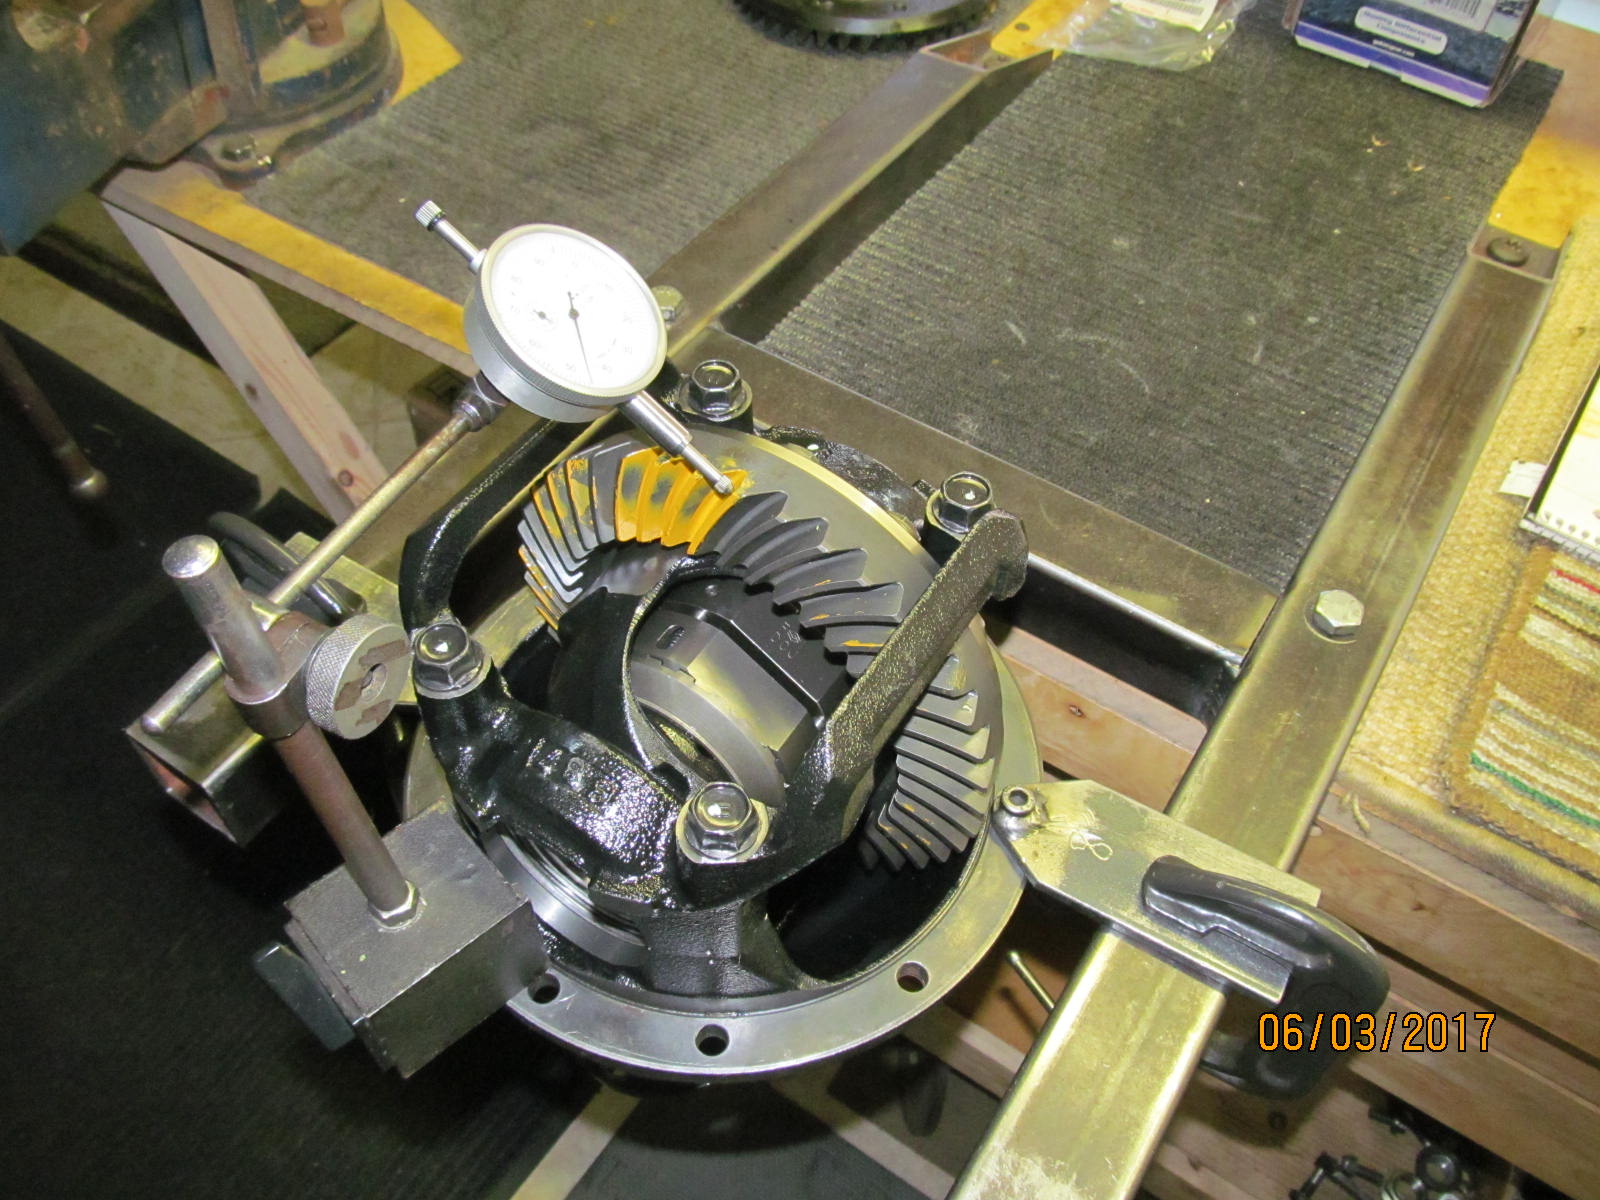
| Differential carrier is put in and a thicker thrust washer was added to the right side to firm up the carrier bearing preload. |
|
| 83 ft/lb on the 4 bearing cap bolts per the FSM. |
|
| Backlash was measured on every other tooth for 20 readings. That's how you characterize the backlash. This 3rd is done ;) |
|
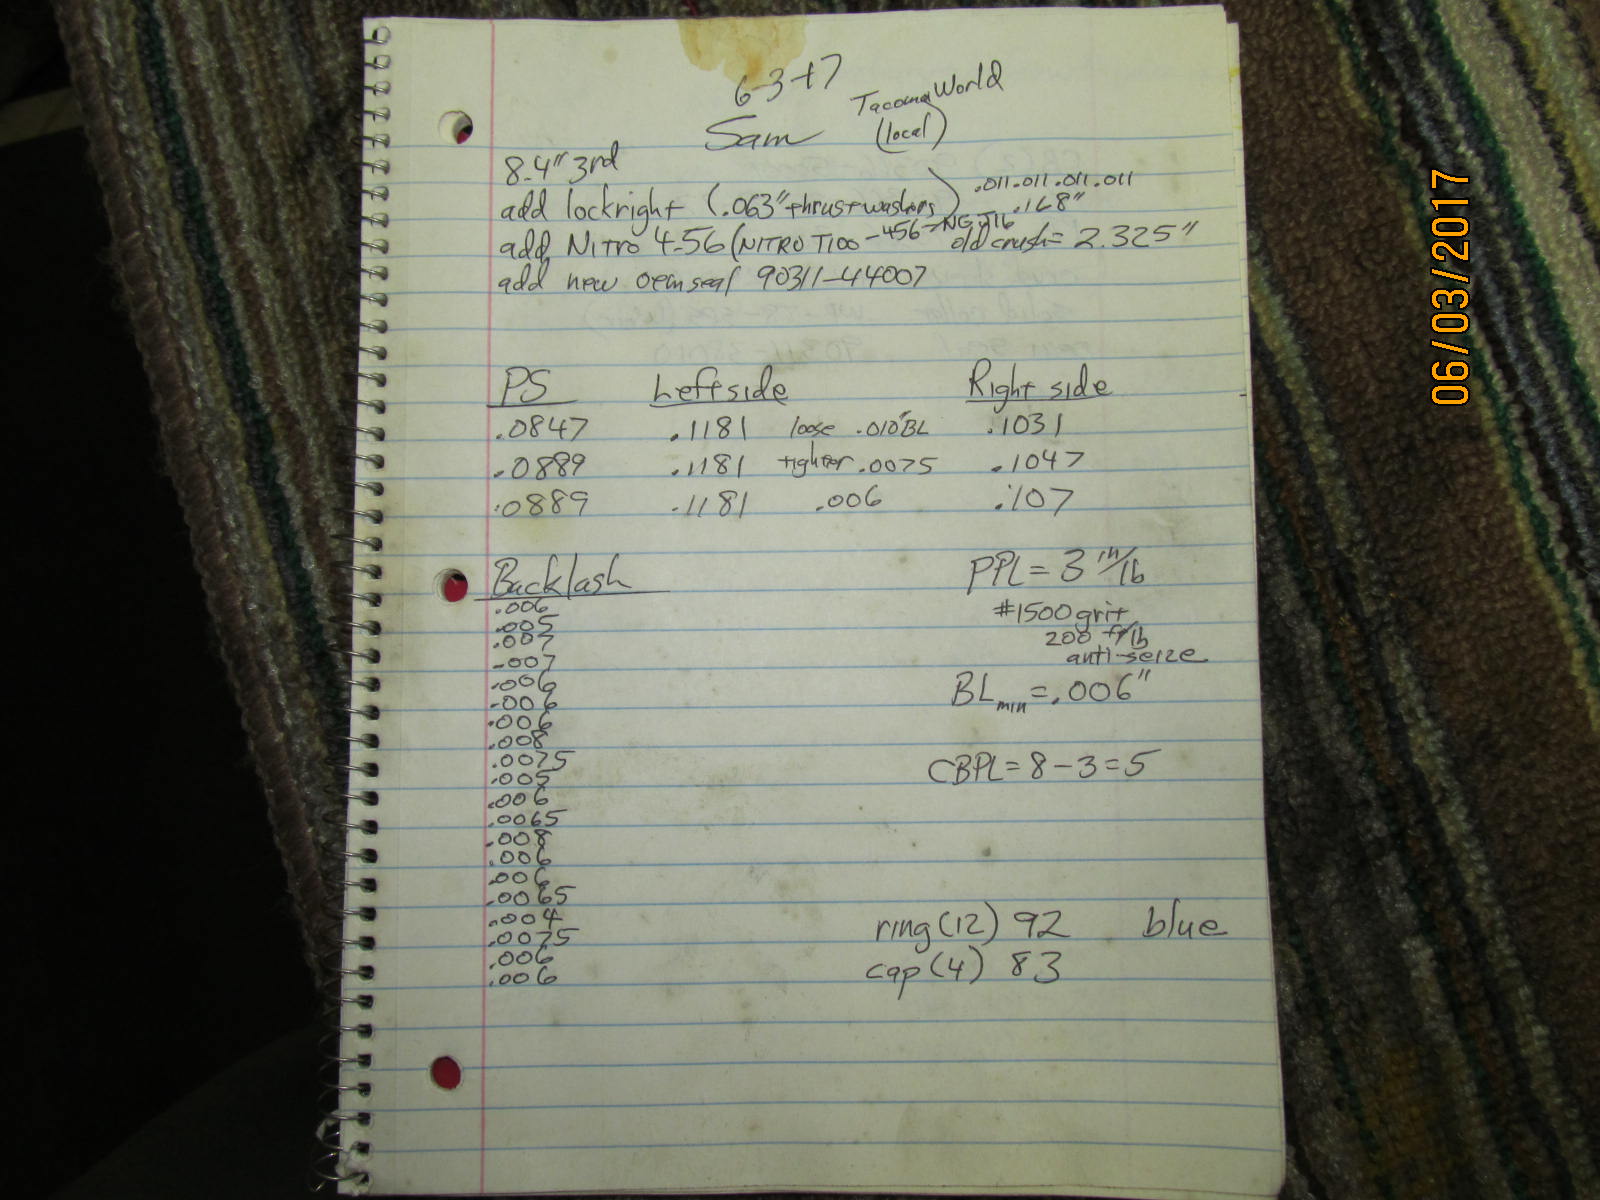
| Notes taken during the install. |
