| Tom's 02 100series Landcruiser gets Nitro 488 gears and Eaton elockers |
|---|
| (34 pics loading) |
|---|
| Sept 8 2022 |
|---|
|
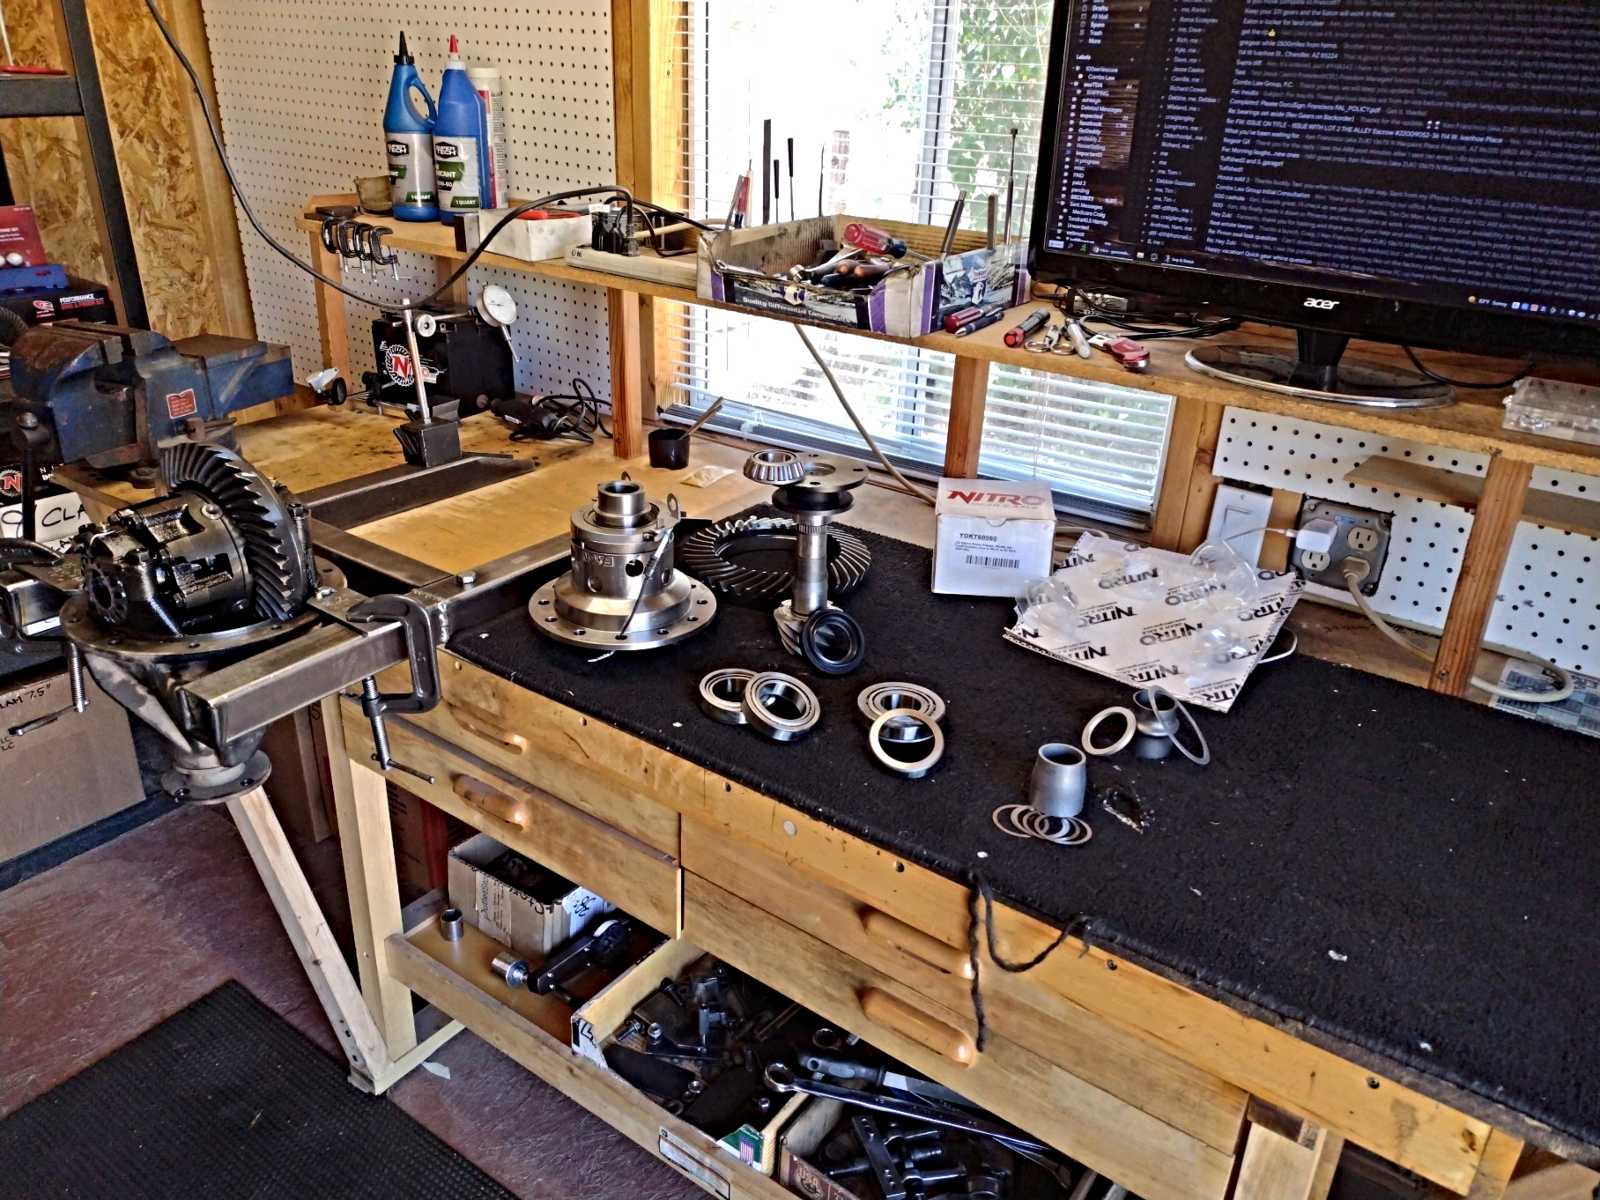
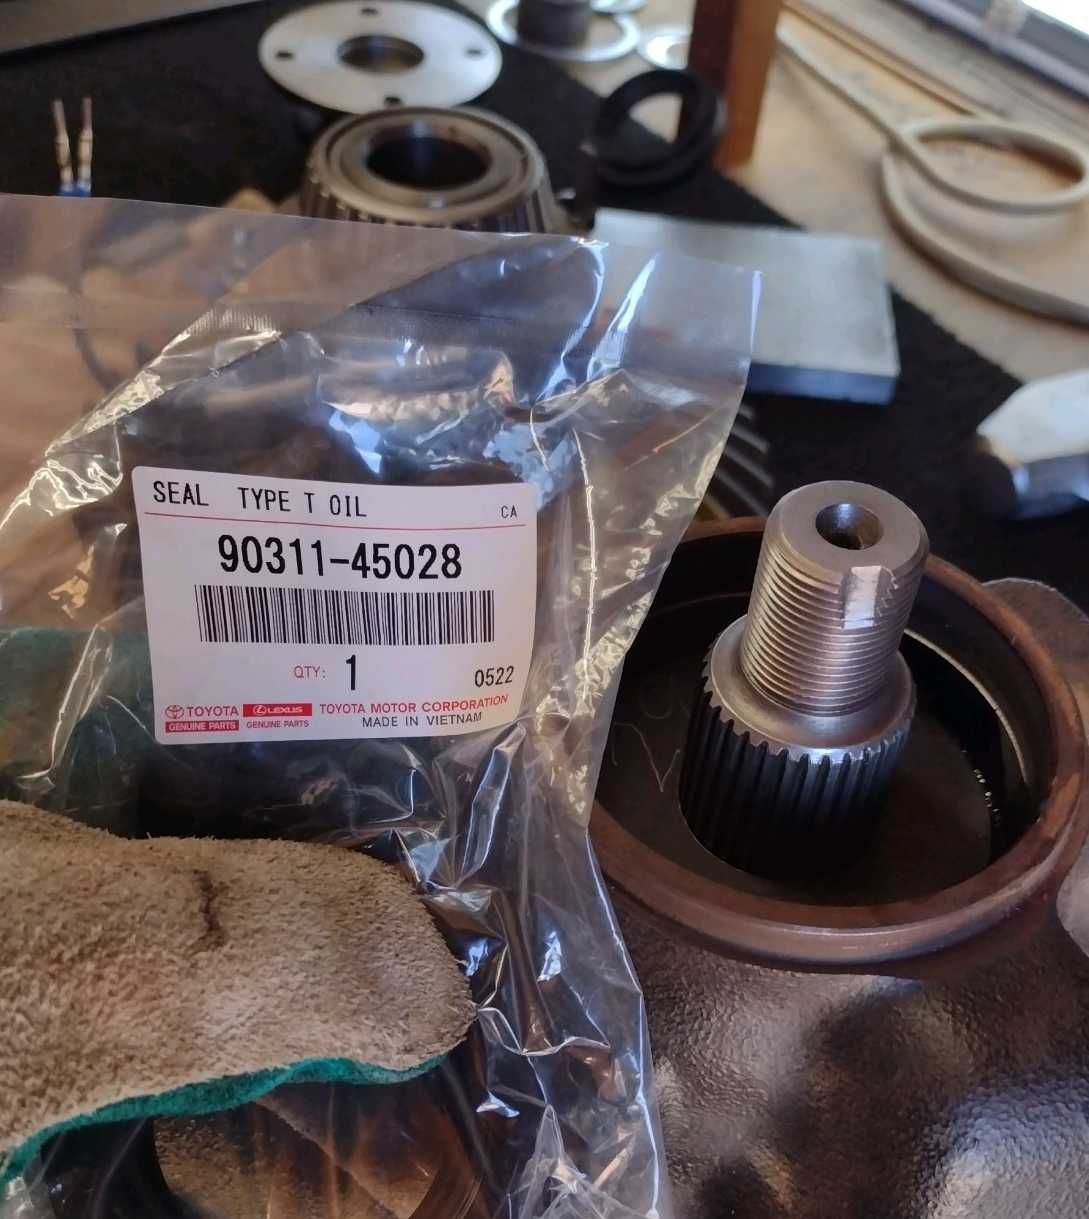
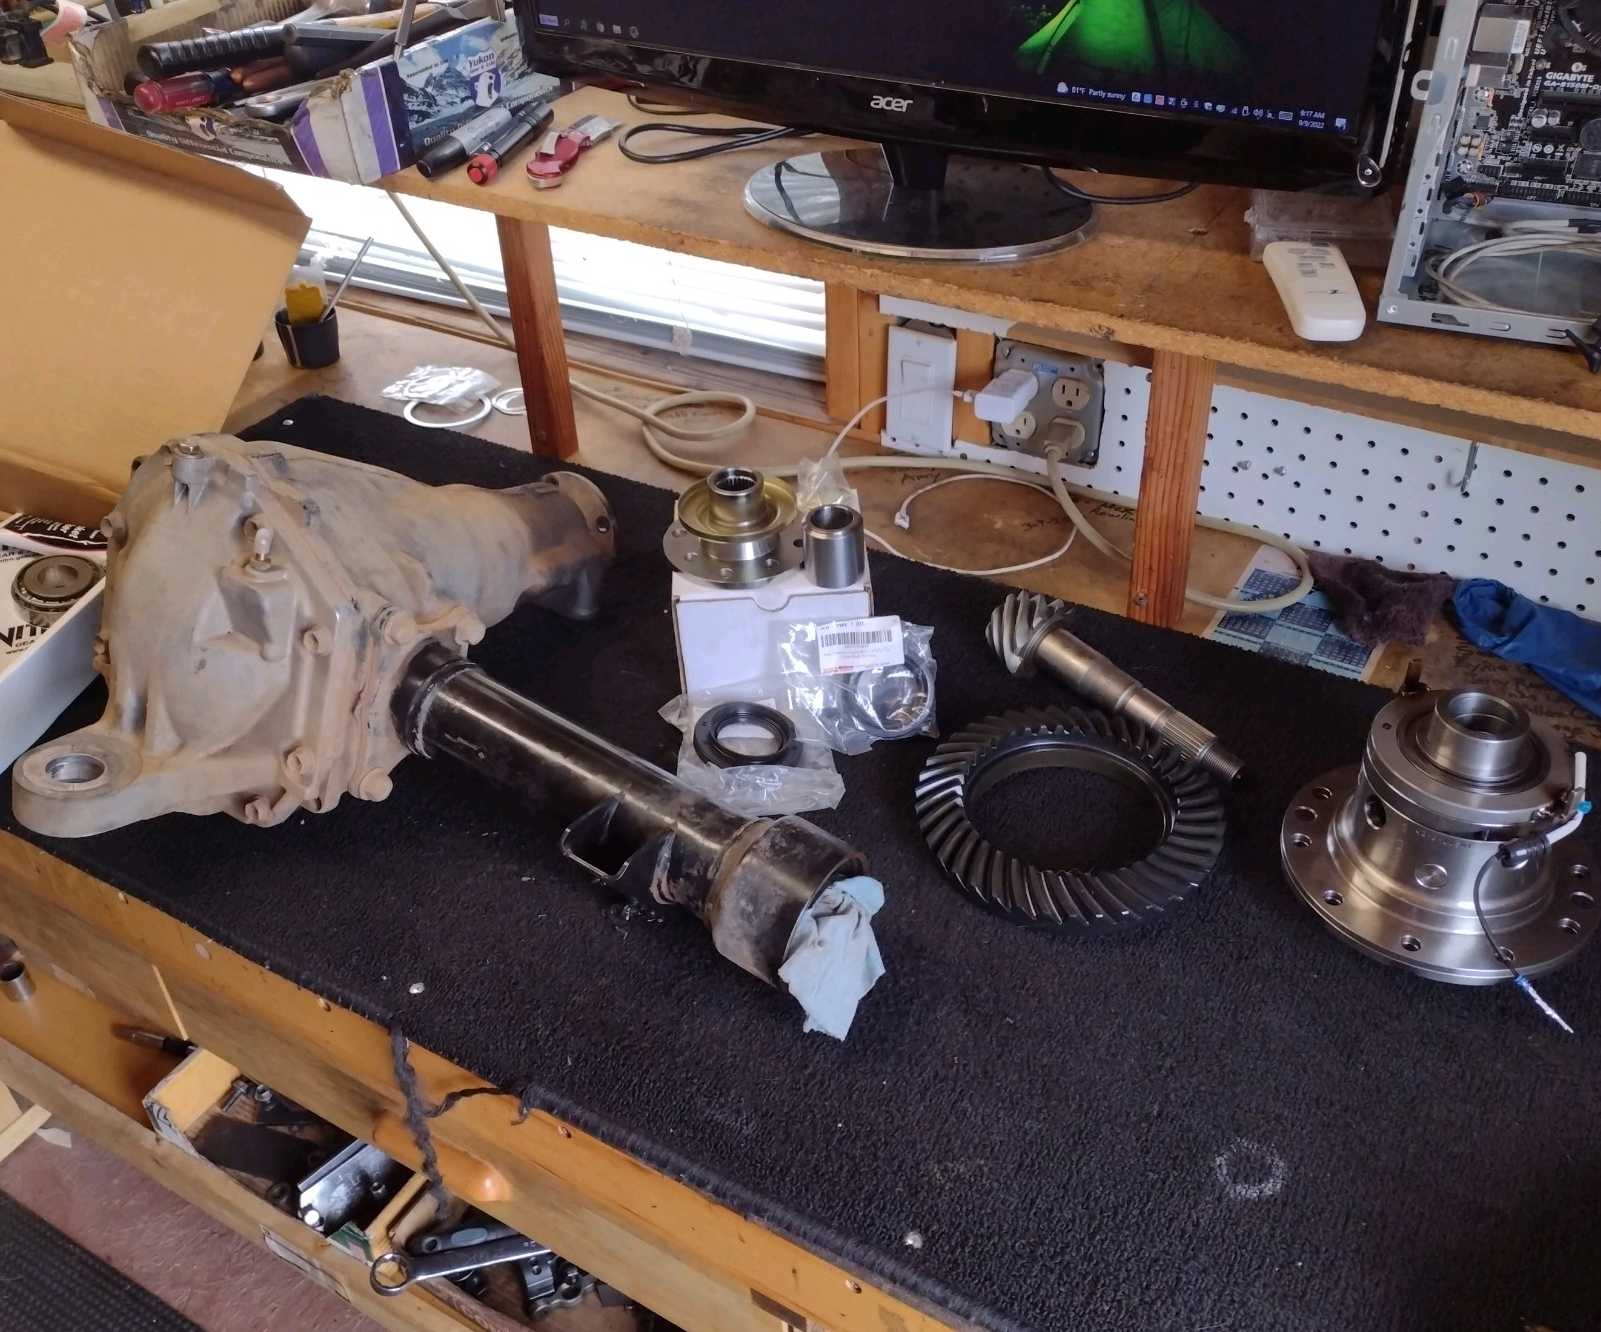
Starting with the rear first...product is laid out on the bench. The Nitro bearing kit had a generic seal so that will
be replaced with a genuine factory 90311-45028. |
|---|
|

|
|
The old ring and pinion painted just fine and has a lot of good life left in it. |
|---|
|
|
|
Coast side is good, too. |
|---|
|
|
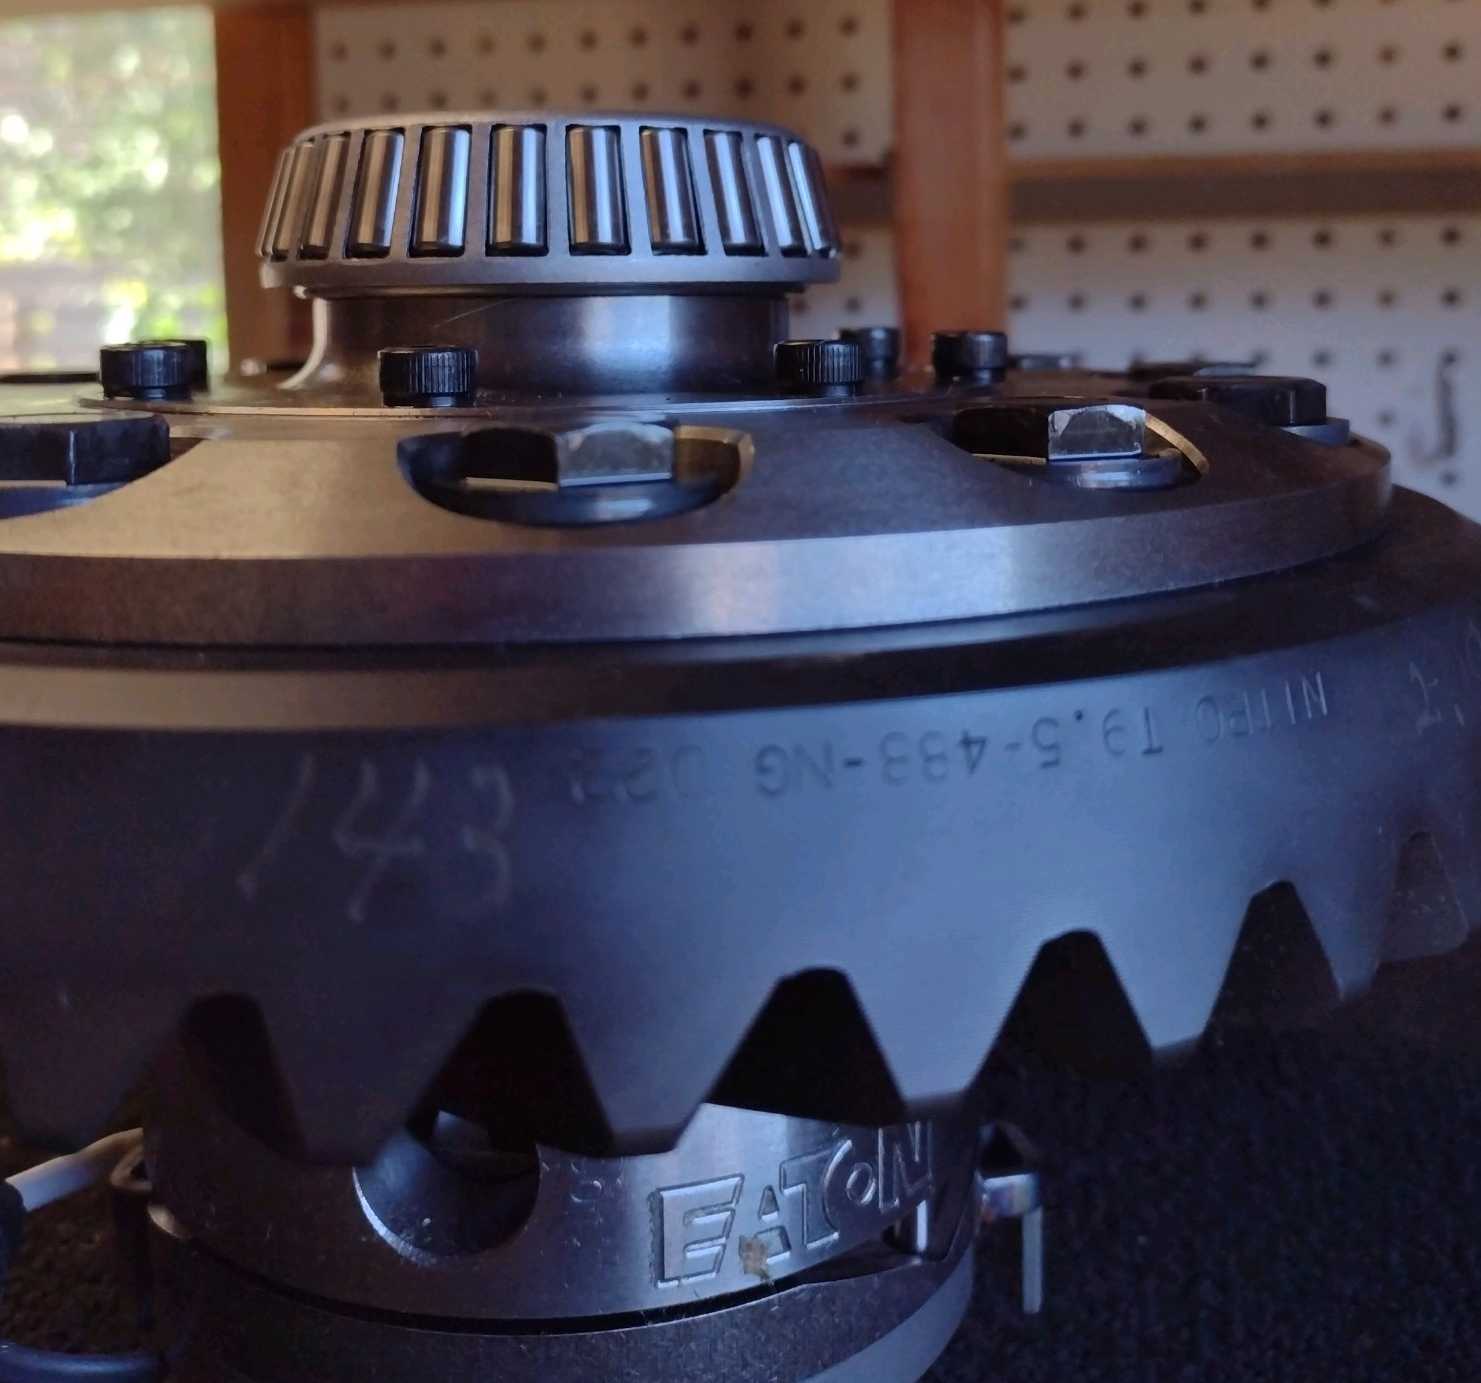
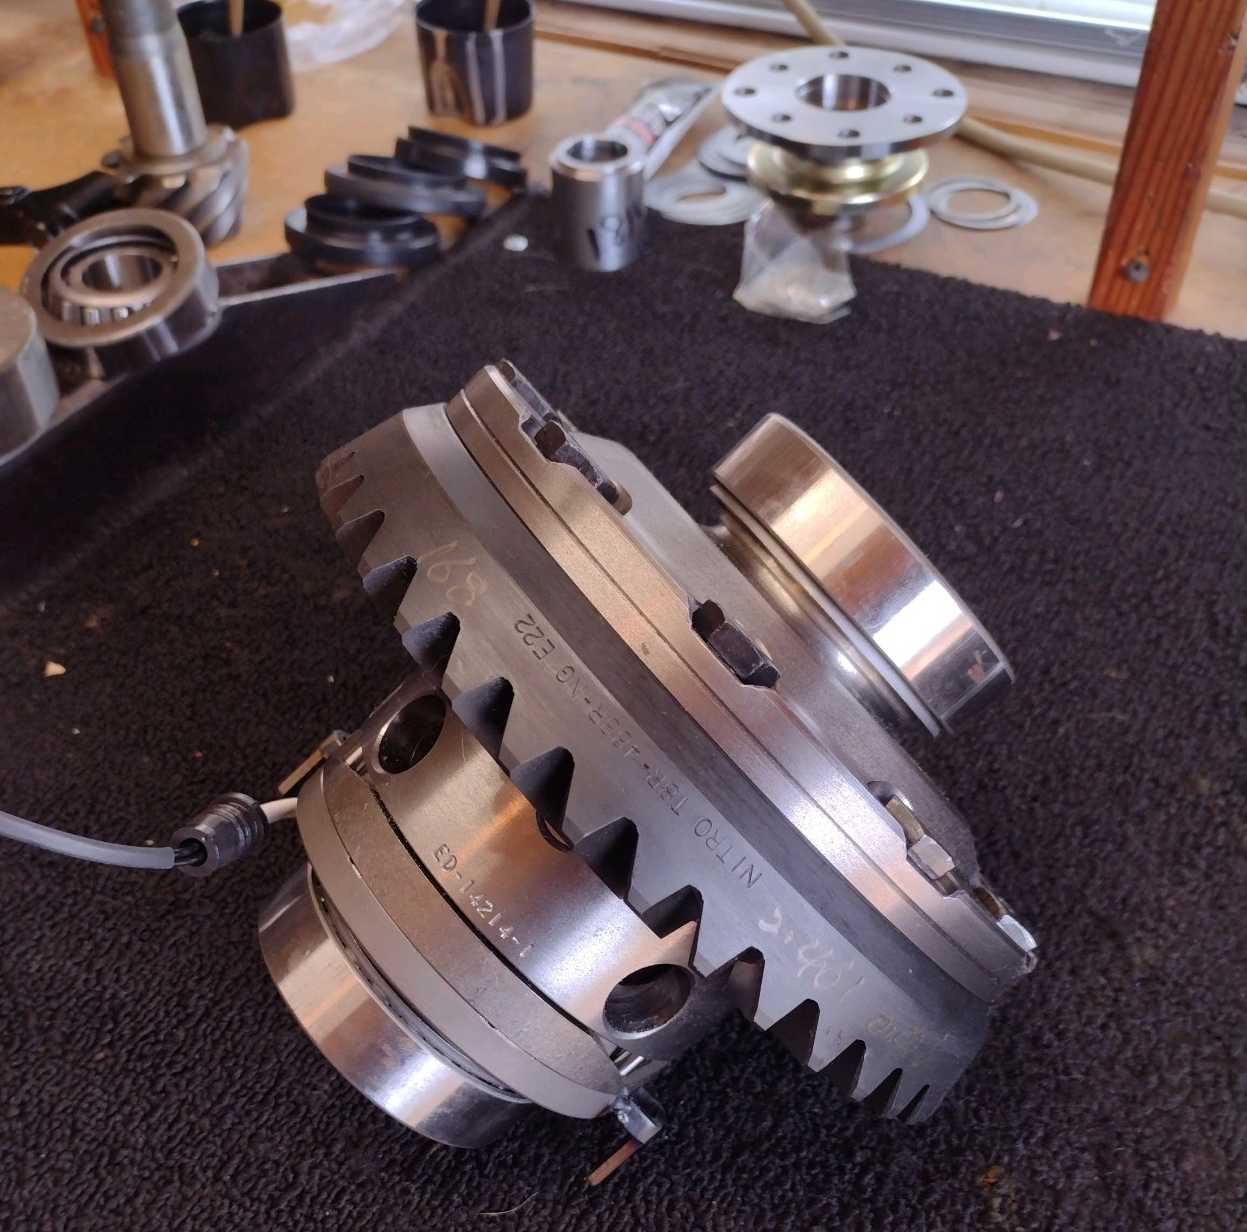
New 4.88 Nitro ring and bearings go on first.
Just Differentials is supplying the right carrier bearings that have the larger 3mm radius needed for this journal on the elocker.
Now the bearing can seat down 100% for a more solid build. |
|---|
|
|
|
This end is done..... |
|---|
|
|
|
The old pinion bearings still turn smooth. |
|---|
|
|
Old races are removed.
Now is a good time to drill the .465" hole for the rubber grommet. |
|---|
|
|
|
Done :) |
|---|
|
|
|
The old 27 spline pinion is out... |
|---|
|
|
|
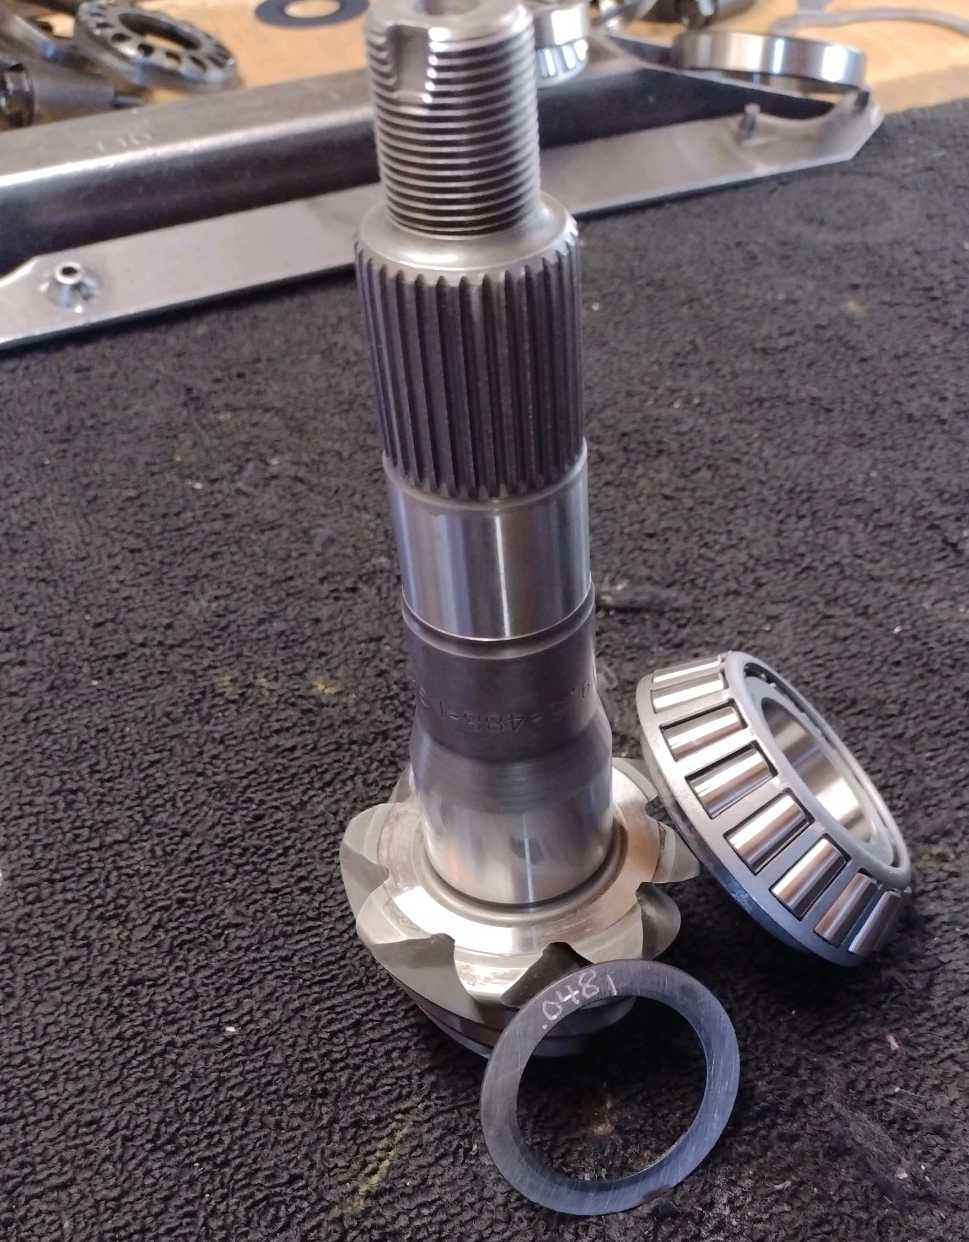
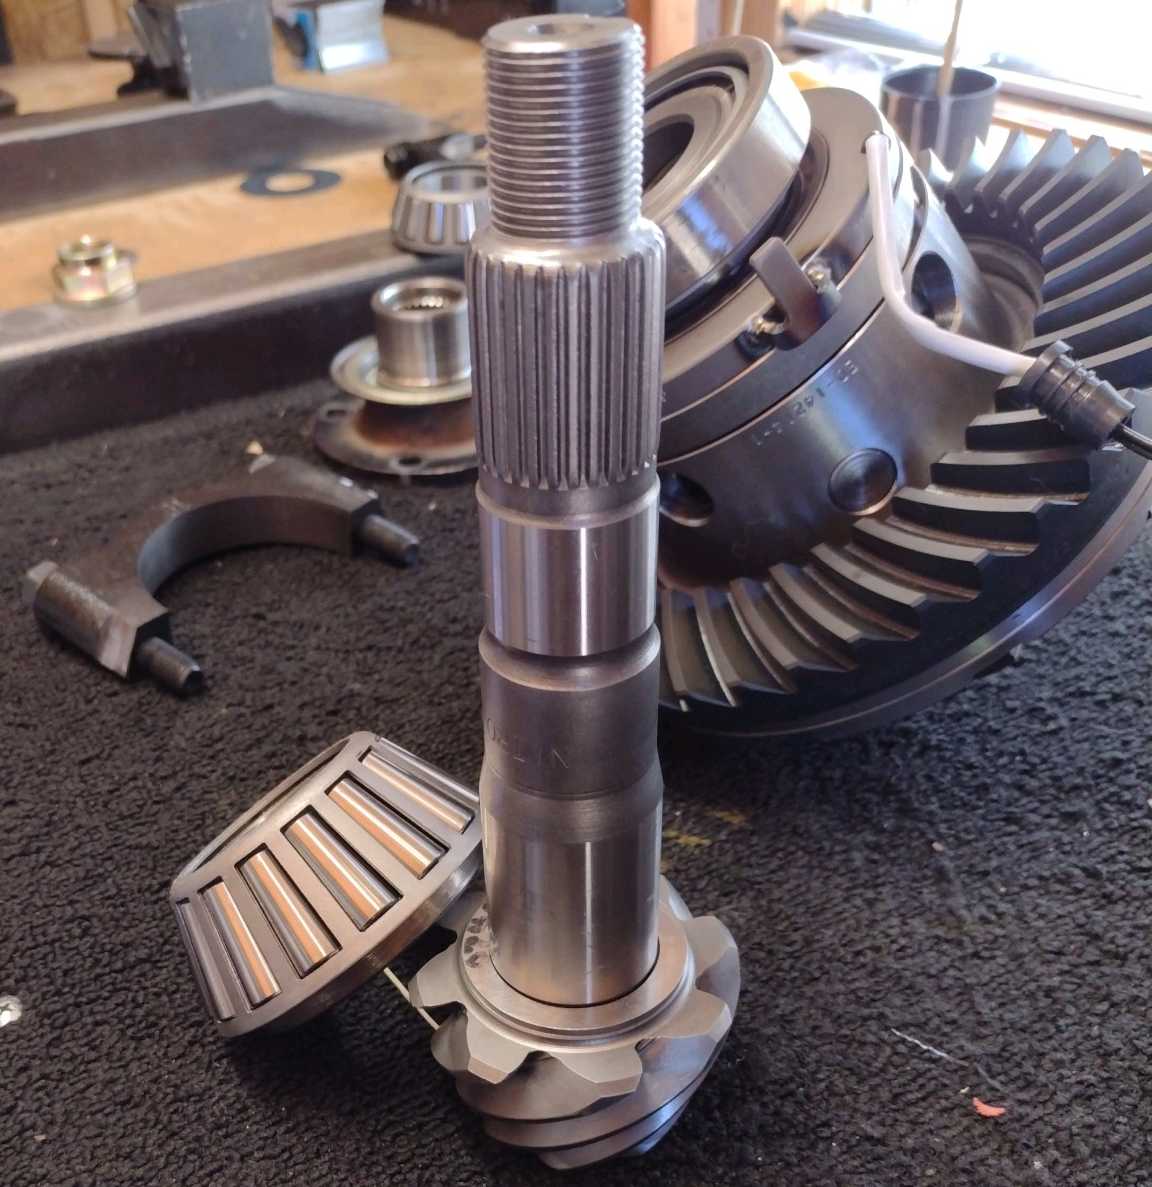
The 4.88 32 spline pinion gets a .0481" shim and new bearing |
|---|
|
|
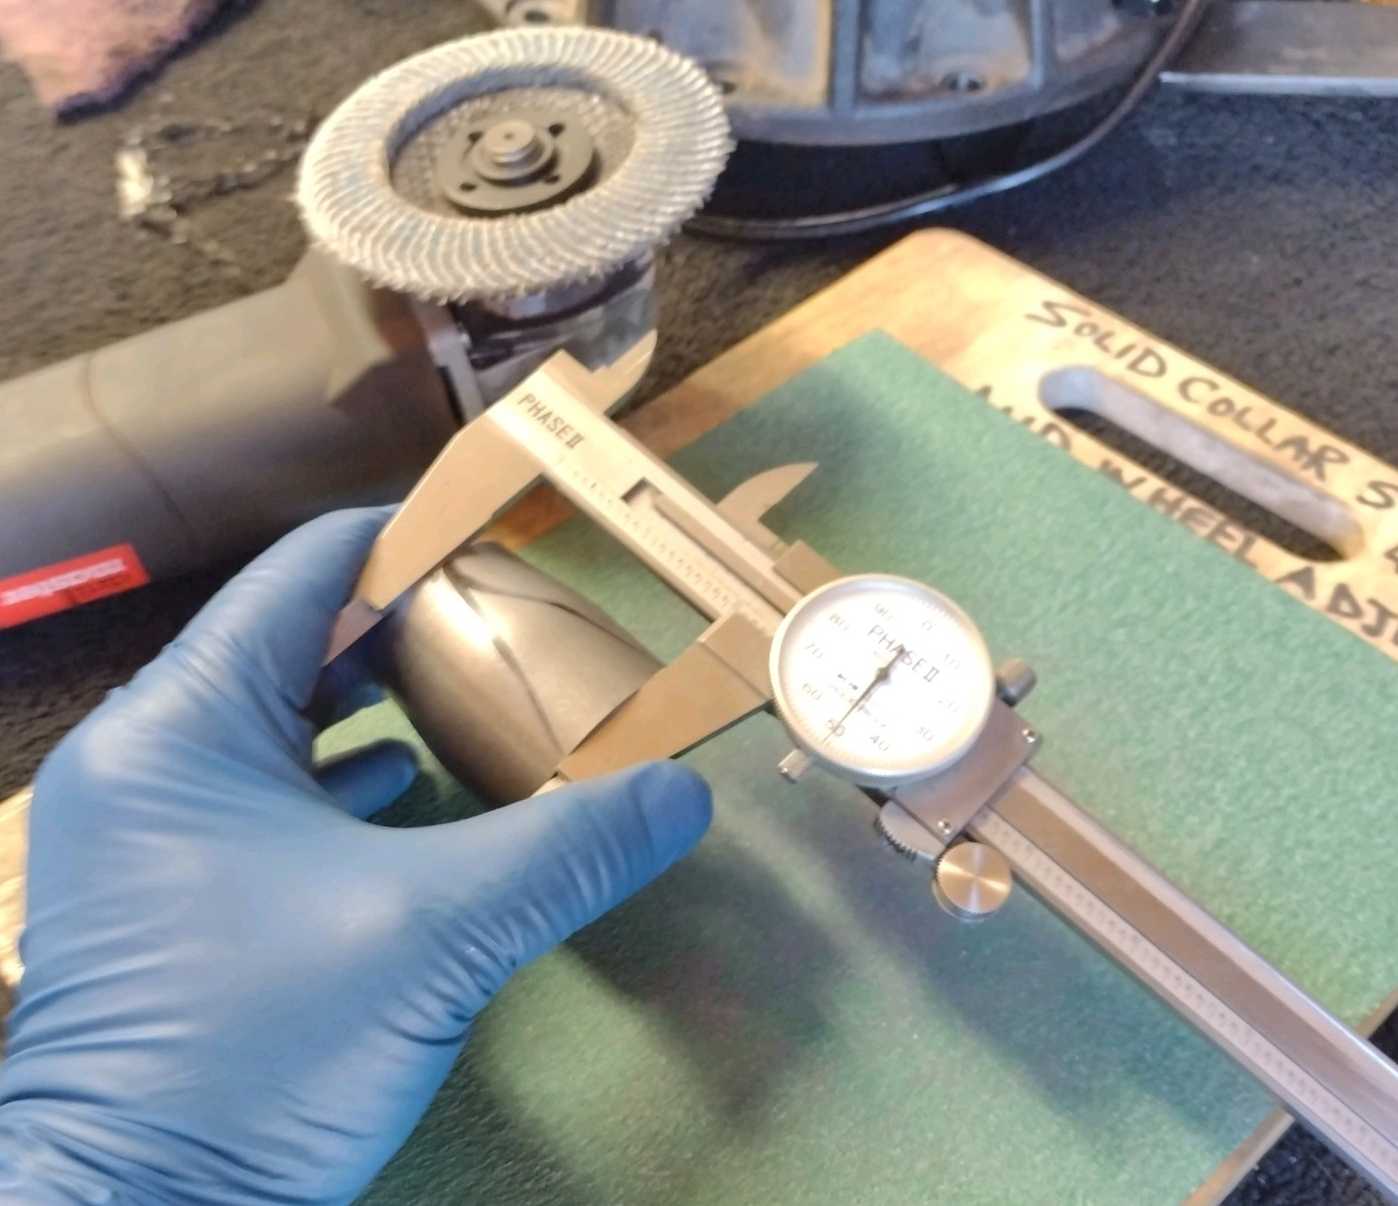
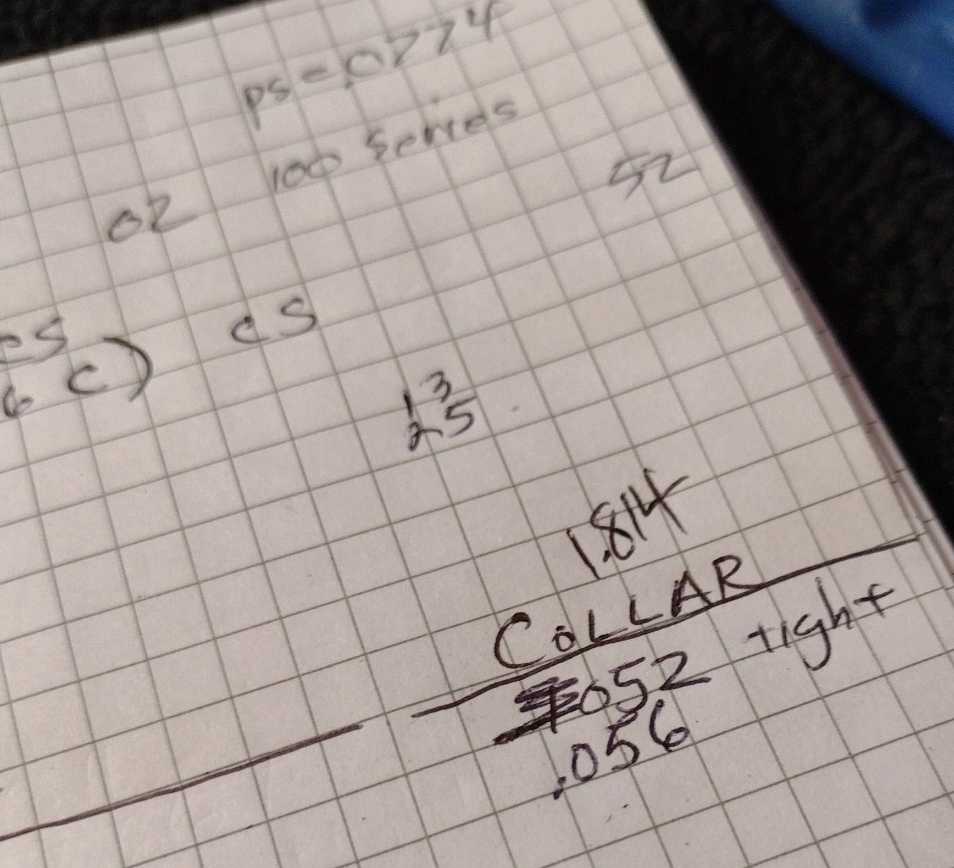
Always check the solid collar for "runout". Going around I could find .008" variations.
With a flapper wheel and a flat board with 60 grade, I was able to get the variation down to less than .002" |
|---|
|
|
|
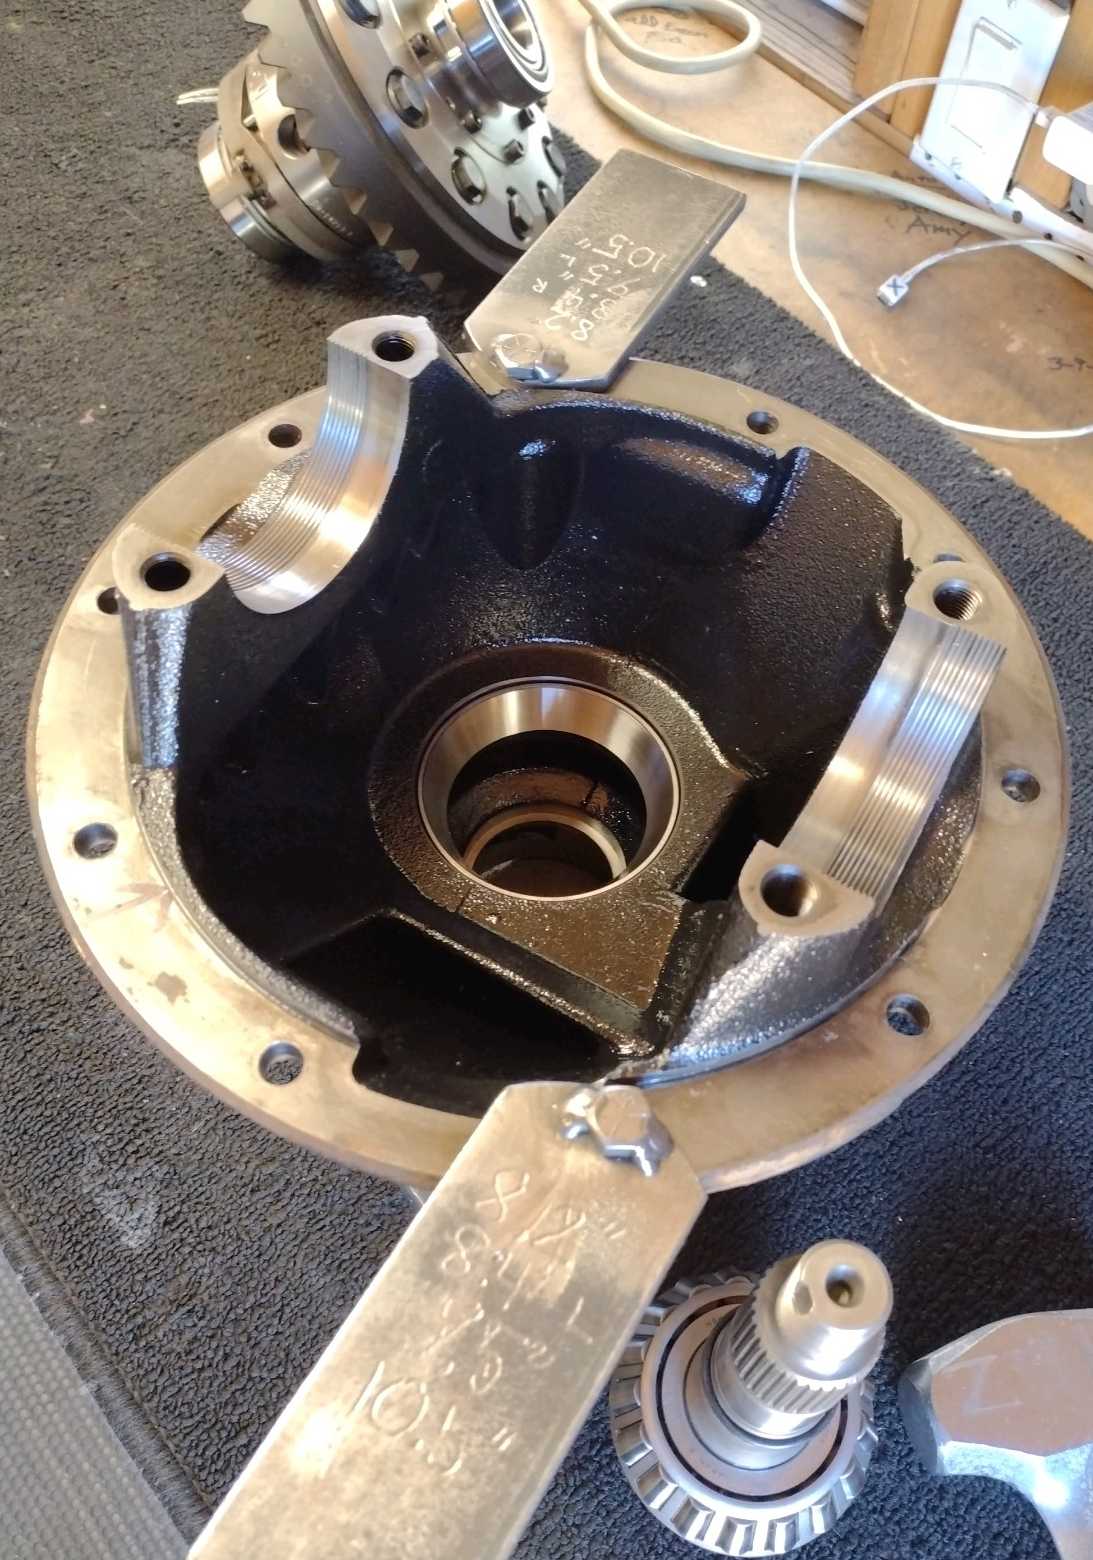
New pinion races tapped in. |
|---|
|
|
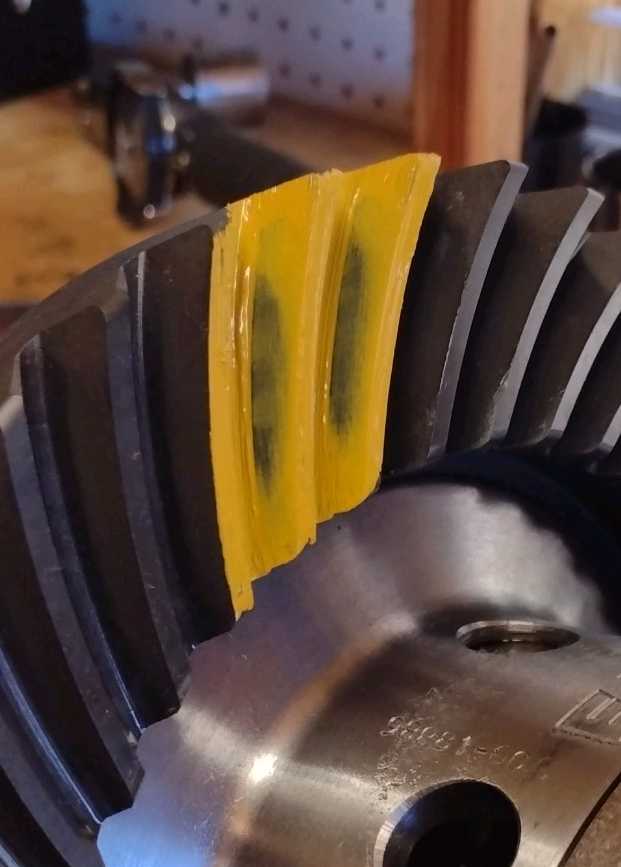
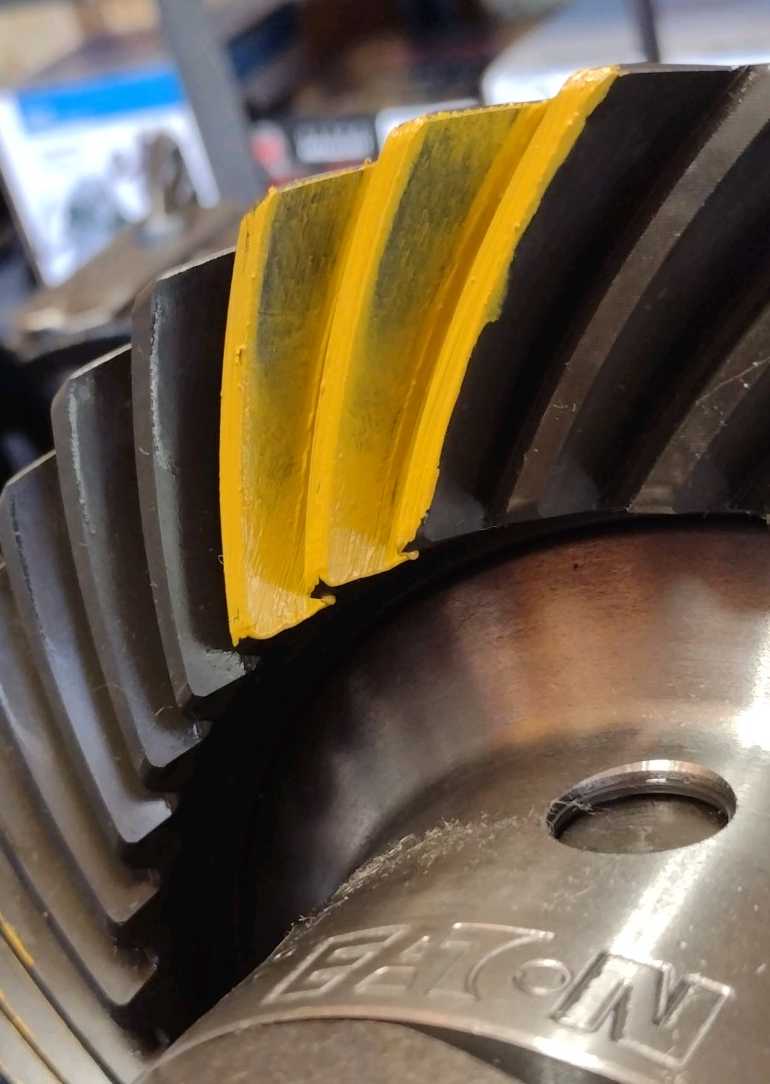
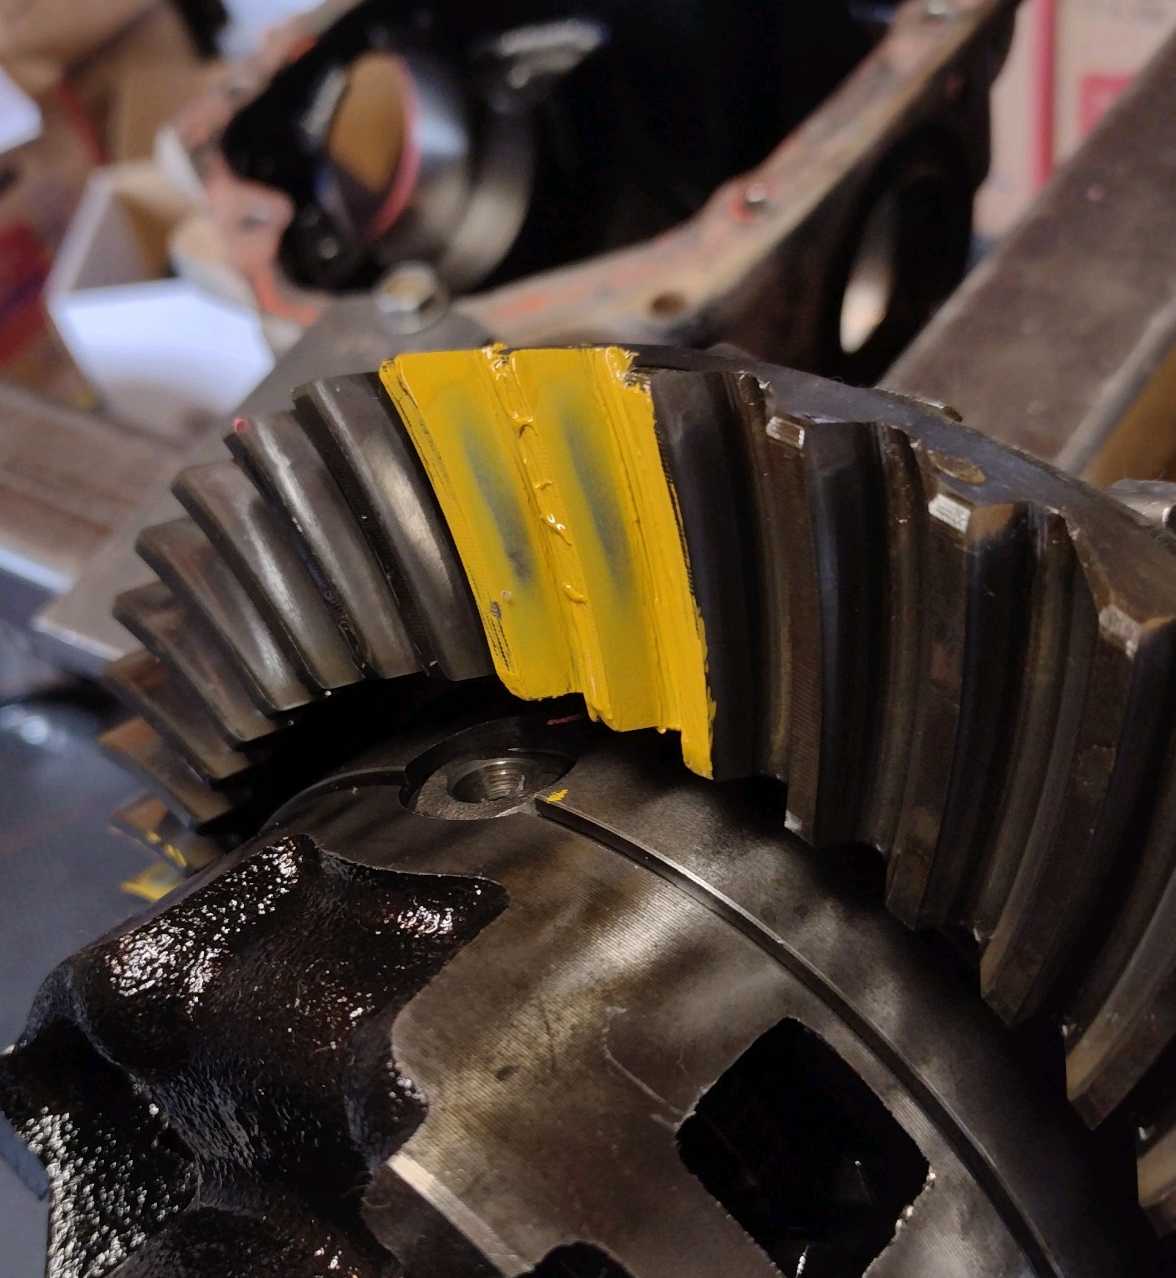
Driveside...048"....a little too deep.
Too much contact in the root. |
|---|
|
|
|
Coast...not saying alot. |
|---|
|

|
|
Pinion tooth has too much contact on the outside edge. |
|---|
|
|
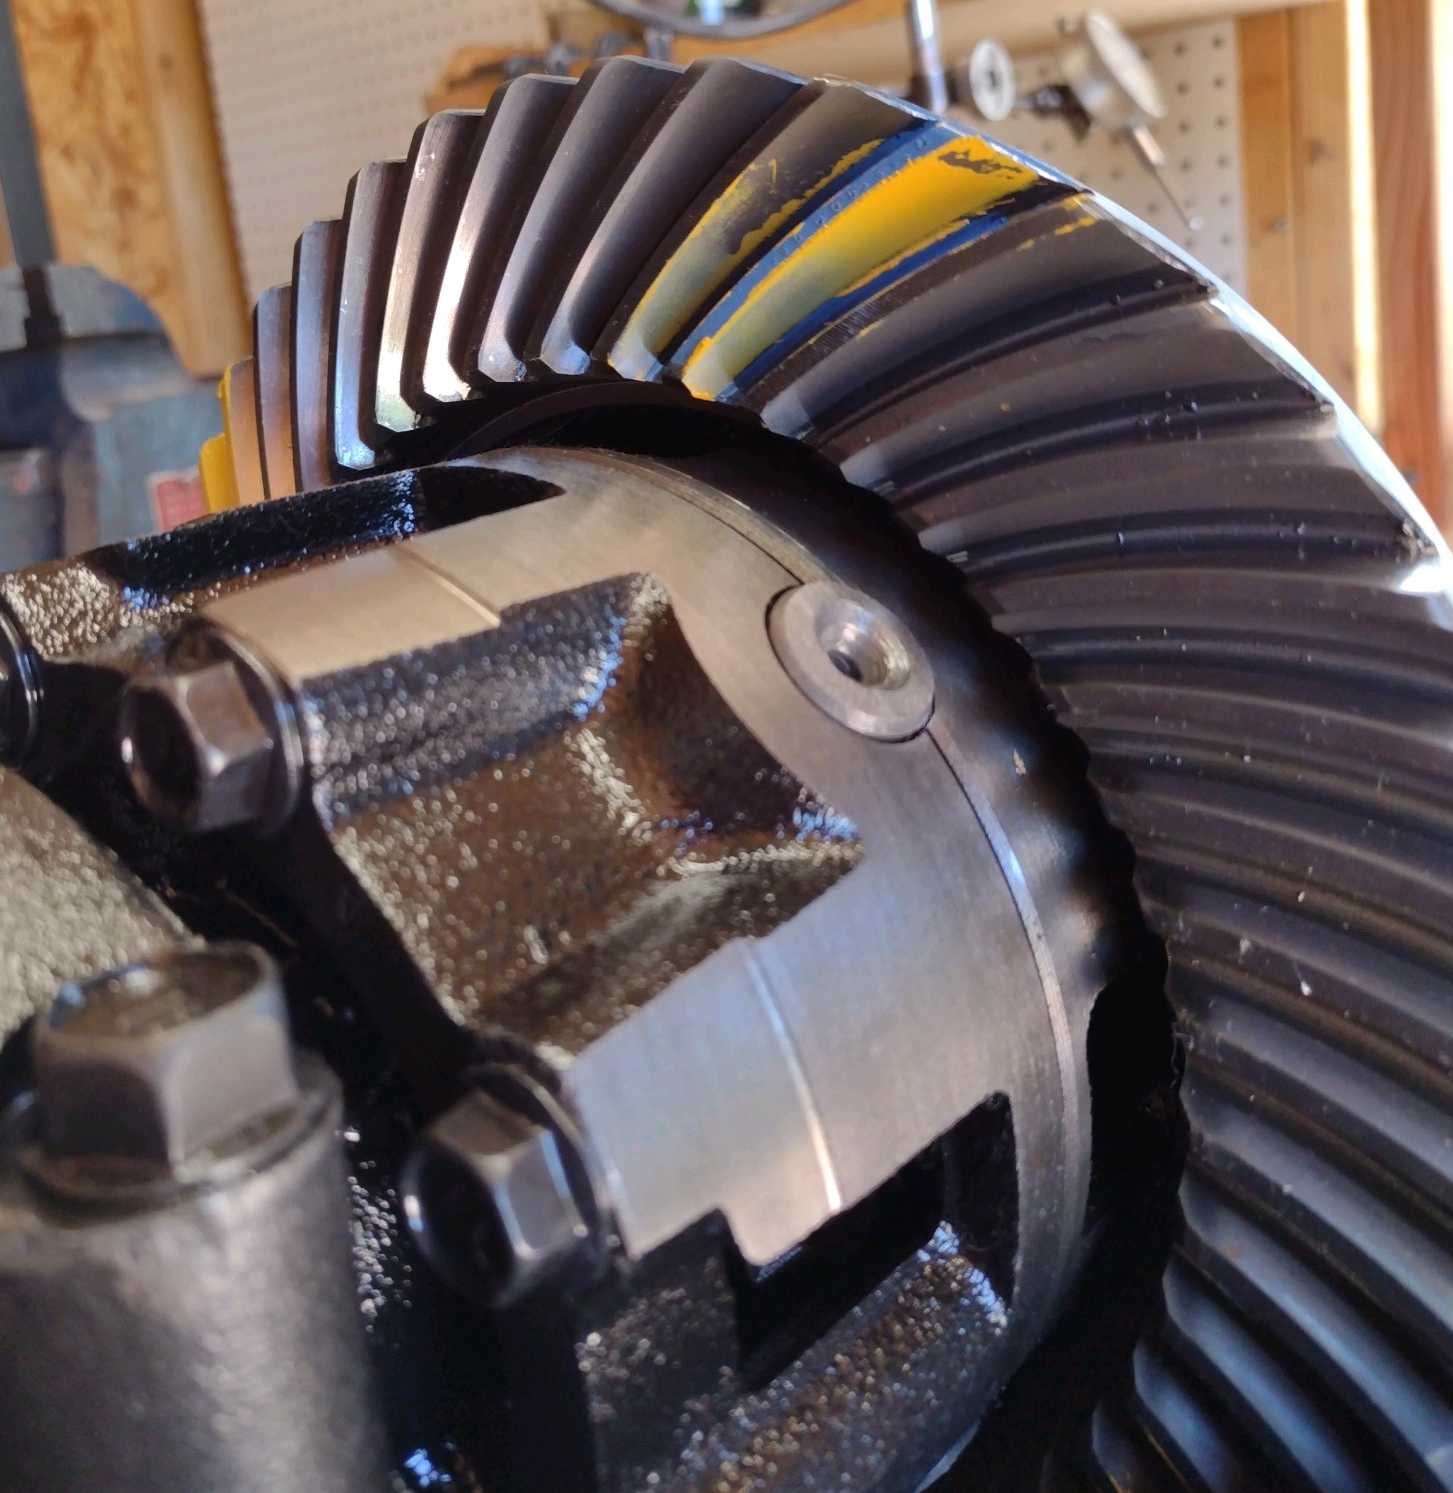
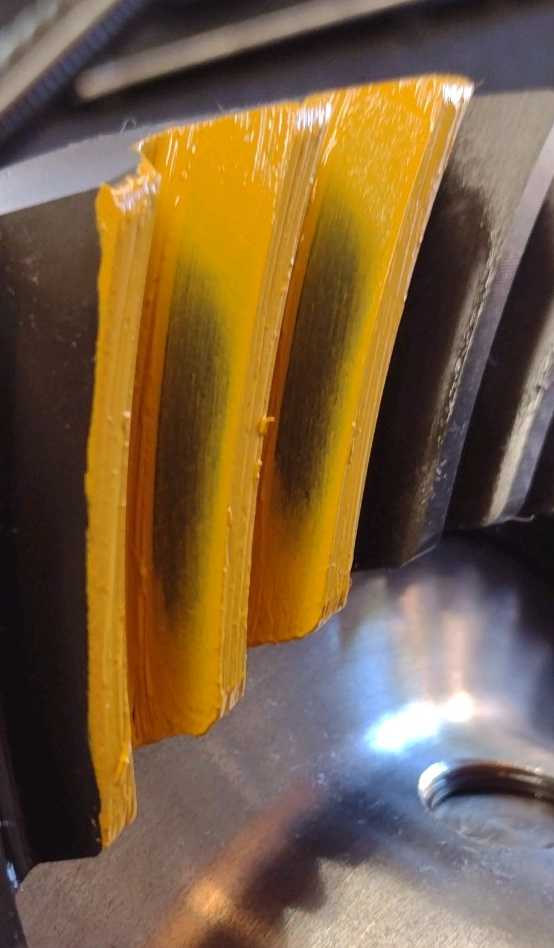
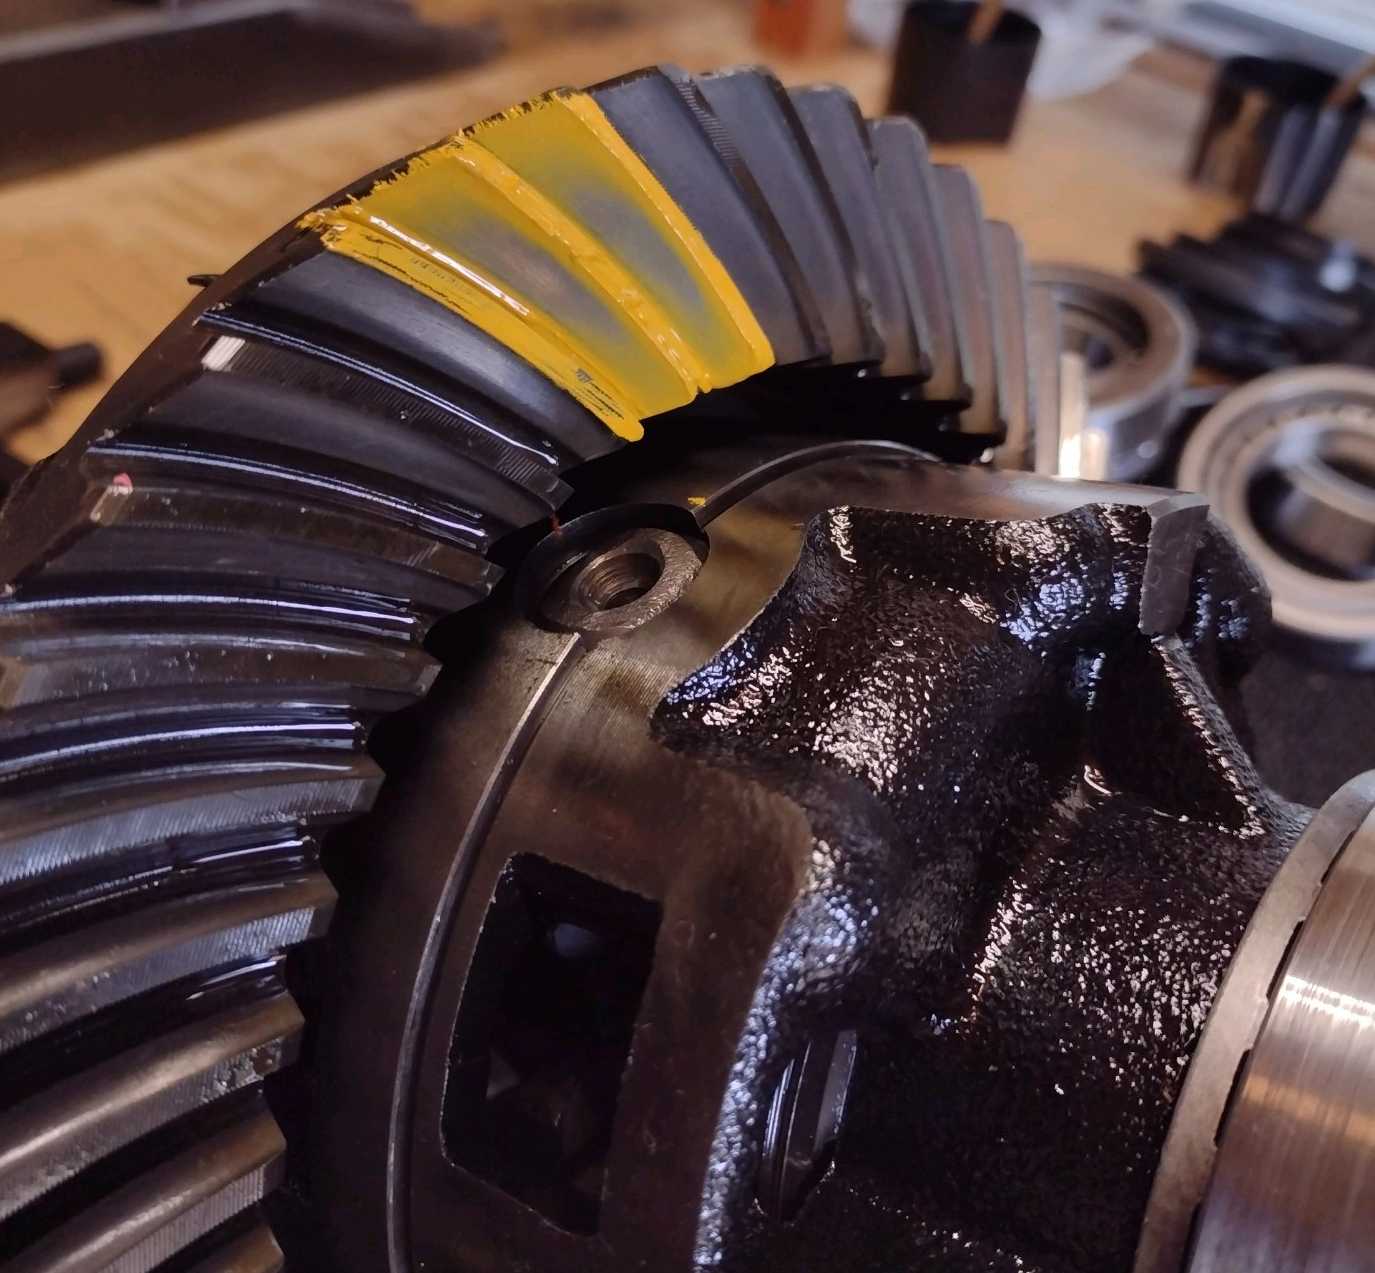
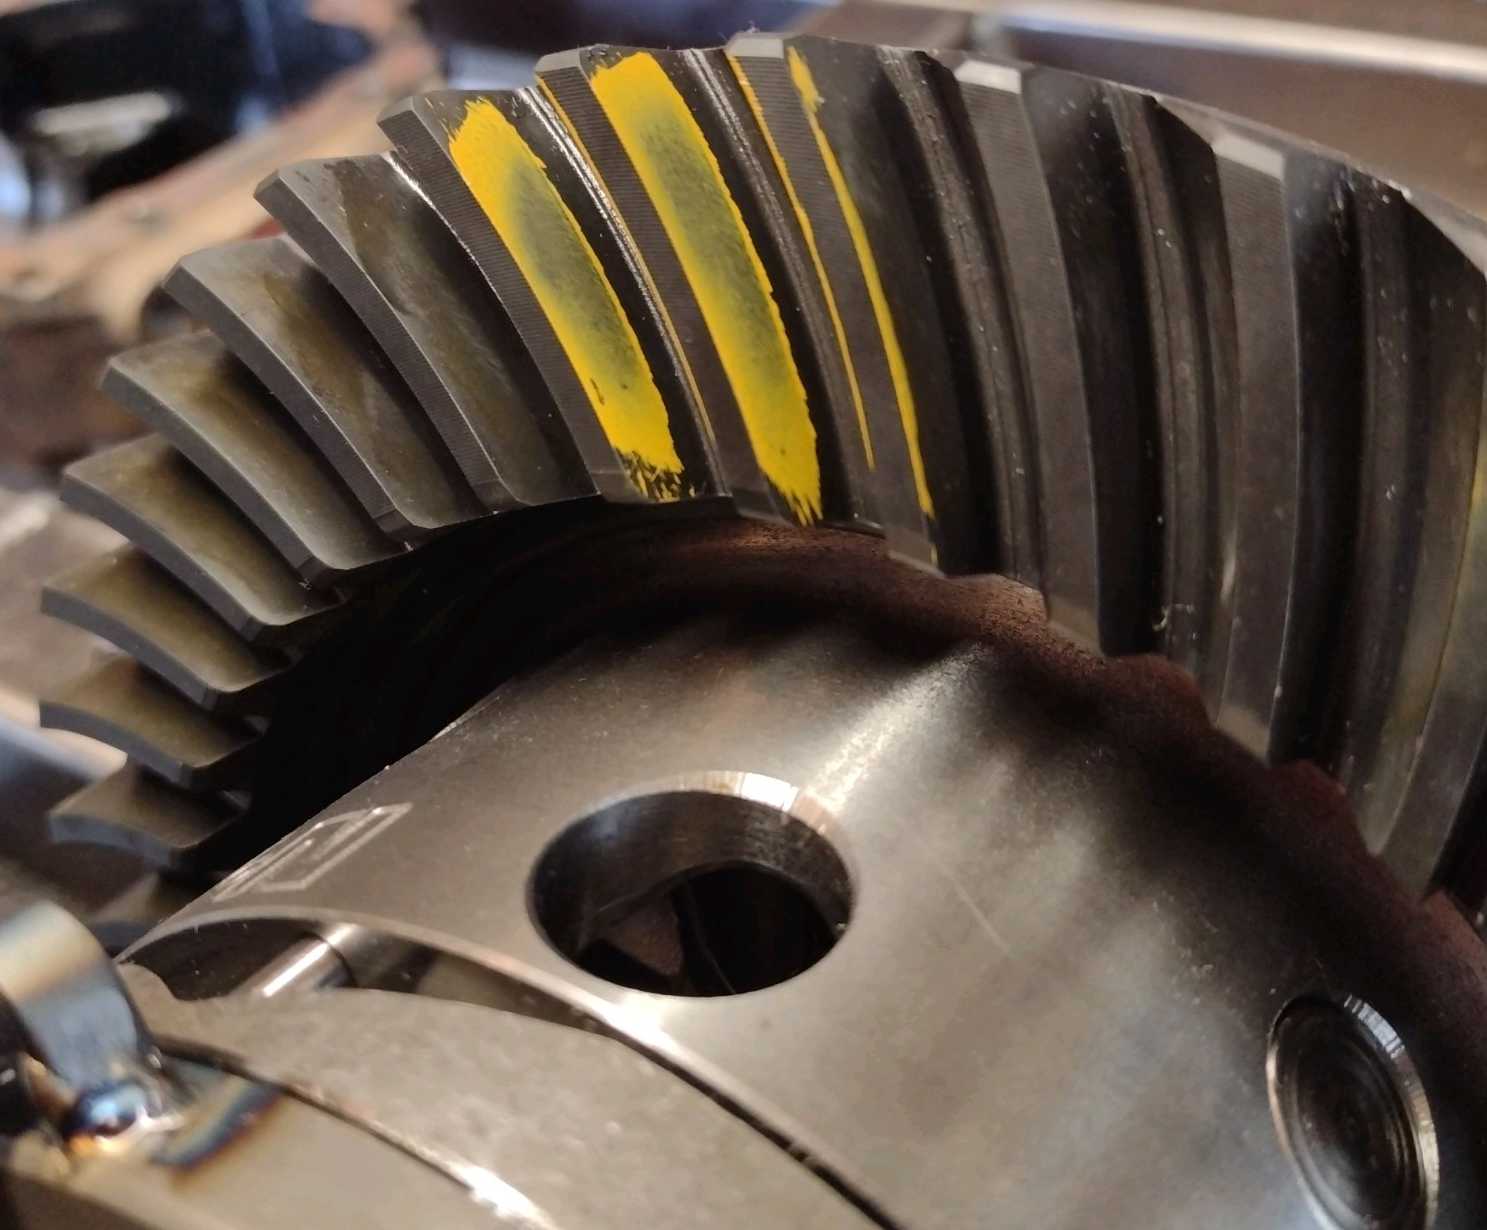
Skipped a few steps but replaced the pinion shim
with .0435" which is about .0045" thinner and
this drive pattern is so much better. |
|---|
|
|
|
Look how much better this coast side looks. |
|---|
|
|
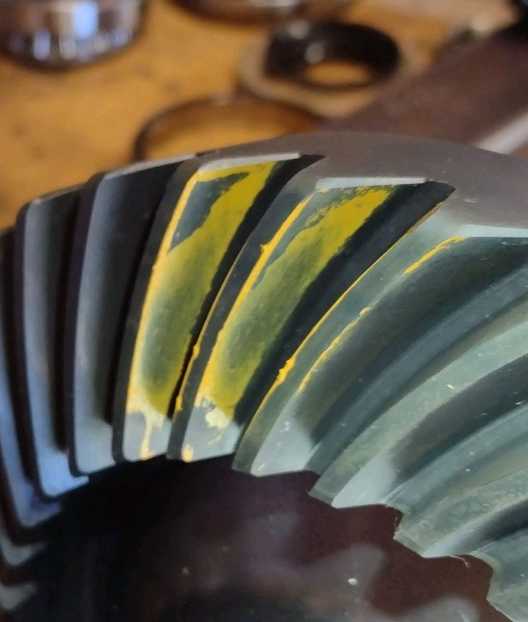
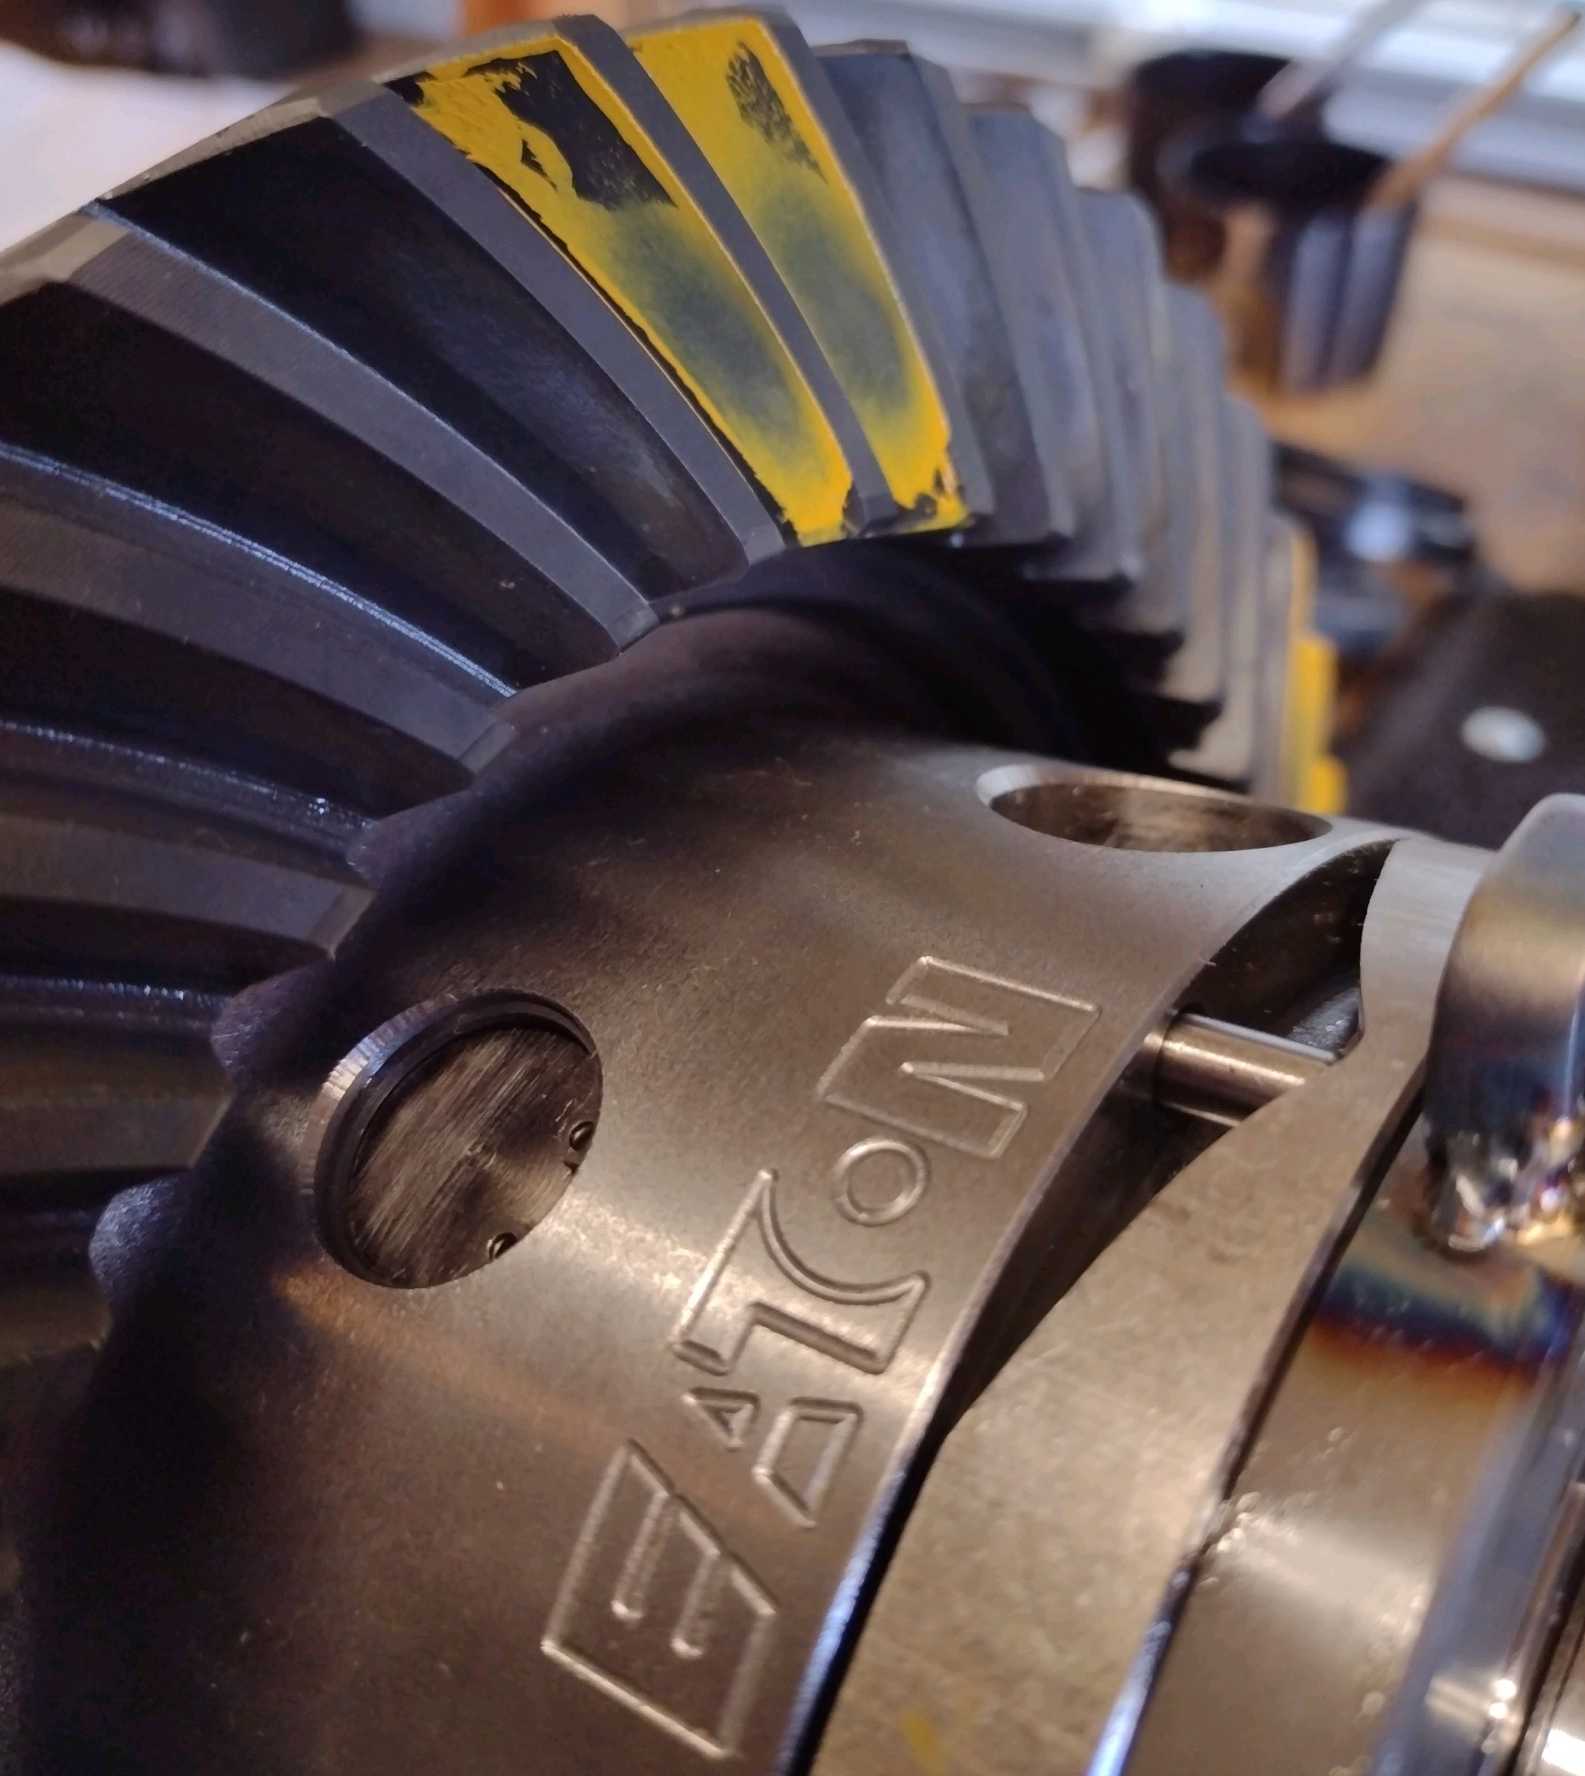
This is the reverse painted coast side.
It looks perfect. |
|---|
|

|
|
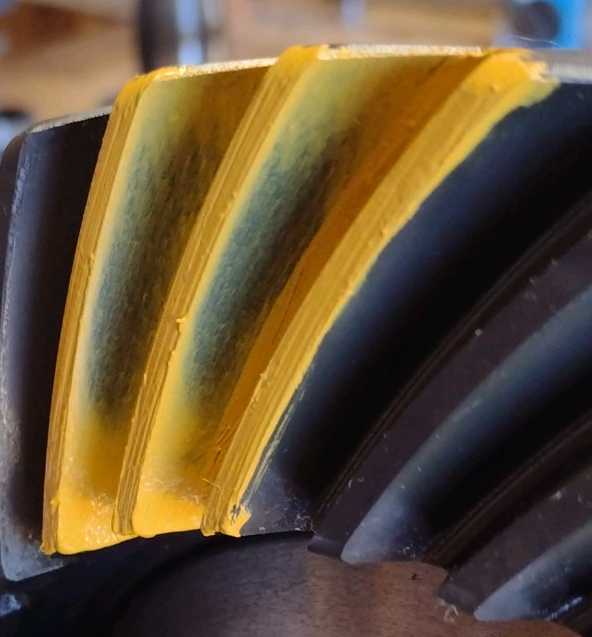
Reverse painted drive...very nice. |
|---|
|
|
|
The pinion tooth is very balanced now. |
|---|
|
|
|
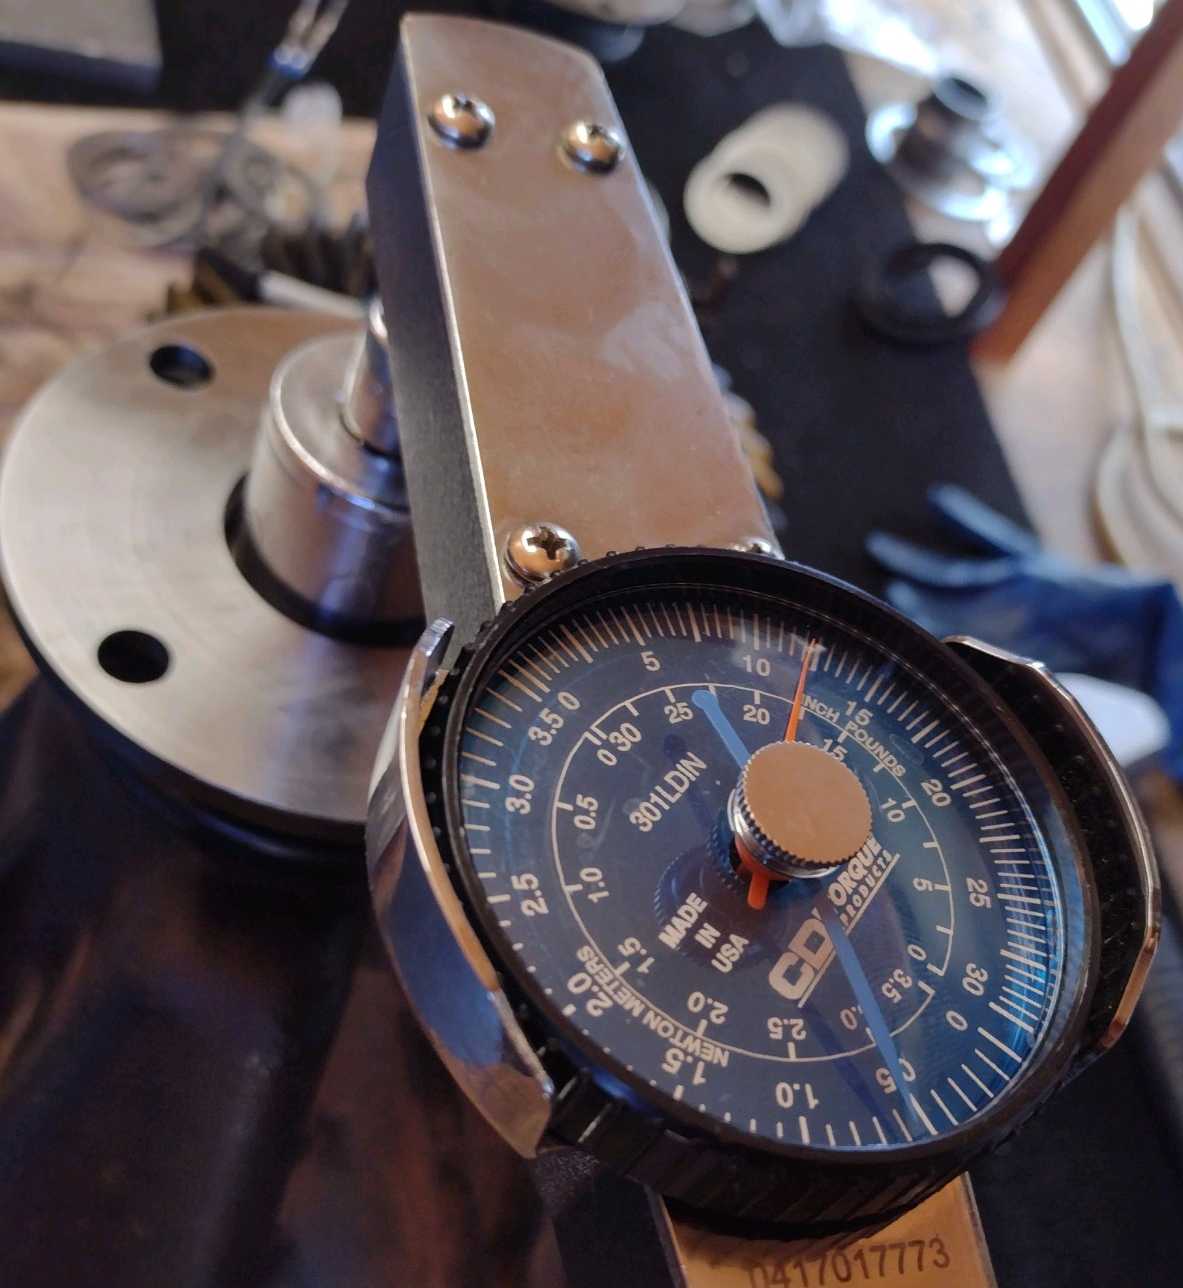
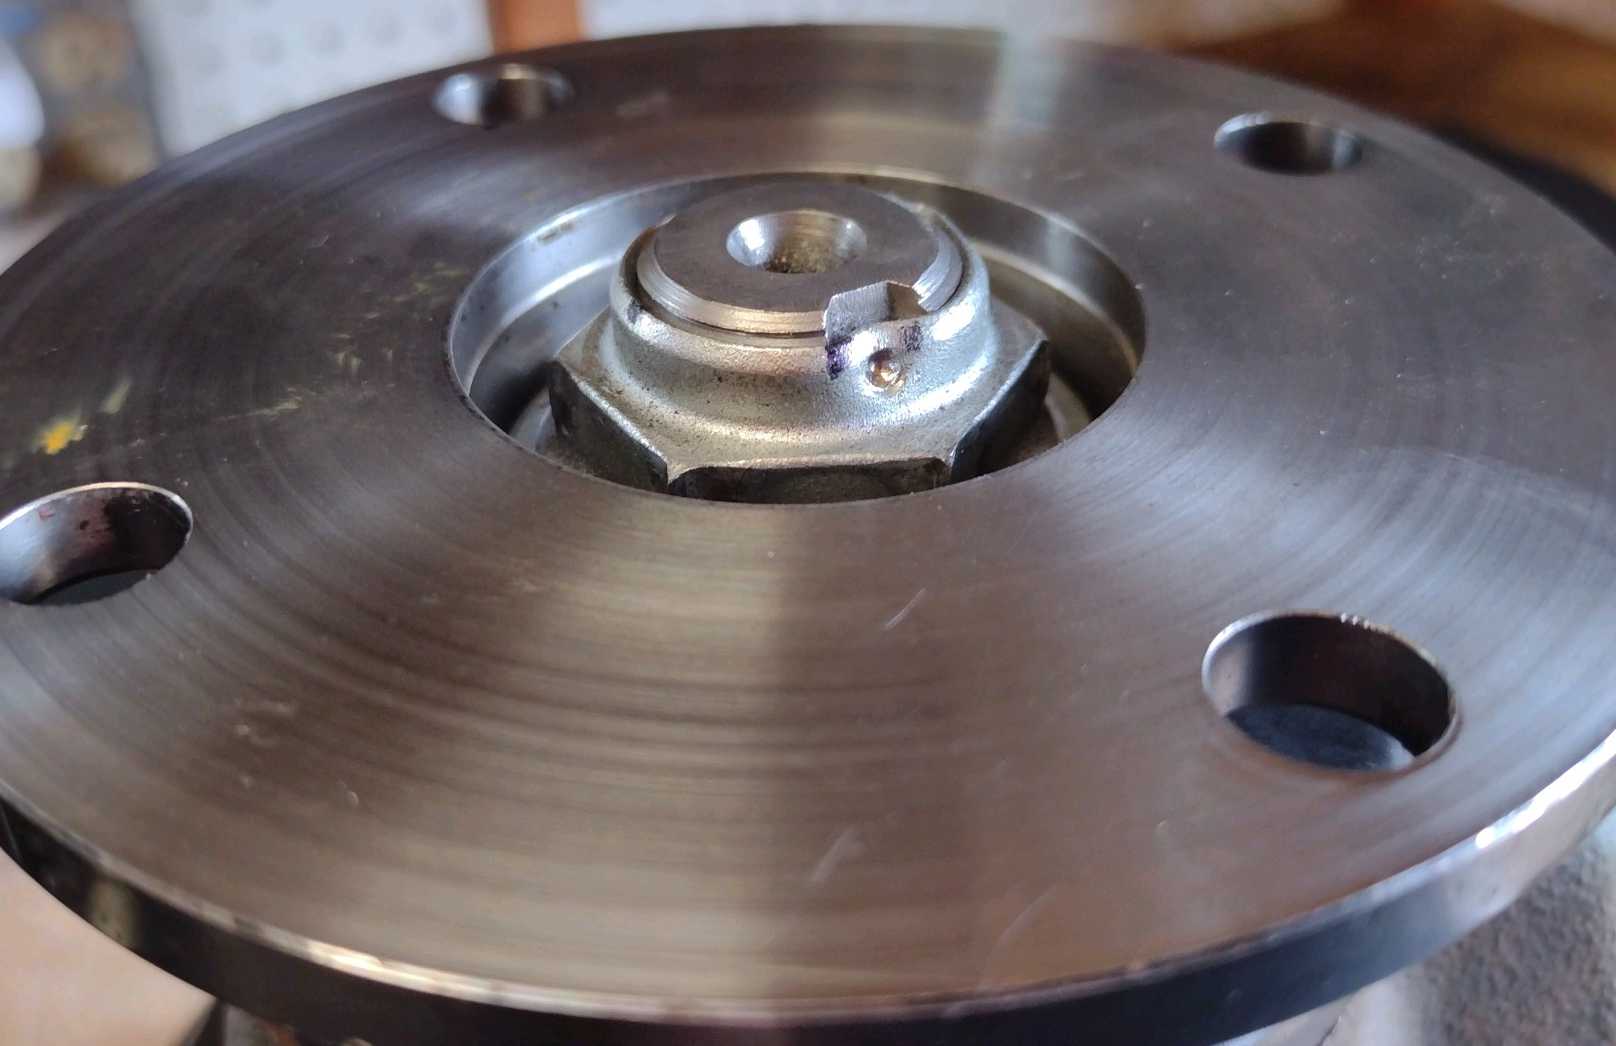
The solid collar is in and getting a smooth 12 inch/pounds of pinion preload. |
|---|
|

|
|
Took about 5 times to get the collar set right. |
|---|
|
|
Now I could remove the pinion flange one last time
and put the seal in designed for the fatter 32 spline pinion shaft. |
|---|
|
|
|
Seal in.....nice. |
|---|
|
|
|
DING and this end is done. |
|---|
|
|
|
This end will go fast. |
|---|
|
|
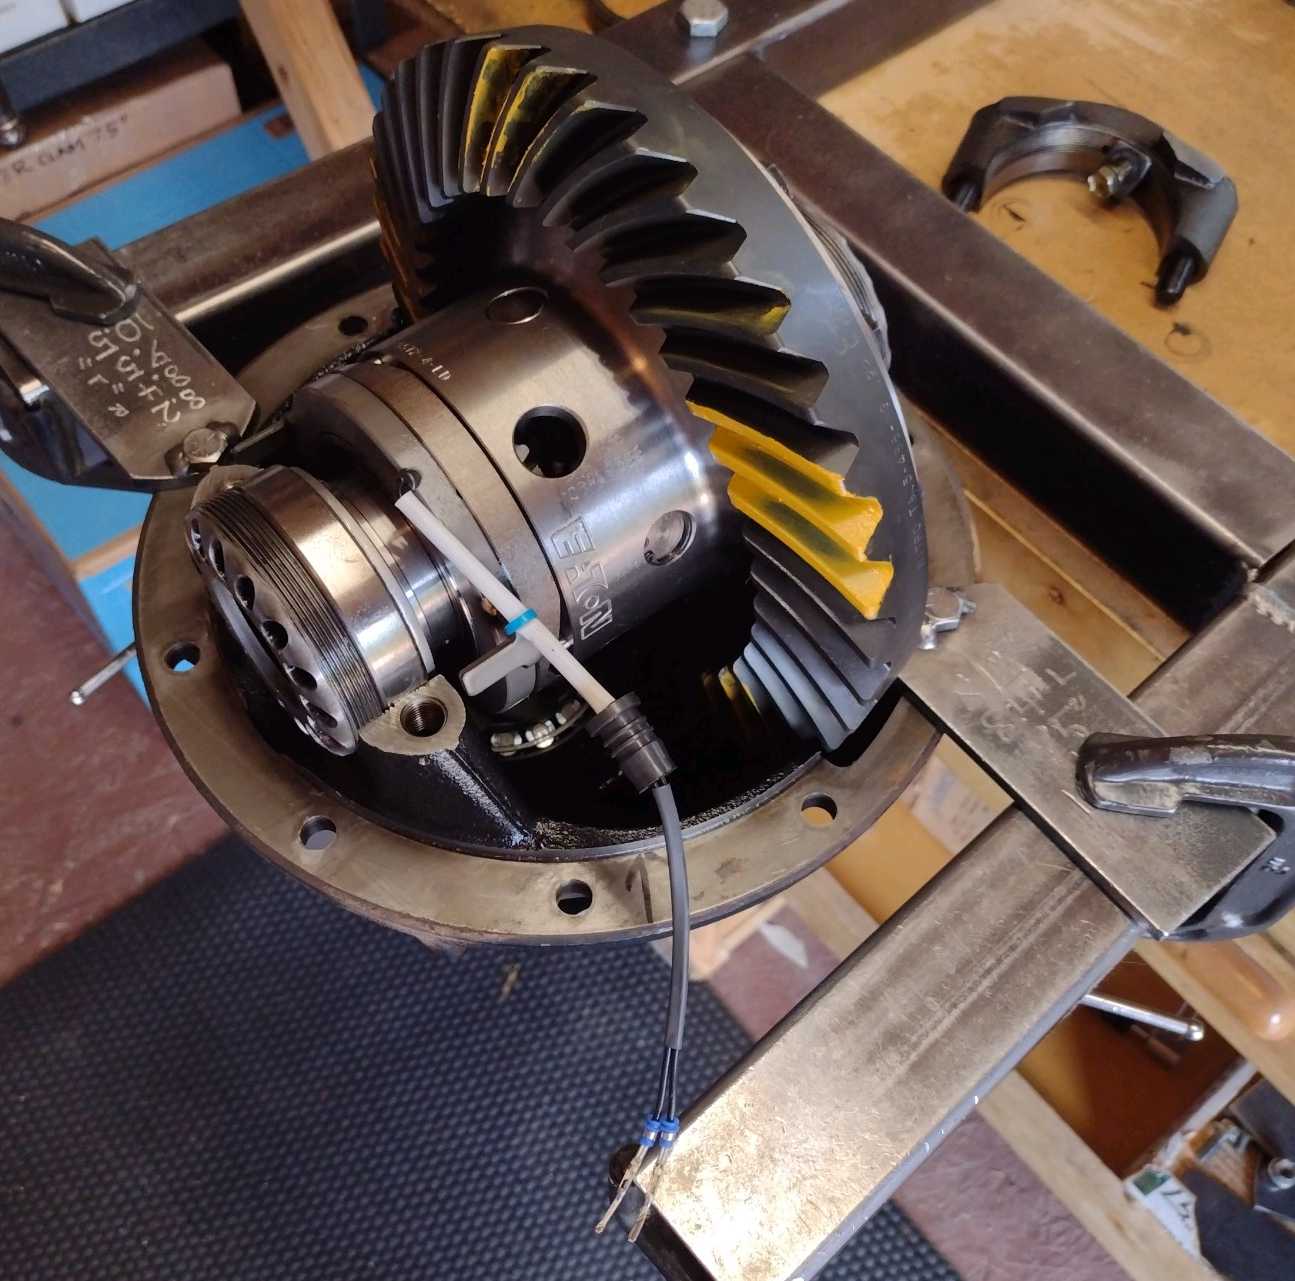
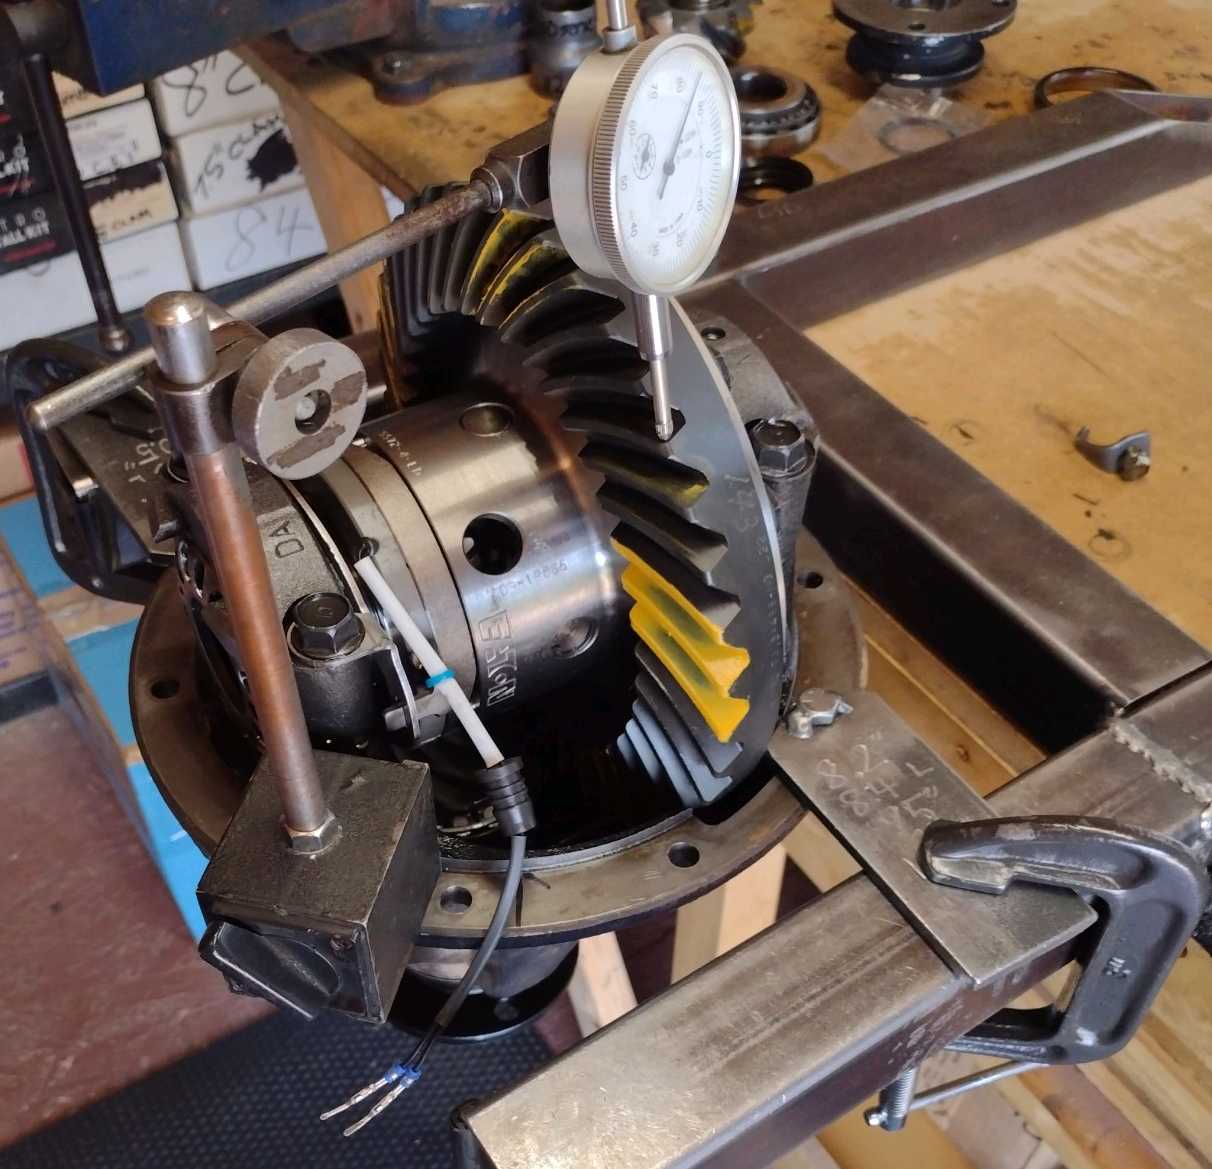
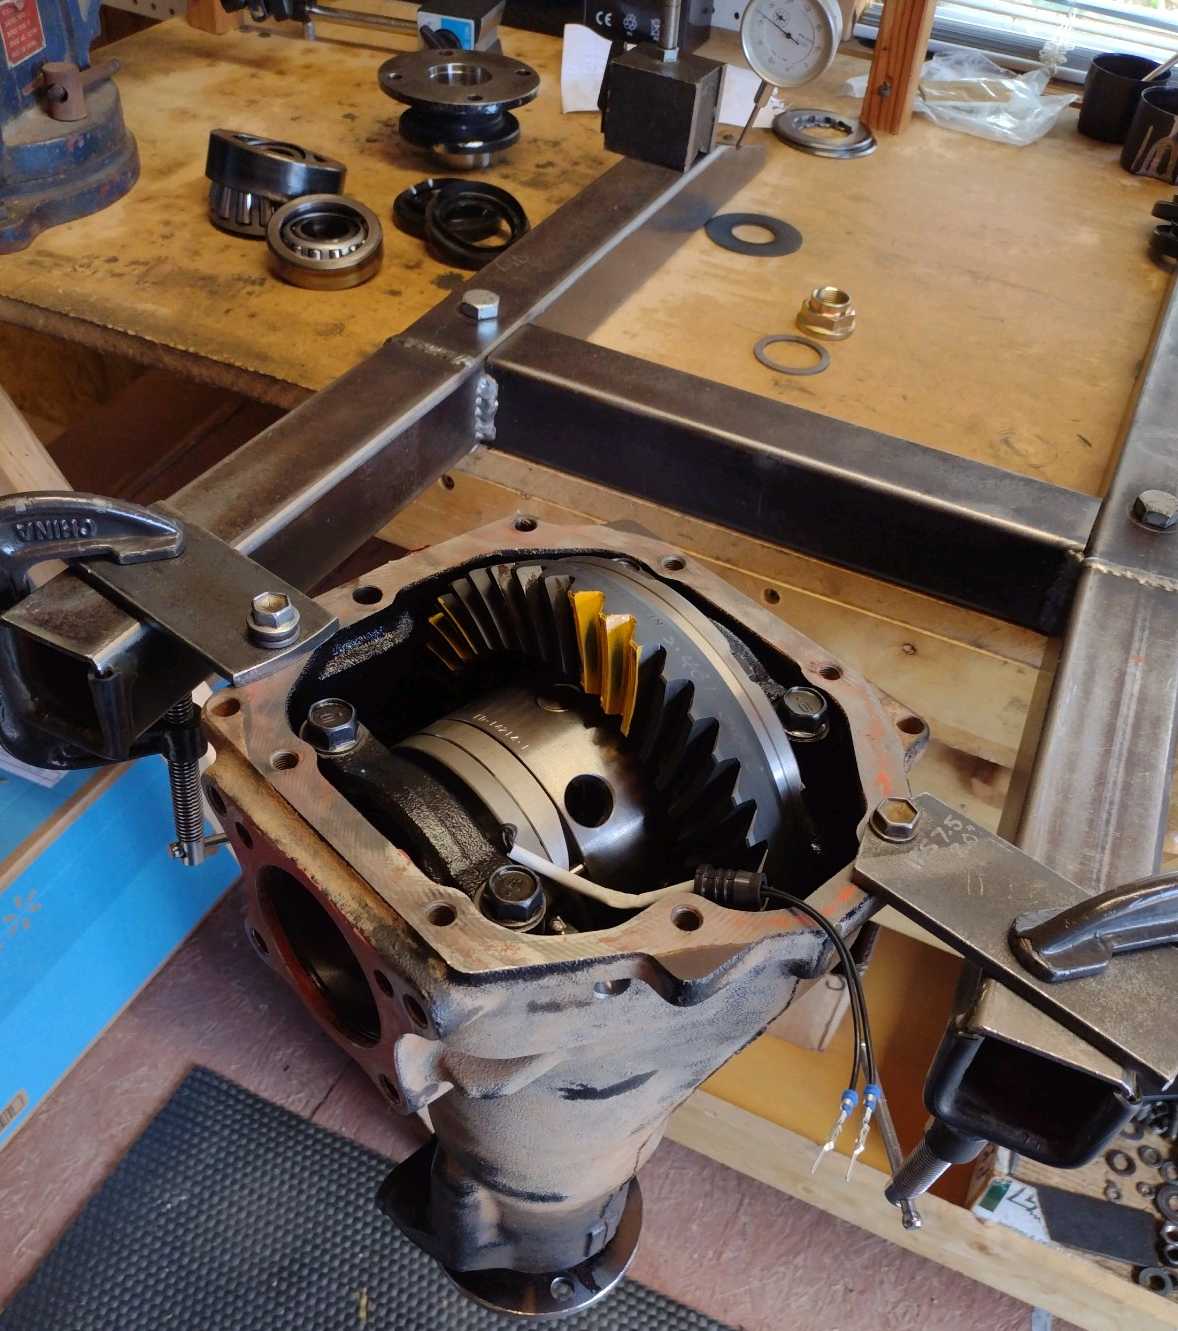
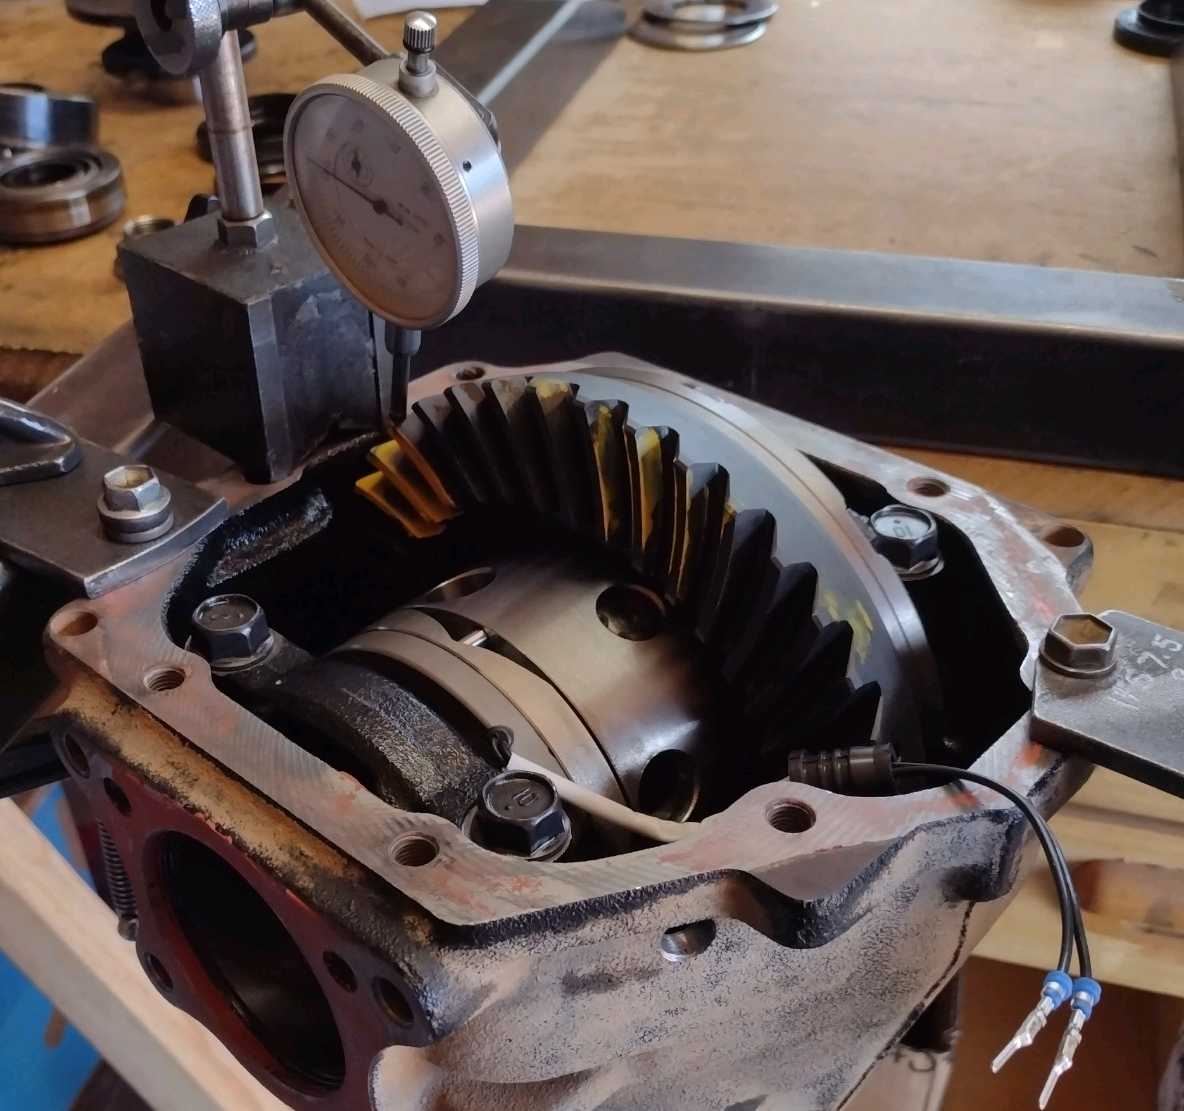
2 things are being checked now....is the backlash in the zone and is the carrier bearing preload strong.
Some adjustment on the wheel adjusters and the backlash was .006" with a strong 6 inch/pounds of CBPL. |
|---|
|

|
|
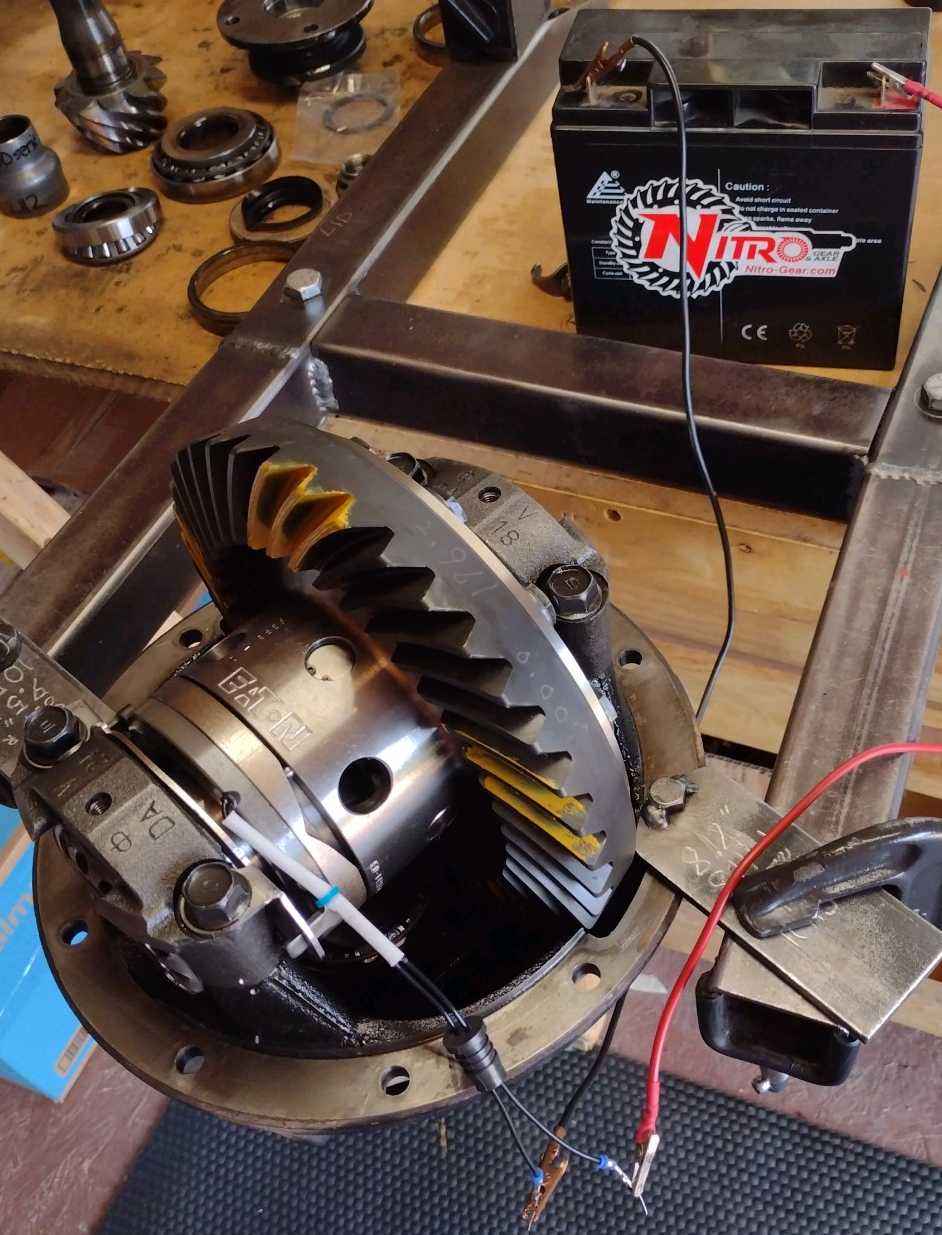
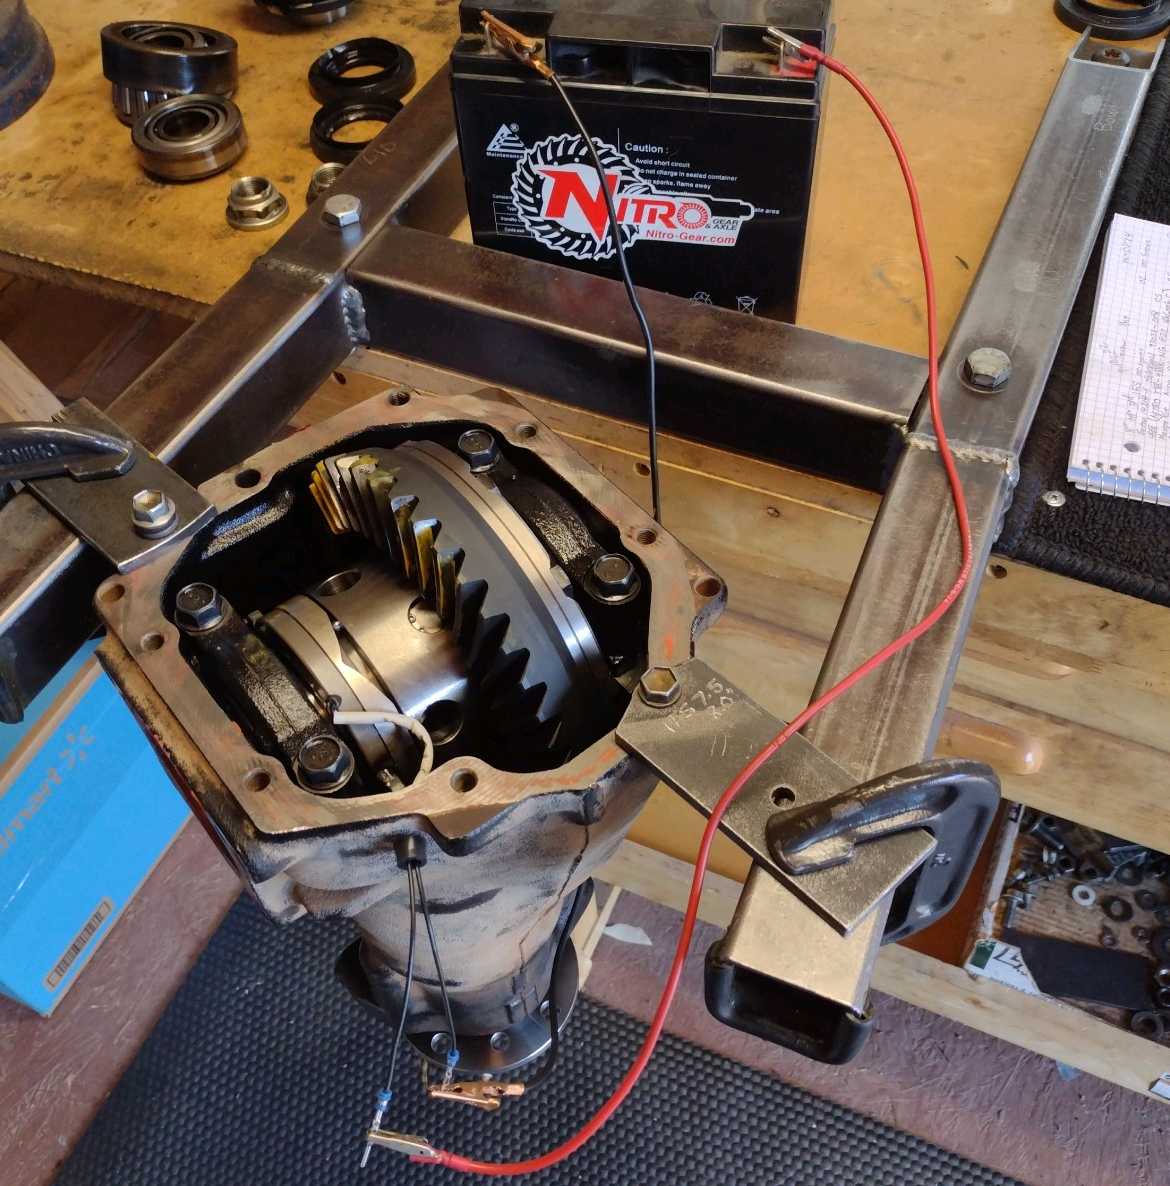
Elocker checks.....and 3.8 ohms was measured on the magnetic coil. |
|---|
|
|
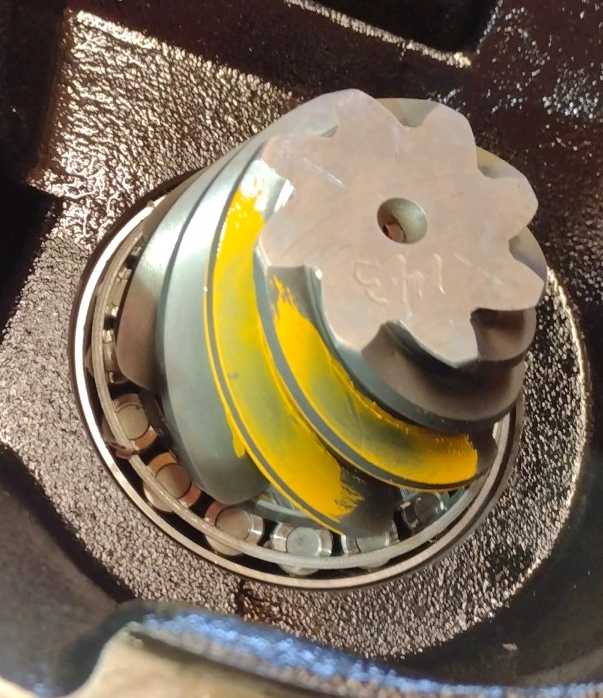
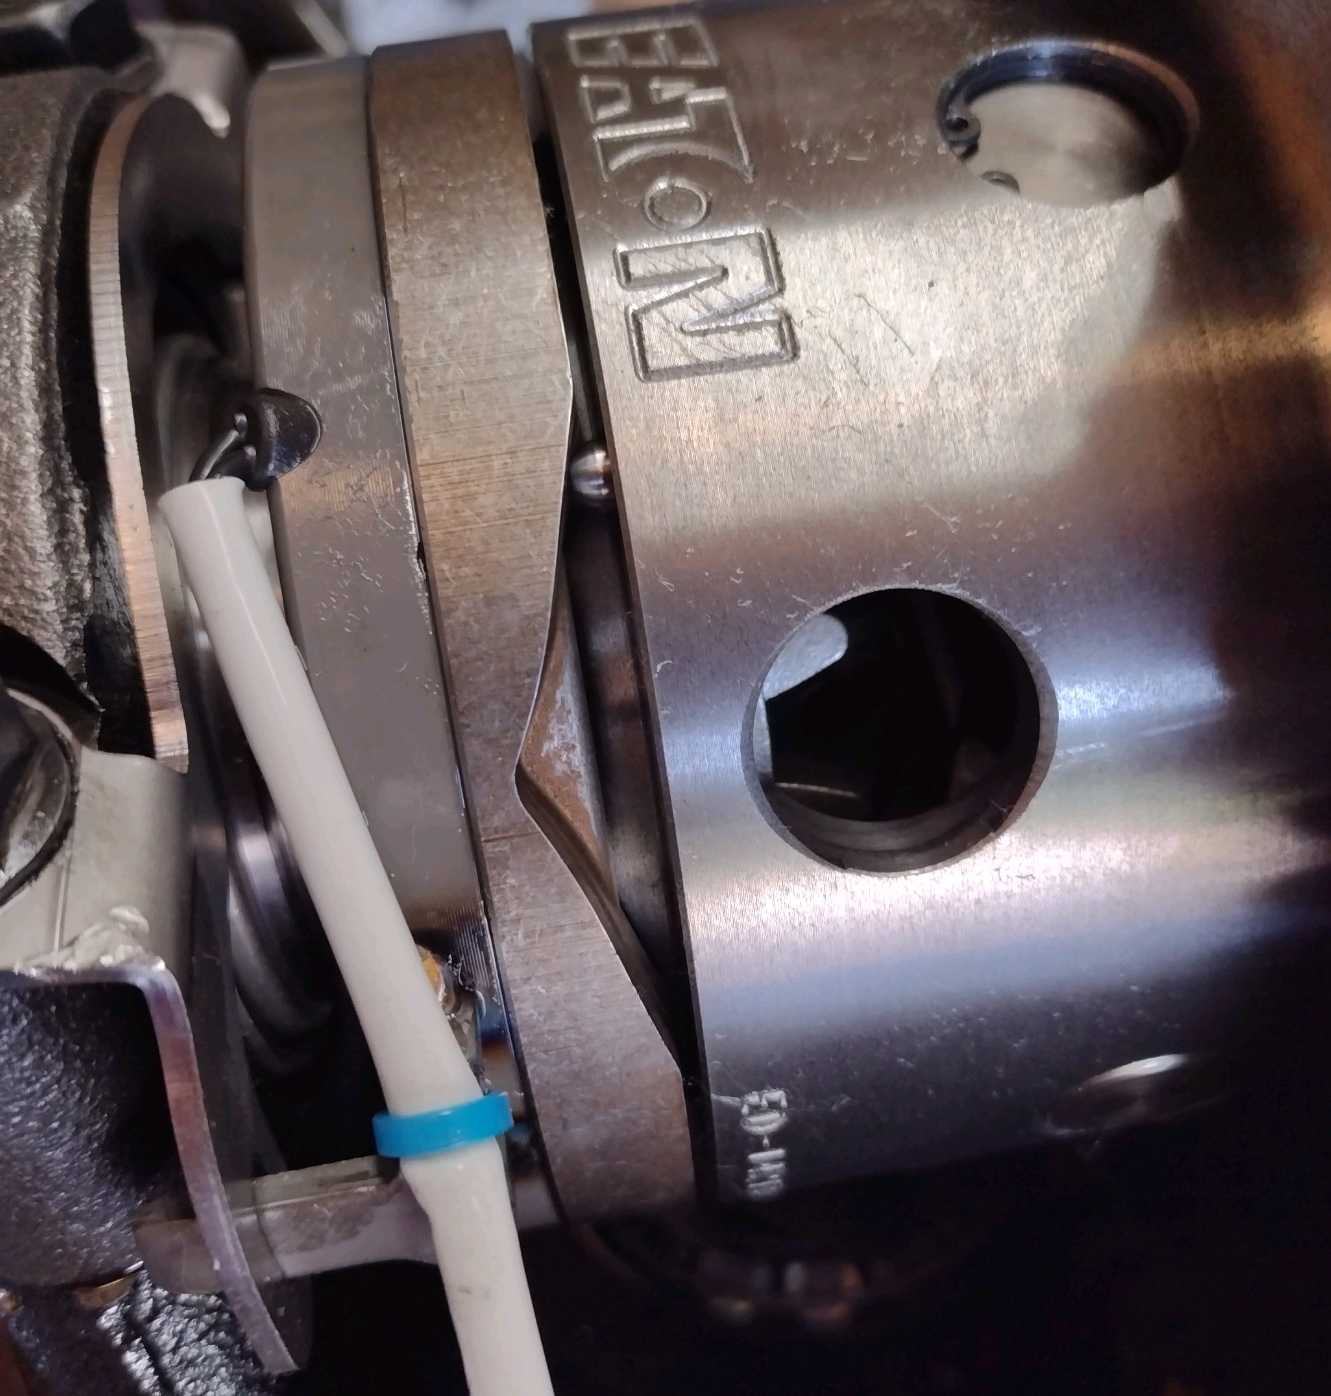
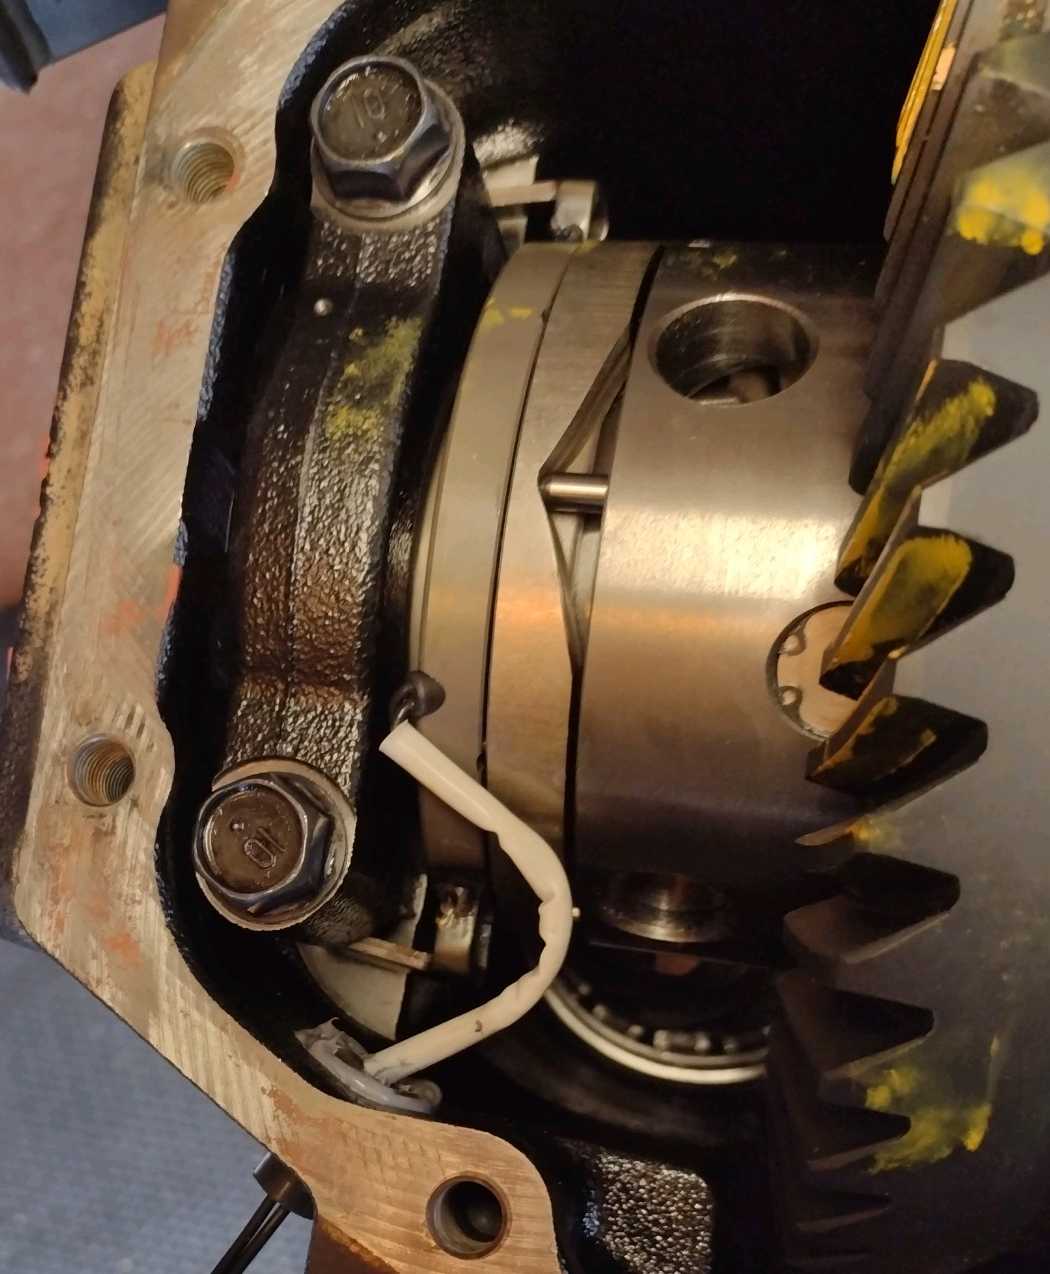
12v applied and the pinion was turned a little...
the 3 pins now recess into the case(locked mode). |
|---|
|
|
|
closeup |
|---|
|
|
|
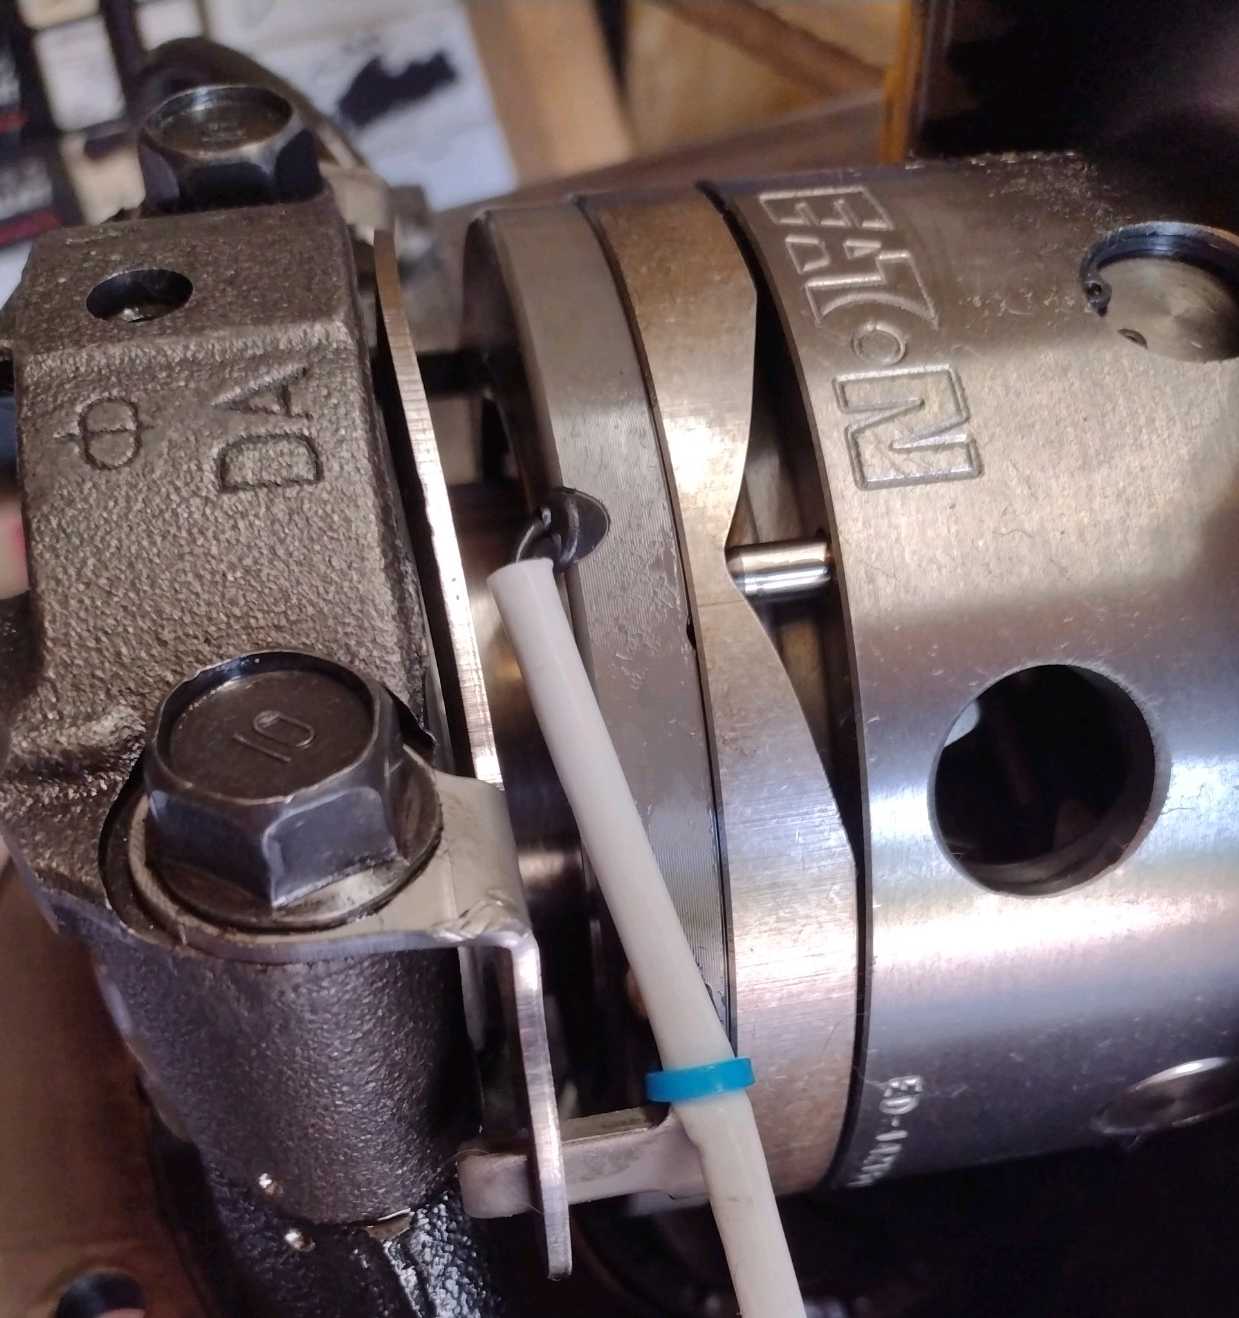
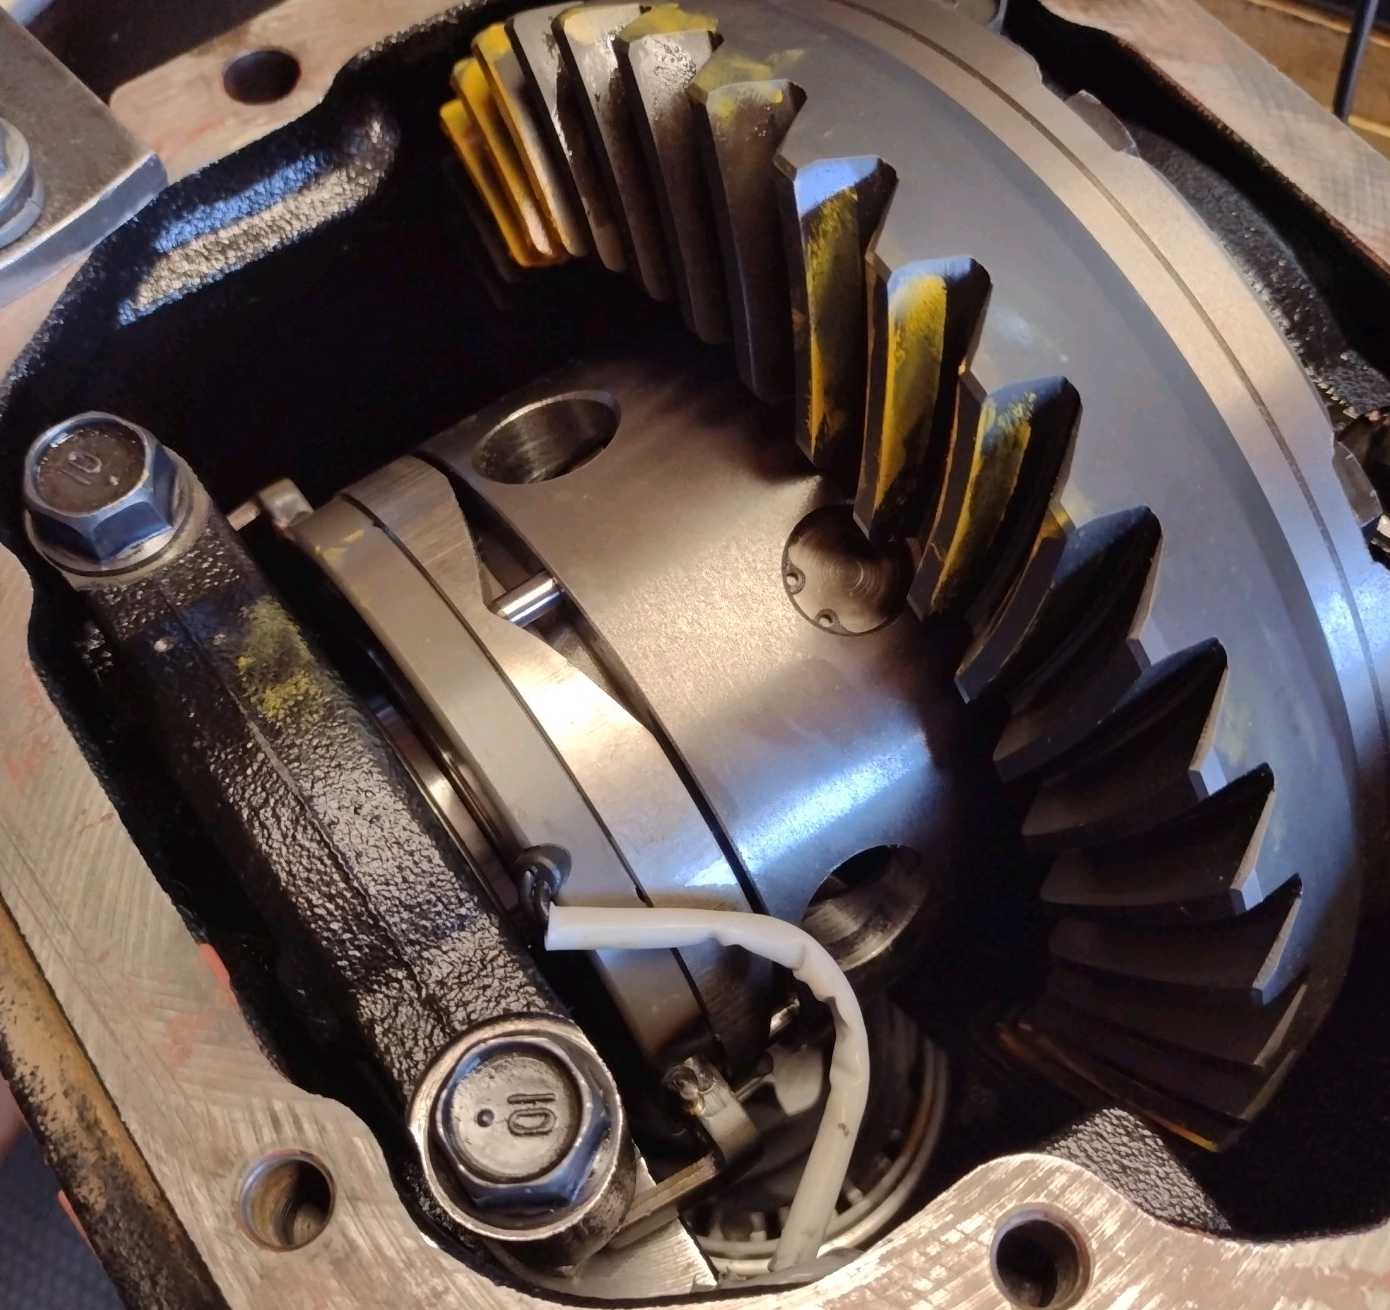
Remove the 12v and the pins instantly snap back into place(unlocked). |
|---|
|
|
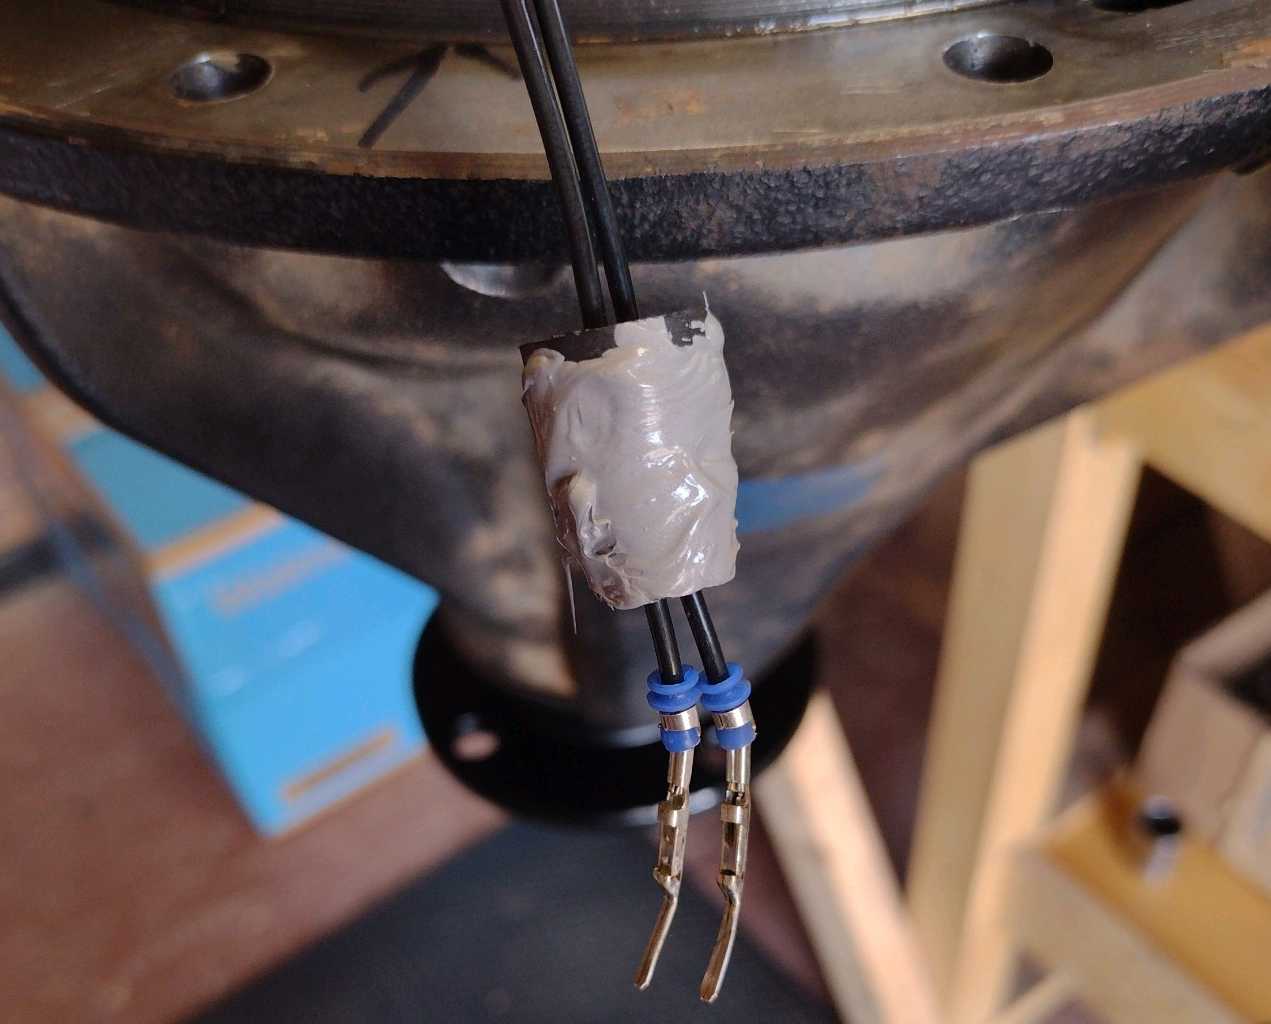
On this one, Ultra-grey RTV was used on the rubber grommet.
It acts as a lubricant and helps the rubber grommet get pushed thru.
When it dries it seals it from leaking. |
|---|
|
|
|
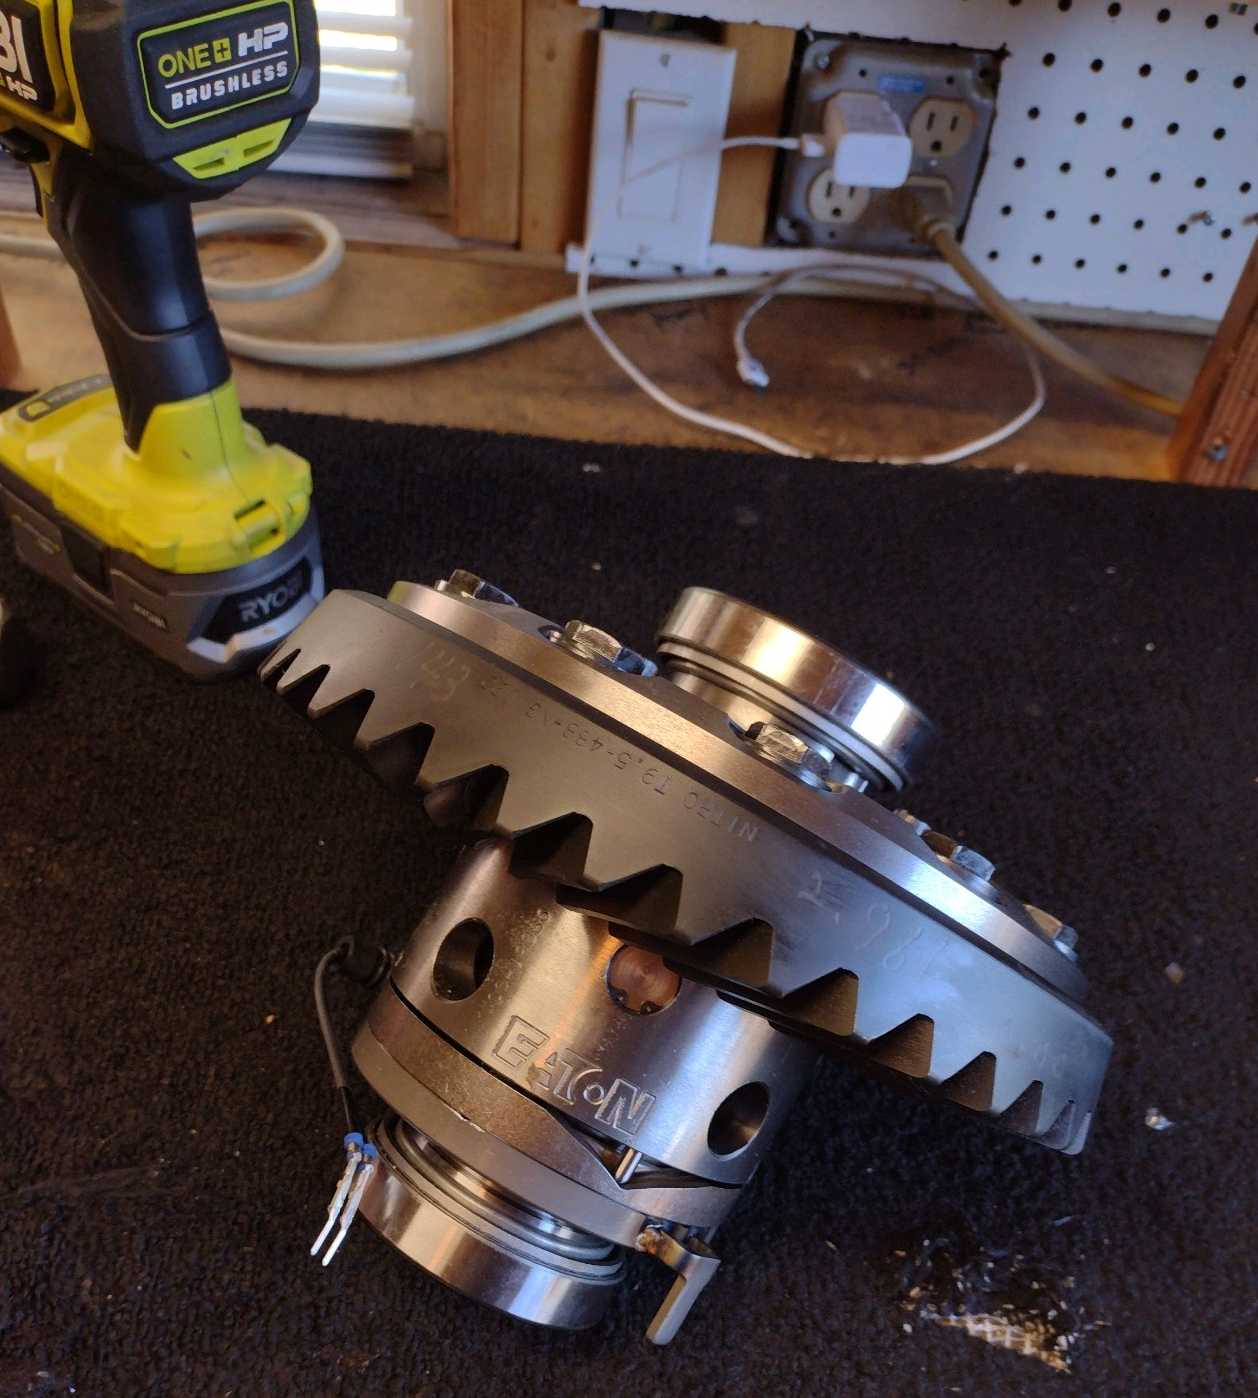
One rear 3rd that will run quiet and strong. |
|---|
|
|
|
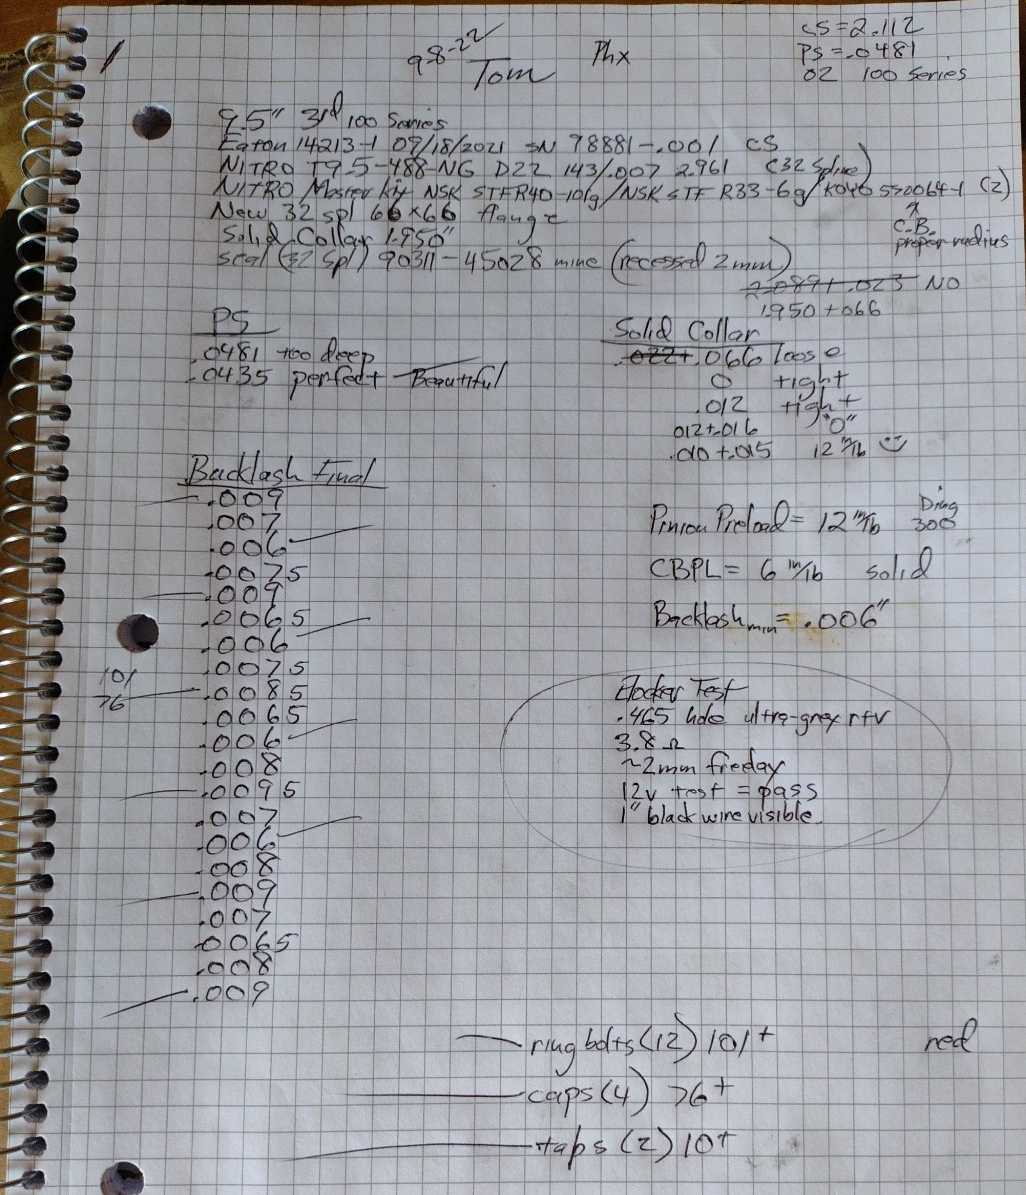
Notes taken.... |
|---|
|
|
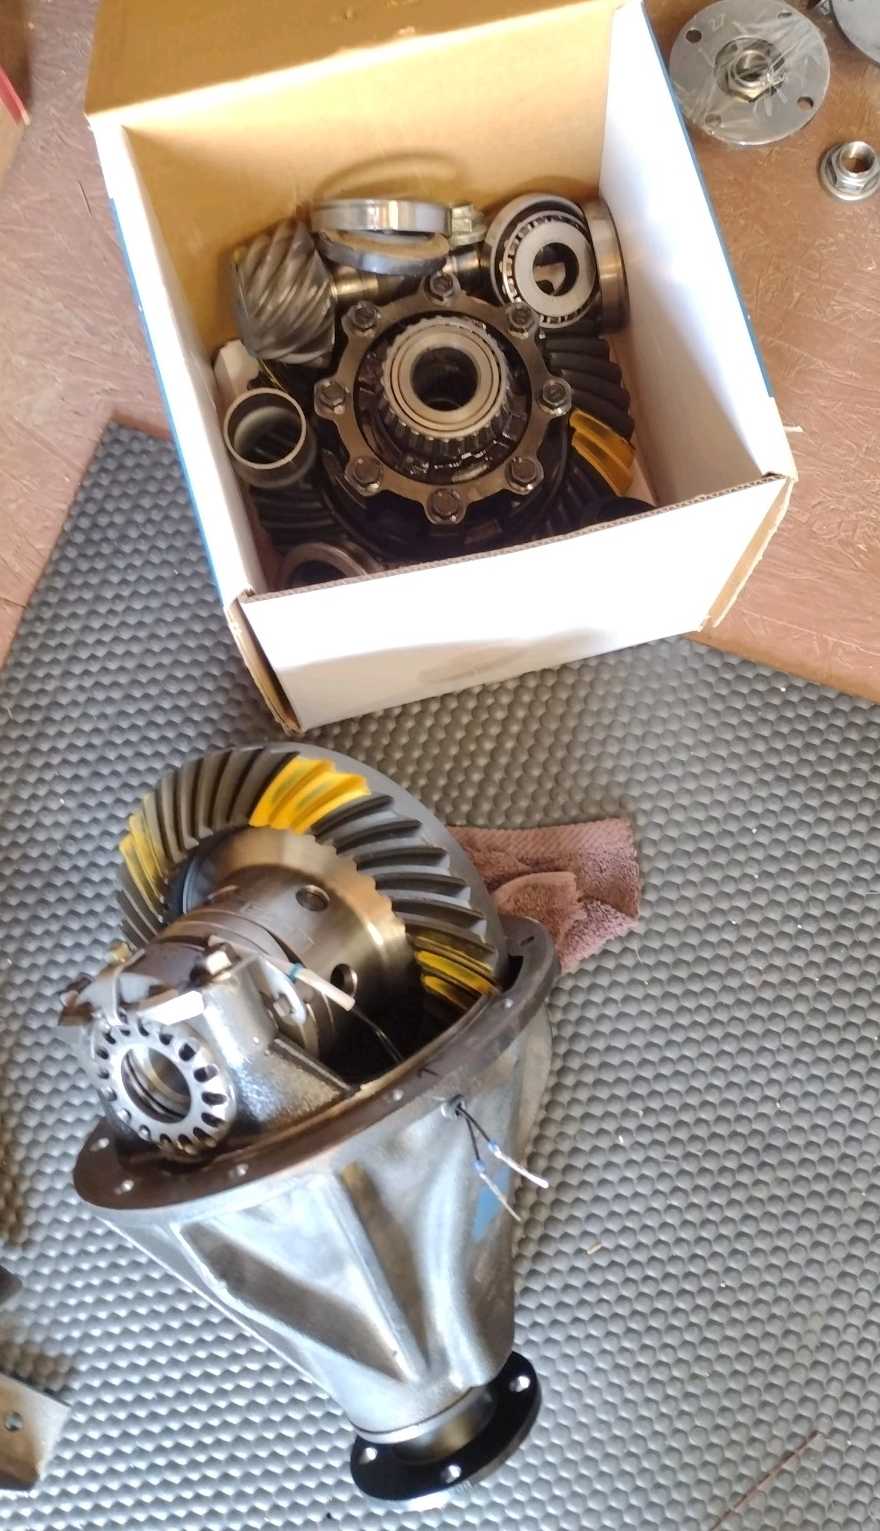
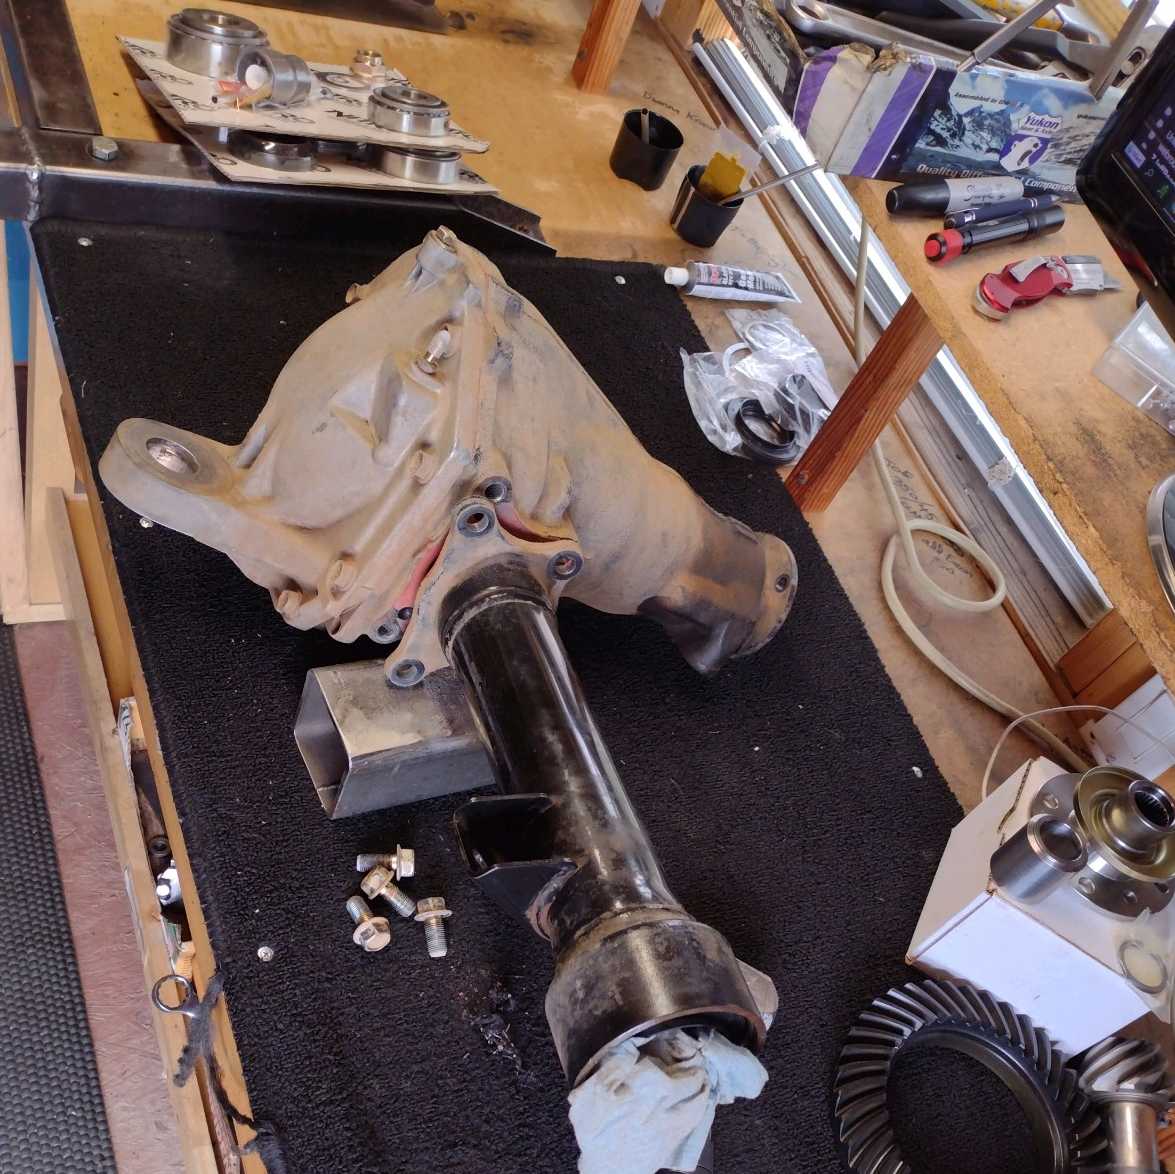
Now the front 8" hi-pinion is on the bench with assorted goodies...elocker...488 Nitro ring/pinion....new flange and solid collar...
and on the far left is the bearing kit. |
|---|
|
|
|
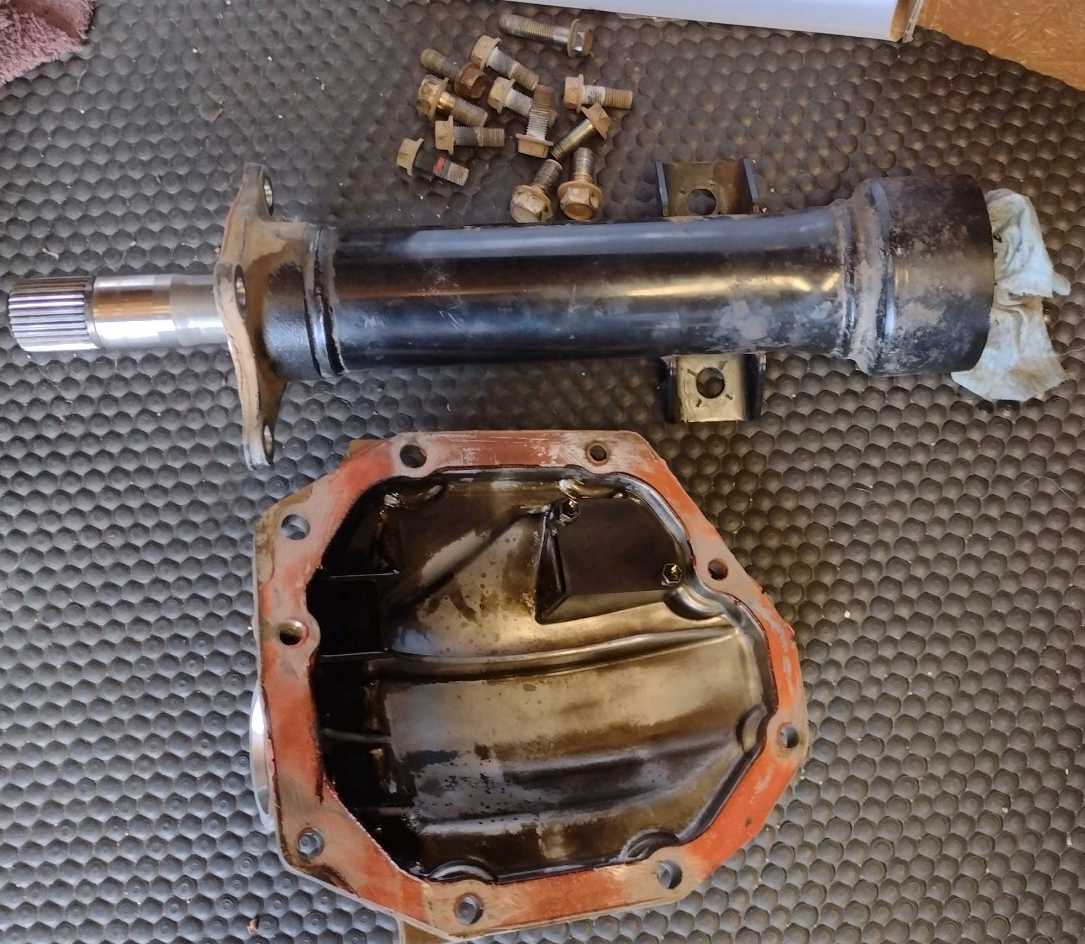
First, to remove the four 17mm bolts and tap off the steel tubular arm. |
|---|
|
|
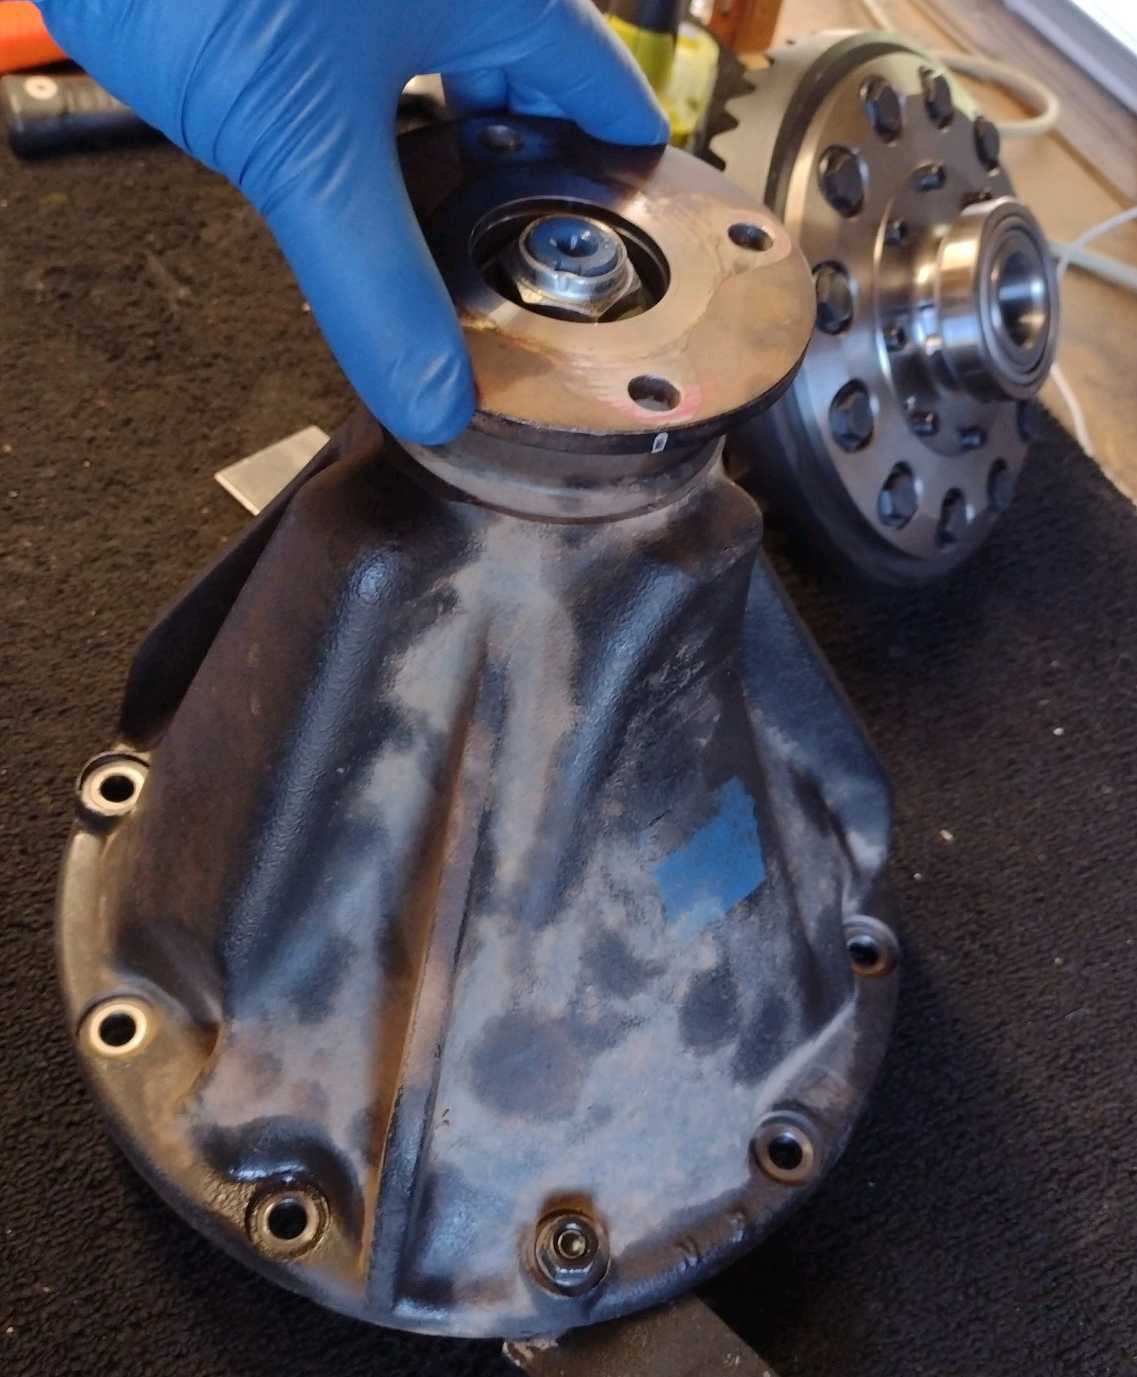
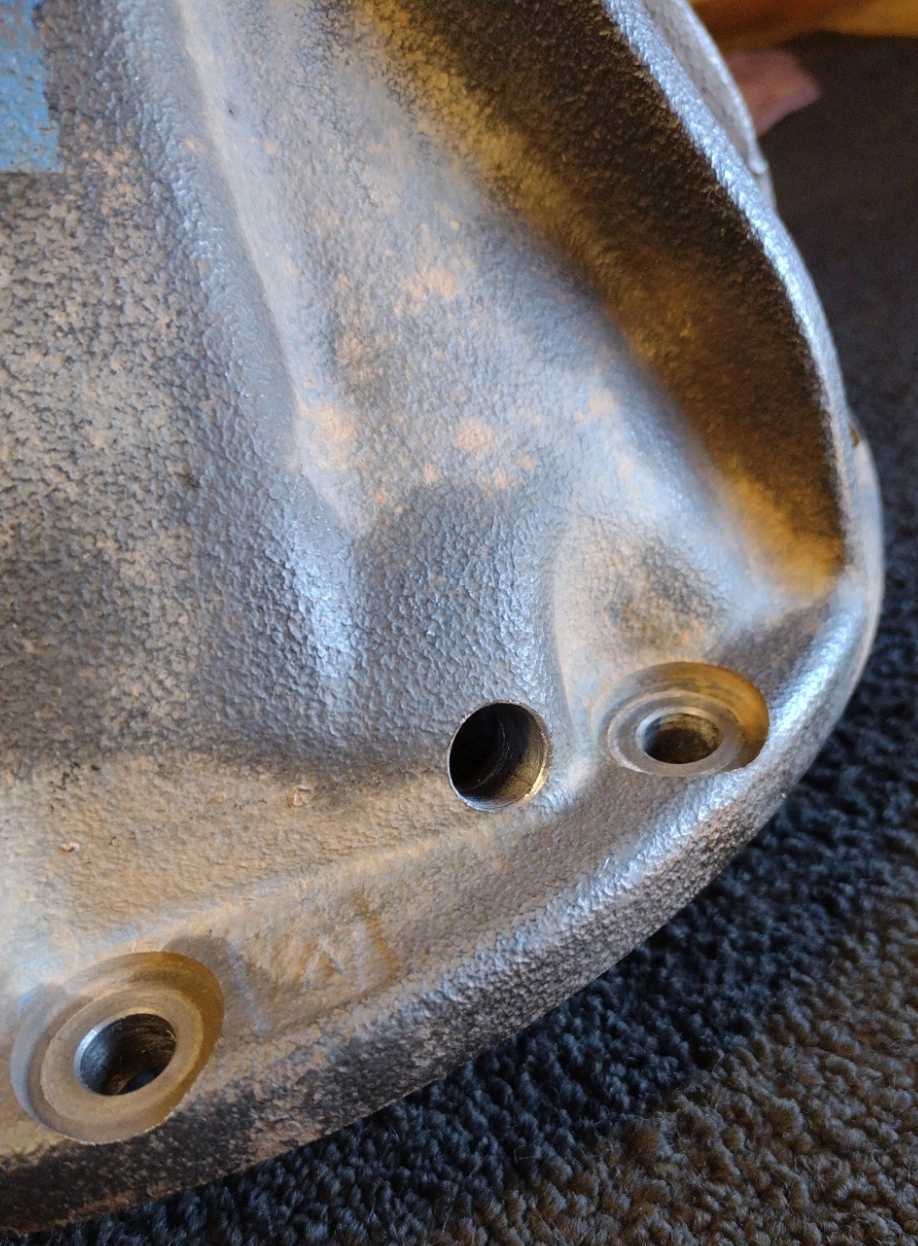
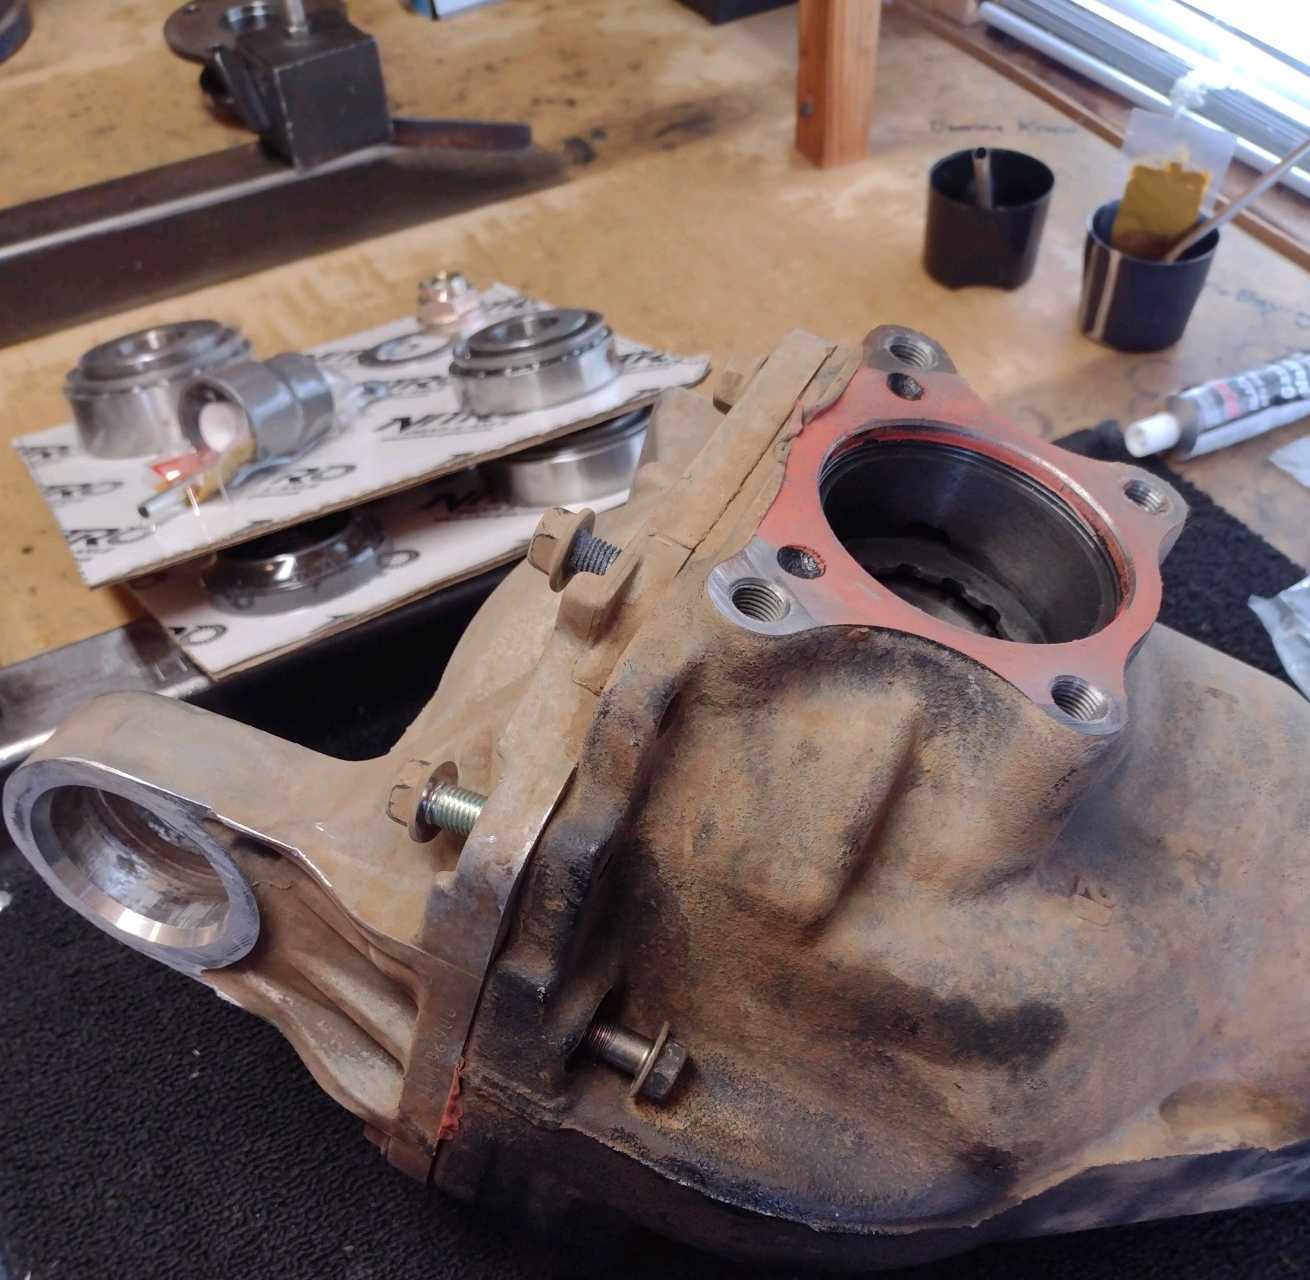
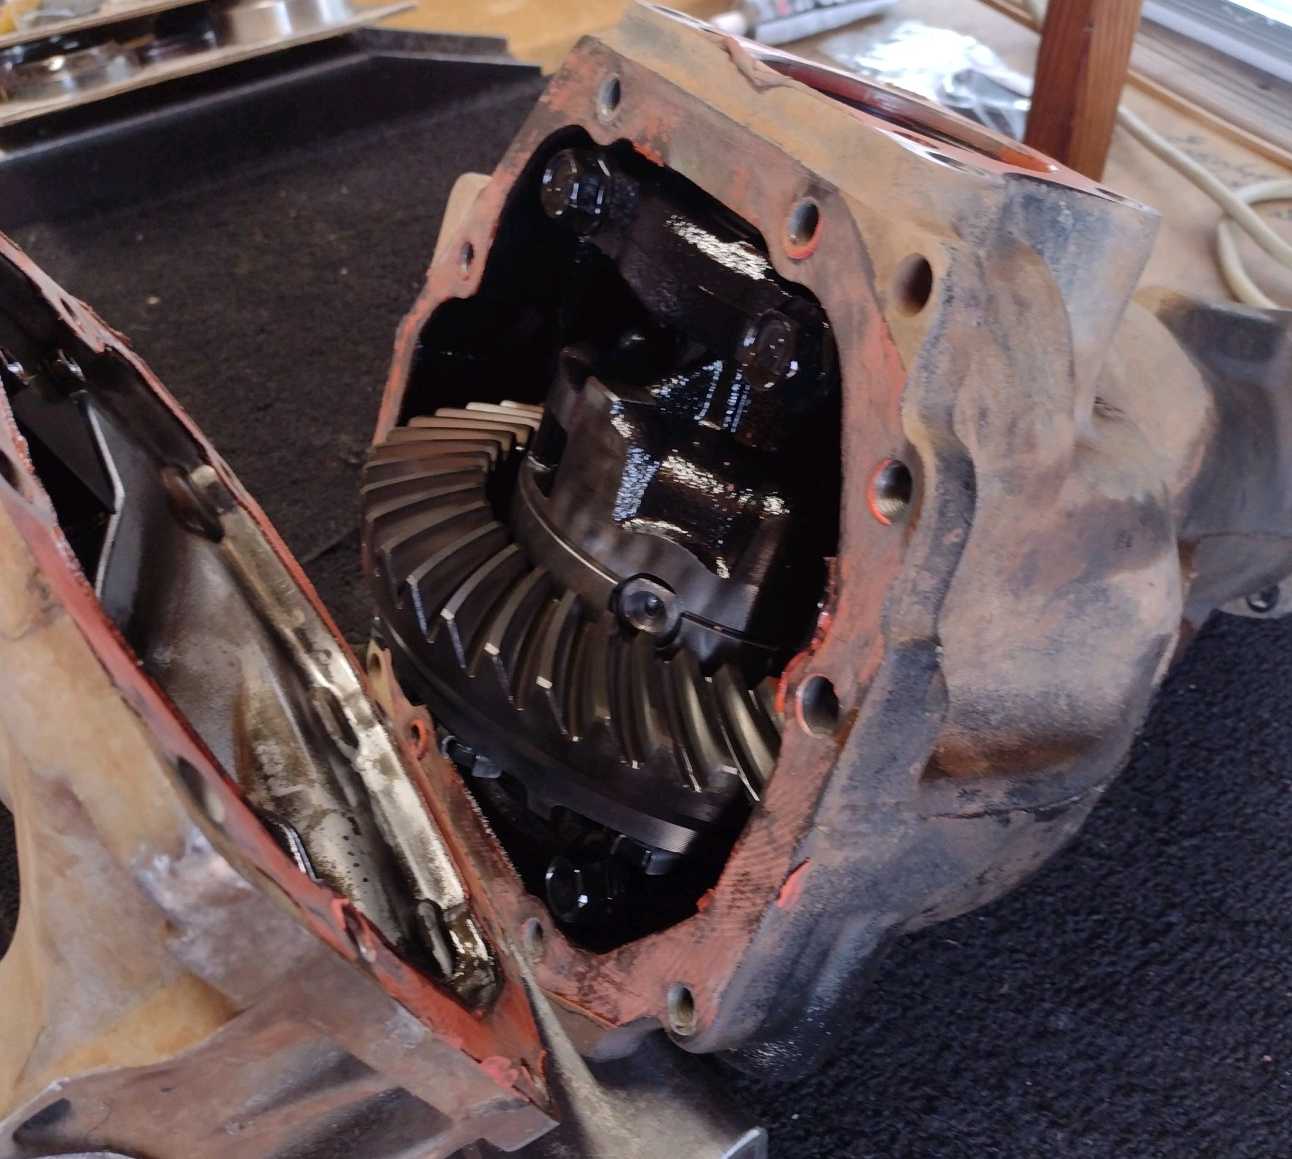
Rear aluminum cover is now removed. 9 bolts hold it on...8 that are obvious on the coverside
and one that is hidden as shown in the pic. |
|---|
|
|
|
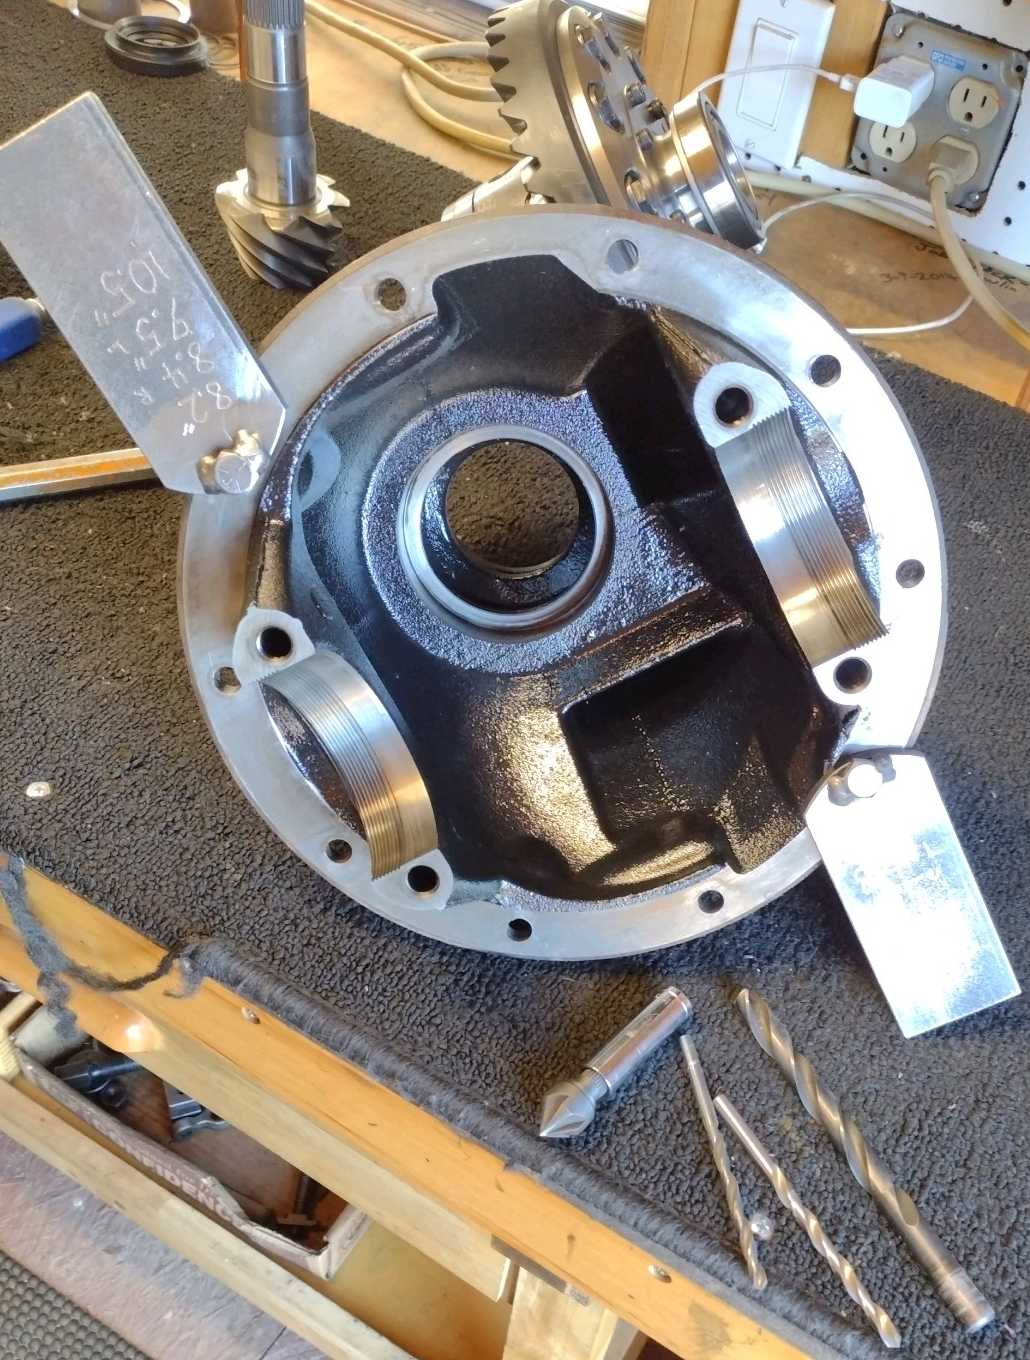
Bingo and it's off. |
|---|
|
|
|
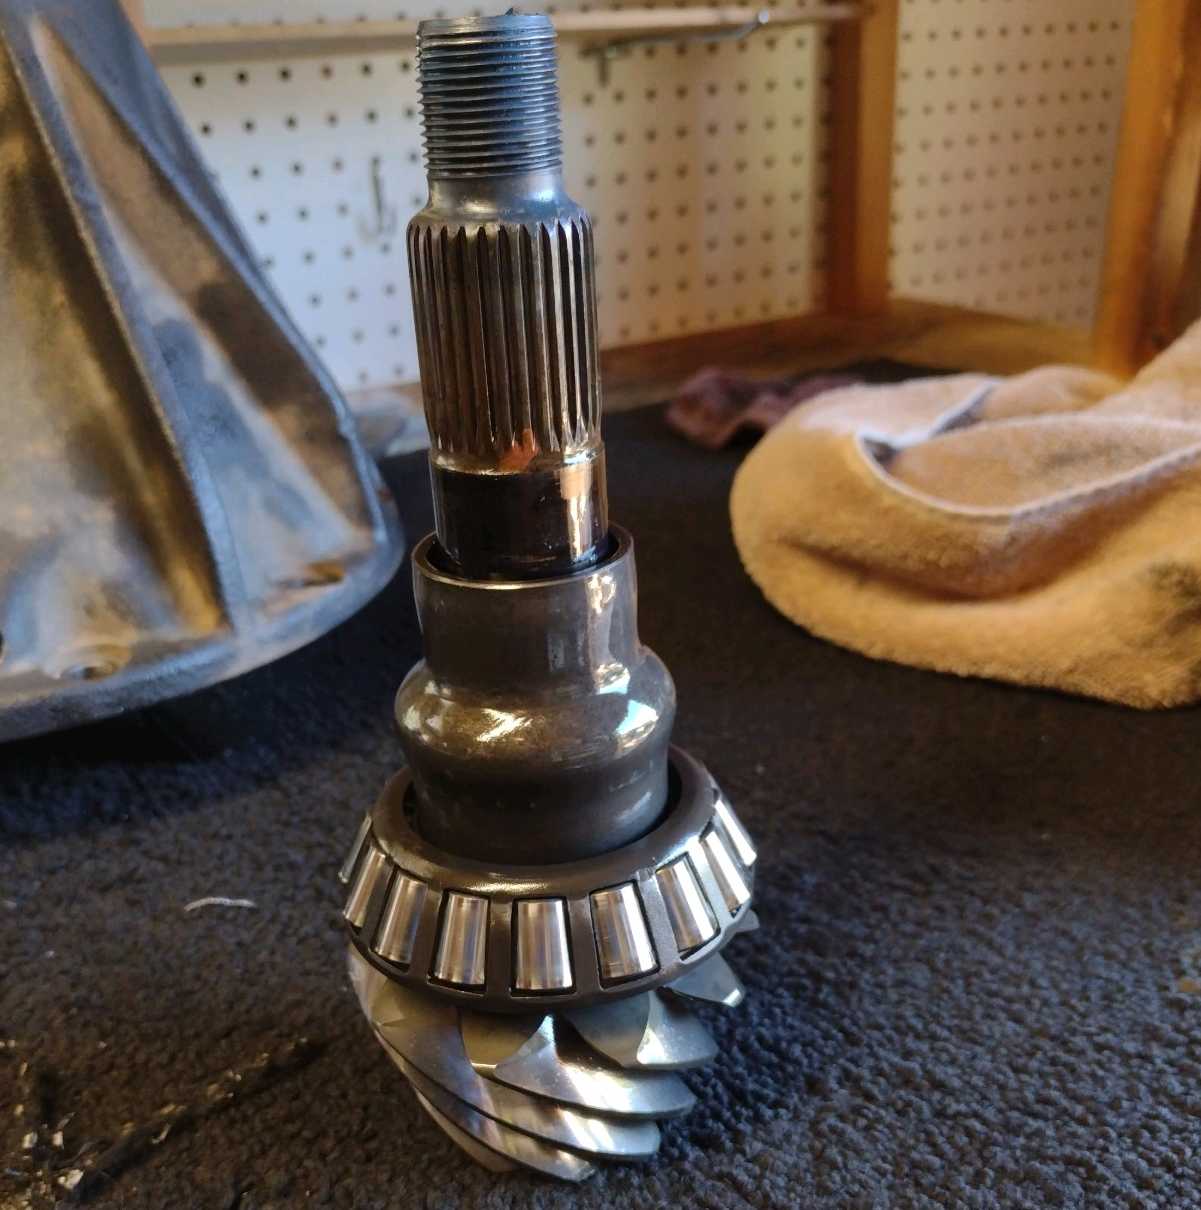
Looks like Nitro supplied the genuine Toyota 29 spline pinion seal in the kit so we will use that. |
|---|
|
|
|
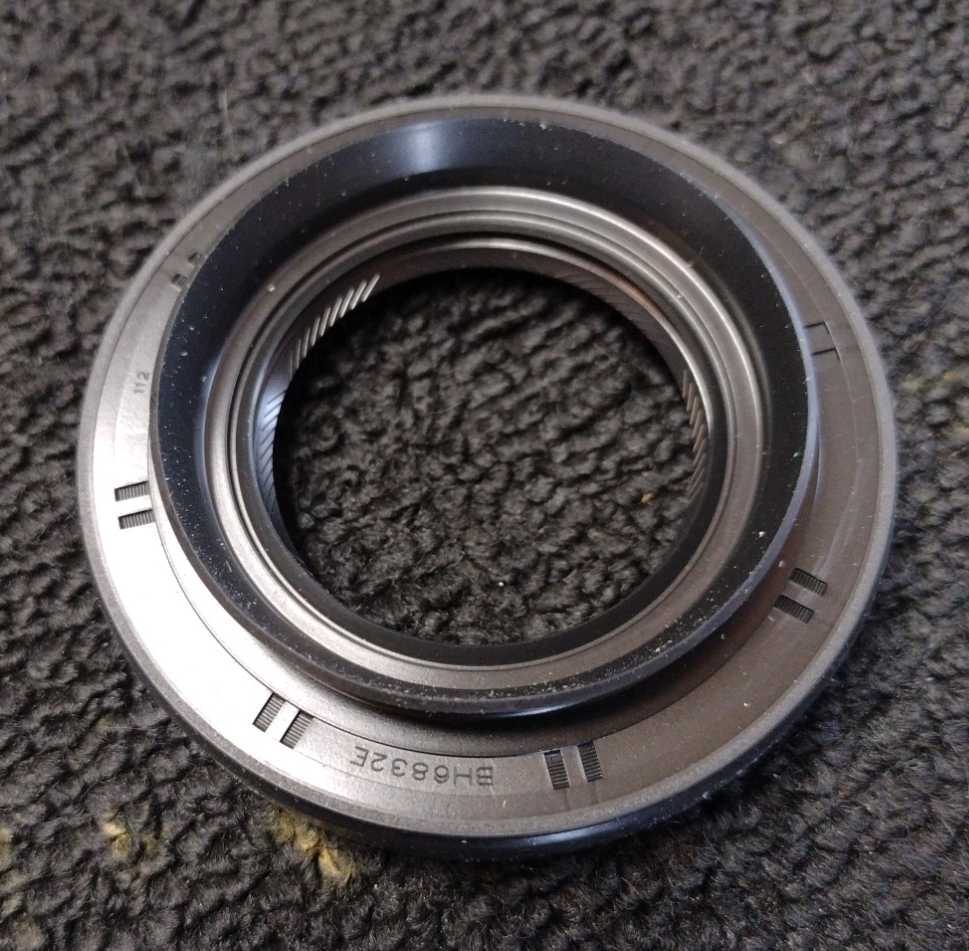
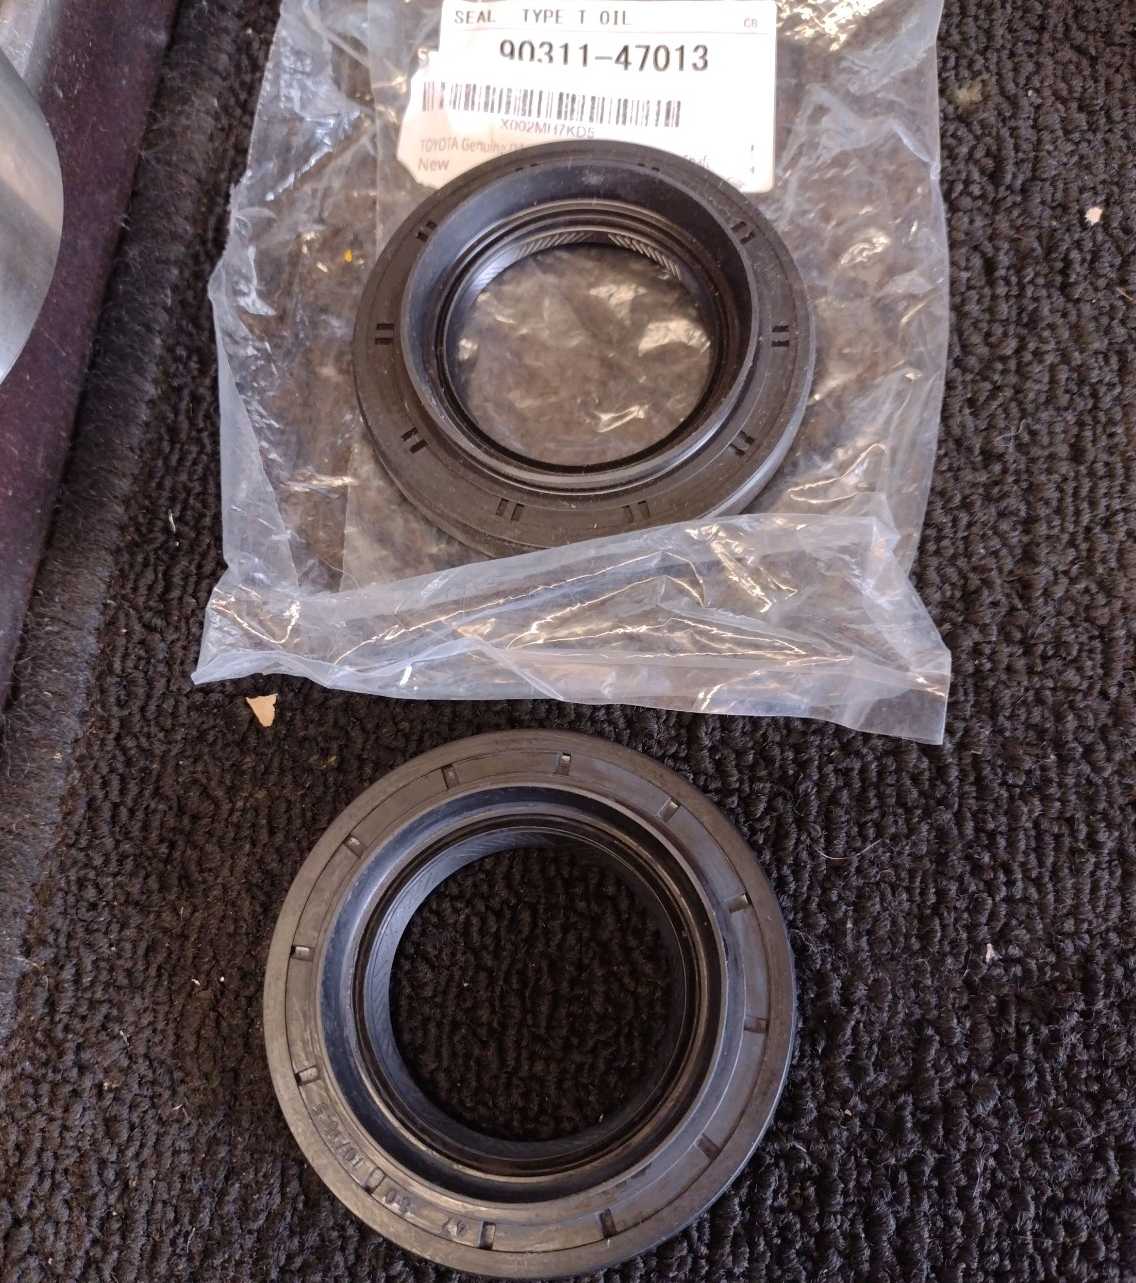
The left side CV axle seal is generic so a genuine 47013 will be used. |
|---|
|
|
|
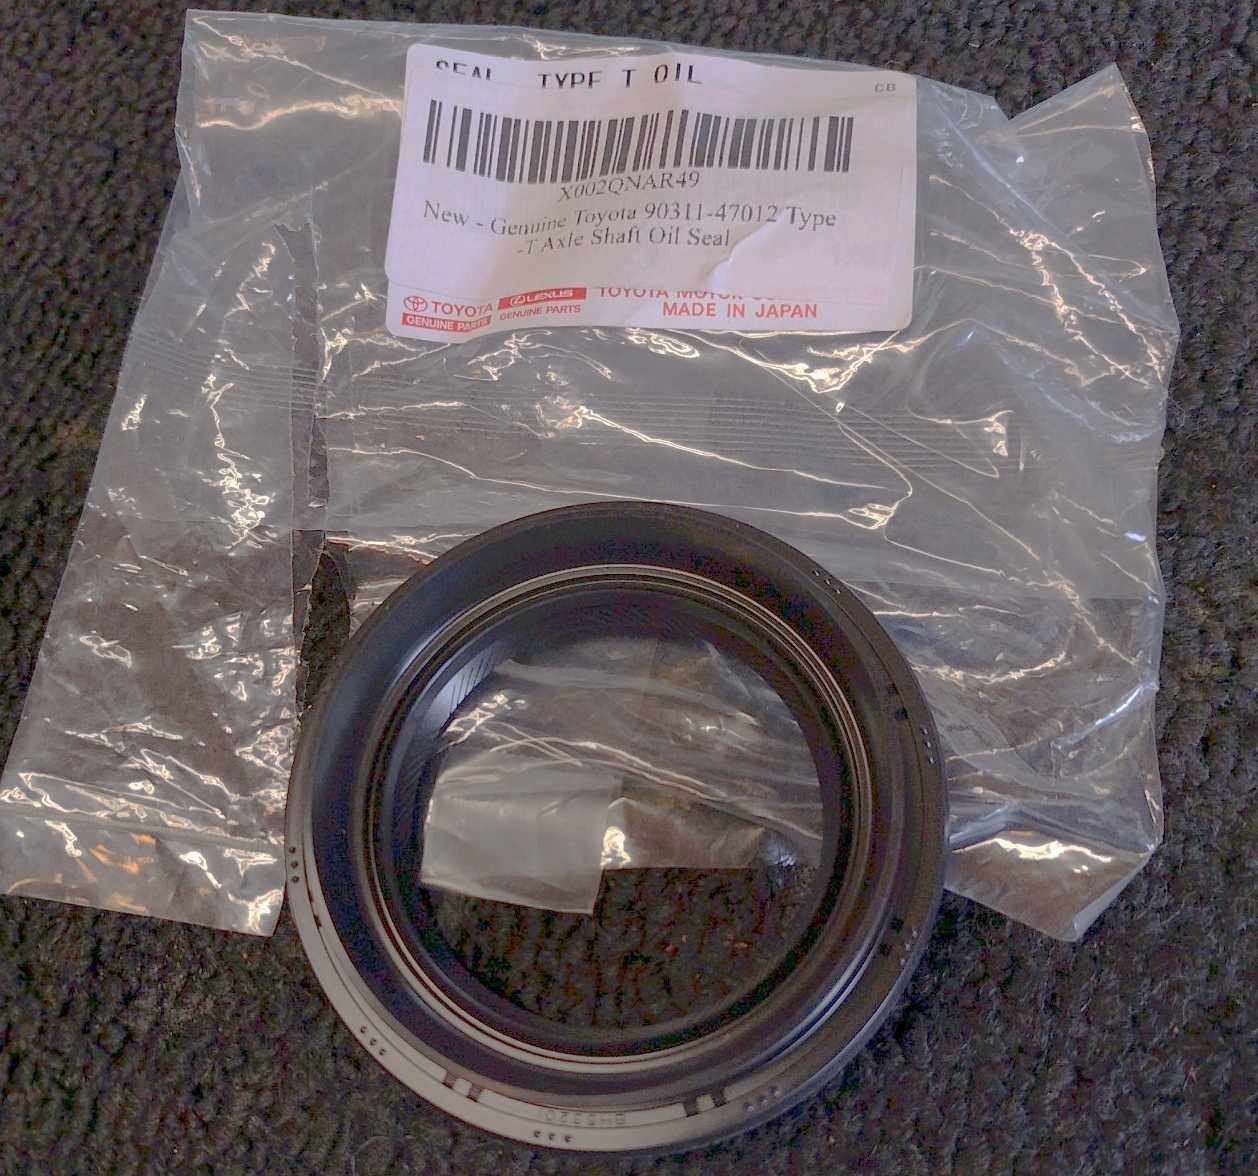
The right side part they supplied also looked generic so this genuine one will be used for that. |
|---|
|

|
|
Remove bearing caps and pop the center carrier out. |
|---|
|
|
|
A quick check of the old stock gears shows a good pattern. |
|---|
|
|
|
Coast side. Totally re-usable if Tom decides to pass them on to somebody. |
|---|
|

|
|
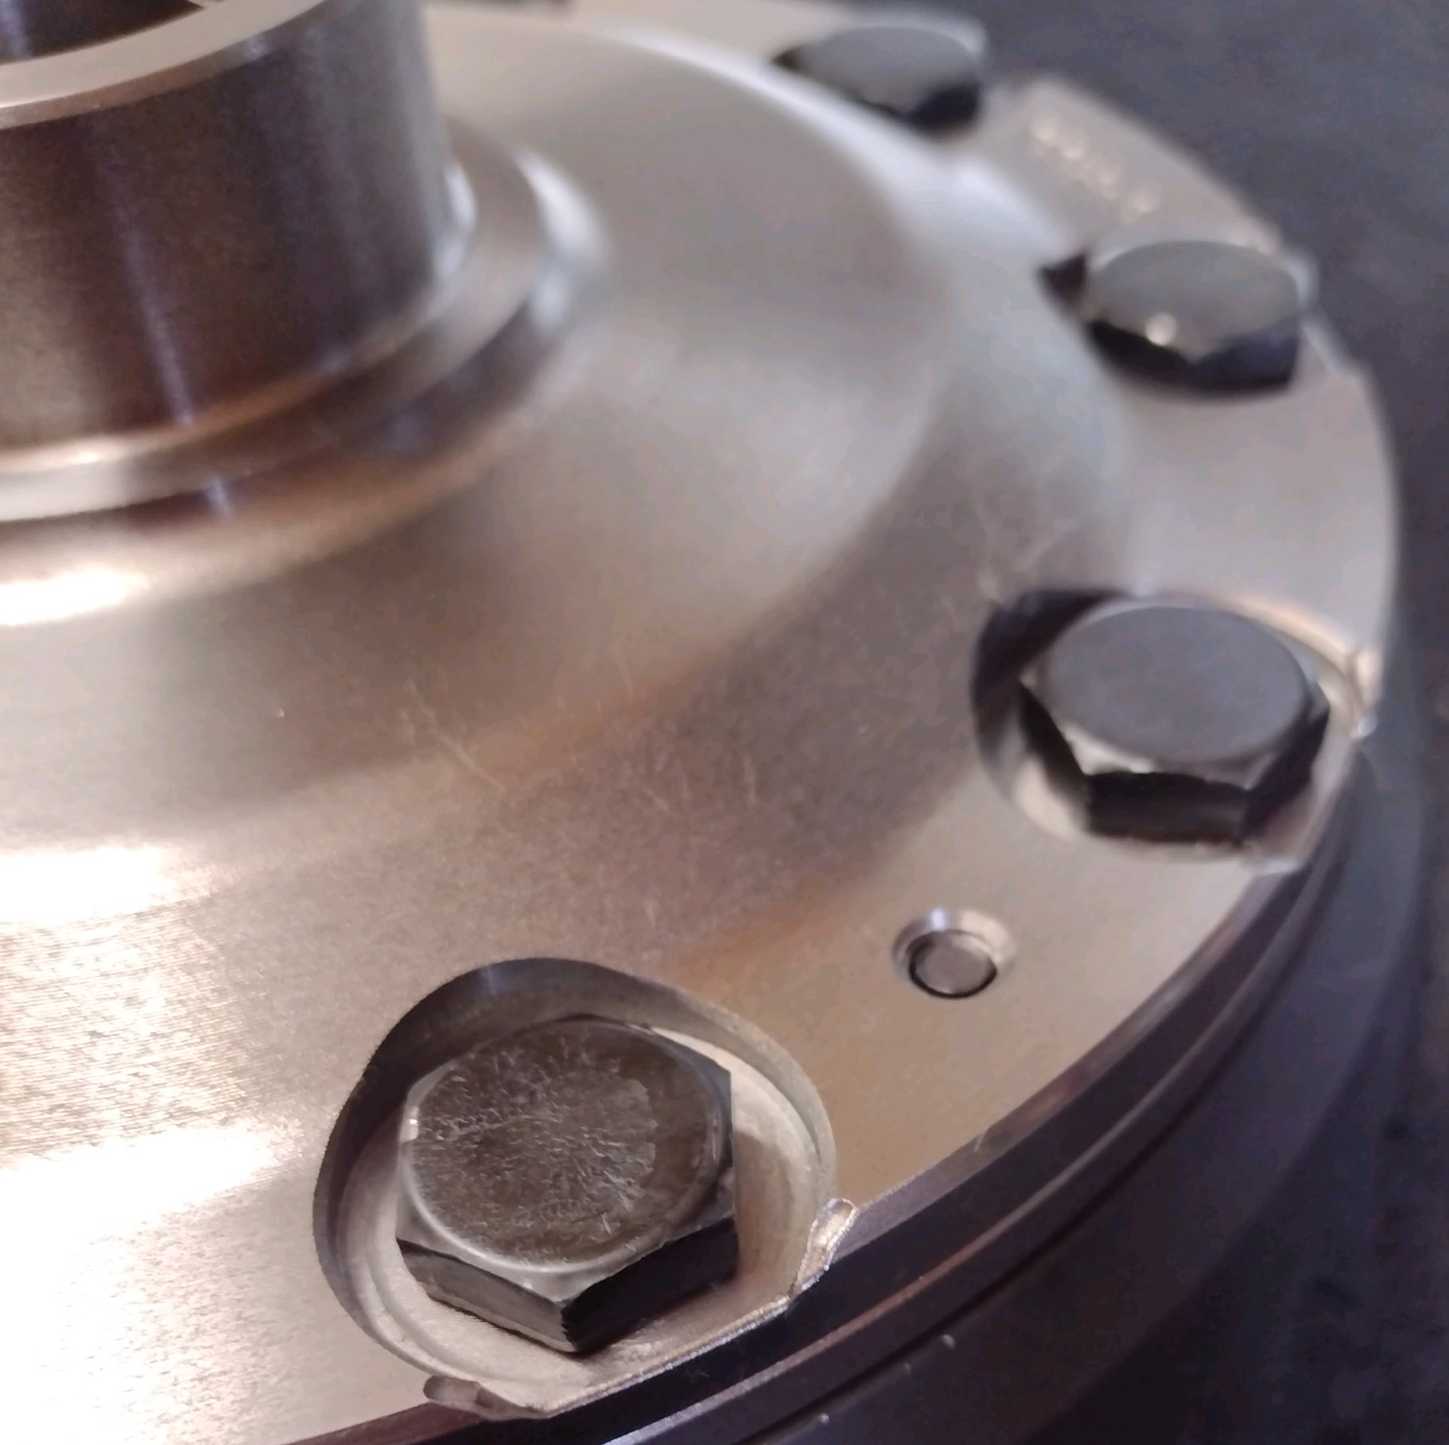
Red loctite and 71 ft/lb per FSM on all 10 bolts. |
|---|
|
|
|
Thank you Eaton for getting around to chamferring the corners here. Saves on finger cuts when screwing in the ring gear bolts. |
|---|
|
|
|
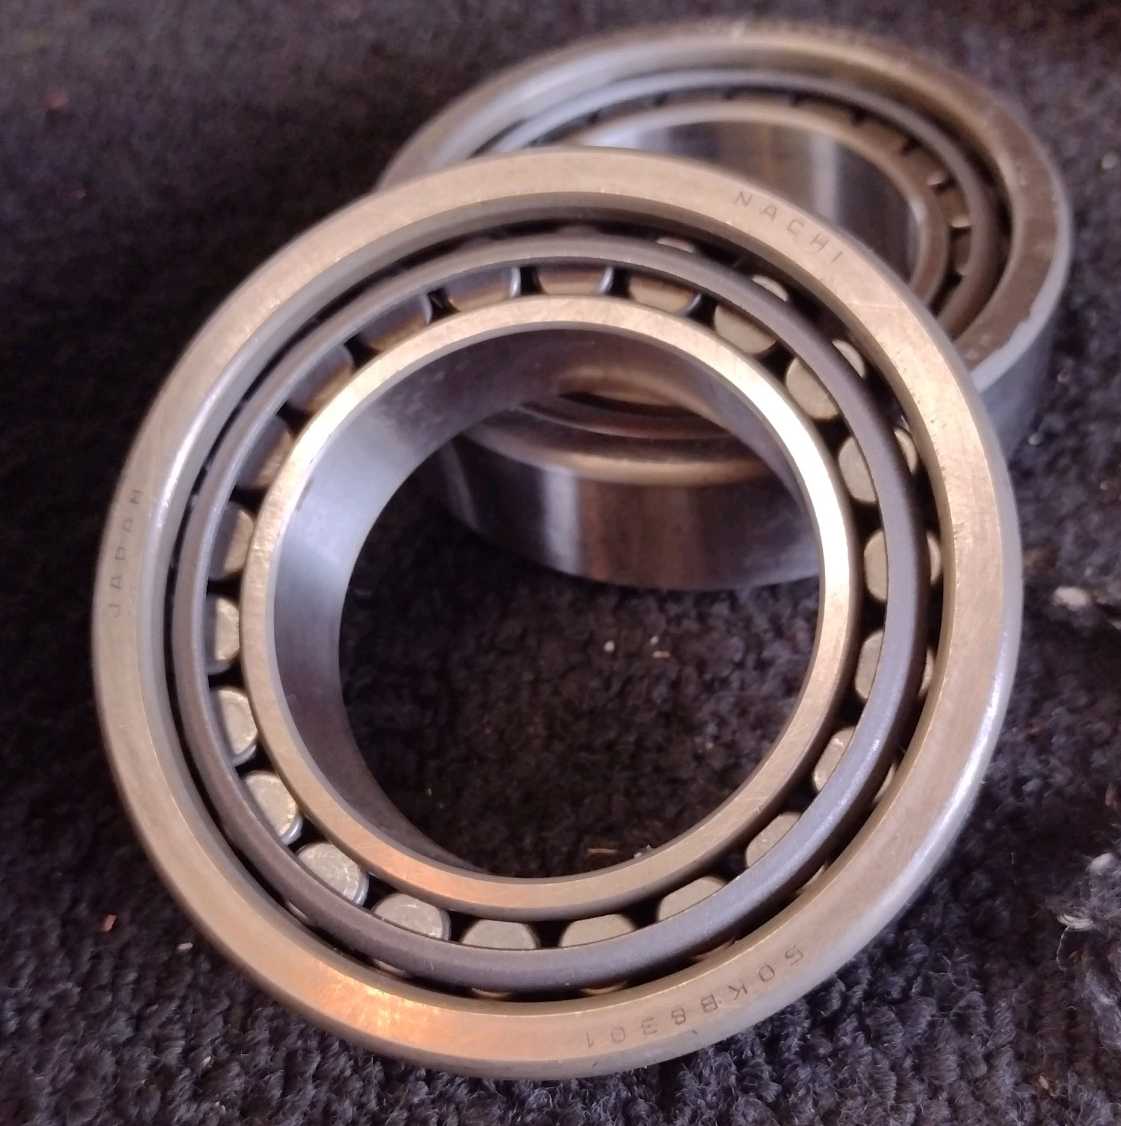
Good Nachi bearings....we will use those :) |
|---|
|
|
|
New carrier bearings tapped on....fully seated 100%. |
|---|
|
|
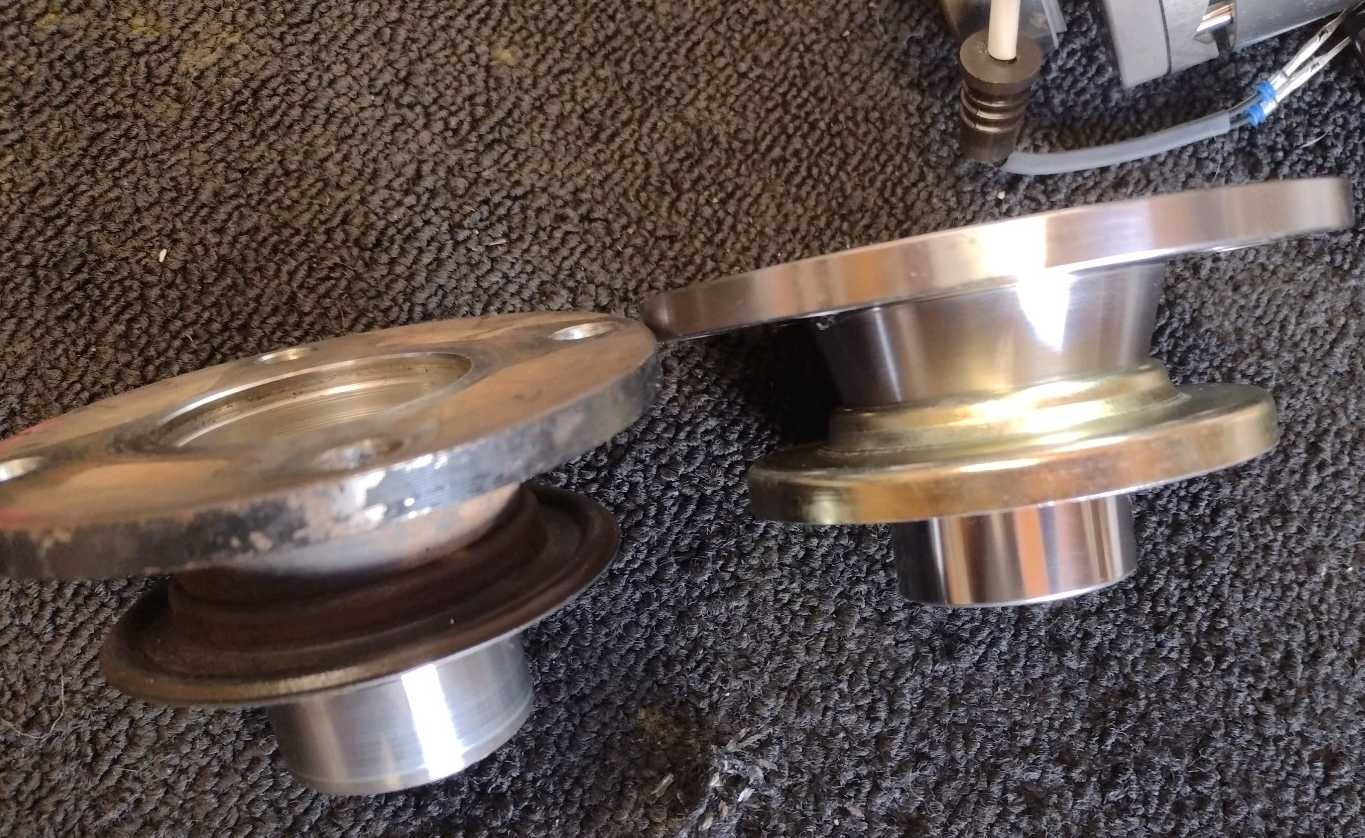
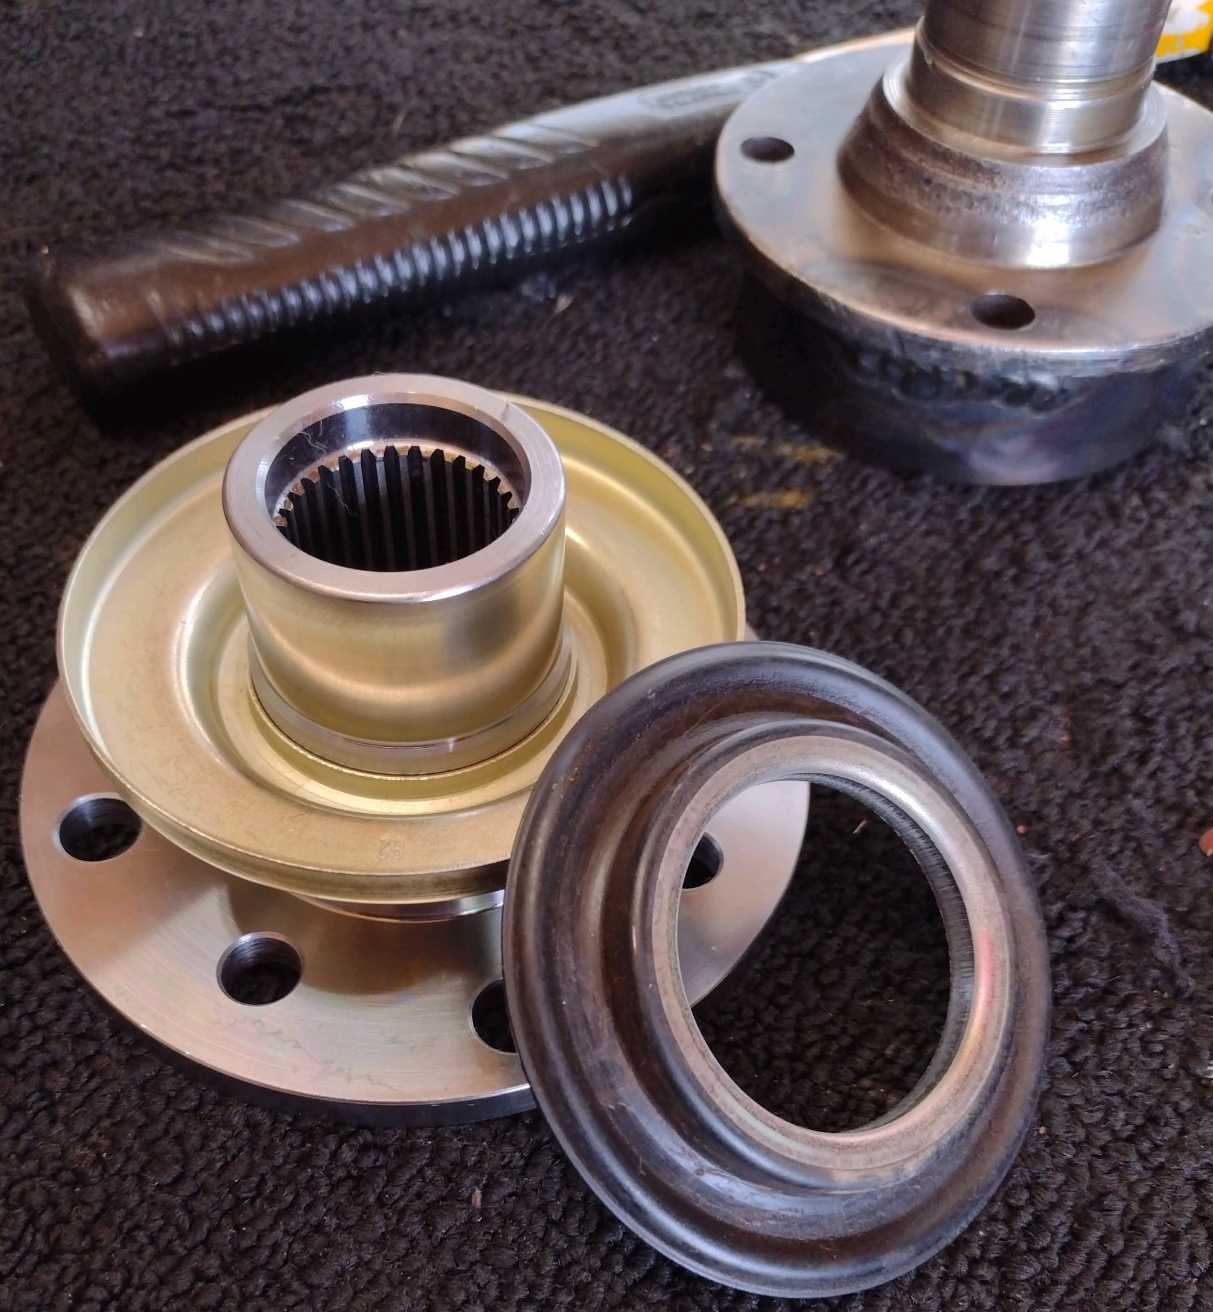
The original pinion flange on the left.....and the one that Nitro supplies has a different style dust cover.
Either the original cover has to be swapped over or a new one ordered(41252-60011) and pressed on.
Swapping over the old dust cover can work as long as the old one was for a 29 spl pinion flange.
Early model 100's had the smaller 27 splines so those don't work. |
|---|
|
|
|
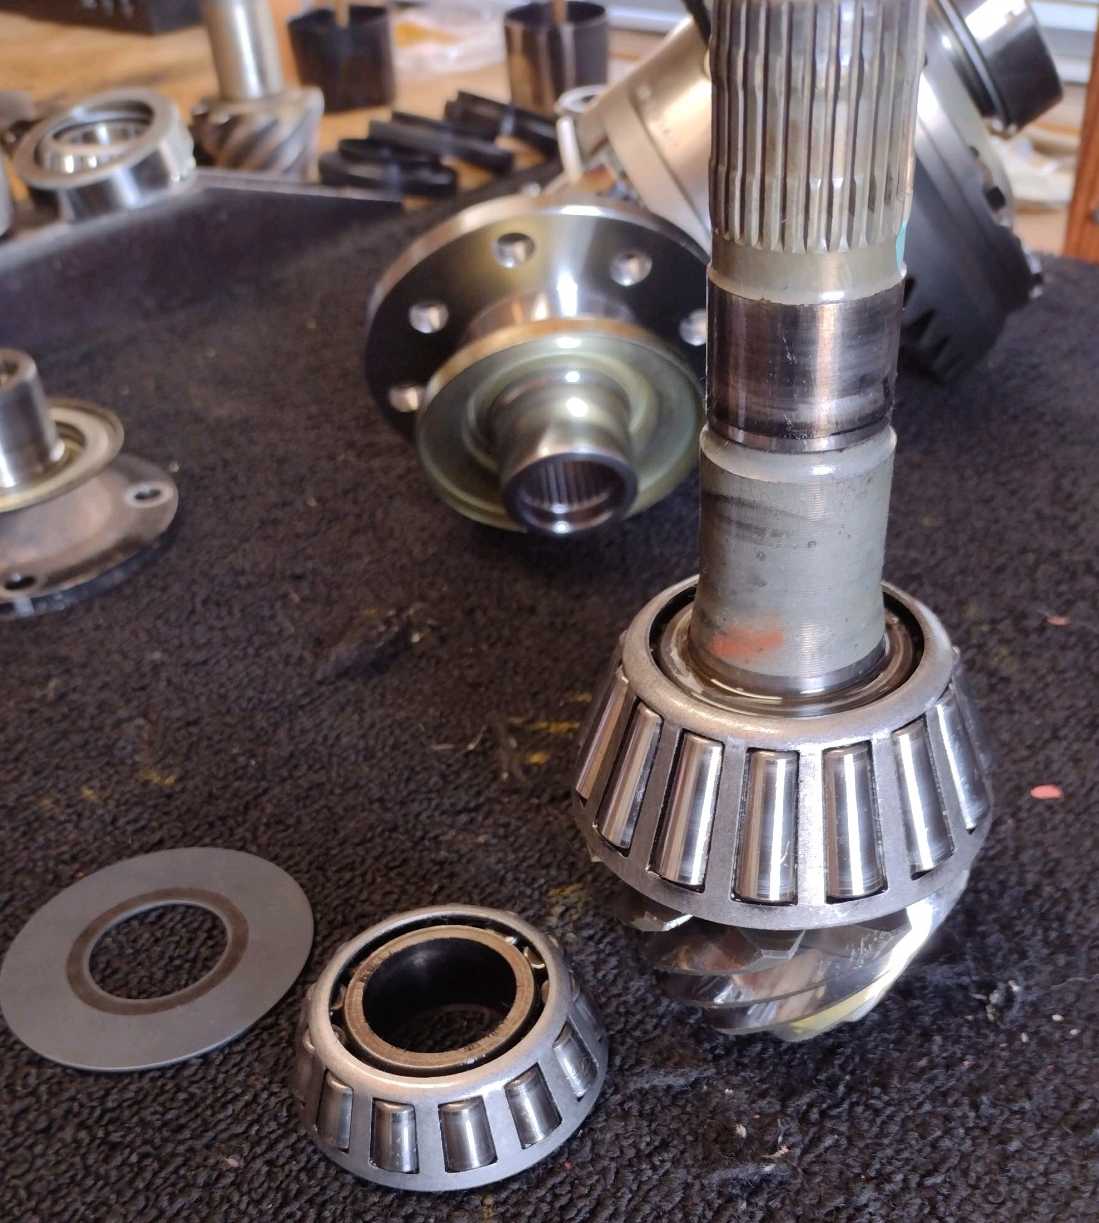
Old pinion bearings to be removed and new ones pressed on...... |
|---|
|
|
|
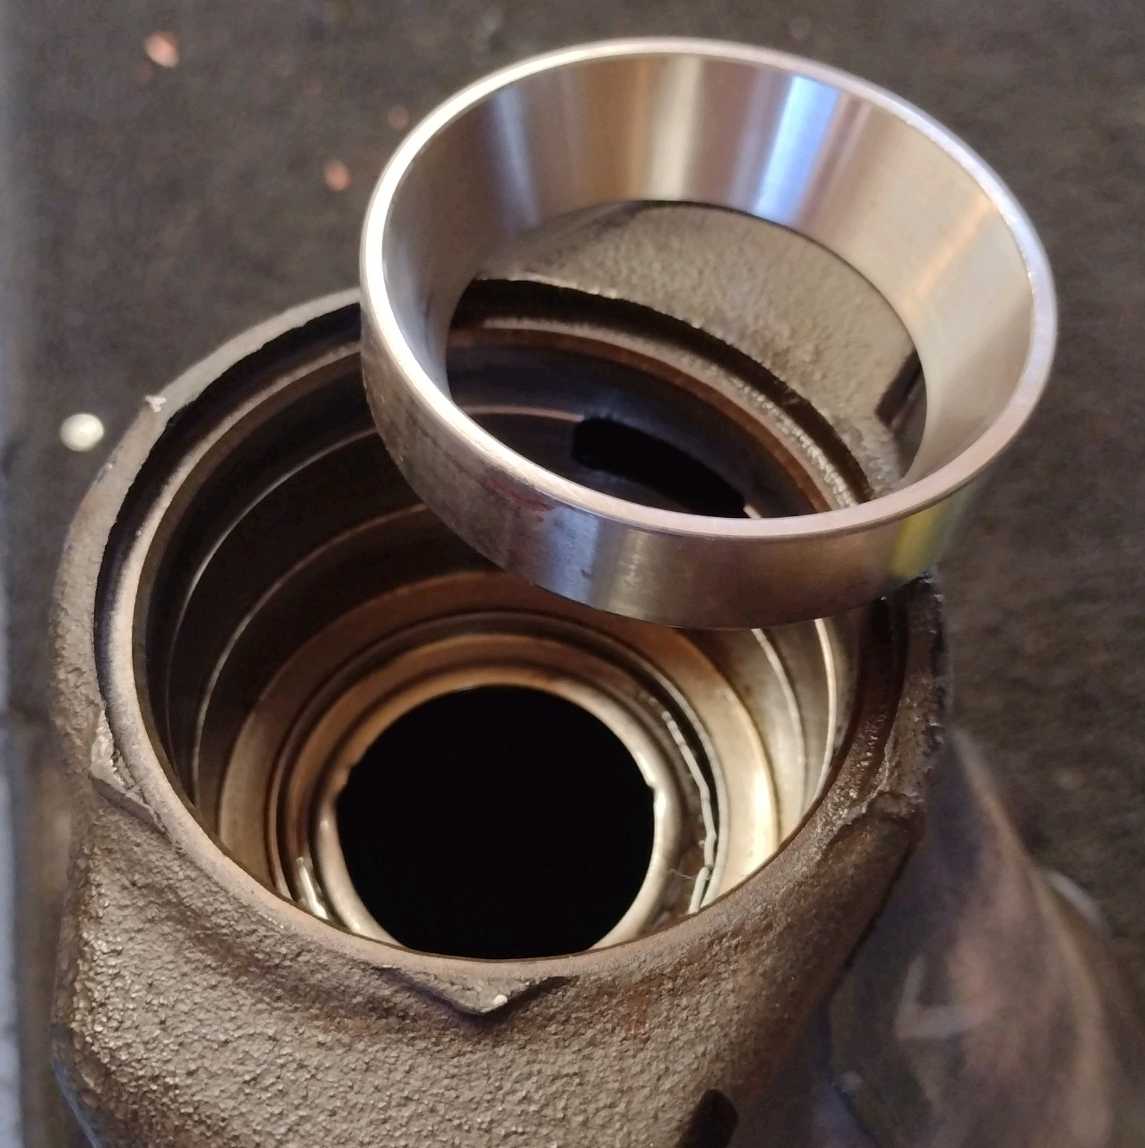
...and new pinion races will be tapped in. |
|---|
|
|
|
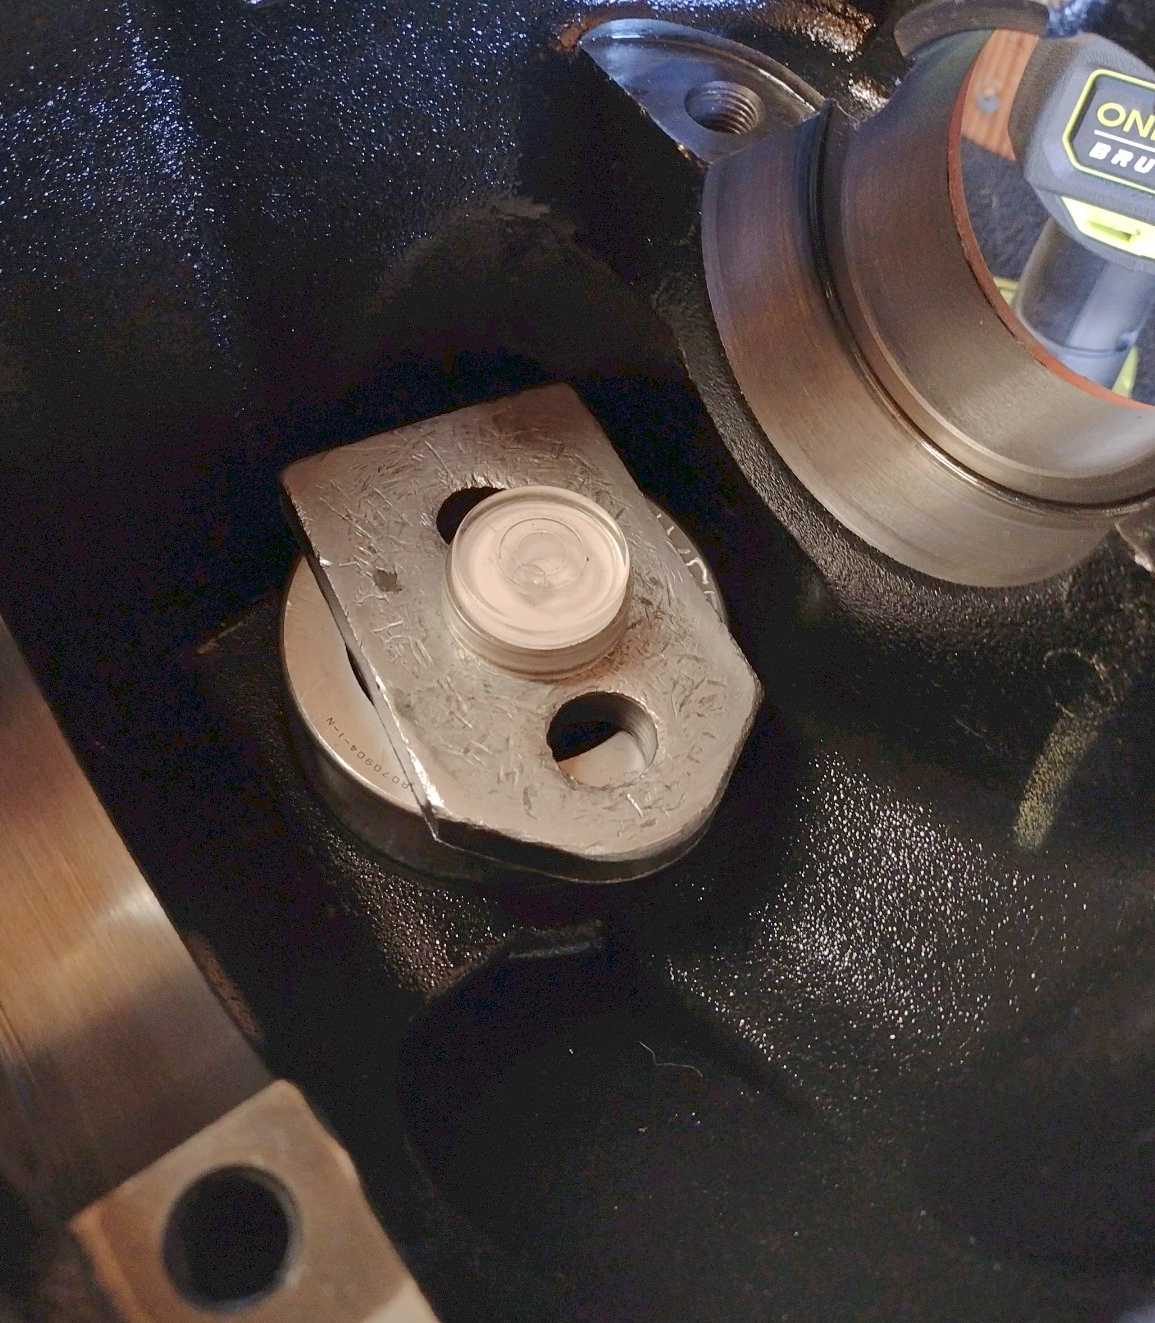
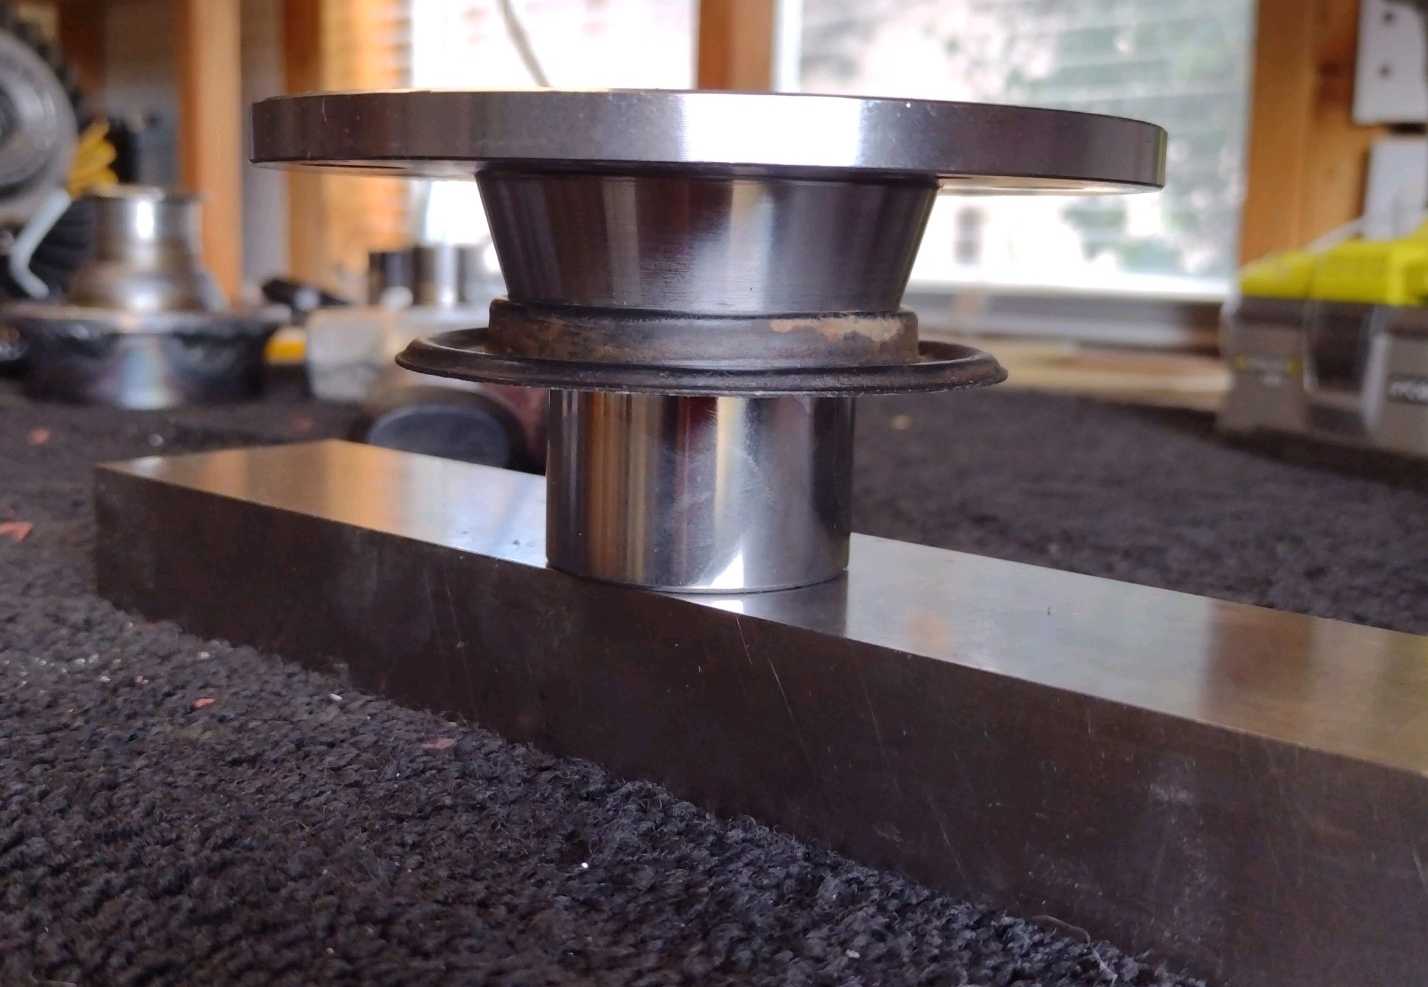
I use a "bubble" to check the larger inner race for going in level and true |
|---|
|
|
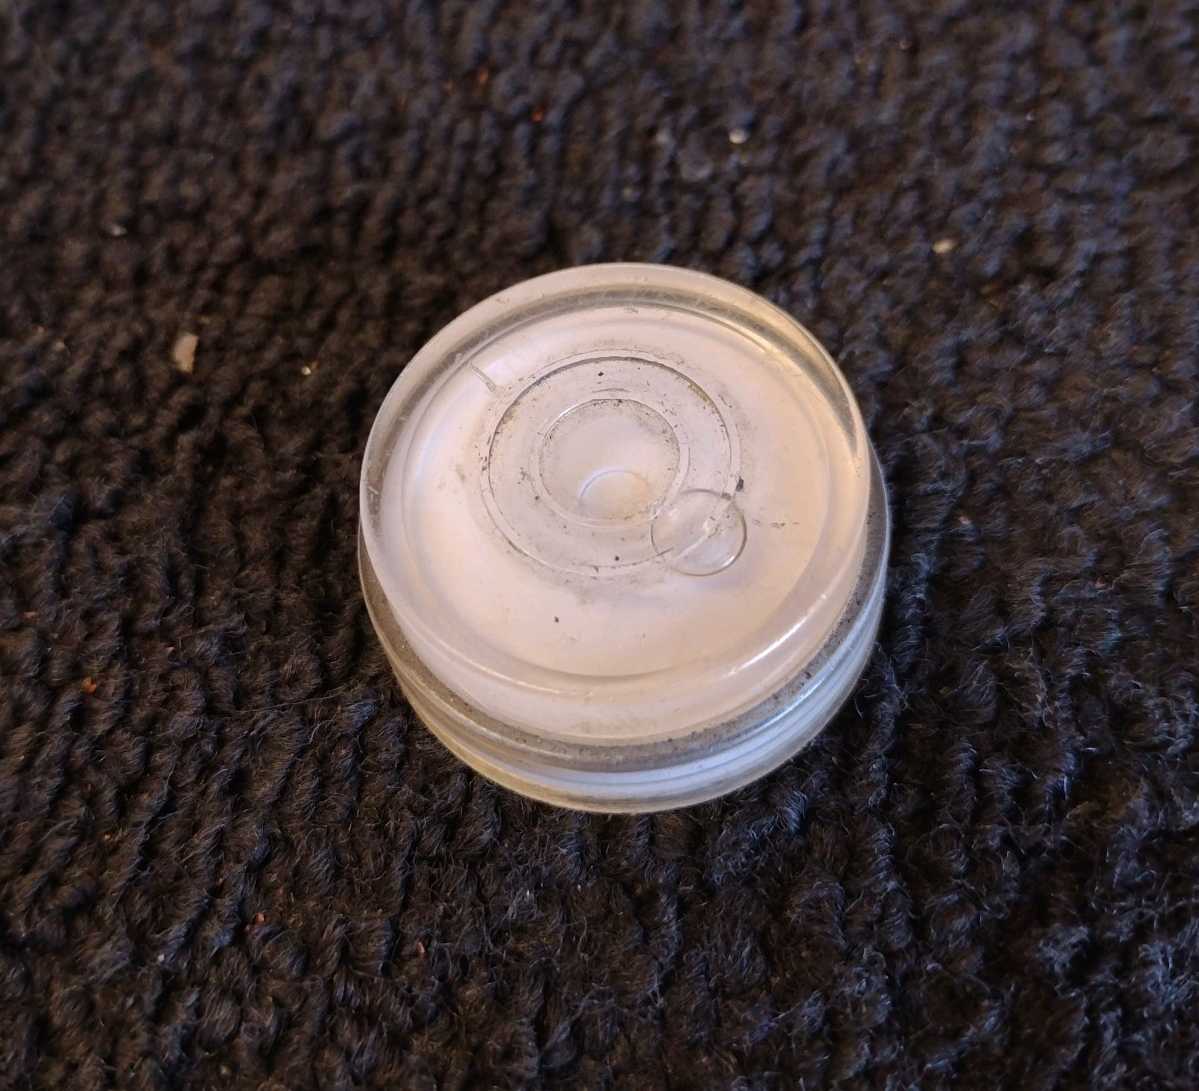
I'm about due for a new bubble....this one has a decade of use at least.
Just now ordered one on Amazon :) |
|---|
|
|
|
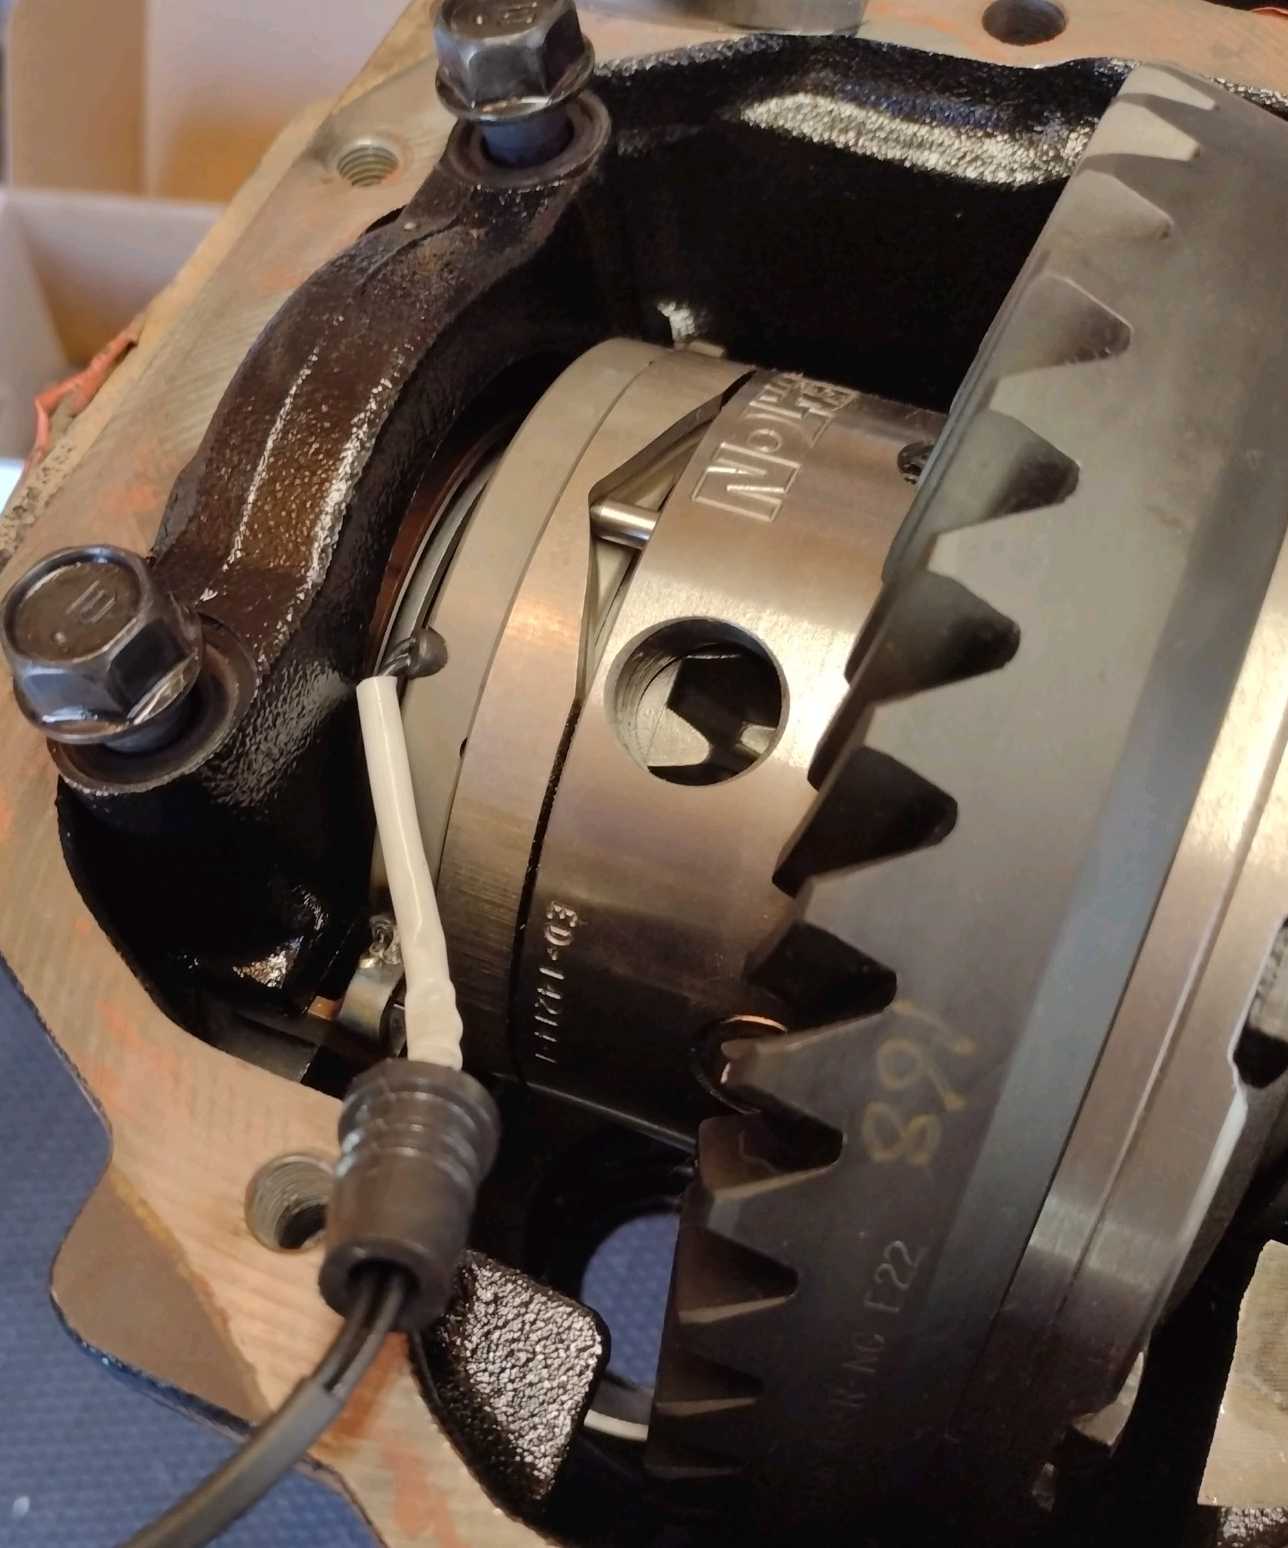
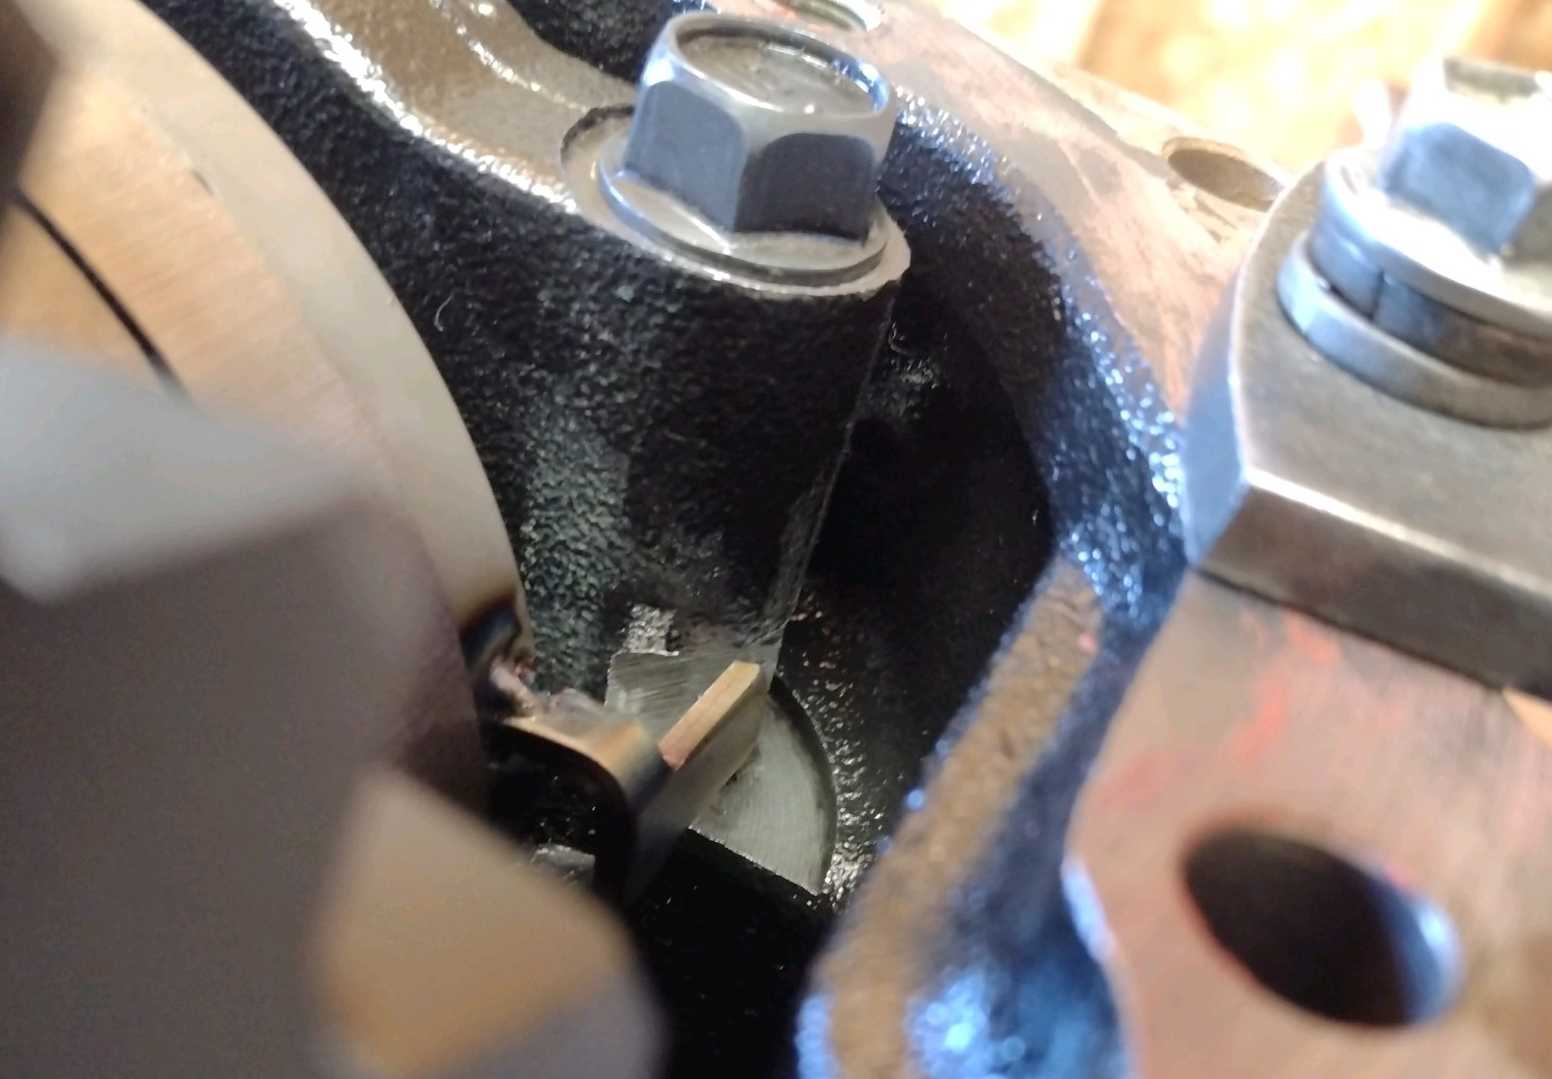
Looking at the picture above, the bearing cap will not seat down 100% until we grind/clearance the sides of the cap. |
|---|
|
|
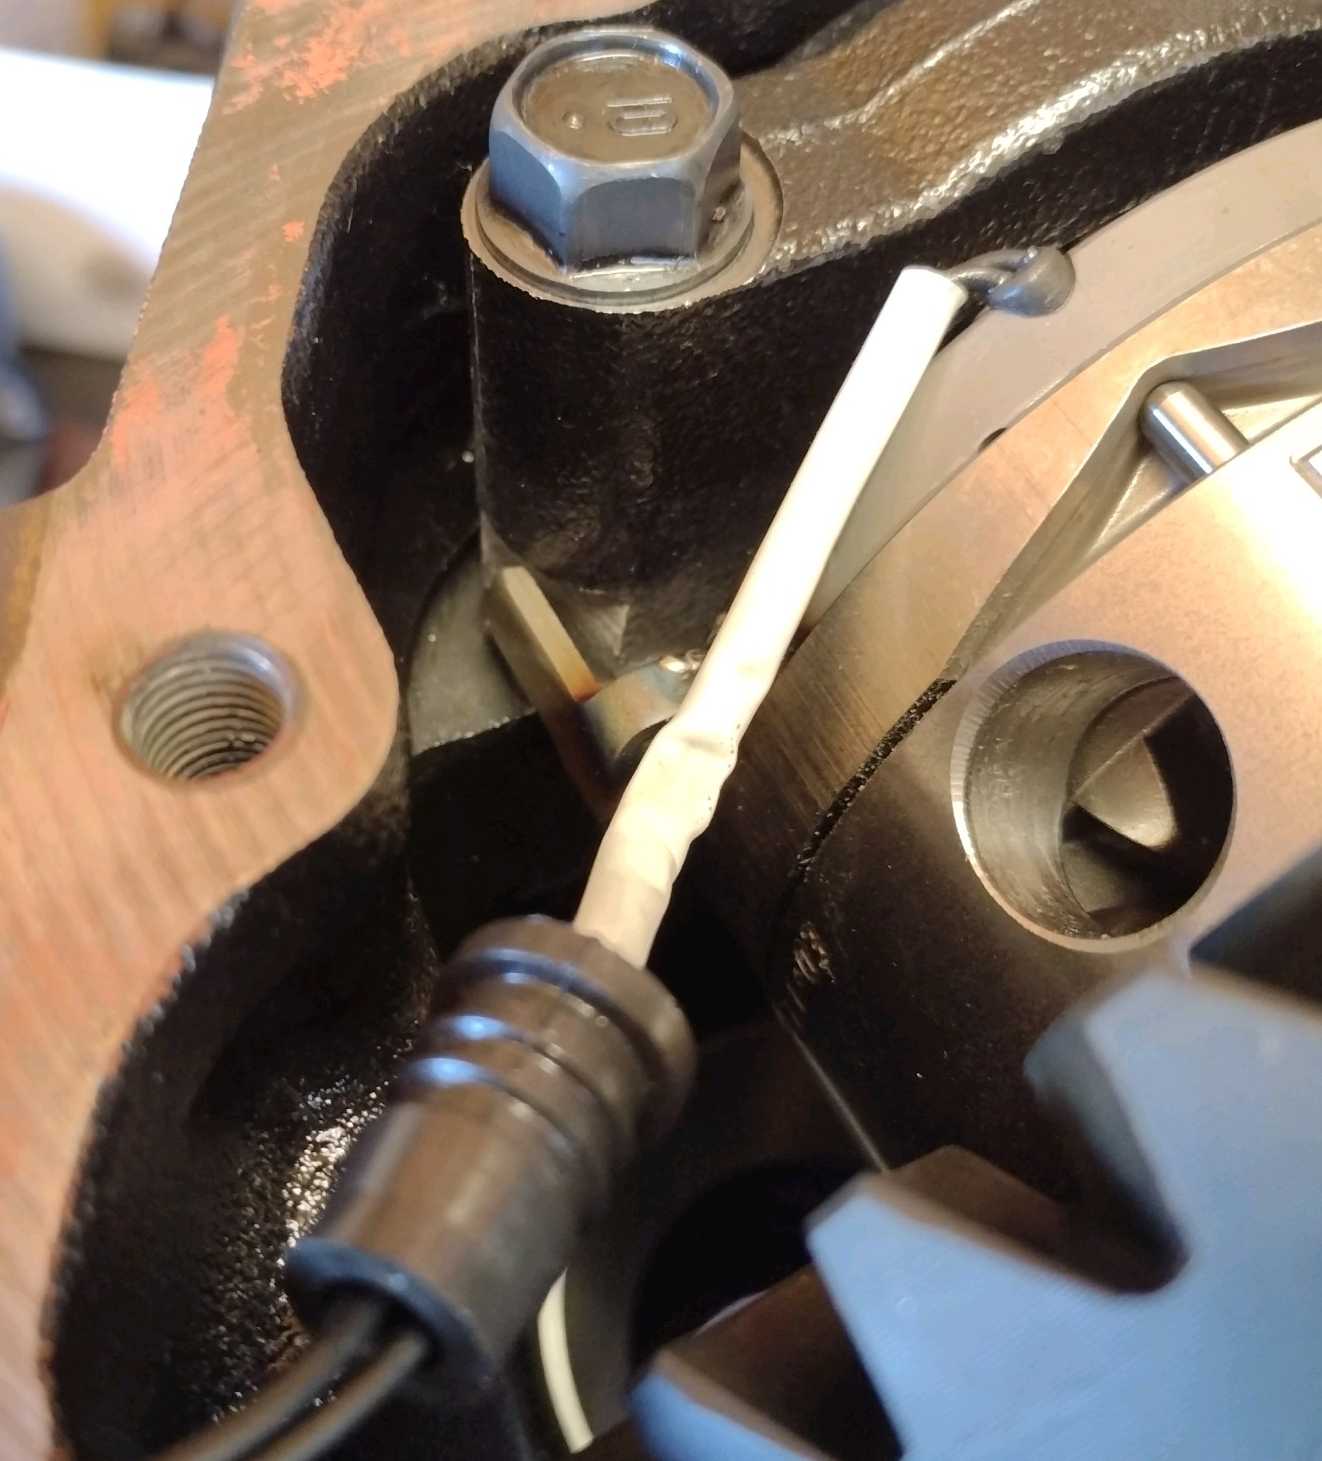
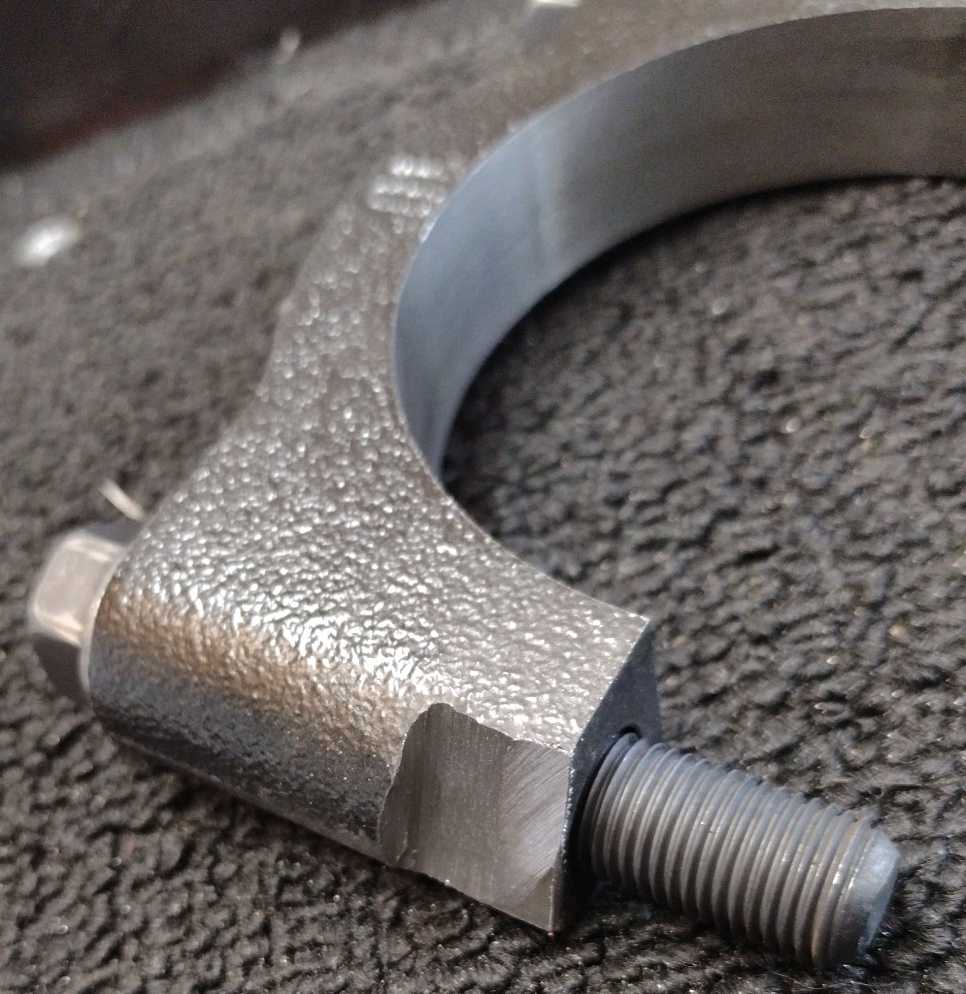
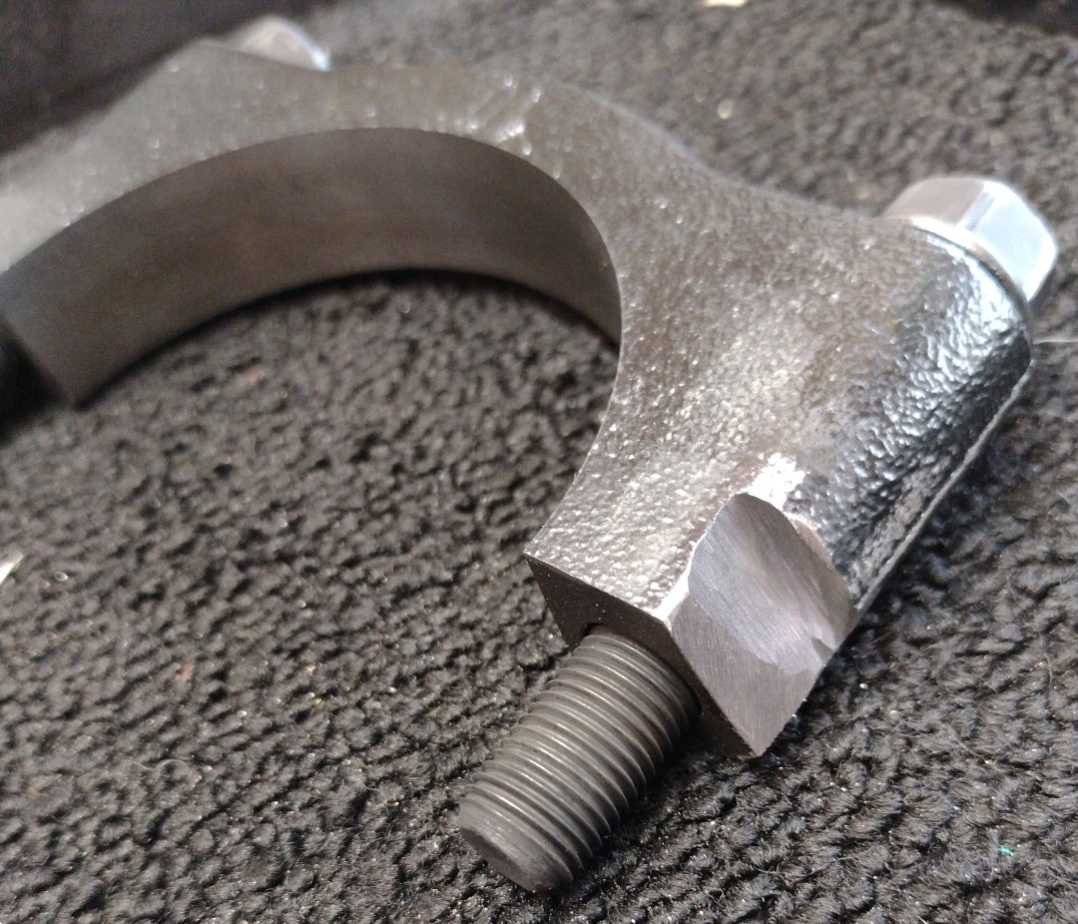
Bearing cap is clearanced and now seats down 100%.
The stop tab will be bent inwards at the completion. |
|---|
|
|
|
.............. |
|---|
|
|
|
............. |
|---|
|
|
|
.................... |
|---|
|
|
|
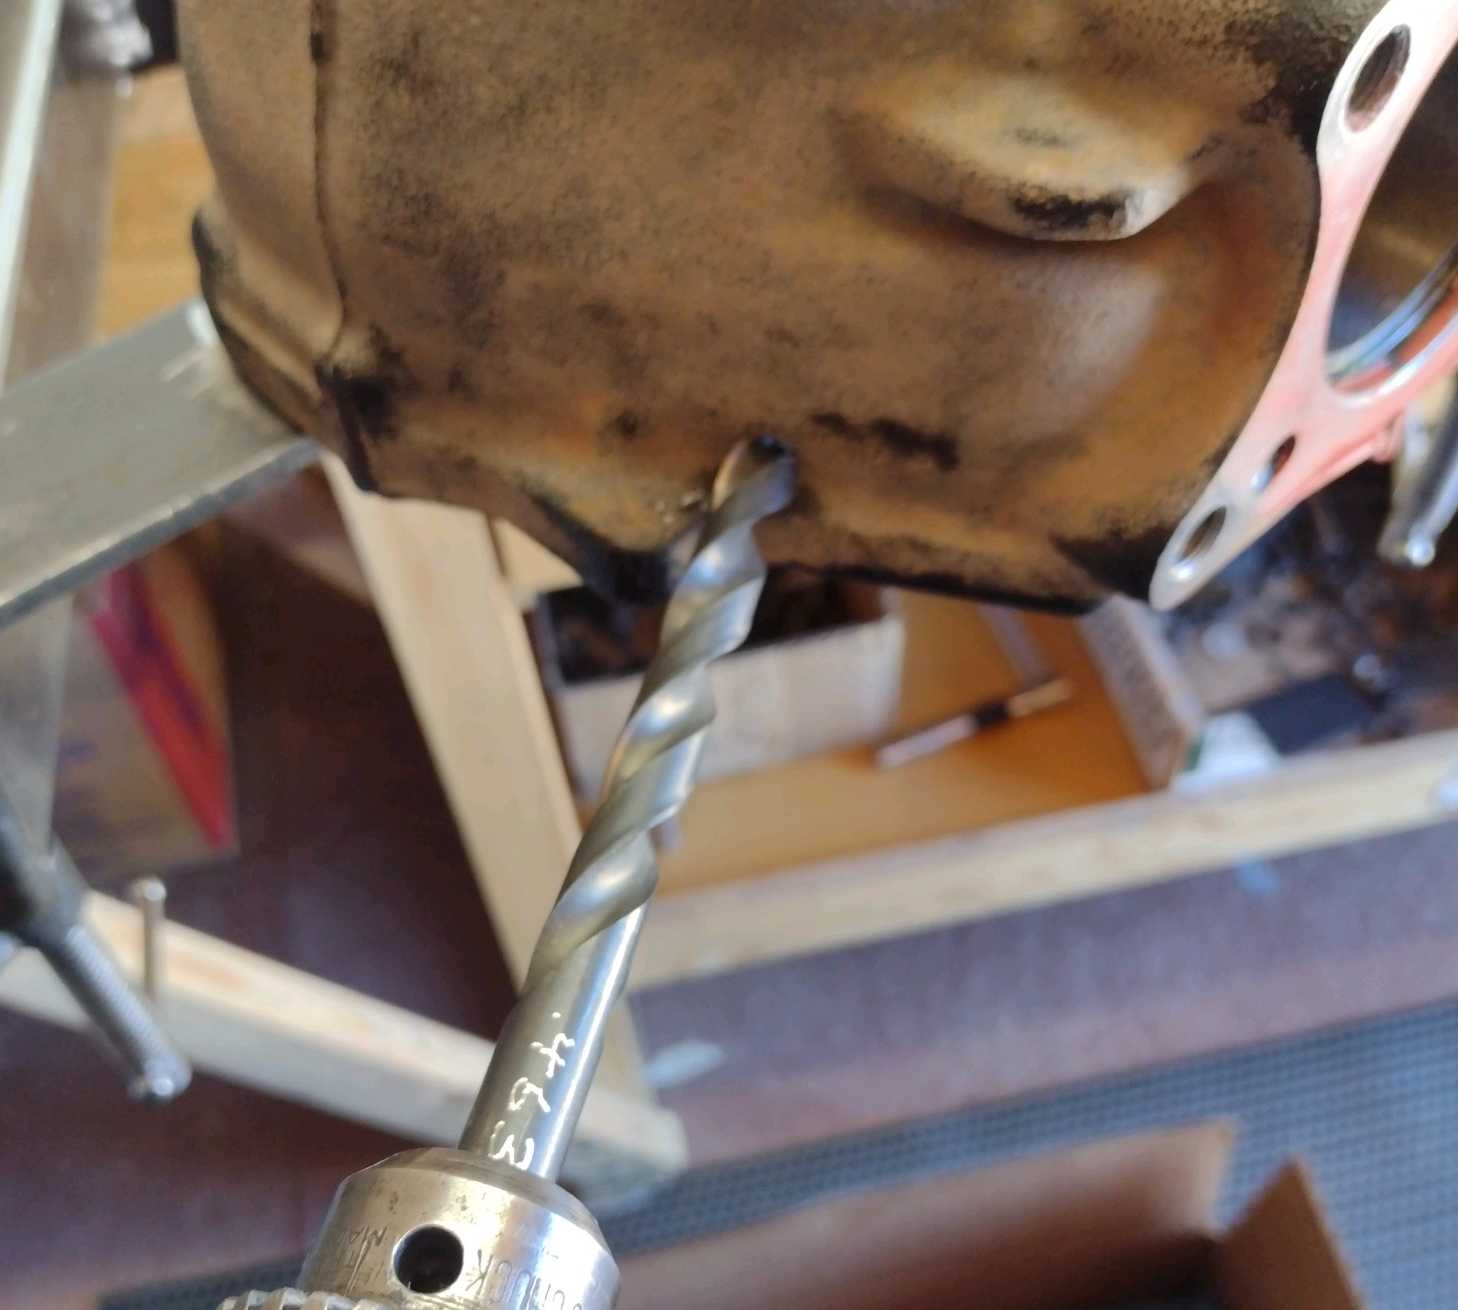
Now to drill the .463" hole. .463" to about .480" is acceptable. |
|---|
|

|
|
.463" hole is successfully drilled.... |
|---|
|
|
|
A thinner .0740" is now installed. |
|---|
|
|
|
Drive side with the new thinner shim. Much better. |
|---|
|
|
|
Reverse painted drive....very good |
|---|
|
|
|
Reverse painted coast....excellent. |
|---|
|
|
|
One more dis-assembly and the solid collar is next. Only took 2 tries to get it in the zone. |
|---|
|
|
Not shown but the 41009 genuine pinion seal was installed.
Since the original dust cover came from a 29 spline flange means that it can transfer right over to
this new Yukon flange. If a new dust cover is needed the part number is 41252-60011 |
|---|
|
|
|
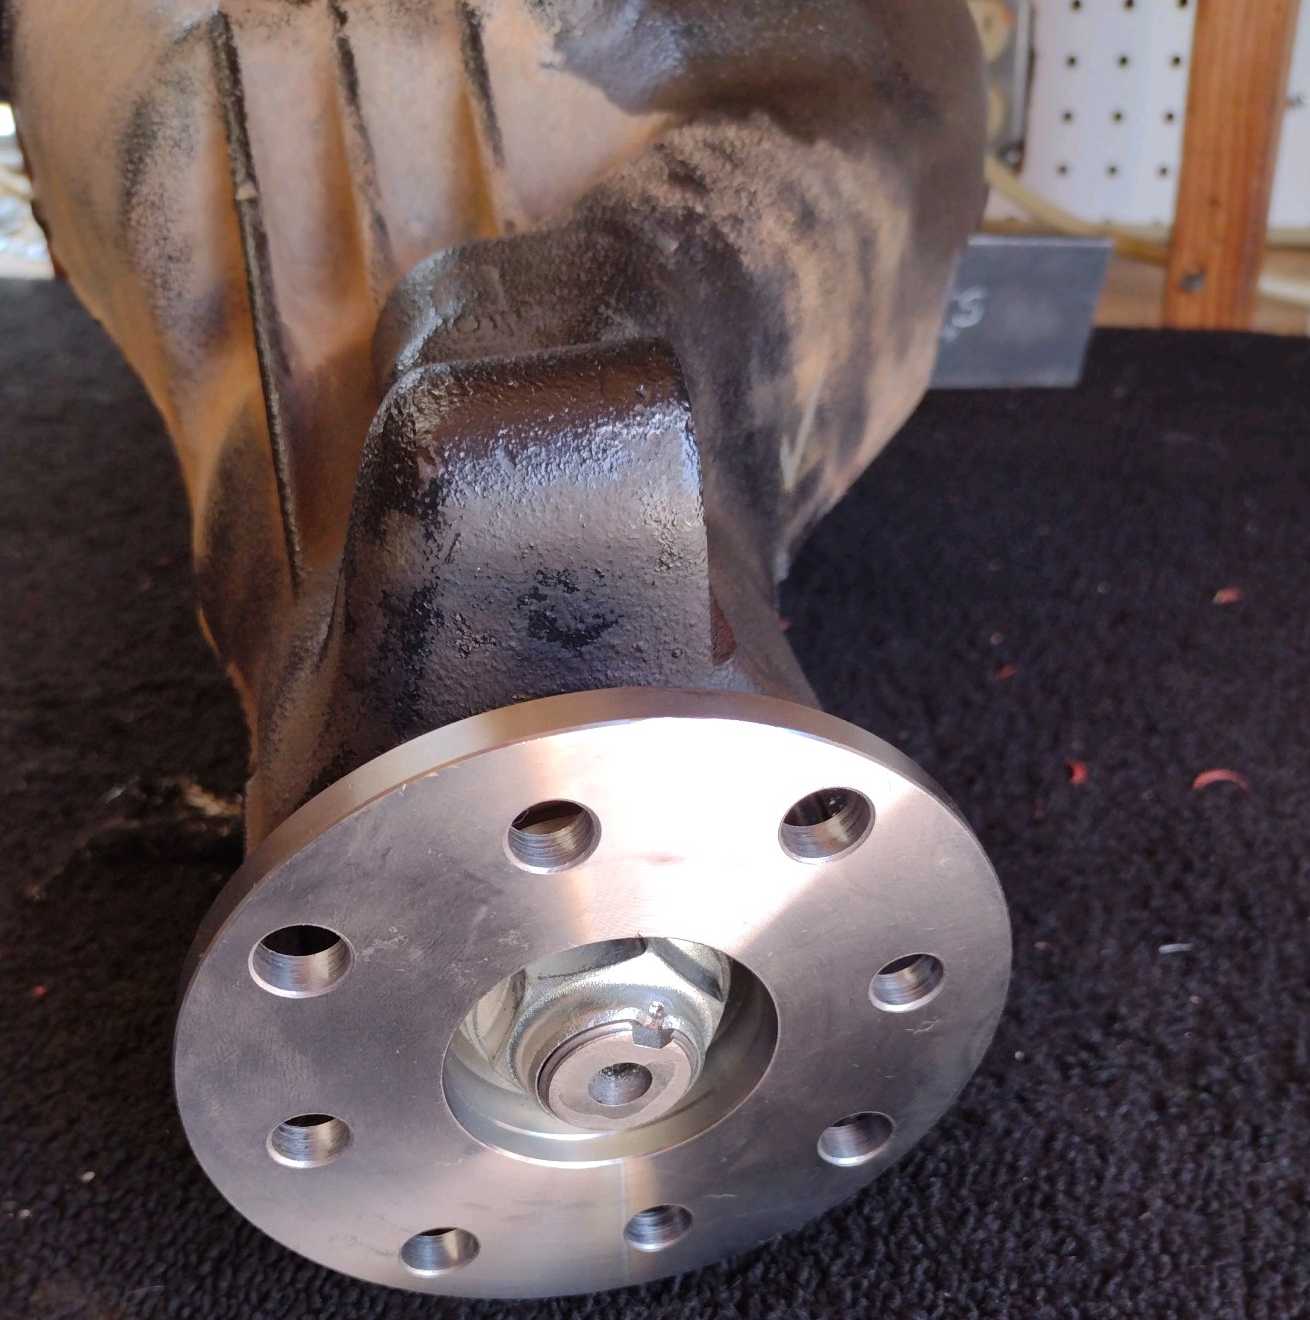
Operation was a success. |
|---|
|
|
|
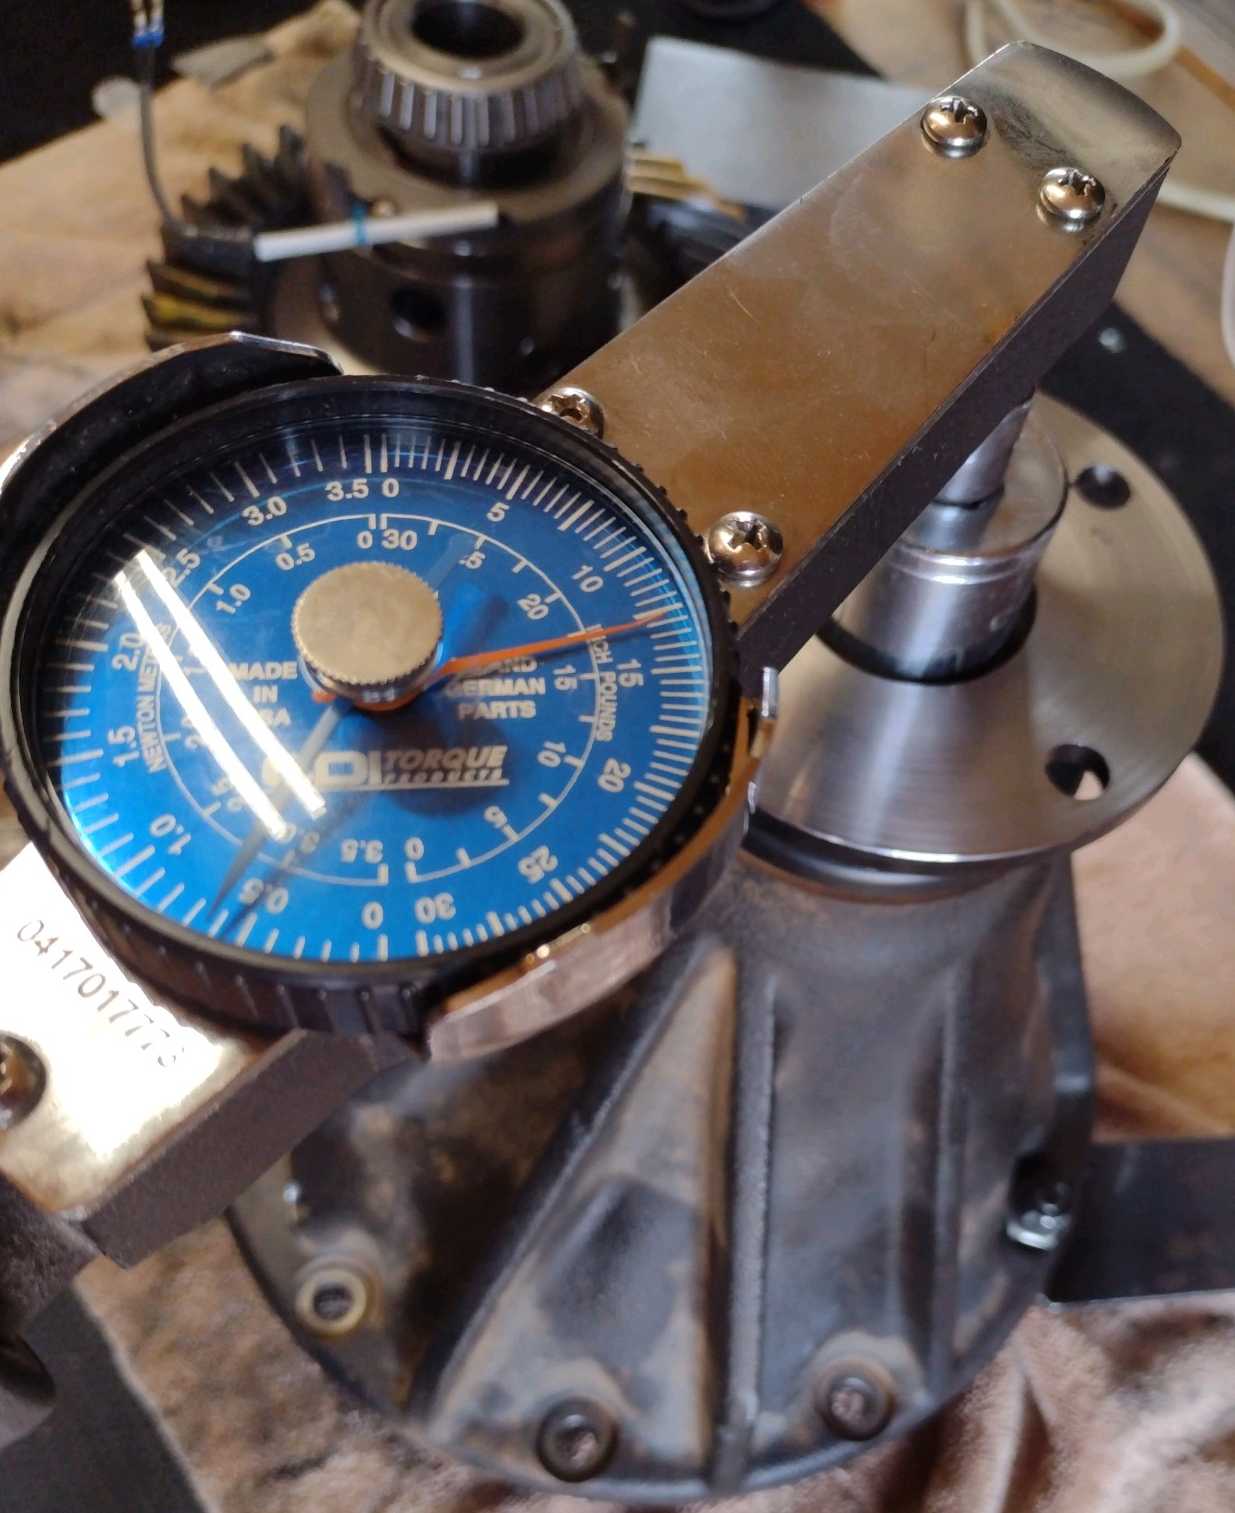
Tighten the nut until 10~15 inch/pounds is reached and DING! |
|---|
|
|
|
Backlash is recorded from every other tooth. |
|---|
|
|
I use a good quality RTV called Permatex Ultra-Grey
and the rubber grommet slides in the hole easier. |
|---|
|
|
|
elocker tests...apply 12 volts and turn the ring gear a little bit.... |
|---|
|

|
|
The 3 pins are seen to recess into the case (locked). |
|---|
|
|
|
Release the 12 volts and the pins instantly snap back out (unlocked). Pass 12v test. |
|---|
|
|
|
Now just install these parts and it's done. |
|---|
|

|
|
Notes taken. |
|---|
|
|
|
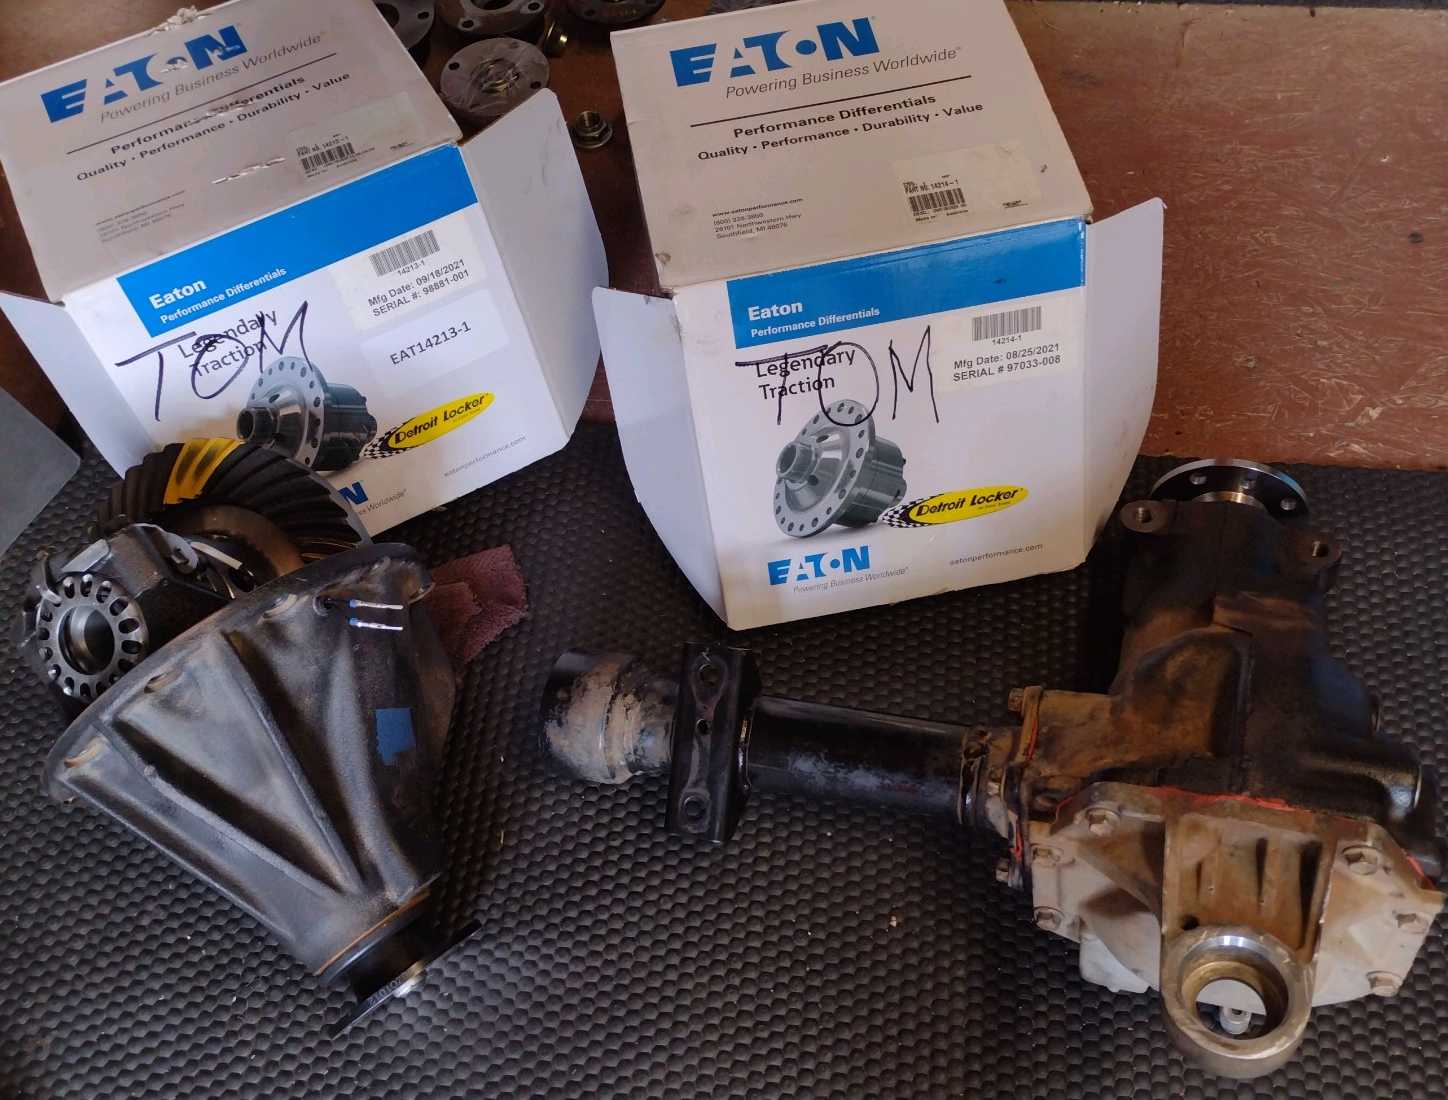
2 diffs ready for pickup. |
|---|
|
|

|