|
|
|
|
|
|
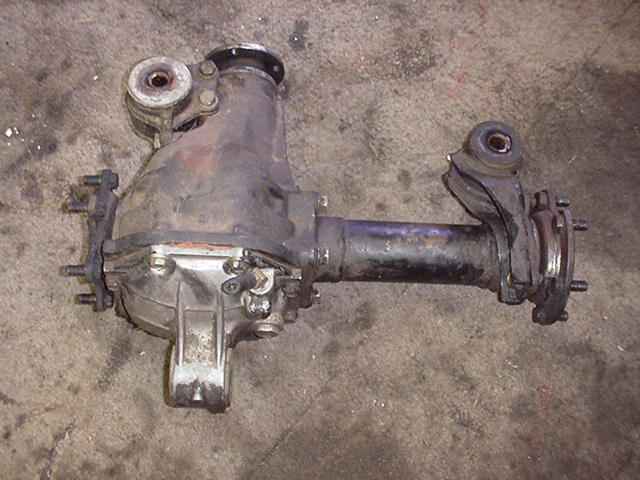
Removing the axle stubs is easy... |

|
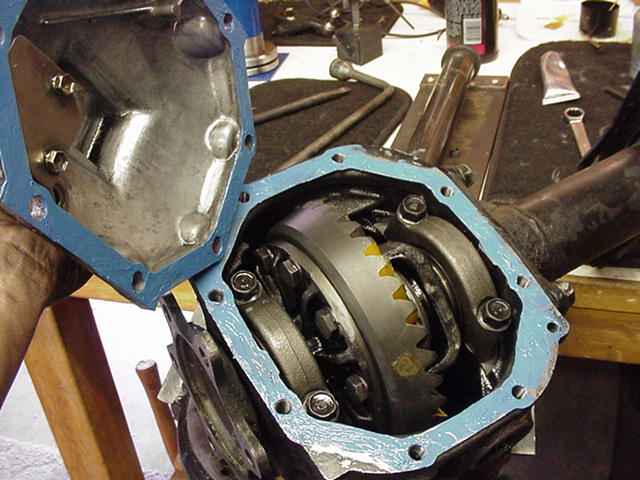
Start by removing the aluminum cover... |
|
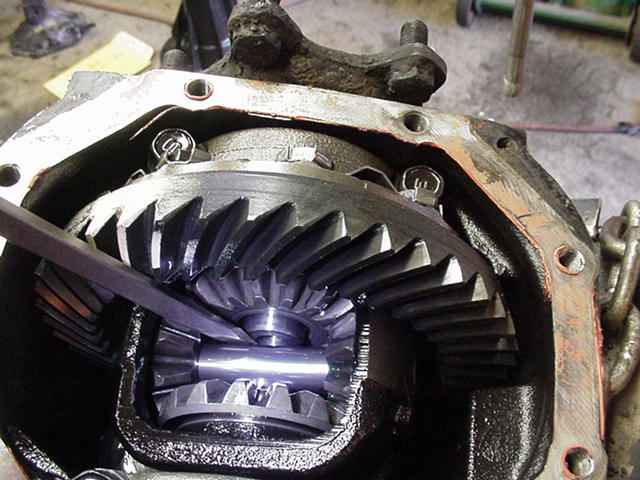
Place a large screwdriver between the cross-pin and the axle end then drive them apart with a hammer. Done. |

|
Remove the 4 bolts and the long axle side will slip out. |
|
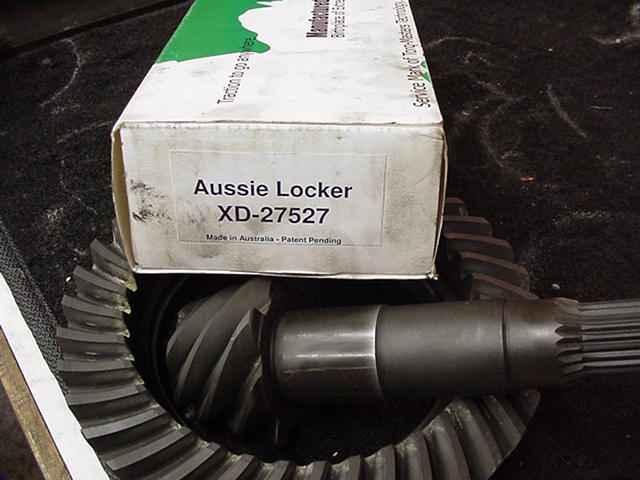
An Aussie and a 529 Richmond will go in. |
|
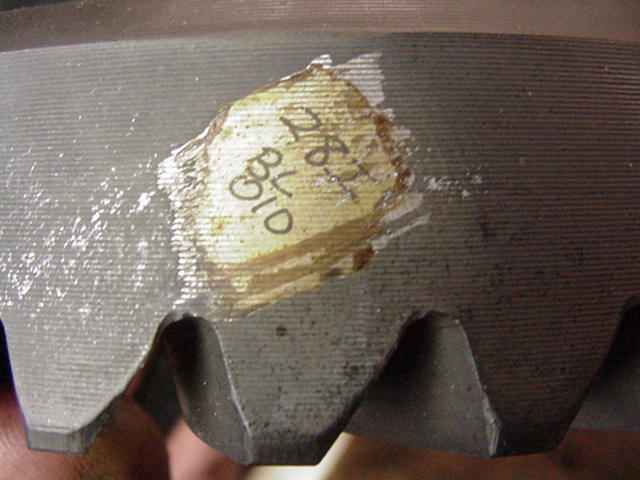
Richmond generally marks the ring gear with reference to setting the BL to .010 |
|
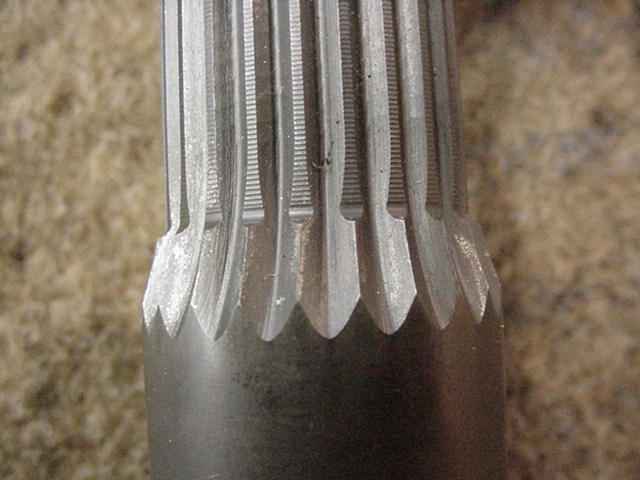
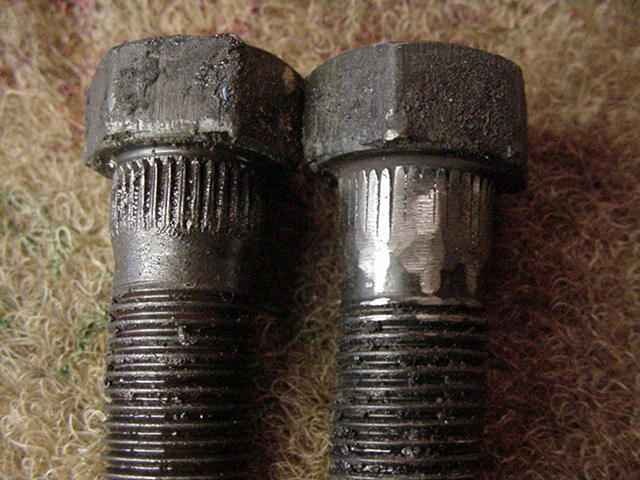
Interesting how Richmond cuts the spline ridge. |
|
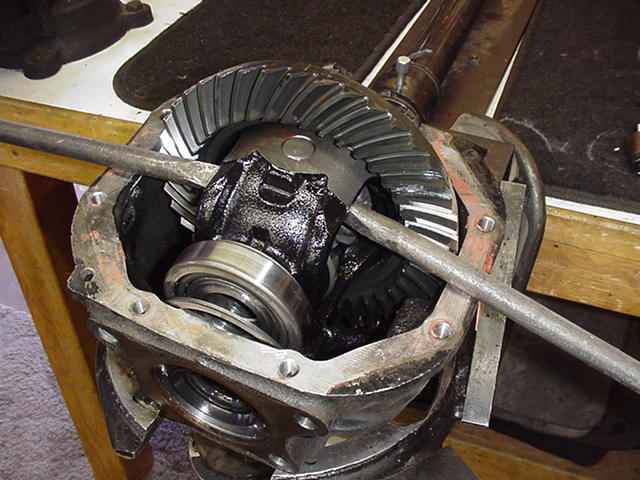
2 crowbars can easily remove the case. |
|
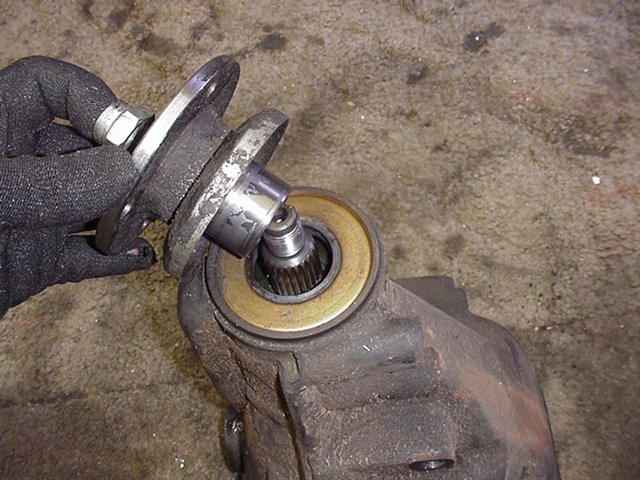
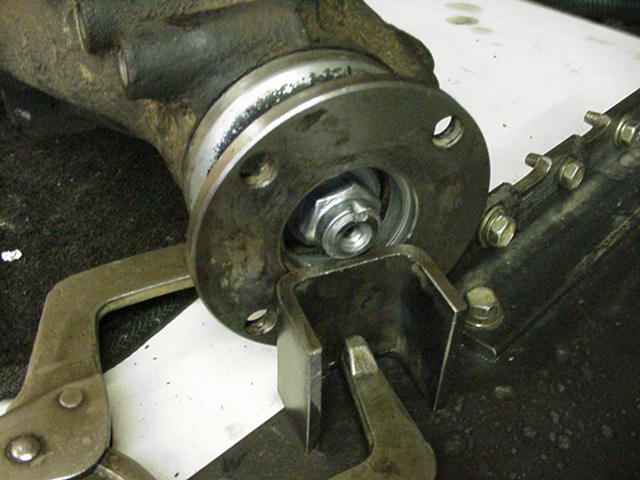
Remove the pinion nut/flange/seal. |
|
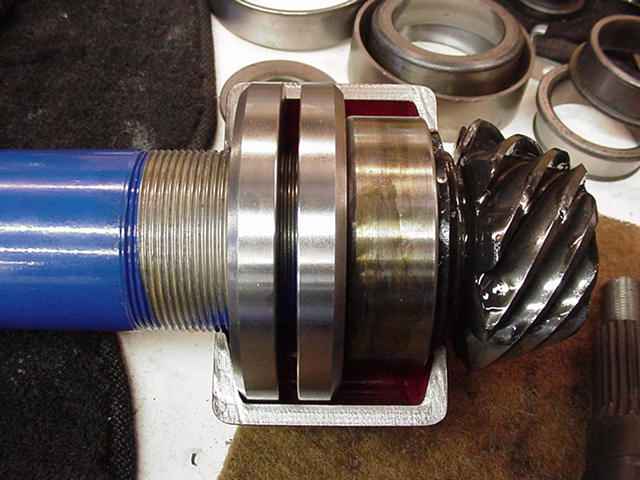
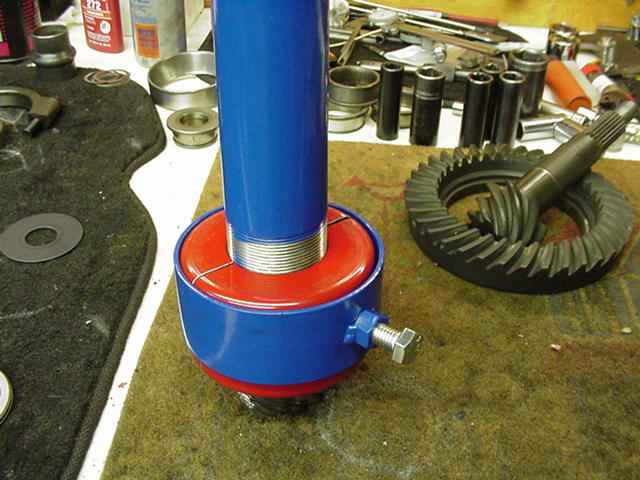
Use the bearing puller of your choice to recover the factory shim. |

|
Mine actually pulls the bearing off by surrounding the cage and pulling it off. This will not work without the race or cup secured in place. Bearings will not be damaged if the rules are followed. |
|
... |
|
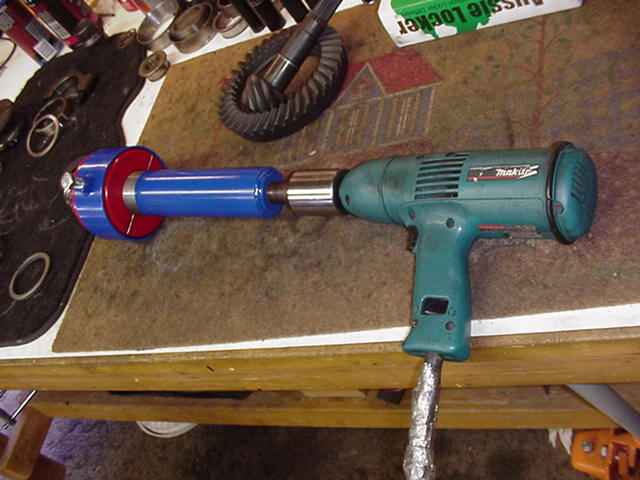
It takes about 30 seconds for my electric impact to turn the nut about 30 times to get the bearing off. |

|
... |
|
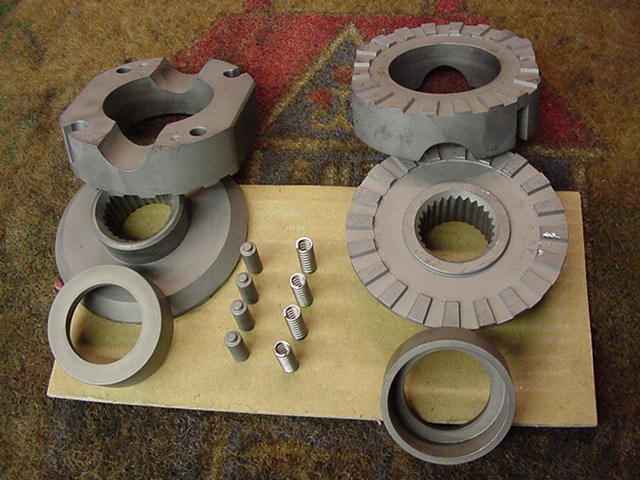
The Aussie Locker does not have very many parts... |

|
Remove the roll pin like this. An extra long 3/16" or 7/32" punch will do the trick. |
|
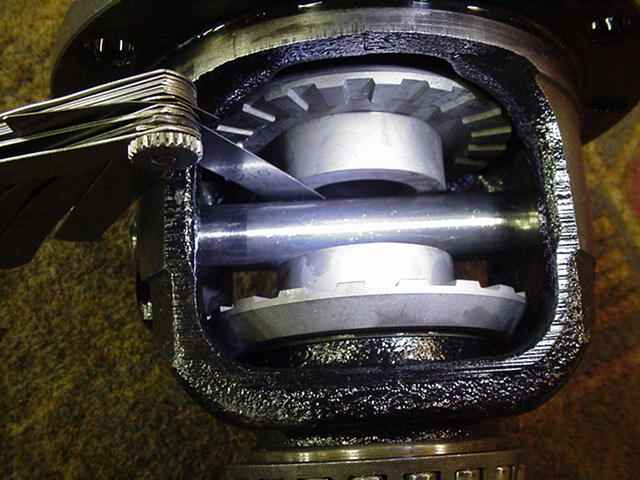
Verify between 6 and 20 thou tolerance. |
|
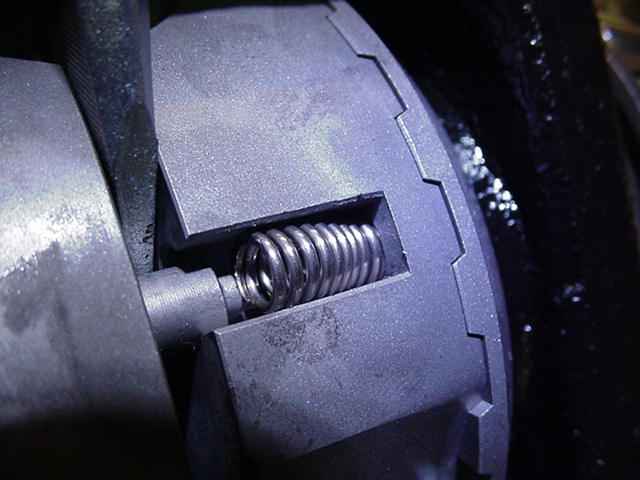
The small springs require a certain "nack" to get them in...the spring goes over the nipple last. This worked best for me. |

|
I measured .155" gap here...I believe the tolerance mentioned in the booklet was in the range of .145" and 178". |
|
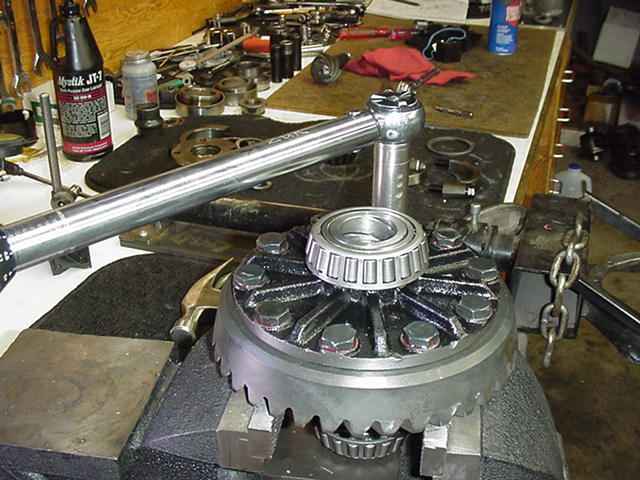
As usual, lots of red Locktite and 75 ft/lbs. |
|
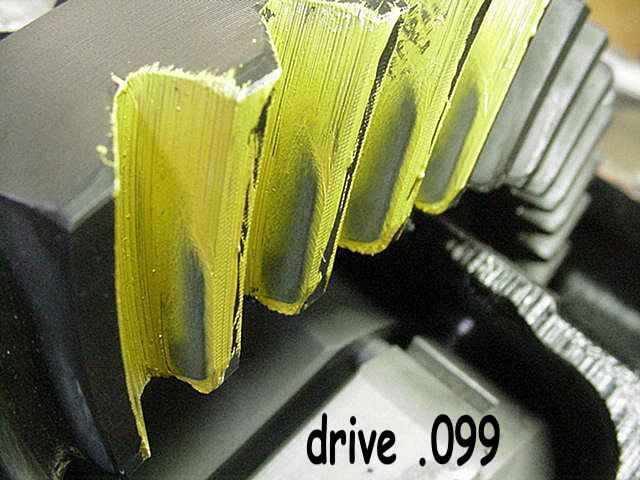
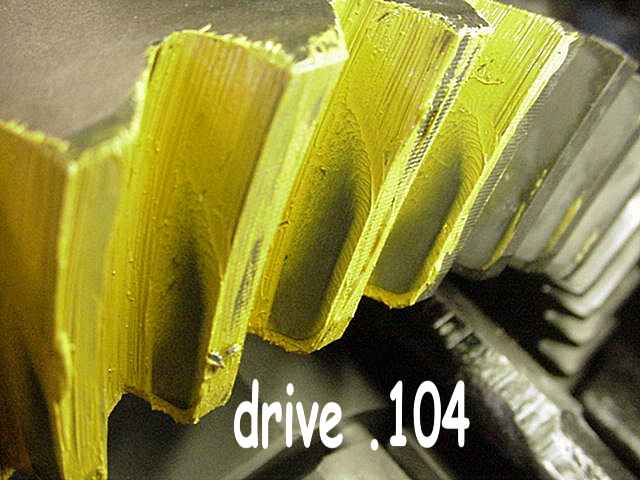
Richmonds always favor the toe end...perhaps a little deeper. |
|
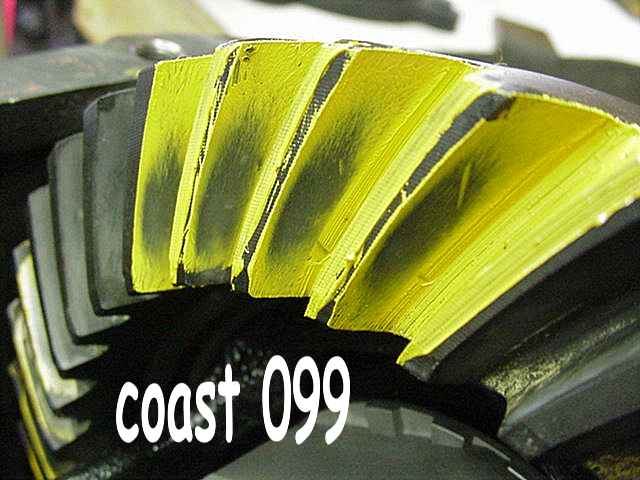
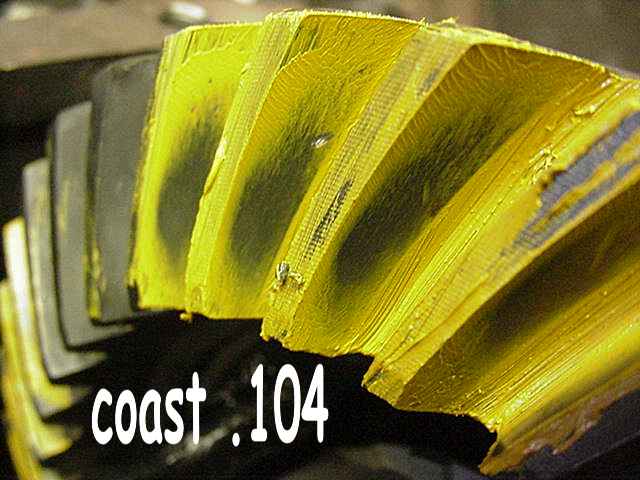
coast looks ok. |
|
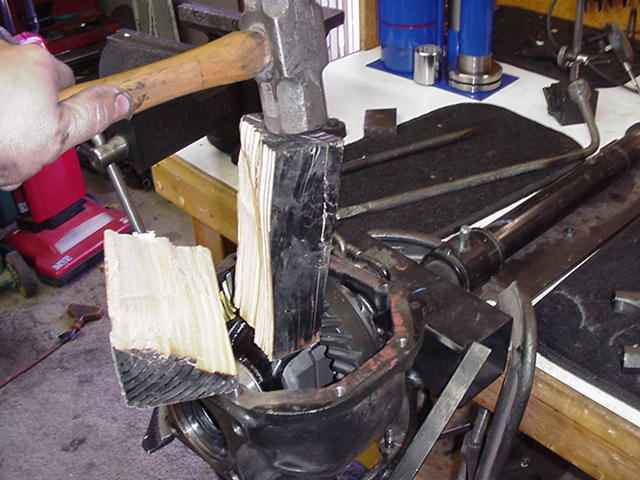
Complete teardown and re-assemble with .104" pinion shim(5 thou deeper than before). I cushion the hammer blows with a thick piece of wood. It was a tight fit and the wood was not up to it :) |
|
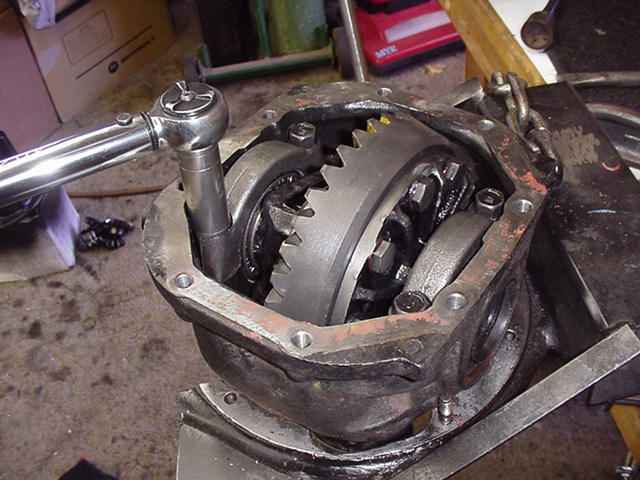
The bearing caps are torqued to 75 ft/lbs. |
|
Larger amounts of BL tend to move the pattern away from the toe...but even with .010" on the BL, the toe is still heavily loaded. No one does this except Richmond. |
|
coast is good. |
|
This front IFS has a crush sleeve and I used anti-seize on the threads to help it crush and save damage on the pinion nut threads. The nut must be dented to prevent it from loosening in the future. |
|
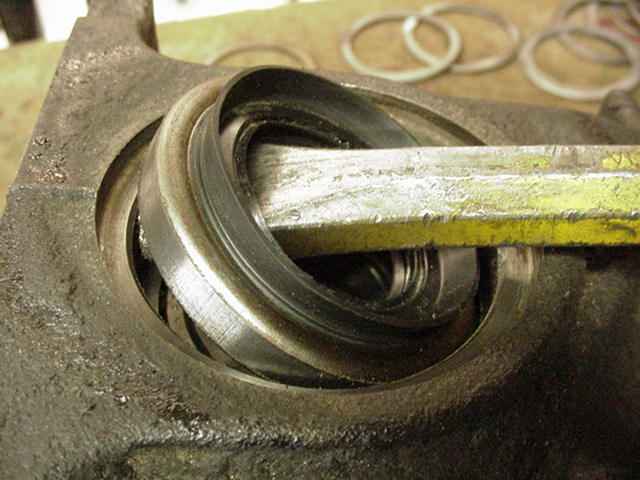
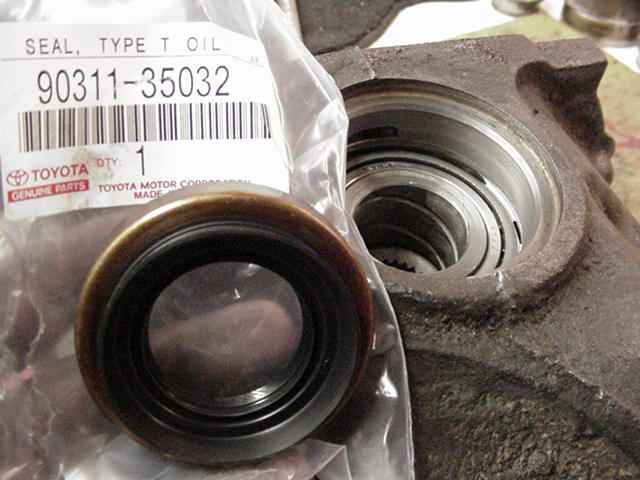
As I usually do, I replaced both axle seals just because. |
|
Part number for the axle seals... |
|
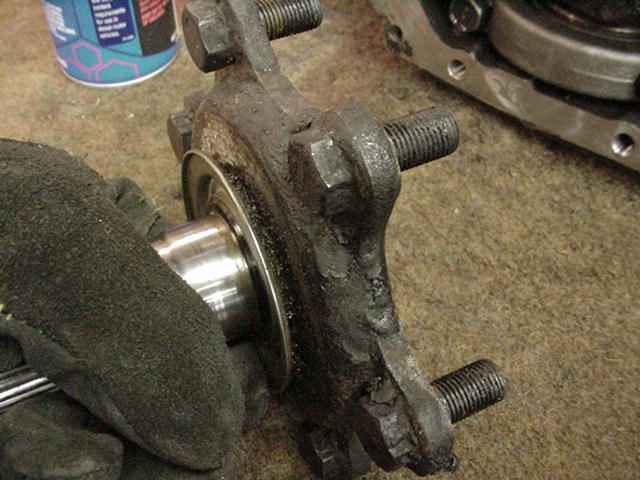
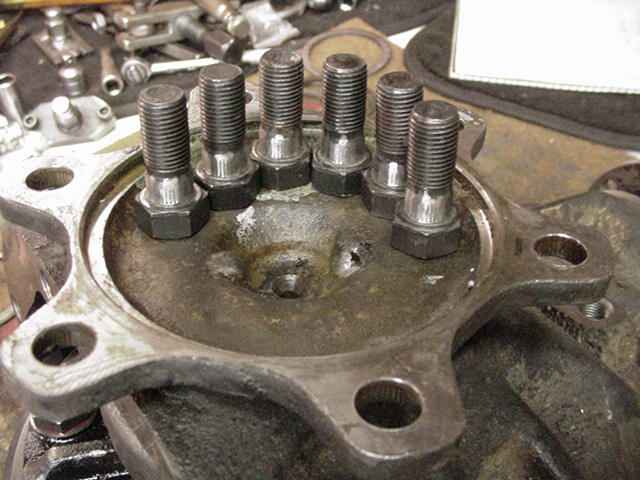
The pressed in bolt/studs make re-assembly of the carrier back into the truck a true pain. |
|
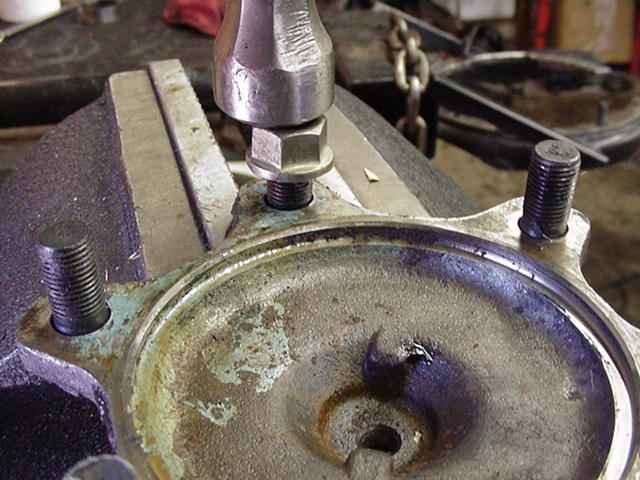
The easy trick is to tap the bolts out like this... |
|
...and use a 4" sander wheel to lightly remove the serrations such that the bolts can be inserted as the last step. |
|
... |
|
Cover goes back on with Ultra-Blue RTV and done. |

|