|
1996 Landcruiser rear 9.5" e-locker gets a much needed check-up
|
|
(64 BIG pics loading)
|
|
SEPT 21 2014
|
|
|
|
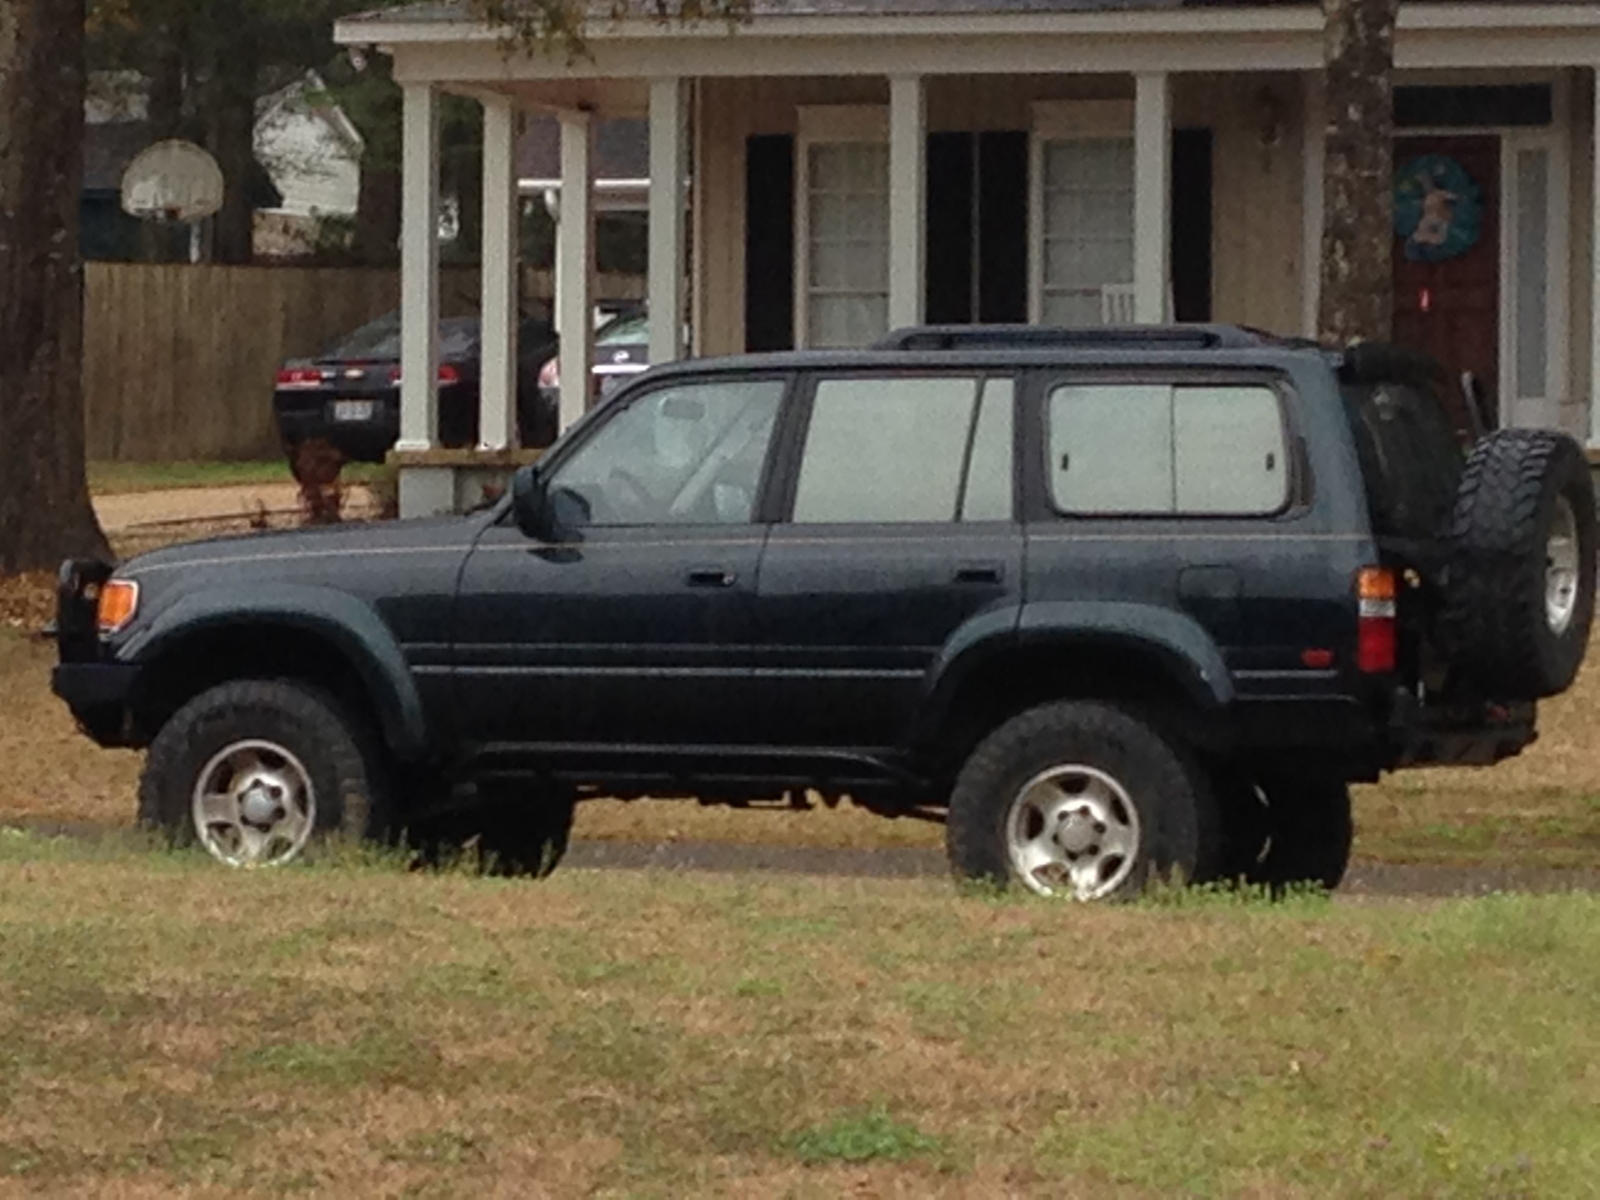
1996 FZJ80 with e-lockers and armor protection all the way around.
|
|
|
|
|
............................
|
|
|
|
|
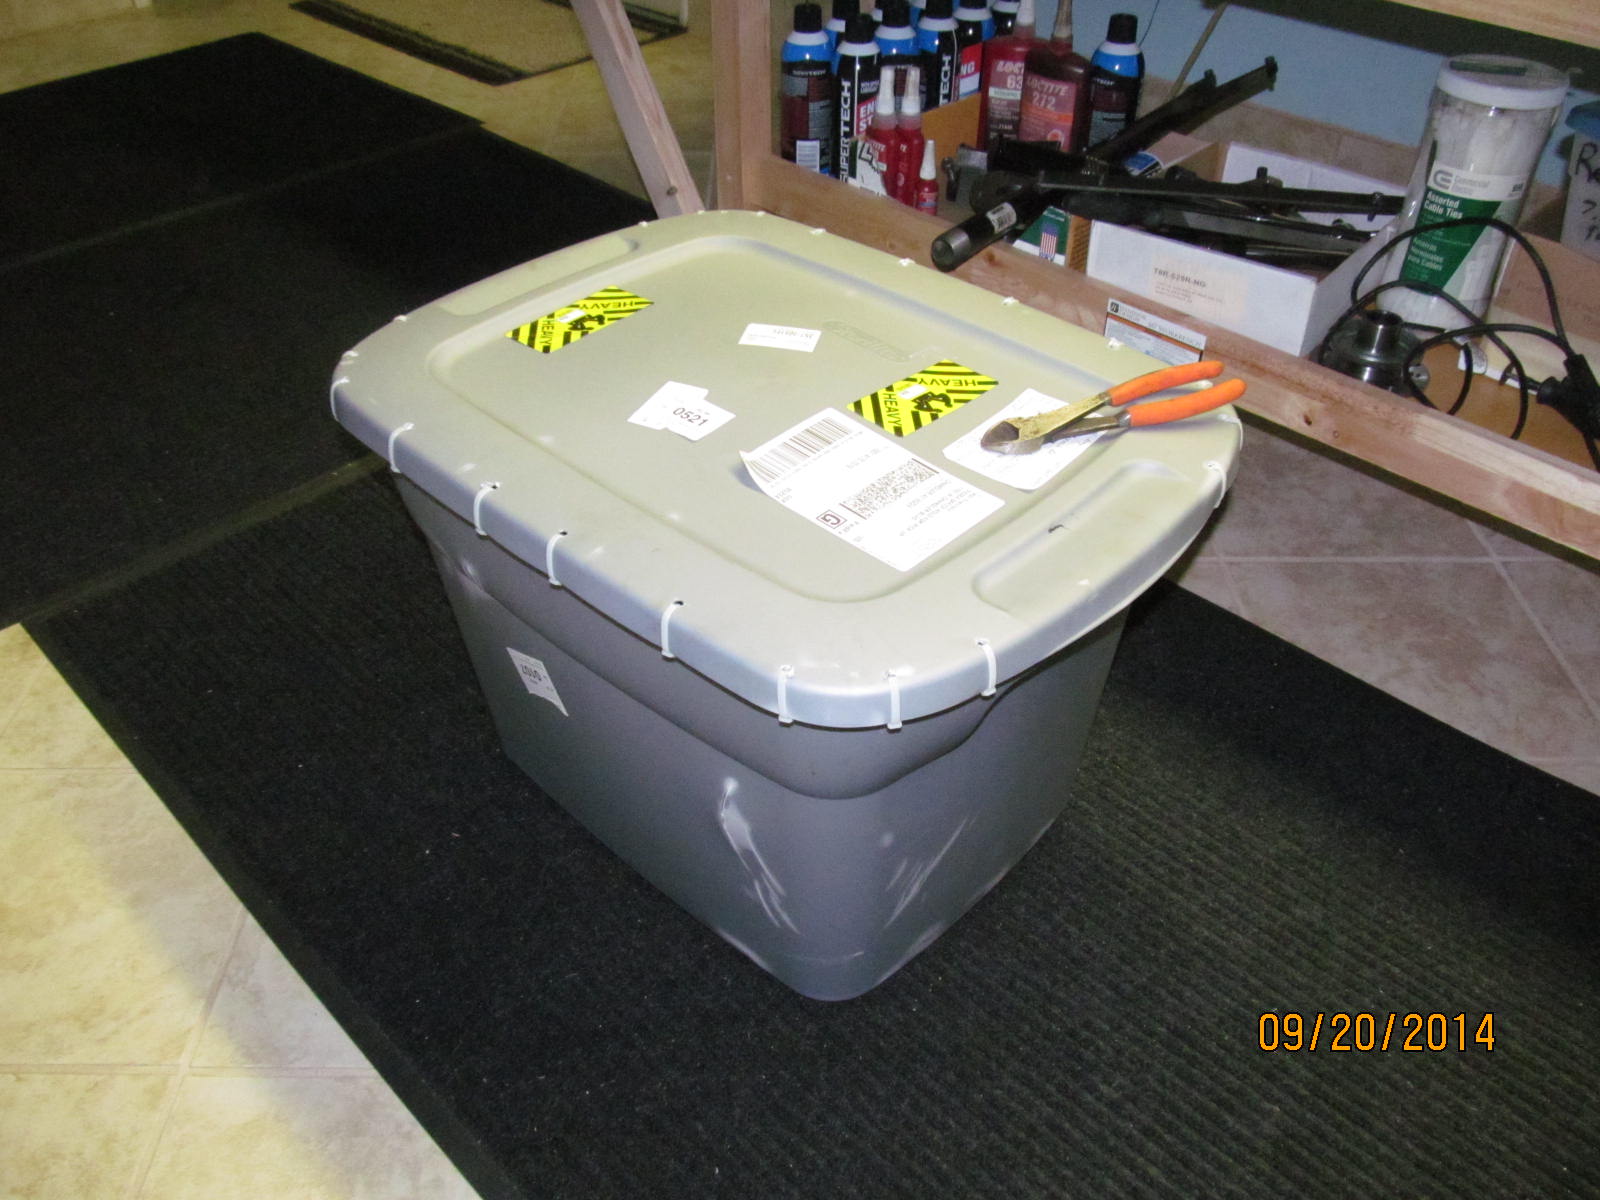
Sent from Mobile, Alabama. Plenty of tie-raps securing the lid.
|
|
|
|
|
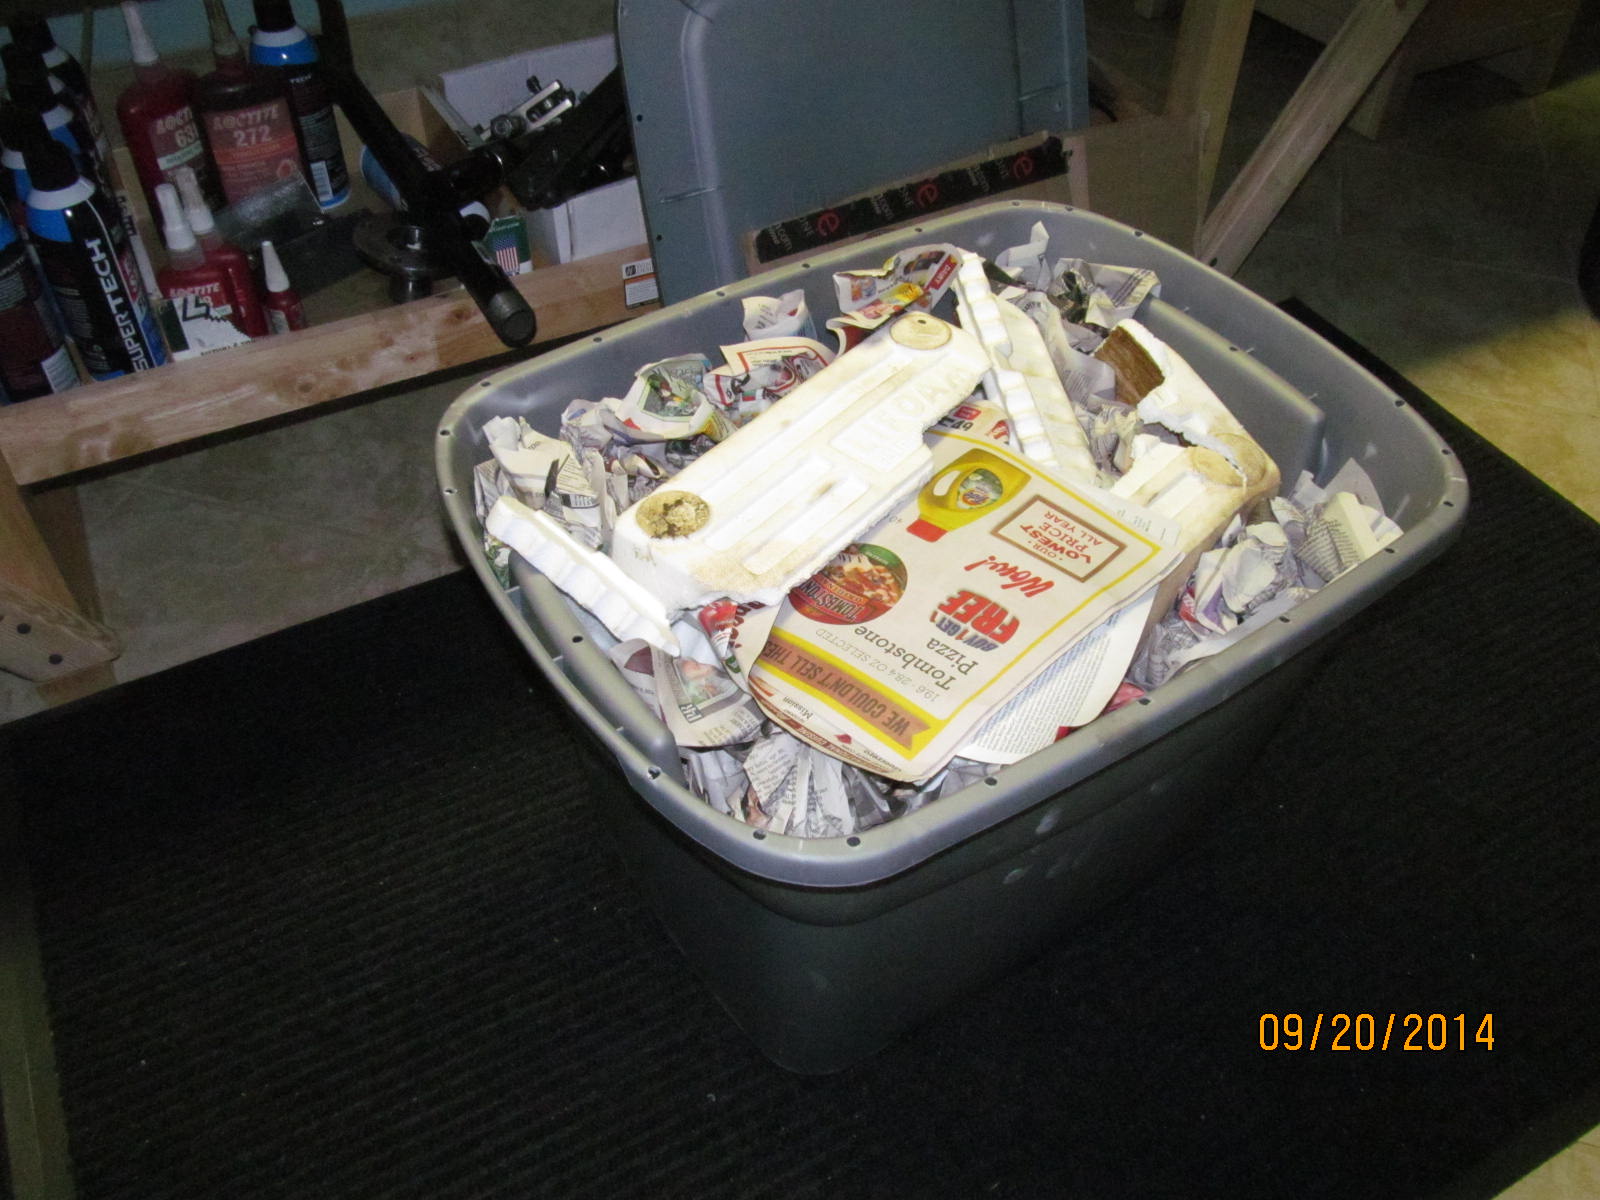
Plenty of loose material and wadded up newspaper....and styrofoam which can get messy in a tote.
|
|
|
|
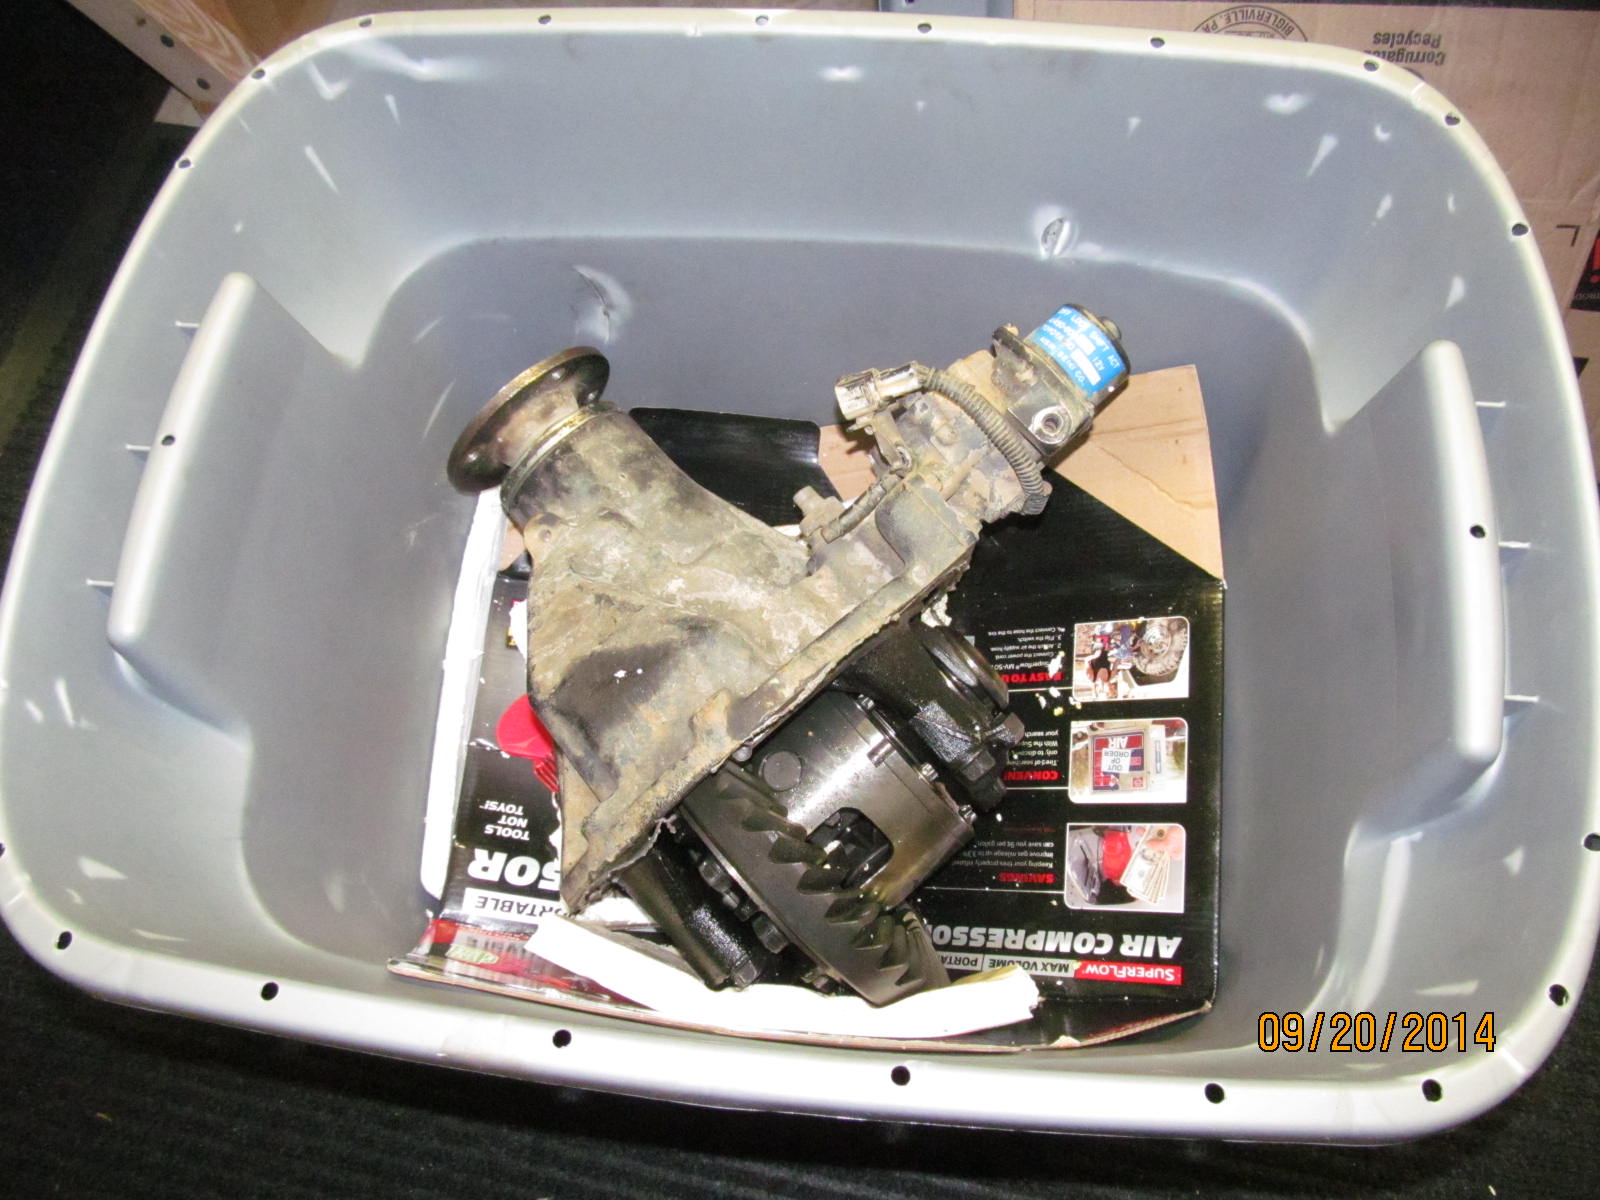
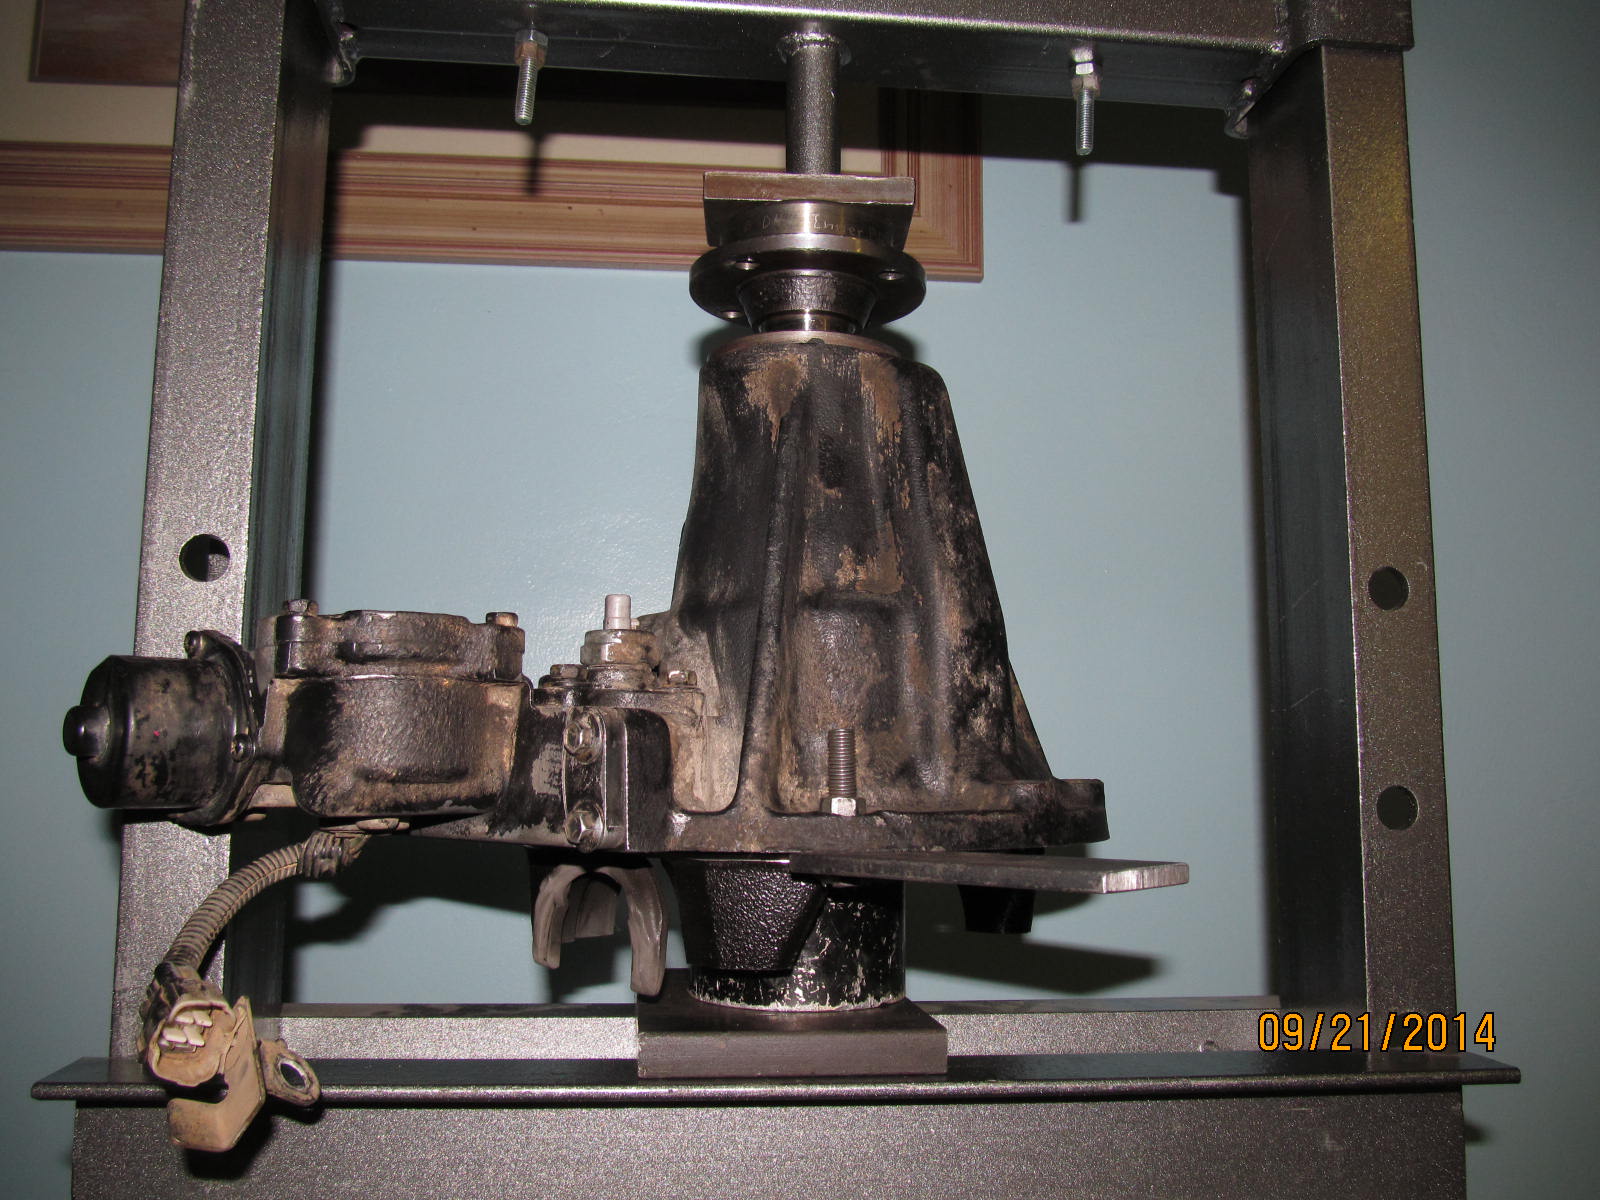
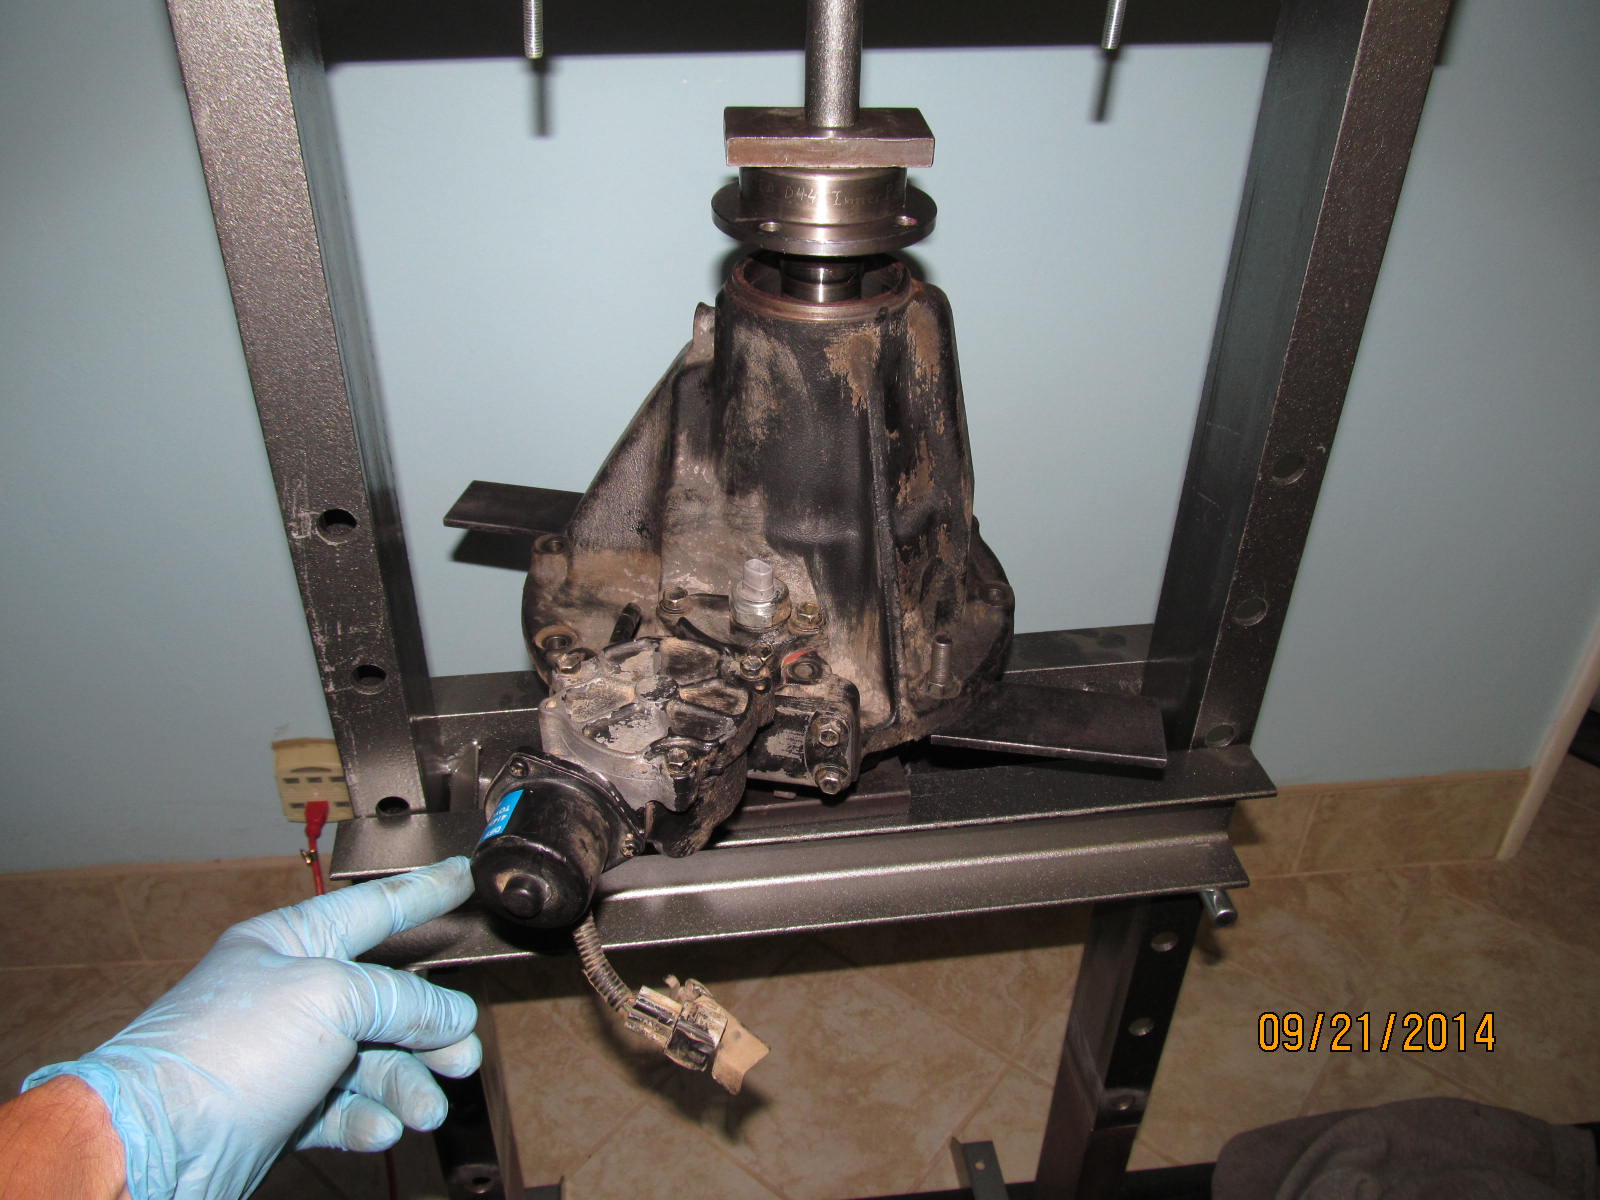
Removed all the loose materials and this is what's there....9.5" e-locker with e-motor still attached.
The motor appears to have made the trip just fine but it's still chancey to leave it on there.
This 3rd was not well anchored and even the e-motor managed to punch a hole thru the
tote's wall. Needed to have about 5 times more cardboard on the floorboard than was there. ;)
|
|
|
|
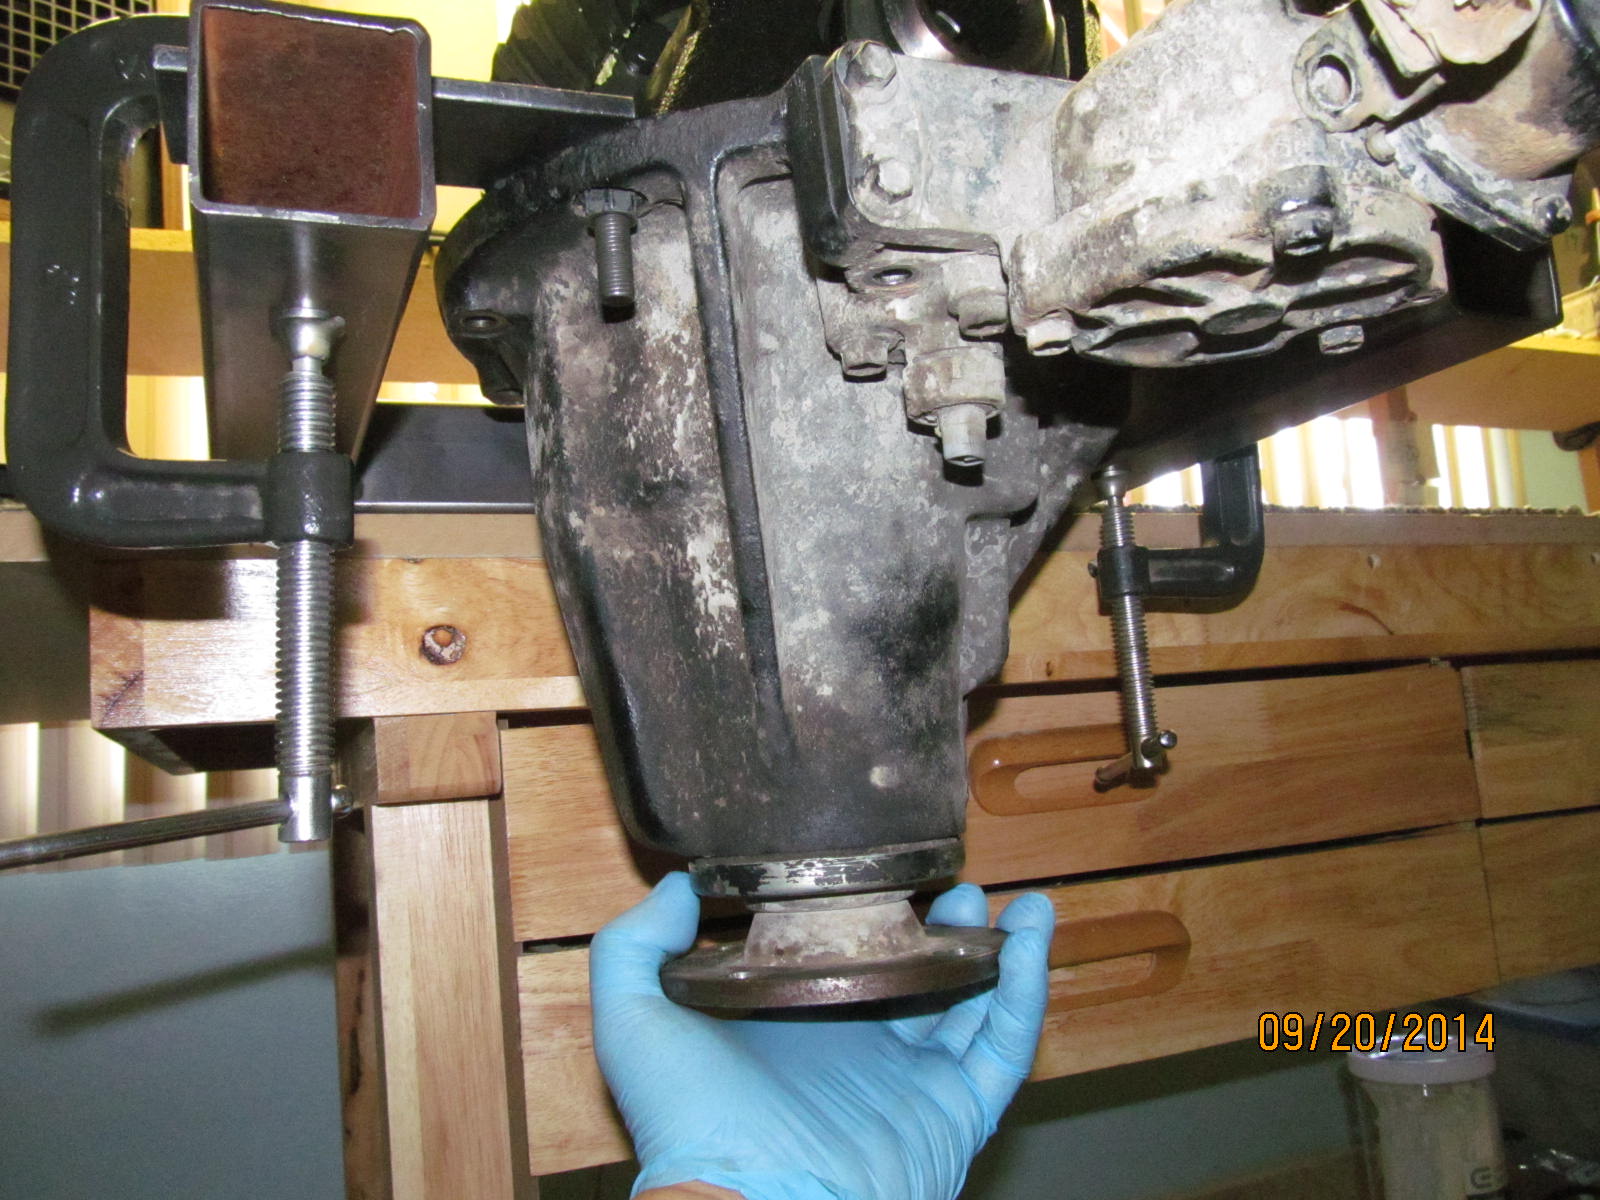
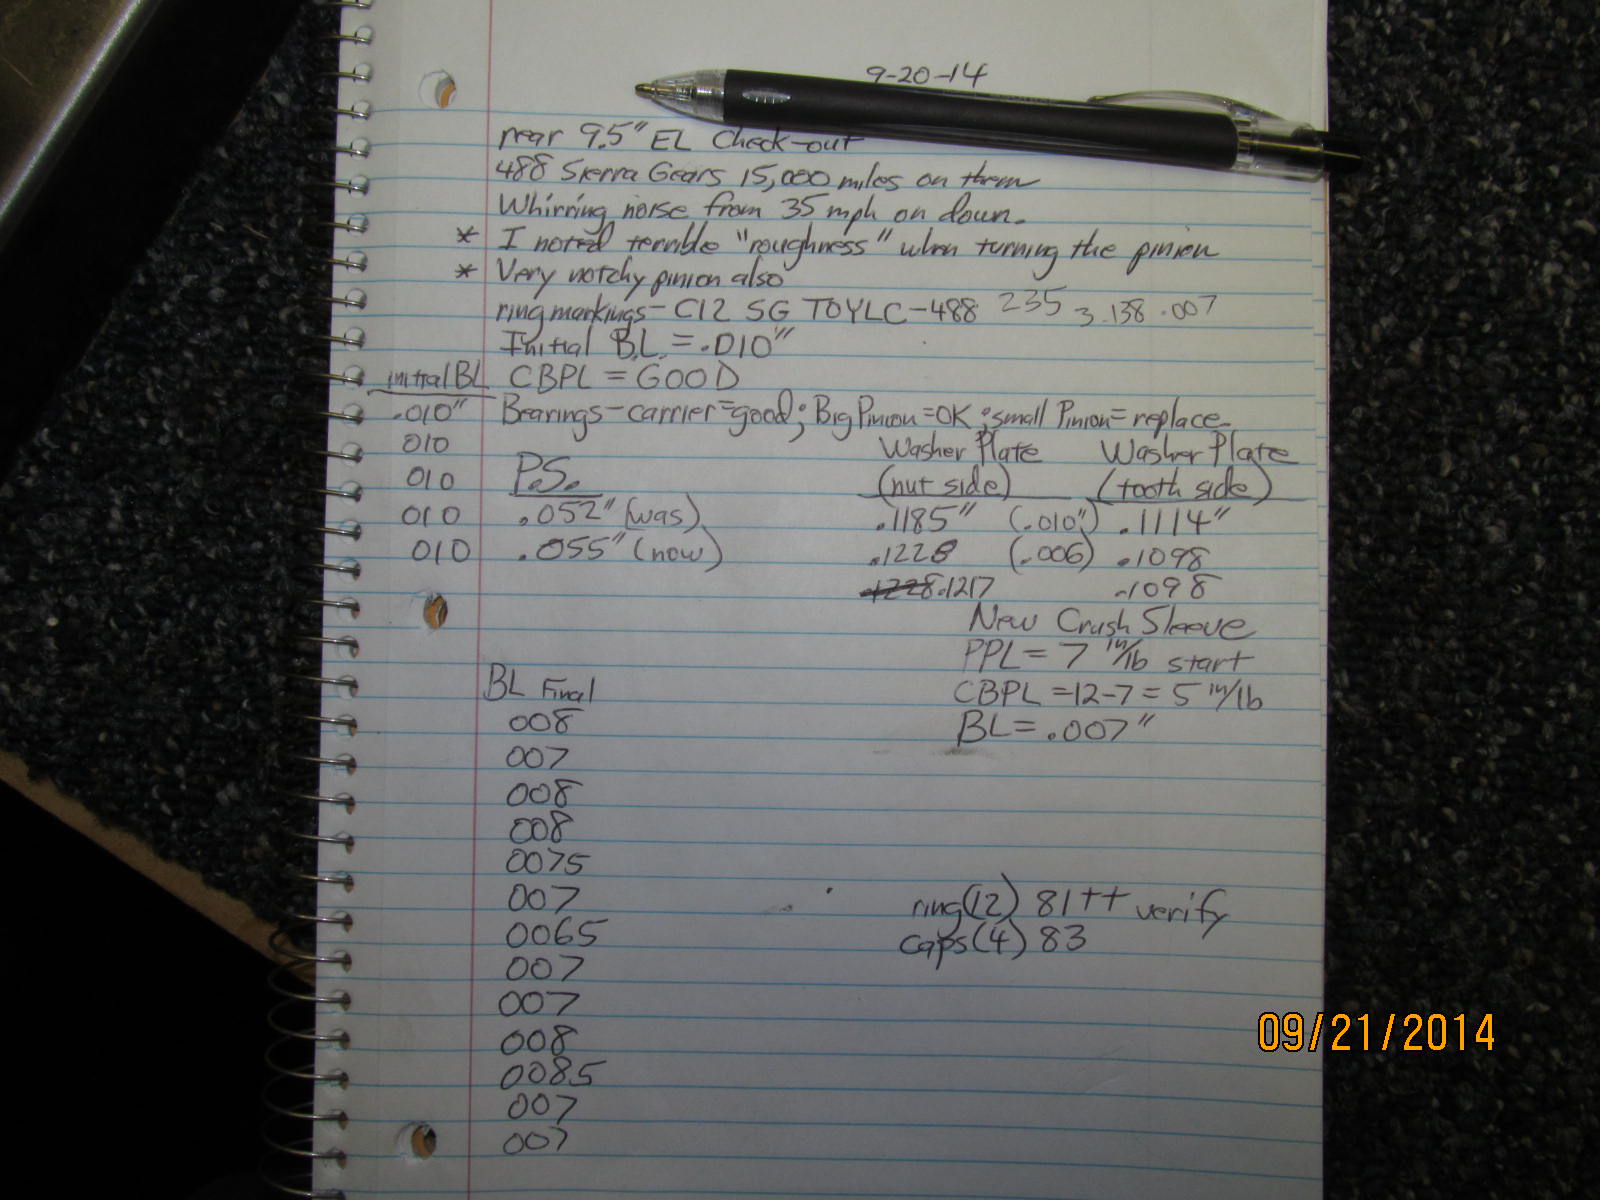
The pinion flange felt terrible. Very notchy and hard to turn....felt like the rollers on the
outer pinion bearing were missing chunks or something.
|
|
|
|
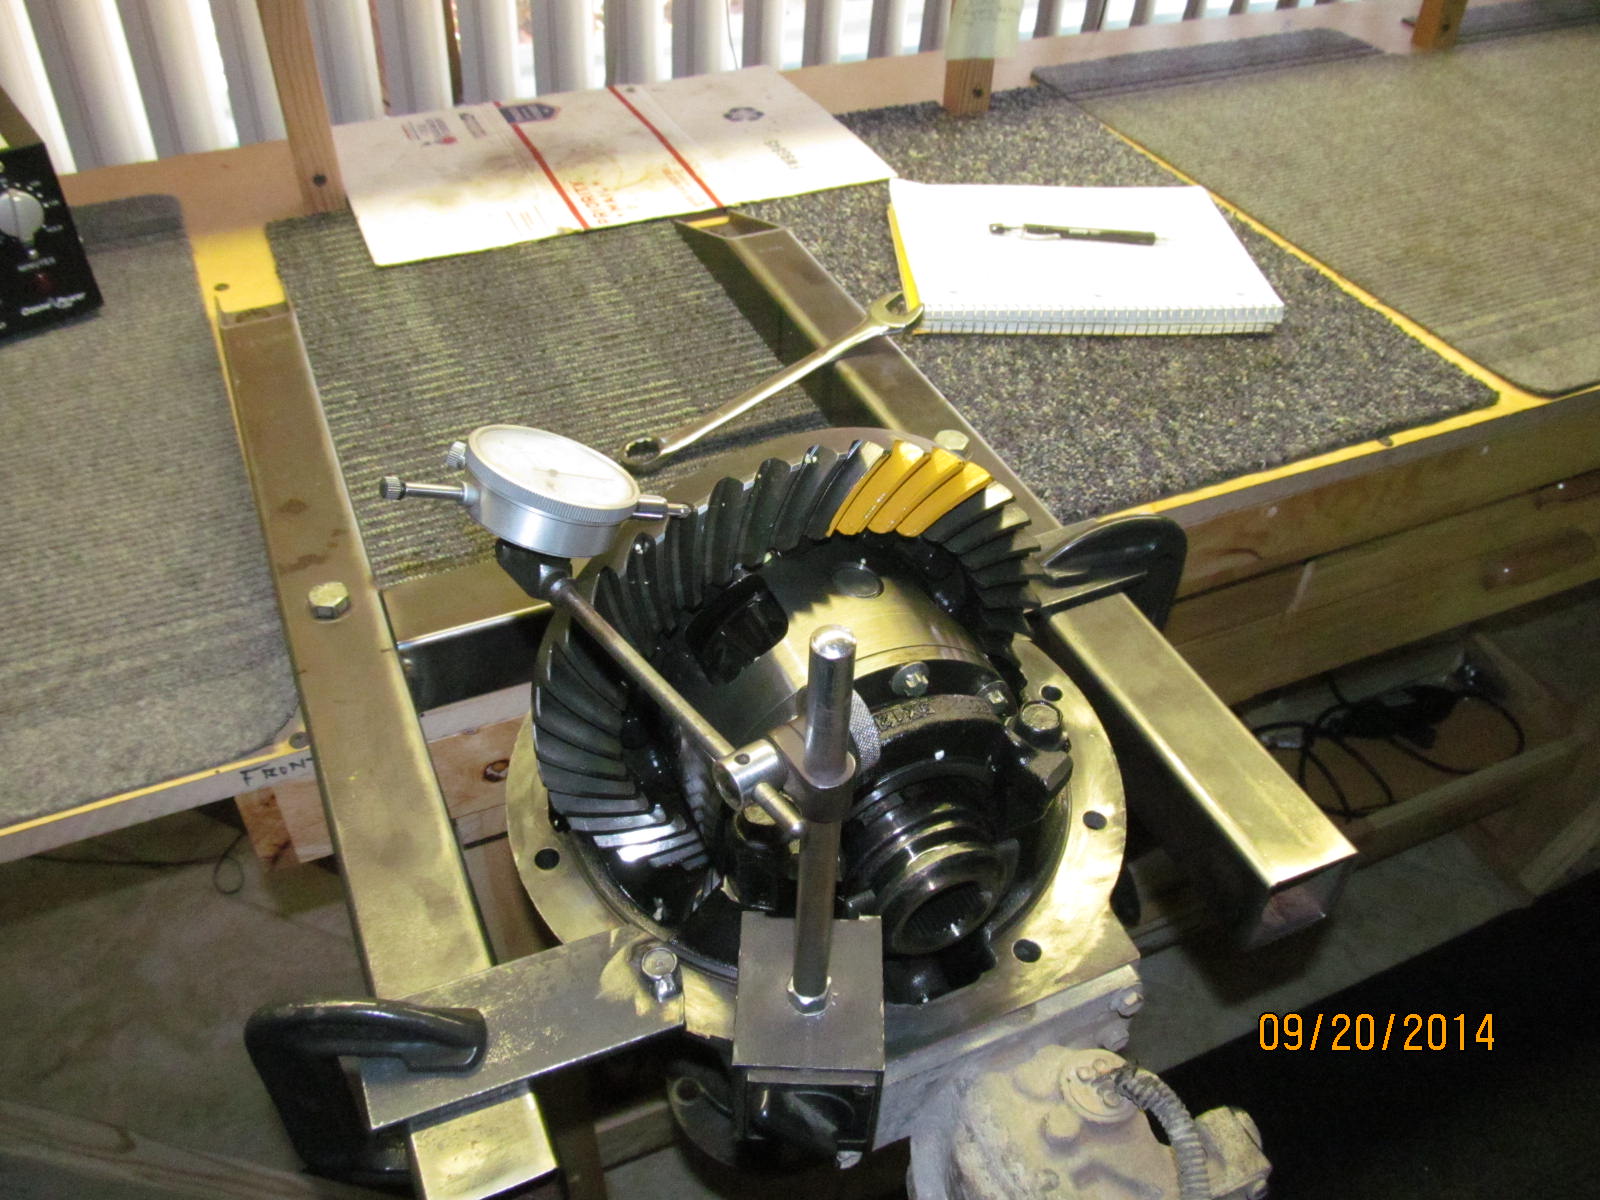
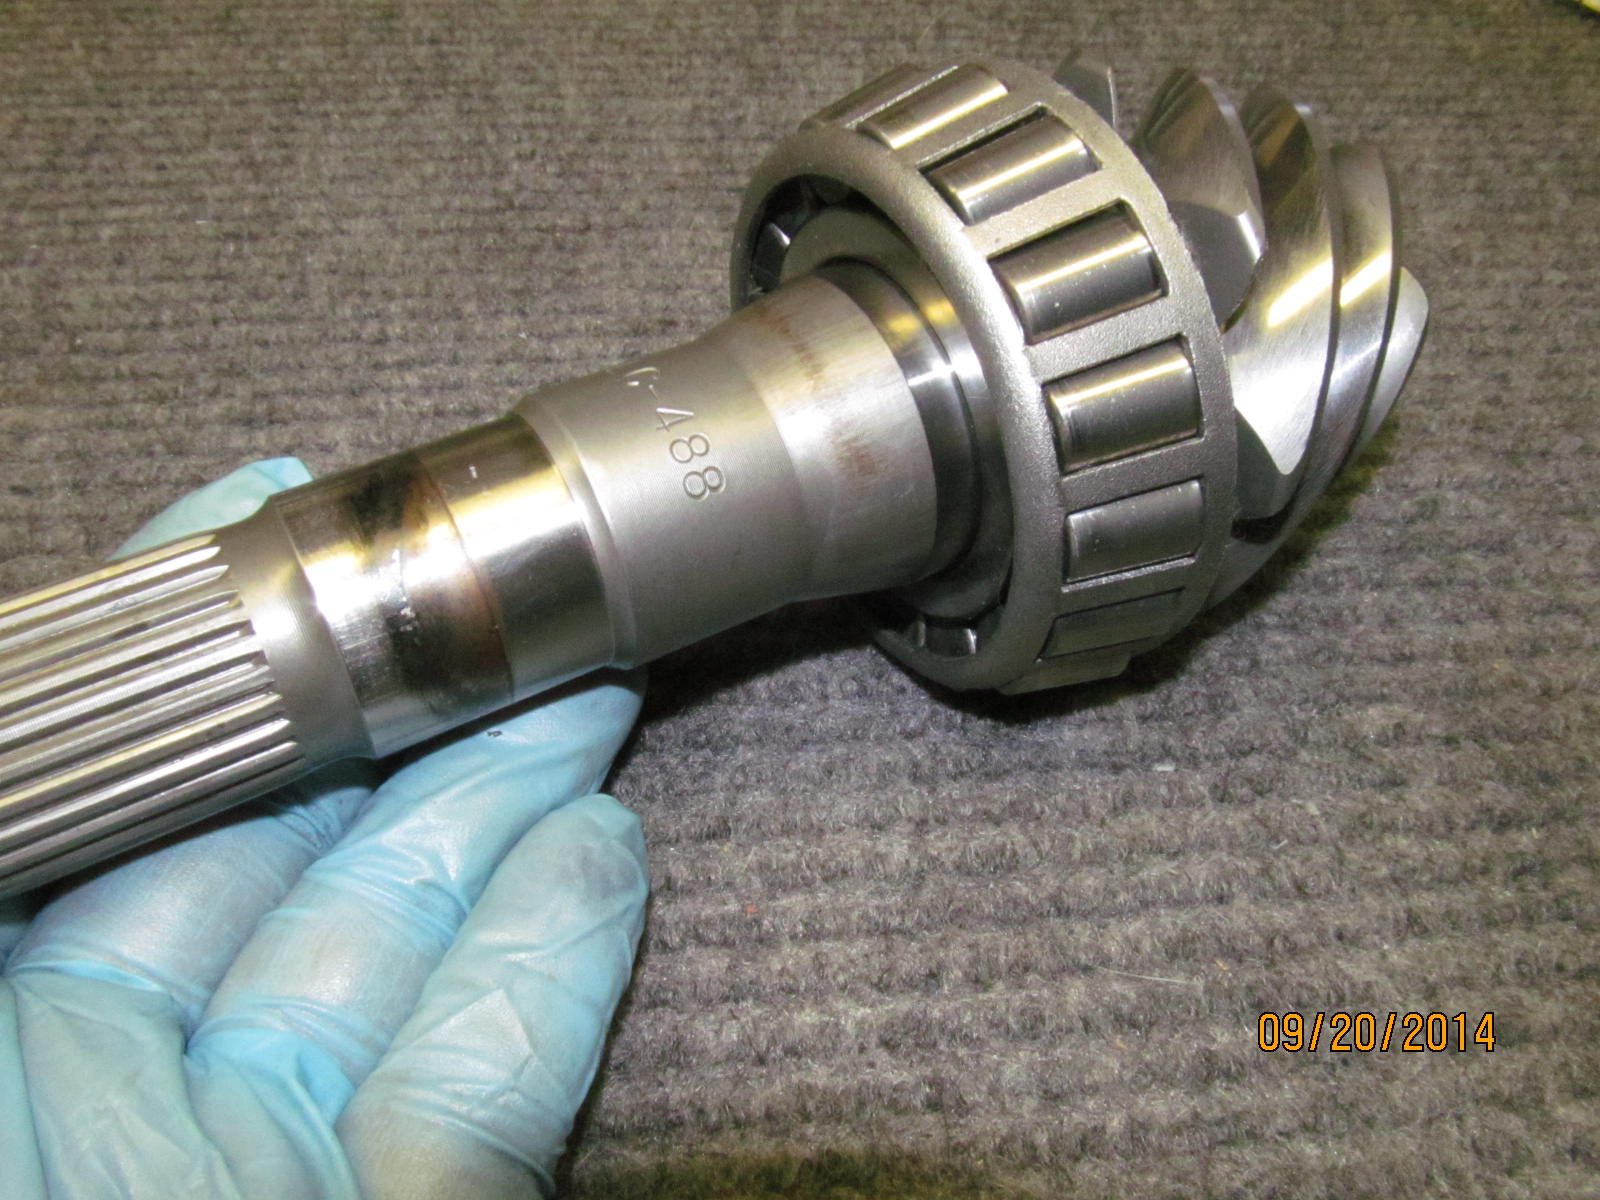
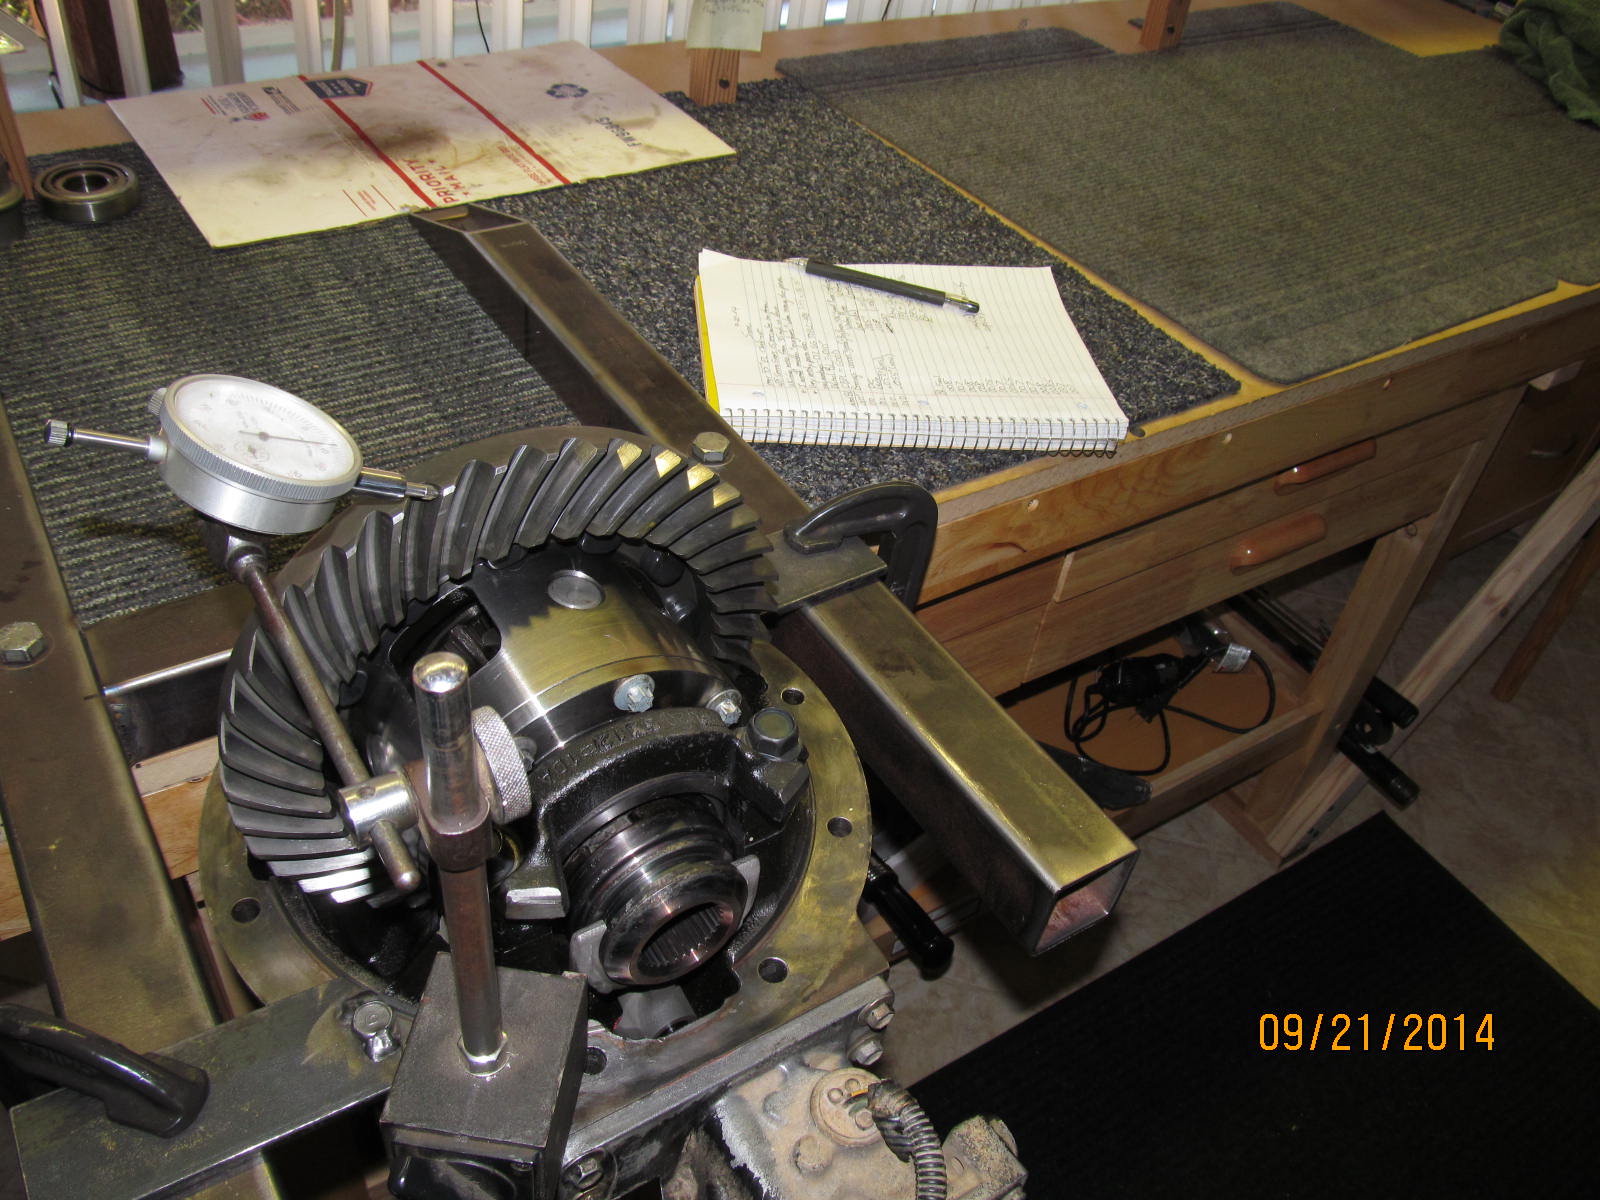
Checking the backlash before I do the pattern check....averaged around .010" which is a few thou over
the .007" spec that was etched on the ring gear. These are 488 Sierra Gears with only 15,000 miles on
them. It developed a whirring noise and the owner wanted a thorough check-up.
|
|
|
|
|
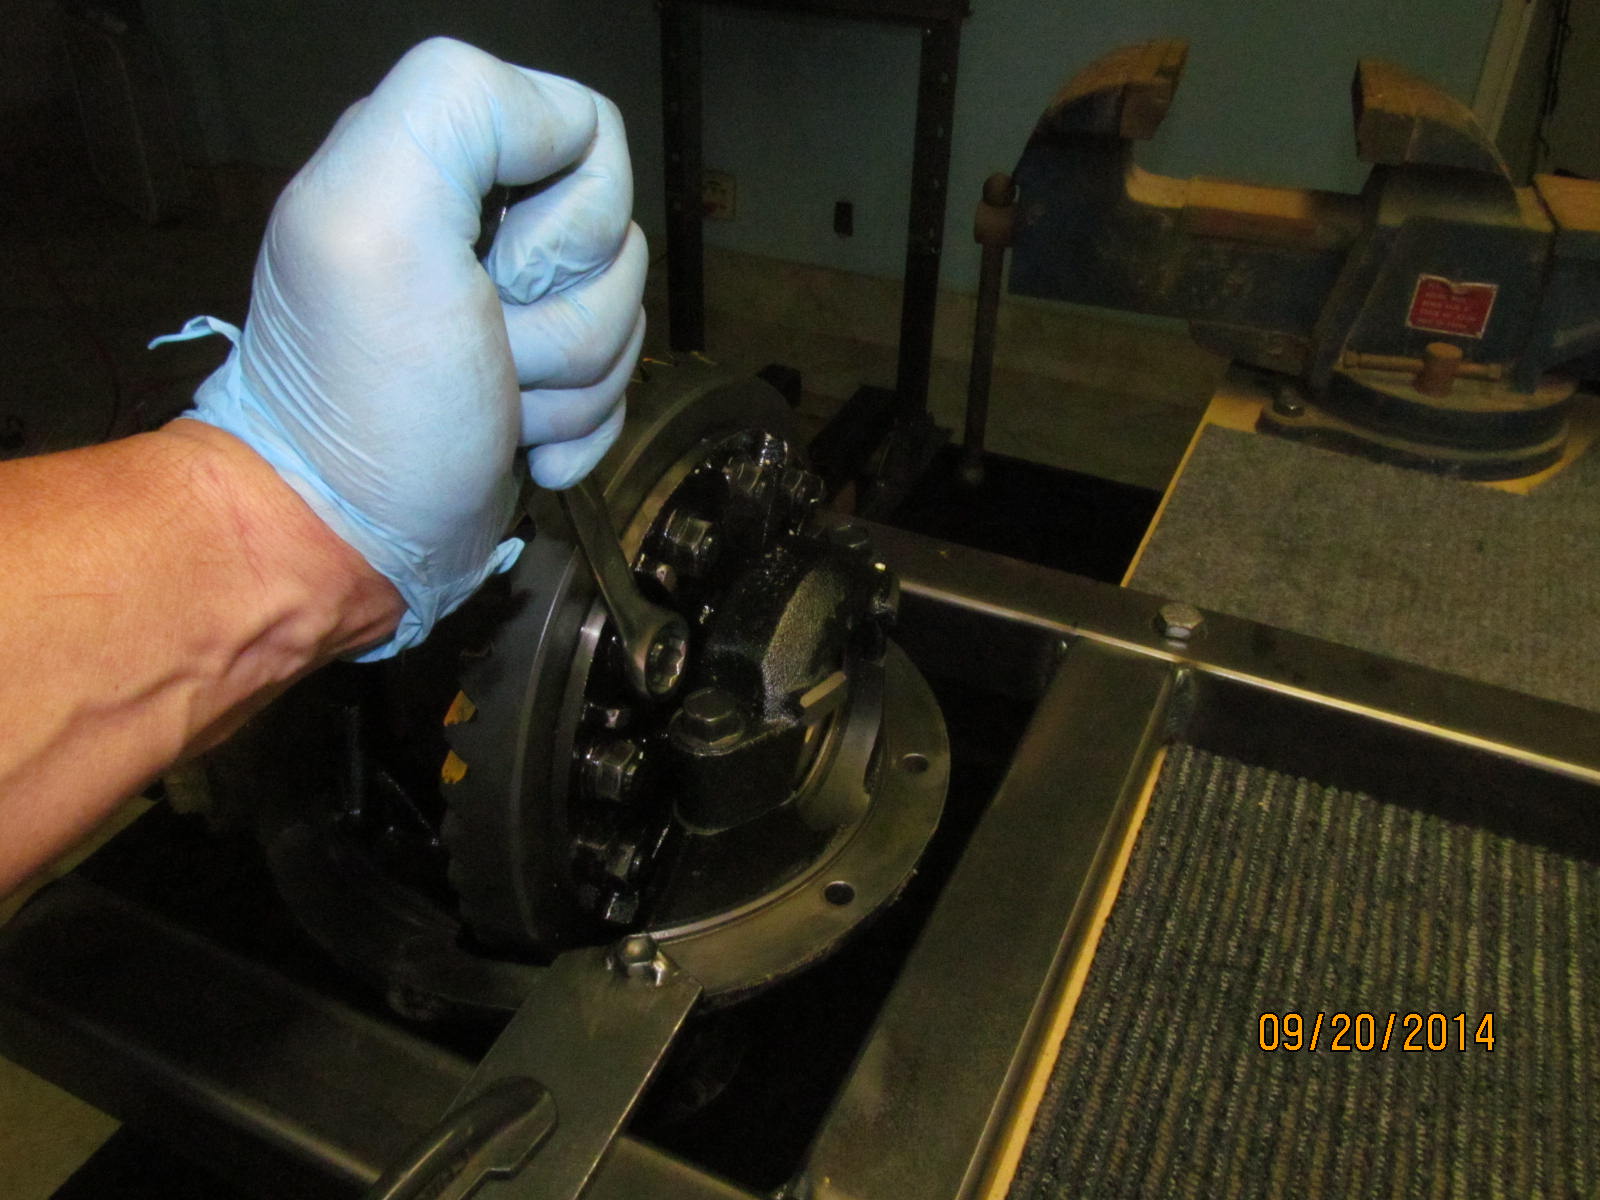
An easy way to get an excellent paint is to use a rag here and offer some resistance....
|
|
|
|
....while turning the ring gear back and forth briskly 3 times with a 19mm wrench in this case. The carrier
bearing preload felt solid....not loose and wobbly and some resistance so that was good at least.
|
|
|
|
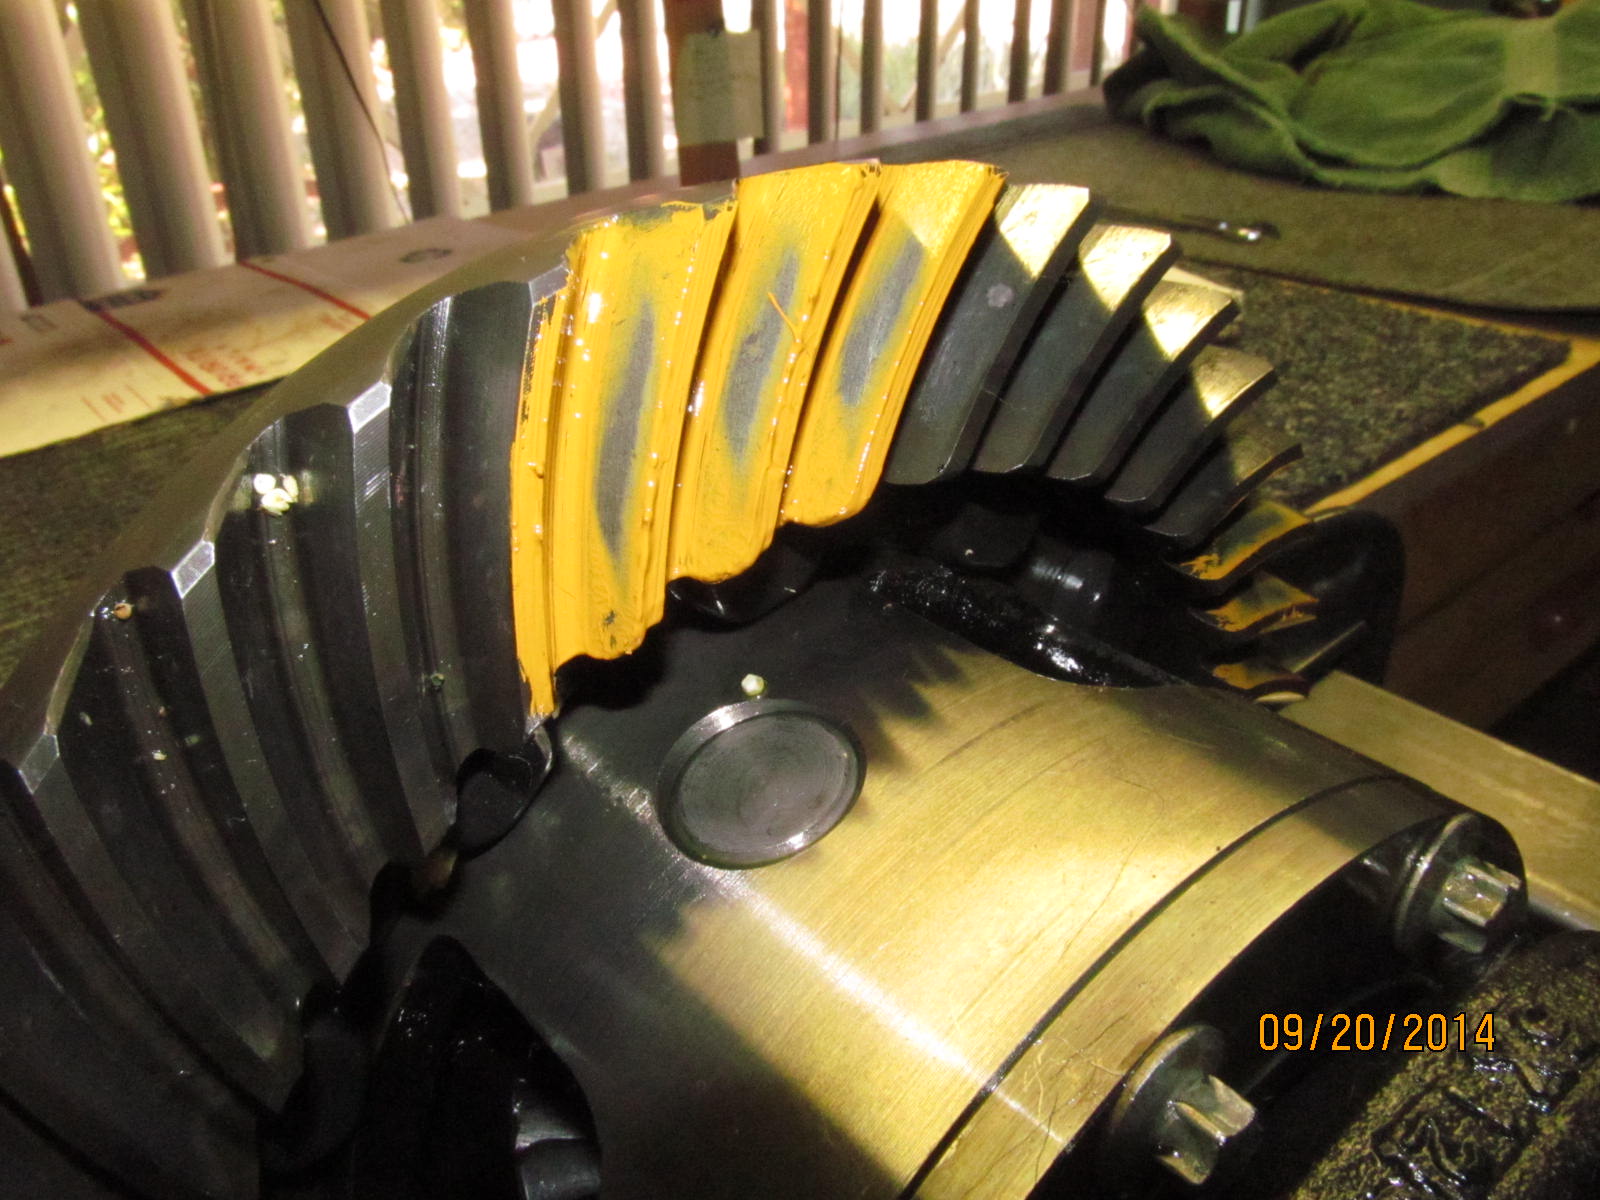
Drive side. Not bad...but could be better. Looks slightly shallow. Adding about .003~.005" to the shim
pack will fix this.
|
|
|

|
|
Coast looks a little shallow also (face to flank is the most important). That white styrofoam gets in everywhere.
|
|
|
|
|
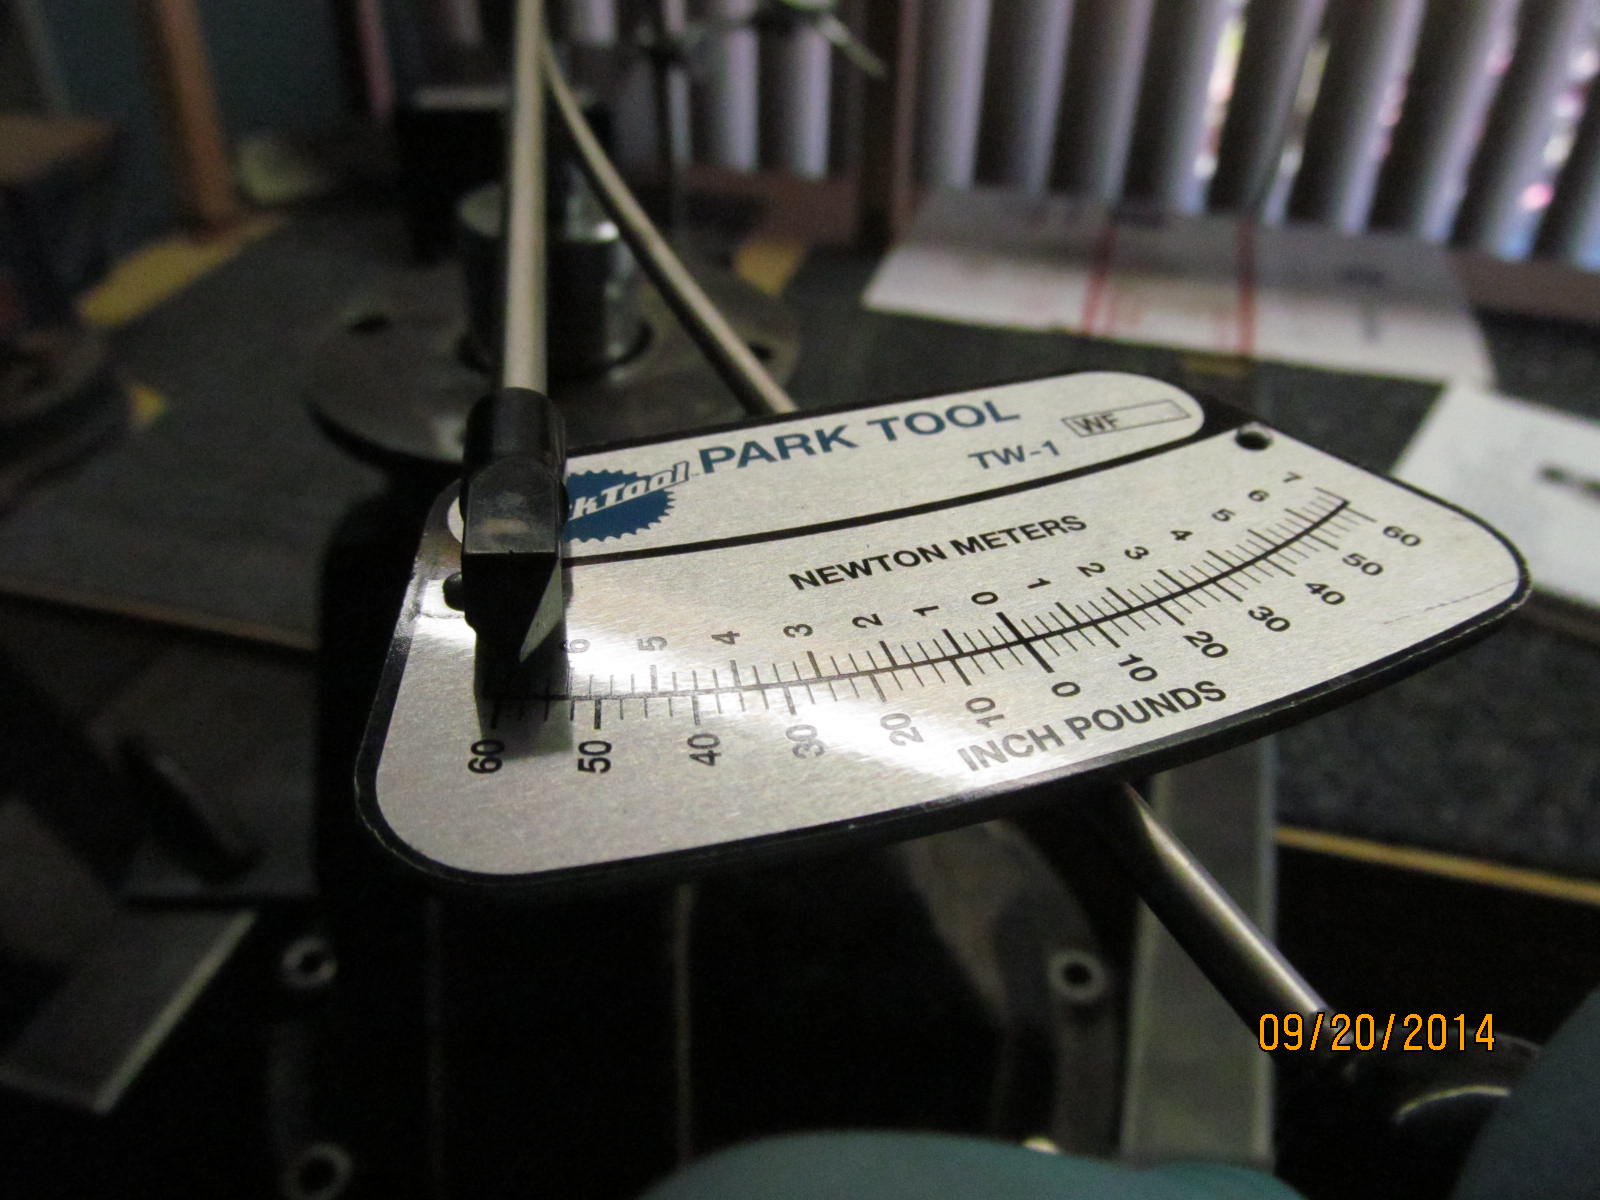
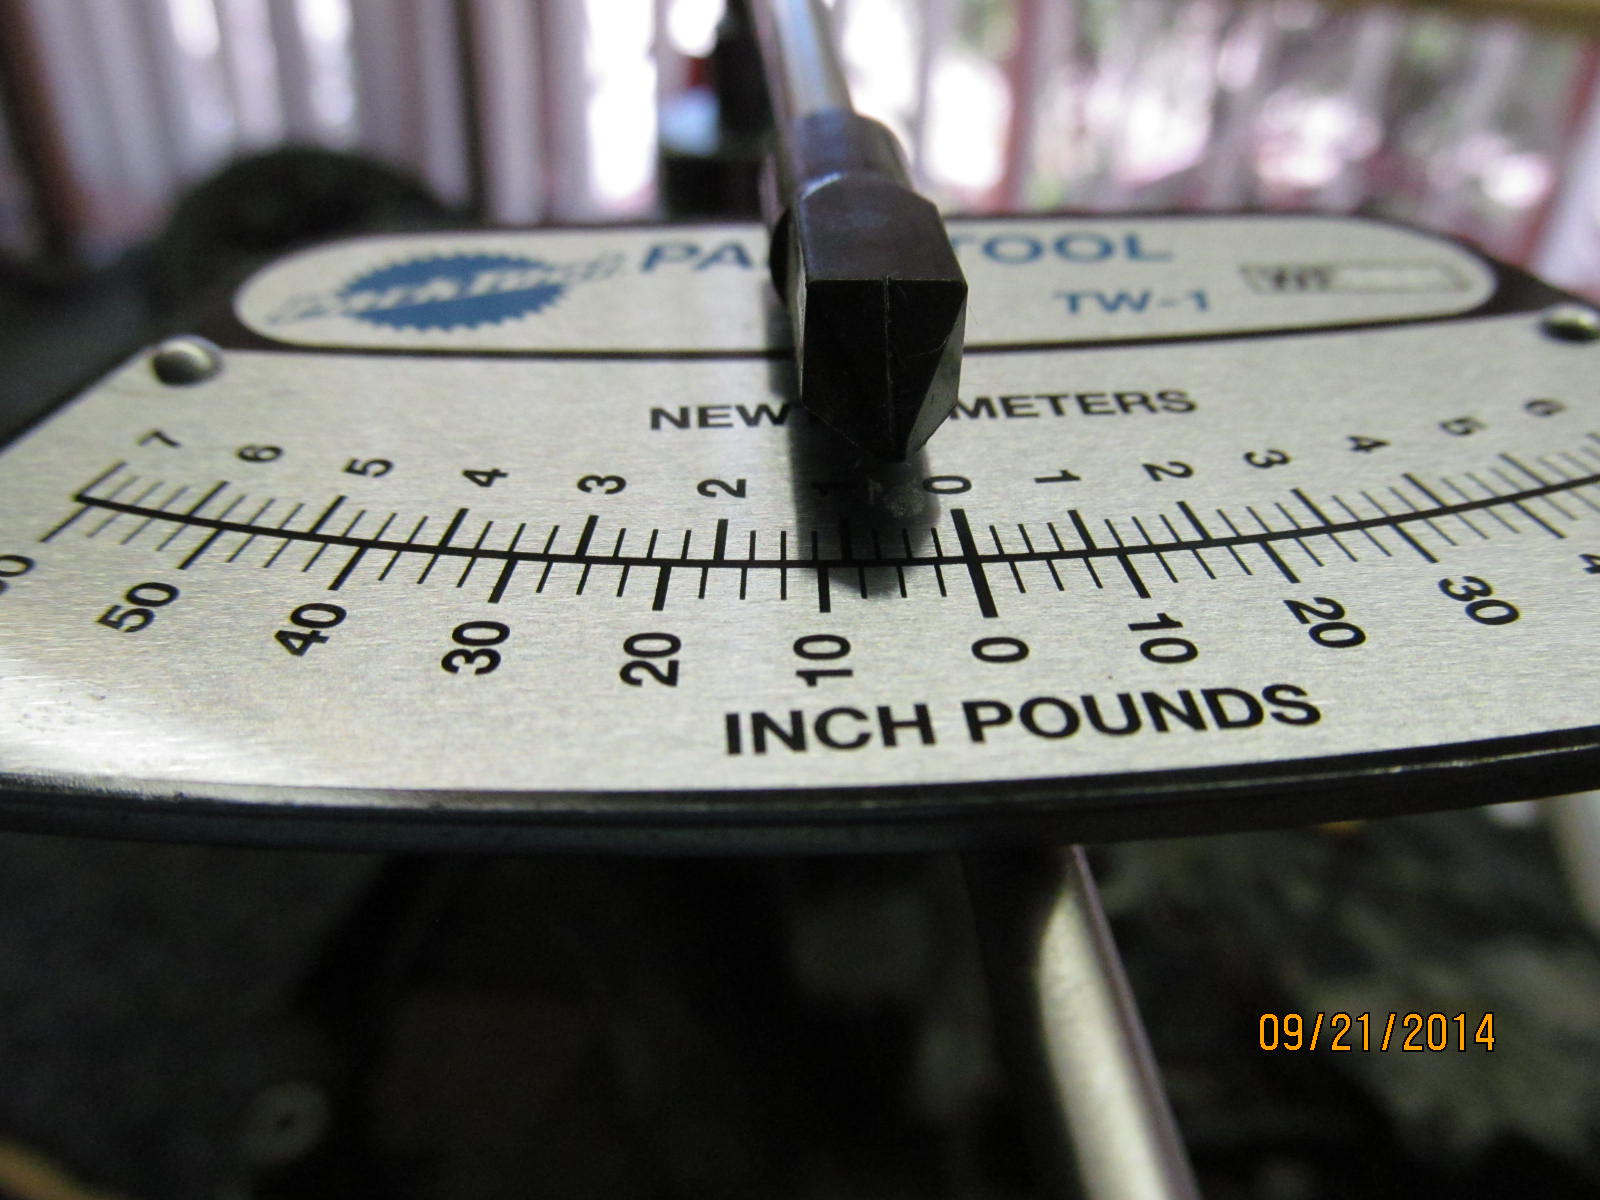
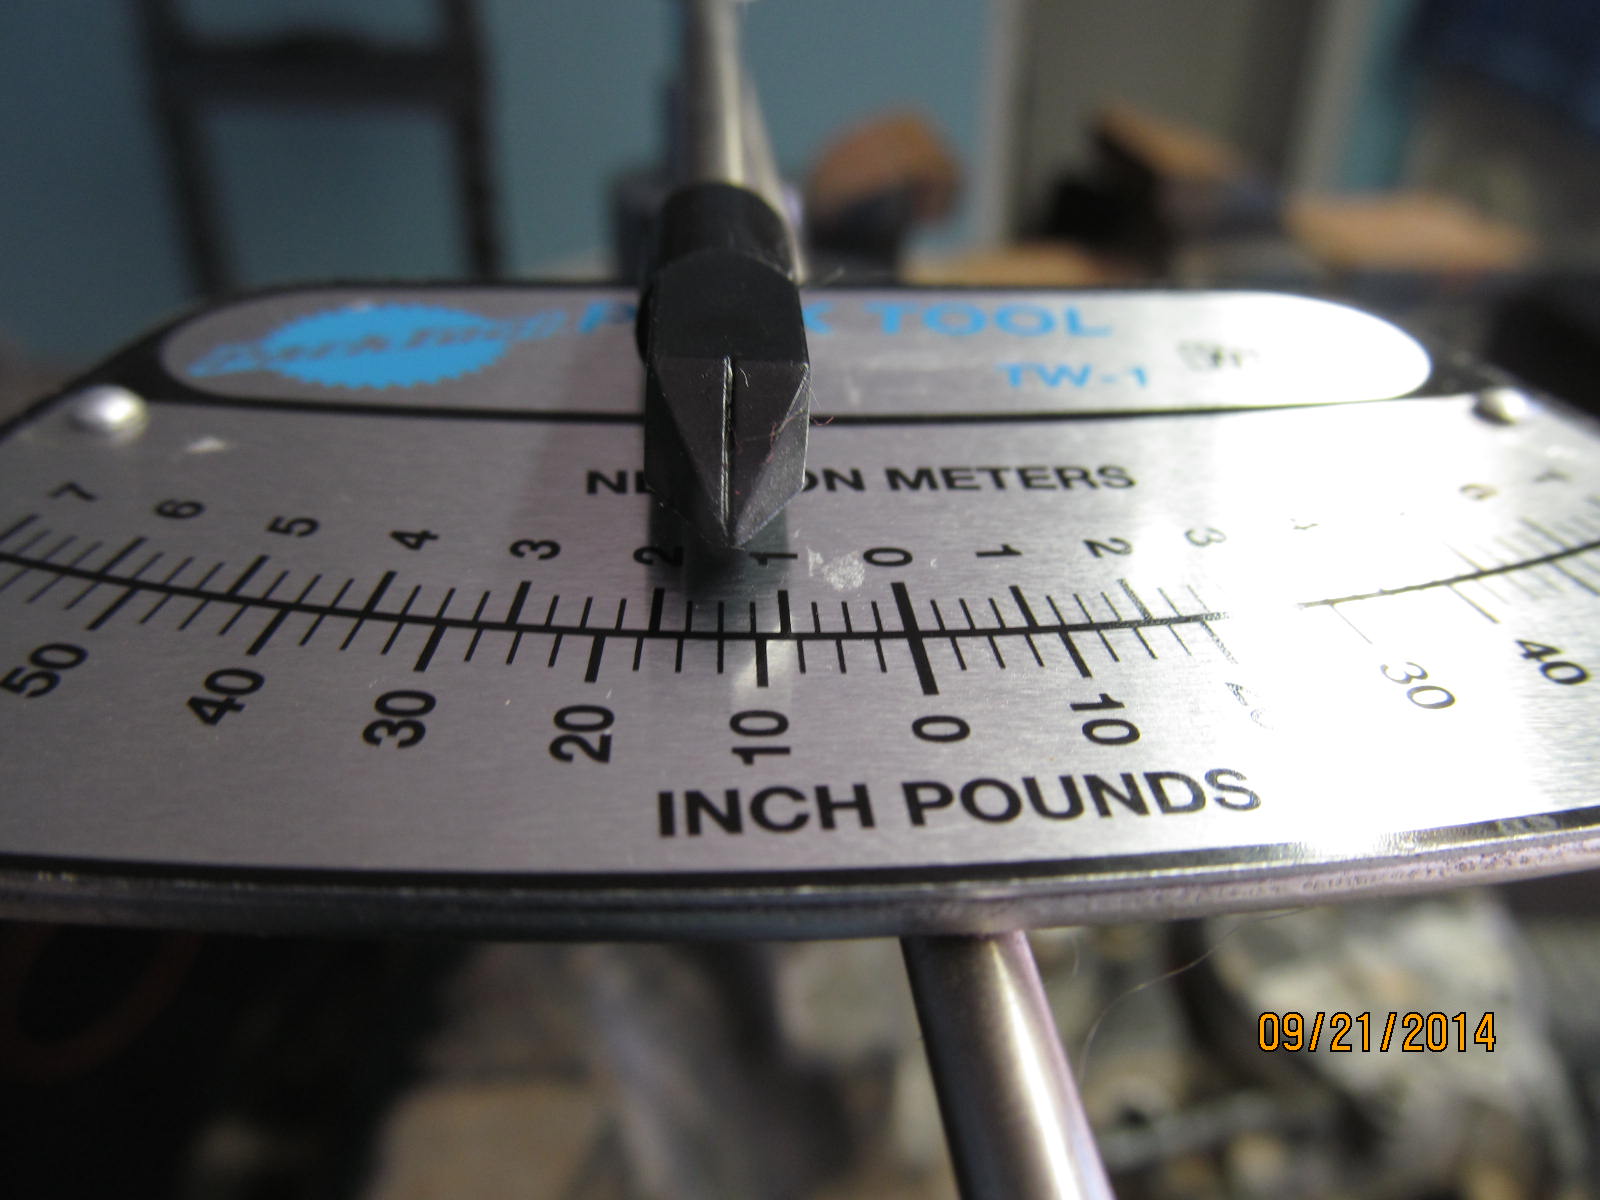
Turning the very notchy pinion takes in excess of 60 in/lbs.
|
|
|
|
|
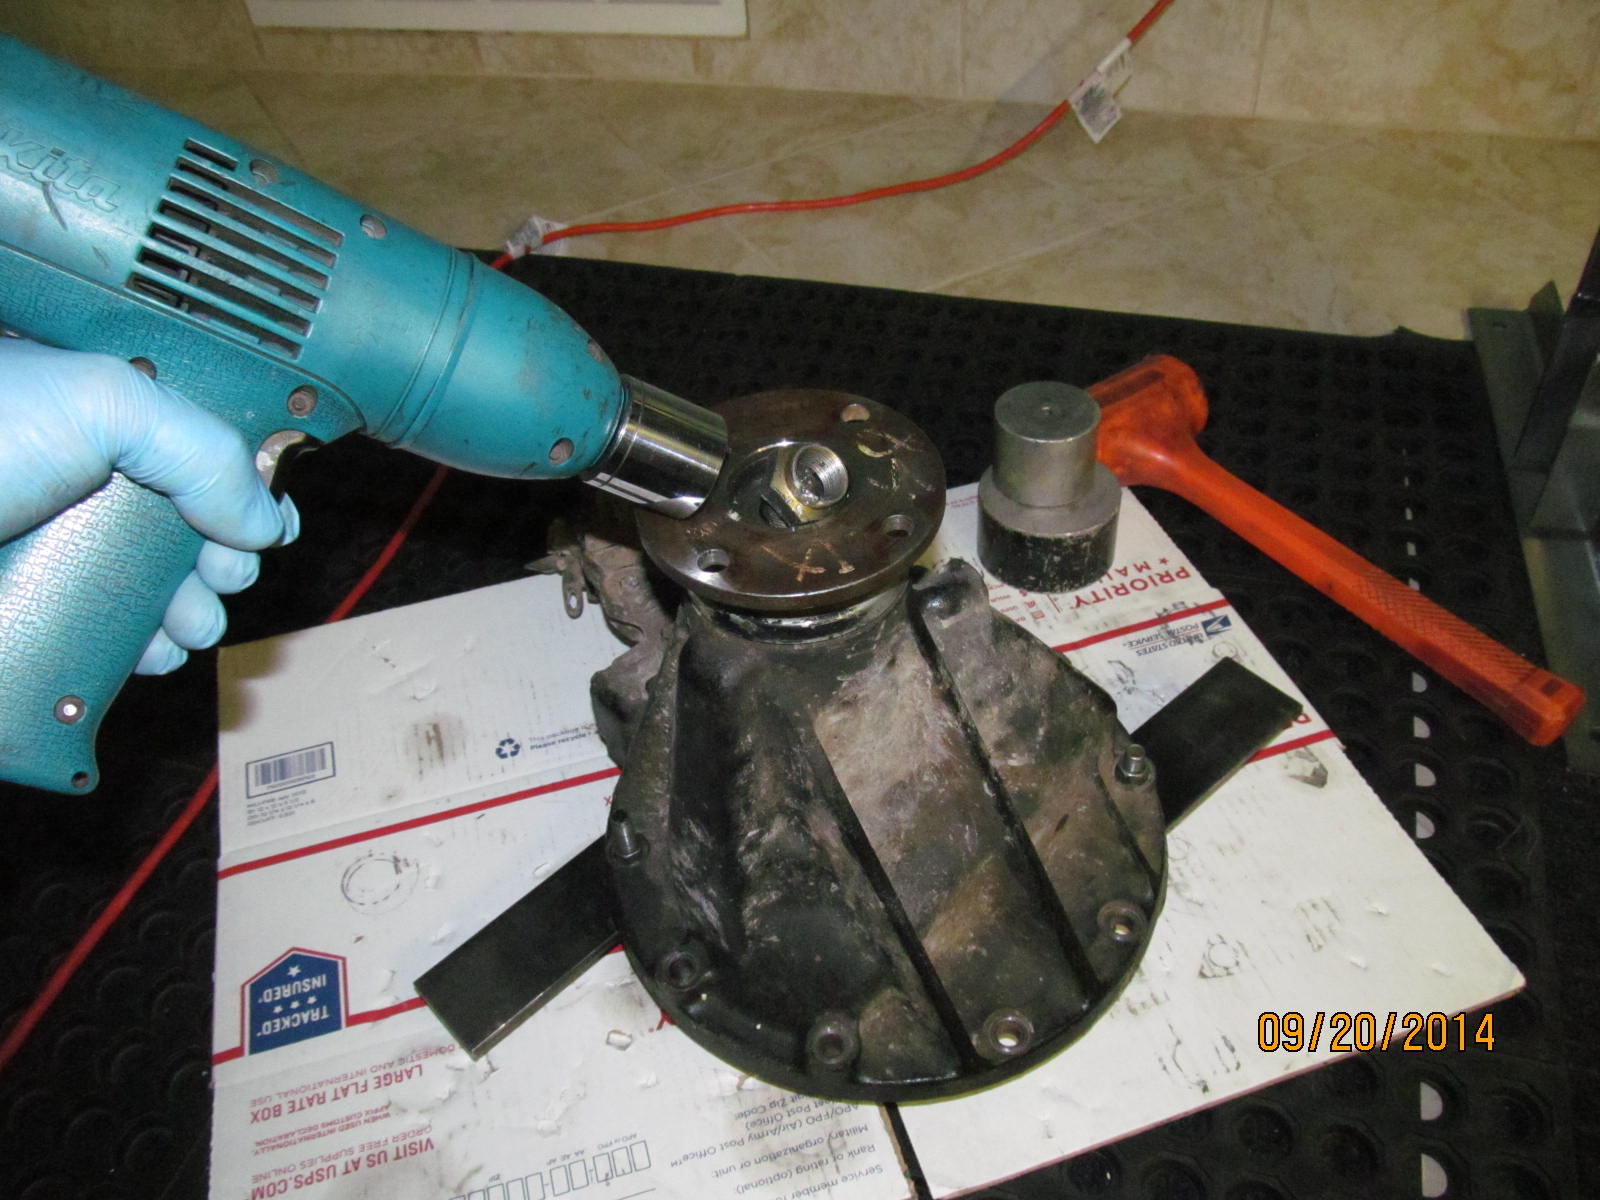
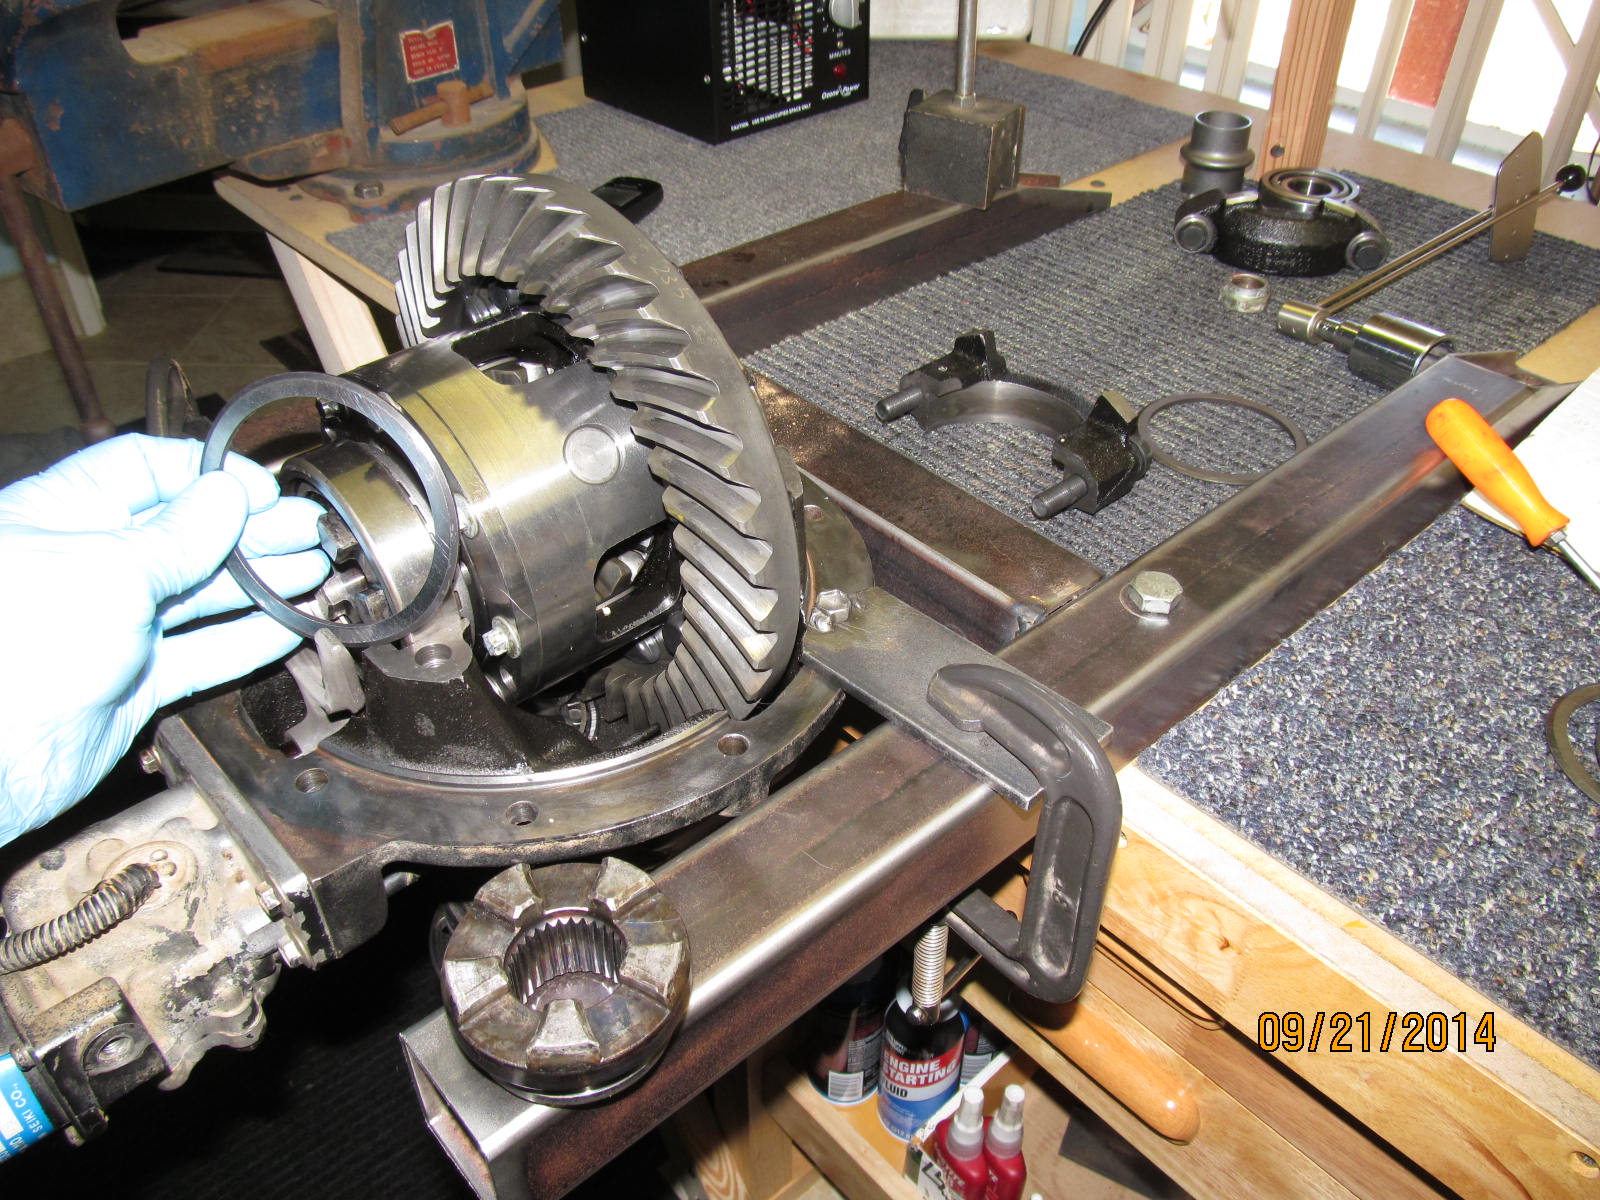
Now to remove the carrier/case. Whizz off the four 17mm bolts with your electric impact wrench.
|
|
|
|
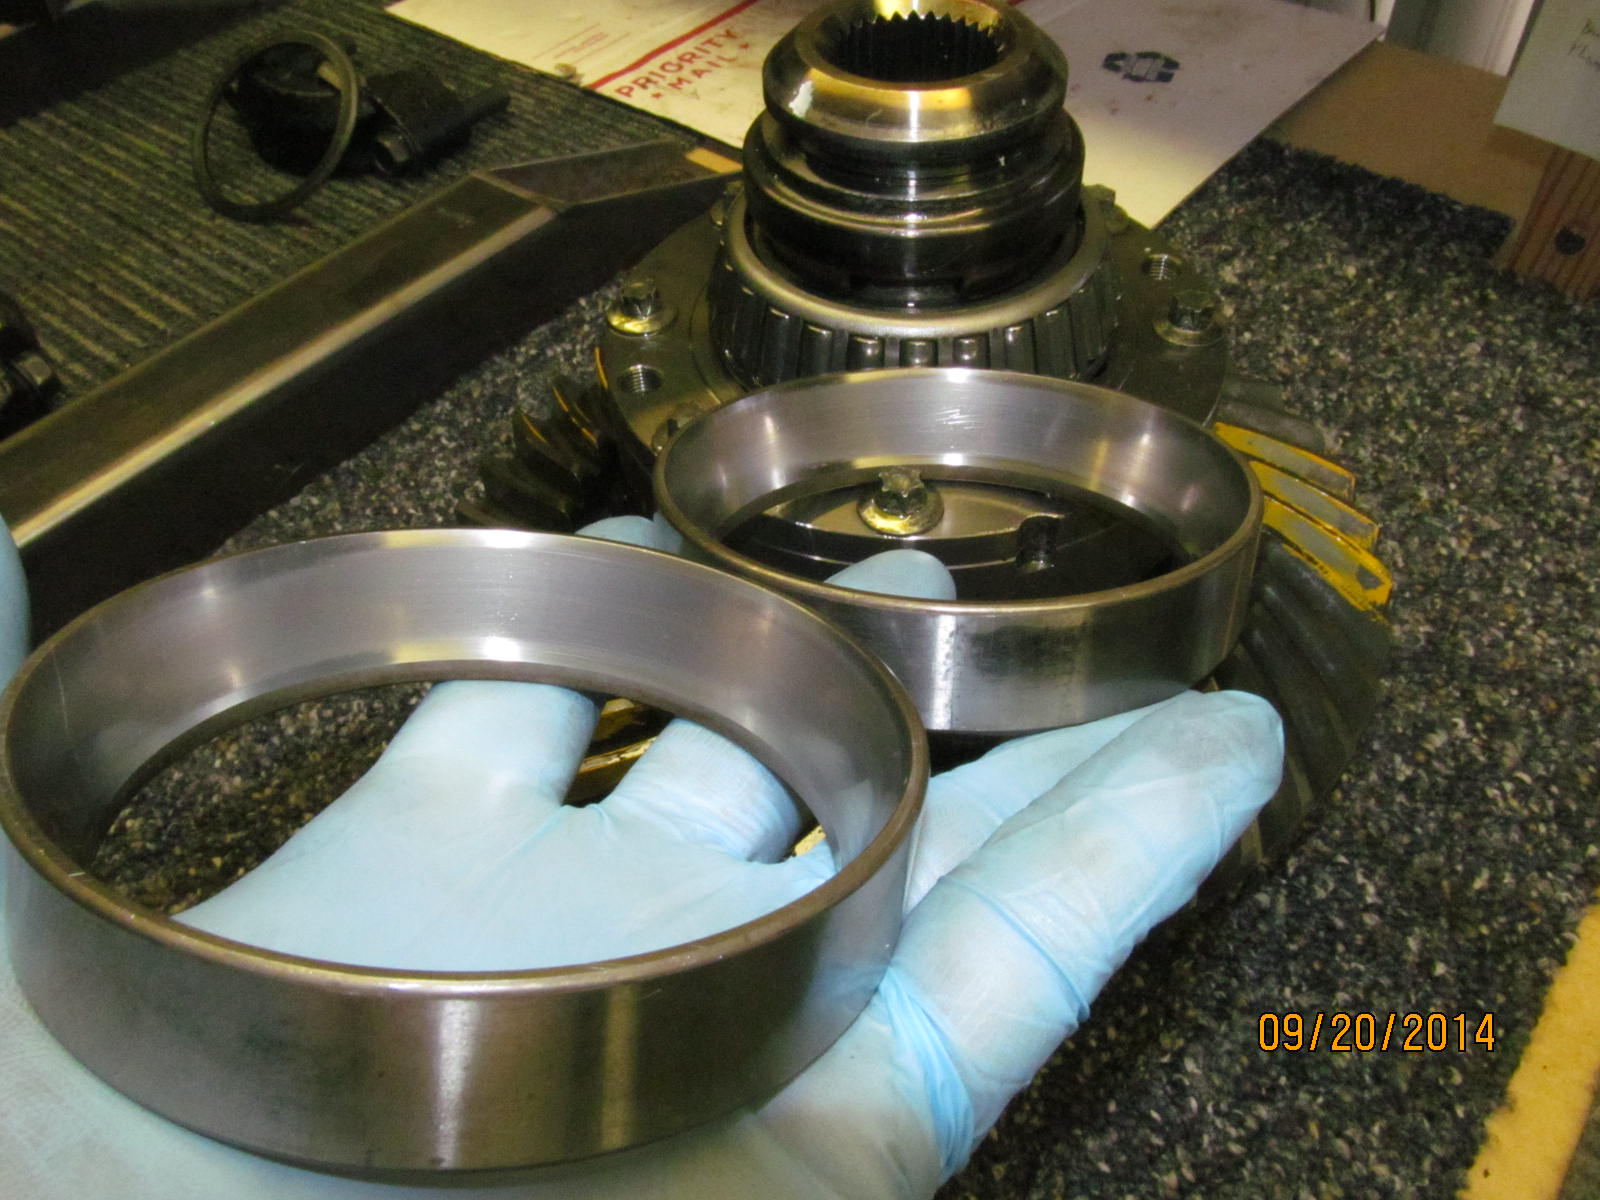
The monster carrier bearings races looked ok. Bearings/rollers looked good, too. These races are marked left
and right so they don't get mixed up.
|
|
|
|
|
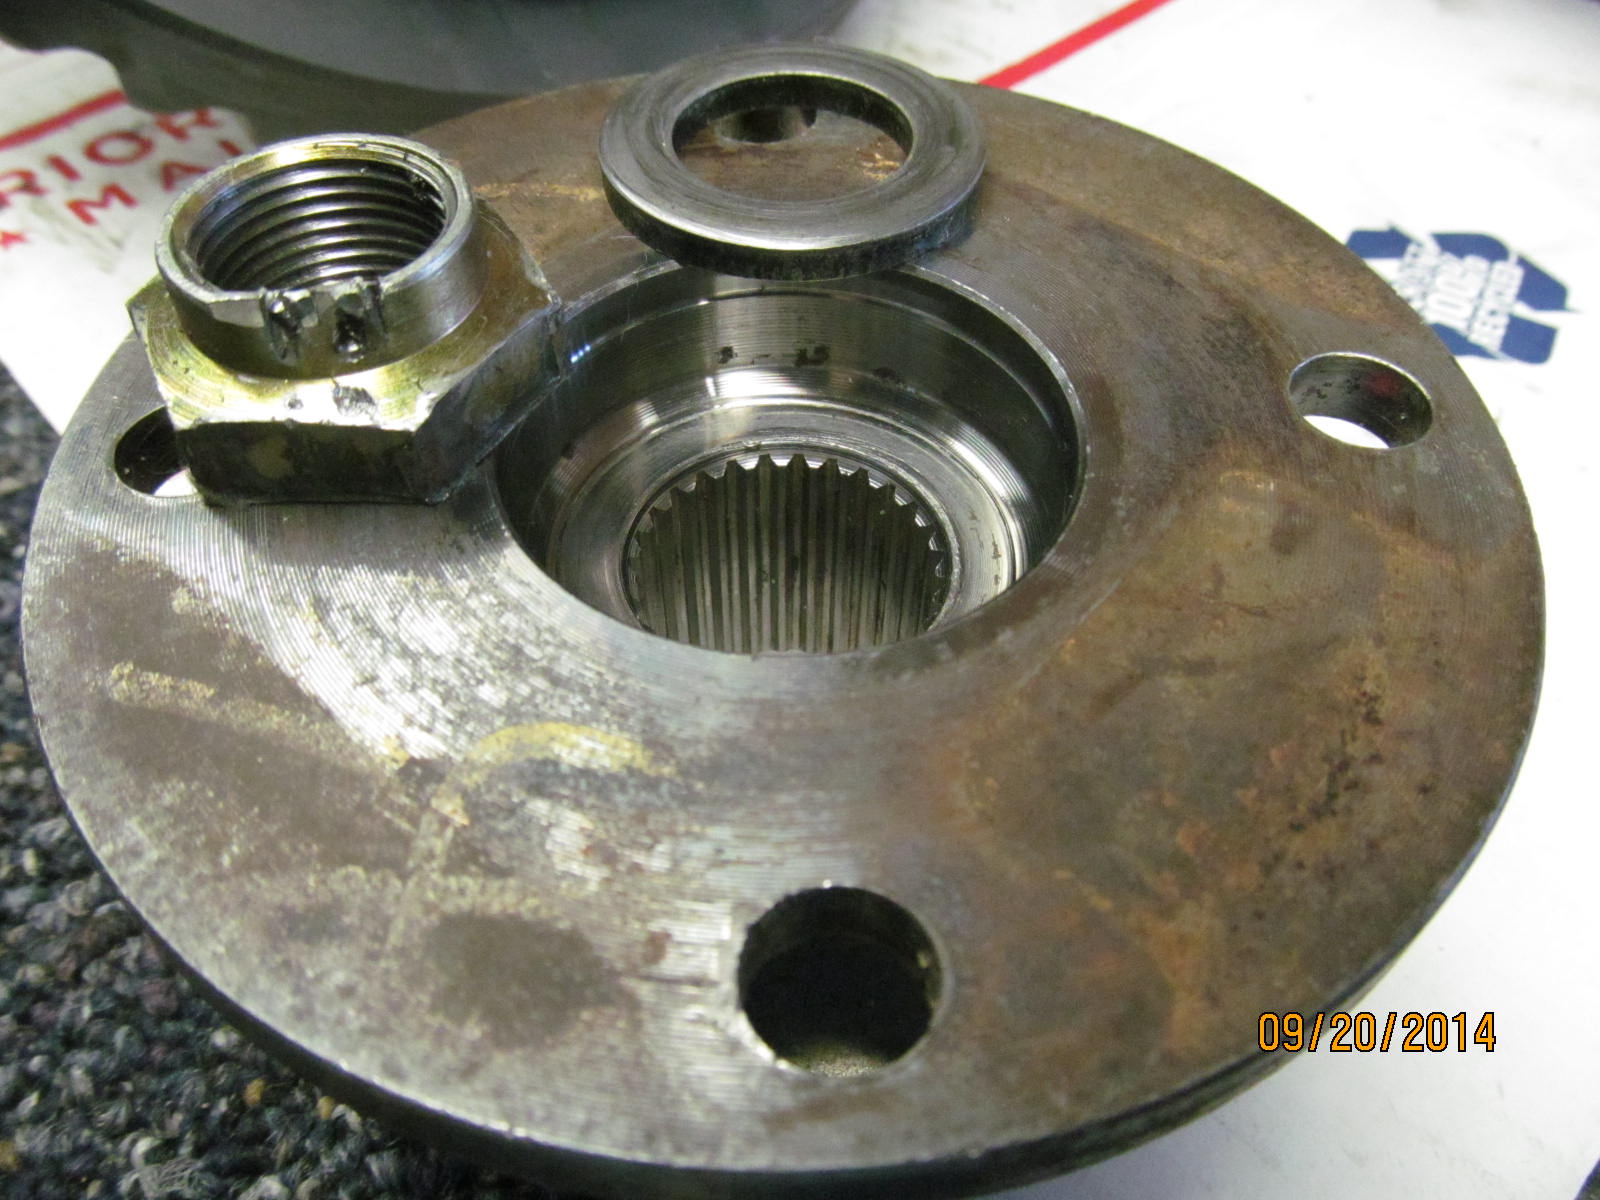
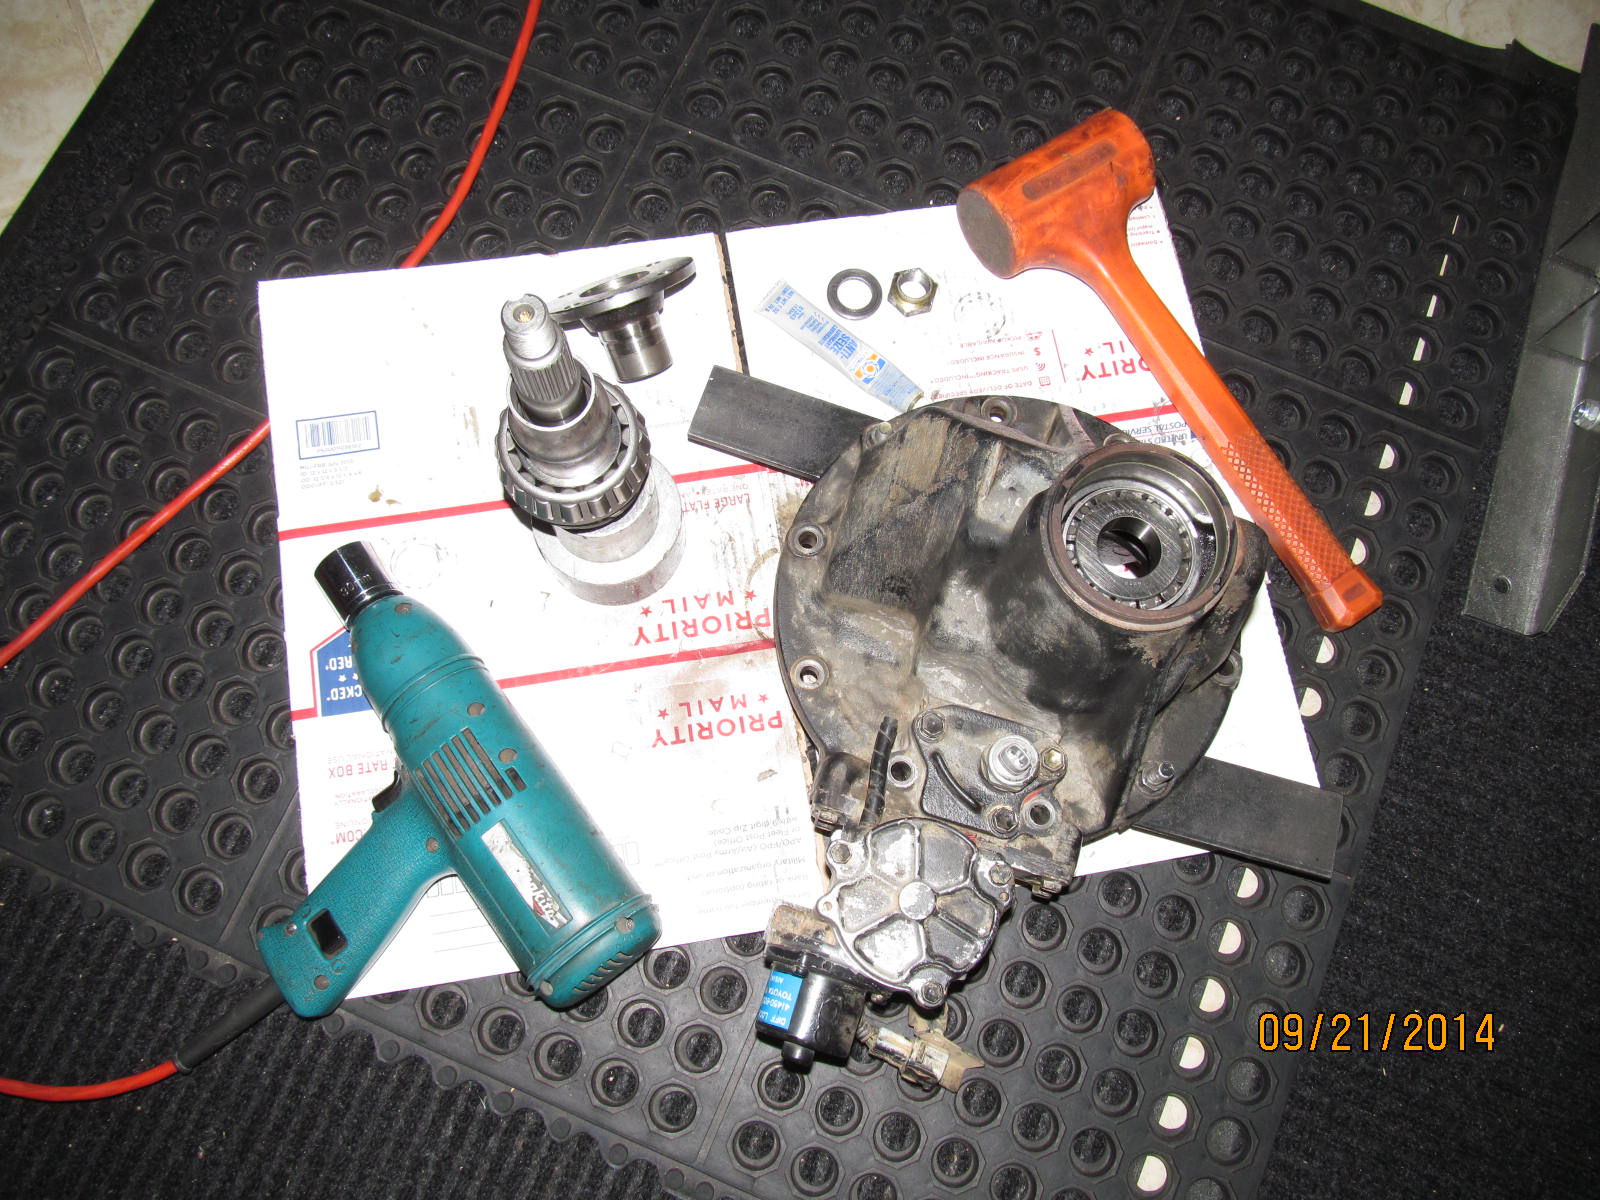
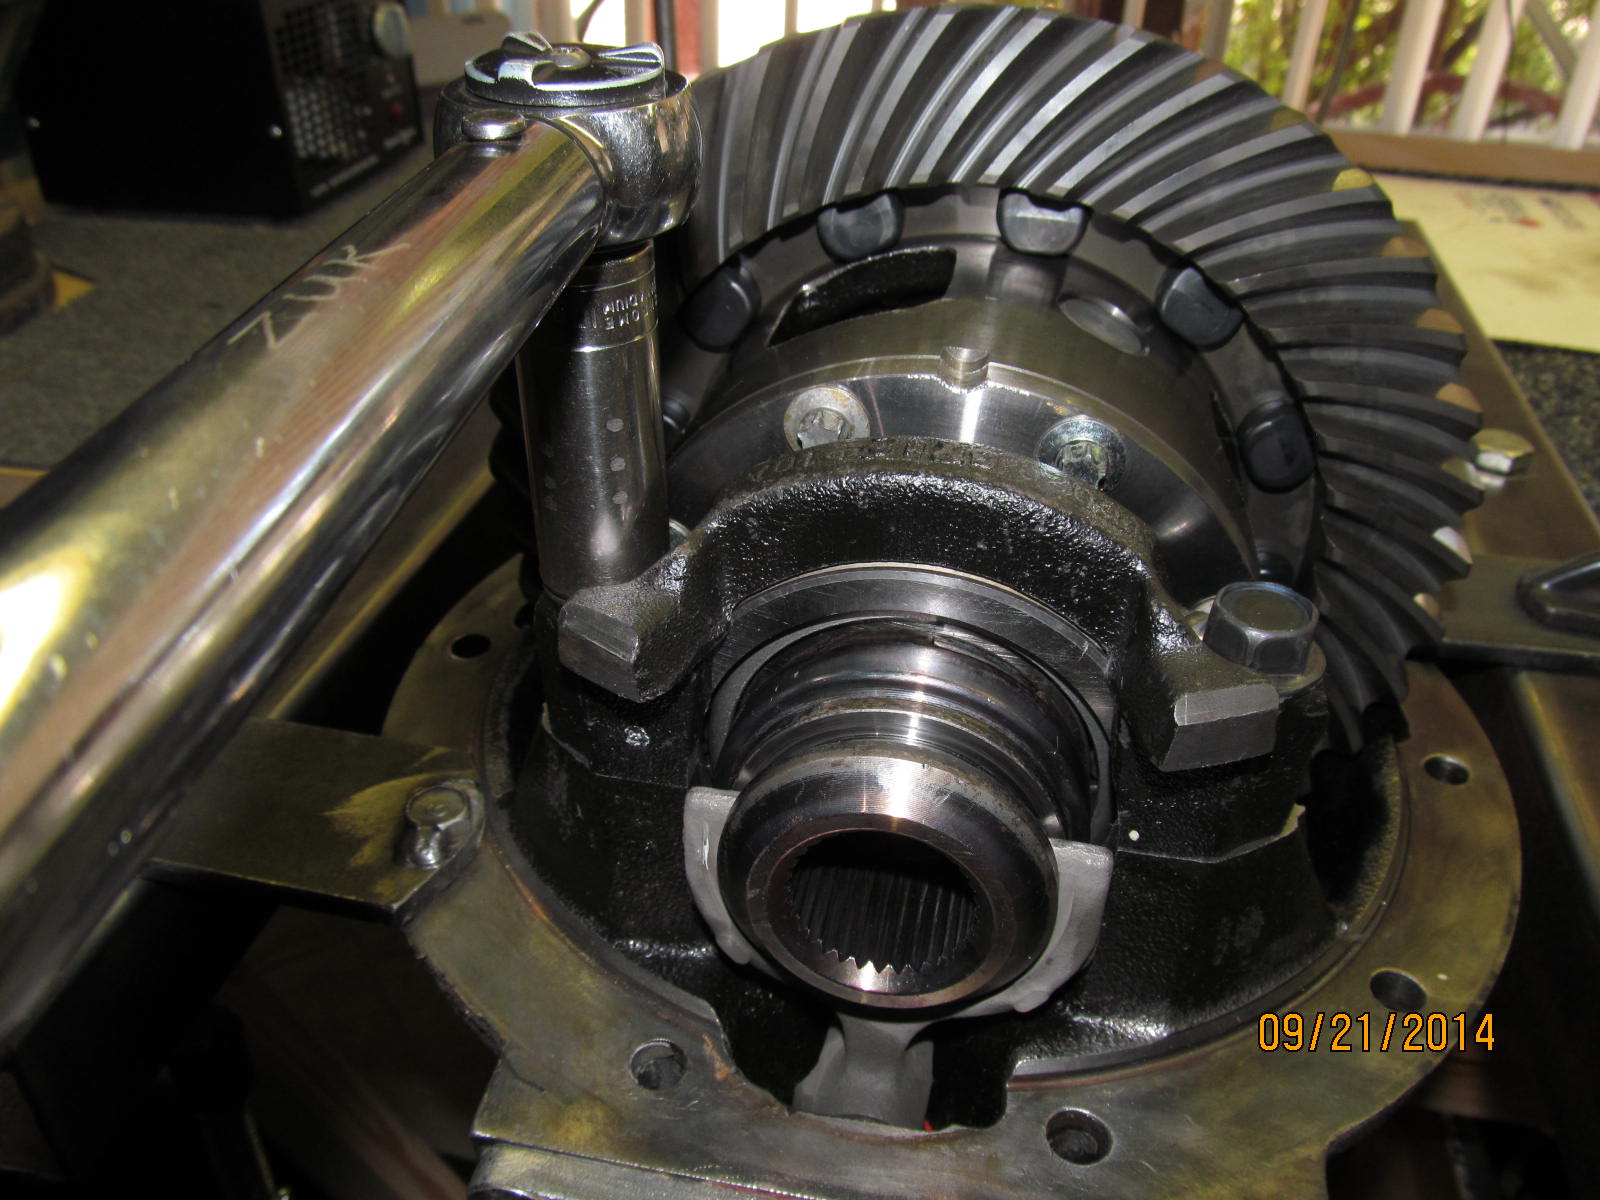
Remove the pinion nut and flange.
|
|
|
|
|
..............
|
|
|
|
|
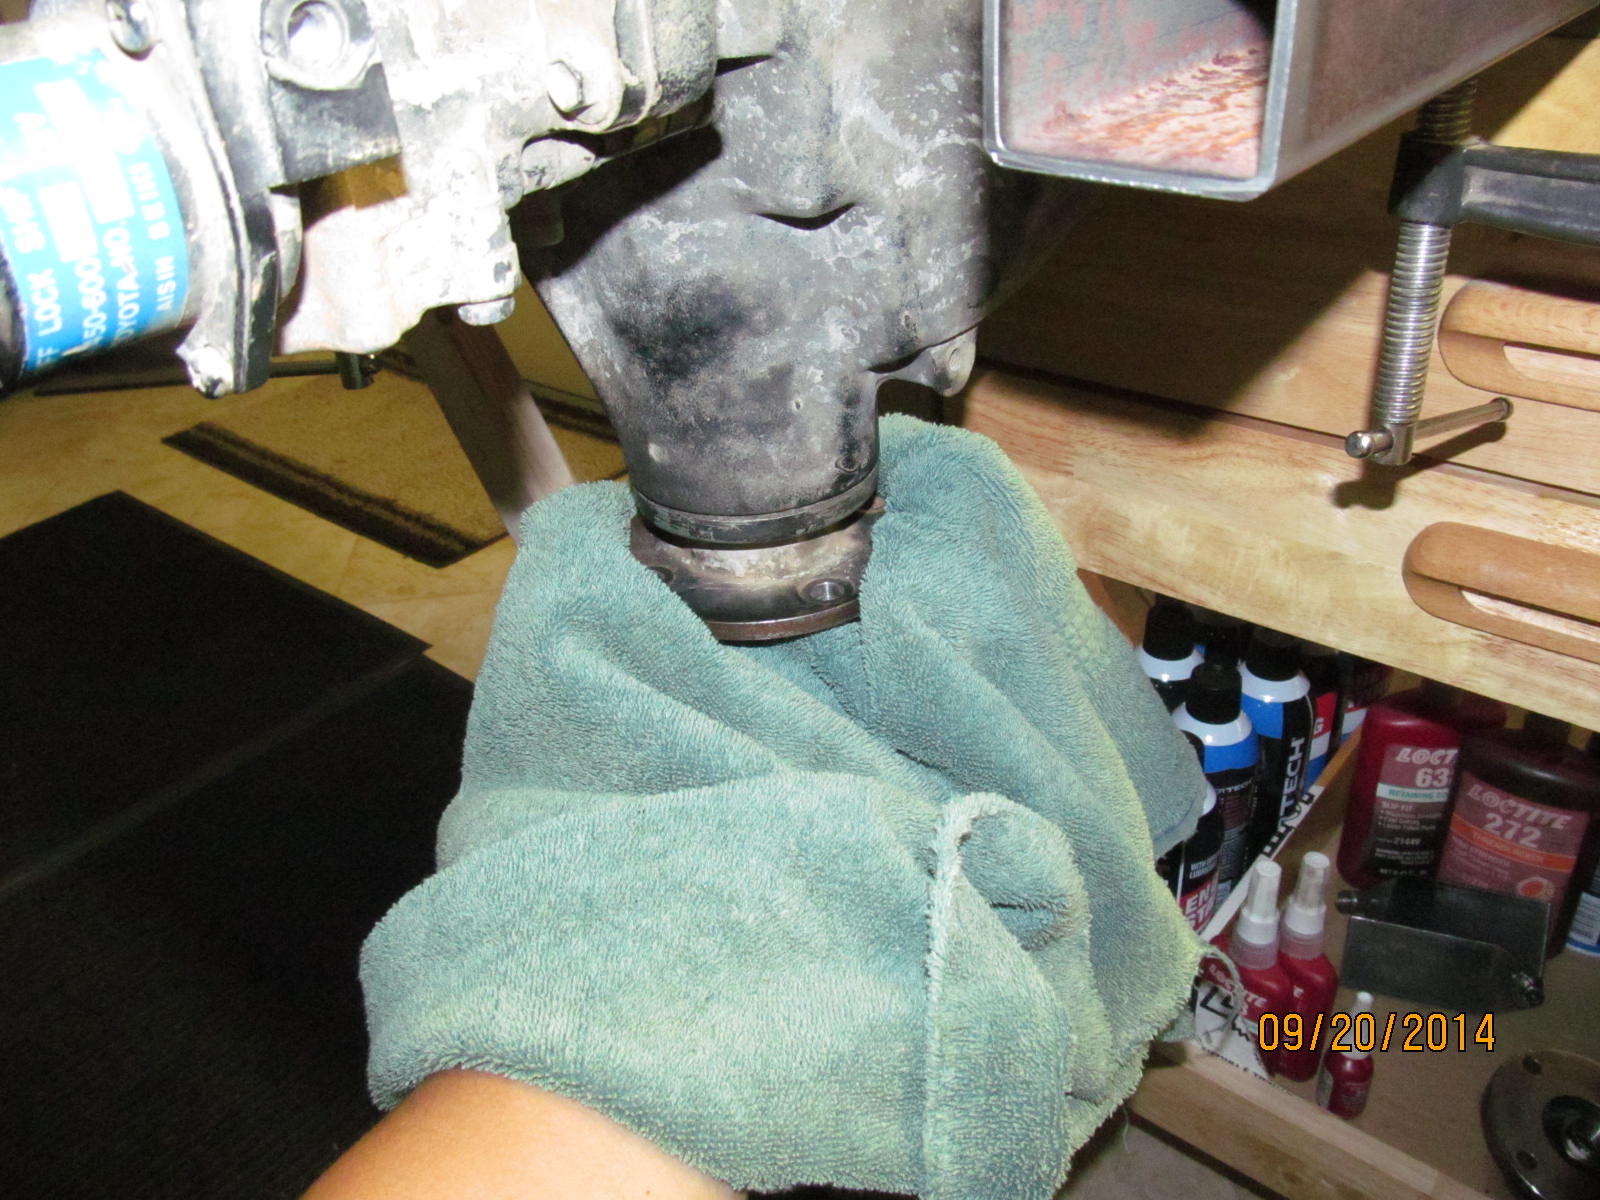
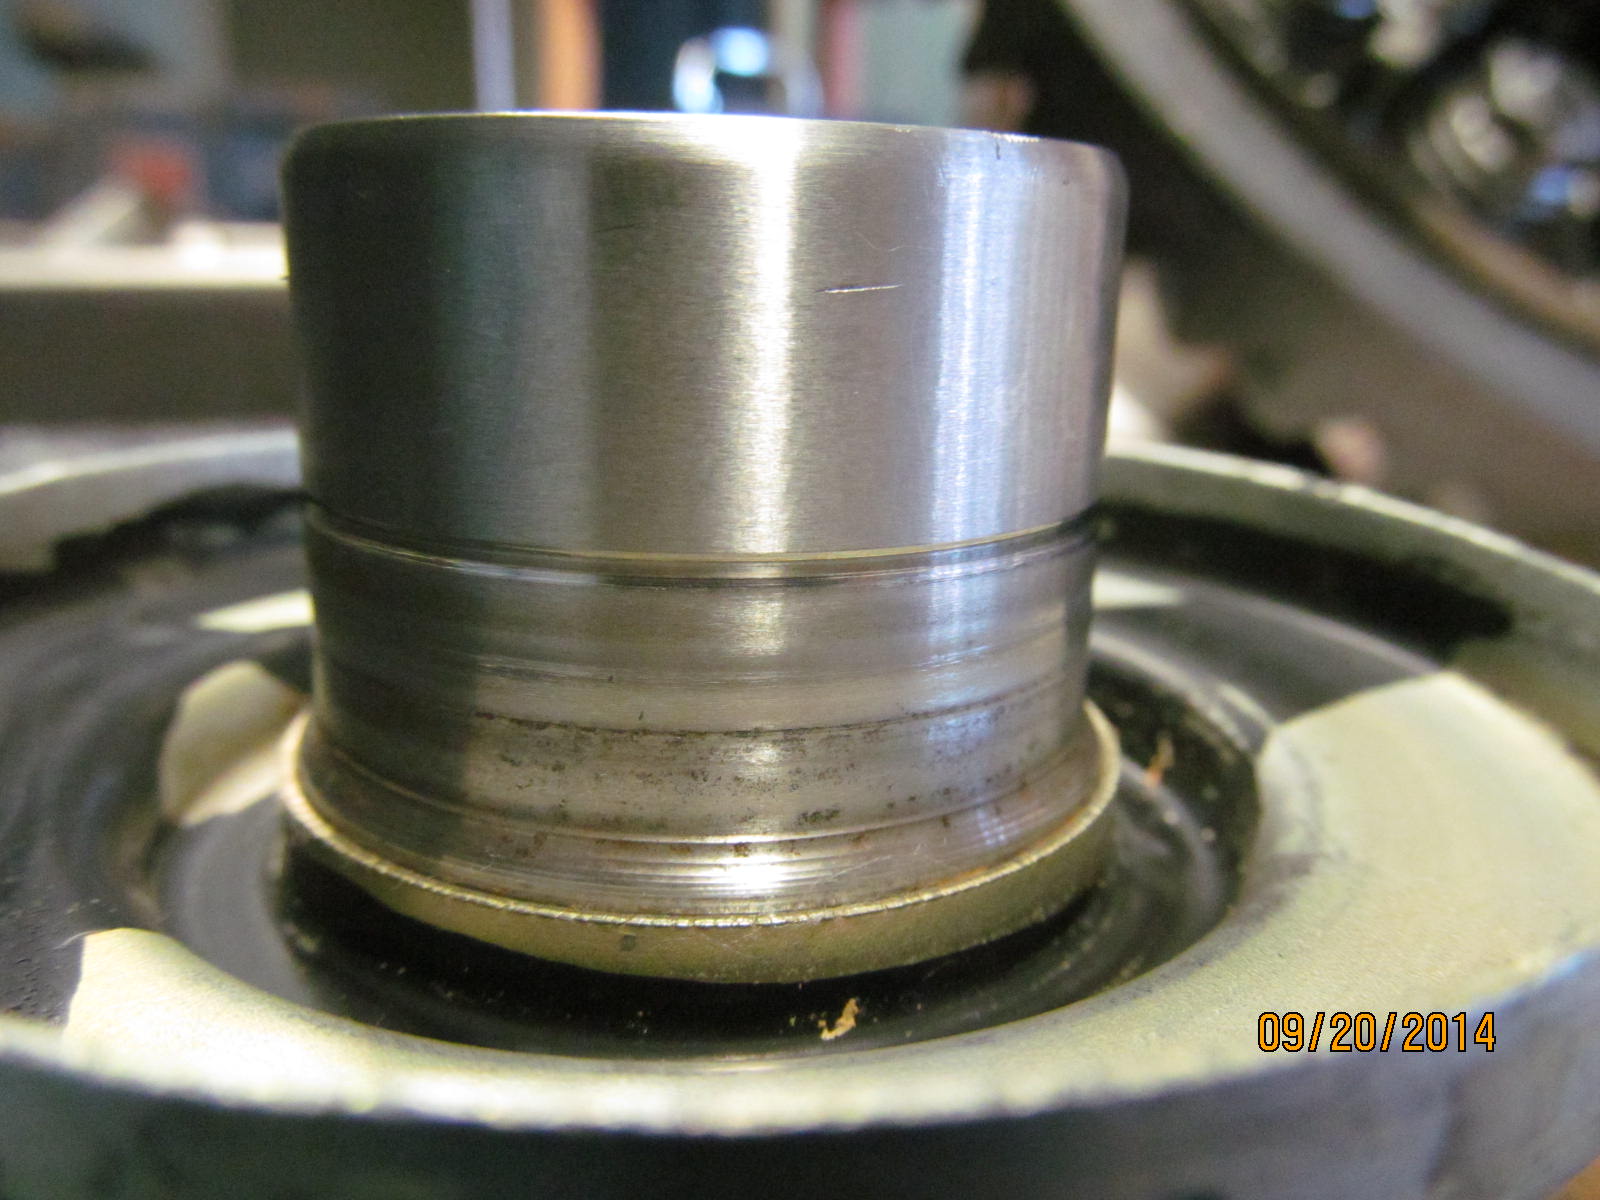
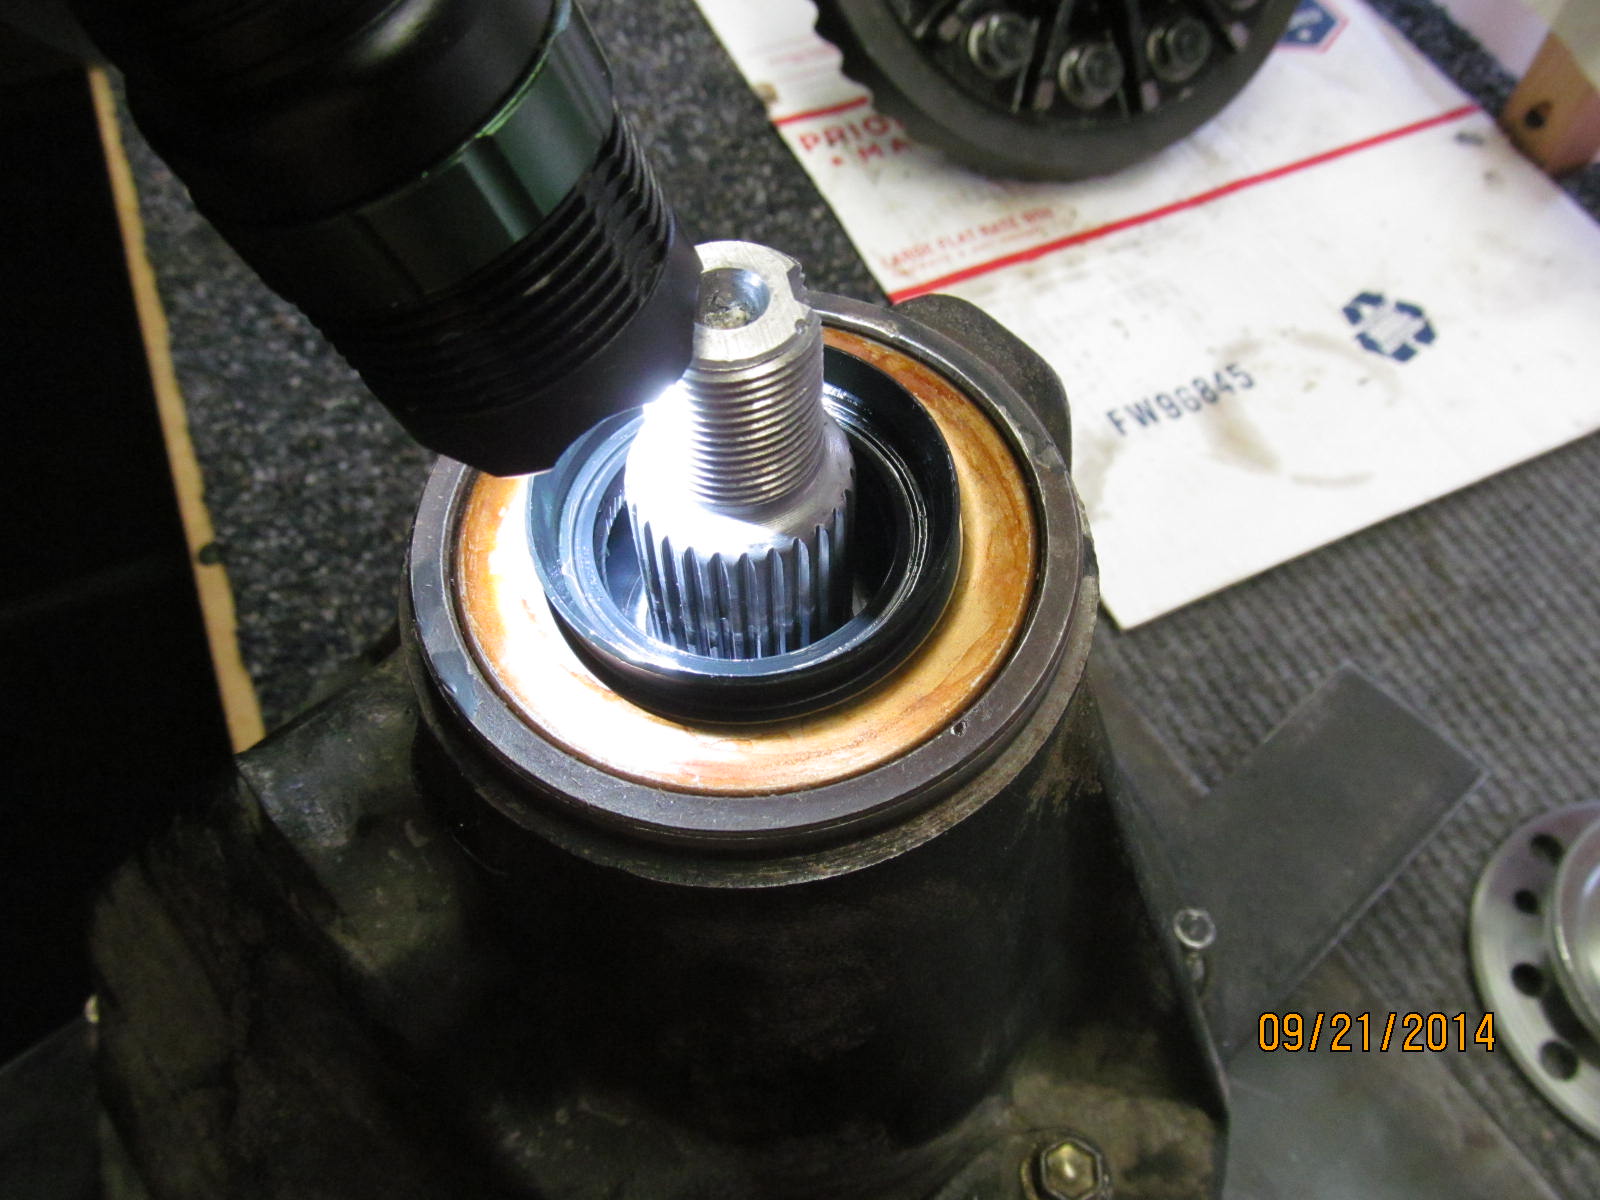
The seal has worn a considerable groove midway down. A new triple drilled flange will replace this one.
|
|
|
|
Pressing the pinion out...
The surface does not look as bad as this picture using the flash mode seems to indicate. Actually, with
a little wire brushing and a touch of satin black, it almost looked like a whole new 3rd.
|
|
|
|
|
Notice the burn marks where the small outer pinion rides on the left side. Way too much preload maybe?
|
|
|
|
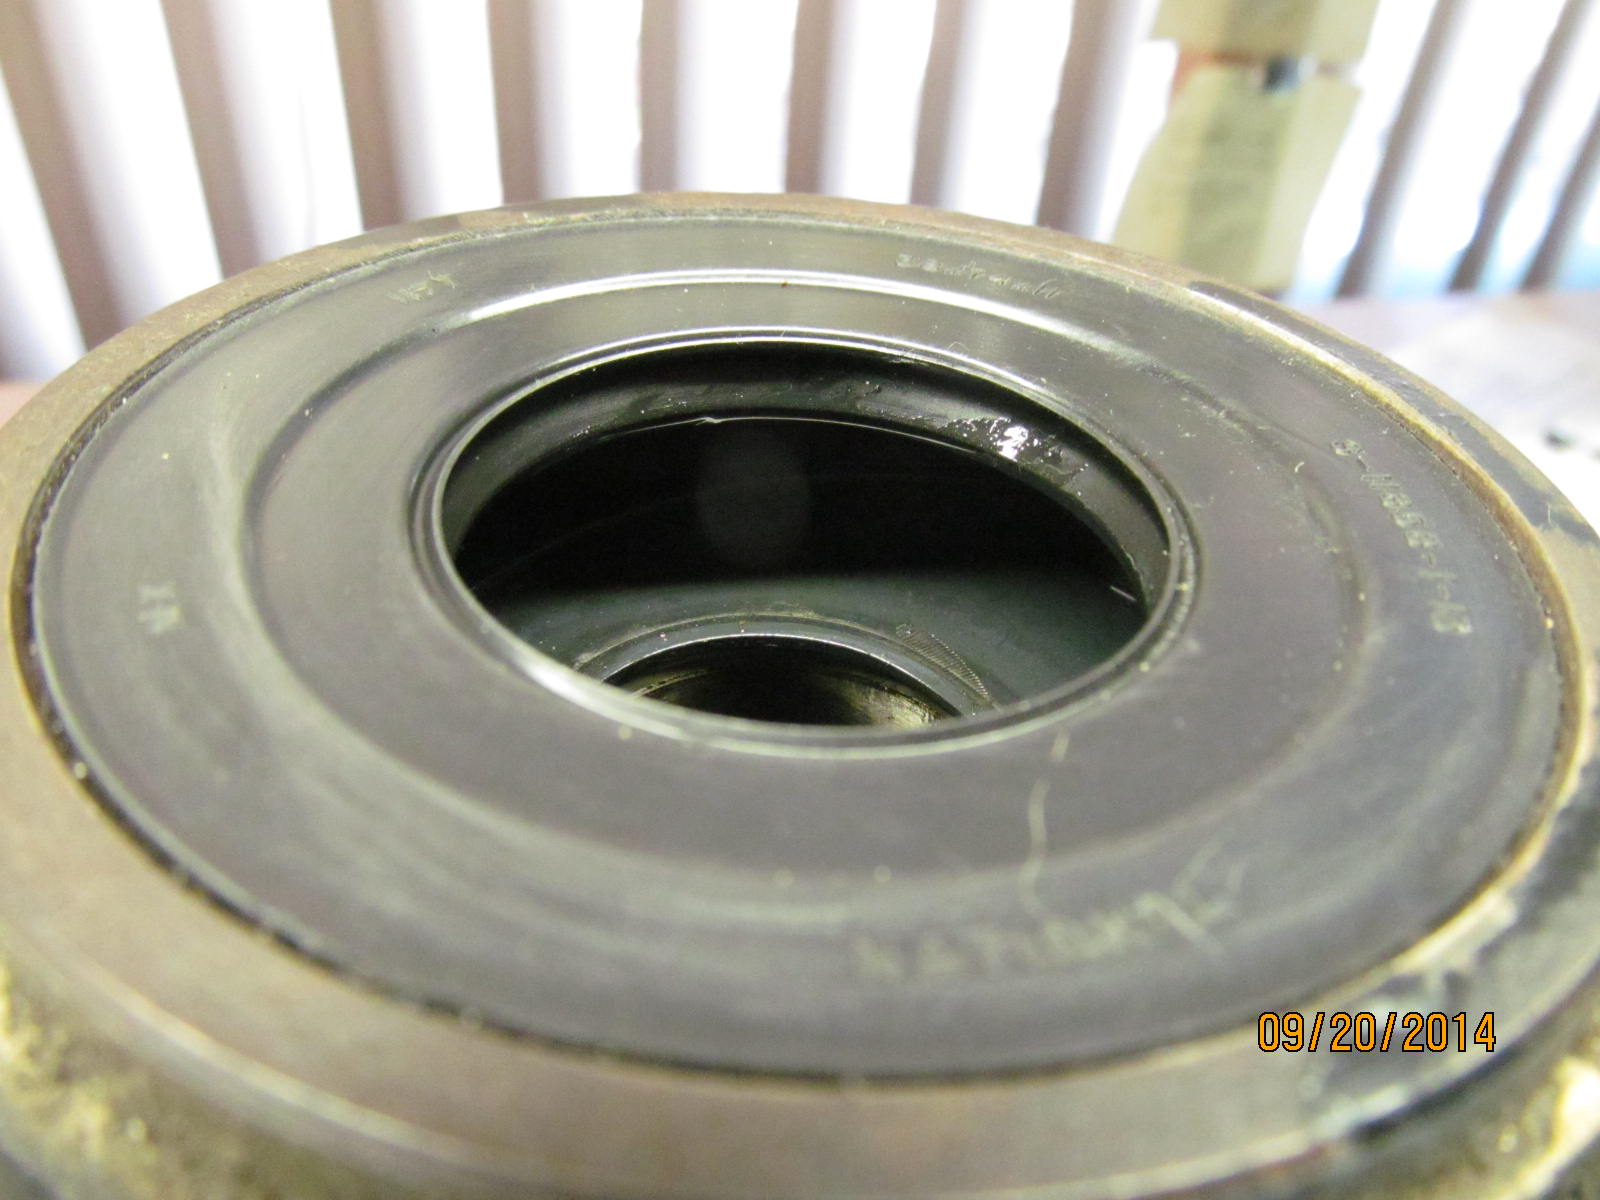
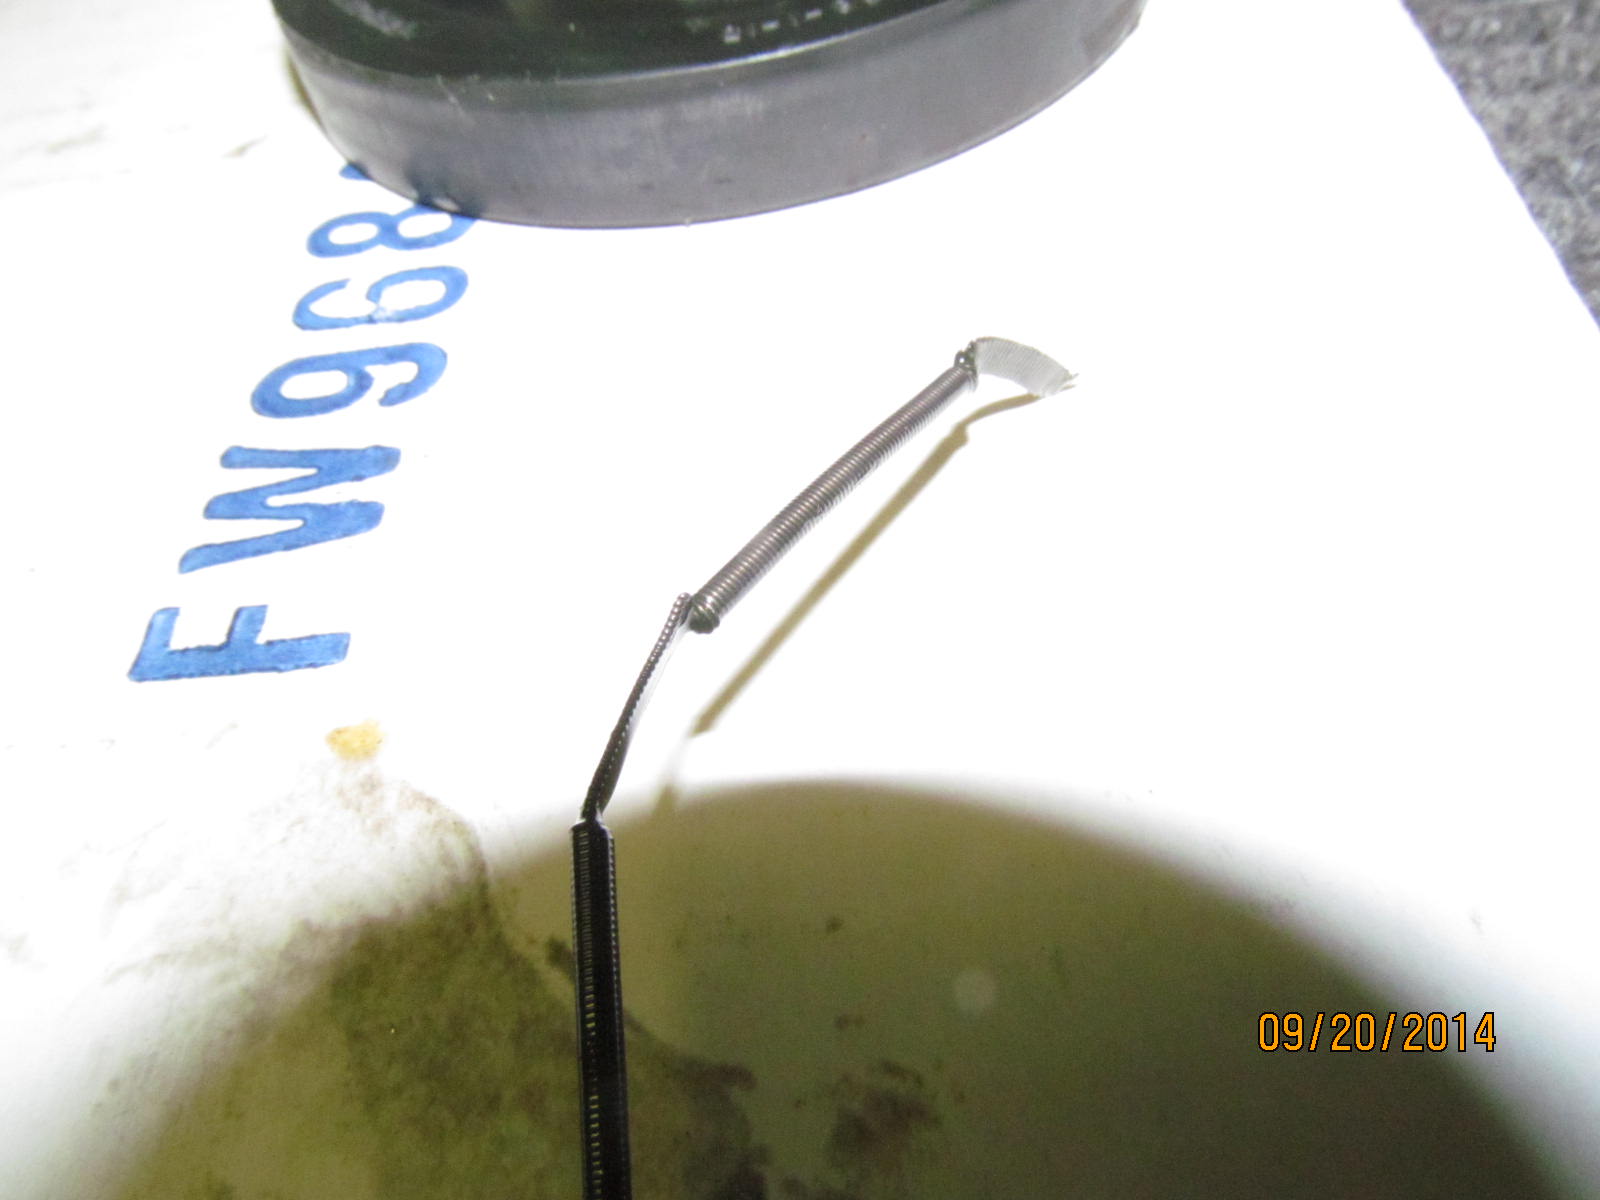
Looking at the seal before I remove it. Kinda hard to see but the spring is laying on the splashguard
in the shadows. See the fossil looking etch marks of where the spring was crushed and left an imprint?
|
|
|
|
|
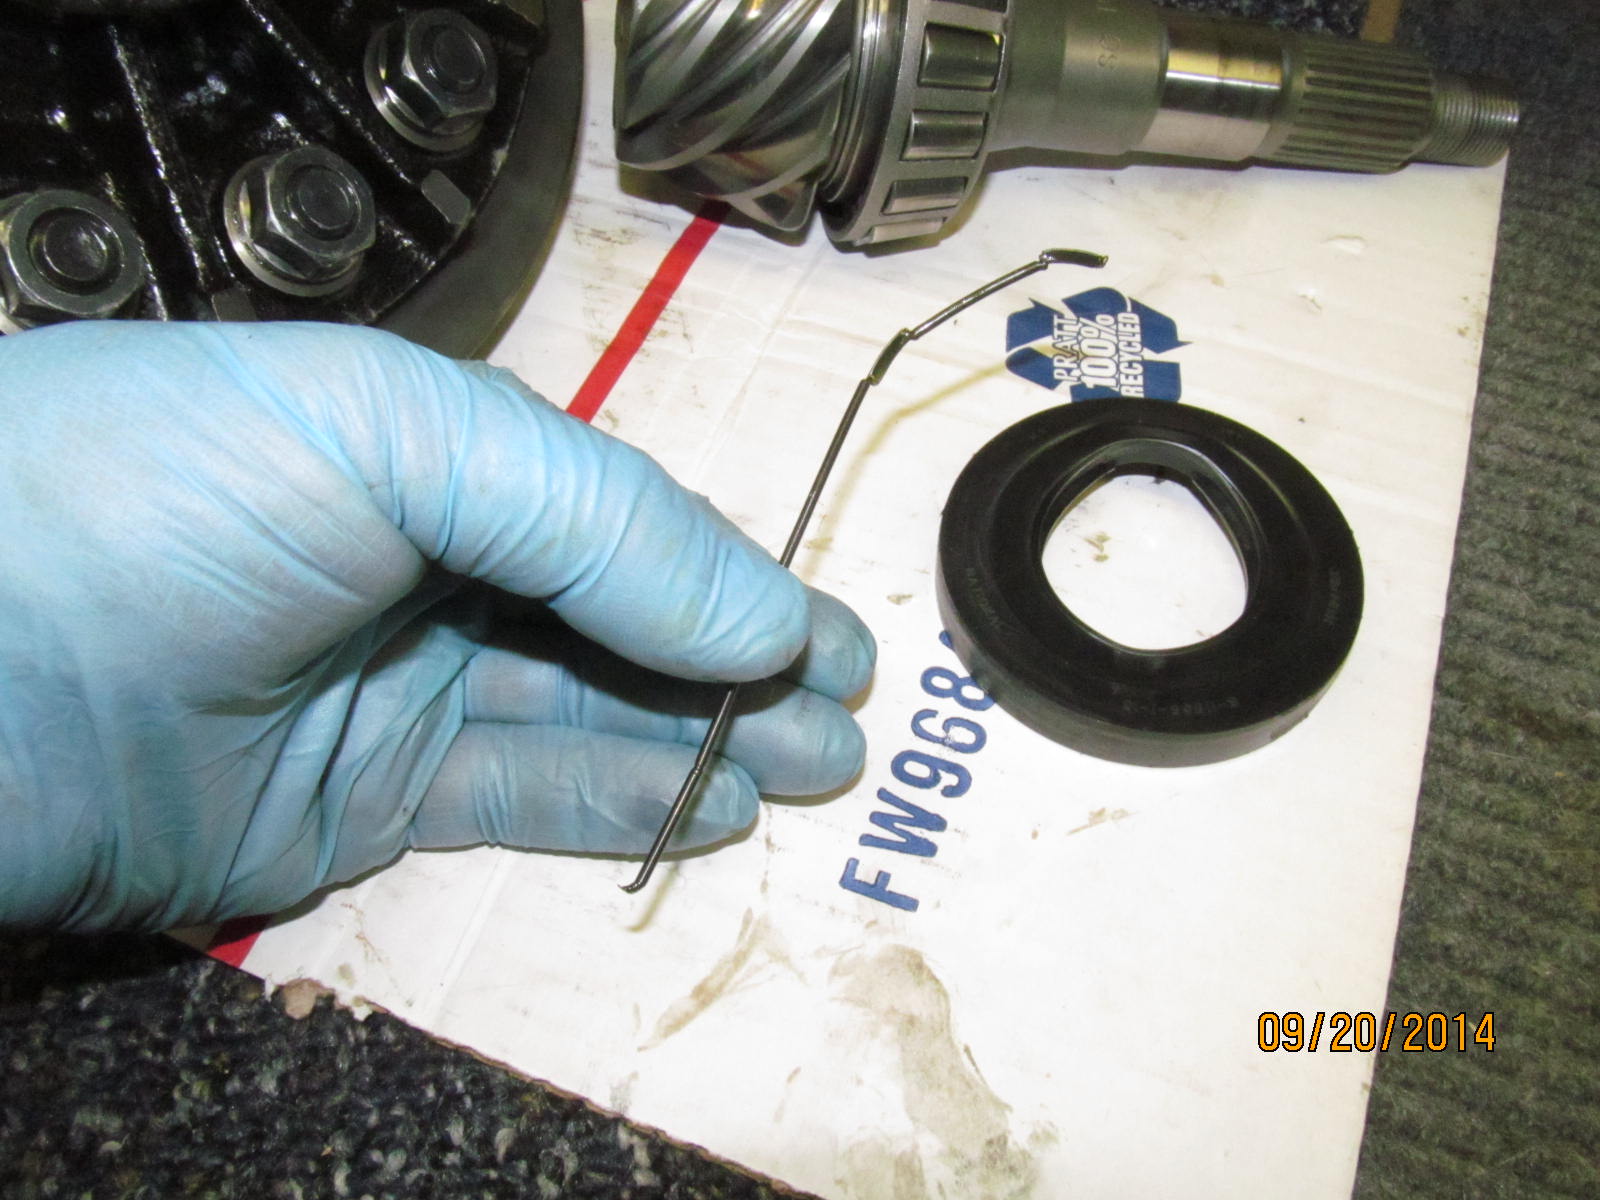
Here's the garter spring.
|
|
|
|
|
Got crushed under the pinion flange in 2 places.
|
|
|
|
|
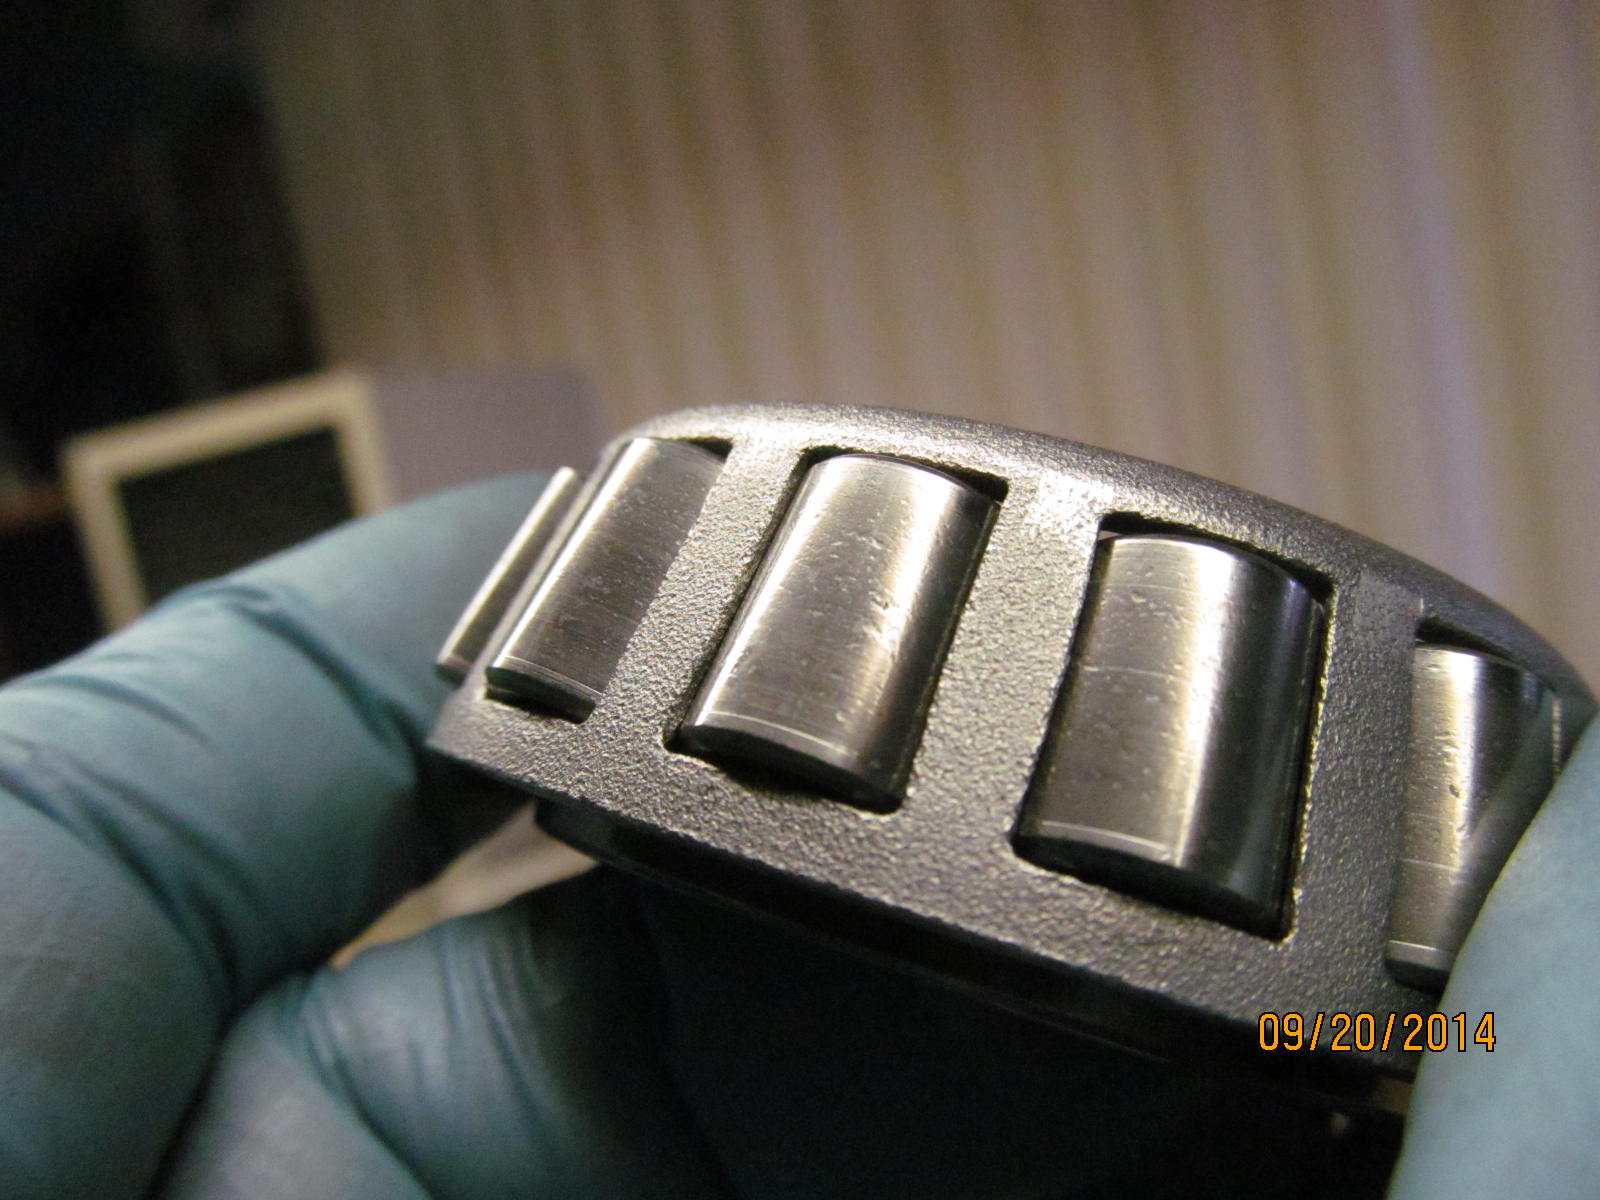
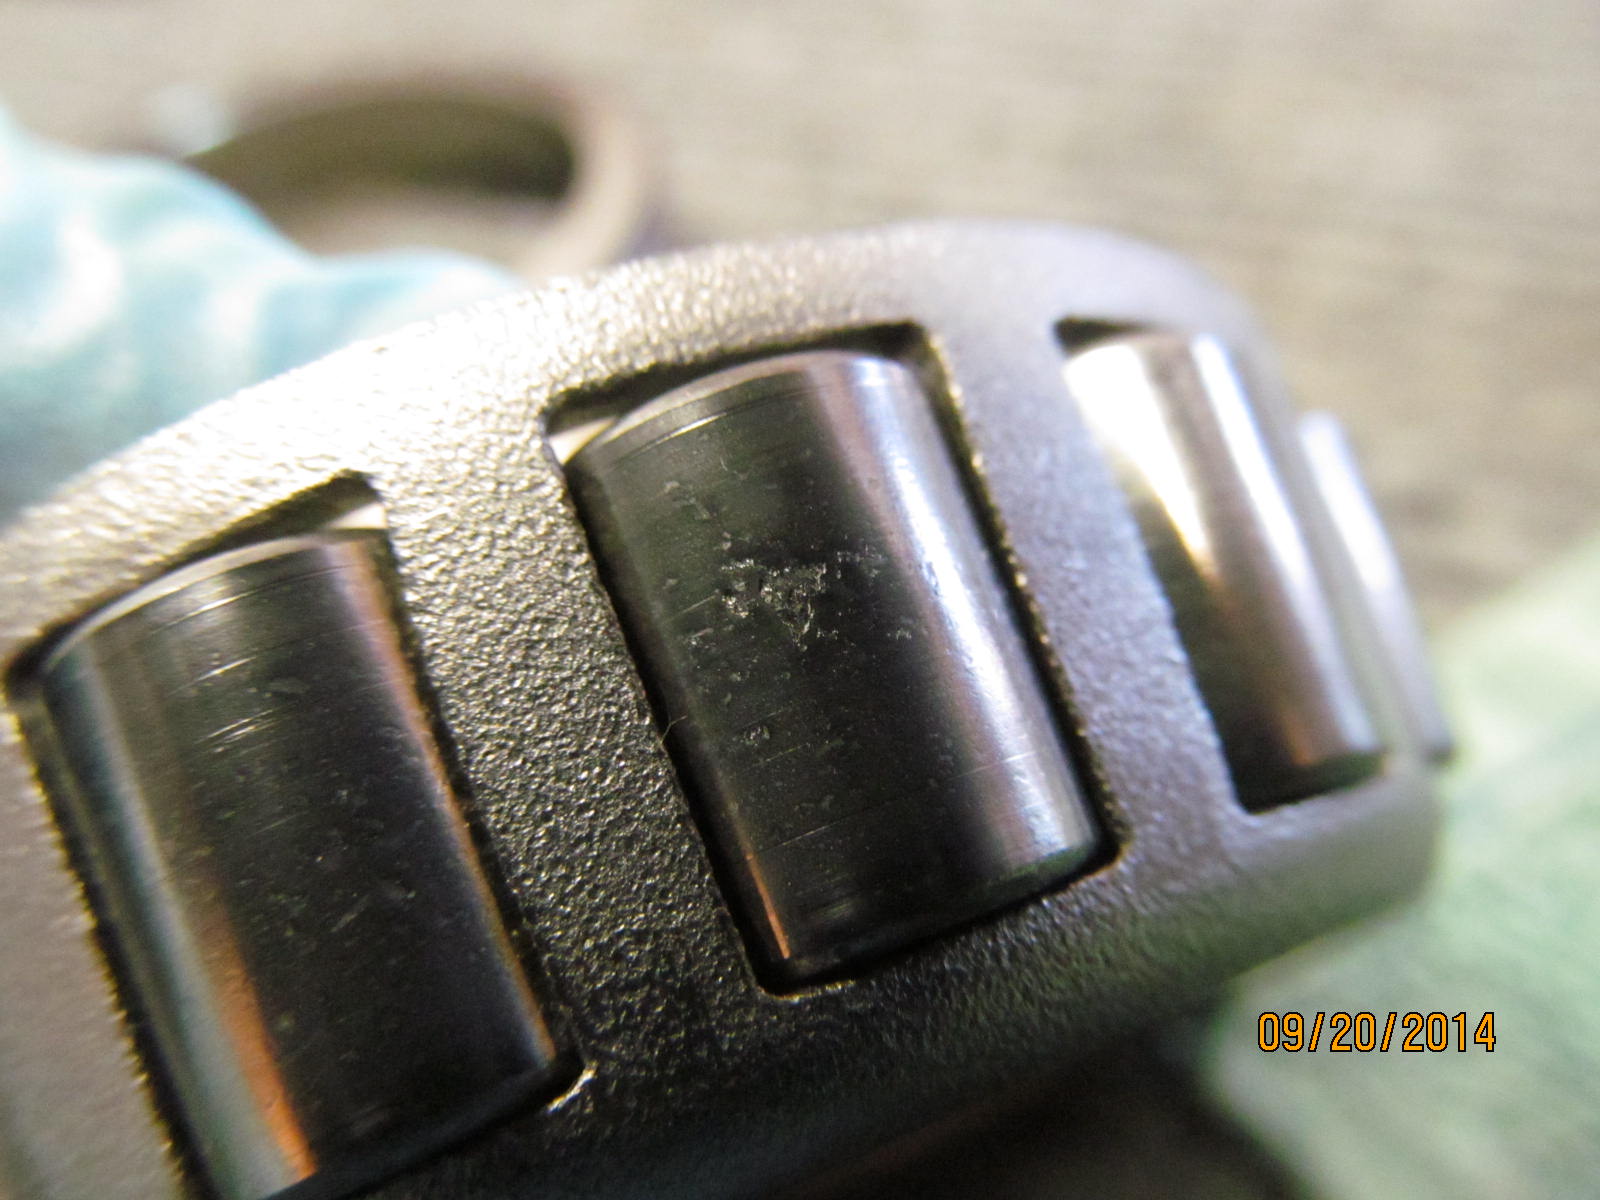
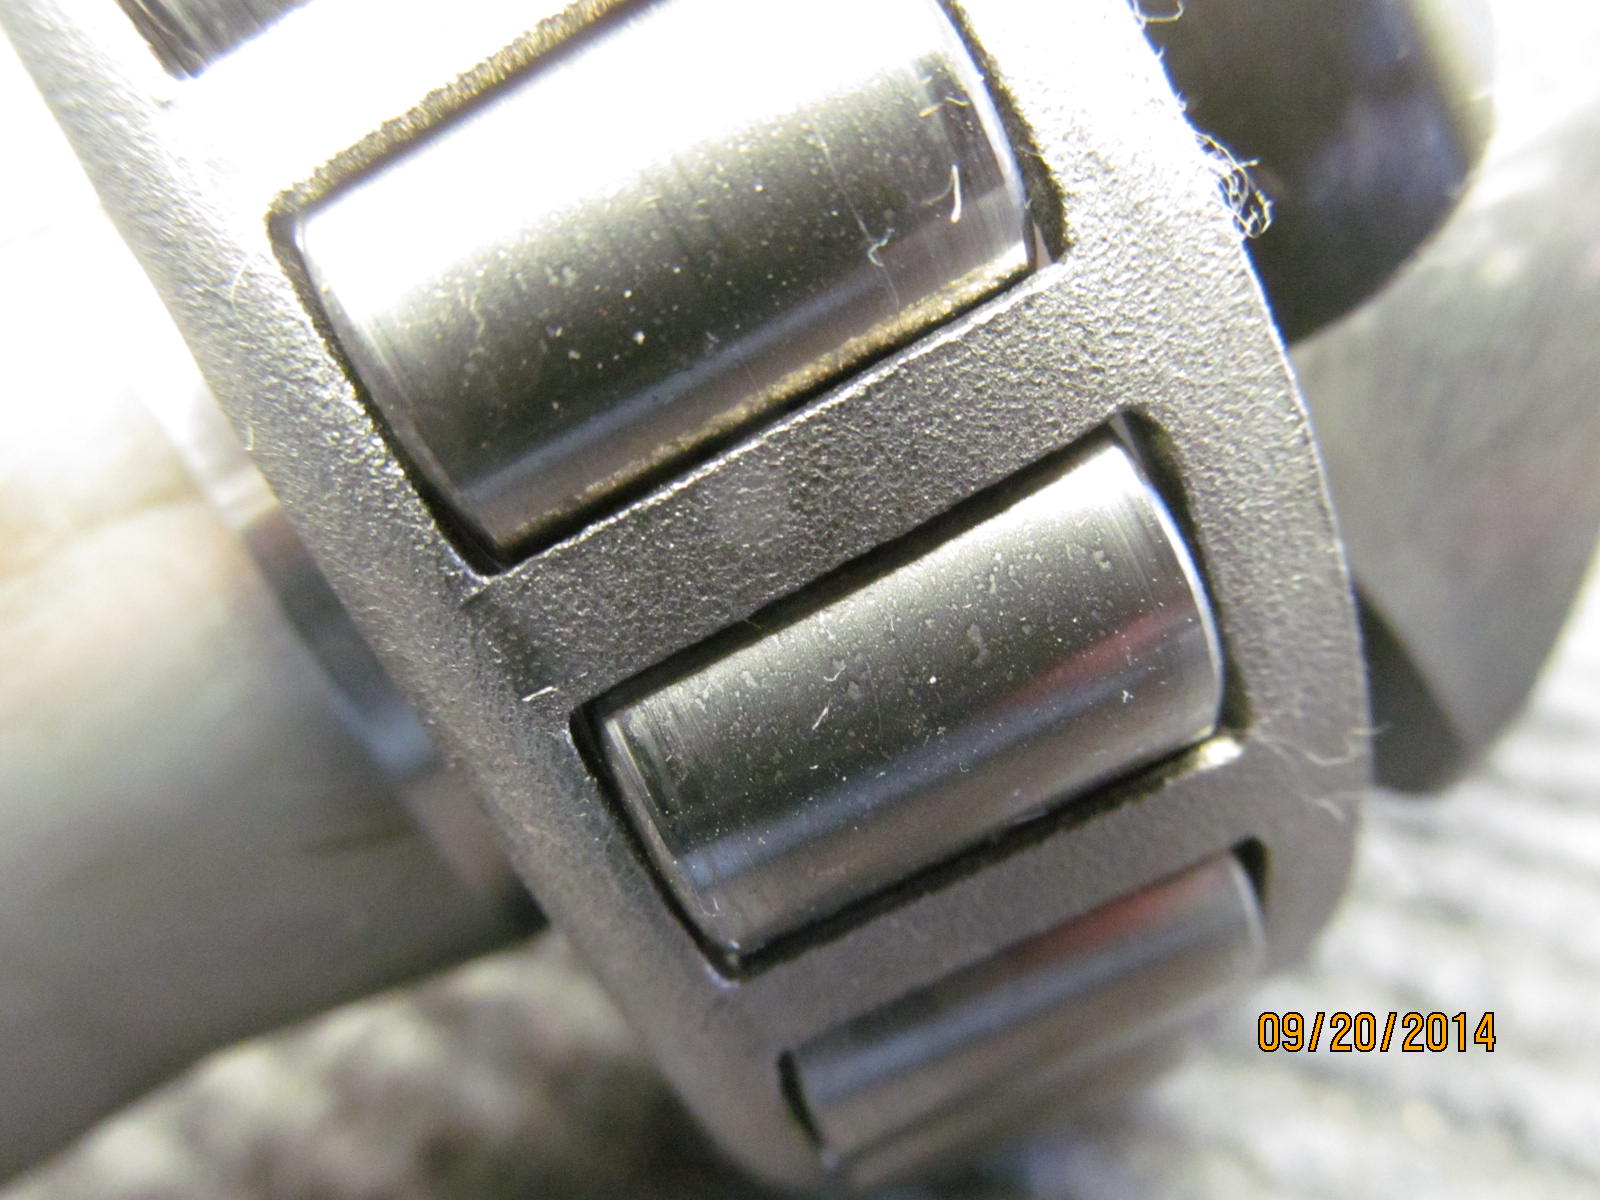
While no actual chunks are missing there is alot of spalling.
|
|
|
|
|
Another angle...
|
|
|

|
|
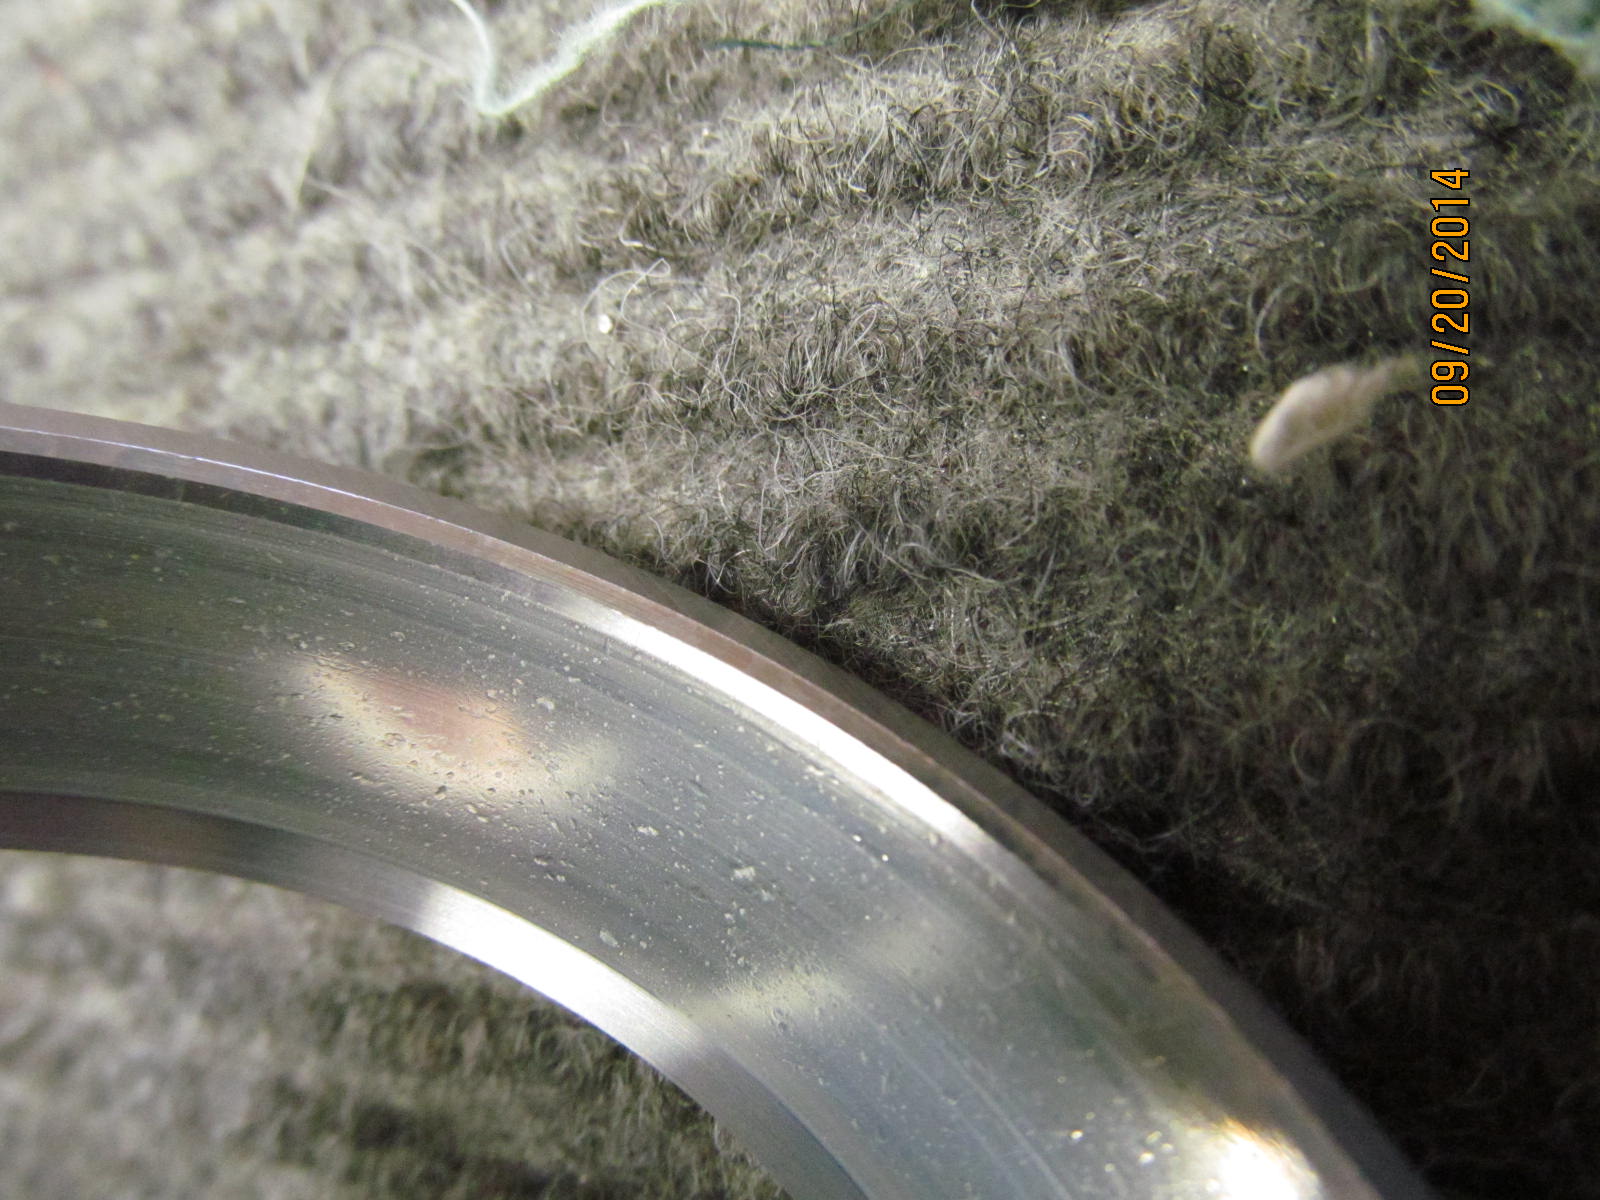
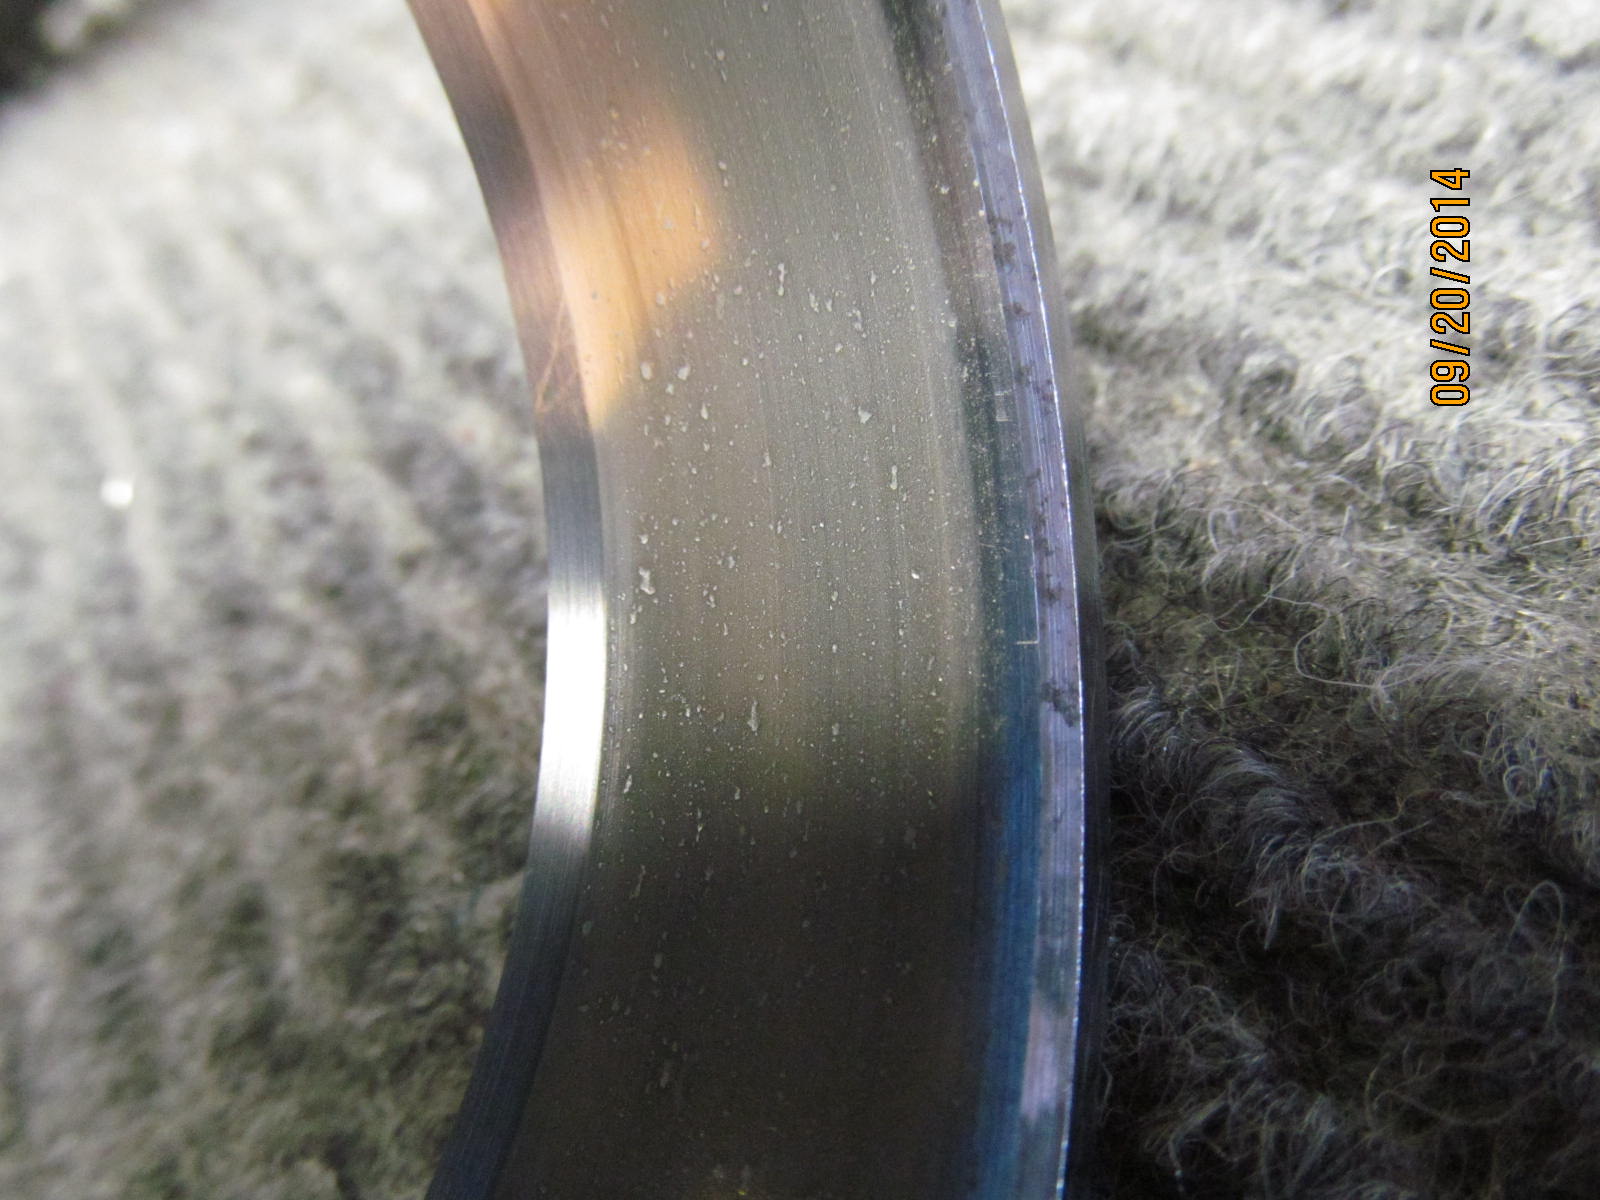
The race looks pretty bad.
|
|
|
|
|
.............
|
|
|
|
|
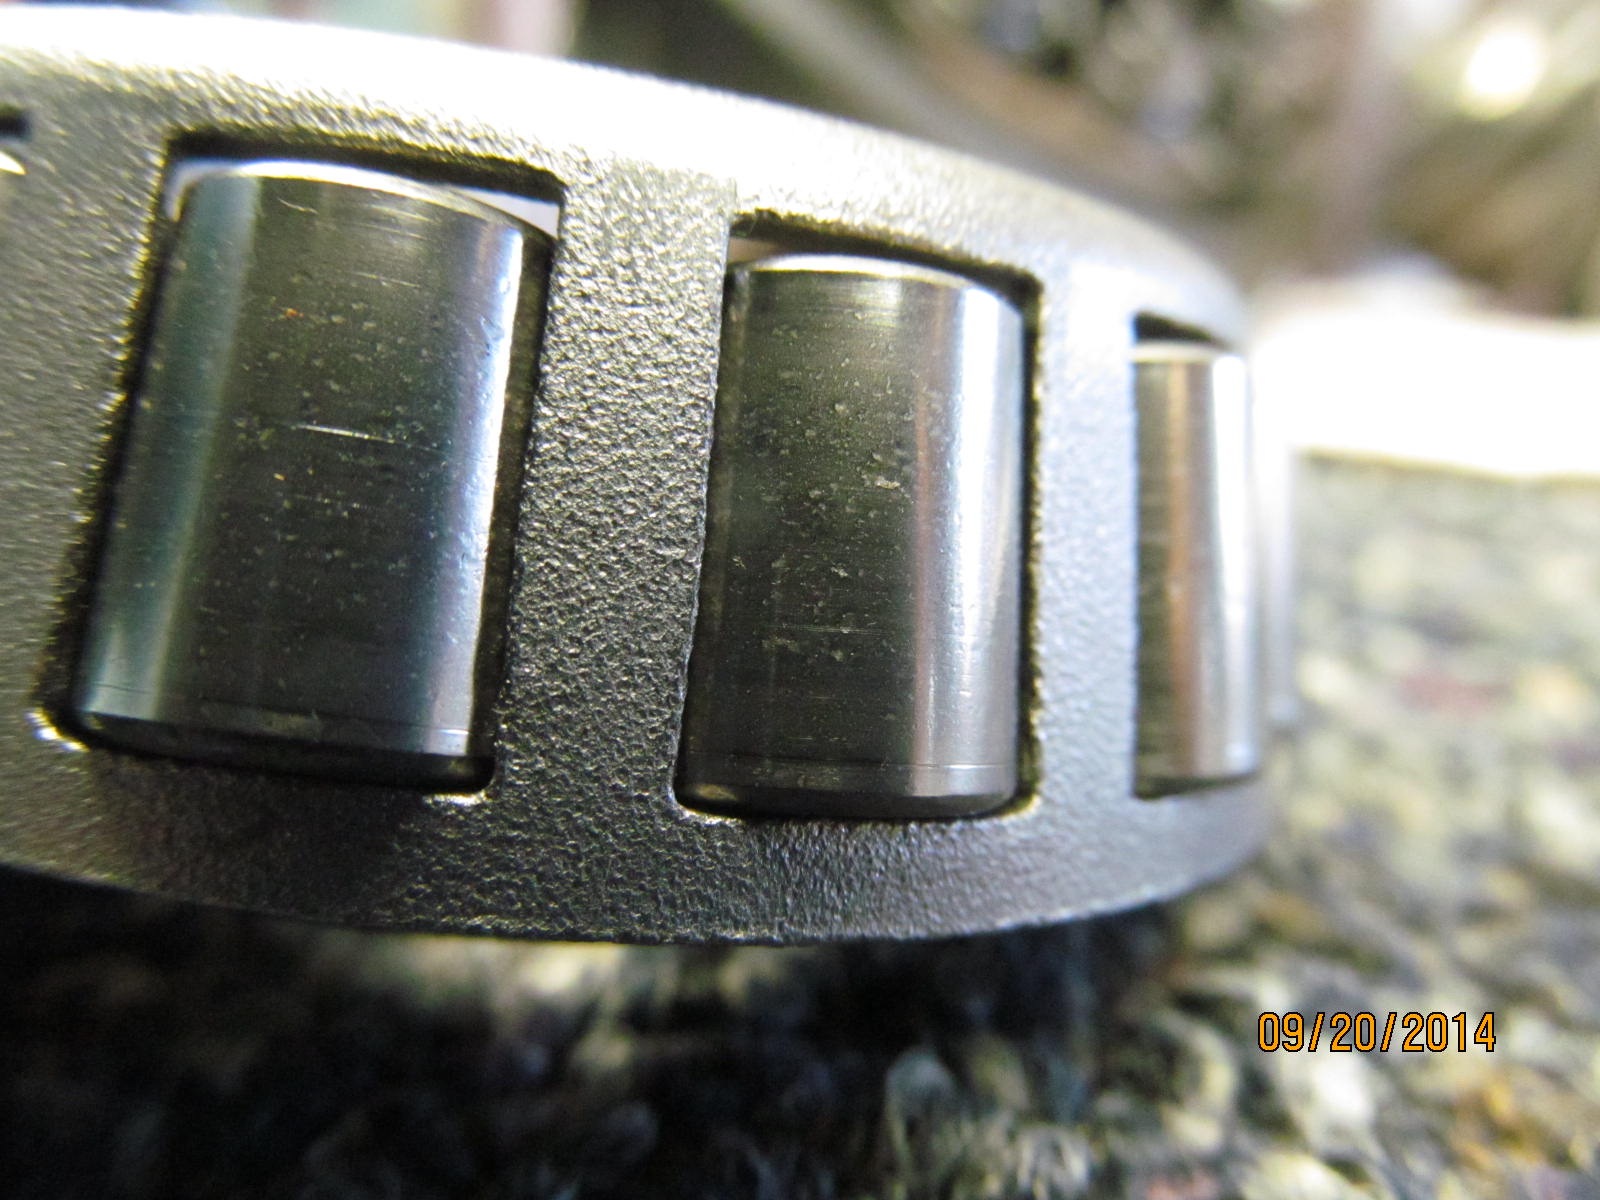
Inspecting the rollers closer, I did find a place or two where there was chunking.
|
|
|
|
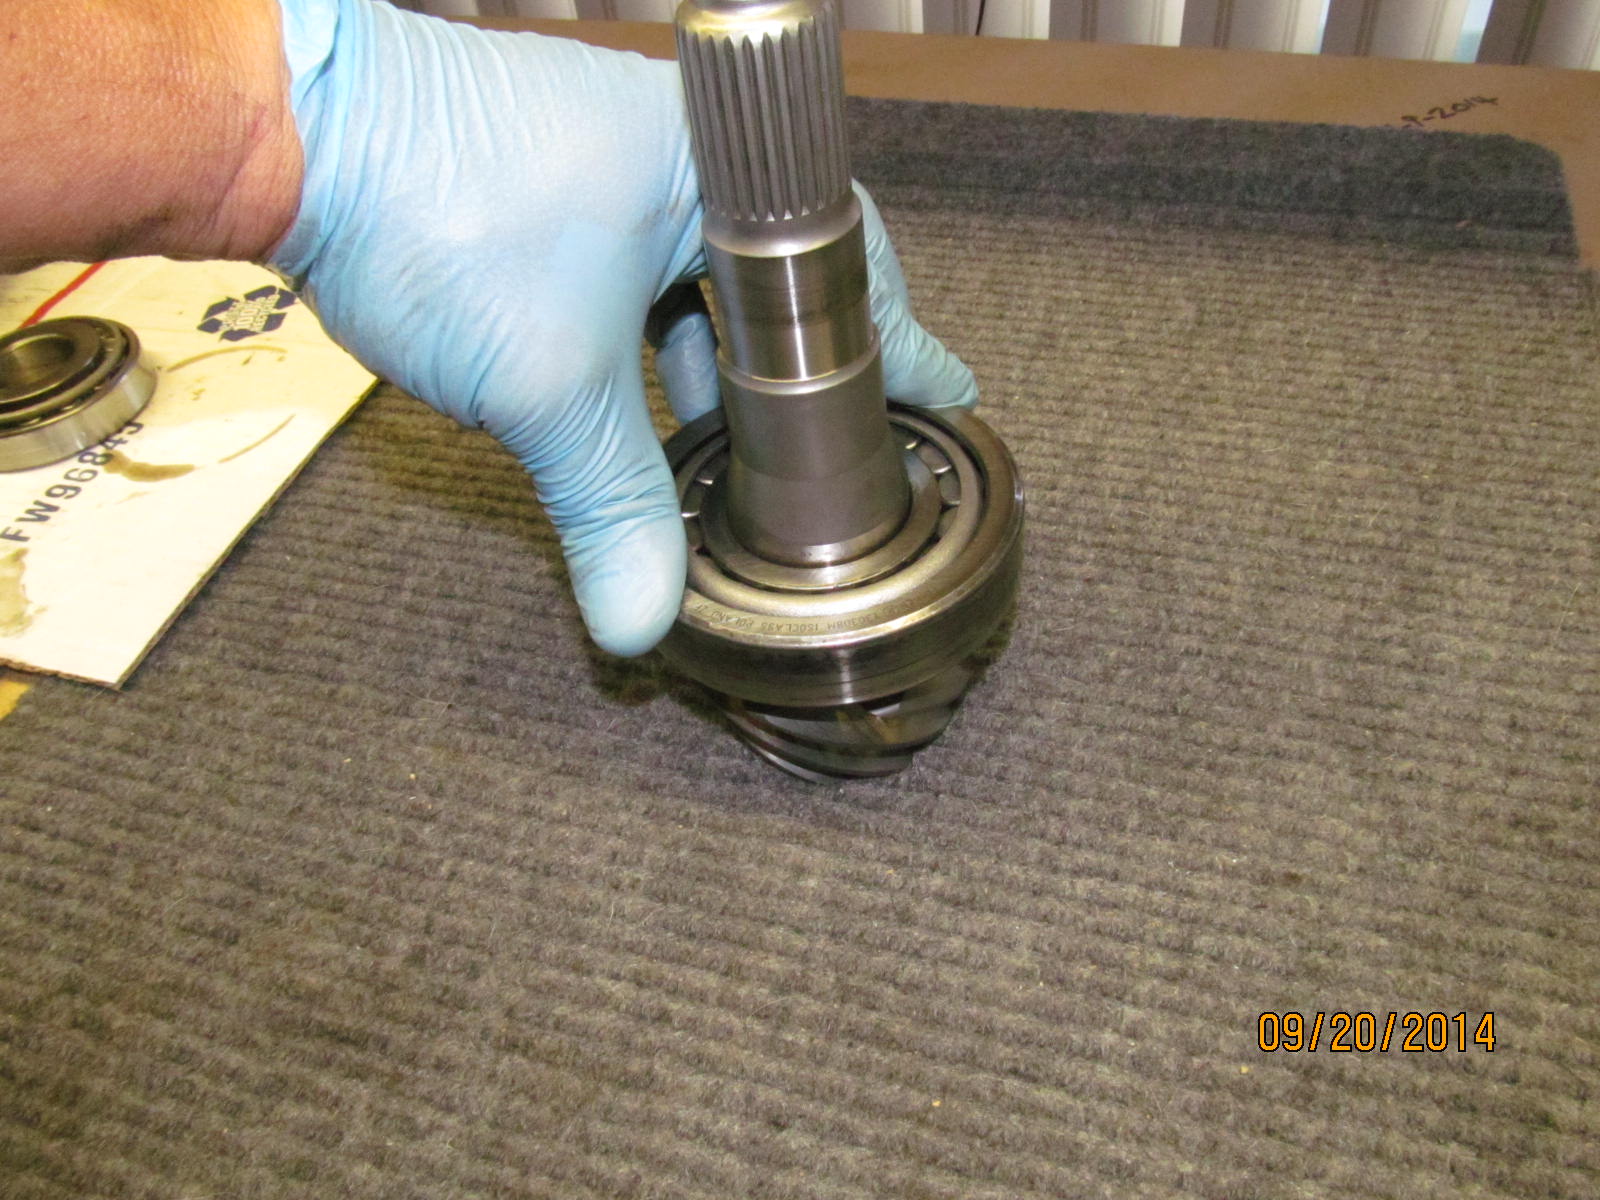
Looking at the large inner pinion bearing...pushing the race down hard and turning it back and forth
resulted in smooth transitions. Hardly any roughness.
|
|
|
|
|
There is some flaking/spalling going on.
|
|
|
|
|
............
|
|
|

|
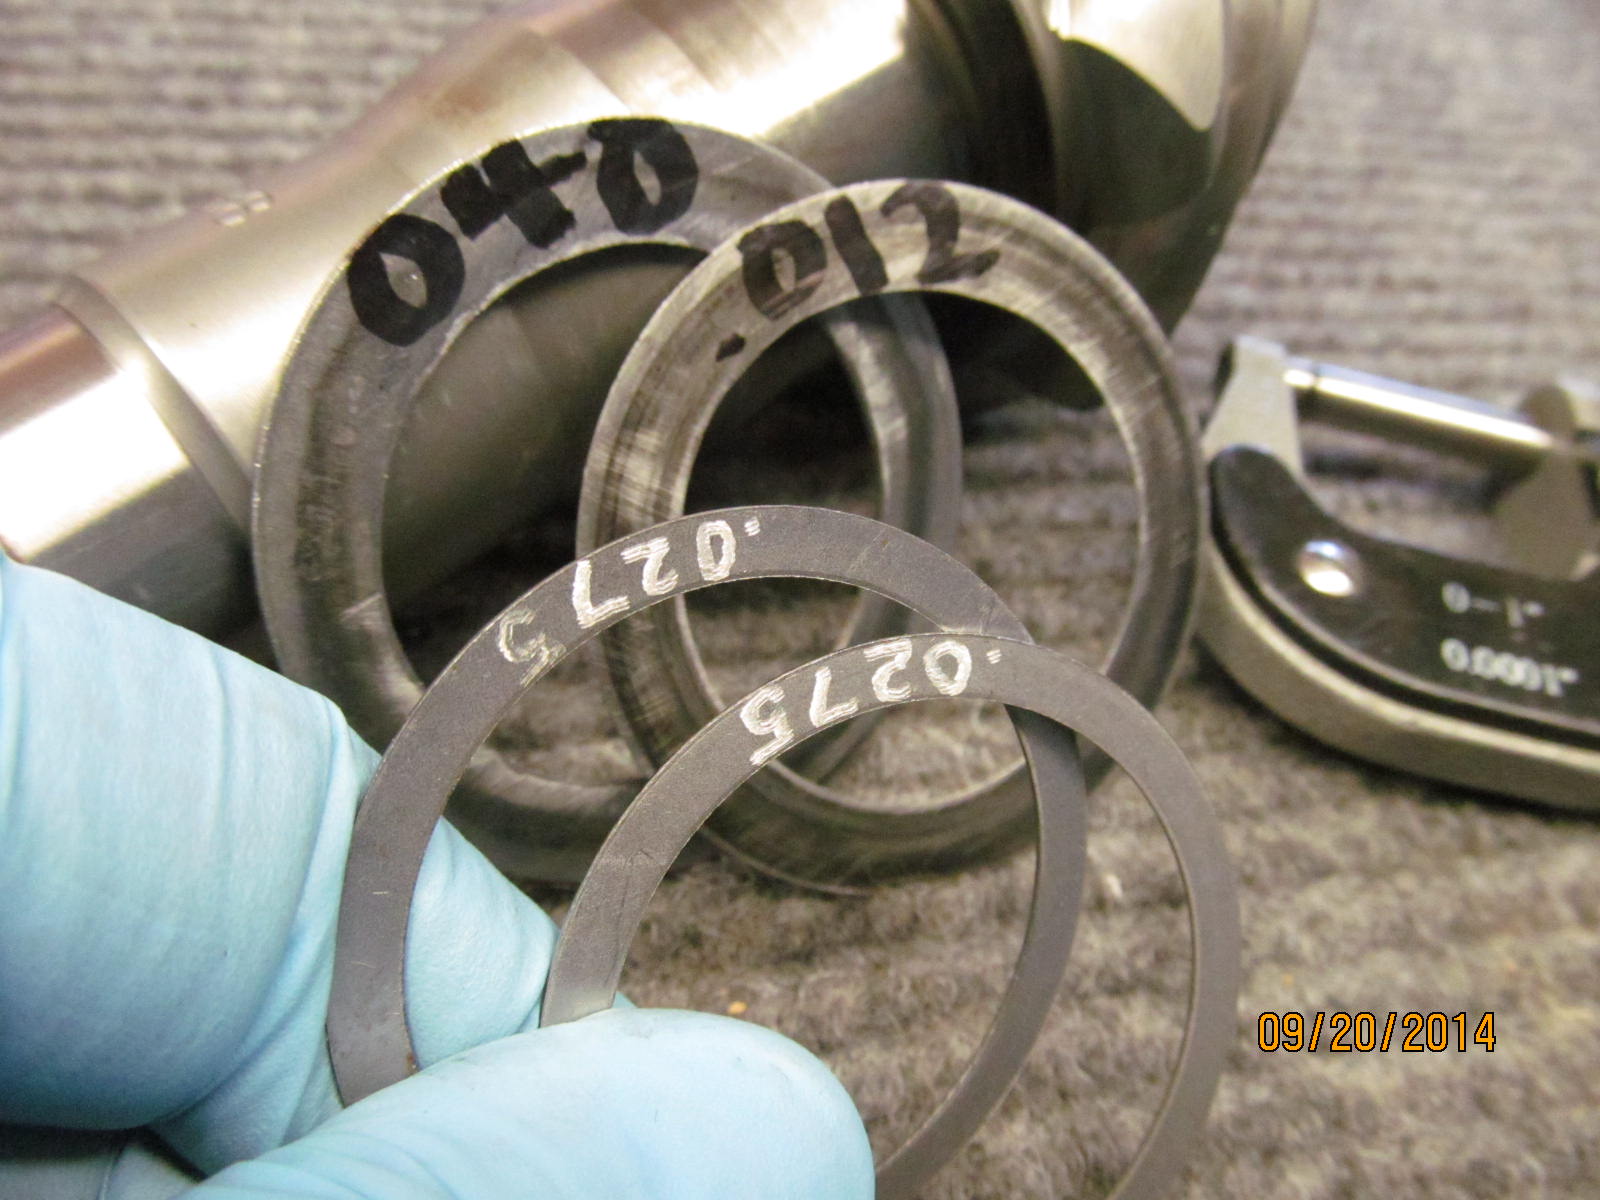
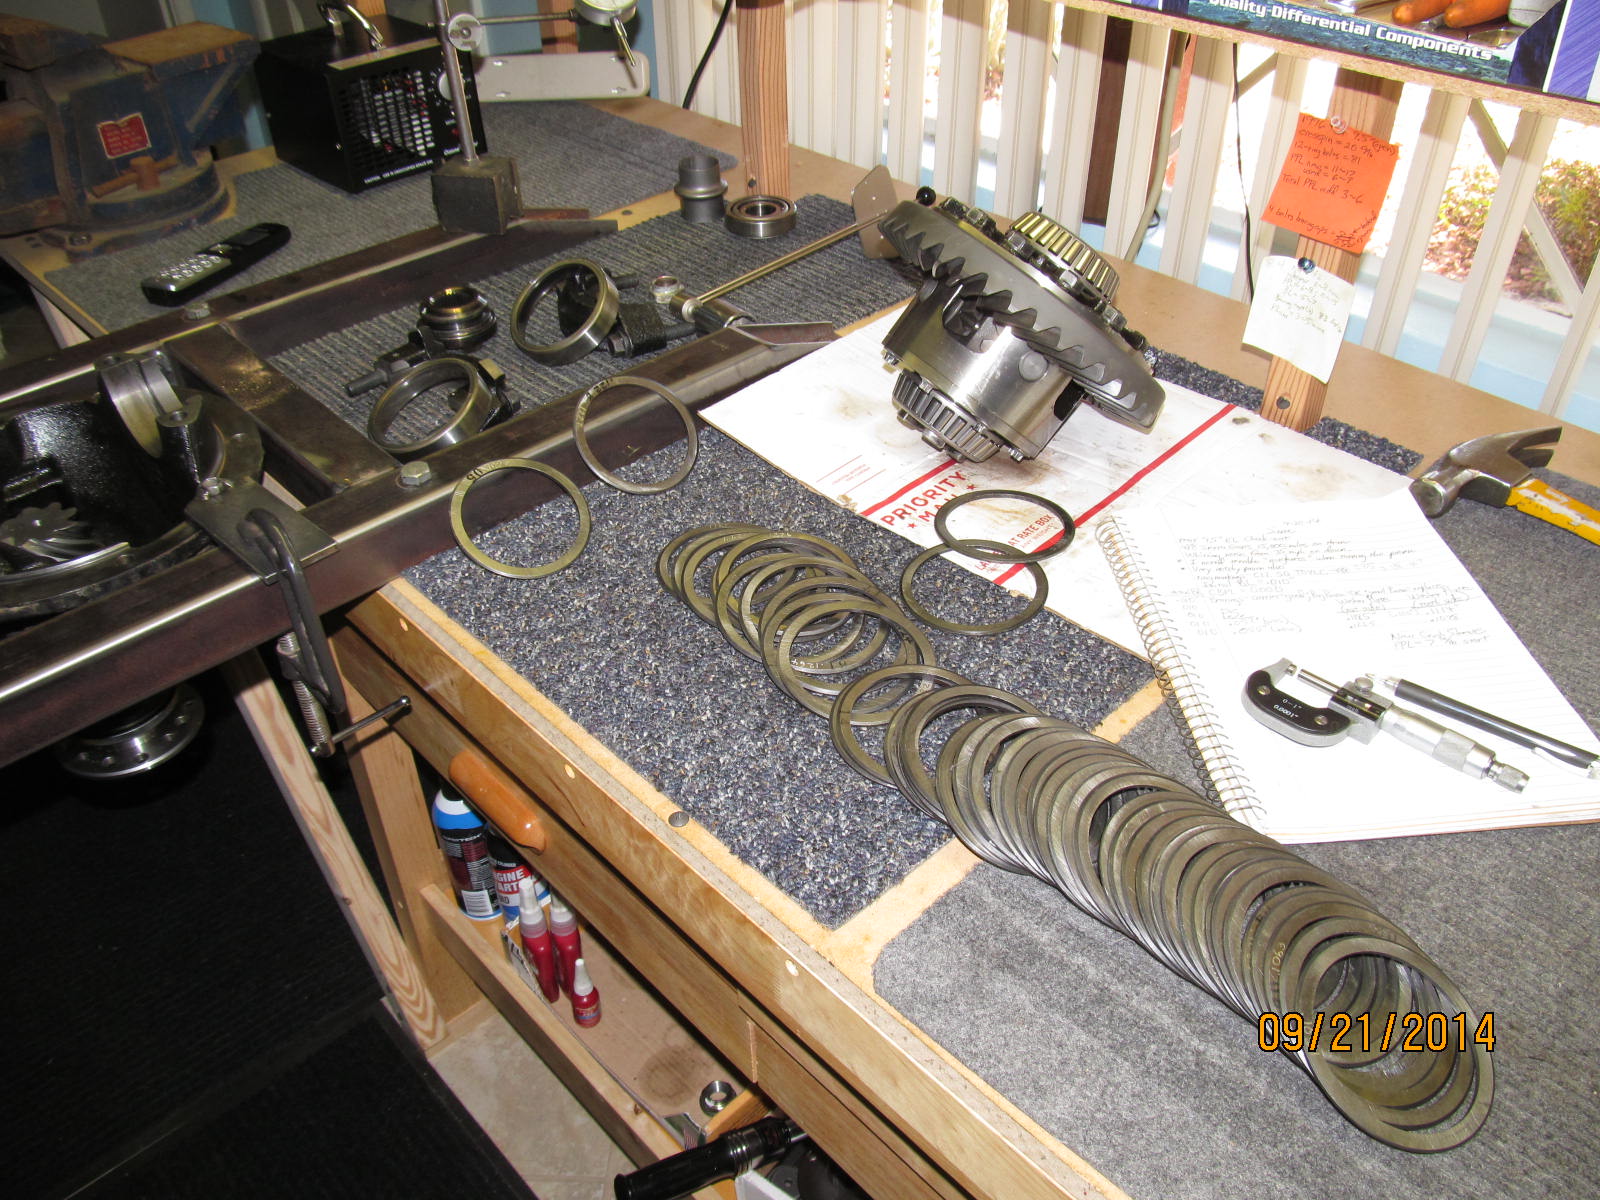
Now to remove the bearing to see what thickness of pinion shim was used. Hey Bill- Your livingroom full of
motorcycles has nothing on my shop set-up in my livingroom.....just to let you know. 
|
|
|
|
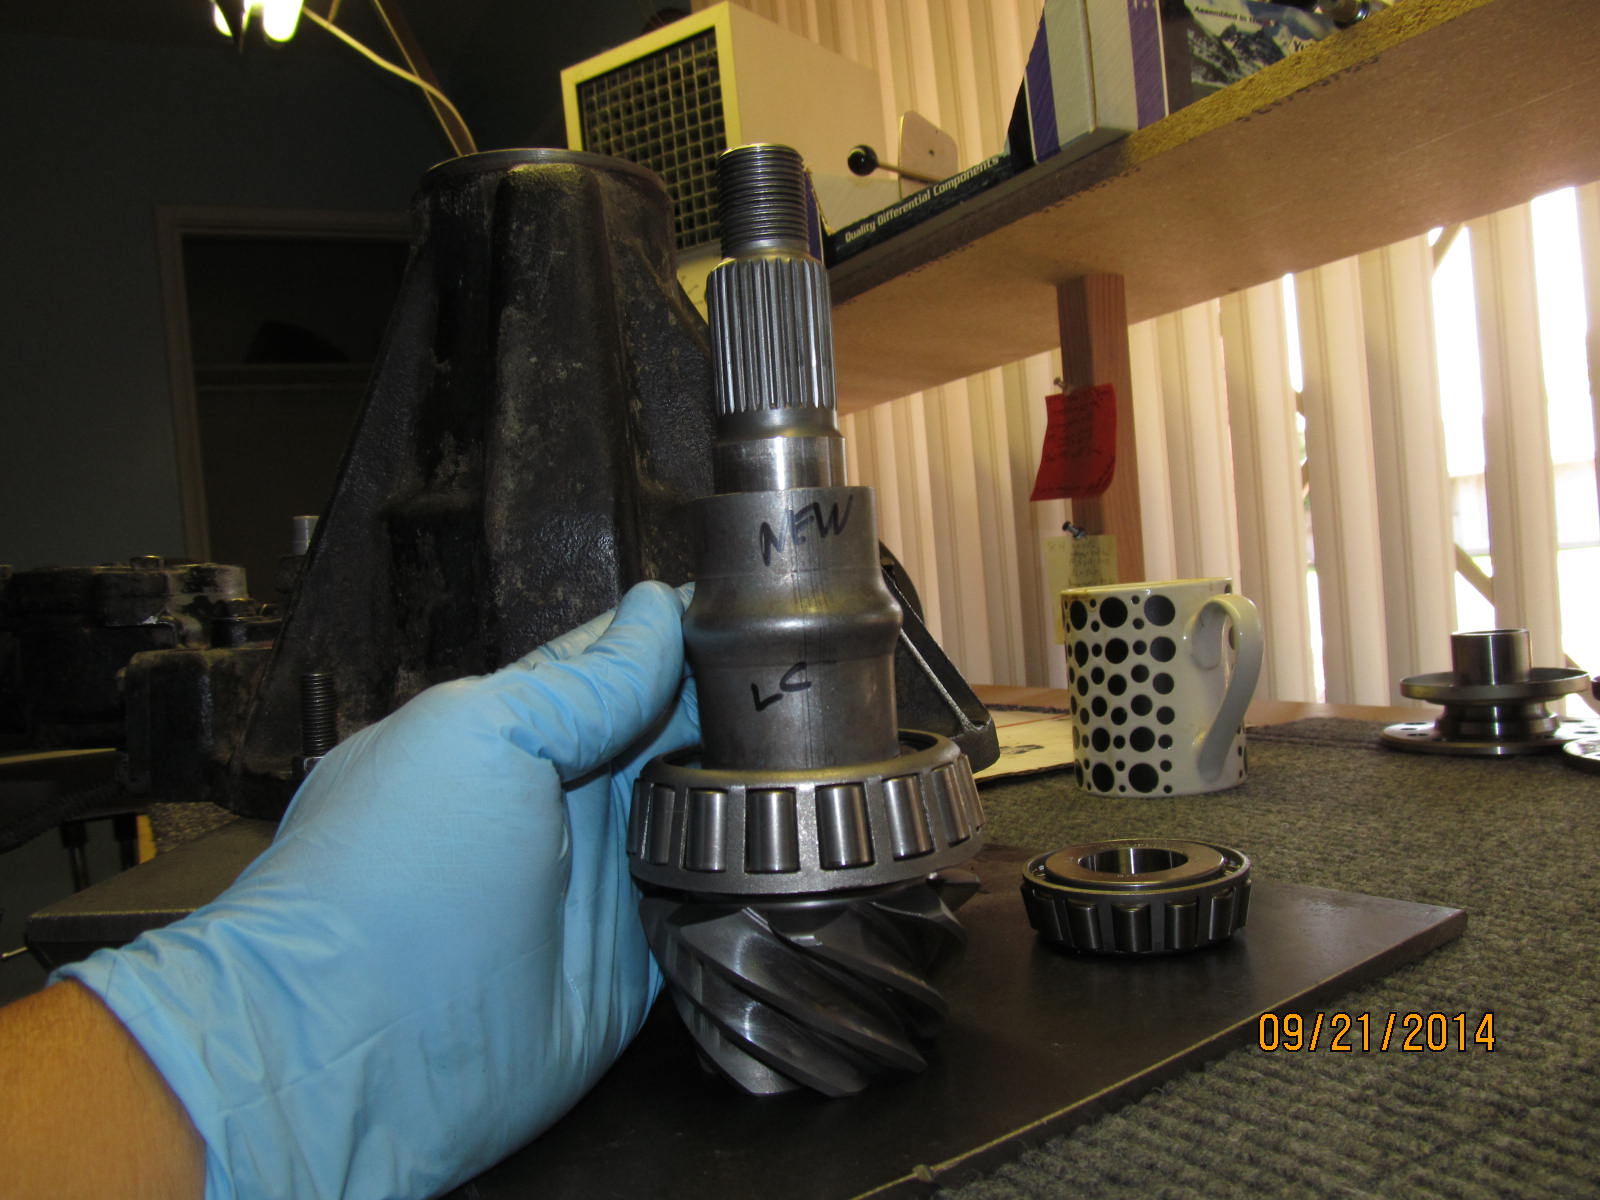
They had installed .052"......I will replace it with .055" shown in my fingers. It's only 3 thou more but
the load bearing will be in a deeper part of the tooth and the gear strength will be helped.
|
|
|
|
|
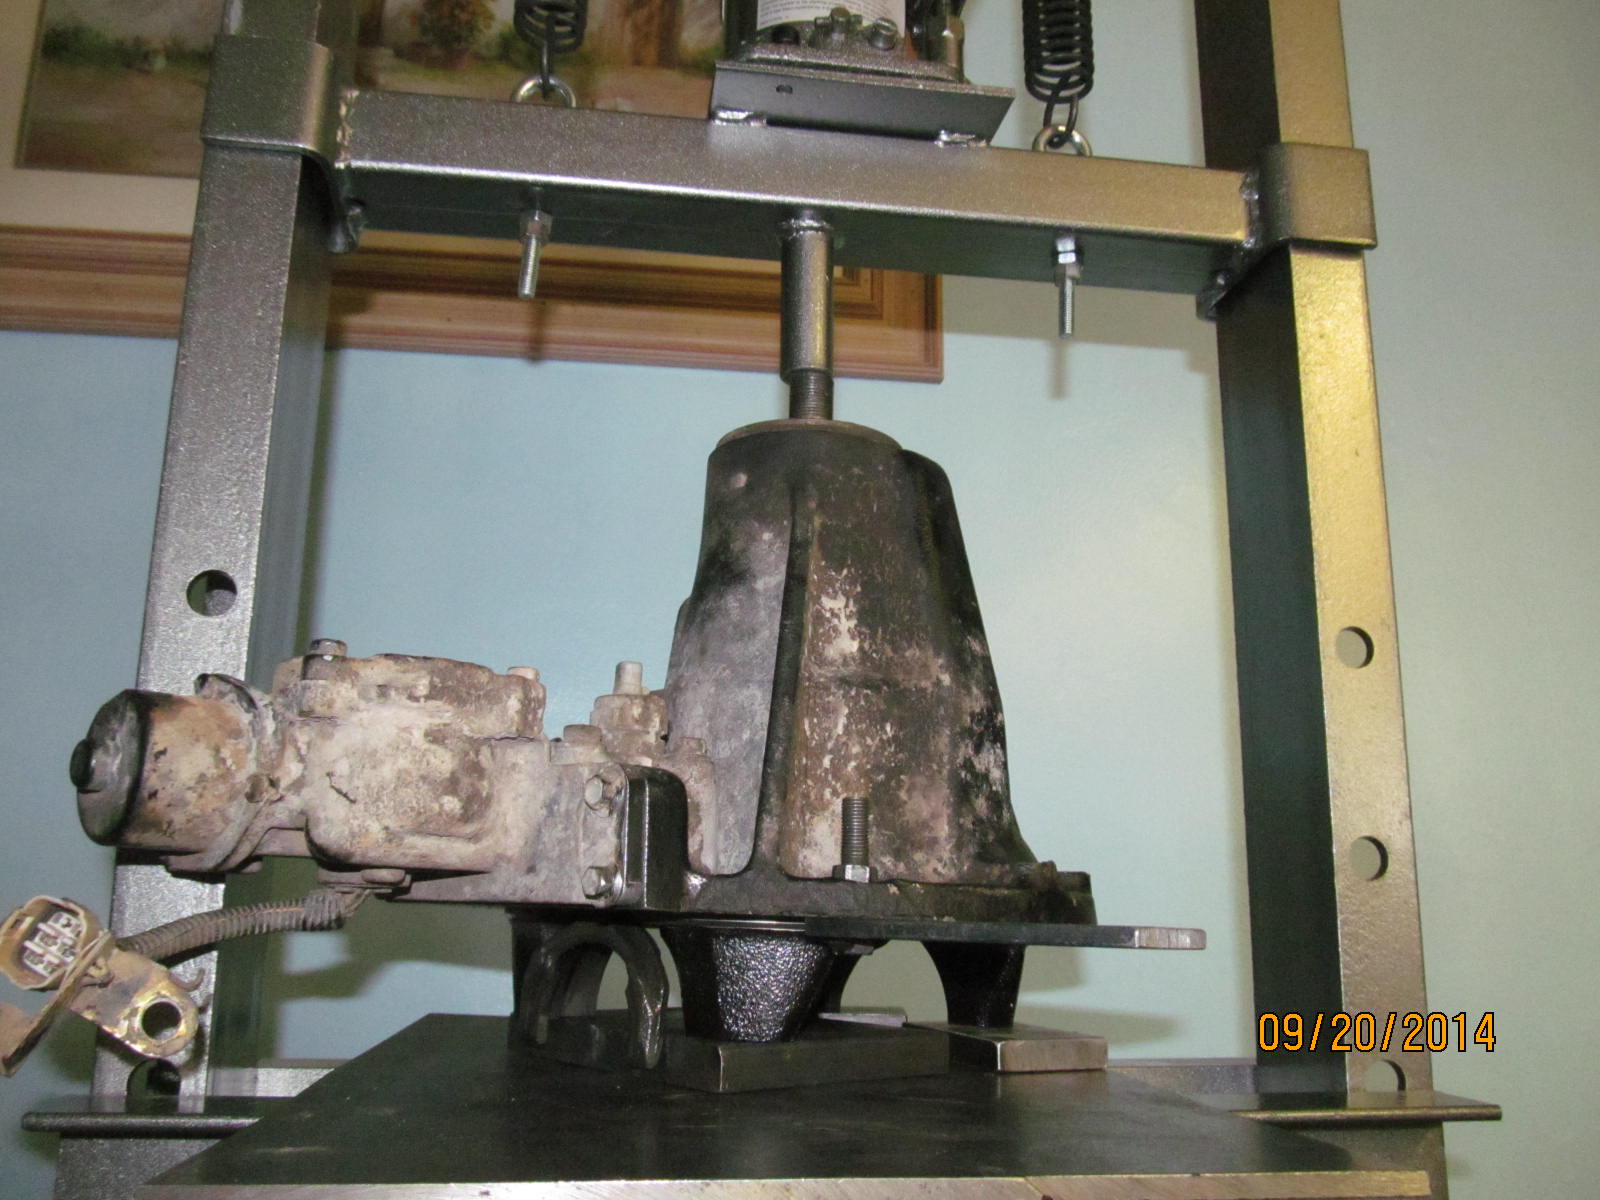
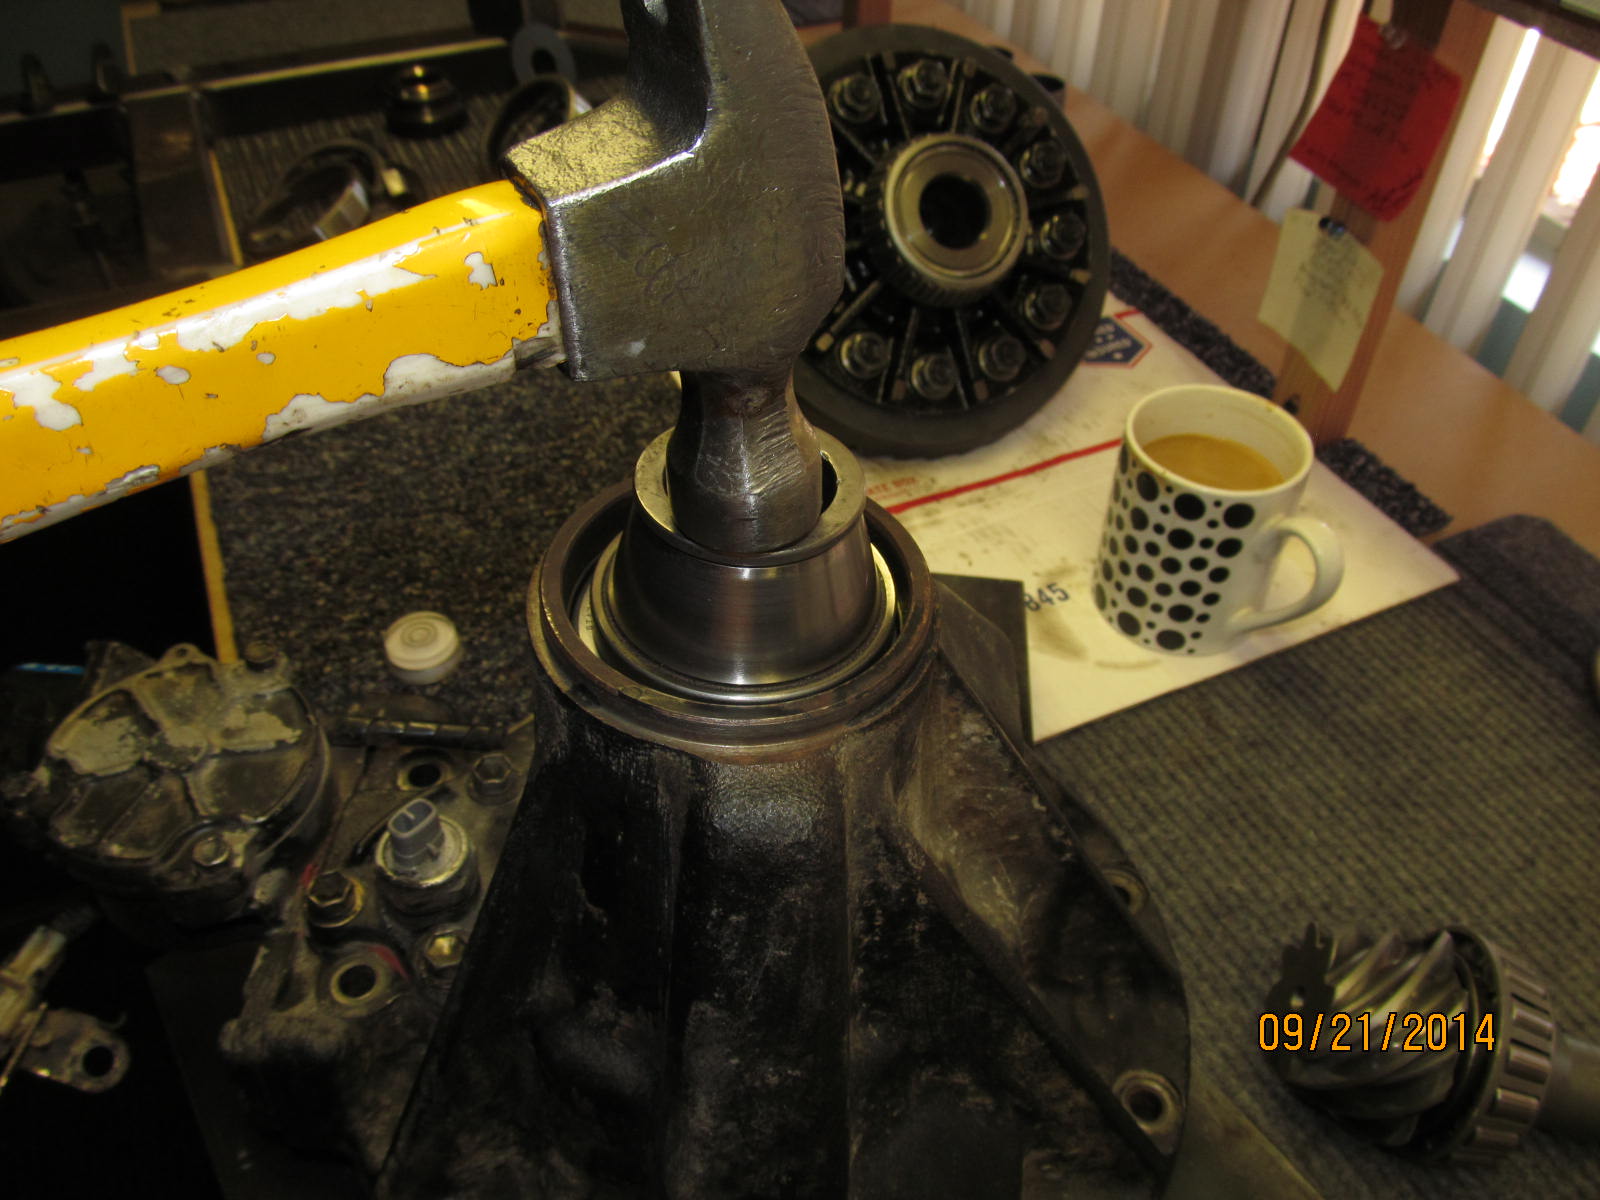
A modest 12 ton hydraulic press sure makes life easier.
|
|
|
|
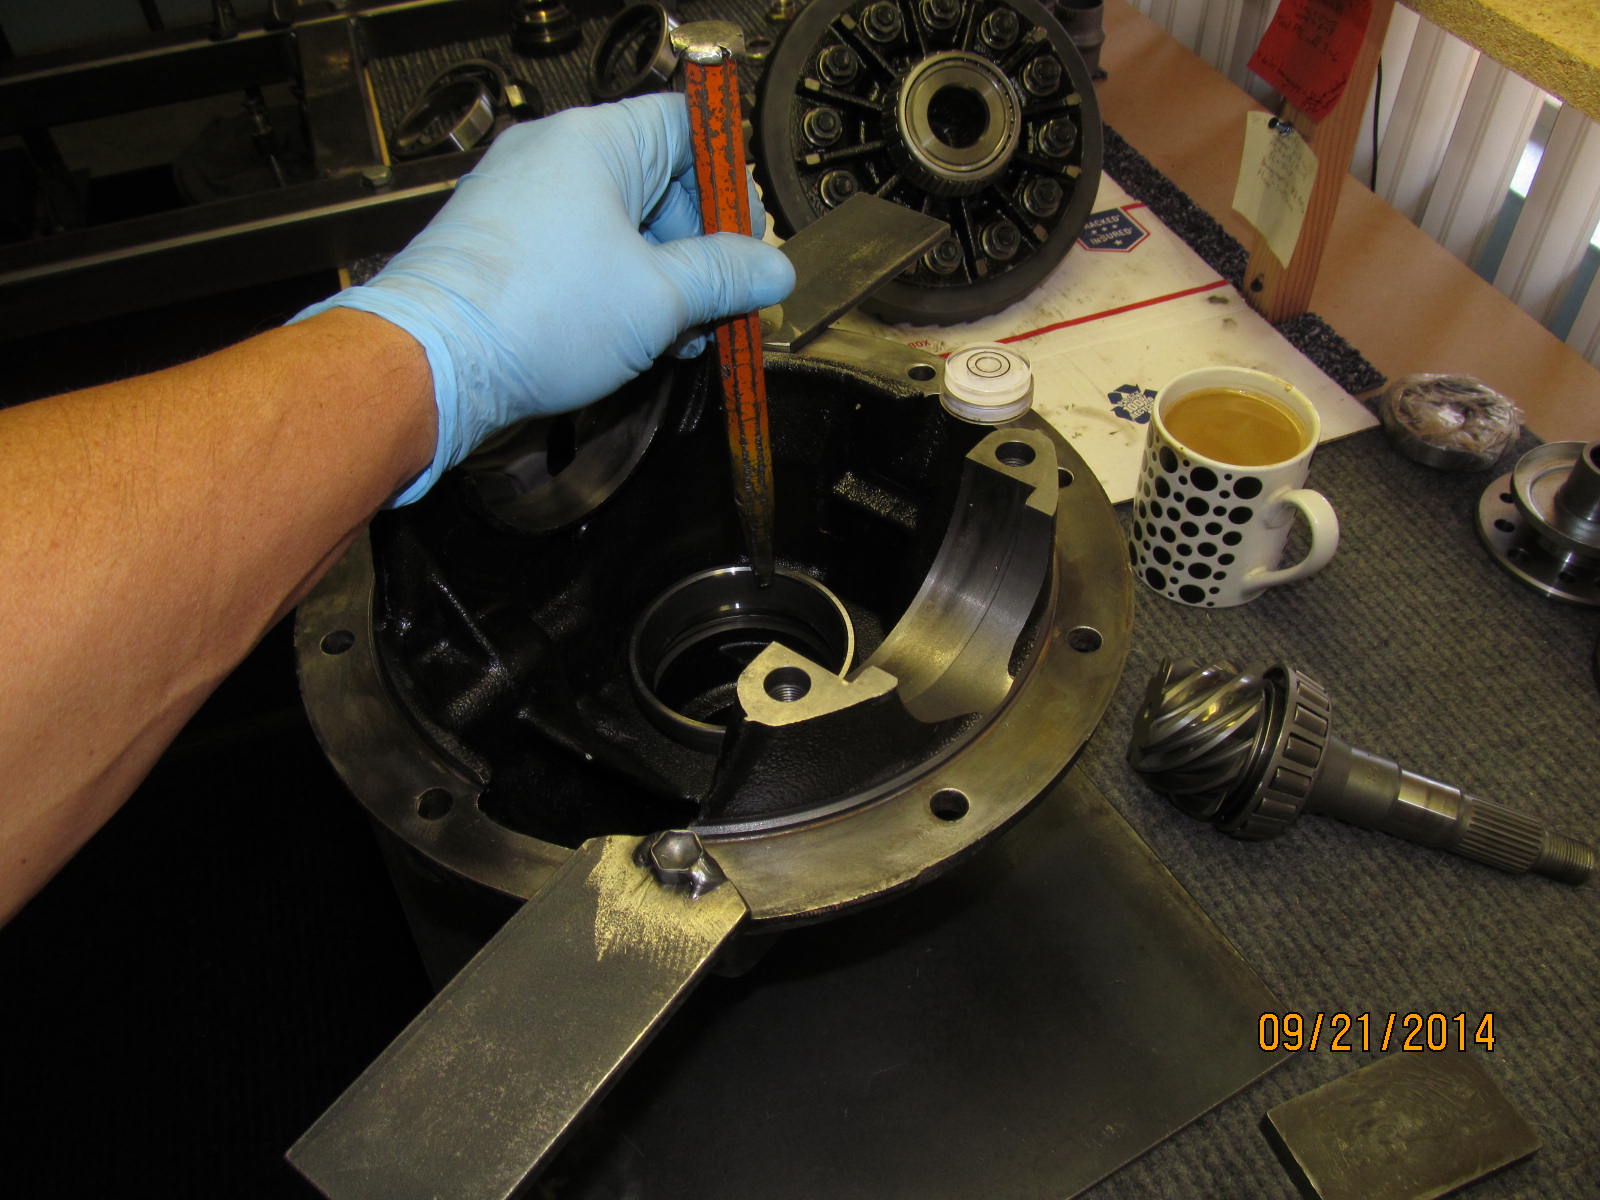
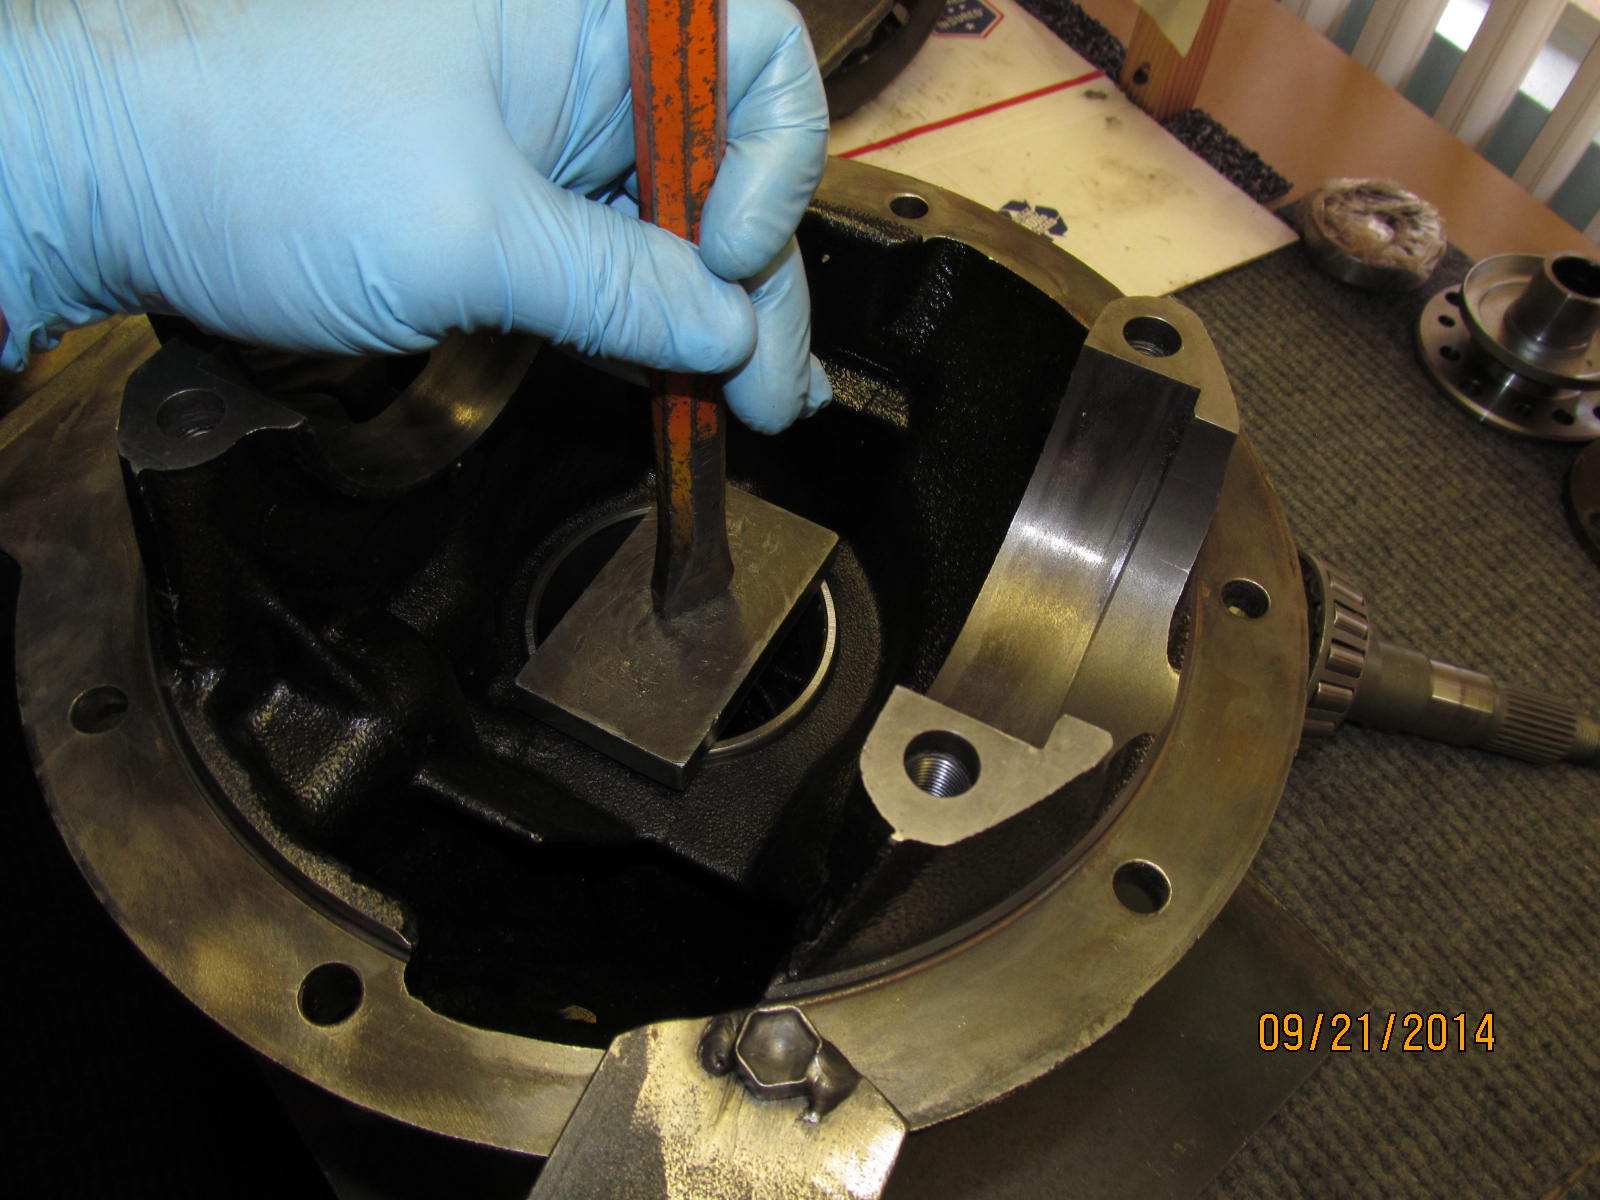
No hammer .....just tapping the race down with the weight of the chisel. Trying to tap it down evenly.
Much easier to do with a hot cup of coffee nearby.
|
|
|
|
|
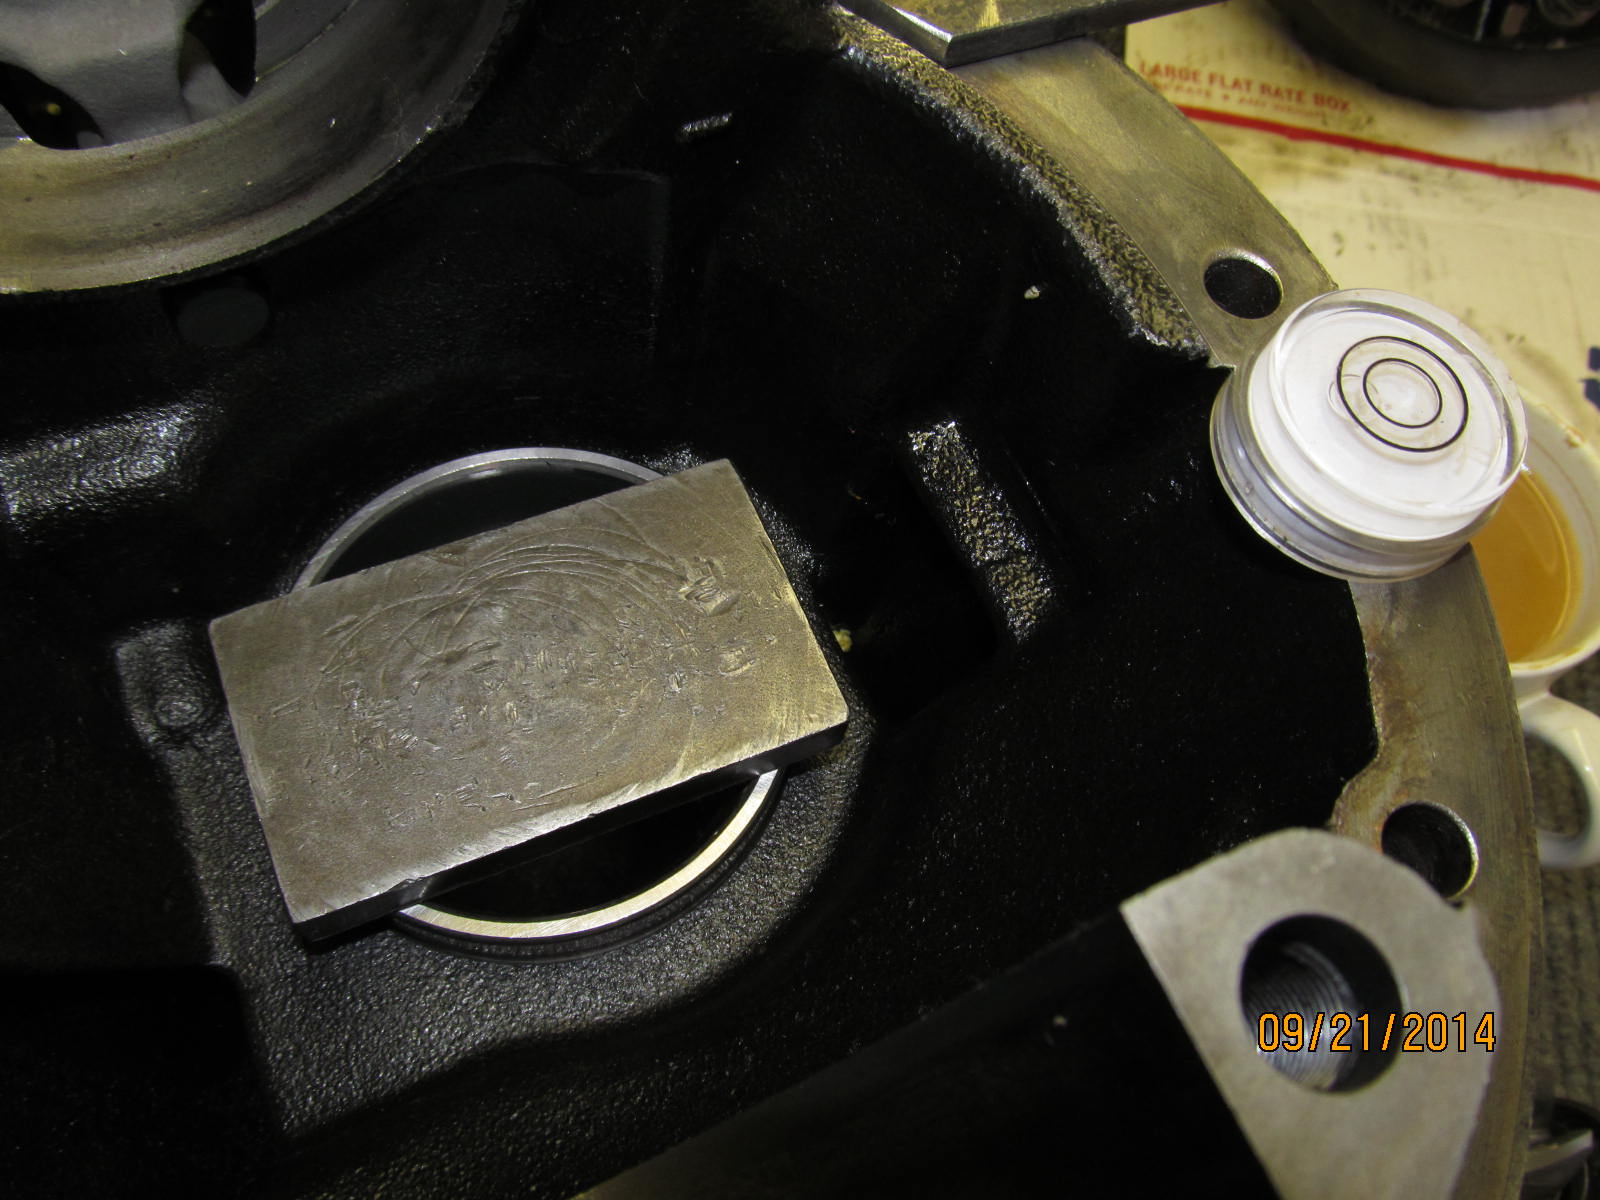
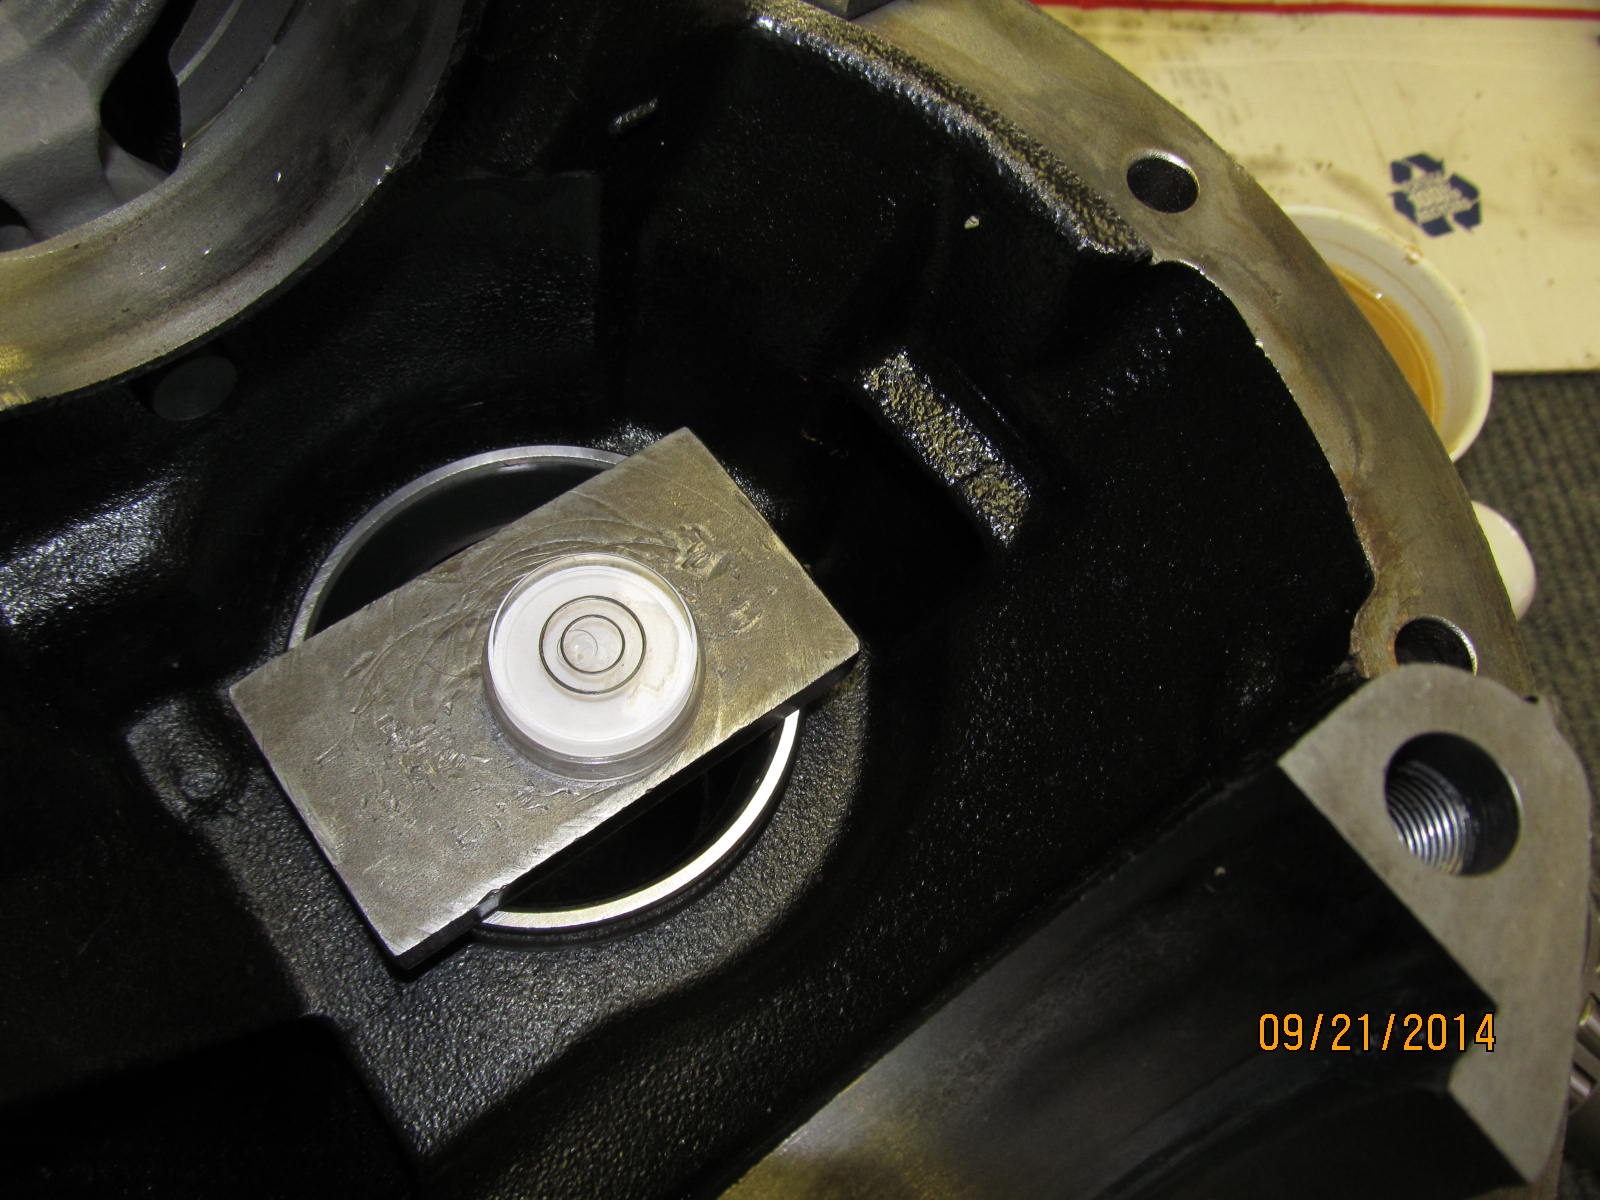
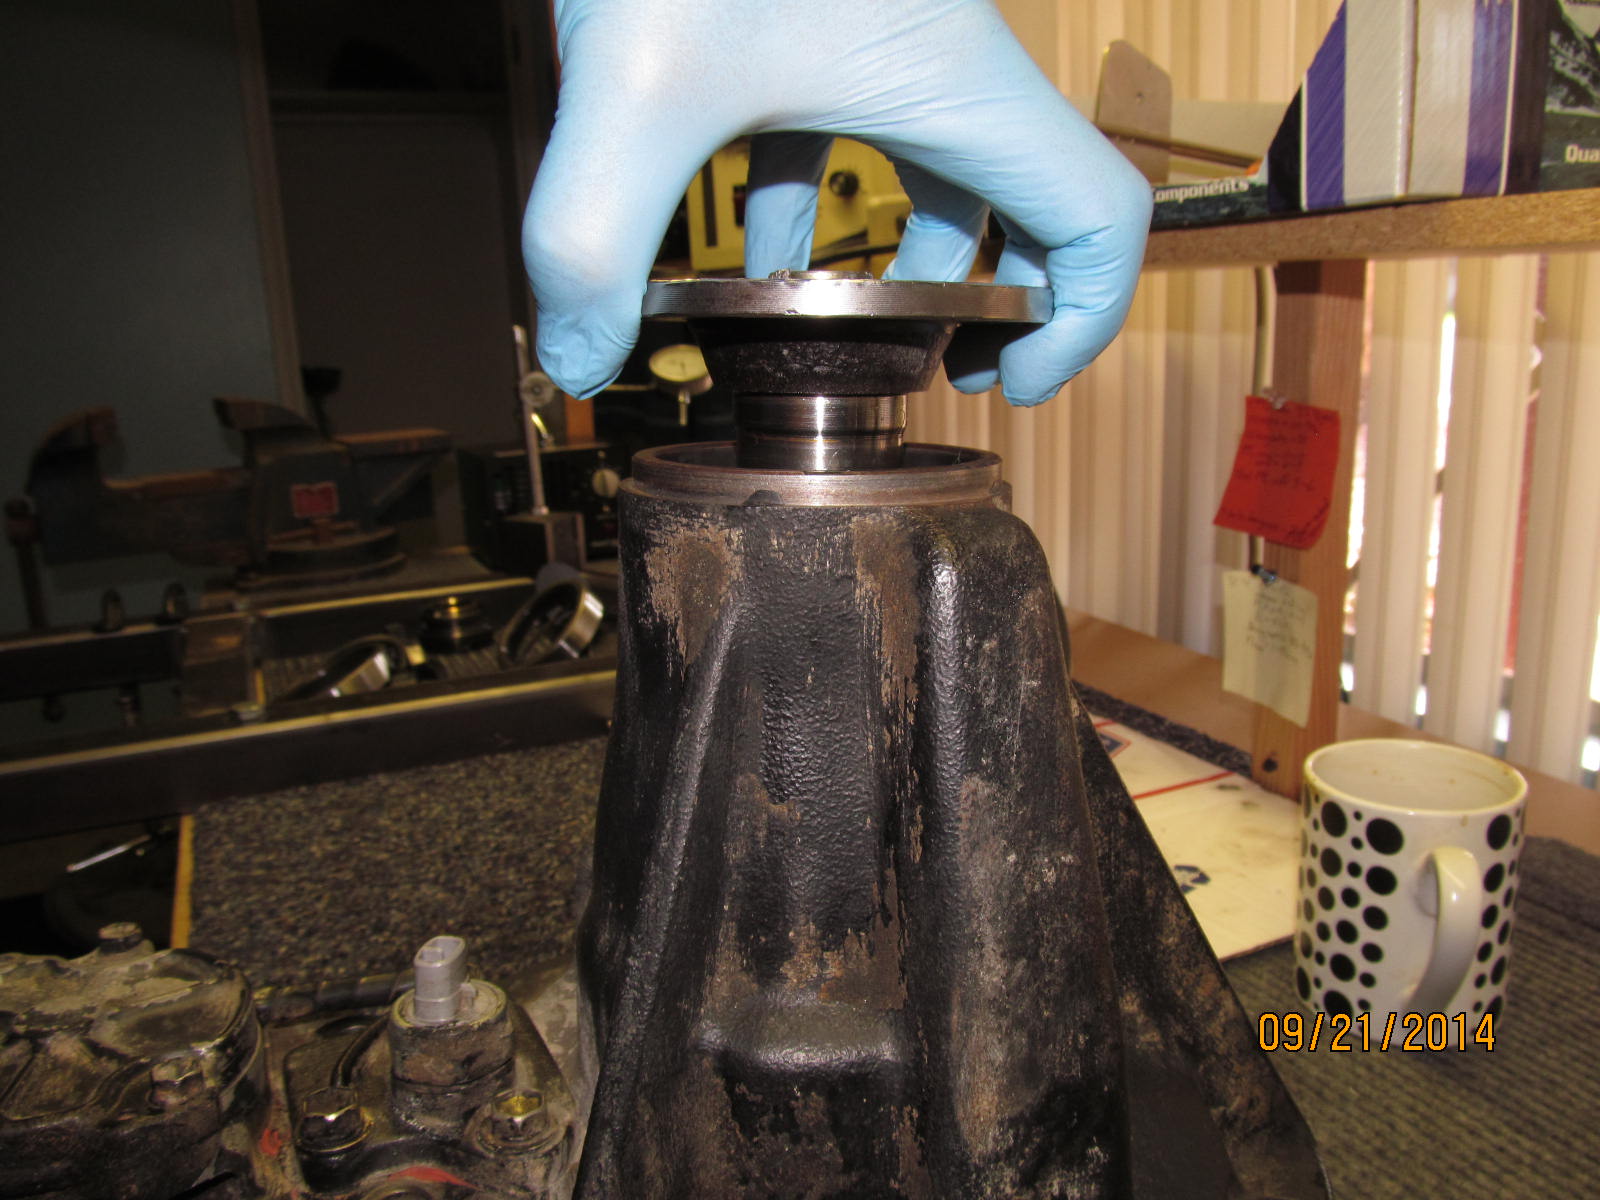
I reference the bubble's position on the mounting surface...bubble favors the left side.
|
|
|
|
...then on the race. Favors the left almost in the same spot and that tells me that the race is
setting down pretty level and even. No binding or locking up in the bore.
|
|
|
|
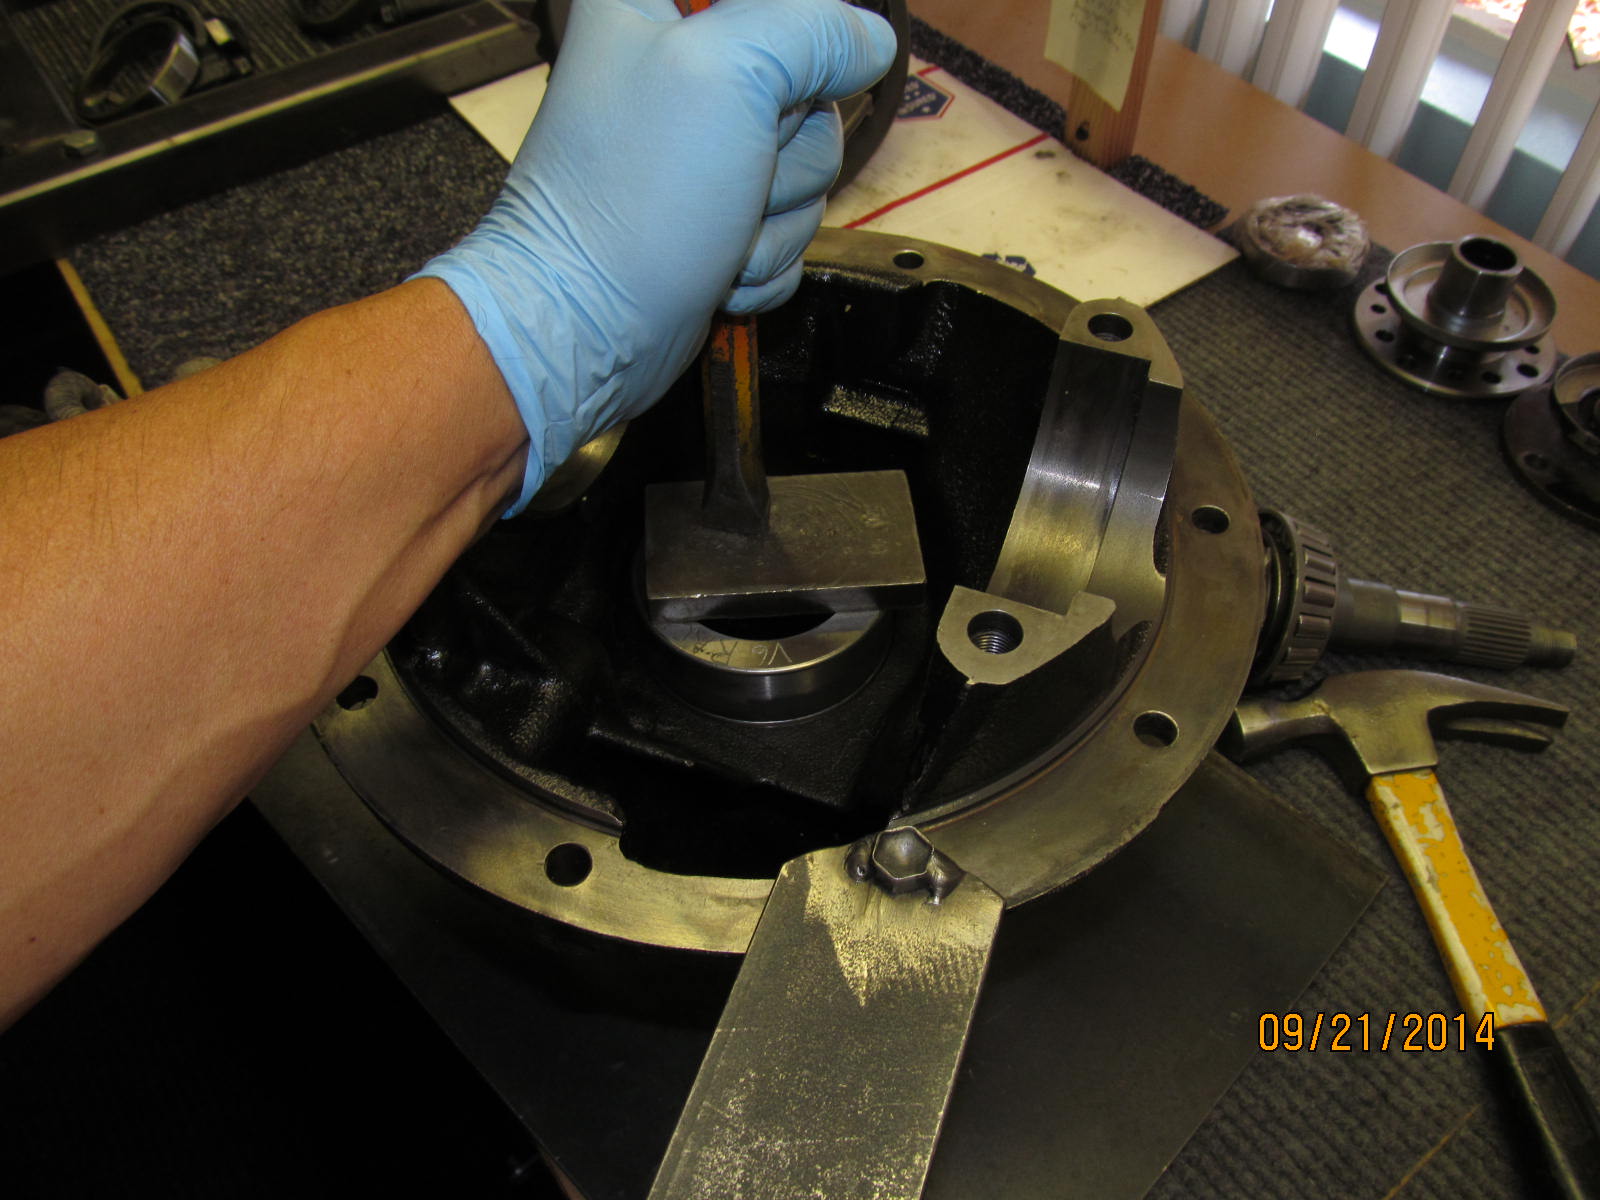
And now I can use a hammer if I want to tap it down most of the way. I must have been fairly level
because it went down like it was supposed to.
|
|
|

|
|
..............
|
|
|
|
|
Using an old V6 race to make sure it was seated 100% using the hammer.
|
|
|
|
|
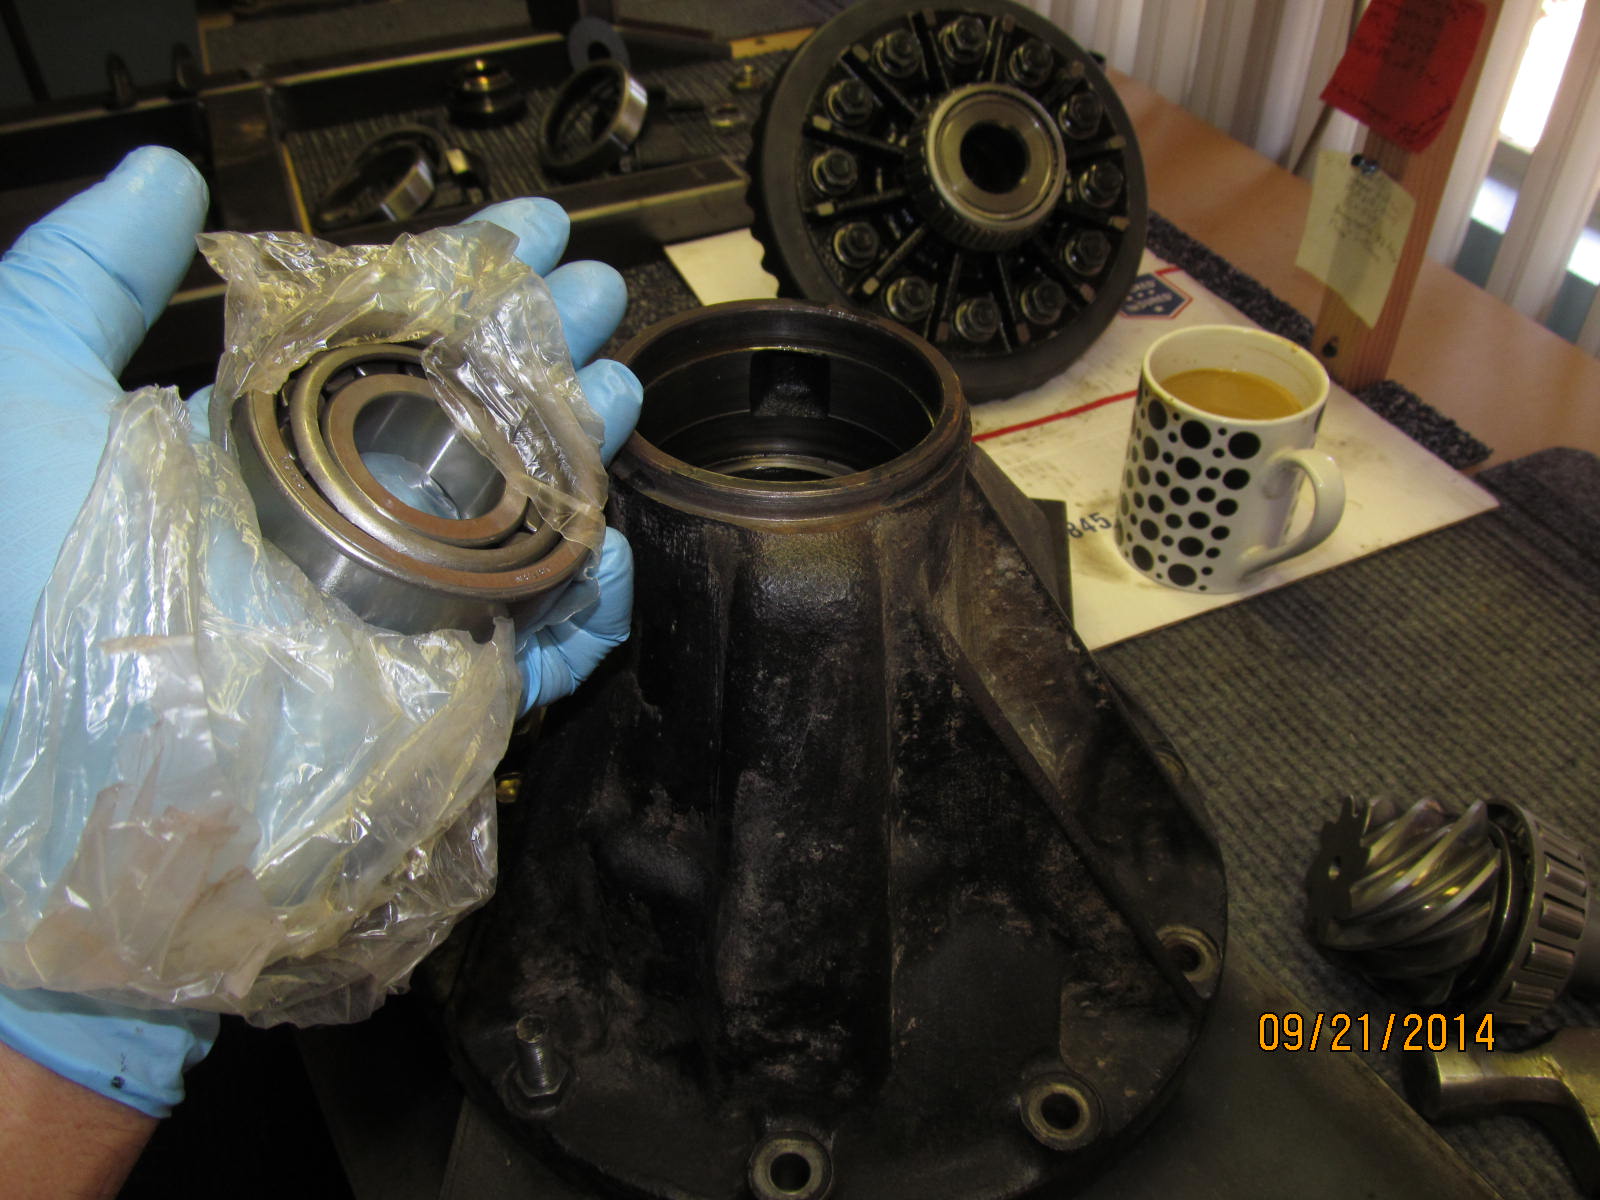
New outer pinion bearing/race will go in here.
|
|
|
|
|
Using old sacrificial bearing parts makes for effective tools.
|
|
|
|
|
New crush sleeve.
|
|
|
|
|
.....
|
|
|
|
|
There is over .200" of verticle up/down travel. That's alot of crushing with the pinion nut.......
|
|
|
|
....The pinion nut threads sure appreciate it if I could crush most of that play out of there. The pinion head
is supported with aluminum blocks as shown.
|
|
|
|
|
A couple pulls on the lever and almost all the play is gone. Perfect.
|
|
|
|
|
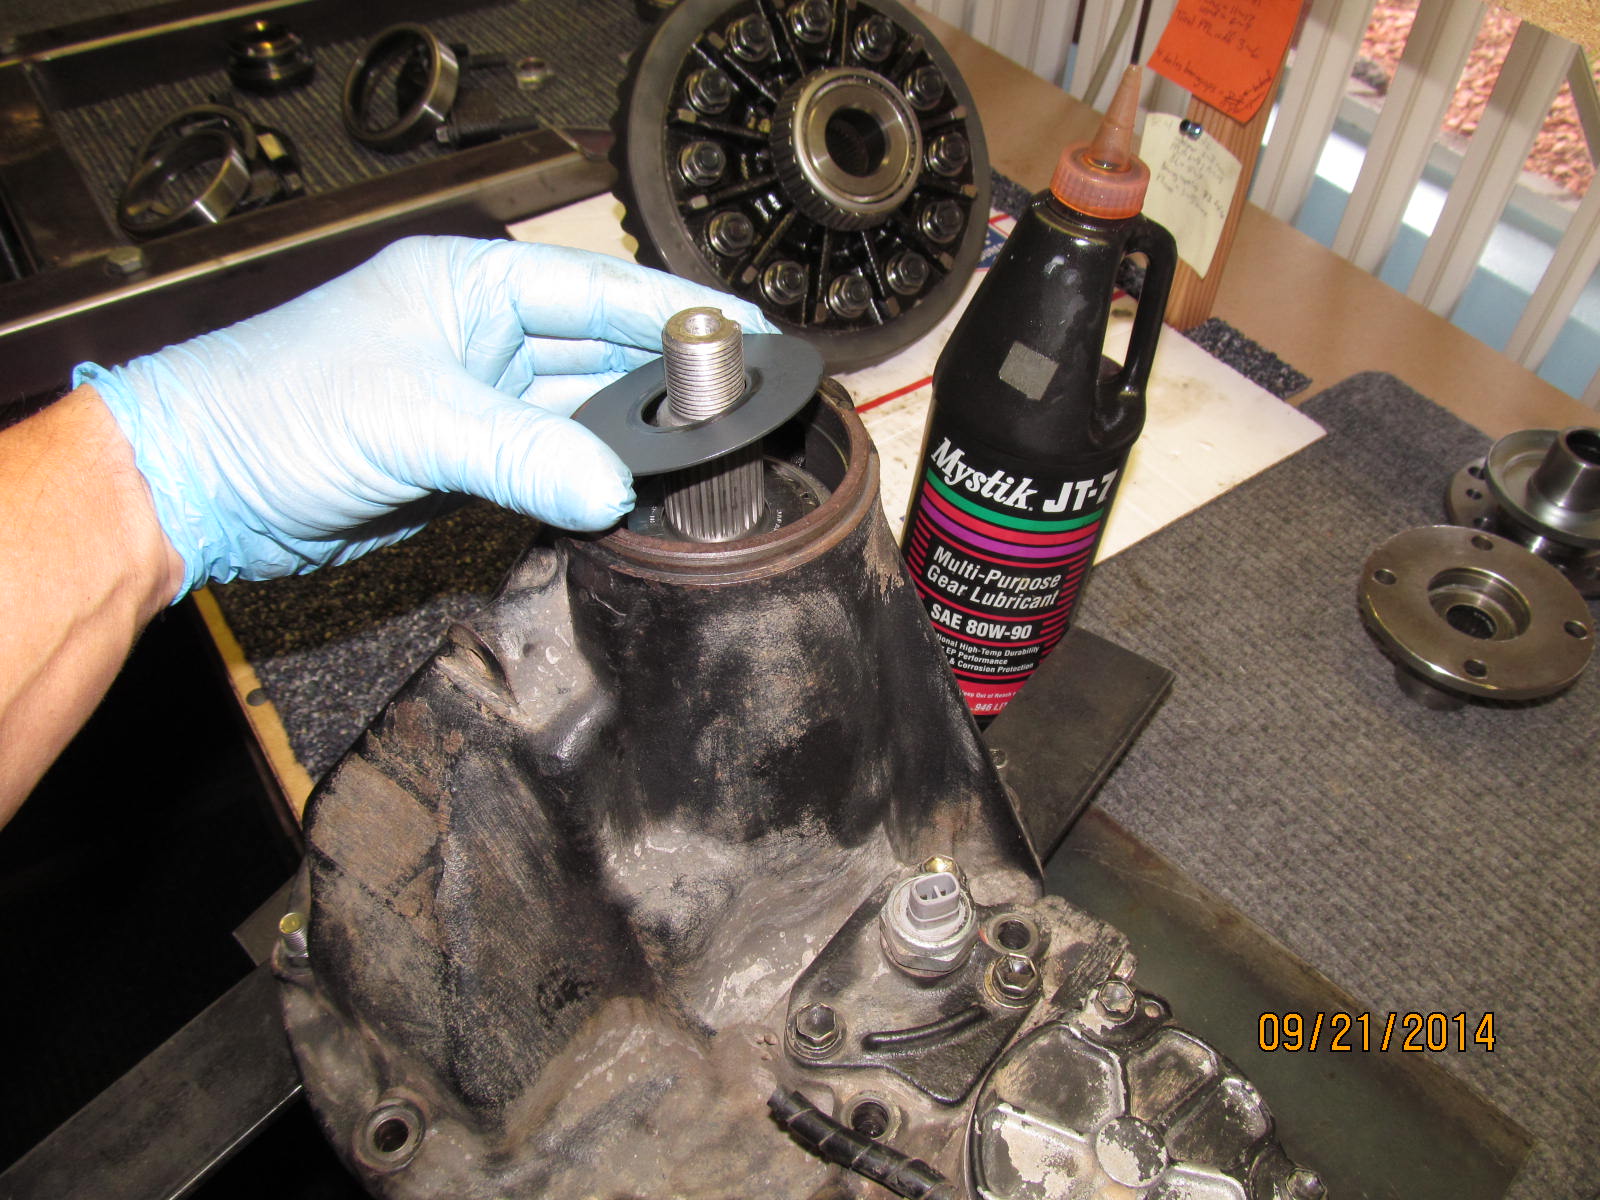
Splashguard next.
|
|
|
|
|
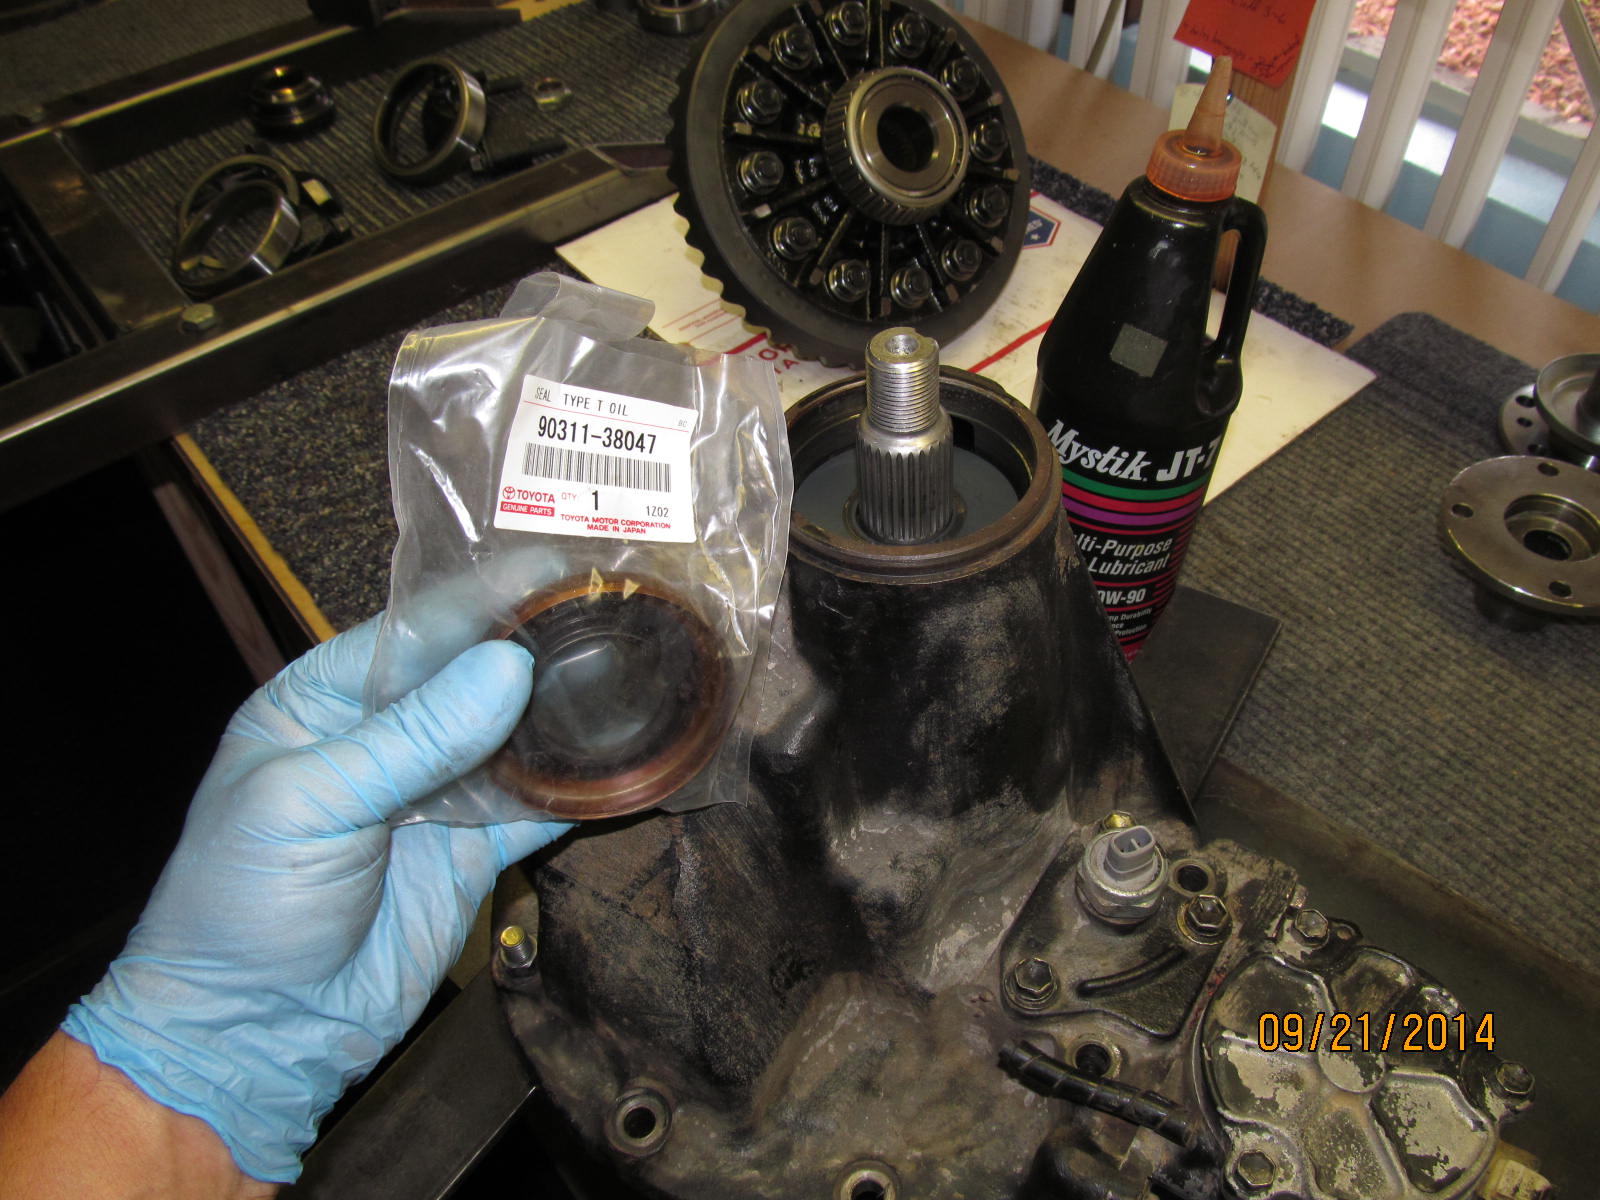
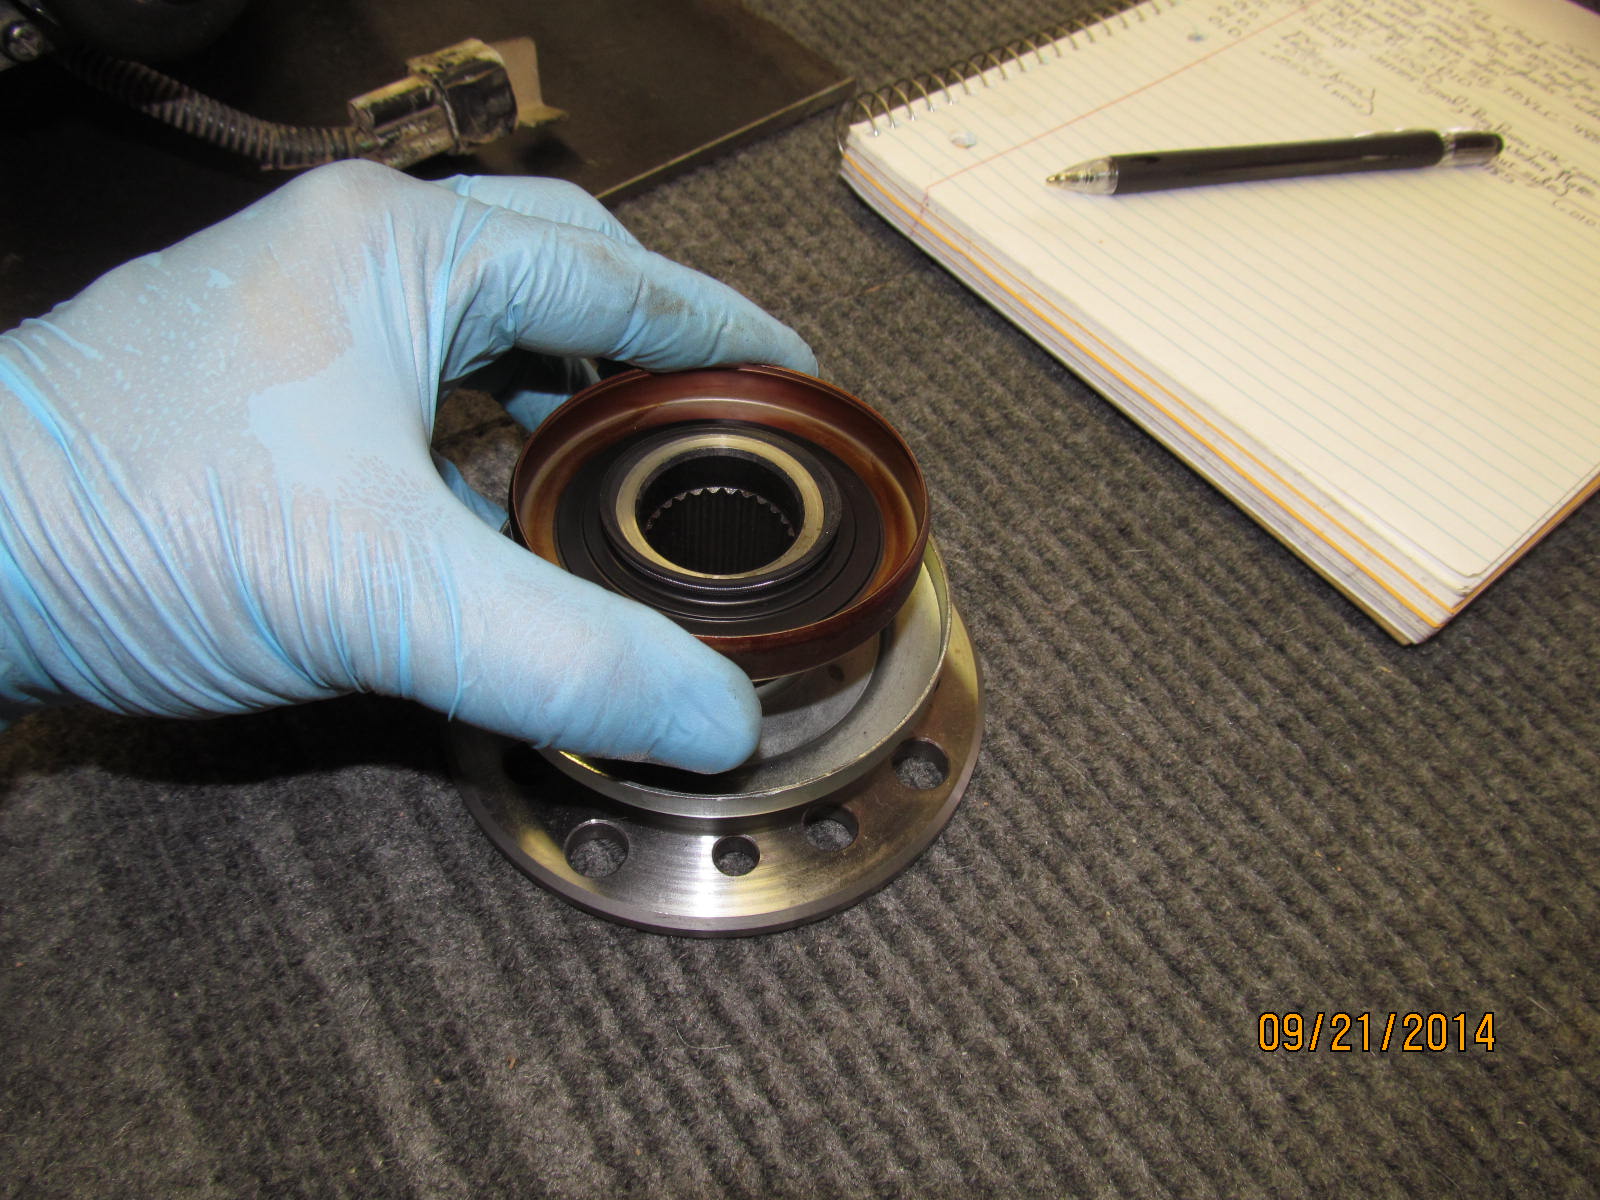
New oem seal, of course.
|
|
|
|
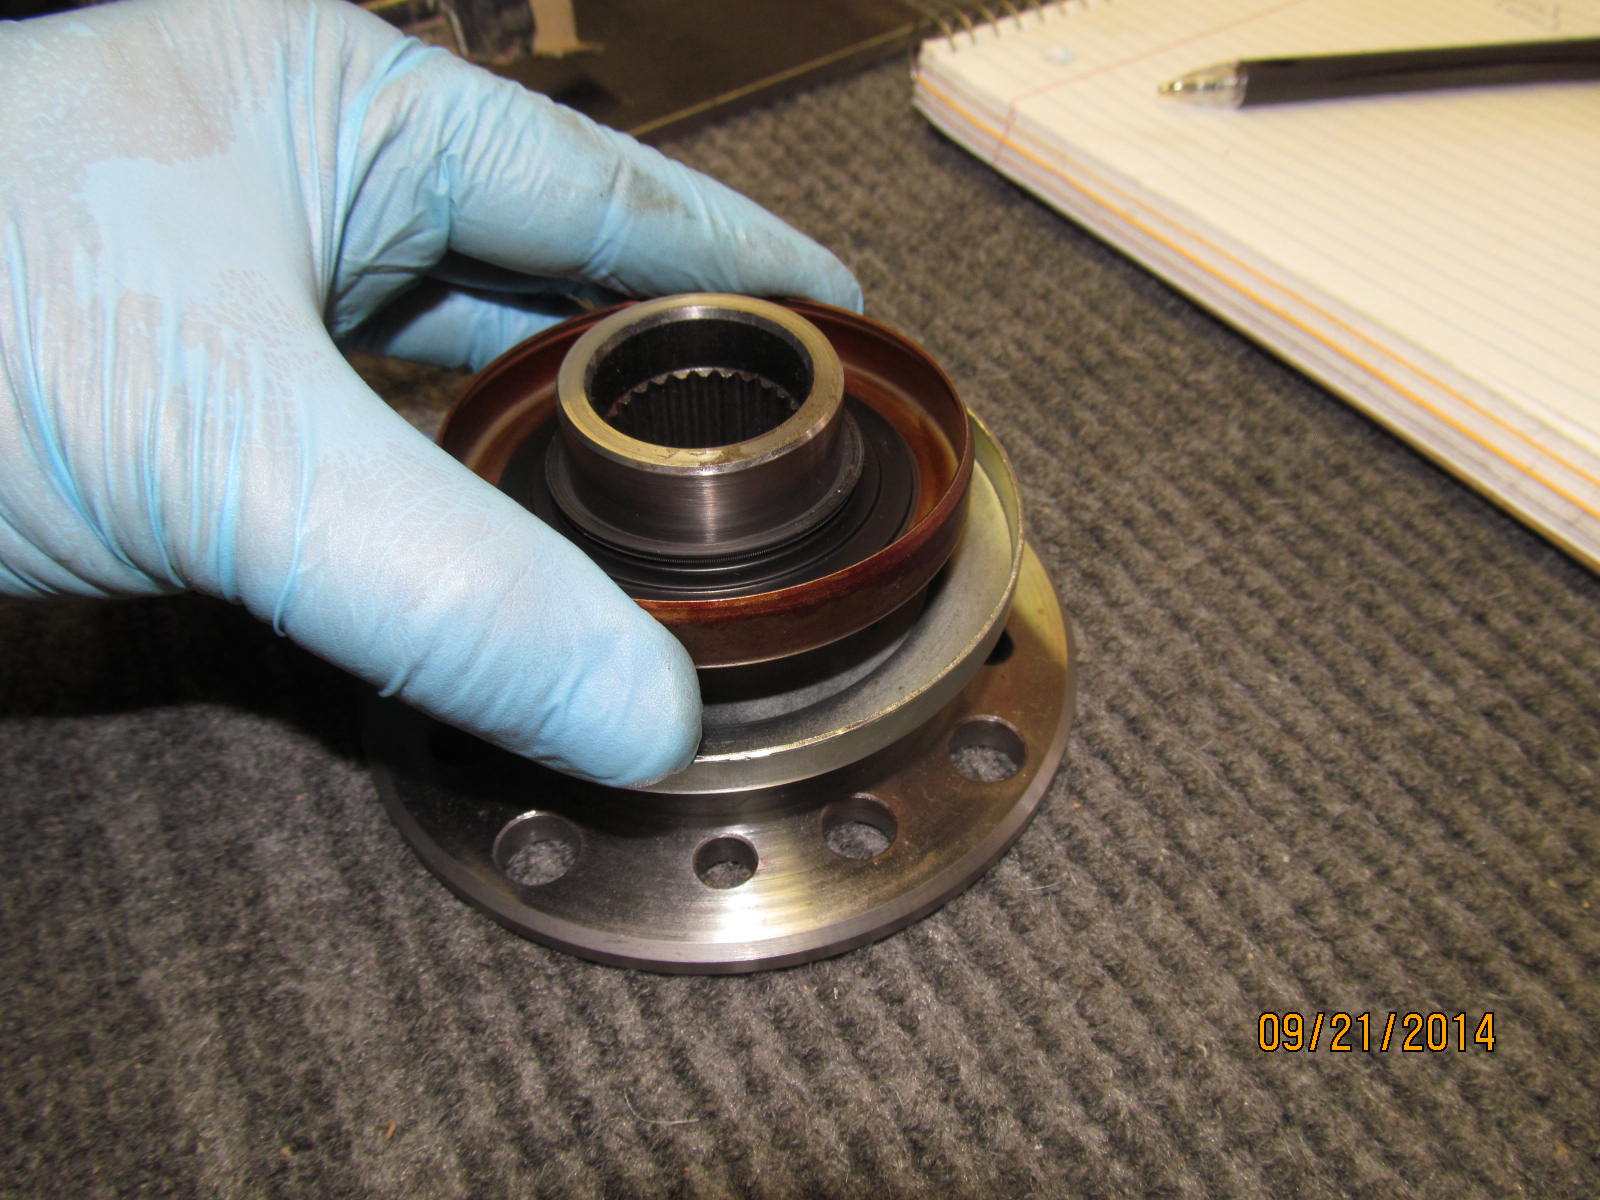
Test fitting it on the new flange....watching the rubber lip curl around the garter spring
as it is pushed on further.
|
|
|
|
|
Looks solid.
|
|
|
|
|
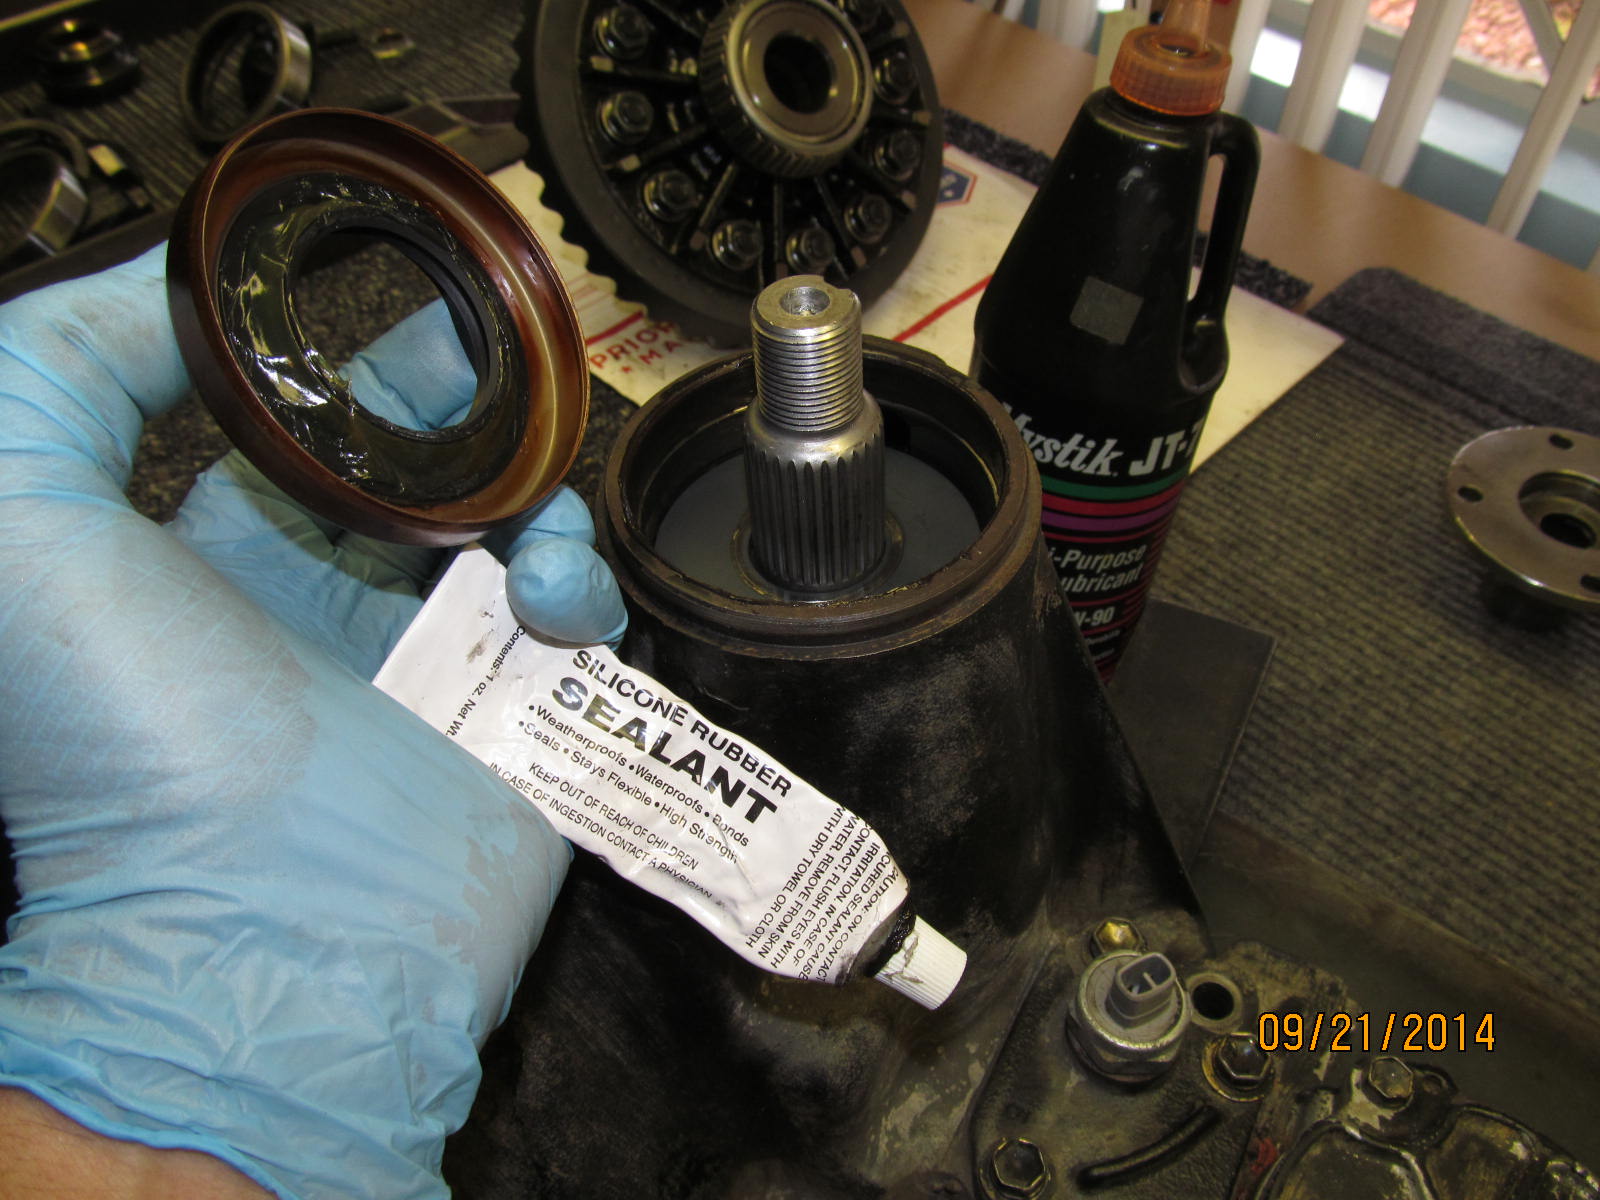
Grease keeps the garter spring from popping off. The RTV sealant is optional and I like to use it.
|
|
|
|
|
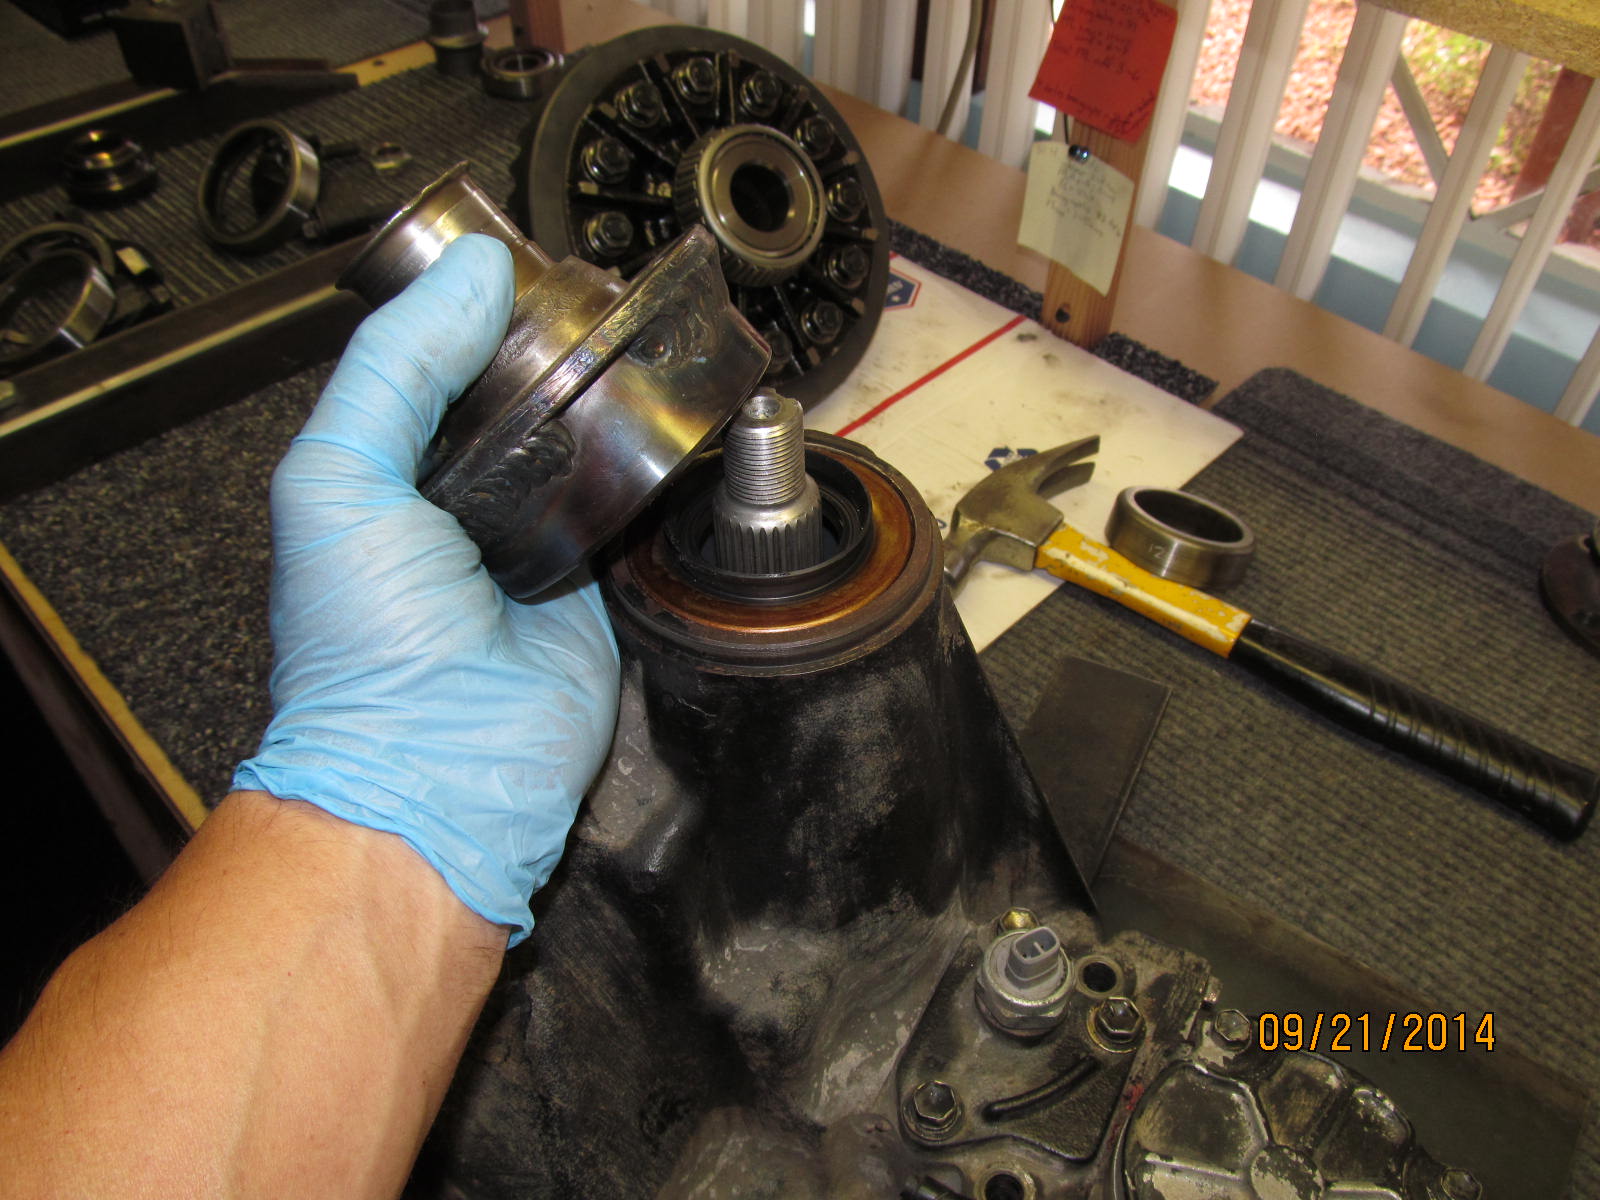
The seal was tapped downwith this tool and no damage whatsoever.
|
|
|

|
|
Using another "just right" sized old race, I can tap the seal down carefully another 2 millimeters or so.
|
|
|
|
|
Garter spring stayed in place.
|
|
|

|
Because I pre-crushed this crush sleeve 95% of the way down means that the threads are not going to get
beat up terrible but I still use the anti-seize.
|
|
|
|
|
A nice 7 in/lb of pre-load.....good when one of the pinion bearings is still "used".
|
|
|
|
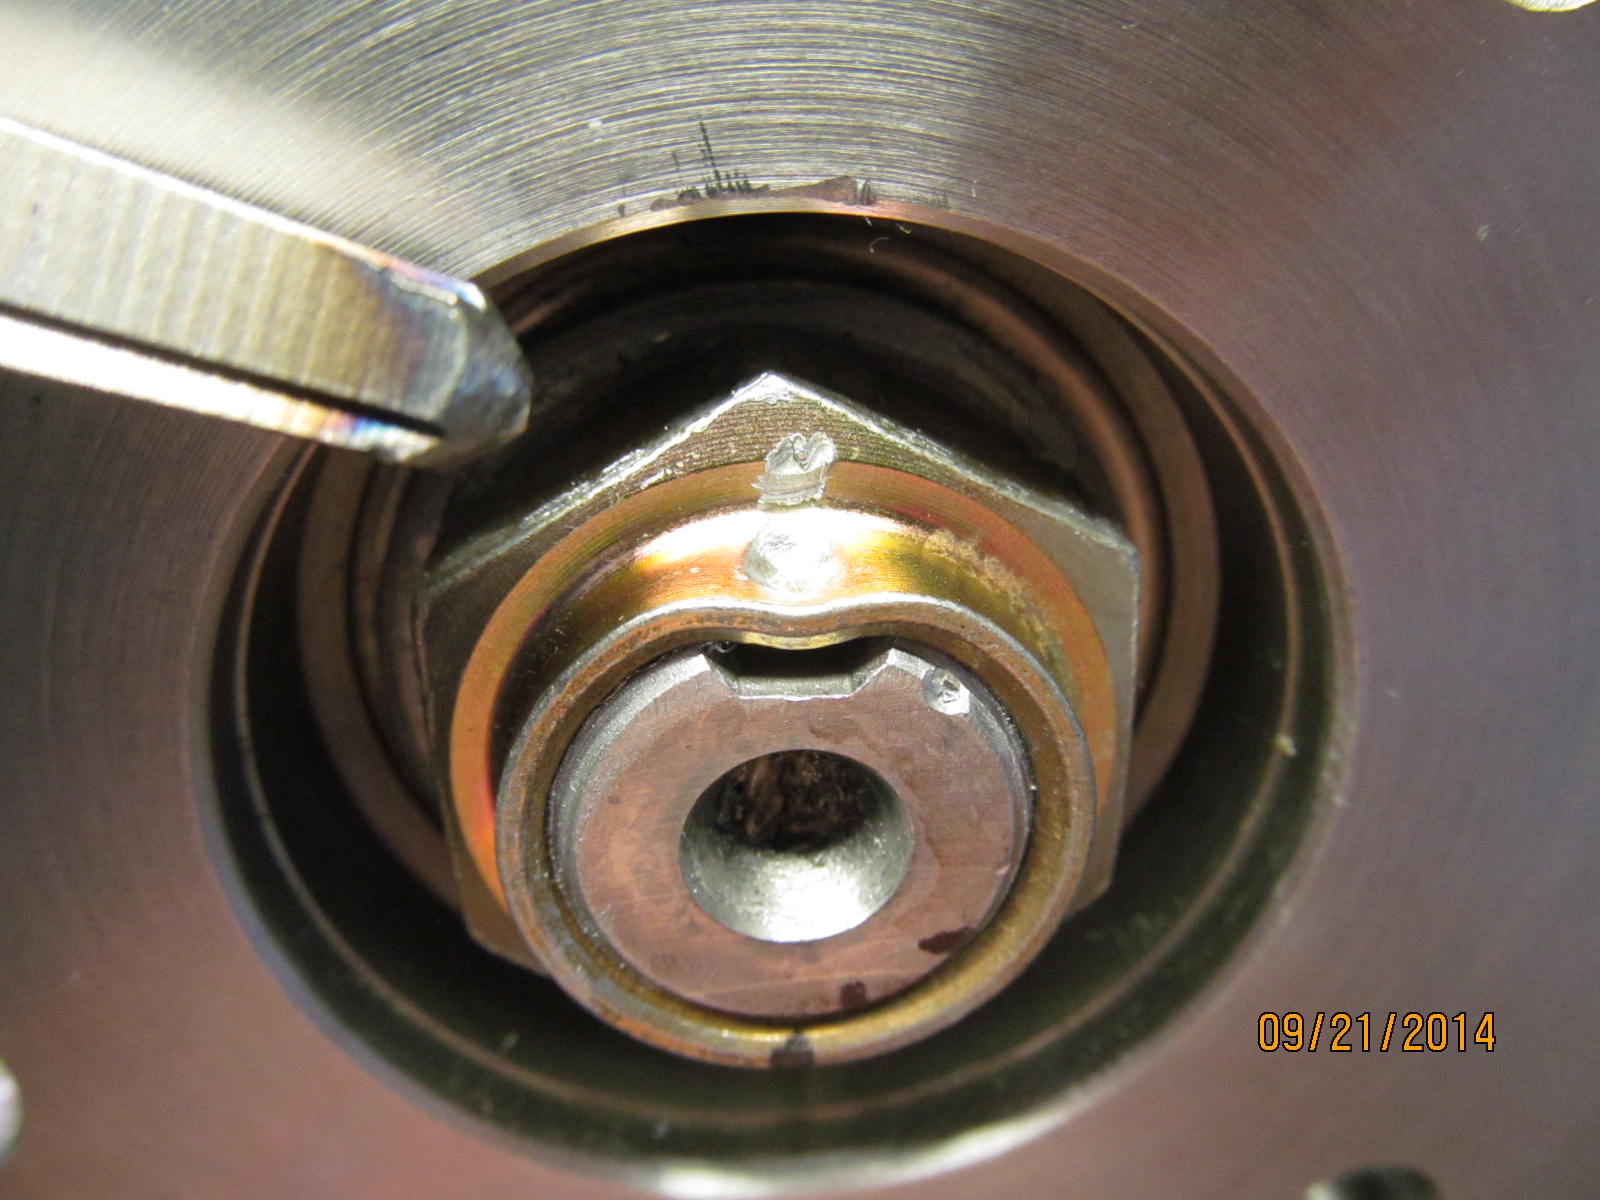
The rounded punch leaves a solid dent in the nut....doesn't crack at the corner like the rounded
chisels I used to use.
|
|
|
|
|
Verified that the 12 ring gear nuts were all at least 85 ft/lb and they were .
|
|
|
|
|
Remembering the backlash was initially .010" and would now like to tweak it closer to .007 or .008"
|
|
|
|
|
......
|
|
|
|
|
83 ft/lb oem spec for the 4 bearing cap bolts.
|
|
|
|
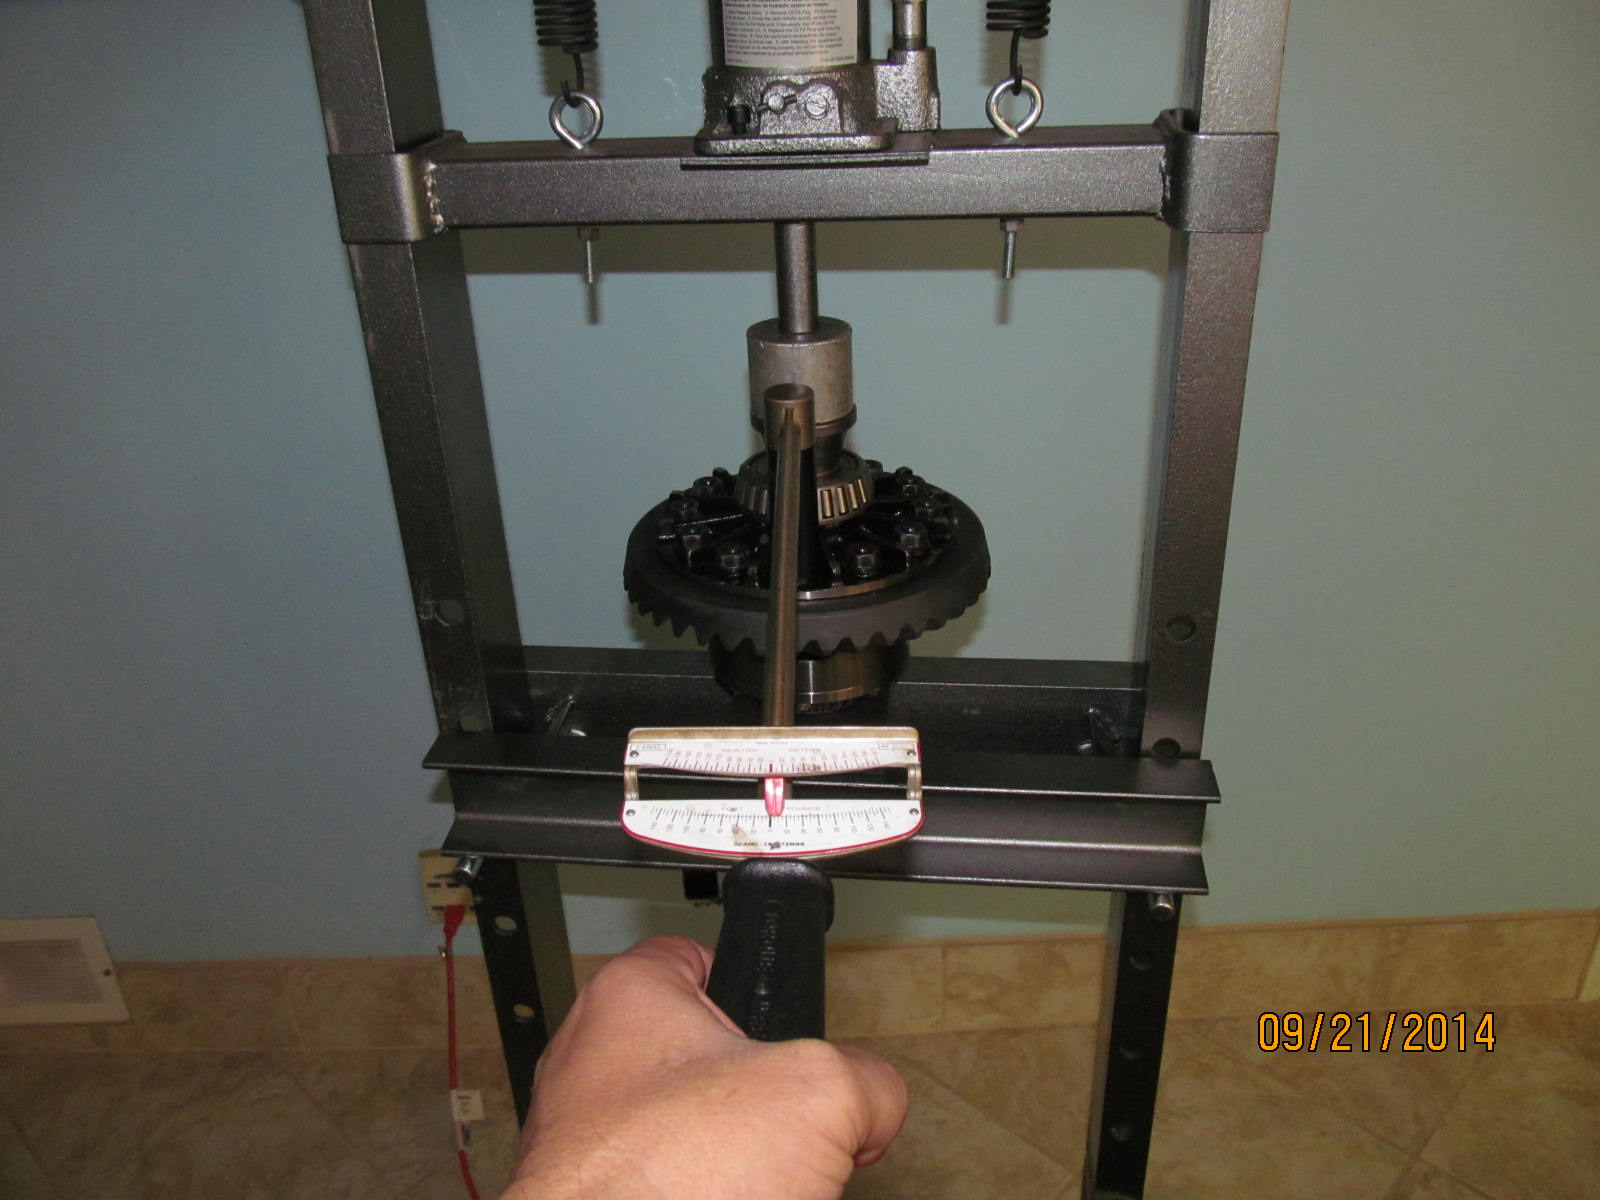
Total preload on the pinion end measuring both pinion preload combined with the carrier bearing preload
is 12 in/lb.
|
|
|
|
|
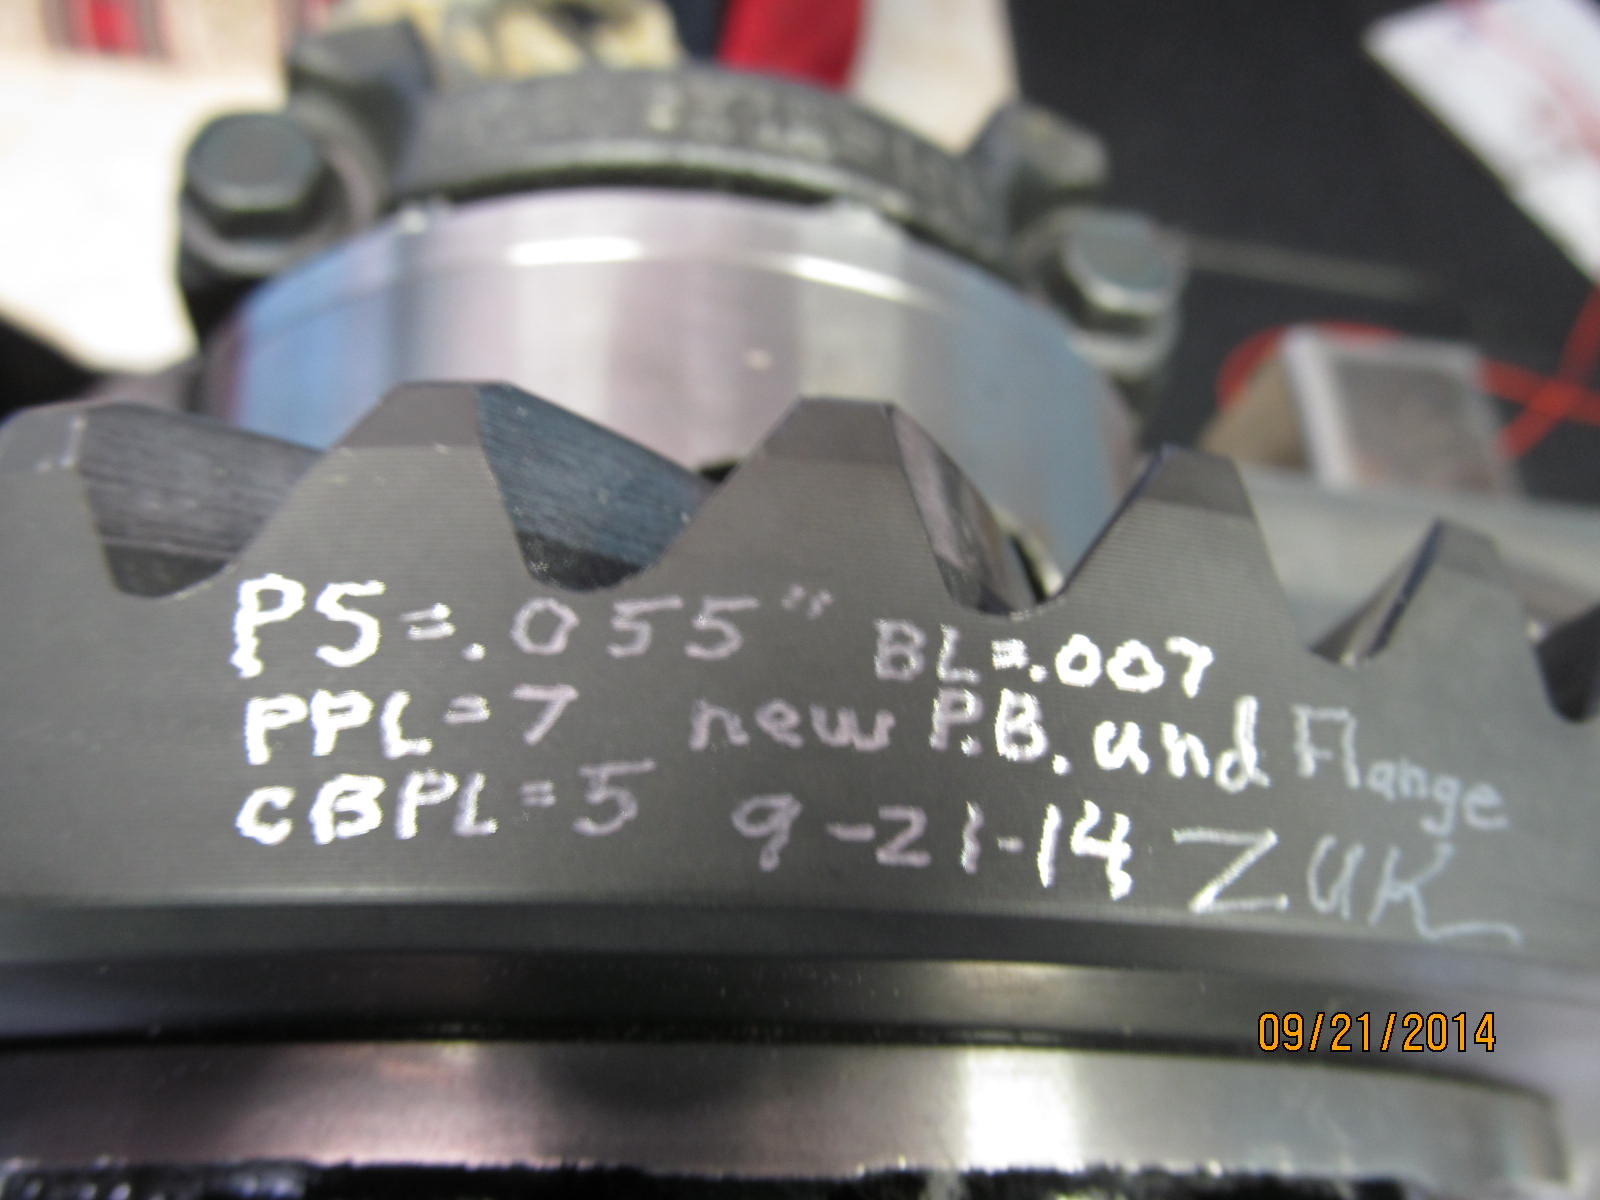
Backlash is measured on every 3rd tooth and was .007"
|
|
|
|
|
Engraved info.....
|
|
|
|
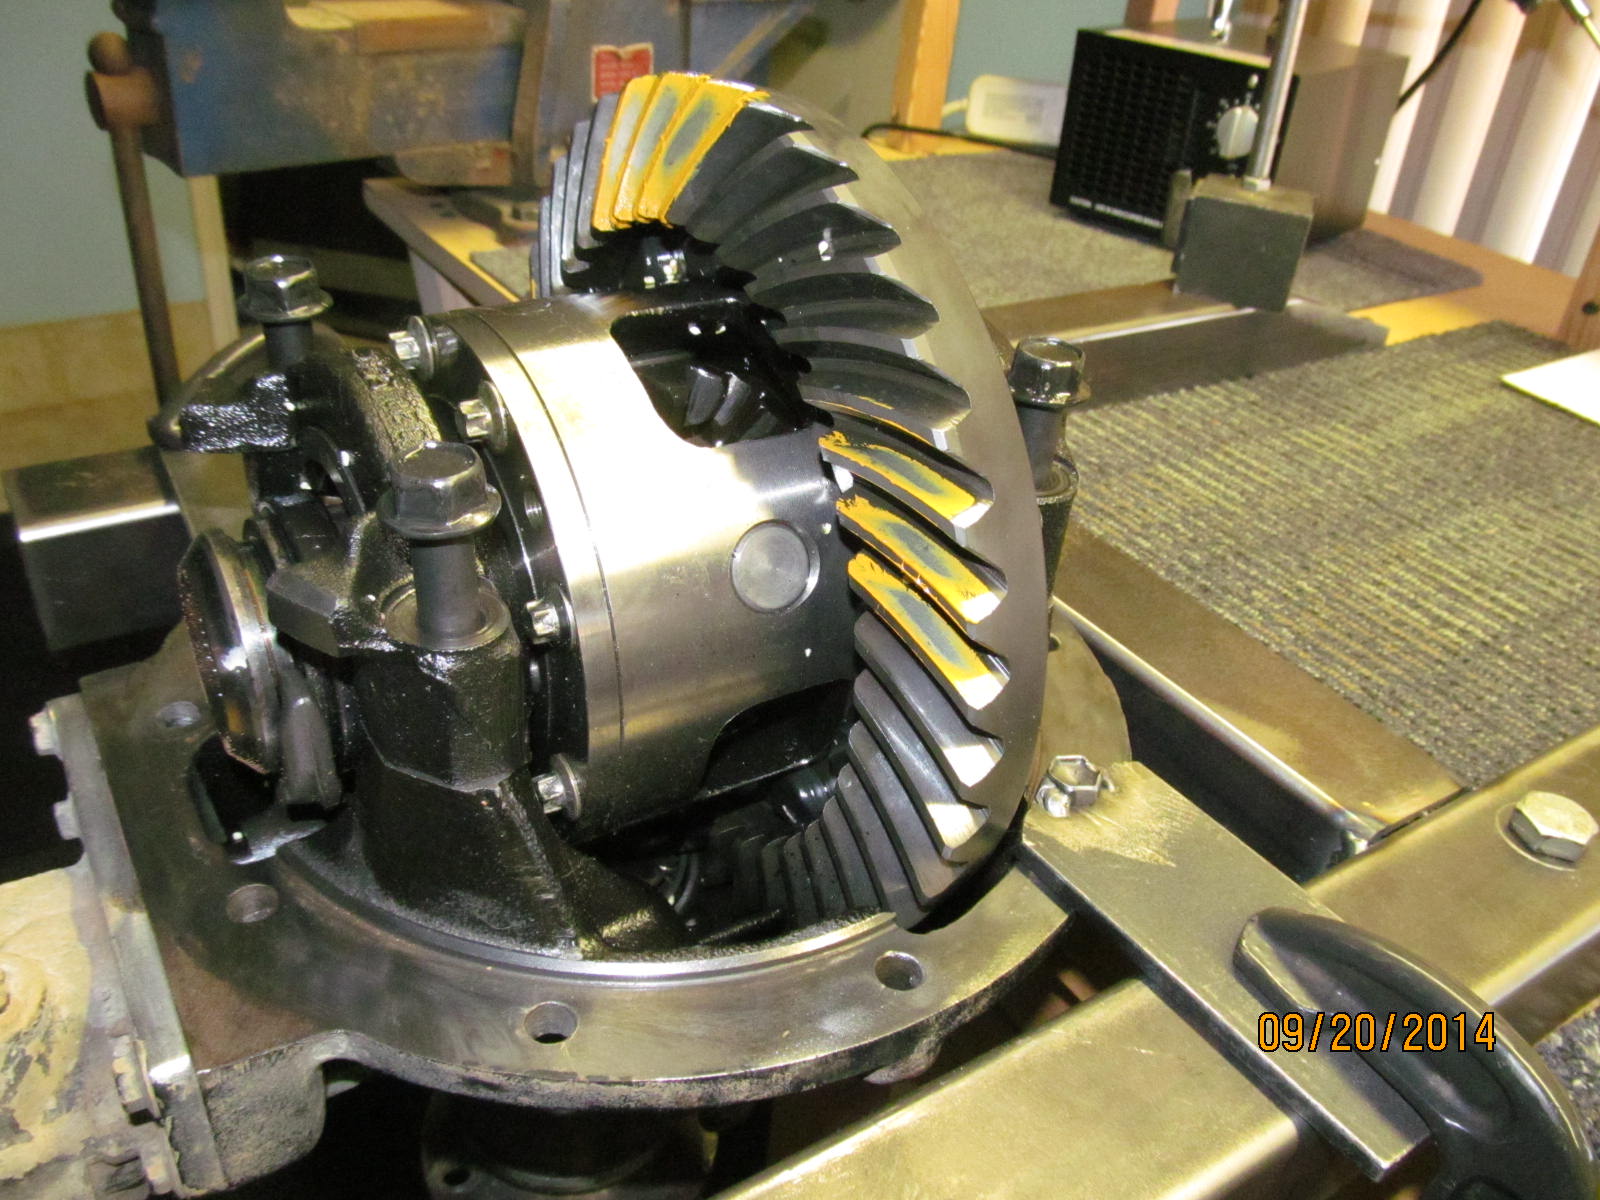
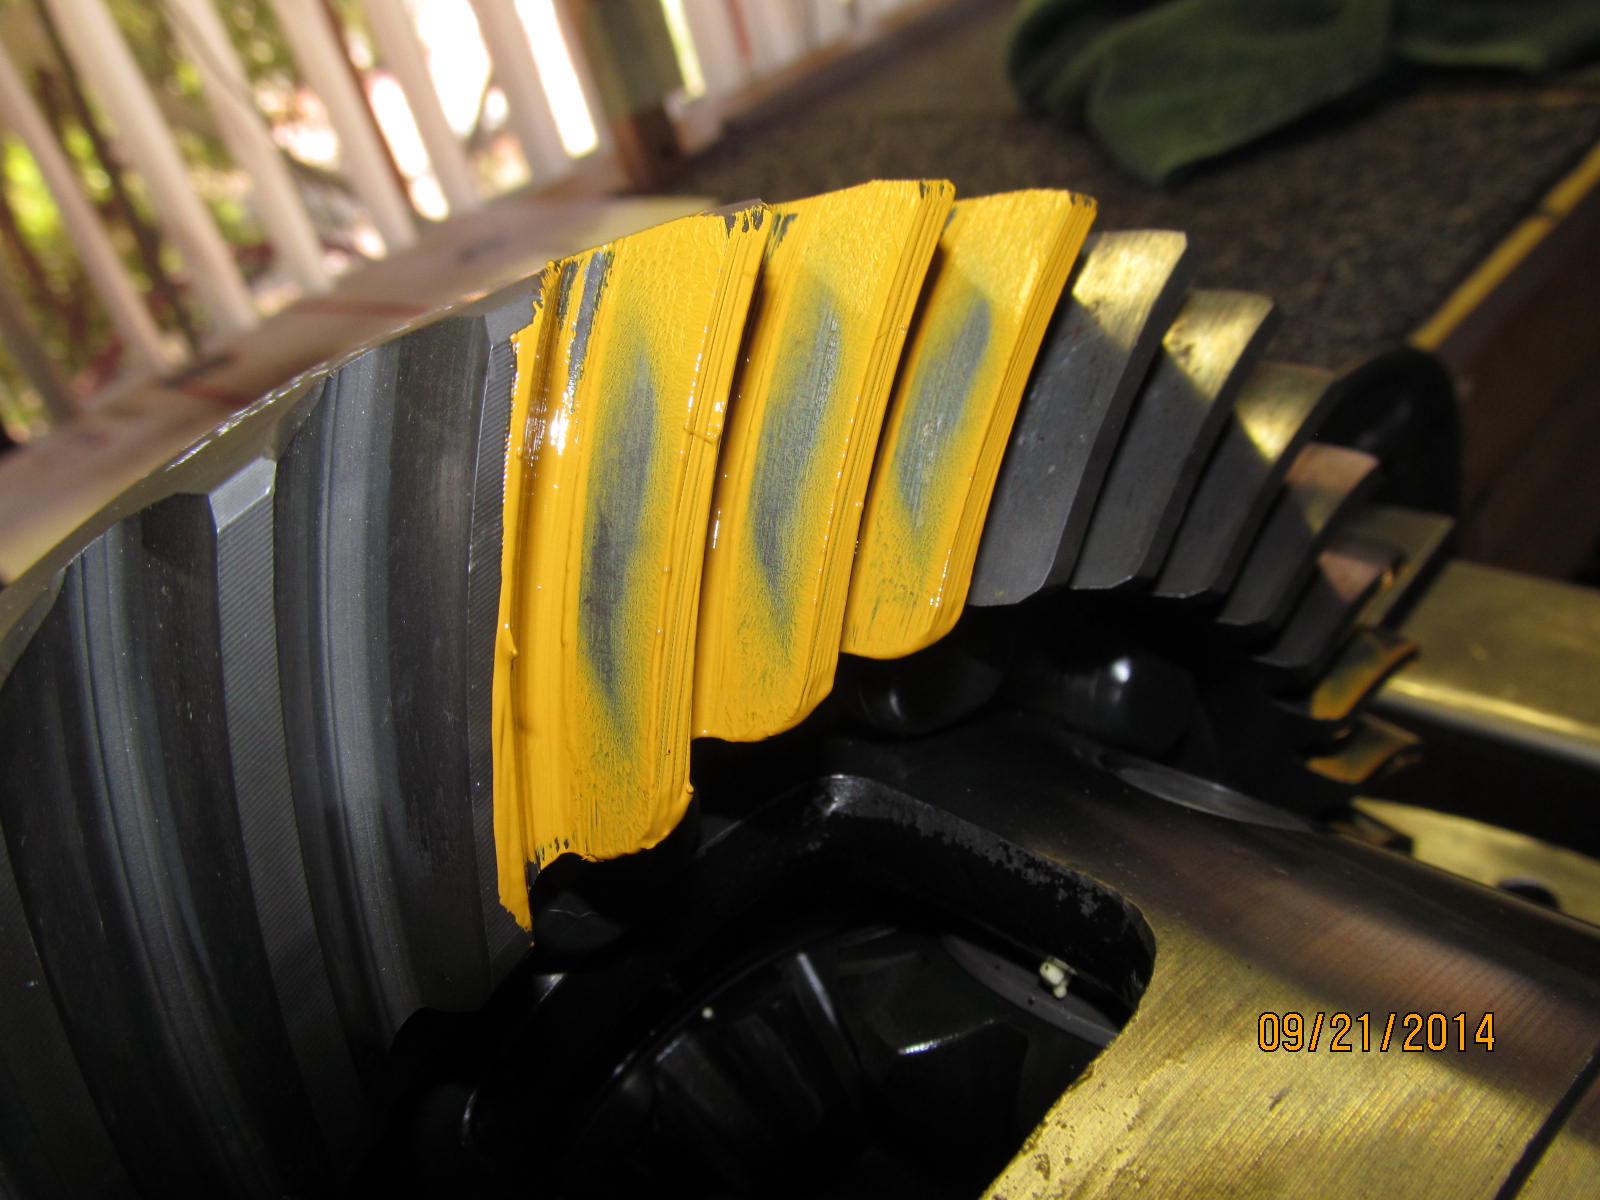
Final pattern check....DRIVE....shows to be deeper than before. It is relatively centered heel to toe with
a slight favoring to the heel (outside end). But the really important face/flank is what really counts and
it appears to be good.
|
|
|
|
|
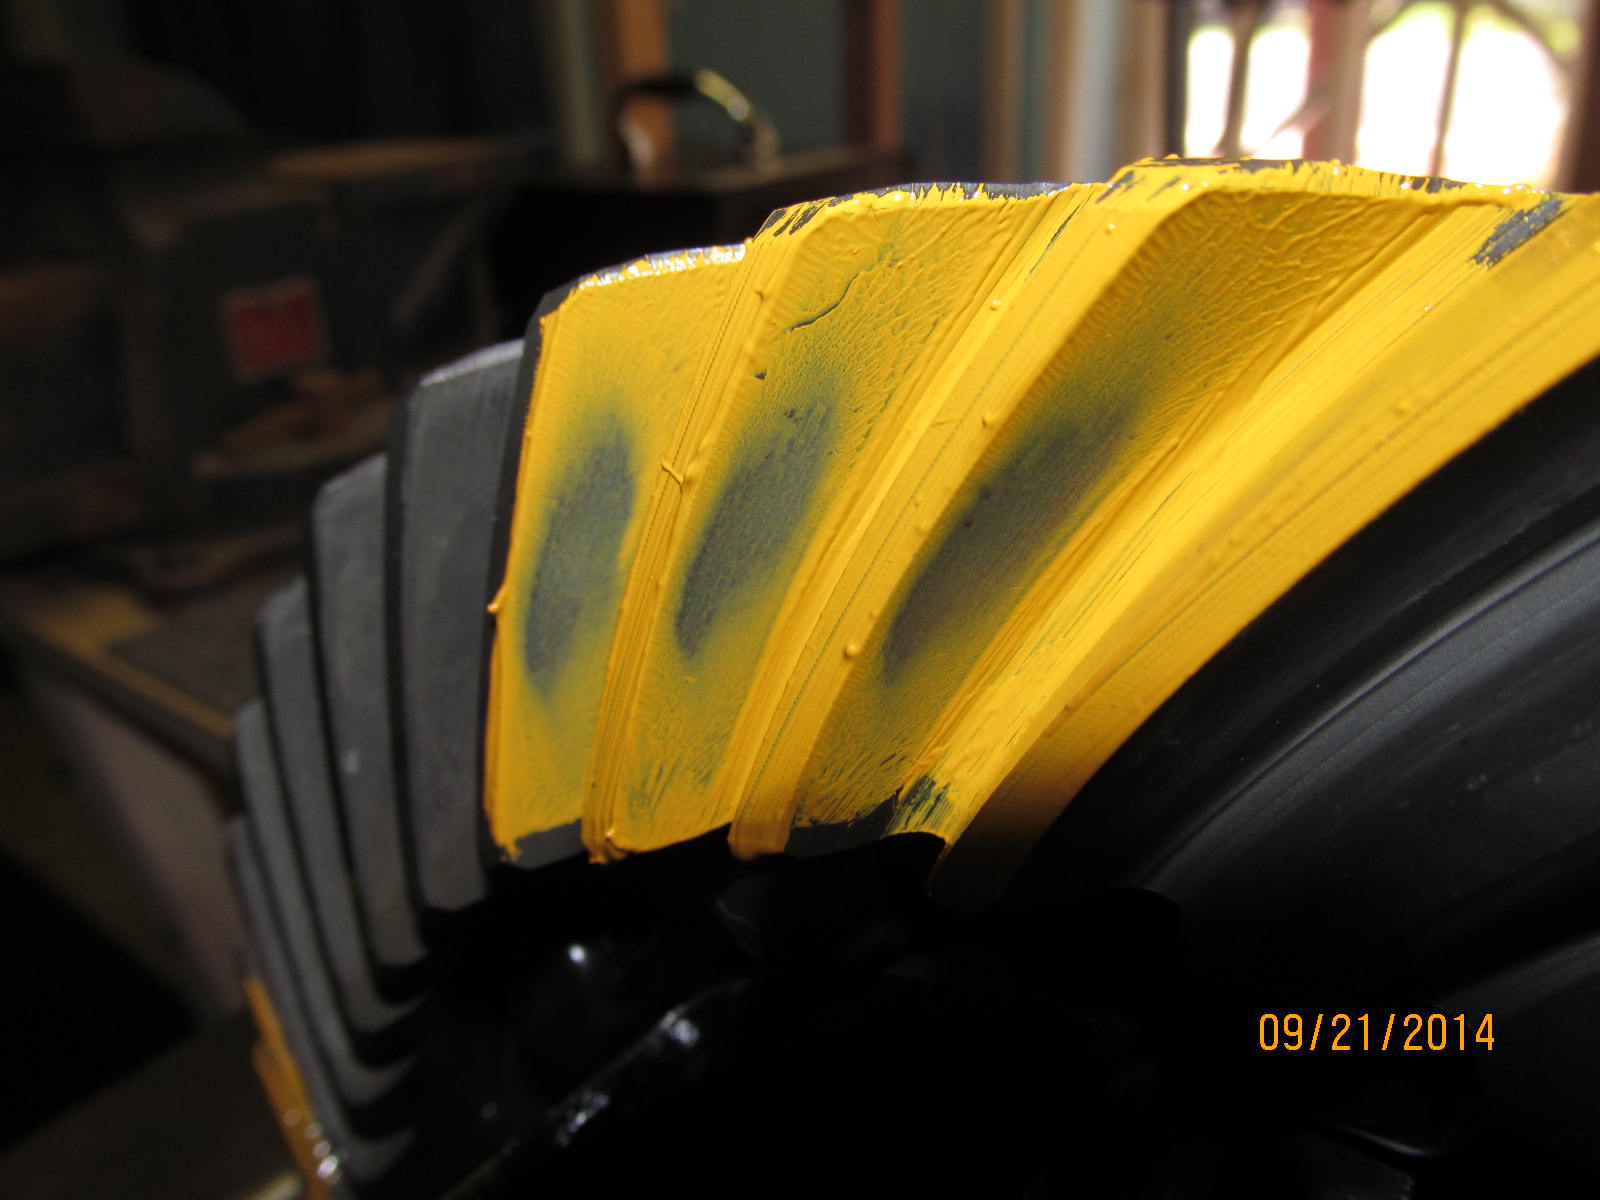
COAST--- looks nice...it is centered heel to toe....and face to flank is showing proper depth.
|
|
|
|
|
Back to Mobile, Alabama
|
|
|

|