|
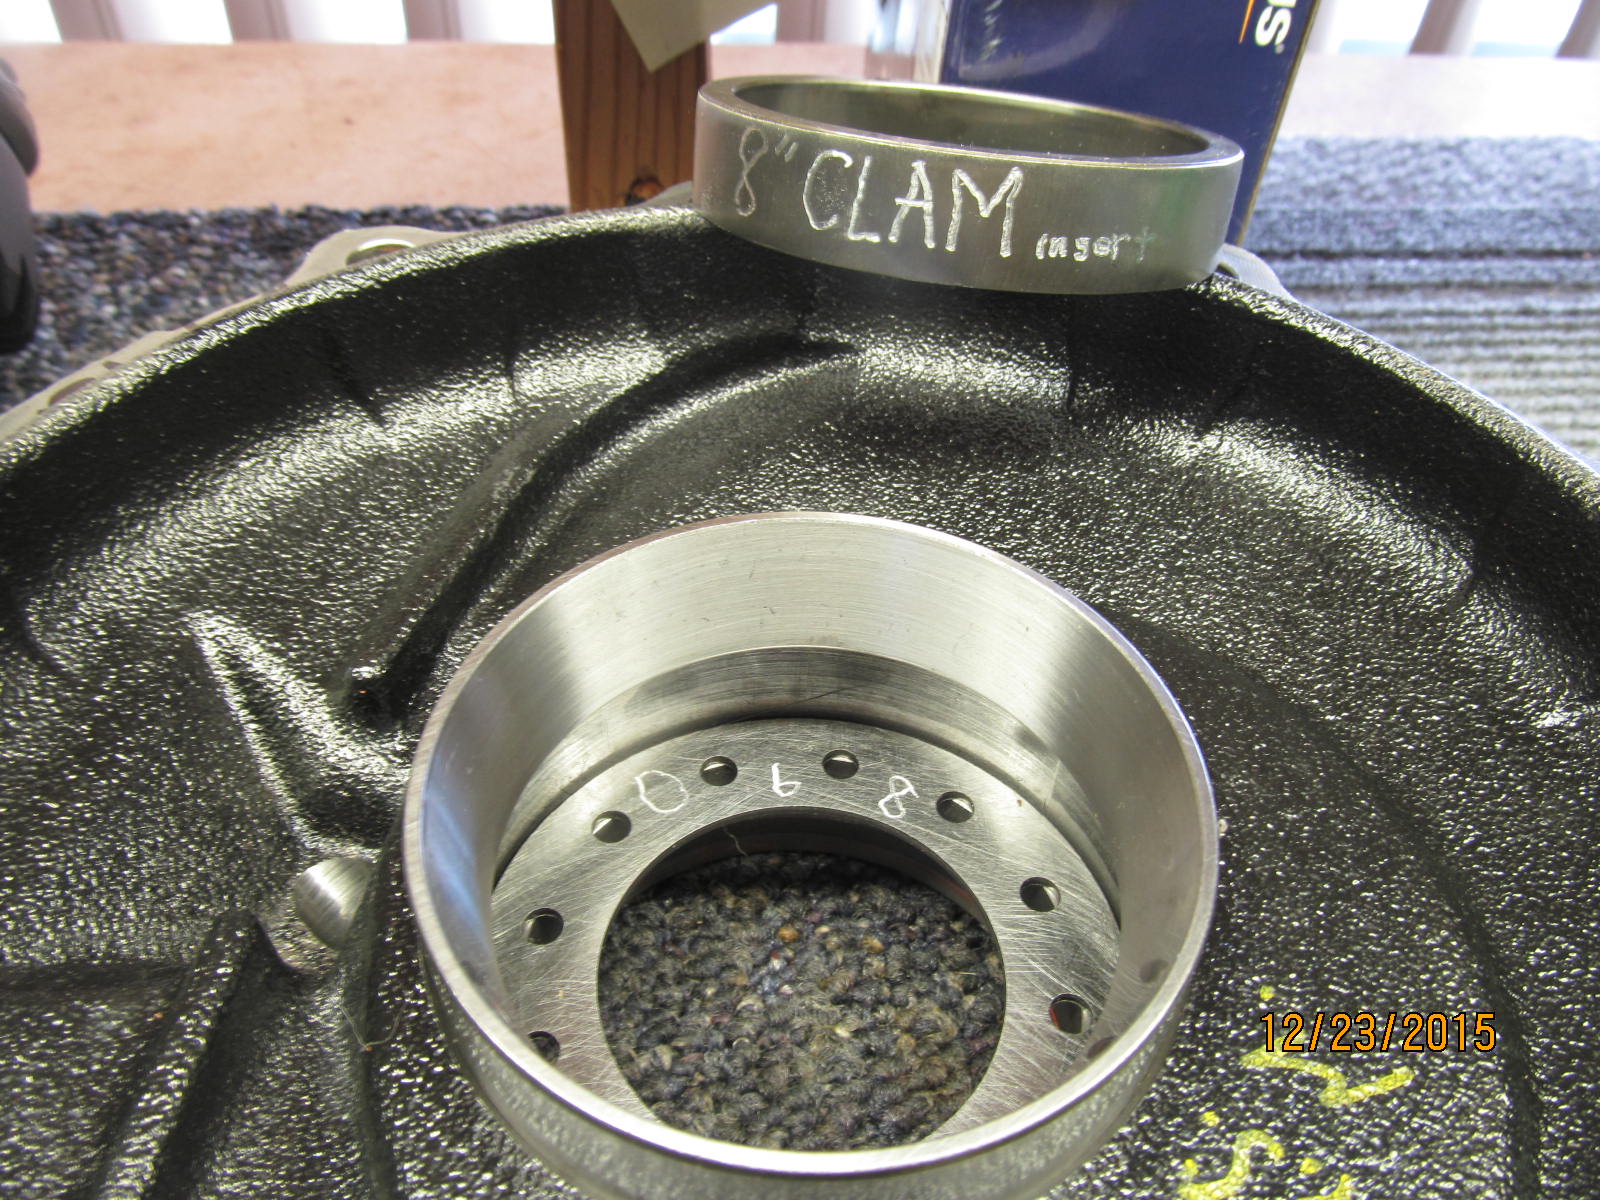
8 Inch Clam Gets 4.56 Nitro Gears(2008 Runner with V8)
|
|
(79 BIG pics loading)
|
|
FEB 22 2016
|
|
|
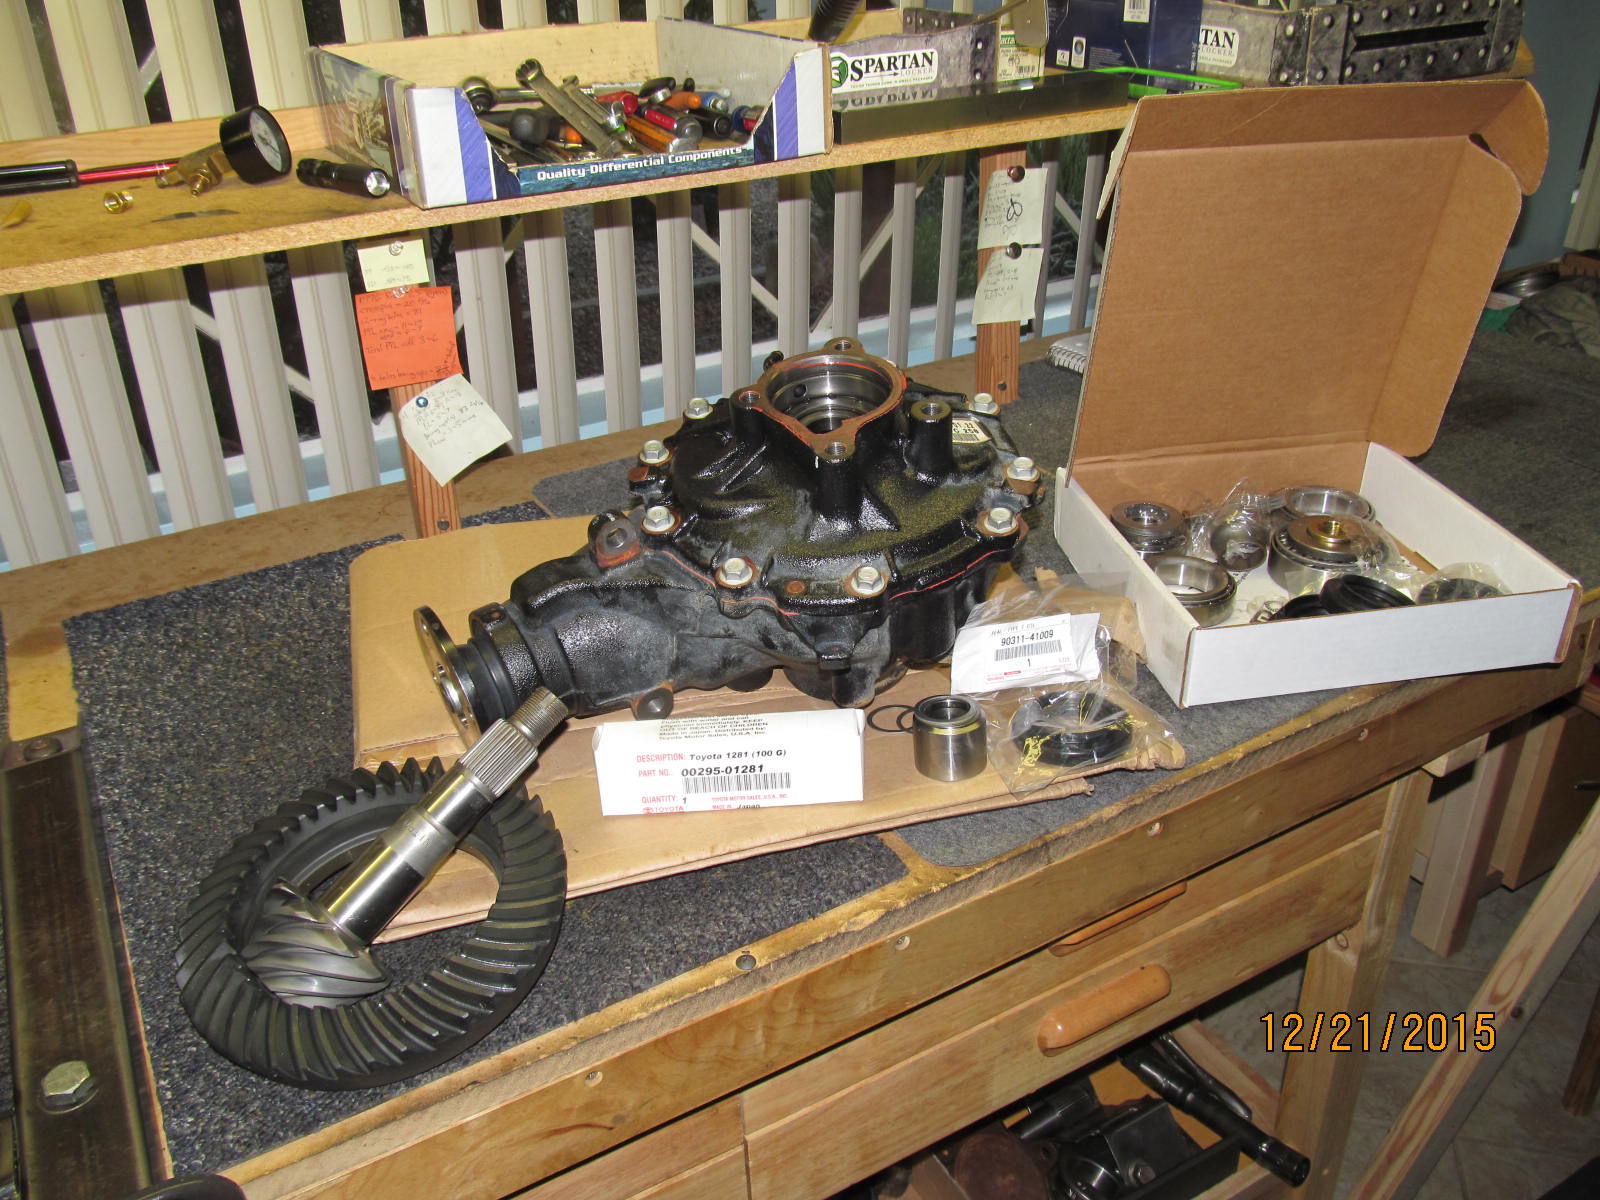
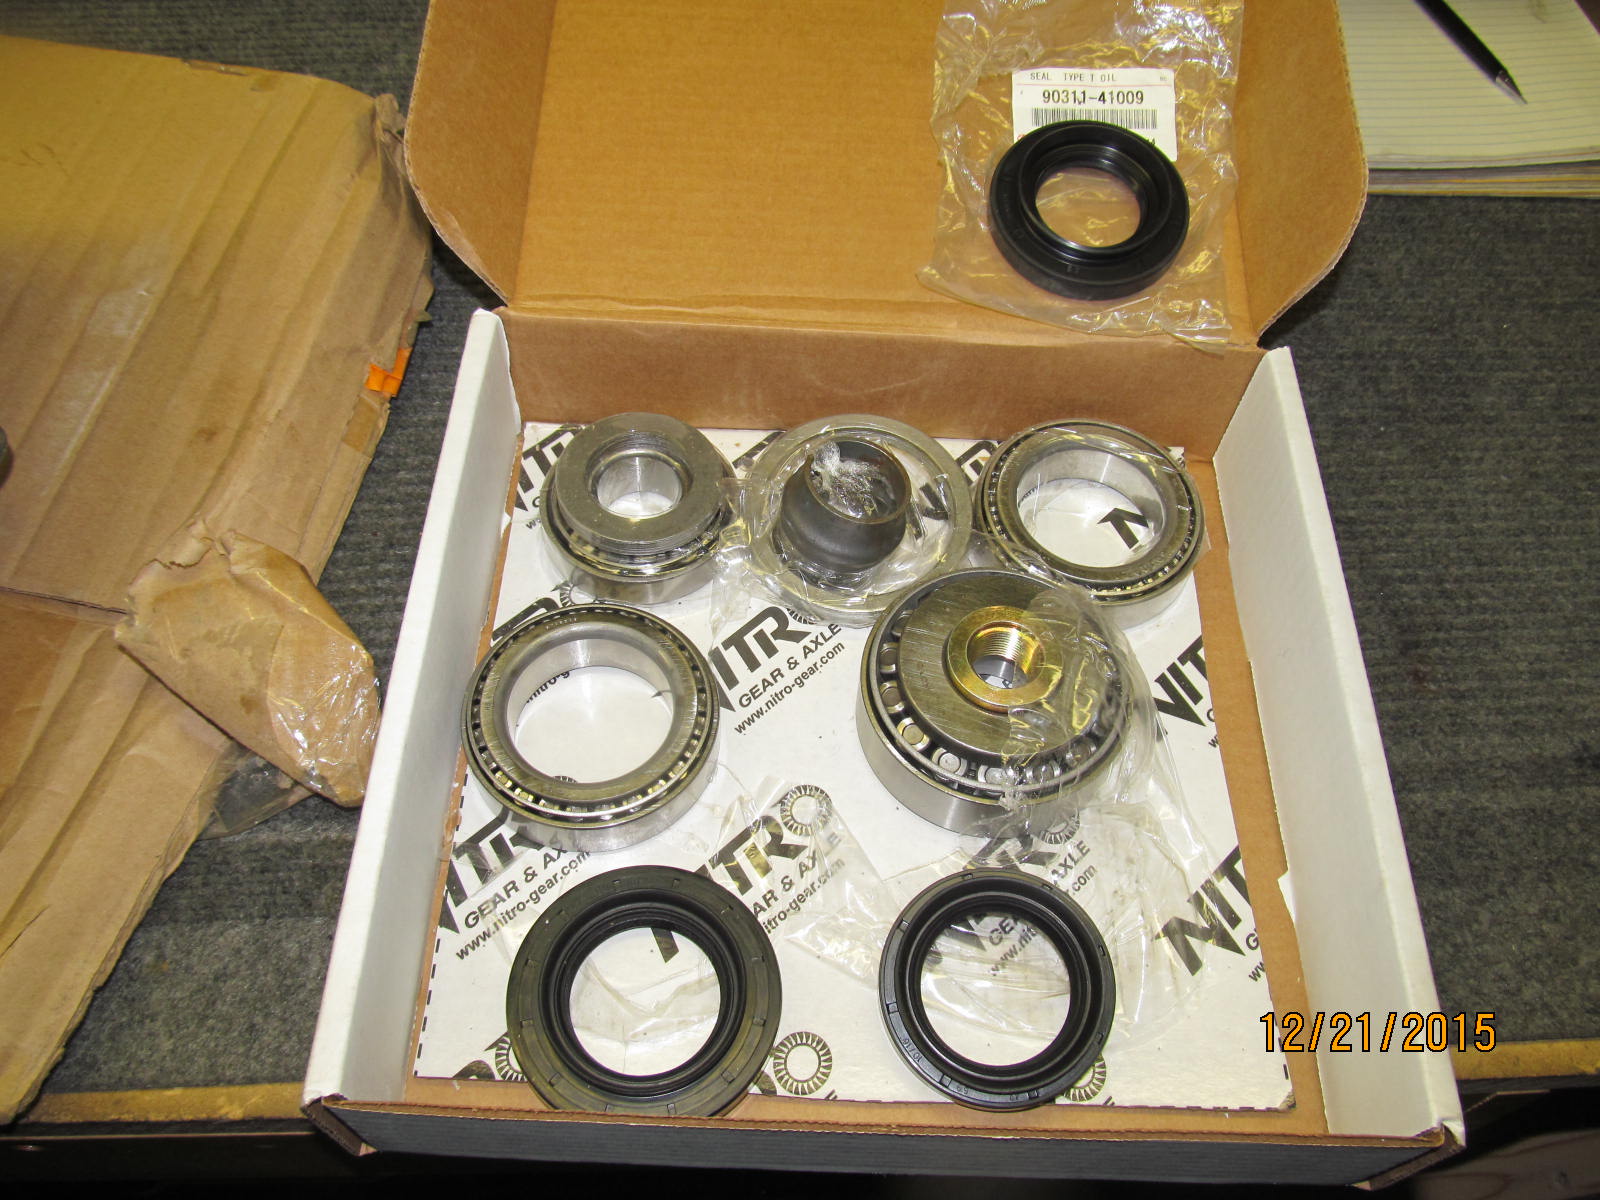
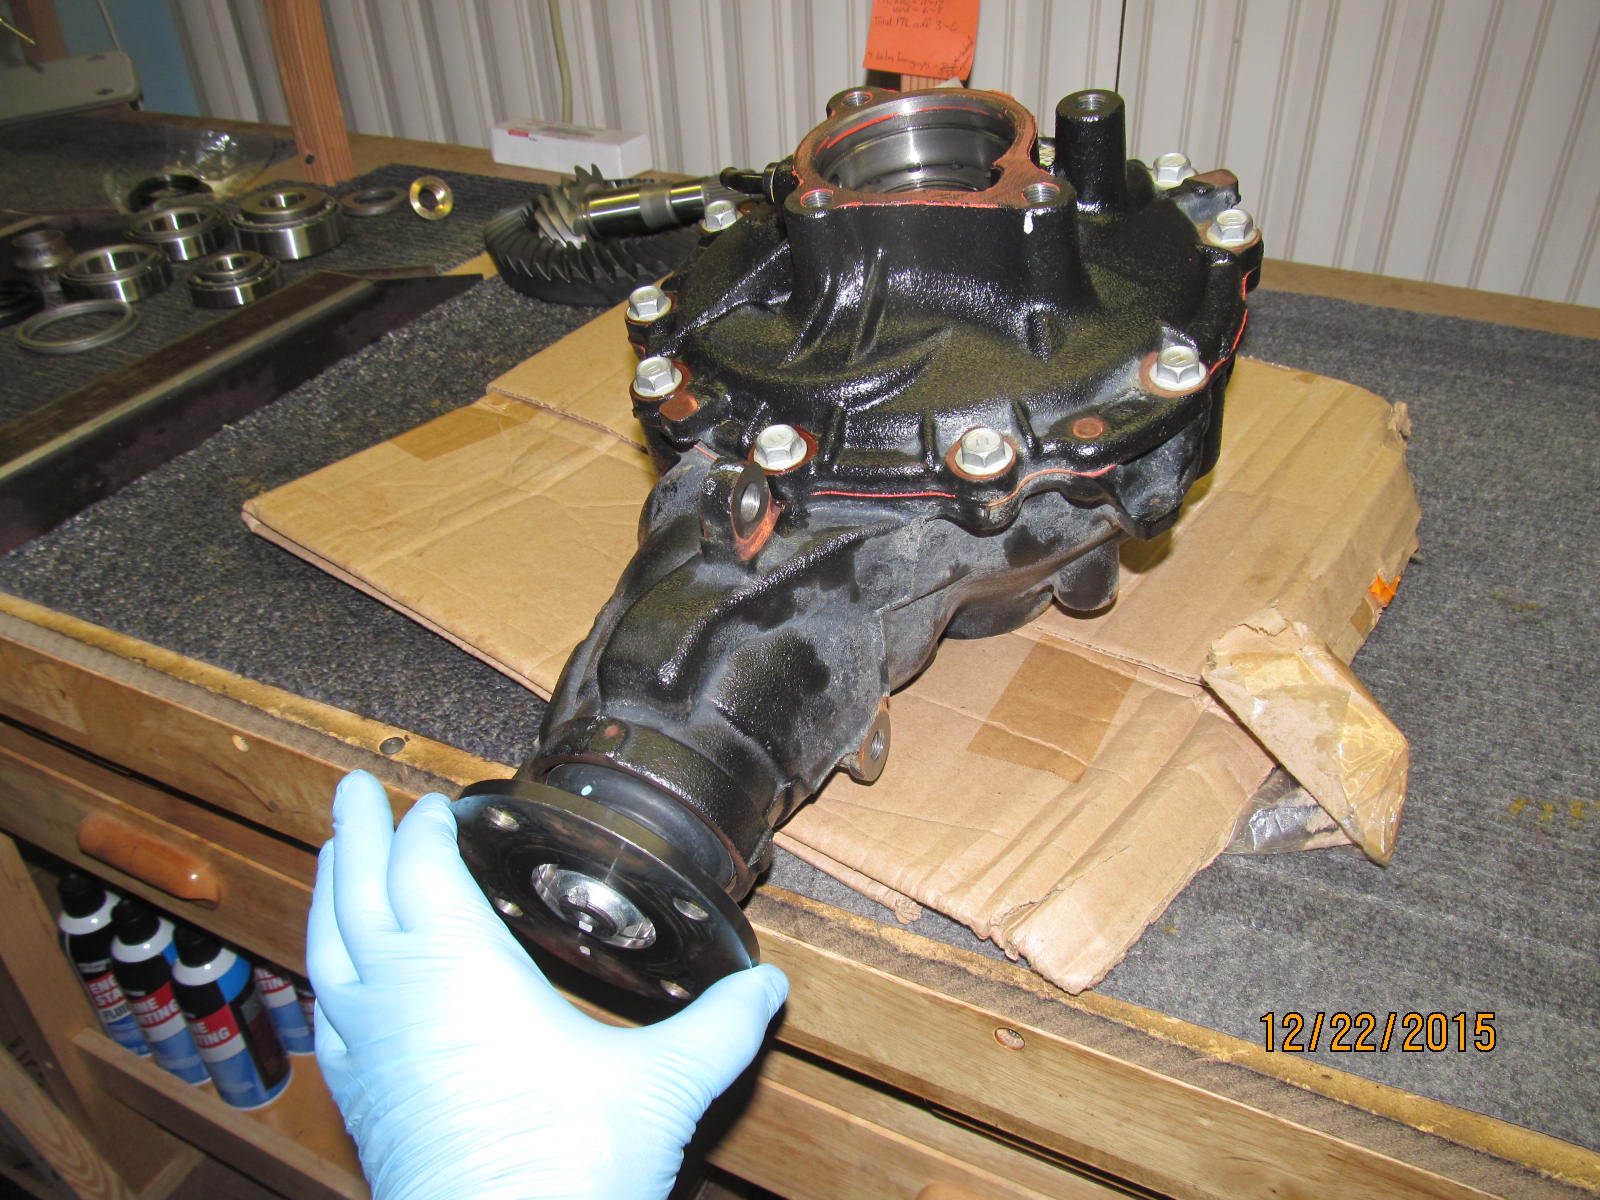
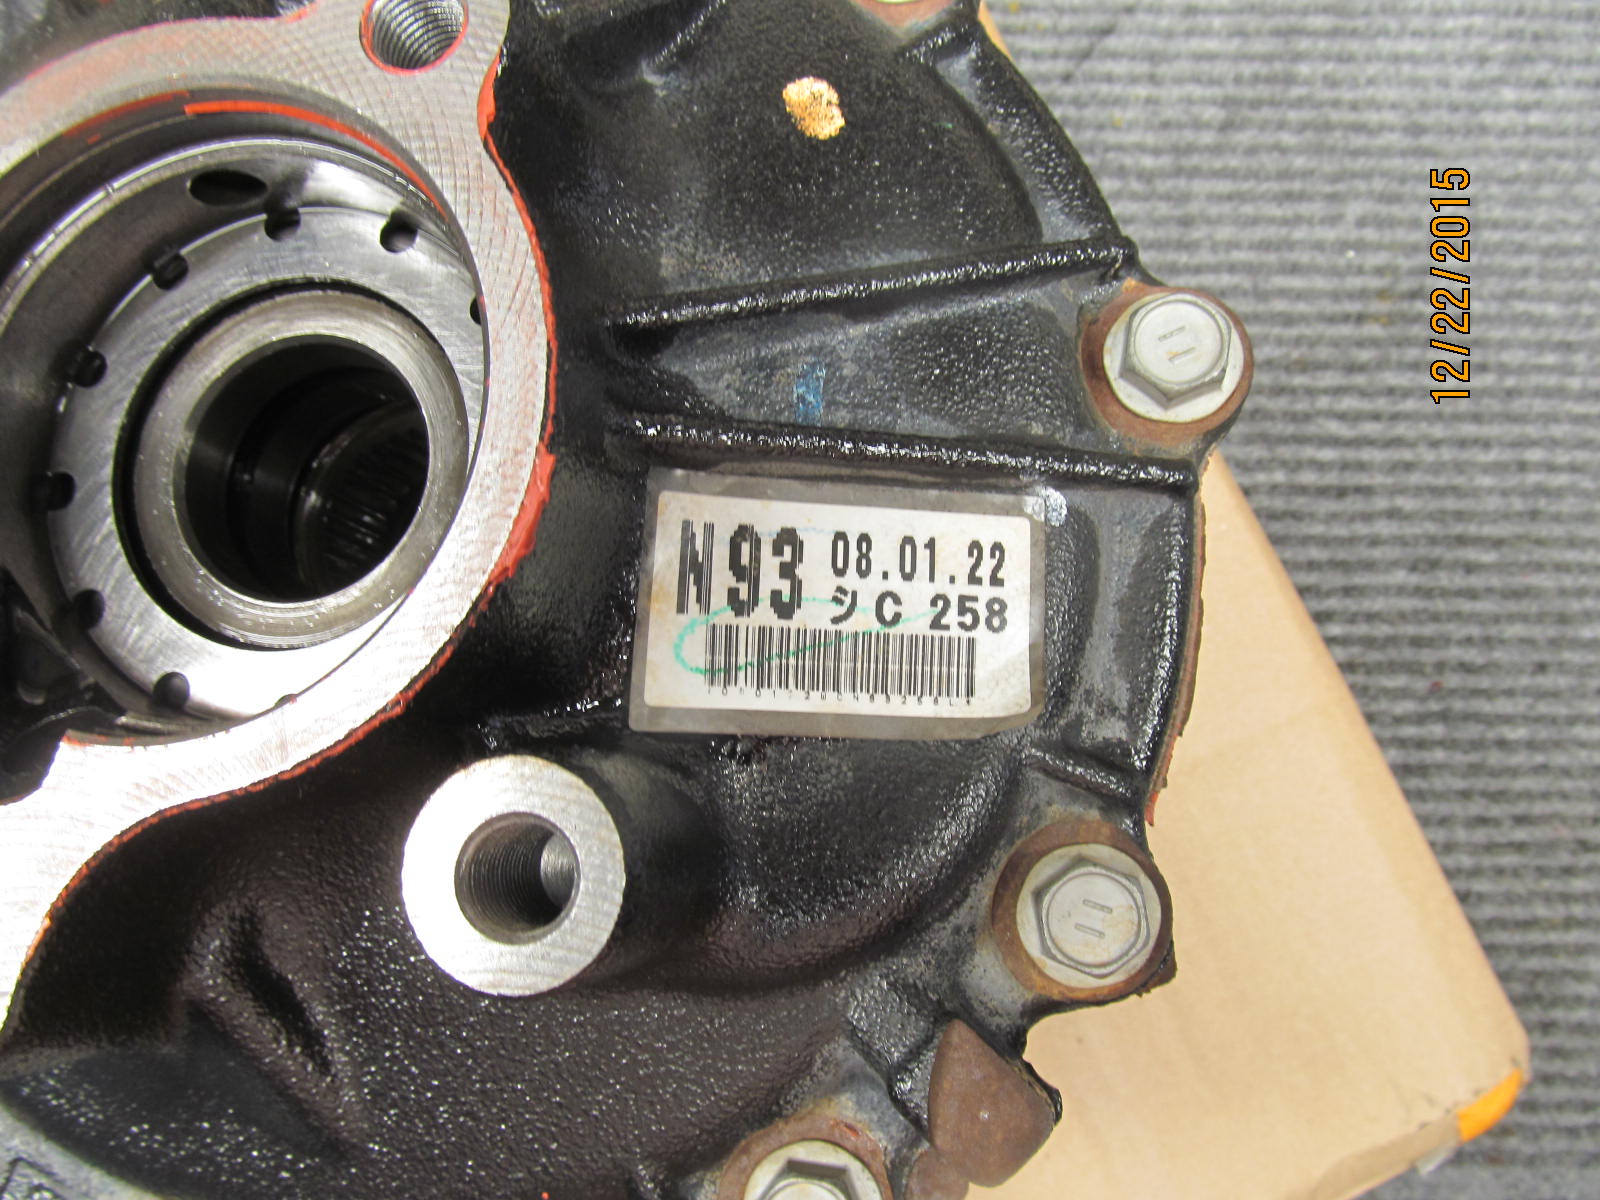
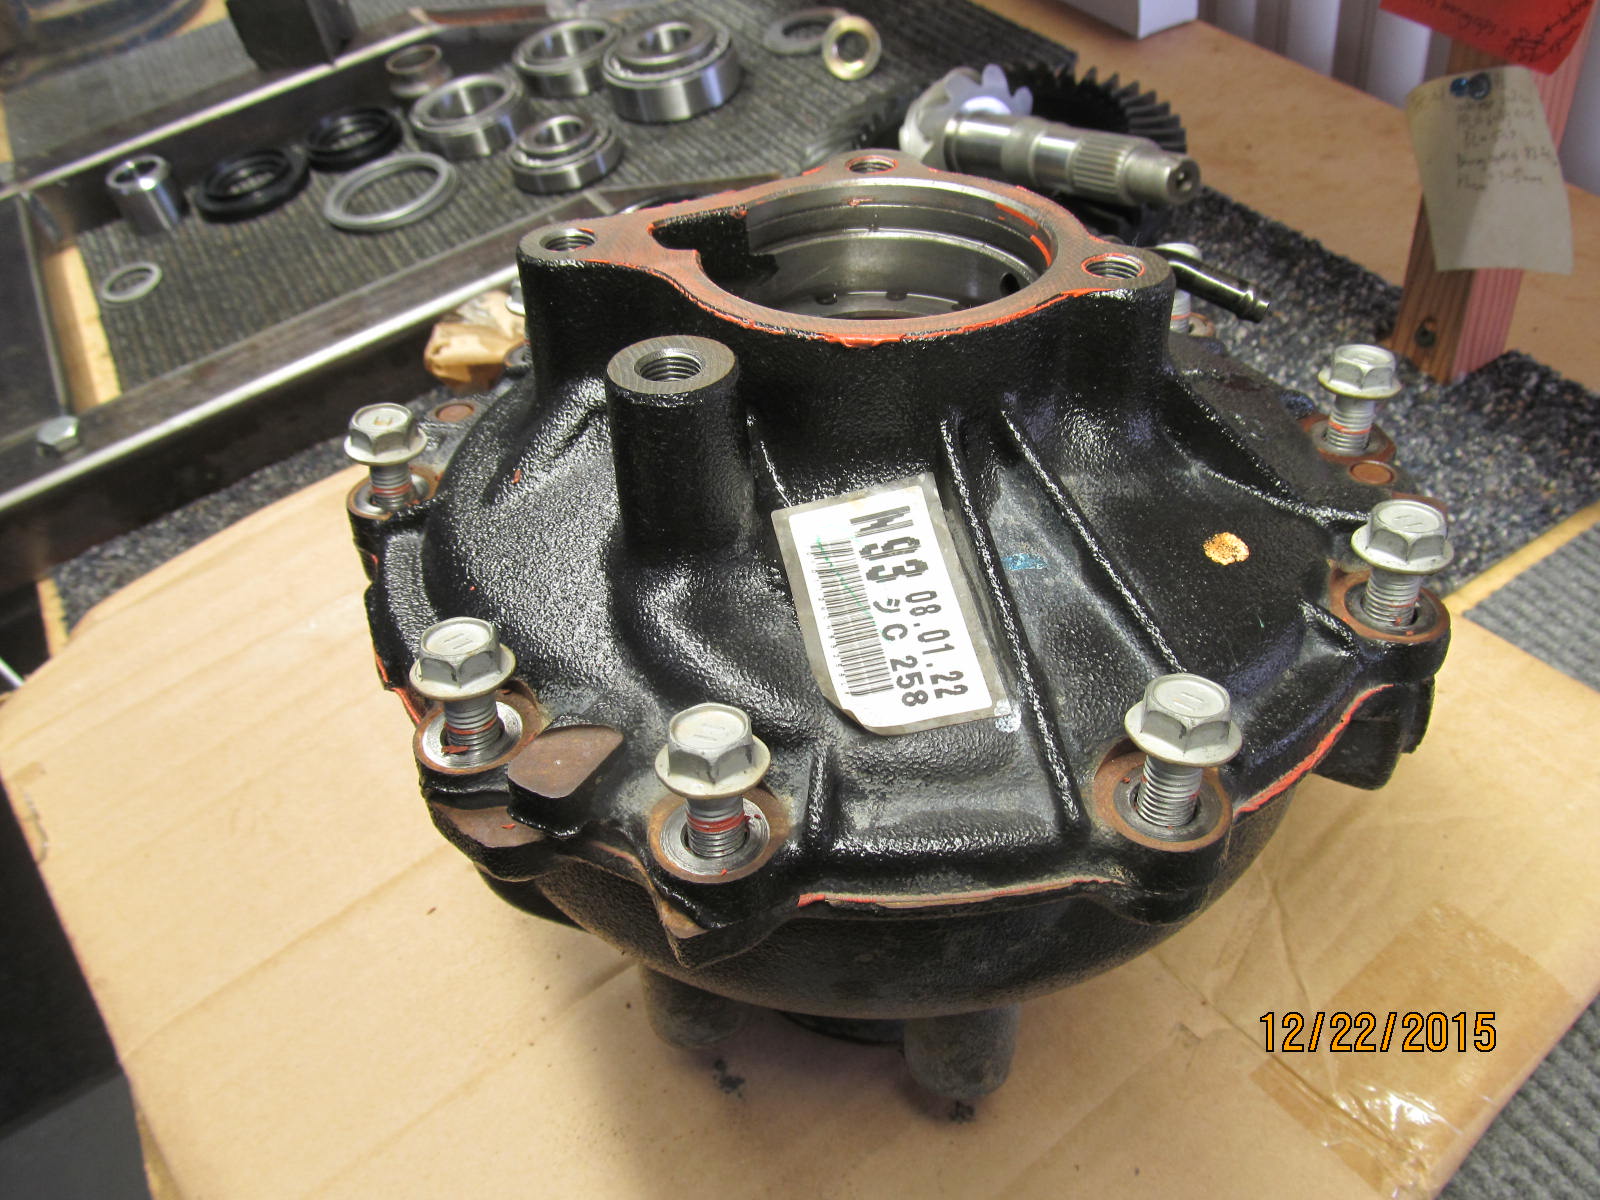
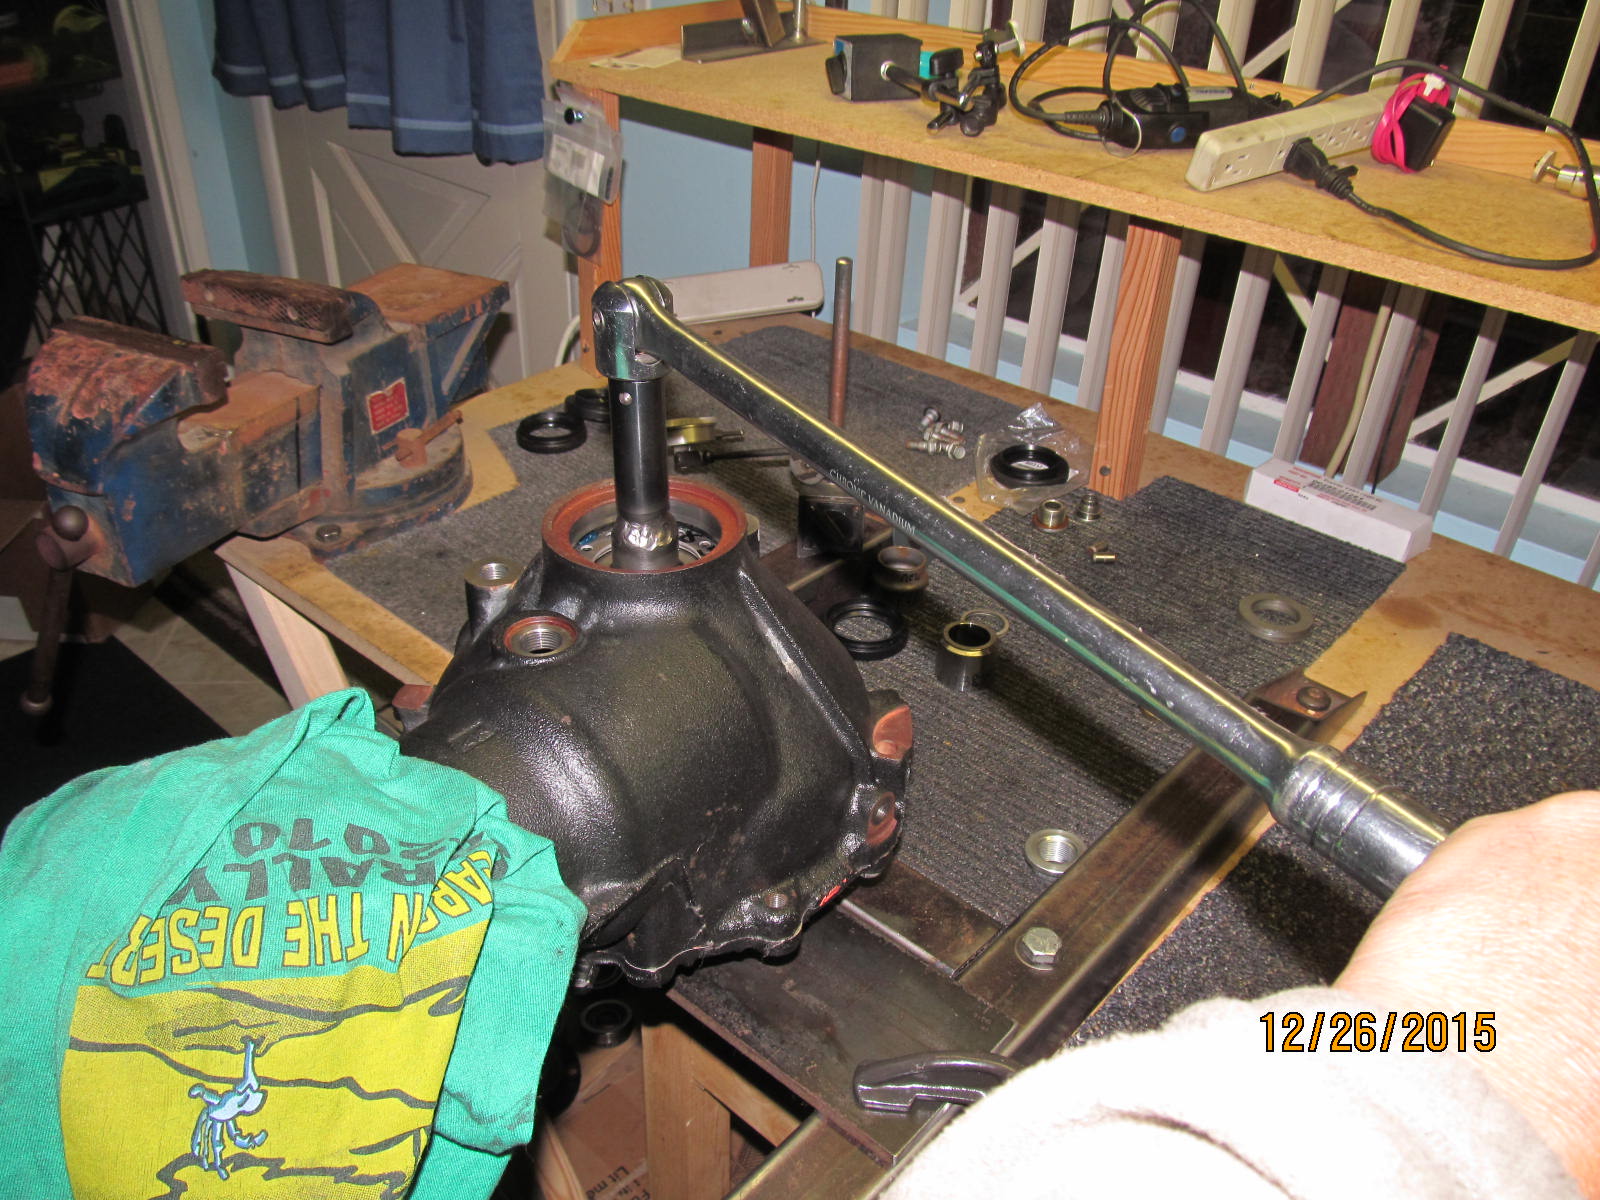
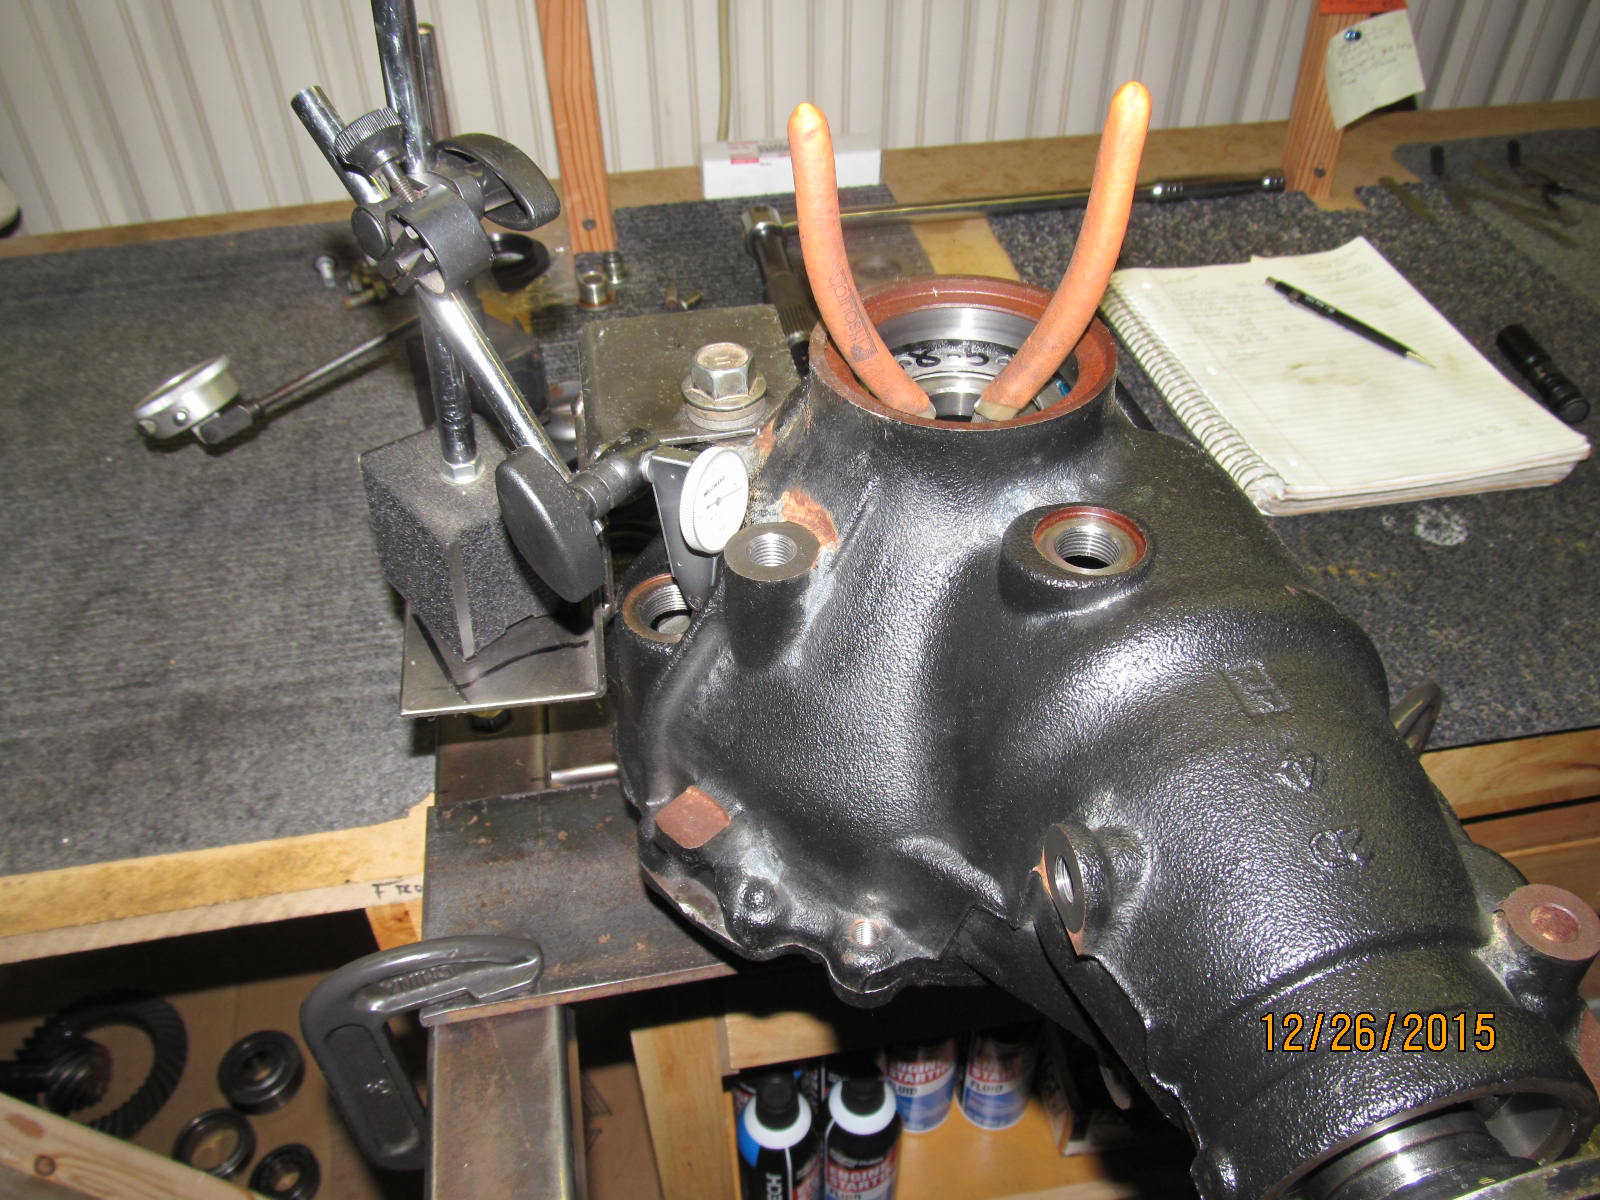
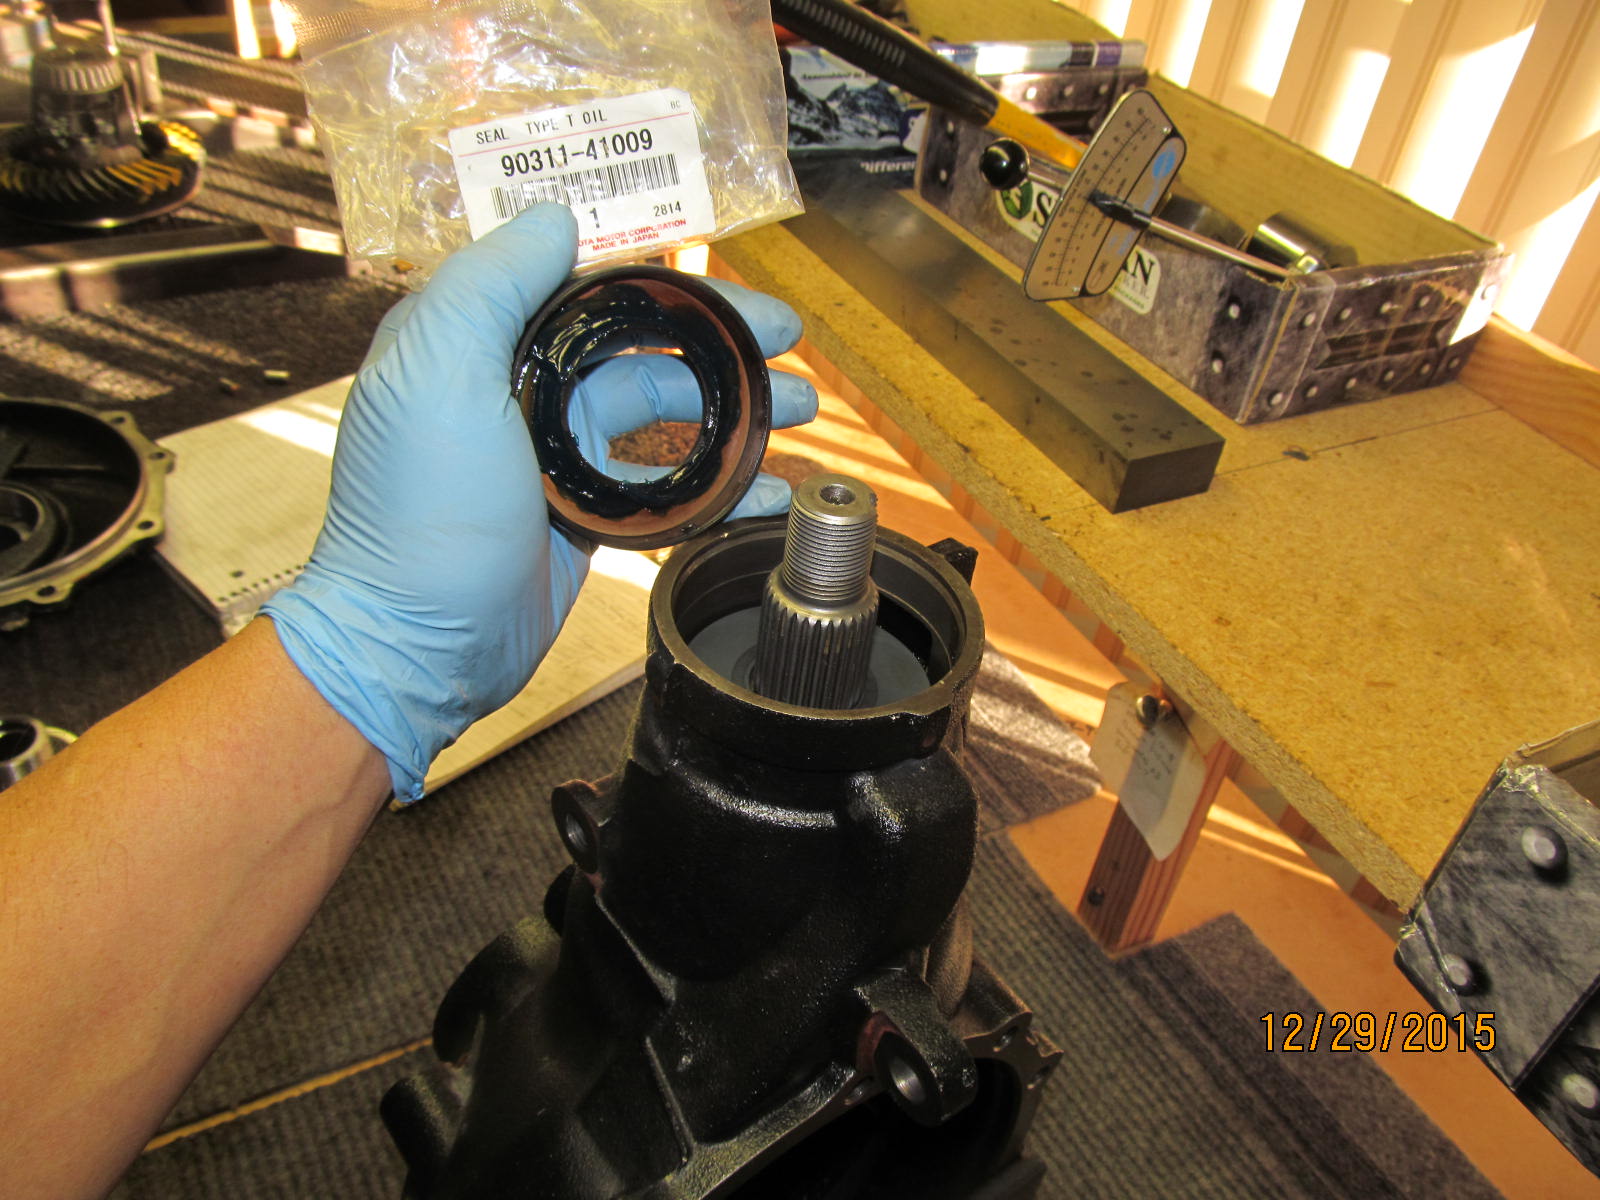
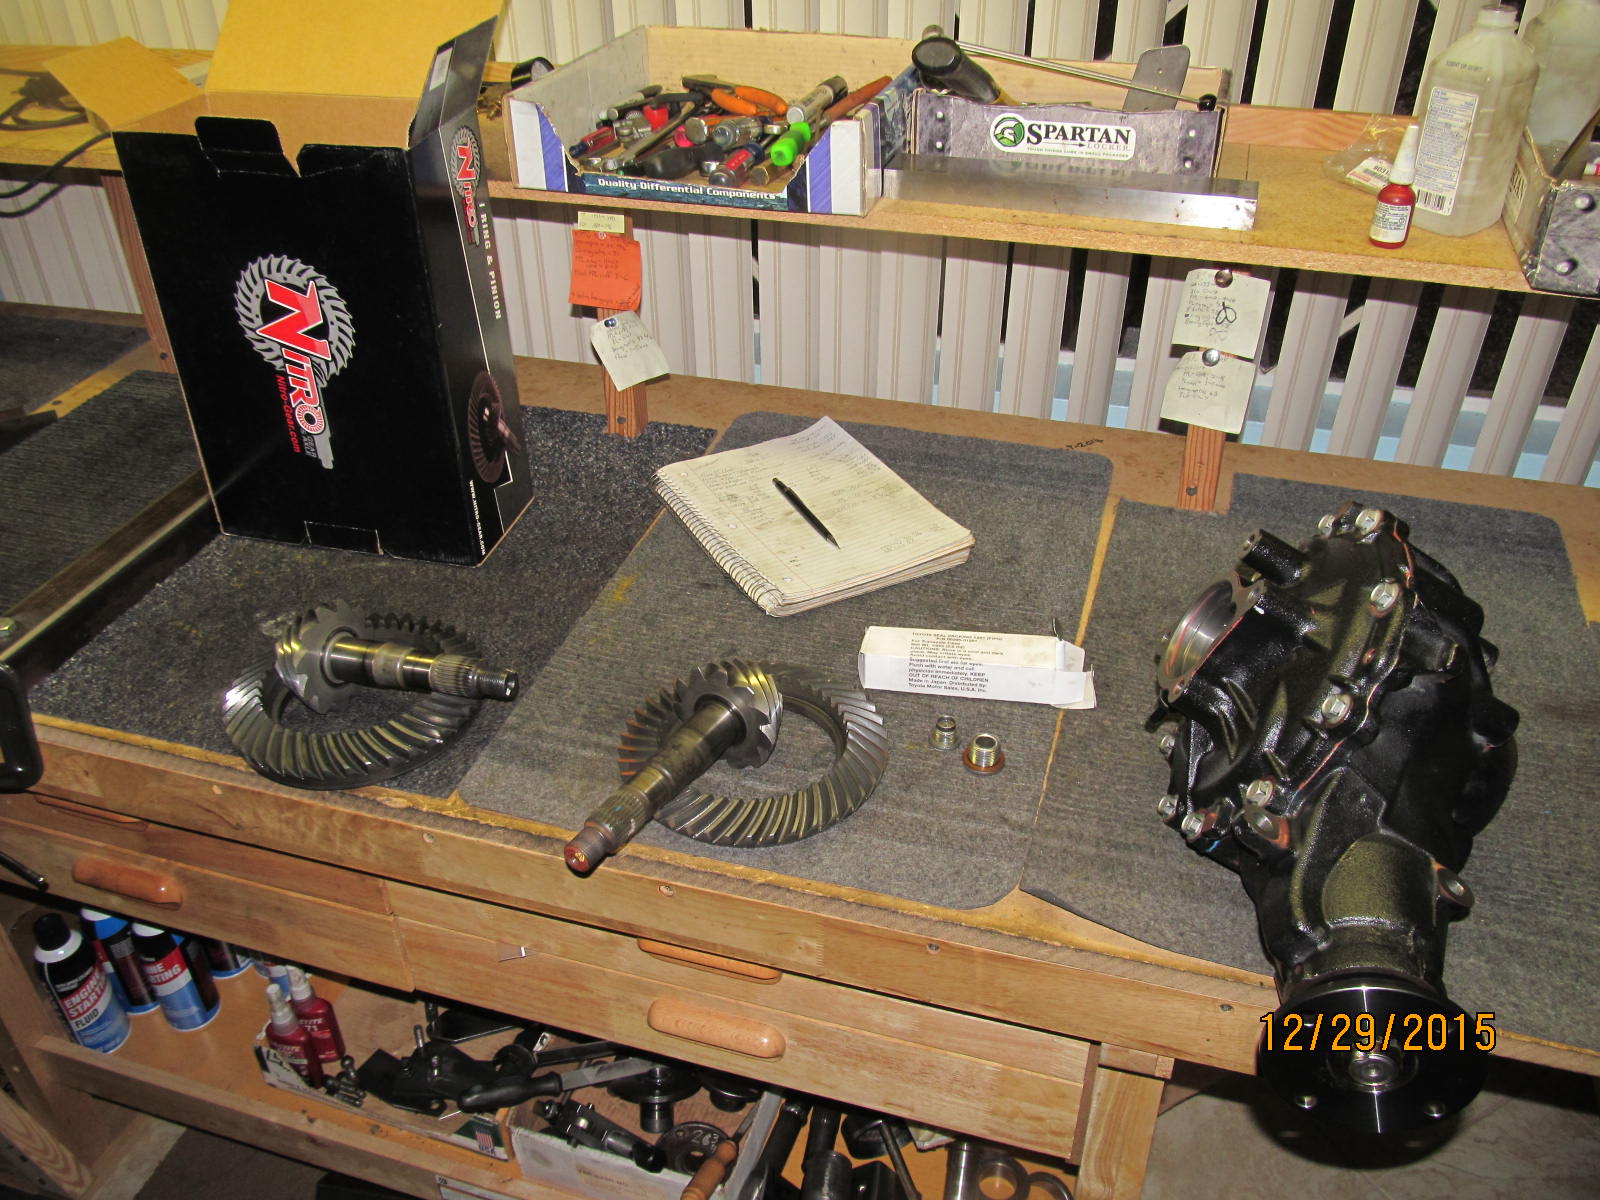
John is local to me and brought over this clean 8" hi-pinion Clam. Also, 456 G2 ring/pinion,
master install kit, and solid collar. The master kit comes with generic seals but John
wants oem so a stop by the dealership produced a 90311-41009 pinion seal.
|
|
|
|
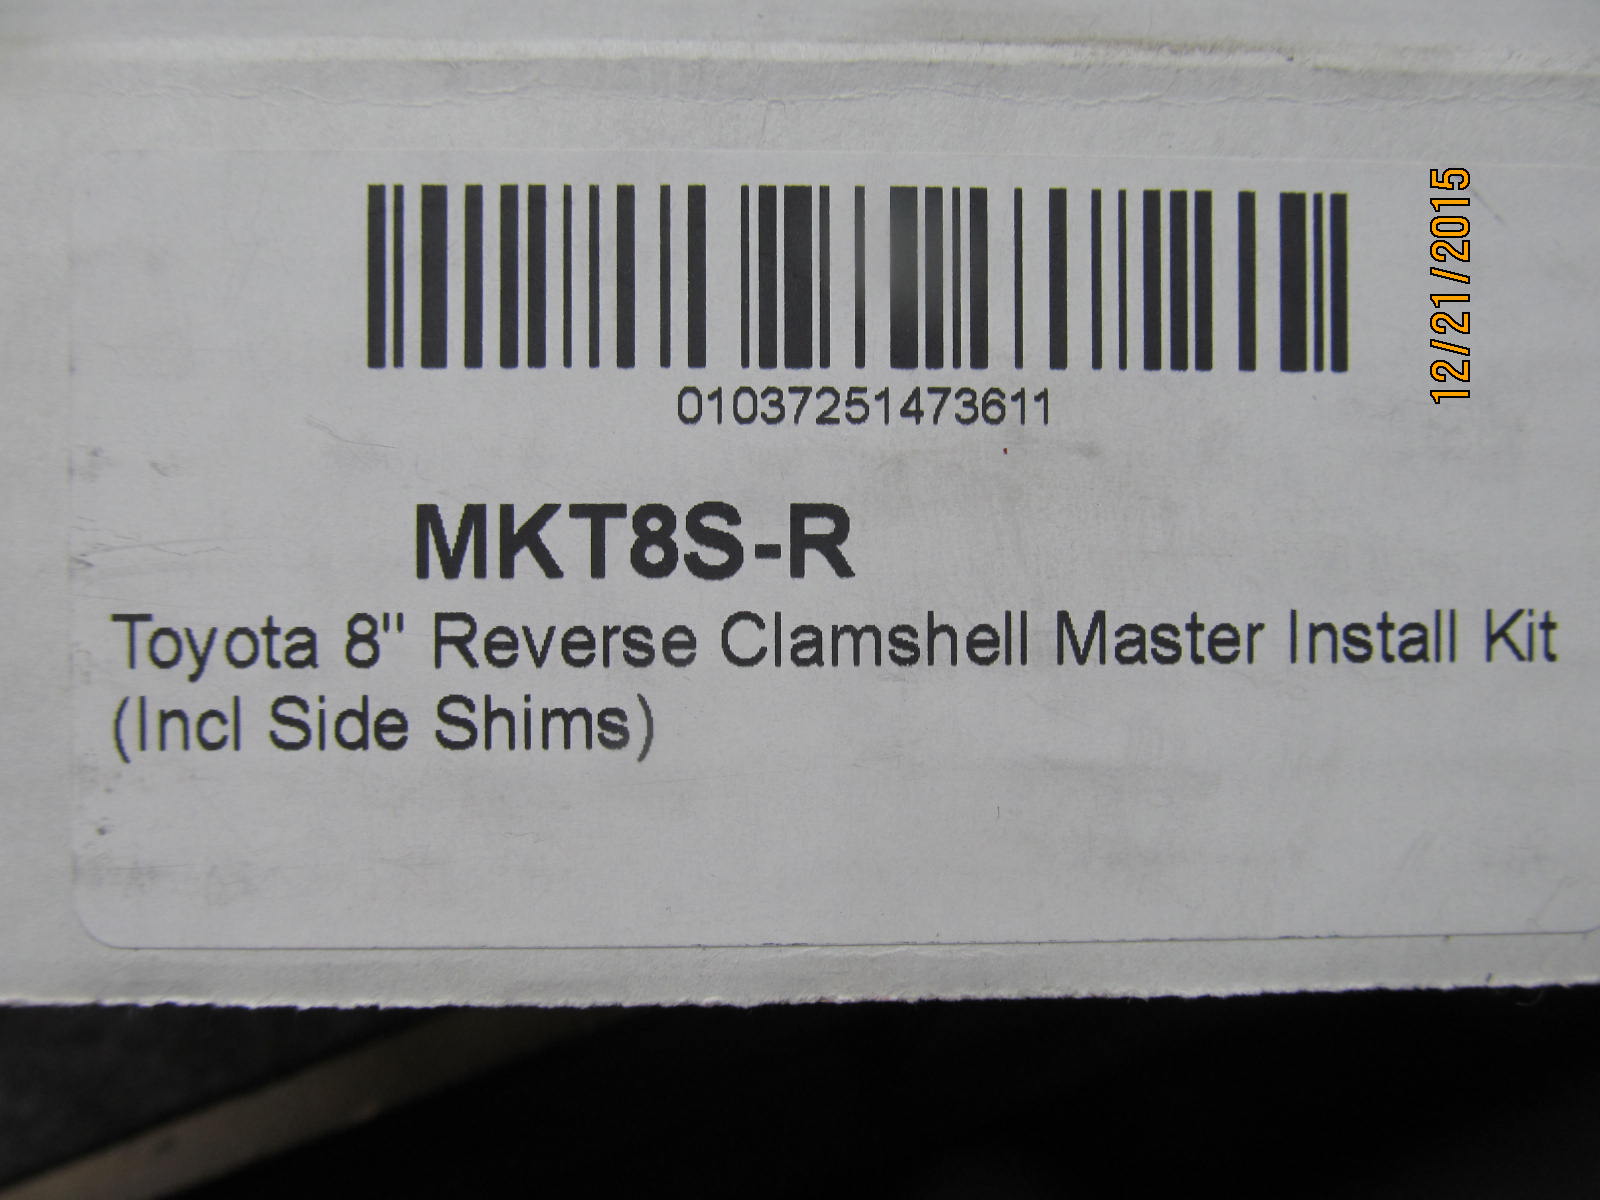
Nitro part number....includes "side shims". Sometimes they might work but, more than likely,
they won't. Life is so much easier with Genuine oem washer plates.
|
|
|
|
|
..............
|
|
|
|
|
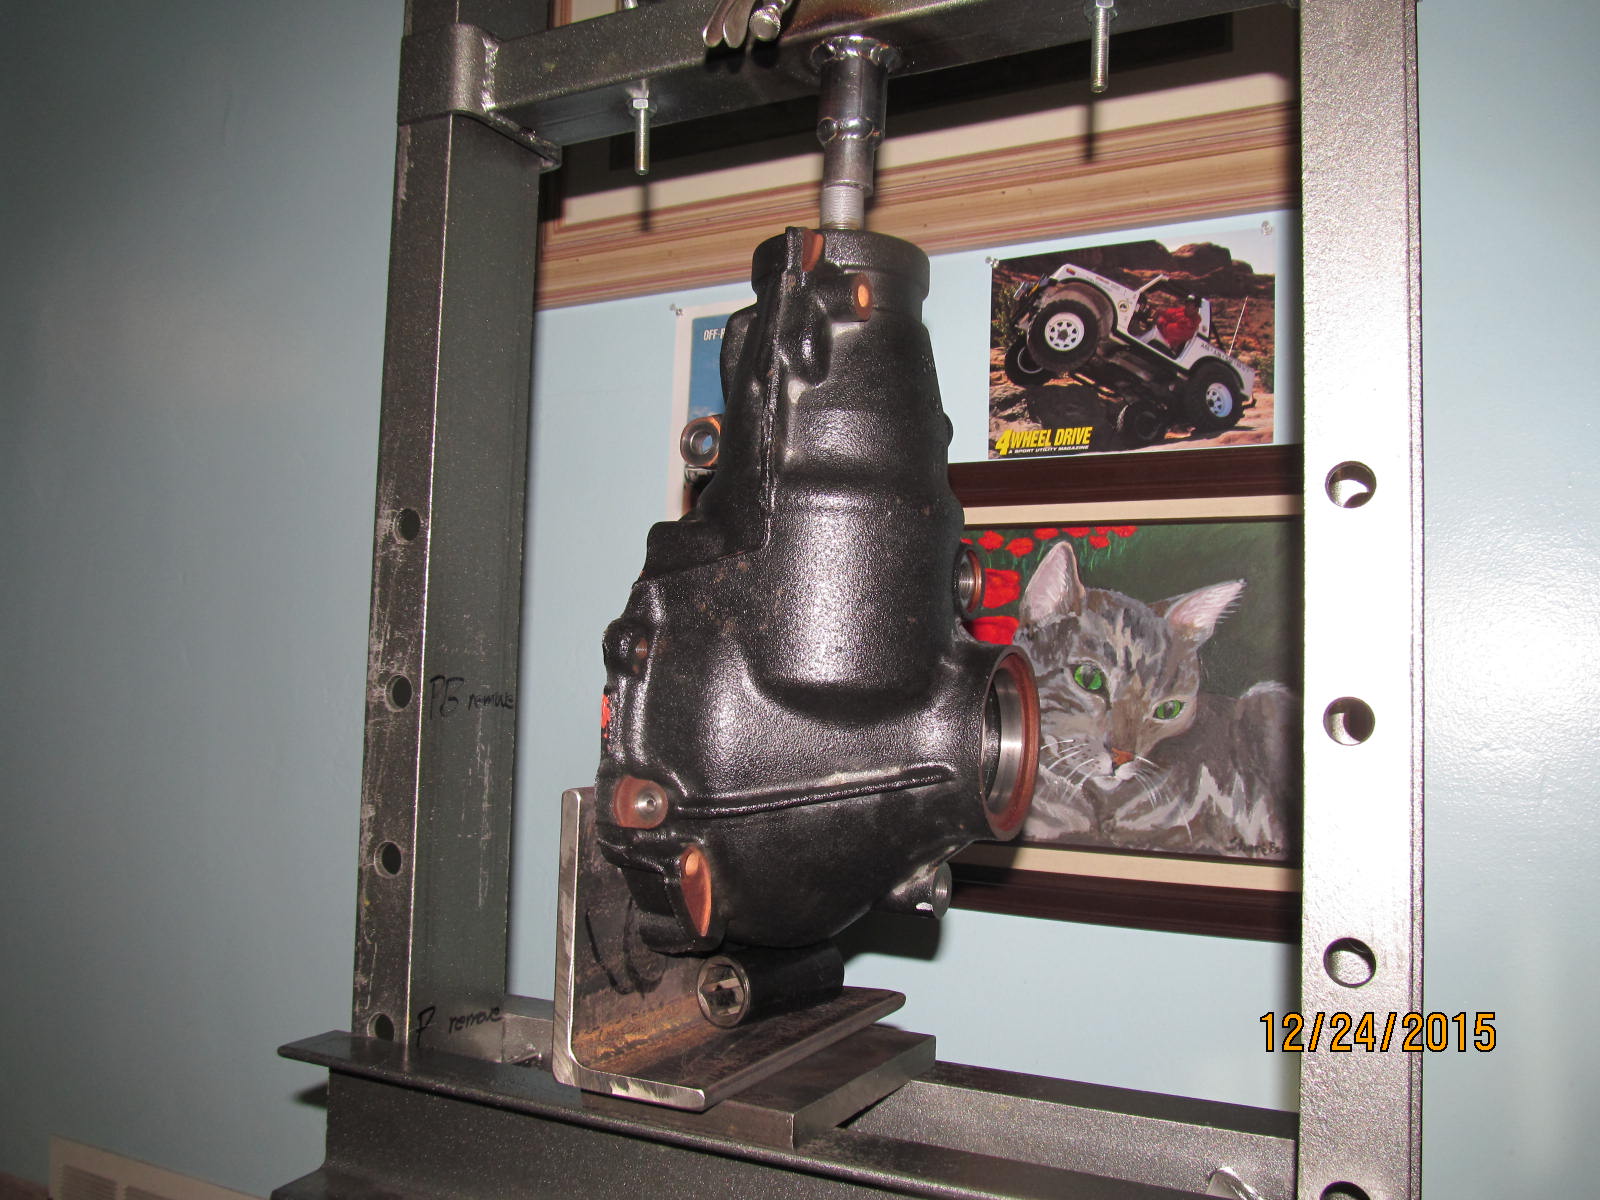
It's a 2008 model and everything feels pretty good.
|
|
|
|
|
January 22, 2008
|
|
|
|
|
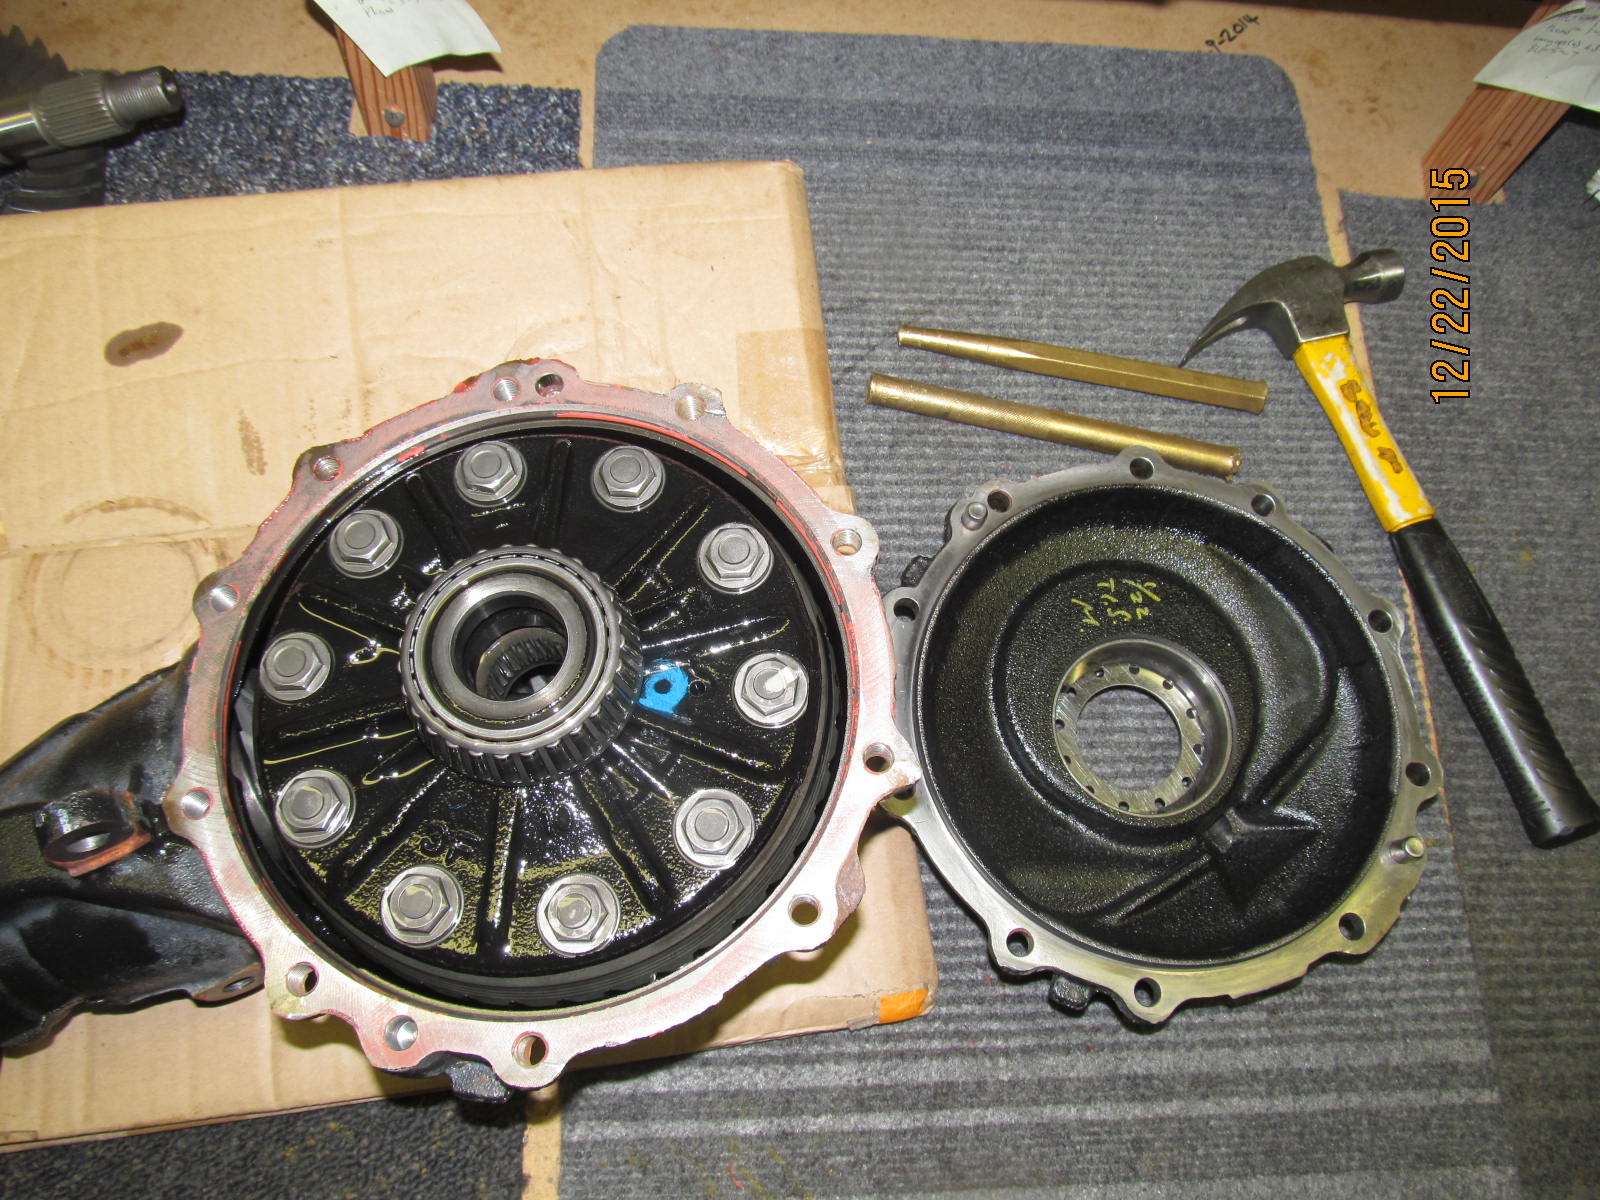
10 bolts come out.
|
|
|
|
|
Lid comes off.
|
|
|
|
|
Carrier is picked up out of the bowl.
|
|
|
|
|
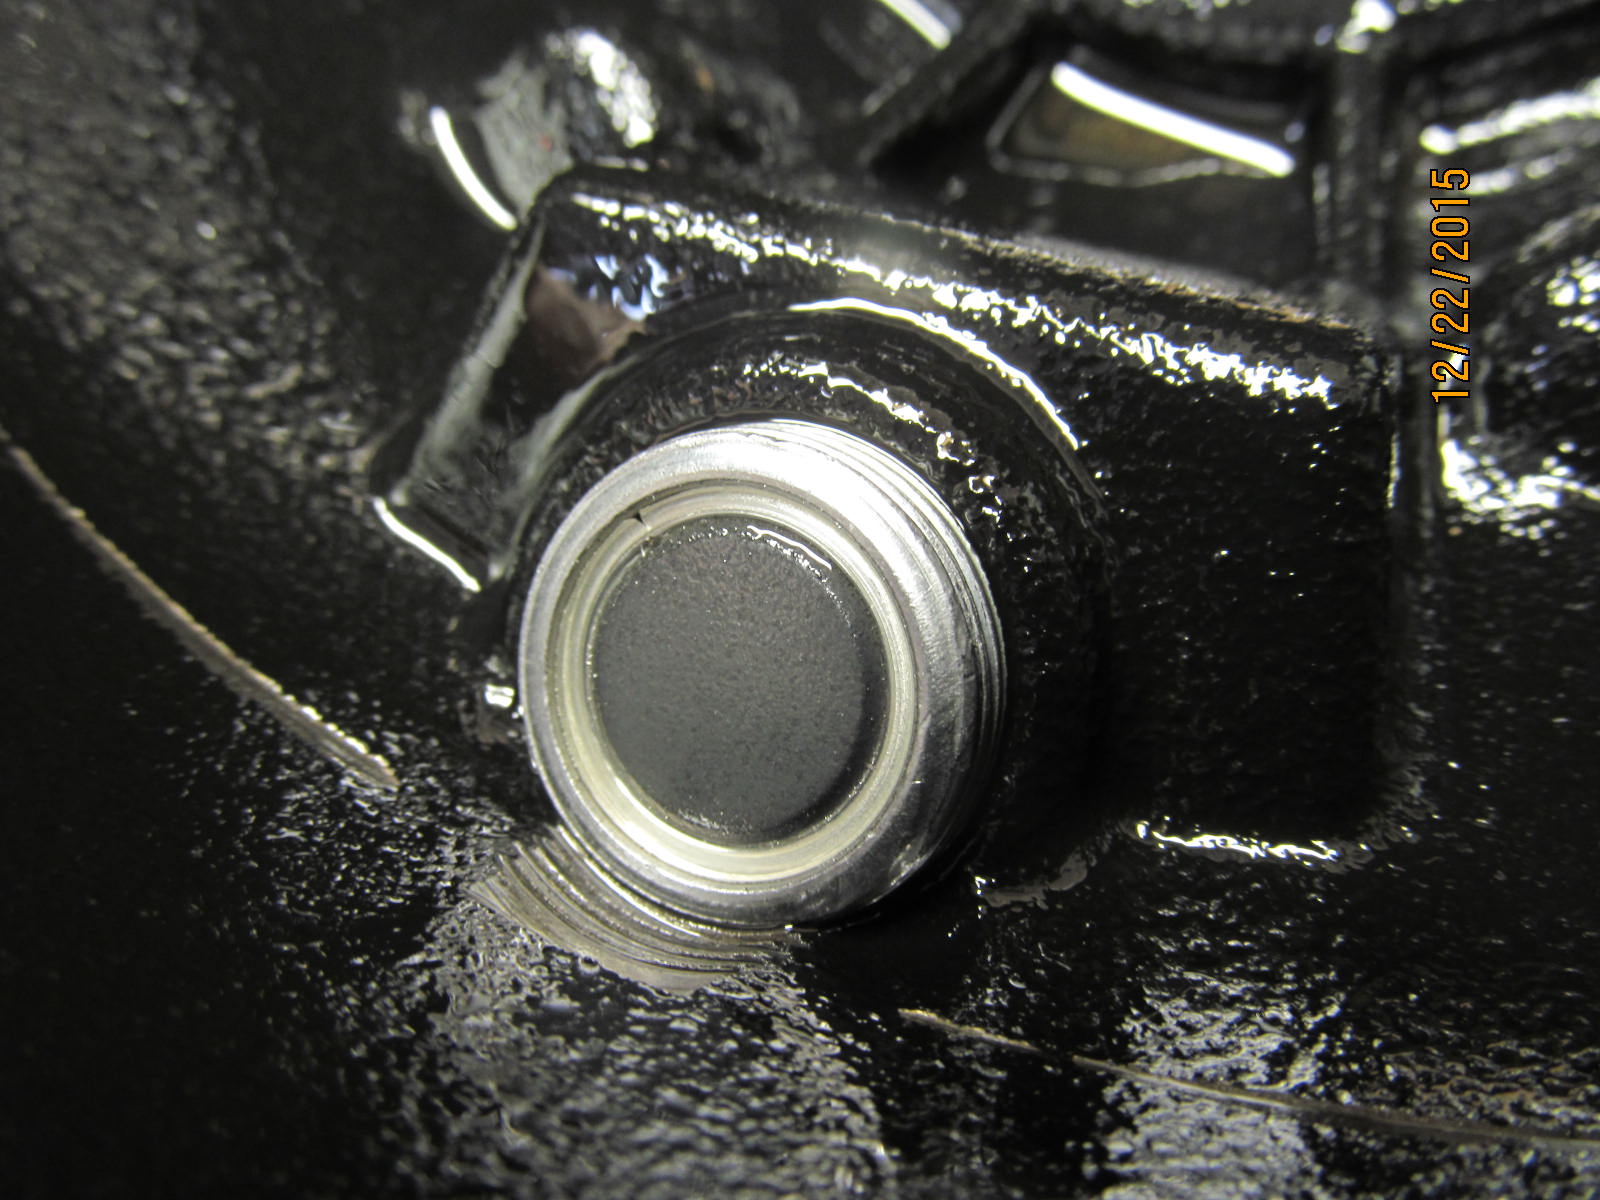
Cleanest magnetic drain plug I have ever seen.
|
|
|
|
|
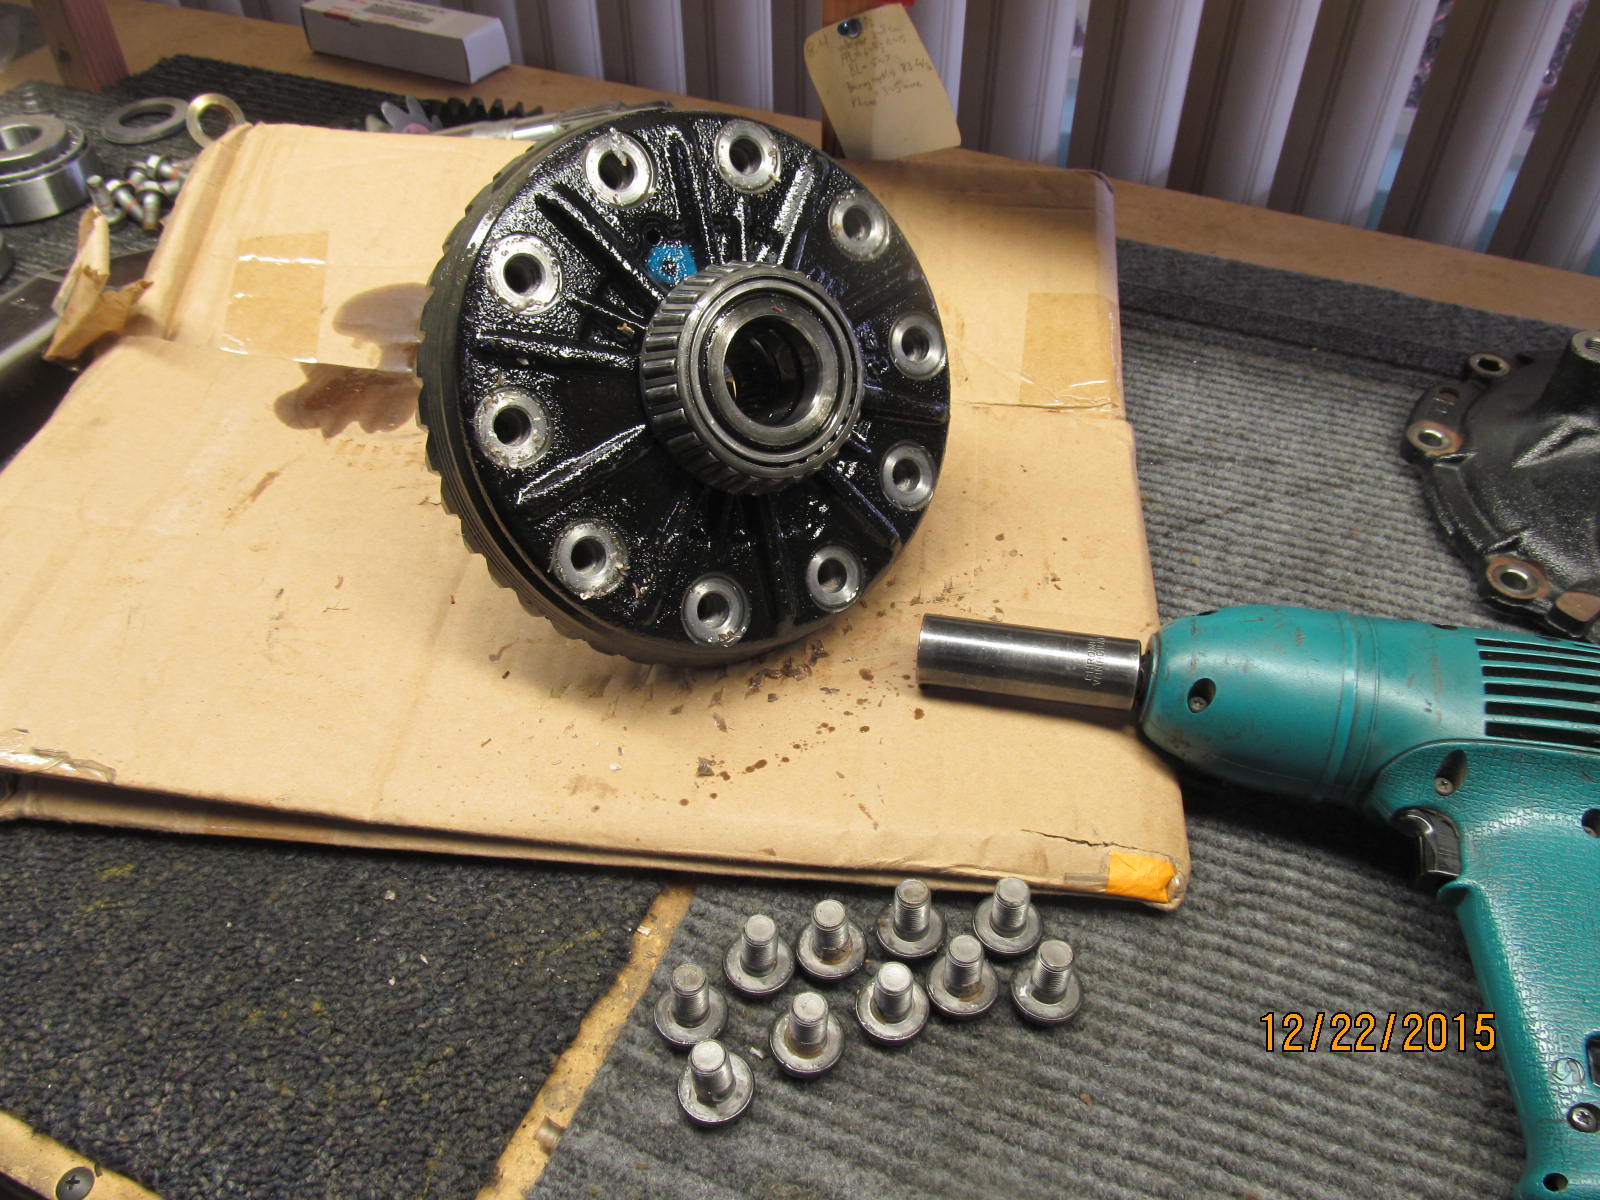
Remove the 10 ring gear bolts.
|
|
|
|
|
The file verifies that the surfaces are all burr free.
|
|
|
|
|
Old carrier bearings can come off.
|
|
|
|
|
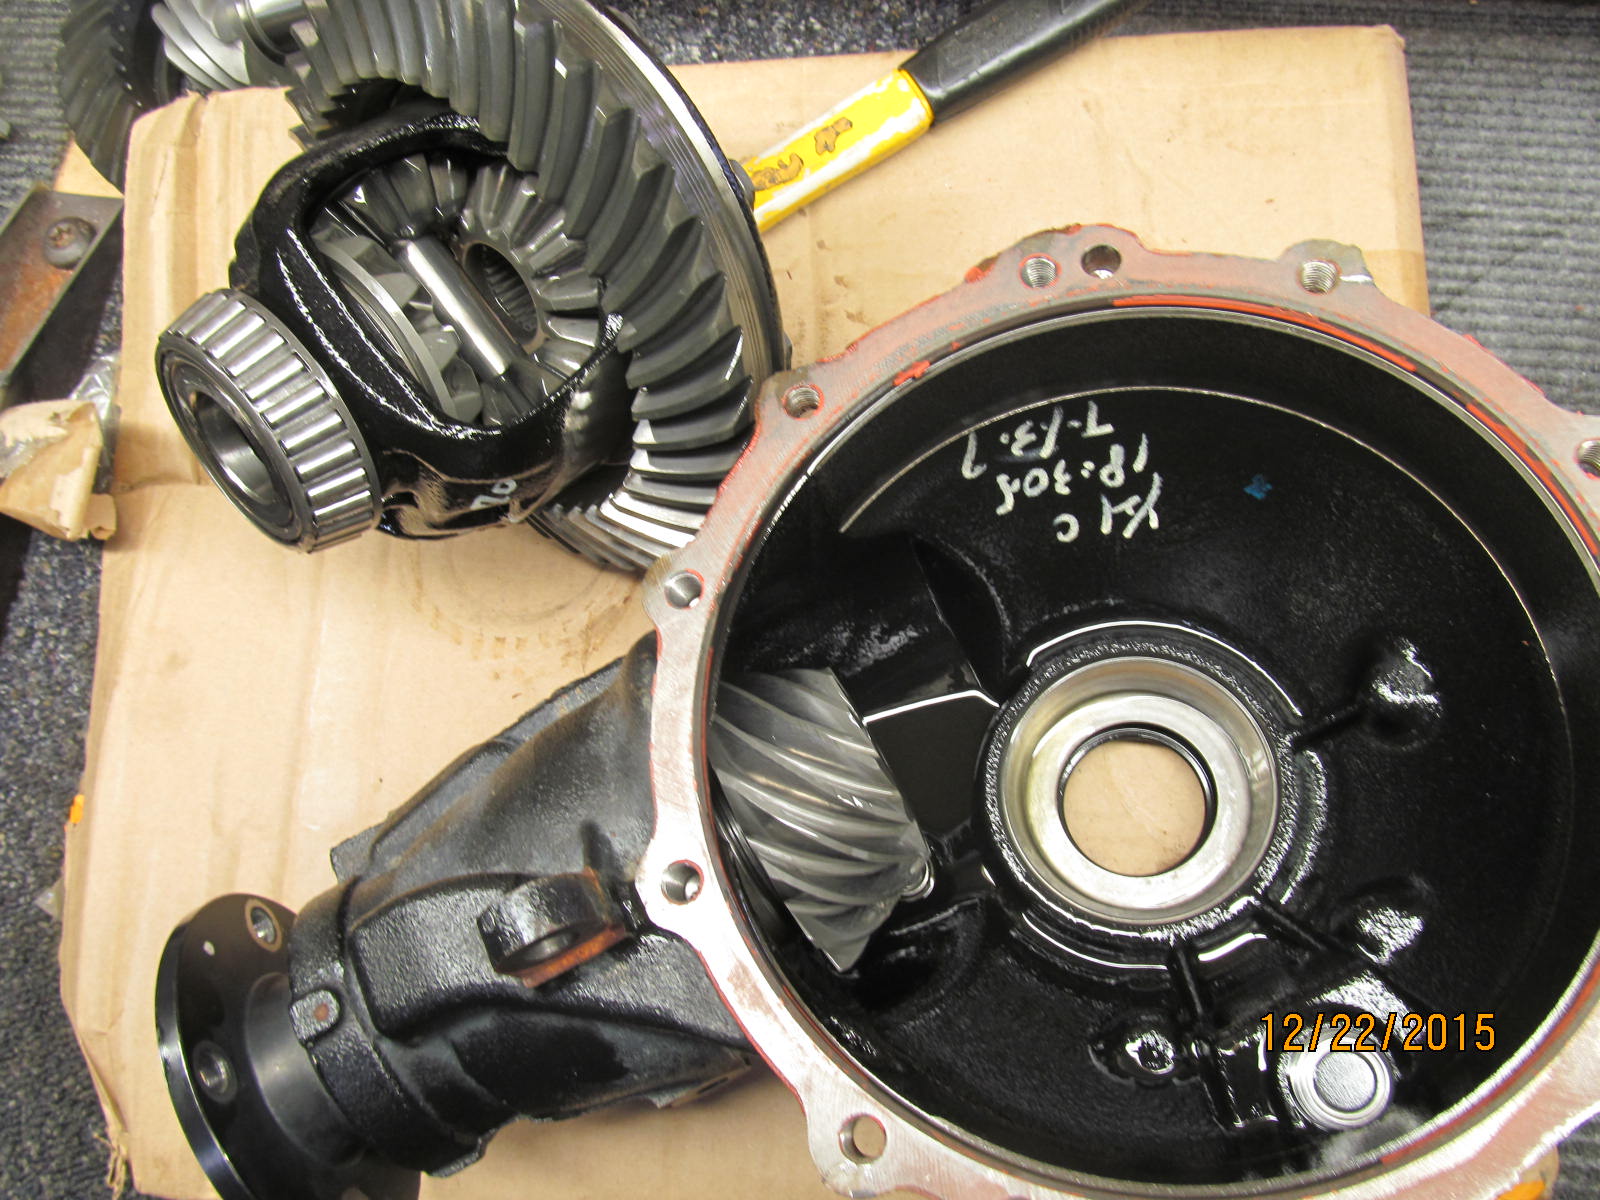
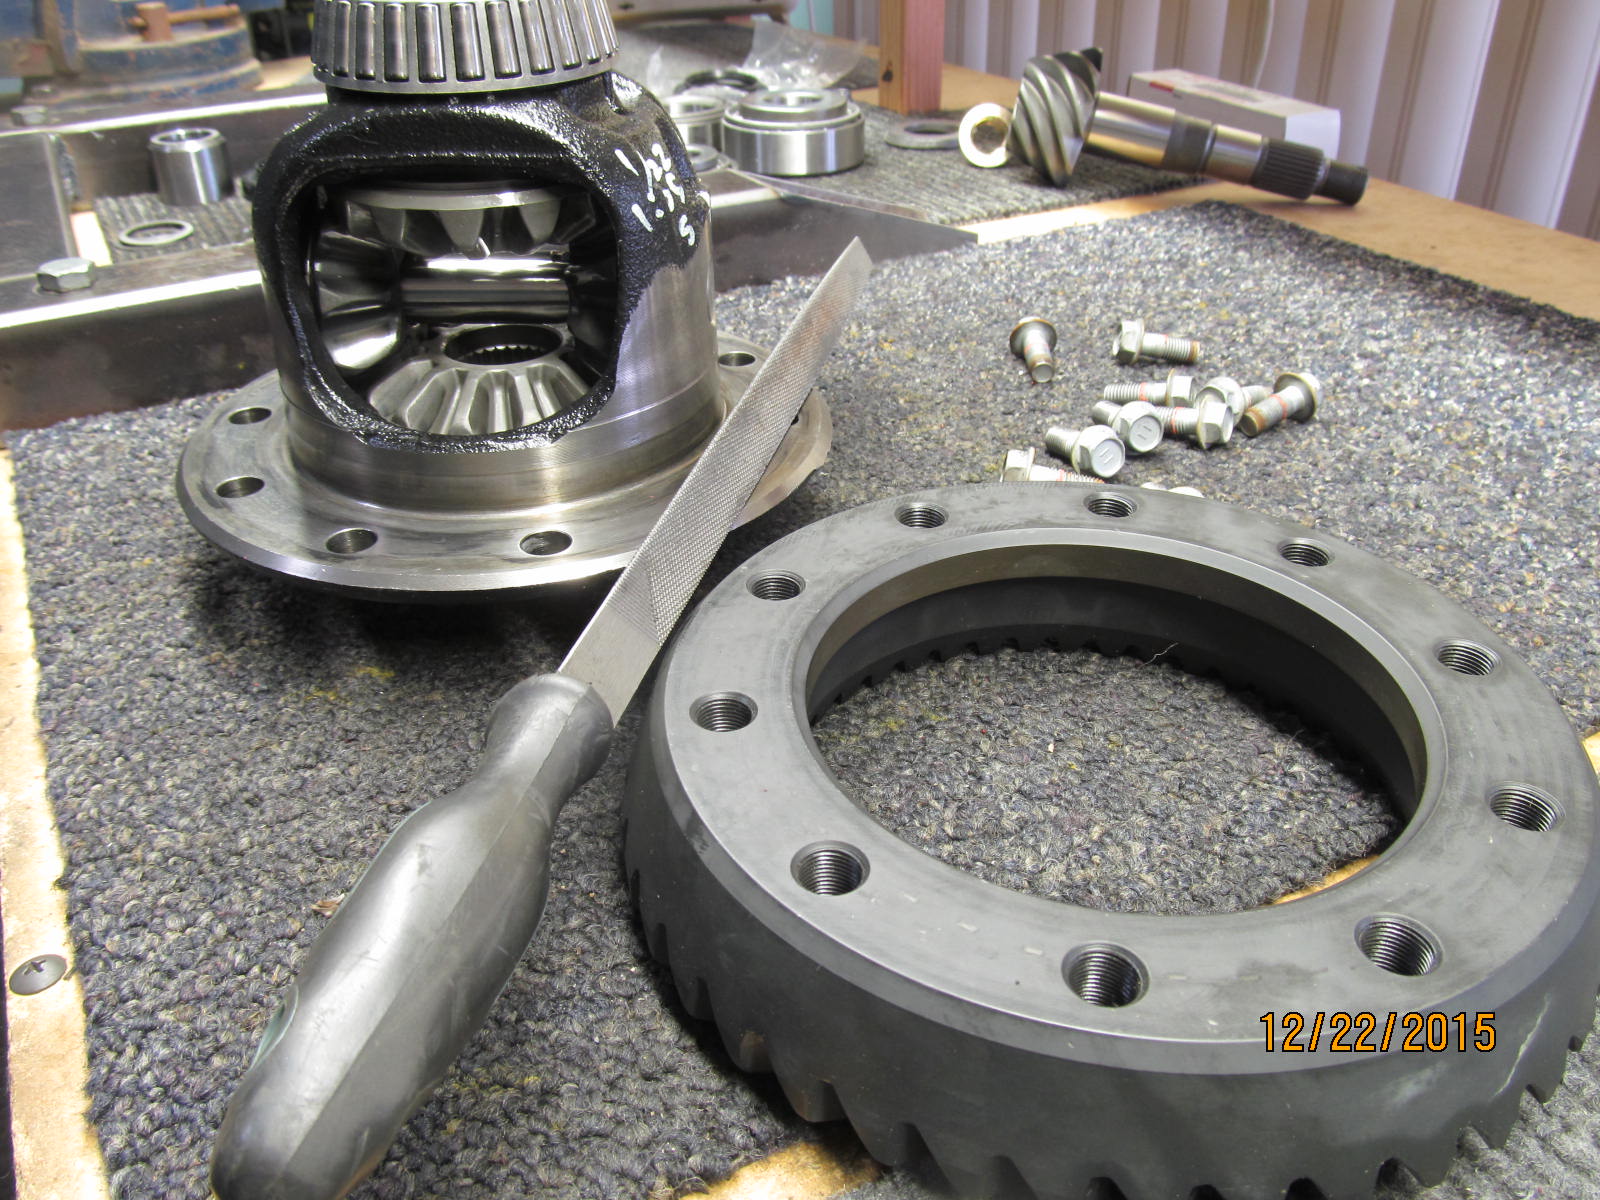
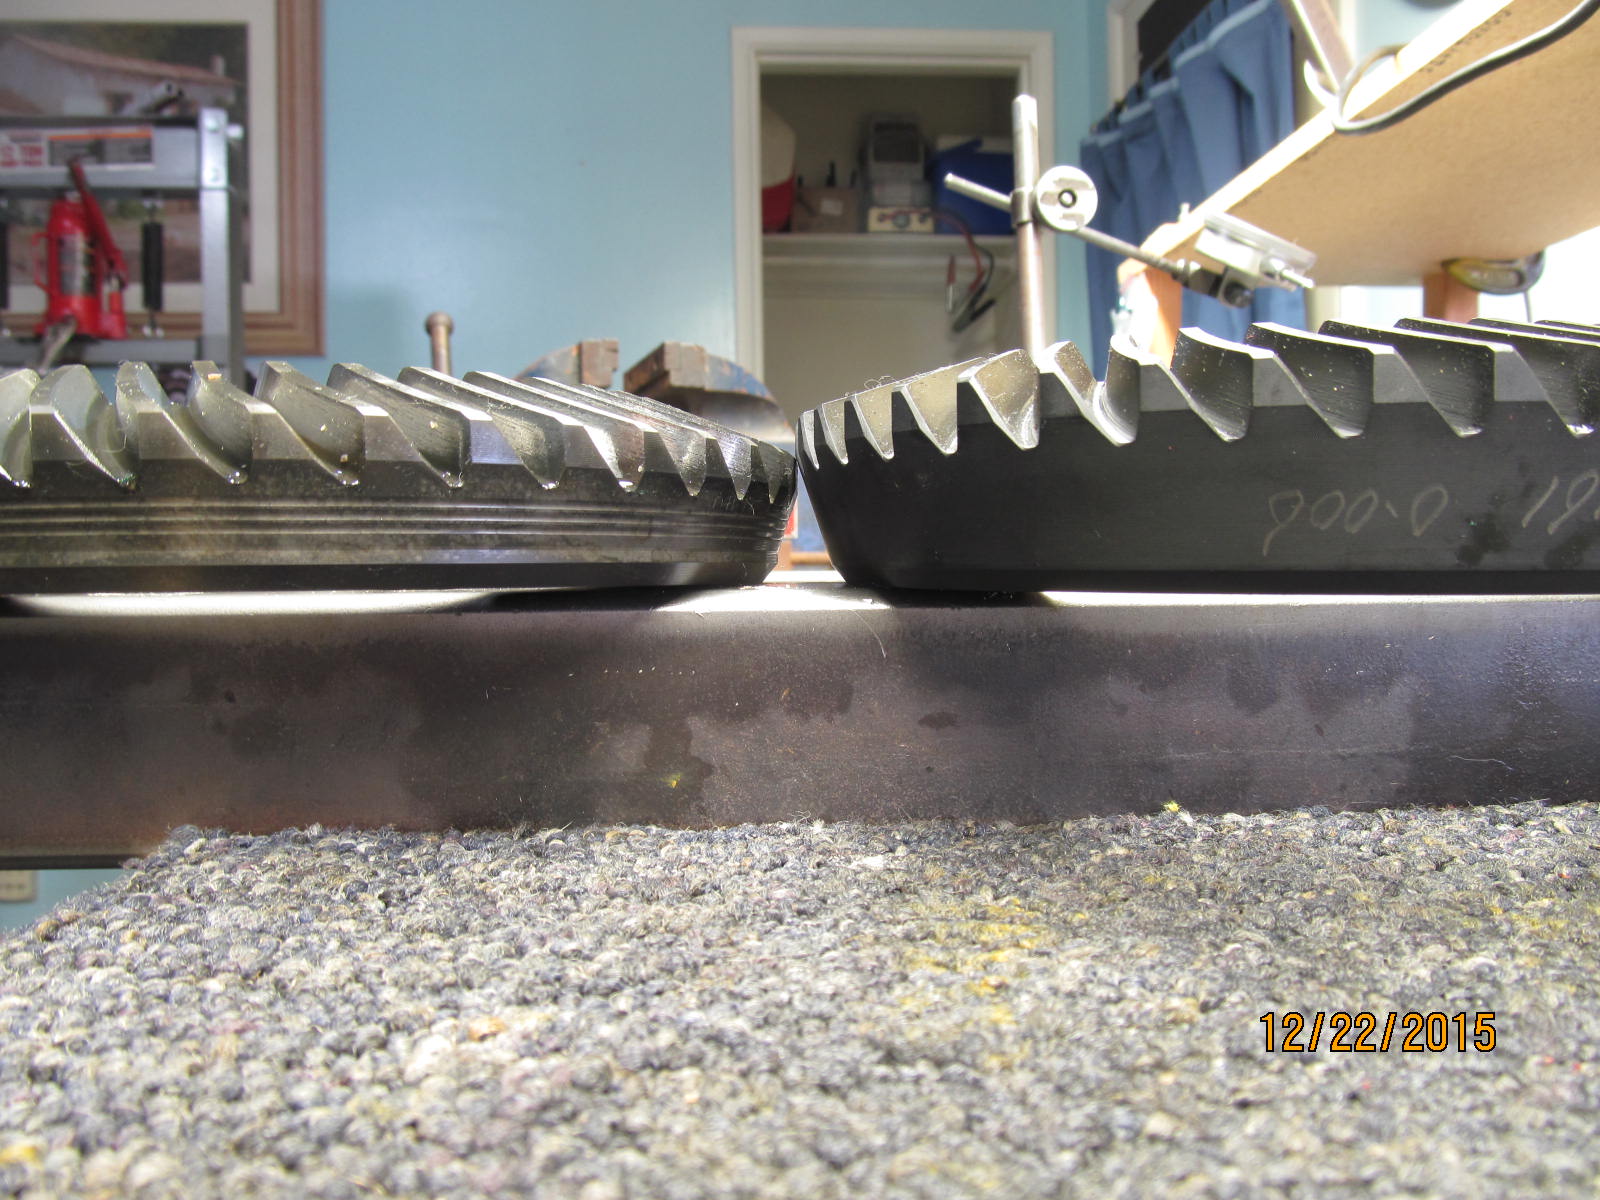
Factory 373 on the left and G2 Gear 456 on right.
|
|
|
|
|
456 G2 ring did tap on with the lead filled plastic hammer.
|
|
|
|
|
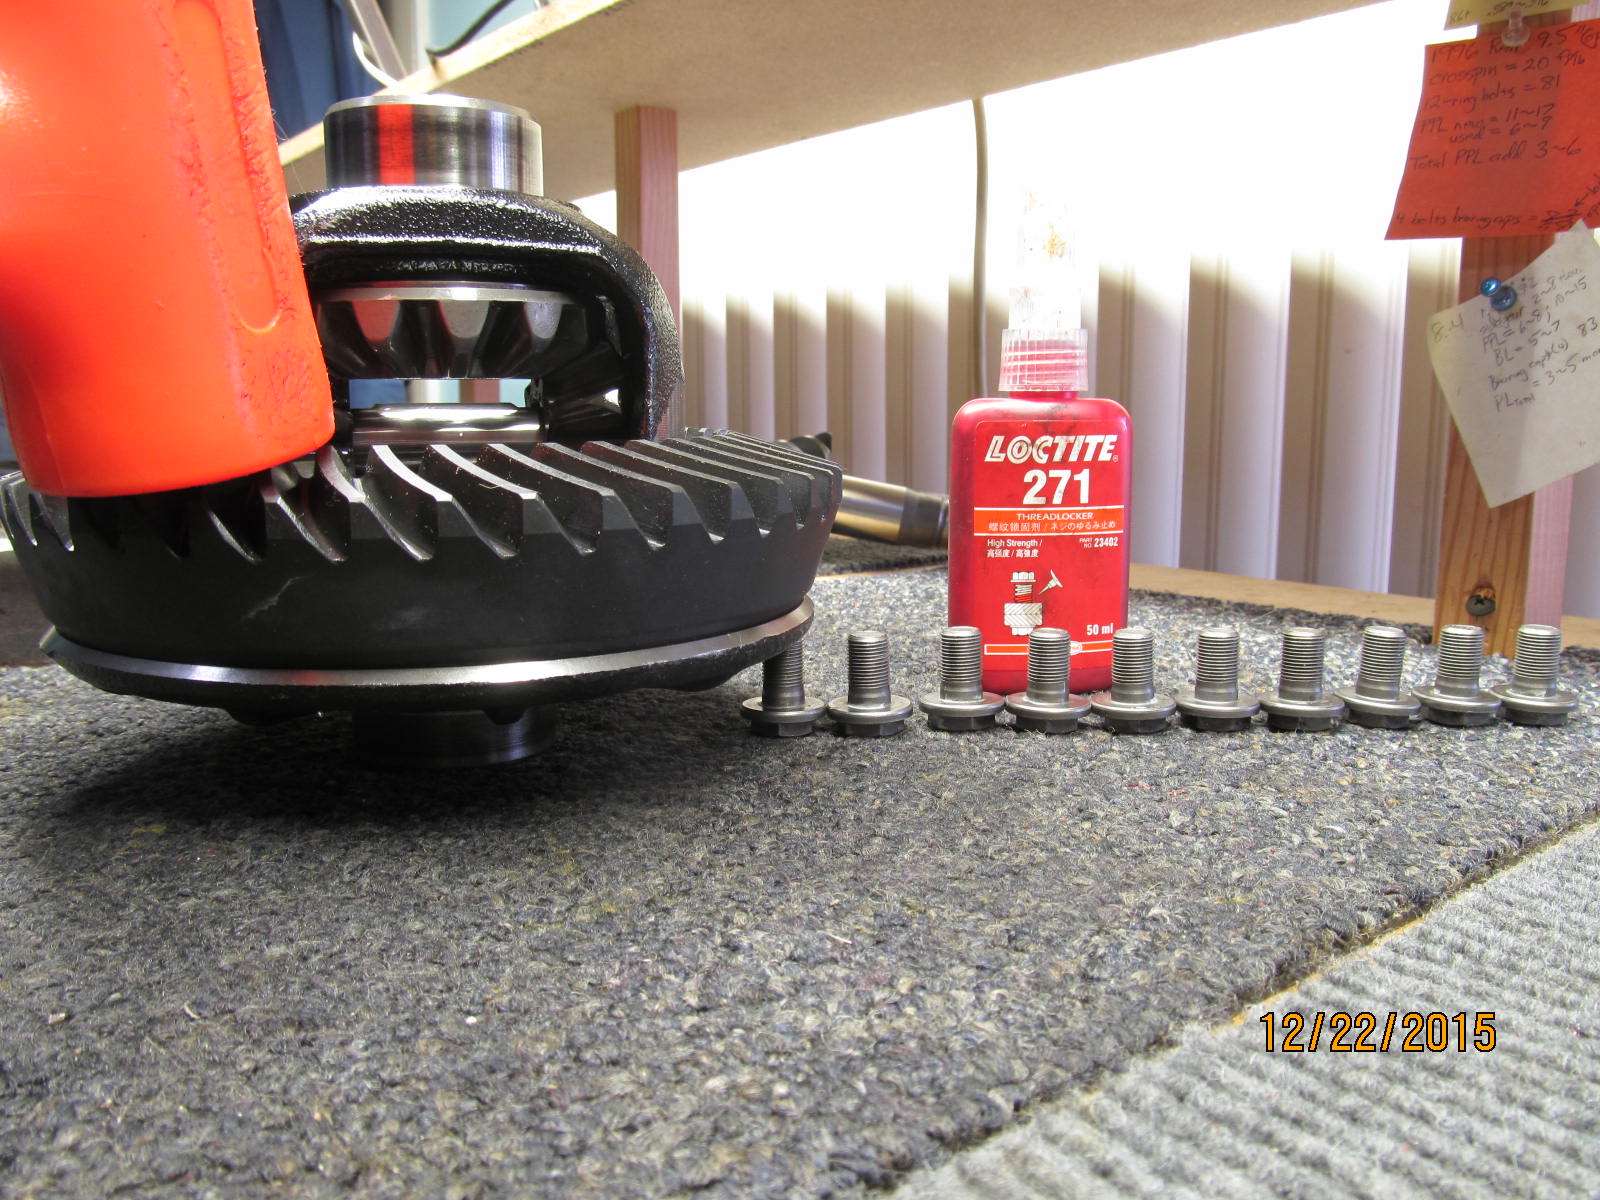
Red Loctite and 90 ft/lb per the manual.
|
|
|

|
|
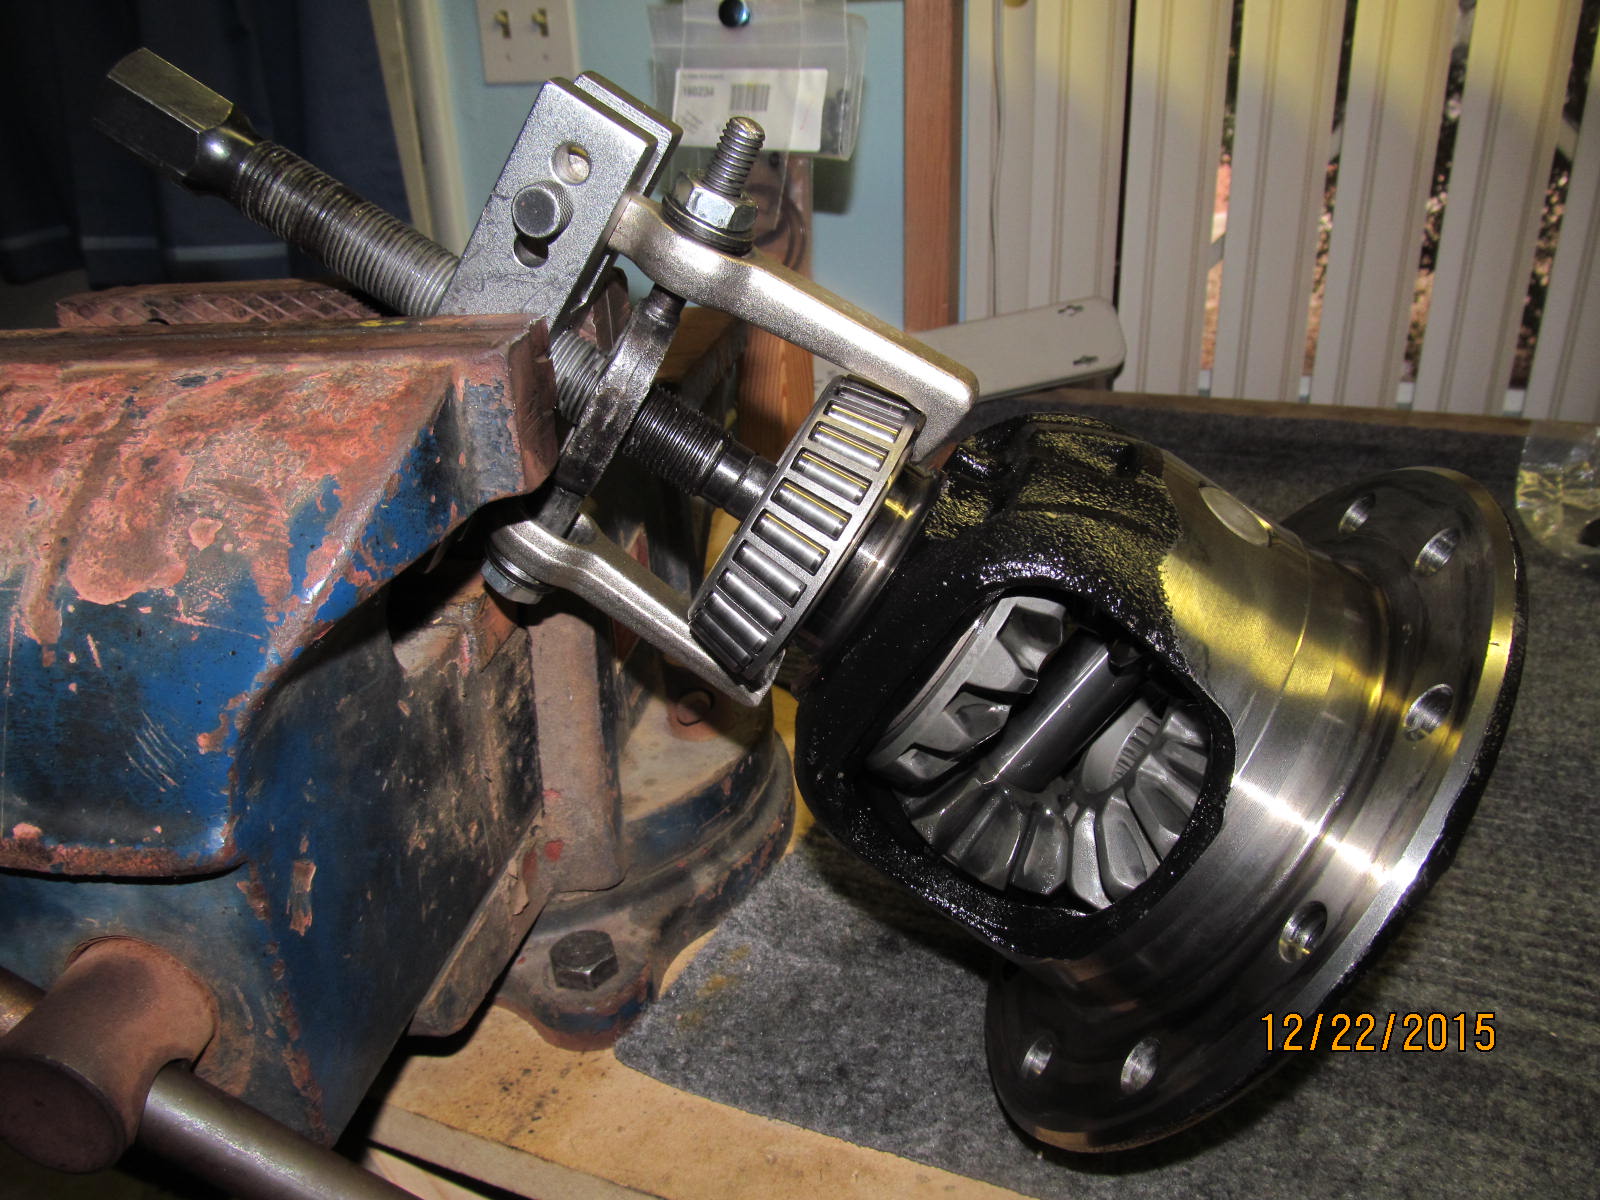
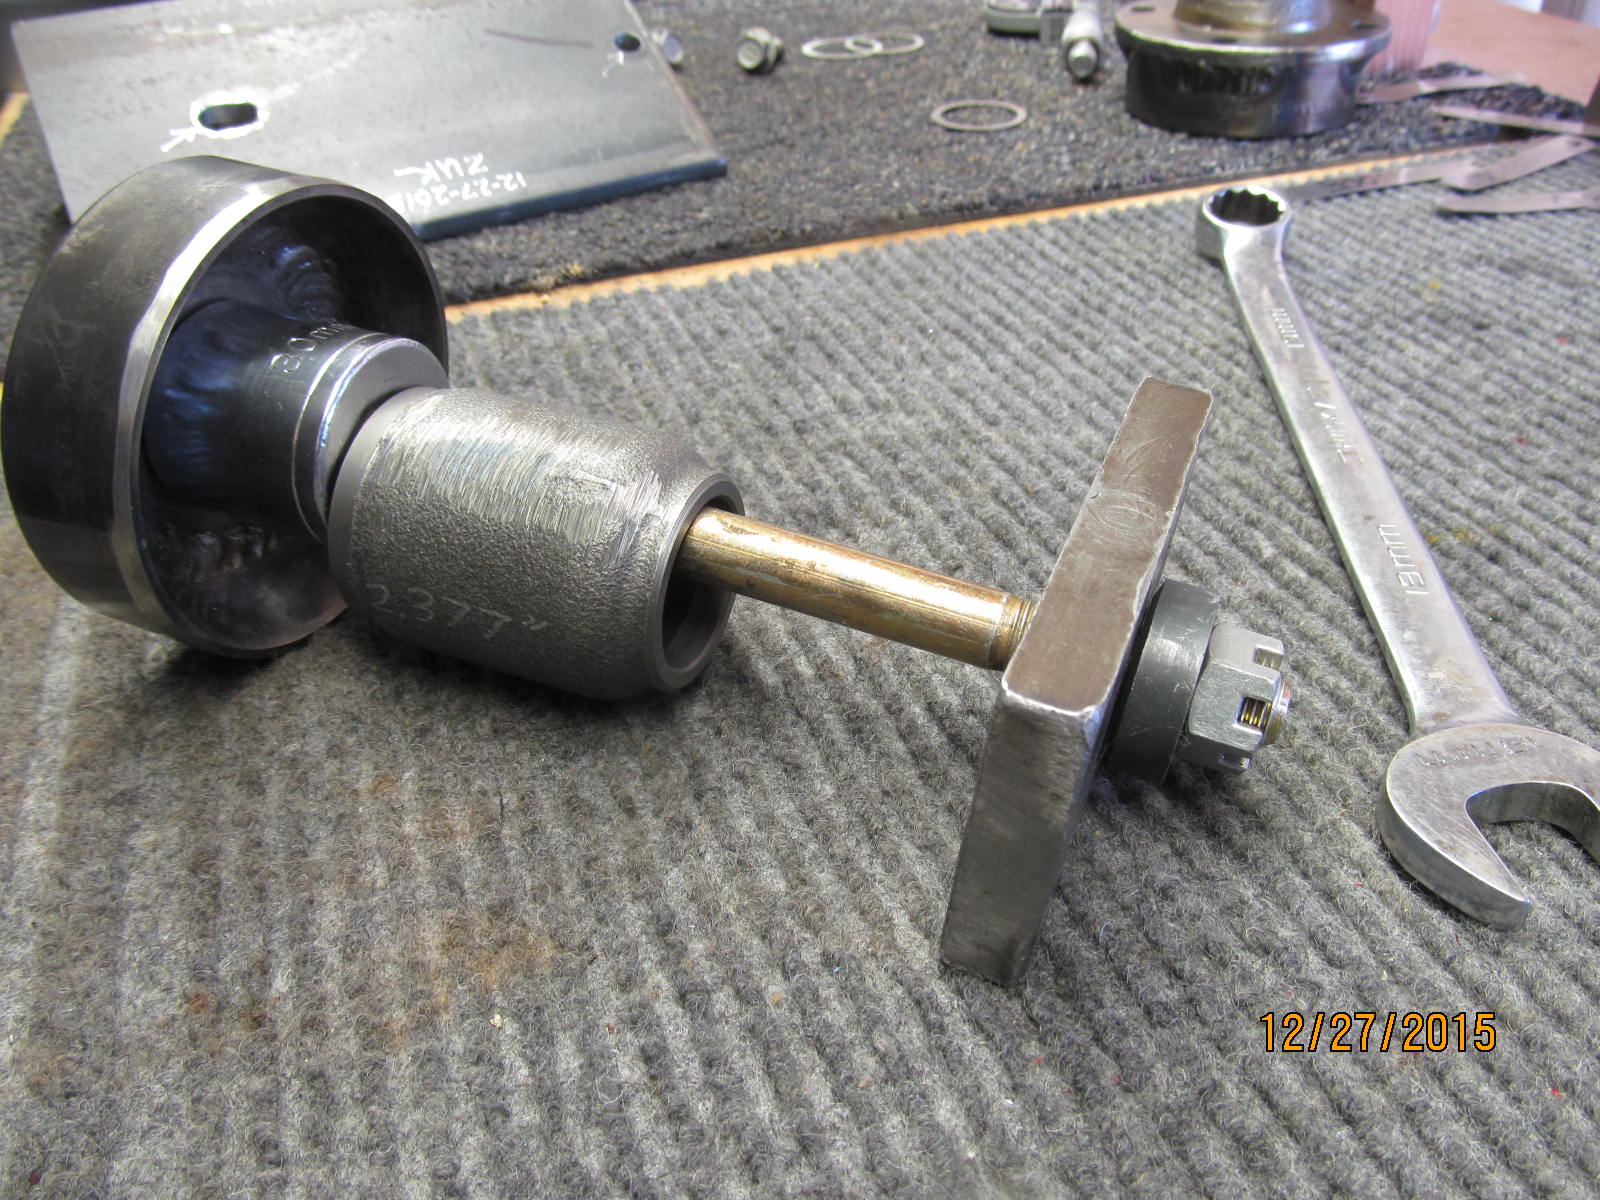
This old bearing piece has the perfect O.D. to press off the carrier bearings.
|
|
|
|
|
Perfect fit.
|
|
|
|
|
Actually, it only takes a mild pressing force to free the carrier bearing.
|
|
|
|
|
......
|
|
|
|
|
.......
|
|
|
|
|
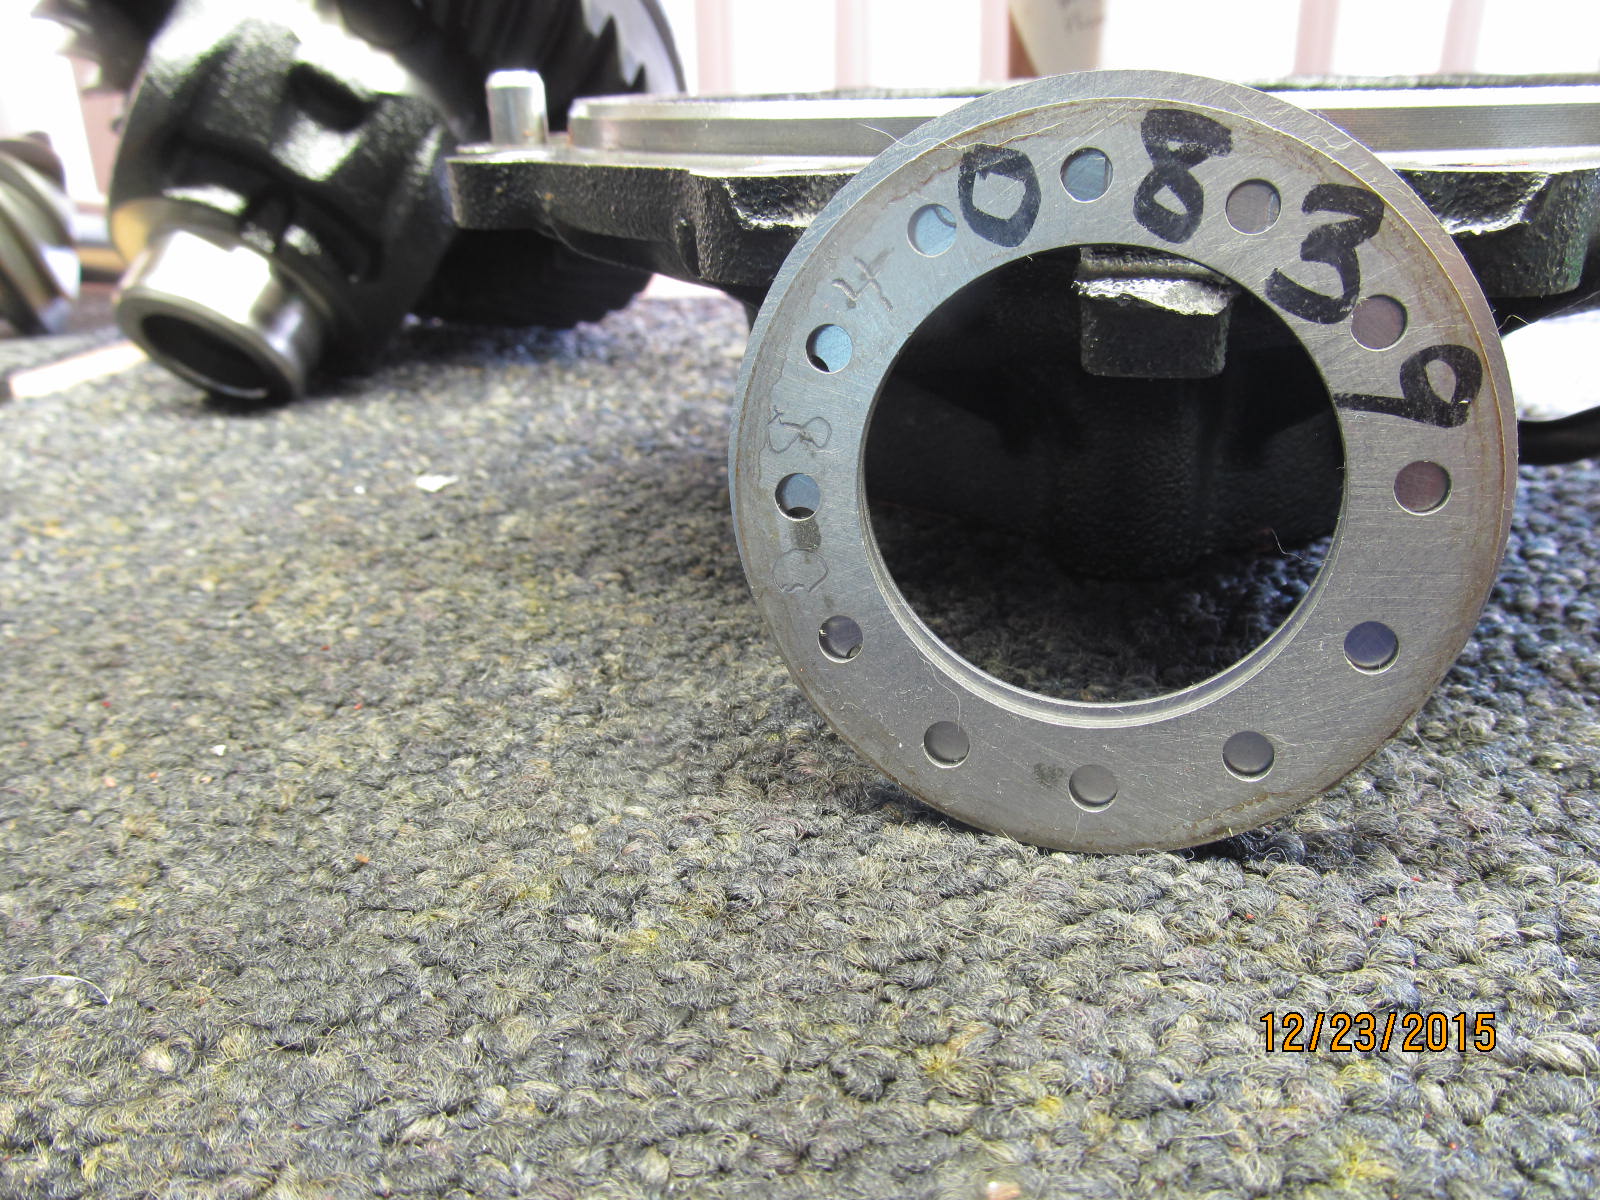
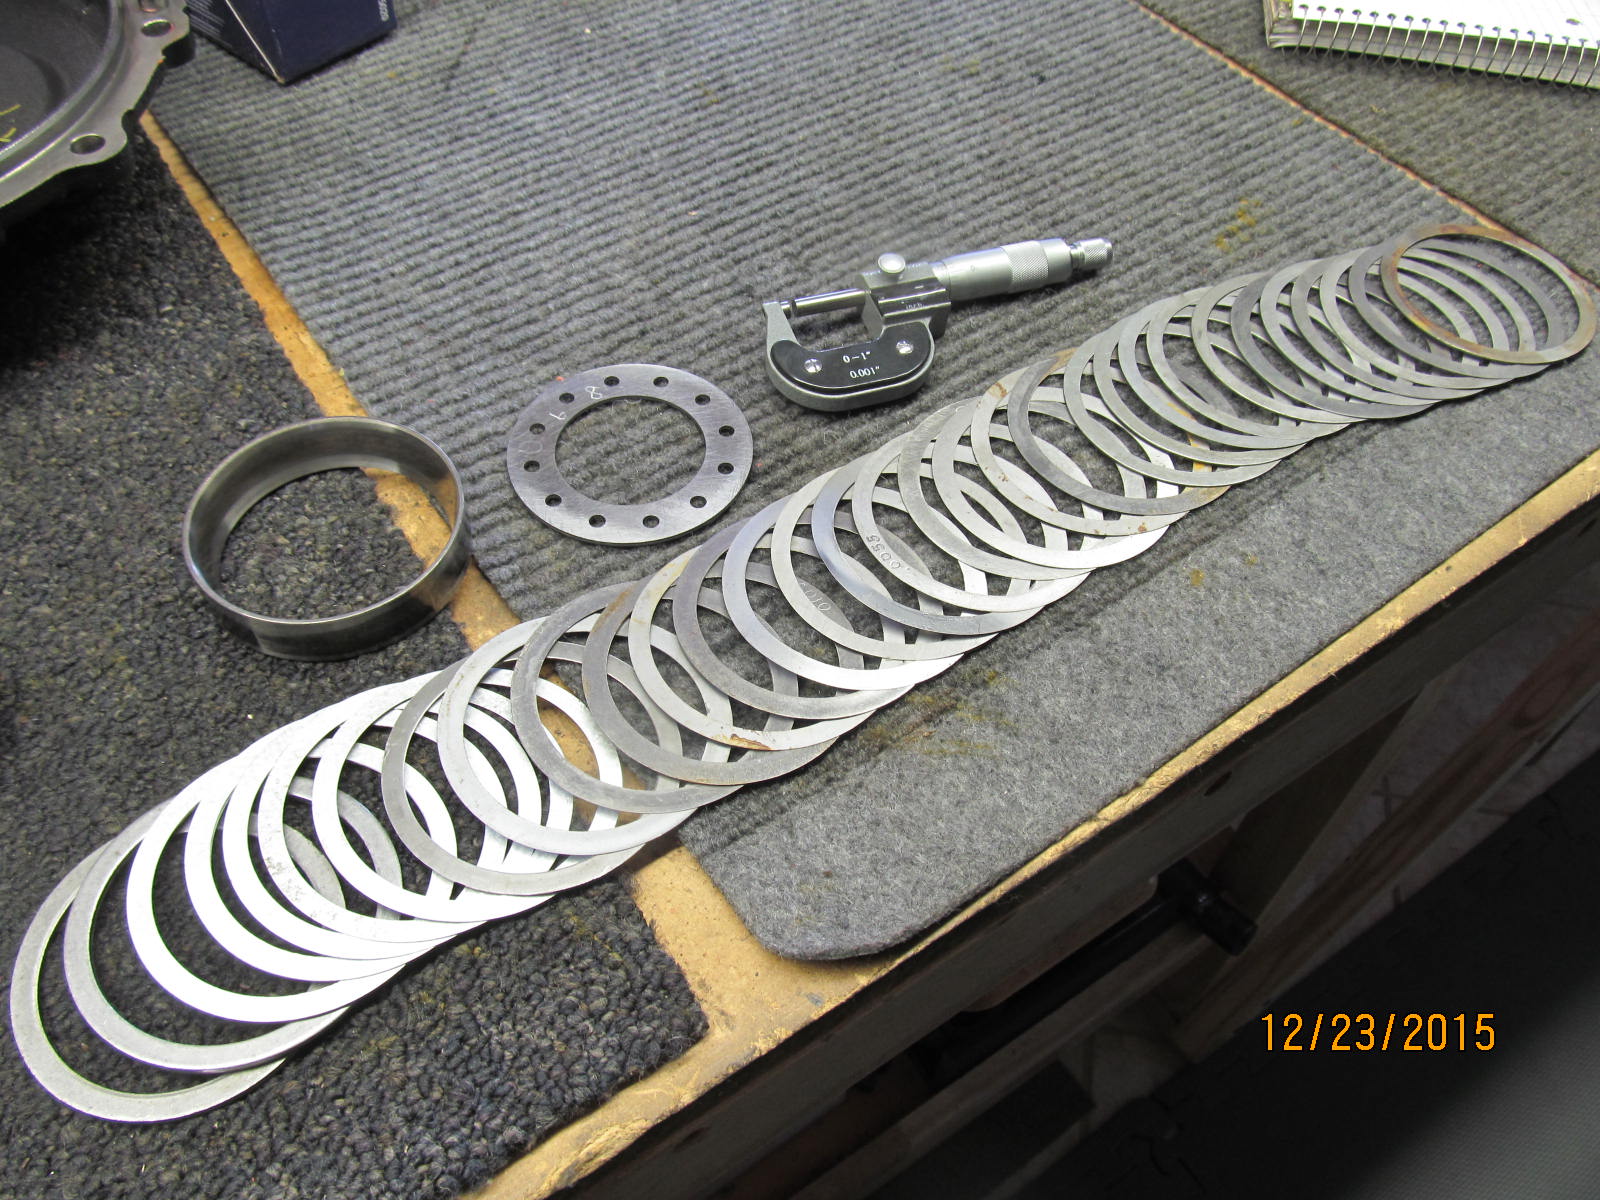
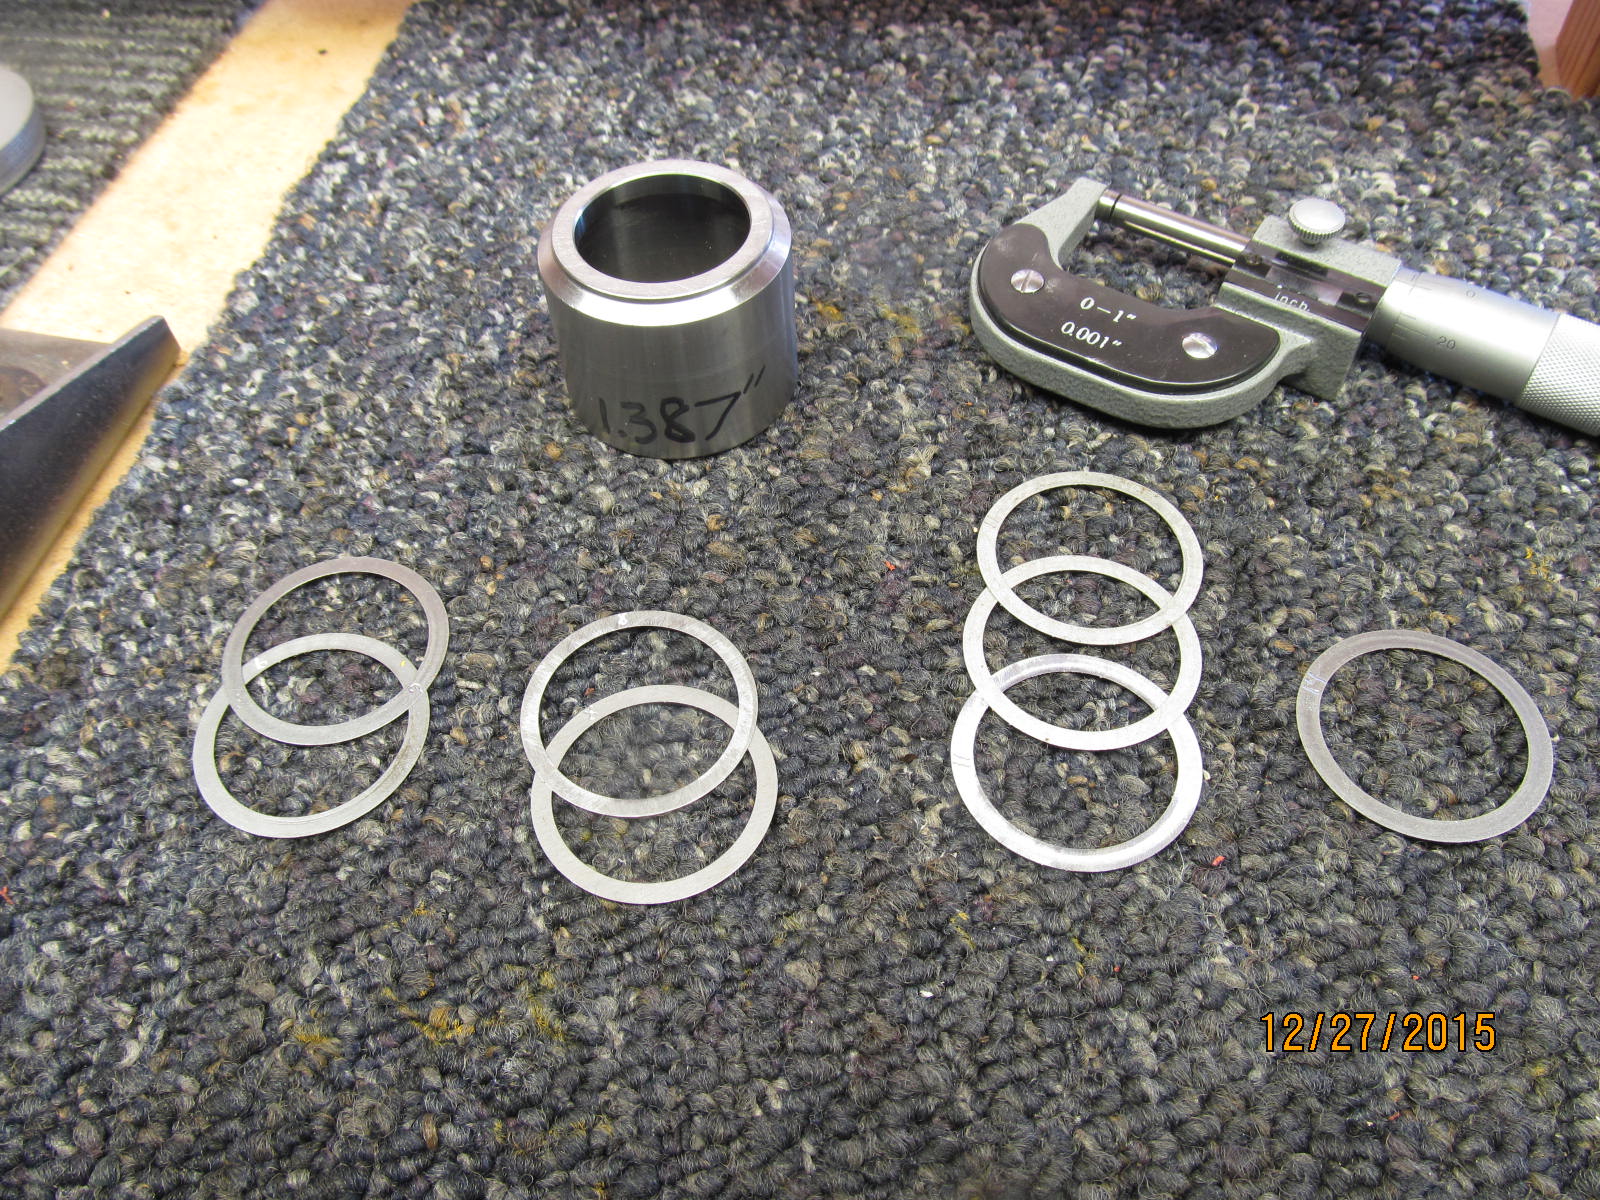
Shims I had in stock....
|
|
|
|
|
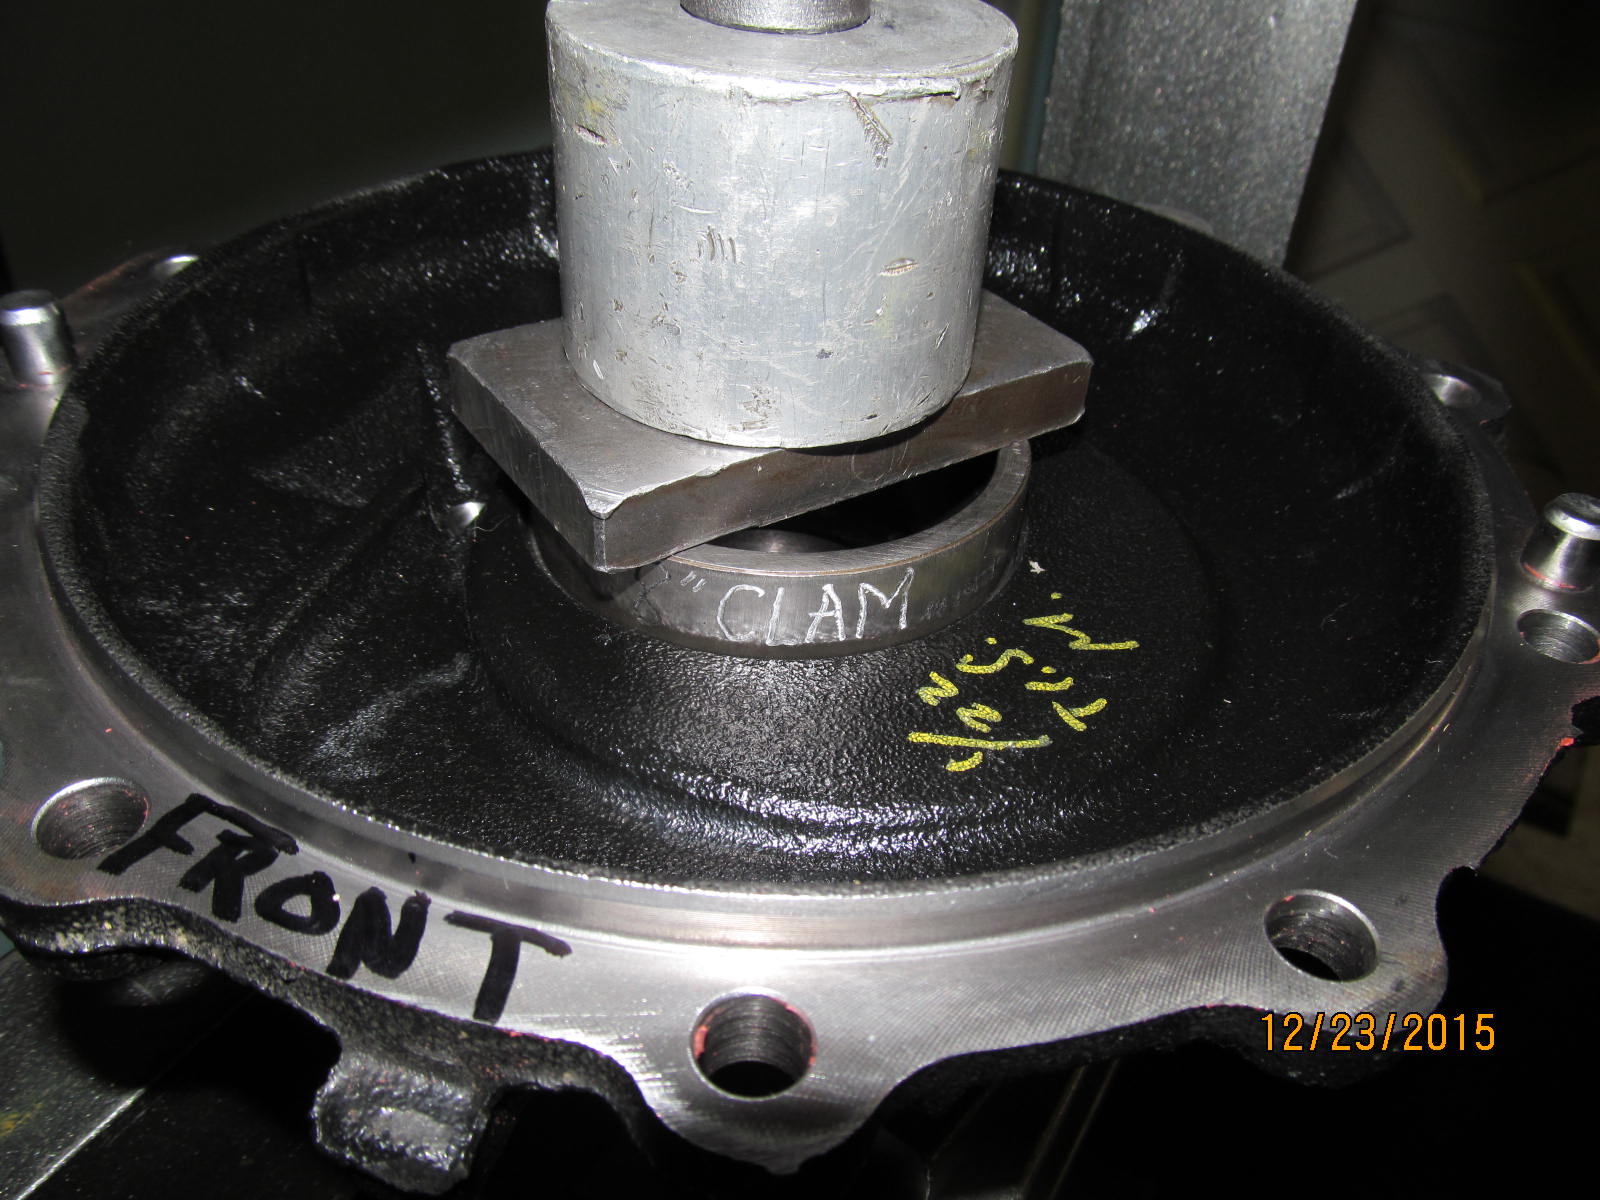
The carrier race needs to get pressed back down with the washer plate.
|
|
|
|
|
.....
|
|
|
|
|
Bingo.
|
|
|
|
|
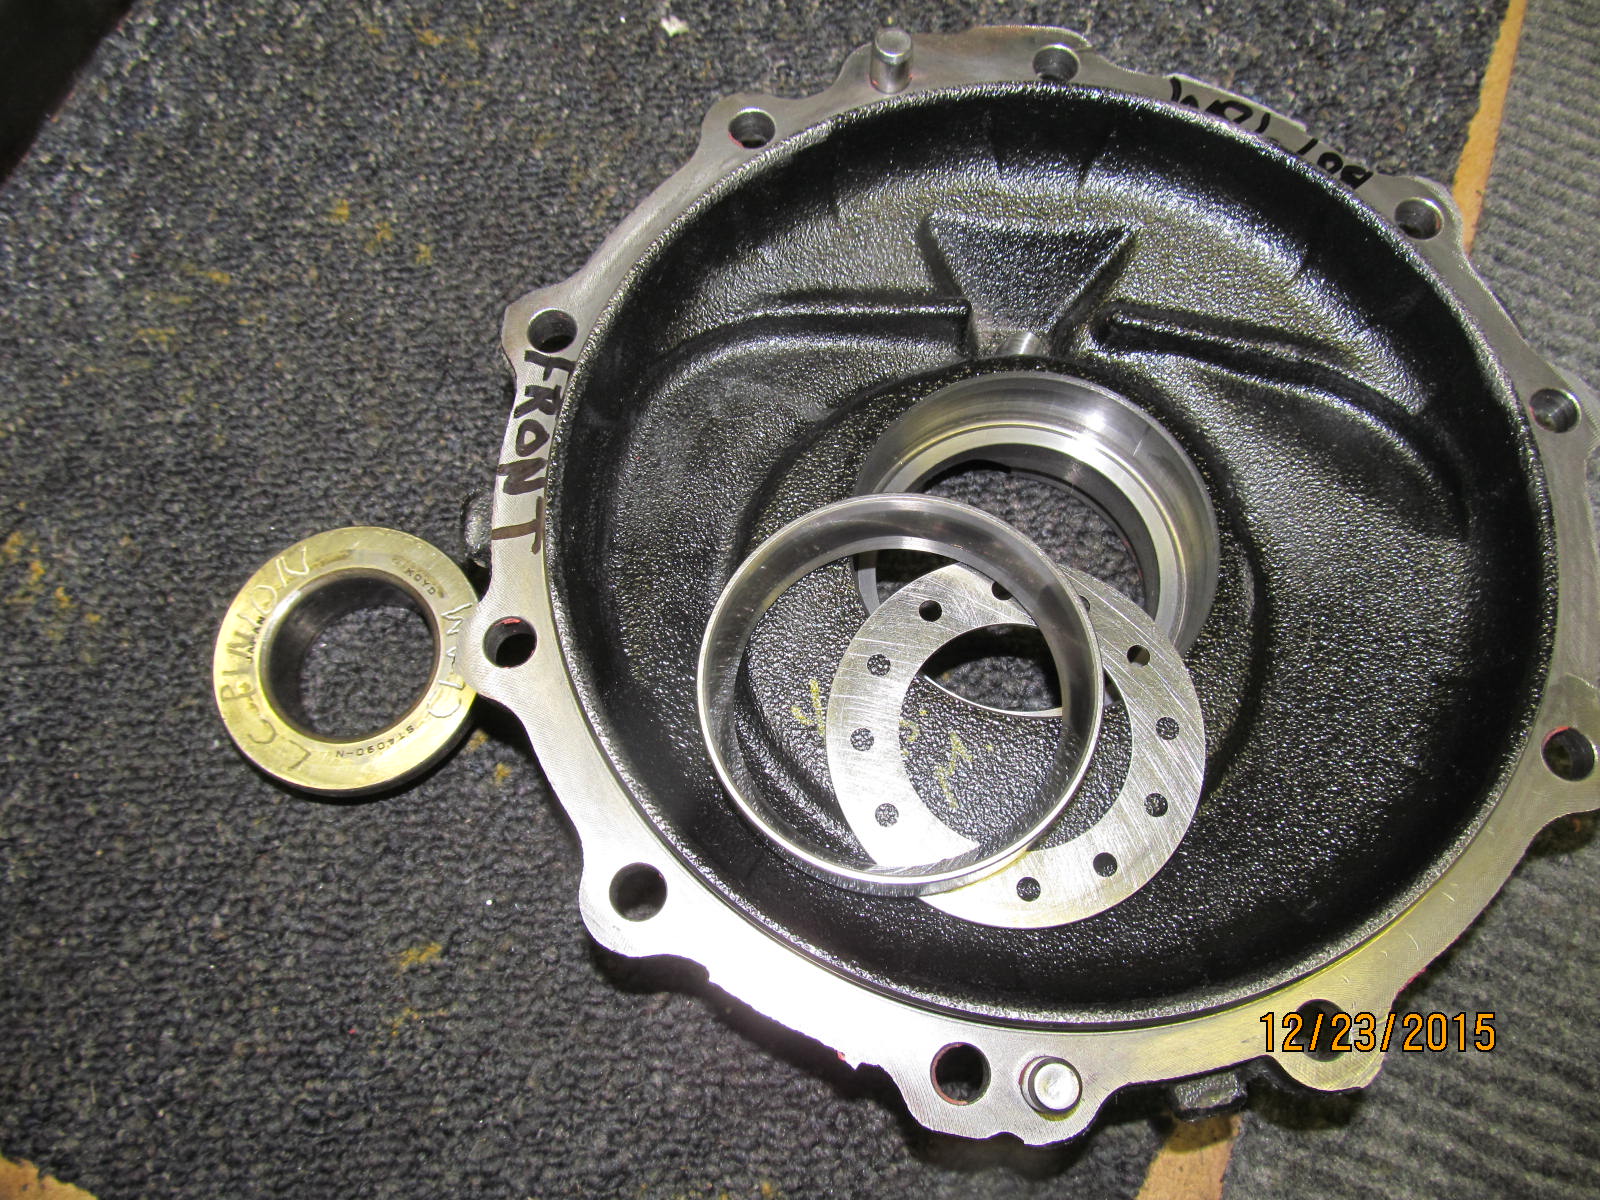
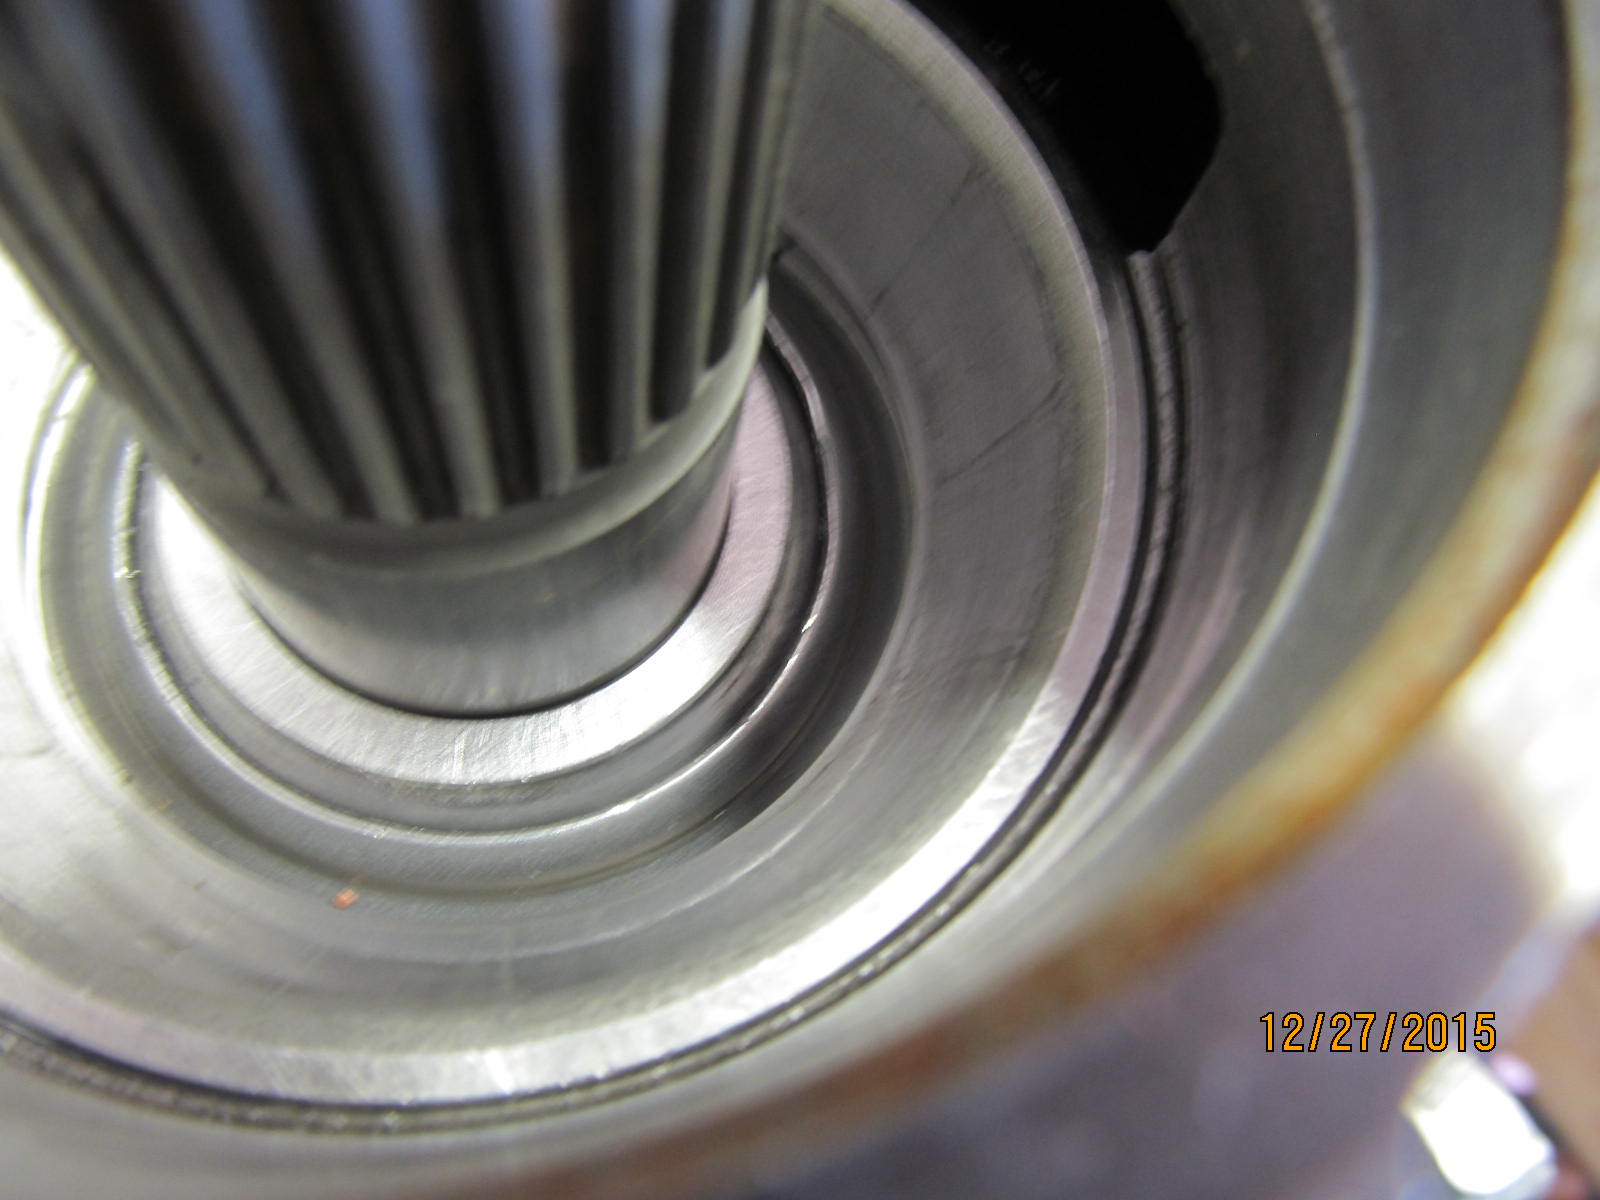
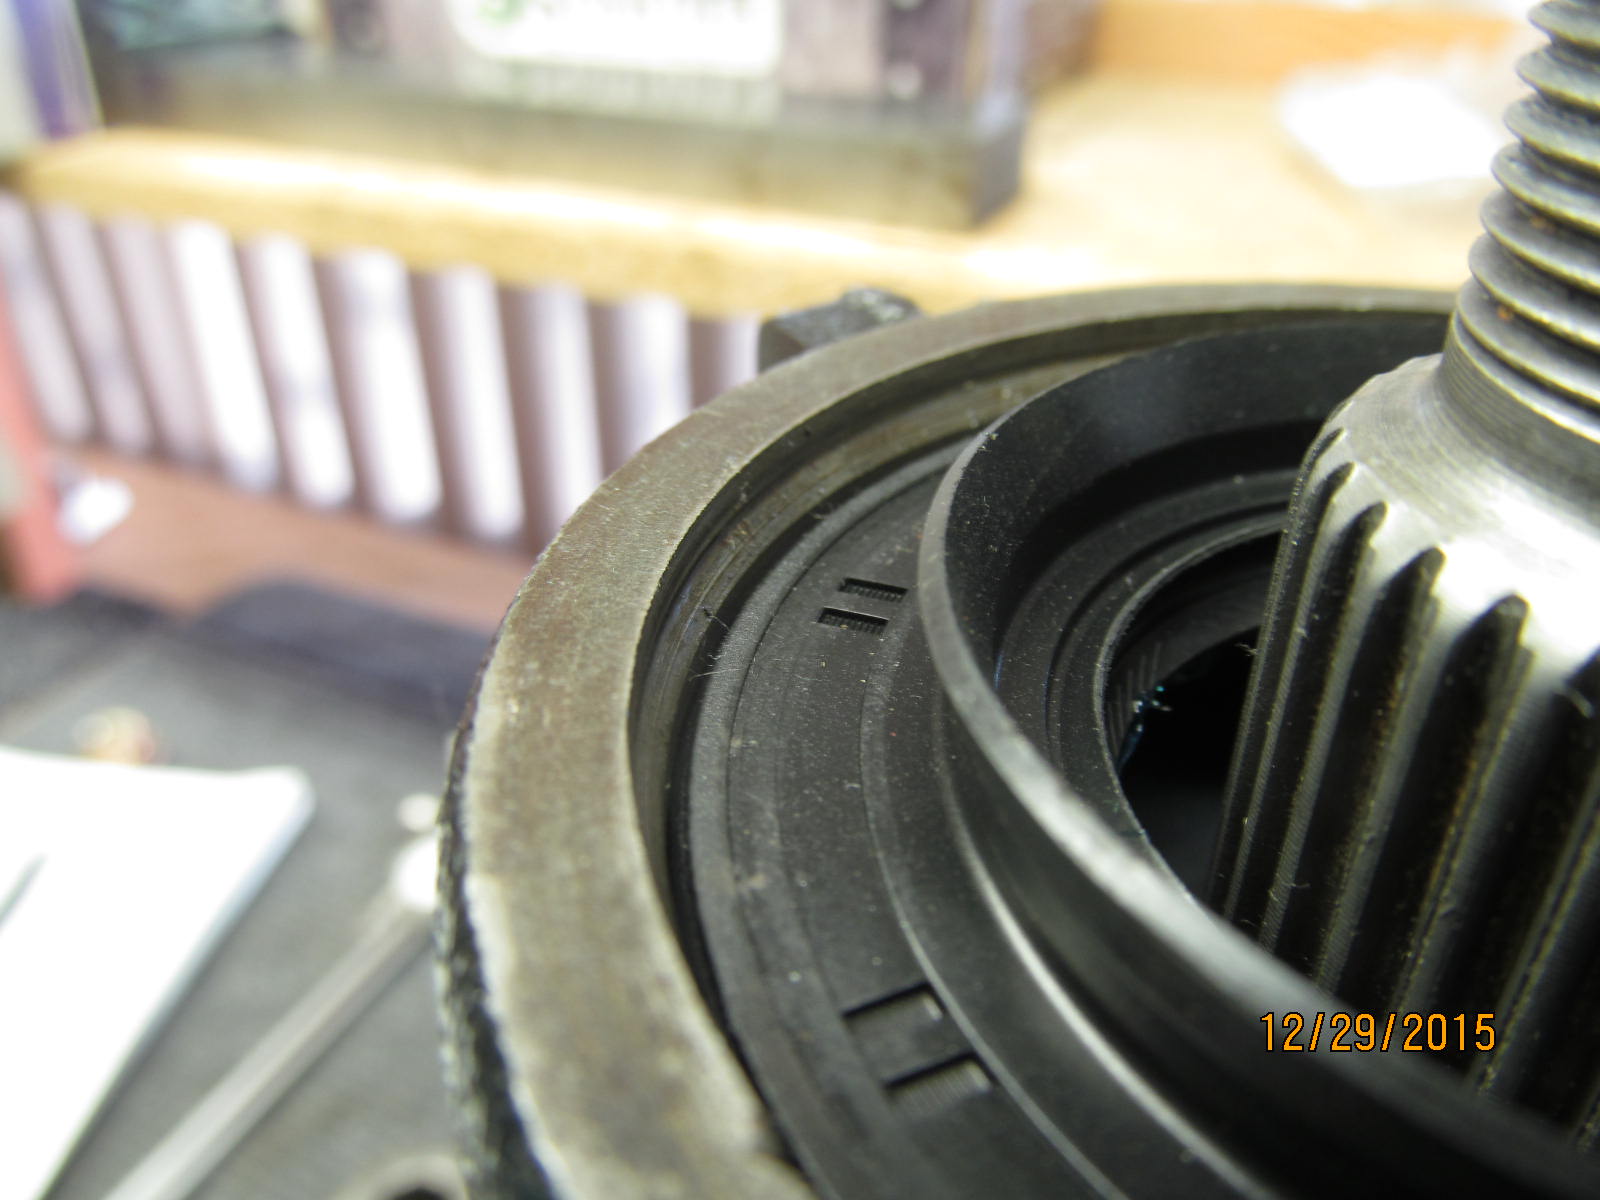
Axle stub seal gets removed from the deep dish side.
|
|
|
|
|
Skipped a picture or two.....after adjusting the washer plate thickness now it gets pressed back in.
|
|
|
|
|
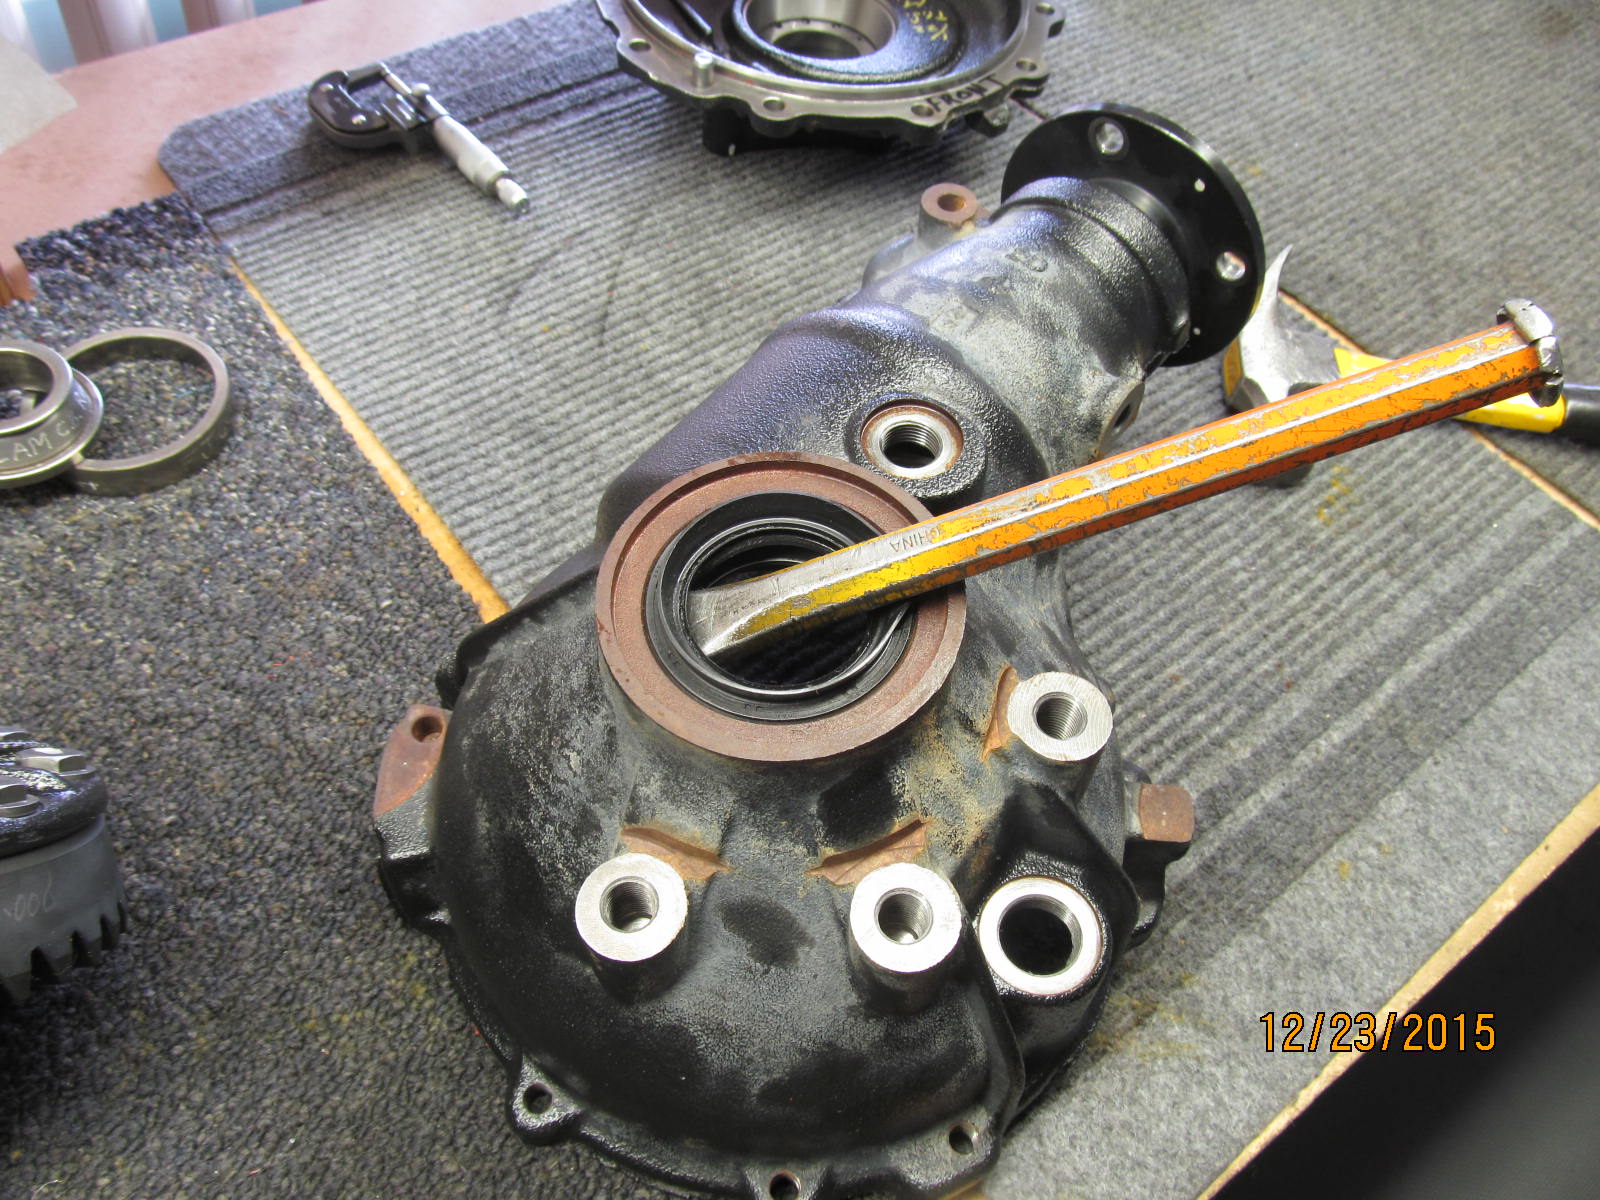
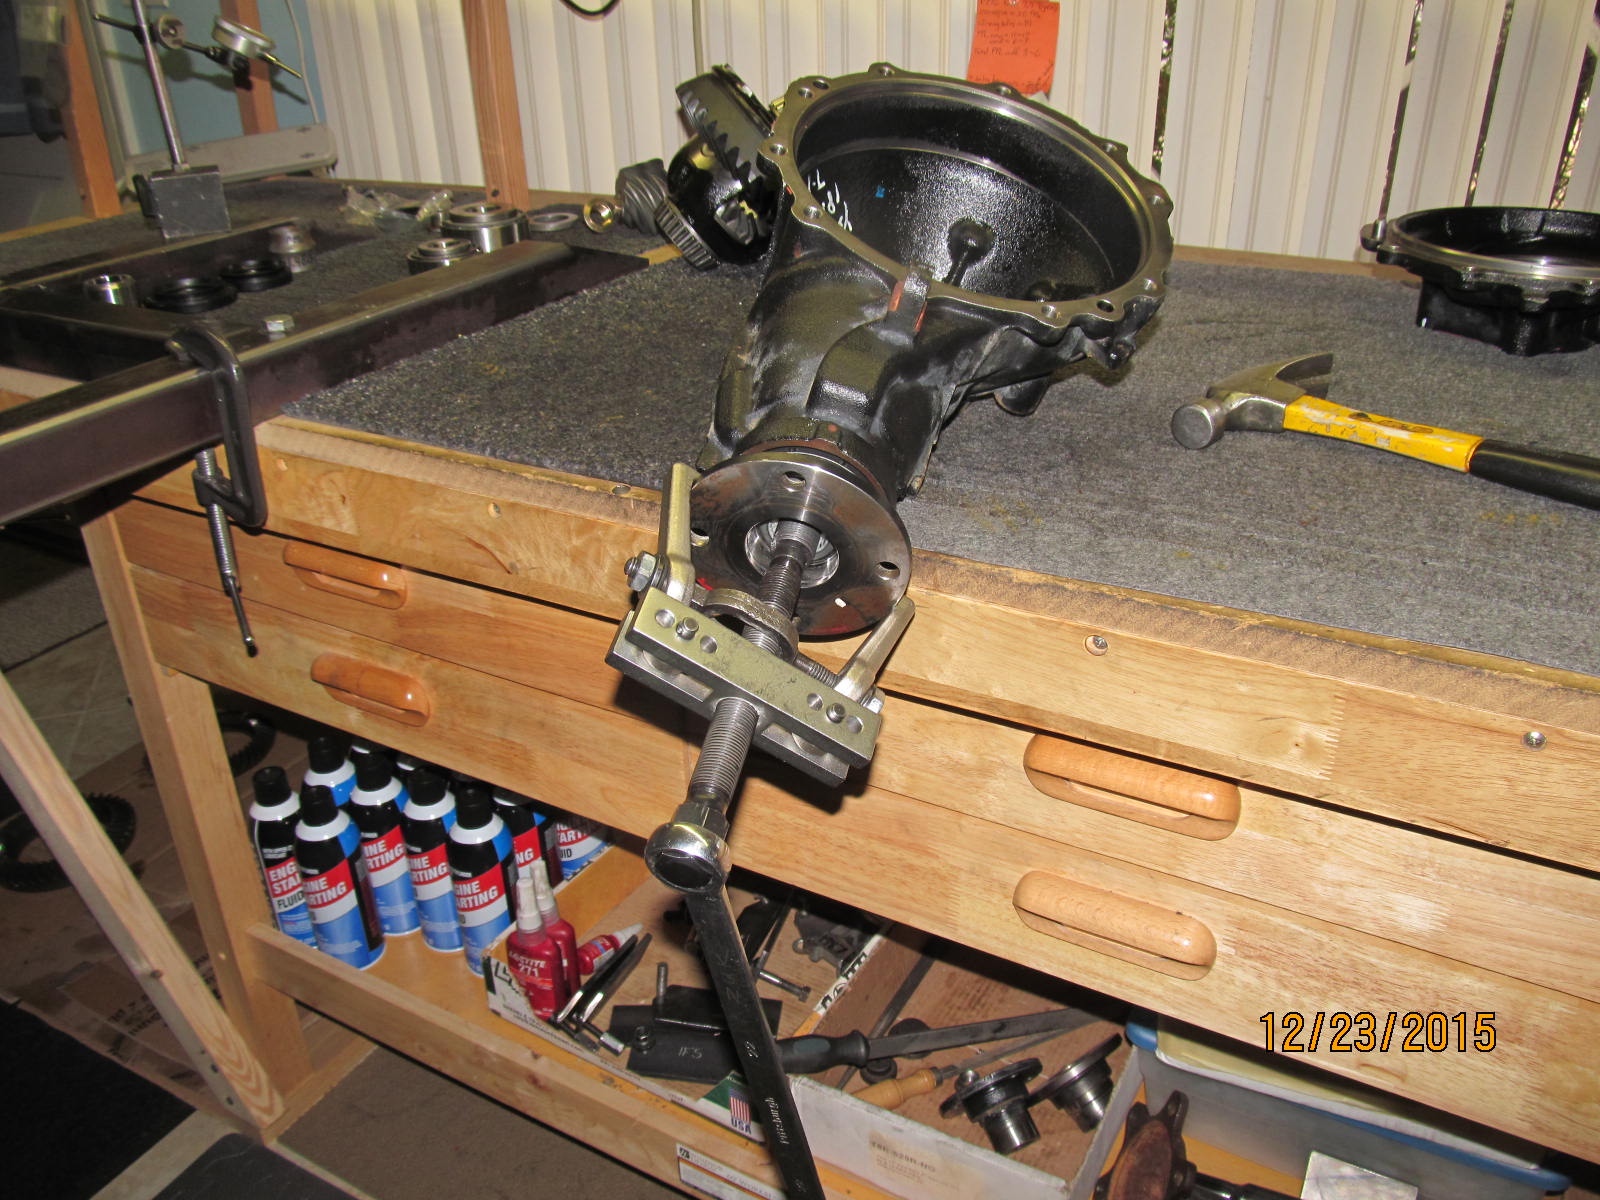
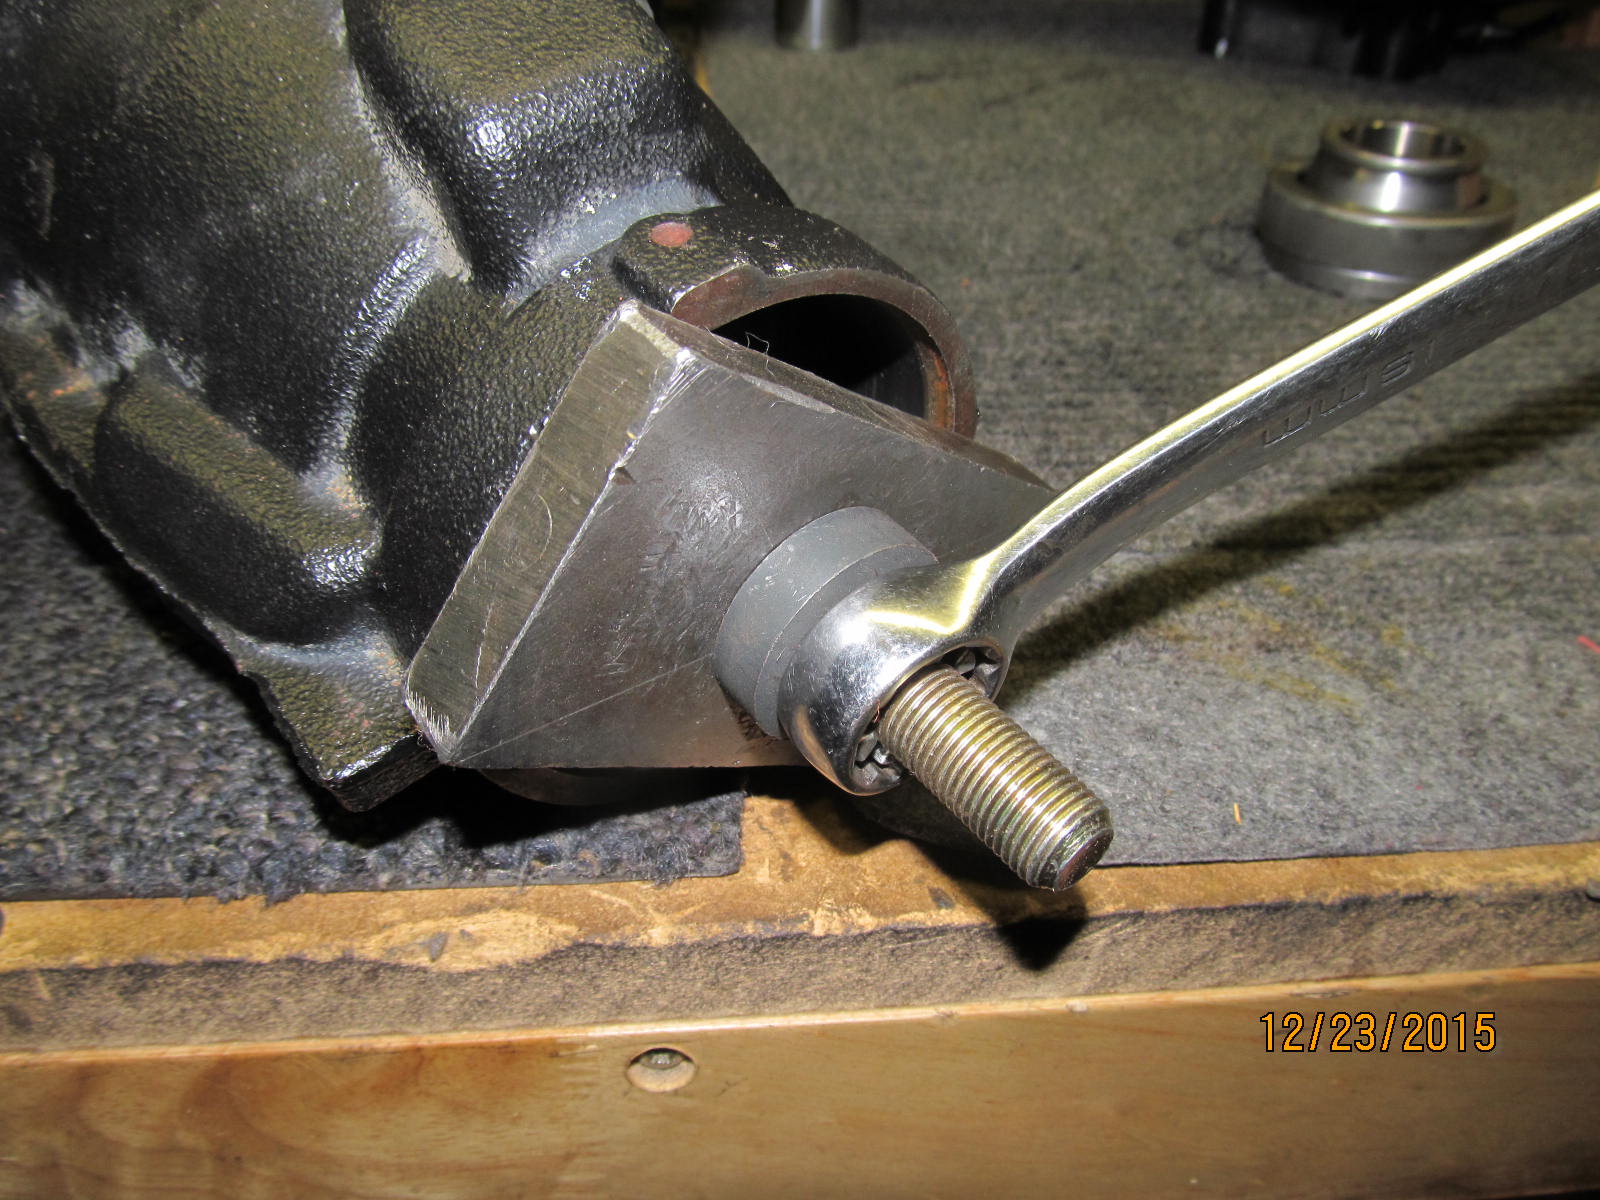
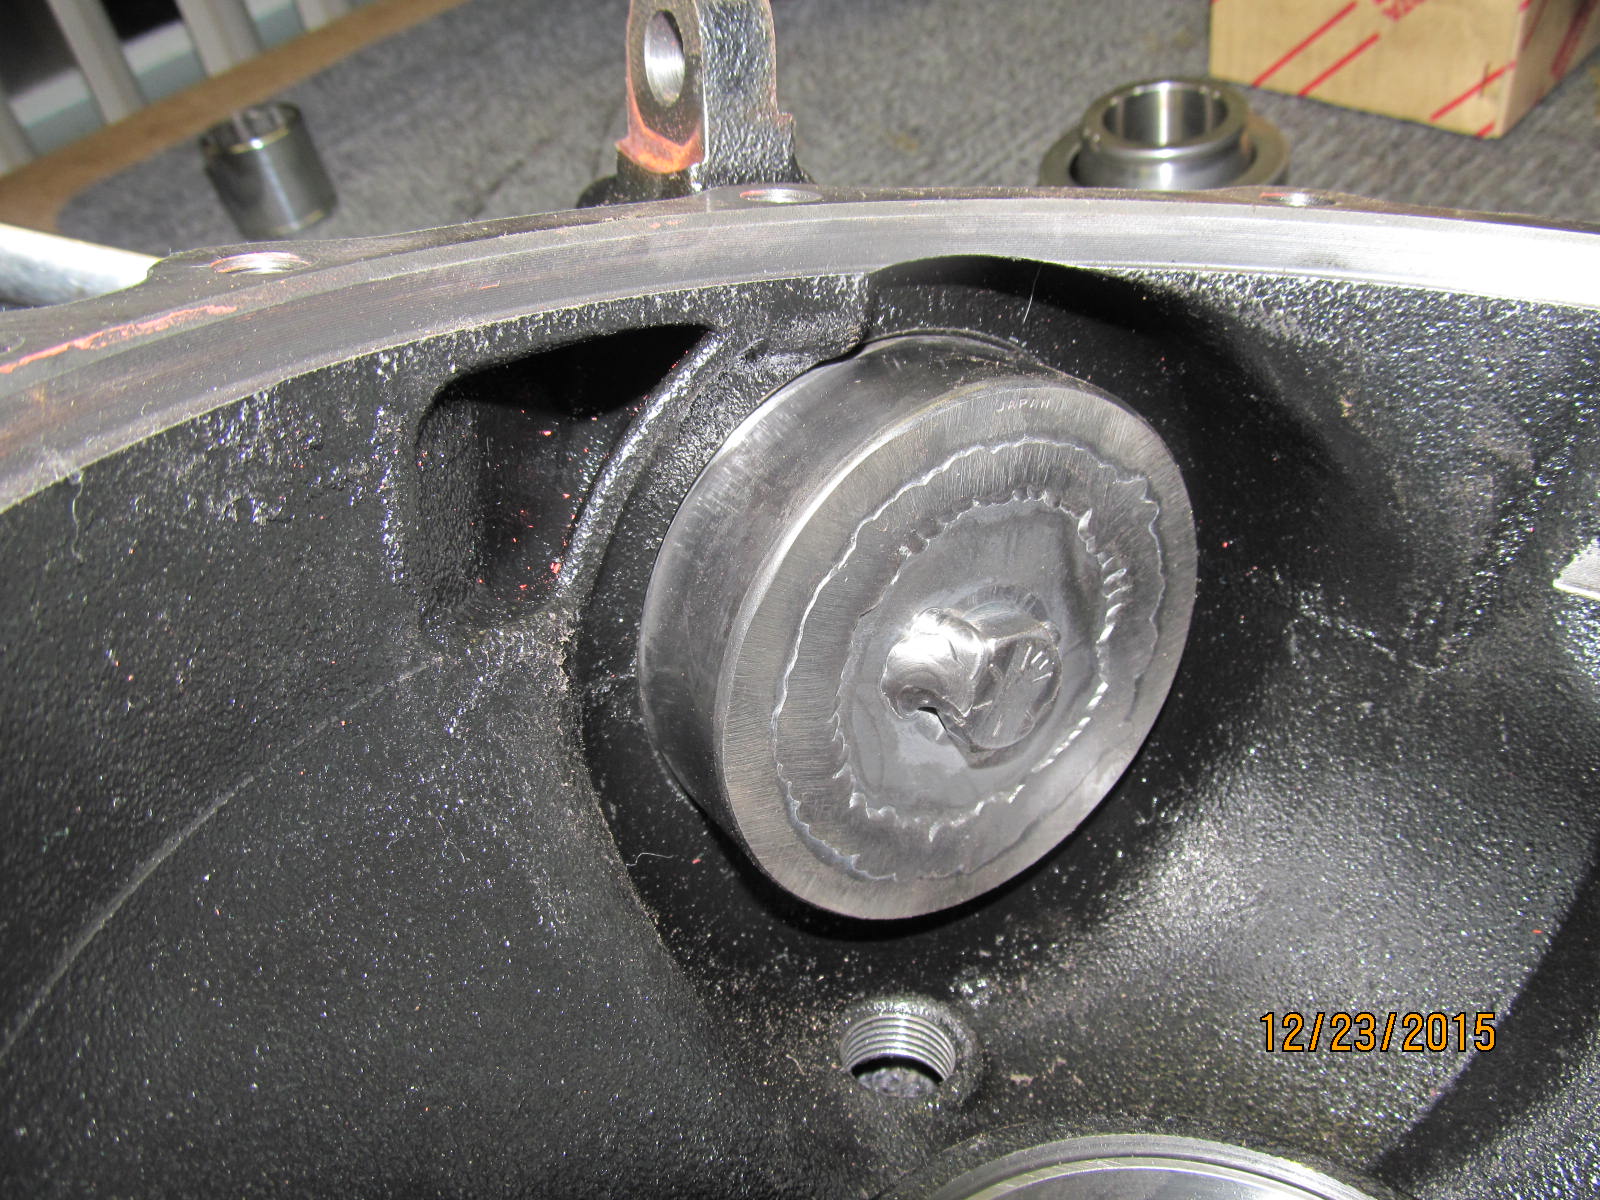
Remove flange.
|
|
|
|
|
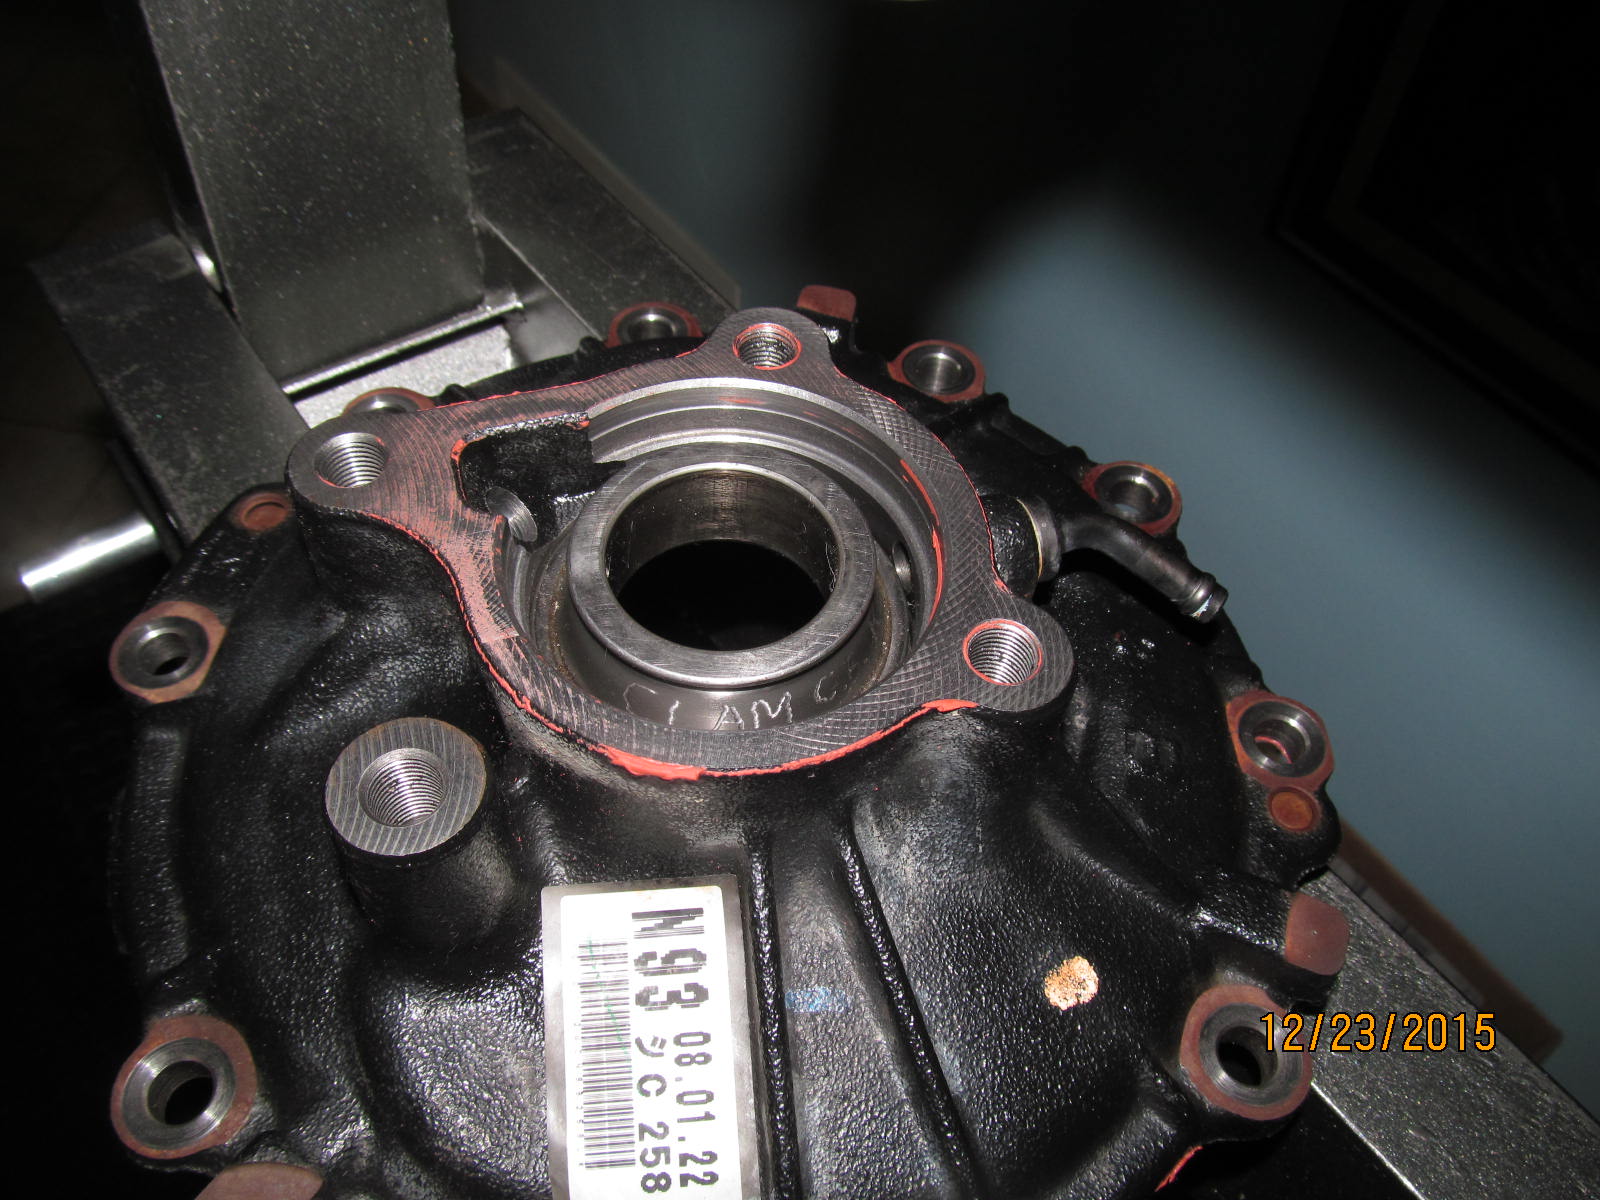
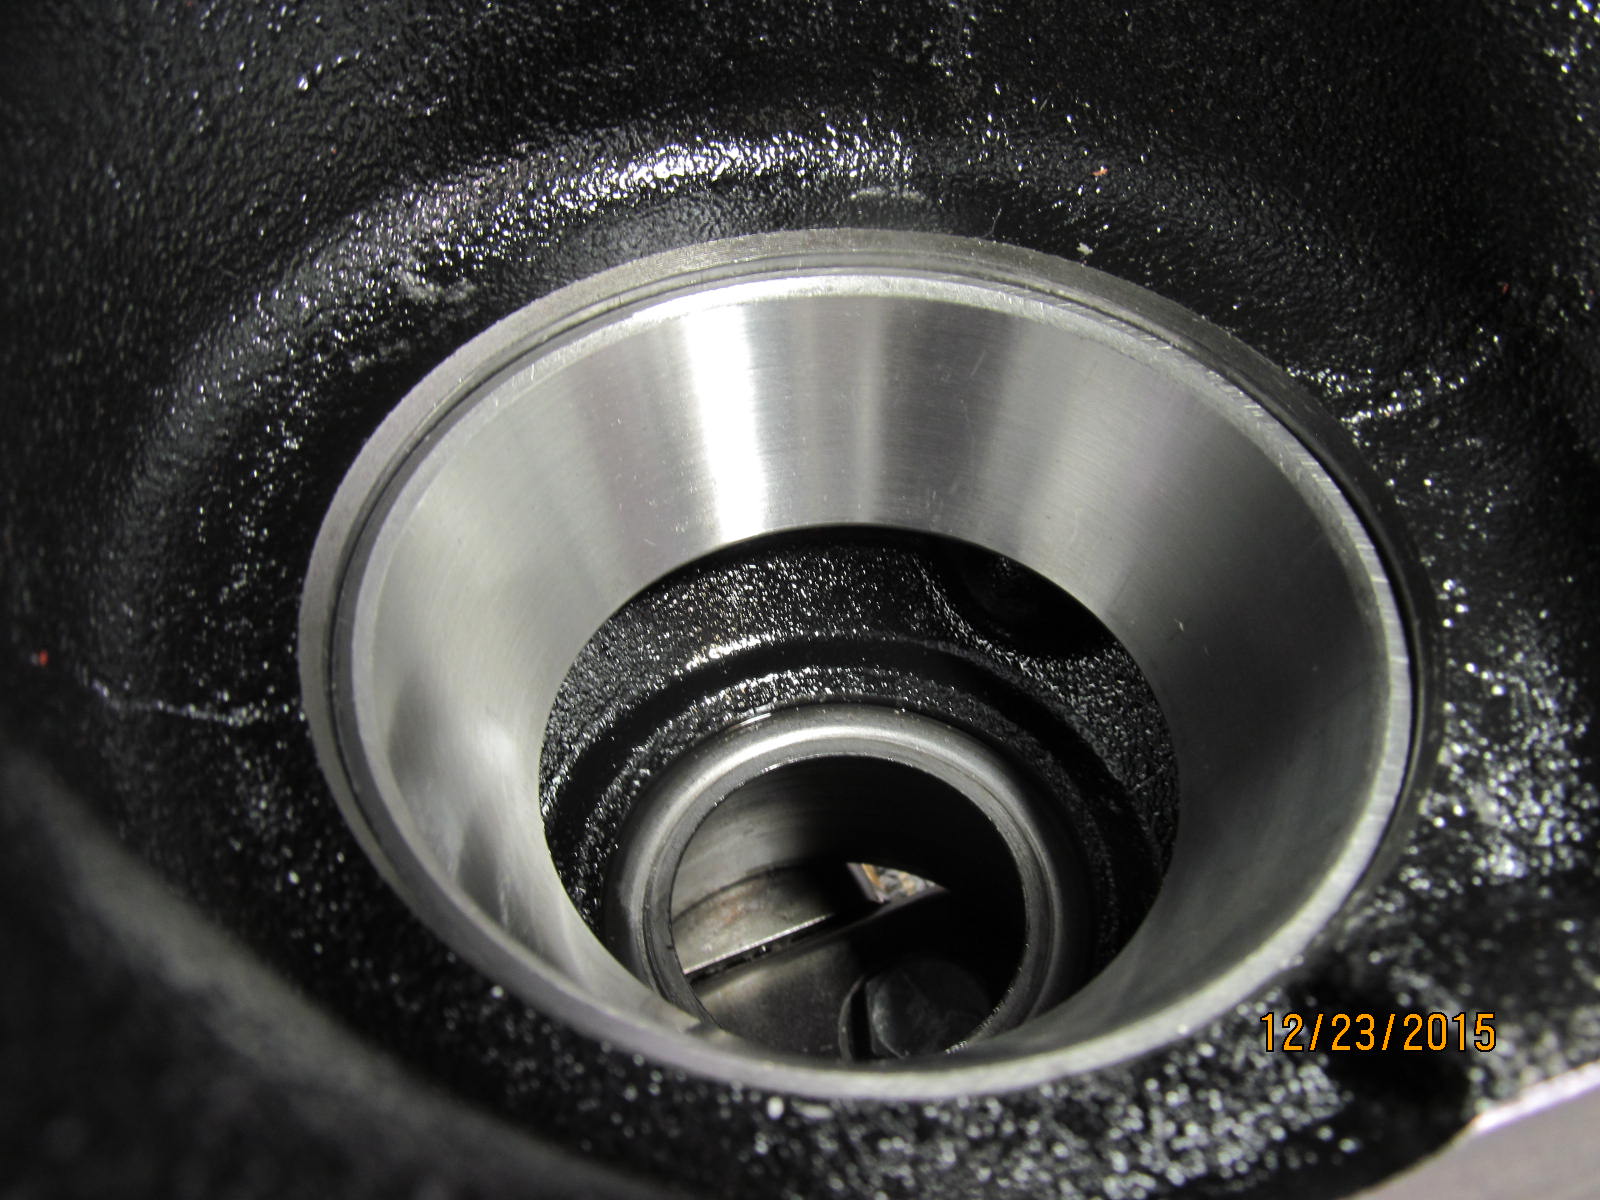
Digital photos can be deceiving....it has a groove but it's not very bad.
|
|
|
|
|
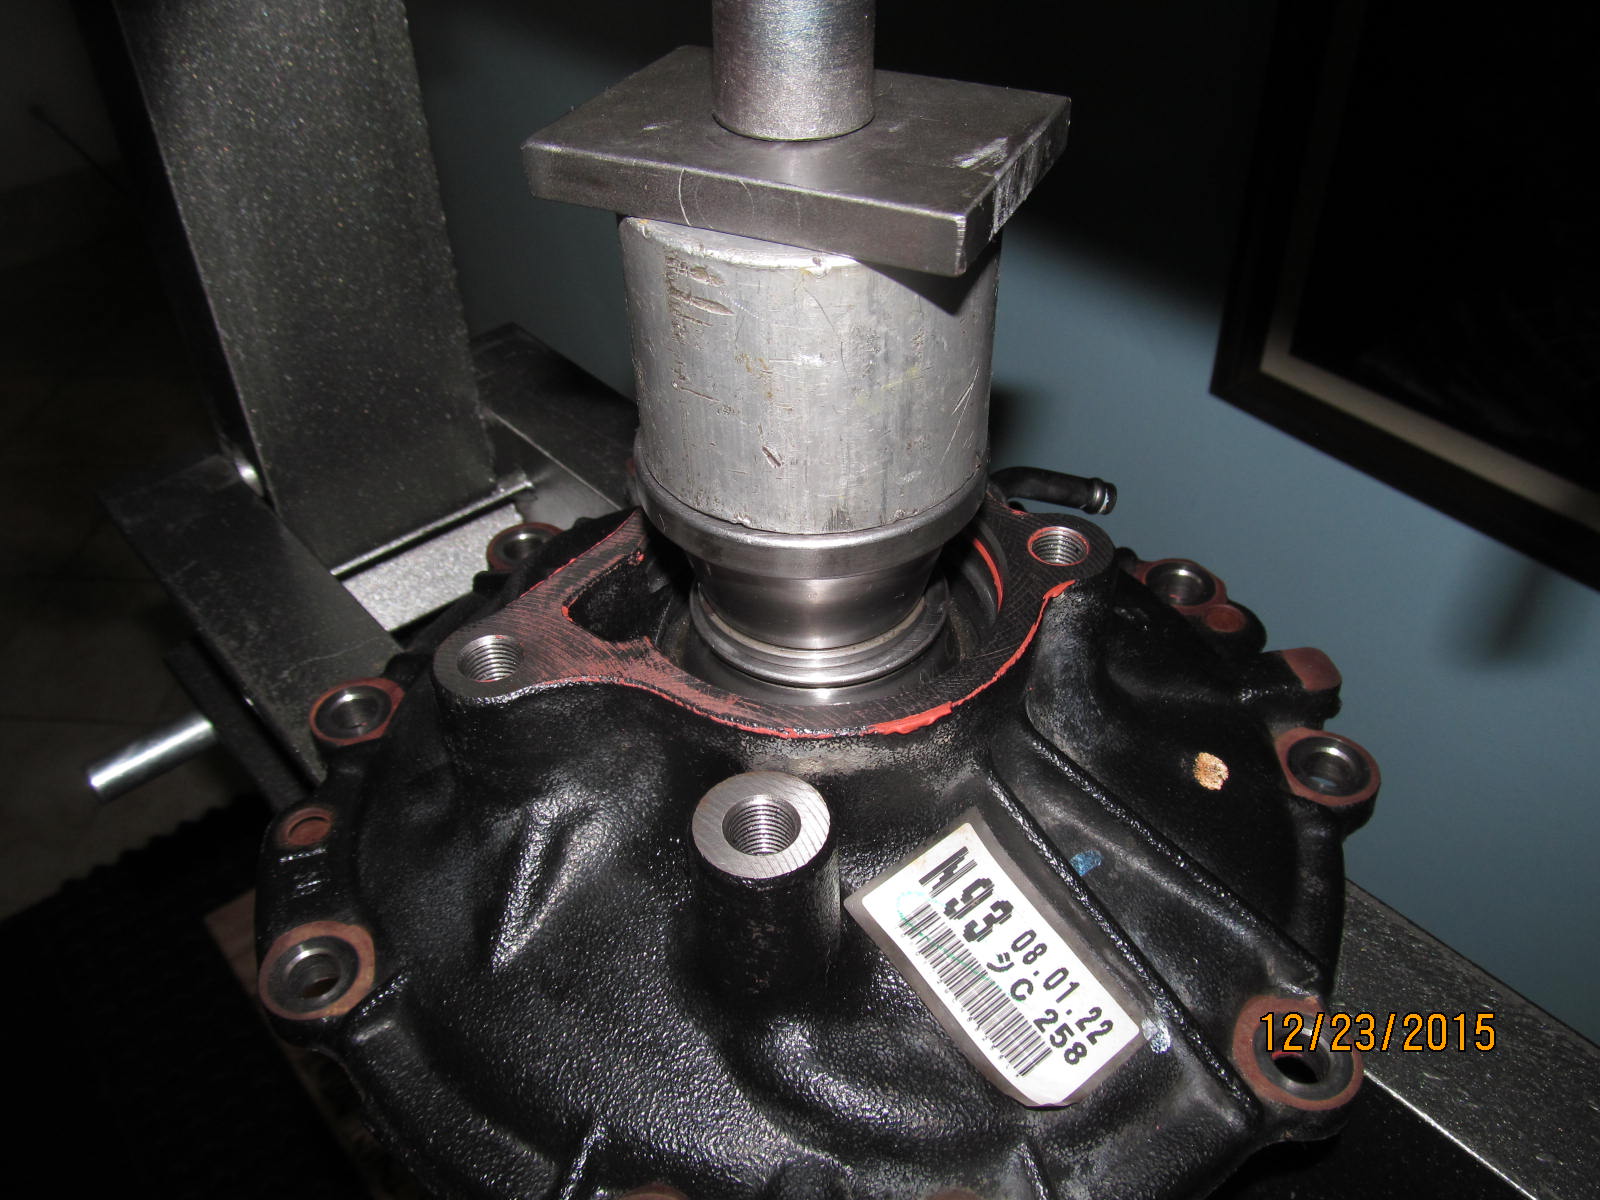
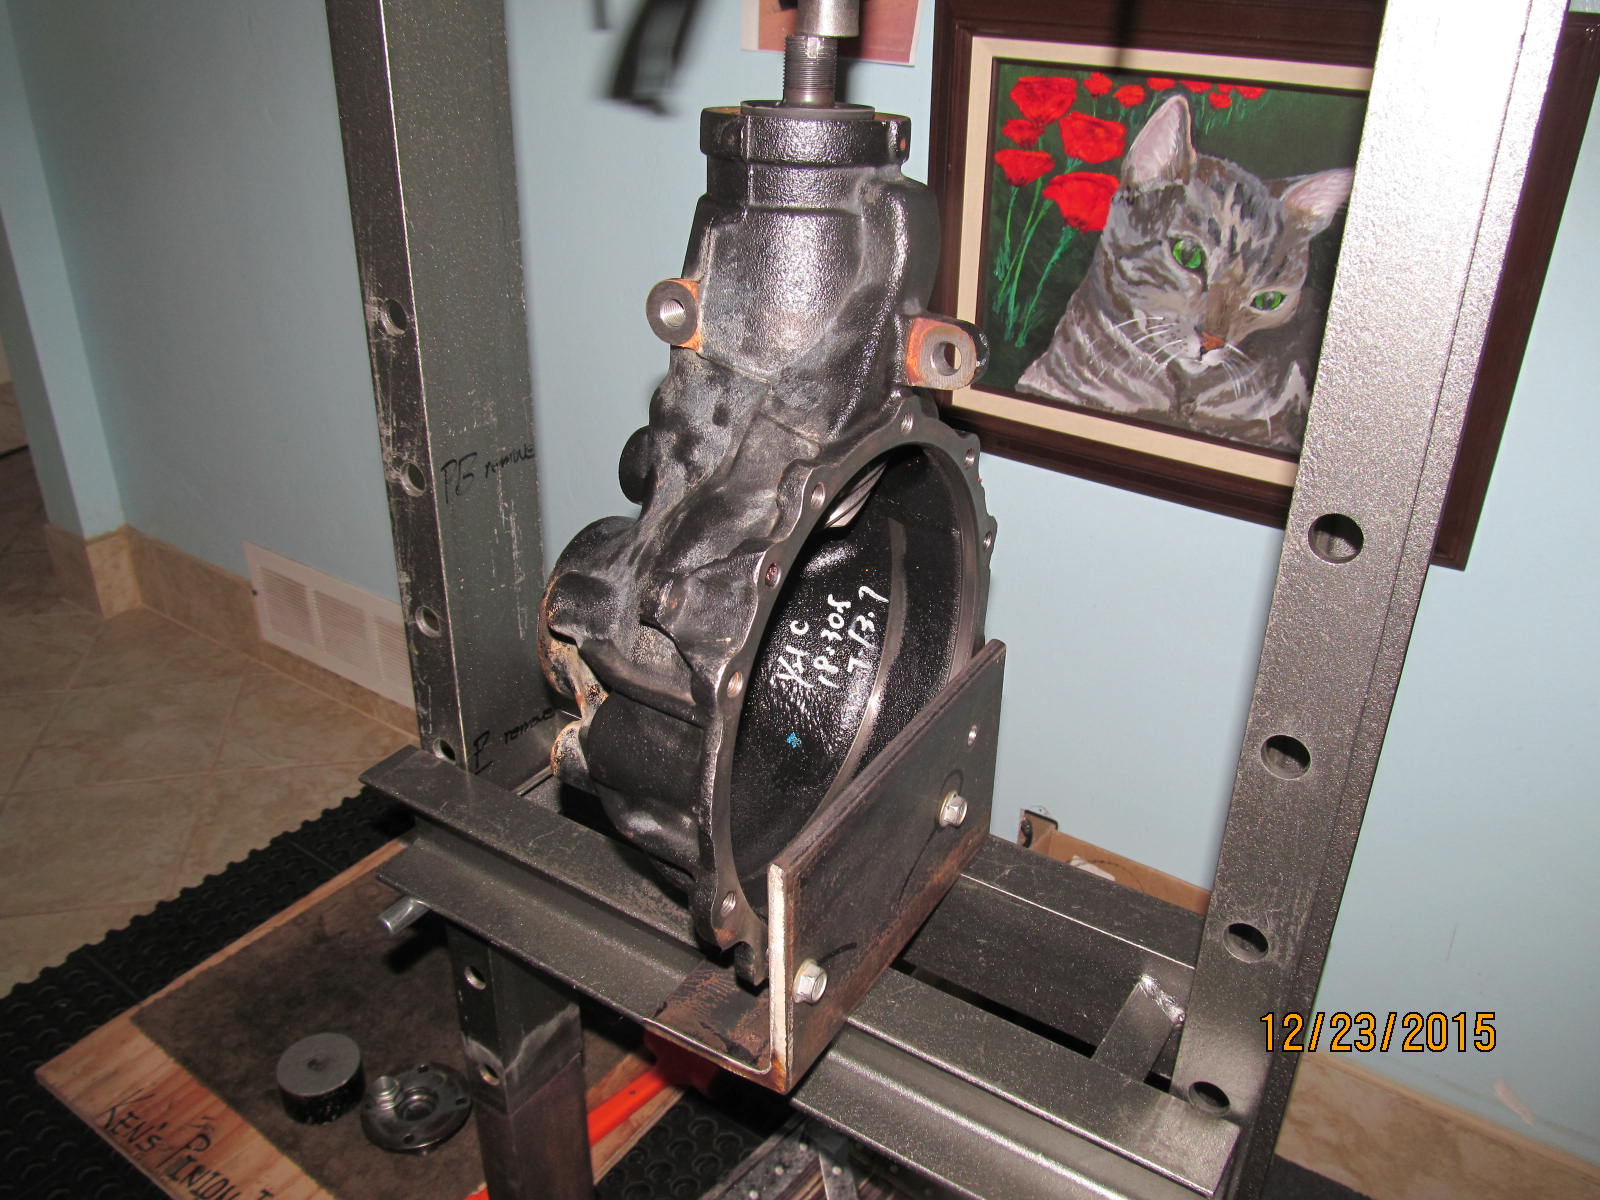
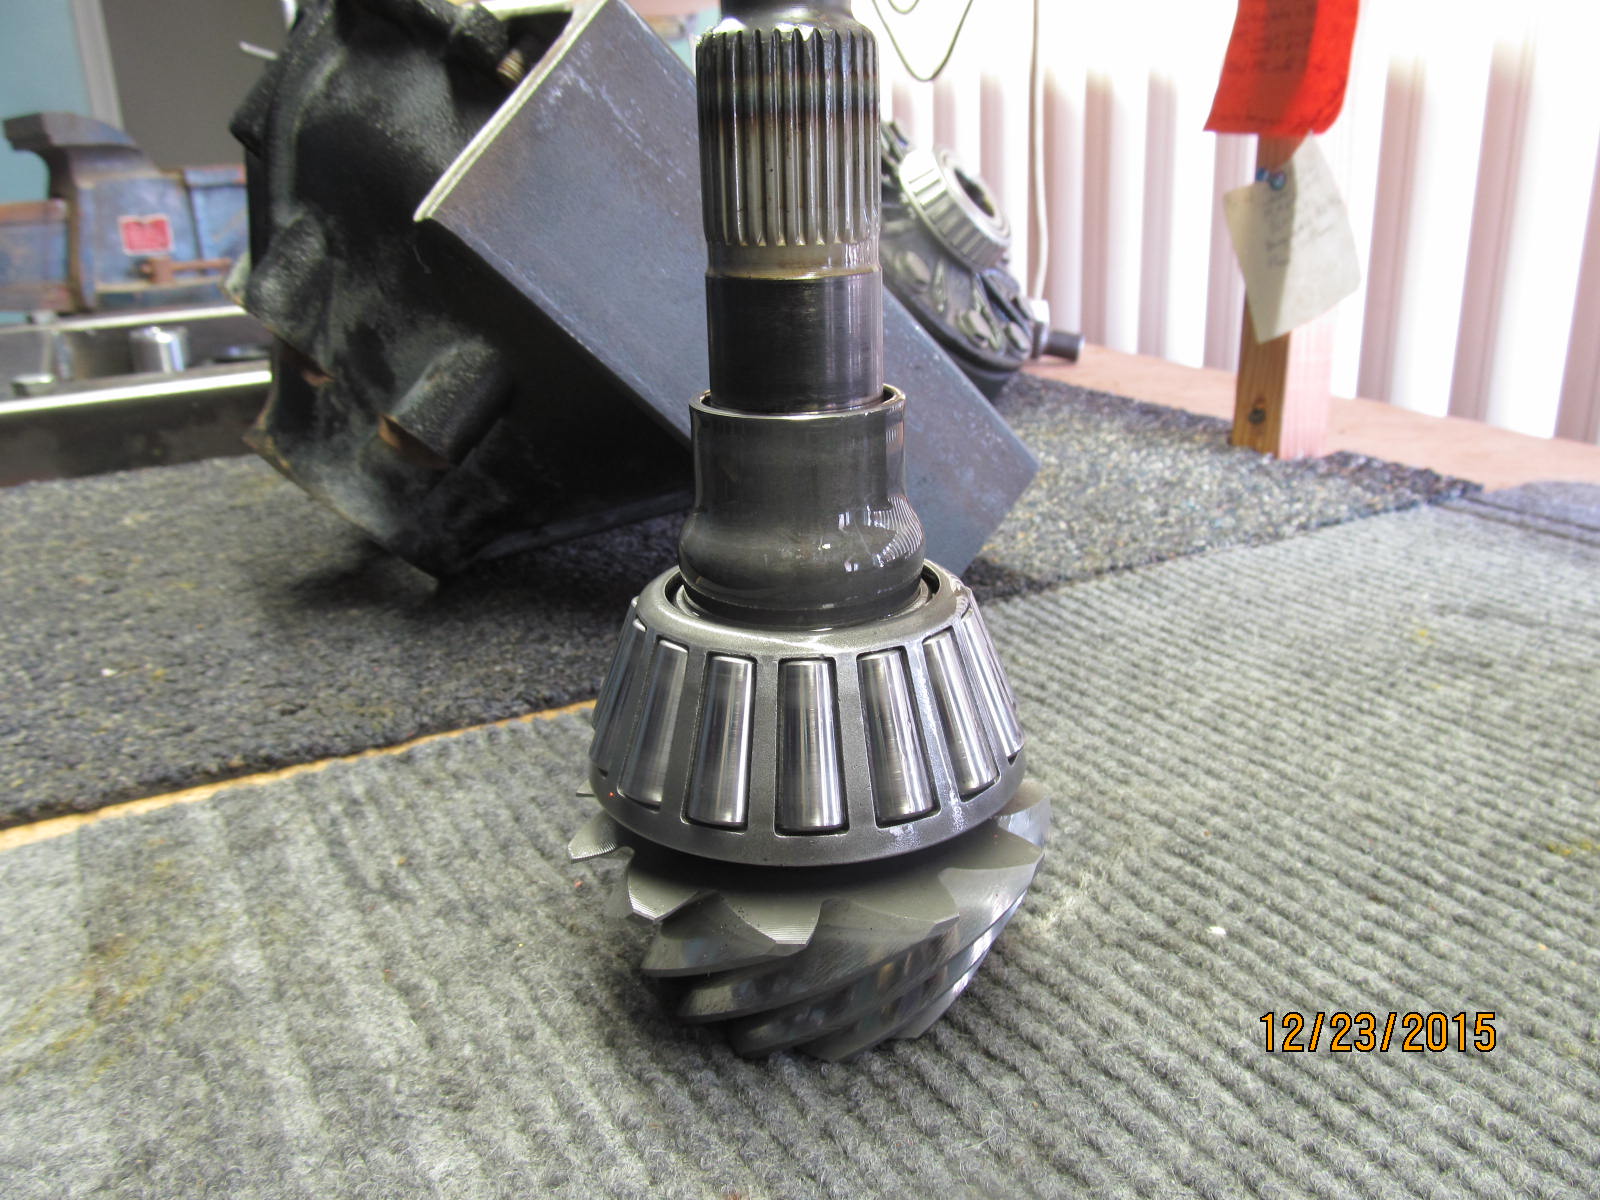
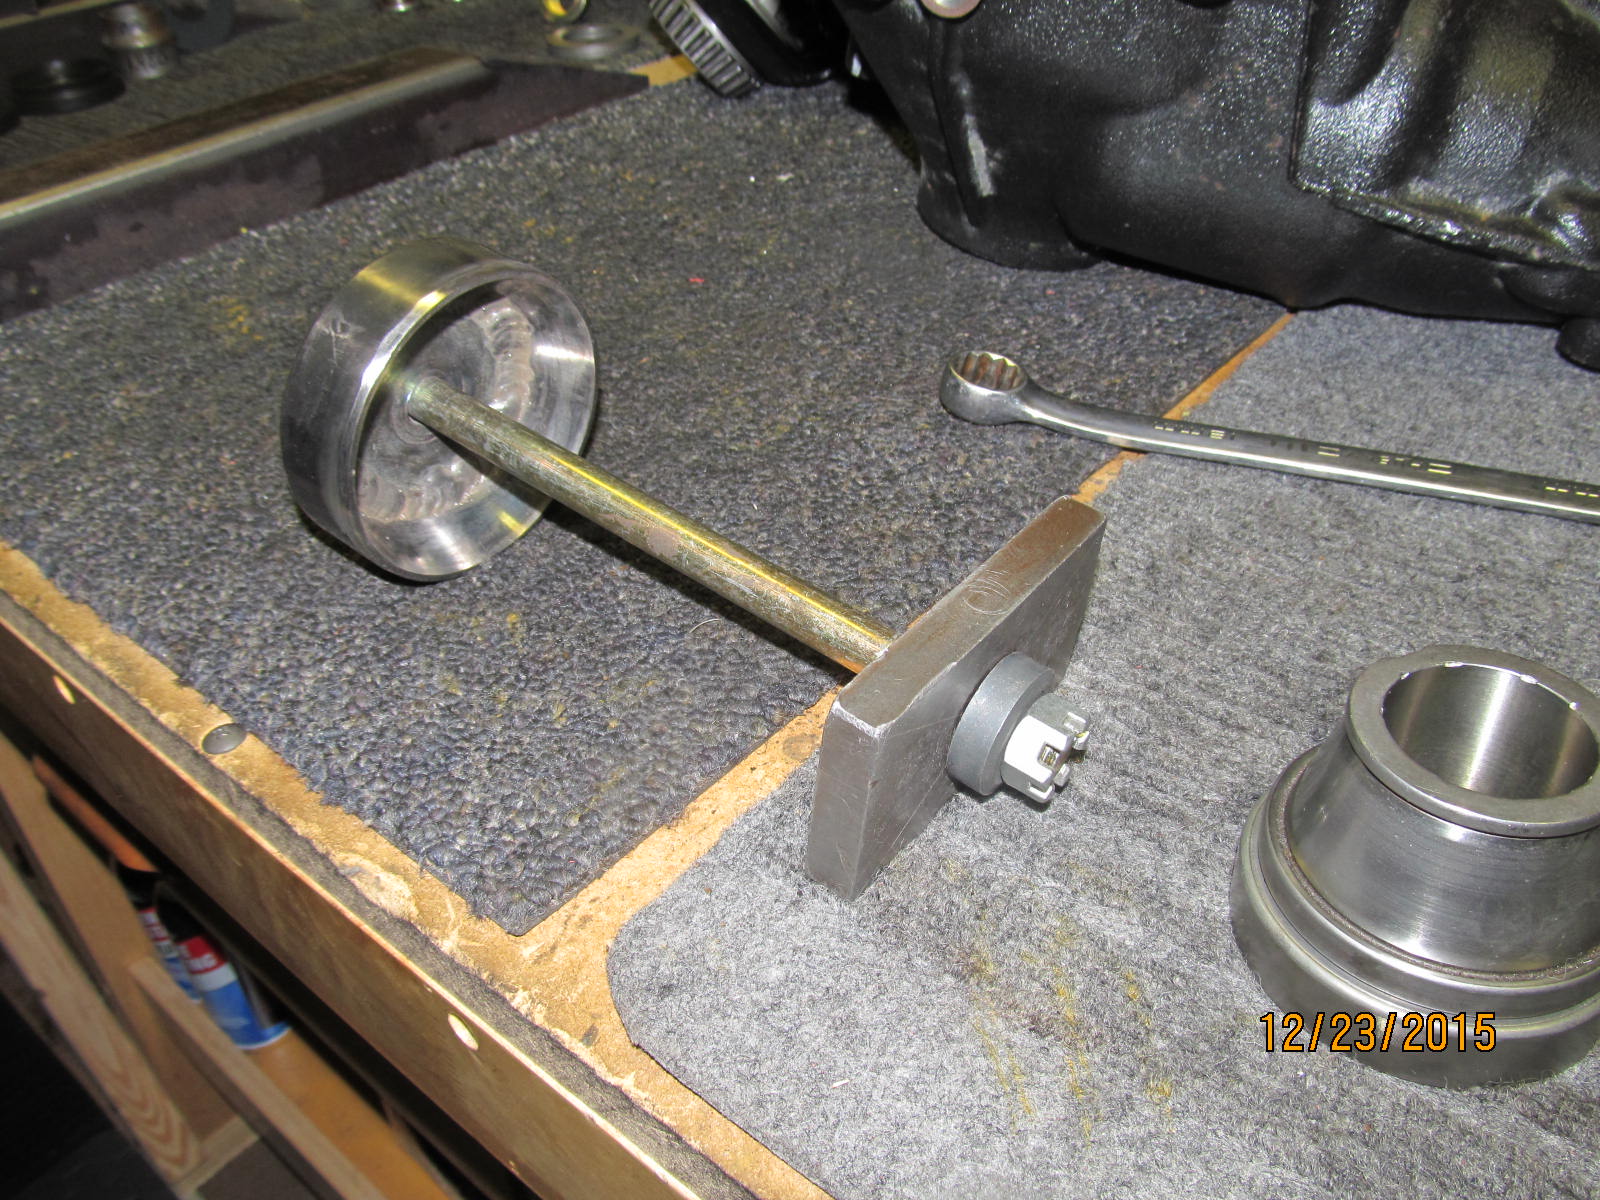
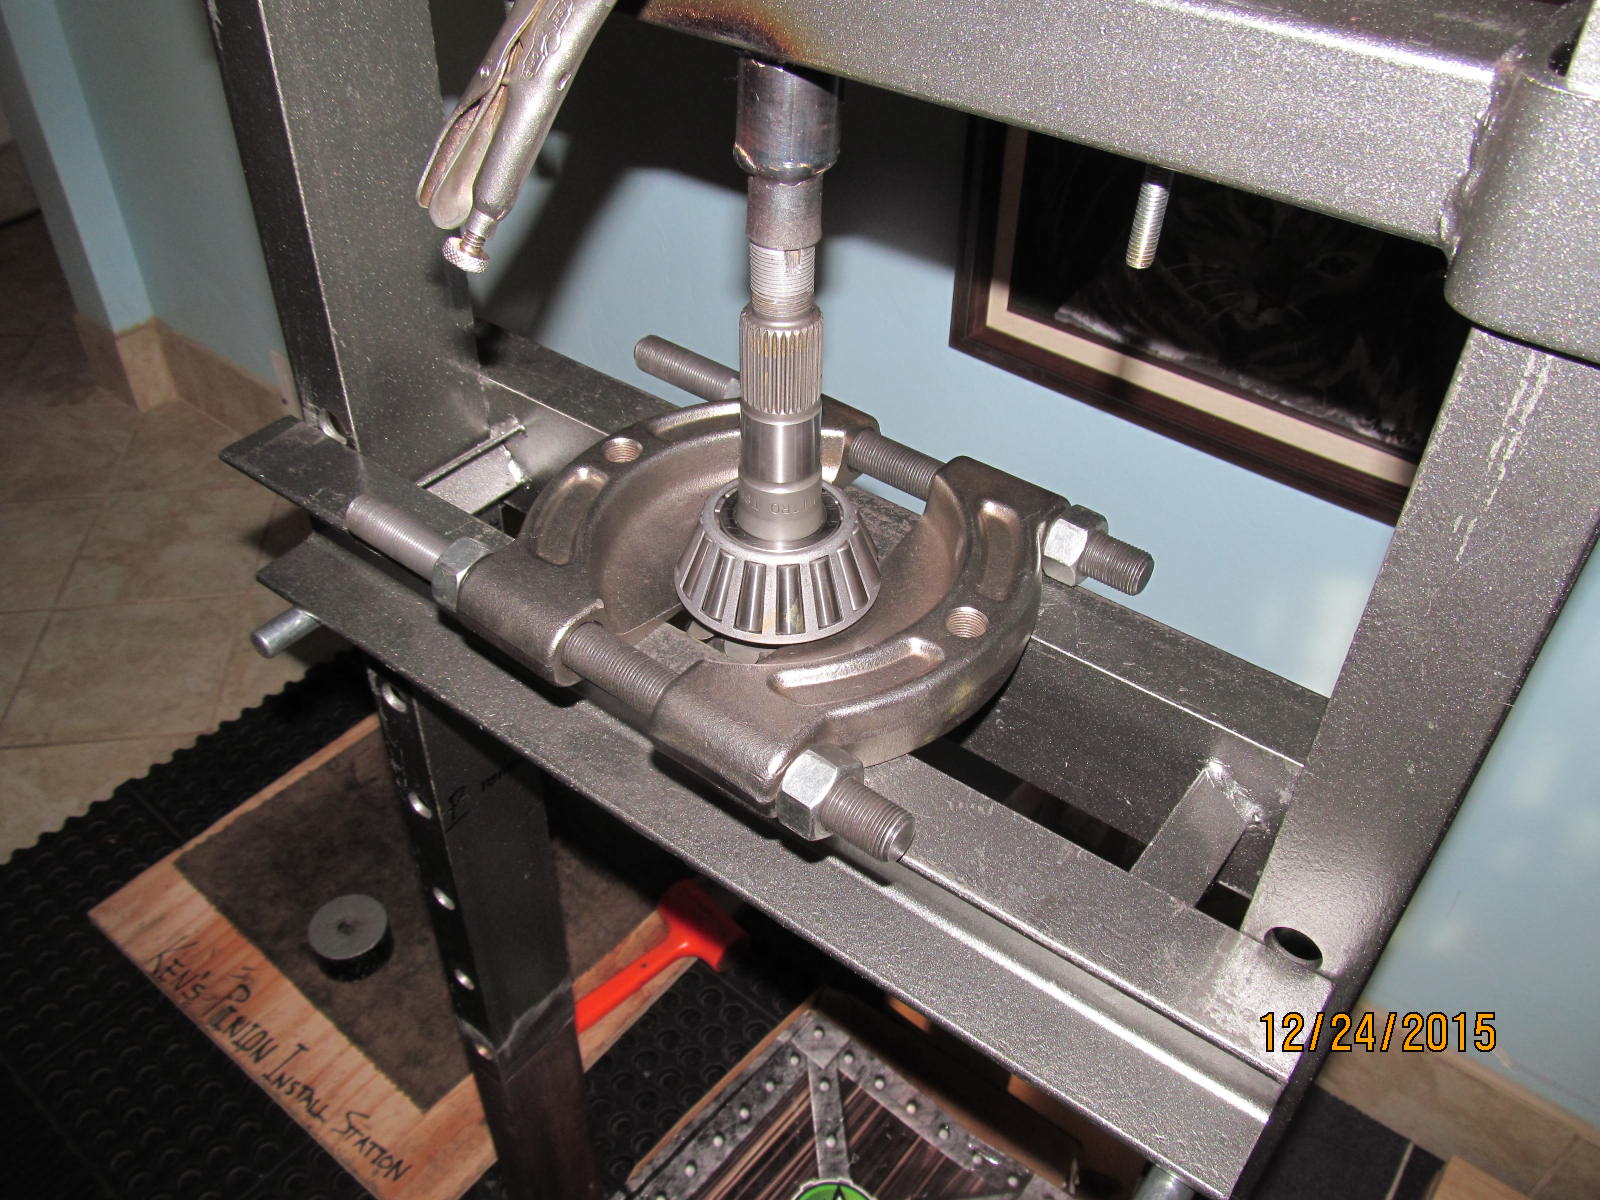
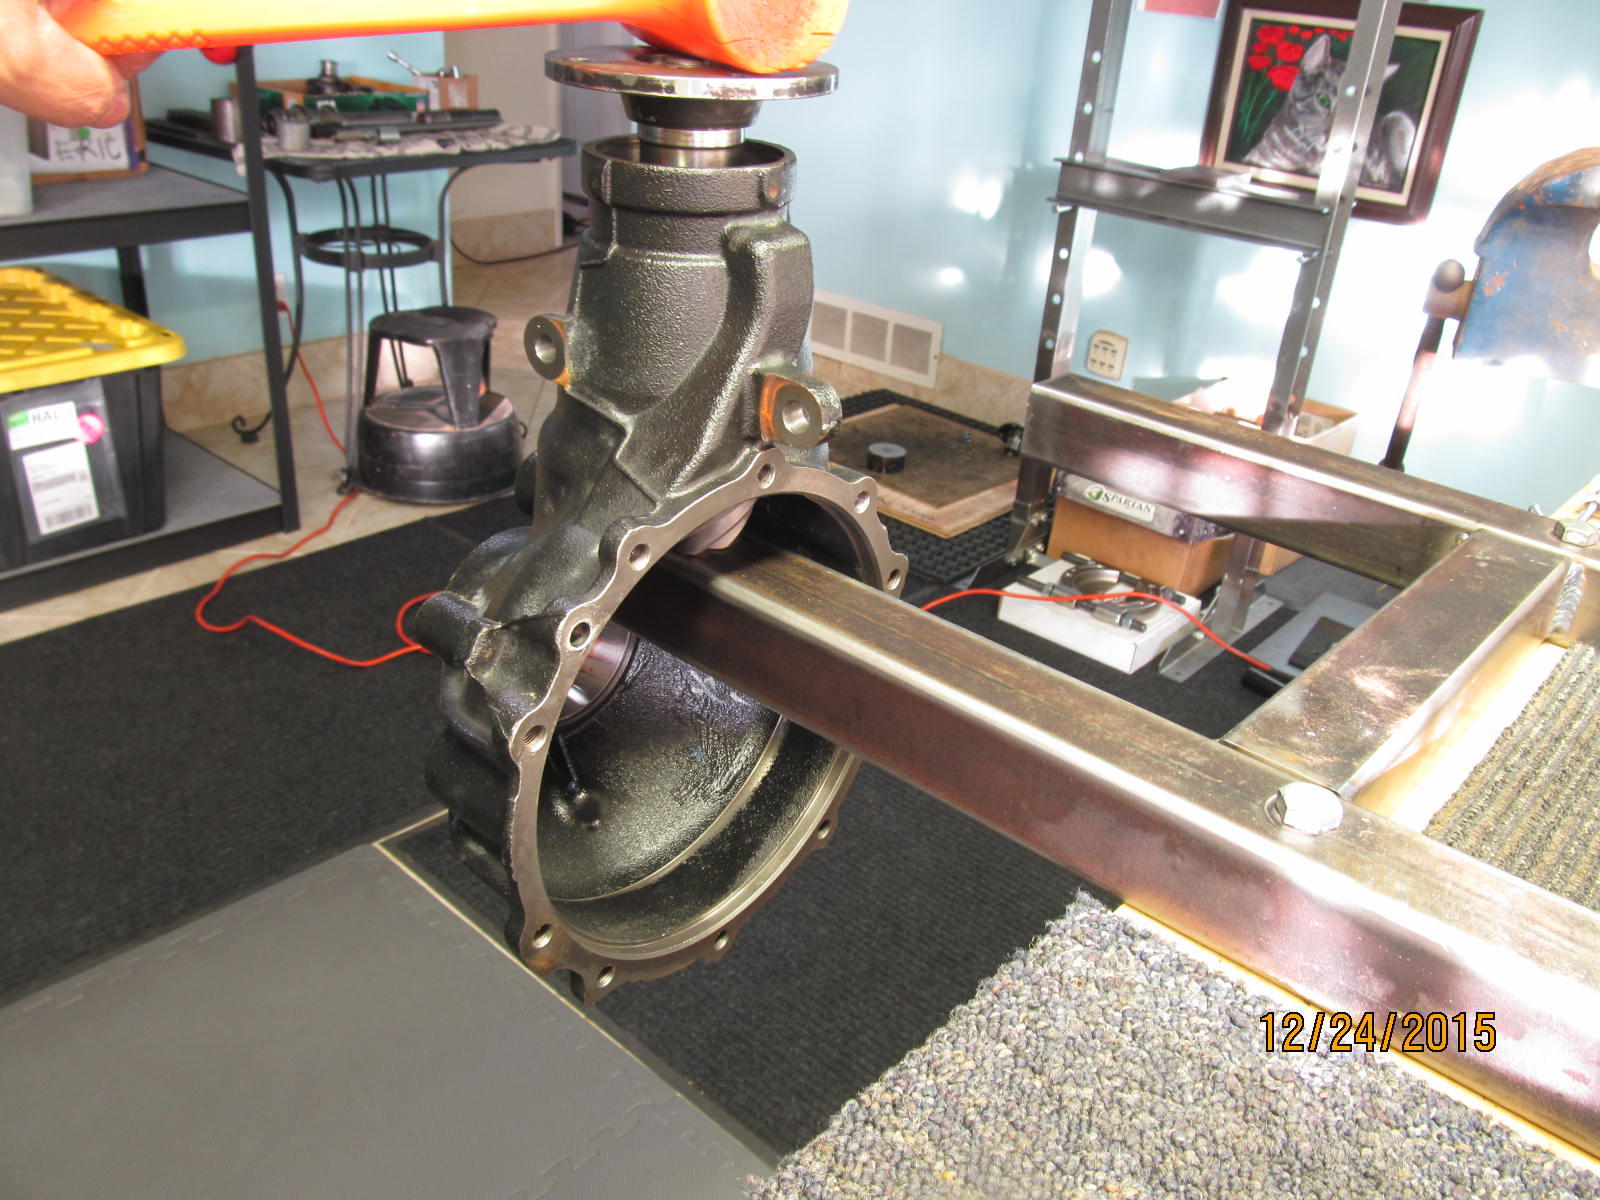
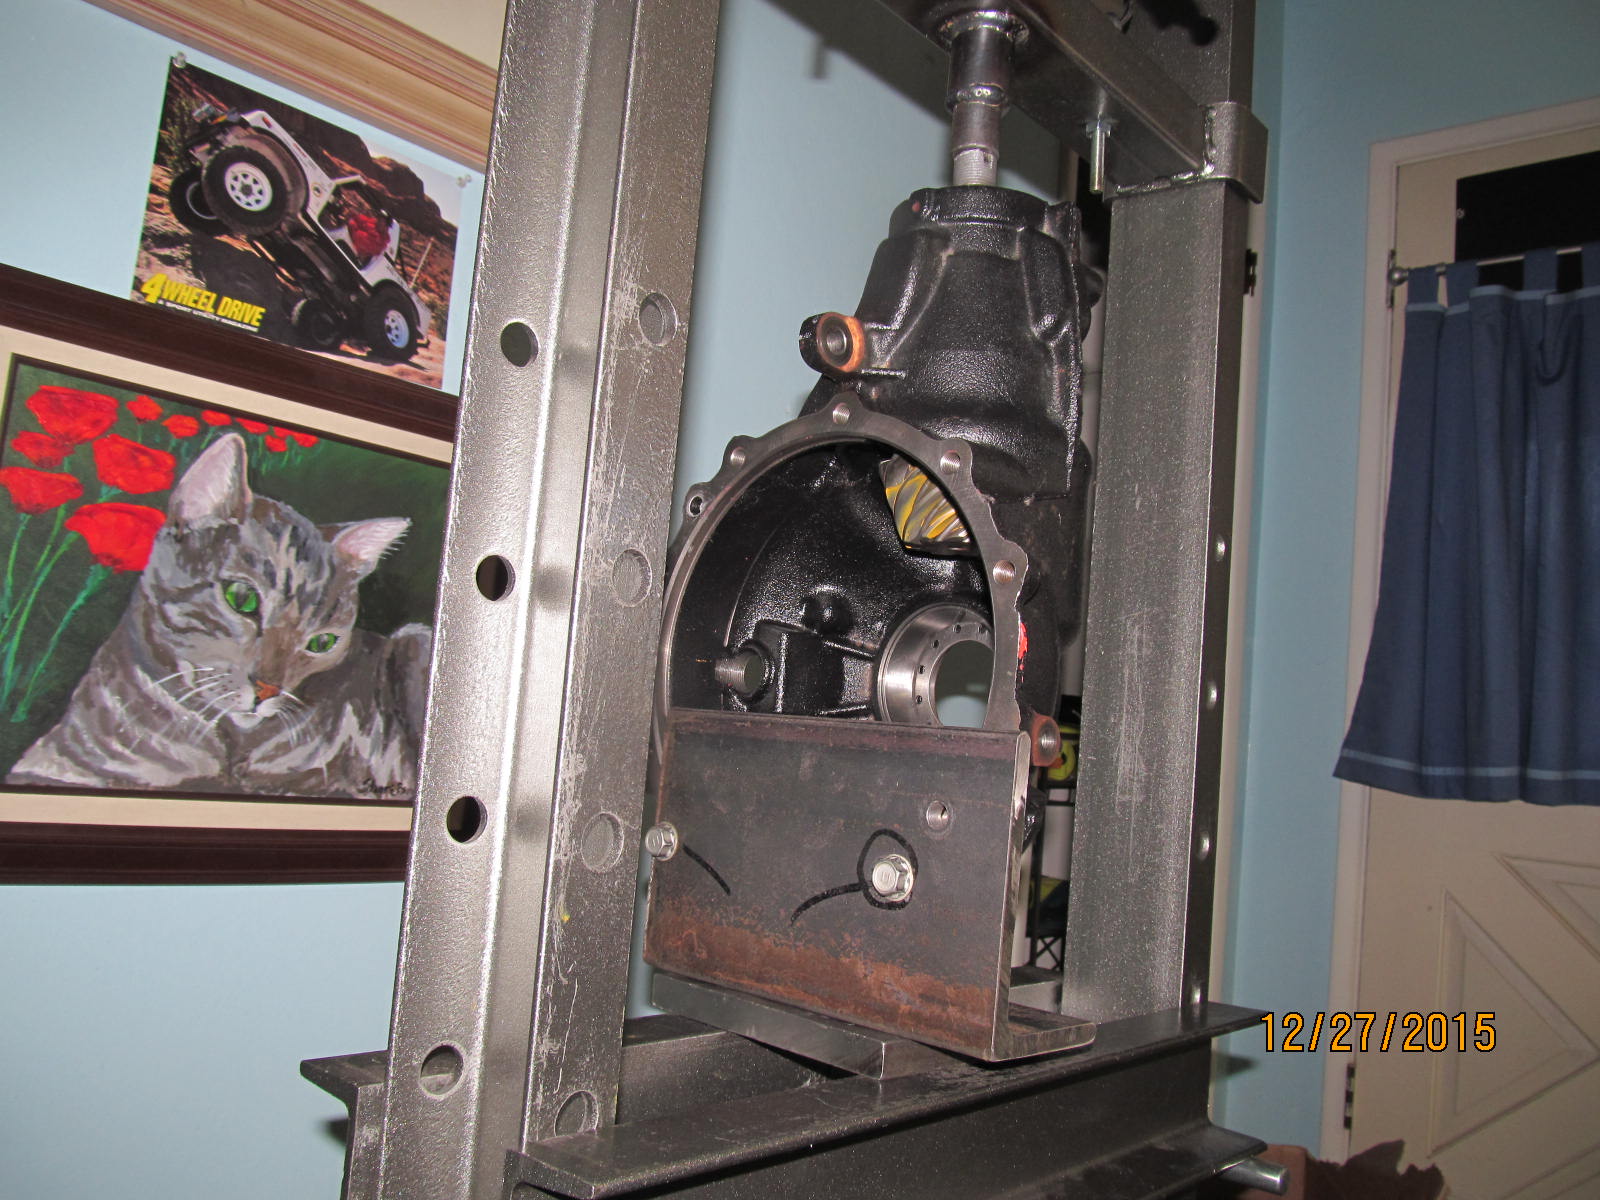
Pressing the pinion out....
|
|
|
|
|
Just a standard V6 crush sleeve. It will be replaced later with a solid collar.
|
|
|
|
|
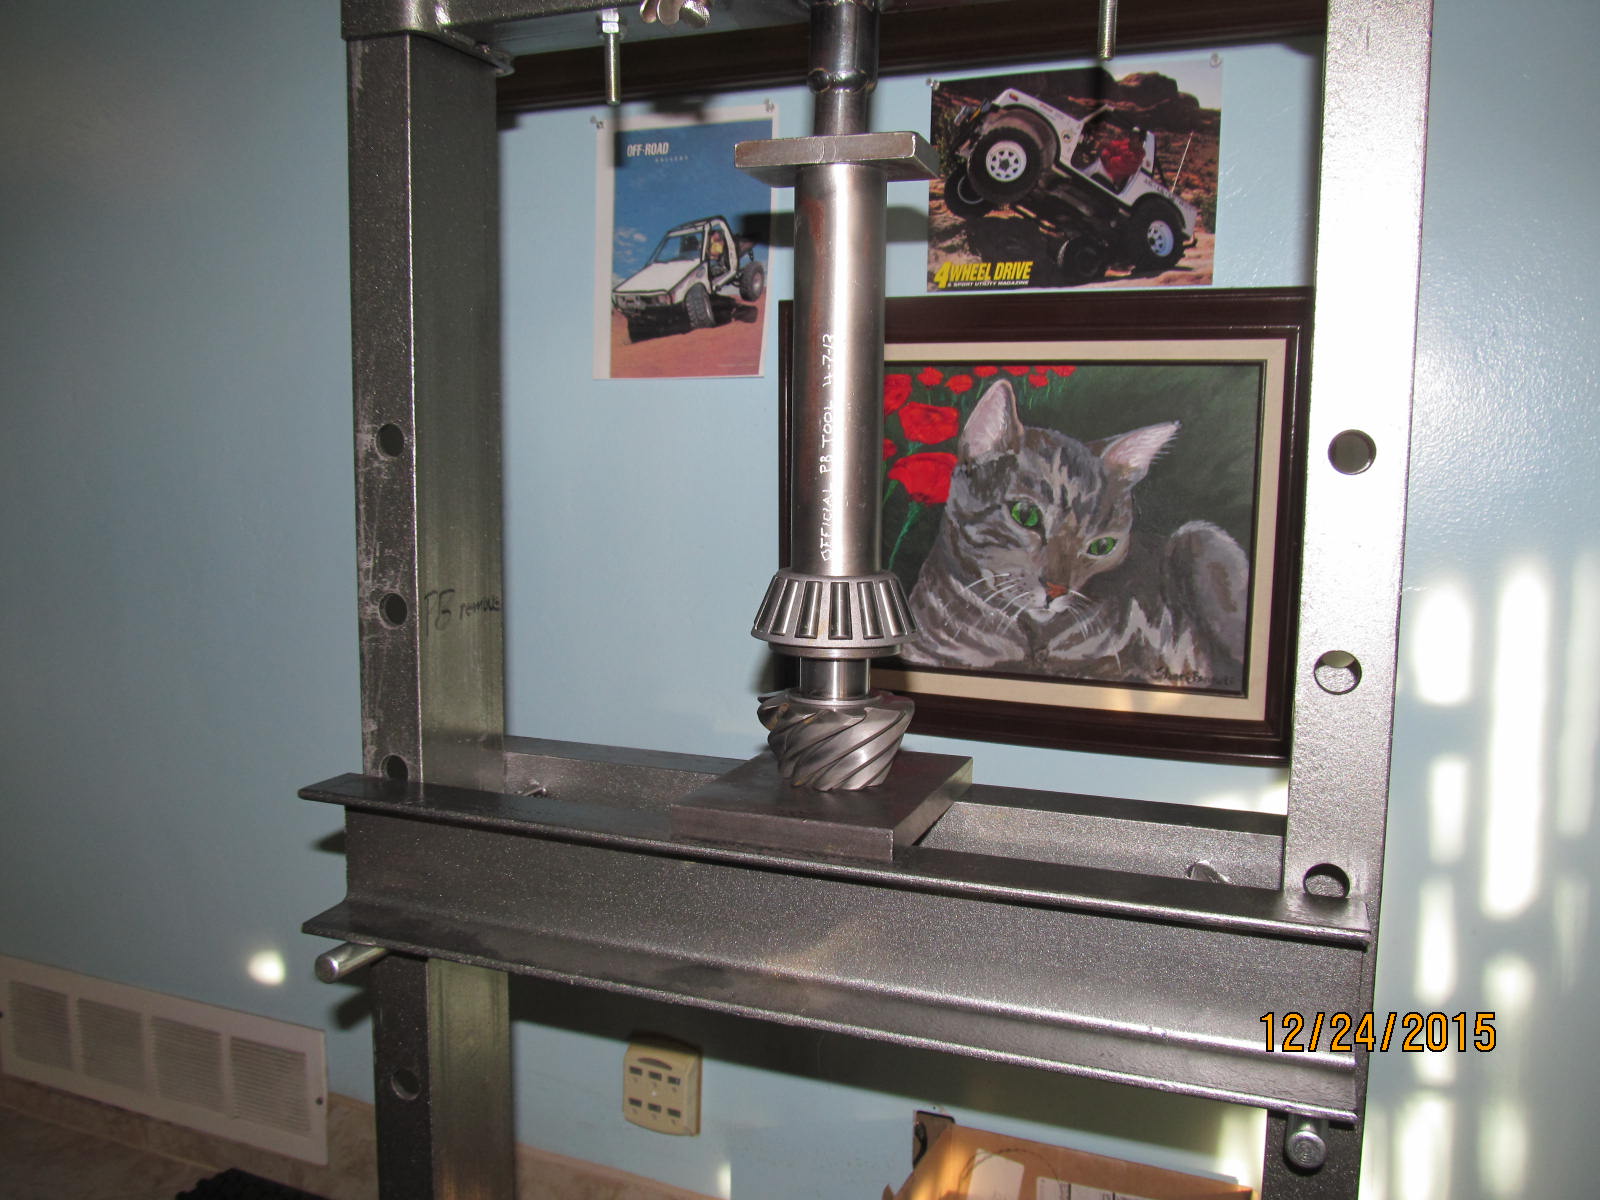
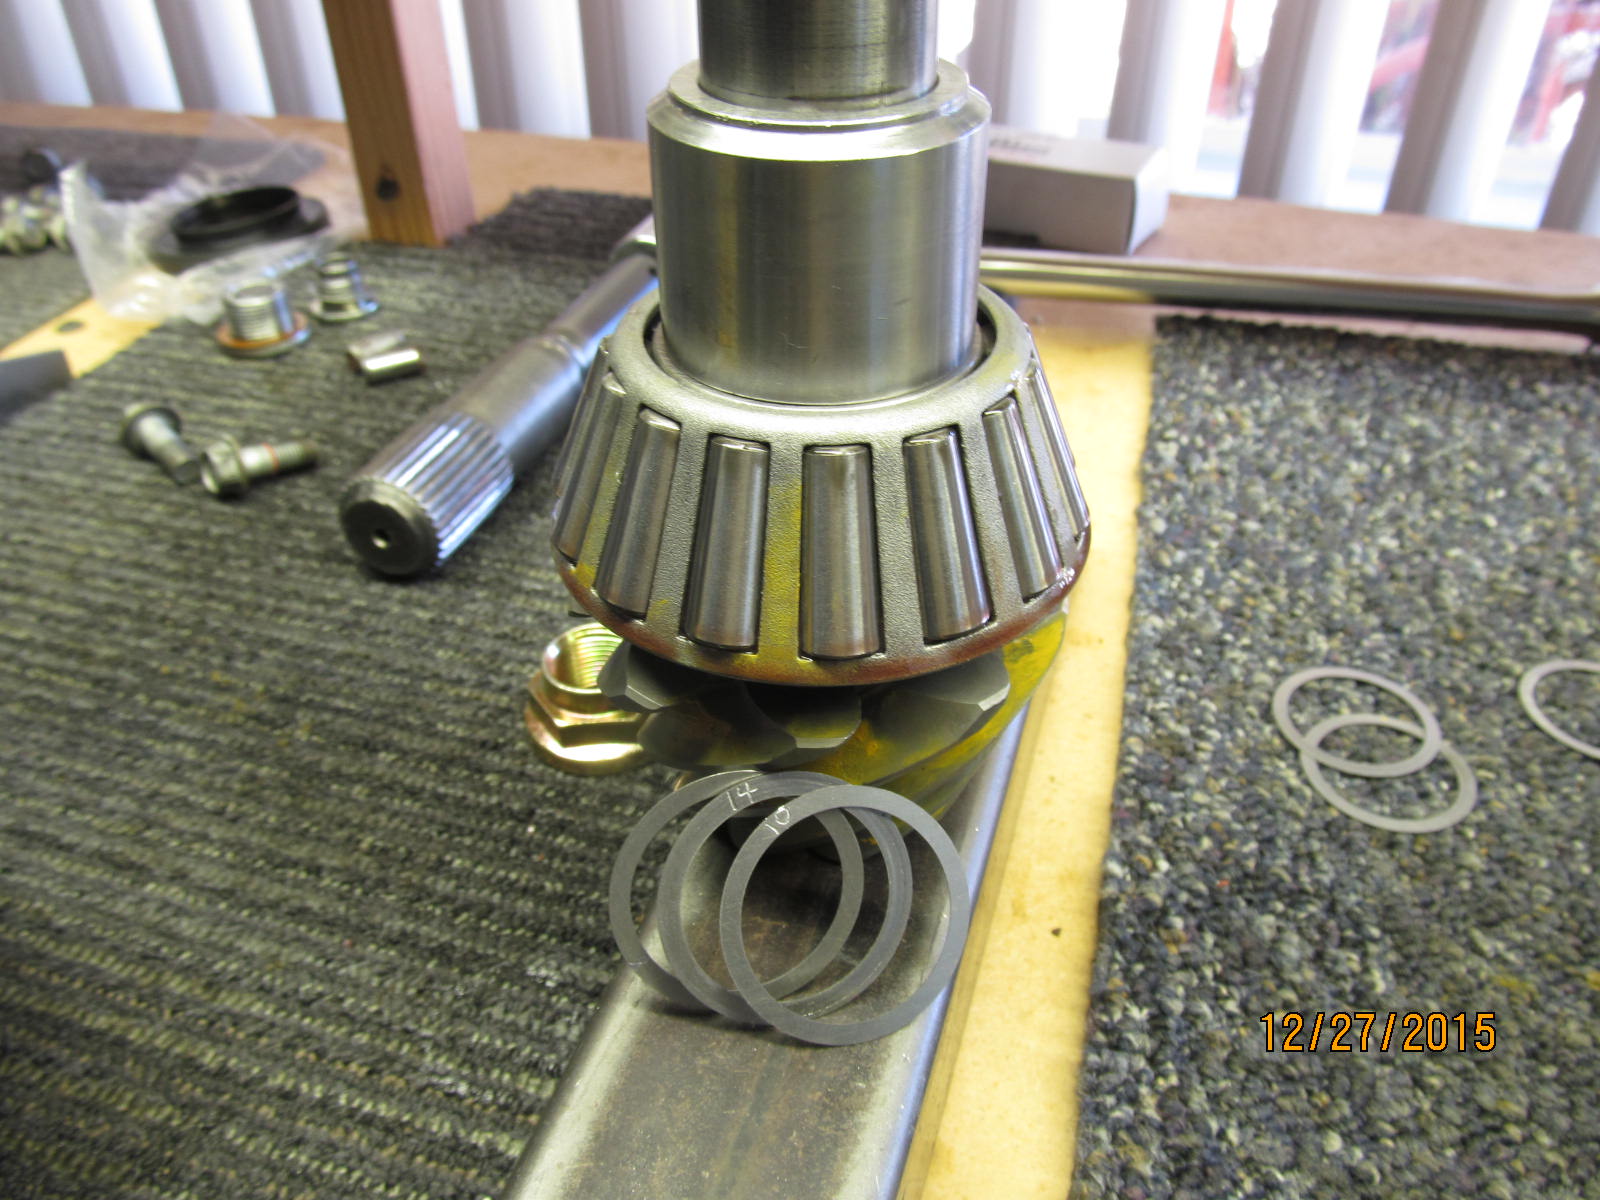
Need the pinion shim to use on the new 456 G2 Gear.
|
|
|
|
|
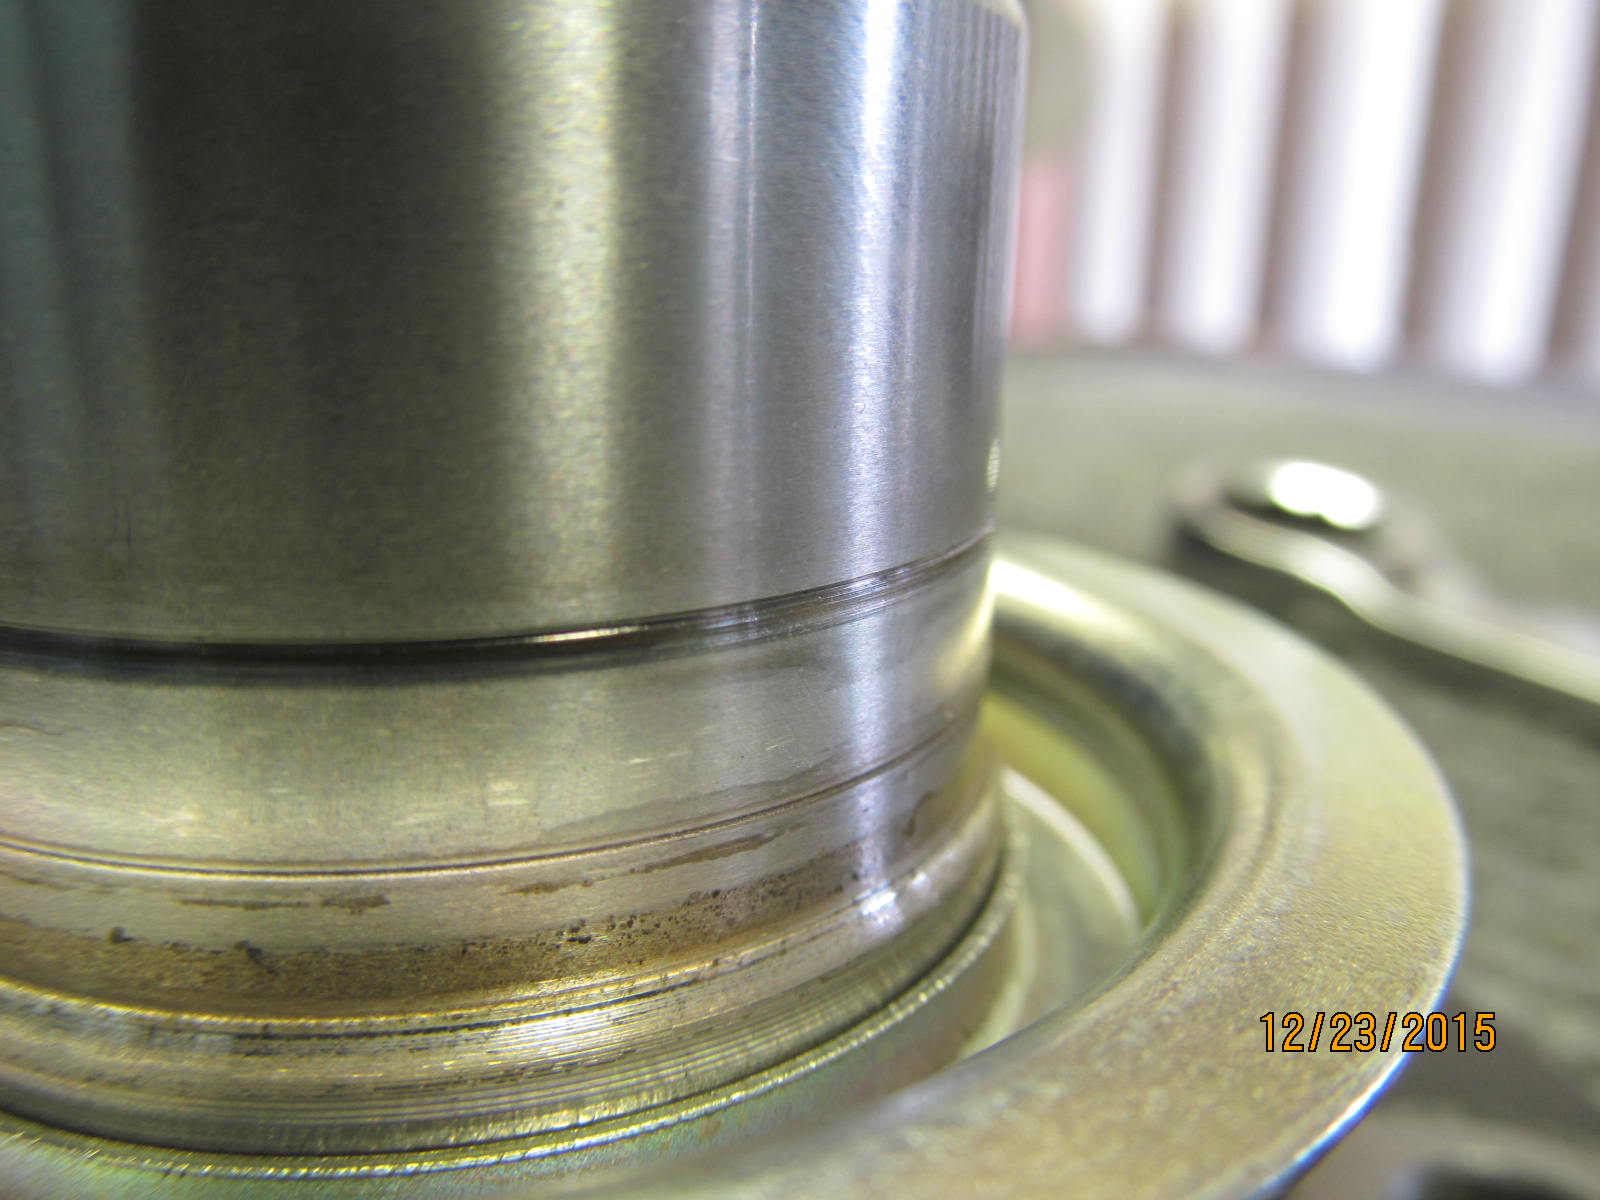
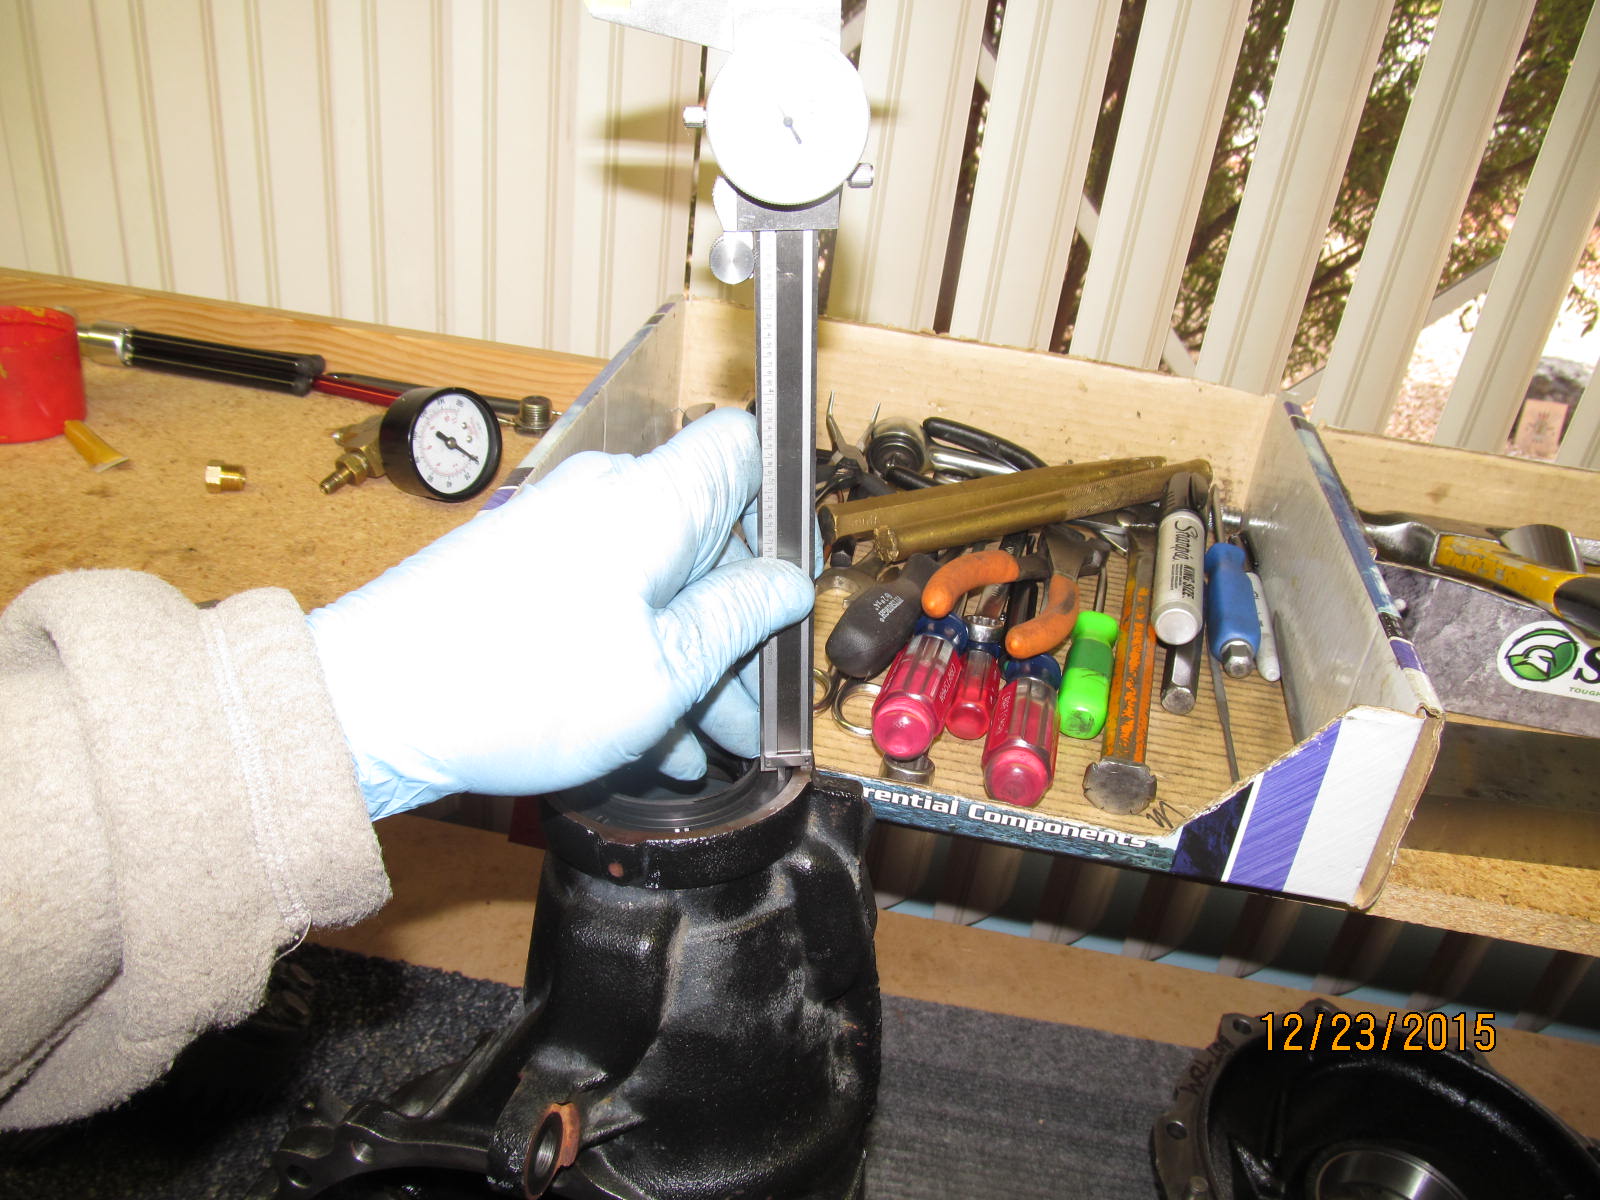
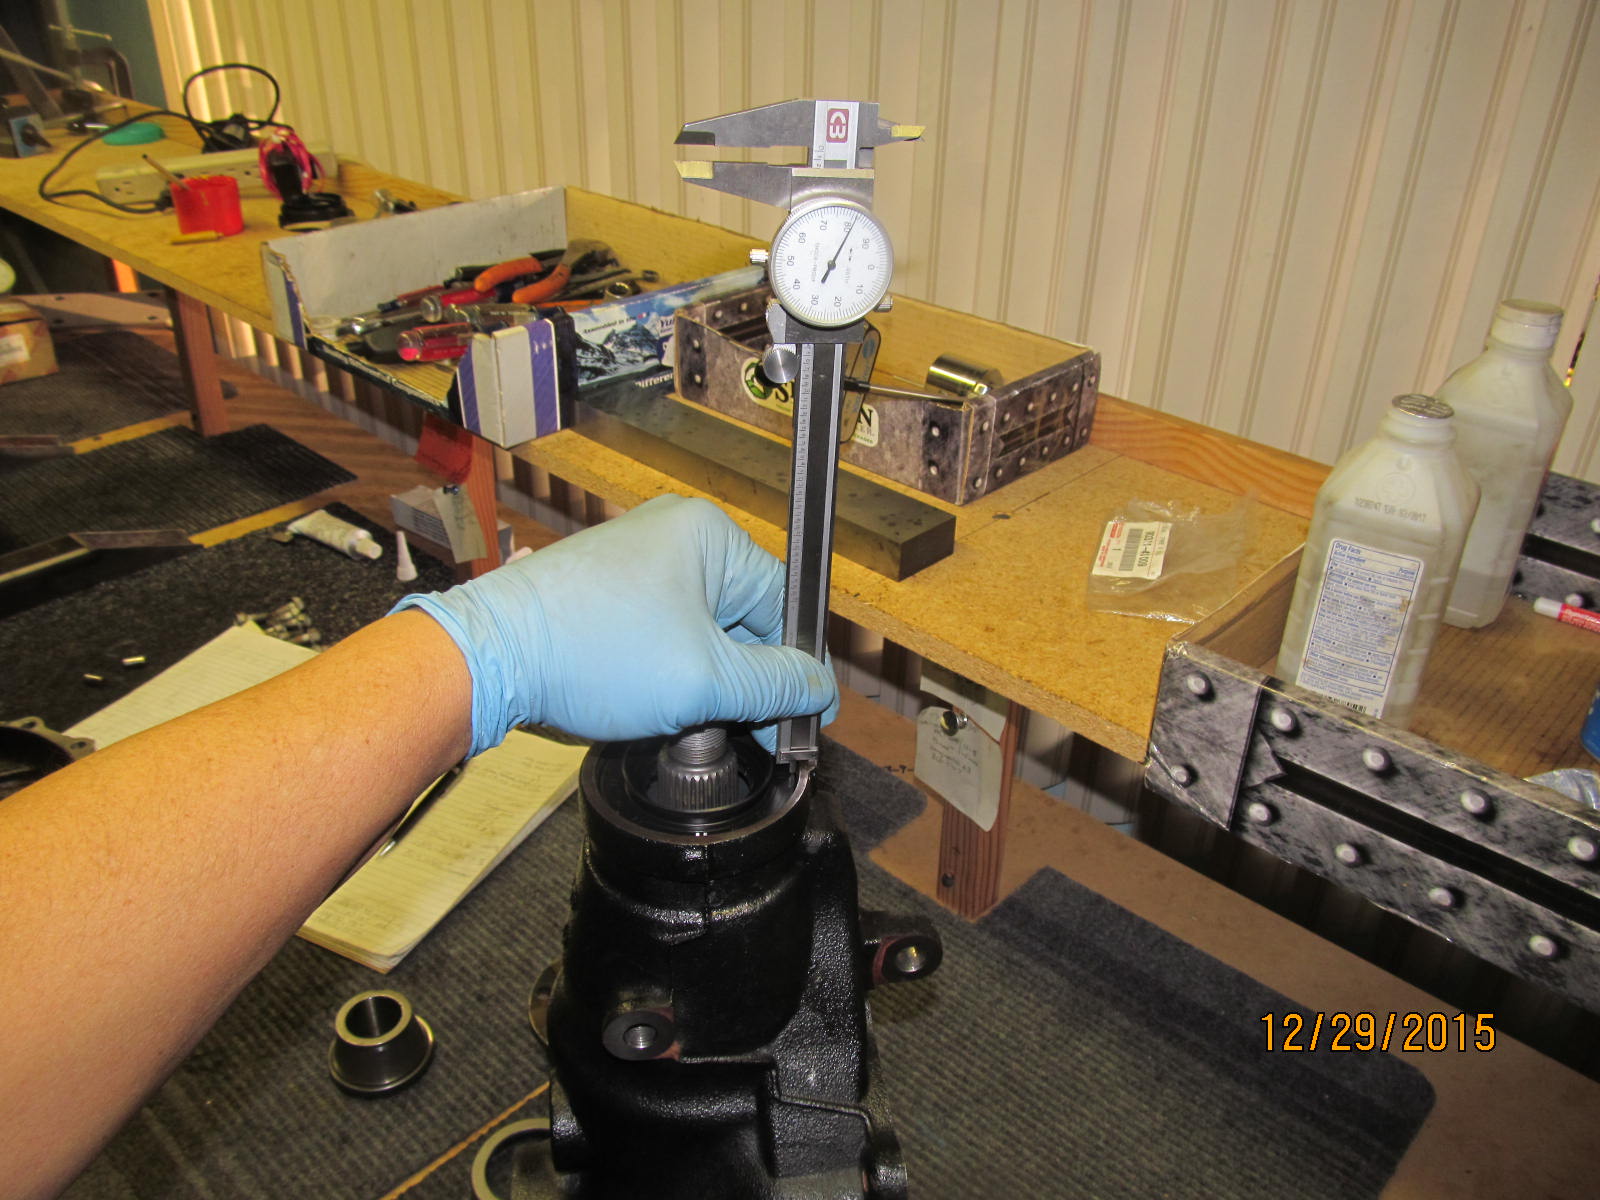
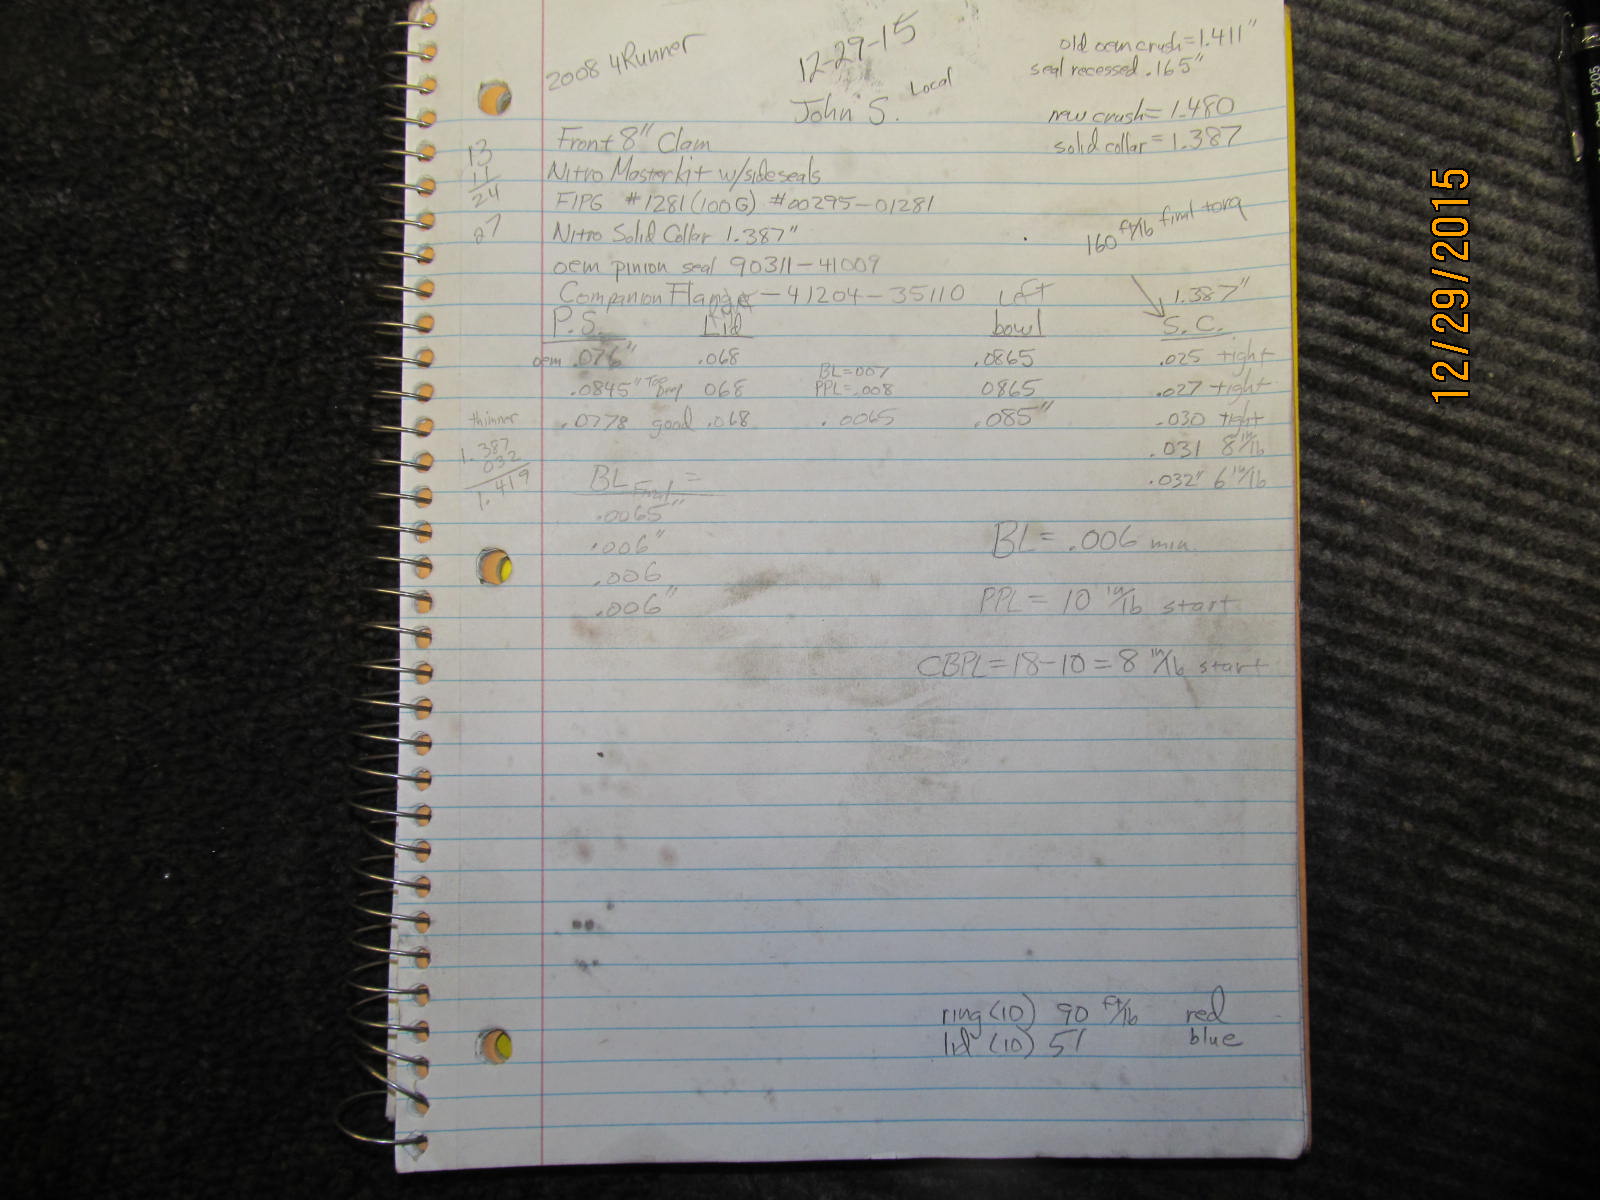
Making a note of how deeply recessed the pinion seal was. .165"
|
|
|
|
|
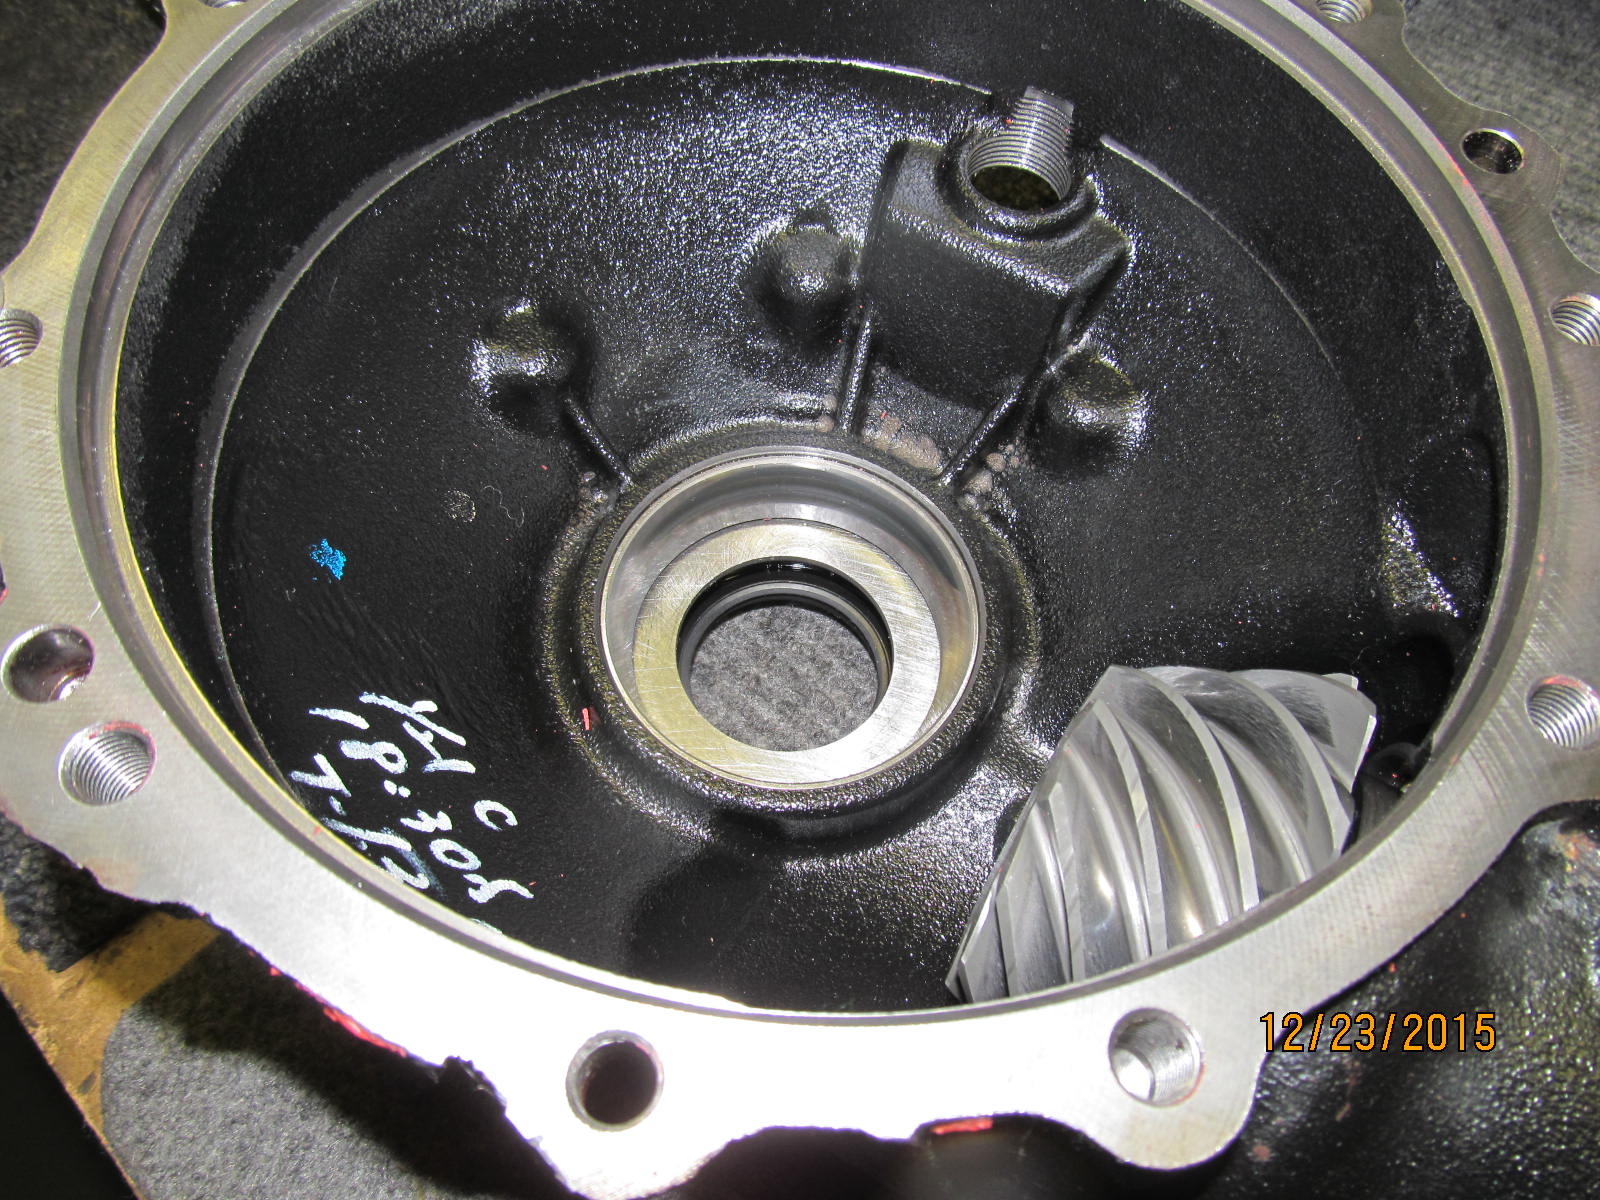
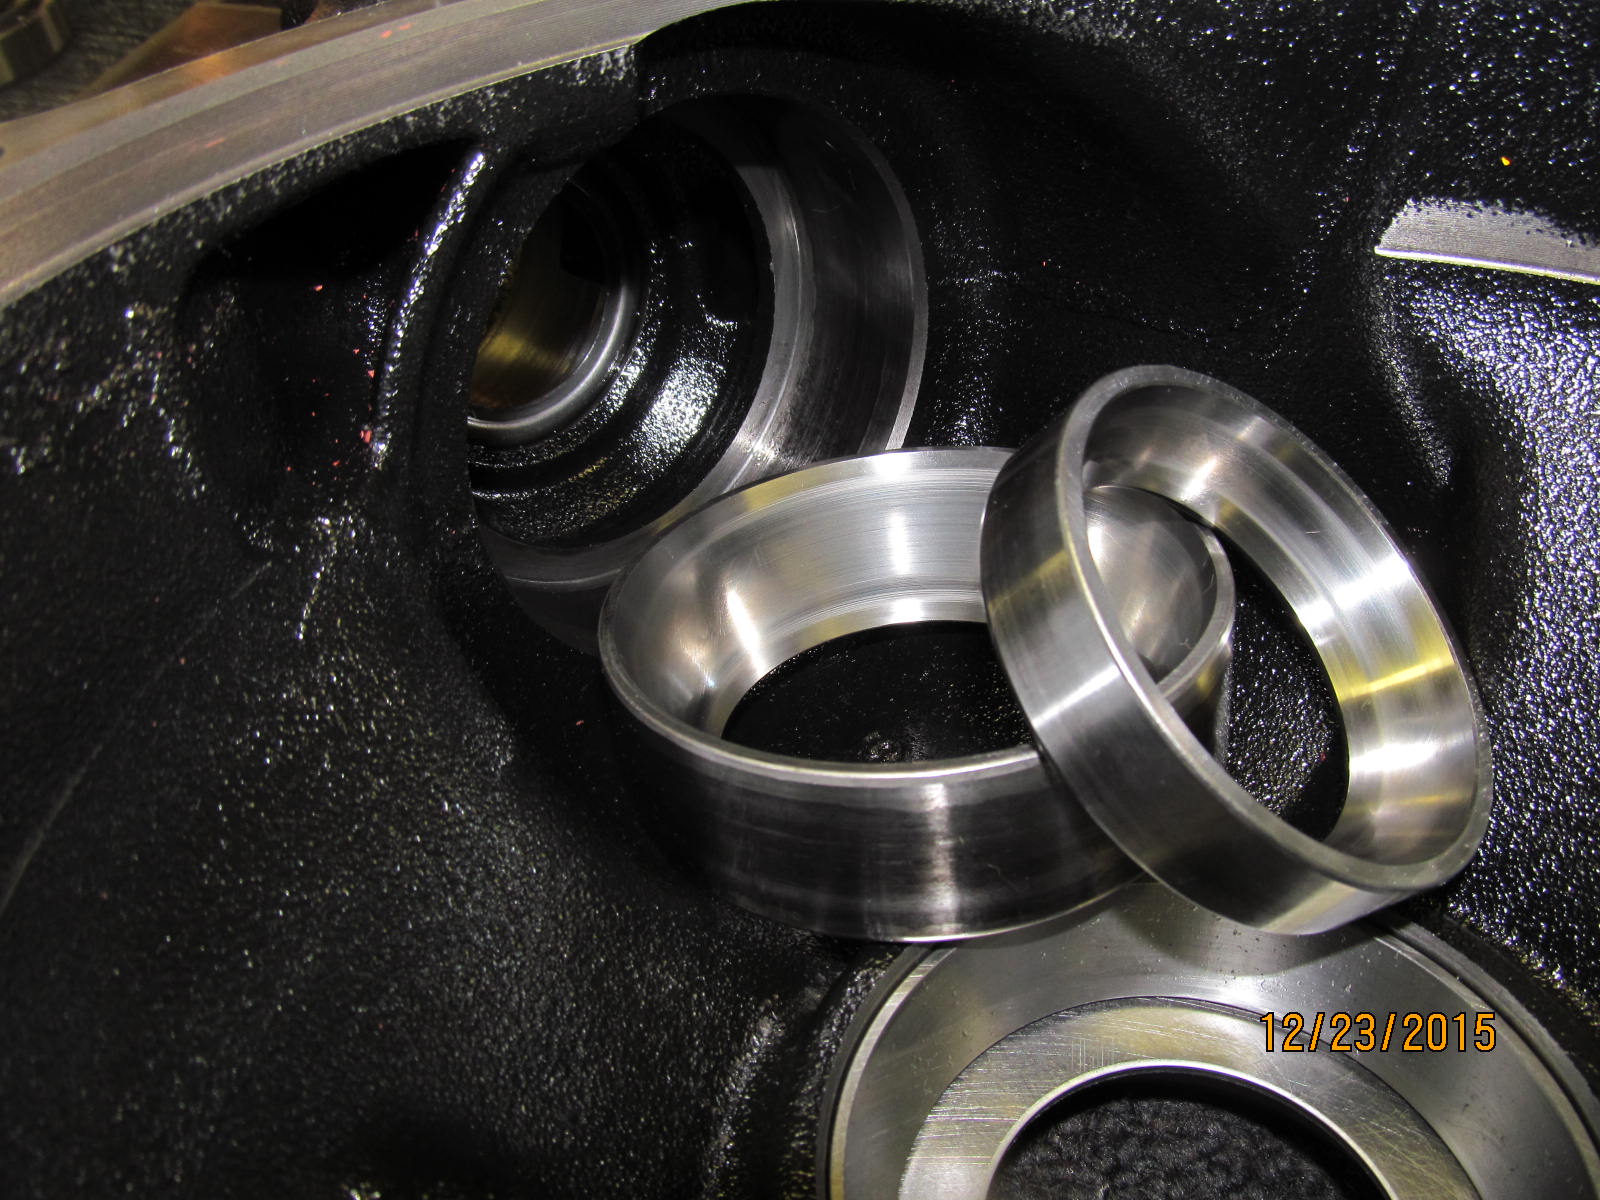
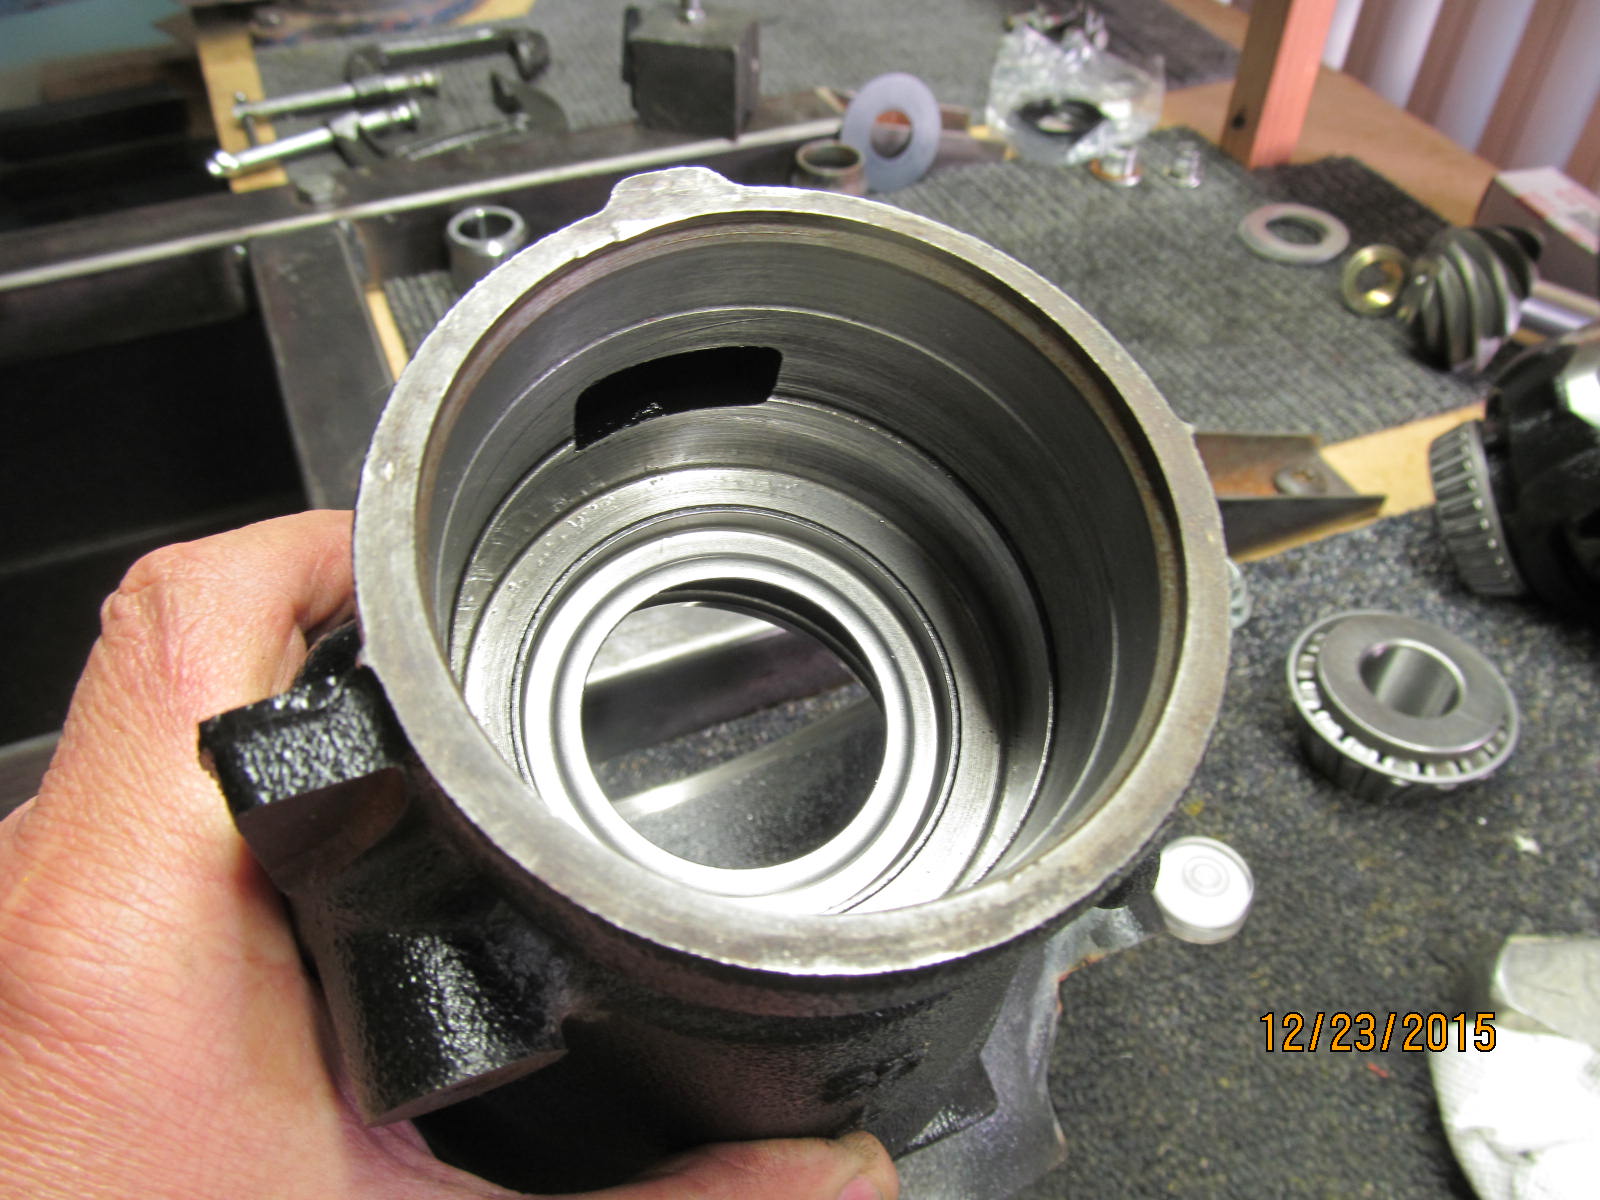
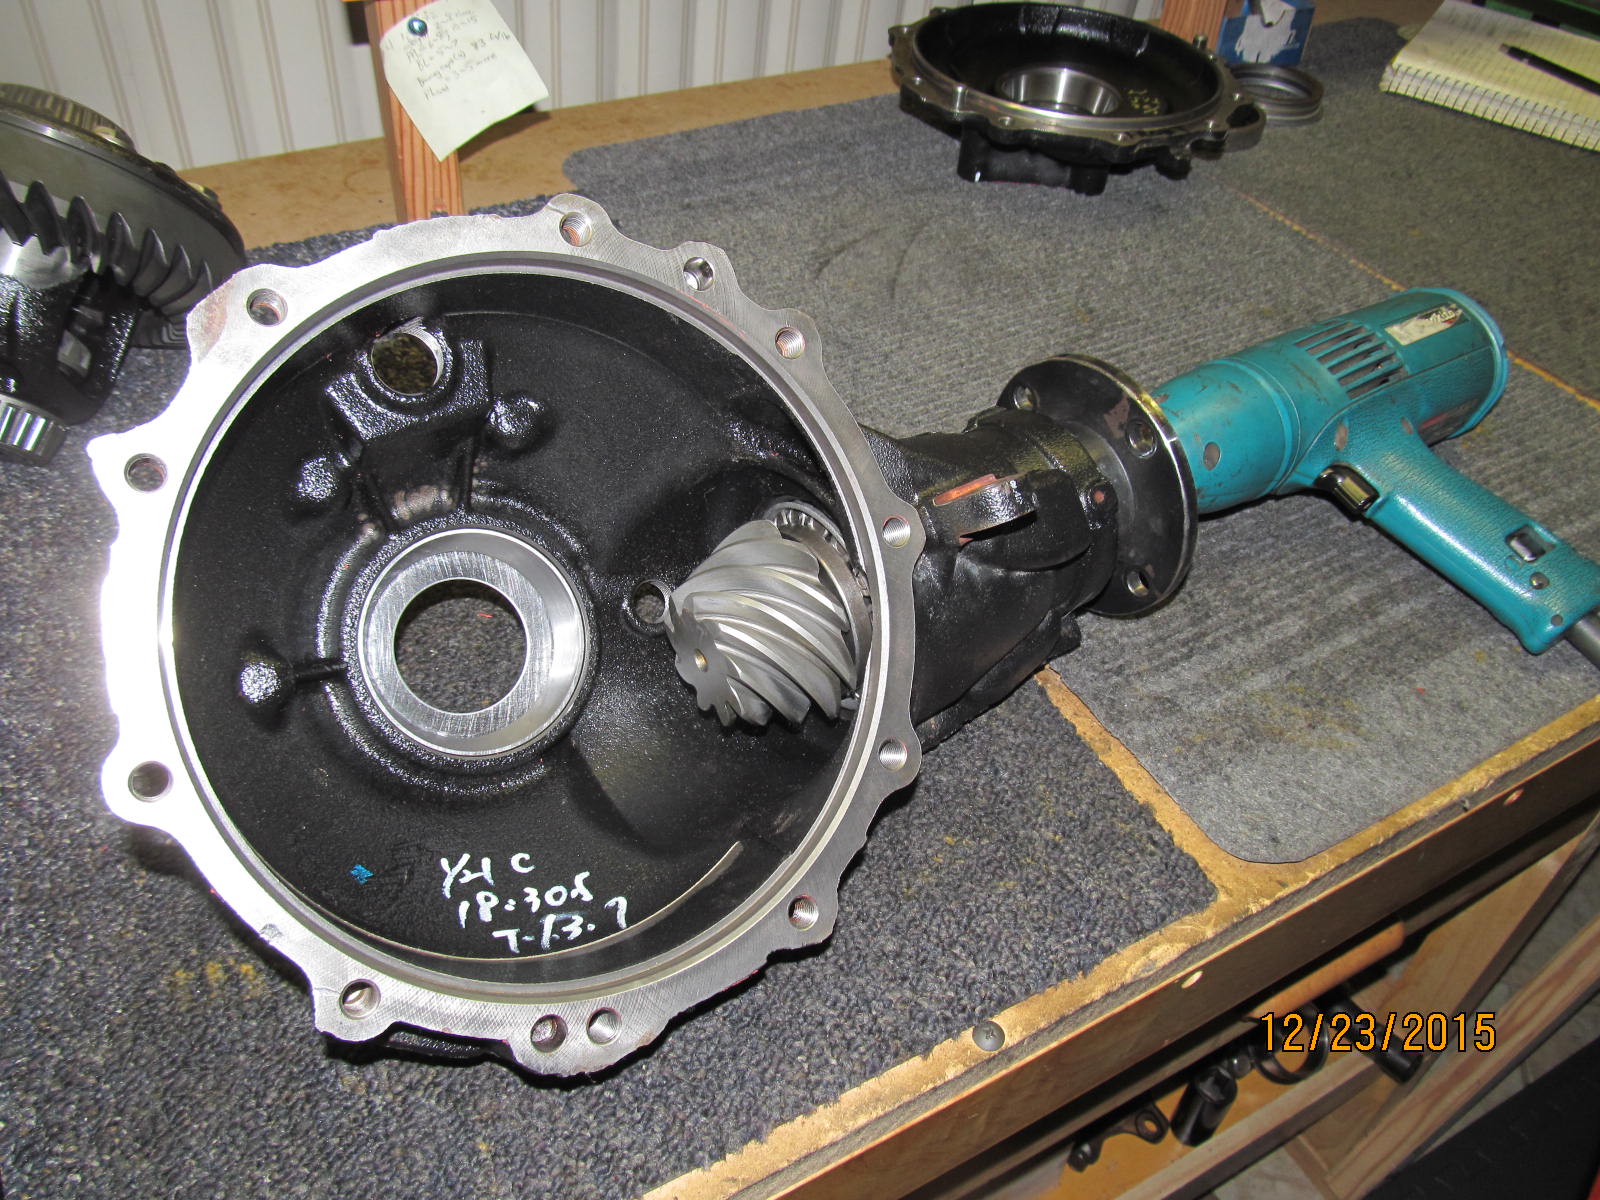
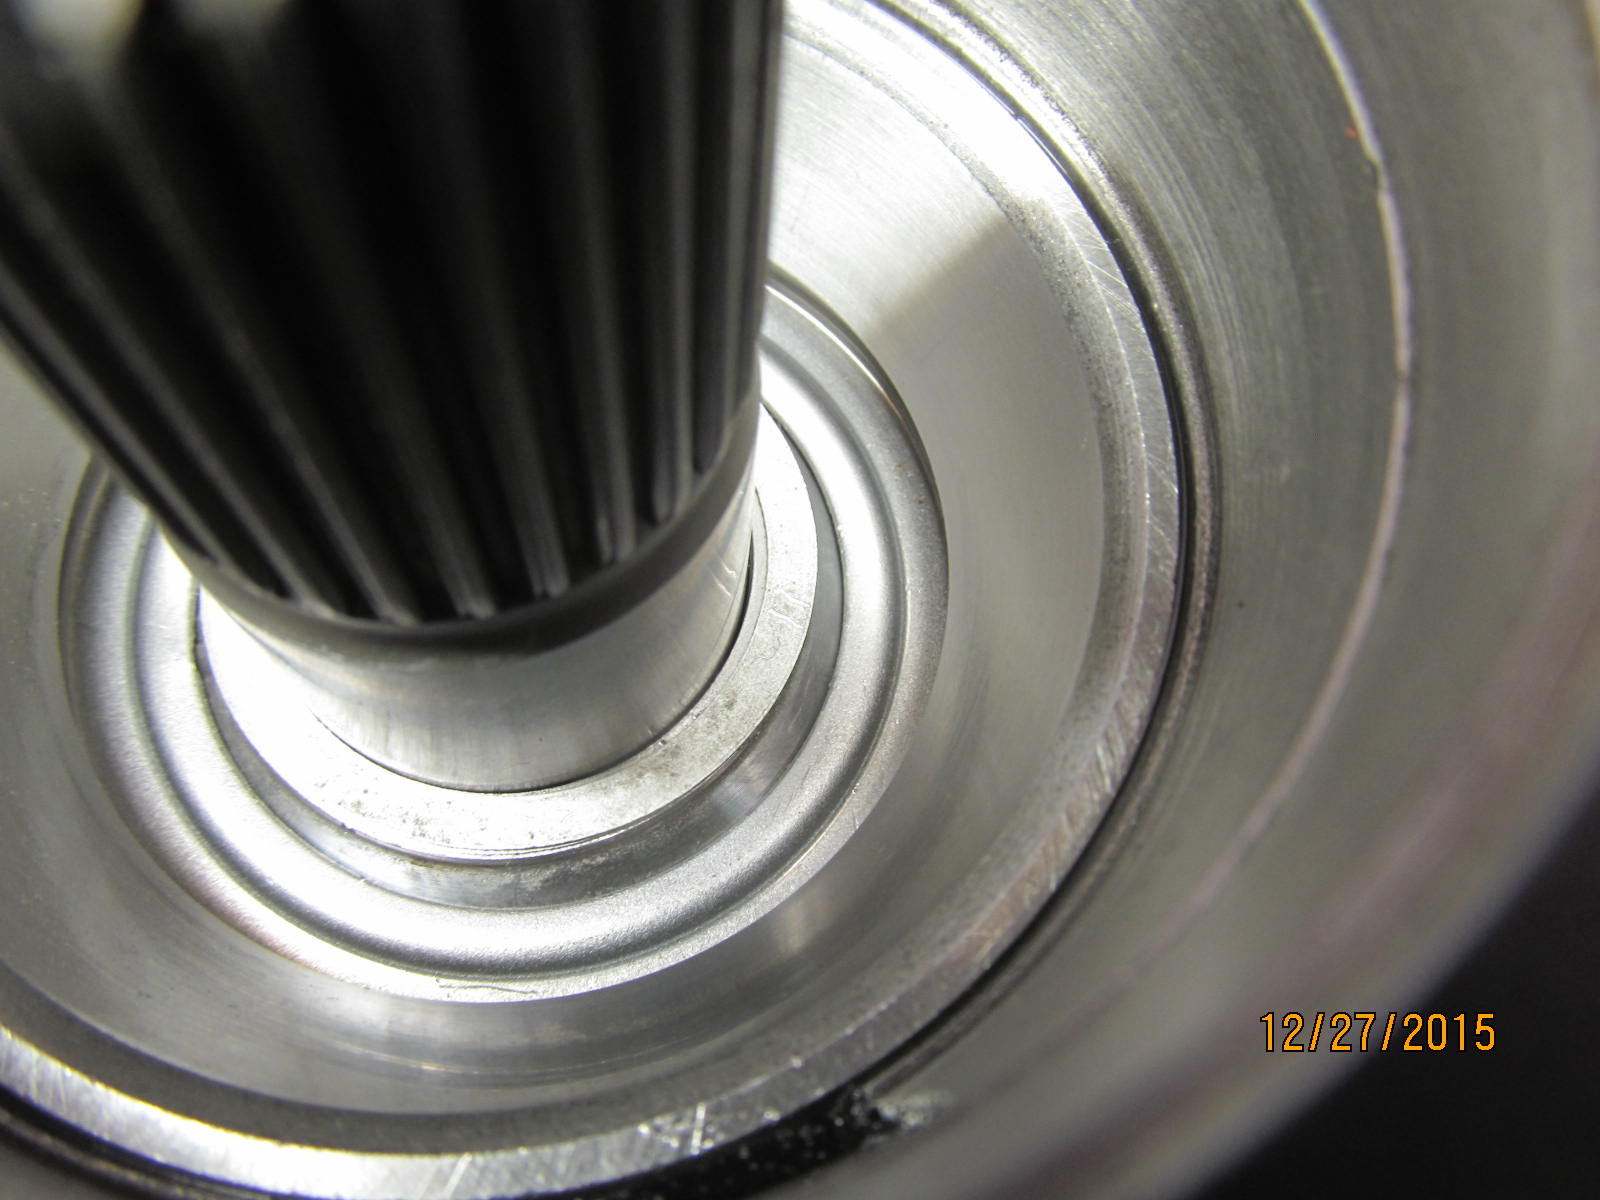
Old pinion races are removed.
|
|
|

|
|
New big inner race to be pressed in.
|
|
|
|
|
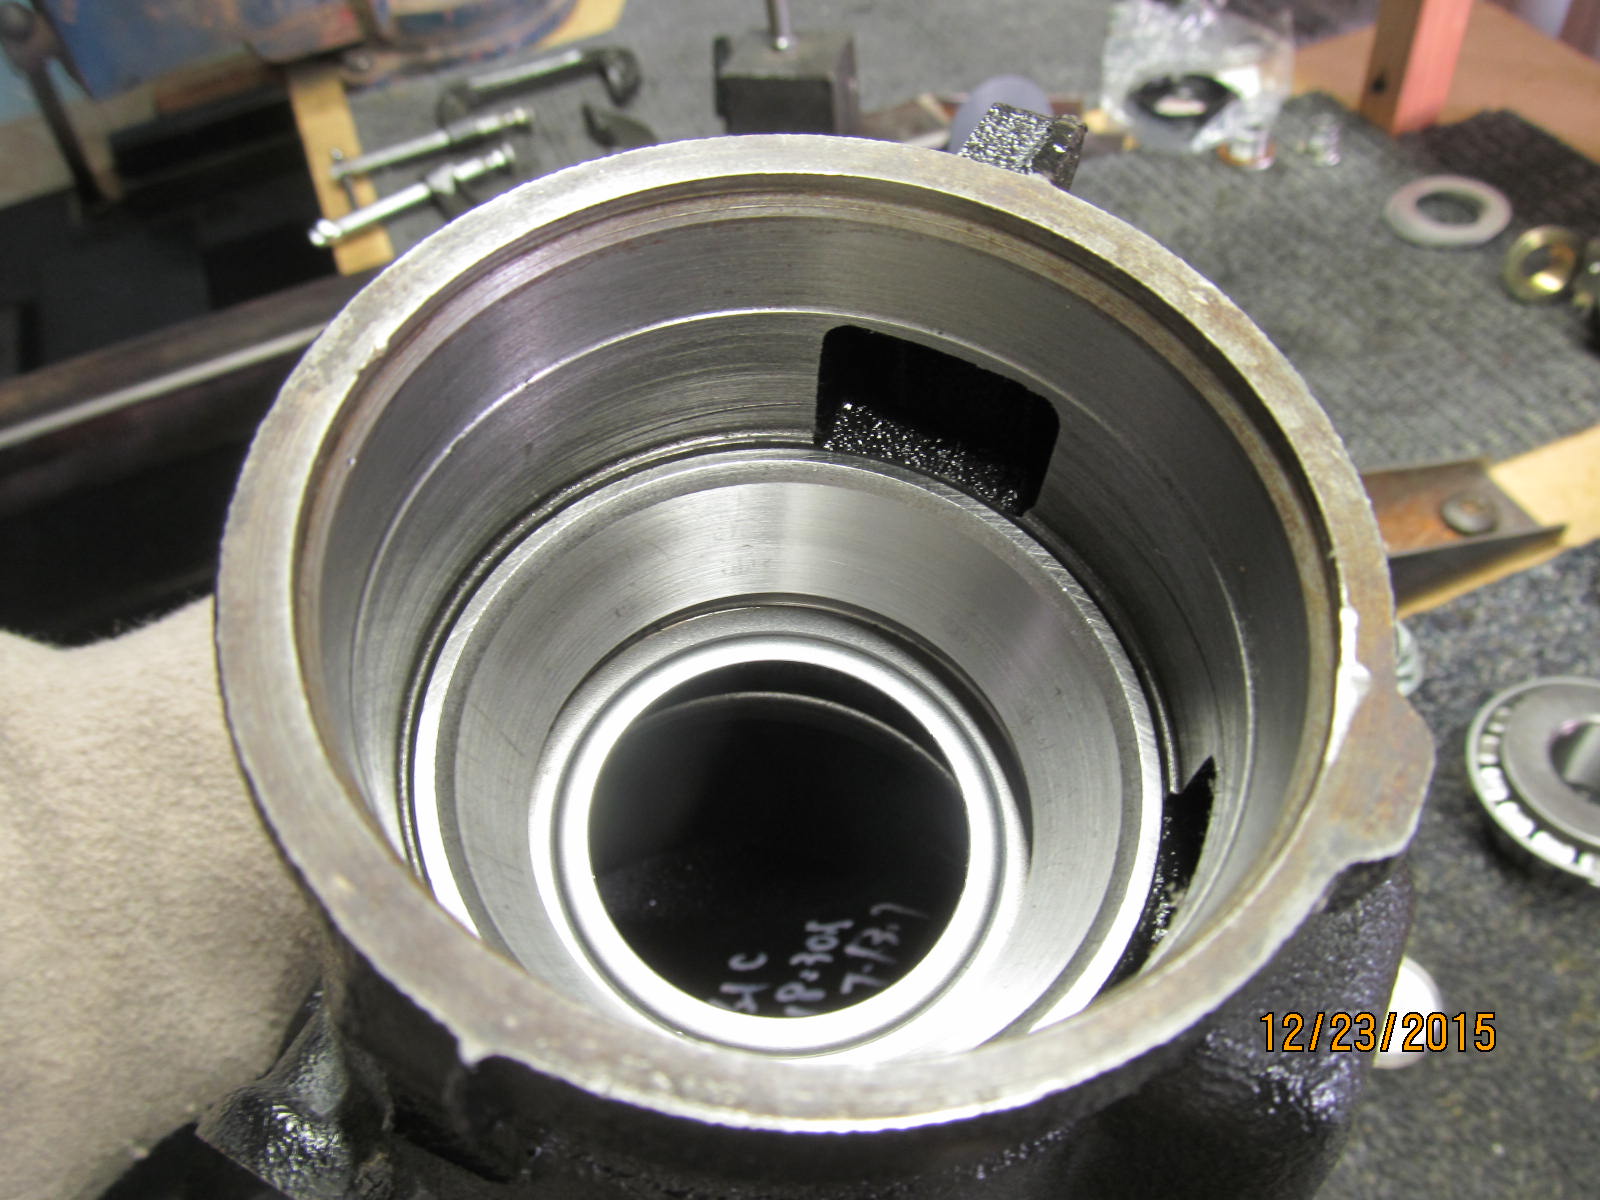
100% fully pressed in.
|
|
|
|
|
New outer pinion race to go here.
|
|
|
|
|
.....
|
|
|

|
Not shown but a test paint was already done with the factory 076 pinion shim and it was too shallow.
Will now try a .084" shim
|
|
|
|
Each time that the pinion depth shim needs changing means the big inner race gets tapped out
and then pressed in again.
|
|
|
|
|
..................
|
|
|
|
|
................
|
|
|
|
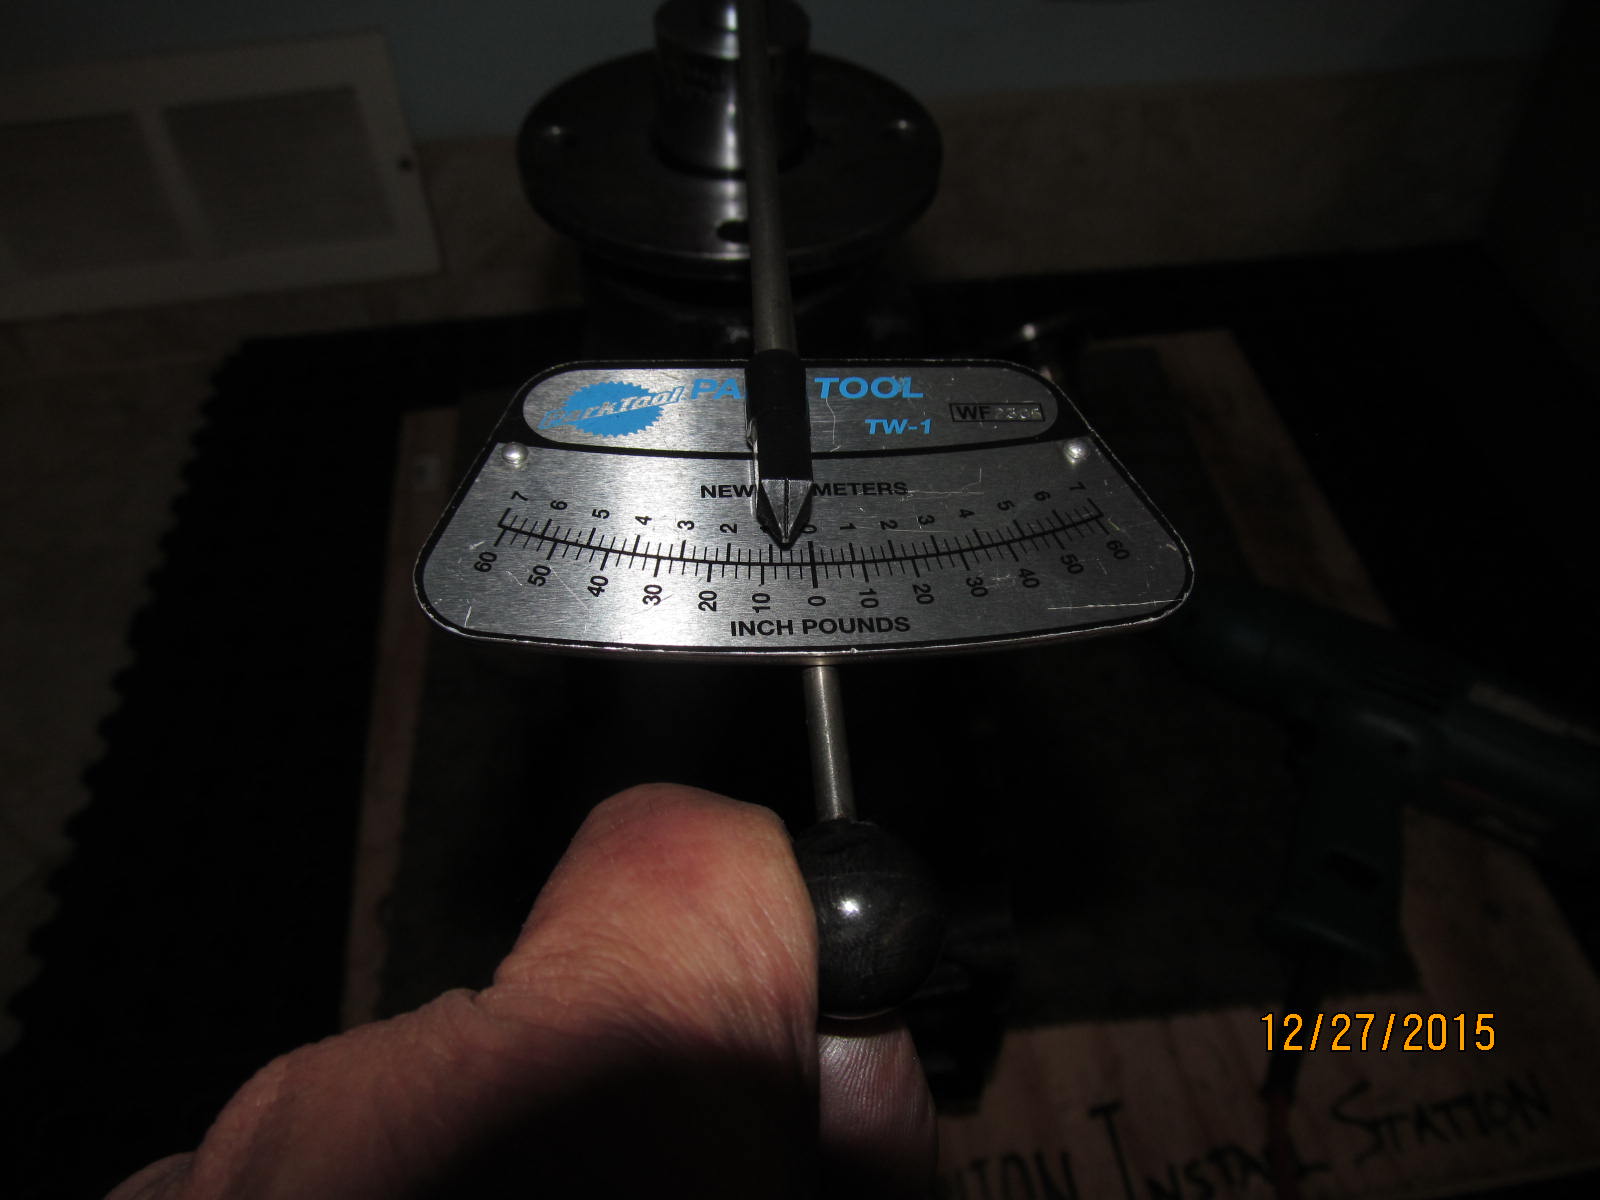
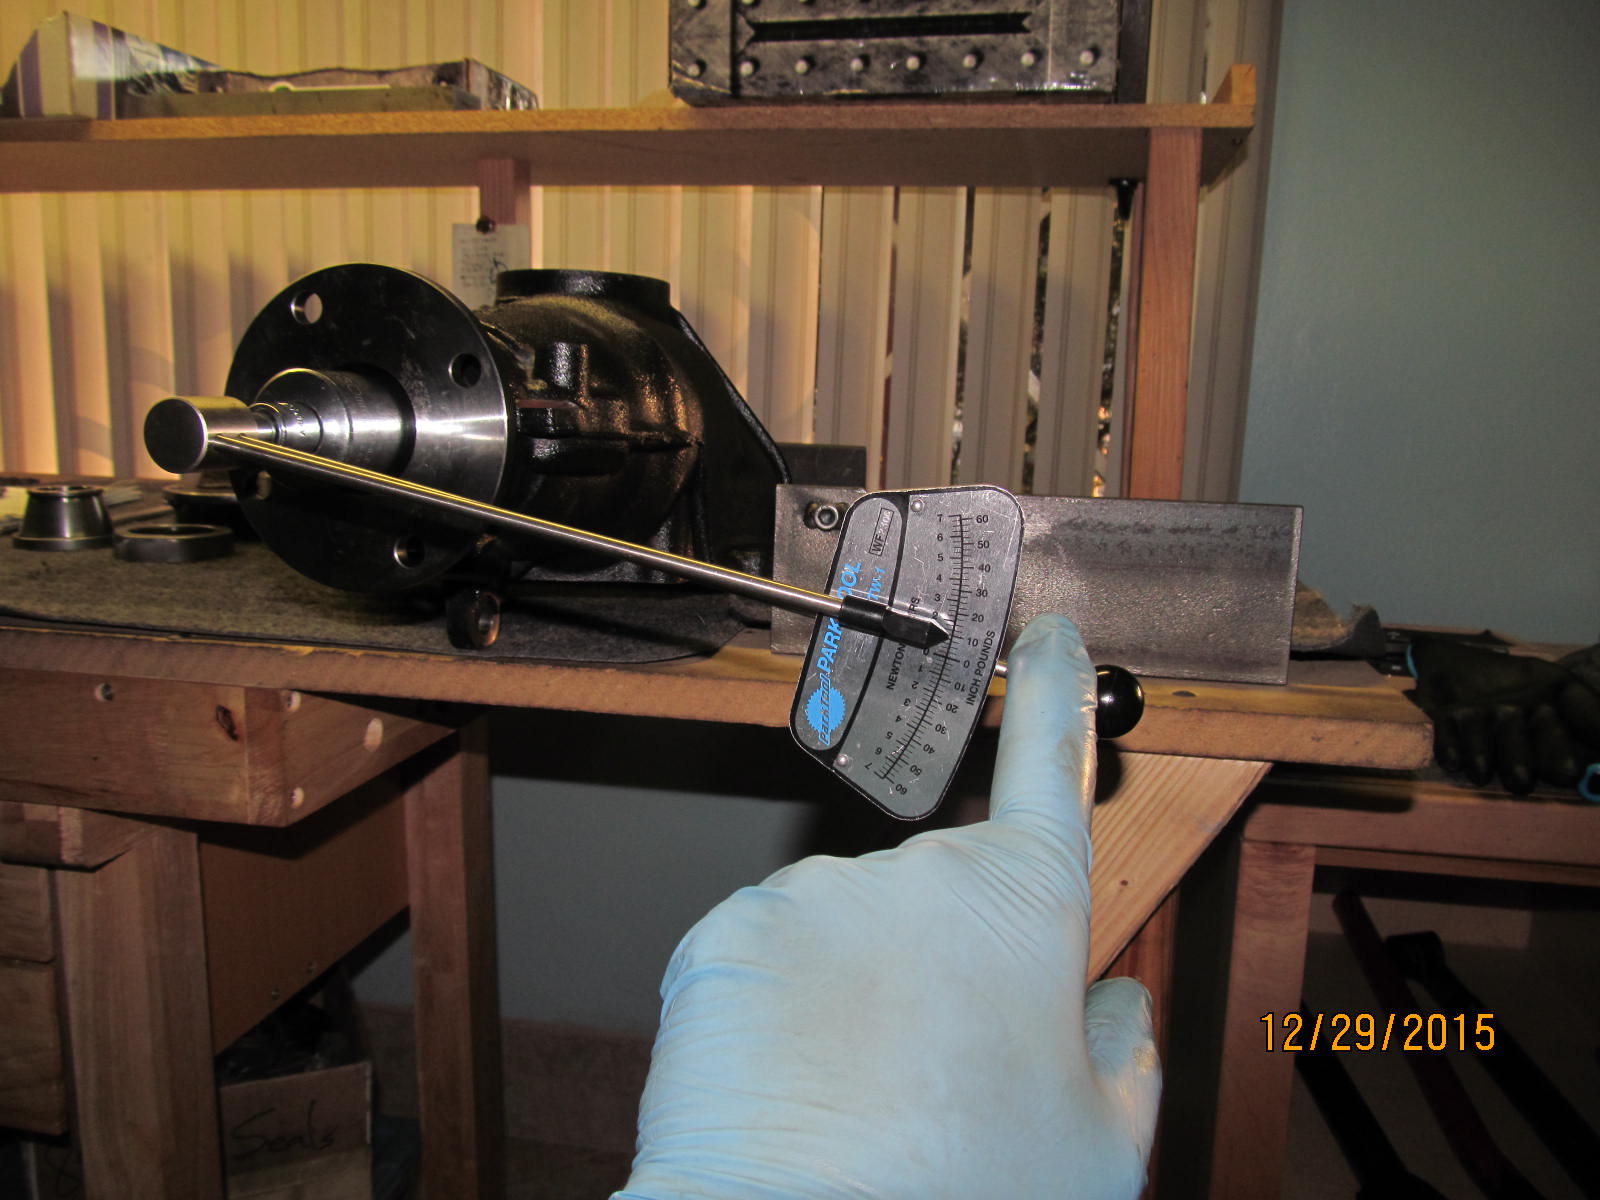
The pinion is pulled on tight enough to have some bearing pre-load. It's not critical about the
exact inch/pounds....just snug enough to check the yellow marking paint.
|
|
|
|
Just a crazy idea I had to try to get a feel for the backlash once the lid is clamped down.
A crazy idea that stayed crazy.
|
|
|
|
|
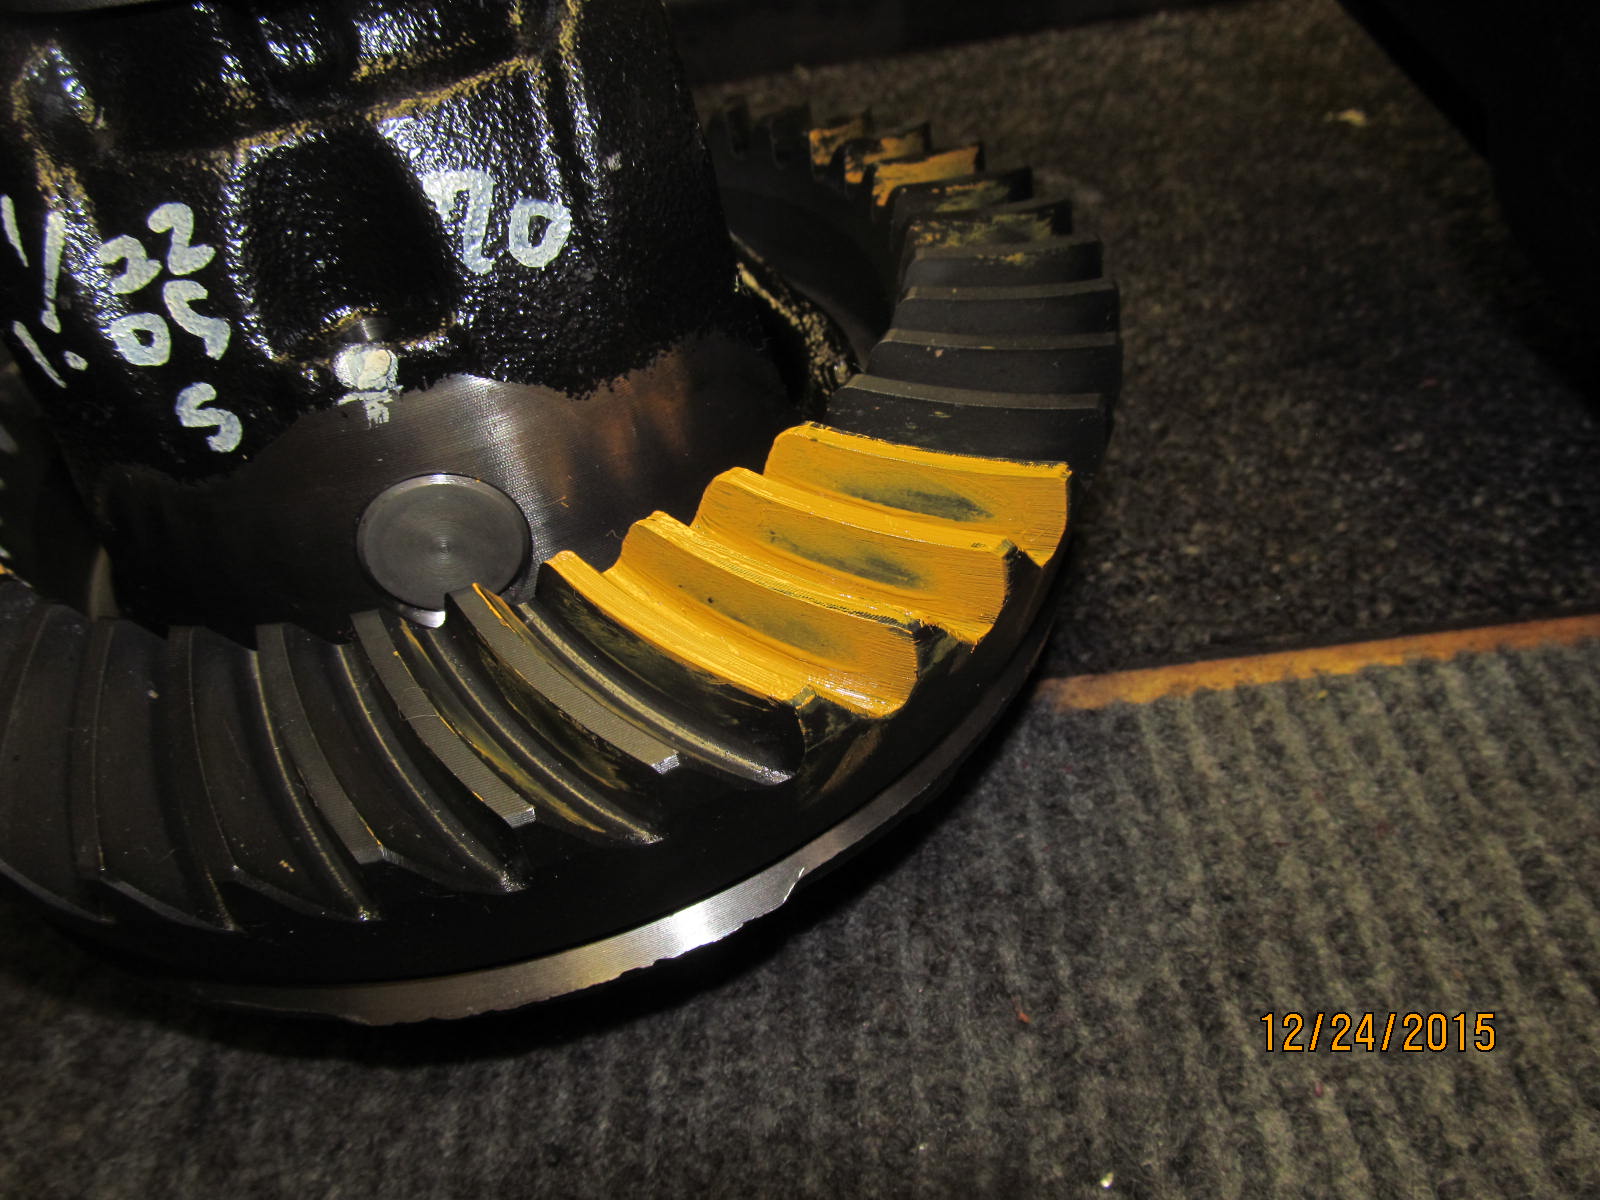
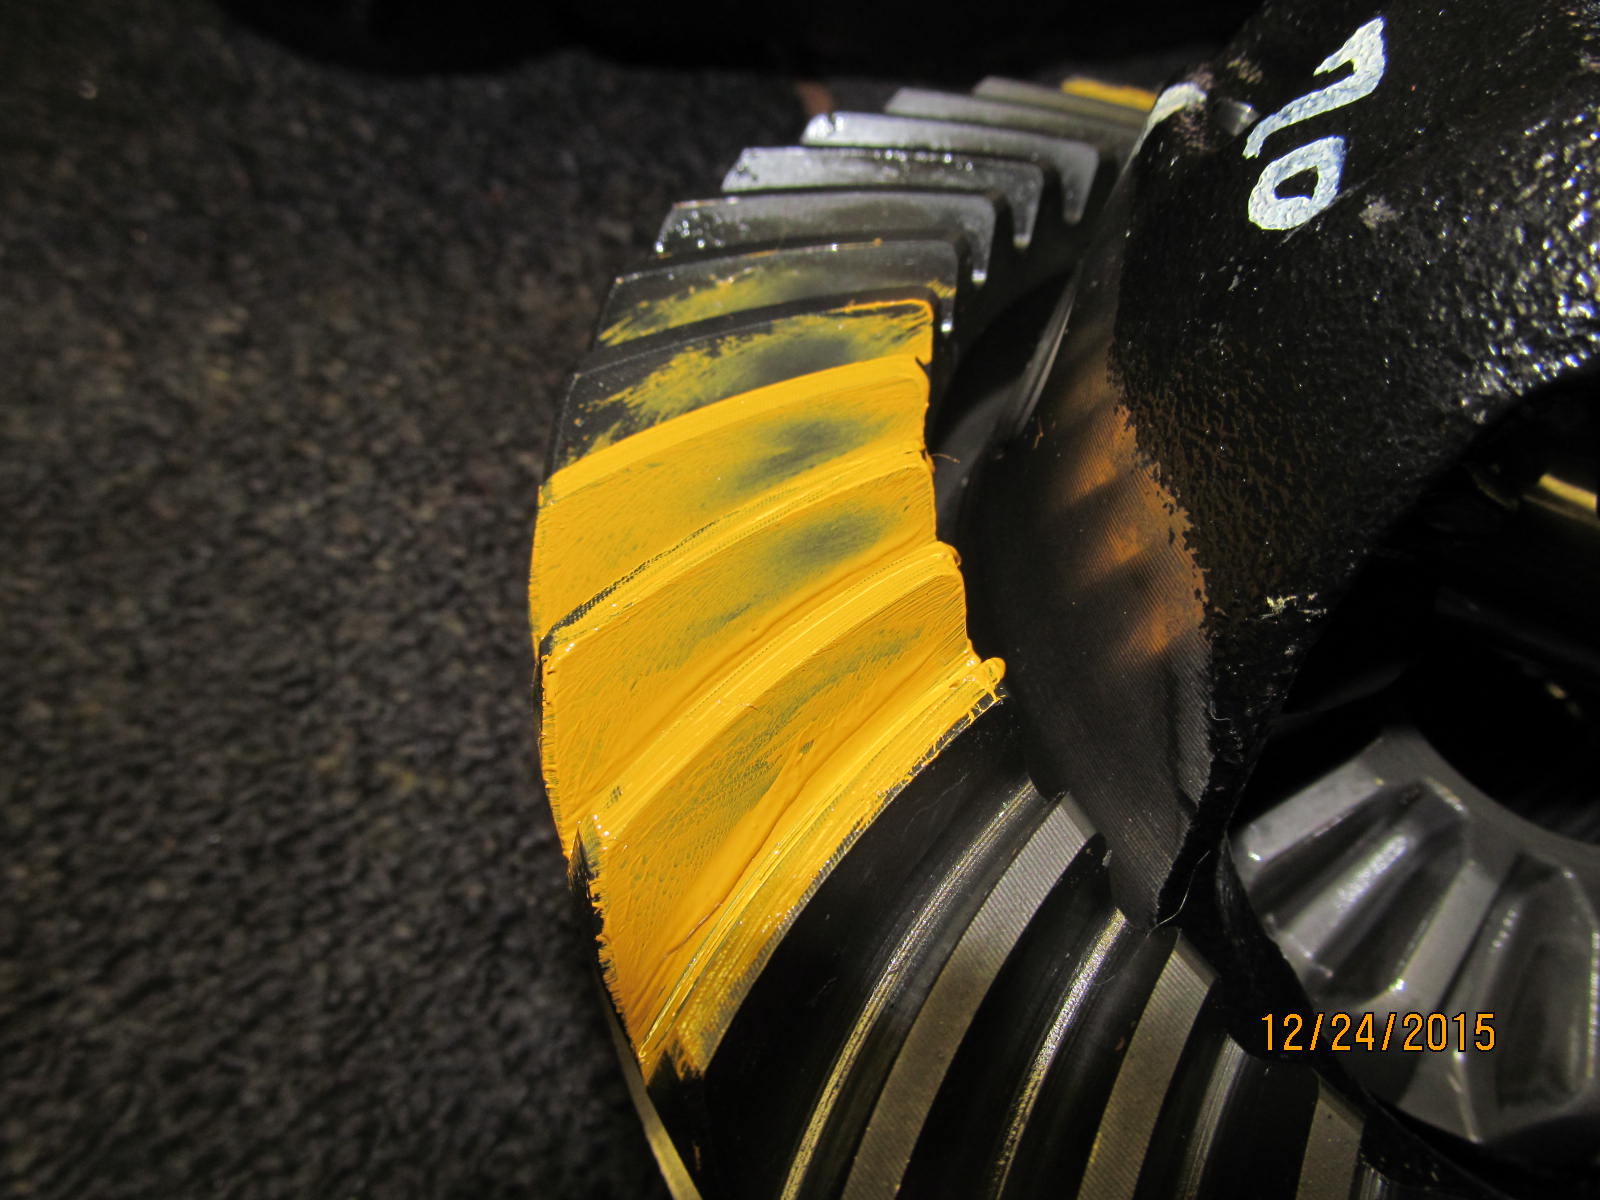
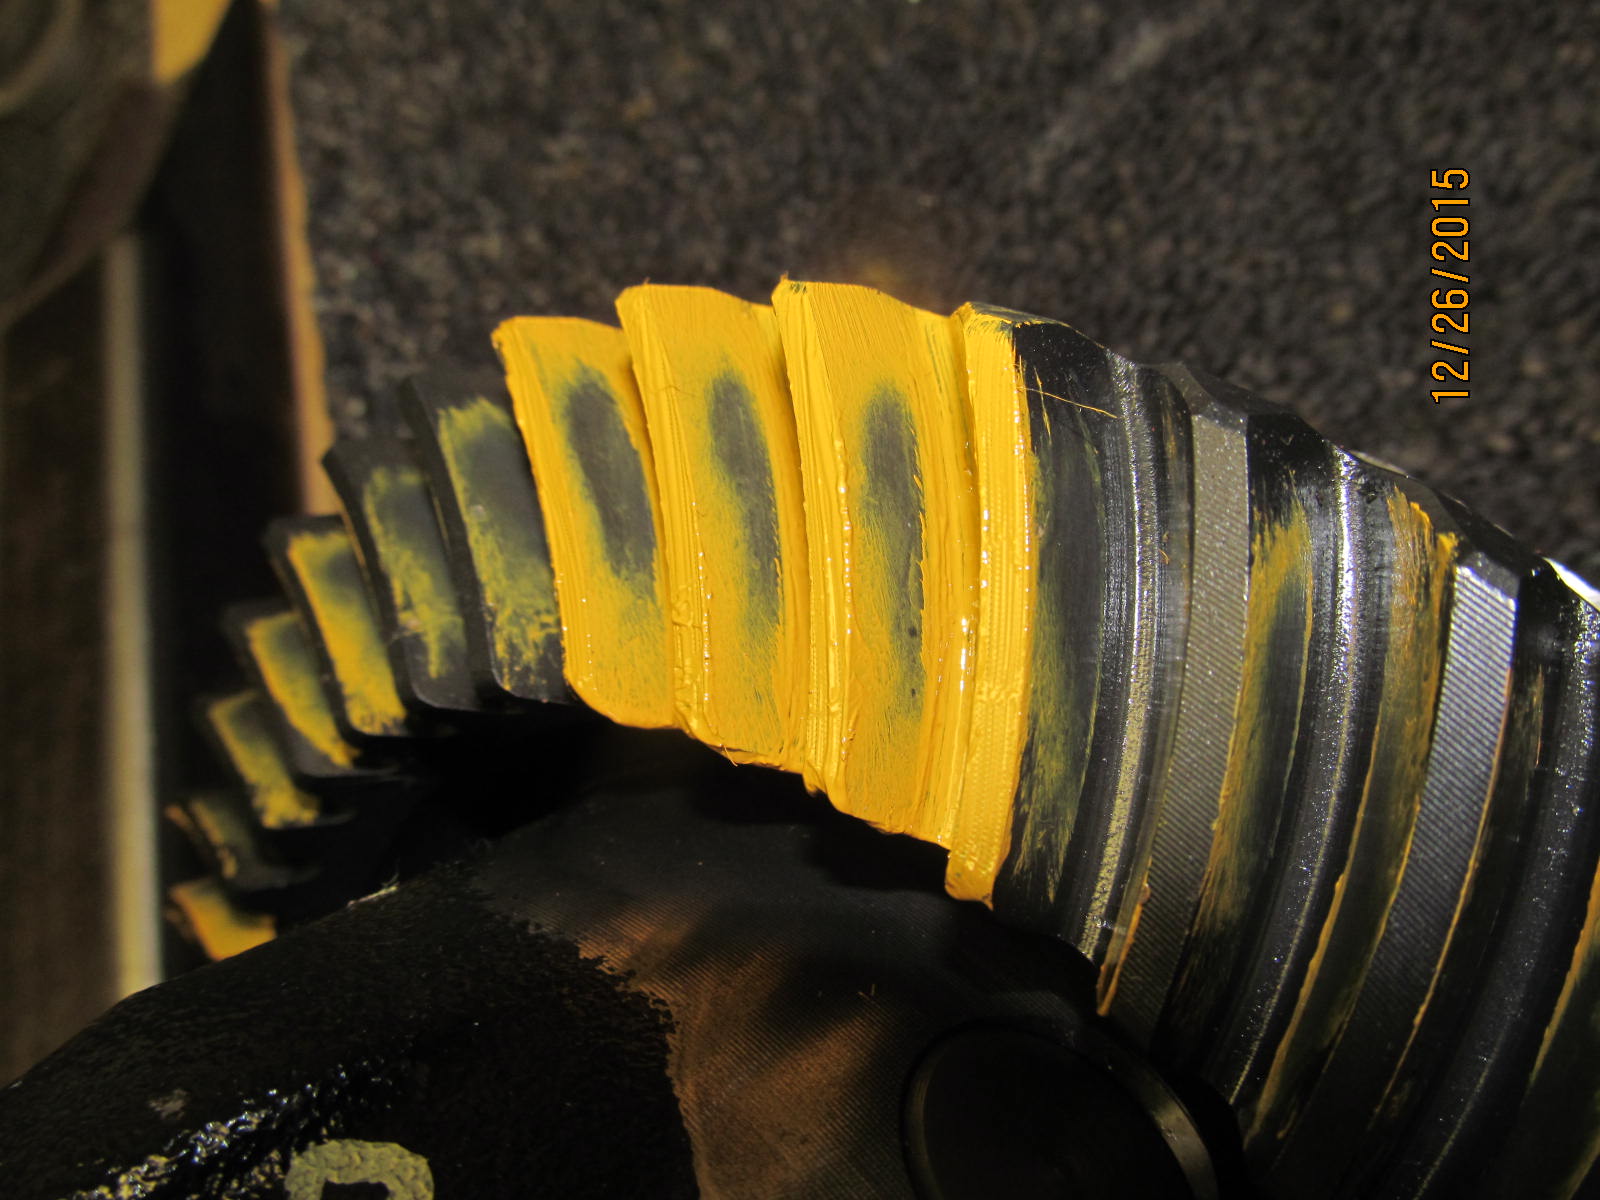
Drive side.....overshot with too thick of a shim. This pattern is too deep.
|
|
|

|
|
Coast
|
|
|

|
|
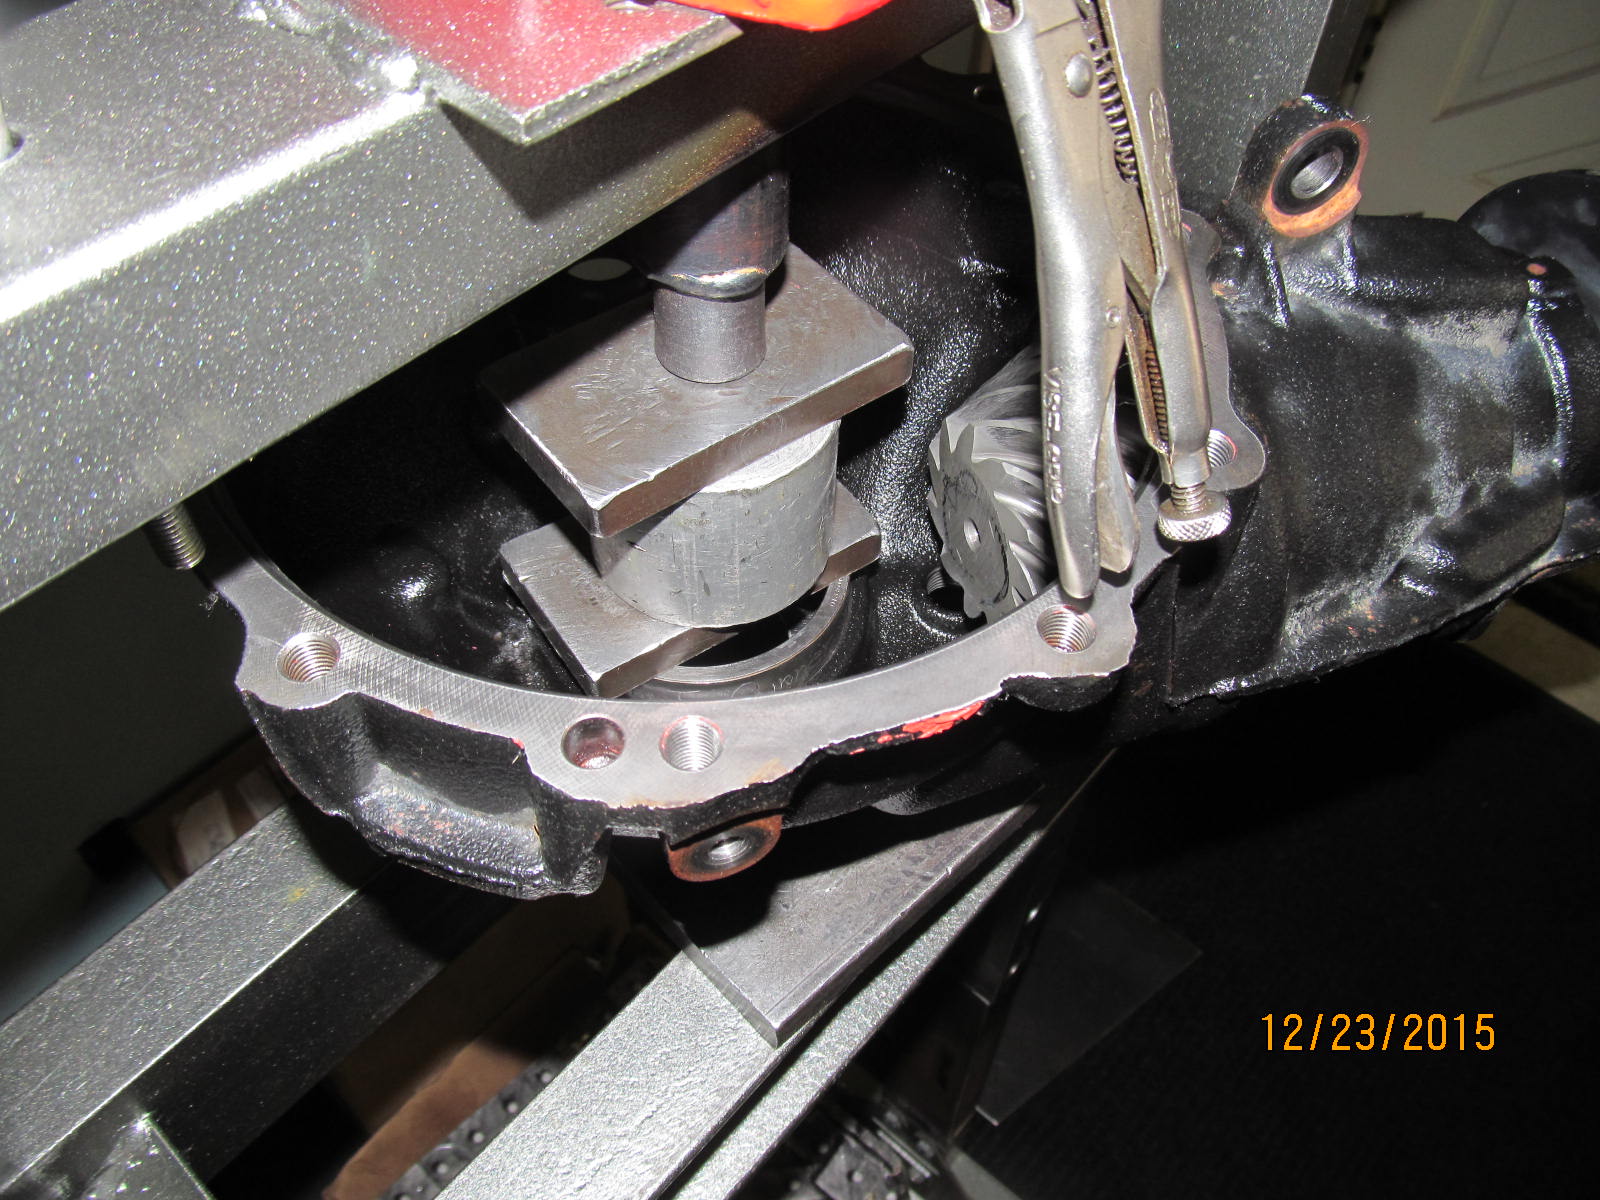
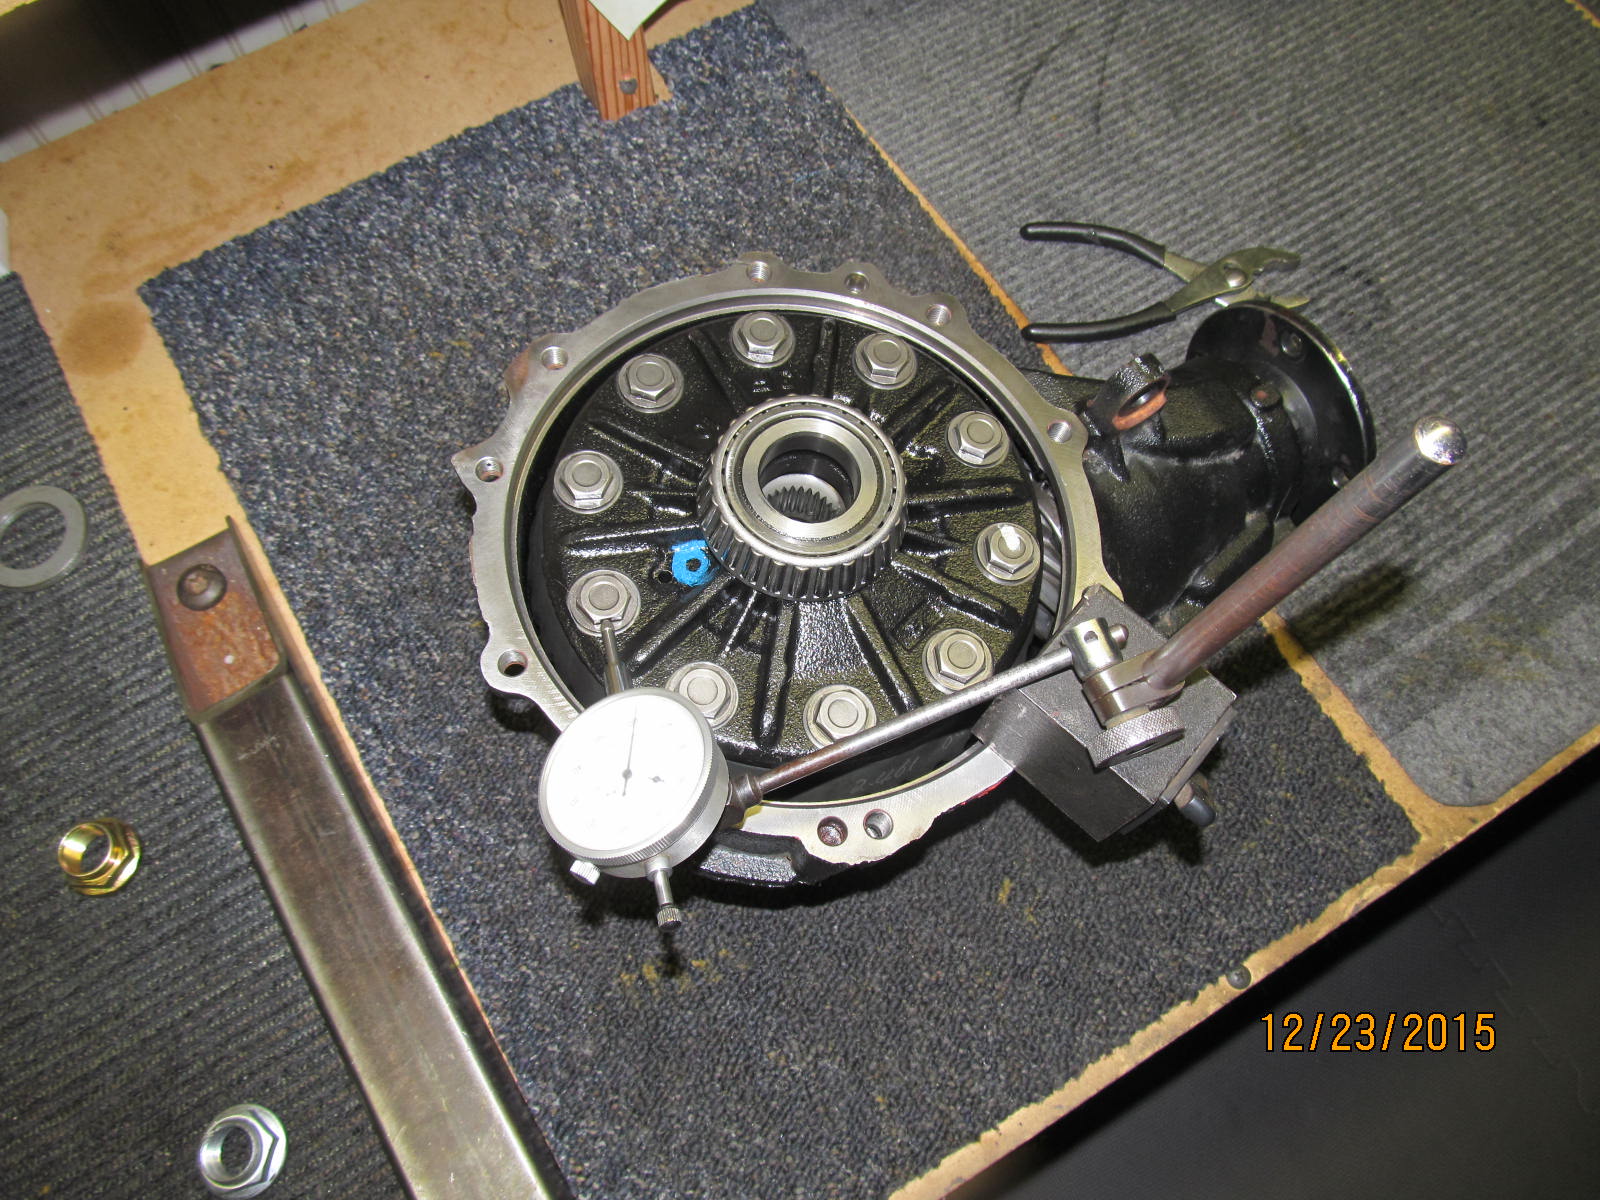
Backlash check. Needle nose pliers work amazingly well for this task. A test indicator is used here.
|
|
|
|
|
Now I can press out the pinion and change the pinion shim to its final value.
|
|
|
|
|
Last time to take the bearing off.
|
|
|
|
Started with 076....it was too shallow.
Then to 084......too deep.
Now to 078.
|
|
|
|
|
Tap the flange down and snug with the impact wrench.
|
|
|
|
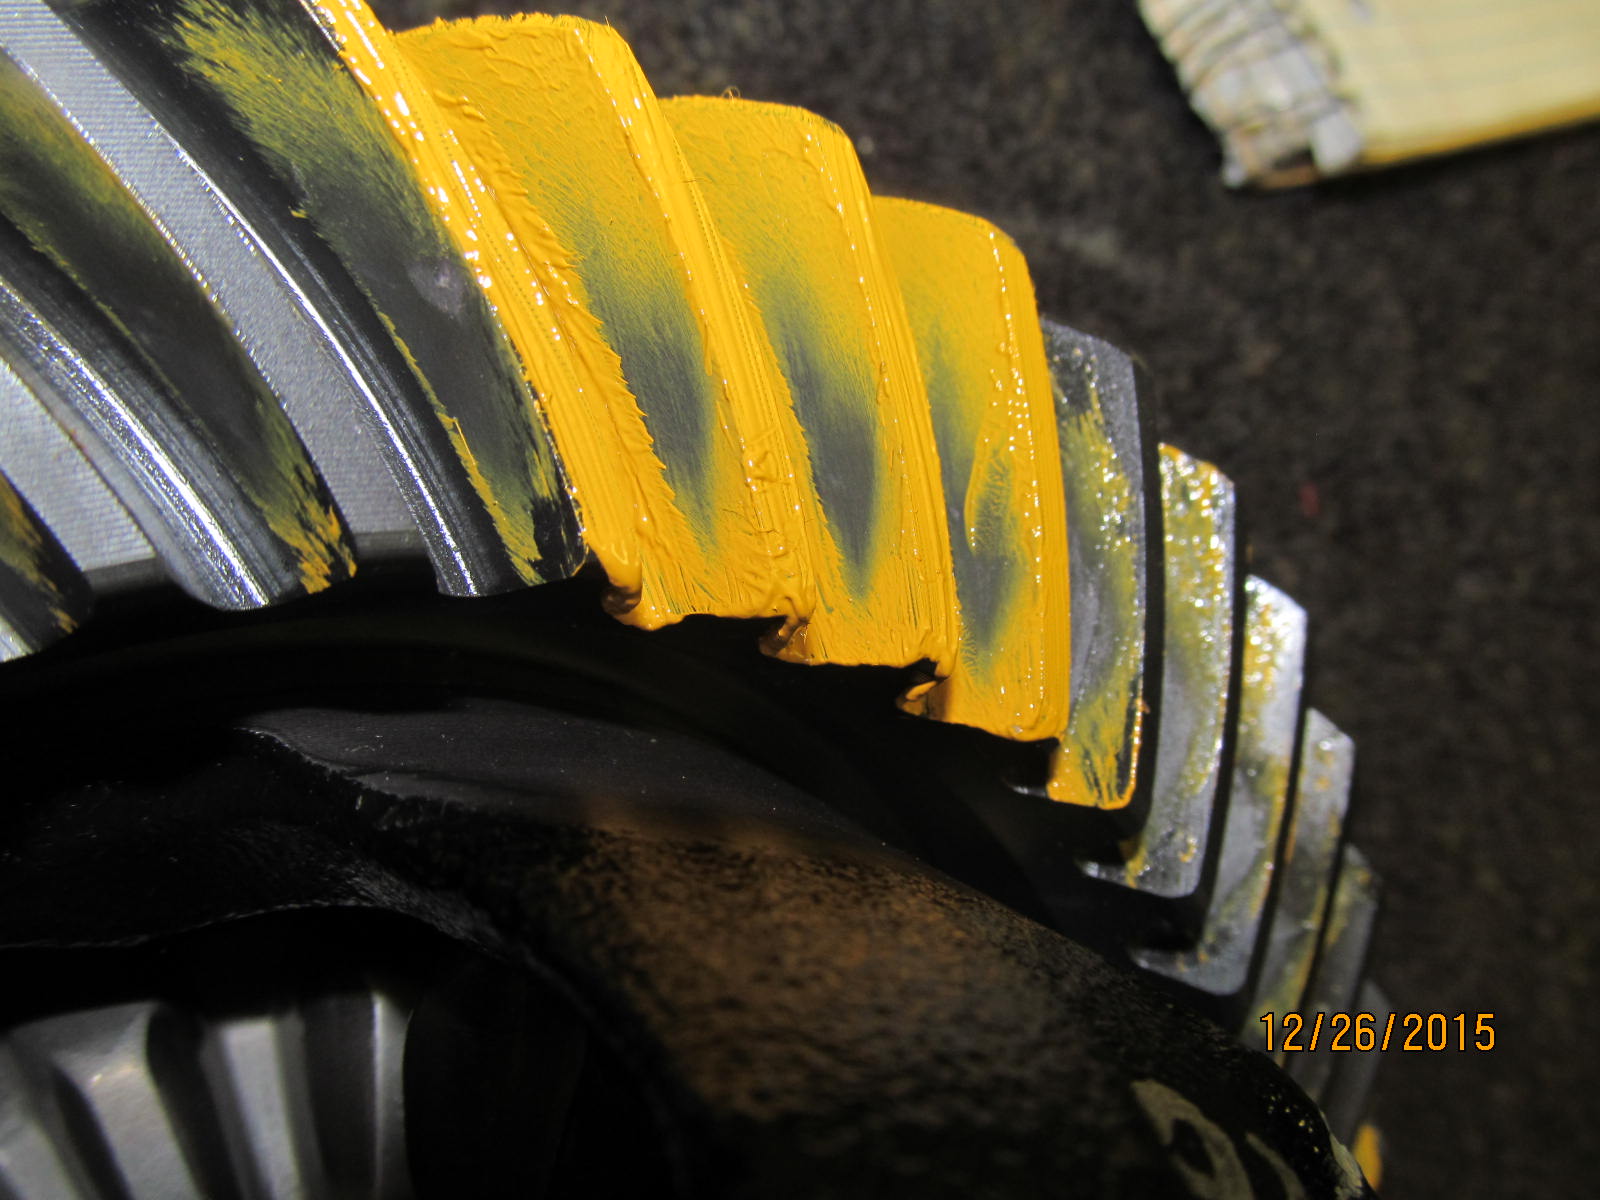
Drtive side. It's hard to really see the pattern as it is because although bearings were tight
on both the pinion and carrier, the contact patch where the yellow paint is just does
not see enough loading effect.
|
|
|
|
|
Coast
|
|
|
|
|
I can change that. Secure assembly here and sidegear is locked on this side.
|
|
|
|
Apply some resistance to the pinion end while turning the ring gear with the bar.
Doing it this way squishes the paint more....and squishes is a very technical term.
|
|
|
|
|
Drive side.....Much better read pattern. Perfect depth....my slight deep condition.
|
|
|
|
|
Coast
|
|
|
|
Not shown but I have been moving the carrier washer plates around quite a bit making sure the bearing
preload is high enough and the backlash is acceptable for the painted patterns.
|
|
|
|
|
Using needle nose pliers to make another backlash check because now the final tweaking begins.
|
|
|
|
|
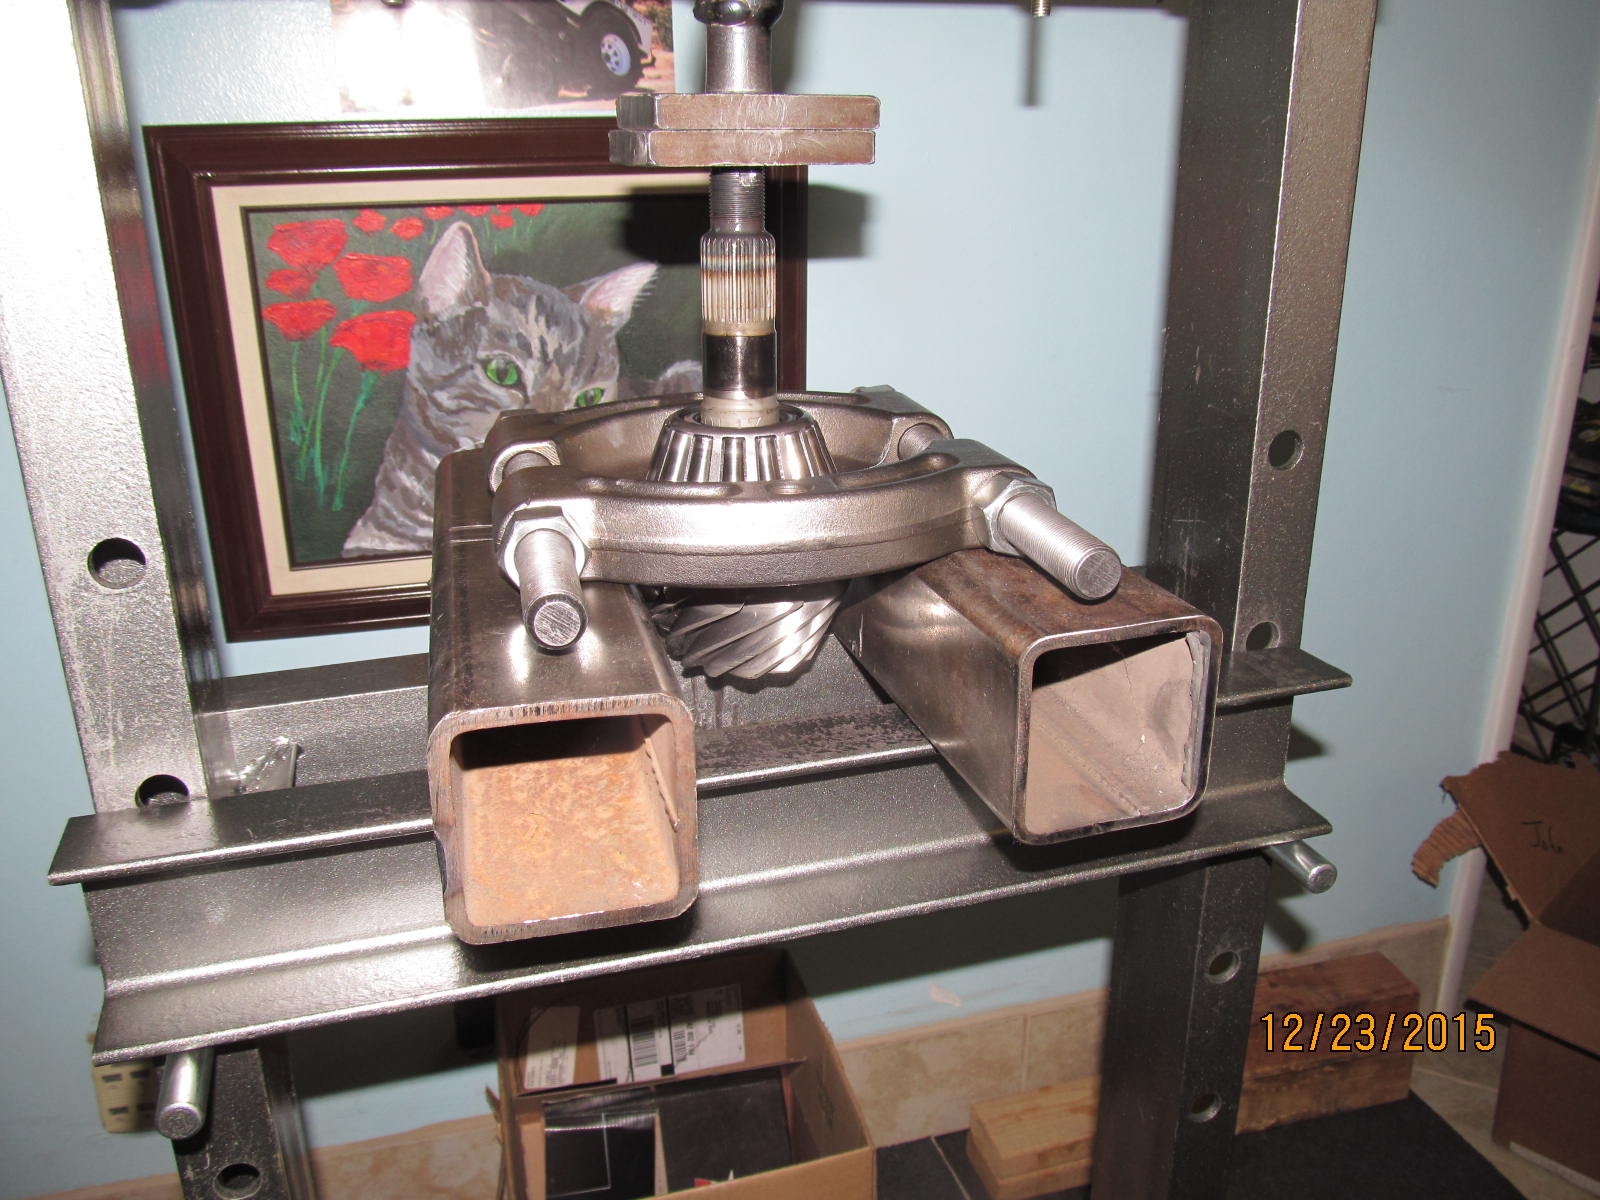
Press the pinion out....
|
|
|
|
|
....to now install the solid collar. It will take 5 tries to get the shim thickness right.
|
|
|
|
The factory oil retainer lip will generally contact the collar's shoulder. It will scrape while
trying to measure the pinion preload value and screw things up.
|
|
|
|
|
So I have a way of flaring the oil retainer with this setup.
|
|
|

|
|
I flare it a little and spot check....almost cleared all the way around.
|
|
|
|
|
Flare it a little more and, yes, looks good all the way around...no contact.
|
|
|
|
|
On the 5th try with .032" for the collar shim.....
|
|
|
|
|
...I get a modest 5 or 6 in/lb. Now when I really crank on the pinion nut that 6 will change to 10 or more.
|
|
|
|
|
90311-41009 OEM Genuine seal....John would not have it any other way.
|
|
|
|
|
The oem seal gets recessed down .177" plus or minus .012"
|
|
|
|
|
...............
|
|
|
|
|
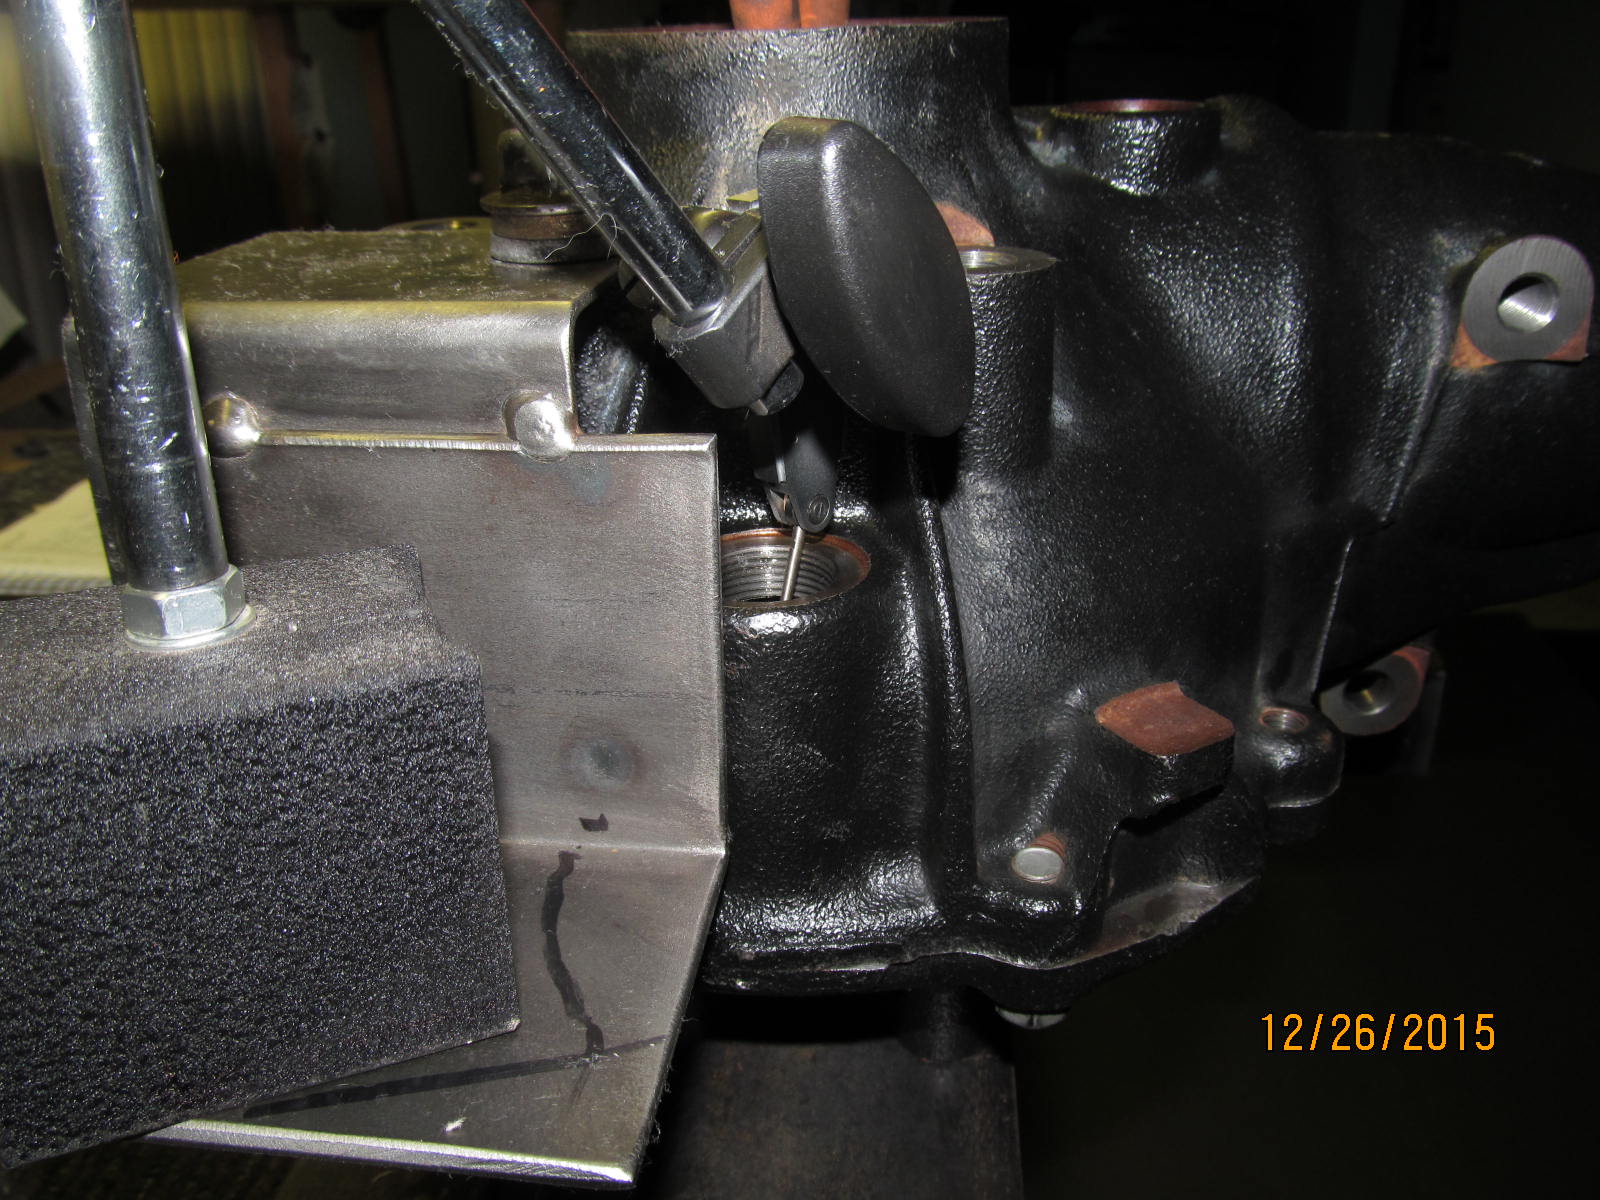
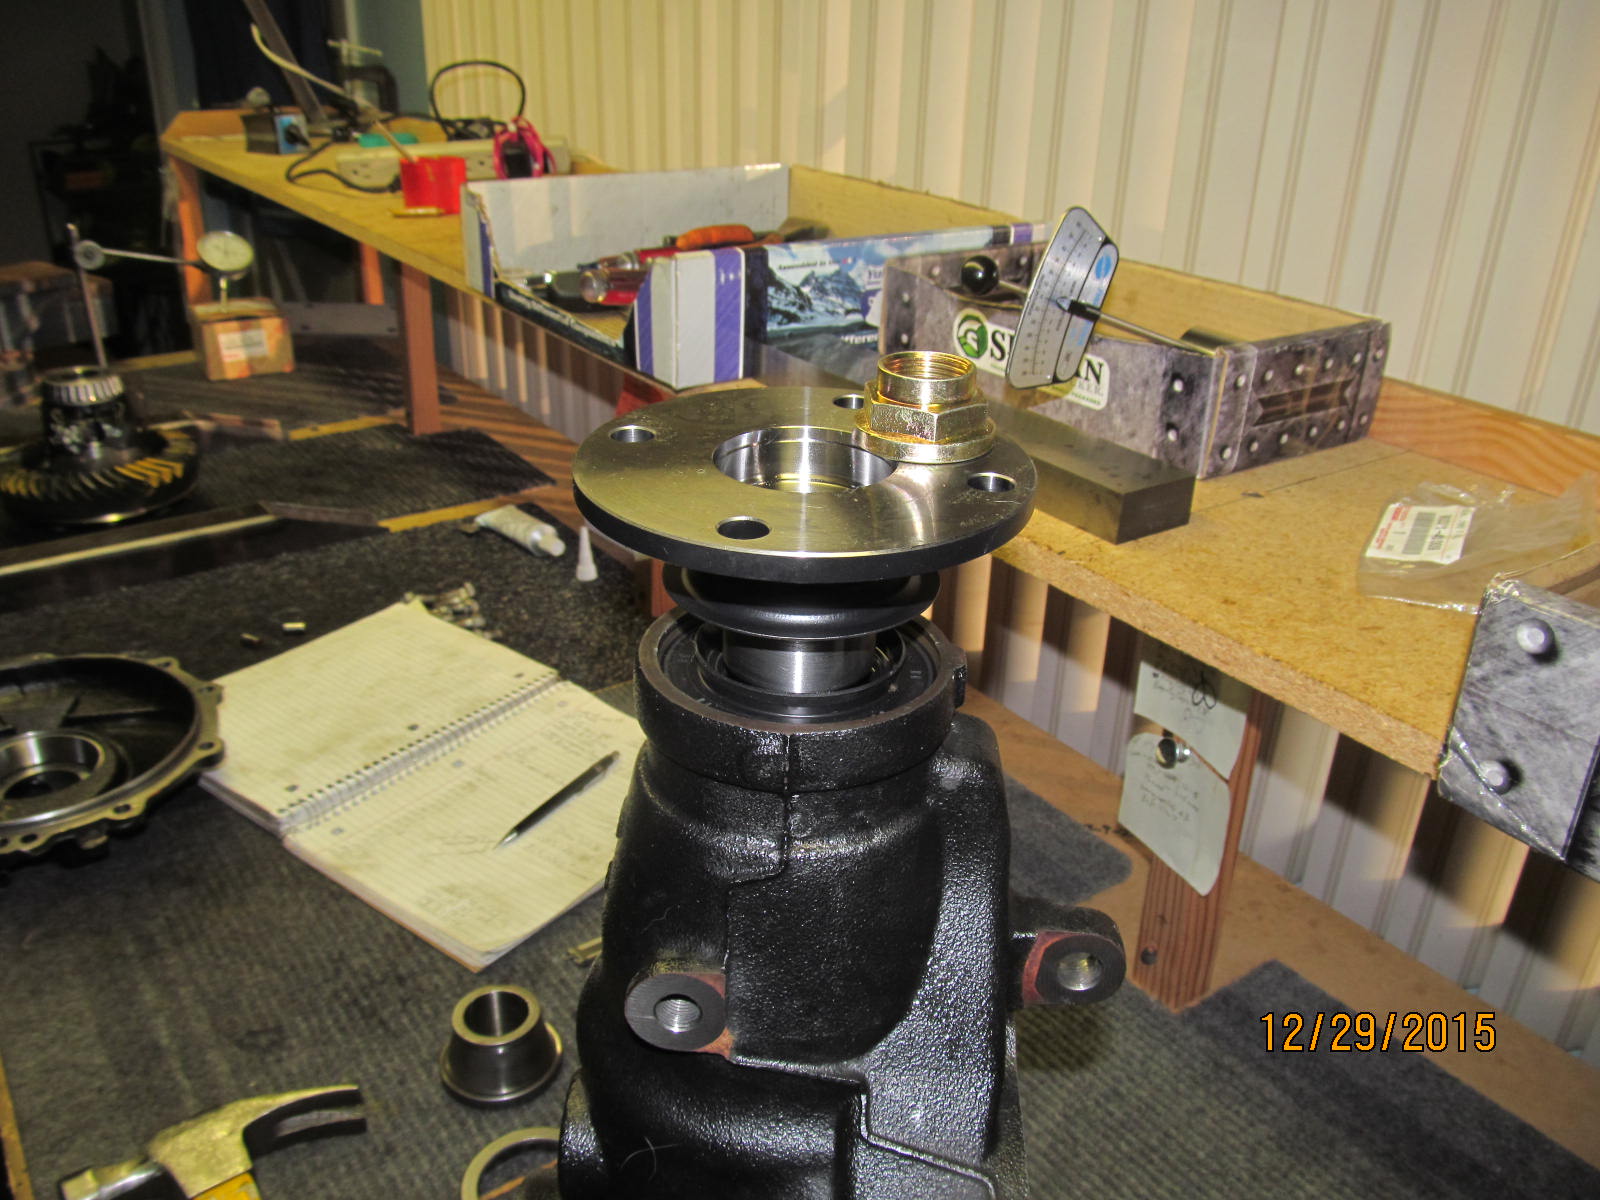
A brand new factory pinion flange will be installed with the desirable flange style pinion nut.
|
|
|
|
|
Final PPL is 10 in/lb
|
|
|
|
|
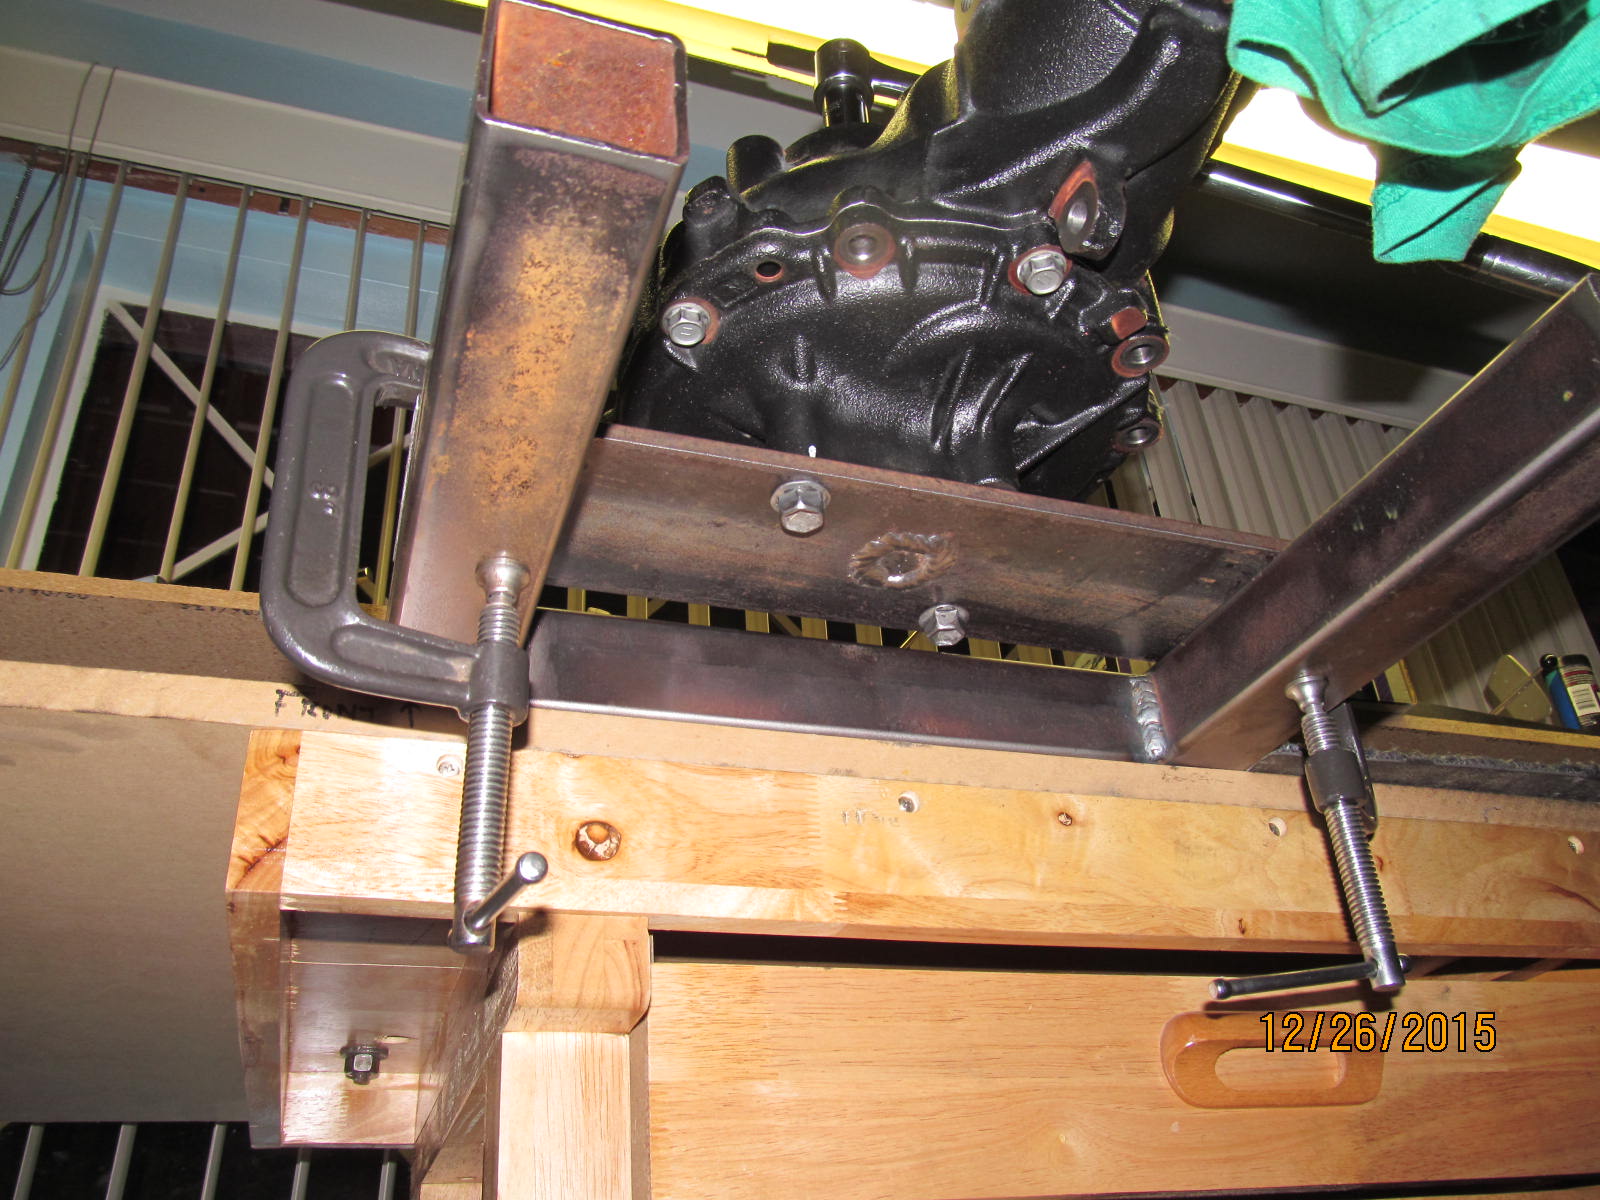
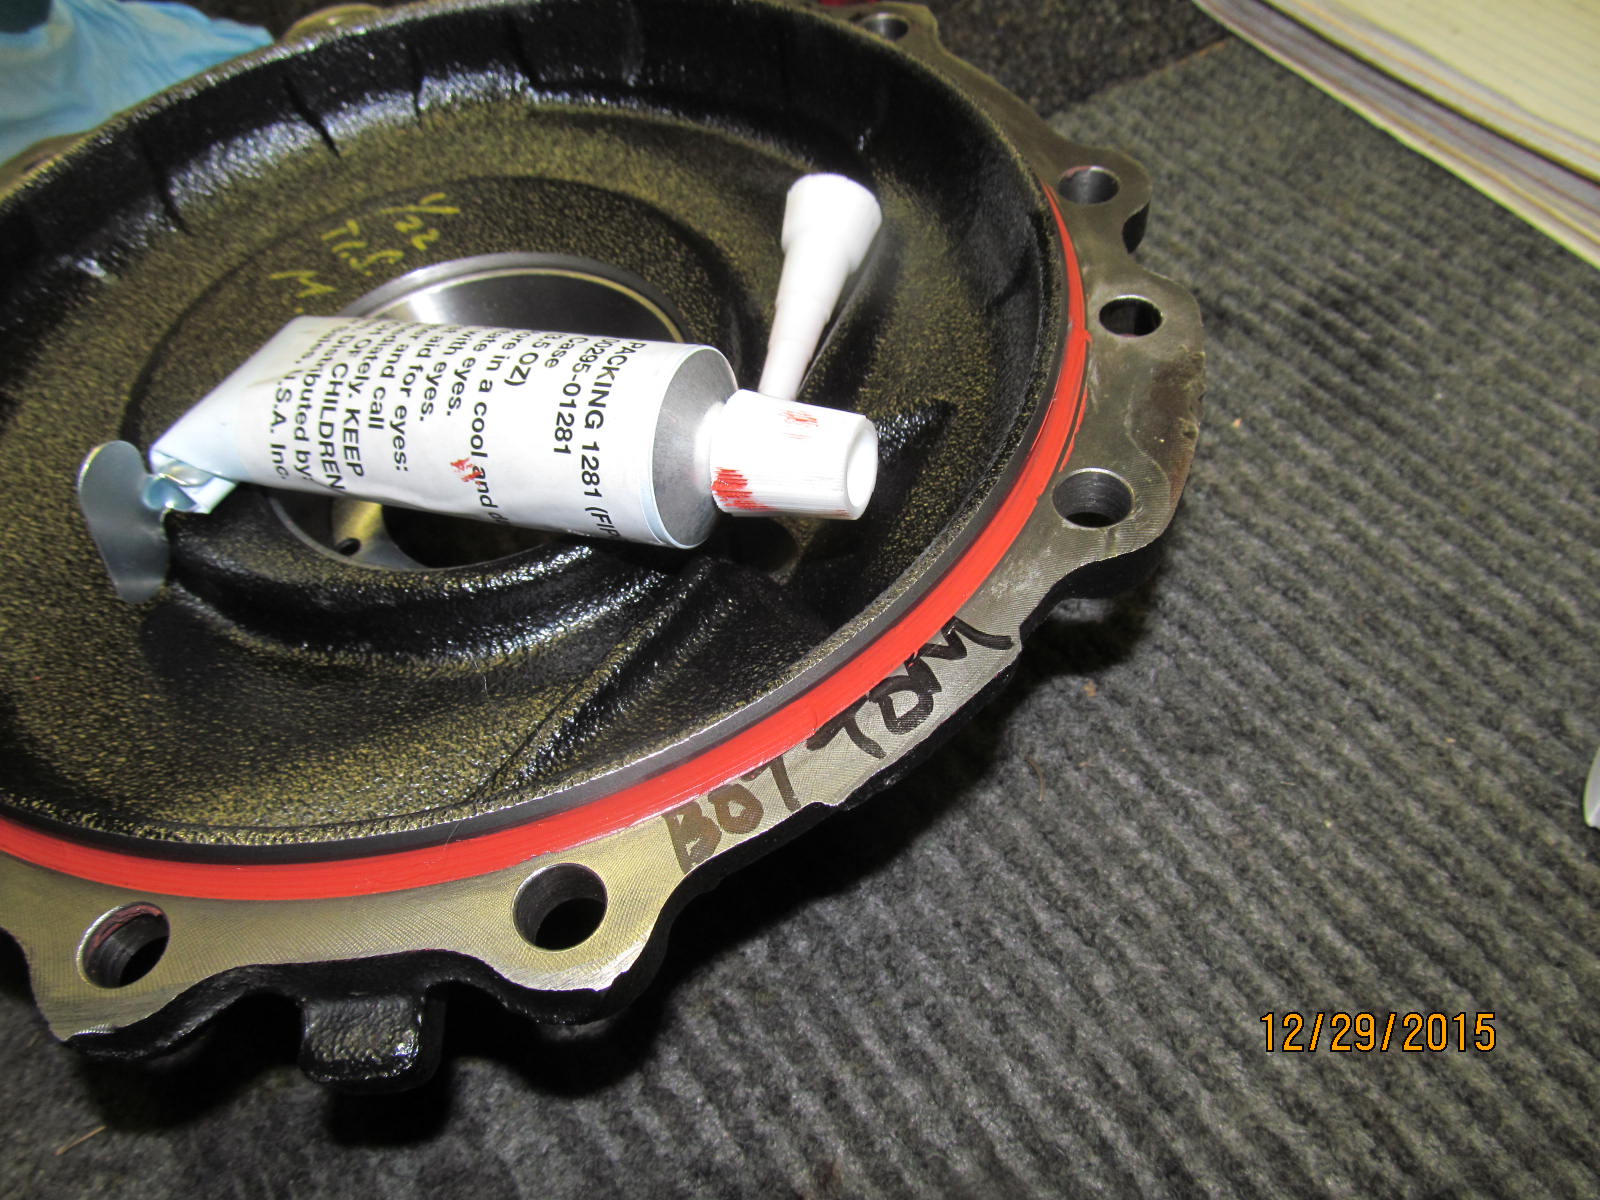
FIPG 00295-01281 and the bead is drawn just like the FSM shows it.
|
|
|
|
|
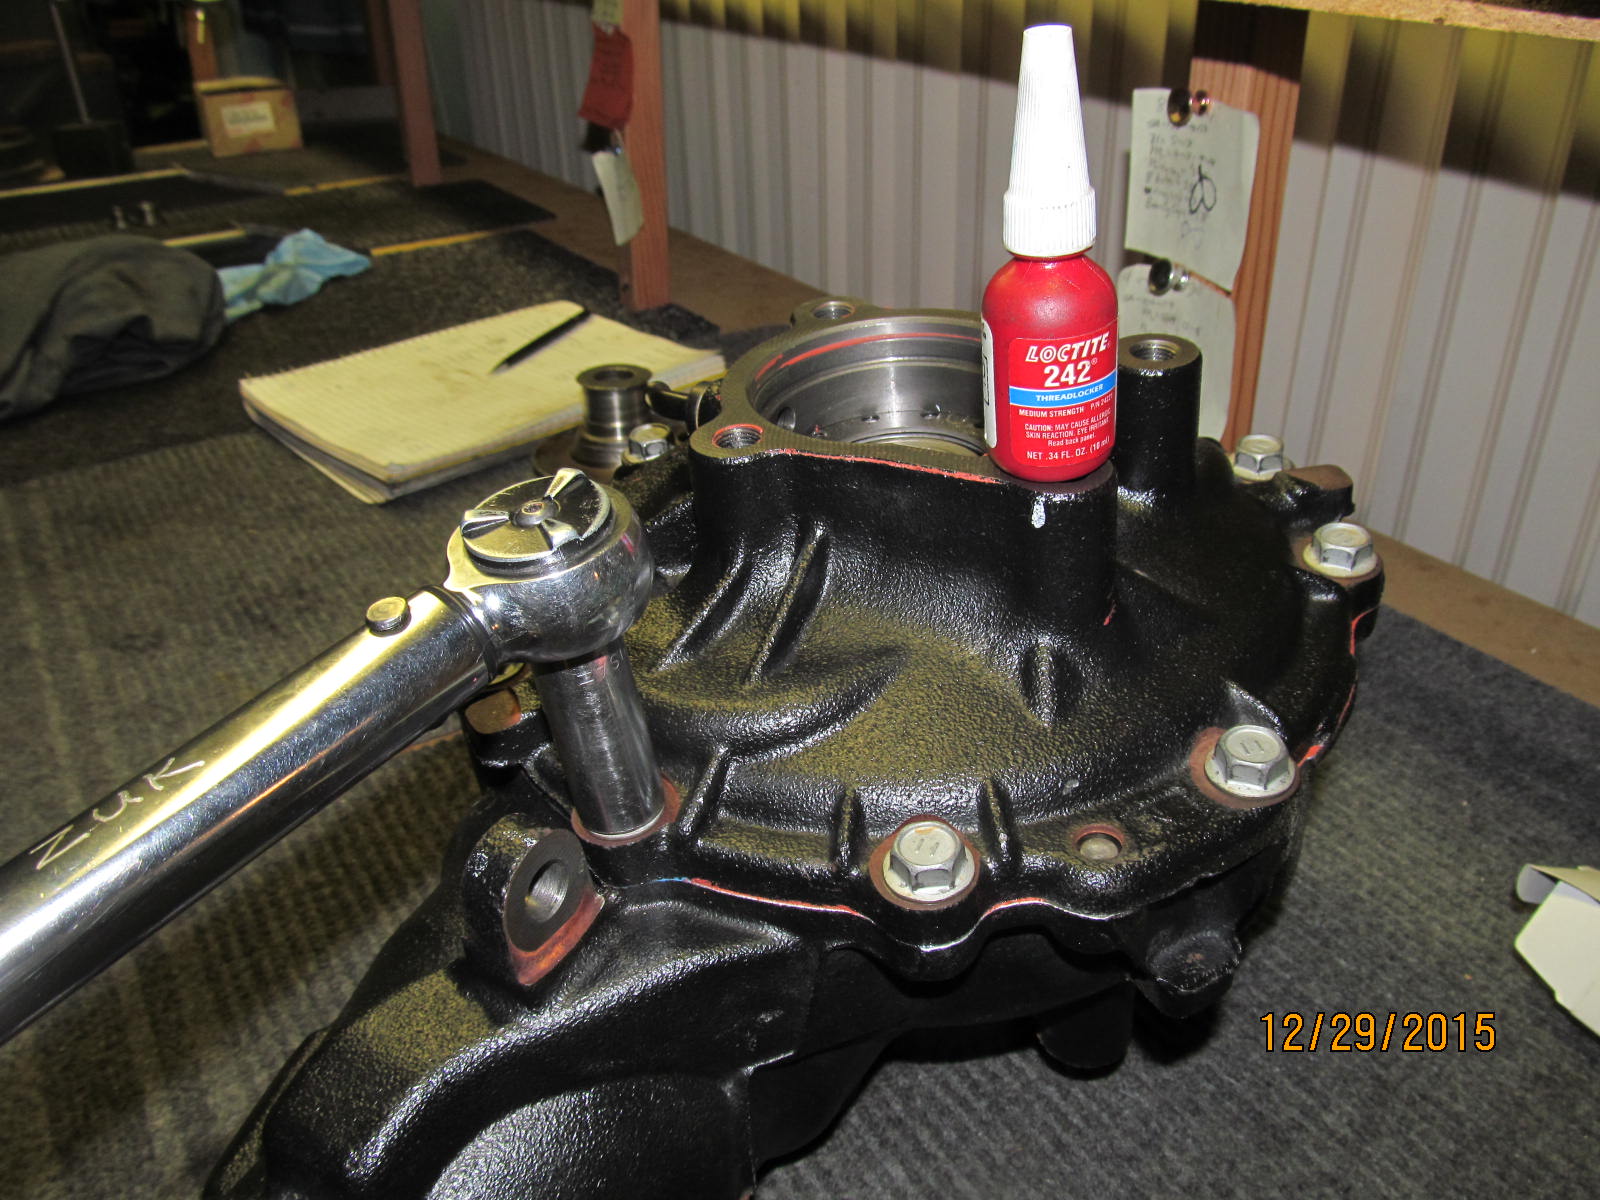
Medium strength blue loctite and 51 ft/lb per the FSM.
|
|
|
|
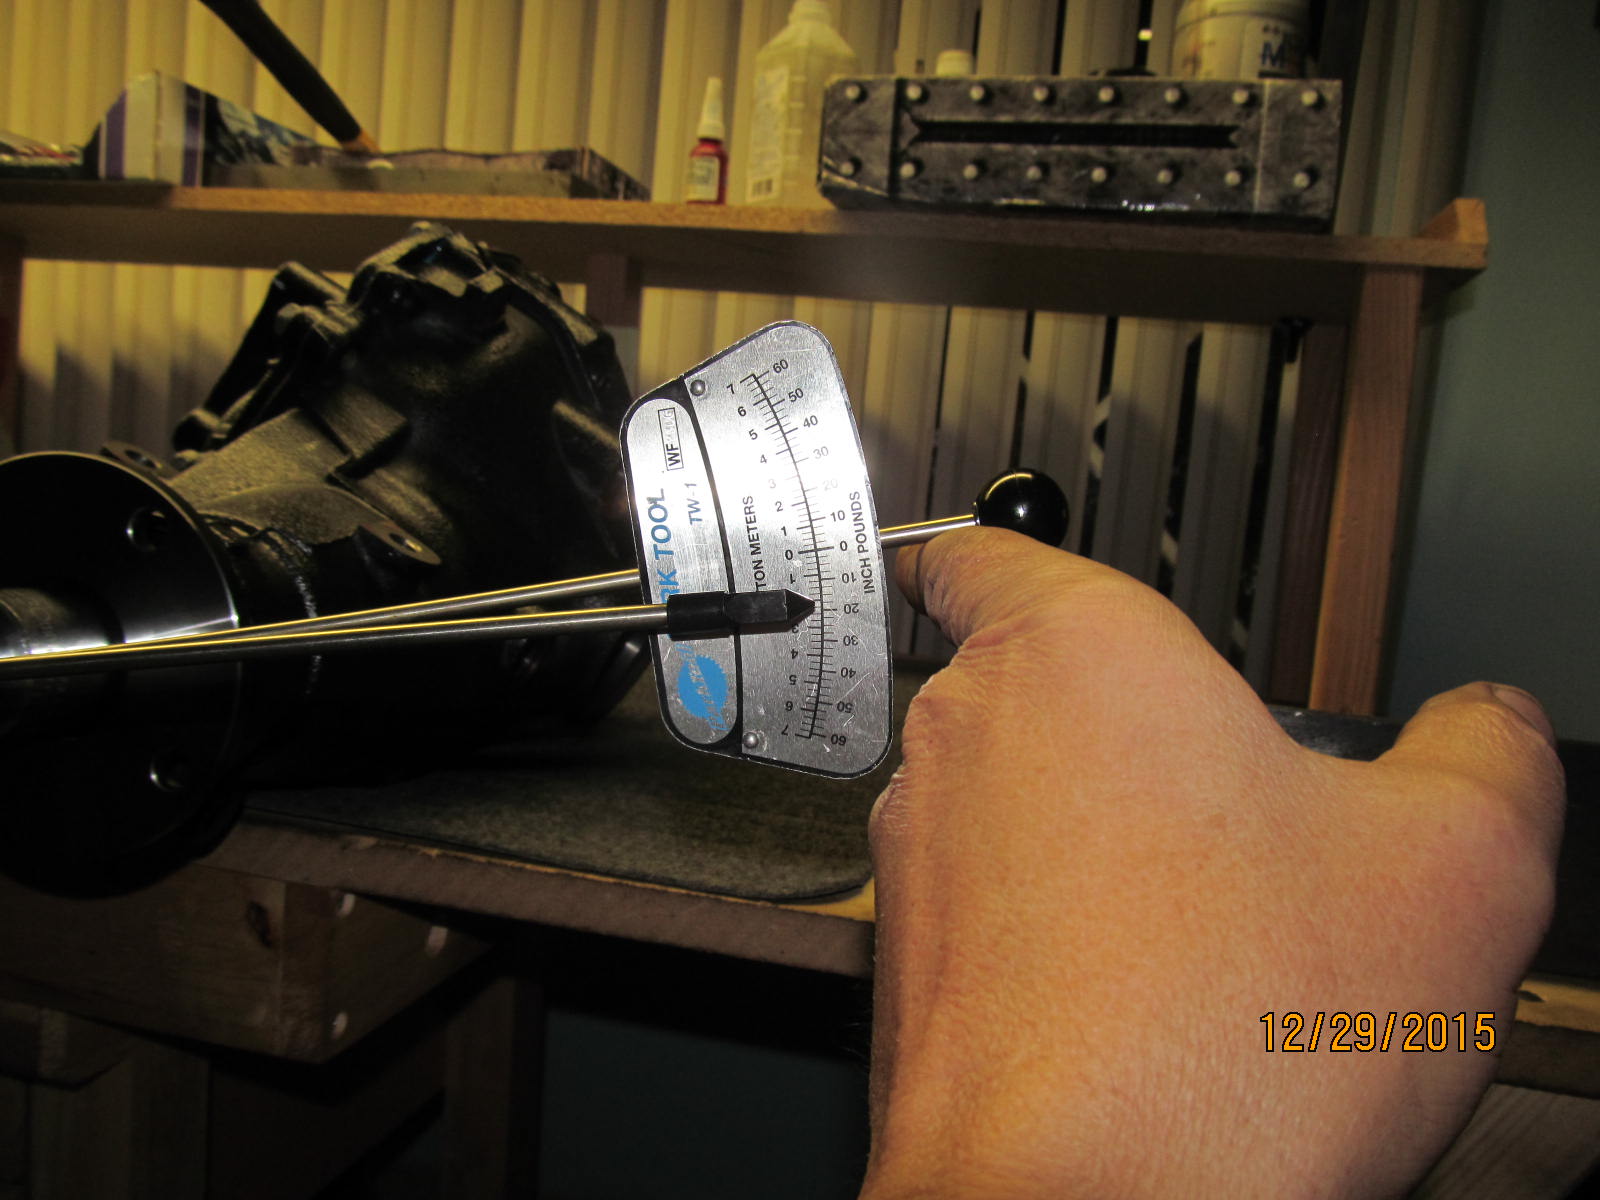
Total combined pre-load turning all 4 bearings here is 18 in/lb start torque.
CBPL = 18 - 10 = 8 in/lb start torque
|
|
|
|
|
...............
|
|
|
|
|
|
|
|

|