|
|
|
|
|
|
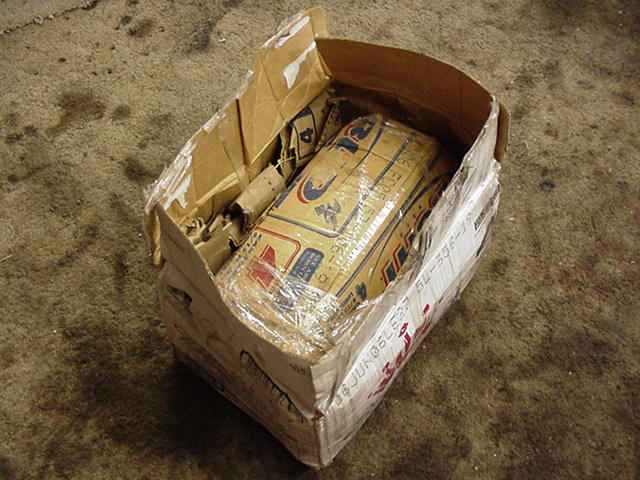
Randy double boxed the front 8" 3rd also...did a nice job. |
|
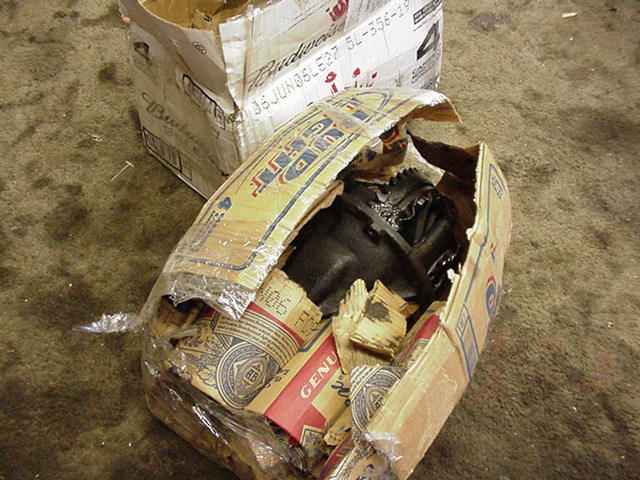
The second box was full of rolled up cardboard strips. There was so much packing tape holding it together that there was no chance of the boxes self destructing. |
|
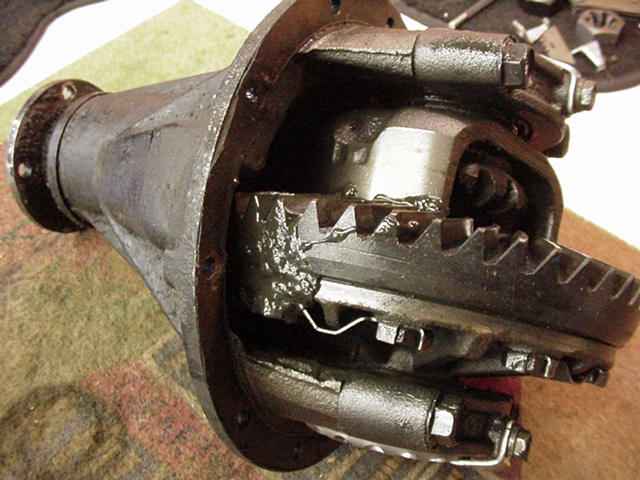
The 3rd was pretty gooey. |
|
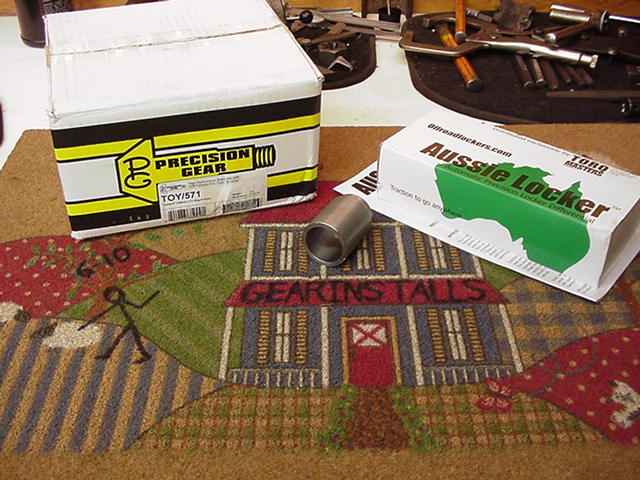
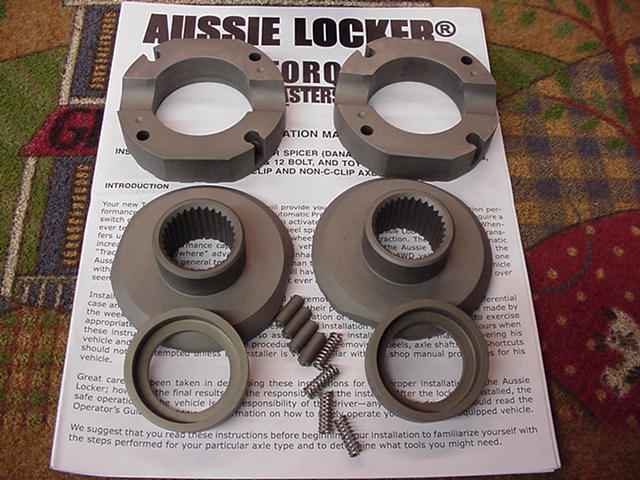
The plan is to install 571 PRECISION gears and an Aussie Locker. A solid collar will be used. If the bearings are ok then they will be re-used which is considered ok by me in this front application. |
|
|
|
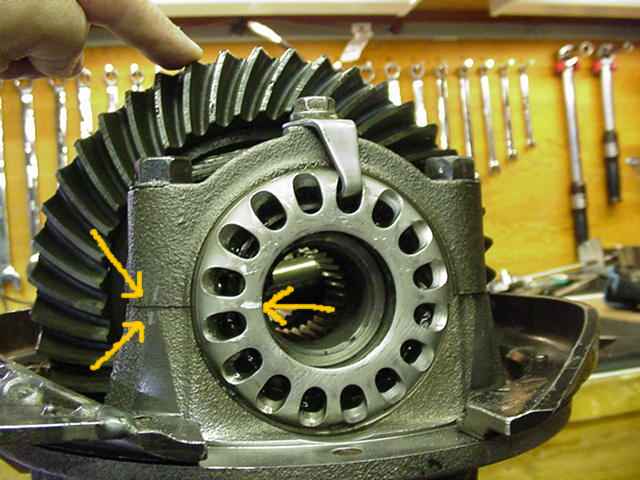
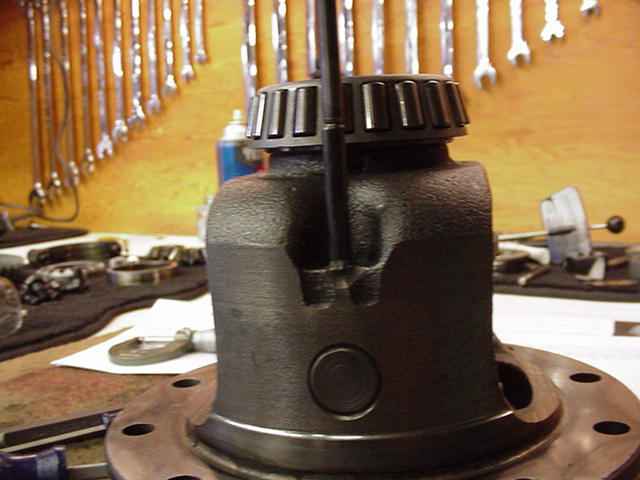
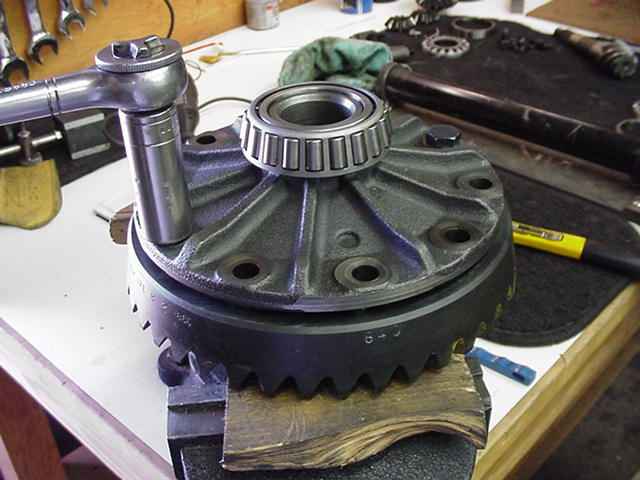
There was no carrier bearing pre-load at all as determined by the ring gear rattling back and forth thru the backlash region. I marked everything before I tore it apart. |
|
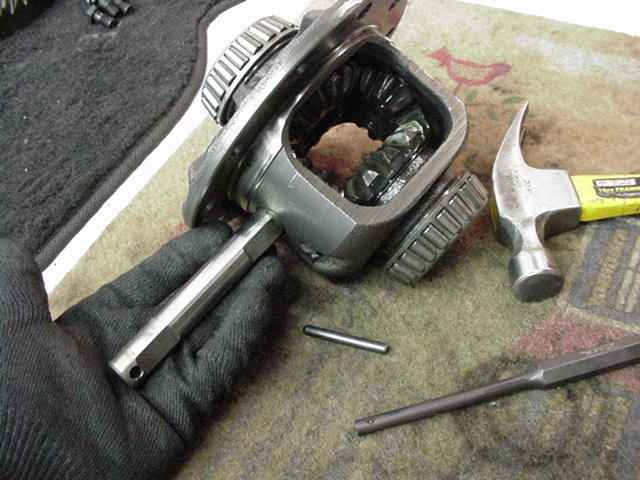
Putting the Aussie in is the first task. Remove the ring gear and use a long punch to knock out the roll pin. |
|
Slide the power pin out and throw away the sidegears and spiders. |
|
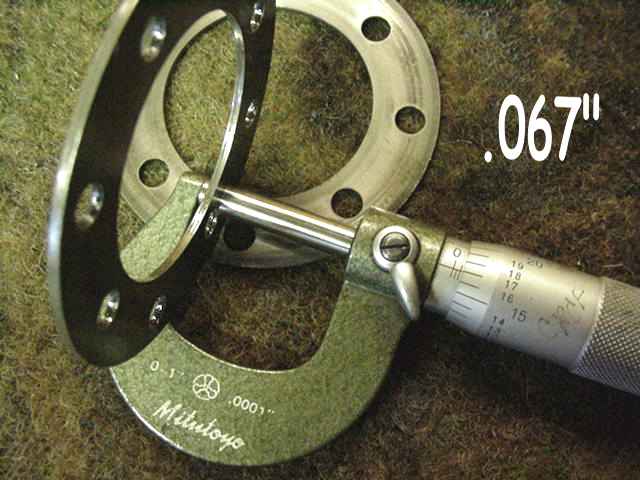
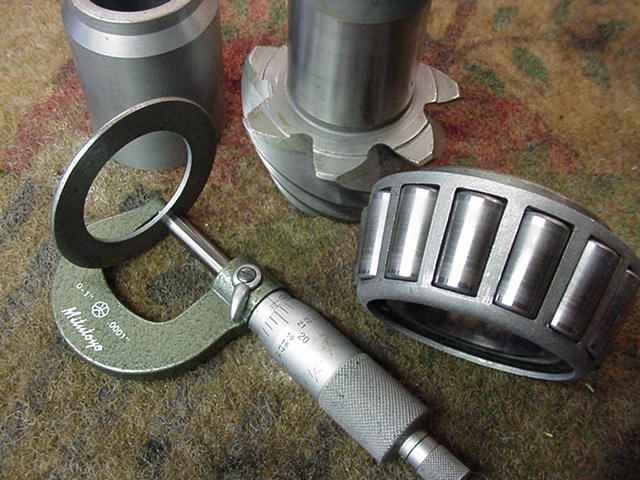
Both of the sidegear thrust washers measured .067" with the micrometers so it was not important to keep track of what side they went on. |
|
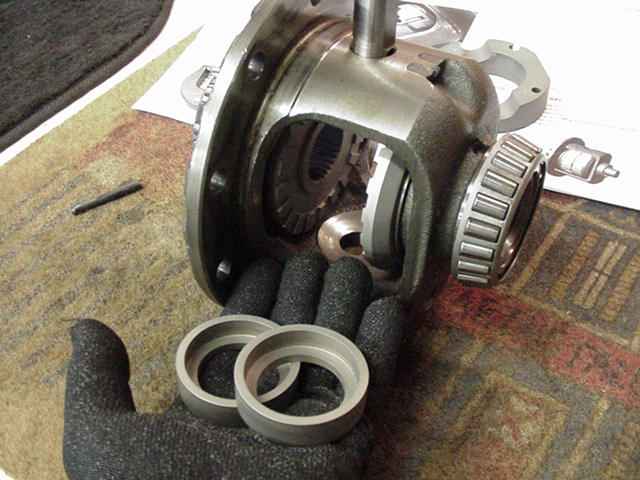
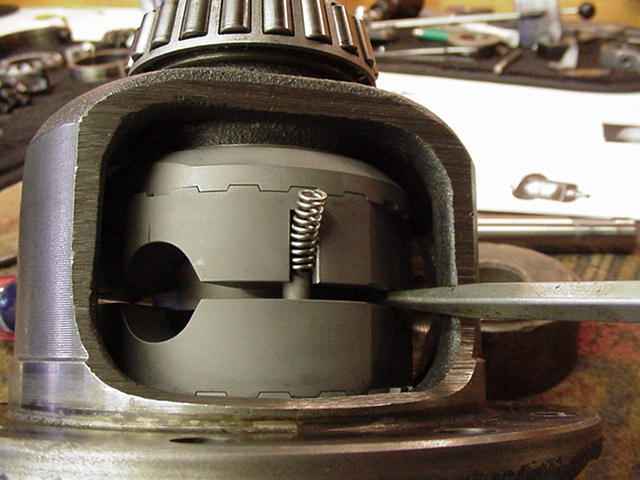
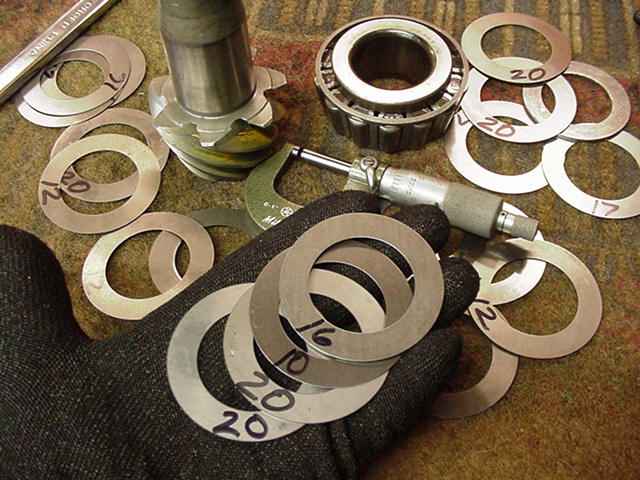
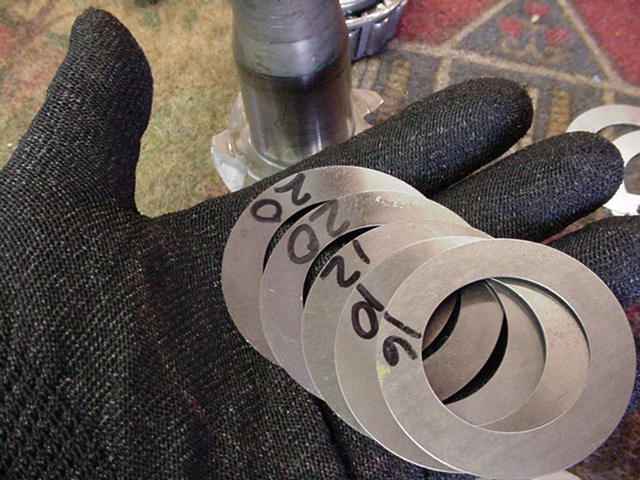
A partial assembly is done to measure the gap between the power pin and the 2 spacers showhn in my hand. This is one of two measurements that should be done during an Aussie install...but I suspect few folks actually measure anything. |
|
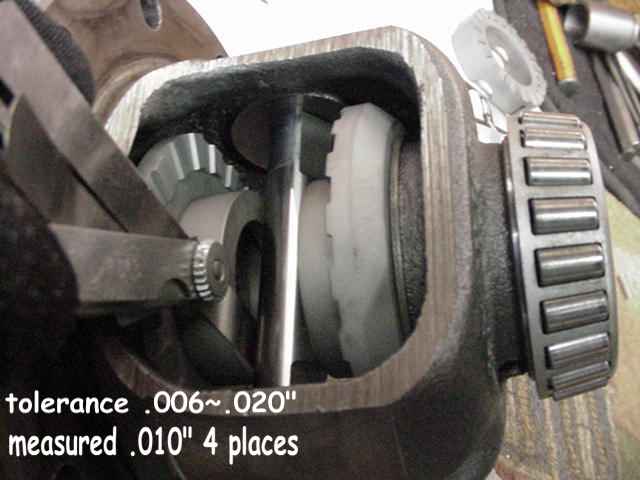
The first measurement... |
|
The last 3 Aussies that I installed required mild filing to get the last coupler to slip into the case. This one squeaked its way thru. |
|
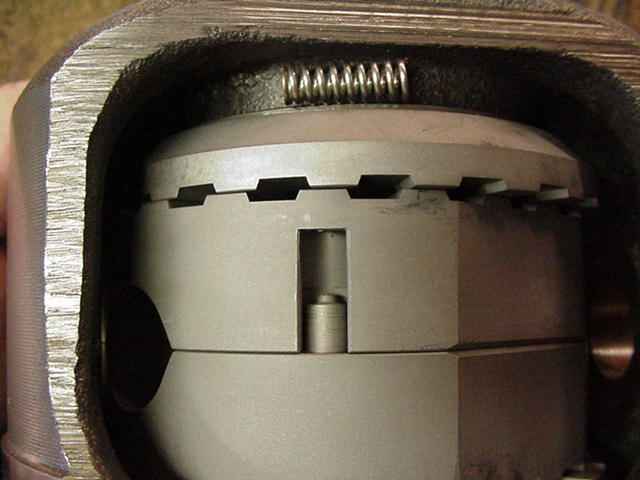
By rotating one coupler at a time, I was able to get the pins in properly...I think I figured the easiest way to get the springs in also... |
|
I employed 2 screwdrivers to spread the couplers from each other...that gave me maximum room to get the springs in. I start by pushing the spring in at the bottom side first... |
|
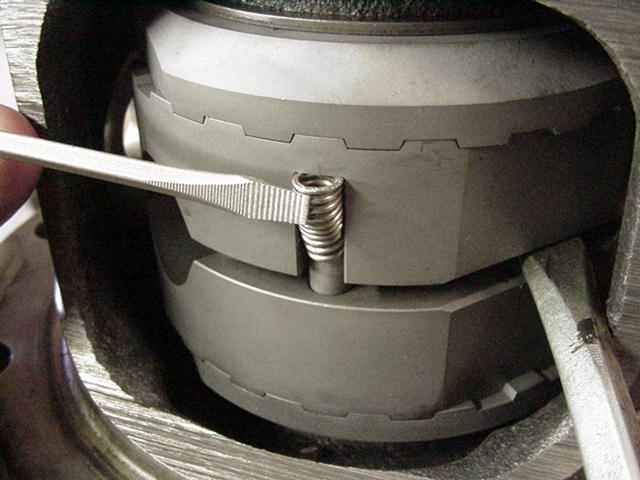
...Then I push the top side in with a small screwdriver... |
|
...then I tap it in evenly with a small screwdriver and hammer. |
|
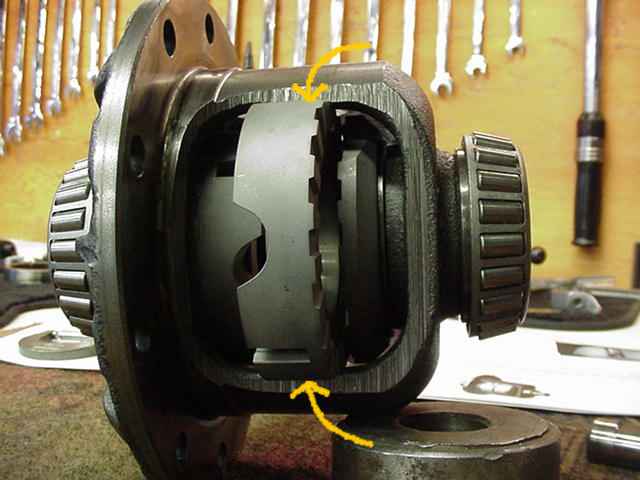
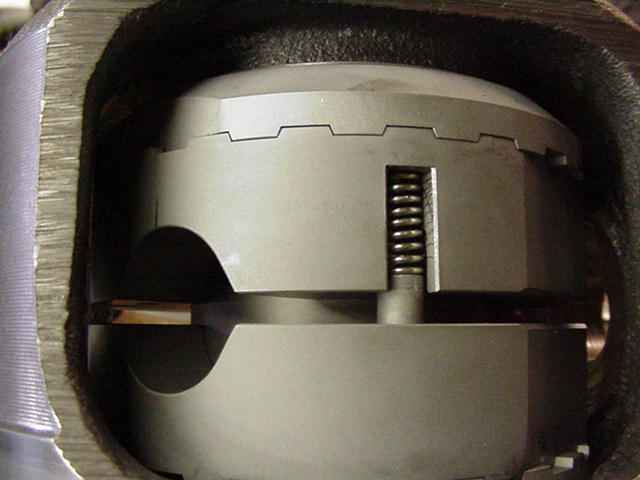
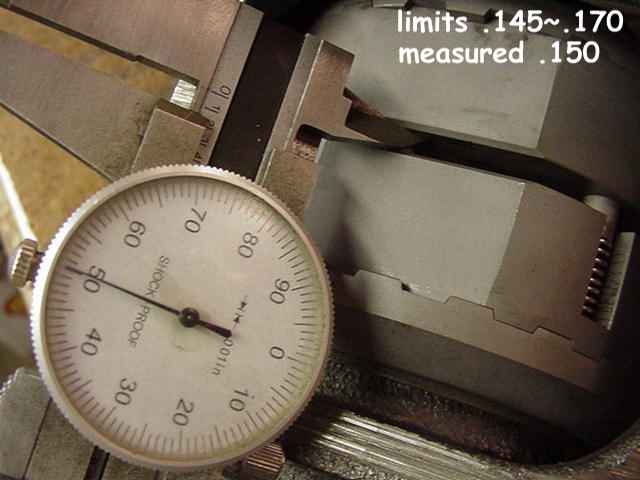
Aussie then recommends a second measurement be made. The gap between the 2 couplers measured .150" all the way around so this one is well within spec and should be trouble free for years to come. |
|
The power pin now goes in and the roll pin gets tapped back in. |
|
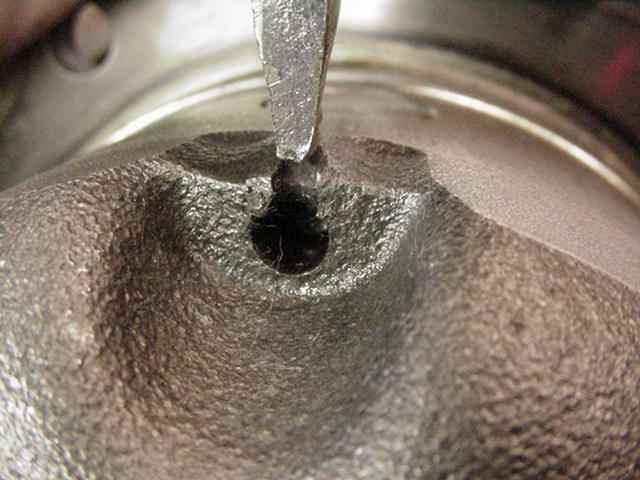
A couple of raps with a dull chisel will partially cave in the hole so the roll pin won't wiggle its way out. |

|
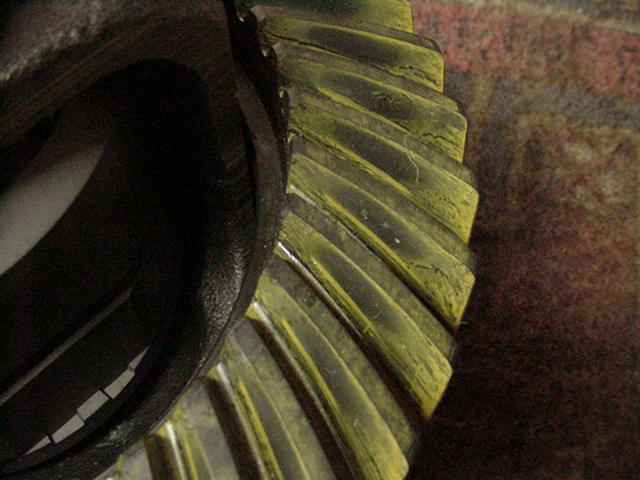
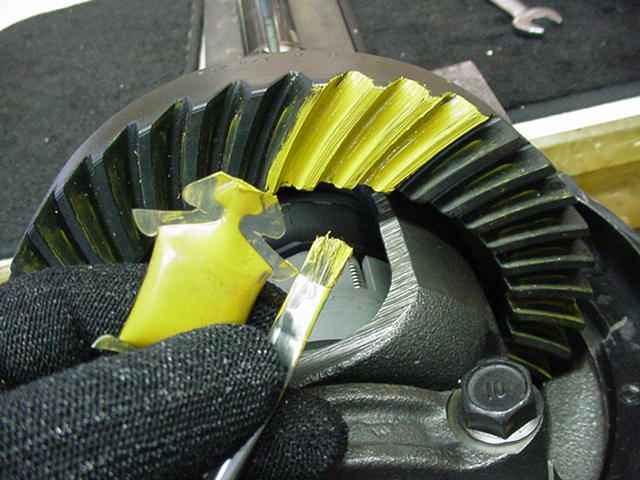
DRIVE. The new 571 Precision ring gear goes on now. The surfaces were filed first and red loctite
with 75 ft/lbs of torque will keep things tight. Shown here is the drive side. The pattern
are classic picture perfect. All PG gears get this pattern check from the factory. That's
a gear company that cares! :)
|
|
COAST. The coast side is perfectly placed also. If the Toyota carrier is within spec, I should be able to duplicate these painted patterns. |
|
The ring gear went on very tight...no sloppy fit here for sure. I bet they hold that tolerance to "two tenths of a thou". ;) |

|
The front 3rd does not see the 100% duty use that the rear does....actual usage is probably closer to 1% for most wheelers so as long as the bearings are in decent shape, I will often re-use them in a front end application to help keep costs down. Close inspection reveals these are ok....not pitted and no score marks. |
|
My first choice is .071" for the pinion shim. Harbor freight has some great deals on these micrometers...usually right at $20. |

|
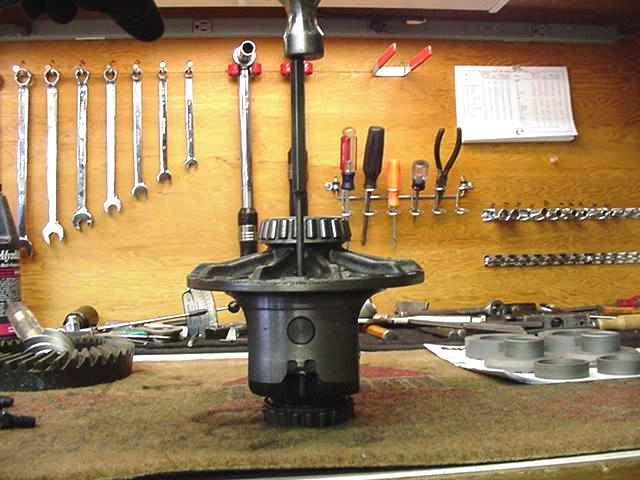
Backlash is set near the .008" recommended spec while the carrier bearing pre-load is set to medium high levels... turning the pinion while rapping the bearing cap will allow both carrier bearings to equalize with each other. |
|
The gear marking compound that comes in the Yukon master install kits is my favorite. The bright yellow is of the right consistency and easy to read. |
|
This has got to be the best and easiest way to run a pattern on the Toyota 3rd...mild drag applied to the pinion while turning the ring back and forth with a 17mm wrench. This takes 3 seconds to do. |
|
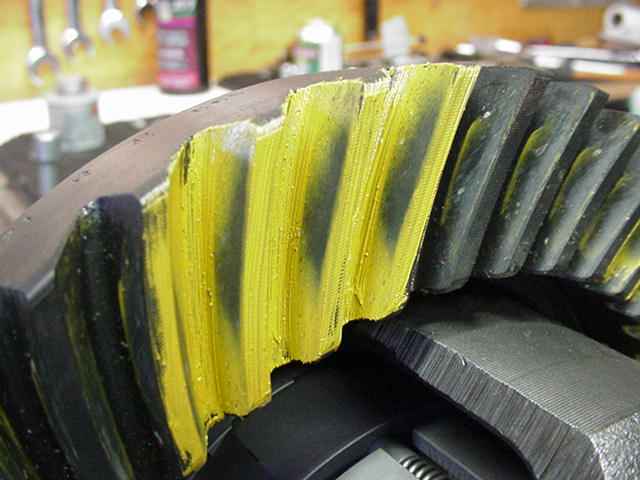
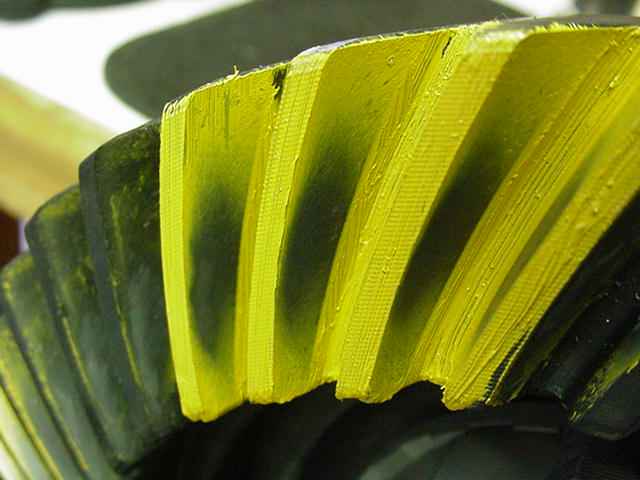
DRIVE. Too shallow (high and to the heel) |
|
COAST. shallow agrees. |
|
No ZUK....check your math again. We want to try 5 thou deeper for a value of .076". |
|
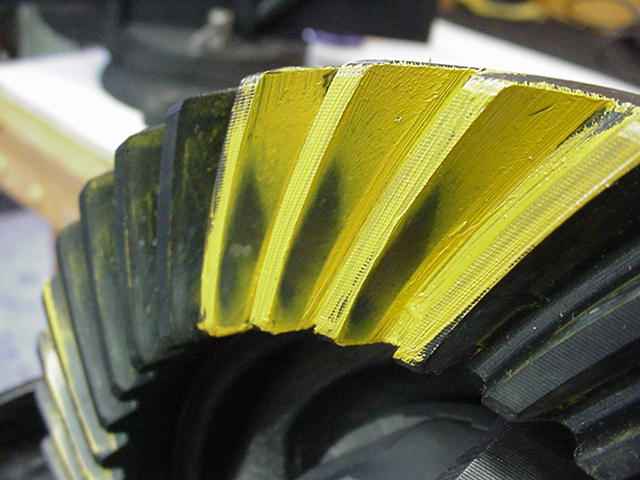
DRIVE. Probably would work just fine with this but it's still a touch shallow... |
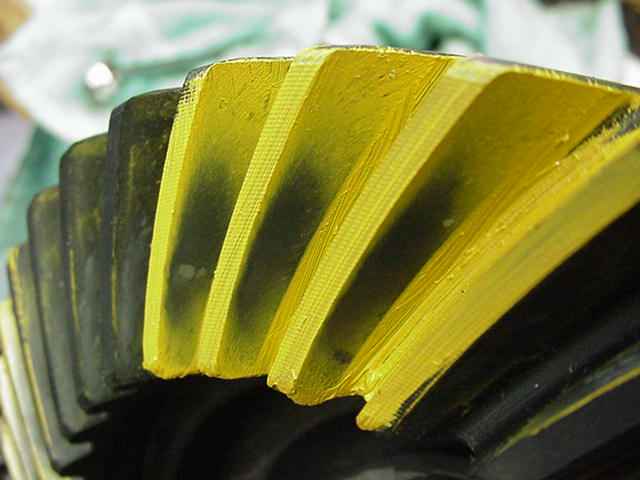
|
COAST. Just a little shallow. |
|
Add .002" for a final pinion value of .078". |
|
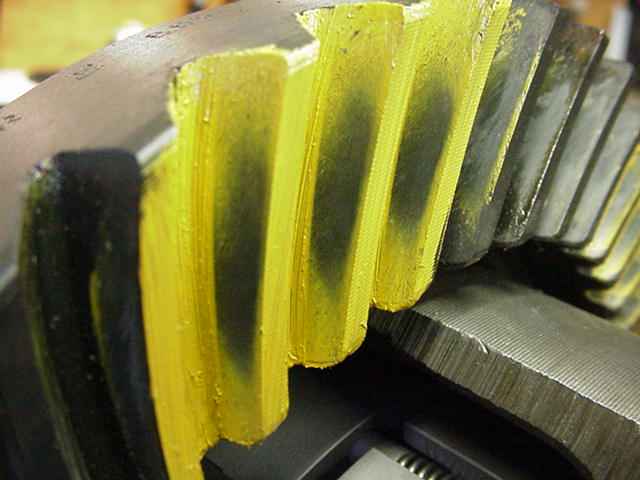
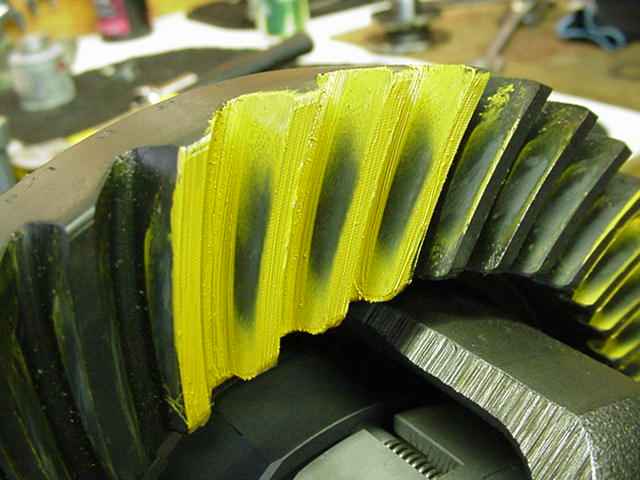
DRIVE. Nice. |
|
COAST. Nice again. :) |
|
Sometimes I get "gabby" so I add my two cents ;) |
|
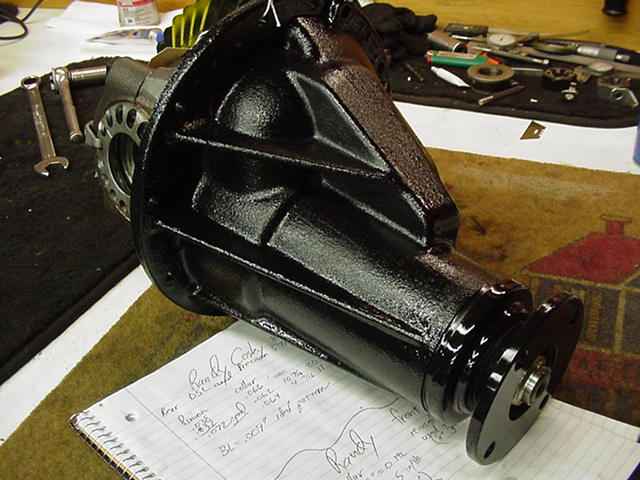
If the 3rd is sent to me clean on the outside, I will do a 2 step paint process that seems to be unbelievably durable...I spray a special "adhesion promoter" followed almost immediately by a shot of Krylon glossy black. |
|
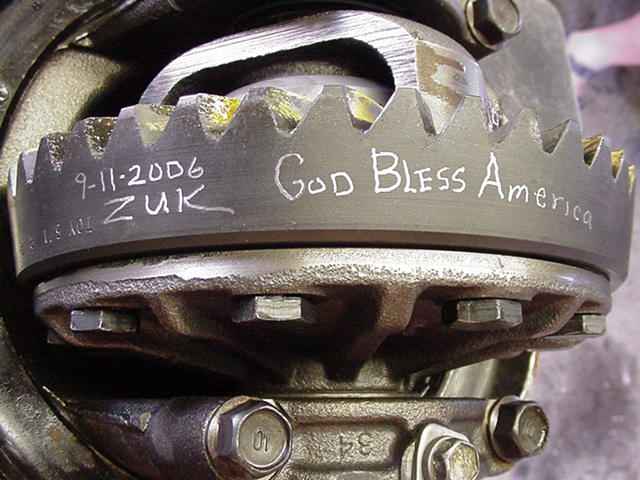
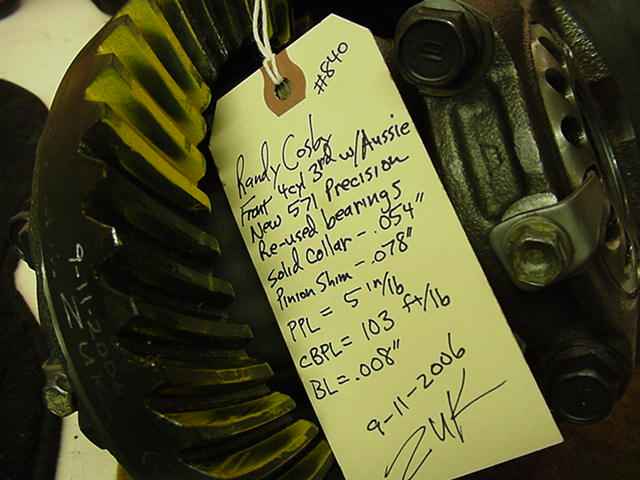
I served time back in '76 at R.I.T. and documentation was drilled in my head...so I include a tag with the important data. Done. :) |

|