|
|
|
|
|
|
|
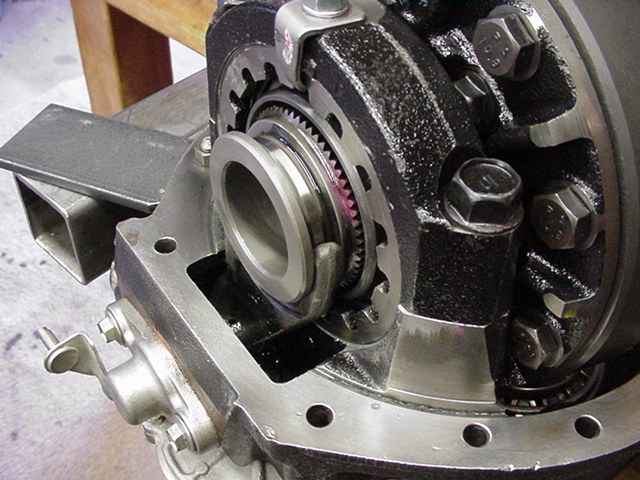
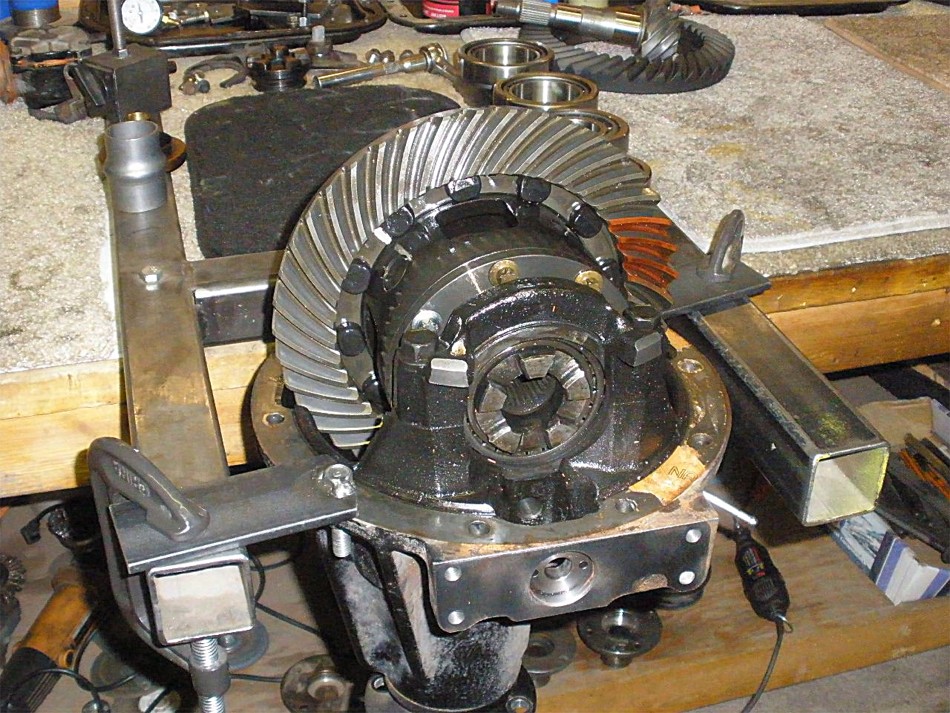
Some of the 8" 3rds pop out of the axle housing hole even if the actuators are left in the UNLOCKED position. But, in the case of the Landcruiser 9.5", be sure to LOCK the 3rd because they do not come out of the hole due to locking fork interference. Forcing it out will possibly bend the fork.....seen it happen. |
|
|
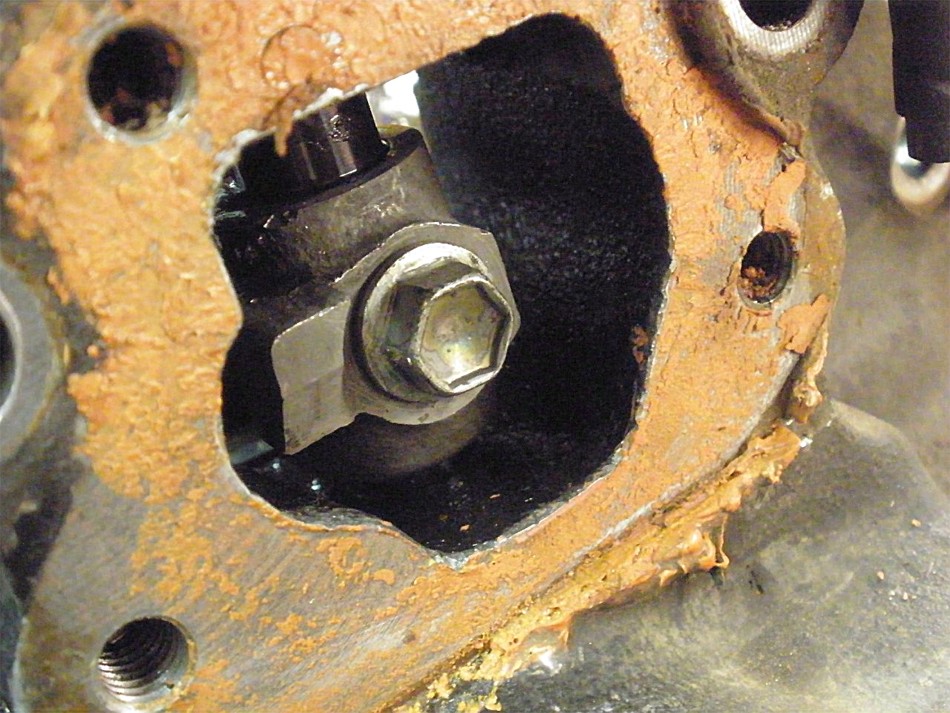
With the 3rd out, use a 12mm wrench to remove this one bolt. |
|
|
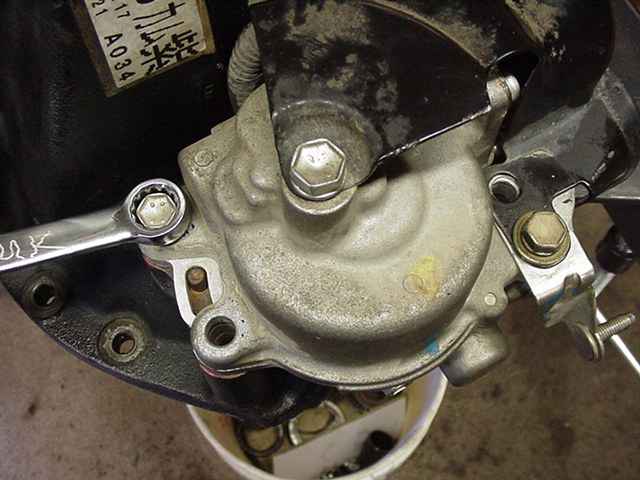
It's aluminum so very lightly tap out the assembly. It may be a little rusted in place so use caution where it's clobbered with the hammer. |
|
|
Set the motor assembly in a safe place. |
|
|
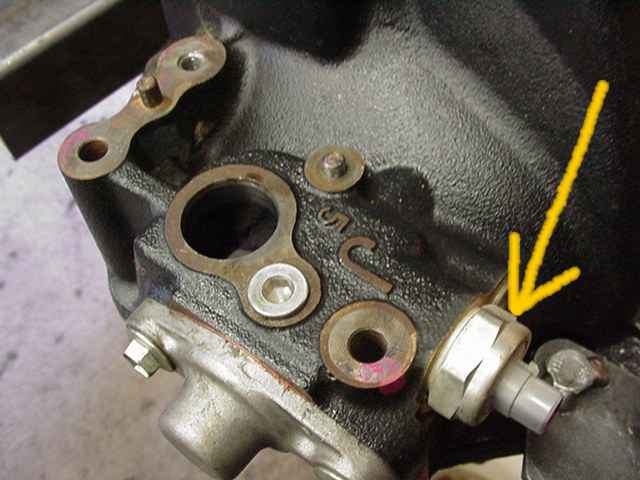
The "lock" sensor has a plastic connector. Best to remove it. It's not on very tight so a 27mm socket will take it off easy...especially if you attach the socket to an electric impact wrench :) |
|
|
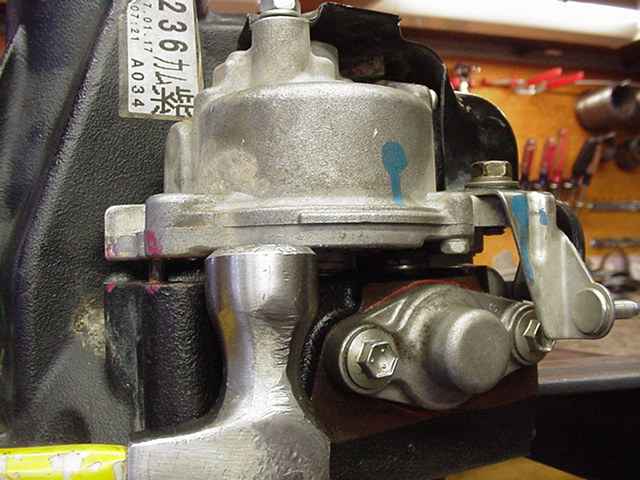
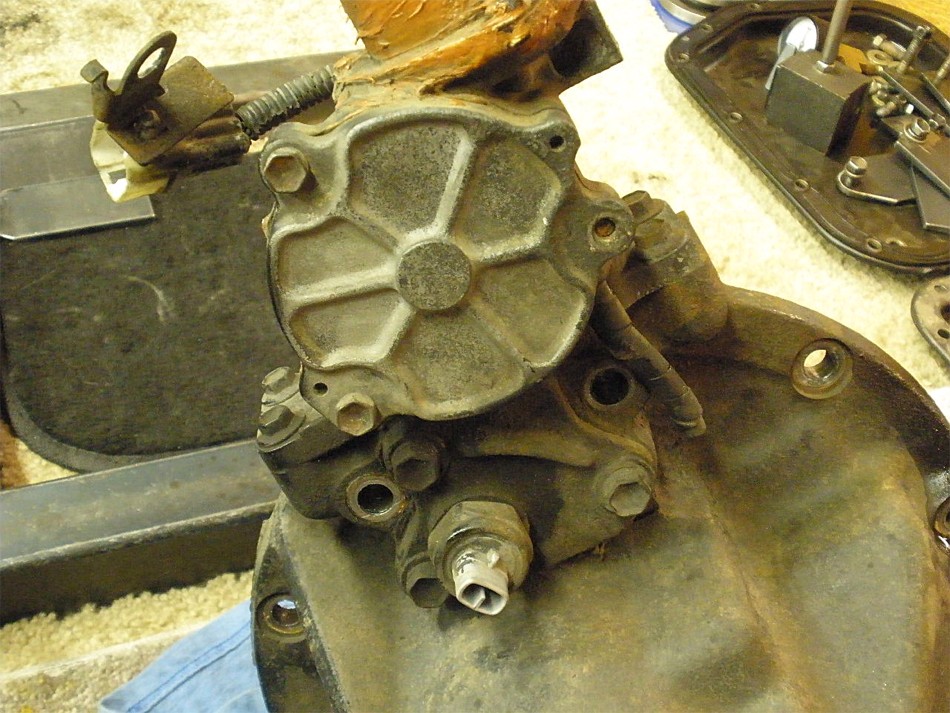
The large bulky 9.5" e-motor assembly can be removed with 8 small bolts and some love taps. |
|
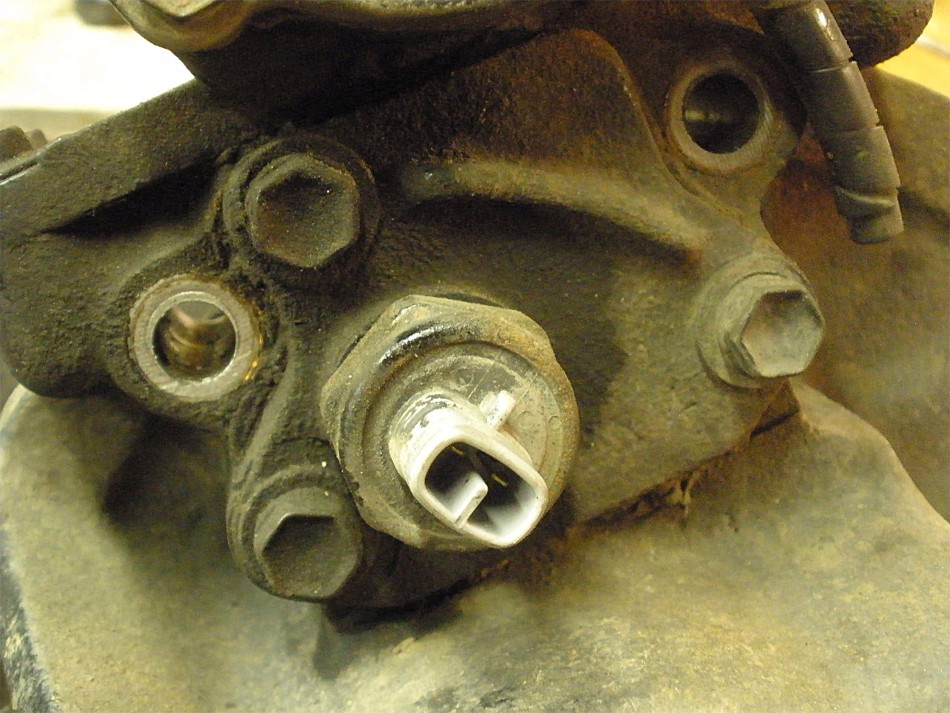
Remove these 3 small bolts. |
|
................ |
|
On mine, this little 10mm unscrewed with thread resistance....probably the loctite they used. Just remove the bolt and set it aside. |
|
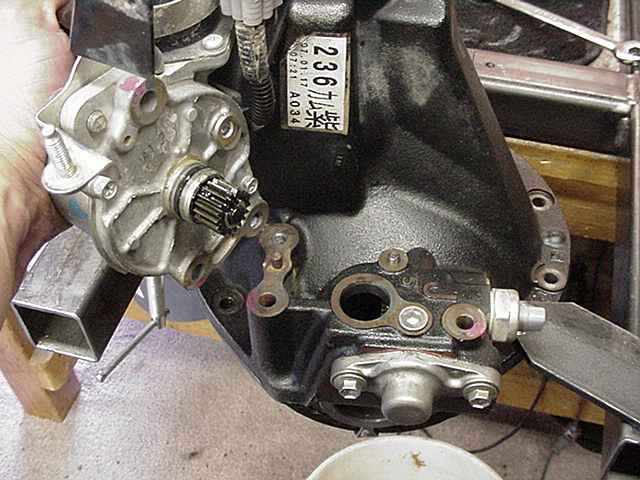
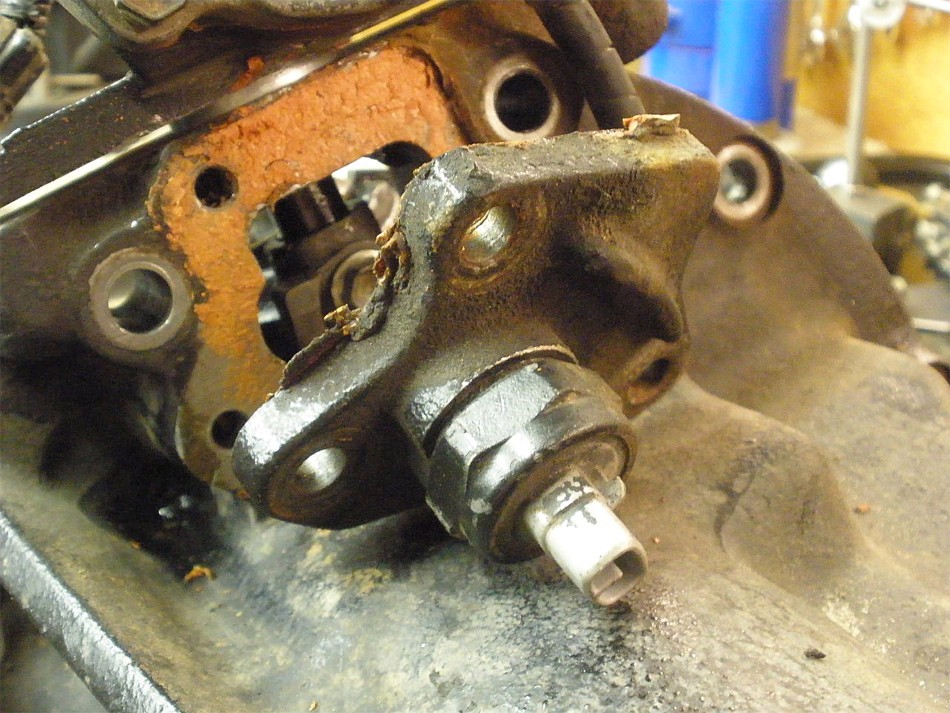
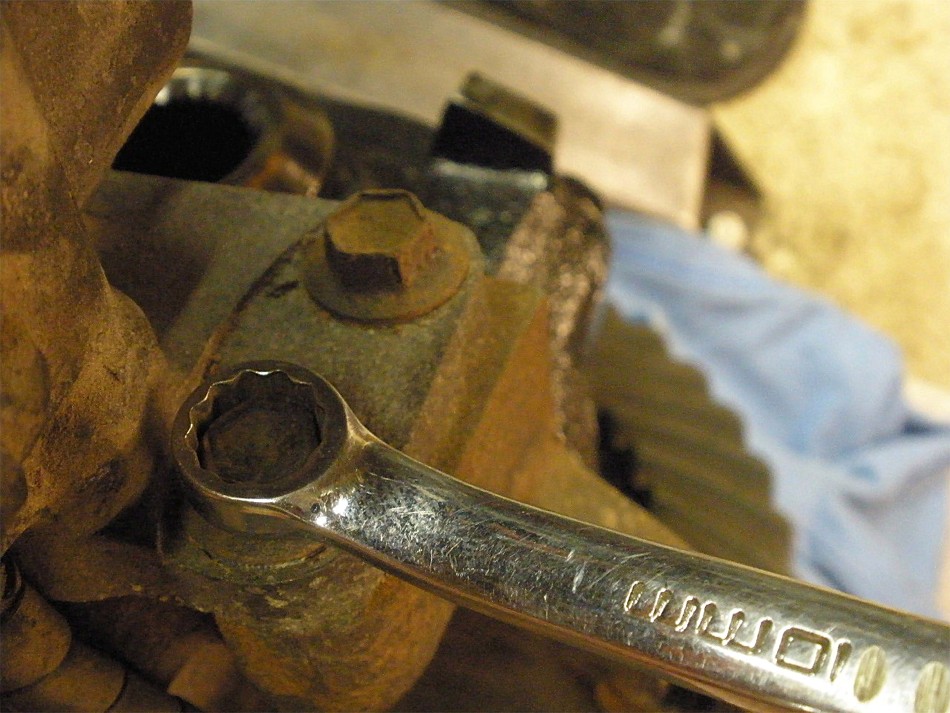
Remove the 4 bolts that hold the e-motor assembly on....2 on this side..... |
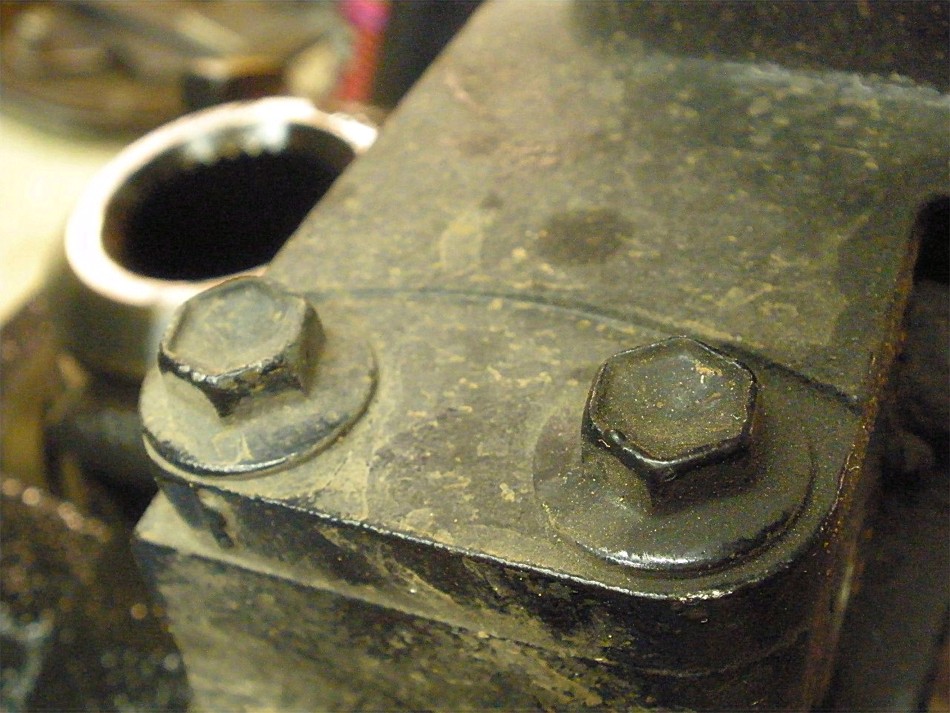
|
....and 2 on this other side. They might be on tight and give an audible SNAP when they break loose. Use a good closed-end wrench on these flange style bolts. |
|
Then lightly tap the motor off. The assembly might be semi-rusted on but some tap taps with a brass drift should coax it off. Done. |

|