| Harold's 2018 Tacoma TRD 8.75" rear 3rd gets Nitro 529 gears |
|---|
| (82 BIG pics loading) |
|---|
| June 30 2019 |
|---|
|
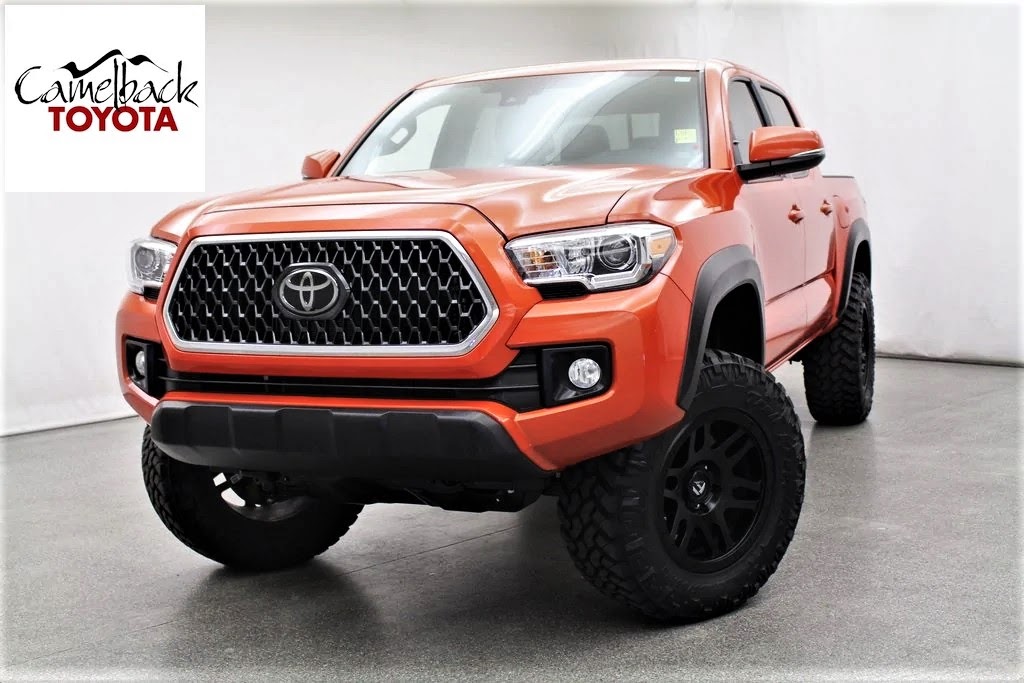
| Harold's actual 2018 Taco TRD as shot right at the Camelback dealership. |
|---|
|
|
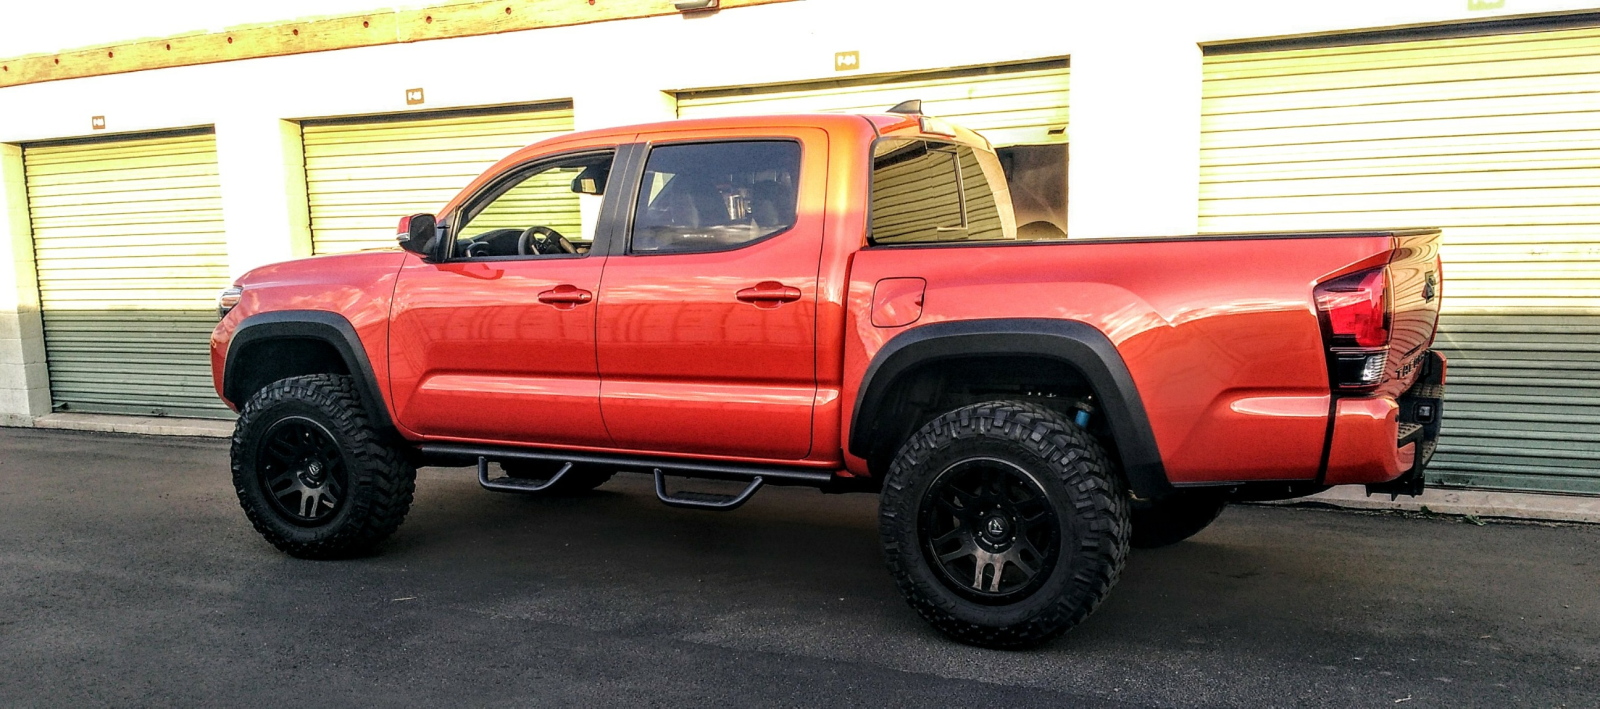
Color: Inferno Orange.
3.5L 24 valve DOHC, 6 speed automatic transmission.
Overdrive is a fantastic .58
Has 33" tires as shown right now but will soon see 35" |
|---|
|
|
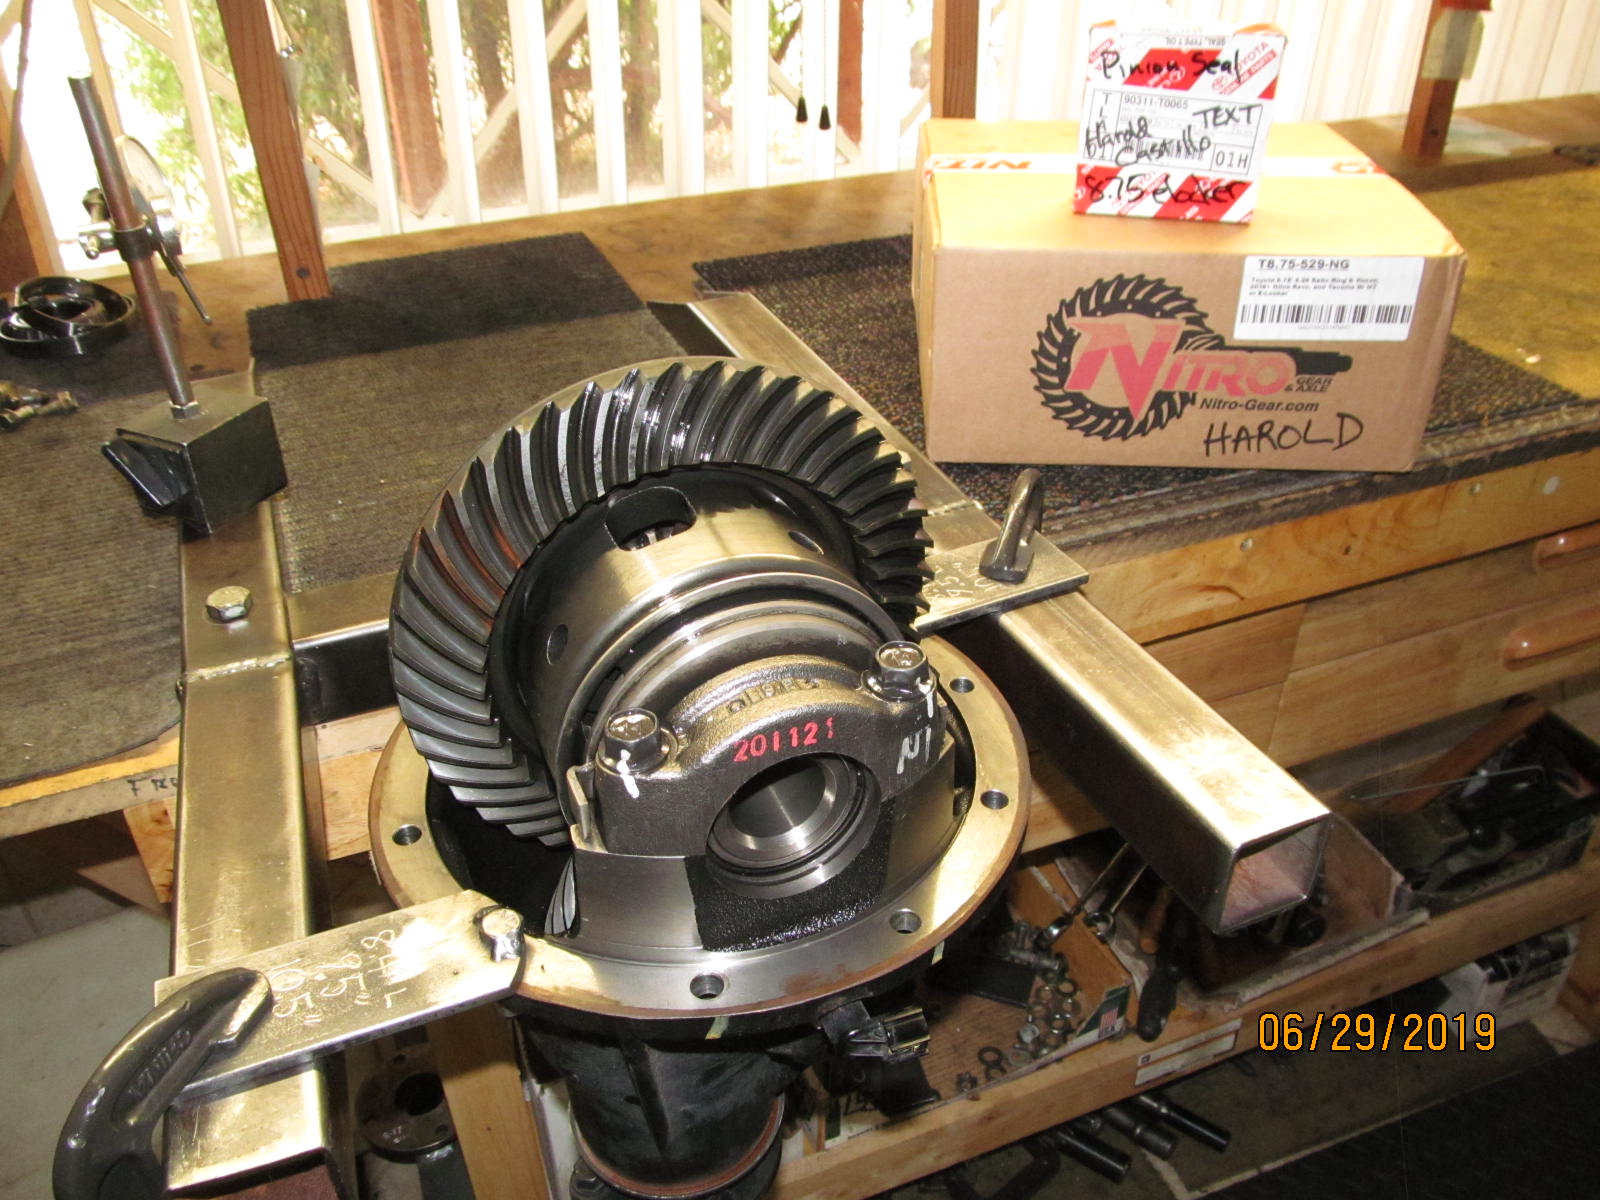
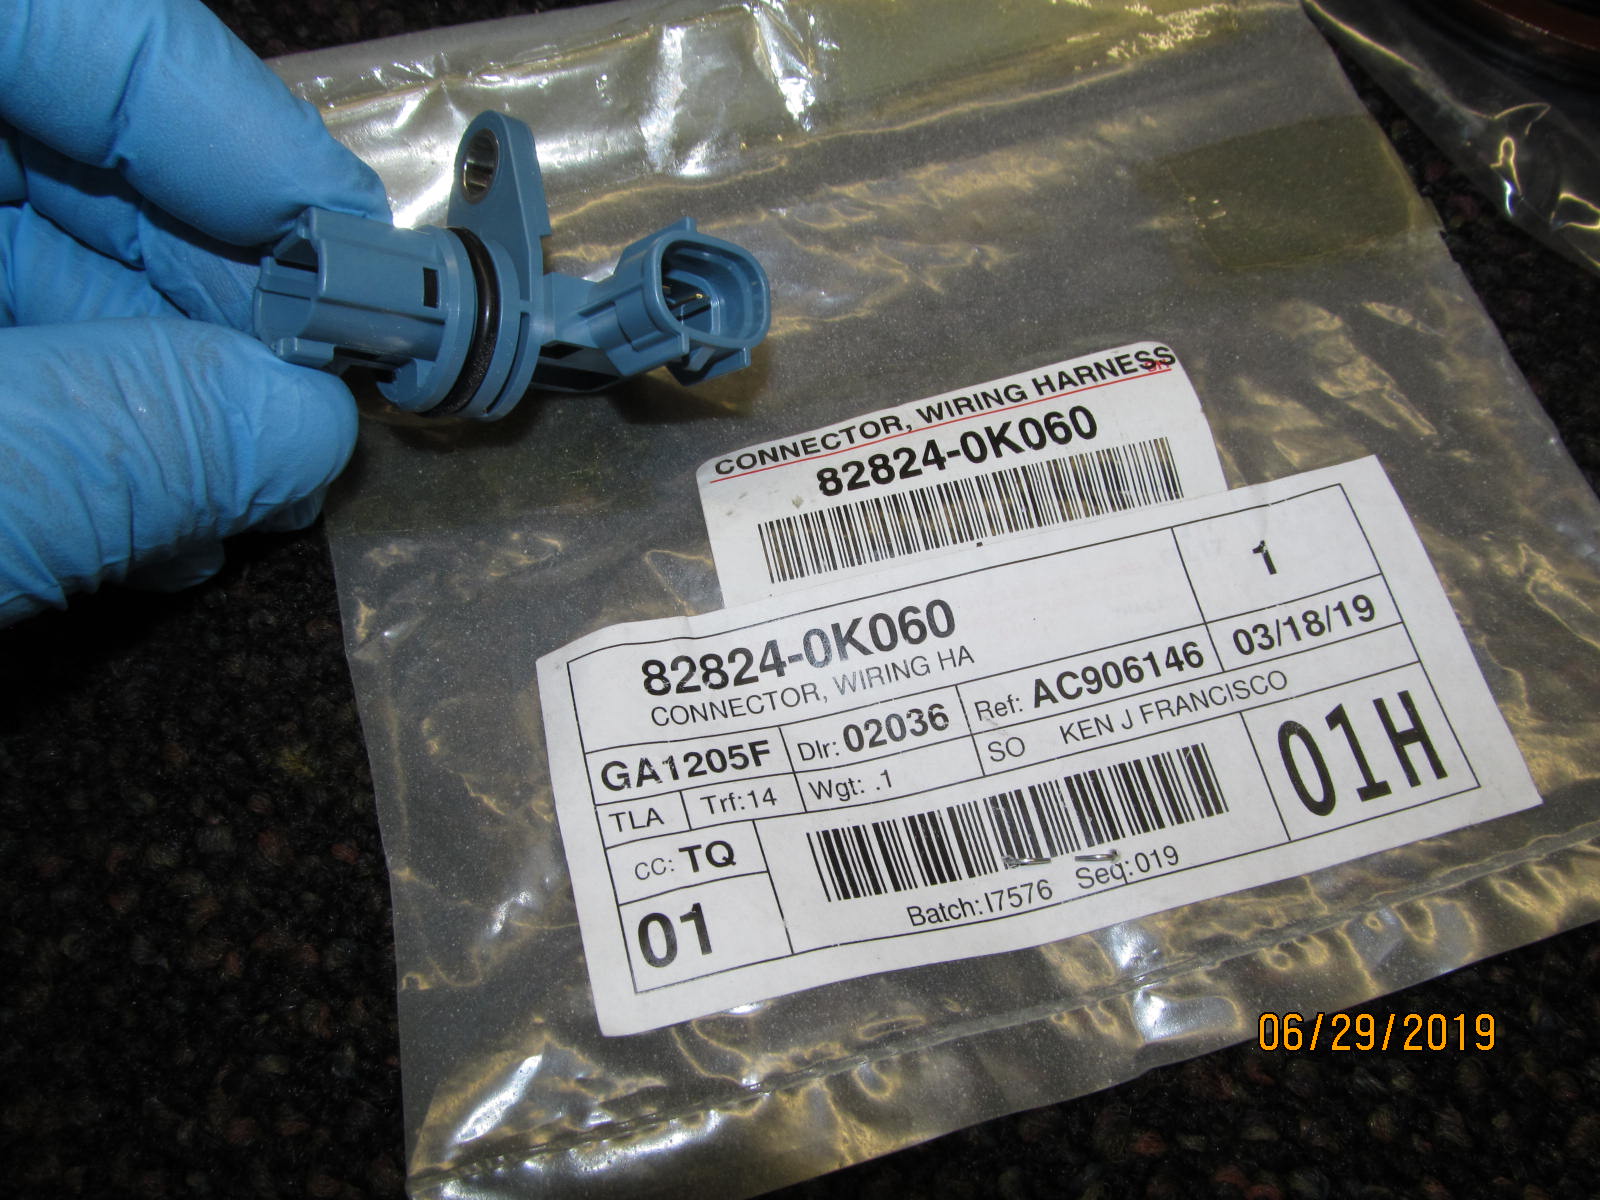
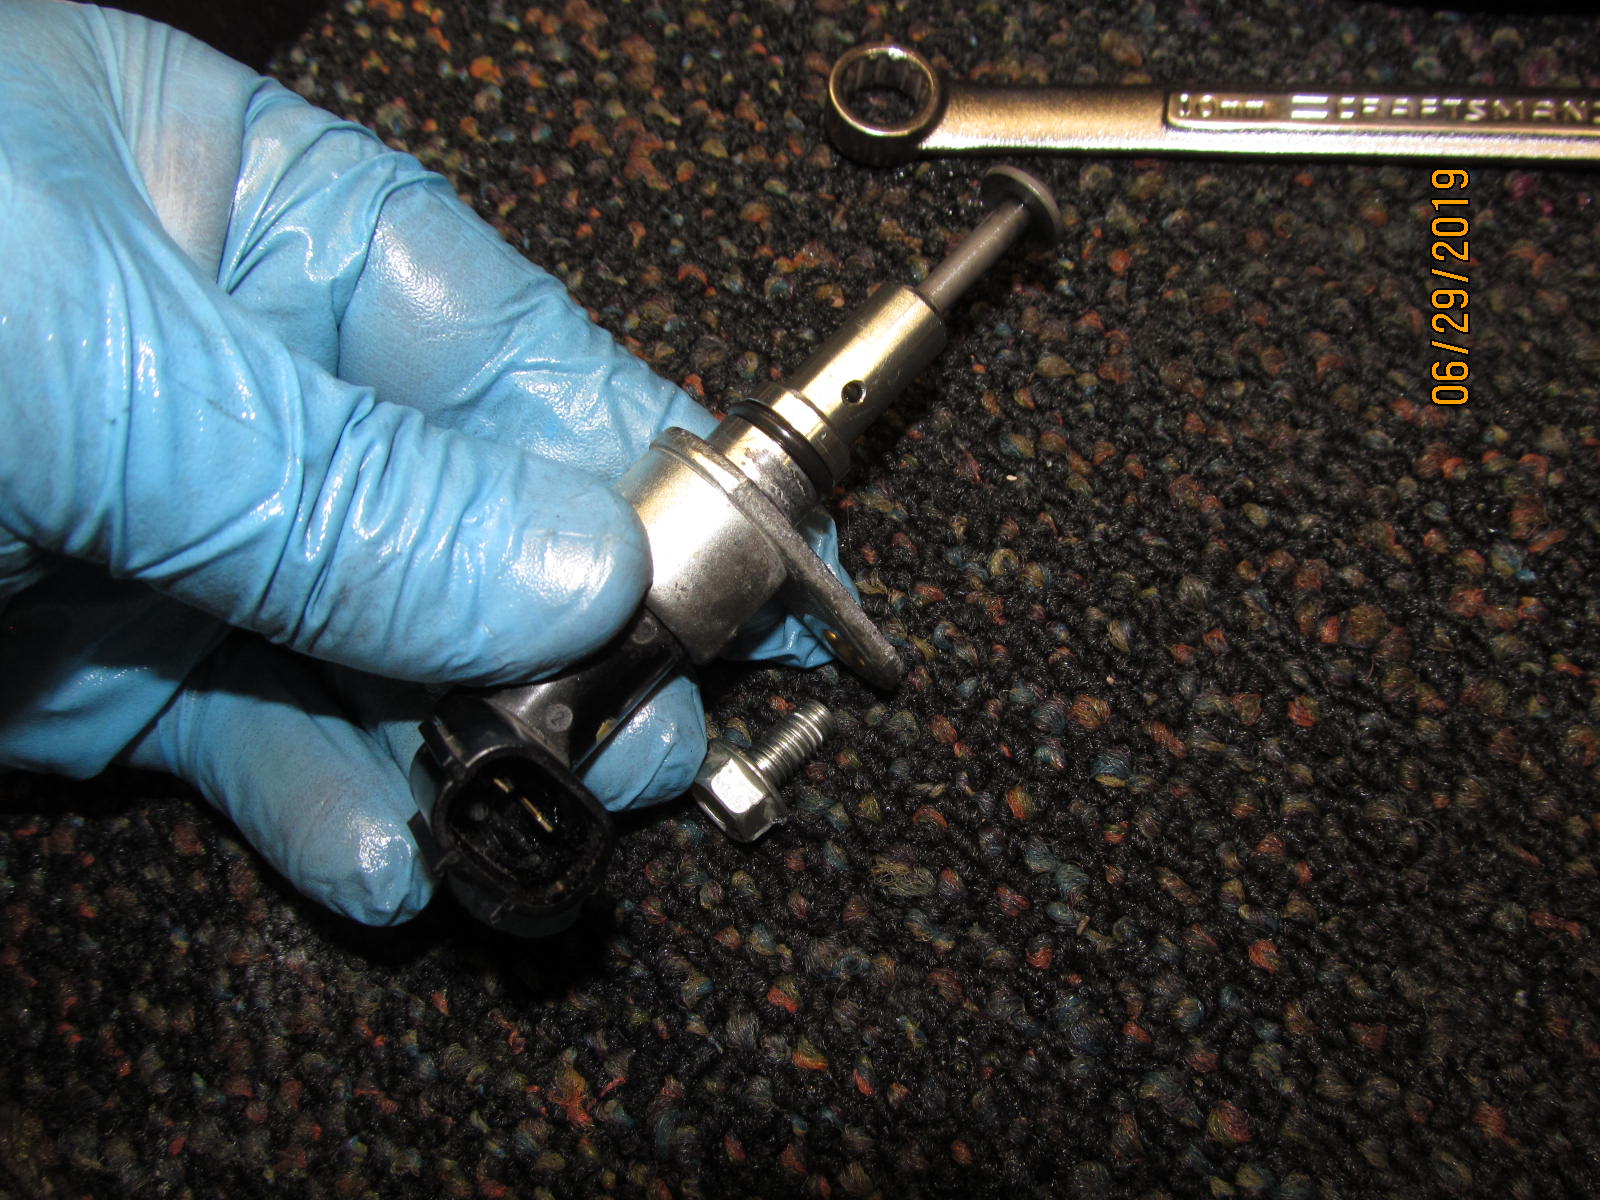
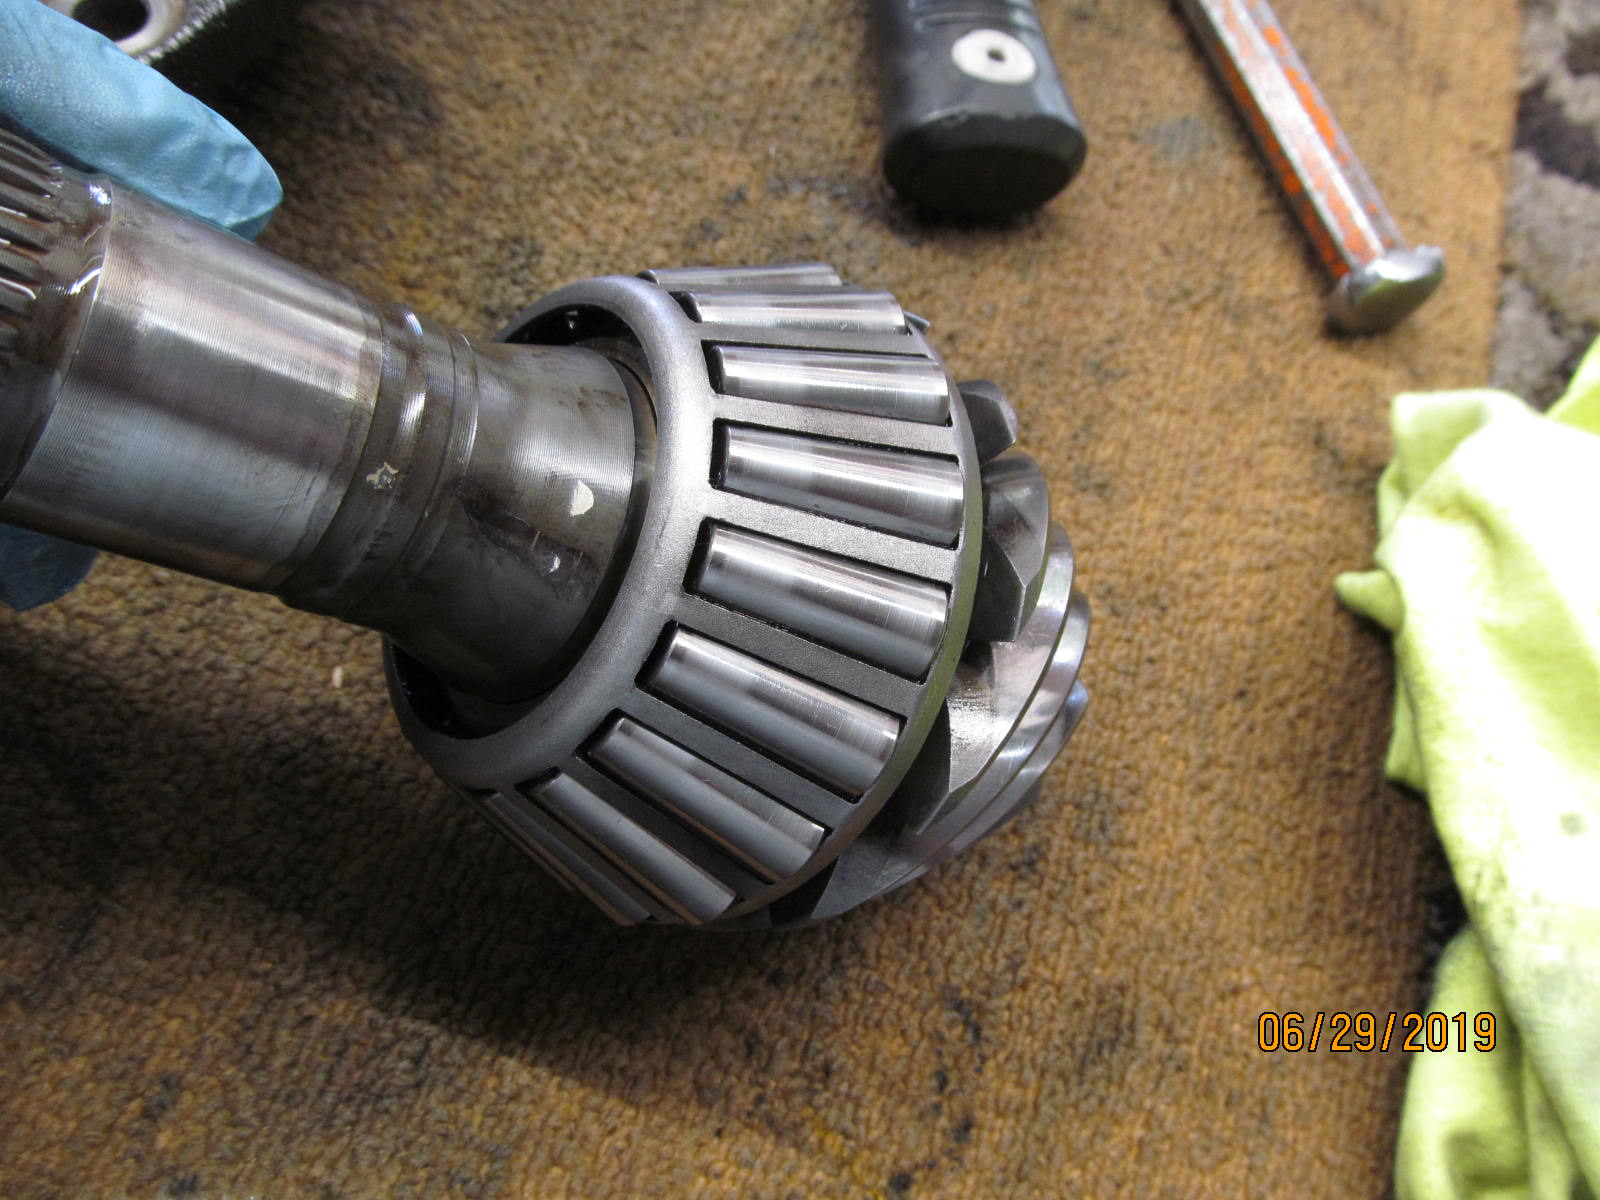
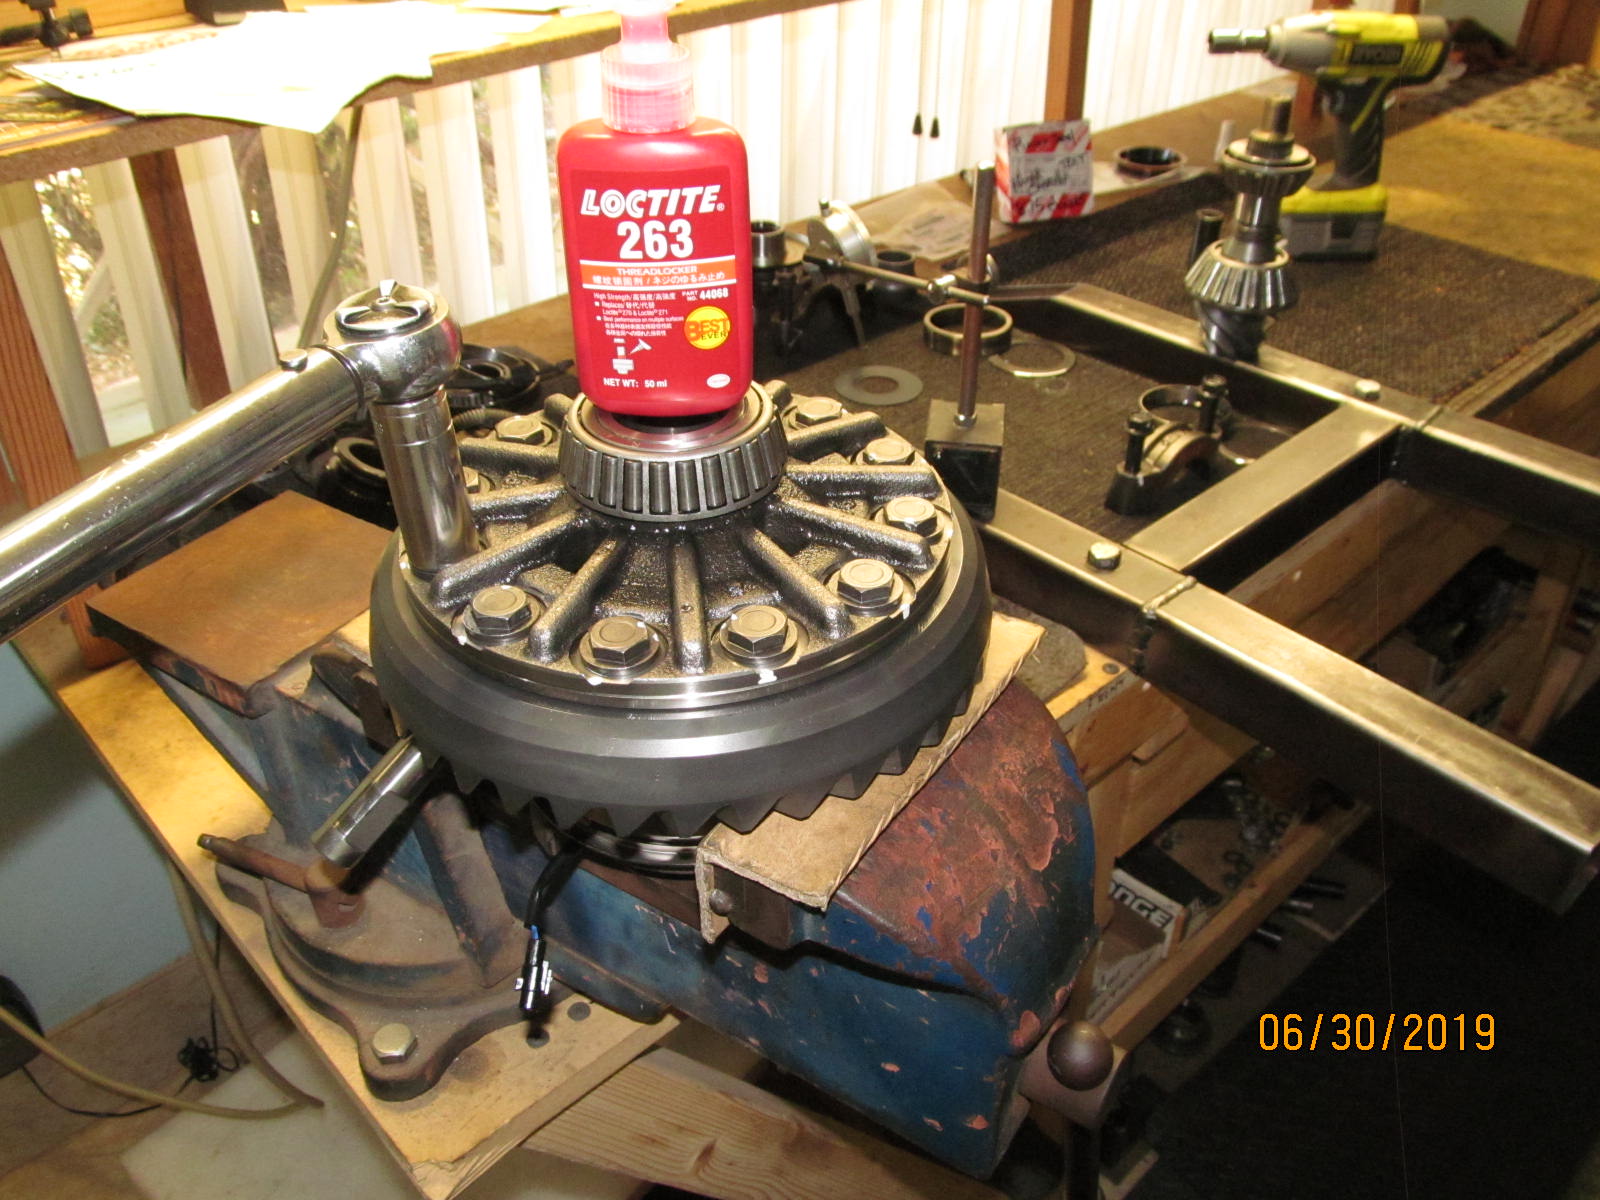
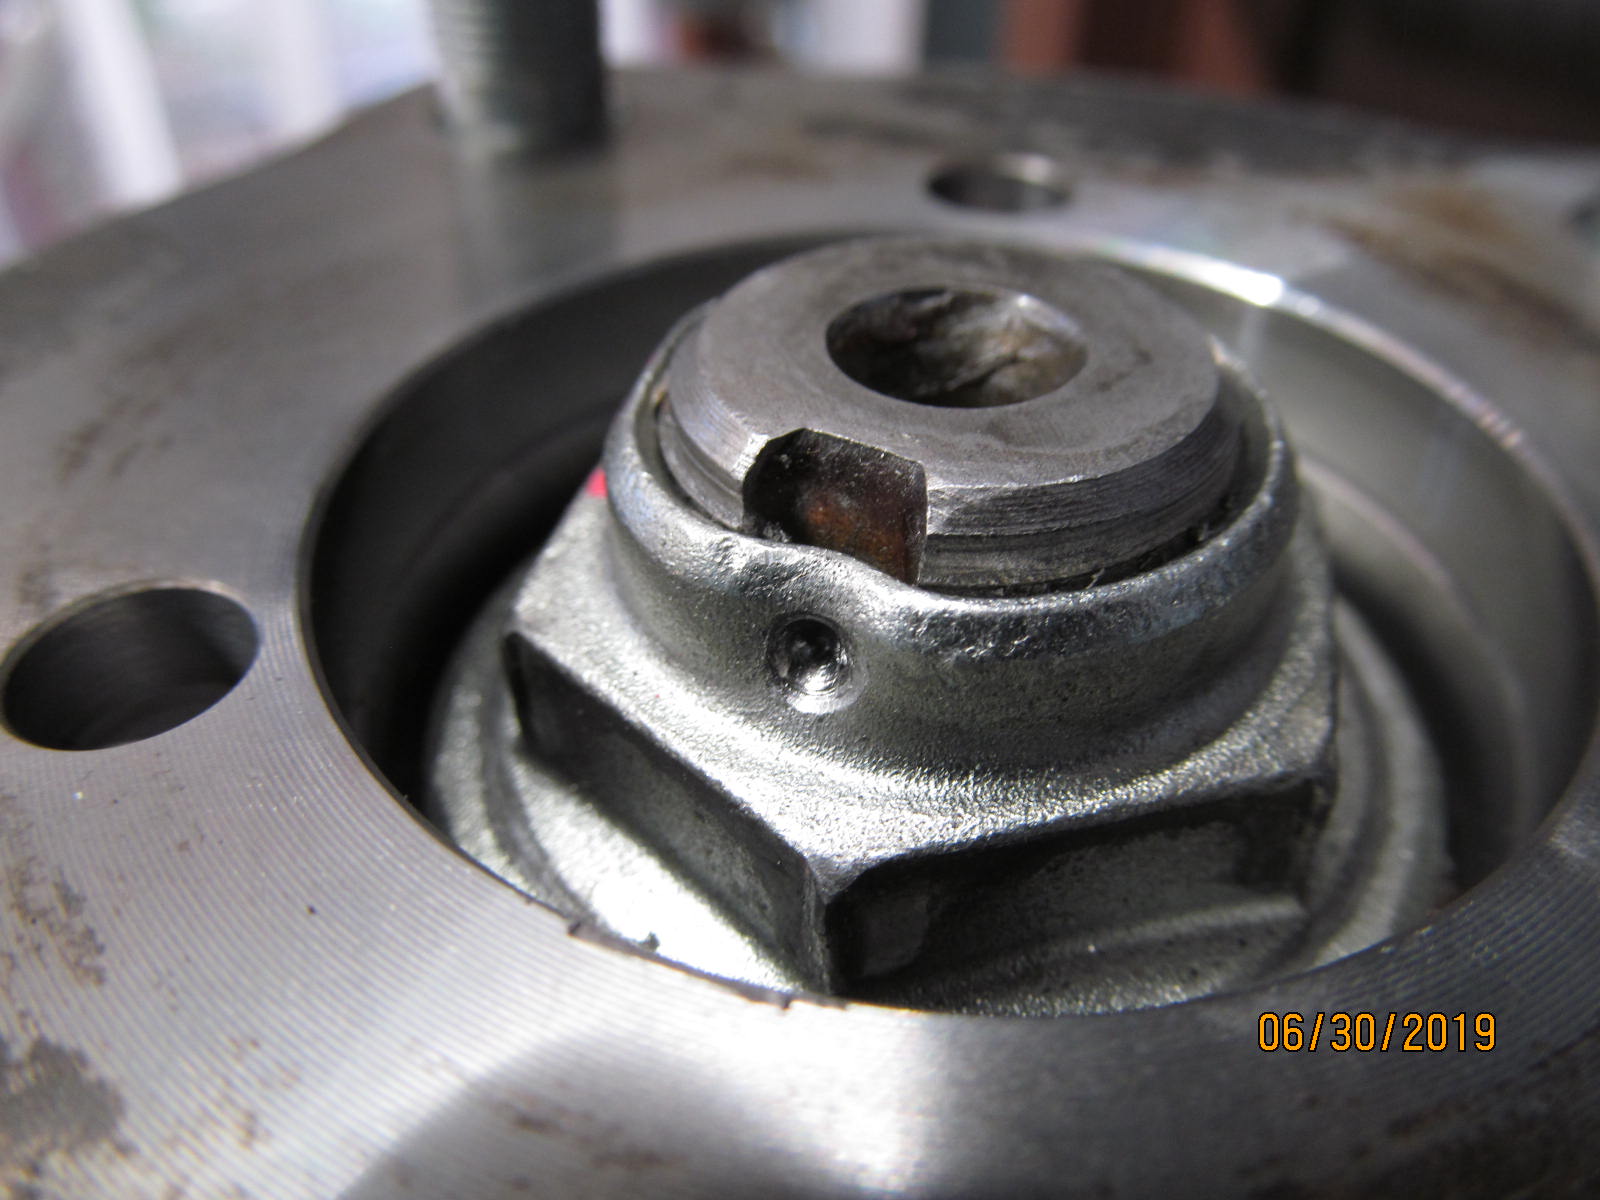
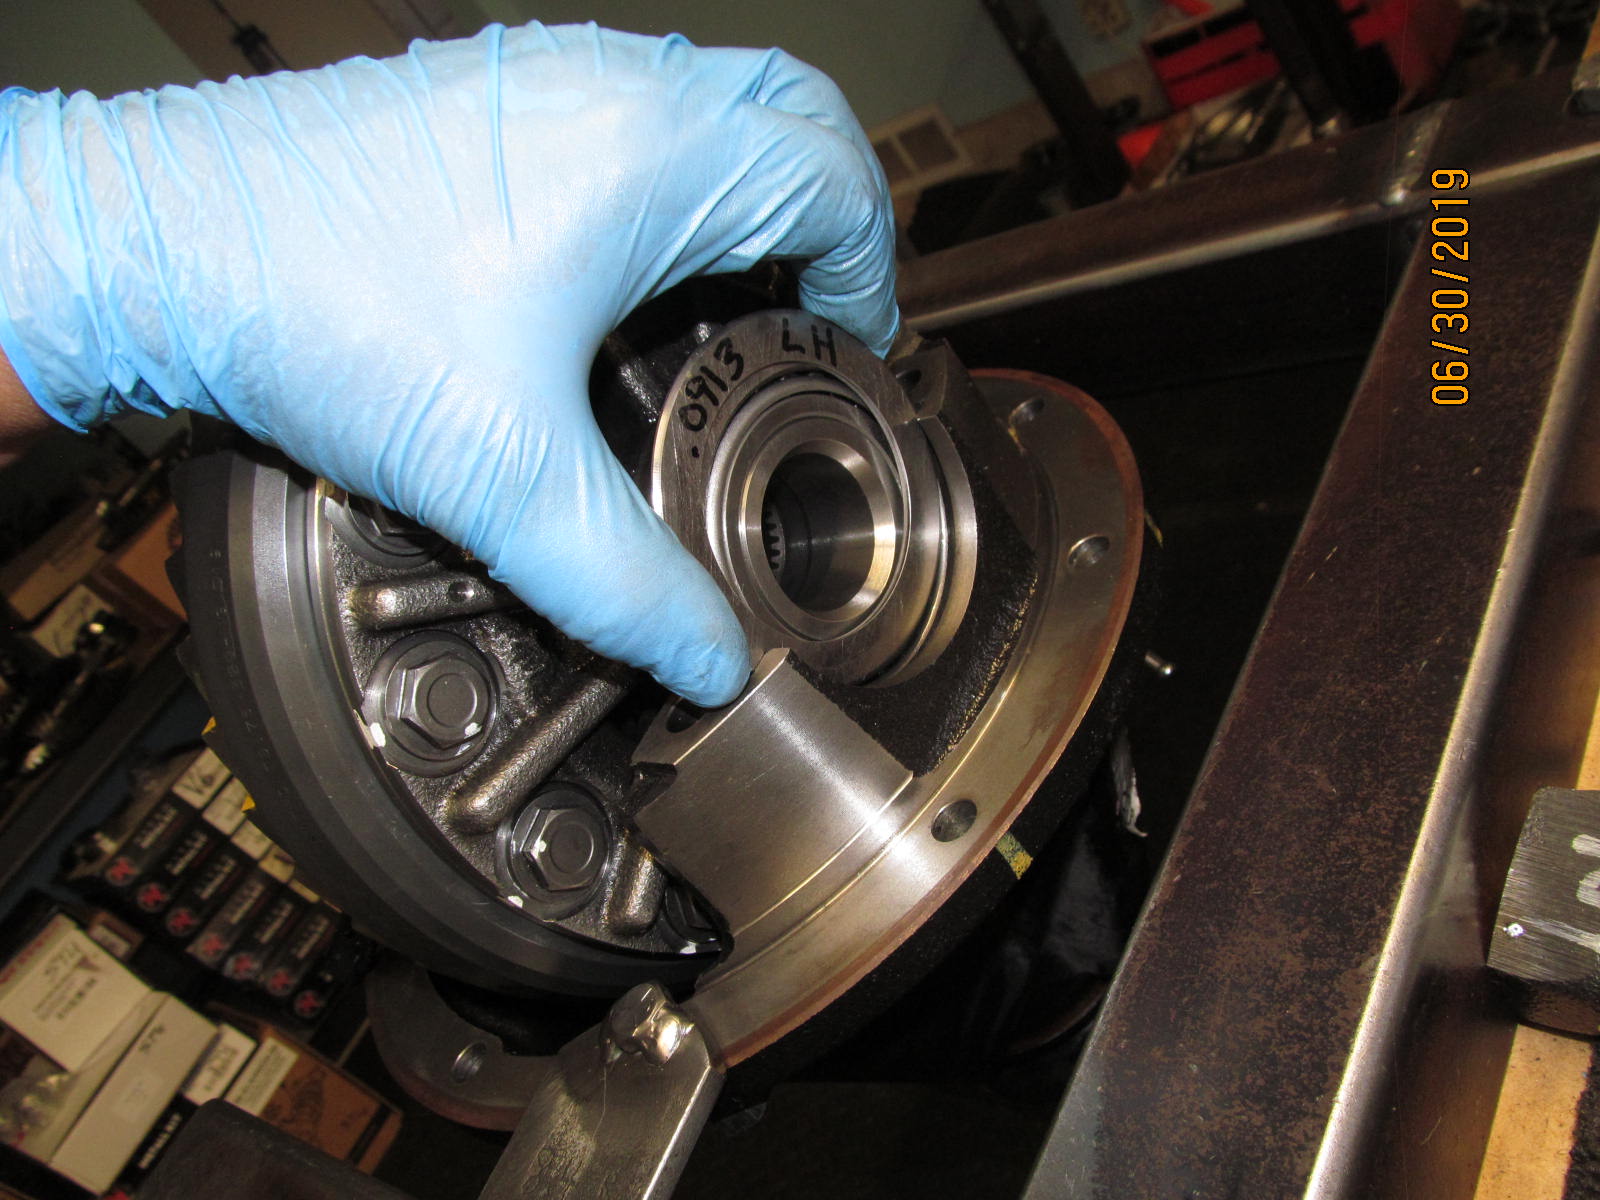
Harold's 8.75 rear e-locker 3rd is on the bench with the stock 3.91 gears.
Nitro 529 gears and a genuine pinion seal shown....but no bearings.
On a 2018 or 2019 Tacoma, it can be argued that the bearings are already still like brand new. |
|---|
|
|
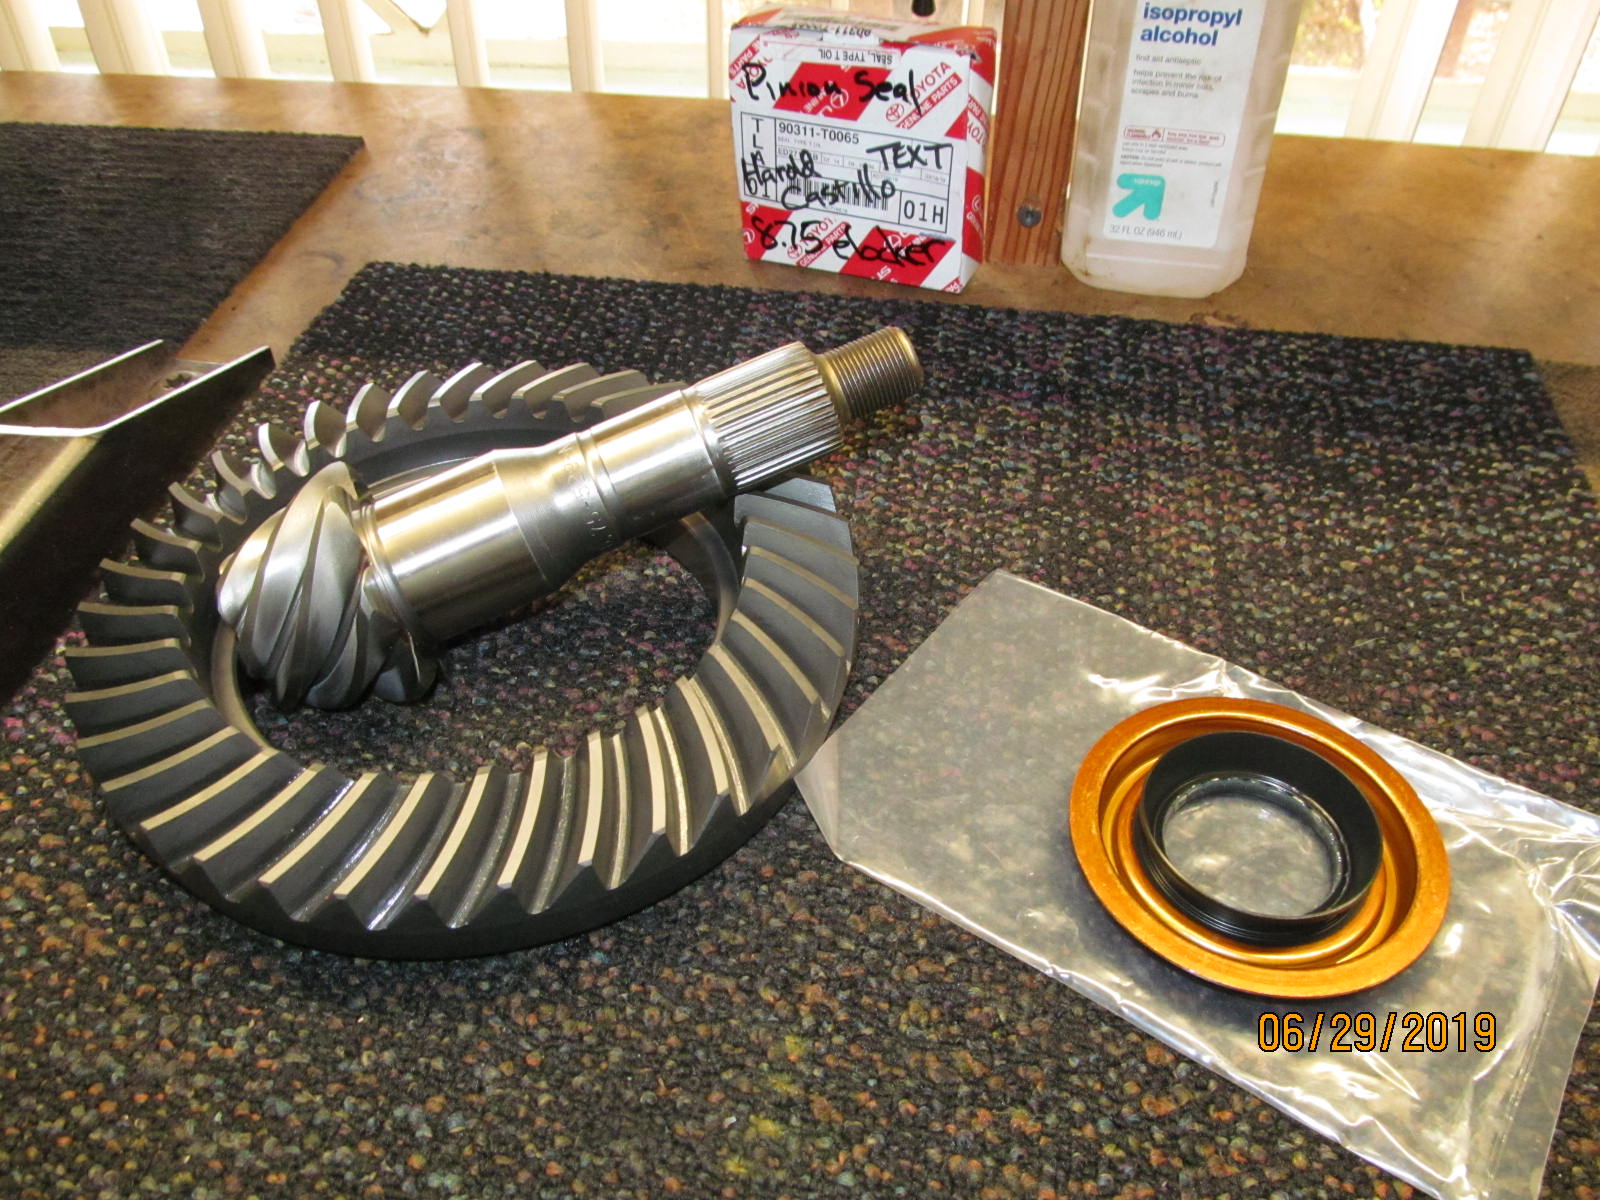
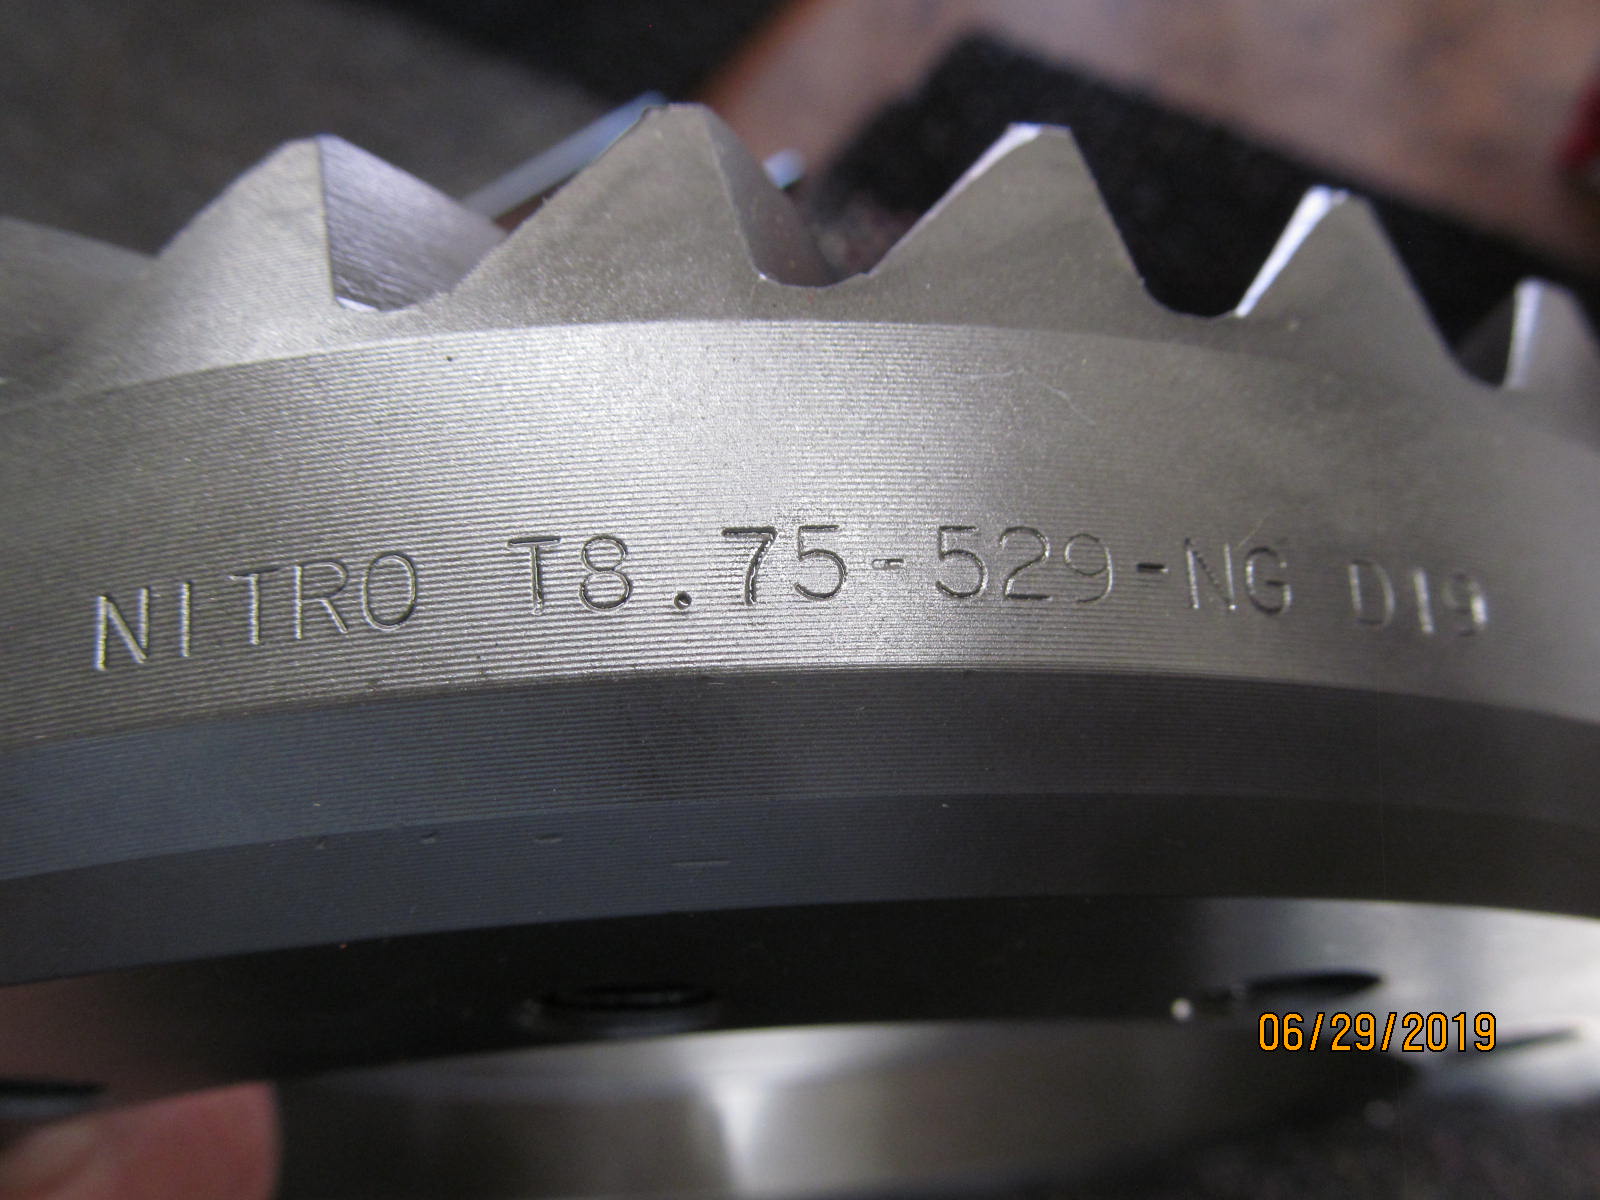
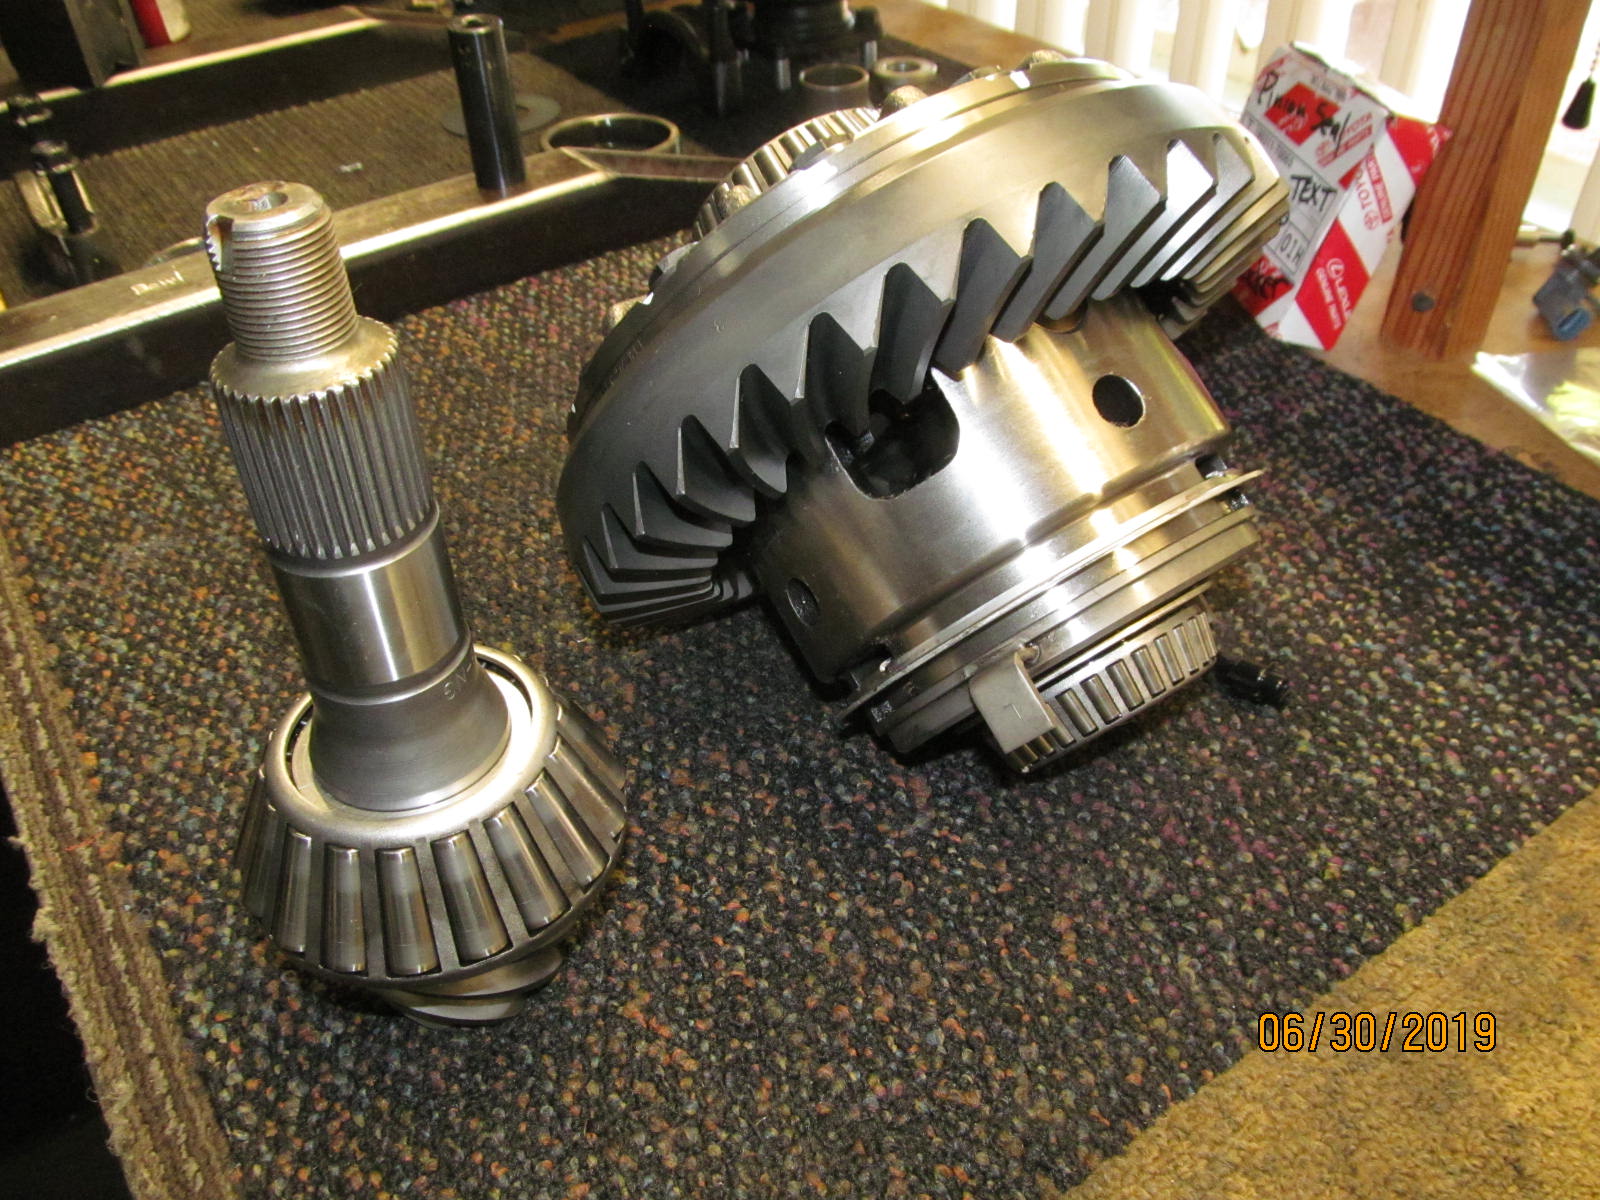
| Nitro 529 gears and a genuine Toyota pinion seal. The pinion shaft is massive. |
|---|
|
|
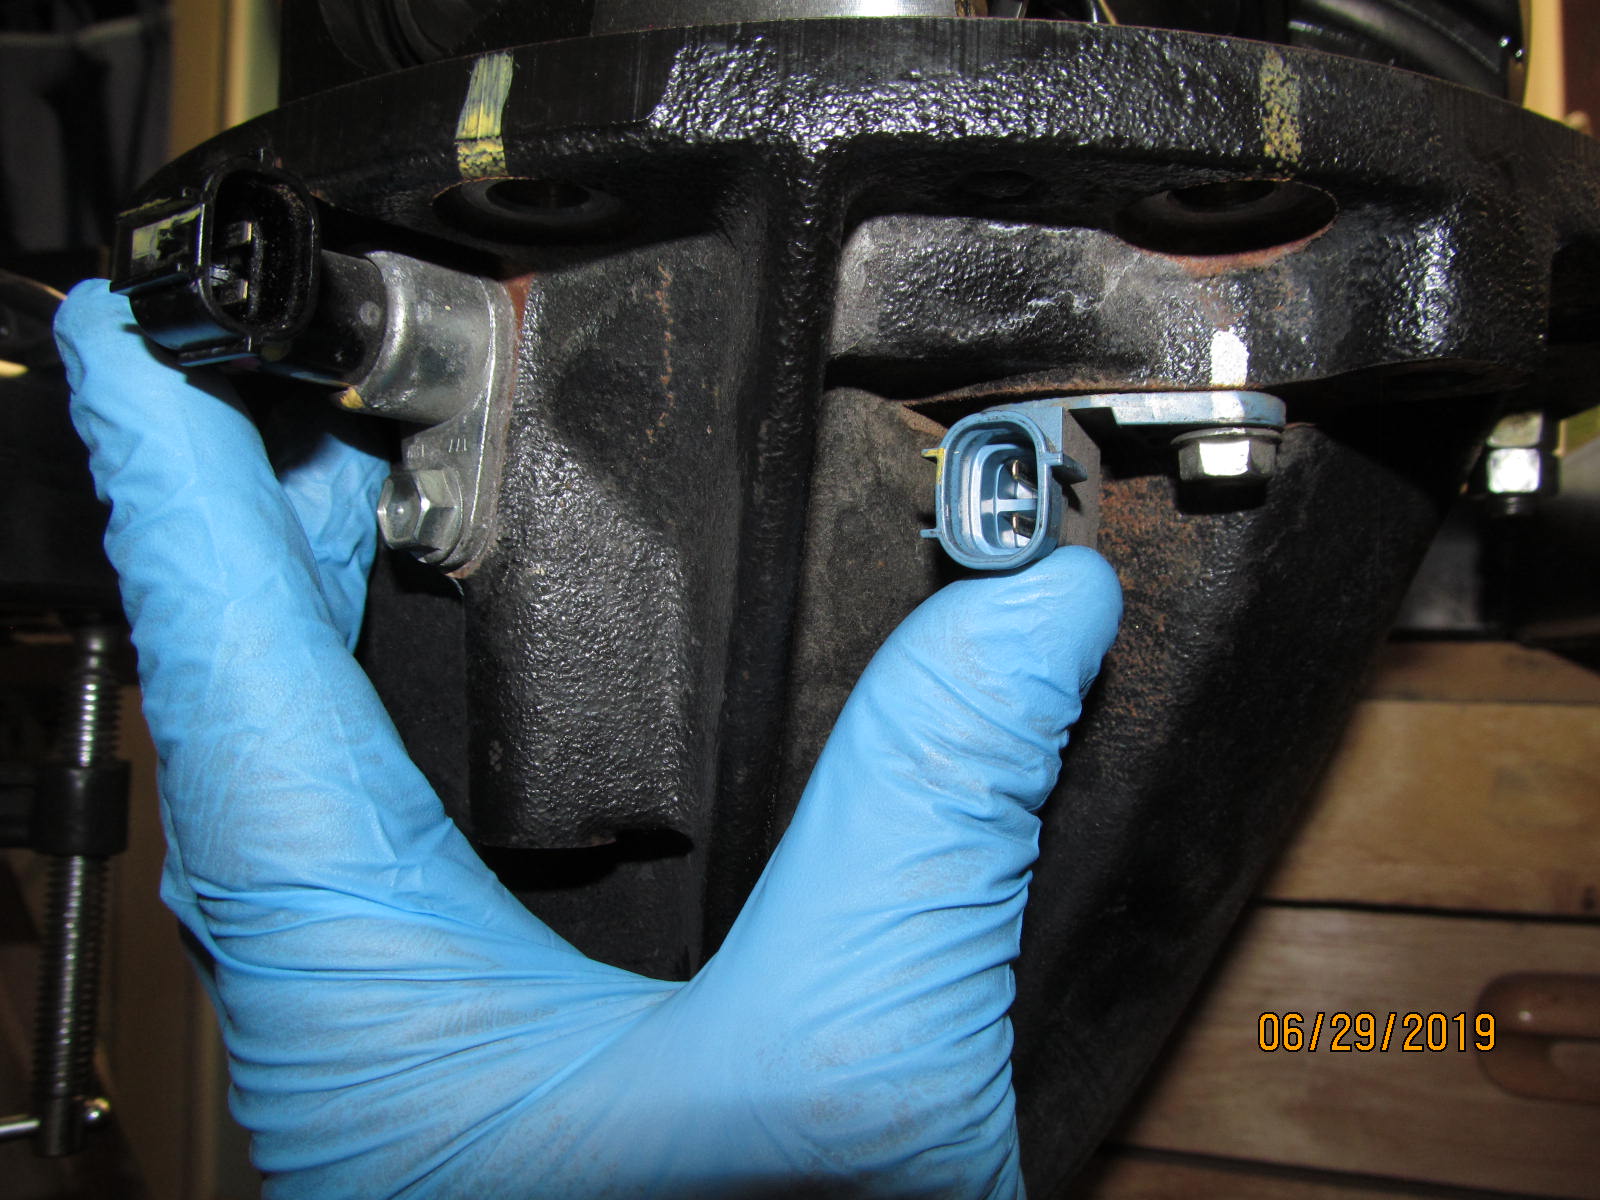
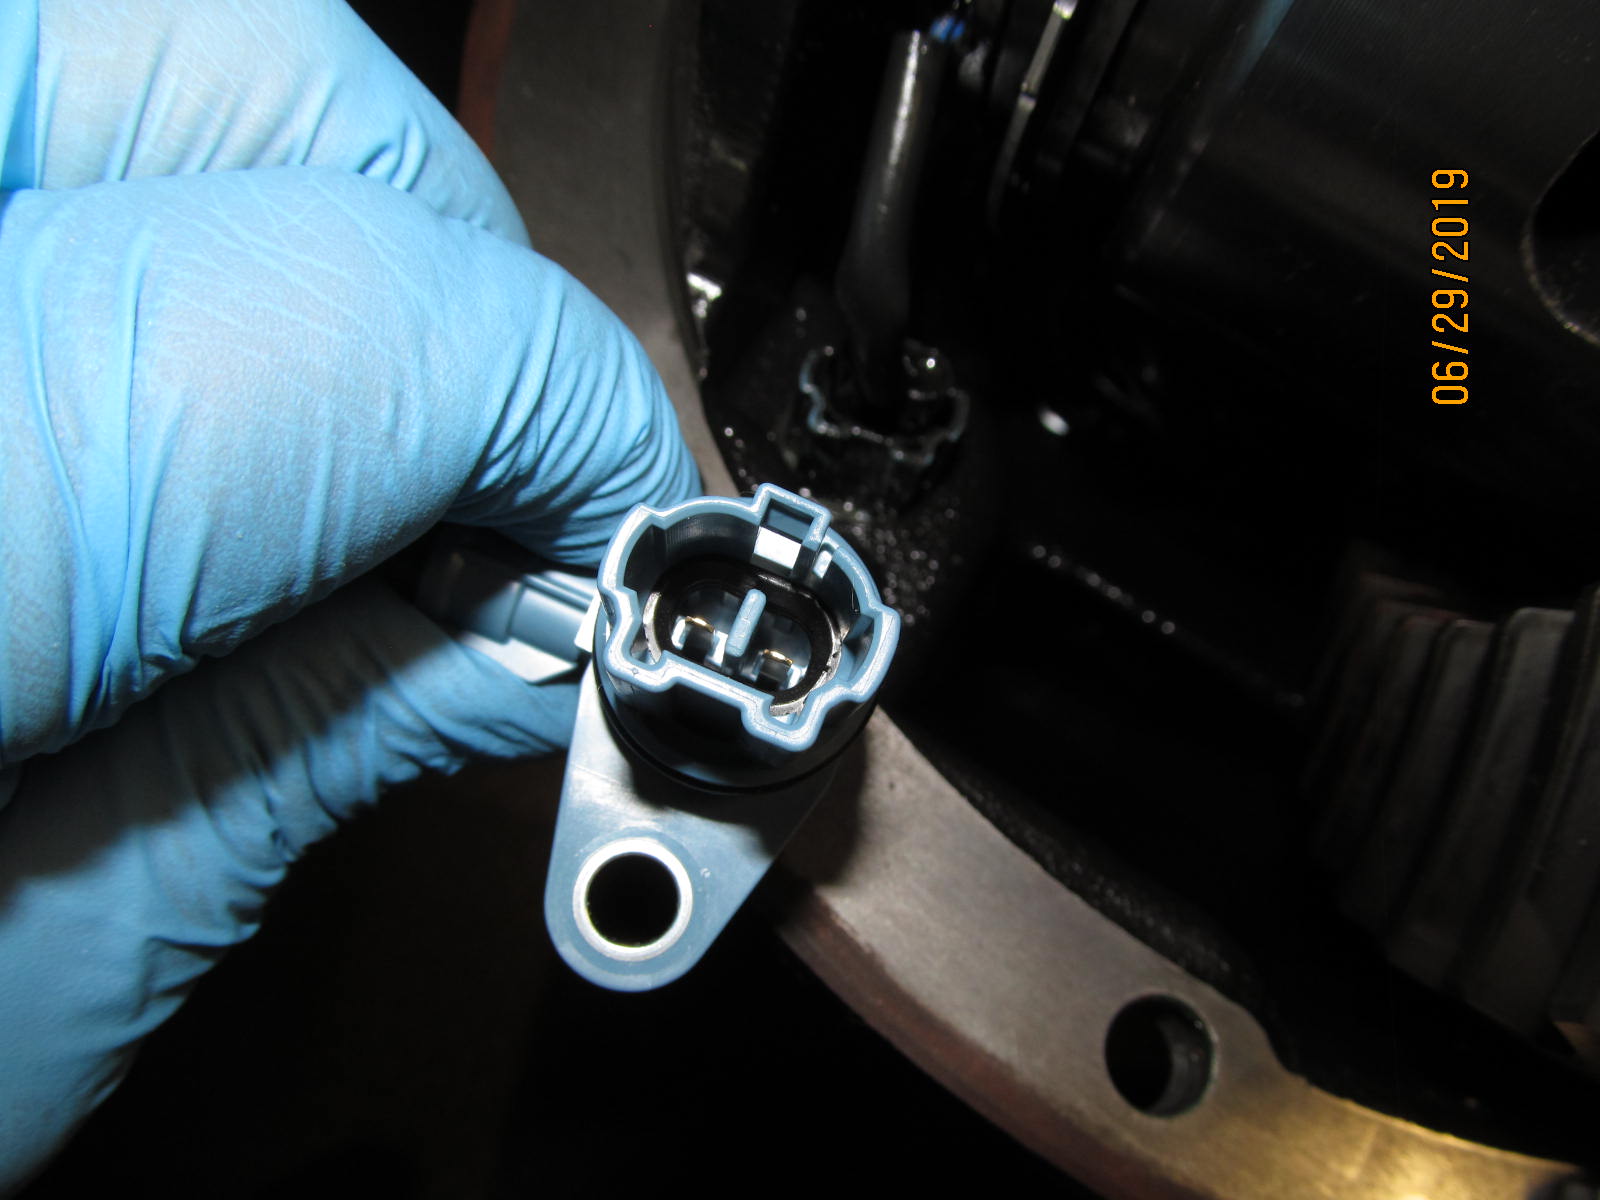
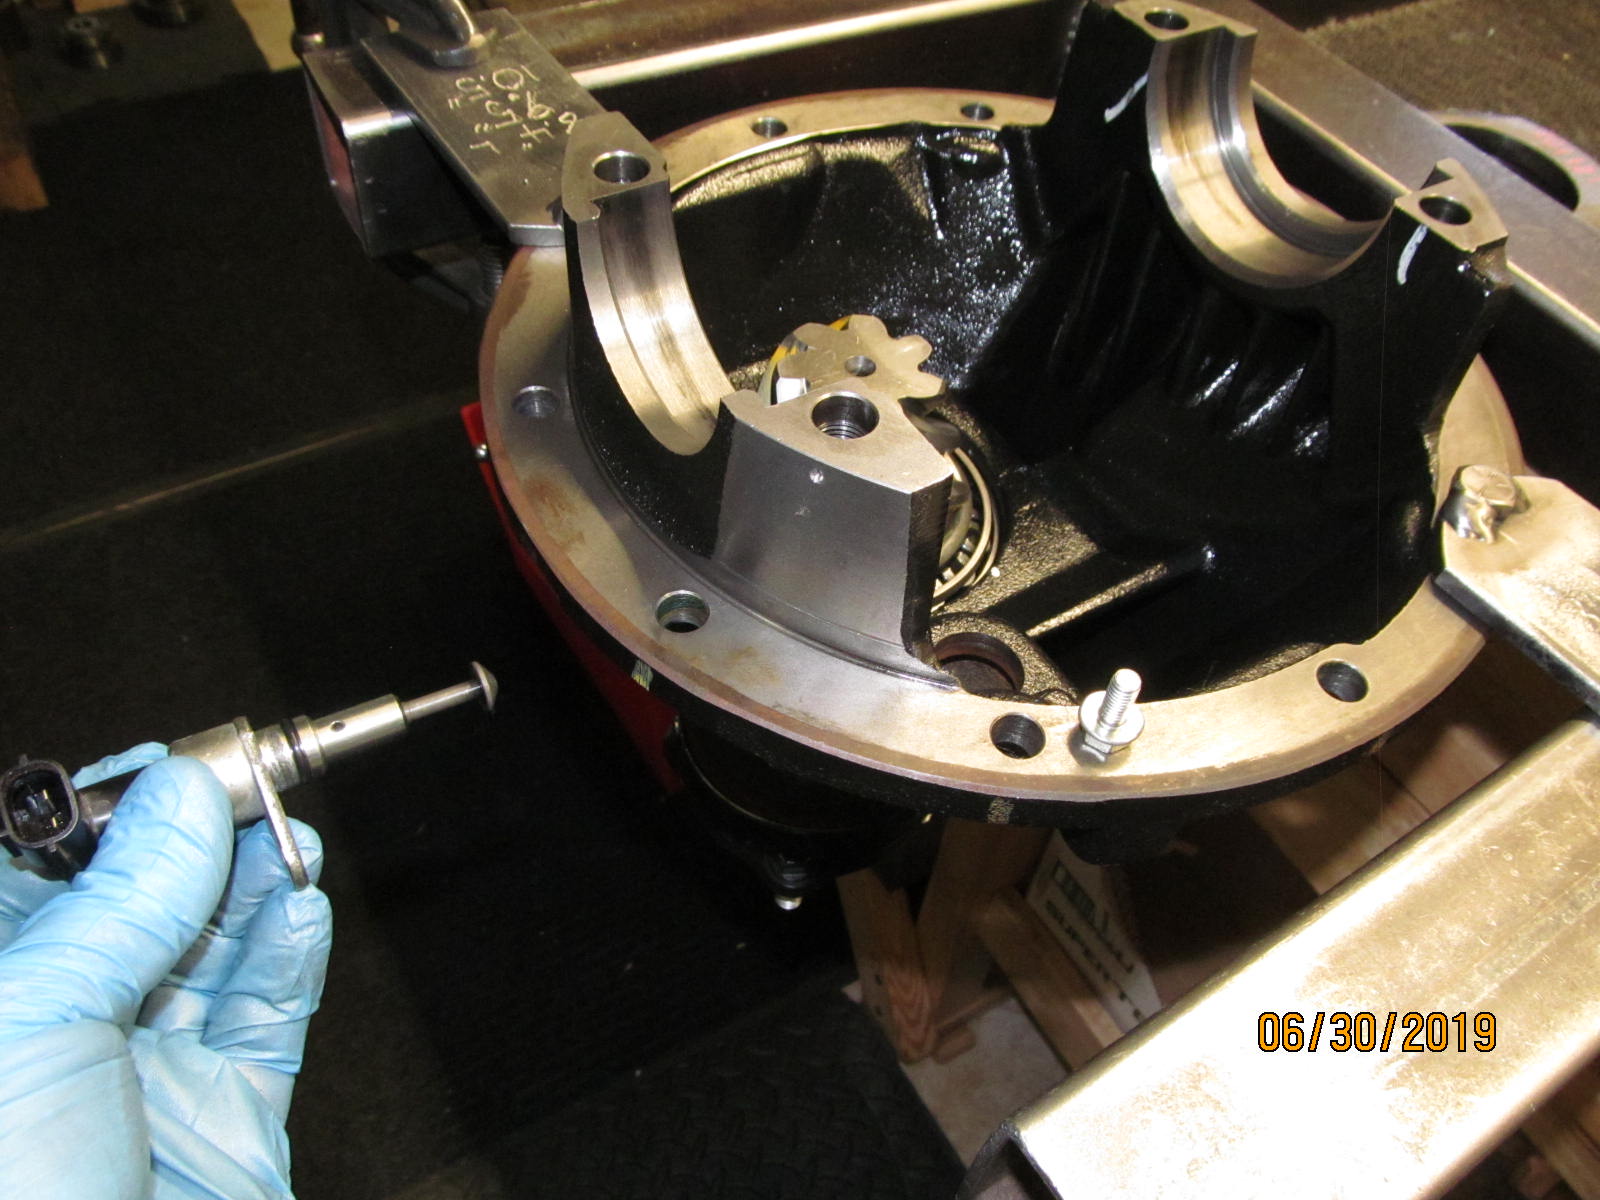
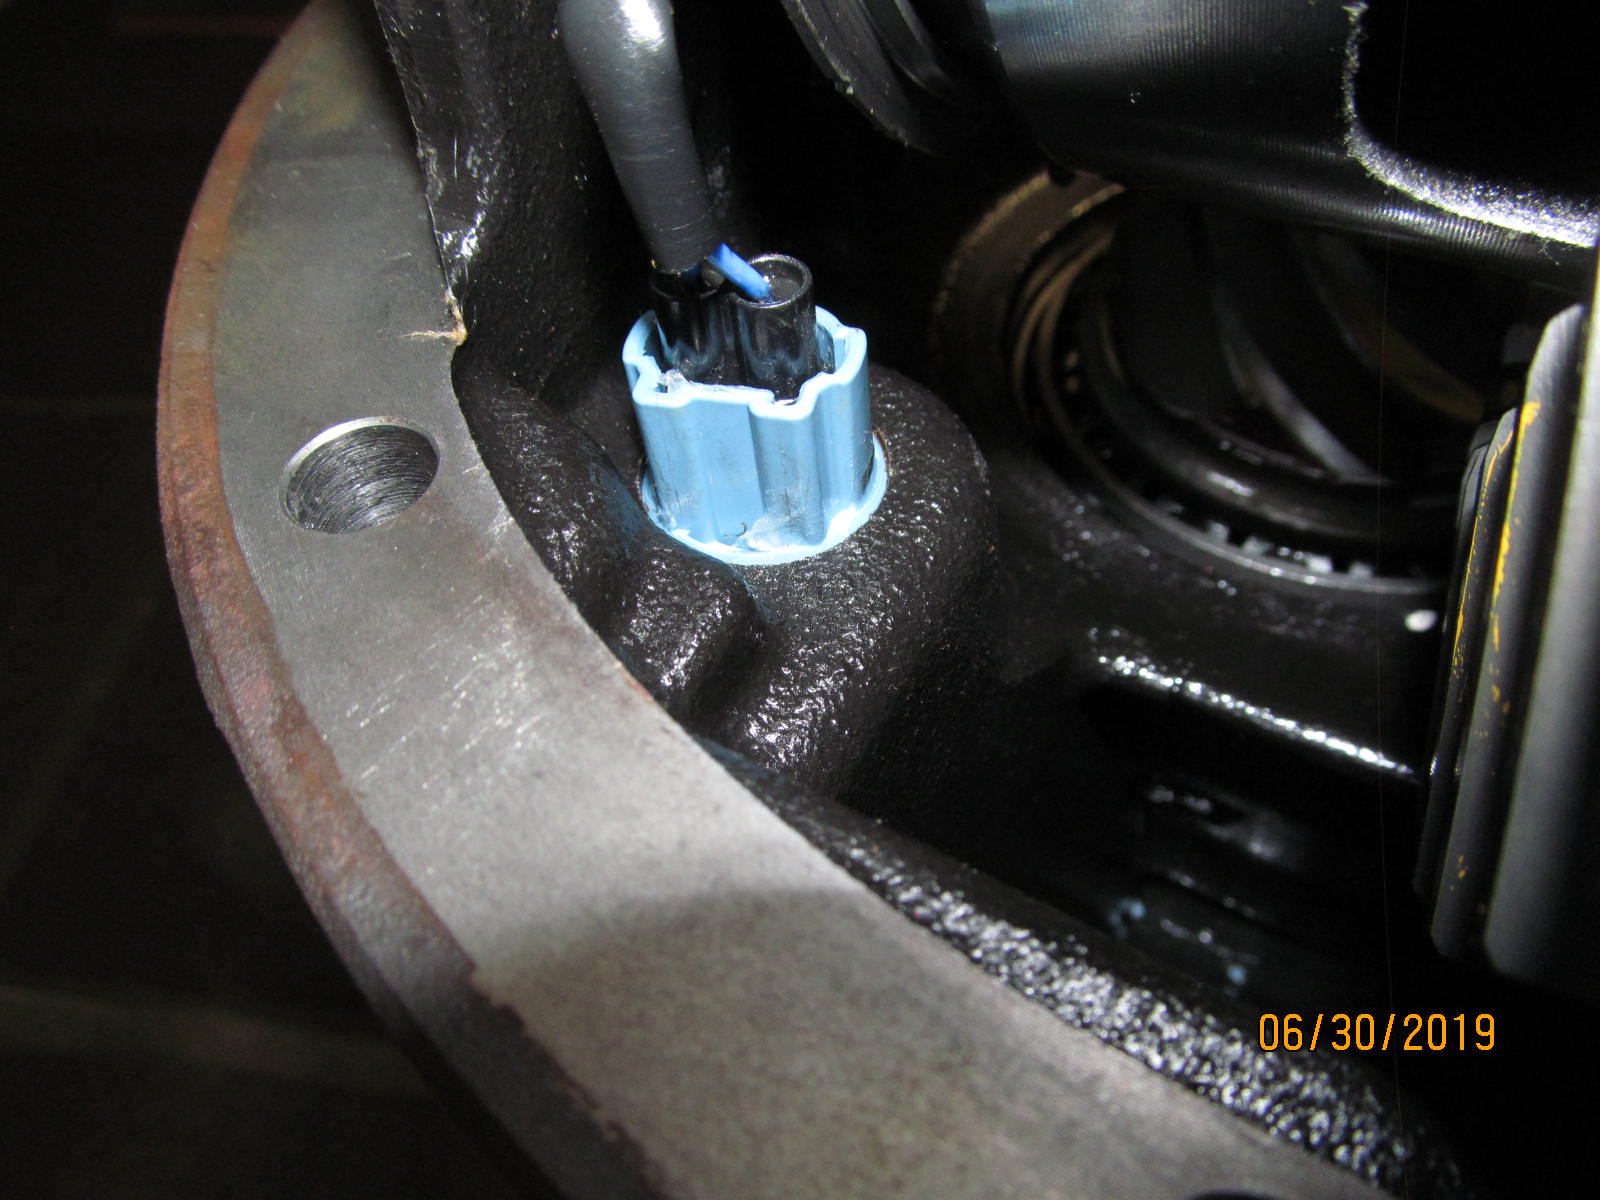
The only other thing that might also be replaced is the blue connector (elocker connector).
I keep a few always in stock. |
|---|
|
|
| ============================== |
|---|
|
|
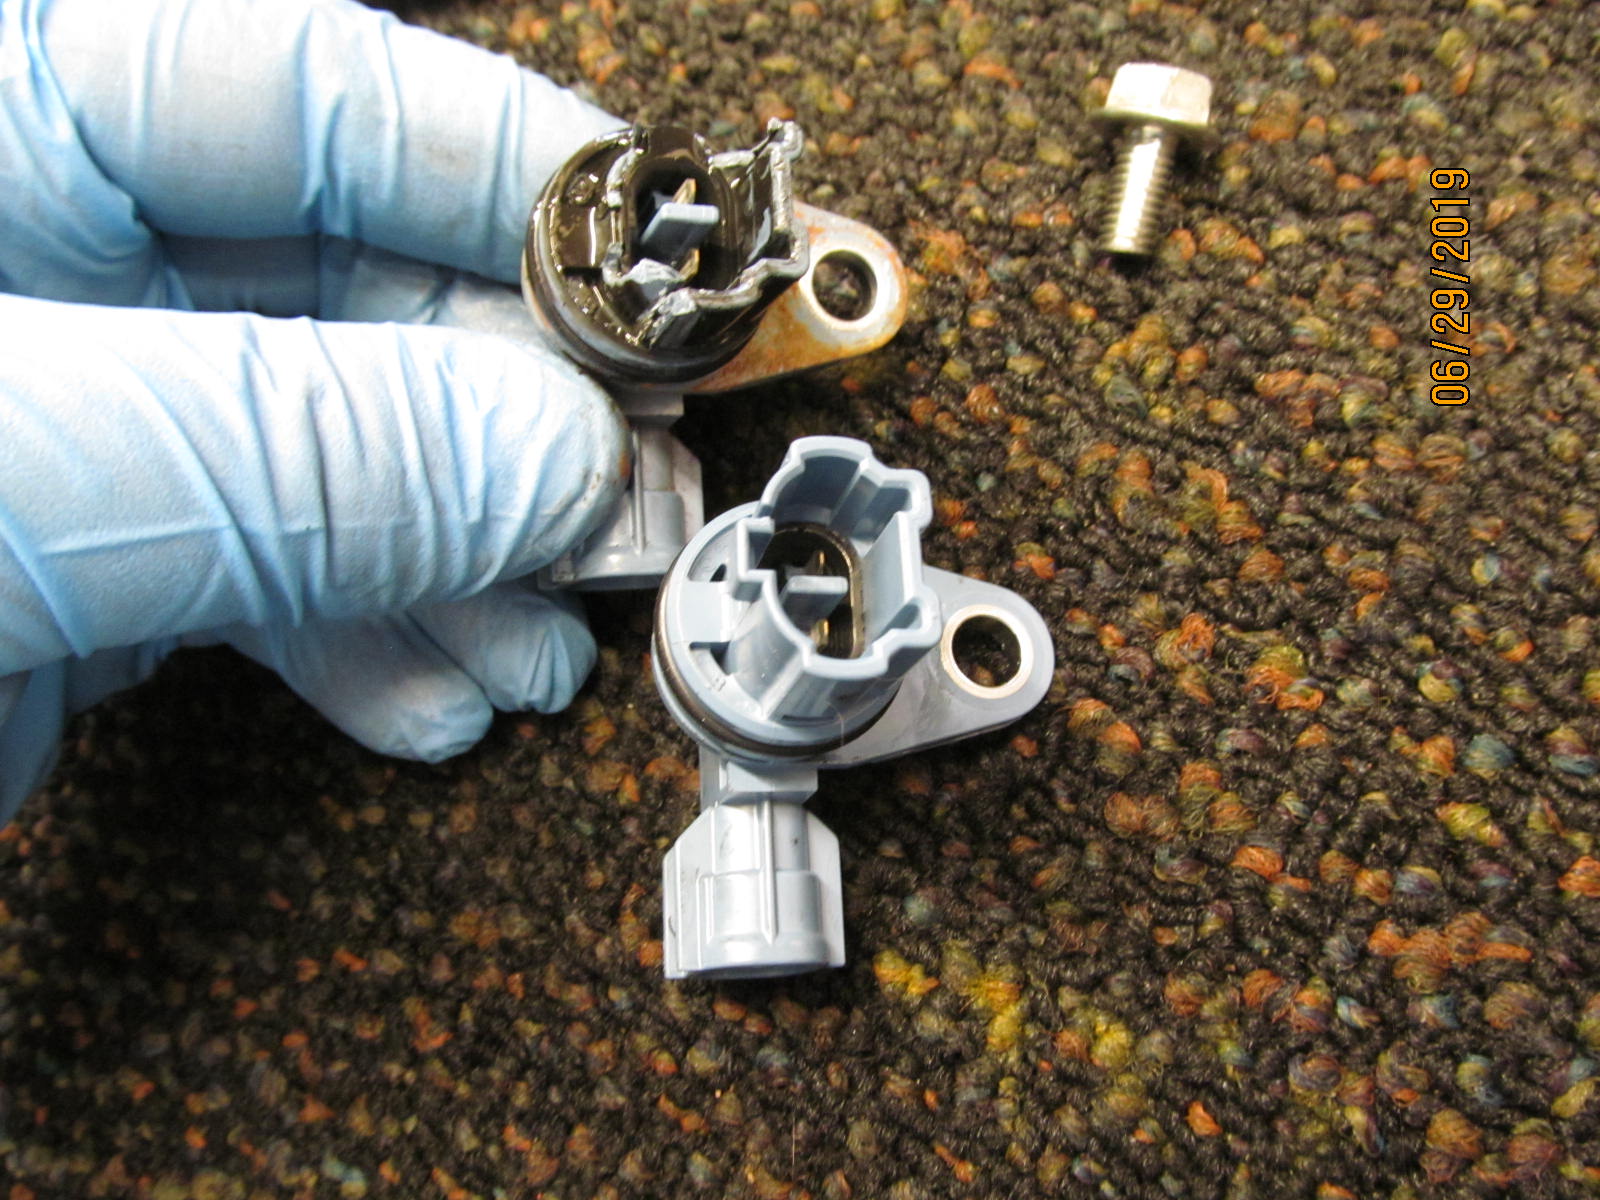
Go to the dealer and the black connector on the left will run $100......
The blue one is about 35. |
|---|
|
|
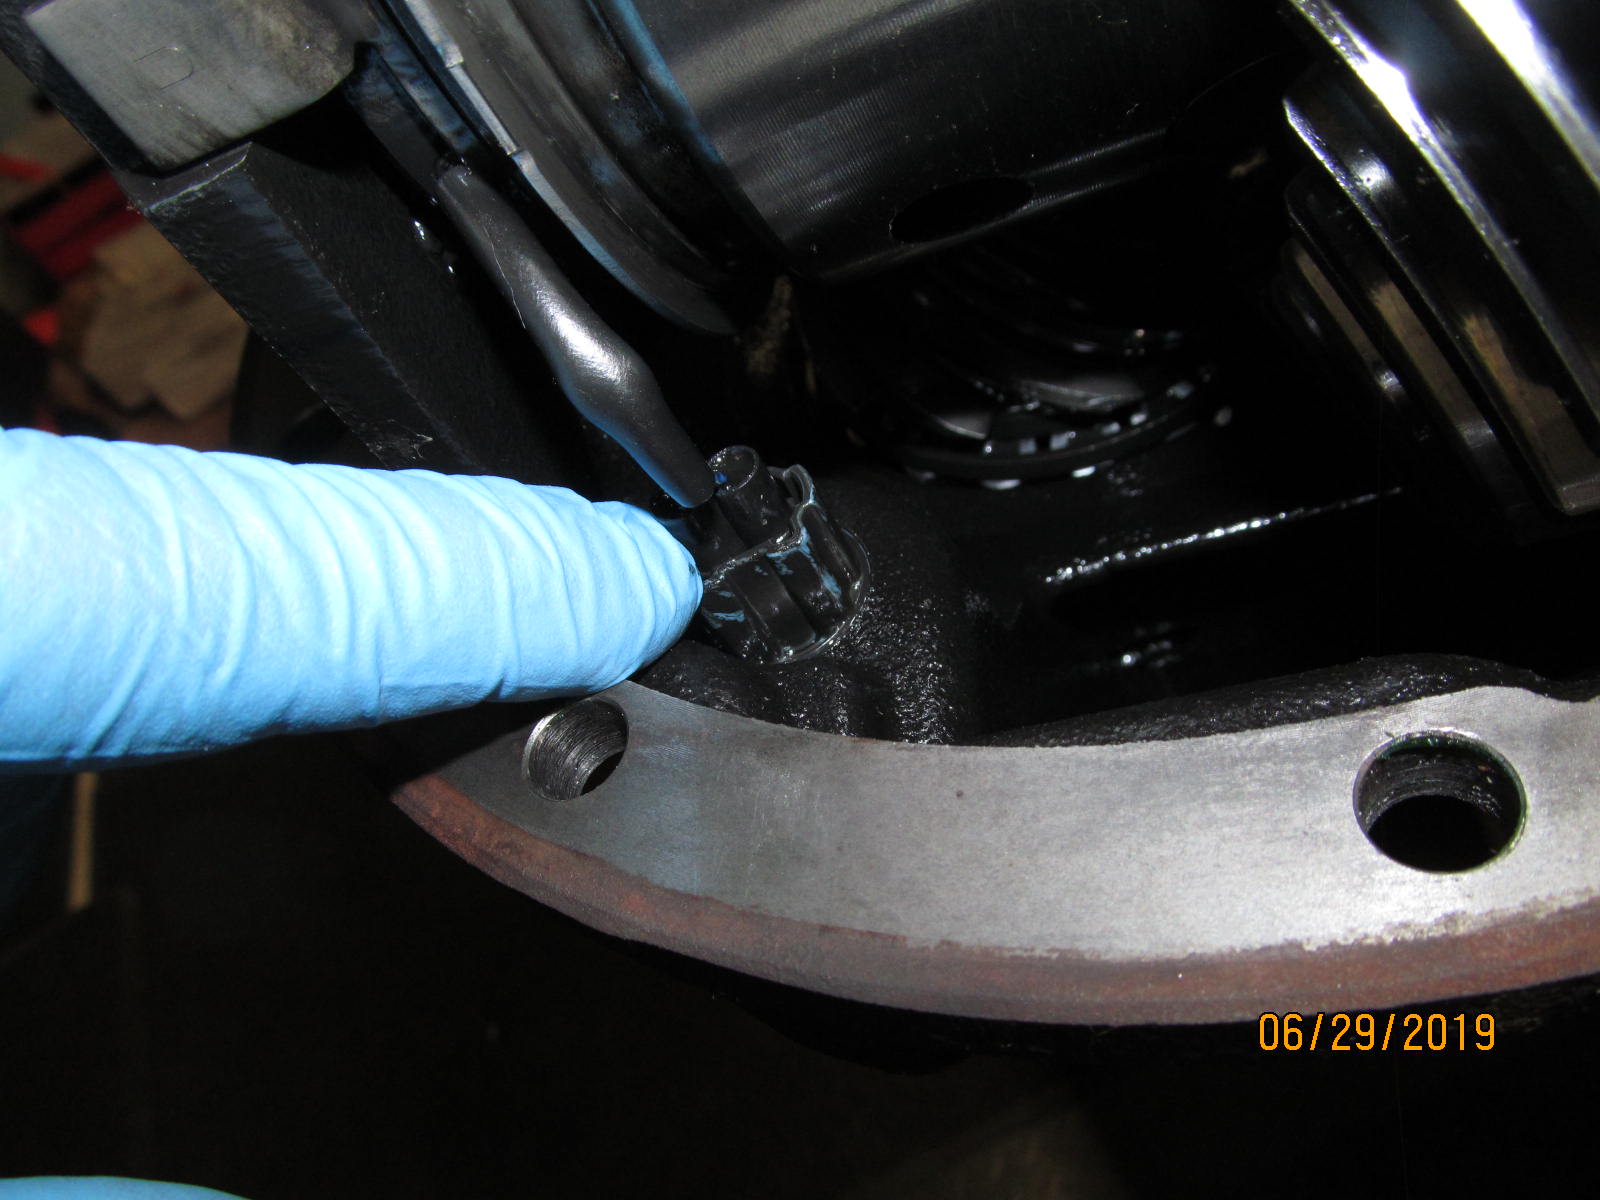
That connector really is blue. I suspect this is the original gear oil from 17,000 miles ago.
Harold will be using Valvoline Full Synthetic 75W-90.
Synthetics can be left in much longer, they will lubricate better, they will run cooler,
and they will not leave blackish coatings on the internals. |
|---|
|
|
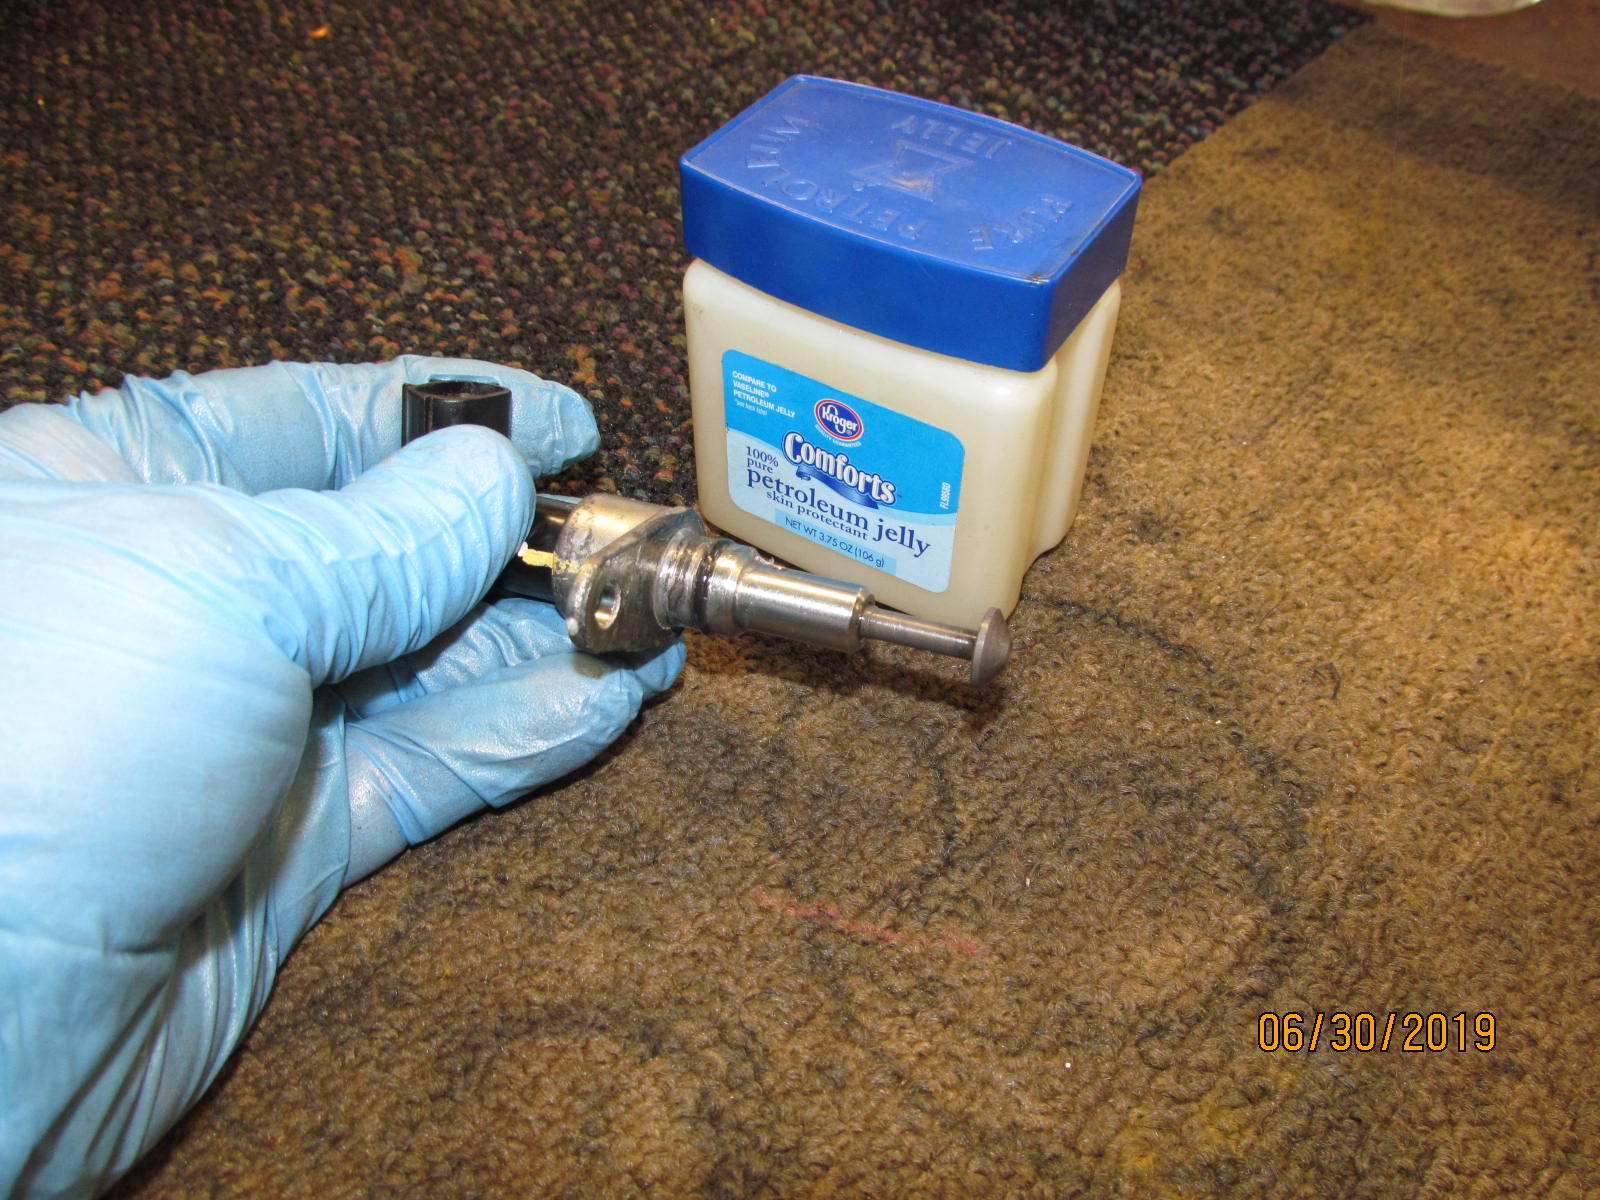
| This is the new connector that I suspect I will be using. |
|---|
|

|
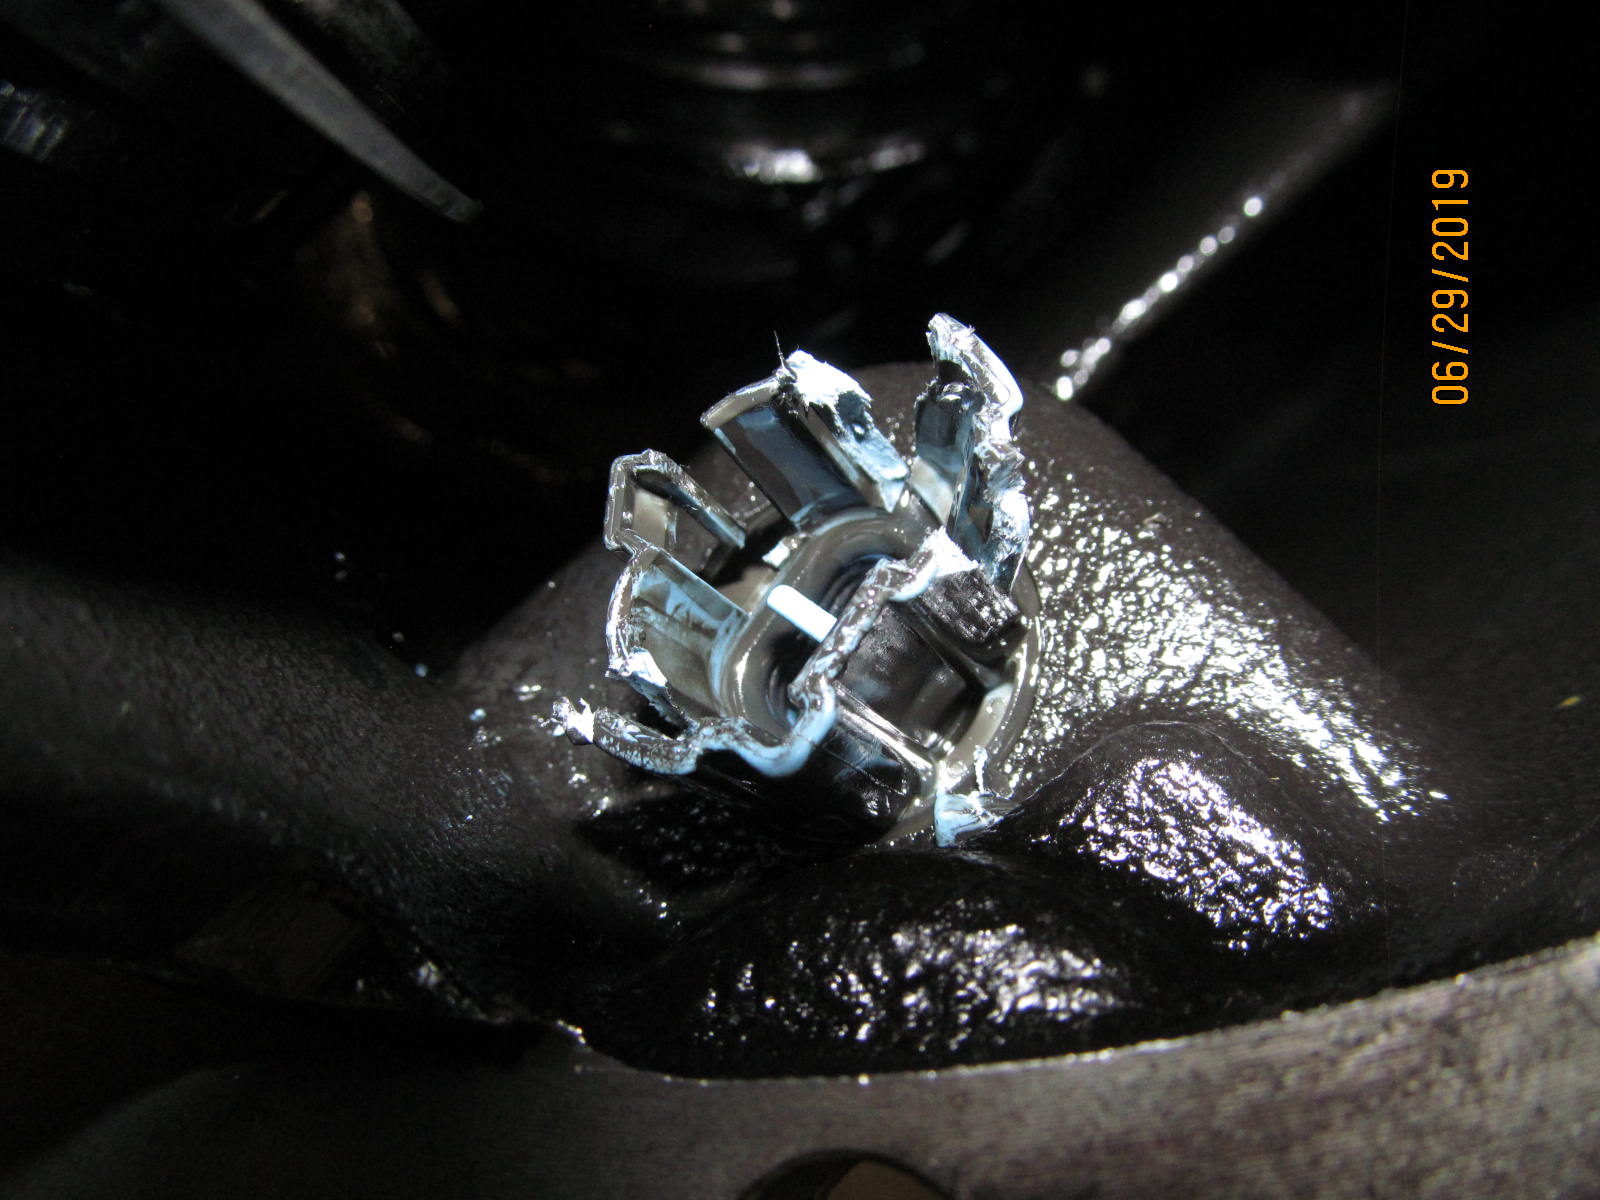
Sure enough, could not get this plug out without breaking the delicate tab off the other half.
It's in there so tight that , even though this is a 2018 model, the connector was being stubborn
and the other half had to be destroyed.
And that's exactly why I keep a few "blues" on hand. |
|---|
|
|
| Even with the tab broken off, the plug would not pull out so "operation destroy" proved to be very effective. |
|---|
|
|
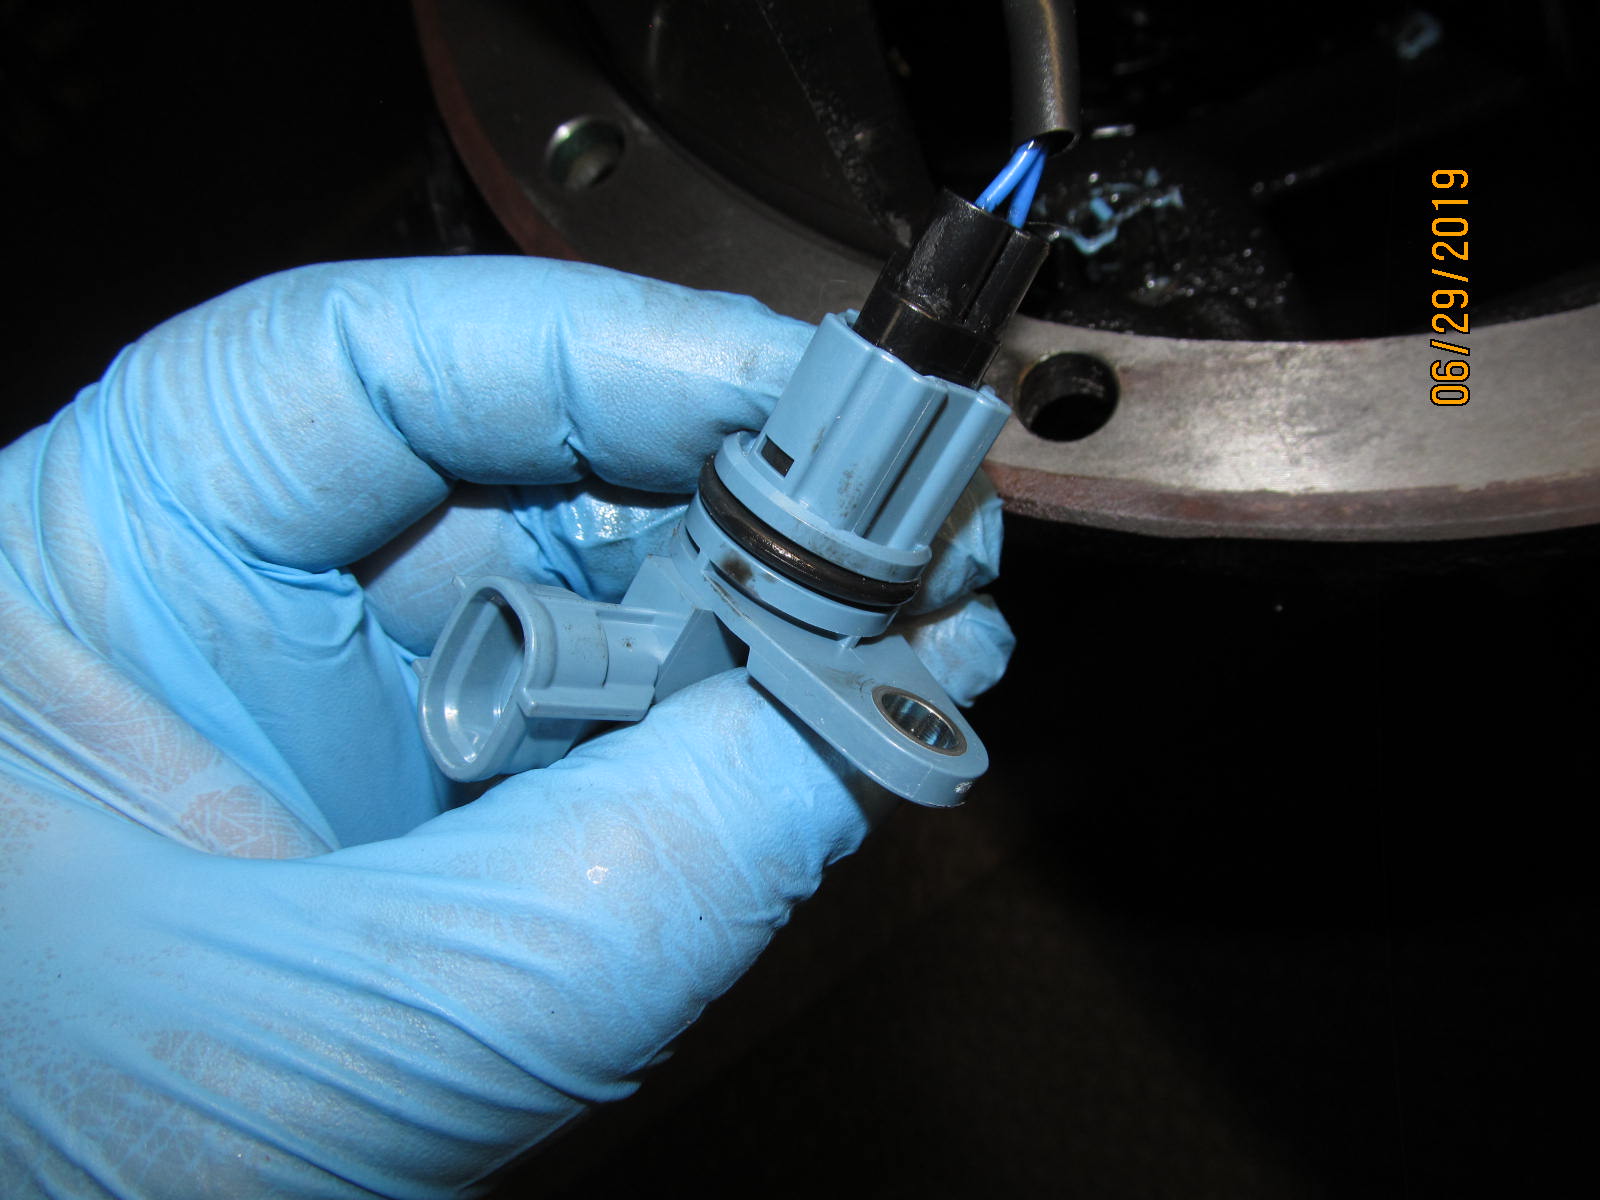
| The new blue connector shown plugged in 60% of the way. |
|---|
|
|
| With the minimal $35 cost, it's just not worth the fight to save the old connector. |
|---|
|
|
No destruction is needed for removal of this one.
The differential case should be removed first then the black connector can easily be removed. |
|---|
|
|
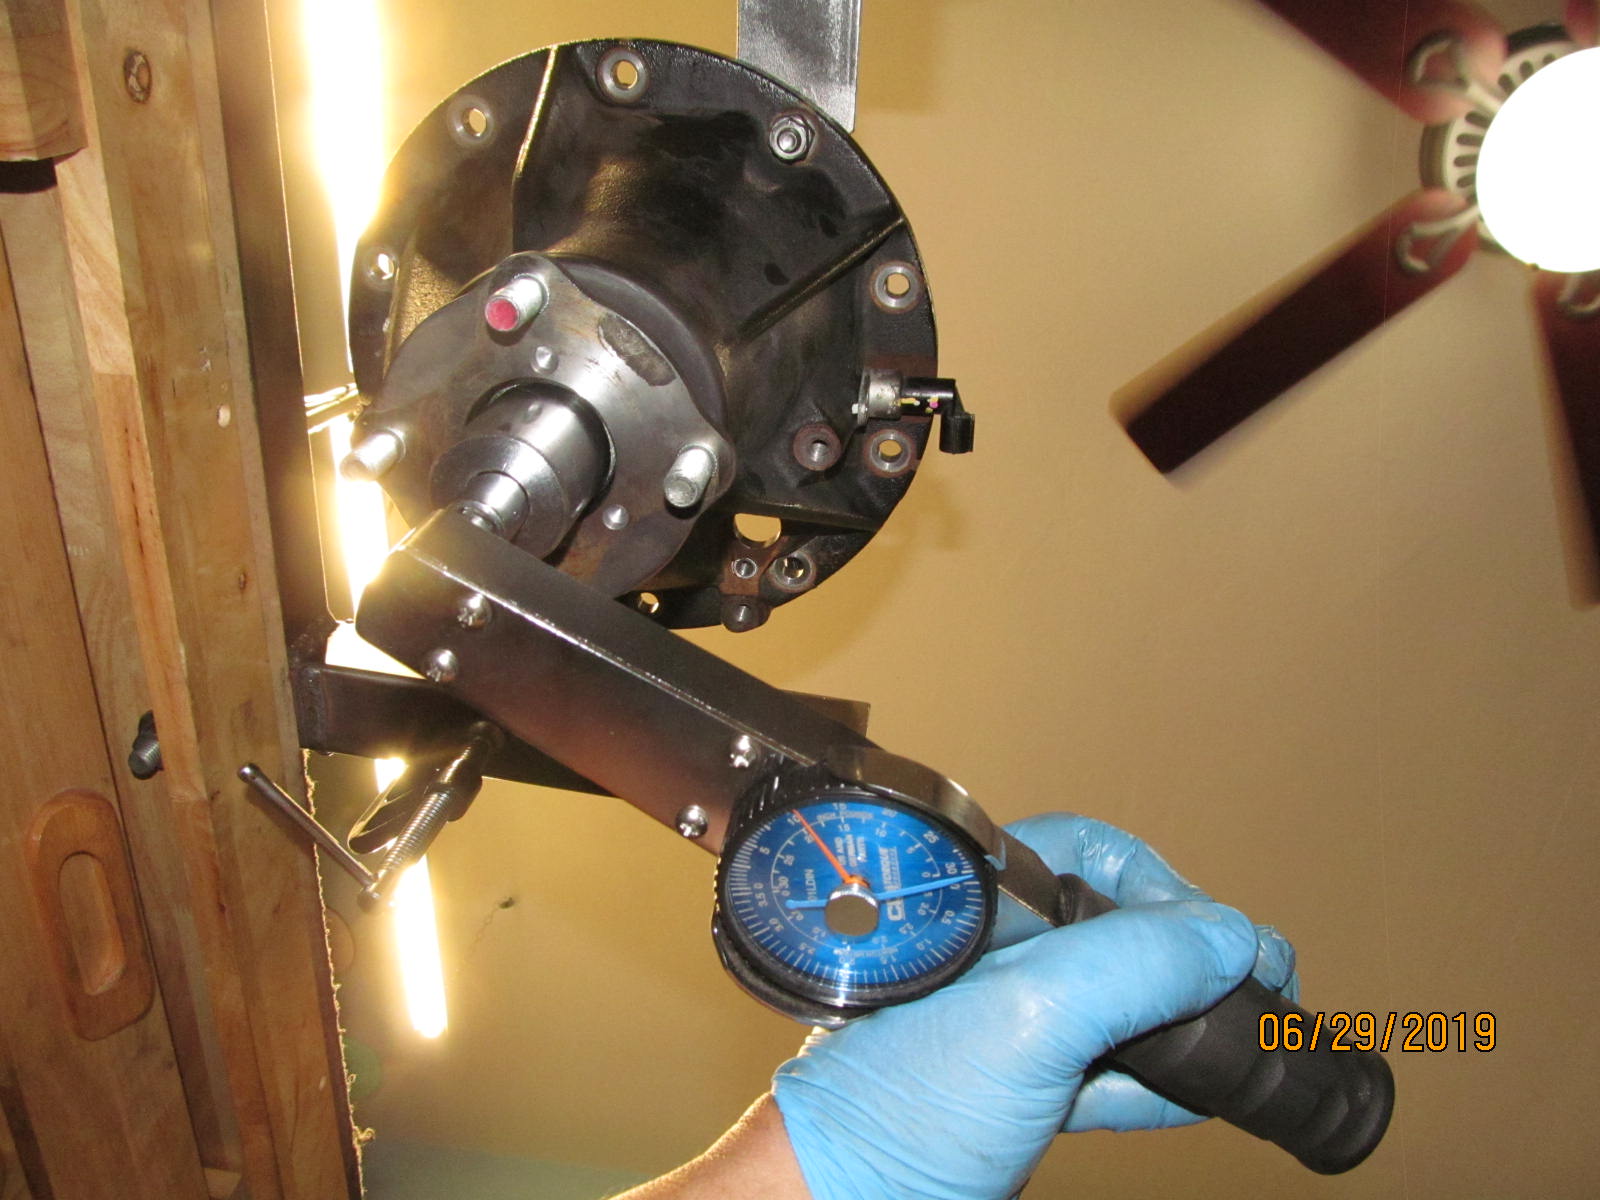
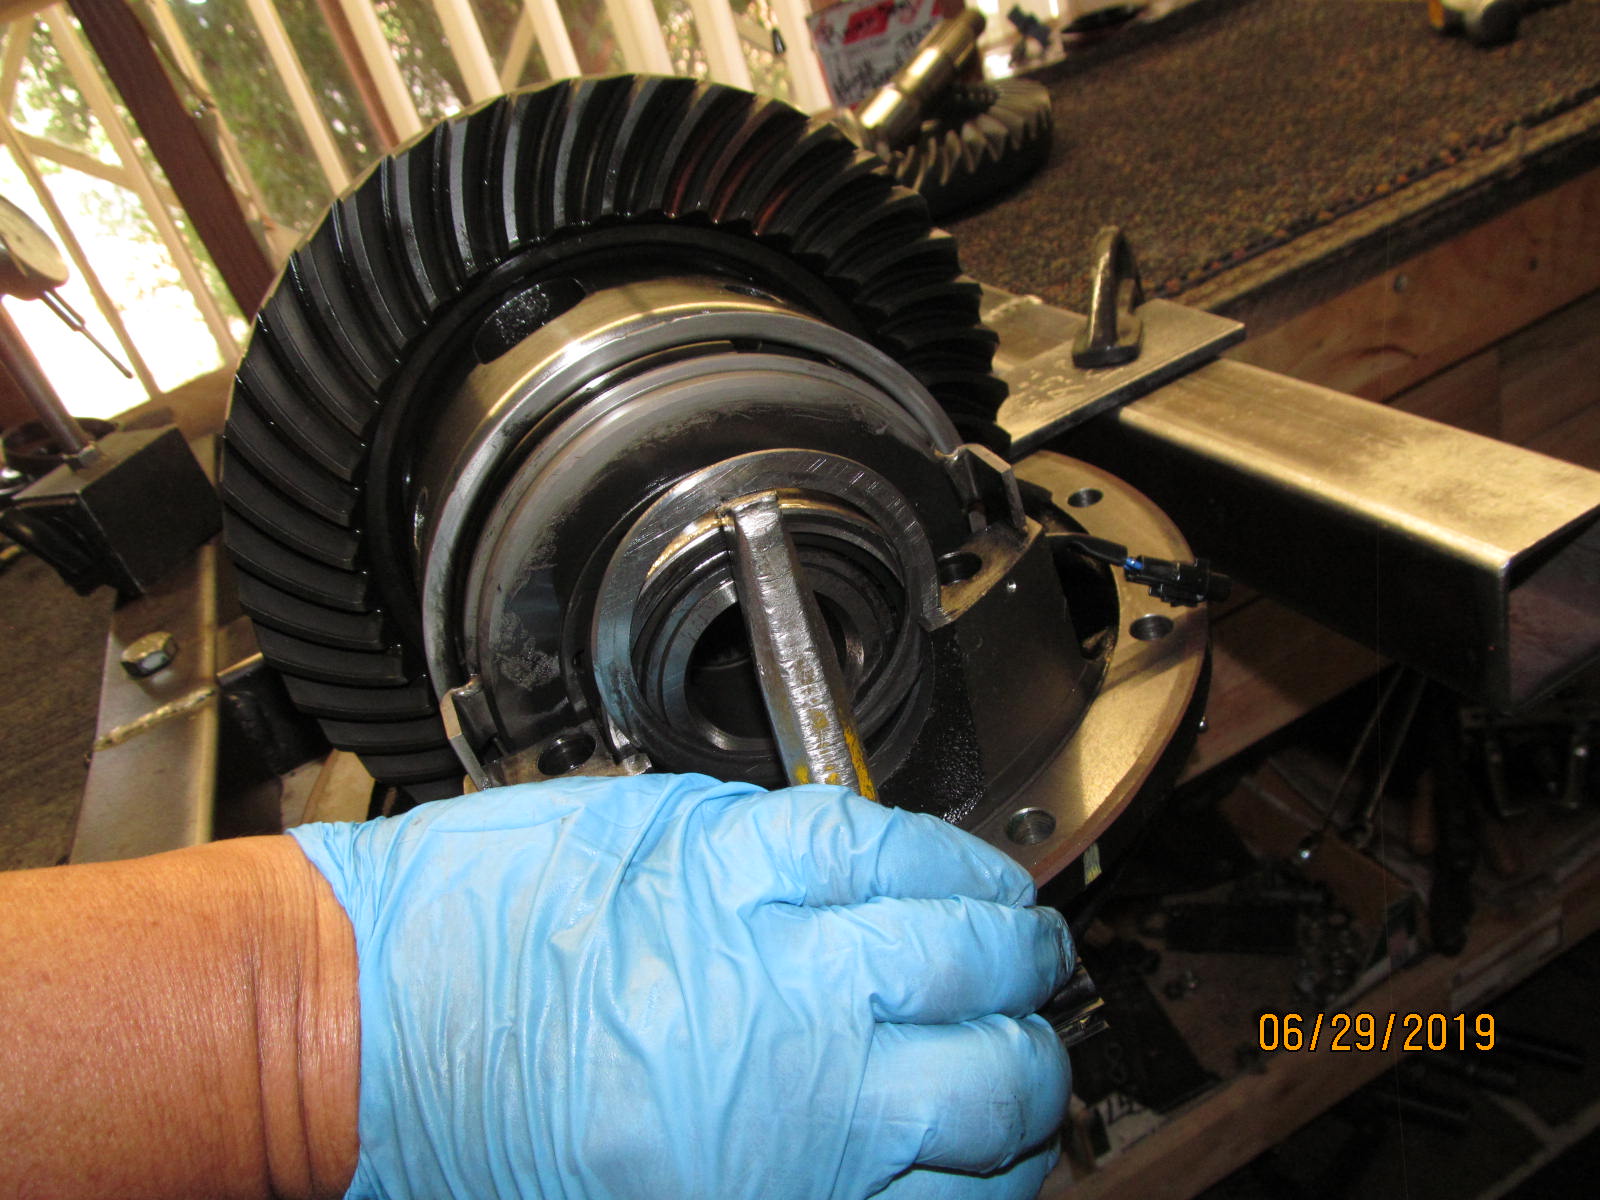
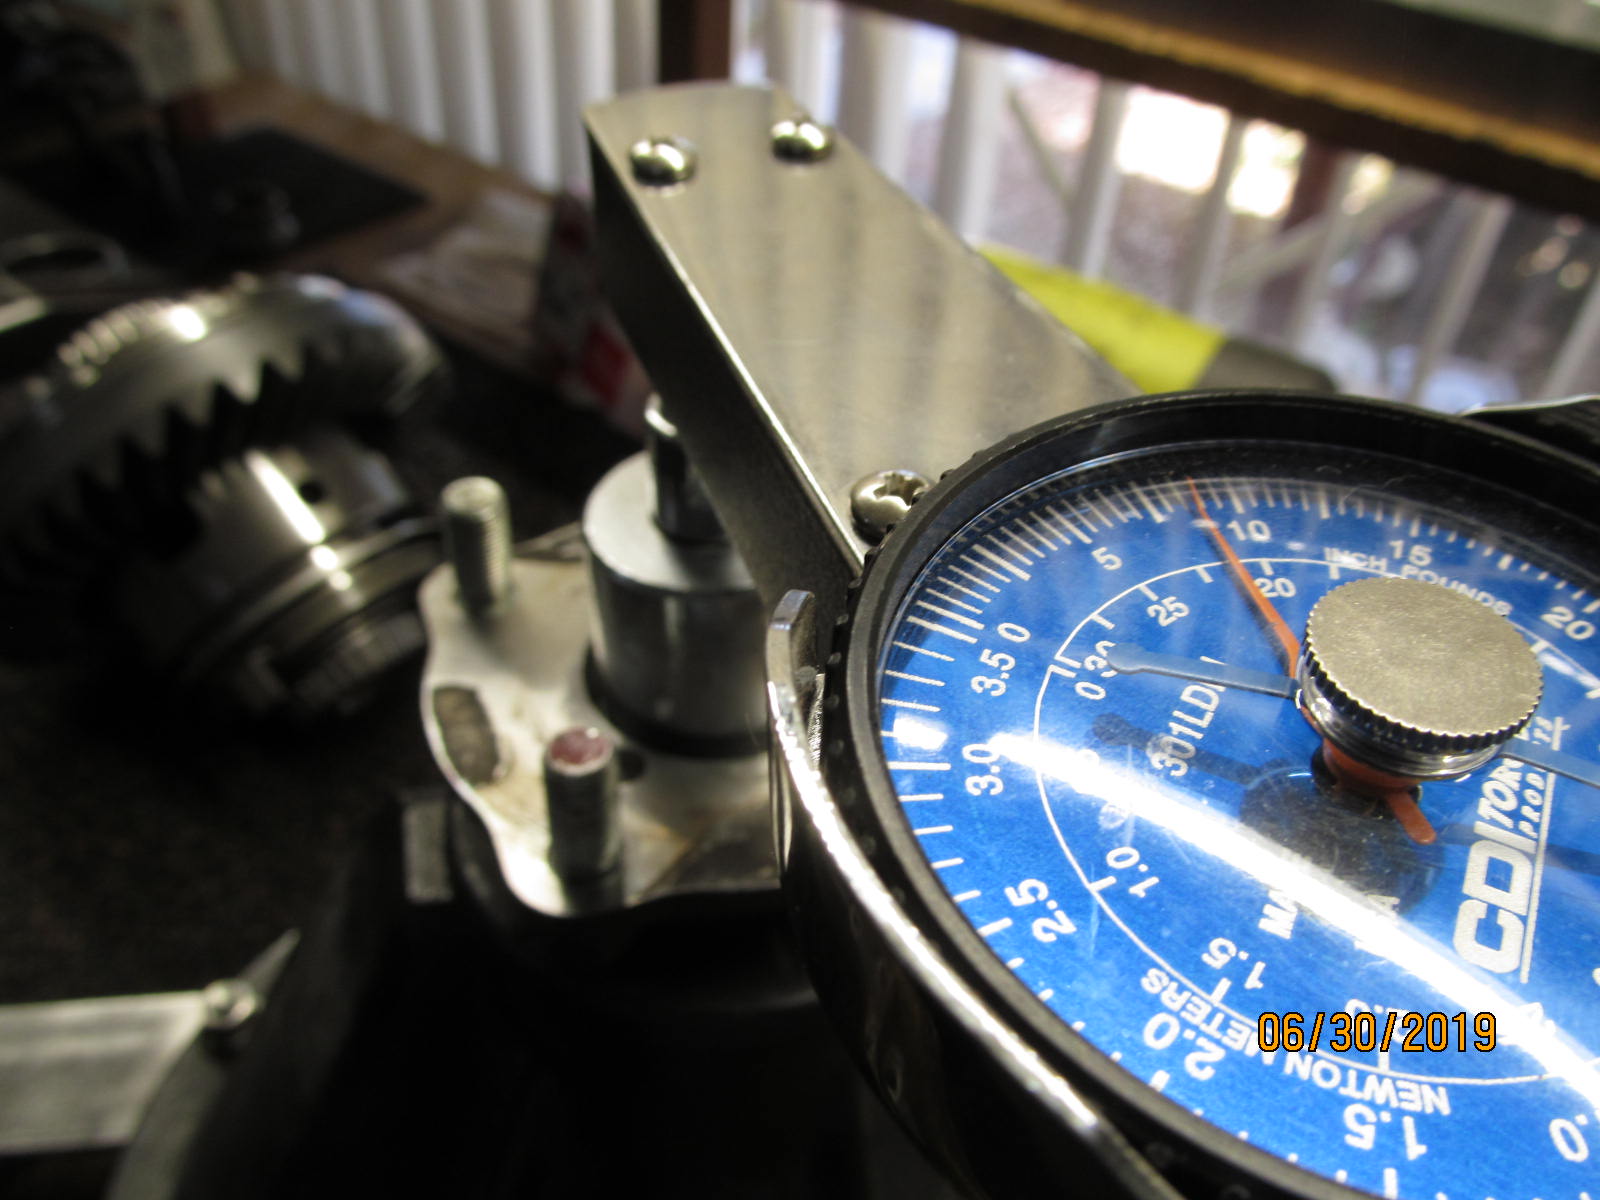
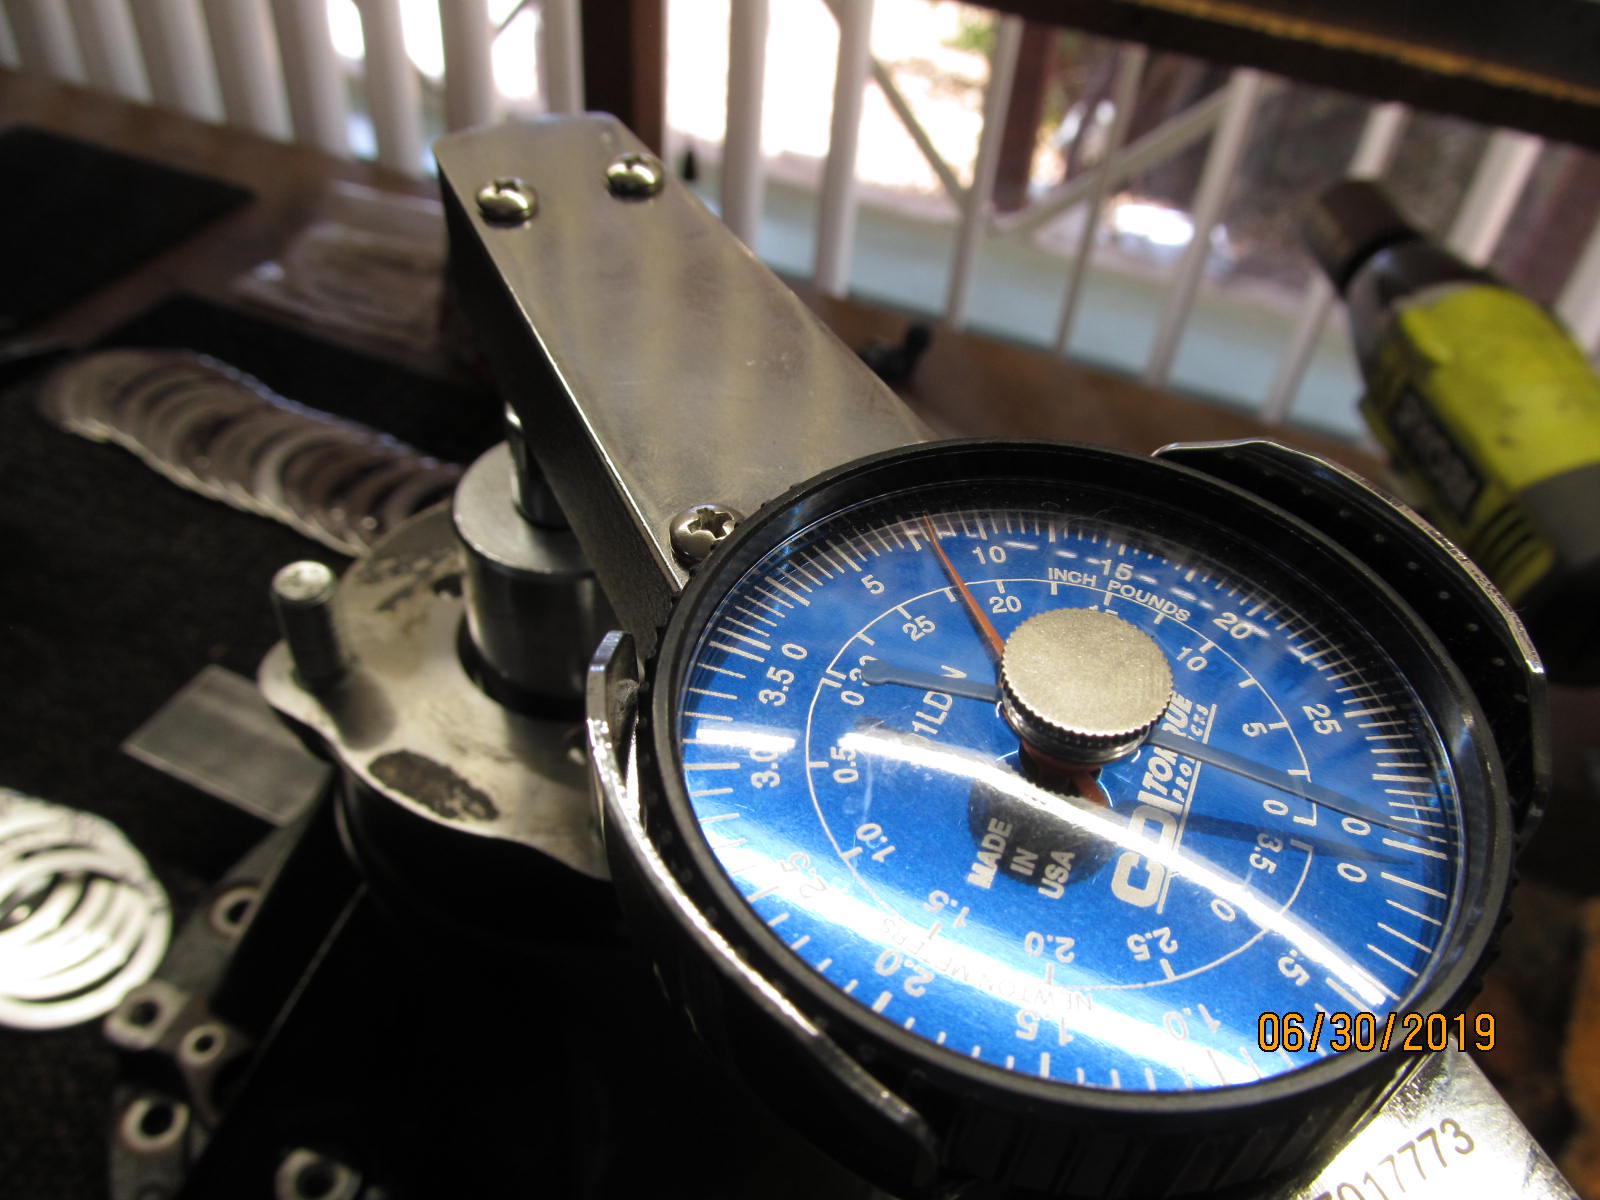
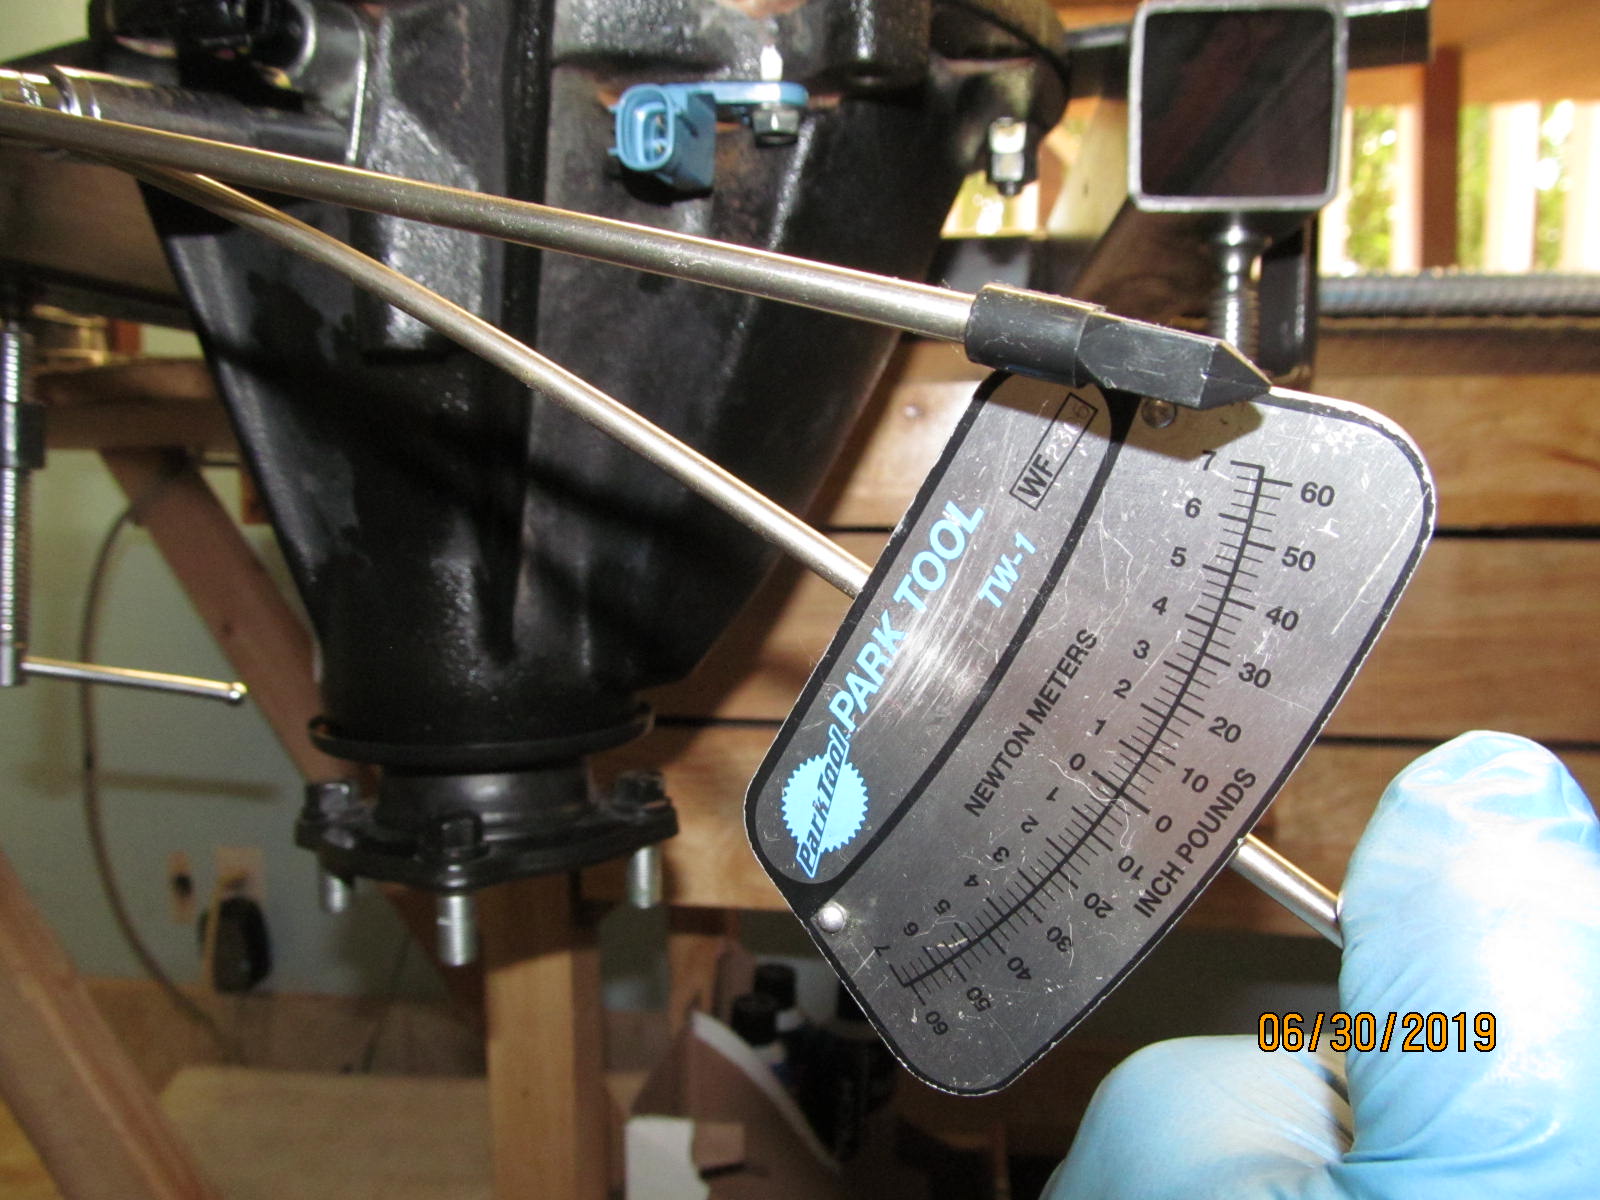
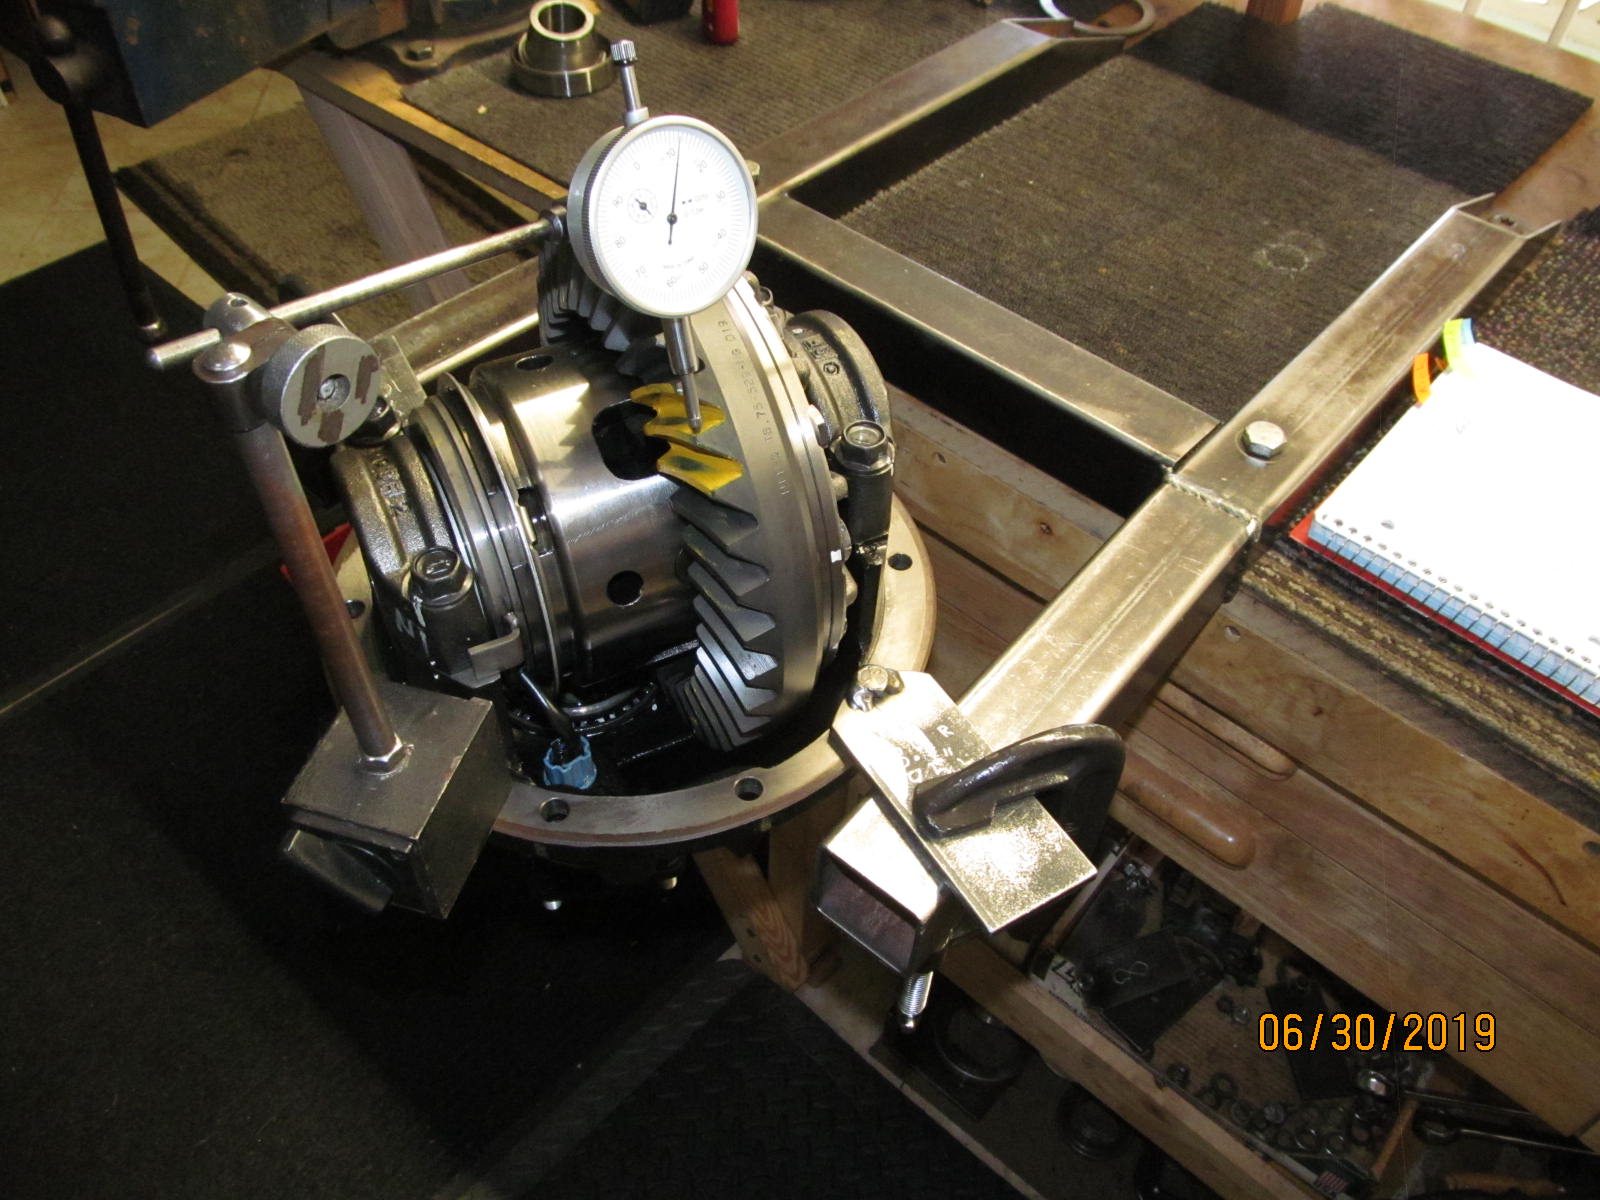
| But first, a quick check of the total preloads.....looks like about 10 inch/pounds. |
|---|
|
|
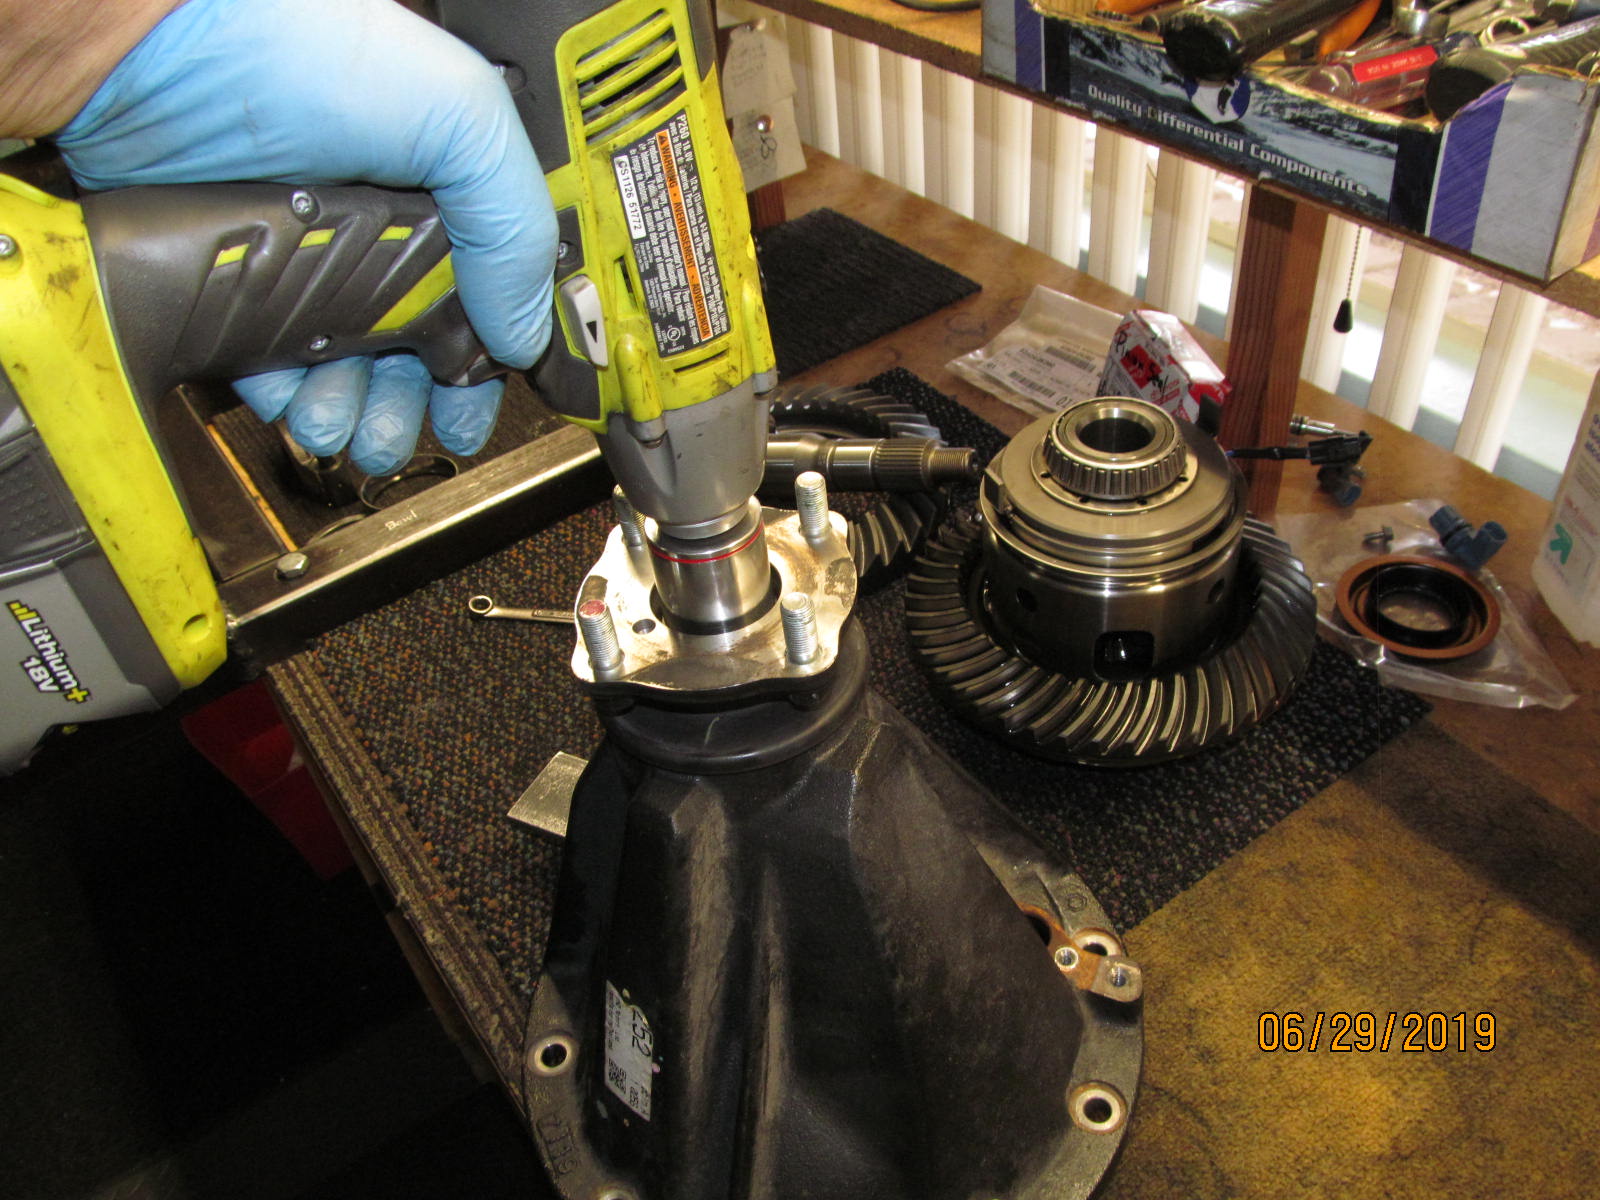
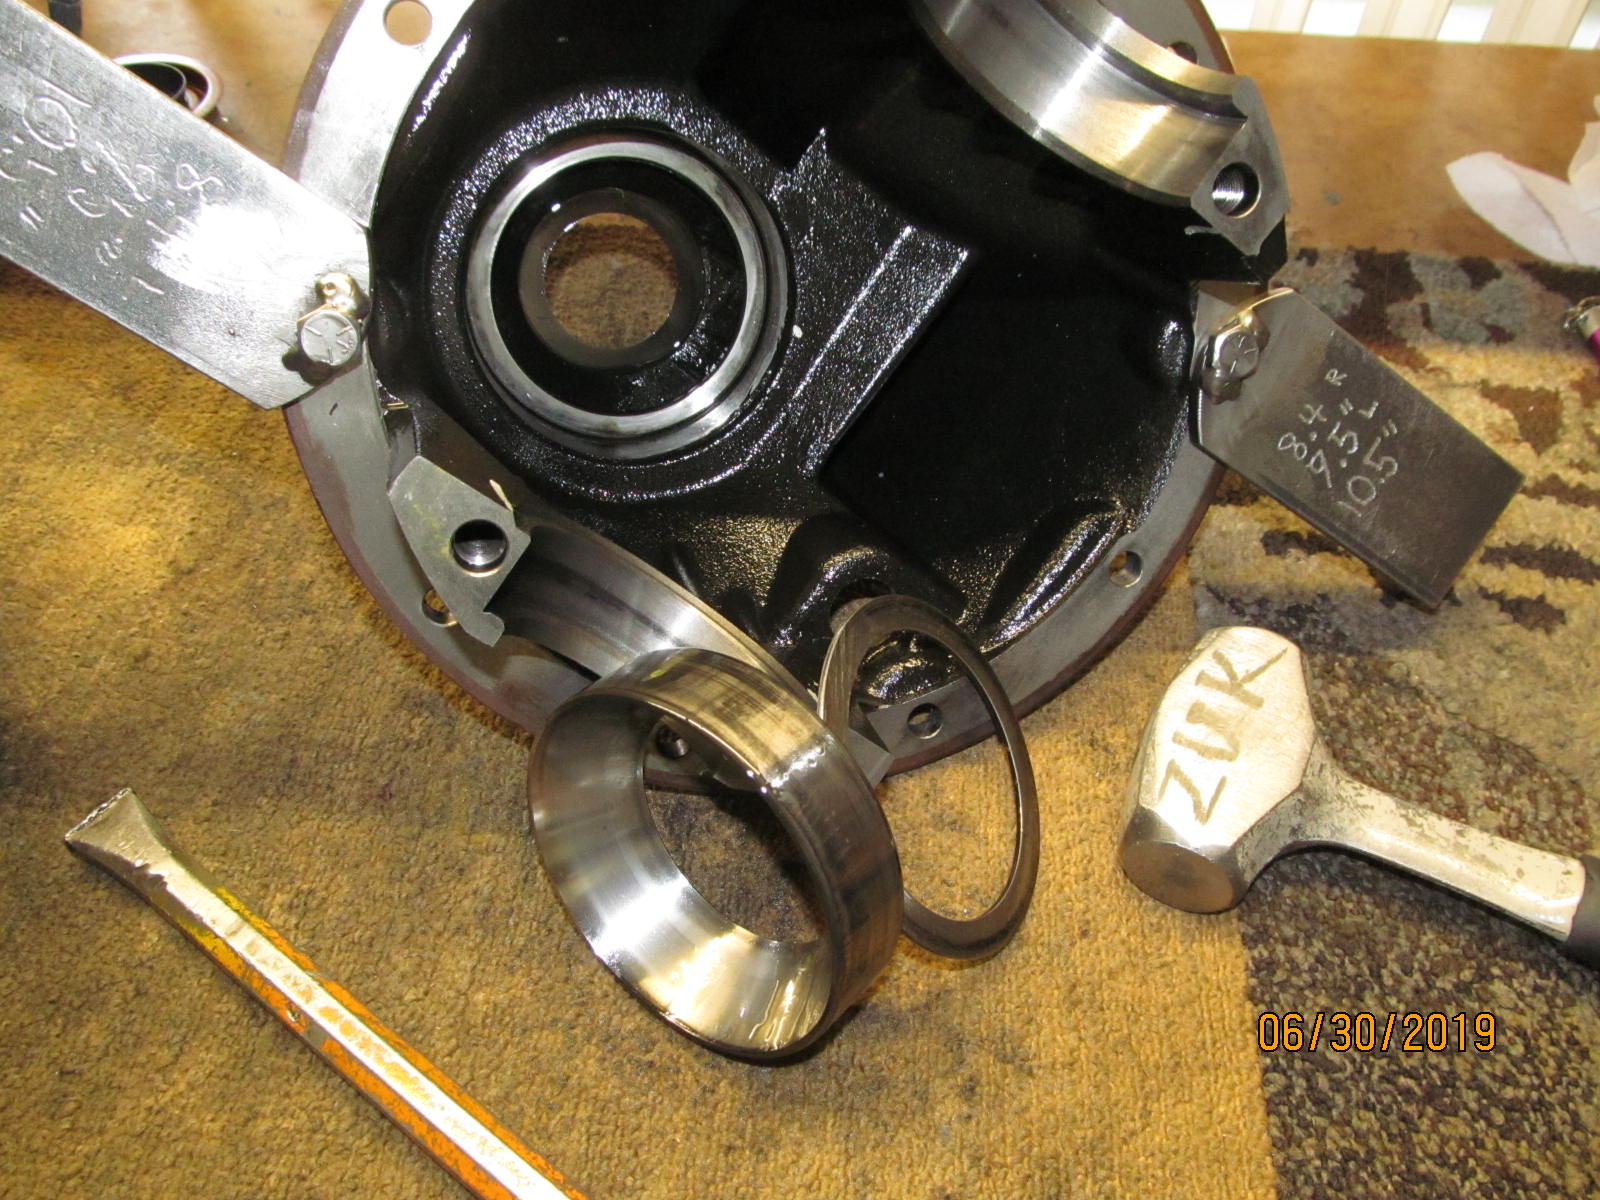
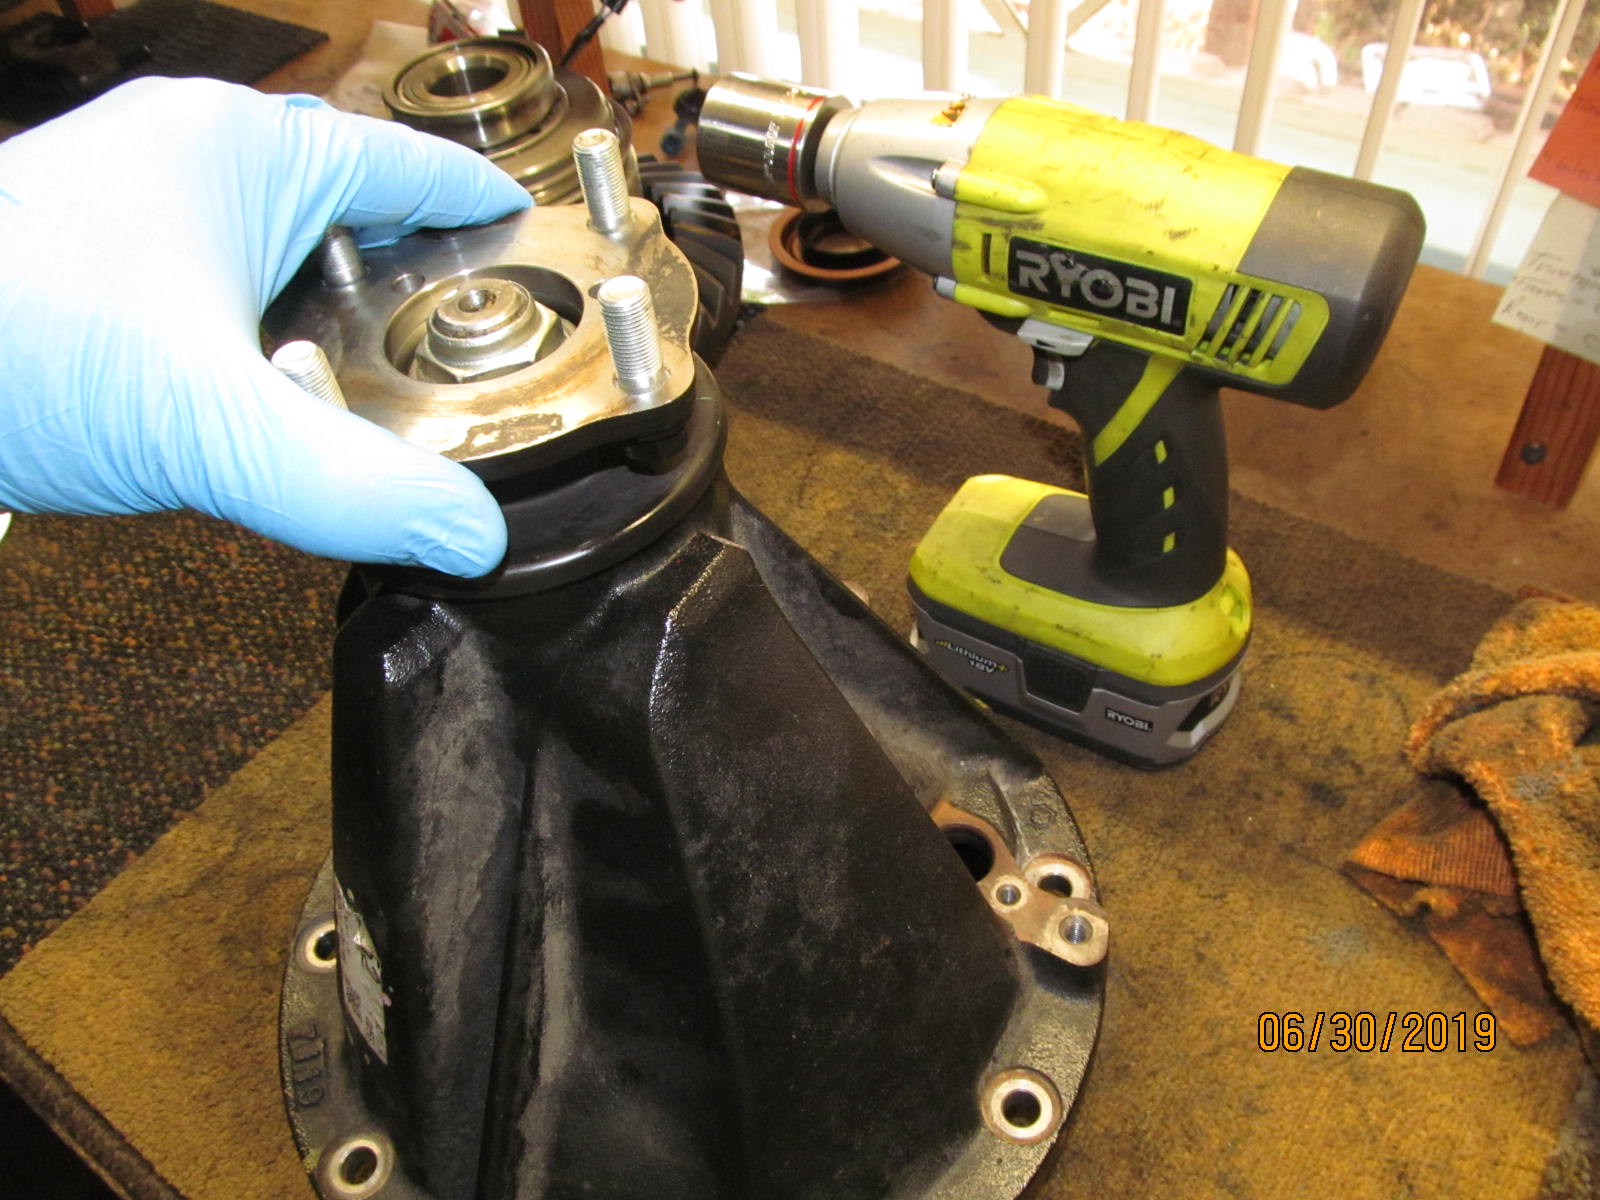
Differential case in the process of being removed.
The 2 bearings caps are removed first. |
|---|
|
|
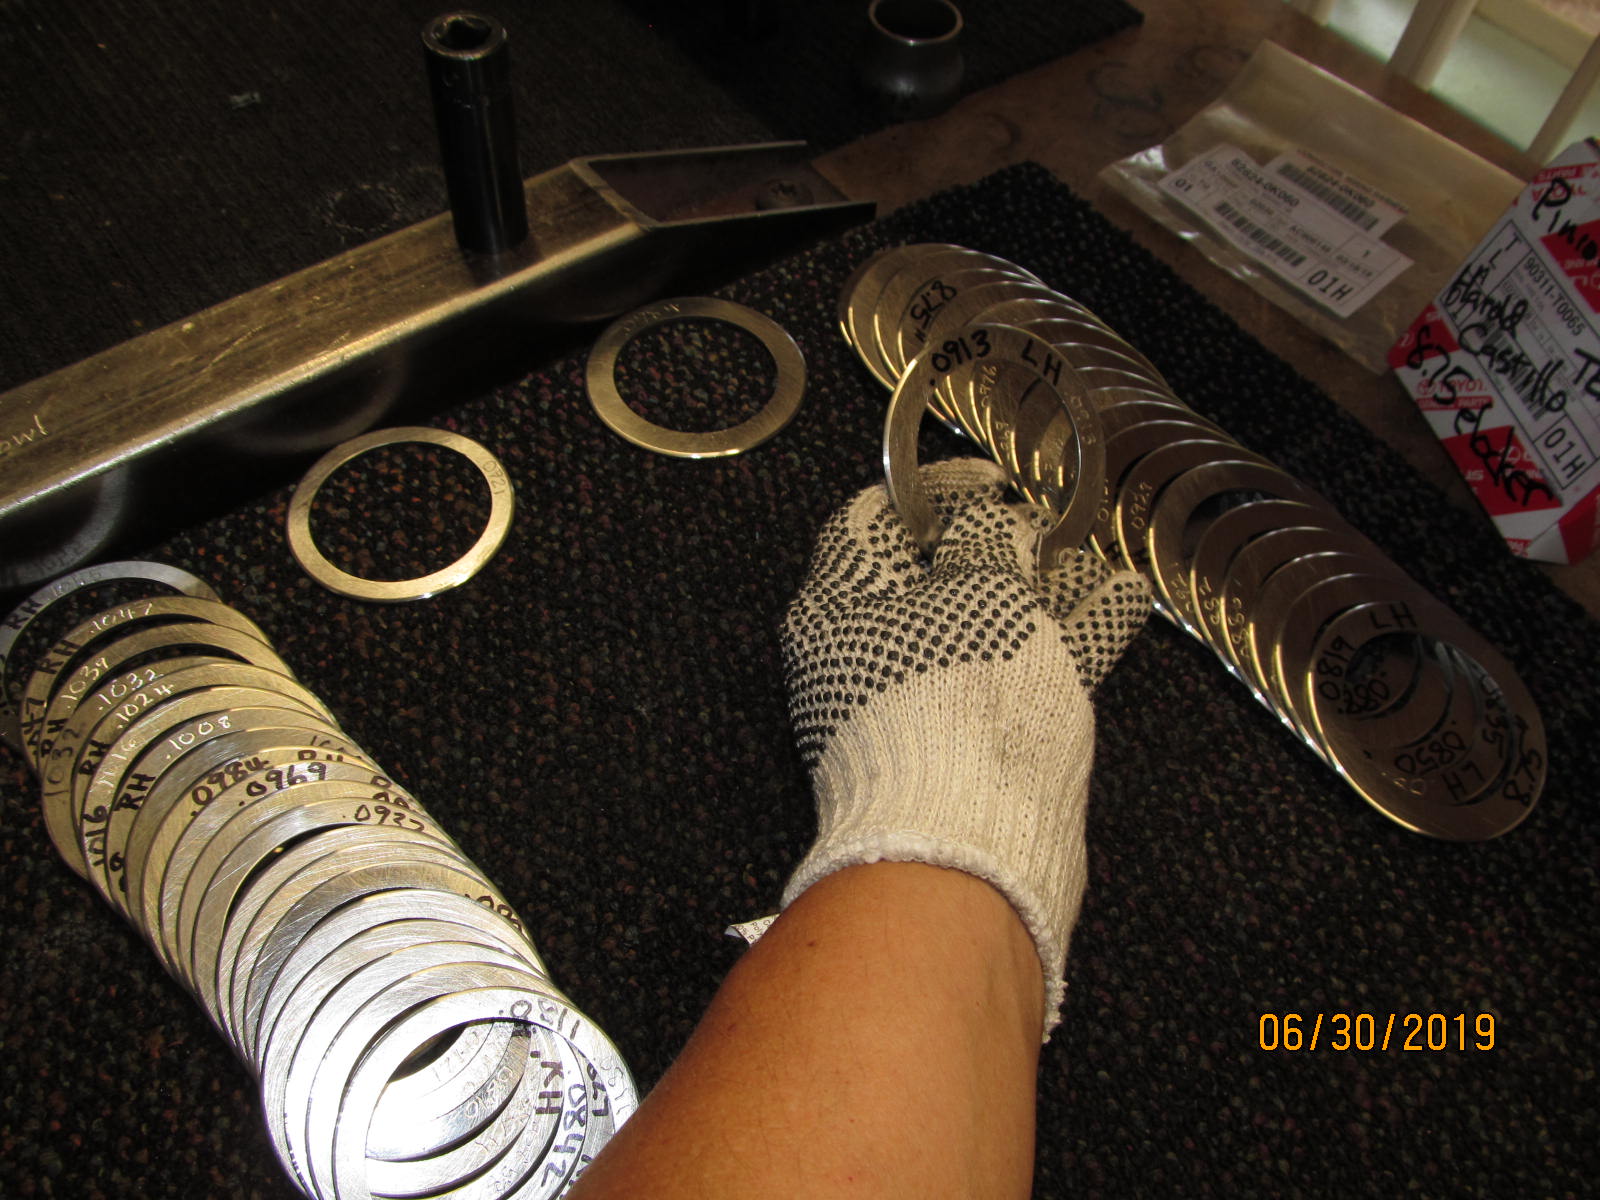
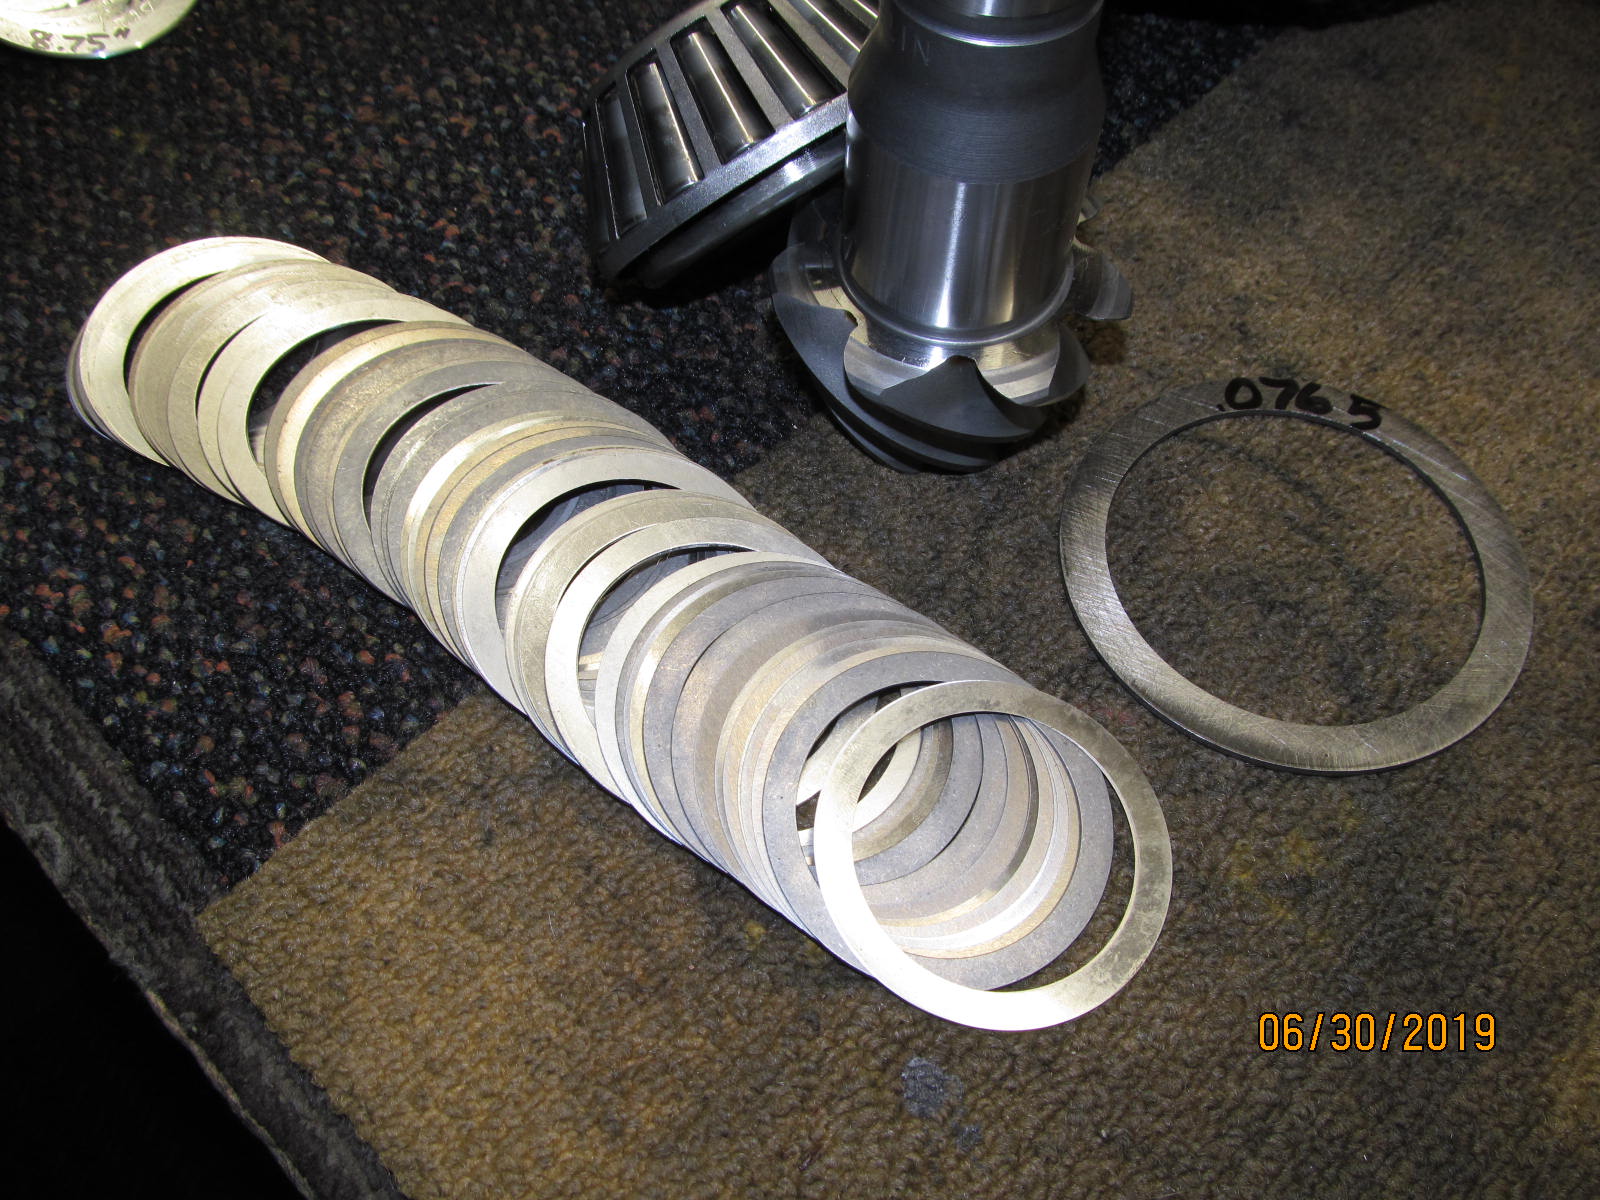
The washer plates were almost loose enough to remove by finger power.
When I'm done with it later, it will be much tighter. |
|---|
|
|
| ding ding ding and out it comes. |
|---|
|
|
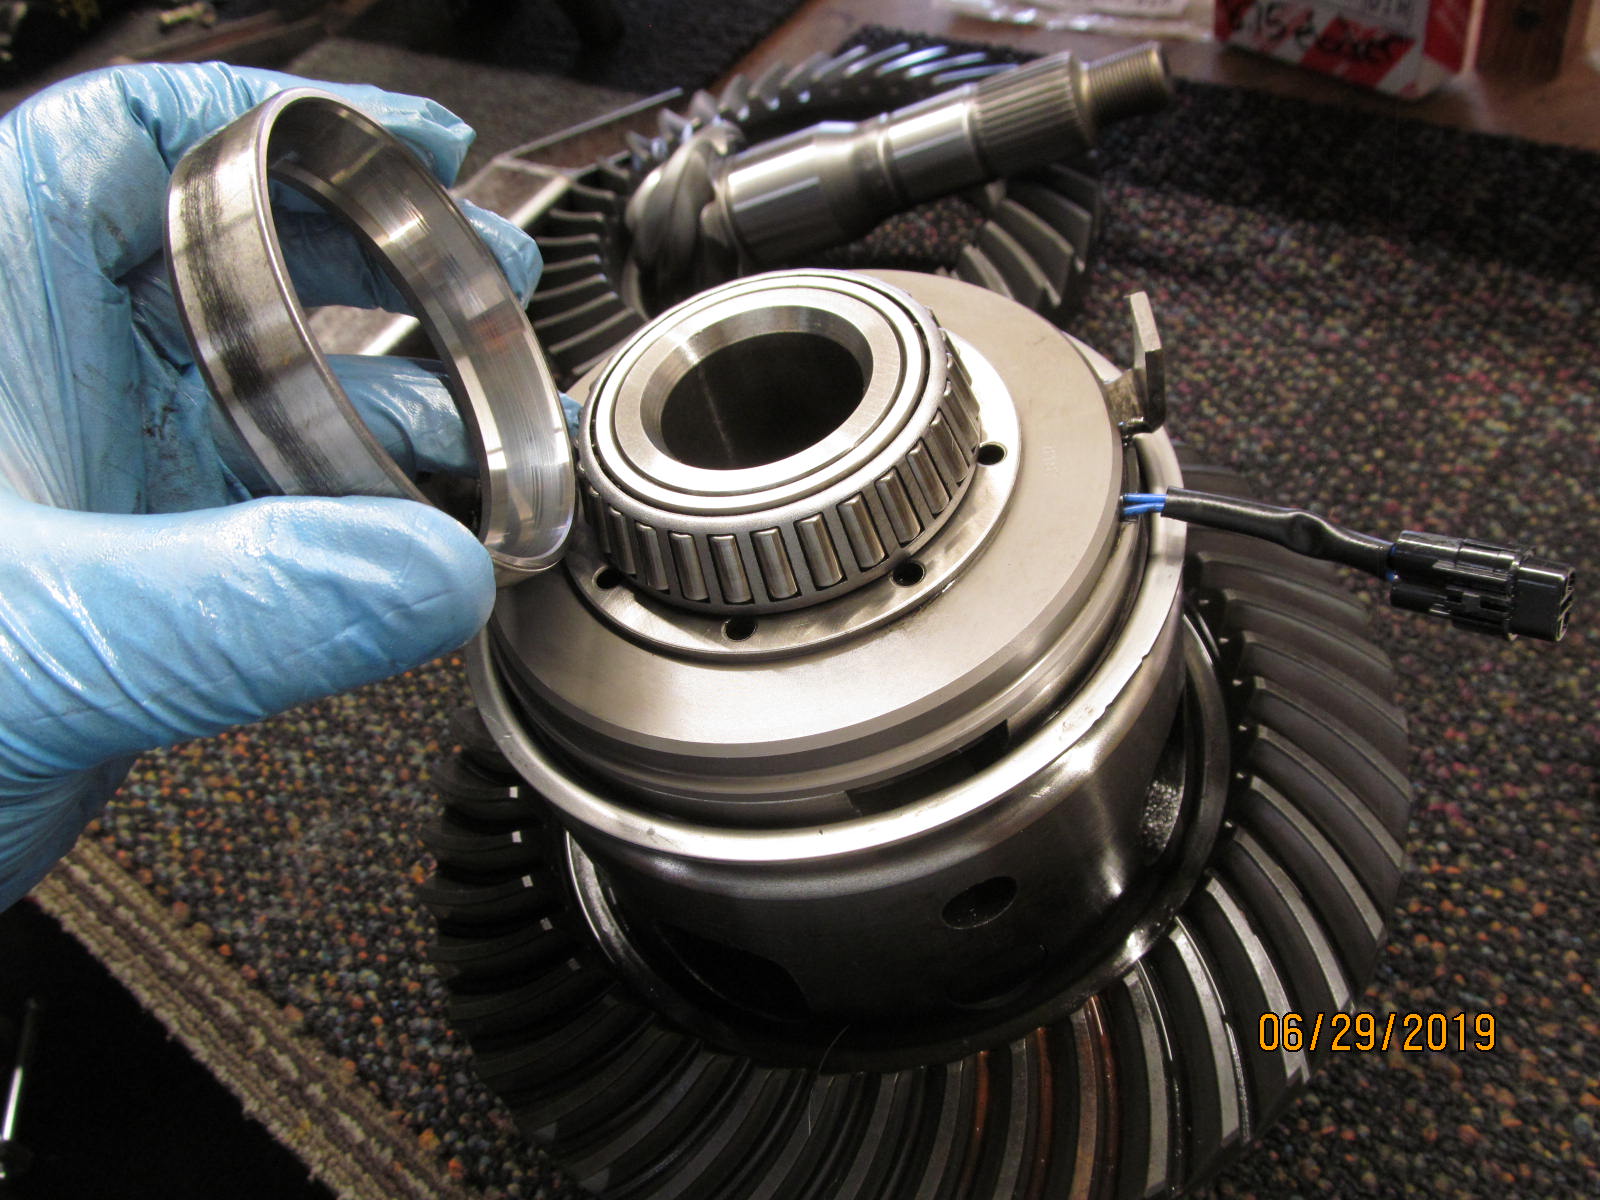
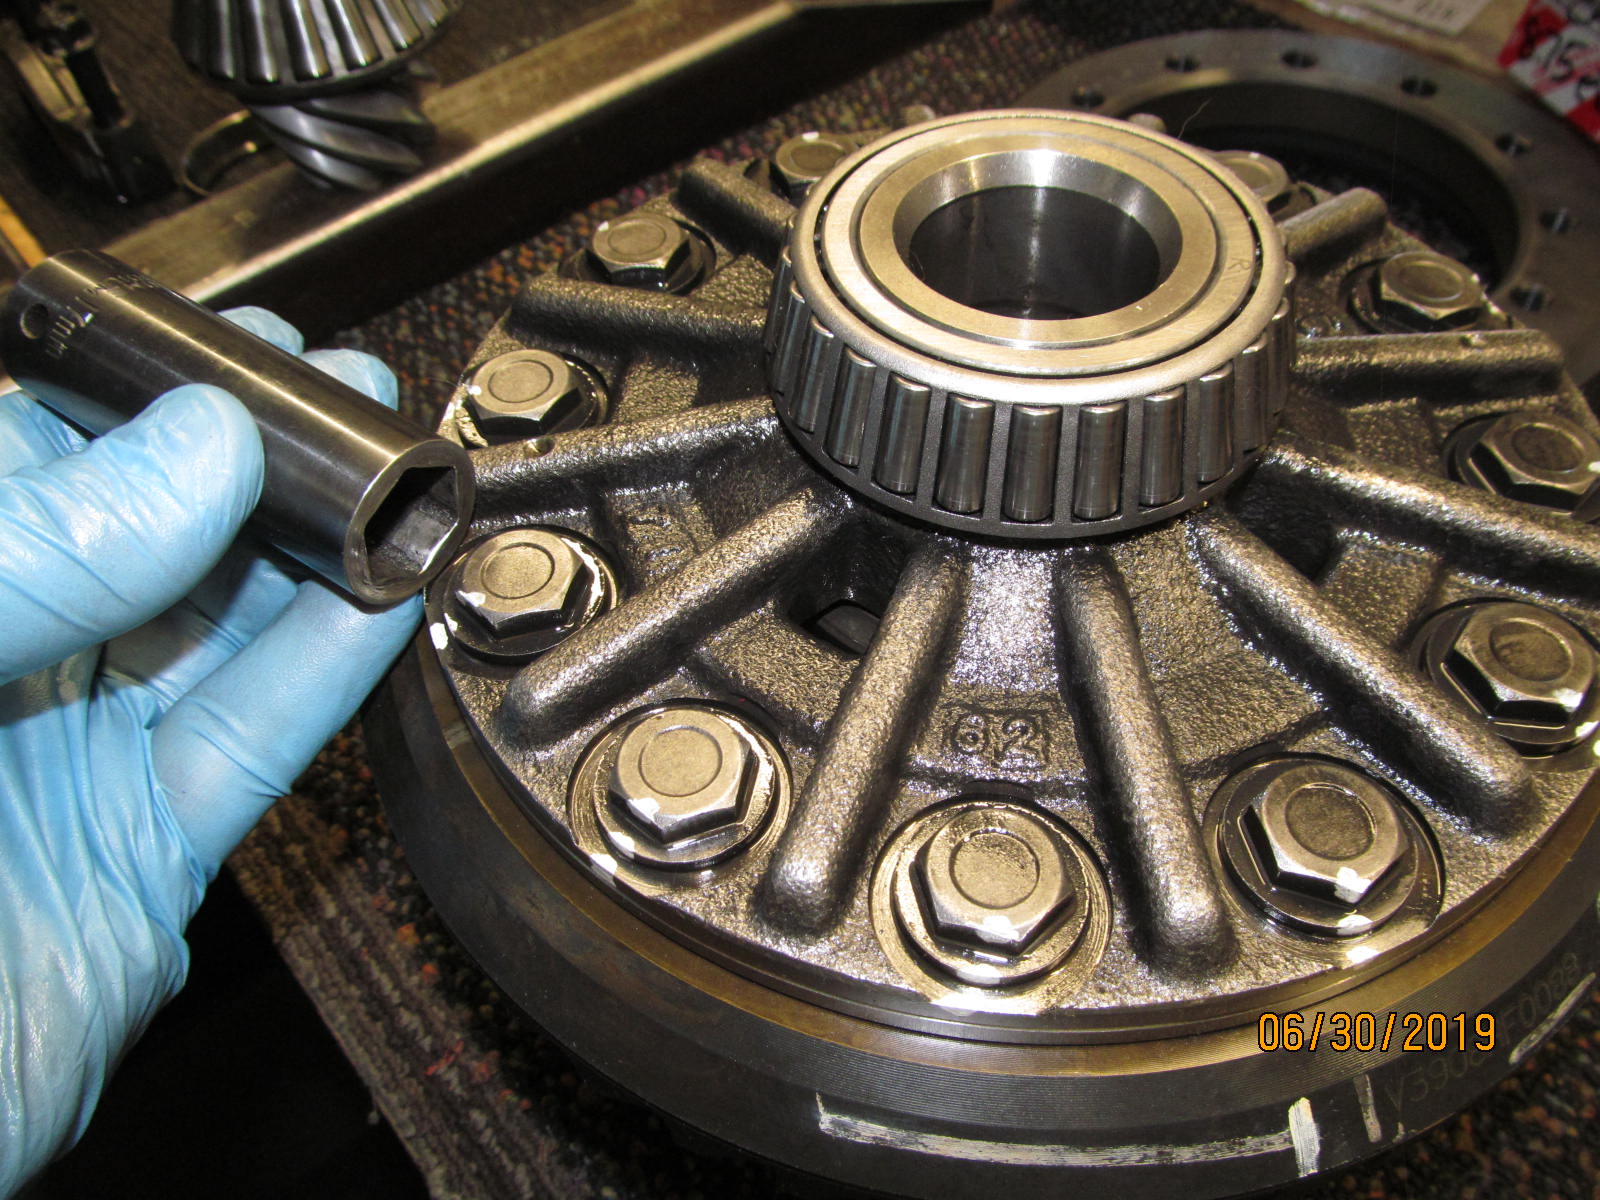
| Carrier bearings in nice shape.....as they should be with a low 17k miles on them. |
|---|
|
|
| Other side in fine shape too. |
|---|
|
|
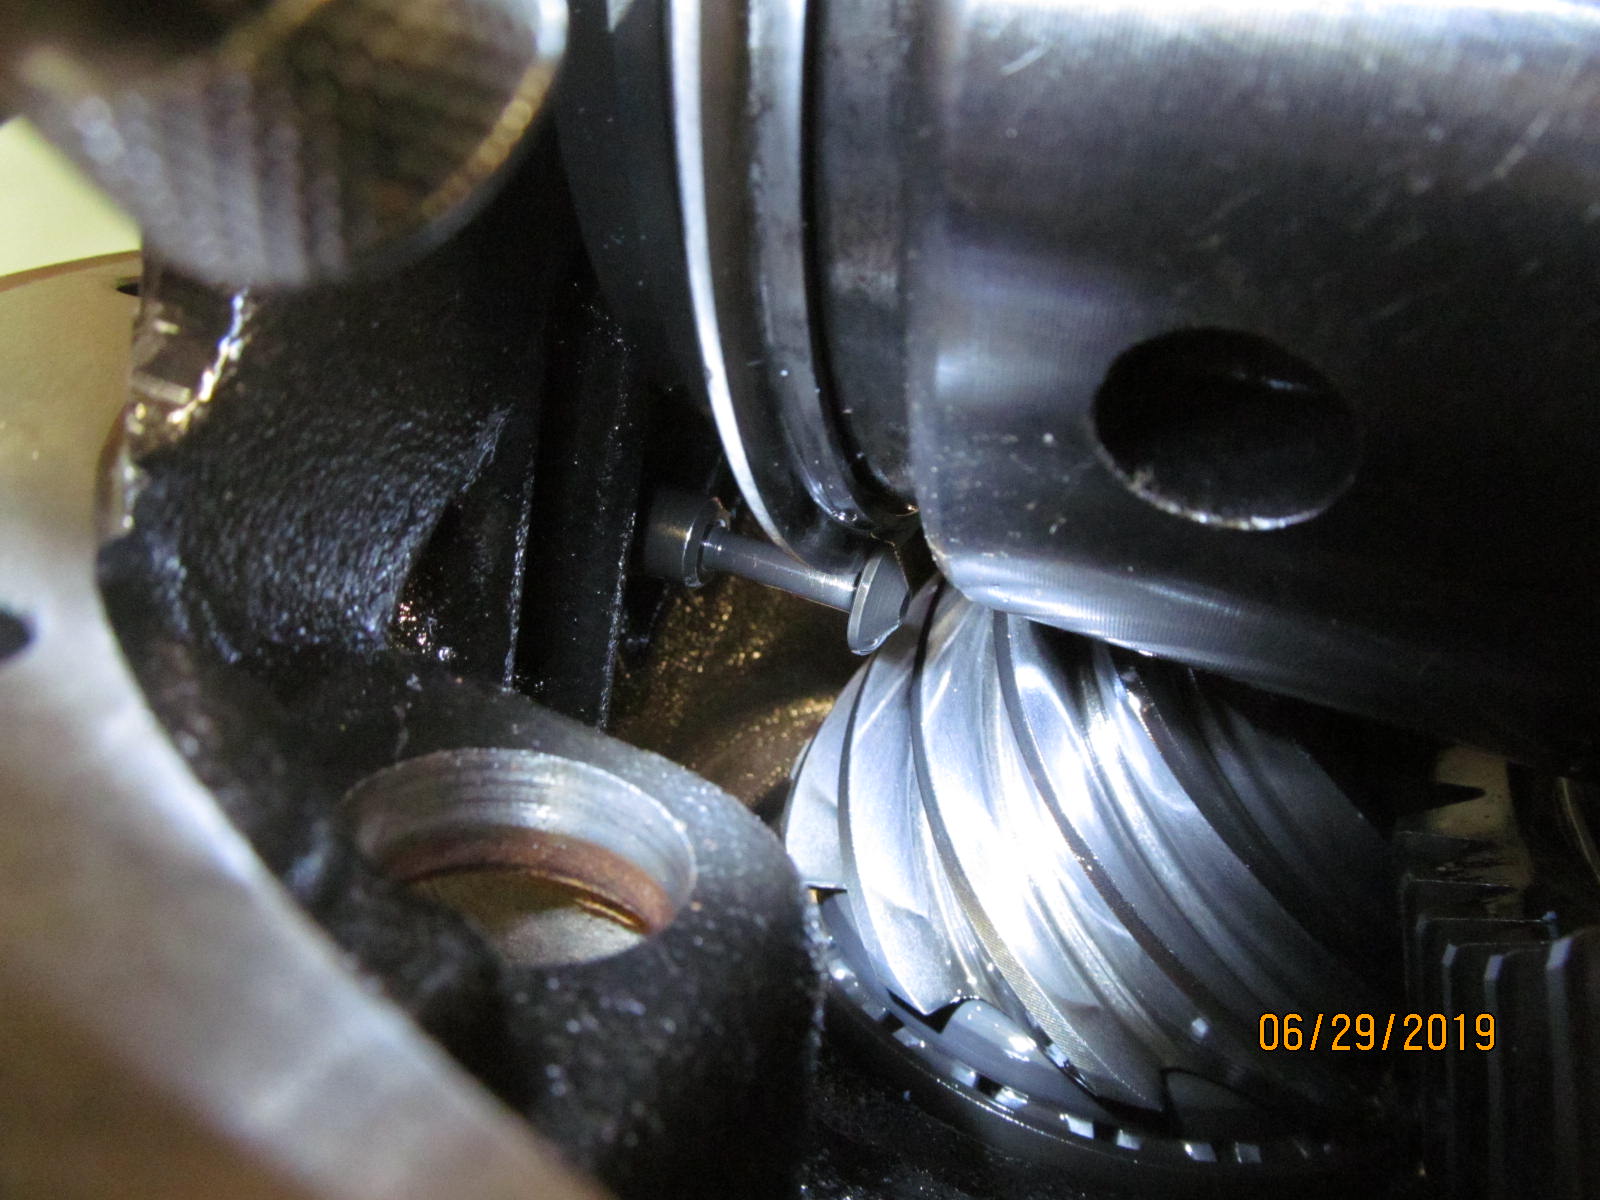
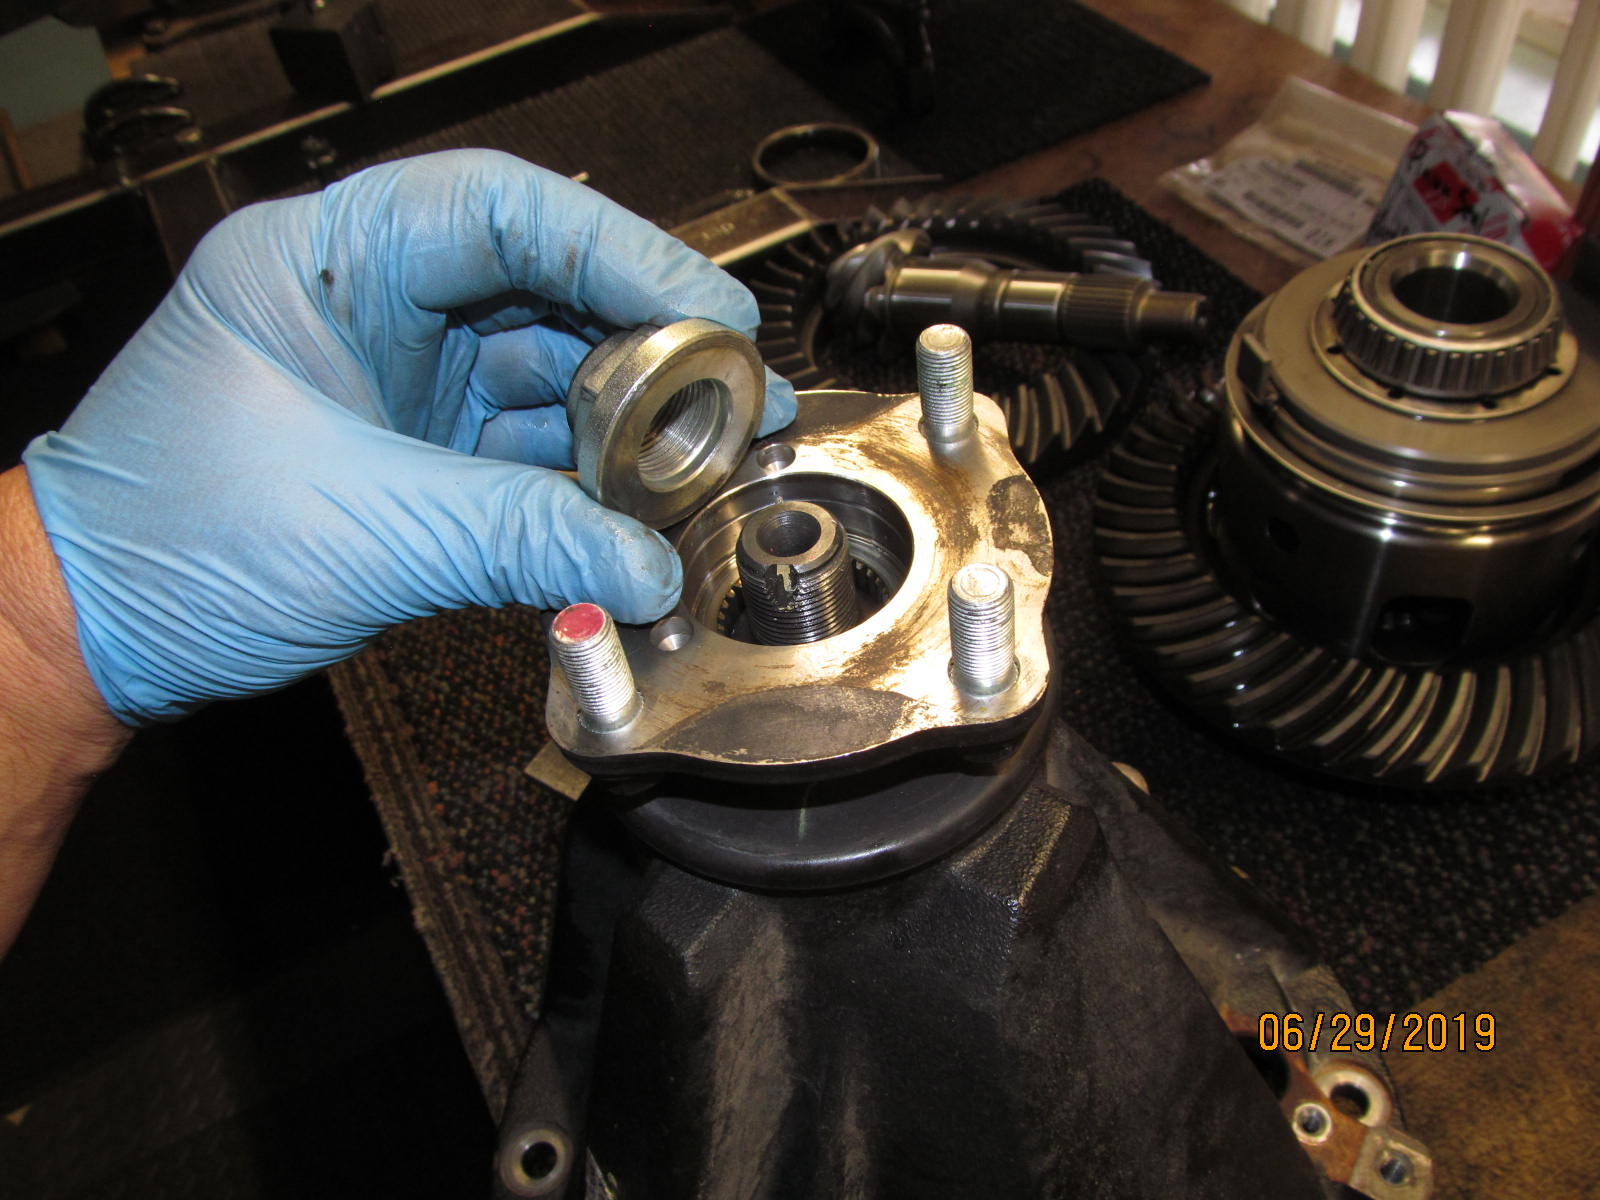
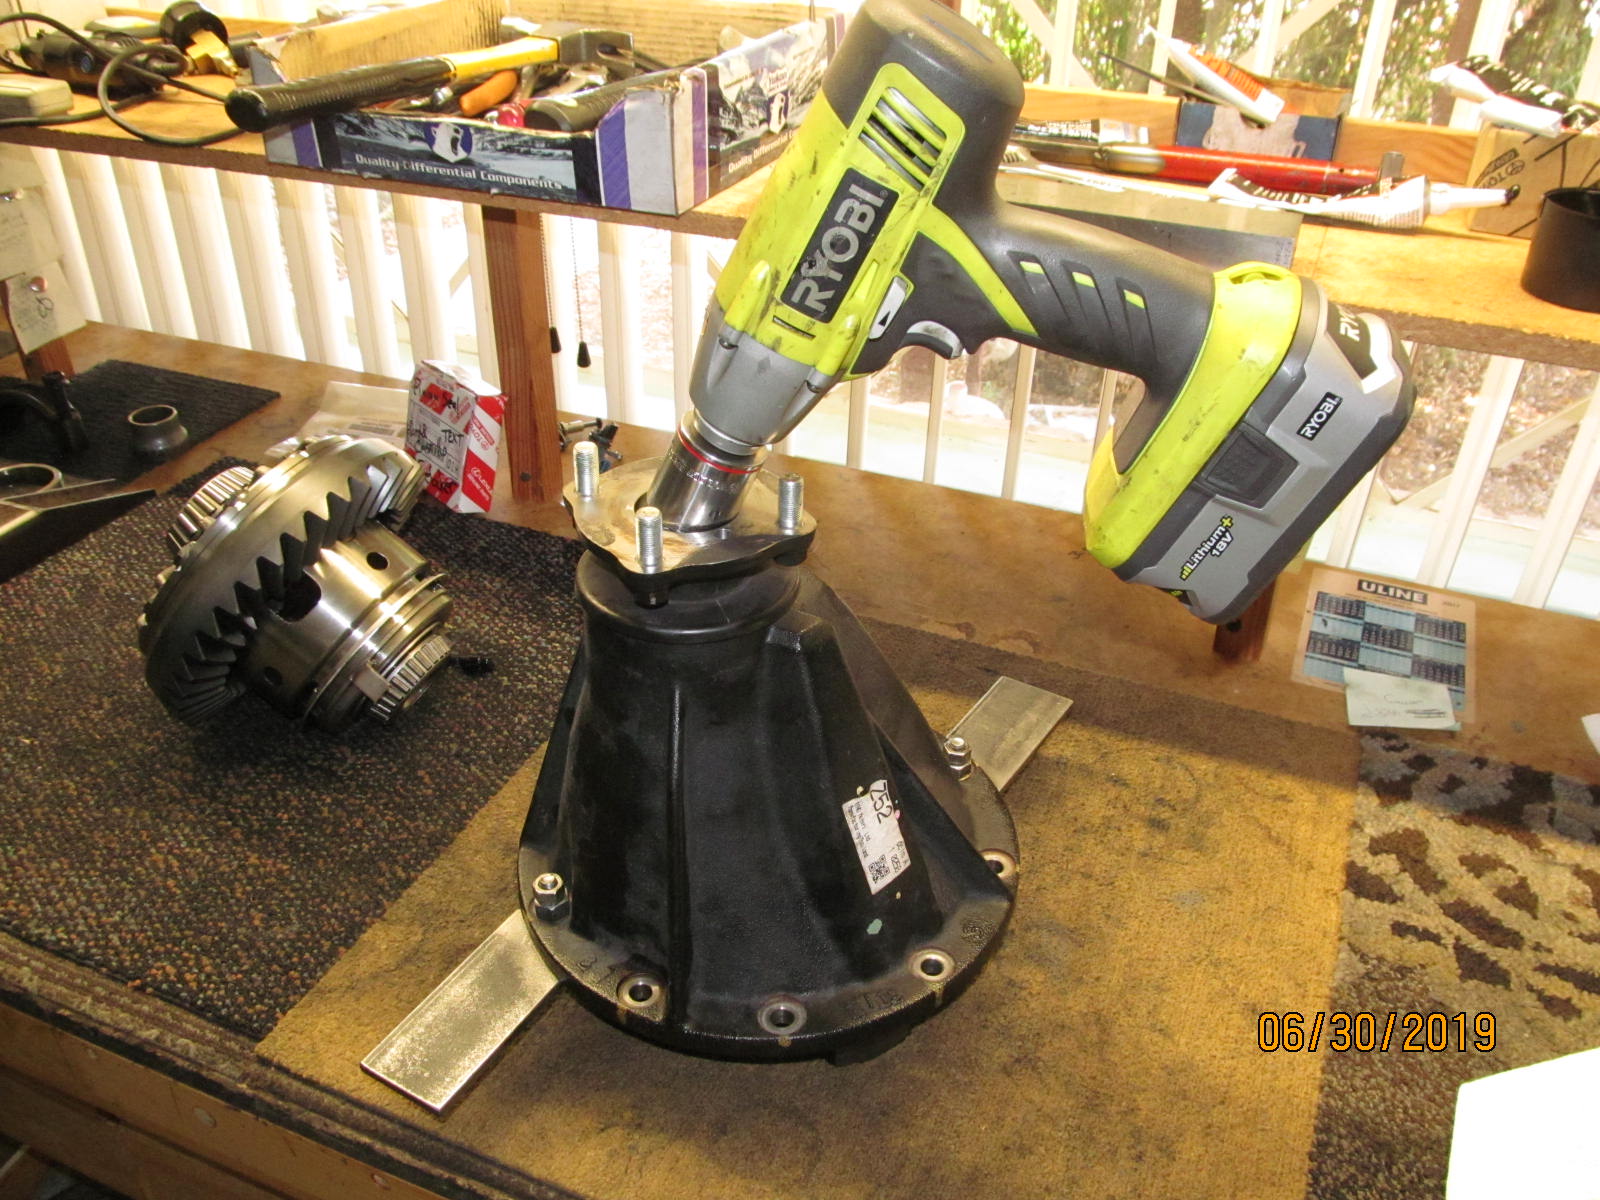
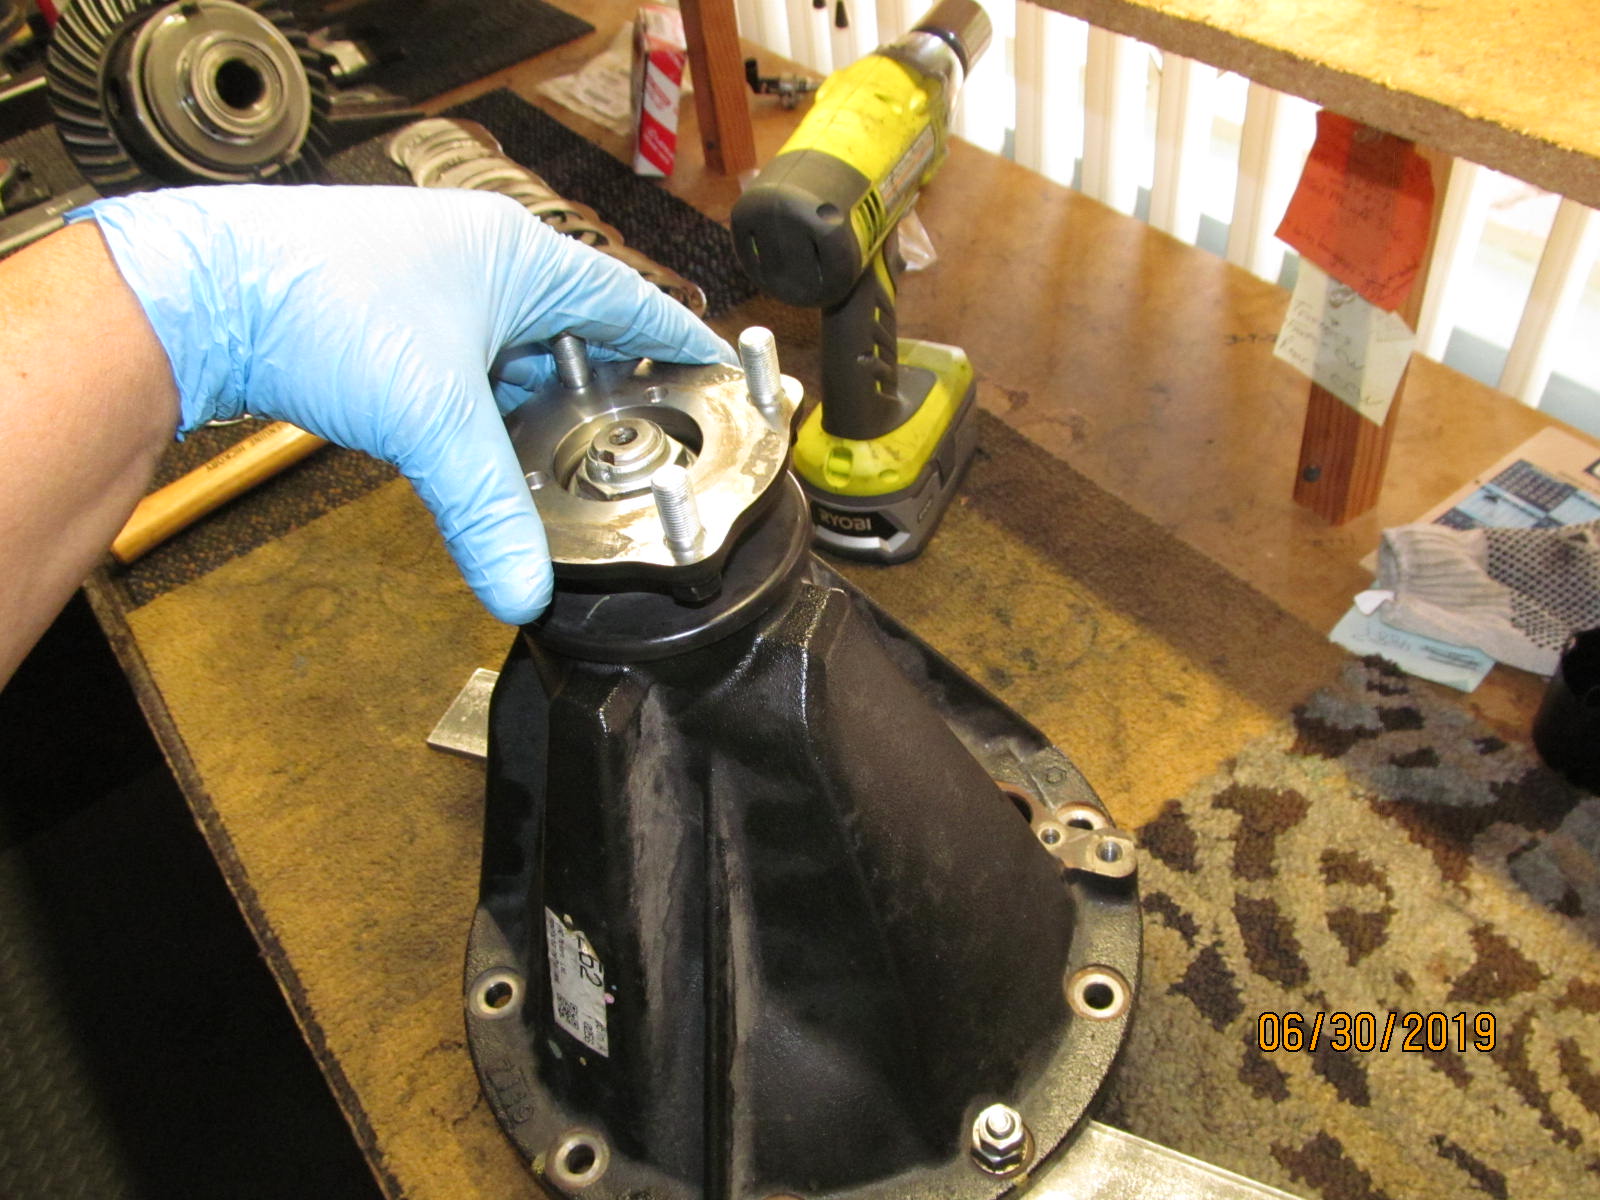
| Now, let's get this thing out of the way. |
|---|
|

|
| Remove the 6mm bolt with a 10mm wrench..... |
|---|
|
|
| Out it comes. |
|---|
|
|
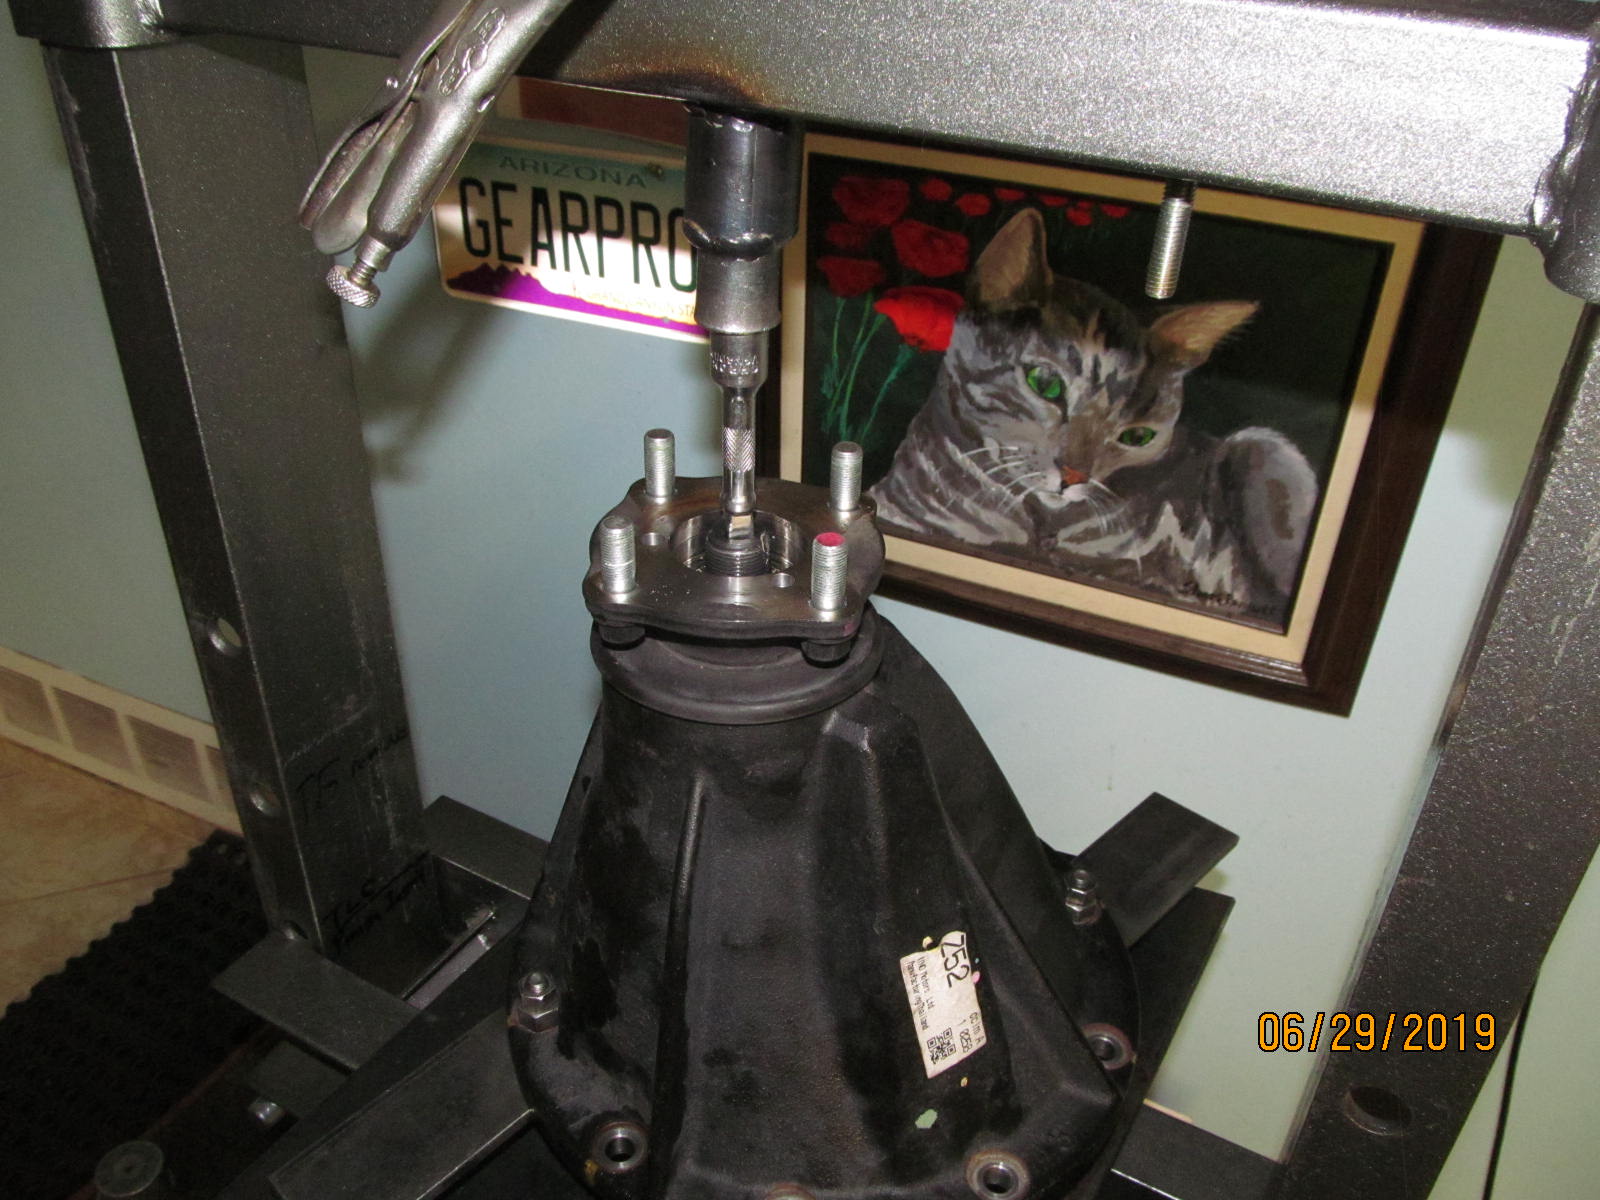
| Getting the pinion out.....the cordless impact wrench has plenty of torque for this. |
|---|
|
|
| ..................................... |
|---|
|
|
| Pushing the pinion out.....probably less than 1 ton of actual push is needed. |
|---|
|
|
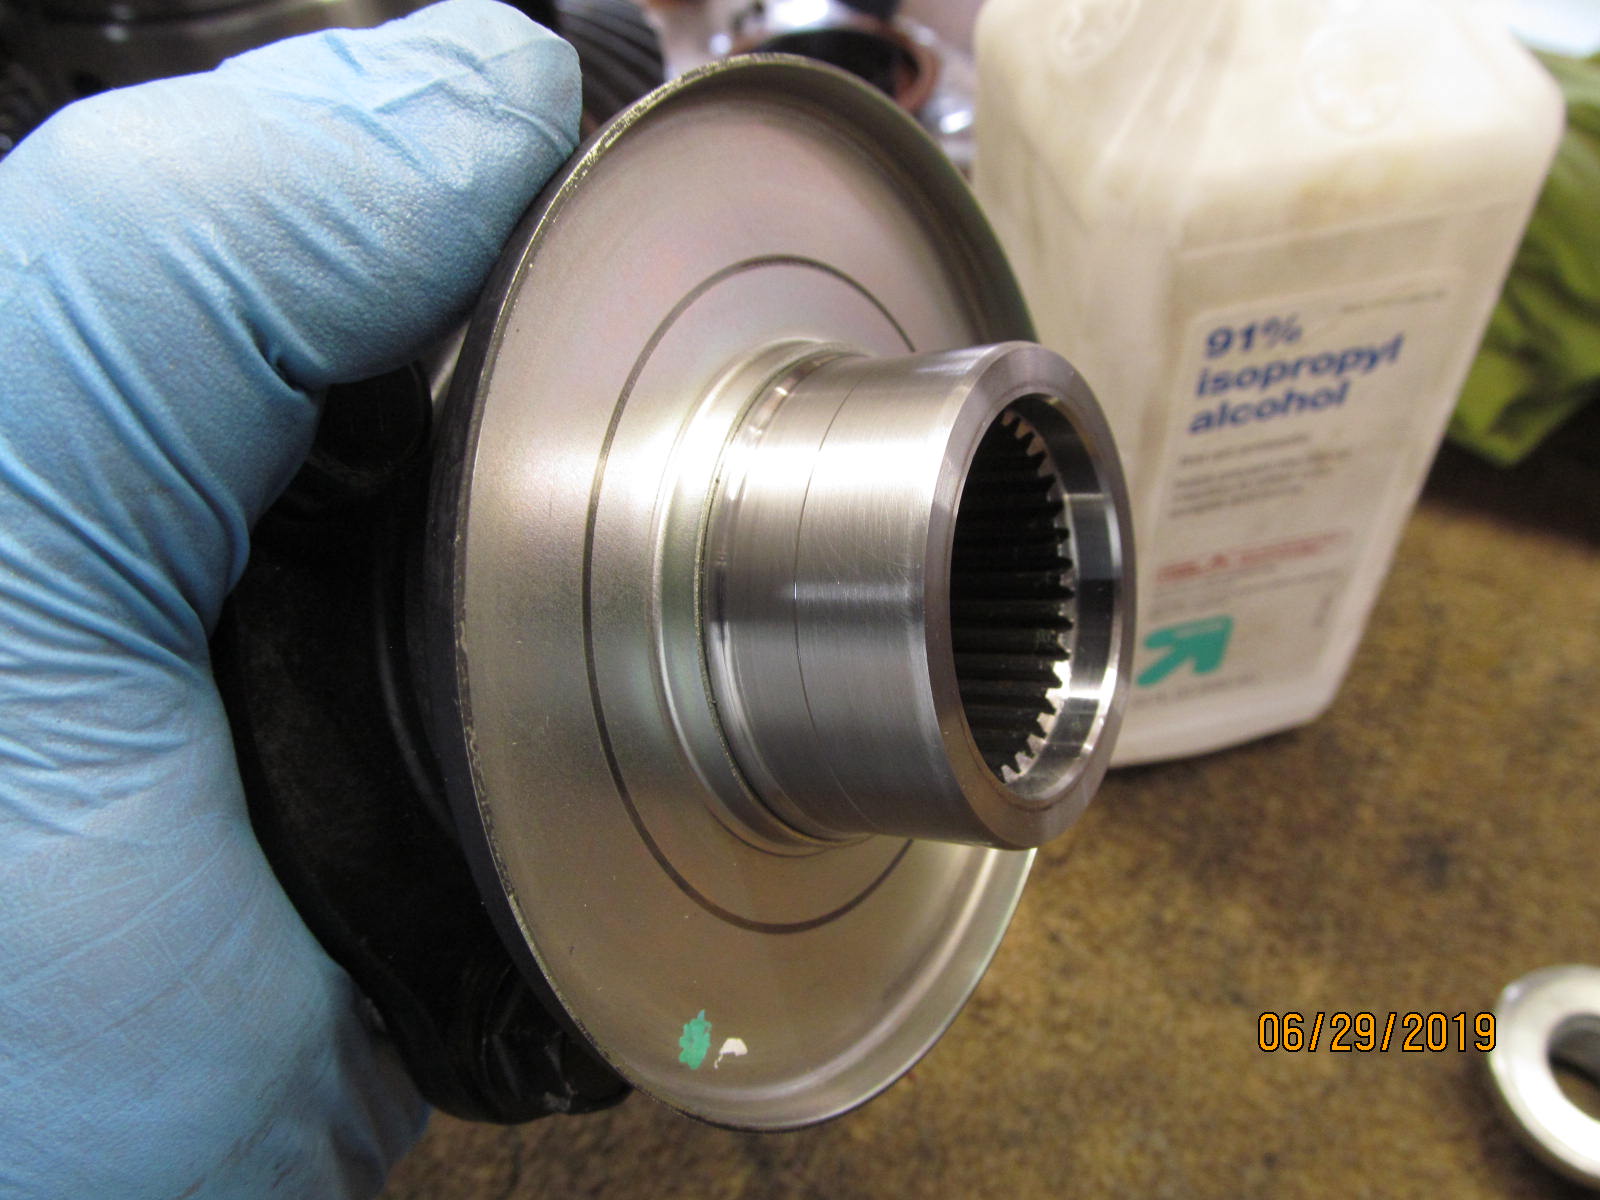
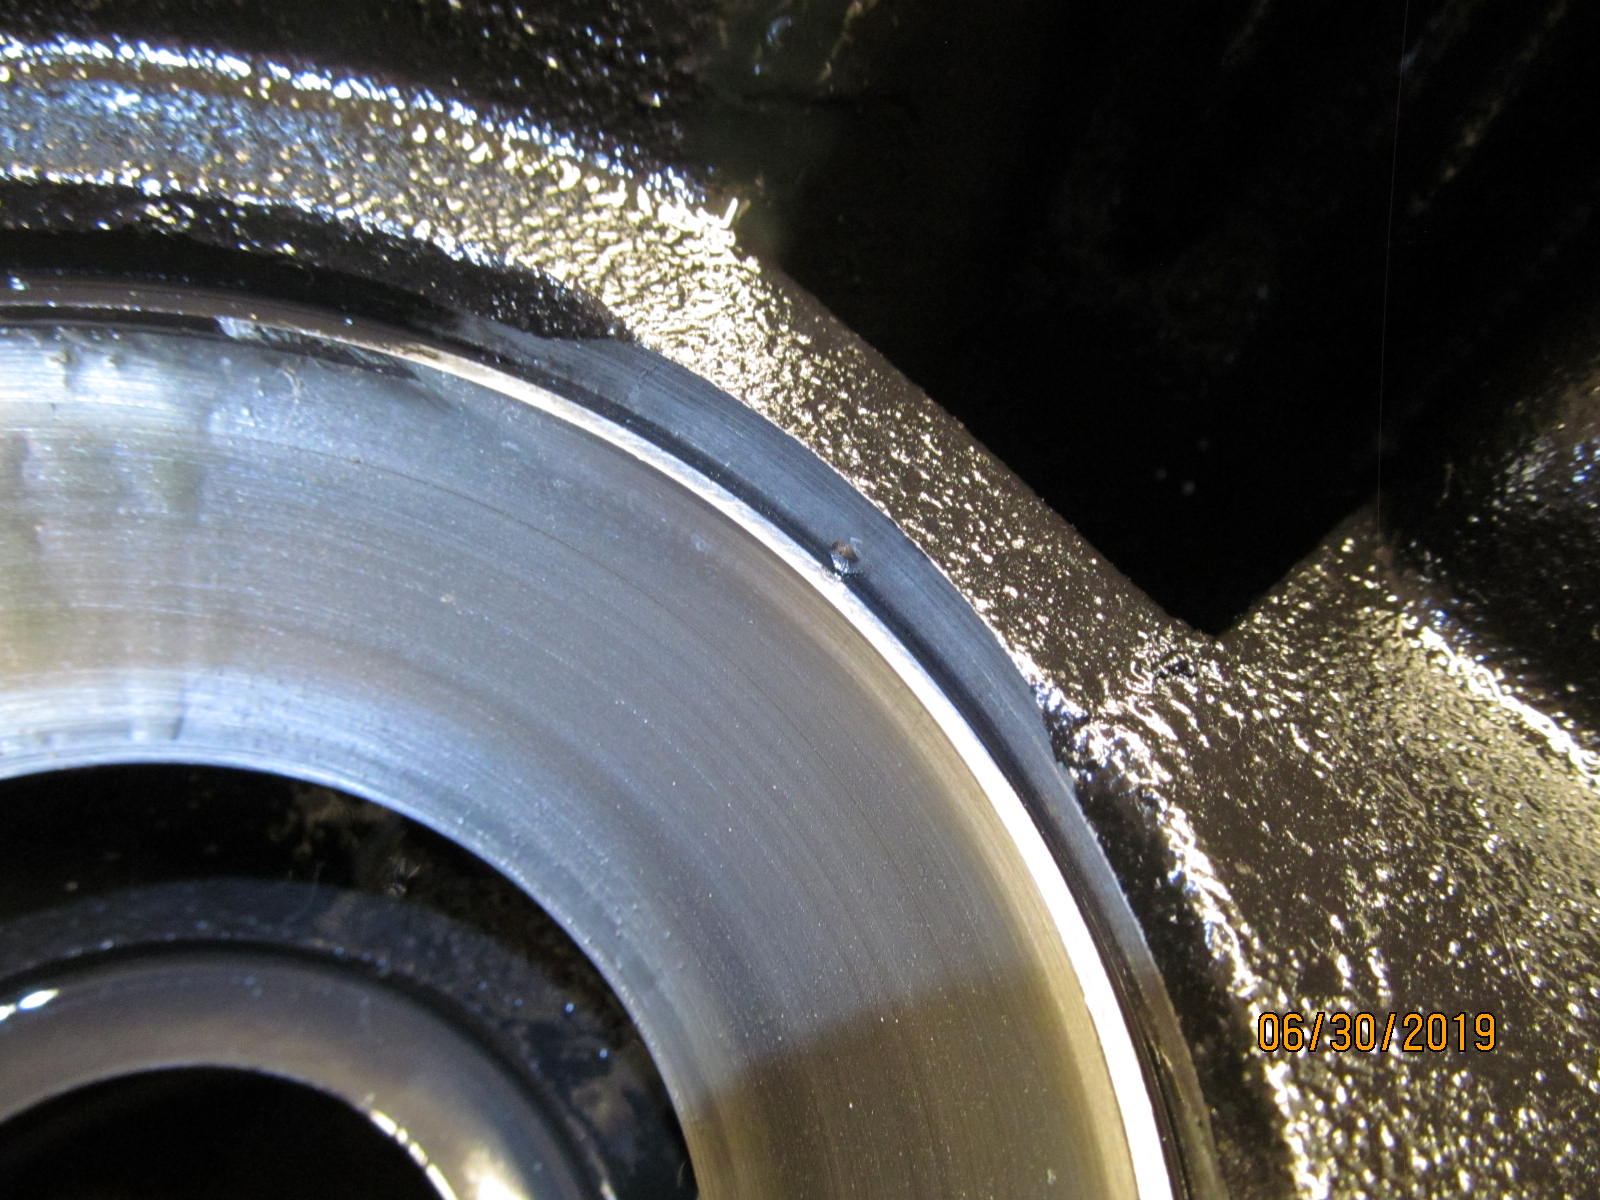
| Pre-cleaned the flange....and you can see that it's almost like new with the tiniest of grooves. |
|---|
|
|
| OEM is hard to beat. |
|---|
|
|
| ;;;;;;;;;;;;;;;;;;;;;;;;;;;;;;;;;;;;;; |
|---|
|
|
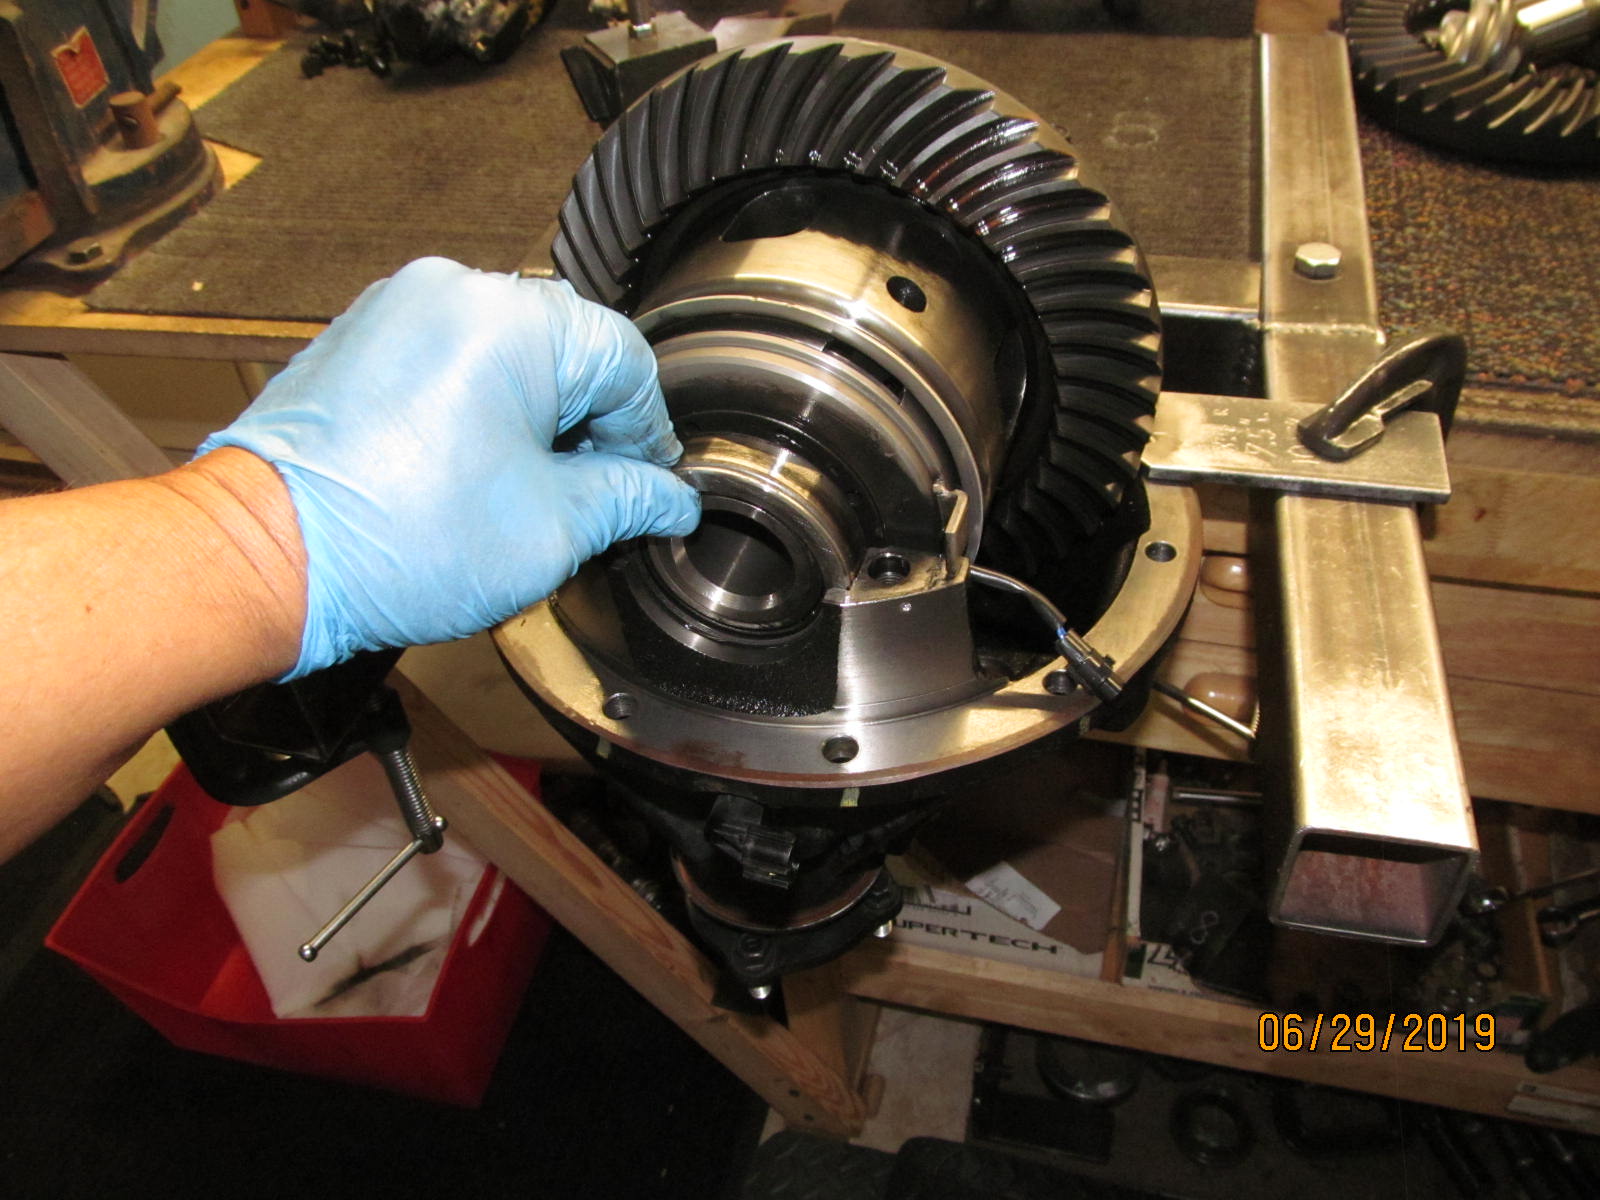
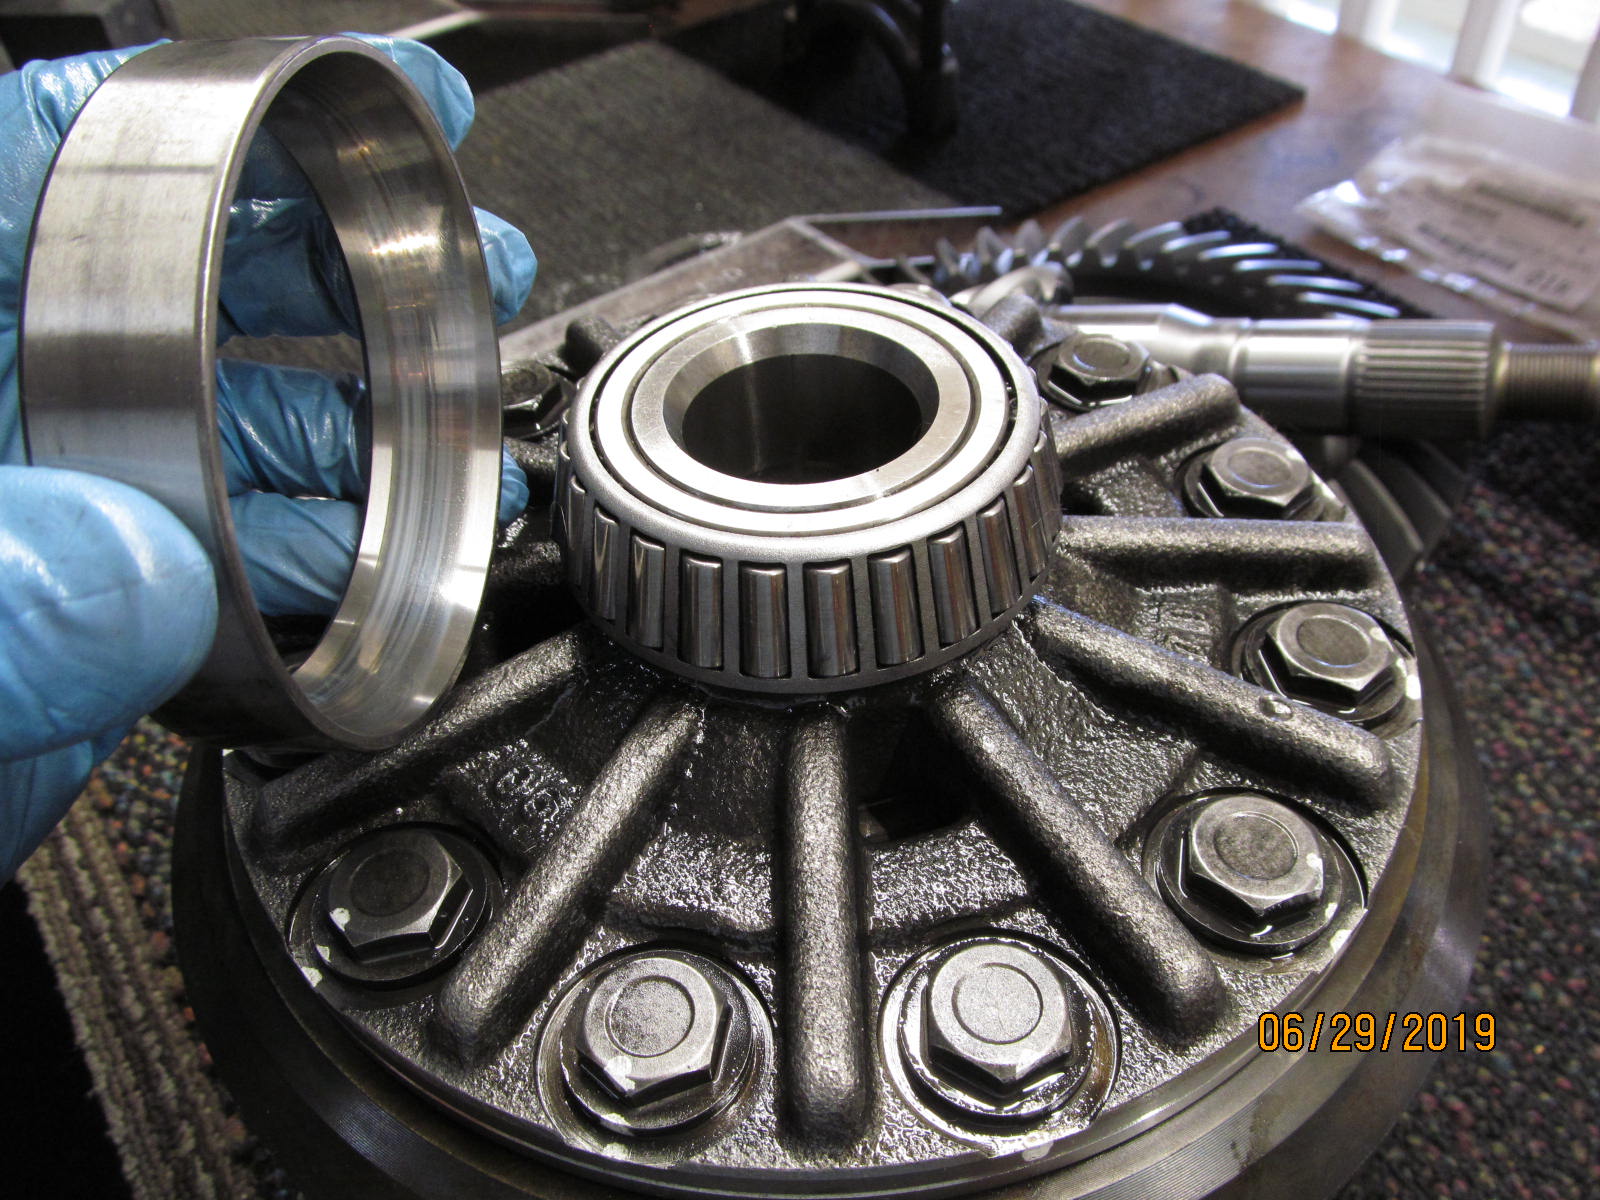
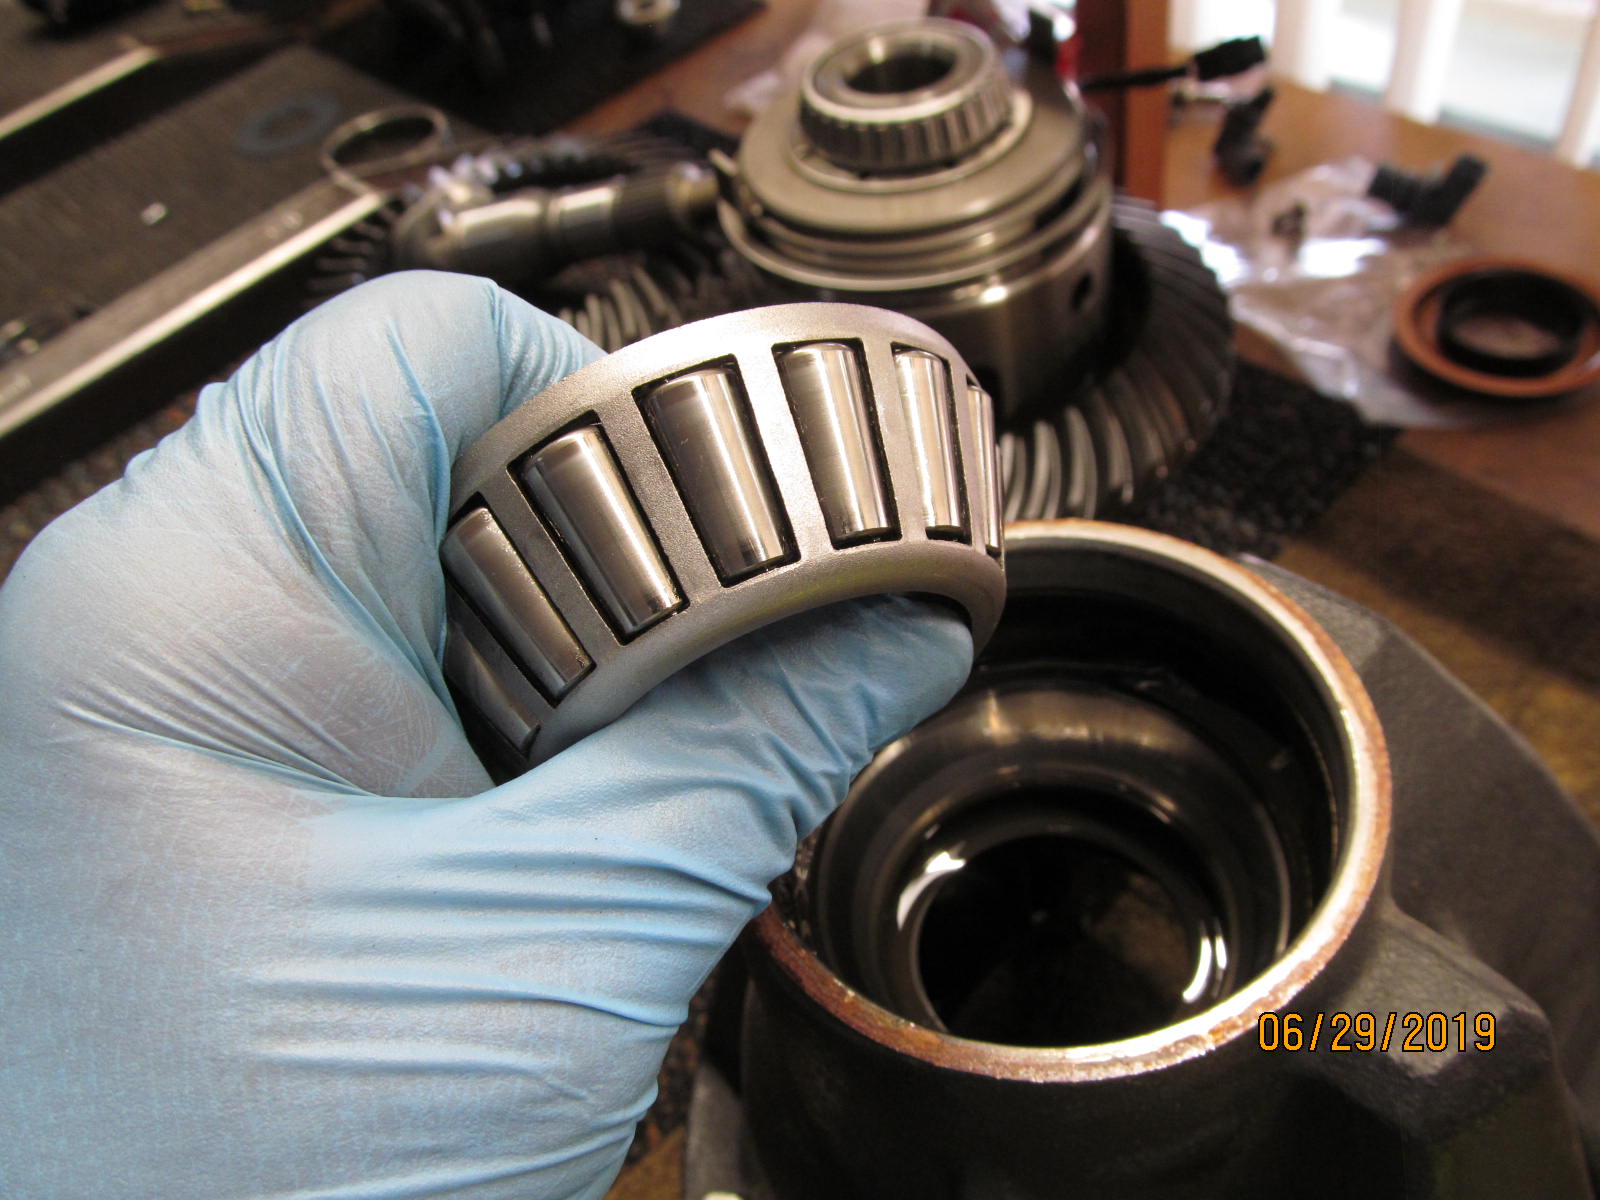
| Outer bearing in beautiful shape. |
|---|
|
|
| The big inner bearing is excellent. |
|---|
|
|
| ############################### |
|---|
|
|
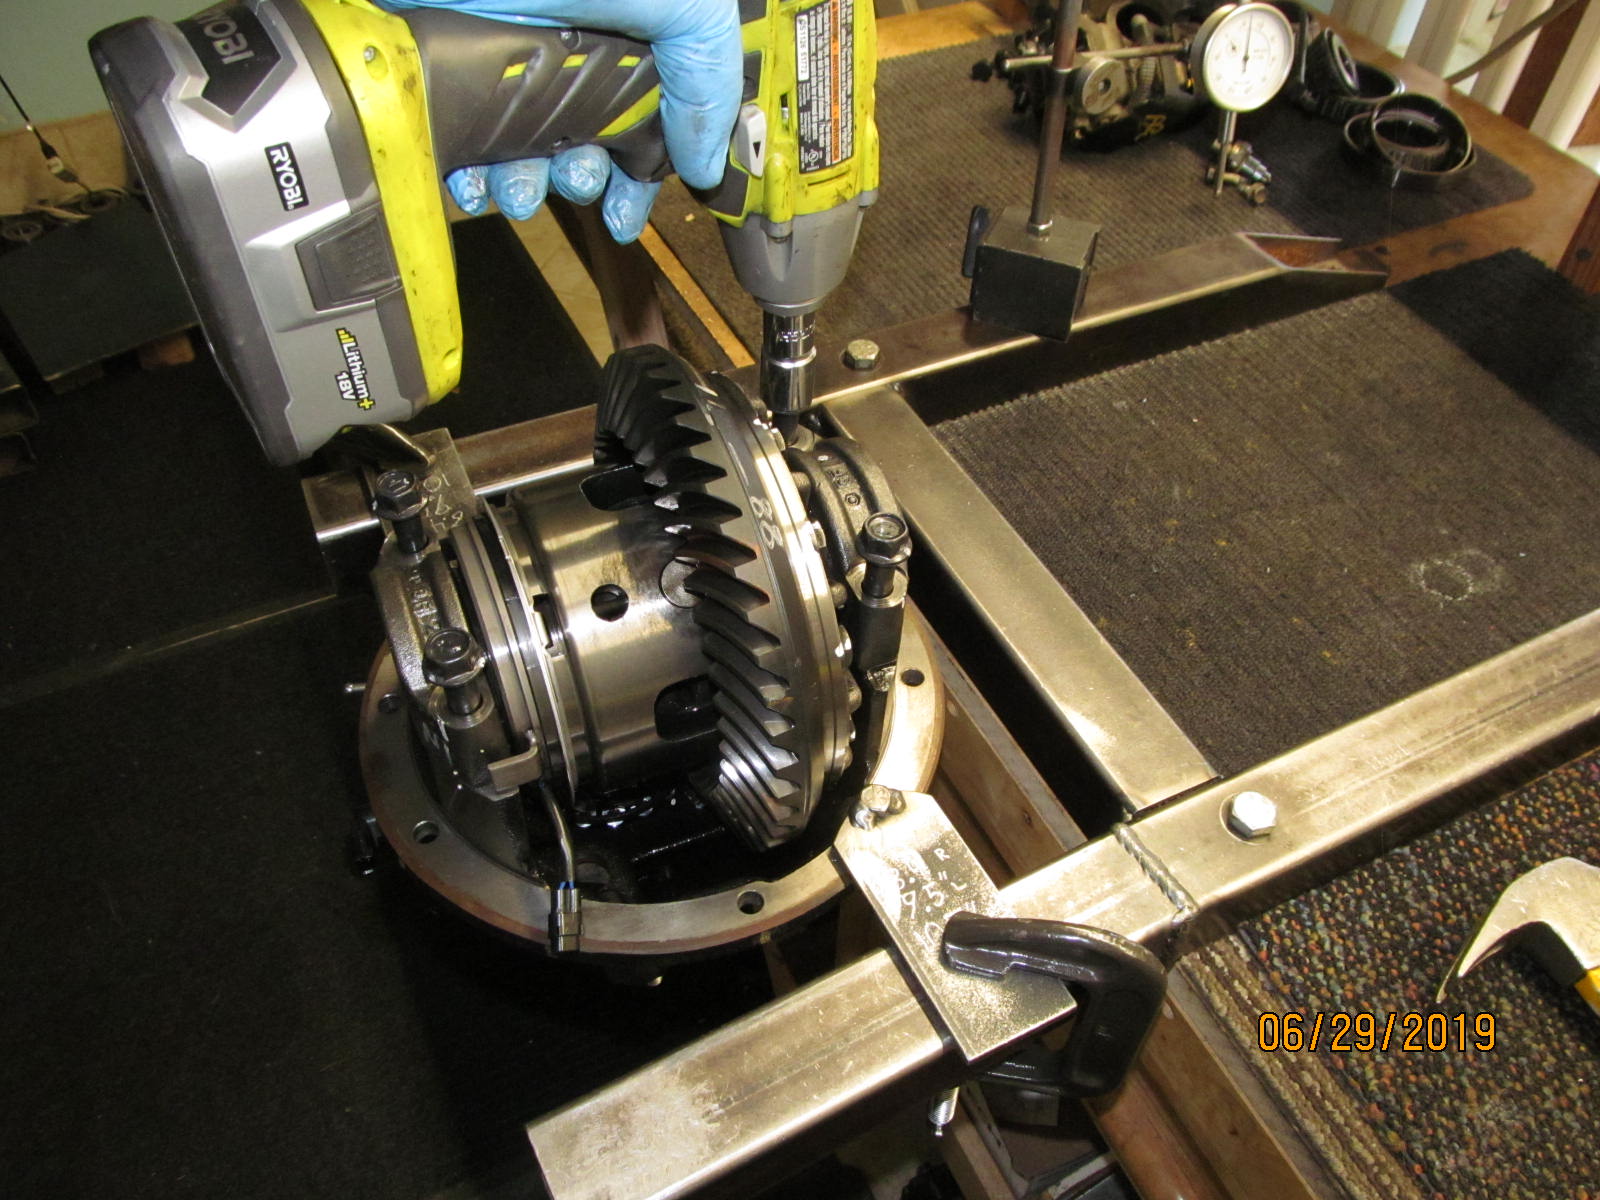
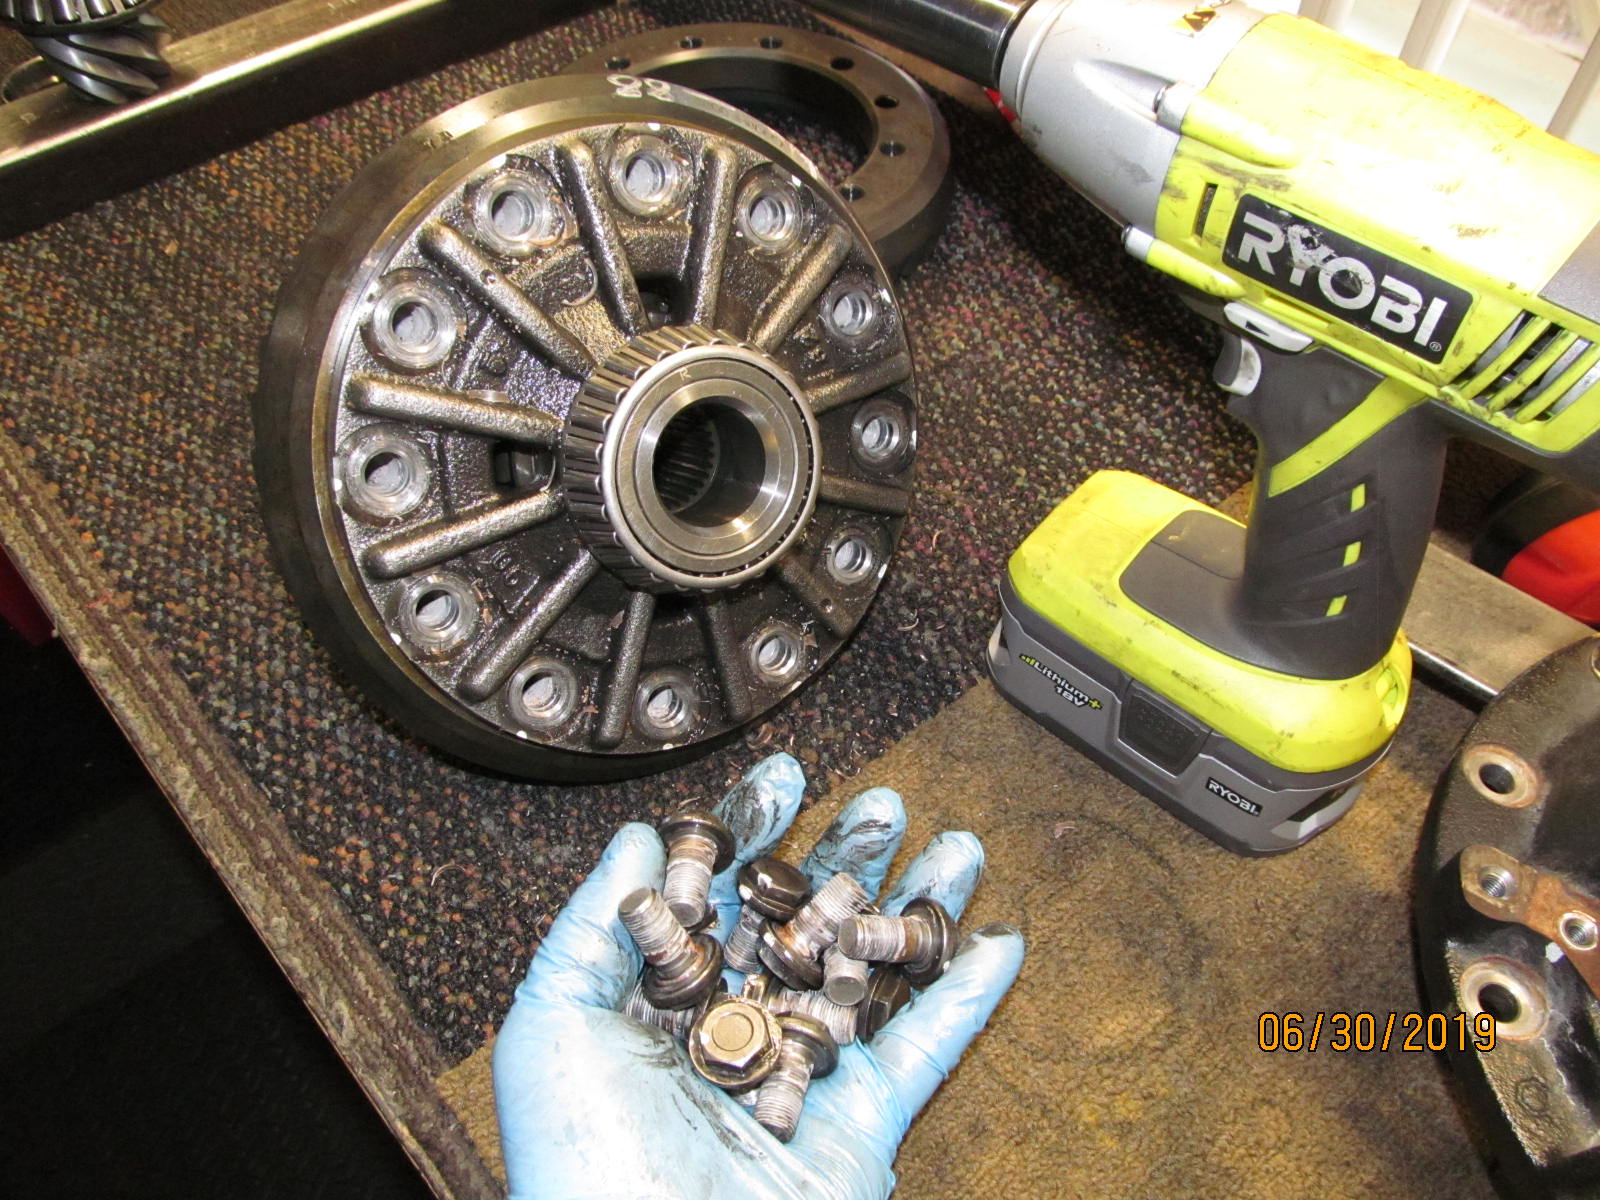
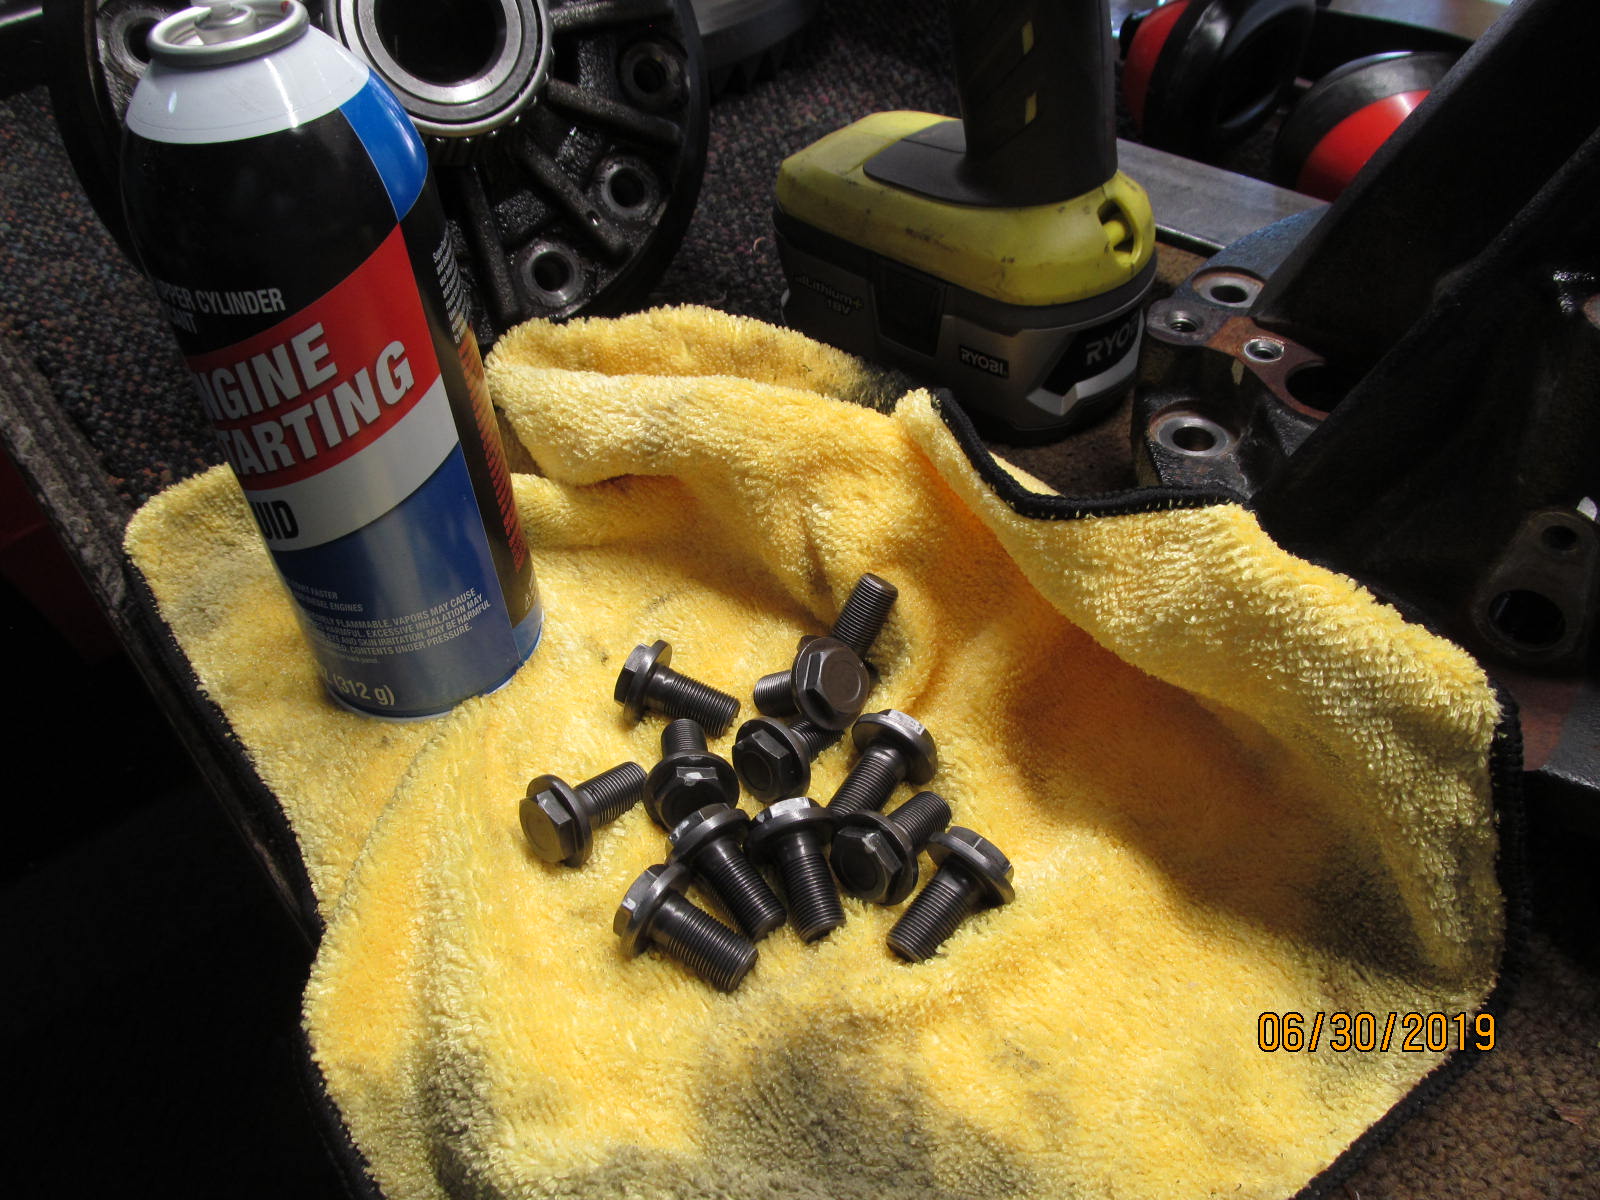
| Now to remove the 12 ring gear bolts. |
|---|
|
|
With a fresh battery, the cordless took all 12 bolts off.
The factory used a good red loctite on the threads. |
|---|
|
|
| High speed bench wire wheel cleaned the debri off the bolts just fine. Starter fluid removed all the oils. |
|---|
|
|
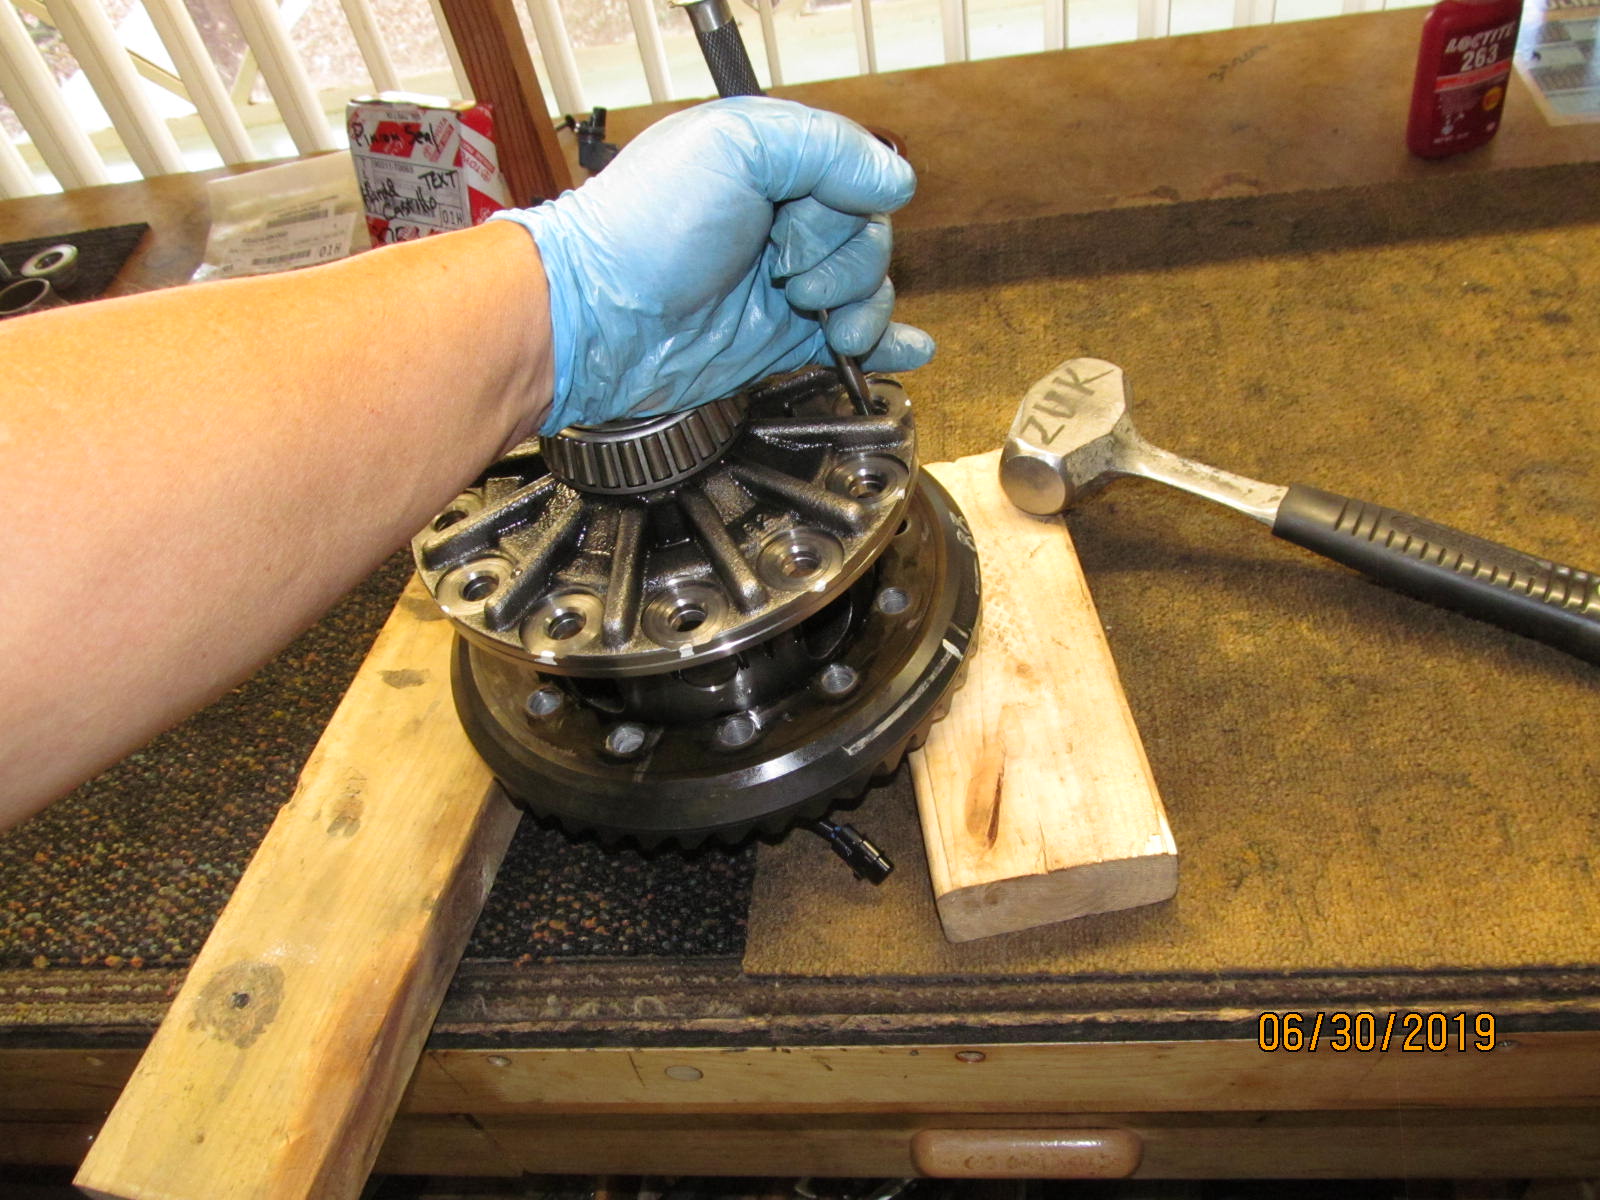
| "old" 3.91 ring knocked out. |
|---|
|
|
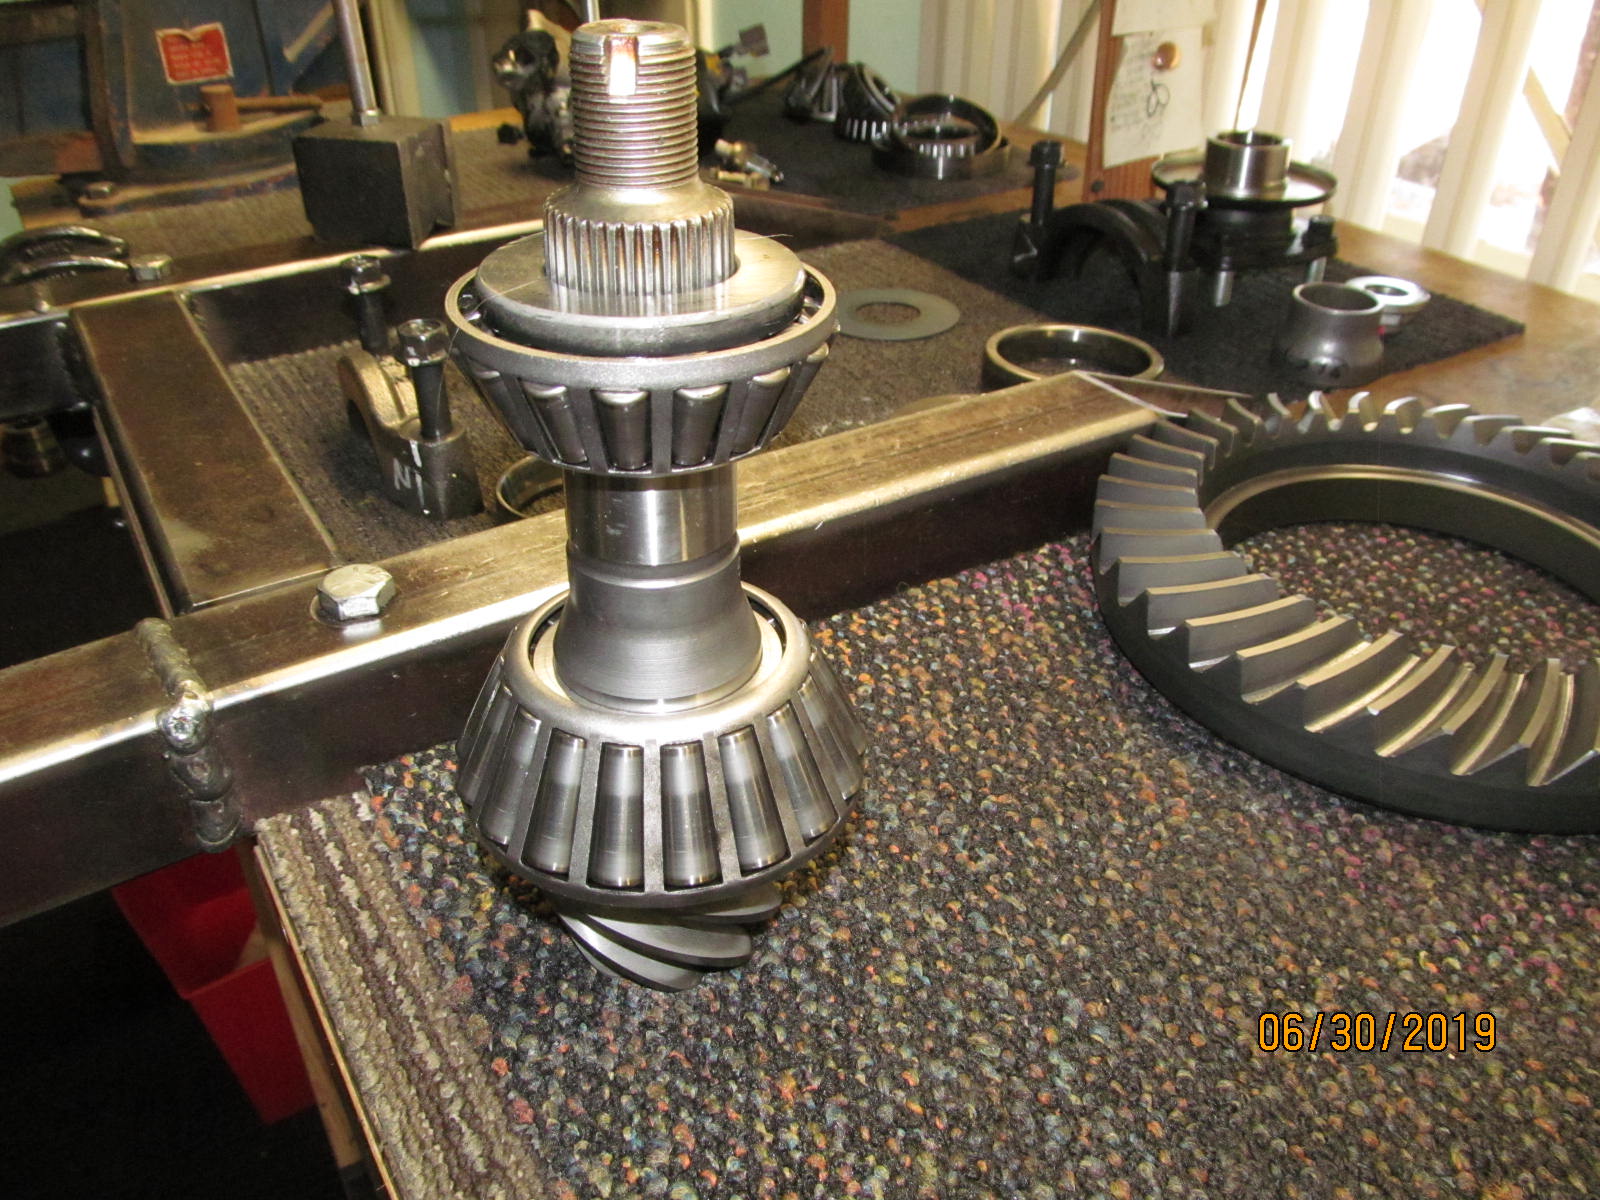
| Nitro 529 ring ready to go on. |
|---|
|
|
| The Nitro ring tapped on very snug. |
|---|
|
|
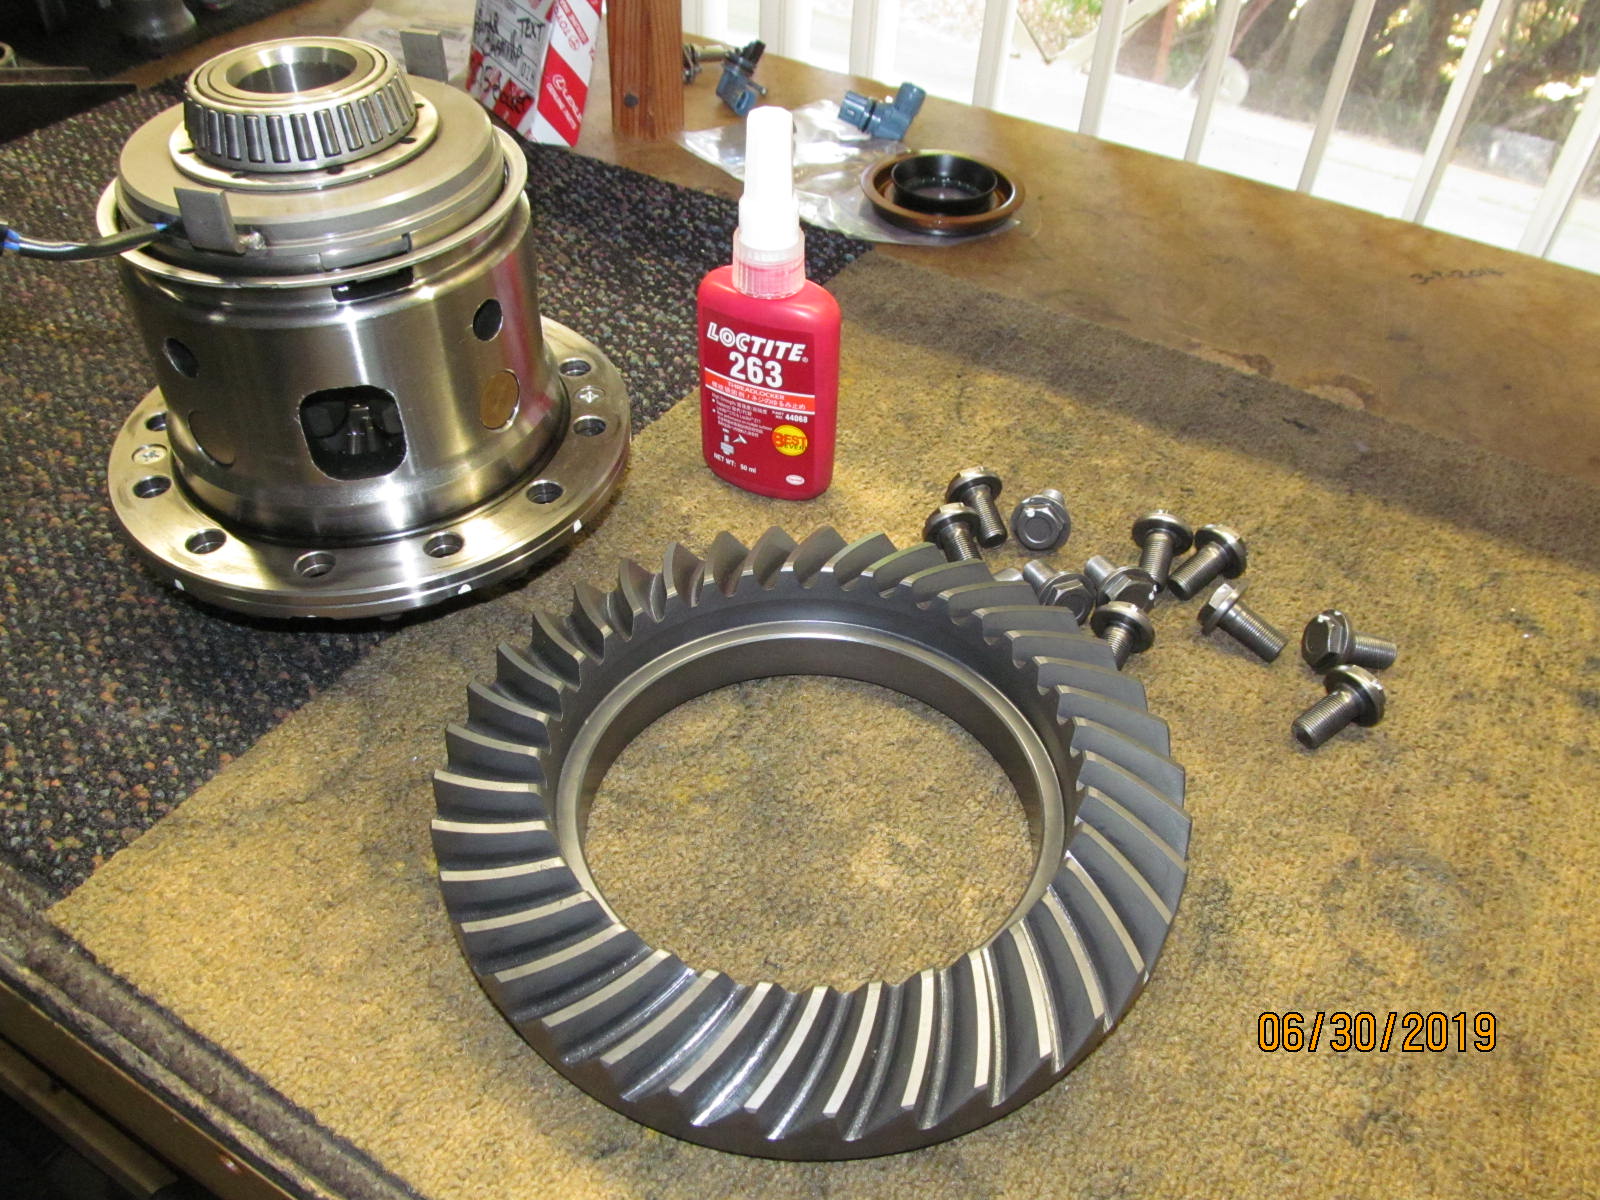
| 92 ft/lb with red Loctite. |
|---|
|
|
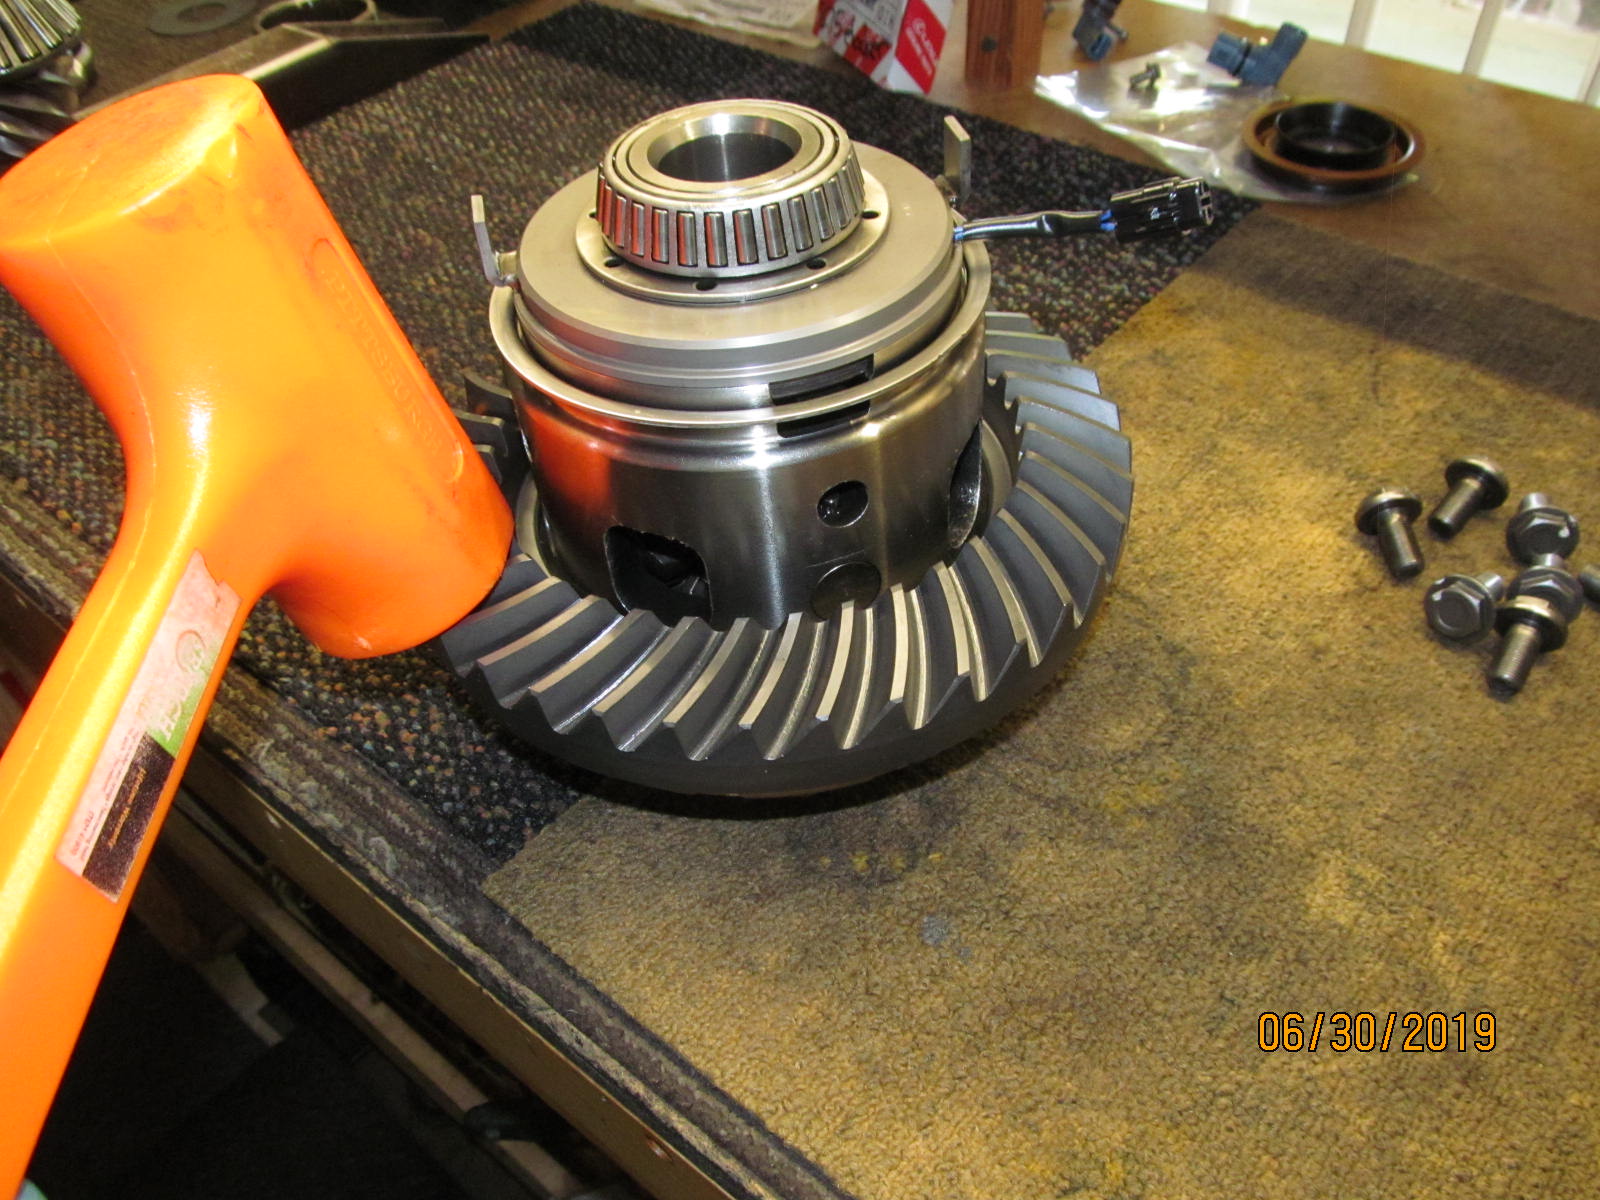
| The big pinion bearing was swapped over to the Nitro 529 pinion. |
|---|
|
|
| Pinion is mounted in diff carrier and only tightened enough to offer some pinion preload...... |
|---|
|
|
| .....roughly about 9 inch/pounds worth. |
|---|
|
|
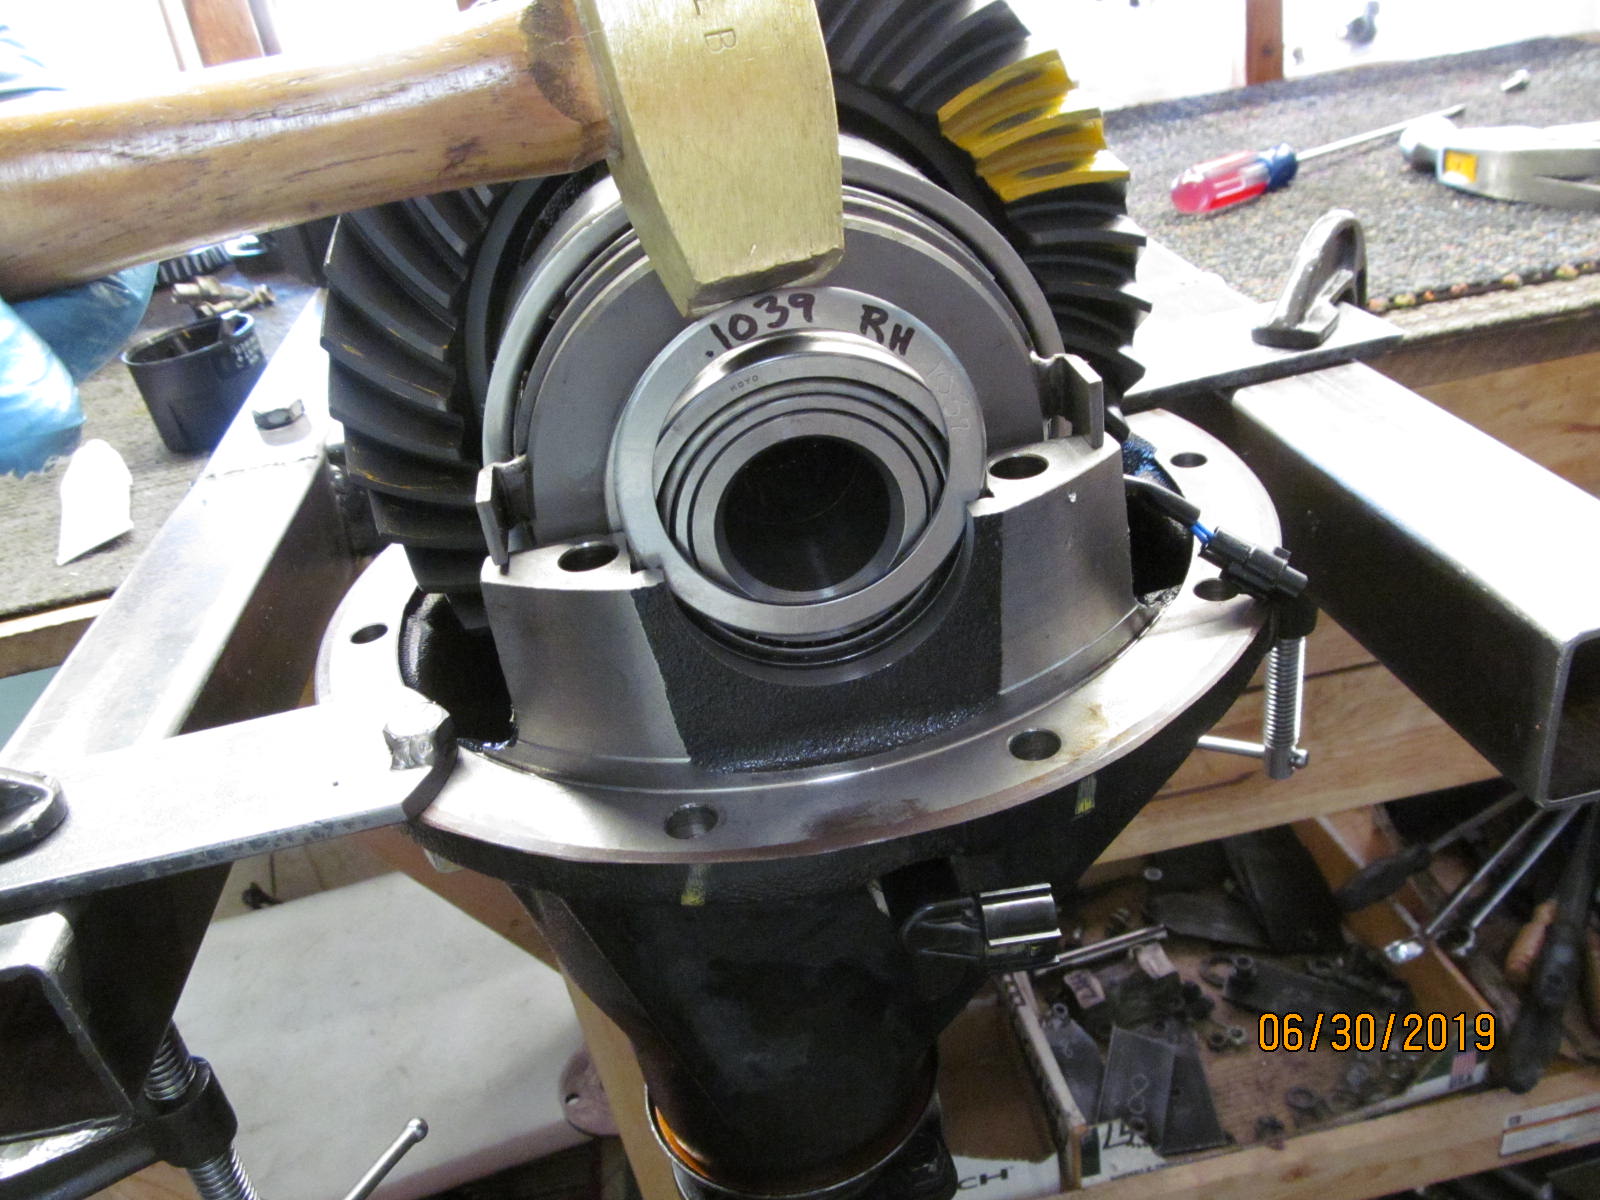
| Differential case is re-installed with the factory washer plates. Backlash was measuring close to zero. |
|---|
|
|
| Did some mental math and changed out the washer plates. |
|---|
|
|
| Perfecto......now was measuring .0055" at the tightest places. |
|---|
|
|
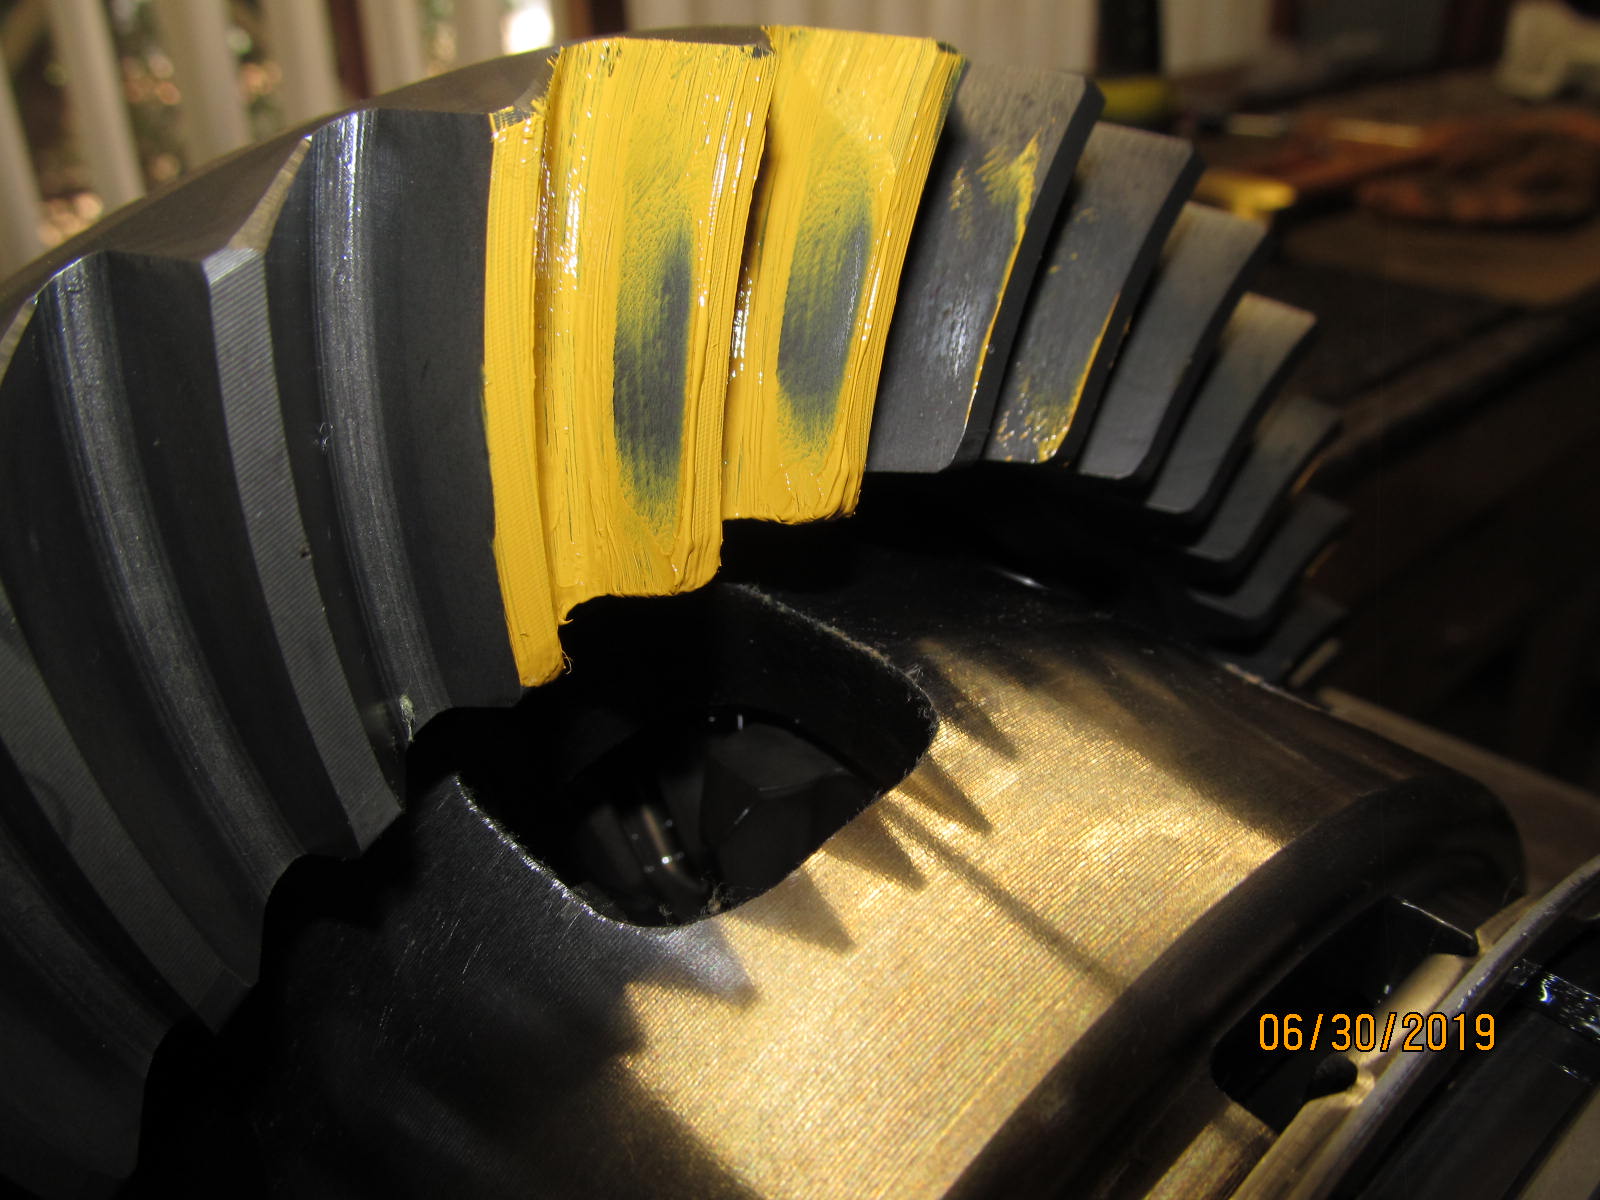
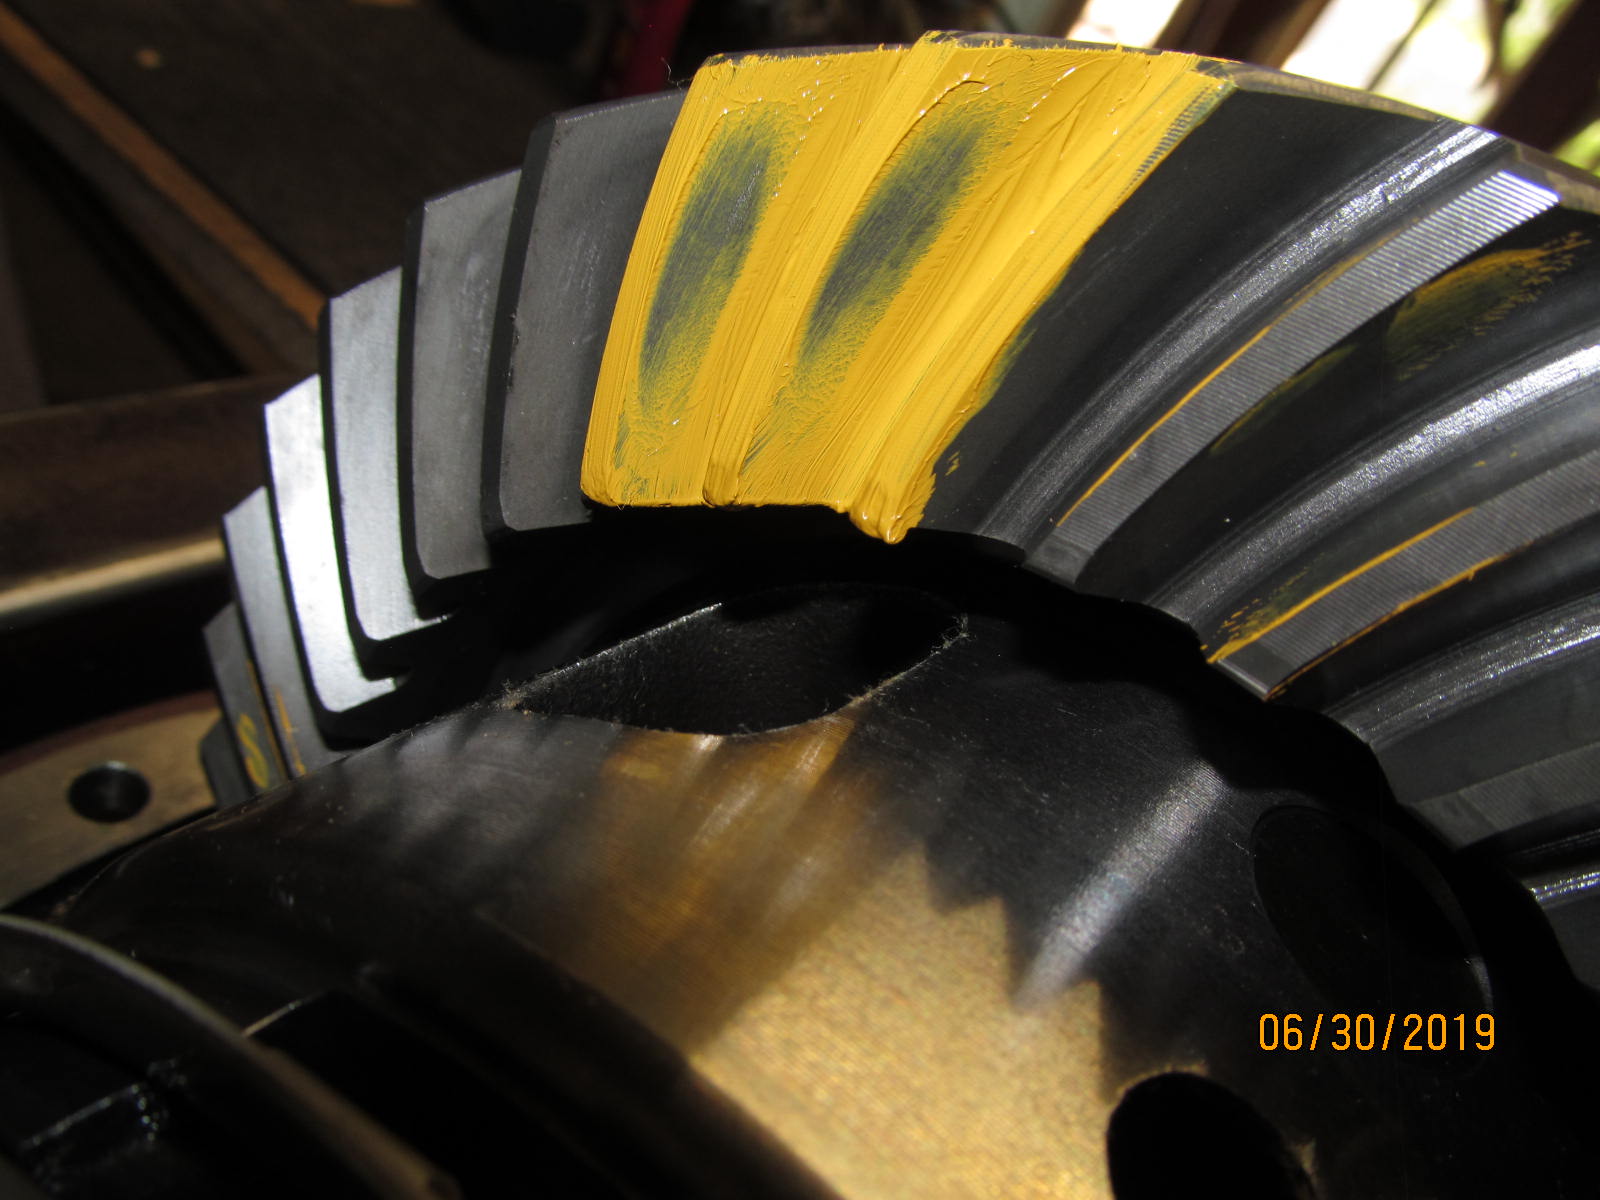
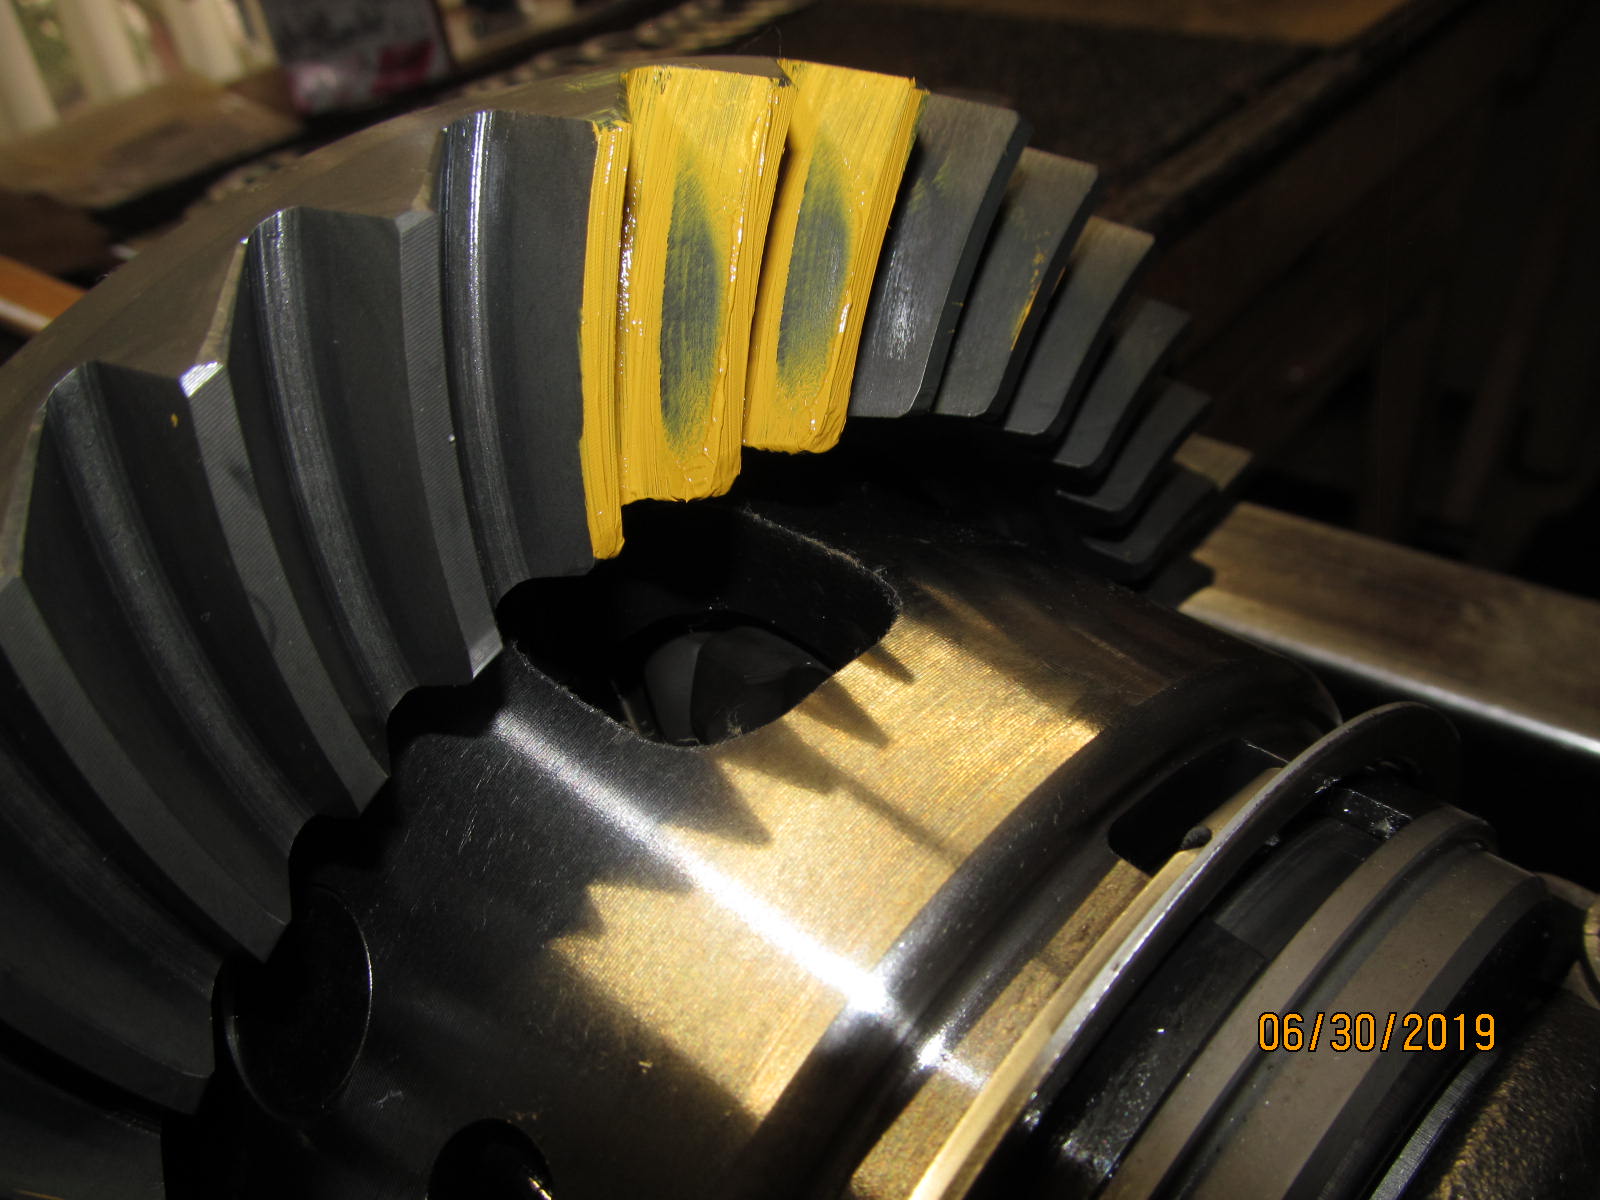
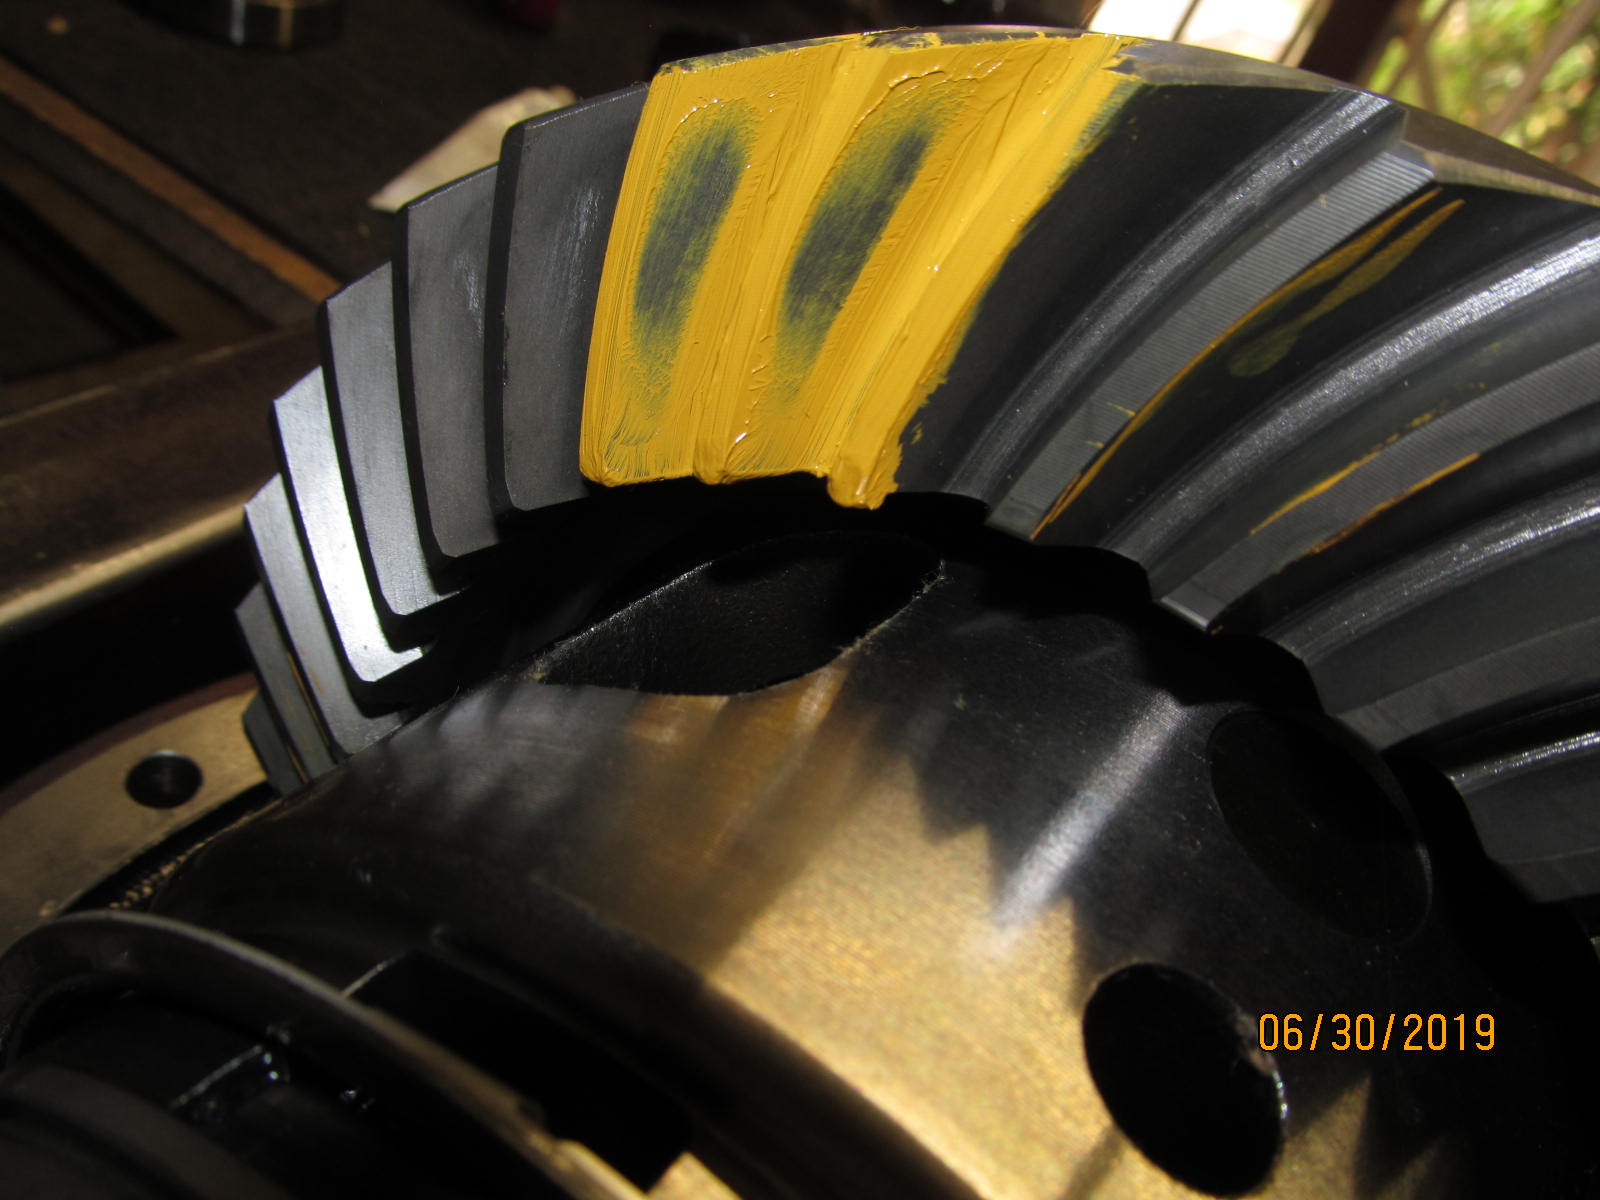
| 1st paint test....DRIVESIDE.....looks shallow. |
|---|
|
|
| COAST......shallow. |
|---|
|
|
| Comet tail.....hugging the root too much so that says shallow for the ring gear. |
|---|
|
|
| ;;;;;;;;;;;;;;;;;;;;;;;;;;;;;;;;;;;;;;;;;; |
|---|
|
|
| Now to push the pinion out again to add some more shim to the pinion. |
|---|
|
|
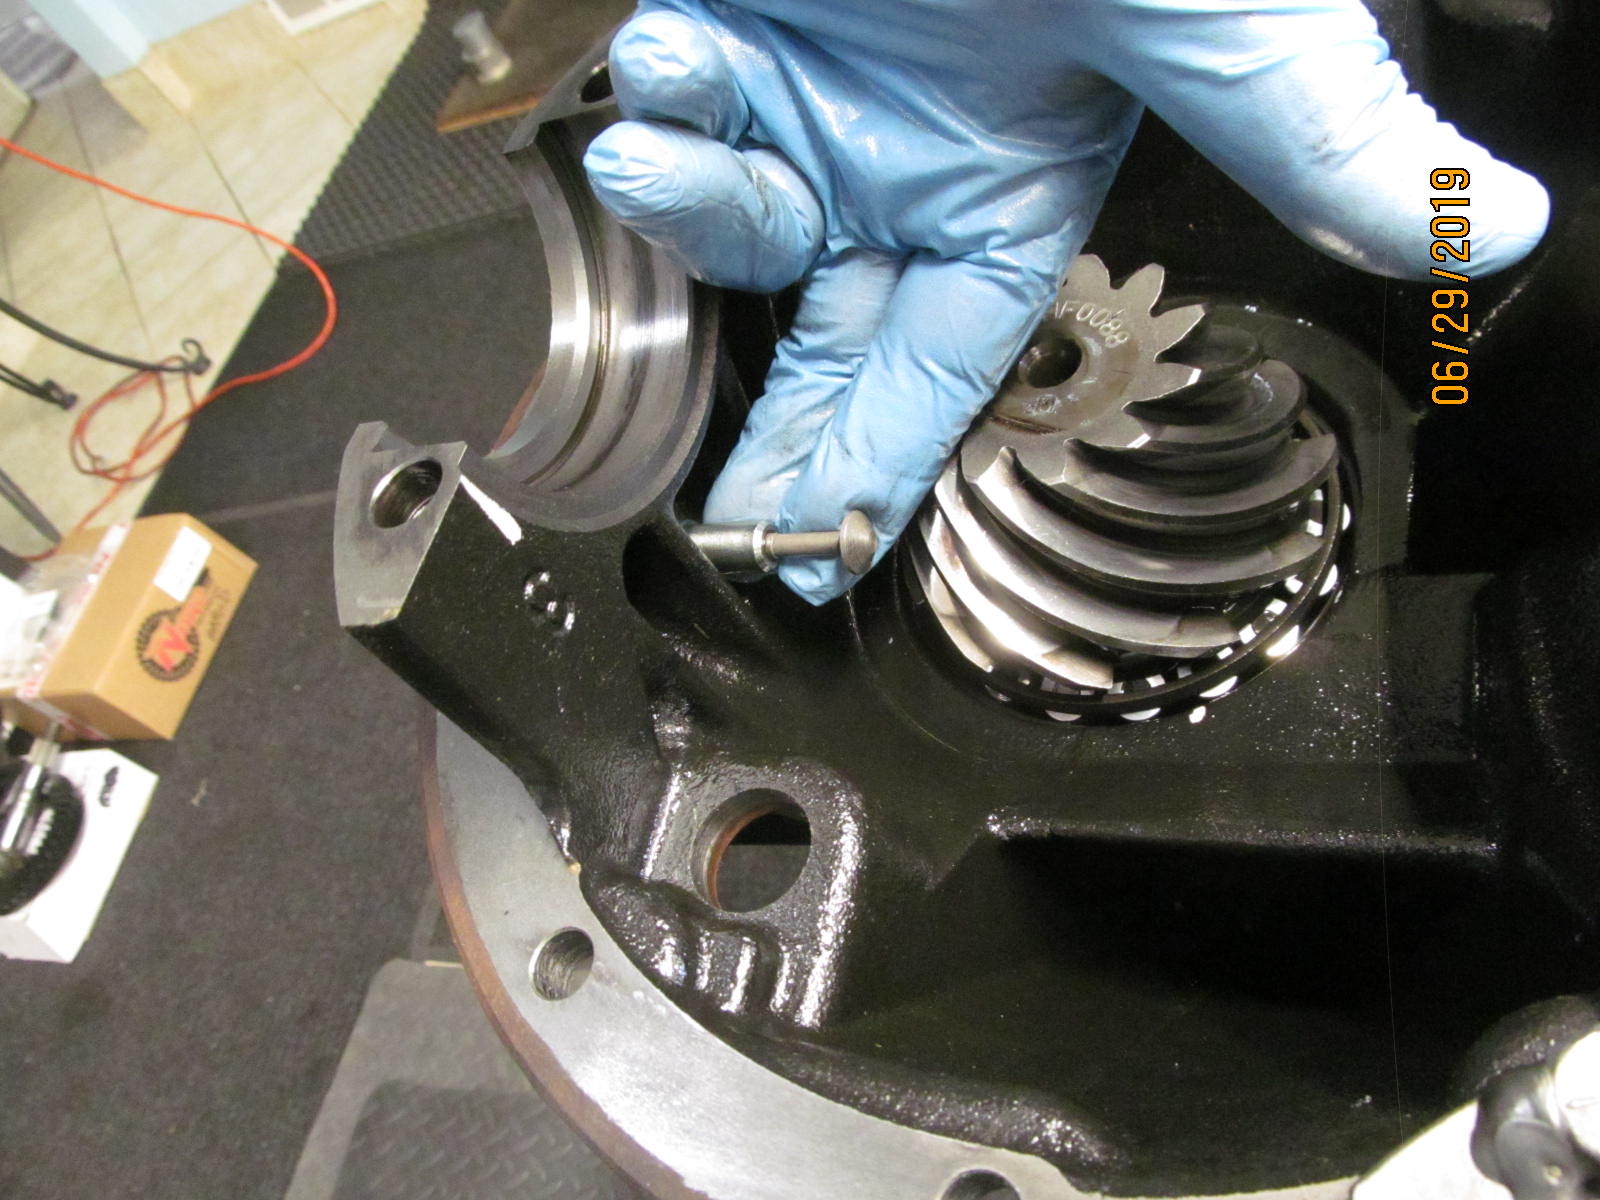
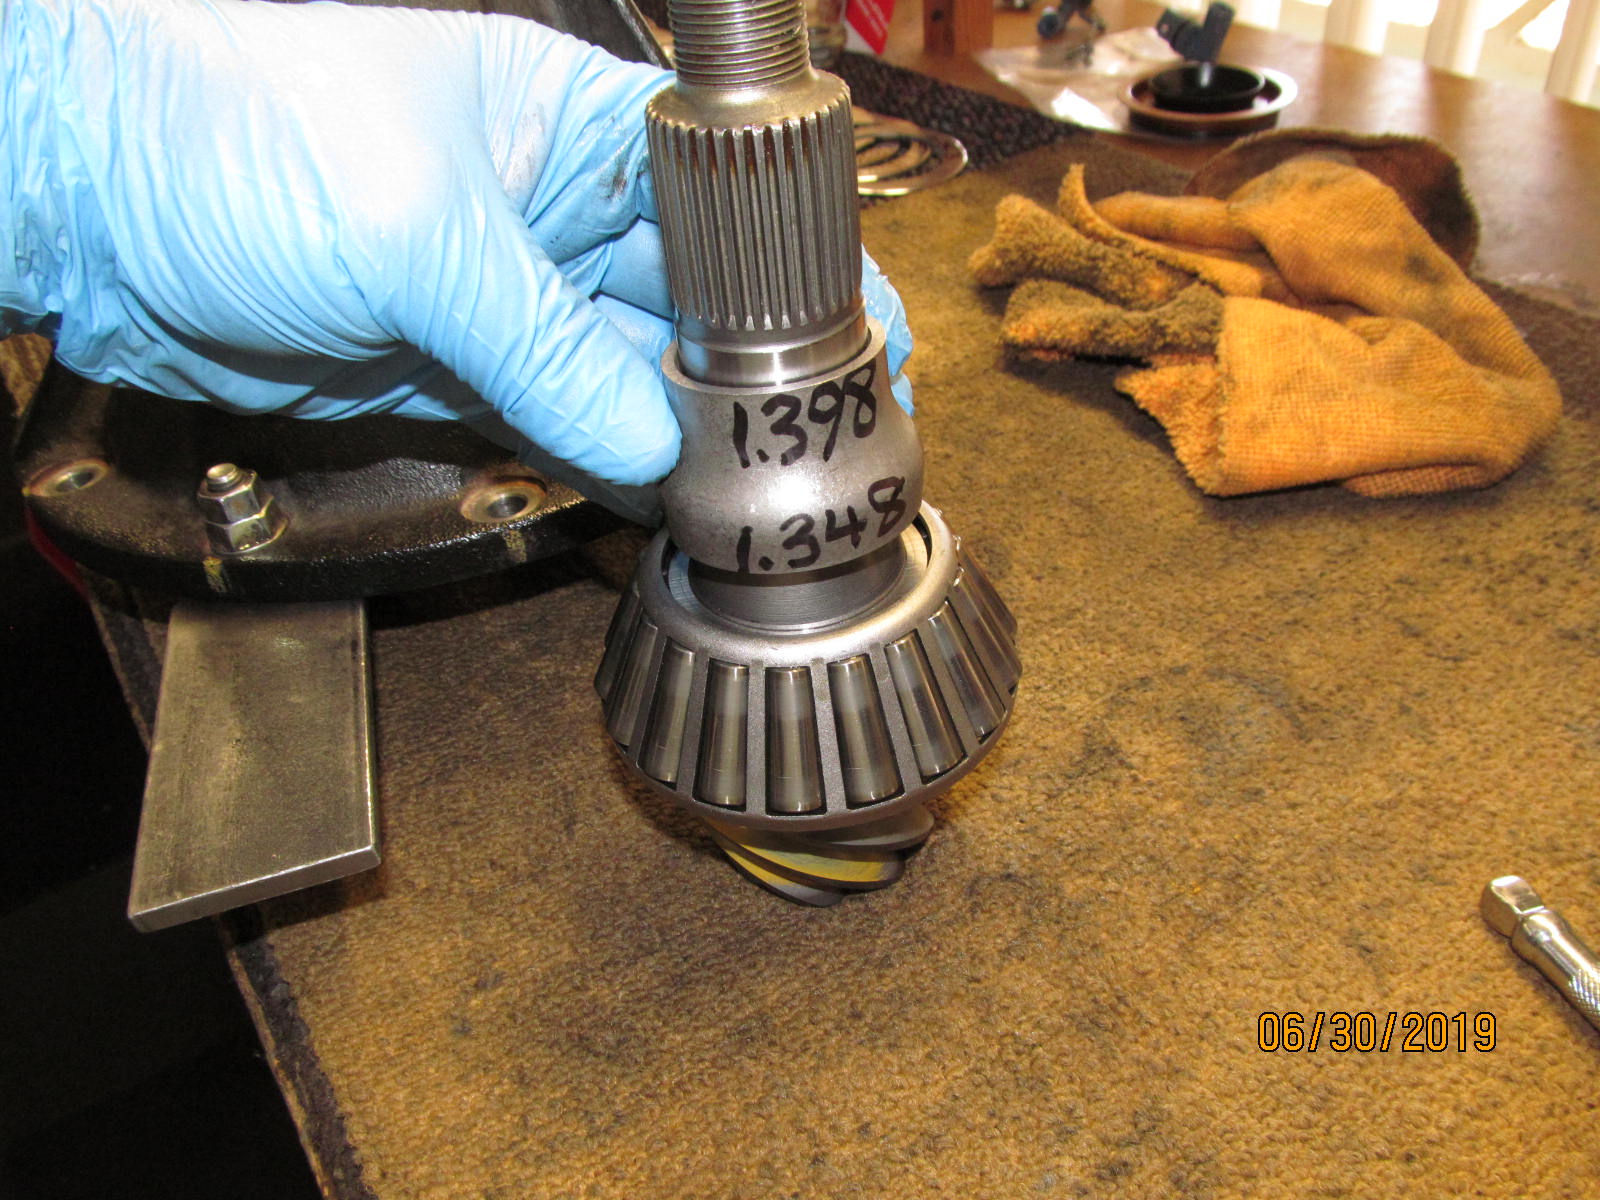
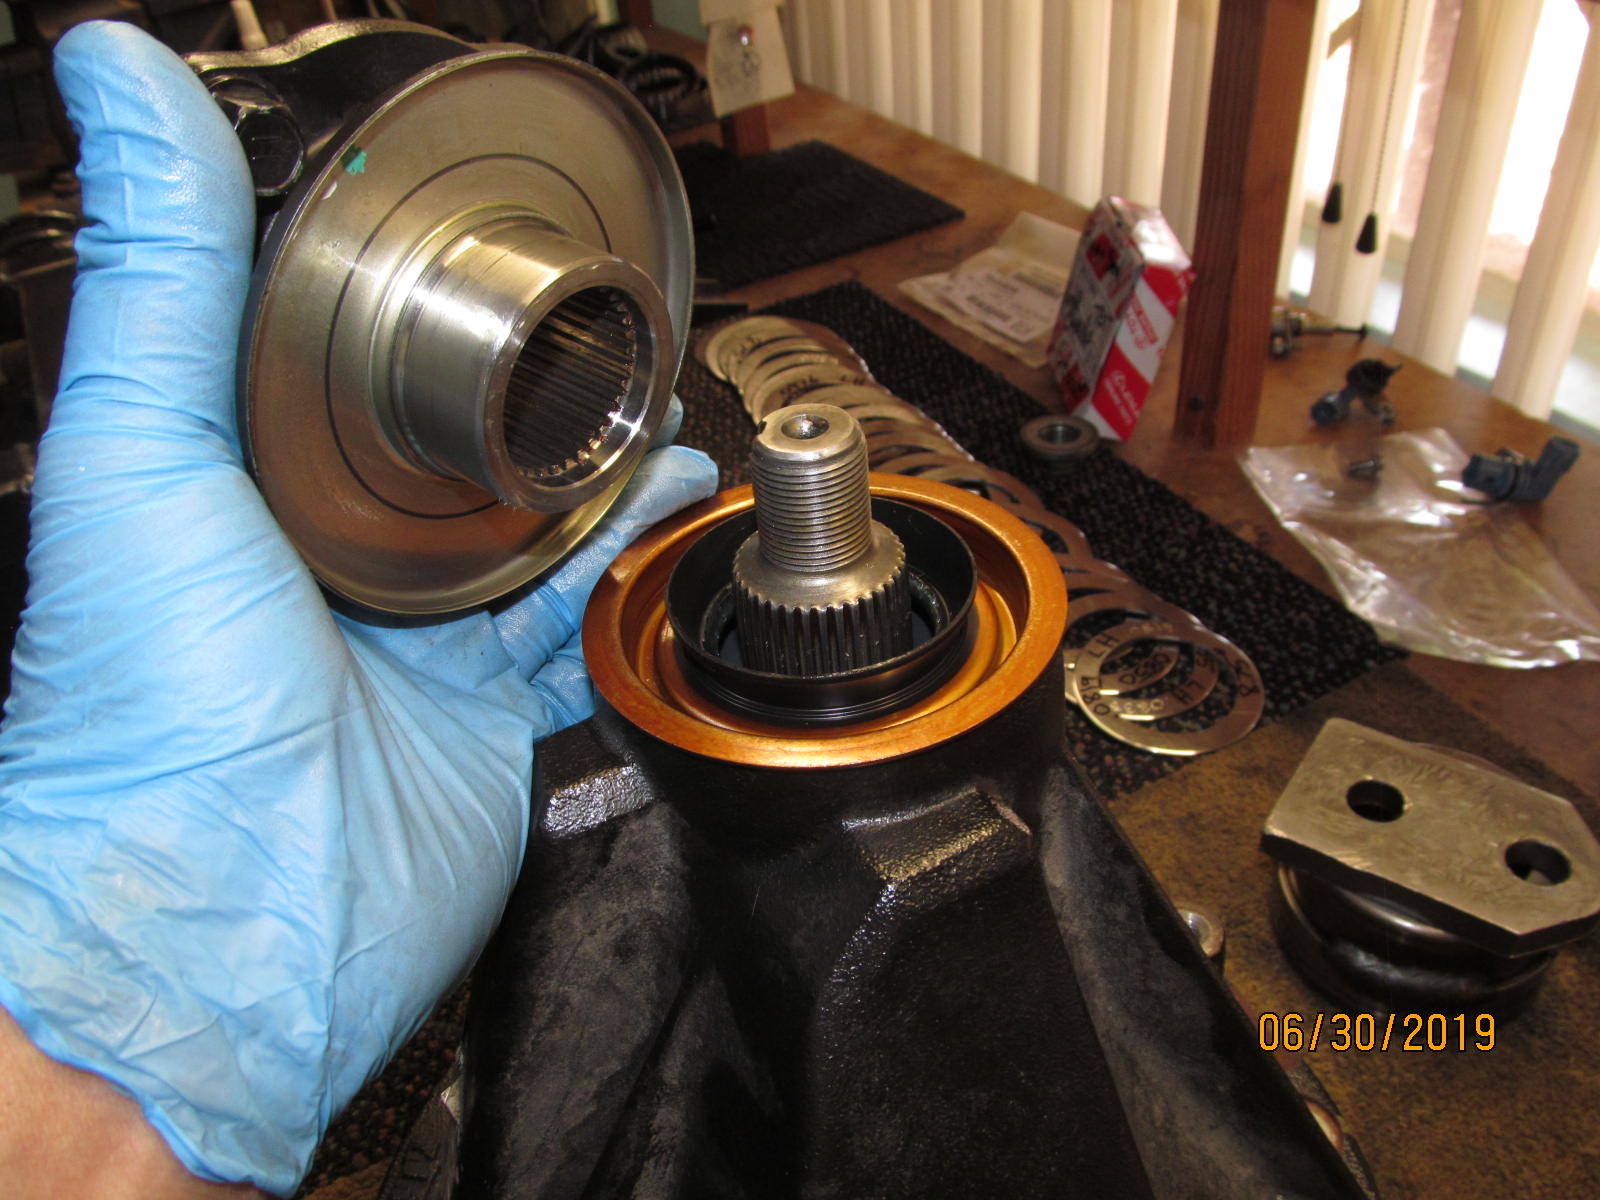
| Inner big race. Marked it so I can keep the orientation in the exact same spot. |
|---|
|
|
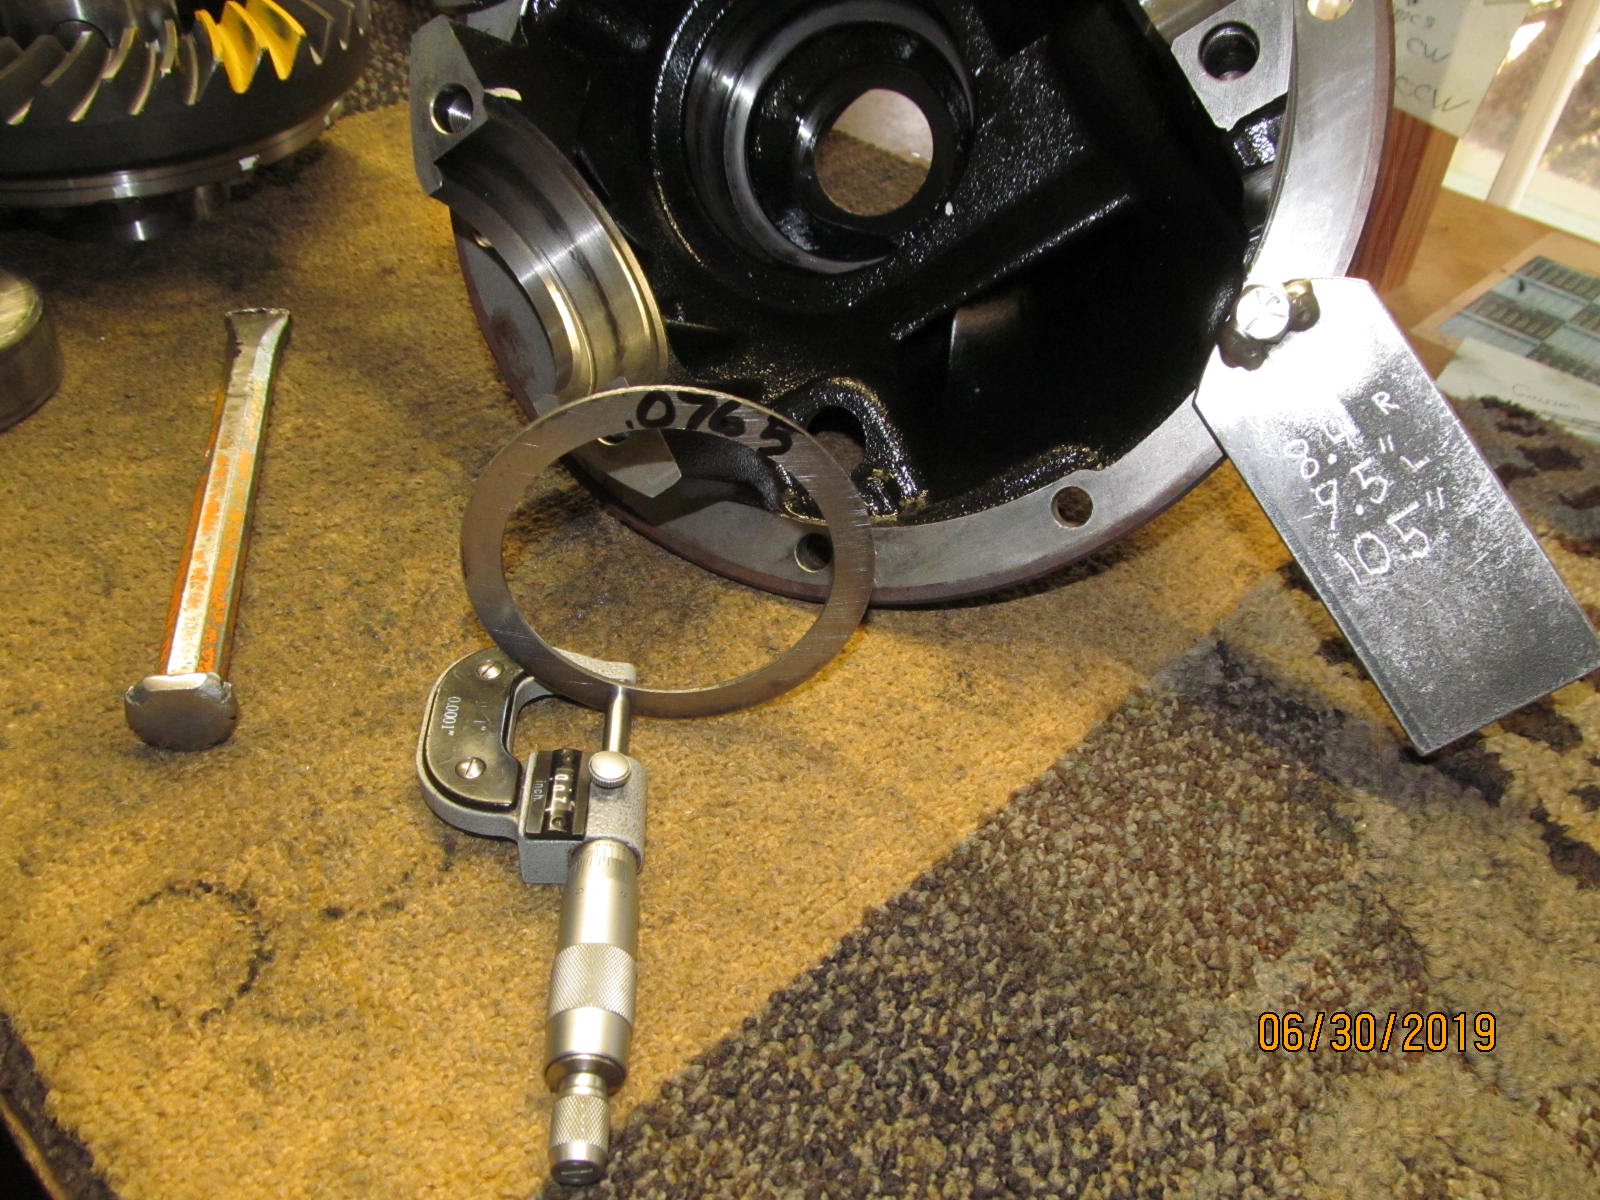
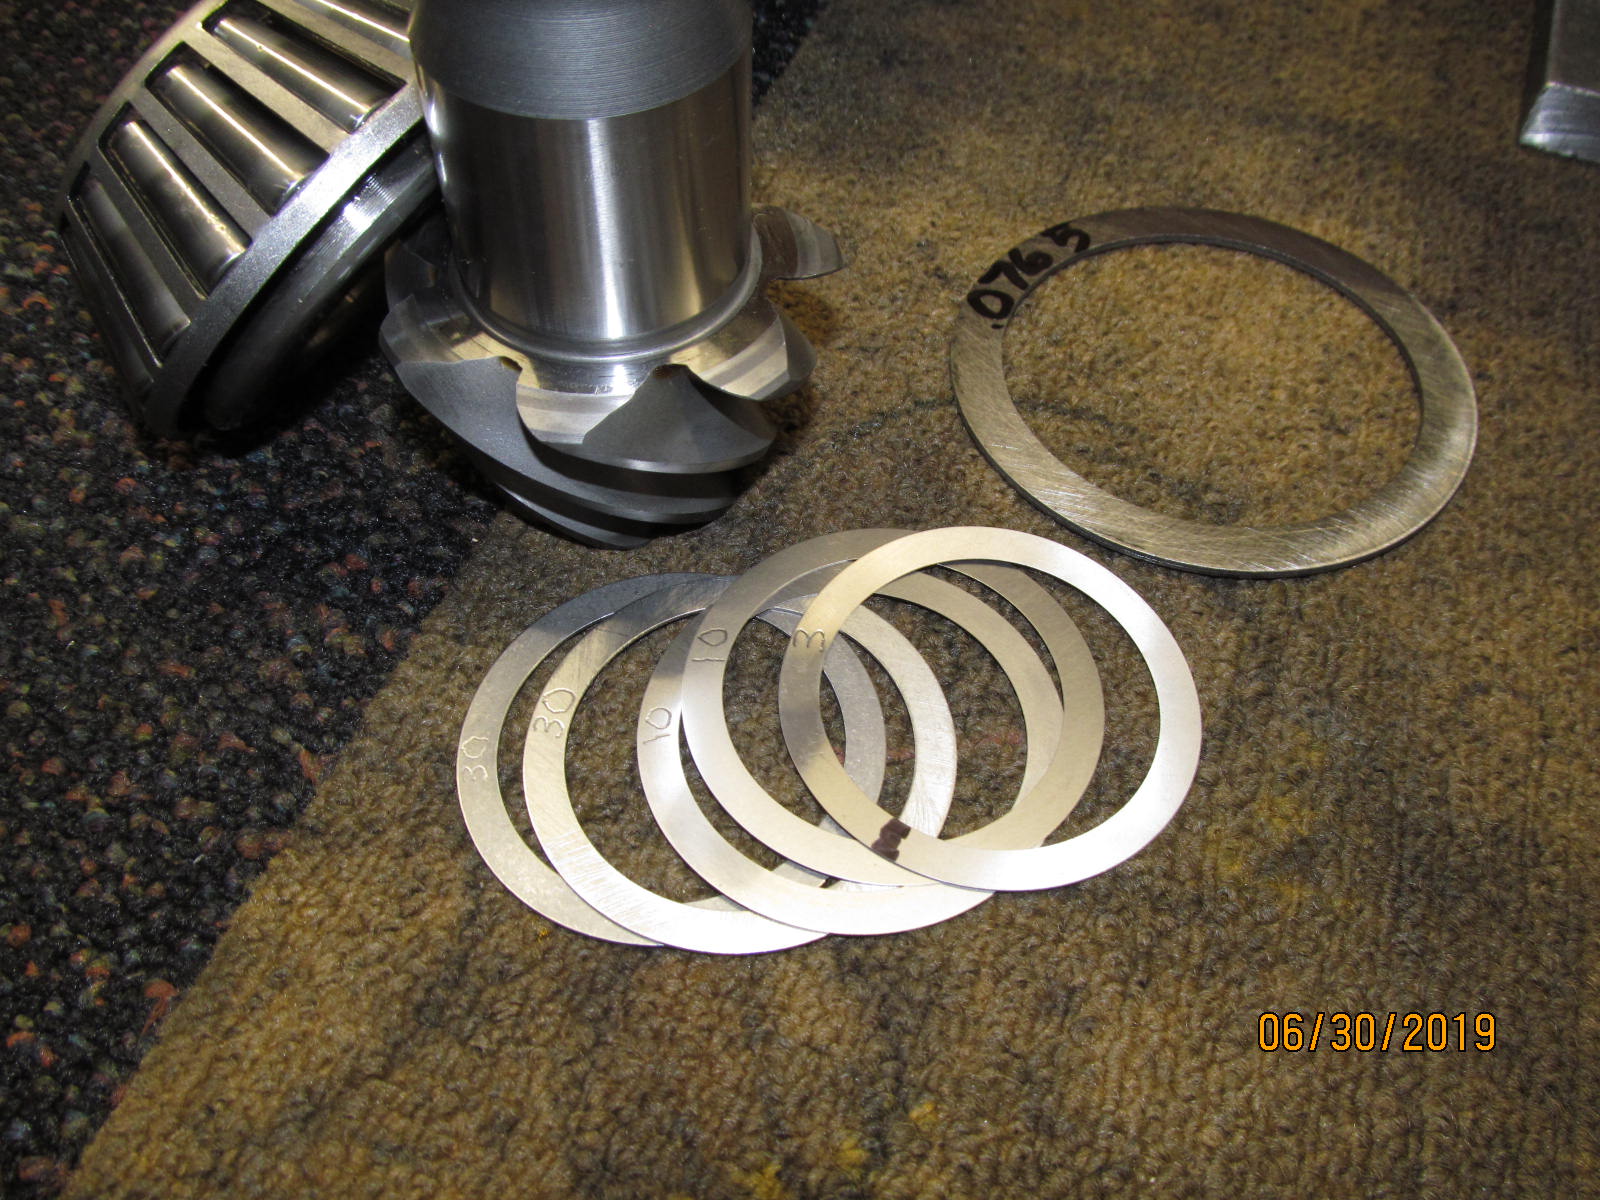
| The pinion shim is located behind the inner race. |
|---|
|
|
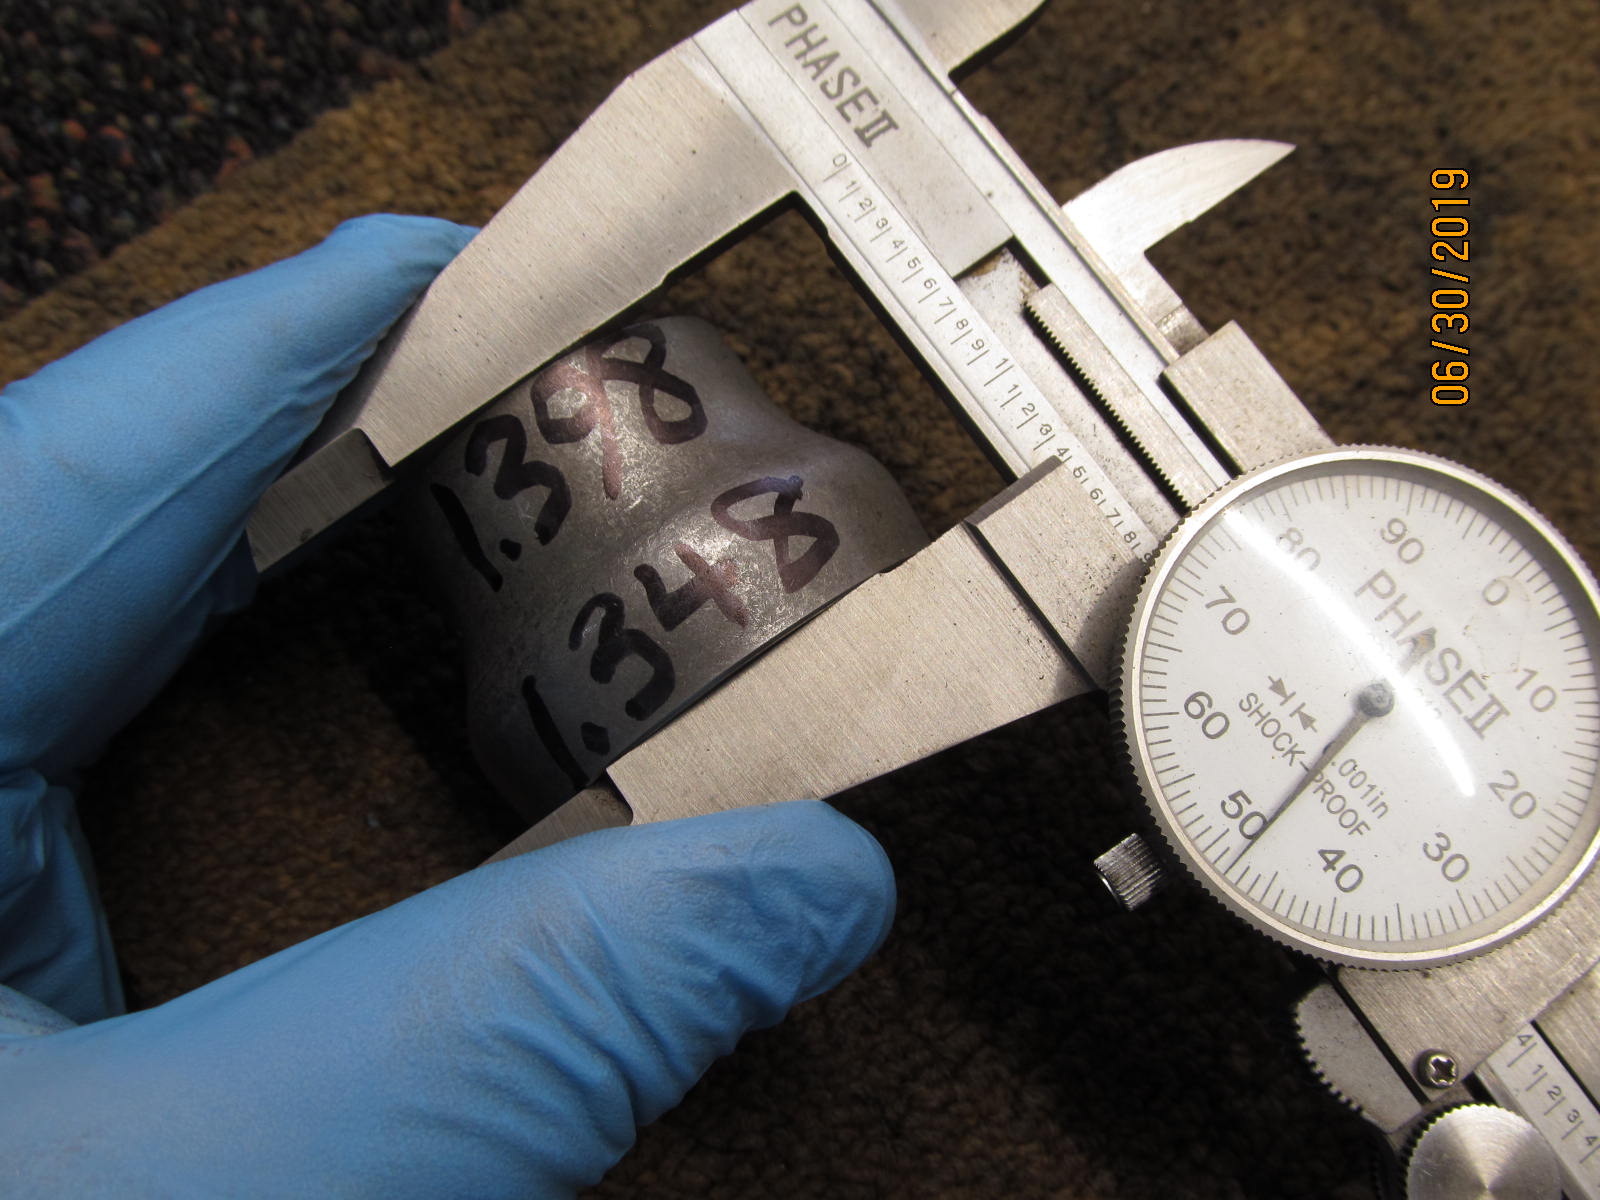
| The factory shim thickness measured at .0765" roughly. |
|---|
|
|
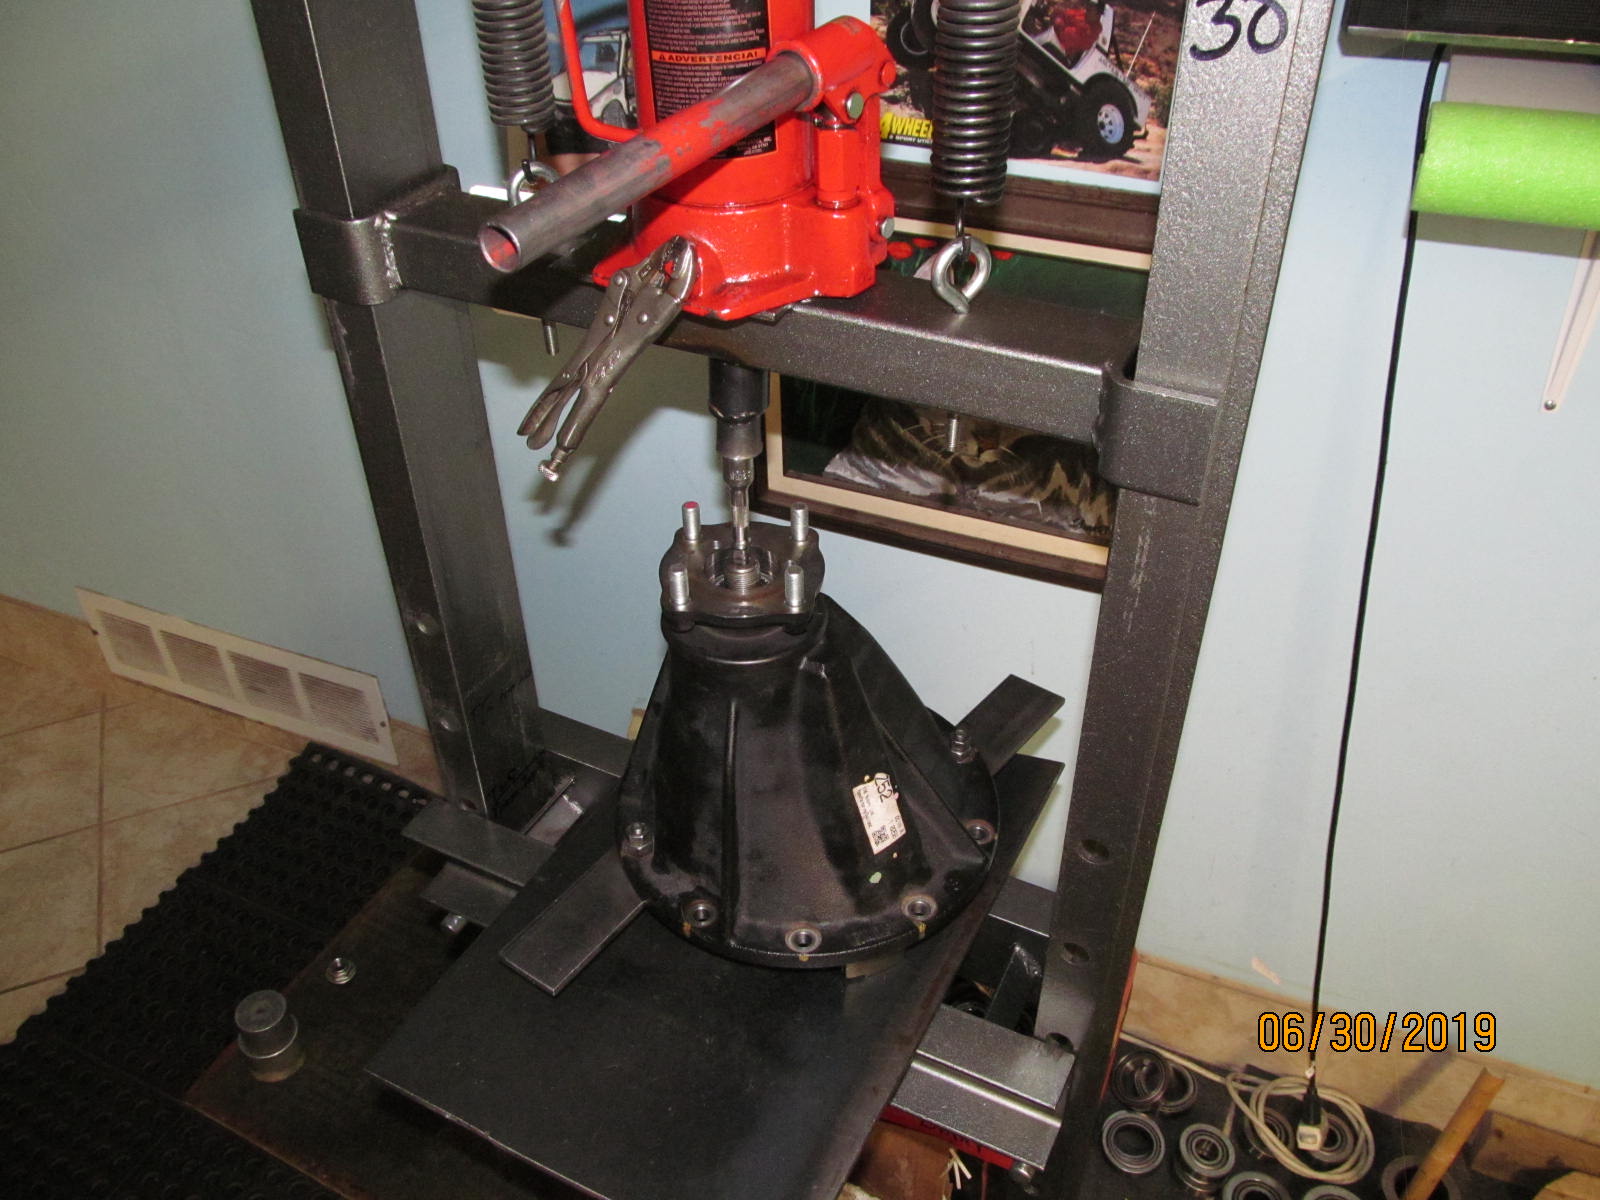
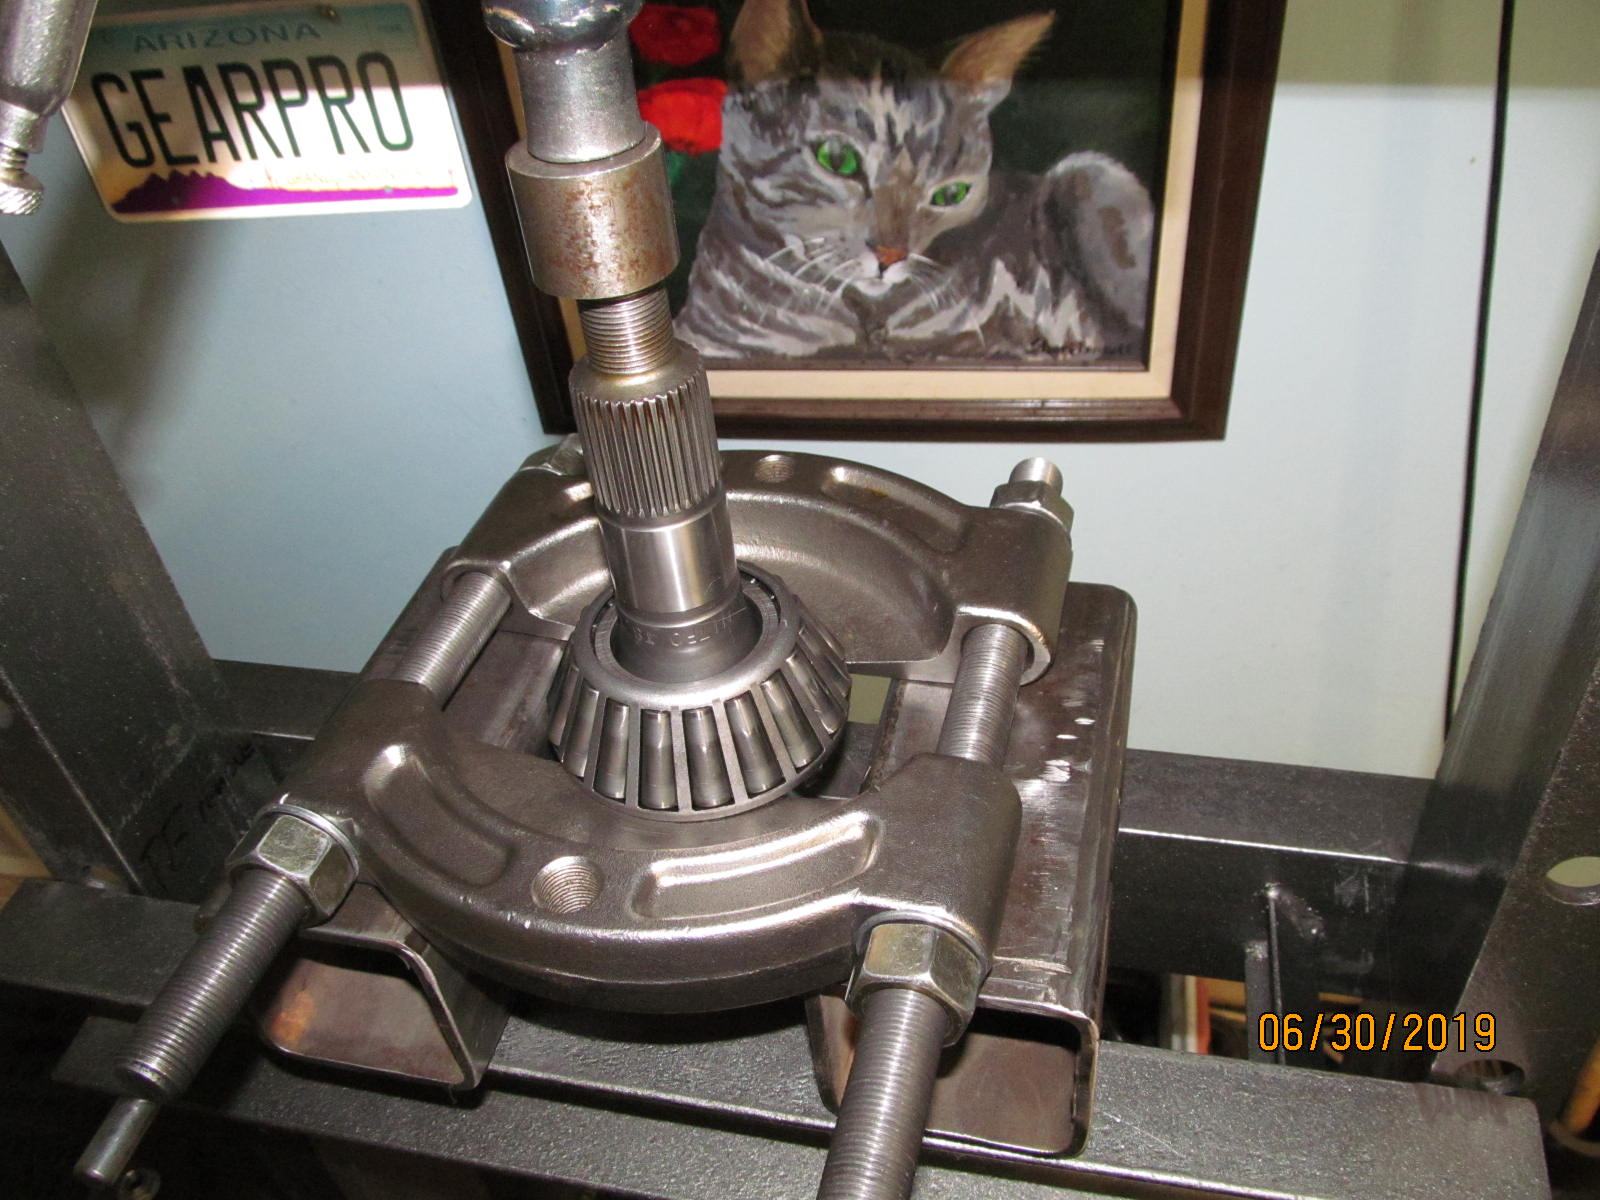
| Removing the inner pinion bearing with the 12 ton Harborfreight press. |
|---|
|
|
| Going to relocate the shim to the pinion head. There are certain advantages to doing that. |
|---|
|
|
| .083" is .0065" thicker than the factory .0765" shim. |
|---|
|
|
| Skipped a few steps...pressed bearing on pinion and tightened pinion nut enough to offer some preload. |
|---|
|
|
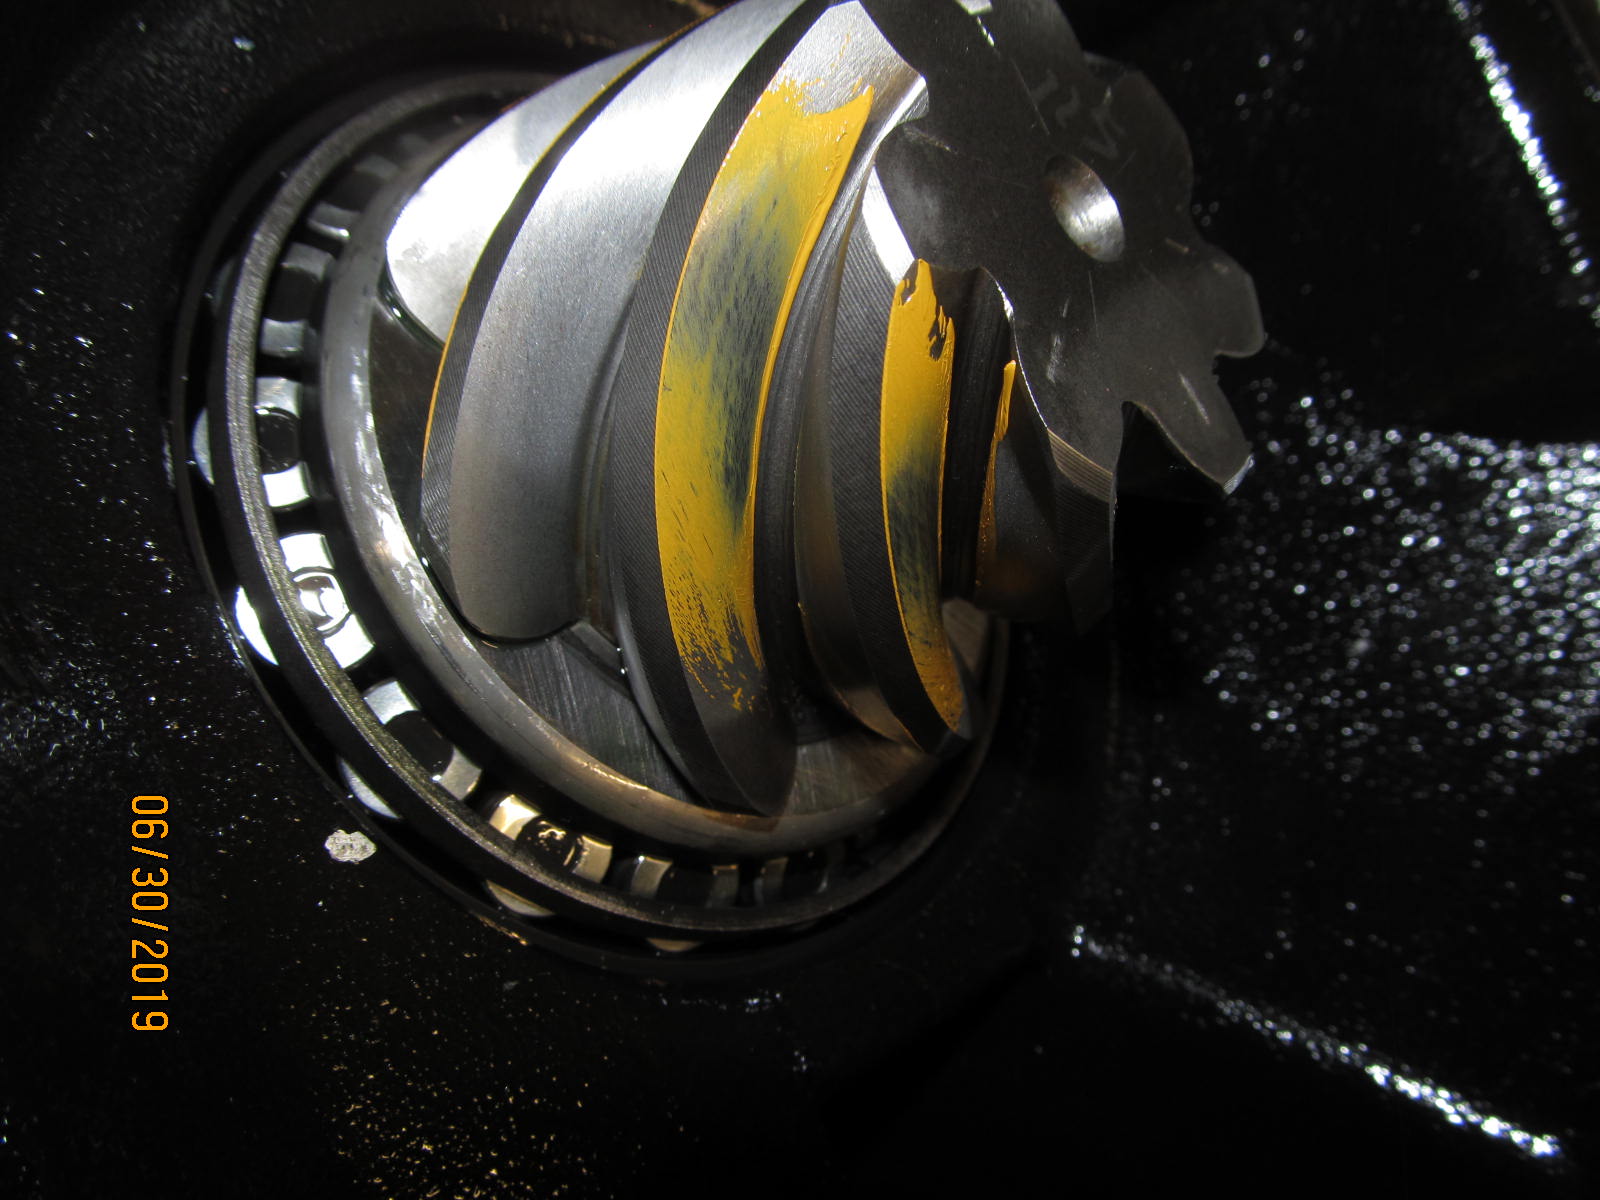
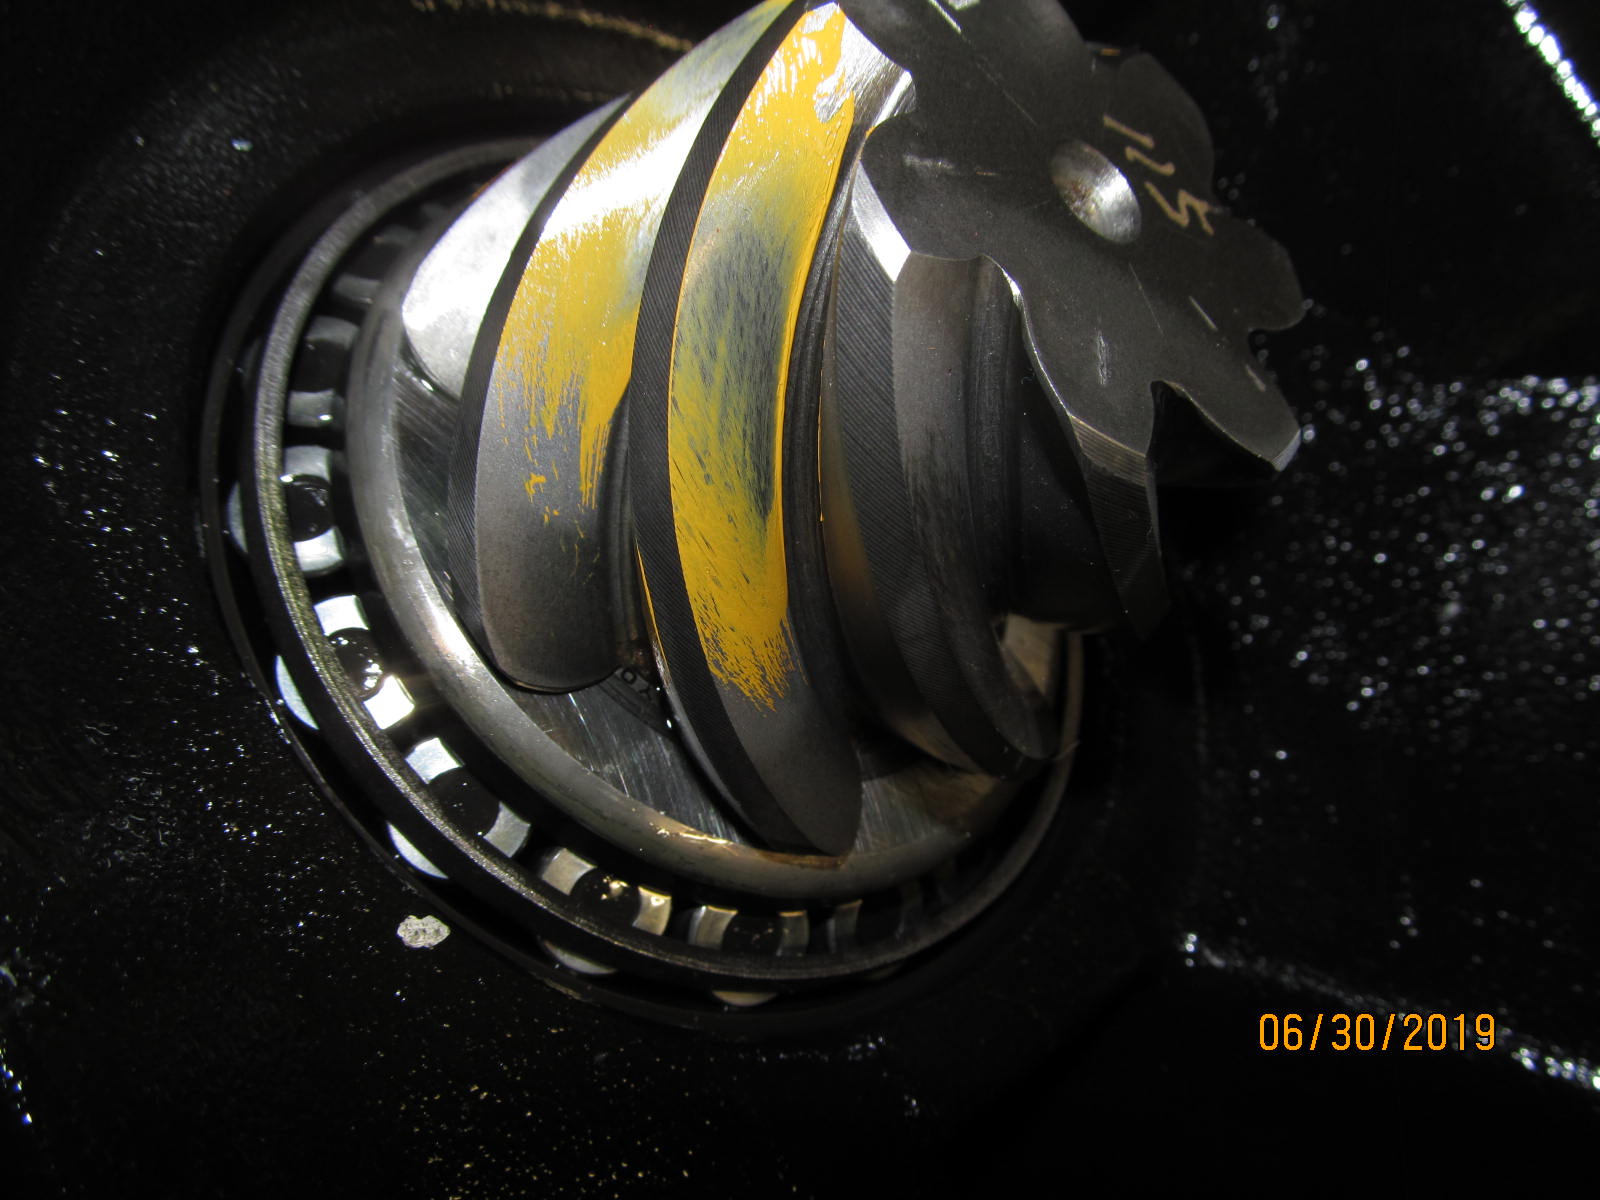
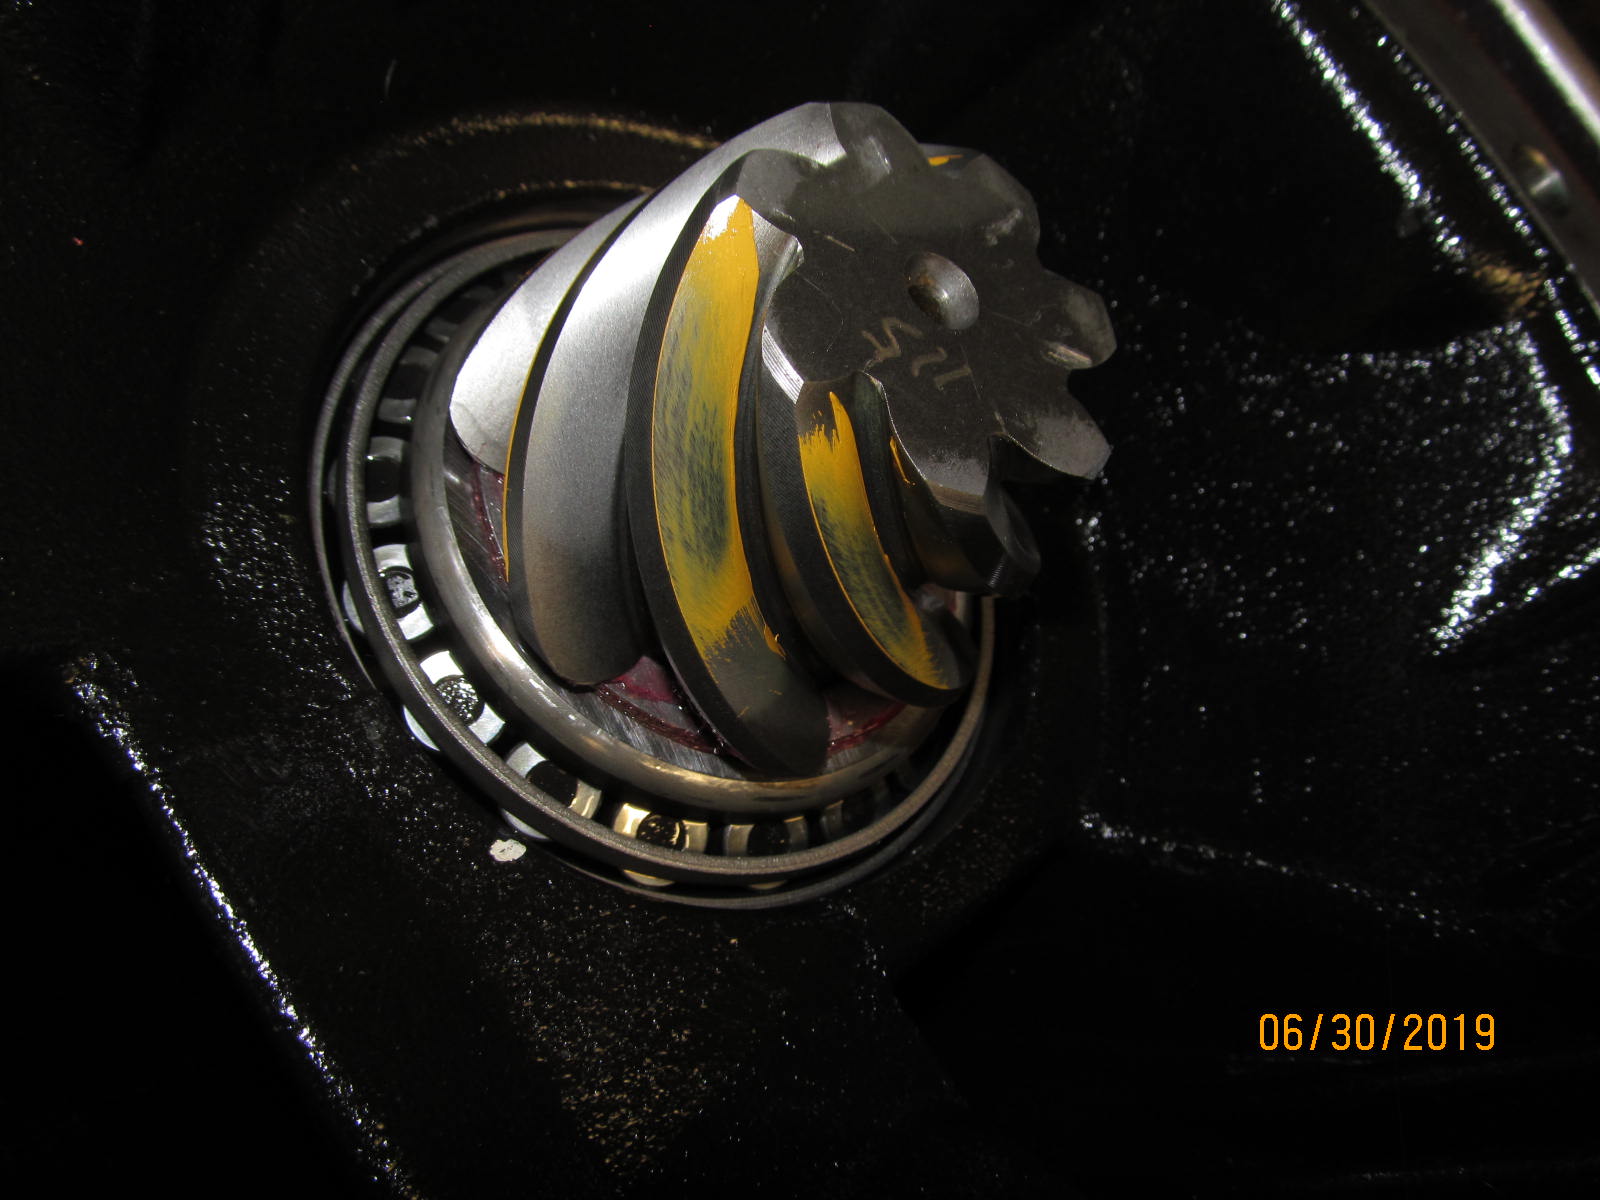
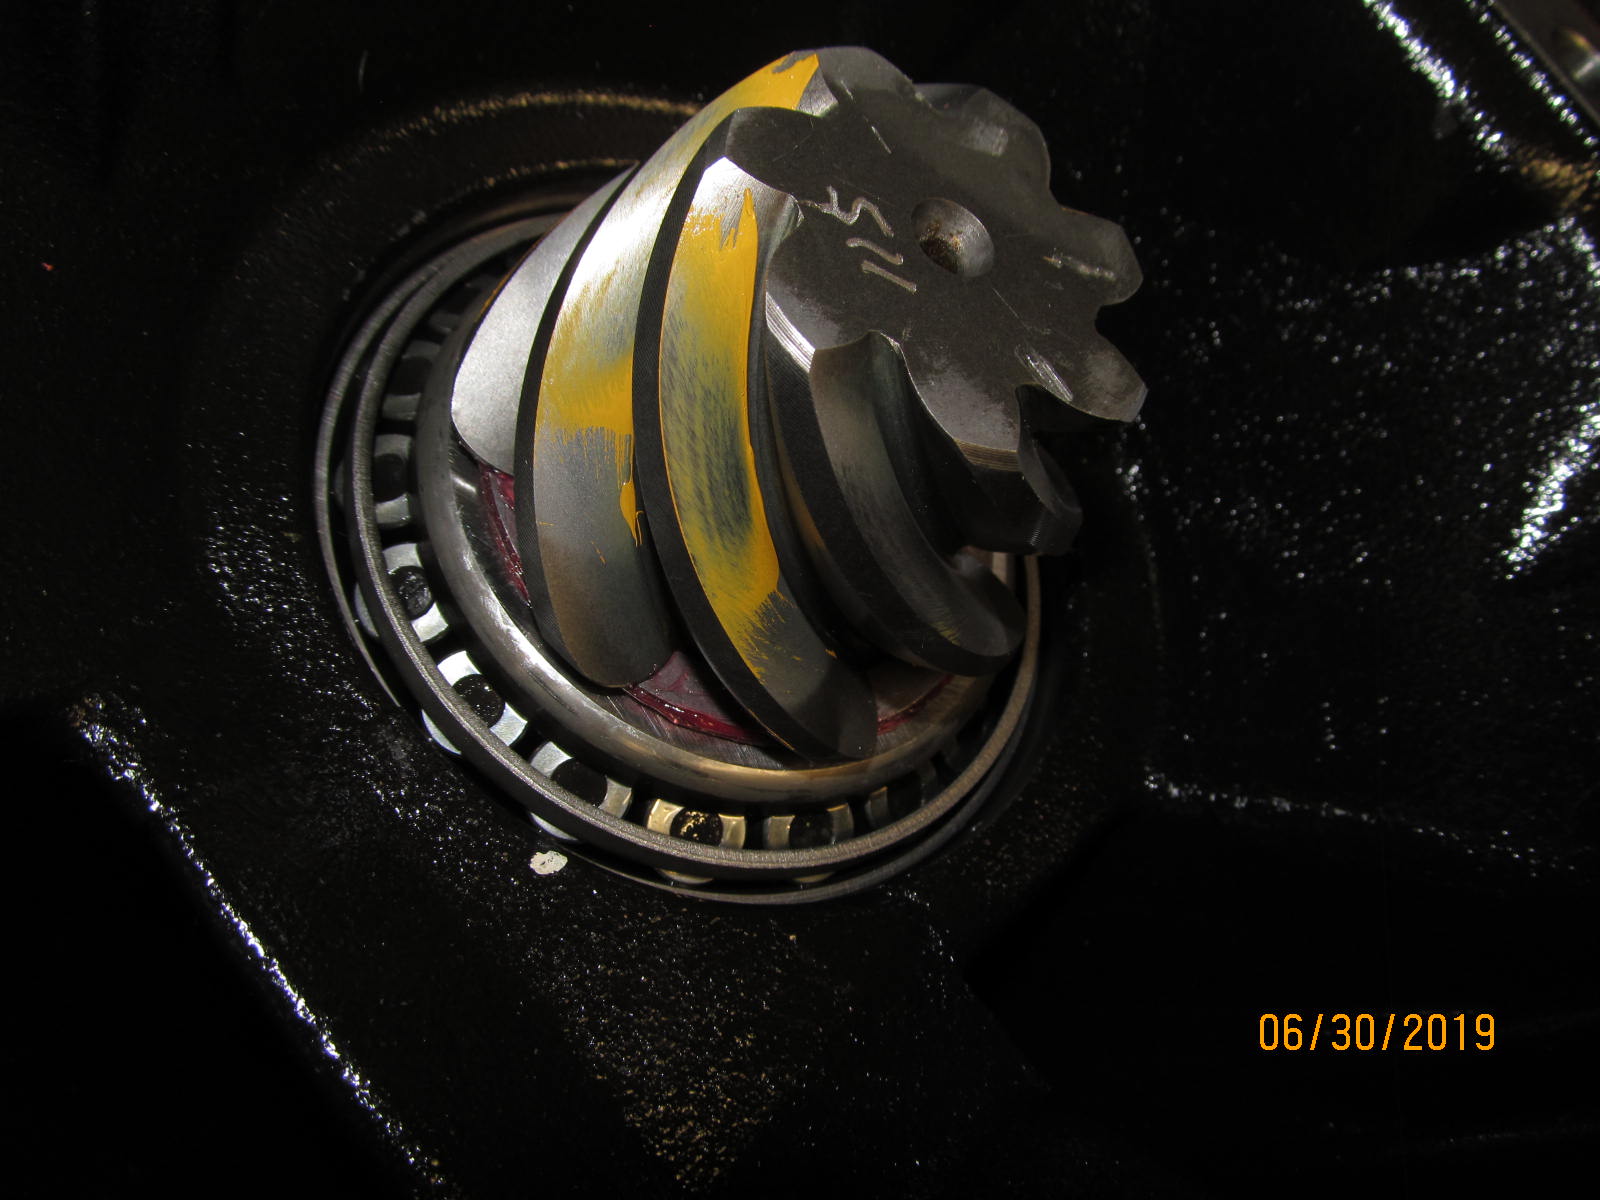
| DRIVE....Much better. Looks "slight deep" which is my favorite condition. |
|---|
|
|
| COAST....looks wonderful. |
|---|
|
|
| The comet tail no longer deep in the root....almost out to center. |
|---|
|
|
| The tail says to leave it alone. |
|---|
|
|
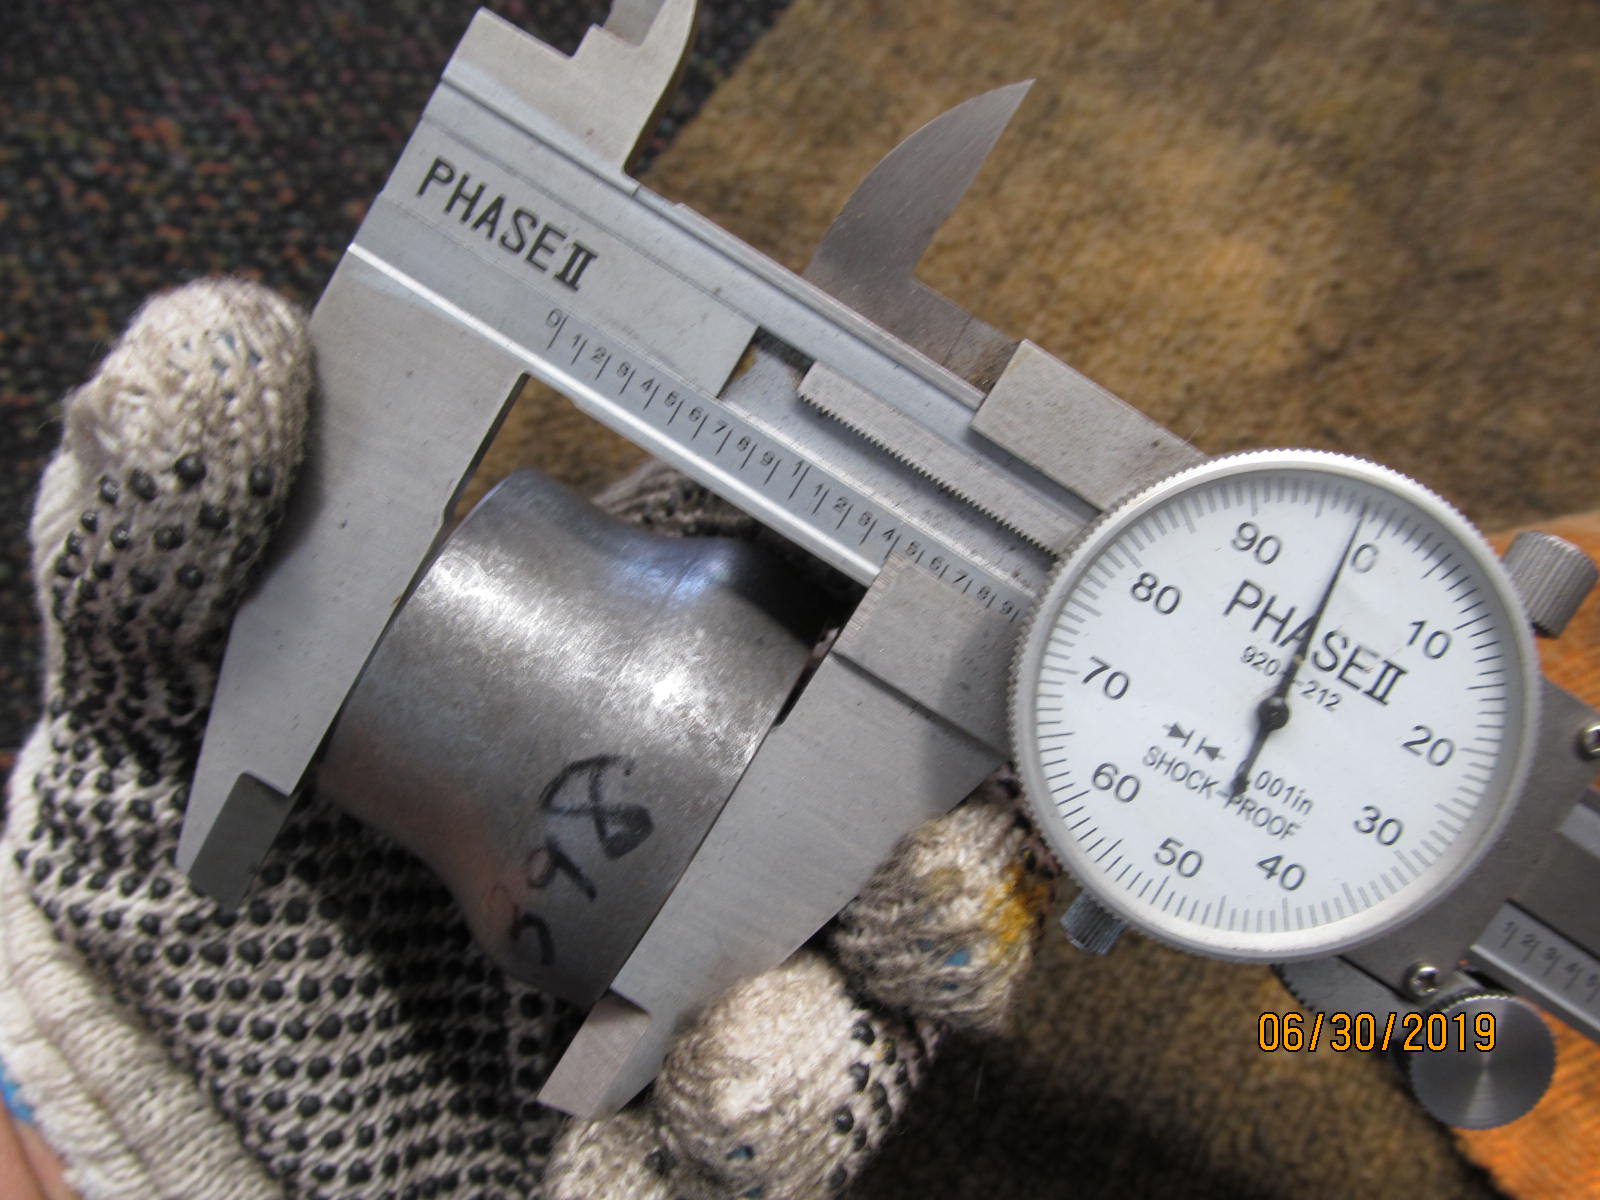
| The factory crush sleeve has thicker sidewalls then the aftermarket ones. It's a bit more stout. |
|---|
|
|
Because we no longer have a thick .0765" shim behind the race means that the old crush sleeve is now too long.
Too long by about .076" so I shaved off .050" and still have plenty of sleeve to crush. |
|---|
|
|
| I have noticed that the factory sleeves fit the pinion shaft "better" and do not wobble around nearly as much. |
|---|
|
|
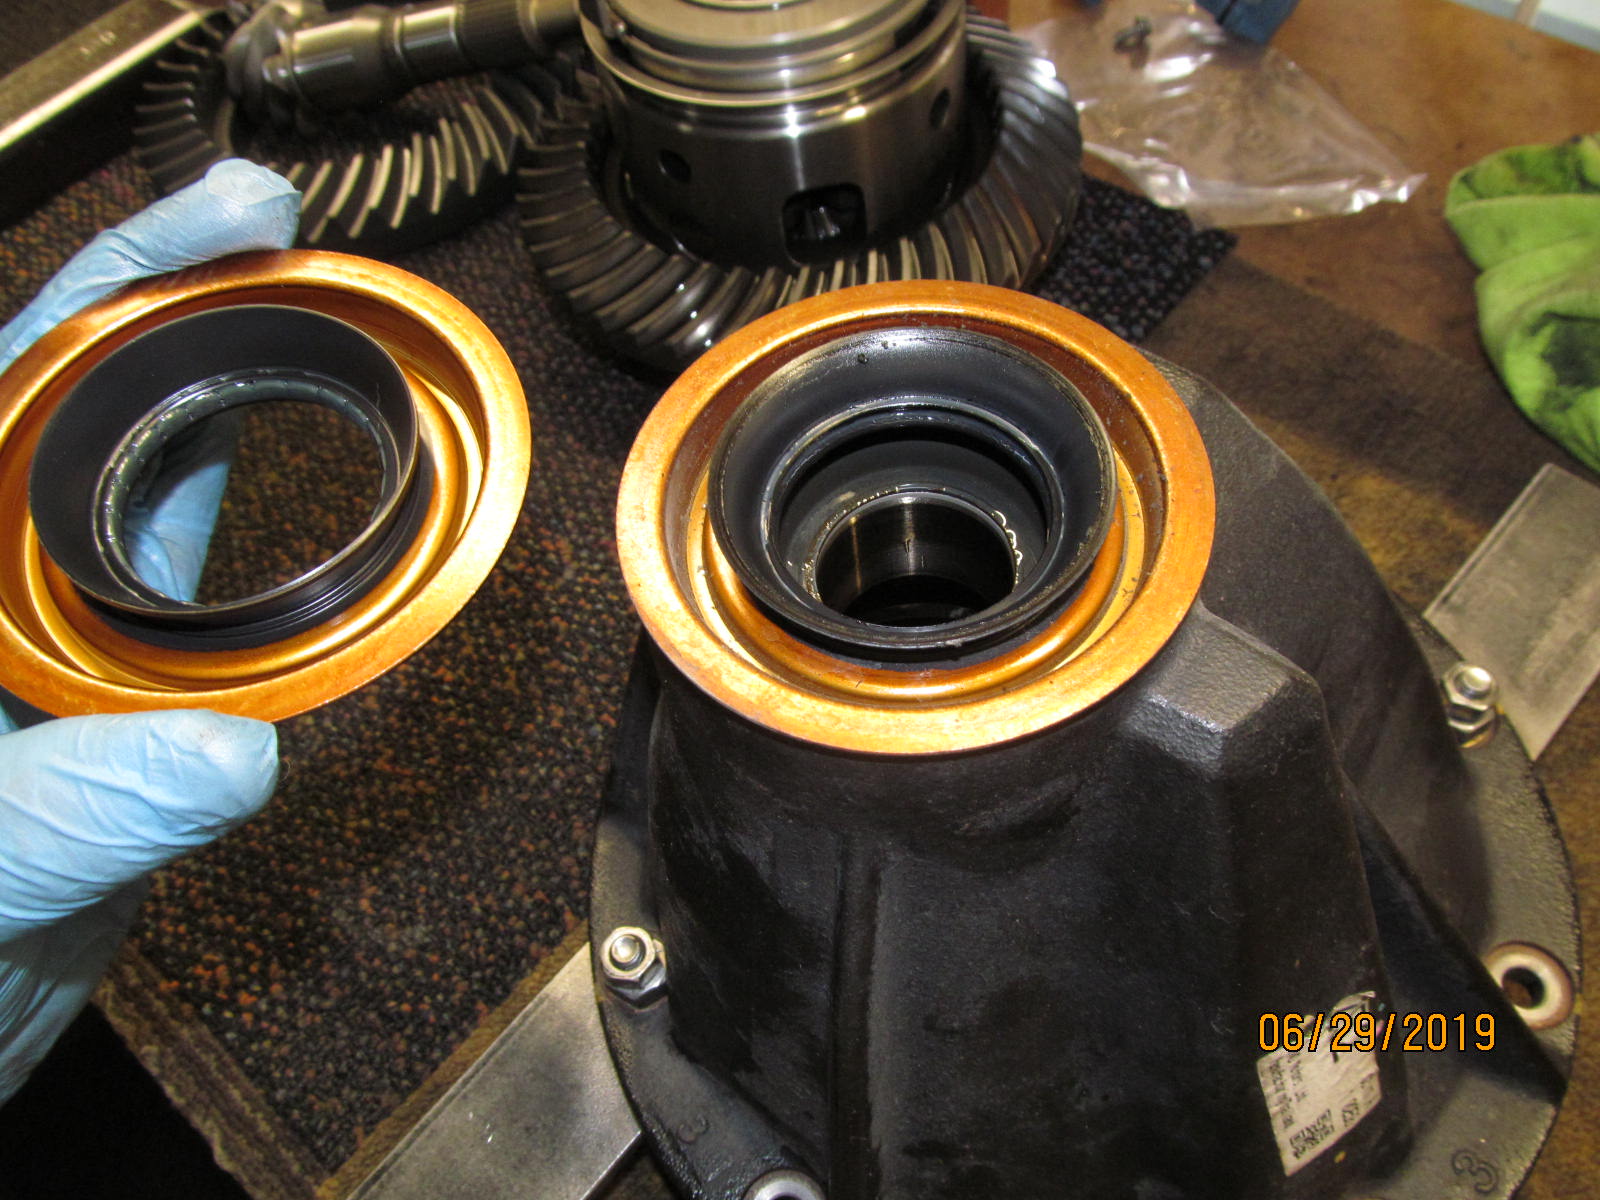
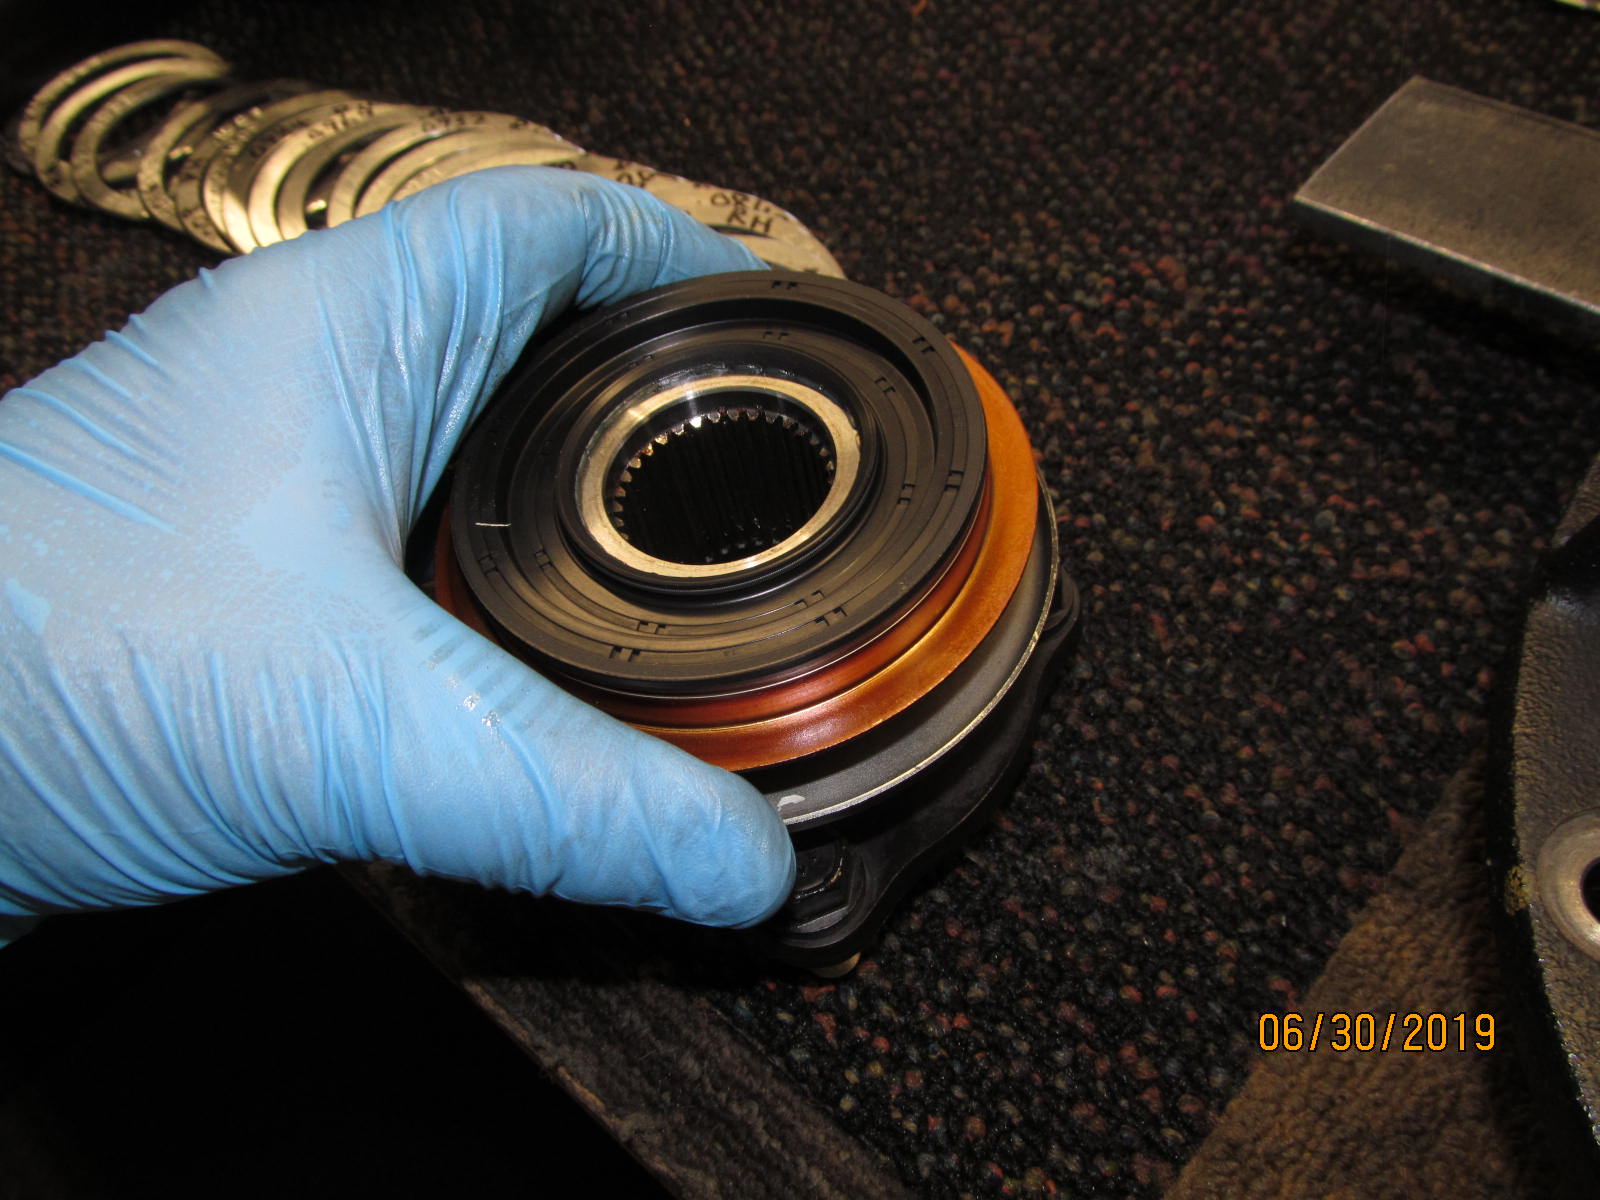
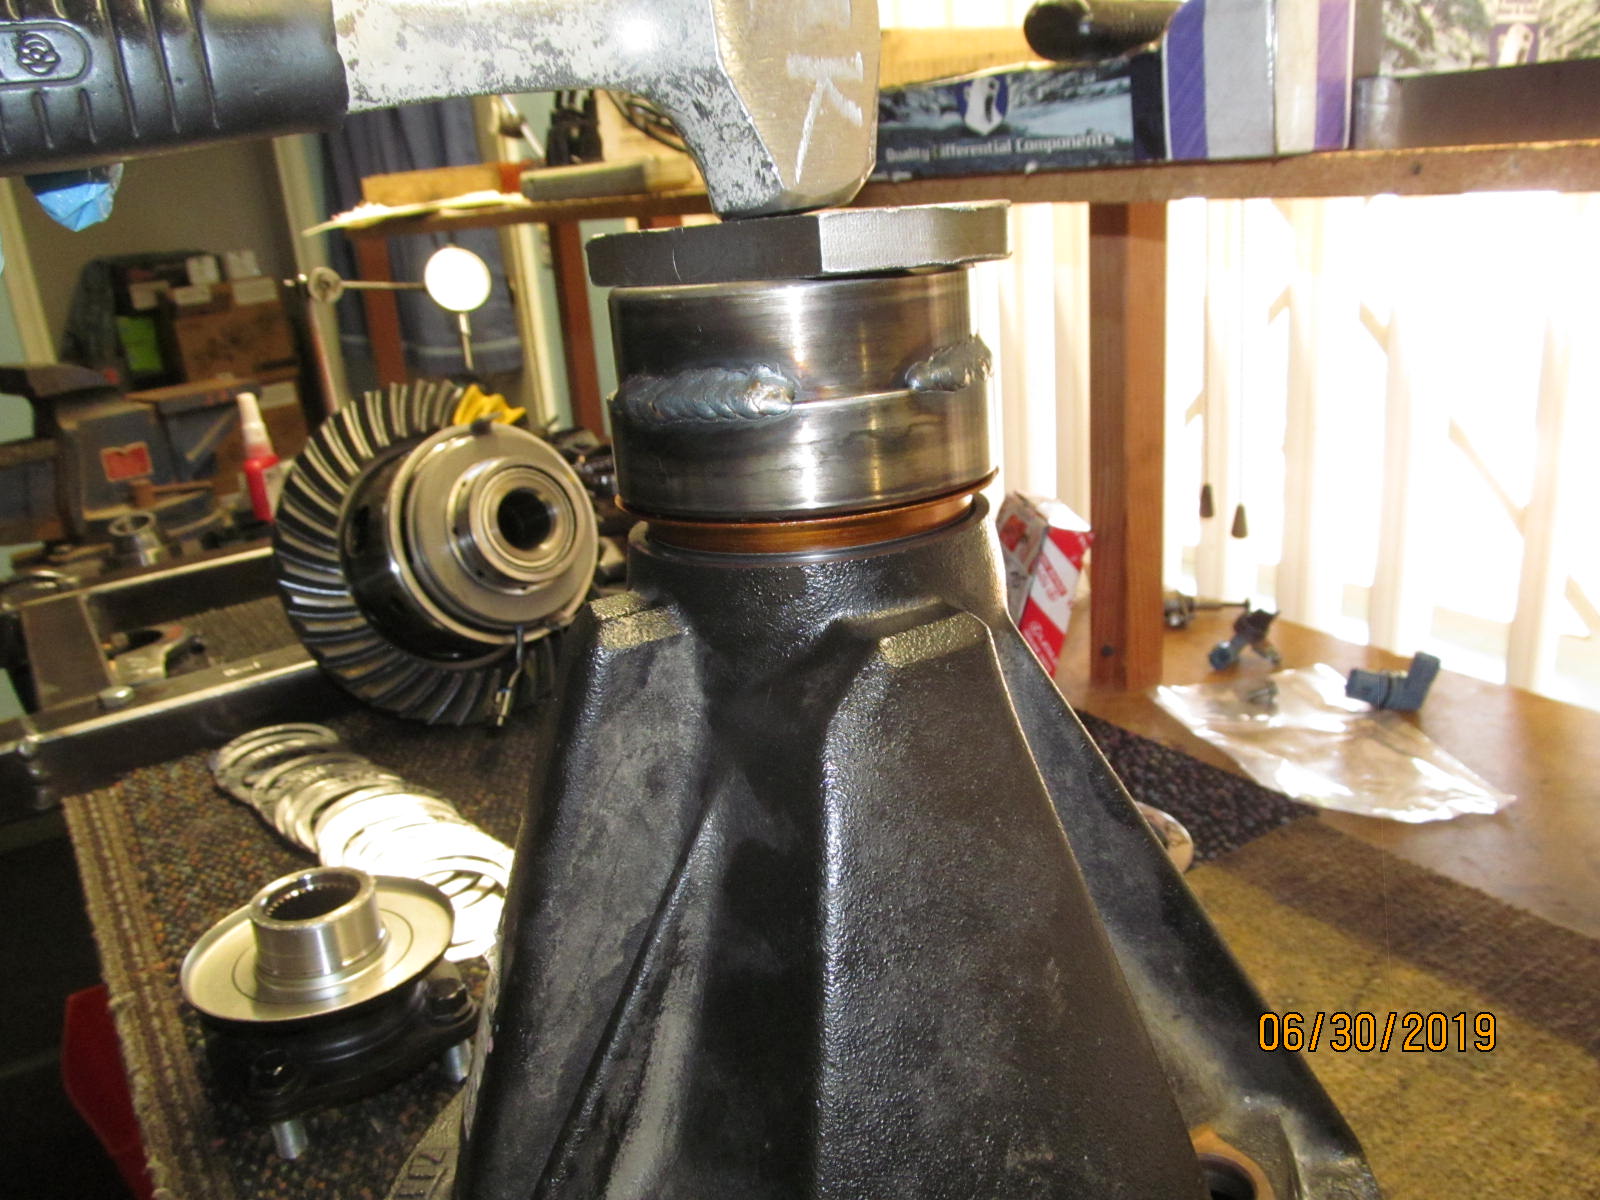
| Testing the fit of the new oem seal. We already know it fits great but this is habit. |
|---|
|
|
| Lining it up. |
|---|
|
|
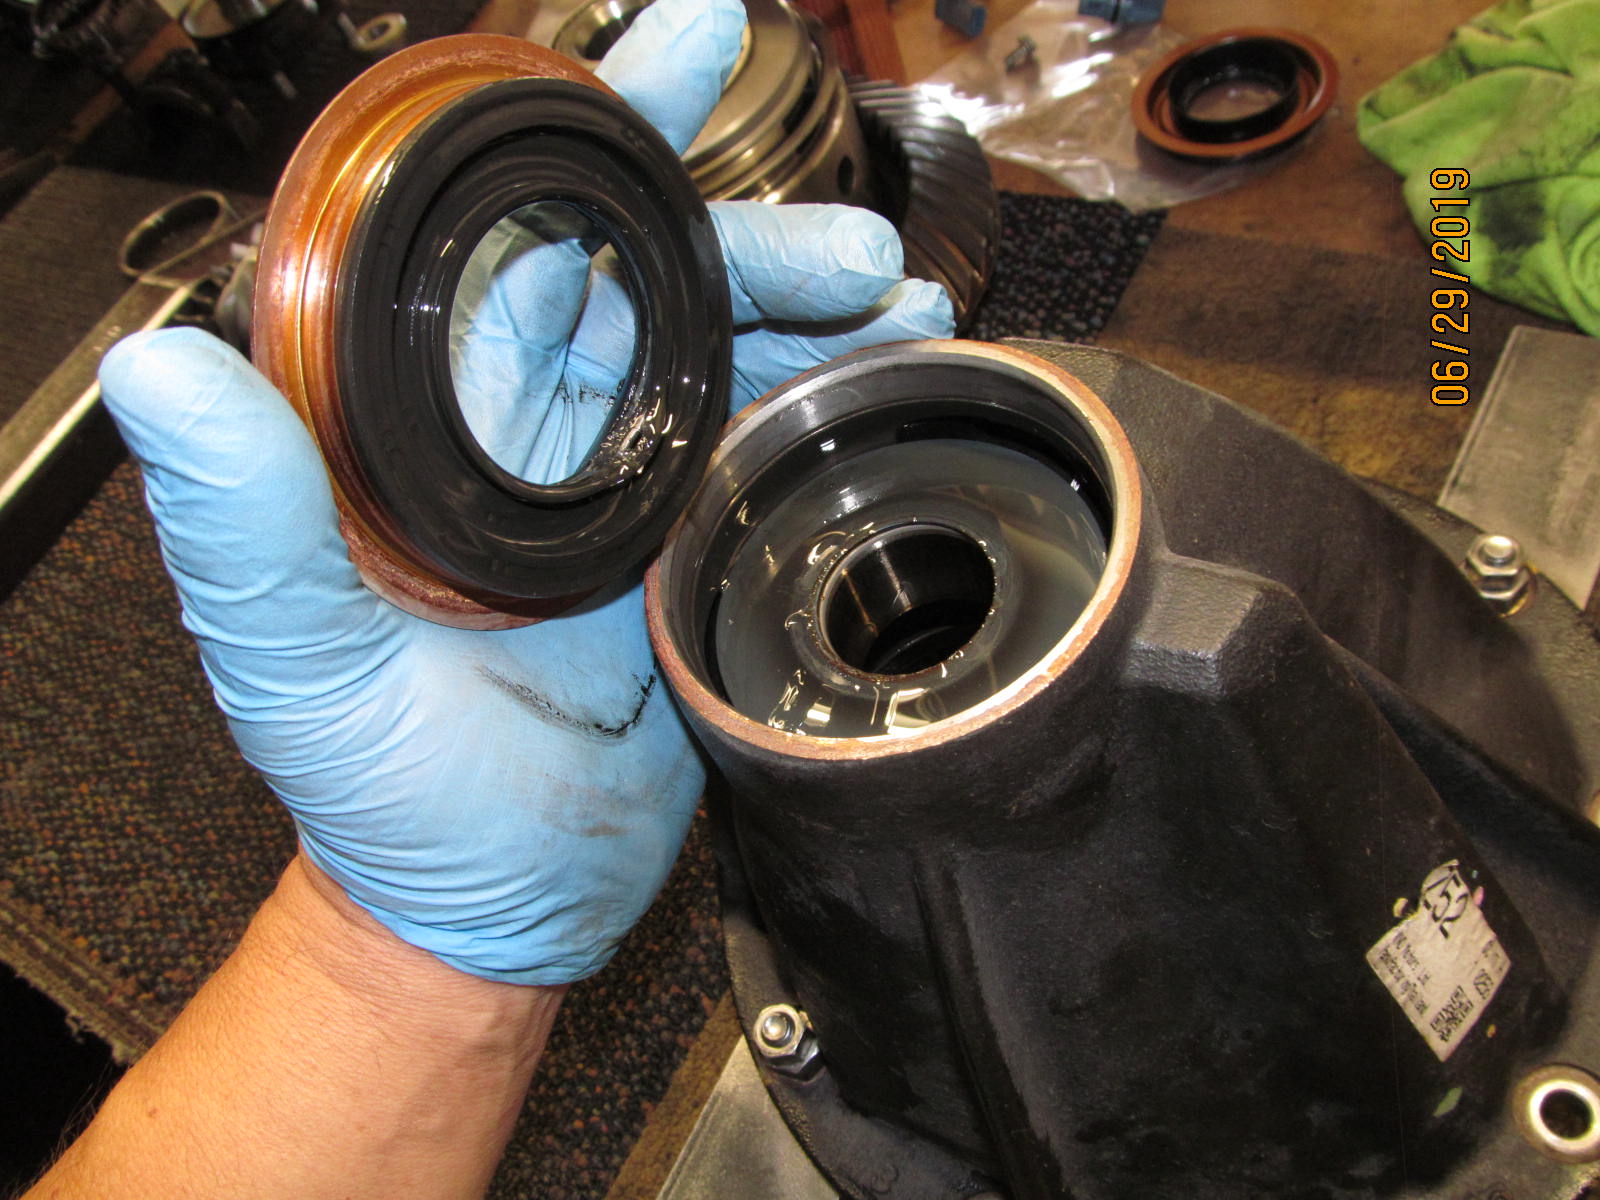
| Tapping it down smoothly and evenly. |
|---|
|
|
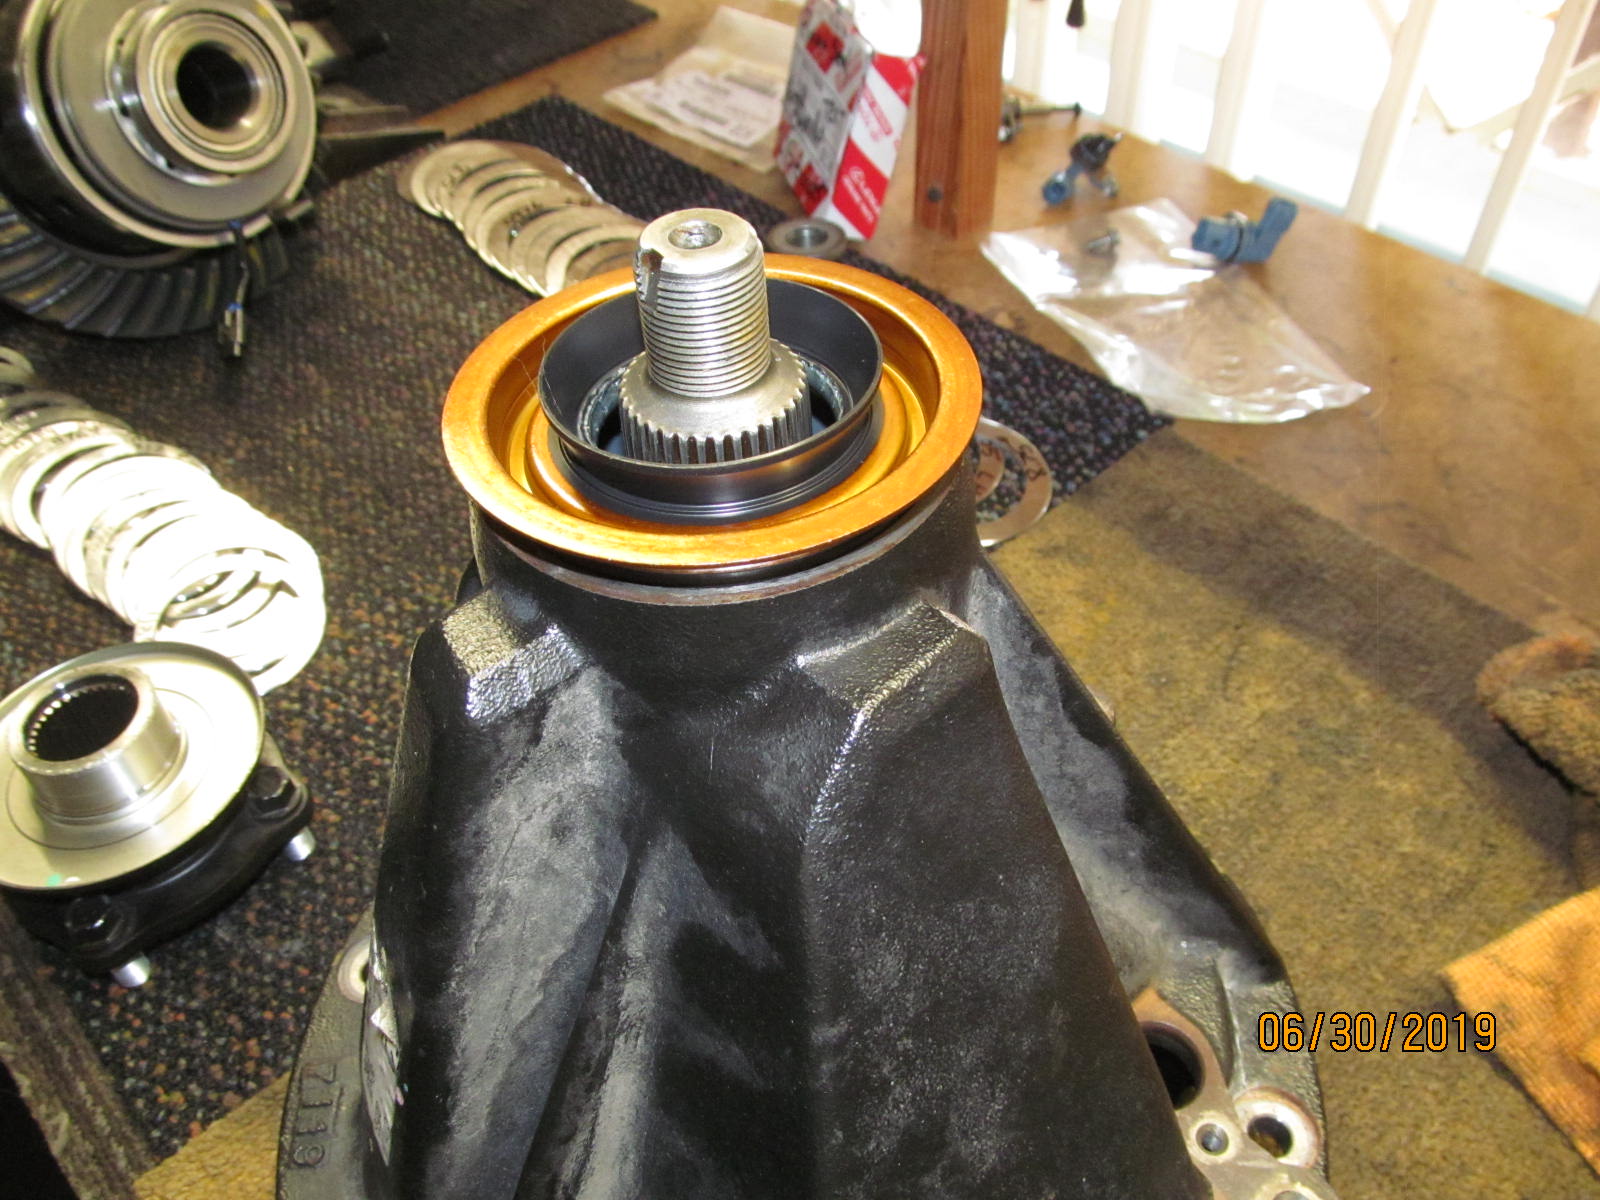
| Apply gear oil to all the contact areas of the flange. |
|---|
|
|
Not shown but there is anti-seize on the pinion threads and the bottom of the nut.
It makes crushing the thick sleeve possible with this cordless impact. |
|---|
|
|
Even with new gear oil splashed liberally on the bearings there was still a little stickiness in the readings
but seemed to be around 7 or 8 inch/pounds. |
|---|
|
|
| DING!! and this end is done. |
|---|
|
|
| Nice and smooth. |
|---|
|
|
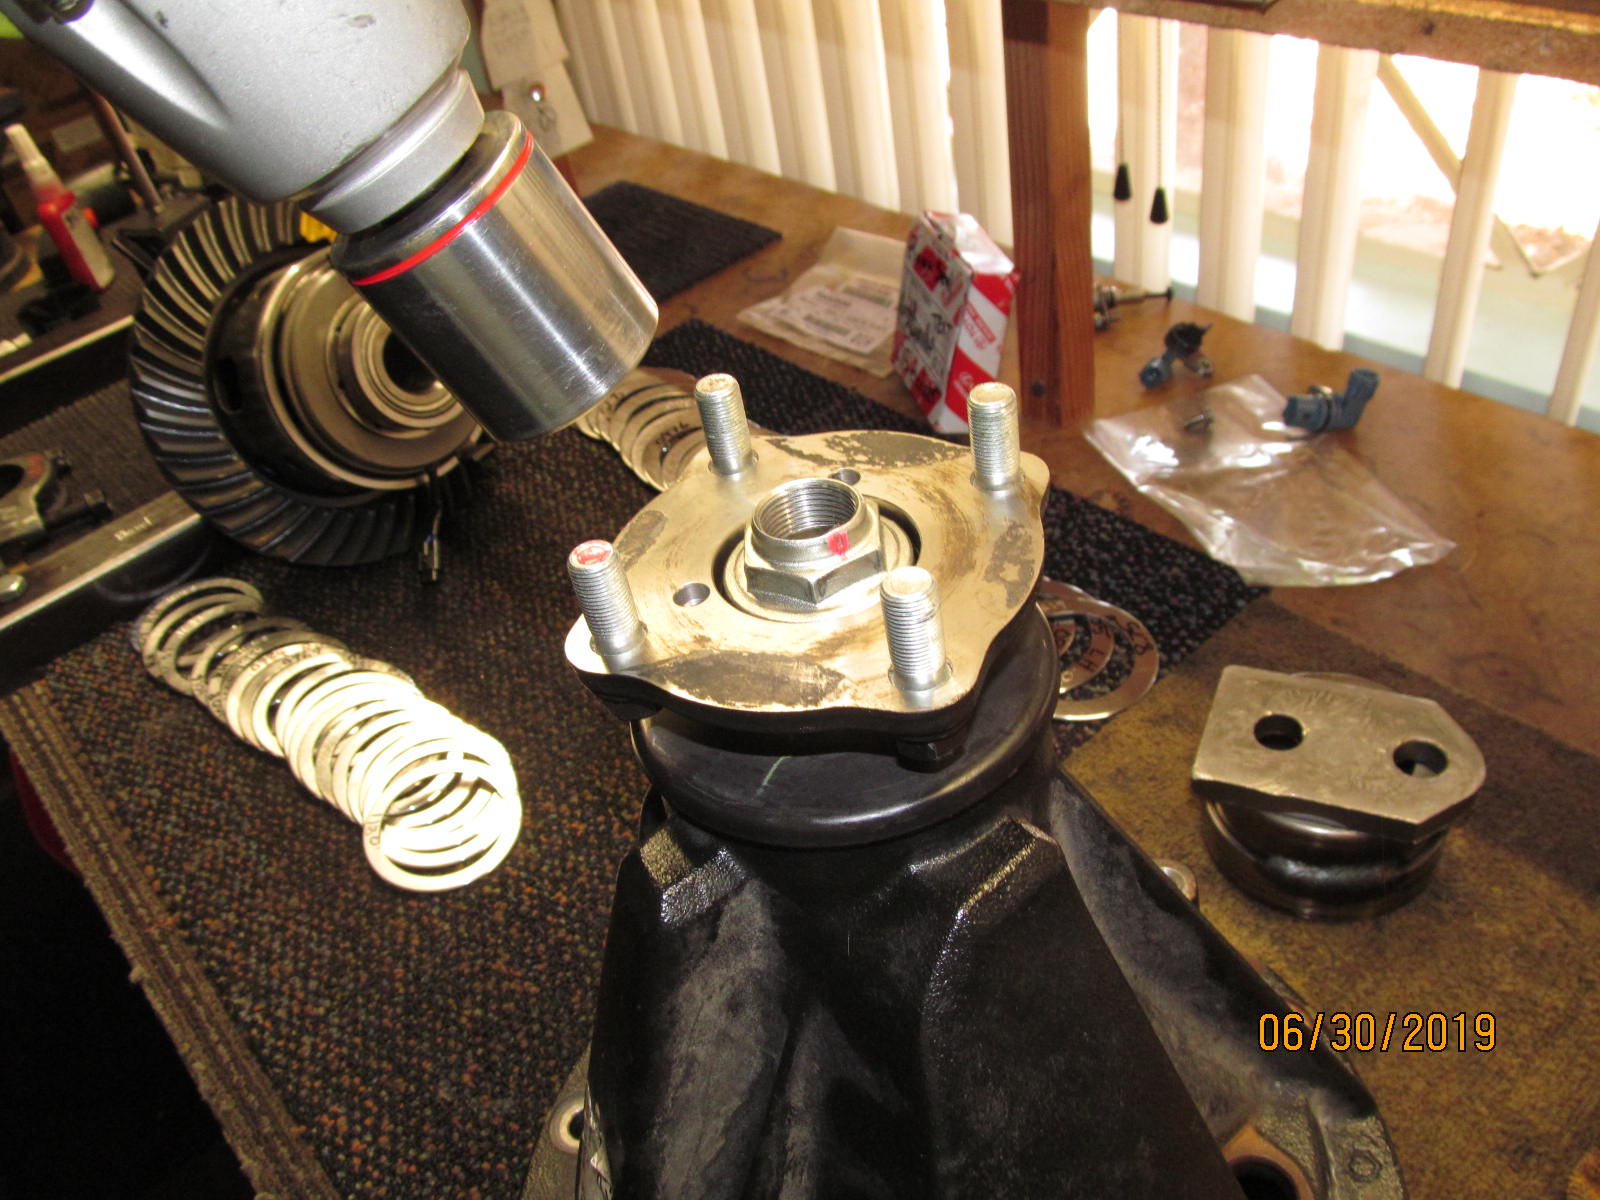
| Good time to put the lock sensor in now. |
|---|
|
|
| A dab of petroleum jelly lubes up the o-ring. |
|---|
|
|
| Then the differential case is loaded......then the carrier bearing washer plates. |
|---|
|
|
A little thicker washer plate on this side adds a little extra backlash and preload.
Fortunately, these are high quality washer plates and can take some good hits.
The 2 bearing caps are mounted and torqued to 84+ ft/lb on the 4 bolts. |
|---|
|
|
| Kinda going back and forth but now is a good time to apply medium strength Loctite and 6 ft/lb to both connectors. |
|---|
|
|
| The black plug pushed right in all the way and heard the retaining tab lock it in place. |
|---|
|
|
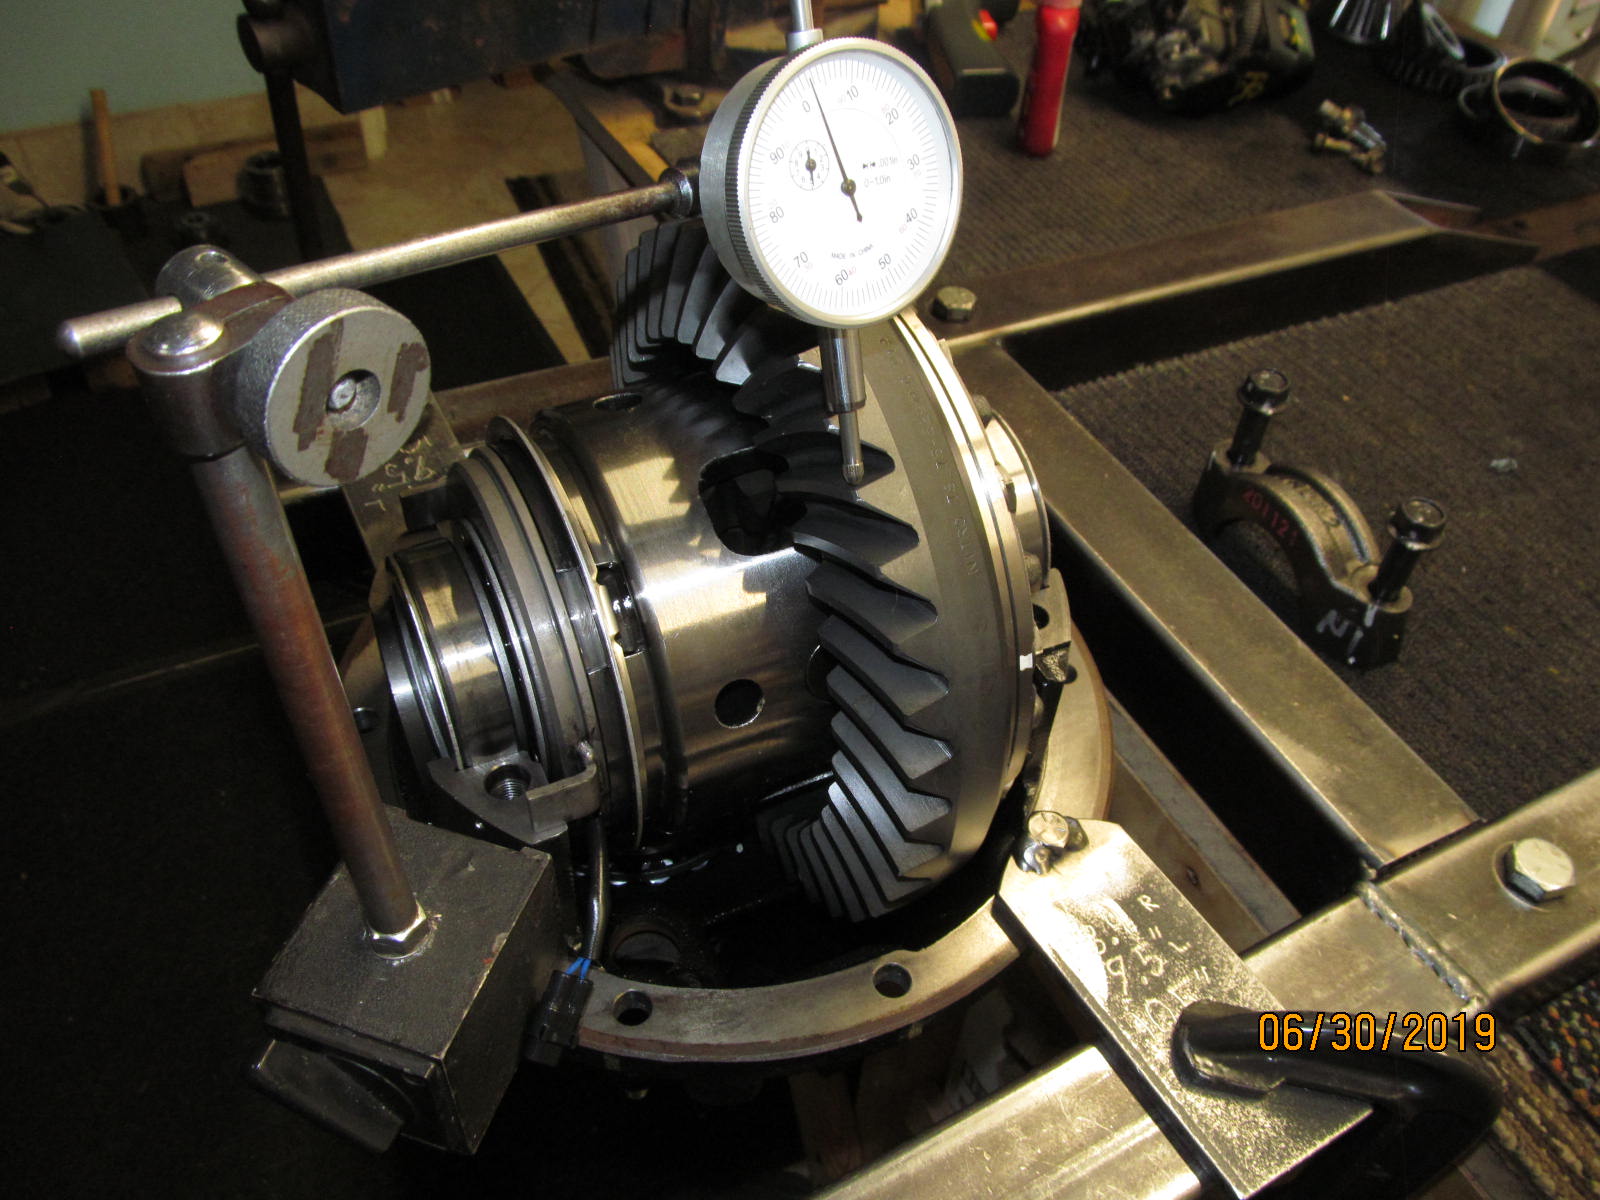
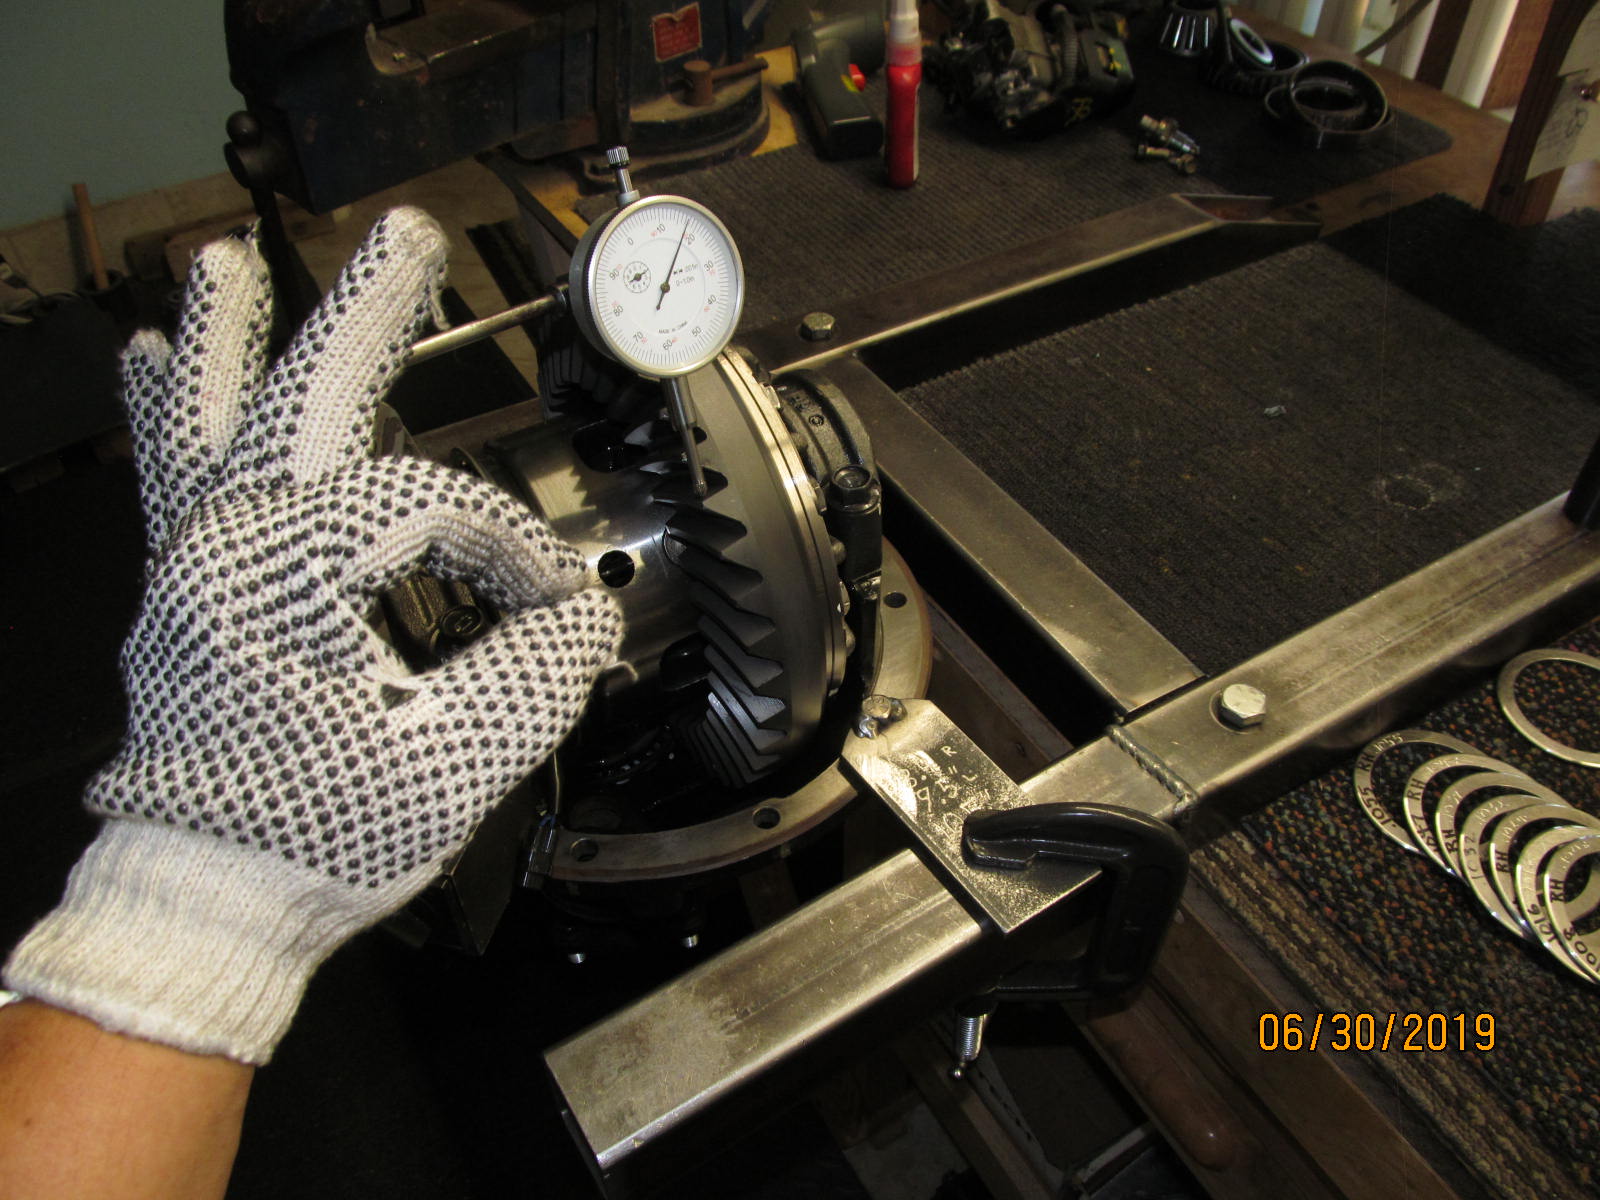
| Backlash checked and recorded on every other tooth. |
|---|
|
|
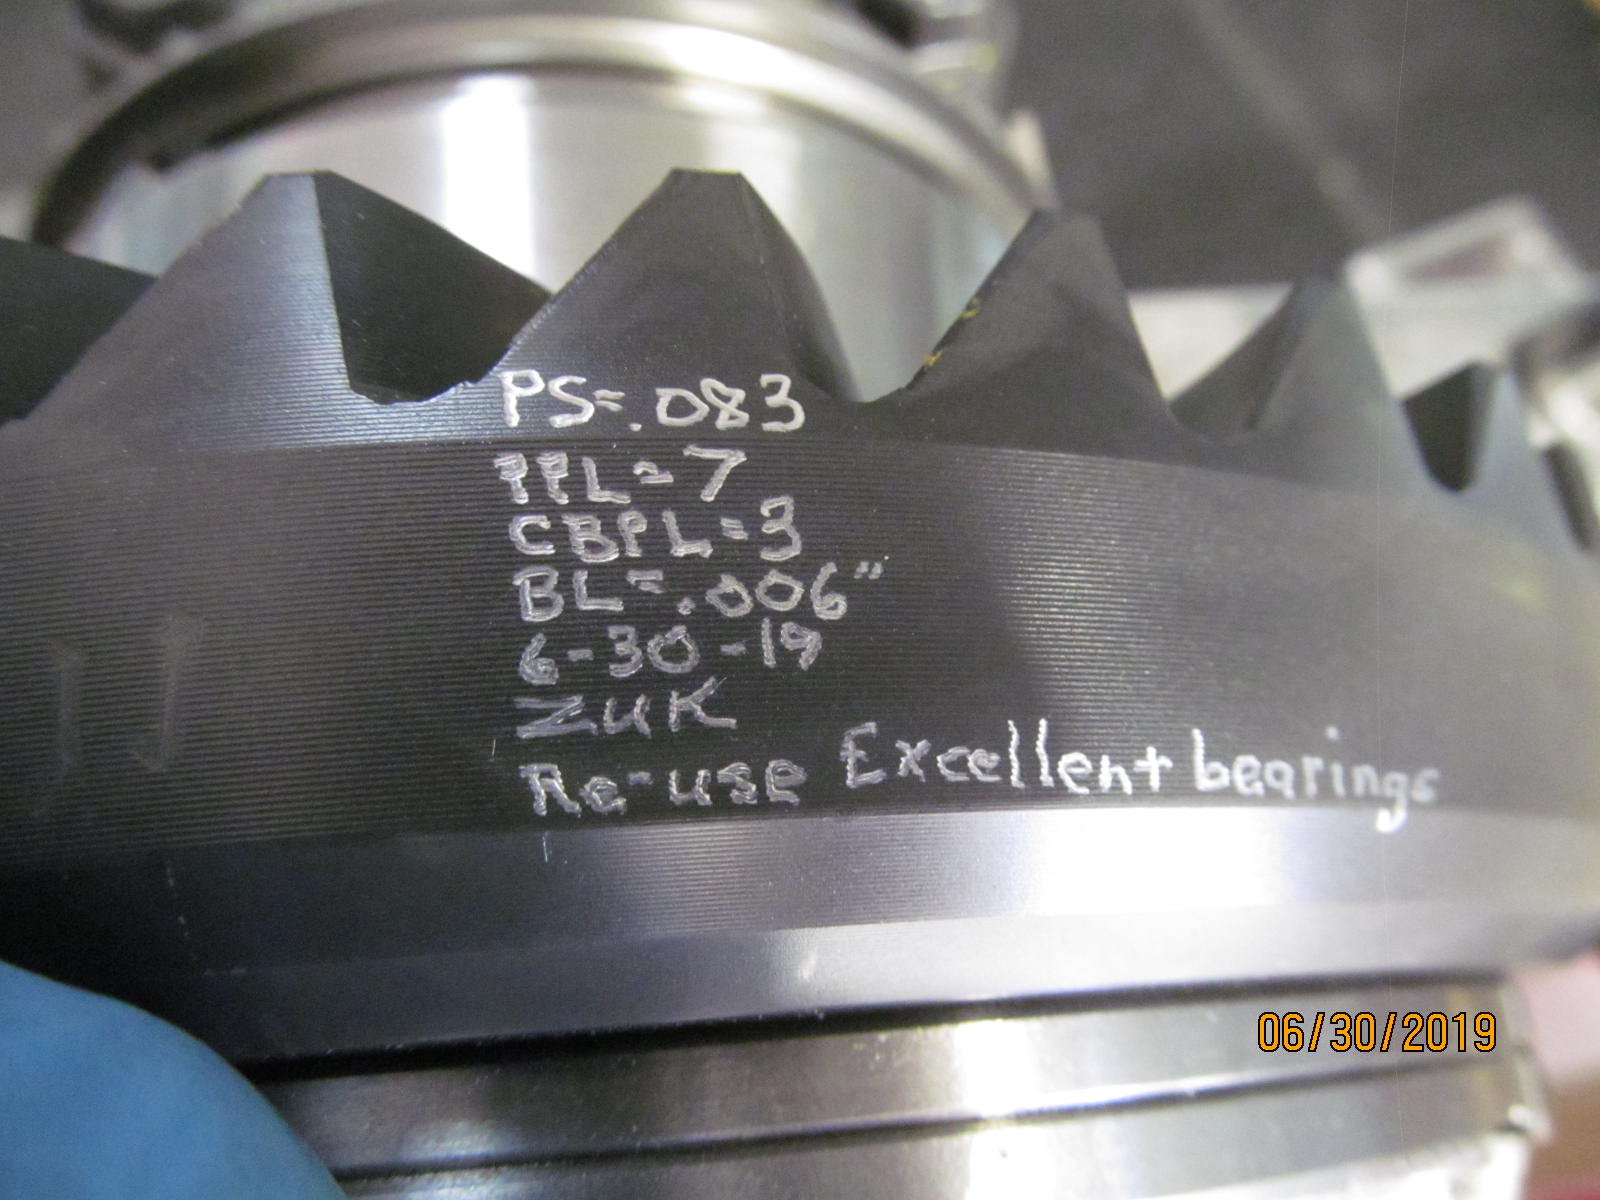
| Date coded...... |
|---|
|
|
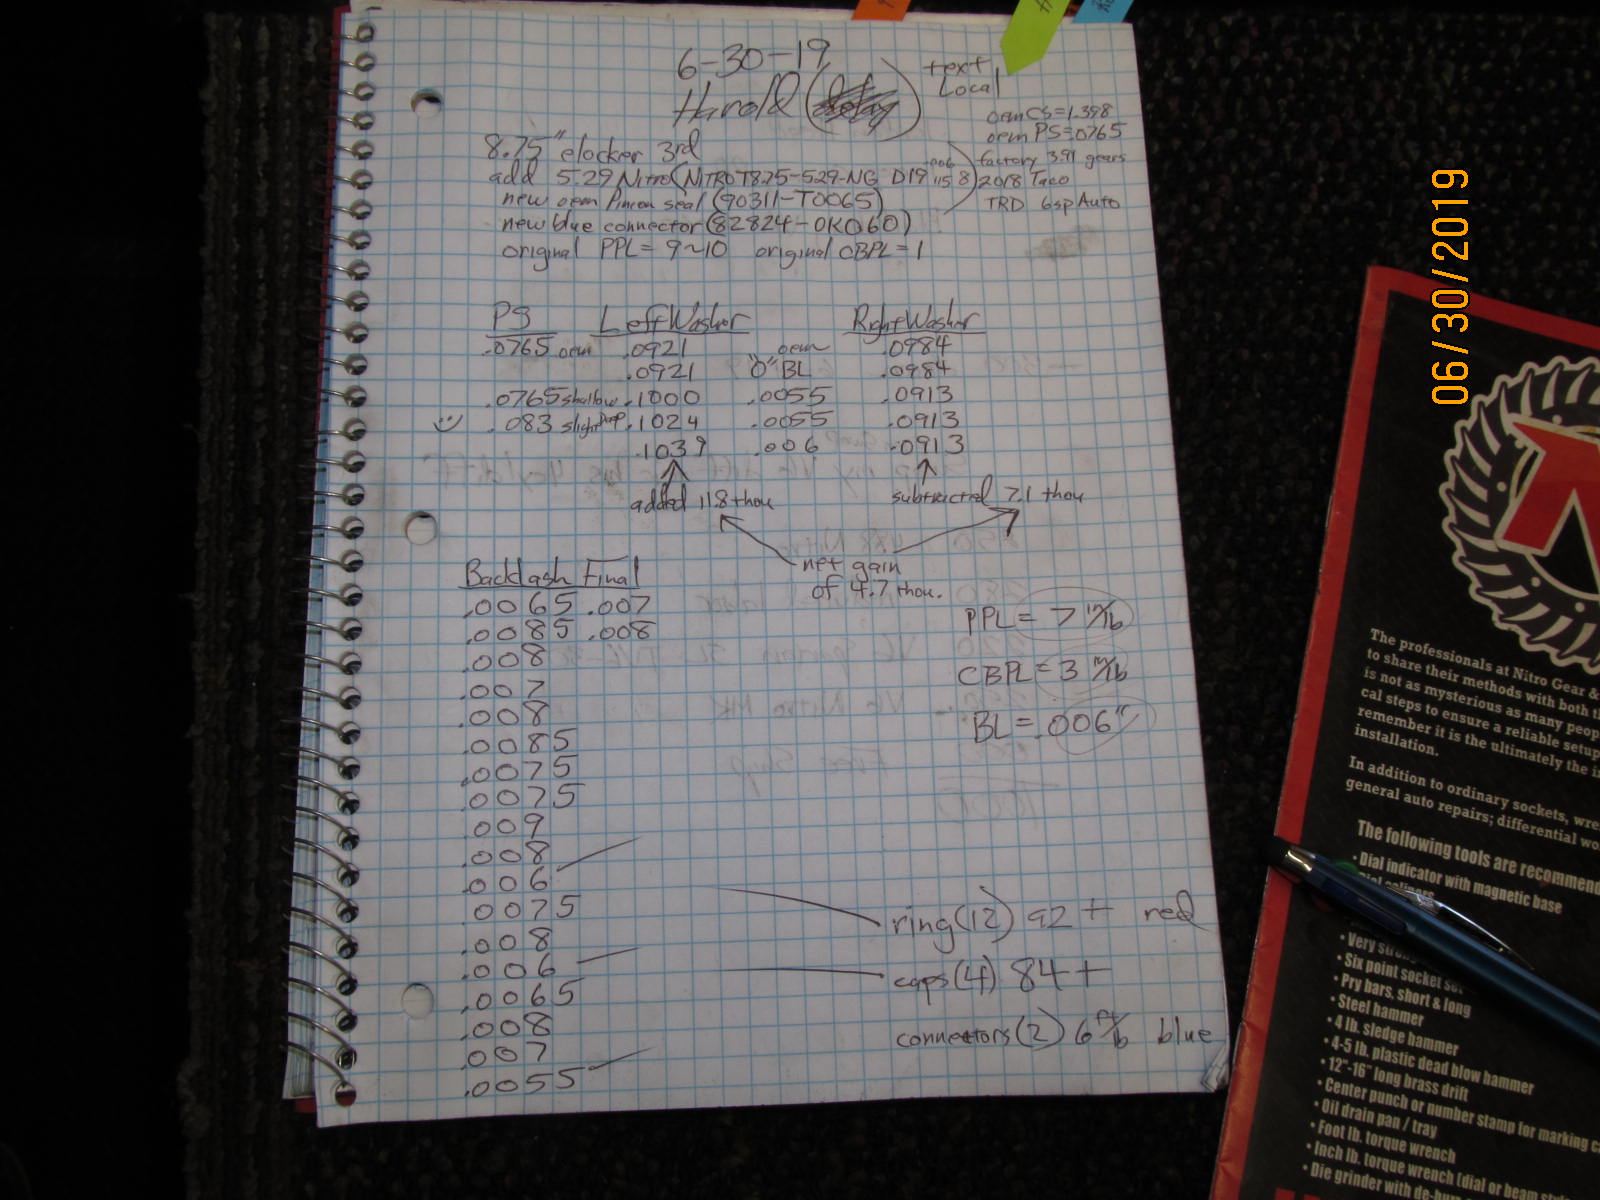
| A snapshot of the assembly notes. |
|---|
|
|

|