


A solid product proven strong.
Pinion is installed at this point.


| Jorge's 1997 Landcruiser rear 9.5" gets an Aussie locker and Nitro 488 Gears |
|---|
| (91 BIG pics loading) |
| MAY 23 2017 |
|
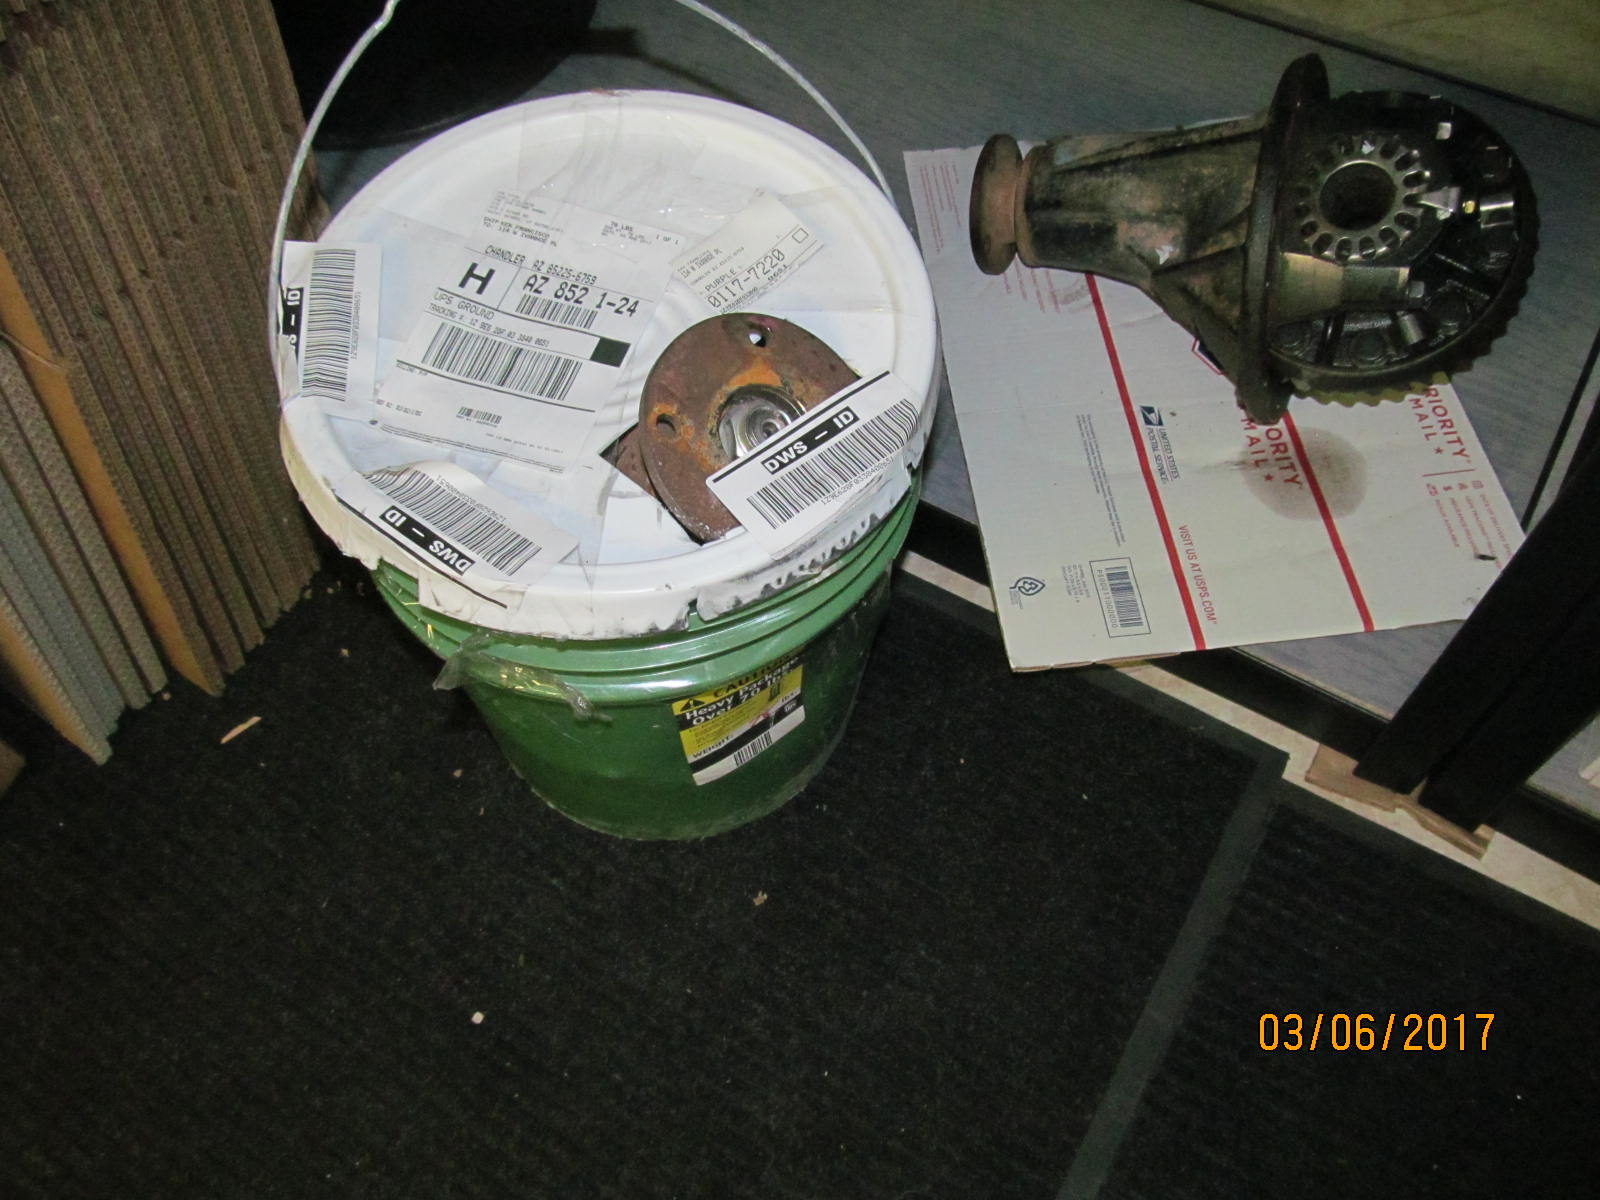
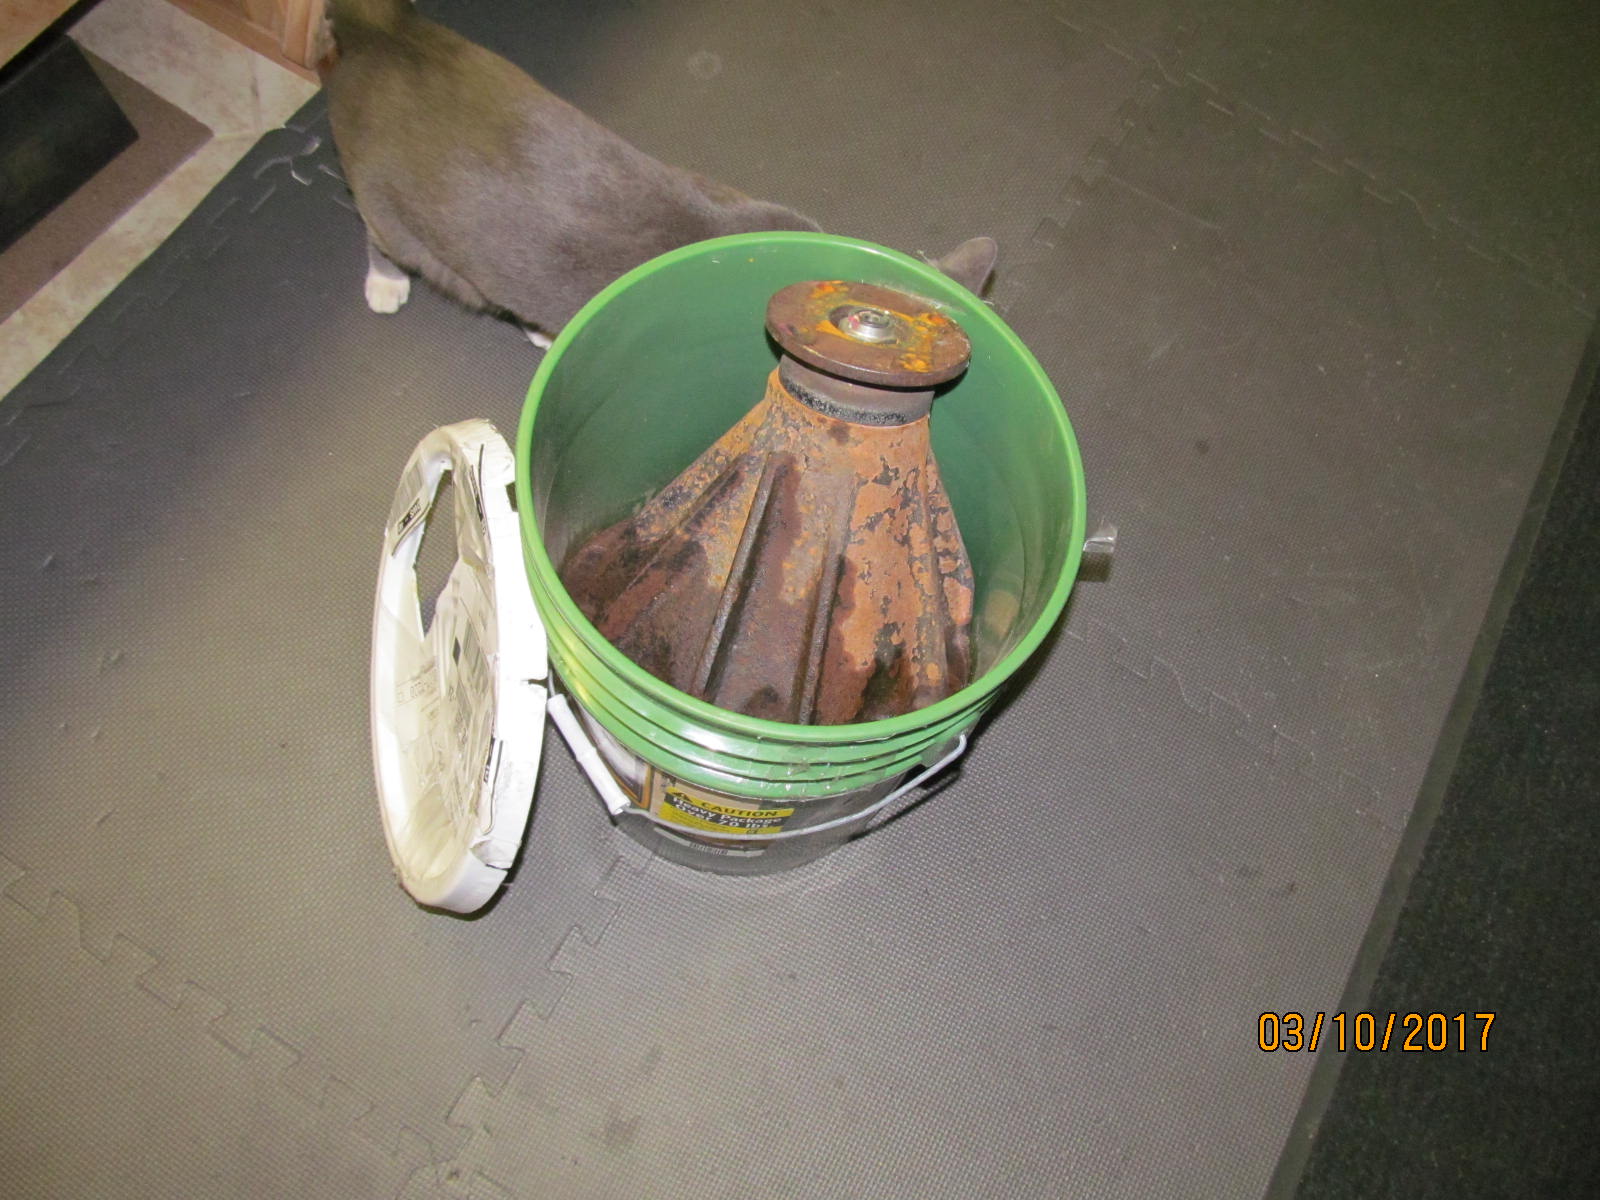
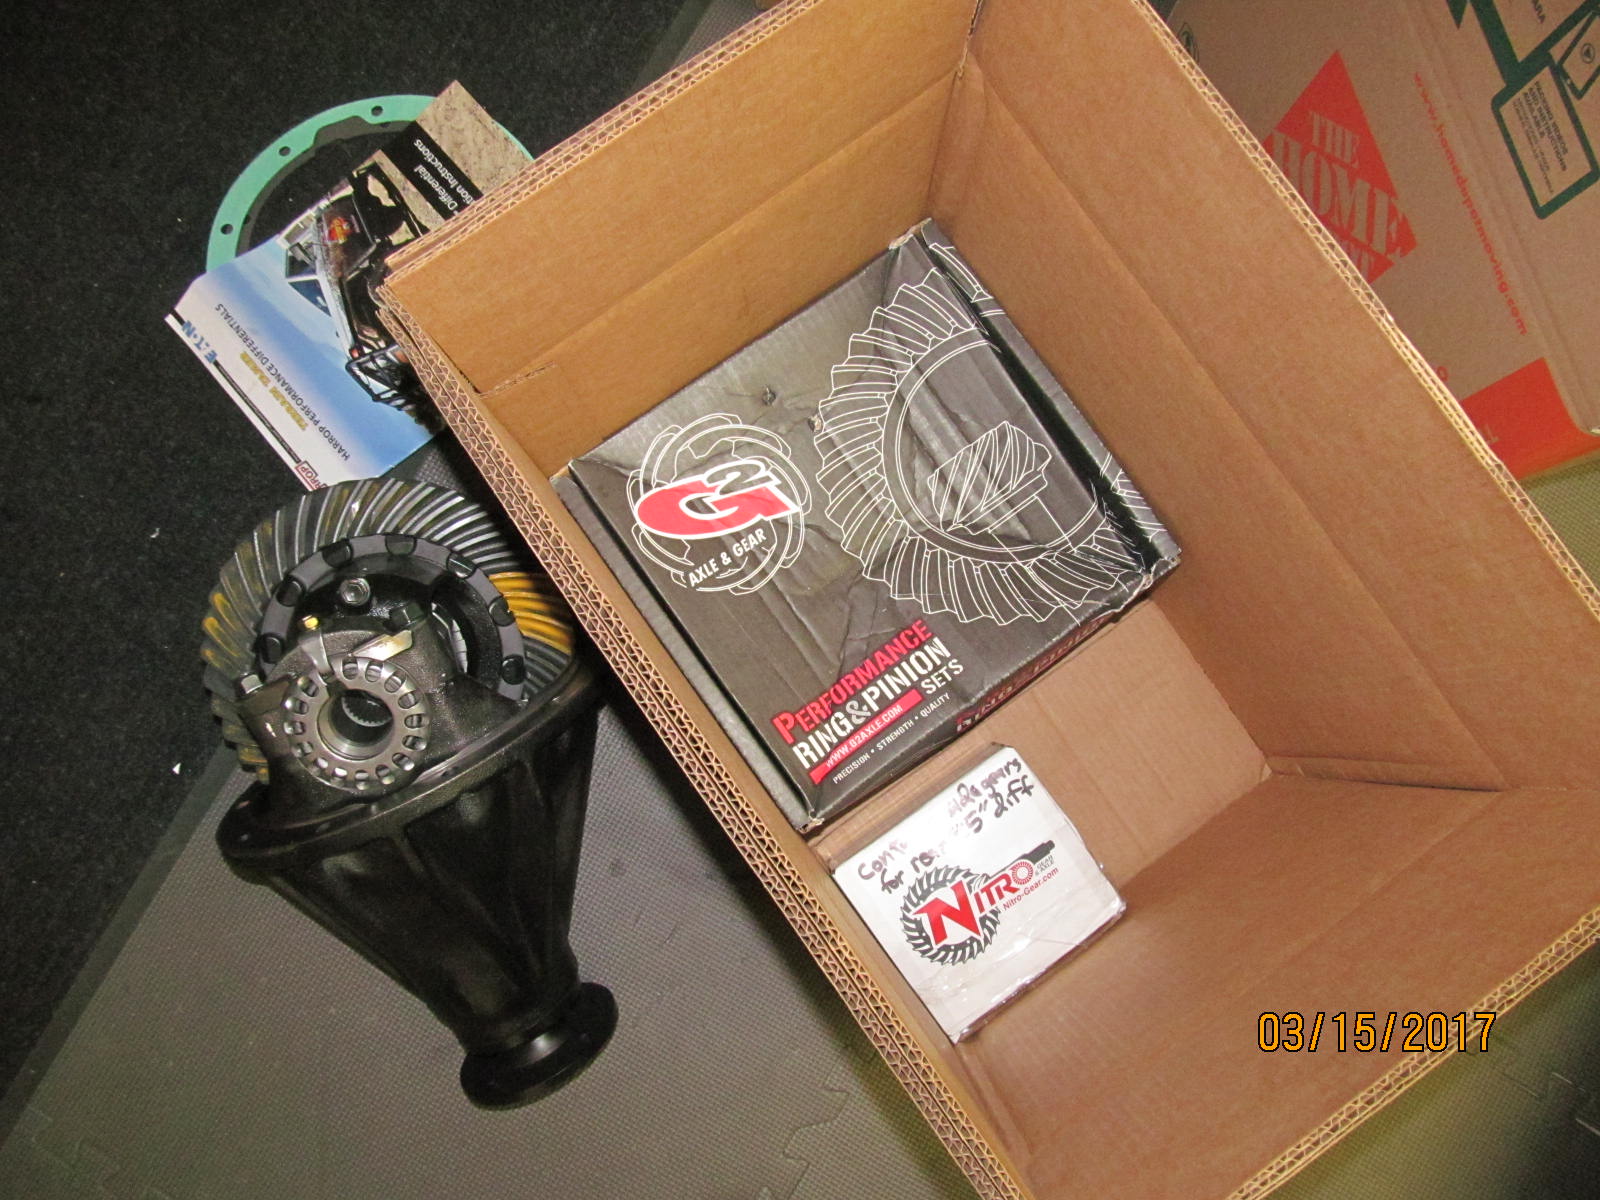
| Jorge found a good deal on a used 9.5" 3rd and had it sent to me in a 5 gallon bucket. |
|---|
|
| If the bucket was a 6 gallon one then it would actually fit like it's supposed to. |
|
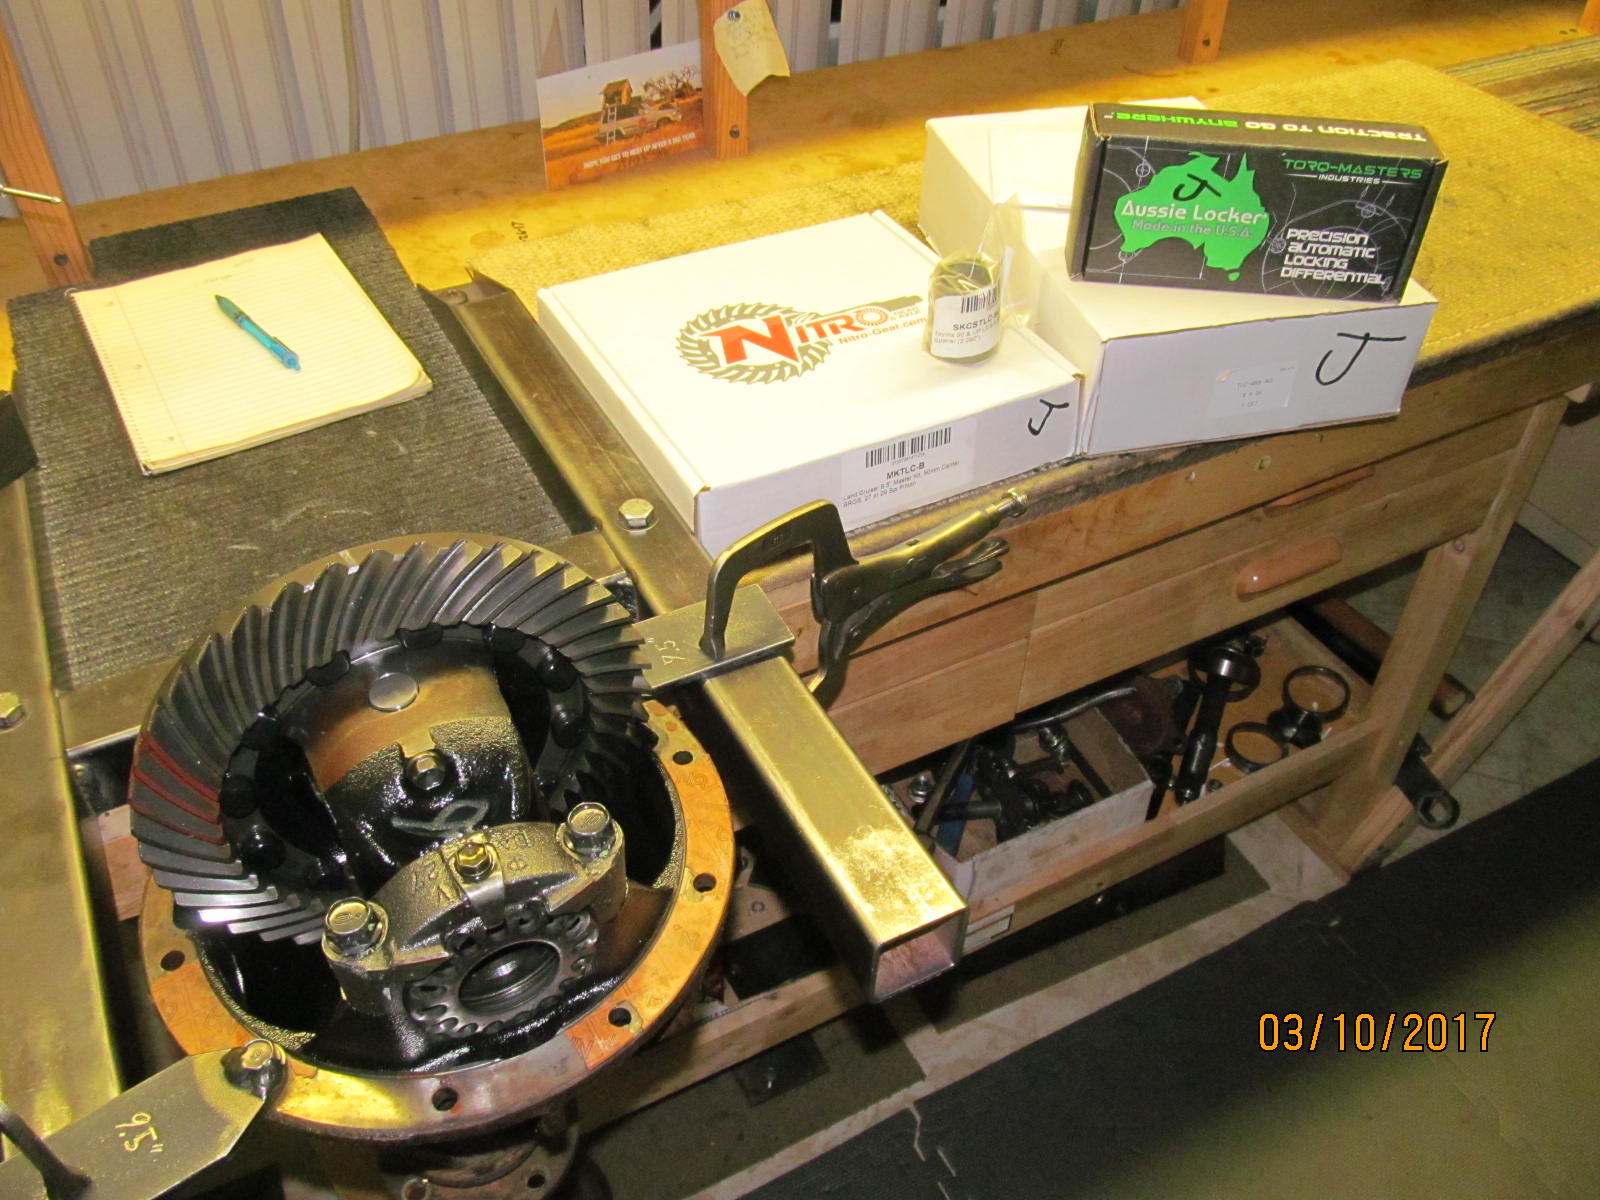
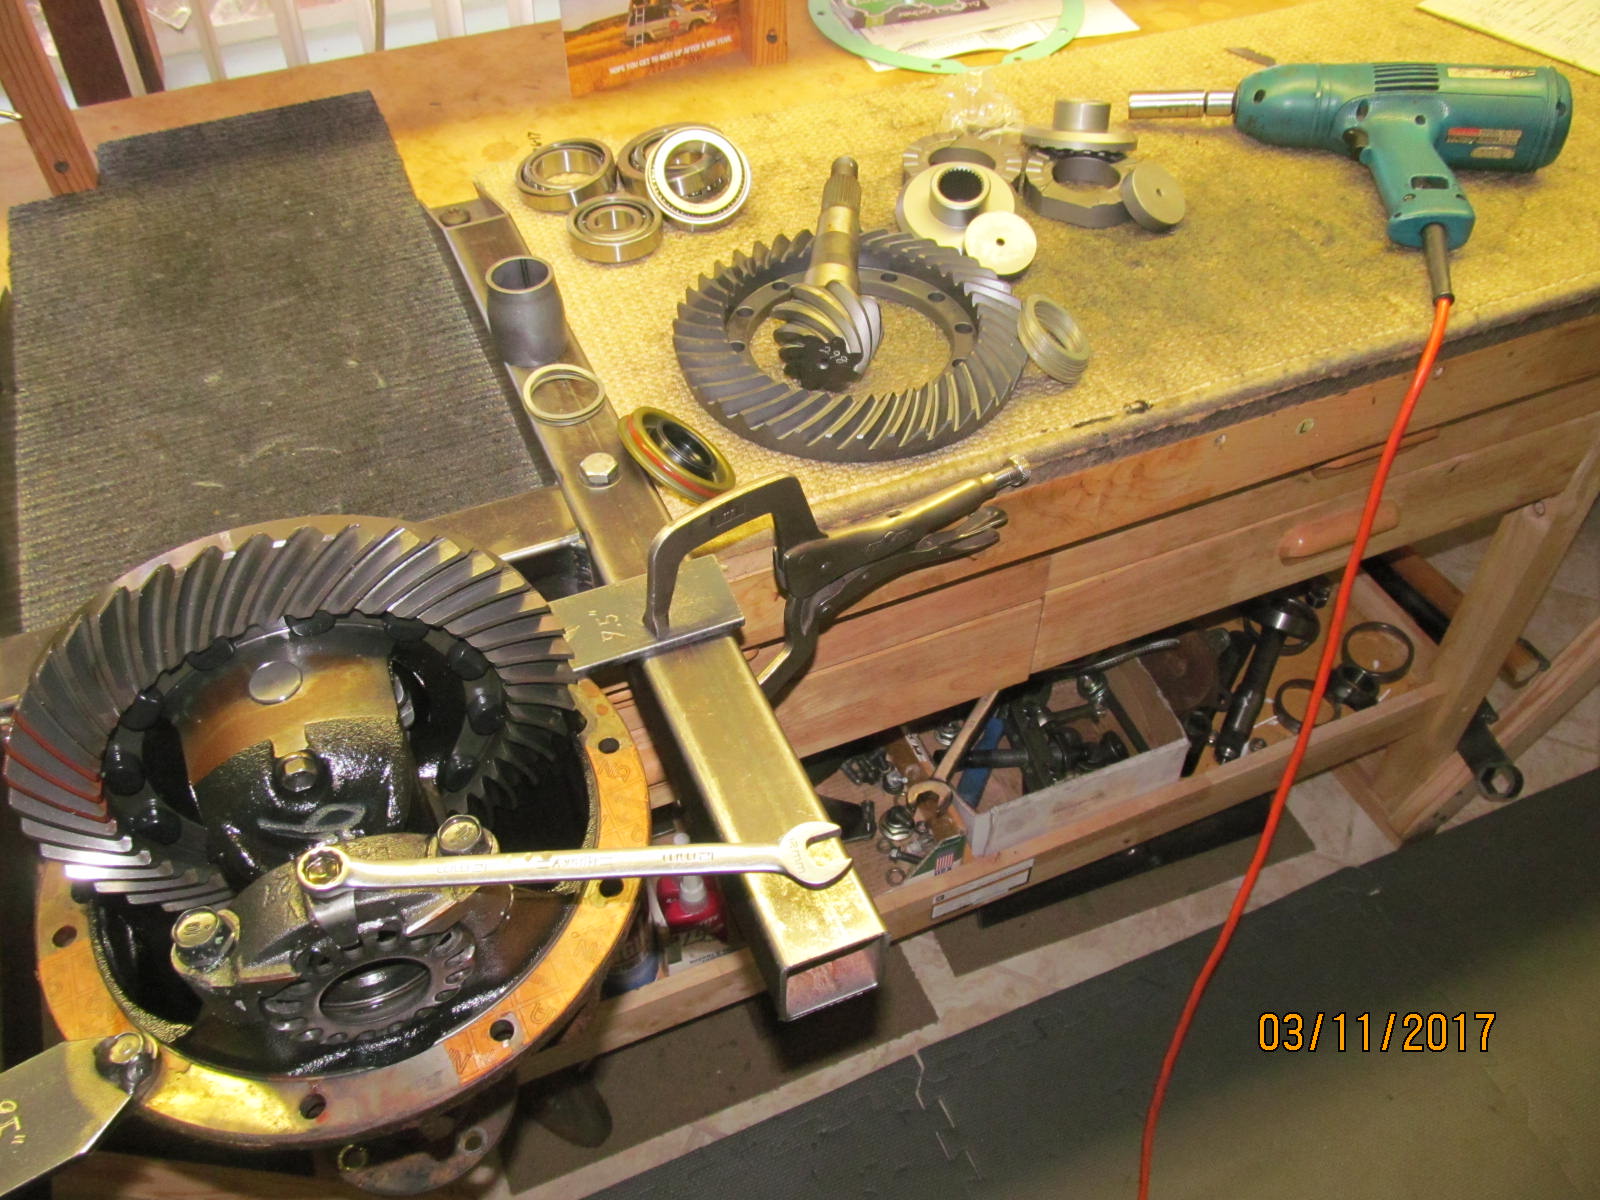
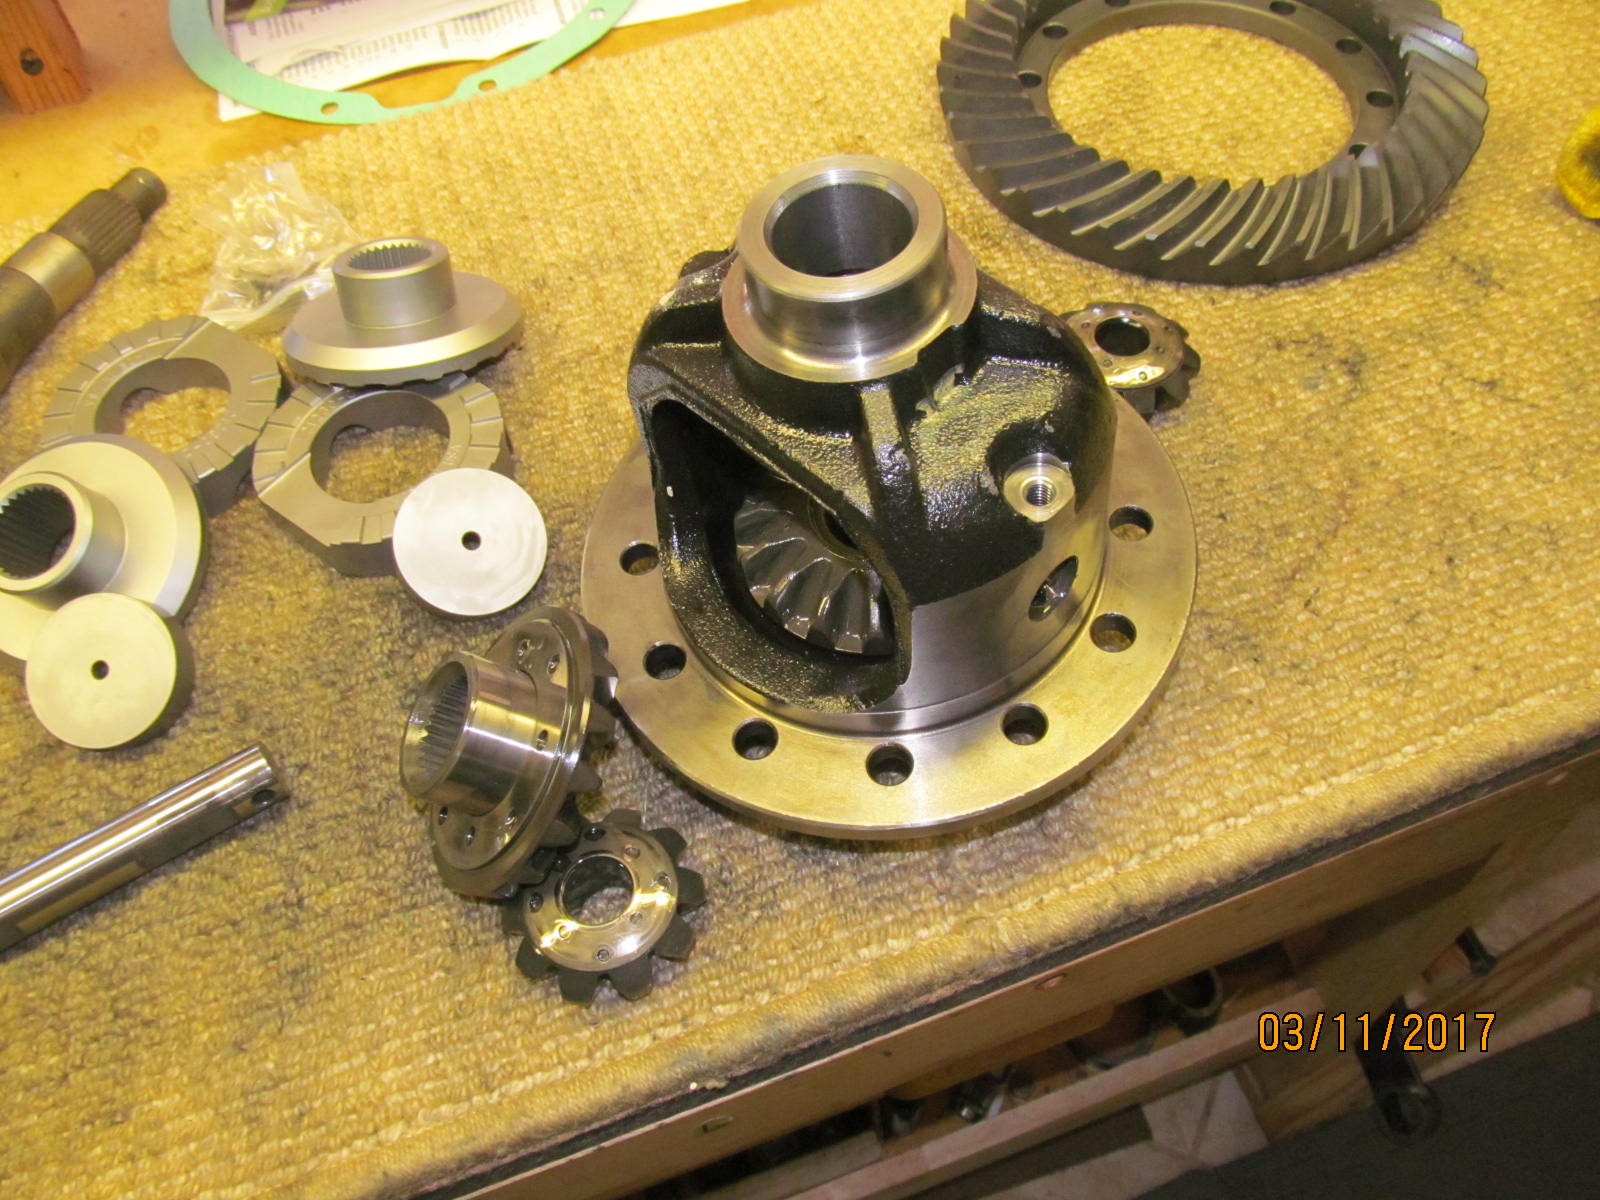
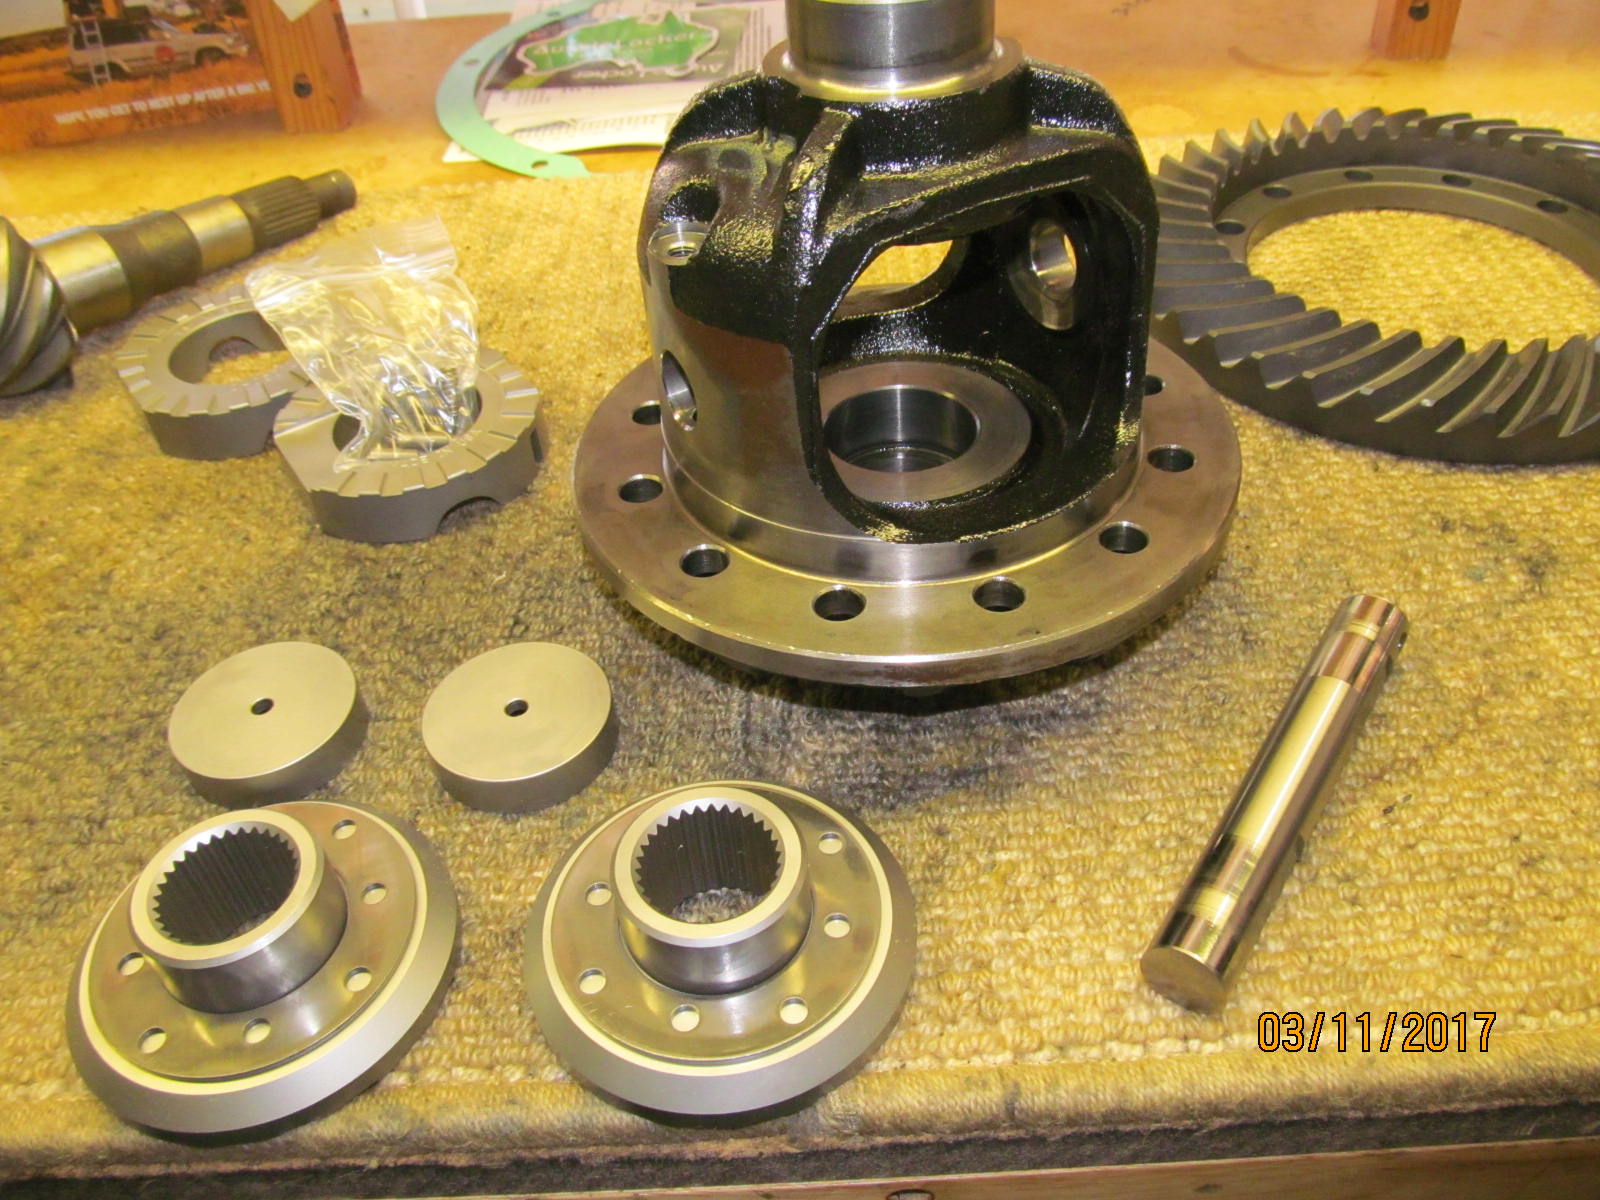
| Everything needed to do this build....master kit/solid collar/488 Nitro gear/Aussie locker |
|
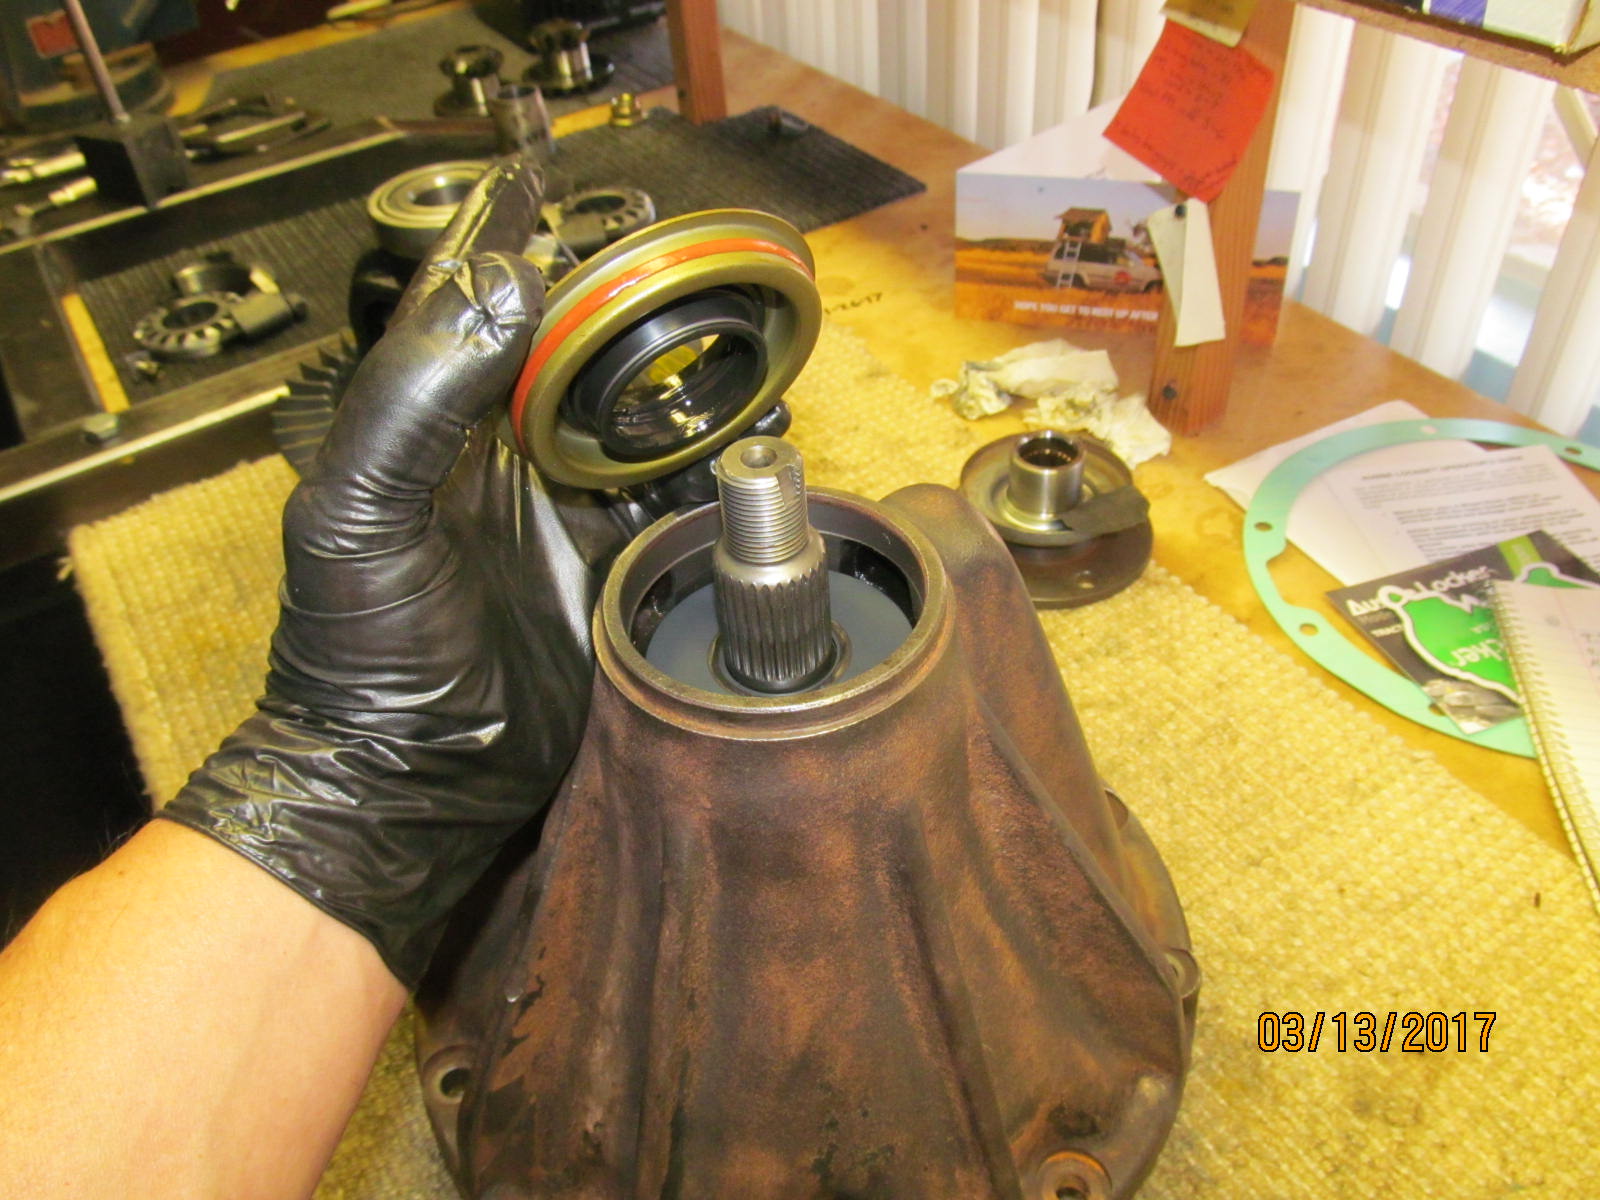
| Even though the master kit comes with a pinion seal, a Marlin eco seal will be used. |
|
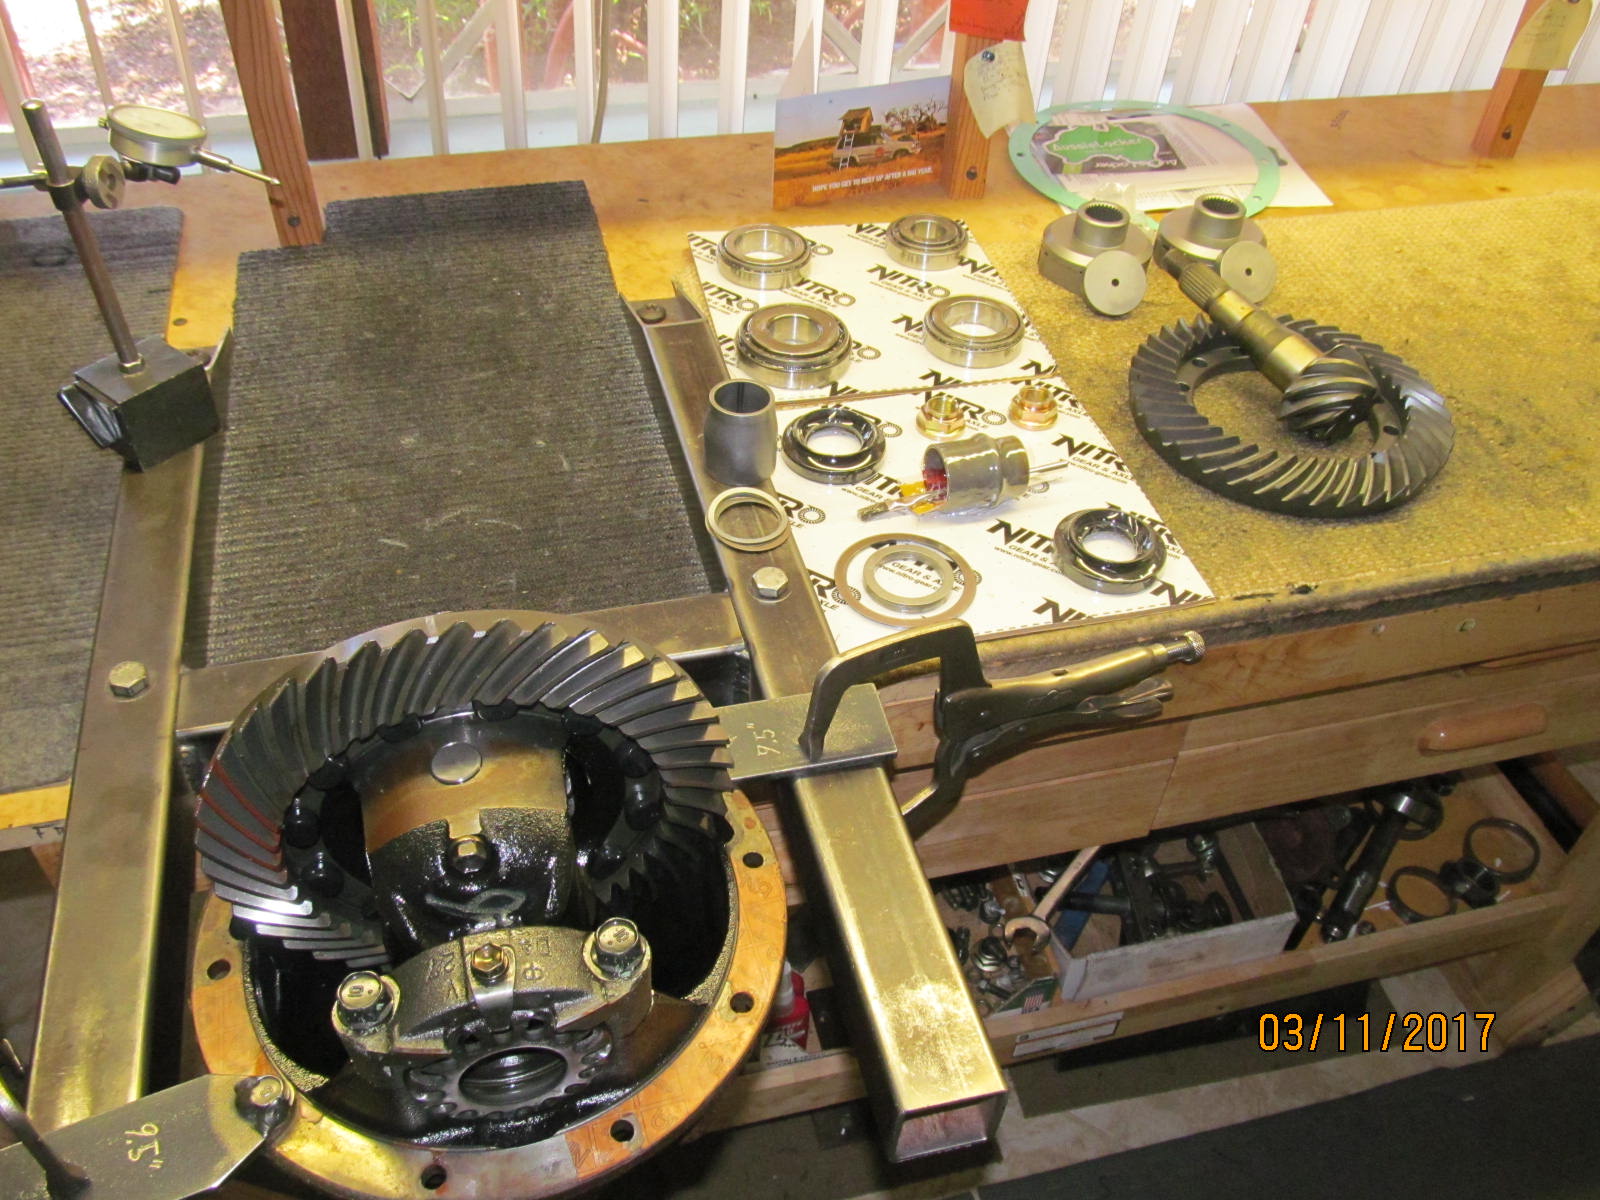
| Dis-assembly begins. |
|
| Bearing caps are removed. |
|
| ,,,,,,,,,,,,,,,,,,, |
|
| Now is a good time to install the Aussie. |
|
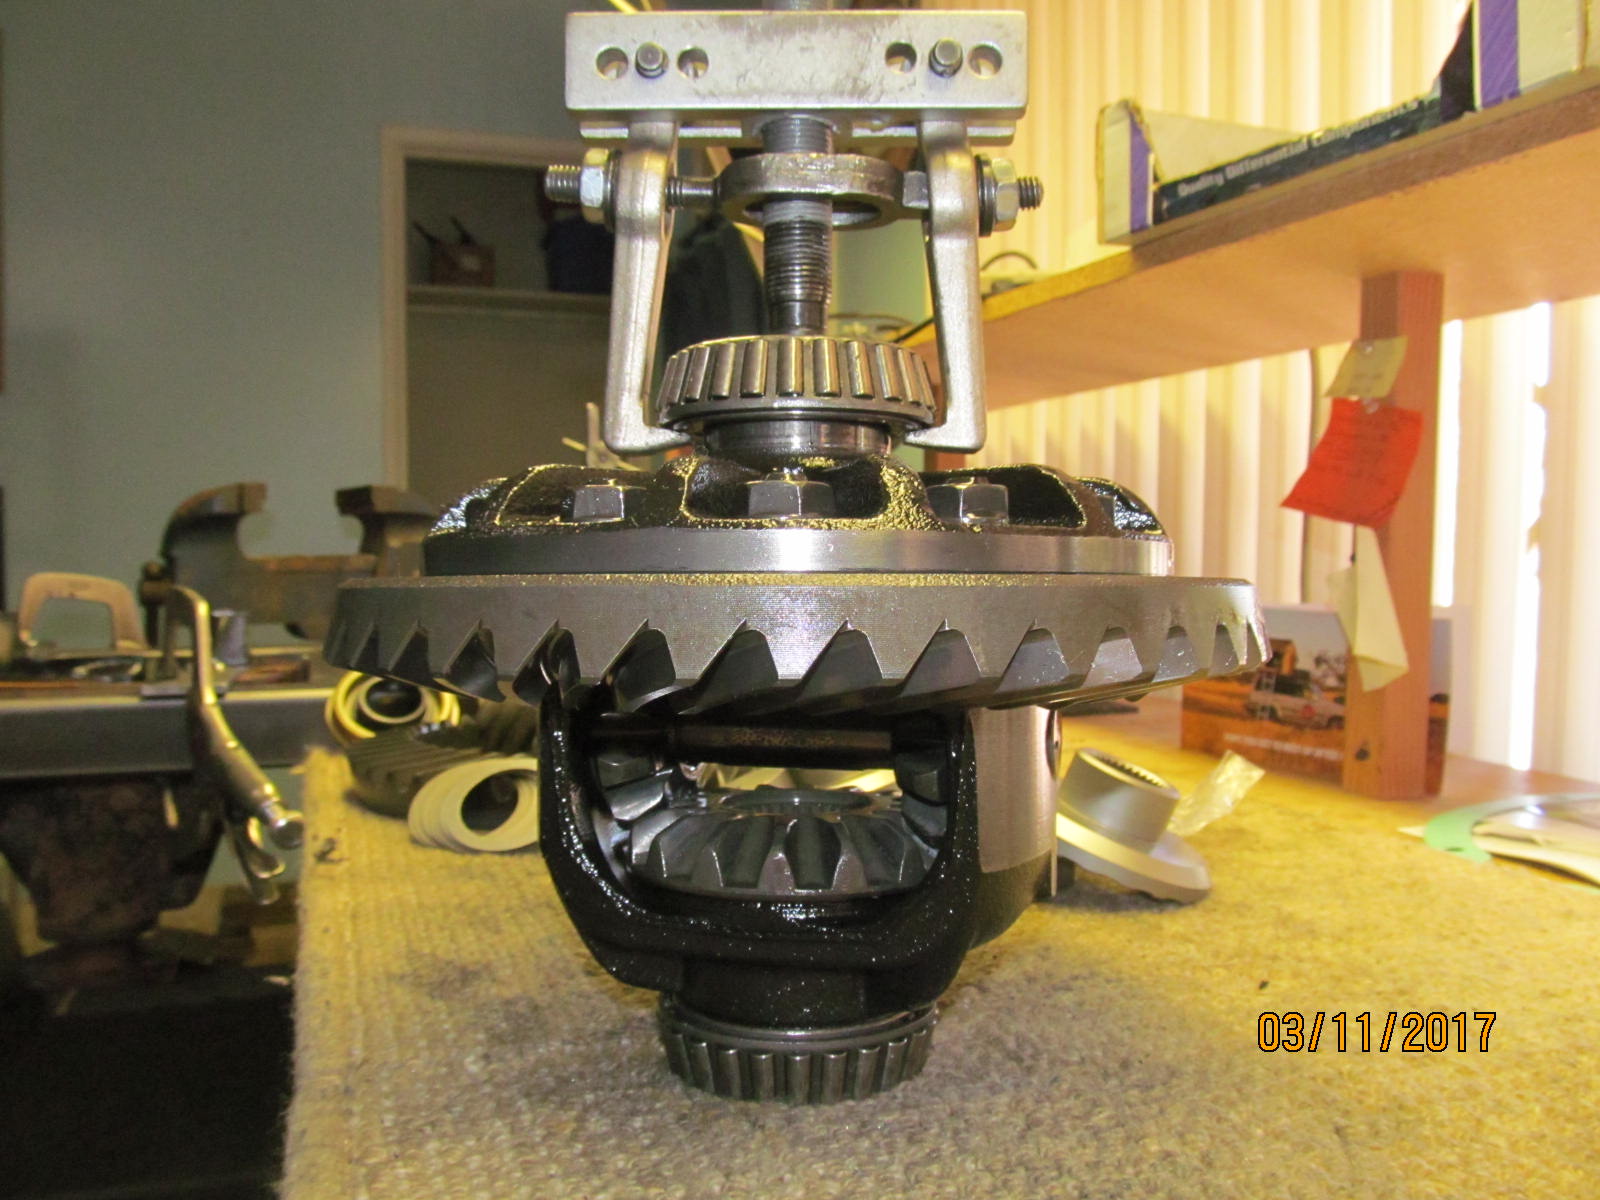
| The carrier bearings are pulled off. So easy with the right puller. |
|
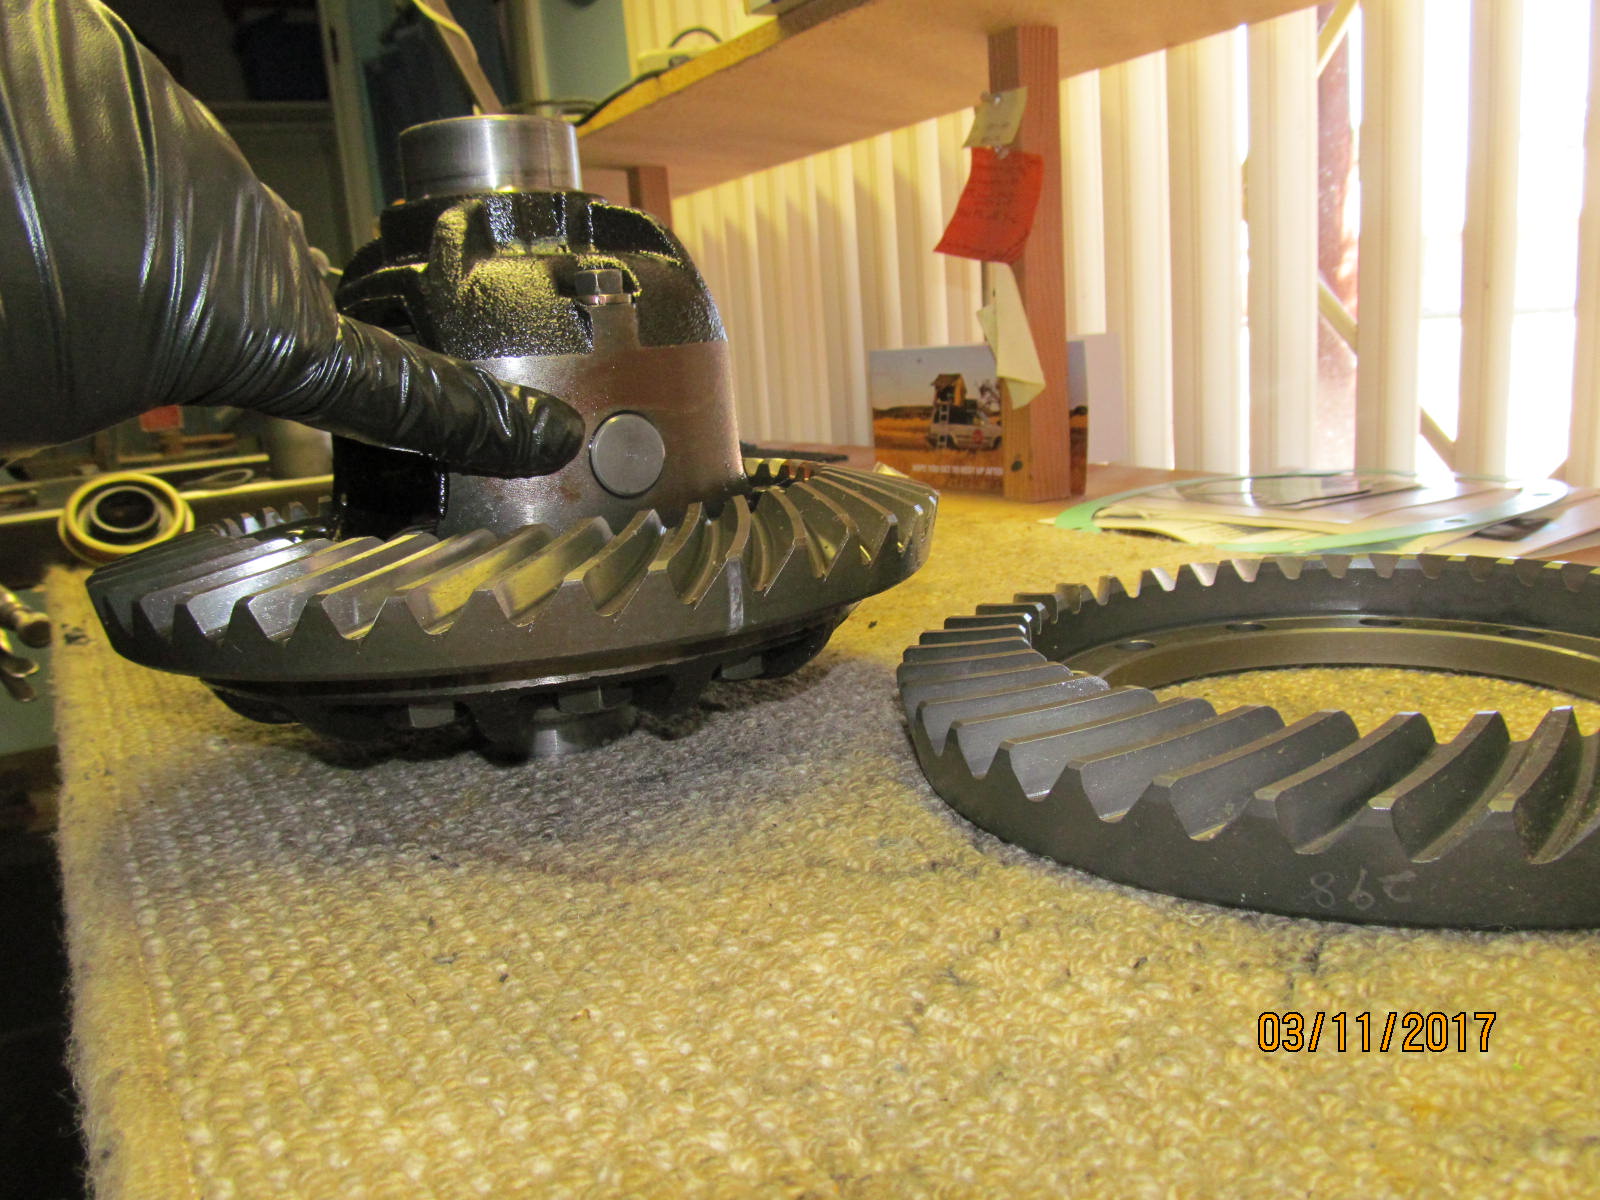
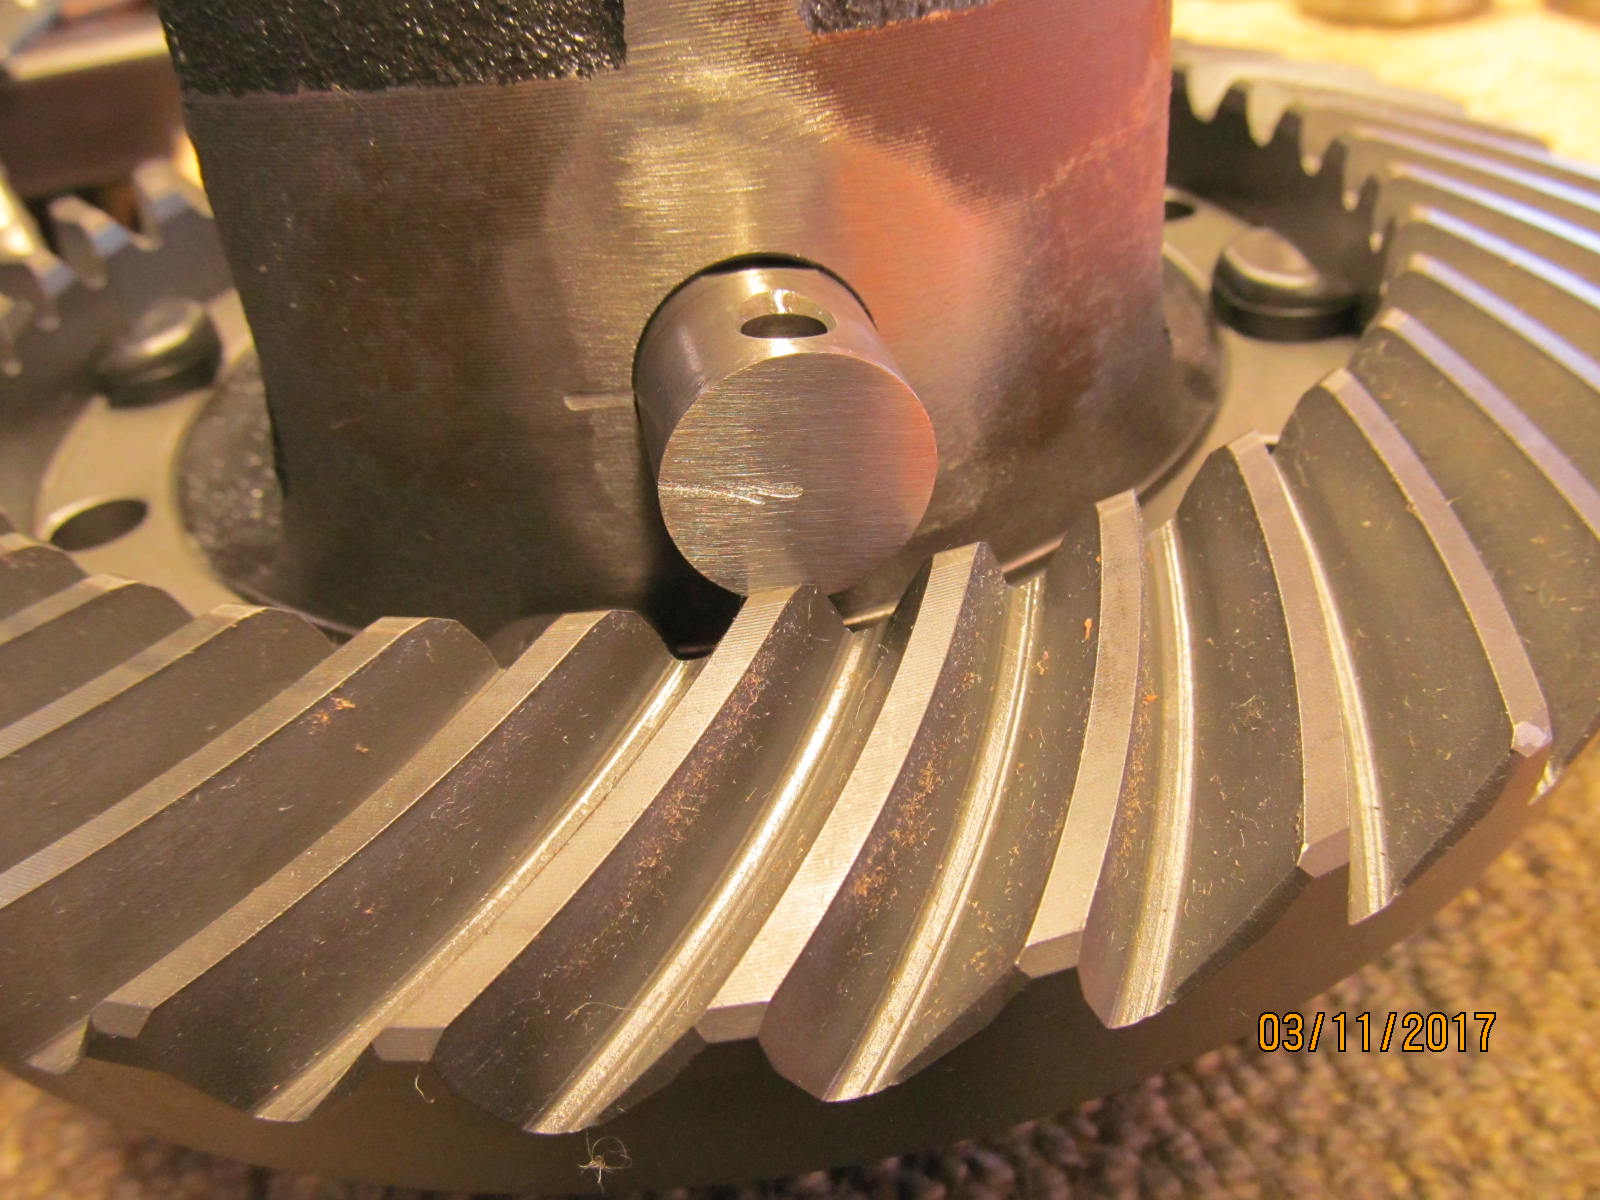
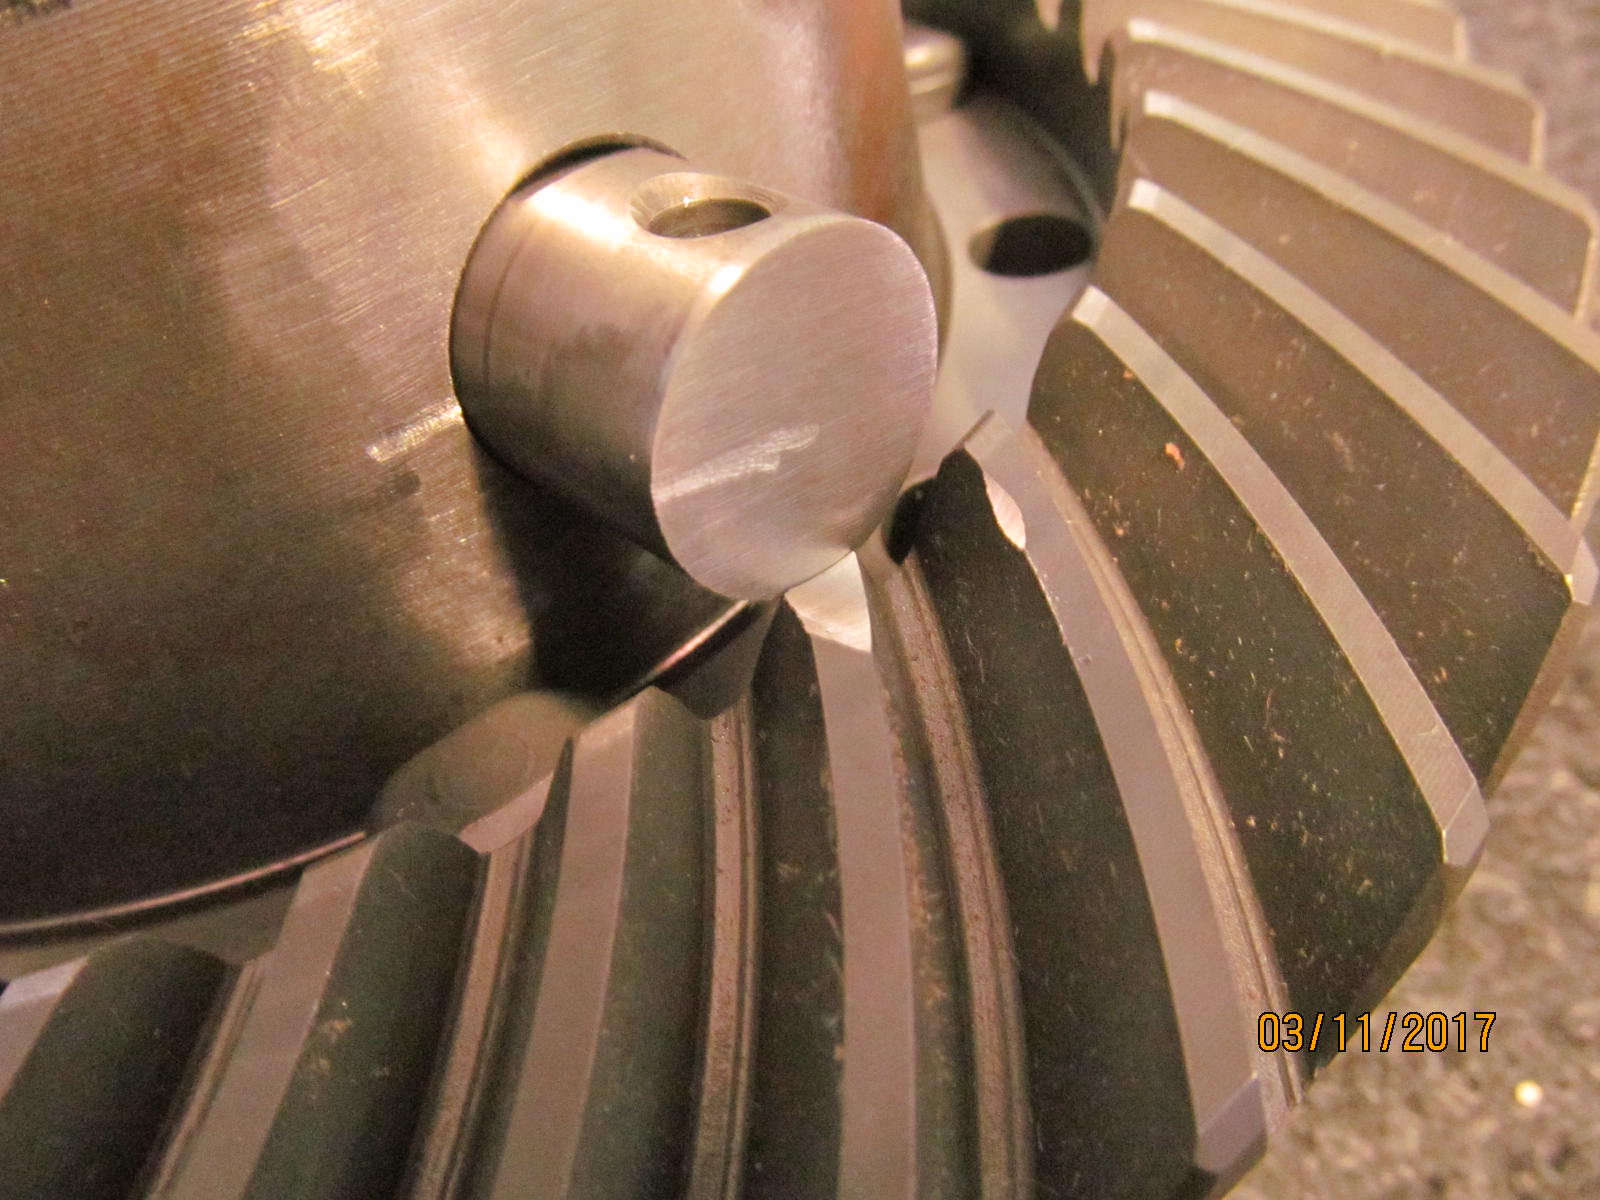
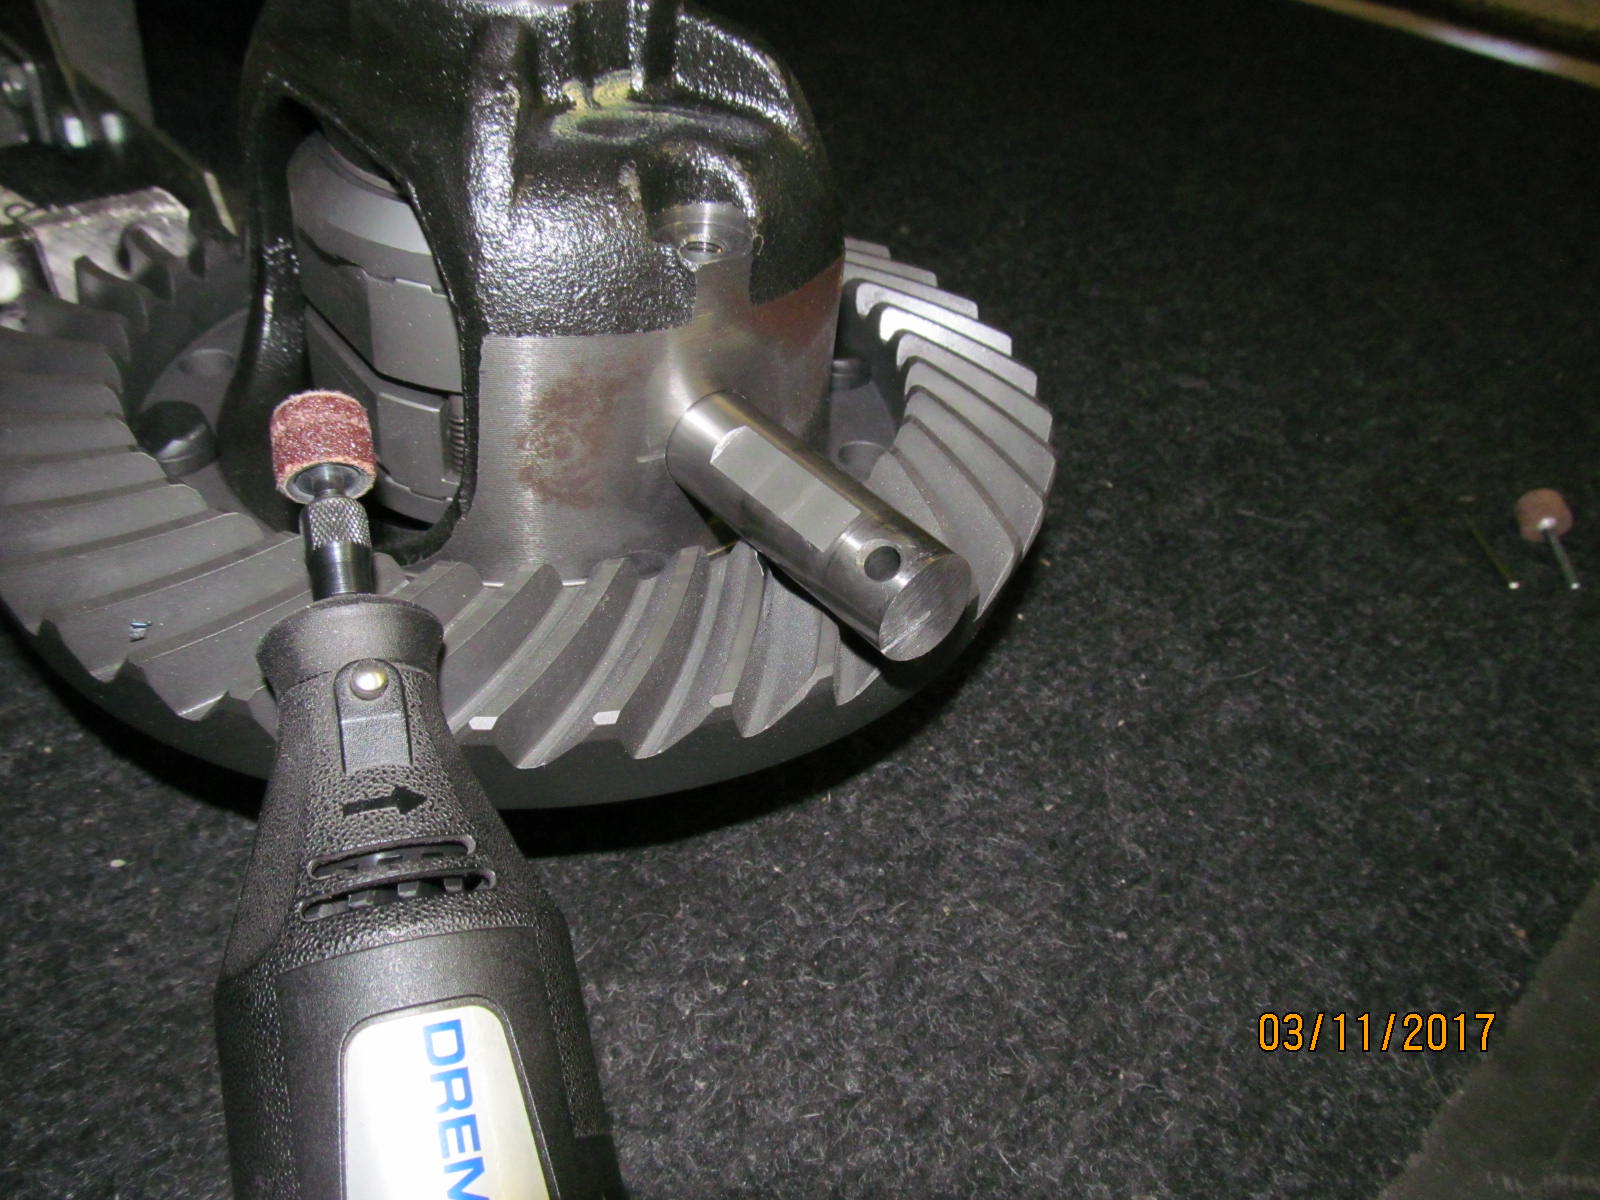
| That cross-pin sticks out just far enough to prevent the old ring gear from slipping past it. |
|
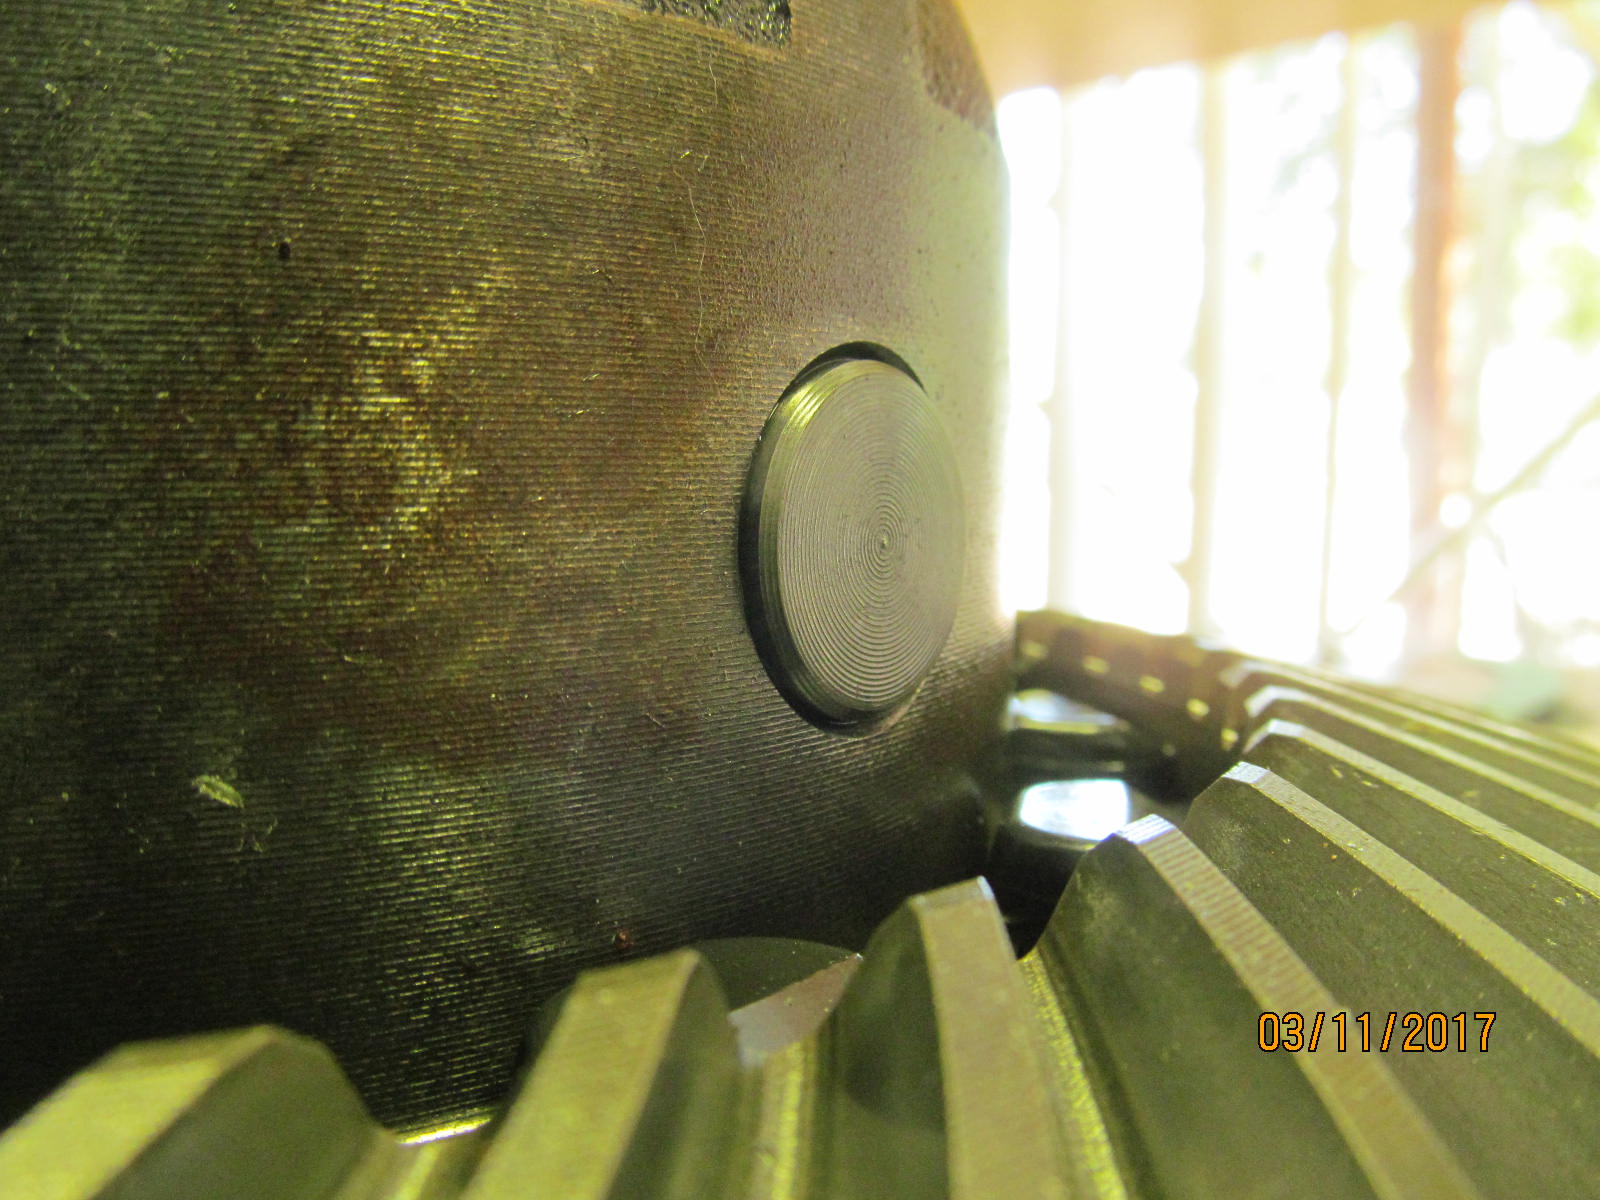
| Close up. |
|
| How a flapper wheel can fix that situation fast. |
|
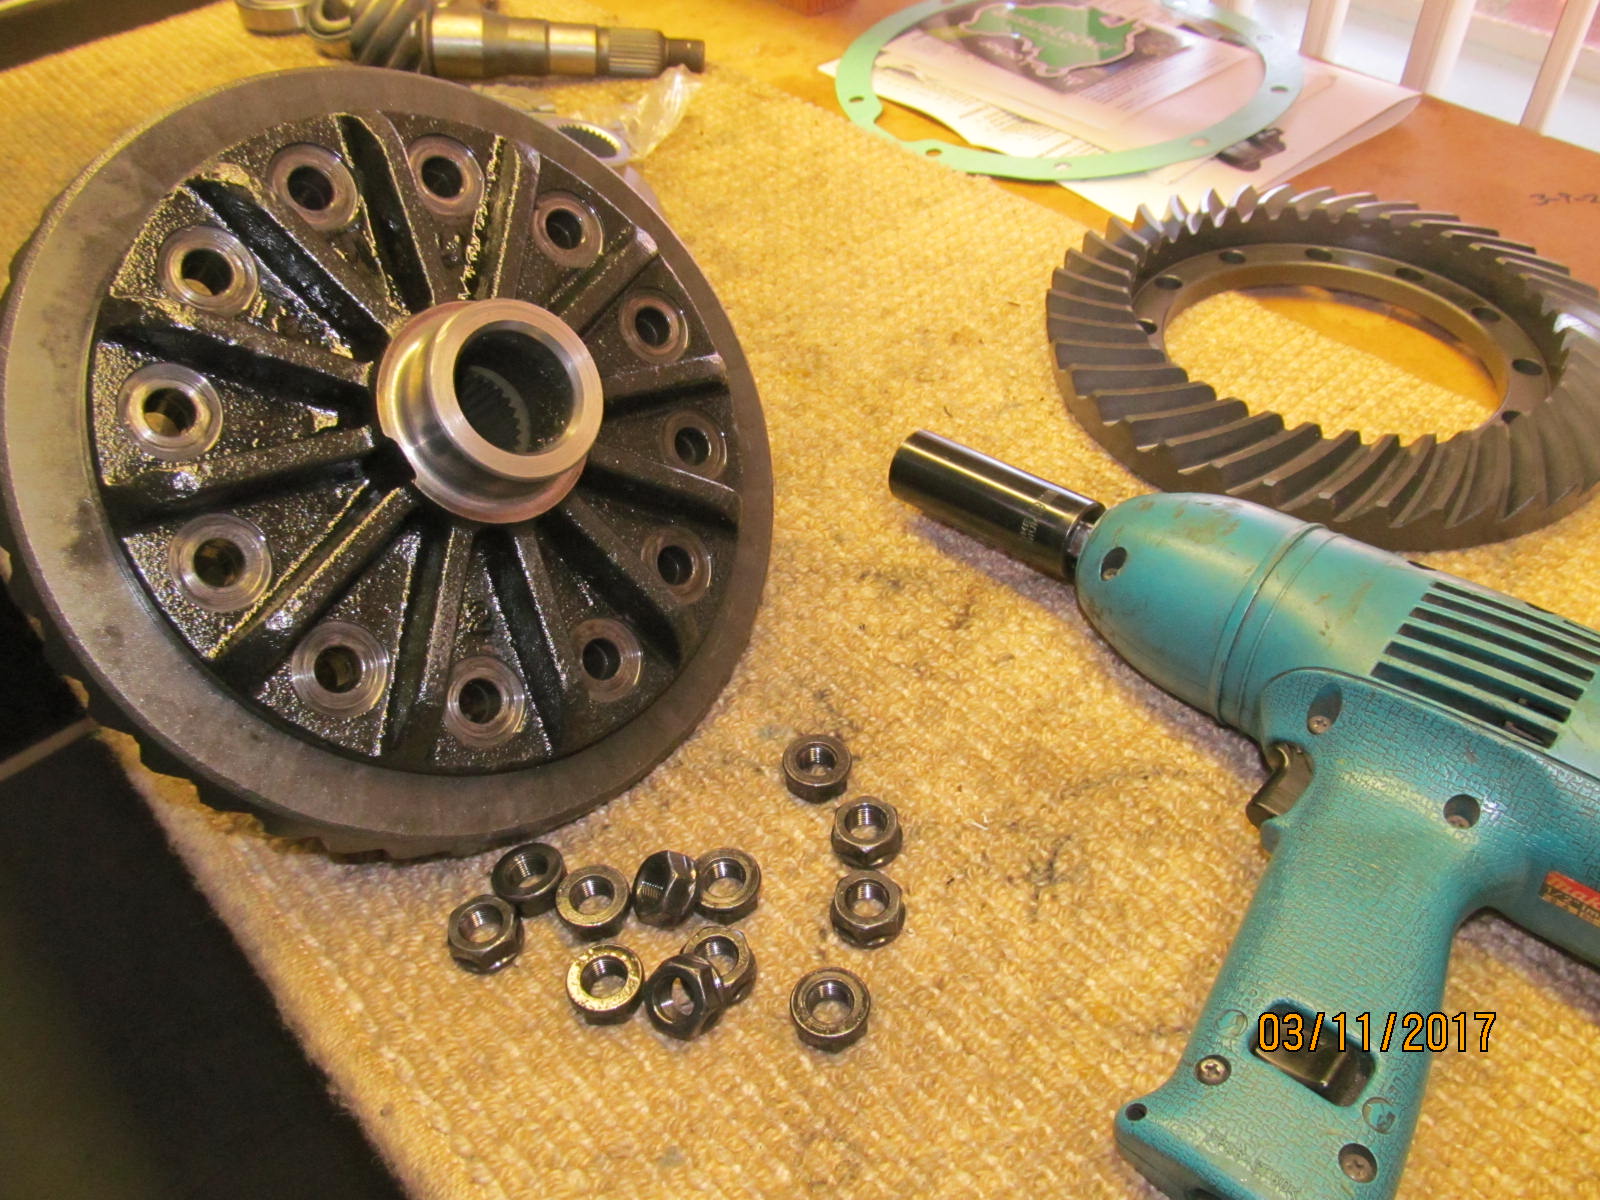
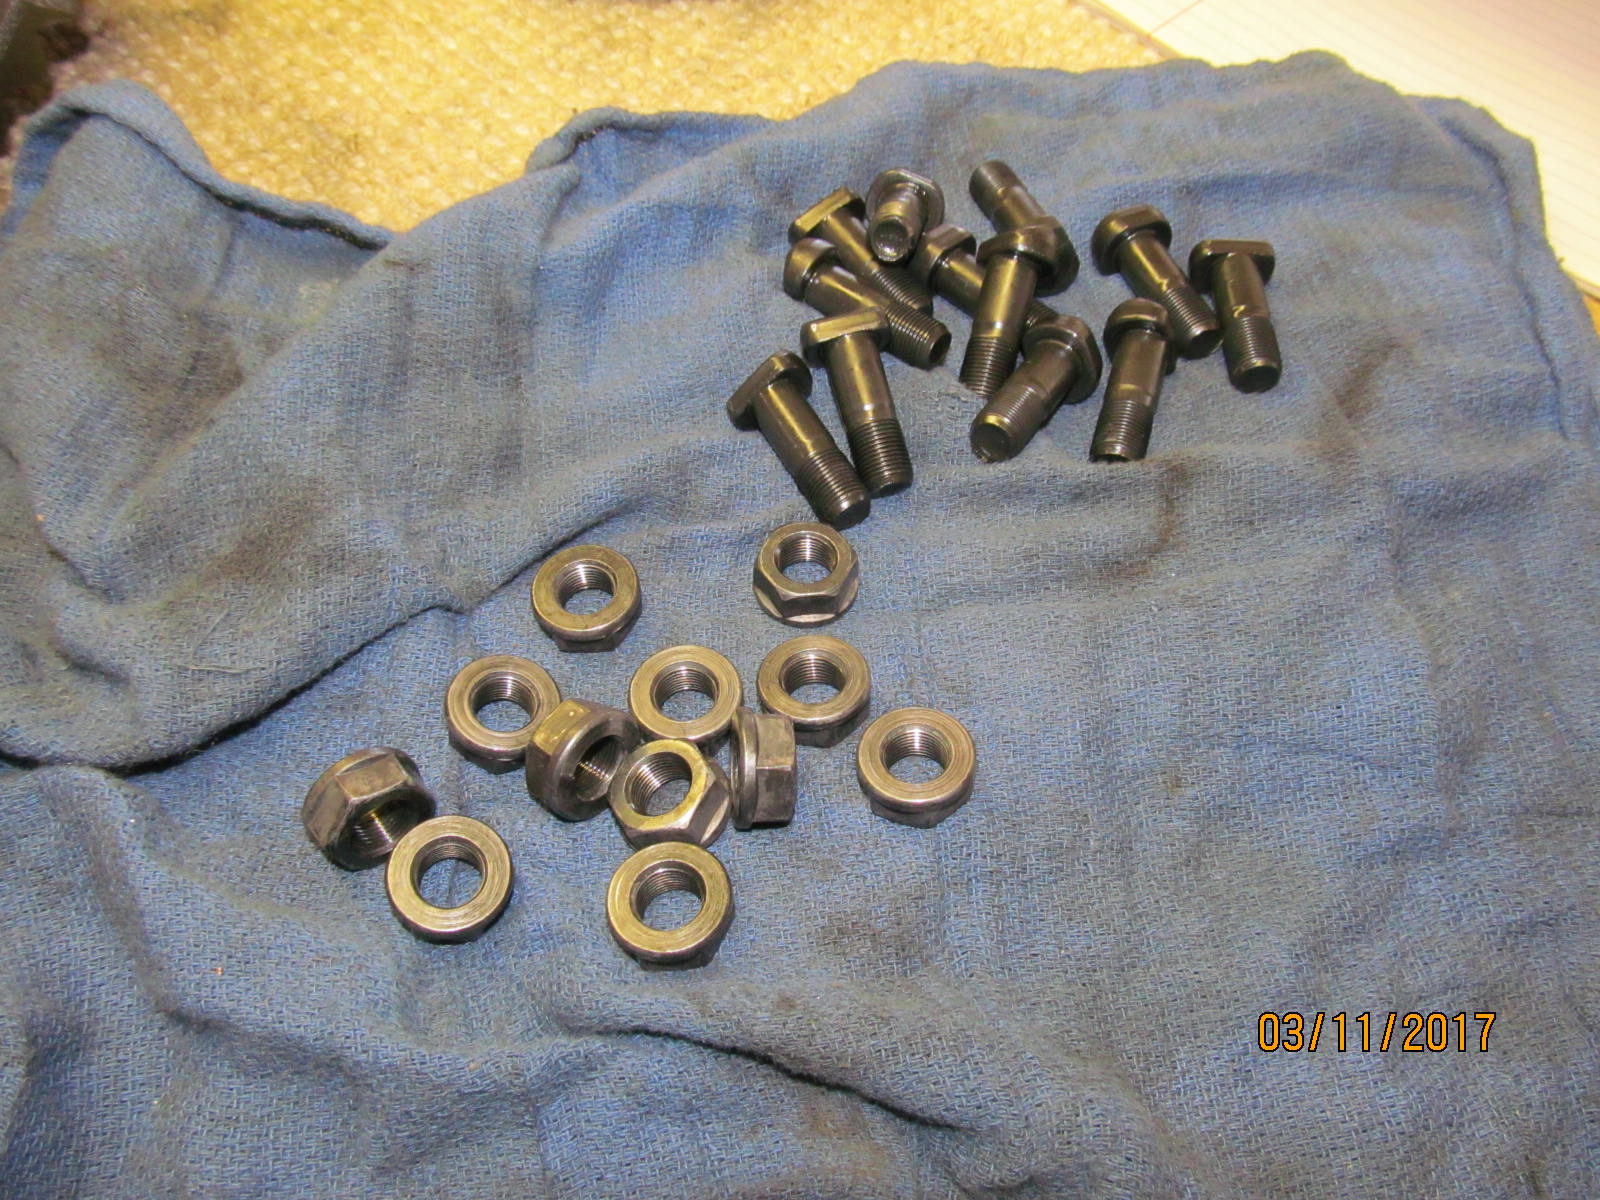
| Remove the 12 ring gear bolts/nuts. |
|
| ........................... |
|
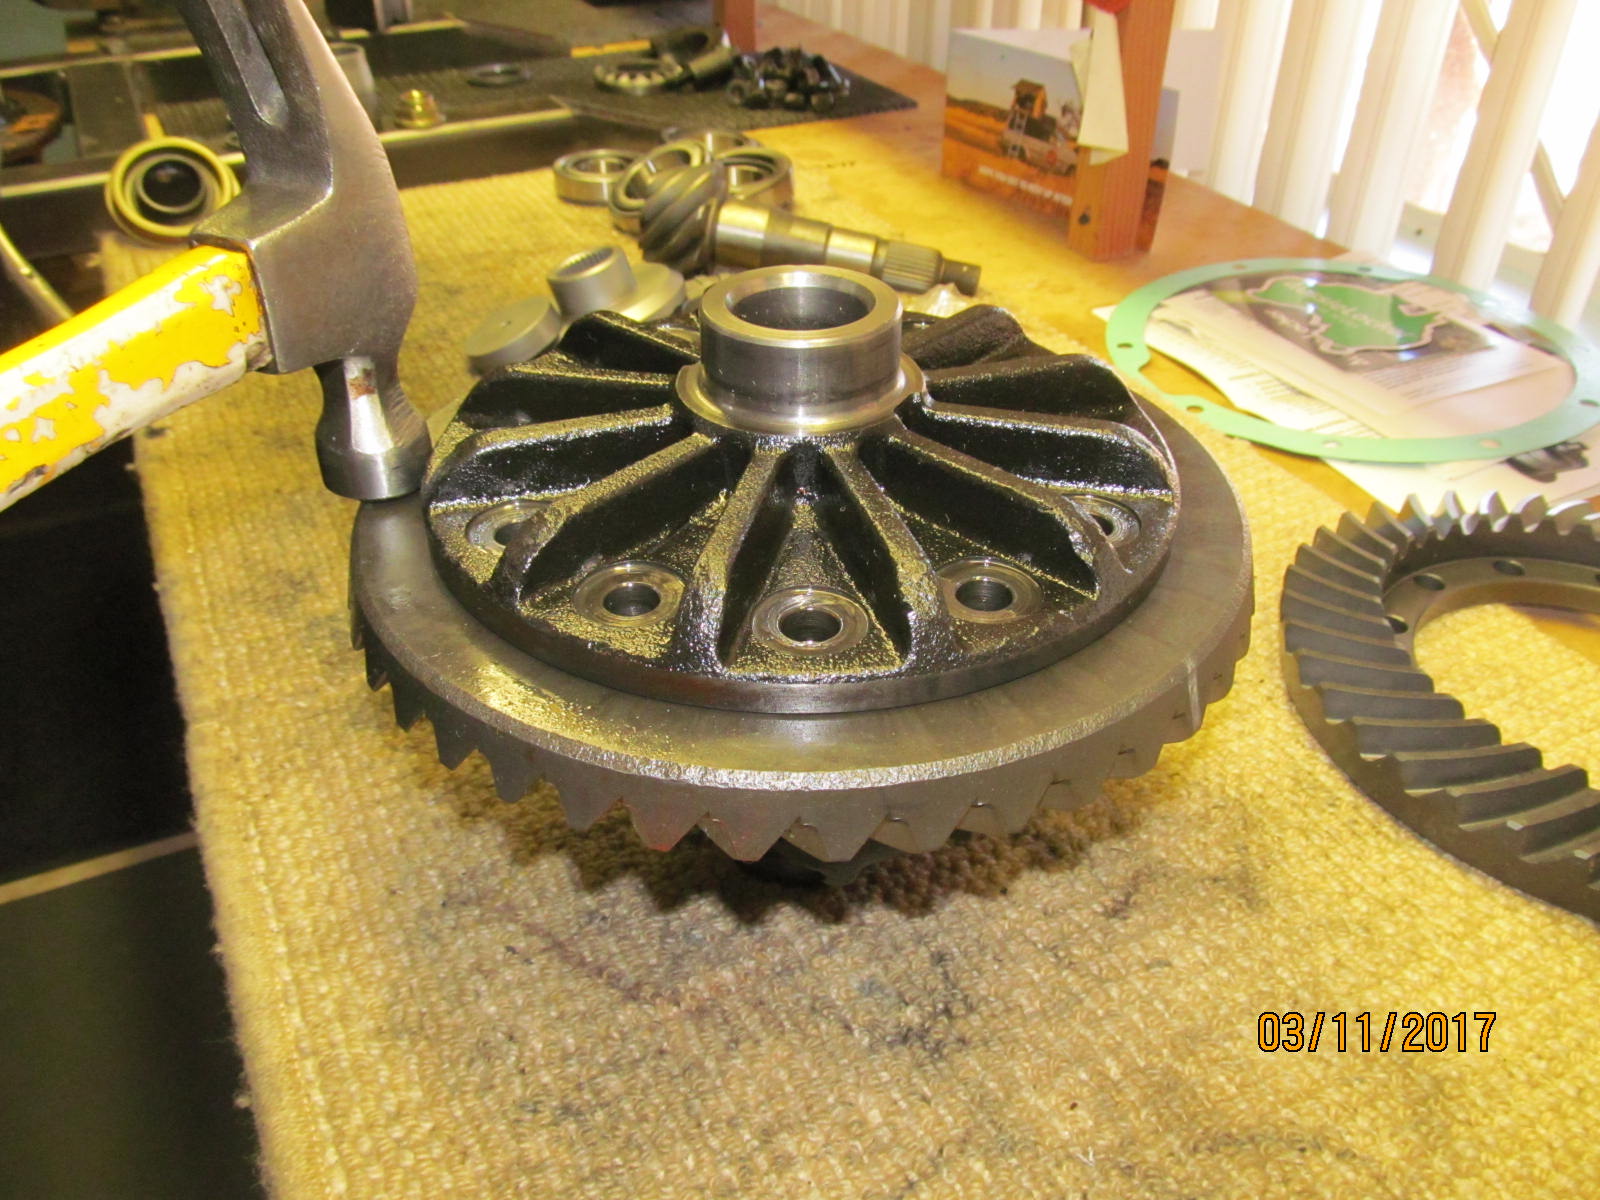
| Tap off the old ring gear. It's a tight fit here. |
|
| Slipped right past the cross-pin. |
|
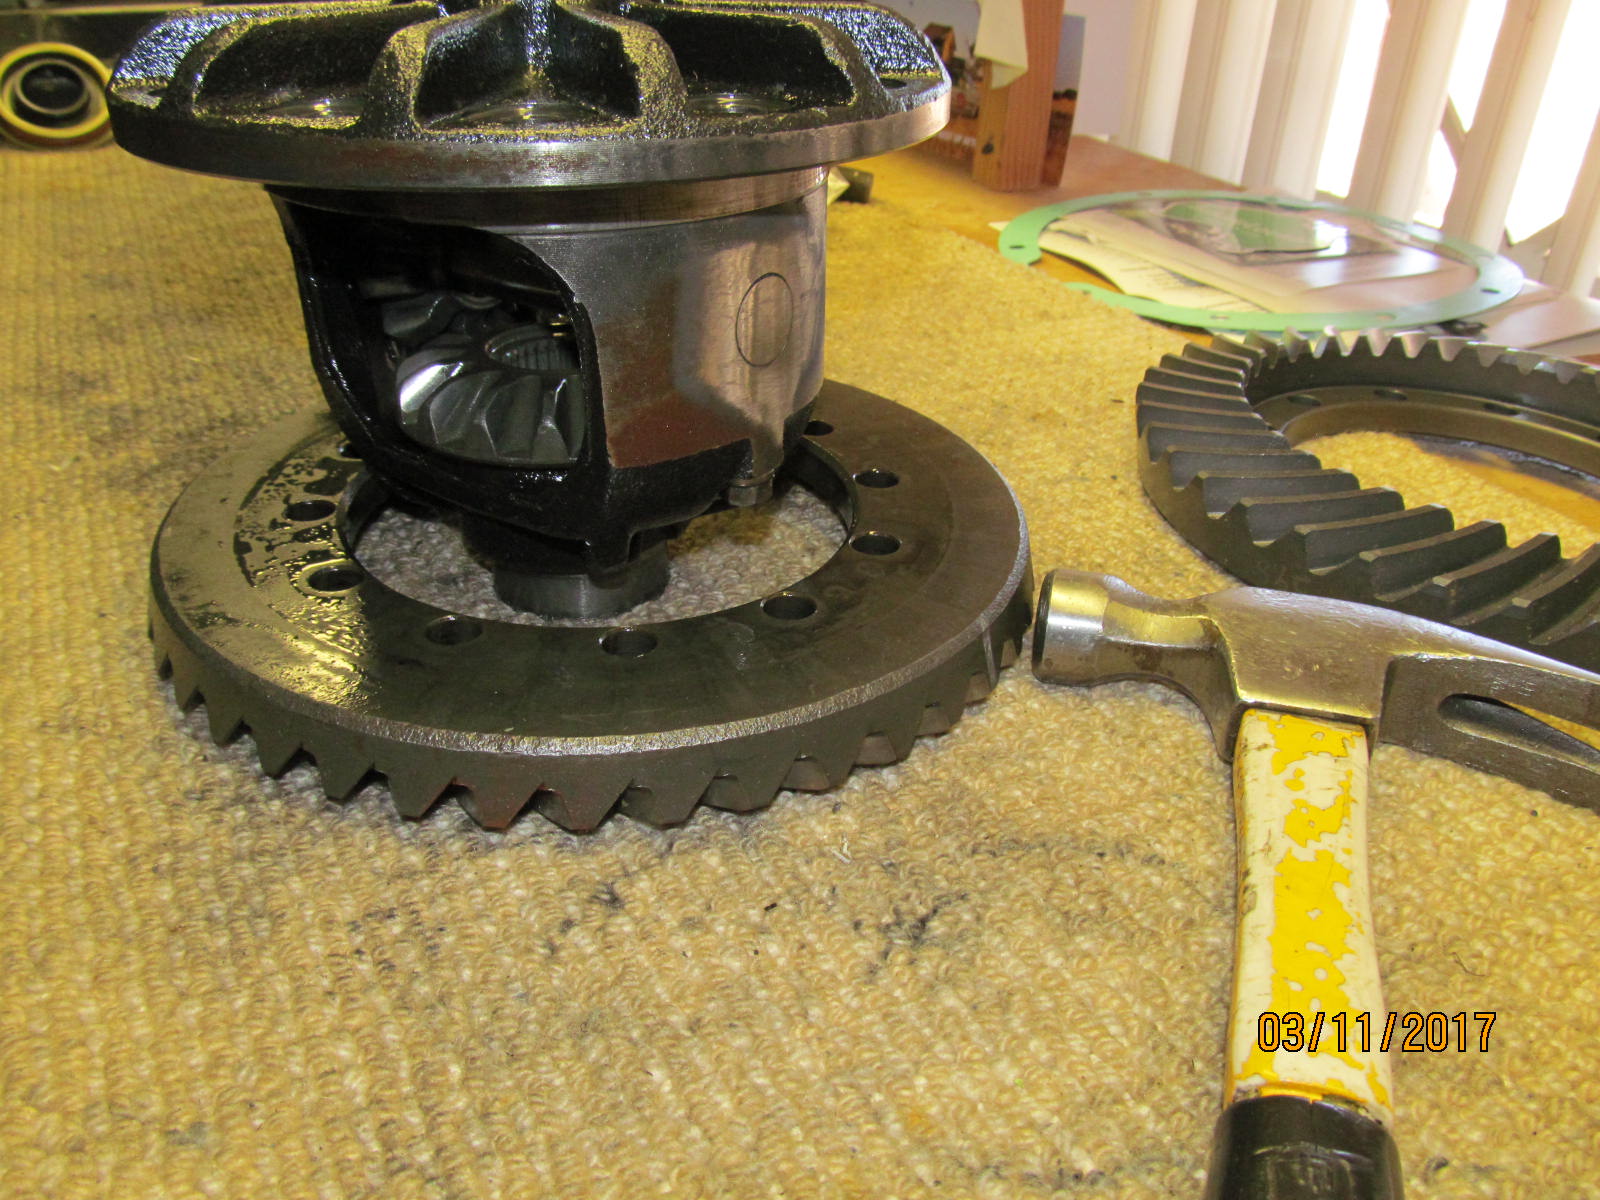
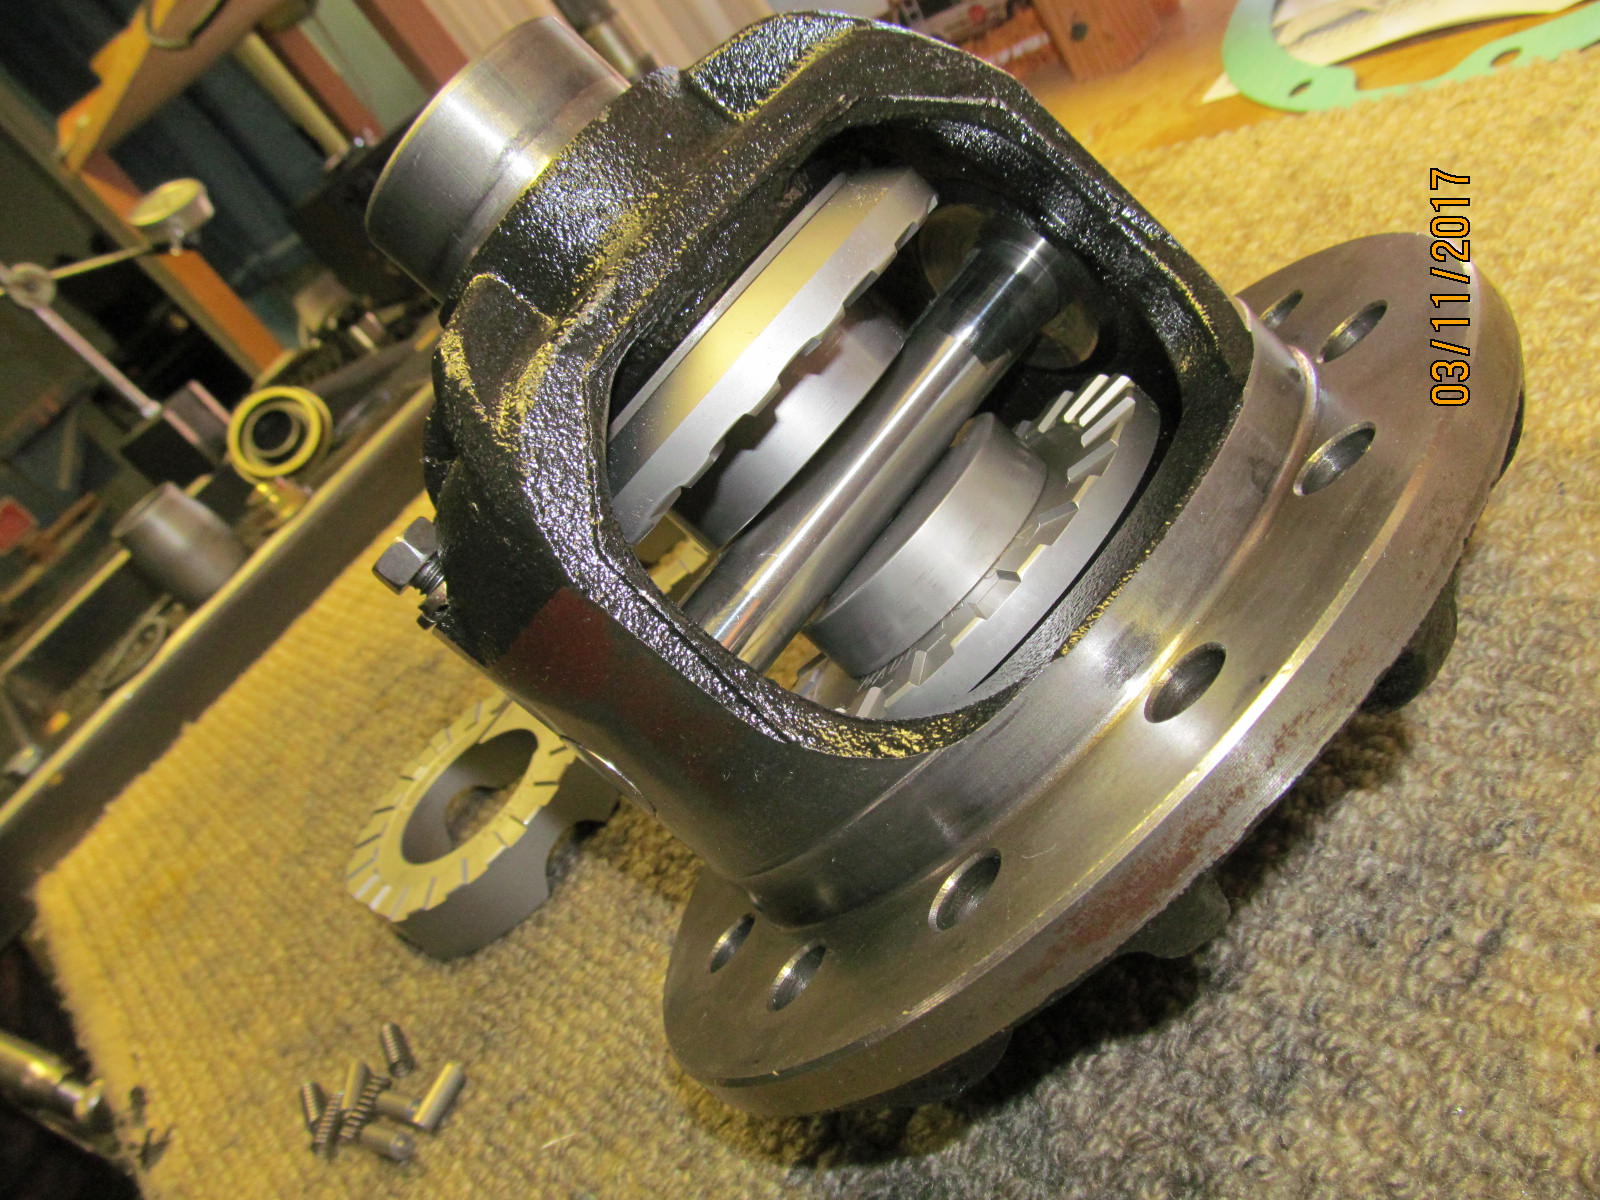
| The Aussie will now be installed. Cross-pin comes out. |
|
| Minimal wear was noted. All is good. |
|
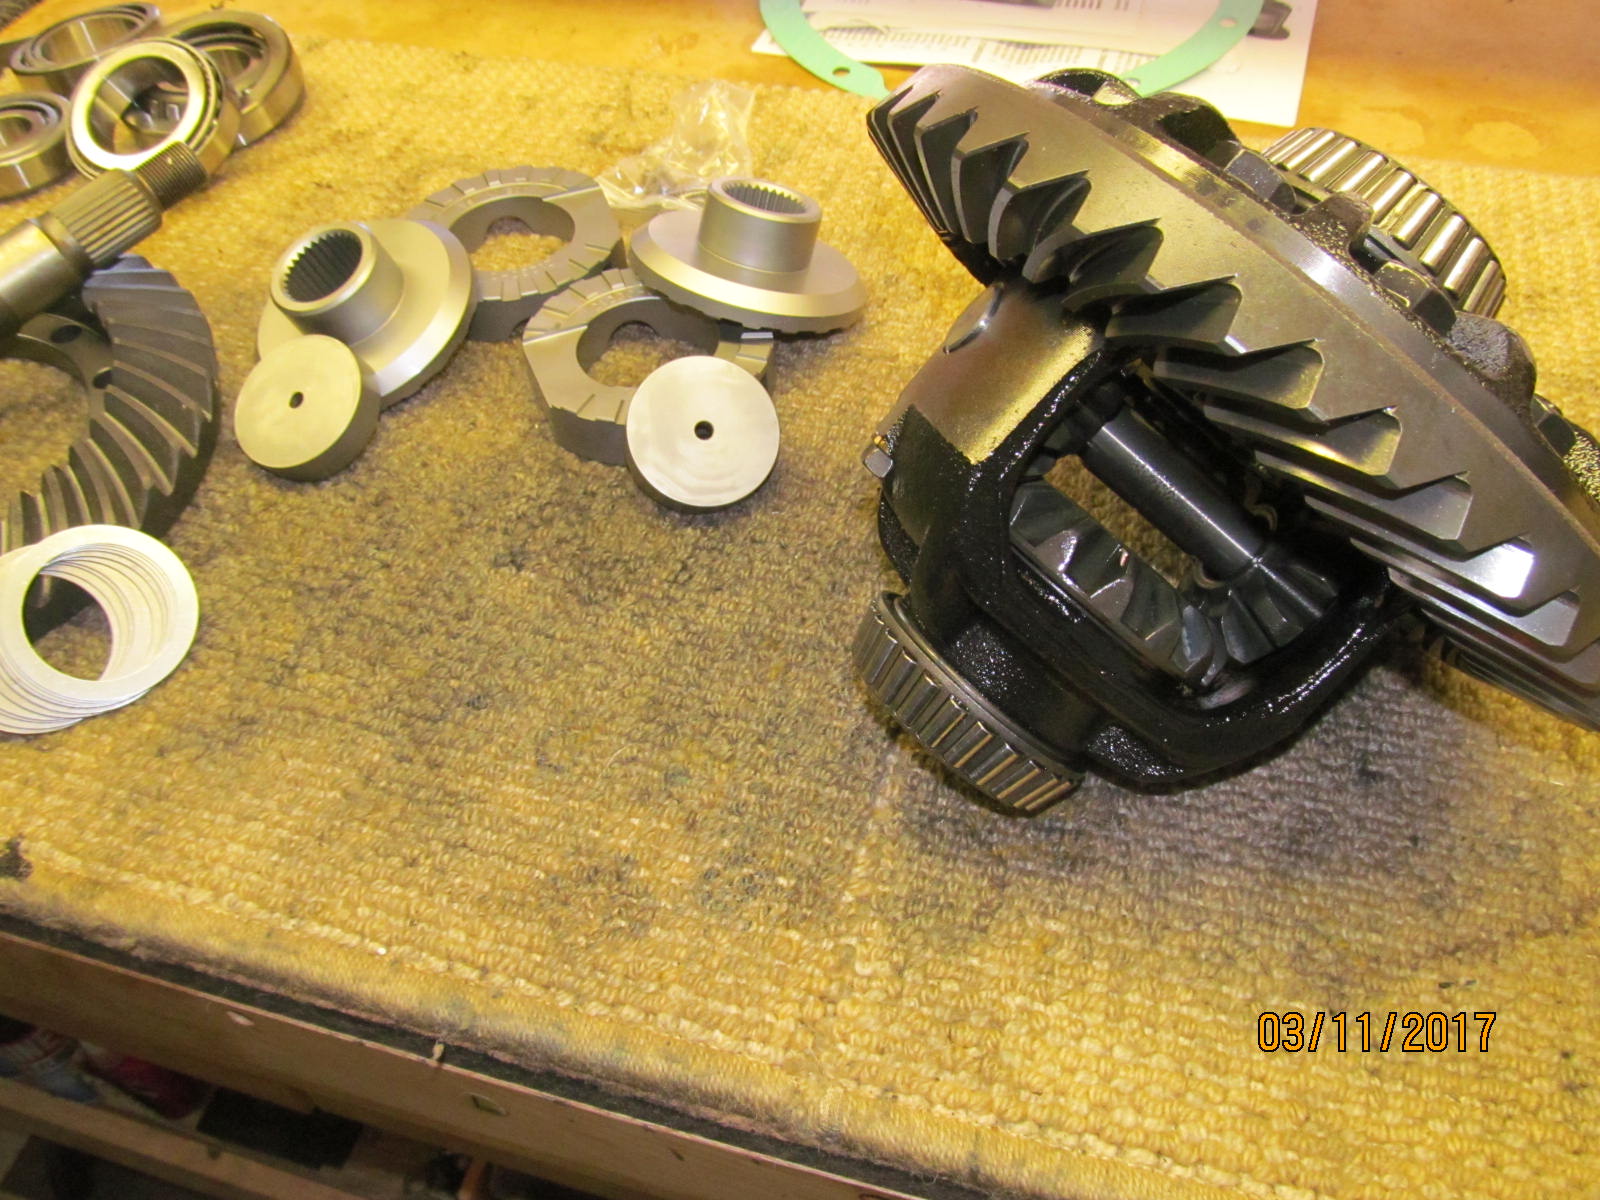
| Spiders and sidegears come out. |
|
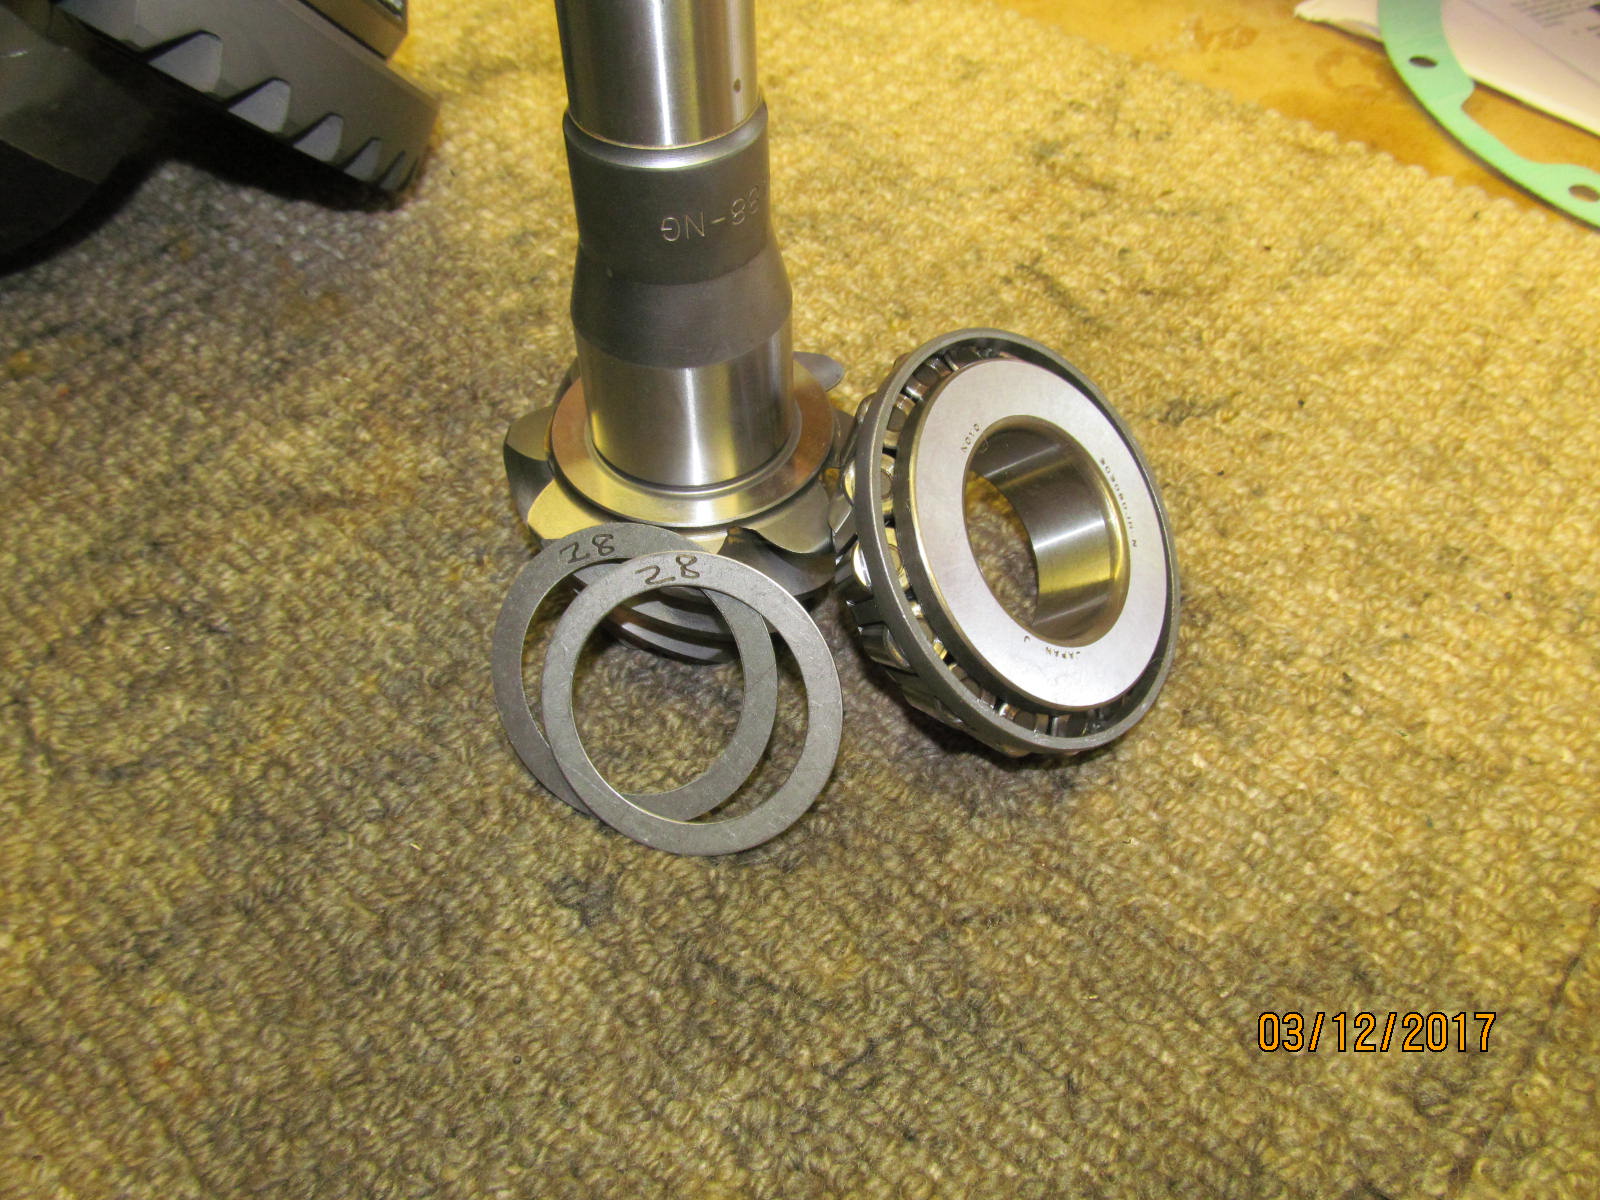
| The side gear thrust washers(.0748" thick each) will be re-used. |
|
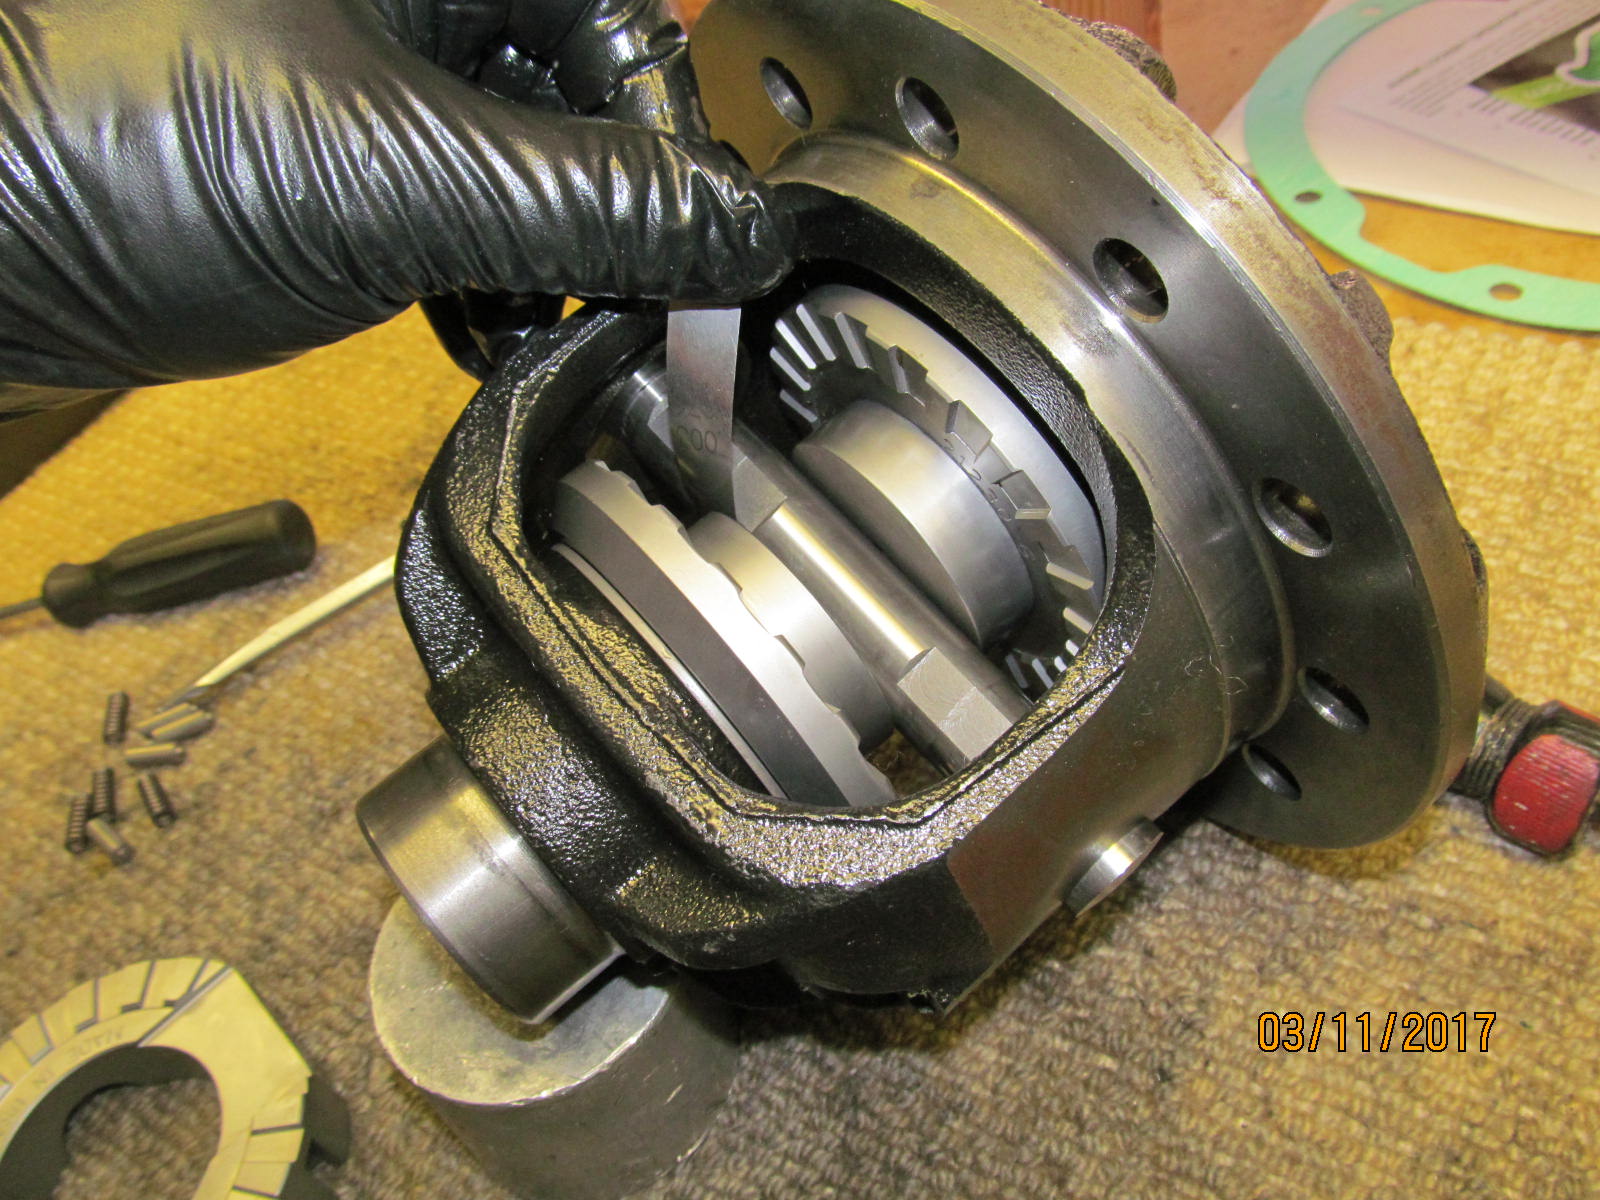
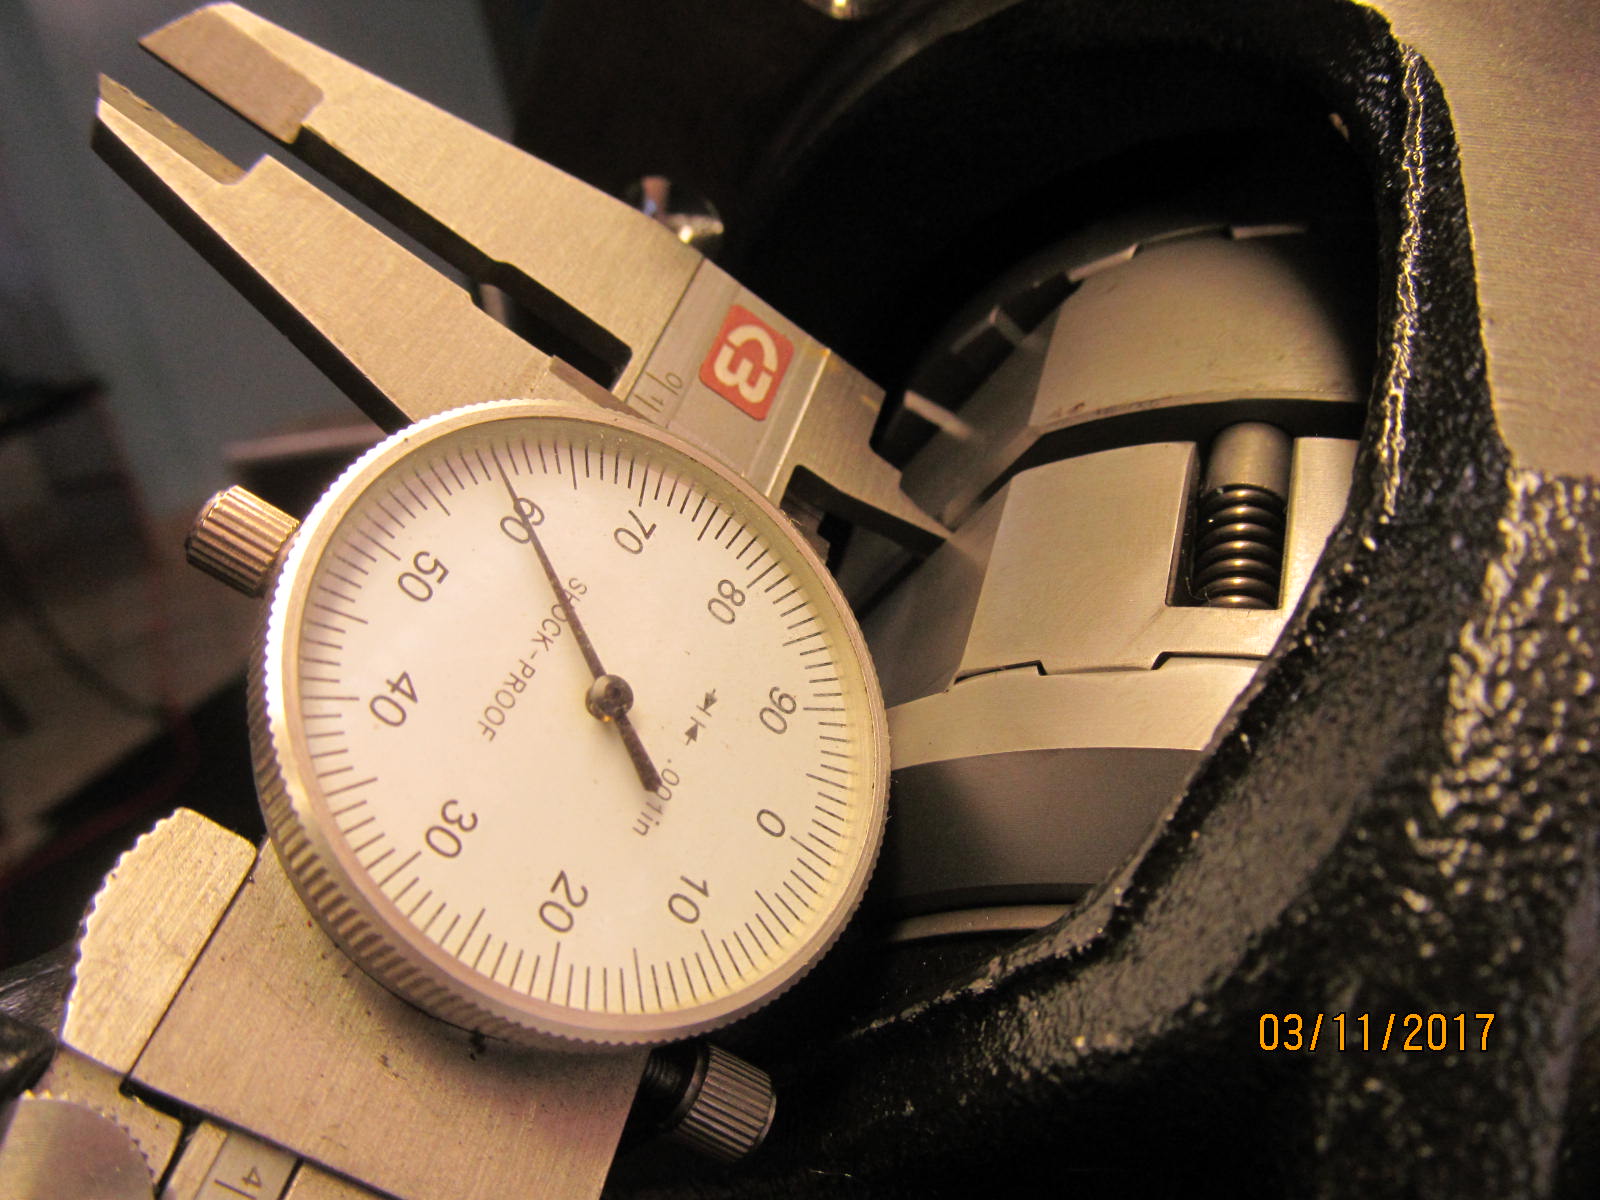
| First, a clearance check will be done. |
|
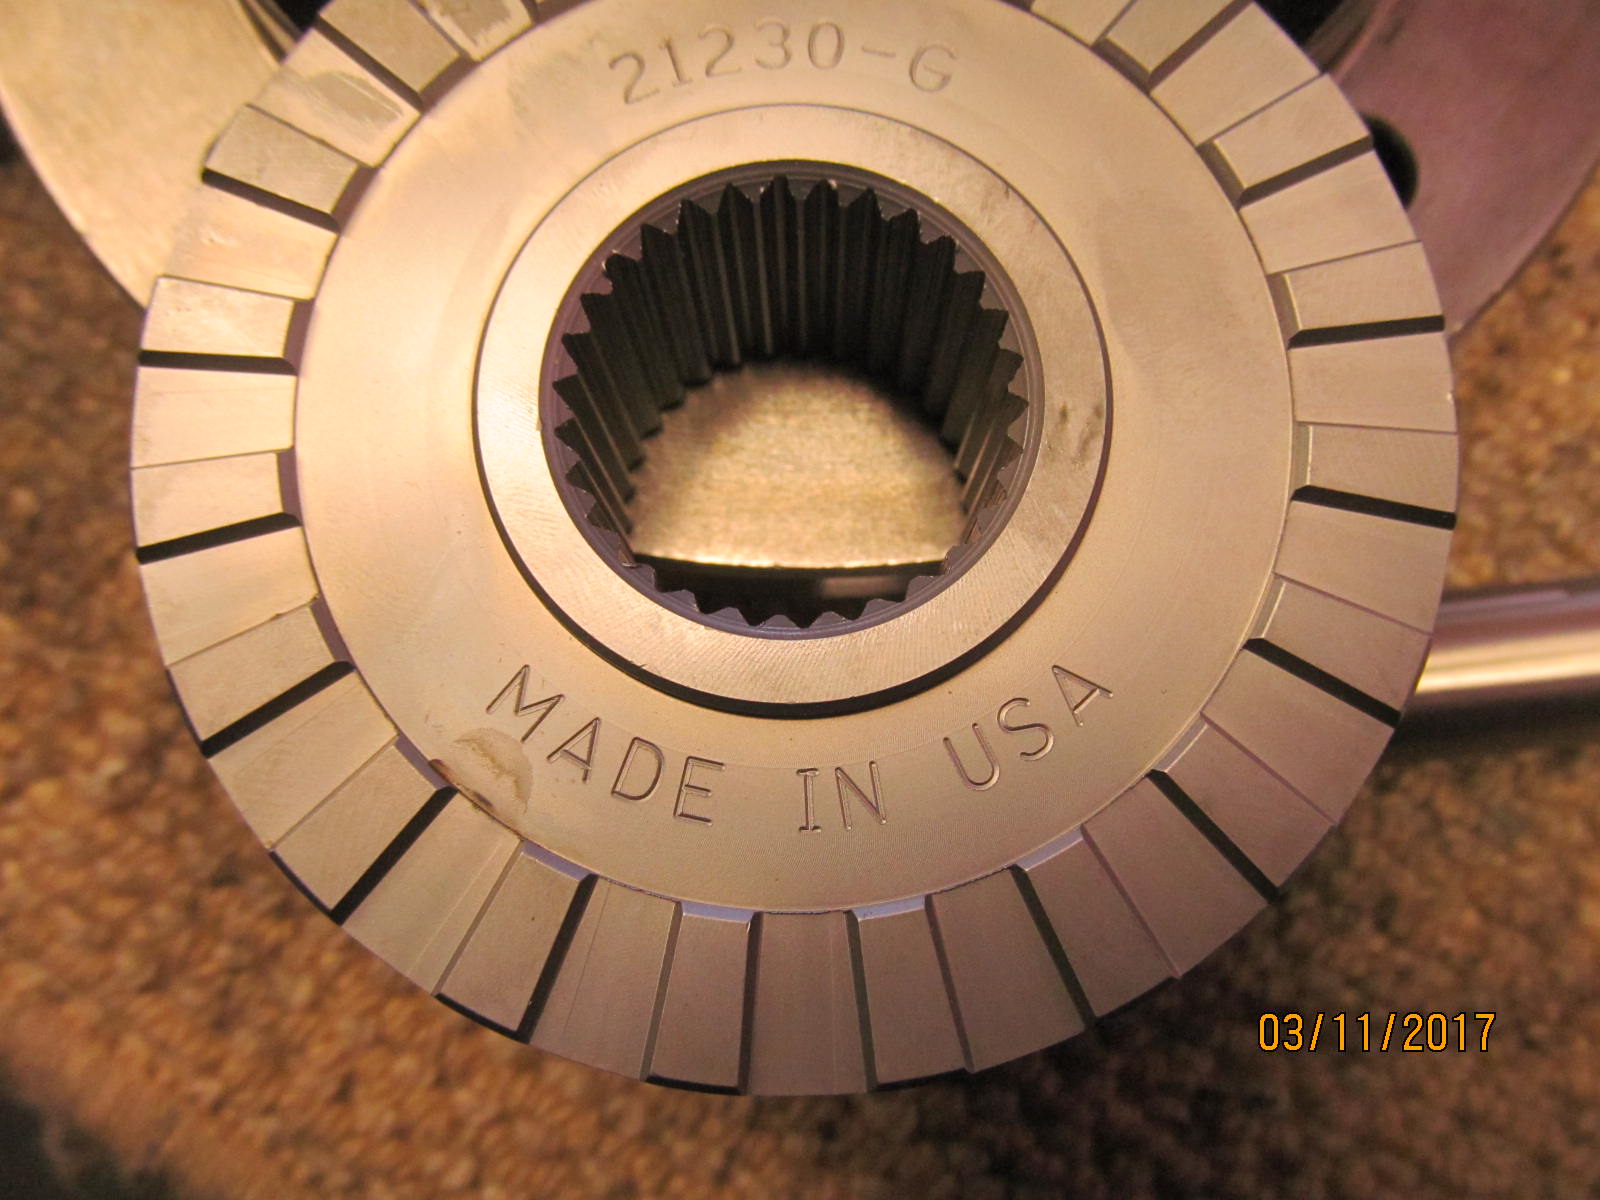
| Aussie Locker.....Made in USA. Rochester, NY. Thank you Cora for keeping the Aussie alive and well. A solid product proven strong. |
|
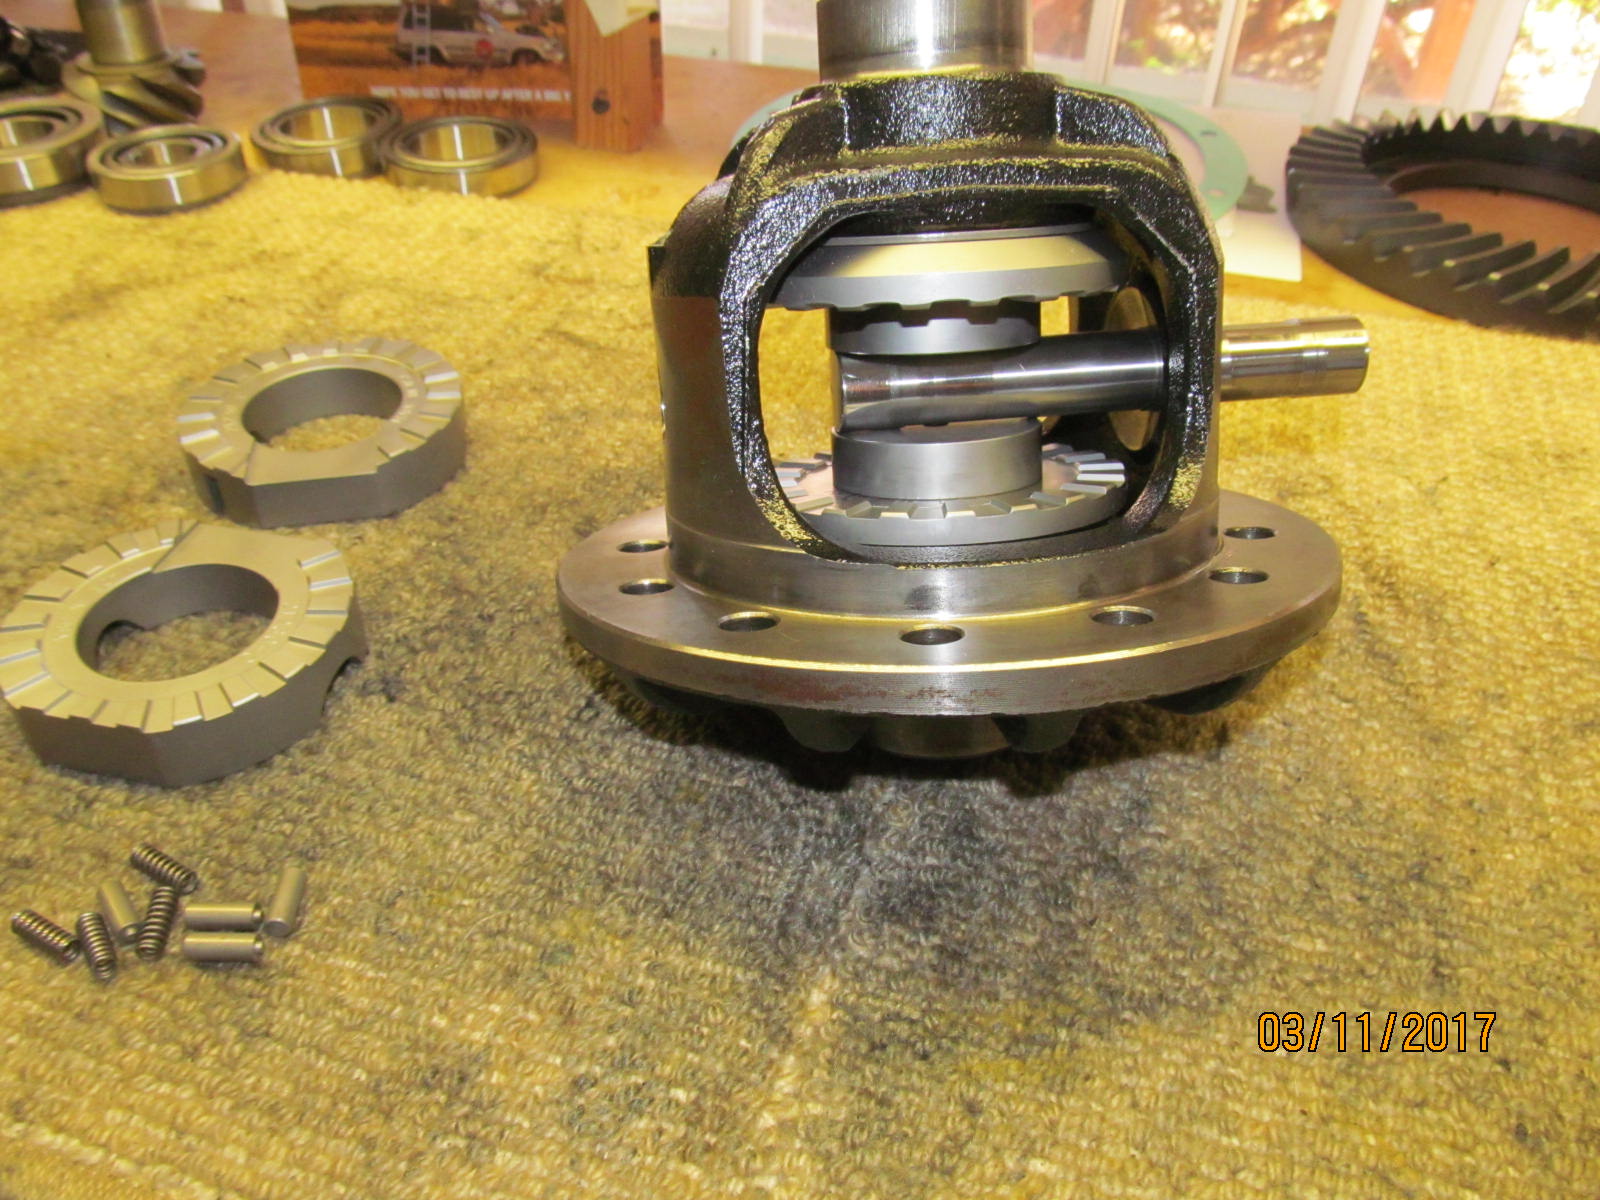
| Leaving out the drive cam gears will allow us to measure the tolerances. |
|
| ........................... |
|
| .003~.004" was measured in all 4 locations. |
|
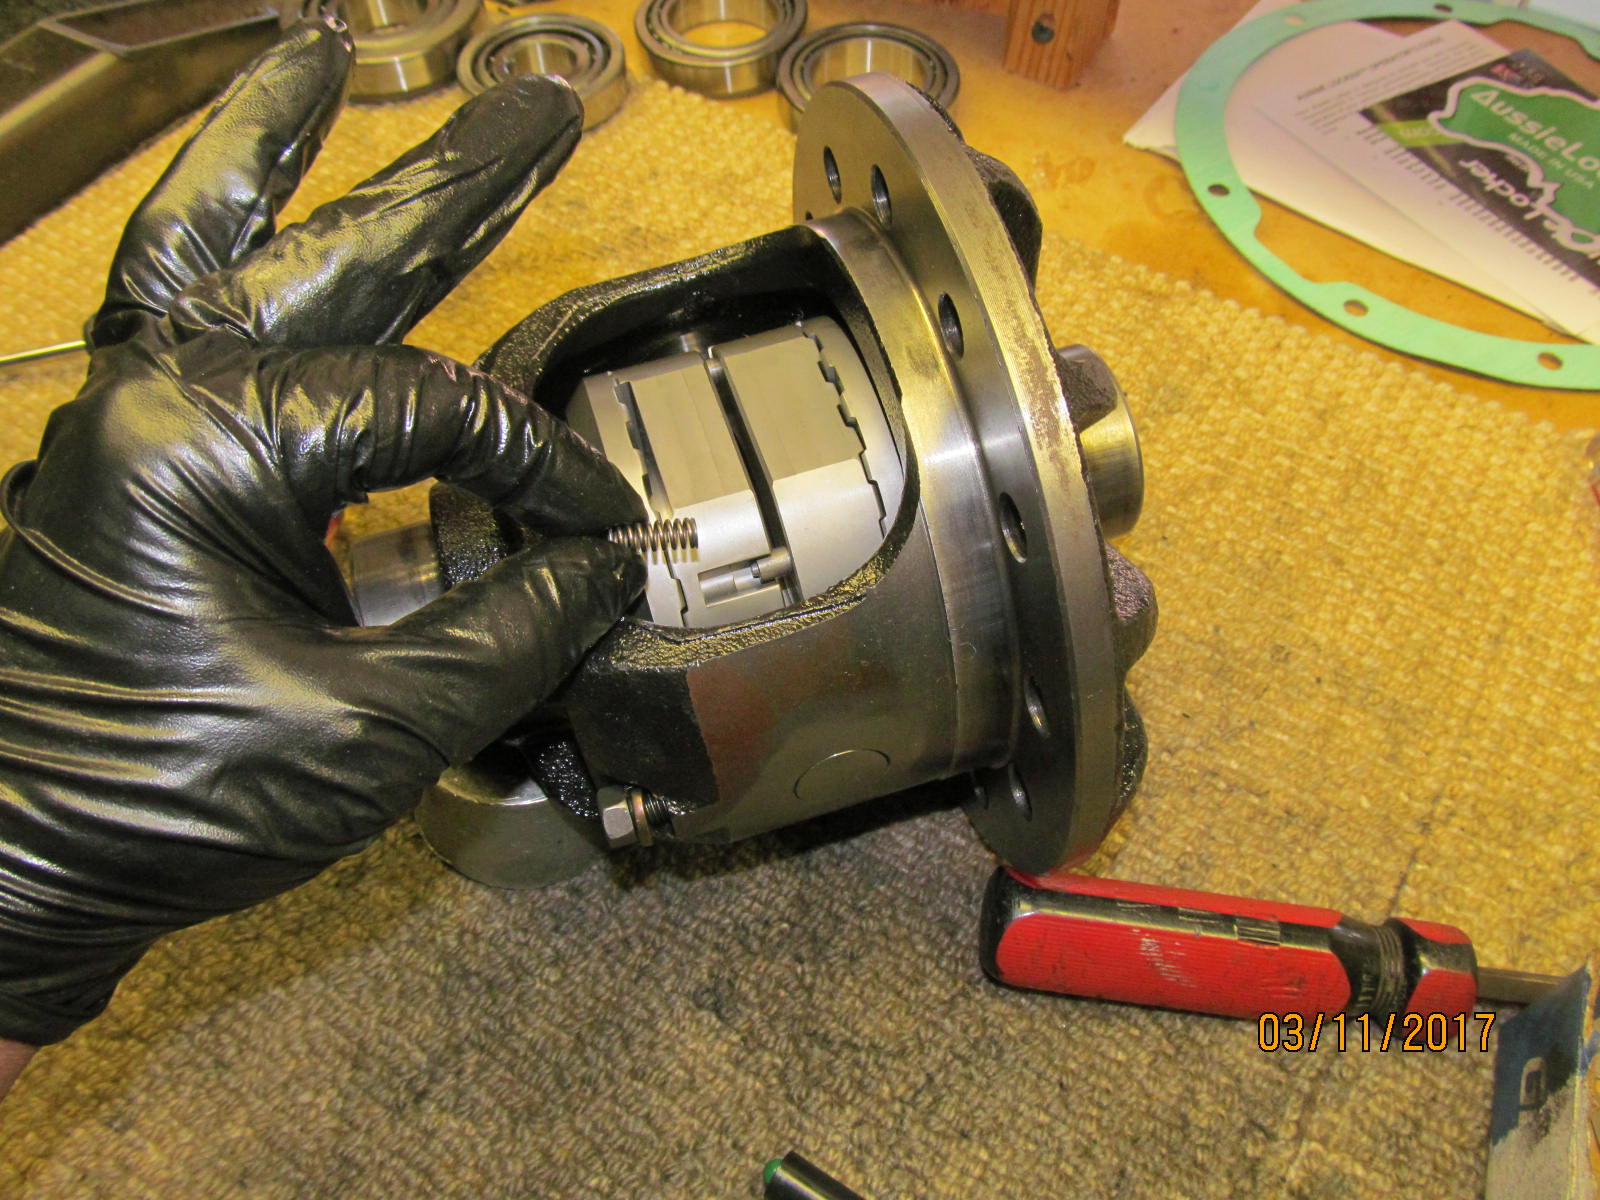
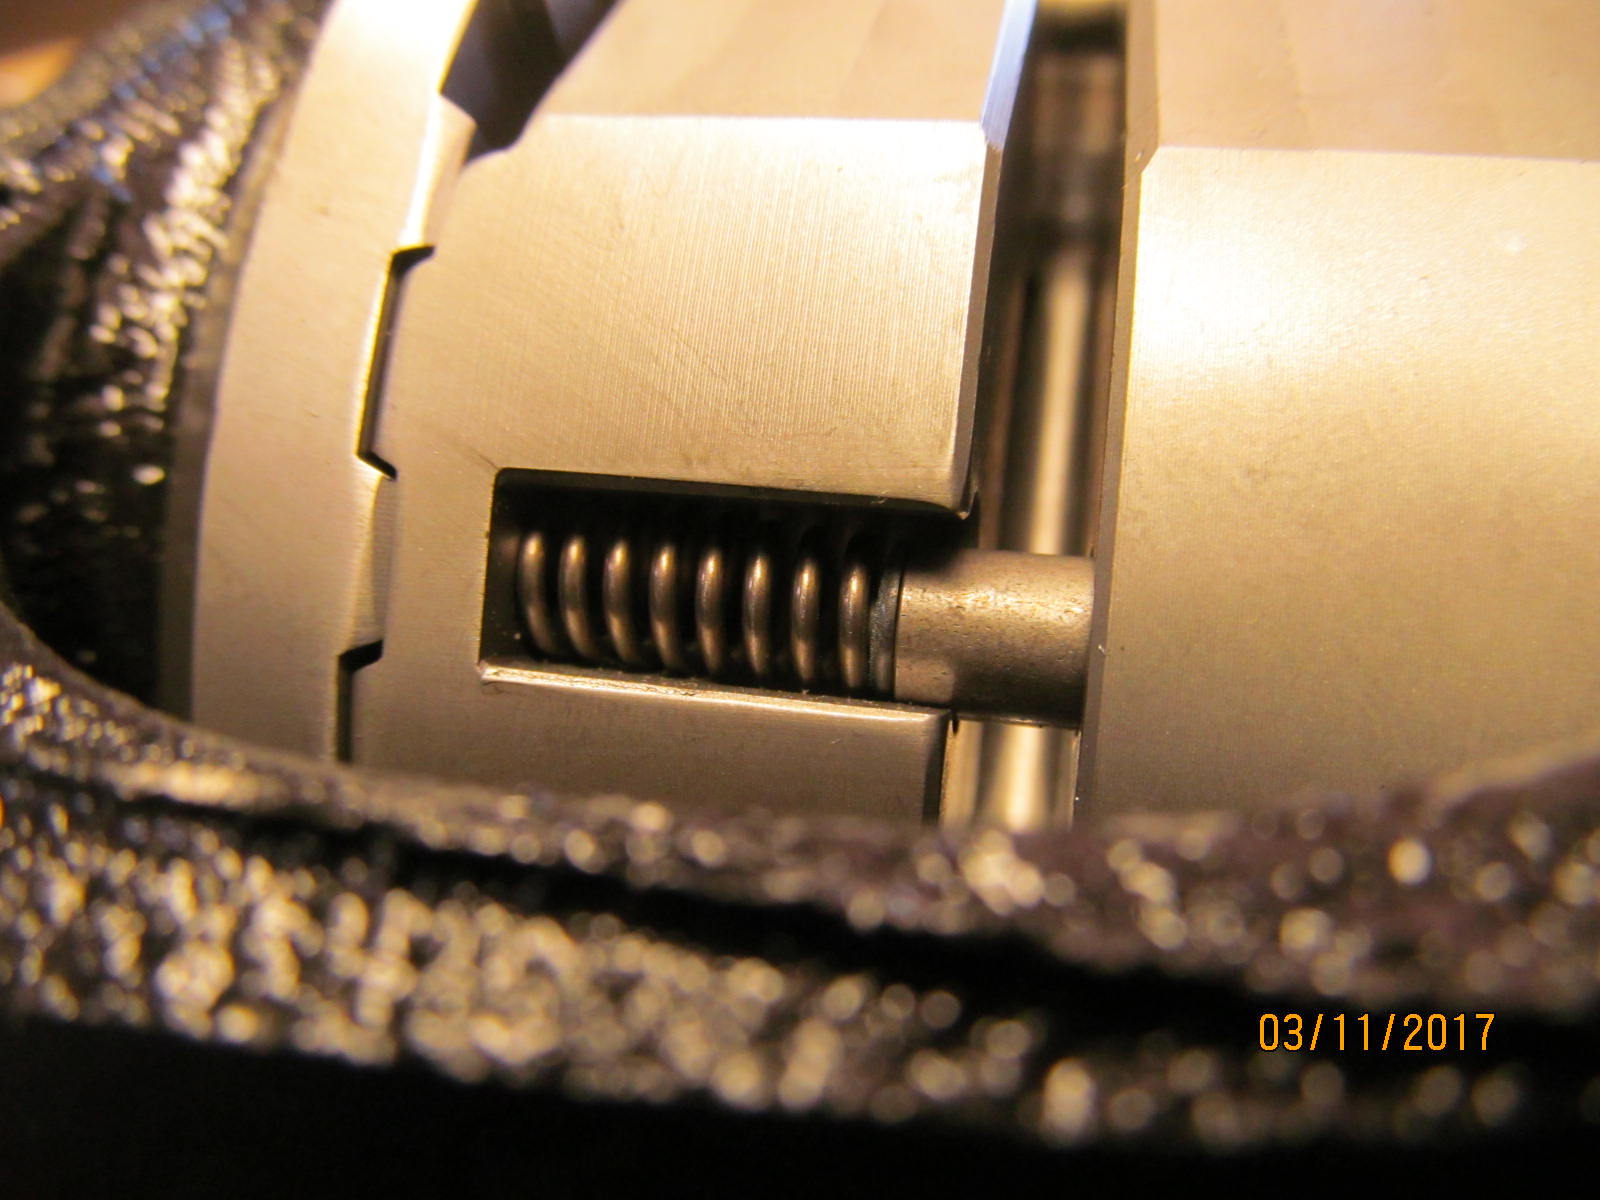
| Now the Aussie can be fully assembled. In years past, the 4 springs used to be a real tight fit to get into the slot but now they slip in like butter. |
|
| Thank you Aussie machine shop for opening them up a few thou :) |
|
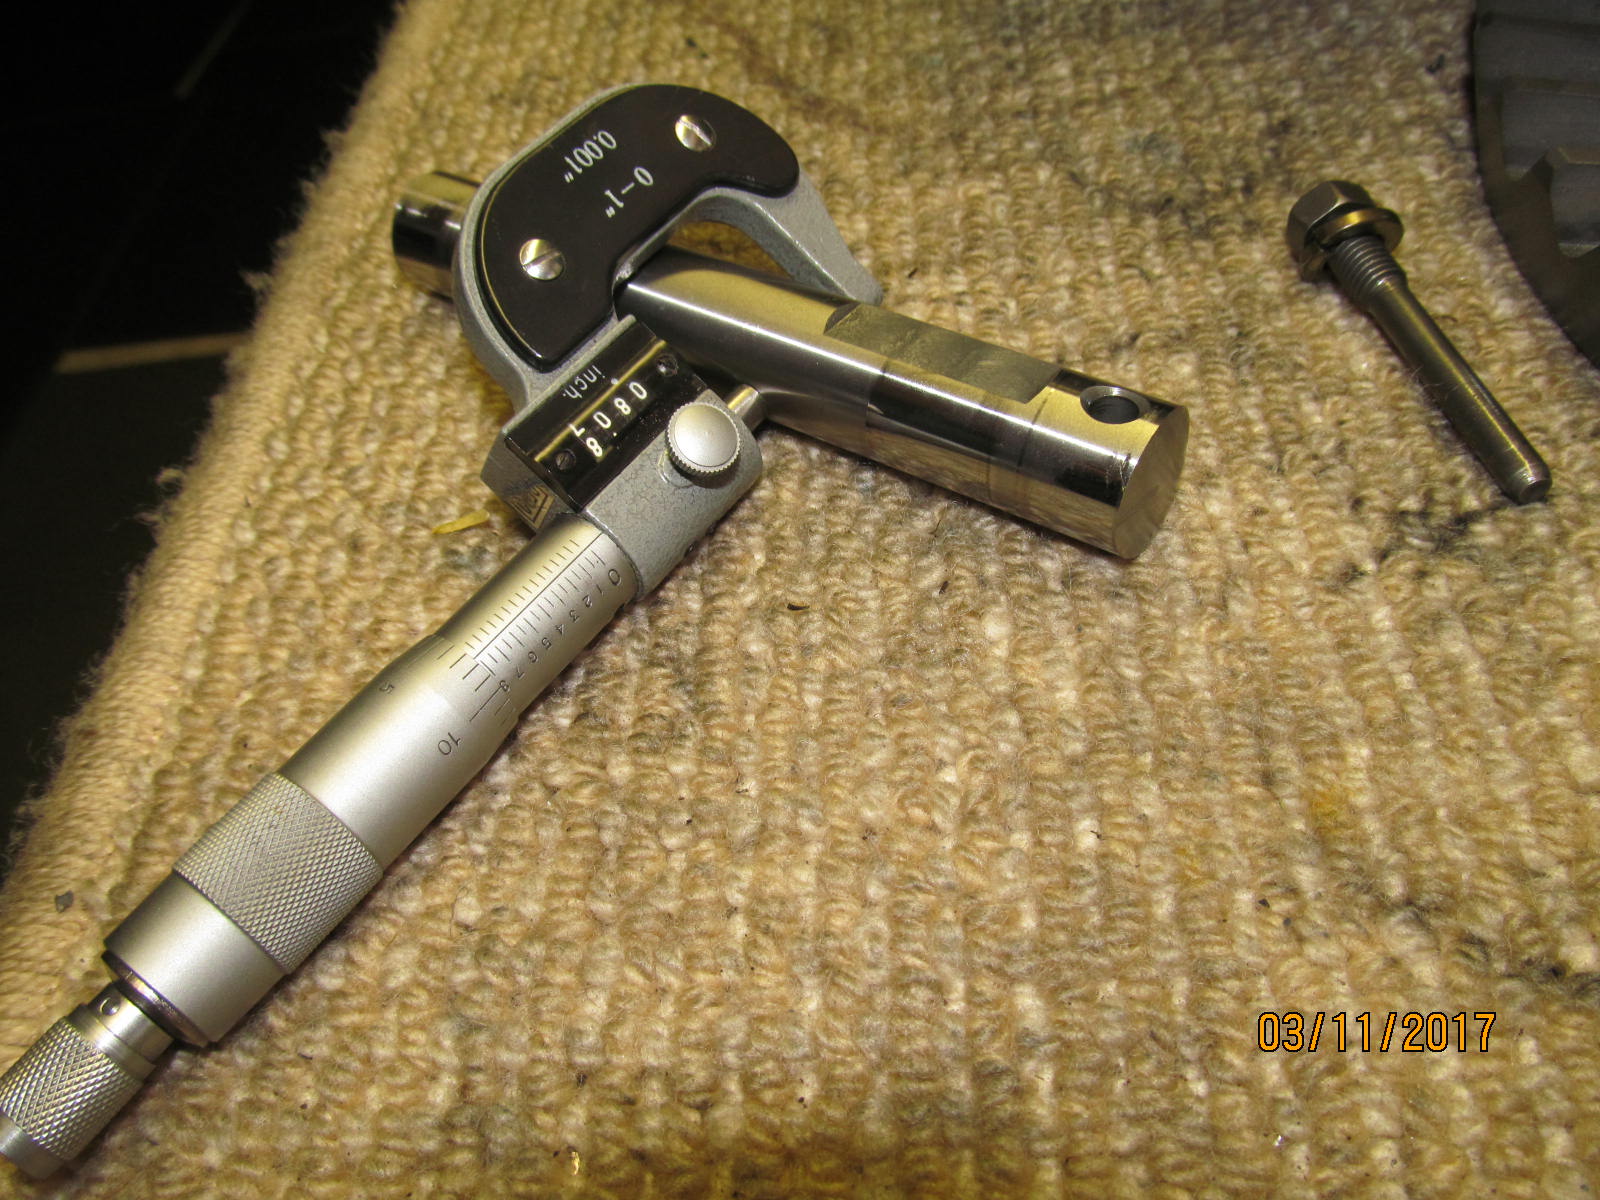
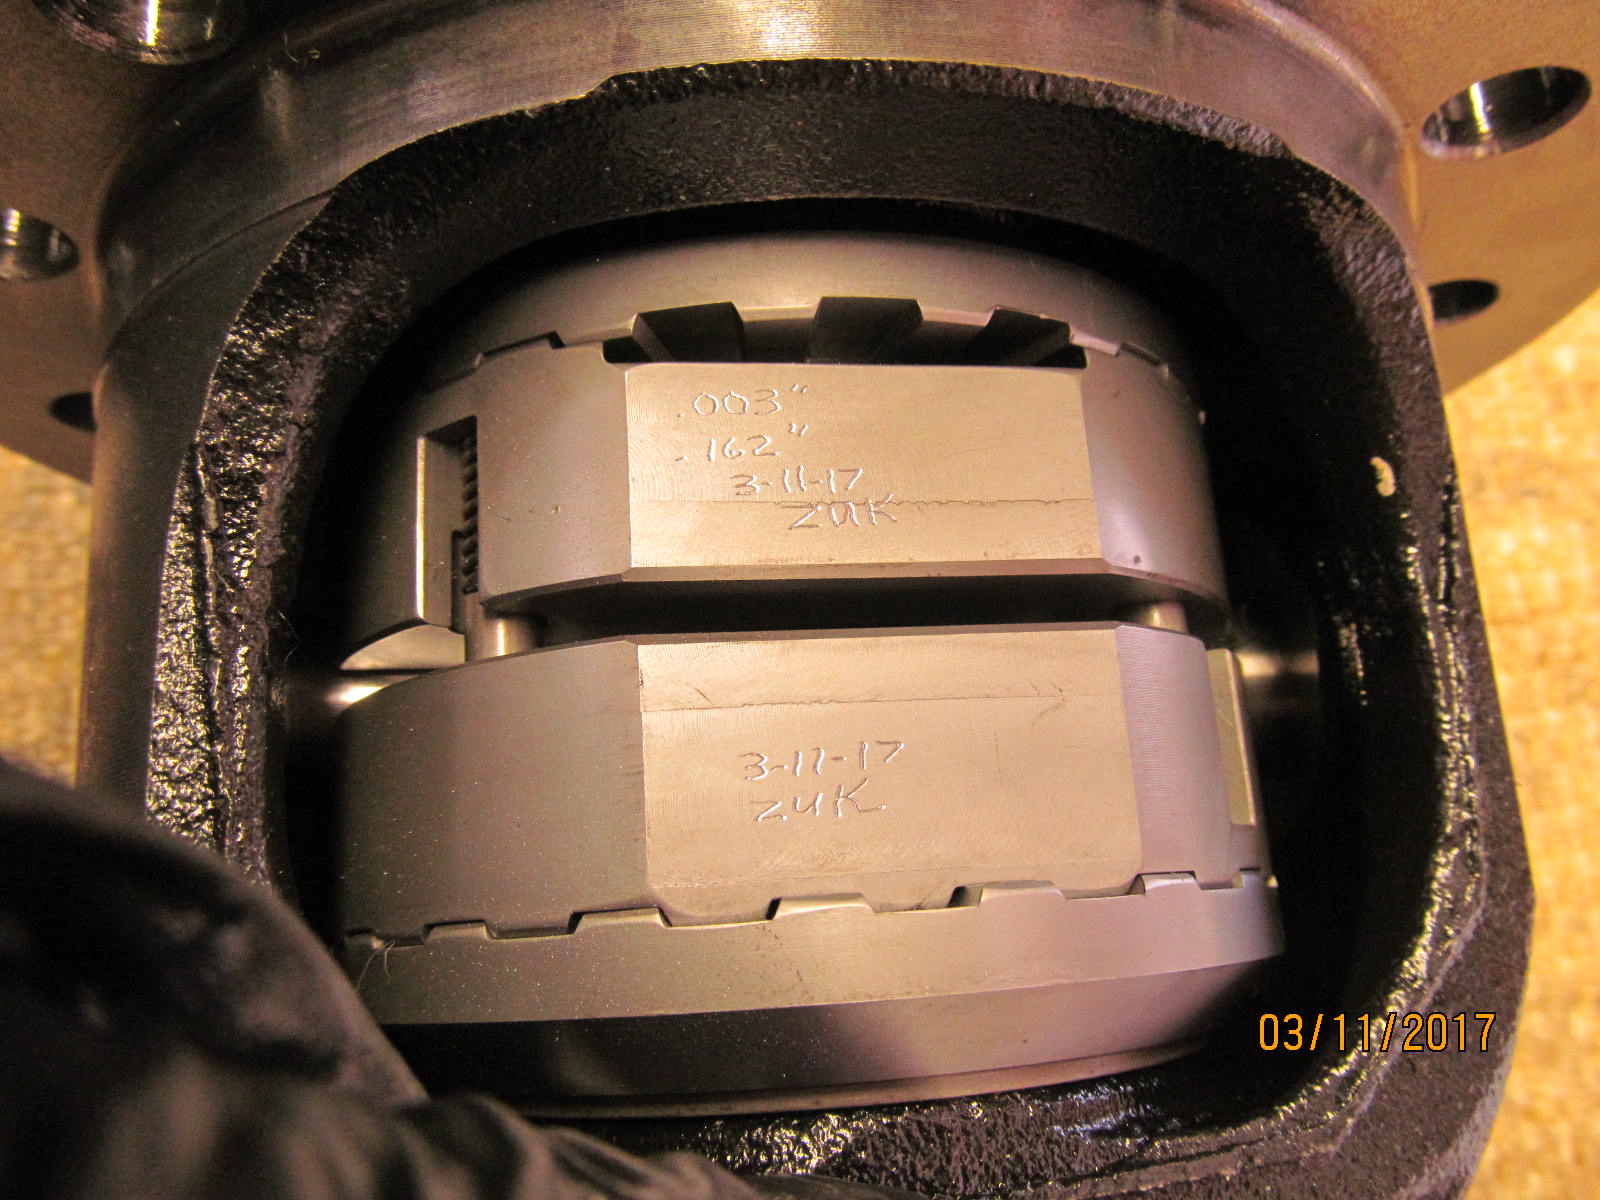
| The gap was measured at .162" |
|
| ----------------------- |
|
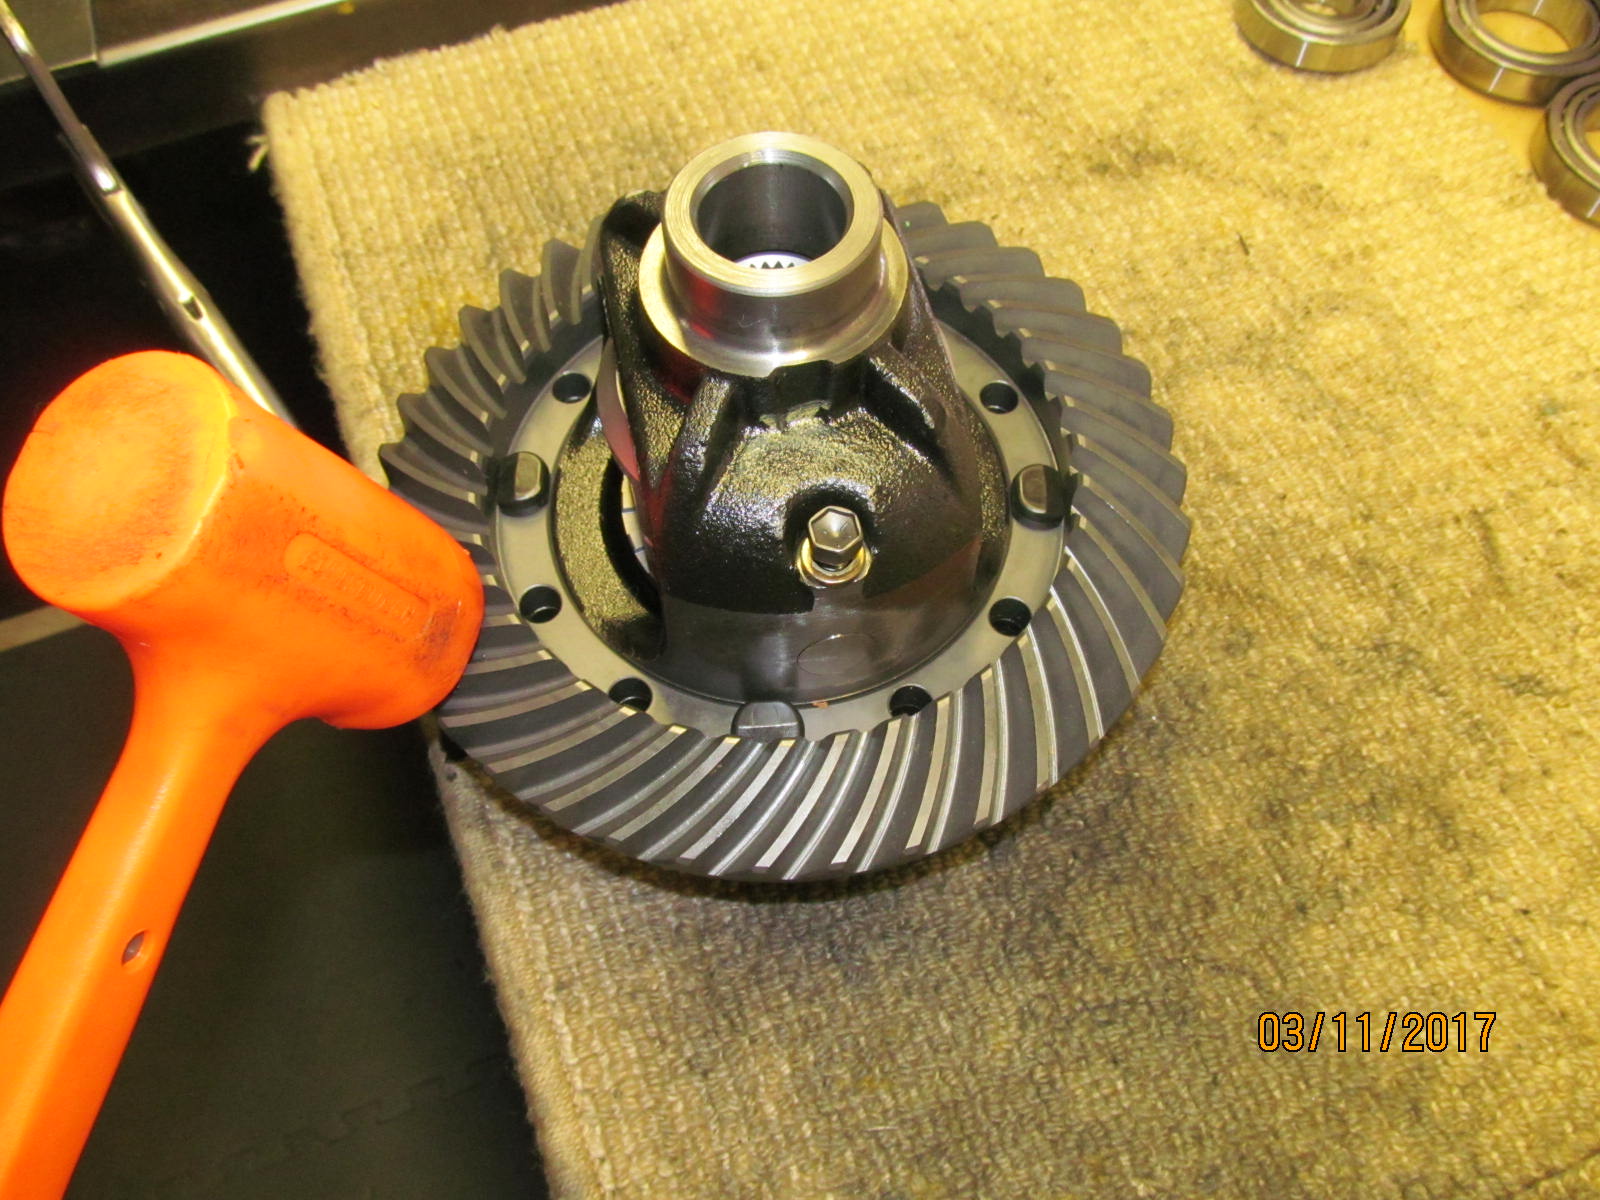
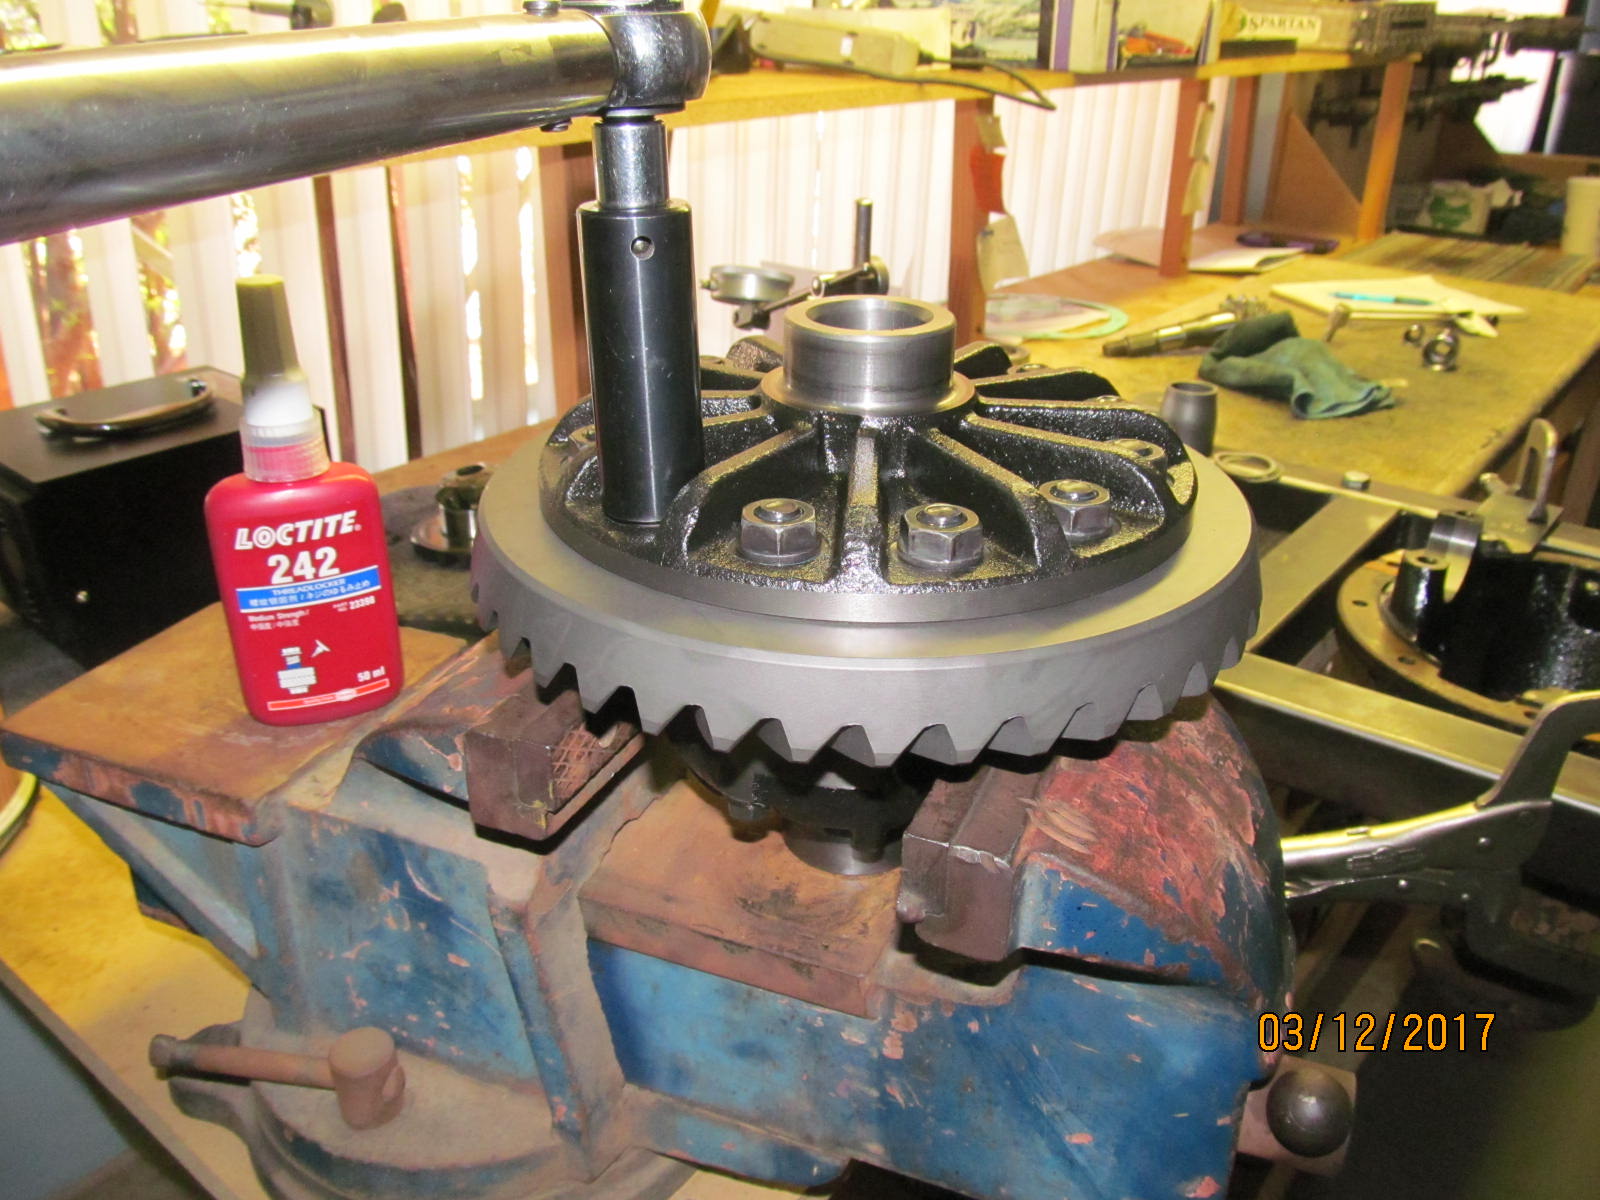
| Nitro 488 ring is tapped in place. |
|
| Only need 4 bolts tightened to secure it for now. |
|
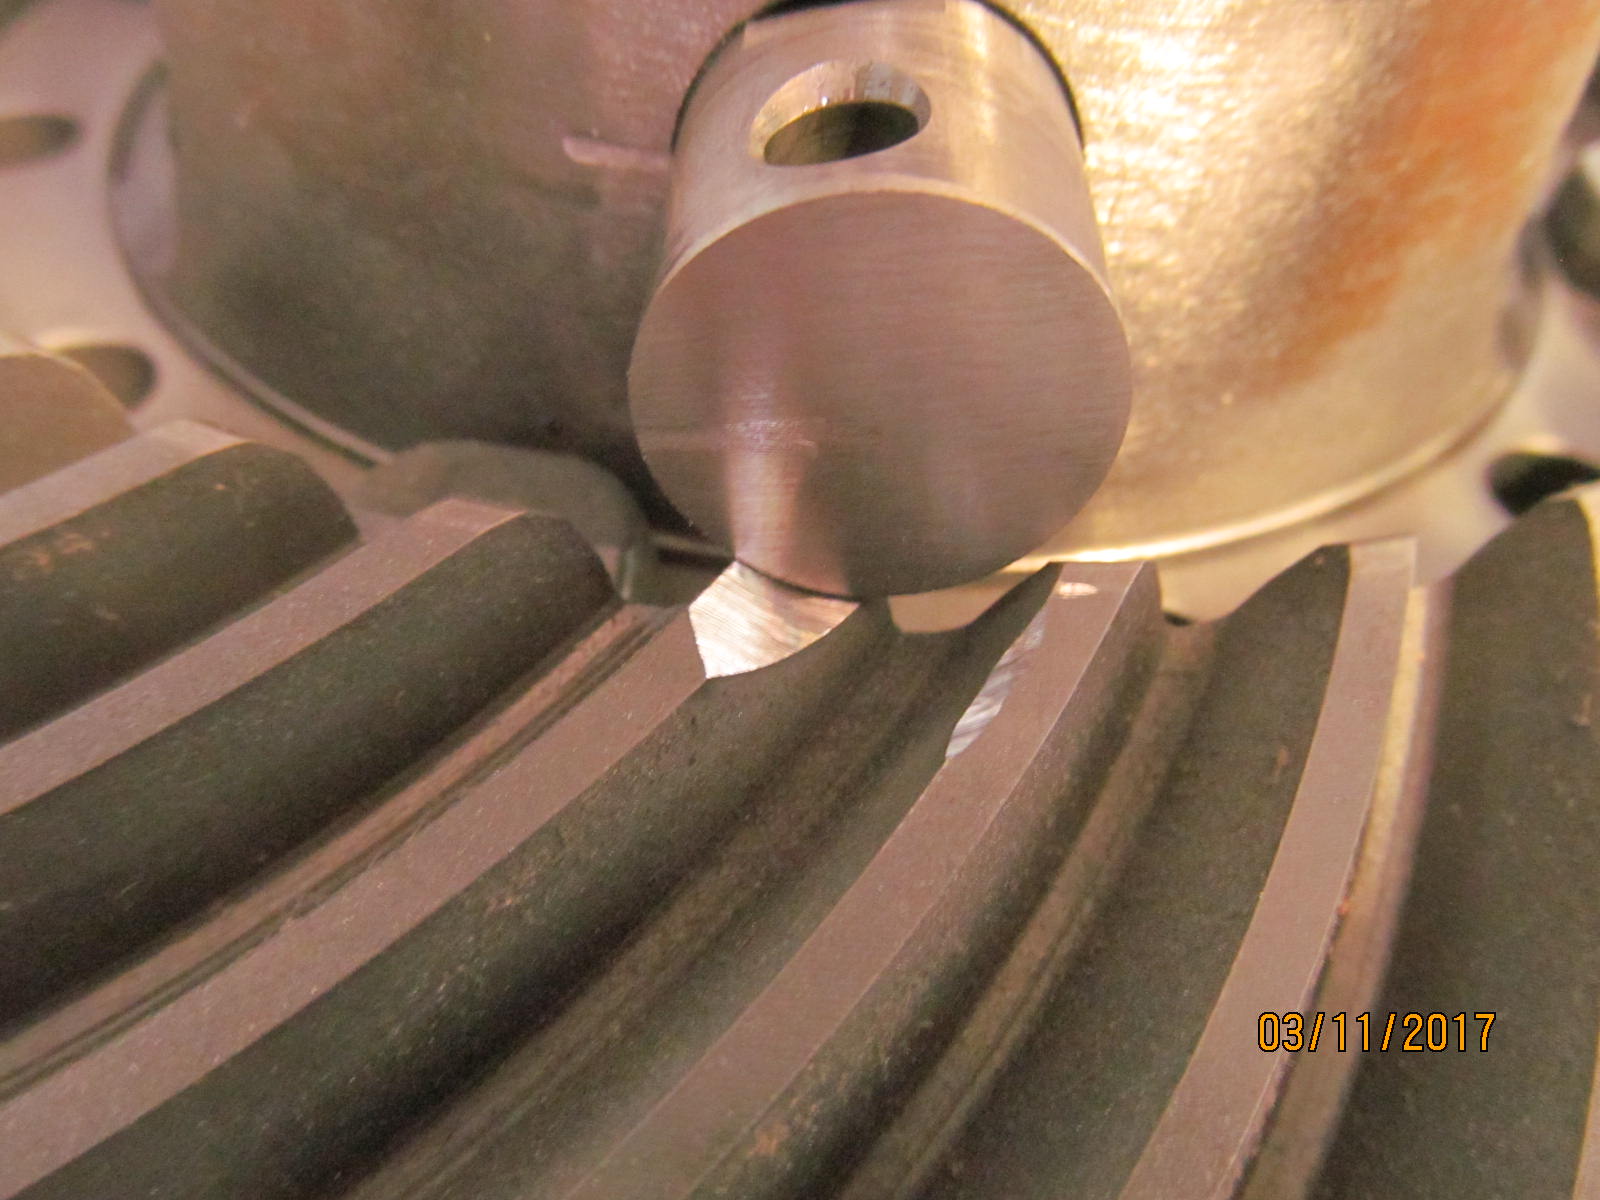
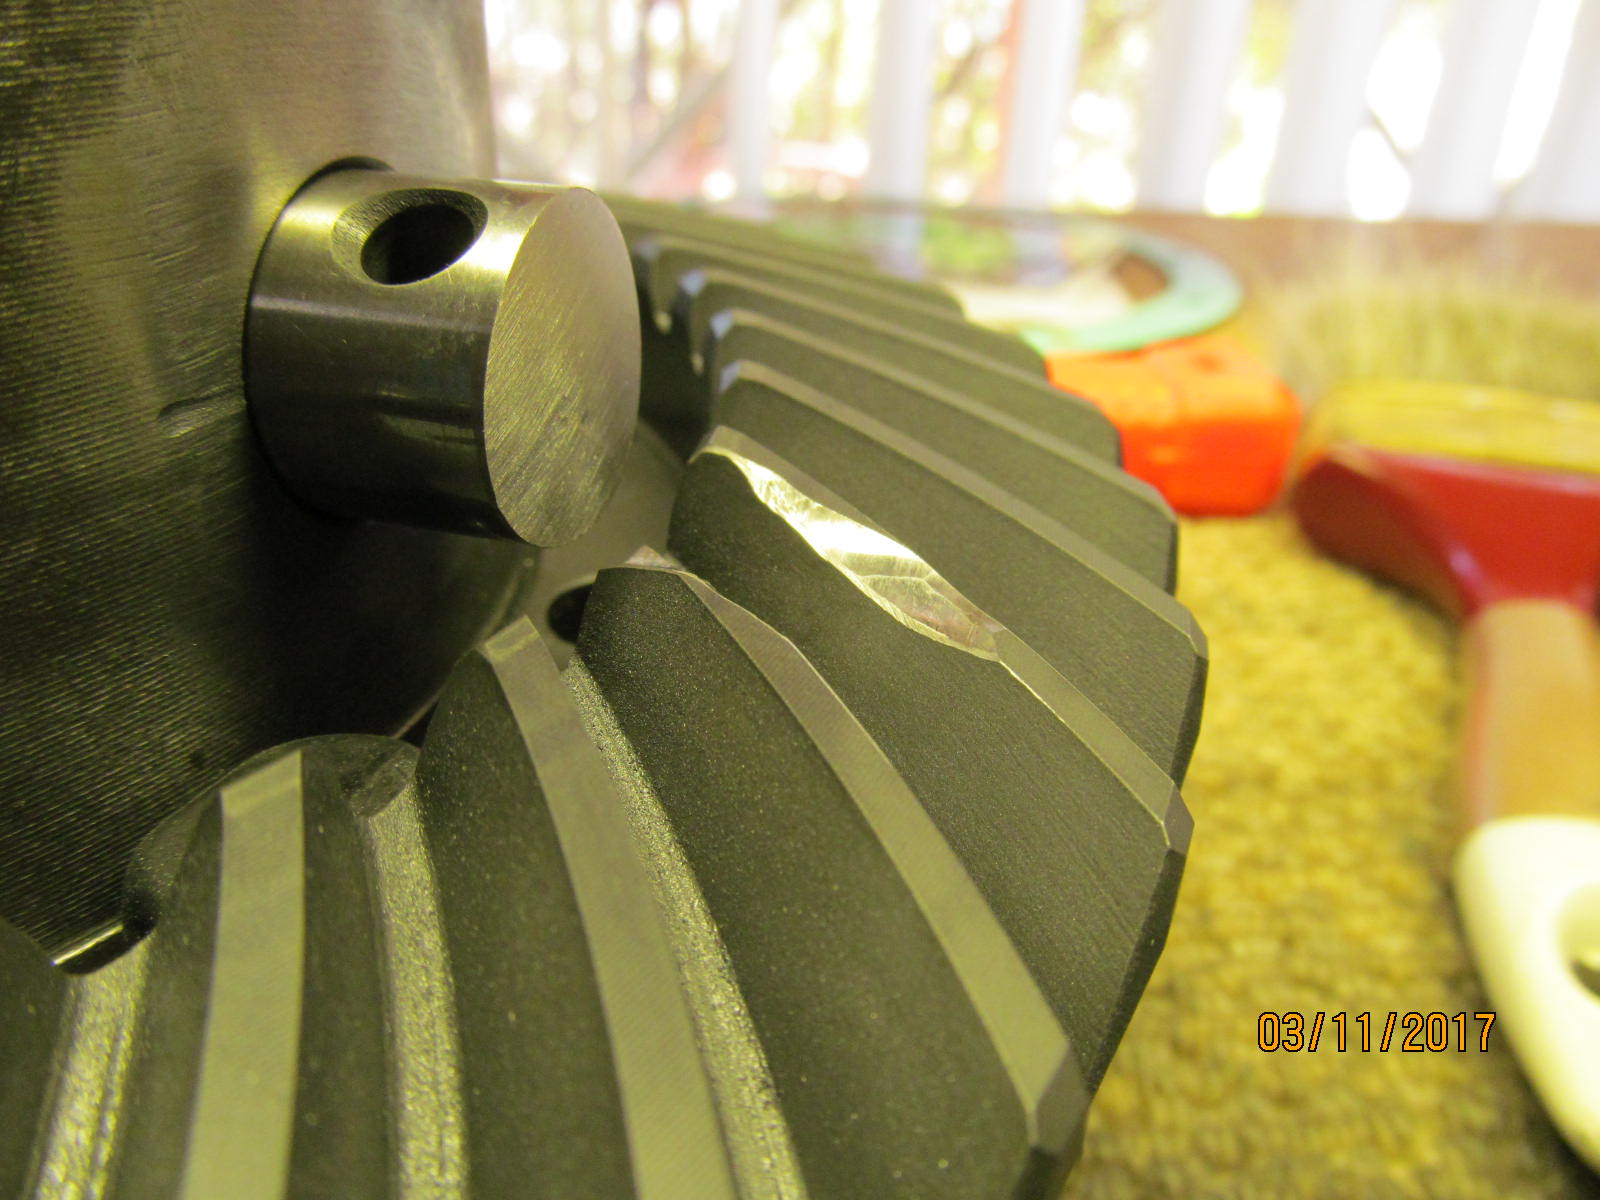
| The pin will hit the tooth if it ever needs to be removed. If this 3rd were transferred to a semi-floater then this would be a problem. |
|
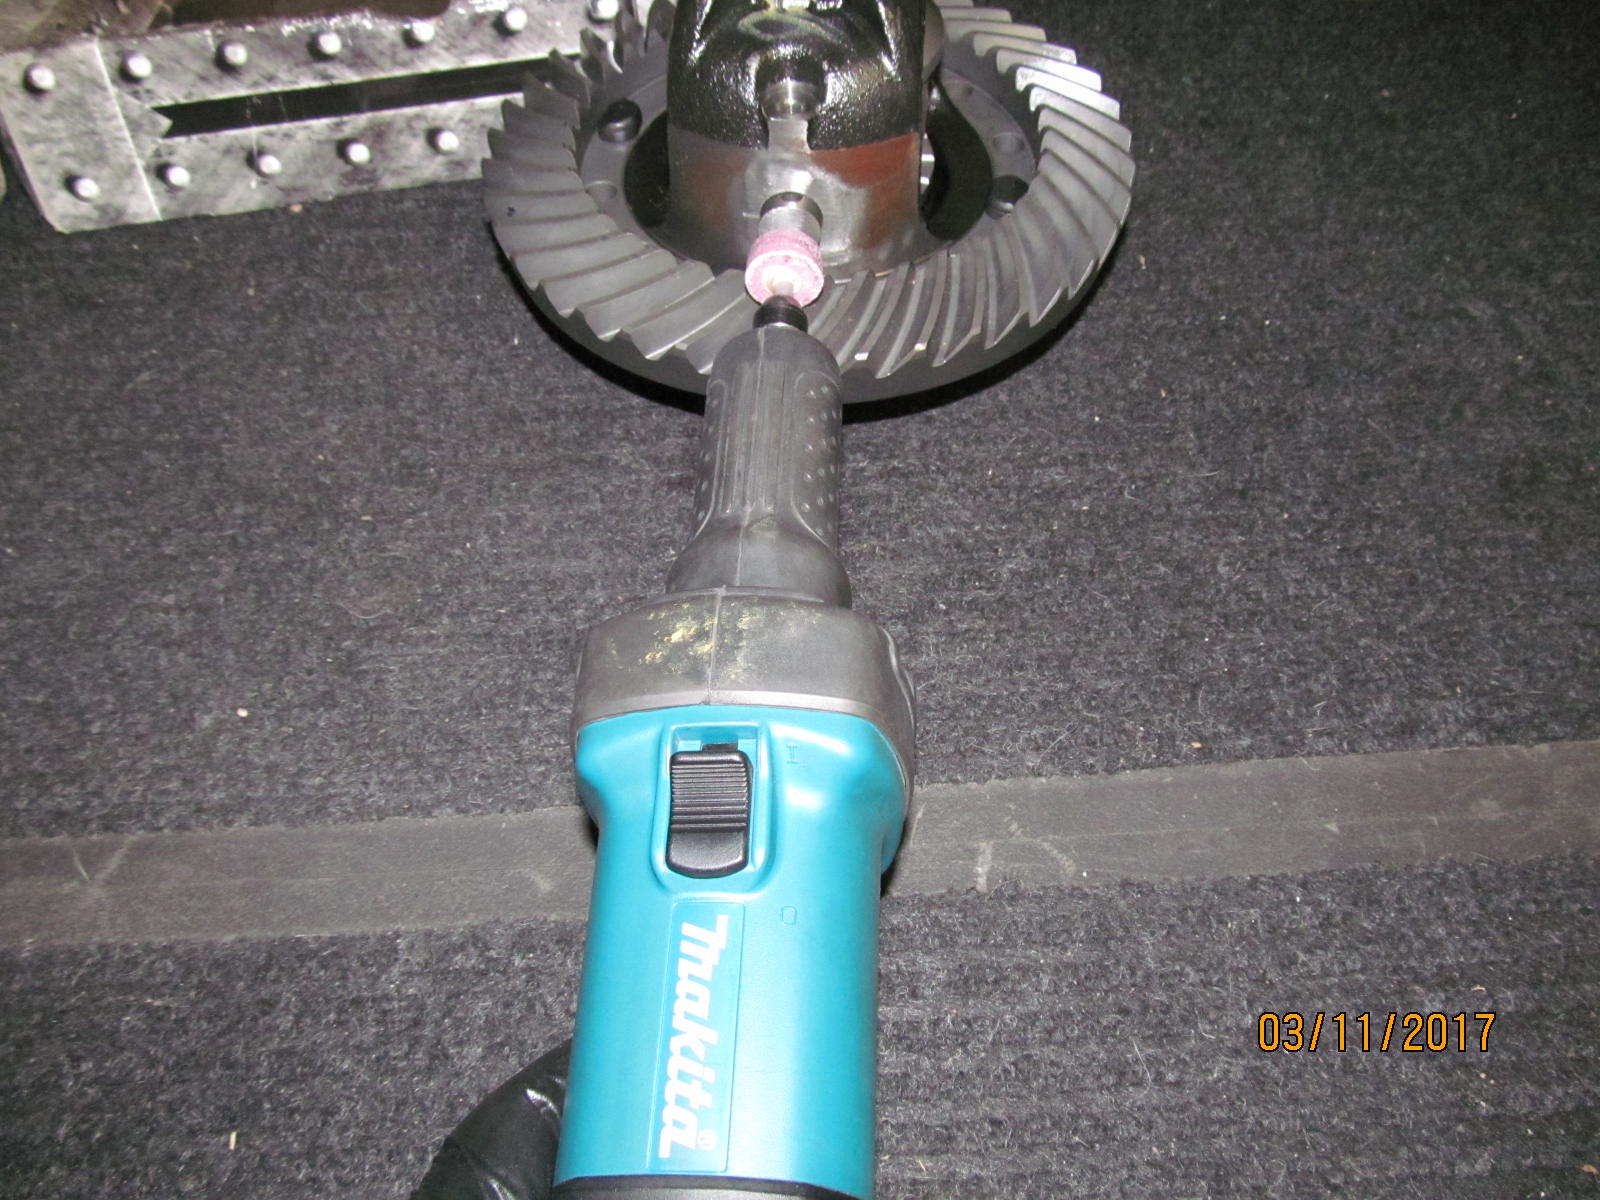
| A 1/4" die grinder could be used.... |
|
| --------------------- |
|
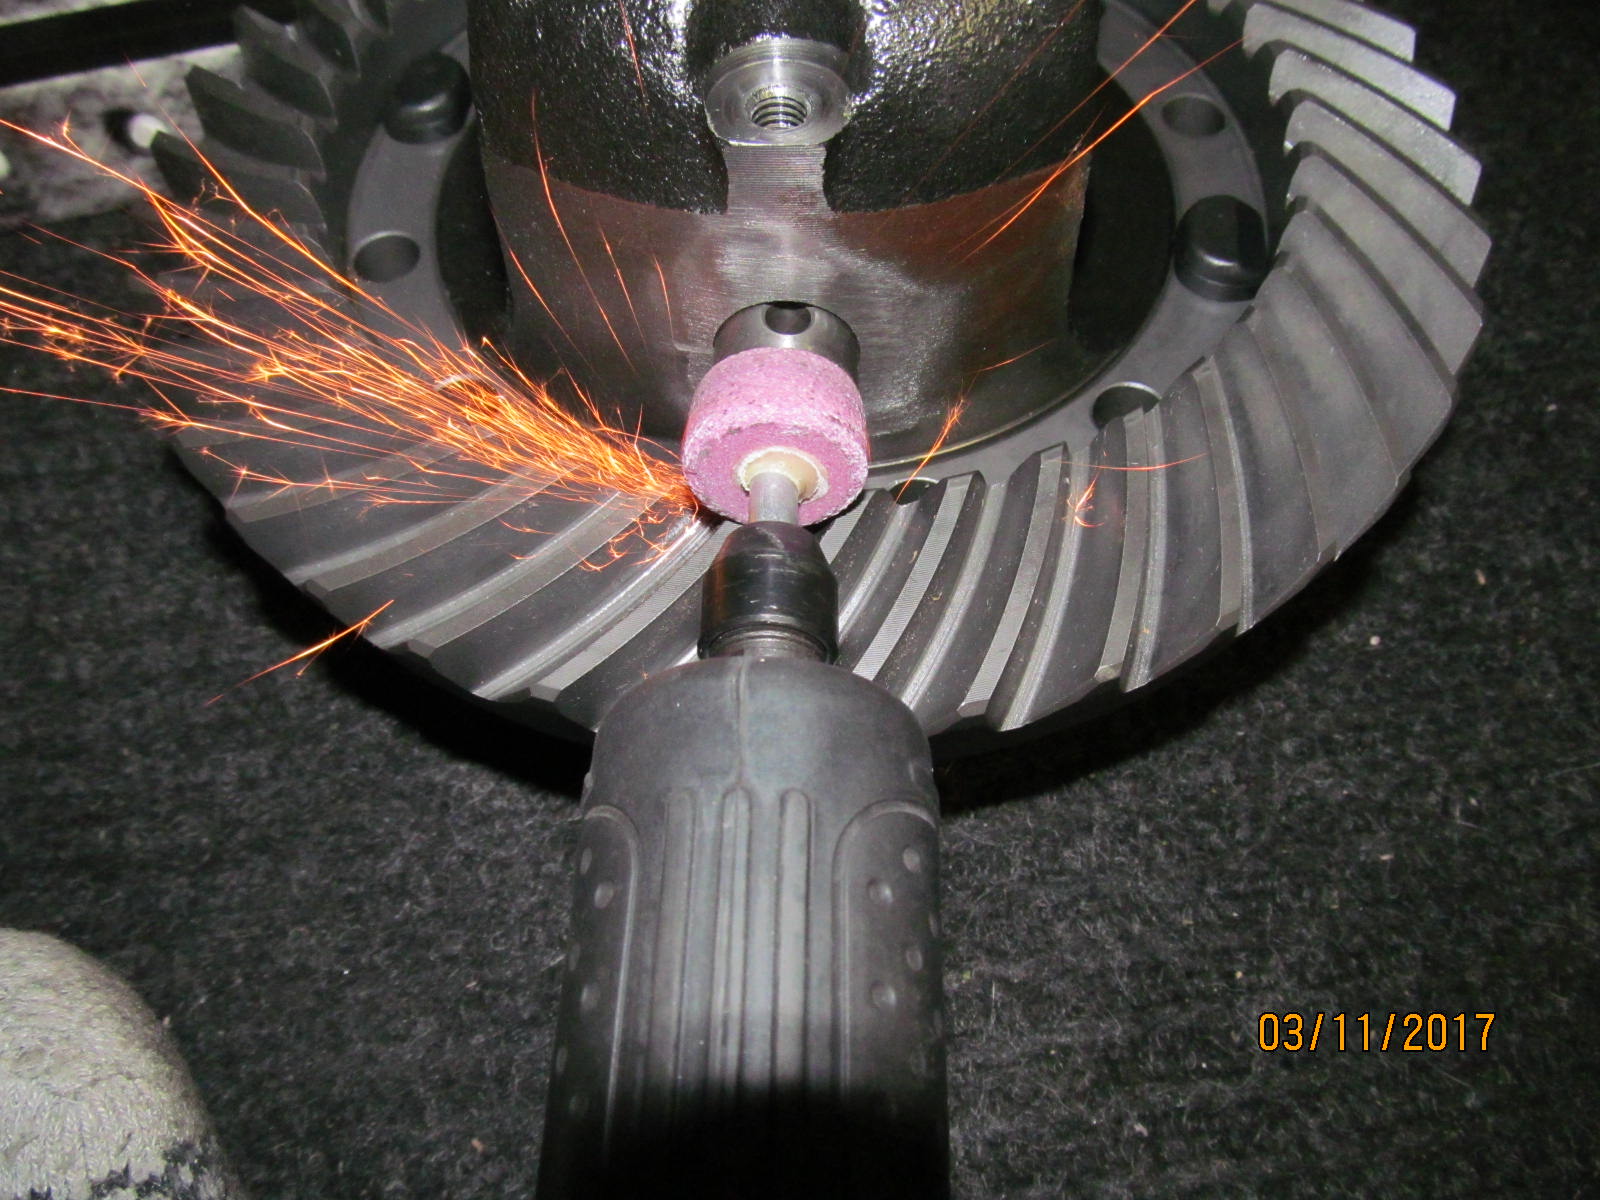
| In small increments, remove a little more material each time. |
|
| The key is to remove the absolute minimum to clear the cross-pin. |
|
| ............................... |
|
| Just a little at a time..... |
|
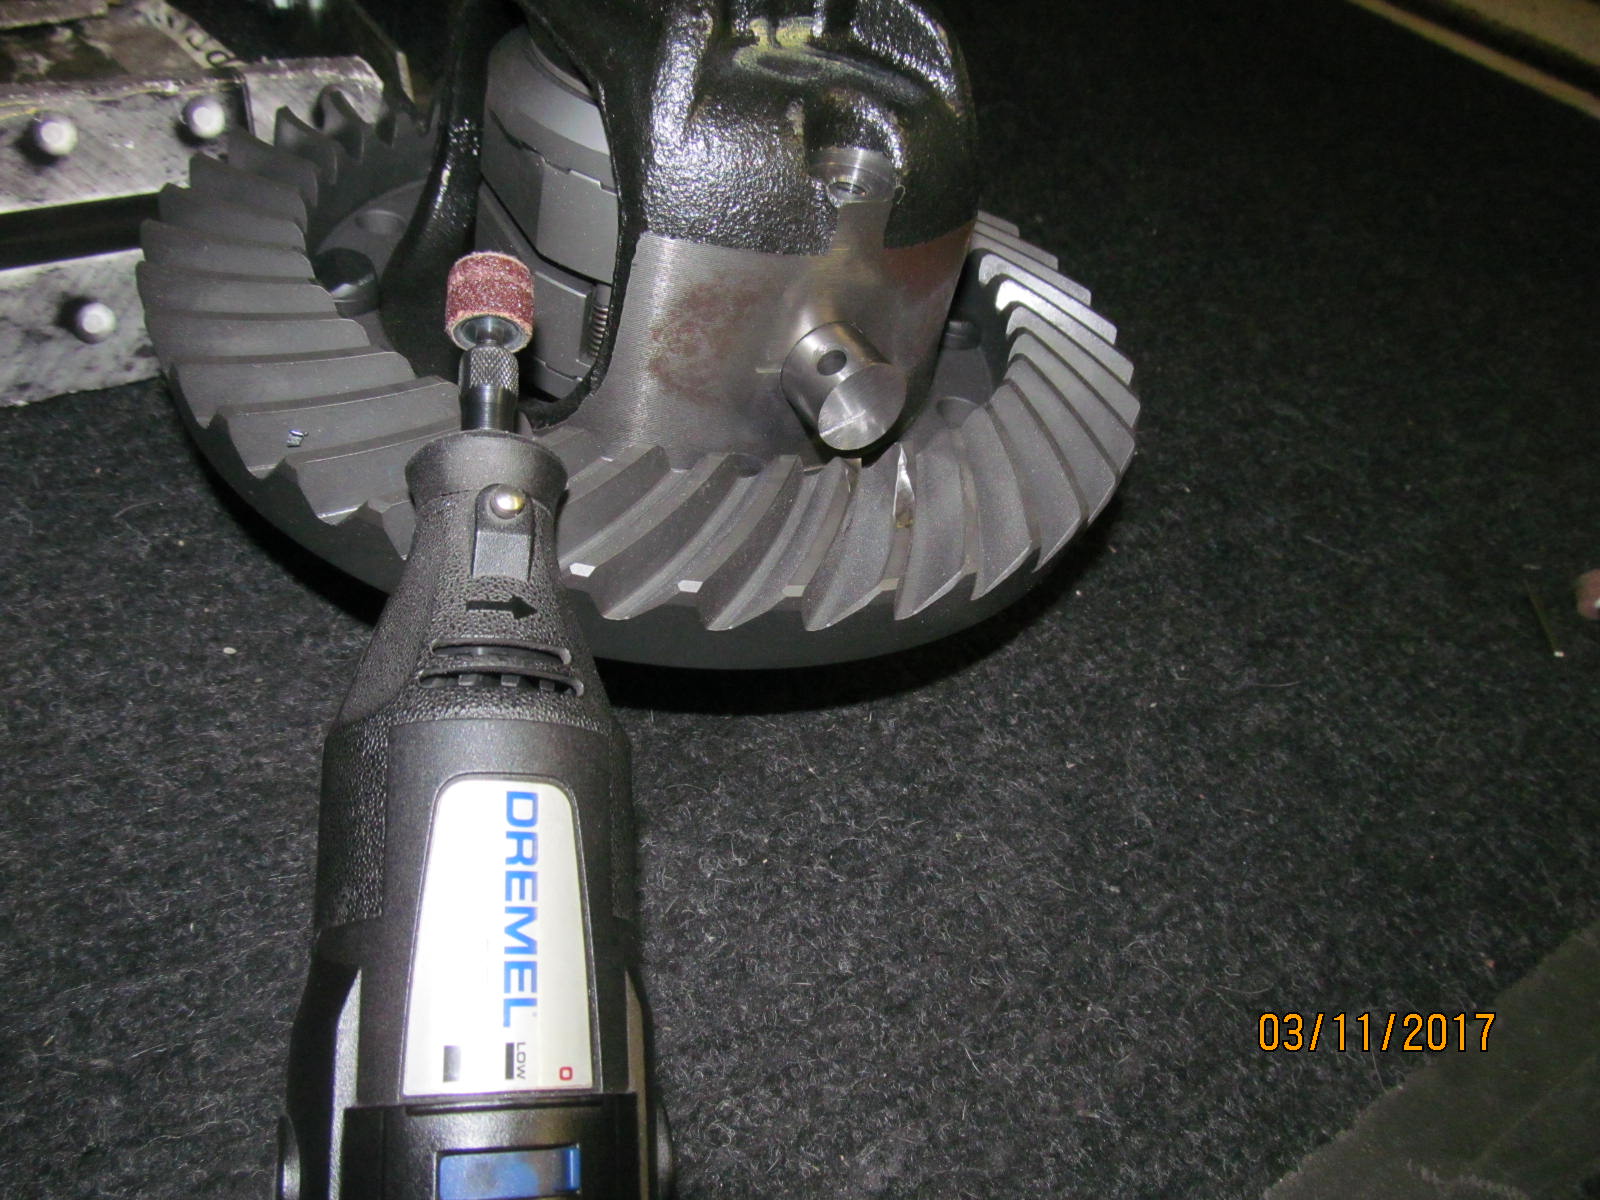
| The absolute best at precision removal is the dremel tool FYI. |
|
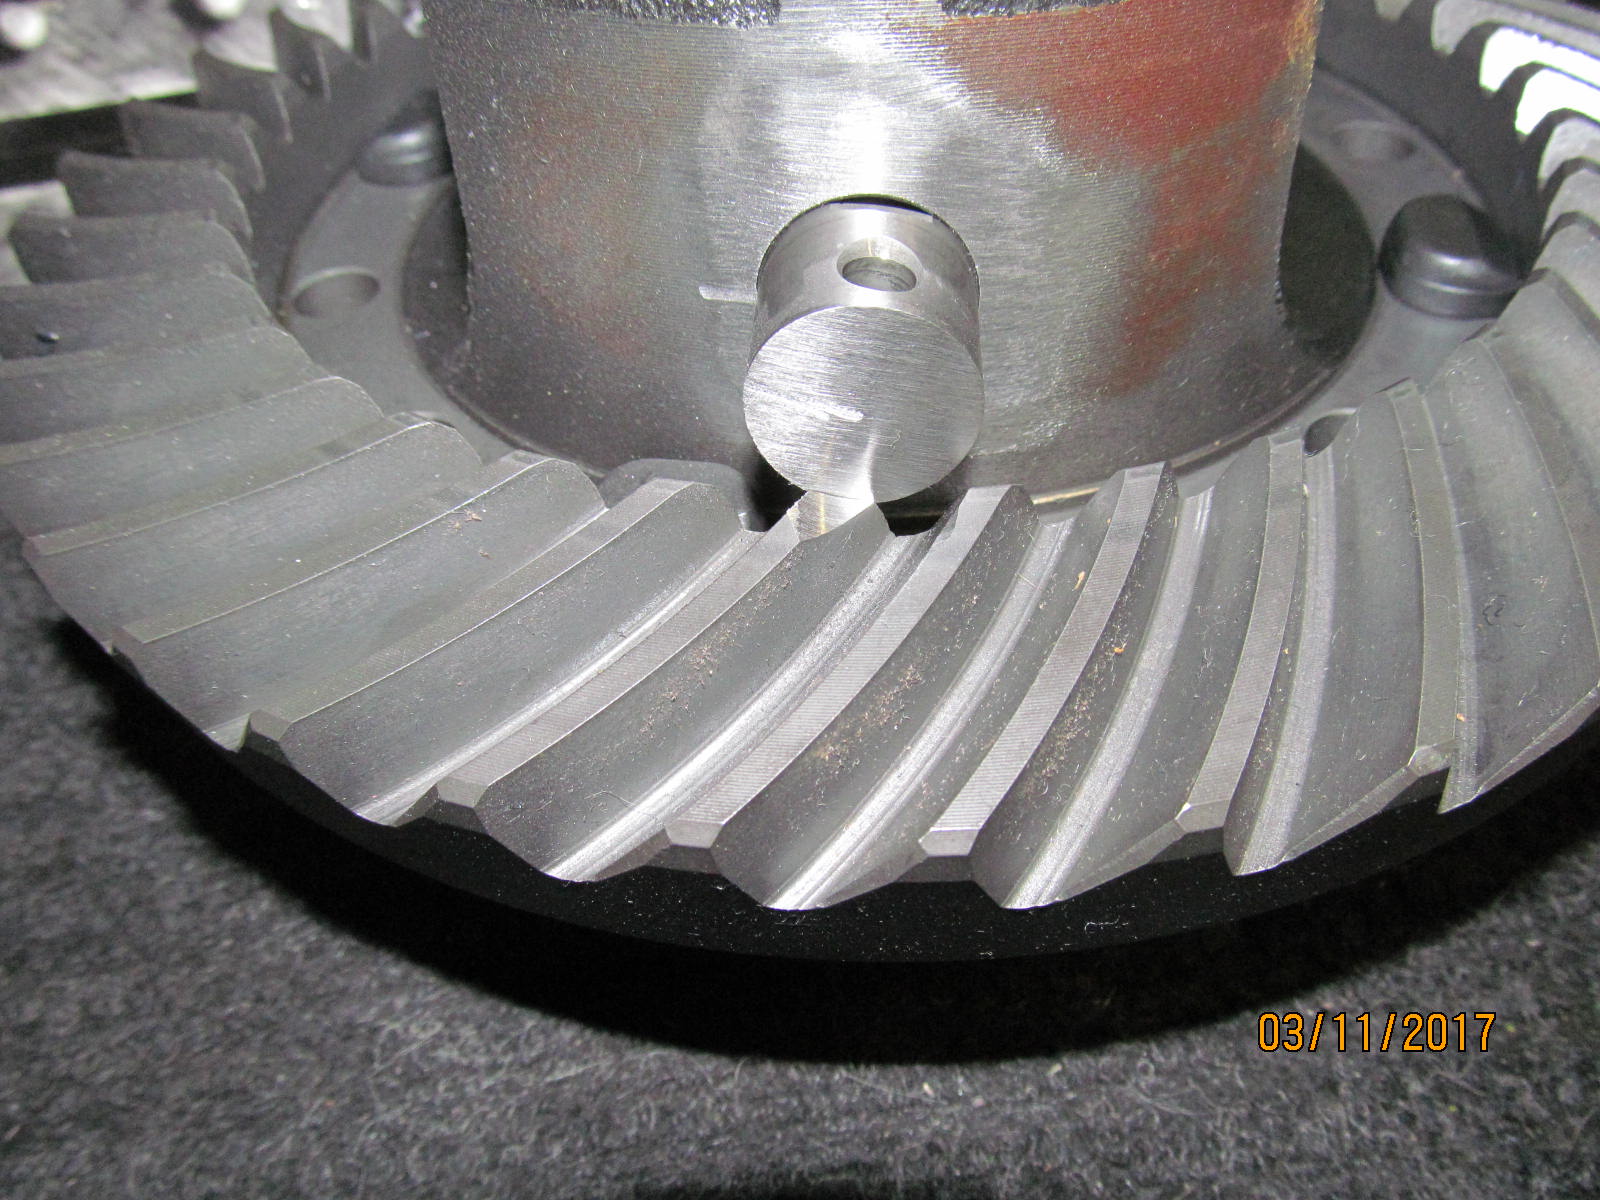
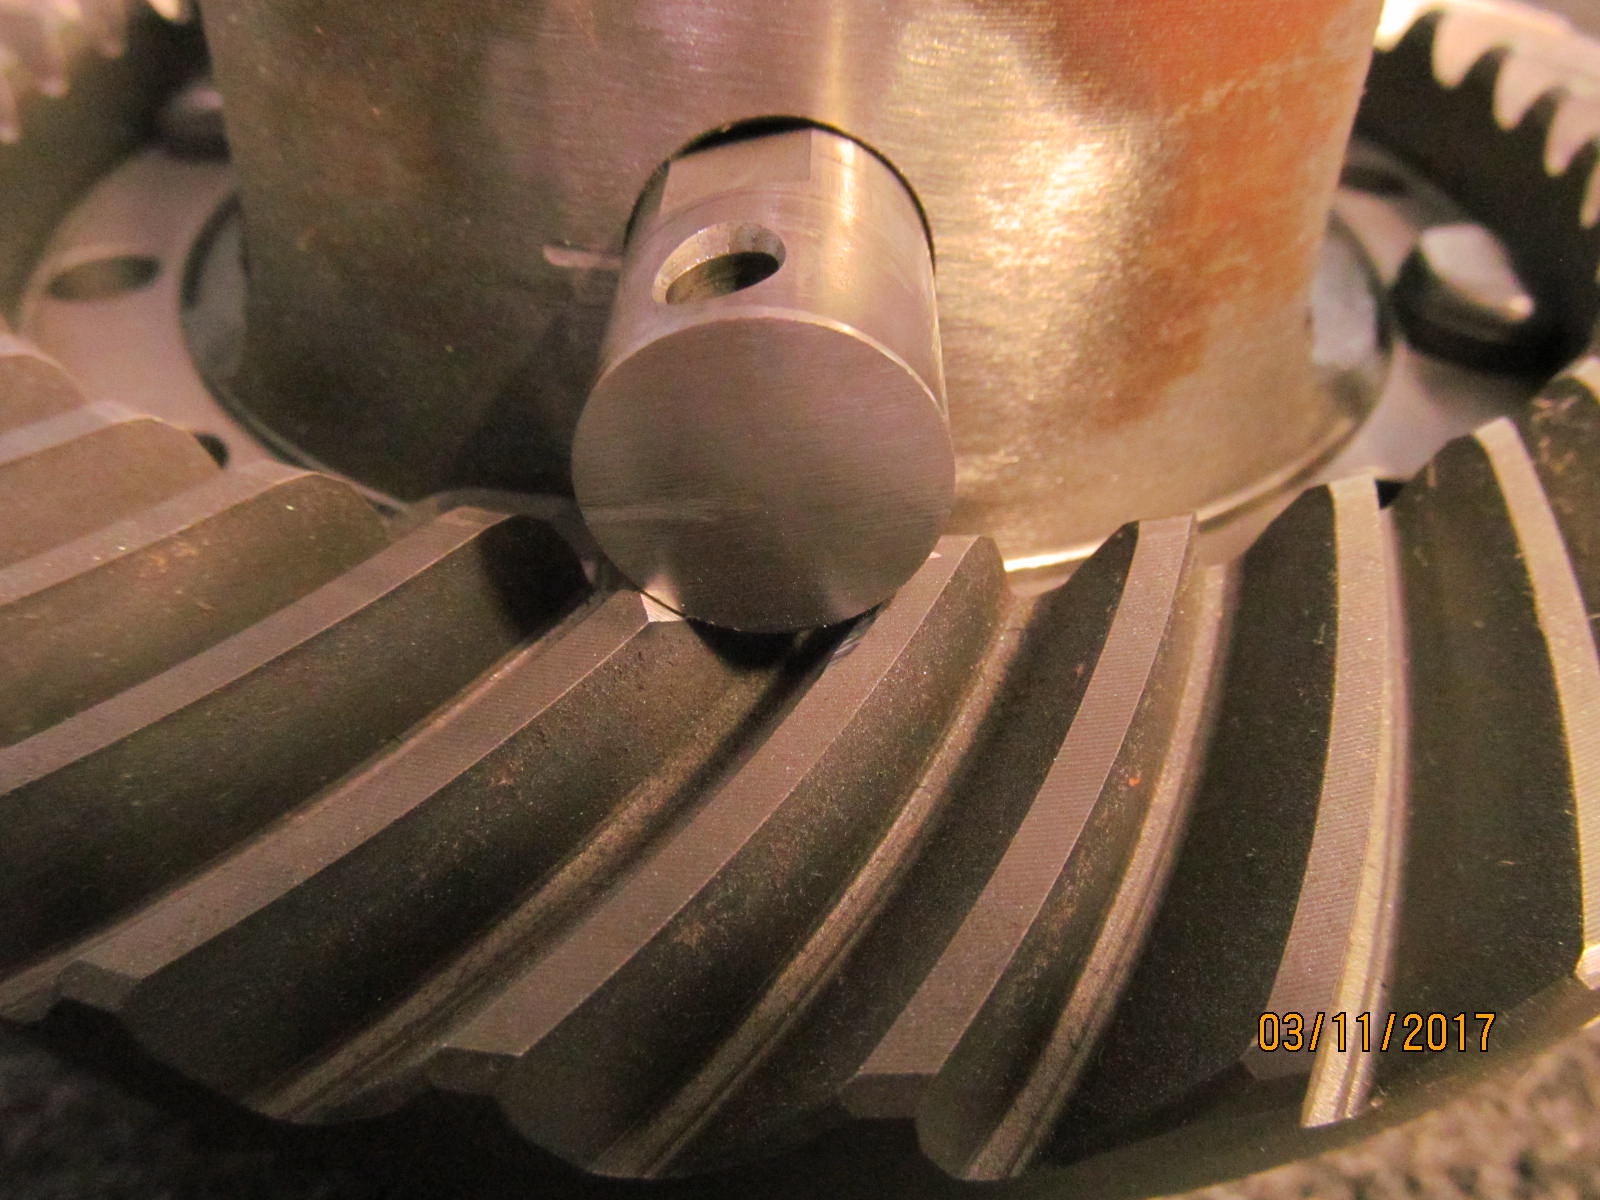
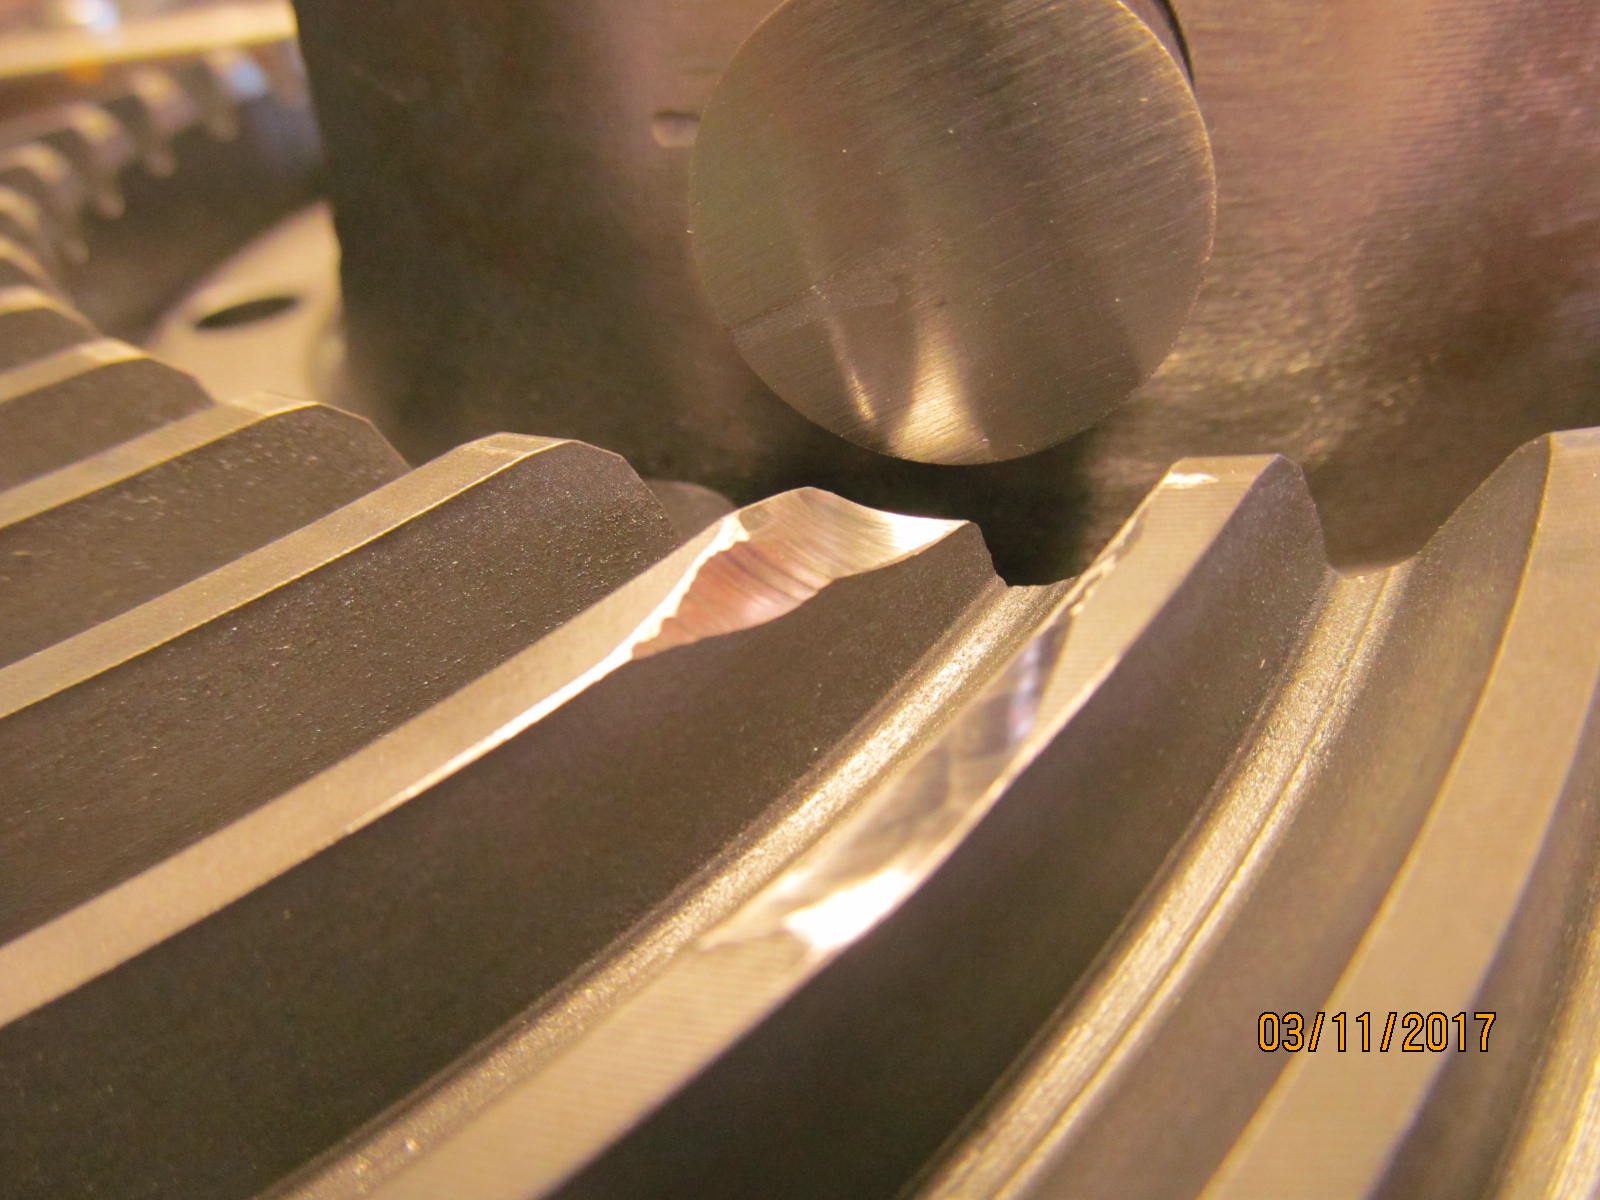
| Success. |
|
| Minimal loss of tooth. This is the procedure recommended by Aussie. |
|
| The removed material is on the toe end.....almost no contact from the pinion tooth in actual use. |
|
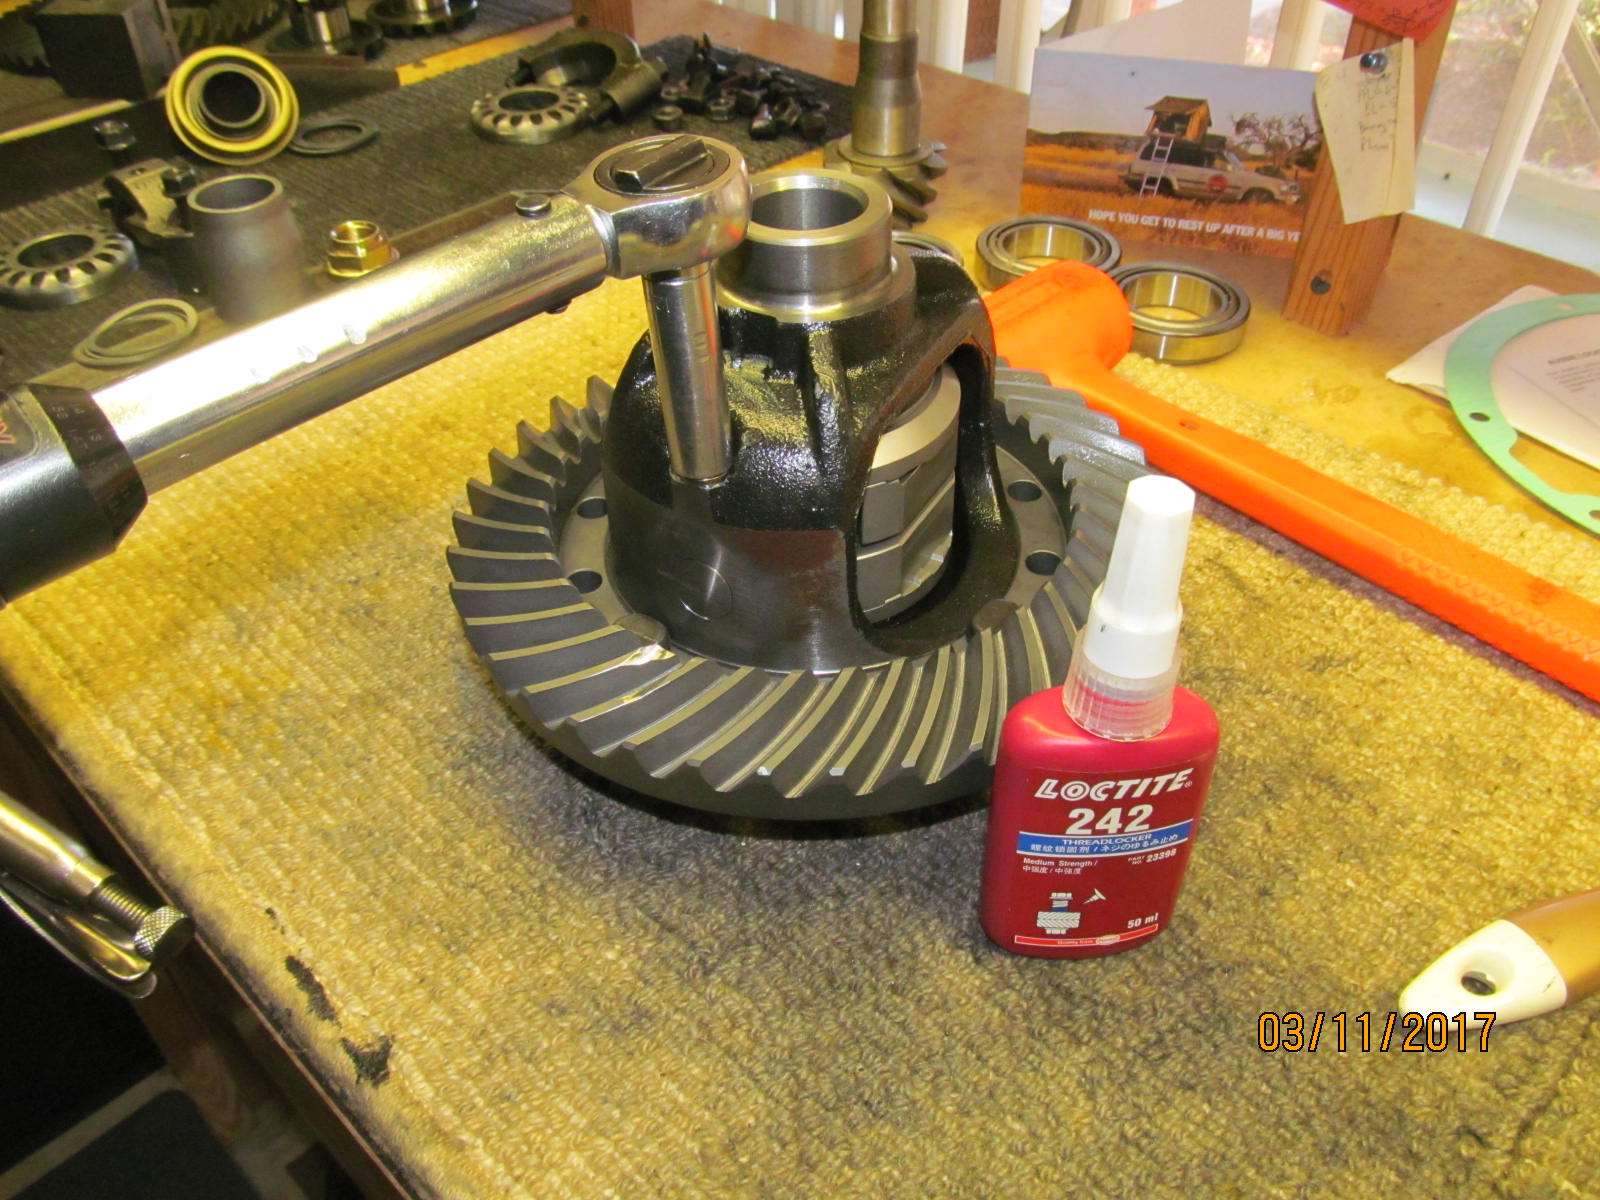
| The crosspin bolt has blue loctite and 20 ft/lb. |
|
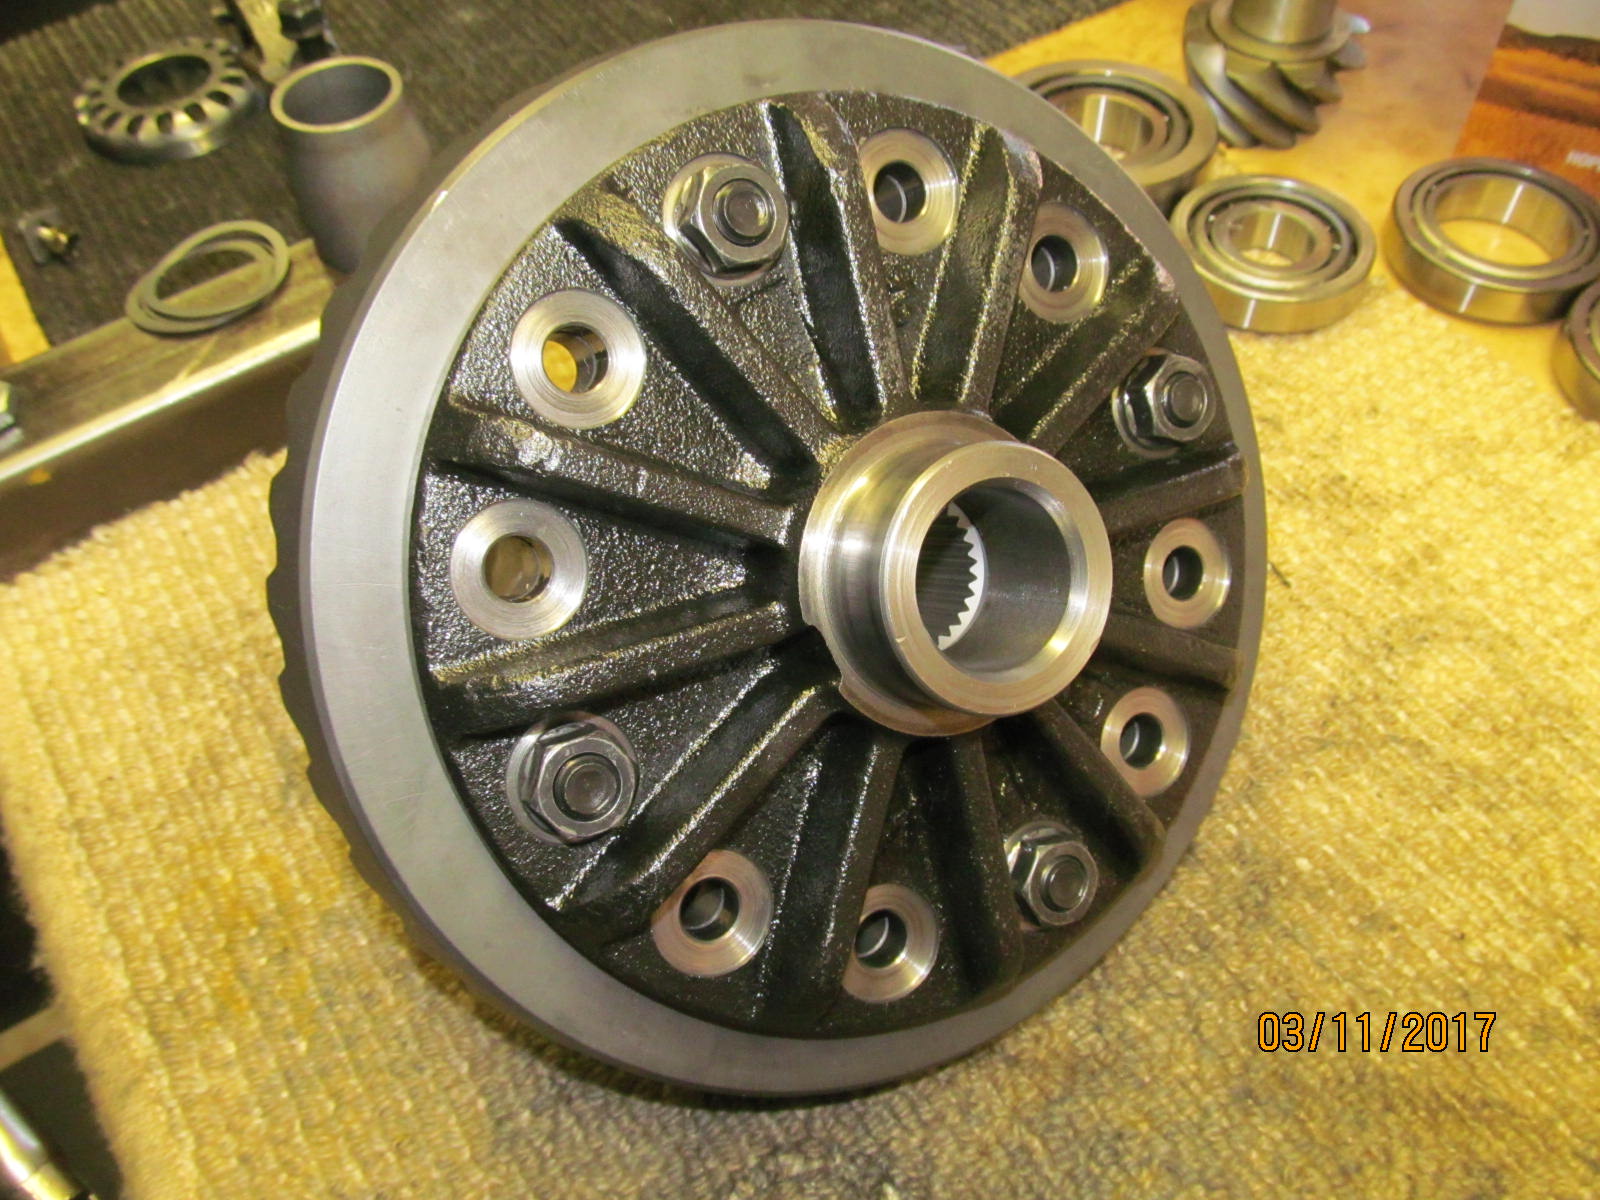
| 81 ft/lb and blue loctite on all 12 bolts. |
|
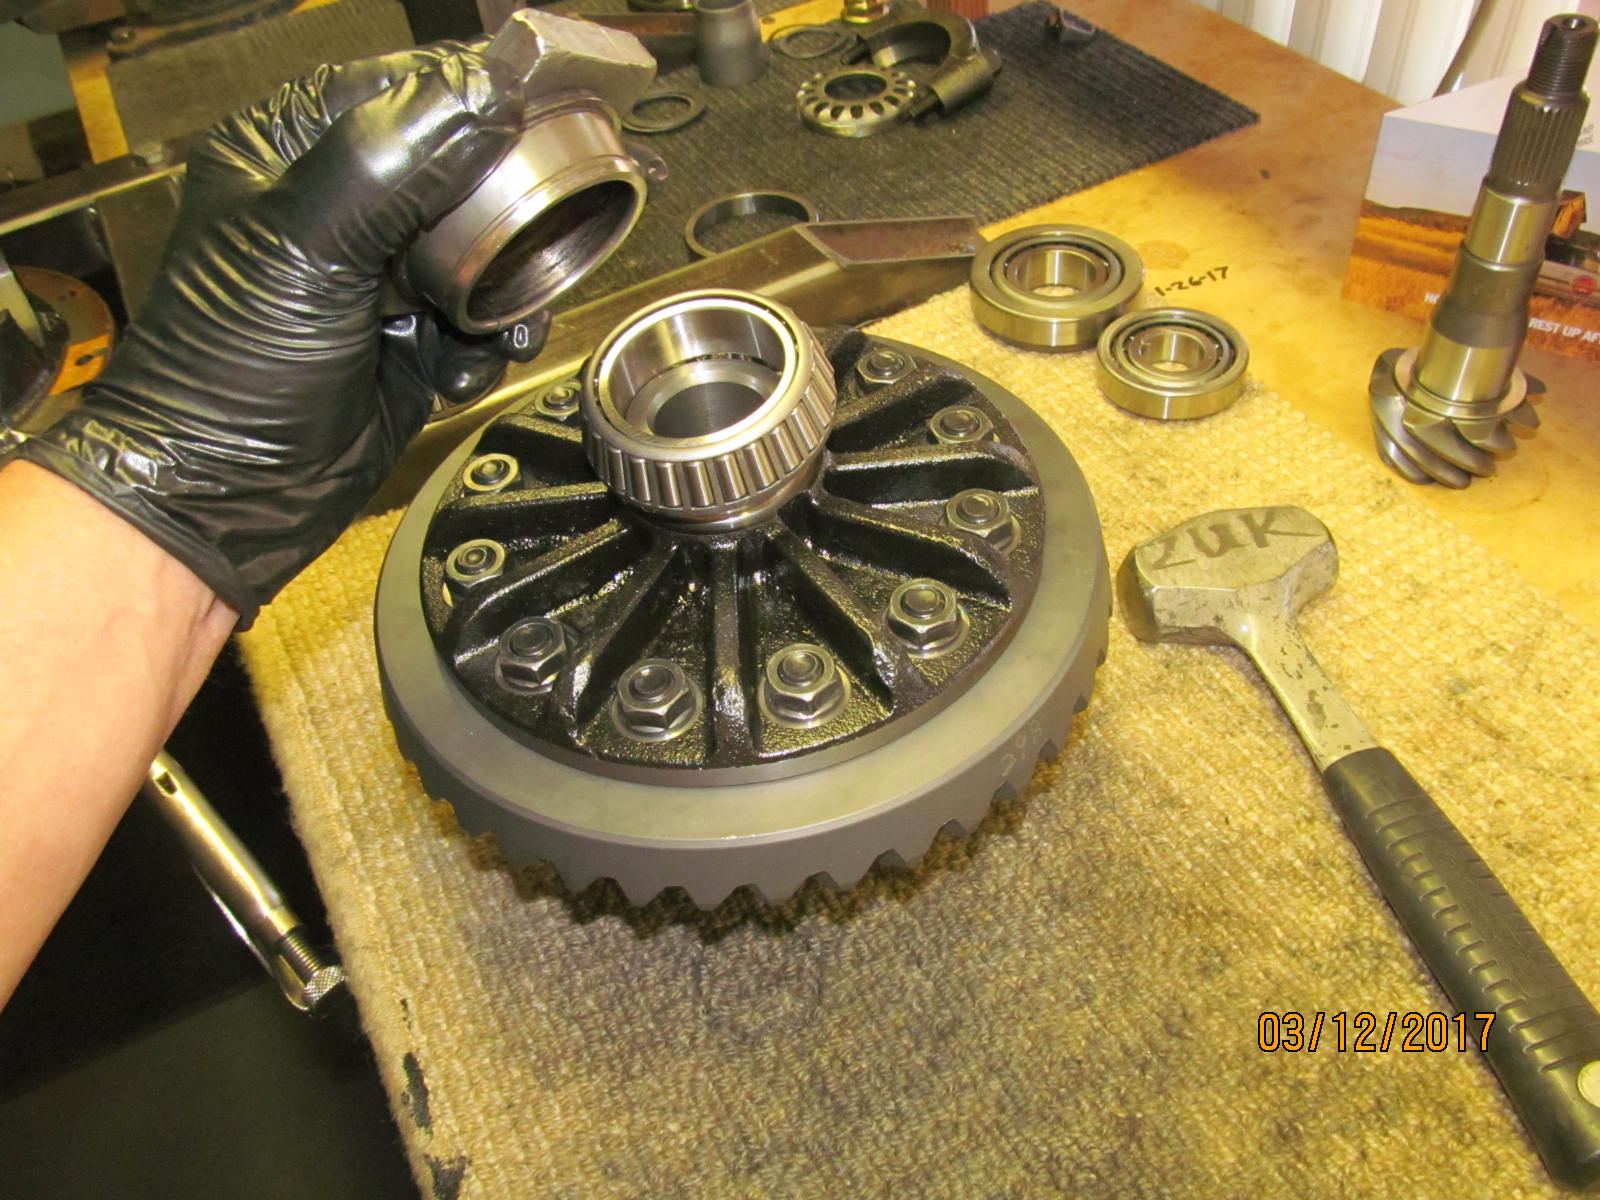
| Both carrier bearings are tapped in place. |
|
| The center carrier is now complete. |
|
| Working now on the pinion end....let's try .056" based on past results. |
|
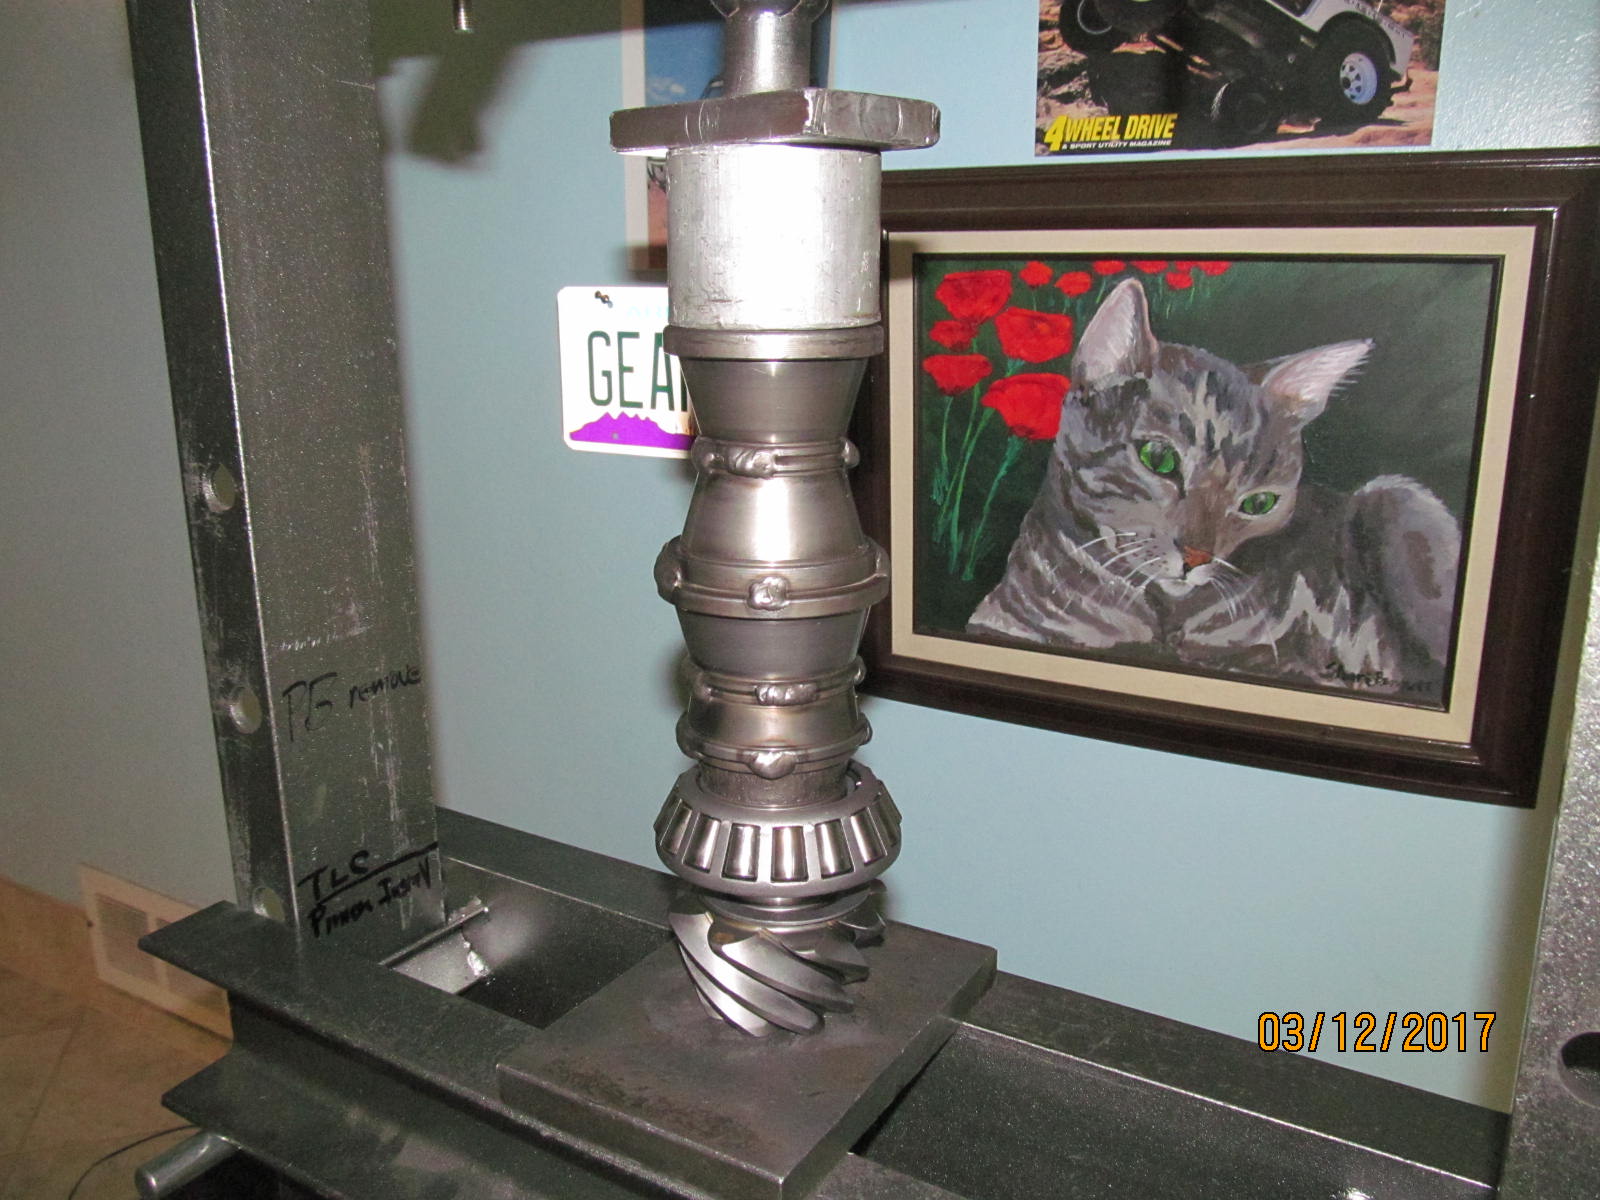
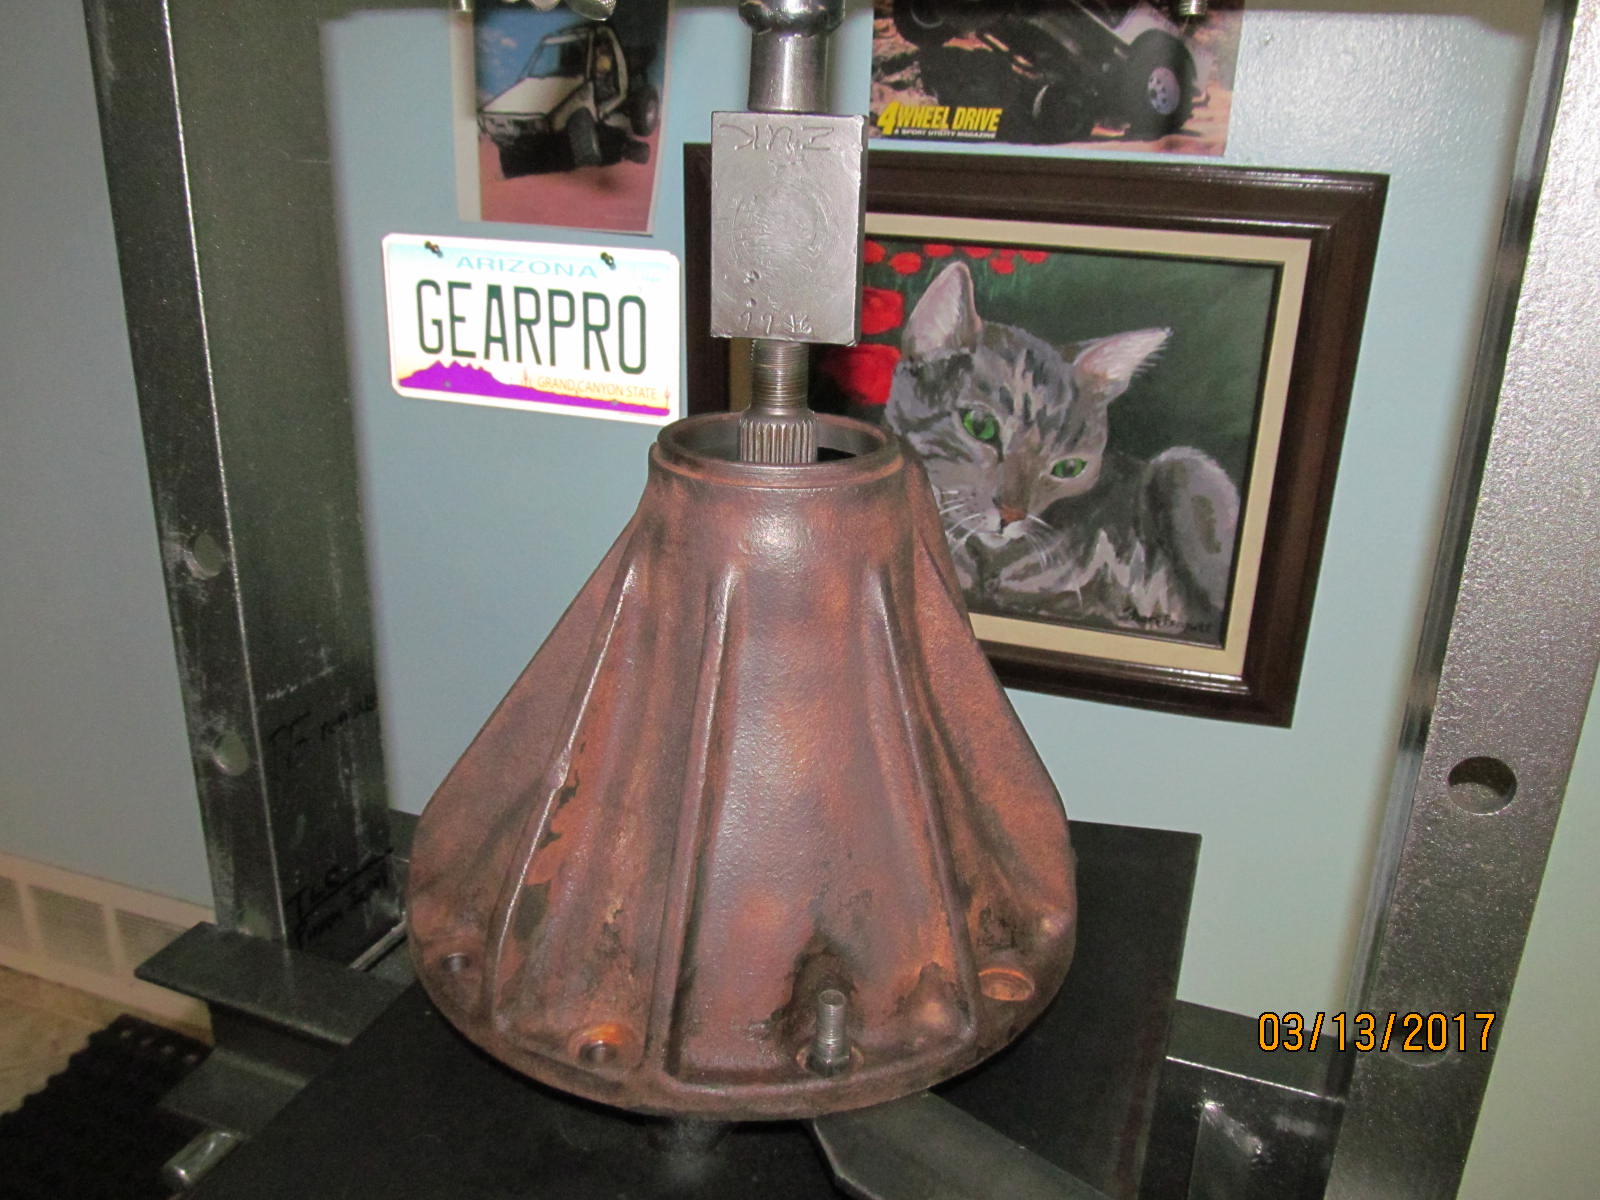
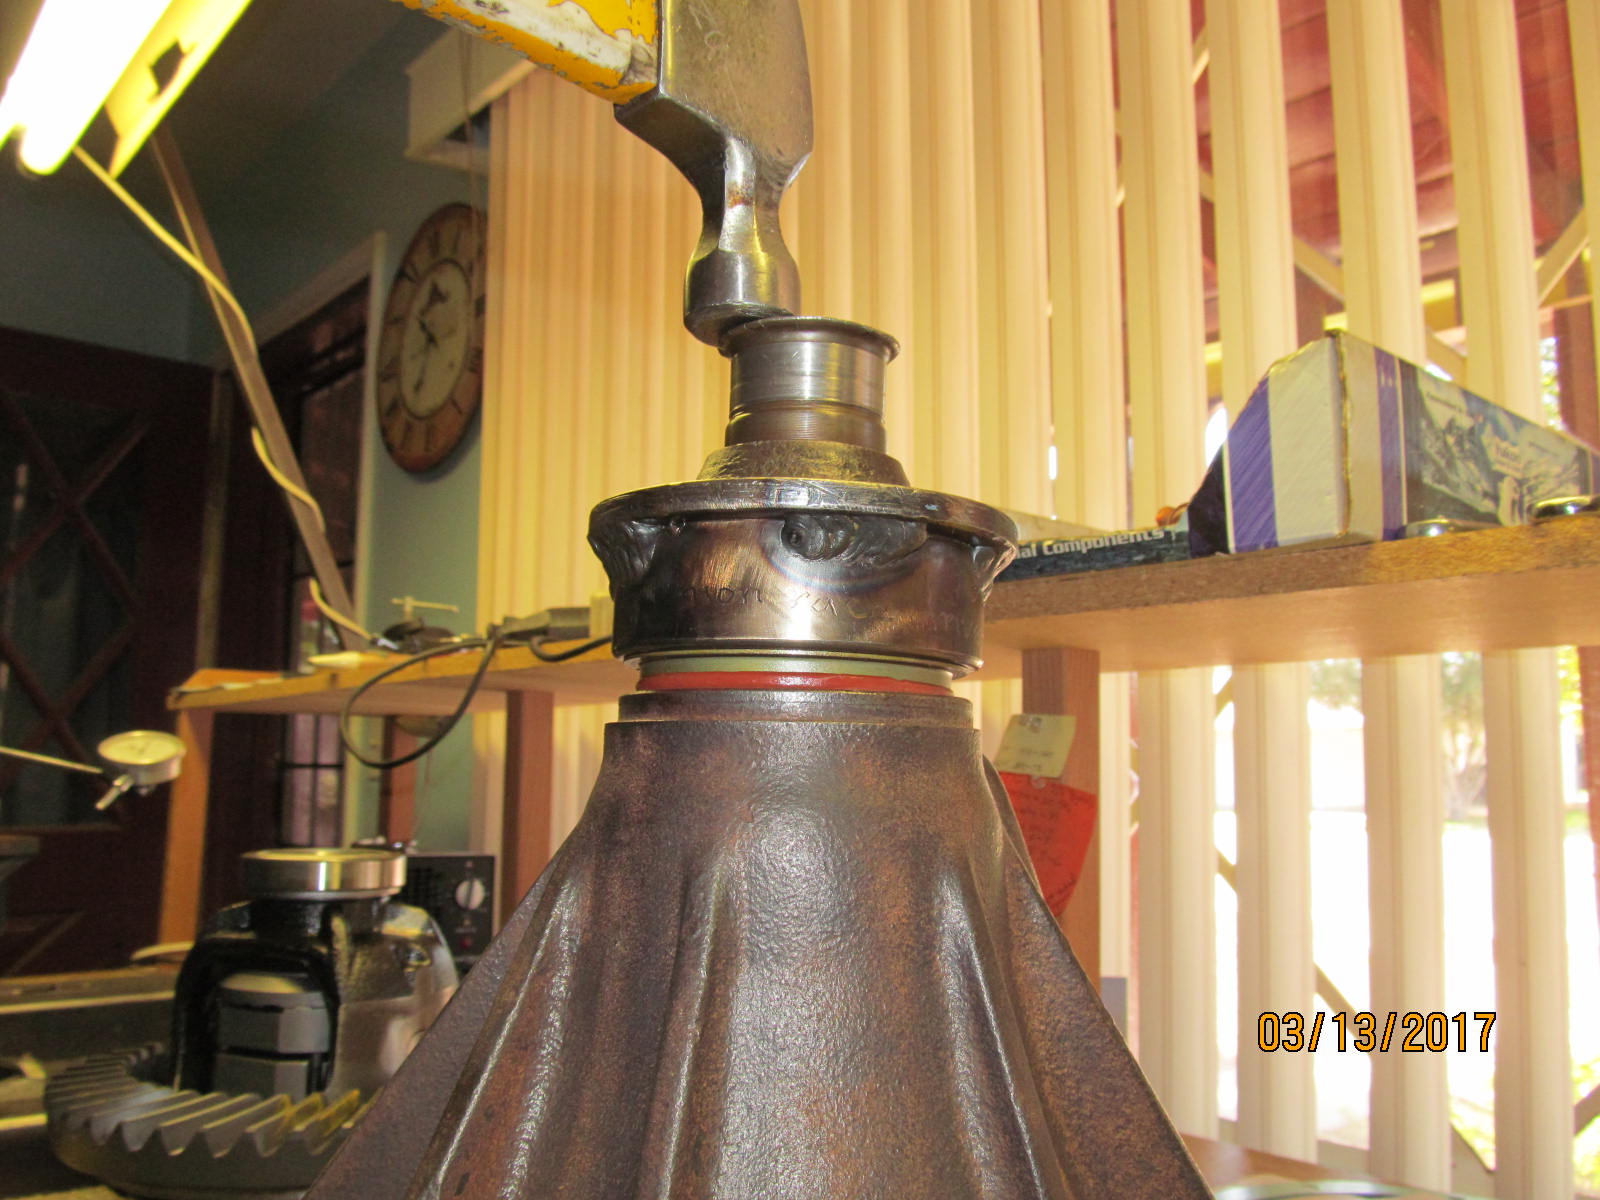
| Using the press and and my favorite widget to press the pinion bearing on. |
|
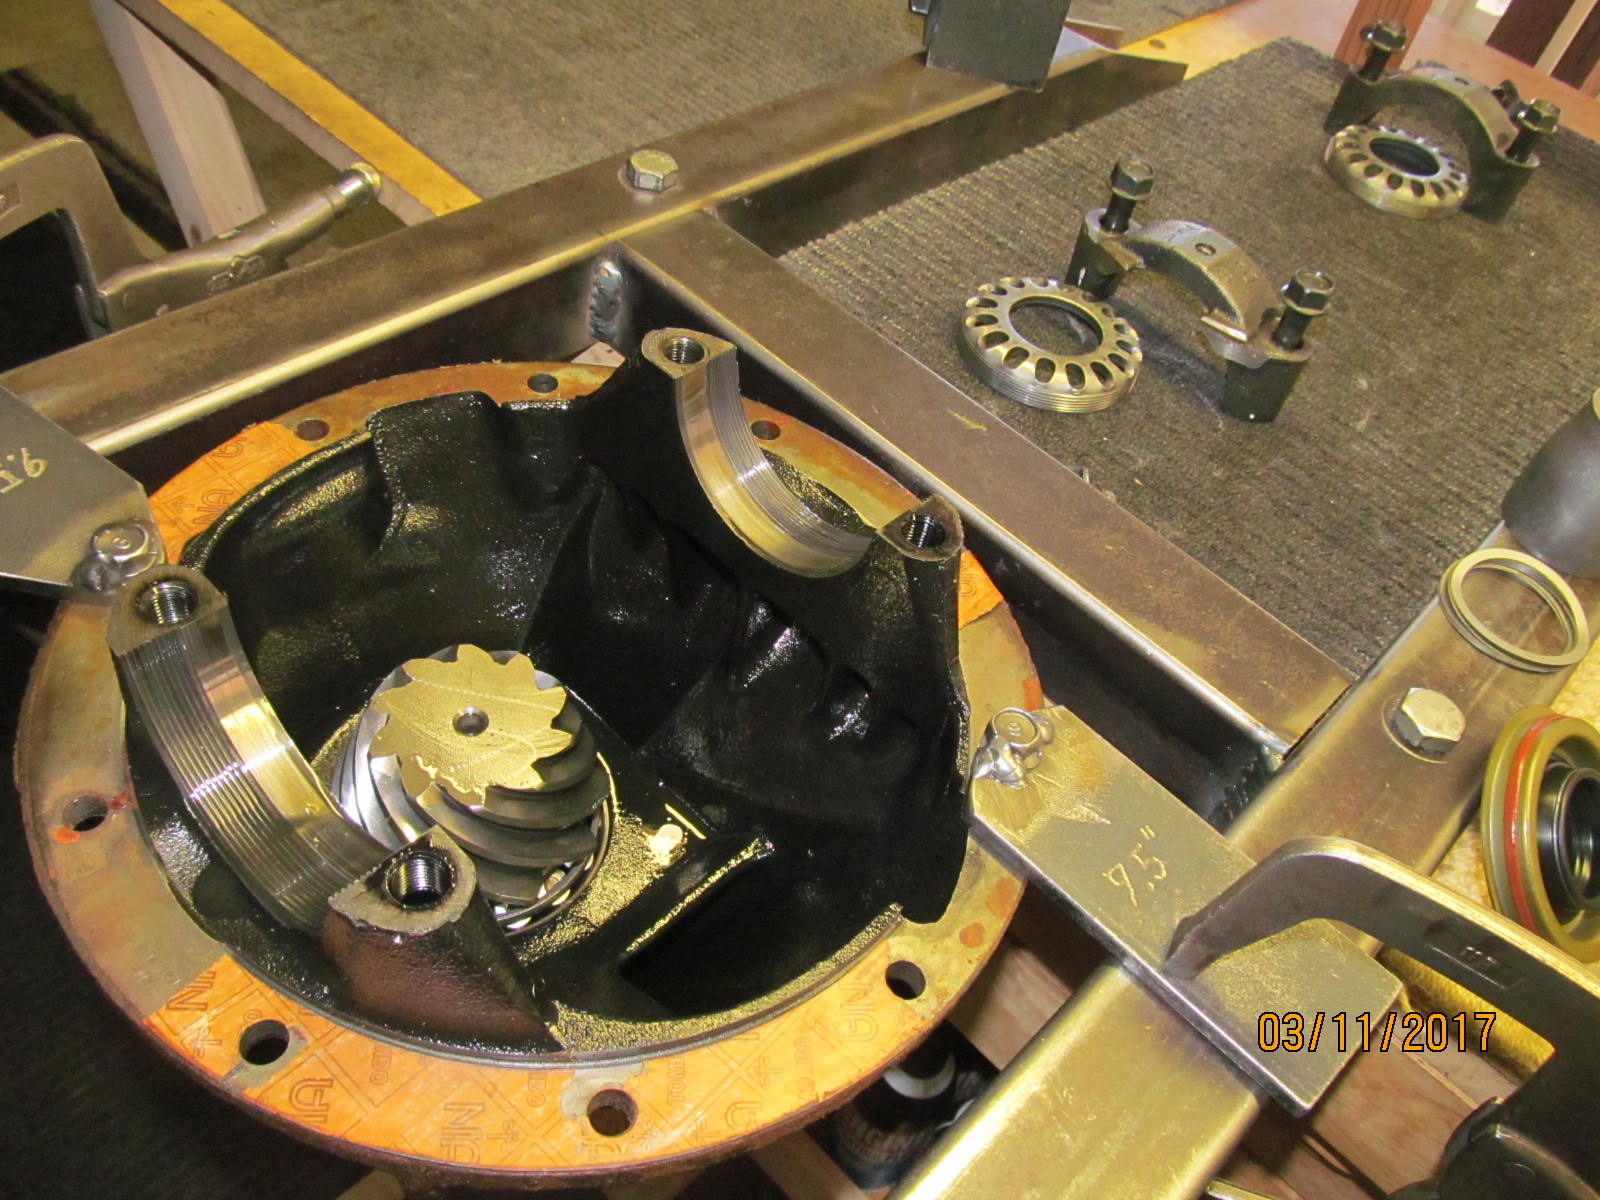
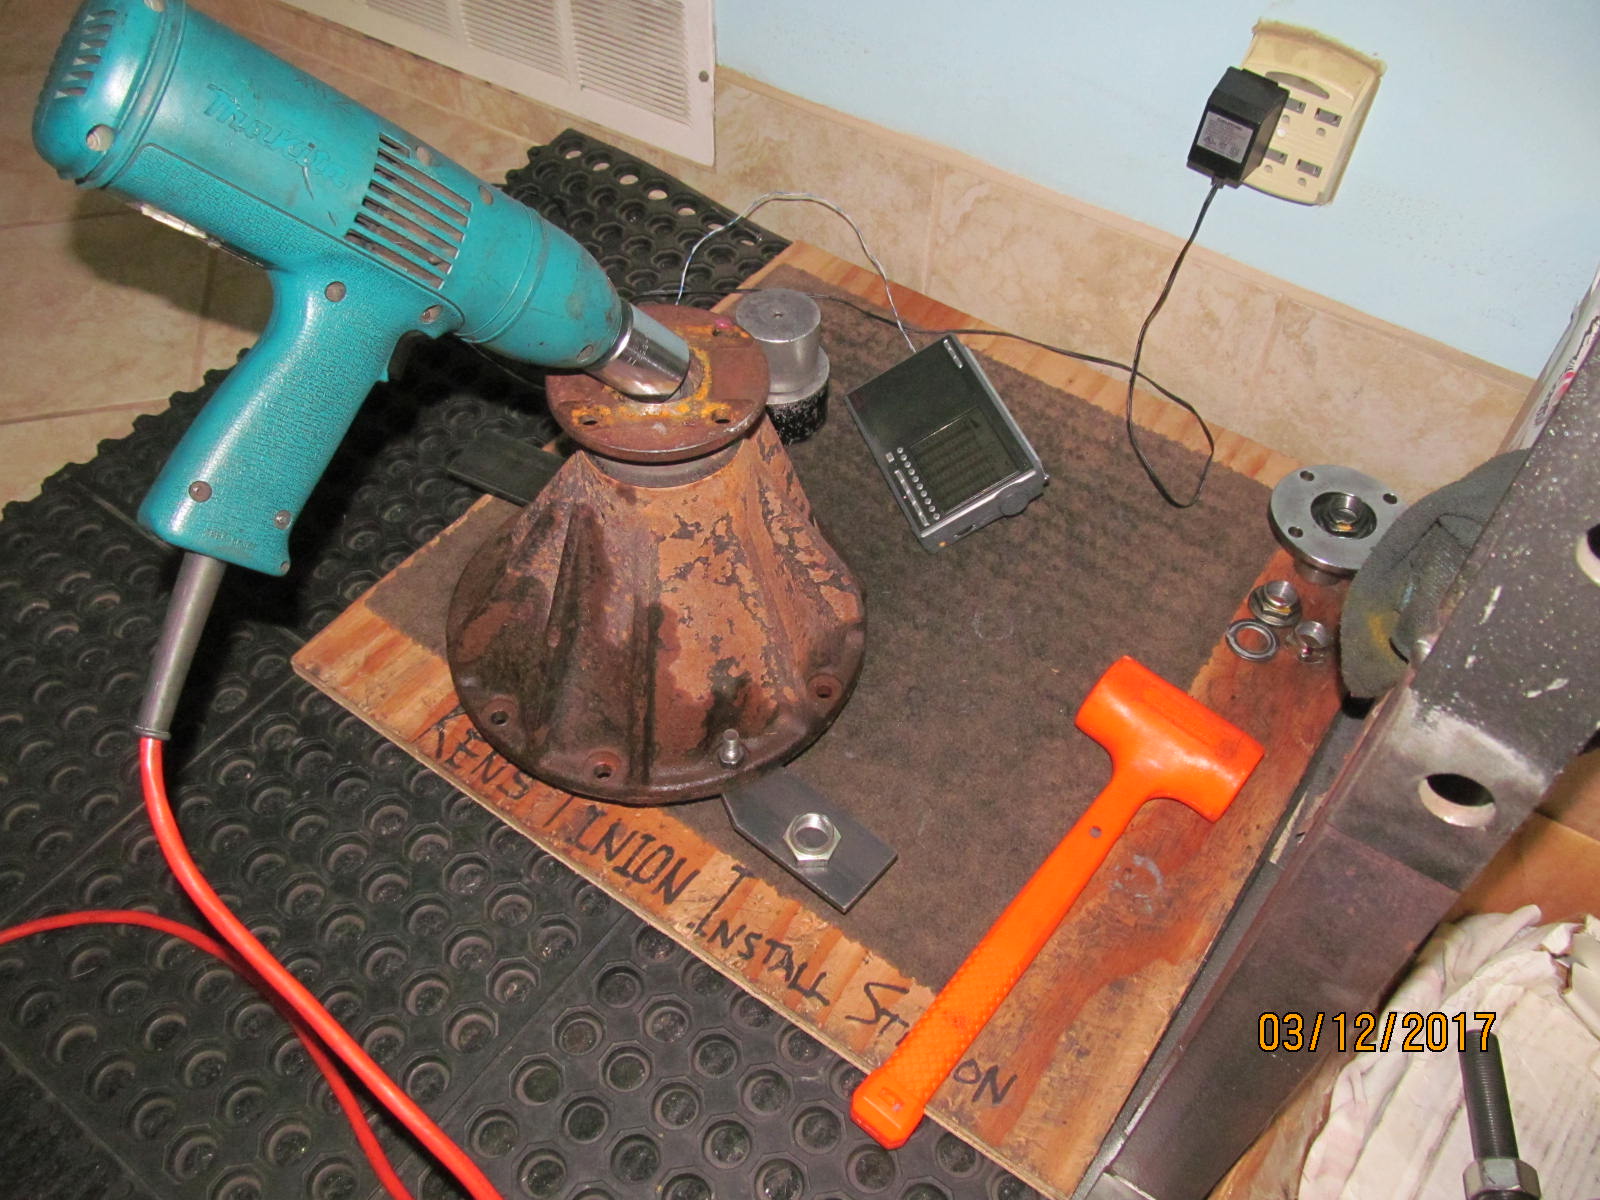
| The old pinion is removed. Kind of filthy so the outside of the 3rd will be high speed wire wheel. |
|
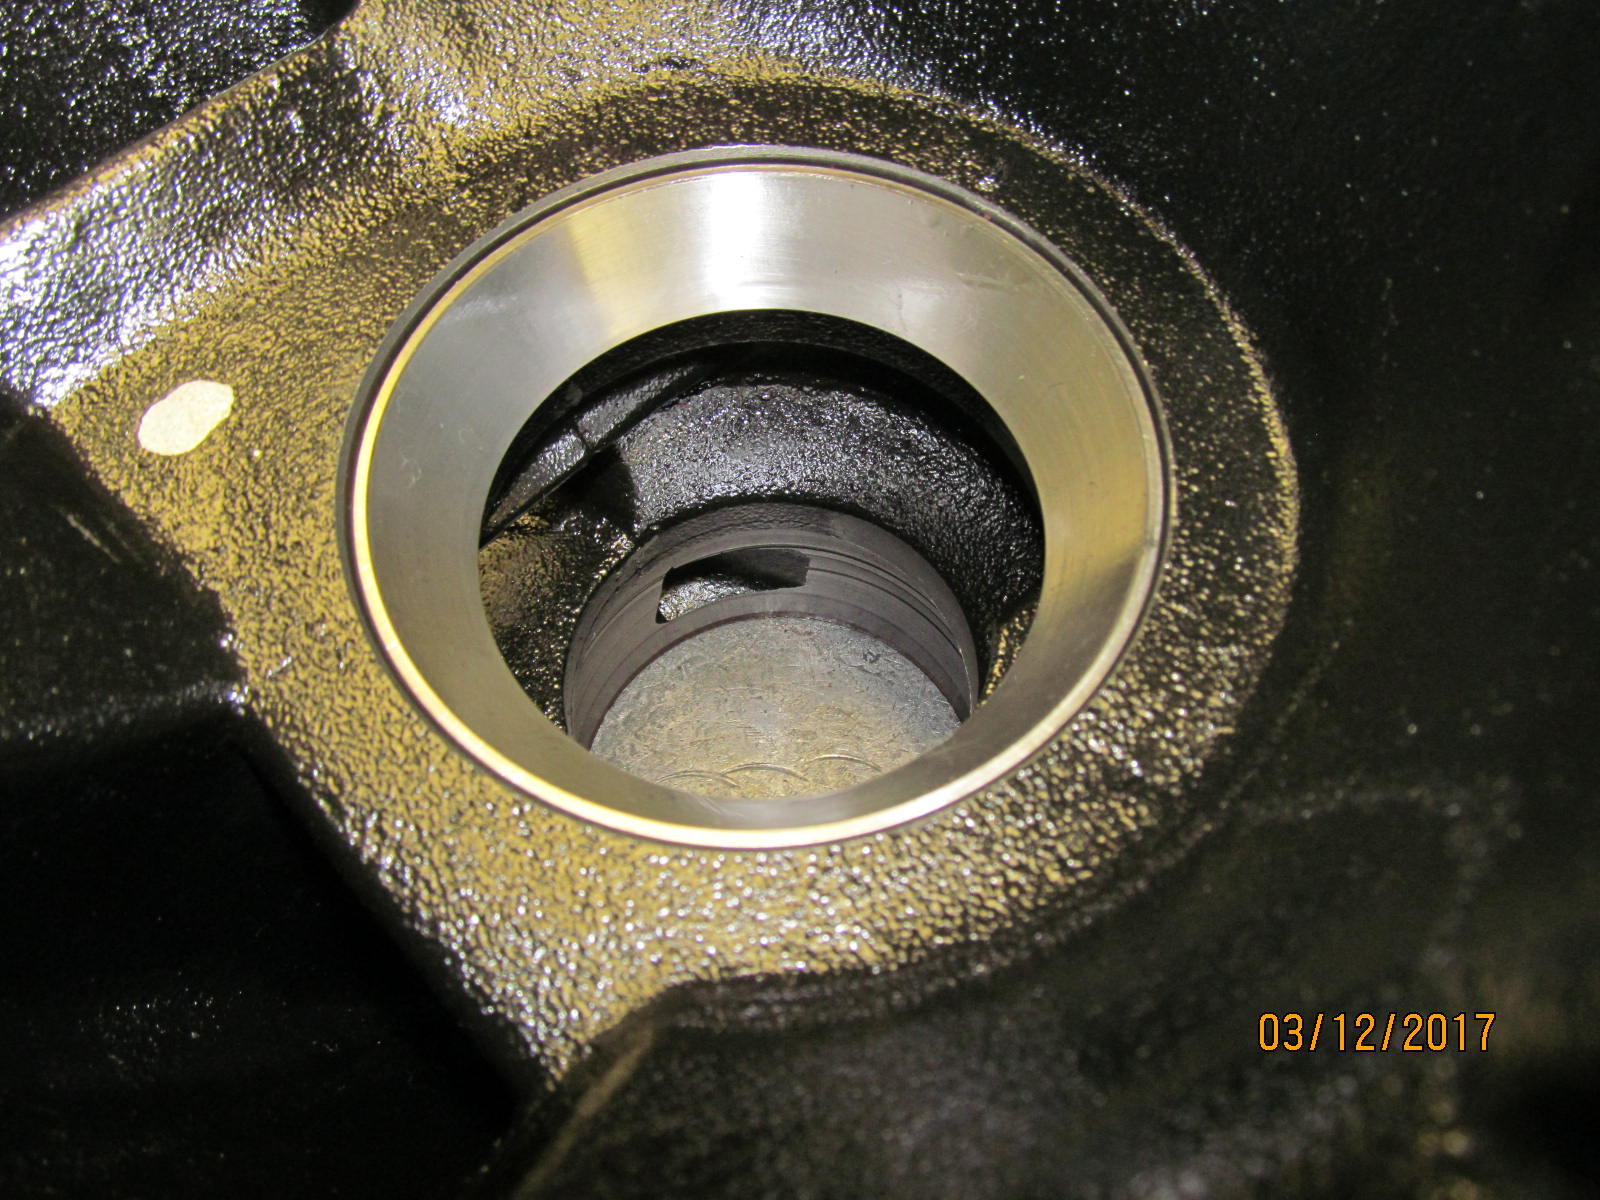
| New races are tapped in. |
|
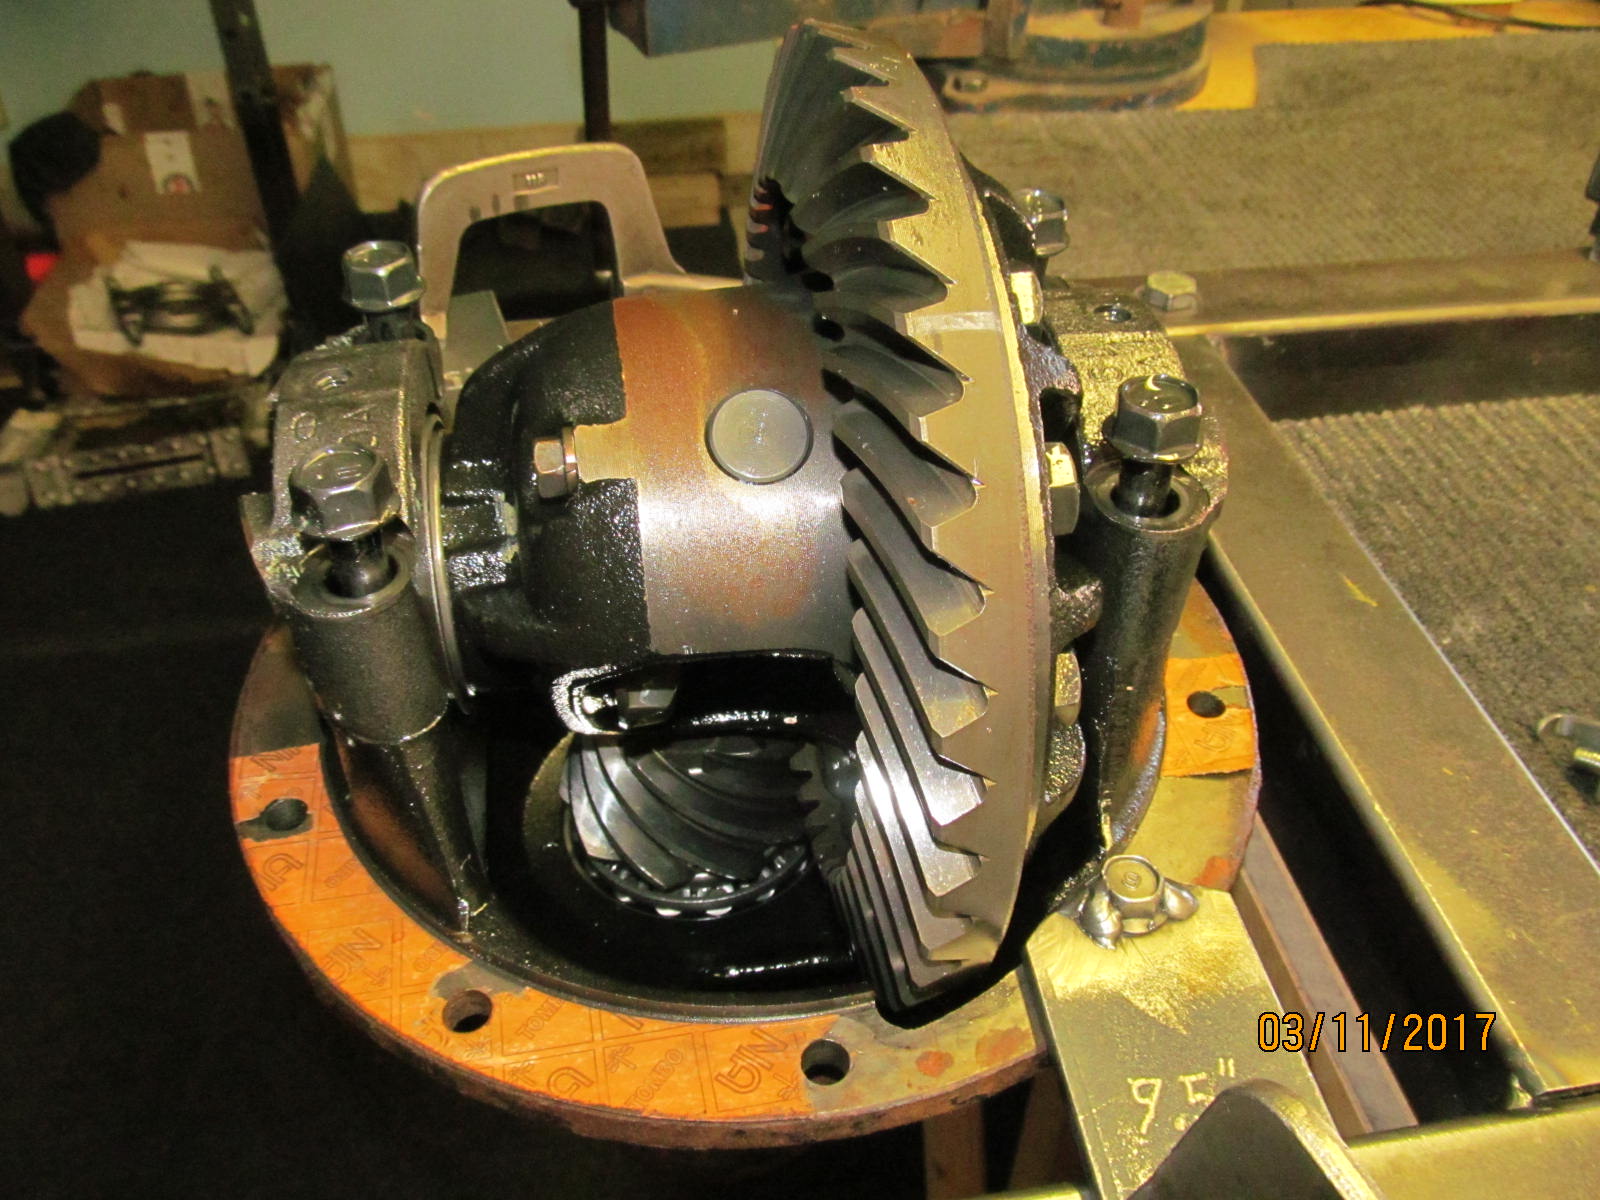
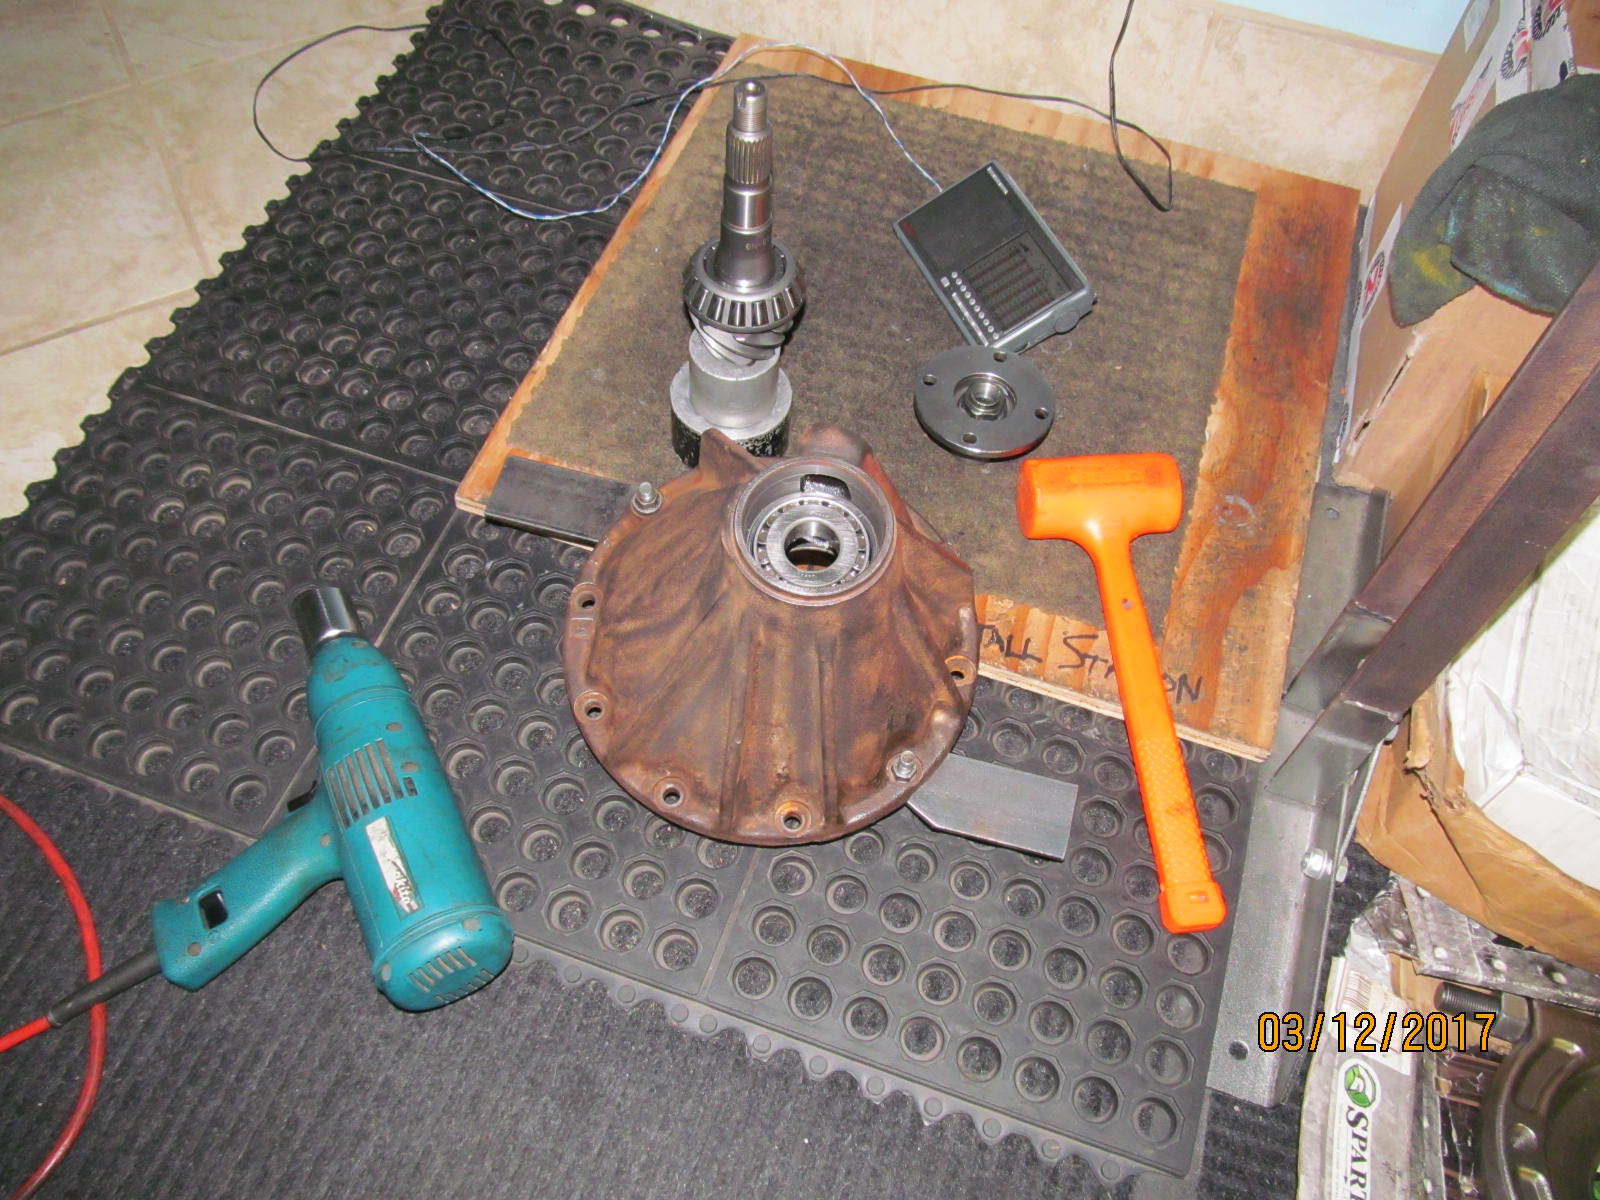
| The high speed wire wheel really did help clean up the outside. Pinion is installed at this point. |
|
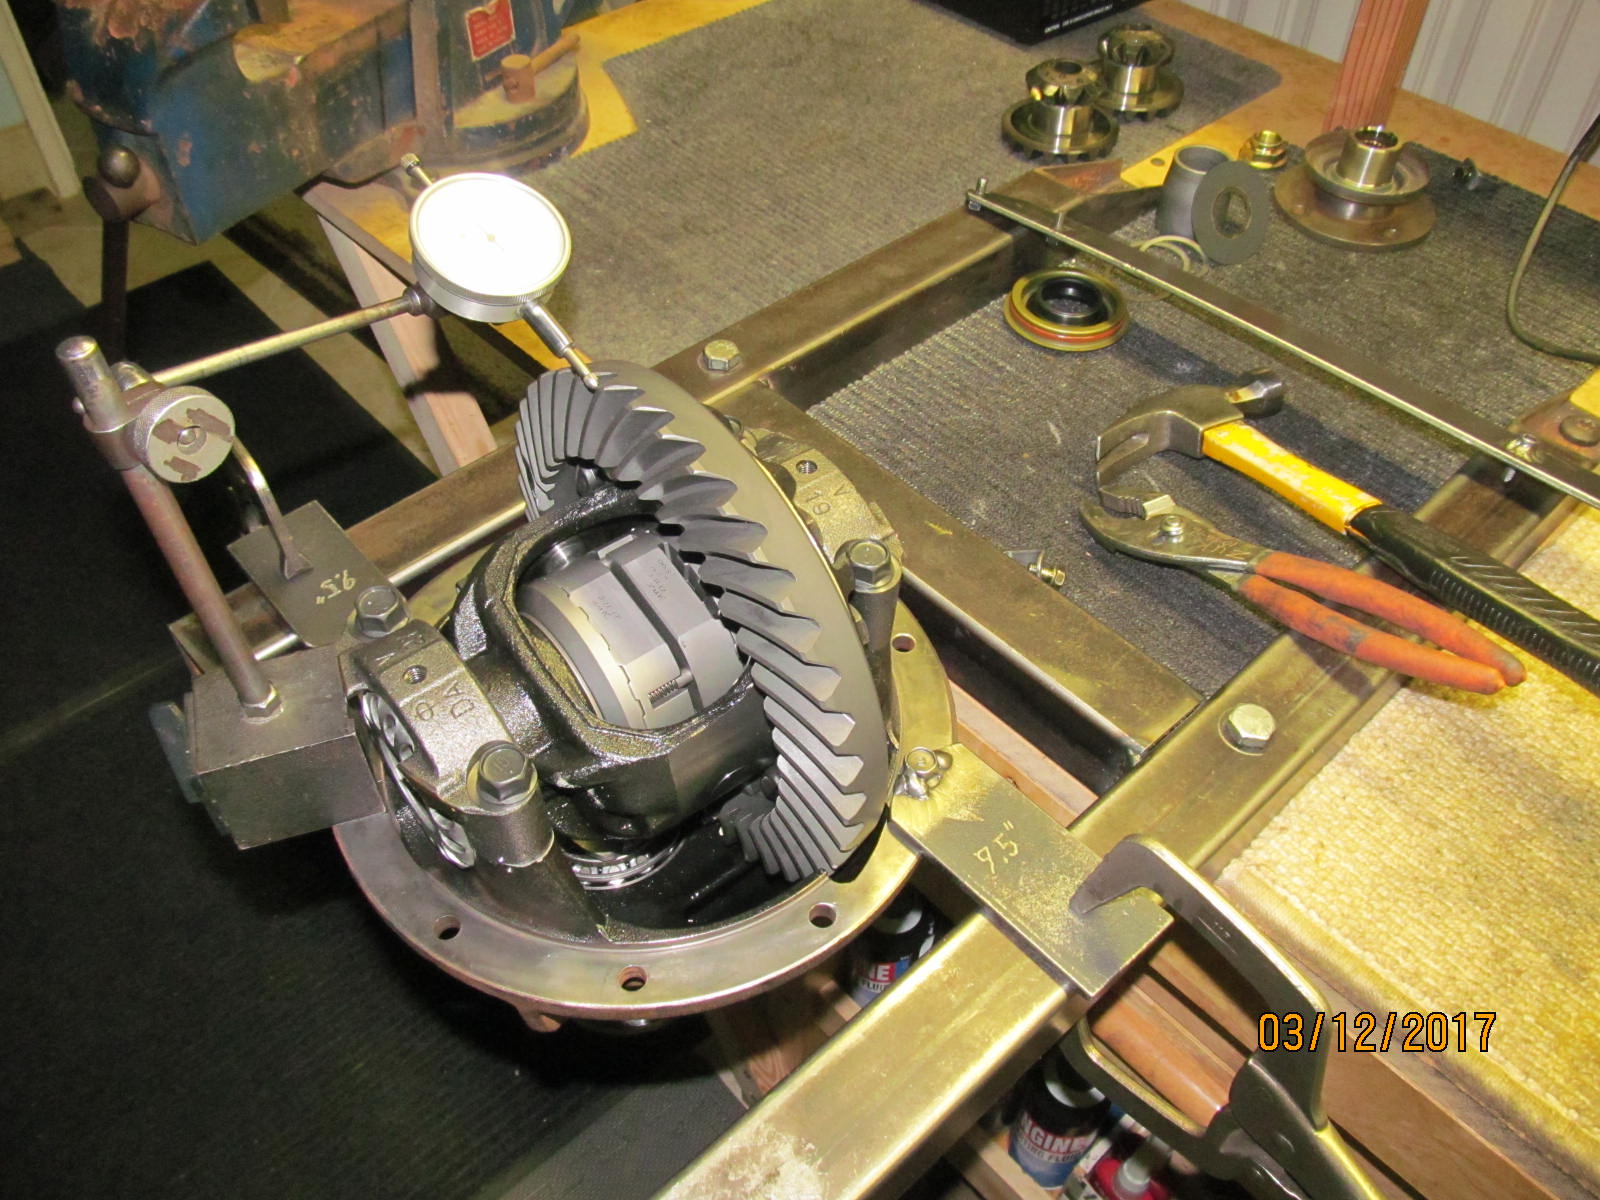
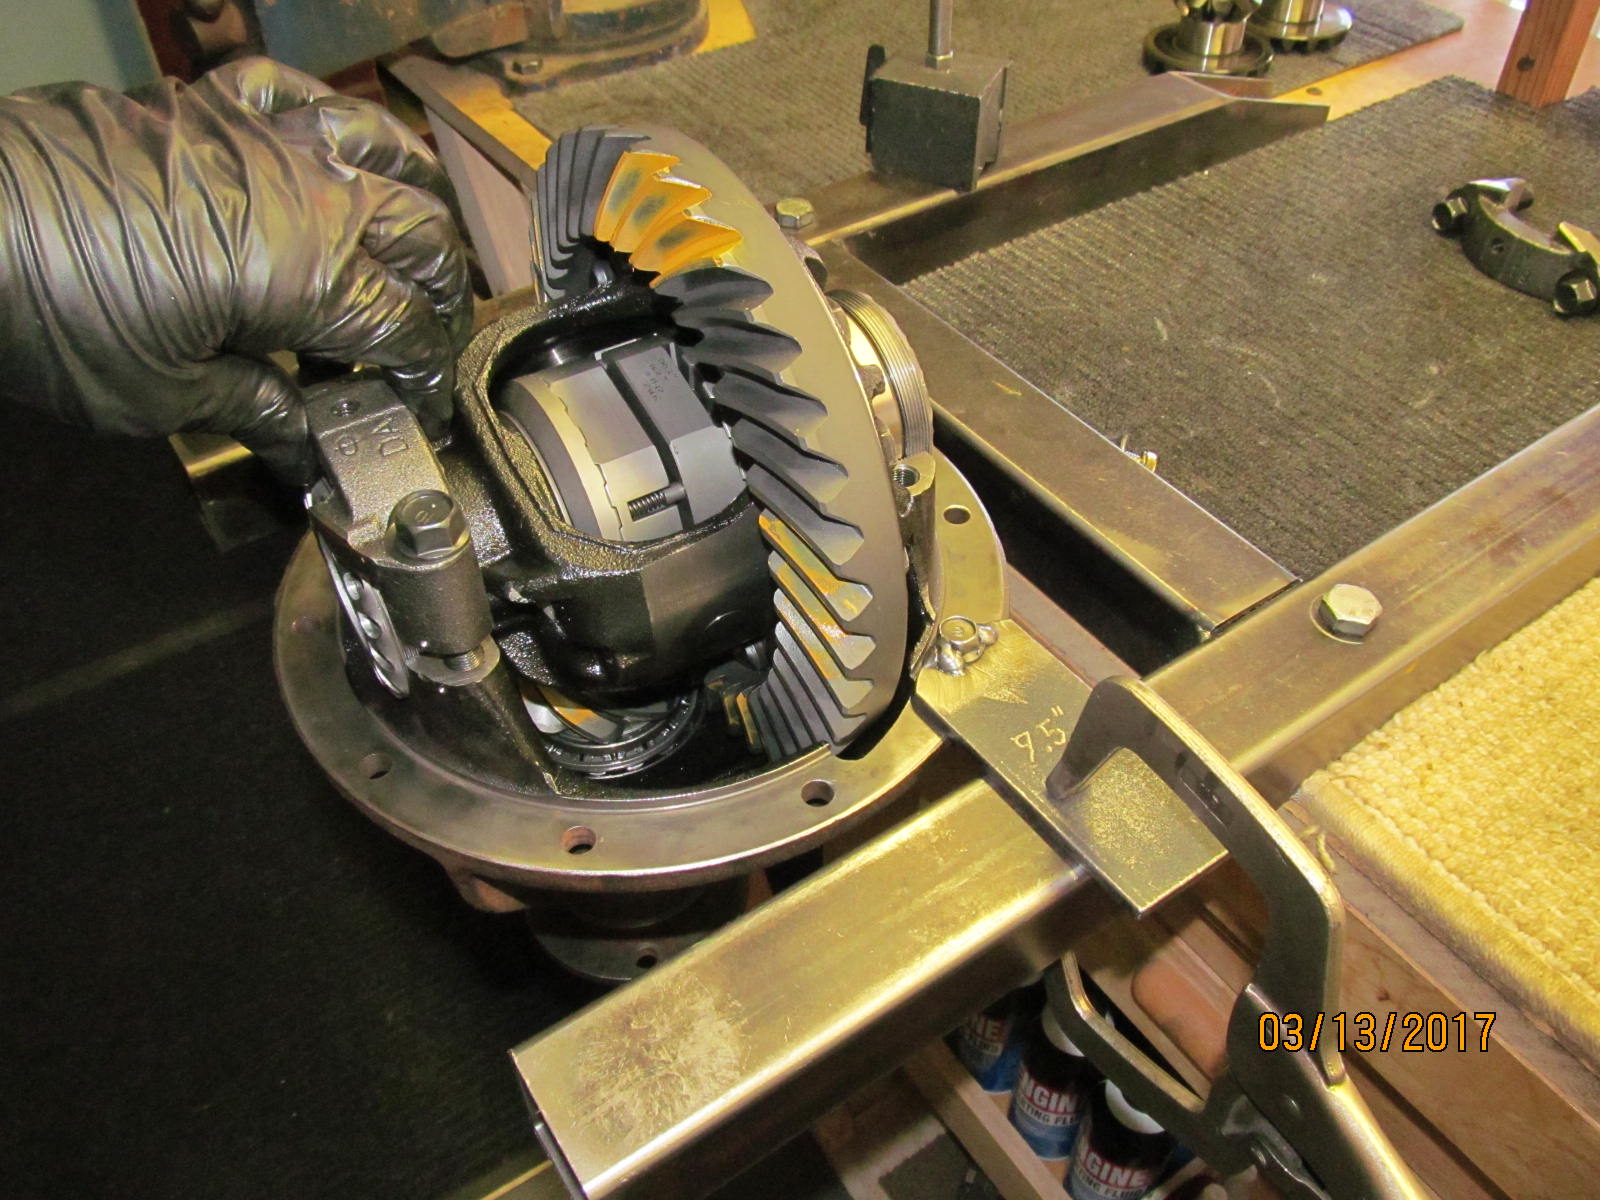
| Now the differential carrier can be installed. Bearing caps are put in place. |
|
| Wheel adjusters are tightened up and backlash is put in spec. |
|
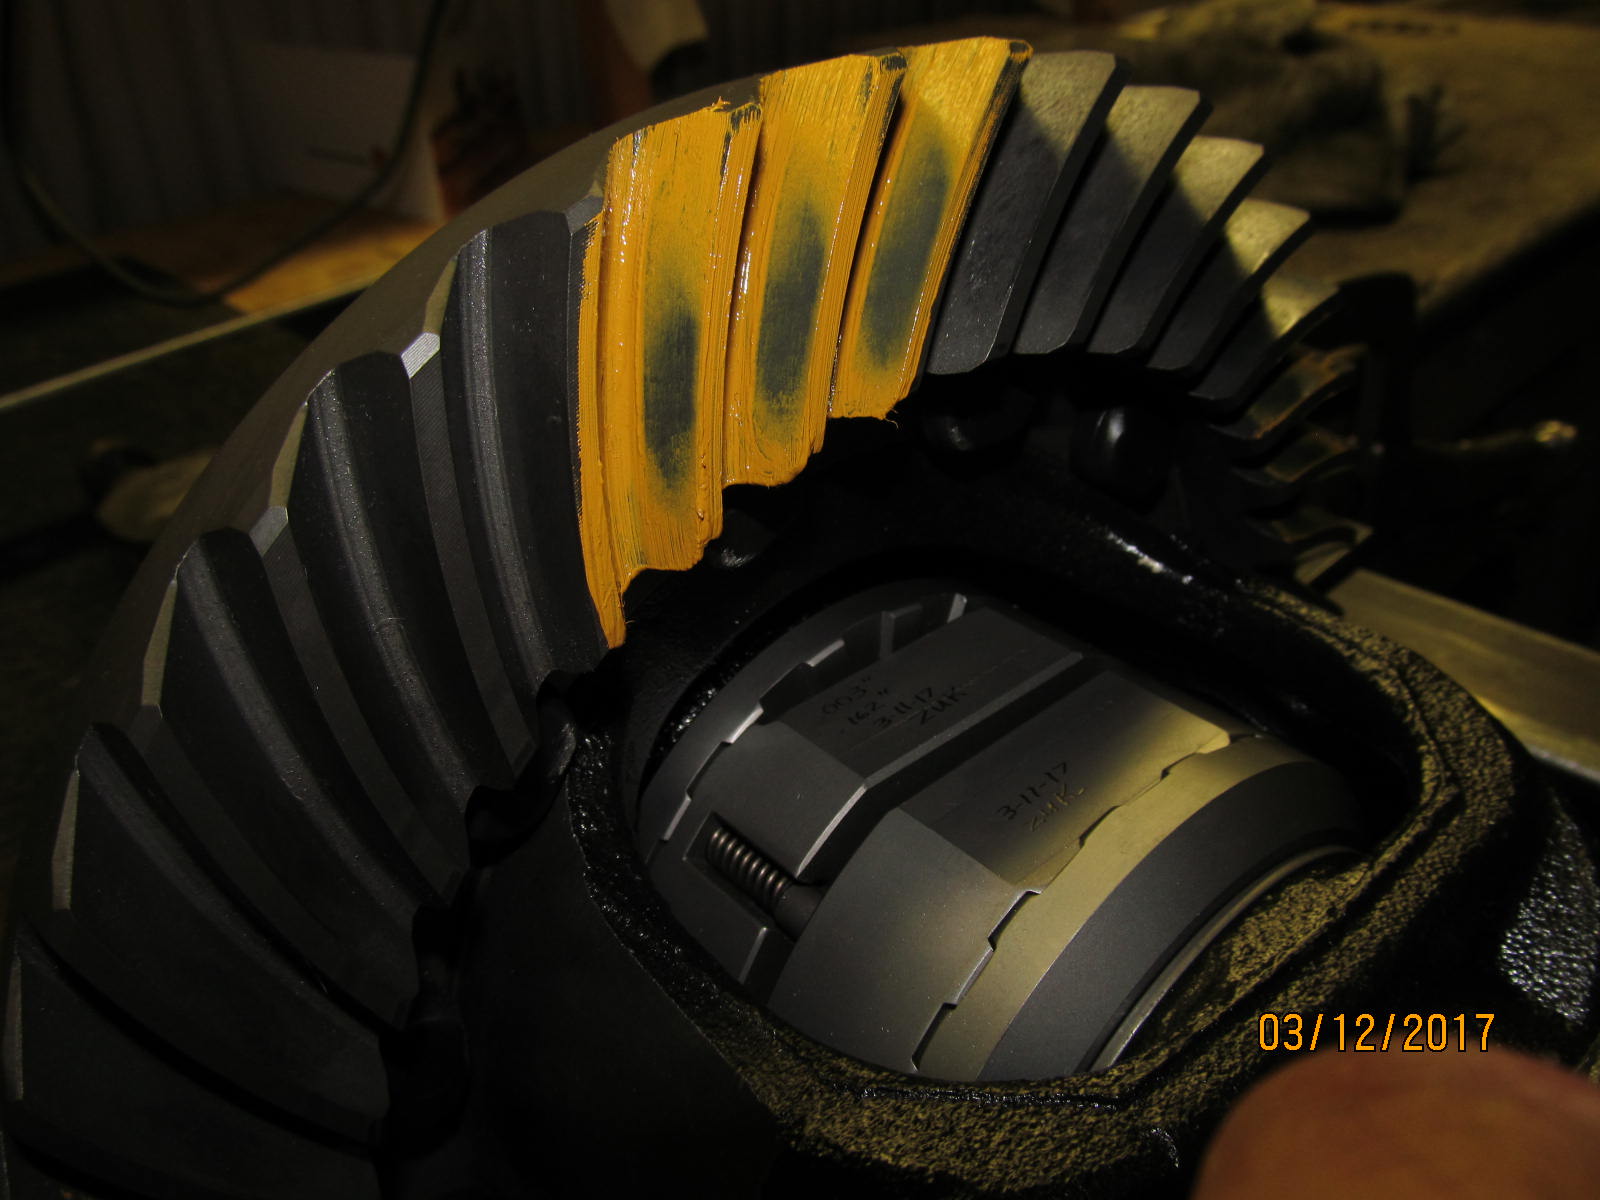
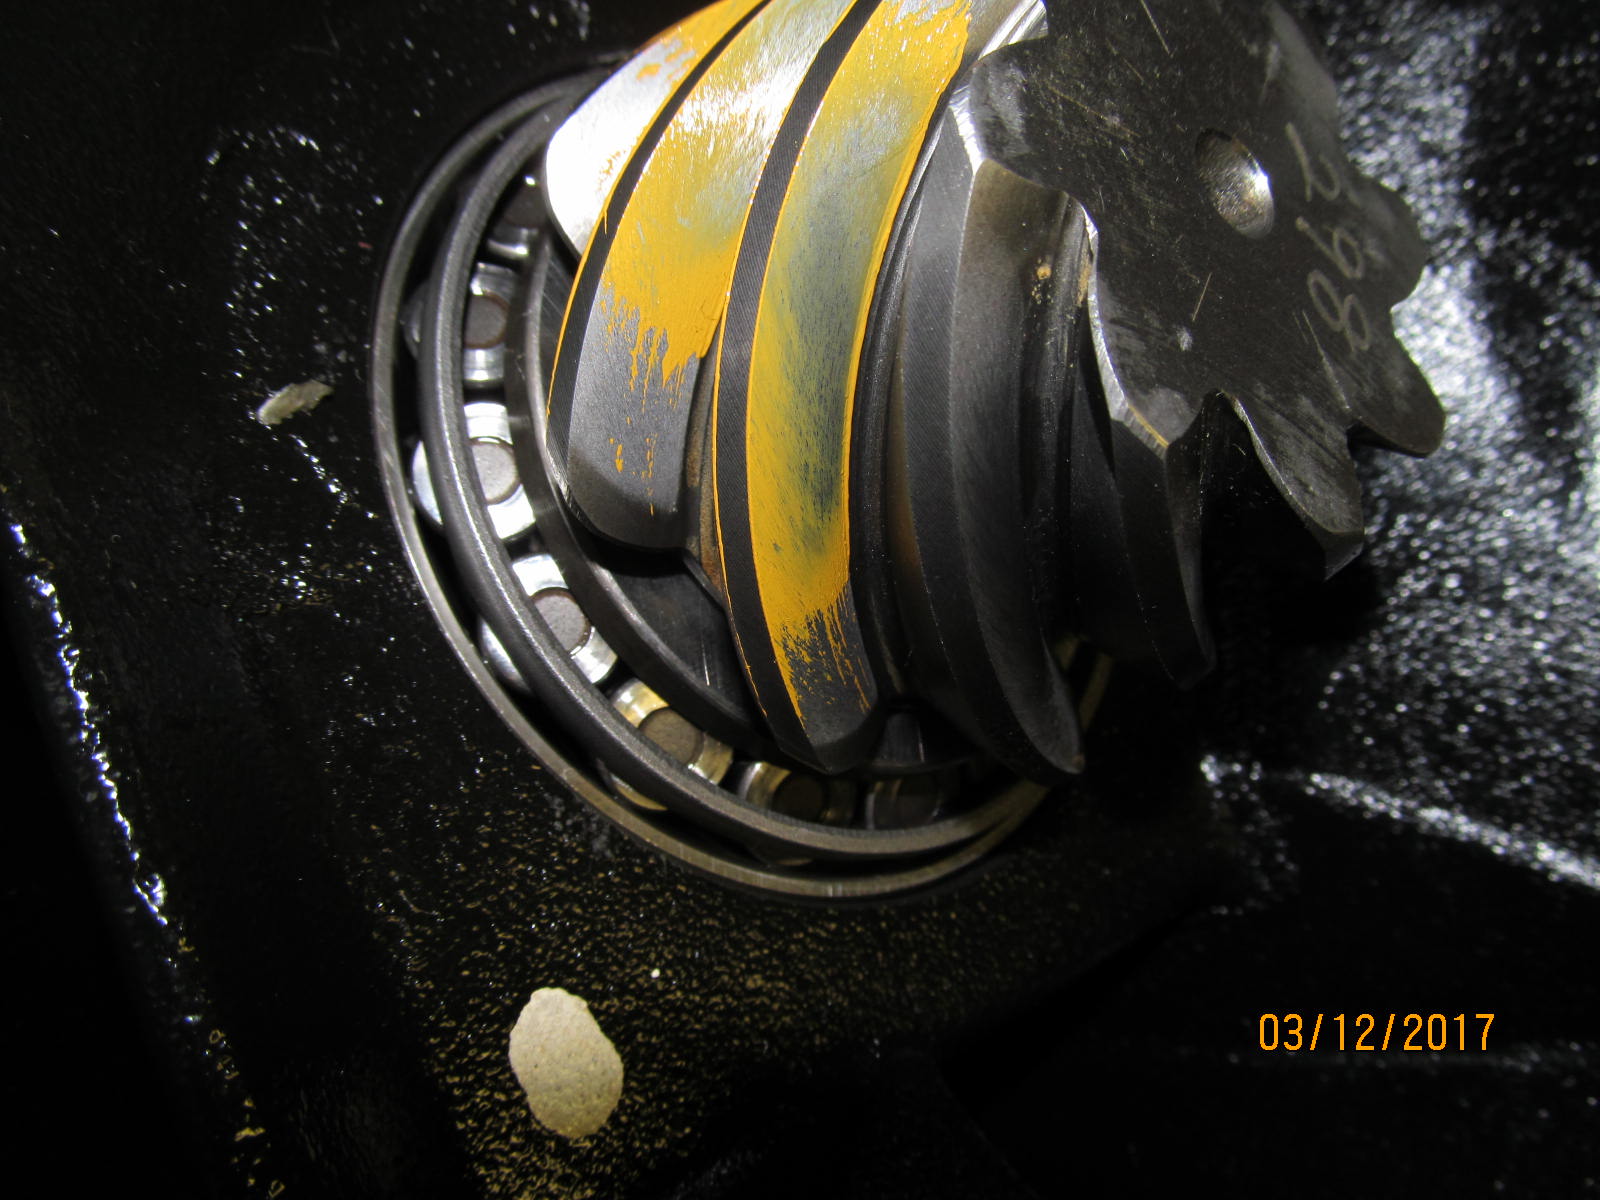
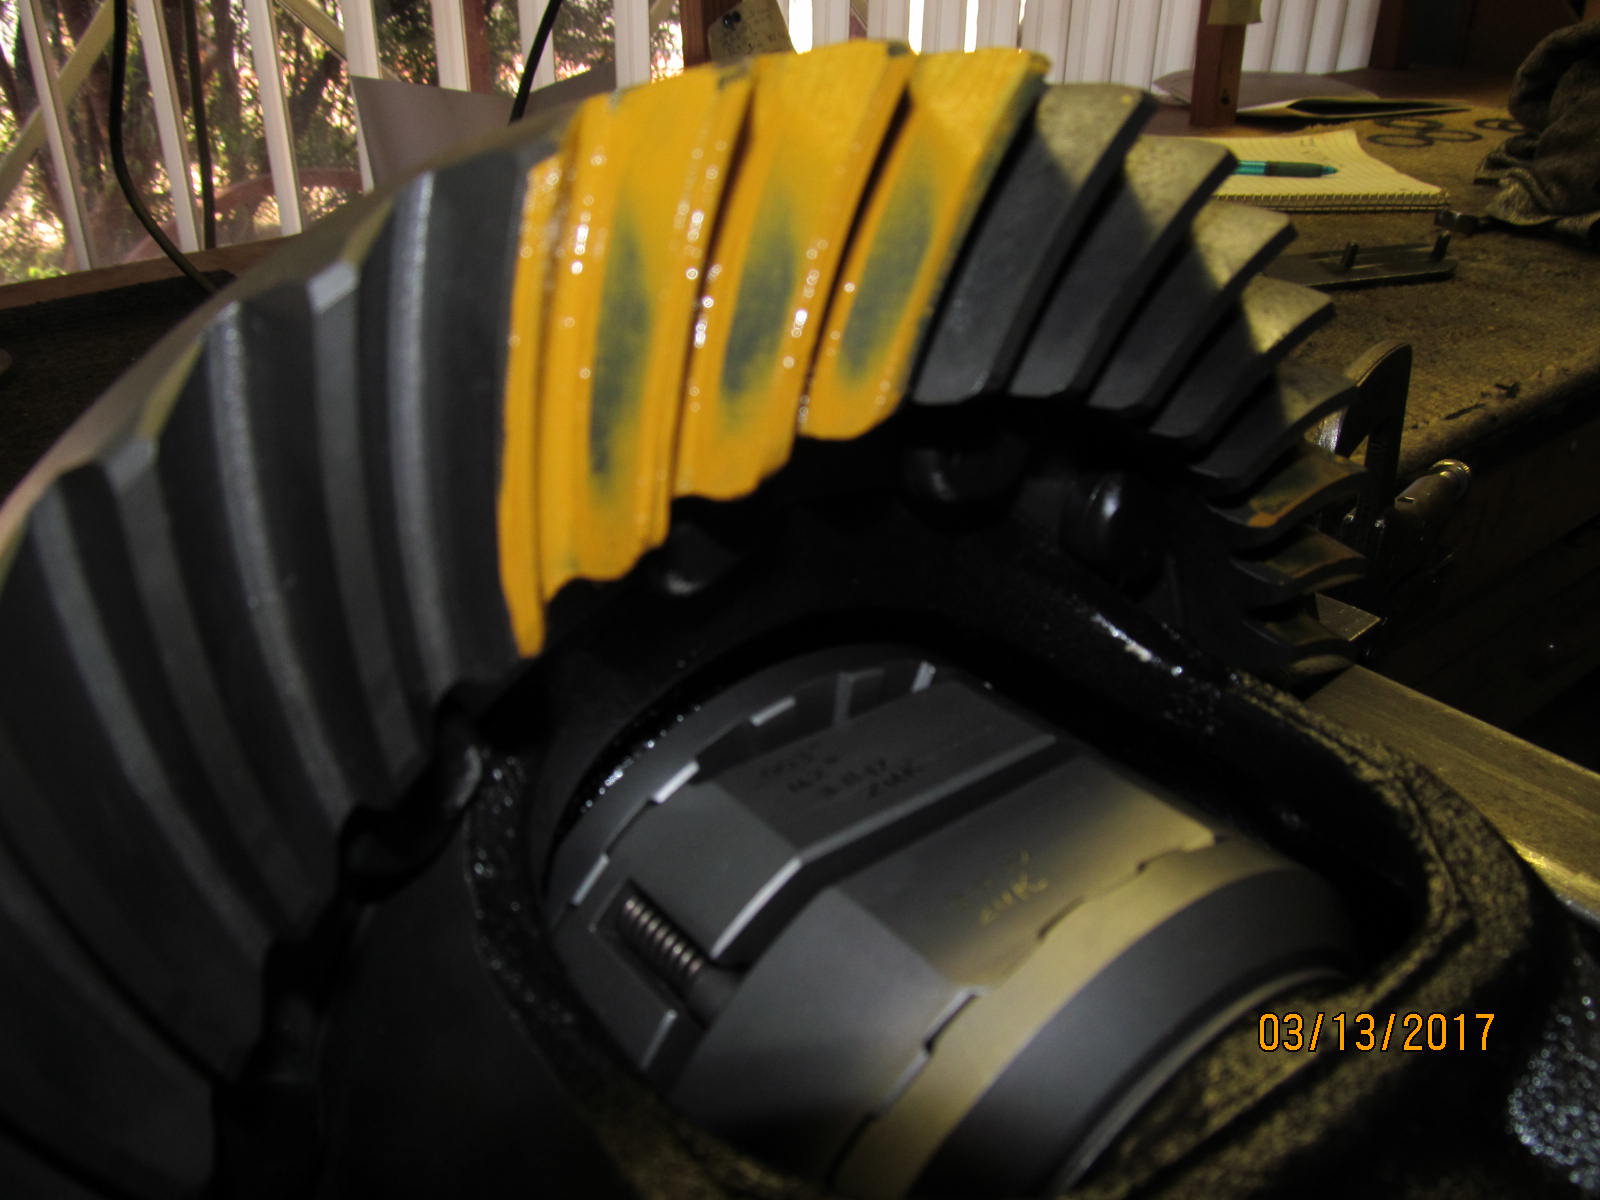
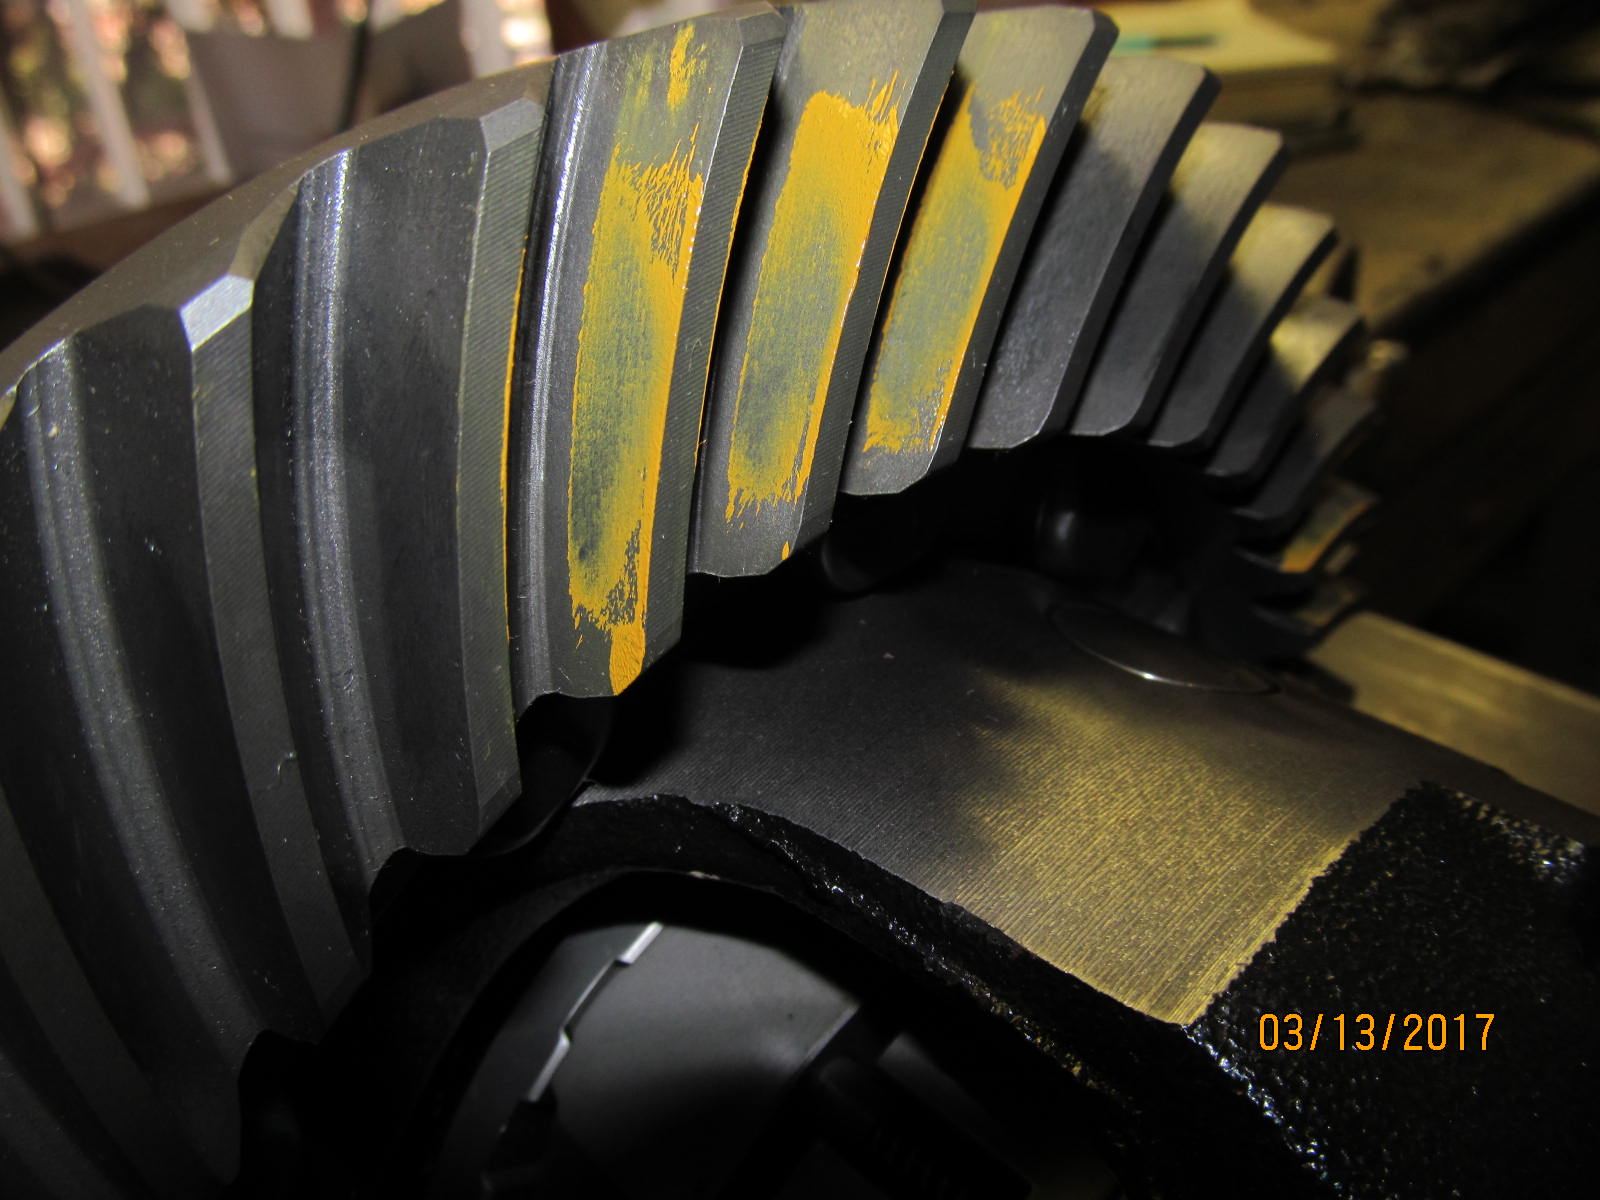
| Drive side....not bad but is a touch shallow here. |
|
| Coast....agrees that it is indeed shallow. |
|
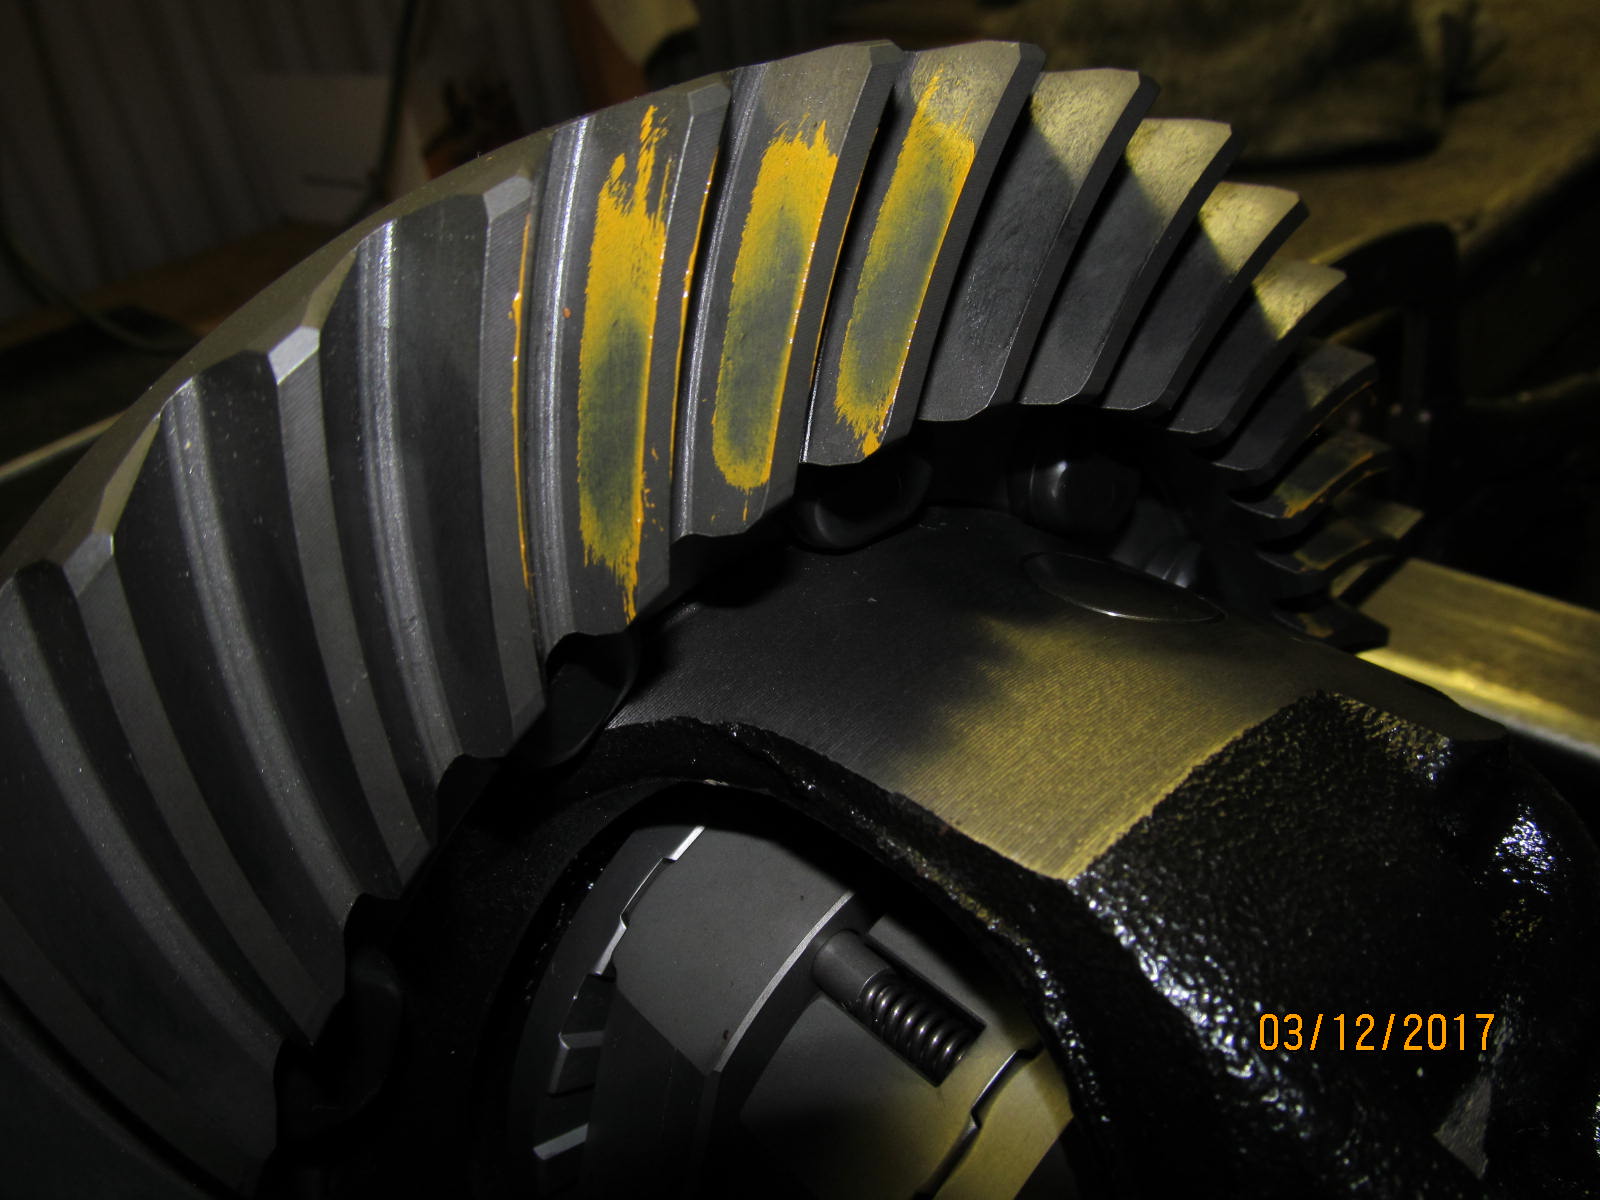
| Drive side..... reverse painted. |
|
| Coast.....reverse painted. |
|
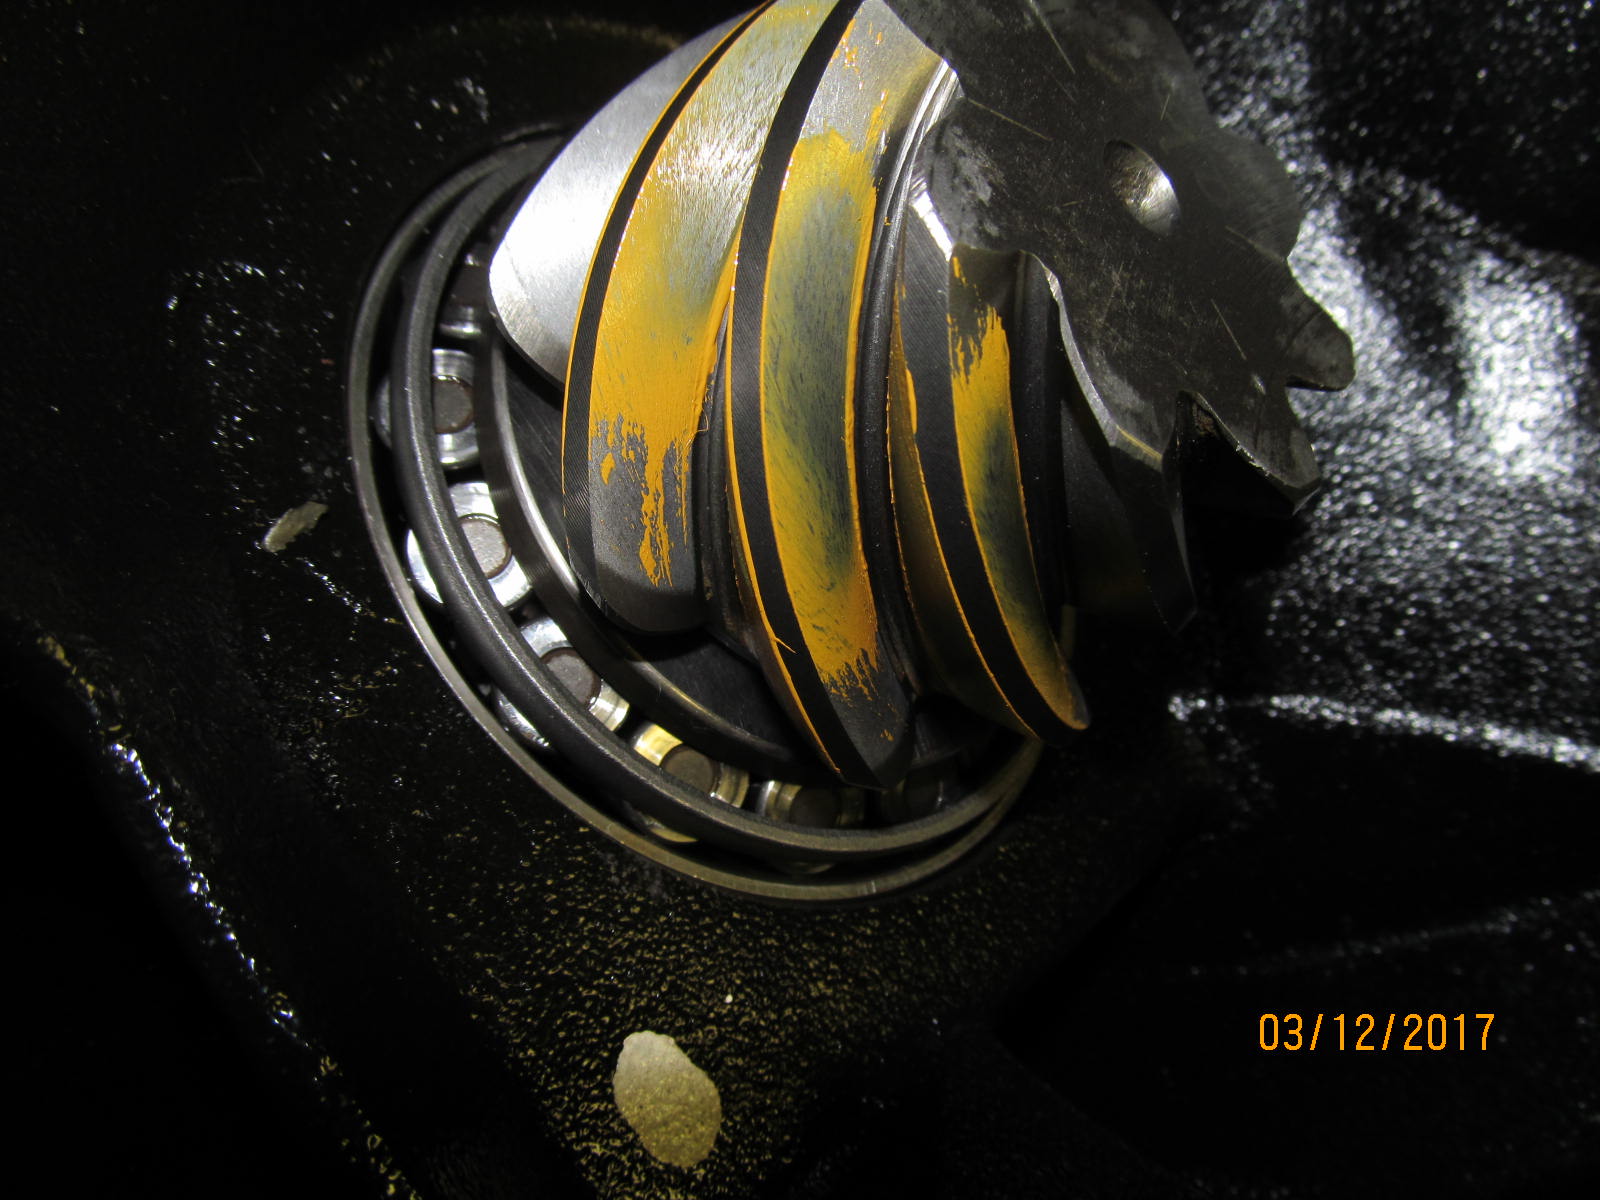
| drive on pinion tooth...comet tail is tucked in to the root. |
|
| same on this tooth. |
|
| Comet tail is easily seen tucked in. |
|
| This is an easy tweak....just add .004" to the depth. Pinion is pressed out here. |
|
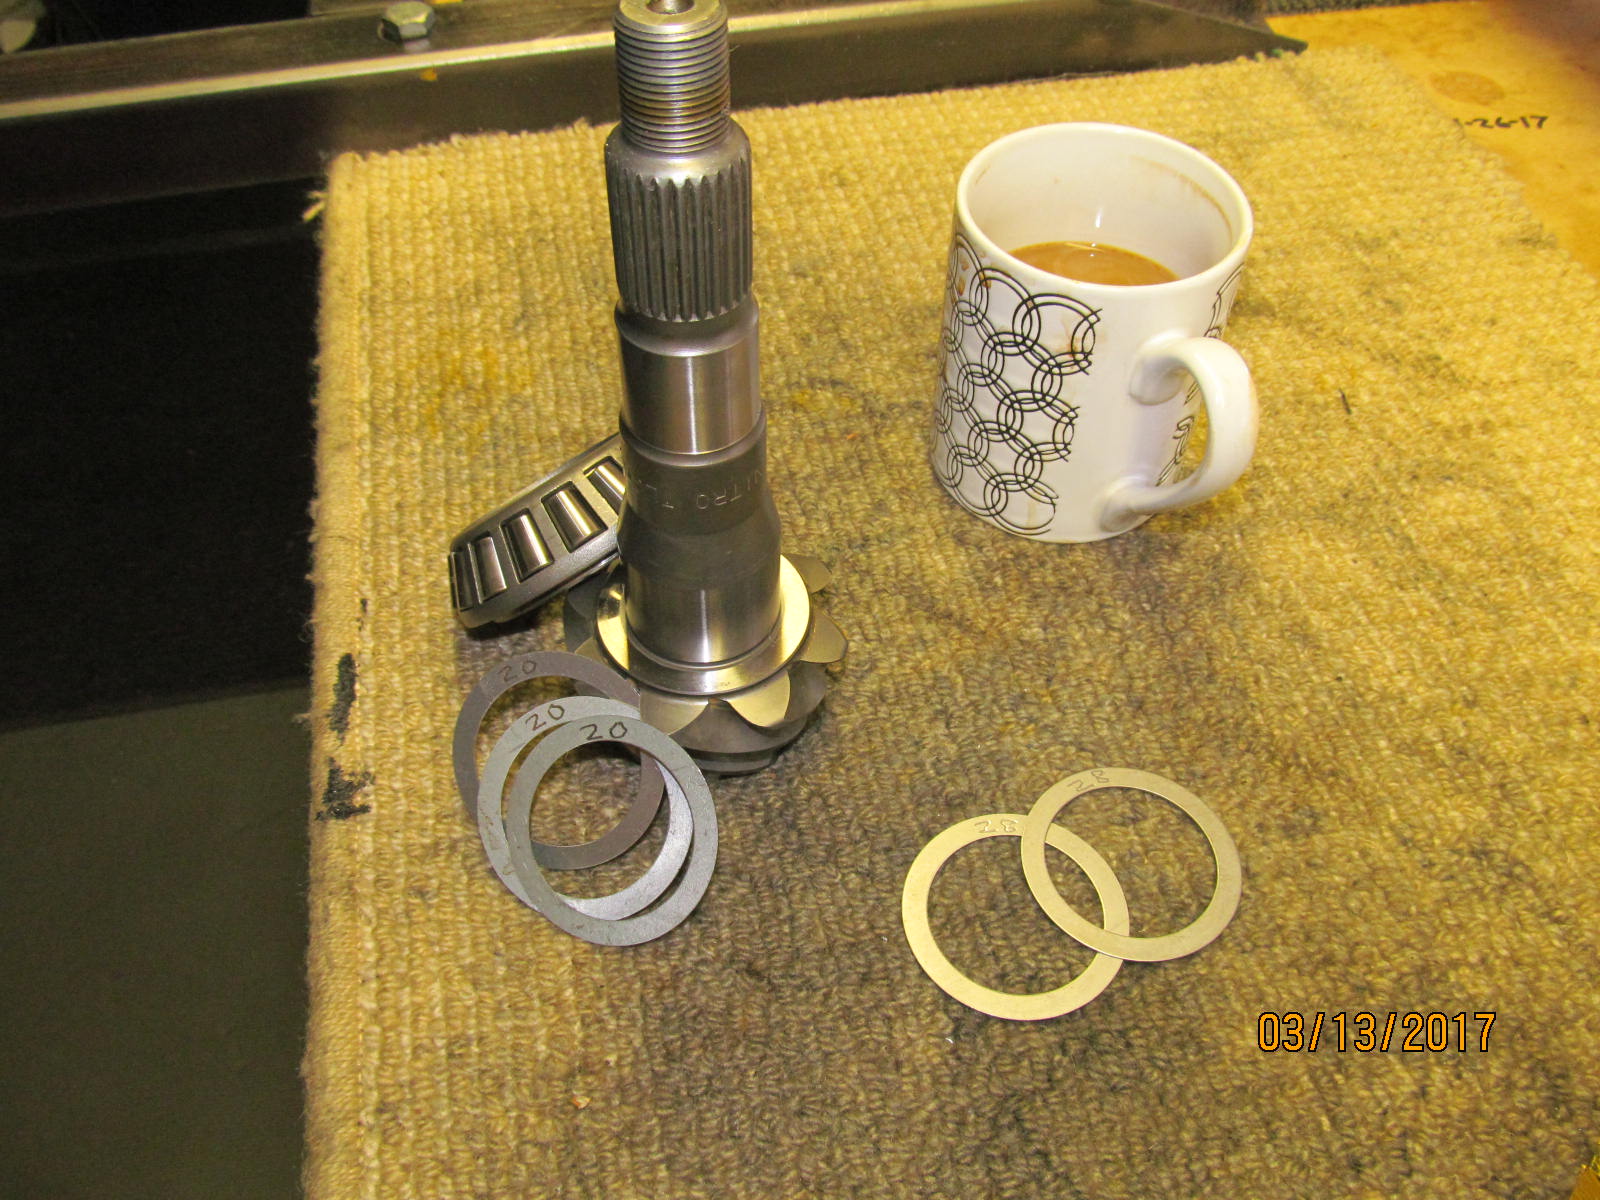
| Pressing the bearing off. |
|
| Change the pinion shim to .060" and finish that coffee. |
|
| A lot of monotonous operations but somebody has to do it....press the pinion bearing back on. |
|
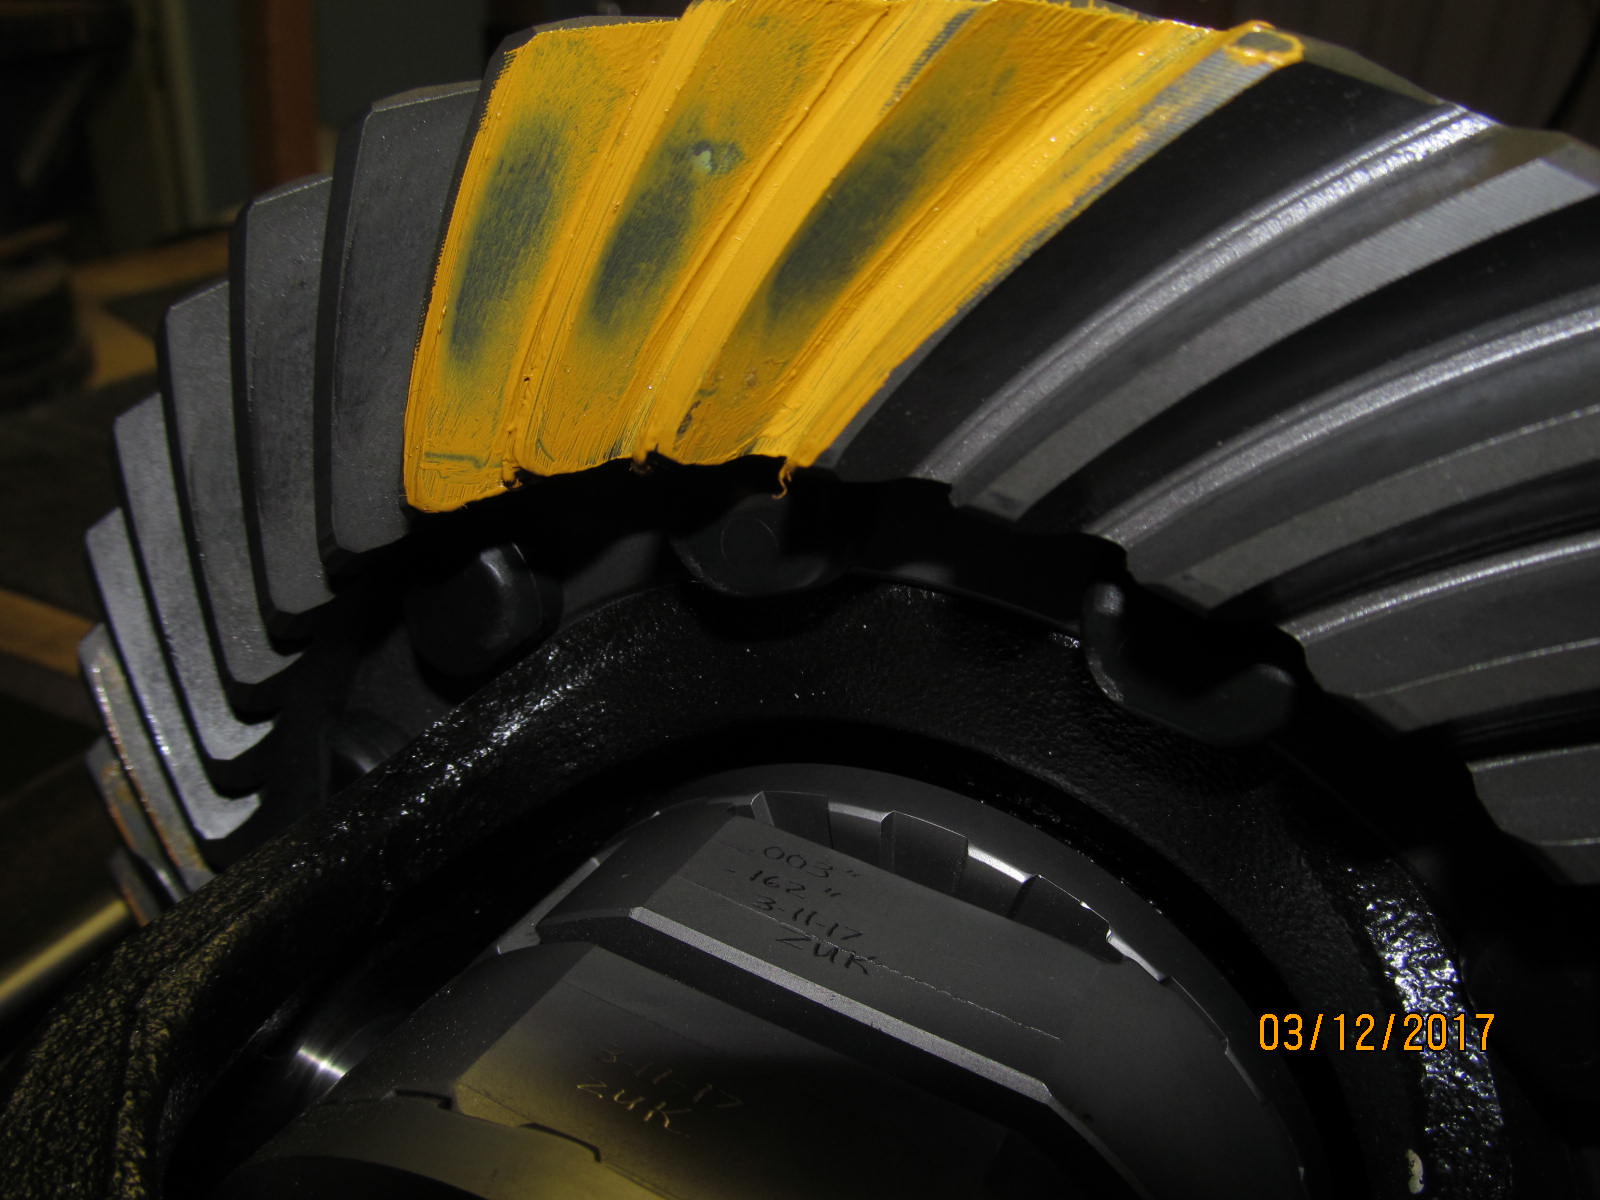
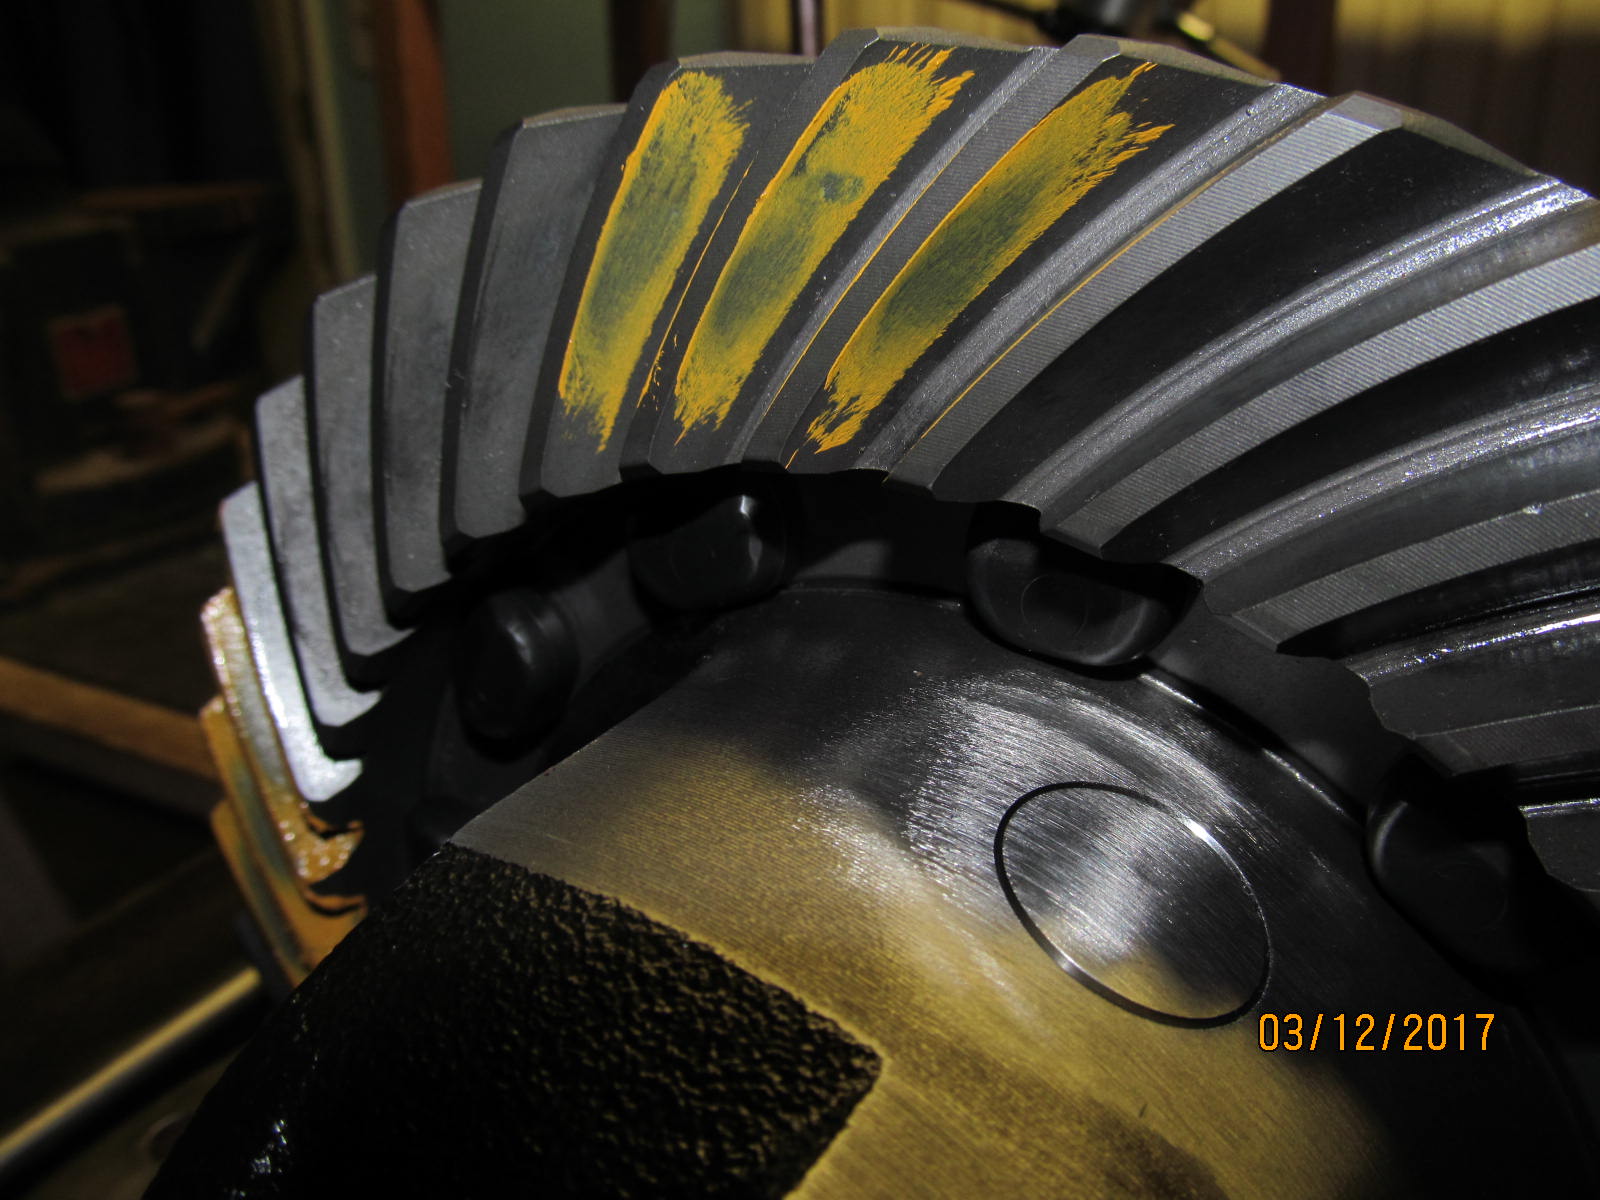
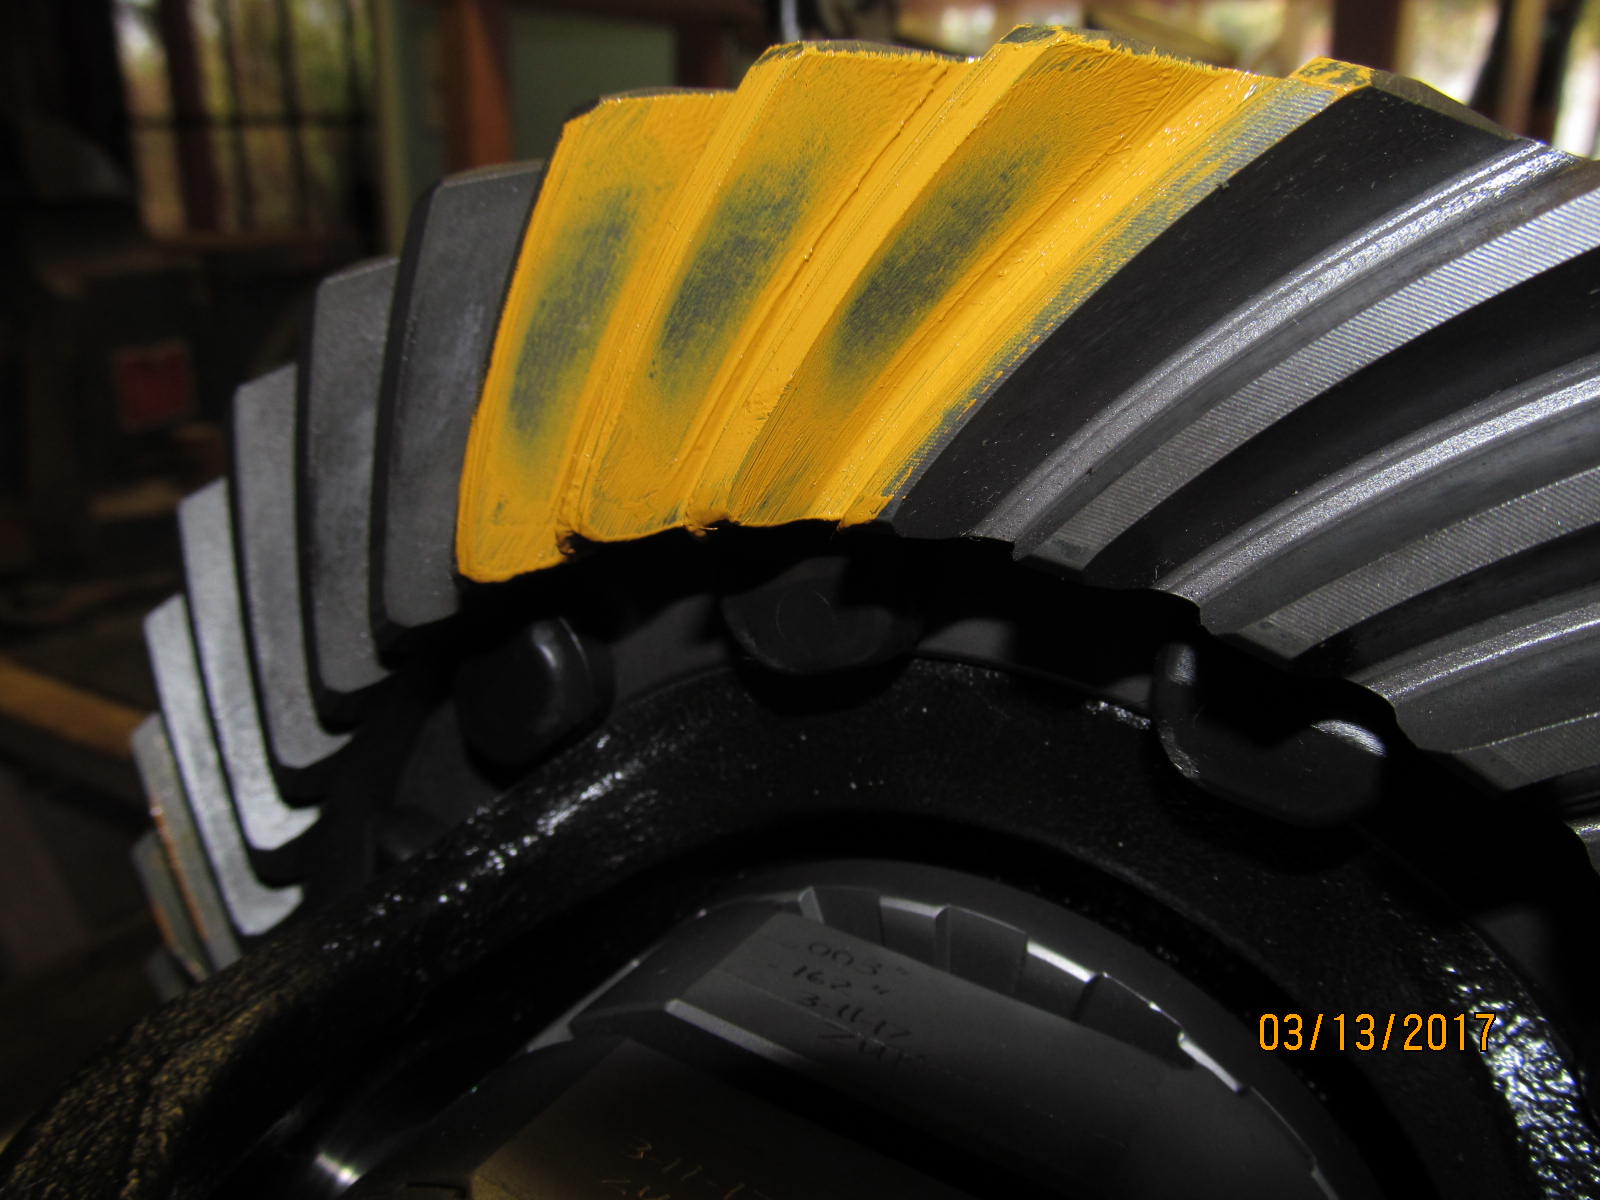
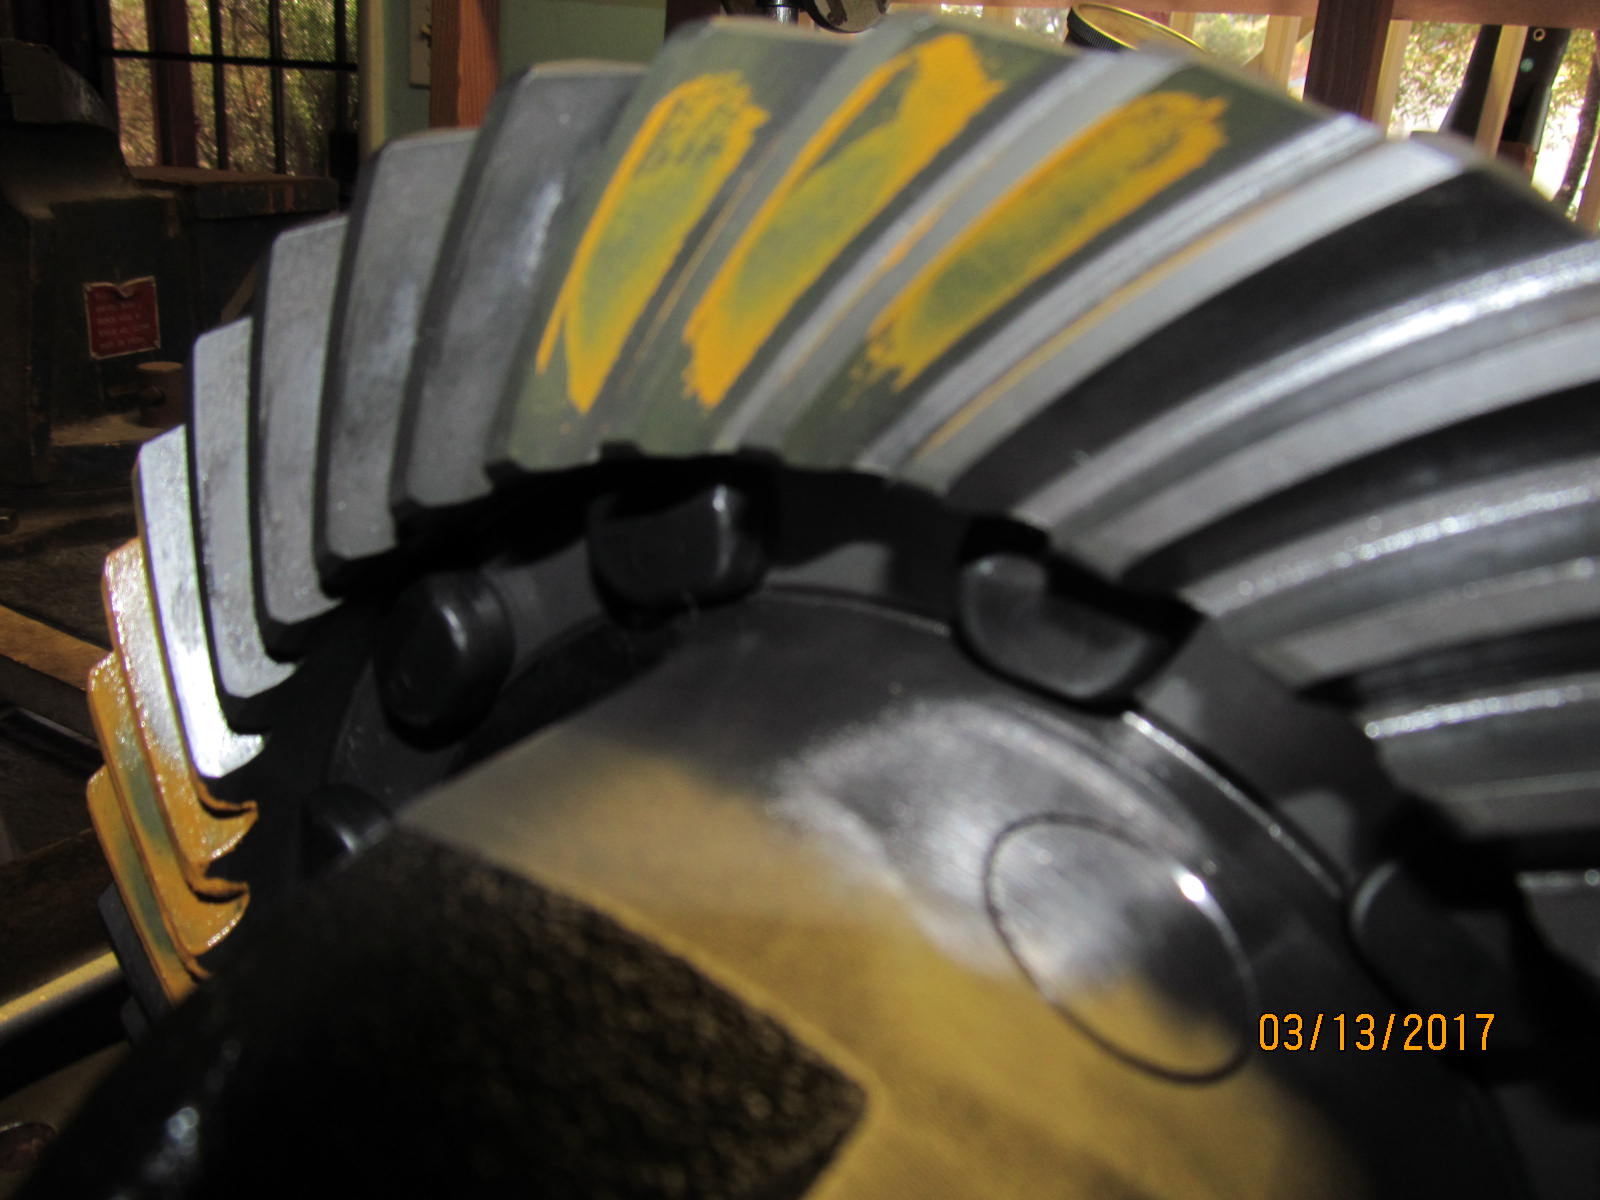
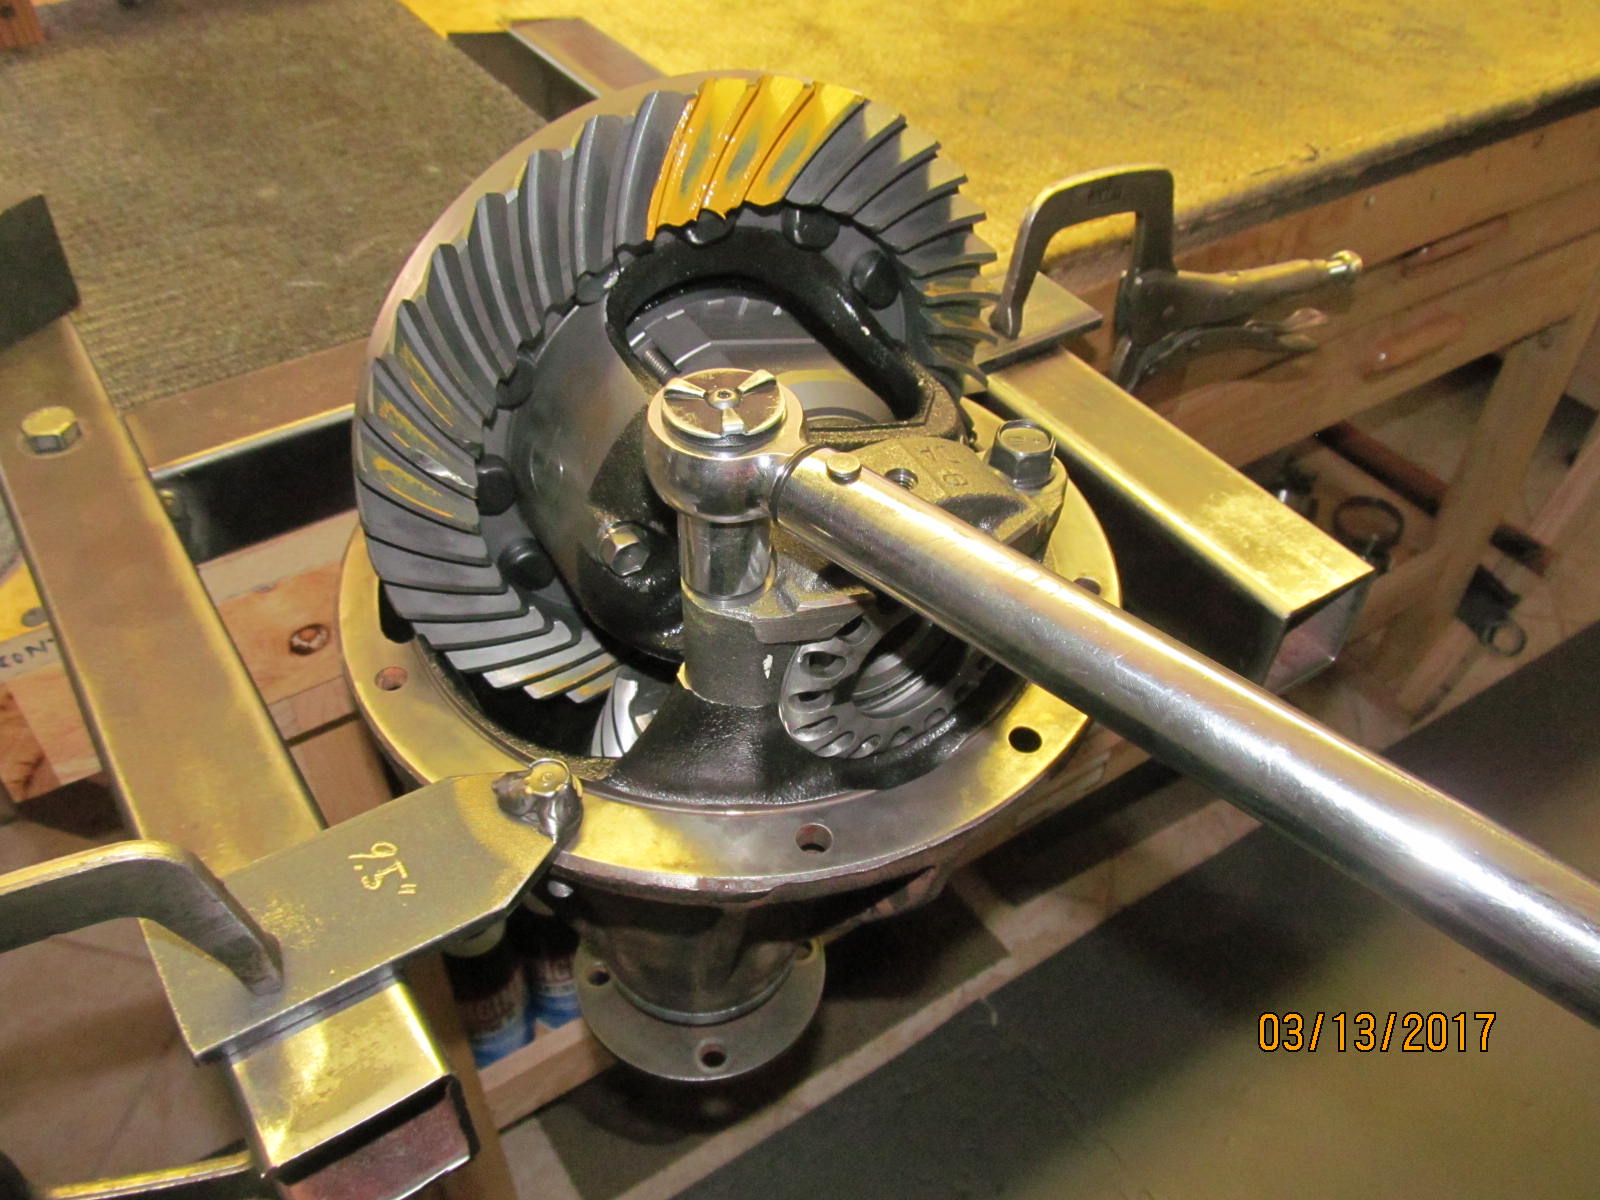
| What I see when I don't finish my coffee. Drive side. Looks excellent. |
|
| Coast looks nice. |
|
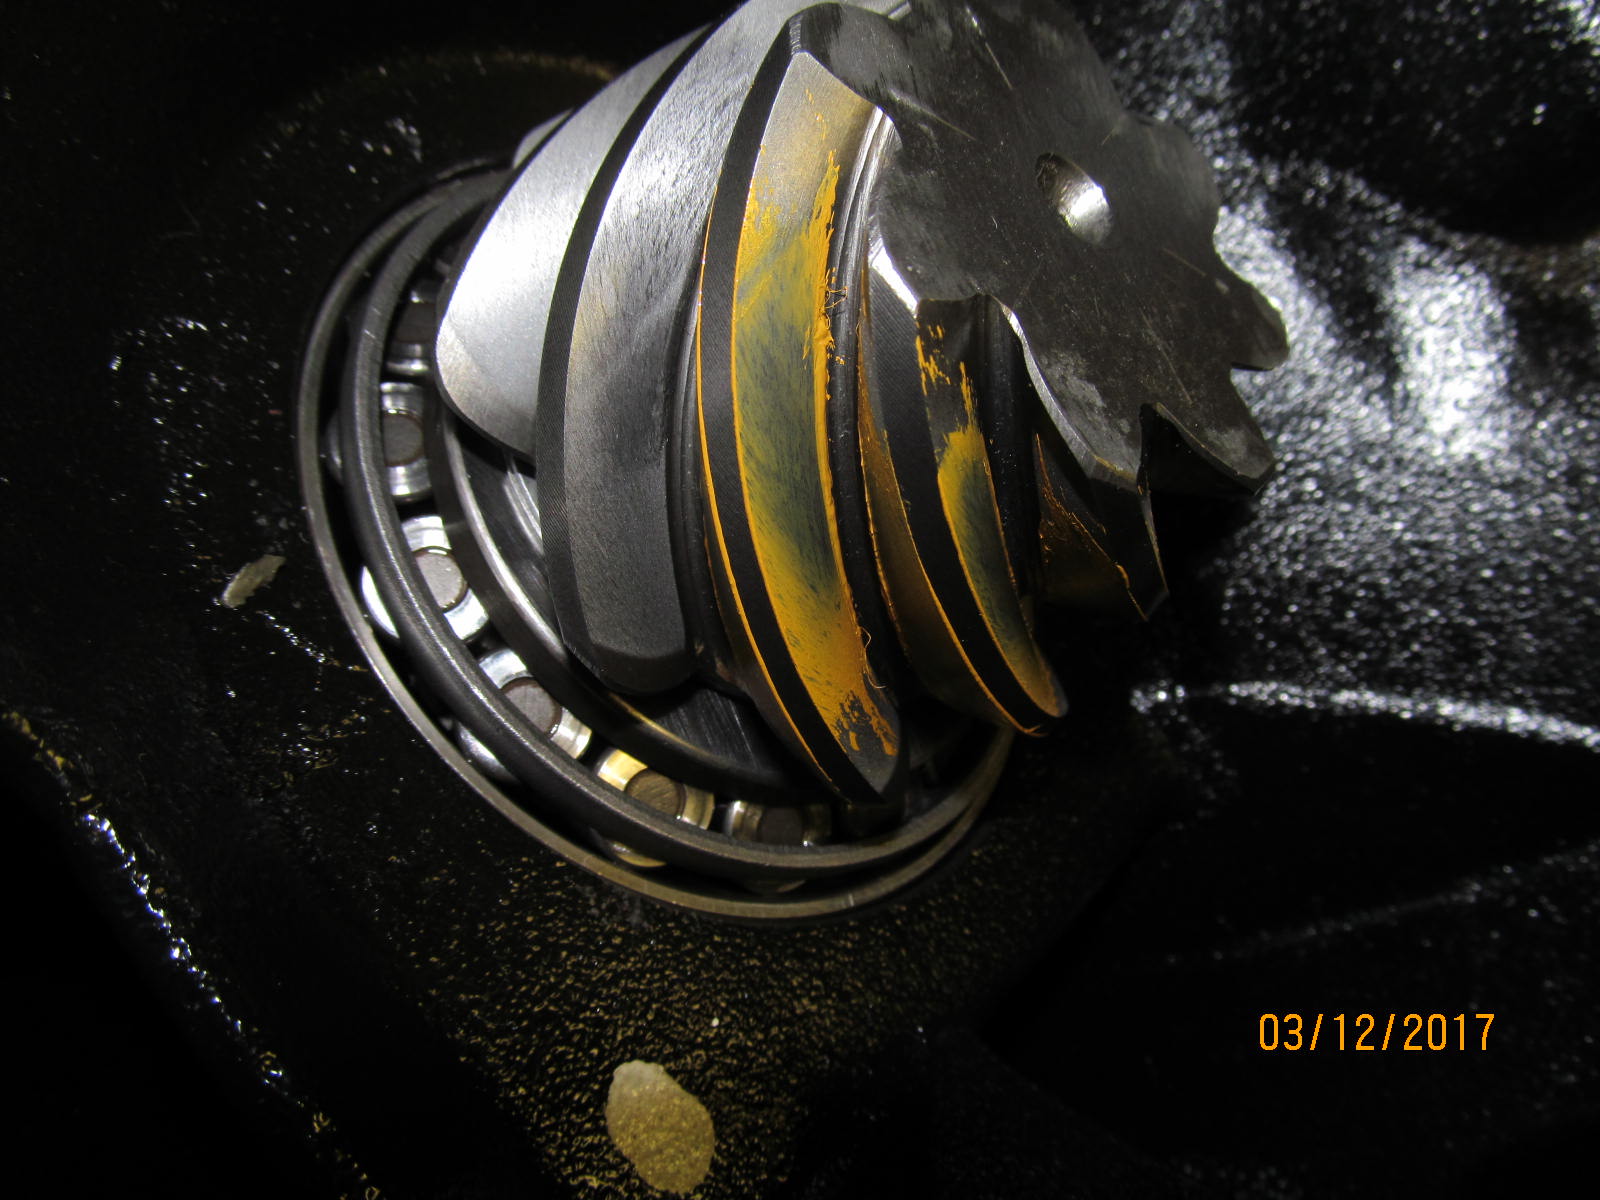
| Drive...reverse painted. |
|
| Coast....reverse painted. |
|
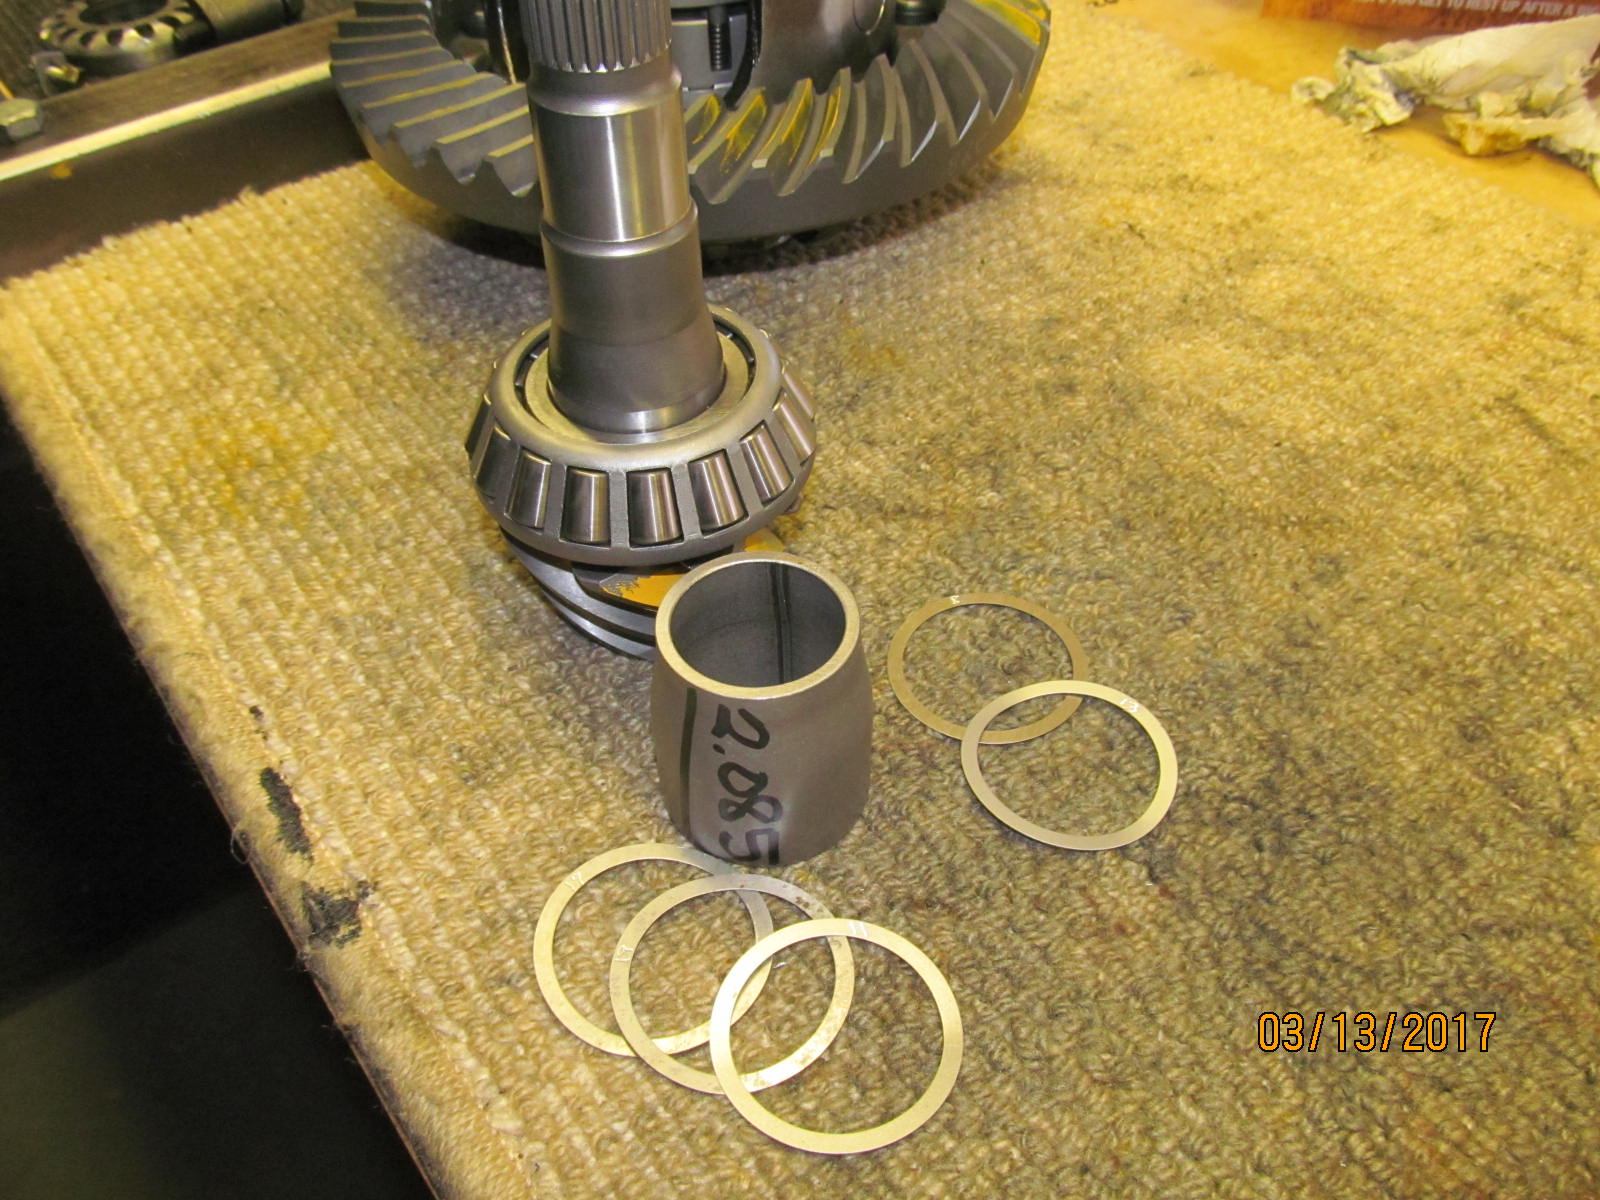
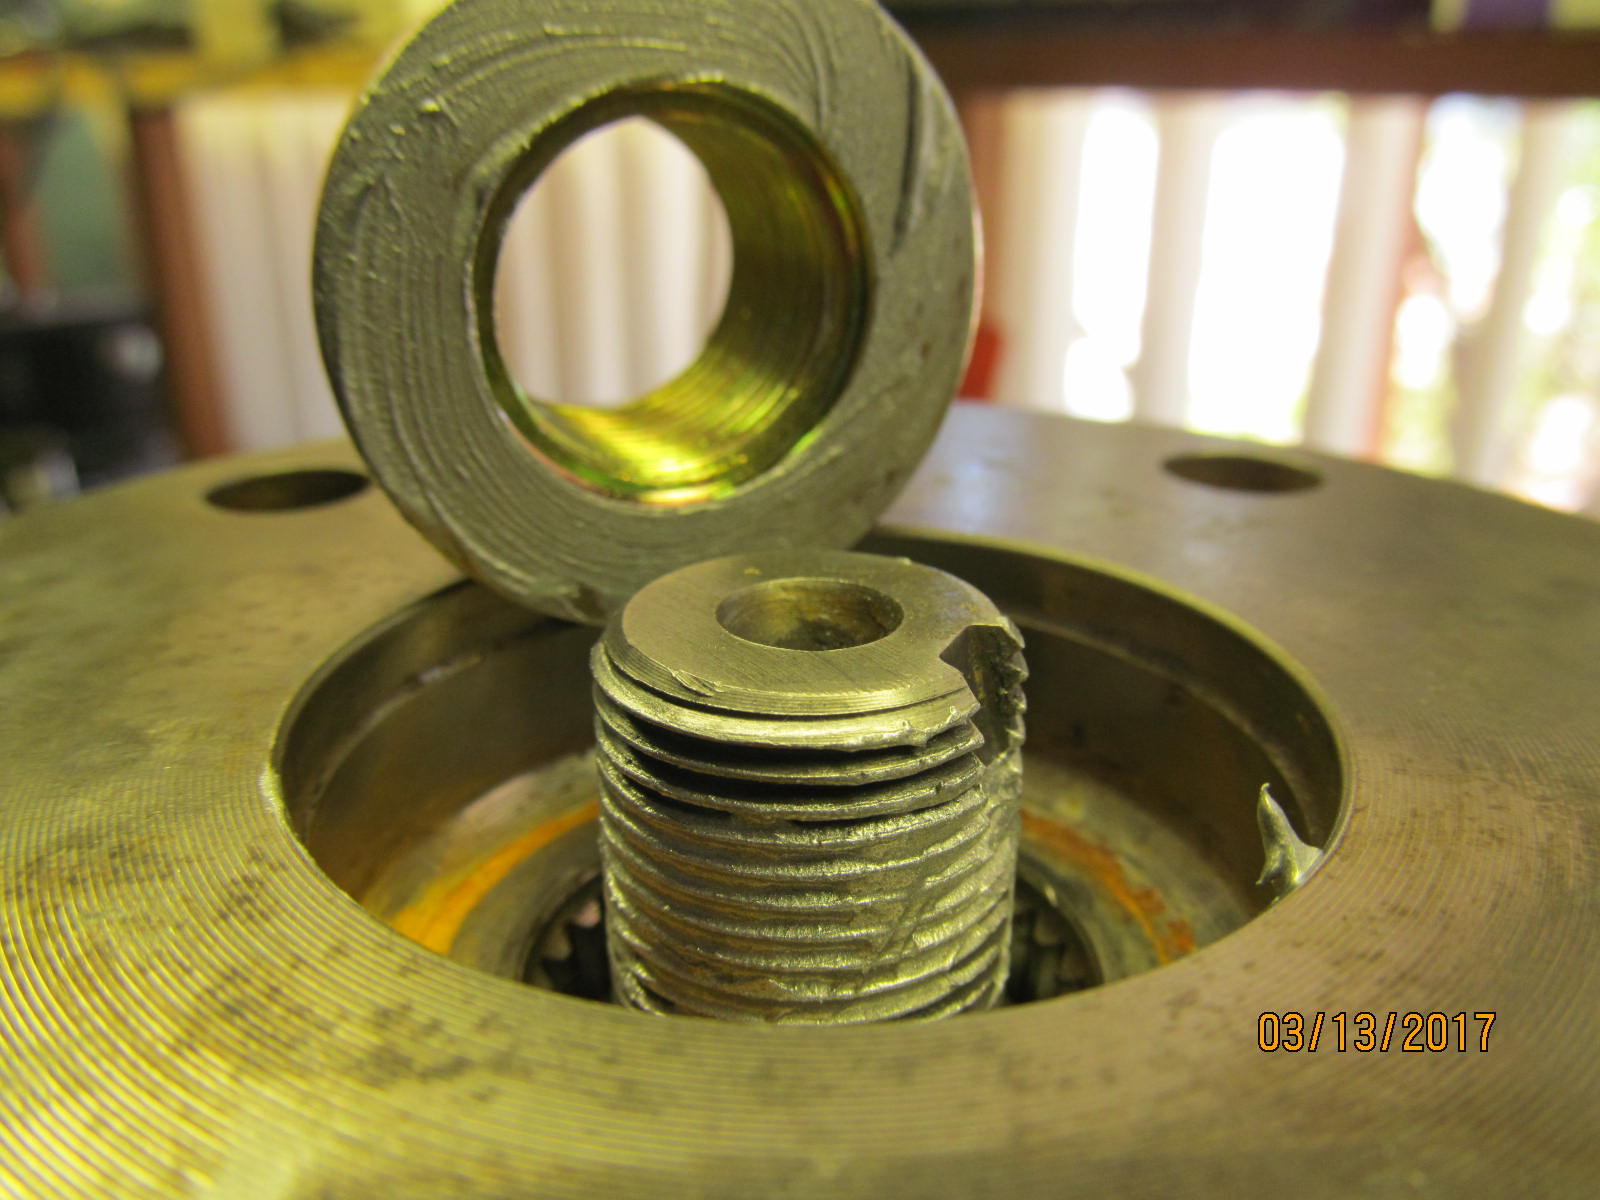
| With depth now established, now the solid collar can be situated. It took only 3 tries to find that perfect shim thickness. |
|
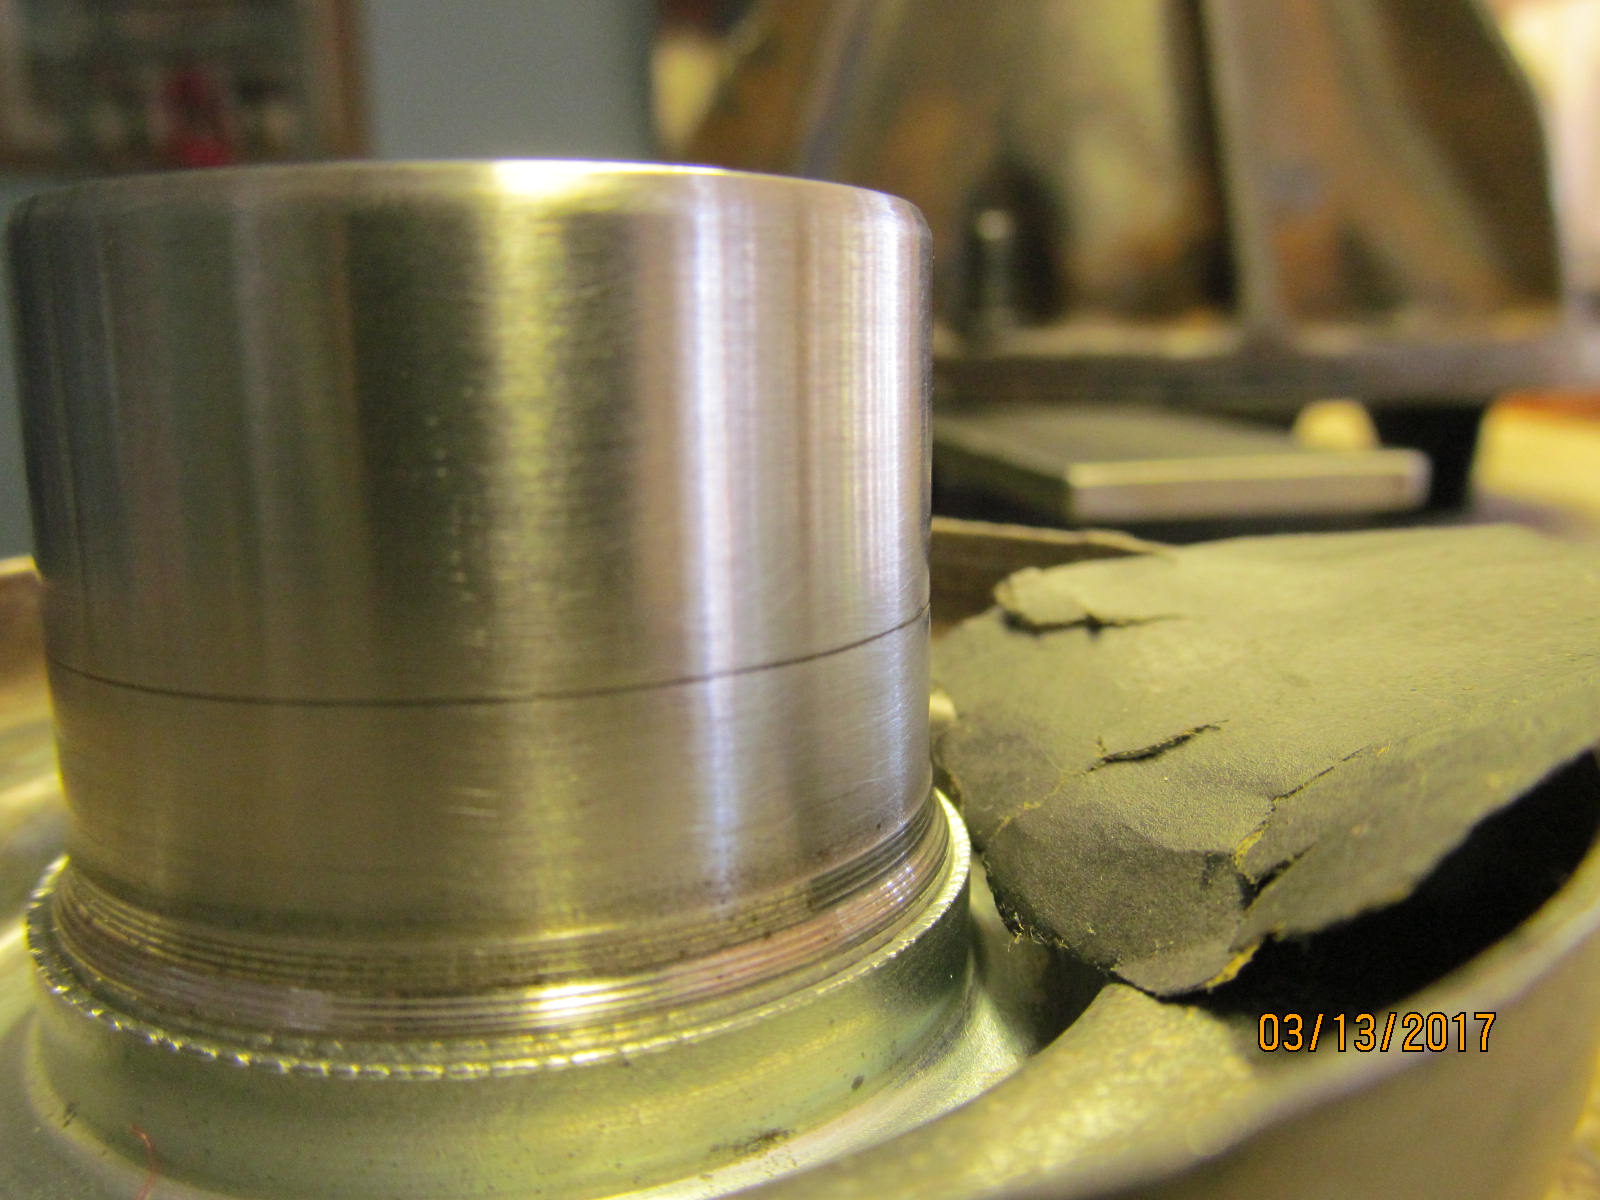
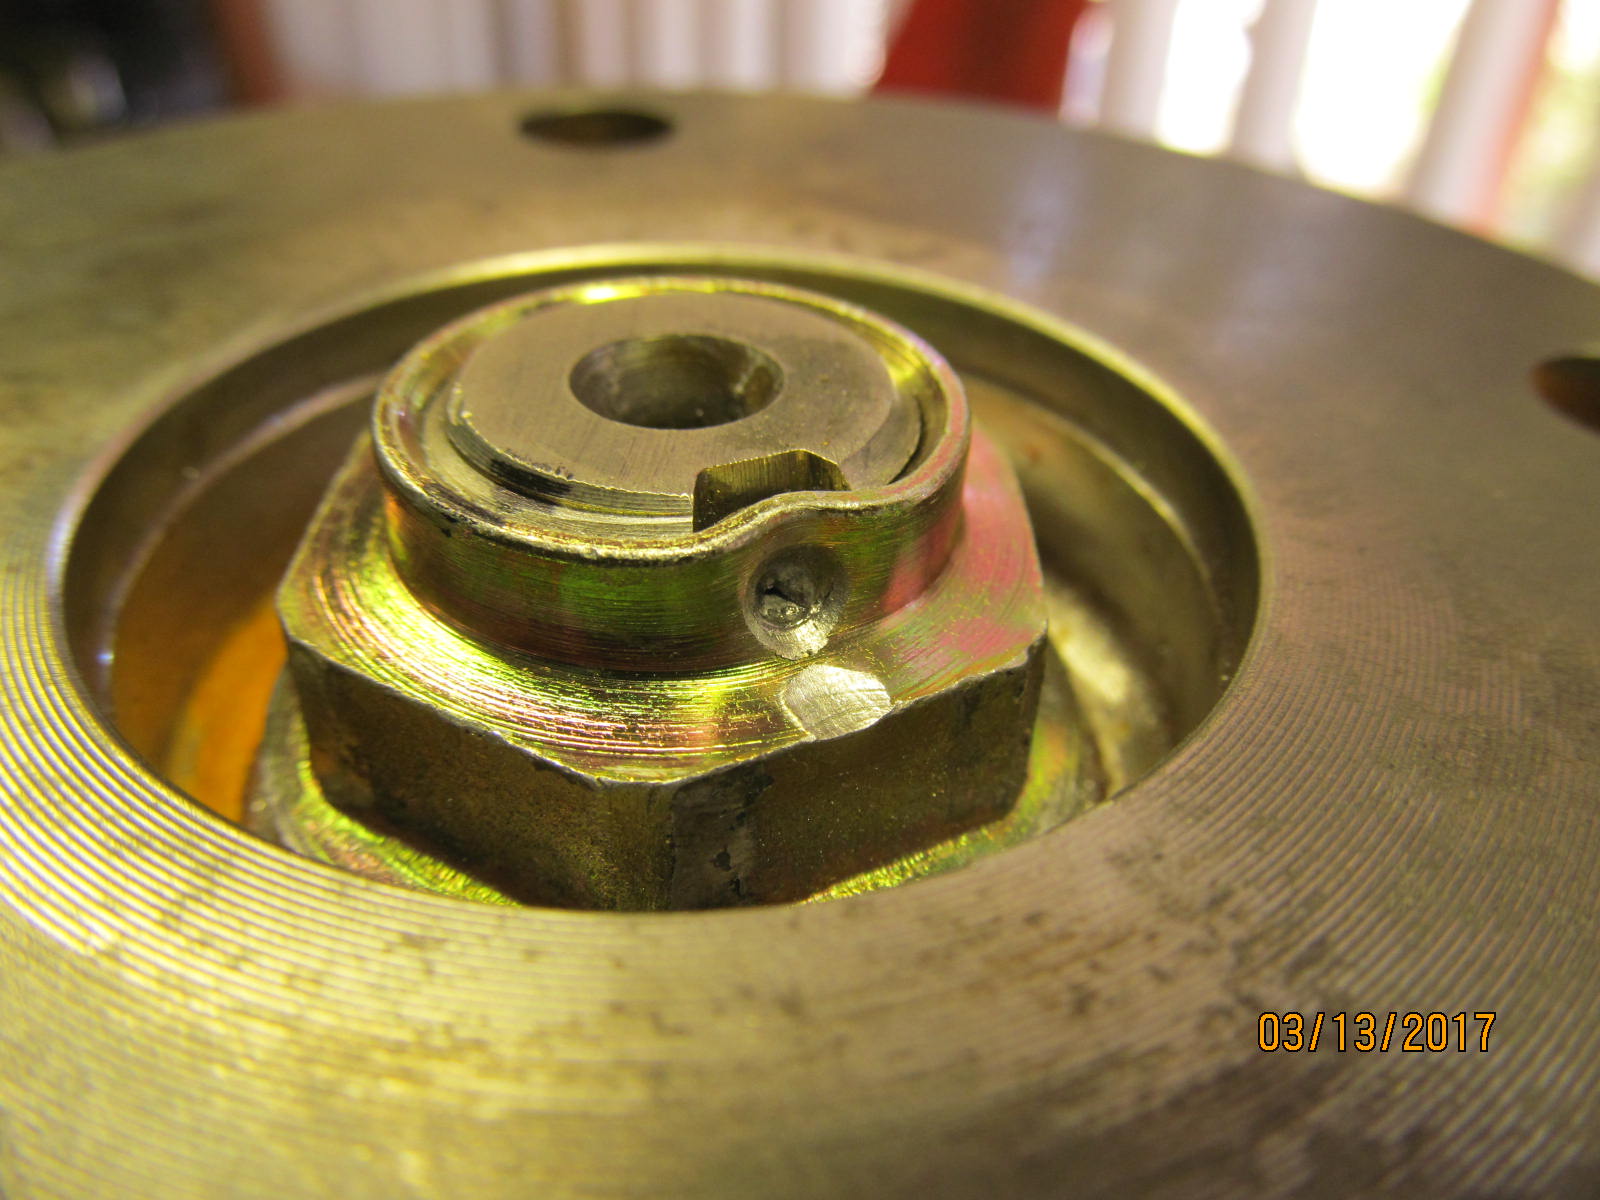
| Marlin collar is now parked in place. |
|
| tap tap!! |
|
| All of my installs see 1500 grit wet/dry sandpaper....just in case. |
|
| Most of my installs will see a generous amount of aluminum based anti-seize on the threads...and the contact bottom of the pinion nut. |
|
| Makes it easier to get that pinion nut tight with less lost torque due to friction/resistance. I have 12 in/lb of pinion preload. |
|
| DING. This end is complete. |
|
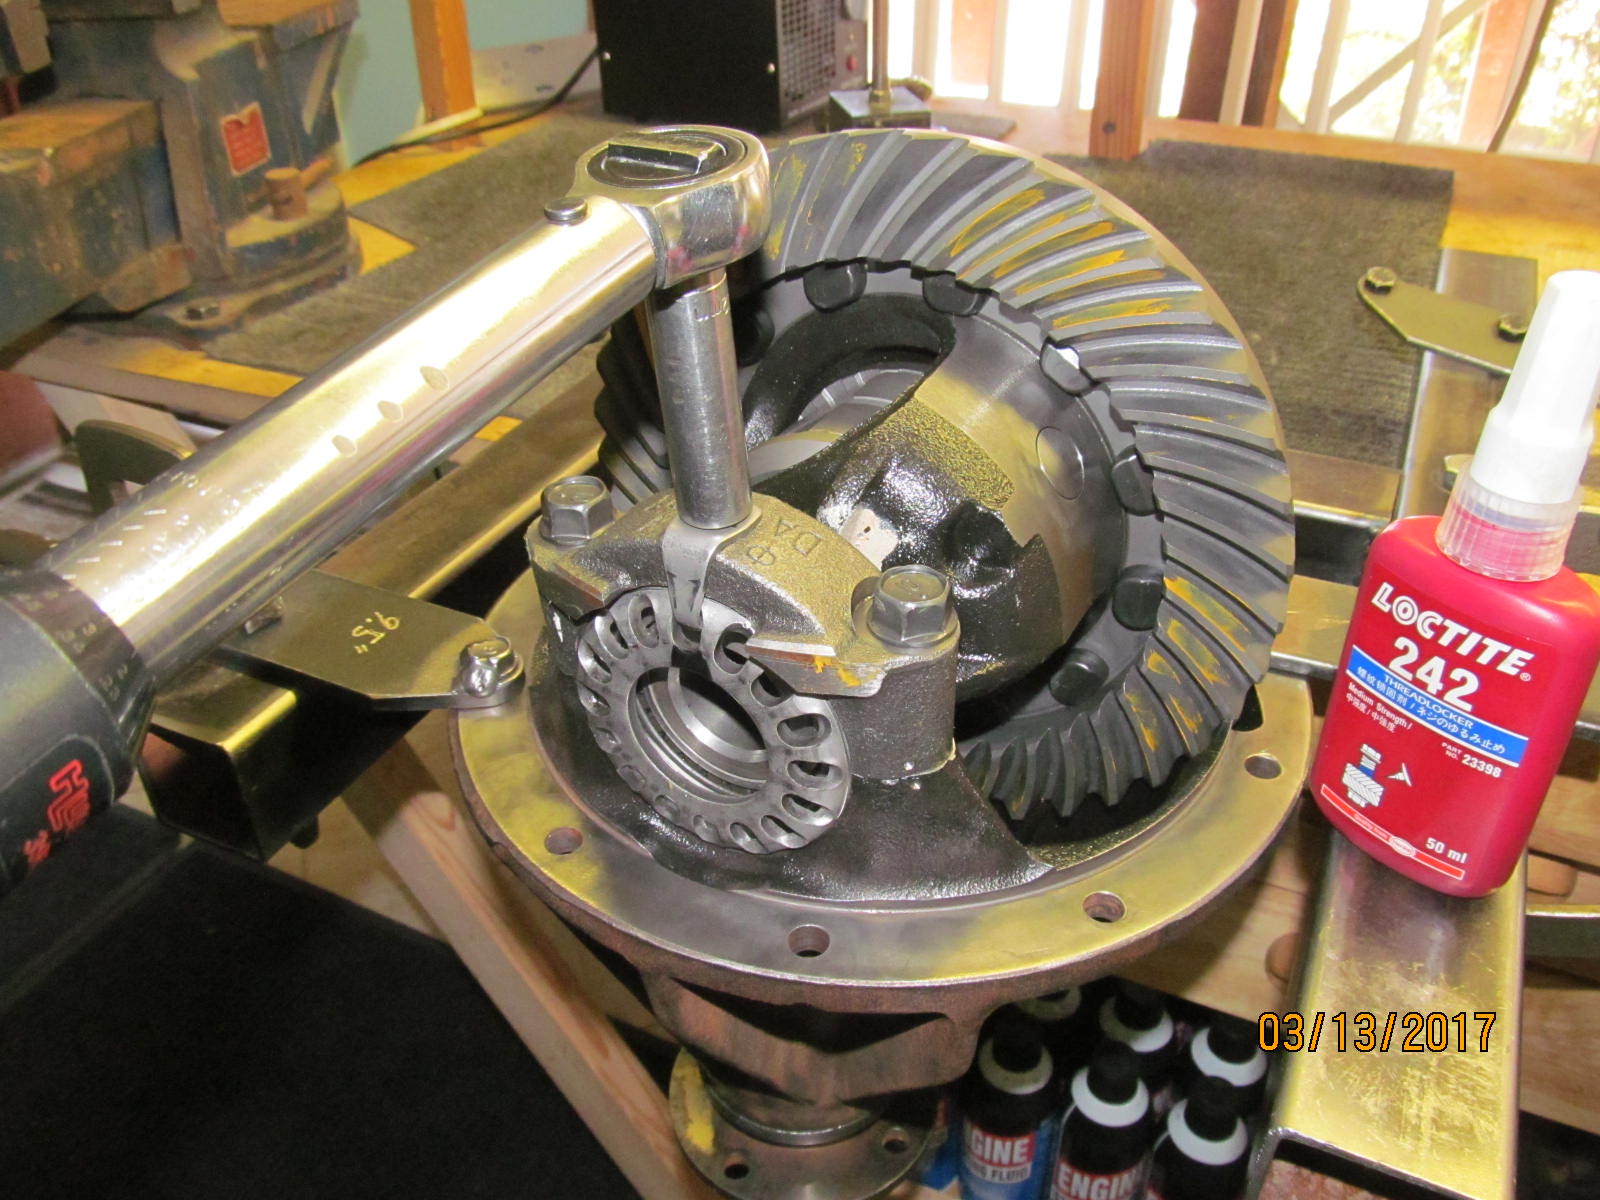
| Guts are put in place and bearing caps seated properly. |
|
| 70 ft/lb on all 4 bolts. |
|
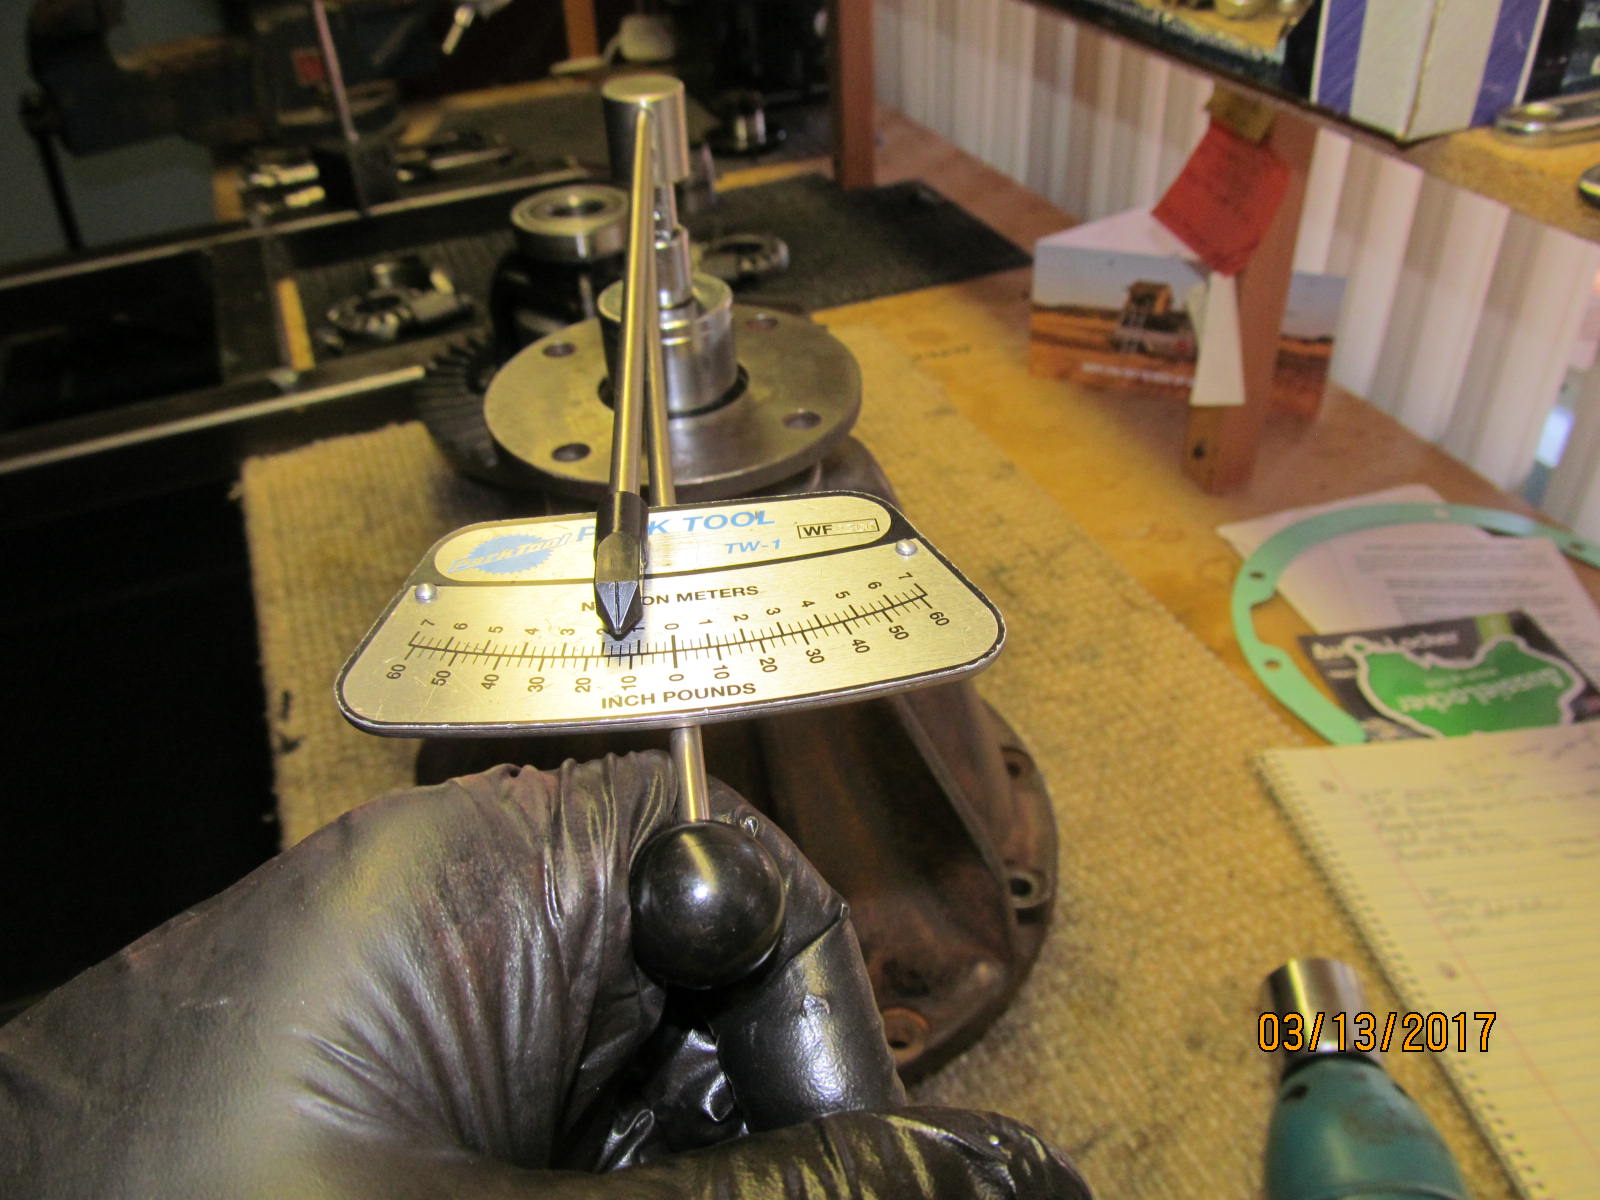
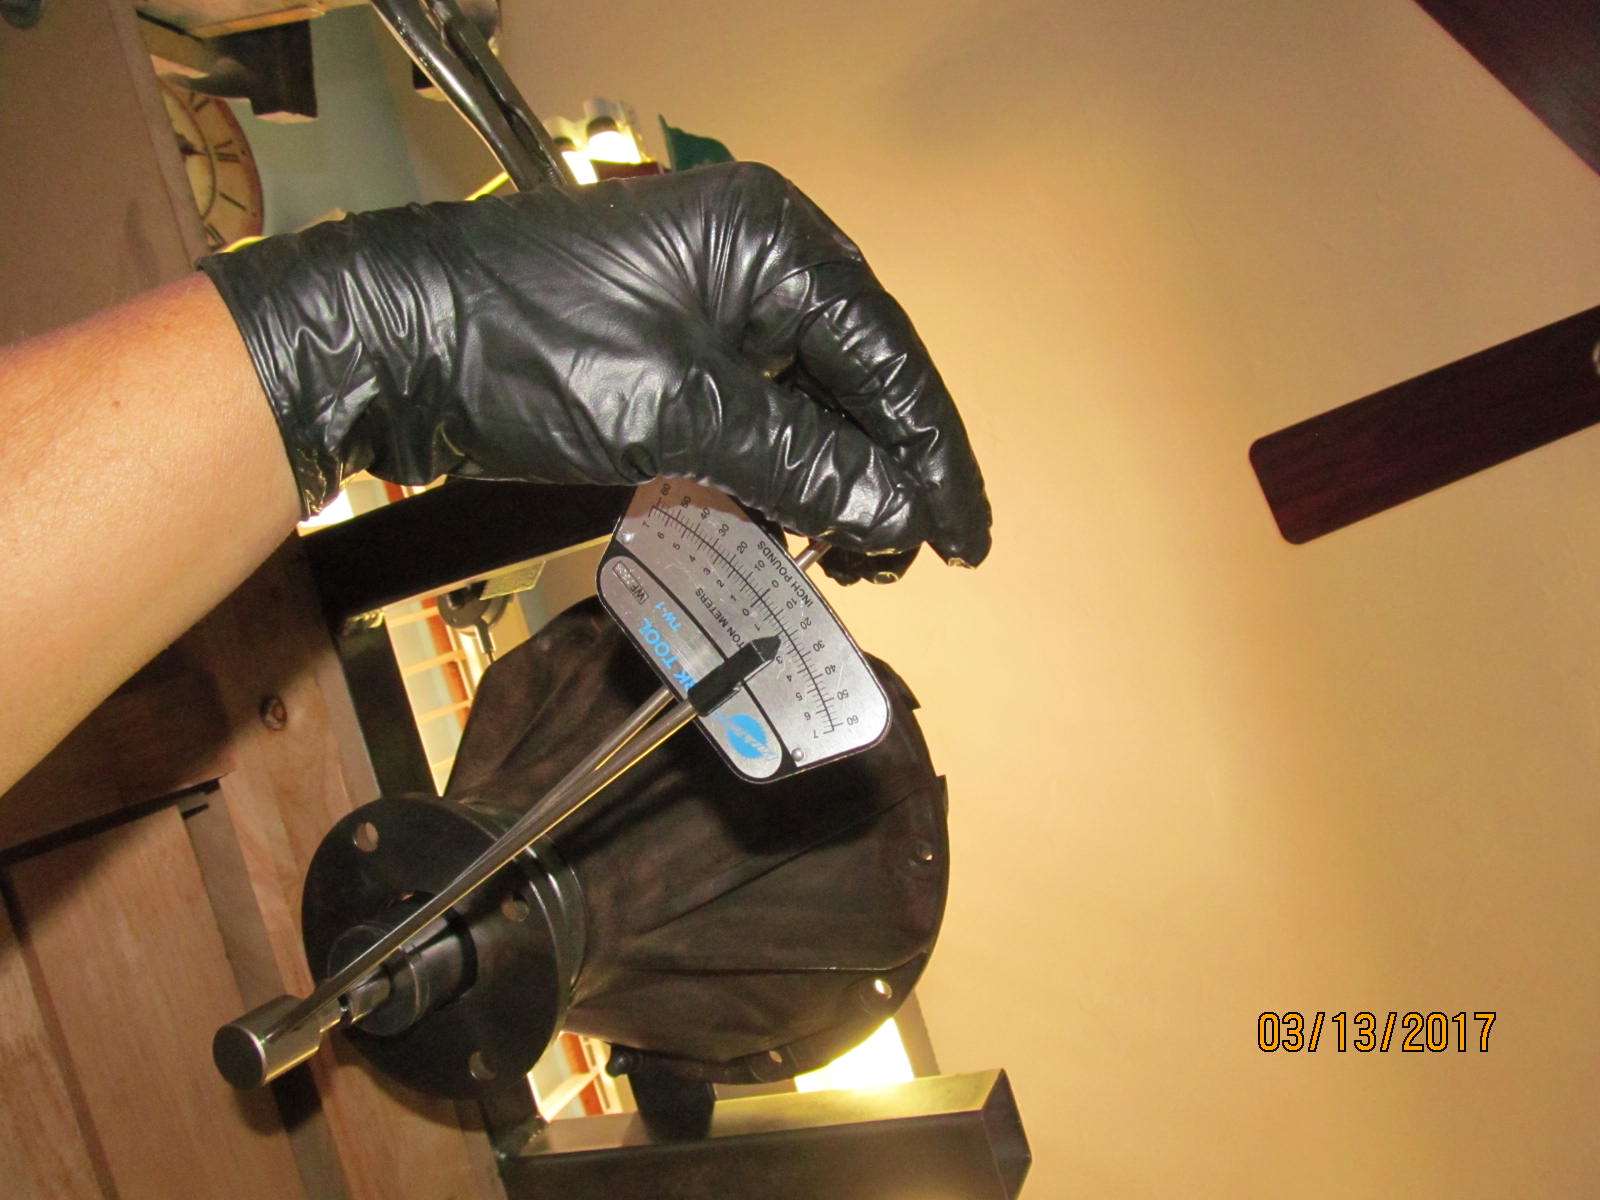
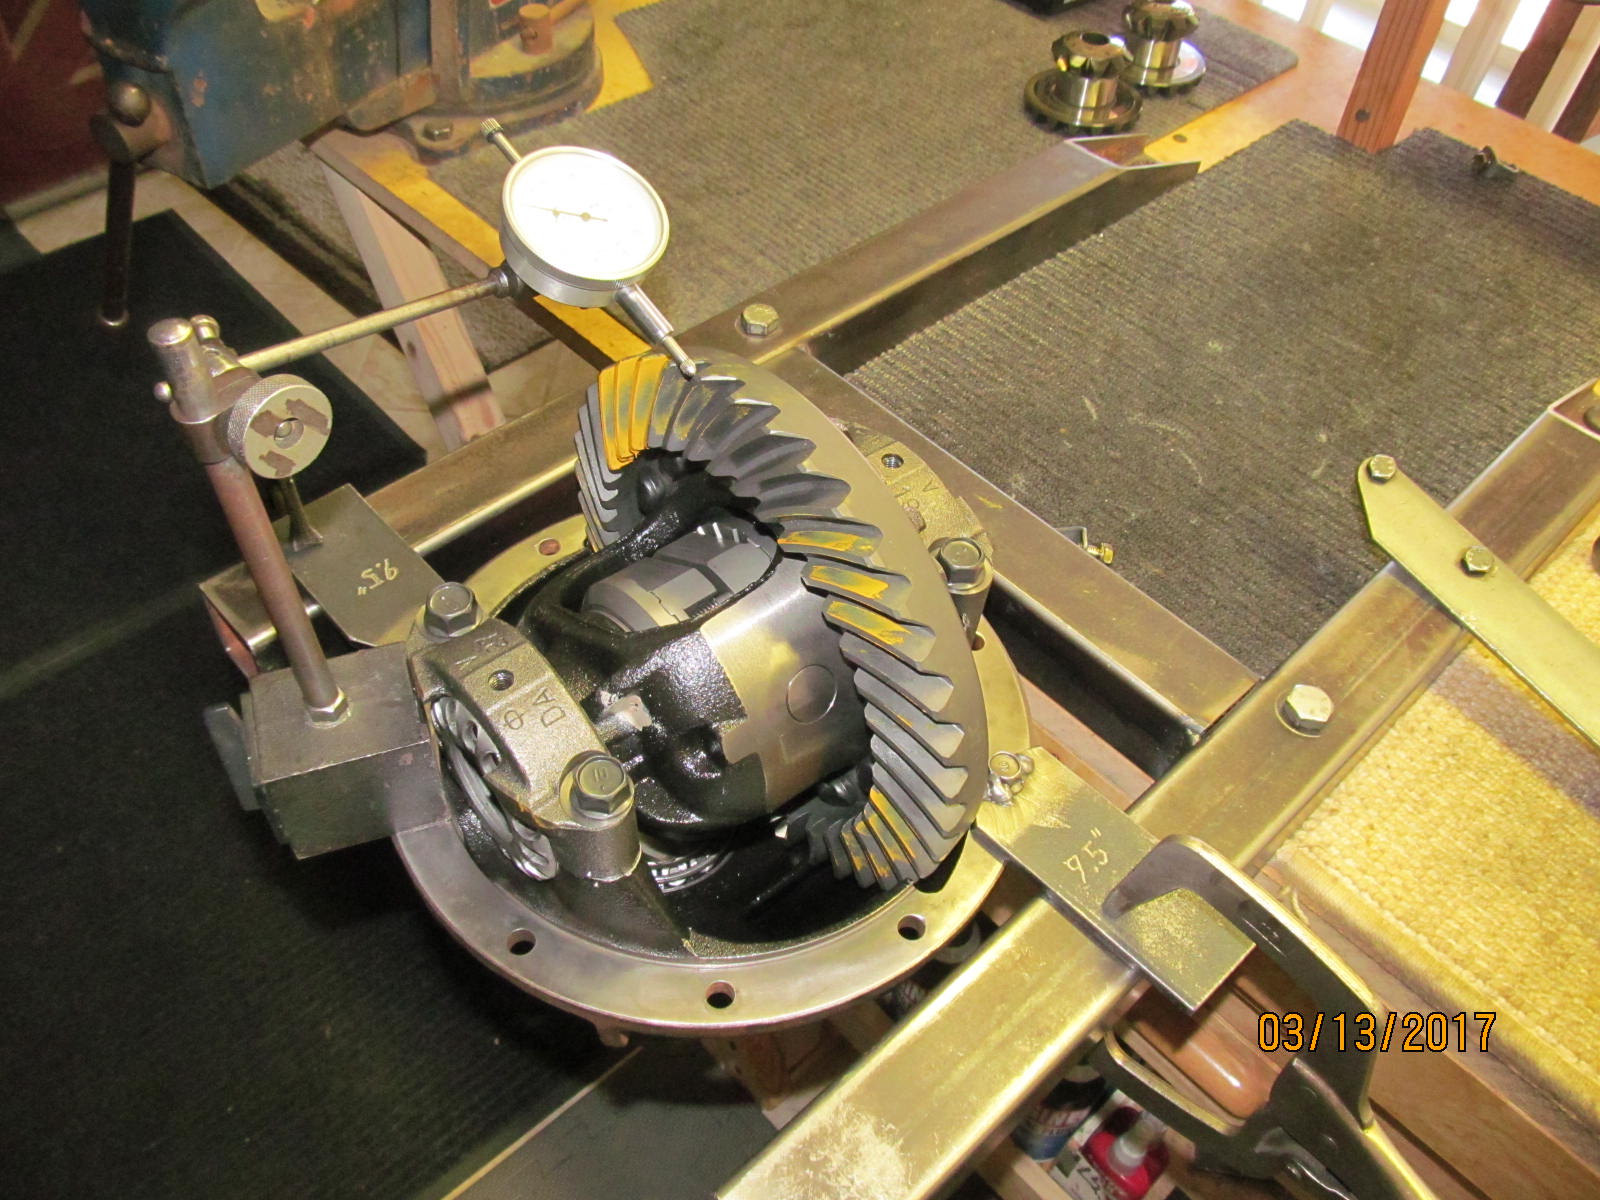
| Measuring the Total Preload on my back.....19 in/lb start torque. |
|
| Backlash is checked and logged in 20 places. Minimum backlash was found to be .0065"....just perfect. |
|
| Last thing to do....lock tabs with blue loctite and 10 ft/lb. |
|
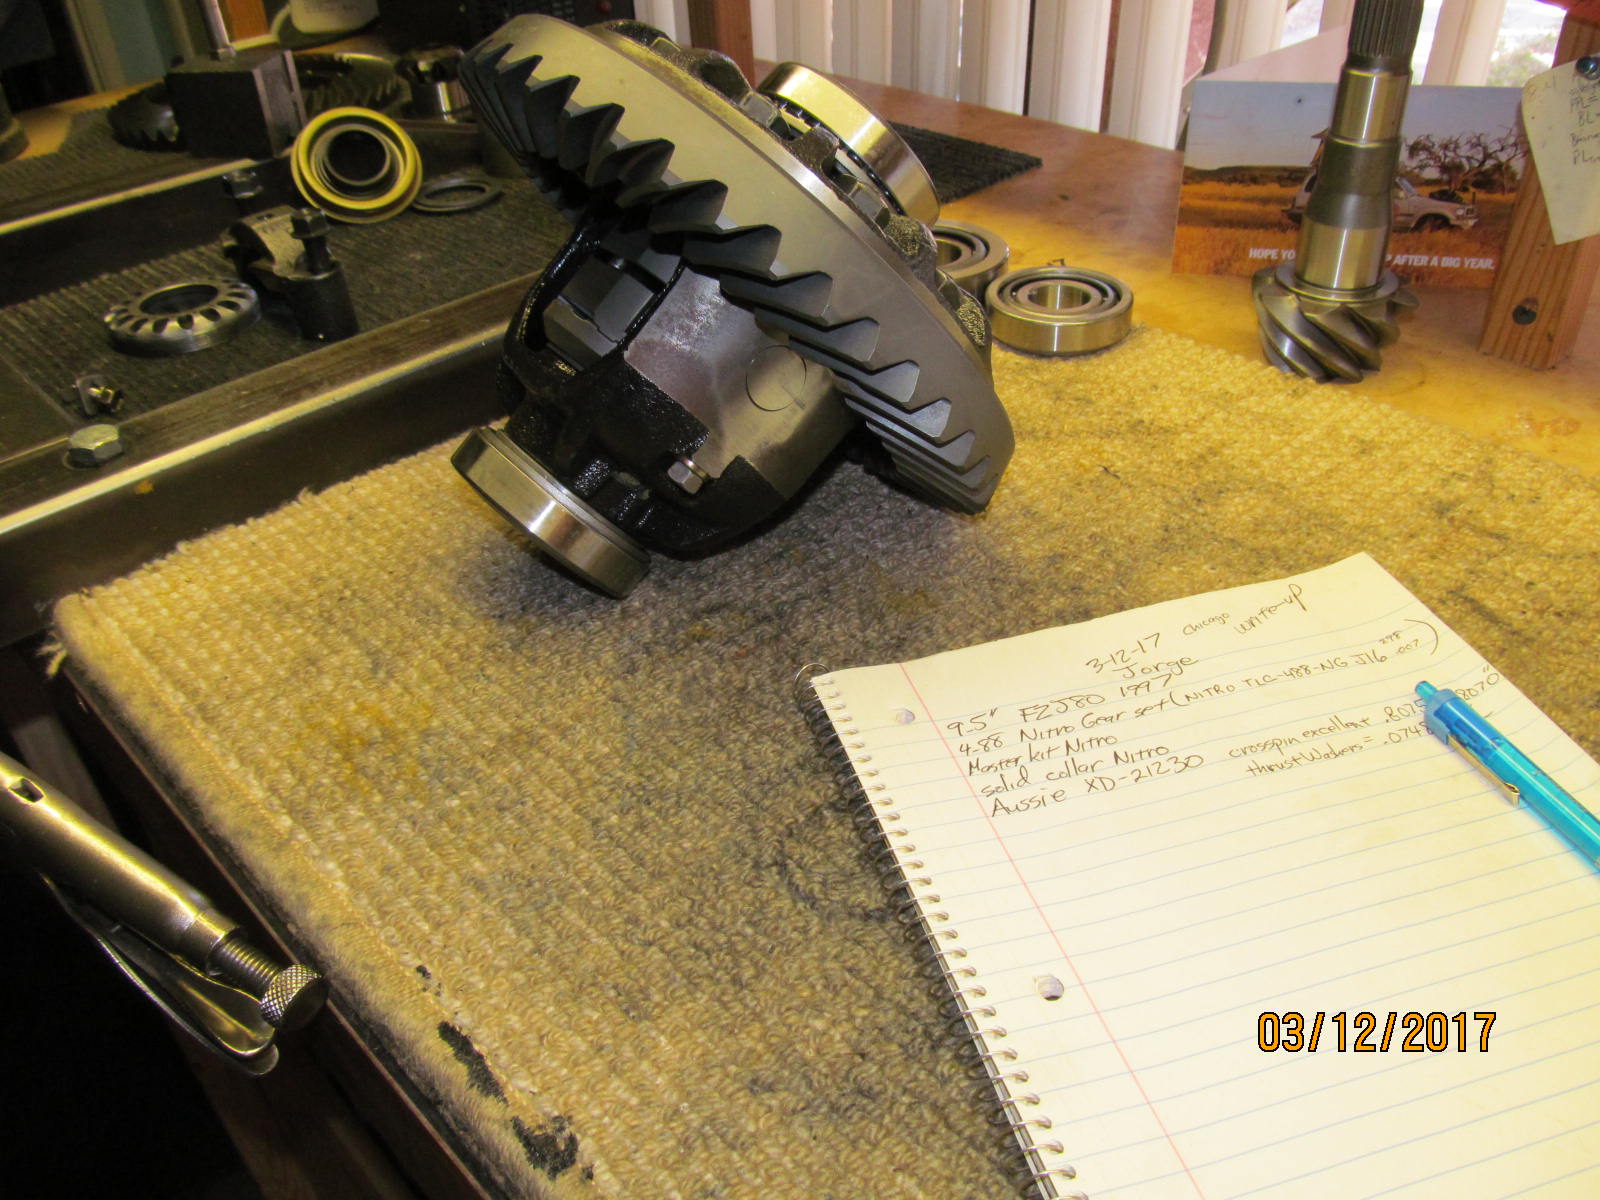
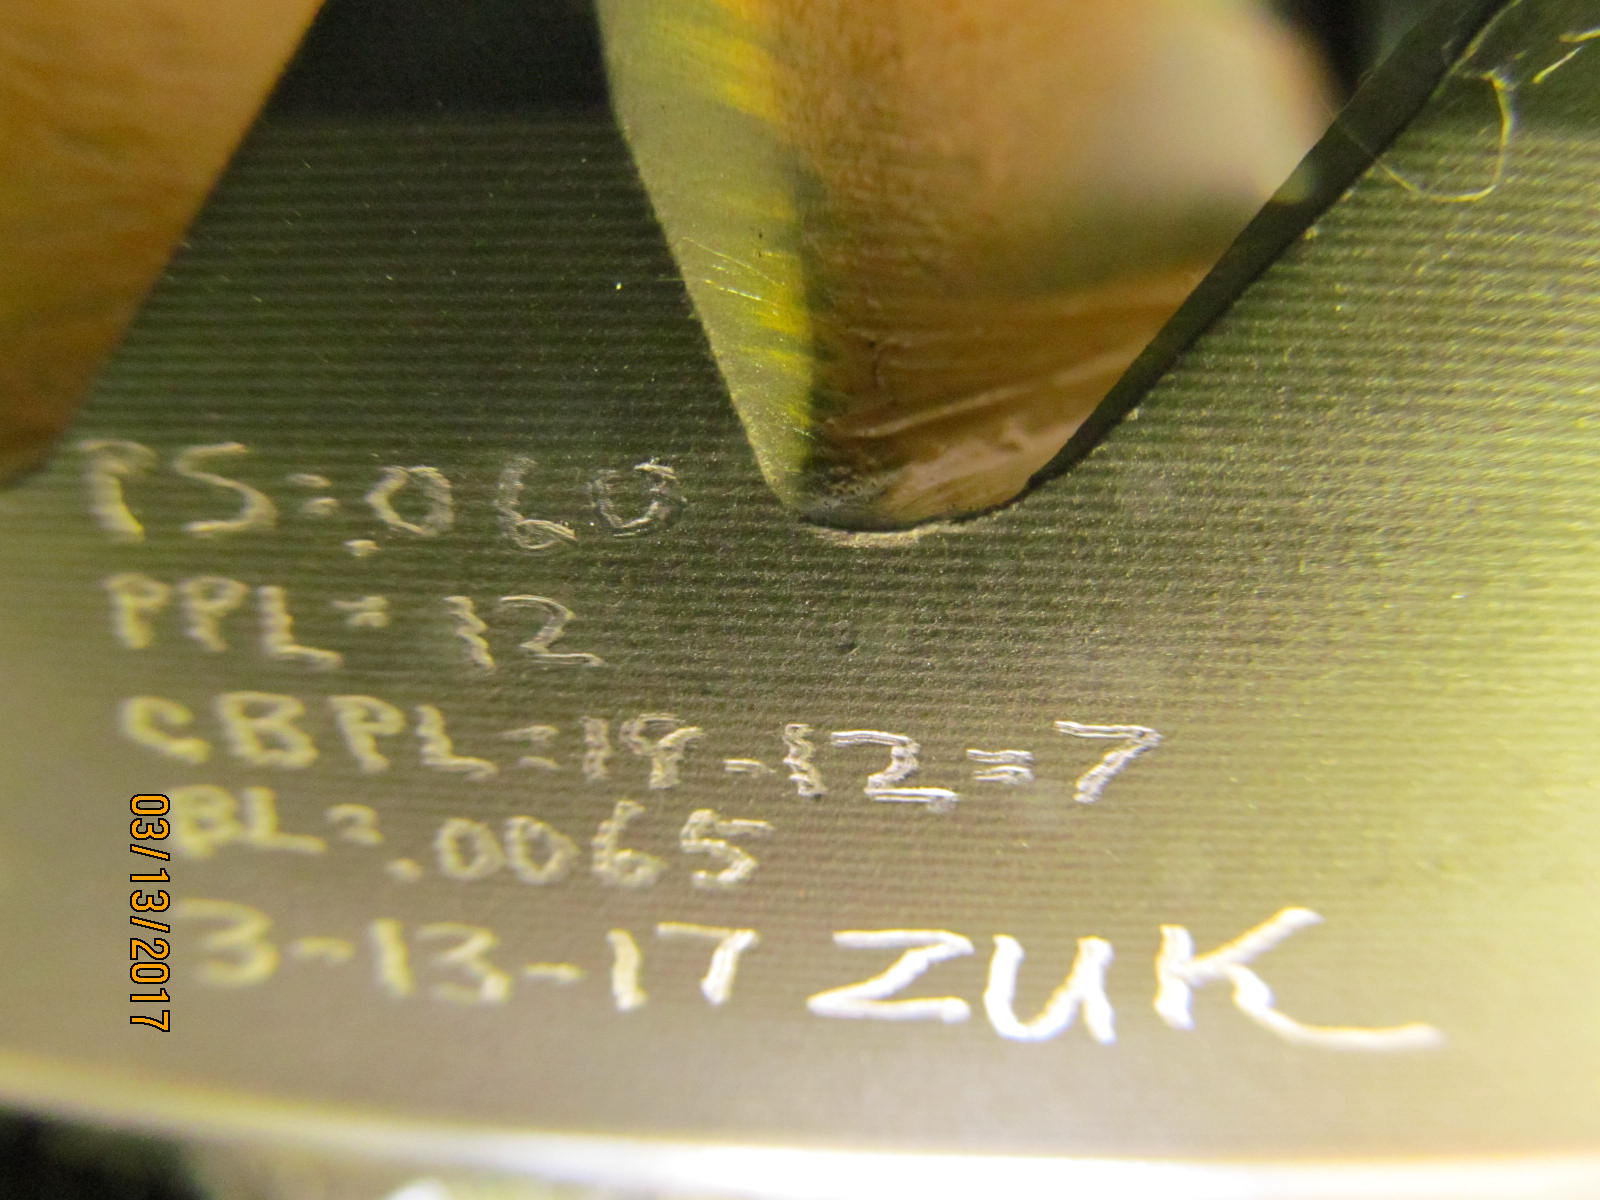
| Basic data is etched on the ring gear. |
|
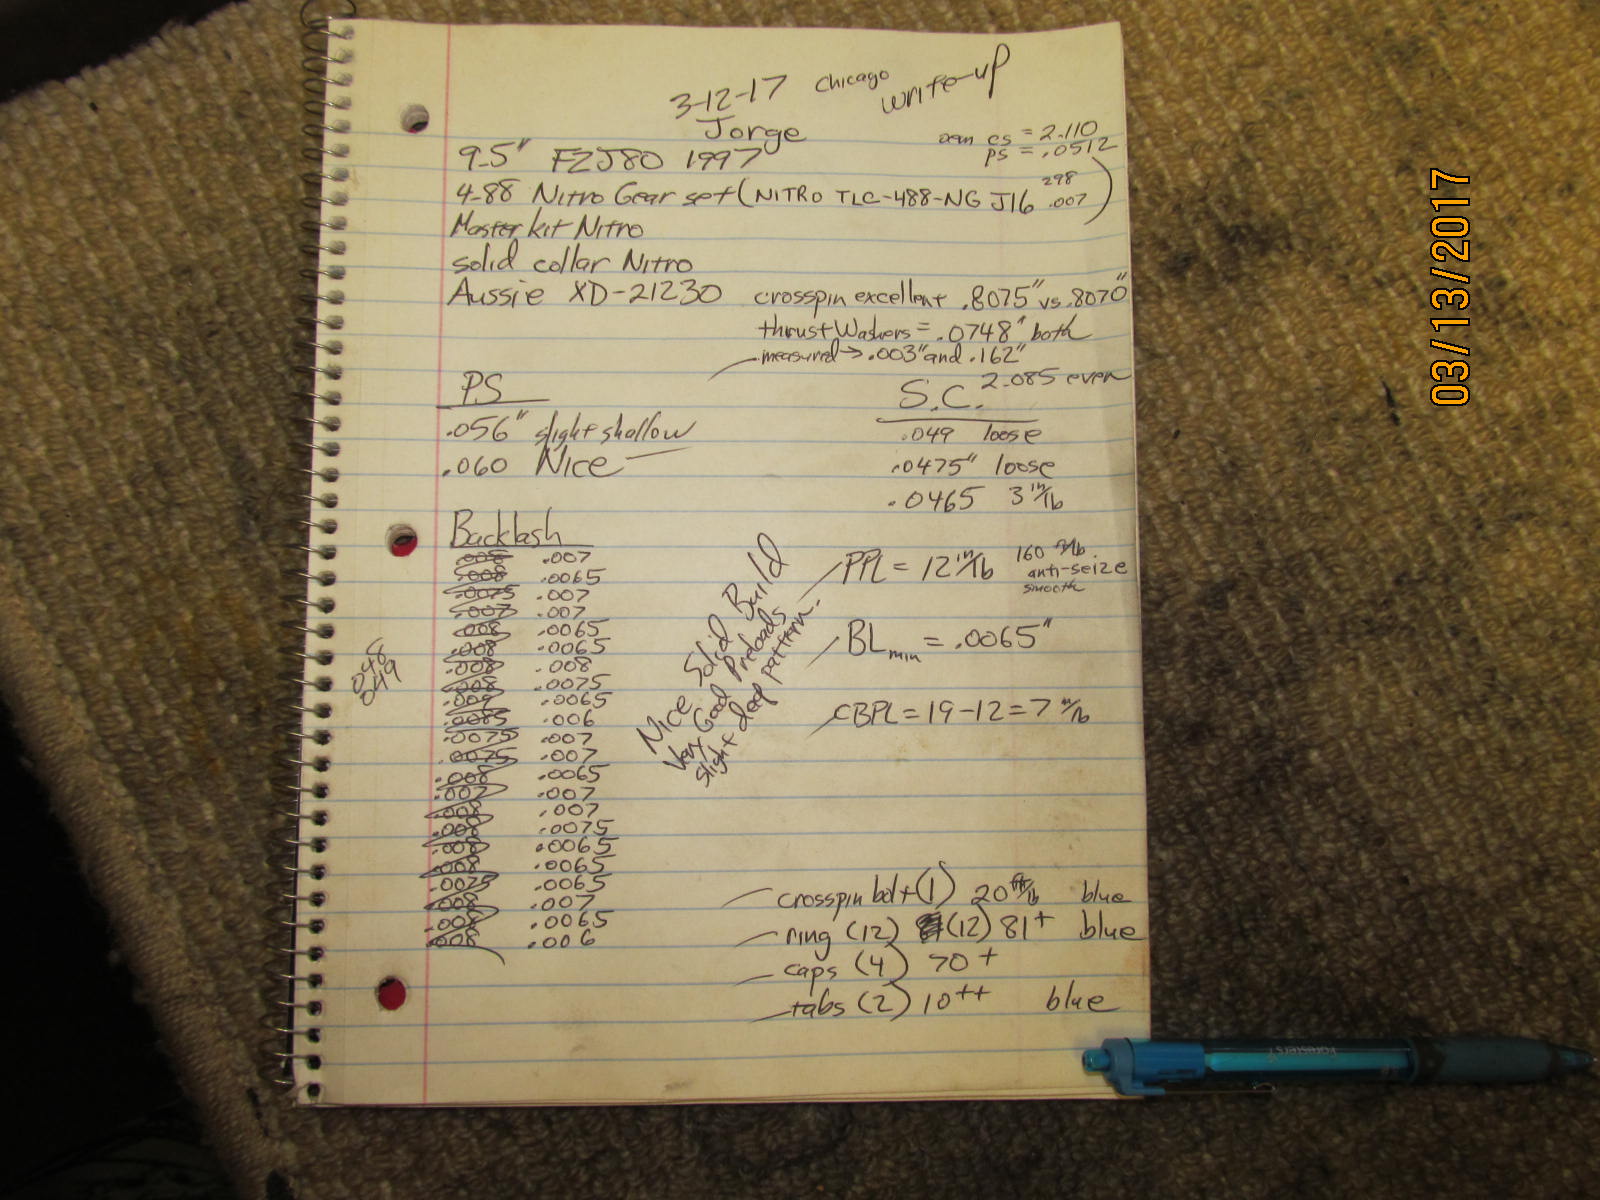
| A snapshot of the install notes. |
|
| The black G2 box is stuffed with packing paper in just the right places and acts as a very effective shield for the bottom of the double box. |
|
| Ready to go to the Czech Republic. :) |
