| Harrops at both ends with Nitro 488 gears for Stu's 1997 LX450 |
|---|
| (48 BIG pics loading) |
|---|
| JULY 5 2019 |
|---|
|
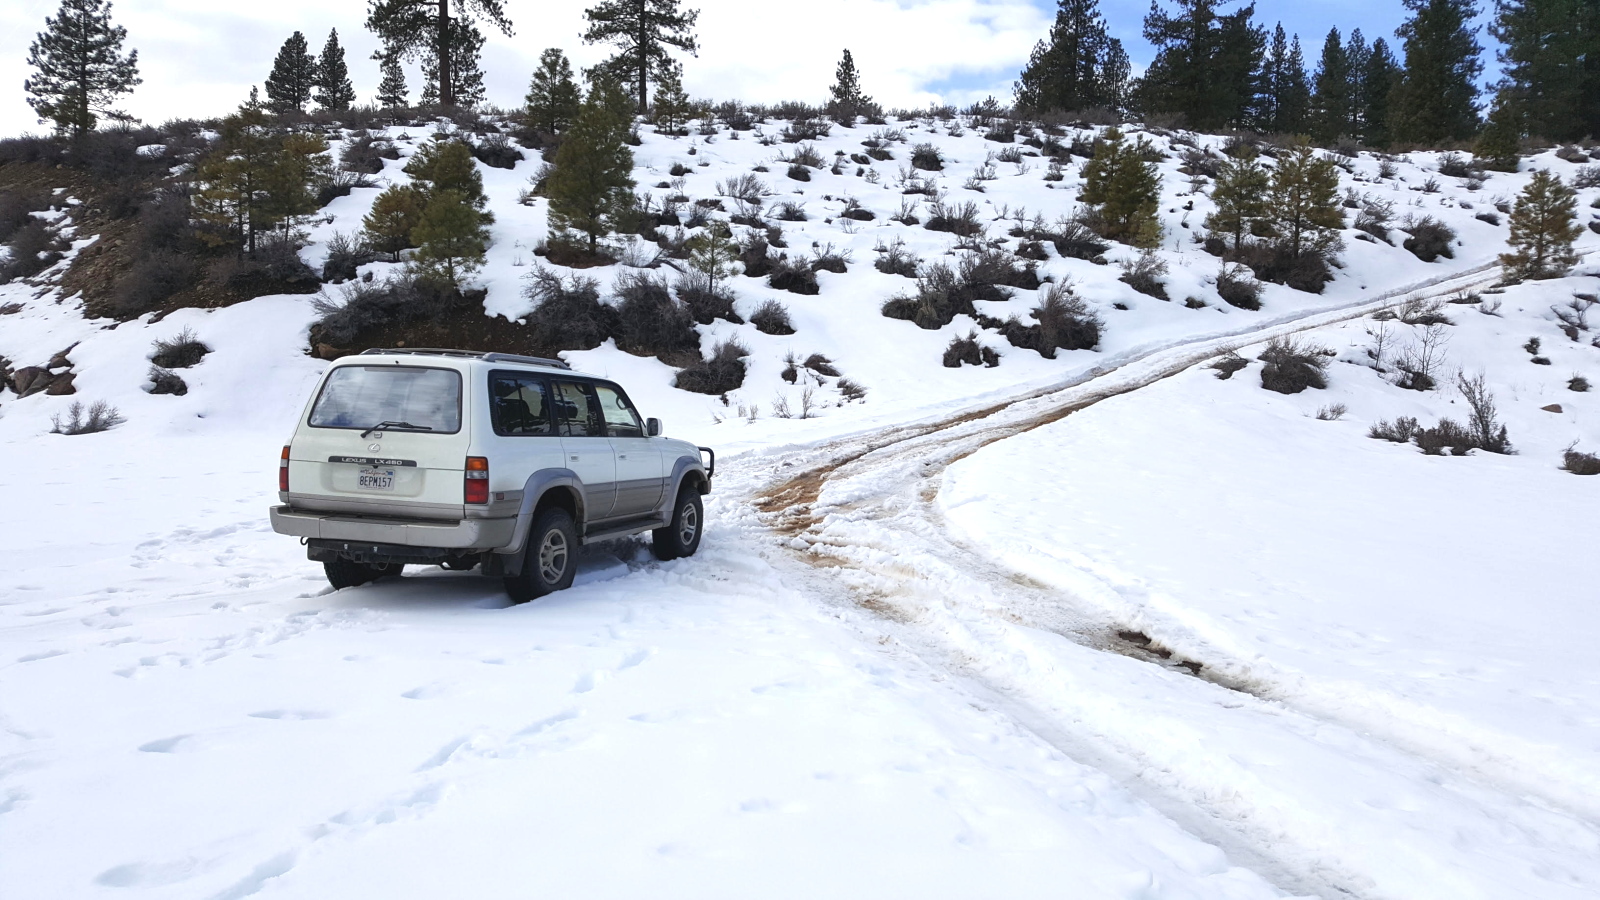
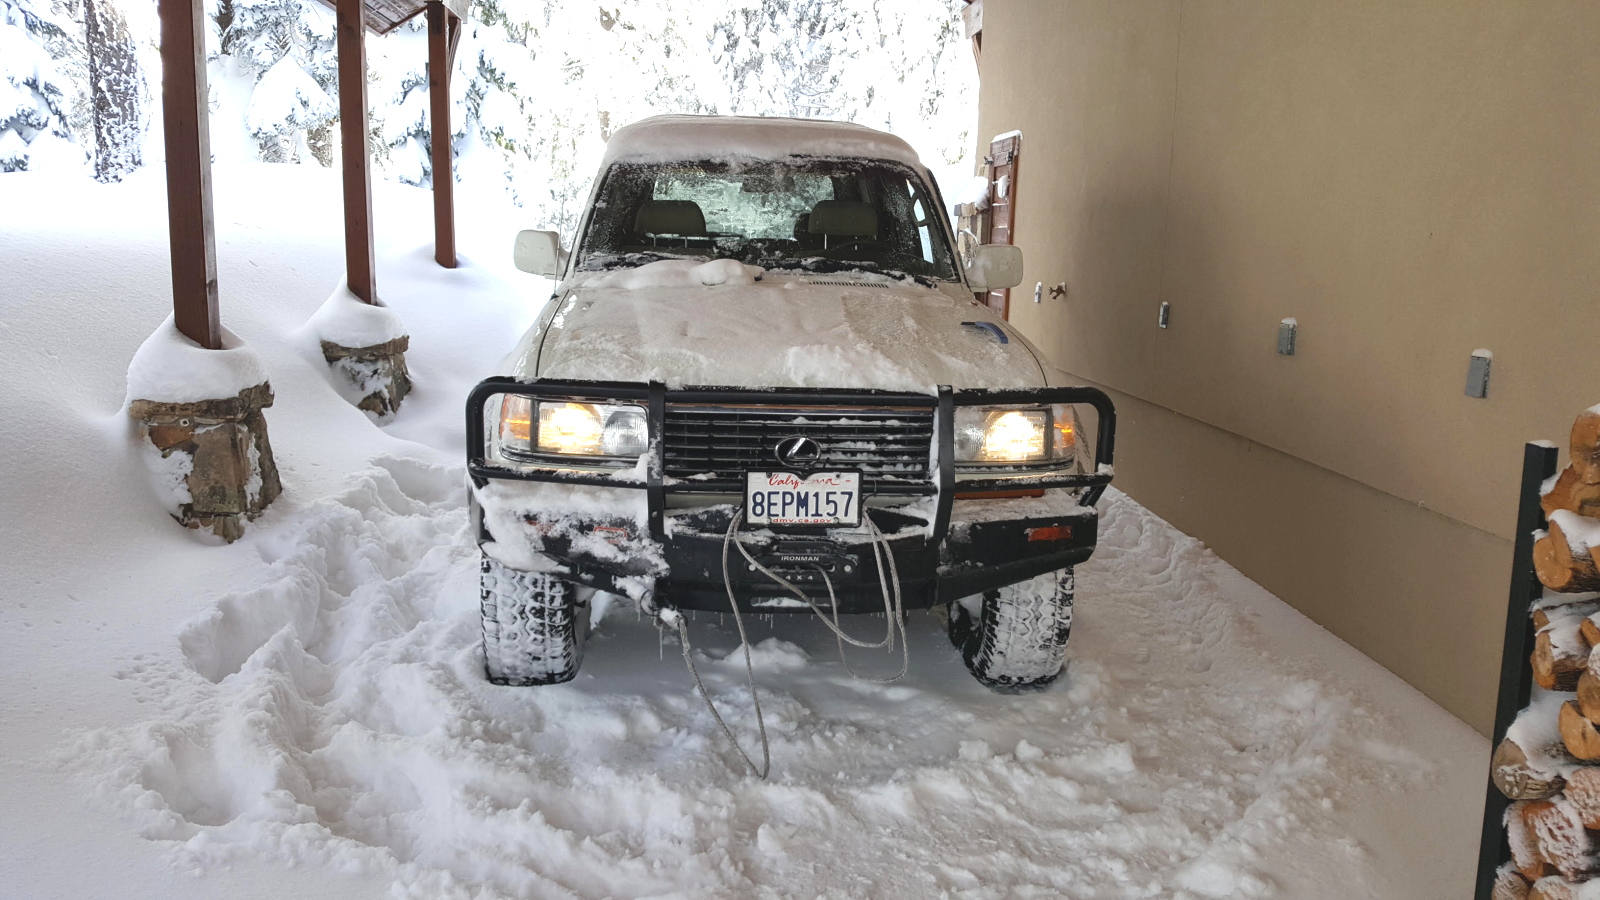
| This is Stu's 1997 LX450. 488 gears and Harrops at both ends will be a BIG jump in performance. |
|---|
|
|
| Basic mods are the front bumper and a 2.5" lift. |
|---|
|
|
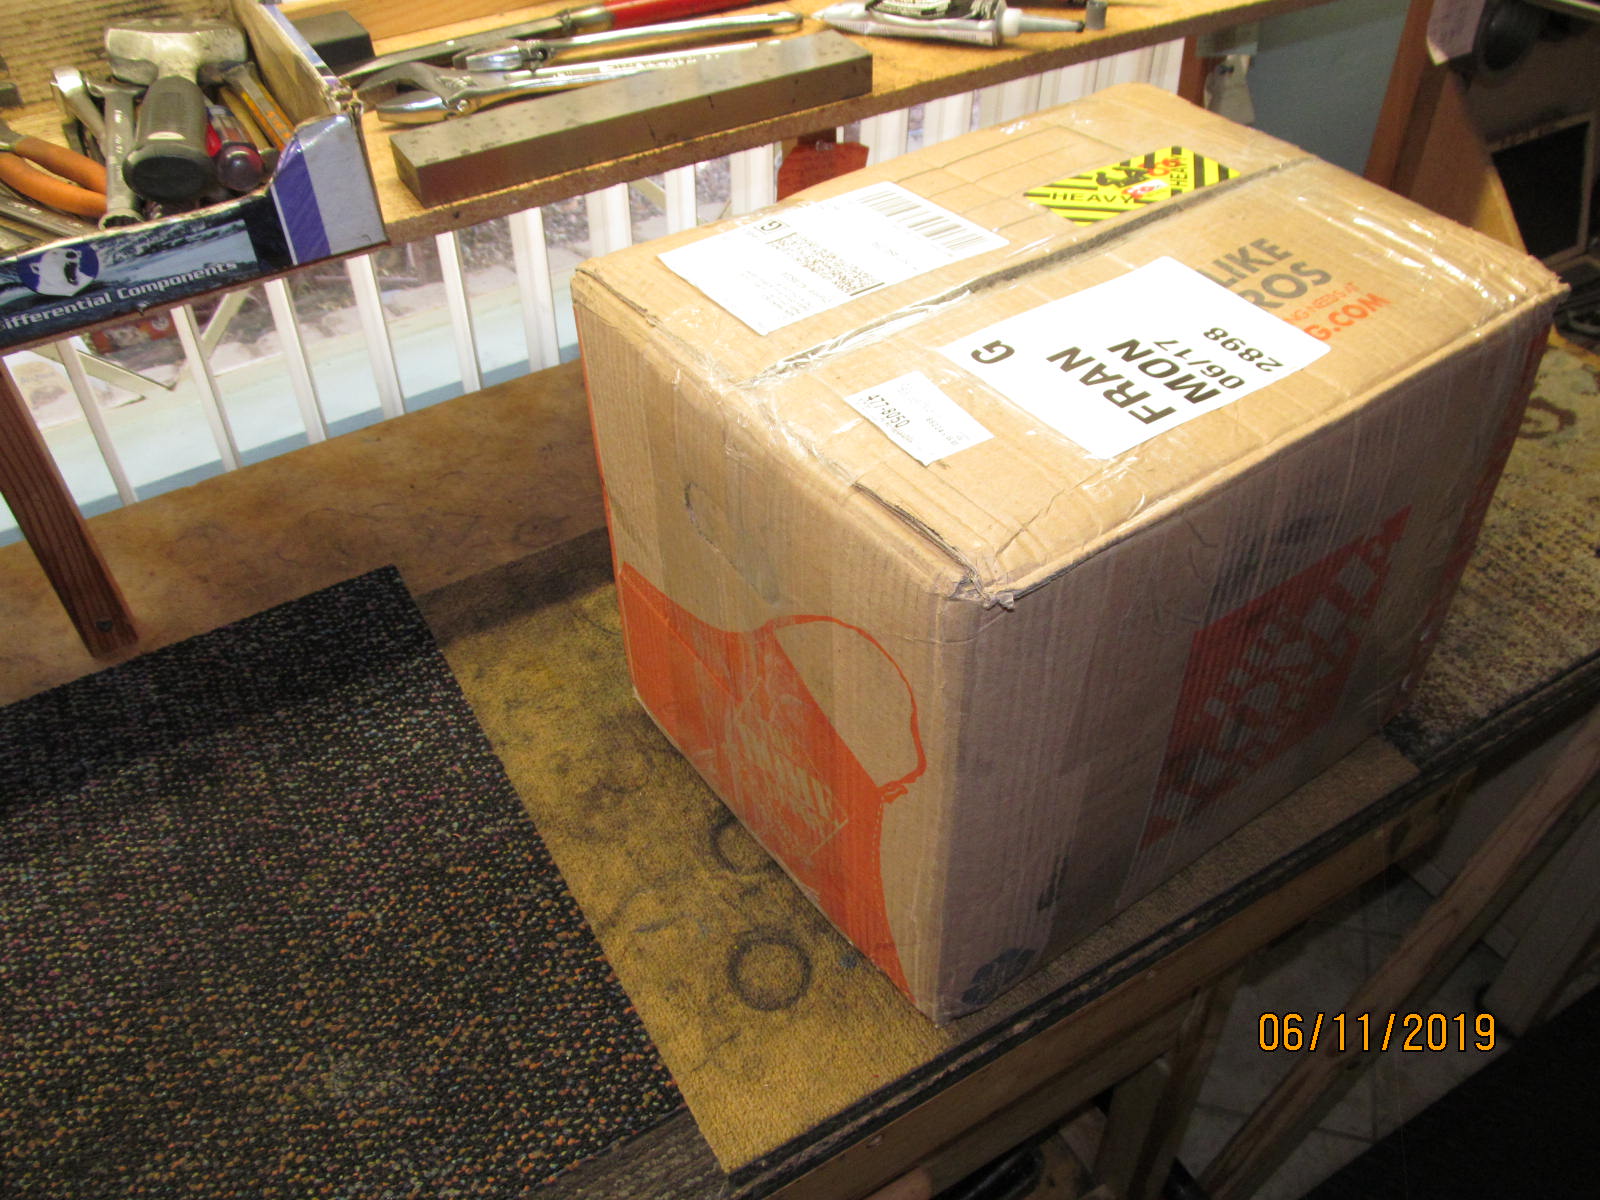
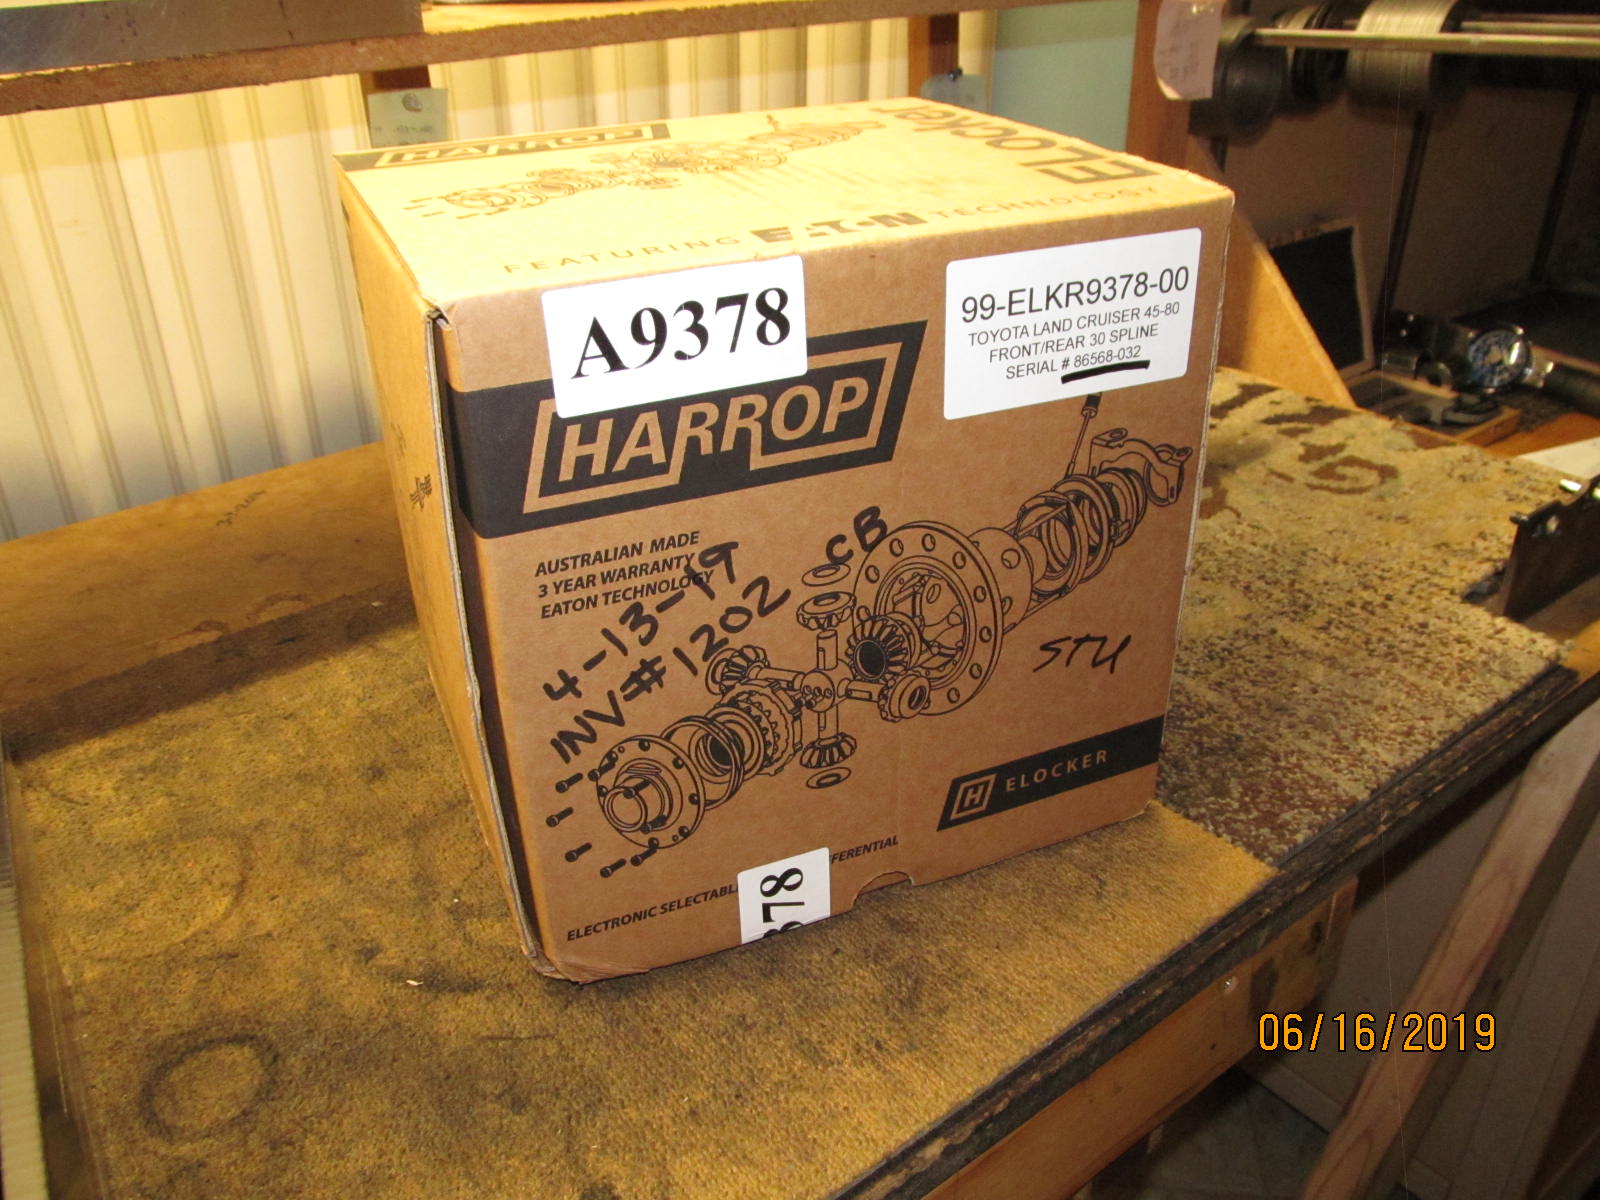
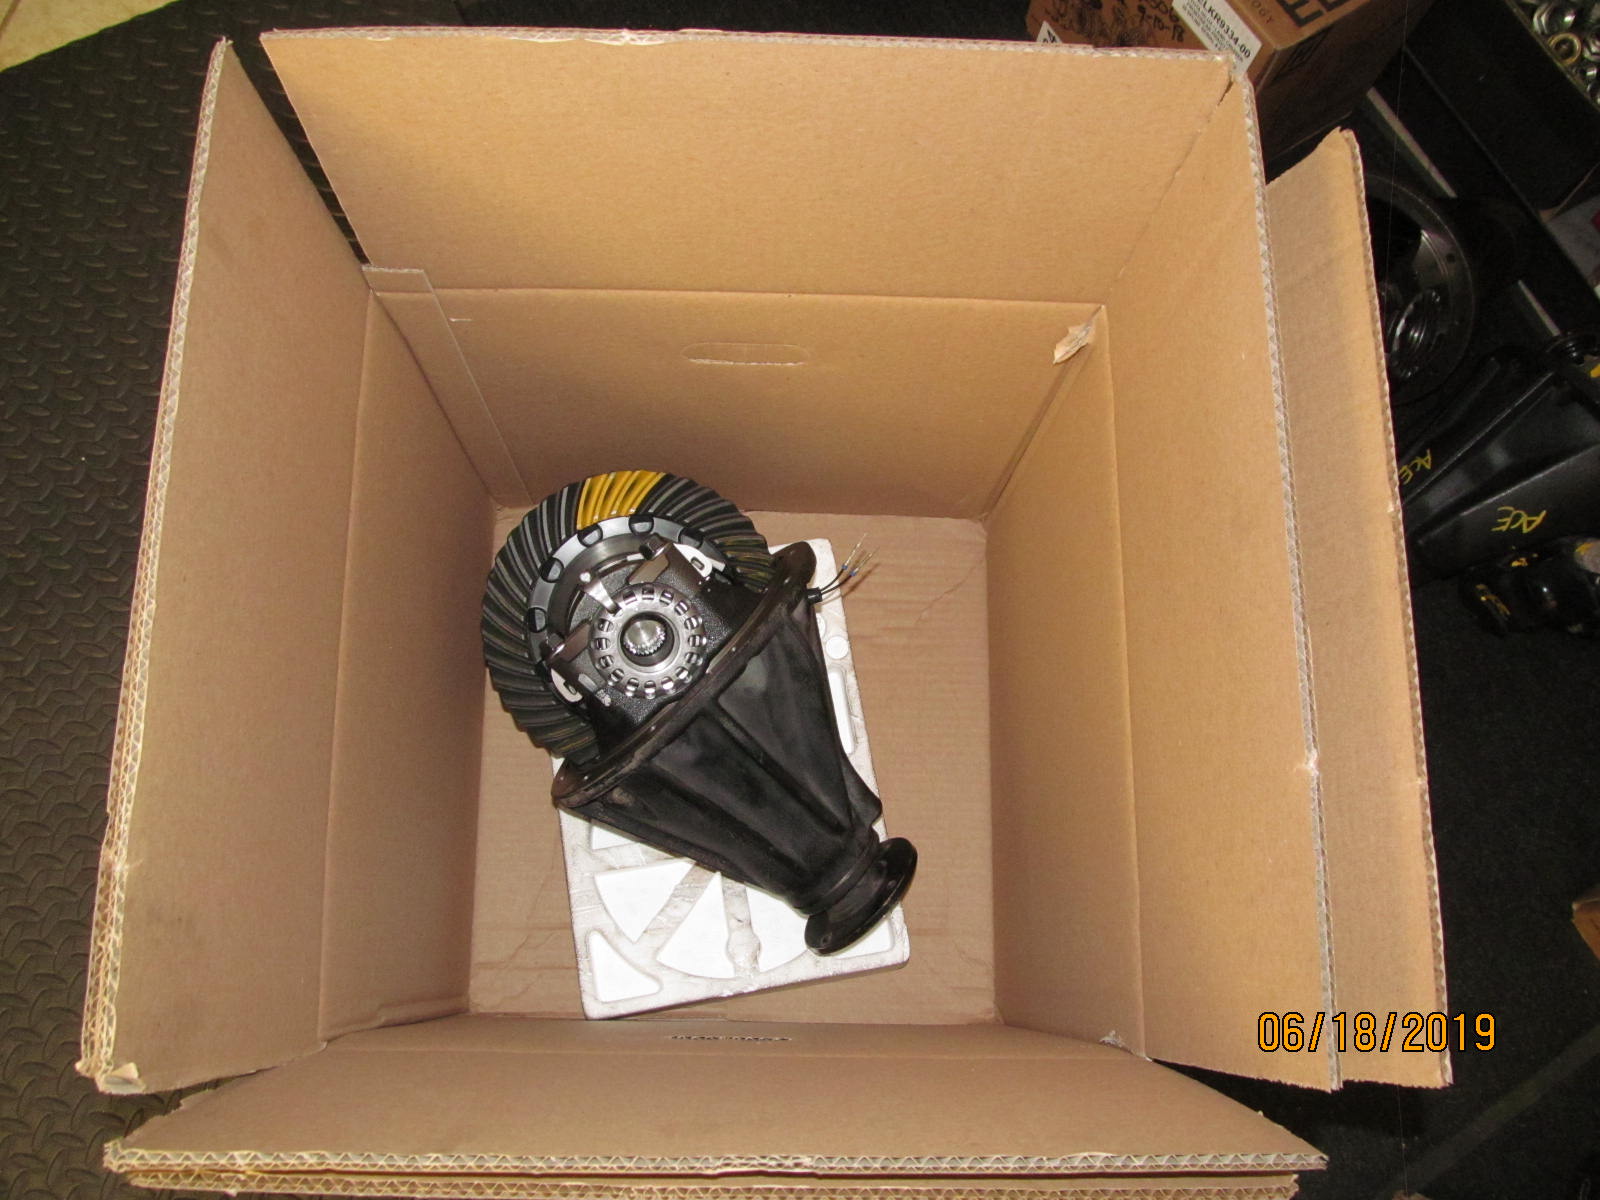
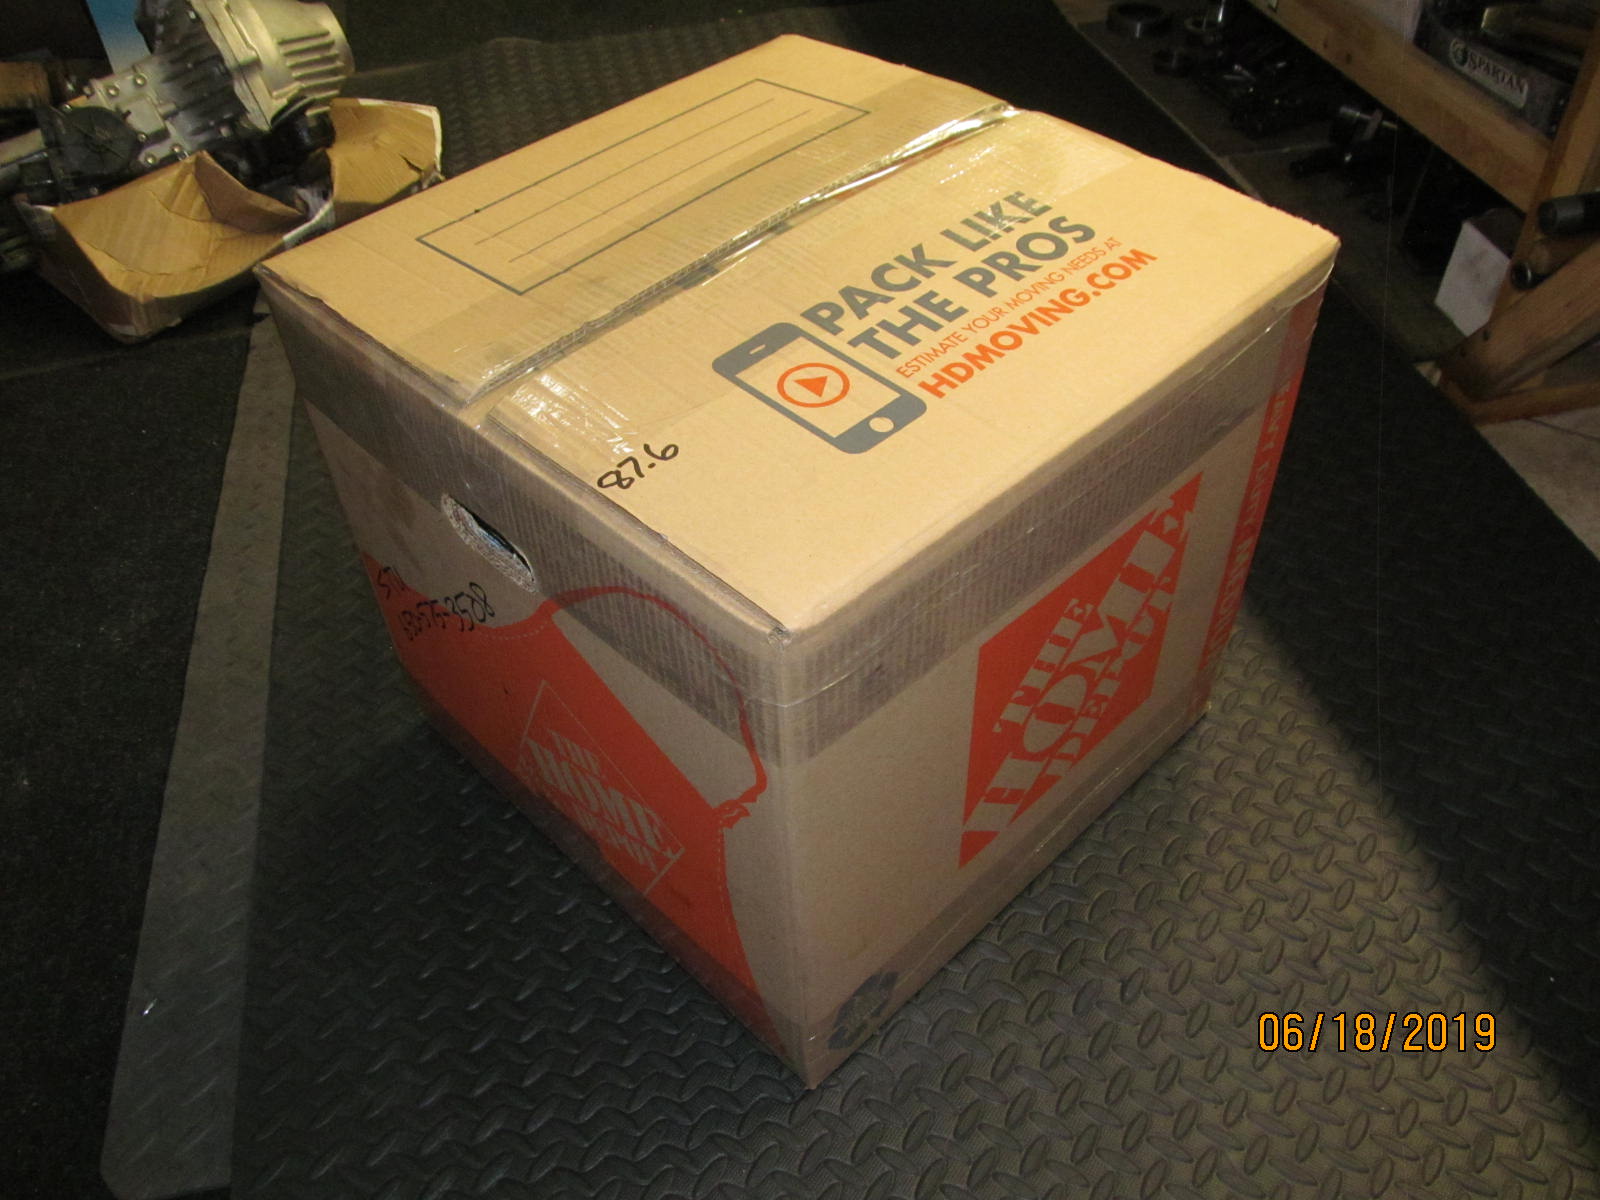
| A heavy box with Stu's rear 3rd in it has arrived. |
|---|
|
|
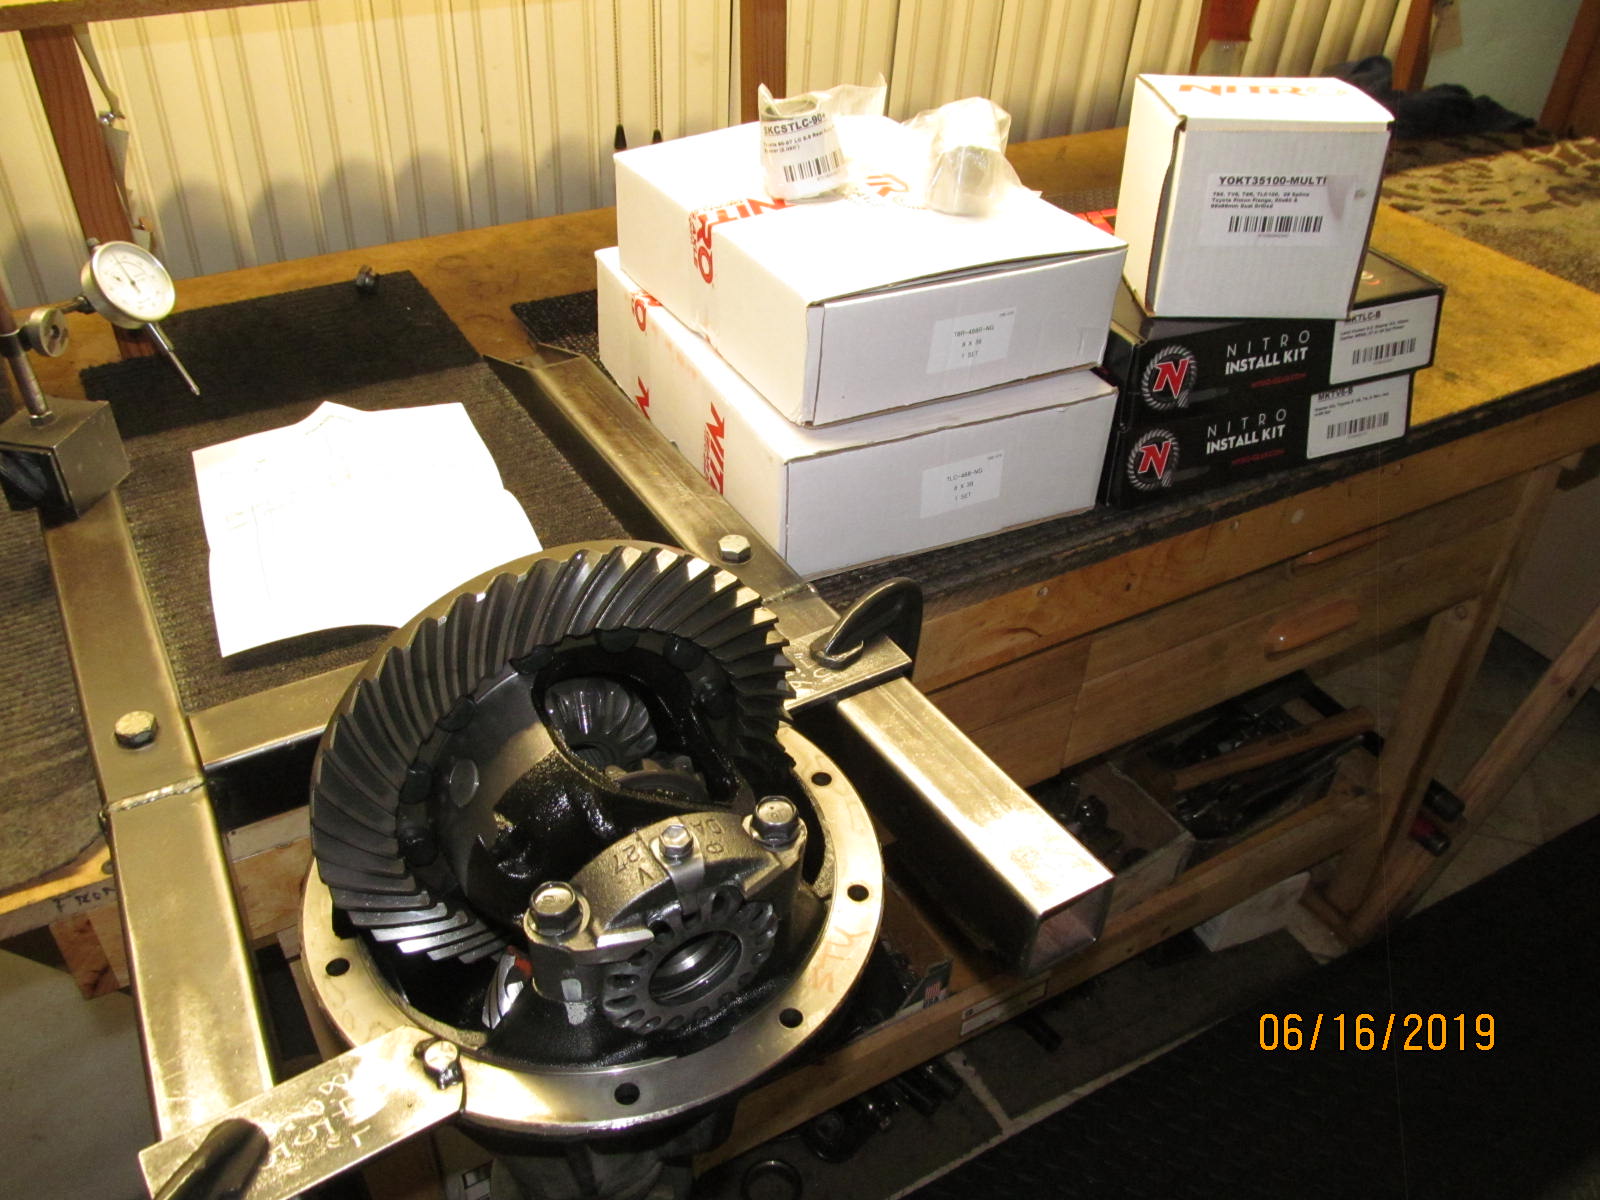
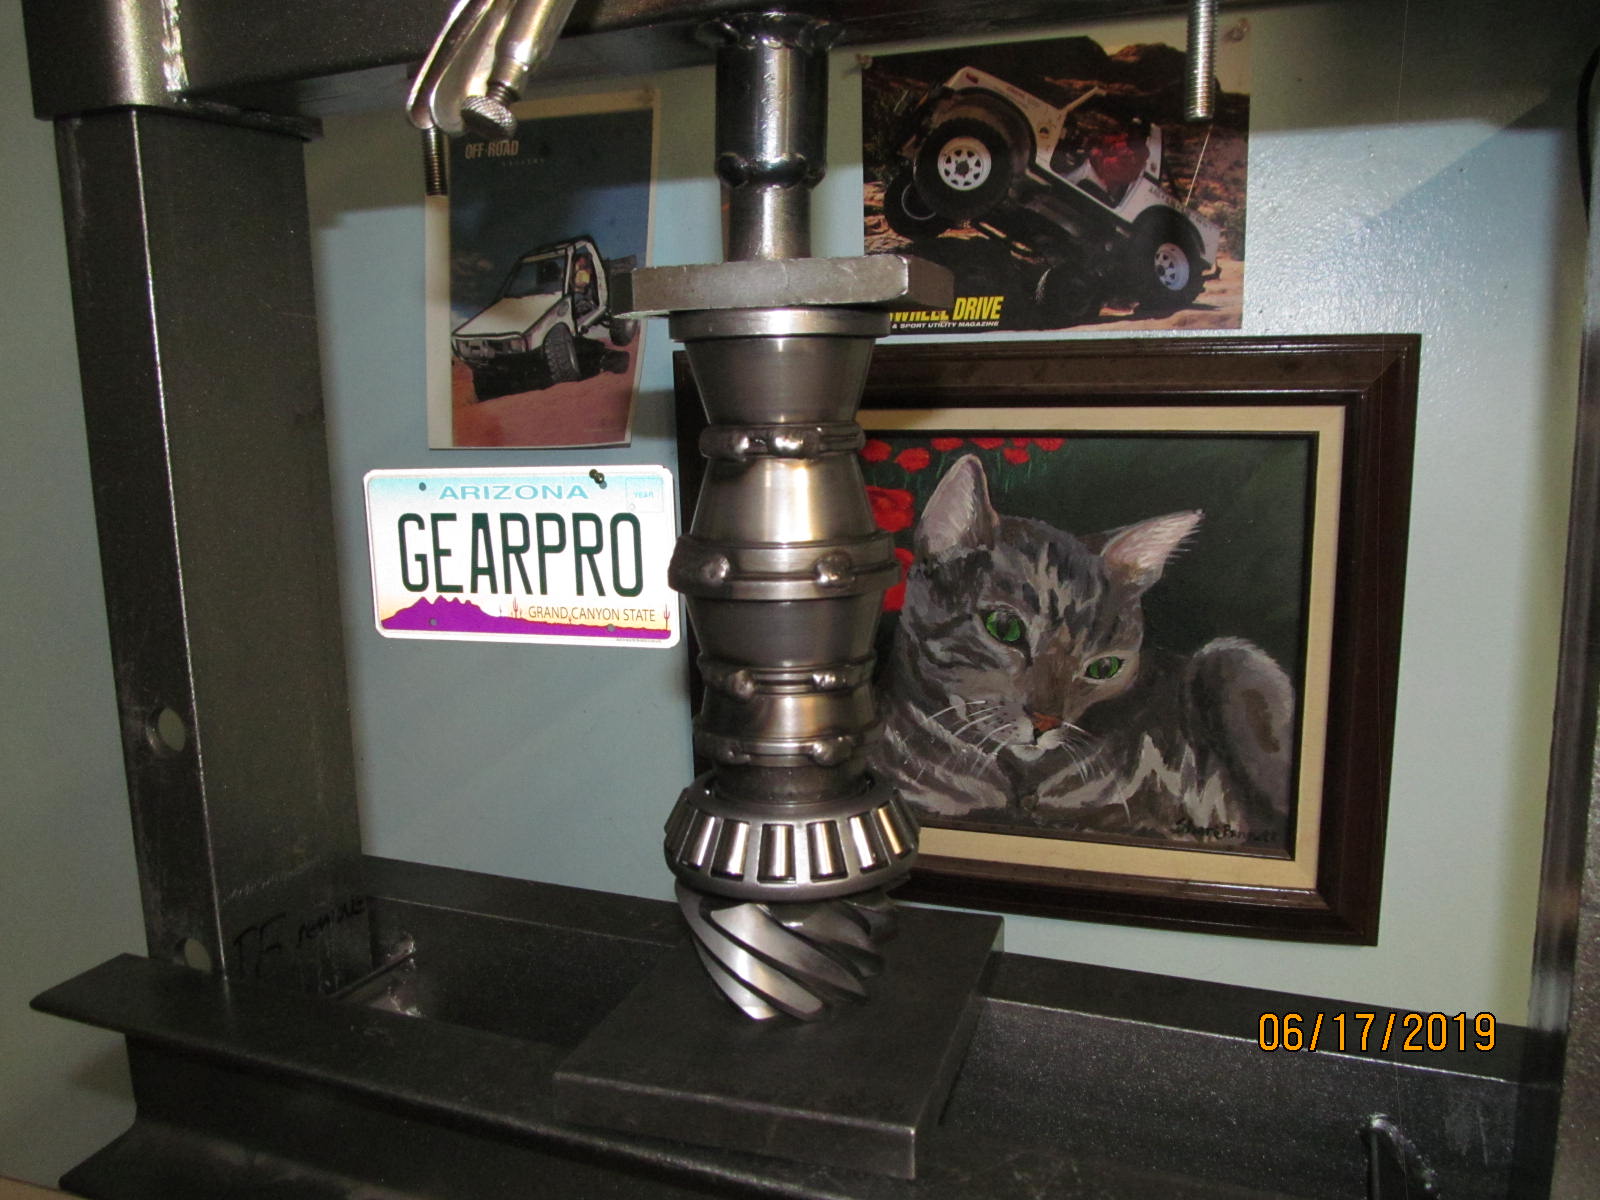
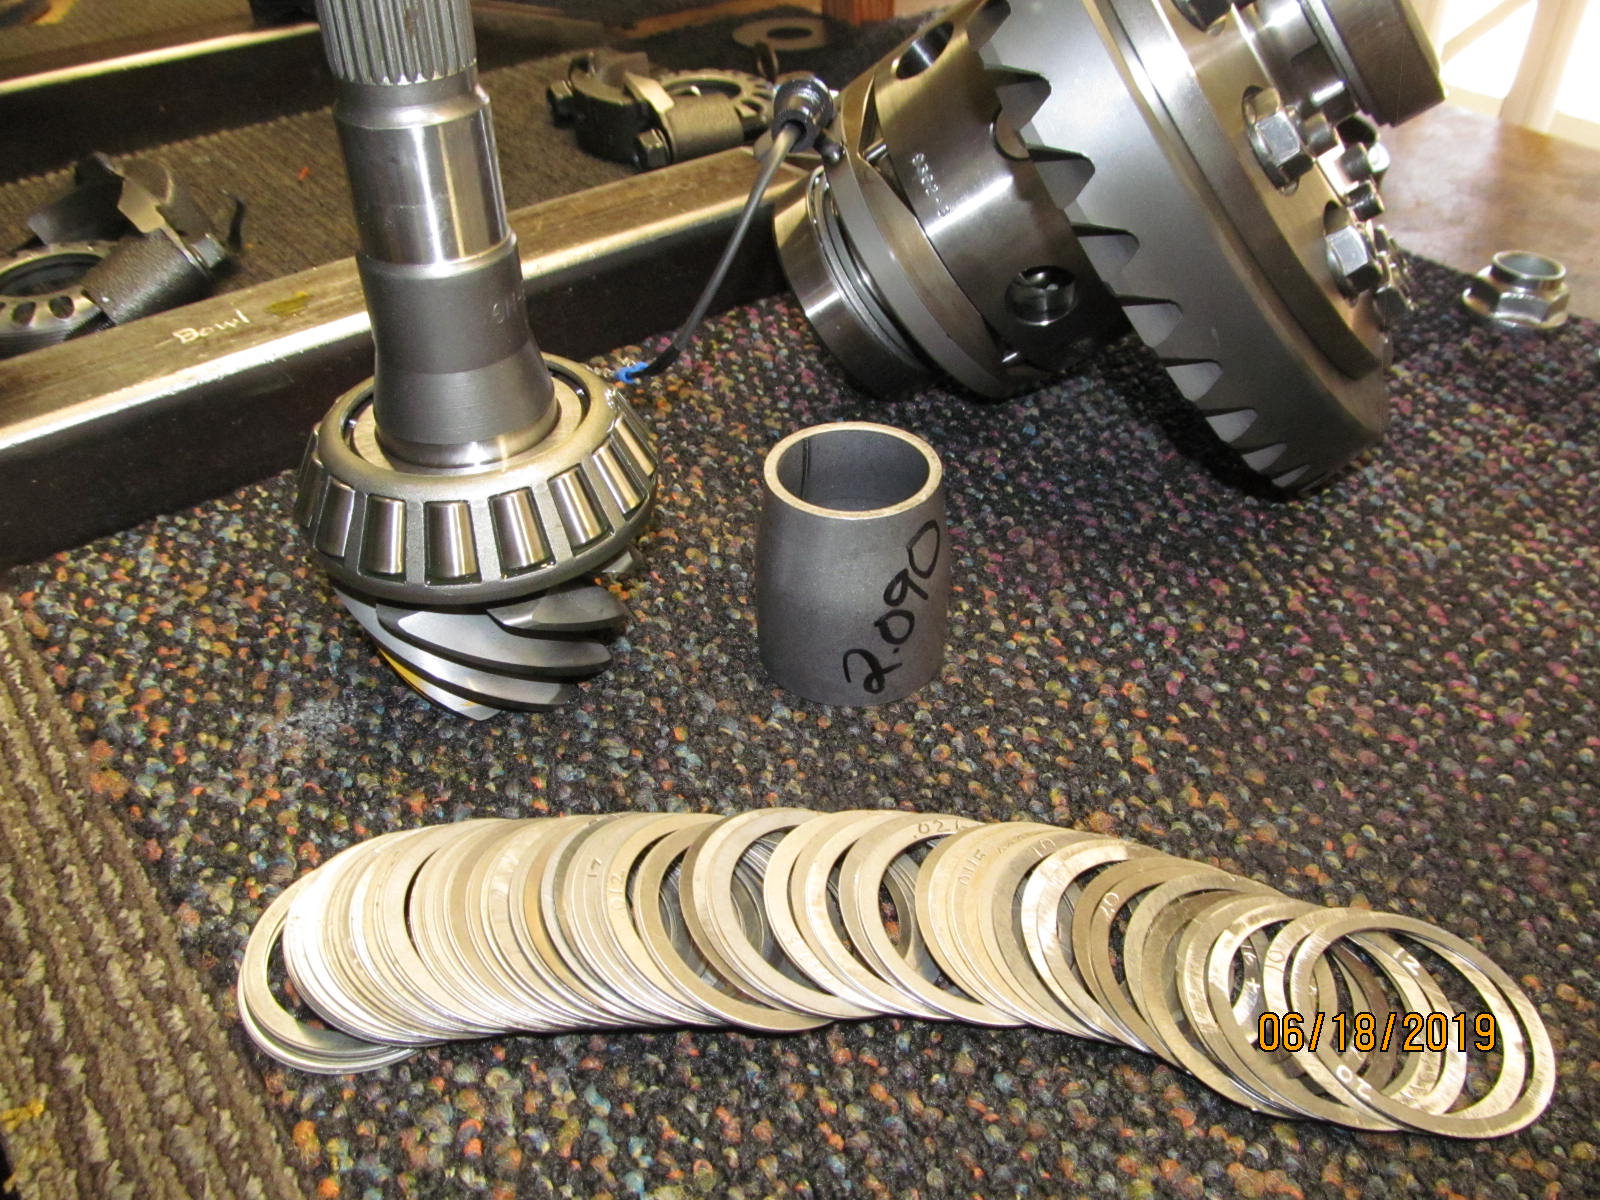
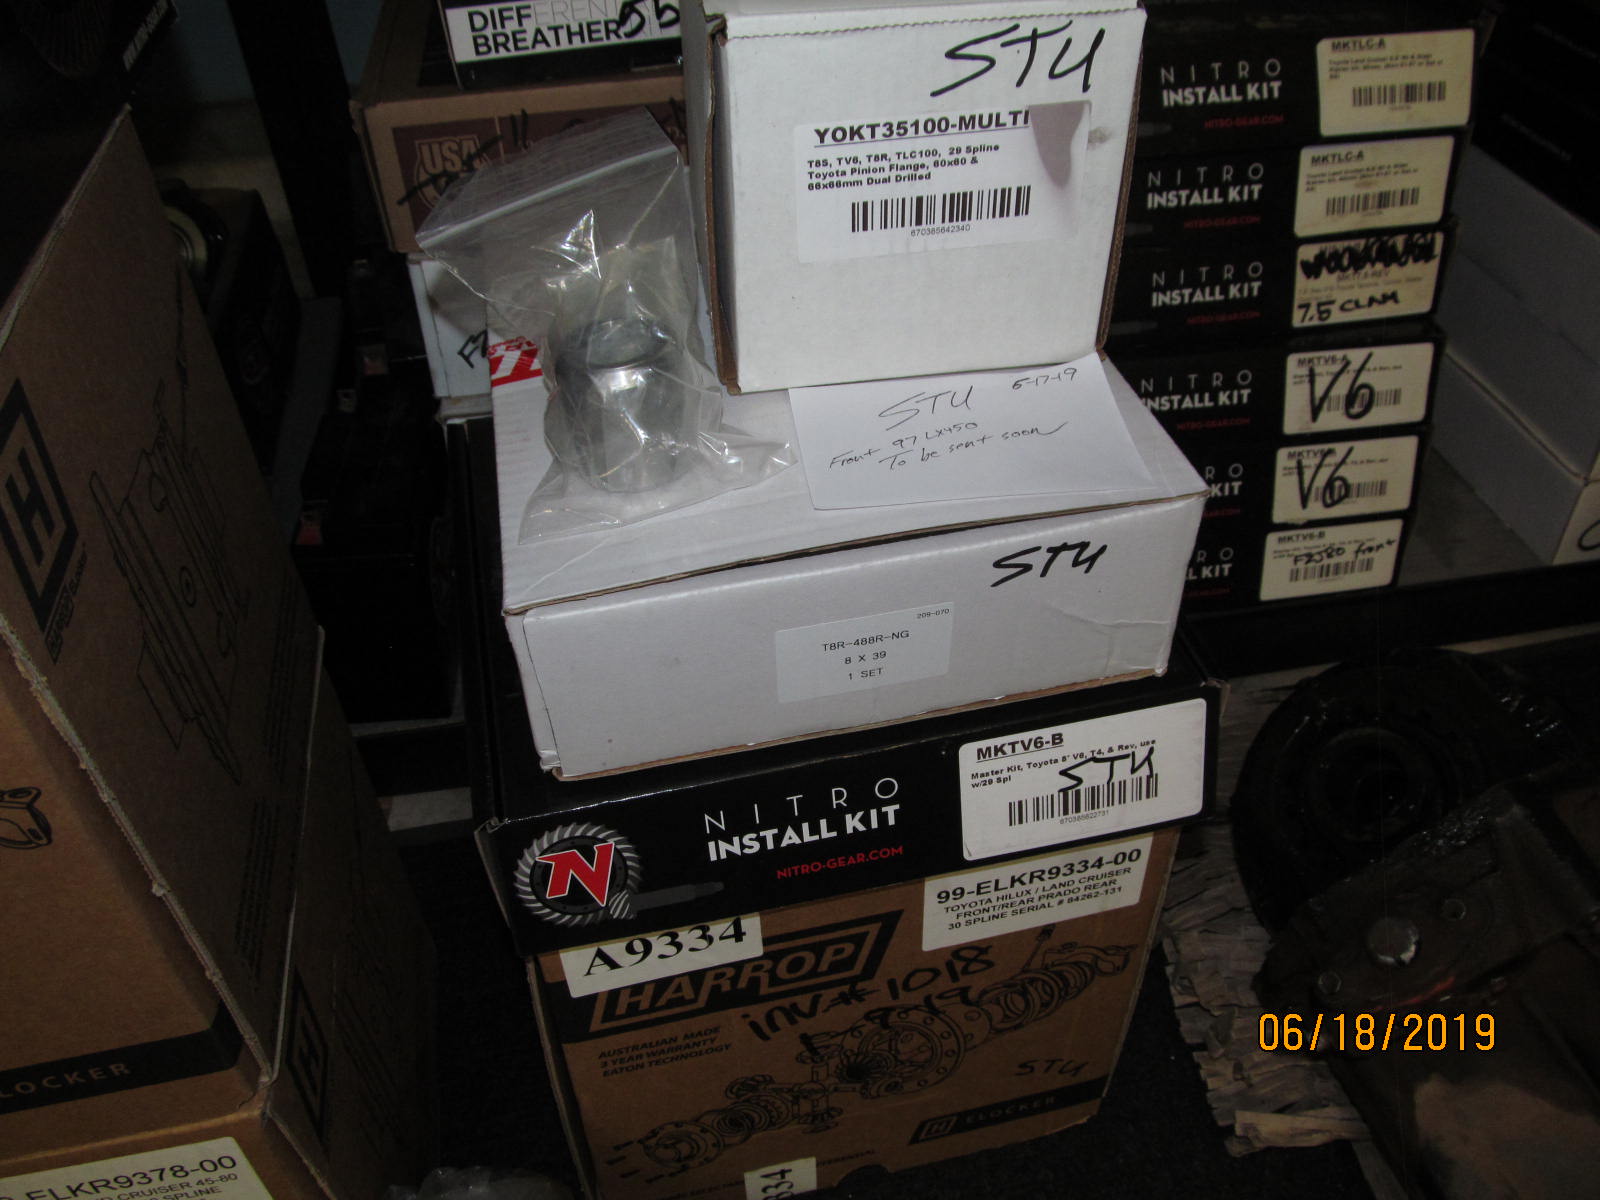
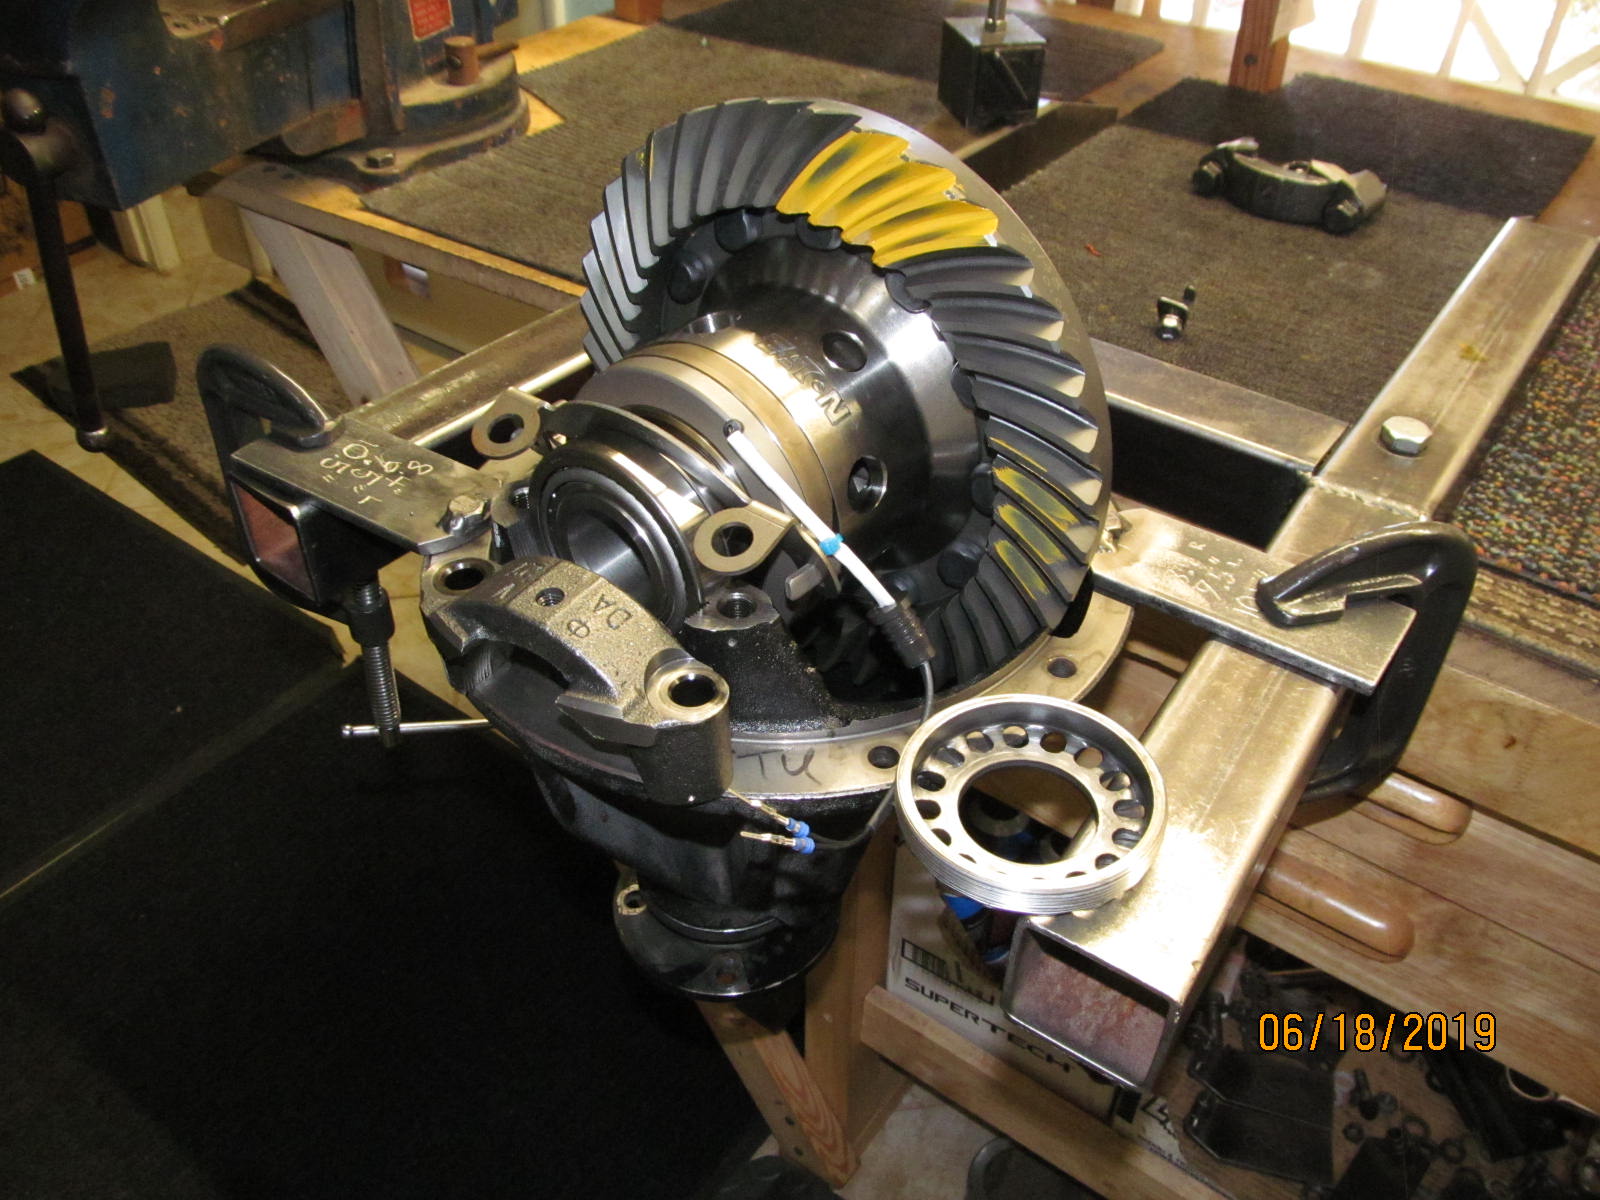
The 3rd is mounted in the fixture. JustDifferentials.com sent this "gear package kit" to me in 4 days time.
It conveniently contains everything to do the front and rear gear installs....
both ring/pinions...both bearing kits....both solid collars....and the larger 29 spline pinion flange for the front..... |
|---|
|
|
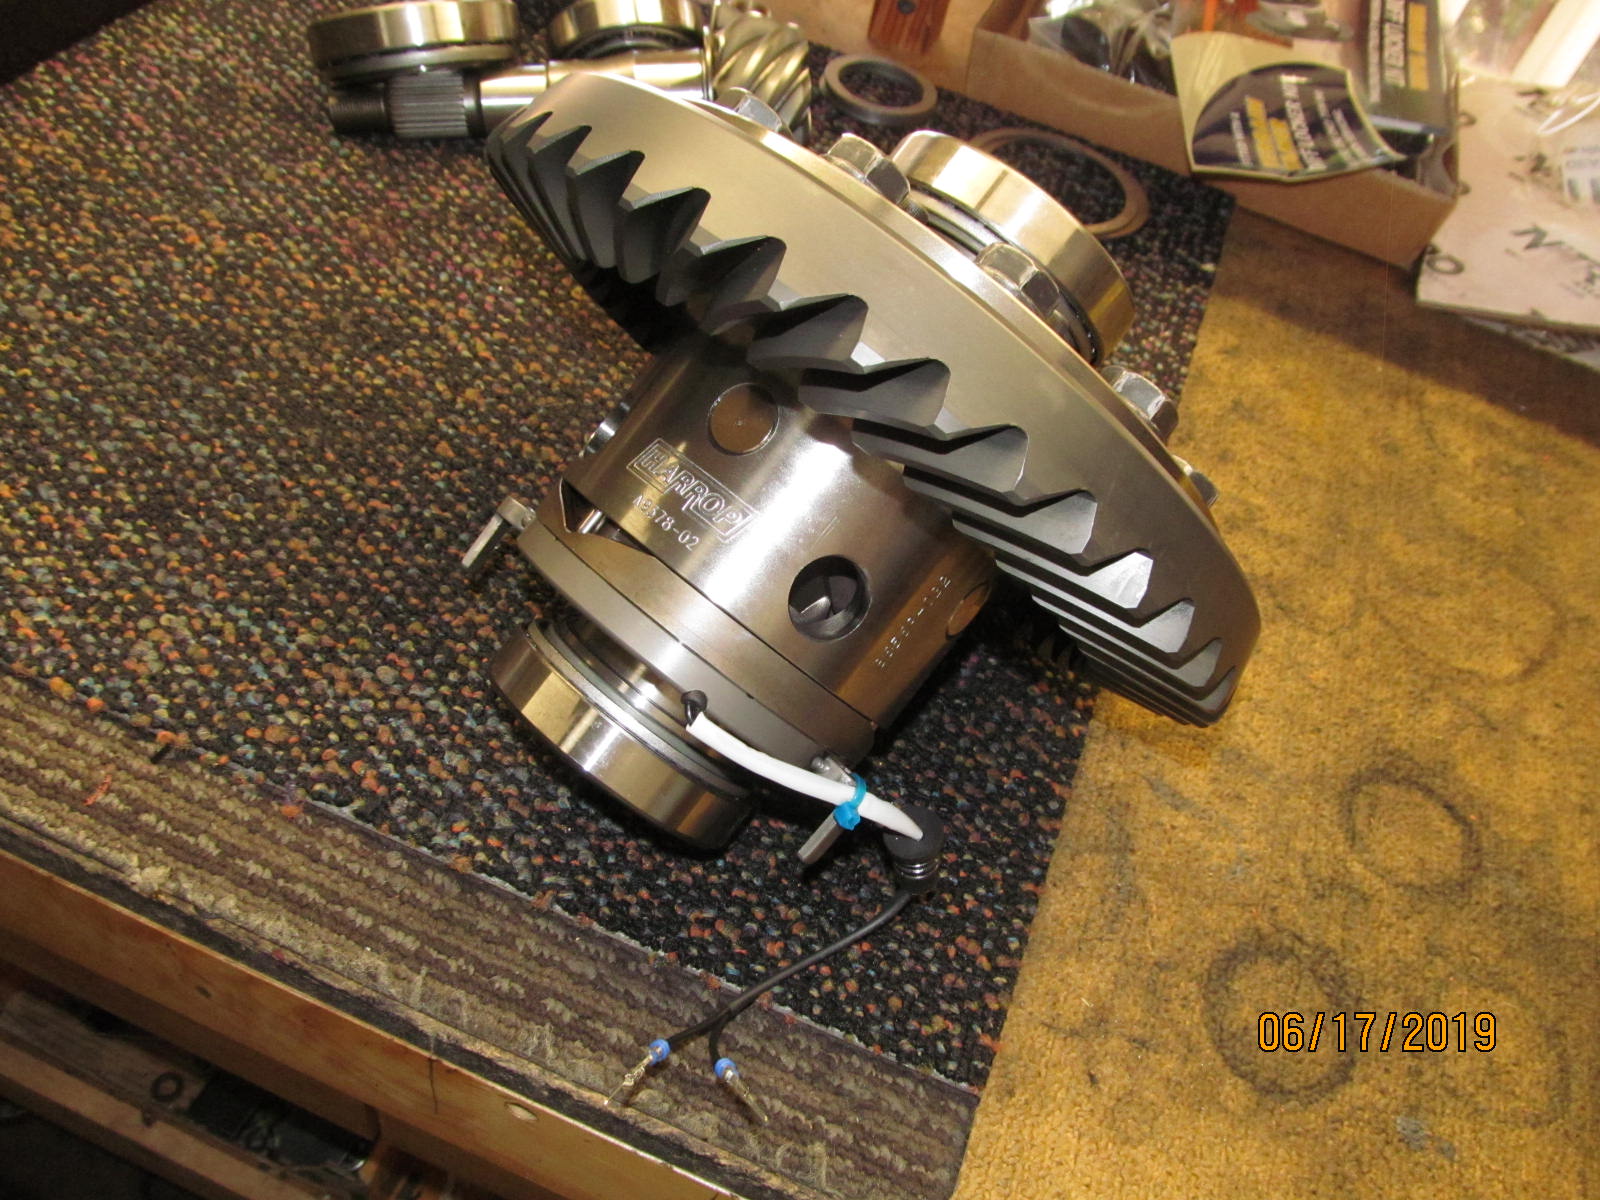
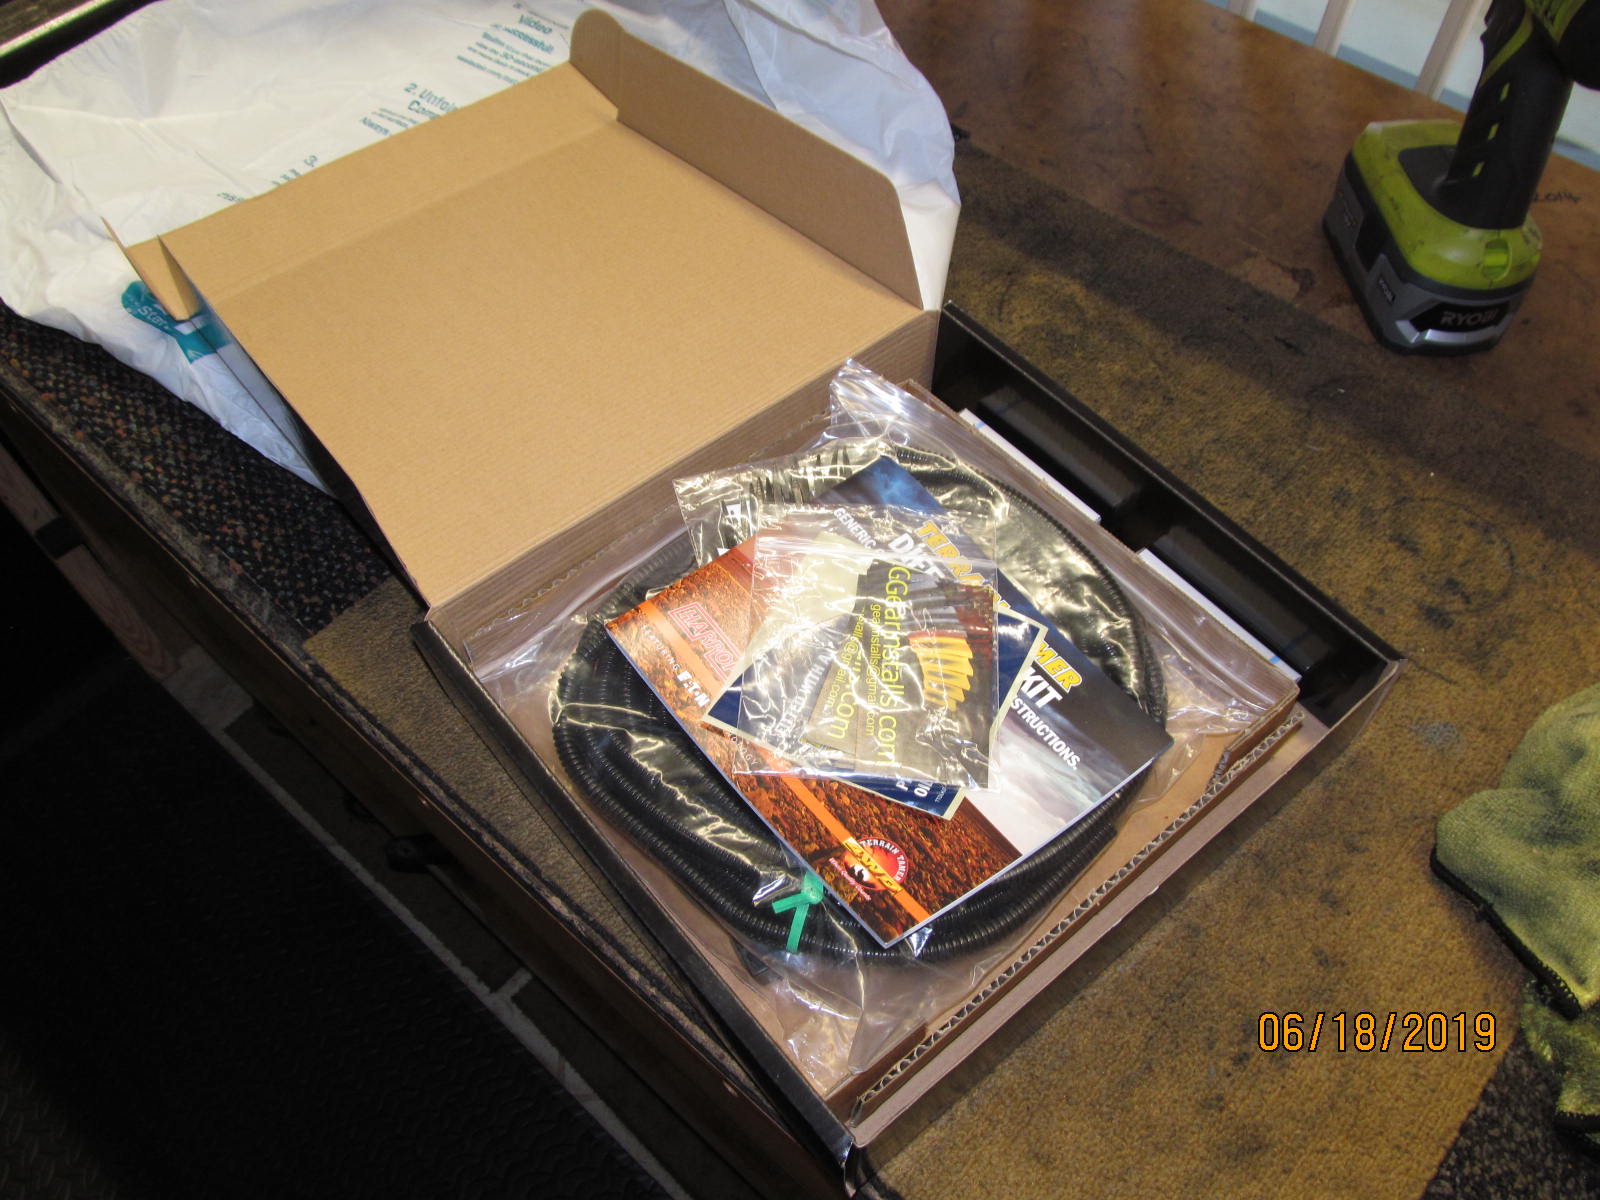
And, last but not least, the rear Harrop elocker sent directly to me from Australia.
I can't believe I get these things in only 3 days time to my doorstep!
God bless DHL. |
|---|
|
|
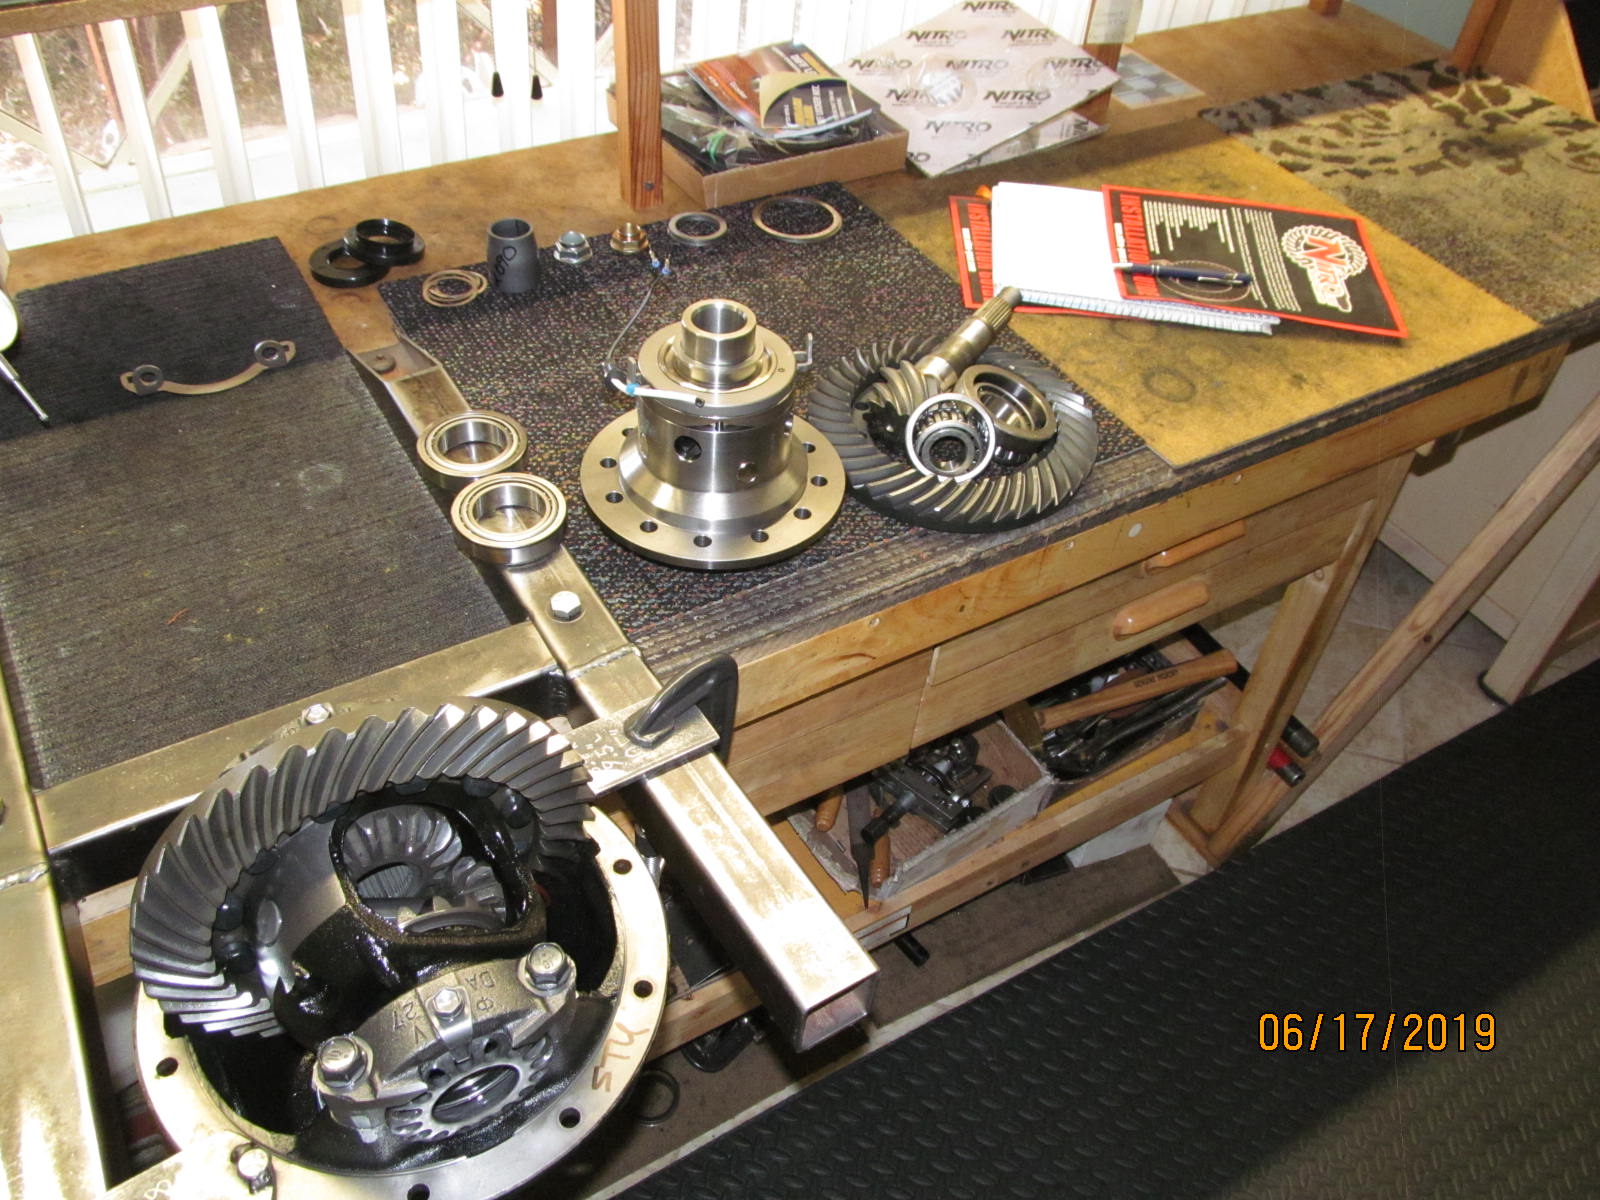
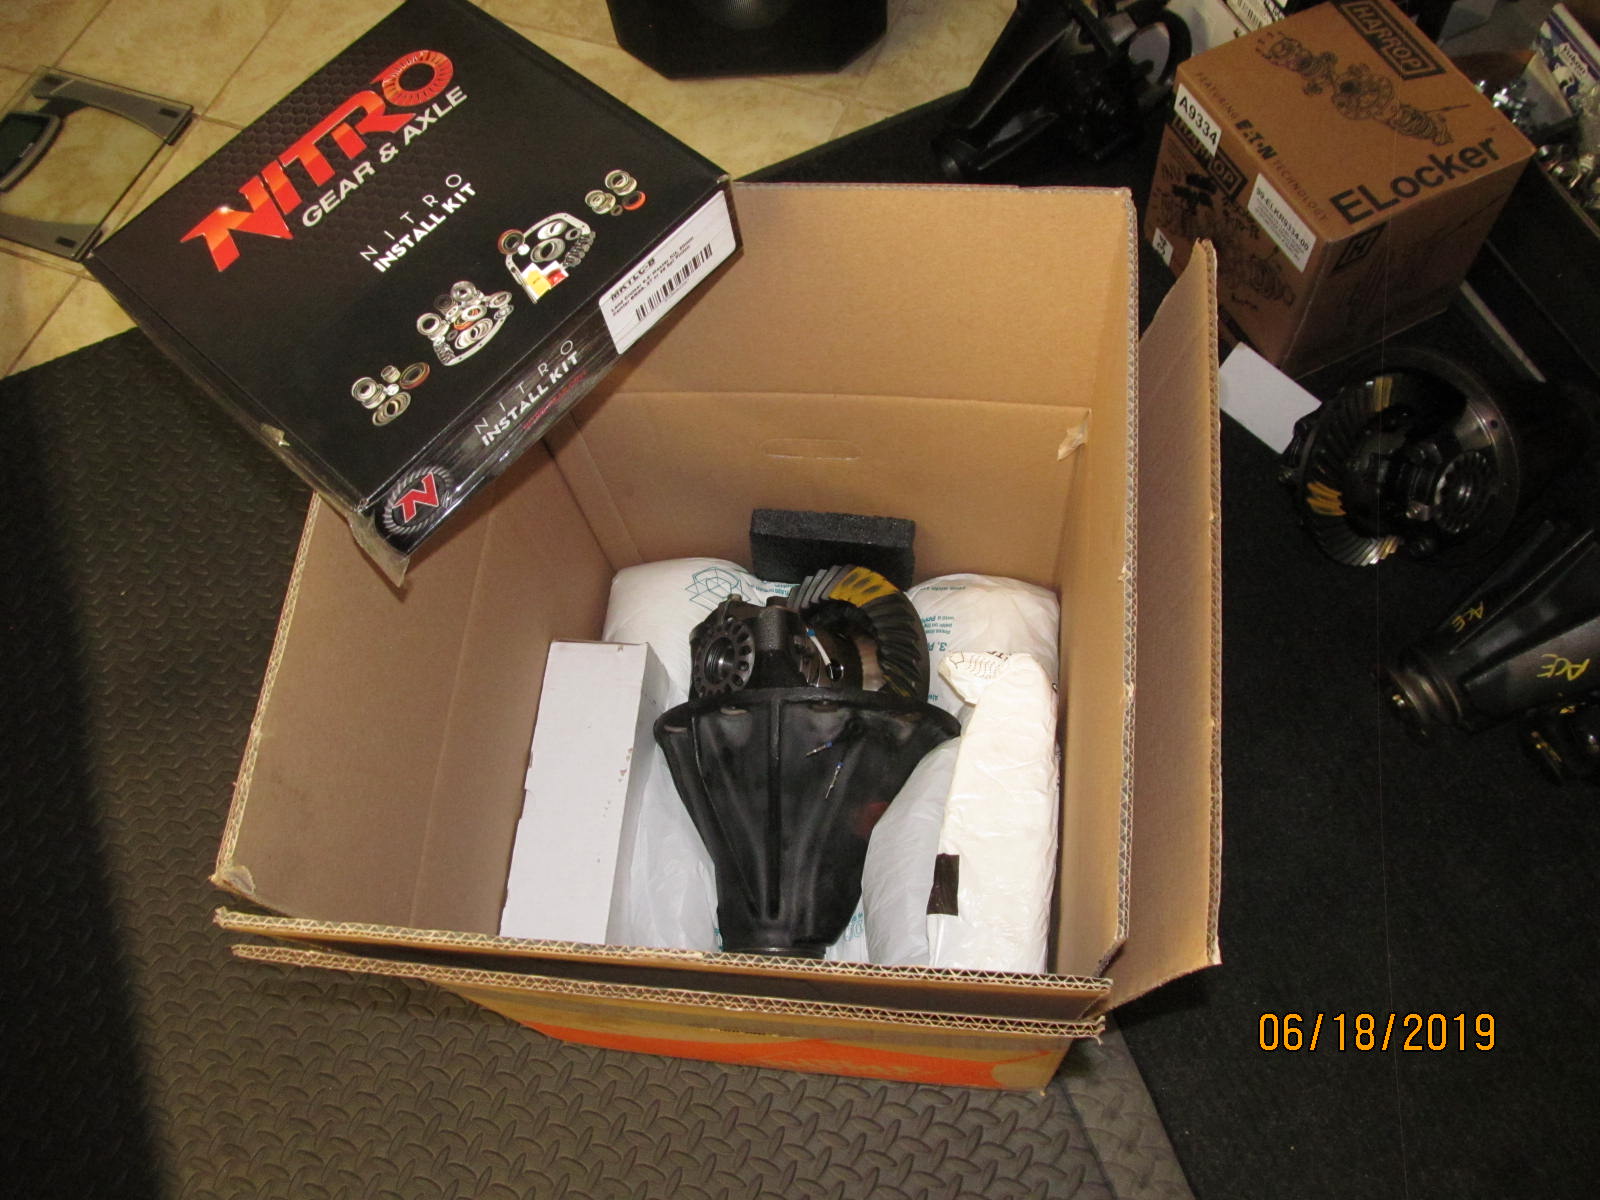
| All the good stuff is layed out for the rear install. |
|---|
|
|
| Both surfaces are checked with a coarse file and all checks out fine. |
|---|
|
|
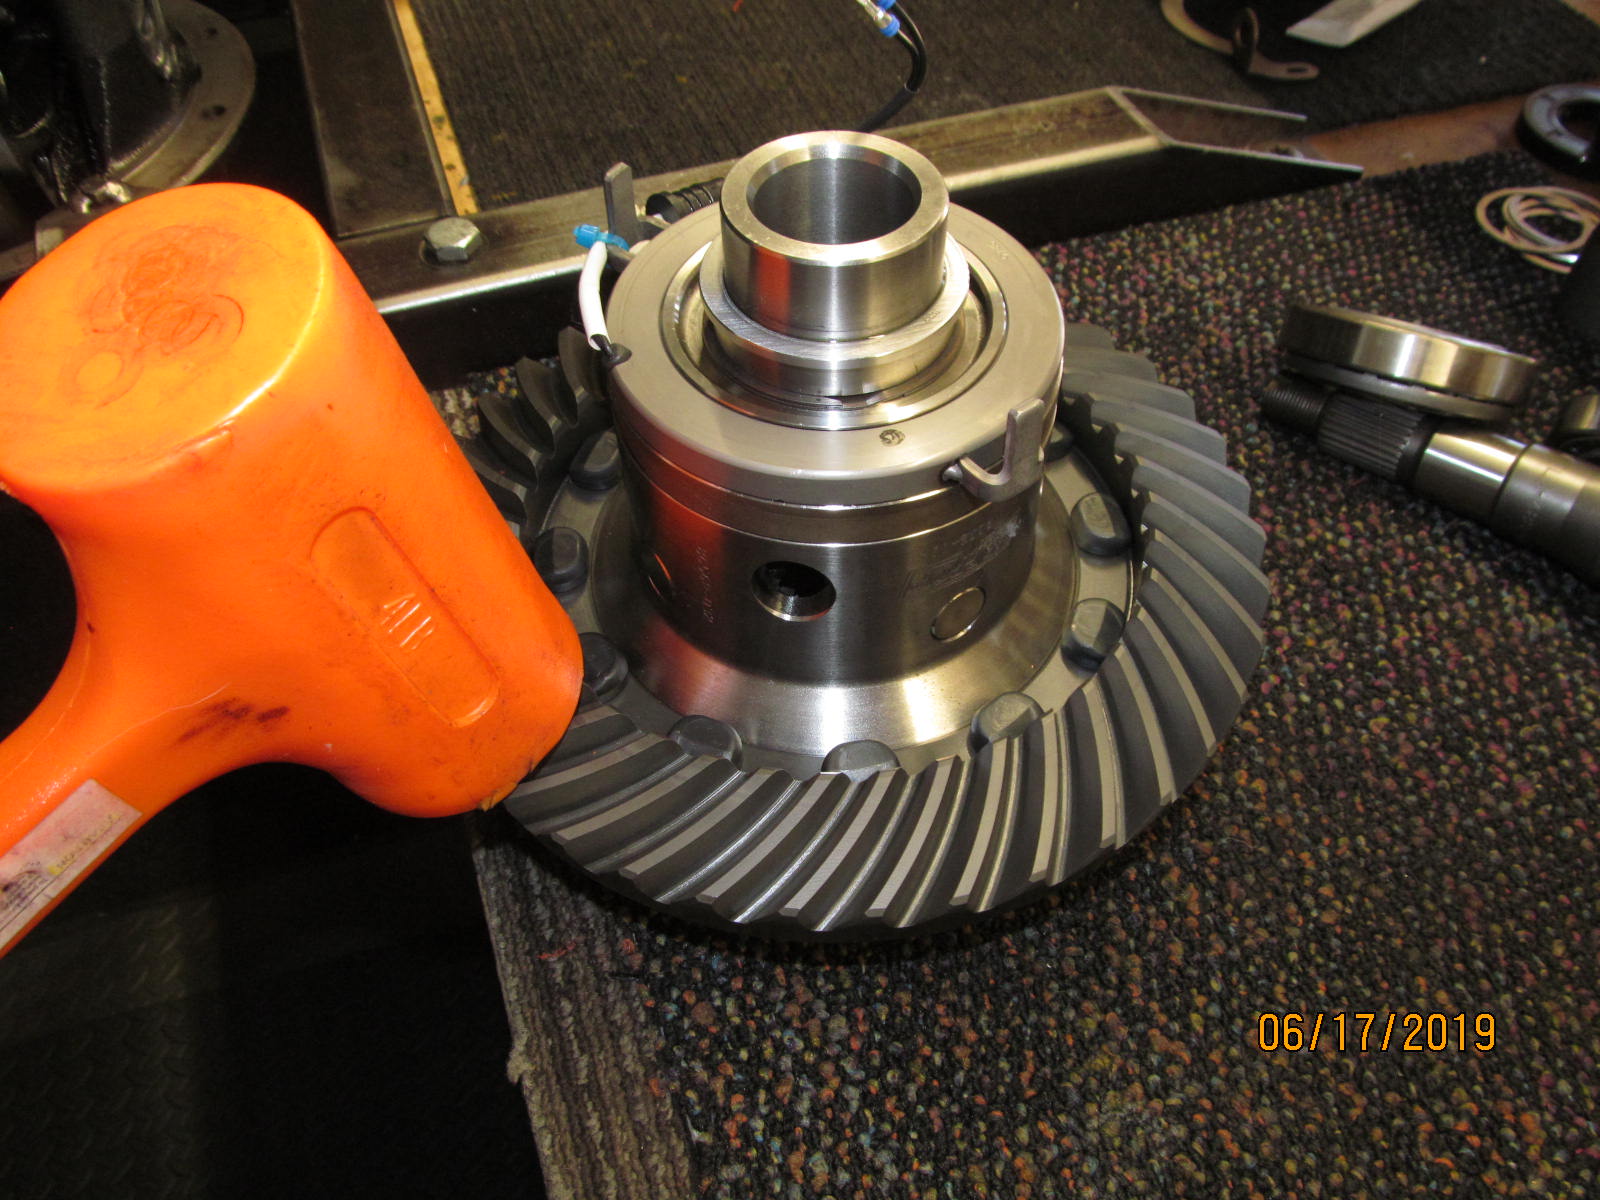
Ring went on perfect....not too tight and definitely not too loose. All 12 ring bolts were dropped in place
and everything was in perfect rotational alignment. I have a good eye for lining up the holes from years of practice. |
|---|
|
|
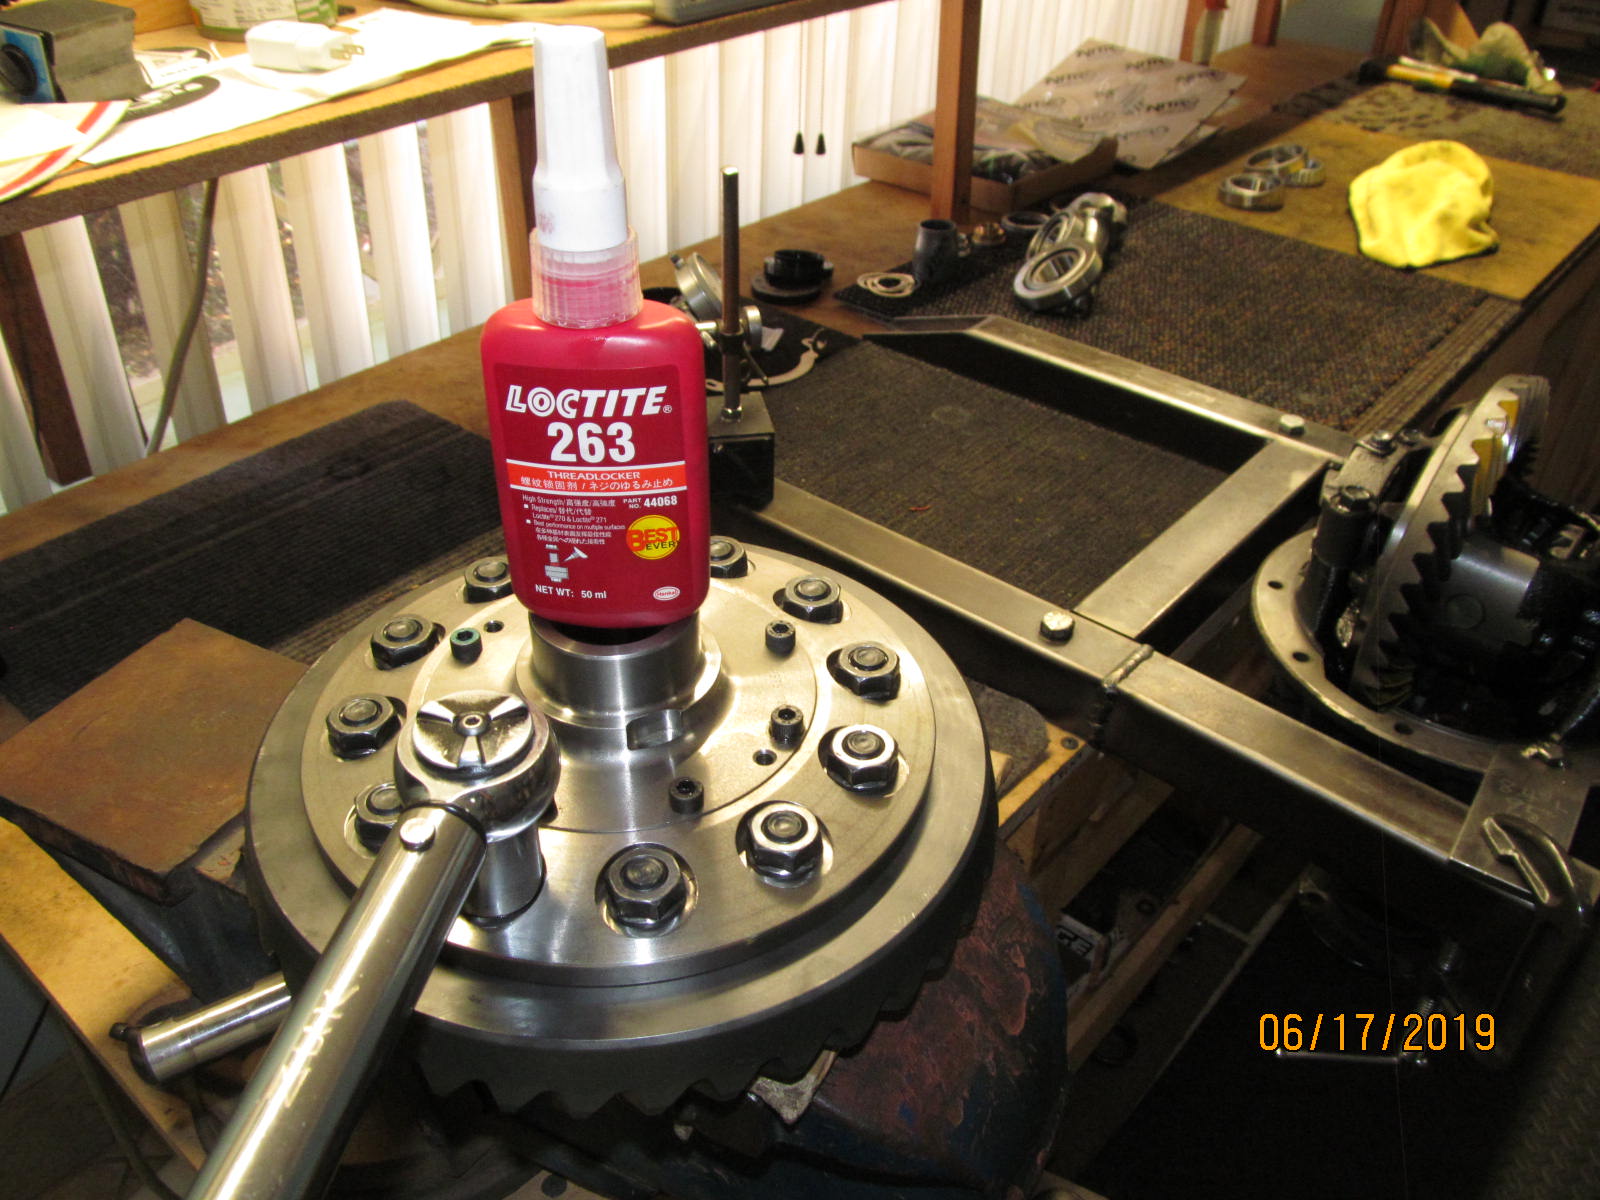
| Red loctite and 81 ft/lb. |
|---|
|
|
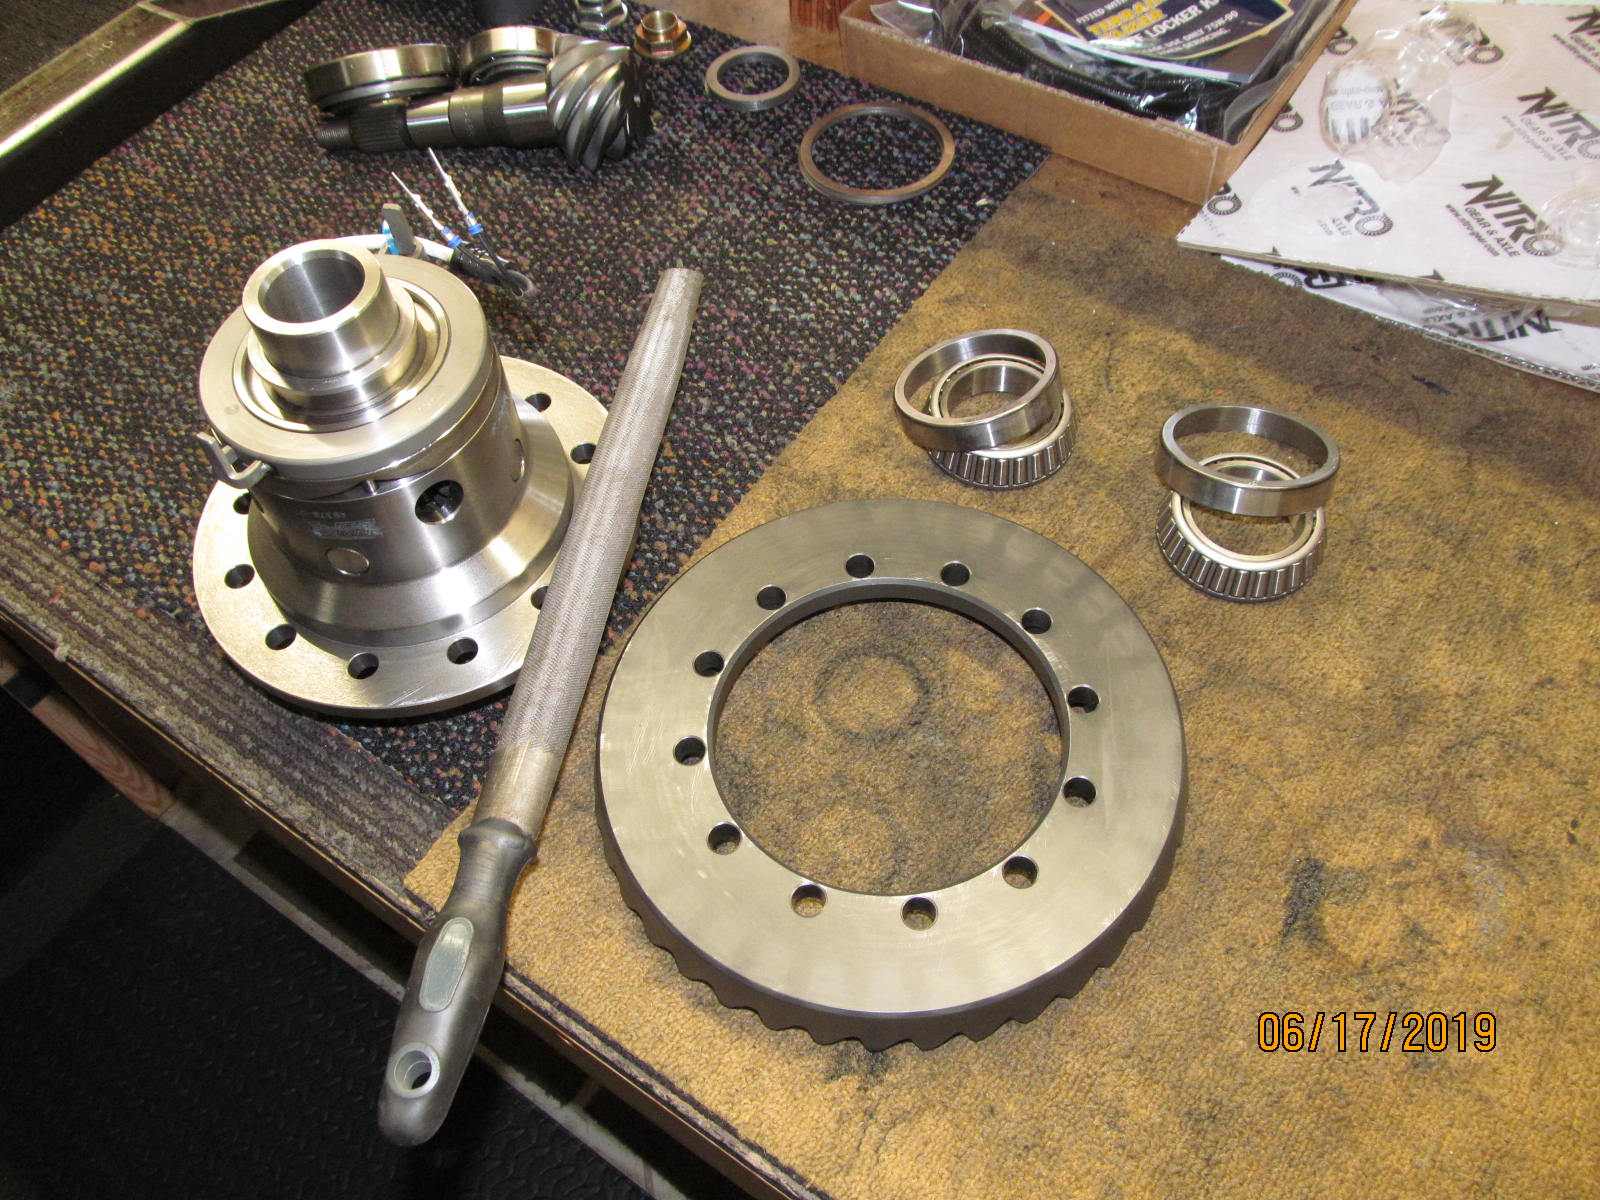
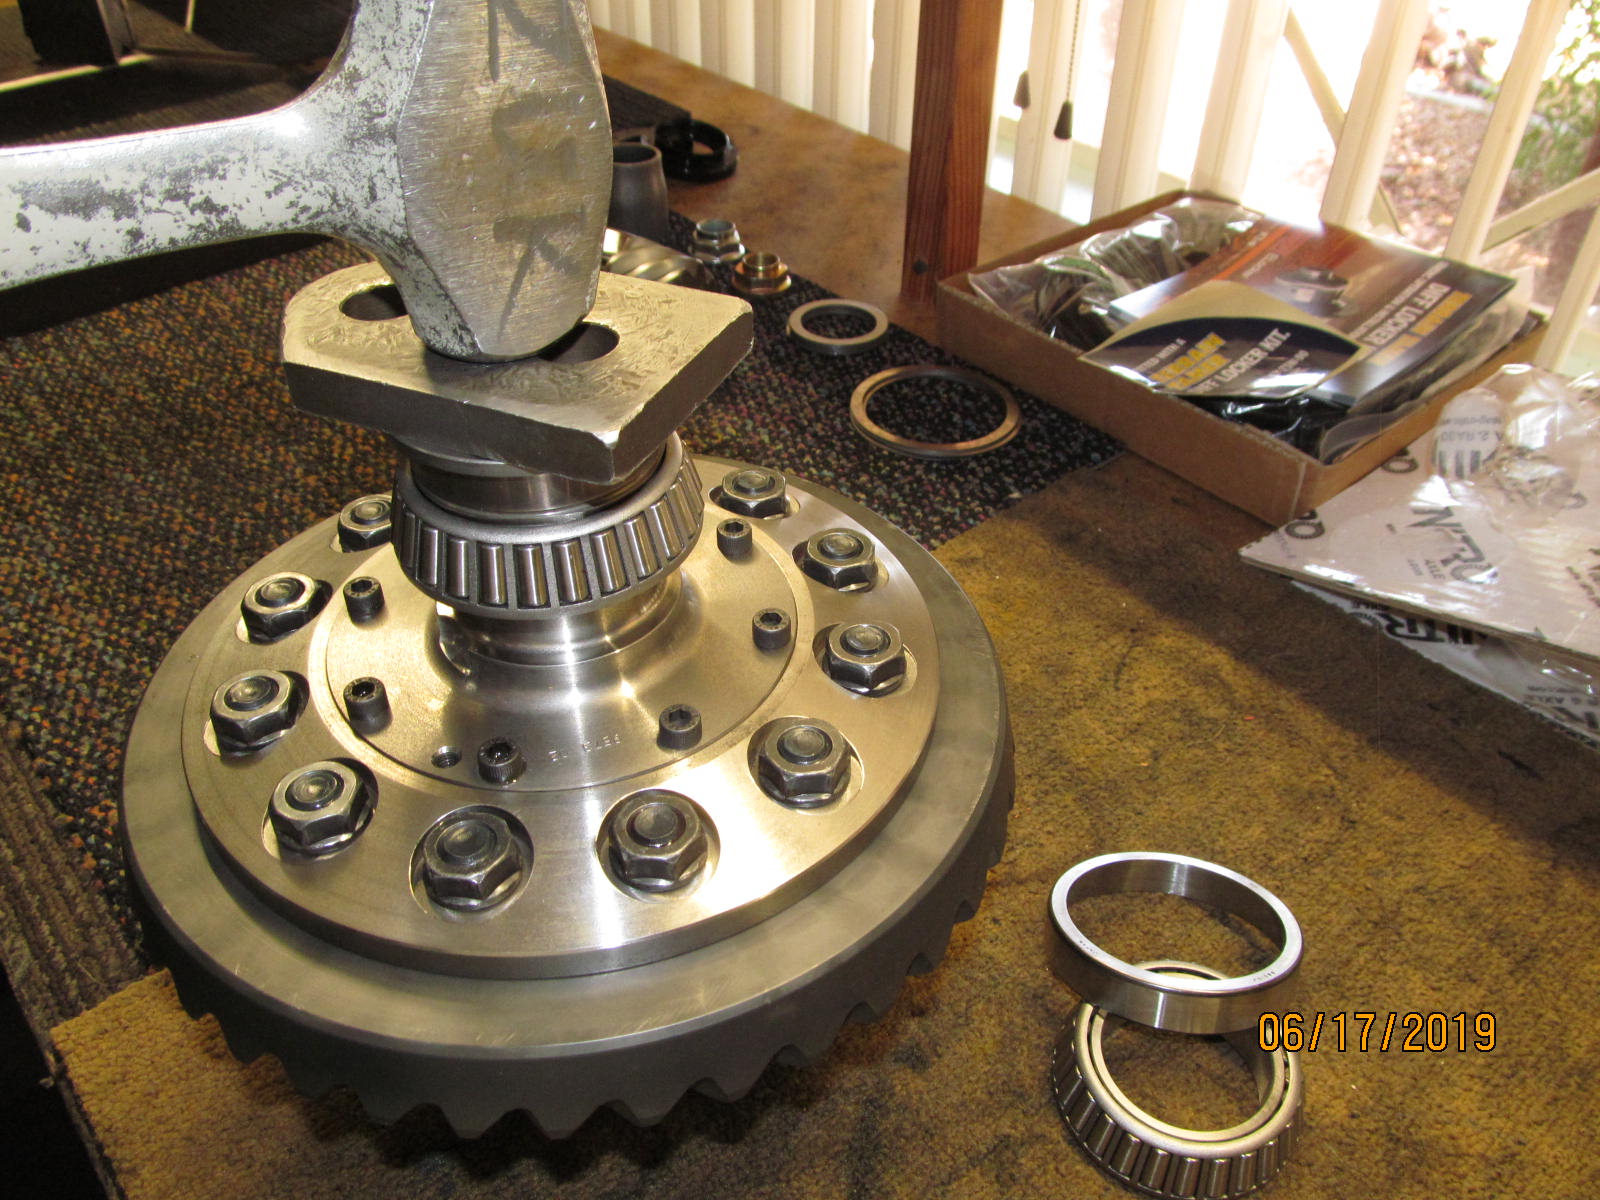
| Tapping the carrier bearings on...... |
|---|
|
|
| This portion is now complete. |
|---|
|
|
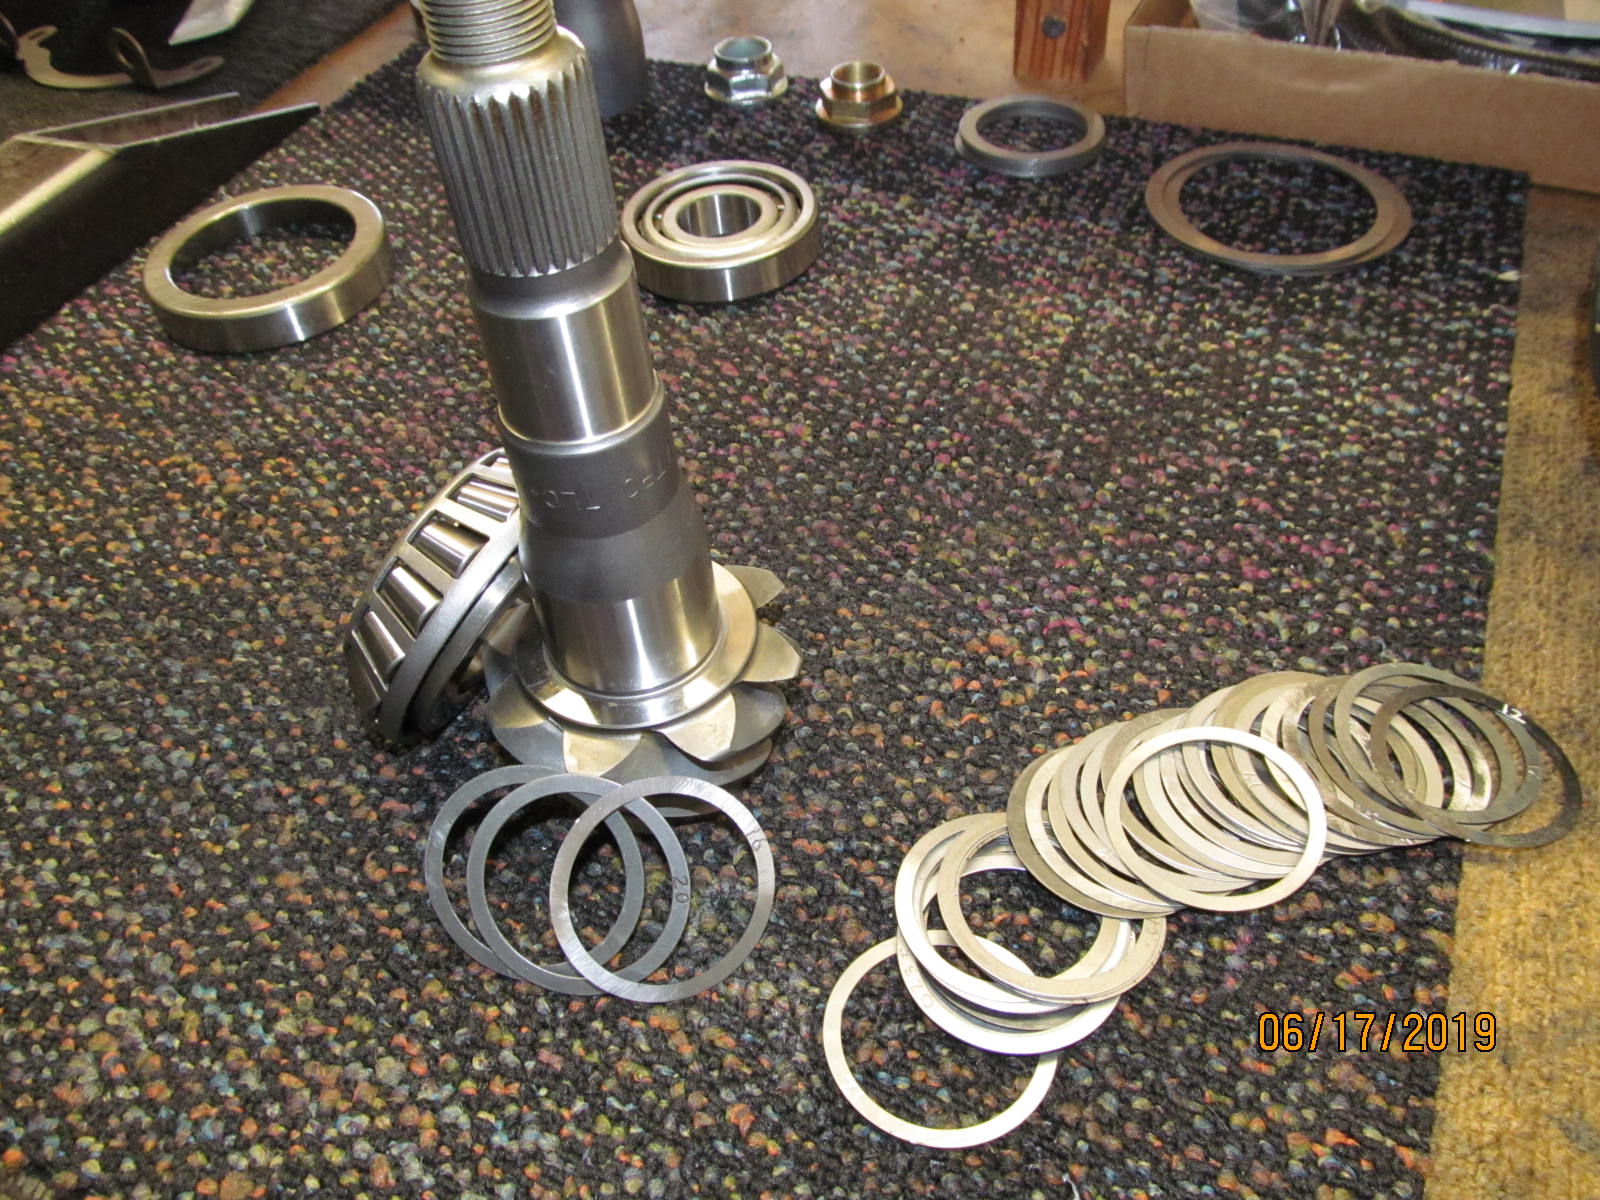
| Took my best guess and will use .056" pinion shim for the 1st try. |
|---|
|
|
| Old races welded together works well for me. I see I scribed on it 12-29-13....almost 6 years ago. |
|---|
|
|
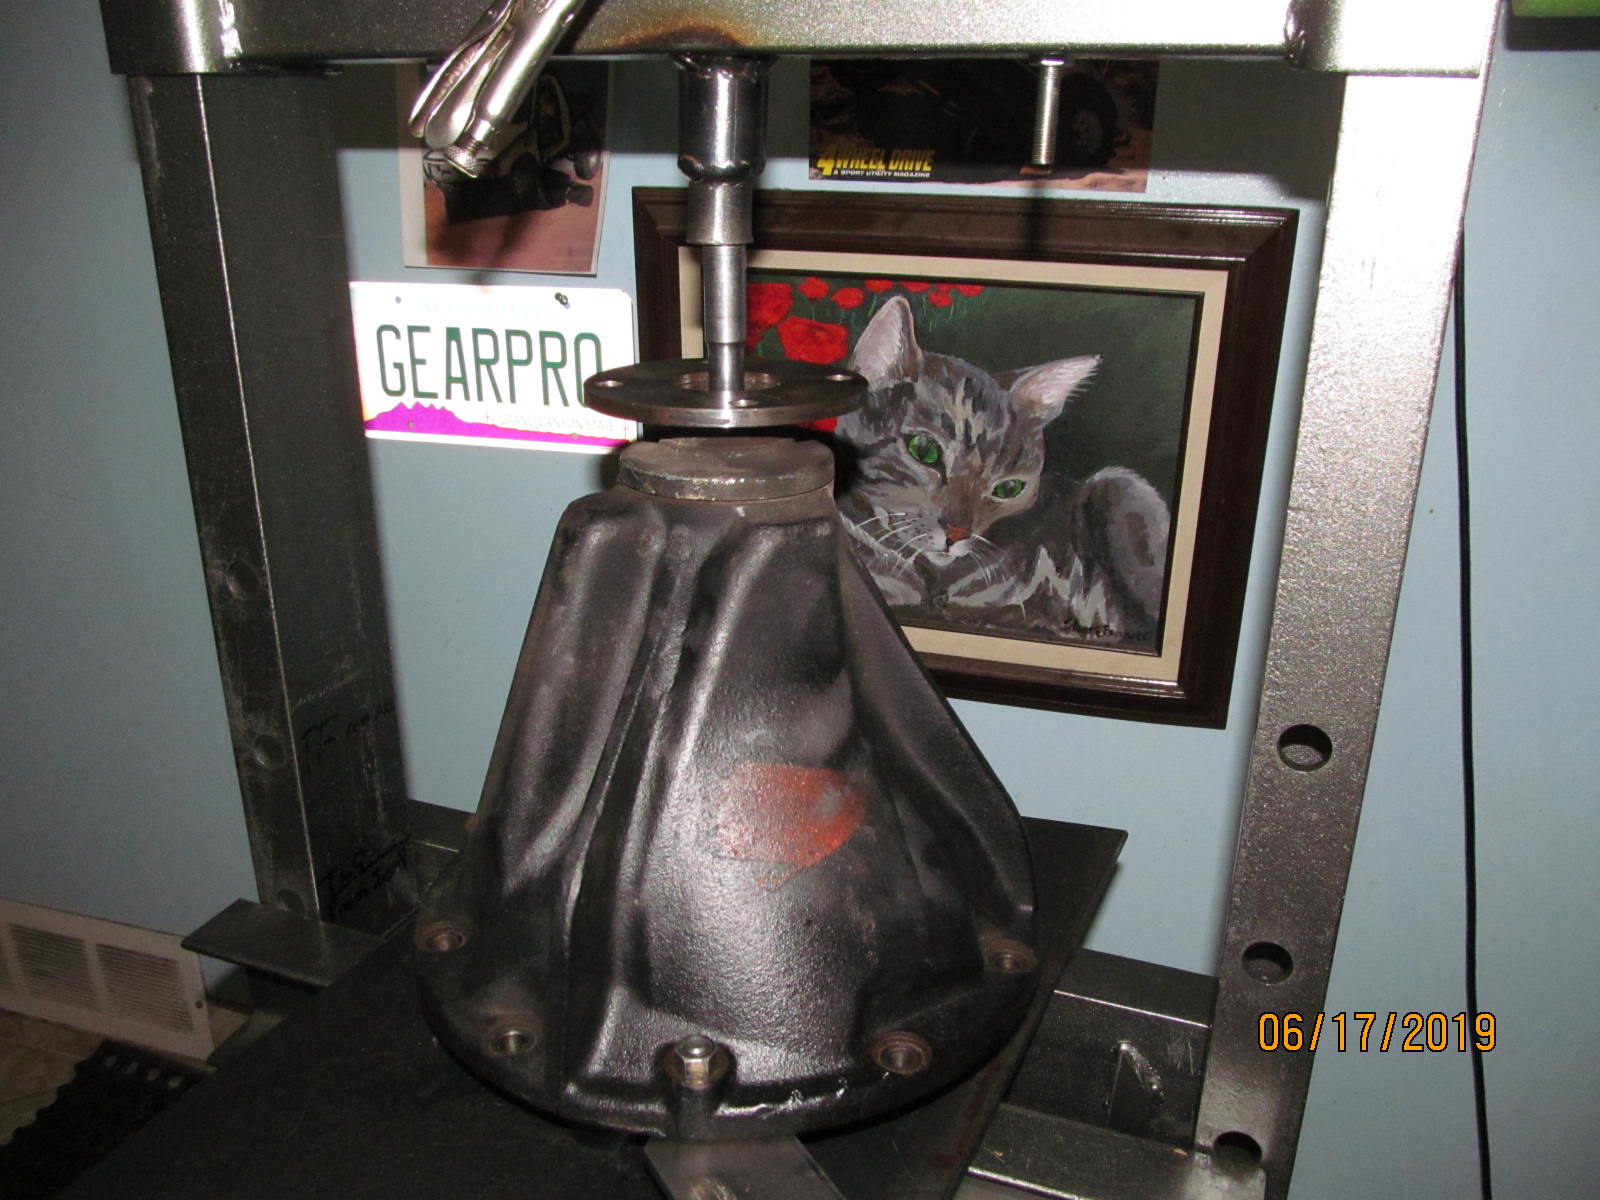
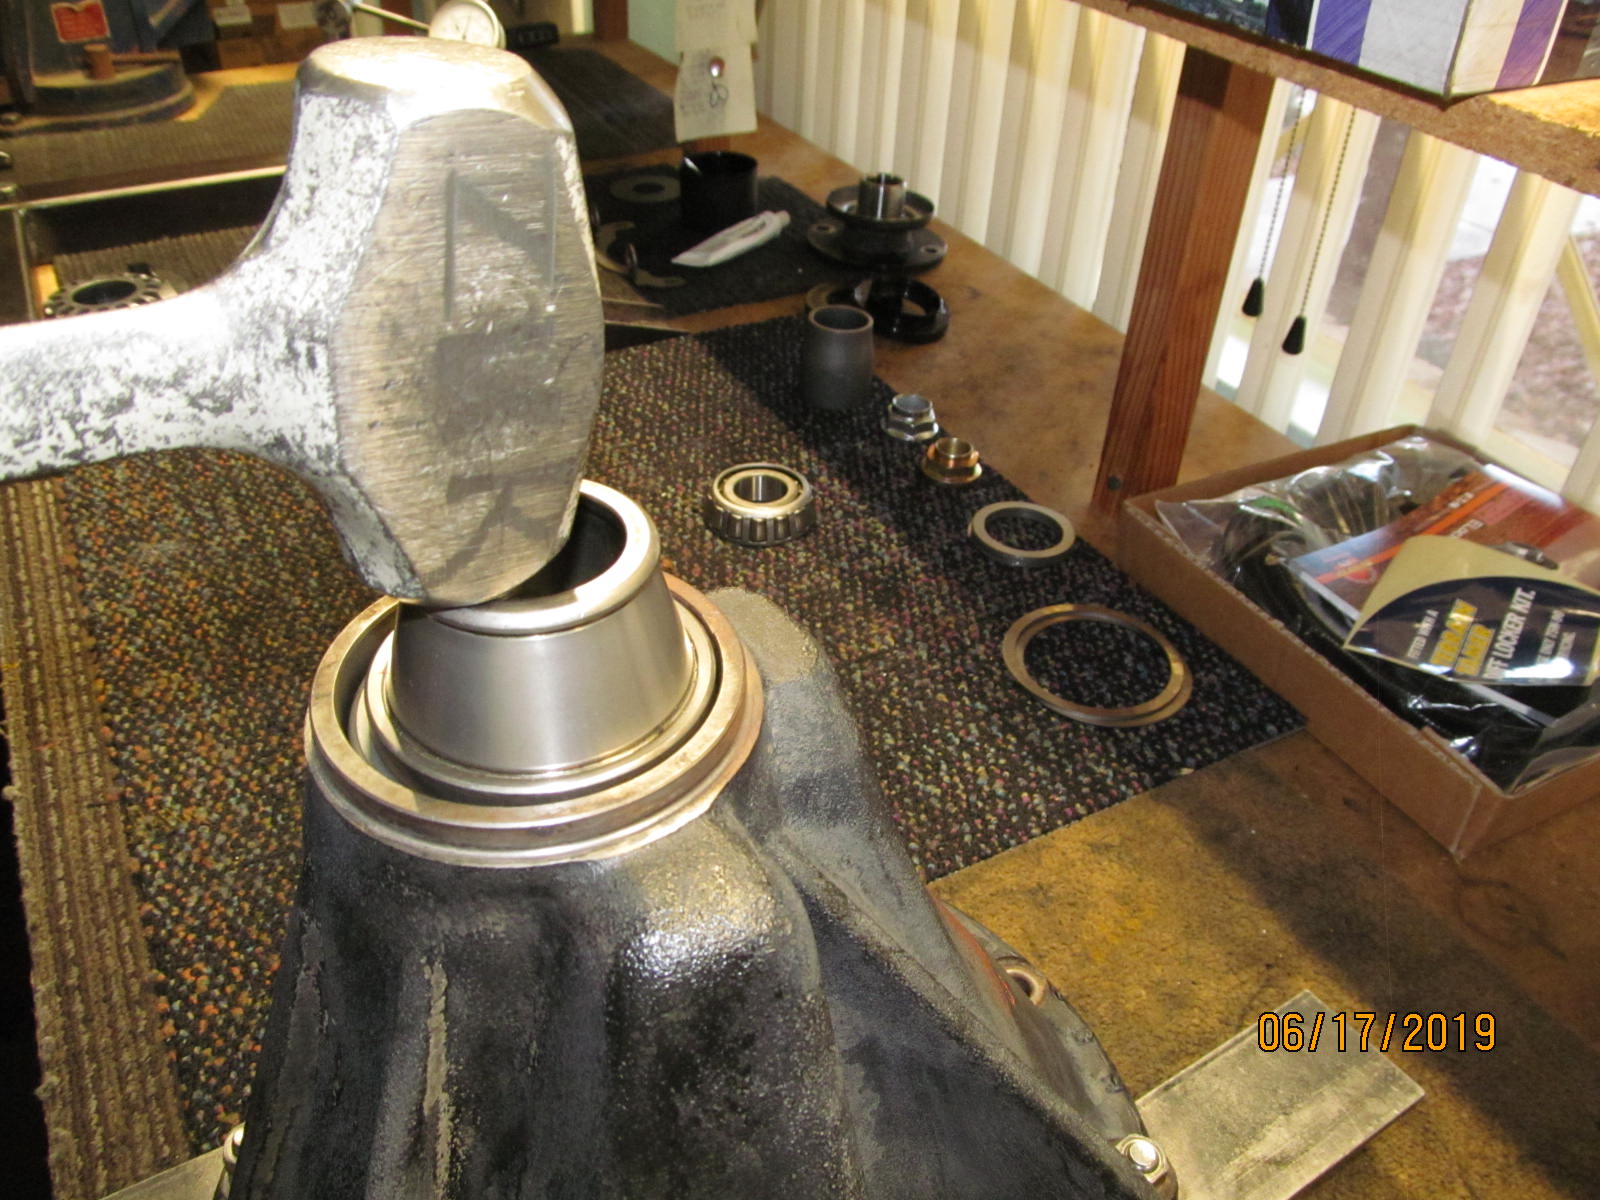
| Now onto the pinion end of things. Pressing the pinion out. |
|---|
|
|
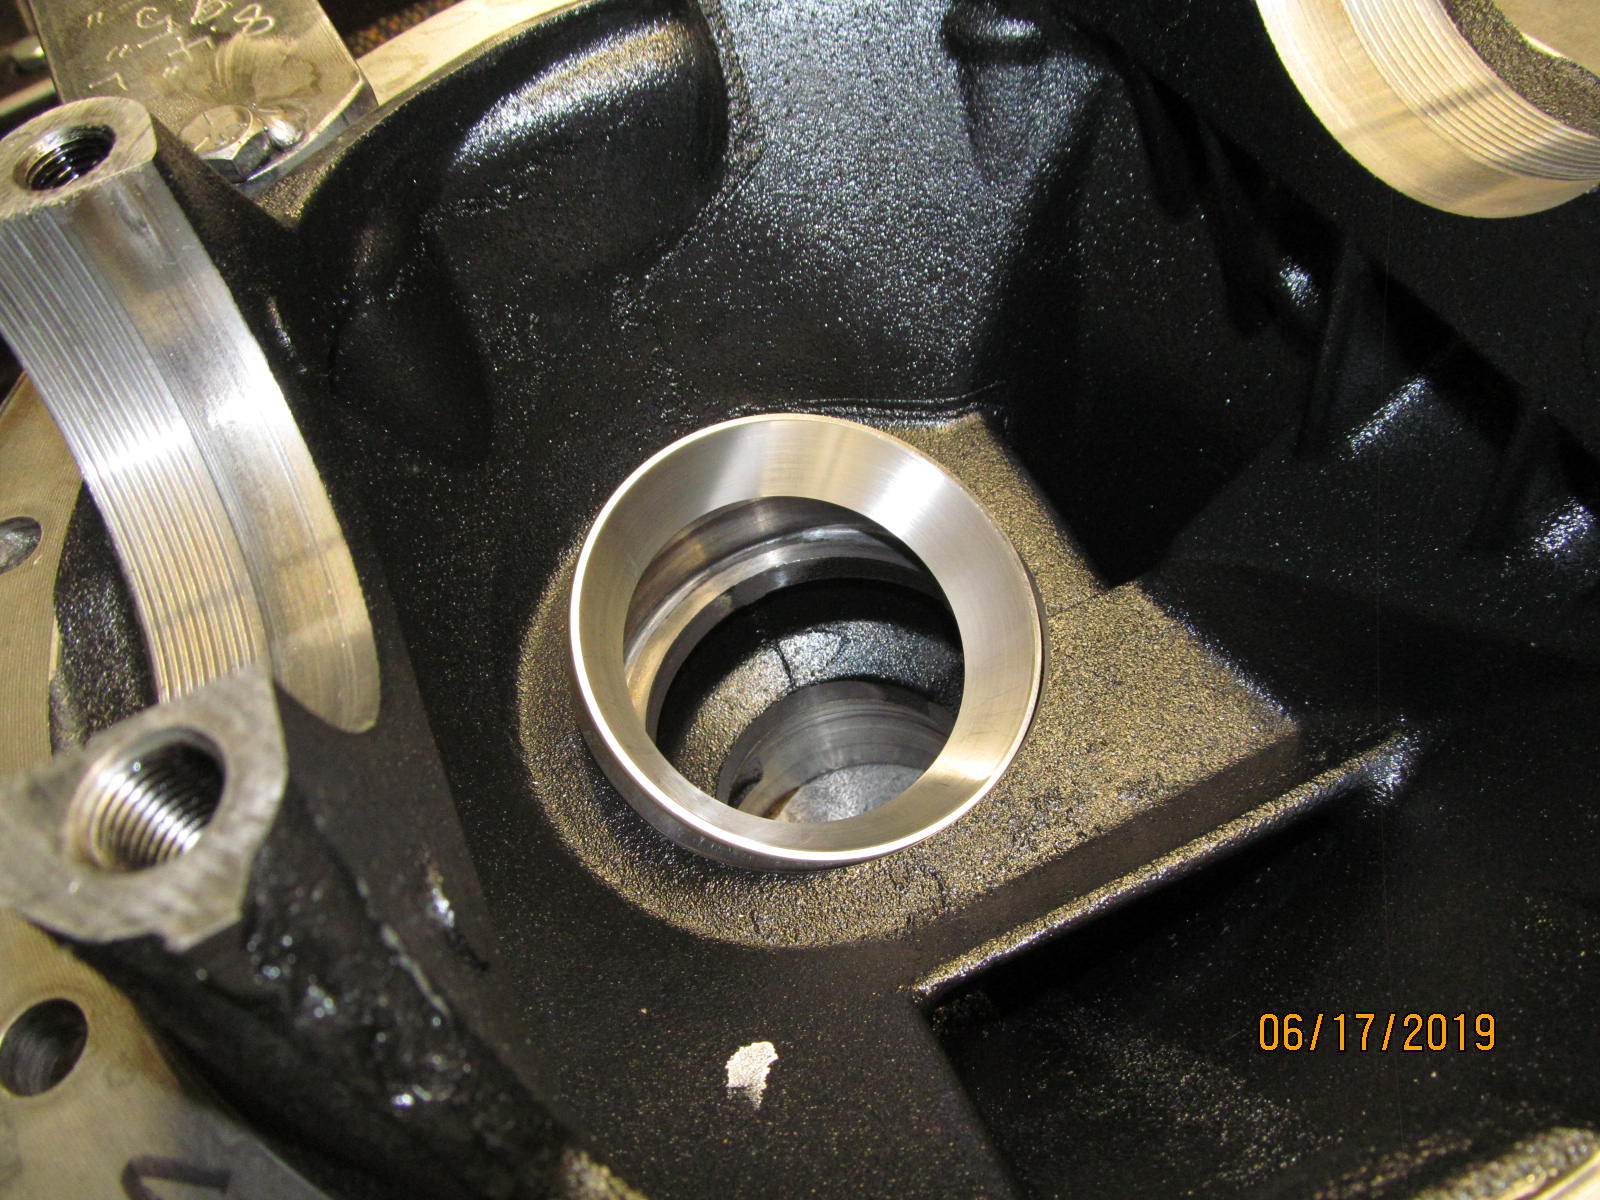
| New inner race...... |
|---|
|
|
| ....100% tapped in all the way. |
|---|
|
|
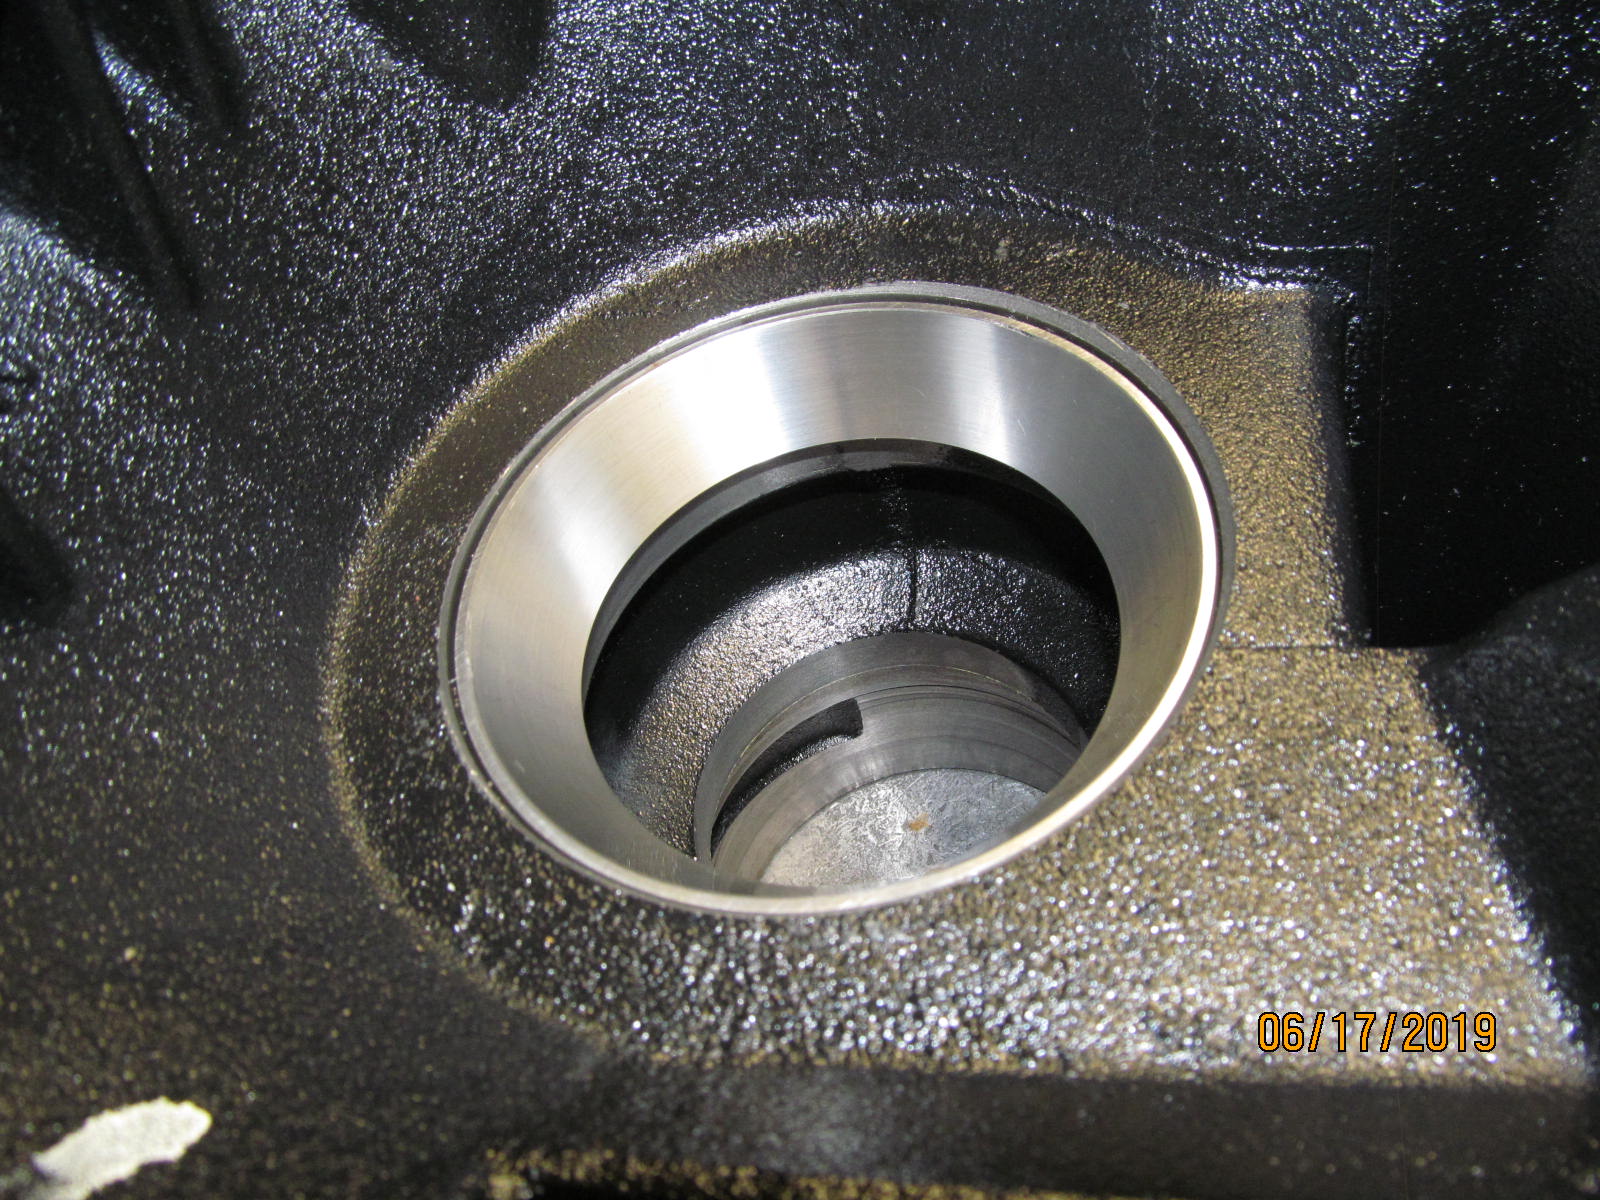
| New smaller outer race also tapped in. |
|---|
|
|
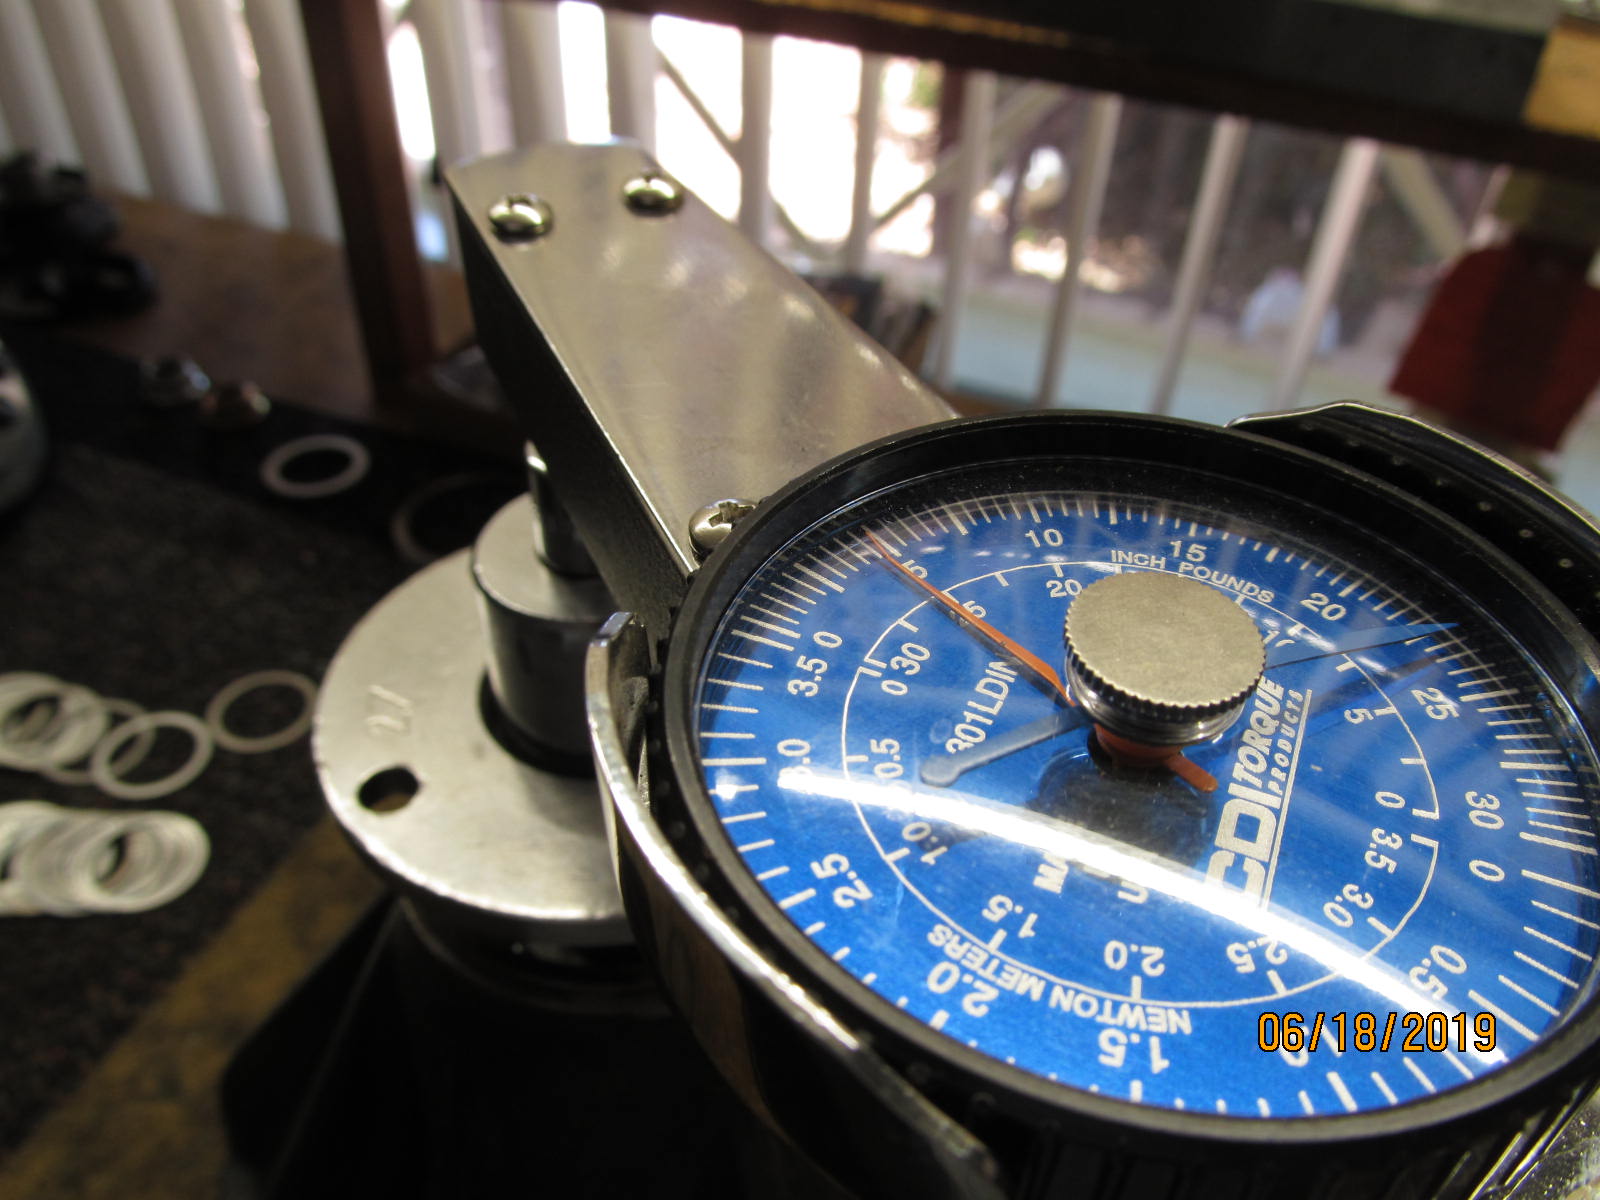
| The pinion is now mounted and the nut tightened up just enough to offer about 10~15 inch/pounds of preload. |
|---|
|
|
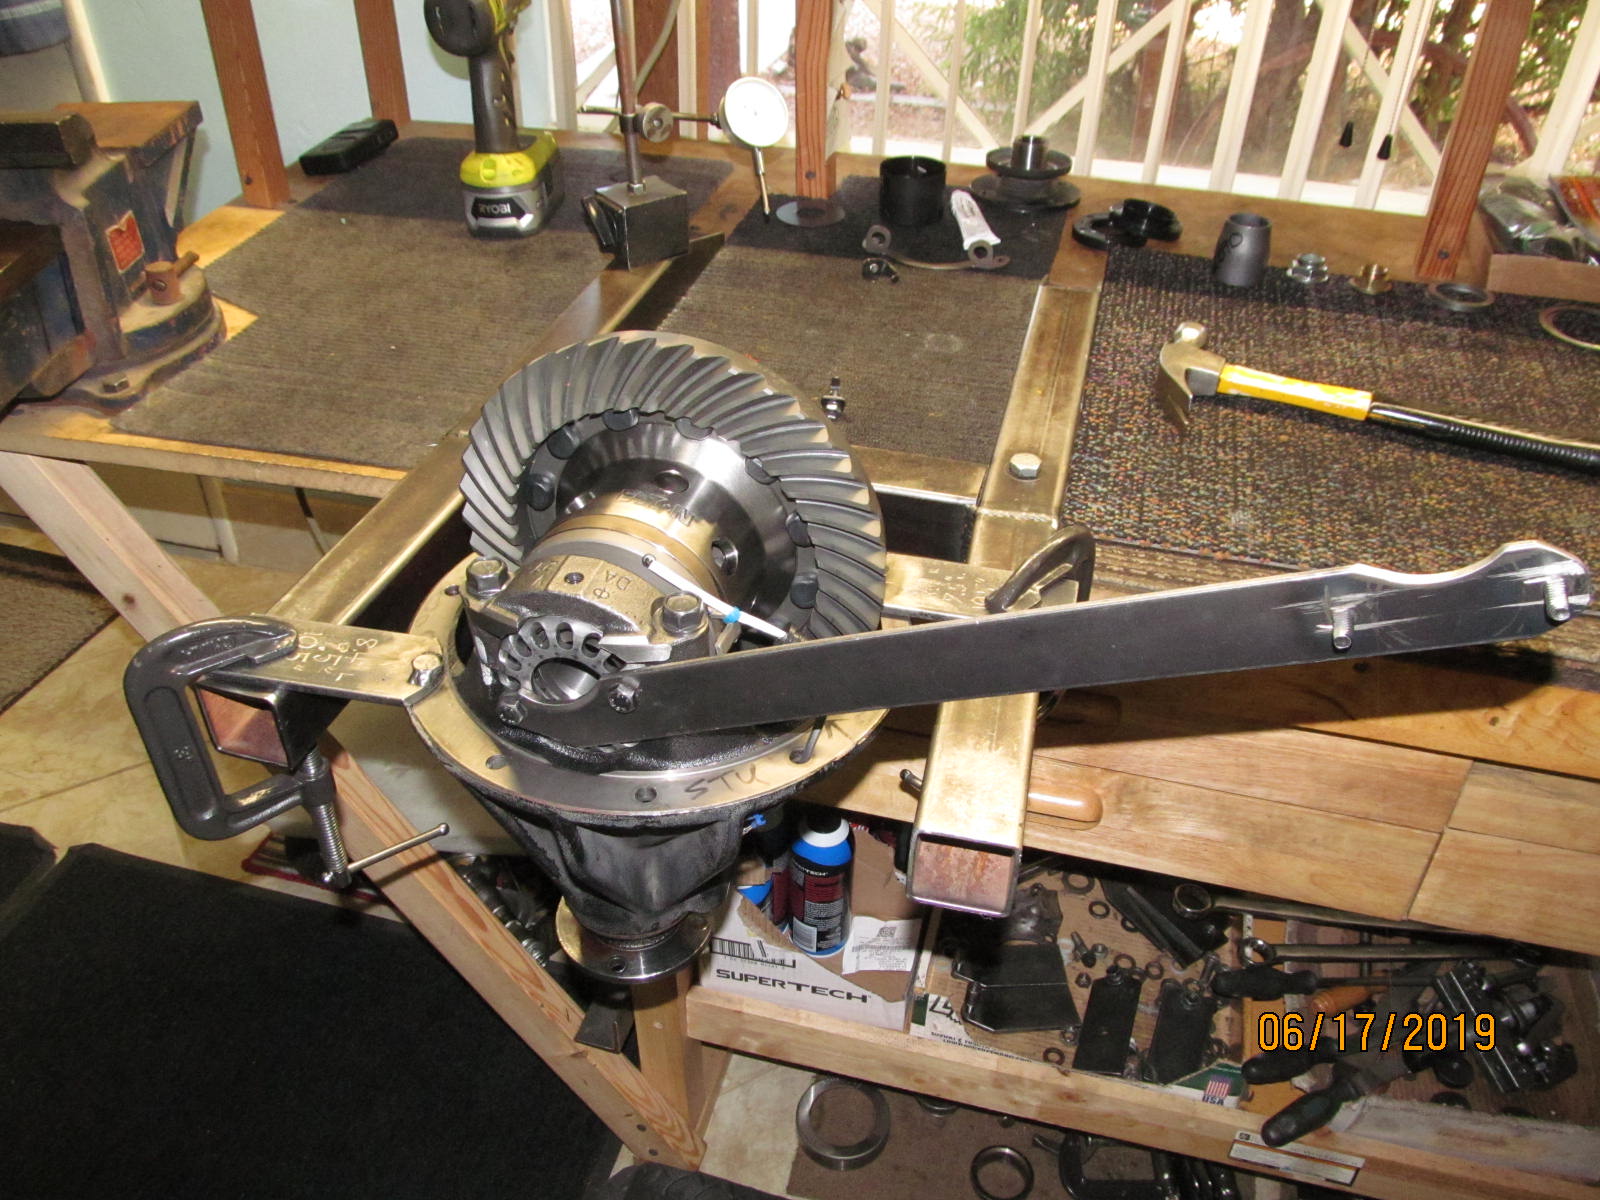
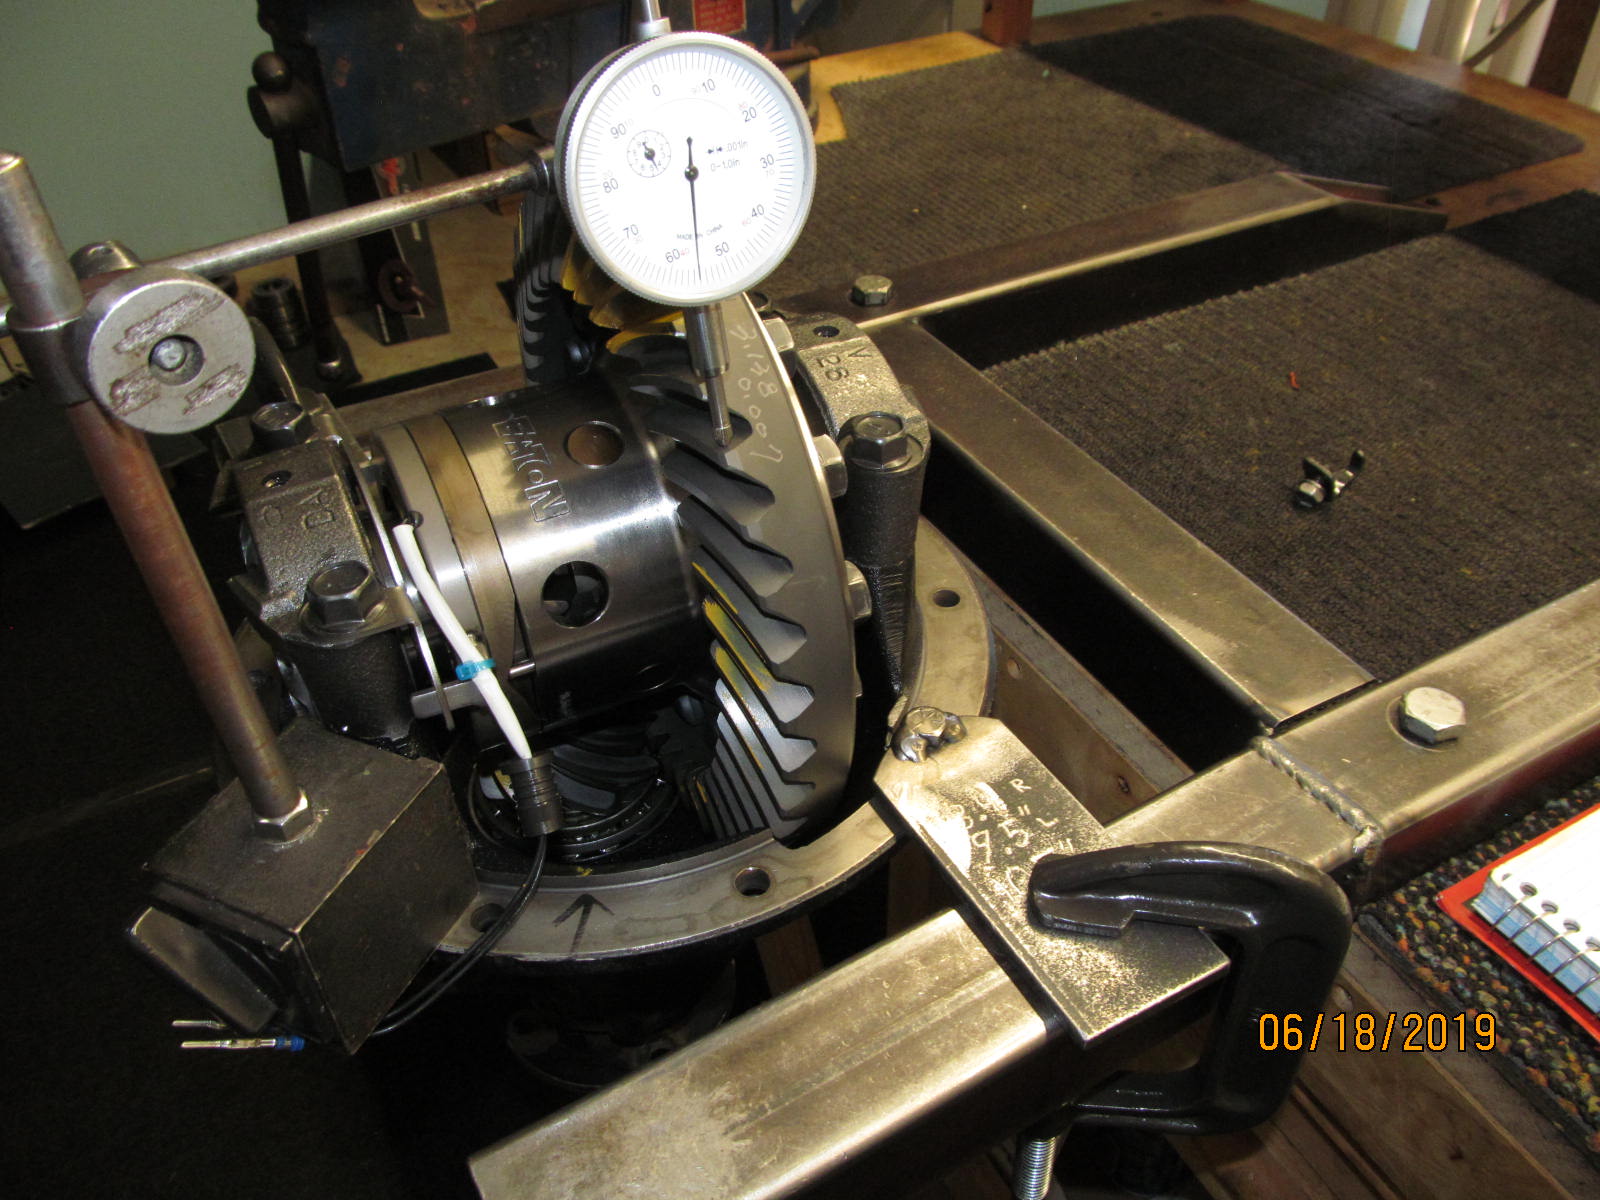
| Install the diff carrier and tighten the wheel adjusters to get some bearing preload while watching the backlash. |
|---|
|
|
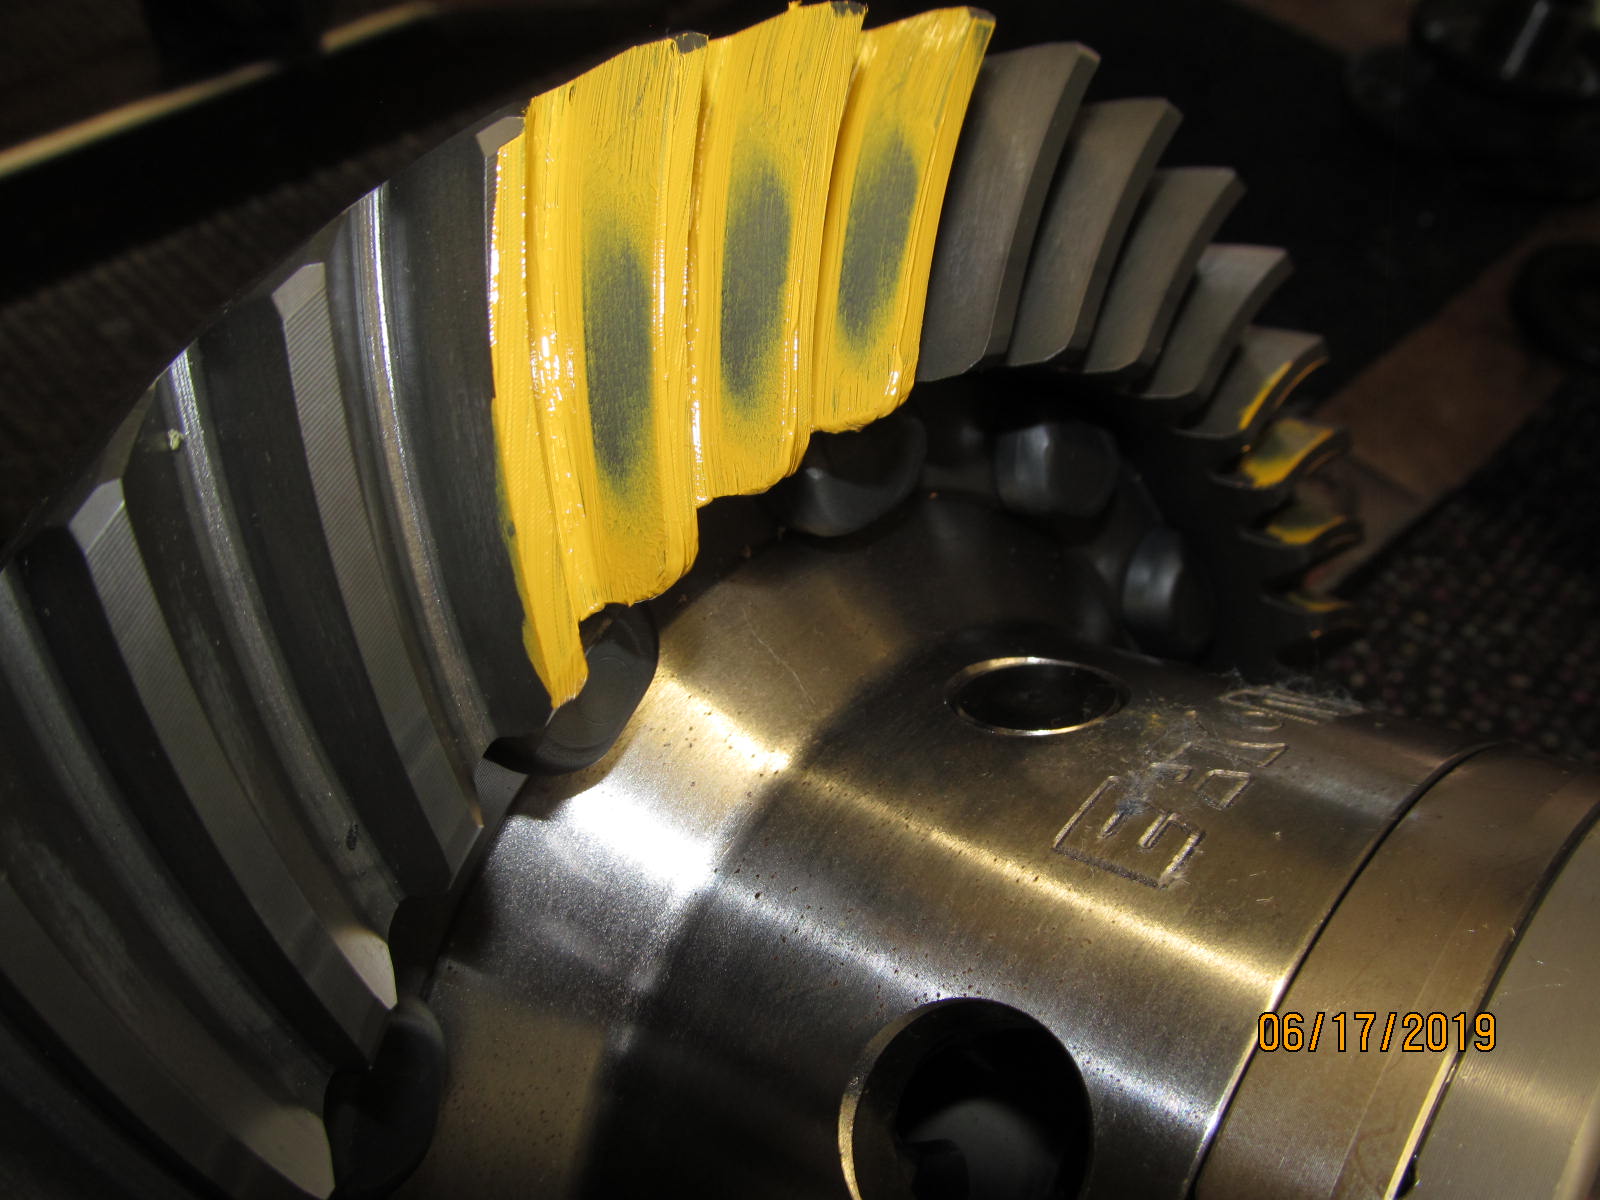
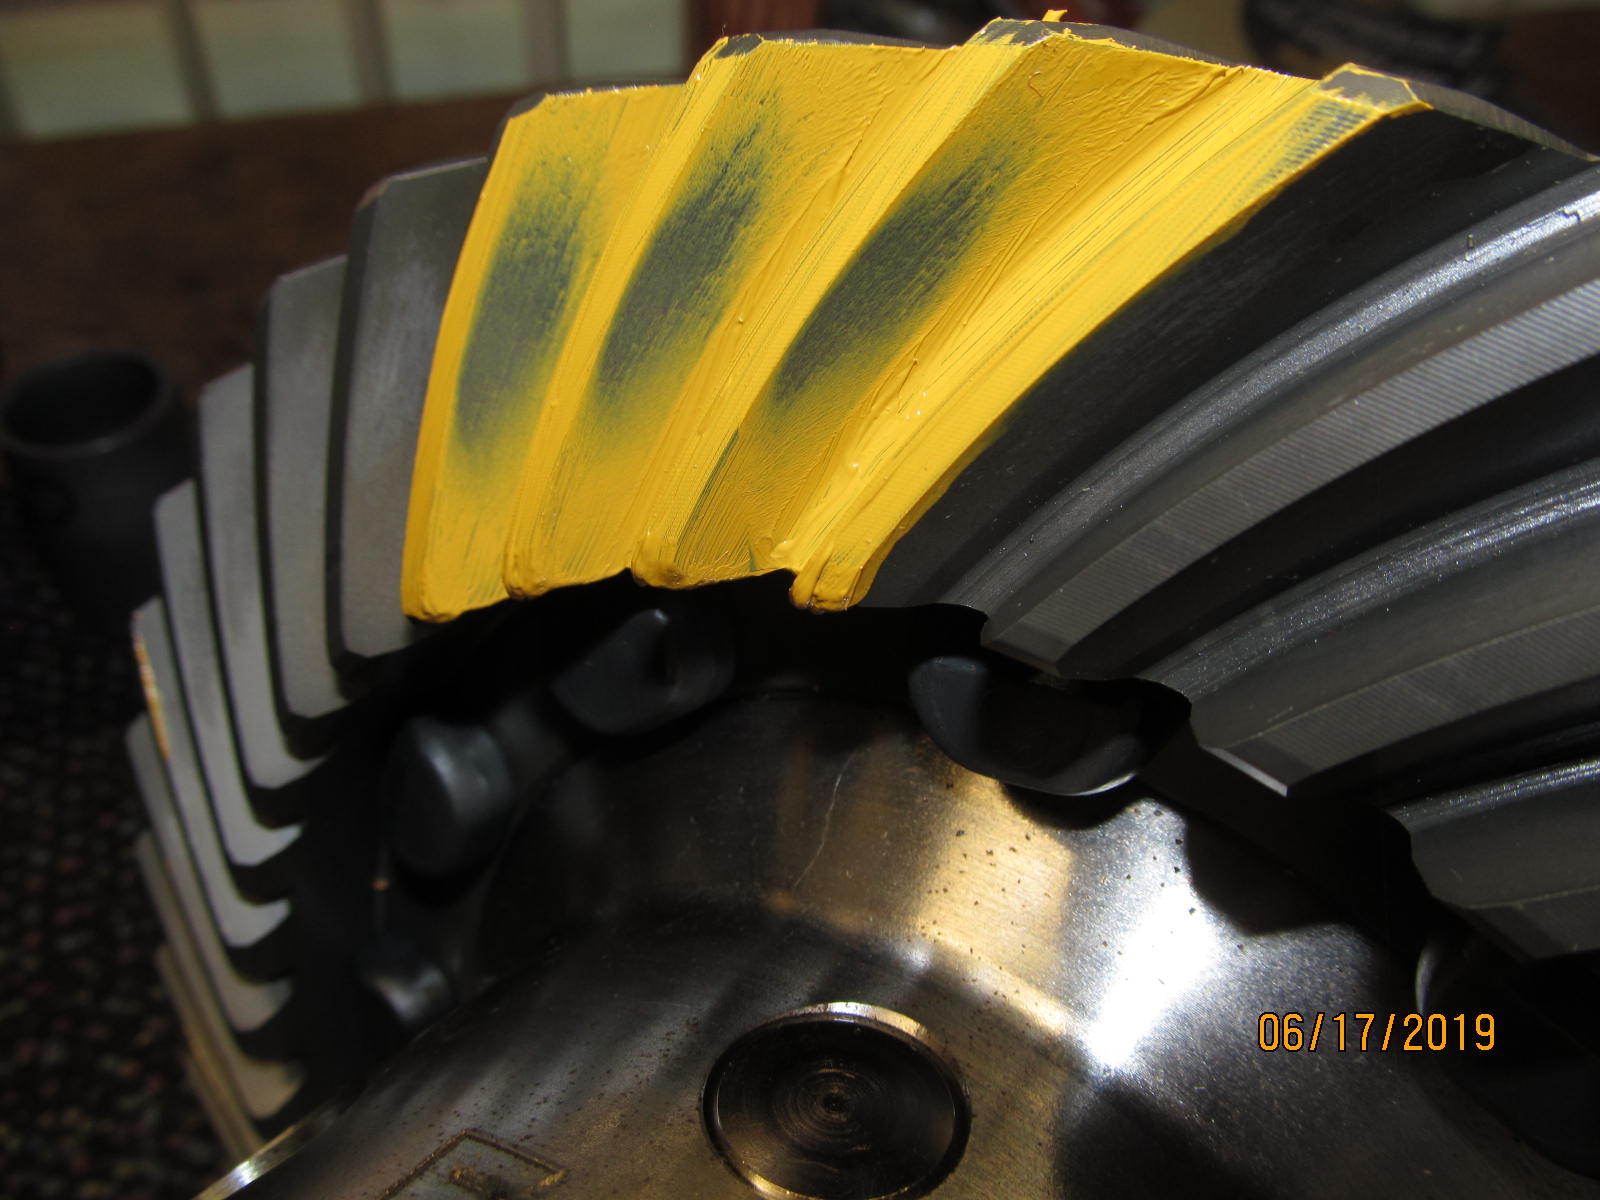
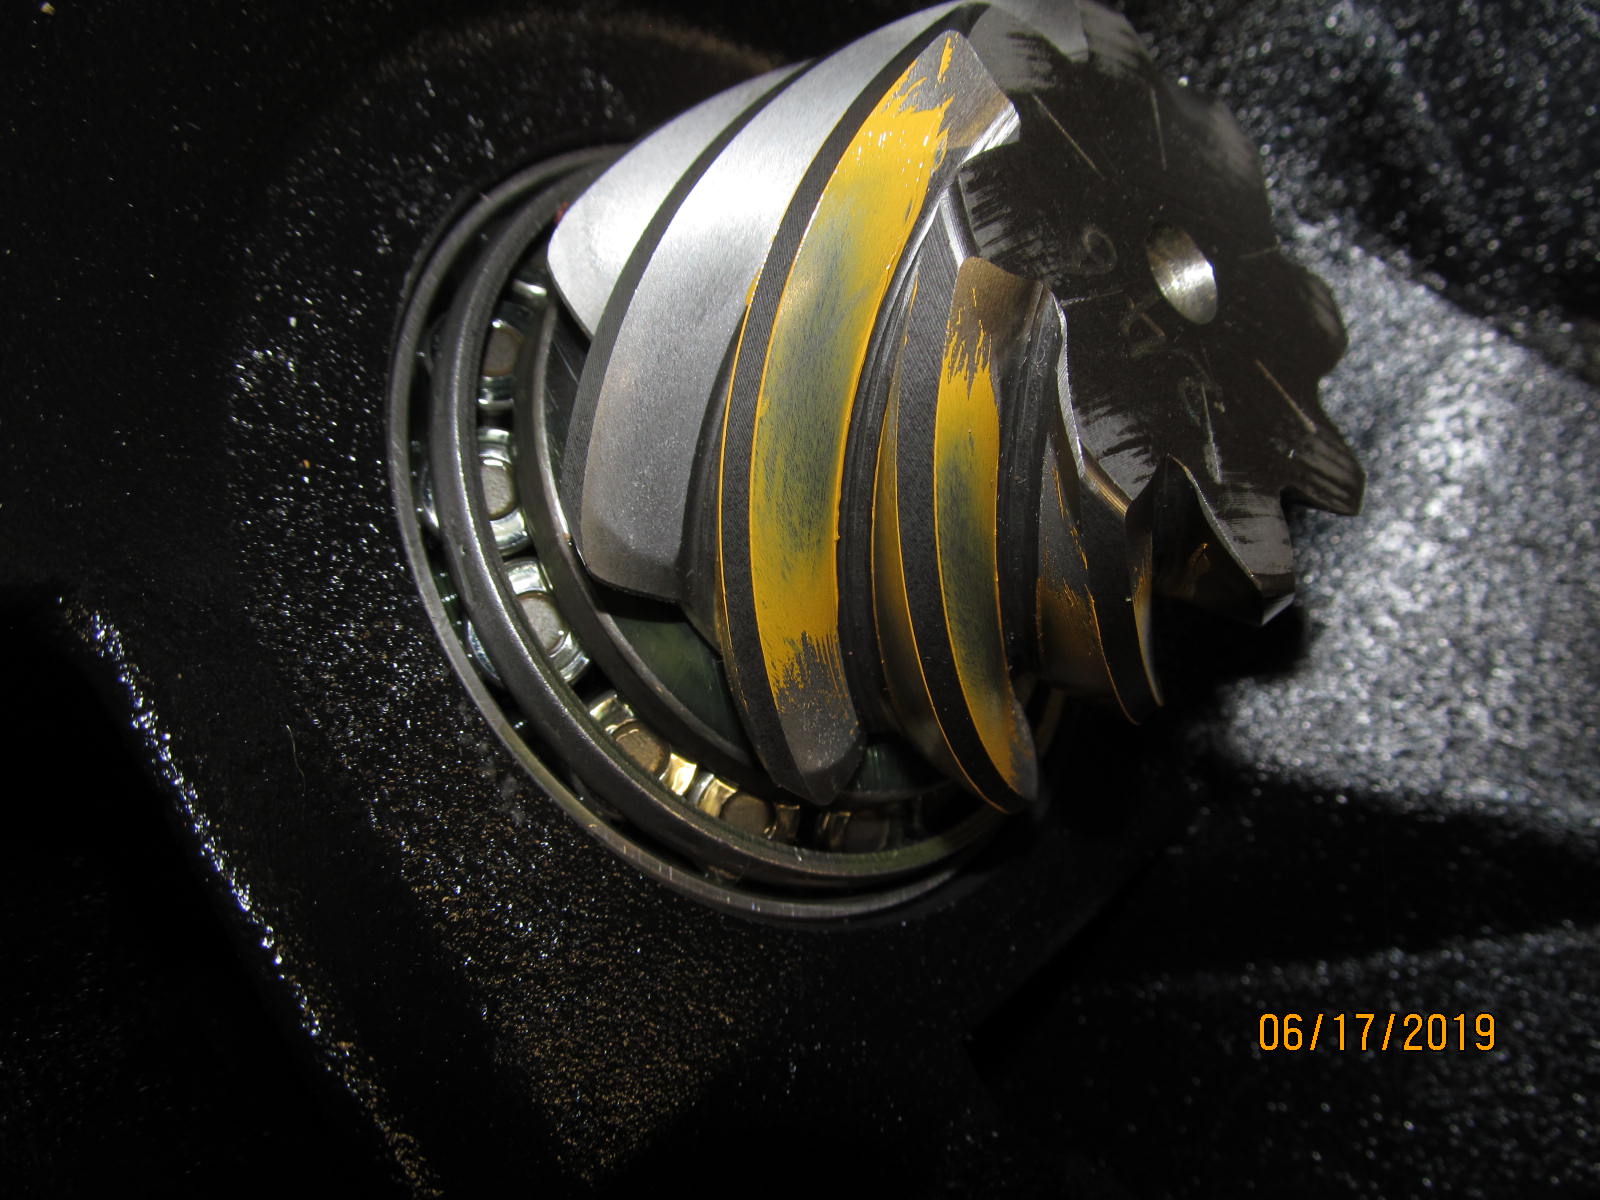
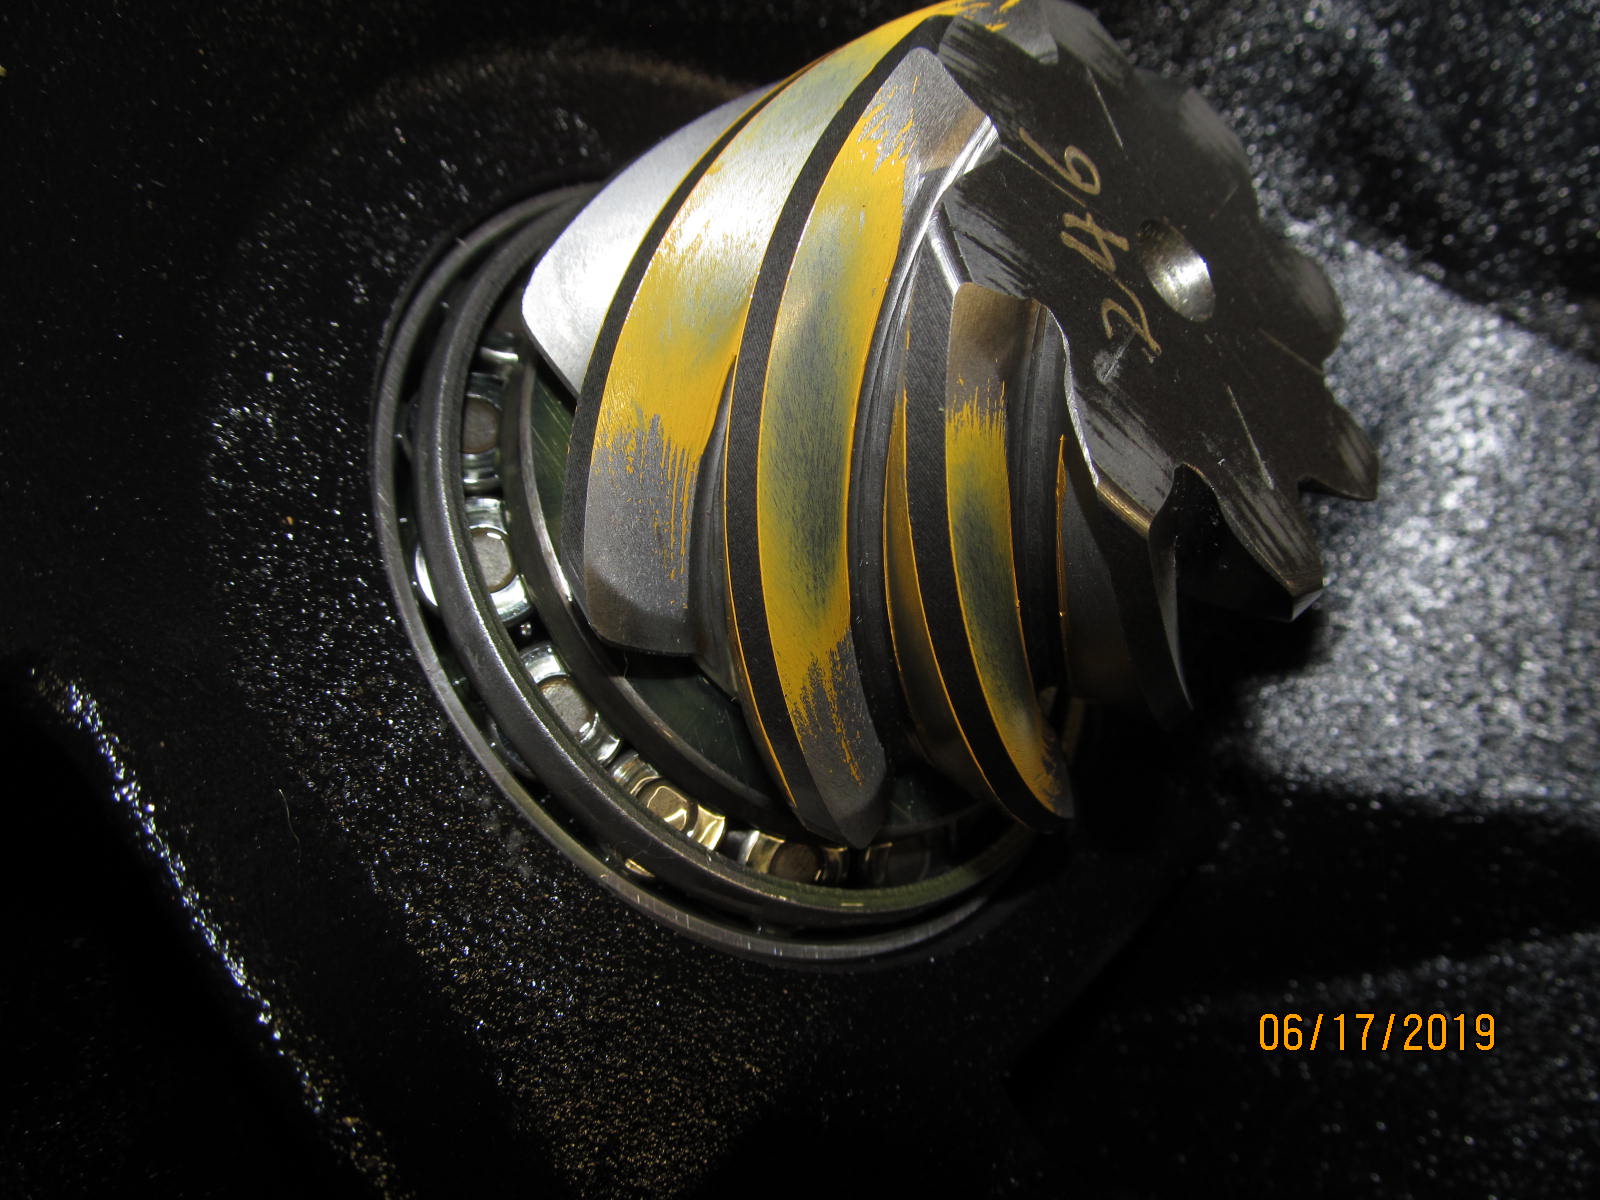
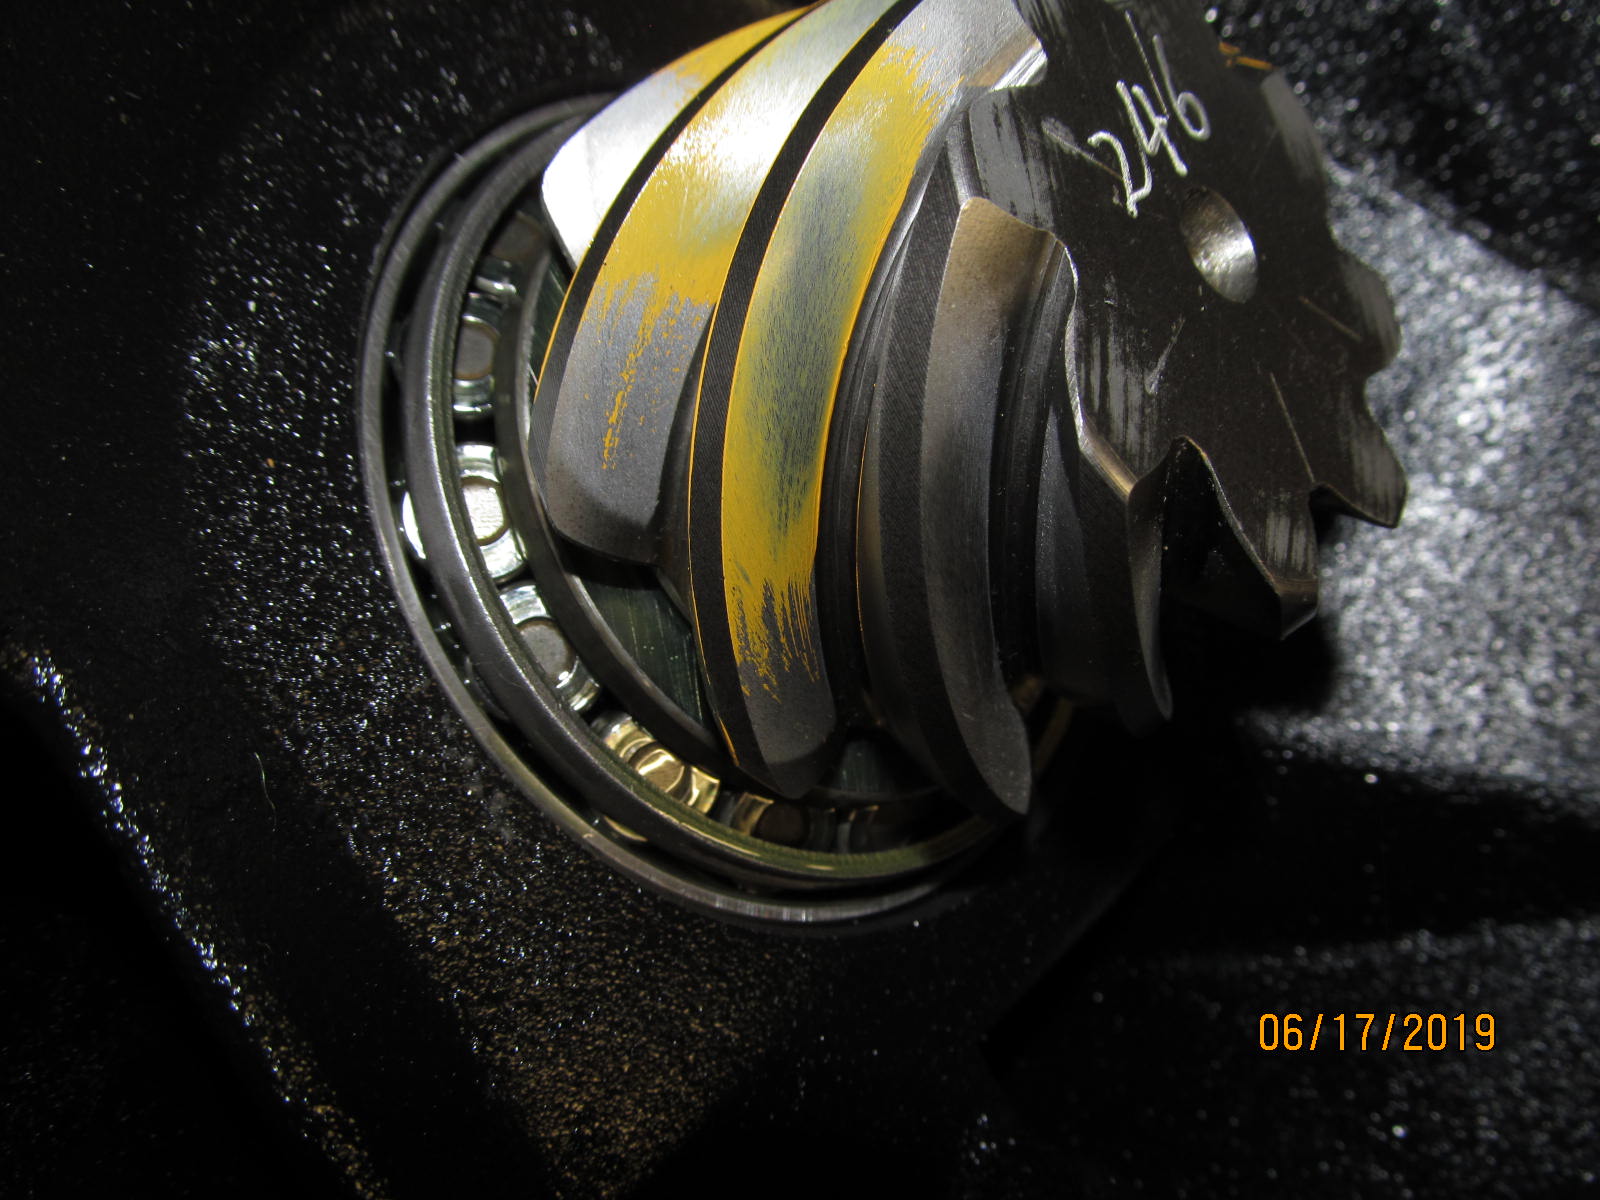
| Tooth is painted and the result is a very nice drive side pattern.....looks super. |
|---|
|
|
| Coast looks ok. |
|---|
|
|
| And the comet tail on the pinion tooth confirms that I do not want to go any deeper....to leave it alone. |
|---|
|
|
| Says here if I go any deeper then I will be in a "too deep" condition. |
|---|
|
|
| Perfecto |
|---|
|
|
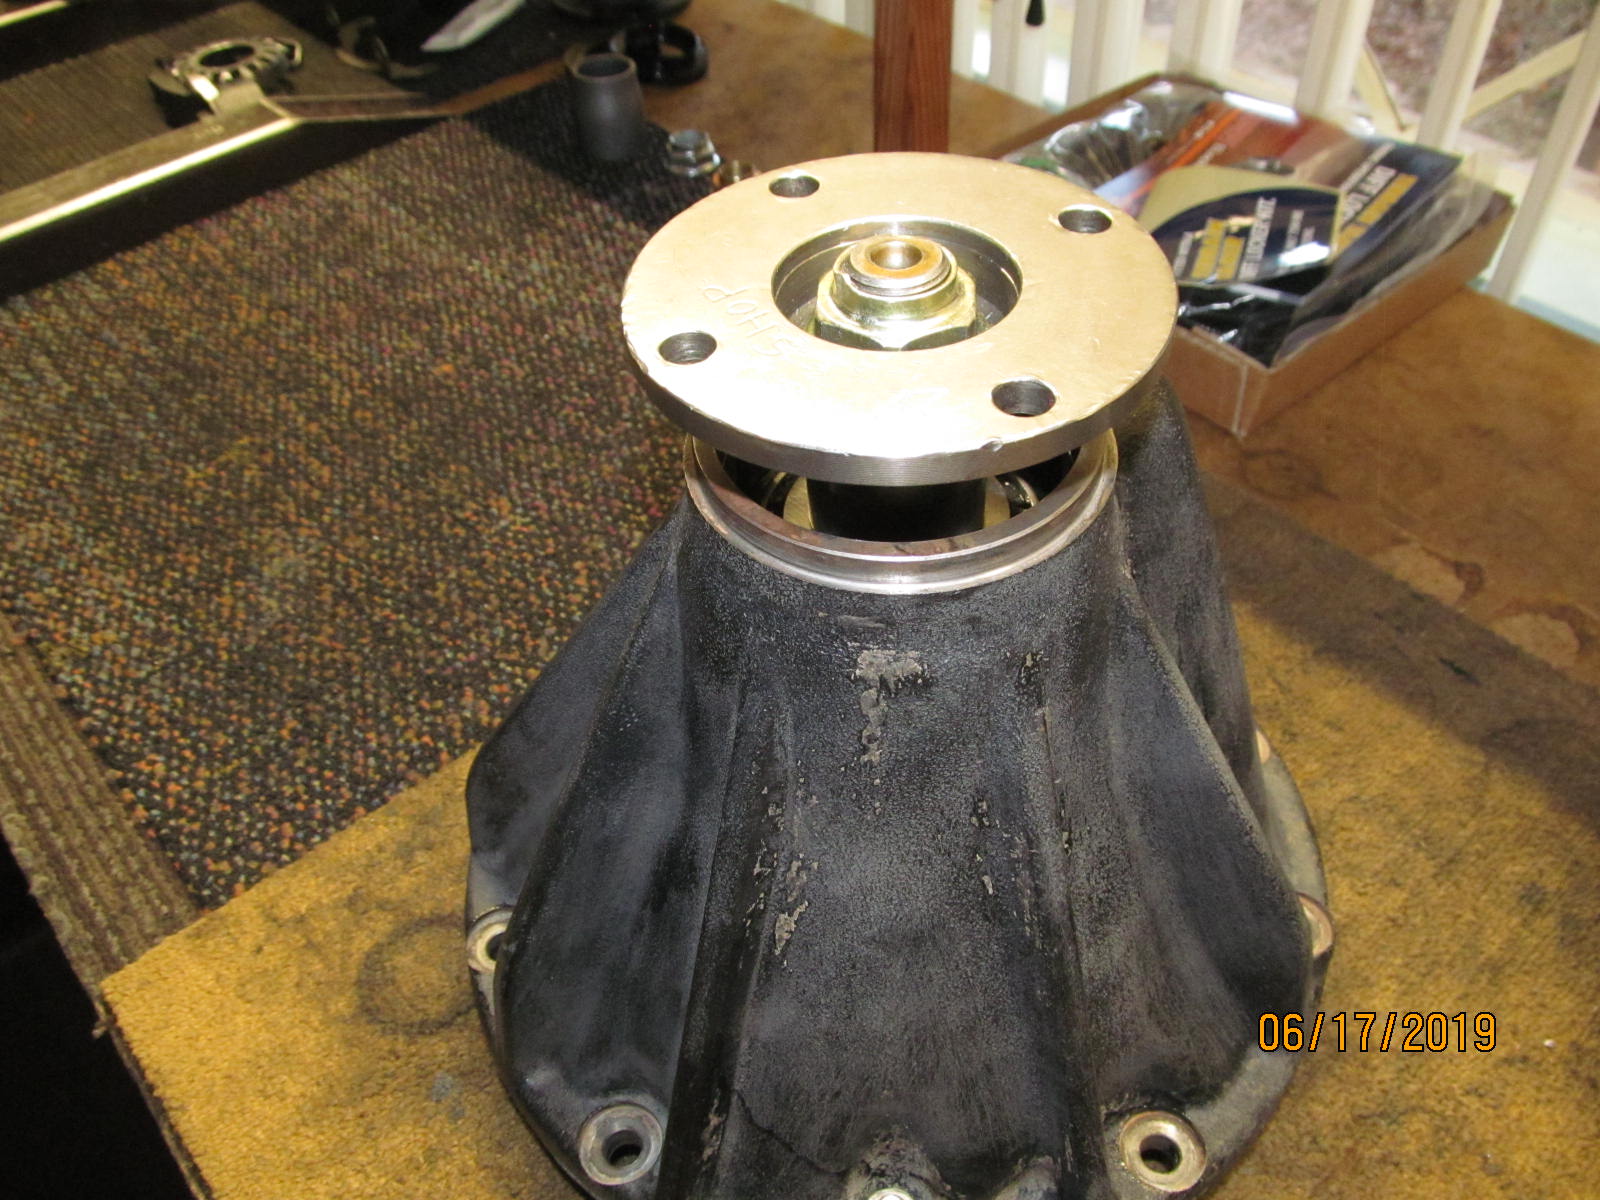
Just got lucky on the pinion shim so now can install the solid collar.
Many times, the collar plus shim tend to be very close to 2.135". |
|---|
|
|
| Got lucky again using .0455" as the shim. Hit it right on the money. |
|---|
|
|
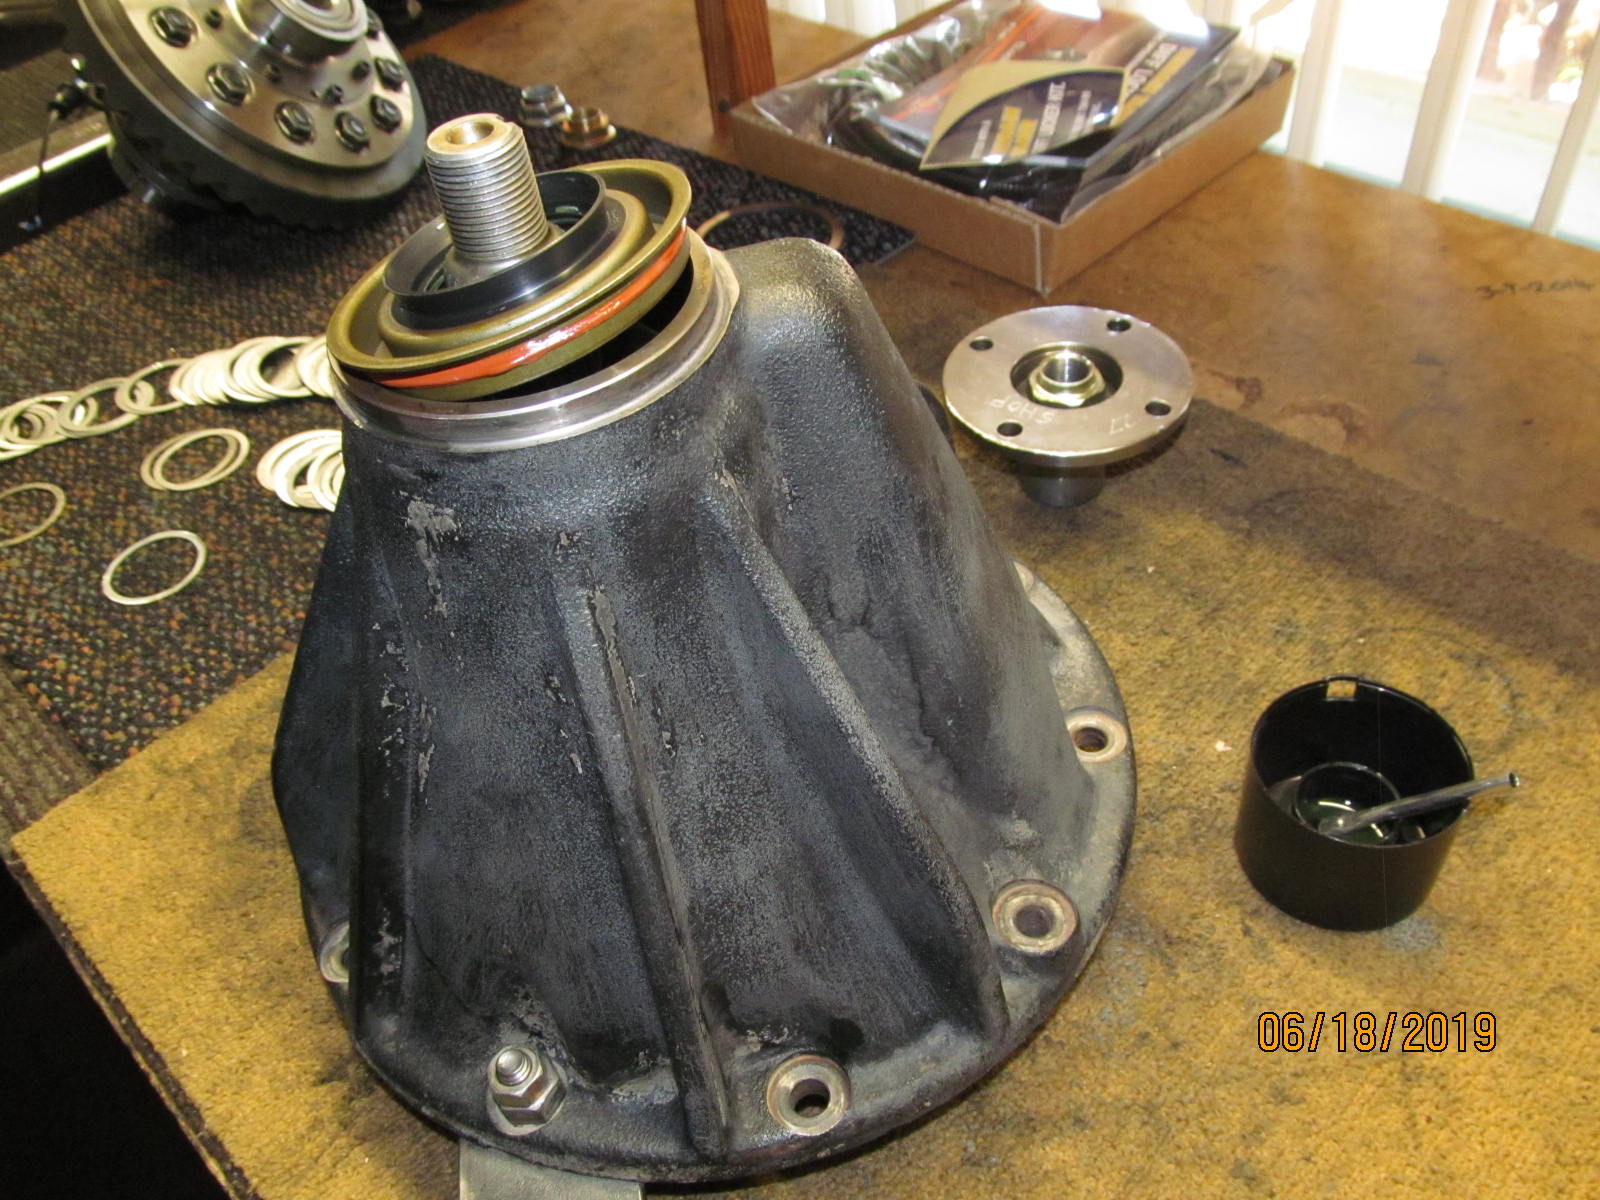
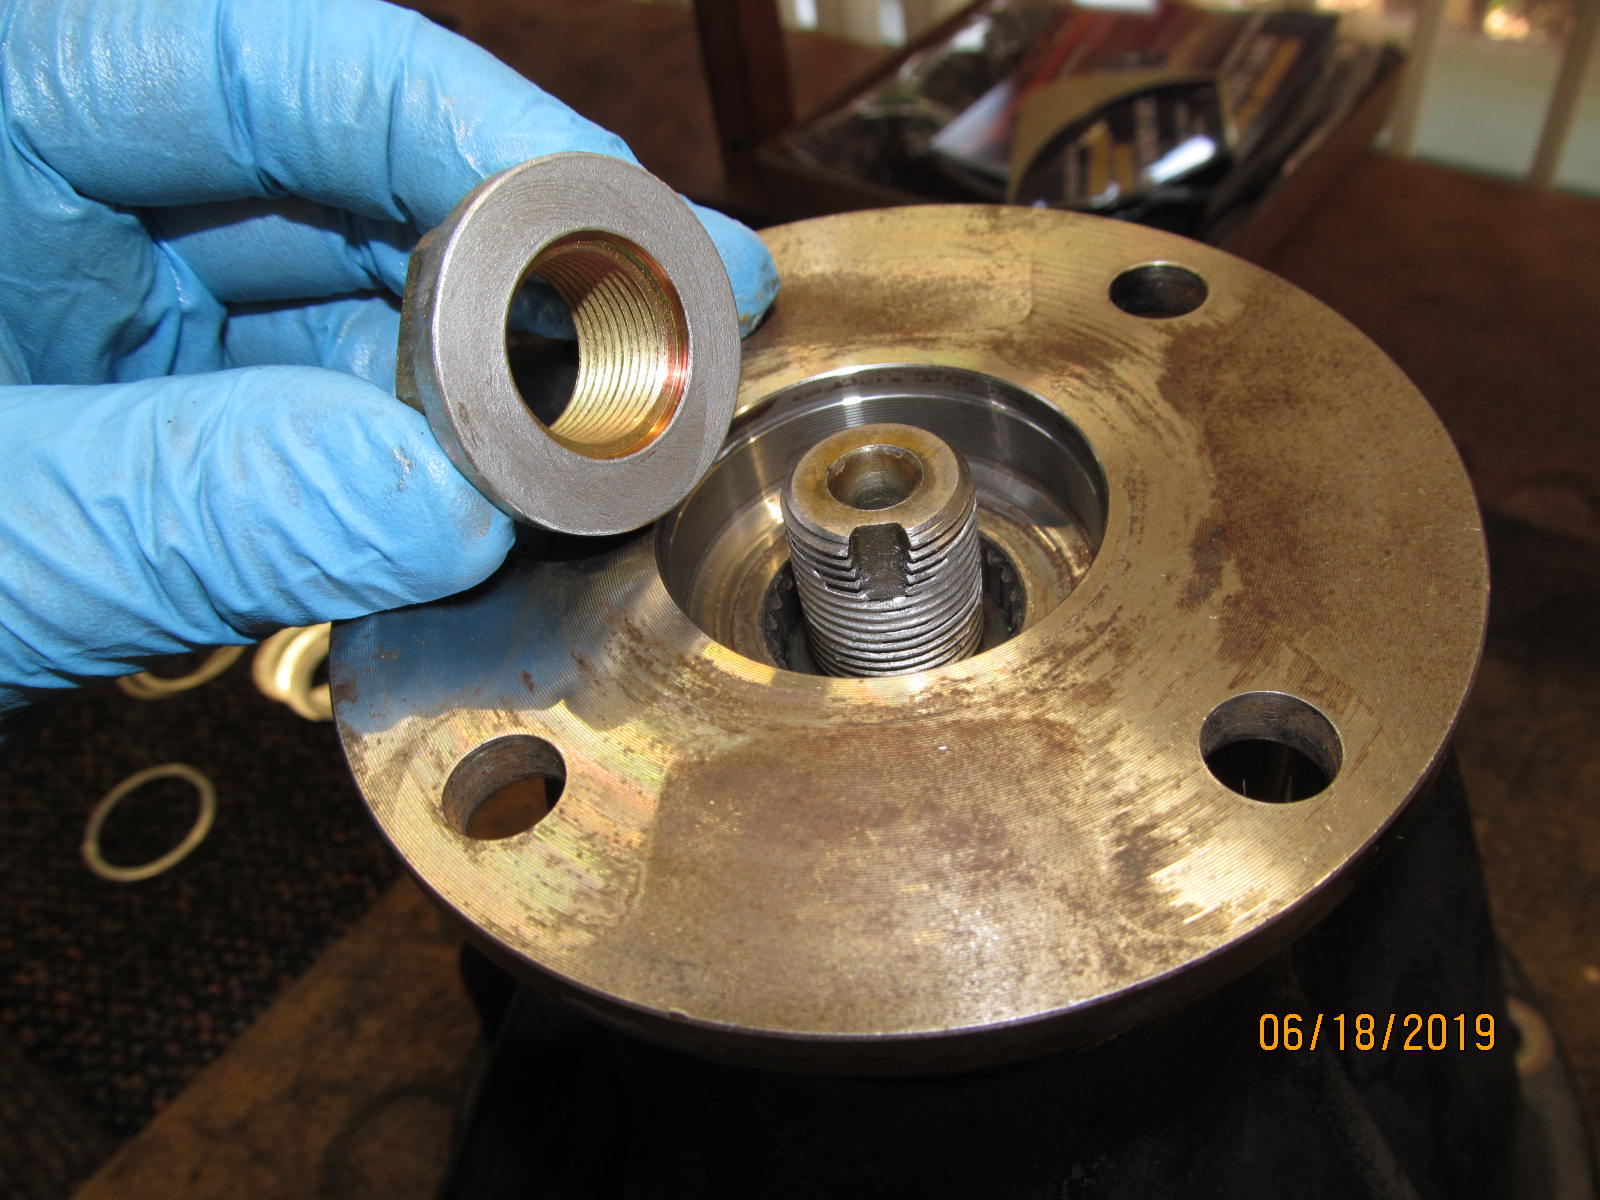
| Now the Marlin seal designed for the 27 spline flanges can be tapped in. |
|---|
|
|
| The Marlin seal rides in a new virgin region about .200" below the usual groove on the flange. |
|---|
|
|
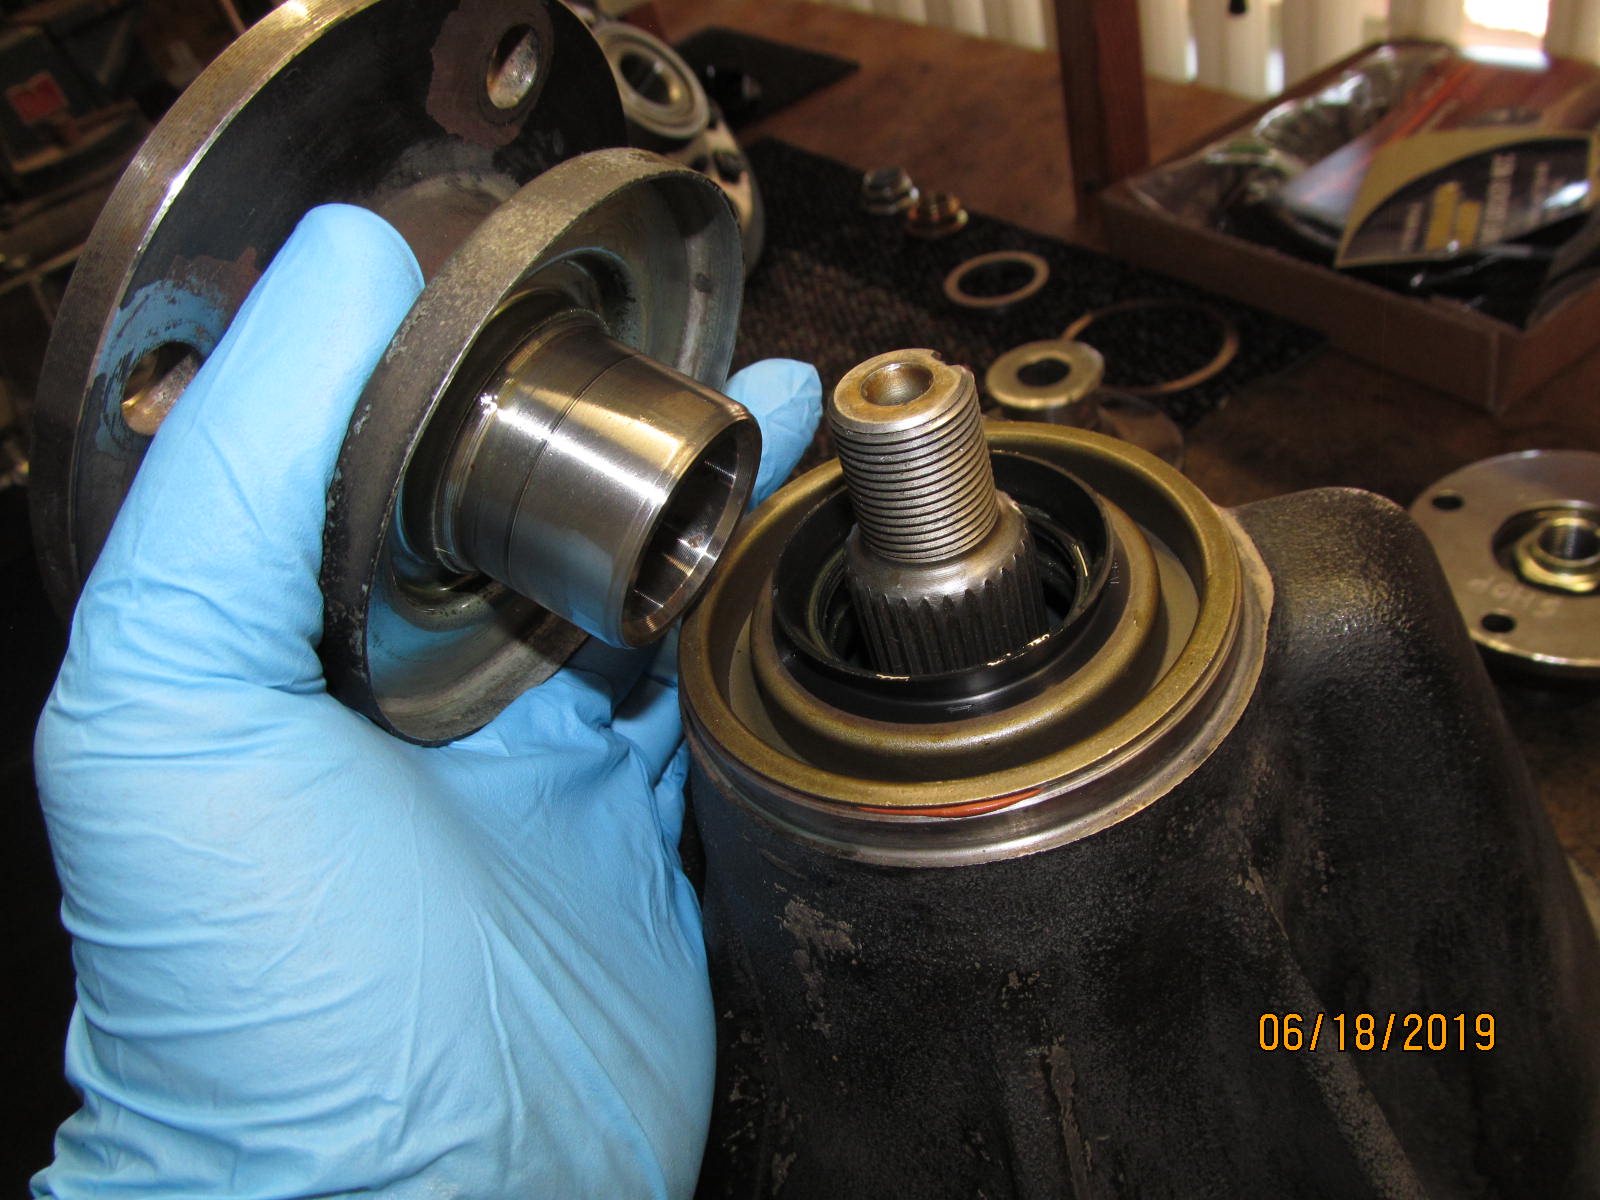
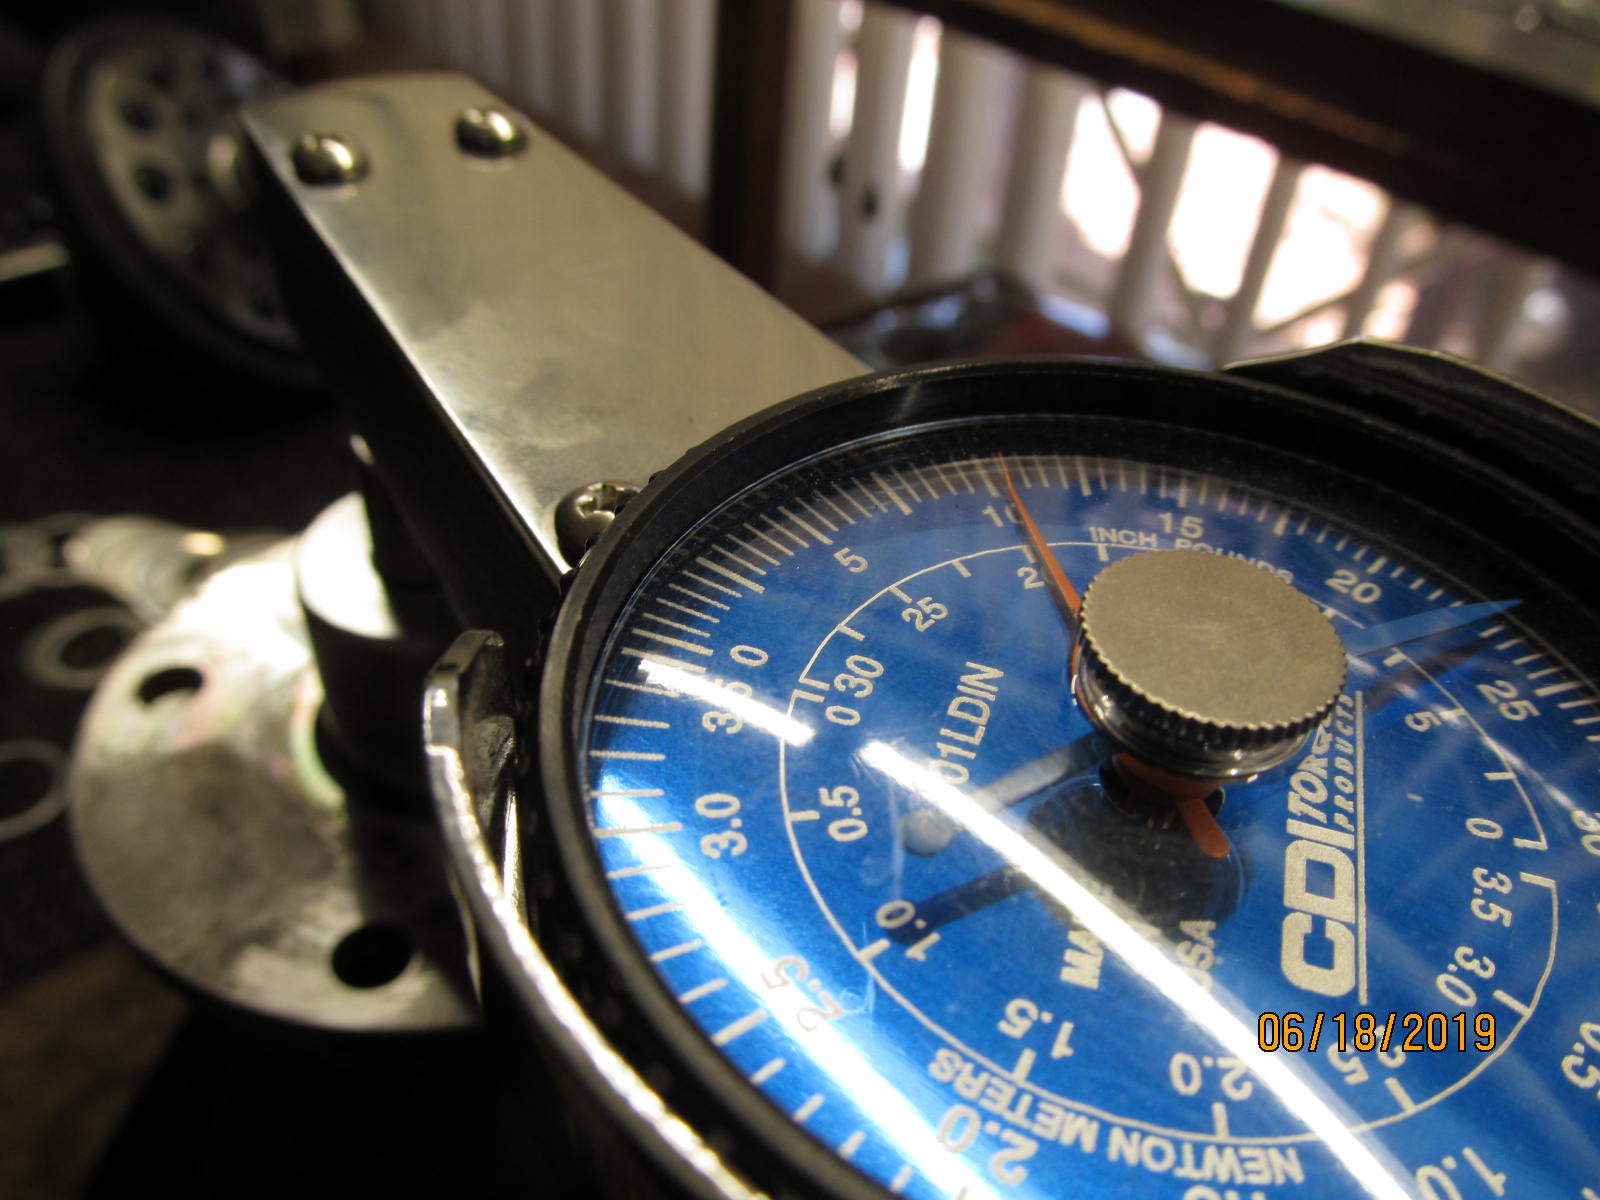
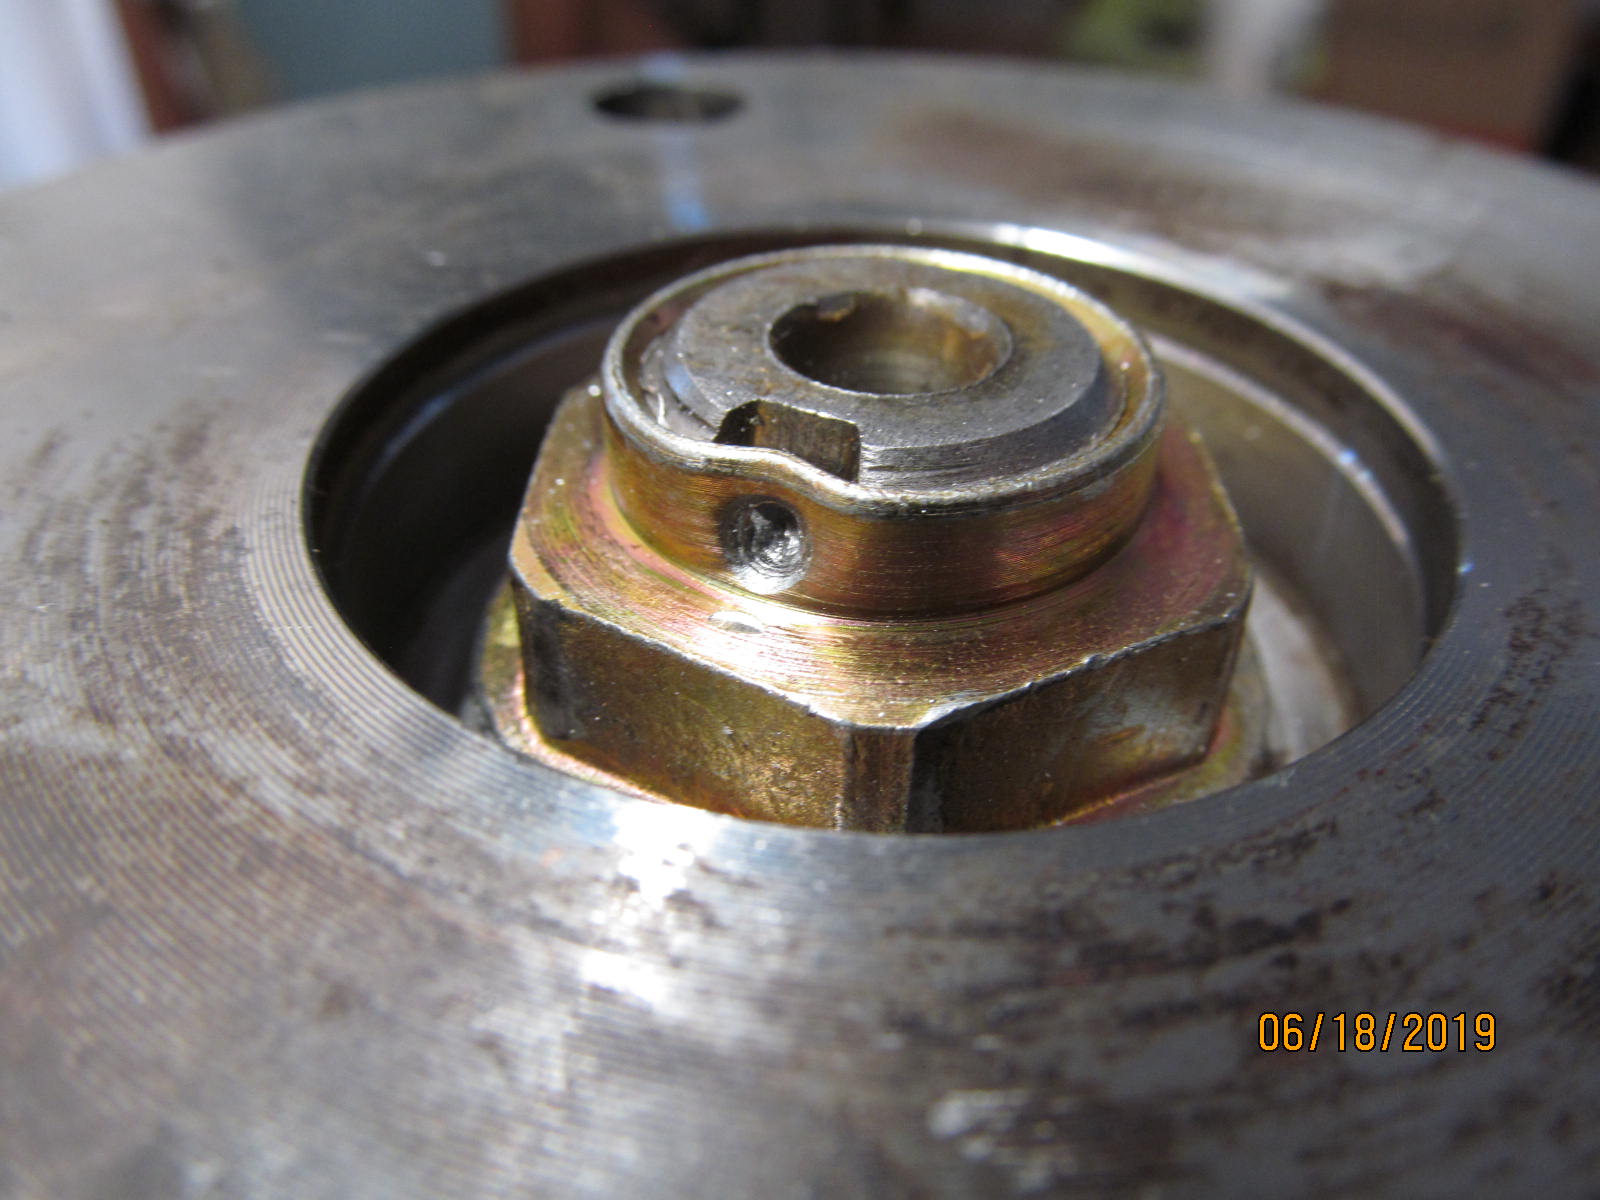
| Anti-seize reduces the friction......now I can tighten the nut with less of a hernia chance. |
|---|
|
|
| A smooth 10 inch/pounds of PPL. Of course, lots of fresh oil on both bearings and the seal was well oiled too. |
|---|
|
|
| DING |
|---|
|
|
Stu has not sent me the front 8" high pinion yet.....but when he does, I'll have the rest of his product ready
but I digress. |
|---|
|
|
So, the pinion end is complete....I also drilled the 29/64" hole for the rubber grommet.
And now to put the diff carrier in. |
|---|
|
|
I made sure that the stop tab freeplay on the Harrop tabs was 2 mm. Backlash was set to .007" minimum.
The preload of the carrier bearings was set to a solid 5 inch/pounds. |
|---|
|
|
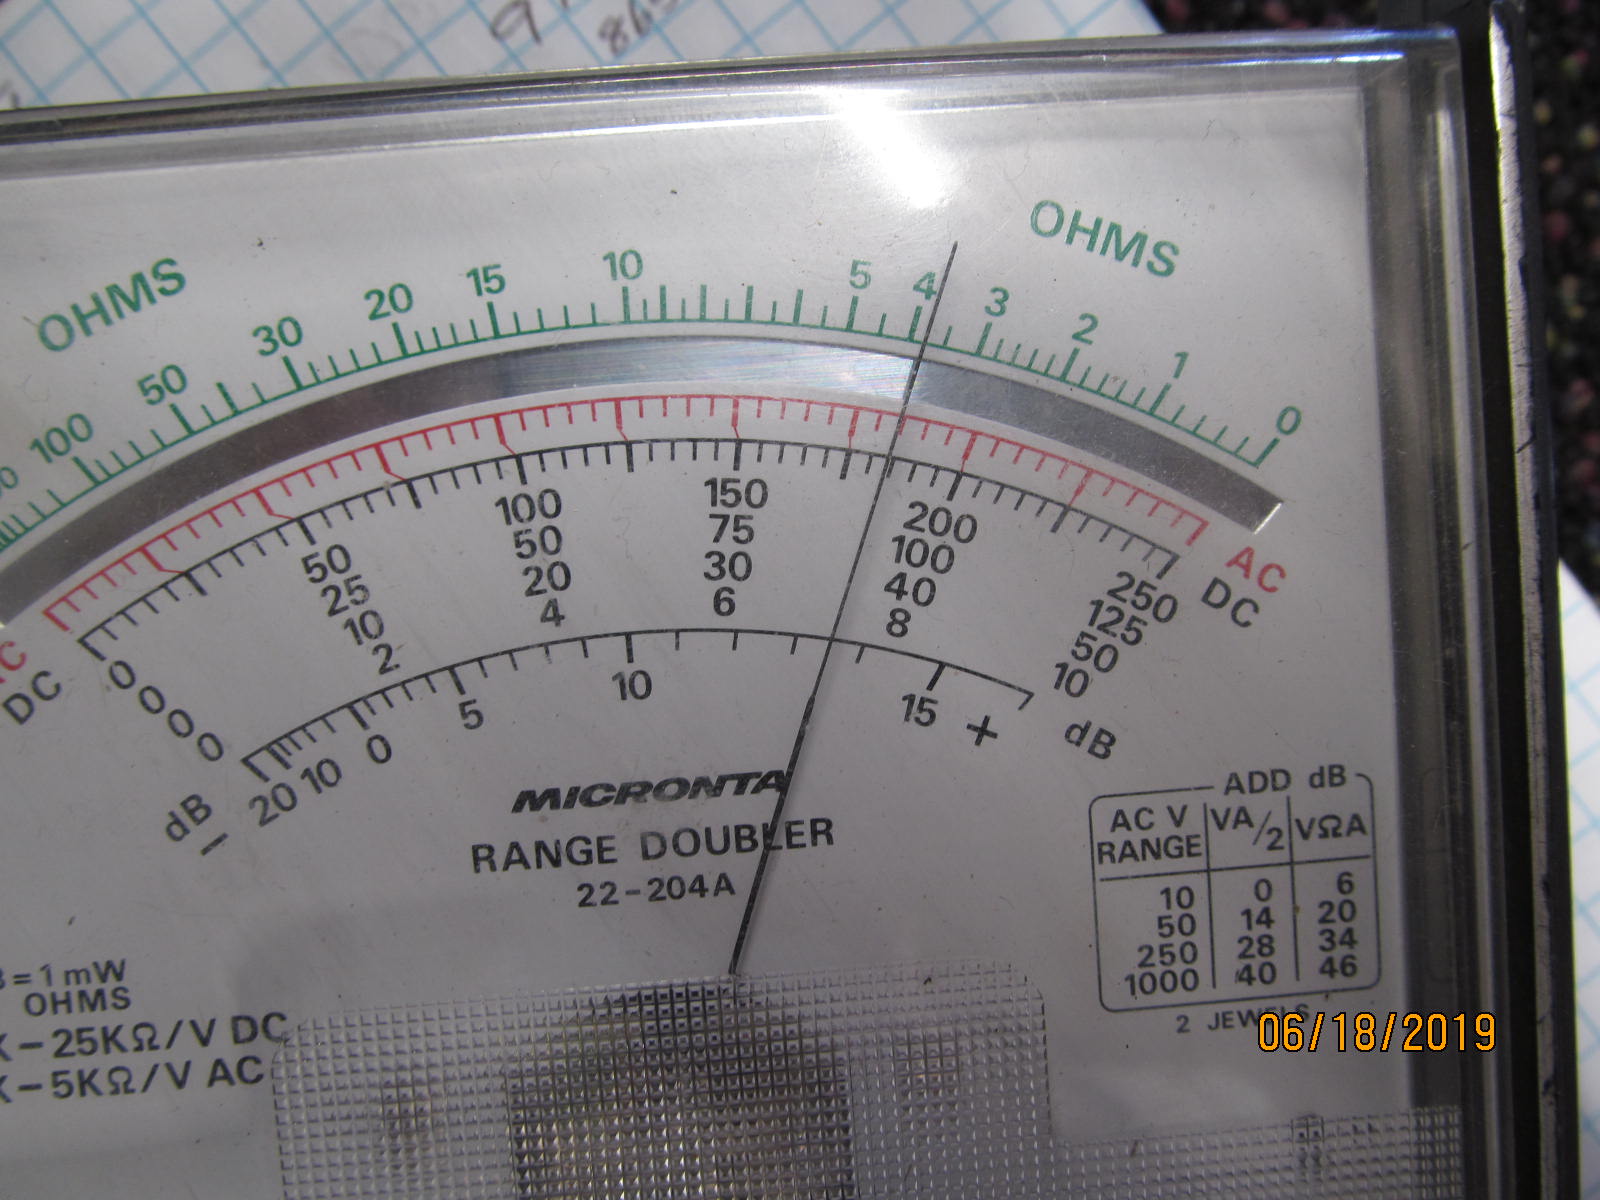
| The resistance of the magnetic coil checked in at the usual 3.8 ohms. |
|---|
|
|
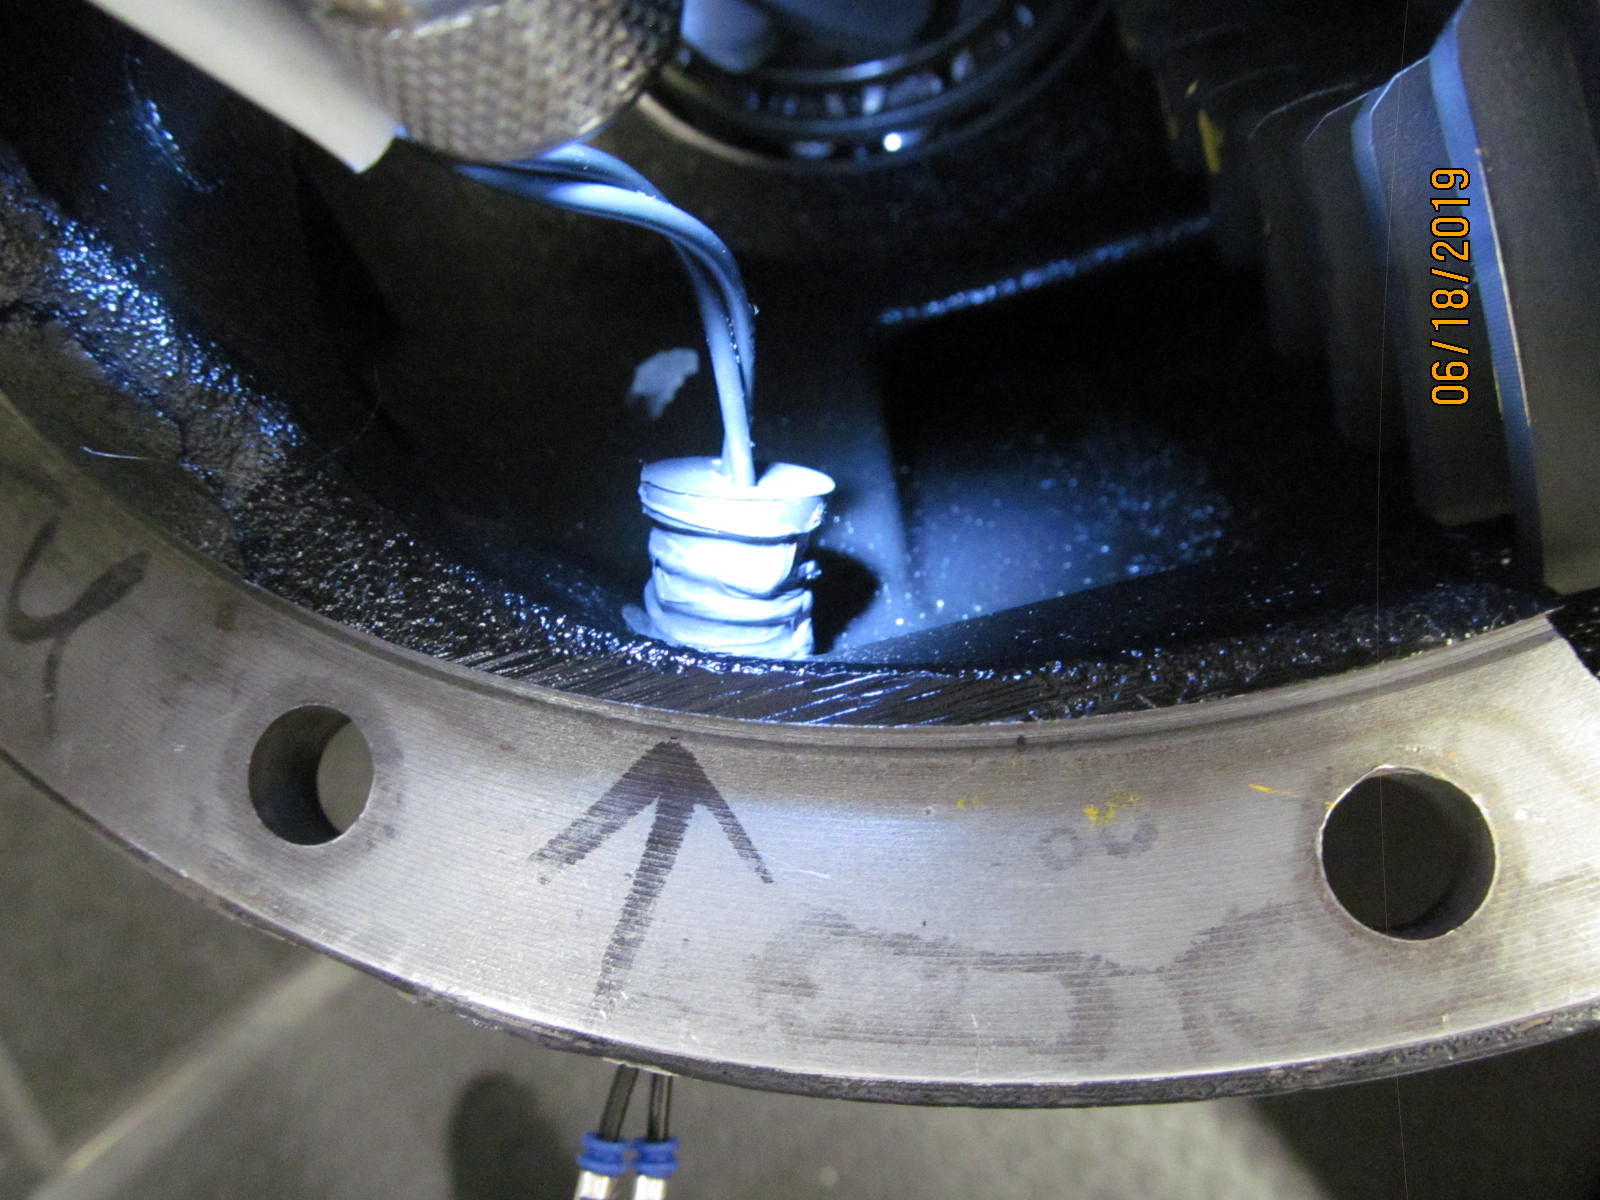
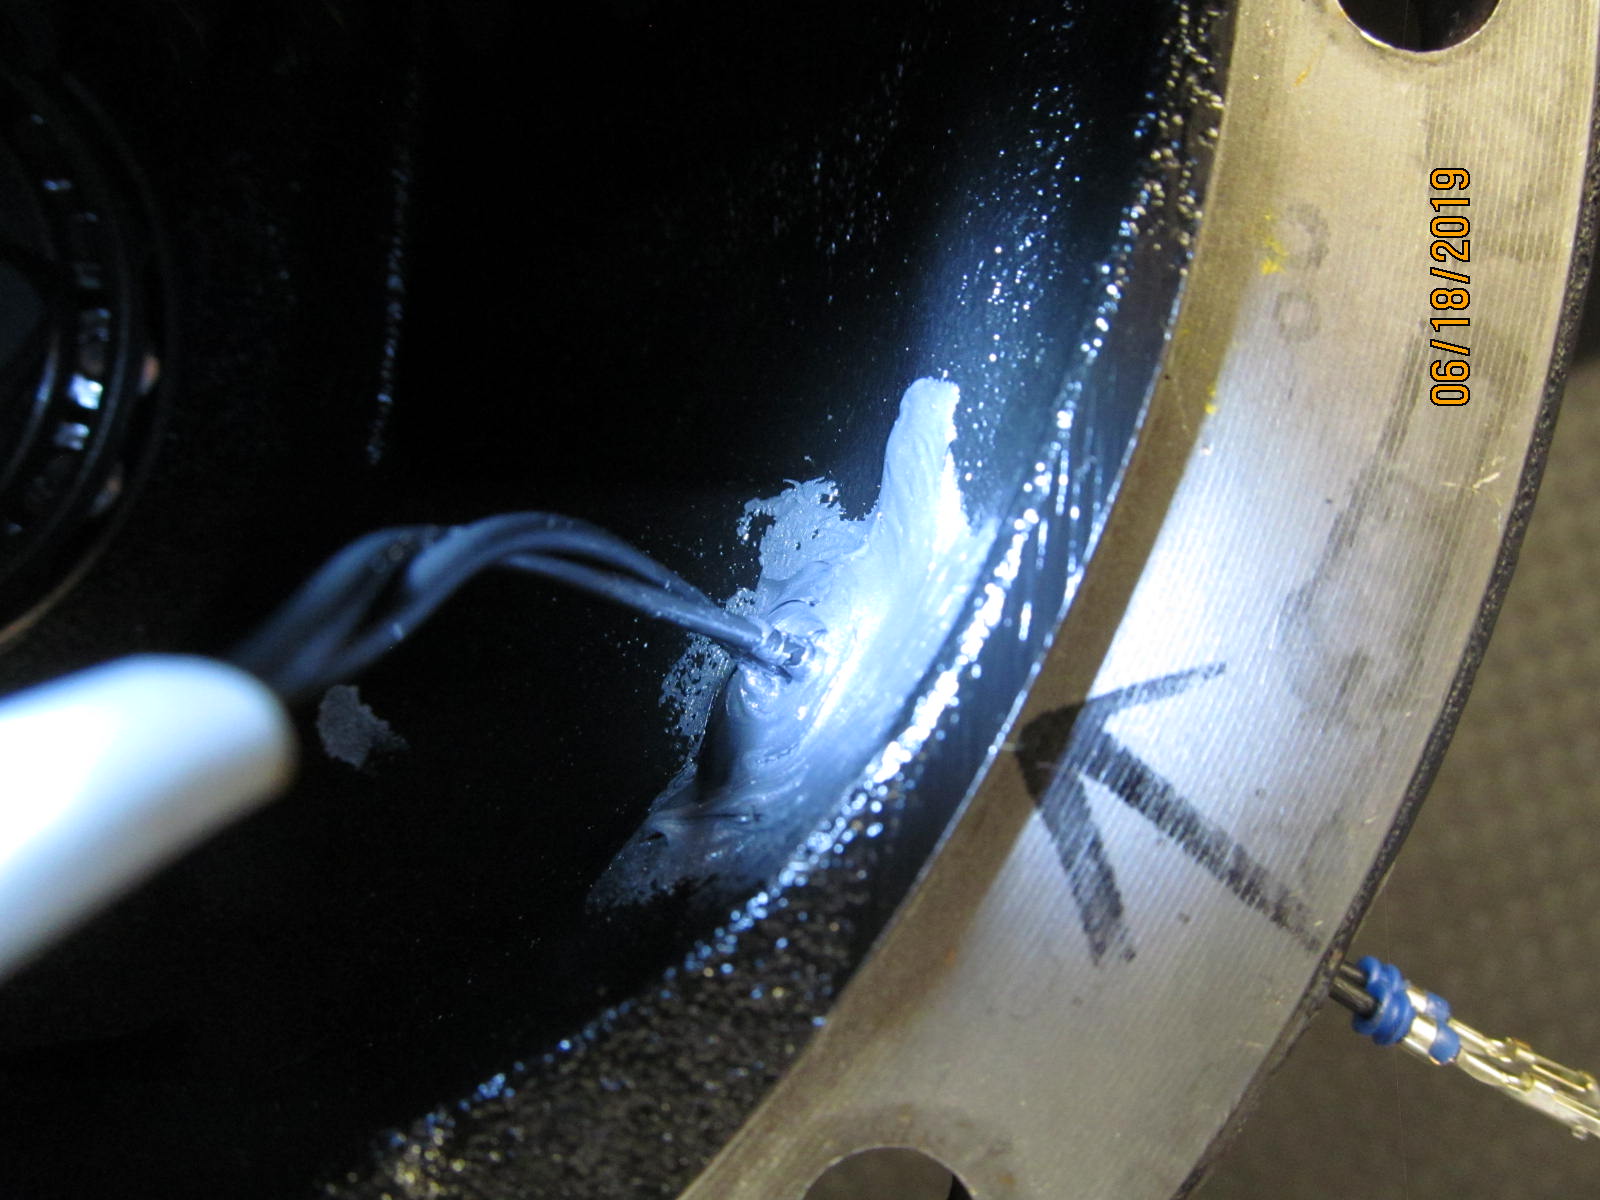
| RTV on the rubber plug helps seal and lubricate for the push-thru. |
|---|
|
|
| ;;;;;;;;;;;;;;;;;;;;;;;;;;;;;;;;; |
|---|
|
|
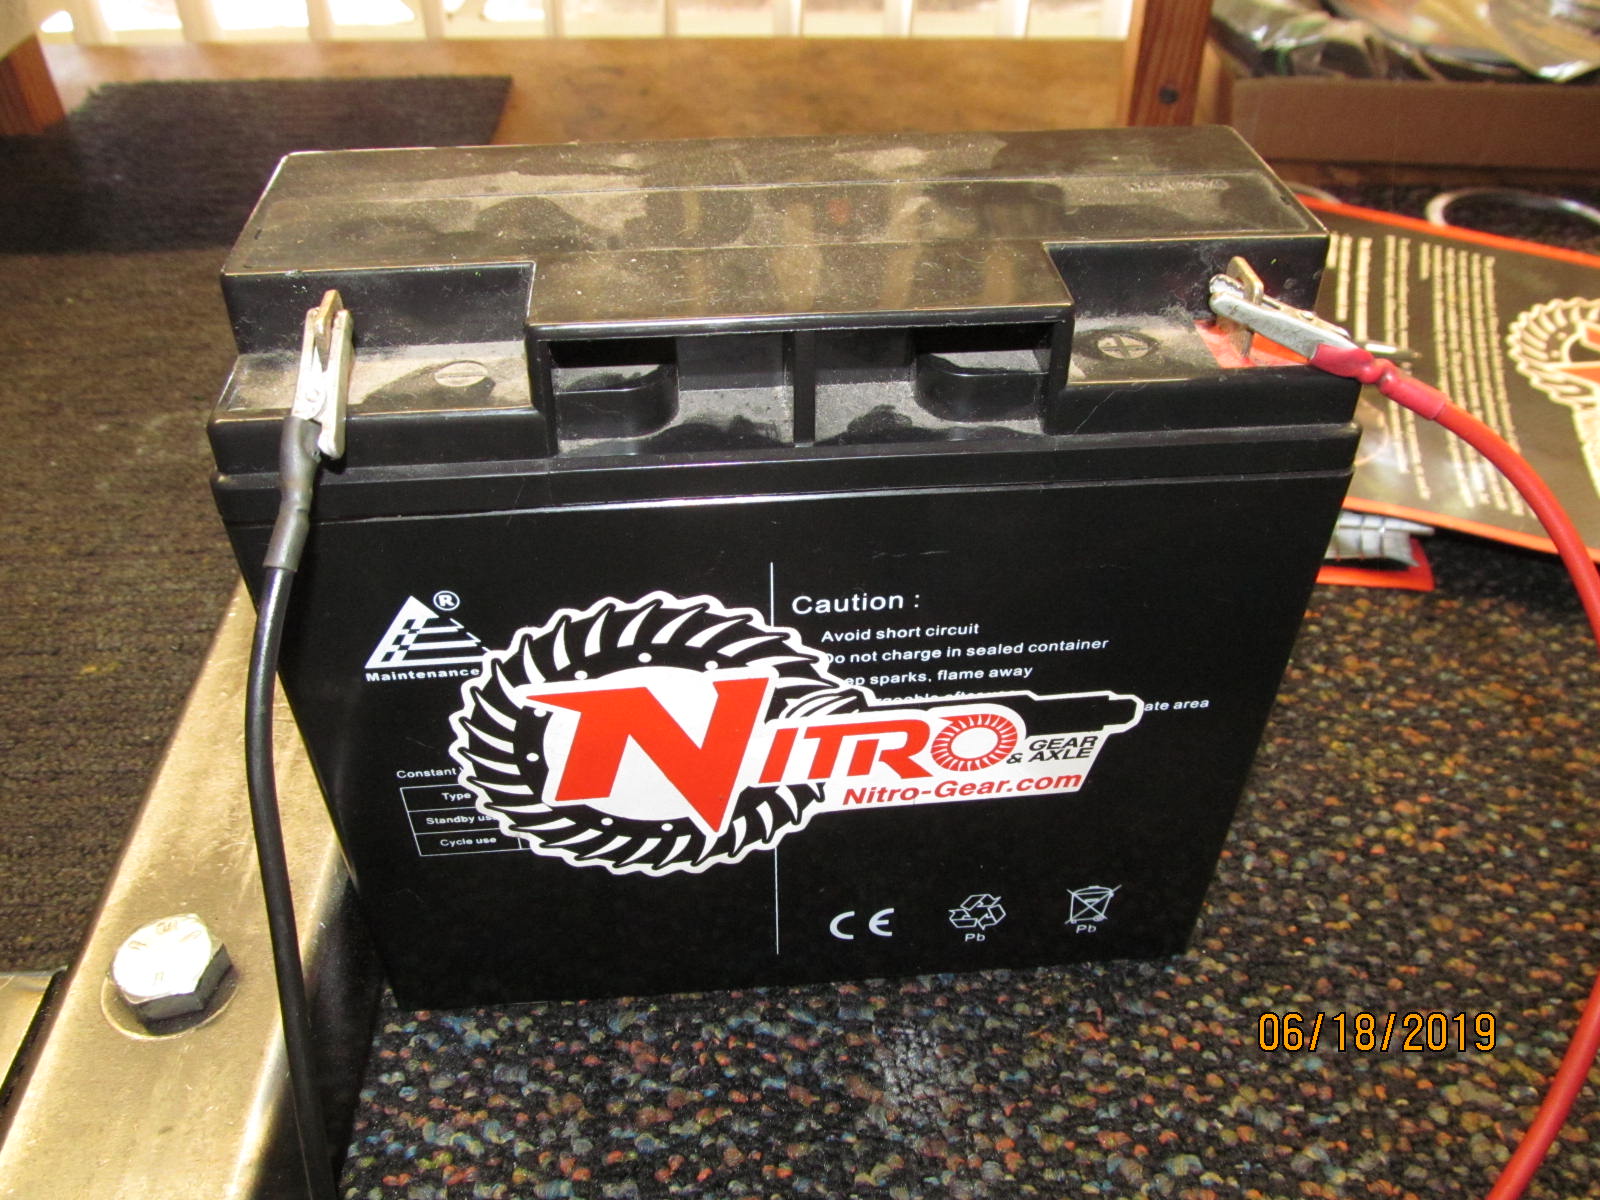
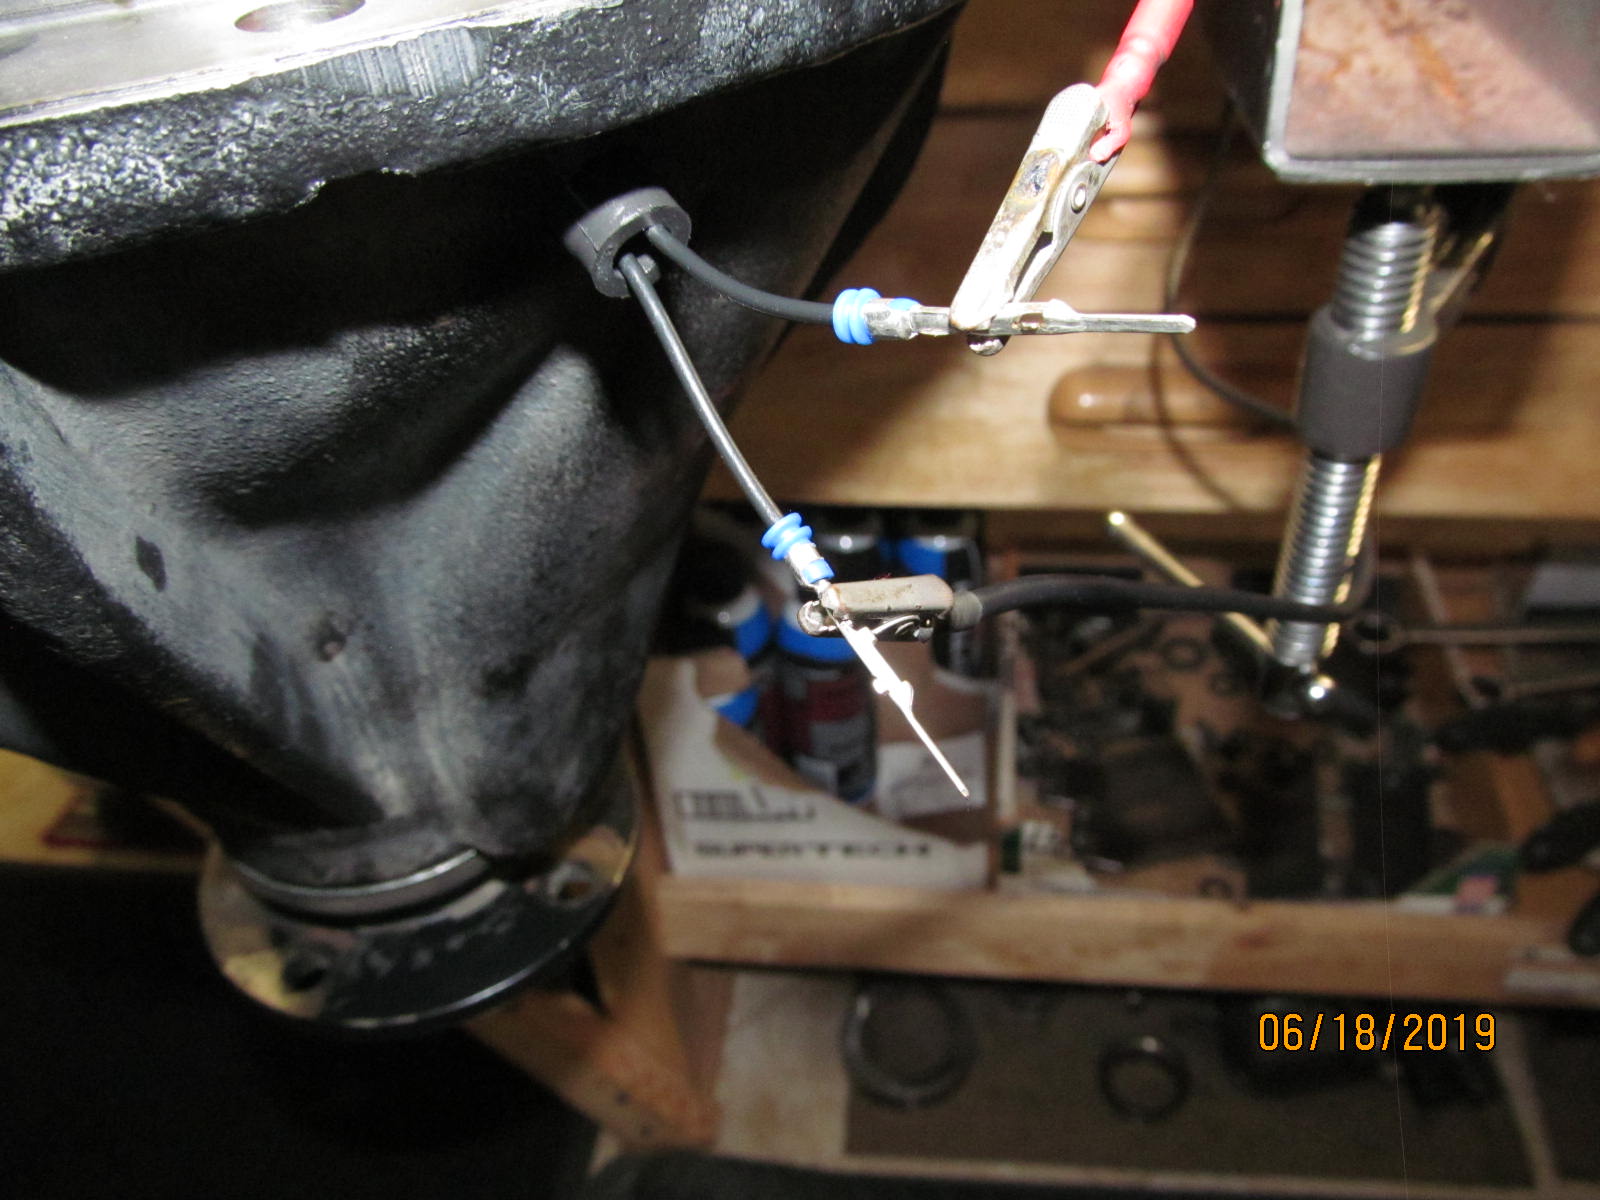
| Now the 12 volt test. |
|---|
|
|
| 12v is applied to the magnetic coil wires. It draws less than 4 amps. |
|---|
|
|
| With 12 volts applied the grey electro-magnetic ring on the right attracts and bonds the ramp ring to the left of it. |
|---|
|
|
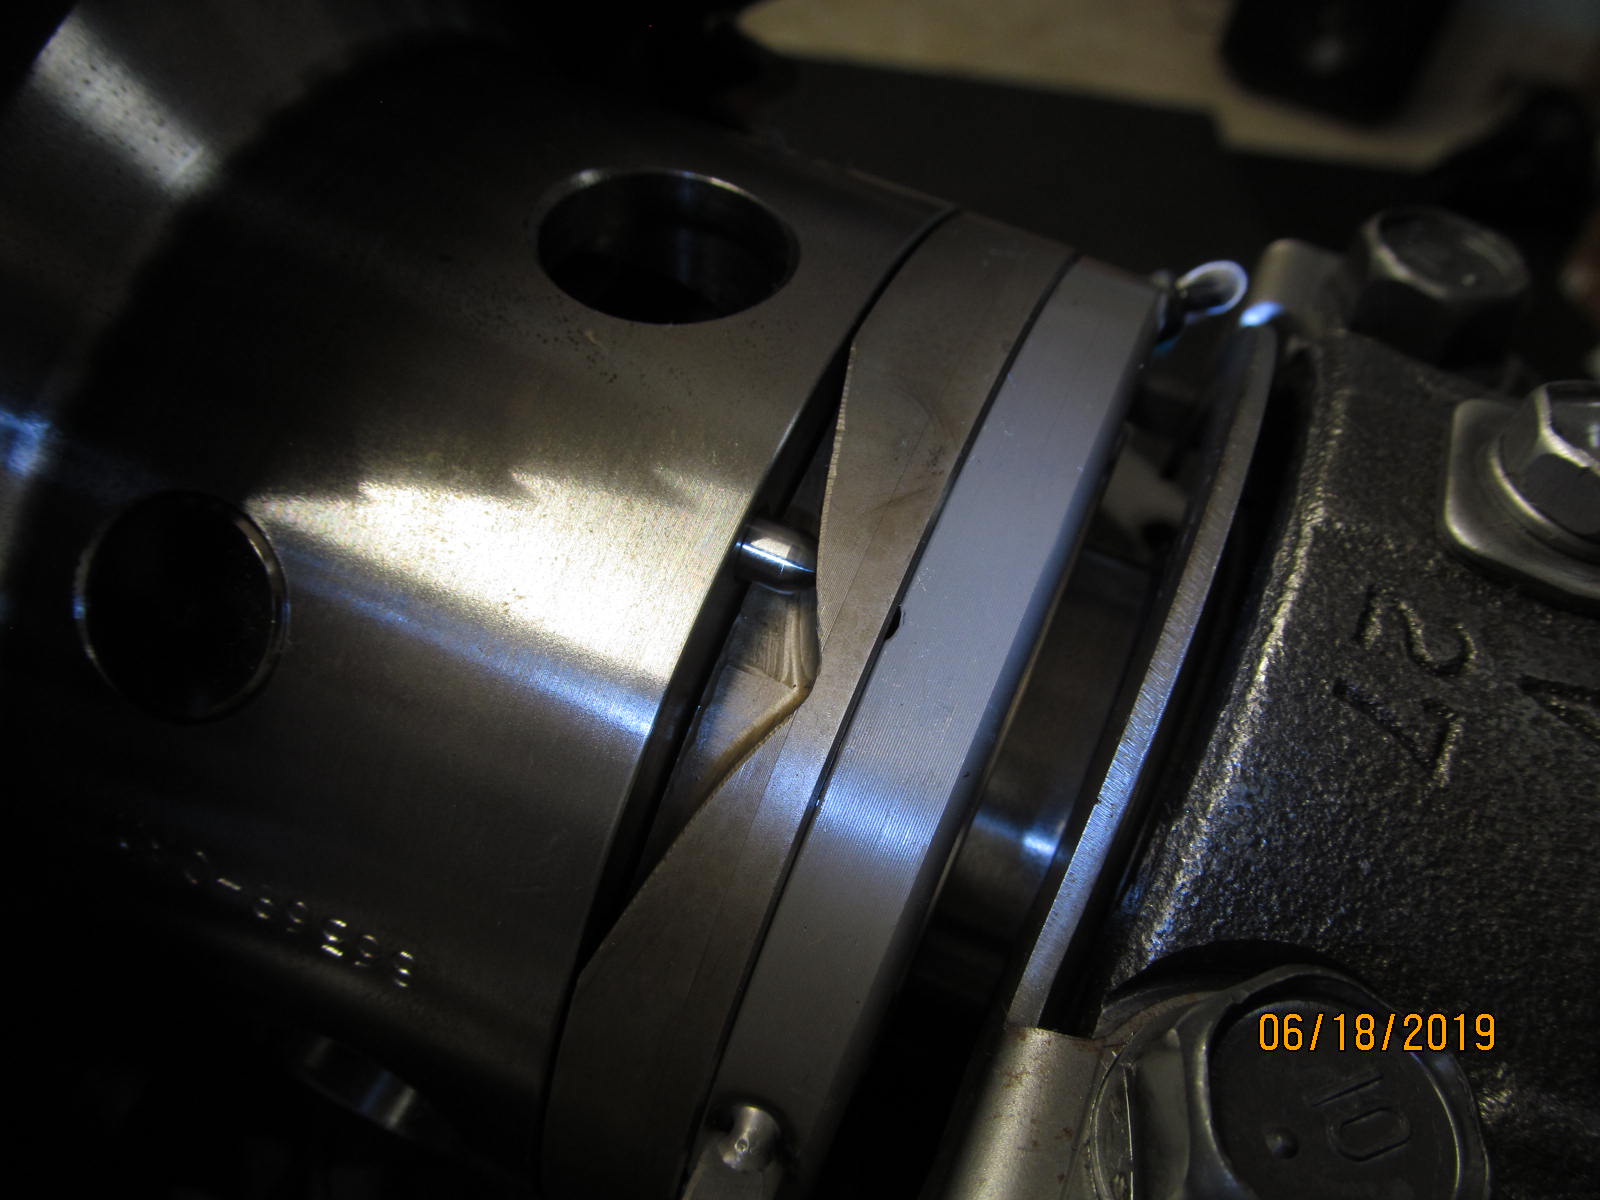
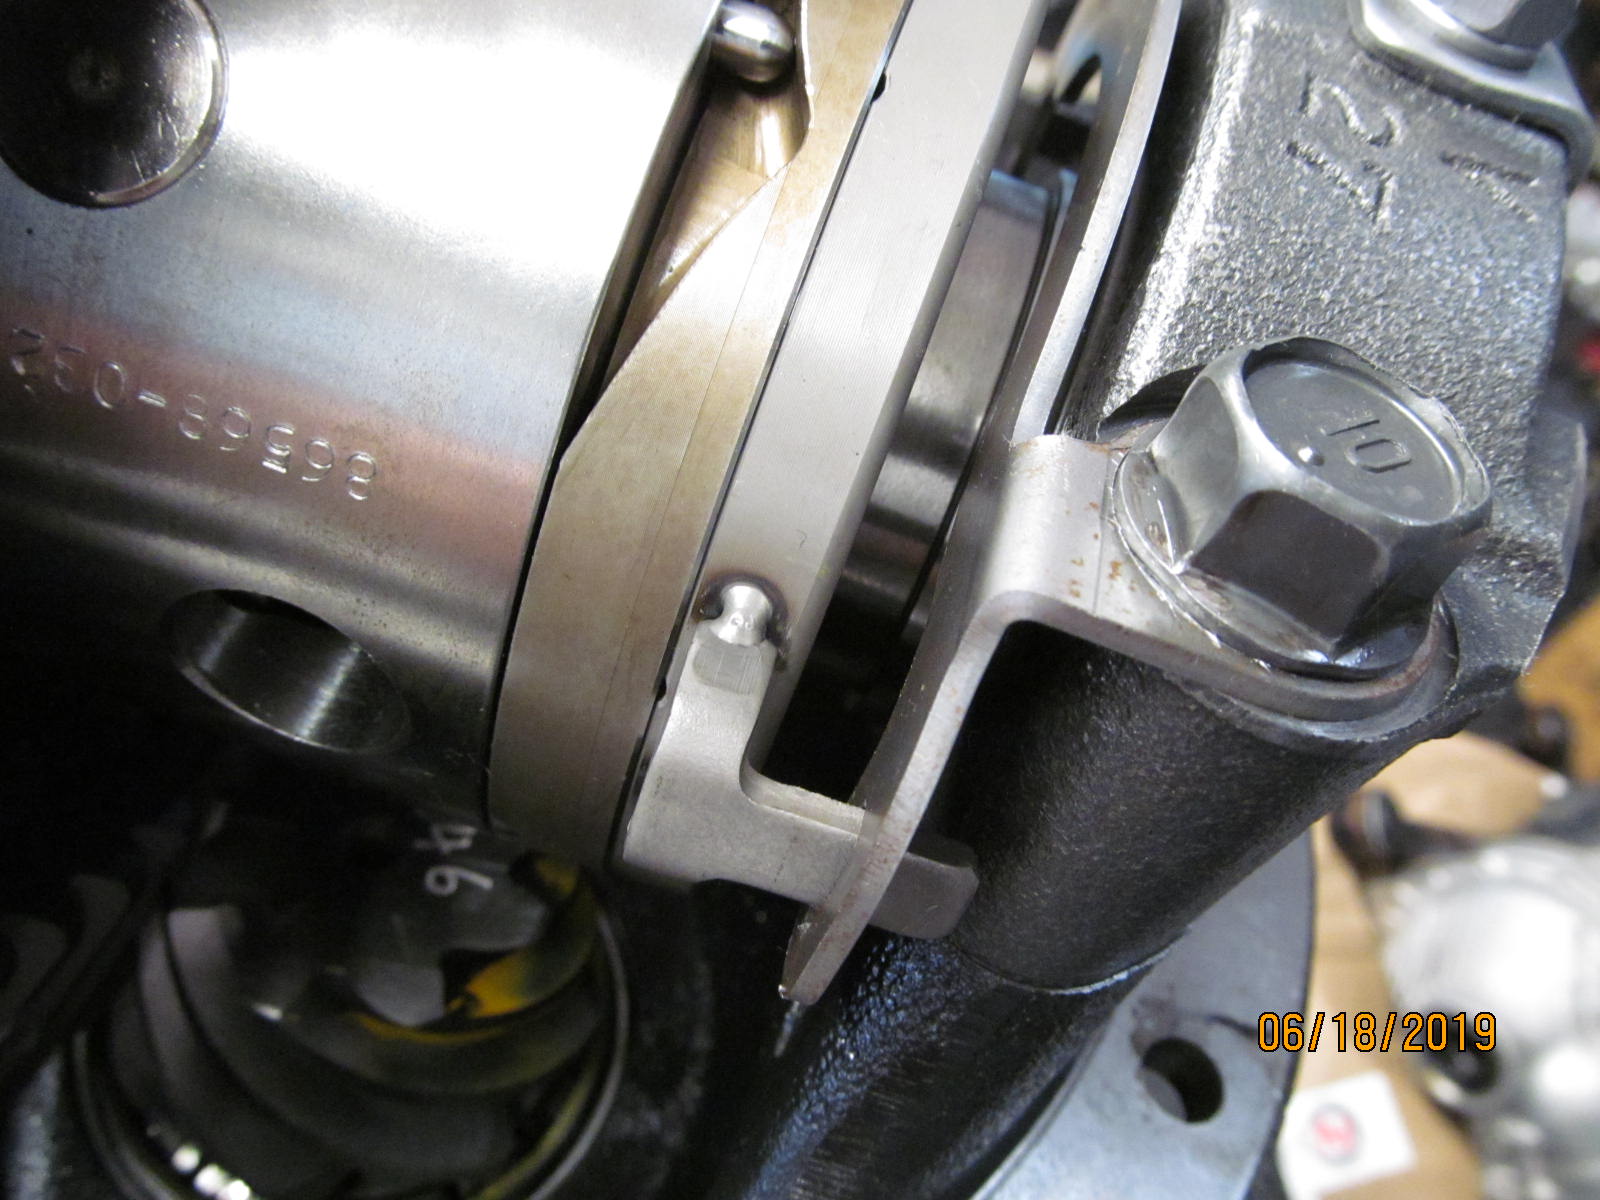
Now turn the pinion which turns the ring gear(and left case portion)
and the 3 pins are forced to move into the case as shown. Pass 12volt test. |
|---|
|
|
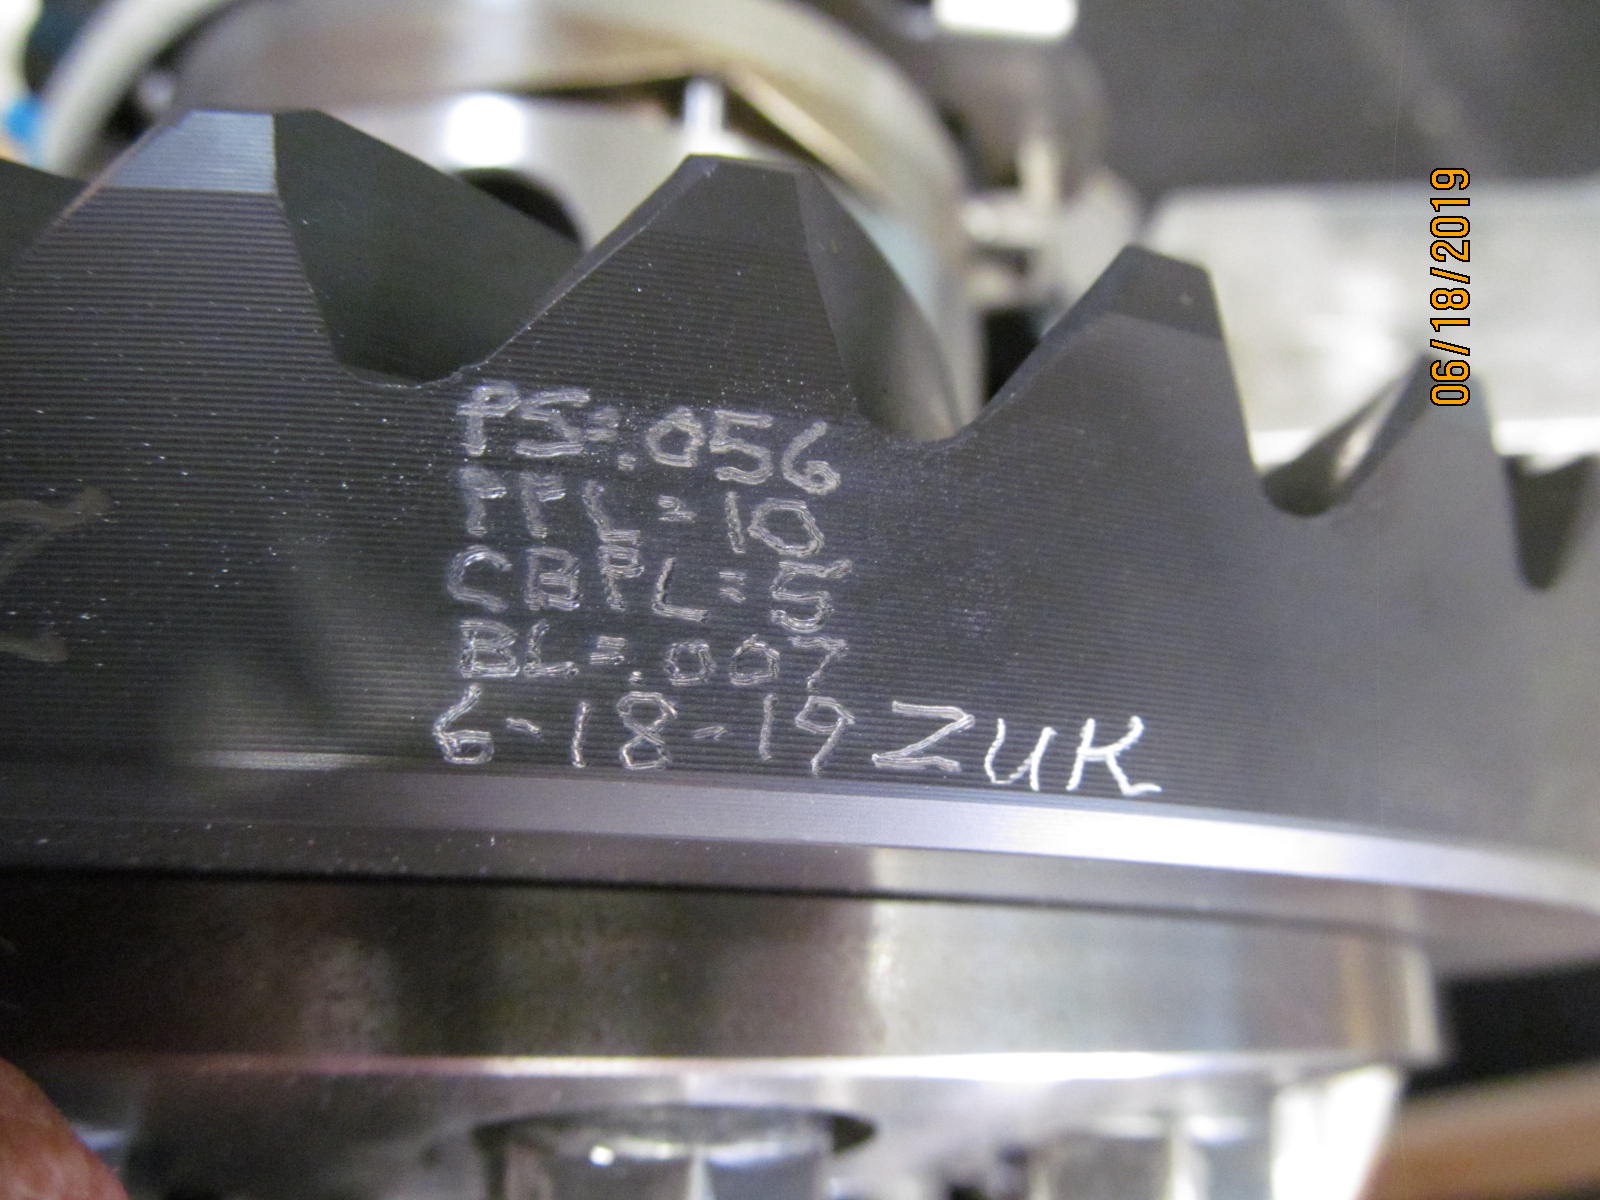
| Data is inscribed. |
|---|
|
|
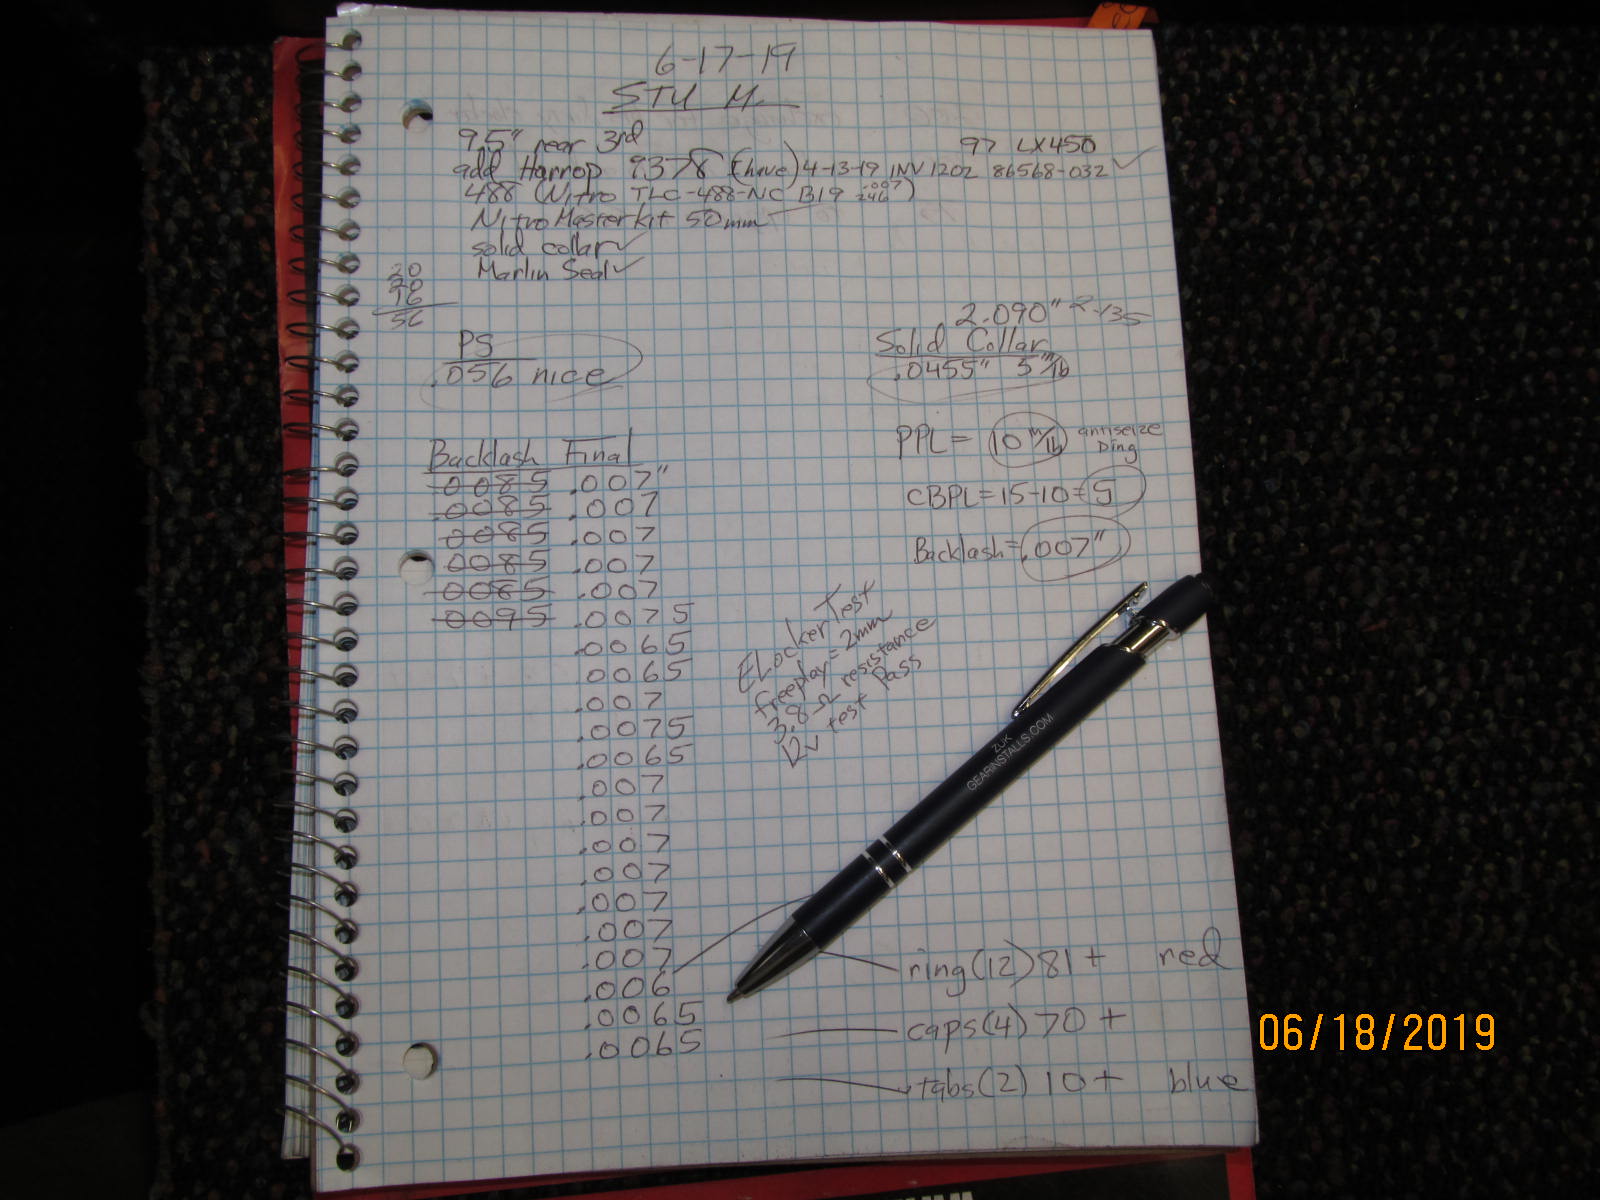
| A snapshot of the assembly notes. |
|---|
|
|
| ;;;;;;;;;;;;;;;;;;;;;;;;;;;;;; |
|---|
|
|
| '''''''''''''''''''''''''''''''''''''''''' |
|---|
|
|
| ========================================= |
|---|
|
|
| ``````````````````````````````````````````` |
|---|
|
|
| ///////////////////////////////////////////// |
|---|
|
|
| ]]]]]]]]]]]]]]]]]]]]]]]]]]]]]]]]]]]]]]]]]]]]]]]] |
|---|
|
|

|