|
Harrop Elocker/488 Nitro Gears in Andrew's '97 FZJ80(REAR 9.5")
|
|
(49 BIG pics loading)
|
|
JAN 7 2017
|
|
|
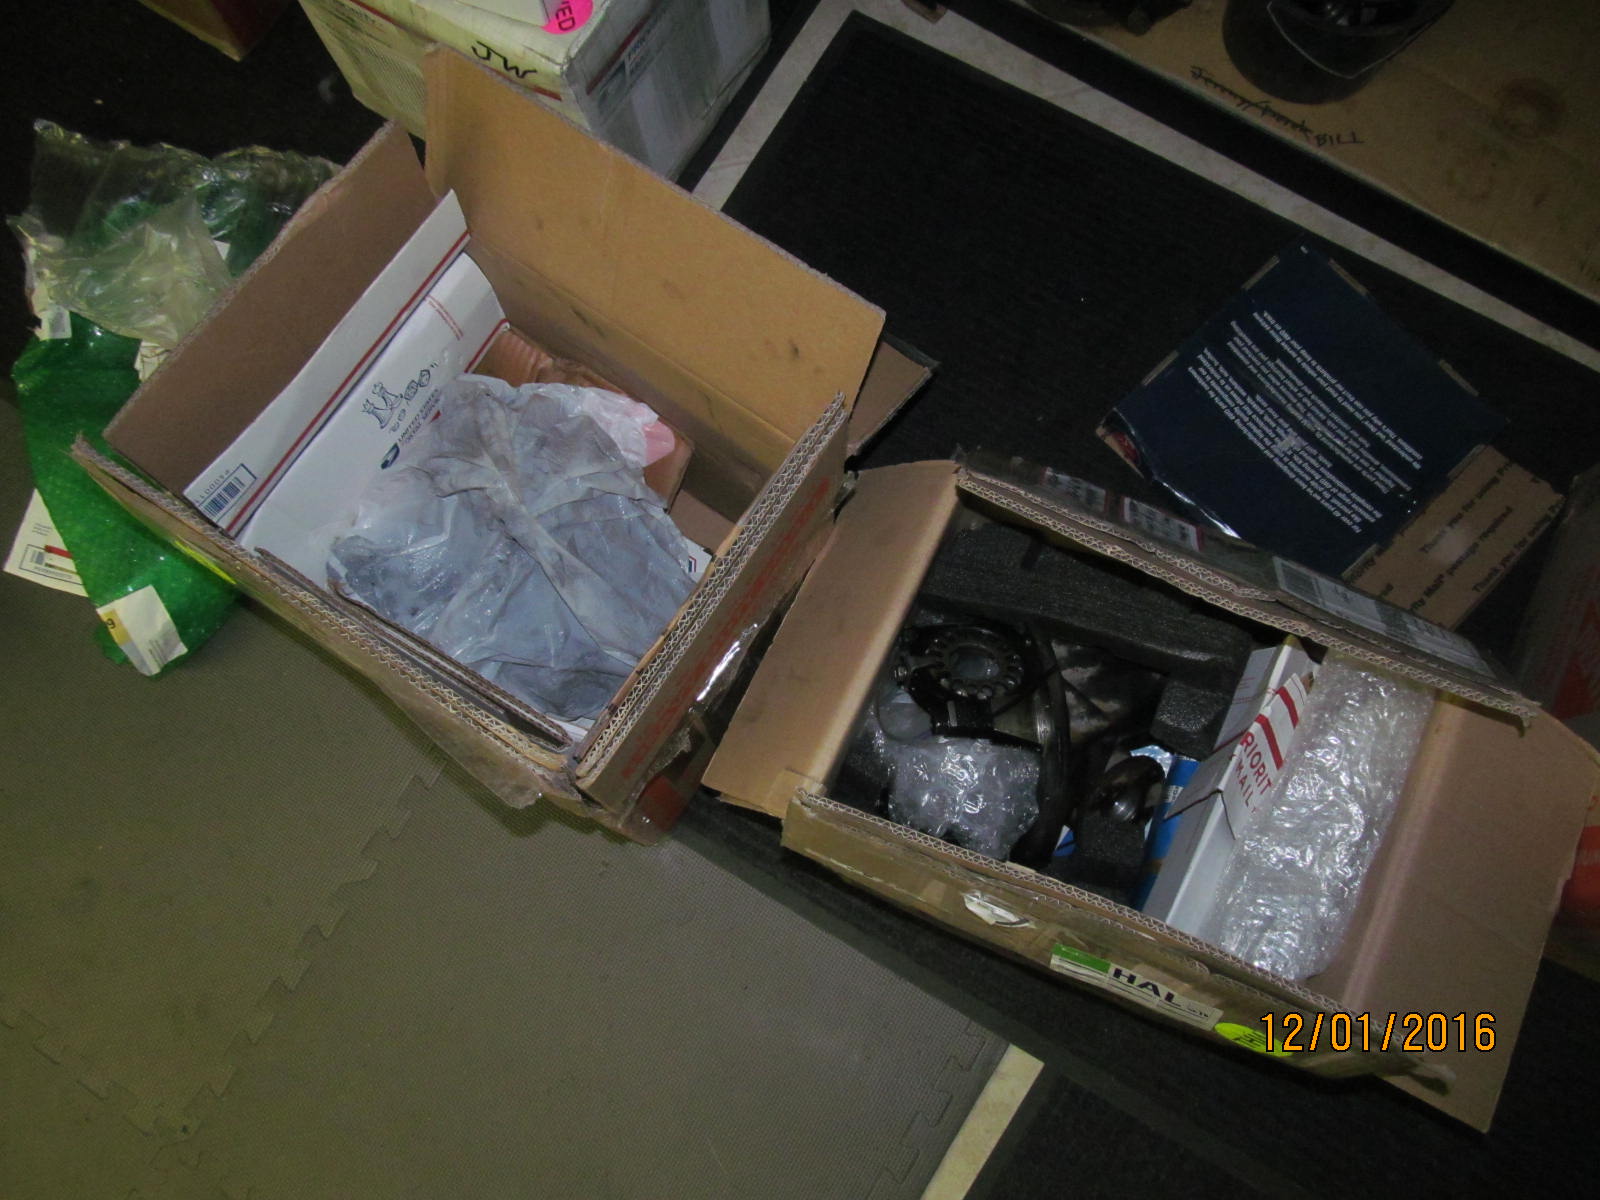
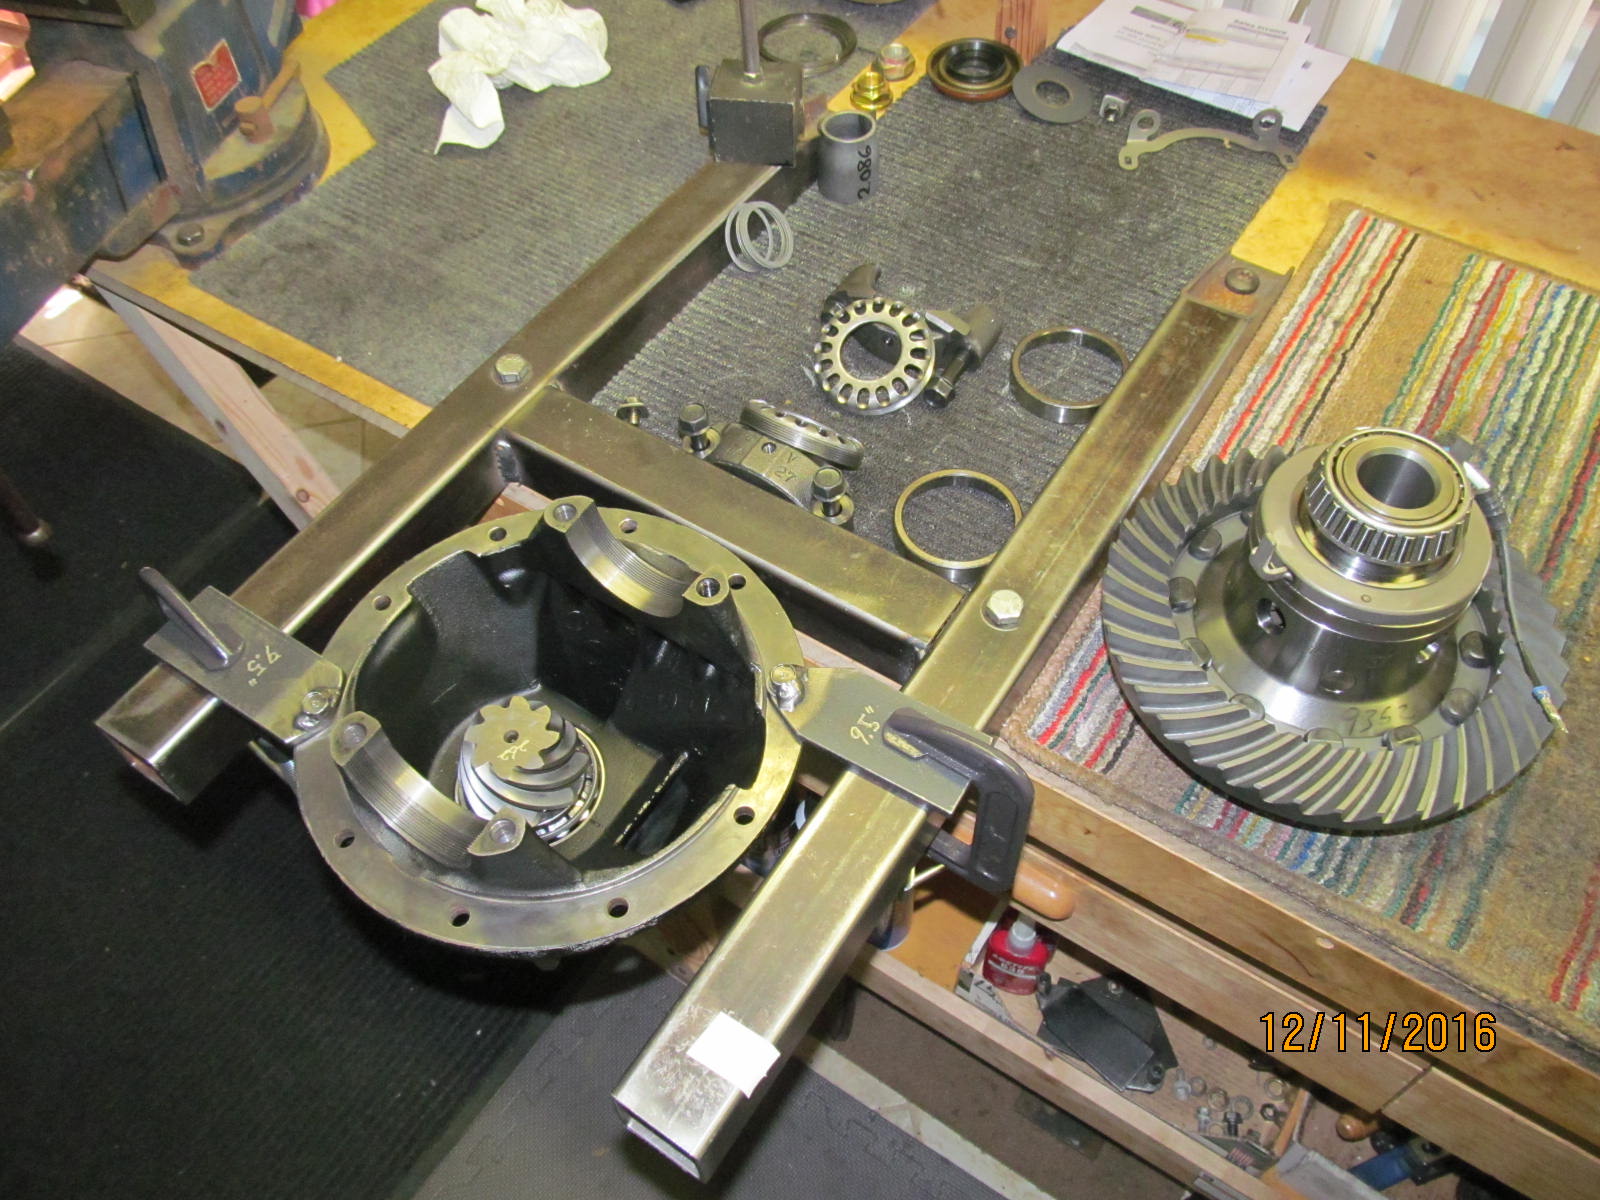
The rear 9.5" 3rd is on the left. Hard to tell but both of them were stripped
down to eliminate a lot of weight and a lot of shipping costs (costs cut in
half for the trip to me).
|
|
|
|
|
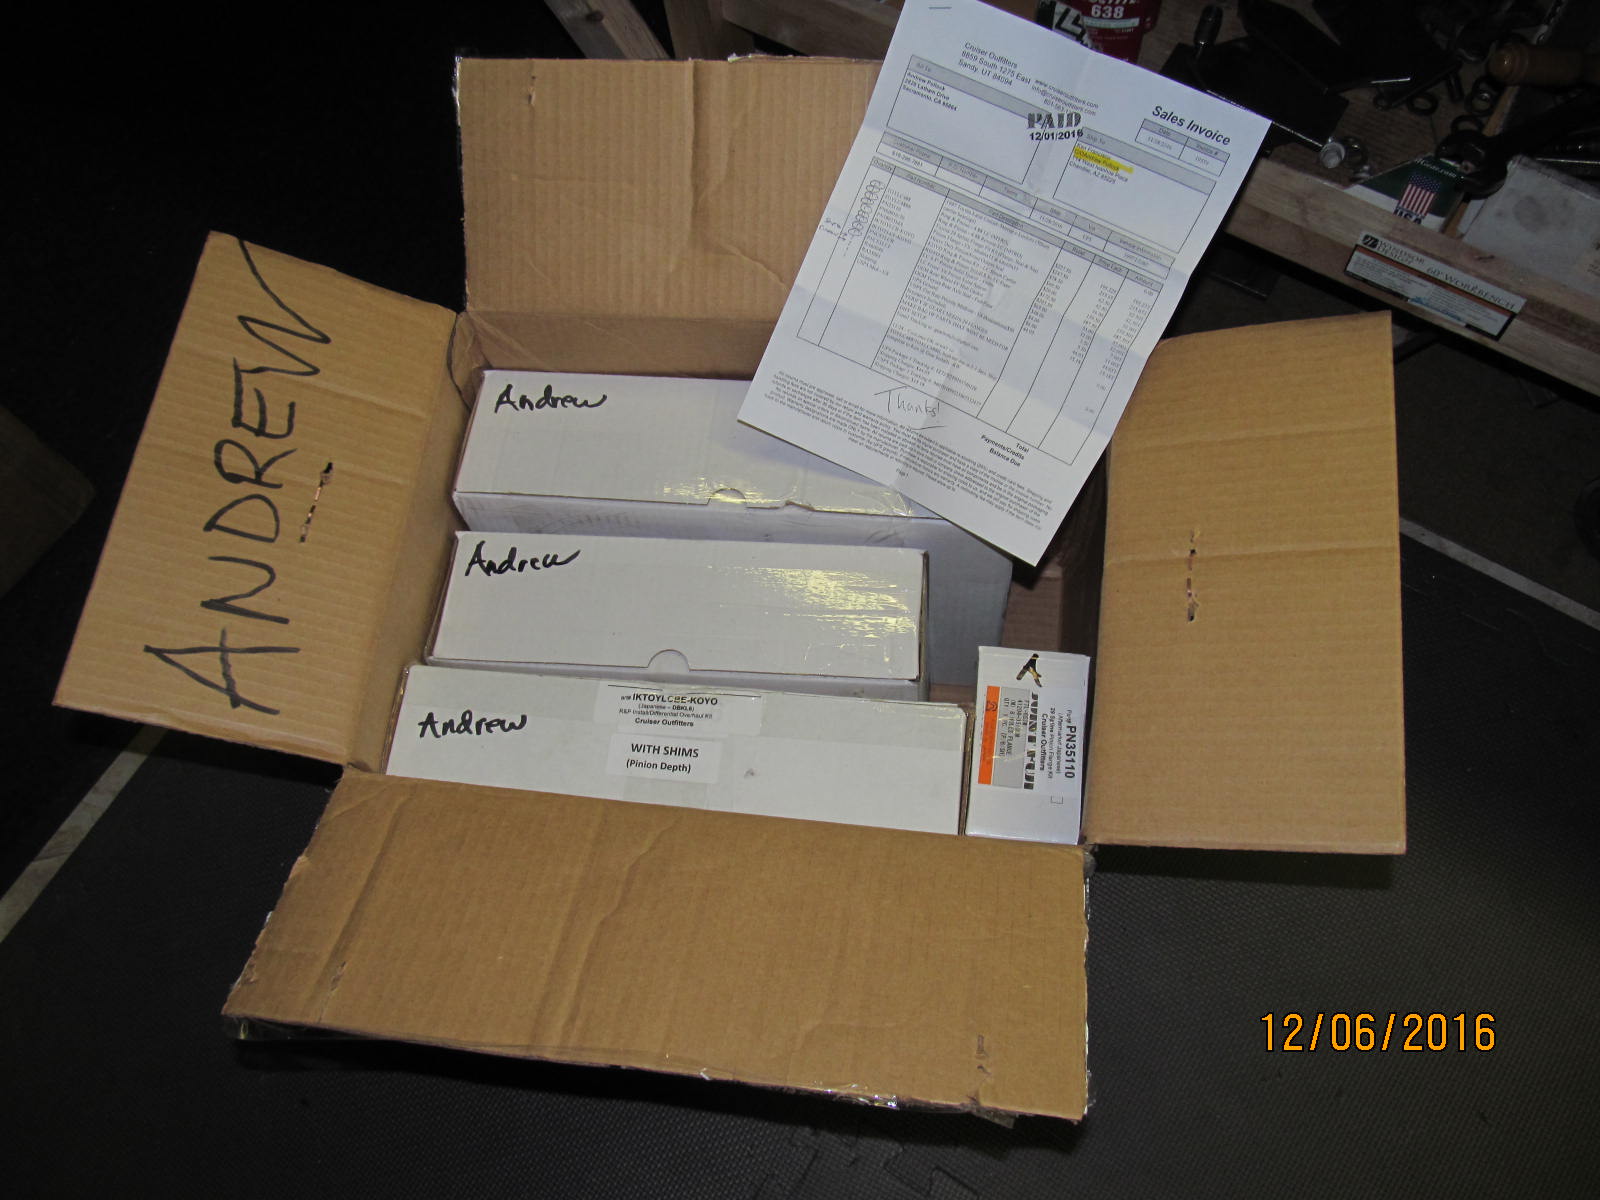
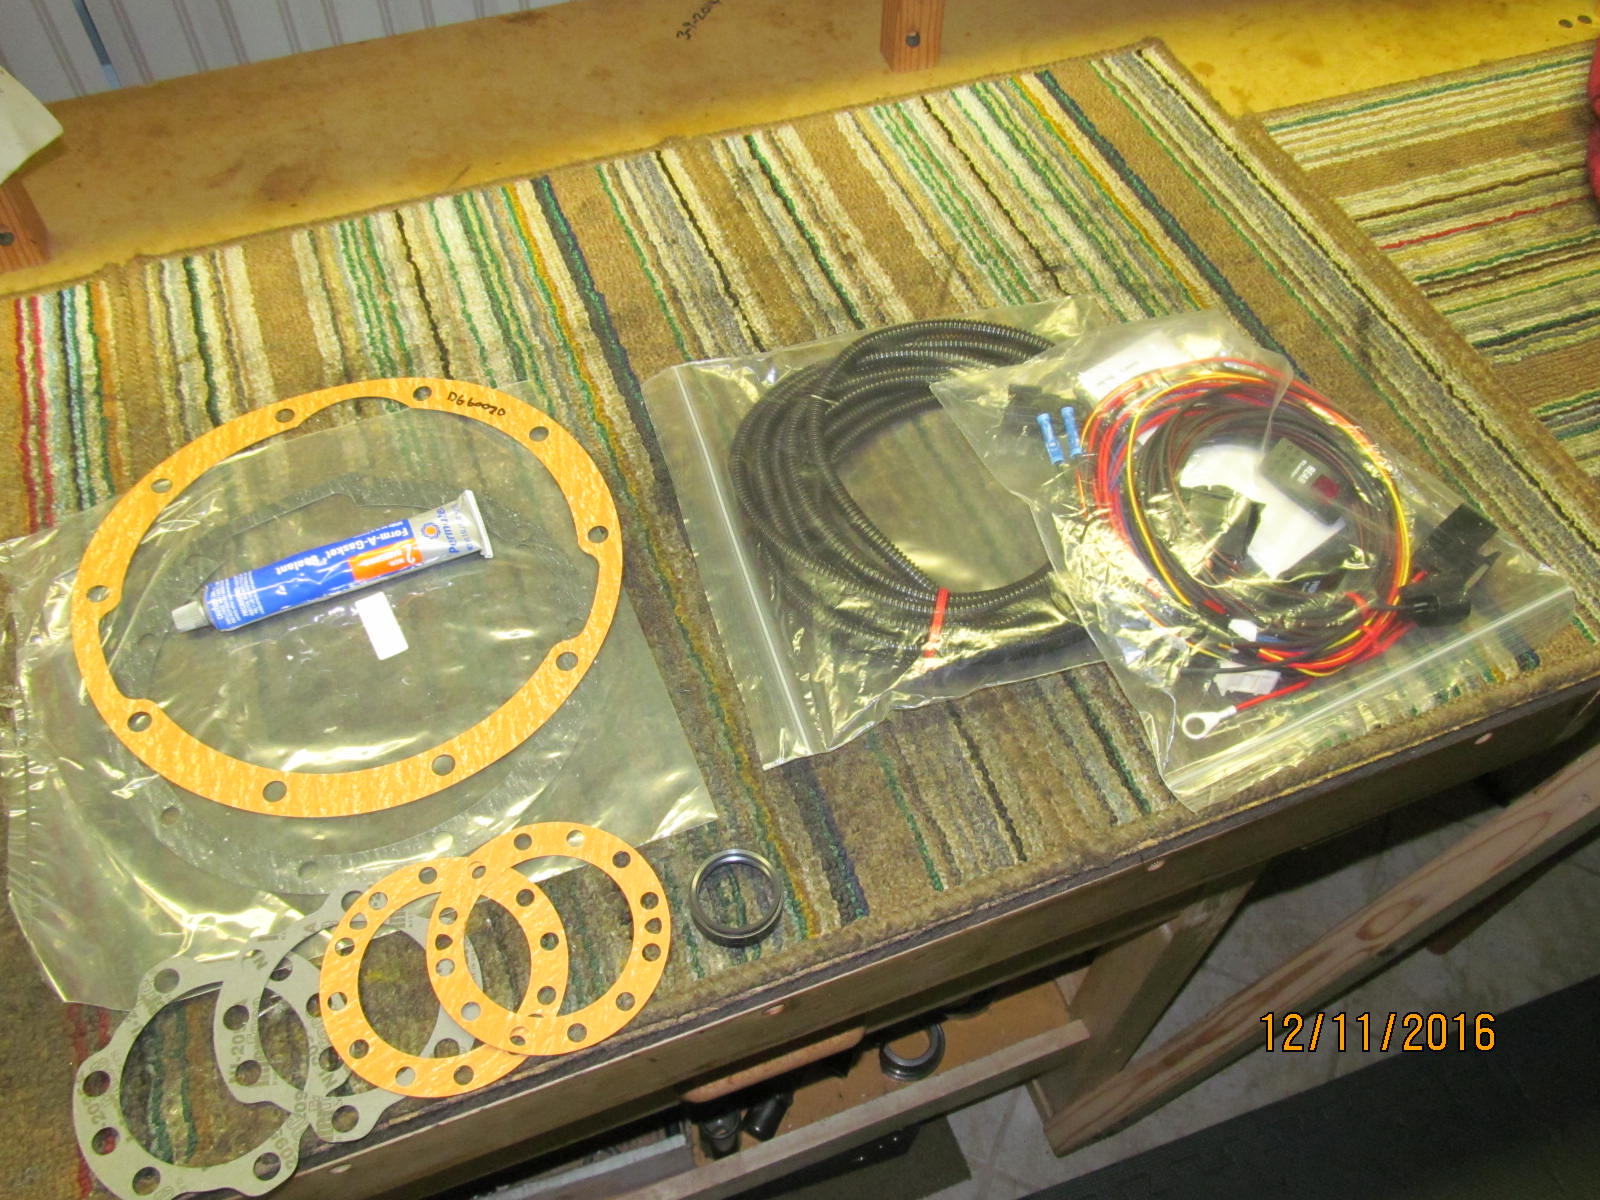
The rear Nitro 488 and master kit is in this box that came from Cruiser Outfitters.
|
|
|
|
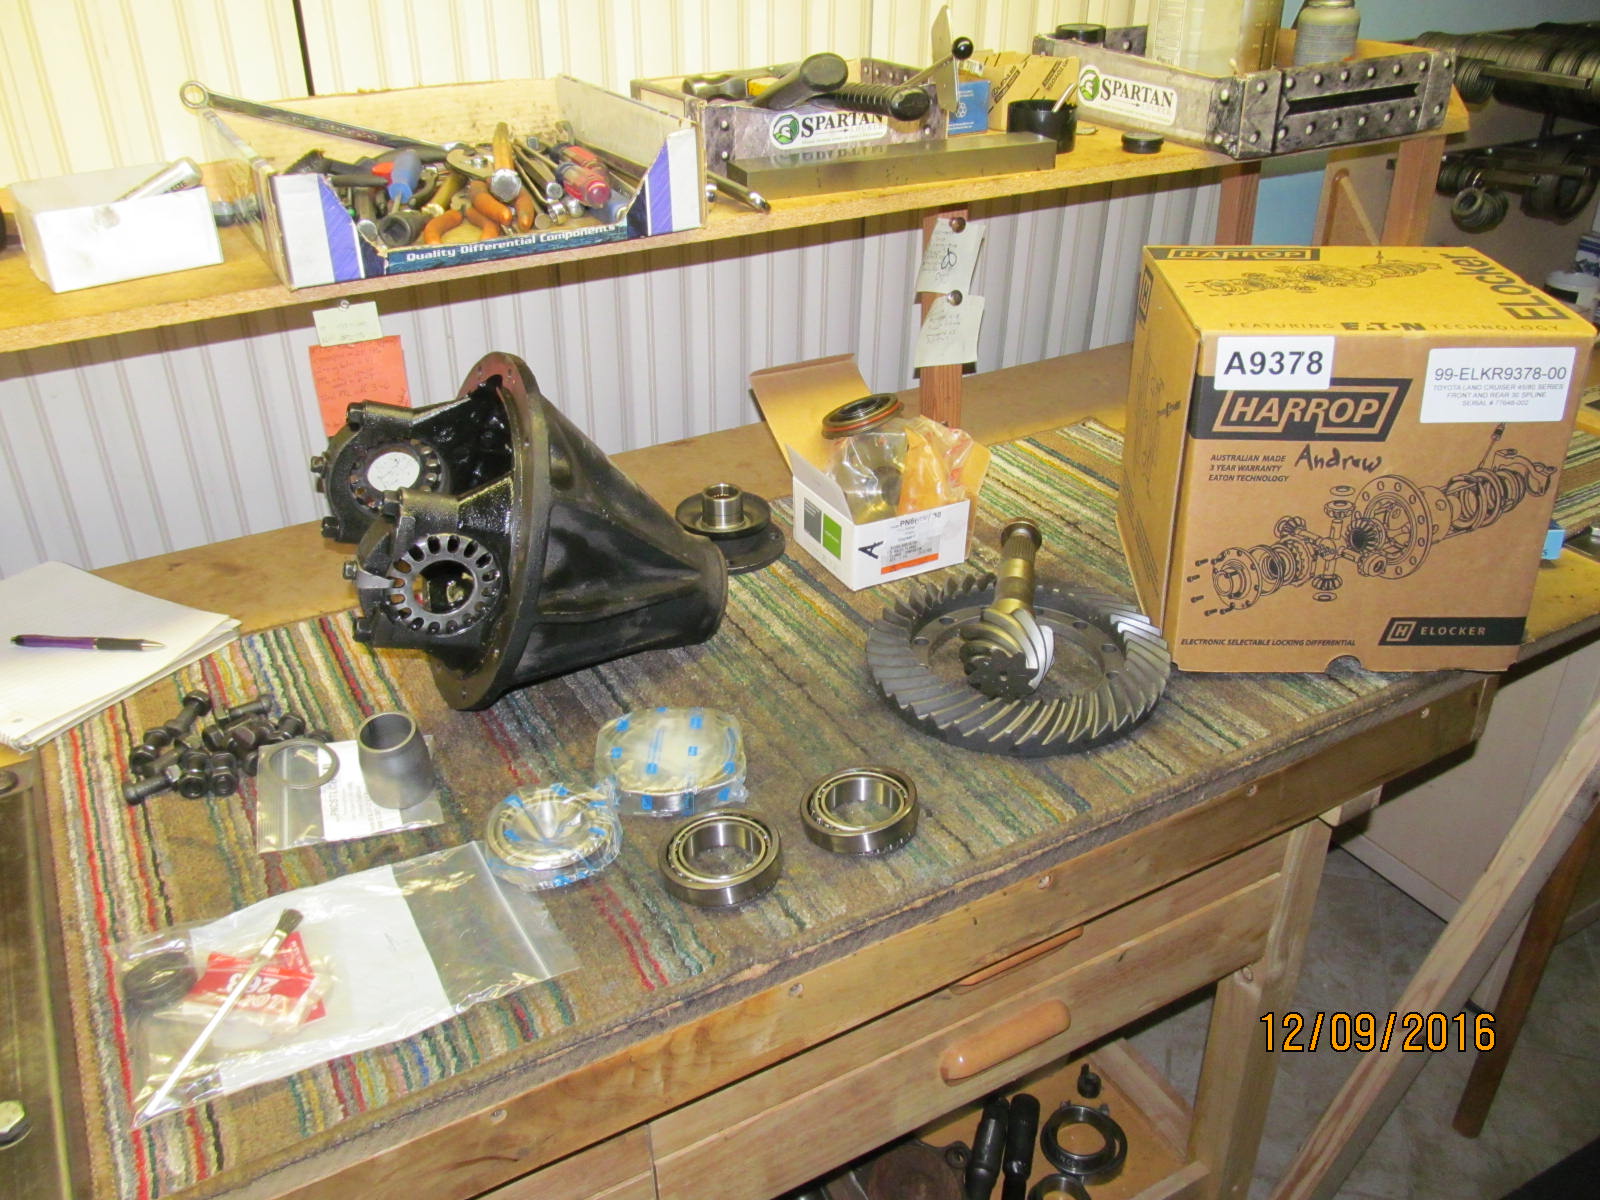
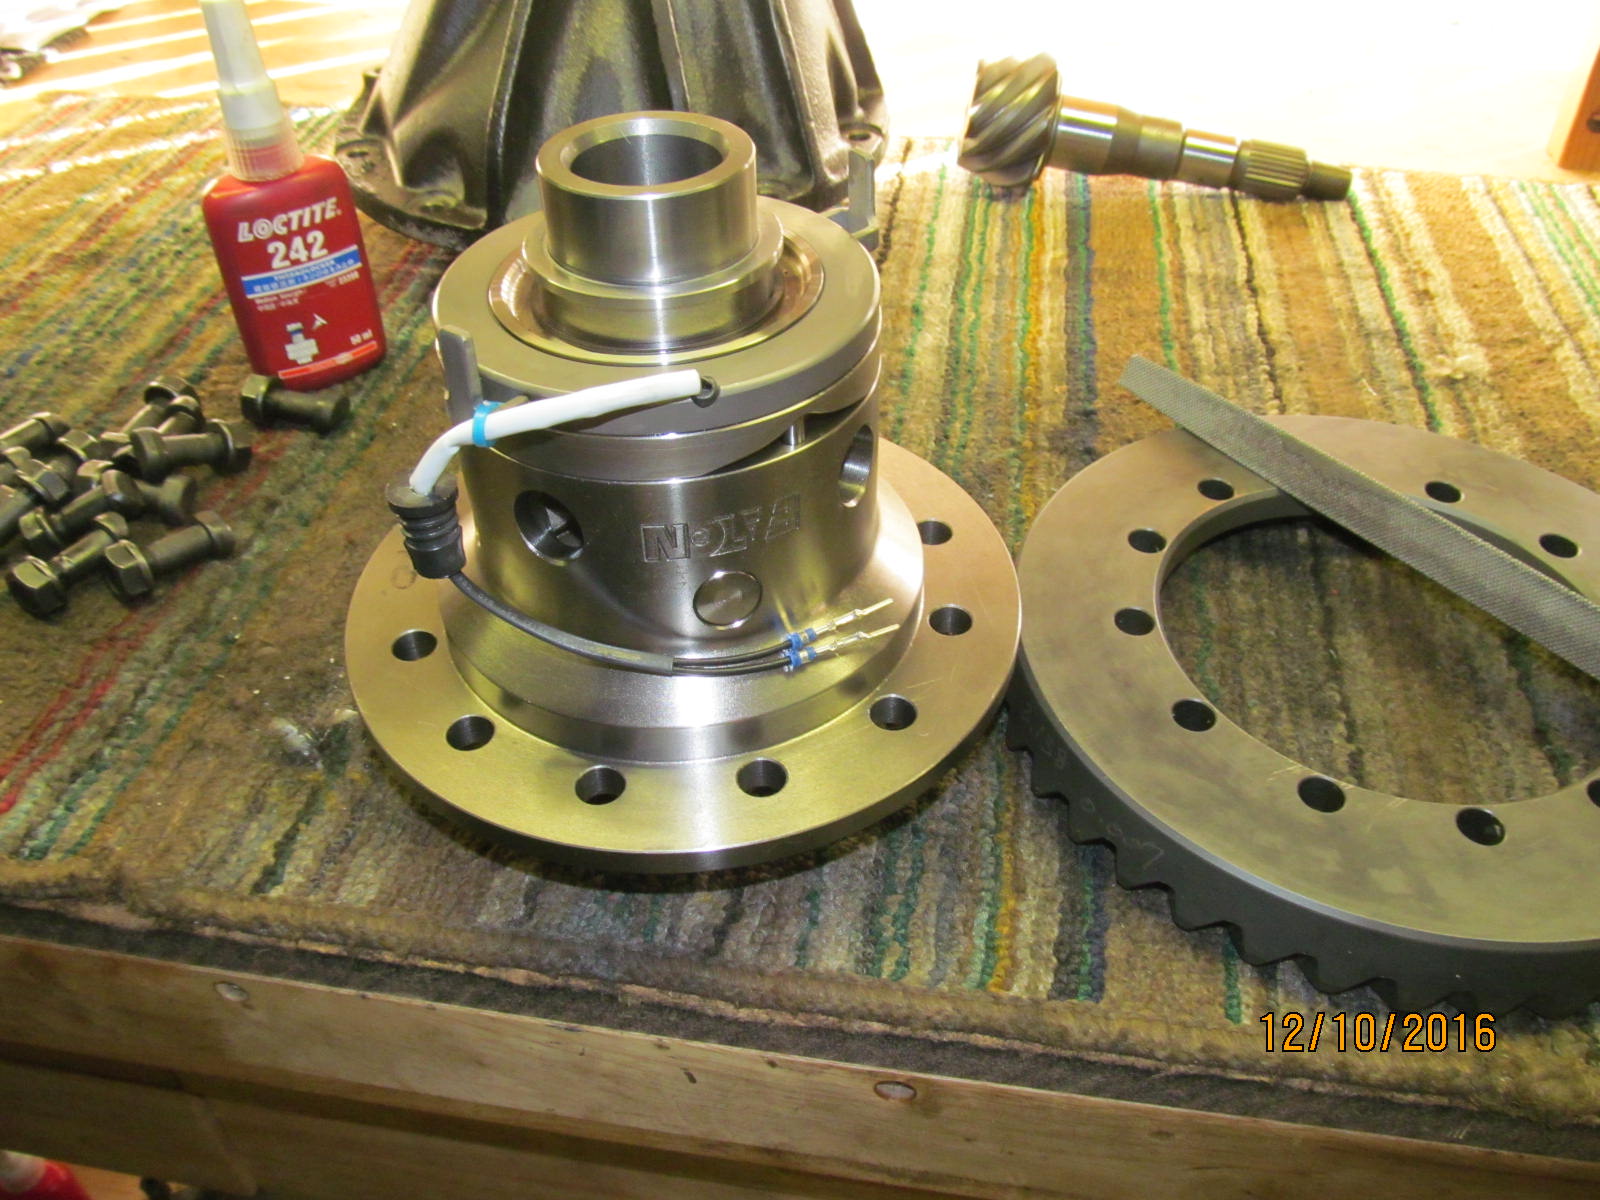
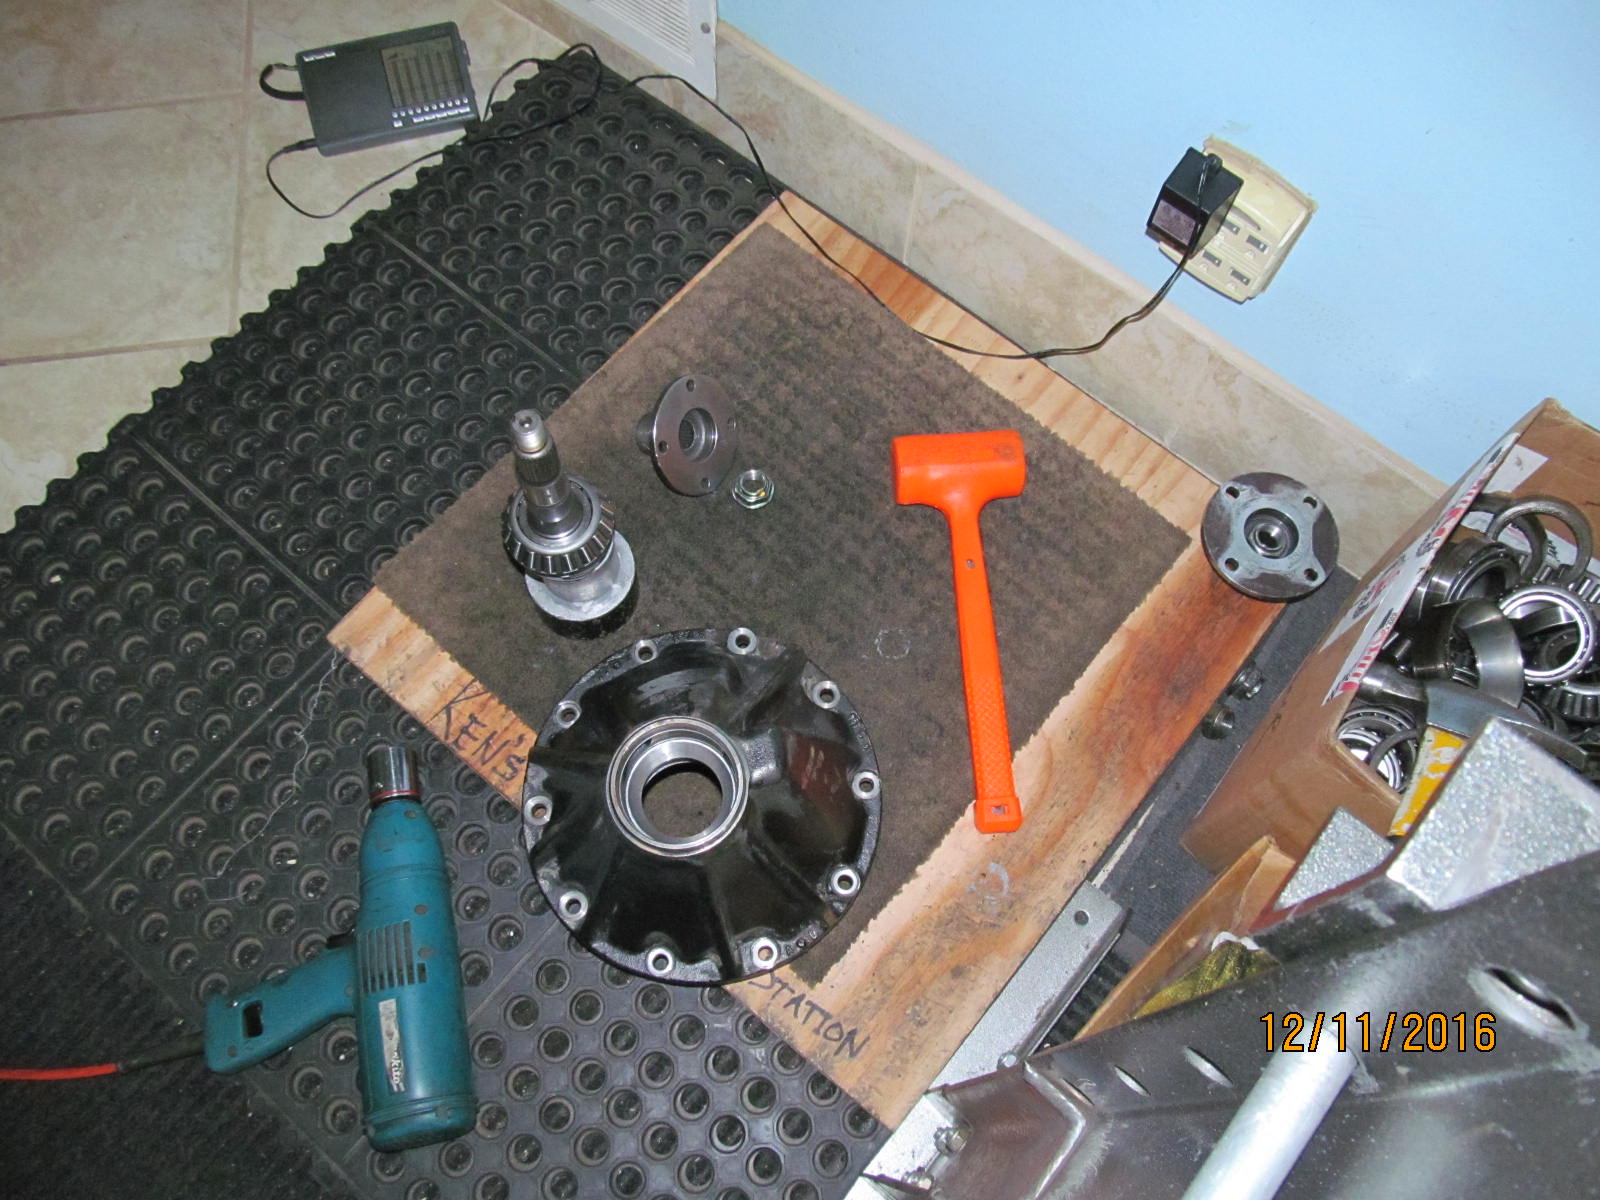
The bare 3rd shown was sent with the 12 special ring gear bolts and the oem used flange as shown.
The Harrop elocker #9378 is becoming a favorite rear elocker for the landcruiser guys. The
Marlin seal is for the rear 27 spline used flange and the little box with the 29 spline flange
is actually for the 8" hi-pinion front. No Marlin seal is available for those yet.
|
|
|
|
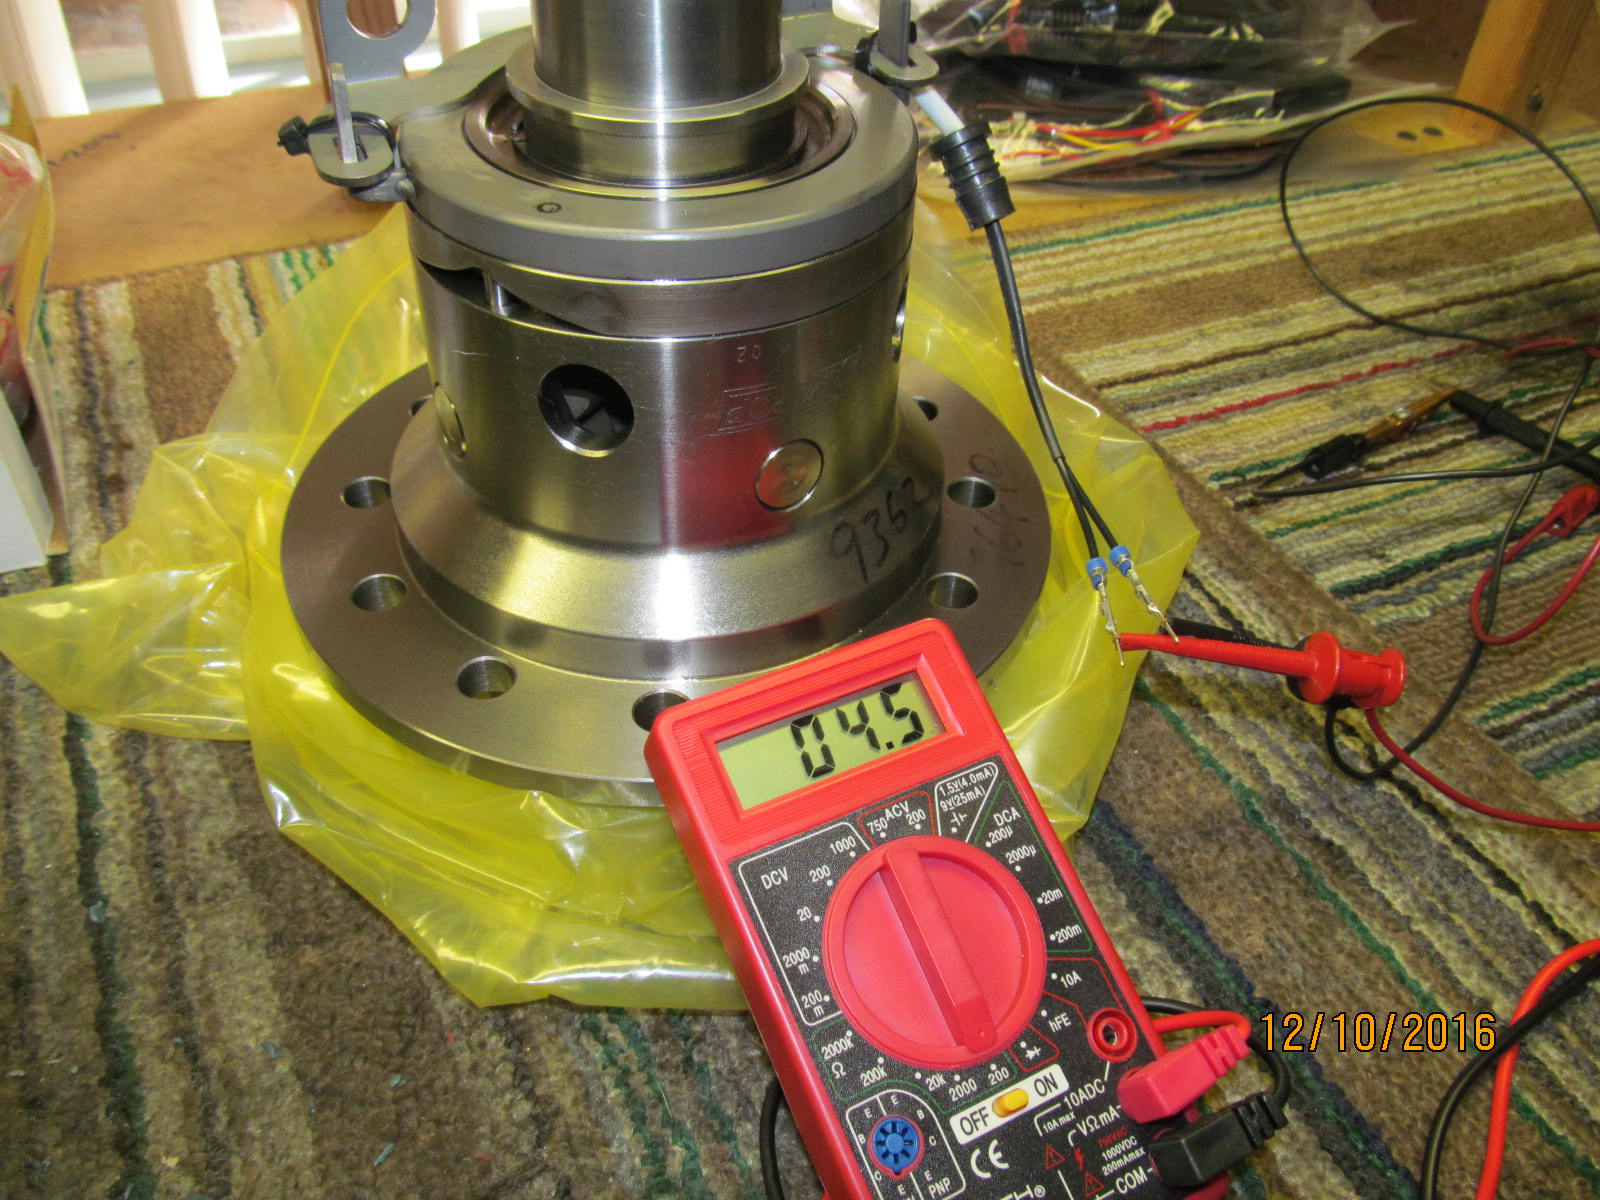
Just a quick check before the real work starts and the resistance of the electro-magnetic
coil is about 4.5 ohms. This cheapie meter(harborfreight) is not exactly lab quality
but it gets it done.
|
|
|
|
|
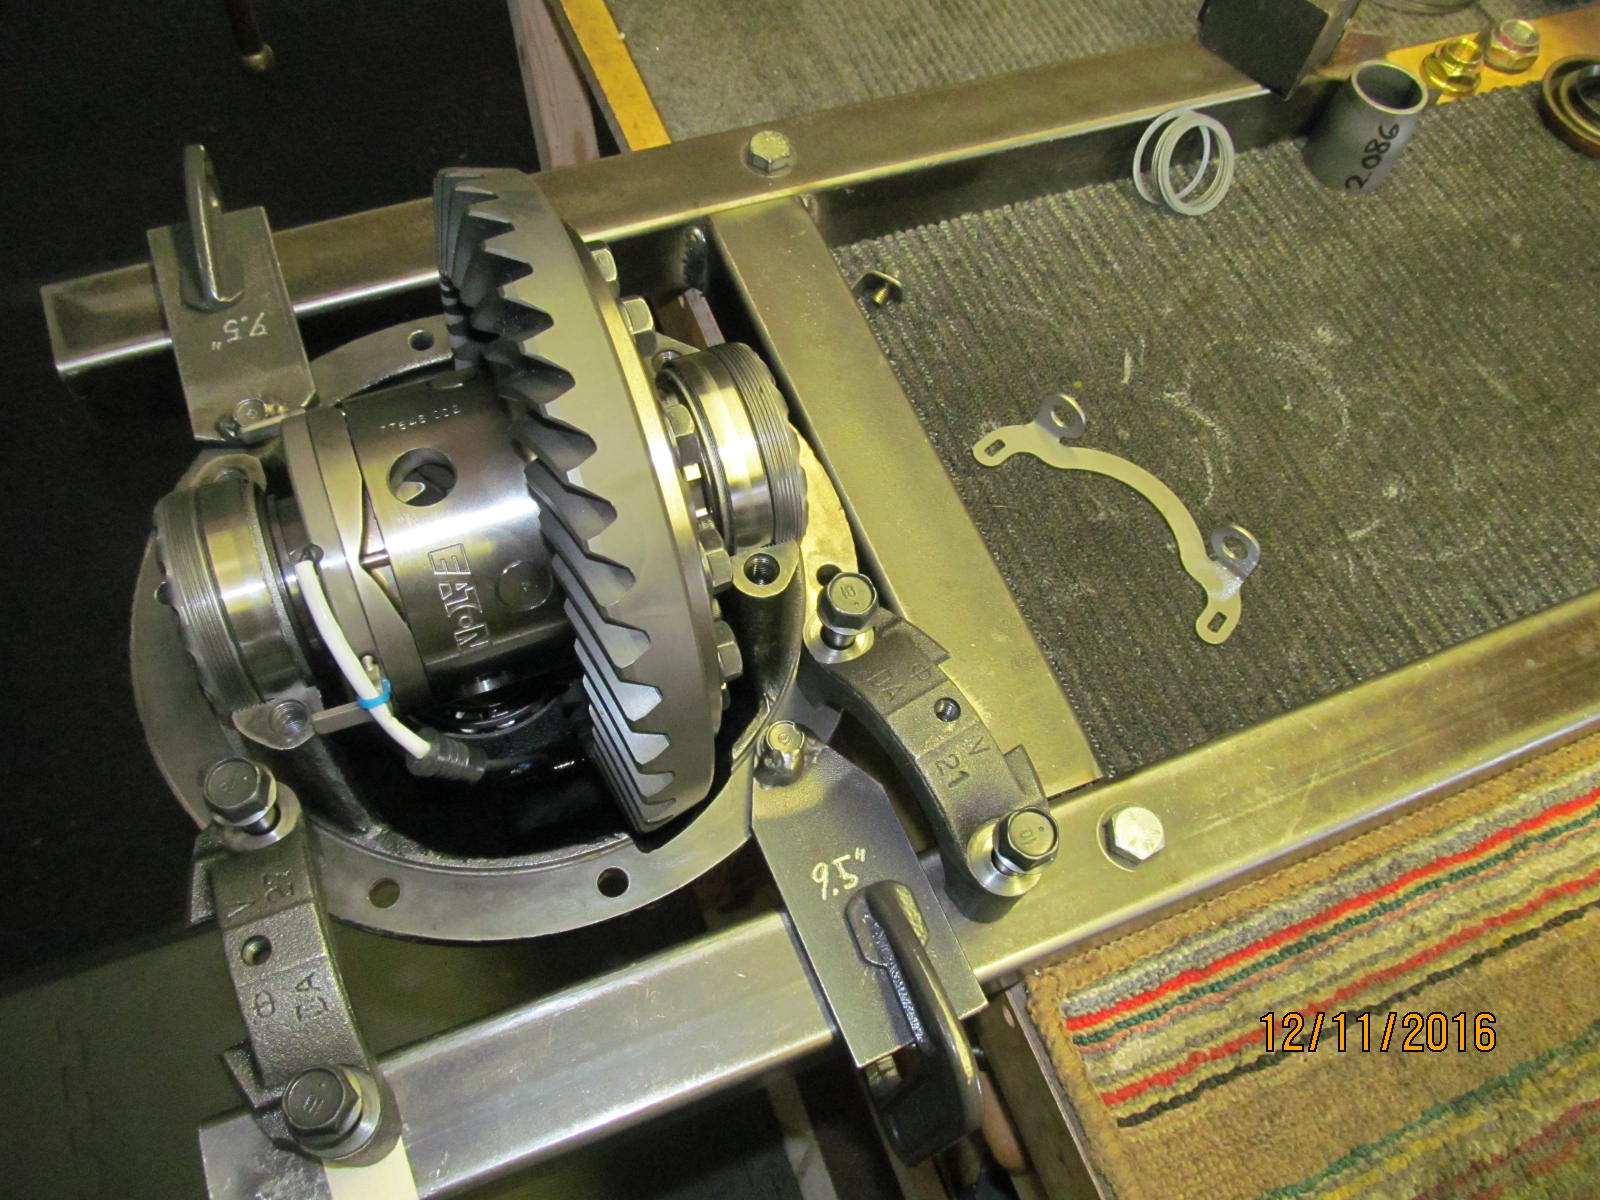
File check and all is good. The case of the elocker says Eaton on this side...
|
|
|
|
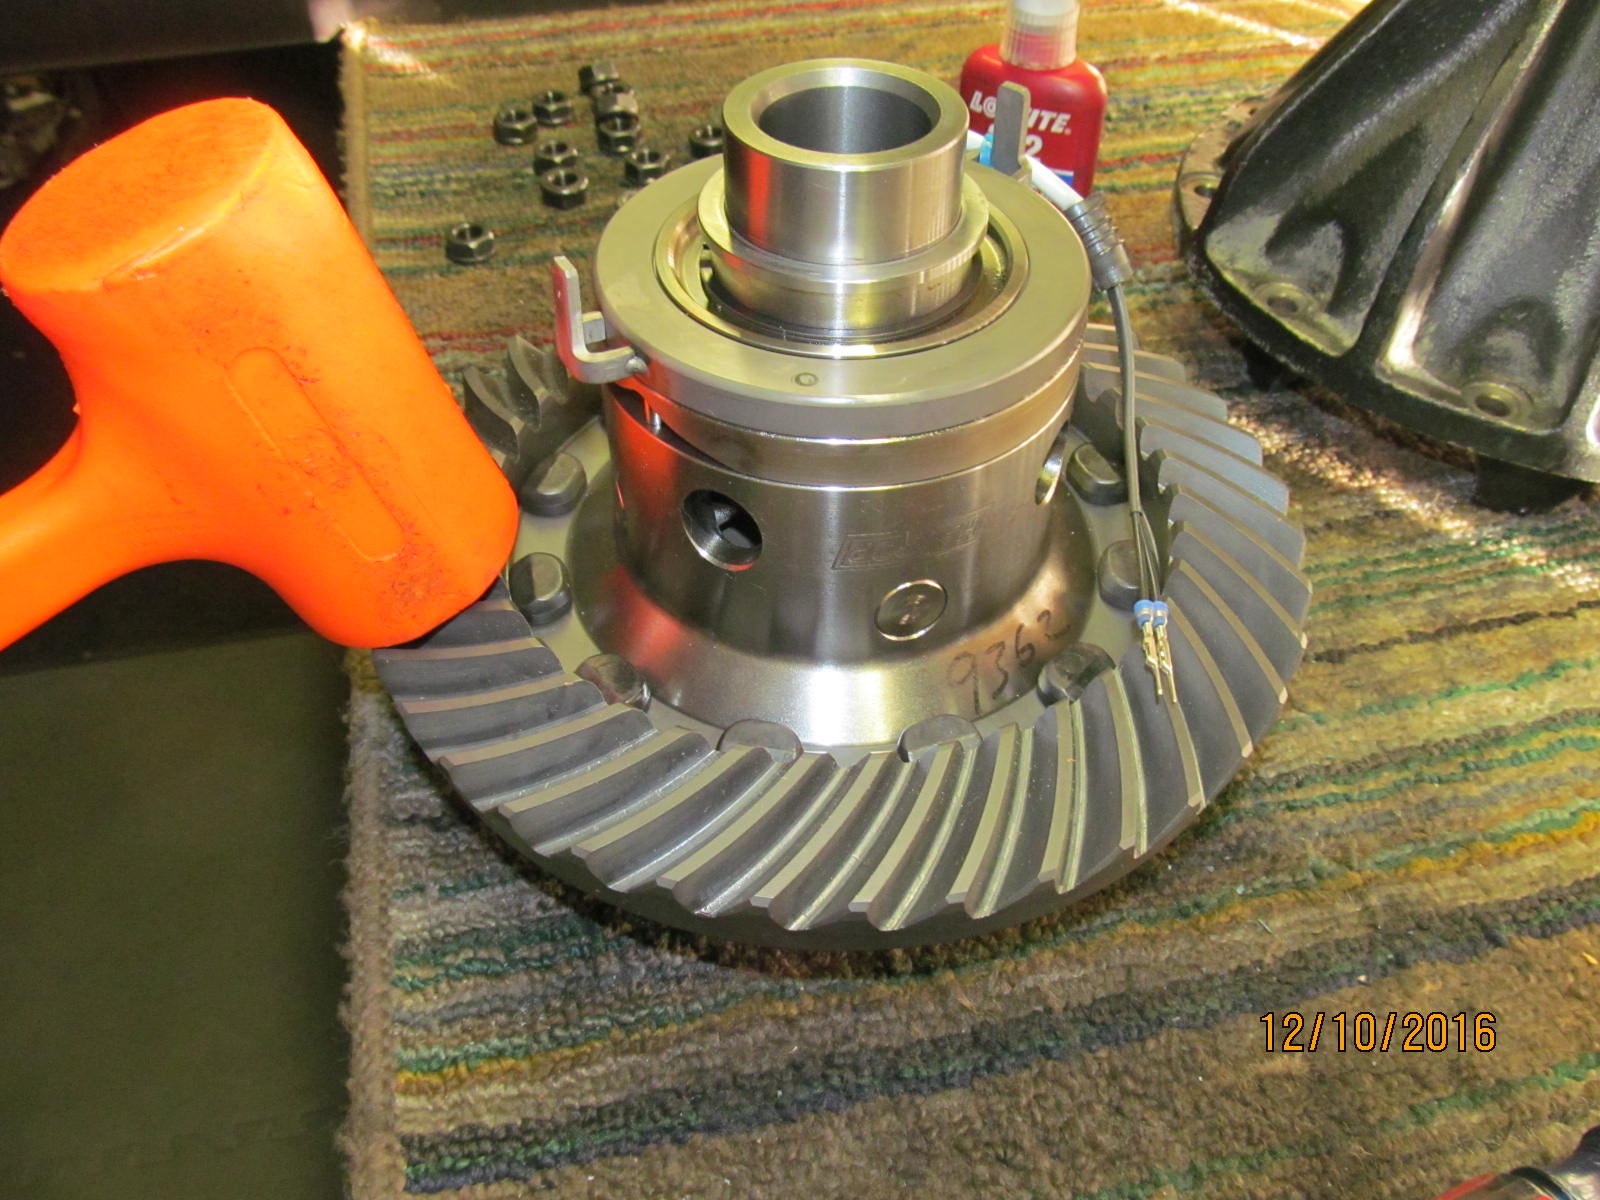
...and says Harrop on the other side.
Ring actually tapped down pretty firmly and all the bolts lined up perfect.
|
|
|
|
|
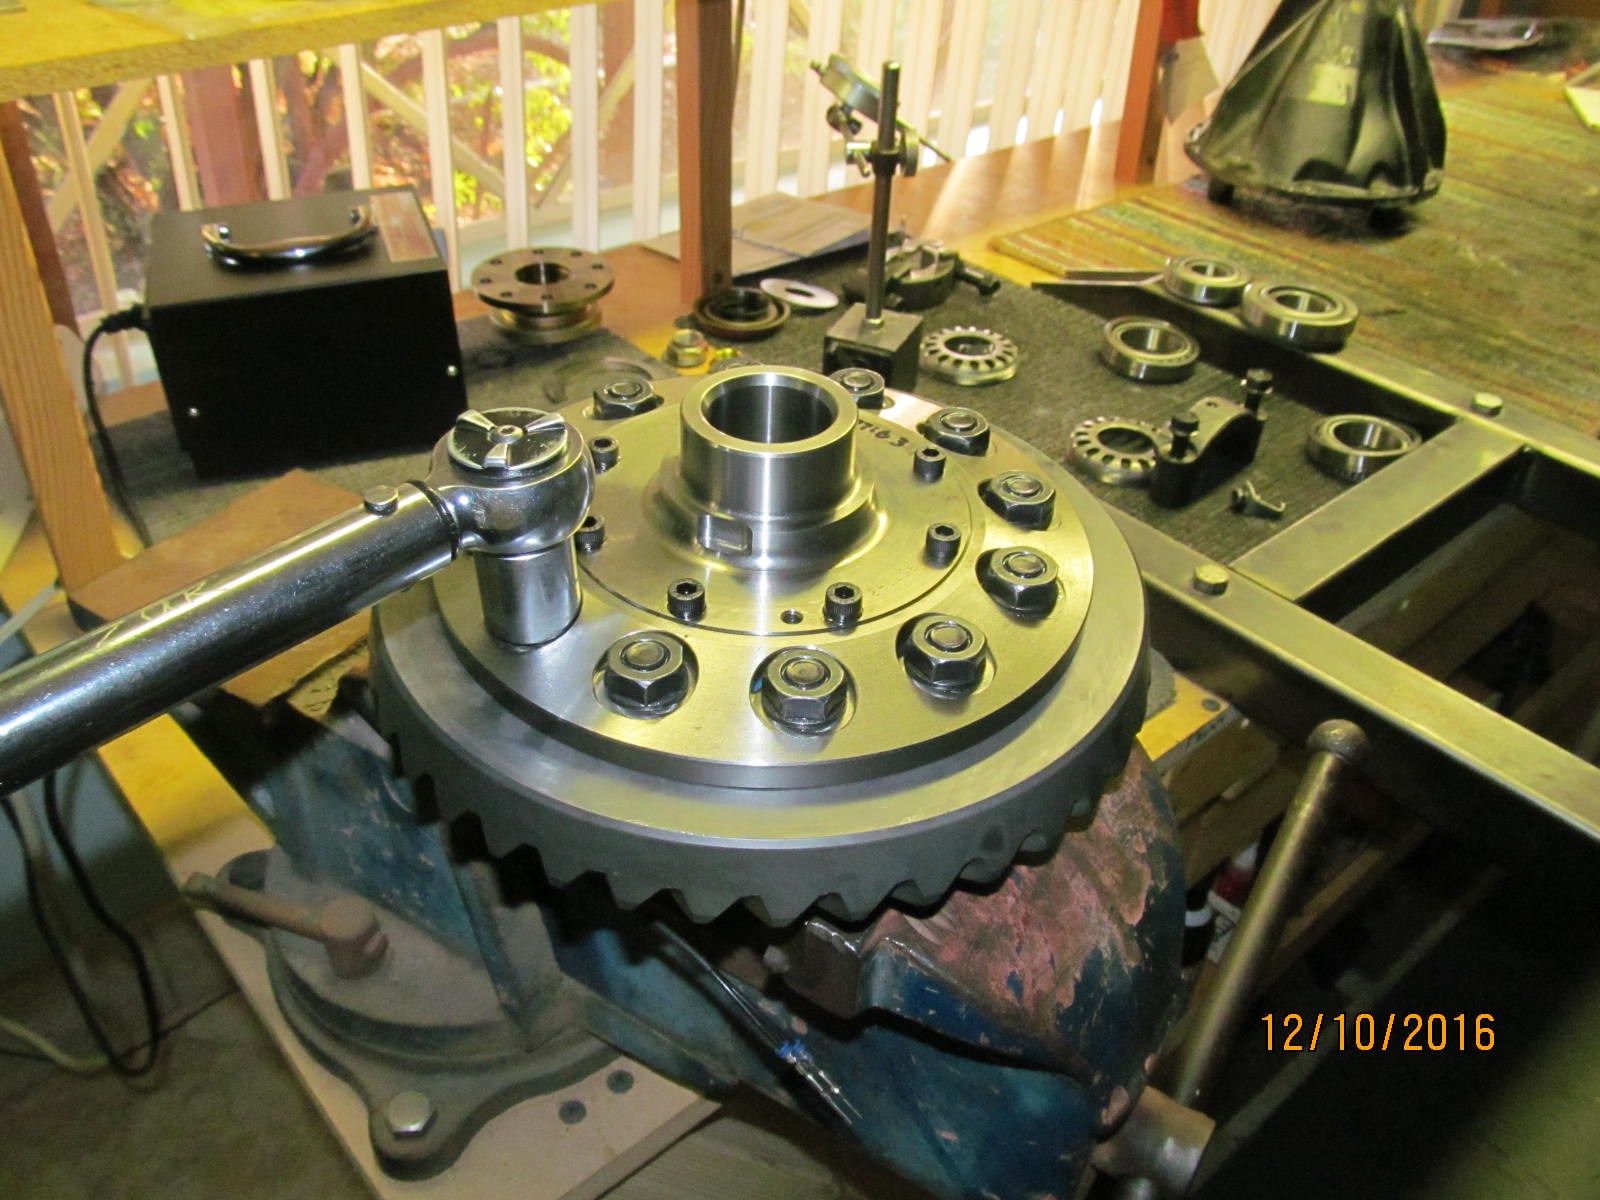
Blue locktight and 81 ft/lb on all 12.
|
|
|
|
|
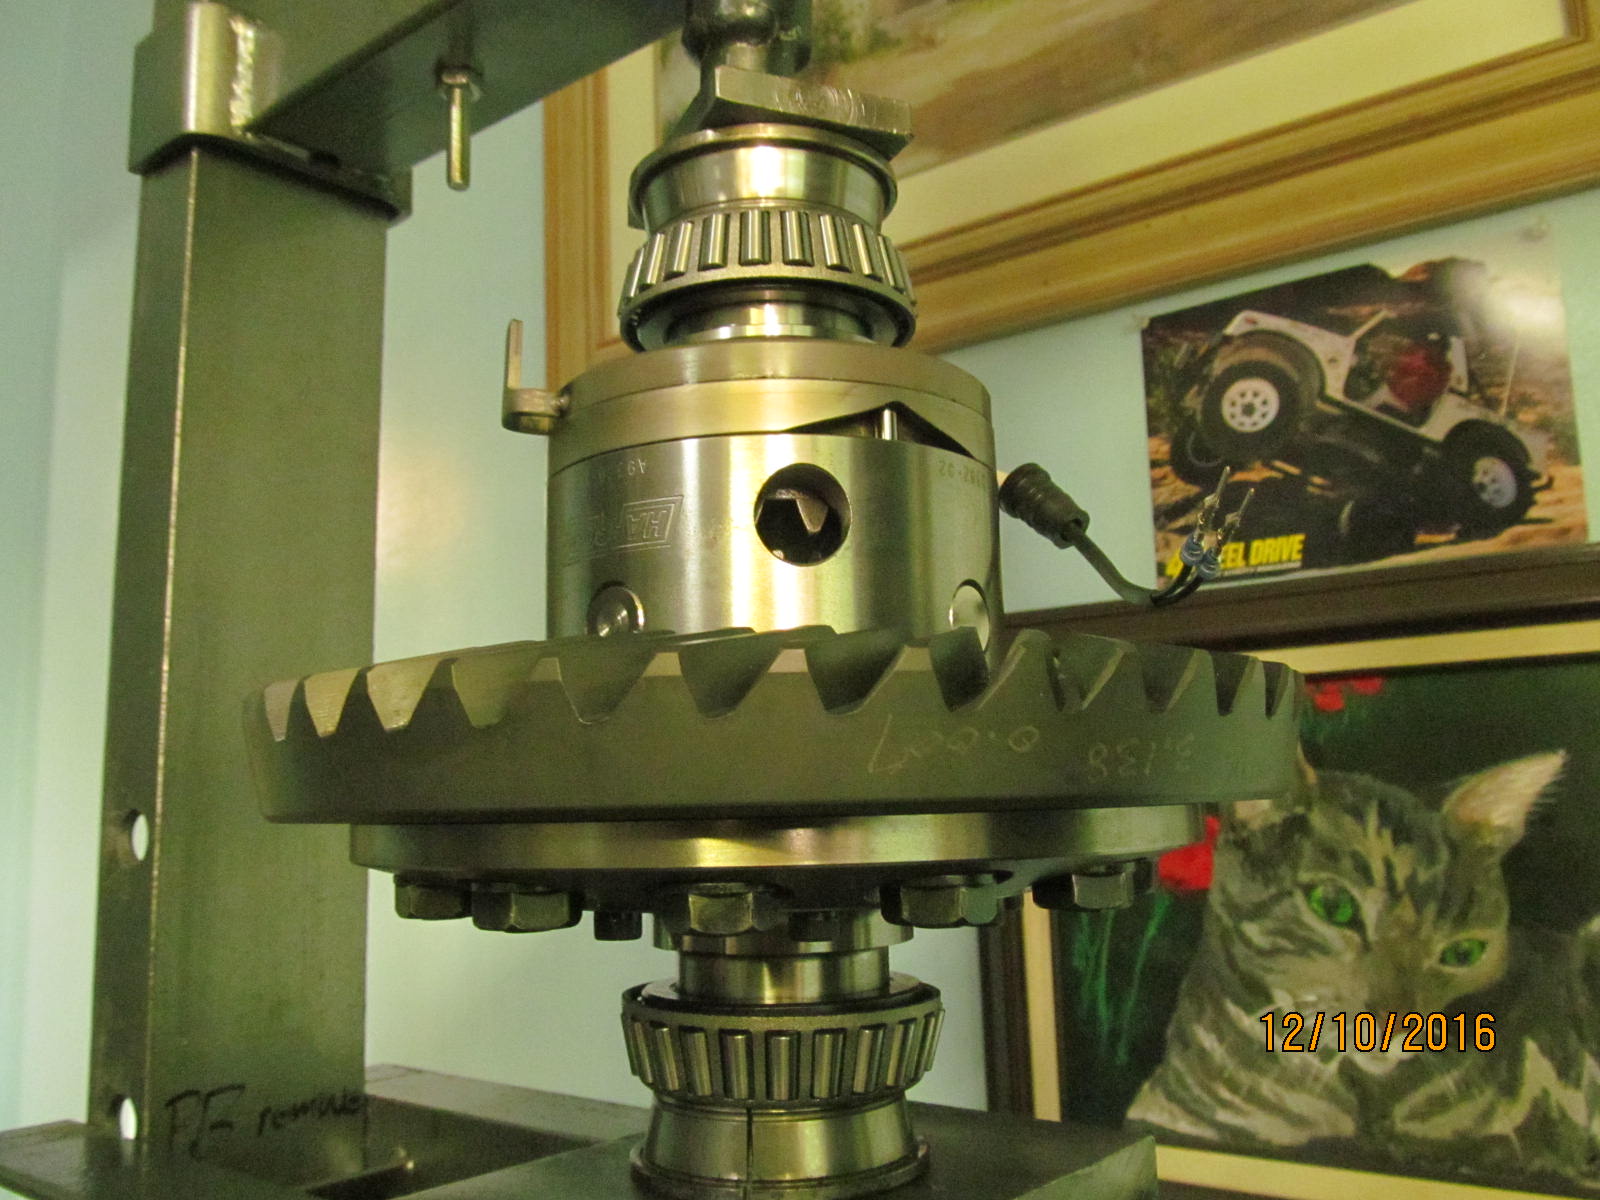
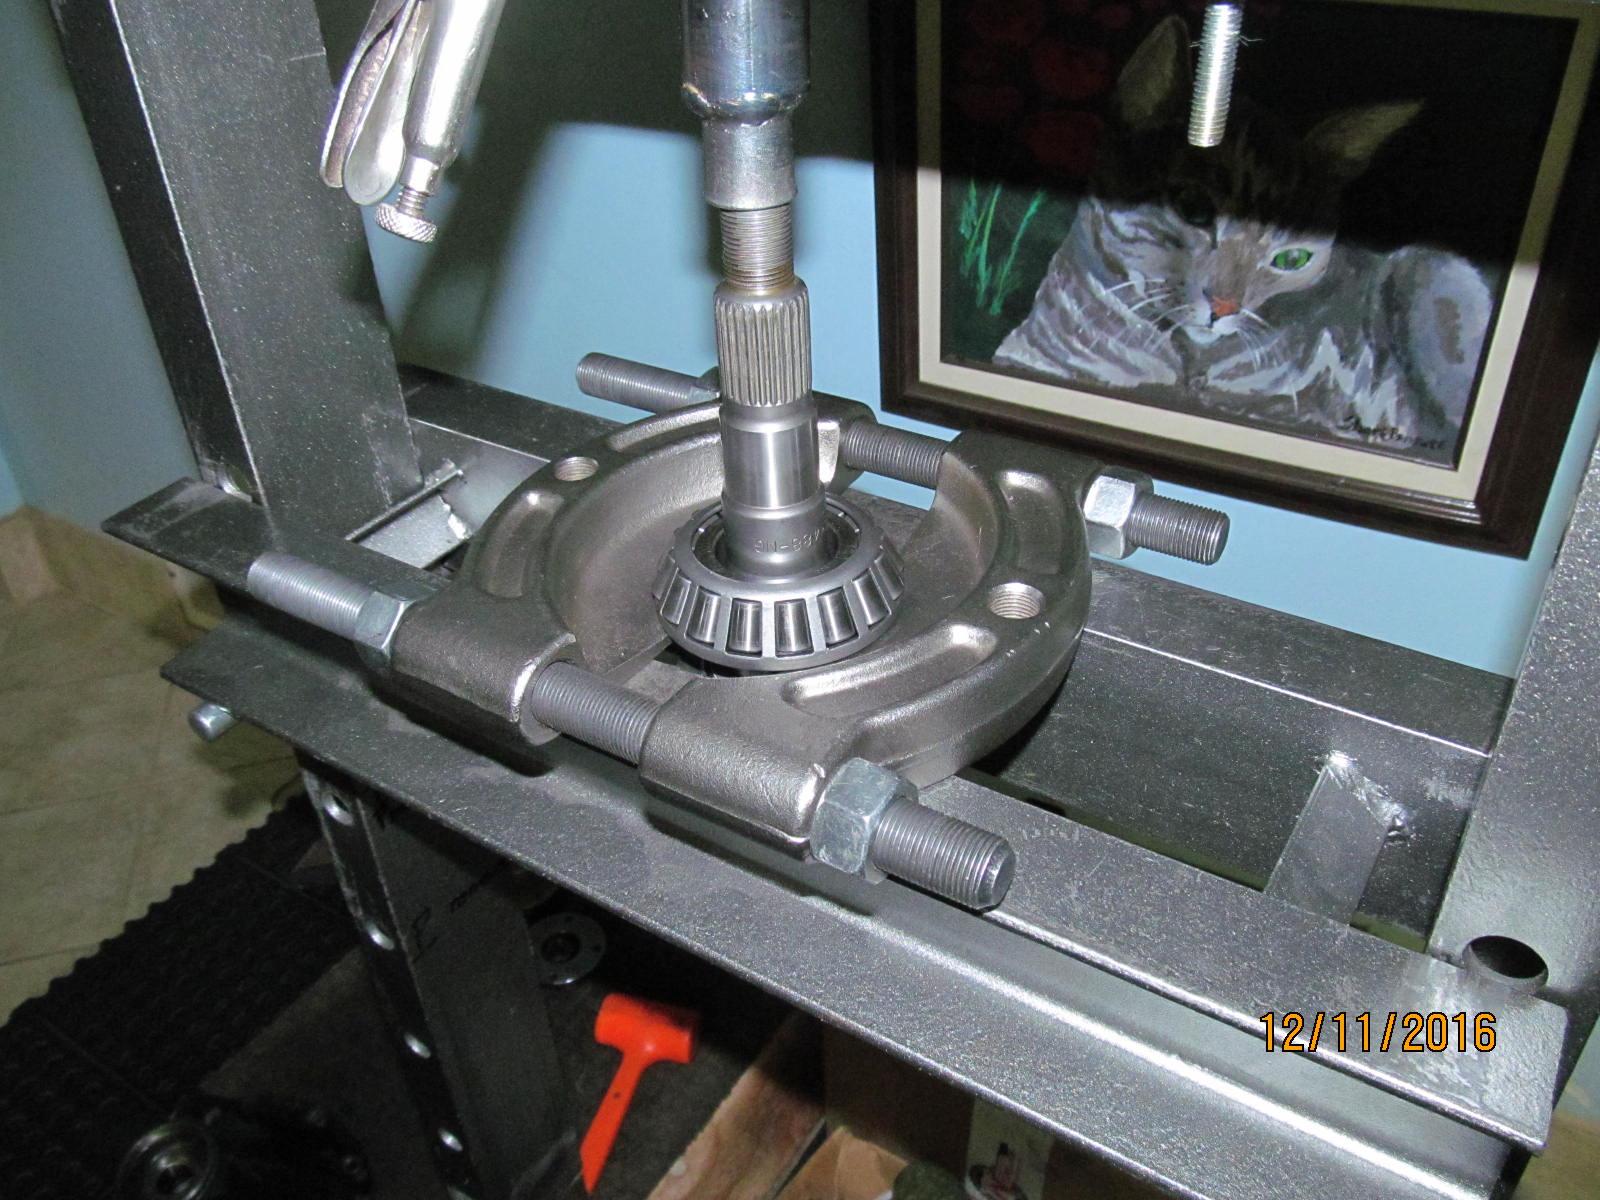
Carrier bearings can be pressed on at the same time as shown here.
|
|
|
|
|
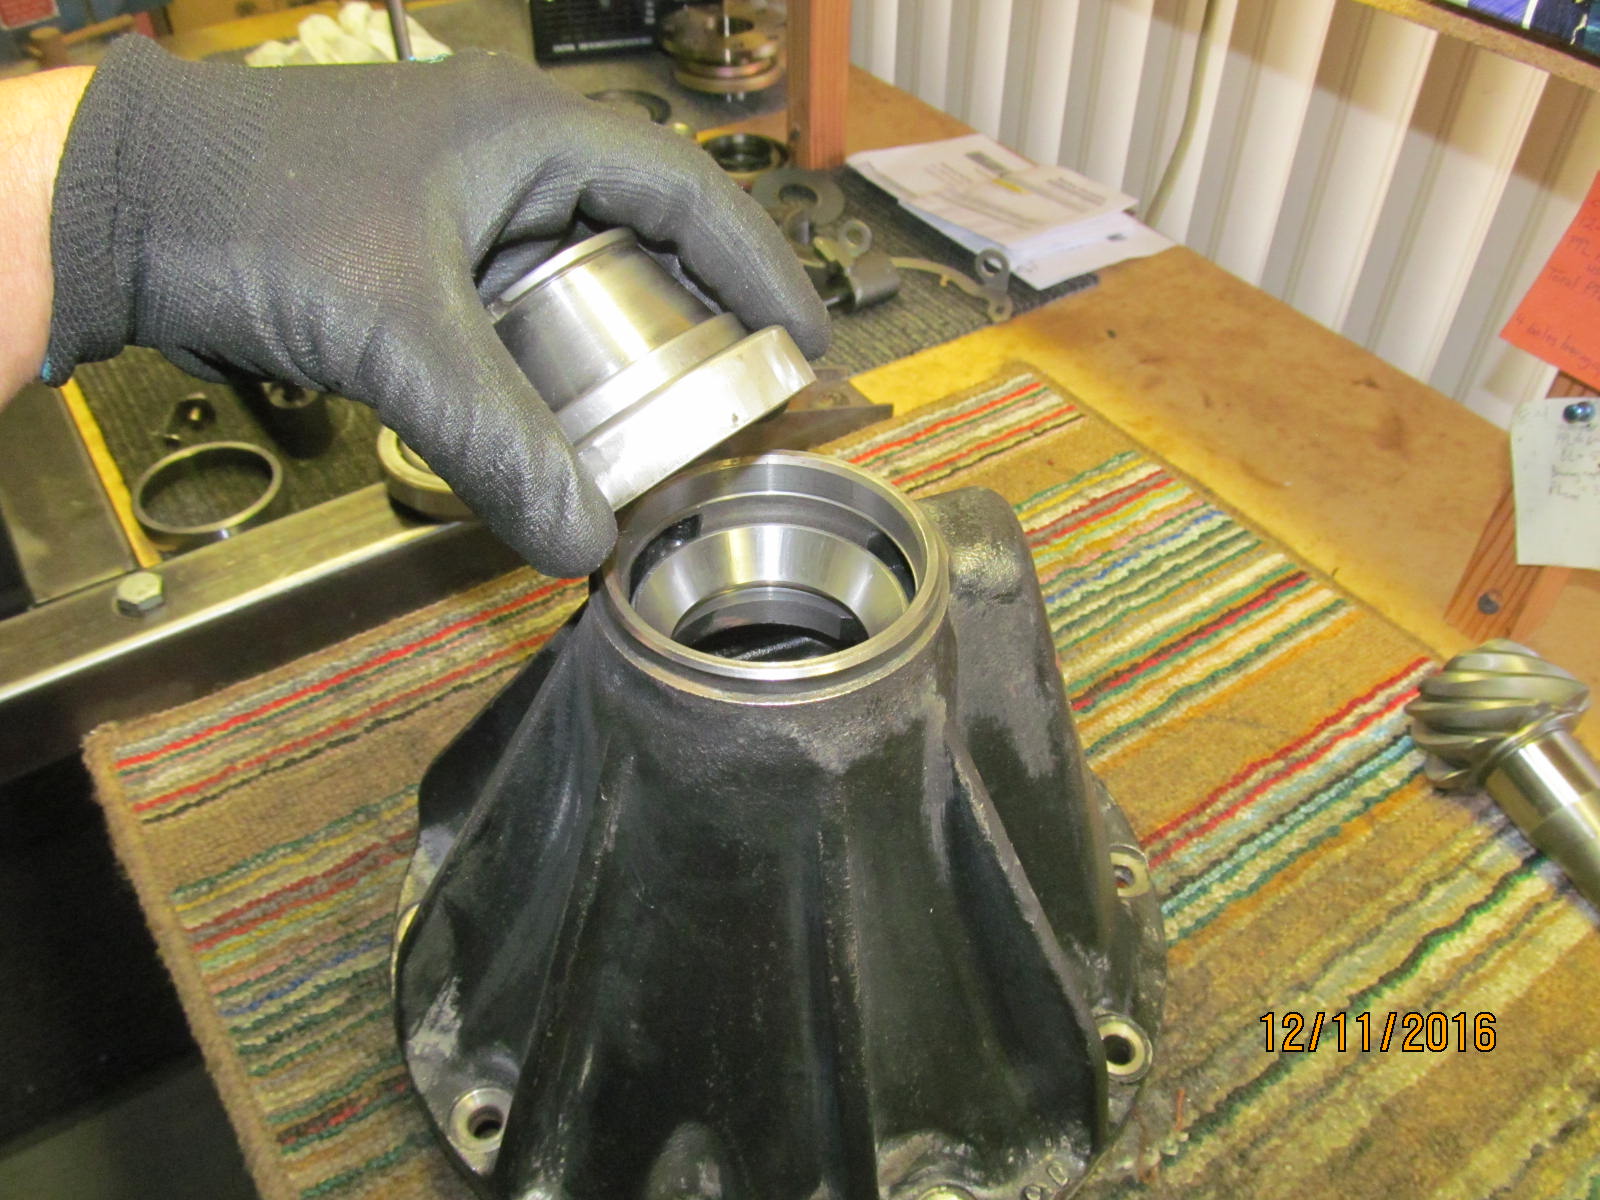
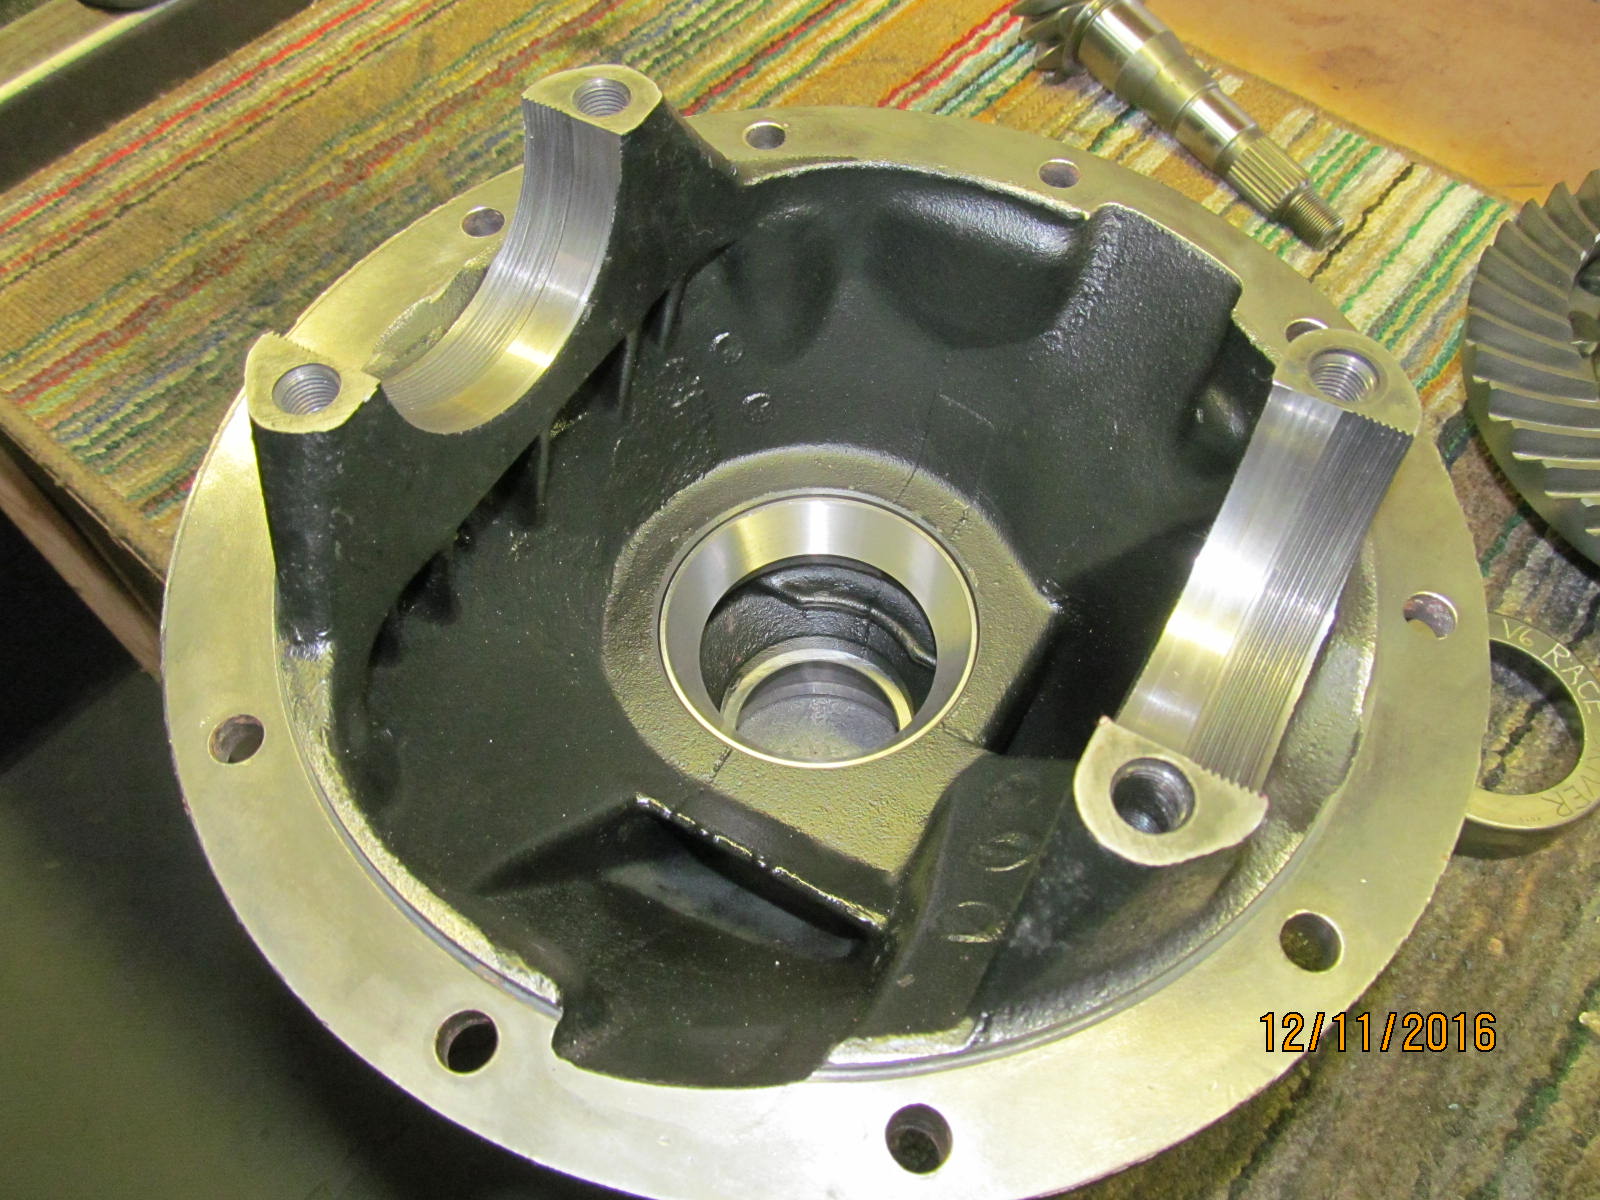
New outer race is tapped in.
|
|
|

|
|
tap tap tap.
|
|
|
|
Same for the larger inner race. Takes a little more attention to get it to tap down
evenly but it can be done. No soft punches.....I use an old race to evenly distribute the forces.
|
|
|
|
|
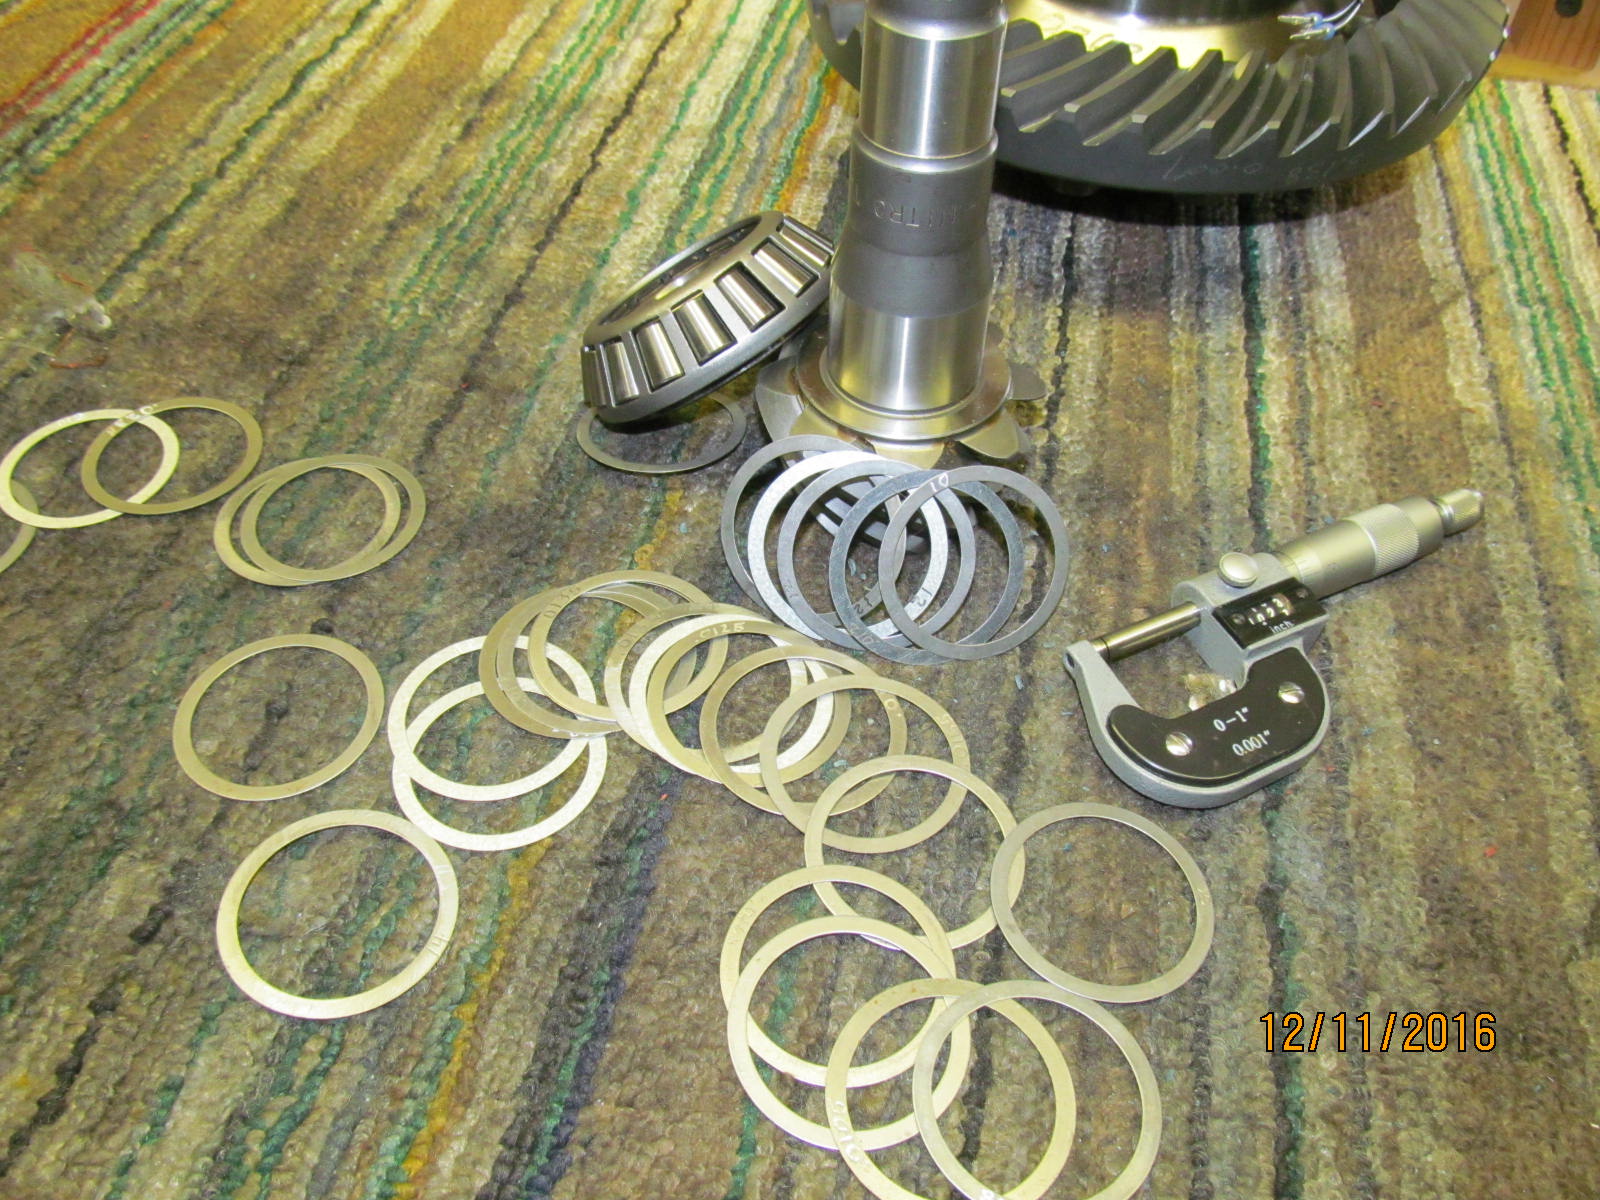
Being a Nitro gear, .058" is a good starting point.
|
|
|
|
|
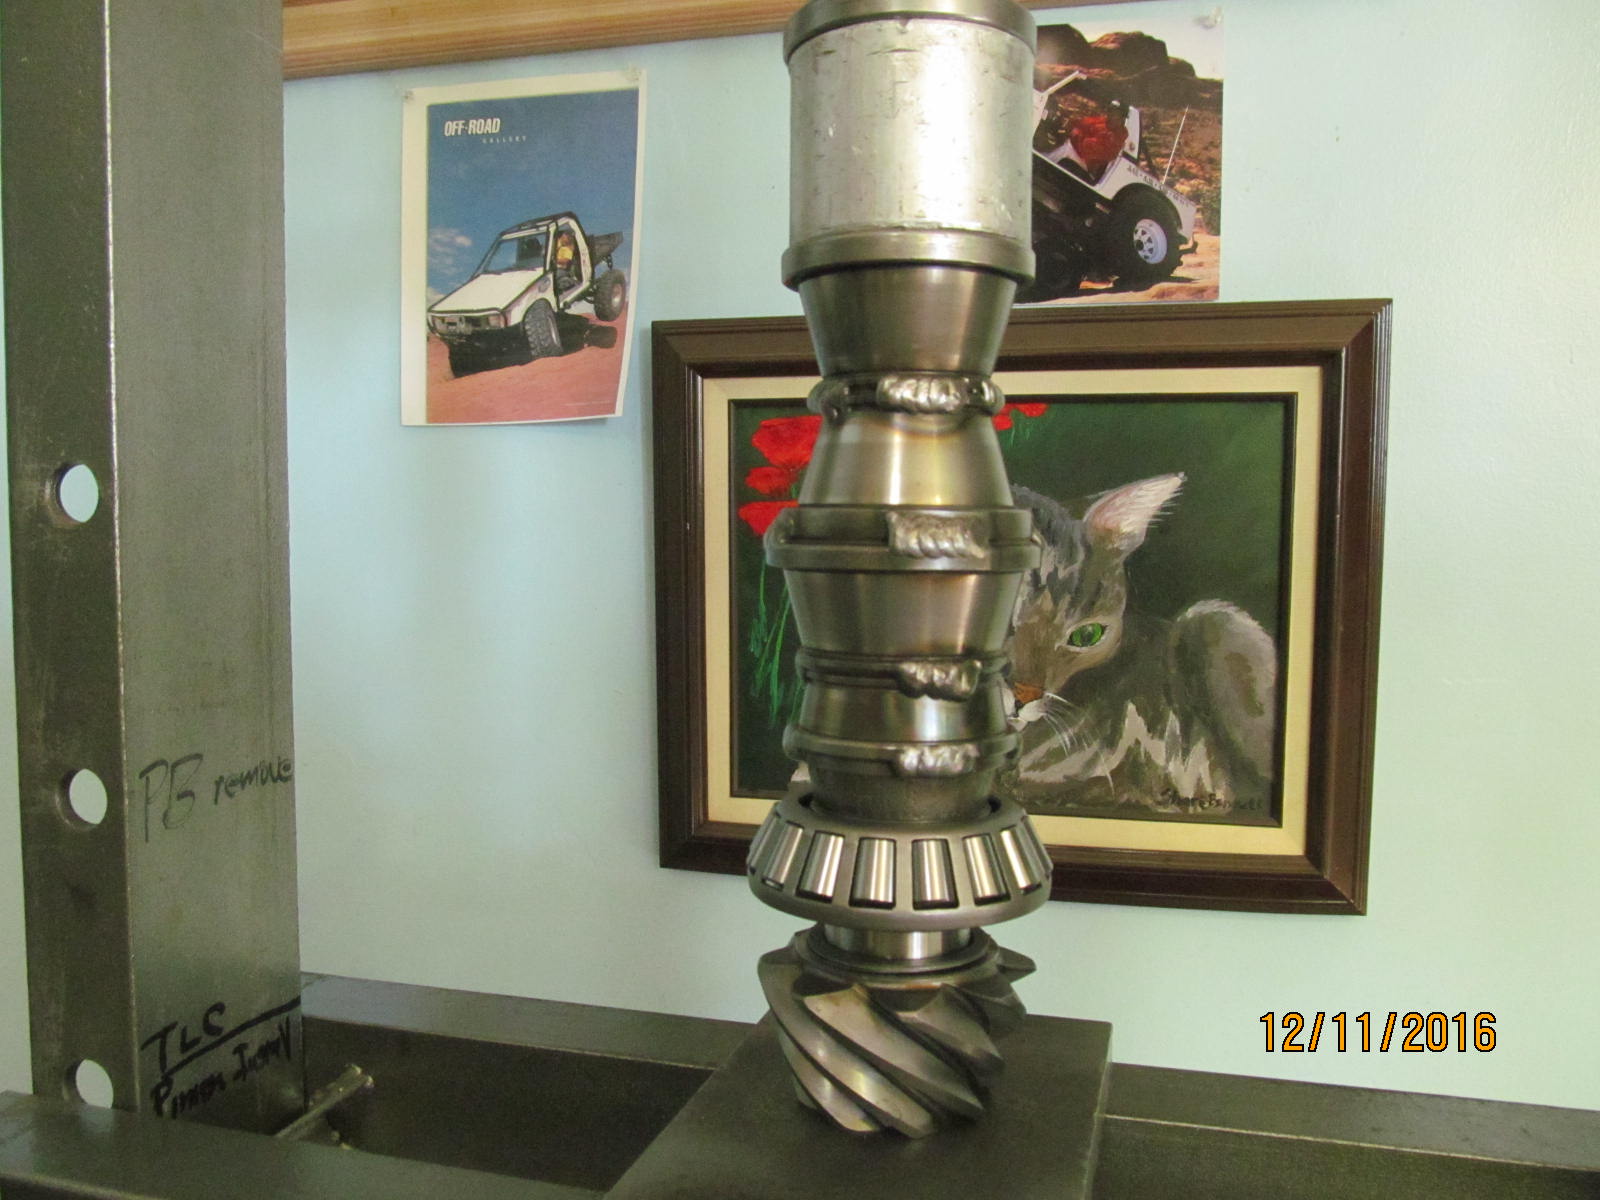
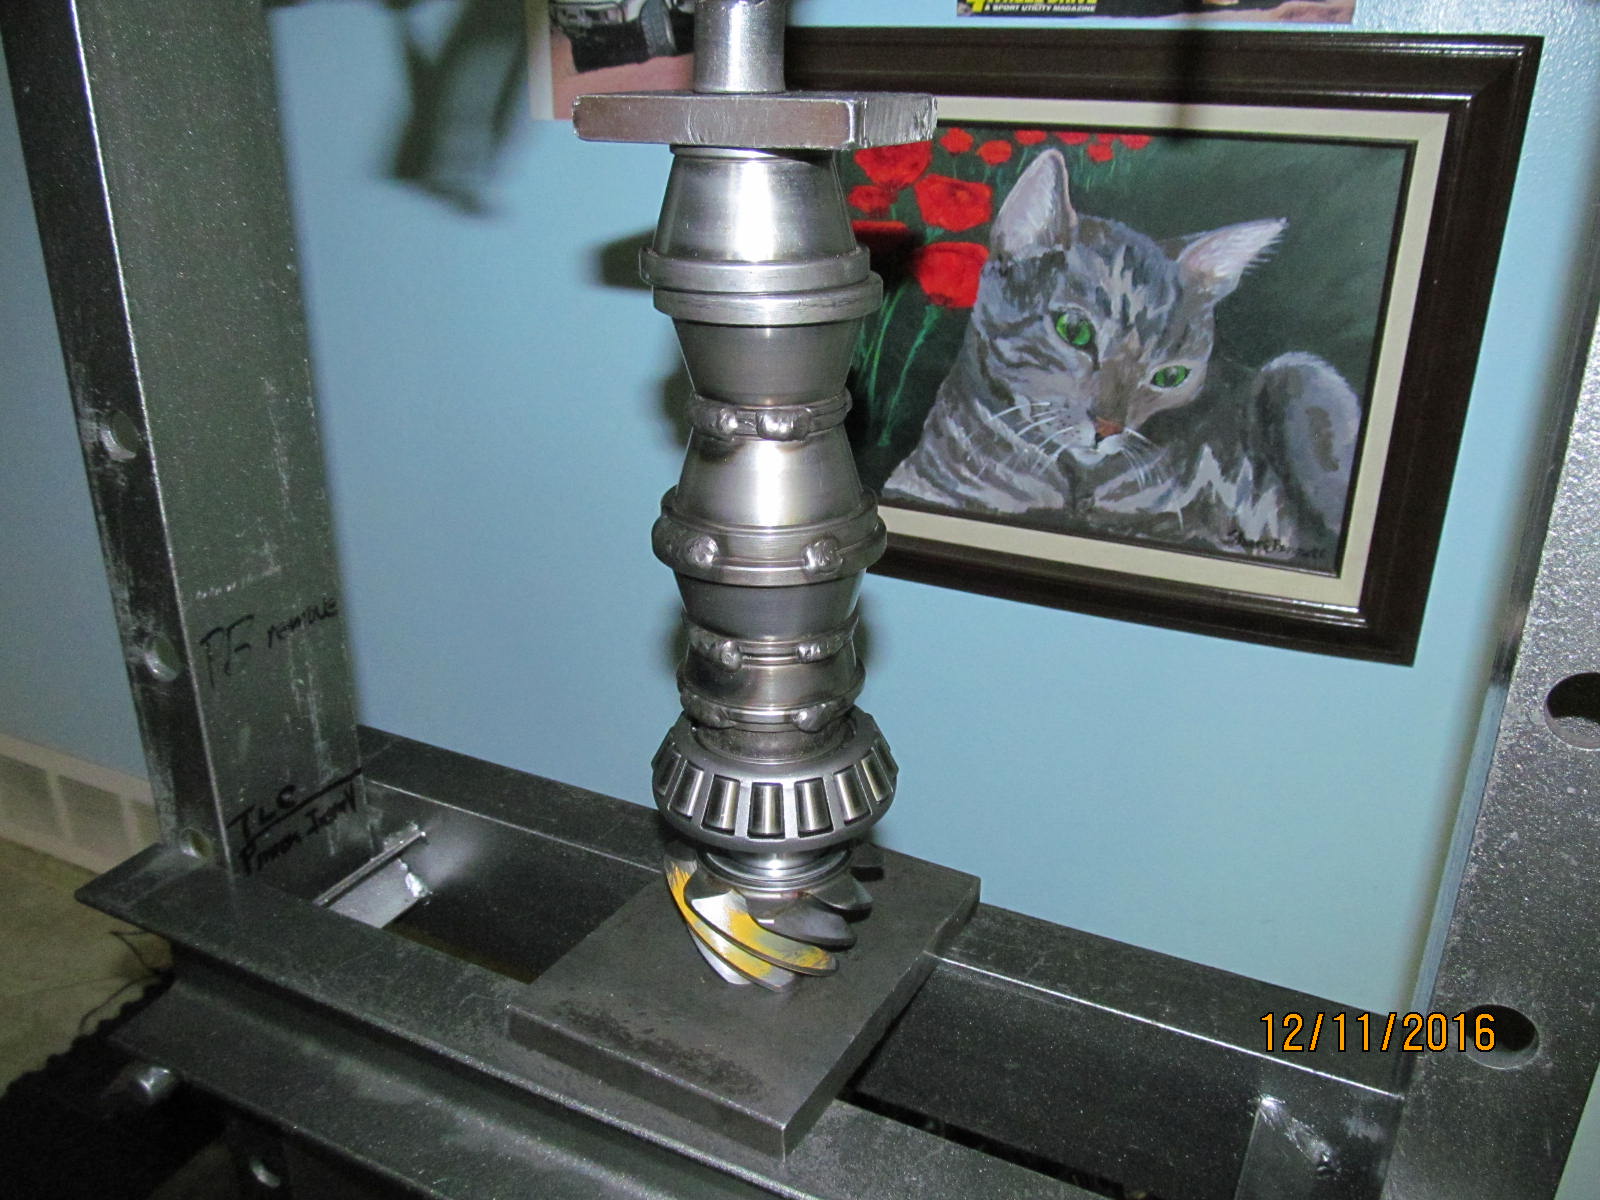
New inner race is pressed on the pinion with the basic 12 ton. The cat watches this operation closely.
|
|
|
|
|
Pinion can now be mounted in the empty 3rd.
|
|
|
|
|
Now the elocker carrier goes in...
|
|
|
|
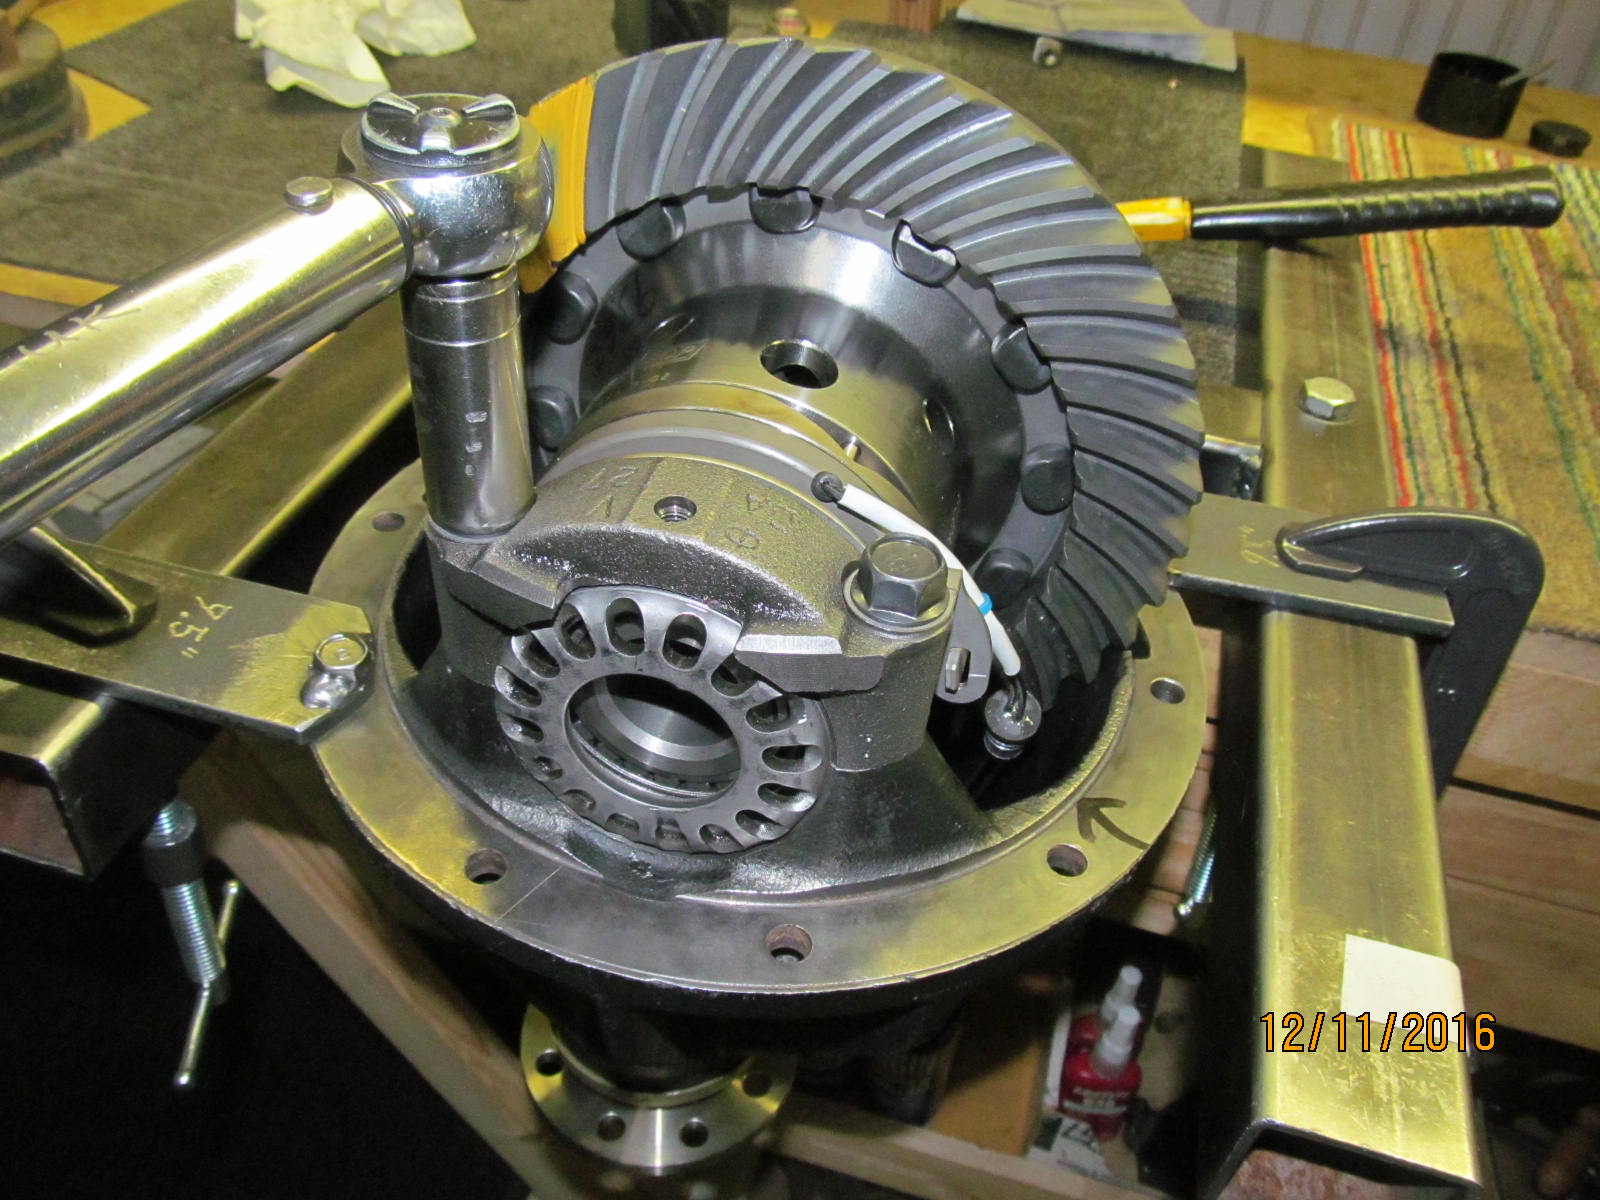
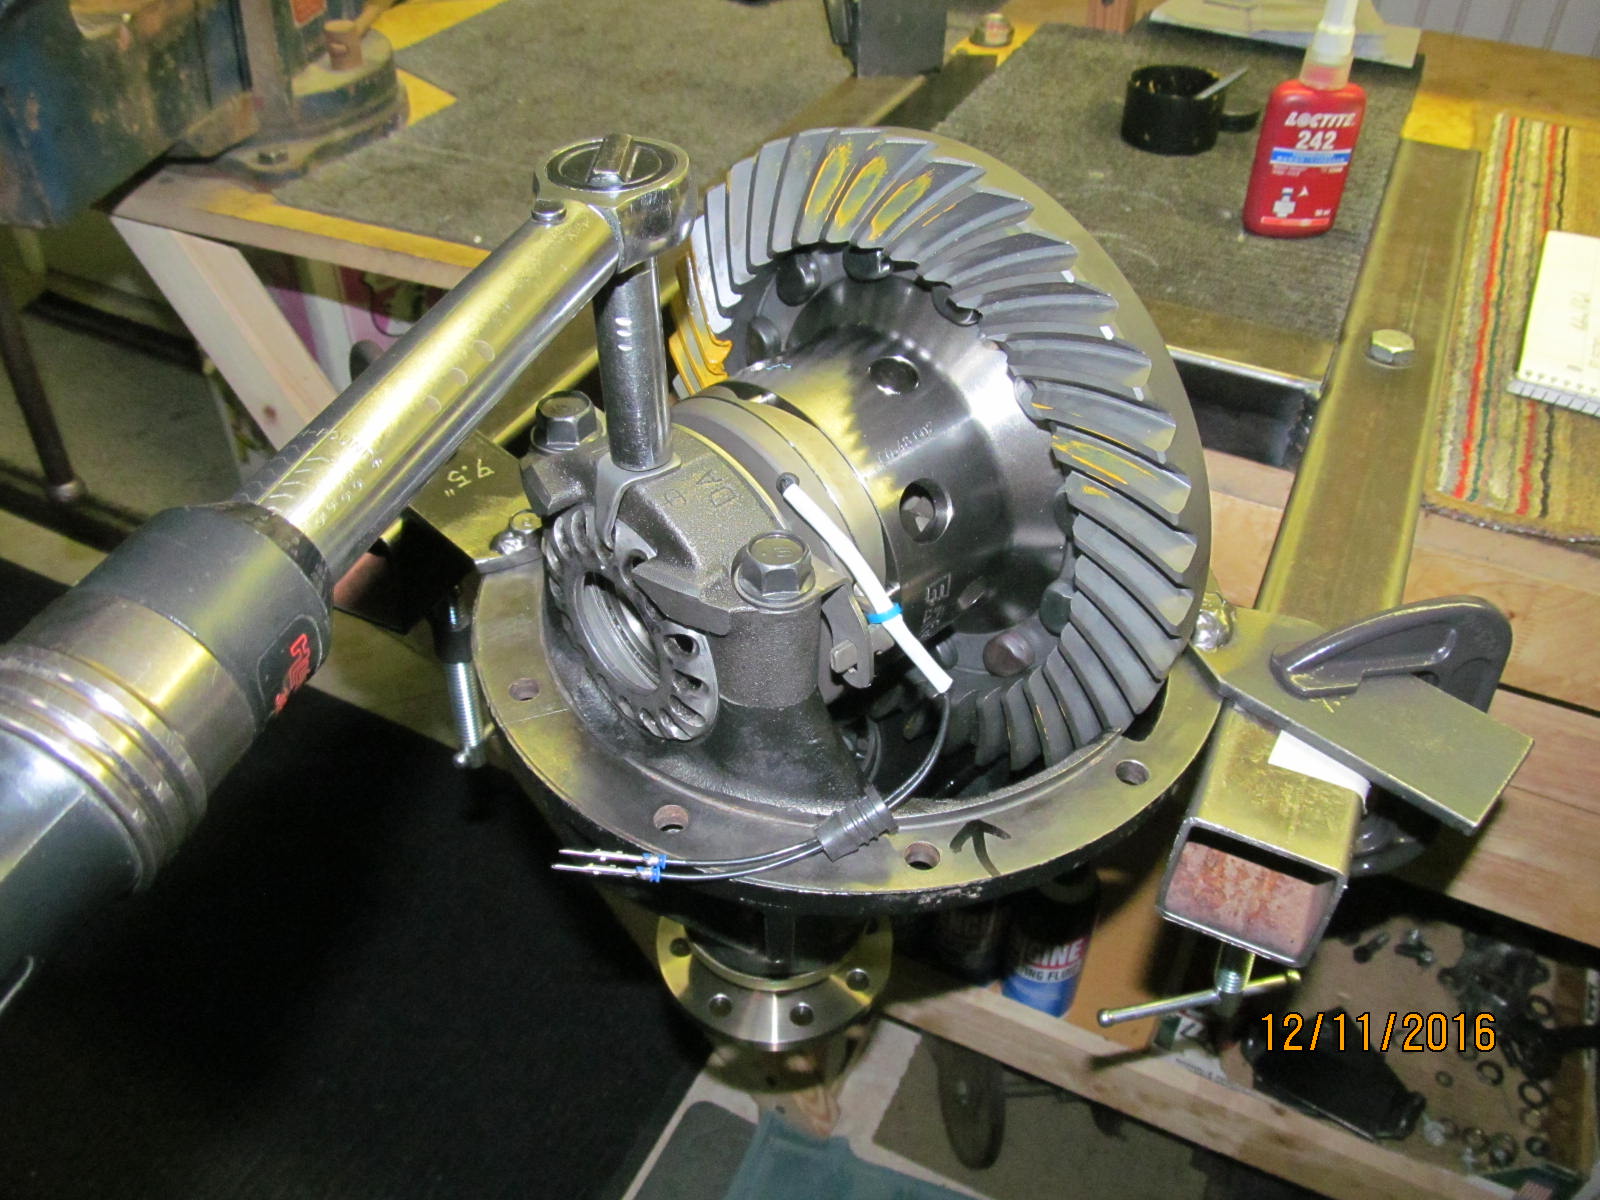
Carrier inserted....wheel adjusters get threaded in....and bearing caps next.
No need to mount the anti-rotation bracket yet.
|
|
|
|
|
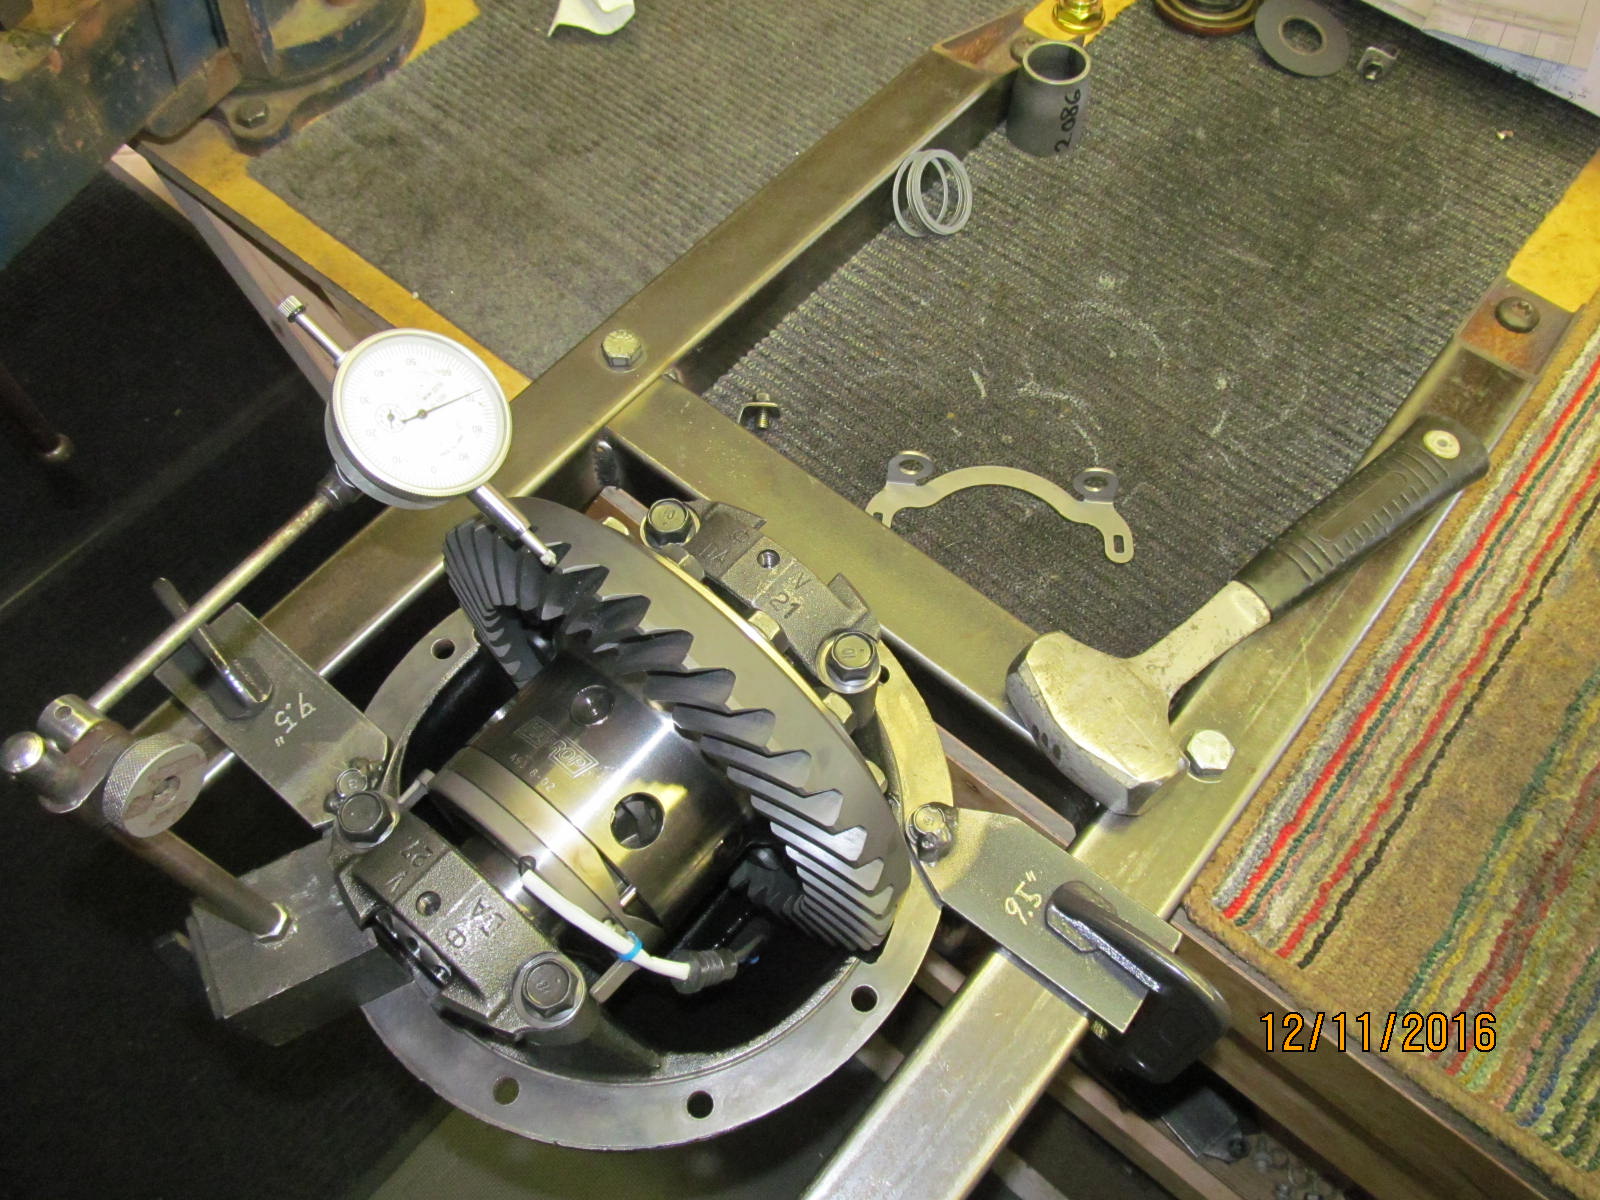
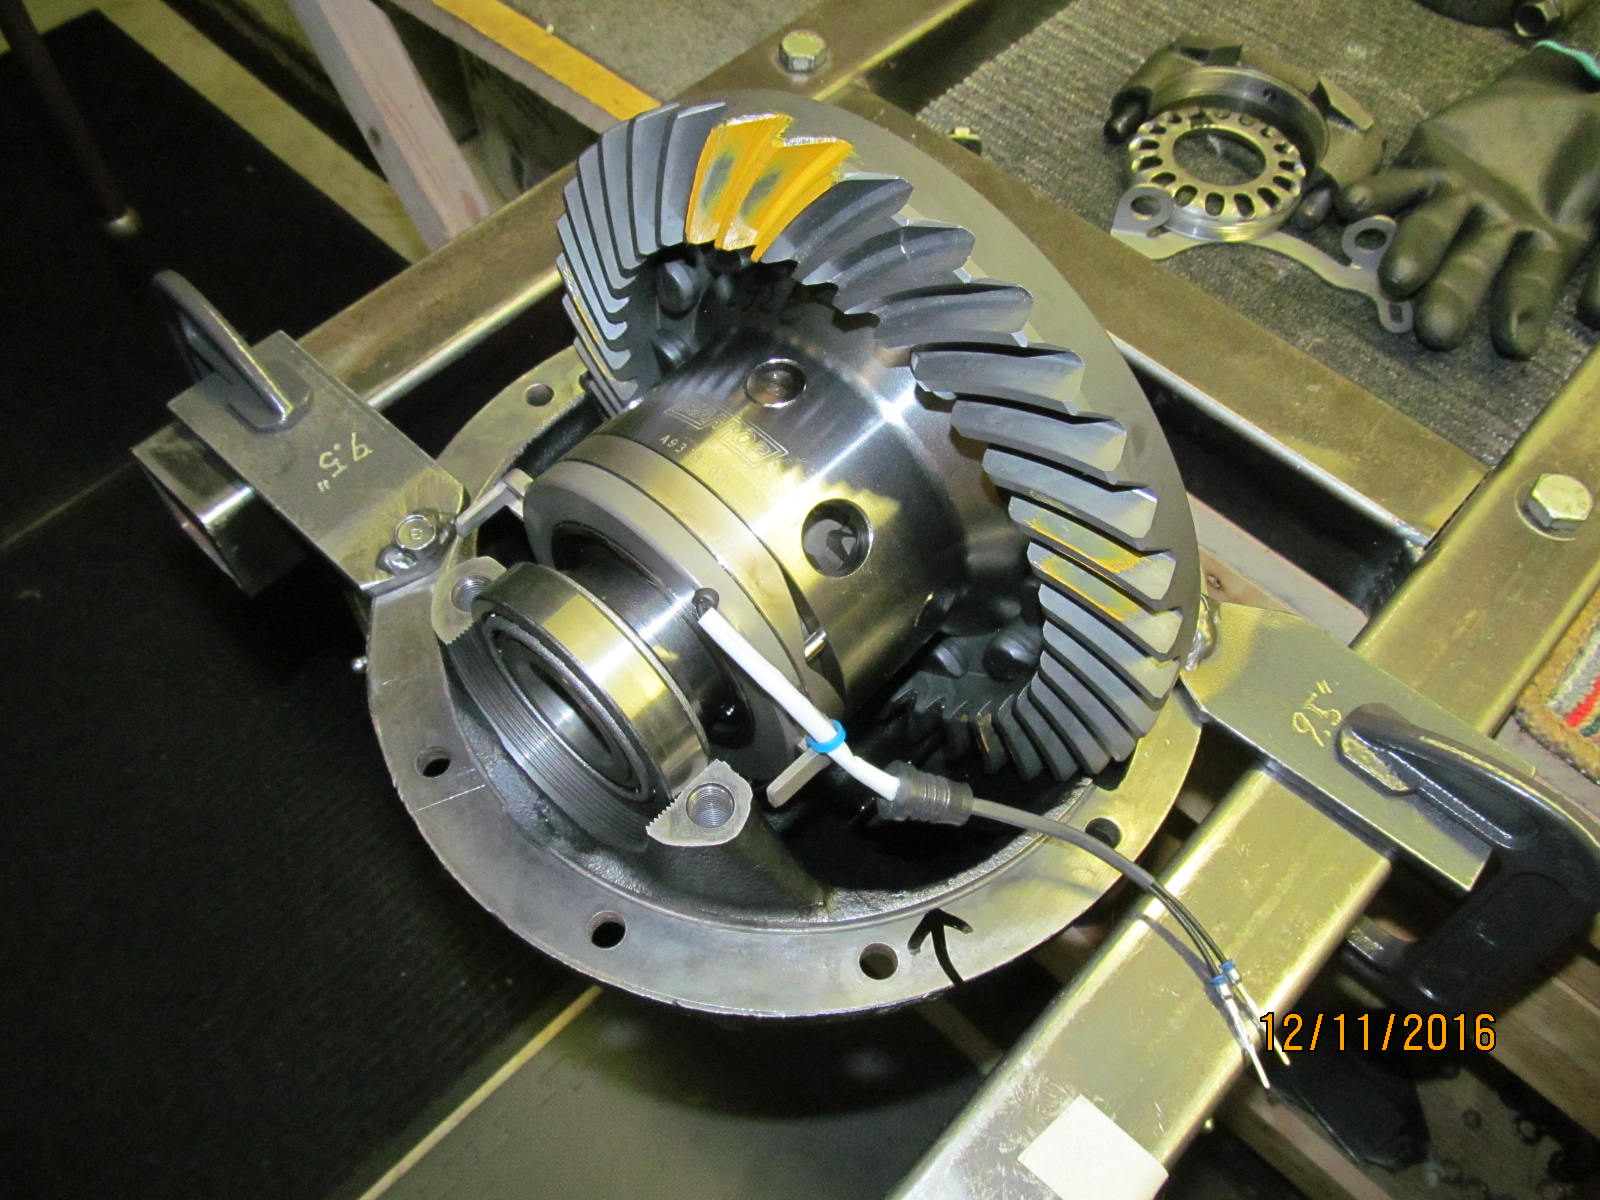
Backlash is set to about .007 and the carrier bearing preload is at least present.
|
|
|
|
|
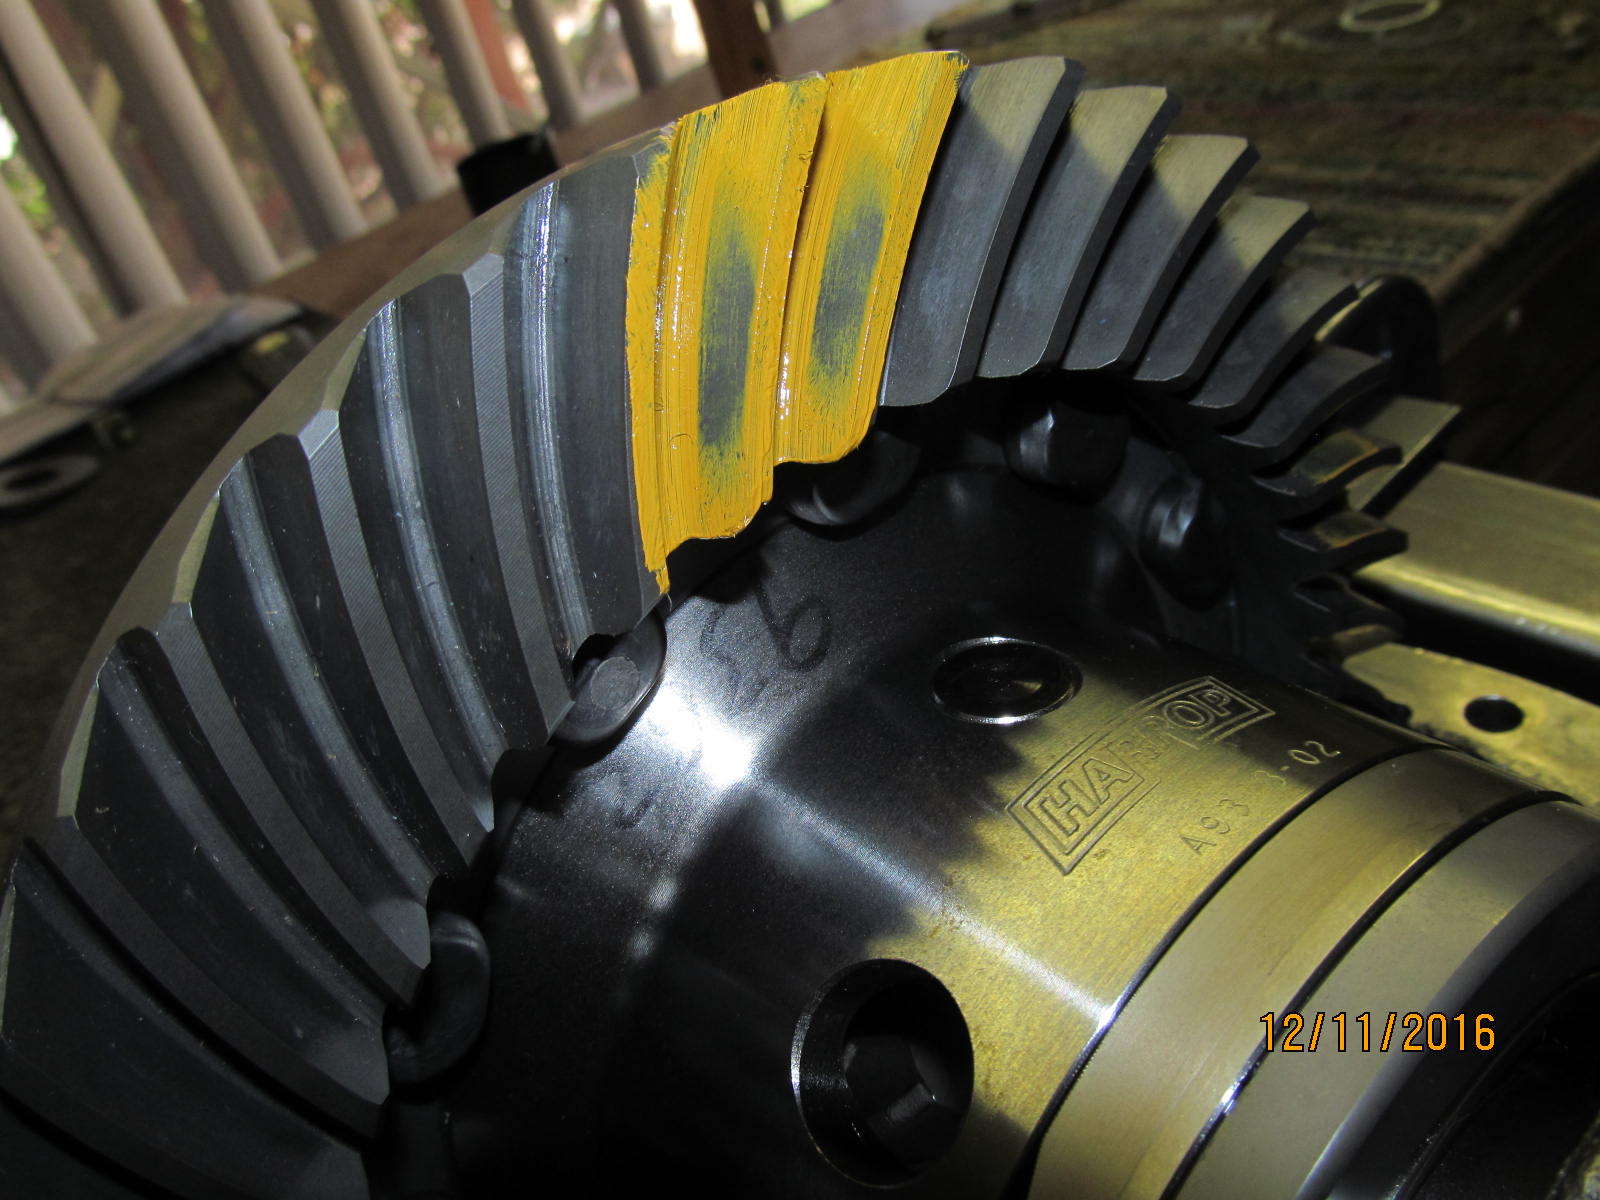
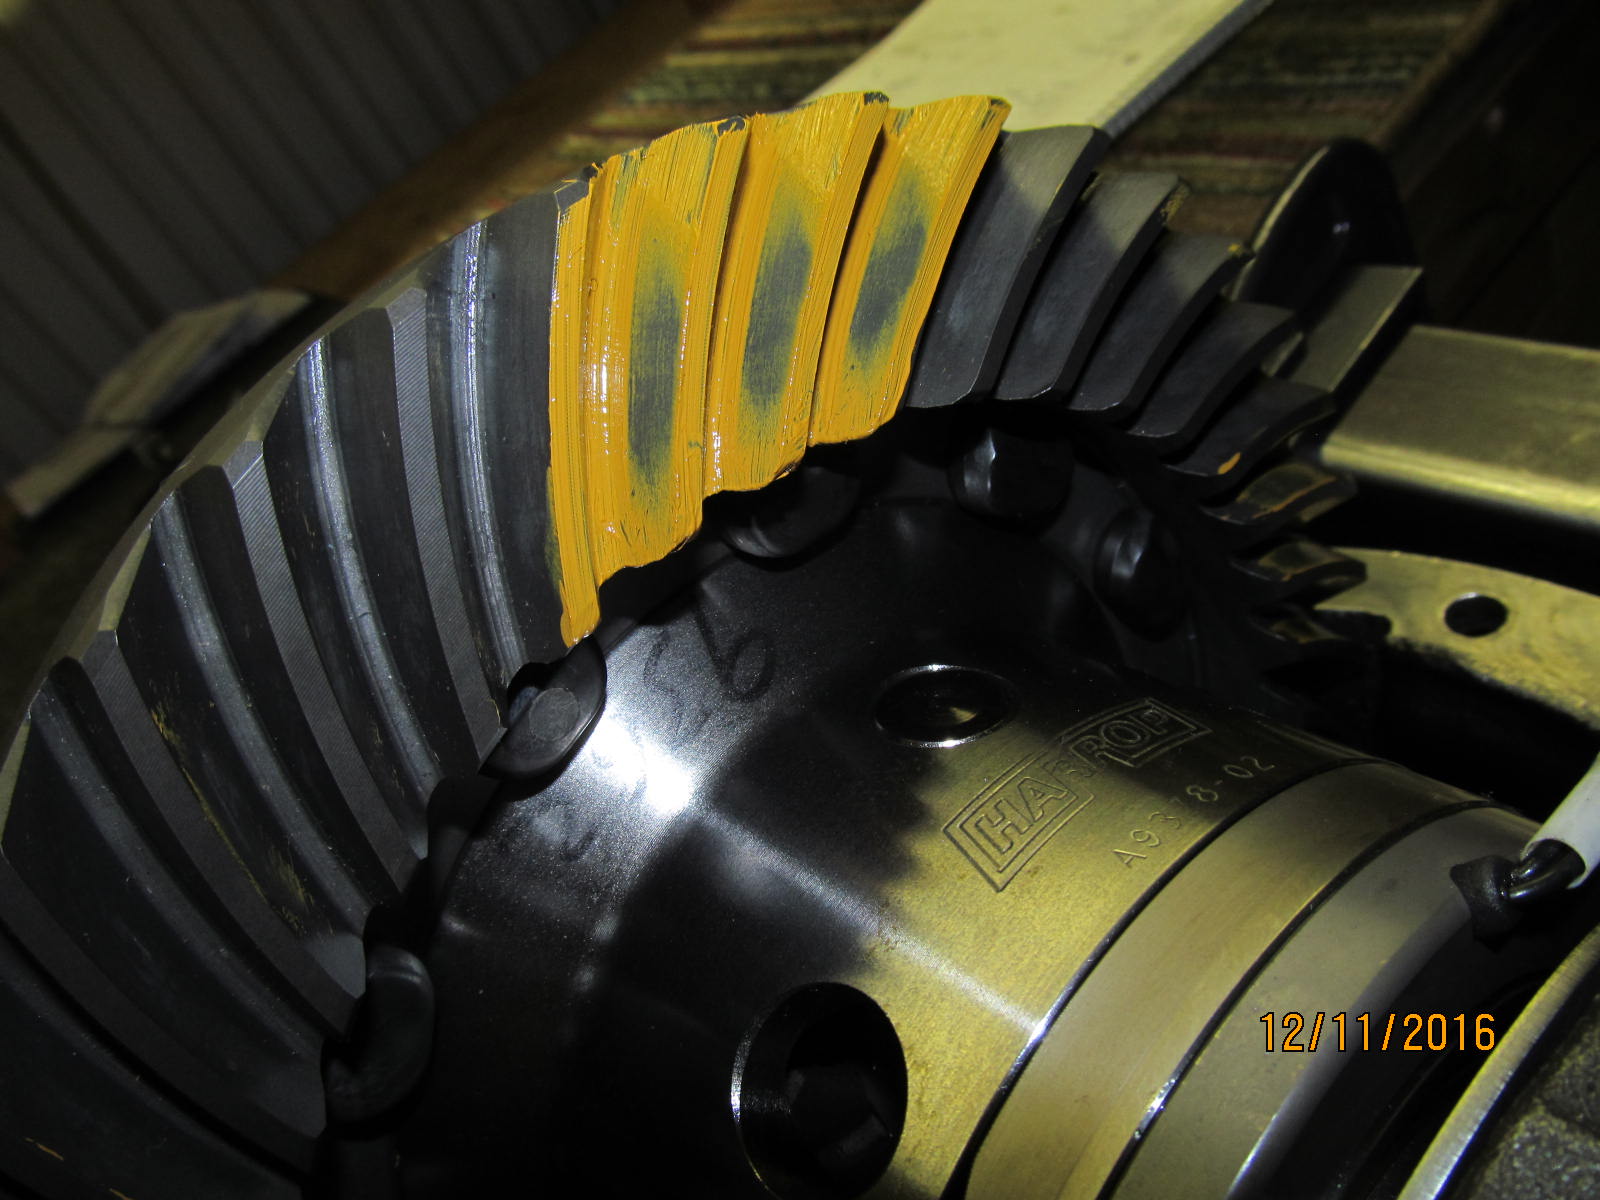
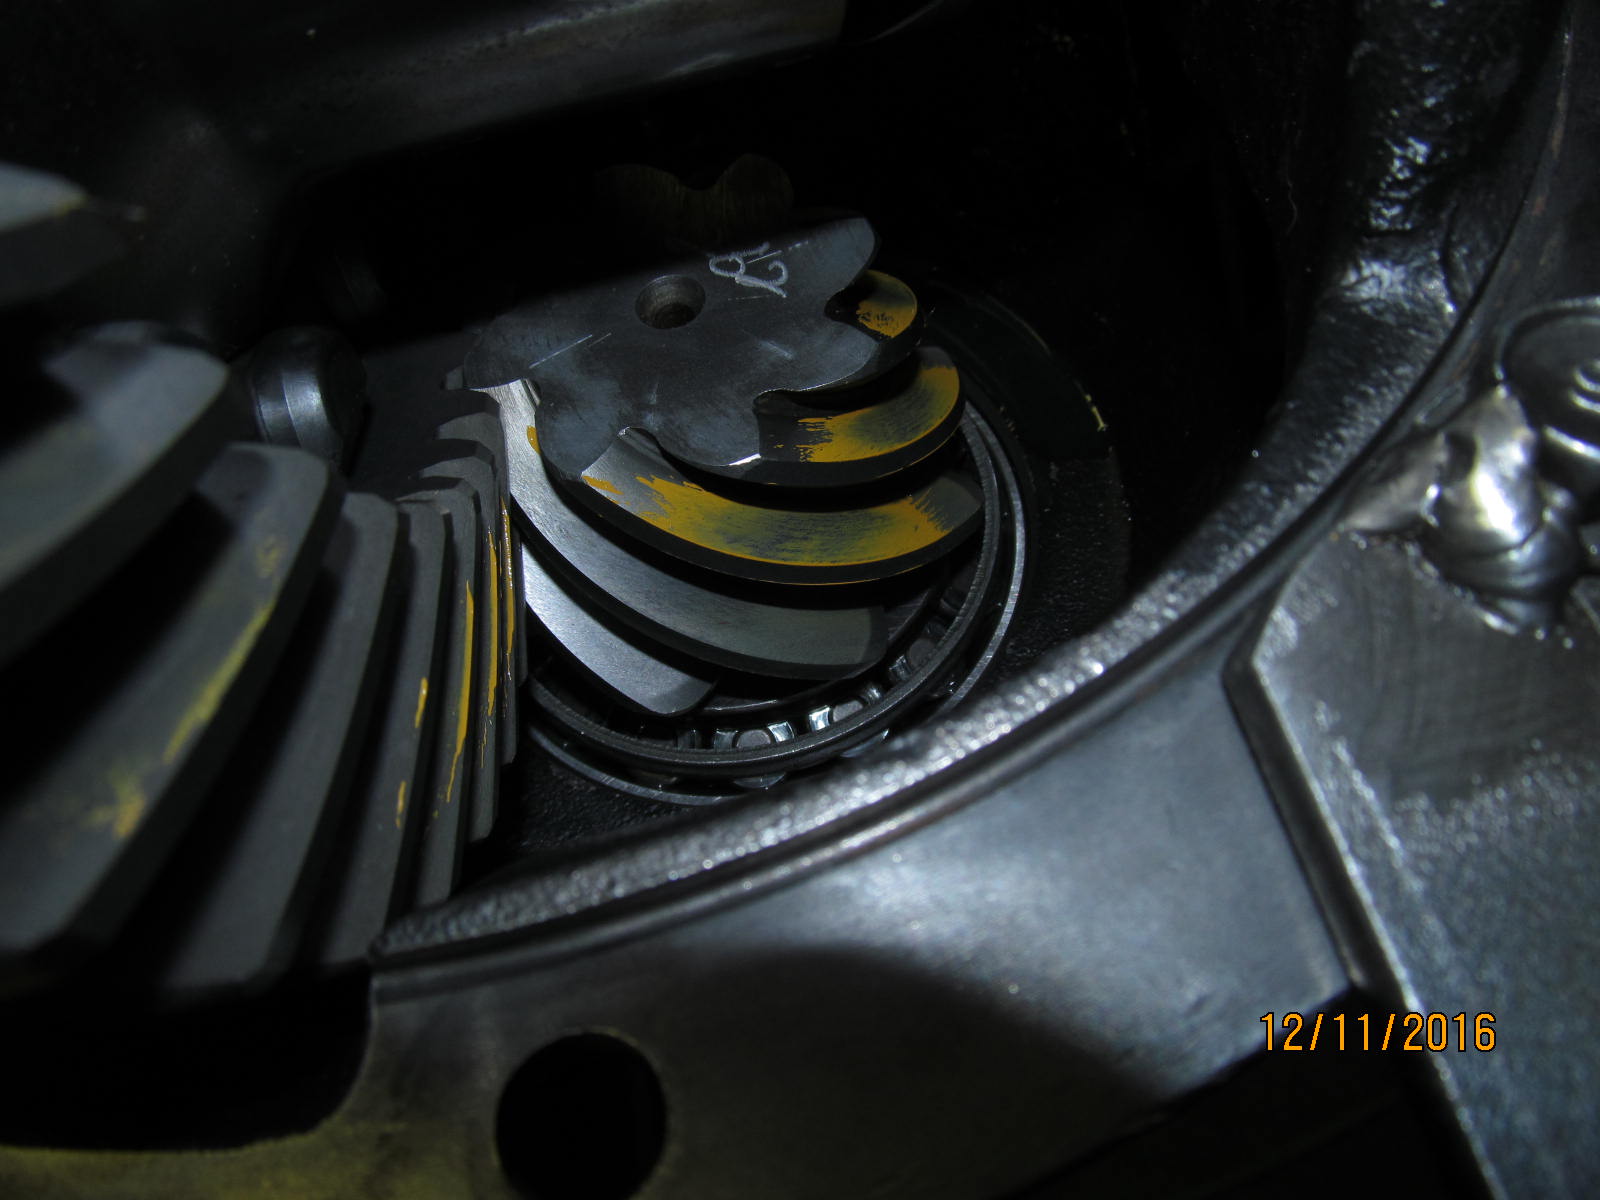
Drive side....the painted pattern suggests that the pinion depth is "exact".
|
|
|
|
|
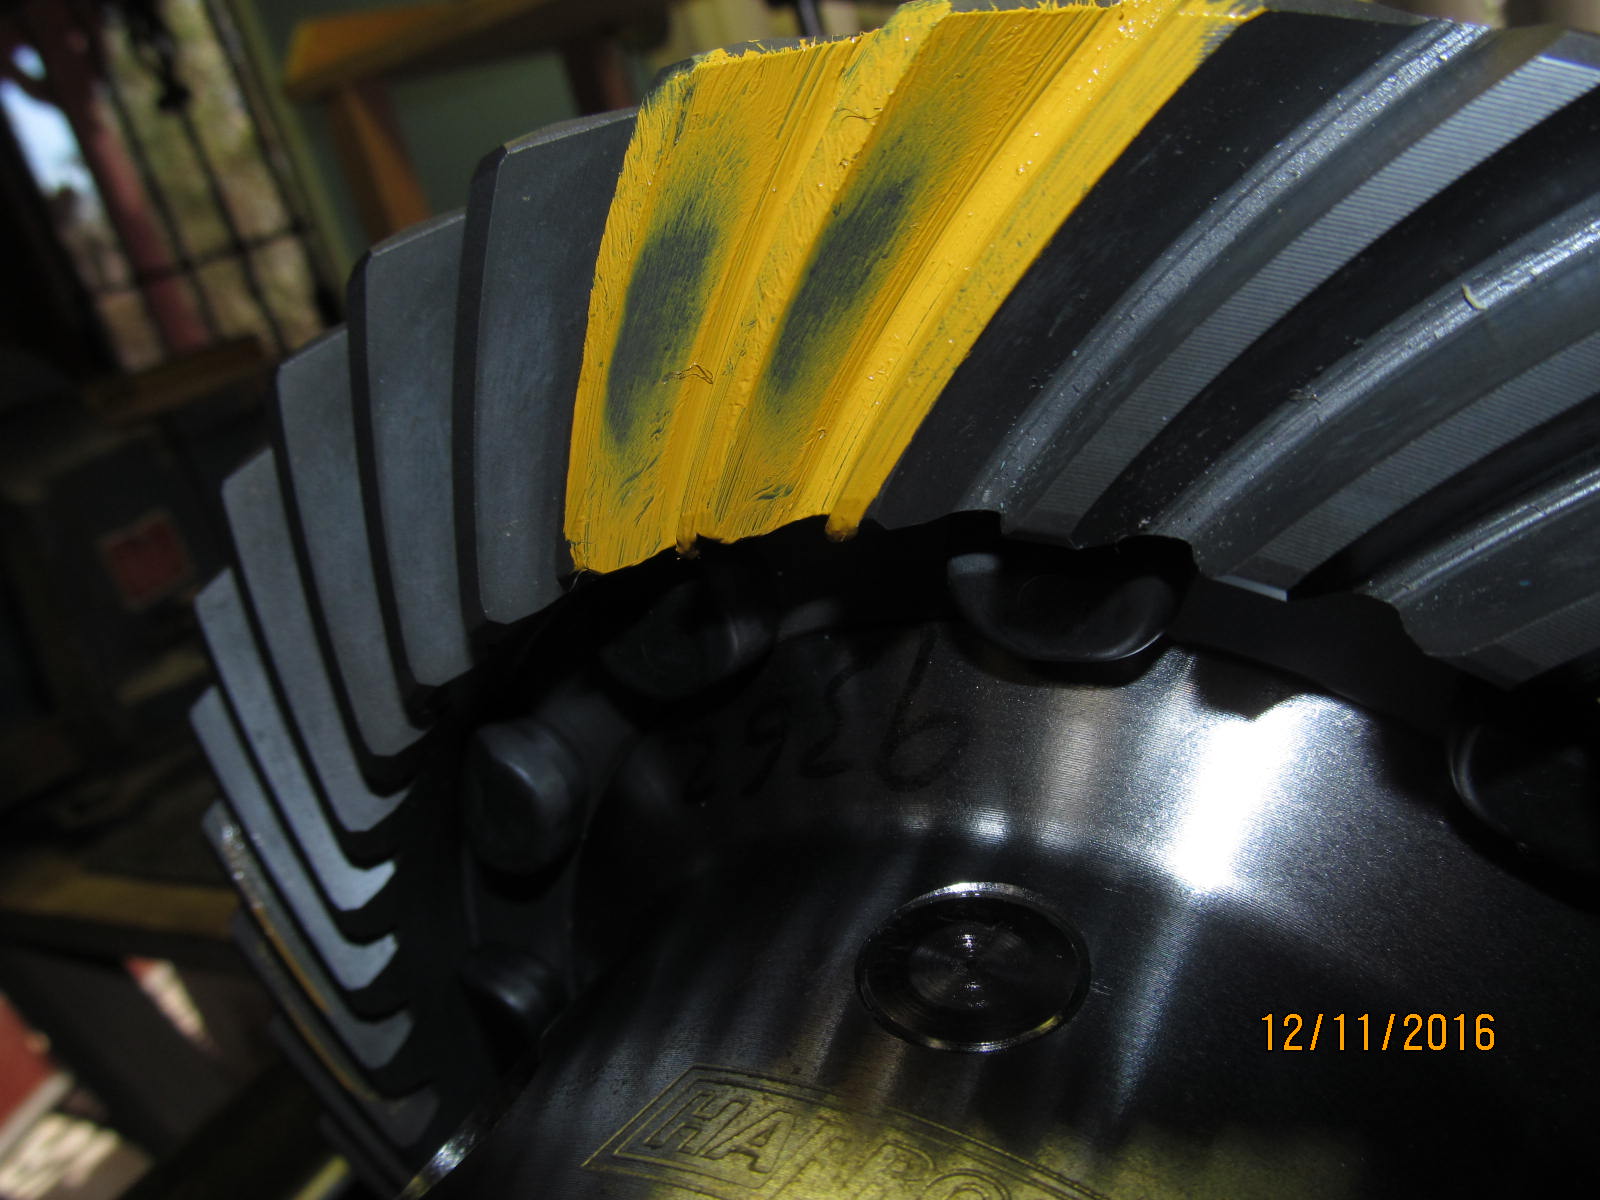
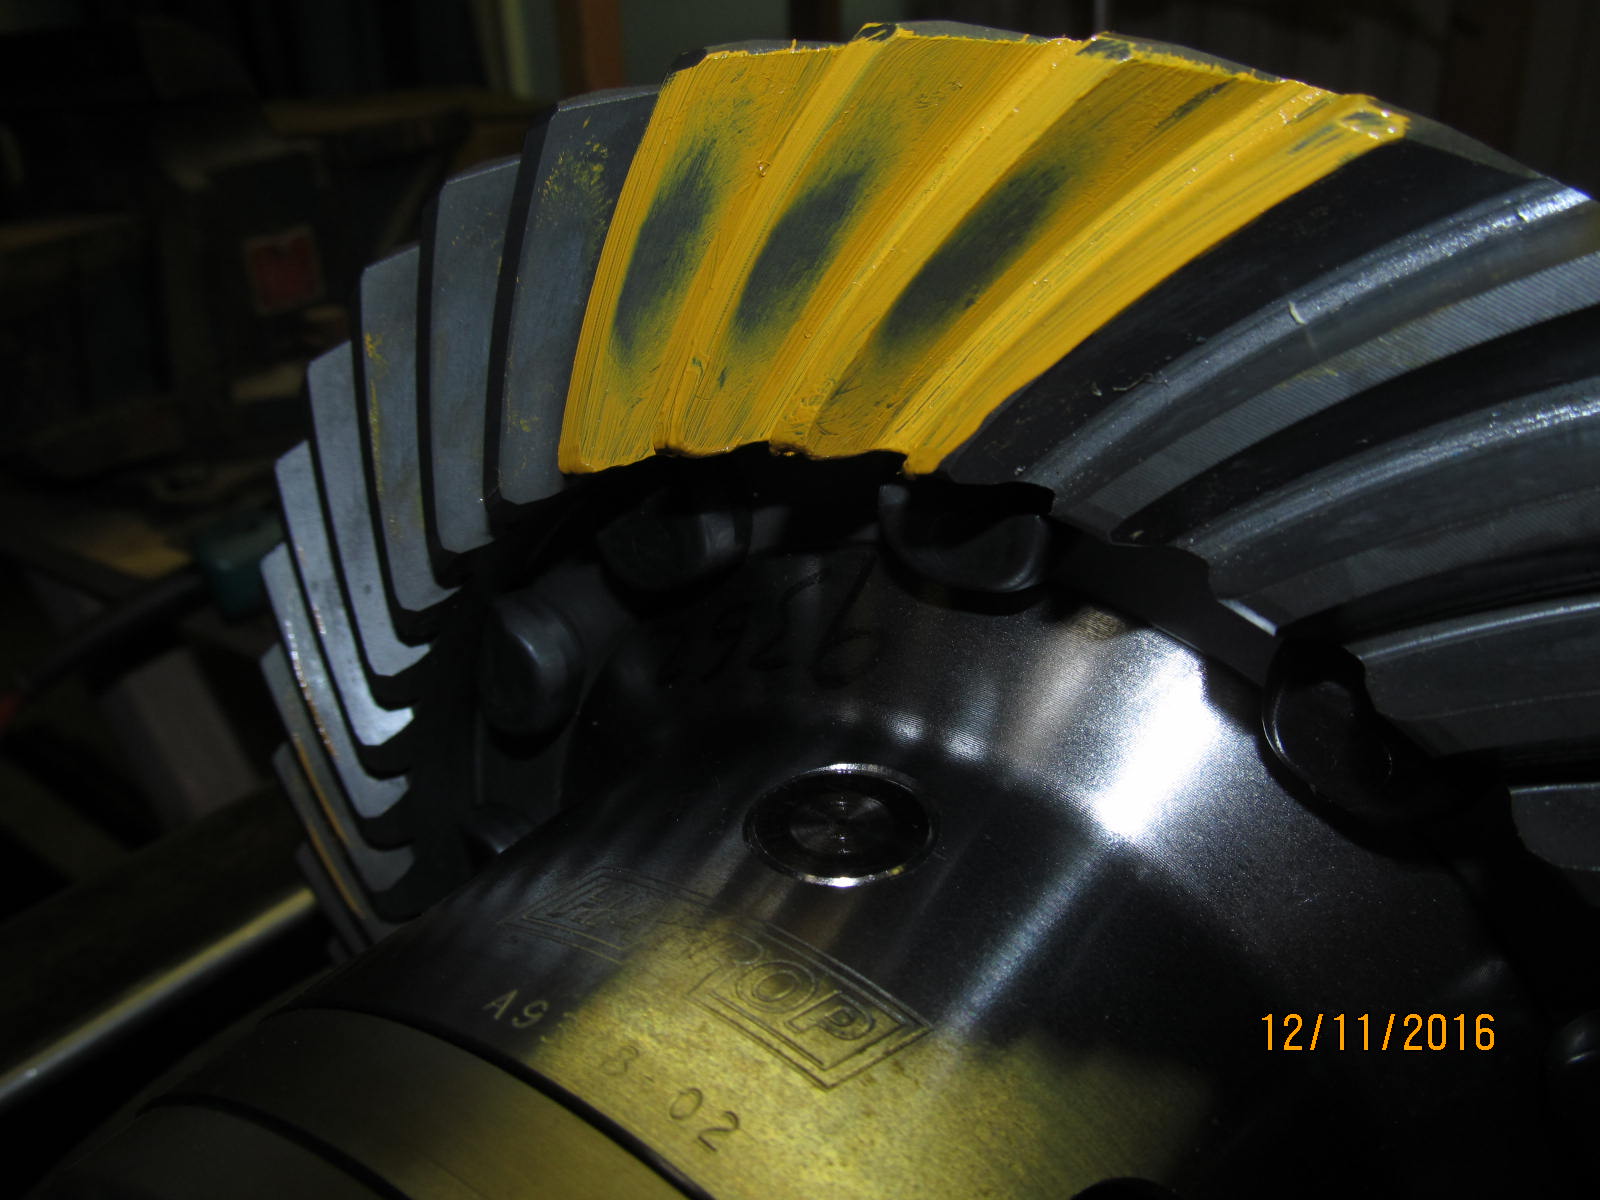
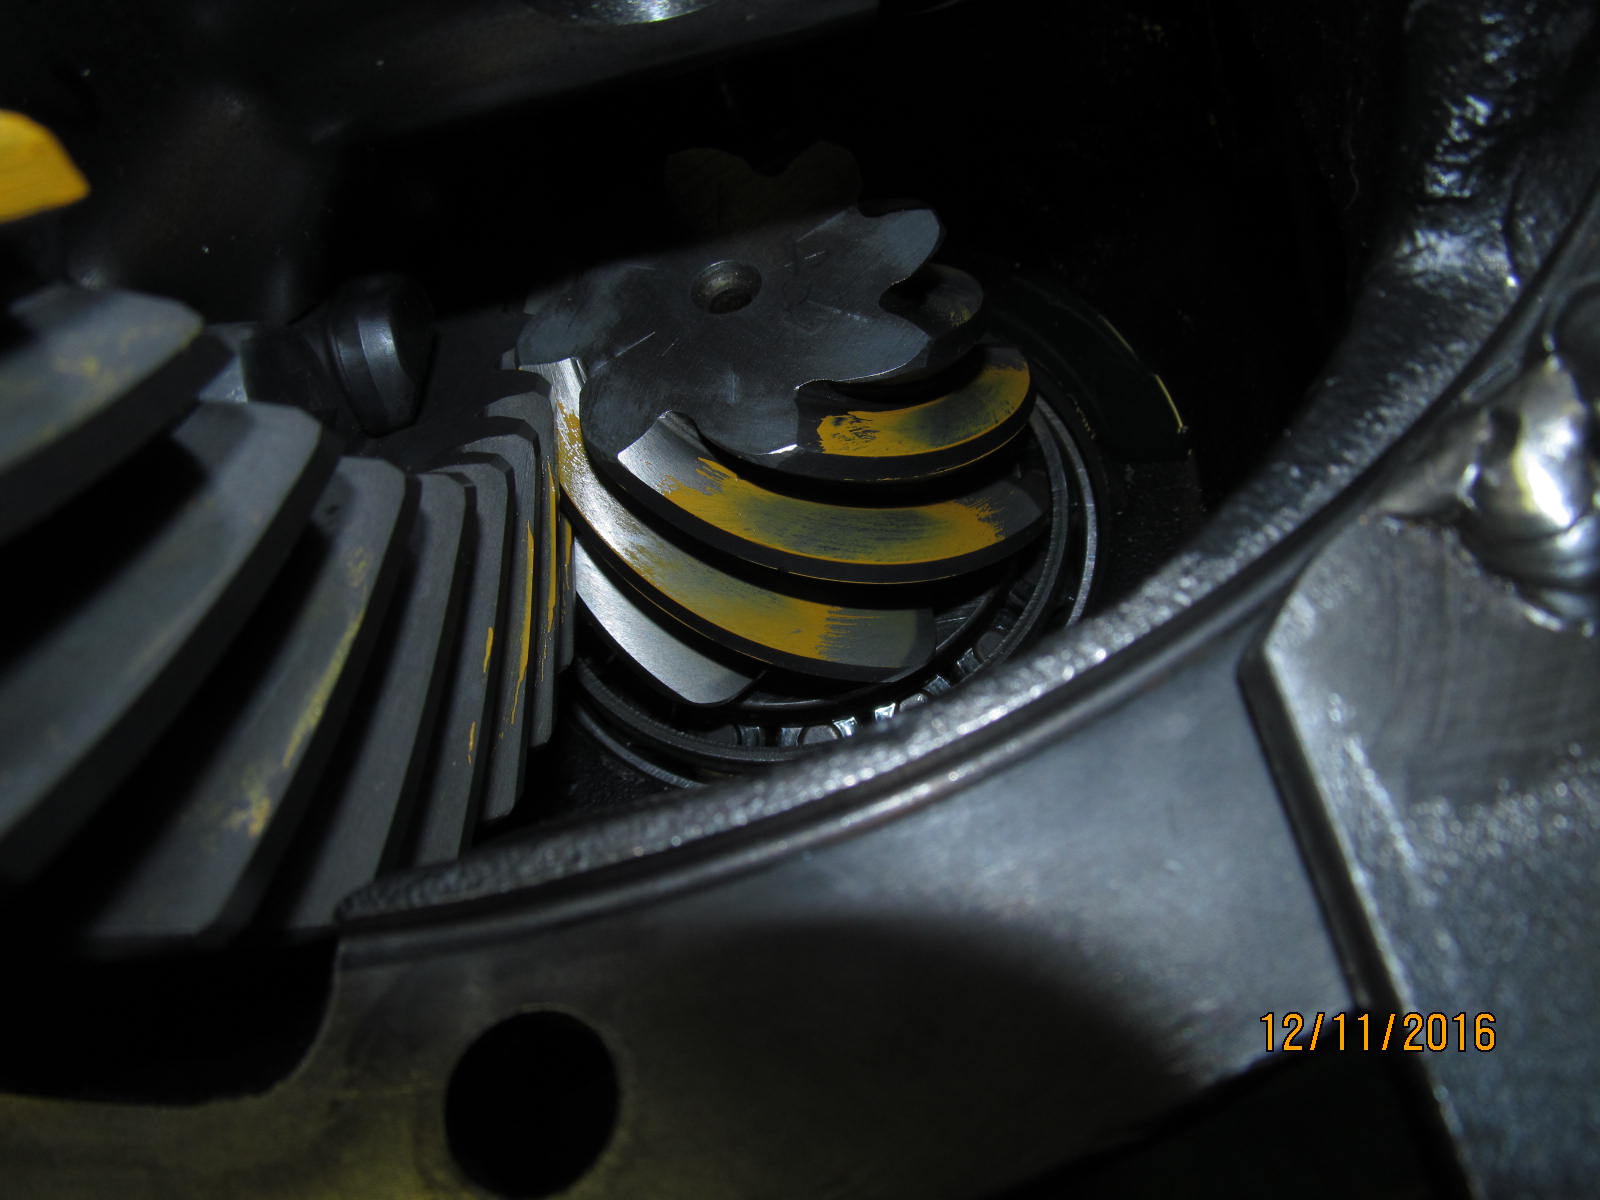
Coast shows nothing too special.....exact depth perhaps judging by the tail.
|
|
|
|
|
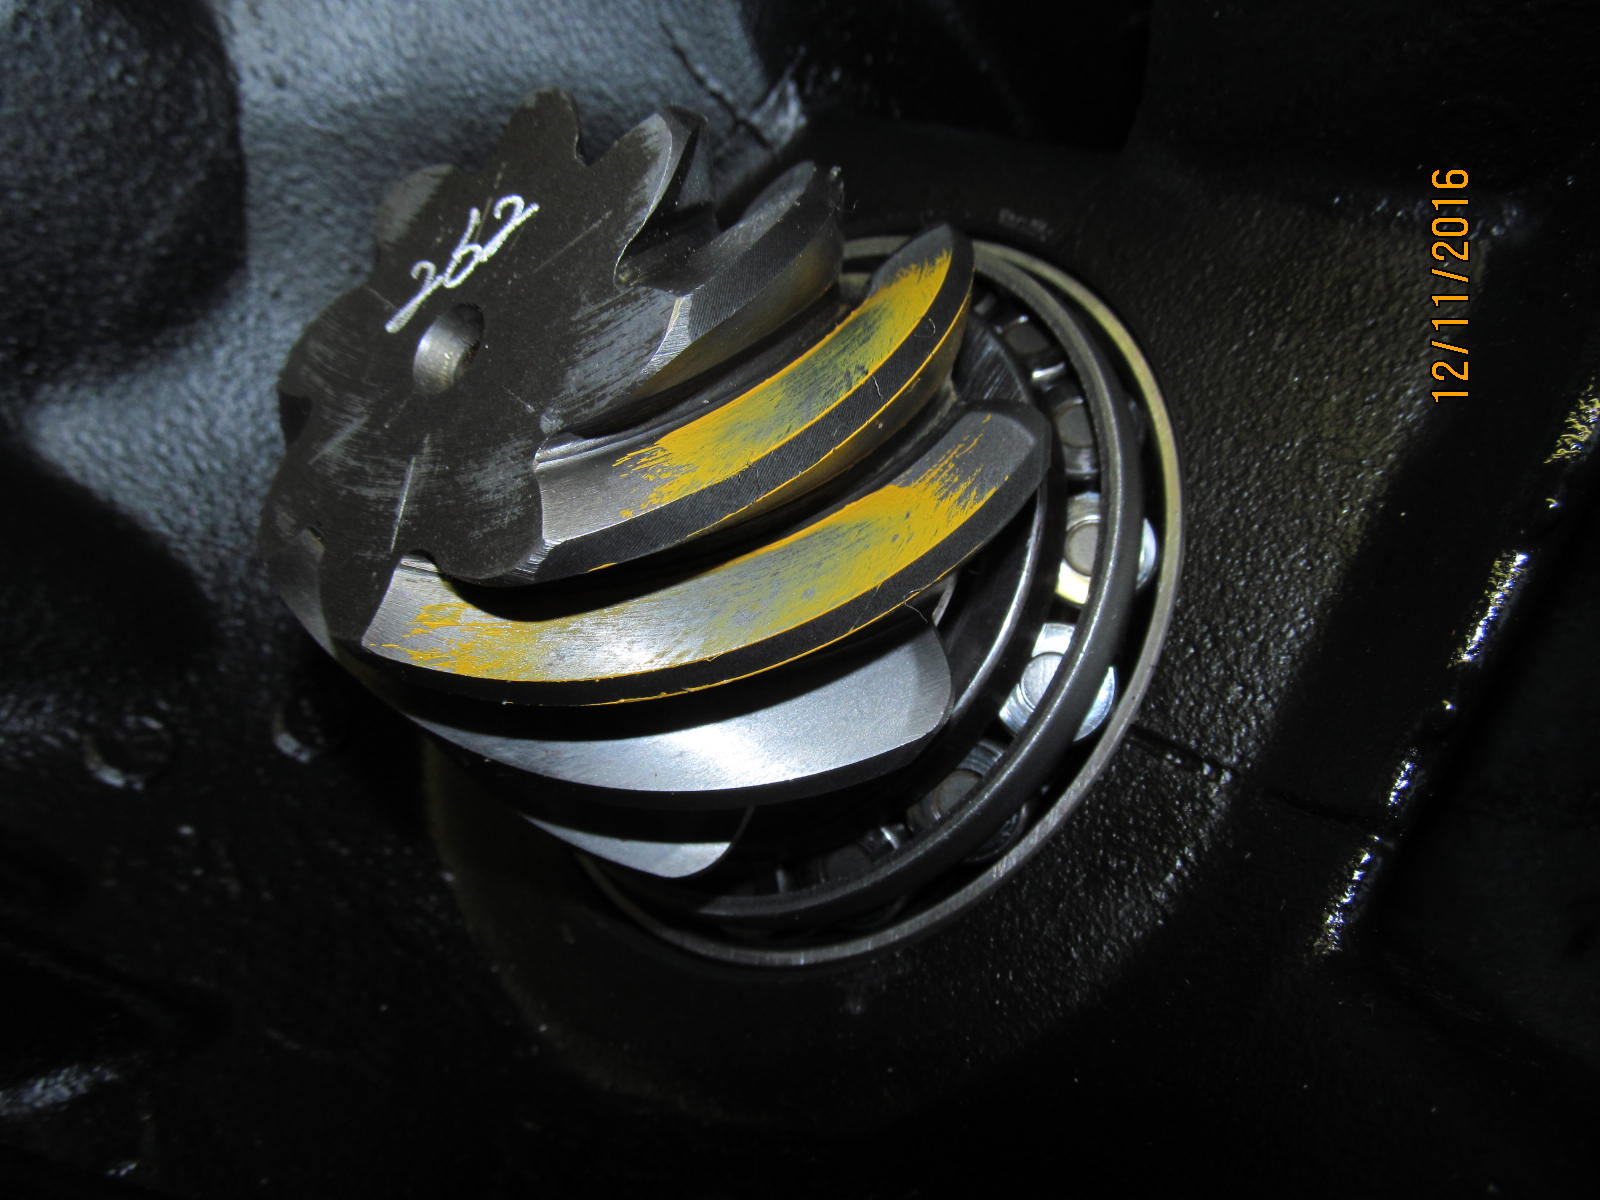
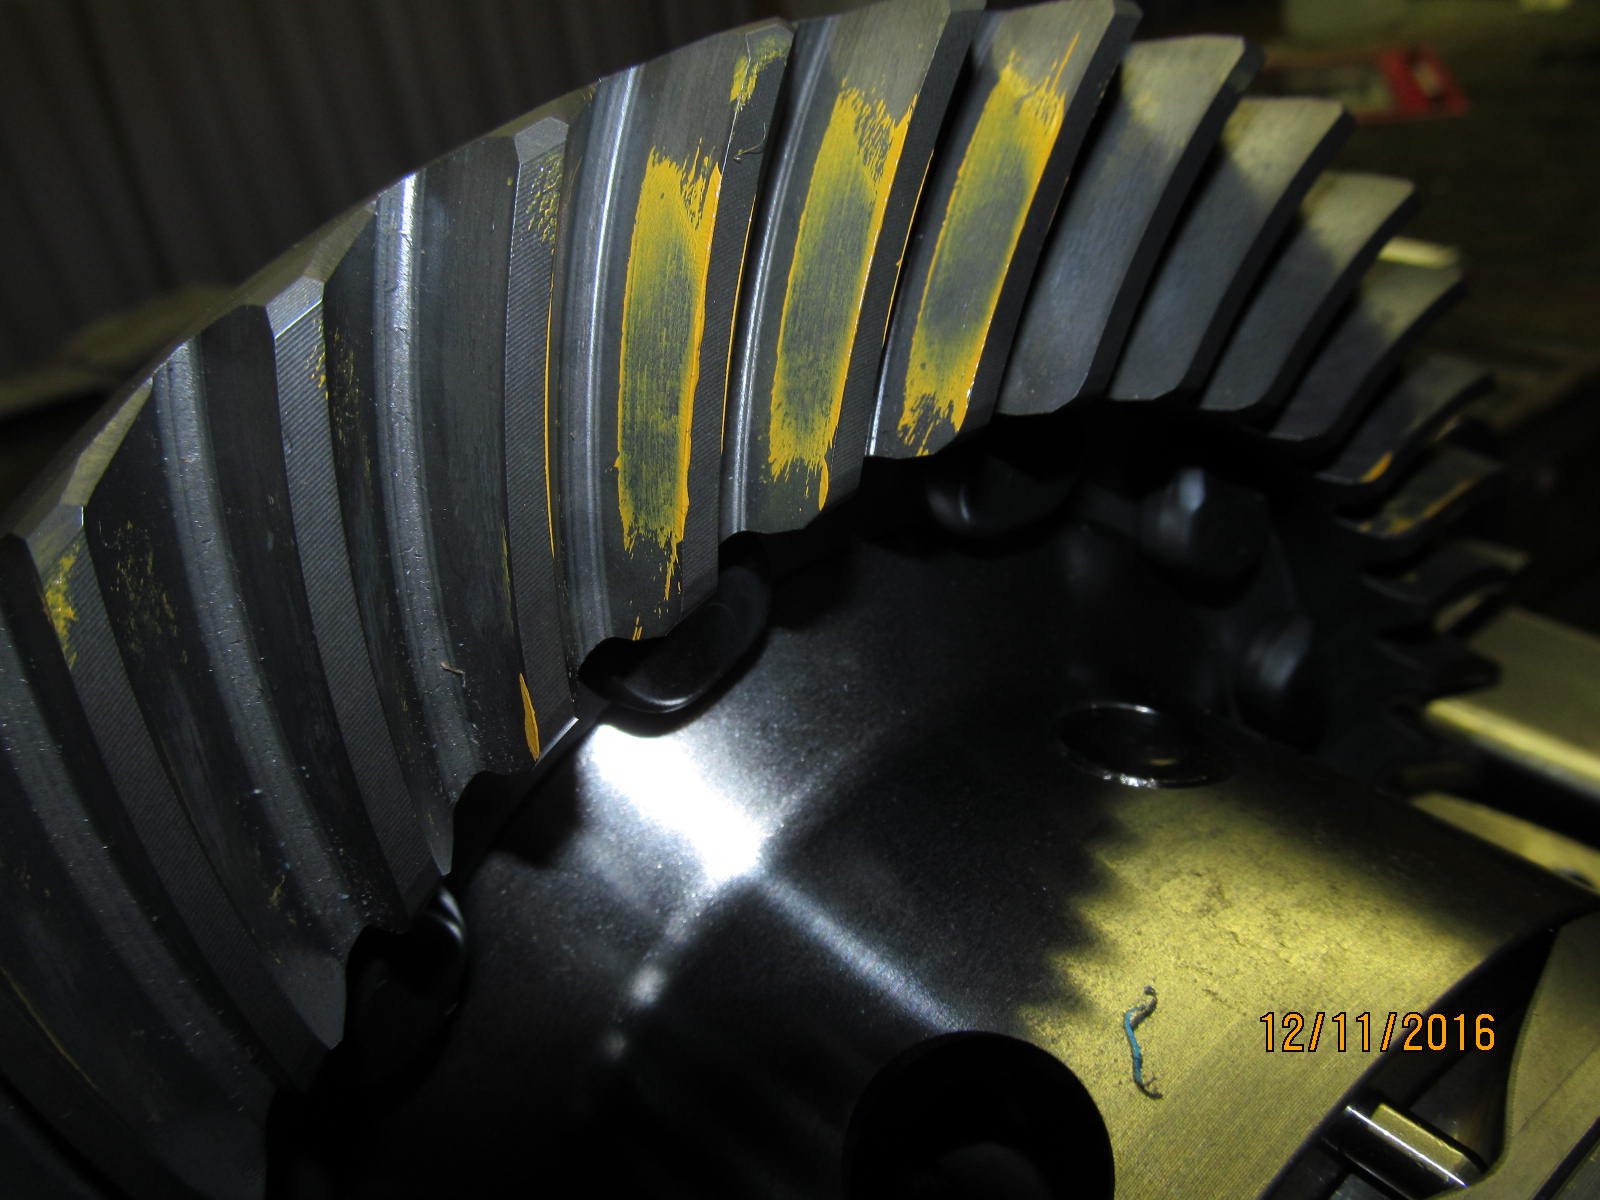
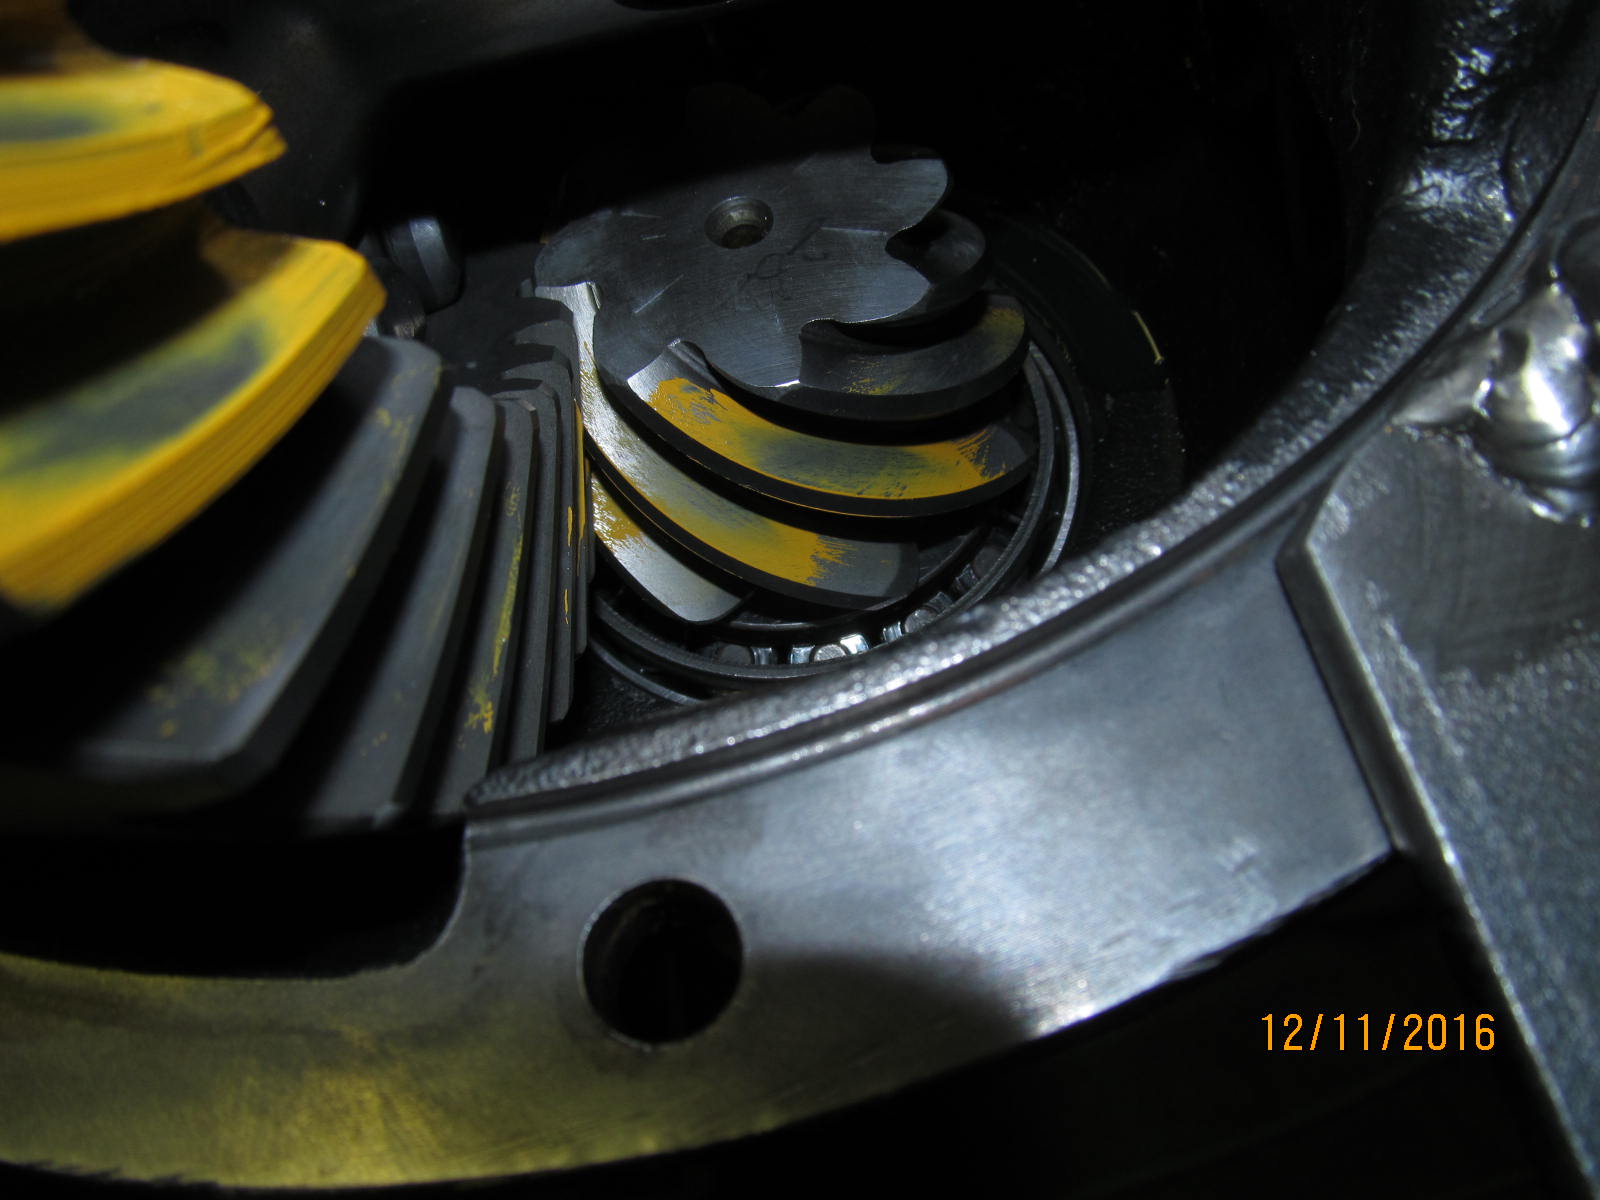
Drive side of pinion tooth.....
|
|
|
|
|
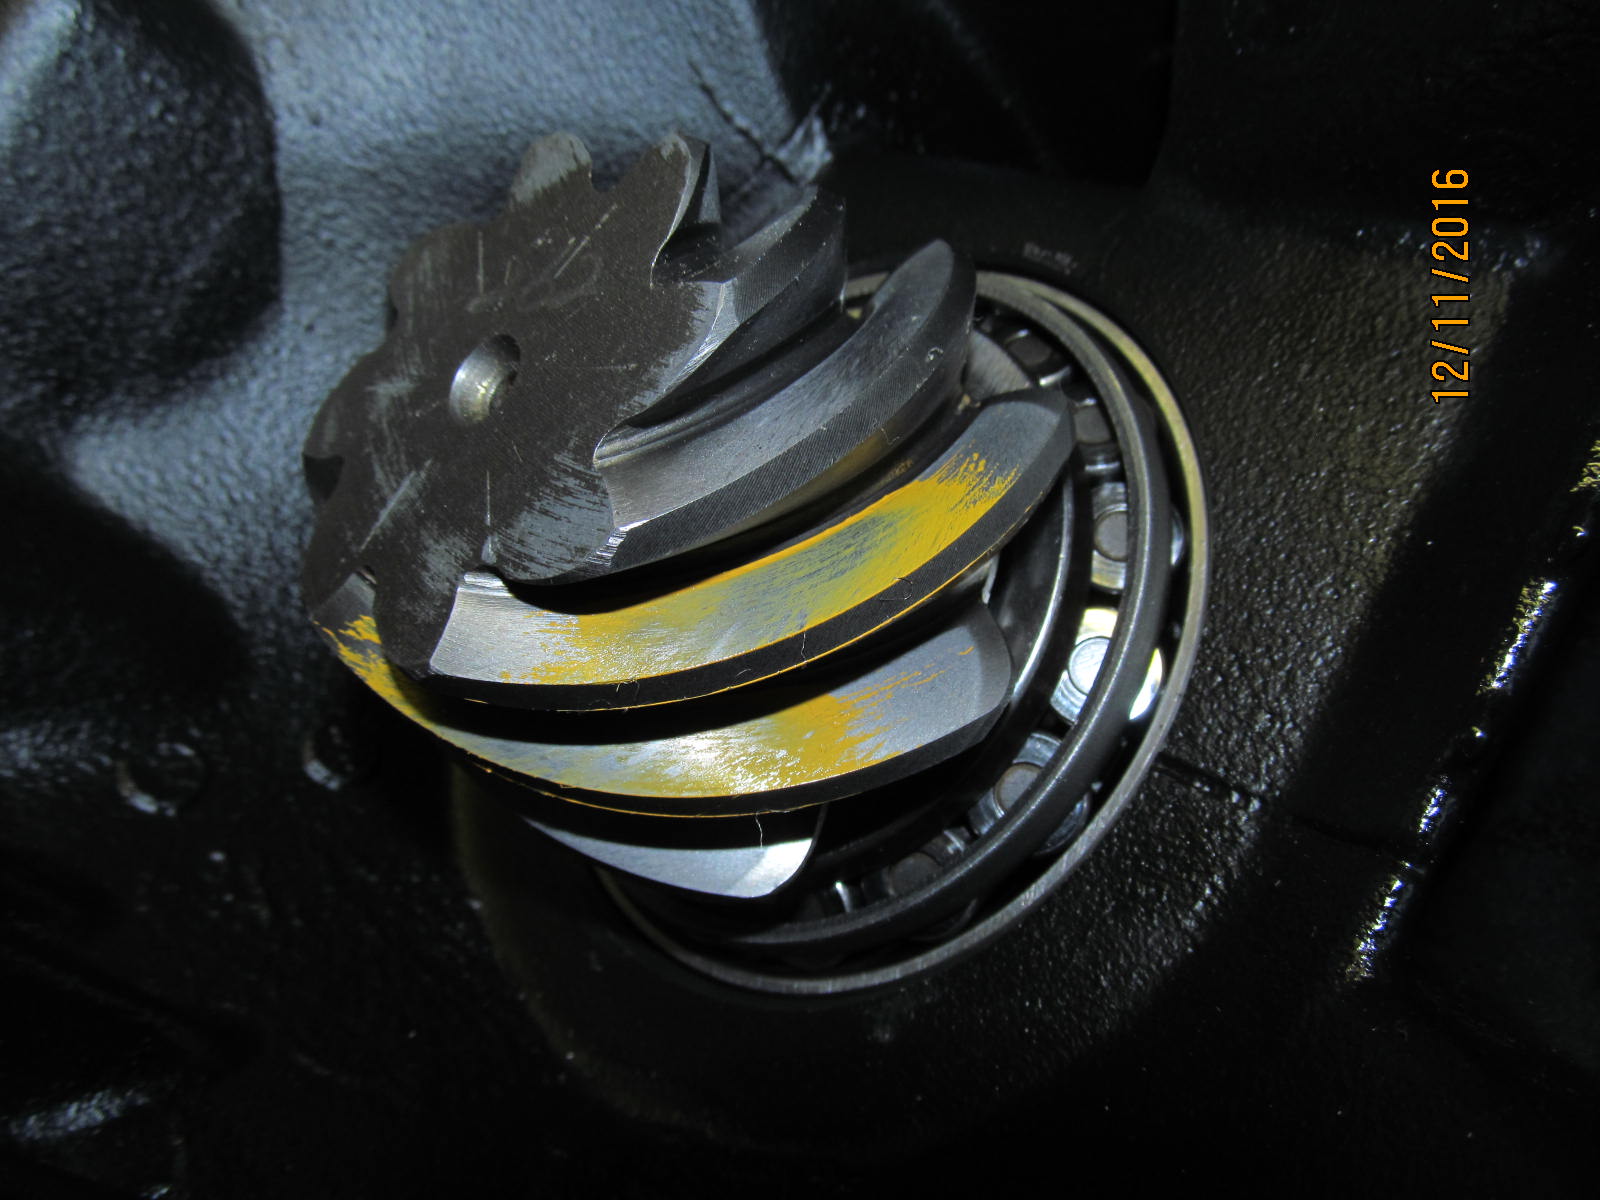
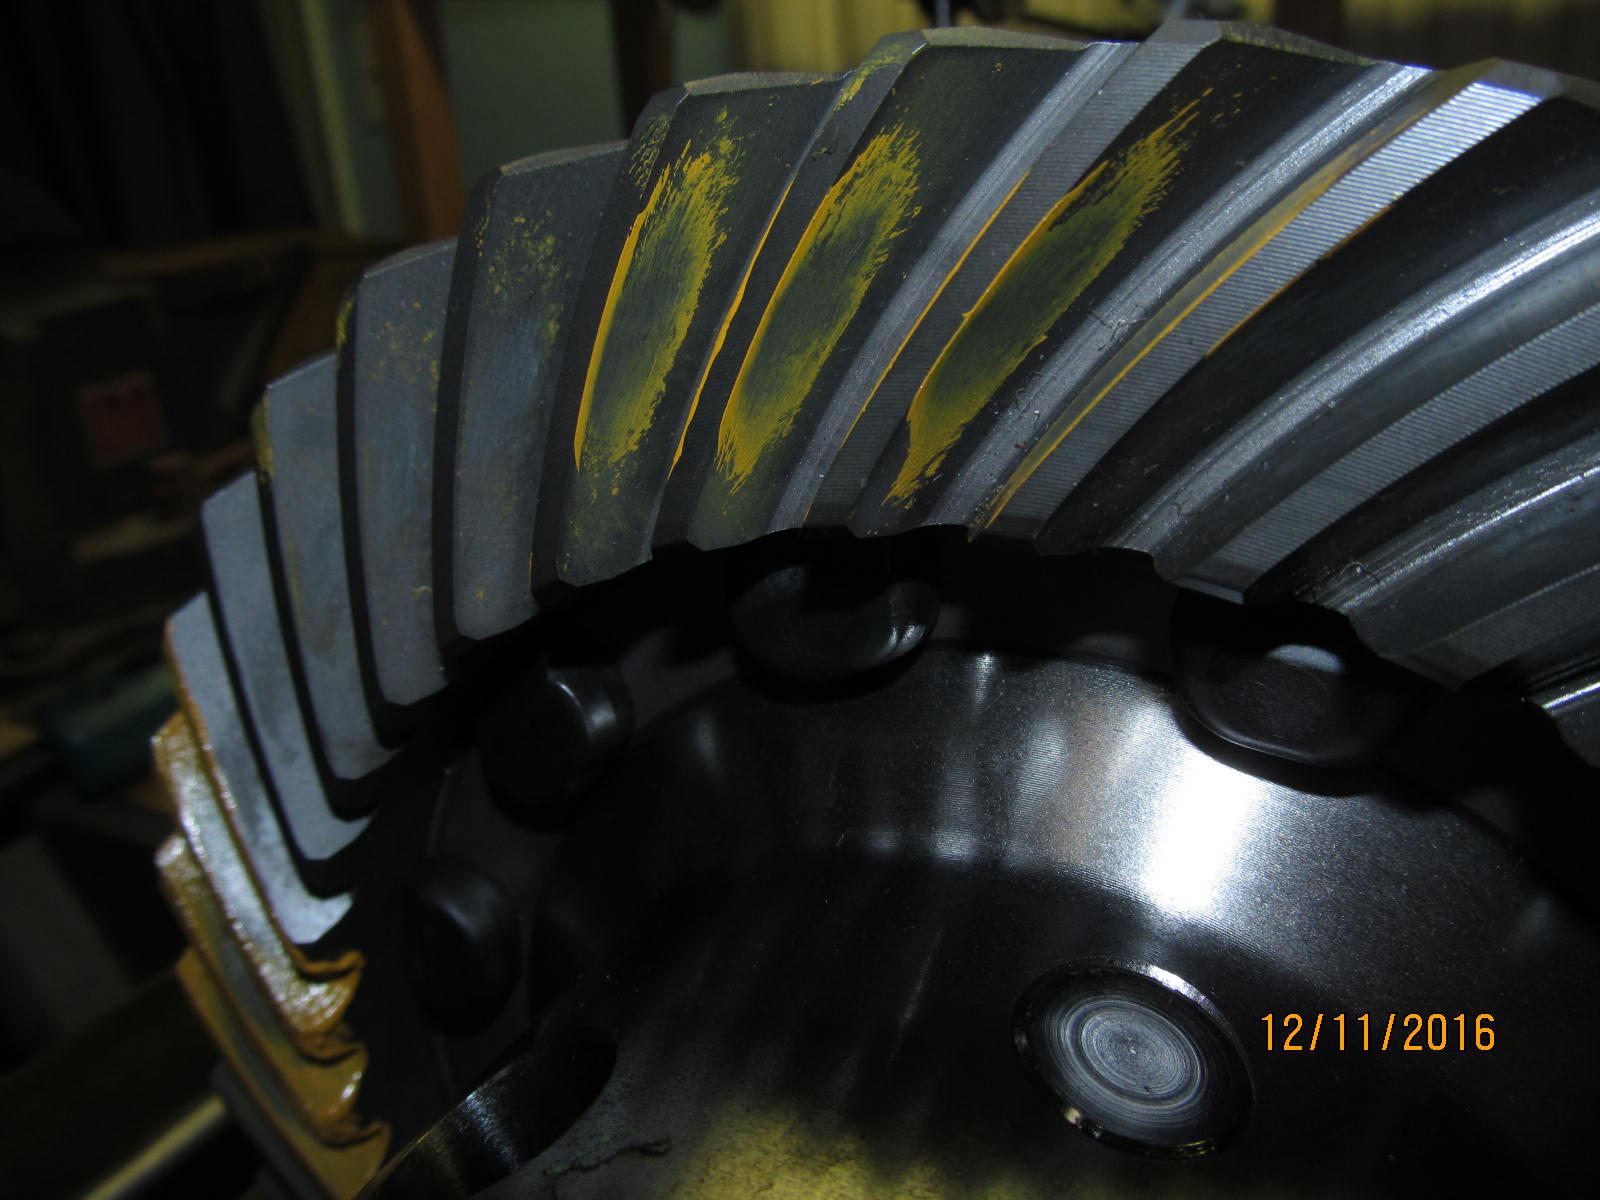
This tooth suggests it could go a touch deeper seeing the comet tail is not in the middle yet.
|
|
|
|
|
Off comes the inner pinion bearing.
|
|
|
|
Since I know that adding .002" is going to be a "slight deep" condition then I will
install with a .060" shim and proceed to the solid collar.
|
|
|
|
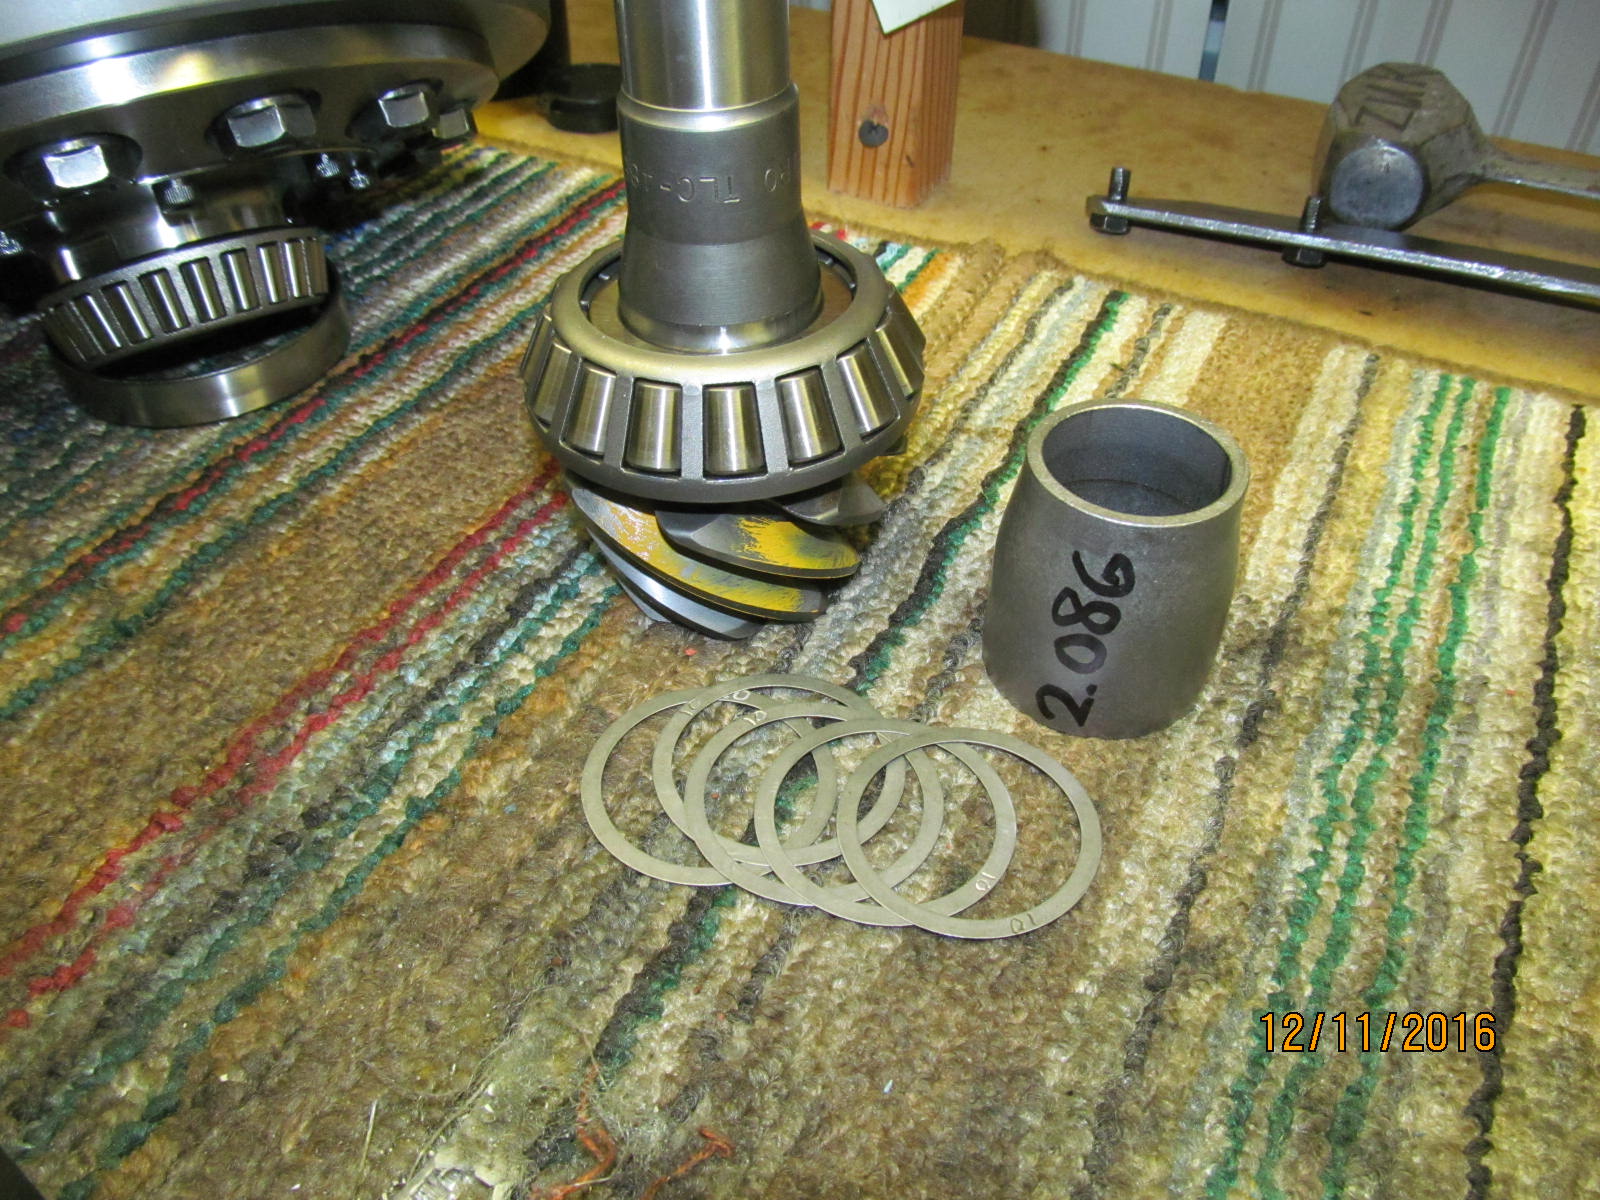
Only took about 4 tries to get the perfect pinion preload with the solid collar.
The solid collar measured 2.078"(some sanding it down to get it even all the way
around) plus the .051" shim is a target total of 2.129"
|
|
|
|
|
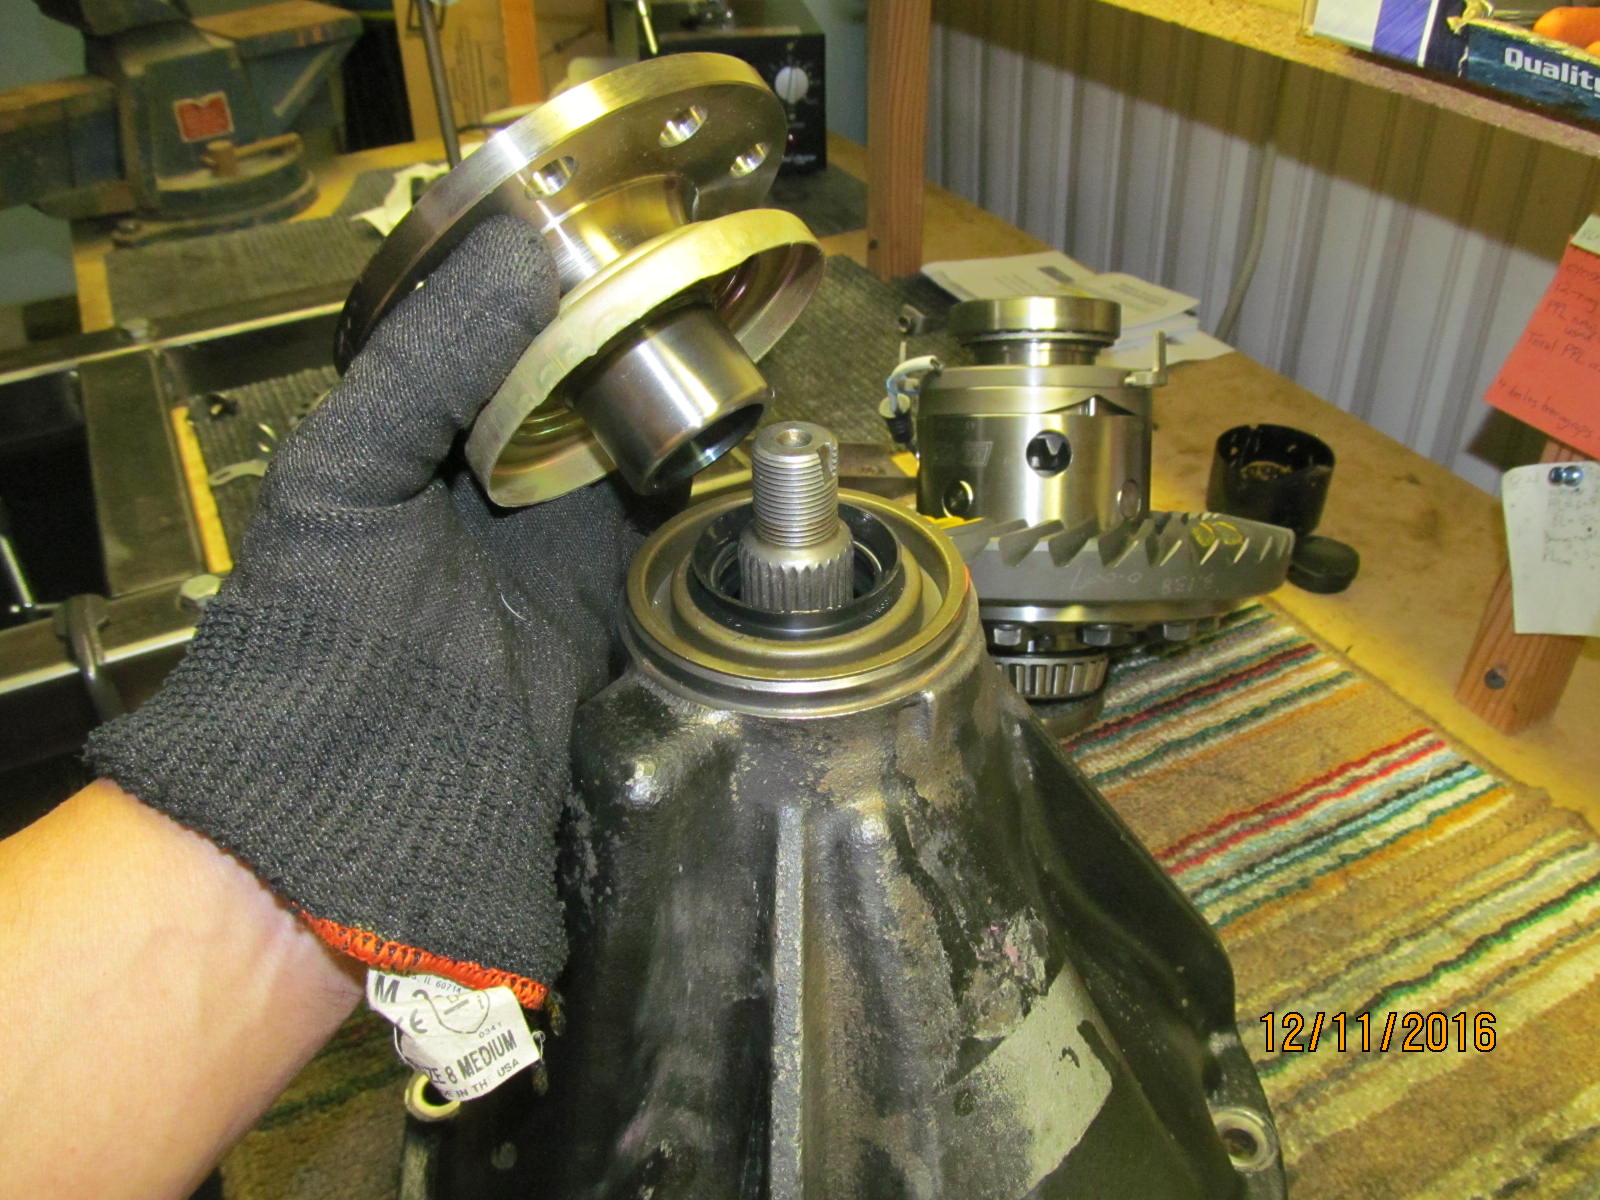
The shop flange is now removed.
|
|
|

|
Marlin eco seal is now slammed on. Even though a brand new dual drilled flange
will be installed the Marlin seal offers extra insurance against a drip.
|
|
|
|
|
New 27 spline flange.
|
|
|
|
|
Anti-seize is applied to the threads and even the flat washer surface sometimes.
|
|
|
|
|
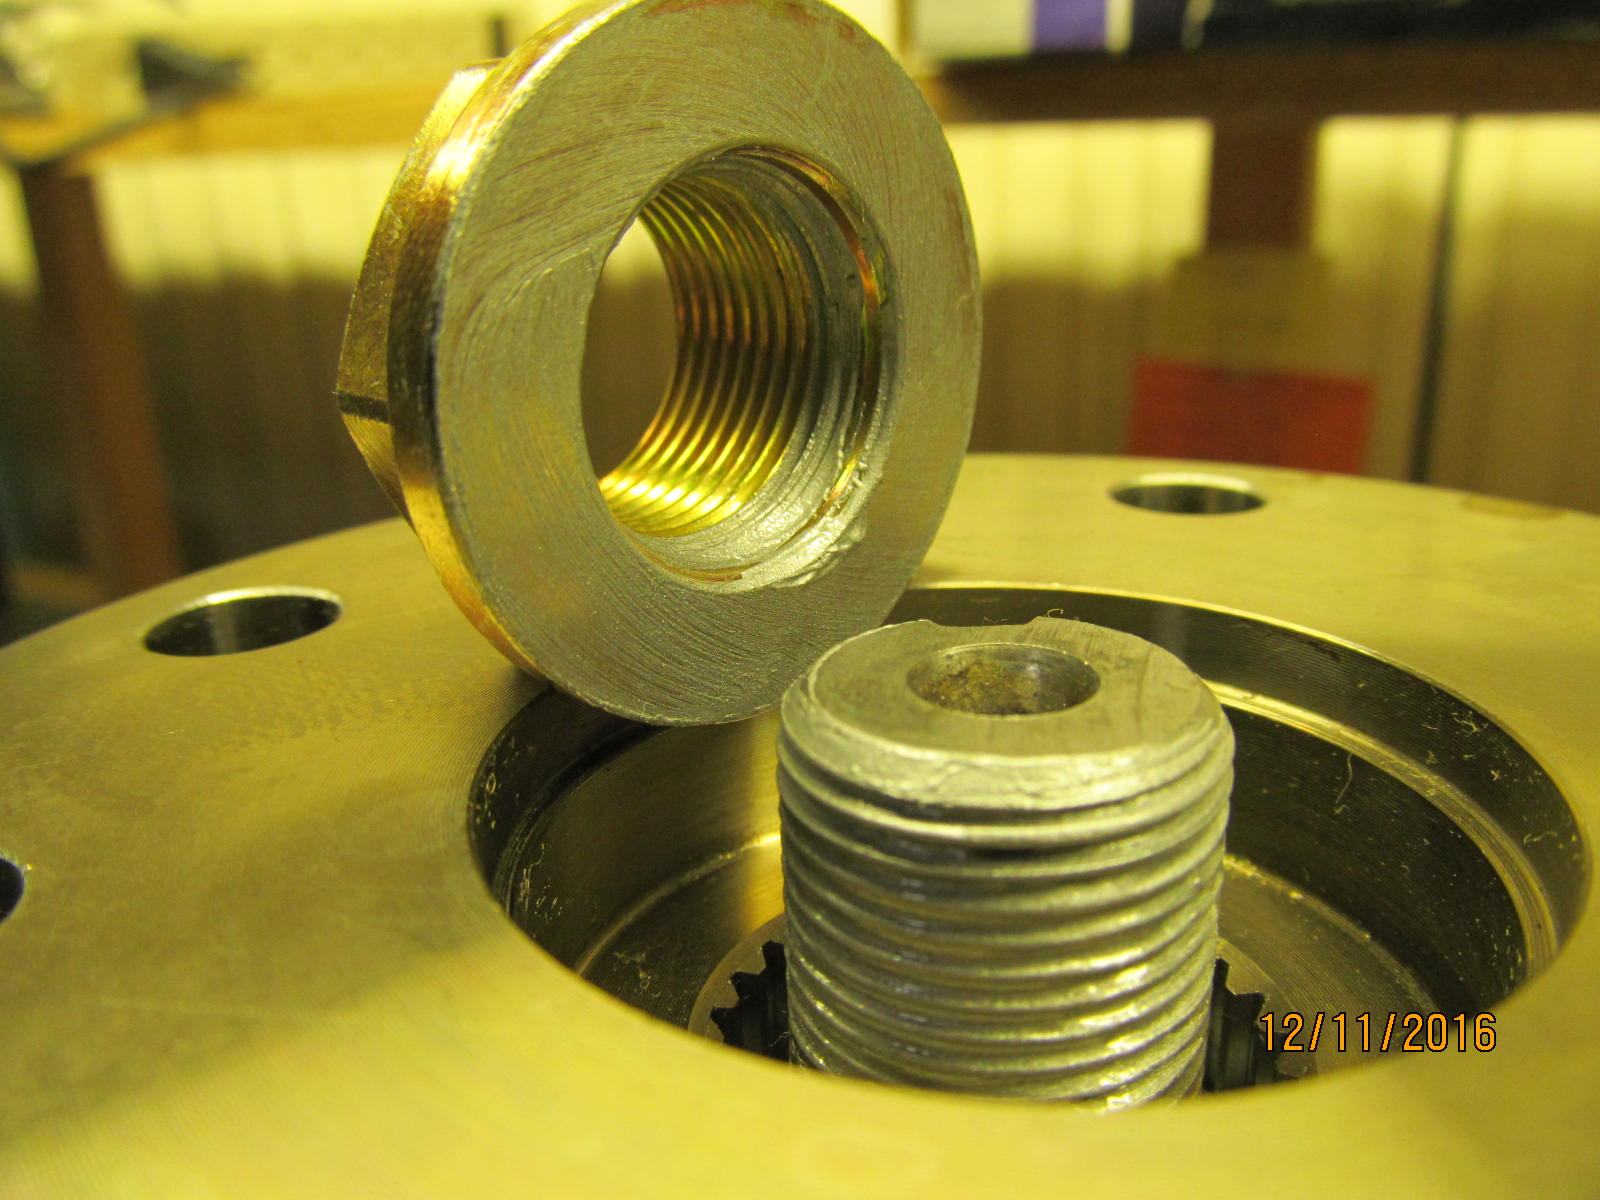
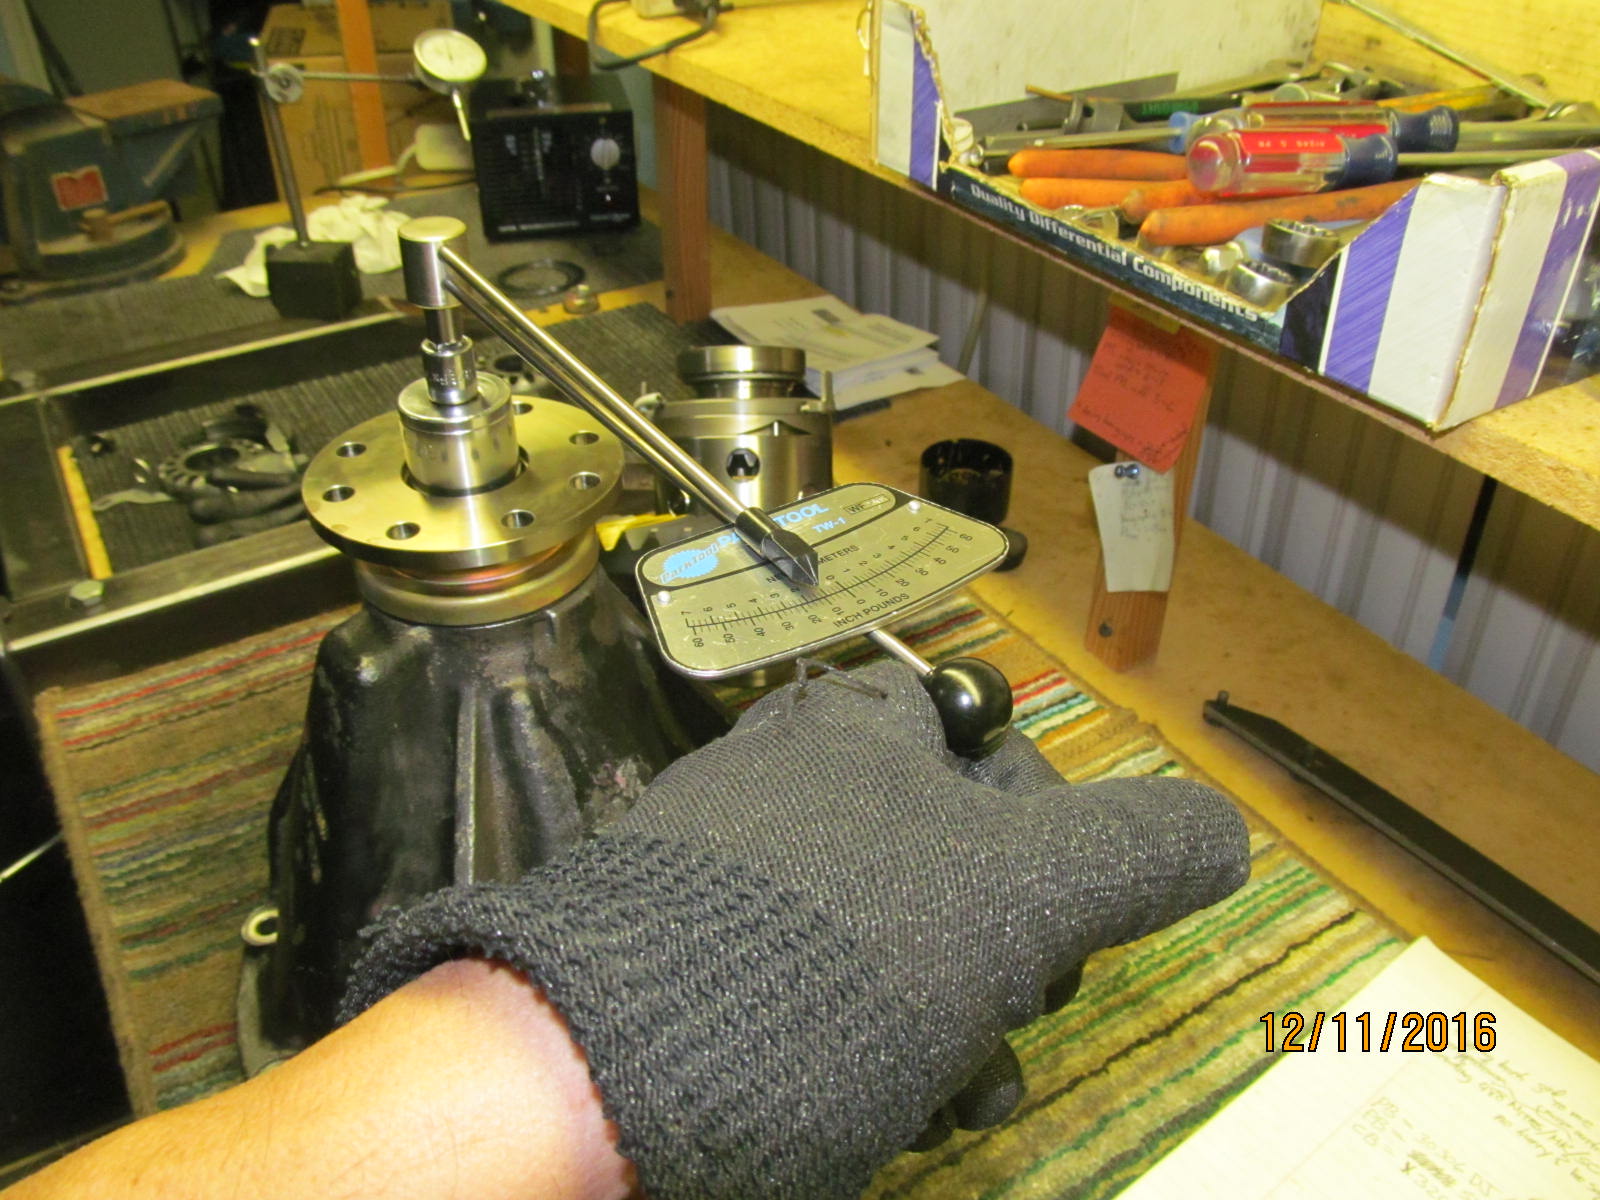
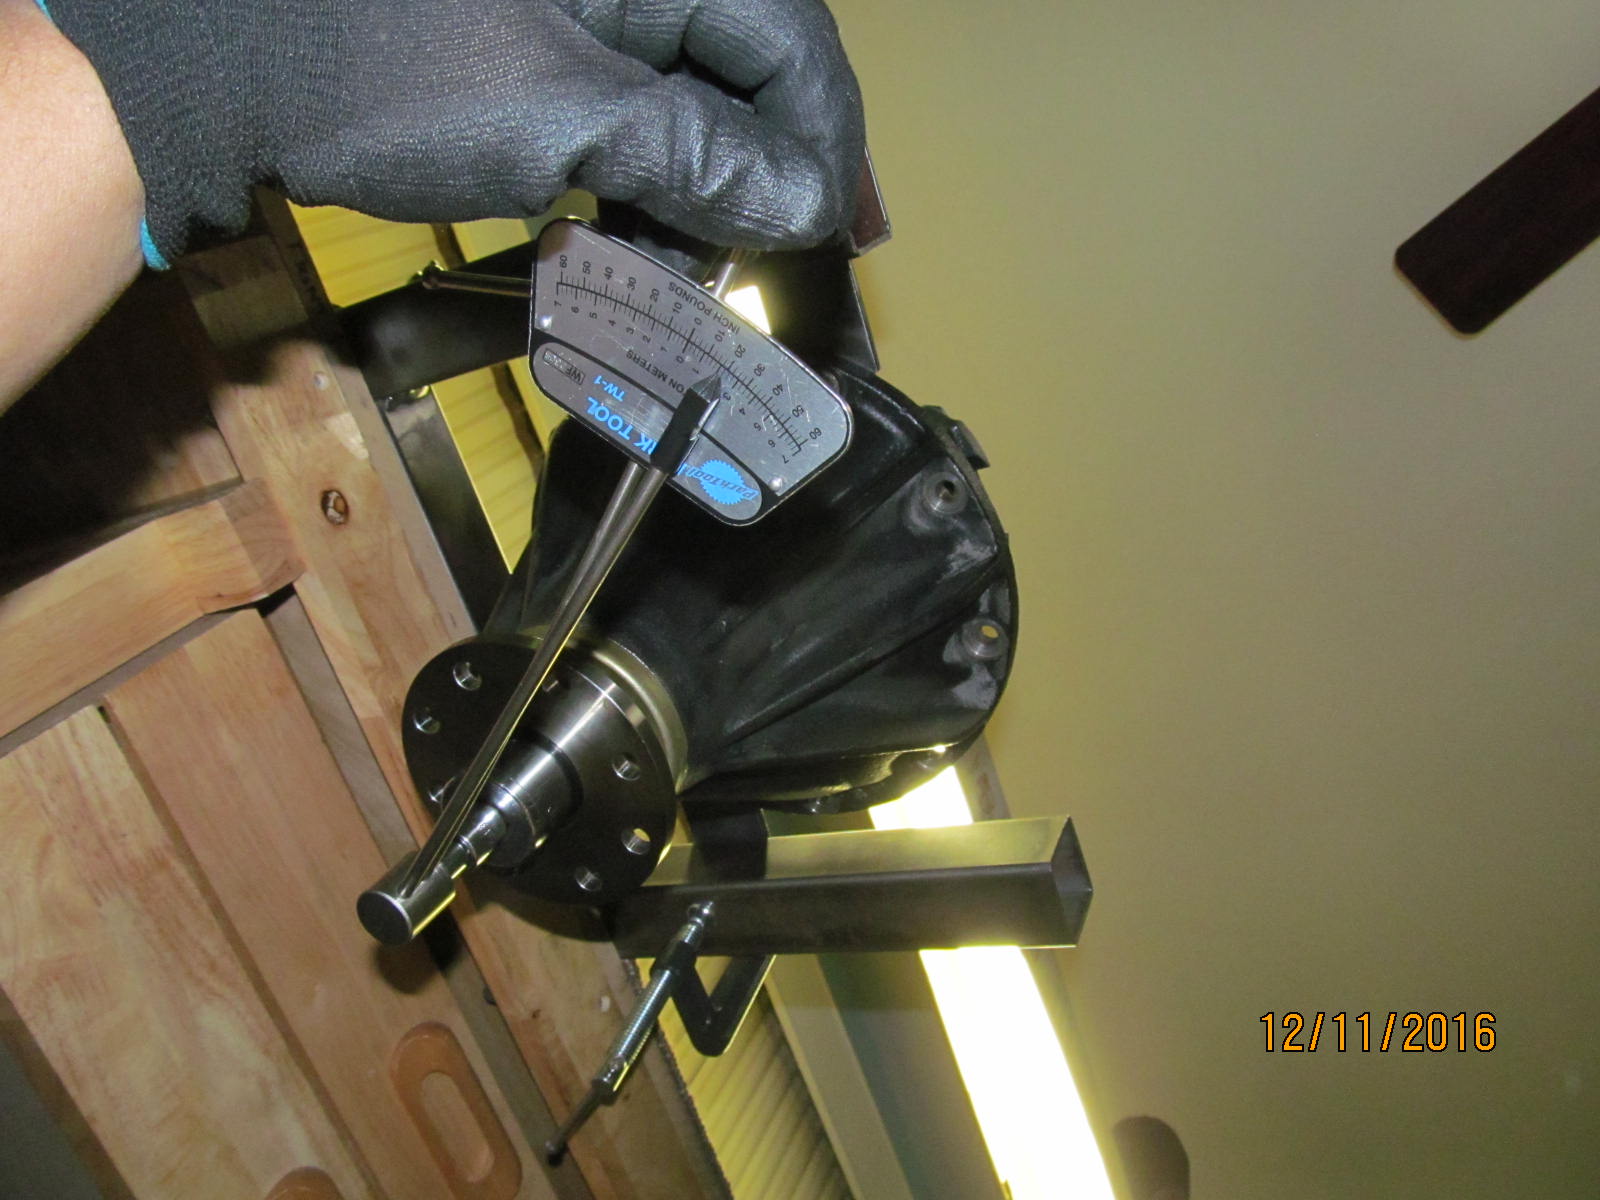
Pinion nut is tightened and a solid 11 in/lb of preload was measured.
|
|
|
|
|
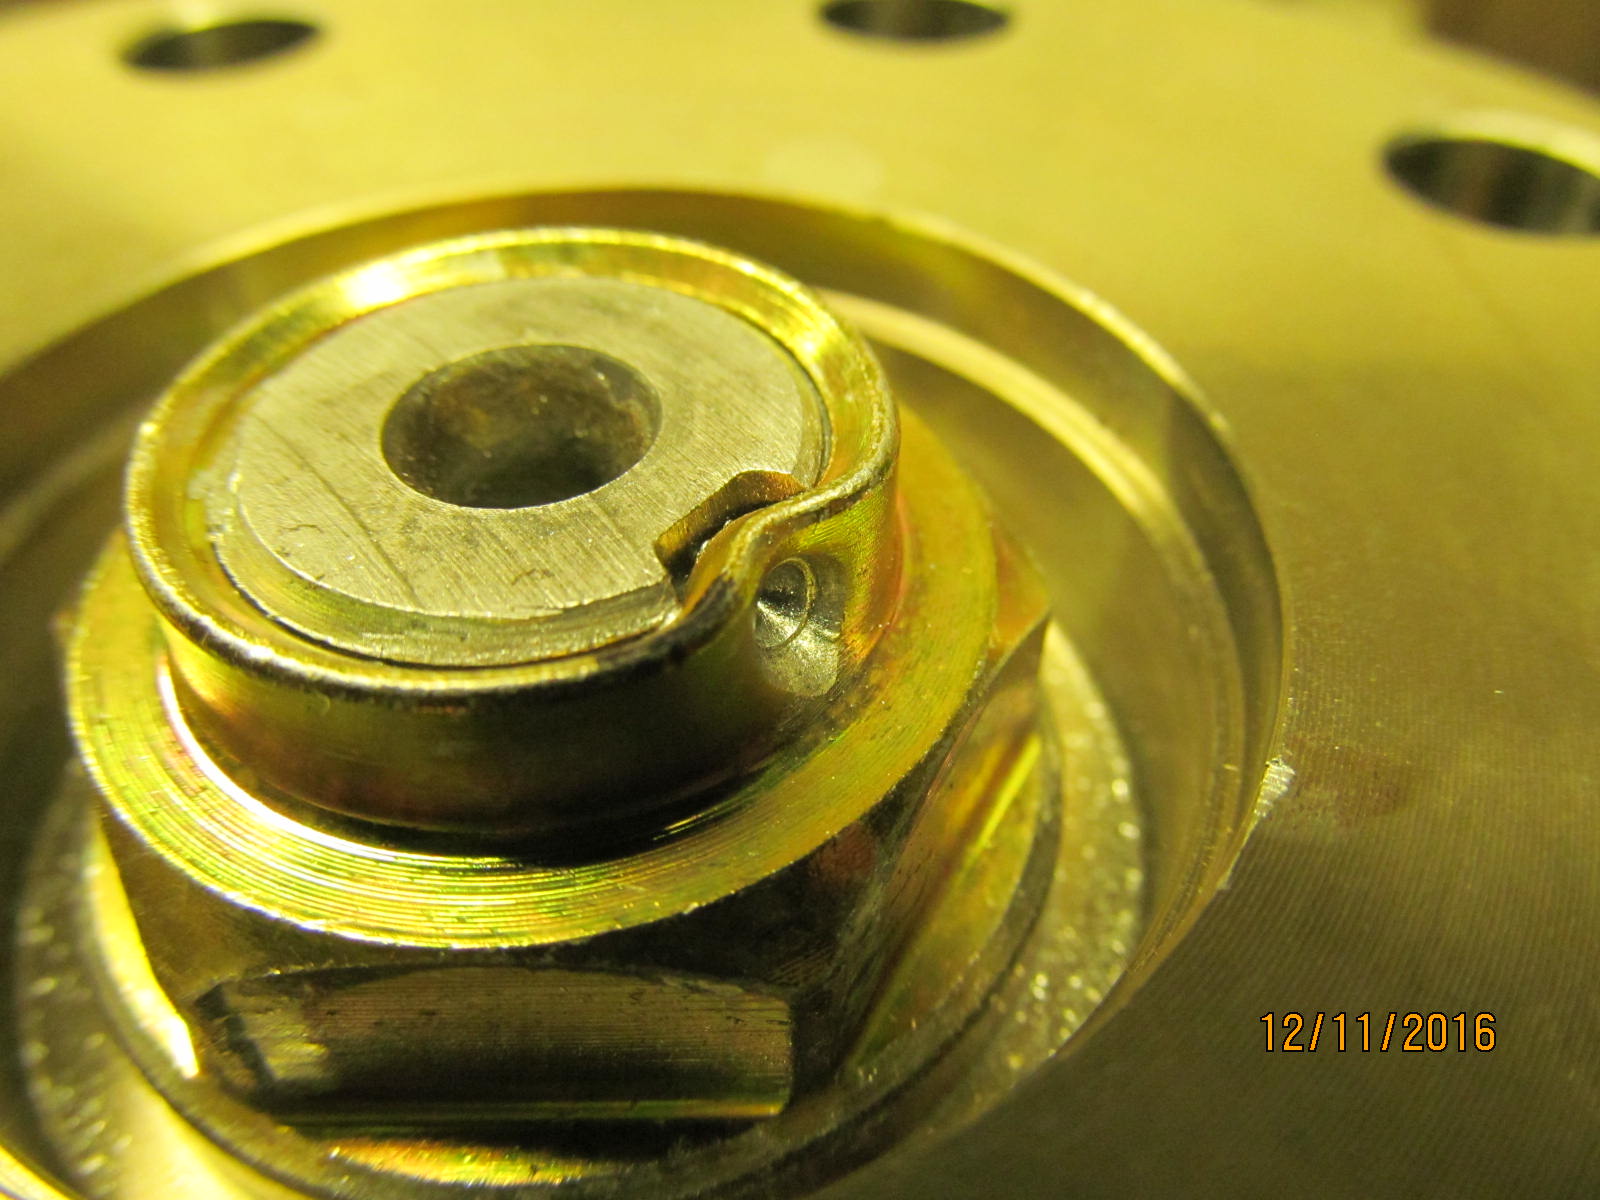
A pointy punch will make sure that the nut will never loosen on its own.
|
|
|
|
|
Now the final assembly can happen.
|
|
|
|
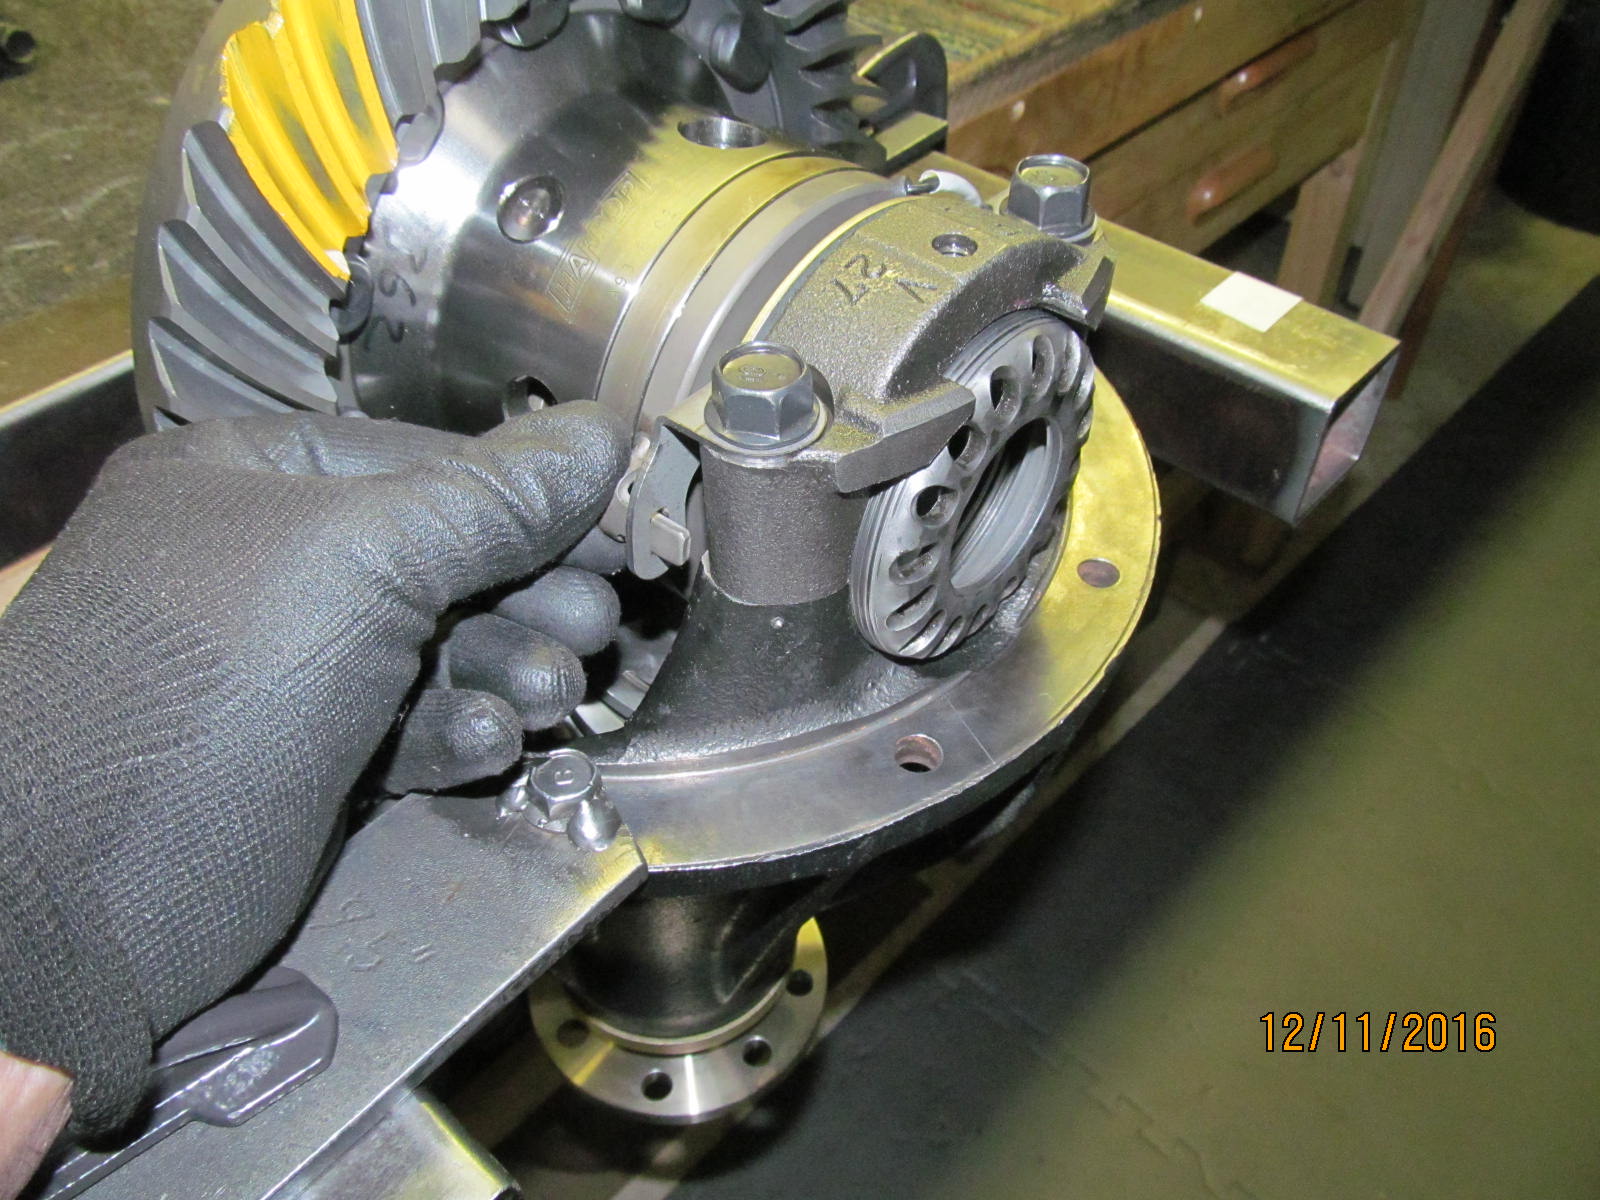
The 2 bearing cap bolts are snugged up. Not shown but the same for the wheel adjuster.
Free-play in the tab, as shown, was measured at 2.5mm.
|
|
|
|
The 4 bearing cap bolts are tightened officially to 70 ft/lb and recorded.
After the wheel adjusters are tightened, in the right proportion, backlash was measured at .007".
|
|
|
|
|
"Combined preload" measured 20 in/lb.
|
|
|
|
|
New paint is applied and 3 teeth on the drive side show a nice pattern.
|
|
|
|
|
Coast side in the center.
|
|
|
|
|
Drive side....reverse painted.
|
|
|
|
|
Coast side....reverse painted.
|
|
|
|
|
Drive side of the pinion tooth. Comet tail is swinging to center.
|
|
|
|
|
tooth #2 says the same.
|
|
|
|
|
Tooth #3 agrees.
|
|
|
|
|
The 2 lock tabs are torqued to 10 in/lb with blue locktite.
|
|
|
|
|
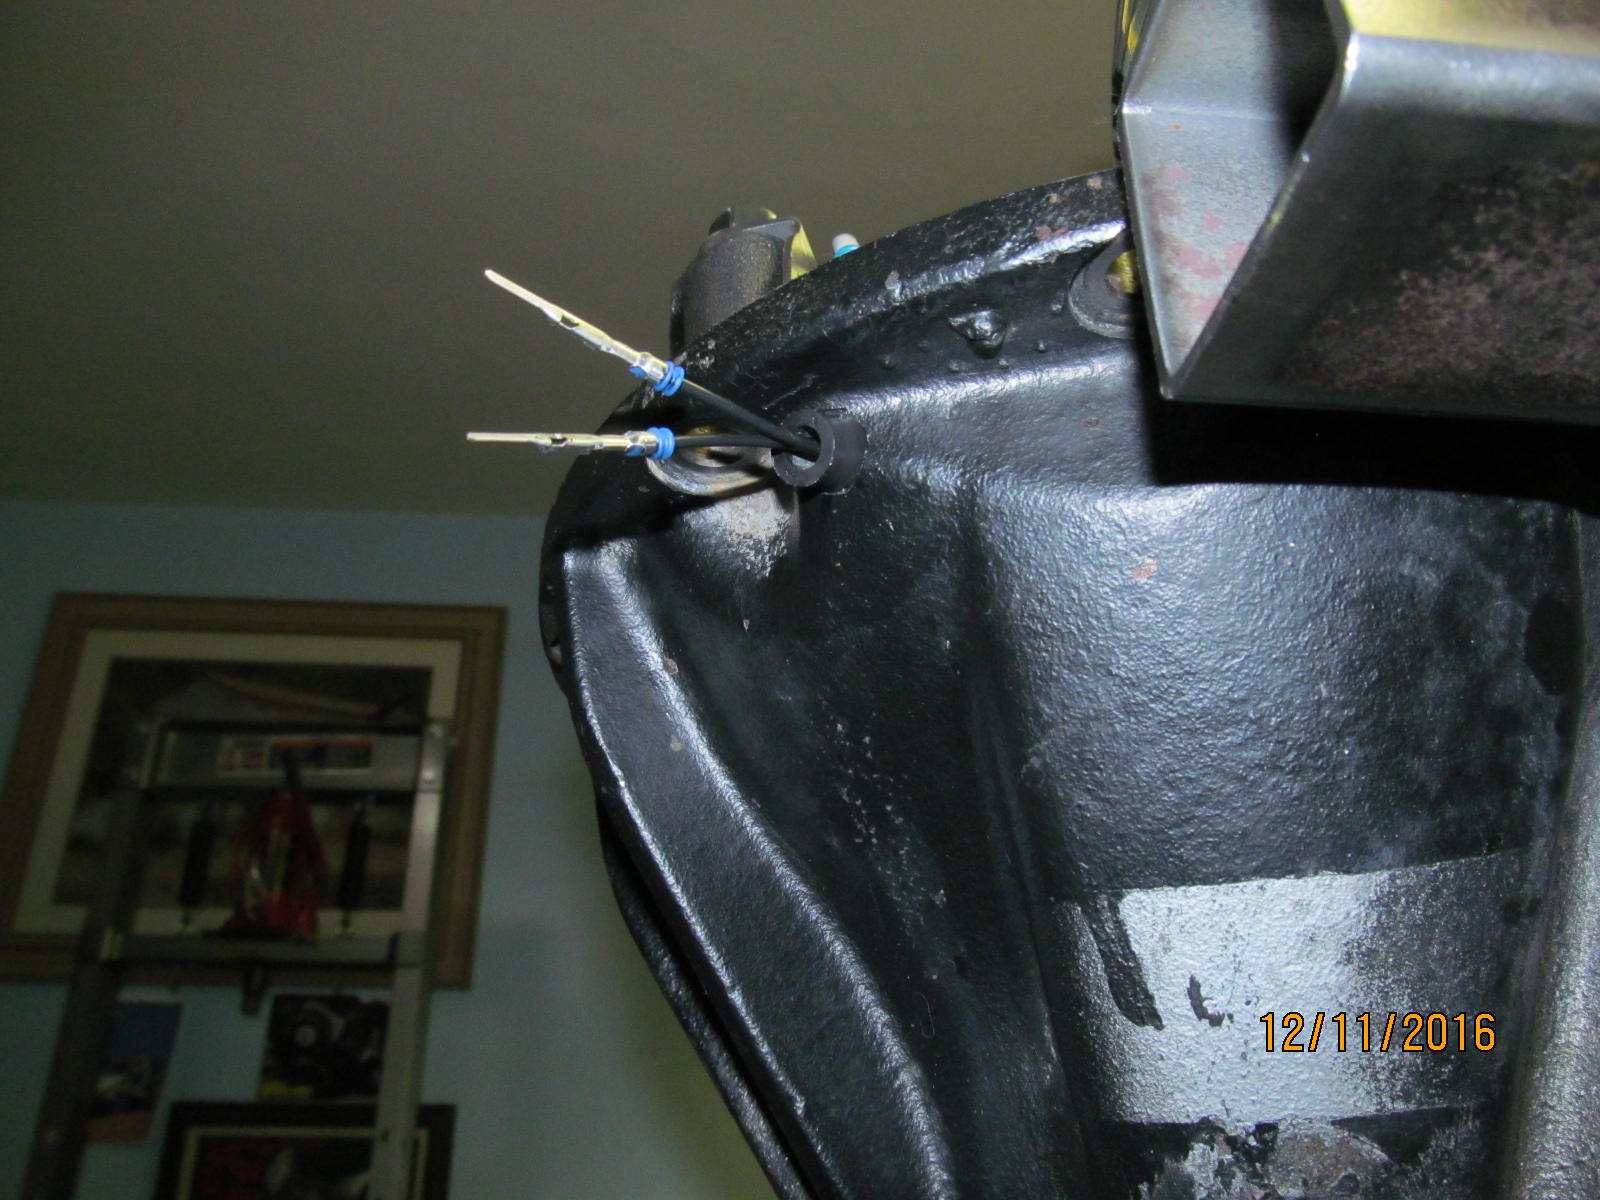
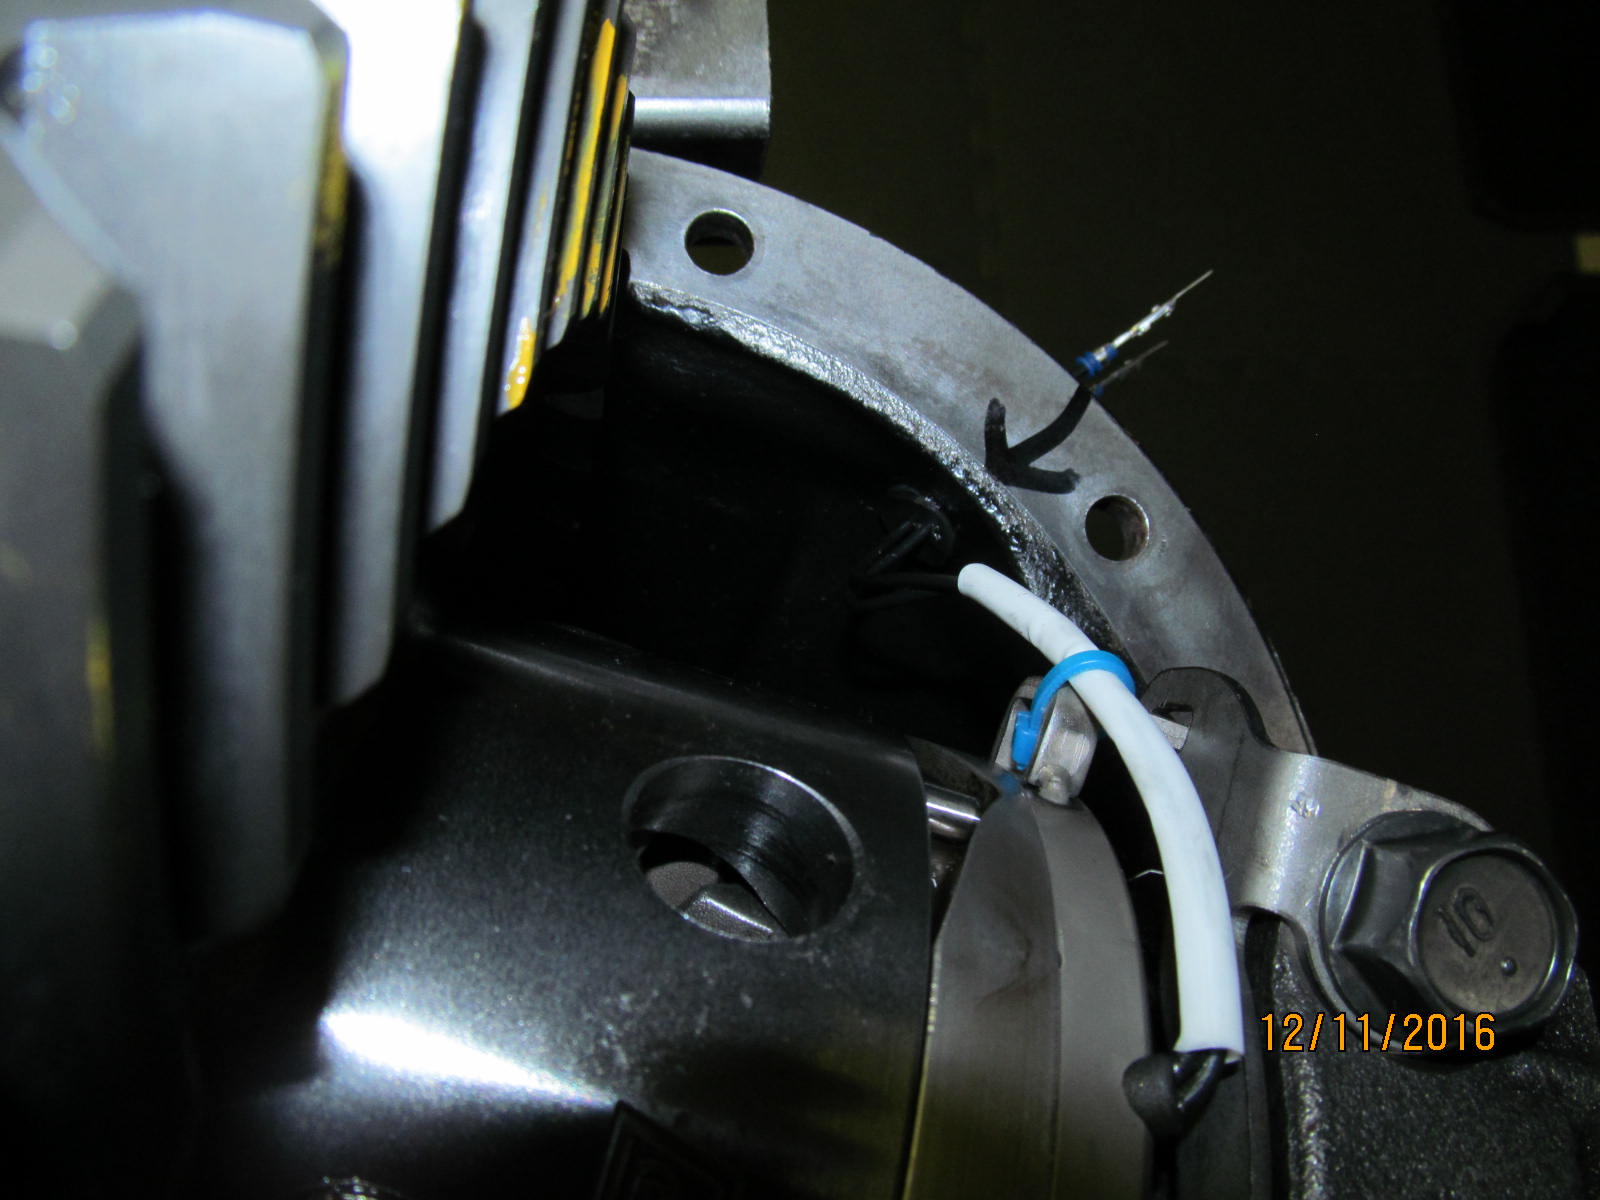
One of the last operations to do is push the rubber grommet thru the drilled .453" hole.
|
|
|
|
|
.......
|
|
|
|
|
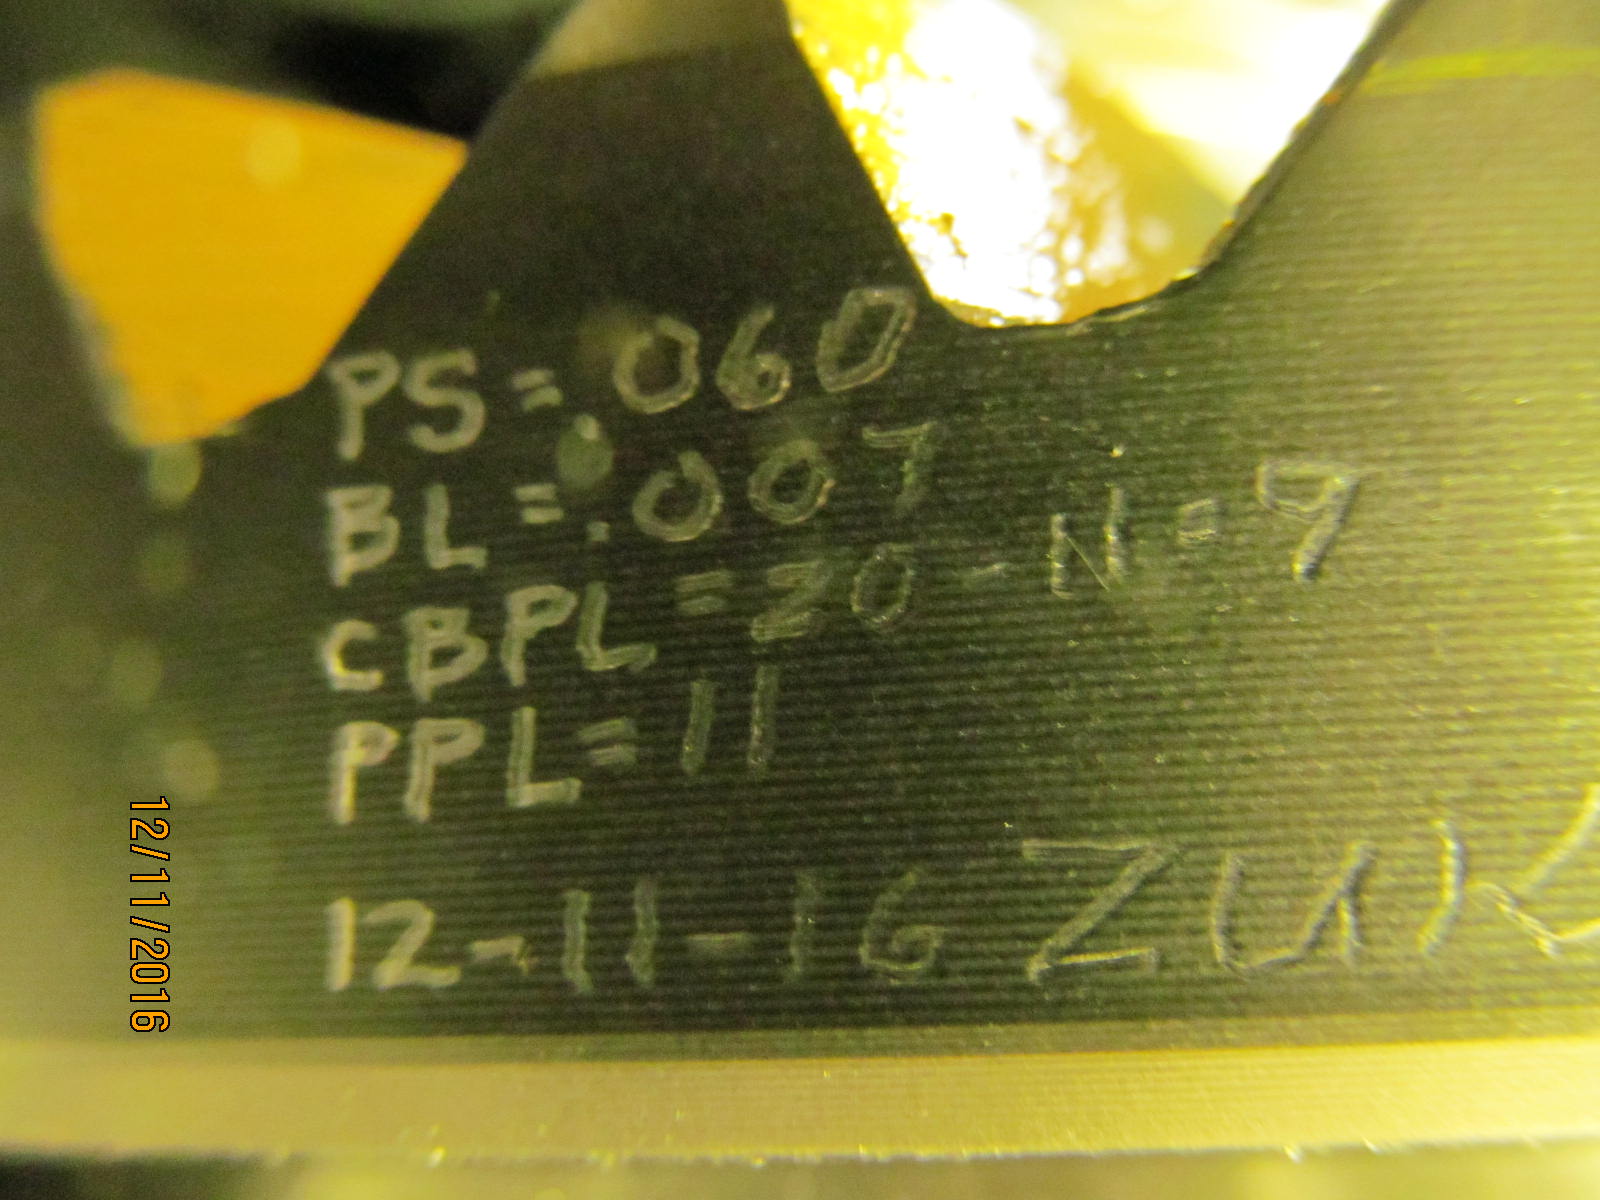
Specs dremel drilled on the ring gear and date coded.
|
|
|
|
|
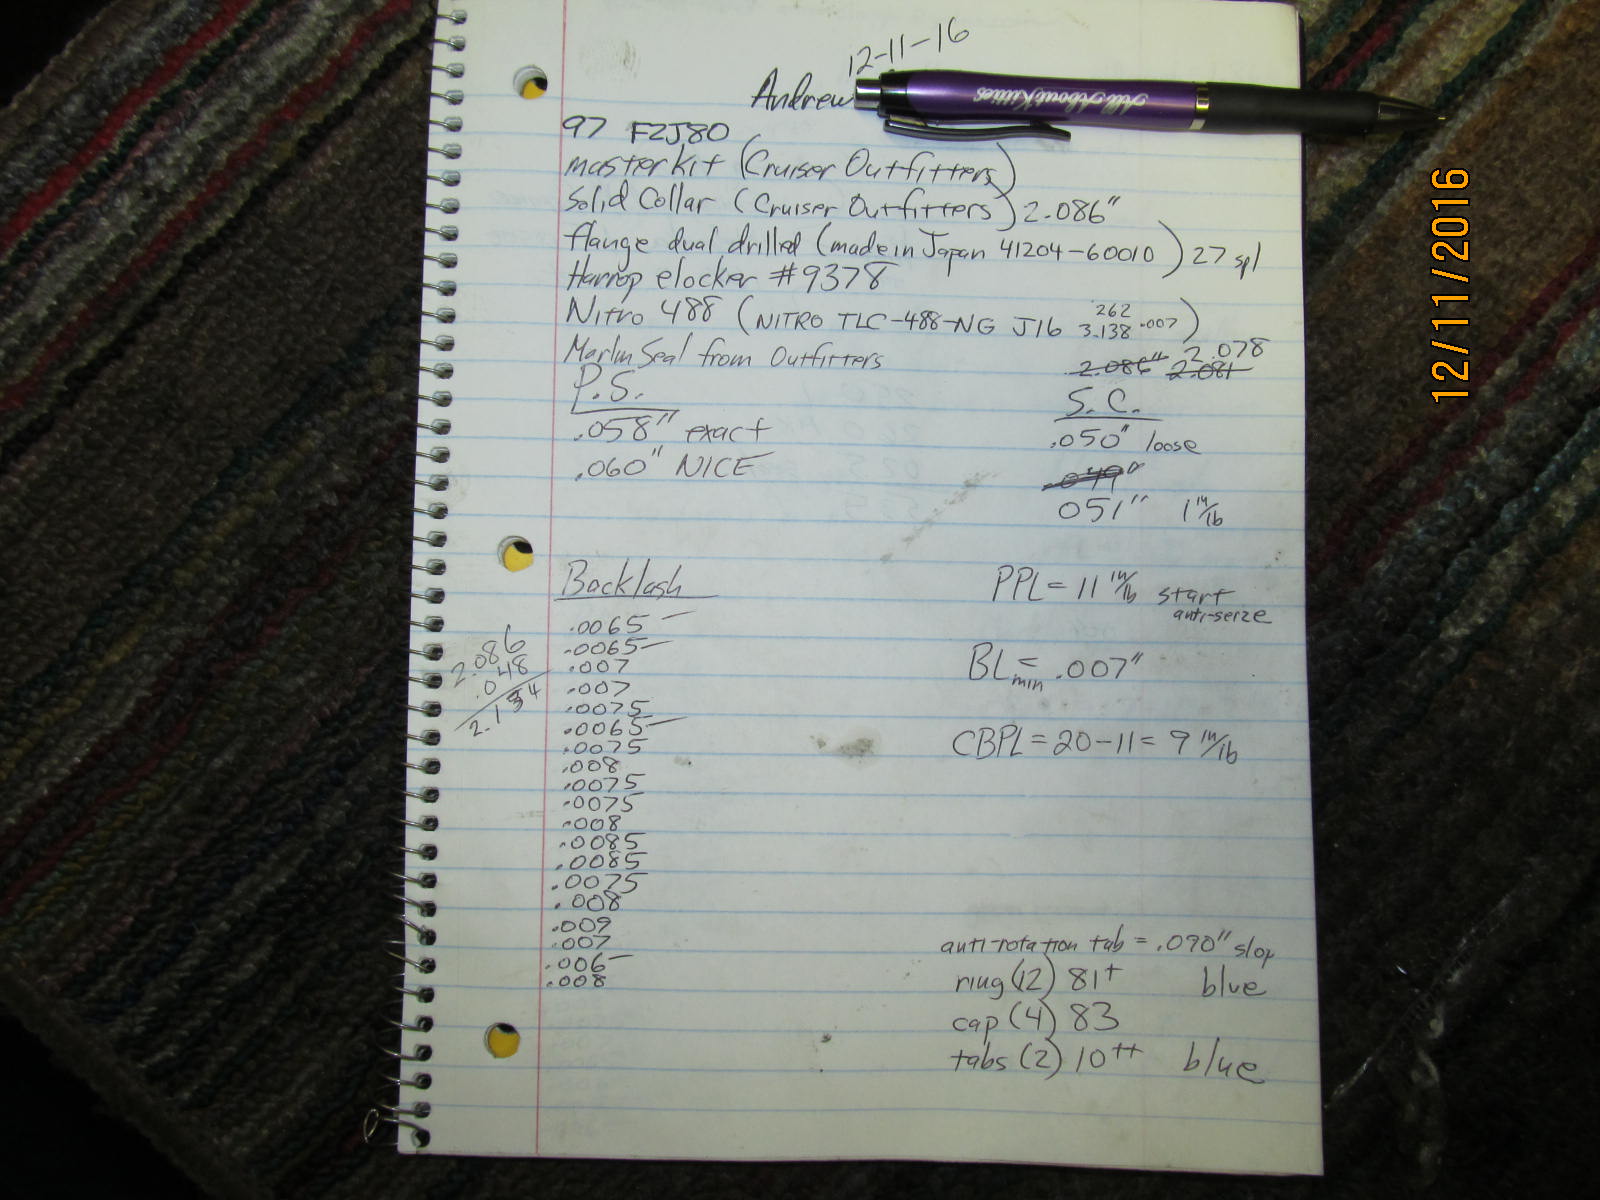
A snapshot of the notes.
|
|
|
|
|
...............
|
|
|
|
|
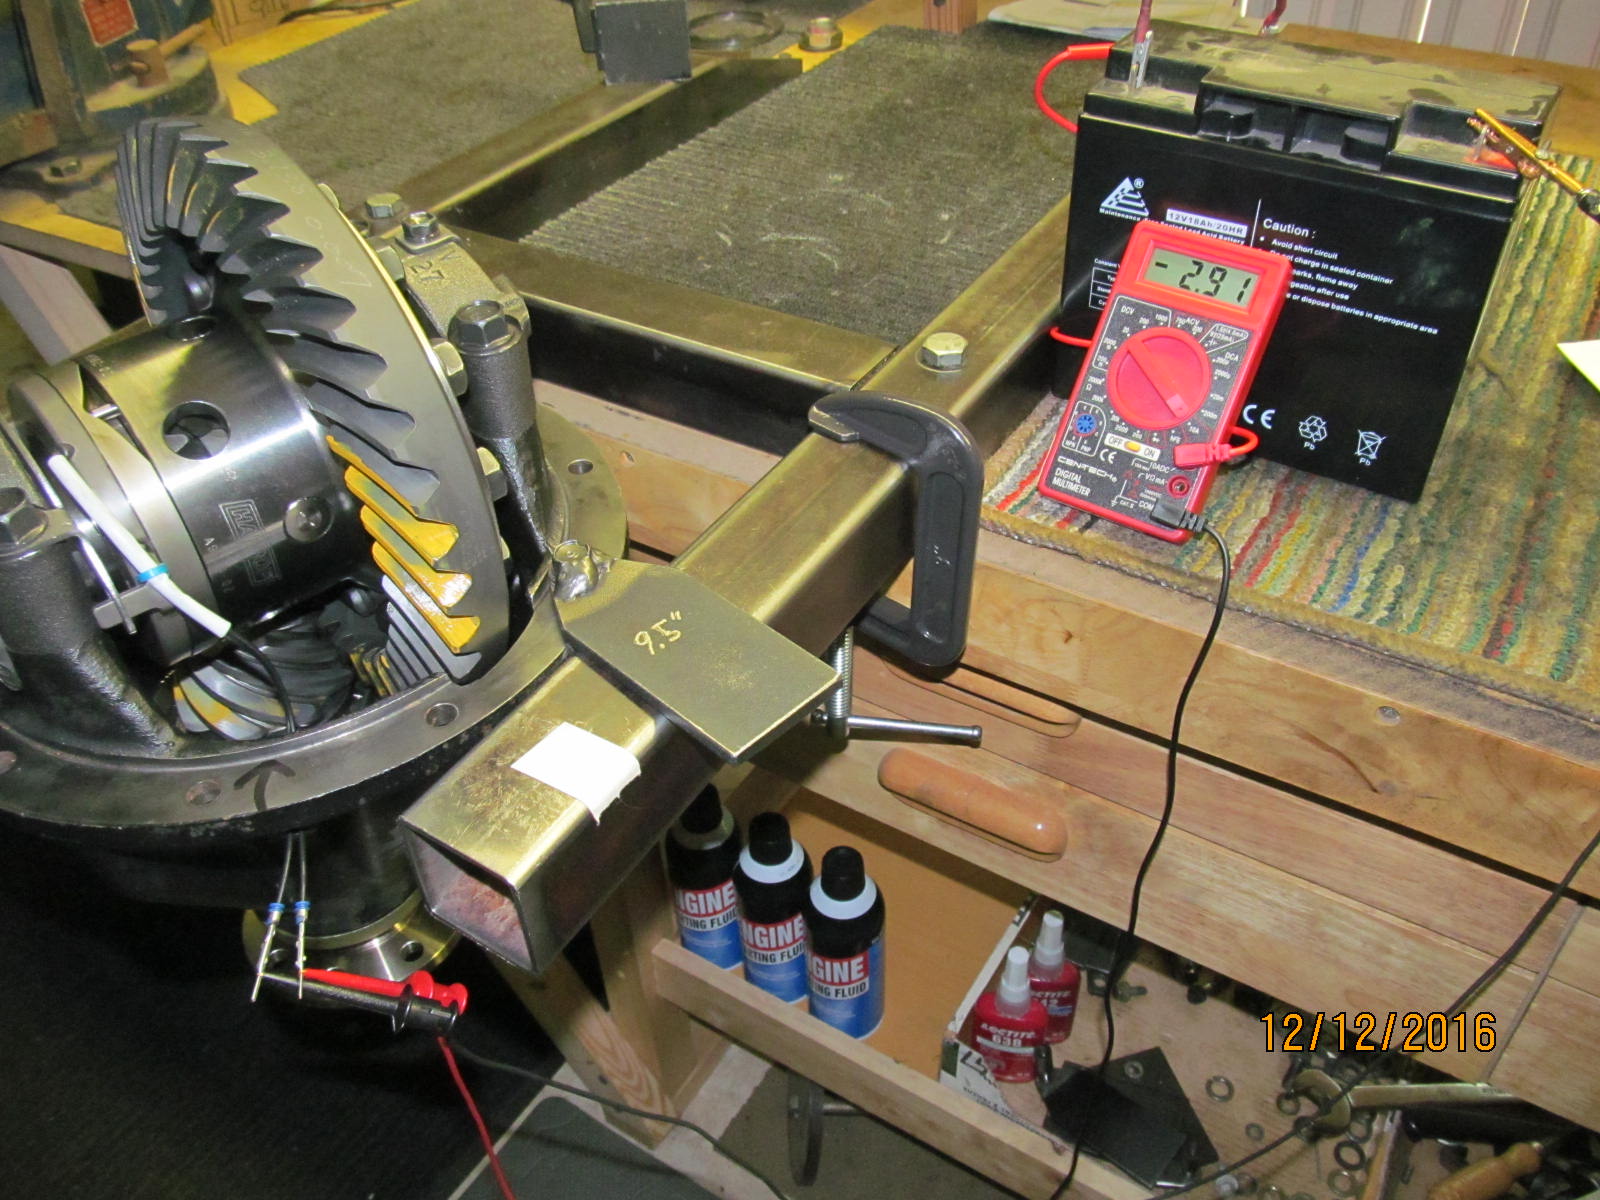
2.91 amps measured using an agm battery.
|
|
|
|

|