|
|
|
|
|
|
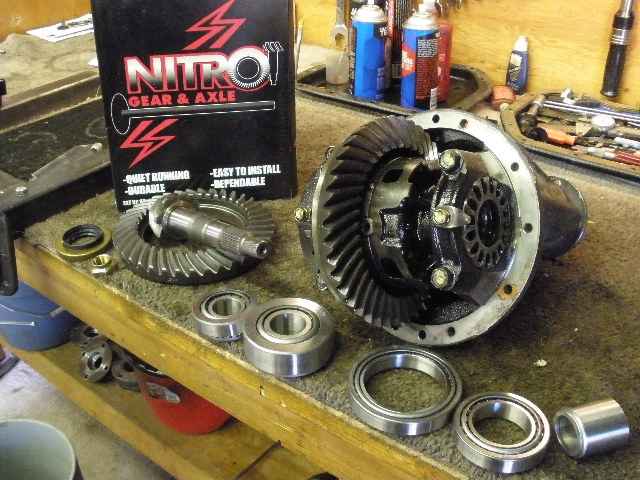
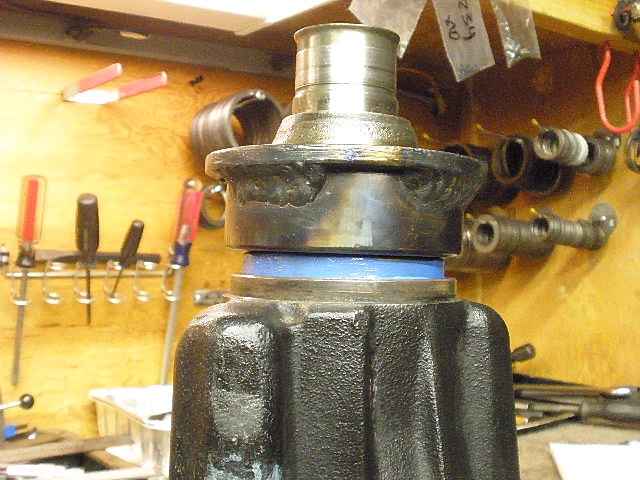
The cryogenic treatment has also been given to the front Nitro reverse cut 488 and the 4 bearings shown. |
|
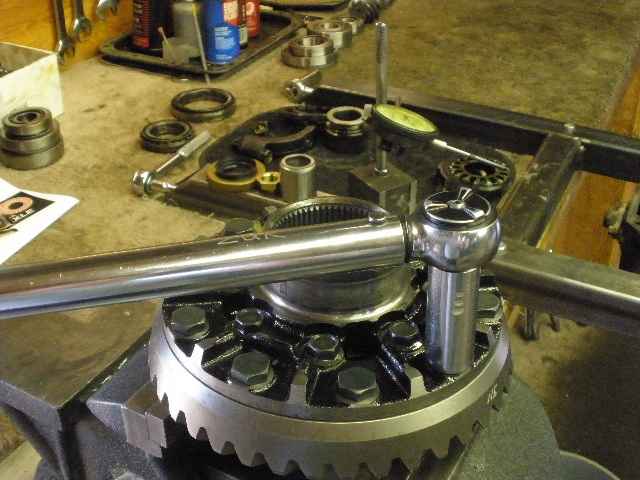
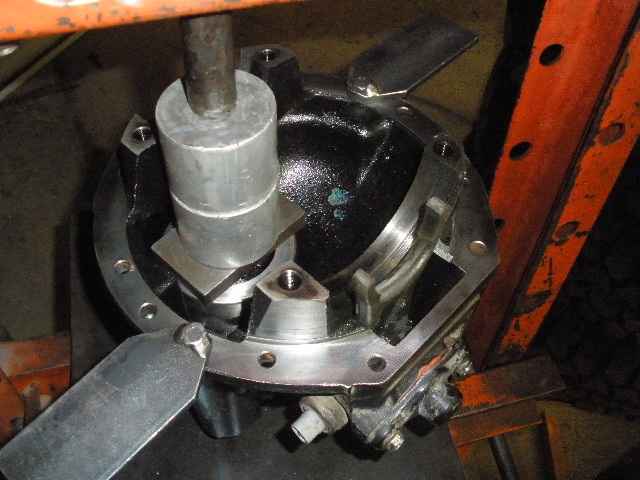
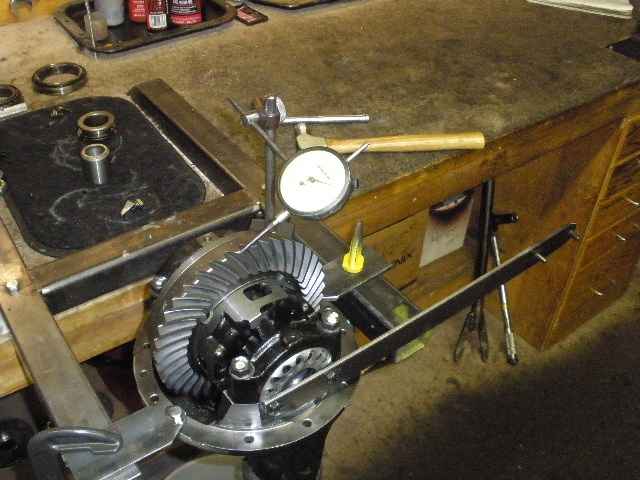
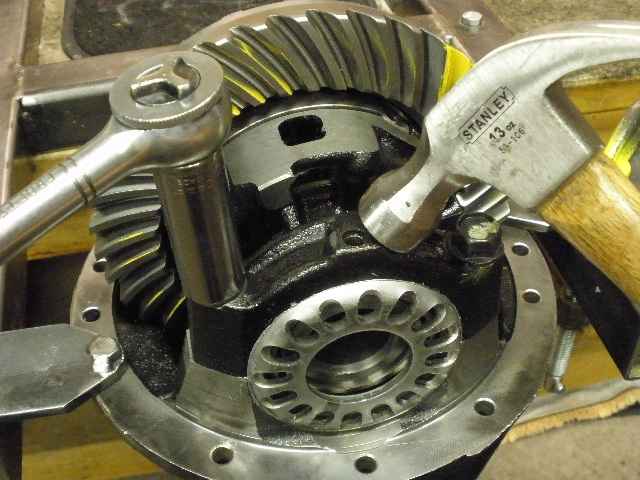
The 3rd is secured in the jig with 2 mounting points. |
|
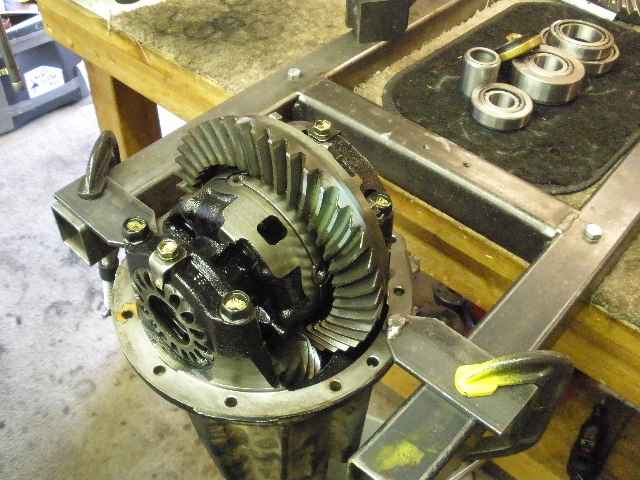
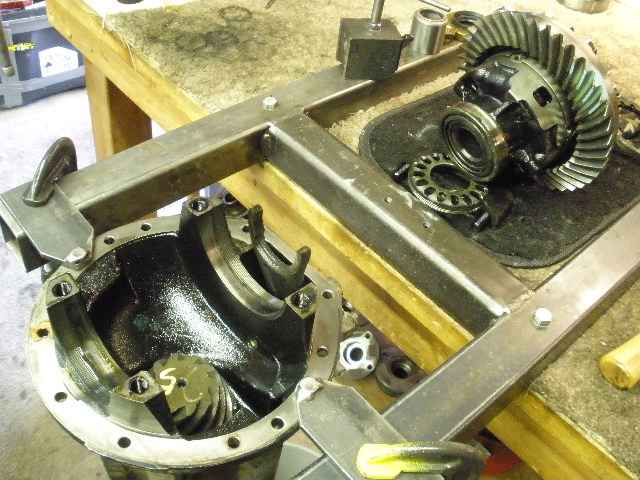
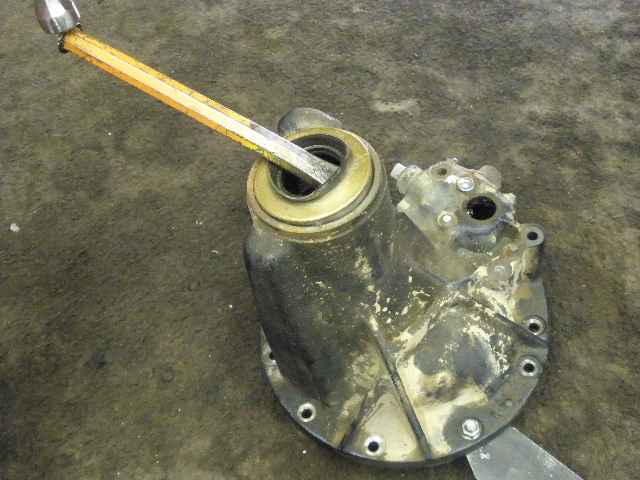
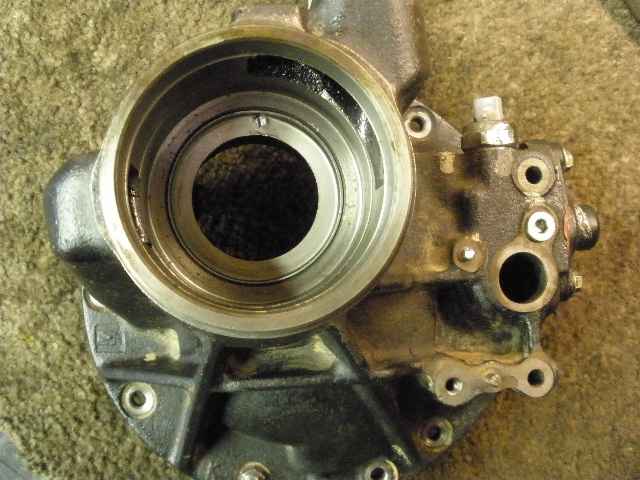
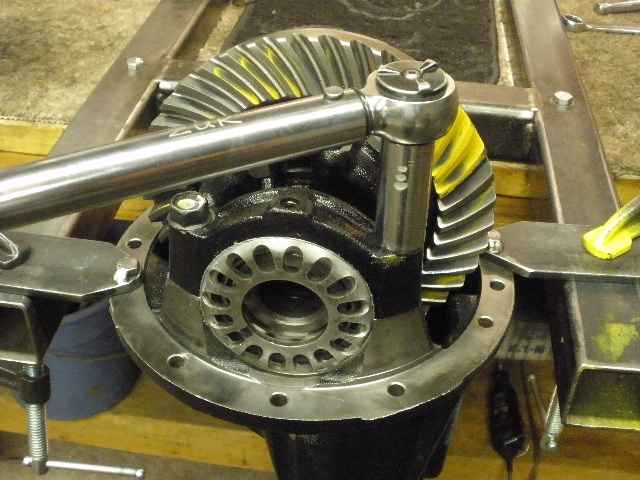
The case is removed. |
|
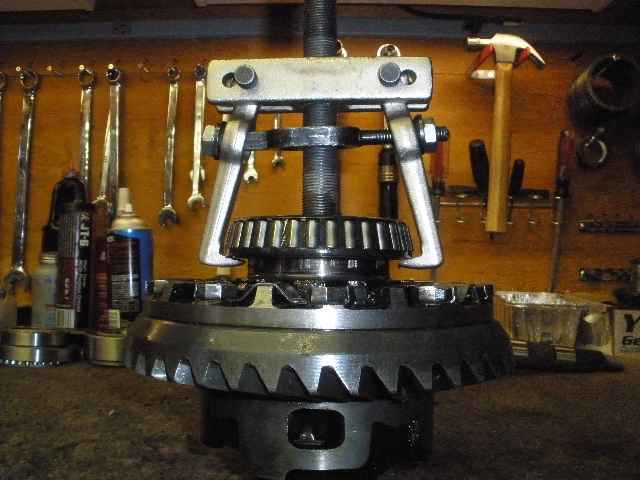
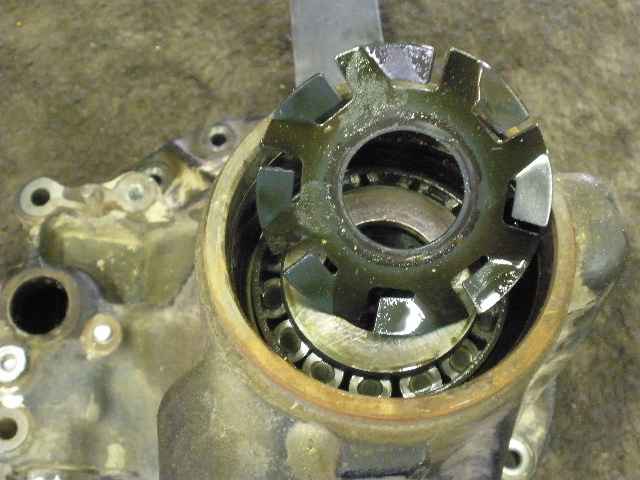
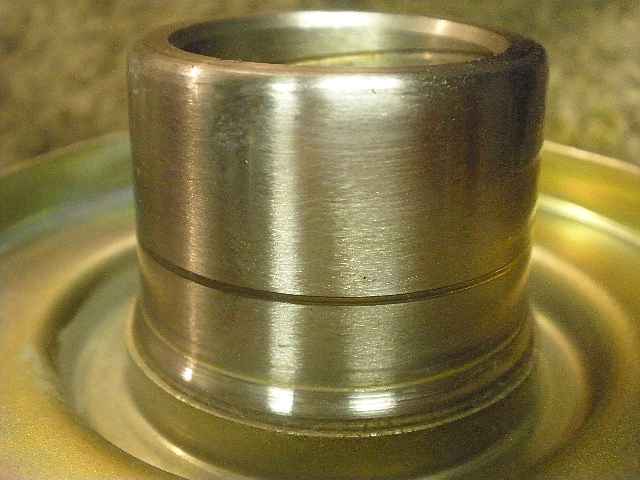
Carrier bearings are pulled off. |

|
The surfaces are filed and looked good. |
|
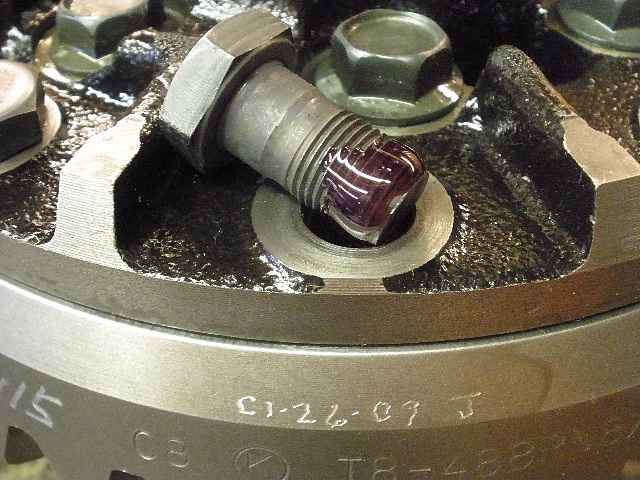
Clean threads and red Loctite. |
|
75 ft/lbs. |
|
The carrier bearings can be pressed on...or tapped on. Old bearing bodies are perfect for this application. |
|
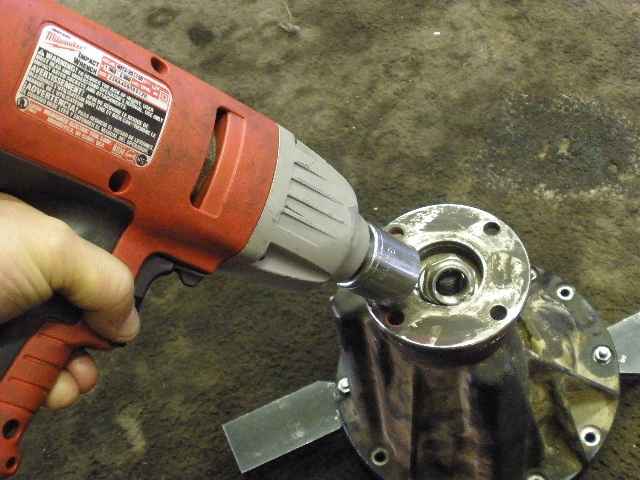
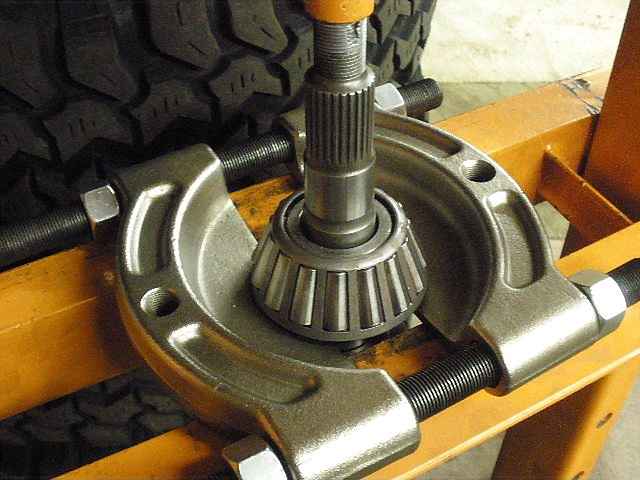
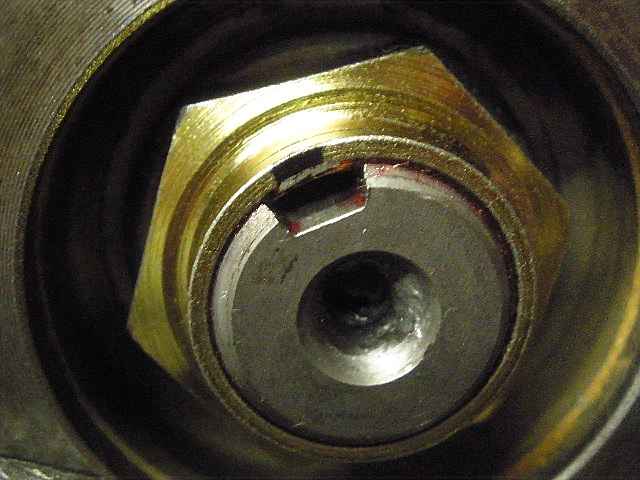
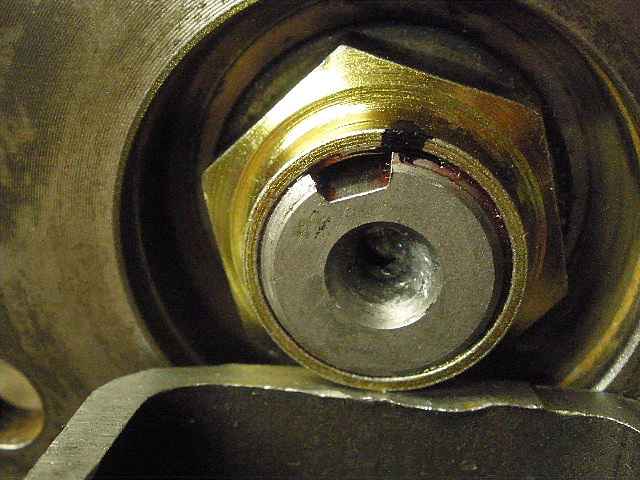
Now to the pinion end....the electric impact wizzed the 30mm nut off in 2.1 seconds. |

|
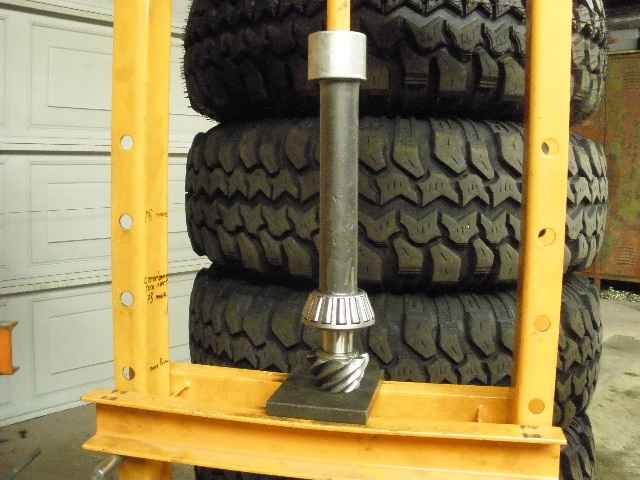
The 12 ton press eases the pinion out with about 1/4 ton of actual push. |
|
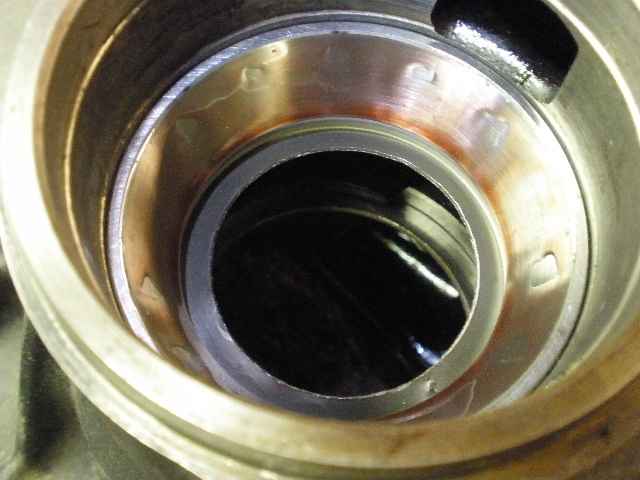
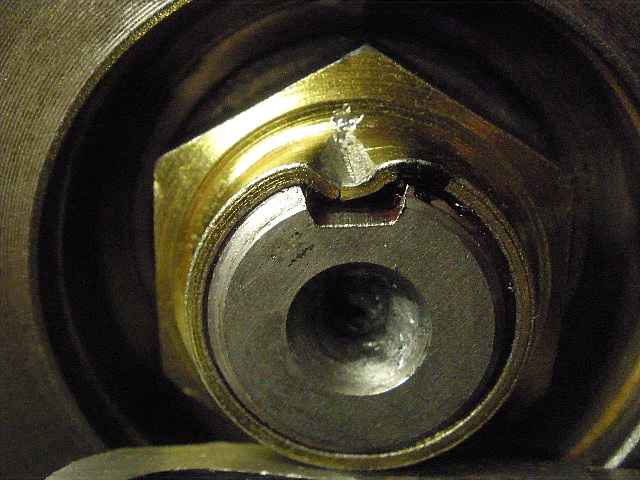
The old seal is removed. |
|
Now the slinger and outer pinion bearing can be removed. |
|
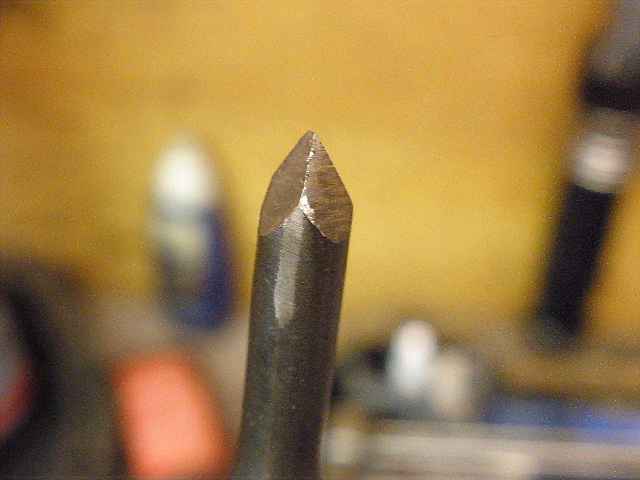
This is my special punch...it has to be sharpened before each use. It's designed to punch through the thin oil retainer and knock the outer pinion race loose. |
|
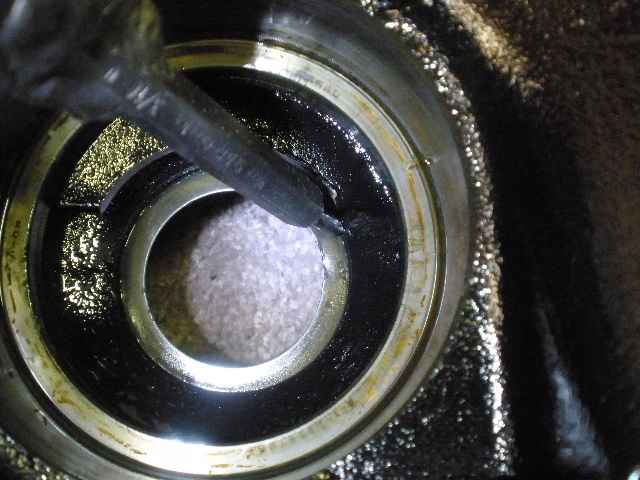
The pointy punch is placed inside the pinion bore hole like this...1 hard rap with a heavy hammer should punch a clean hole through the retainer and knock the race loose. The retainer can now be moved off to the side and the race tapped on some more until it falls out. |
|
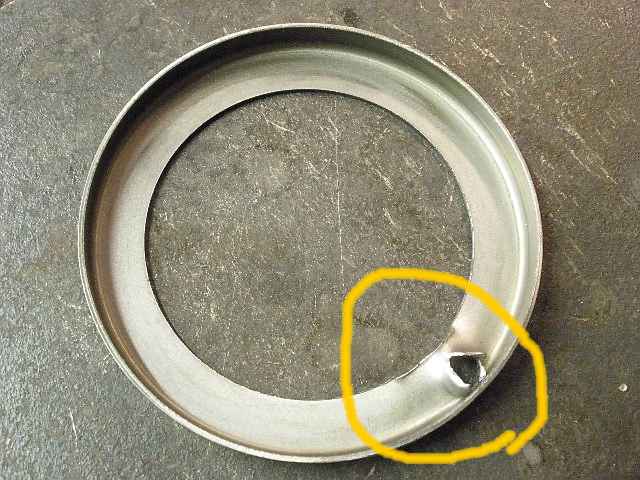
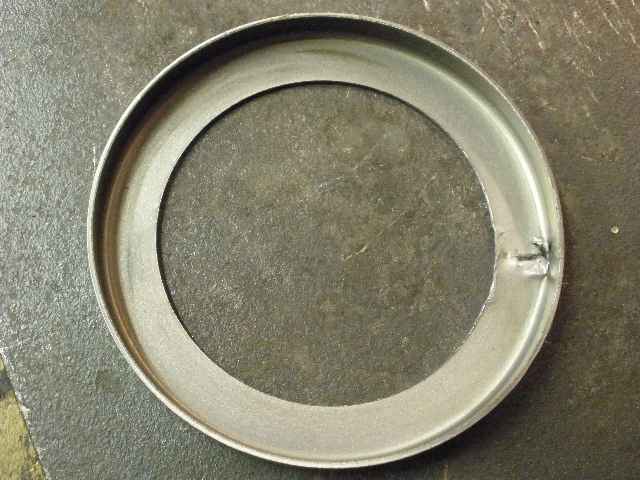
I use a flat punch and close up the hole and it's almost like new. |
|
There is absolutely no reason to waste using a new one when the old one will do the same exact job. |
|
Just place the damaged spot straight up in the 12 o'clock position and the oil will never know the difference. |
|
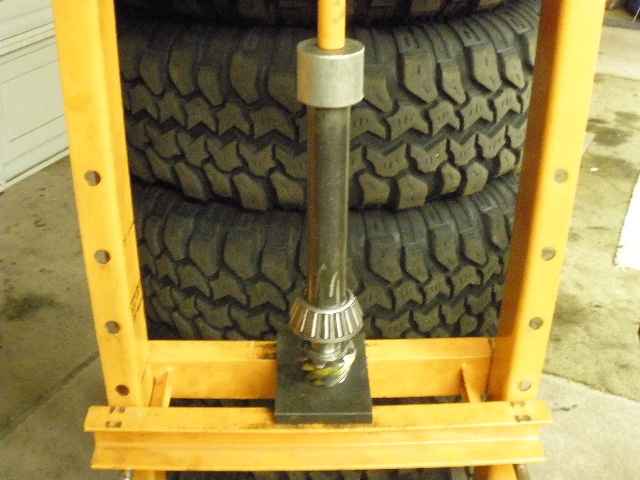
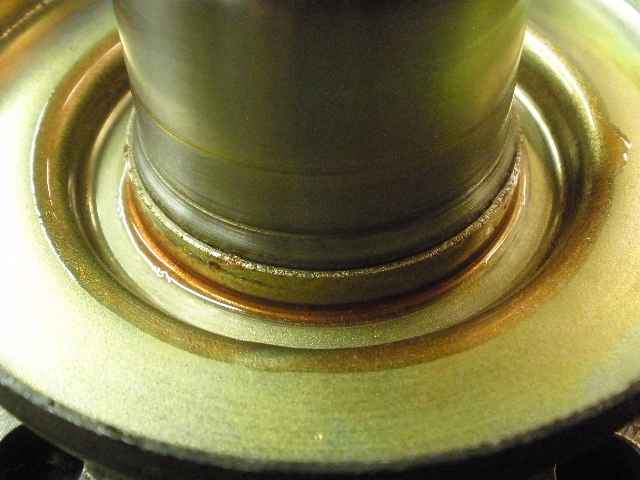
Both new races are pressed in. |
|
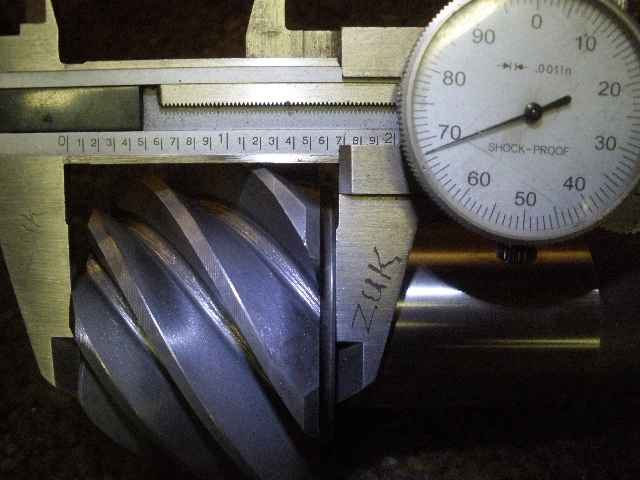
Just making sure this is a V6 pinion head....1.668" yep, it is. If it would have measured 1.535" then it would be a short pinion head(4 cyl version). |
|
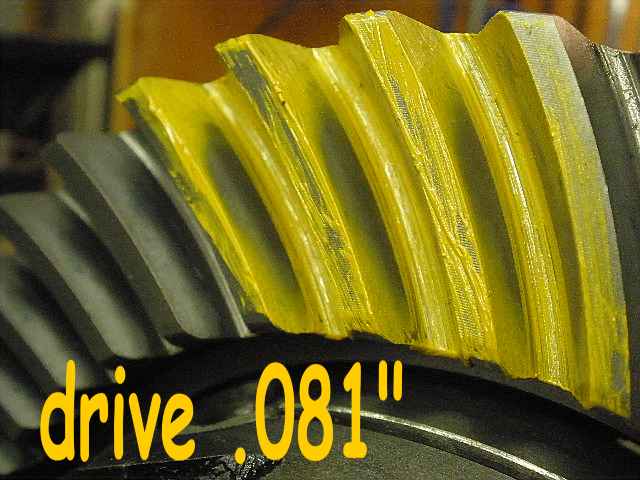
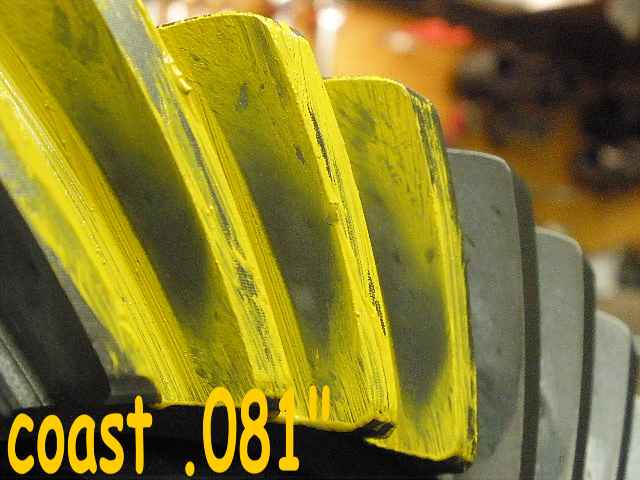
My starter shim will be .081" and that is pressed on with the new bearing. |
|
The bearings are both splashed with a generous amount of gear oil. The solid collar will be left out at this point until we determine that the pinion depth is correct. |
|
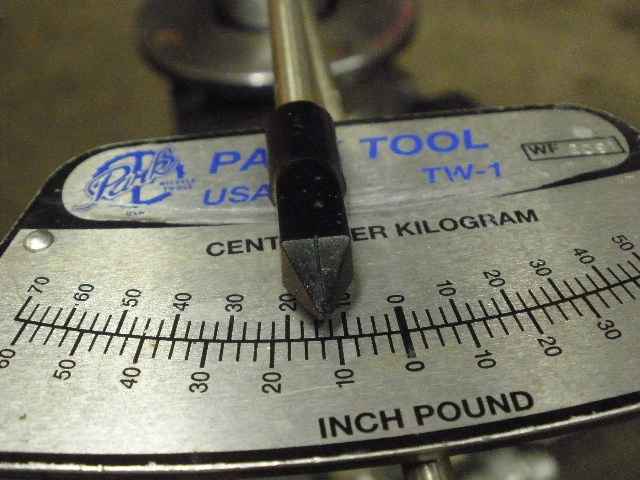
I tighten the nut (with the electric impact in this case) until the PPL is between 10~15 inch/pounds. If the bearings are new and are soaked in oil then the drag felt should be smooth and consistent. |
|
Then the case can be mounted up. Bearings are tightened until at least some CBPL is evident. Backlash is not super-critical at this point and anything between 6~9 thou is a-ok for a depth pattern check. |
|
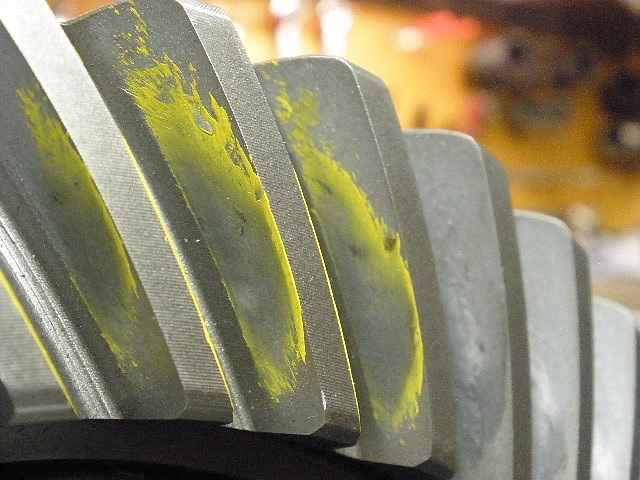
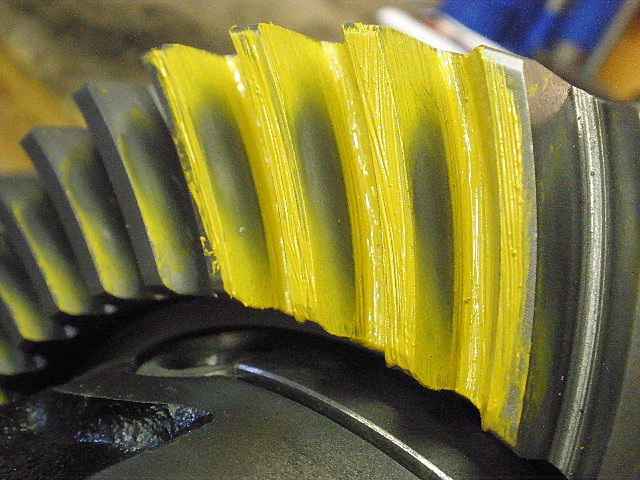
Reverse-cut gears follow the left-hand rule....hold your left hand up to the ring and your thumb shows the direction of swirl of the ring teeth. This is the drive side and it appears a little deep. |
|
coast-side appears deep. |
|
... |
|
... |
|
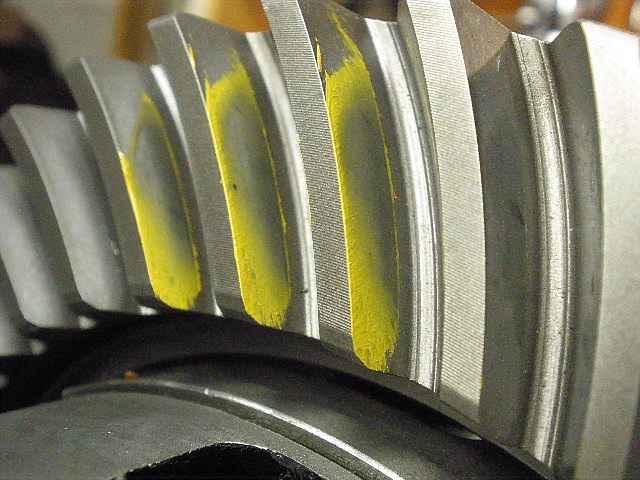
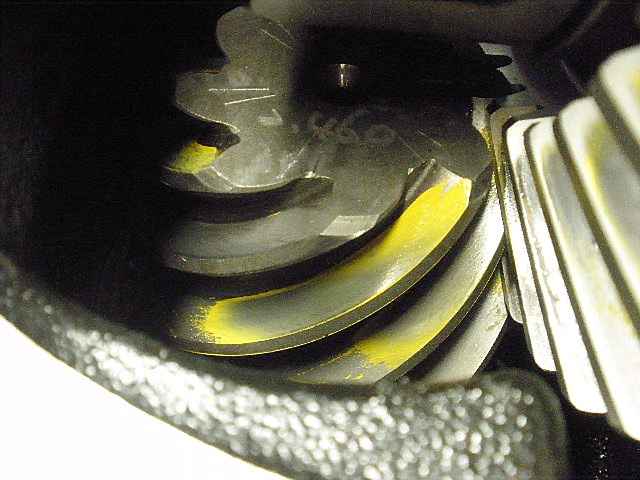
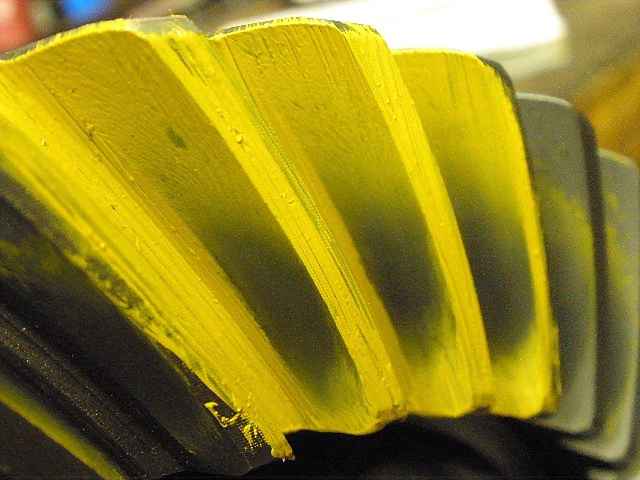
Contact on the pinion shows it's shallow here(favors the crown or top of the tooth)....which means it's too deep on the ring tooth. |
|
I know I'm close to the right depth so it looks like I'll only have to tear it down only once. |
|
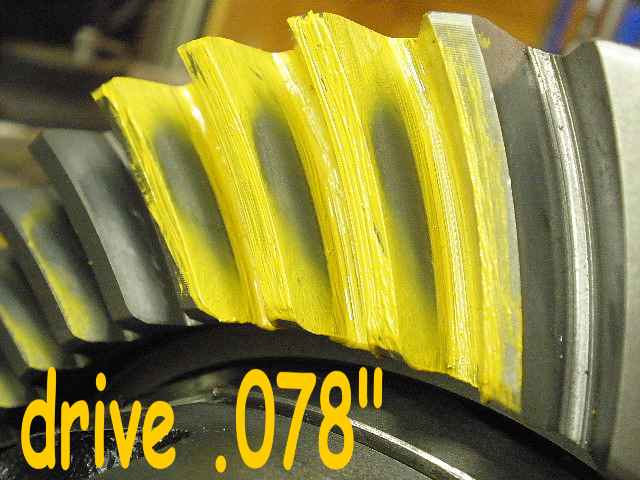
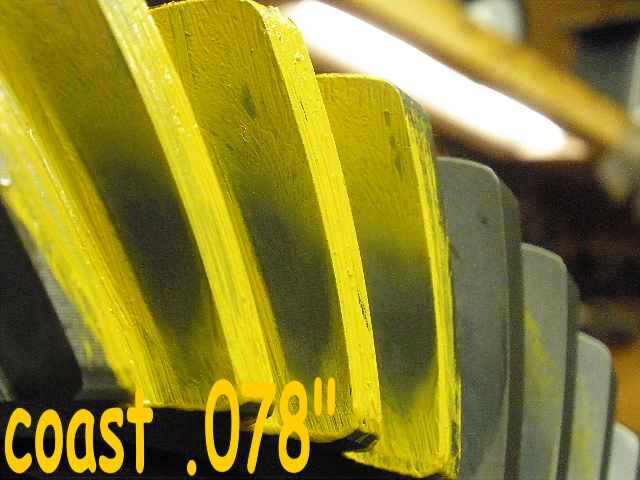
.003" is removed from the total depth....the 081 comes out and the 078 is going in. |
|
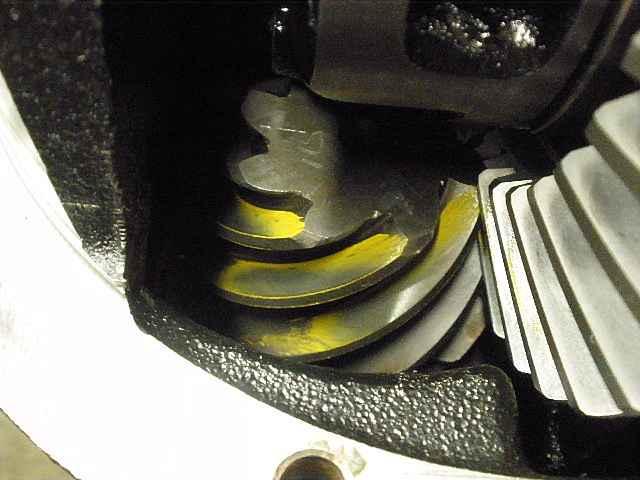
Much better. This might be slightly deep which is what I consider ideal for strength and durability. This is not "crazy deep"....just a touch deep. The following pics verify this. |
|
coast |

|
nice drive-side. |
|
coast |
|
drive |

|
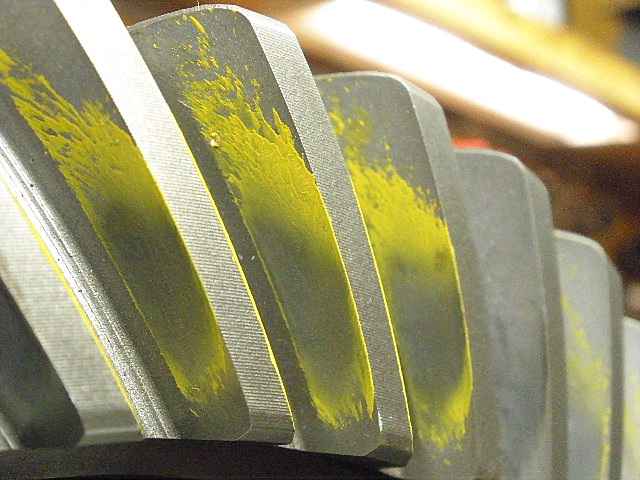
Drive-side on the pinion looks nice. |

|
nice coast |
|
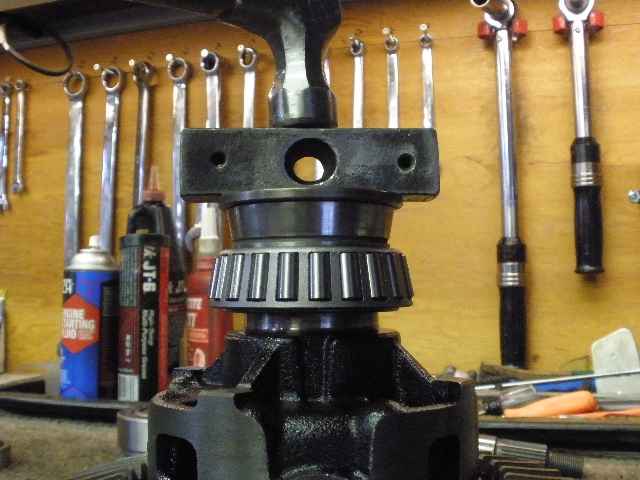
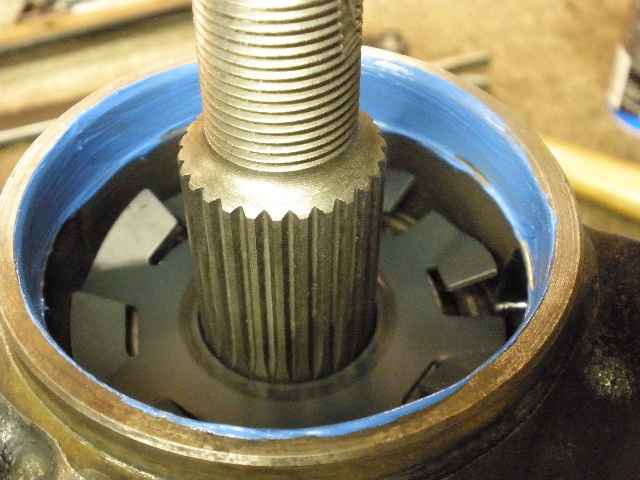
Correct pinion depth has been established so now the solid collar can go in. Because of the design of the collar, the oil retainer lip has to be carefully flared up to clearance from strong rubbing contact. |

|
As the notes at the end indicate, it only took 2 tries to get the correct solid collar shim value. I started with .060" in shims and PPL measured too tight at 24 inch/pounds..... .002" was added and the PPL was a nice smooth 8 inch/pounds. |
|
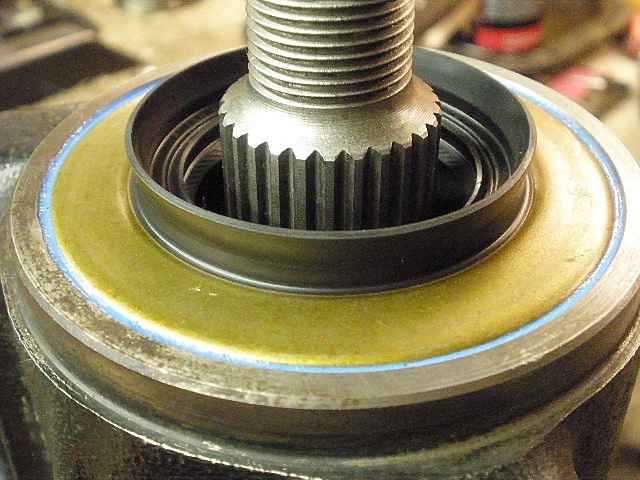
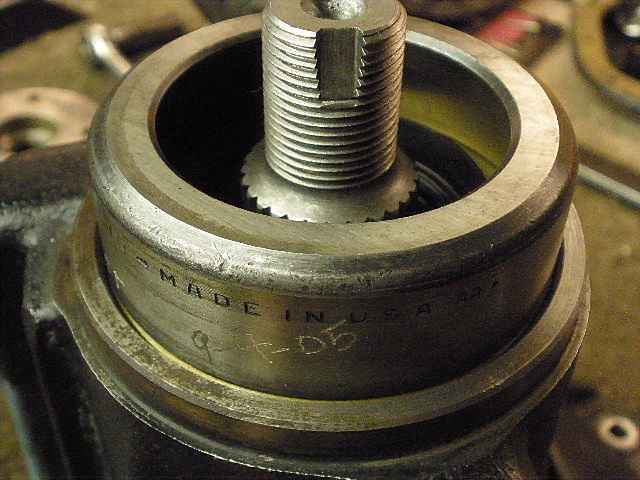
Now the seal can be added. |
|
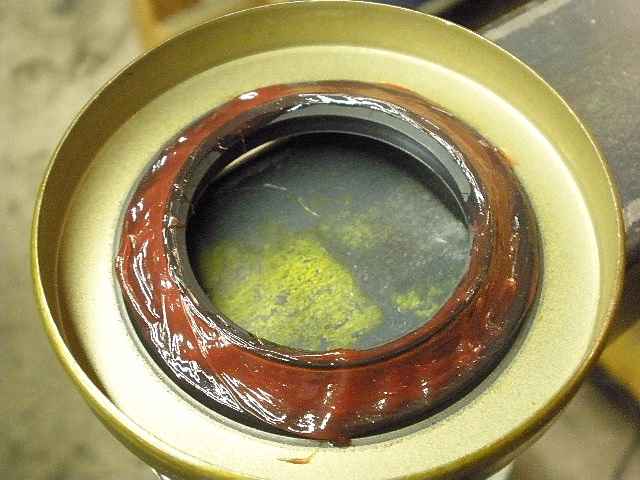
That tiny spring has never come off ever since I added the thick grease around its perimeter. |
|
... |
|
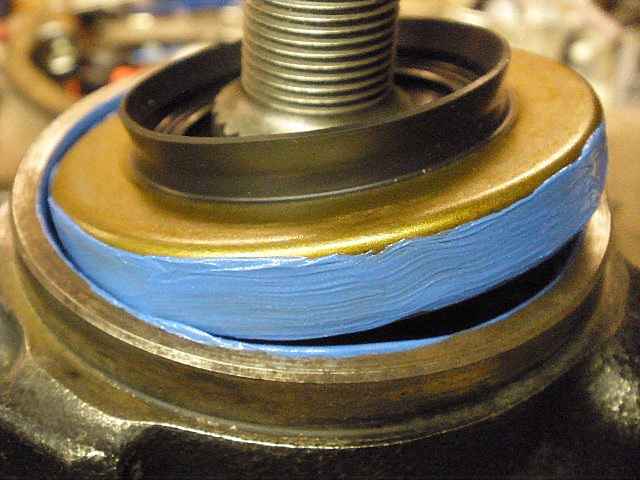
My seal installer tool works for me. |
|
I can leave it flush like this if I want... |

|
...But I prefer to use that "just right fit" race and tap it down another .050" or so (as shown in the FSM). |
|
There's a machined ridge that stops the seal from going too deep. But beware because it's not a very stout ridge so get too hammer happy and it will go deeper. |
|
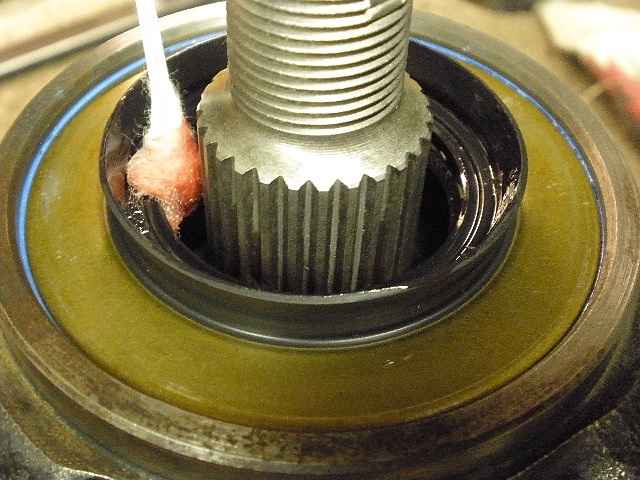
Apply gear oil to prevent dry seal start-up. |
|
The surface of the flange was lightly sanded with #800 wet/dry sandpaper. The jpeg pic is deceptive as the single ridge is not deep at all. |
|
The underside of the dust cover was cleaned thoroughly with a brush and starter fluid. Gear oil is now applied to the surface that the rubber seal will be in contact with. This almost eliminates the drag created by the rubber lip of the seal. |
|
The electric impact tightened up the pinion nut to this point and I placed a black mark at the notch. PPL still measured the same 8 inch/pounds as before without the seal in place. So, probably because of all the gear oil in all the right places, the rubber seal is running slick enough to not contribute to the PPL reading much. |
|
Using the breaker bar with the extension, I could get another 10~20 degrees of 'tightness' safely... |
|
...the nut is now as tight as I like to see it....the soft shims underneath have compressed just a little more... |
|
...and now the PPL is a solid 12 in/lb (it went up 4 in/lb). |
|
The red loctite will certainly prevent it from loosening up but the ding operation is still done. |
|
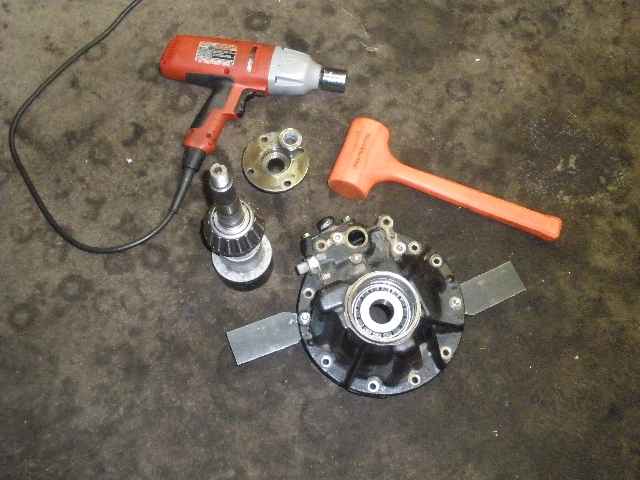
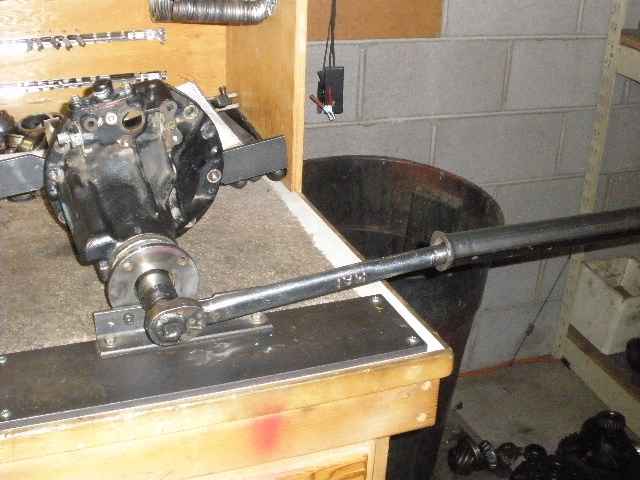
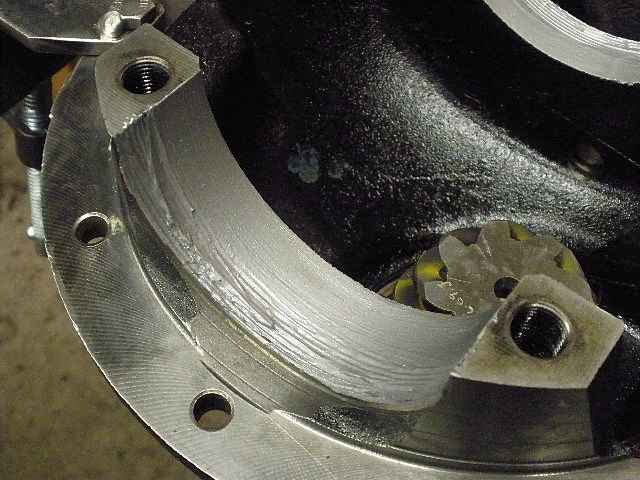
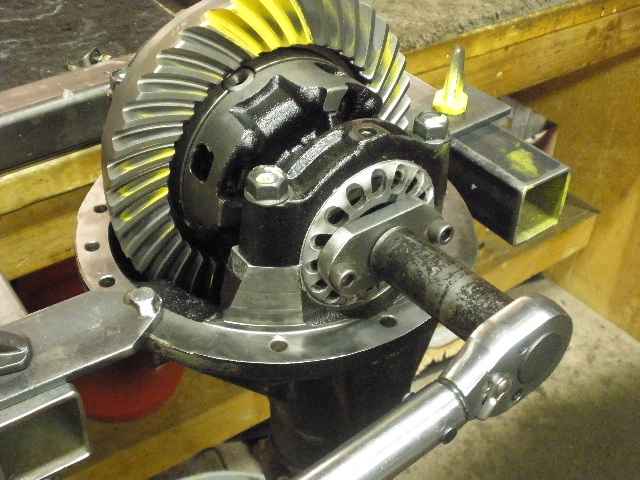
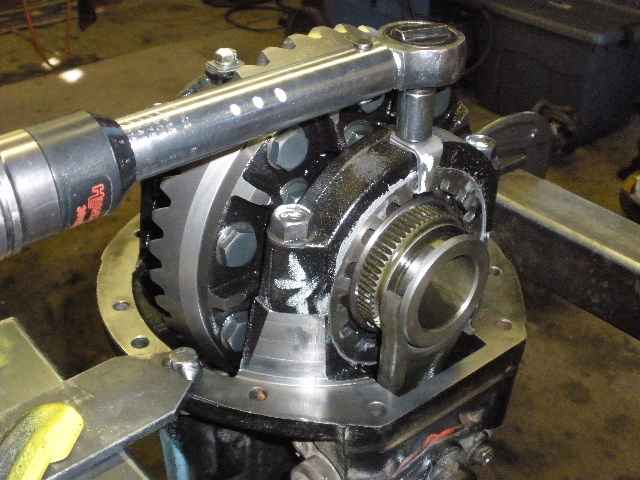
The pinion end is done and now to put the case in and set the CBPL and BL. Lots of aluminum anti-seize, as usual. |
|
Threads are carefully aligned and caps tightened. |
|
75 ft/lb on oiled threads....no red loctite. Bad things happen with red on these bolts sometimes. |
|
I really applied heavy torque to these new cryo carrier bearings. 150 ft/lbs on the adjuster wheels translates into an actual 15~17 in/lb of bearing drag from previous tests. That's a perfect number for these tapered roller bearings that turn 5 times SLOWER than the pinion bearings.. |
|
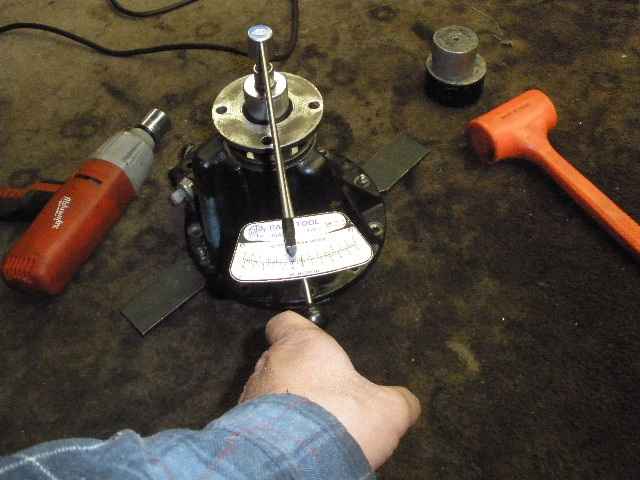
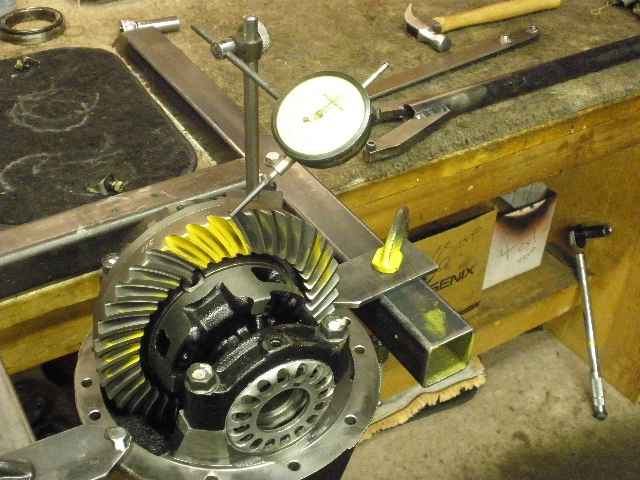
I took 21 readings and it went from a low of .004" to .0085" high....it seemed to average .006" for my final backlash. |
|
New paint was applied and the drive looks great. |
|
Coast is well placed near toe and looks nice also. |
|
Loctite and torque the 2 lock-tabs to 10 ft/lb and done :) |
|
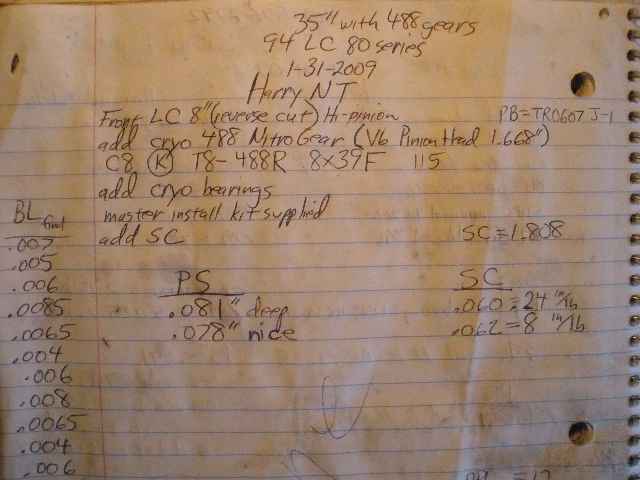
Notes taken during the install... |

|
I can't make this install any stronger....everything is set to pro levels. |

|
 ZUK
ZUK