|
Jay from Edmonton, AB, Canada gets 488's, spool, new aftermarket diff housing.
|
|
(68 BIG pics loading)
|
|
NOV 17 2016
|
|
|
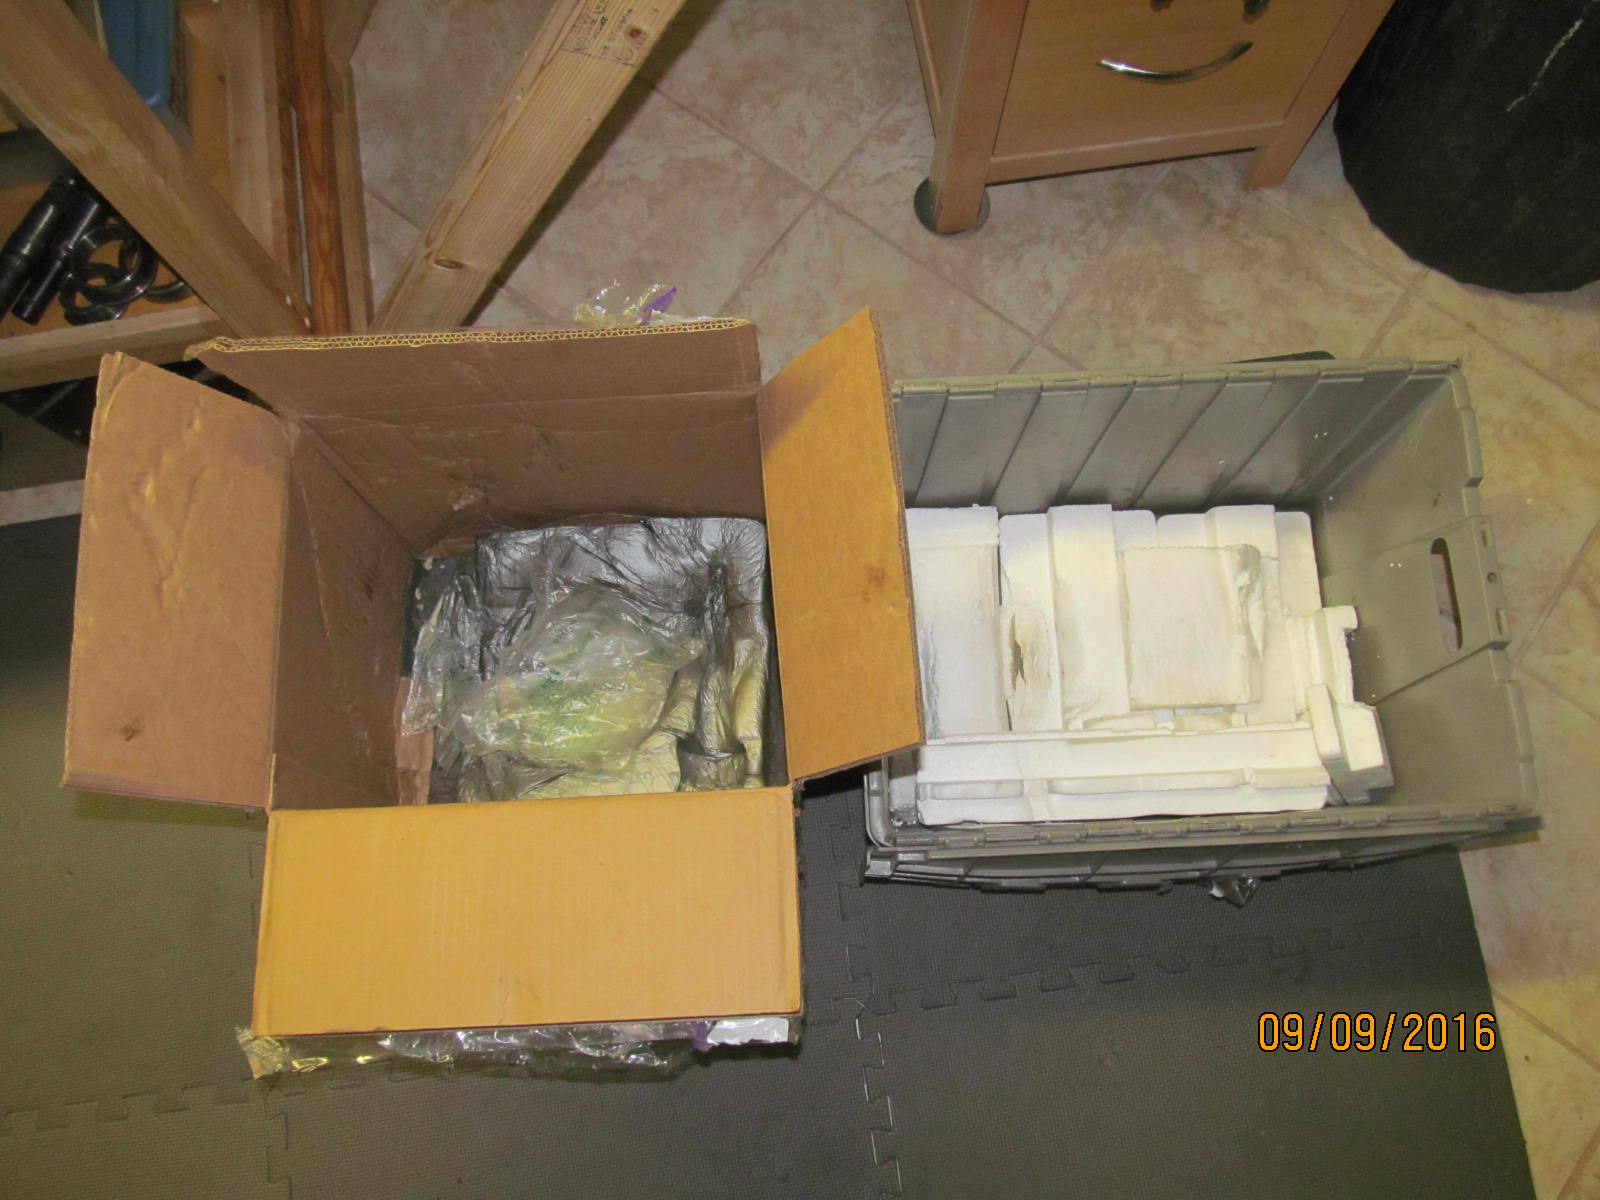
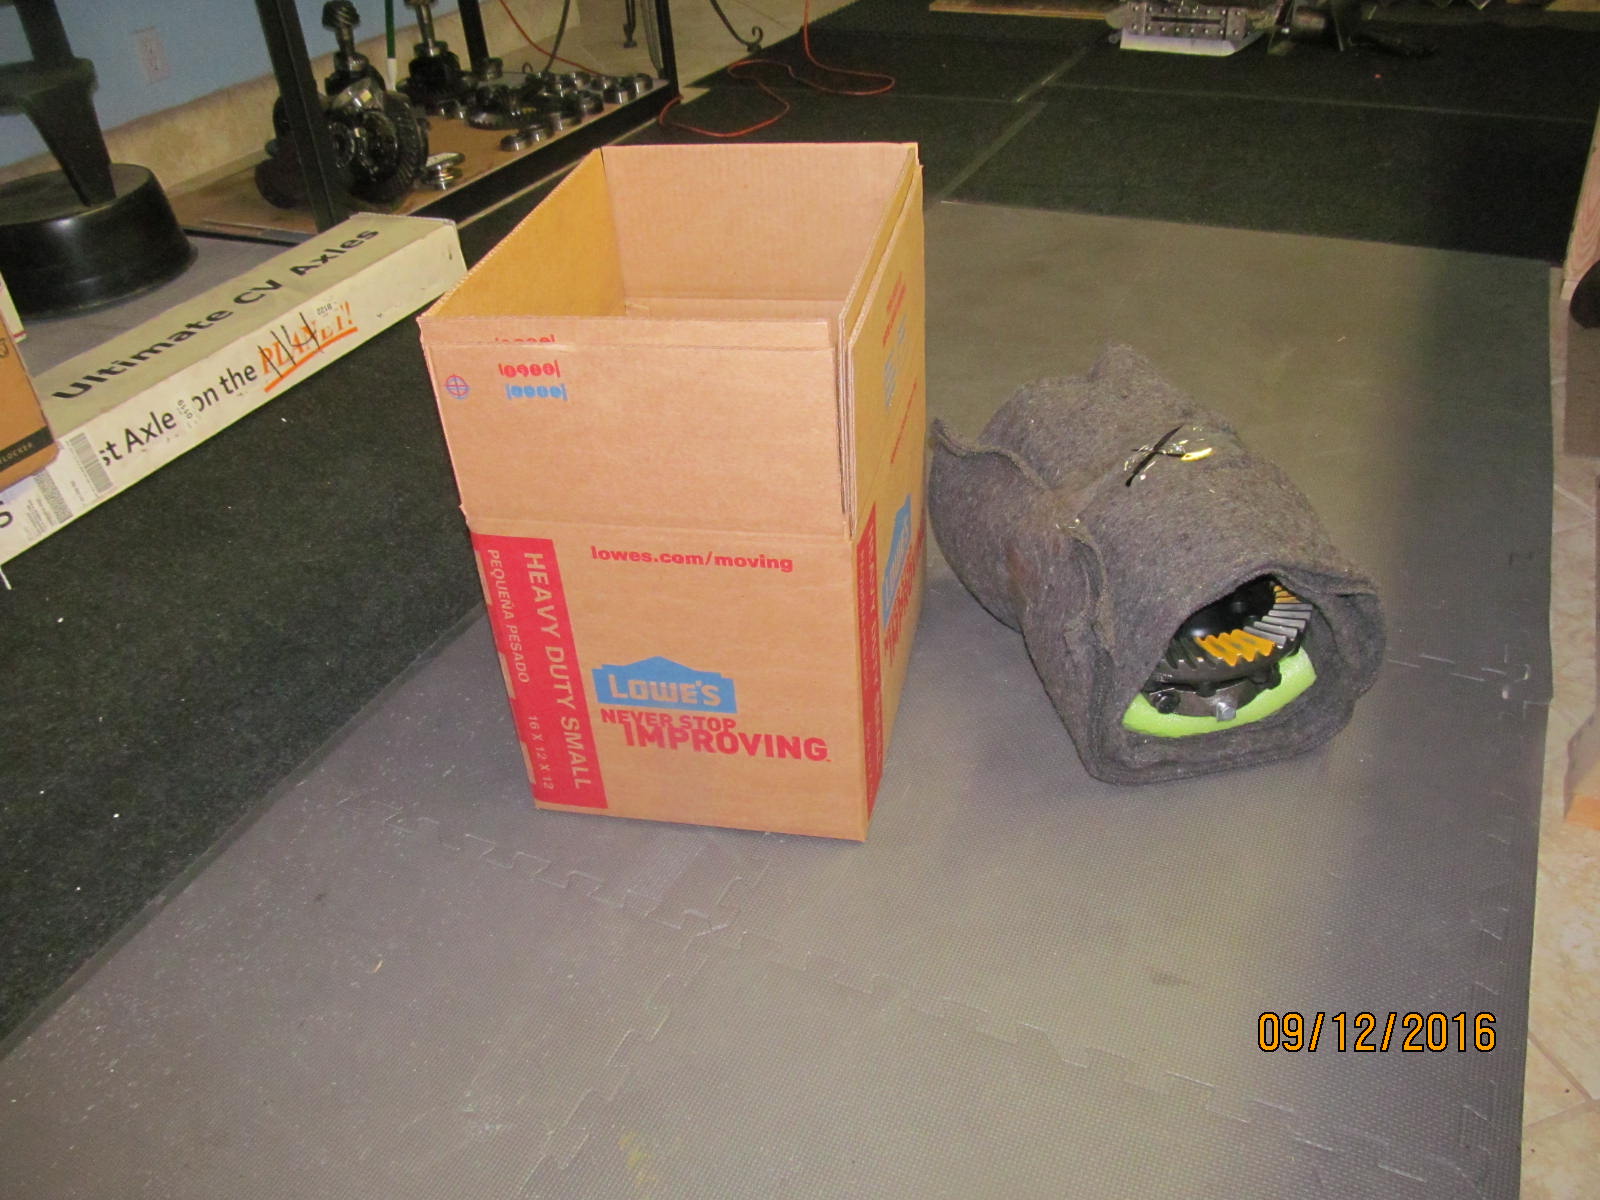
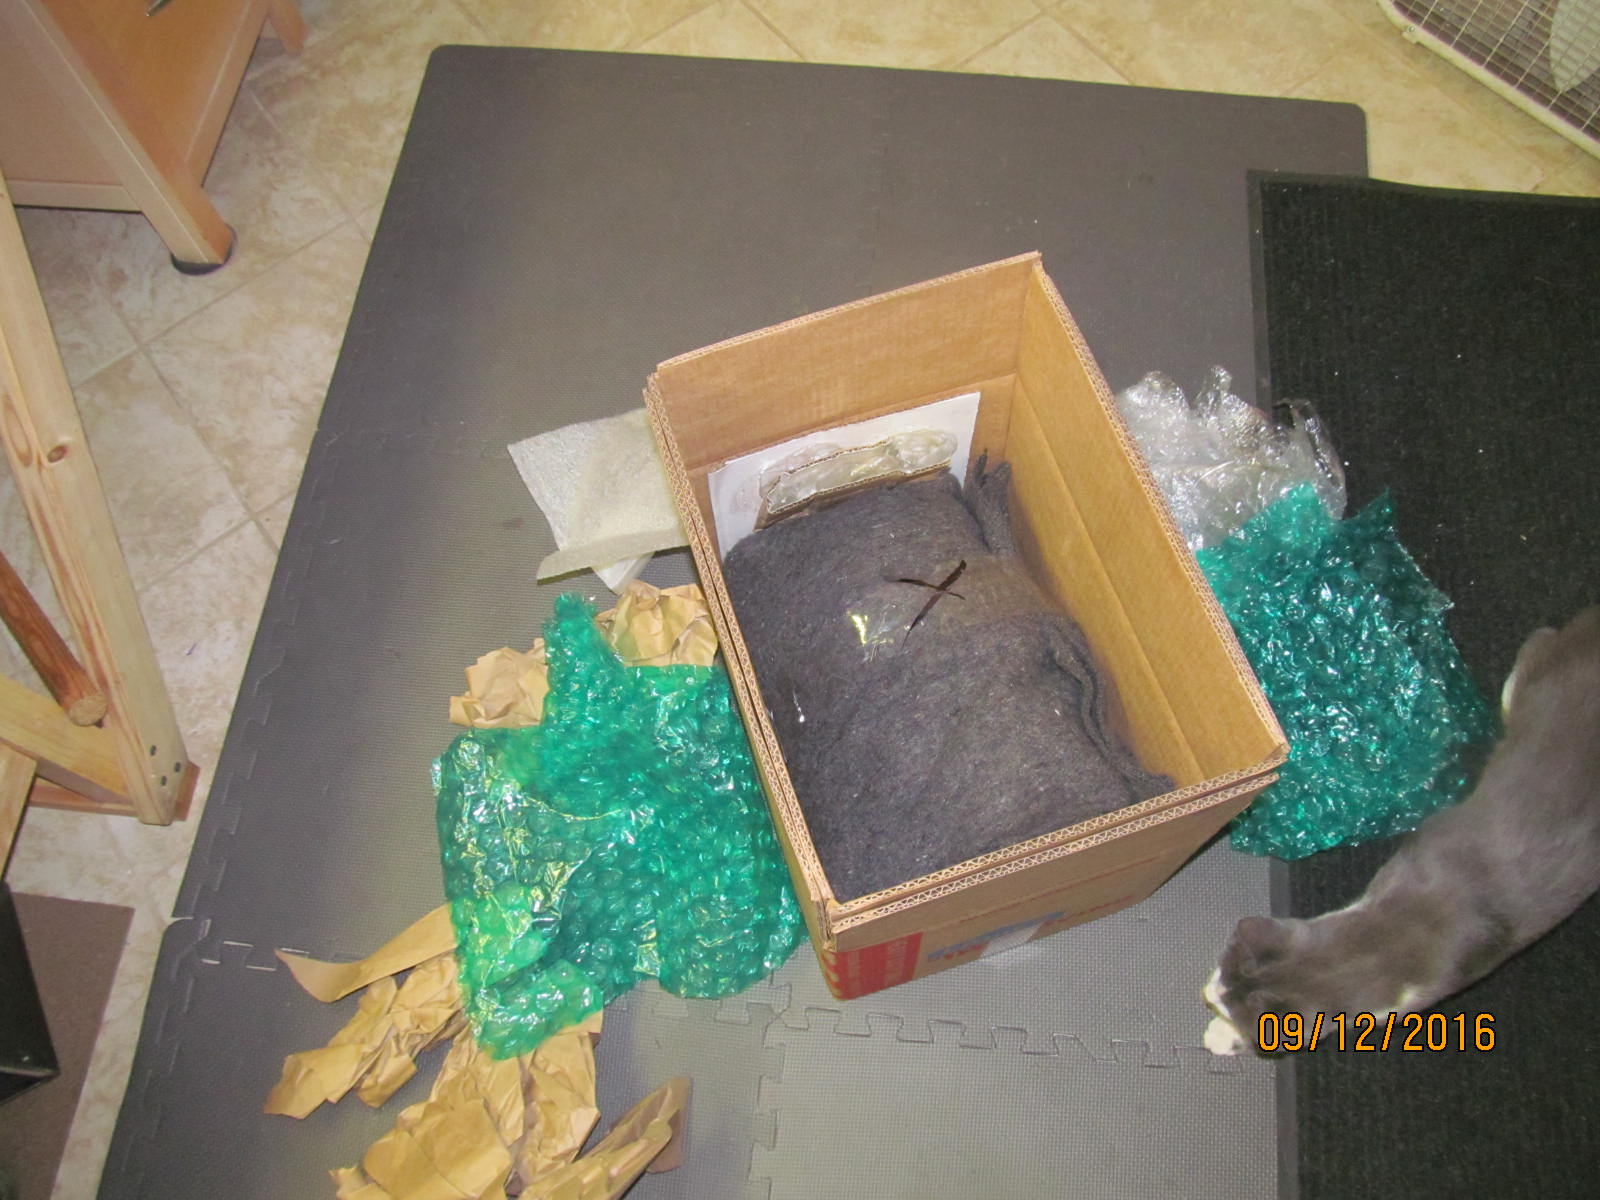
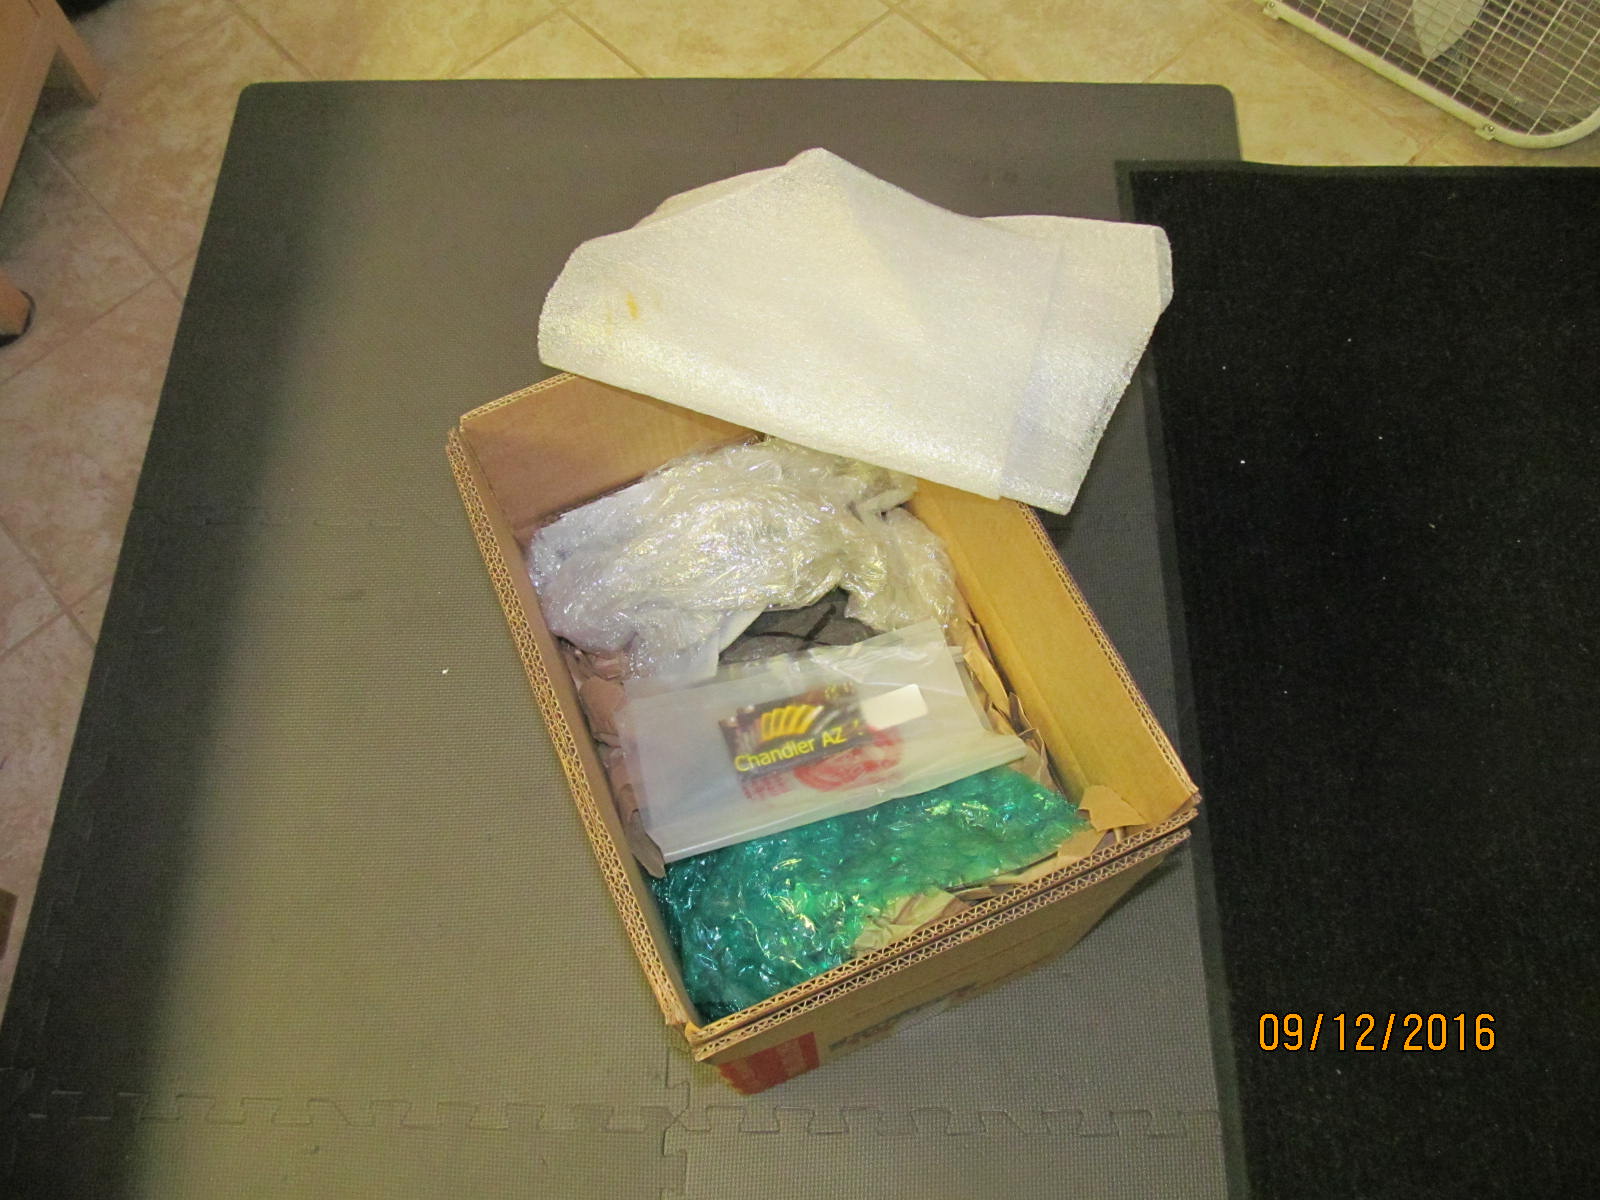
Jay supplied all the product including the new aftermarket diff housing. Jay had actually
sent 2 diffs....1 in the grey plastic container and the other in another plastic container.
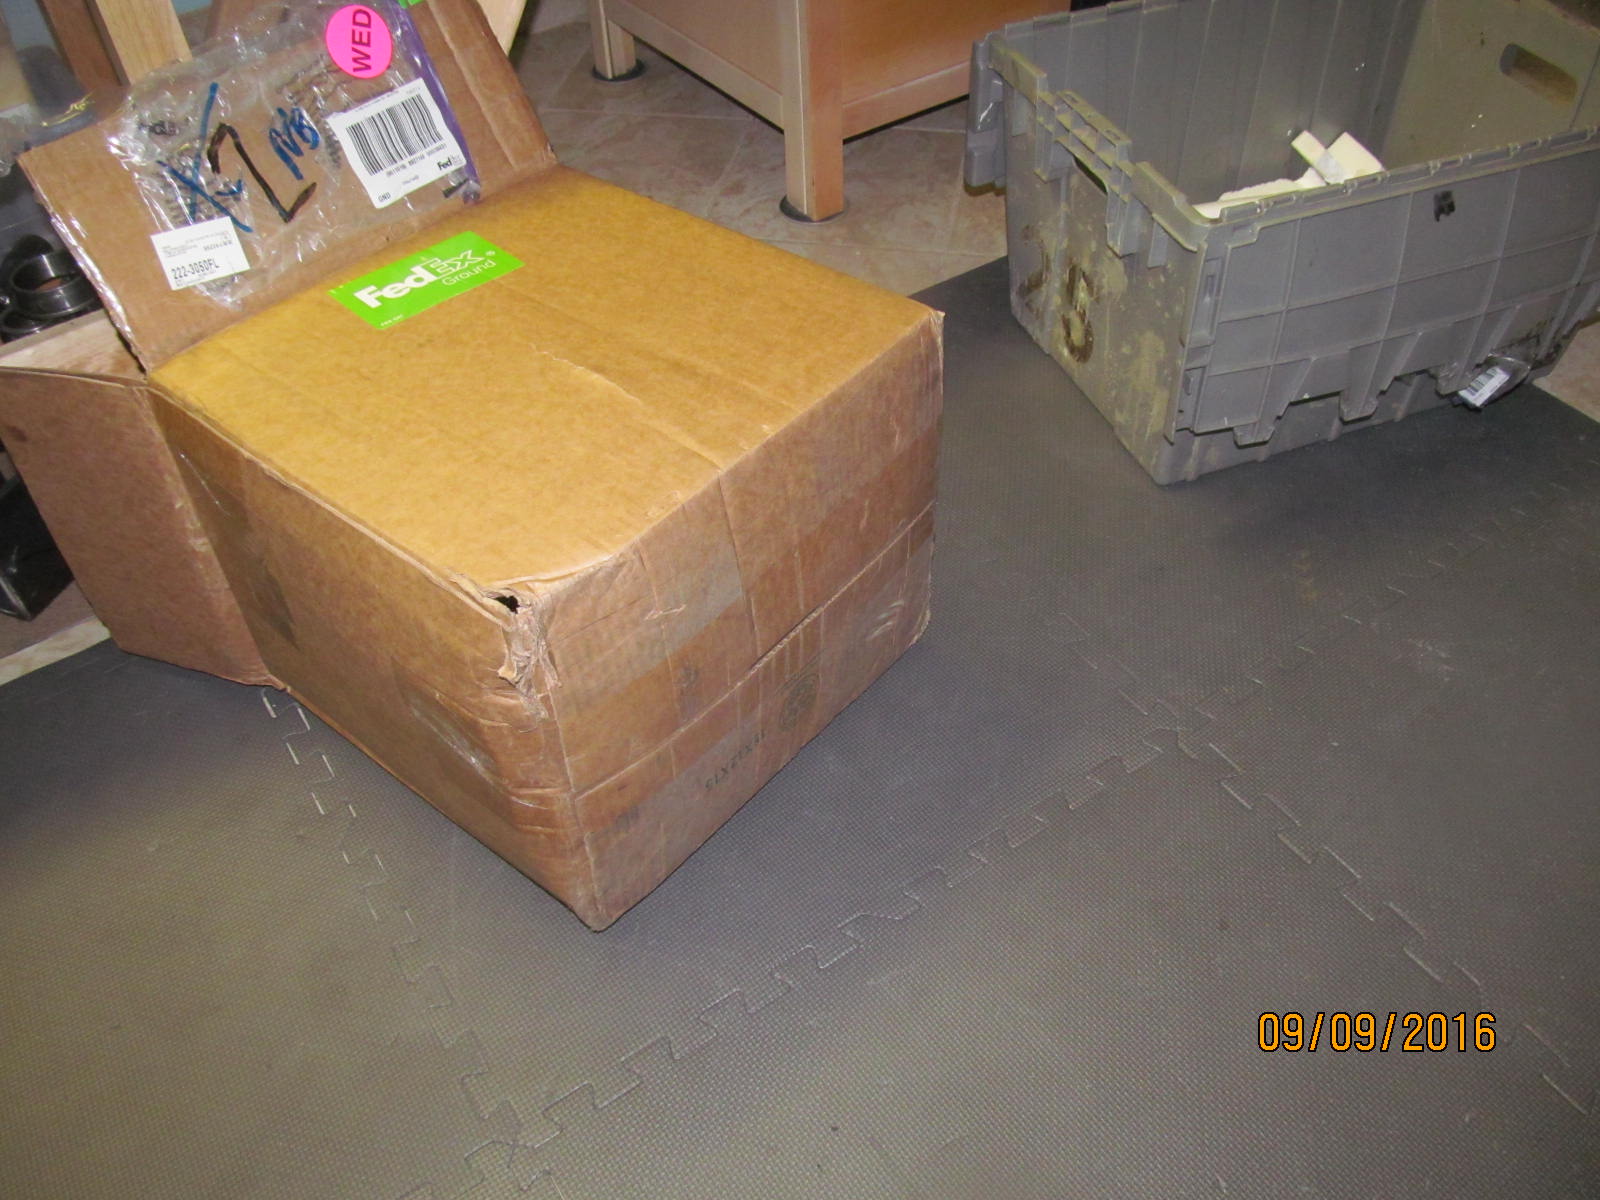
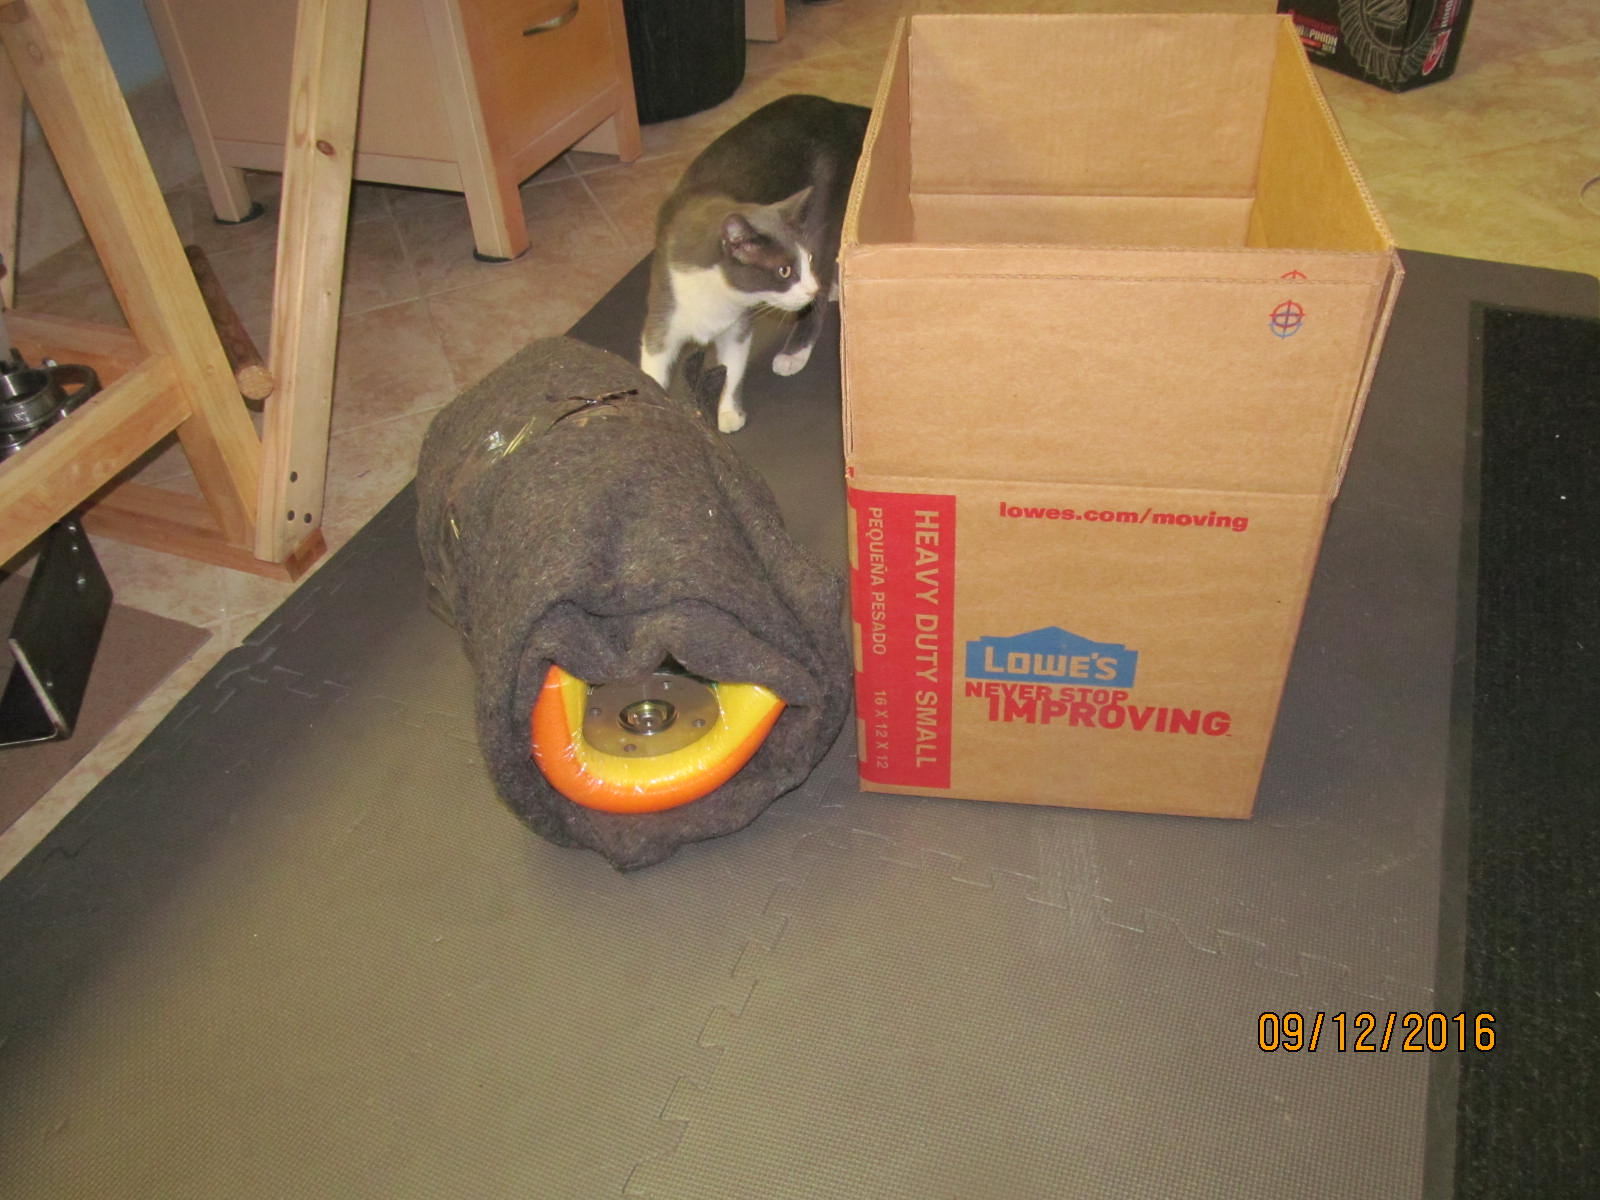
As shown, the other diff arrived in a heavy duty cardboard box which seemed strange. Numerous
phonecalls revealed they damaged the plastic container and had to rebox.
write up for diff #2 (the 488 elocker)
|
|
|
|
|
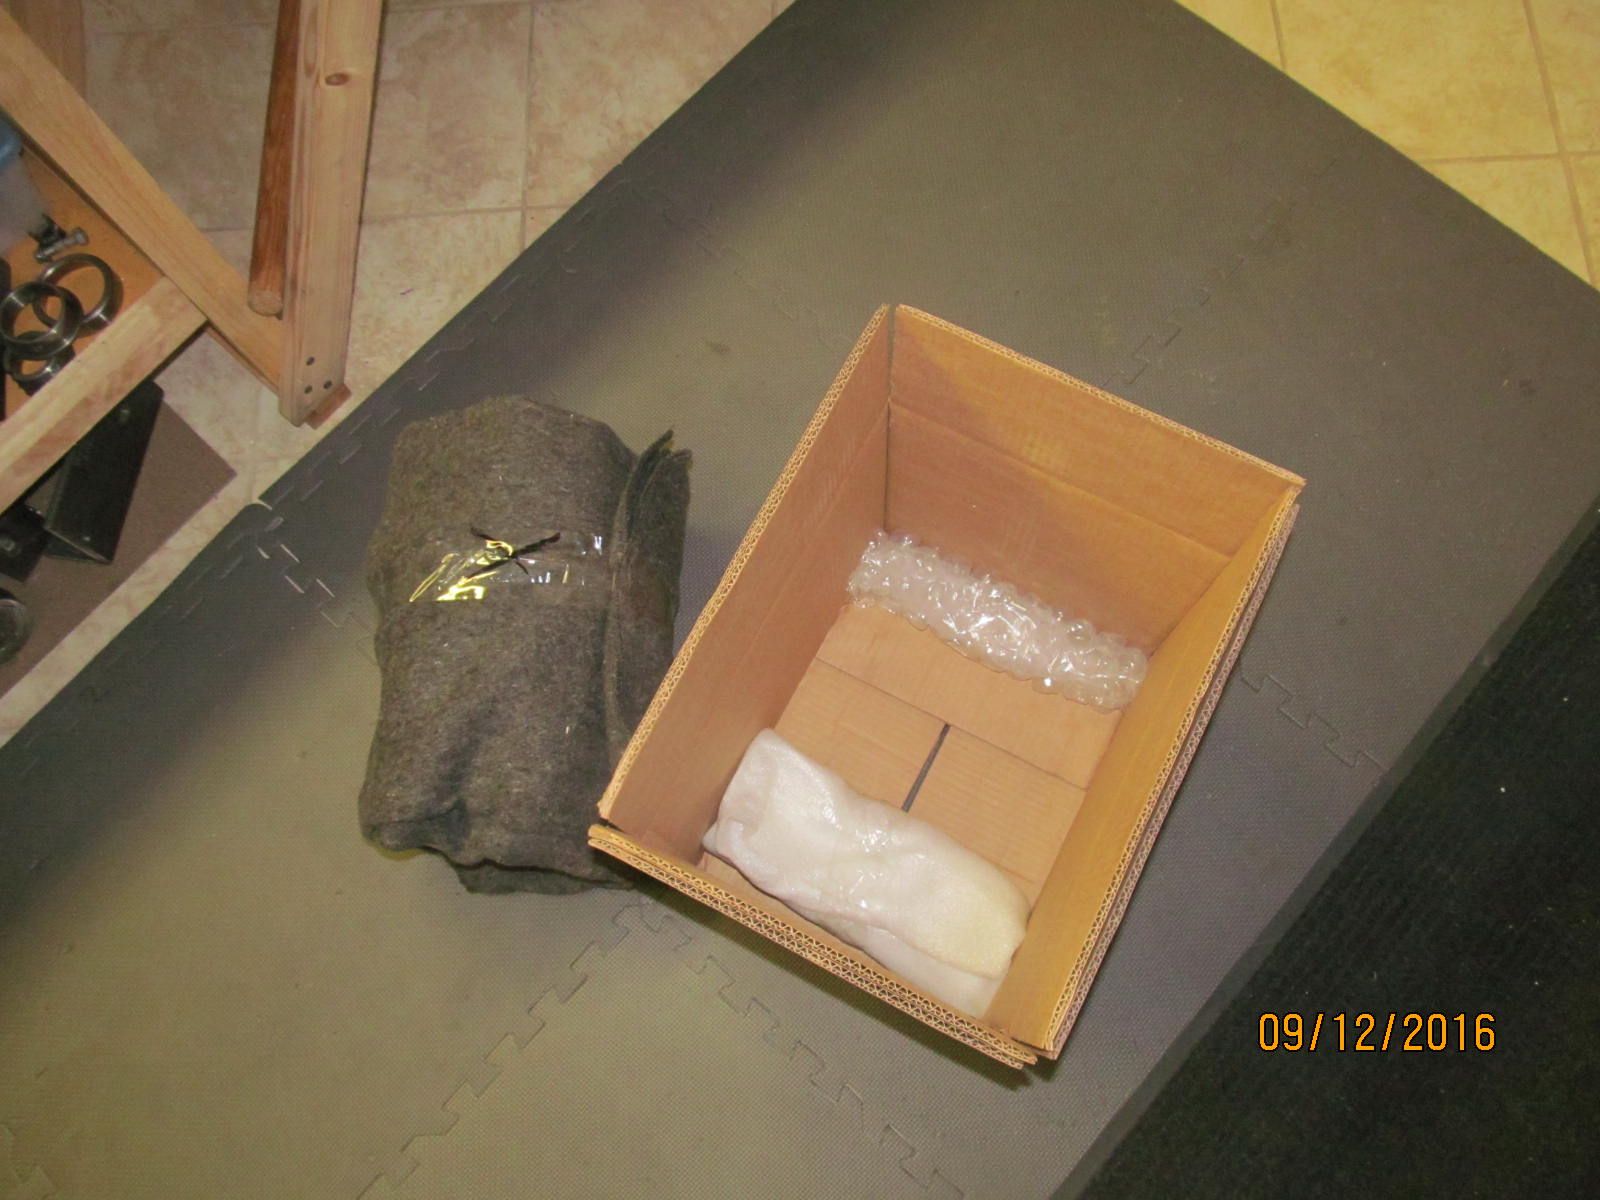
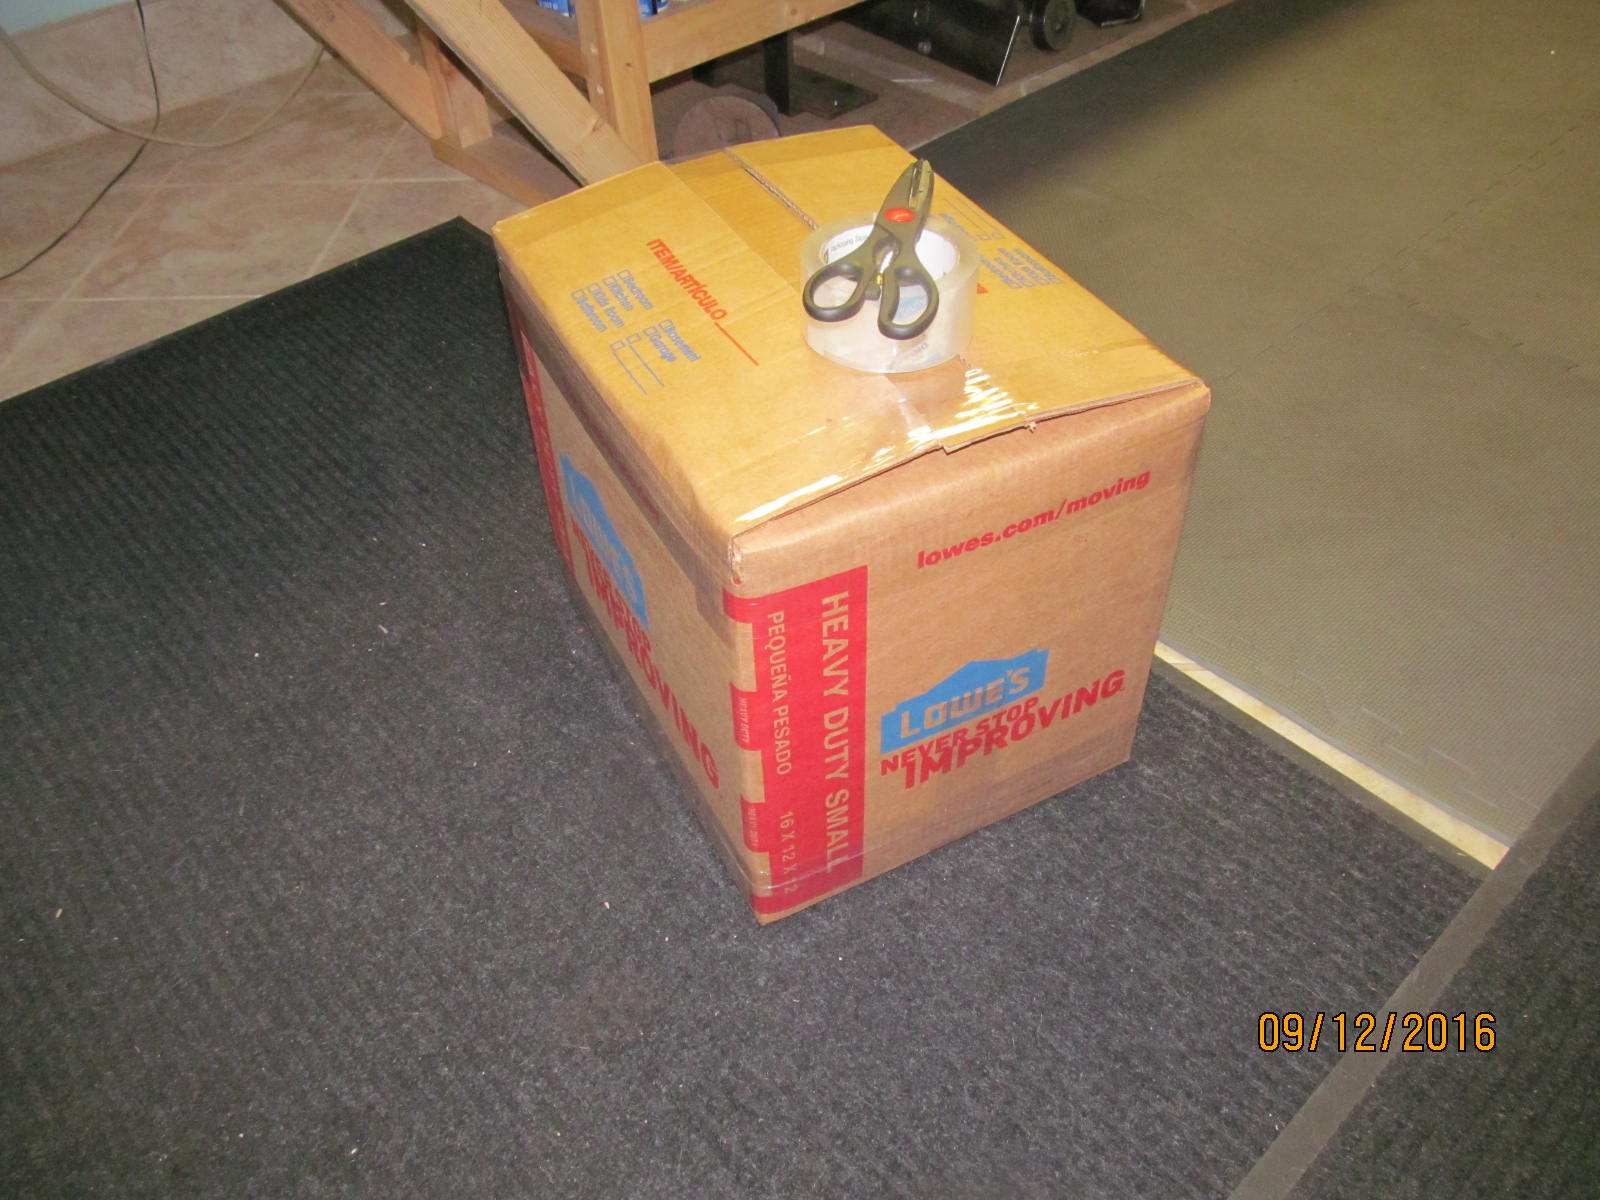
Double boxing the diffs that are sent to me is still the way to go.
|
|
|
|
|
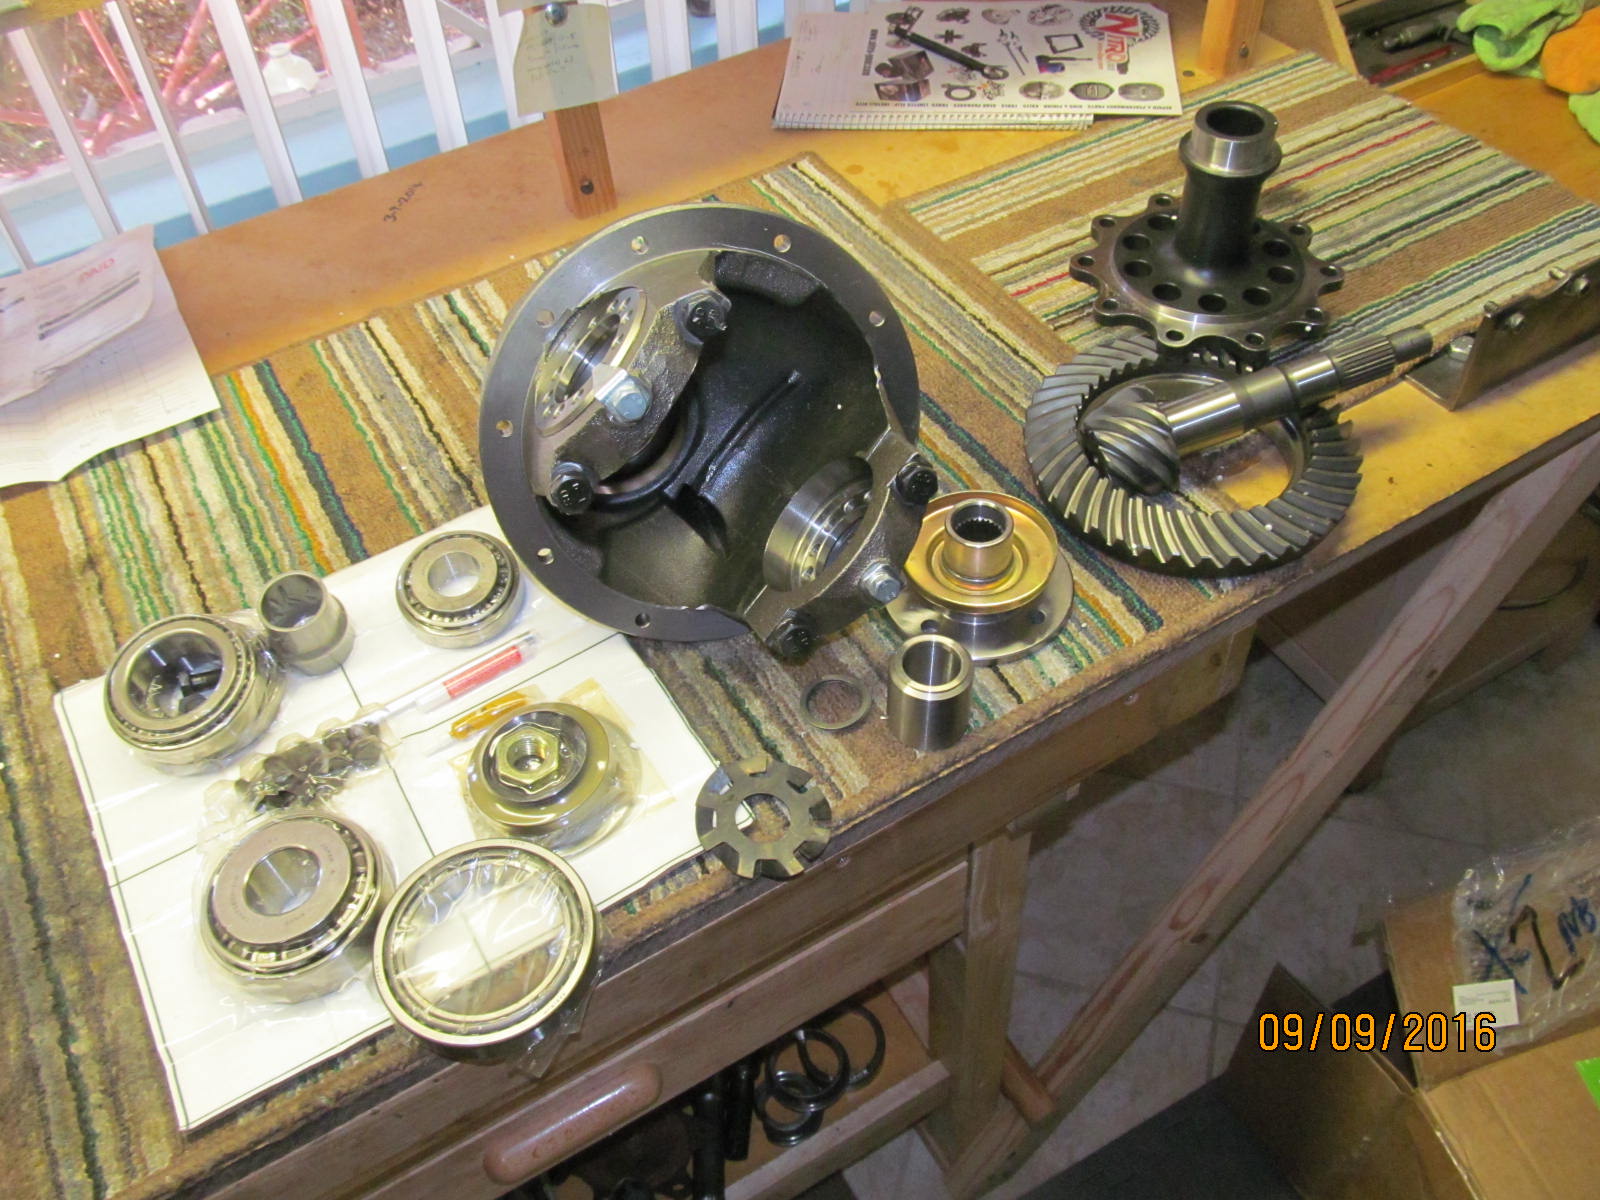
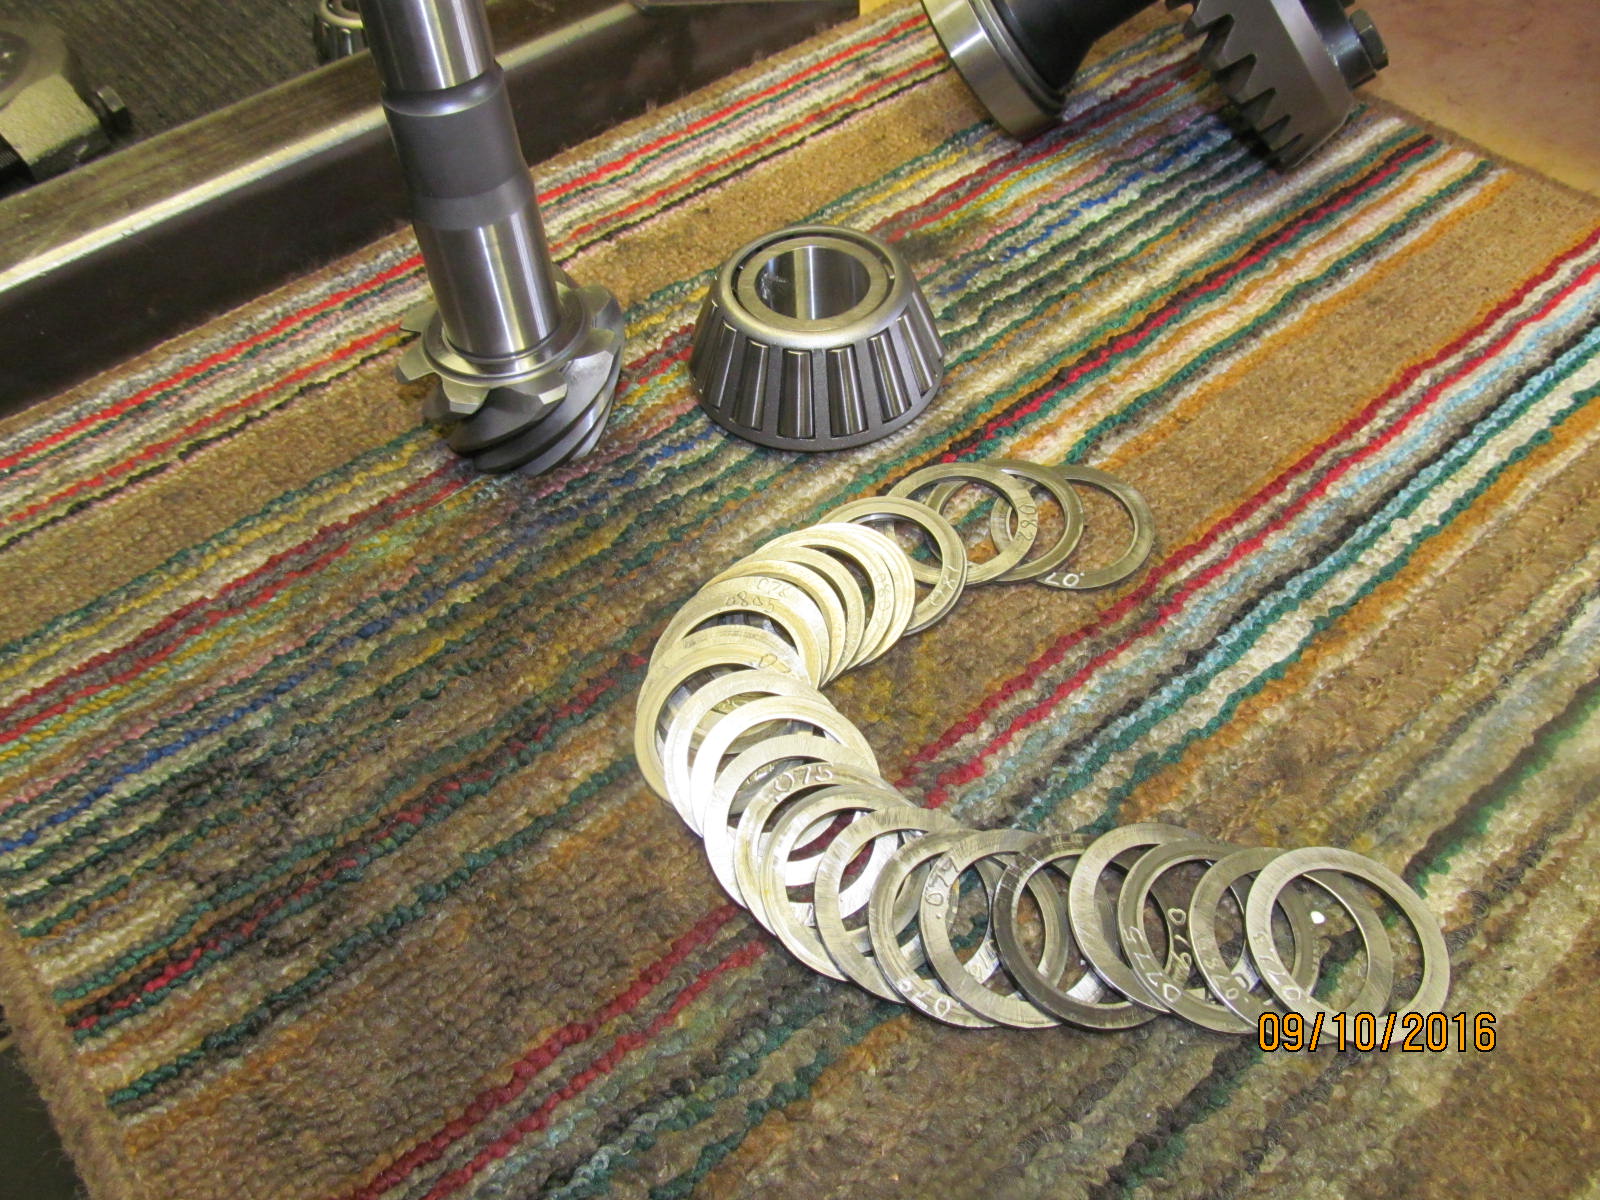
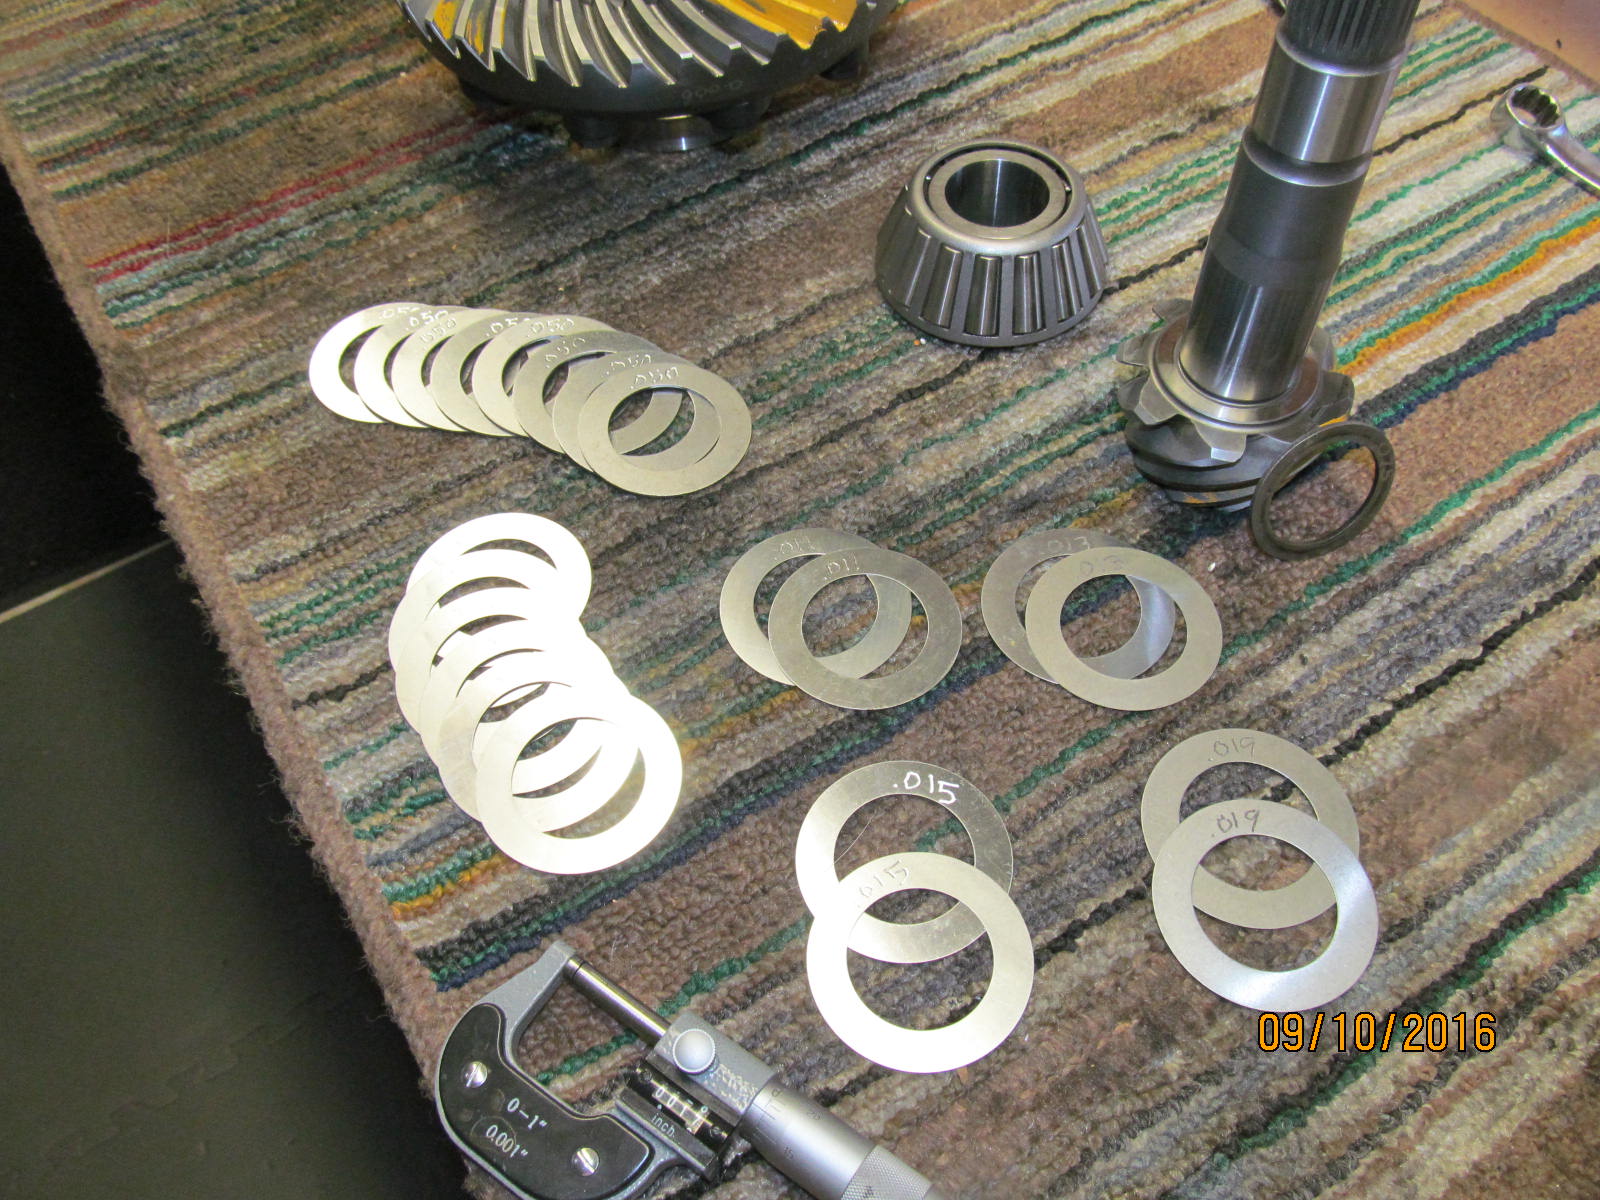
Items are laid out.
|
|
|
|
|
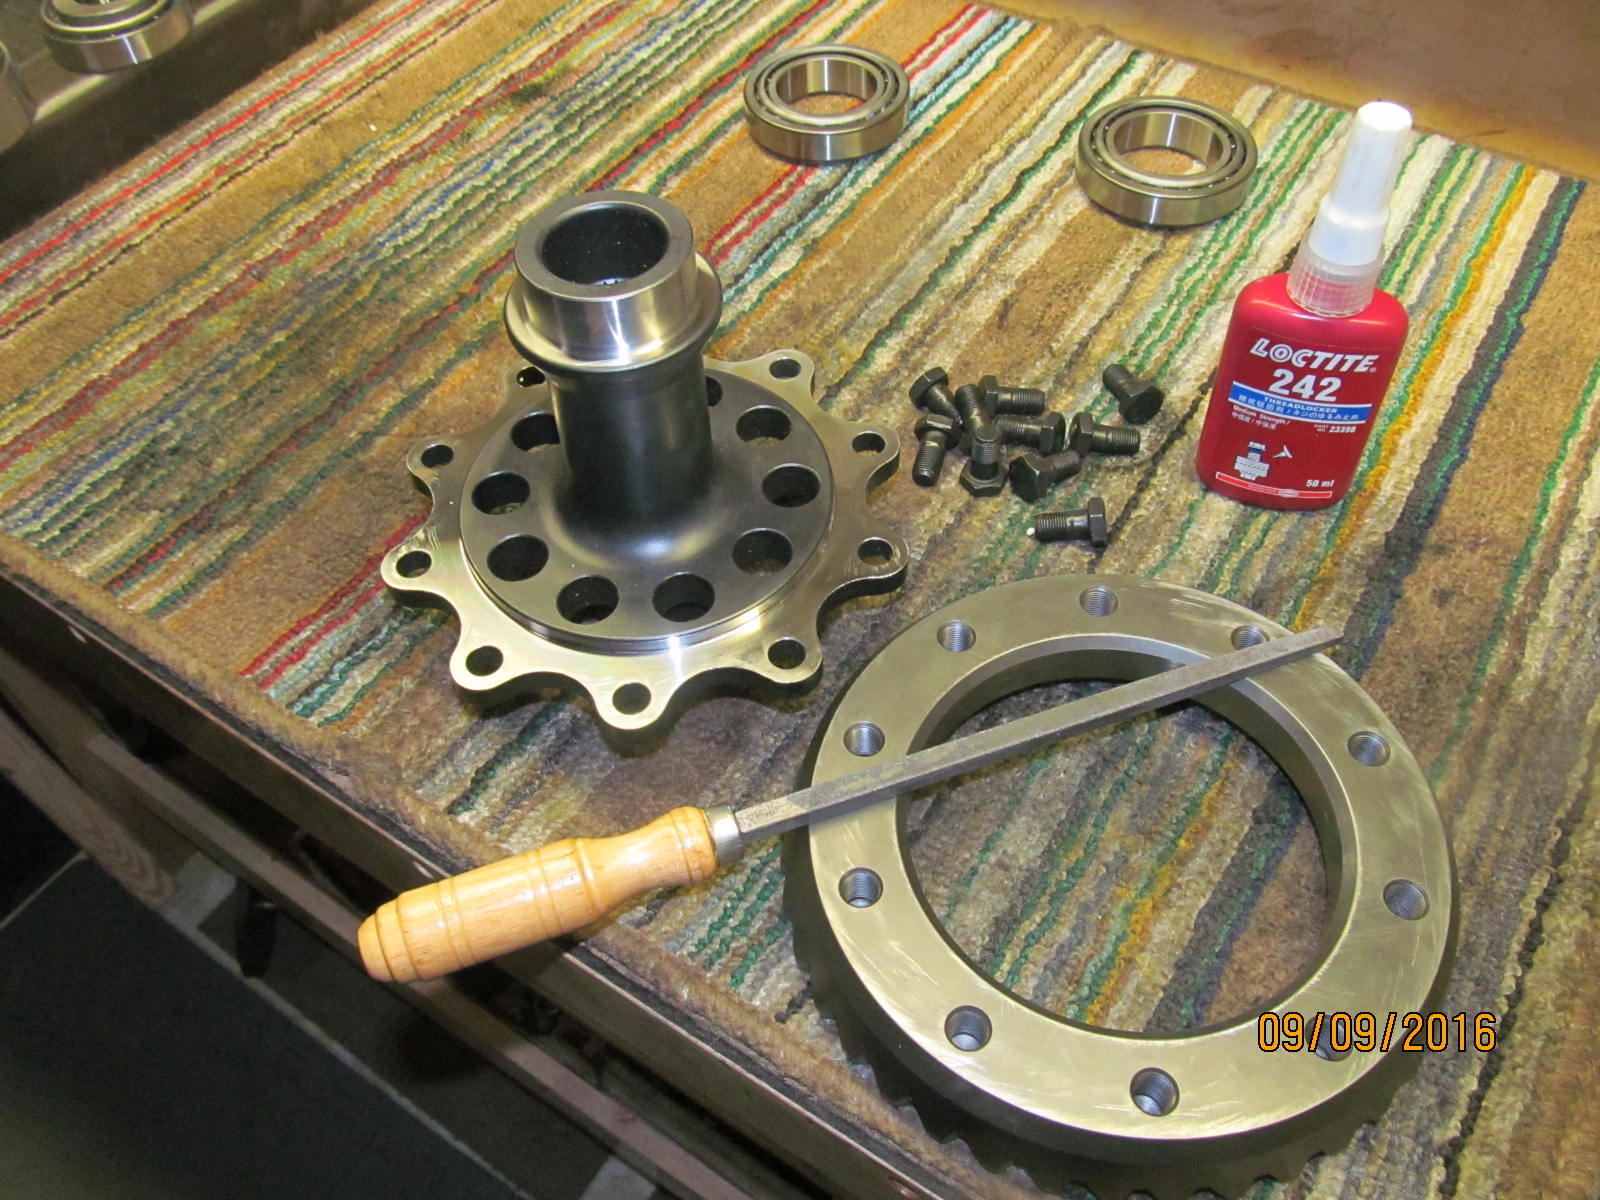
Start with the ring gear....verify there were no burrs or high spots.
|
|
|
|
|
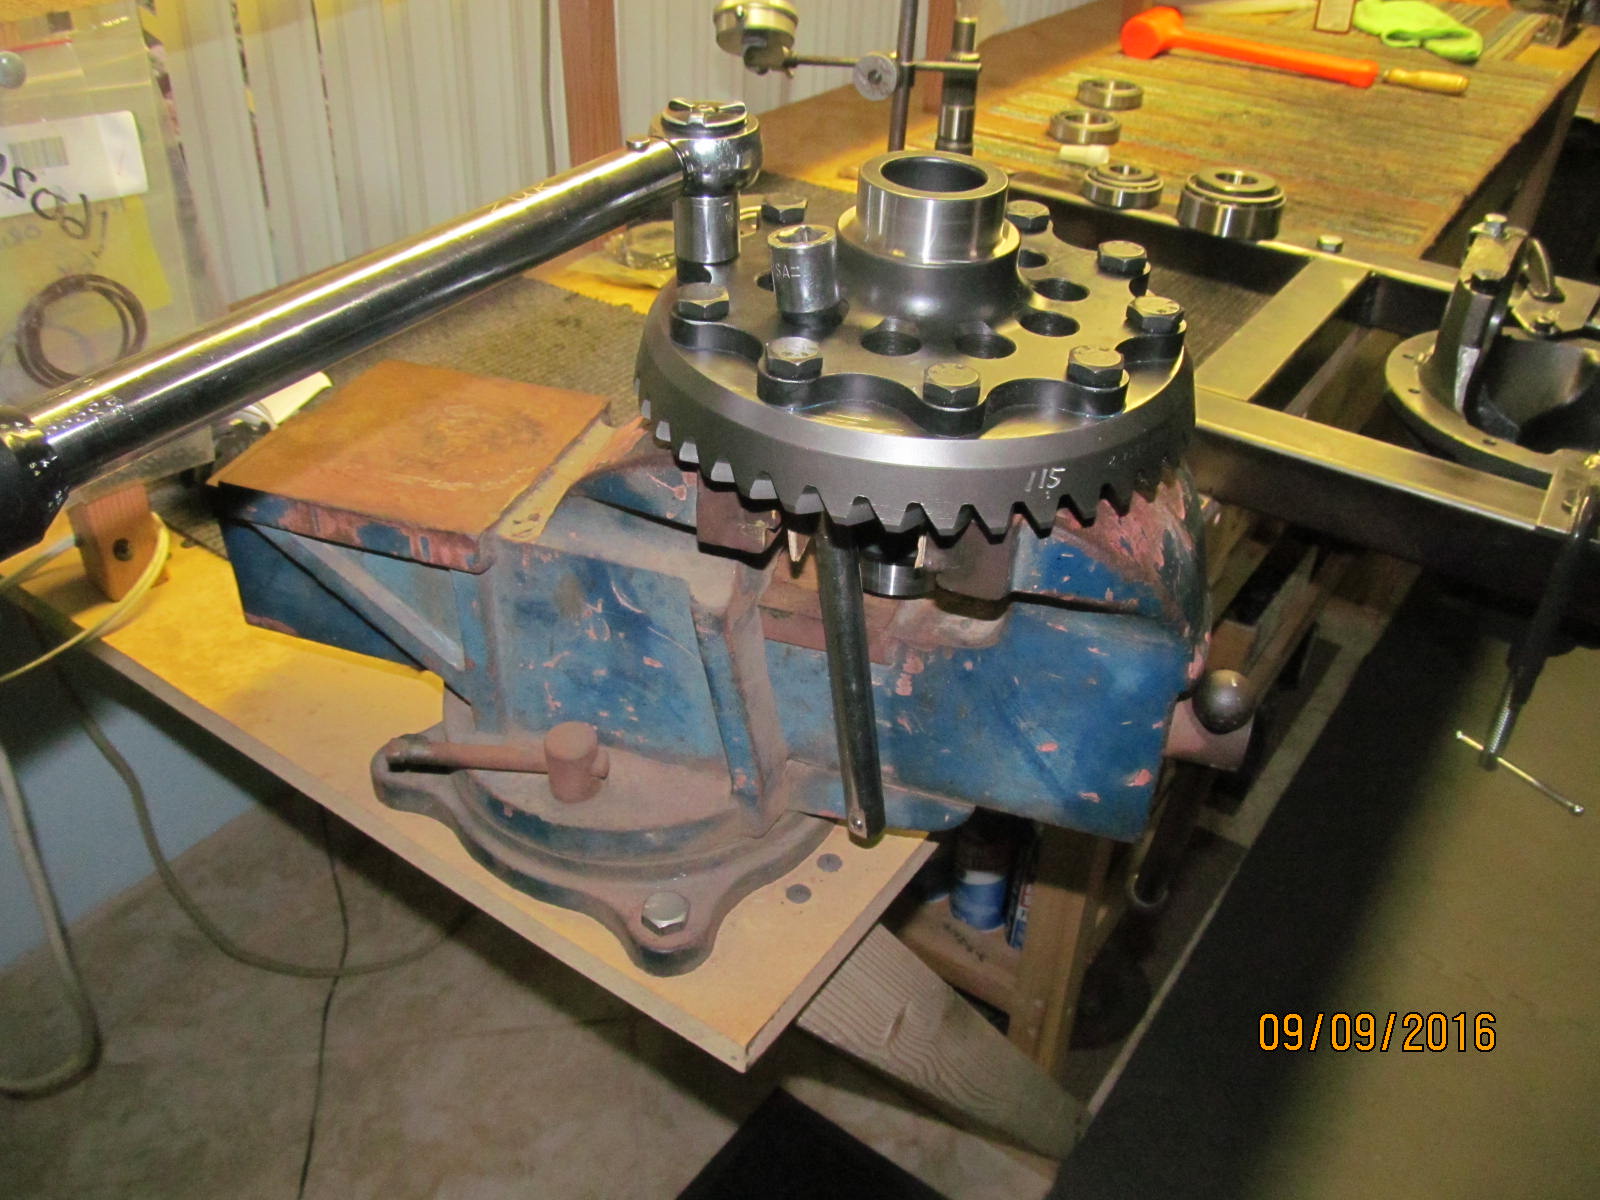
Blue loctite and torque to 70 ft/lb.
|
|
|
|
|
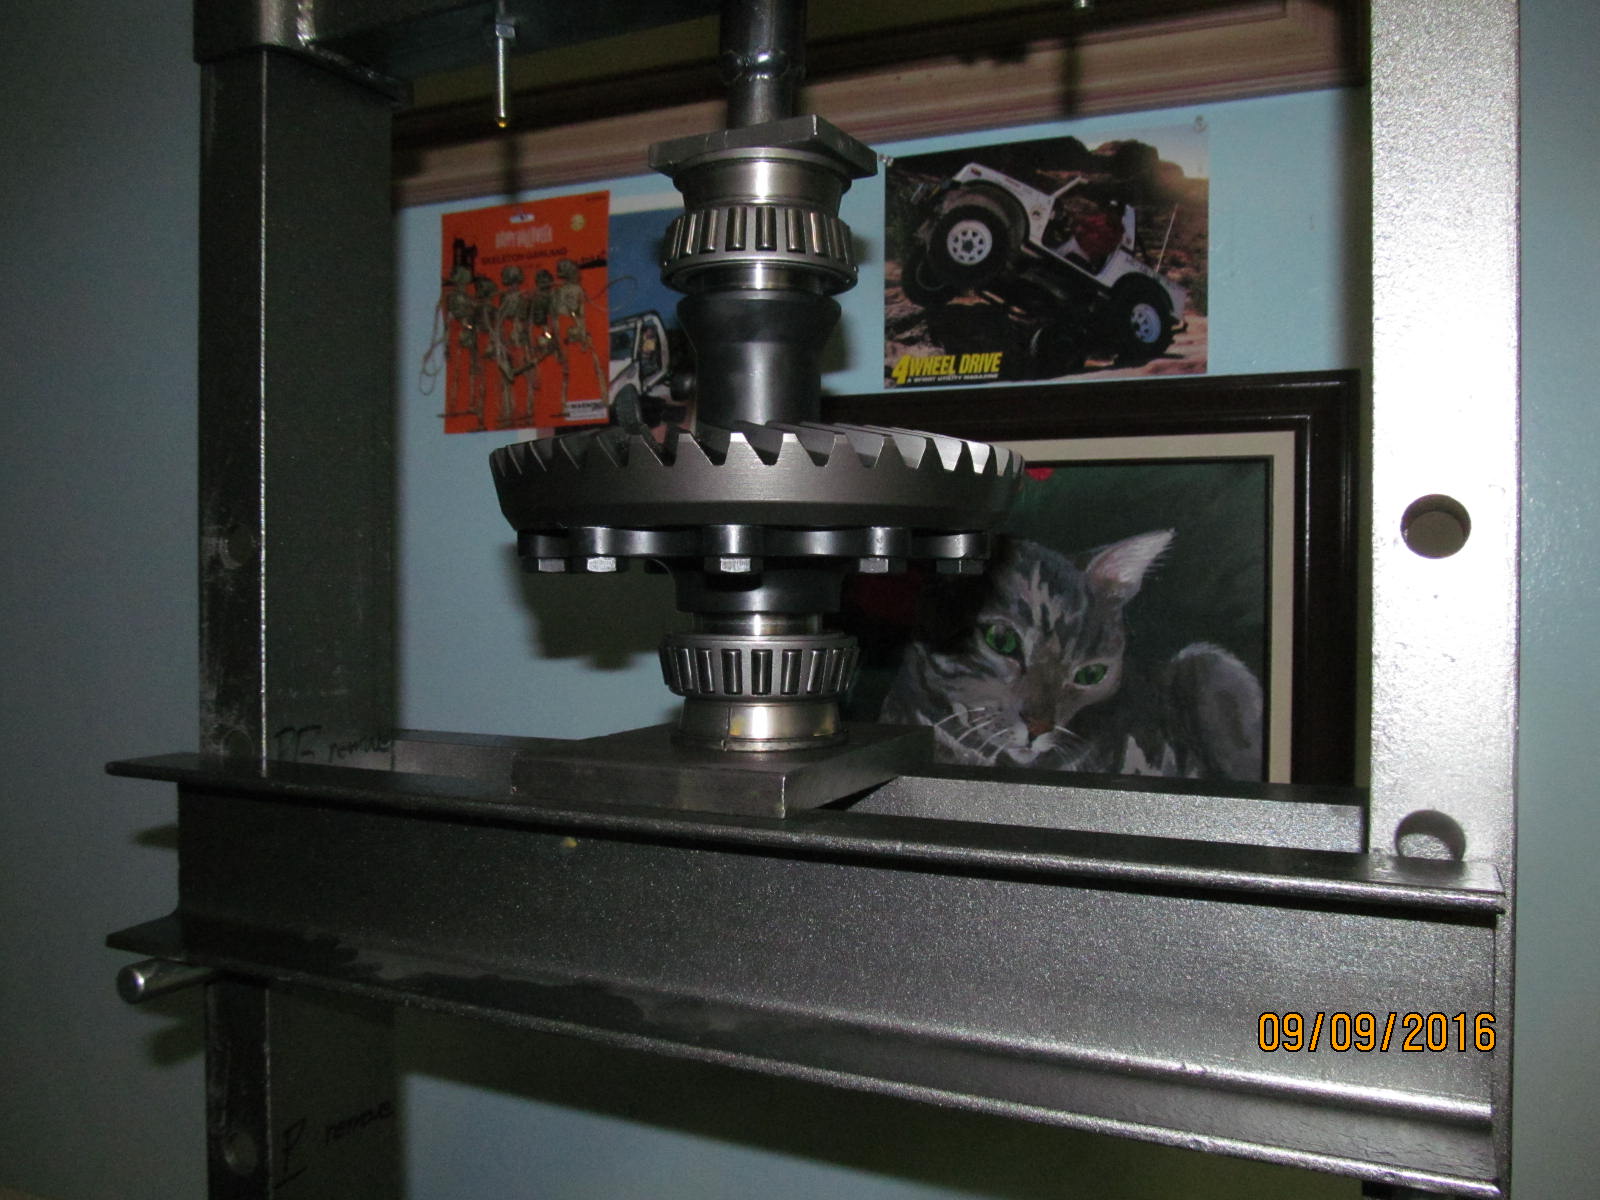
Then the new carrier bearings are pressed on.
|
|
|
|
|
This end is done.
|
|
|
|
|
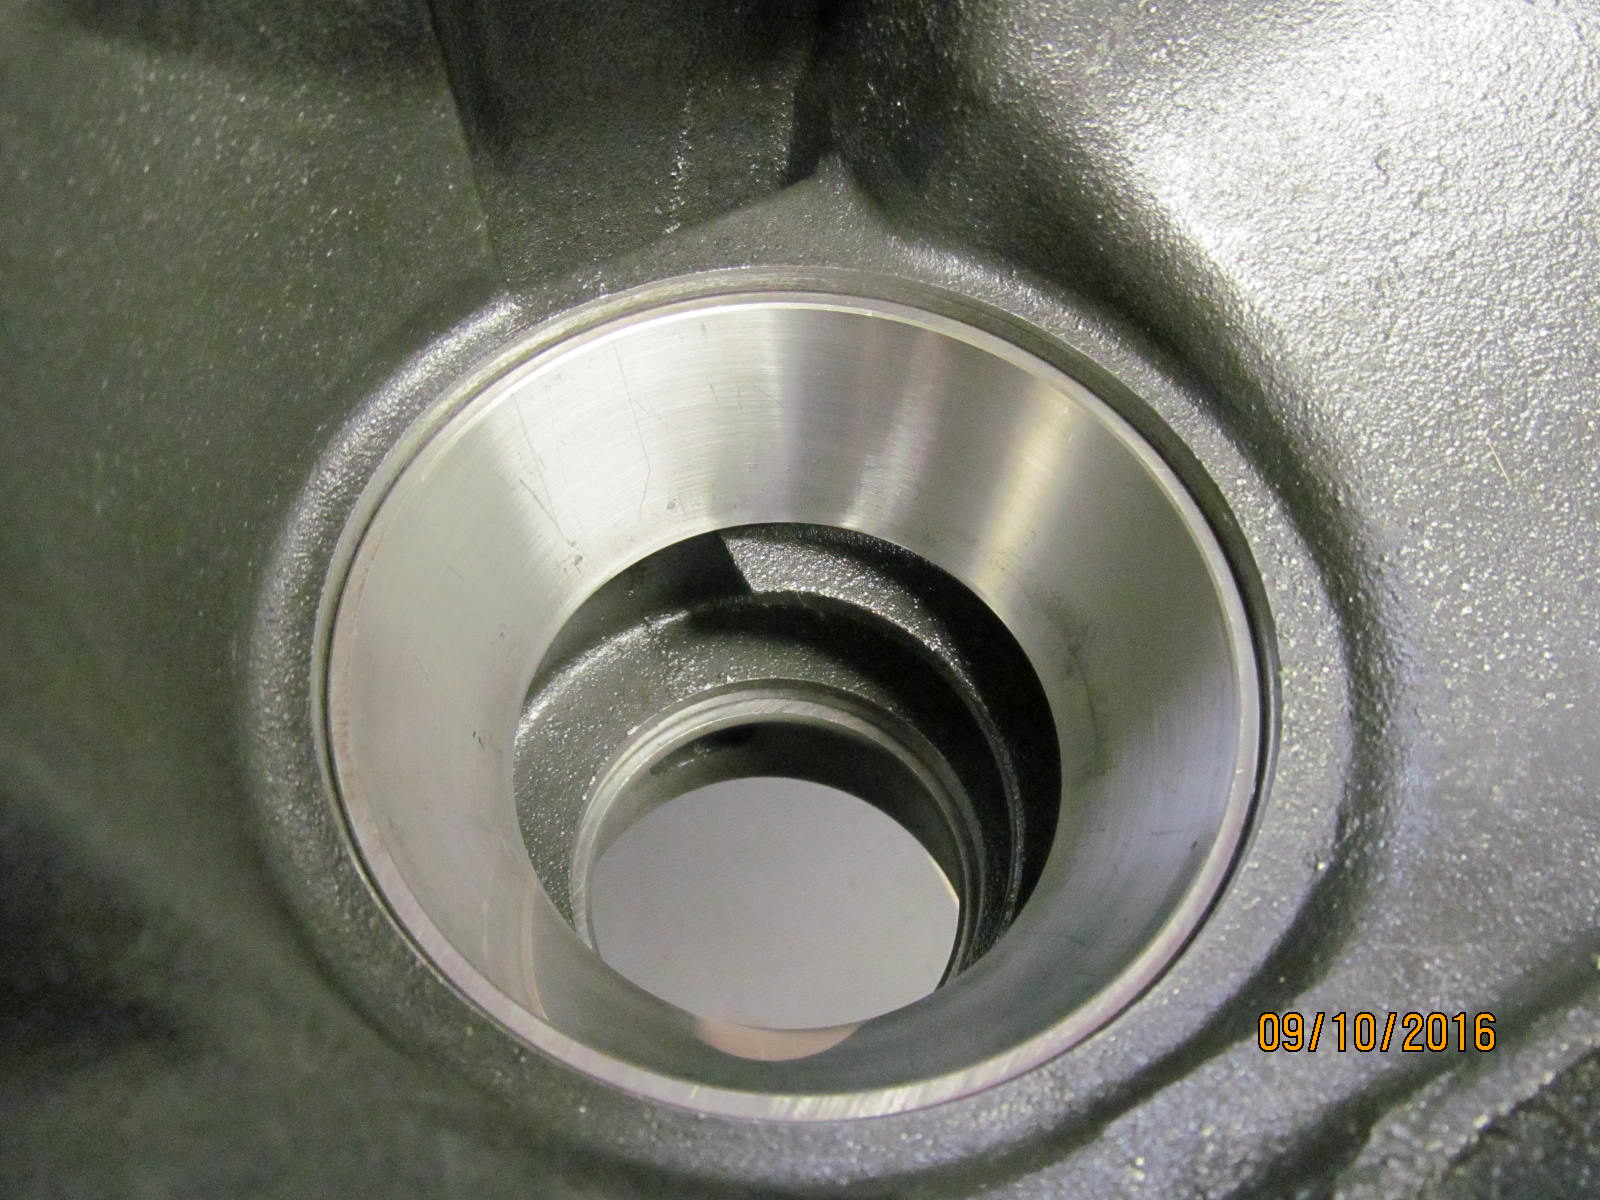
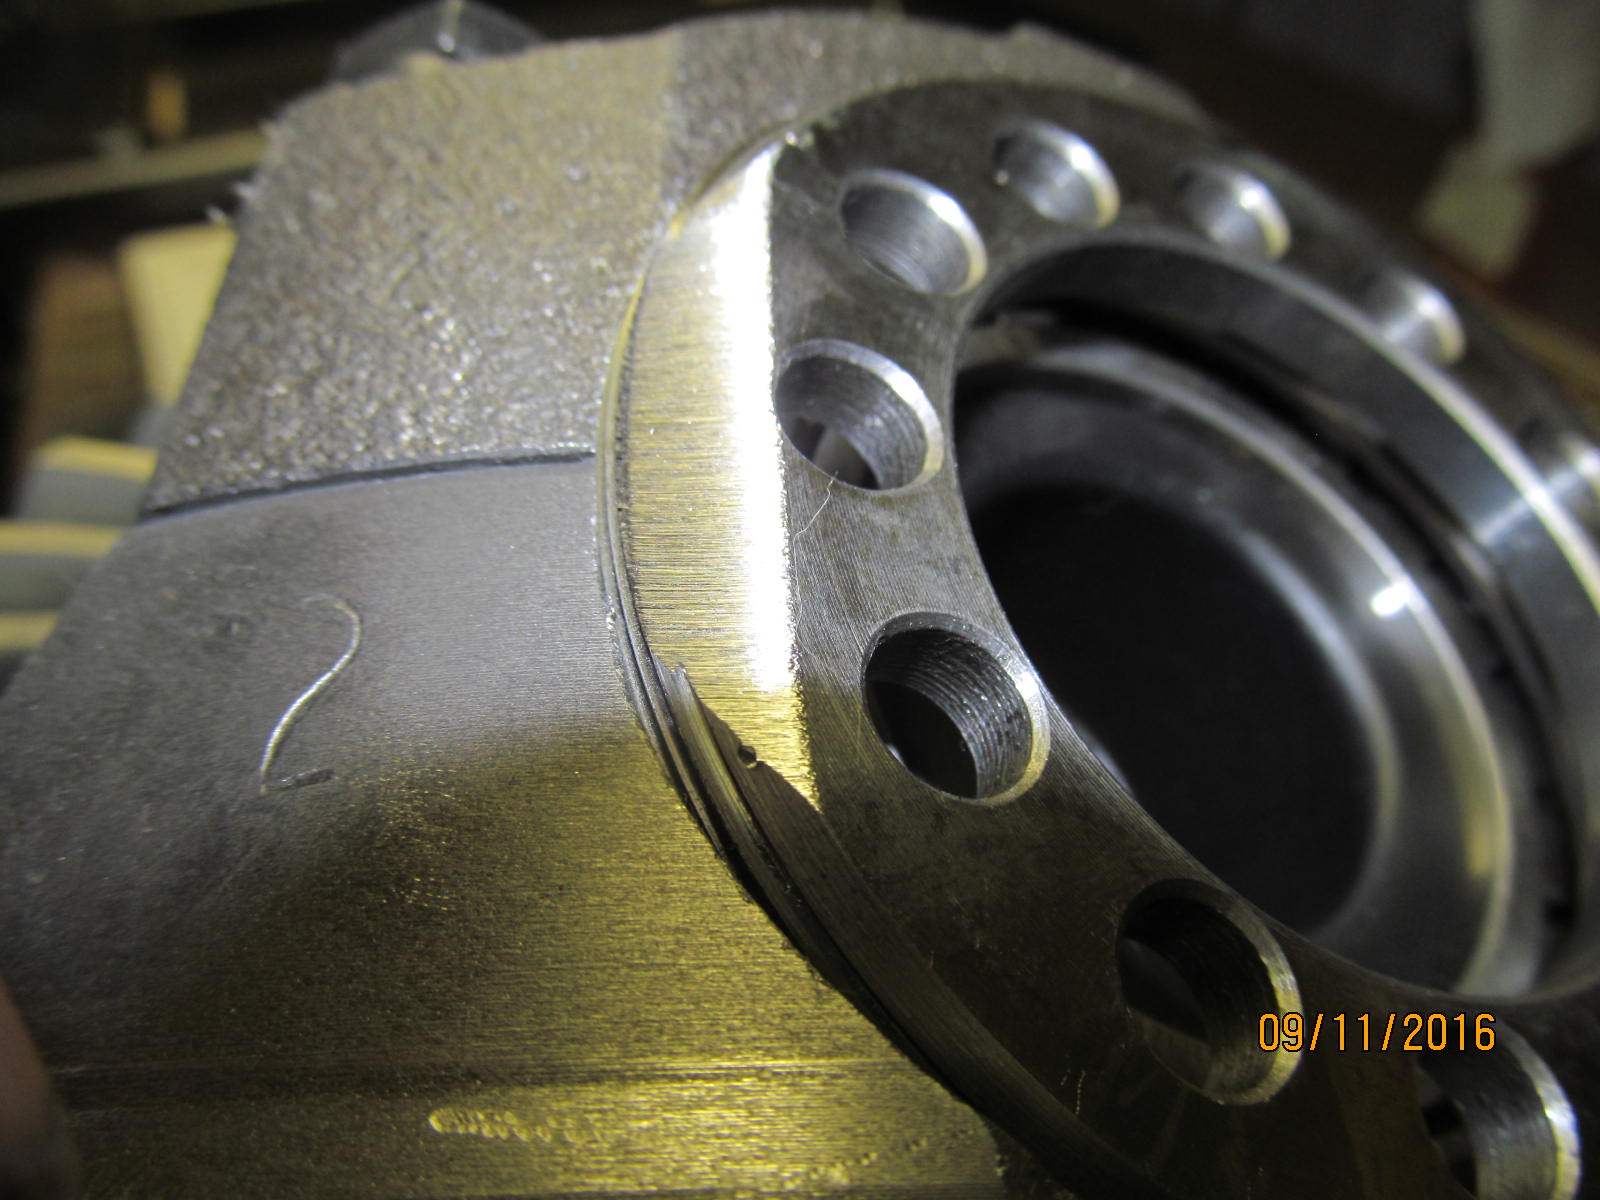
Both pinion races can now be tapped in place.
|
|
|
|
|
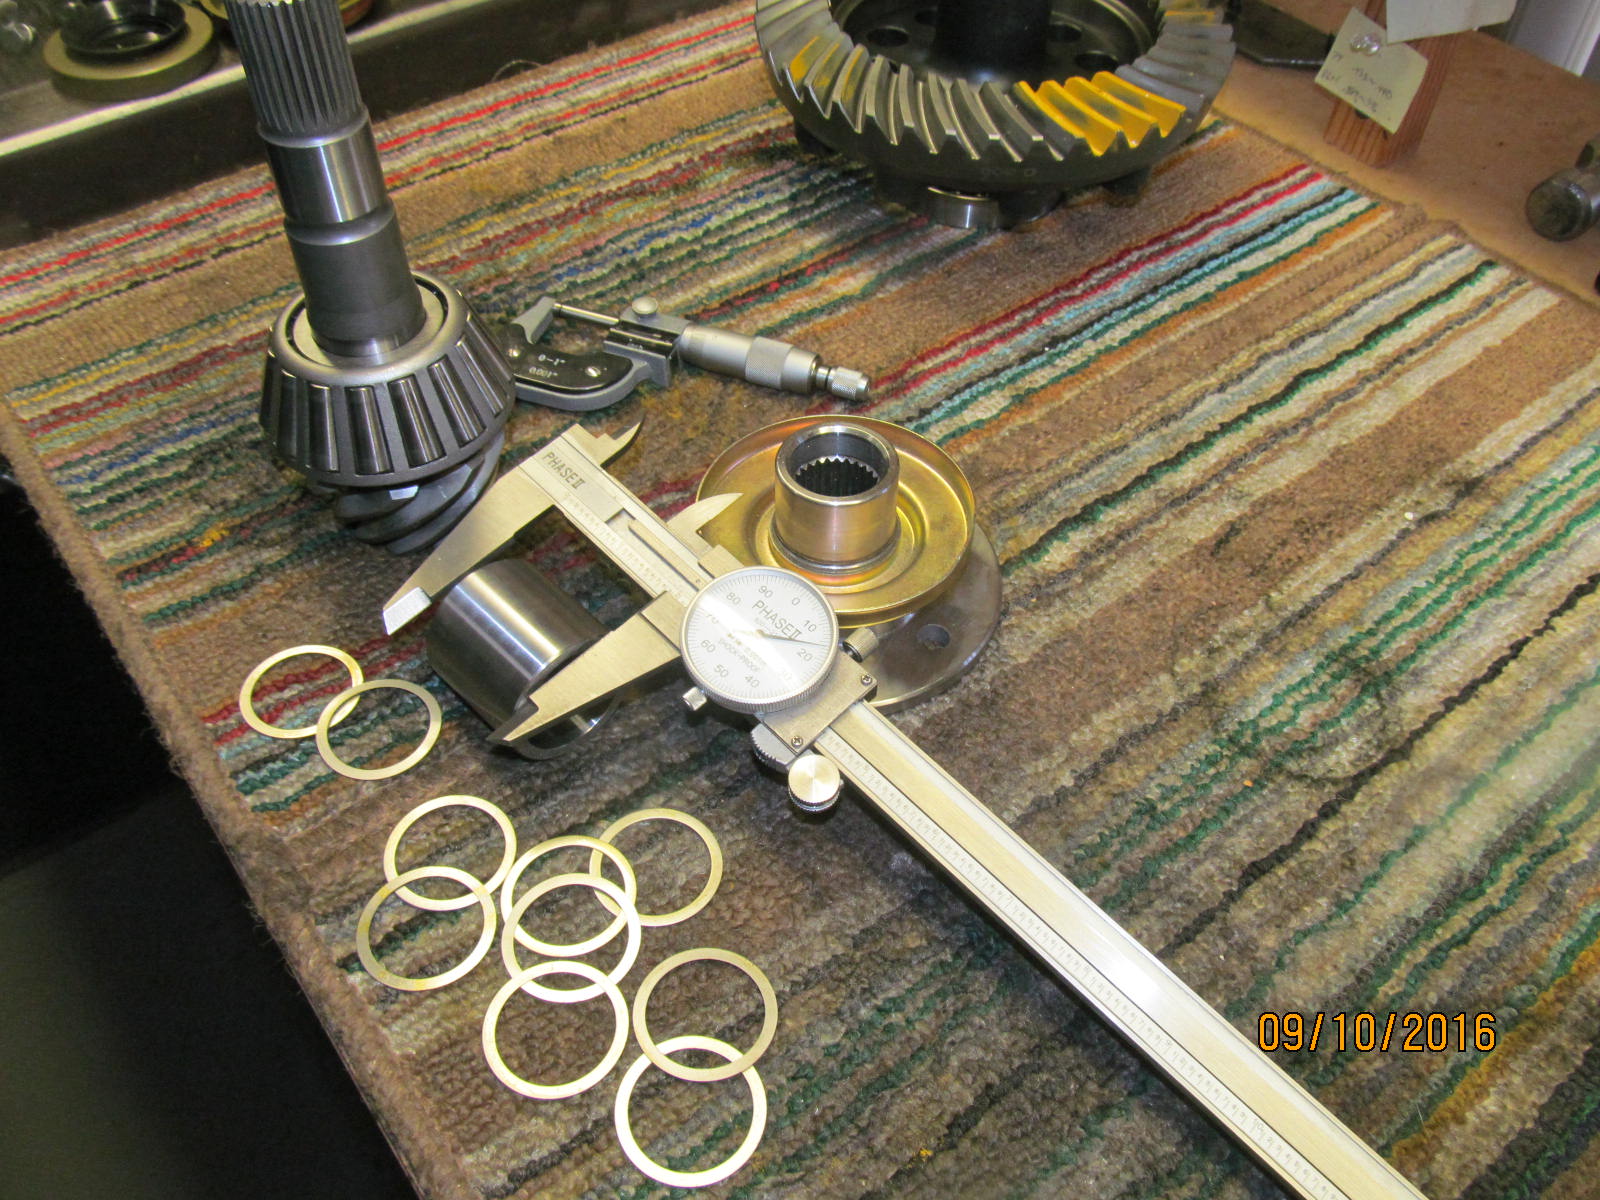
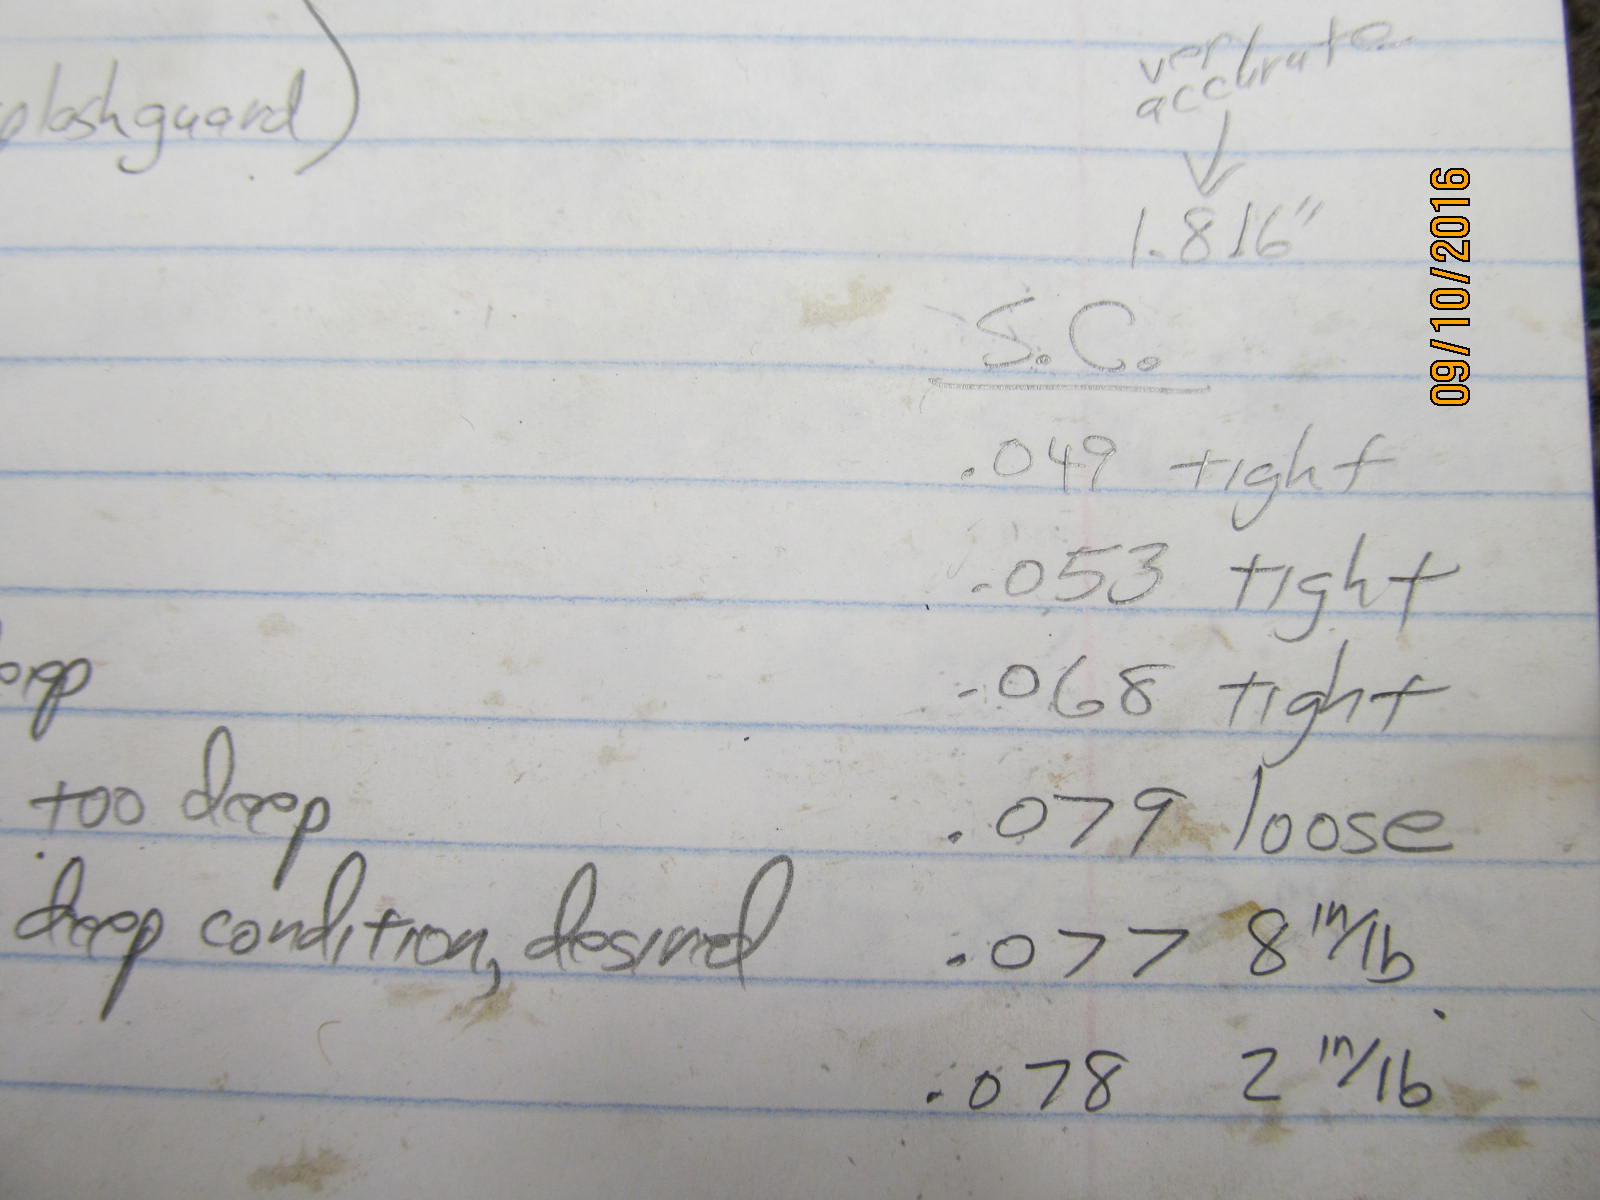
Selecting the starter shim. 075" will probably be a good bet.
|
|
|
|
|
Pressing the shim and bearing in place.
|
|
|

|
|
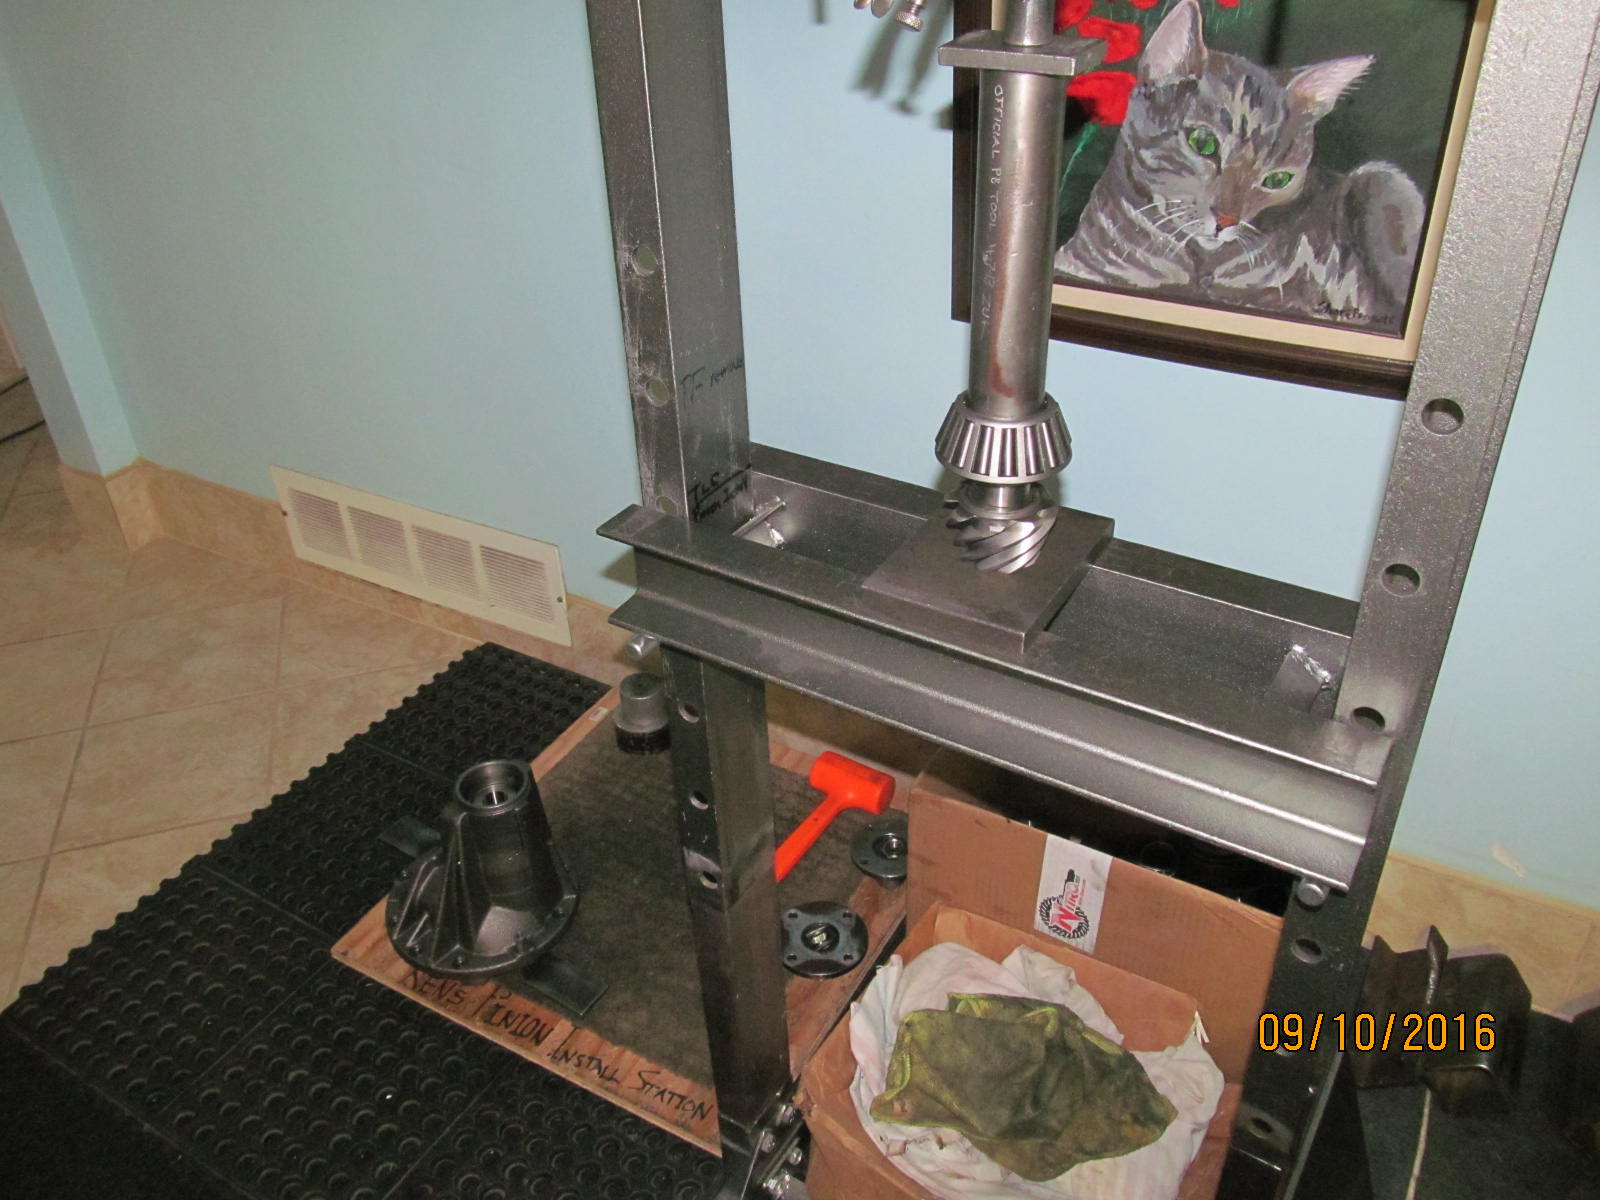
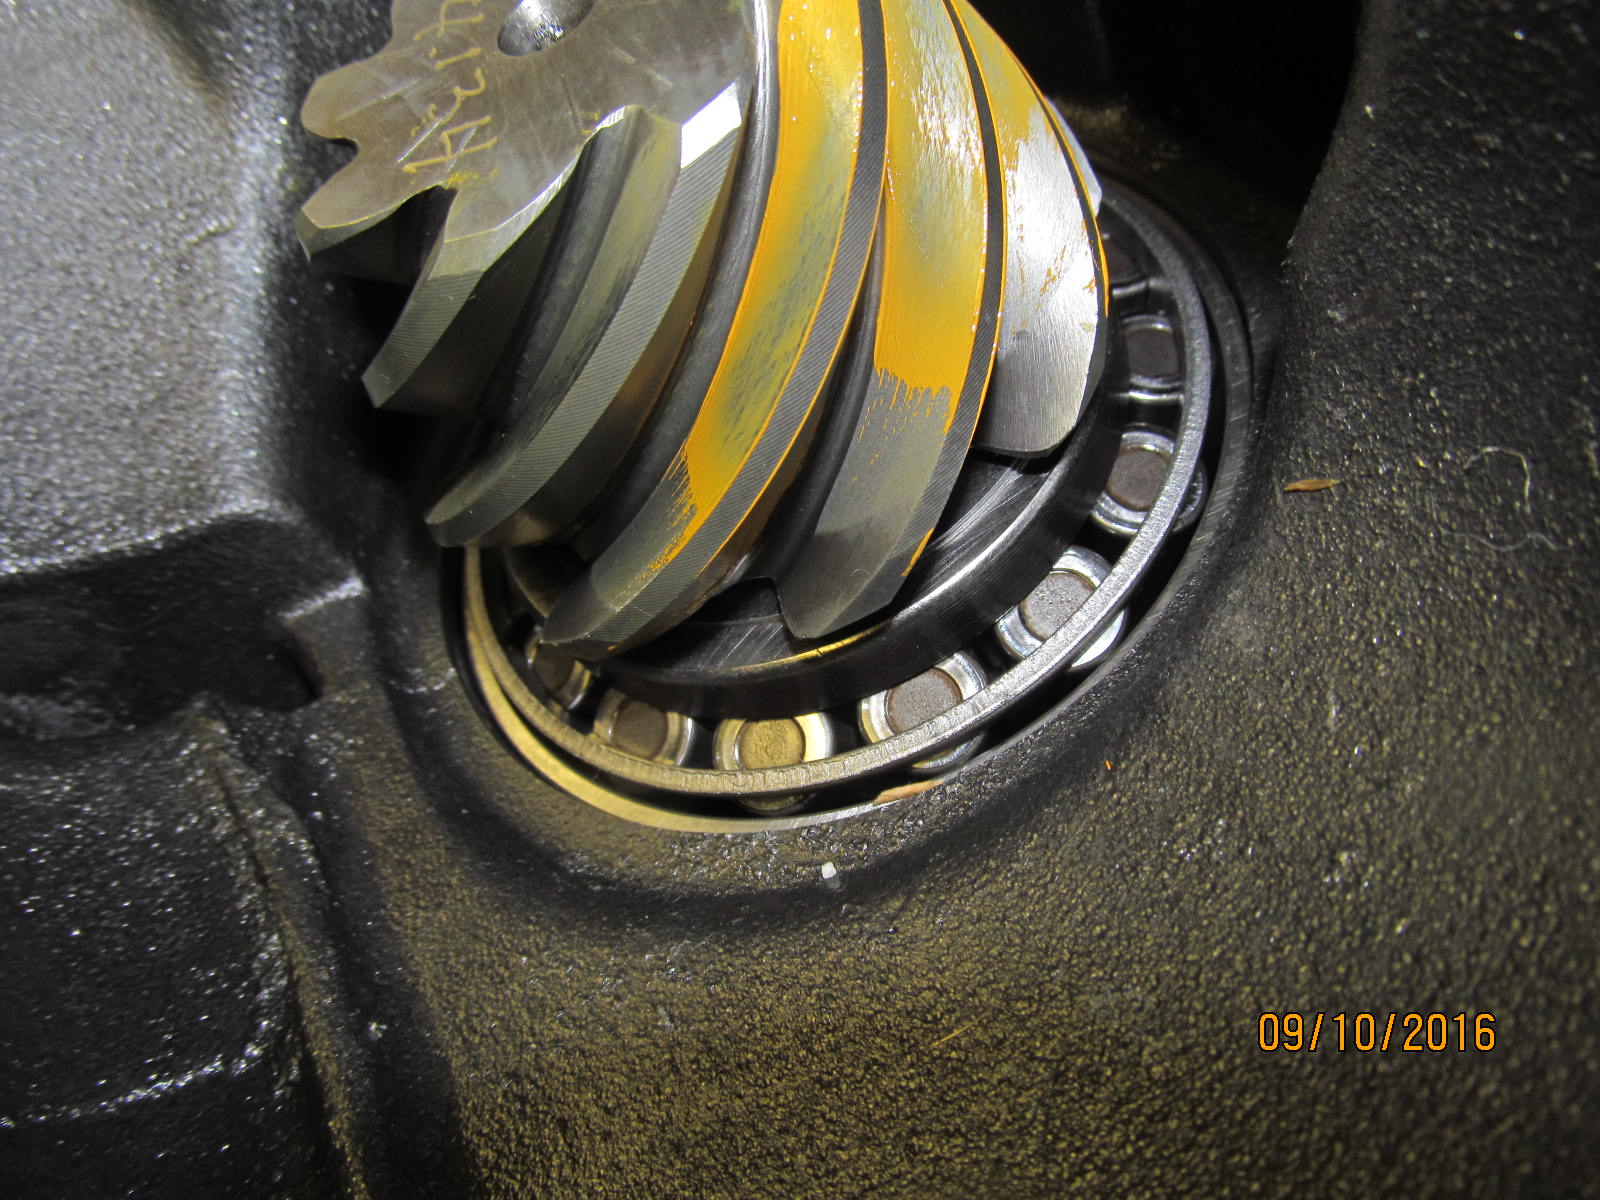
Mounting the pinion.
|
|
|
|
|
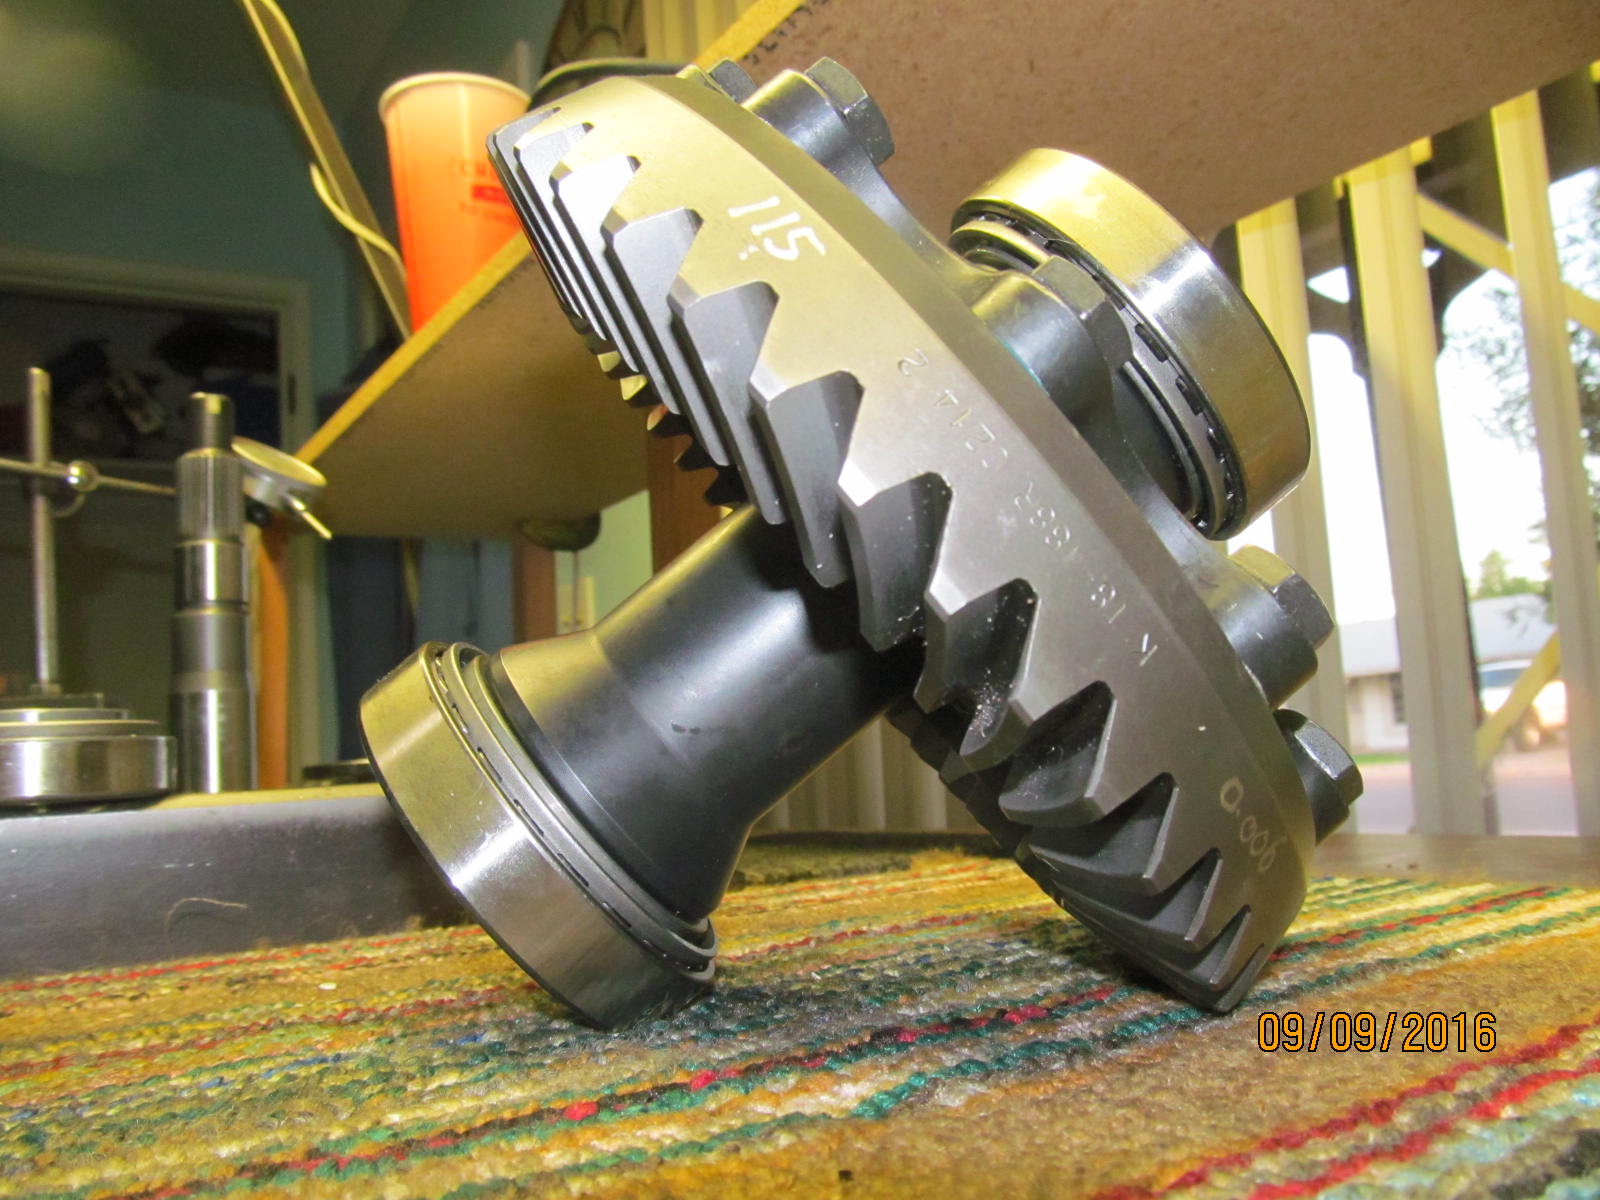
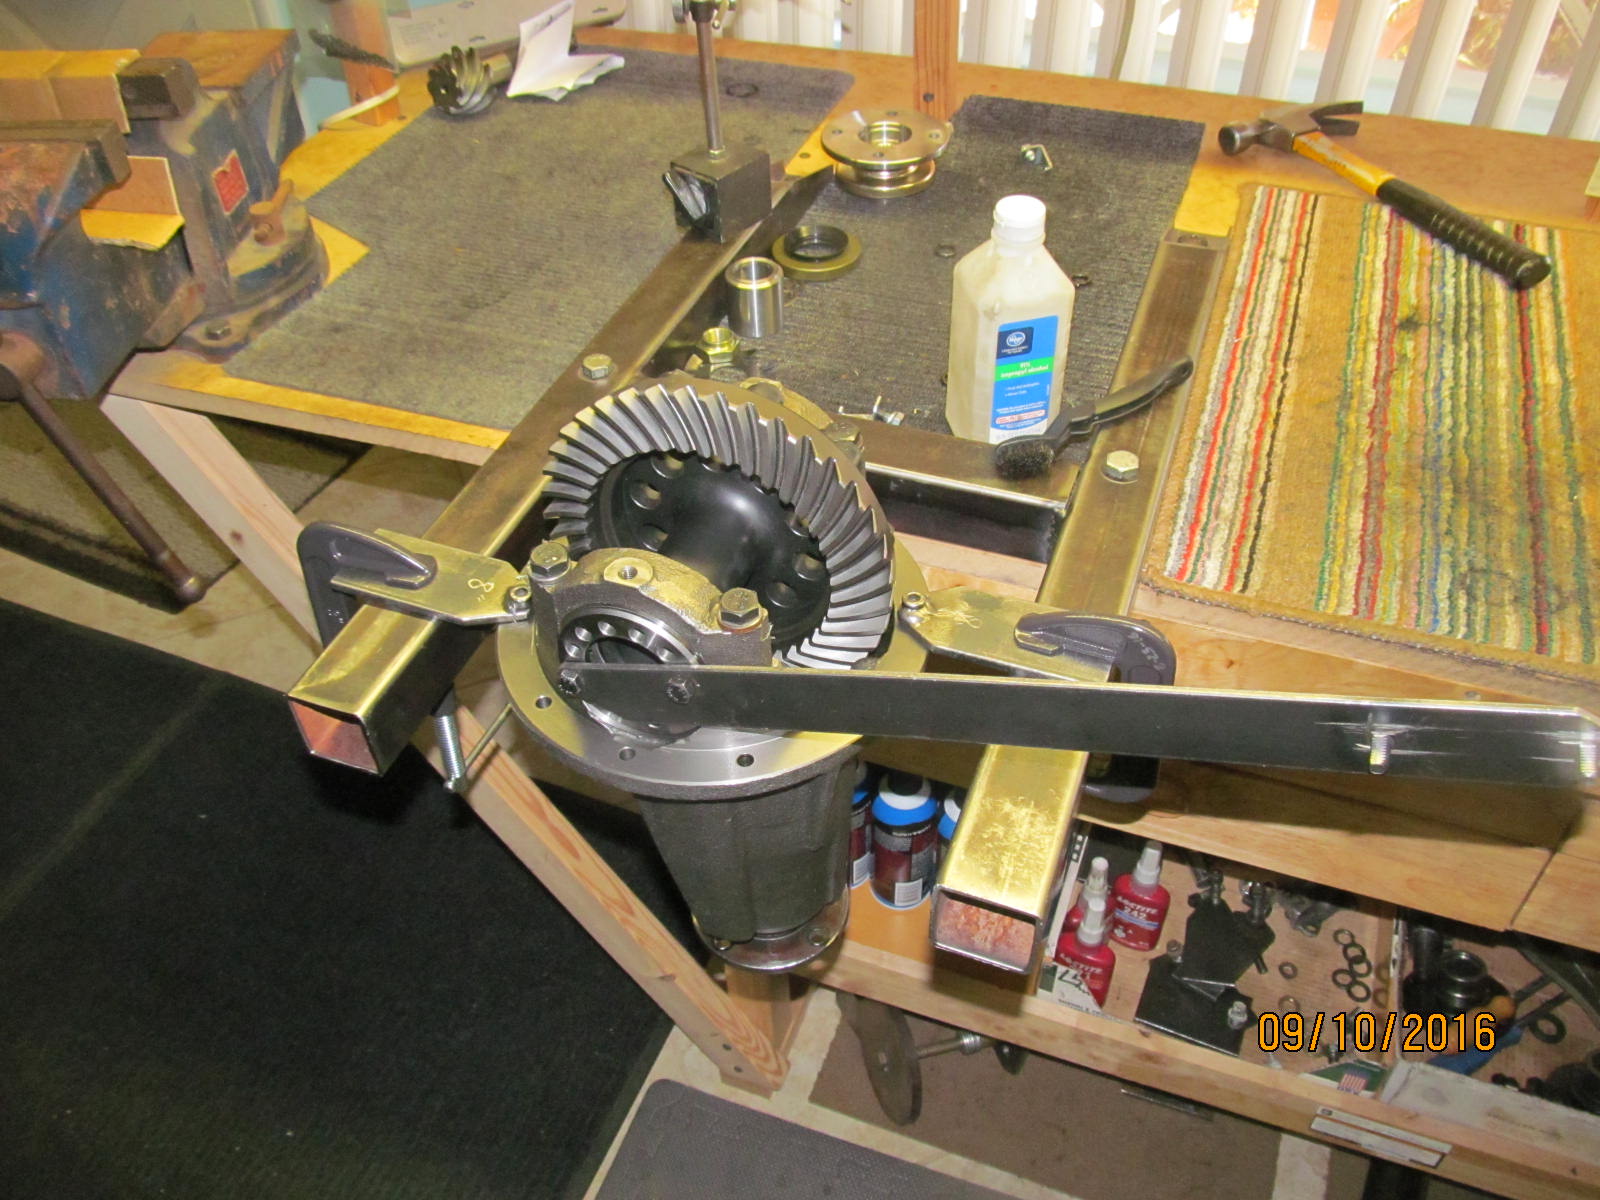
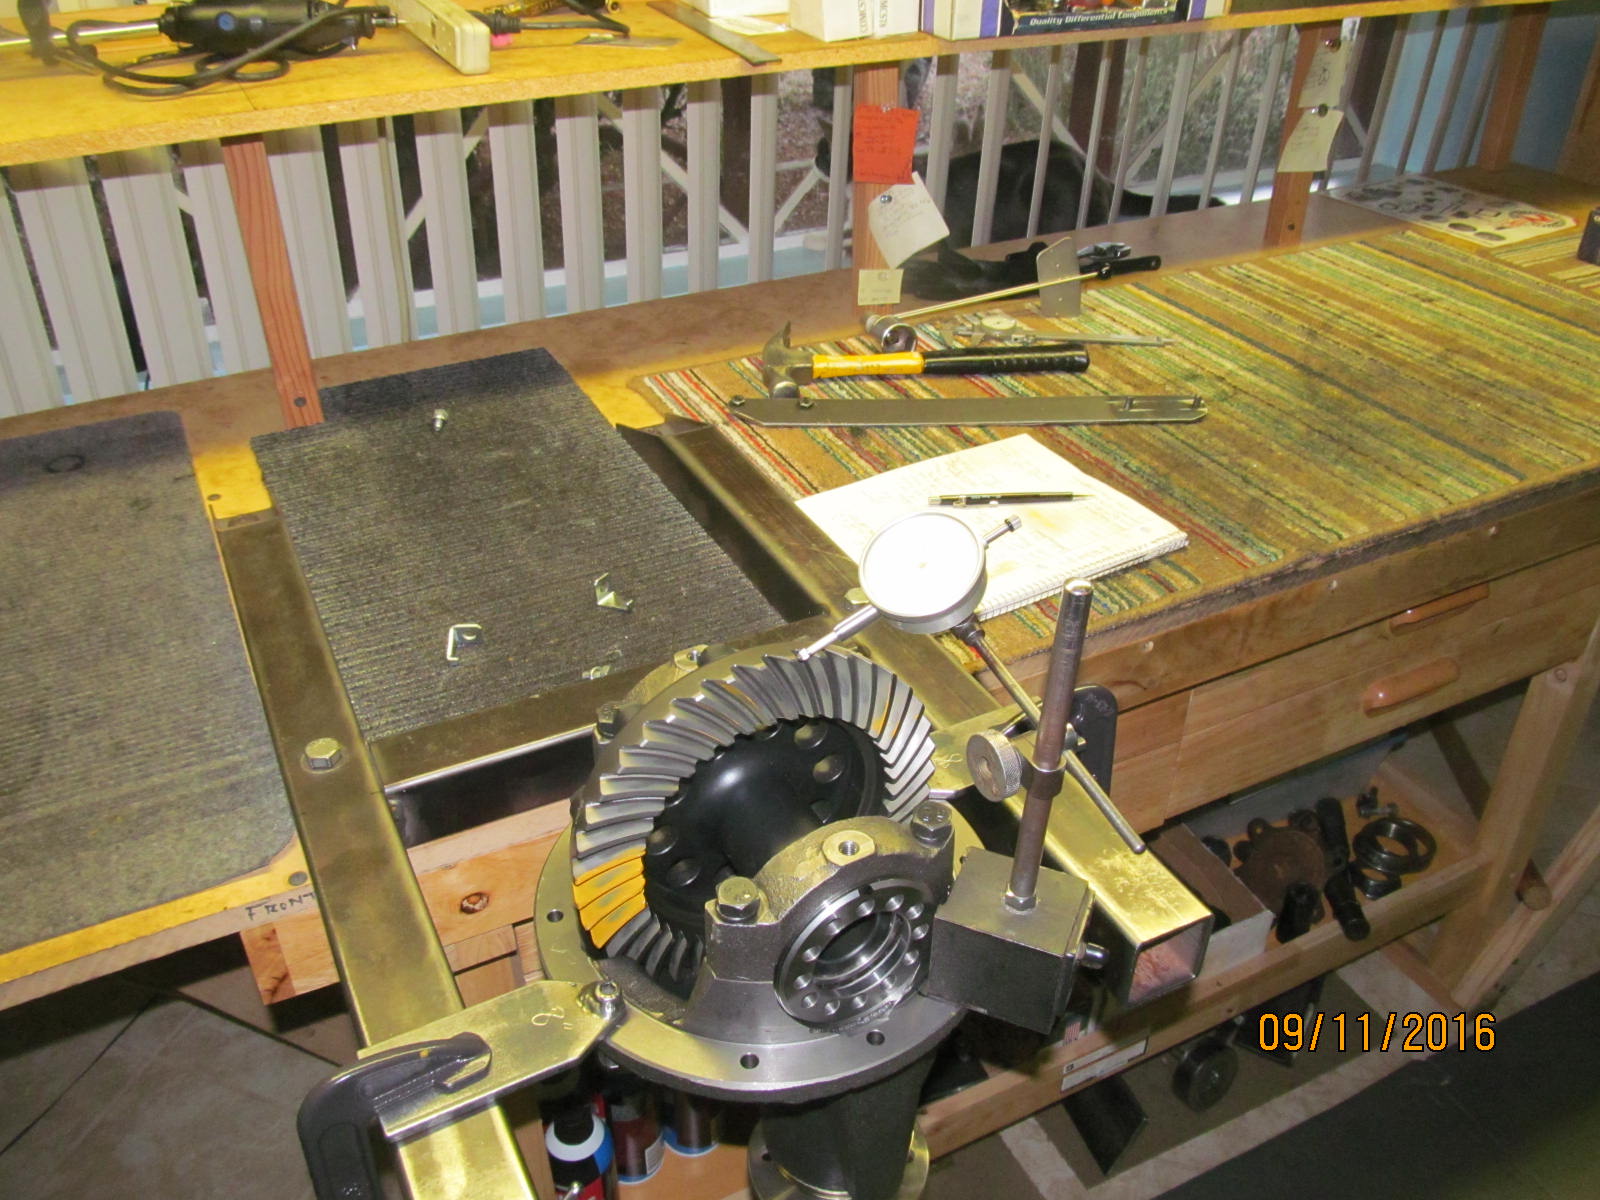
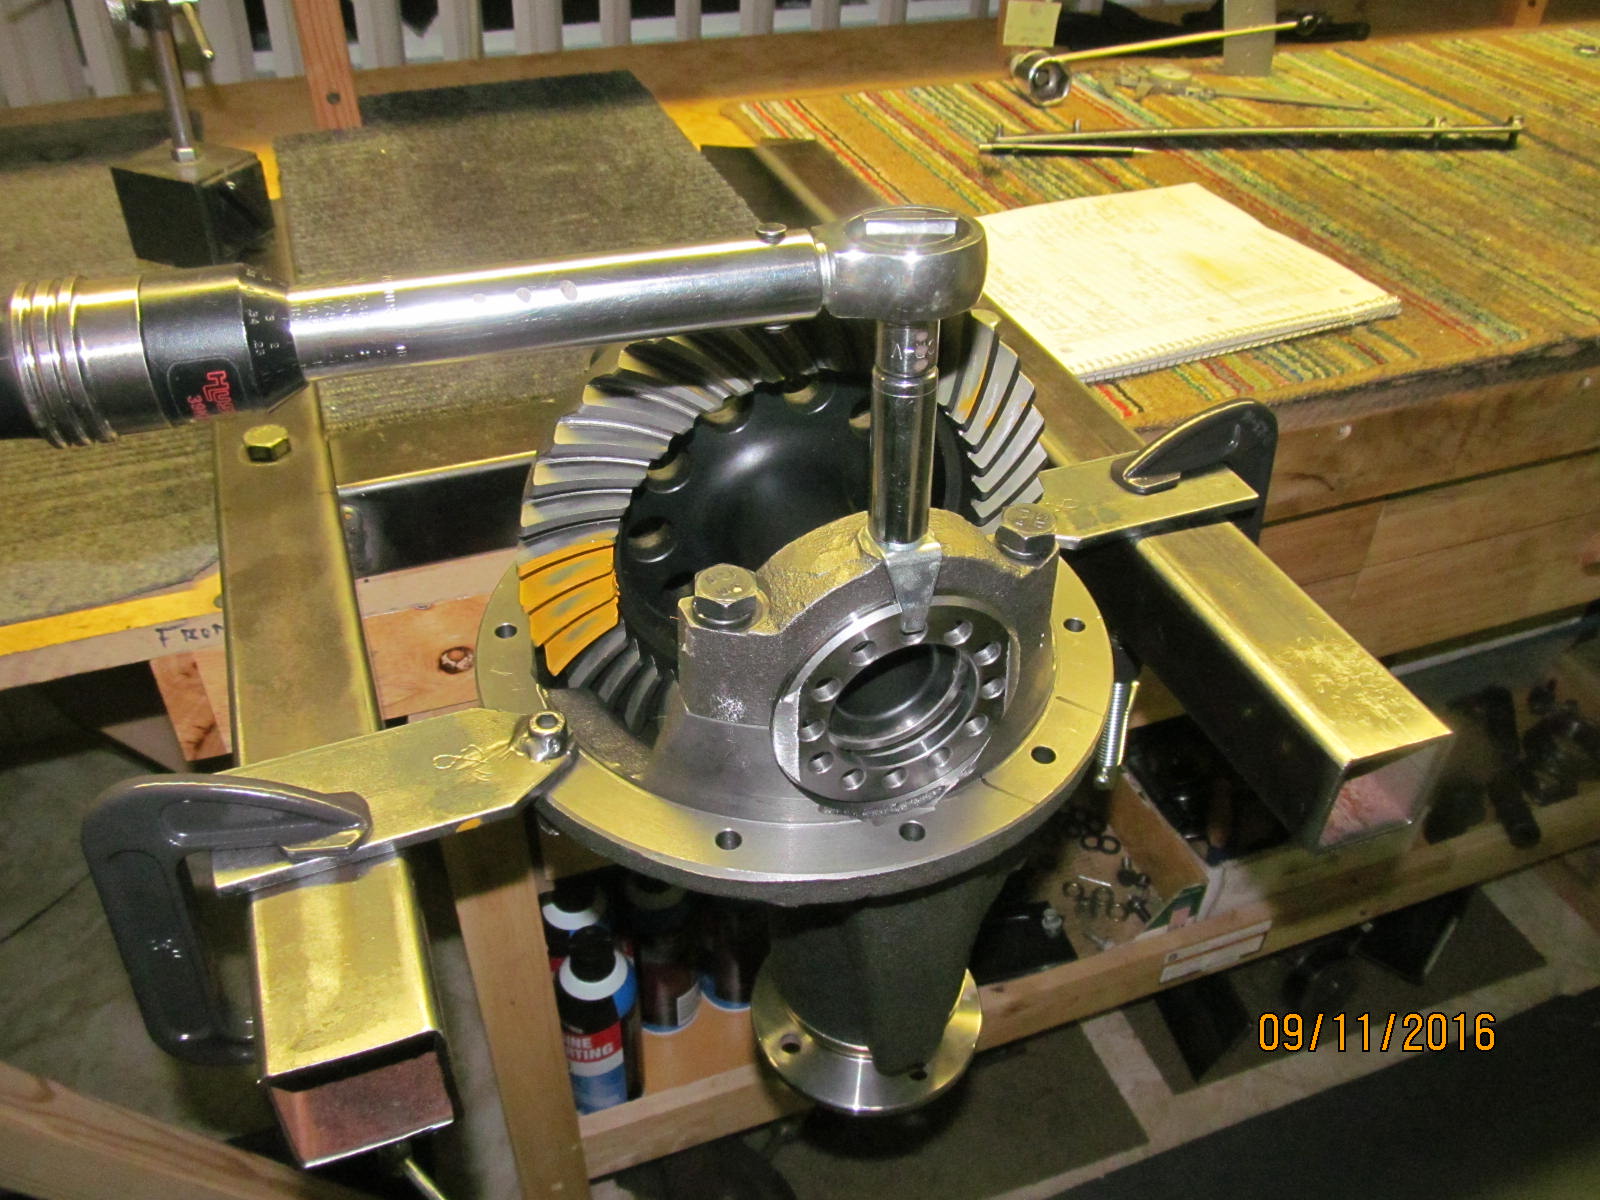
Mount the ring gear/spool assembly and dial in about .006" backlash.
|
|
|
|
|
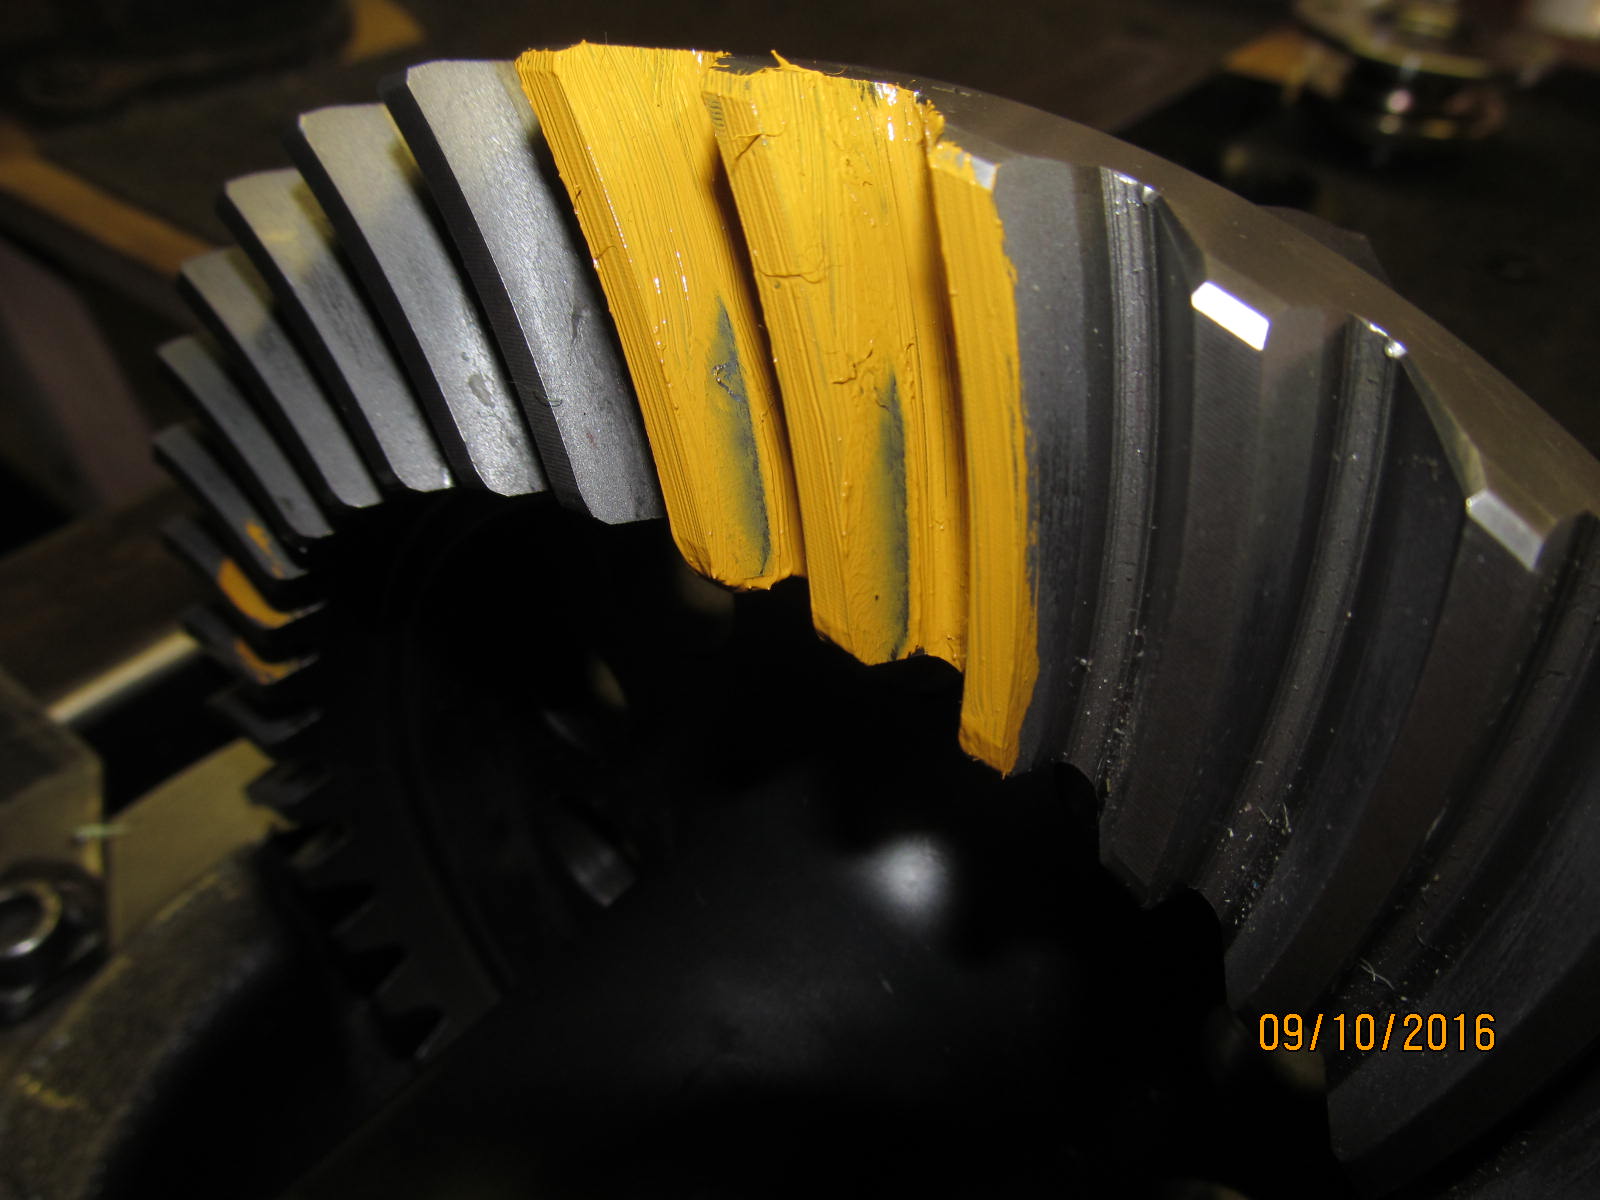
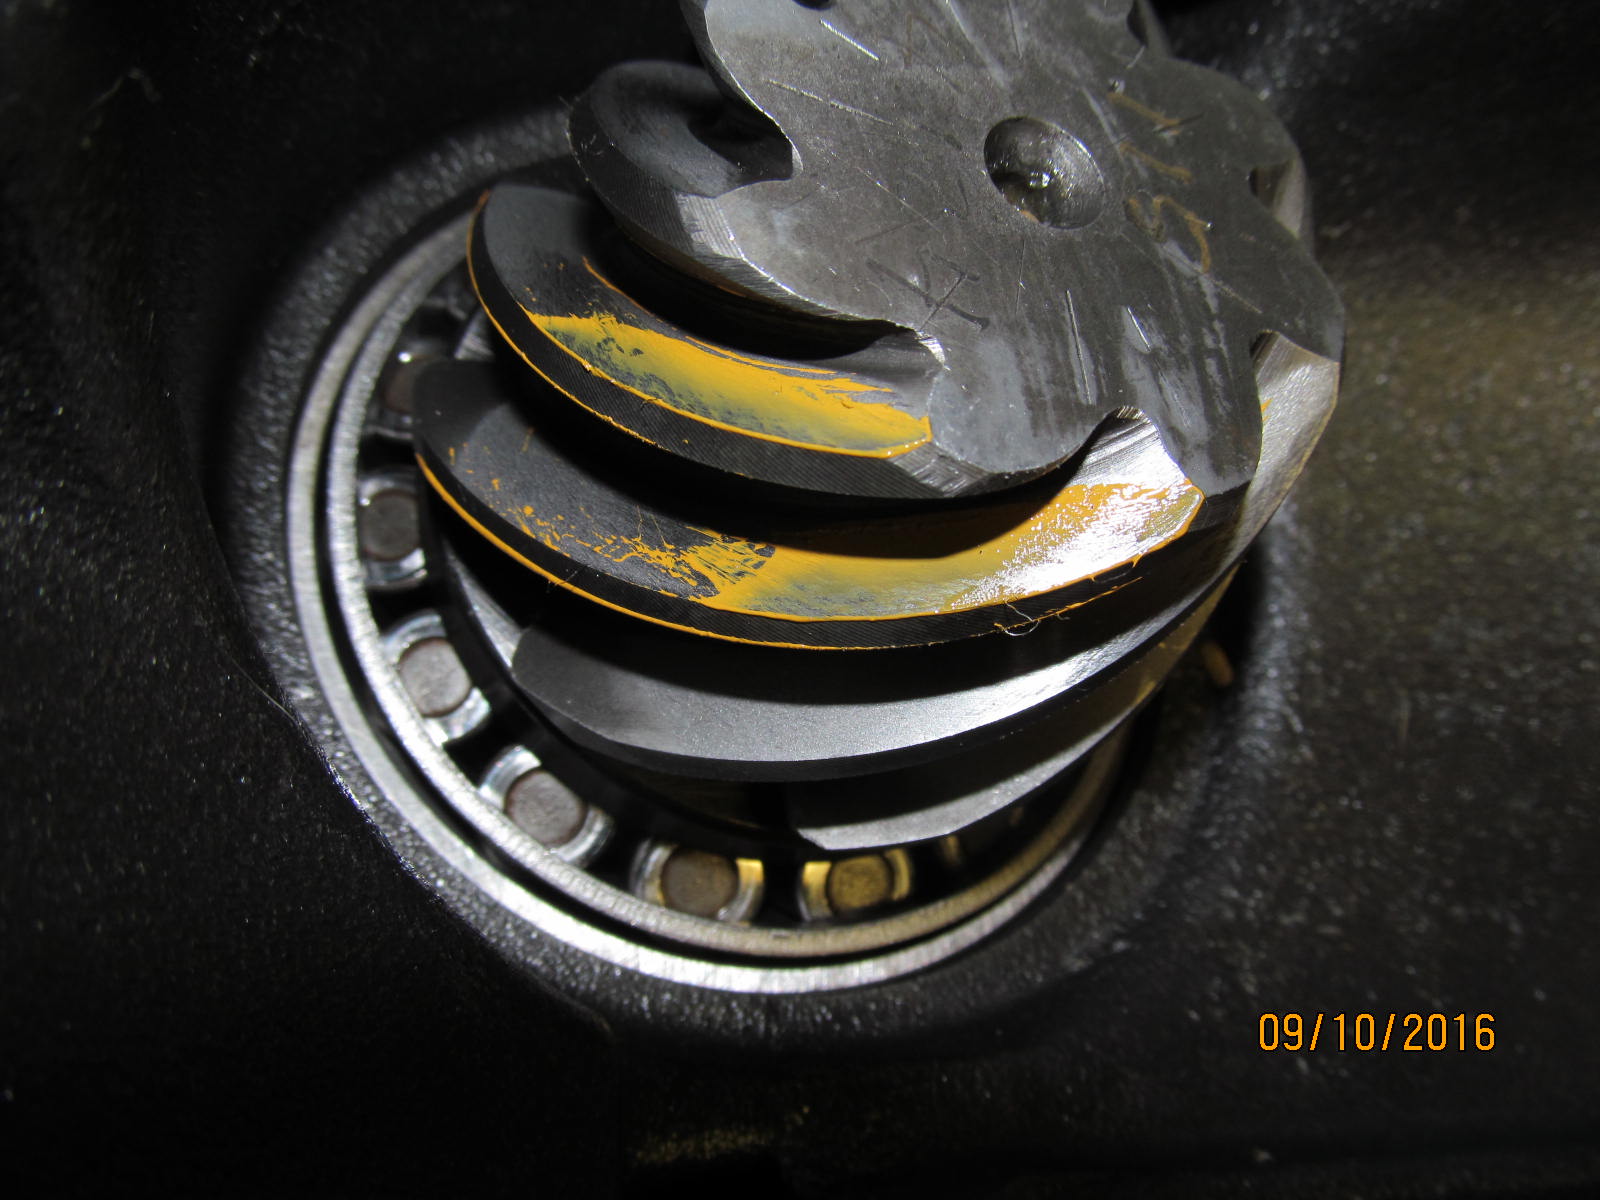
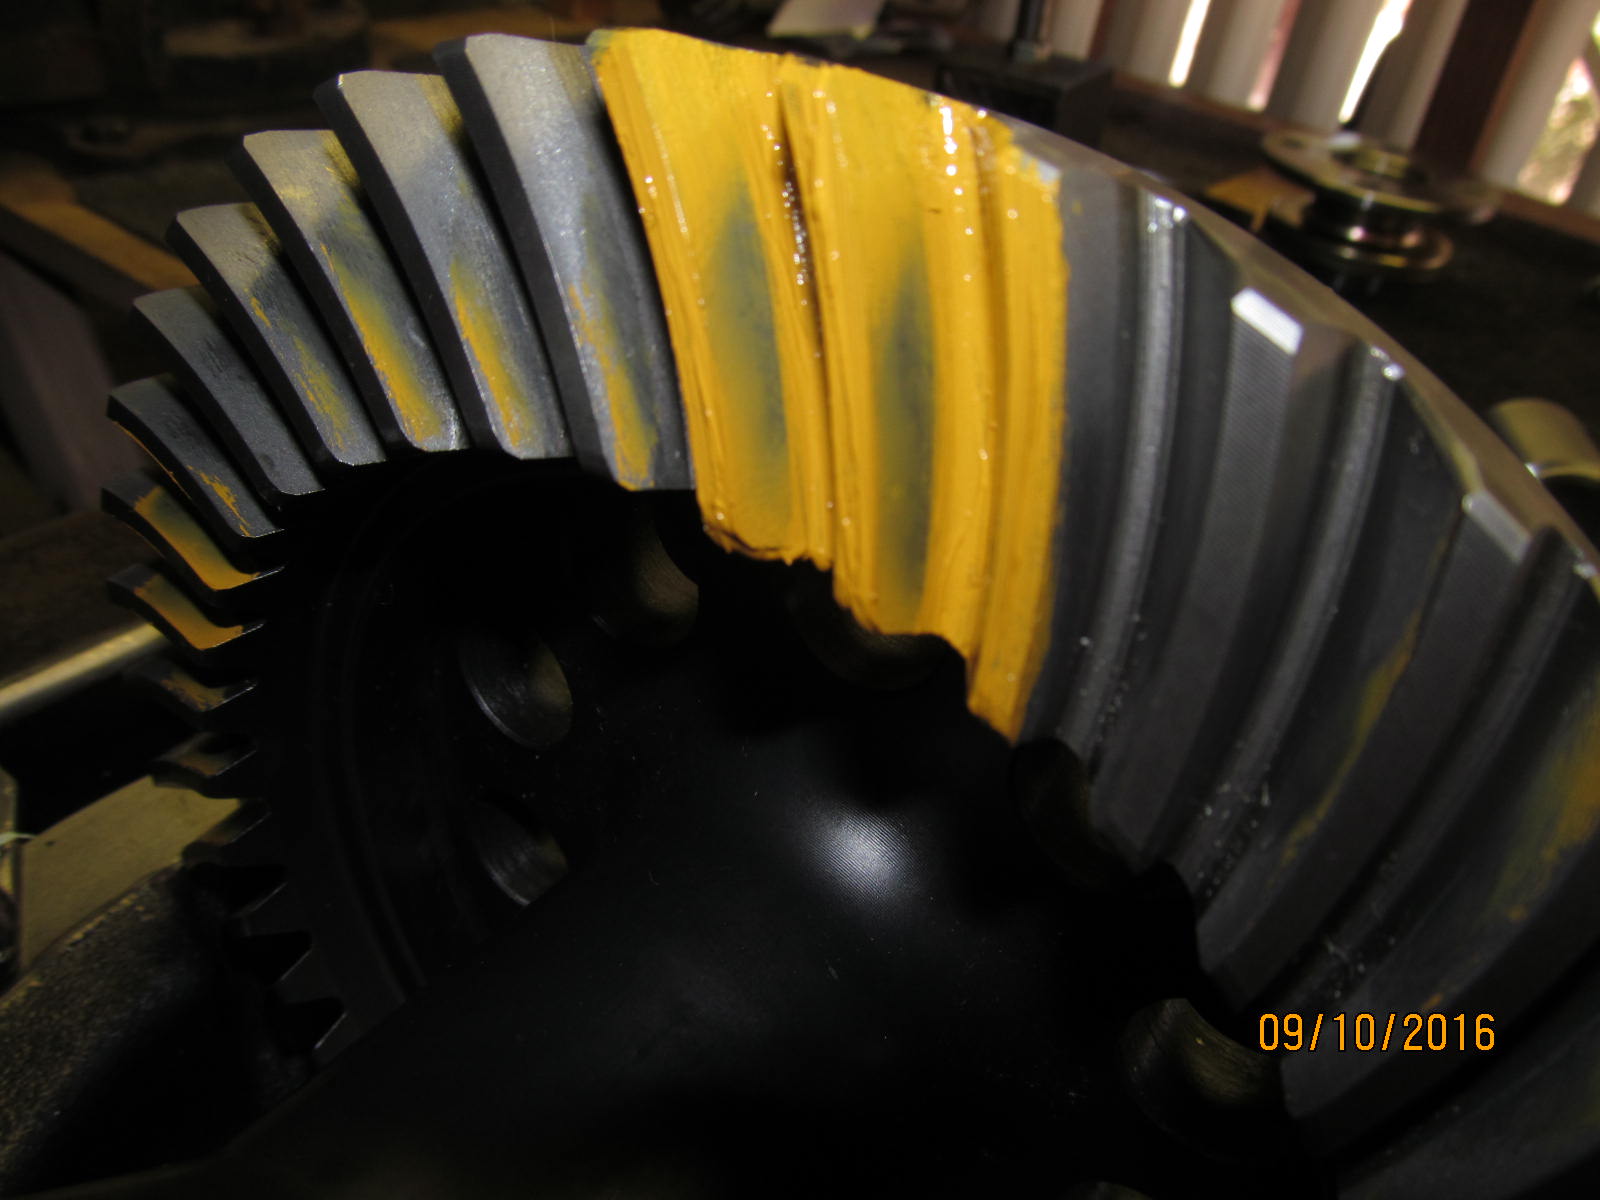
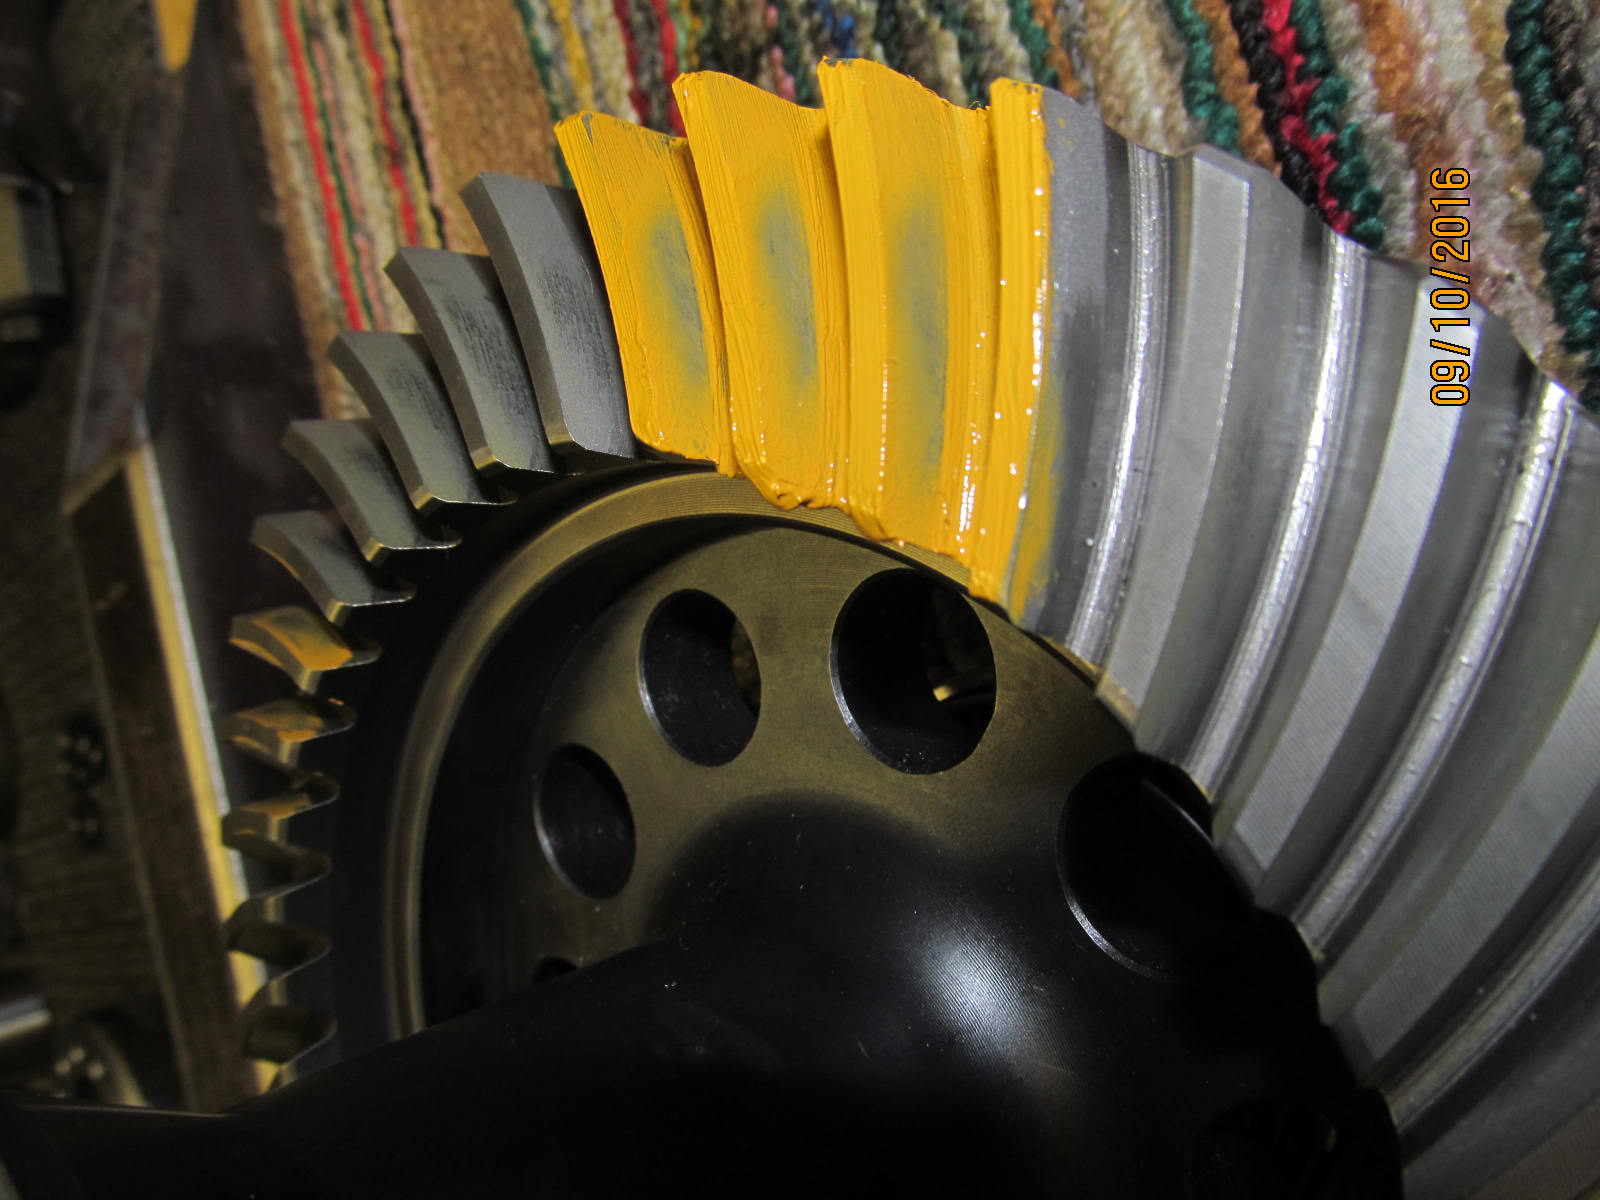
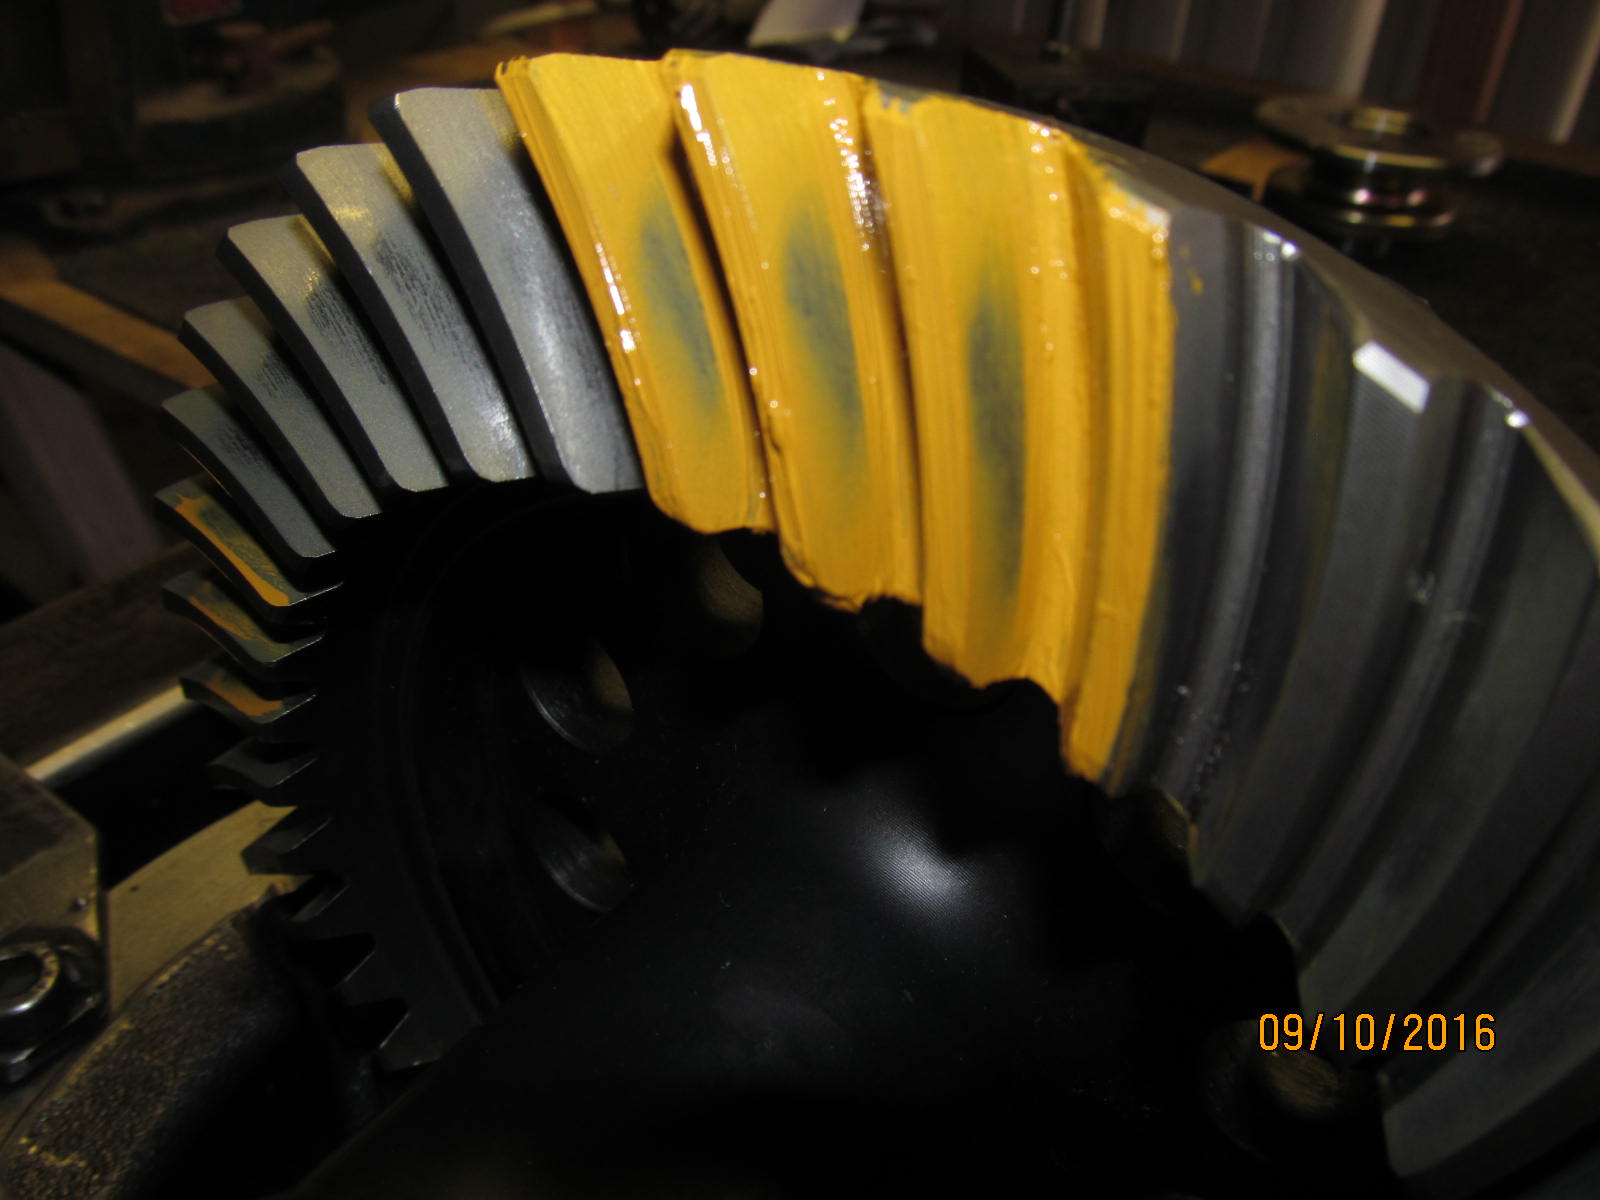
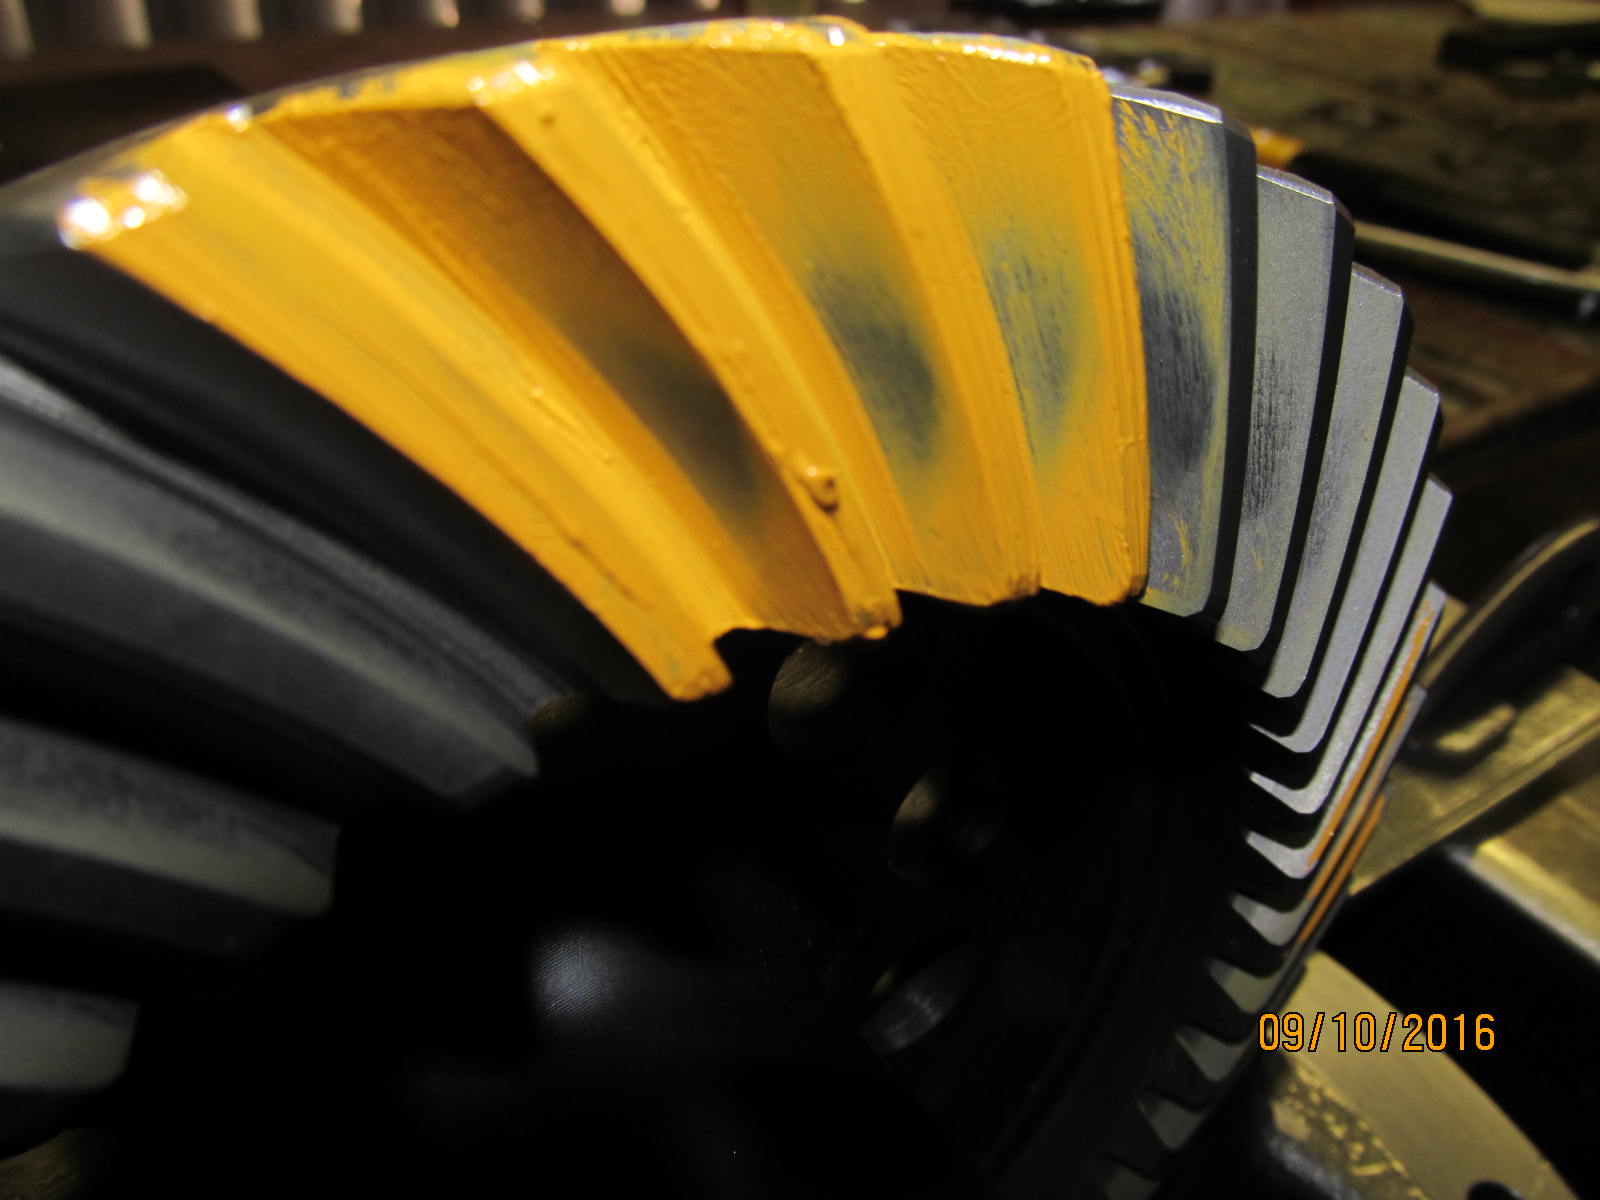
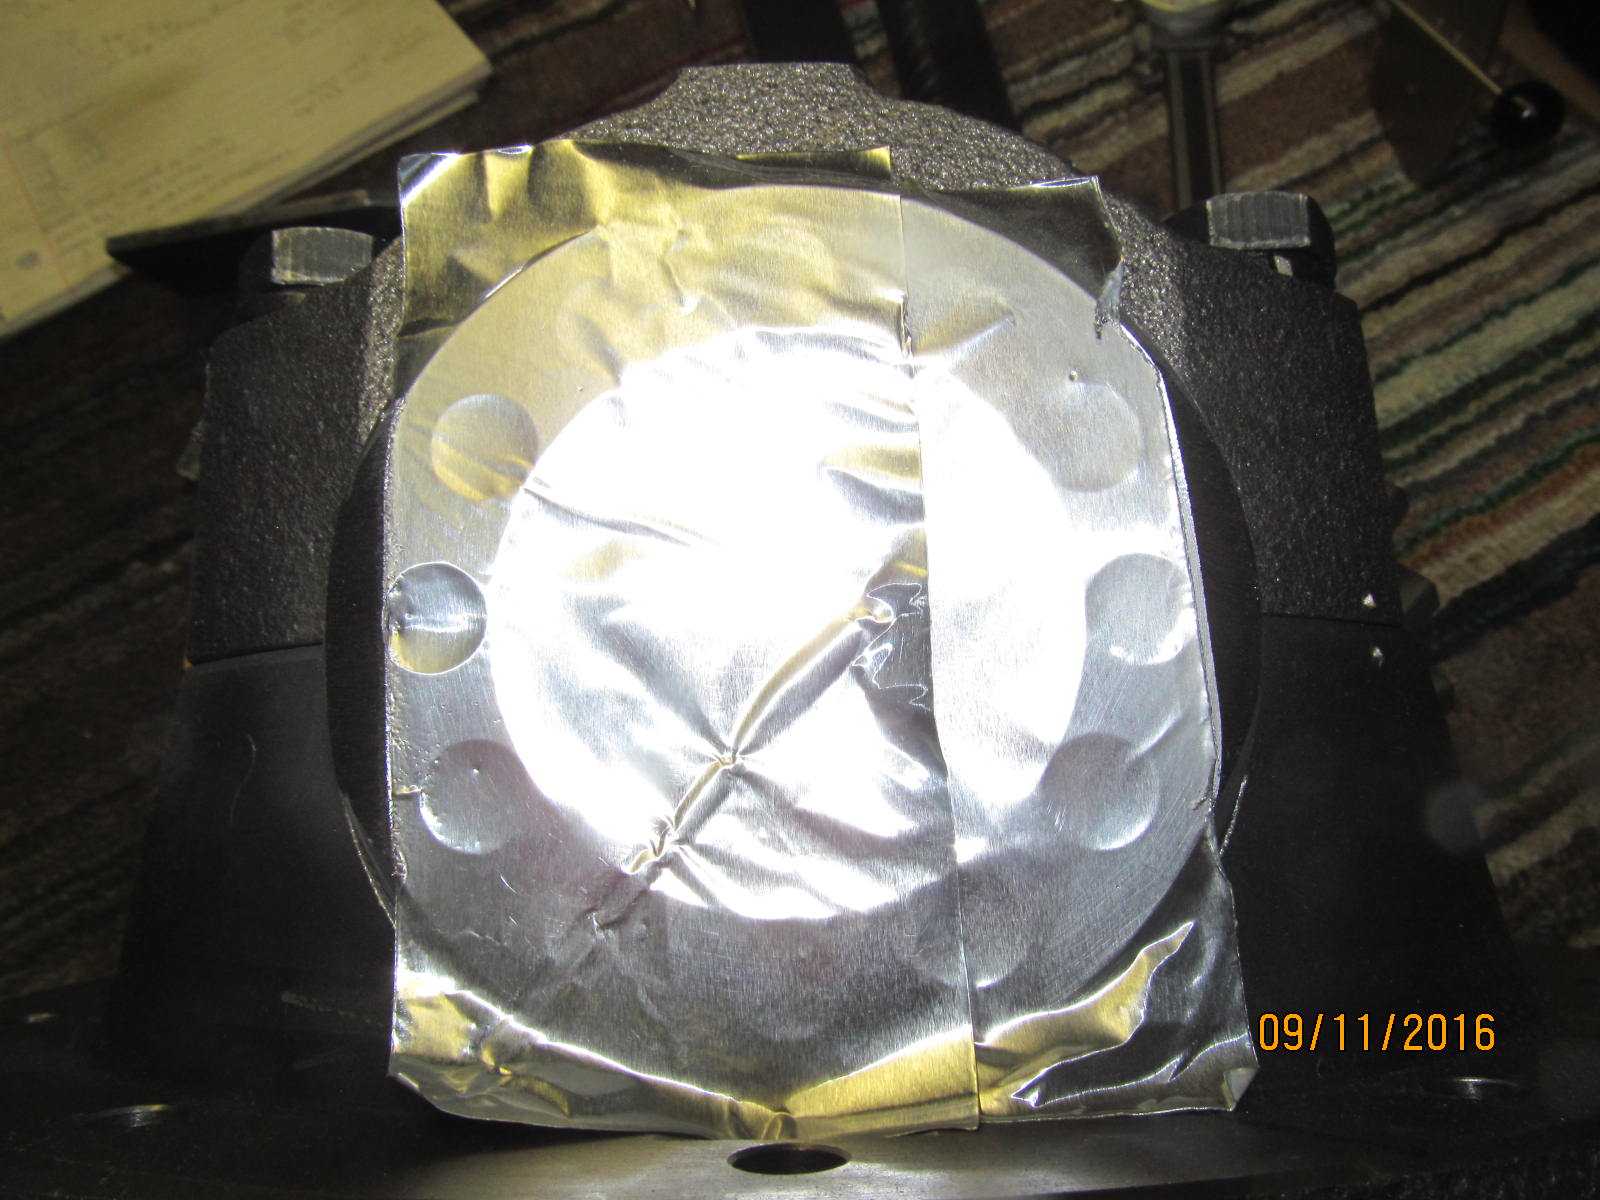
Wow....not only is it deep it's VERY deep.
|
|
|
|
|
Coast confirms that.
|
|
|
|
|
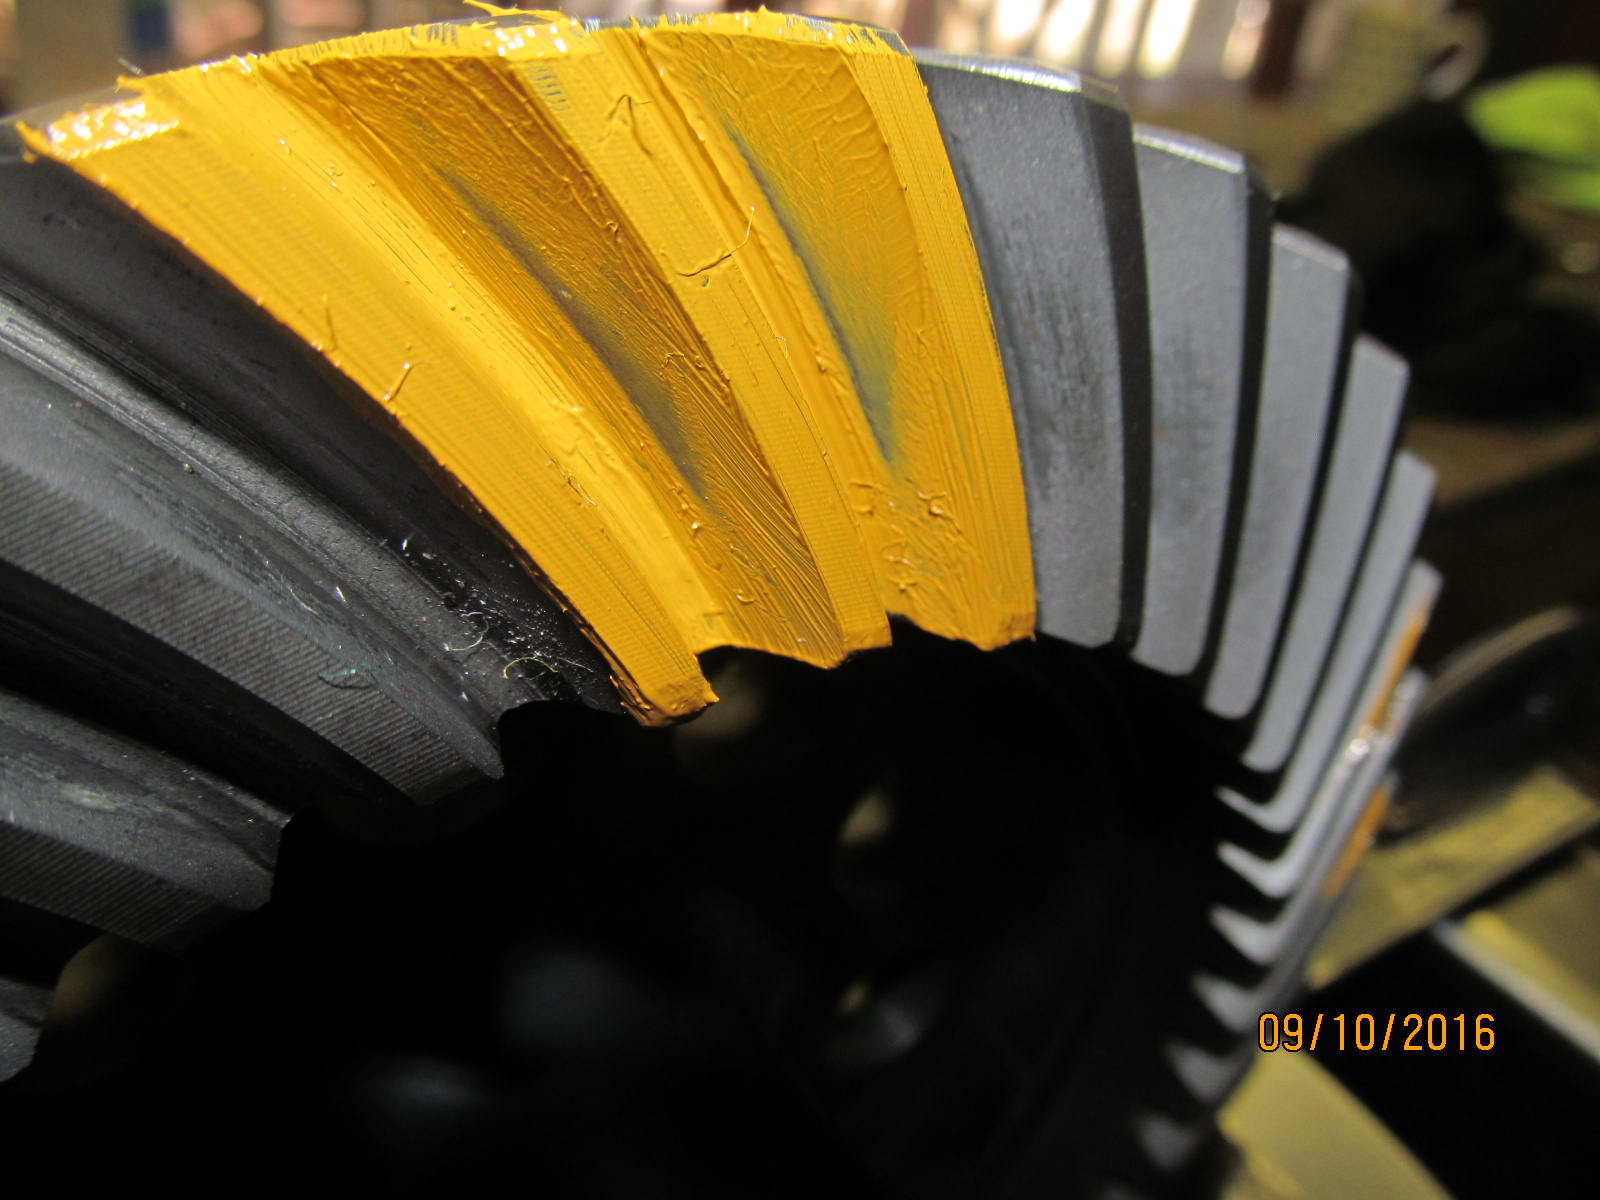
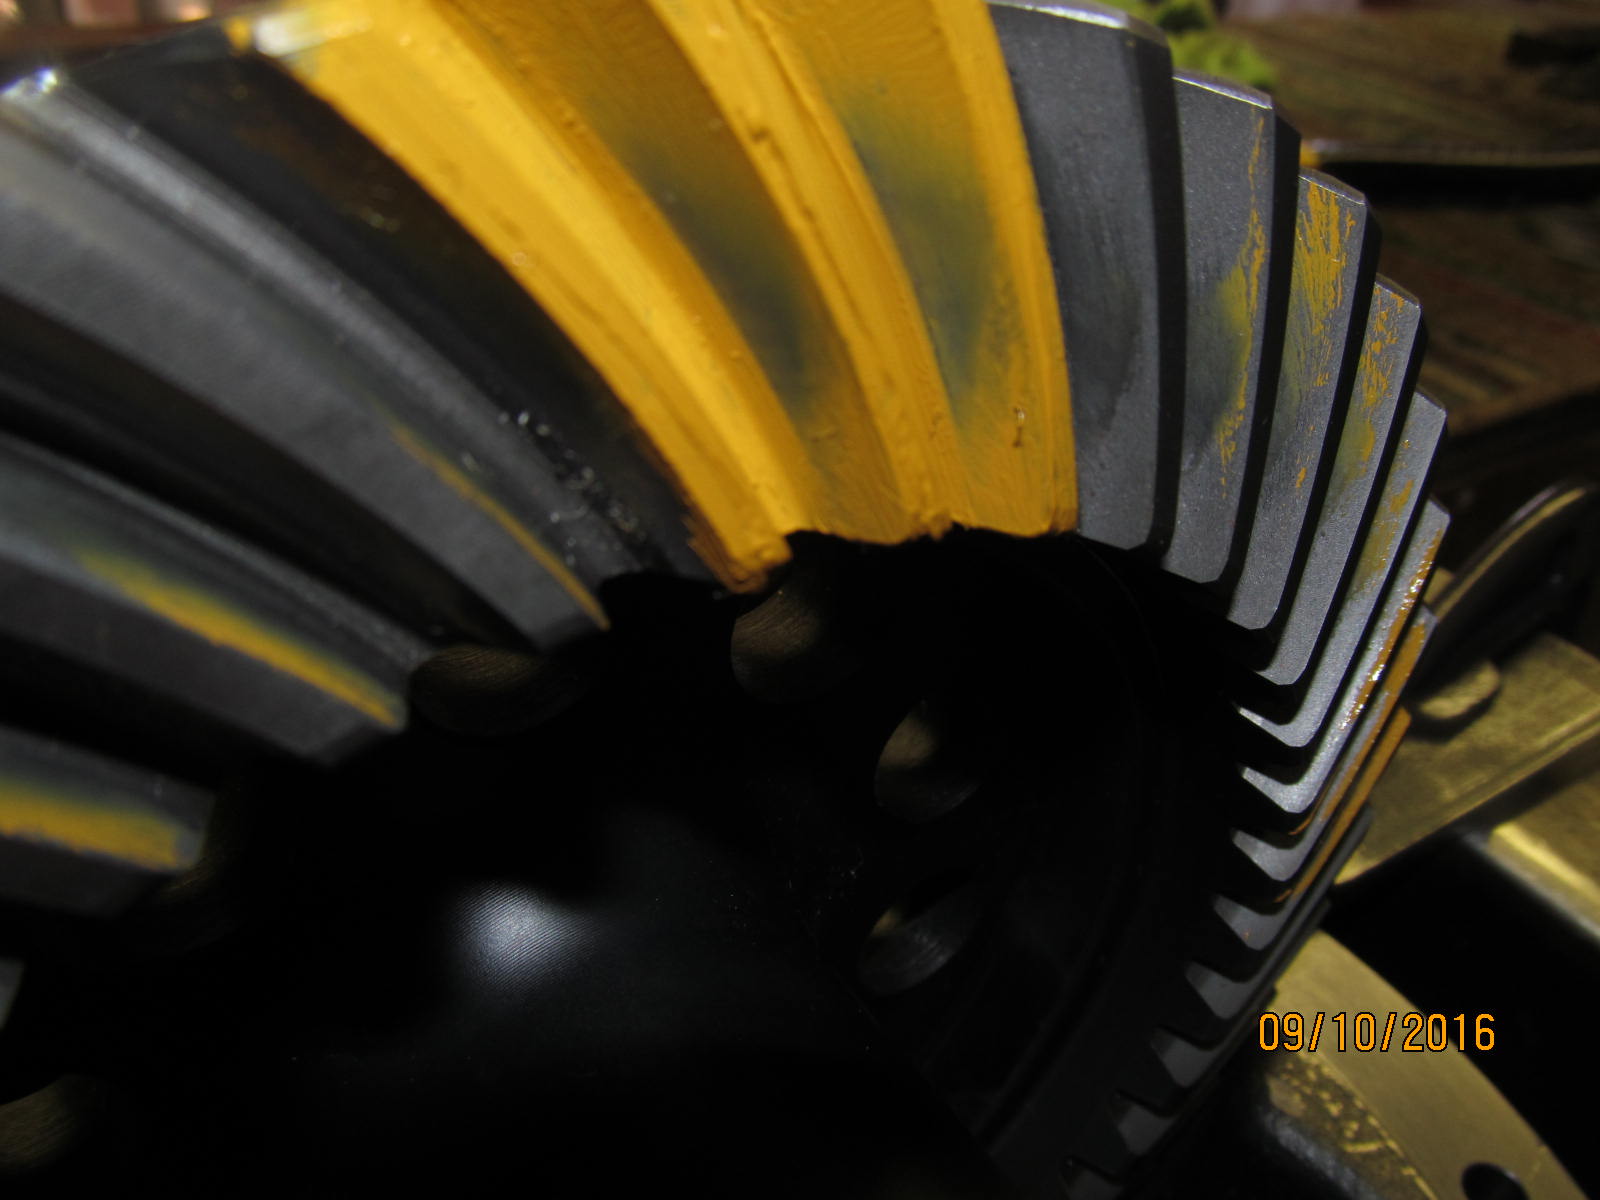
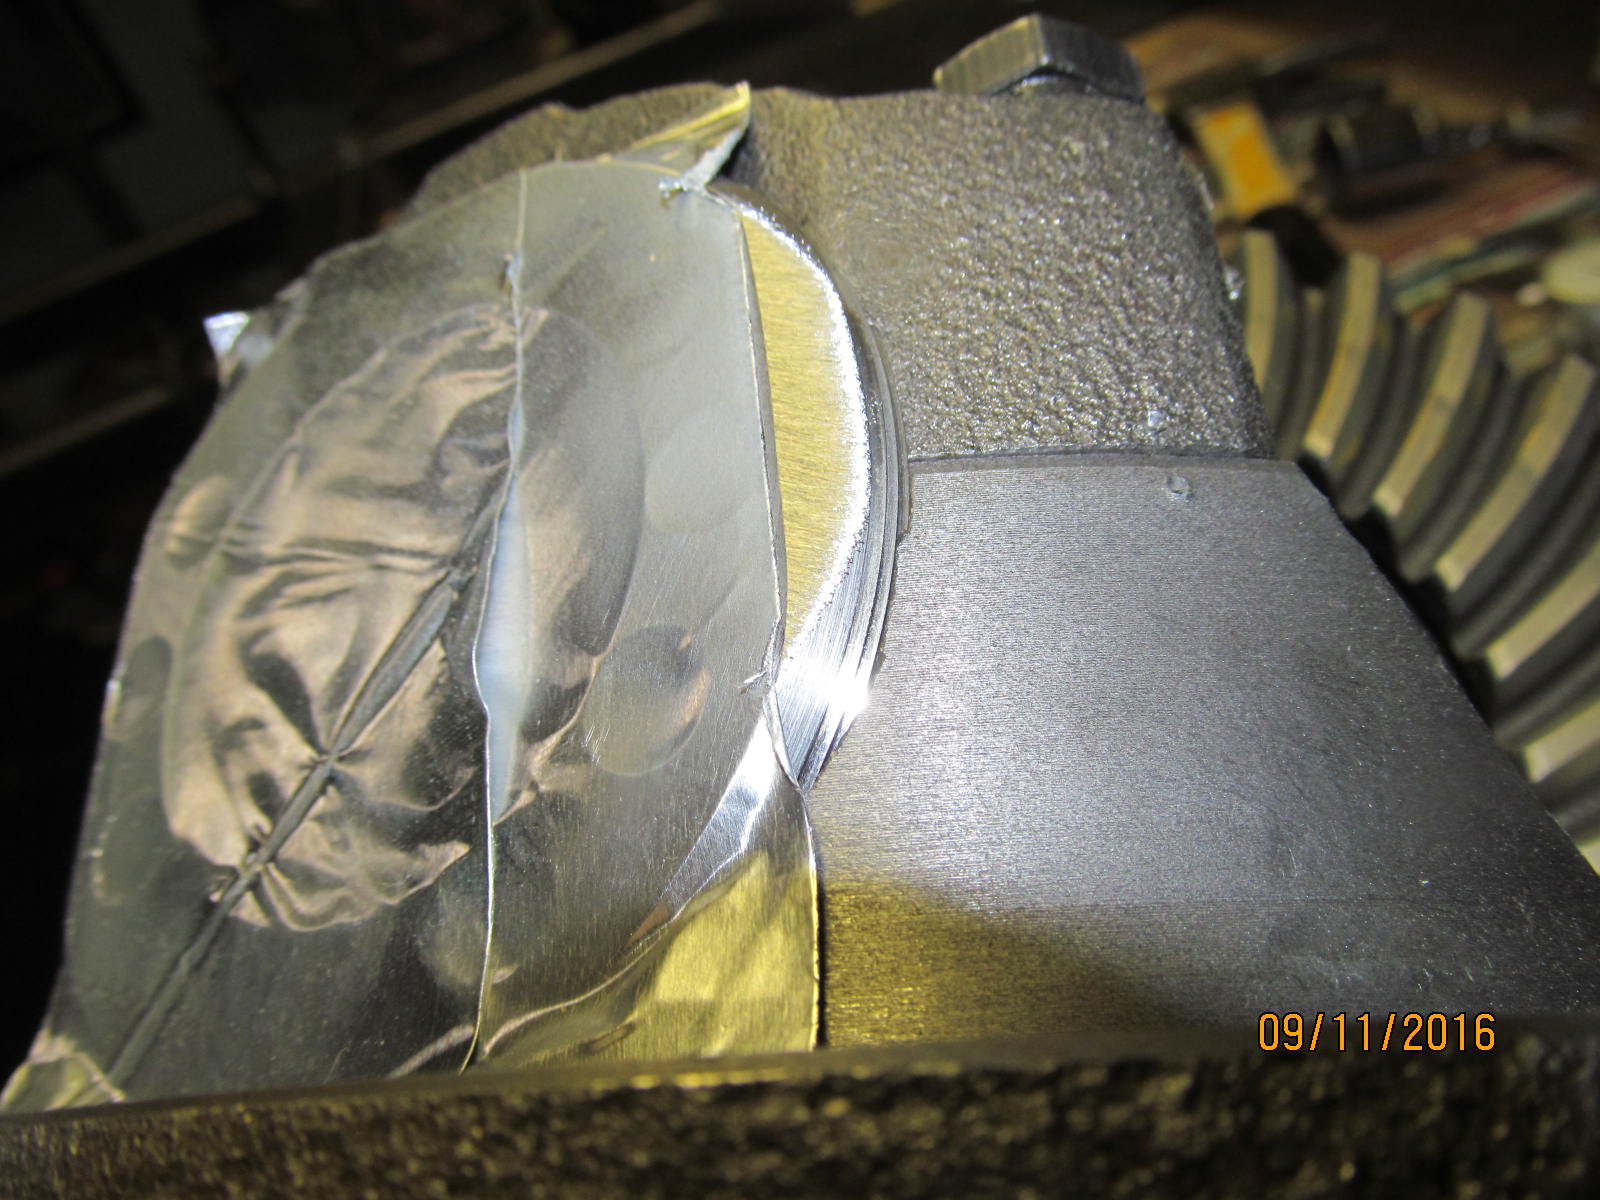
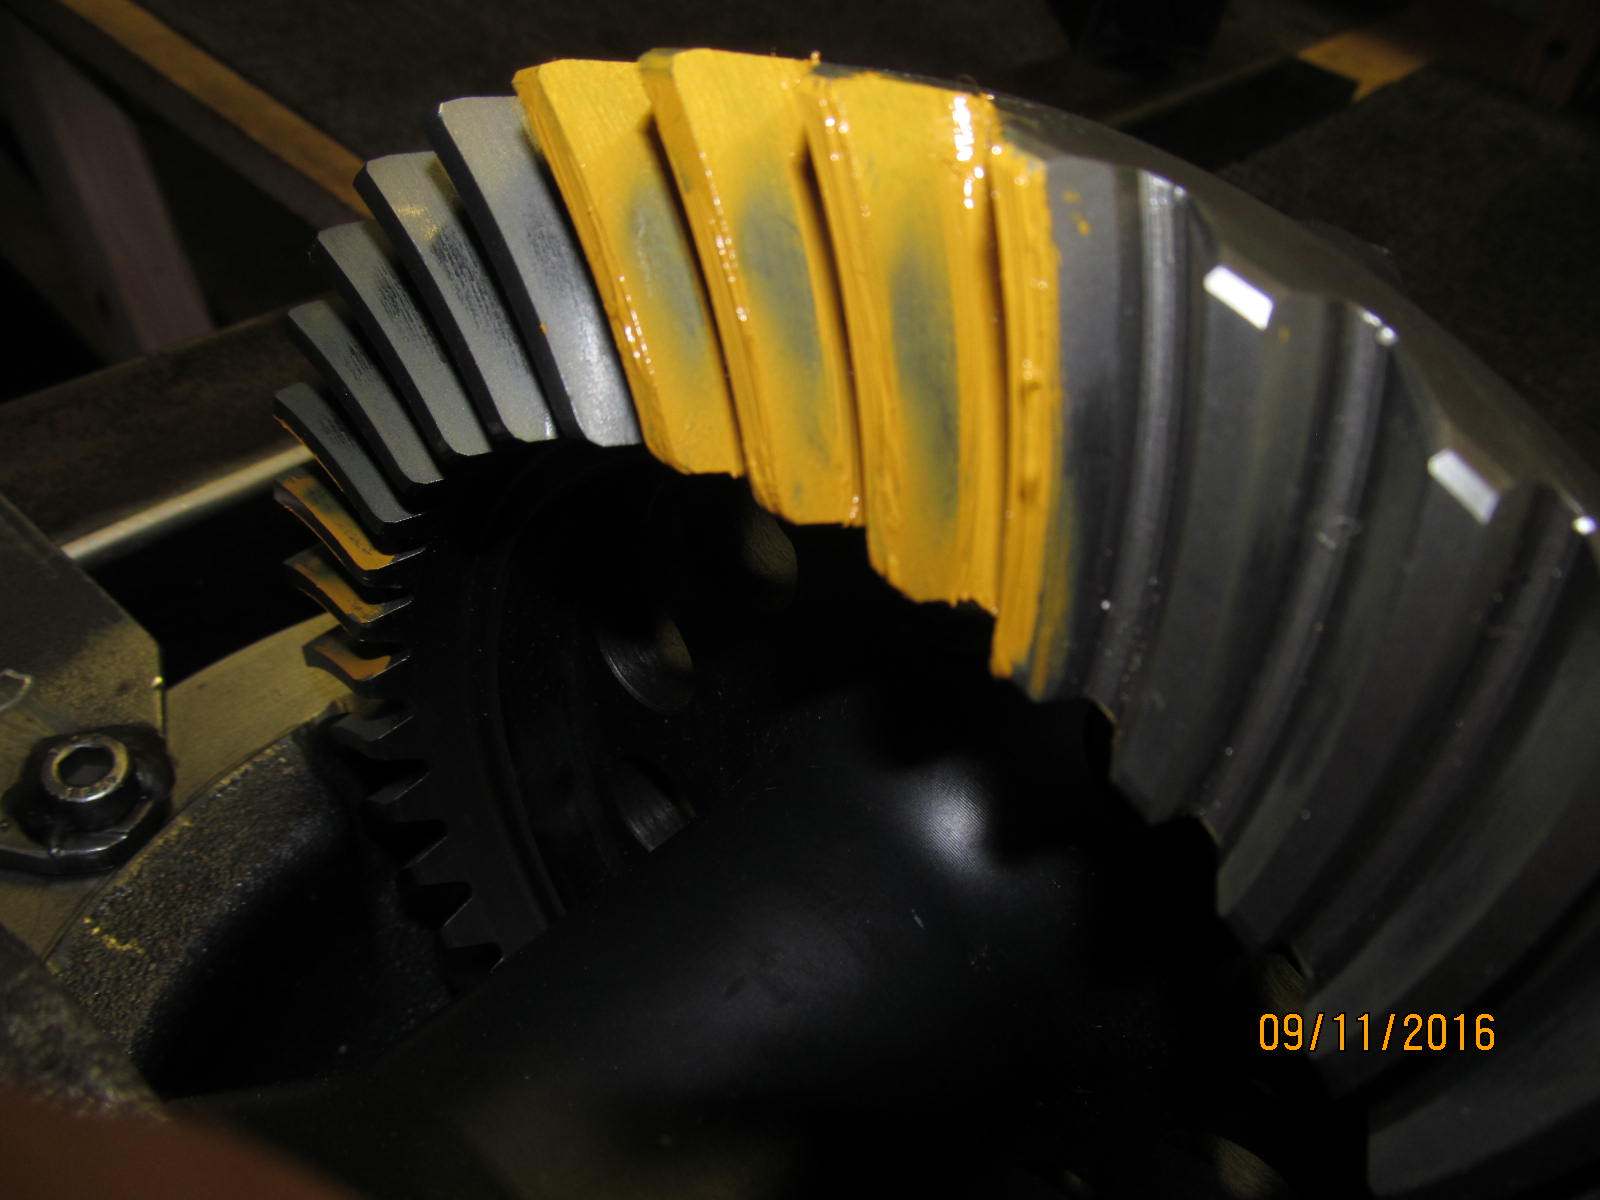
Drive on the pinion tooth is riding on the tips.....shallow on the pinion means deep on the ring.
|
|
|
|
|
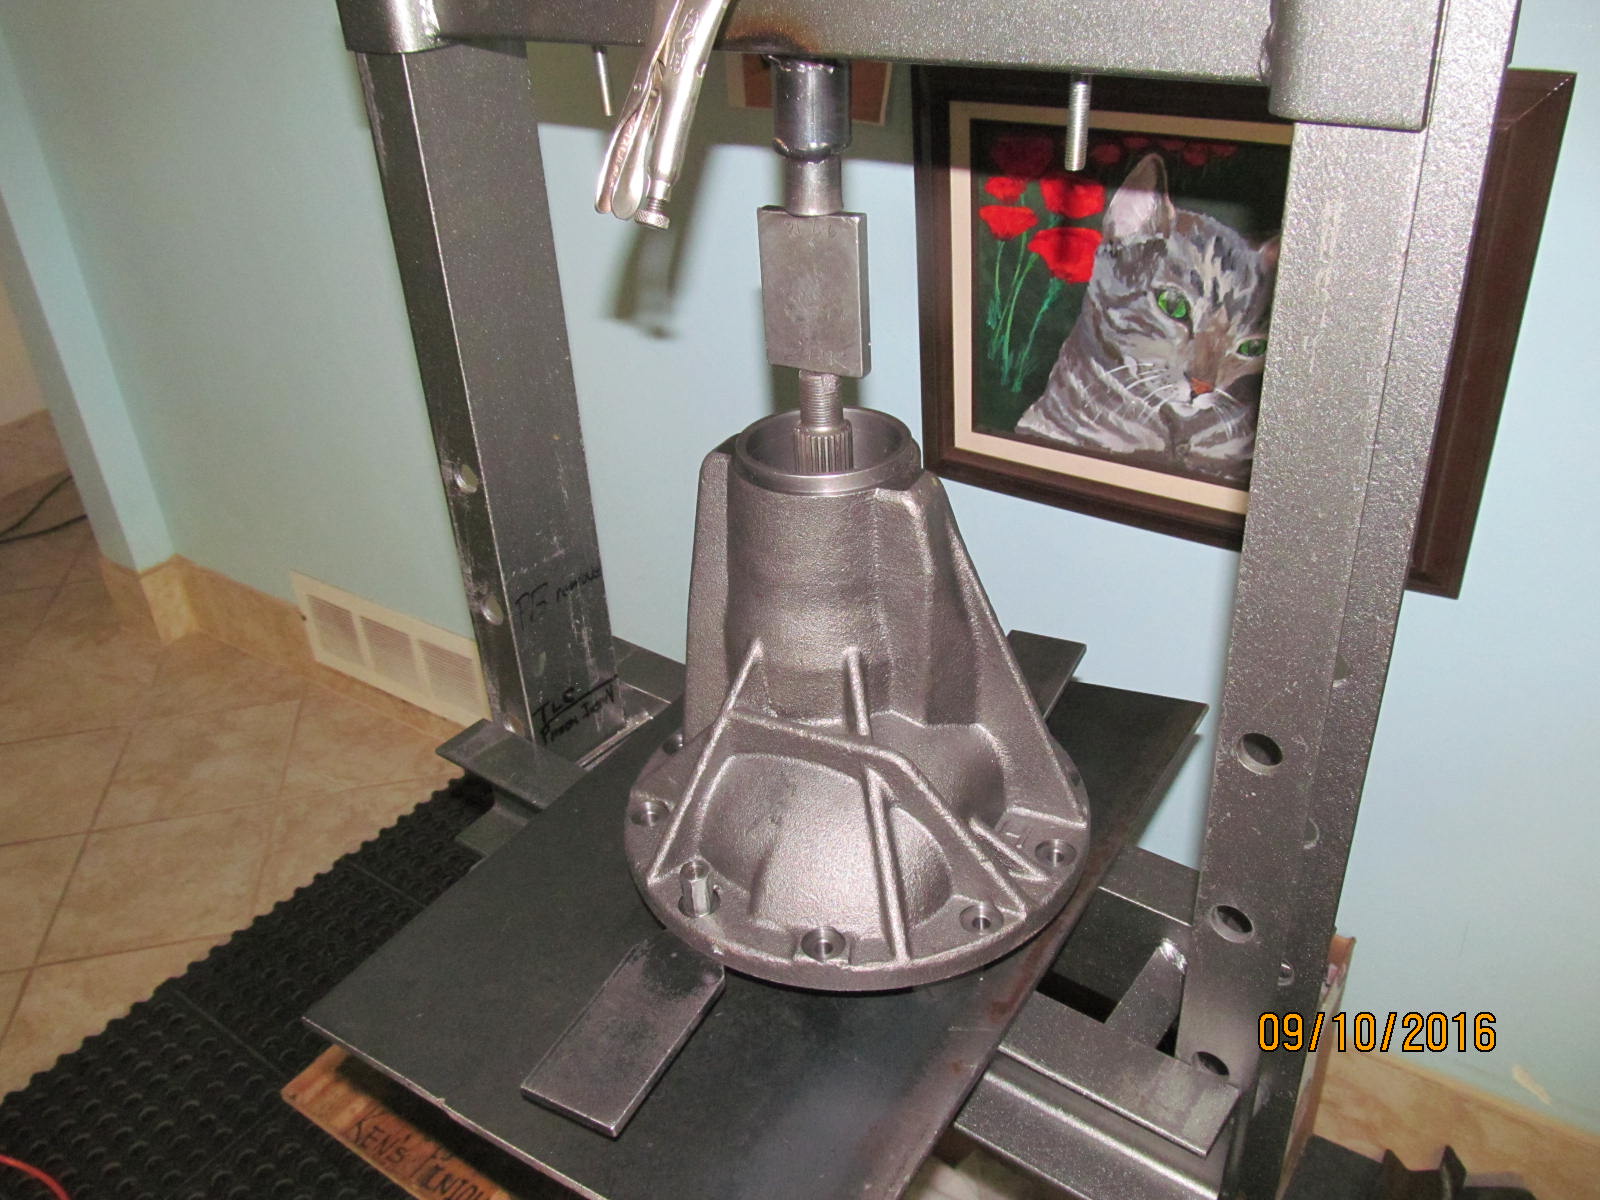
Remove the pinion from the diff housing.
|
|
|
|
|
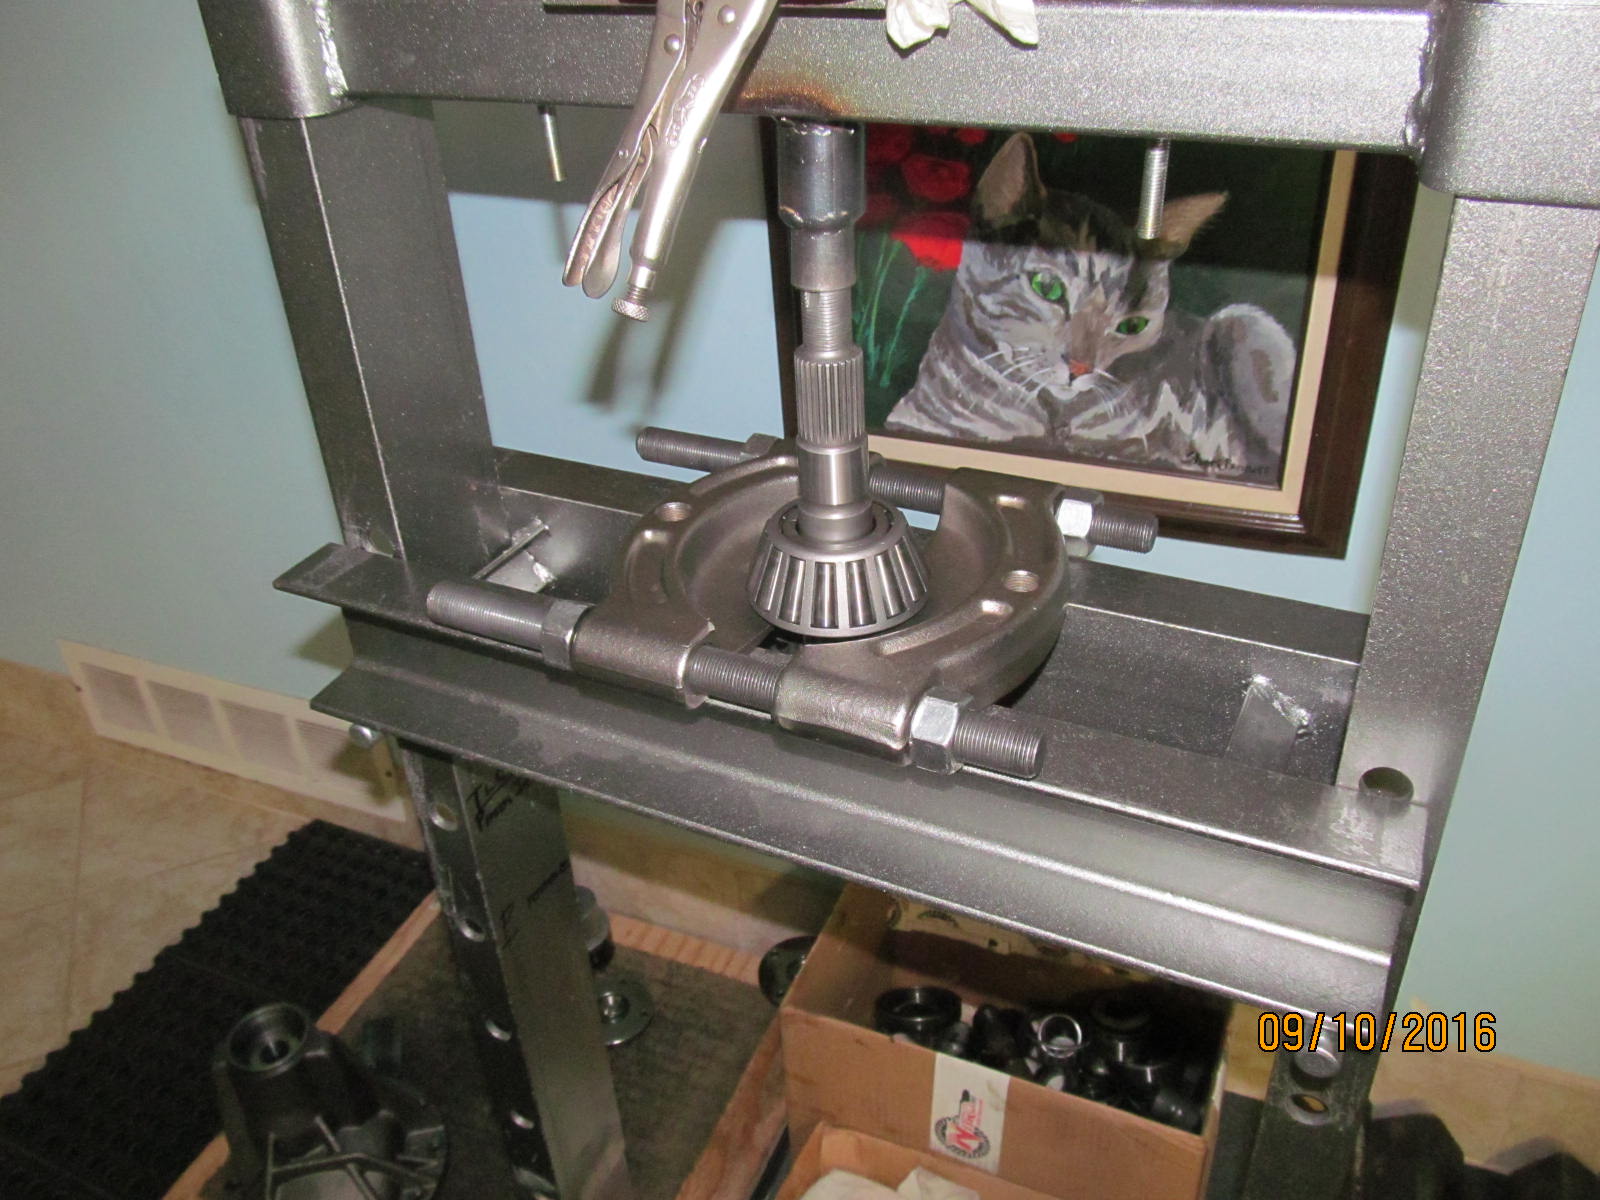
Press the bearing off...
|
|
|
|
|
Selecting a thinner pinion shim.....this time it will be 065.
|
|
|
|
|
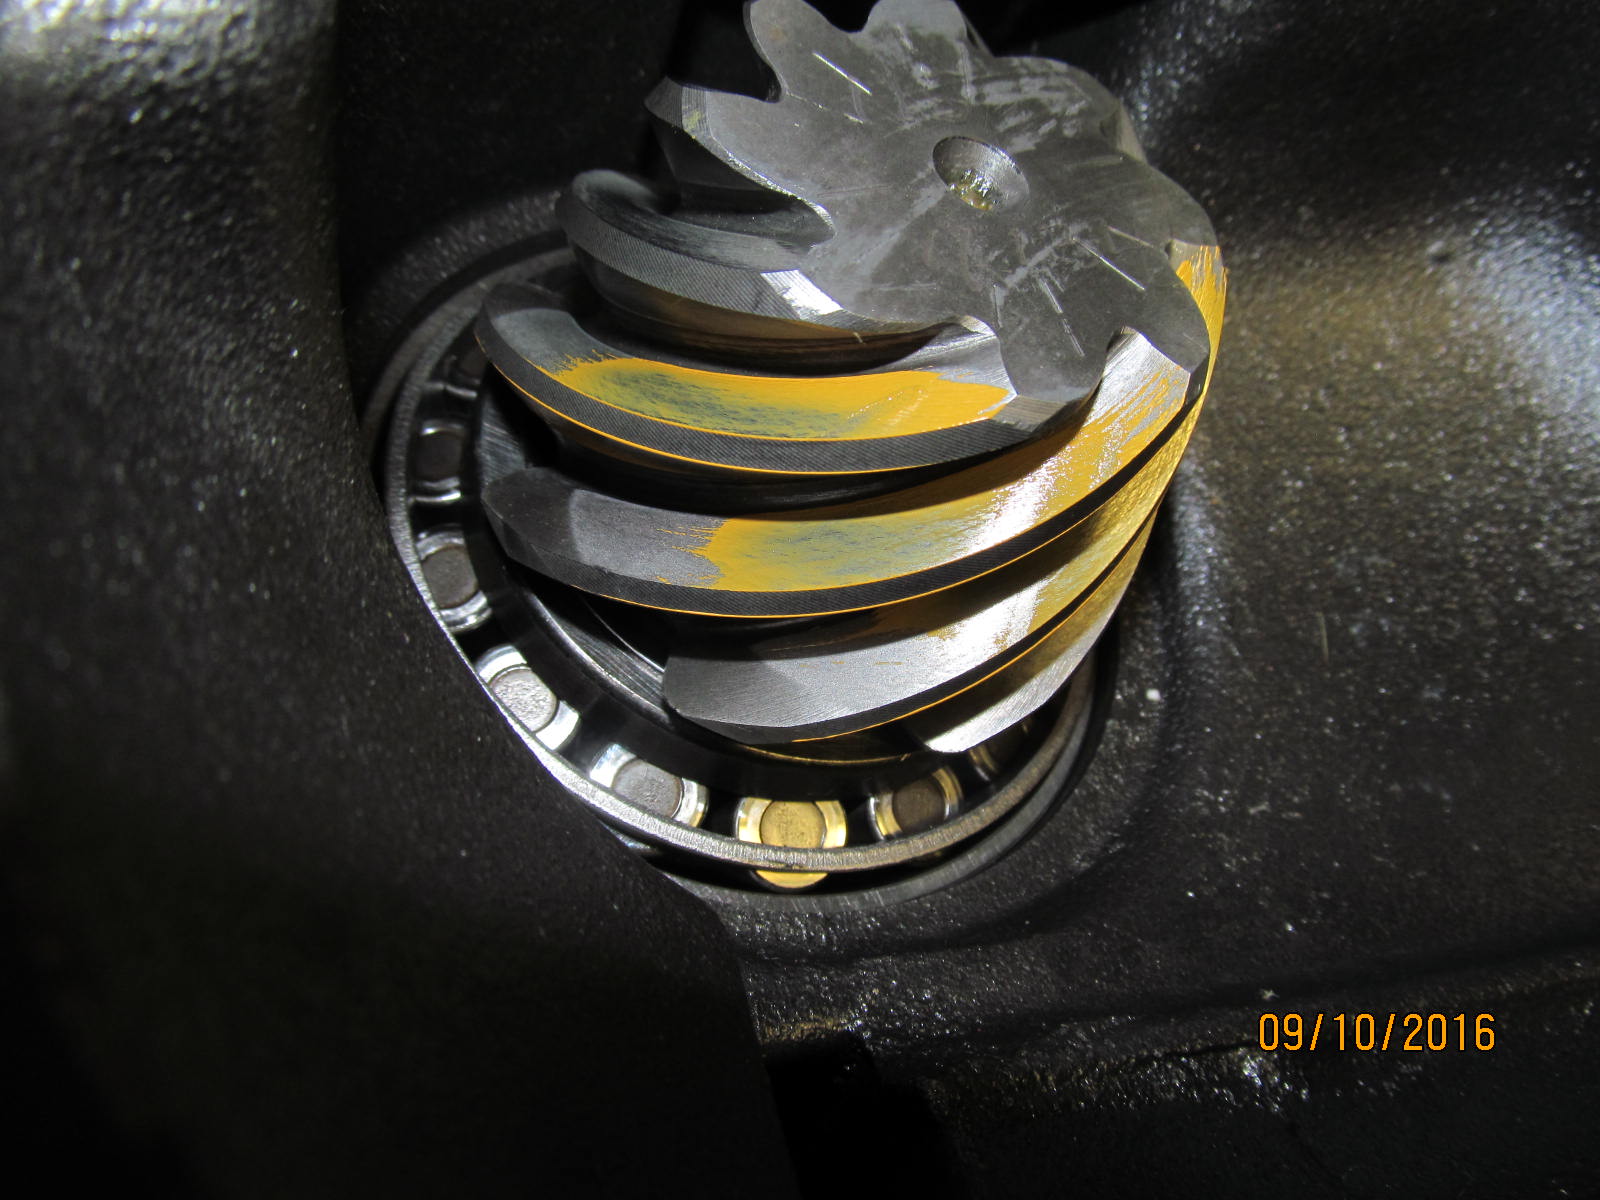
065 is slightly better but way too deep still.
|
|
|
|
|
Same on the coast.
|
|
|
|
|
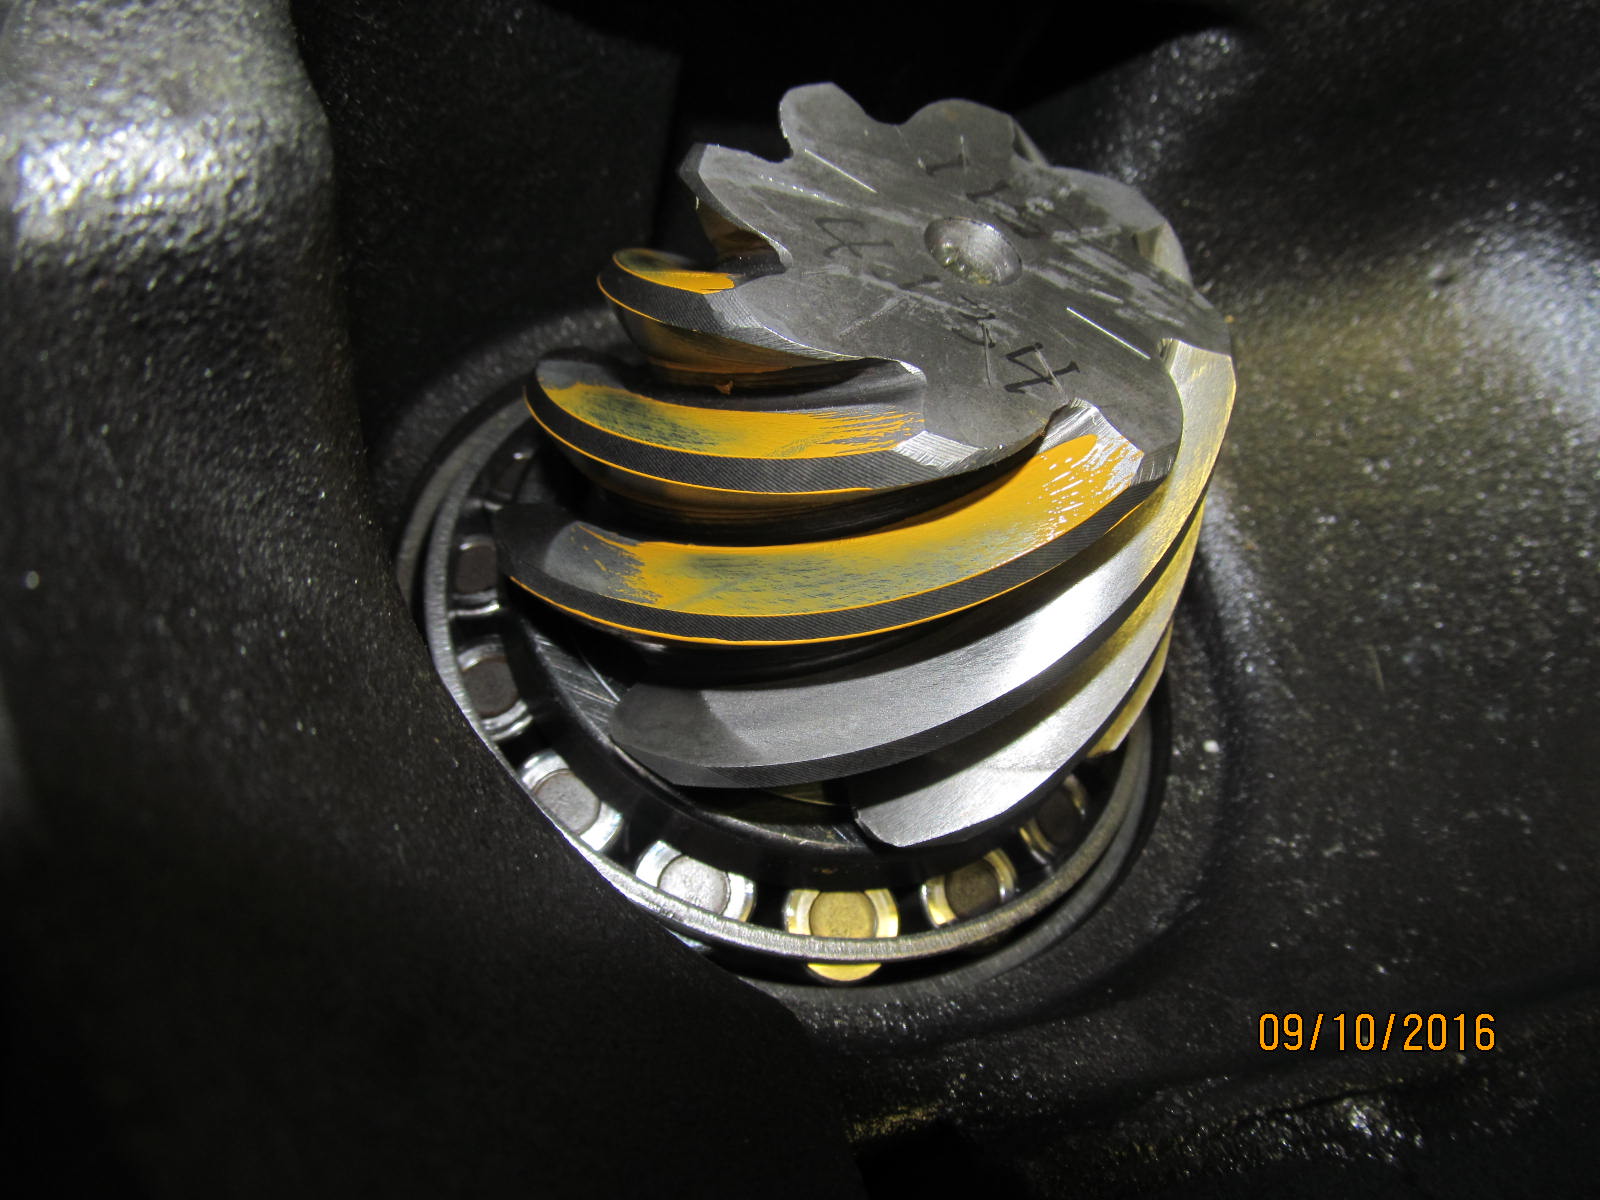
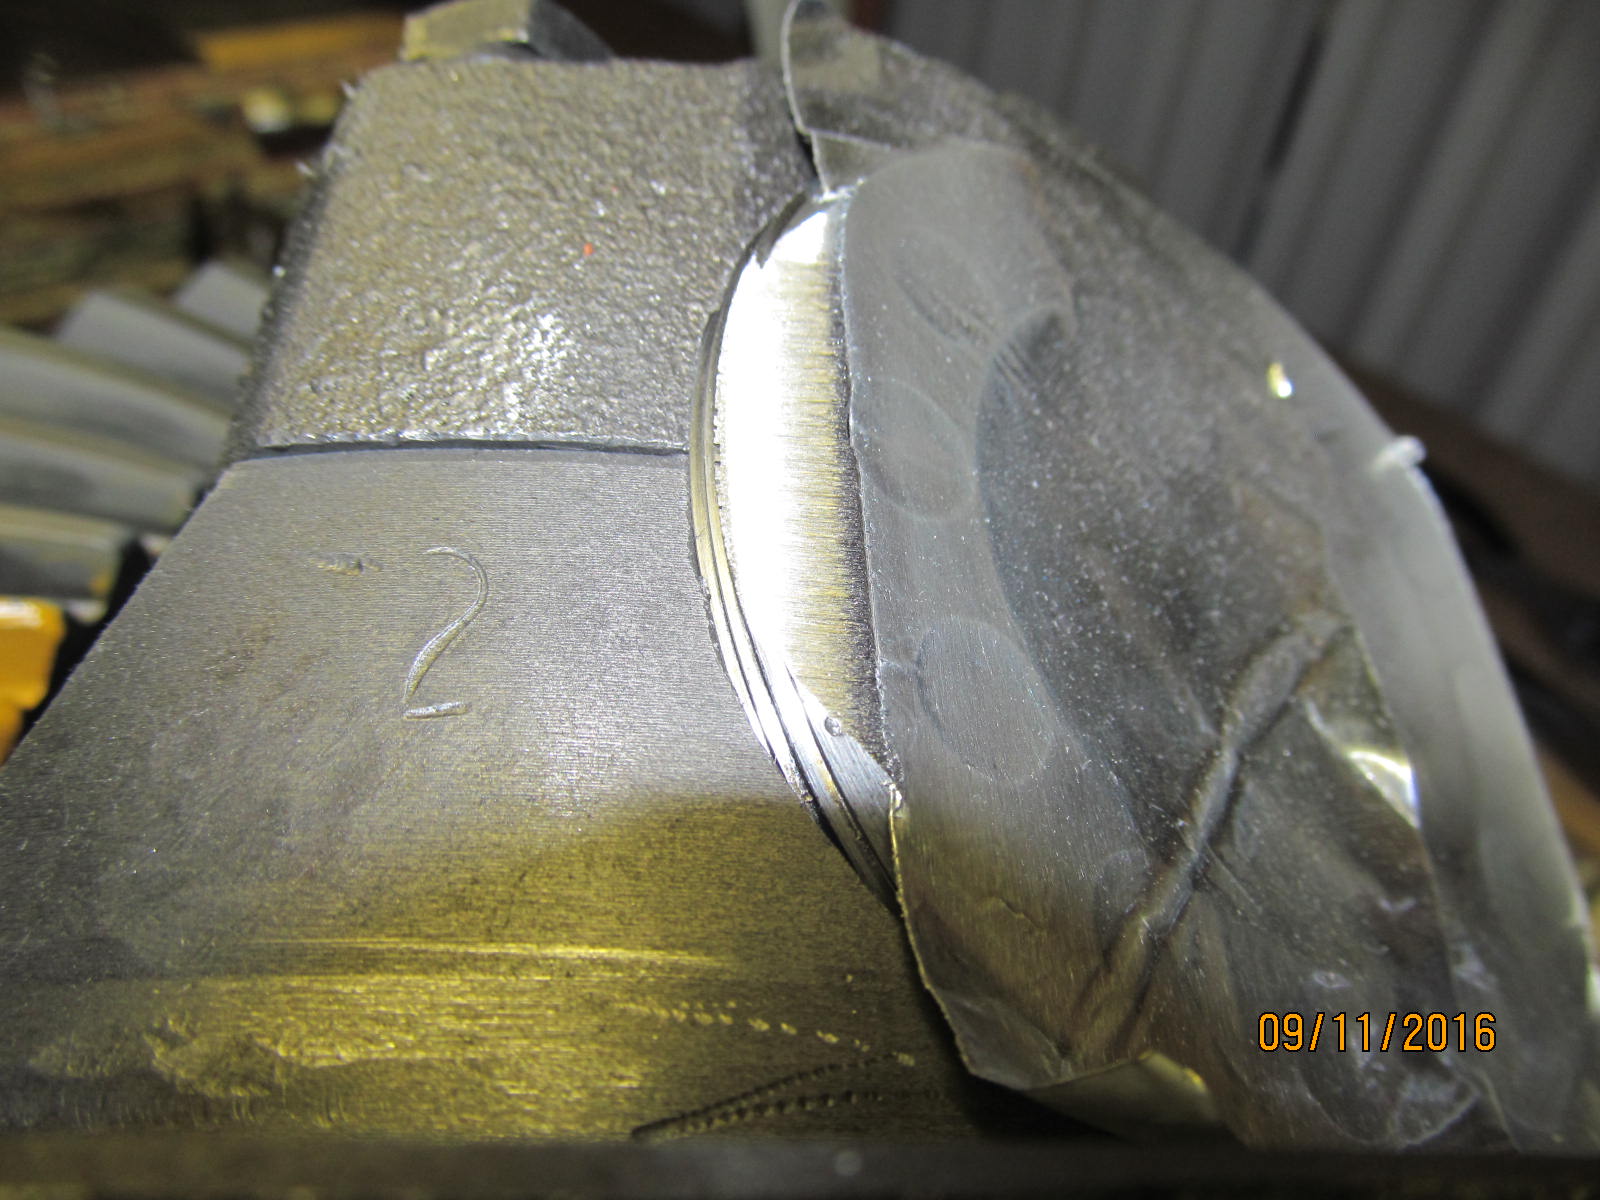
Tear down again....this is with 043".....still too deep but getting much closer.
|
|
|
|
|
..........................
|
|
|
|
|
Tear down again.....038" still deep but better.
|
|
|
|
|
Coast is better.
|
|
|

|
|
Drive side....
|
|
|
|
|
Pedrhaps jut a tad too deep still.
|
|
|
|
|
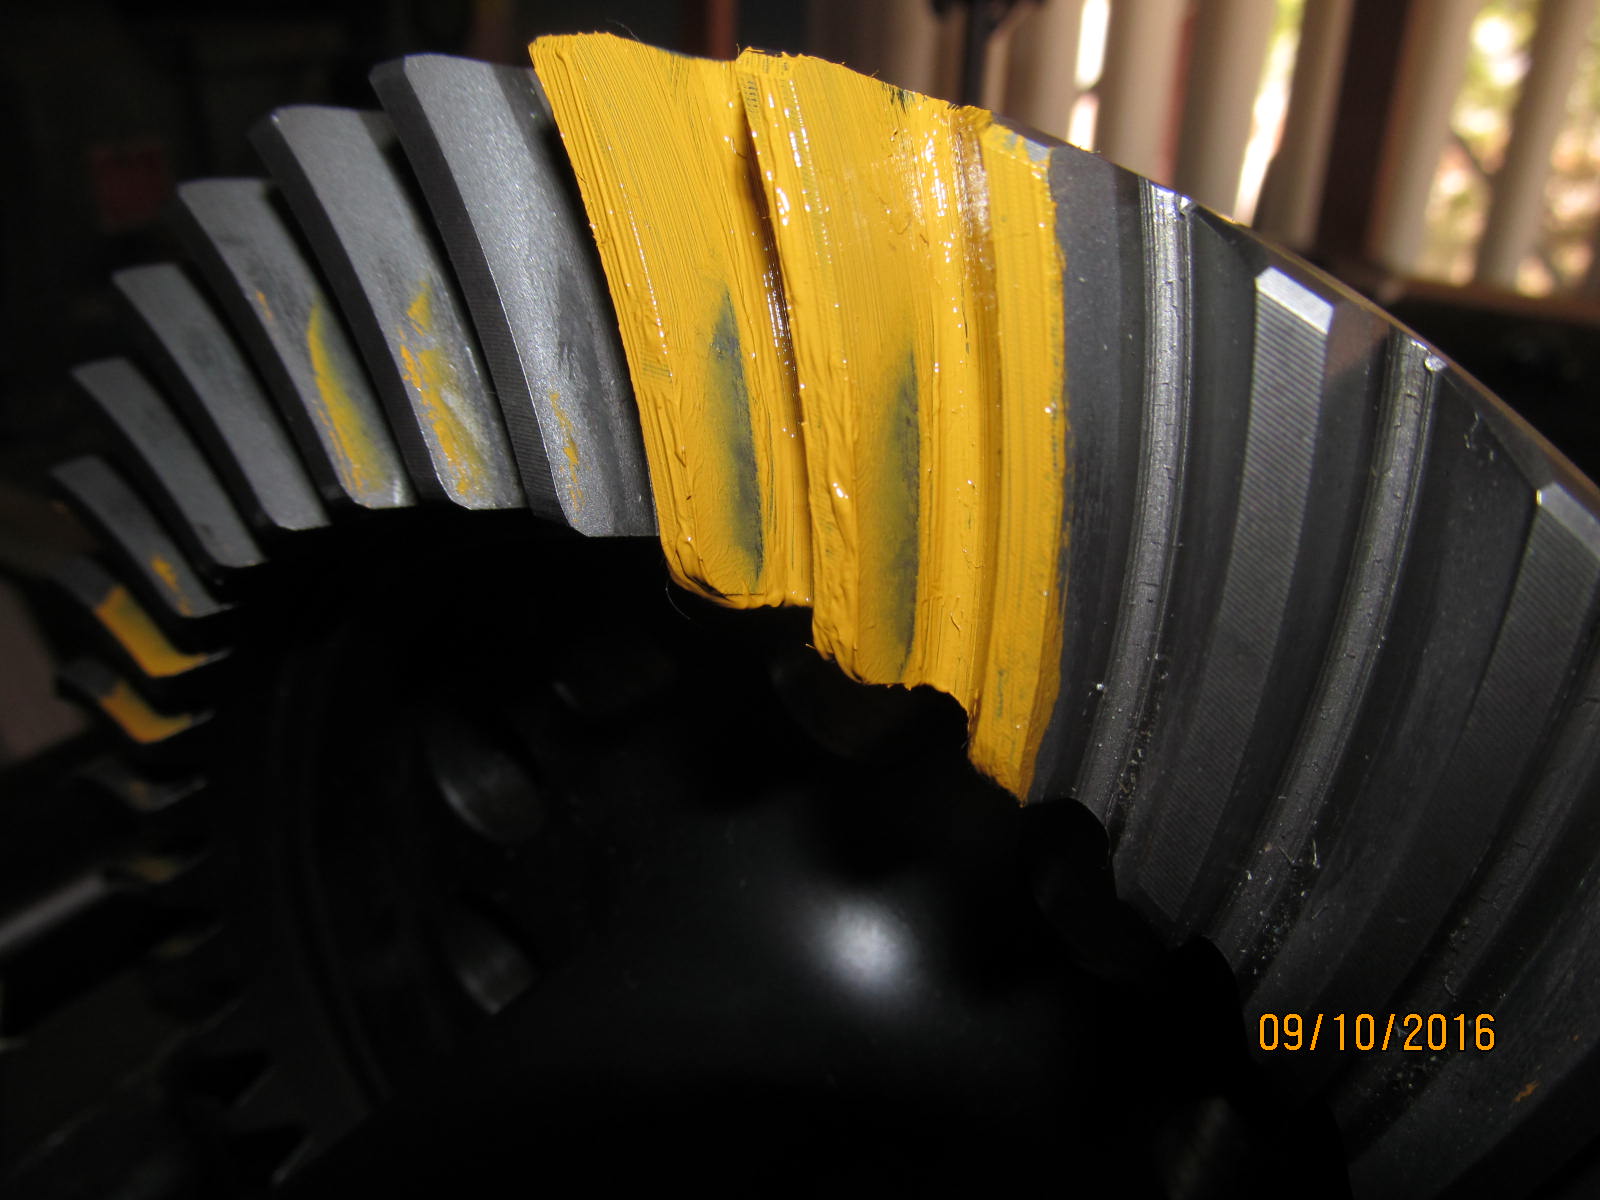
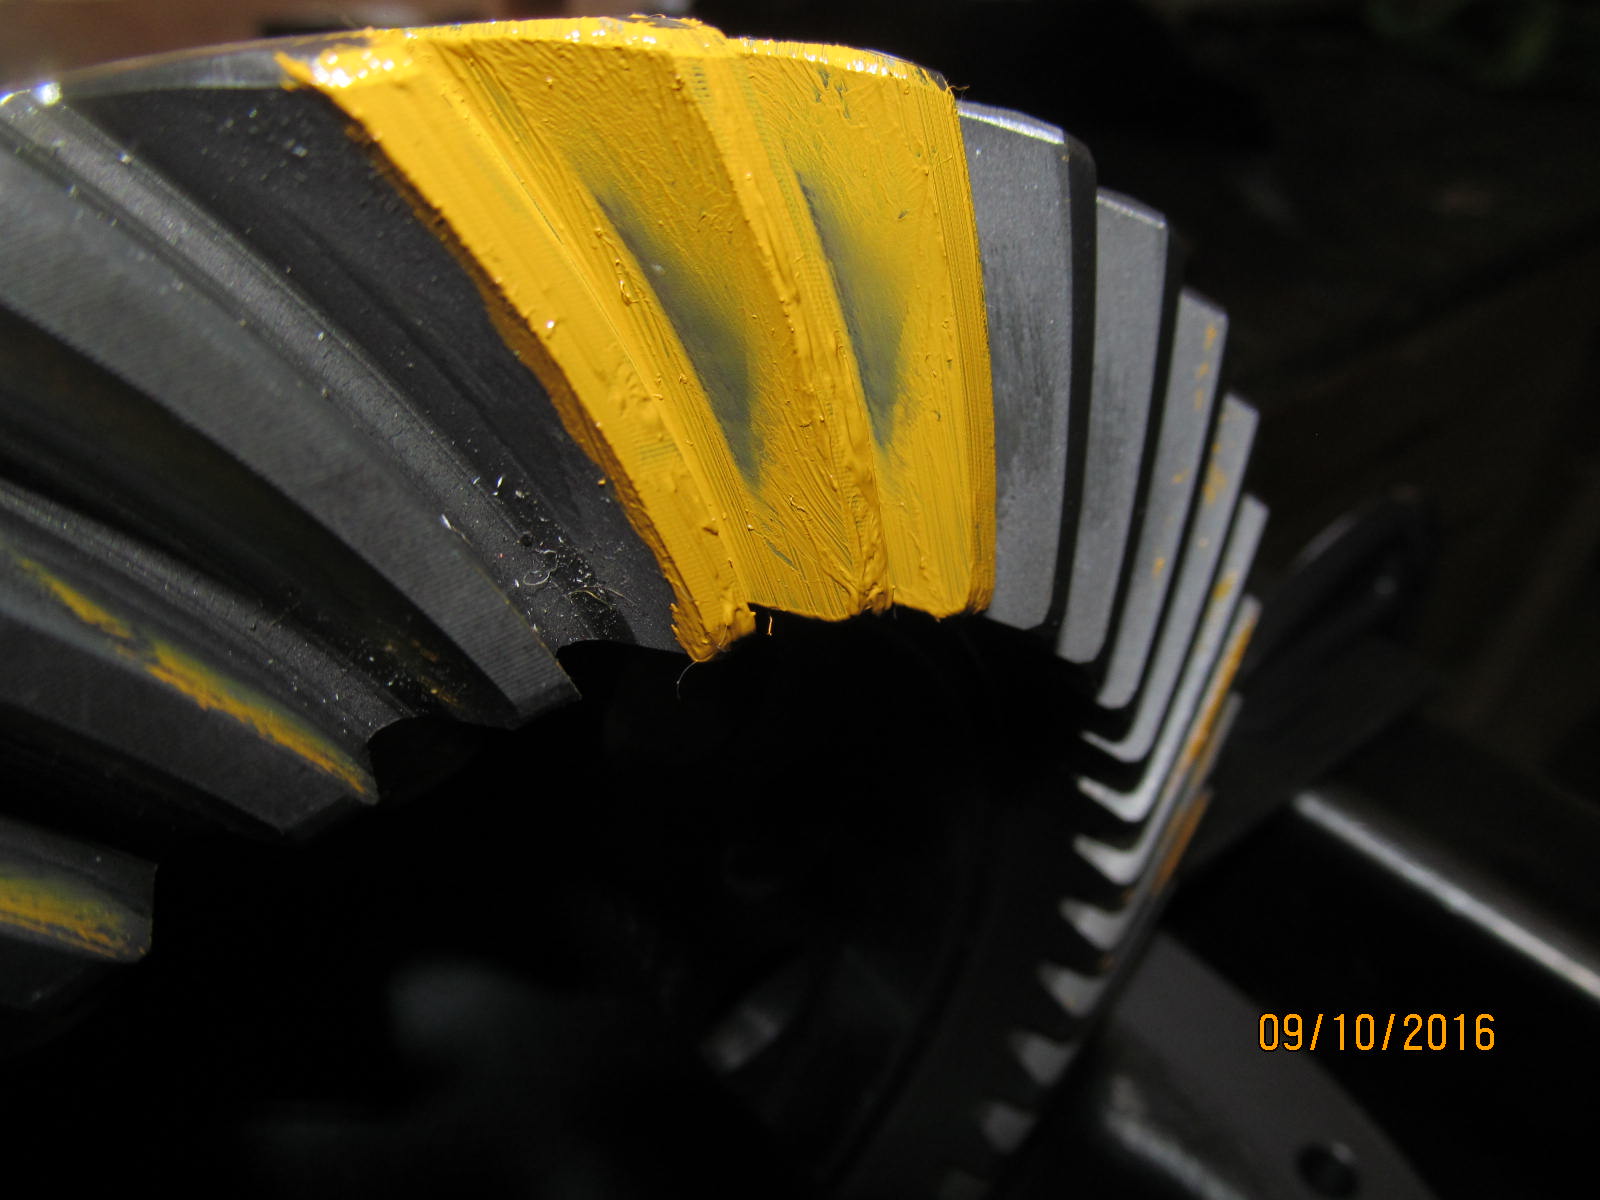
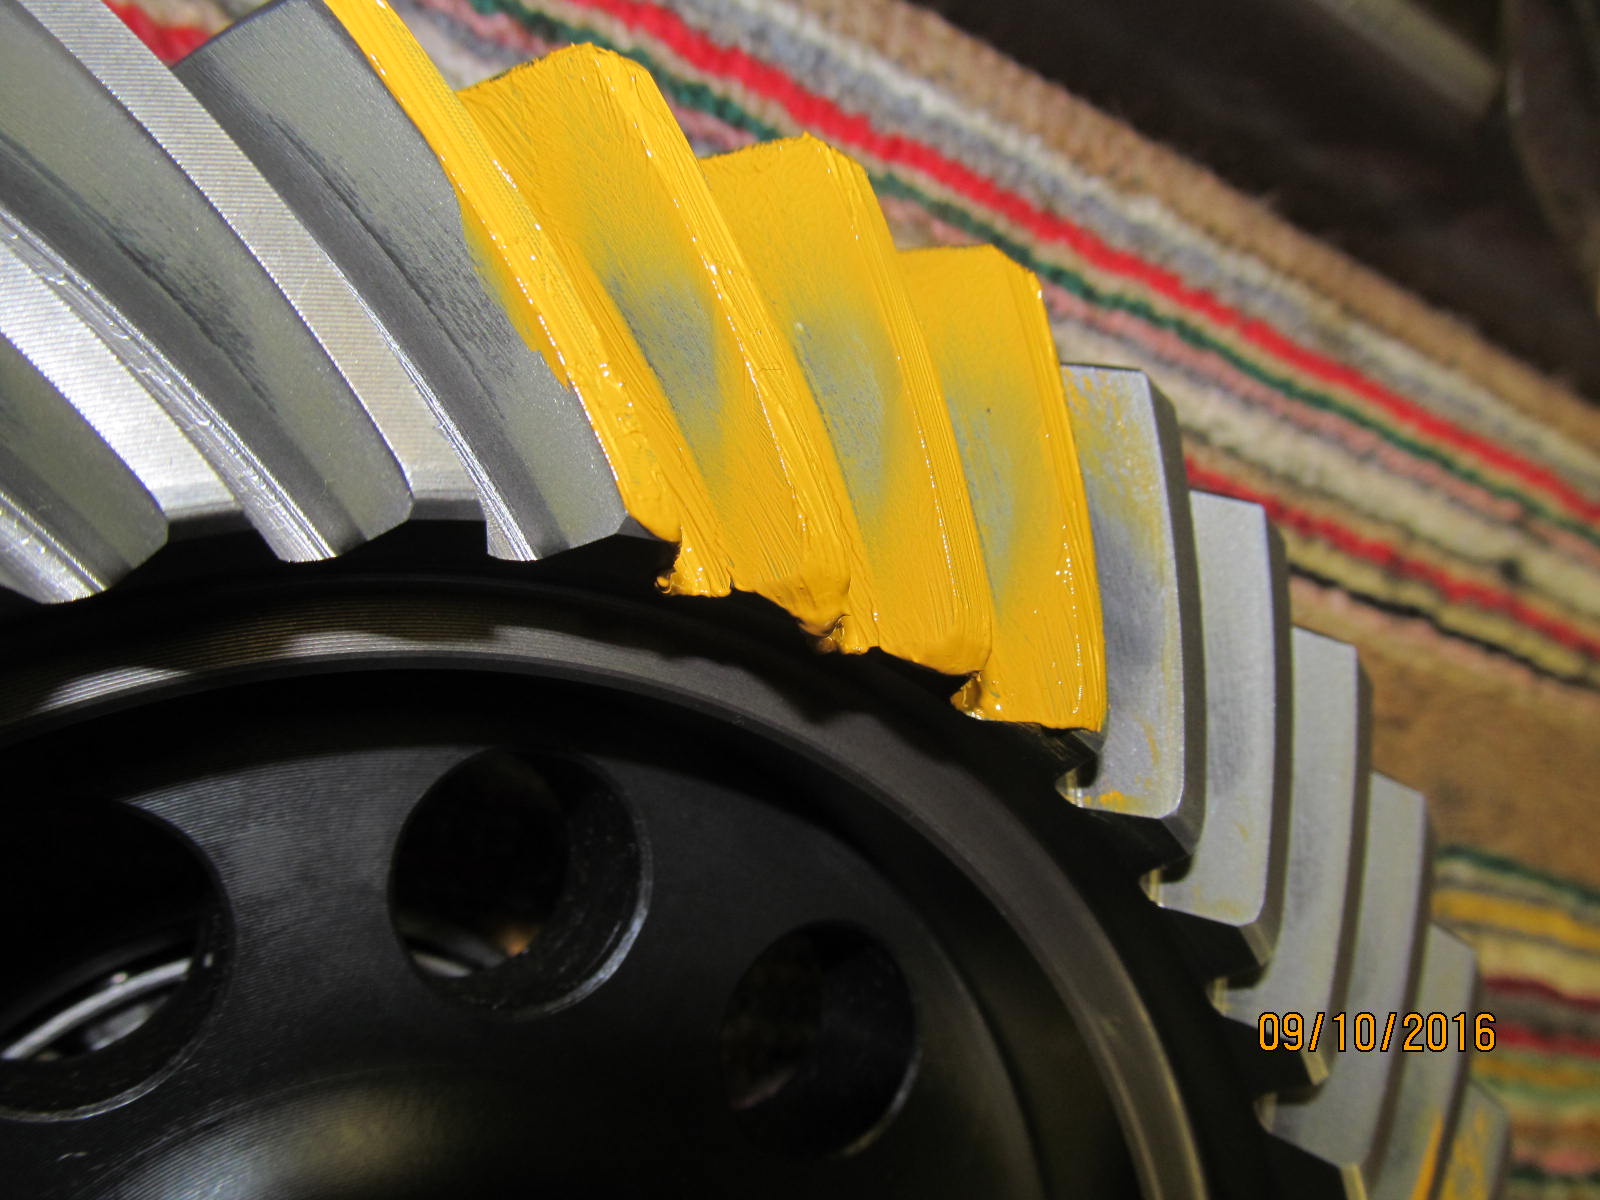
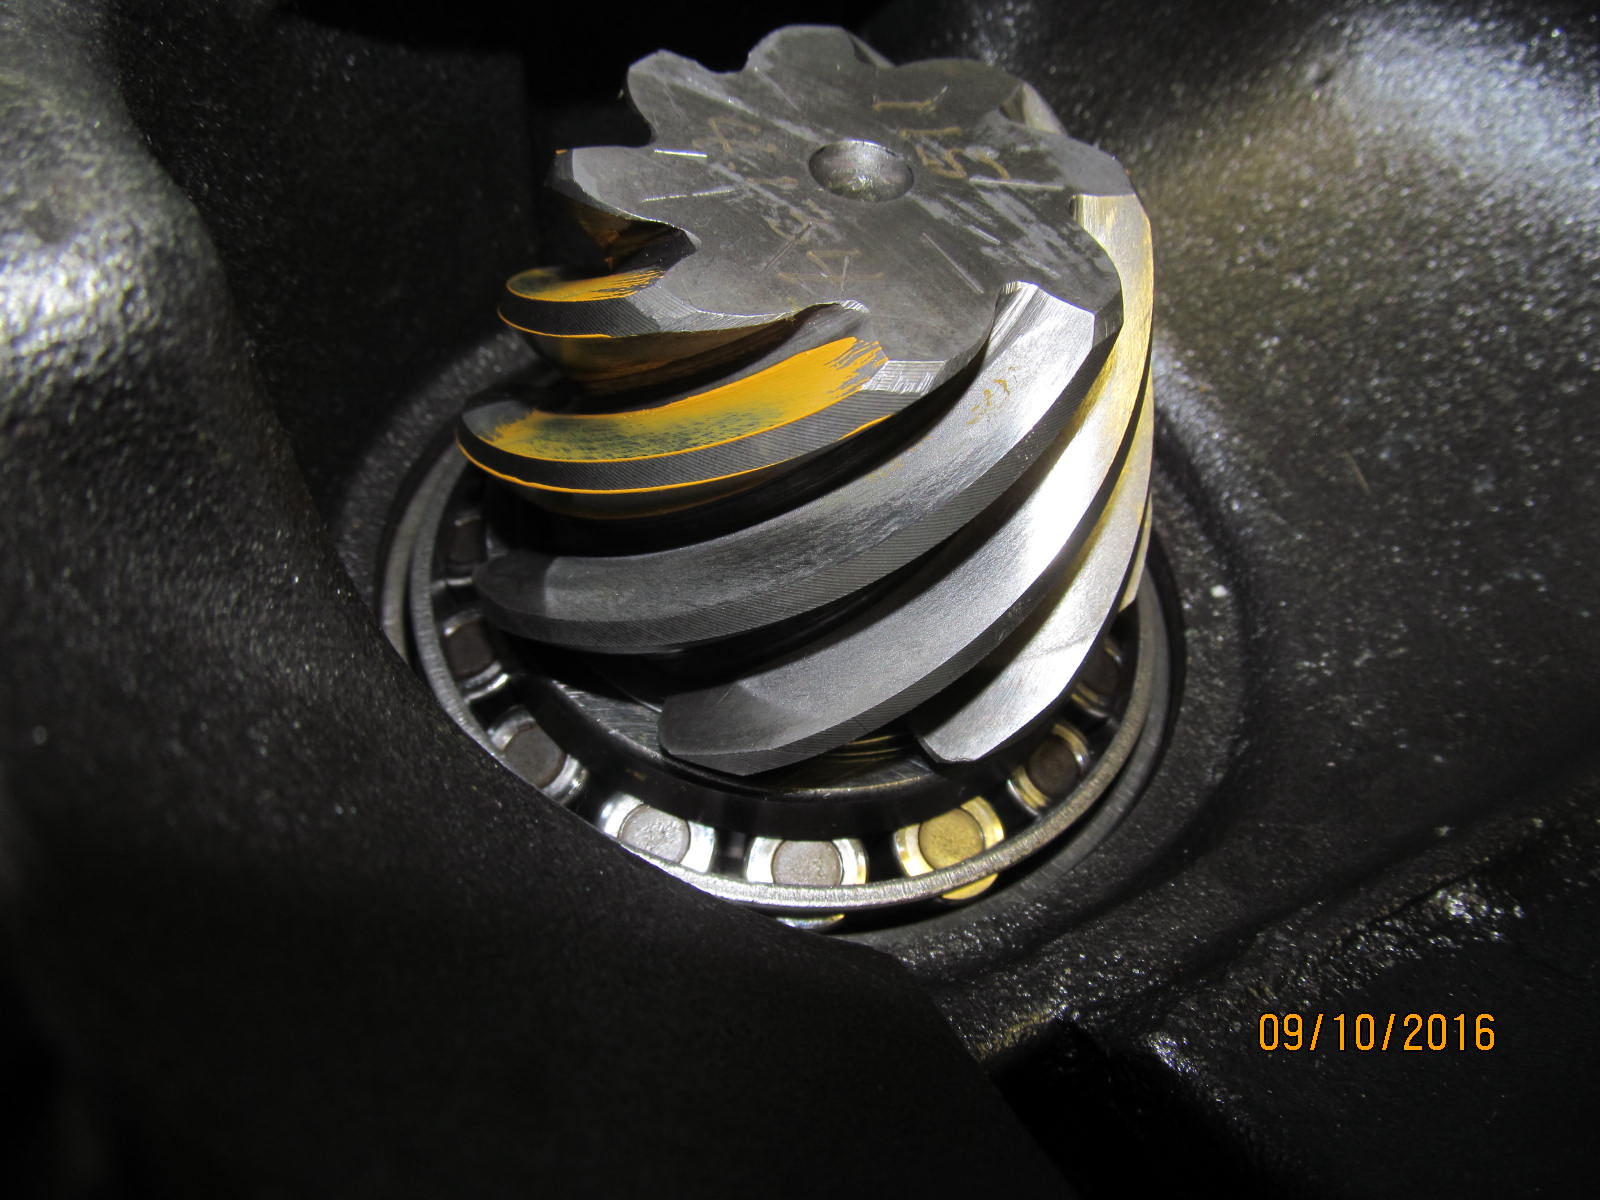
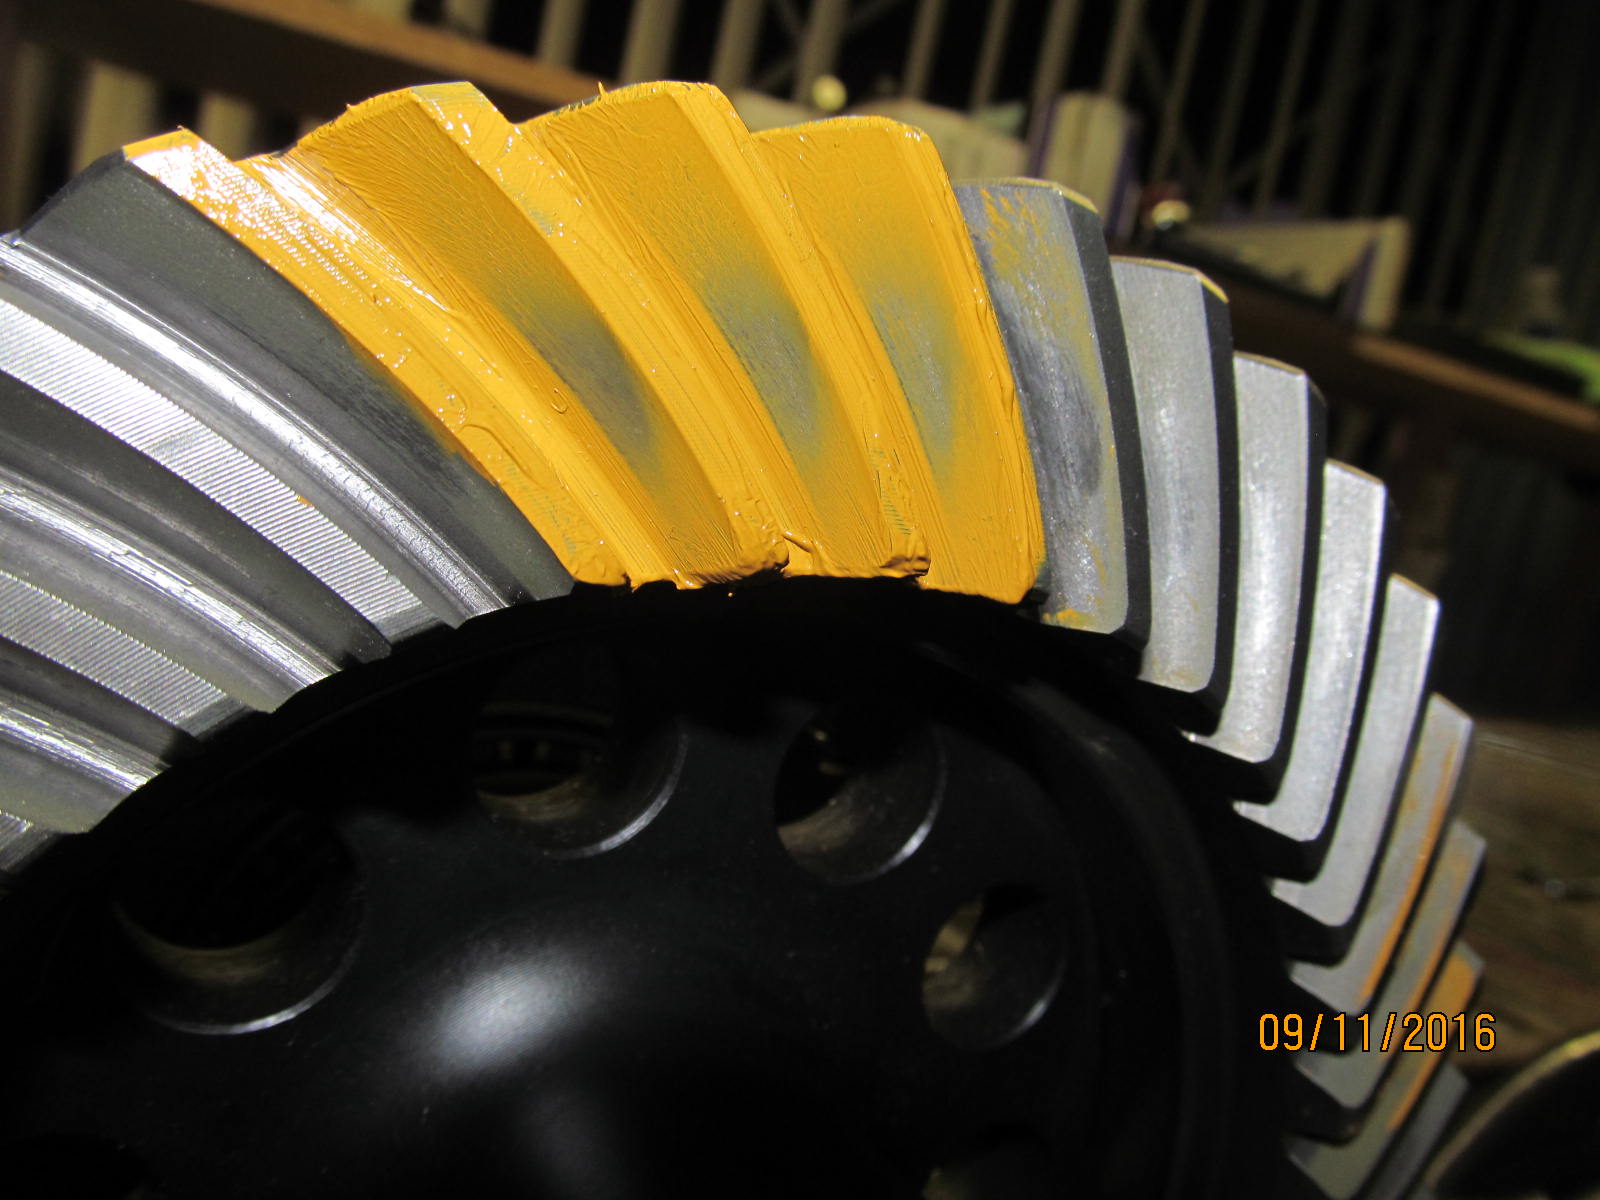
035".....I like this look. After 1 full row of Oreos it now kinda looks like the outline of a Ferrari.
|
|
|
|
|
I like the coast side...it's even in the center which doesn't happen all the time.
|
|
|
|
|
Drive.............
|
|
|
|
Looks like the comet tail is tucking in some........ 035 is the desired pinion shim. This is highly
unusual to have this small of a shim....a typical shim would be 080 and 035 is a long way from it.
Just the way this aftermarket bore hole was drilled.
|
|
|
|
|
Tucking in but not harshly to the root.
|
|
|
|
|
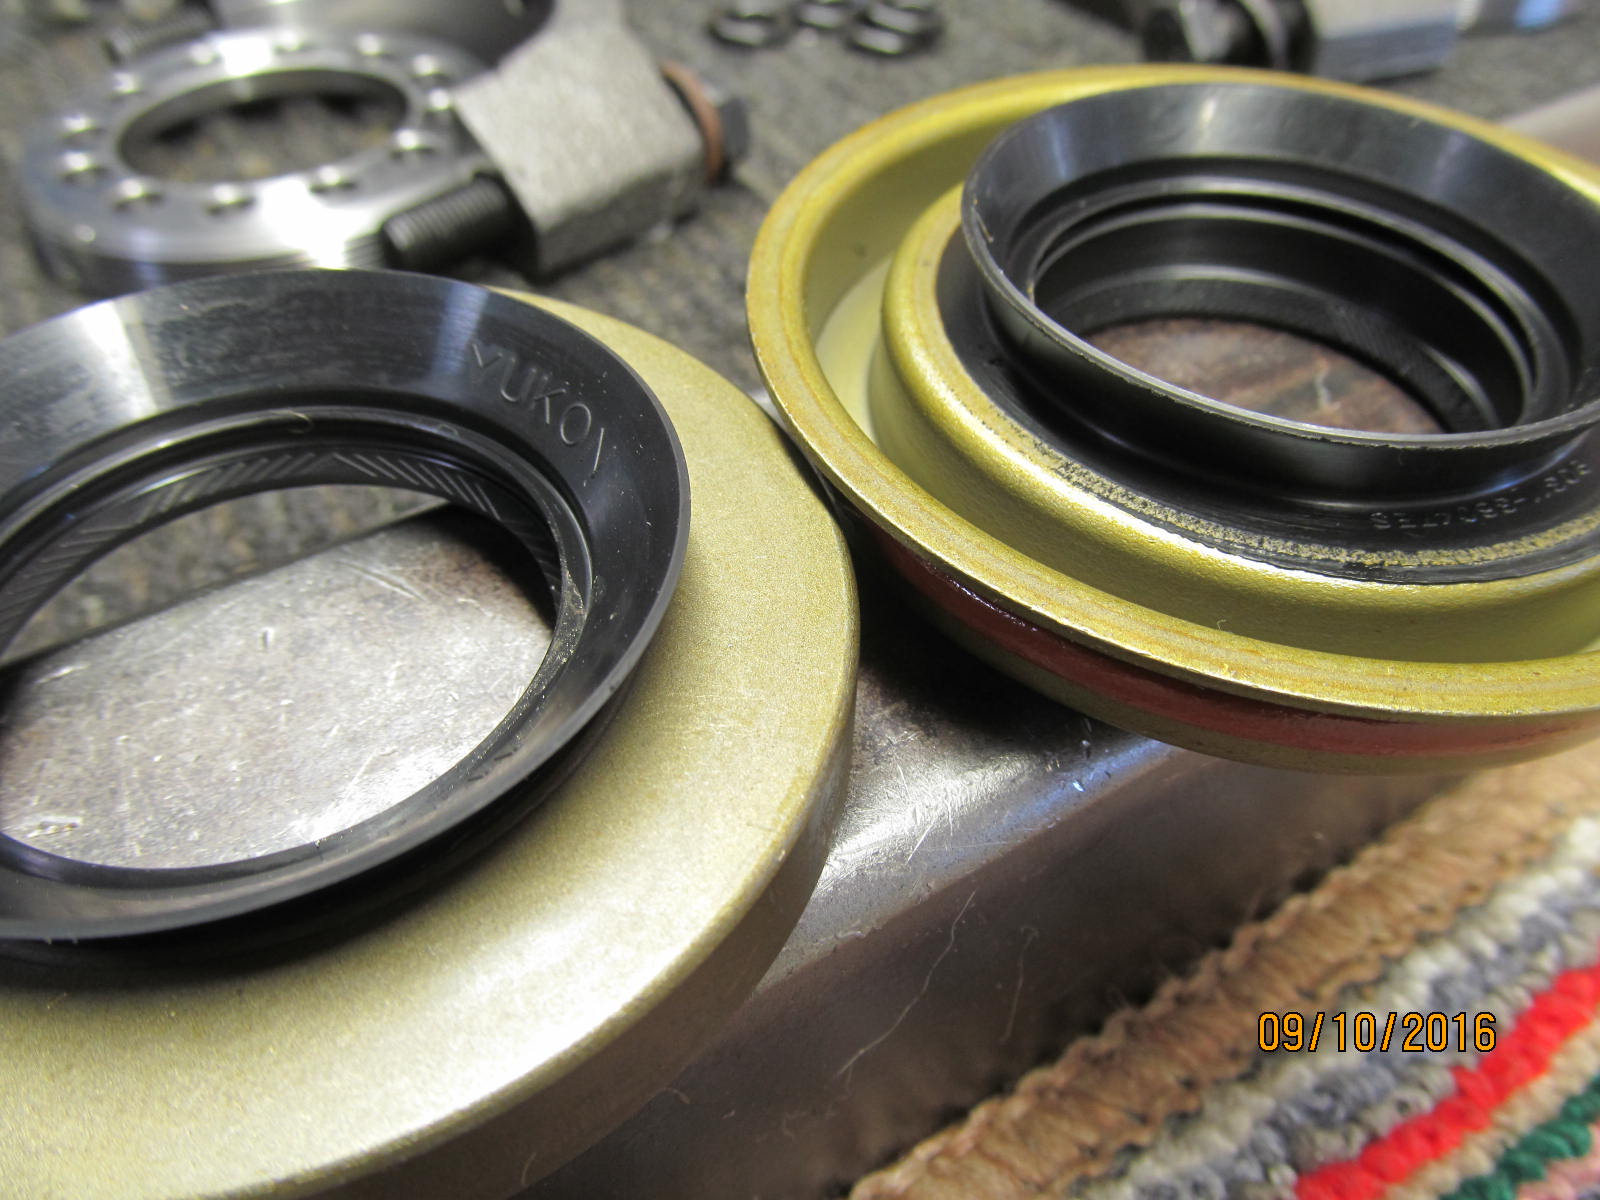
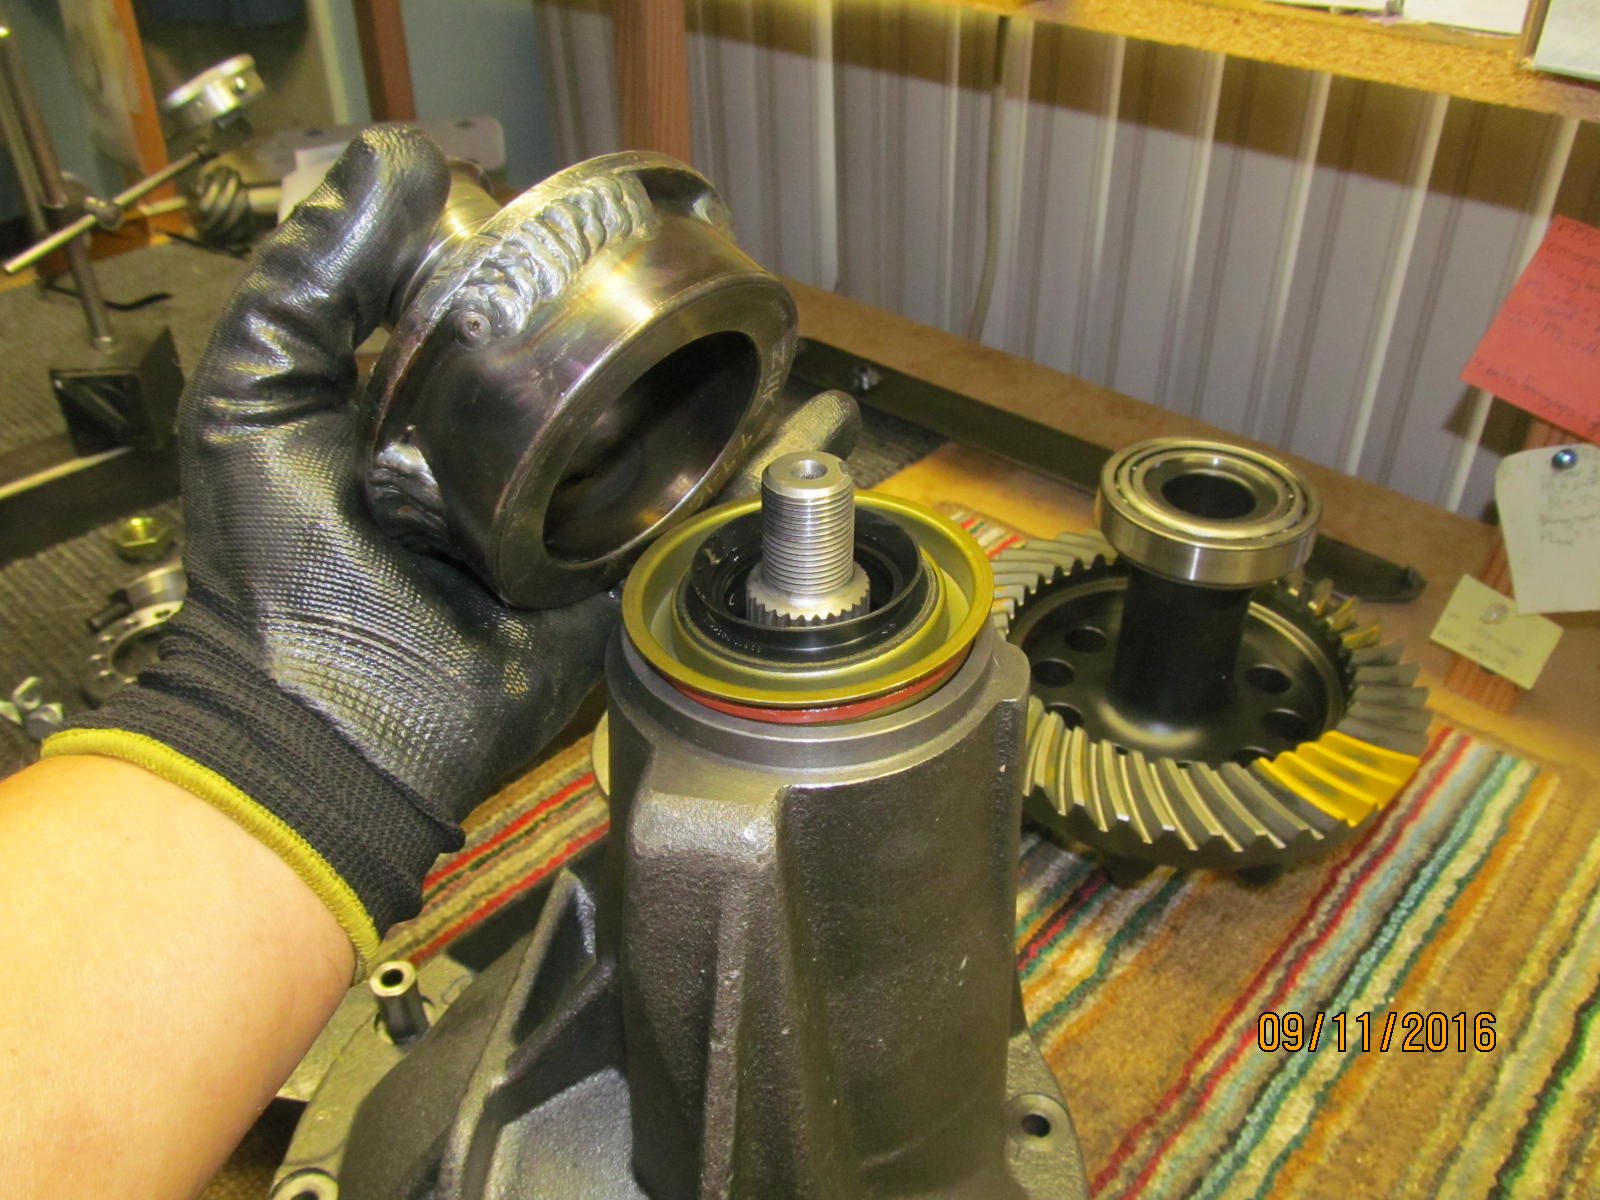
The Marlin seal on the right is extra insurance against leaks.
|
|
|
|
|
The aftermarket seal is "ok".
|
|
|

|
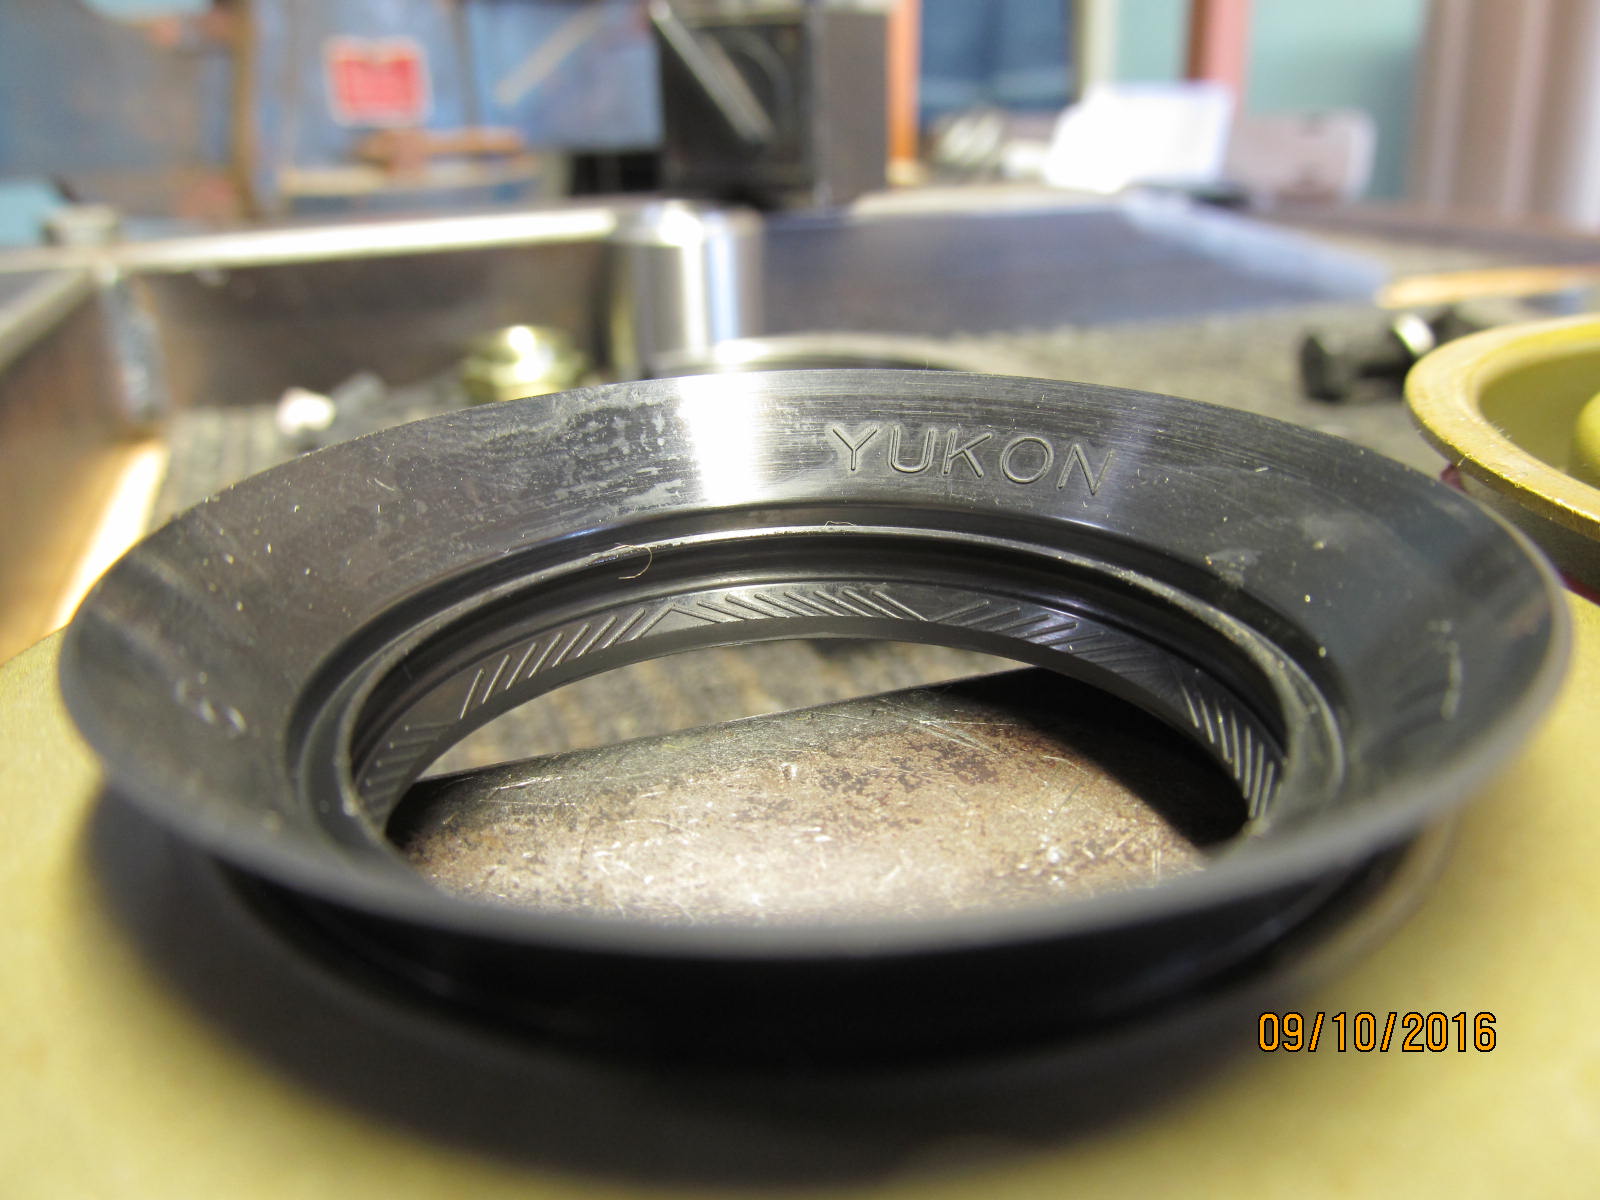
The Marlin eco seal has 3 sealing surfaces and the main bottom seal lip is riding in a
location that none of the other seals can reach.
|
|
|
|
|
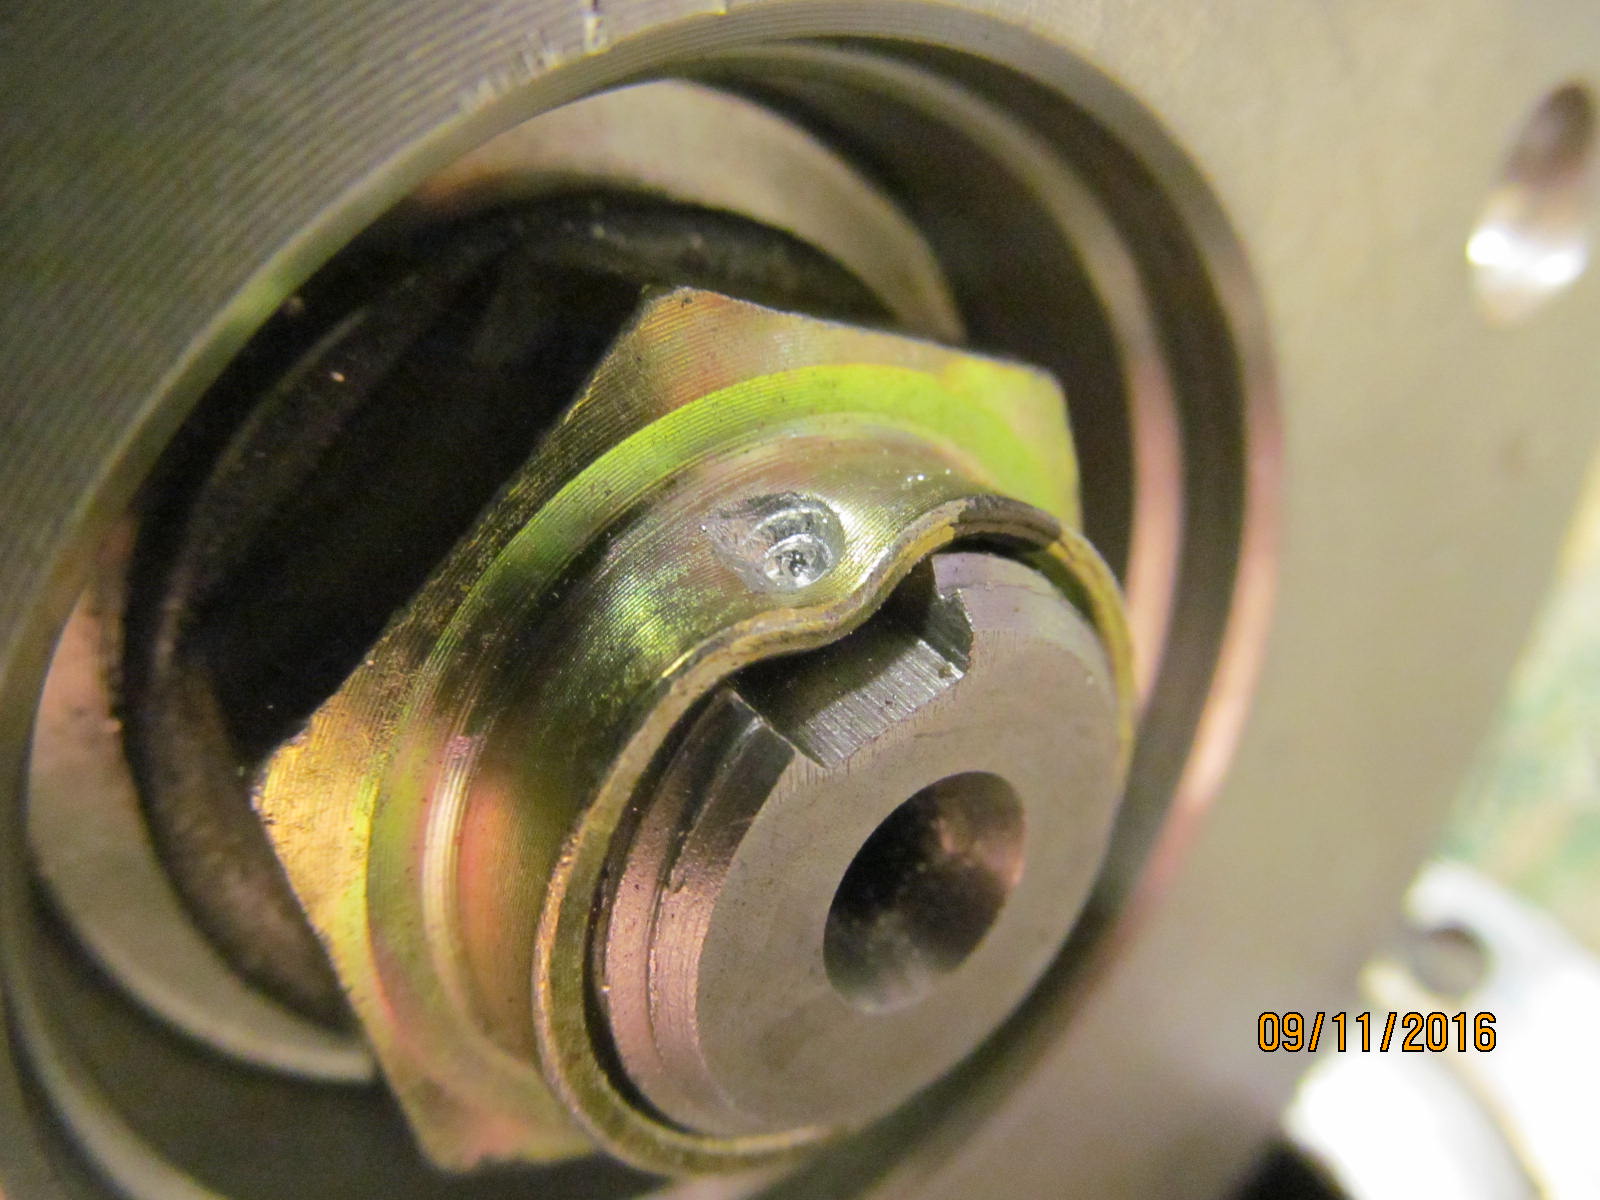
Solid collar to be installed now.
|
|
|

|
|
........................
|
|
|
|
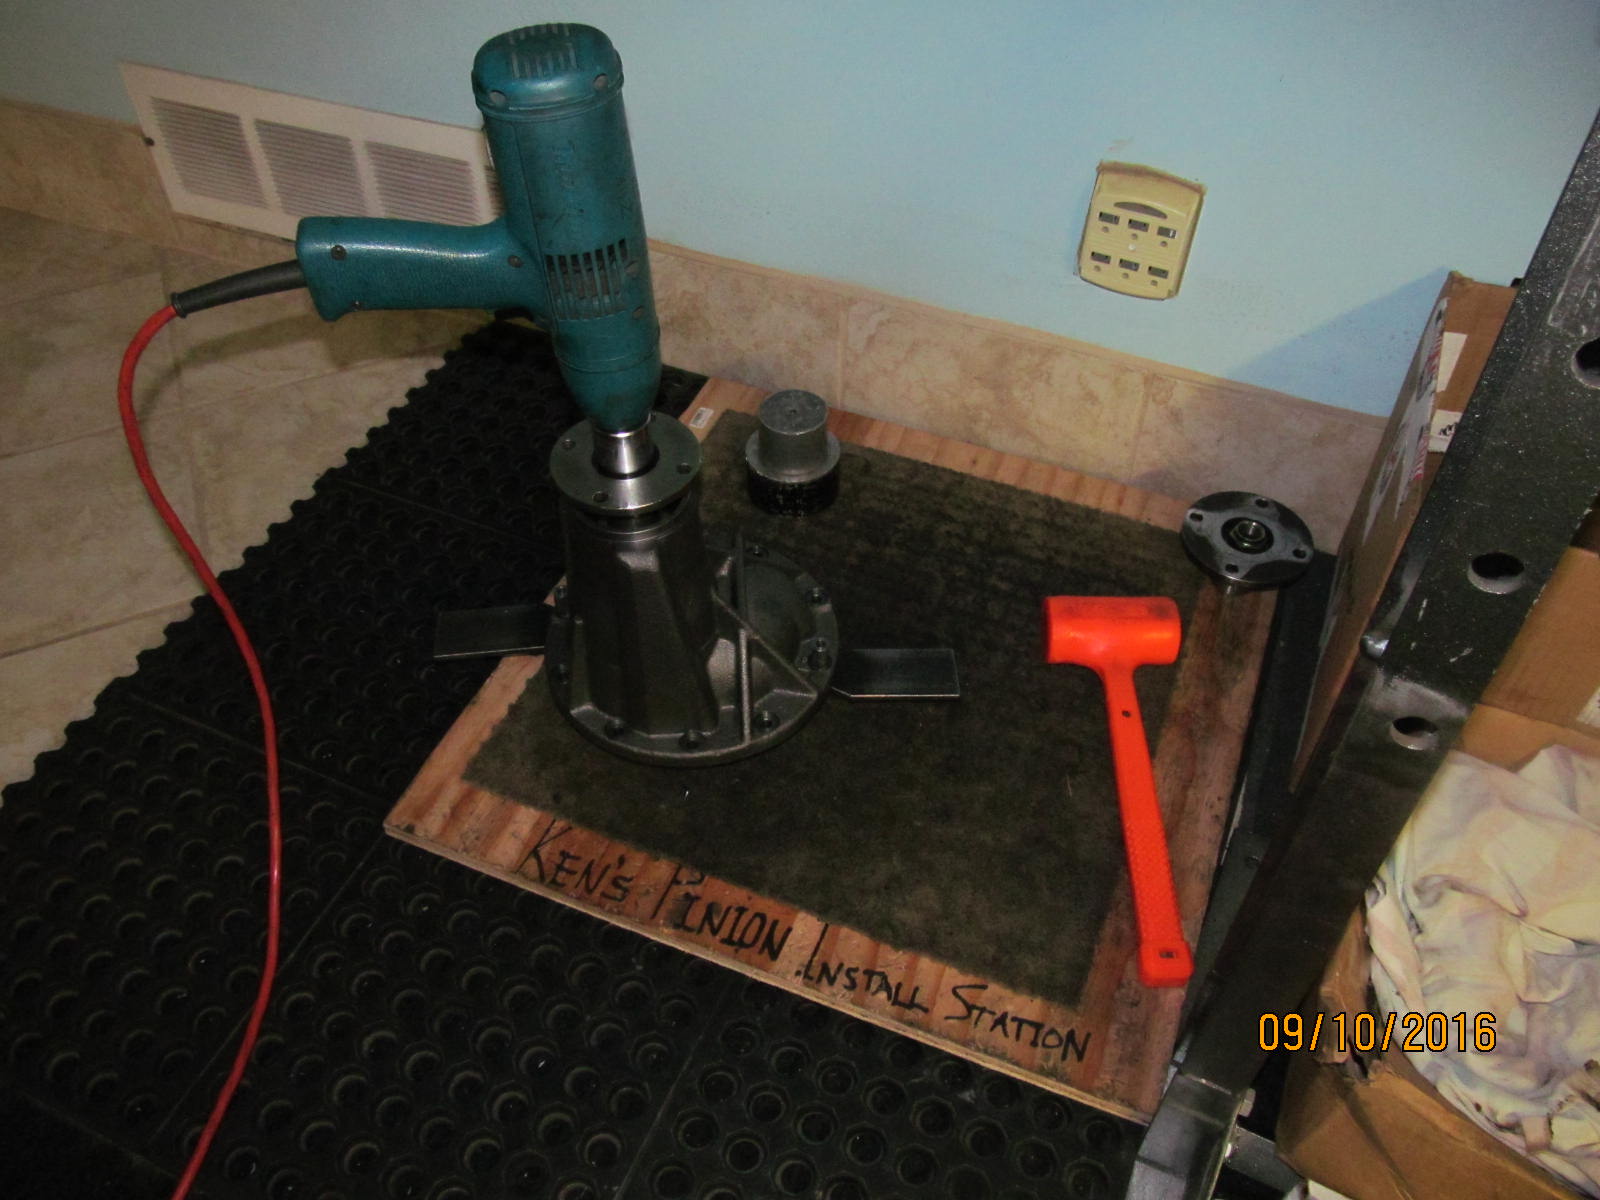
Getting the just right pinion preload involves re-shimming the solid collar numerous times
.....assemble then disassemble....assemble then disassemble. Note the shop flange is used for this operation.
|
|
|
|
|
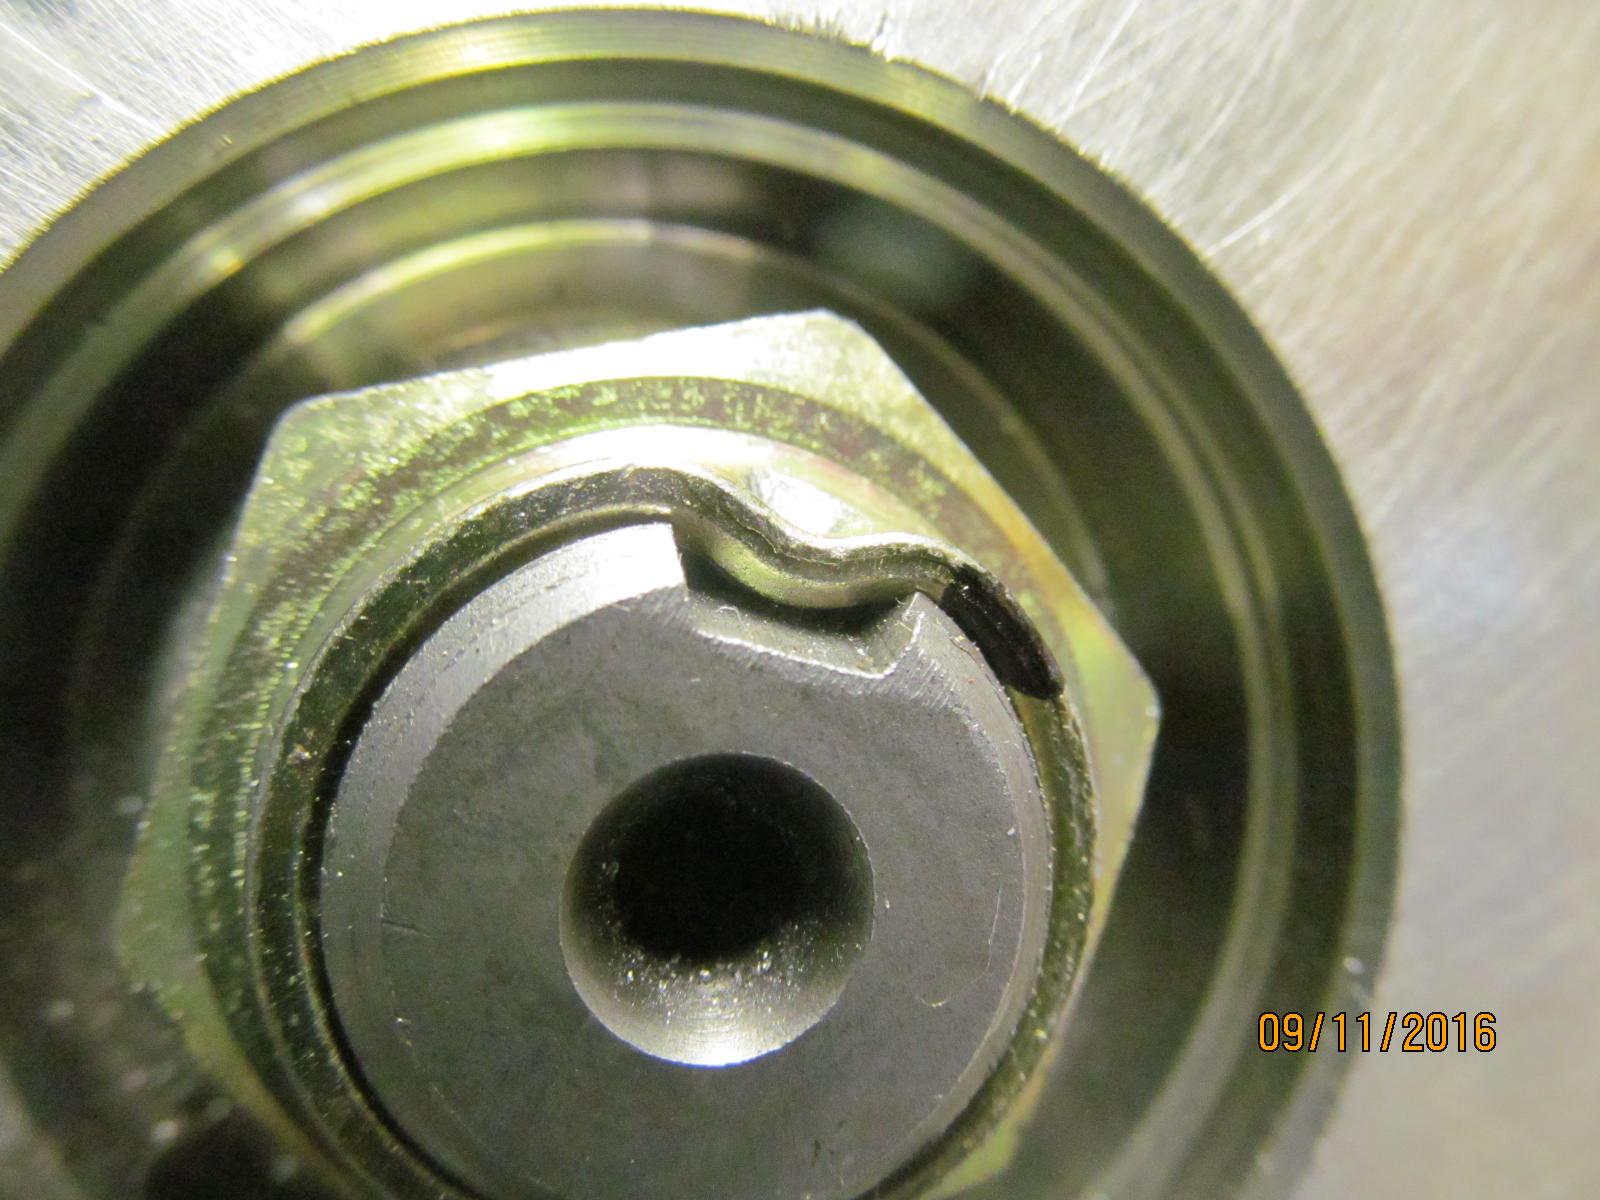
This time it took 6 tries.
|
|
|
|
|
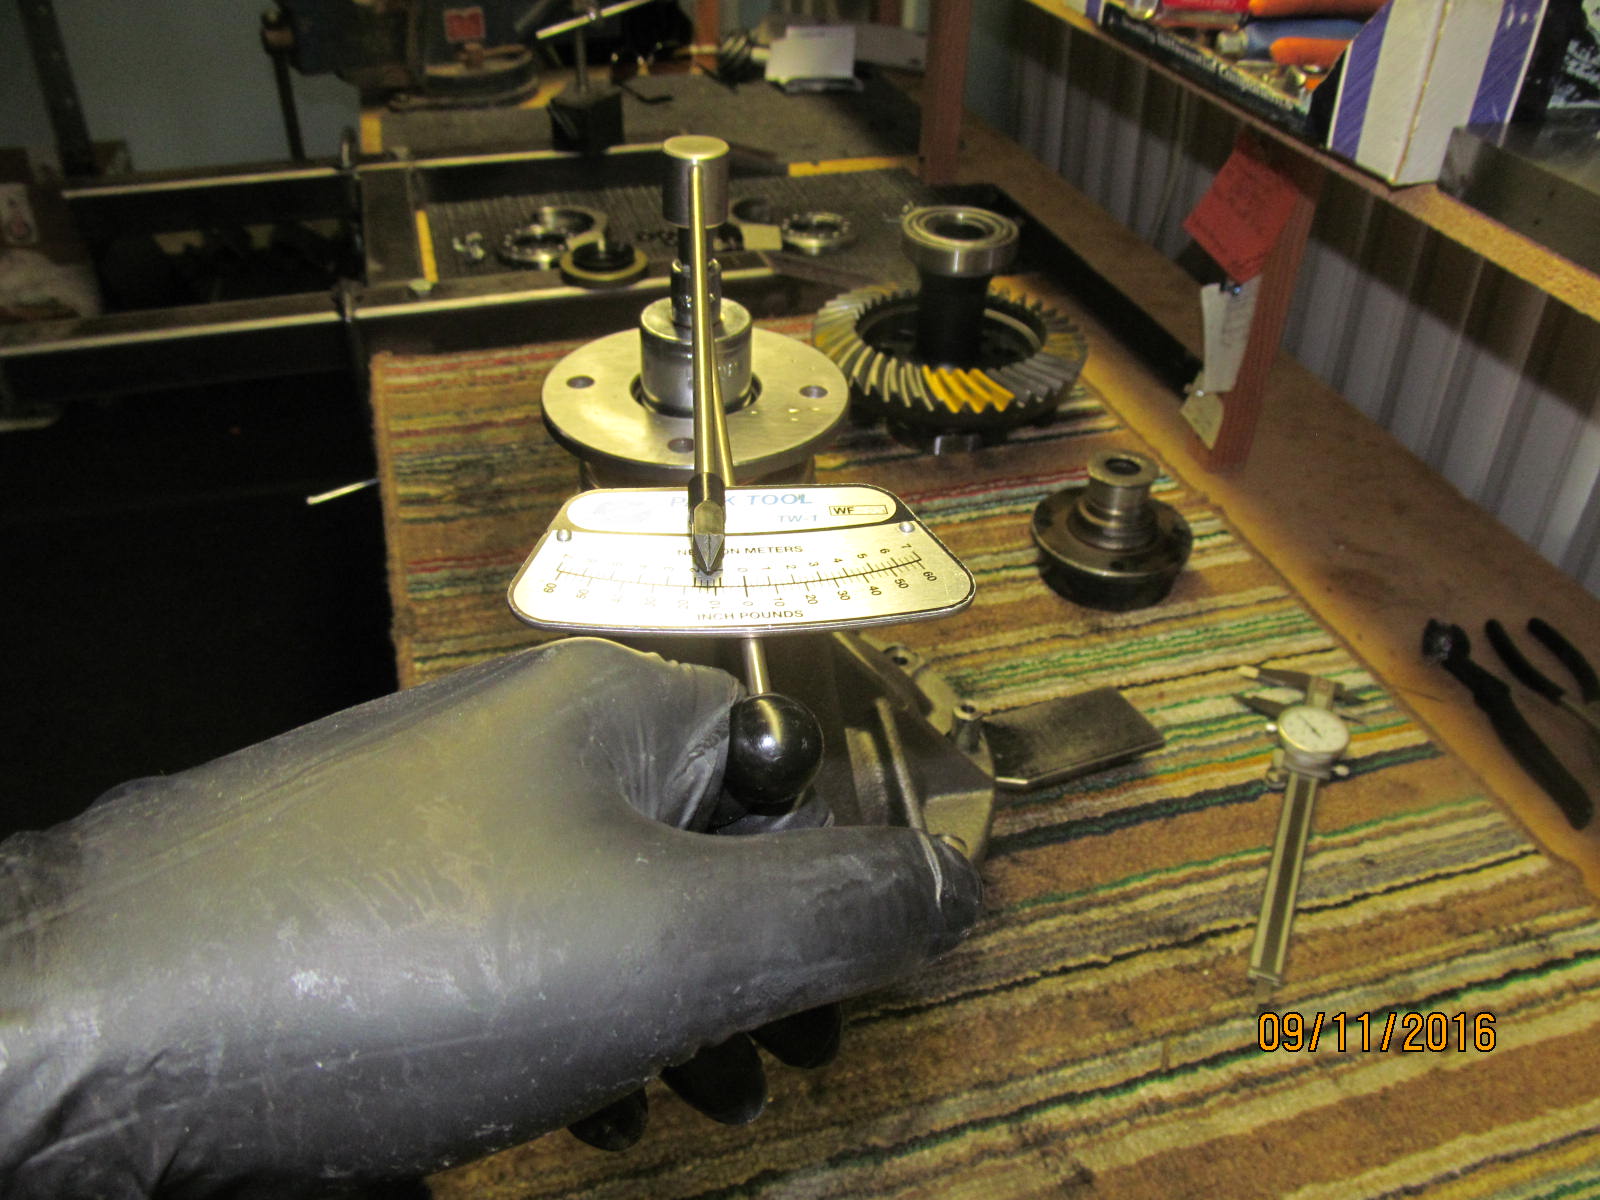
Now the Marlin seal can be tapped down evenly with the special tool.
|
|
|
|
|
Final PPL checked in at 11 inch/pounds.
|
|
|
|
|
A low profile DING! takes care of this end.
|
|
|
|
|
..........................
|
|
|
|
|
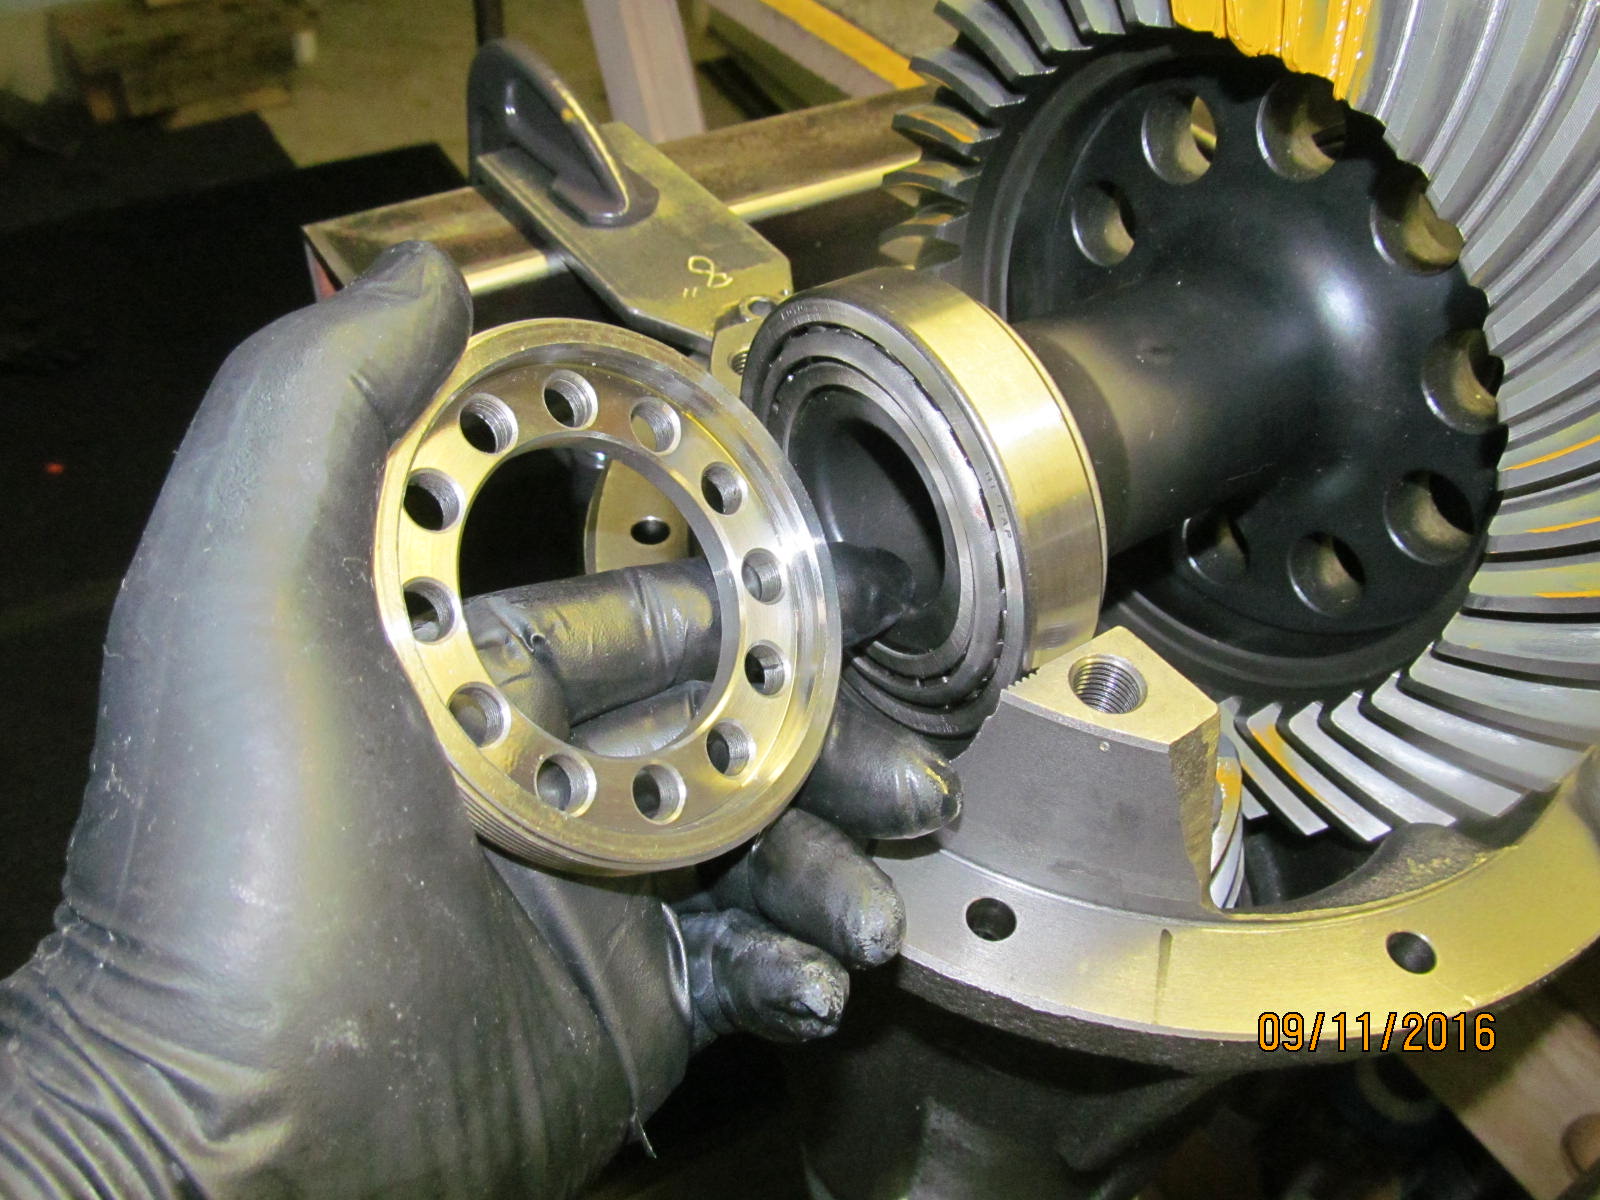
These wheel adjusters are well machined and very beefy.
|
|
|

|
|
.............................
|
|
|
|
|
70 ft
|
|
|
|
|
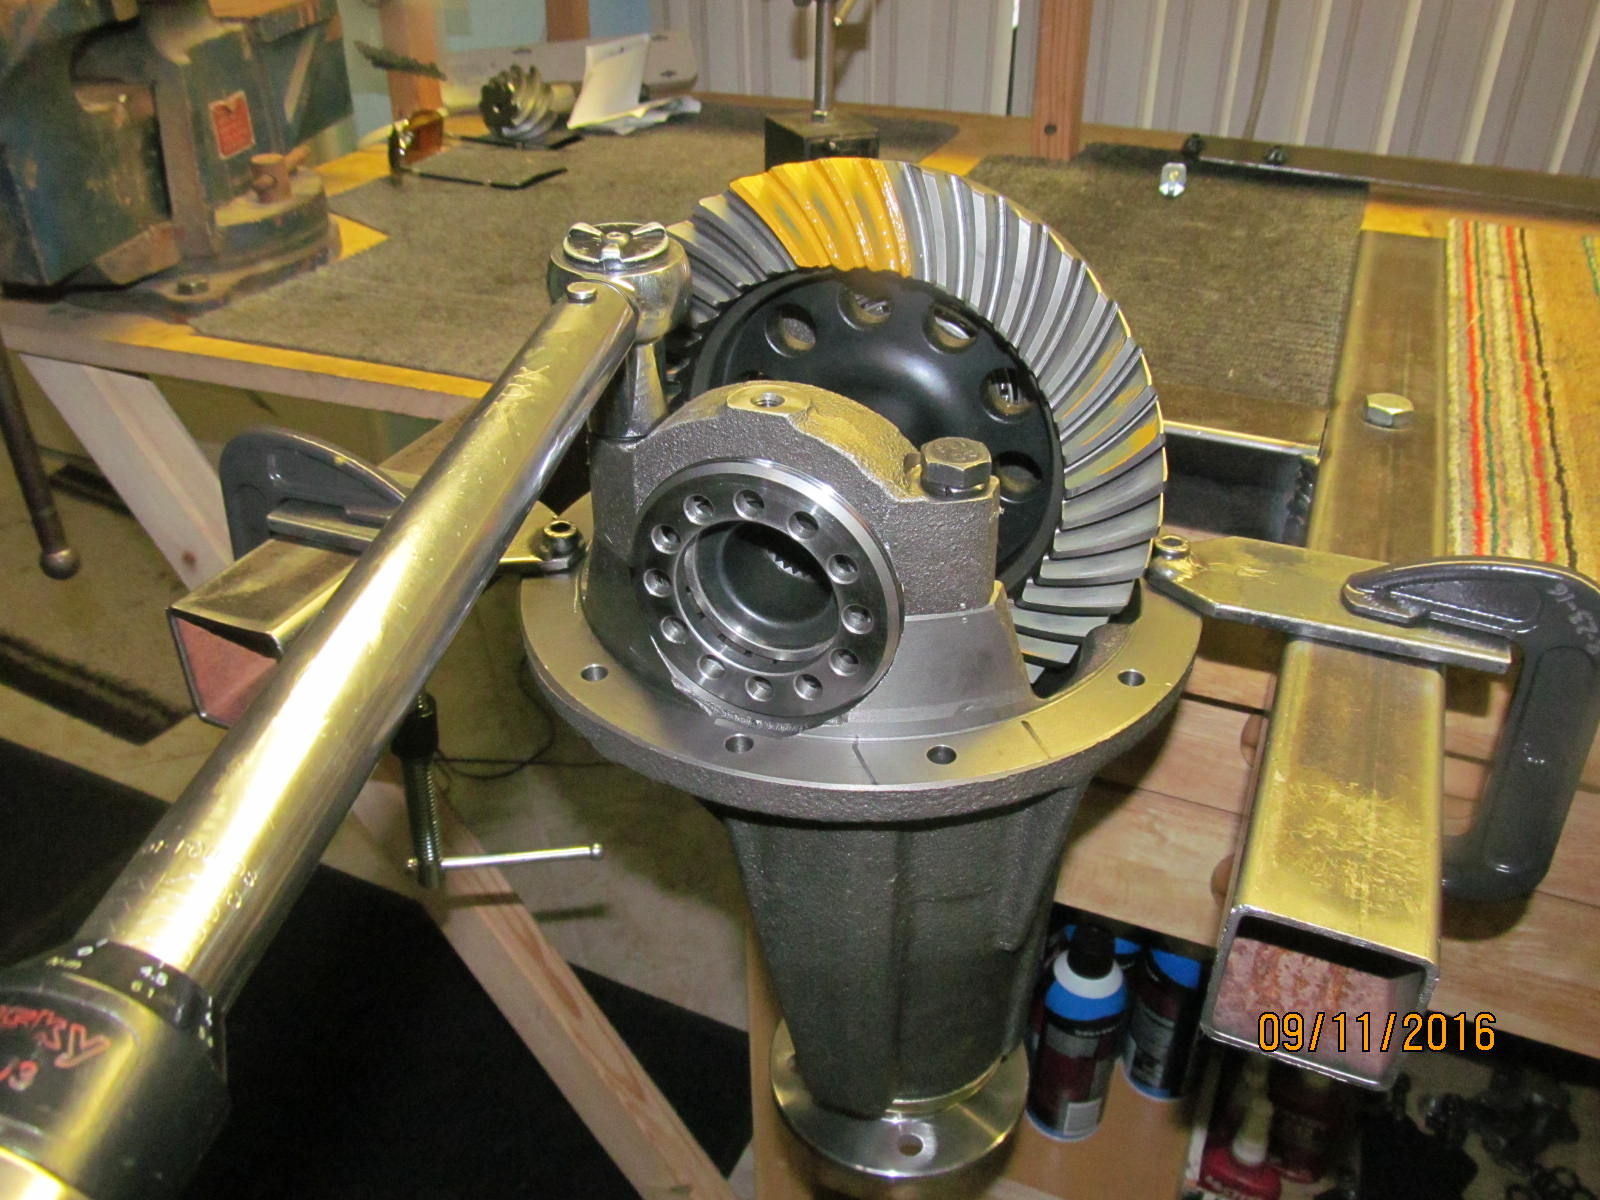
Backlash and carrier bearing preloads are dialed in.
|
|
|
|
|
Masking off the wheel adjuster, the sides can be clearanced with a flapper wheel.
|
|
|
|
|
...............................
|
|
|
|
|
..................................
|
|
|
|
|
.................................
|
|
|
|
The clearancing will allow the 3rd to fit into the axle housing hole.
10 ft/lbs on the 2 lock tabs.
|
|
|
|
|
Last final check and the drive side looks nice.
|
|
|
|
|
Coast.
|
|
|

|
|
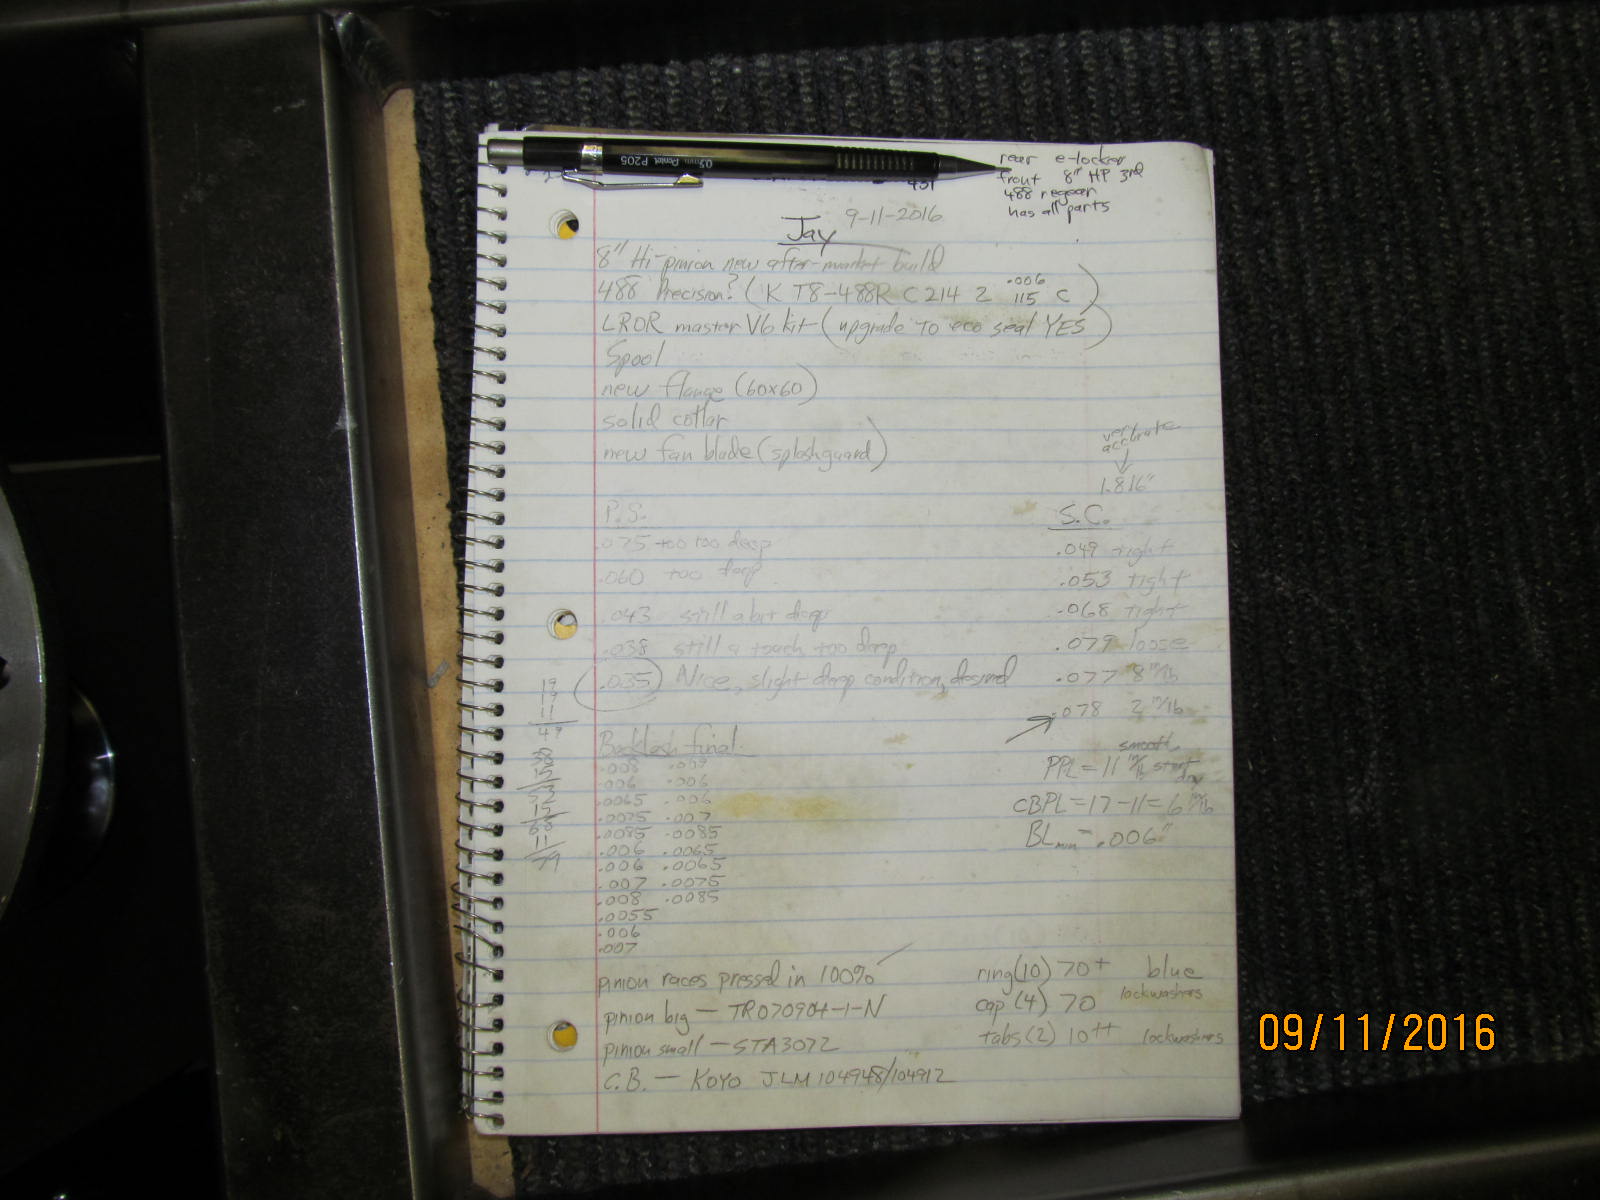
Engraving the specs on the ring gear.
|
|
|
|
|
Notes taken.
|
|
|
|
|
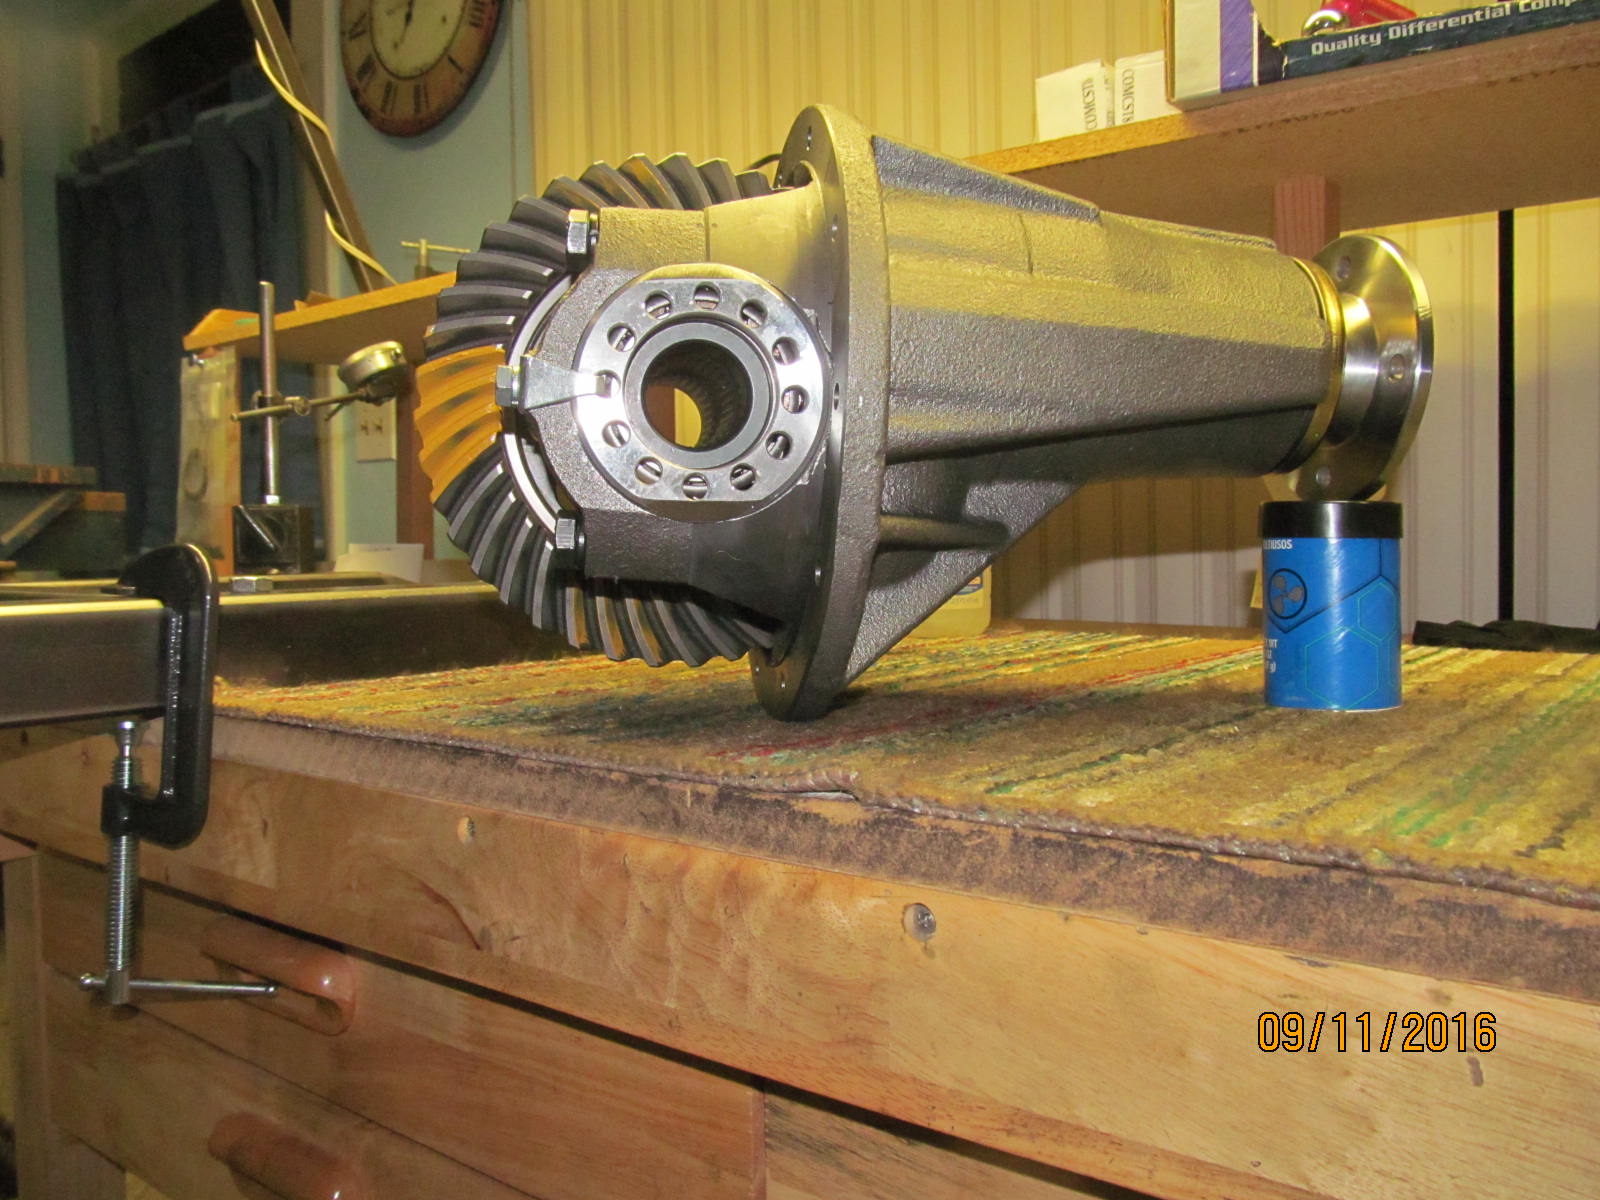
Nice looking hi-pinion 3rd.
|
|
|
|
|
Sometimes, I use an old blanket to wrap the 3rd for the double box.
|
|
|
|
|
Some extra cushioning.
|
|
|
|
|
.................................
|
|
|
|
|
3rd dropped in.....
|
|
|
|
|
More cushioning on the topside...
|
|
|
|
|
Now to final wrap the box 6 or 7 times with a heavy duty tape and ready to go to Fedex.
|
|
|

|