|
|
|
|
|

|
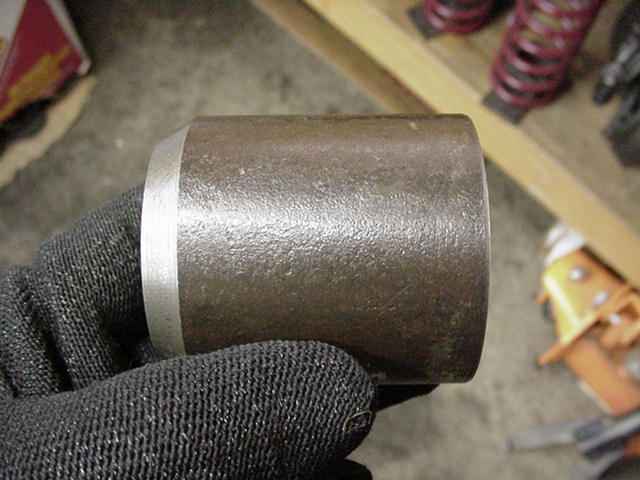
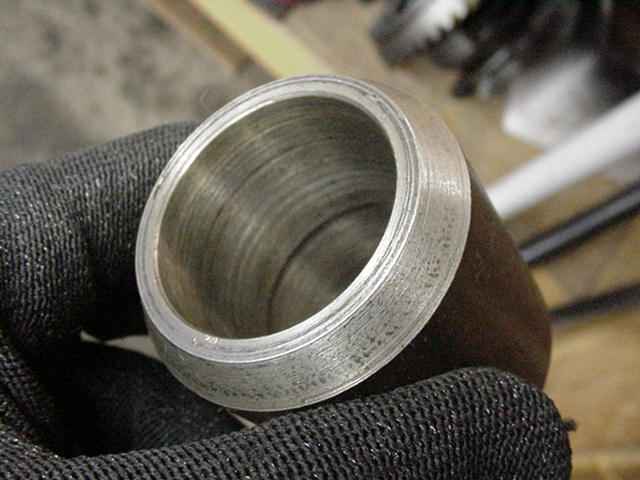
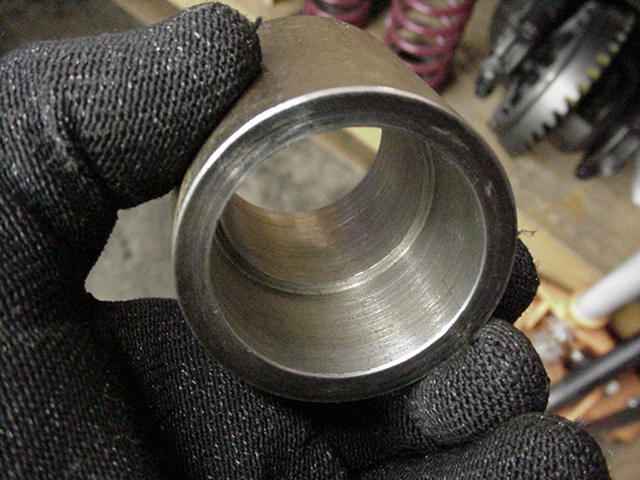
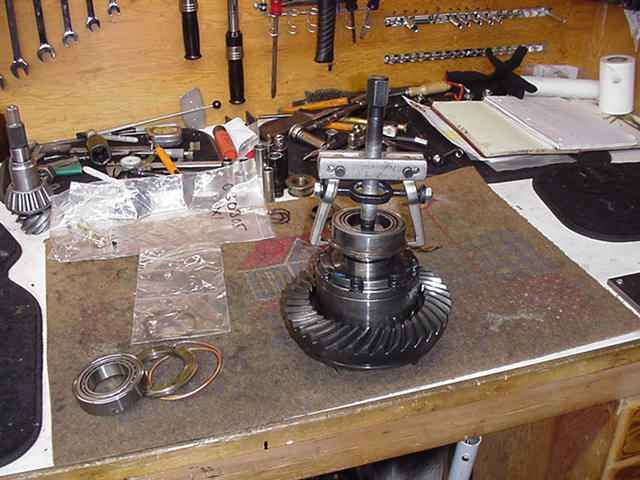
Kirk (aka: Captain Kirk) brought over to my shop the new improved air bearing for the non-trd taco rear ends. Apparently, a number of them loose their seal and spew air and some gear oil out of the over-flow on top of the axle housing. This new semi-floating design cures that. Shown above are the 2 new o-rings and the new 2-piece air bearing. |
|
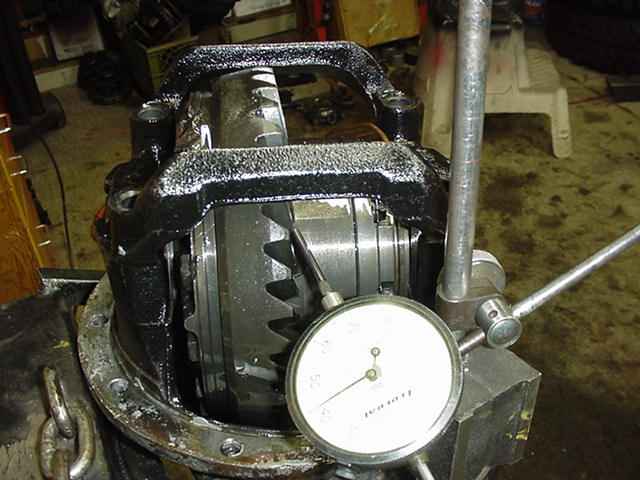
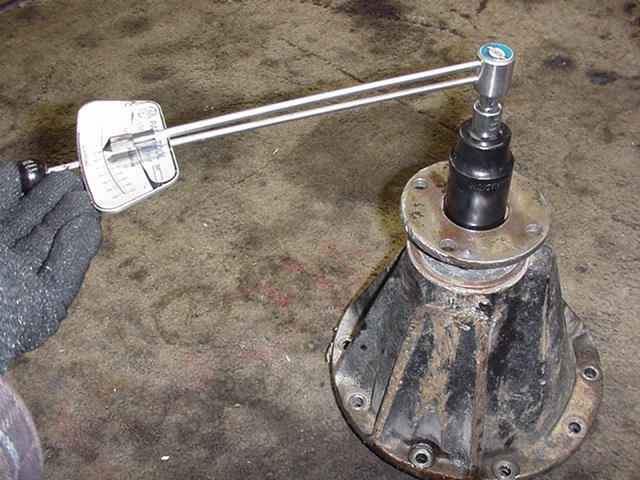
Step 1 is to measure the backlash (.004" in this case) because the new air bearing will change the BL and will also effect the carrier bearing pre-load (CBPL). |
|
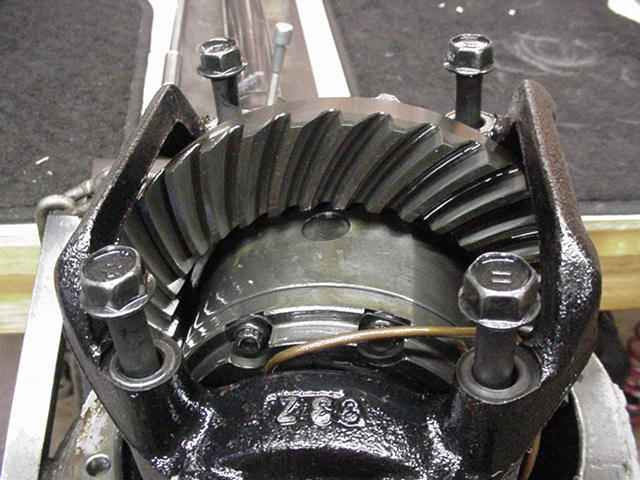
Remove the 4 bearing cap bolts... |
|
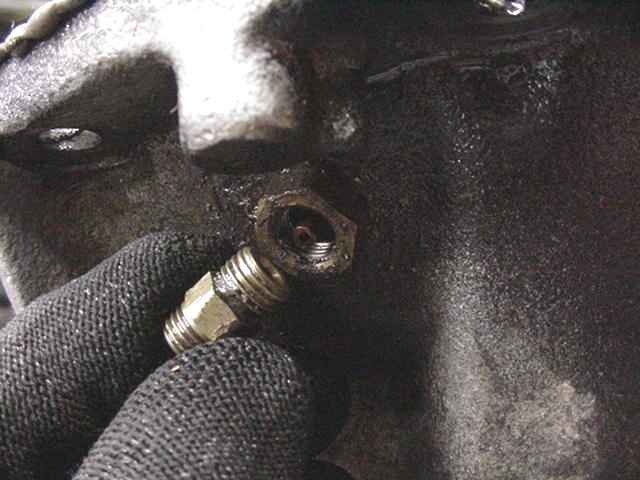
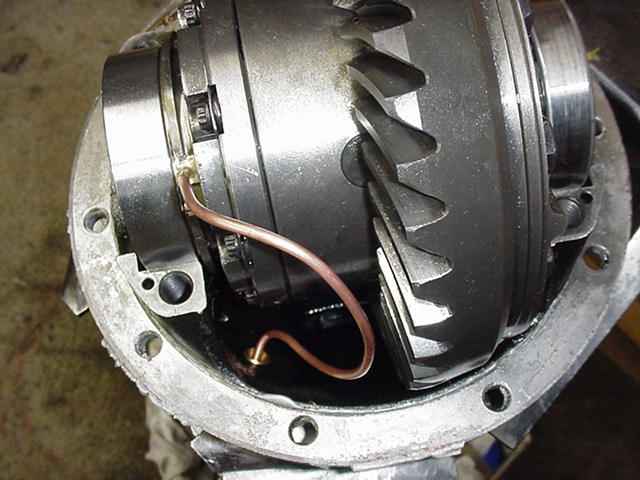
Remove the brass fitting to free up the copper tube. |

|
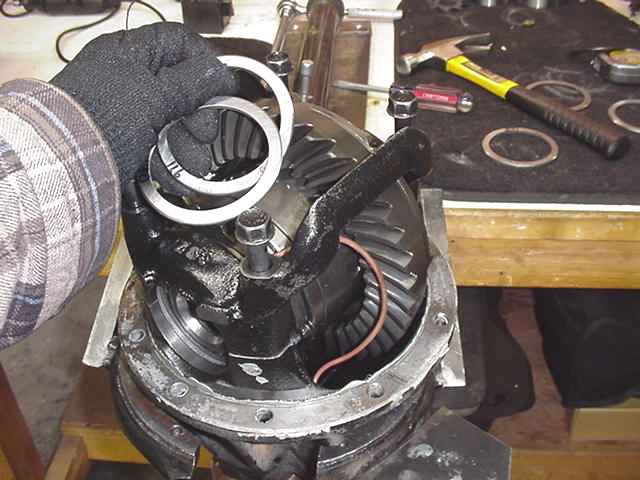
Remove the shims...sometimes they come out with just the fingers (bad) and sometimes it takes a dull chisel and light hammer taps. If the CBPL is truly high then it will require more effort. These were in fairly tight but before I'm through I will add thicker shims in the right proportions to get the pre-load needed to minimize ring gear deflections under high torque situations. No CBPL equals broken teeth. |
<
|
The other side had some "non-Toyota shims". I will substitute the OEM ones in before I am done. |
|
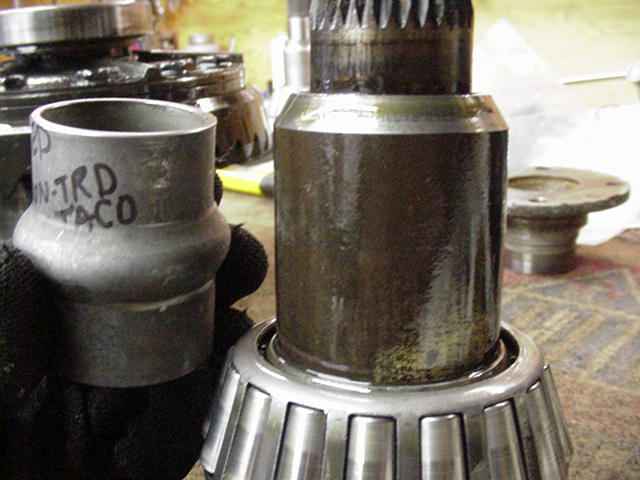
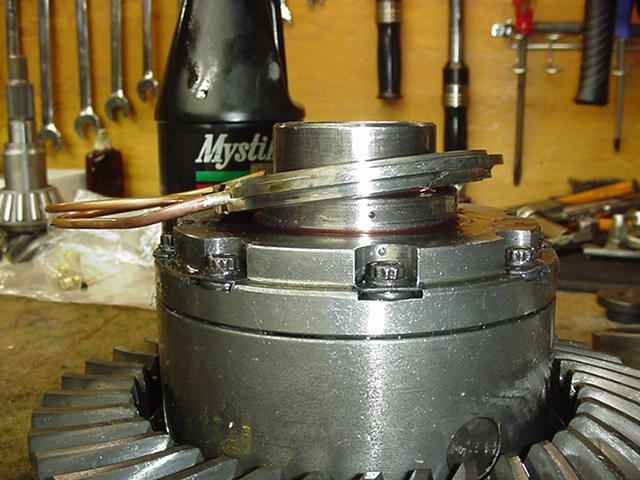
With the ARB case out, now is a good time to check the pinion pre-load (PPL). I was pleased to see it still at 10~12 inch/pounds. Now I also knew that this was a rather unique set-up in that this one has a proto-type solid spacer that was machined and installed by ALLPRO. This spacer is much stronger than the light duty crush sleeves and may solve many of the problem gear breakages that are occurring on the trails. This spacer will soon be available from Allpro but not yet as of Jan 30. |
|
This step is not part of the air bearing replacement but I just had to eyeball this new spacer...:) |
|
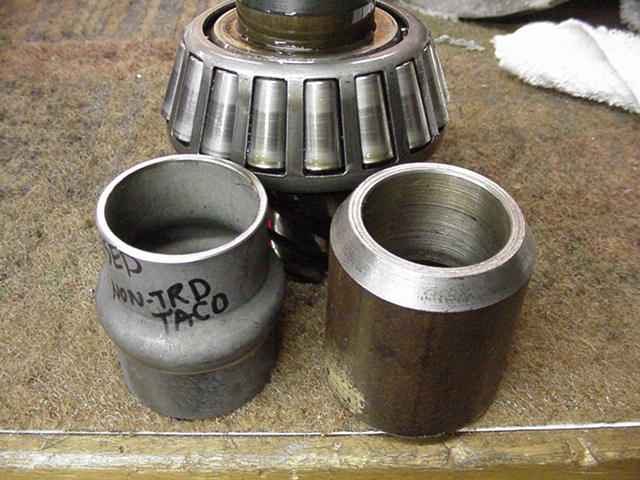
A factory stock crush sleeve on the left and the Allpro solid spacer one on the right. Very beefy. |
|
... |
|
... |
|
... |
|
... |
|
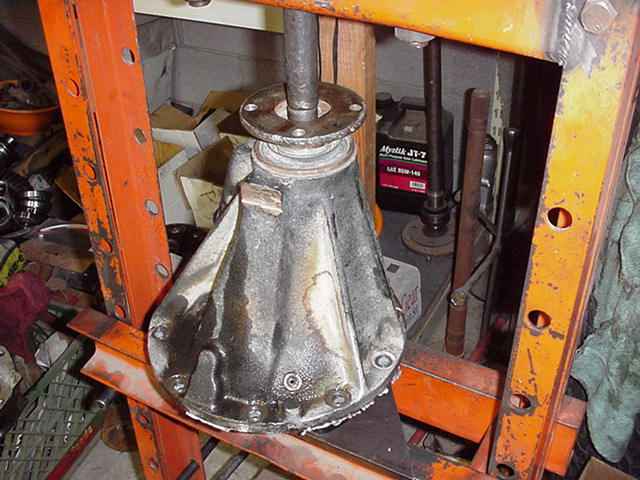
So now that my curiousity is satisfied, time to load the pinion back up and get on with the bearing replacement... |
|
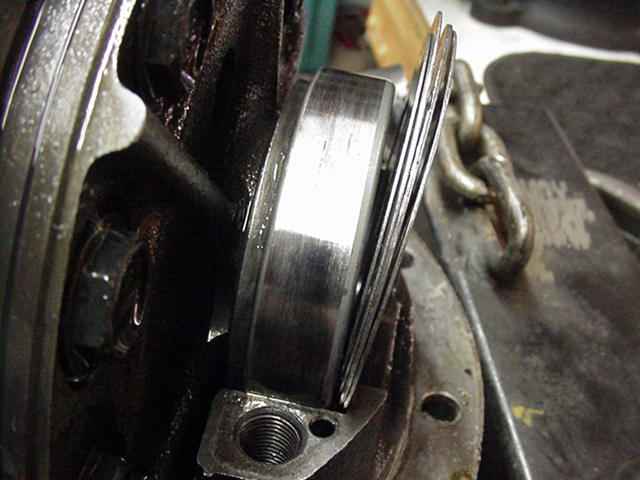
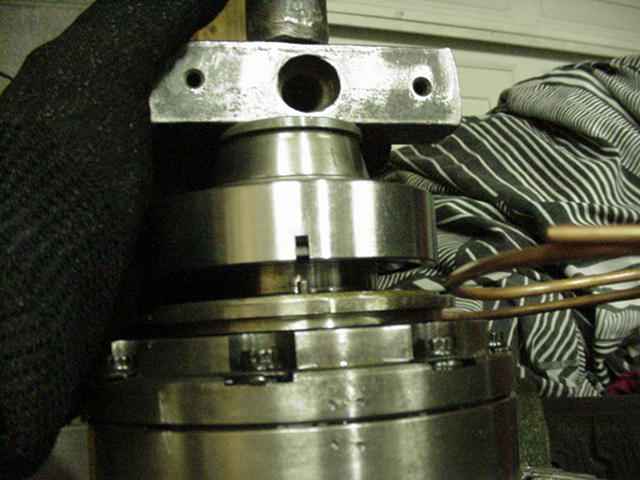
Using a 2 jaw puller like this can cause some damage to the air bearing but since it's being replaced, it's no big deal. |
|
The 2 o-rings have been well oiled and this assembly is very carefully pushed on to prevent any tears in the rubber. |
|
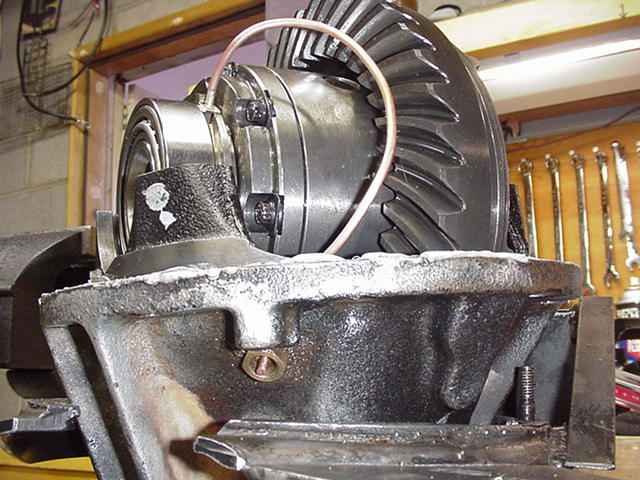
Now I press the carrier bearing assembly up against the air bearing... |
|
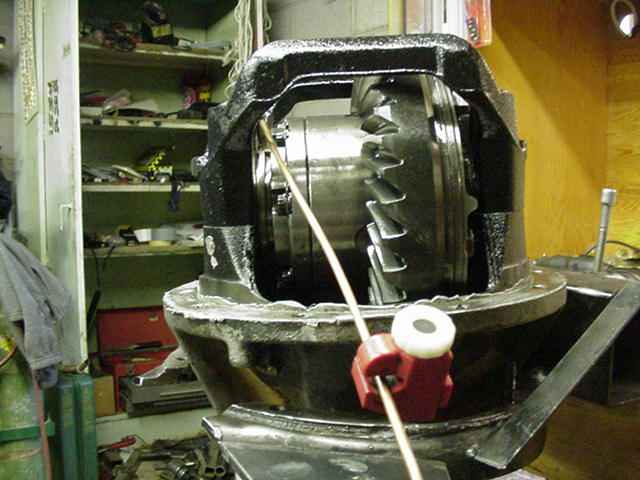
I cut the copper line at 9 inches...I could have cut another inch off if I wanted to. |
|
Routing the soft copper was easy. |
|
... |
|
I have not gone into much detail on this last step but I basically installed the stock shim values and found that the CBPL was too low and also that the BL was way off. Fortunately, I have a good selection of the factory shims and was able to set a high pre-load and dial the BL in at .005". Torque the 4 bearing caps to 90 ft/lb and done. :) |

|