|
|
|
|
|
|
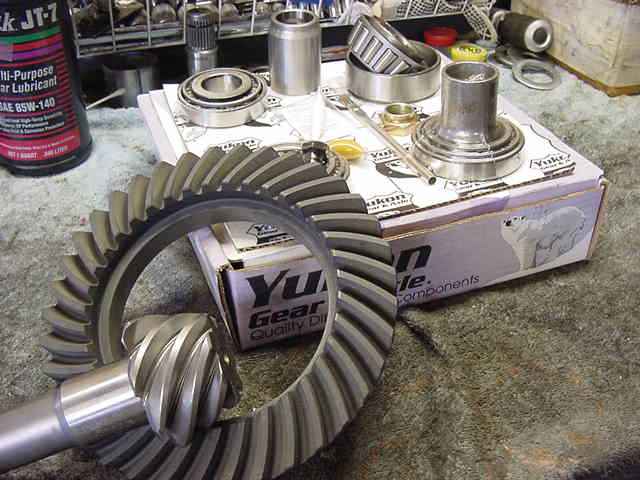
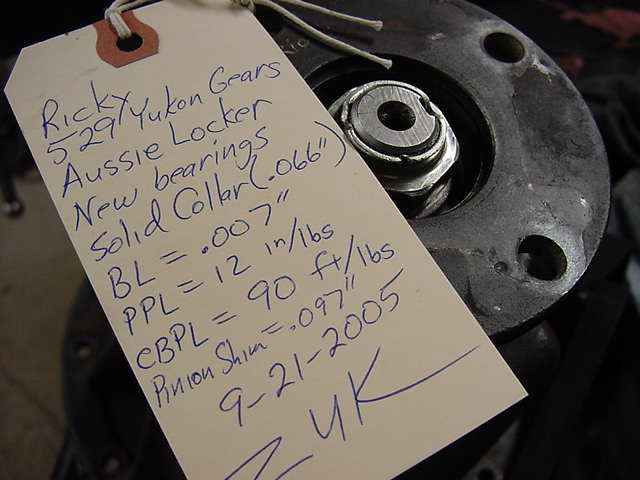
Rick is local to me and heard somewhere that I might be able to do a good install. He wanted a quality 529 gear and new bearings. He also saw the wisdom in the solid collar. Rick wanted a good "lunch Locker" so I immediately placed an order for an Aussie Locker. |

|
Good quality Yukon. |
|
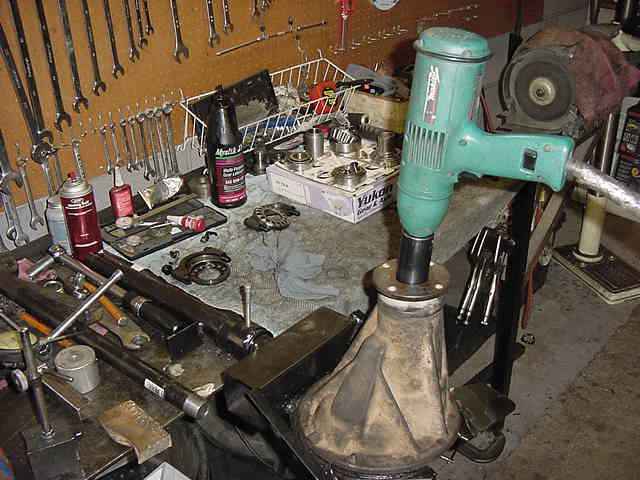
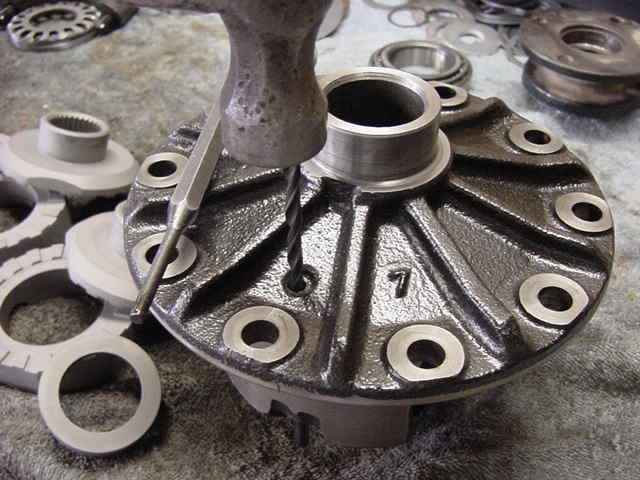
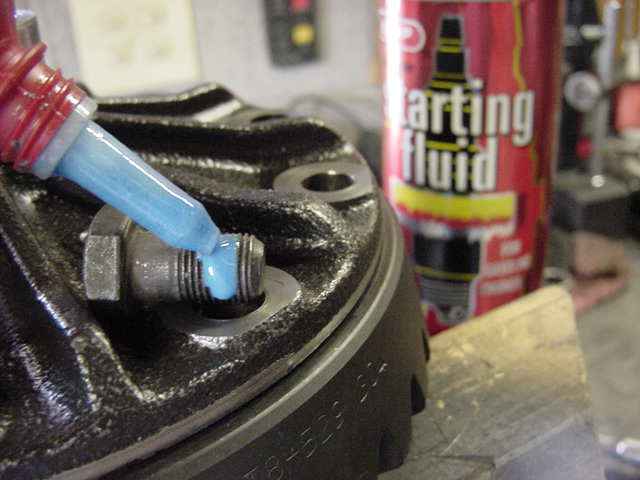
While waiting for the Aussie to arrive, there was some work that could be done on the pinion end. The case itself has already been removed from the bottom end. The electric impact from Makita makes quick work of the pinion nut. |

|
These gears like to see about 97 thou for the pinion shim value and that's what's pressed on this one. |
|
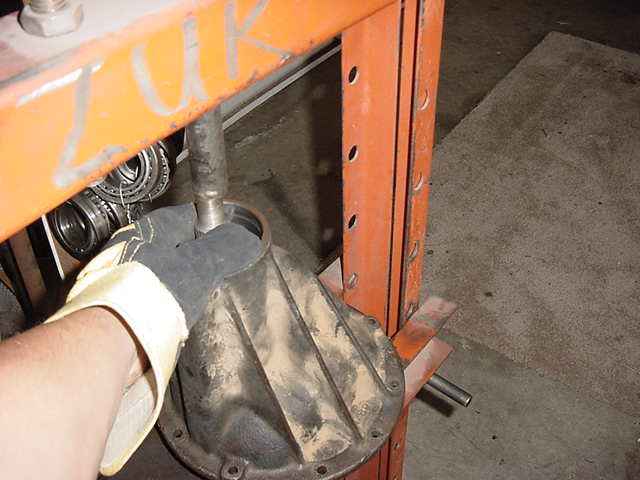
Using a solid collar usually involves 3 or 4 tries to arrive at the right pre-load/shim value. The outer pinion bearing on this one was a snug fit so it's alot safer to ease it out with the 10 ton press instead of banging on the threaded pinion end with a hammer. The cups (races) will appreciate it. This was done 5 times before arriving at .066" shim value which gave a nice 12 in/lb of pinion drag. |
|
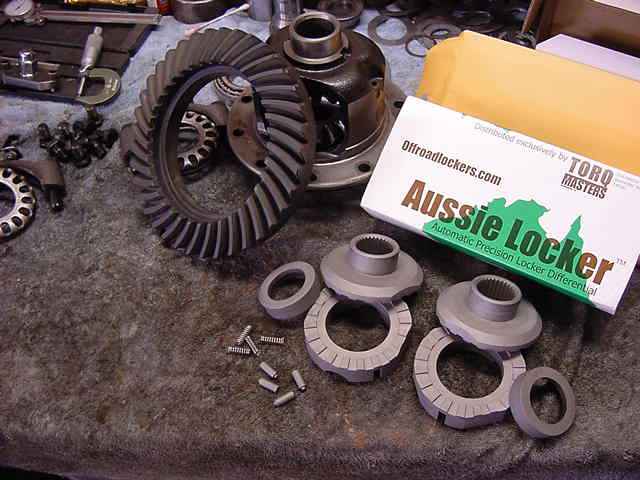
A few days later, the Aussie arrived from Rochester, New York. |
|
The 3/16" punch was not long enough to knock the steel dowel all the way through. A sacrificial drill bit was used to tap it out the rest of the way. |
|
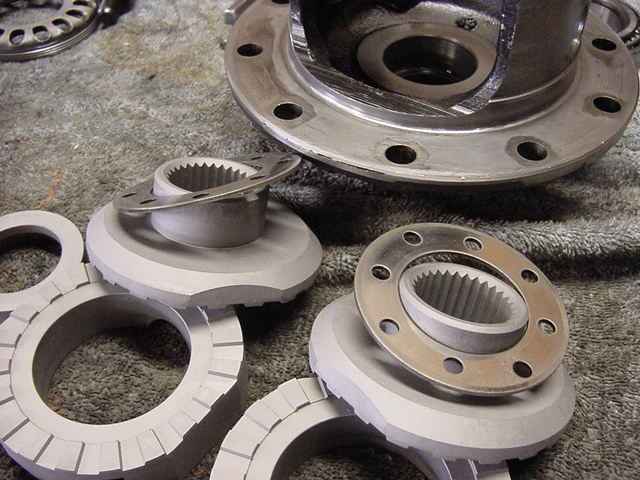
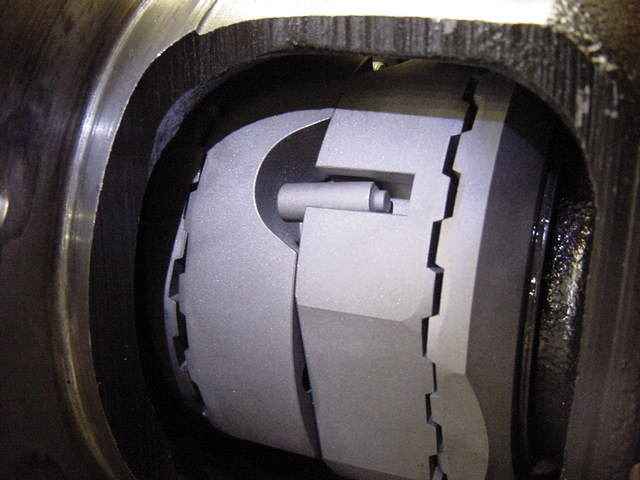
The spiders and sidegears could then be removed. Only the thrust washers get re-used as shown. |
|
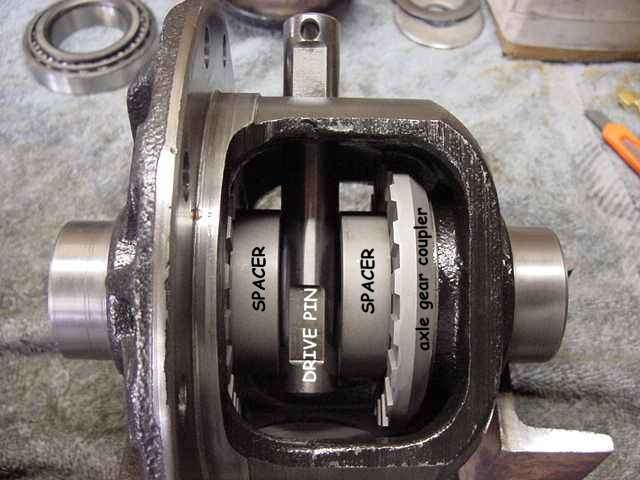
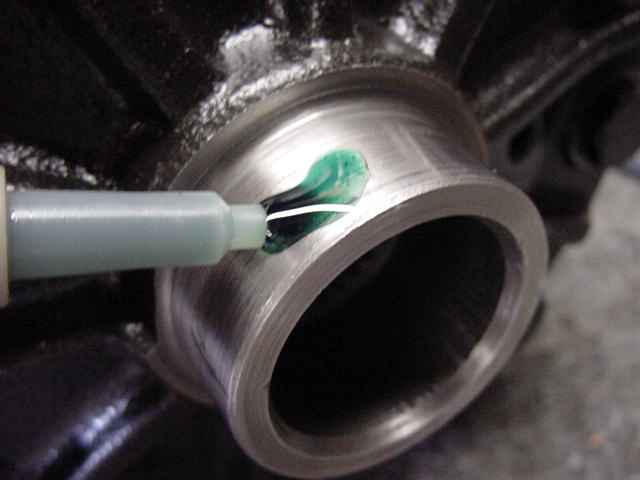
Before actually installing the locker, the distance between the spacers and the main drive pin must be checked. |
|
With the pin in place, the check distance should fall between .006 and .020 inch. Mine squeaked a 12 thou blade through so it's in spec. |
|
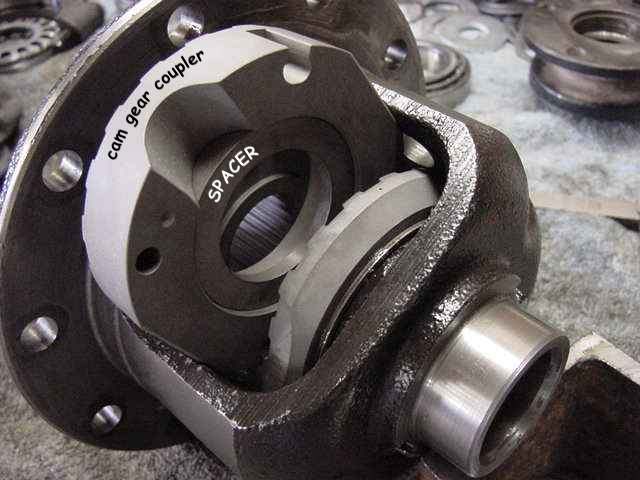
The cam gear couplers would not quite clearance through... |
|
...so all was good after using the course rat-tail file on the case. |
|
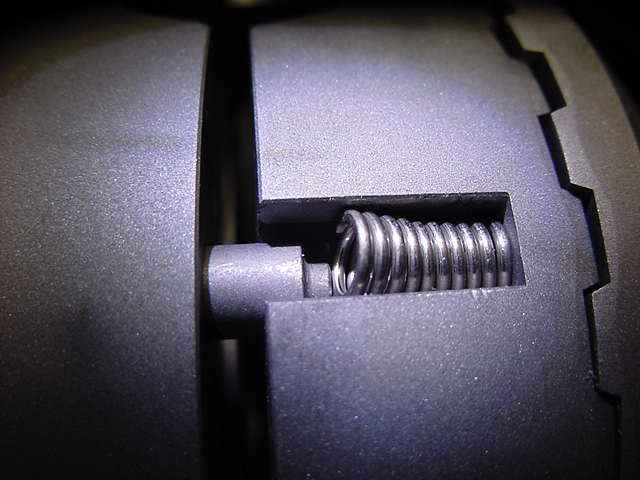
With everything in place, it is now just a matter of inserting the pins and springs. Lining up the half moon slots allows enough room to get the 4 pins in place. |
|
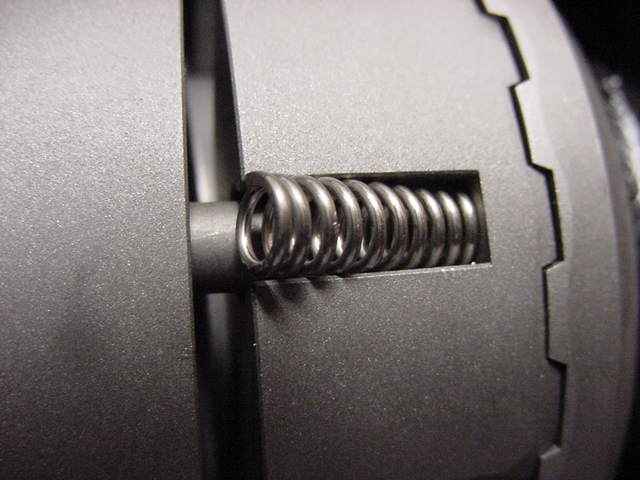
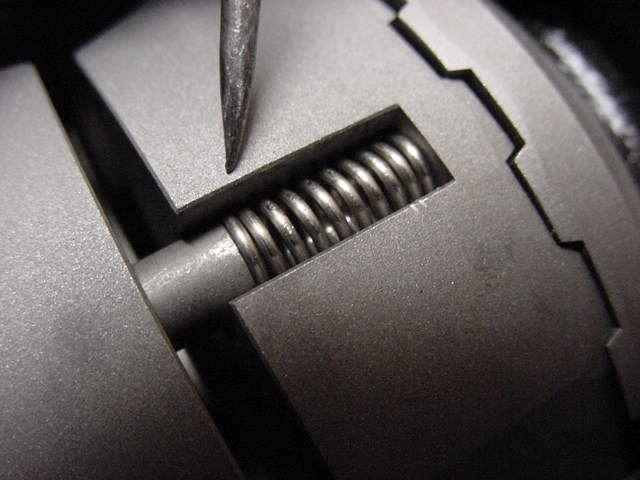
Getting the springs in is not that tough really.....just involves using a small screwdriver or maybe a pick. |
|
The battle is over once it reaches this far... |
|
|
|
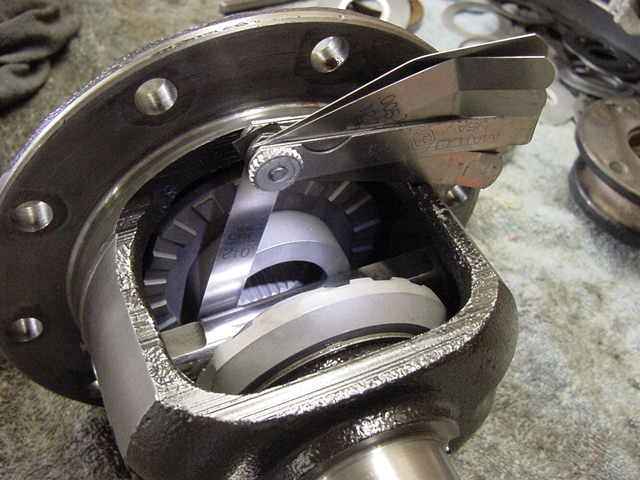
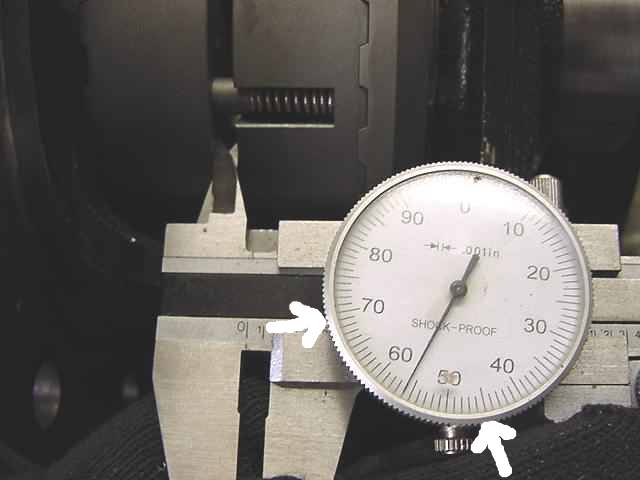
This is a recommended secondary check. The gap between the 2 cam gear couplers should fall between the range of 145 to 170 thou. Mine was ok. |
|
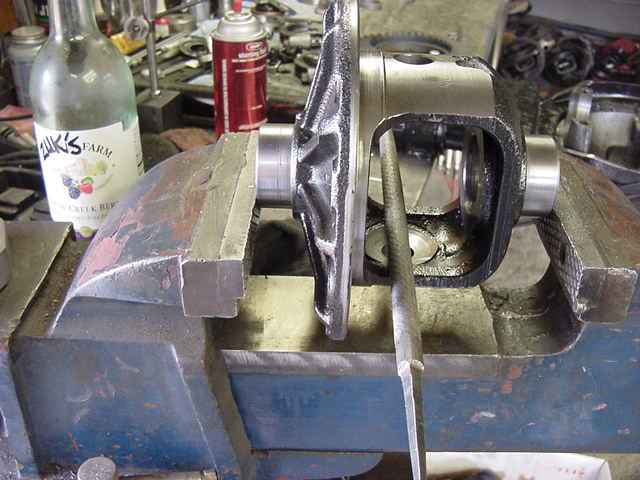
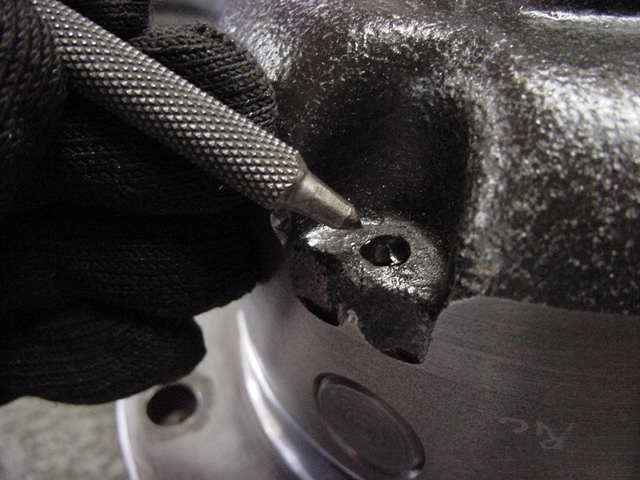
With the Aussie fully in place and checked good, I could now tap the steel dowel back in. With a prick punch, bang a large dimple inside the hole to prevent the dowel from coming out. |
|
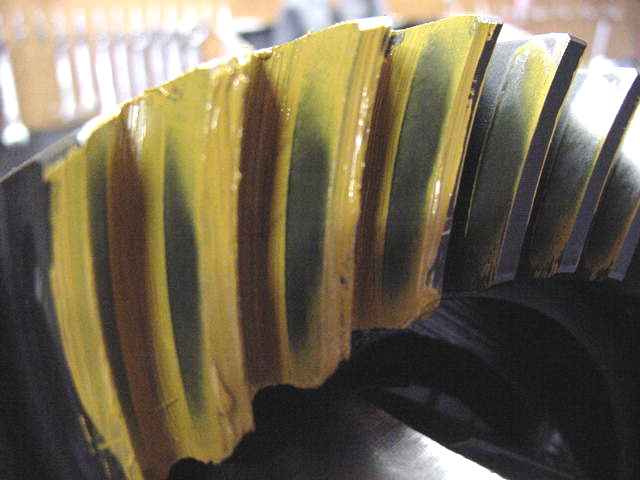
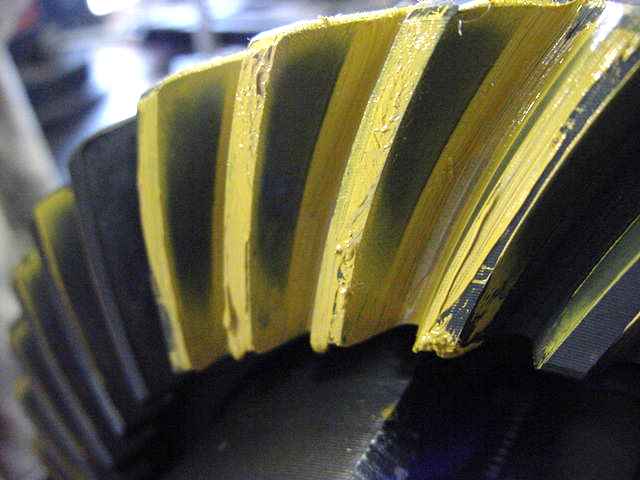
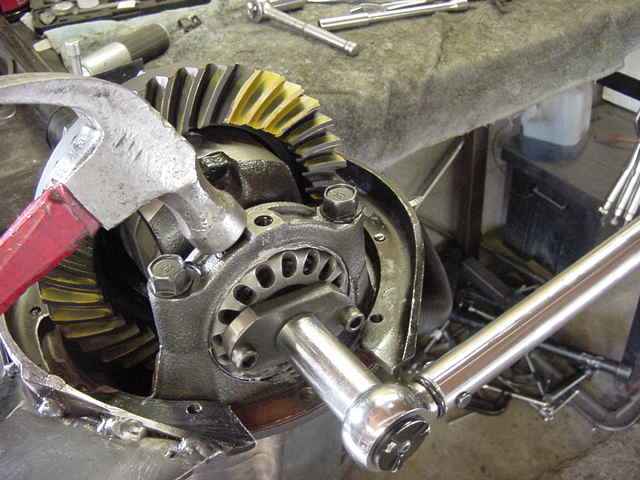
The ring gear is now installed. The ring and case have been lightly filed to remove the high spots. The threads have also been cleaned and blue Loctite is applied. Tighten to 70+ ft/lbs. |
|
As pointed out in some of my other links, the carrier bearings loose their tight fit with the case over time and with abuse. The carrier bearings almost slipped on by hand pressure only. A special product called Loctite Sleeve Retainer solved the loose fit issue. Hardens like high strength Red Loctite but designed for non-threaded surfaces. |
|
I loaded up the case into the carrier and set the backlash to about 7 thou using a dial indicator. Looks like the .097" shim was a good choice as this driveside pattern is a keeper. |
|
coast side .097" good. |
|
A combination of well placed hammer shocks and re-torqueing of the carrier bearing adjusters, while maintaining the 7 thou backlash, resulted in the desired carrier bearing pre-load. |

|
Last step is to remove the nut/flange and install a new seal. Done. |
|
|

|