|
Harrop e-locker for Gilbert's FJ62 9.5" front end
|
|
(50 BIG pics loading)
|
|
MAY 26 2016
|
|
|
|
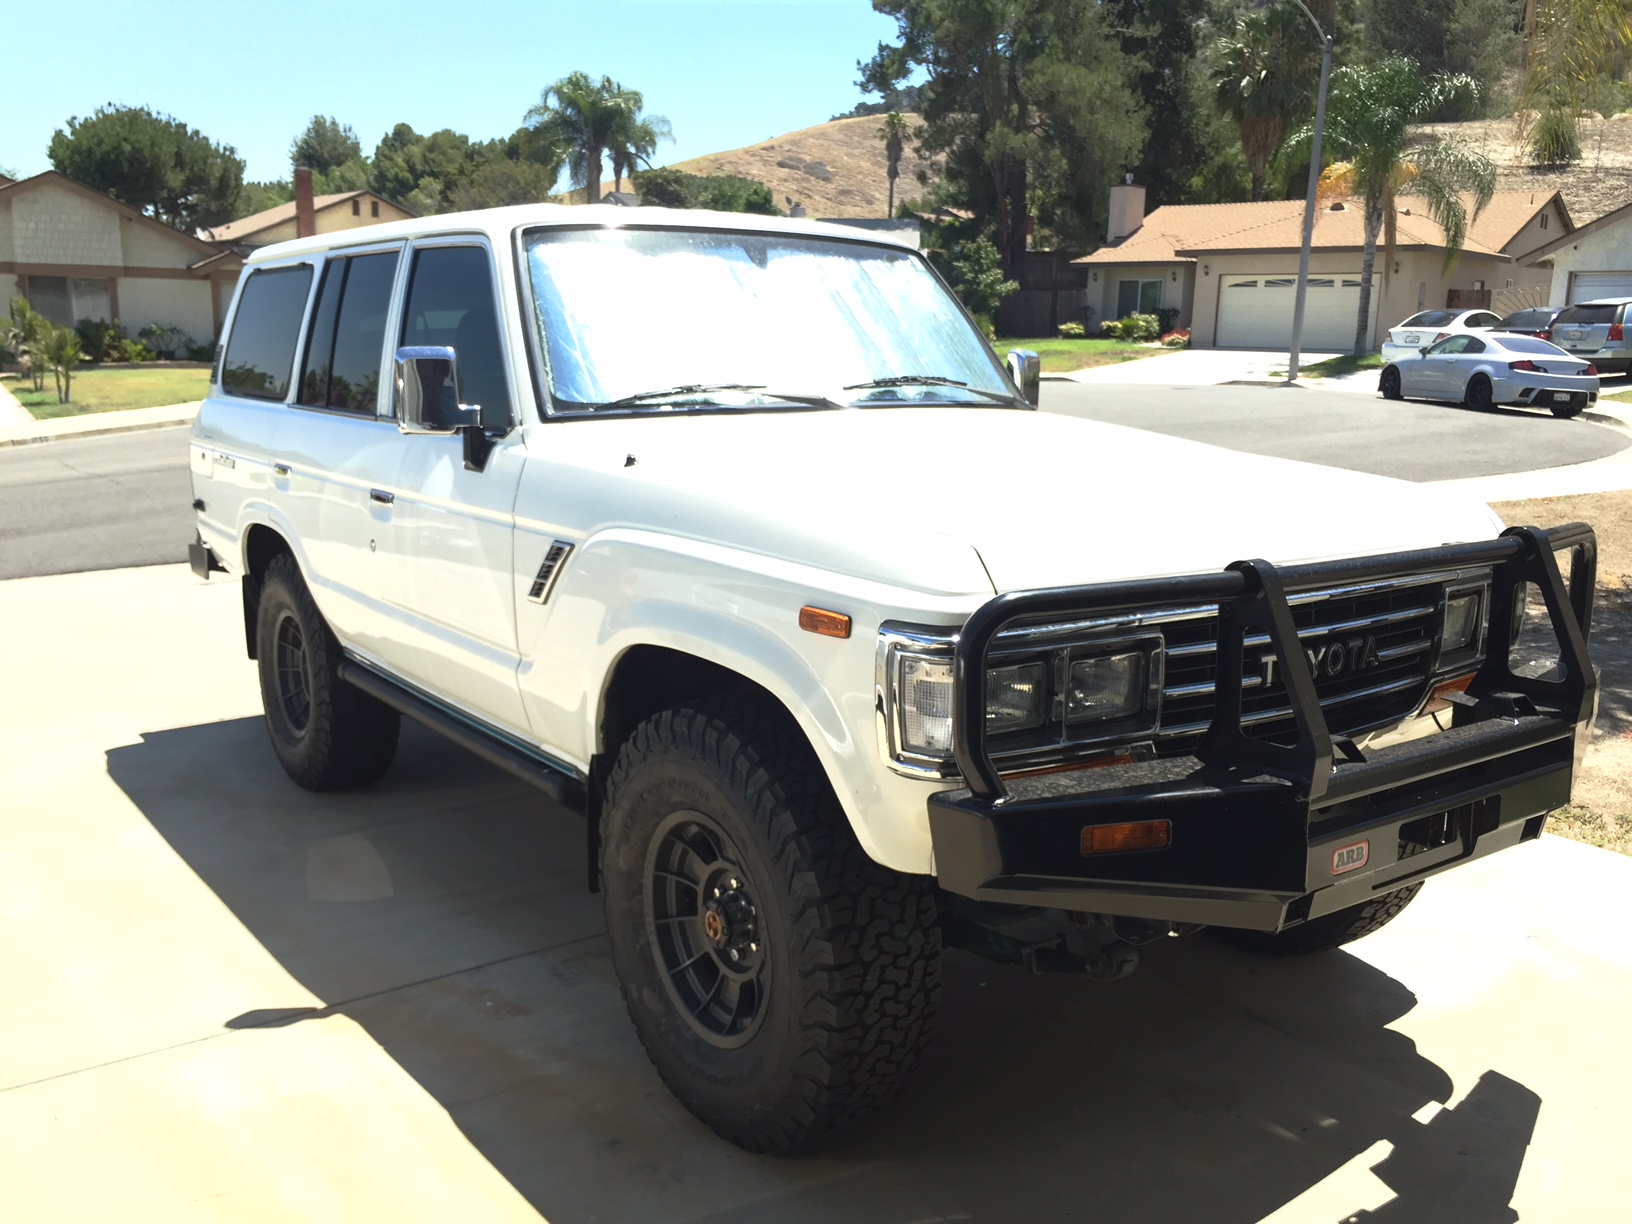
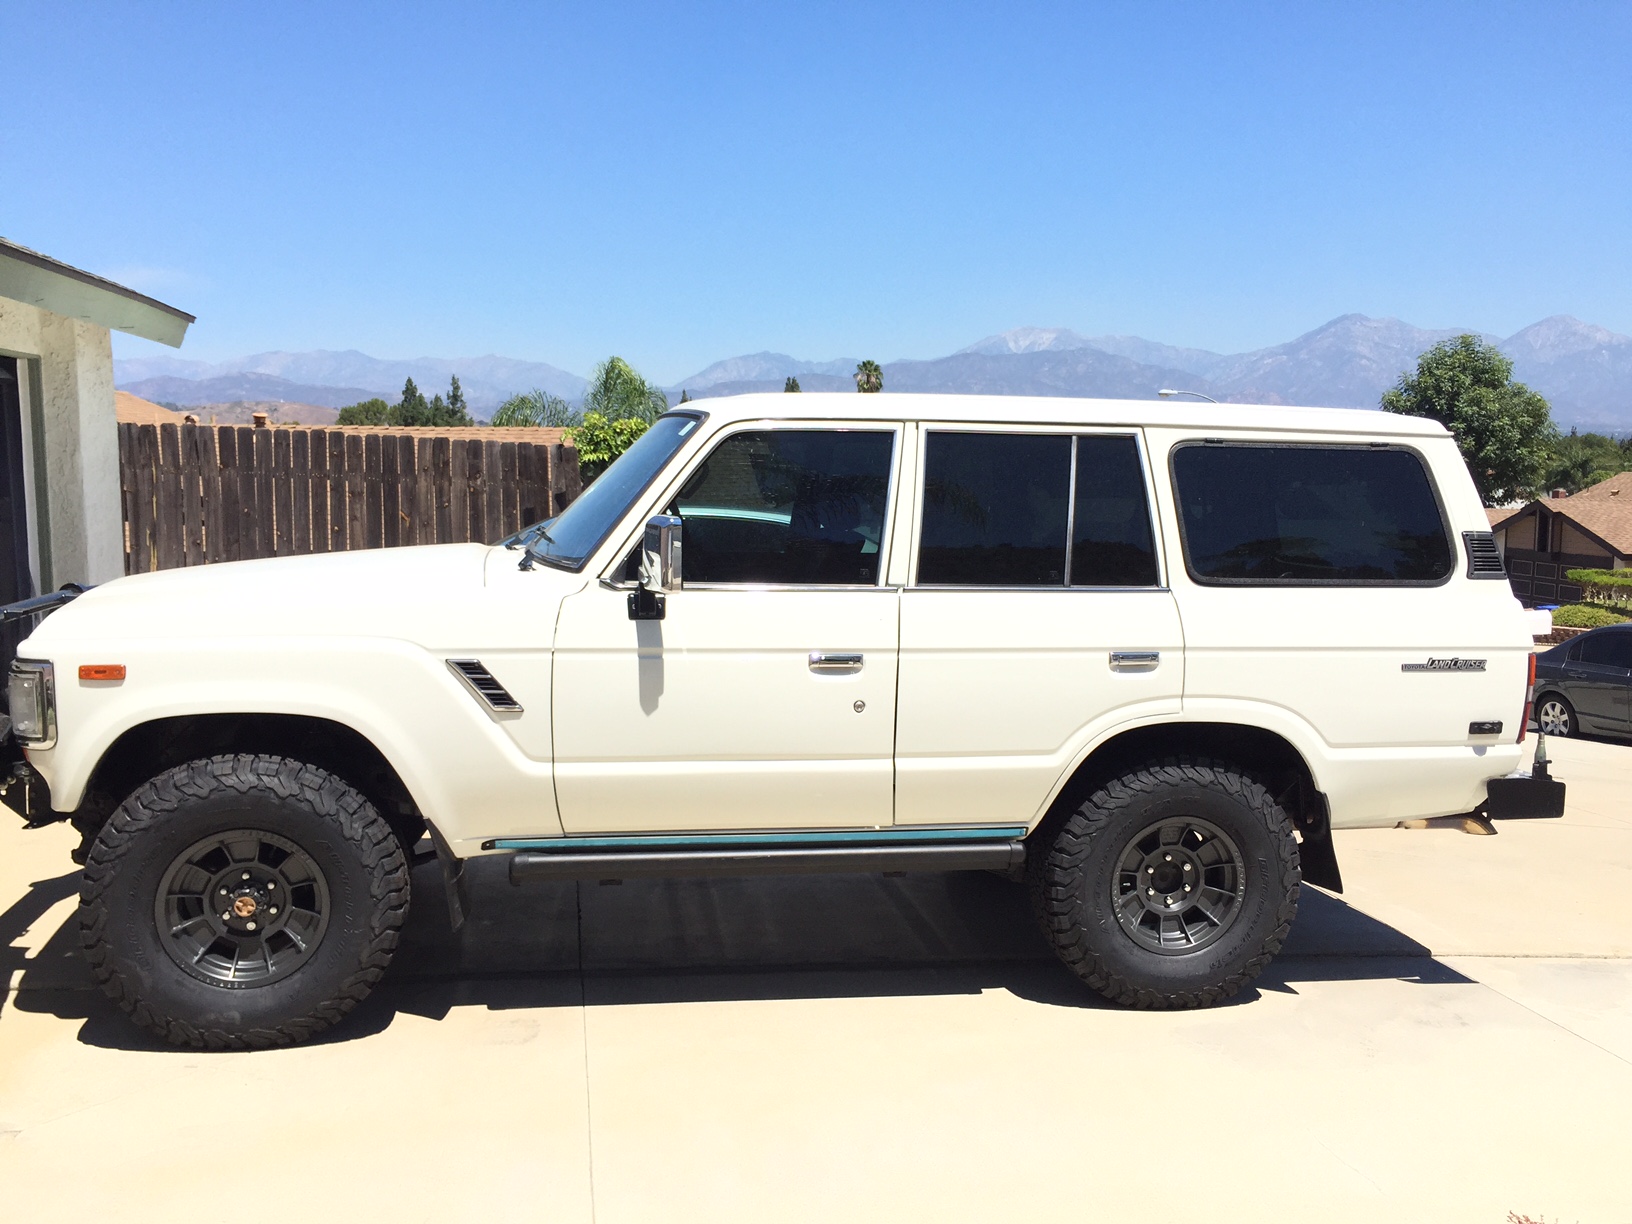
Some pics of Gilbert's 62.....e-rod 5.3L with 4L65e auto-tranny
|
|
|
|
|
OME heavy duty front and rear suspension
|
|
|
|
|
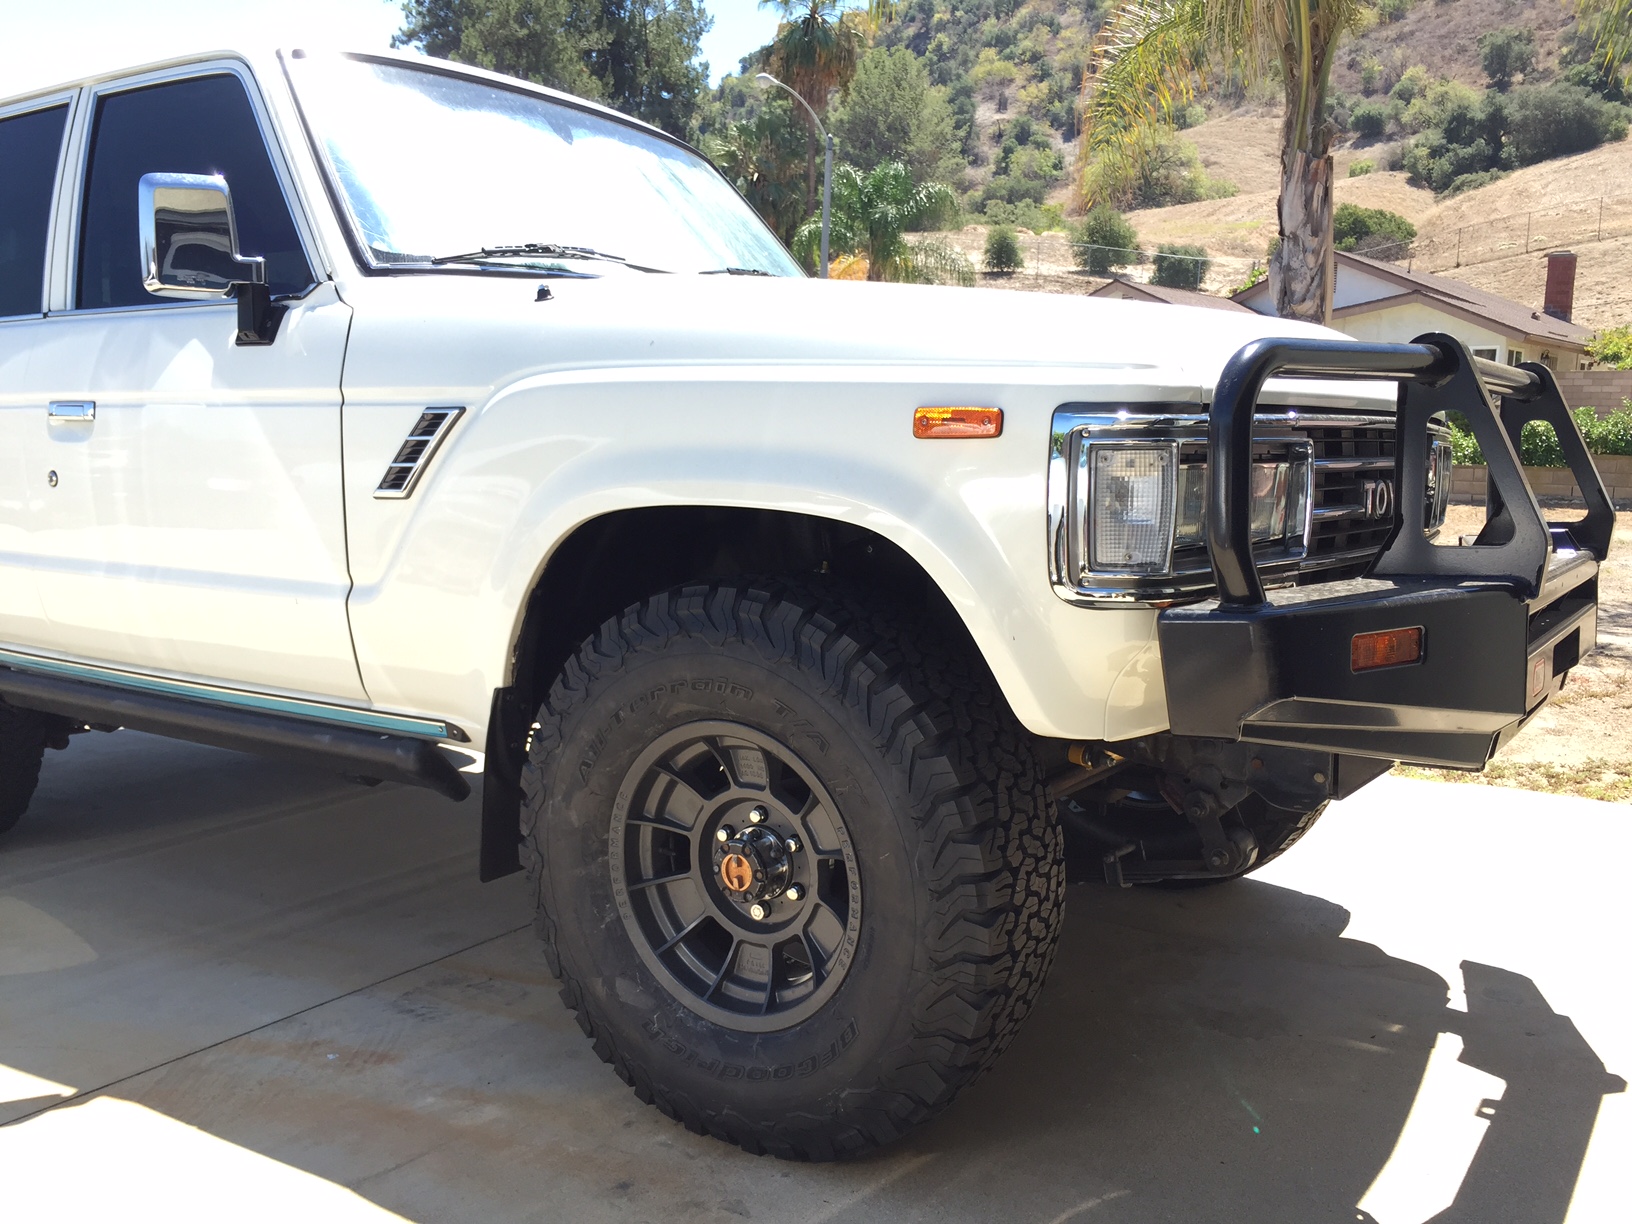
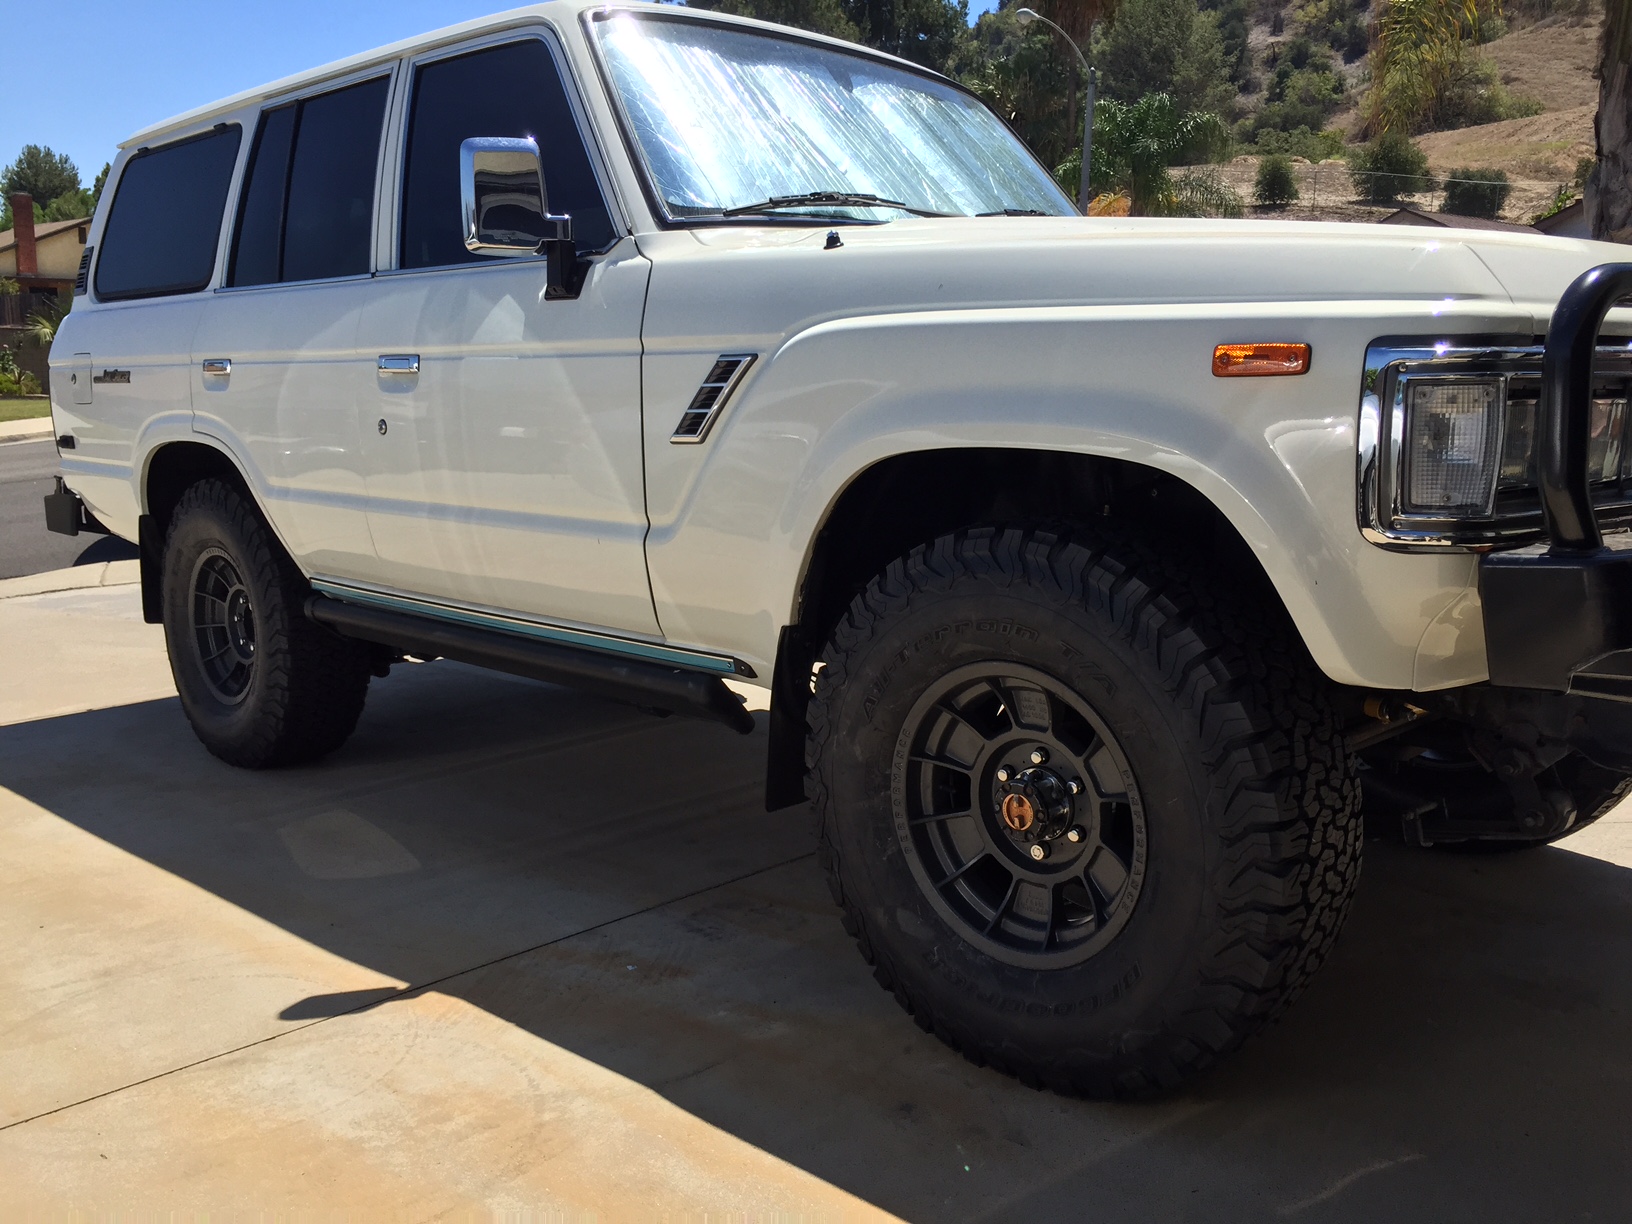
ARB front bumper and a recently installed Kaymar rear bumper with wheel and Jerry can swing outs.
|
|
|
|
|
Long range gas tank.
|
|
|
|
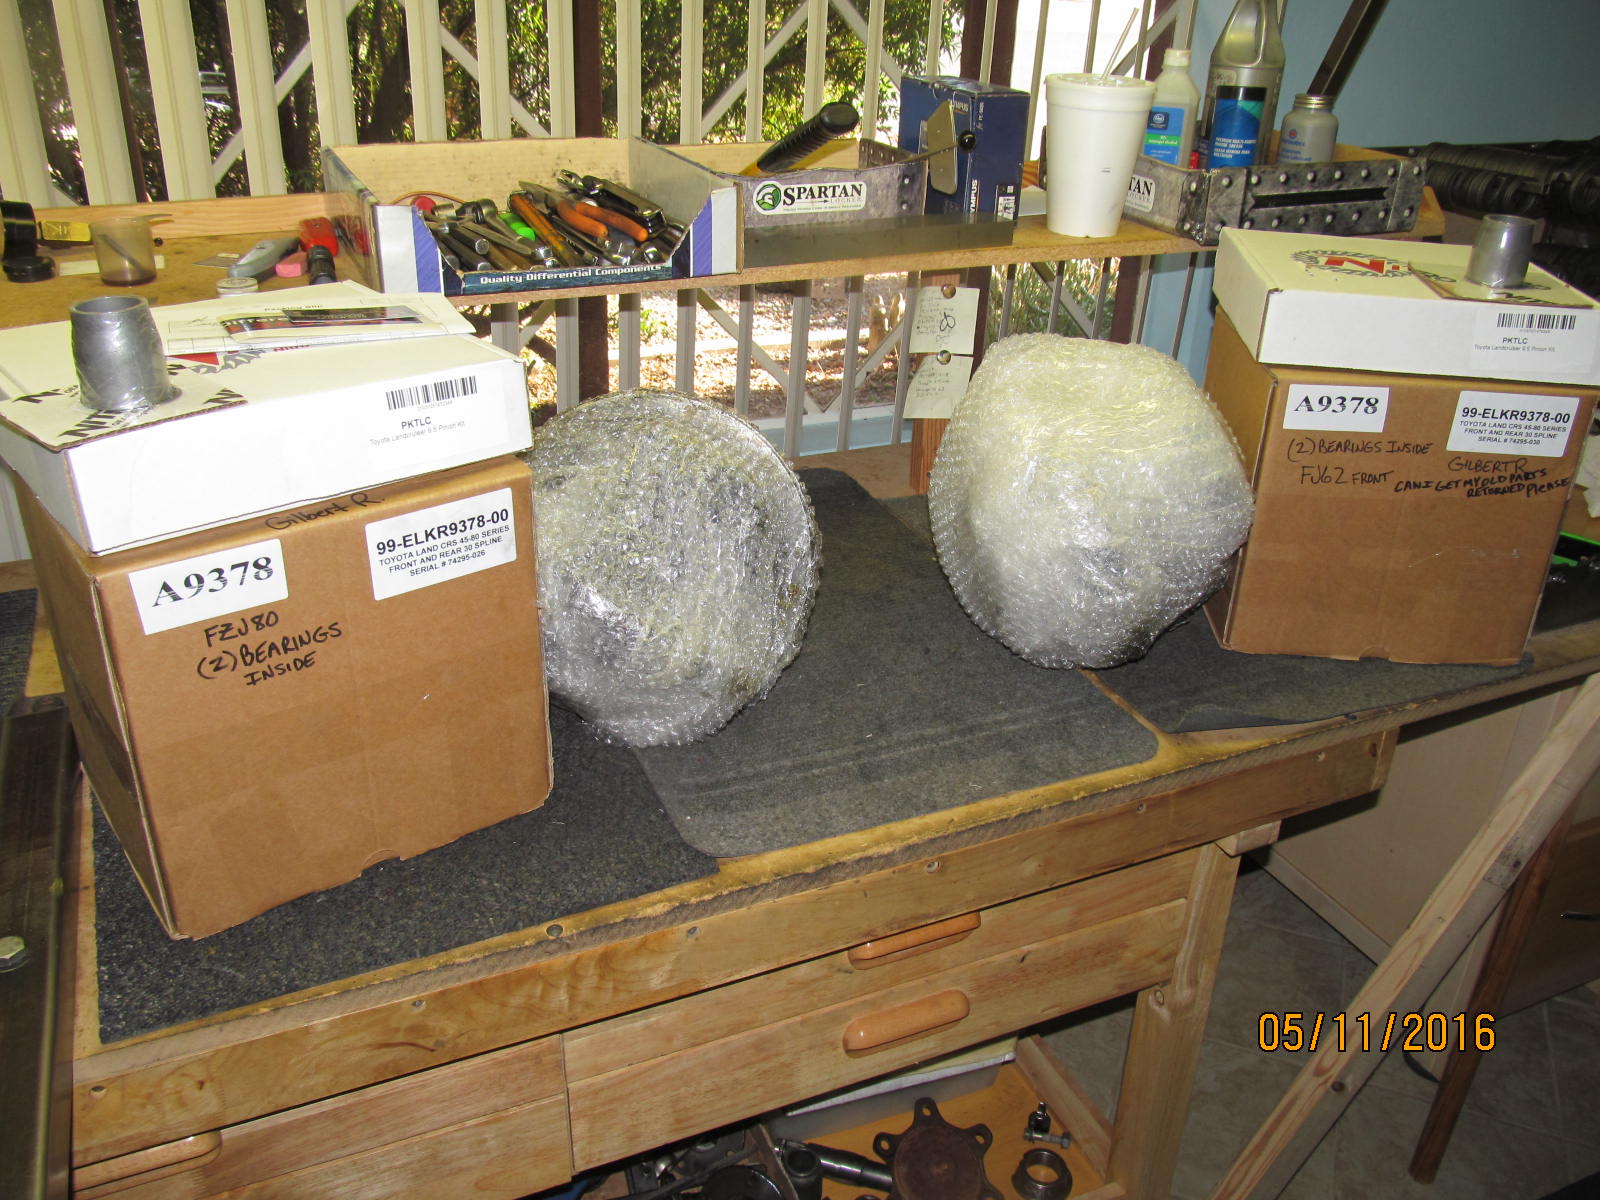
Gilbert, out of California, has an FJ62 with the large 9.5" front 3rd and, still has at the moment, the
factory rear semi-floater(c-clip). The semi-floaters don't accept the Harrops but he has a
nice 1994 FZJ80 rear-end just waiting to get transplanted that will.
|
|
|
|
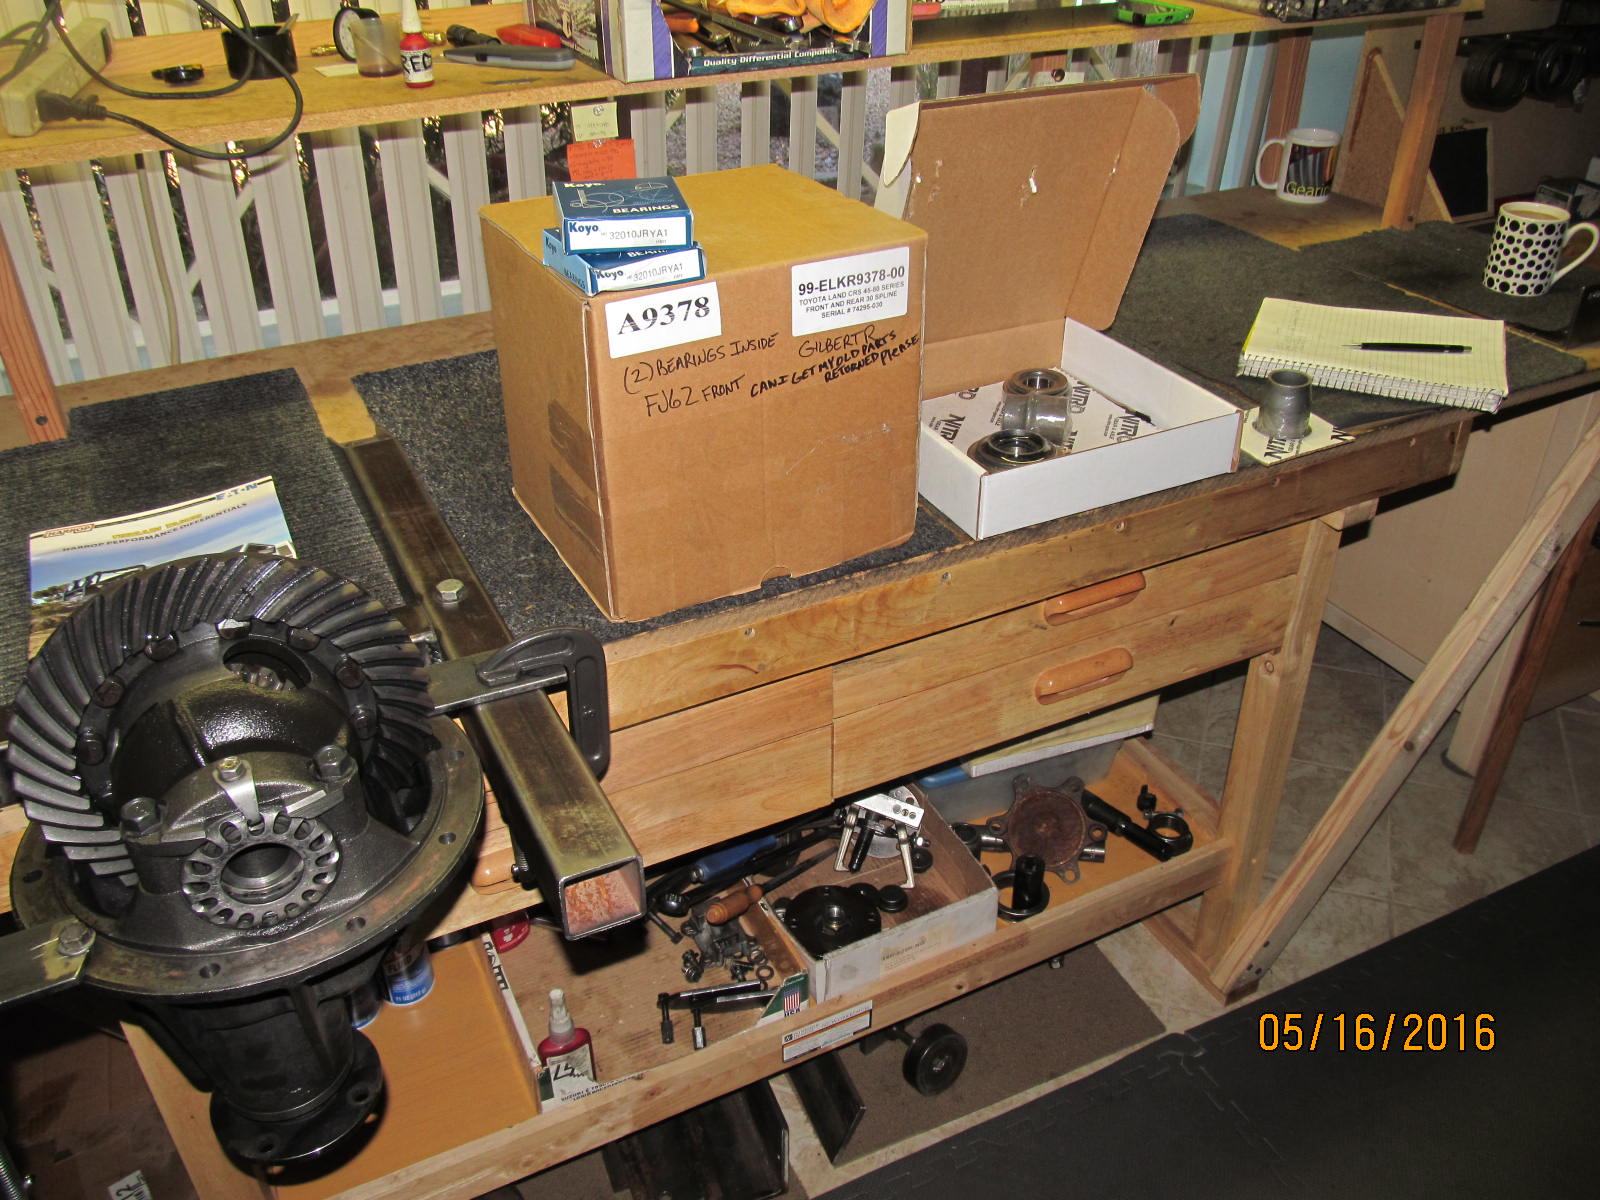
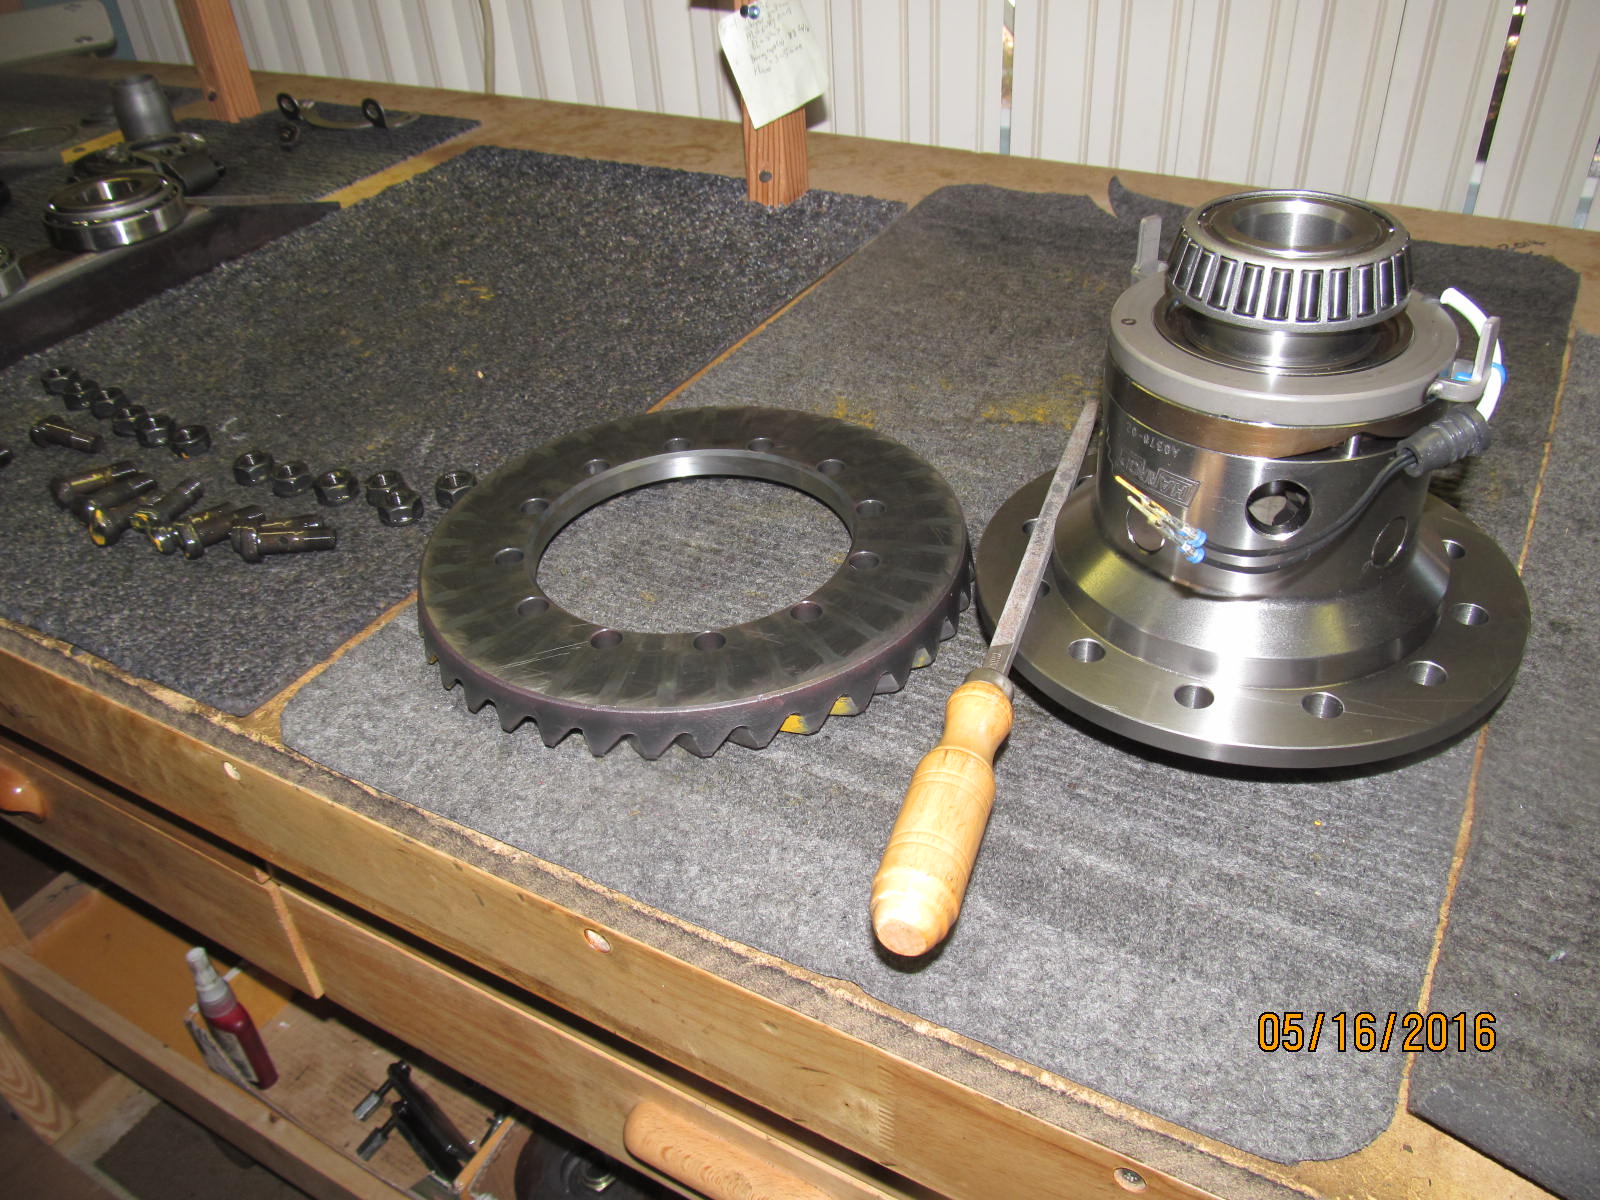
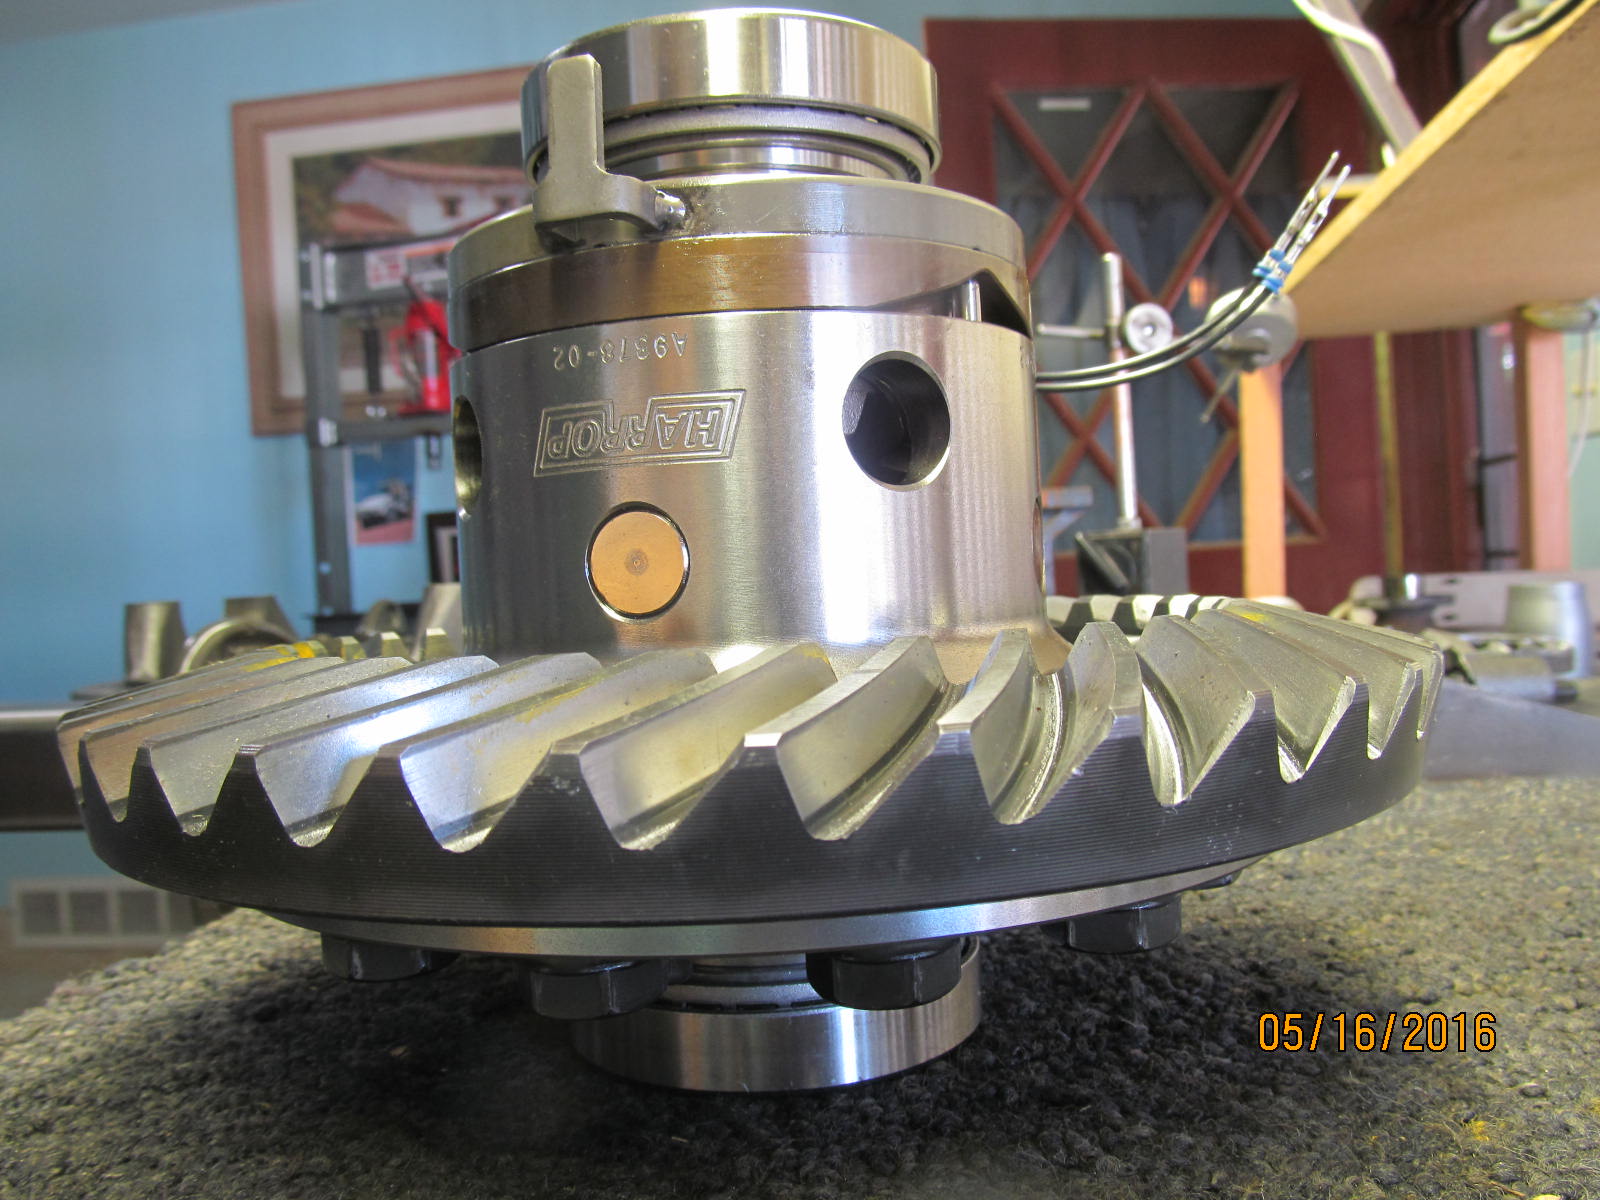
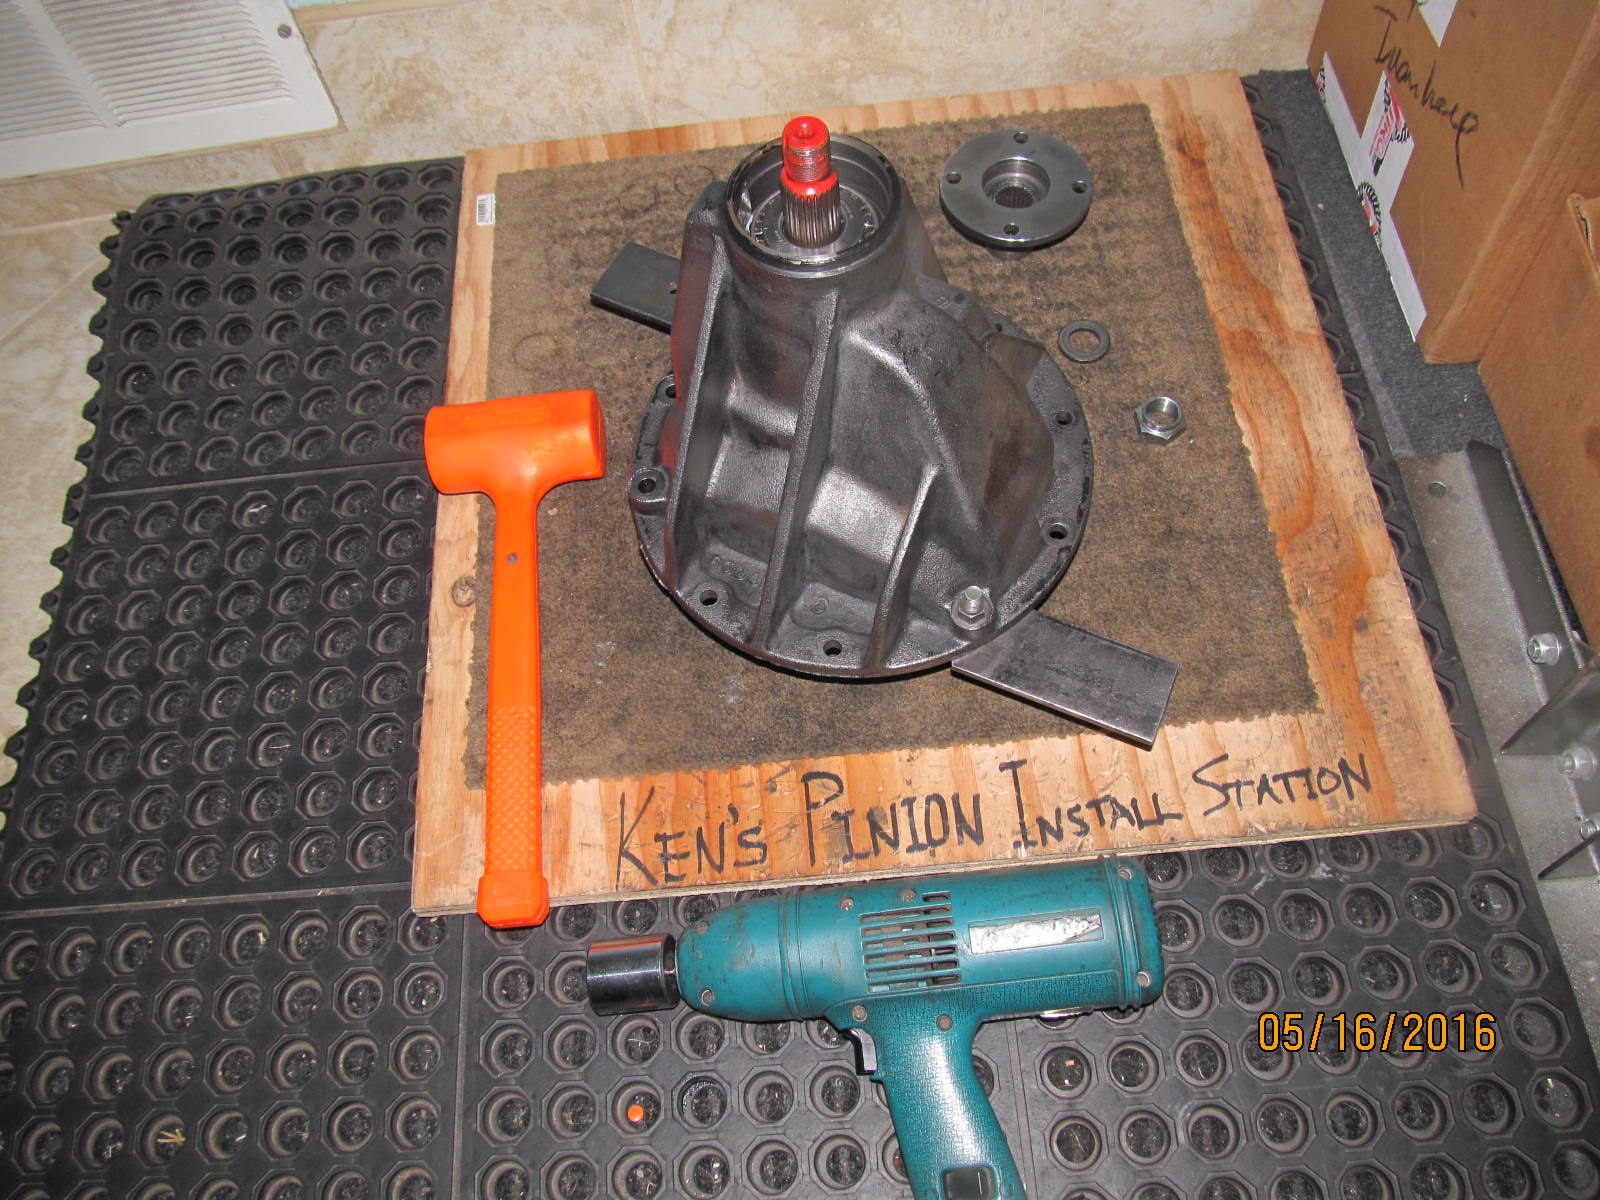
This long page is about installing that 99-ELKR9378-00 in the FRONT along with 4 new bearings and
an upgraded solid collar.
Koyo carrier bearings are already included in the box
Contact Ward Harris (National importer/authorized dealer for Harrop) at 1-800-224-7801
or email info@cruiserbrothers.com
The pinion kit and solid collar are sourced from JustDifferentials.com
This is the hidden link to the rear Harrop install 94 FZJ80 Harrop Install
|
|
|
|
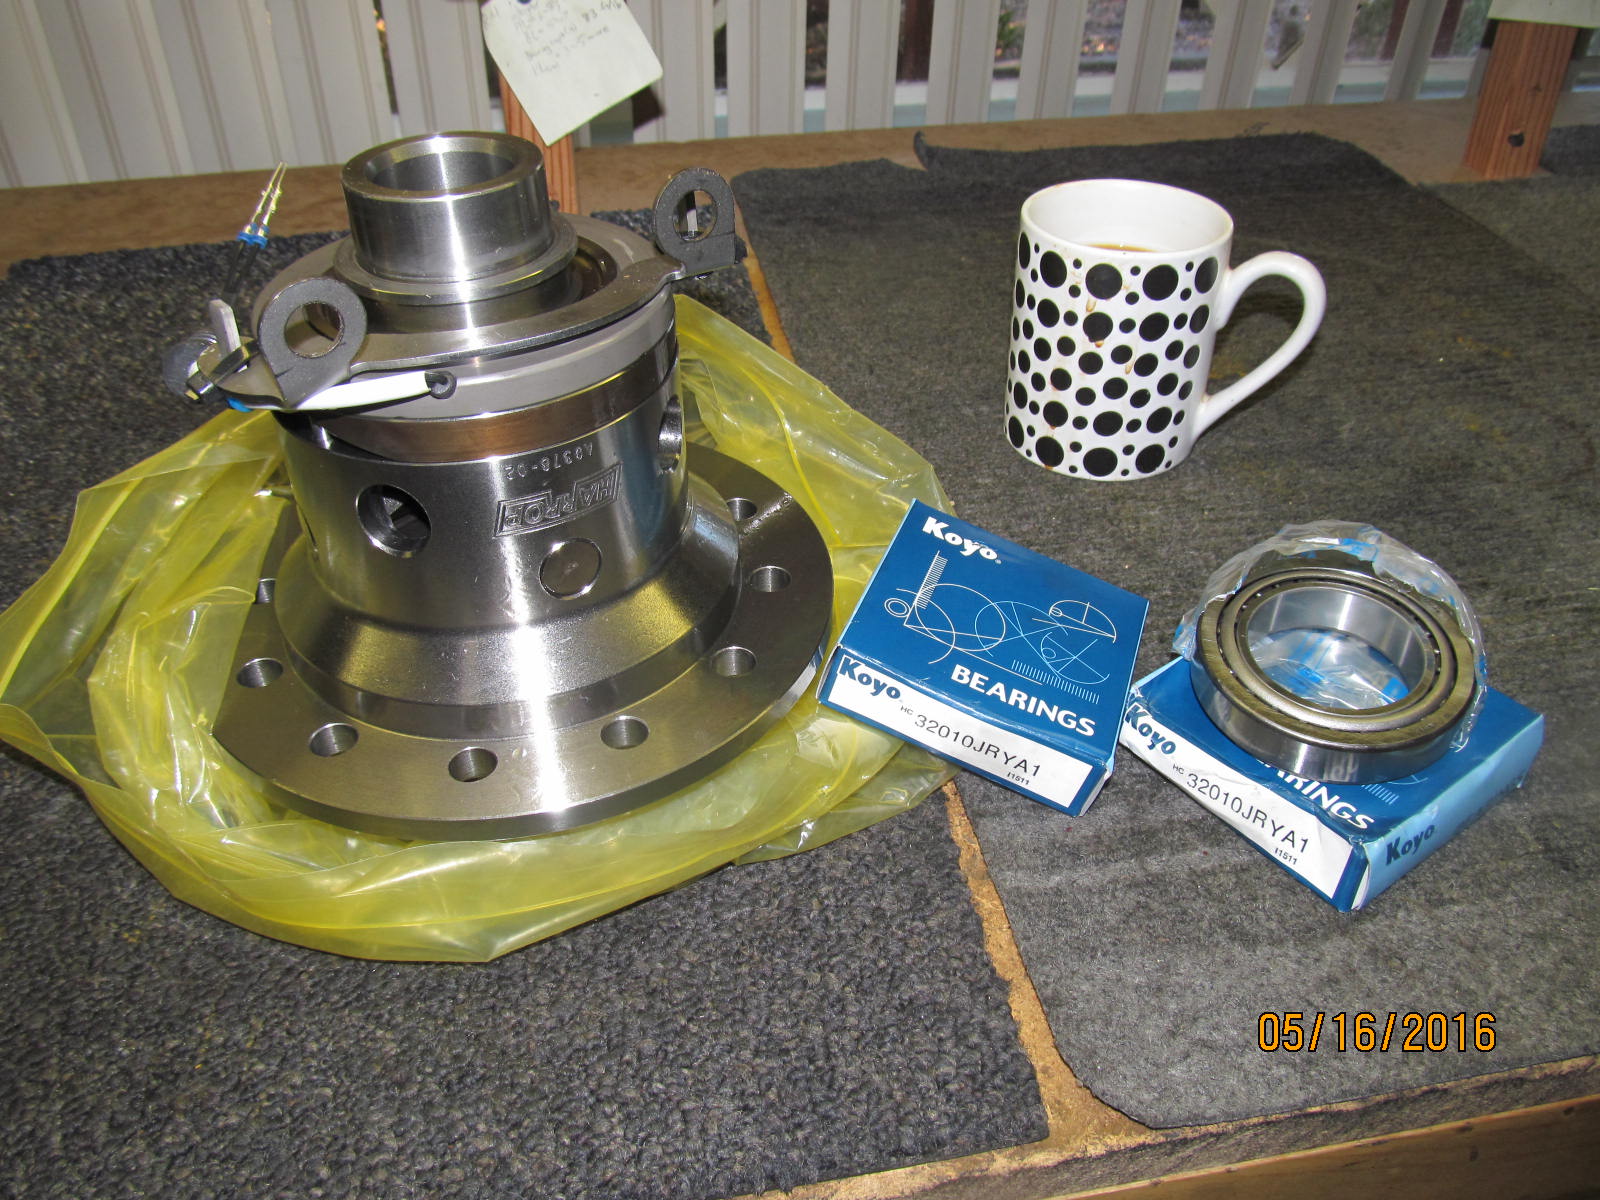
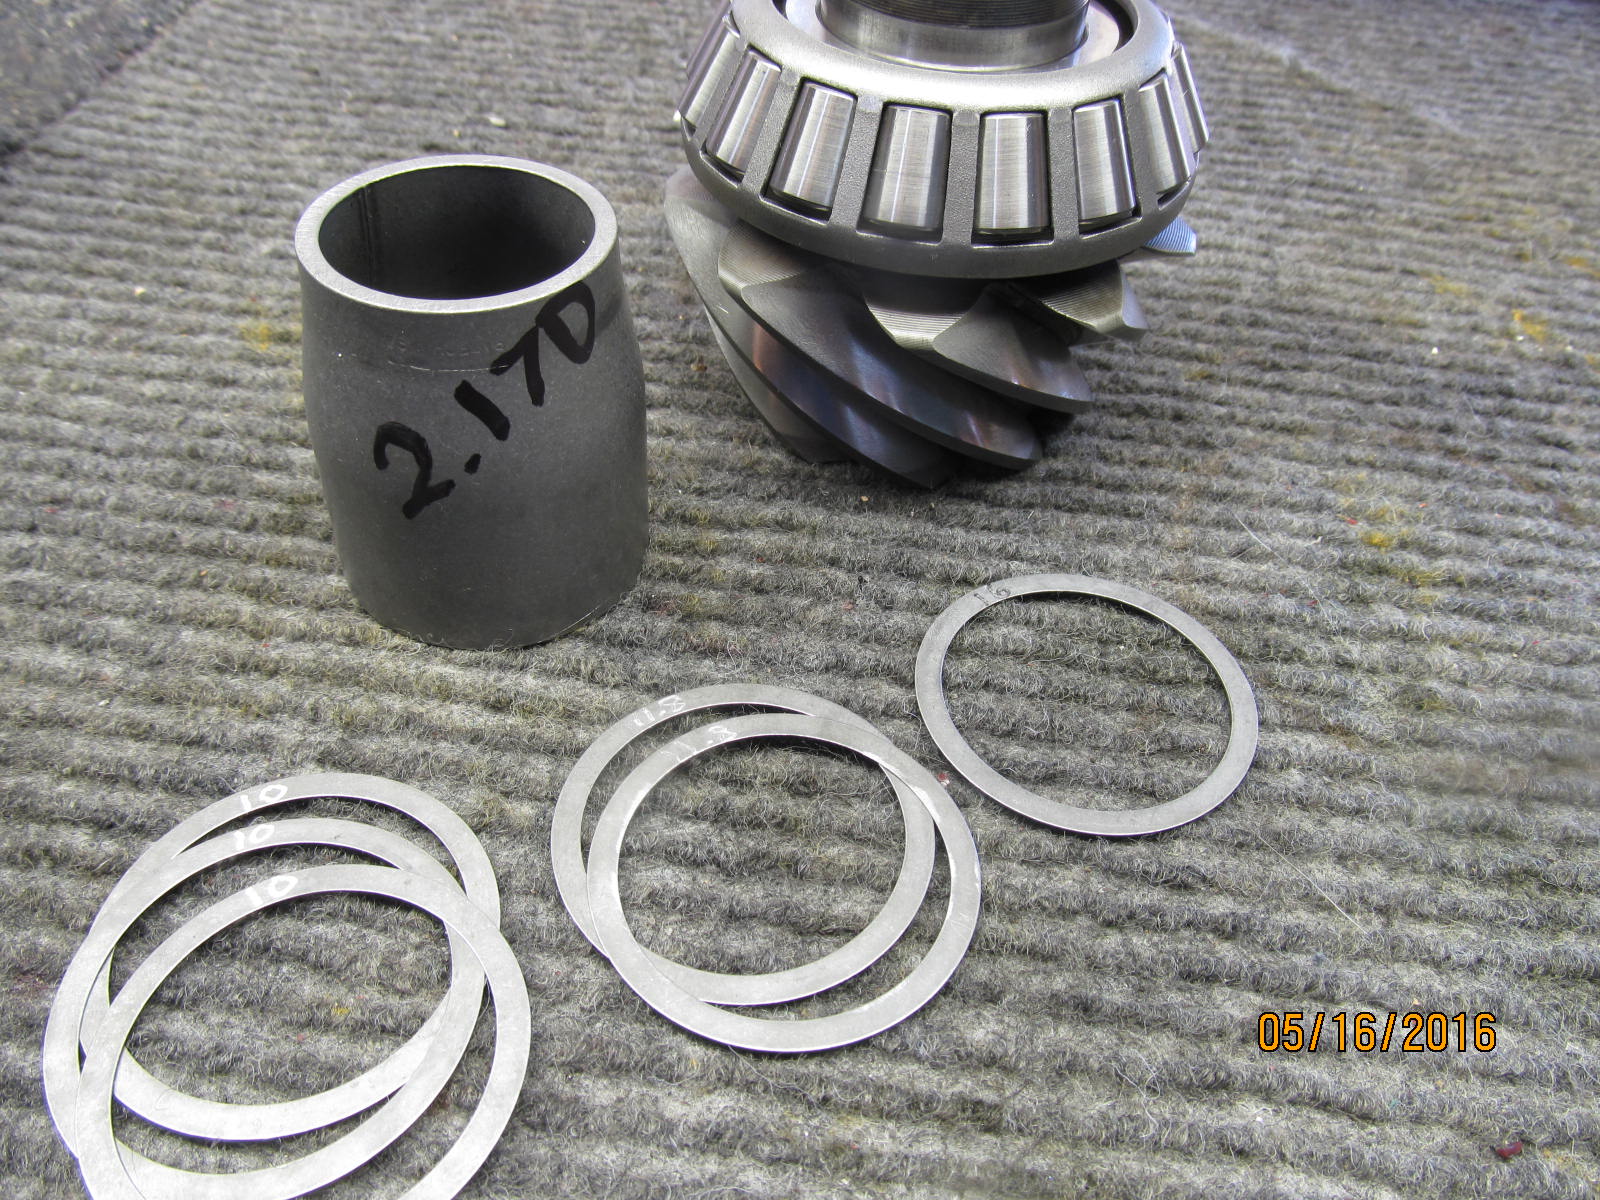
The carrier bearings are KOYO brand....preferred brand. 32010's are also
known as conversion bearings....mini-truck guys use them all the time to adapt various V6 style
carriers into "4 cylinder" differential 3rds. The Harrops have the larger 50mm journals so
the 32010X bearings are the natural choice. Toyota has a genuine part number for them.....
90368-50024
|
|
|
|
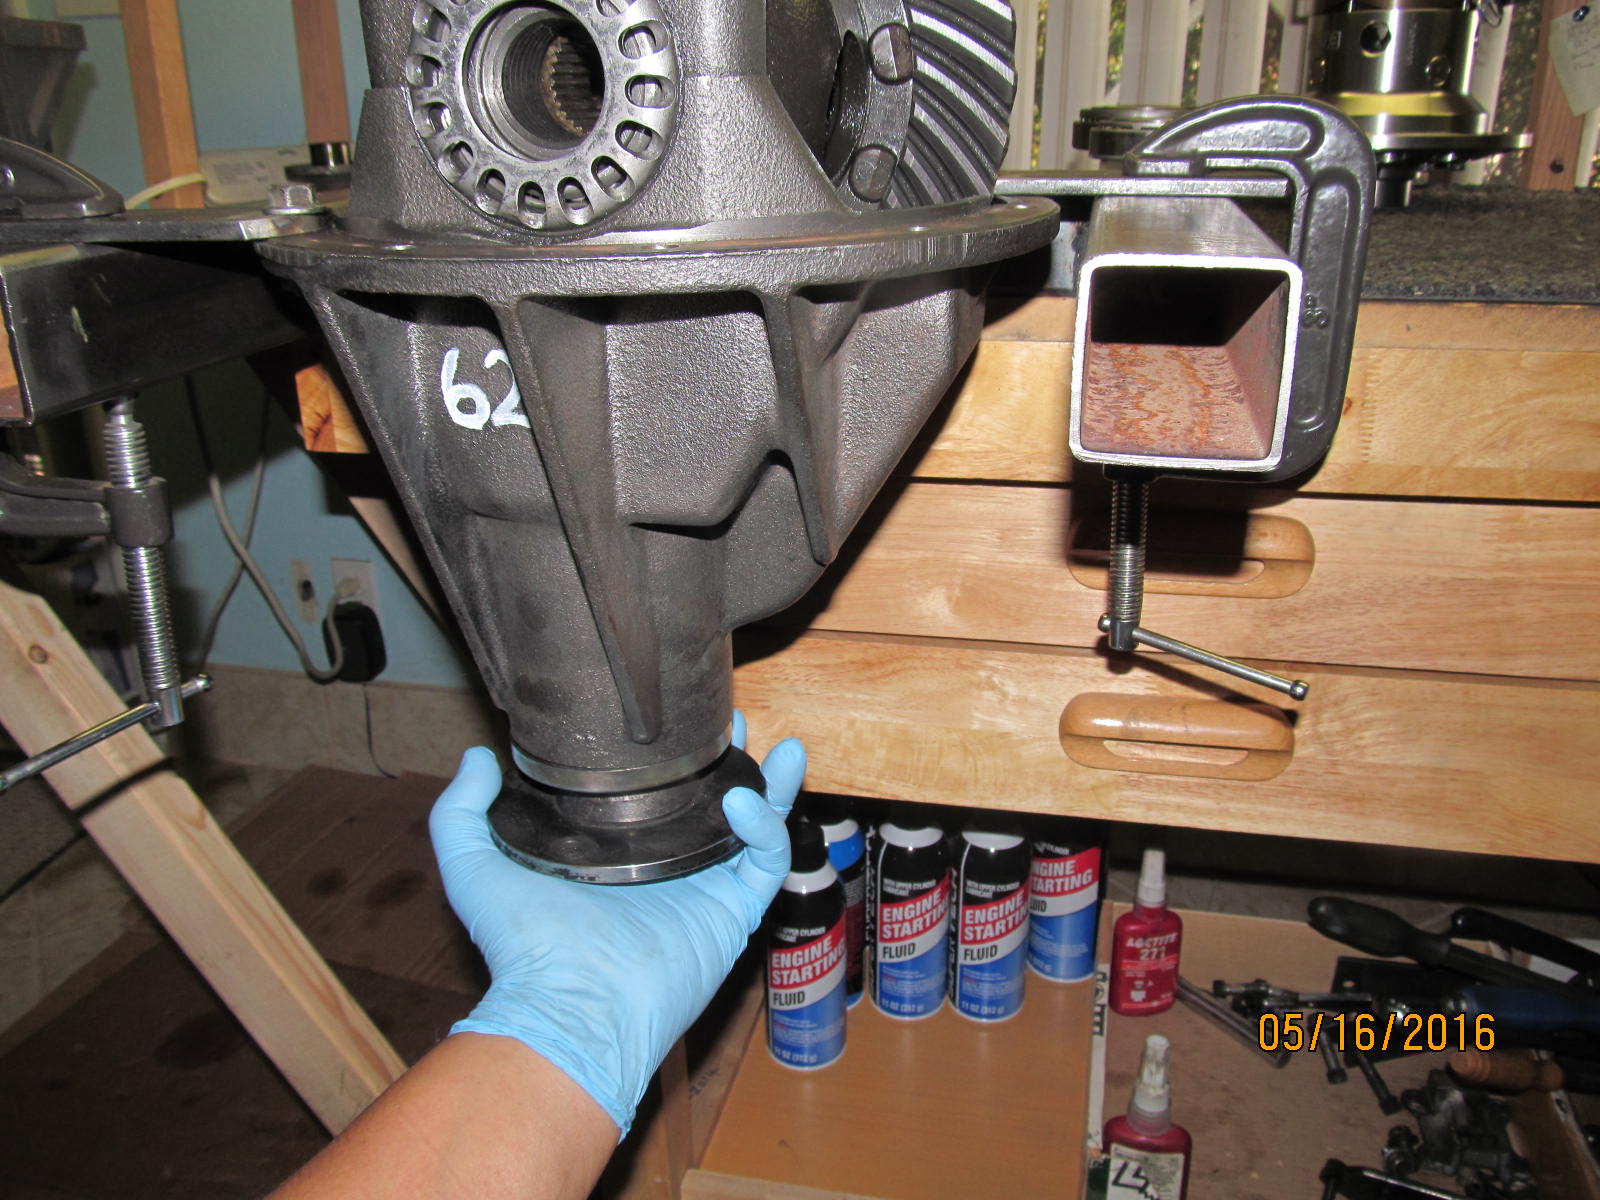
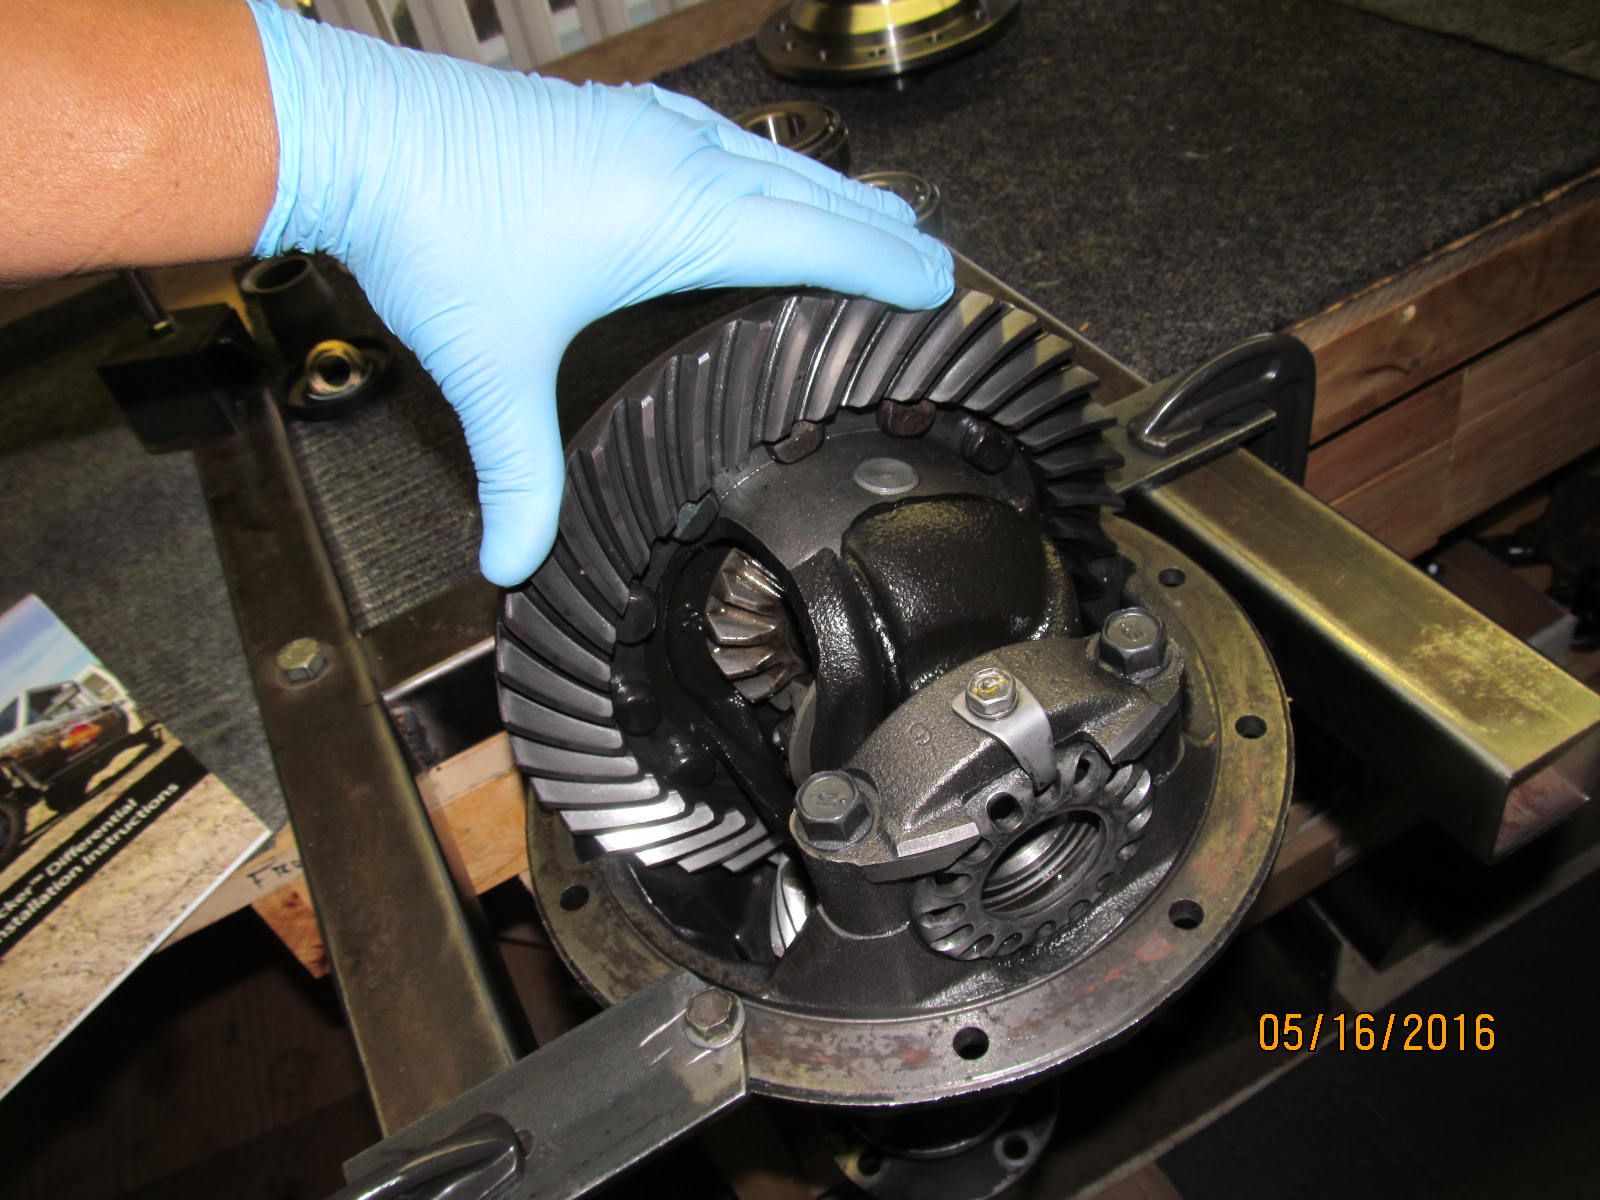
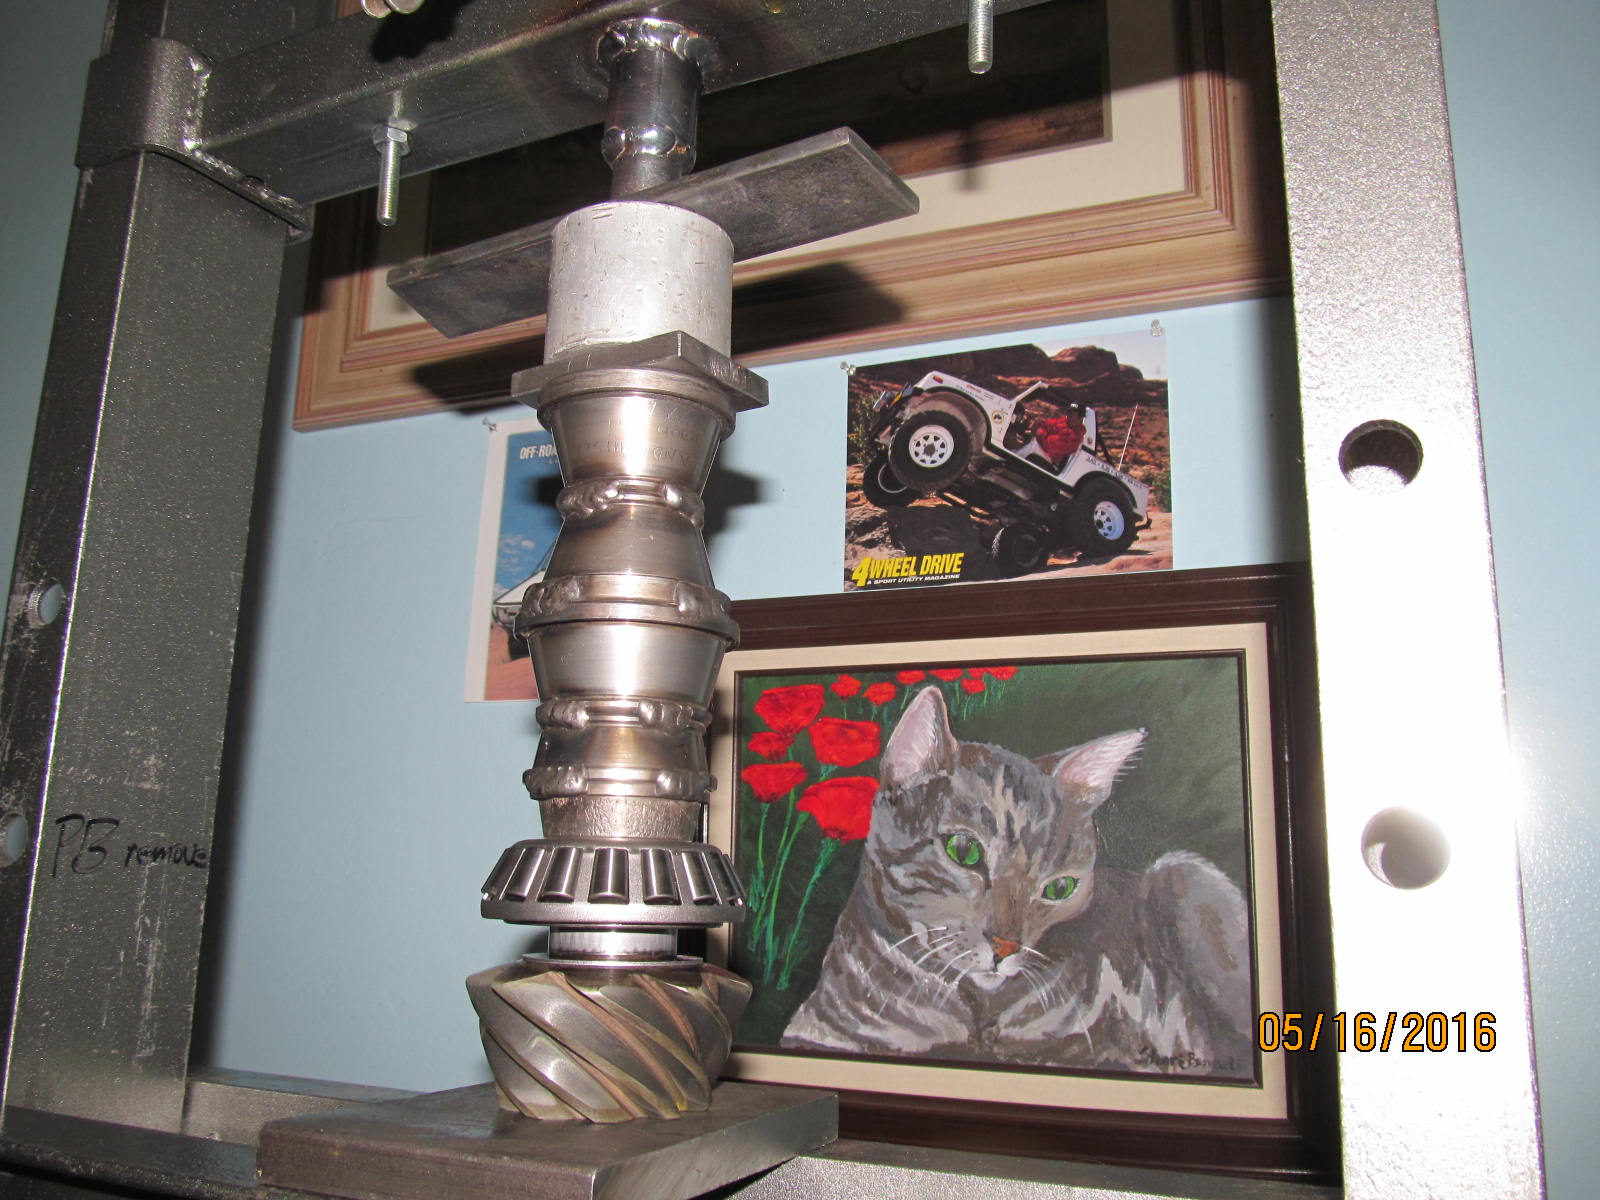
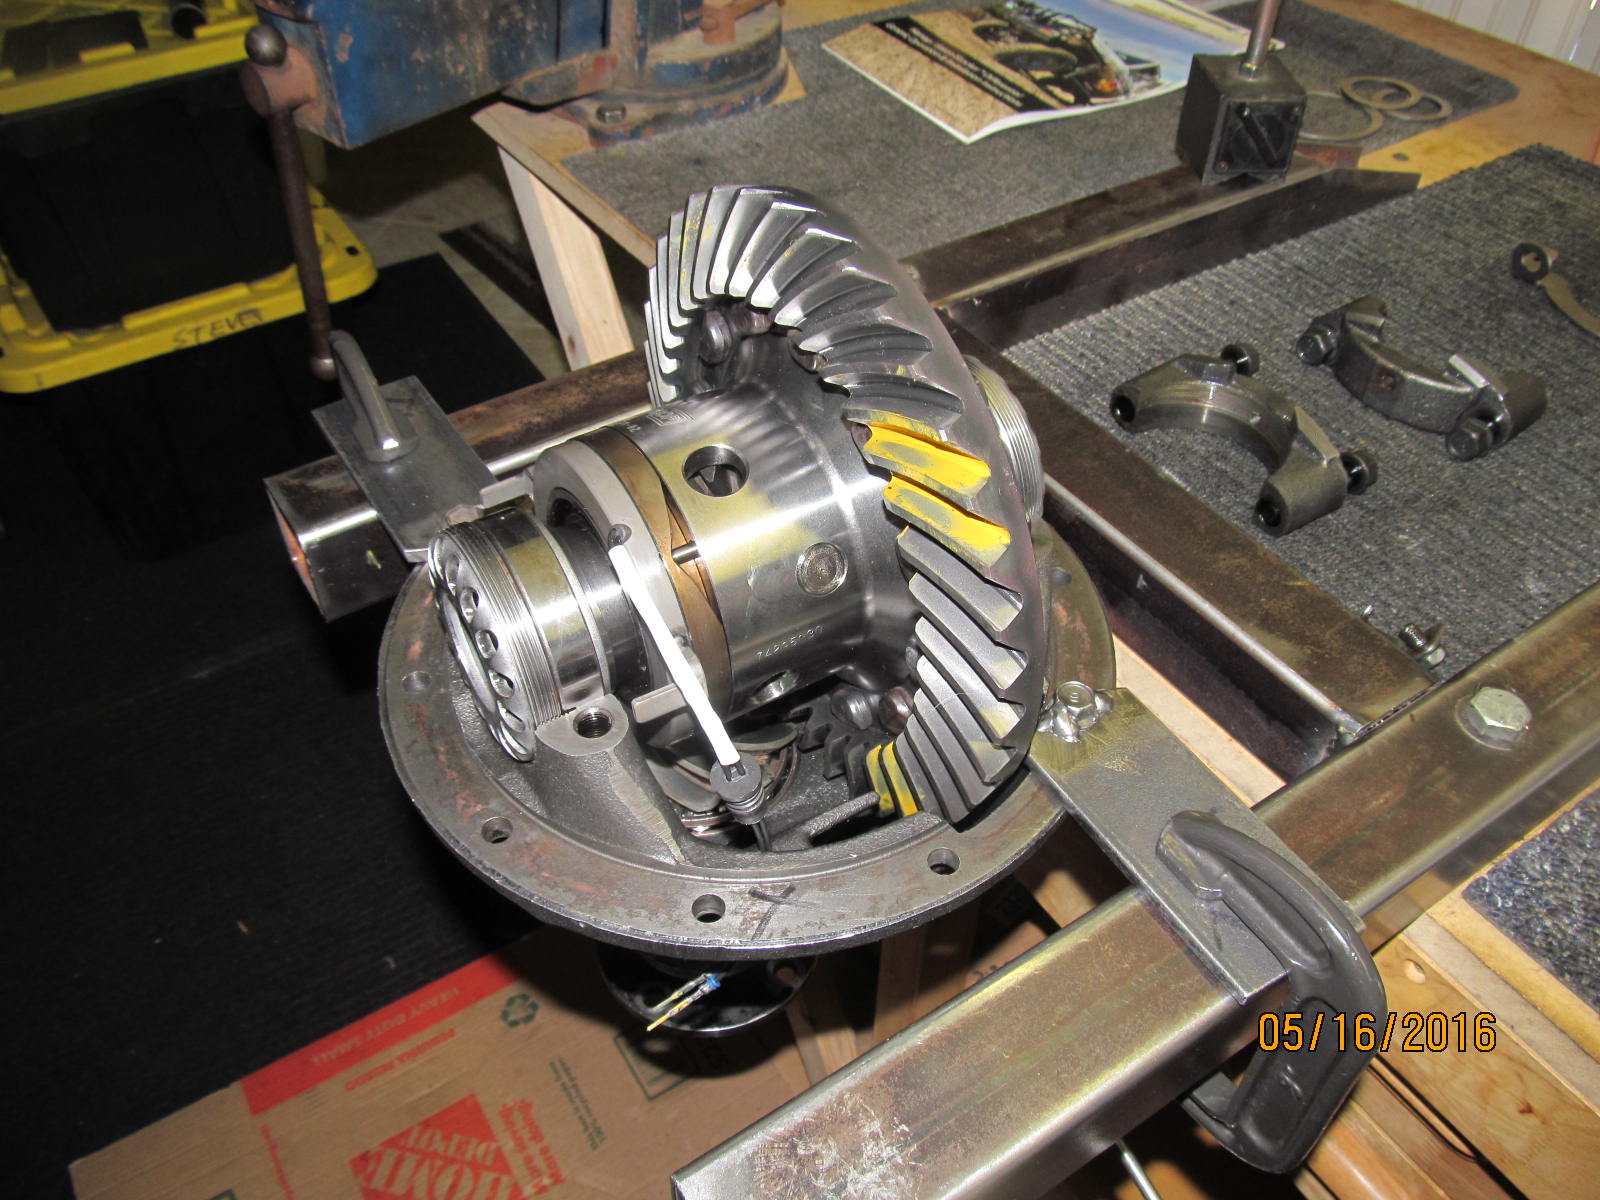
I've handled so many Landcruiser 3rds that I can tell just by spinning the pinion which model.....
this one feels like an FJ62.
|
|
|
|
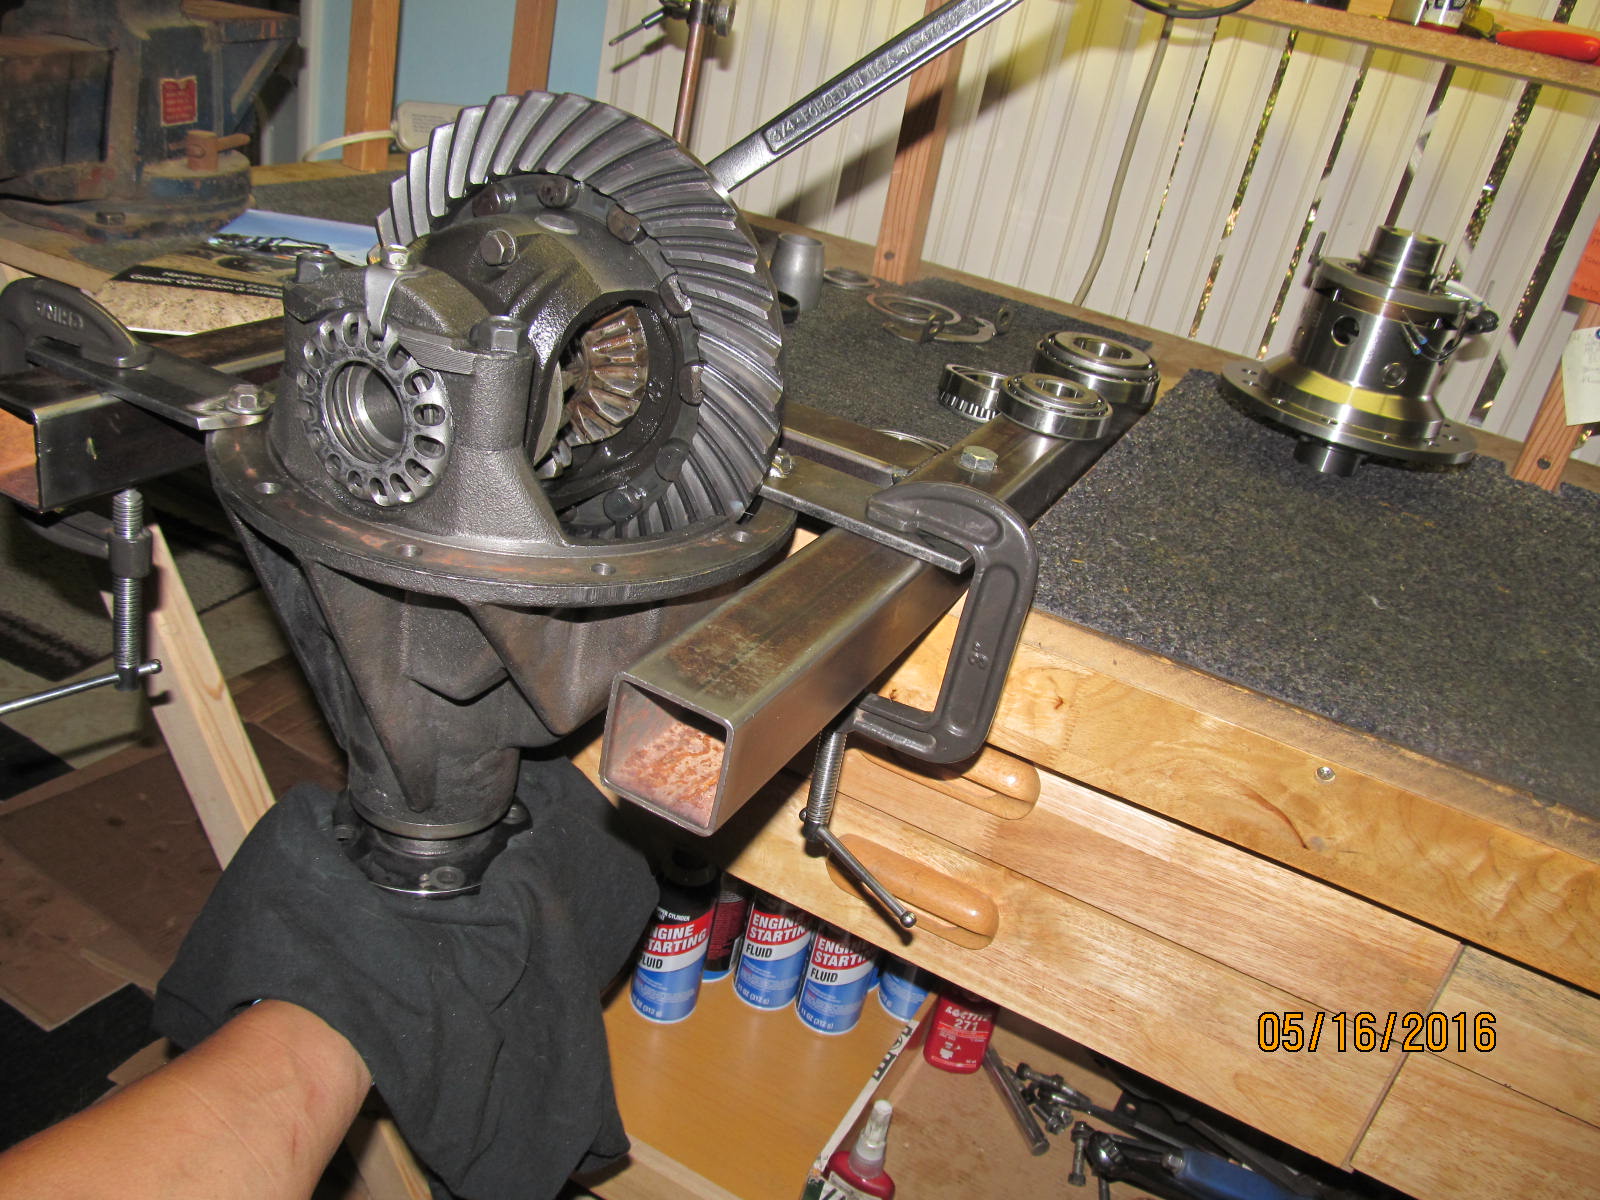
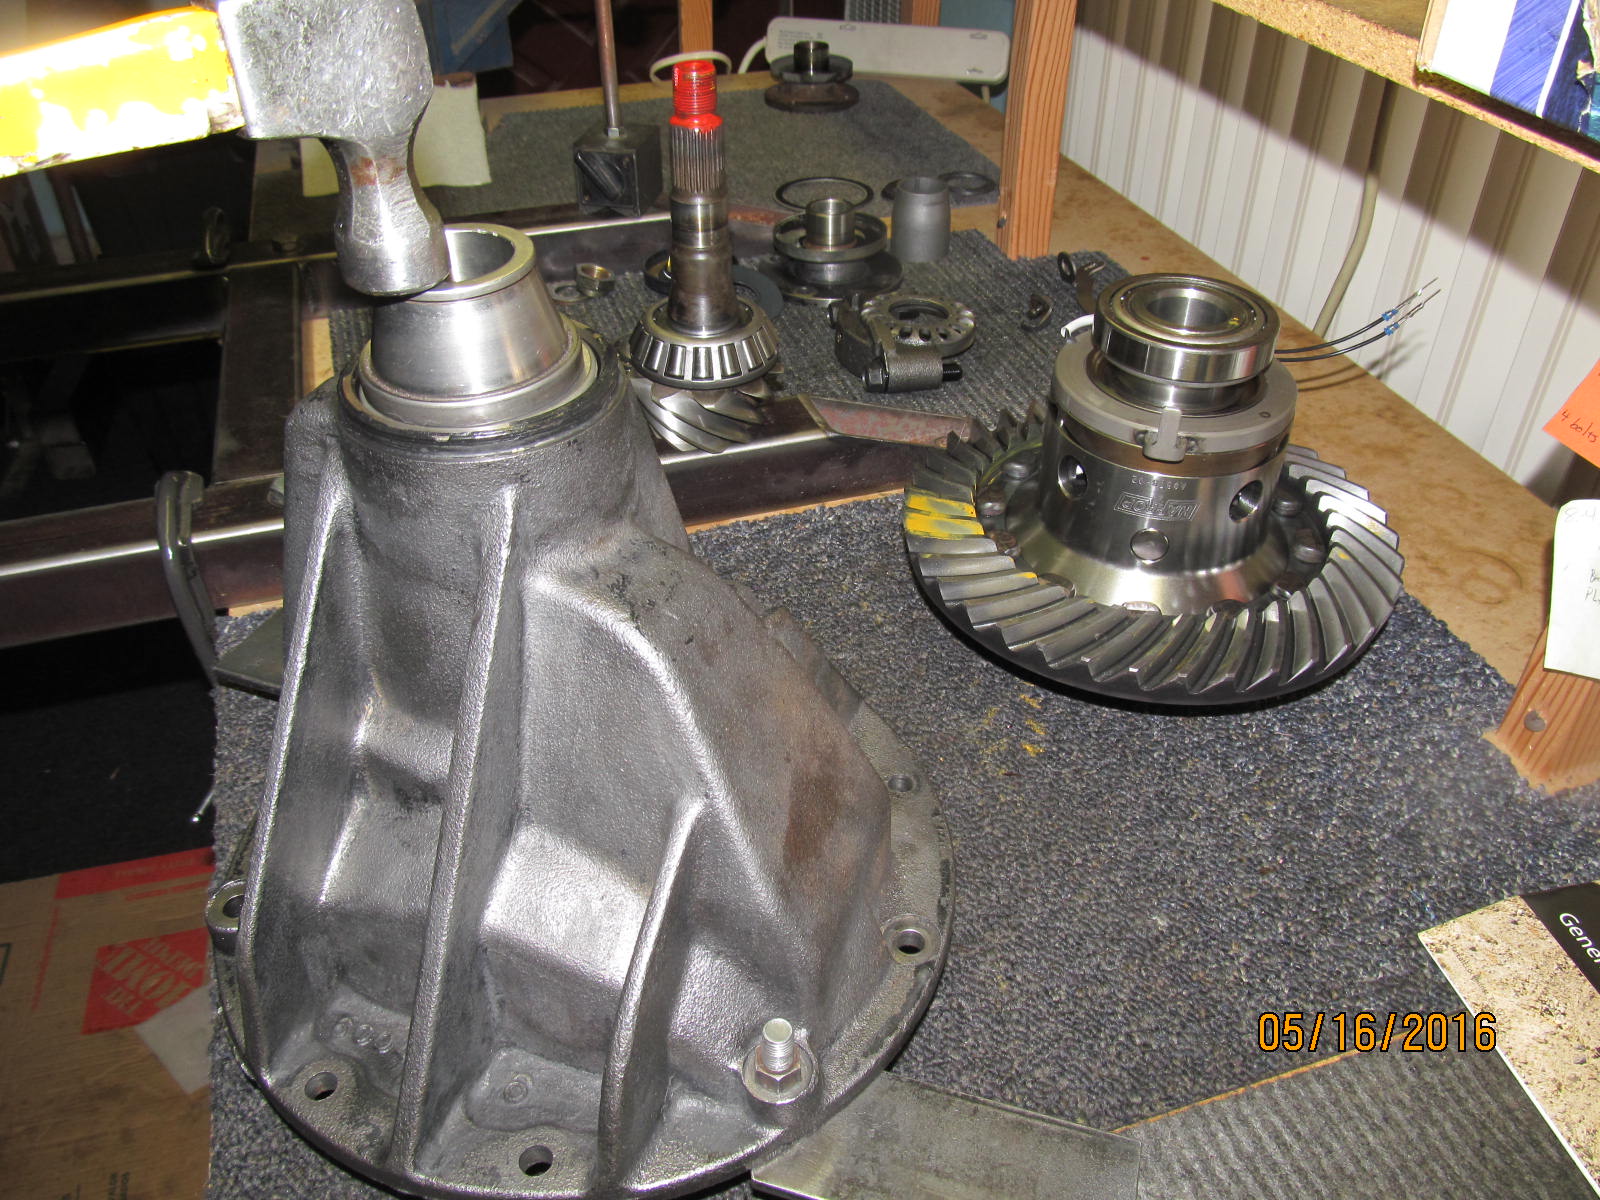
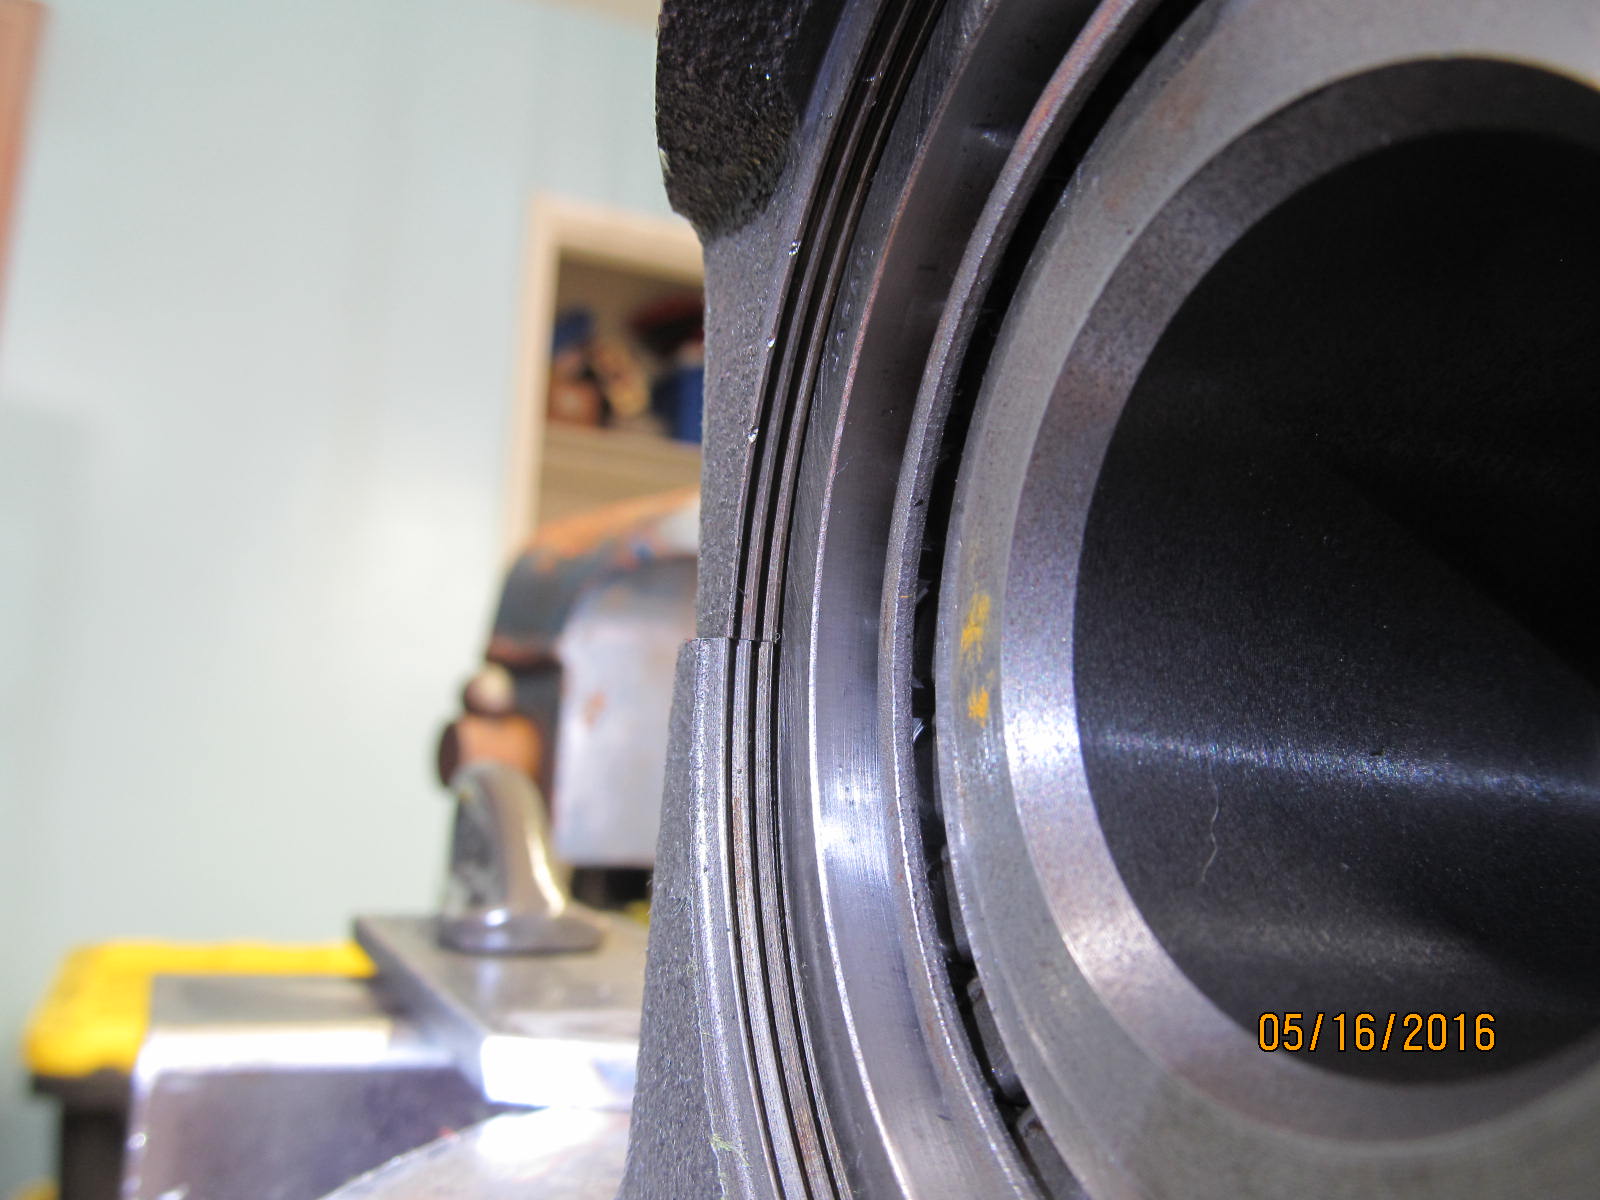
Before I take a paint test, I need to see how the old bearings feel. Both the pinion and carrier bearings
turn smoothly and is a good indication that the ring and pinion are likely to still be in great shape.
|
|
|
|
|
Rag on pinion flange and offer some resistance while turning the ring gear back and forth about 3 times.
|
|
|
|
|
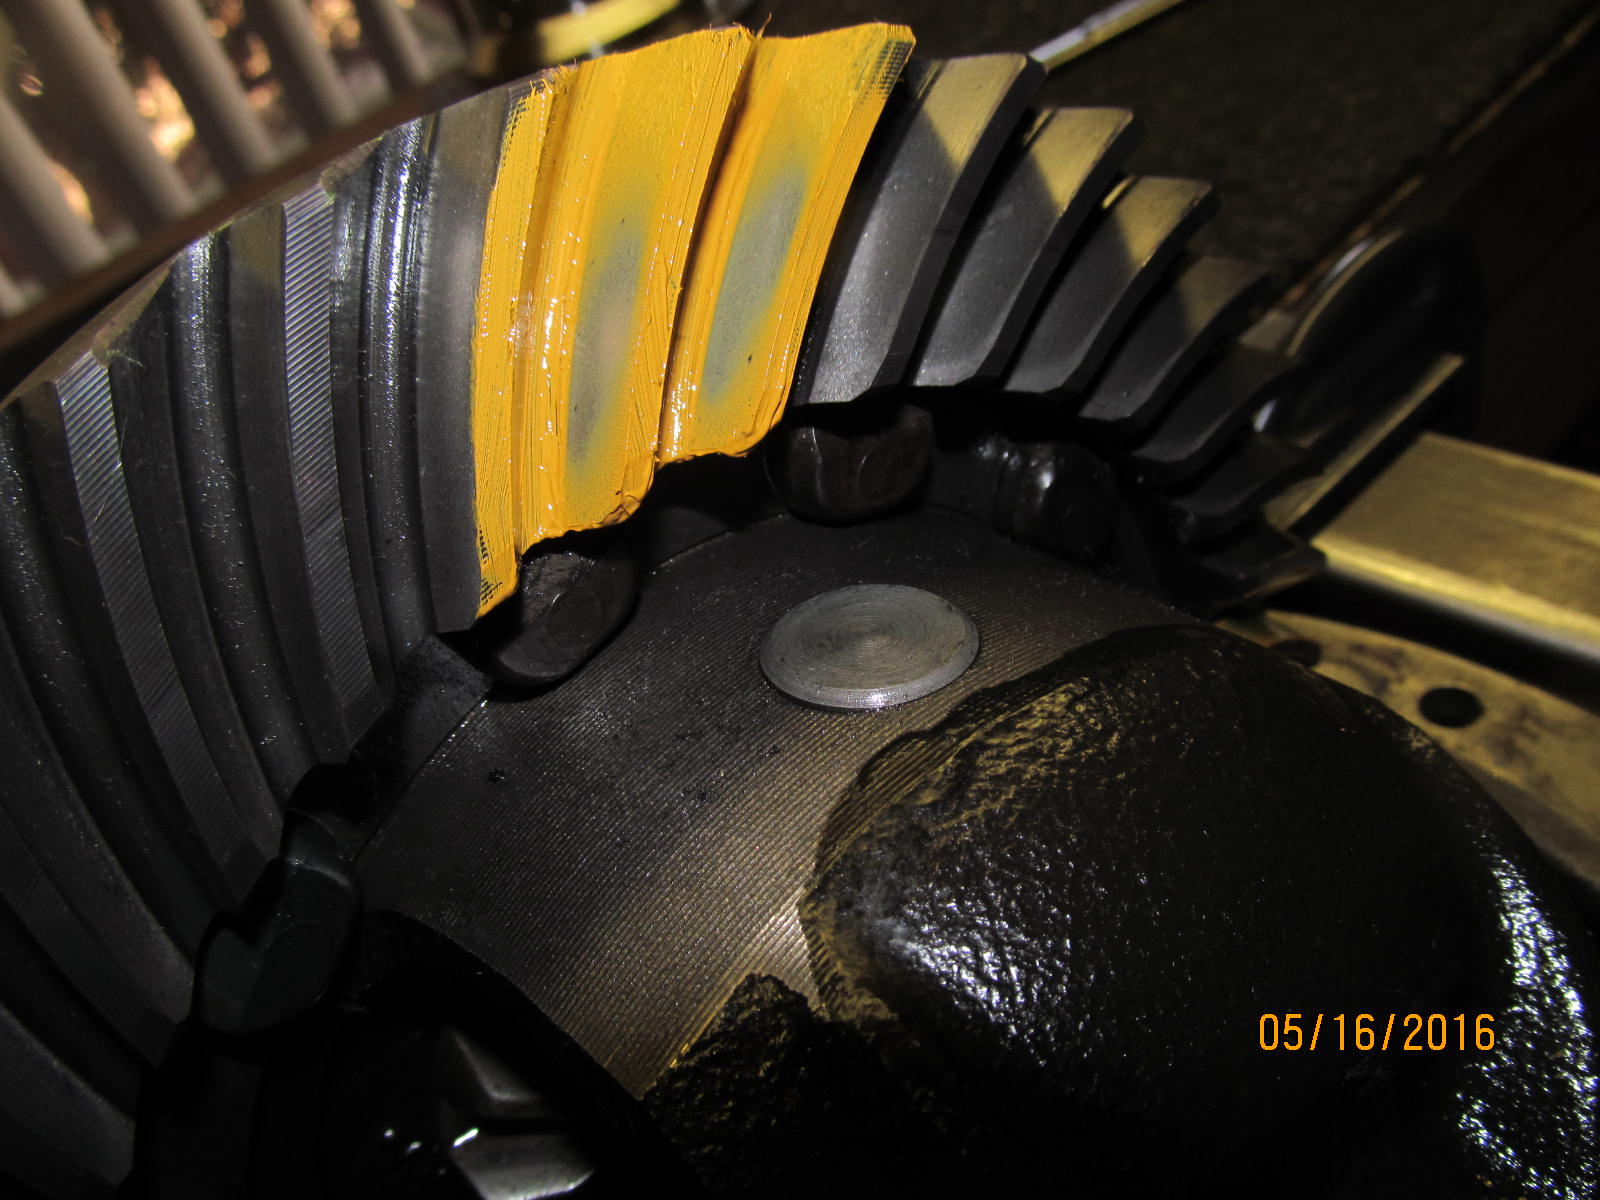
Not bad at all....this ring/pinion looks excellent.
|
|
|
|
|
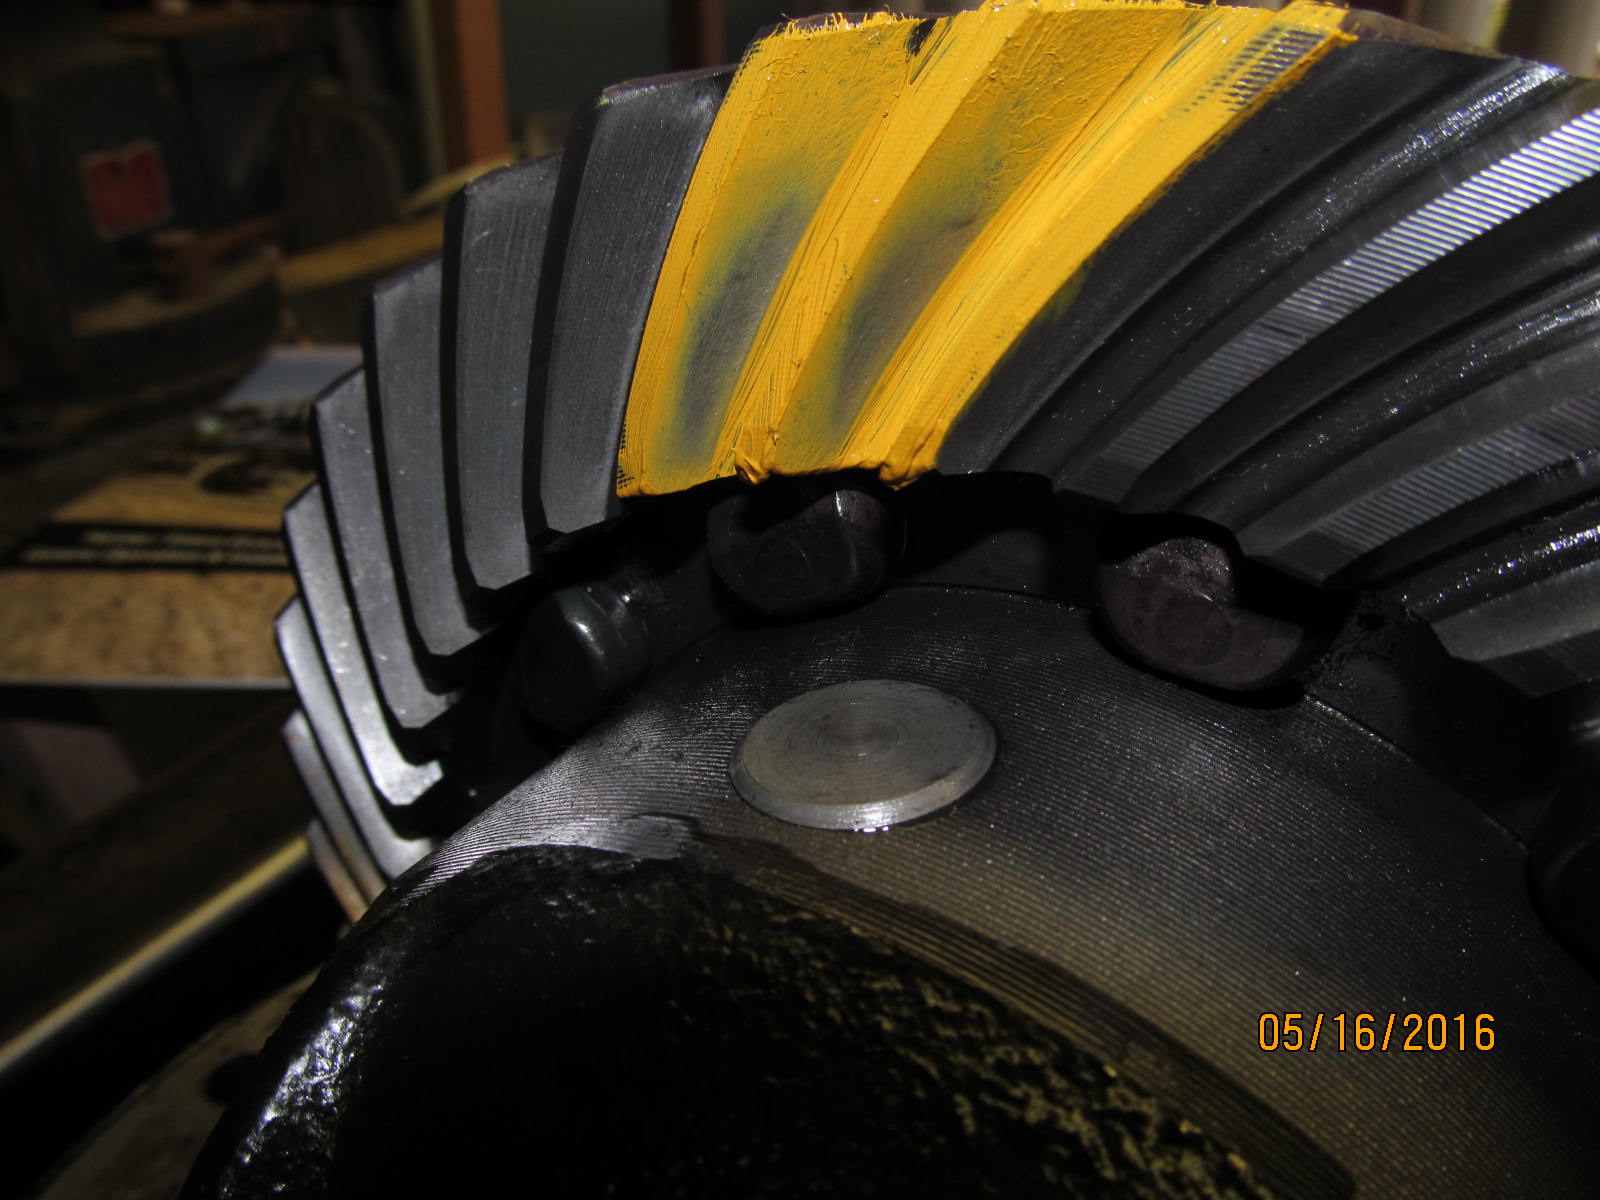
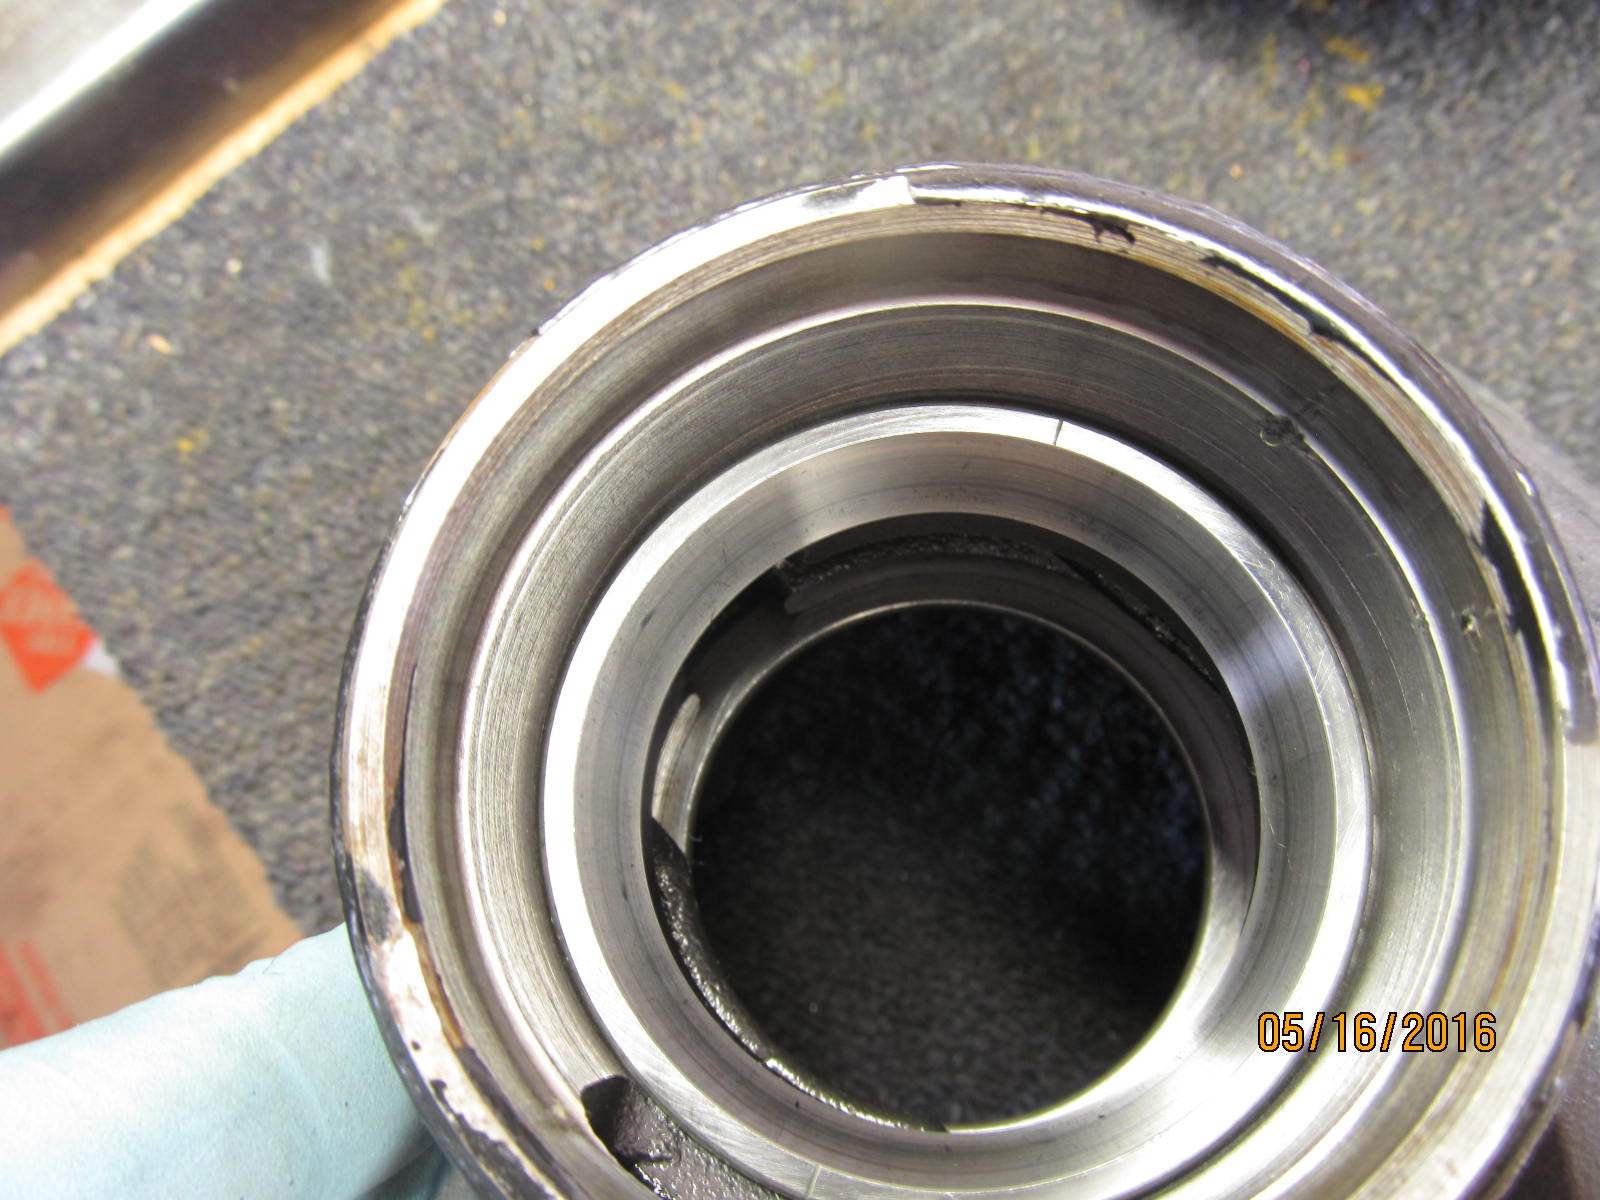
The coast side looks great.
|
|
|
|
|
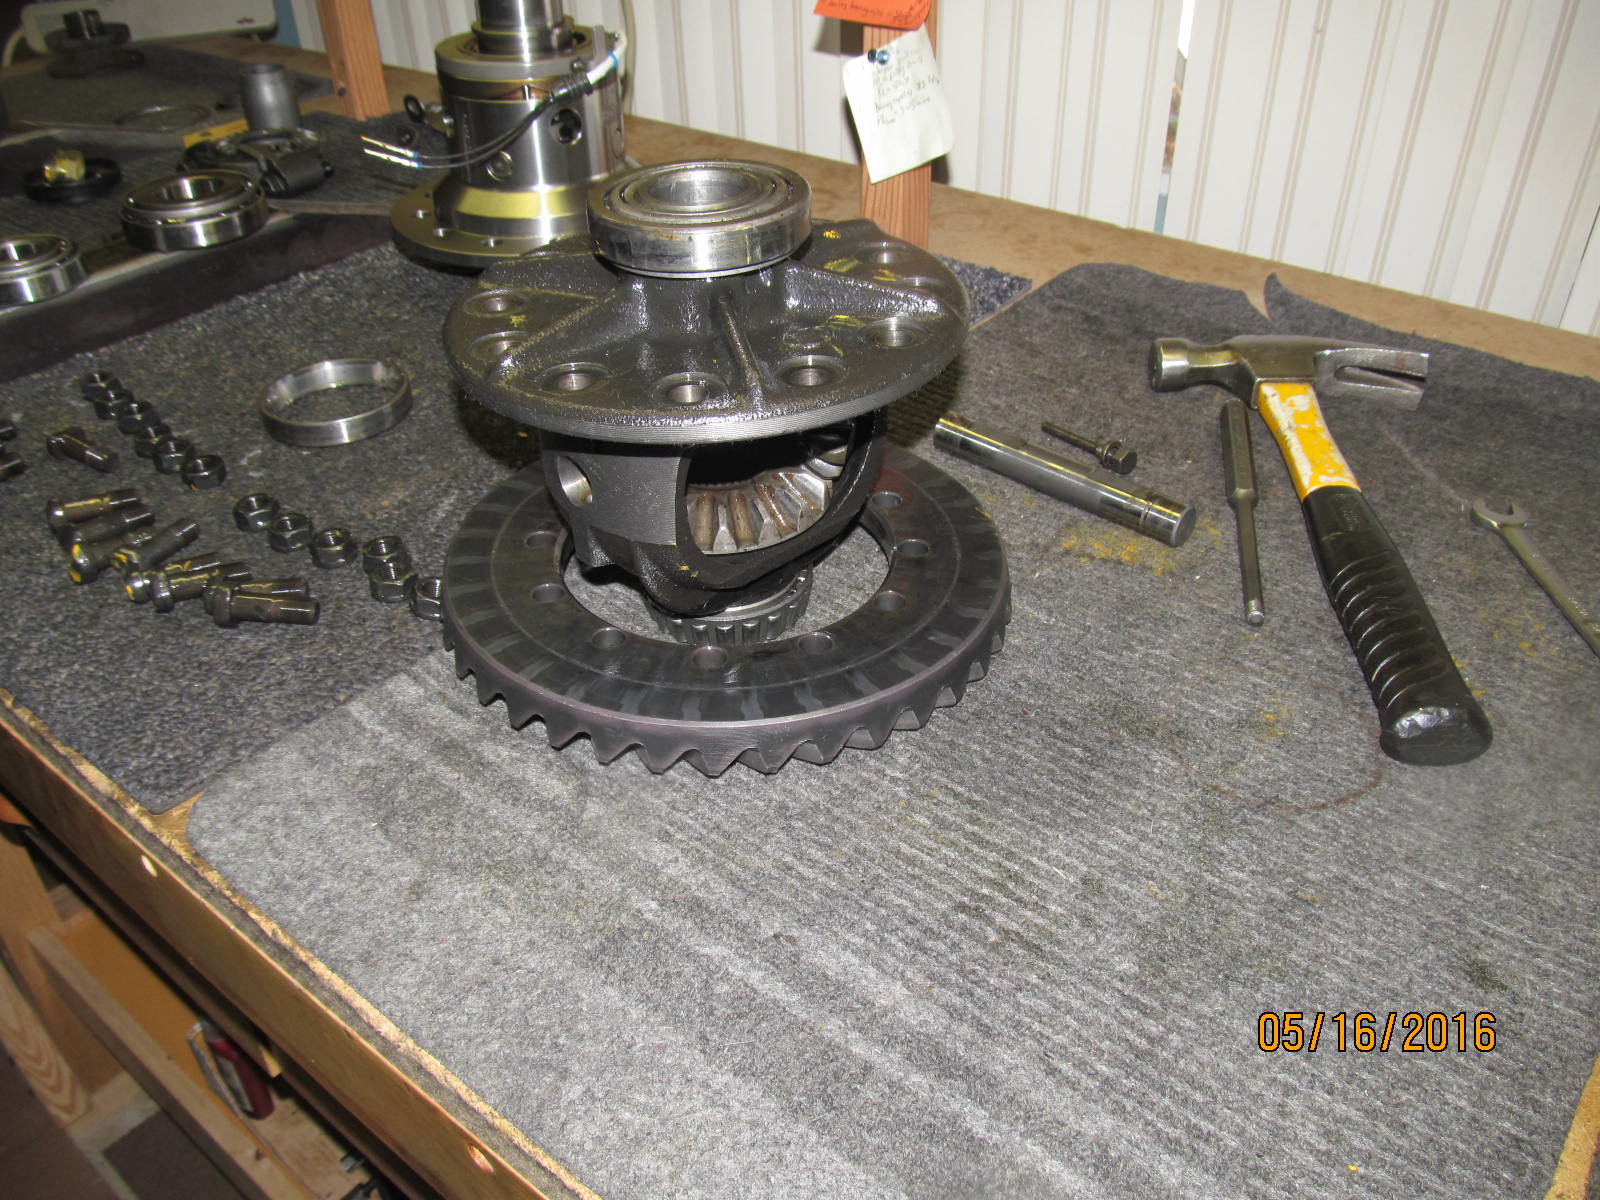
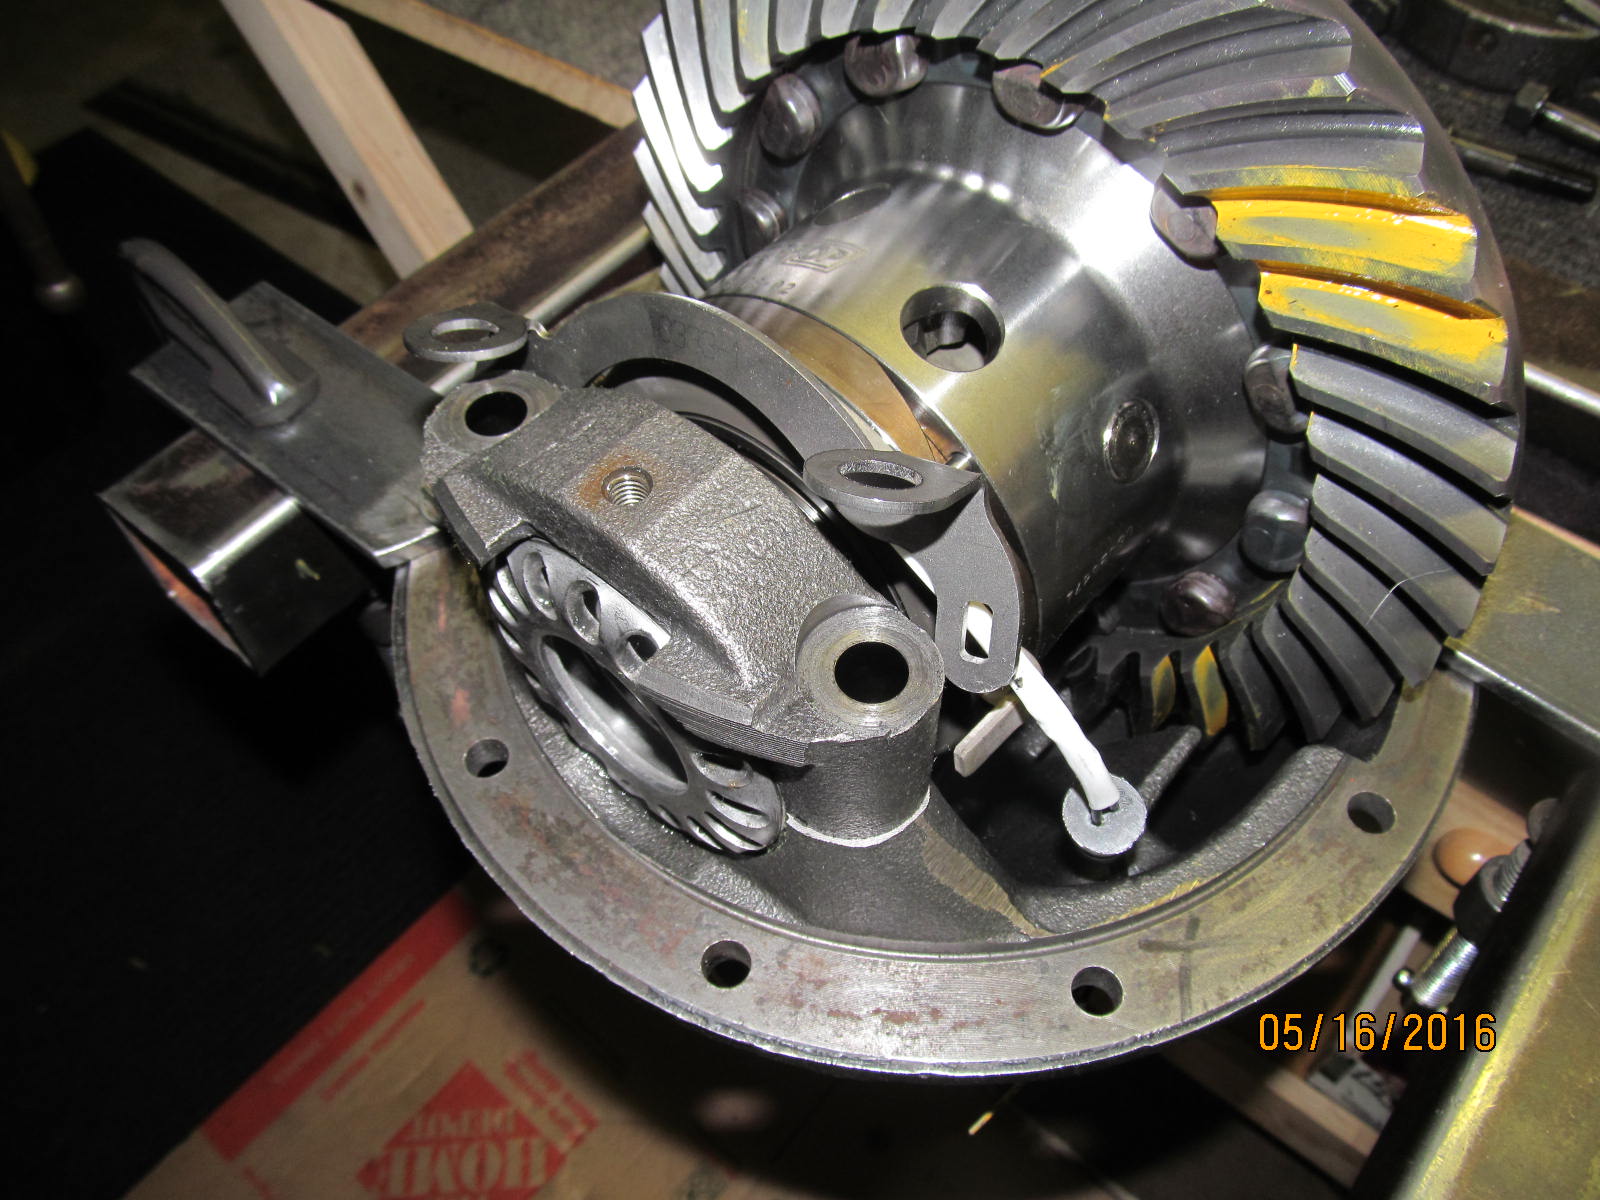
Ring gear is tapped off.
|
|
|
|
|
New carrier bearings can be started 10 % of the way with a hammer.....
|
|
|

|
|
....and seated the rest of the way with a press if desired.
|
|
|
|
|
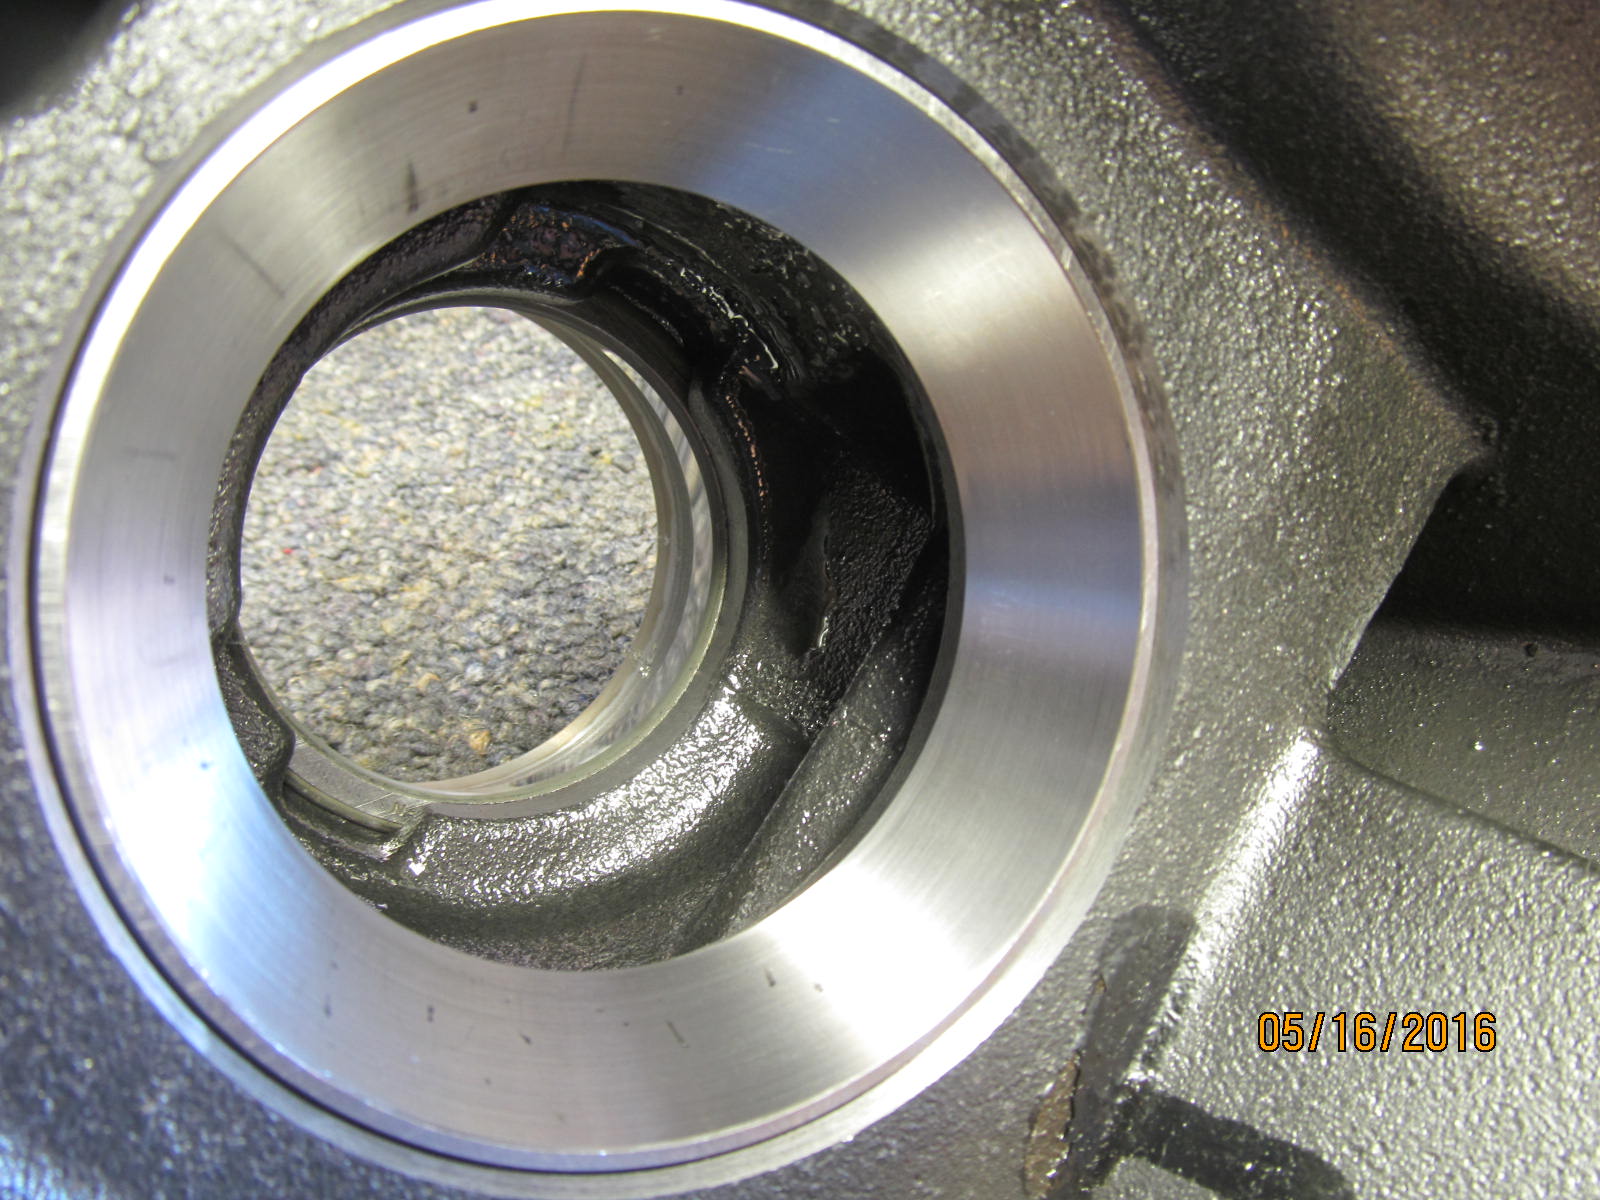
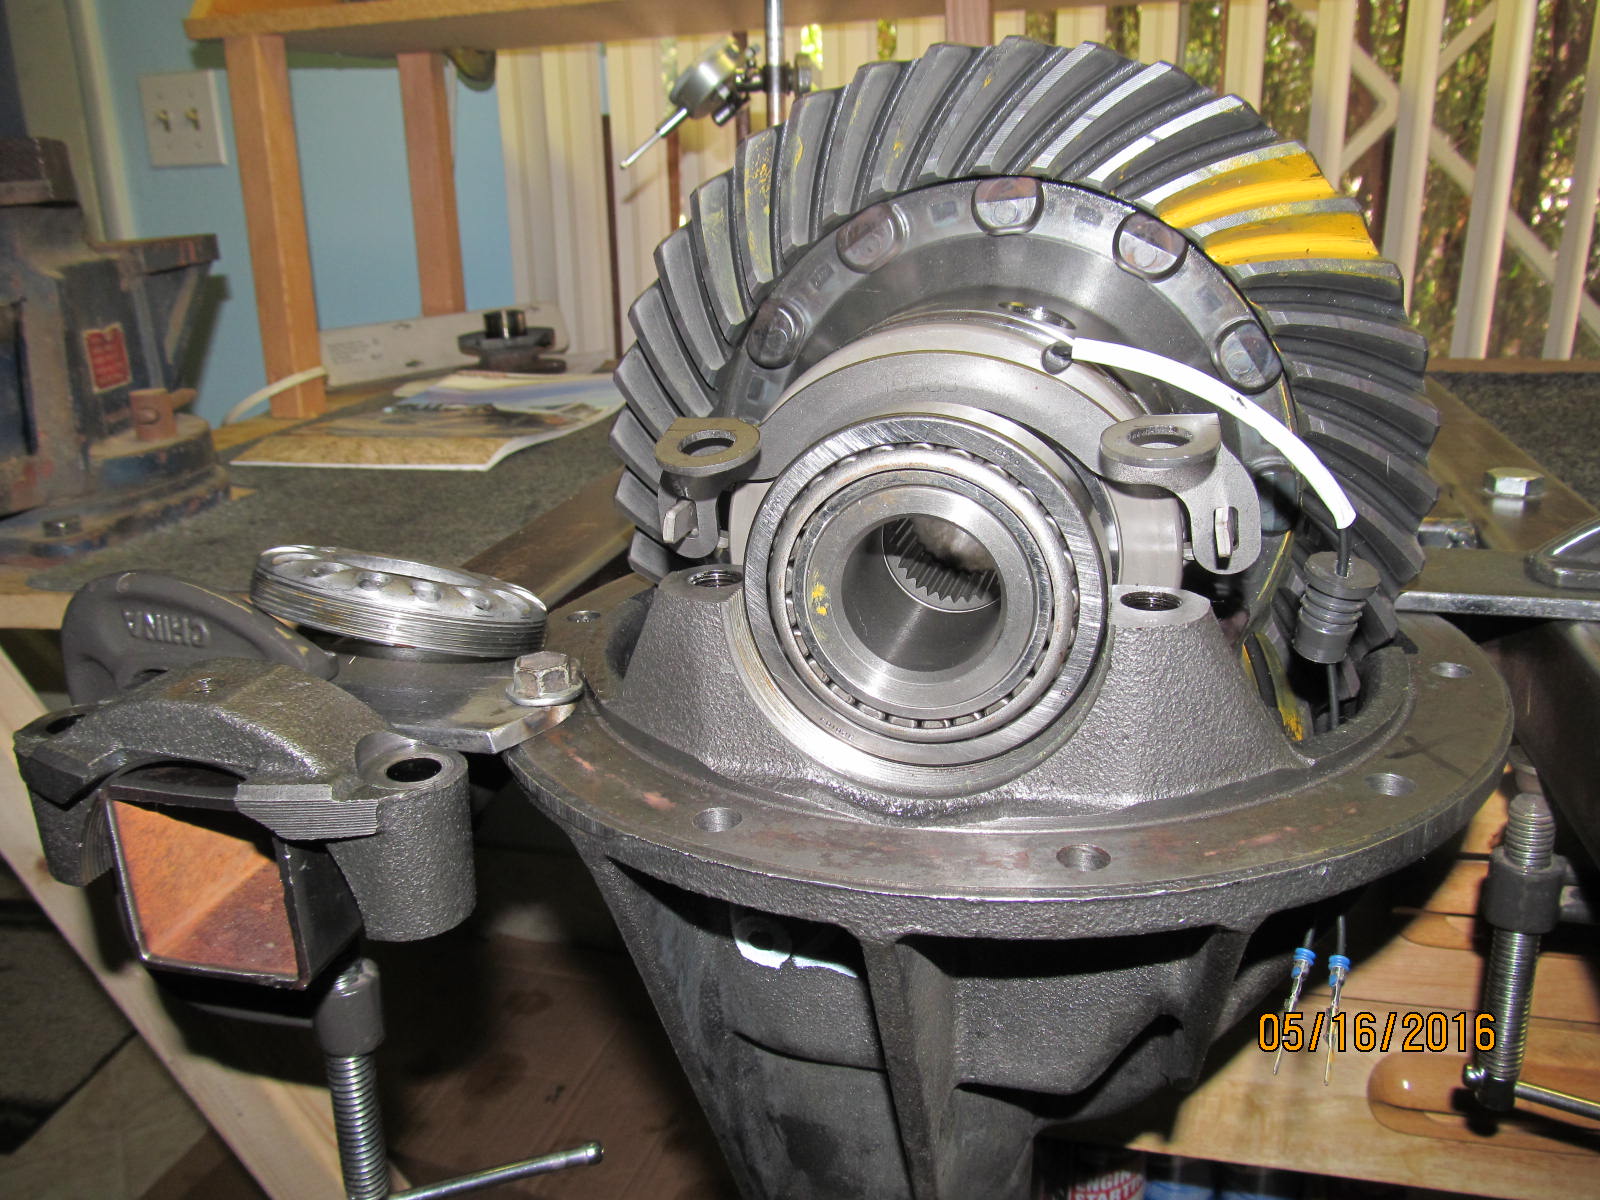
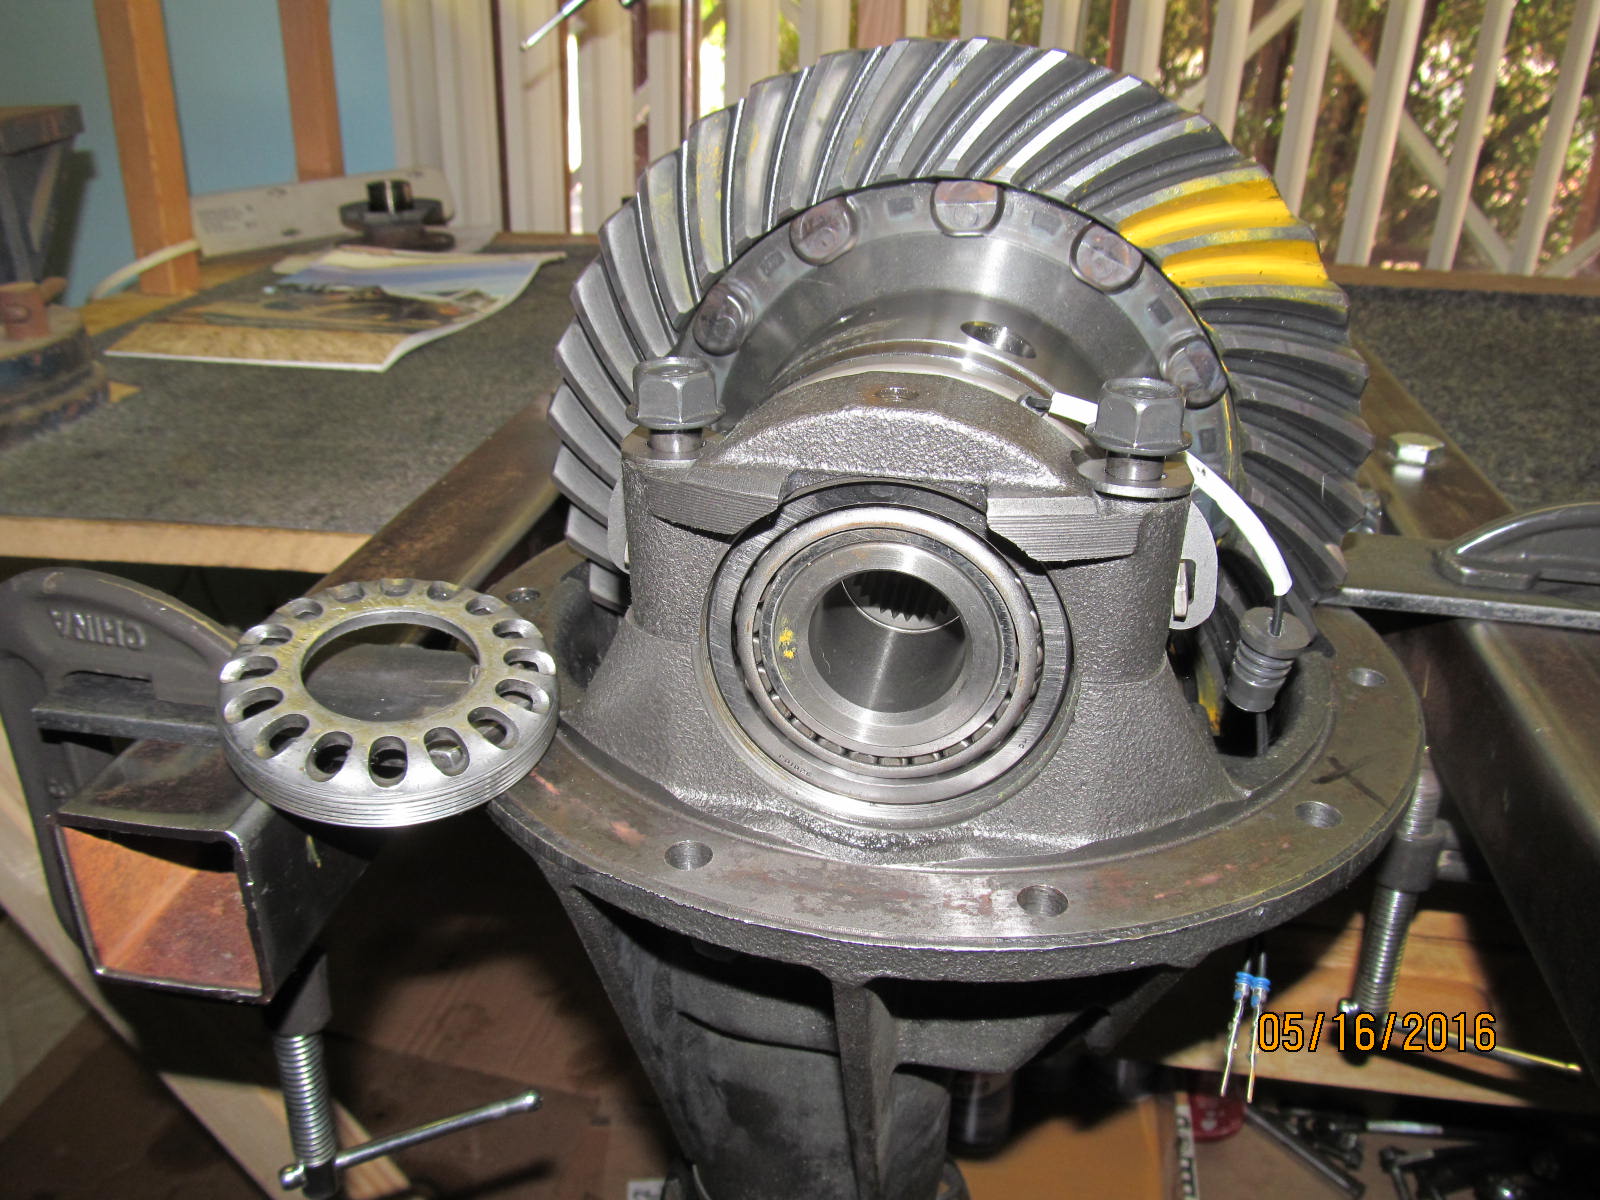
Again, both surfaces are checked for burrs and all is well.
|
|
|
|
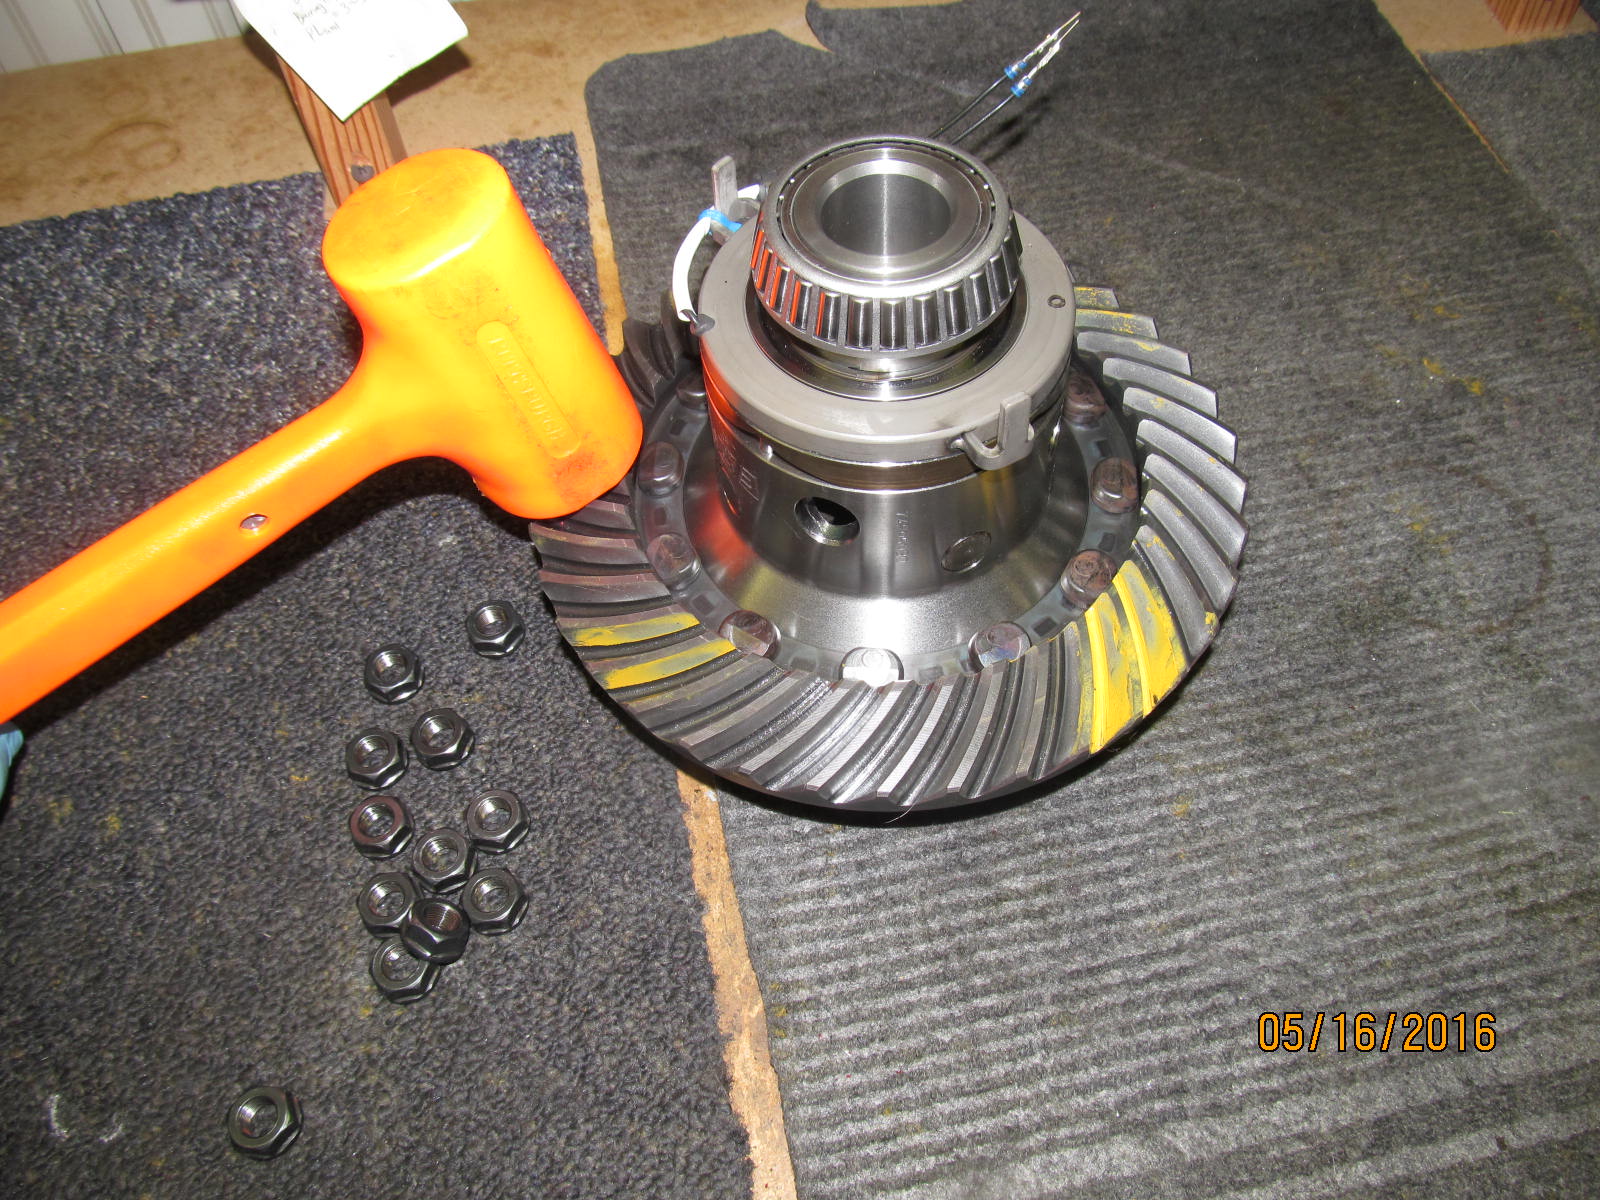
I find, that almost 99% of the time, I can get the ring started and down flat with the lead filled
plastic hammer just like this one.
|
|
|
|
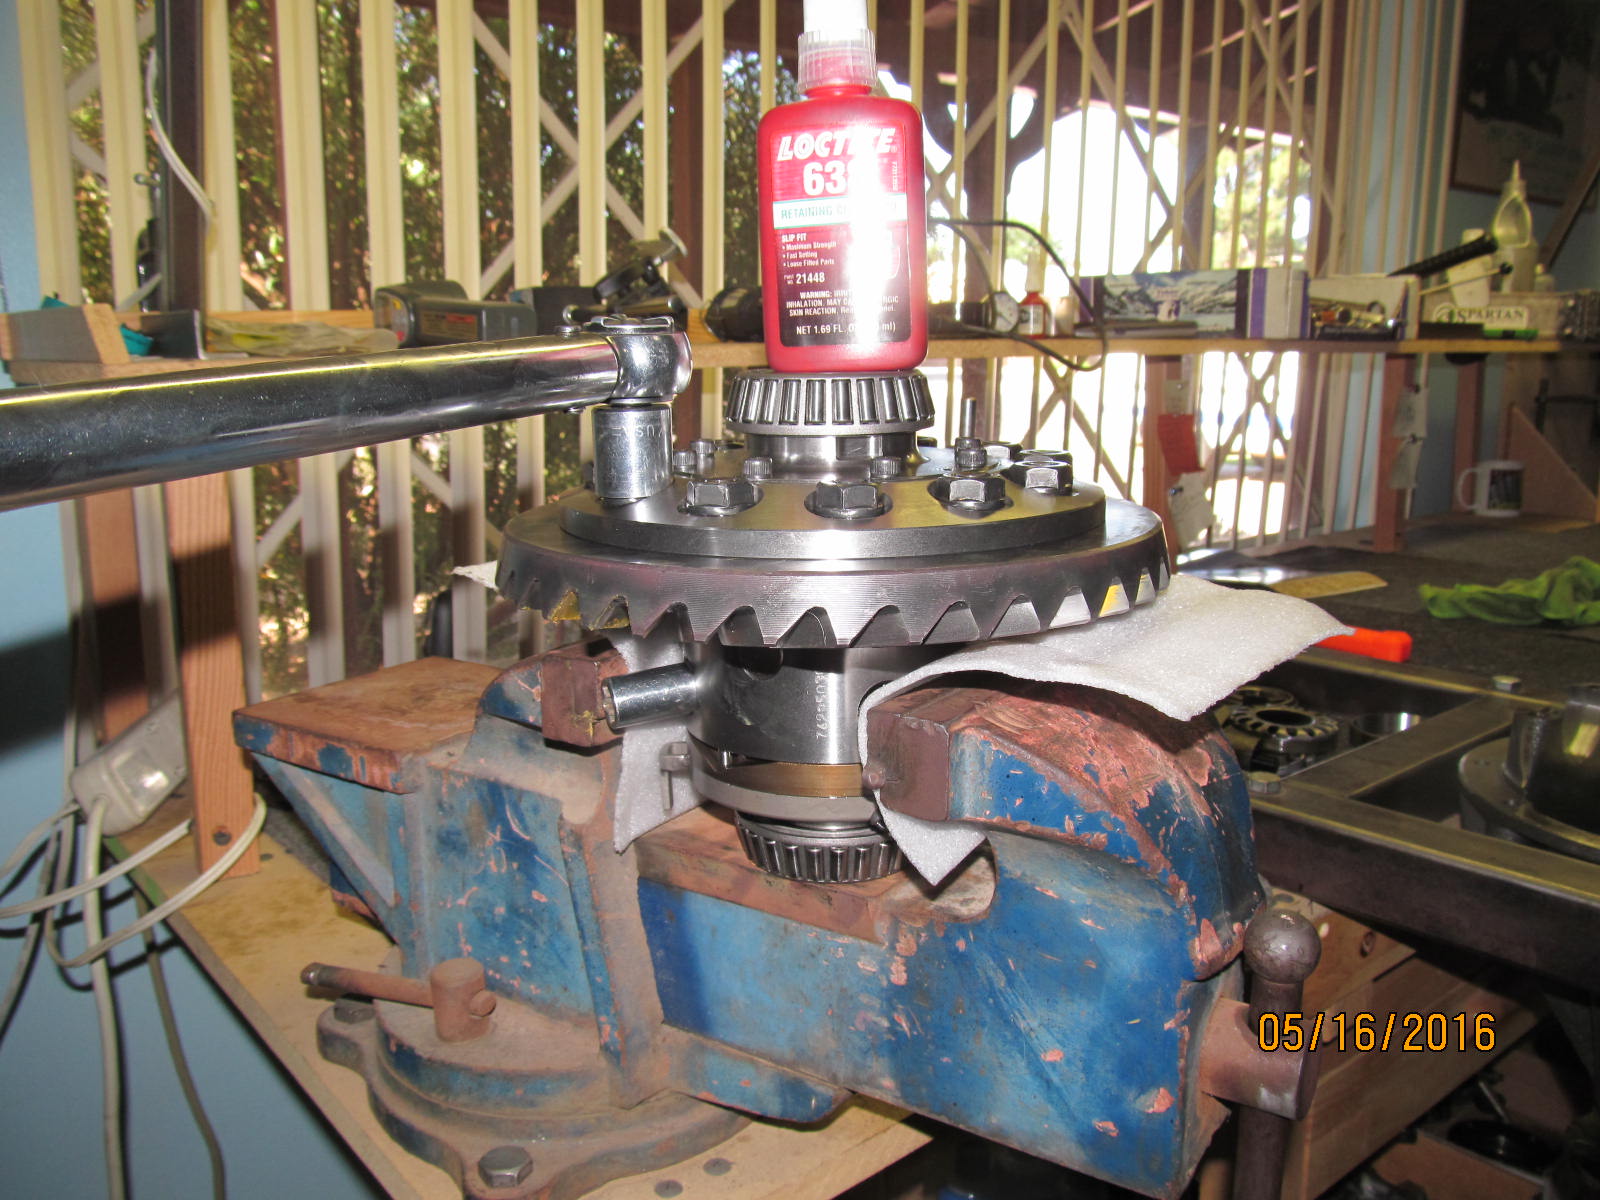
81 ft/lb and red loctite. Wrong bottle has been placed on the bearing shown above.....
really was red and not green ;)
I prefer not to mar the machined surfaces of the Harrop so that's why I keep the jaws loose
with some protective foam and 2 sockets.
|
|
|
|
|
This end is now done.
|
|
|
|
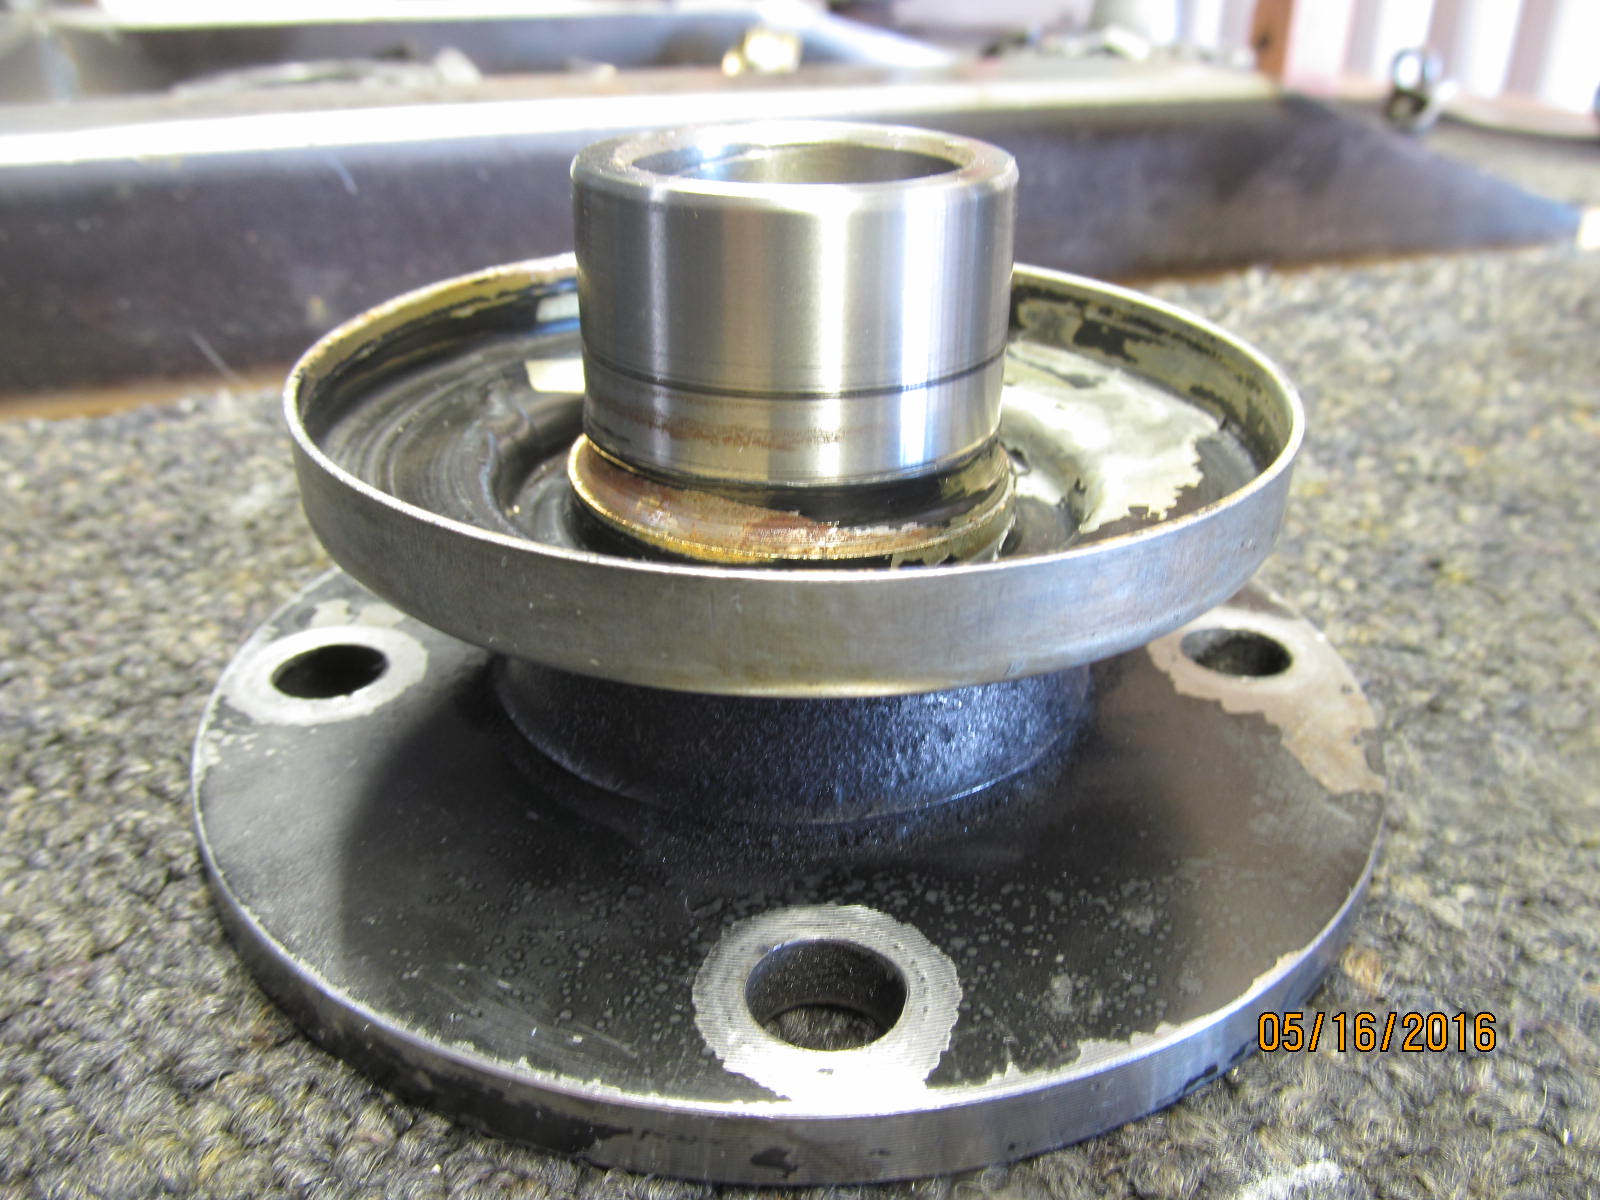
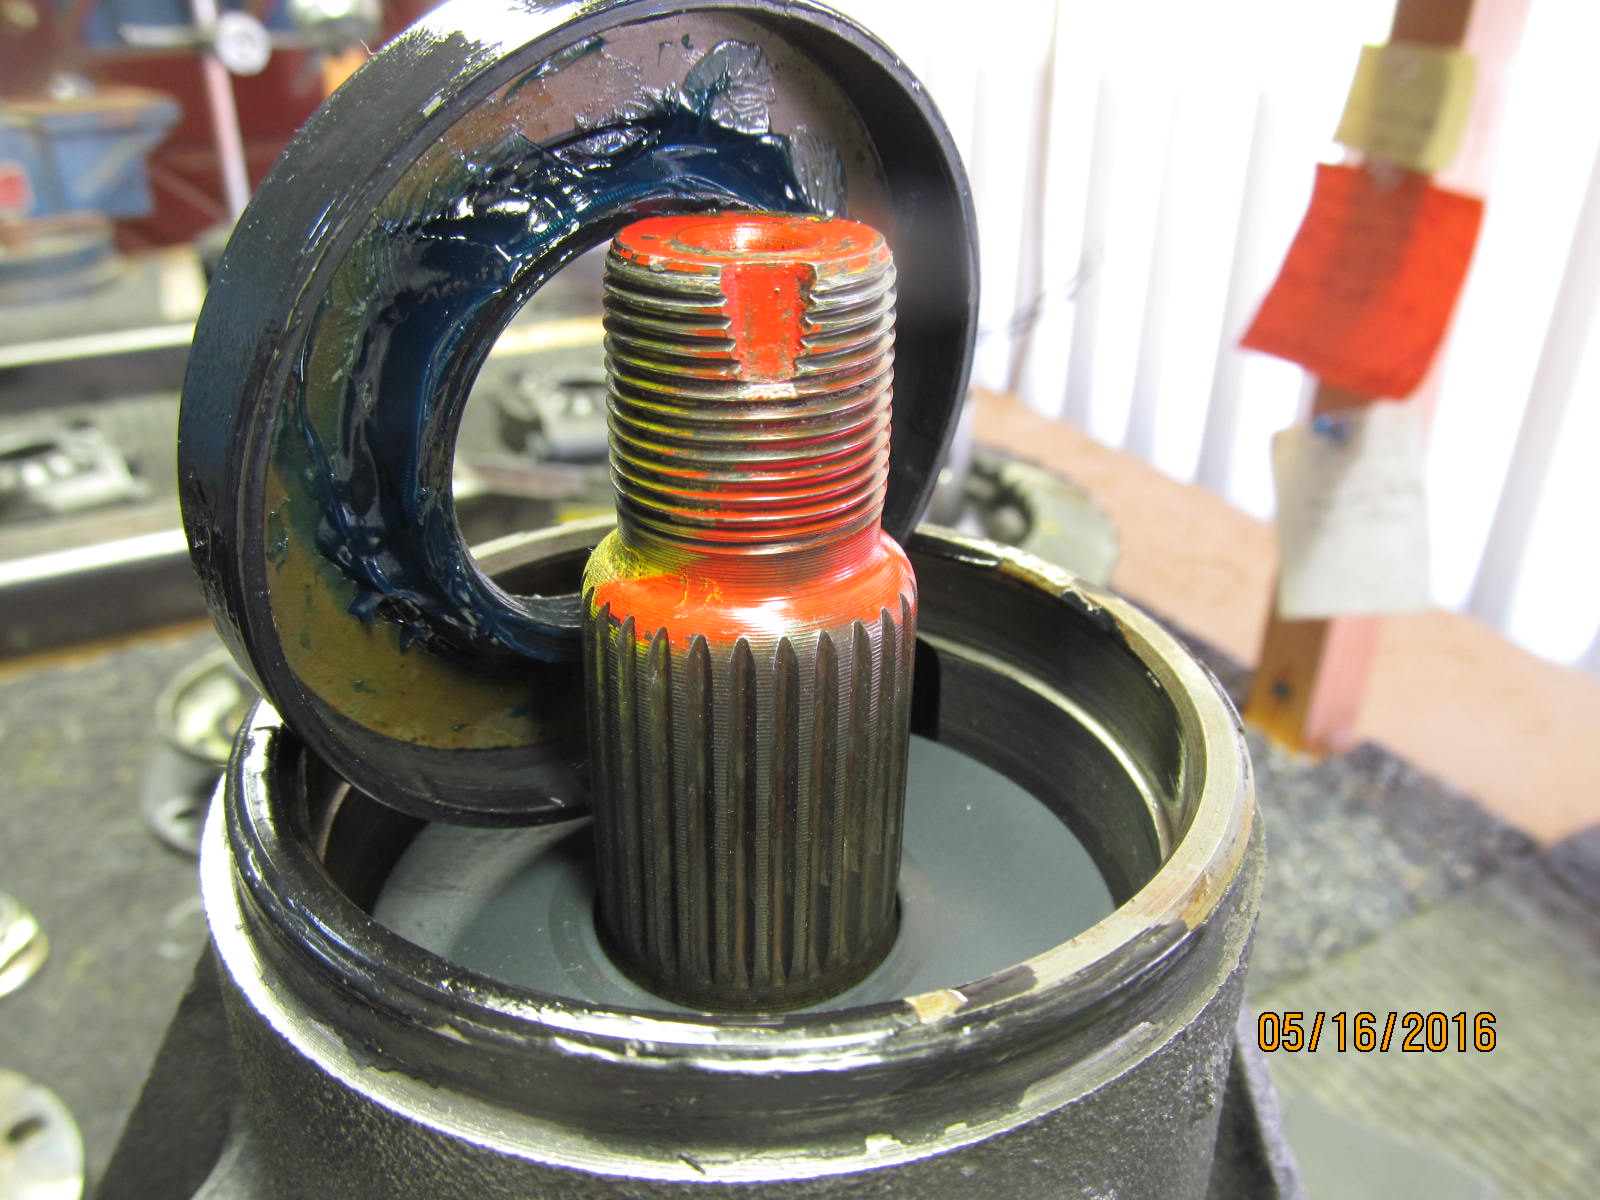
Onto the pinion end now.....the flange is removed and the groove cannot be felt
and is deemed a good flange to re-use.
|
|
|
|
|
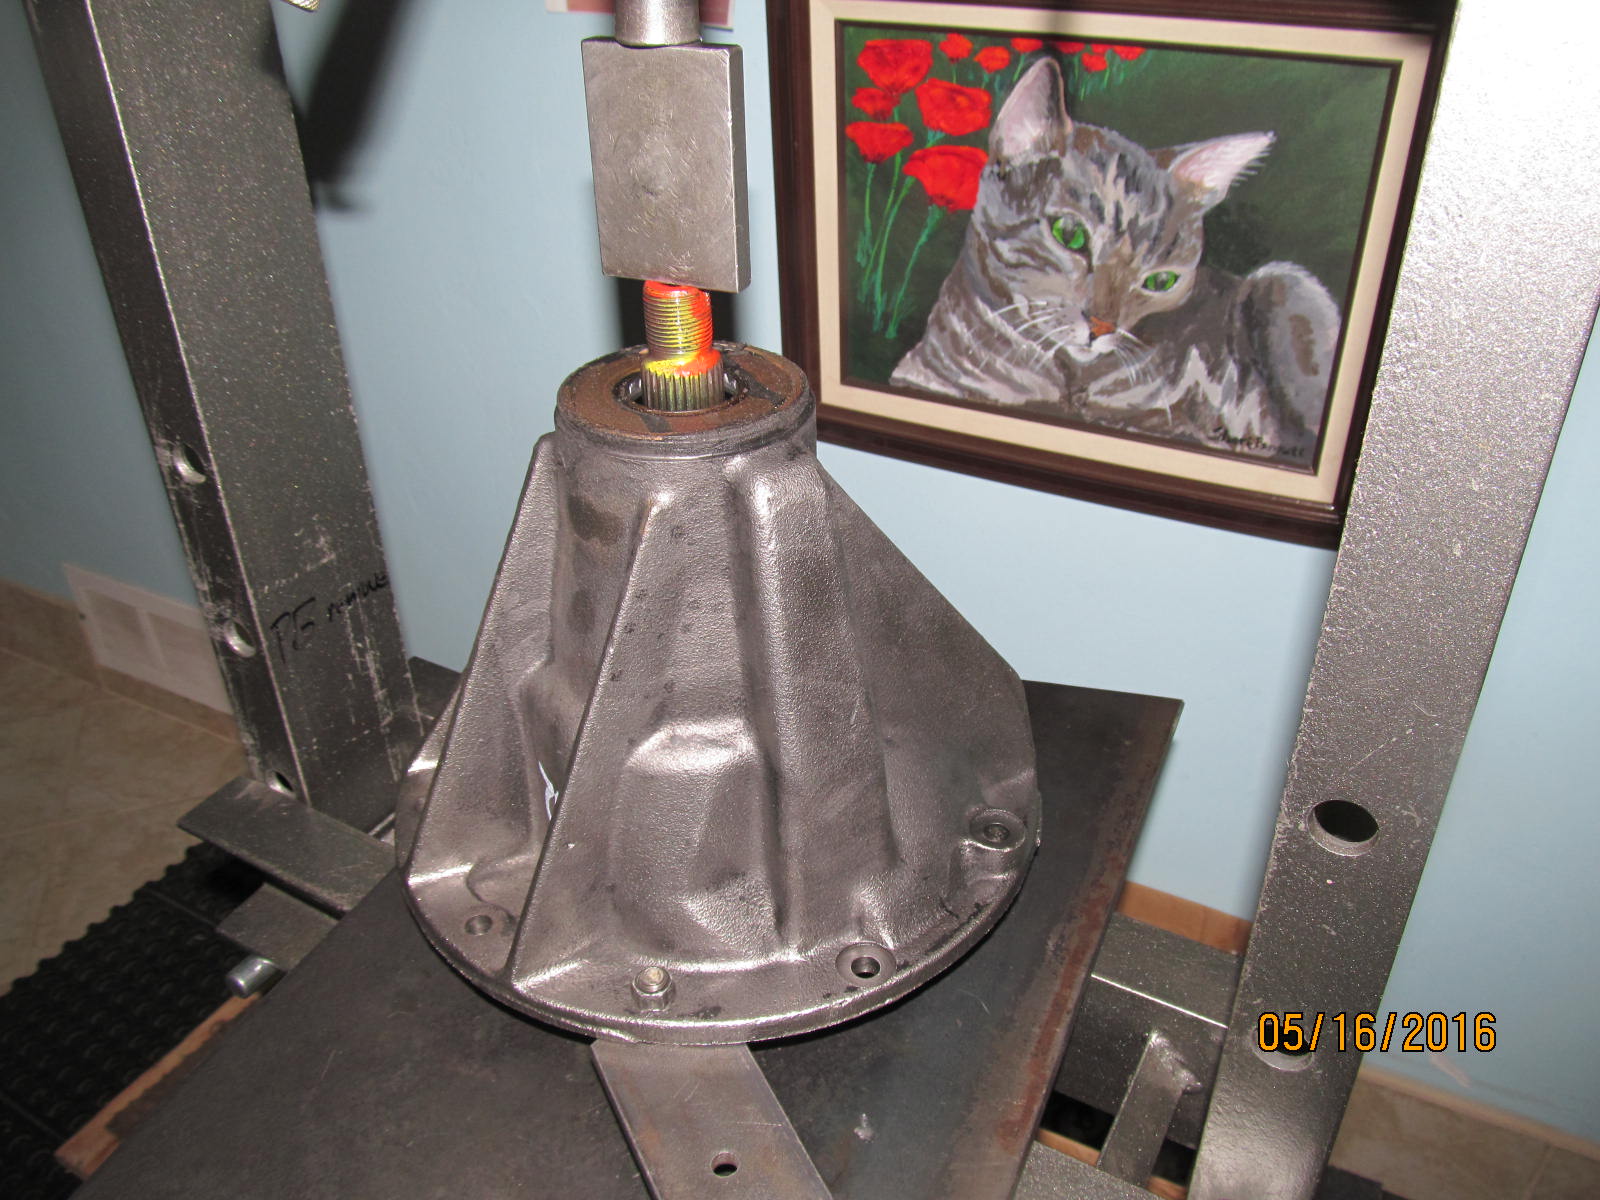
Pinion is pressed out. My sister painted that cat....
|
|
|
|
The original old bearing was removed and the new KOYO one is shown being pressed on
with the oem pinion shim.
That's me in the red jacket on the Devil's Crack in Moab.
|
|
|
|
|
New outer race is tapped in place.
|
|
|
|
|
'''''''''''''''''
|
|
|
|
|
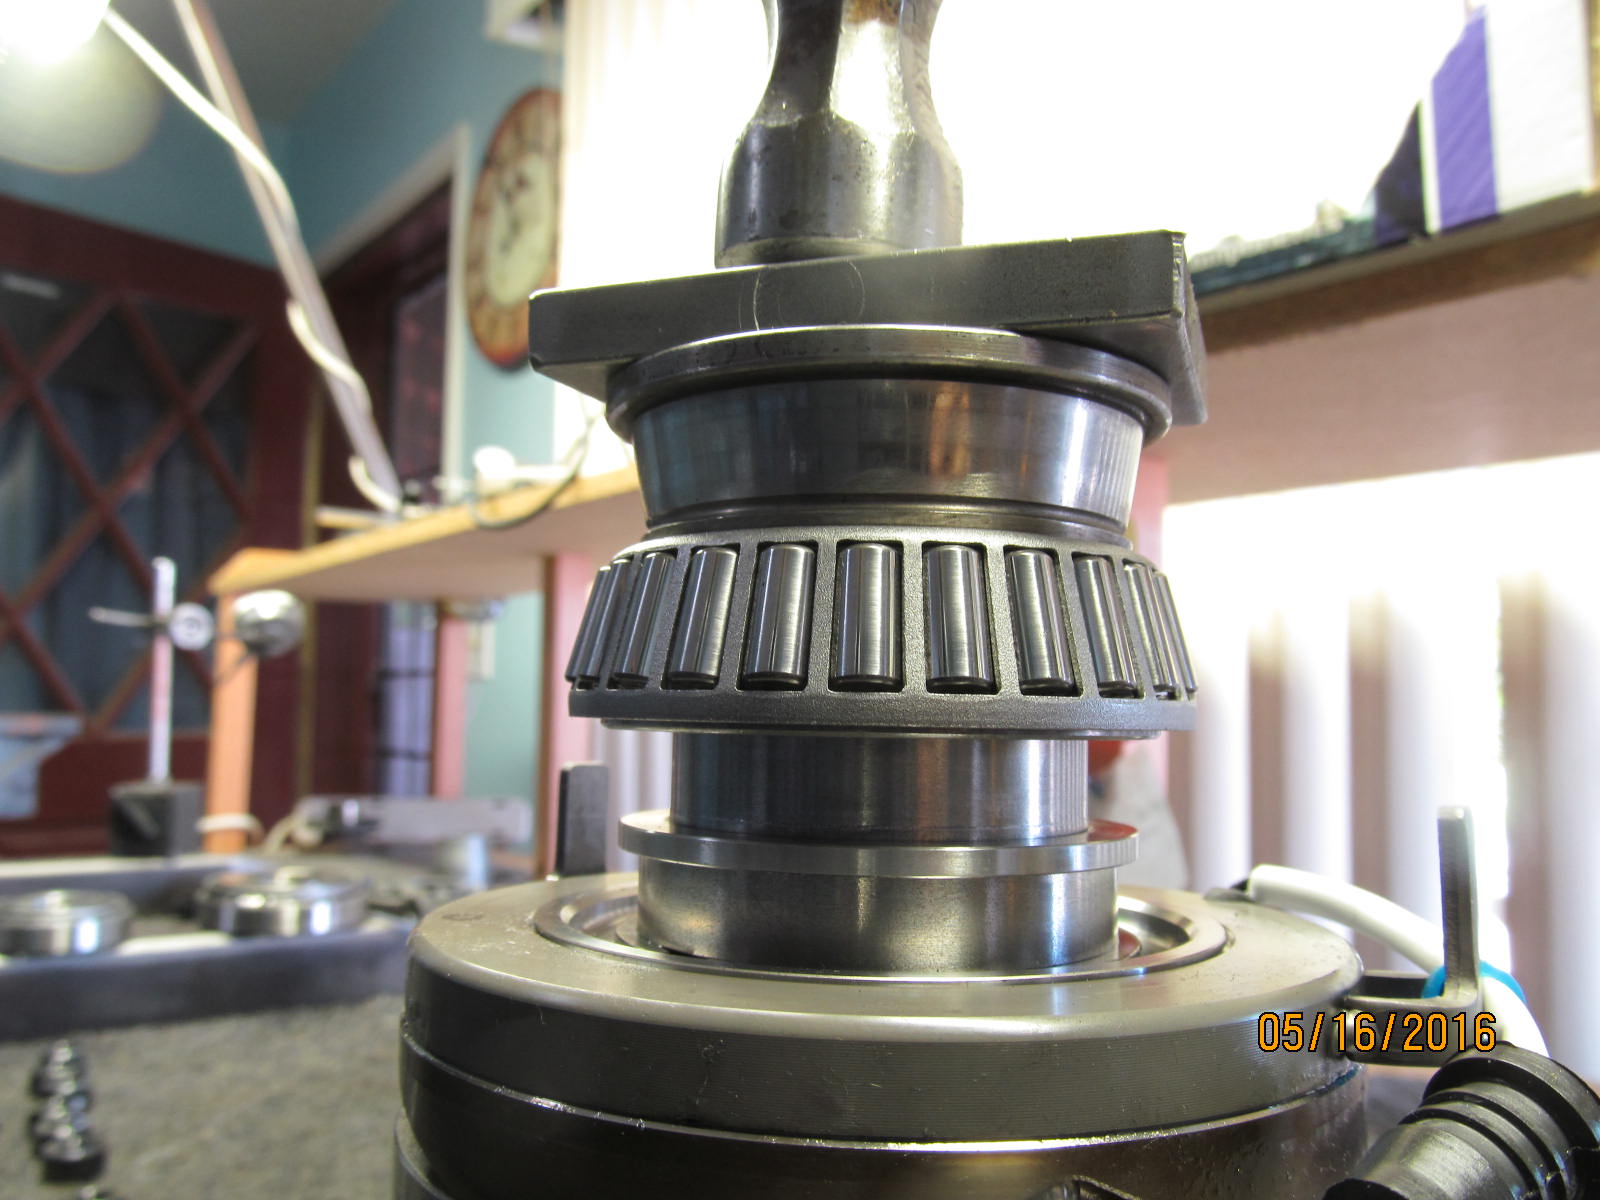
The larger inner race tapped down 100%
|
|
|
|
|
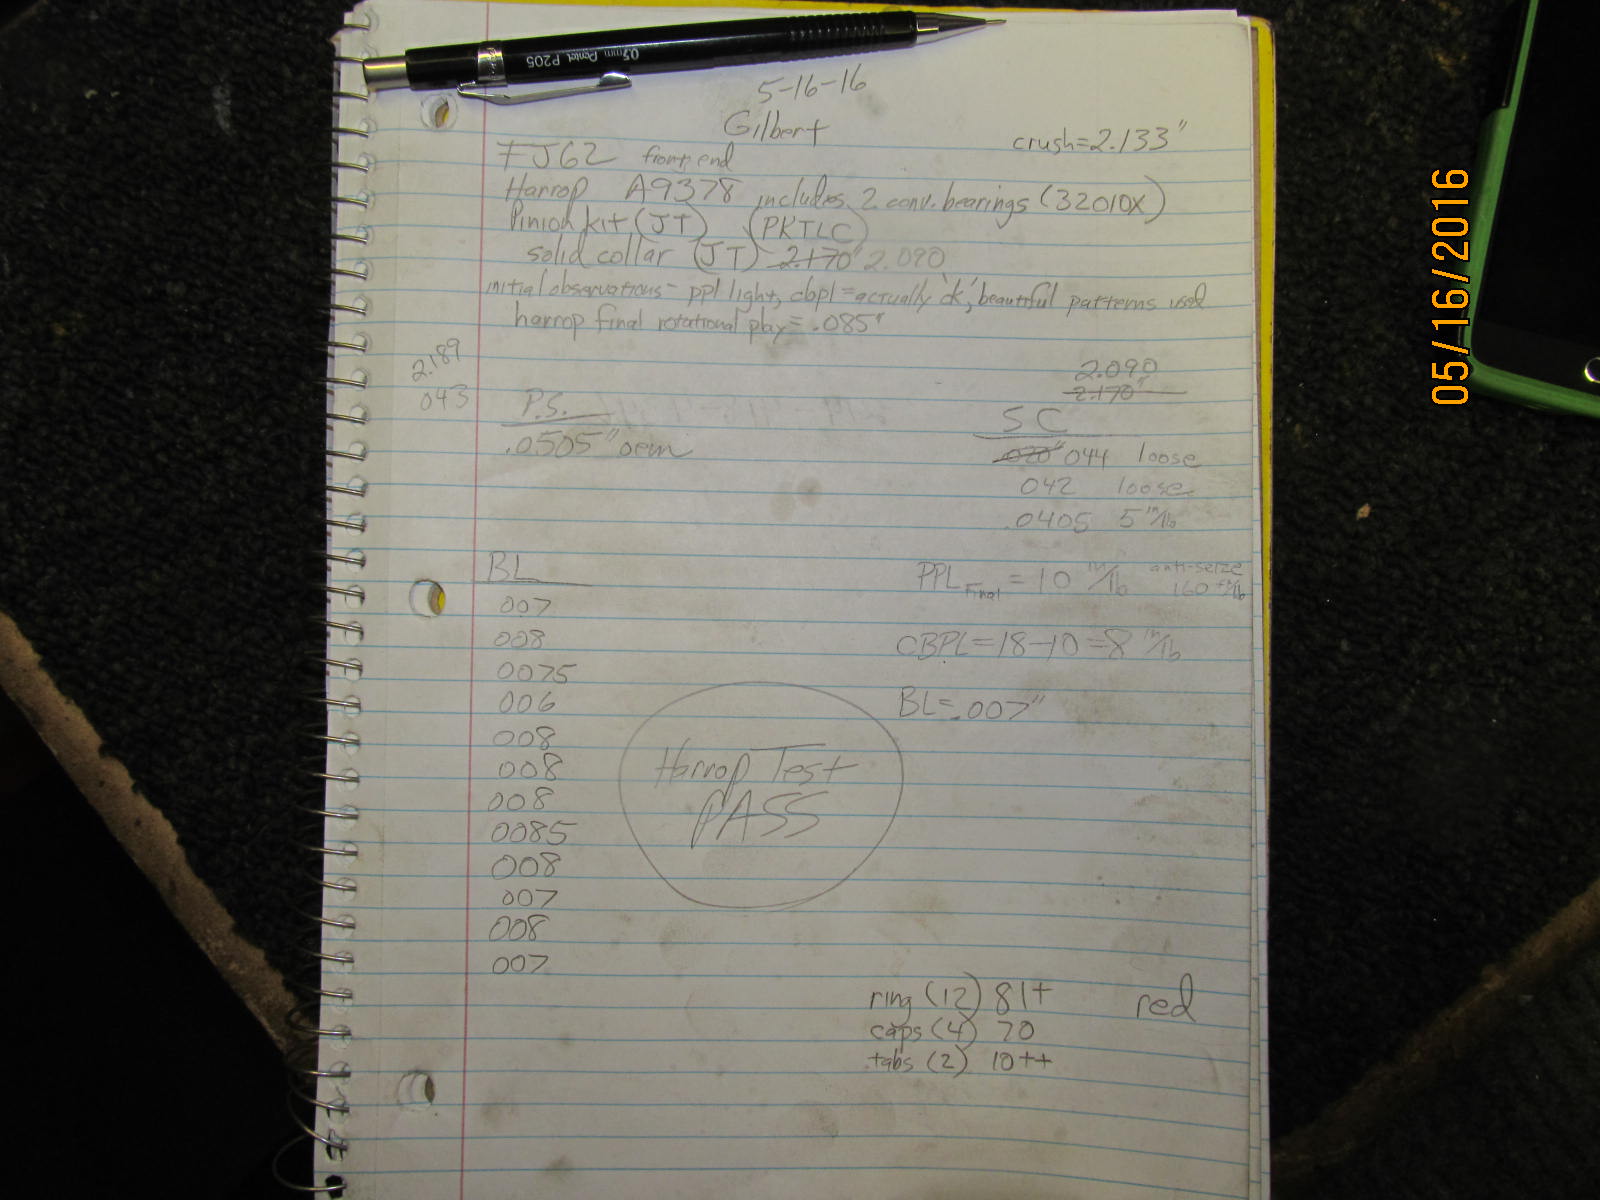
Only took 3 times to determine the exact shimming to use with the solid collar.
|
|
|
|
|
Now assembling the pinion end....
|
|
|
|
|
Grease on the garter spring prevents it from popping off.
|
|
|
|
|
The rubber coated seal can be tapped down evenly with the right tool.
|
|
|
|
|
A light coating of gear oil is now applied to the surfaces.
|
|
|
|
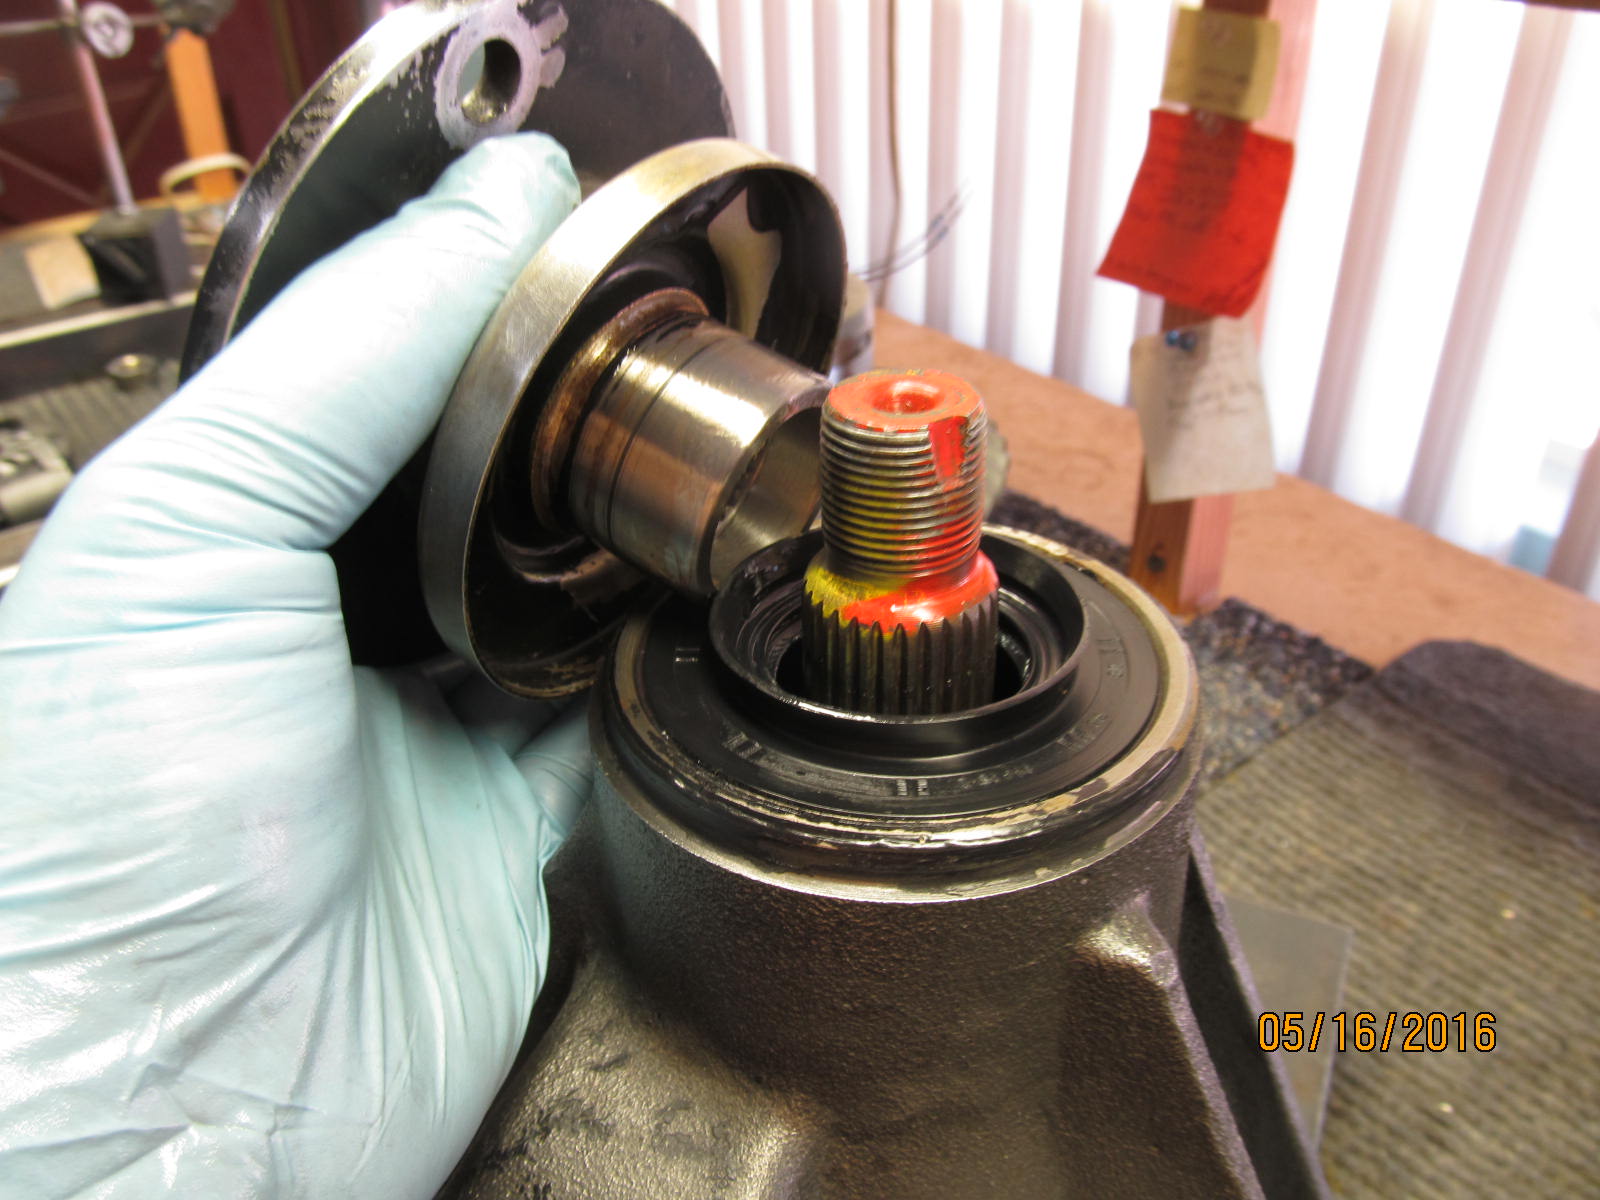
The pinion nut is incrementally tightened until I see 10 ft/lb.
Ding! the pinion nut and this end is complete.
|
|
|
|
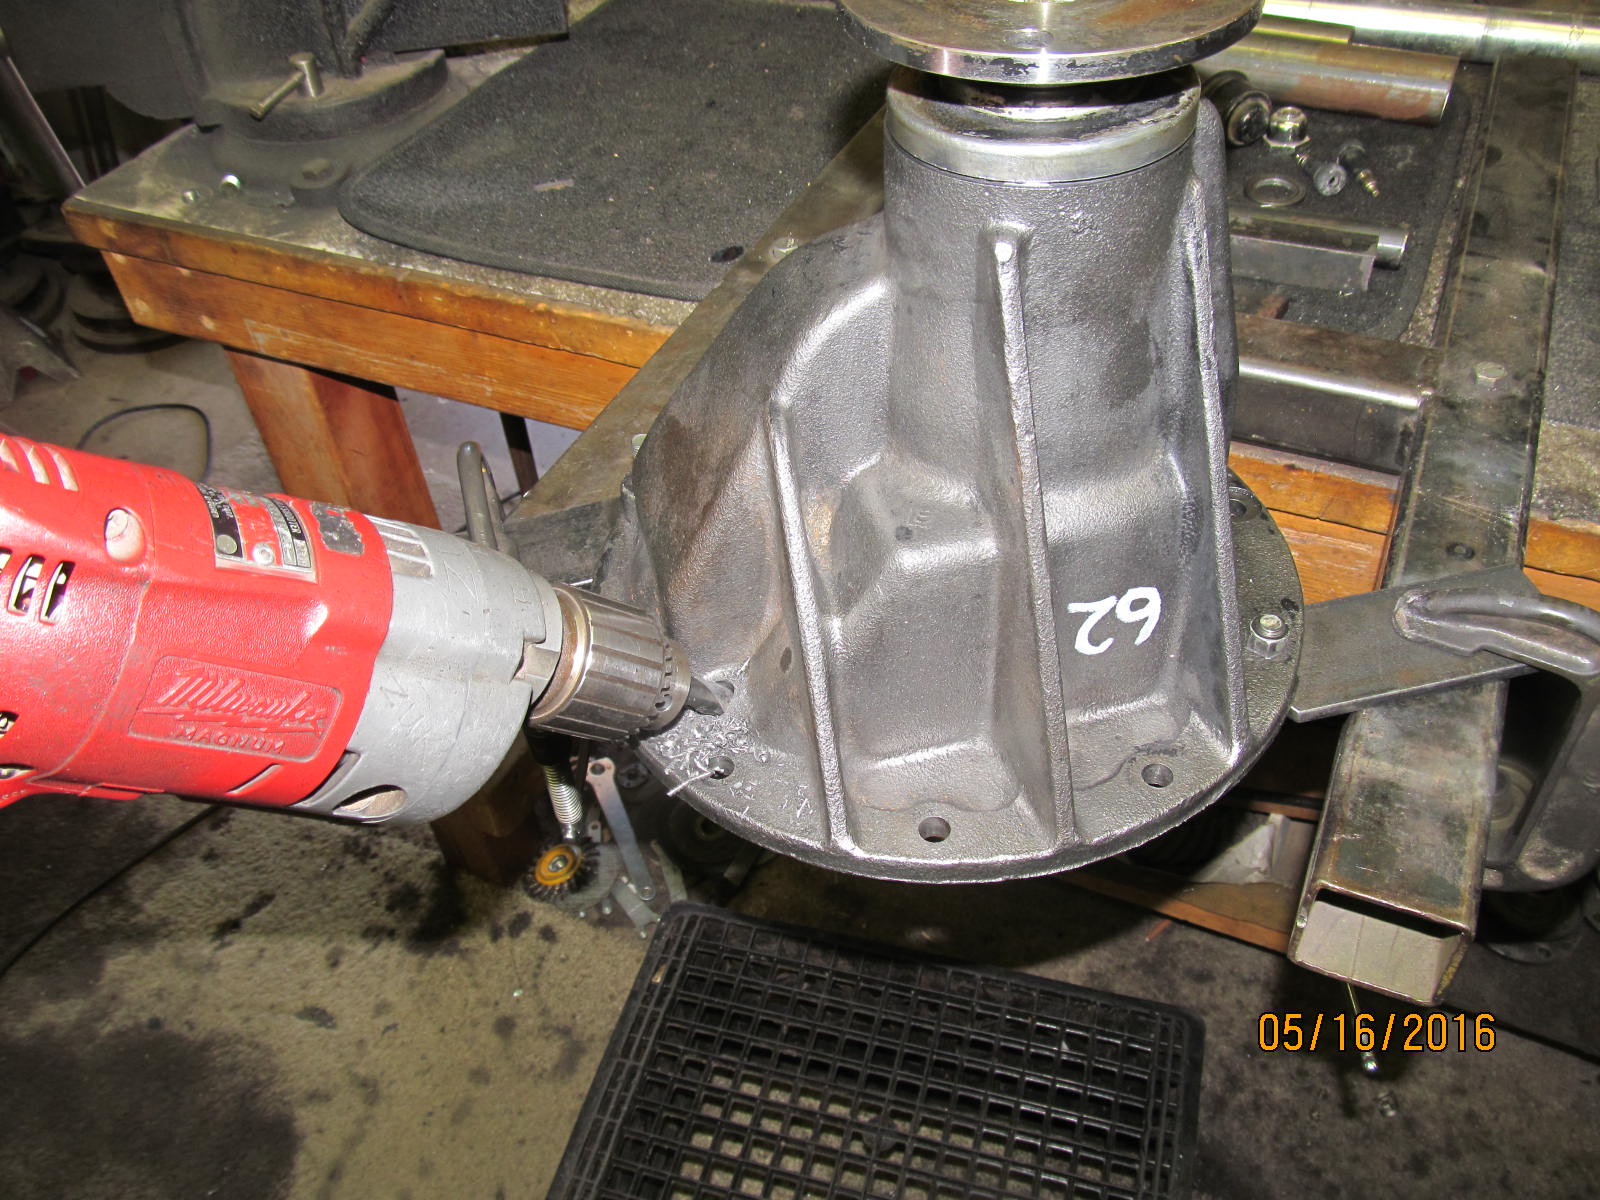
Can't forget about the 29/64" hole that has to still be drilled.......
test fitted and the desired spot is marked with an X.
|
|
|
|
|
,,,,,,,,,,,,,,,,,,,
|
|
|
|
|
Test fit with hole....looks good.
|
|
|
|
|
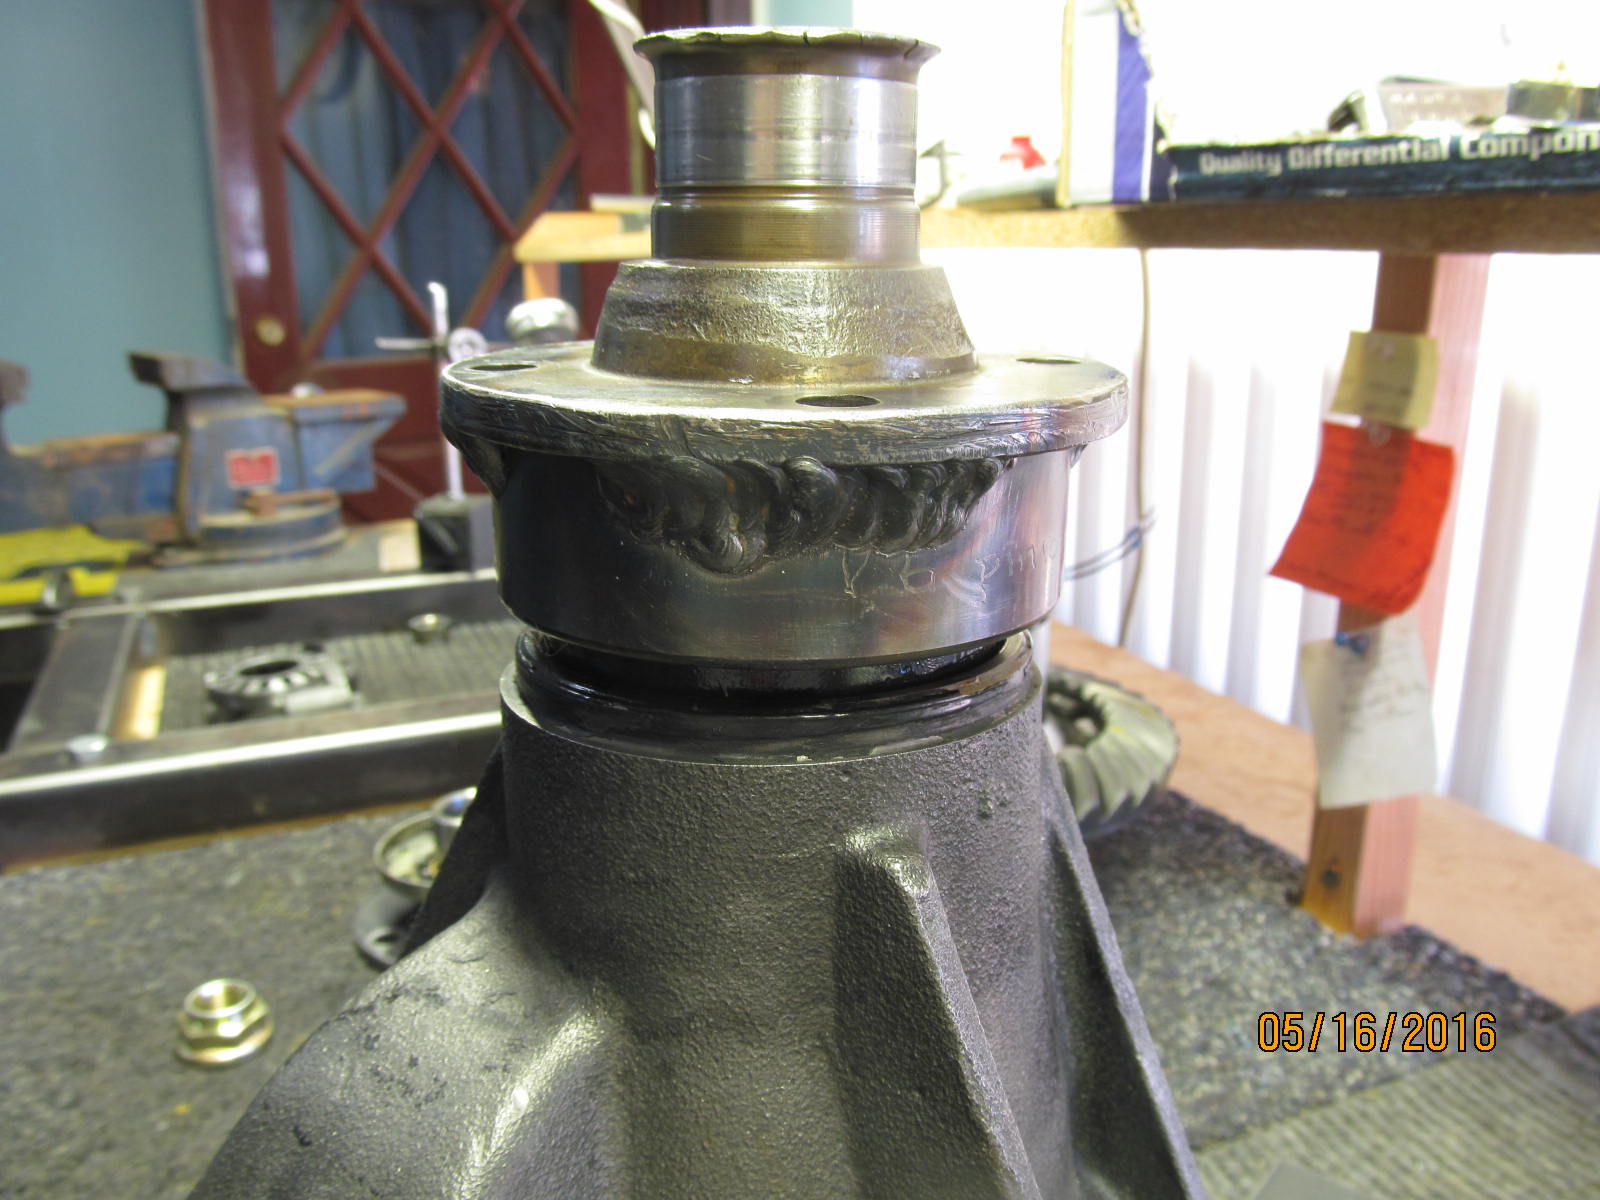
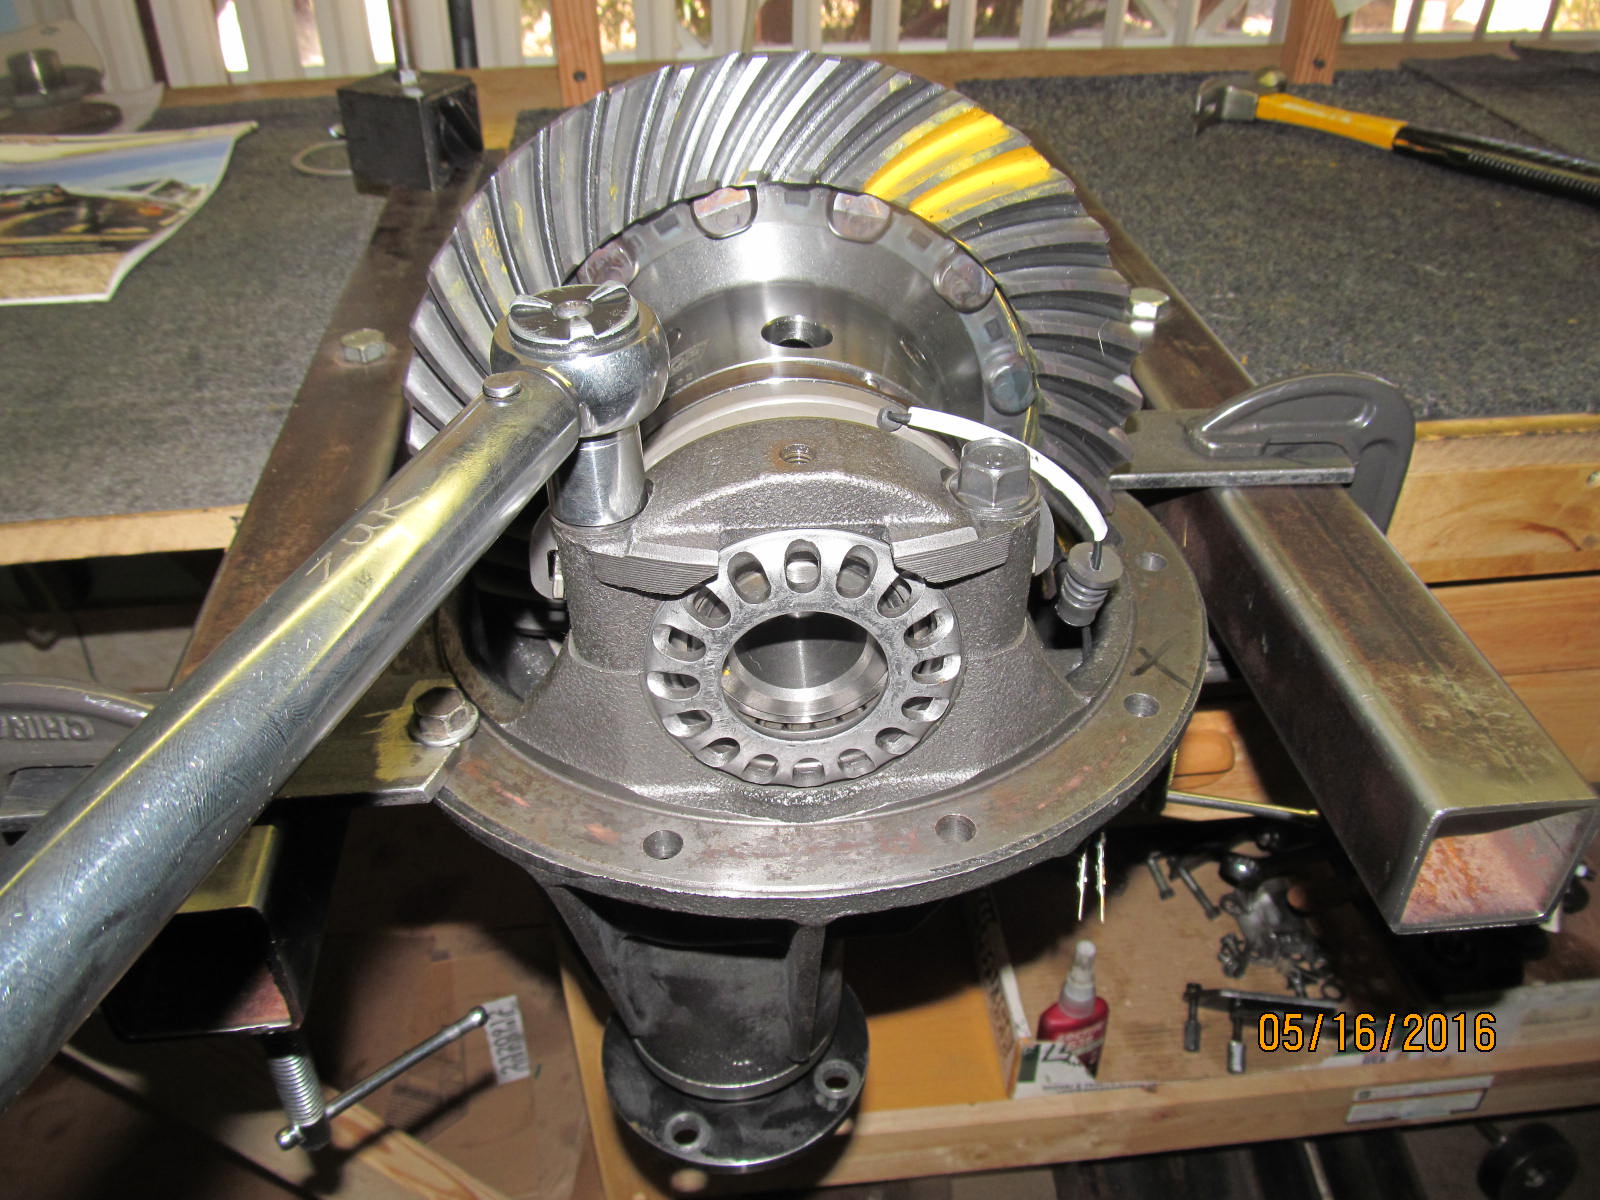
If the bearing cap is mounted first then it's almost impossible to get the bracket in place.
|
|
|
|
|
...but it does work out nicely if the bracket is in place first....
|
|
|
|
|
....then slide the bearing cap in "horizontally".
|
|
|
|
|
Verify the threads are in good alignment.
|
|
|
|
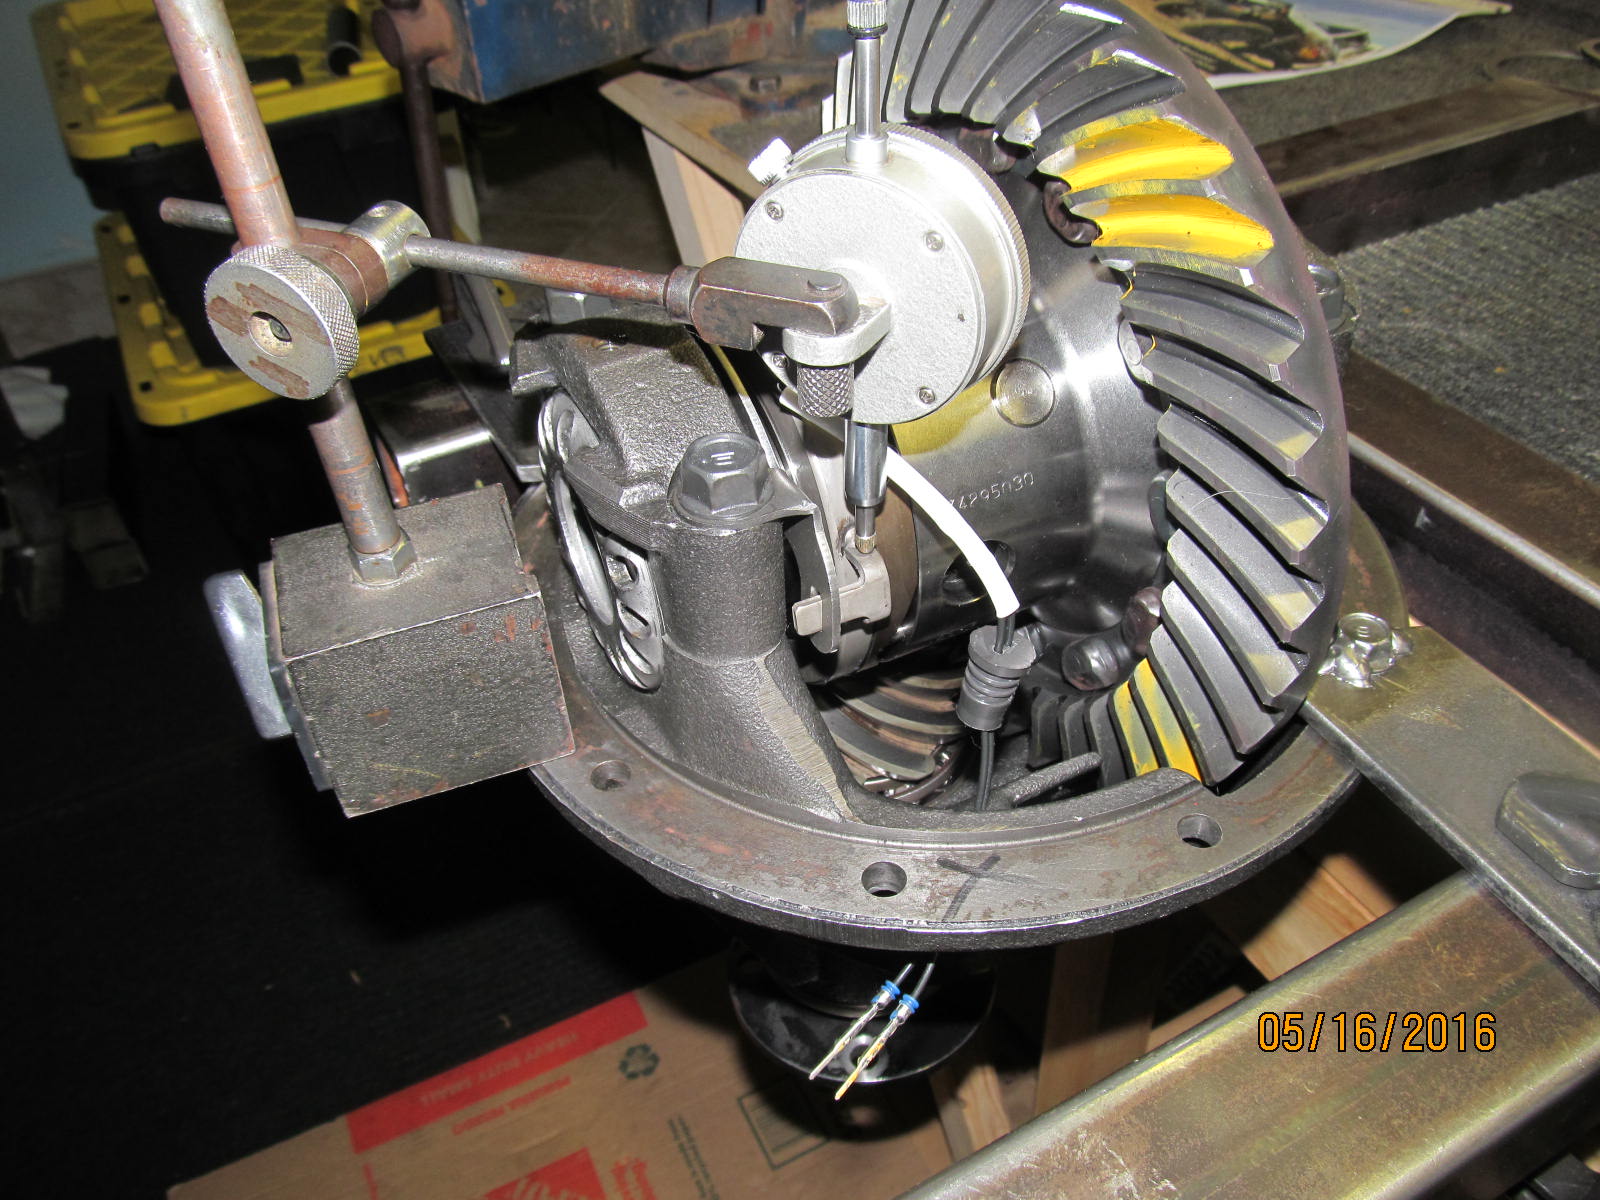
Then tighten the bearing cap bolts to a torque level higher than the factory recommends
with an open diff configuration.....70 is a good number.
|
|
|
|
|
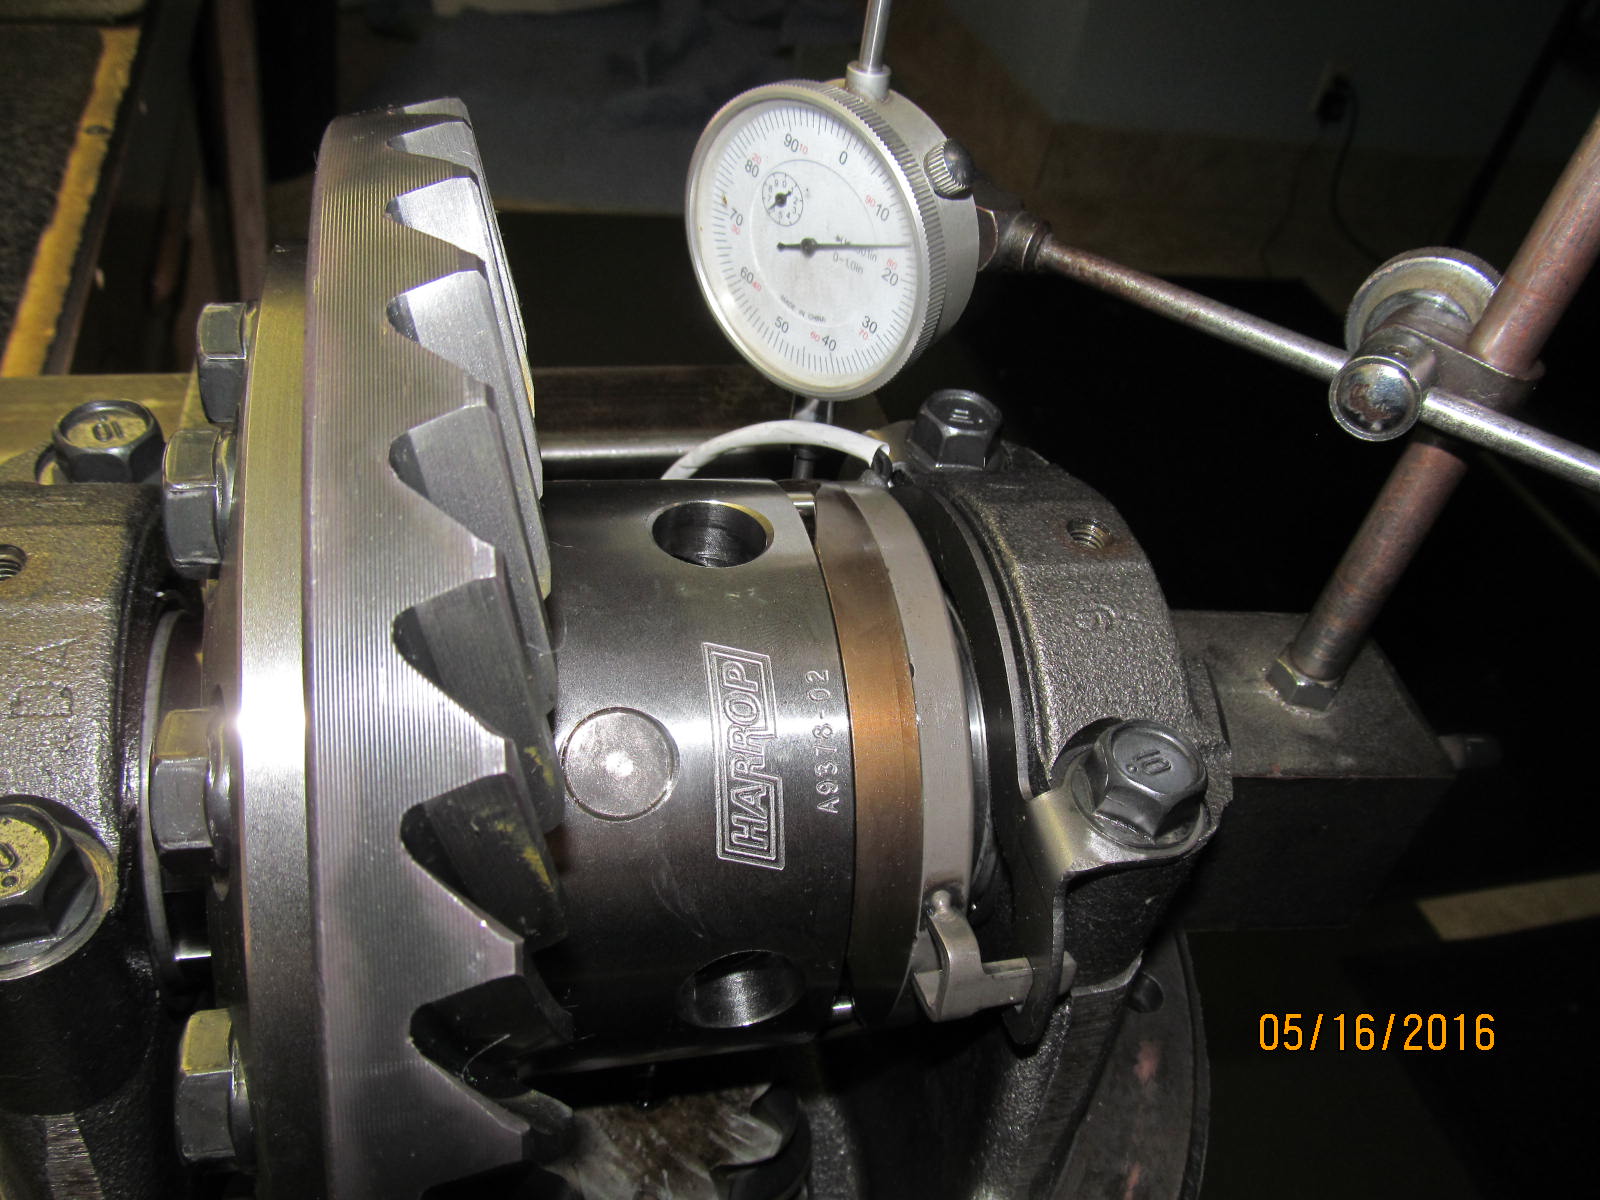
2mm or slightly more is verified.
|
|
|
|
|
,,,,,,,,,,,,
|
|
|
|
|
,,,,,,,,,,,,
|
|
|
|
|
I prefer to tap it on the corner to meet the spec.
|
|
|
|
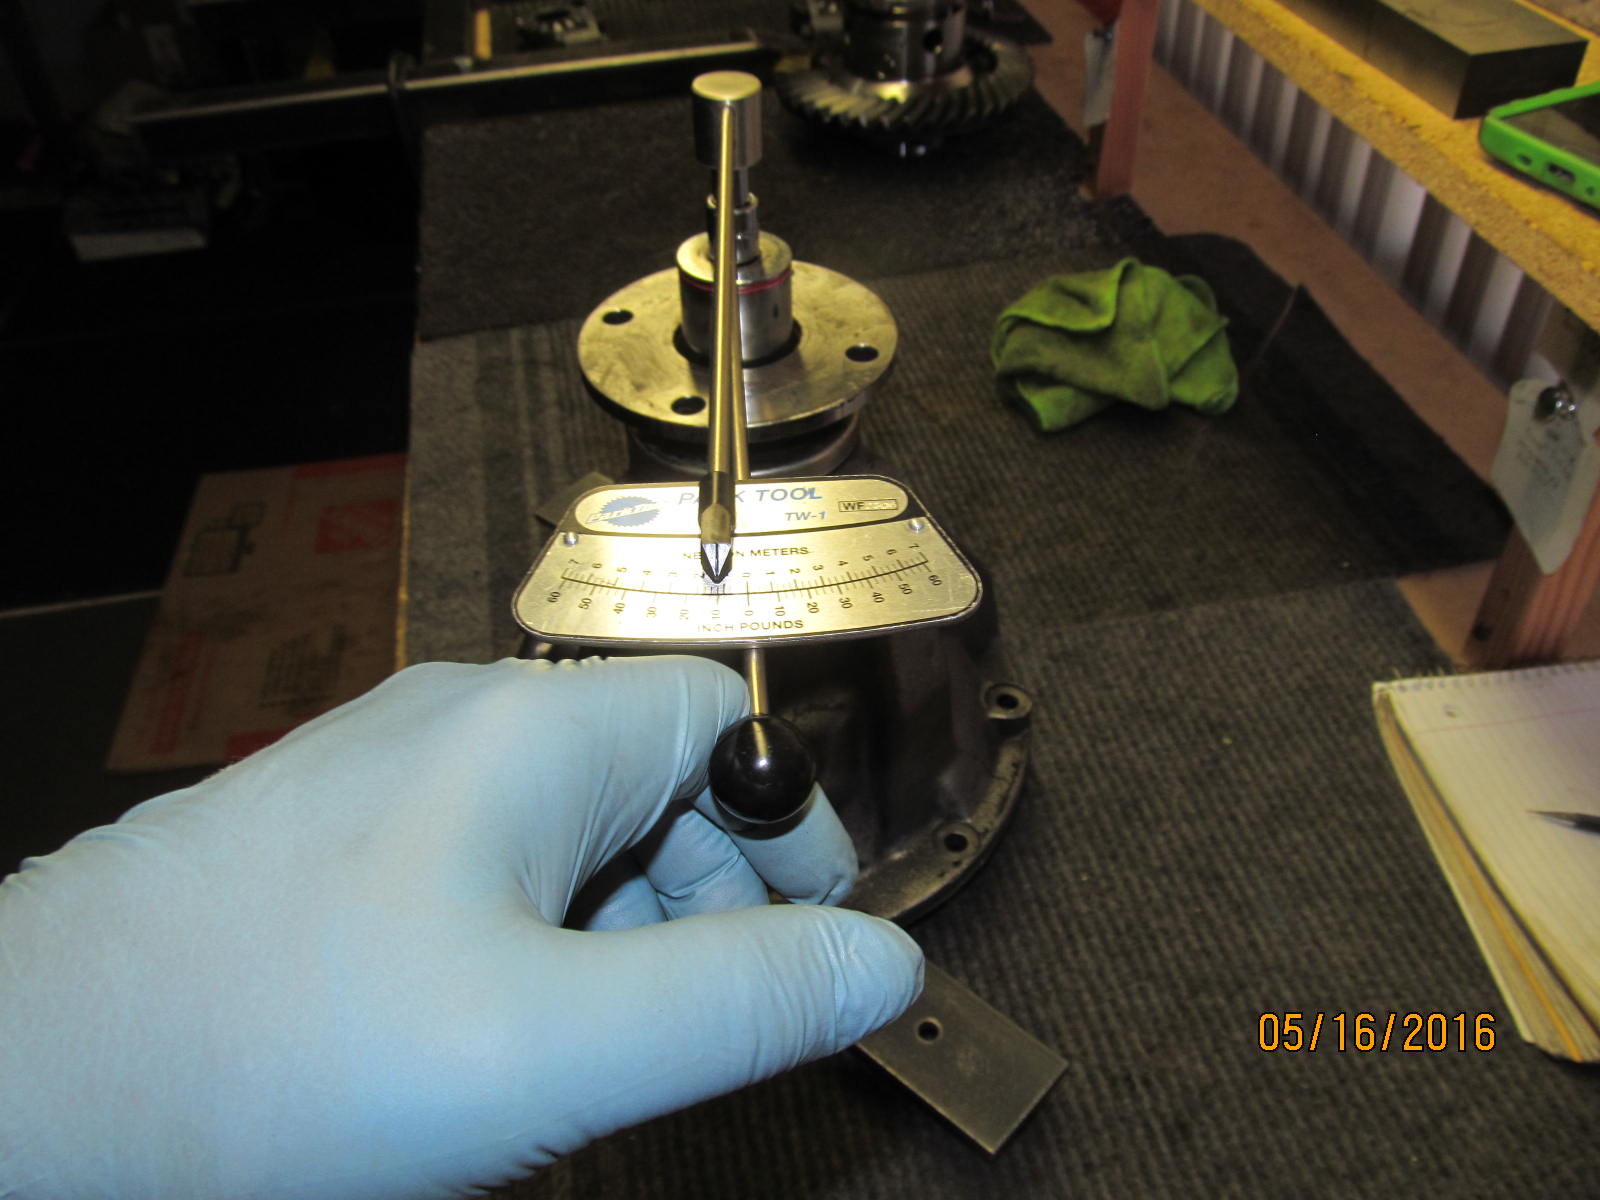
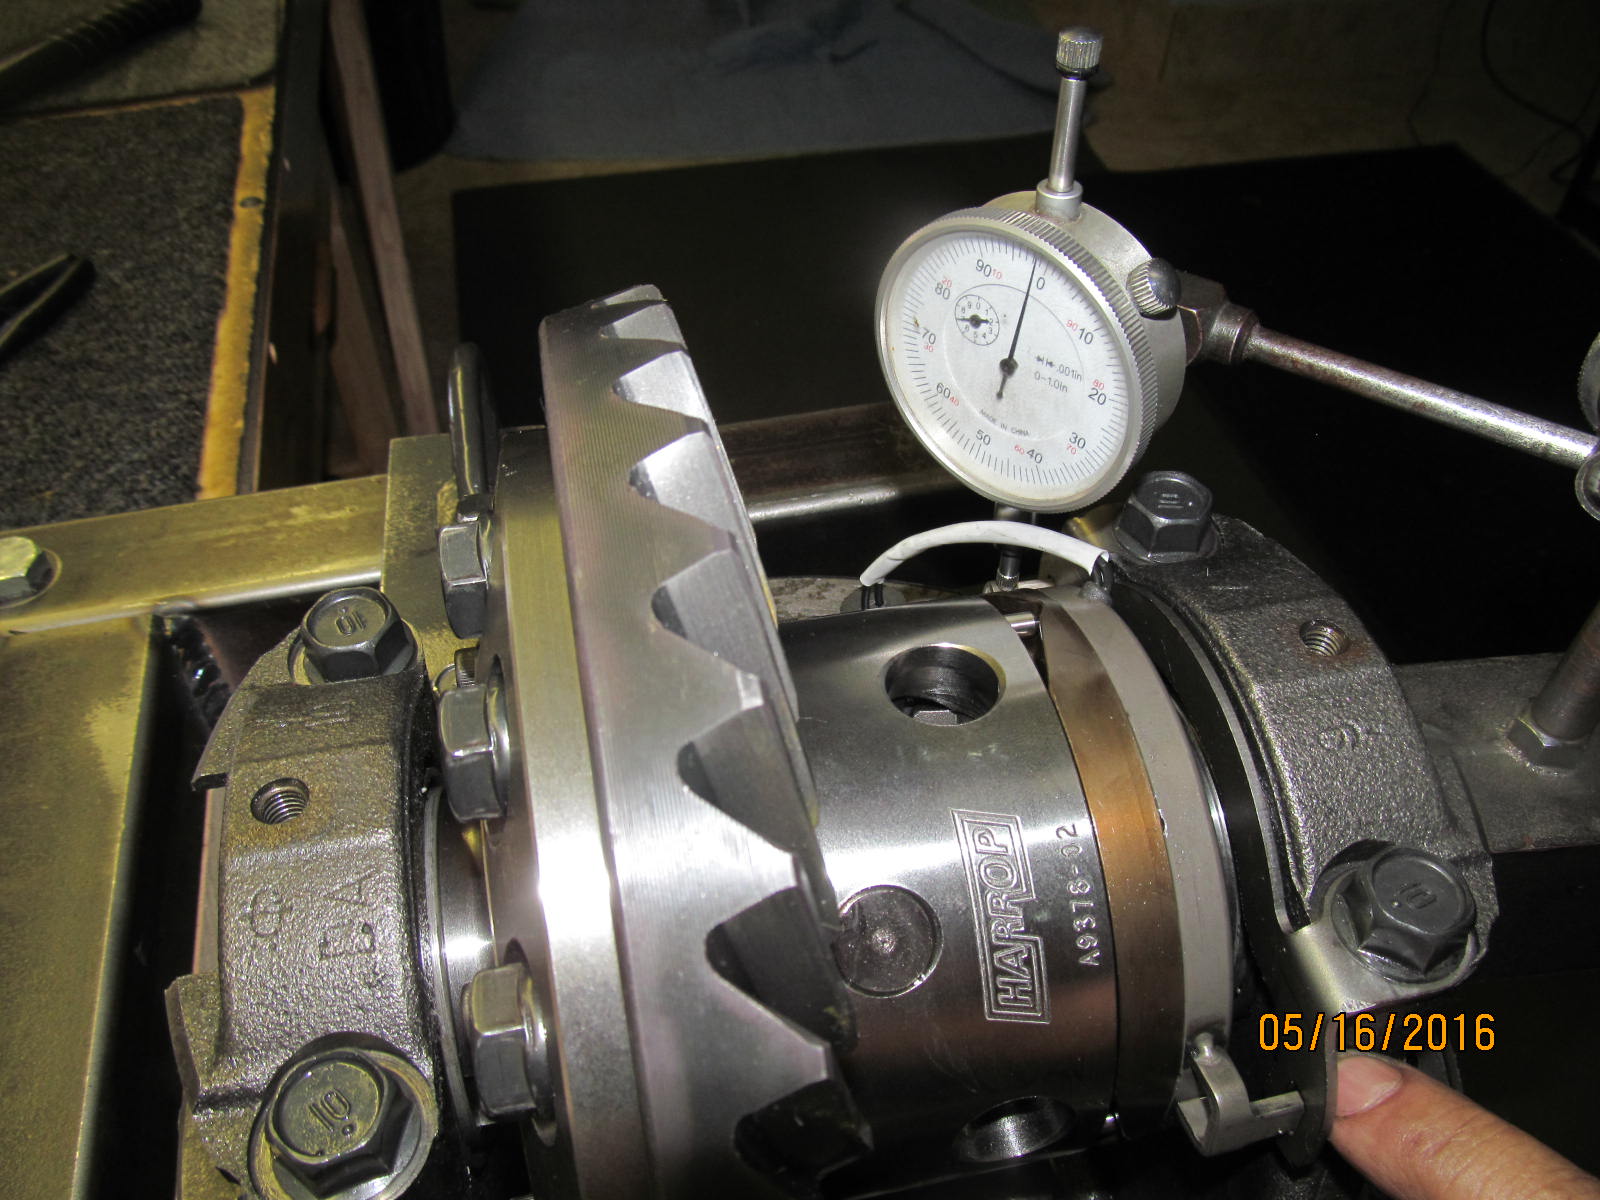
The adjuster wheels are both tightened now to dial in the backlash and also to make
sure the bearing pre-load is high enough.
|
|
|
|
|
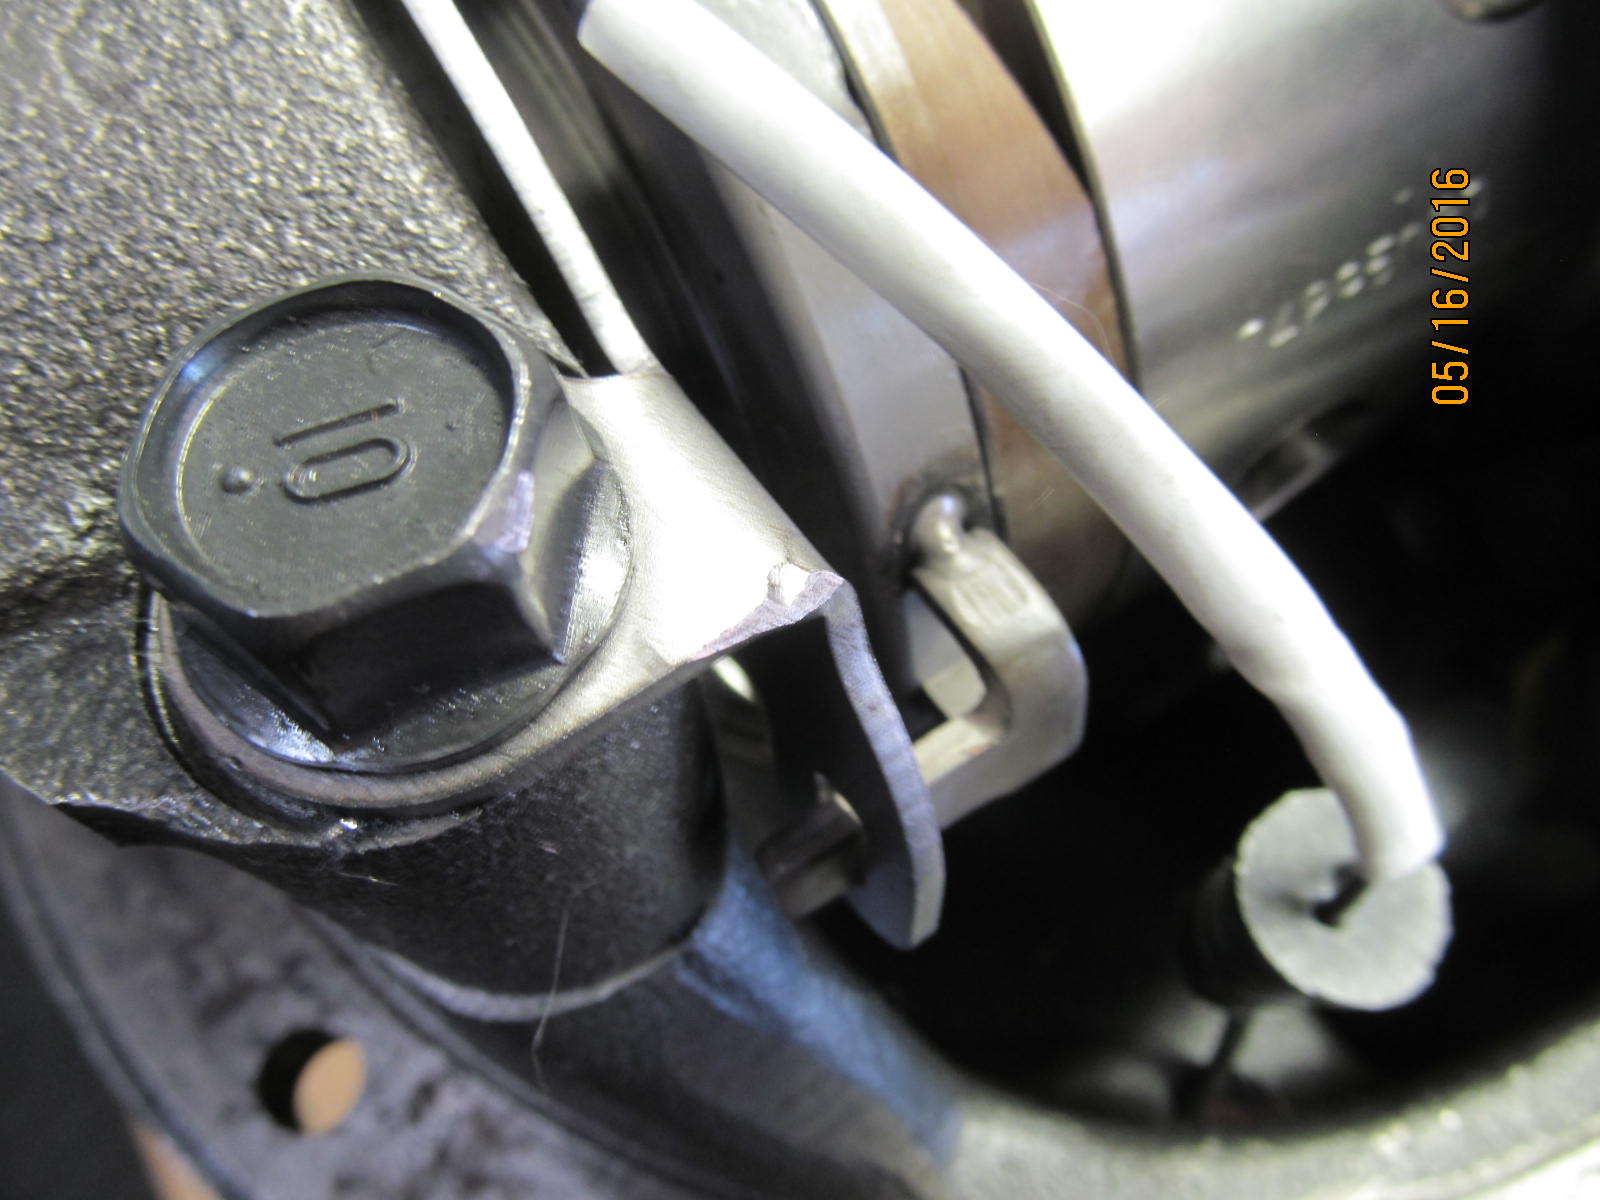
With that done, a solid 10 ft/lbs on each of the 2 lock tabs.
|
|
|
|
|
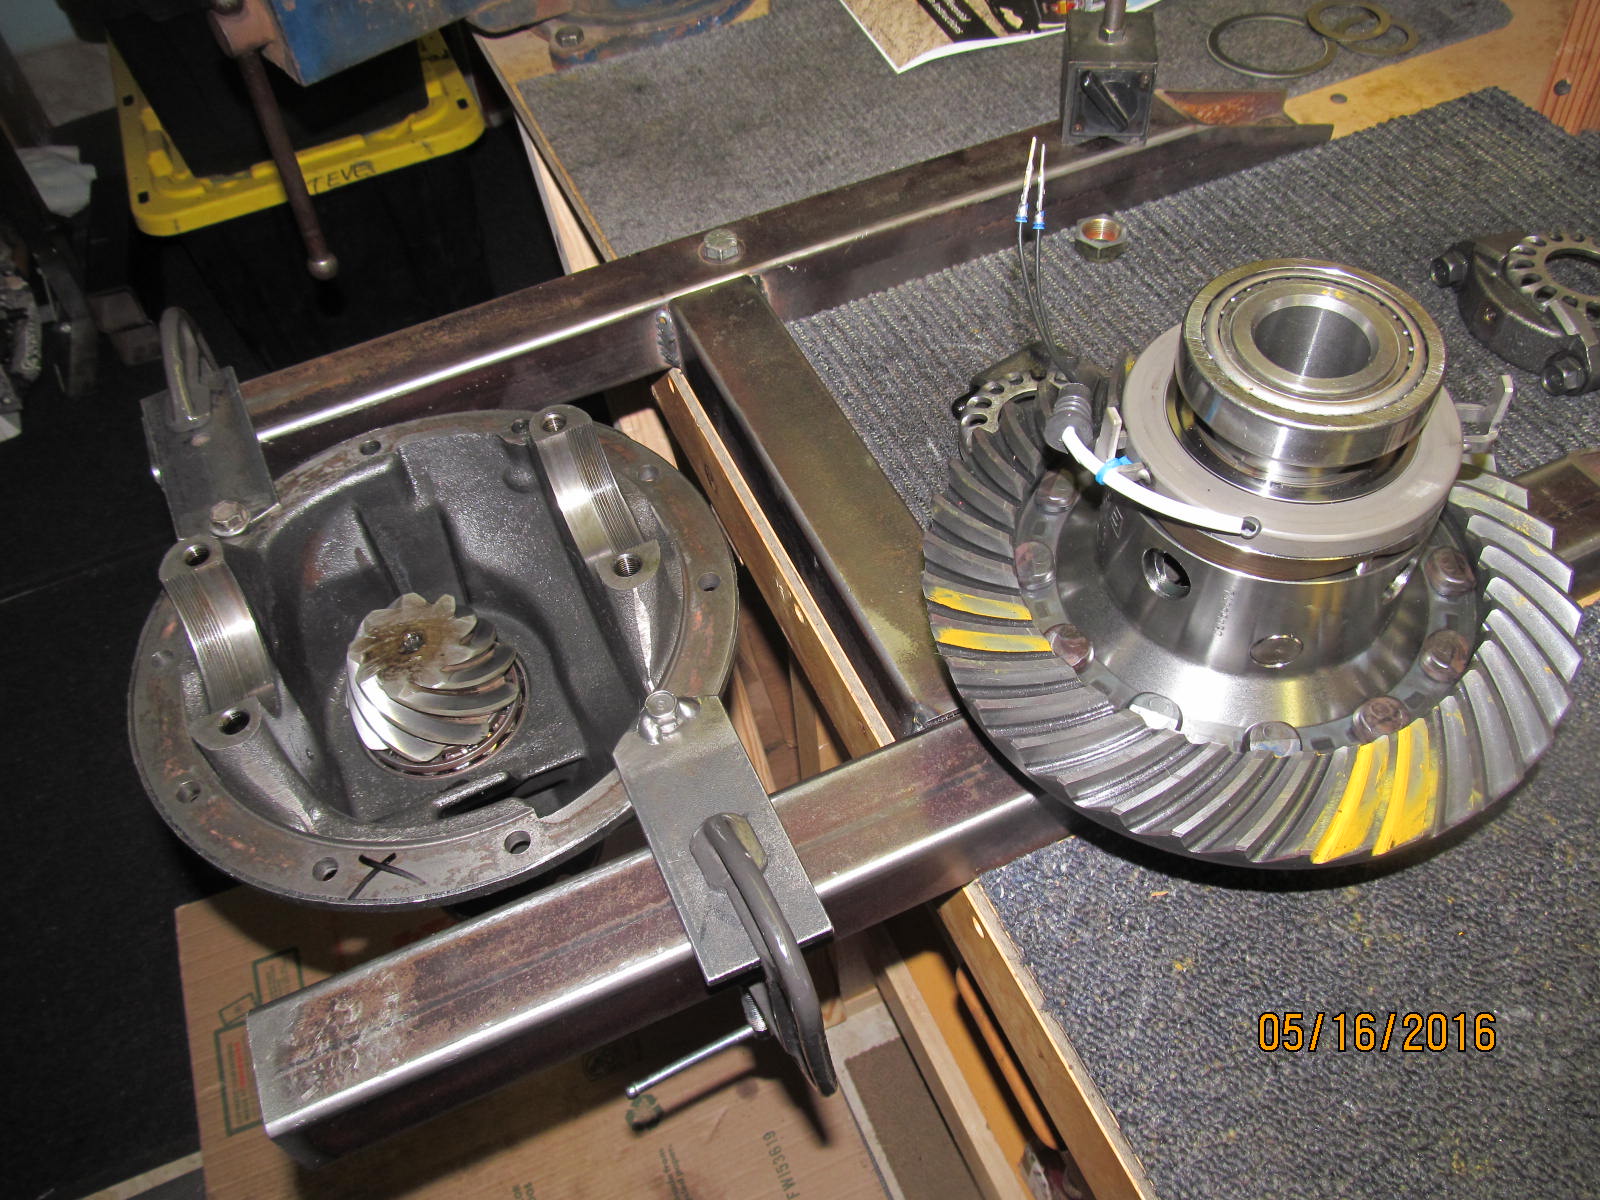
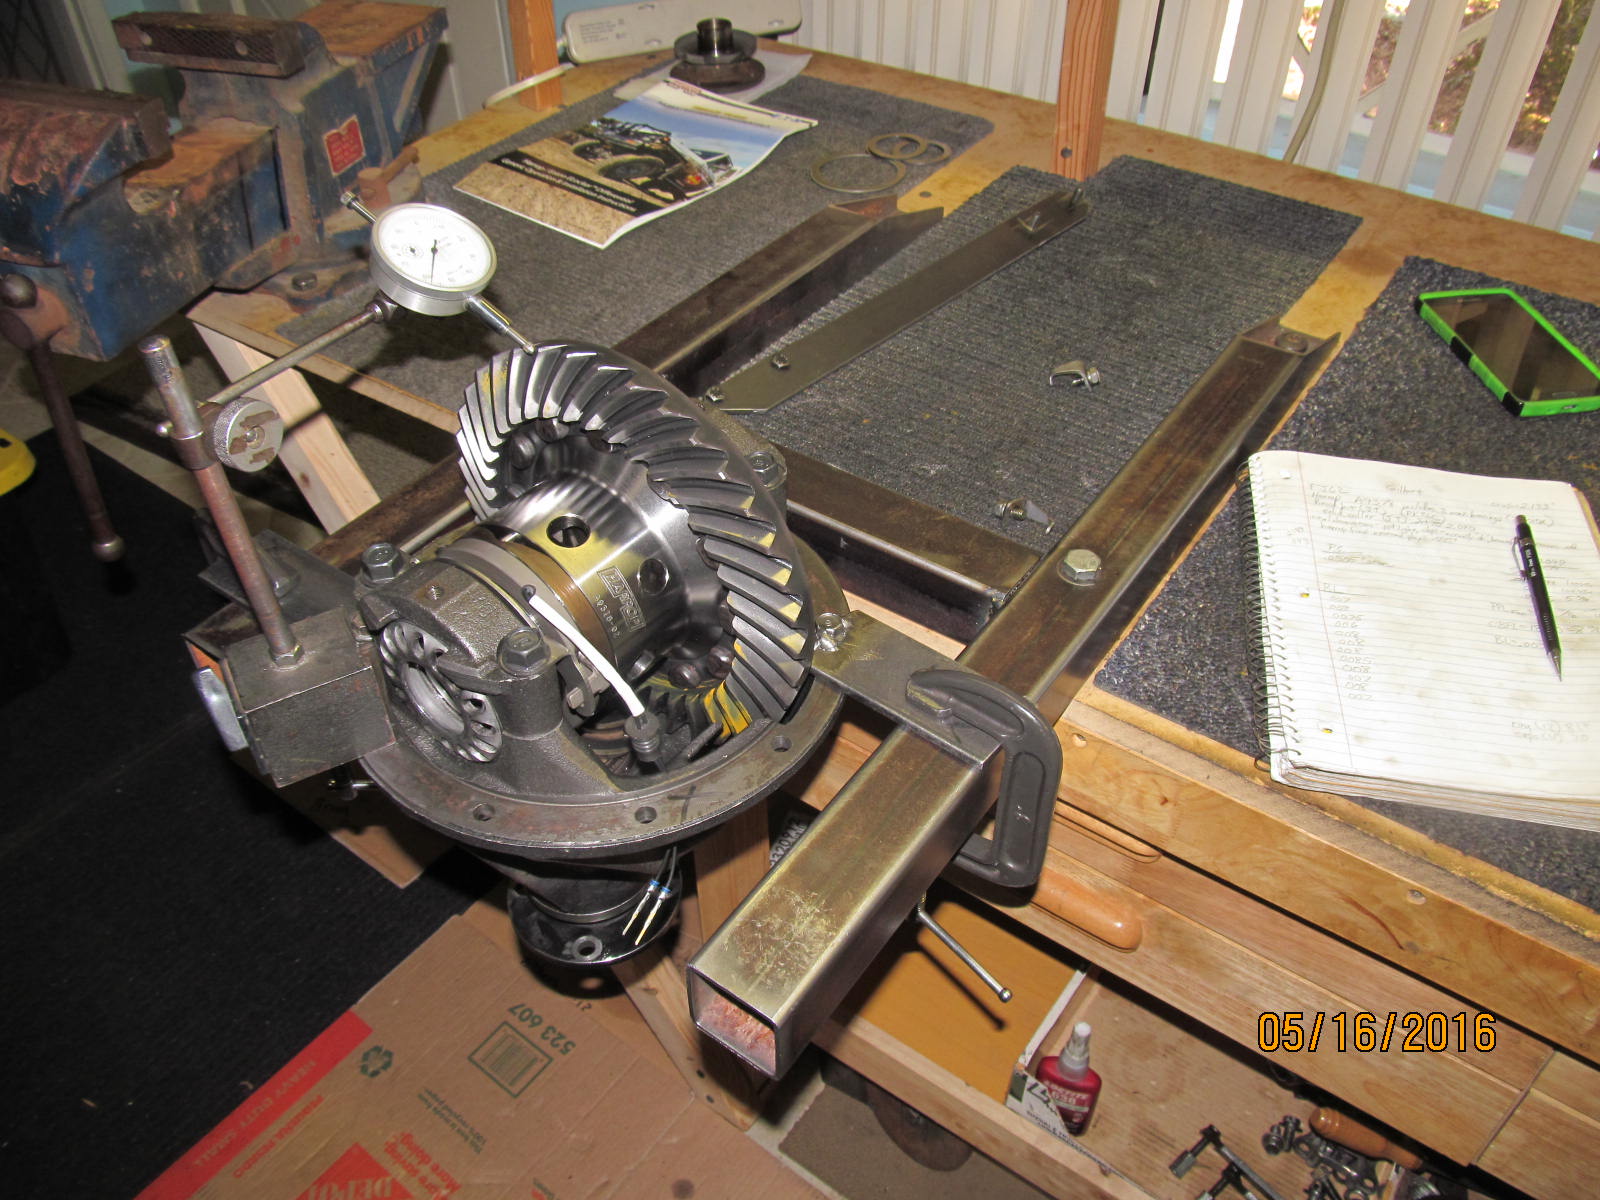
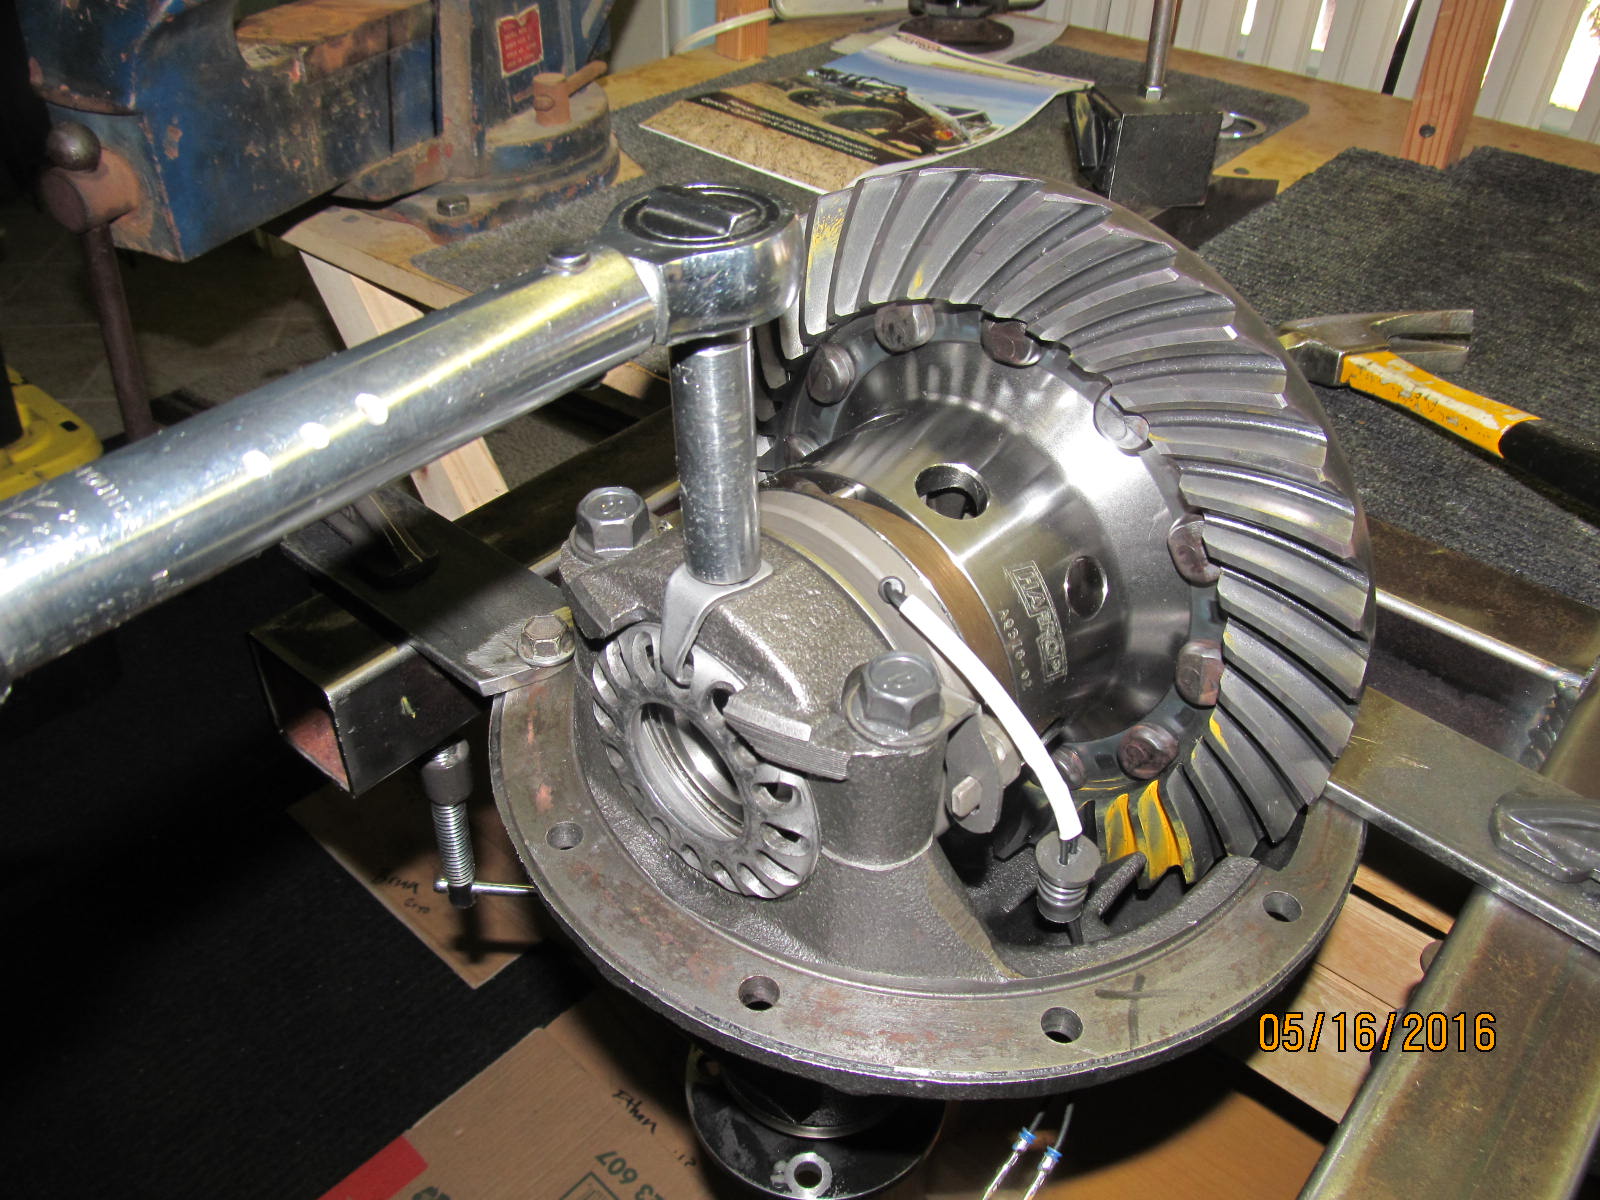
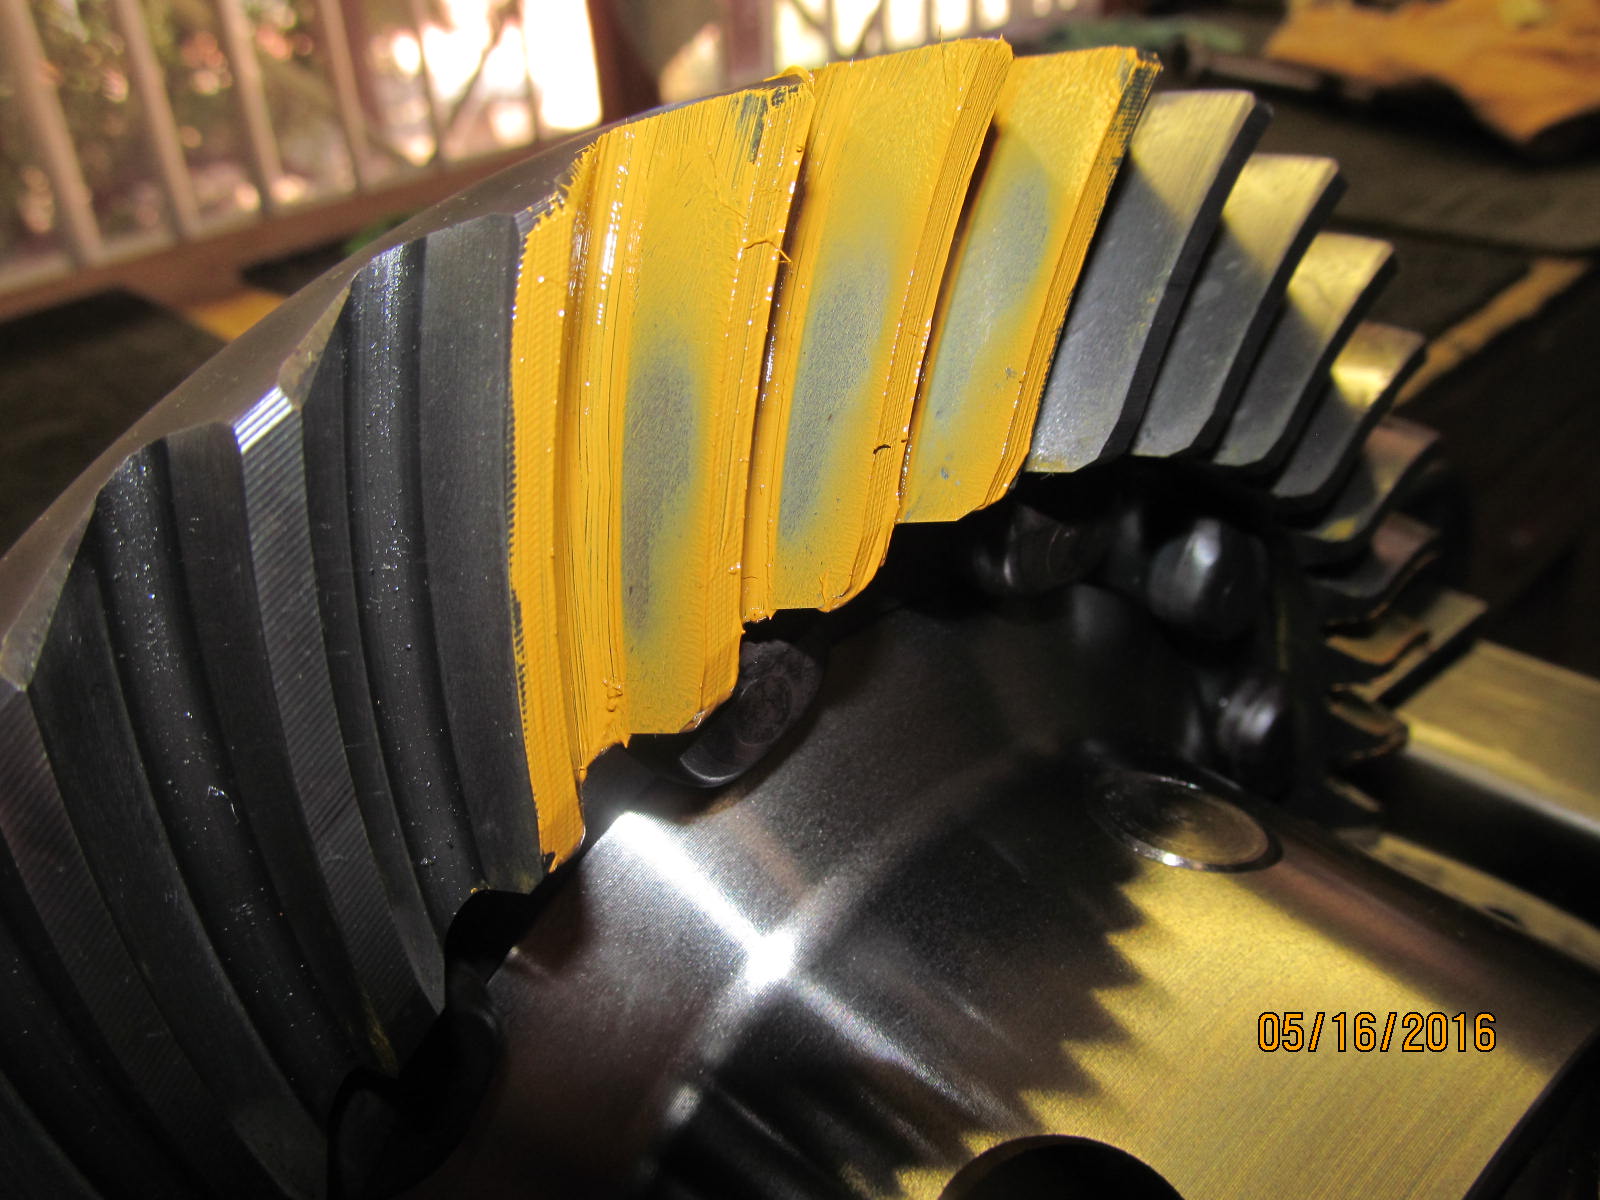
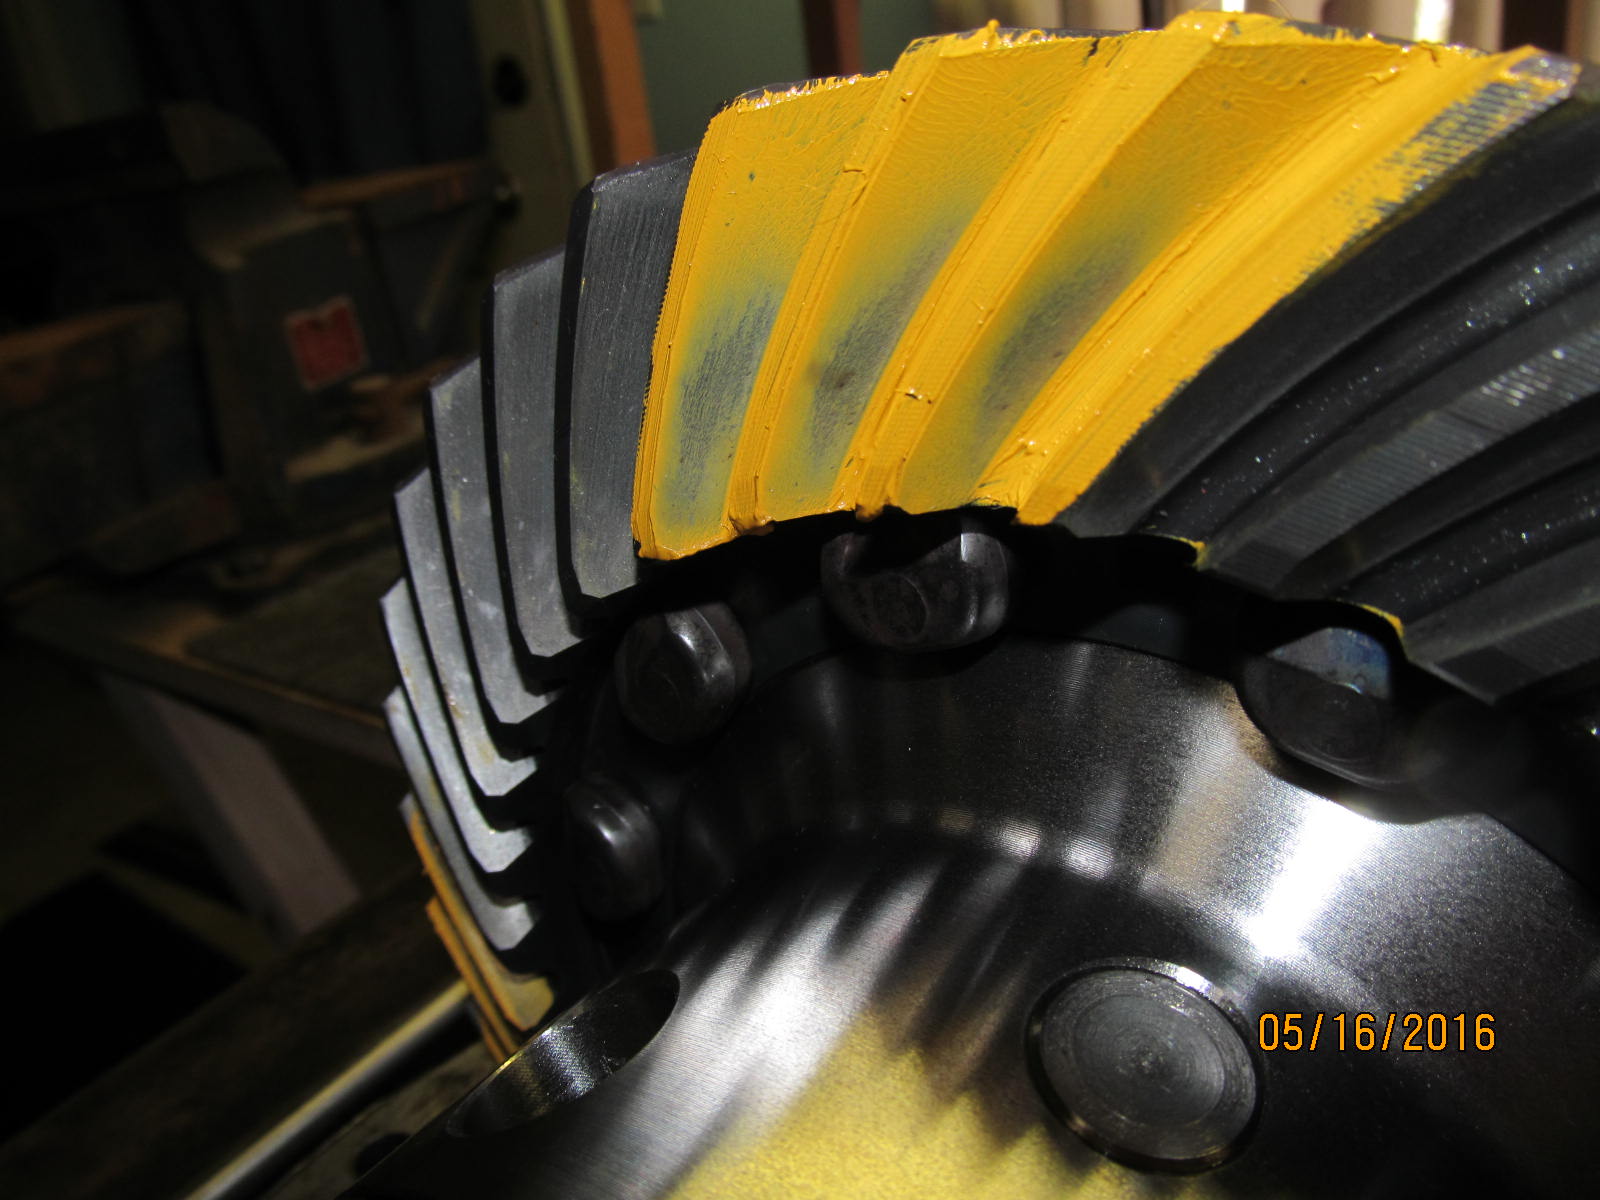
Final pattern check.....drive side....nice.
|
|
|
|
|
Coast....nice.
|
|
|
|
|
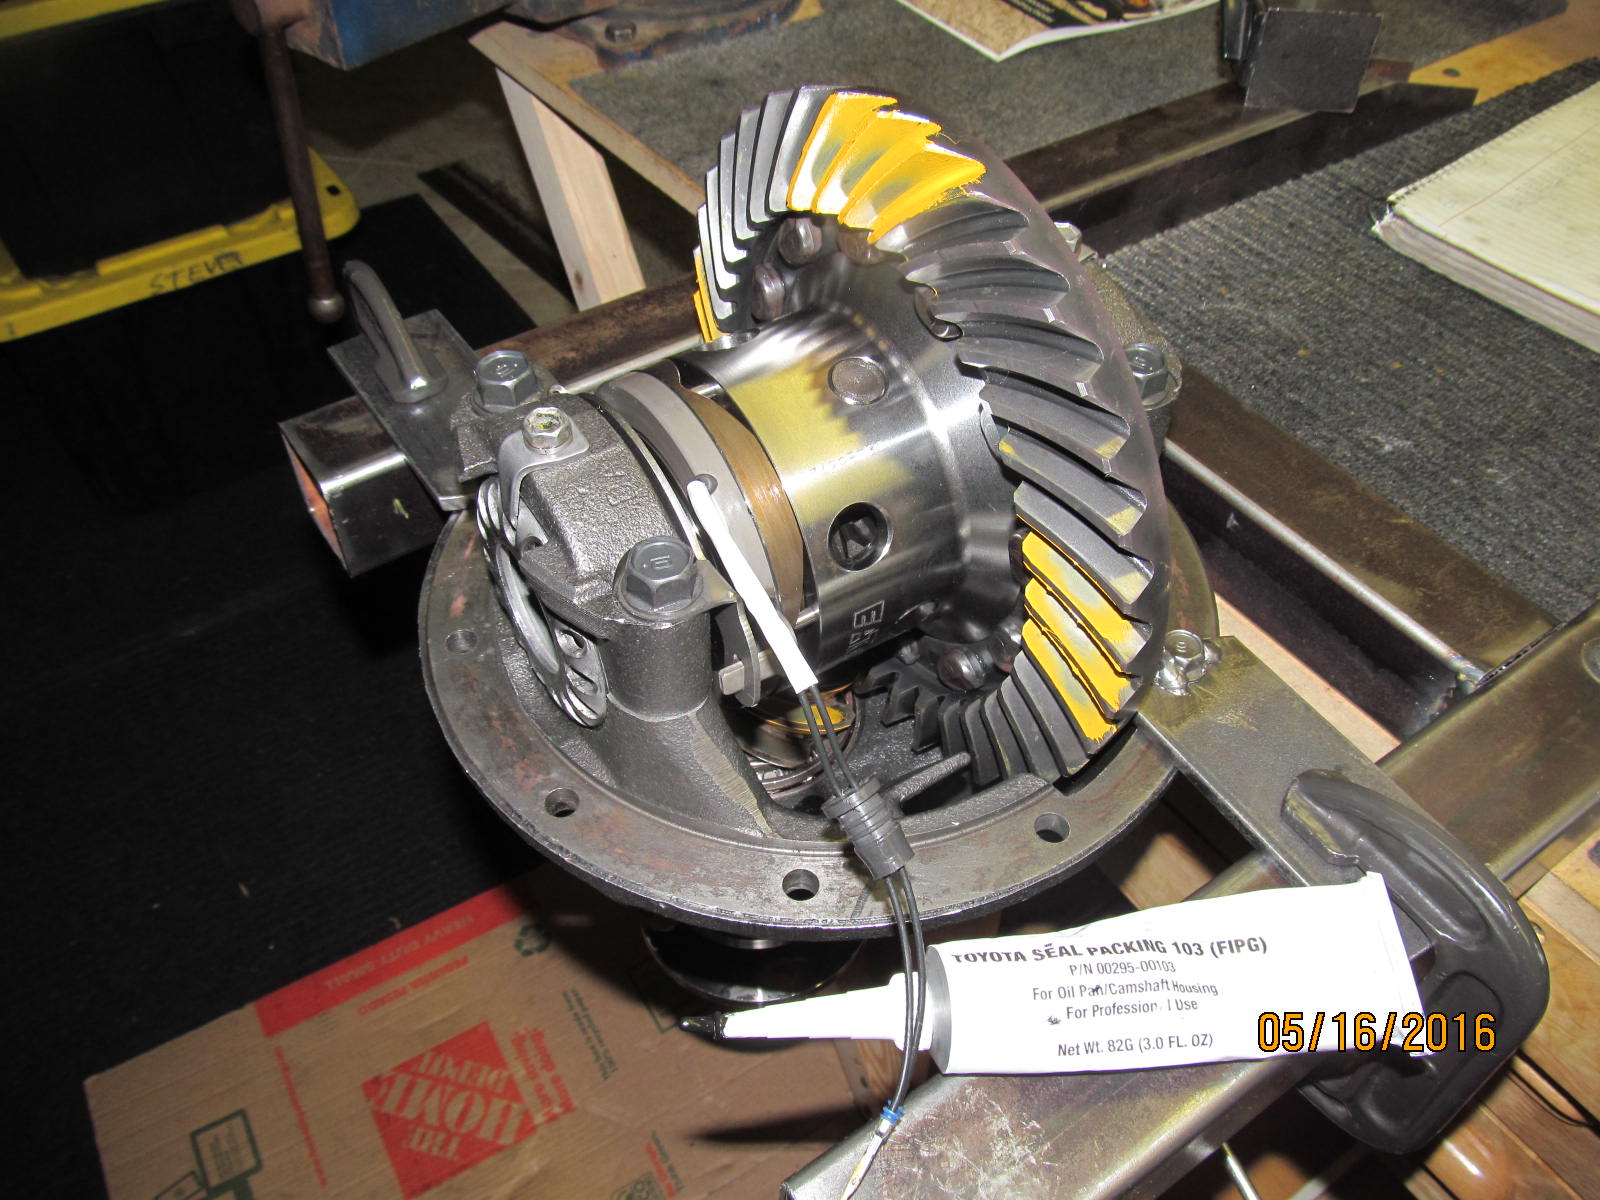
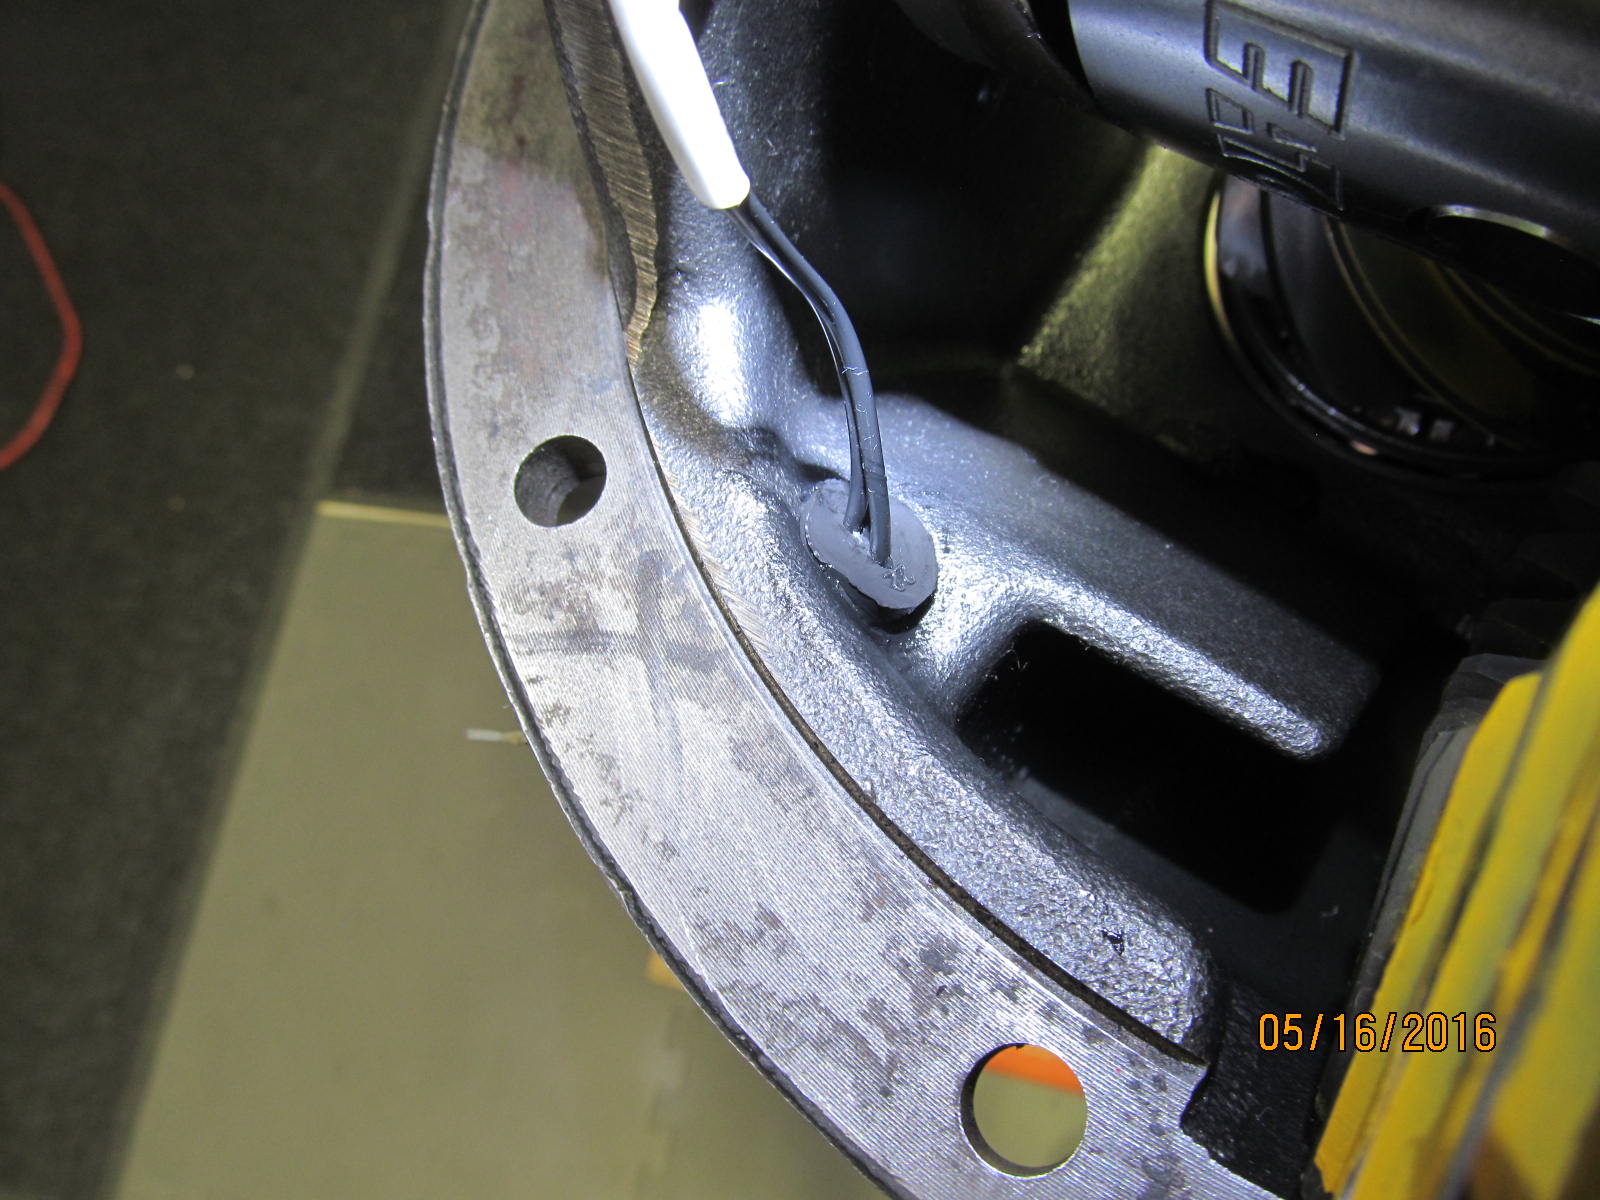
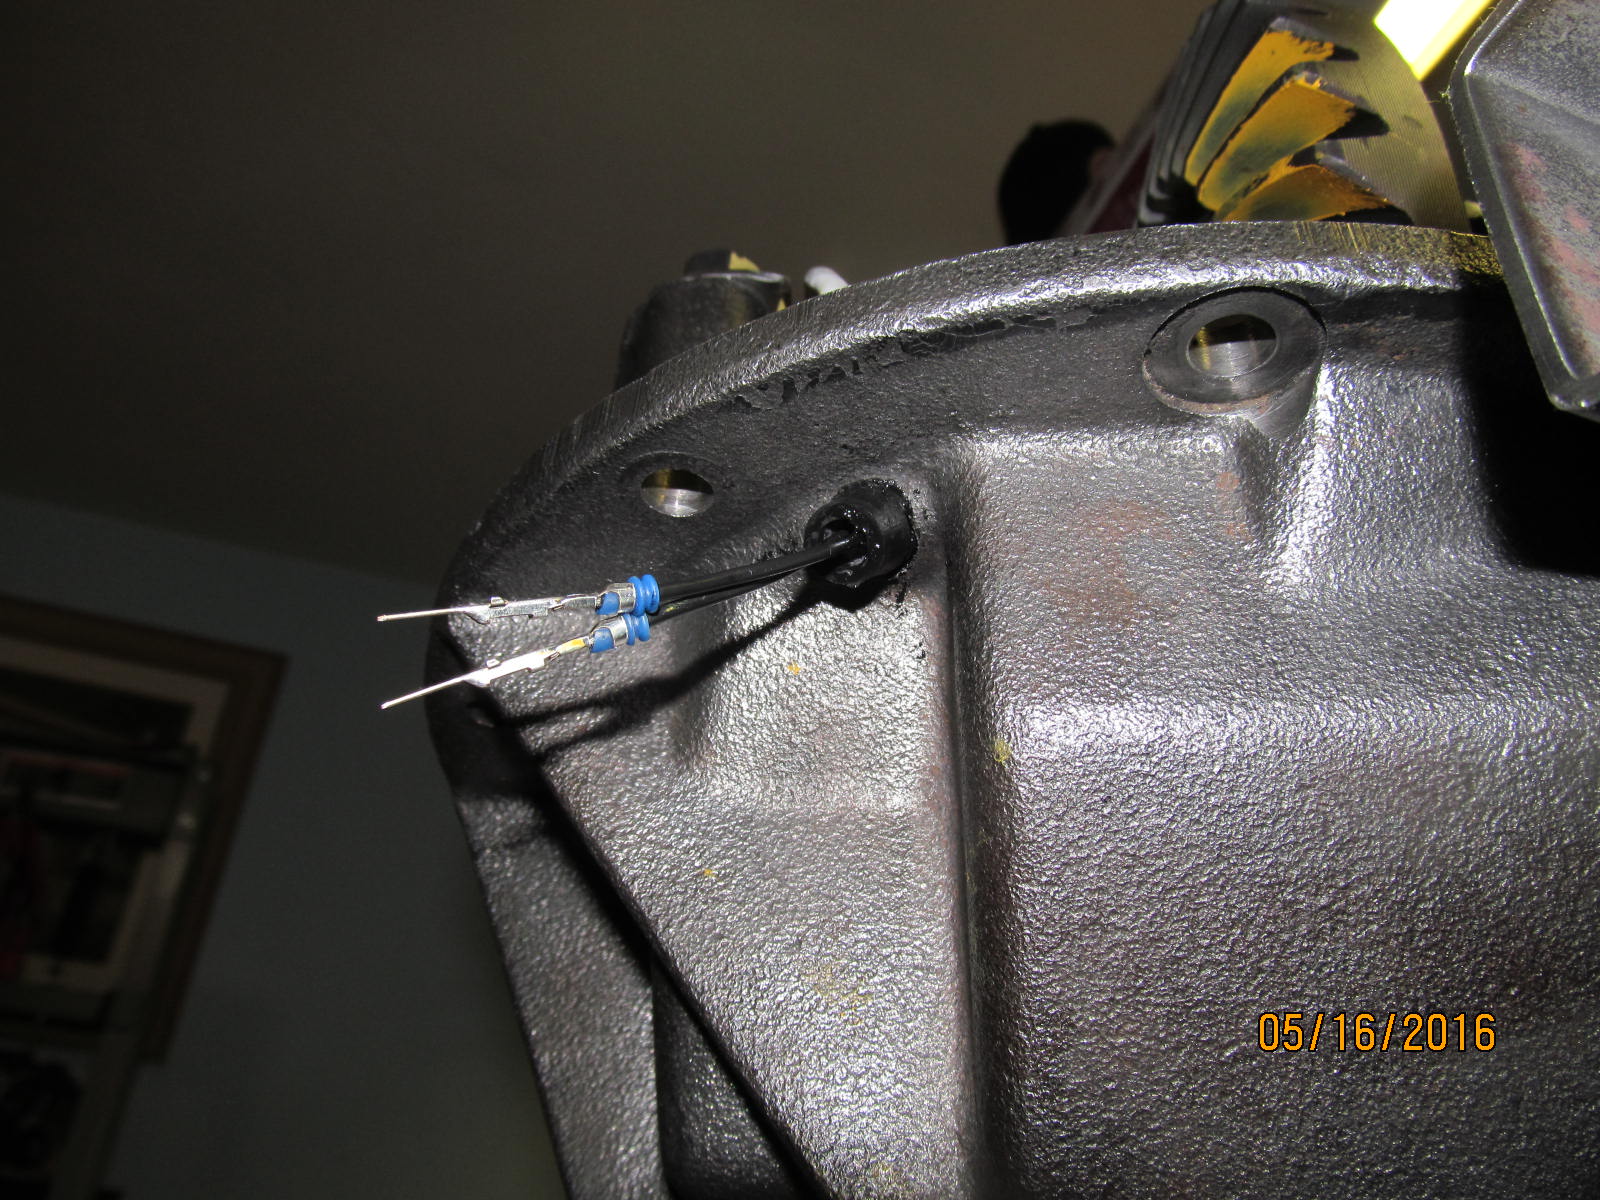
Amazing how a little FIPG or rtv helps with the rubber grommet.
|
|
|
|
|
Might even help to seal the gear oil in.
|
|
|
|
|
,,,,,,,,,,,,,,,,,,,
|
|
|
|
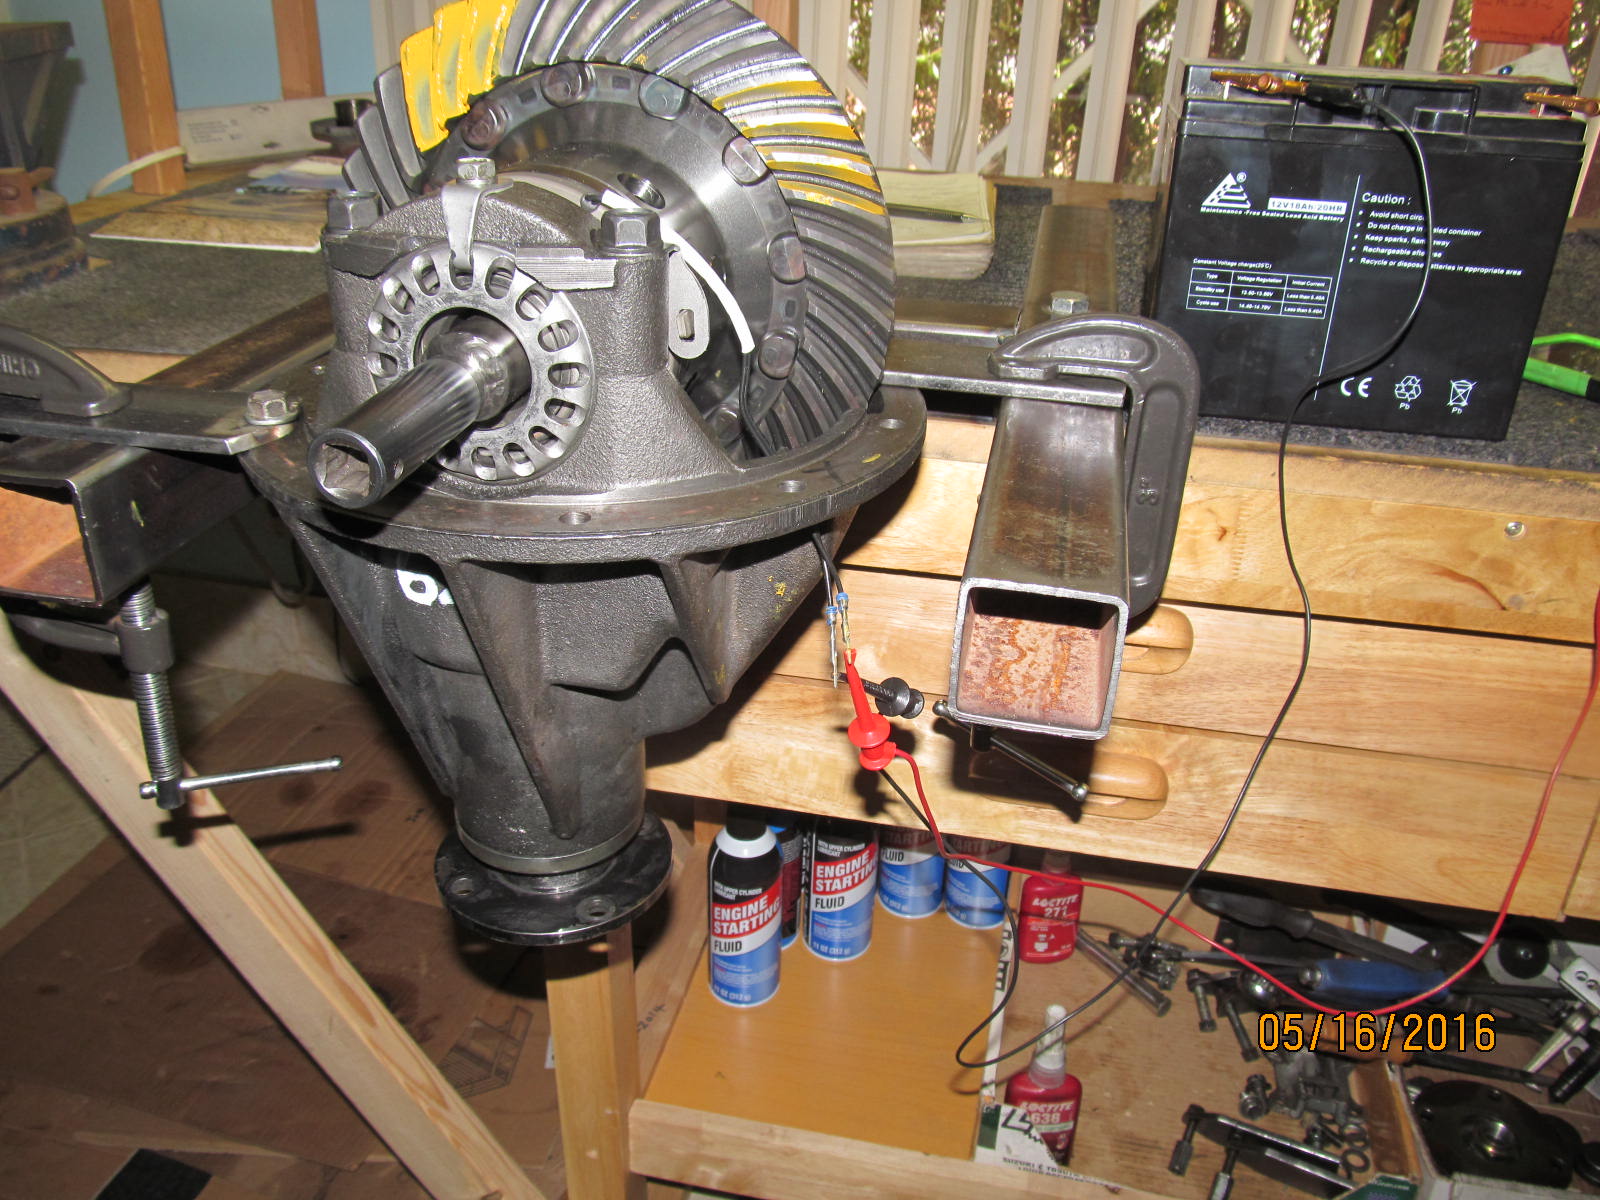
Testing of the electric locker is easy with a 12v battery and two test leads. The e-locker has no polarity
so doesn't make any difference how you hook them up.....just hook them up and it will fly.
|
|
|
|
|
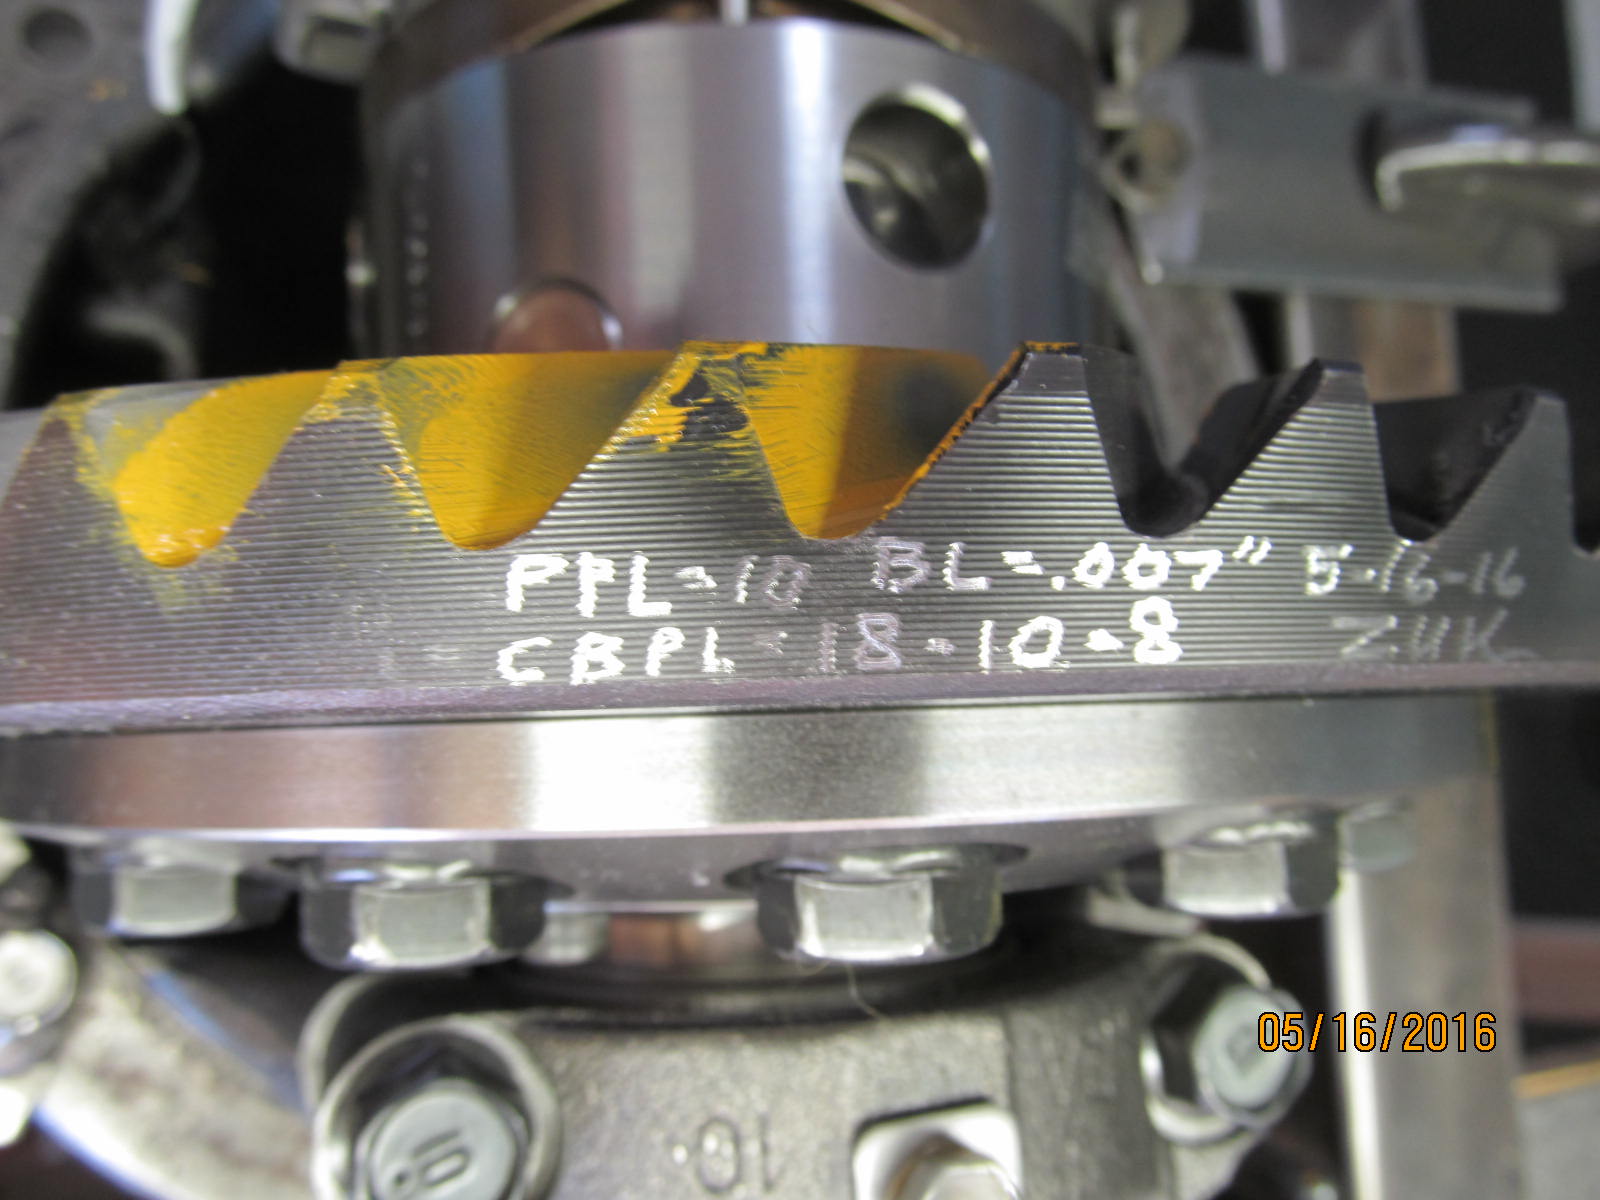
Related info is scribed onto the ring.
|
|
|
|
|
Done
|
|
|
|

|