| Jorge from the Czech Republic gets a front Harrop and Nitro 488 Gears for his 1997 FZJ80 Landcruiser |
|---|
| (61 BIG pics loading) |
|---|
| MAY 18 2017 |
|---|
|
Jorge and his family live in Europe in the Czech Republic. Official name of the country is Czechia but the shortened moniker never caught on.
Heck, when I was into shortwave listening back in 1973 they were Czechoslovakia(Radio Prague) but I digress. |
|---|
|
|
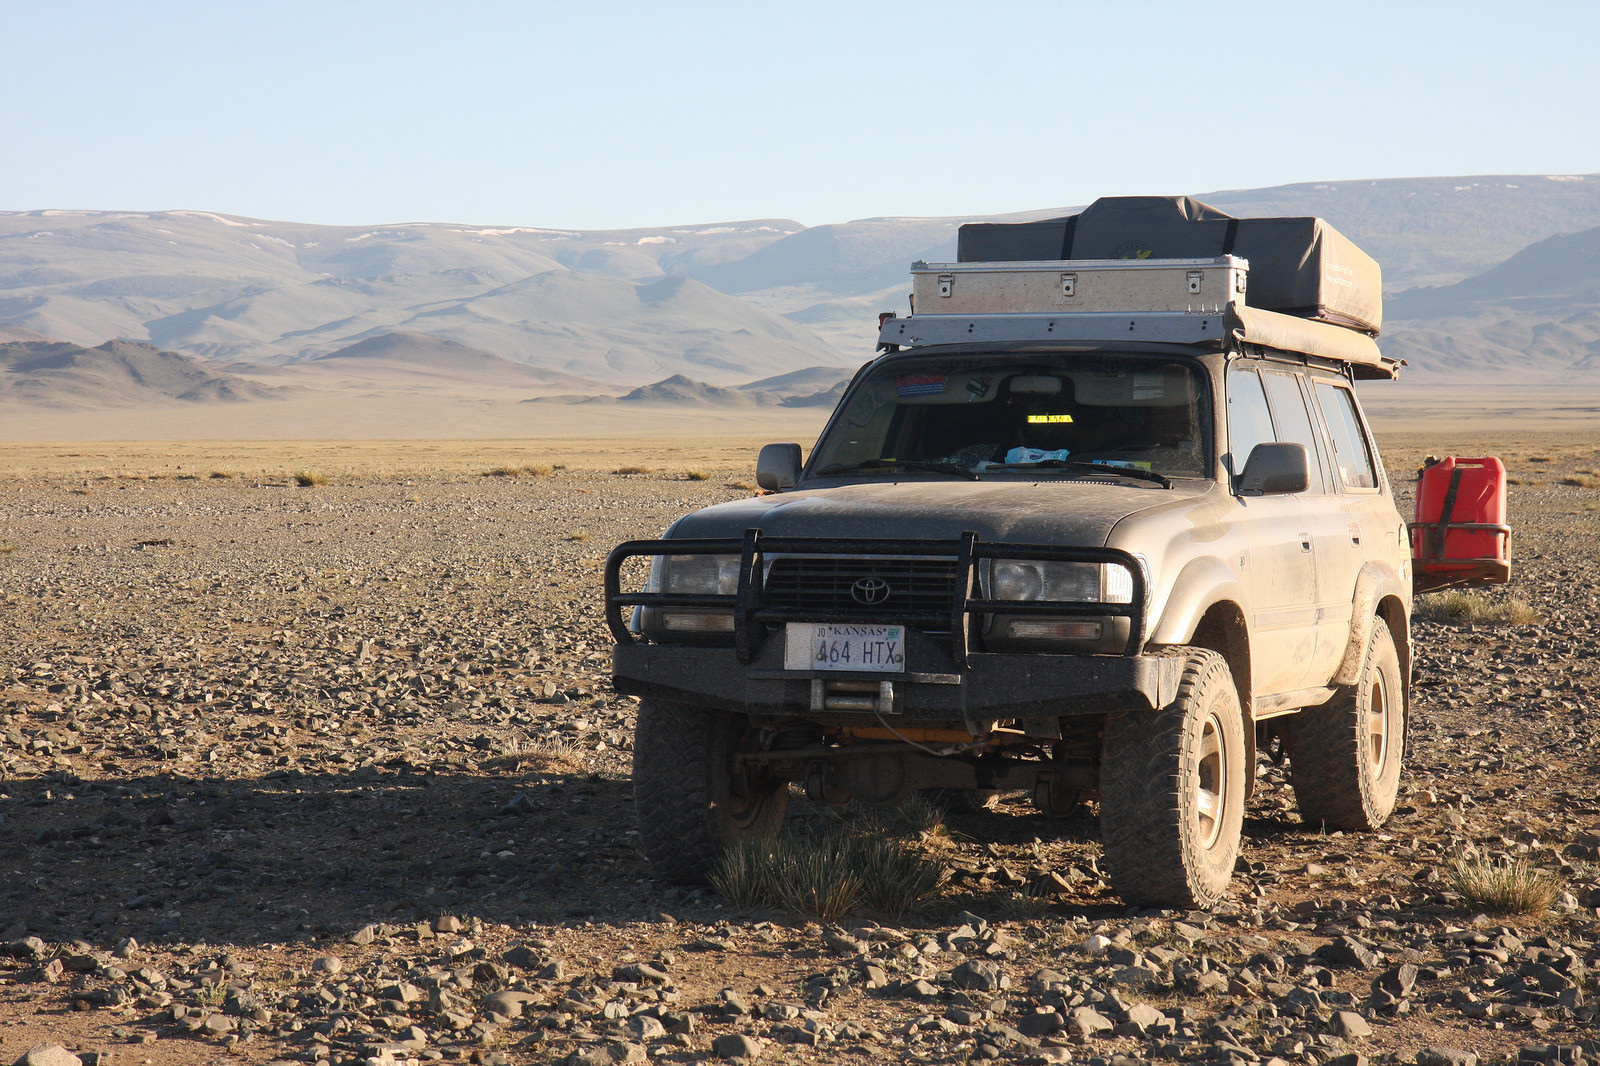
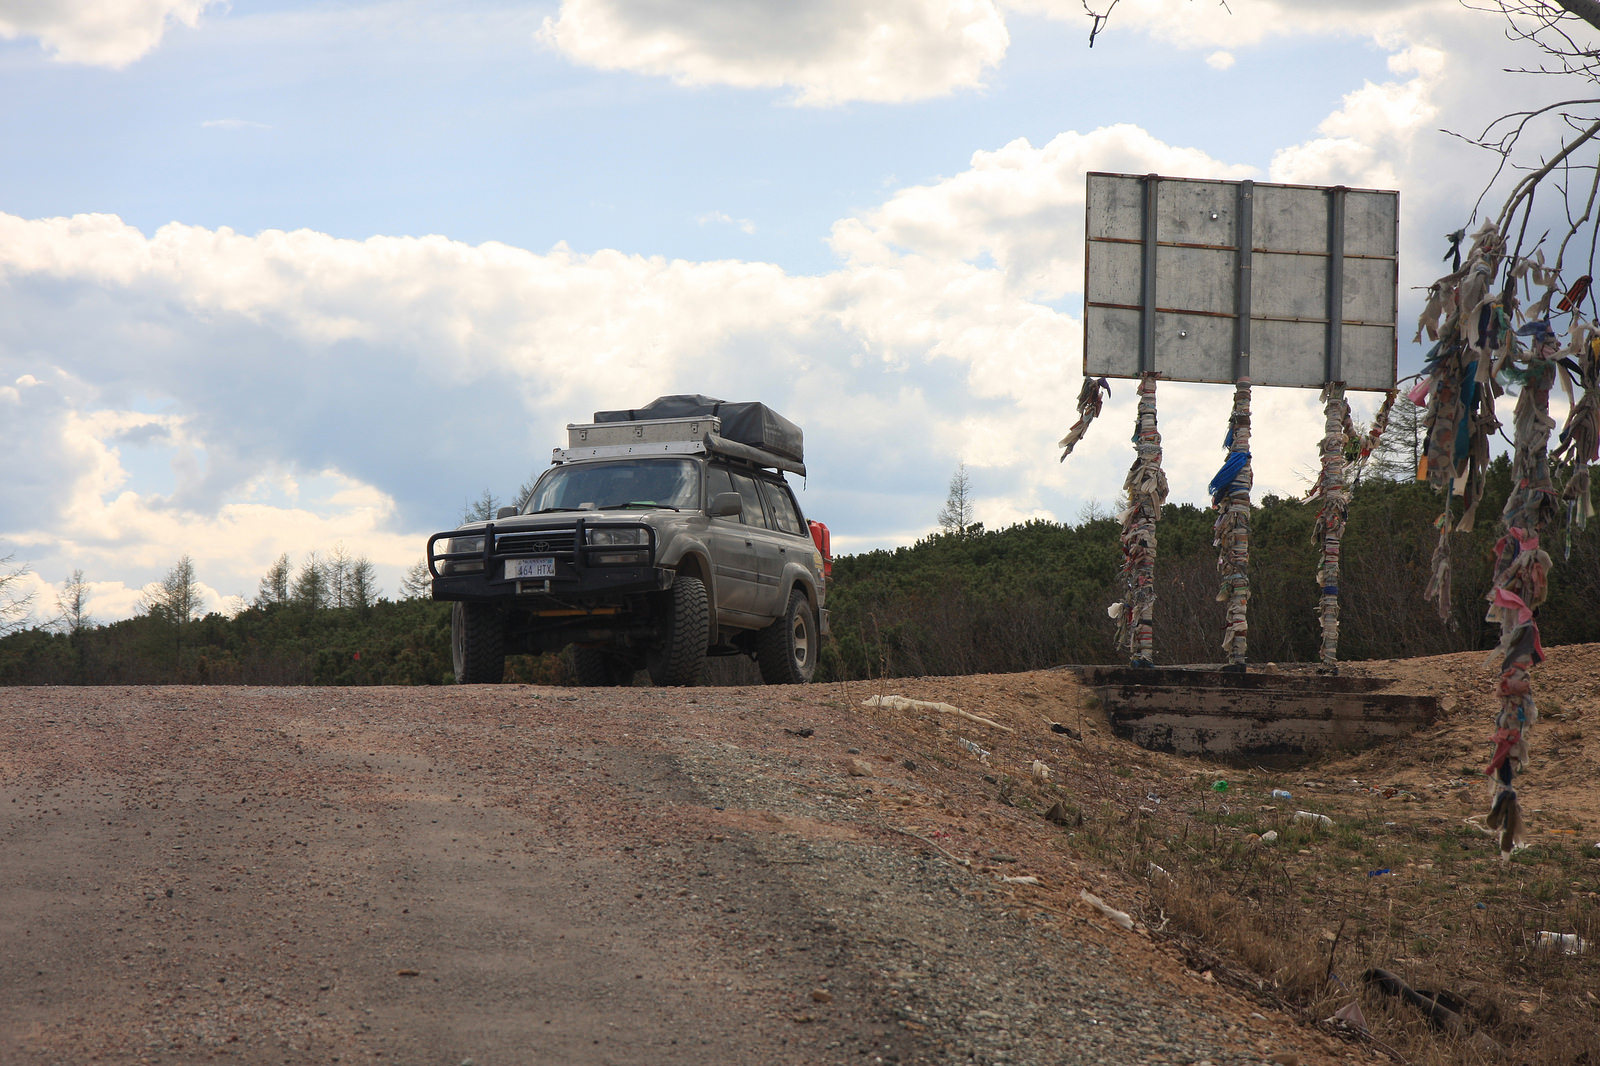
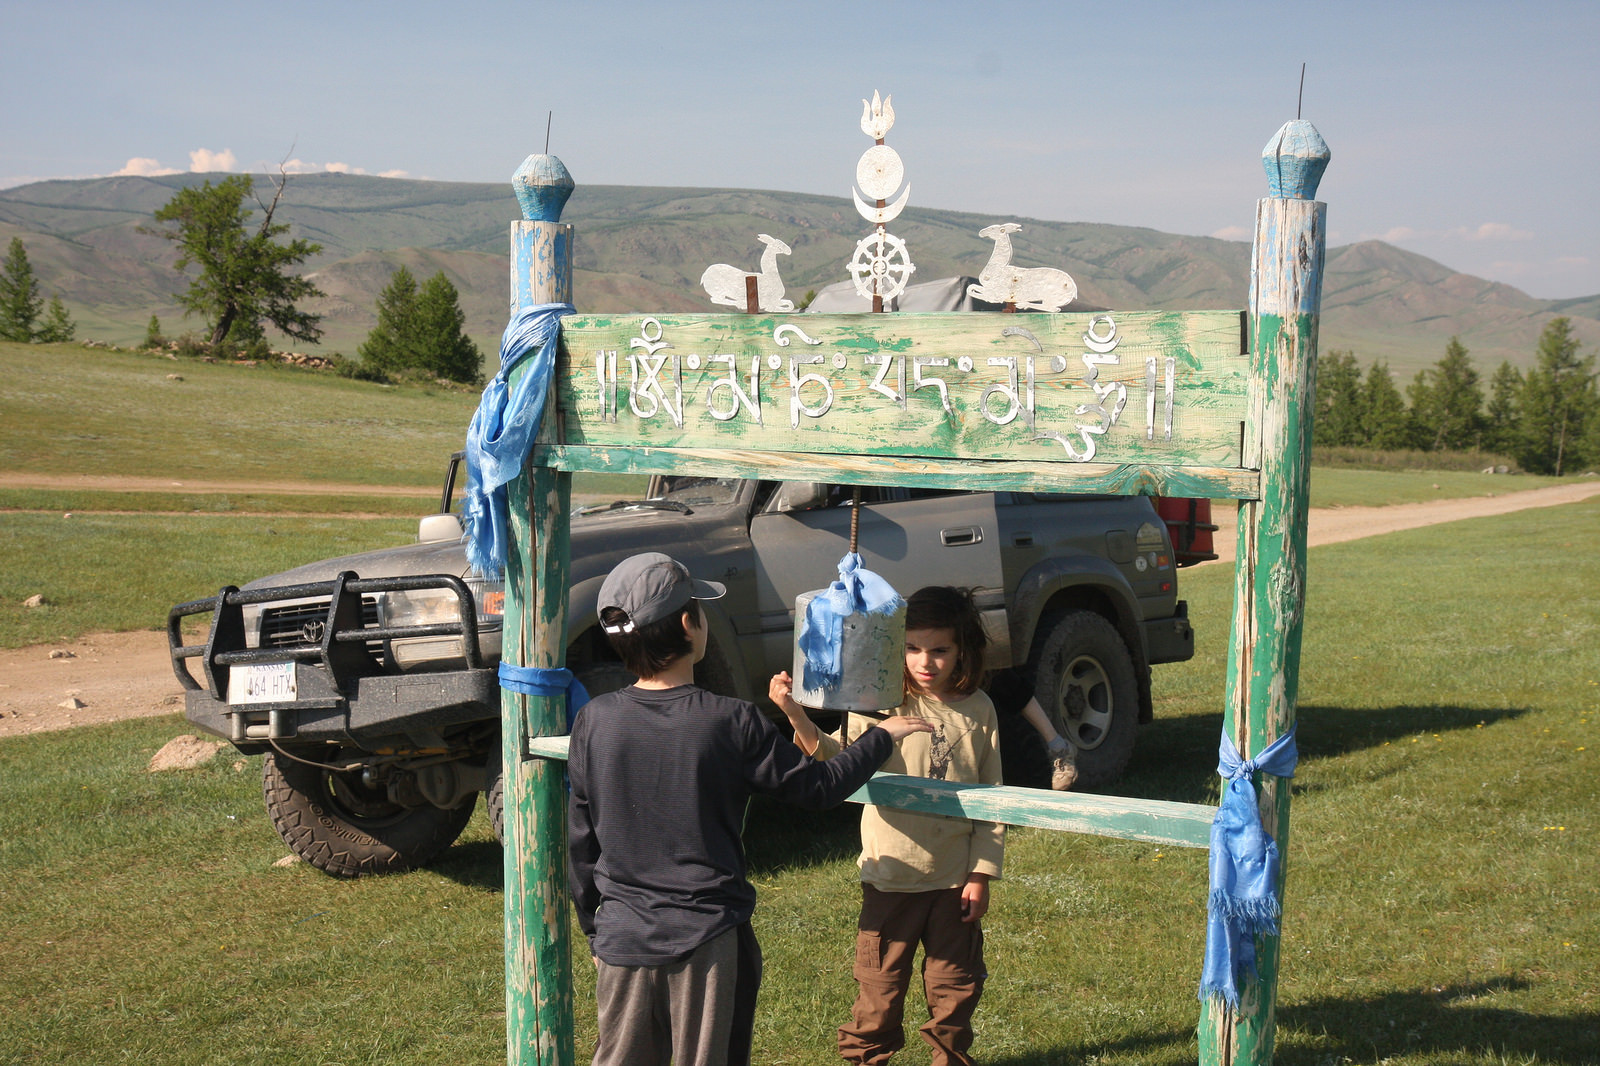
| These 10 pics were actually taken in Mongolia. I recall Jorge saying that he actually bought this 1997 FZJ80 in Arizona....but, at the time, lived in Kansas. |
|---|
|
|
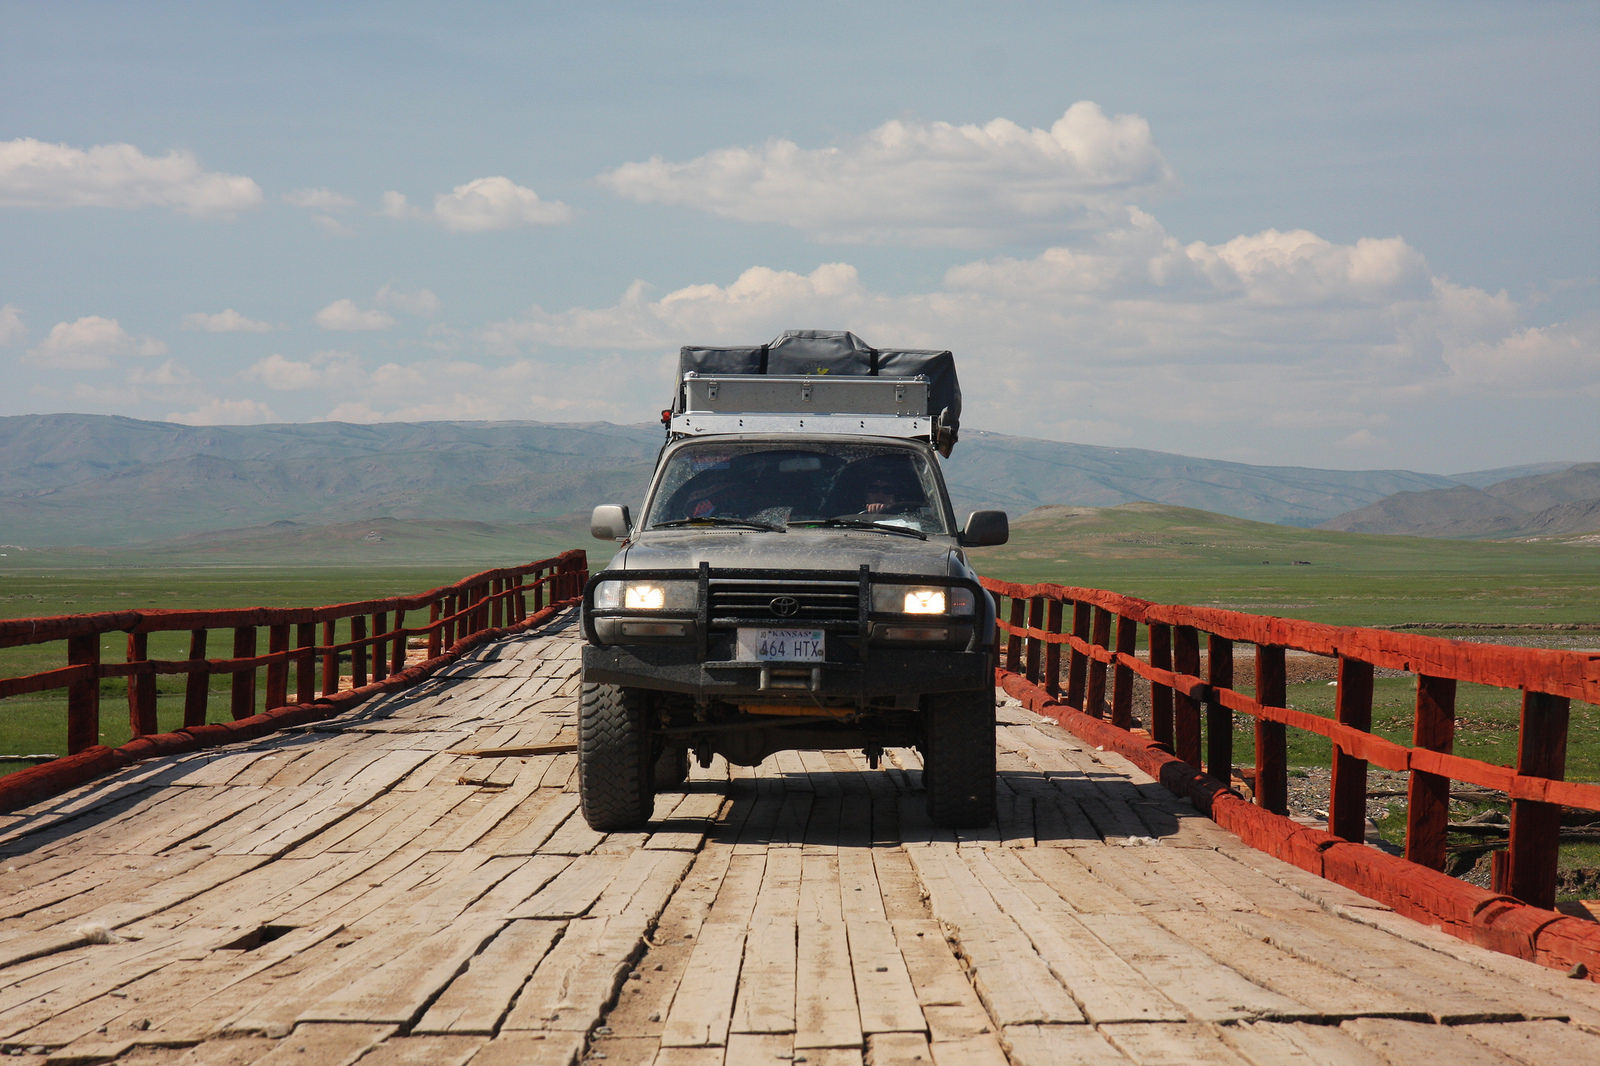
| Love the planks lining the old bridge. |
|---|
|
|
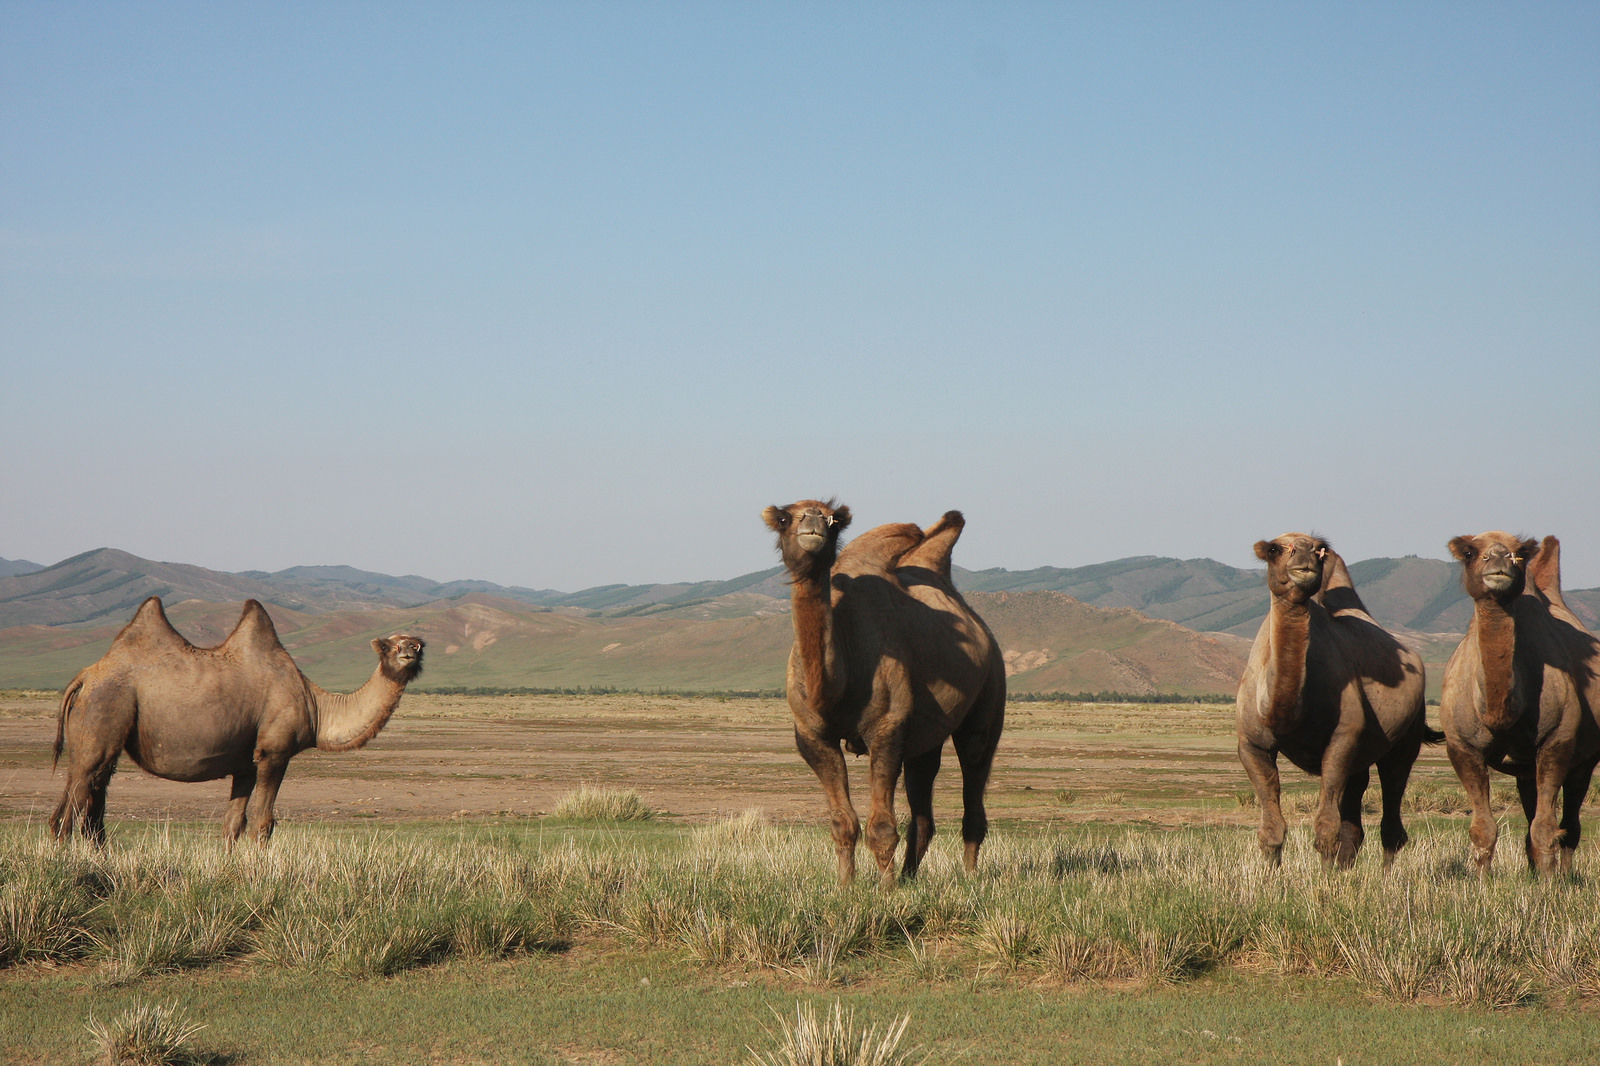
| Bactrian camels....2 humps instead of 1. |
|---|
|
|
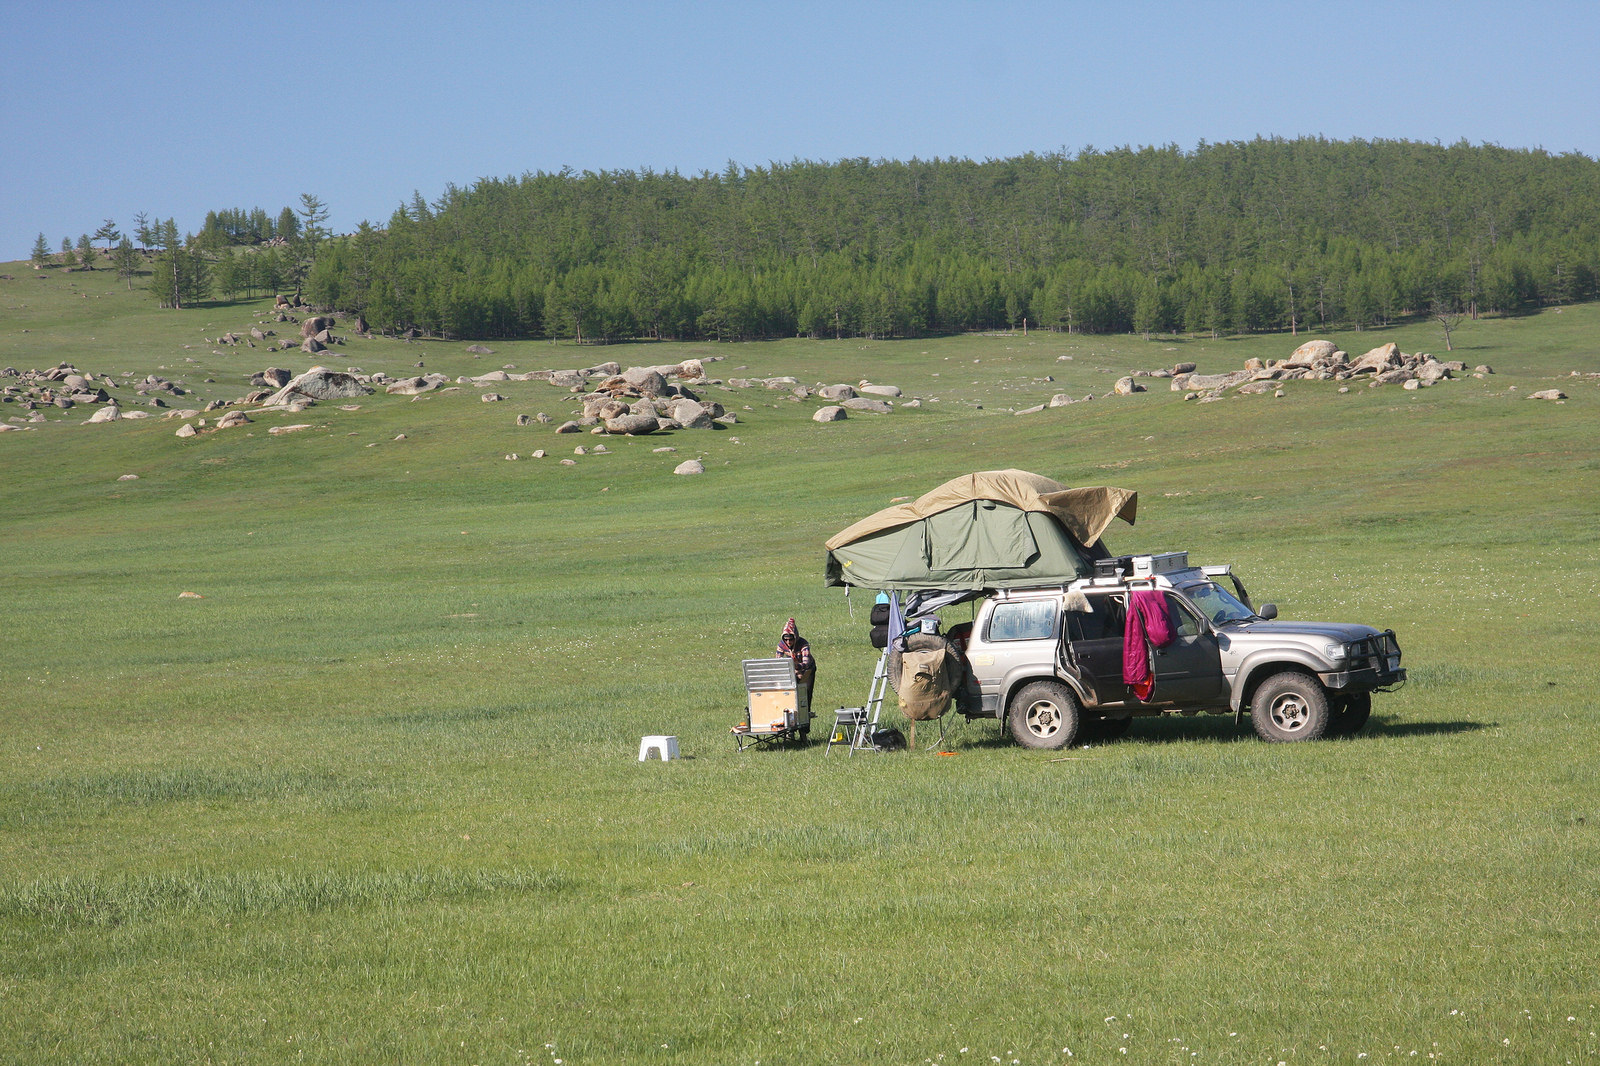
| Who needs a motel room? Just can't beat the view. Children, we're busy making dinner now so take your brother and go play on the rocks. |
|---|
|
|
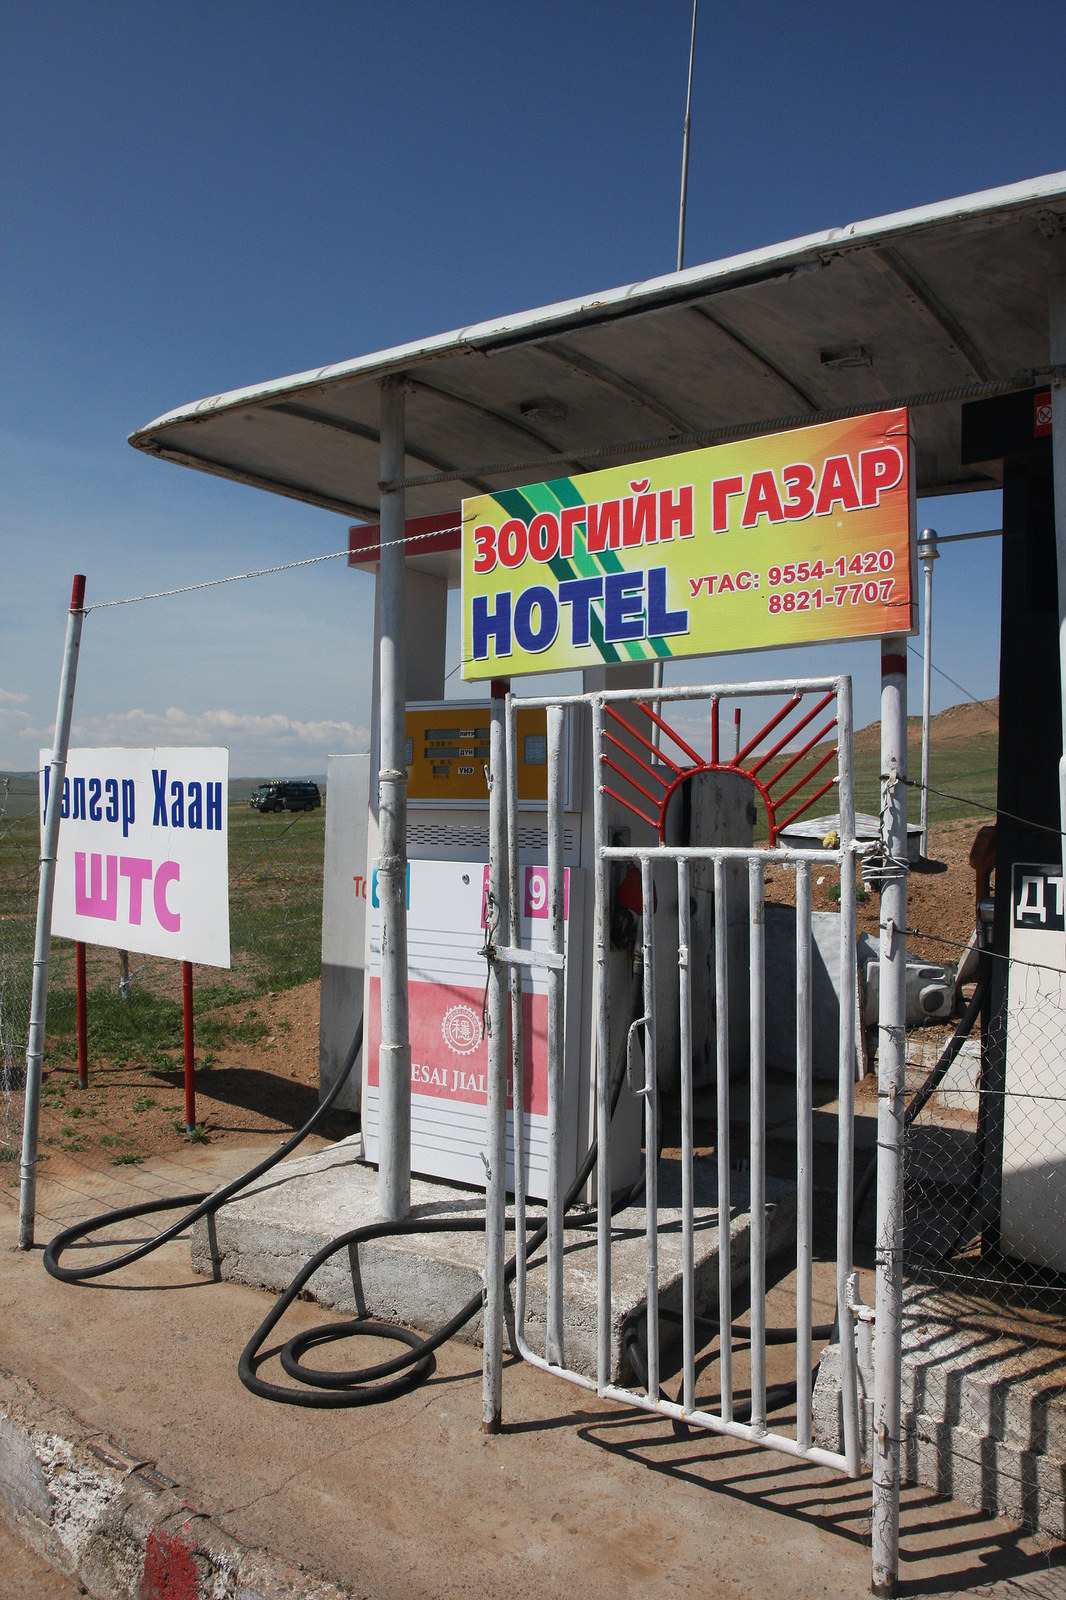
| Gas station. |
|---|
|

|
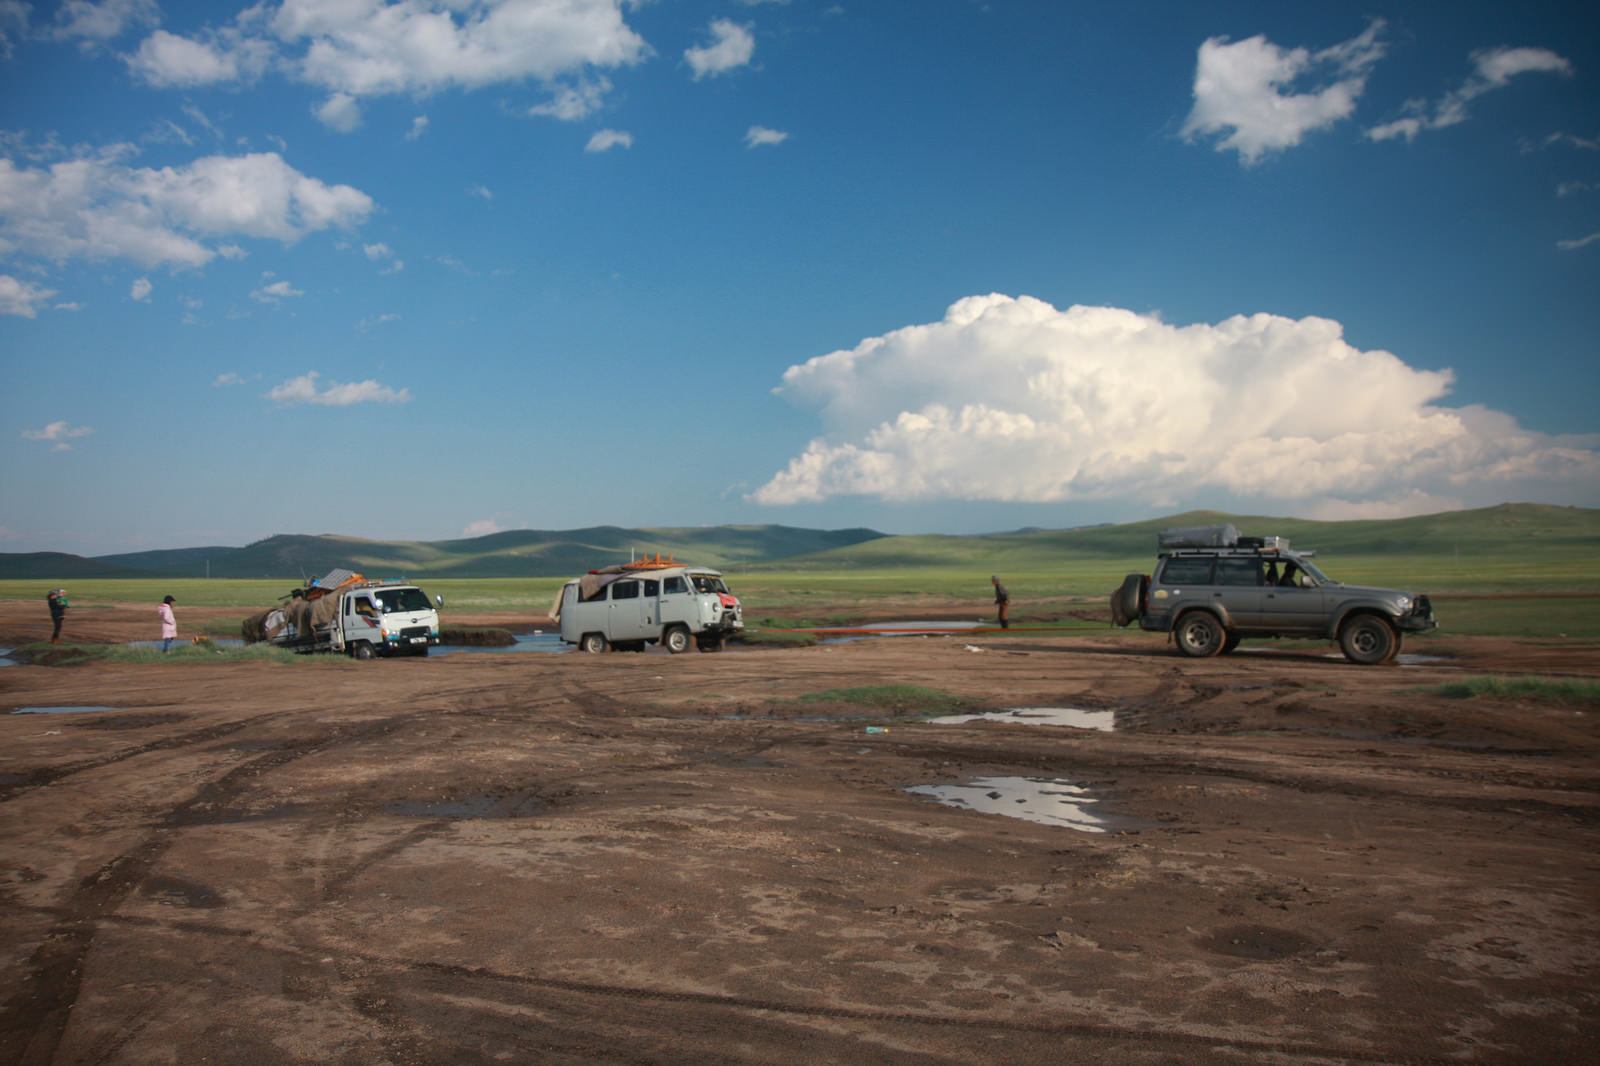
| oops |
|---|
|
|
| Landcruiser to the rescue. |
|---|
|
|
| .................... |
|---|
|

|
| ................. |
|---|
|

|
Jorge located online a couple of Landcruiser 3rds here in the states and had them sent directly to me.
It's alot cheaper that way instead of sending his 3rds all the way from Europe.
I sourced most of the product shown here. |
|---|
|
|
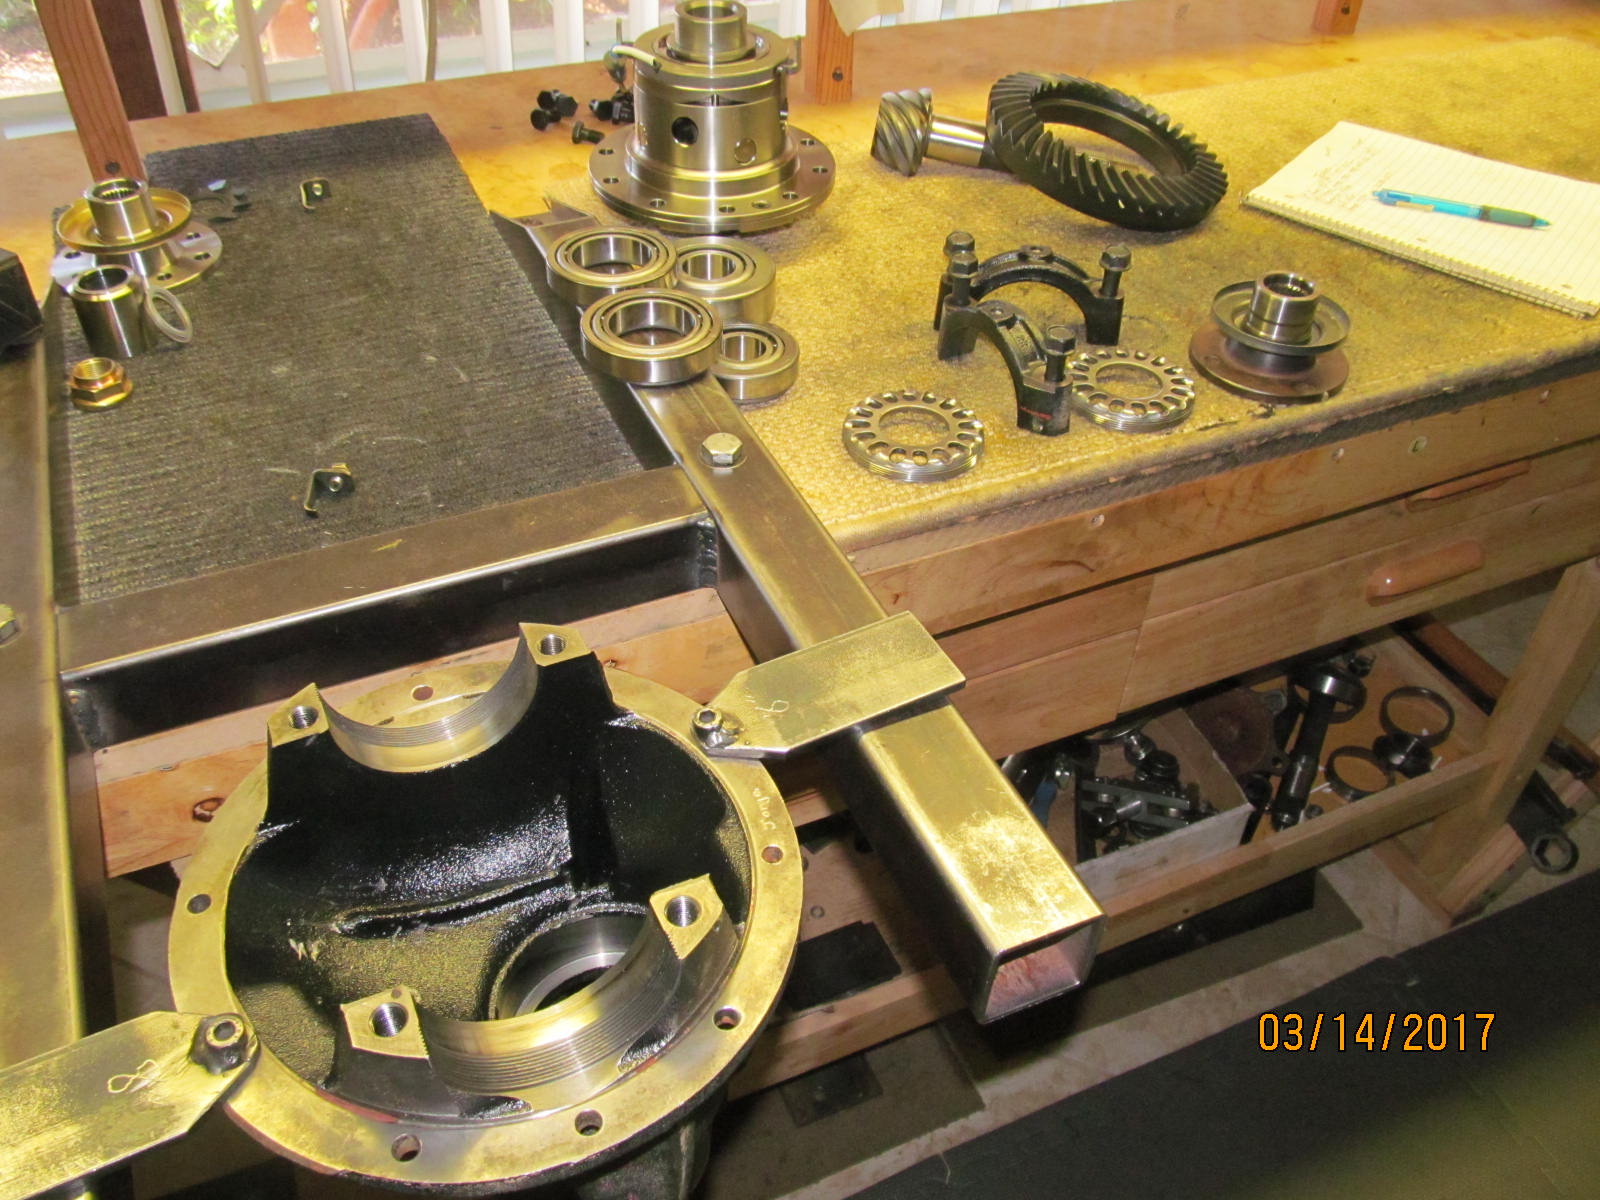
The front 8" hi-pinion reverse cut 3rd is stripped down and cleaned up. Nitro gears and the Nitro bearing kit are layed out and organized.
Here's the link to the Aussie/488 buildup of the big 9.5" rear 3rd HERE |
|---|
|
|
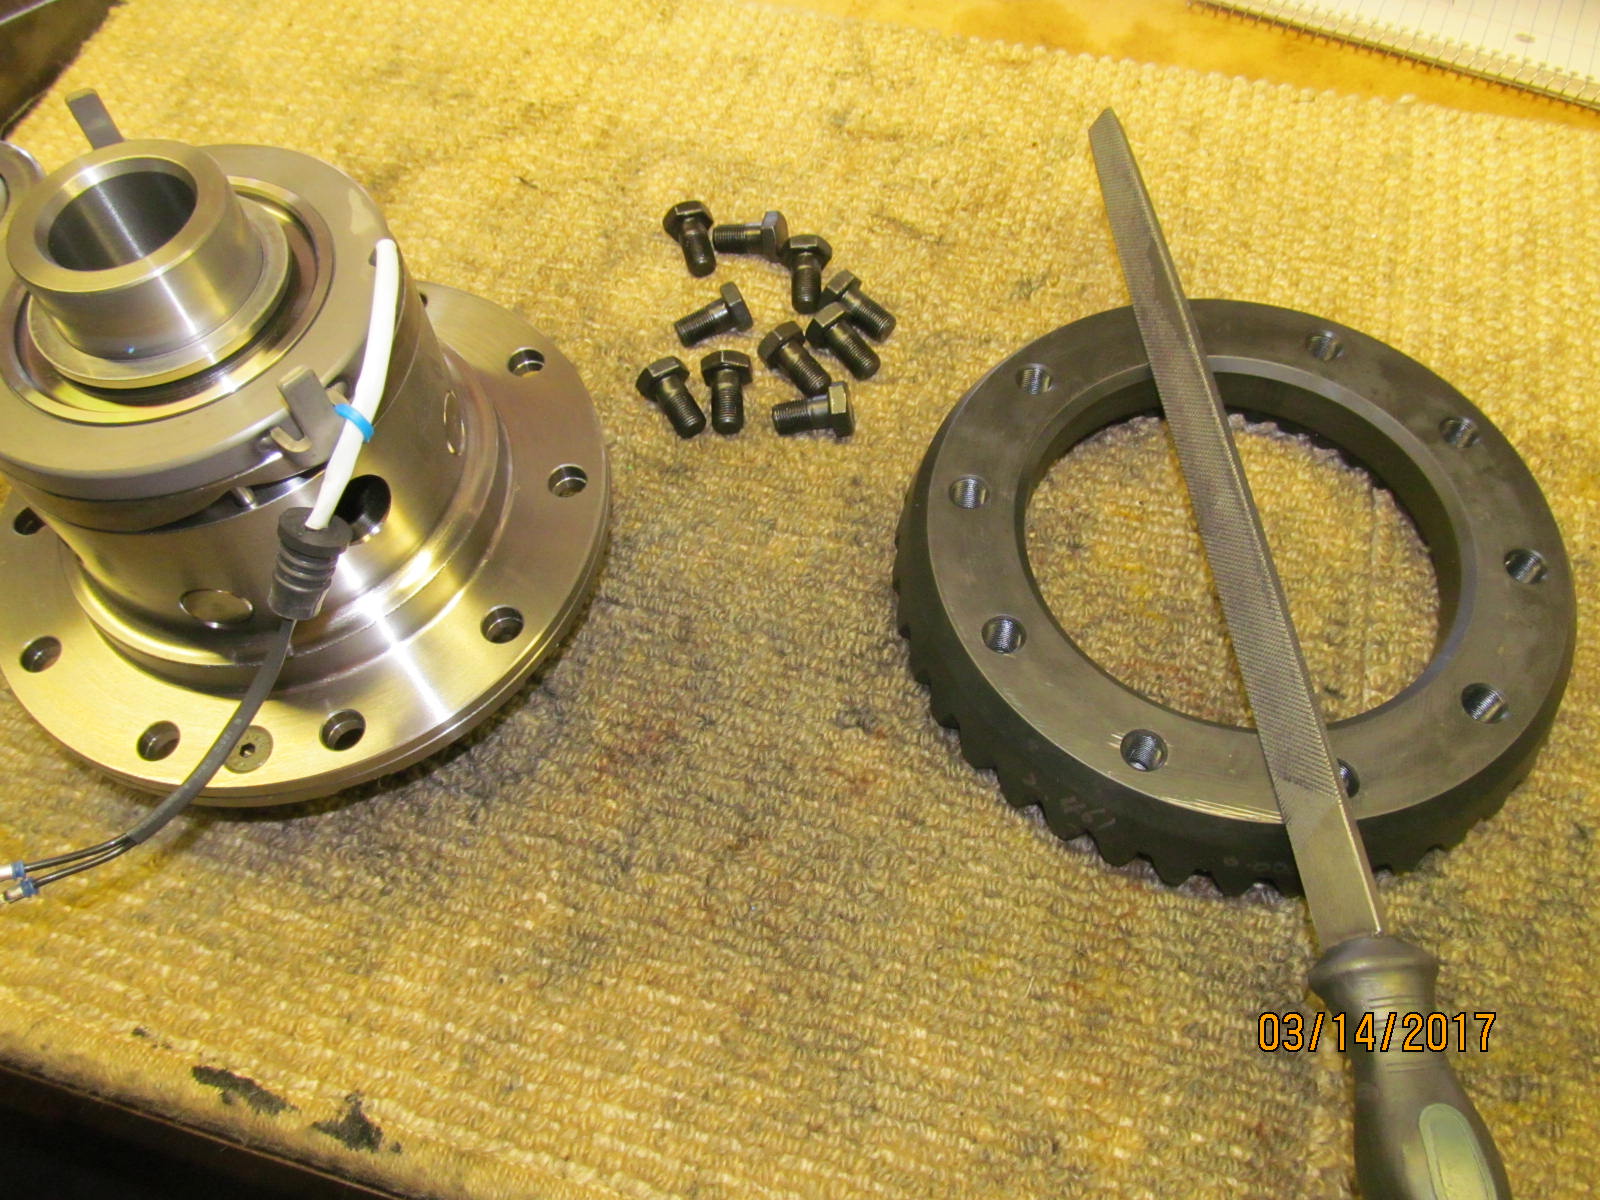
| Order is somewhat variable....so will check the surfaces for burrs and high spots.....all is good. |
|---|
|
|
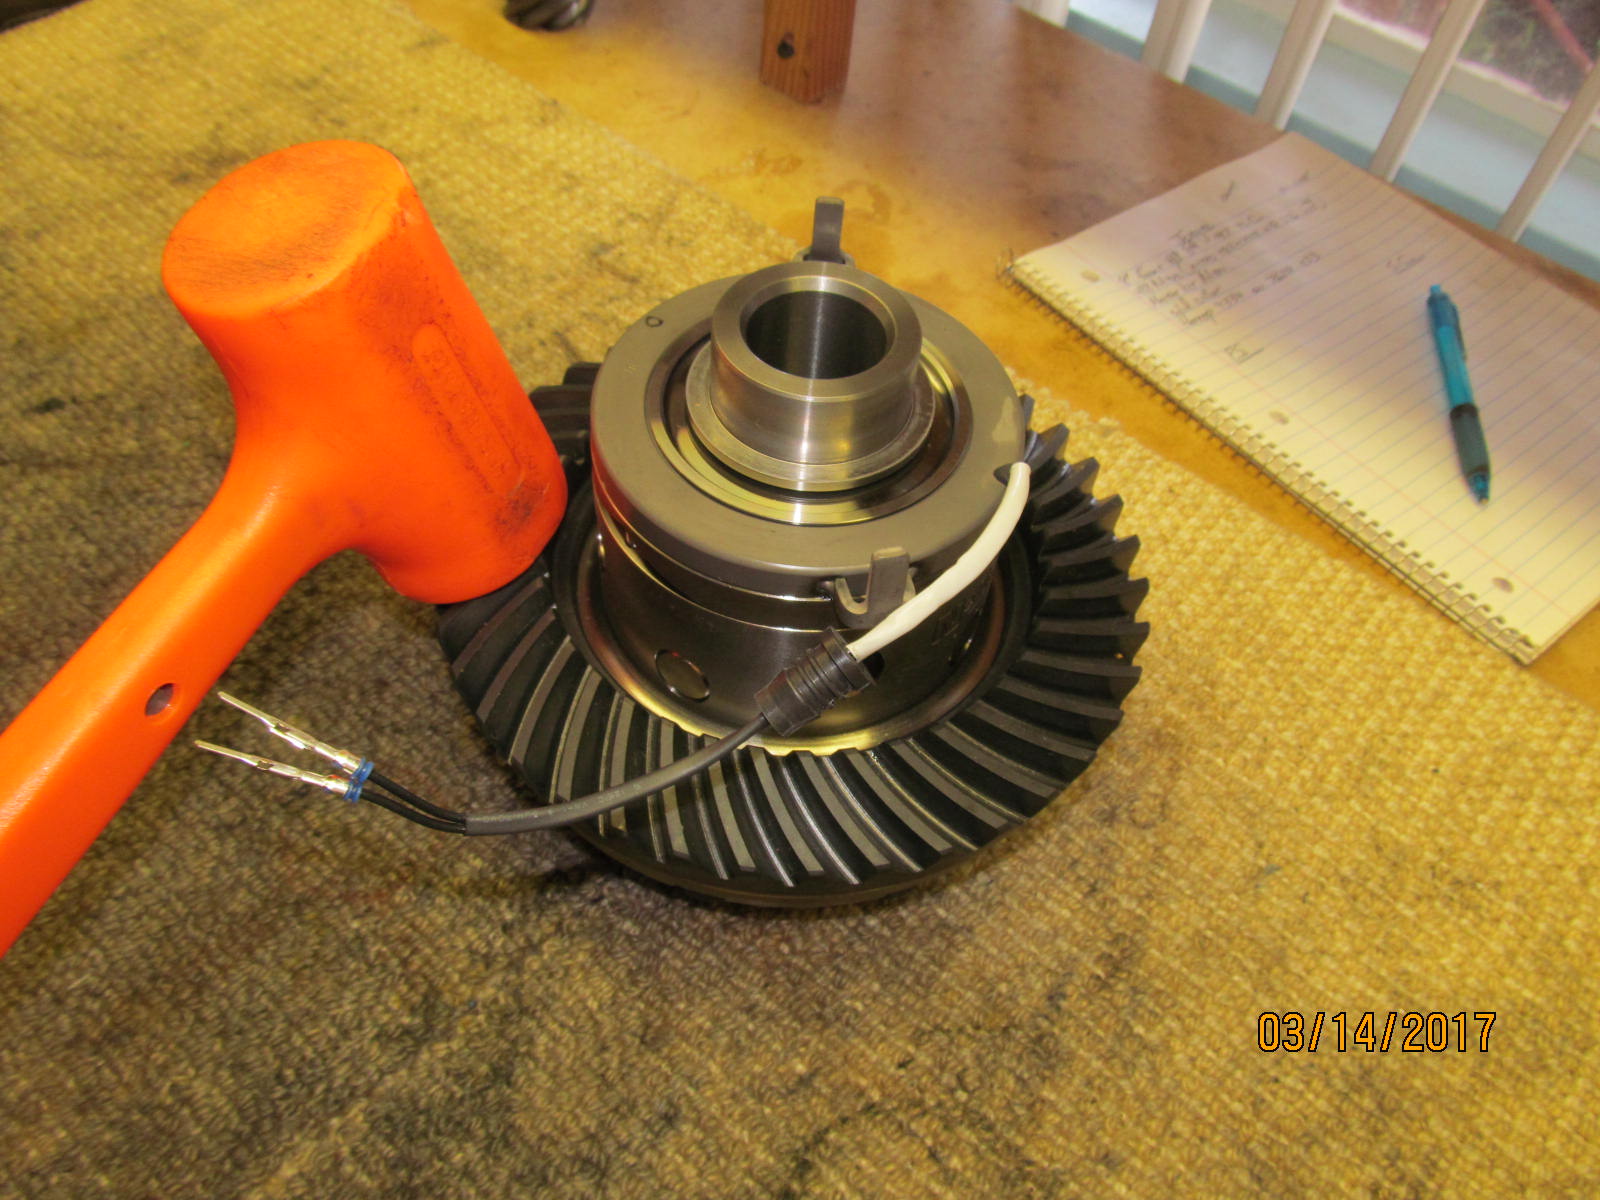
| The ring gear was a tight fit as usual and the orange hammer handled the job just fine. |
|---|
|
|
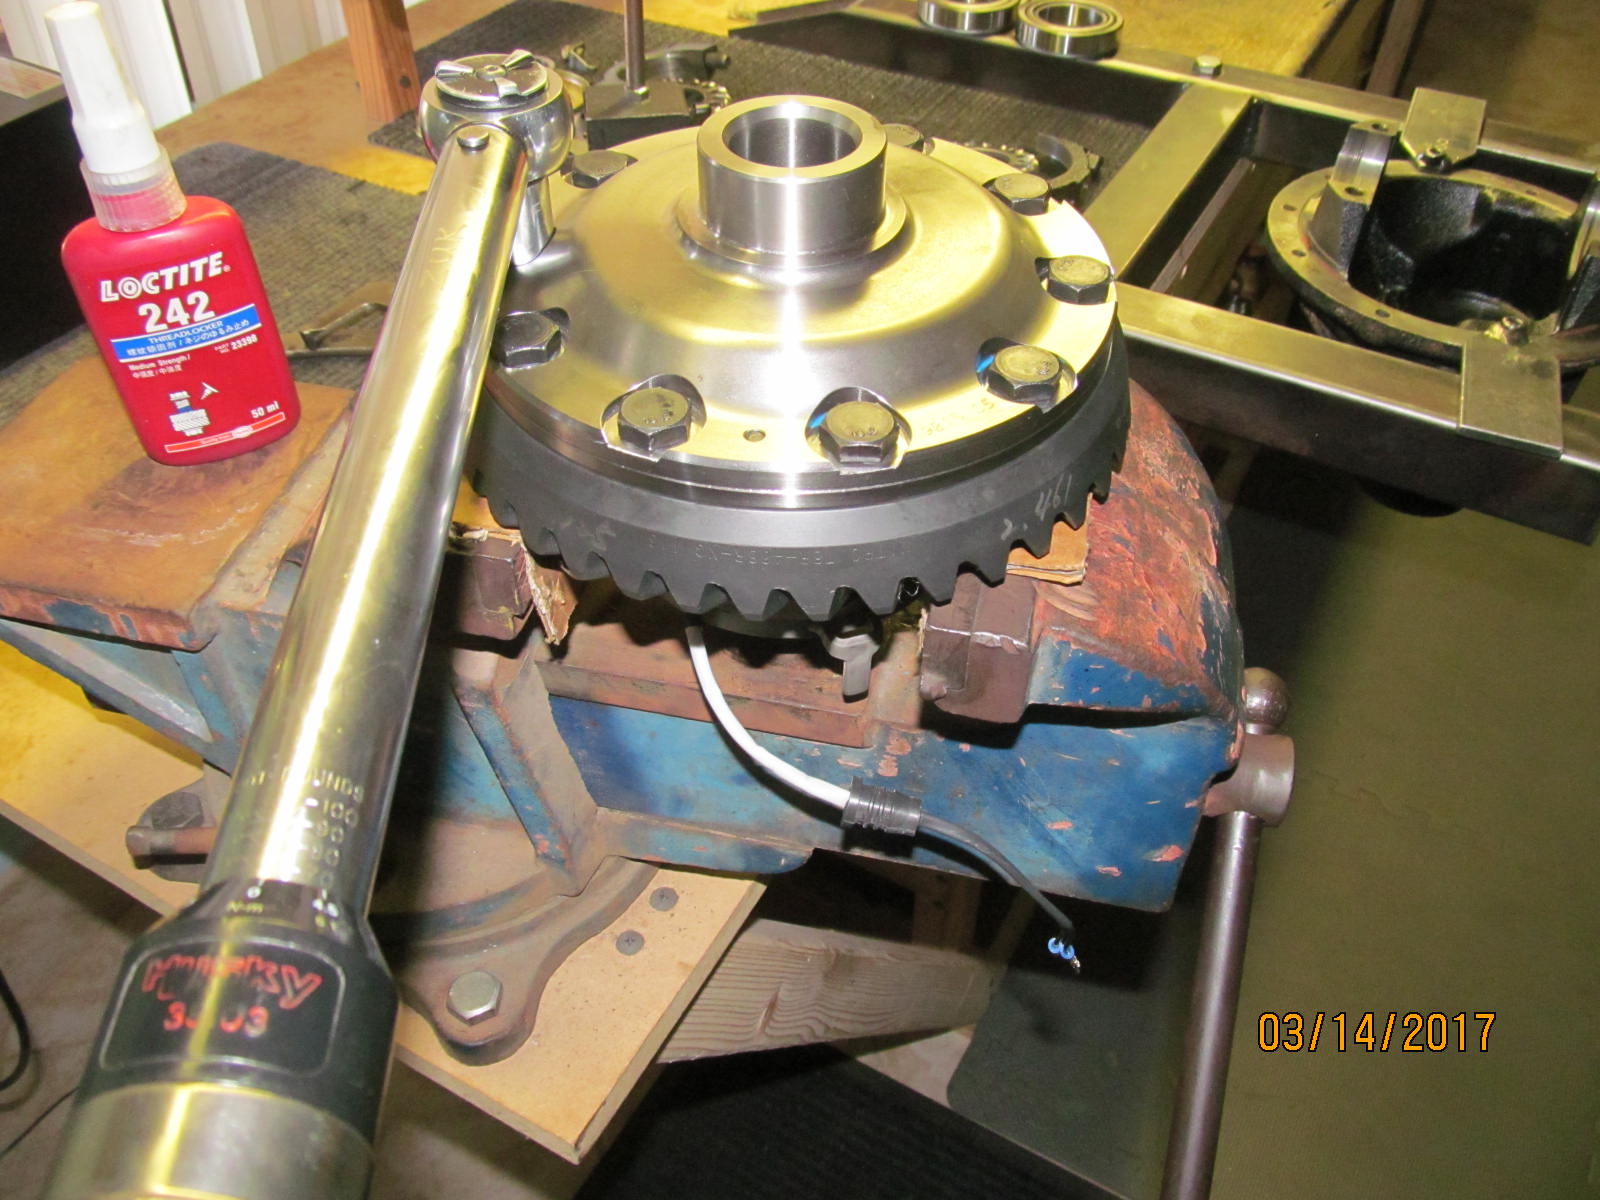
| The 10 ring gear bolts get blue loctite and 70 ft/lb. |
|---|
|

|
| The Koyo bearings are pressed on (very tight fit) and this piece is now complete. |
|---|
|
|
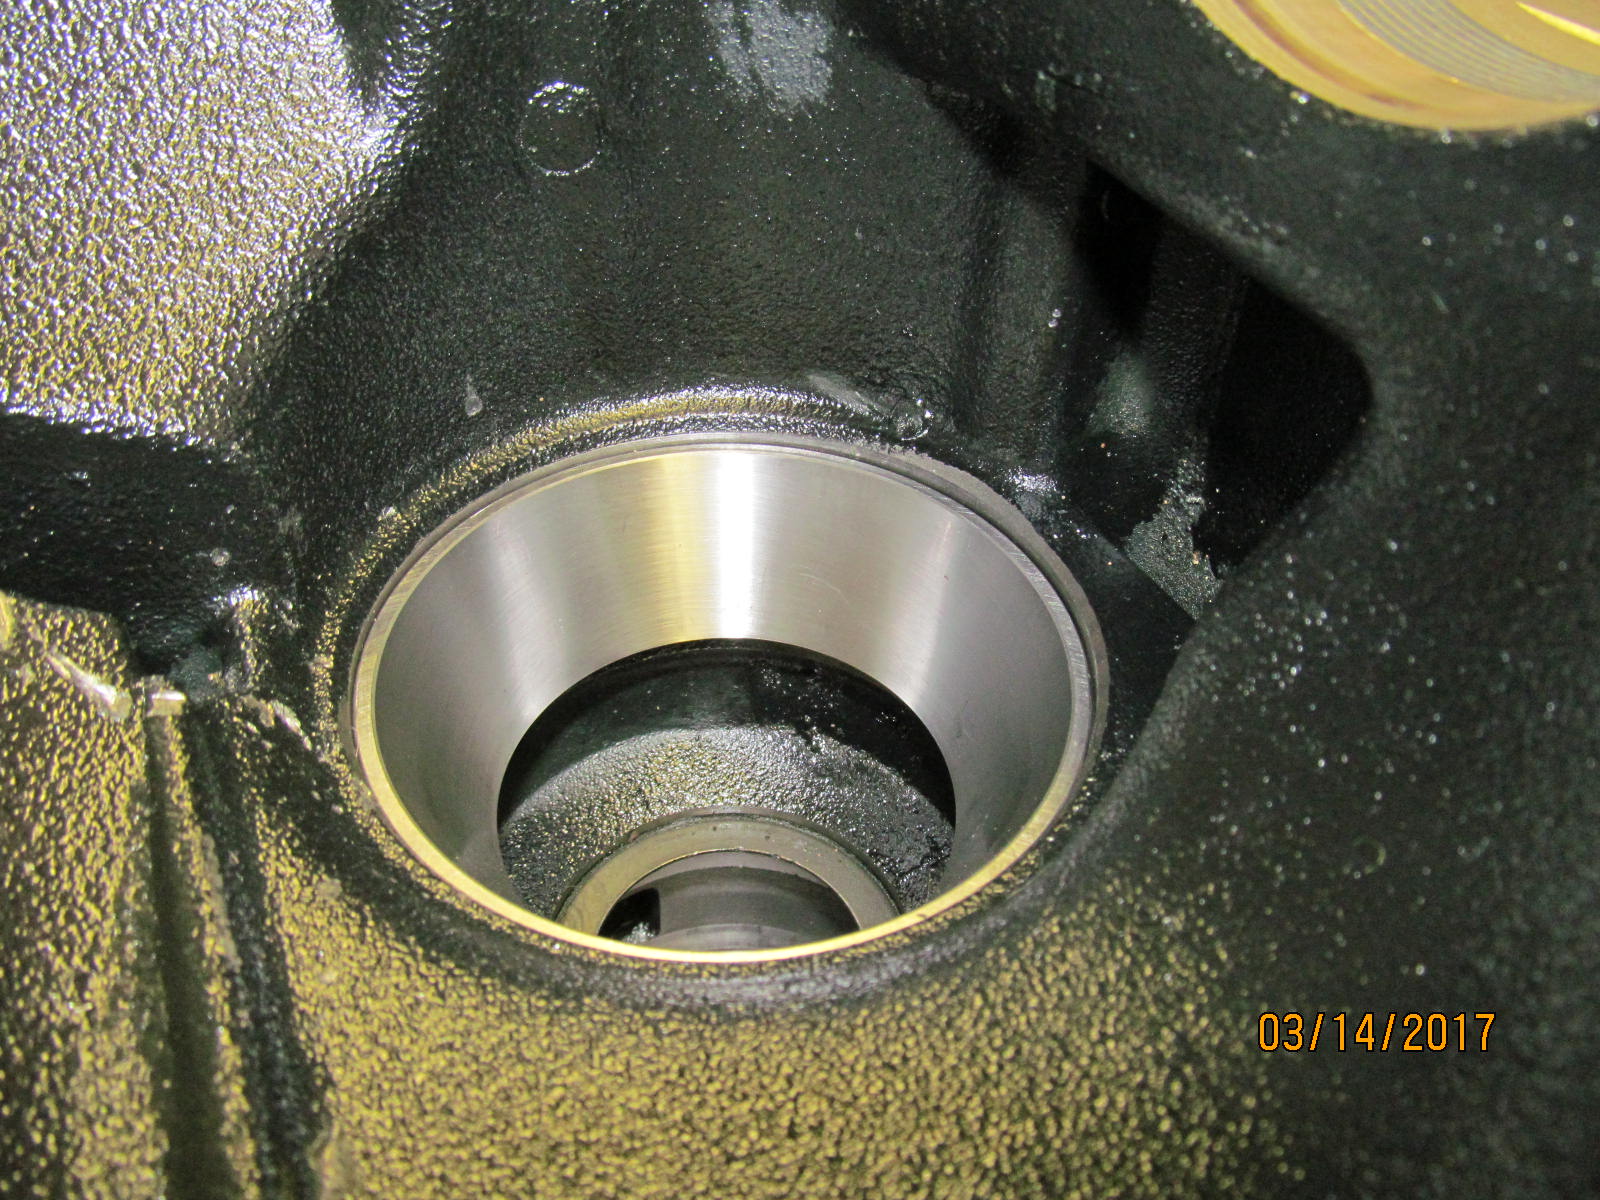
| Inner and outer pinion races are tapped in place. |
|---|
|
|
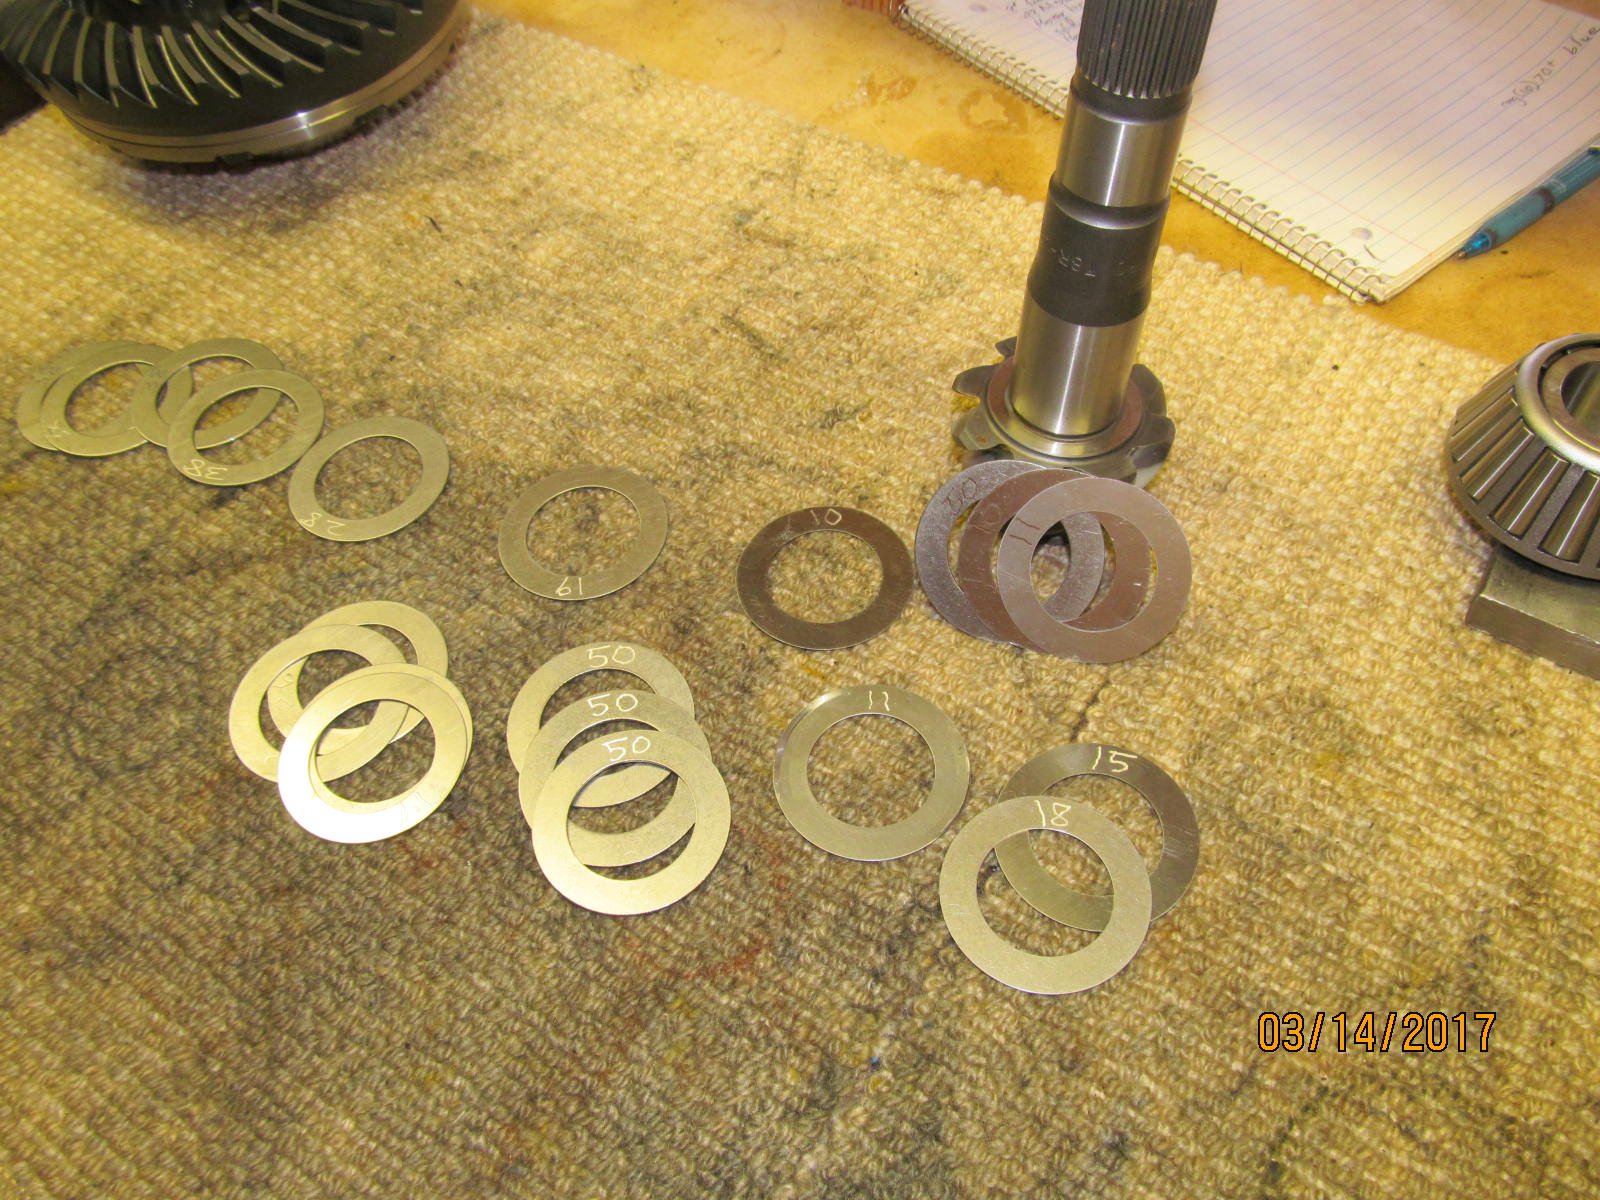
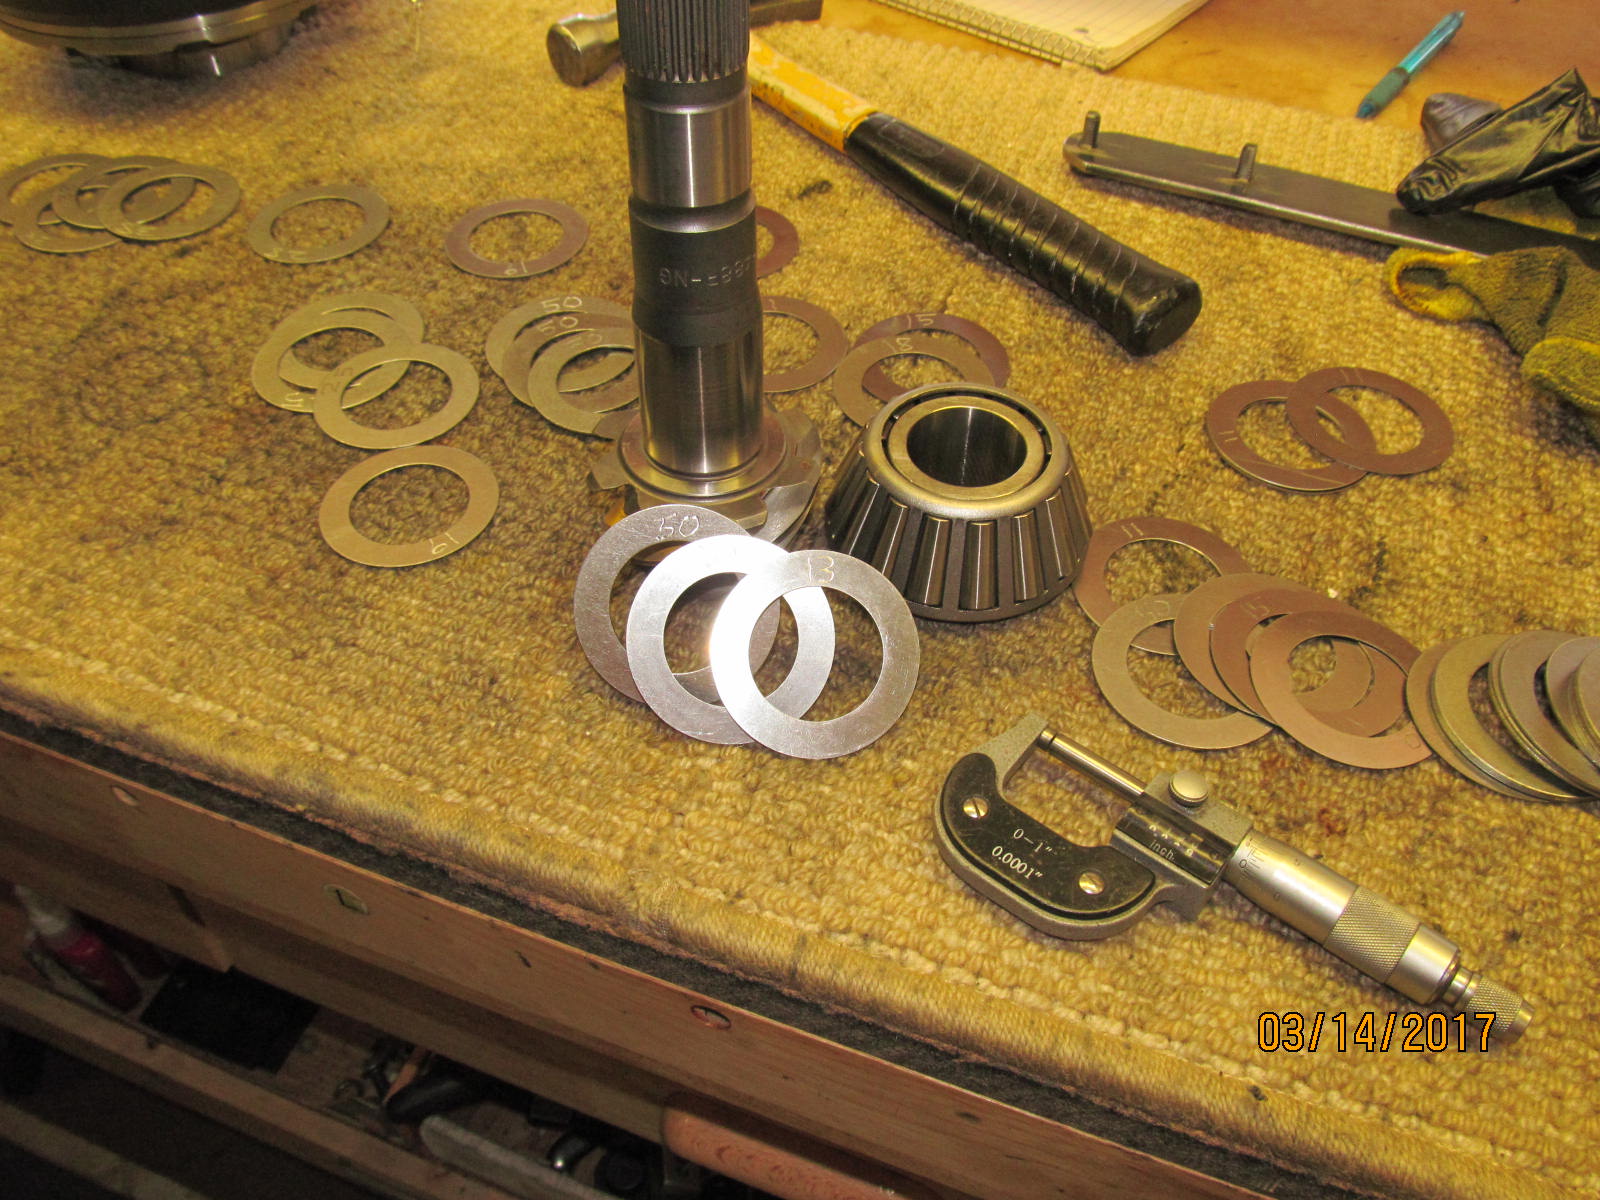
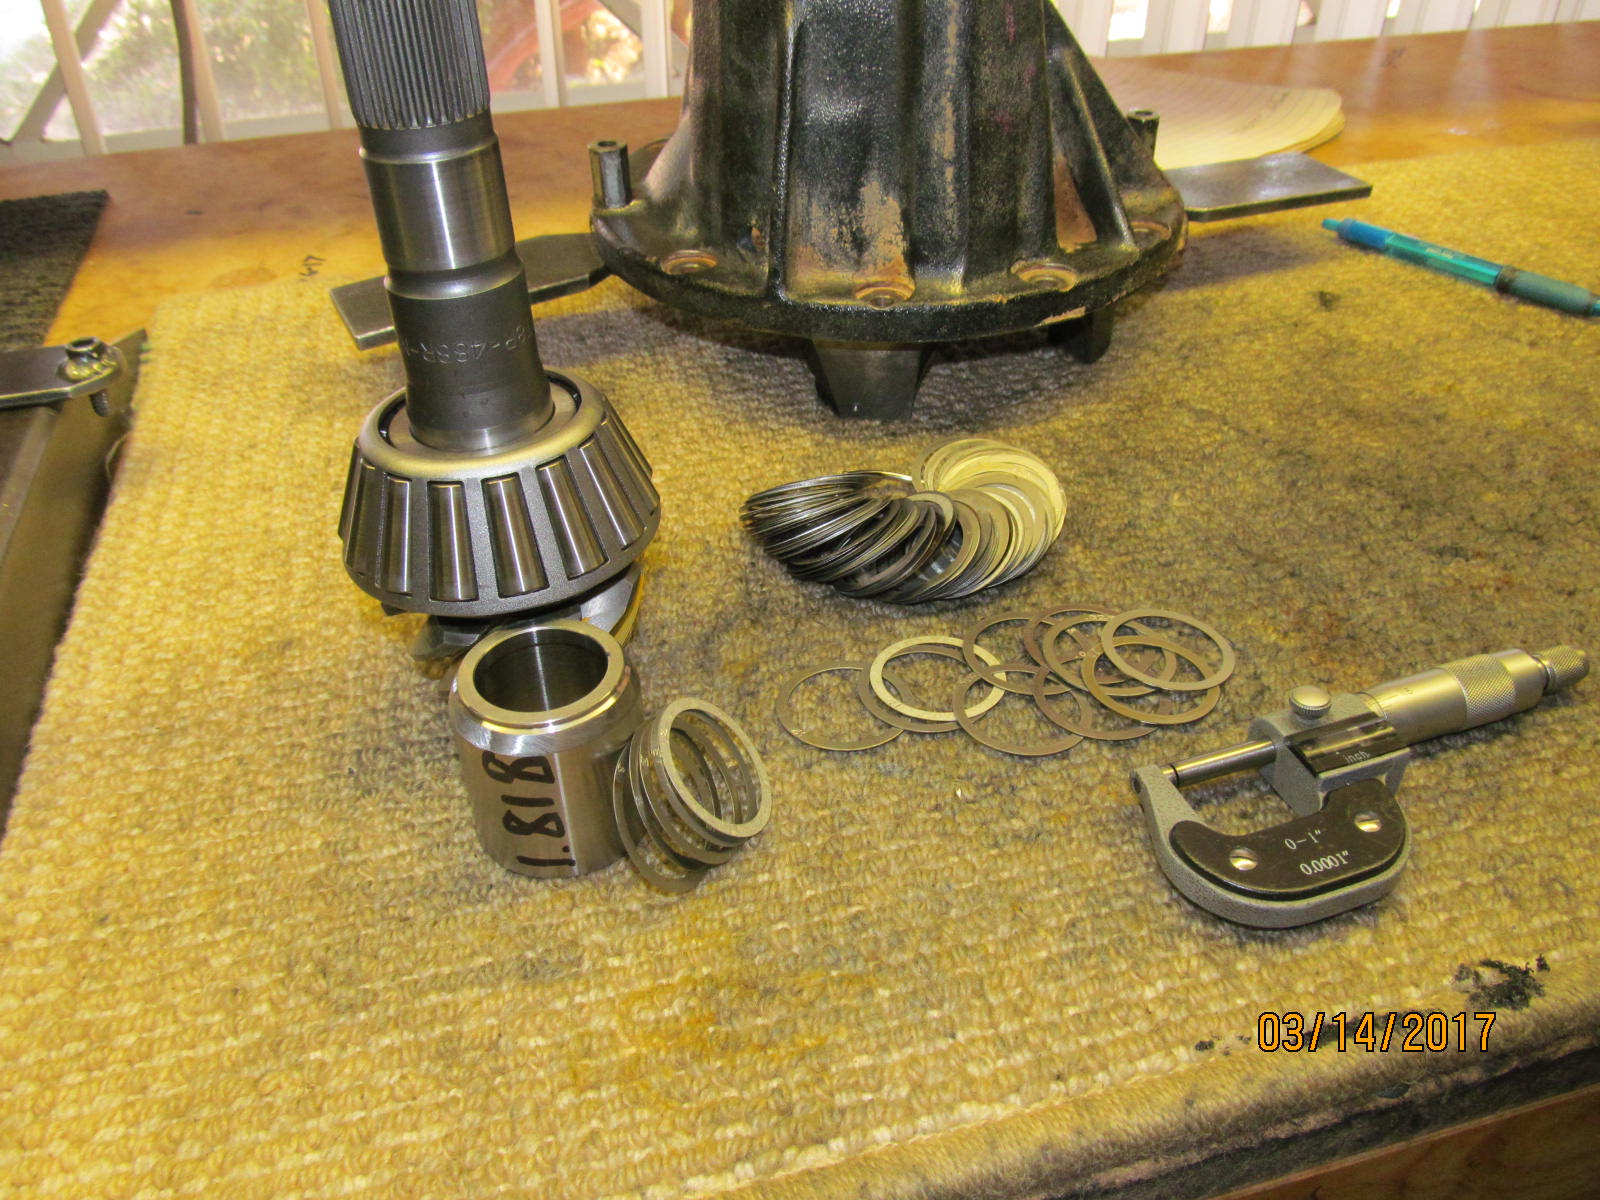
| Choices choices choices....what pinion shim thickness to start with. 056" was a good 1st choice. |
|---|
|
|
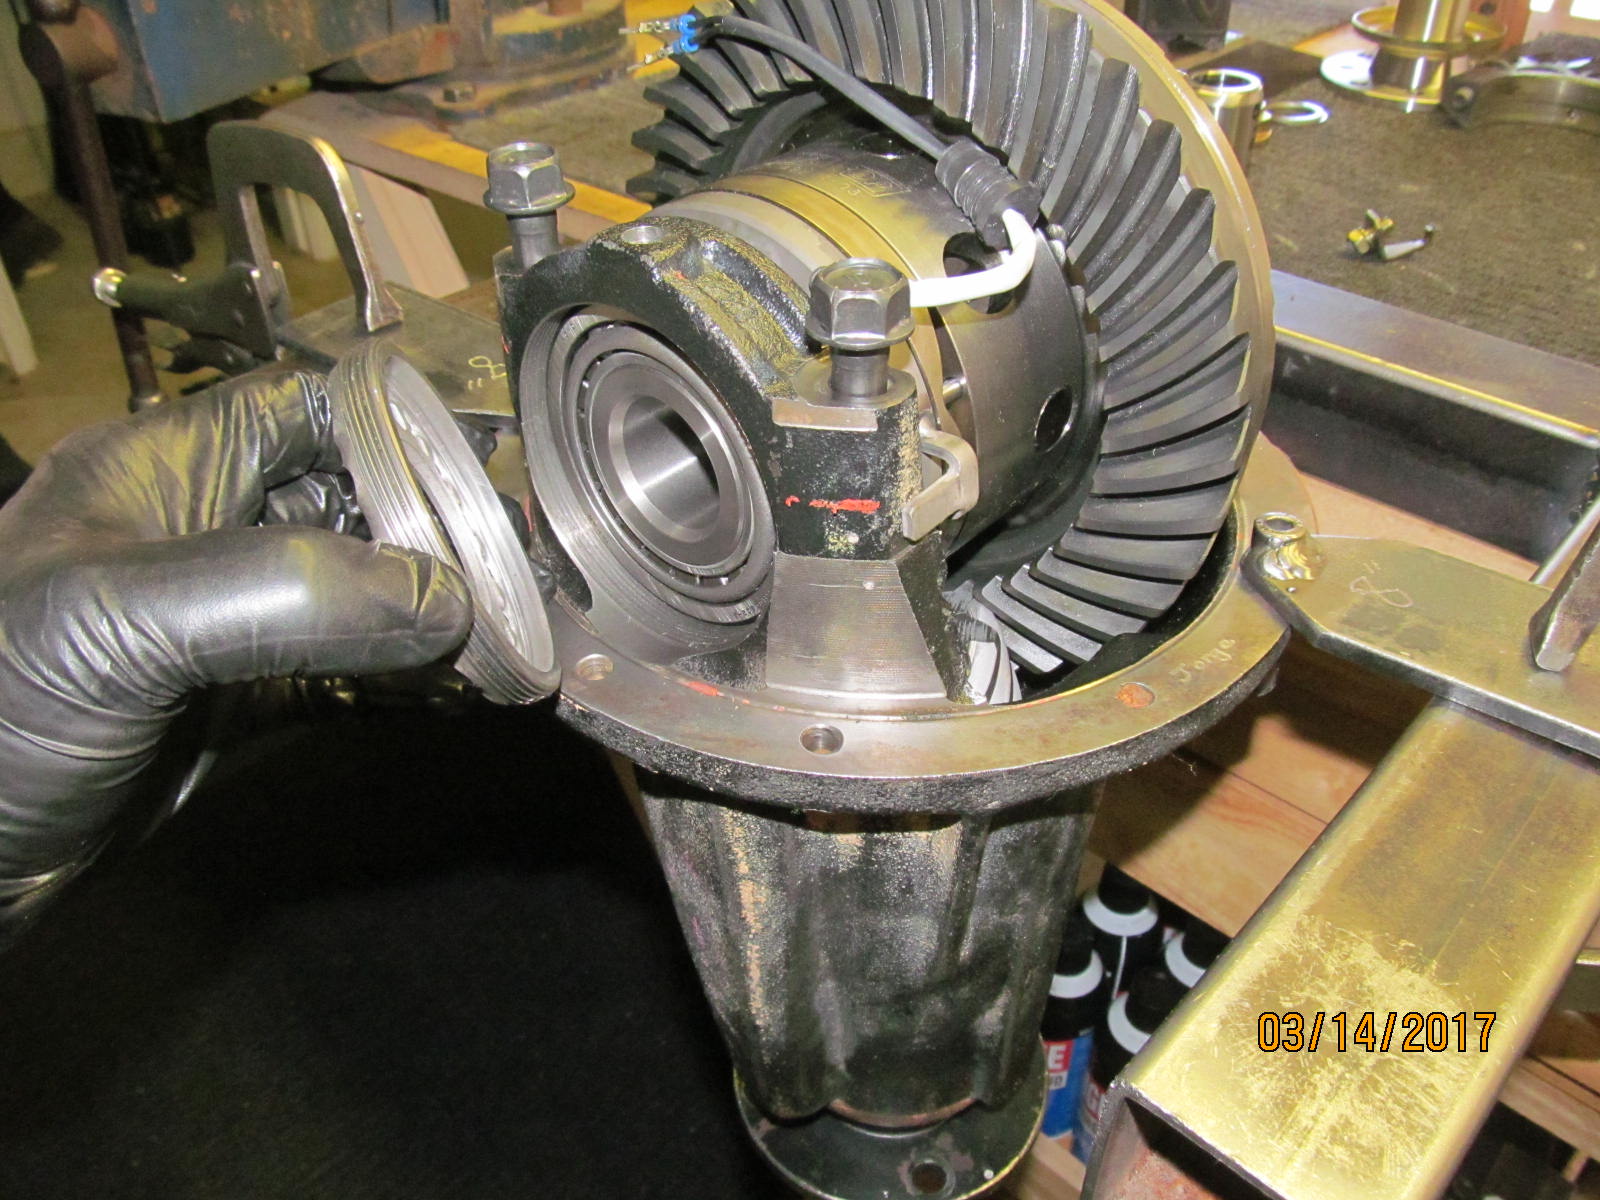
| The differential carrier can now be lowered over the pinion. |
|---|
|
|
The order is a little different...the black painted bearing cap slides horizontally on first...then the 2 bolts...then screw the wheel adjuster in....
all because of the elocker's anti-rotation tab bracket. |
|---|
|
|
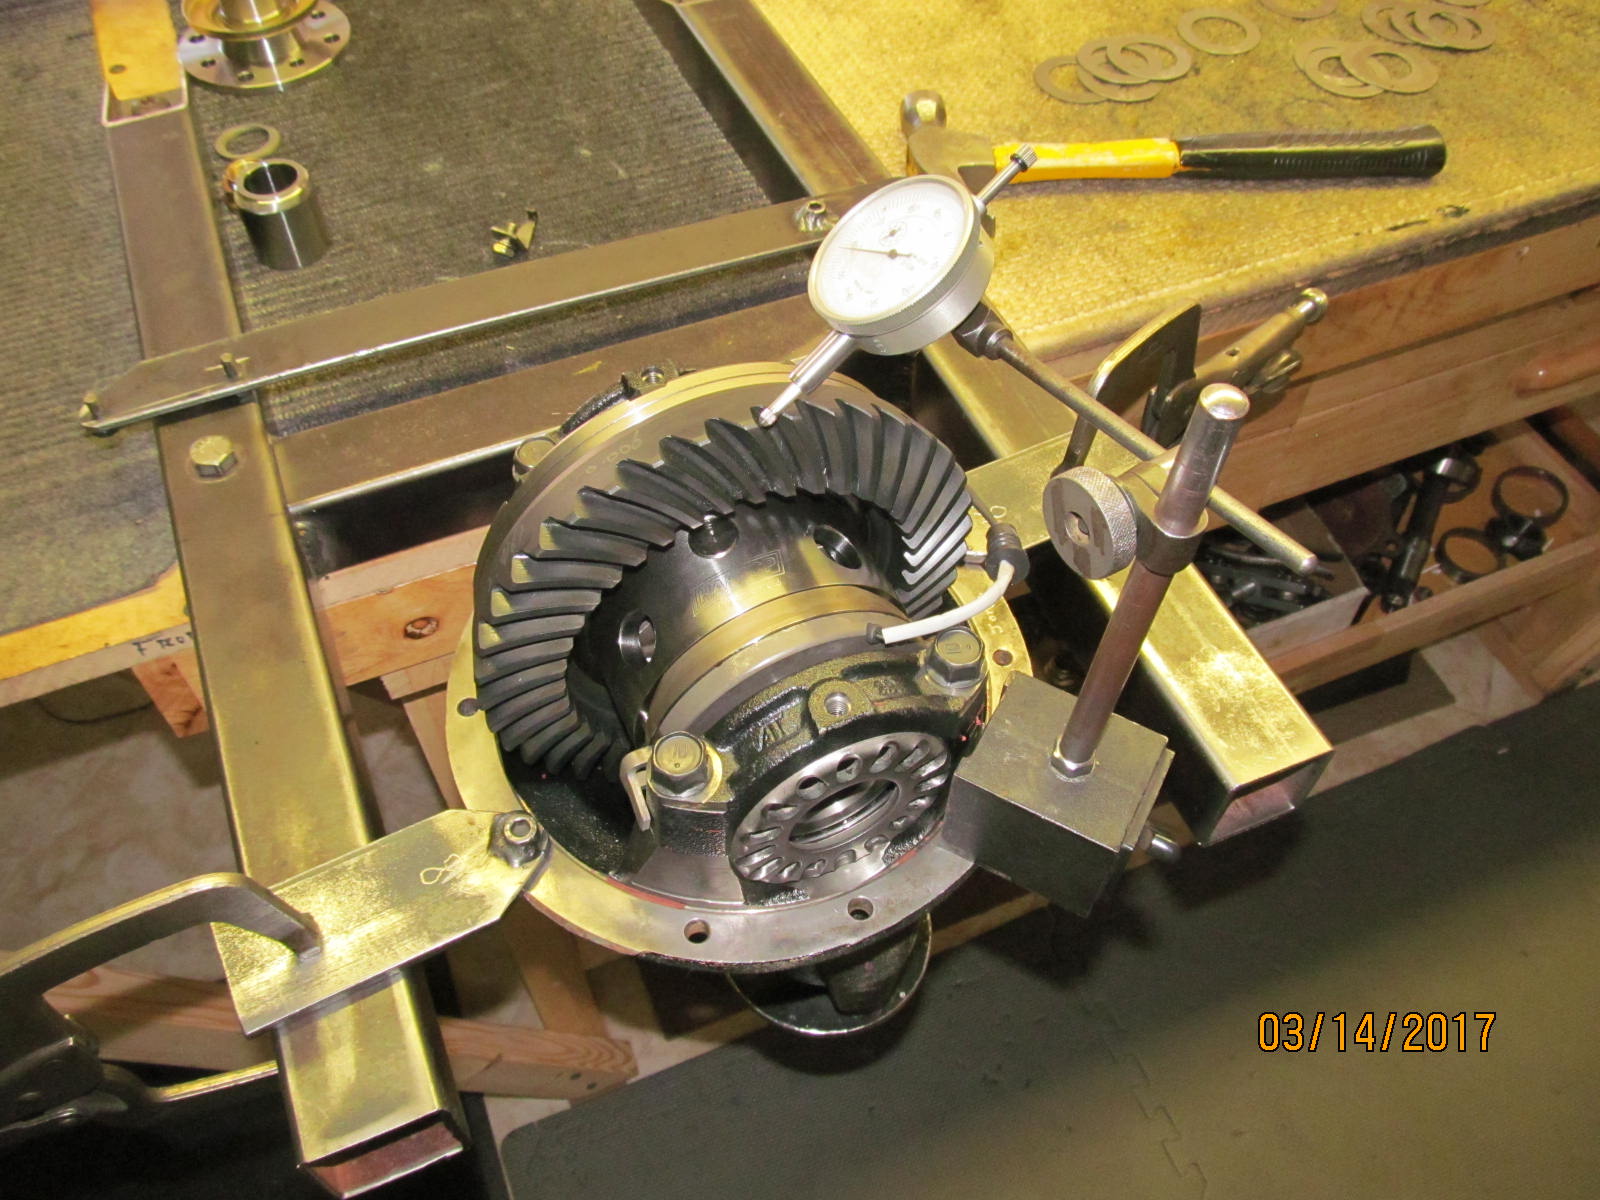
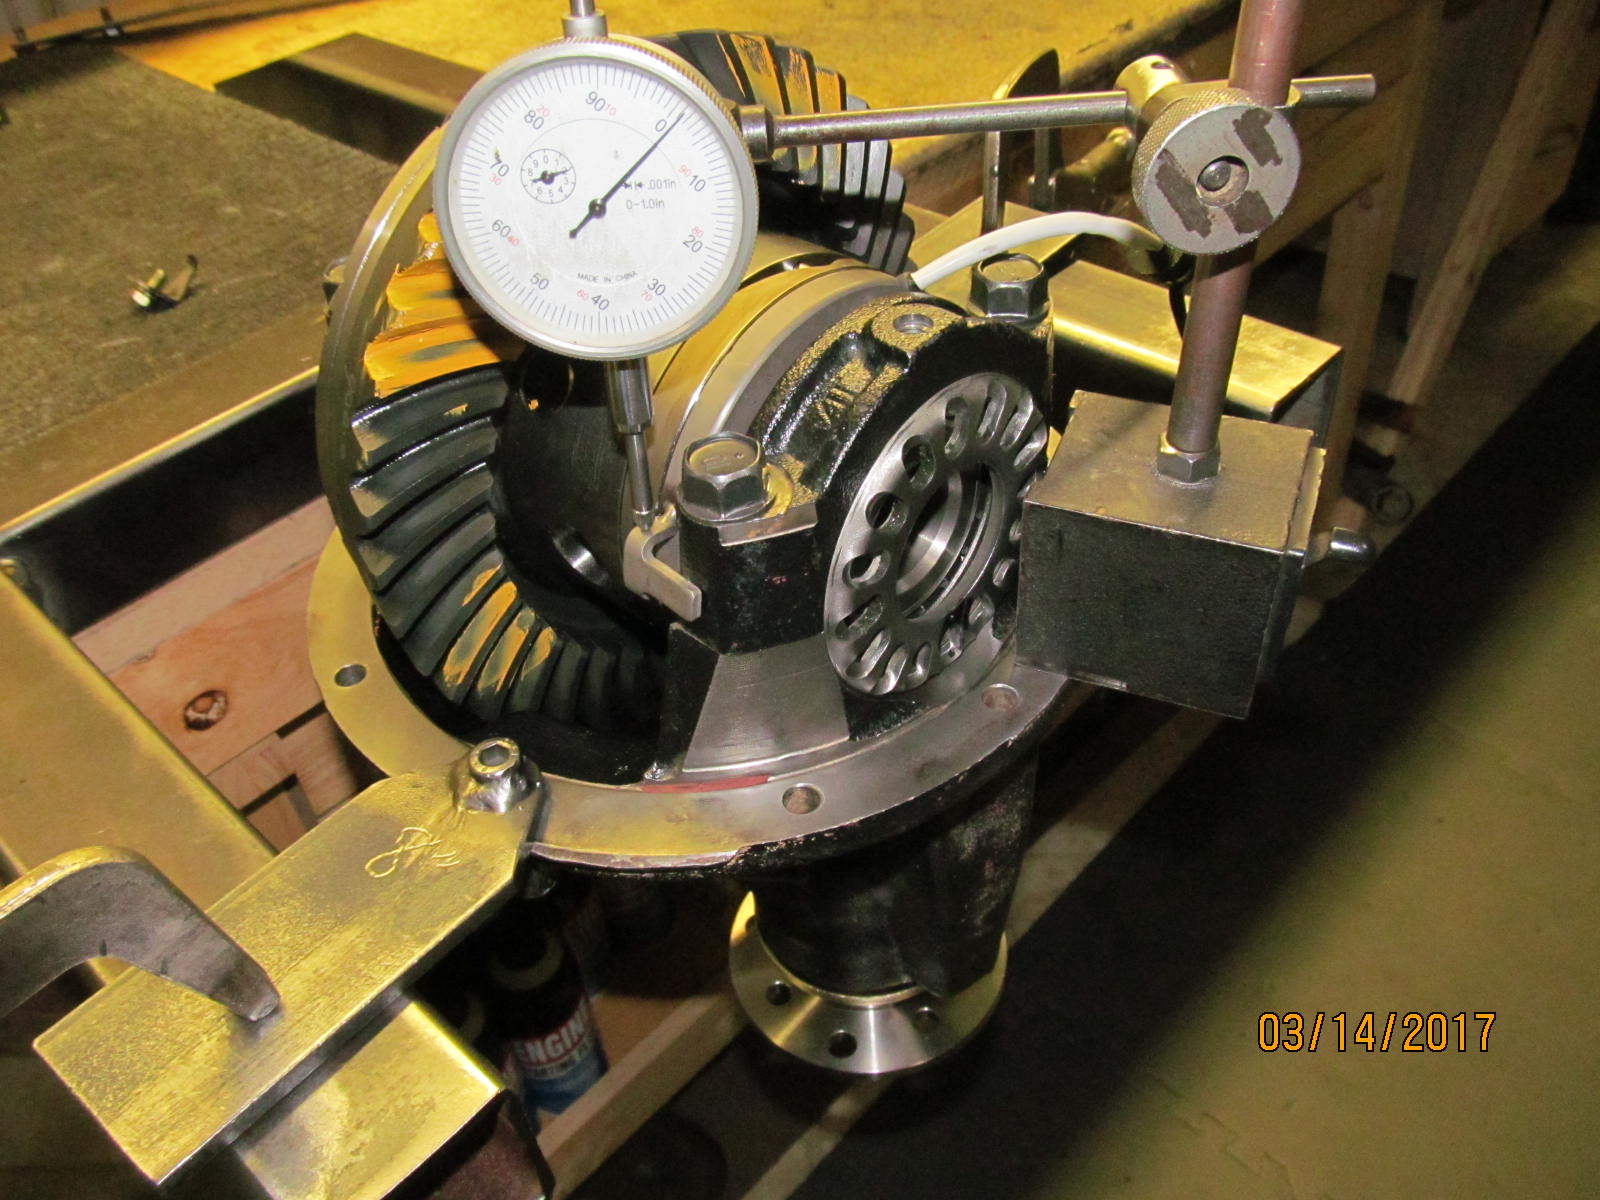
| Tighten the wheels while paying attention to the backlash. |
|---|
|
|
| Drive side....looks to be "exact depth". |
|---|
|
|
| Coast side....looks exact also. |
|---|
|
|
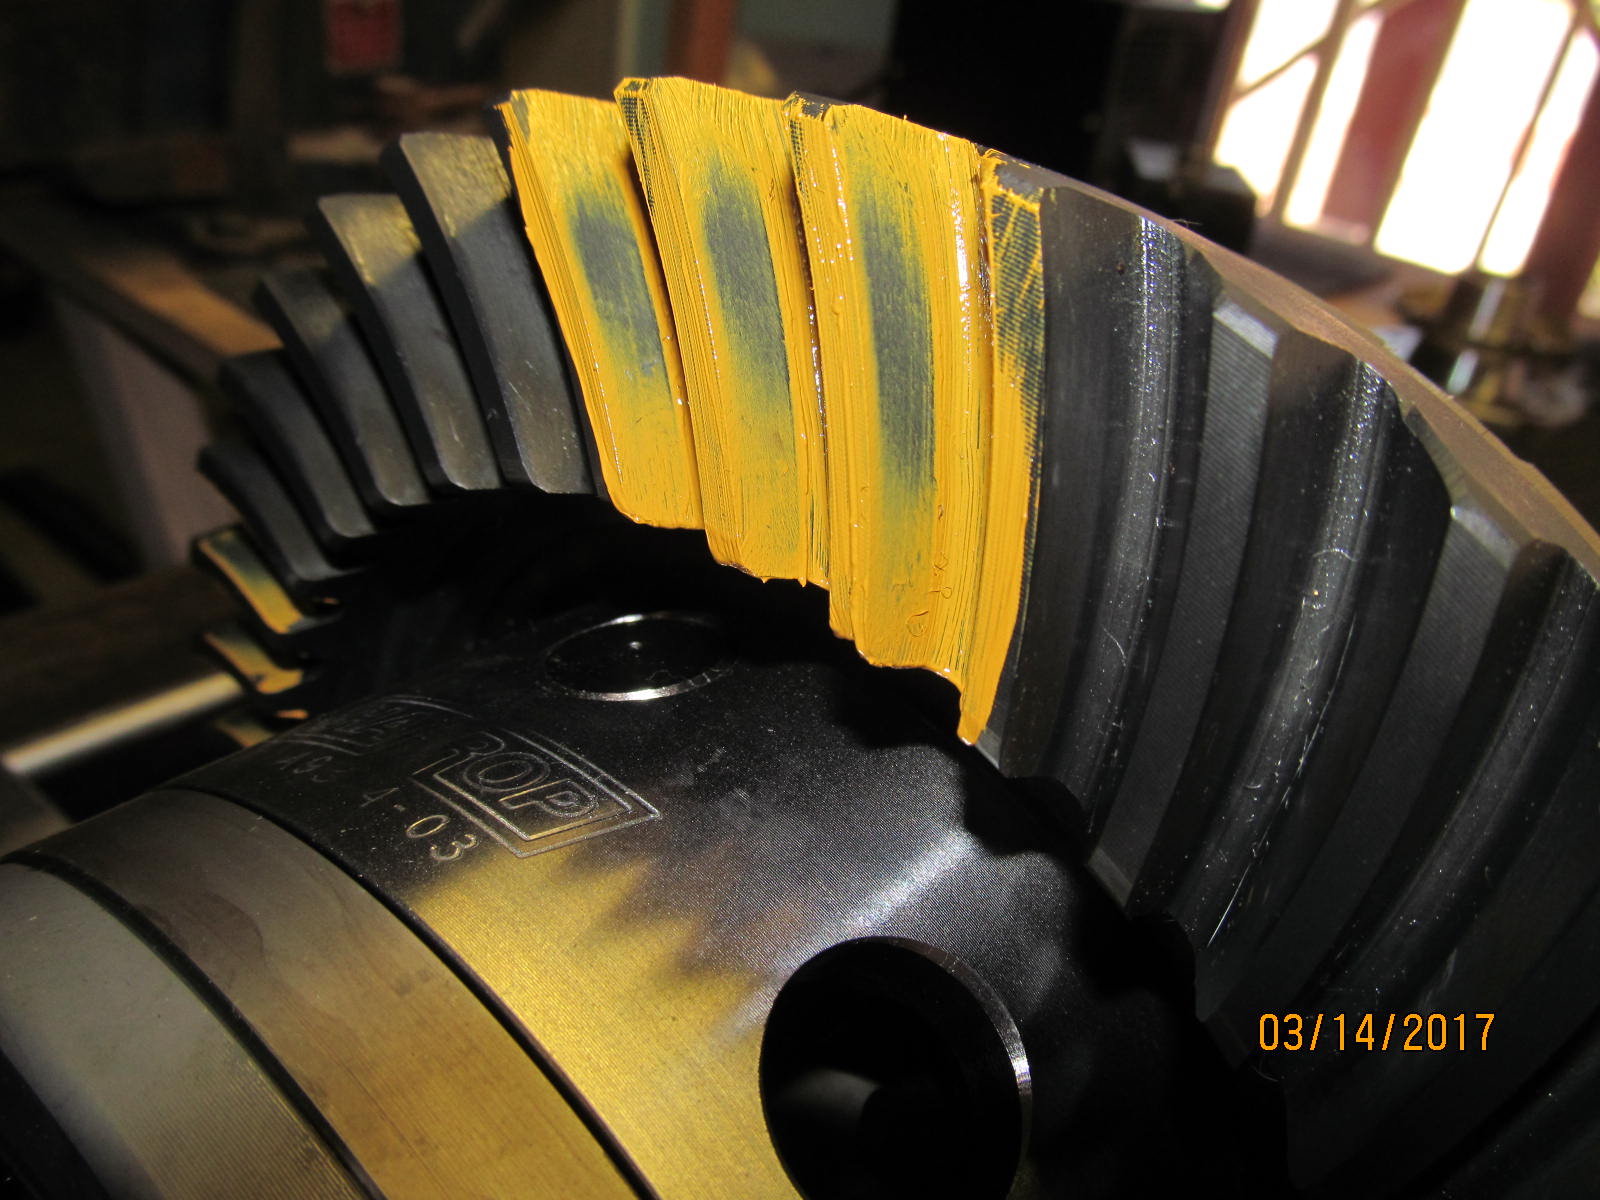
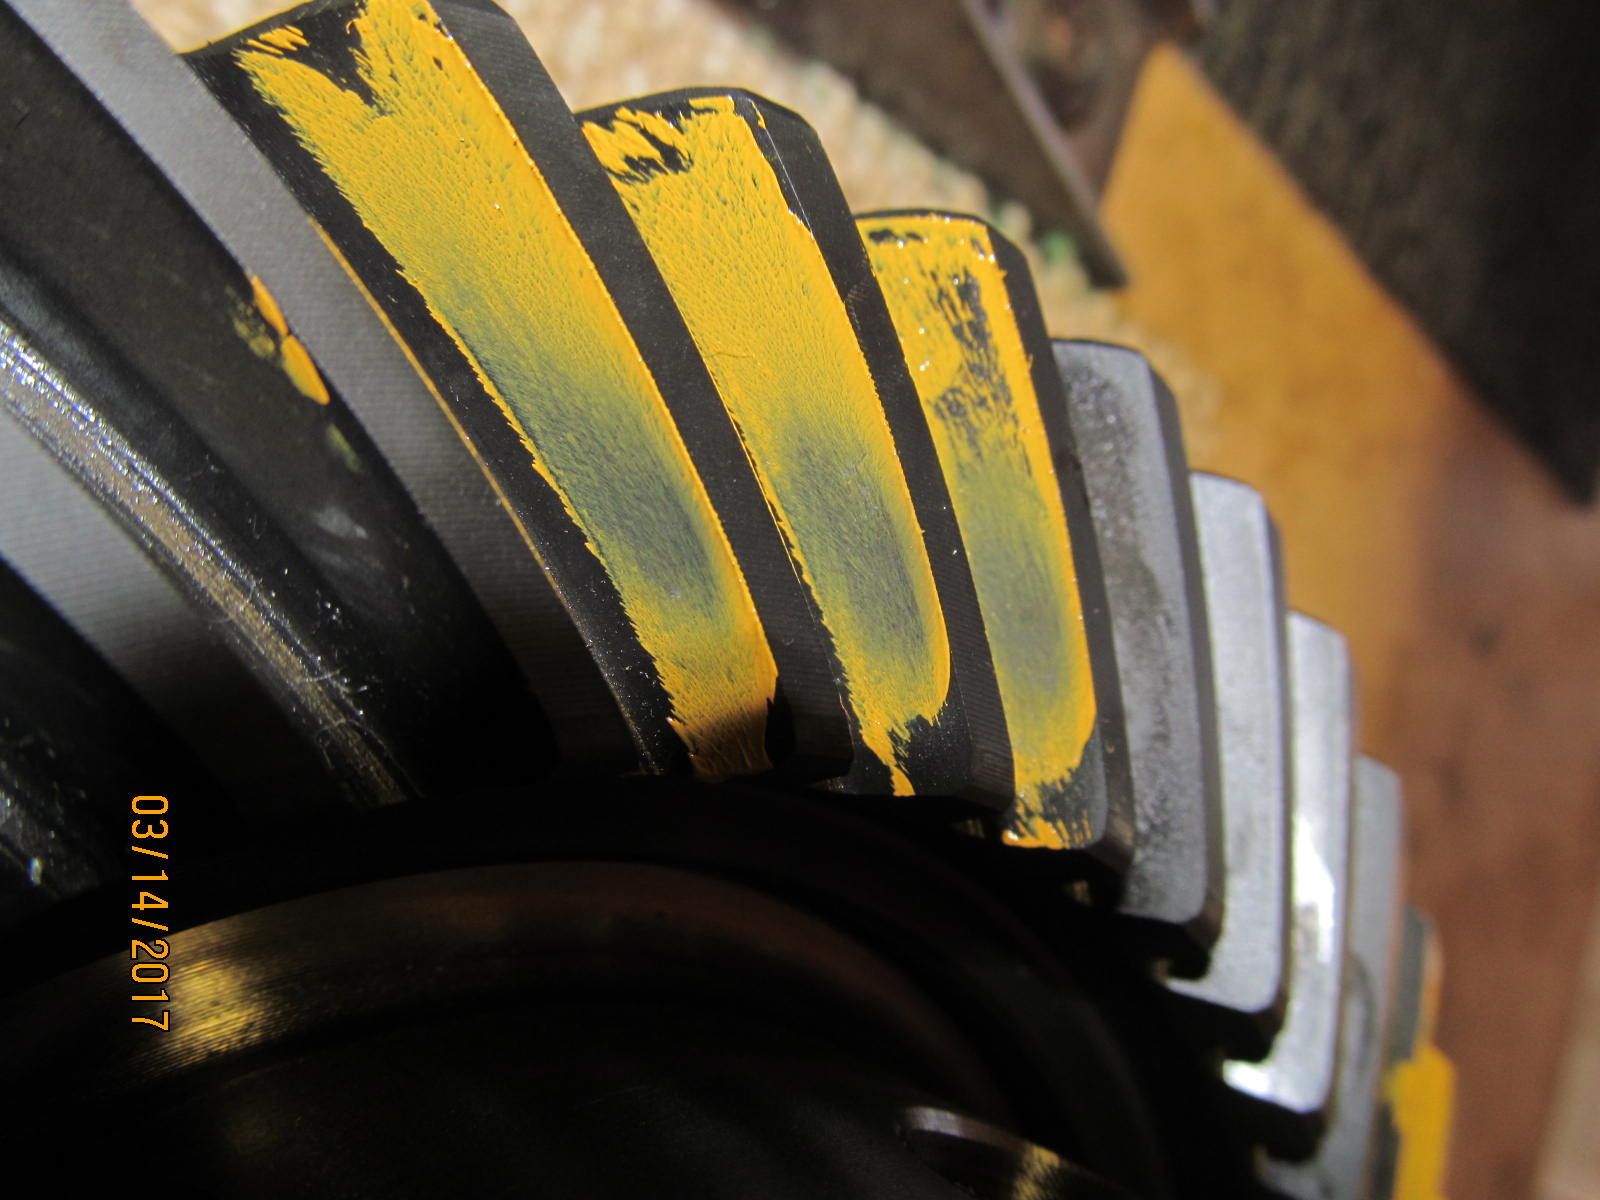
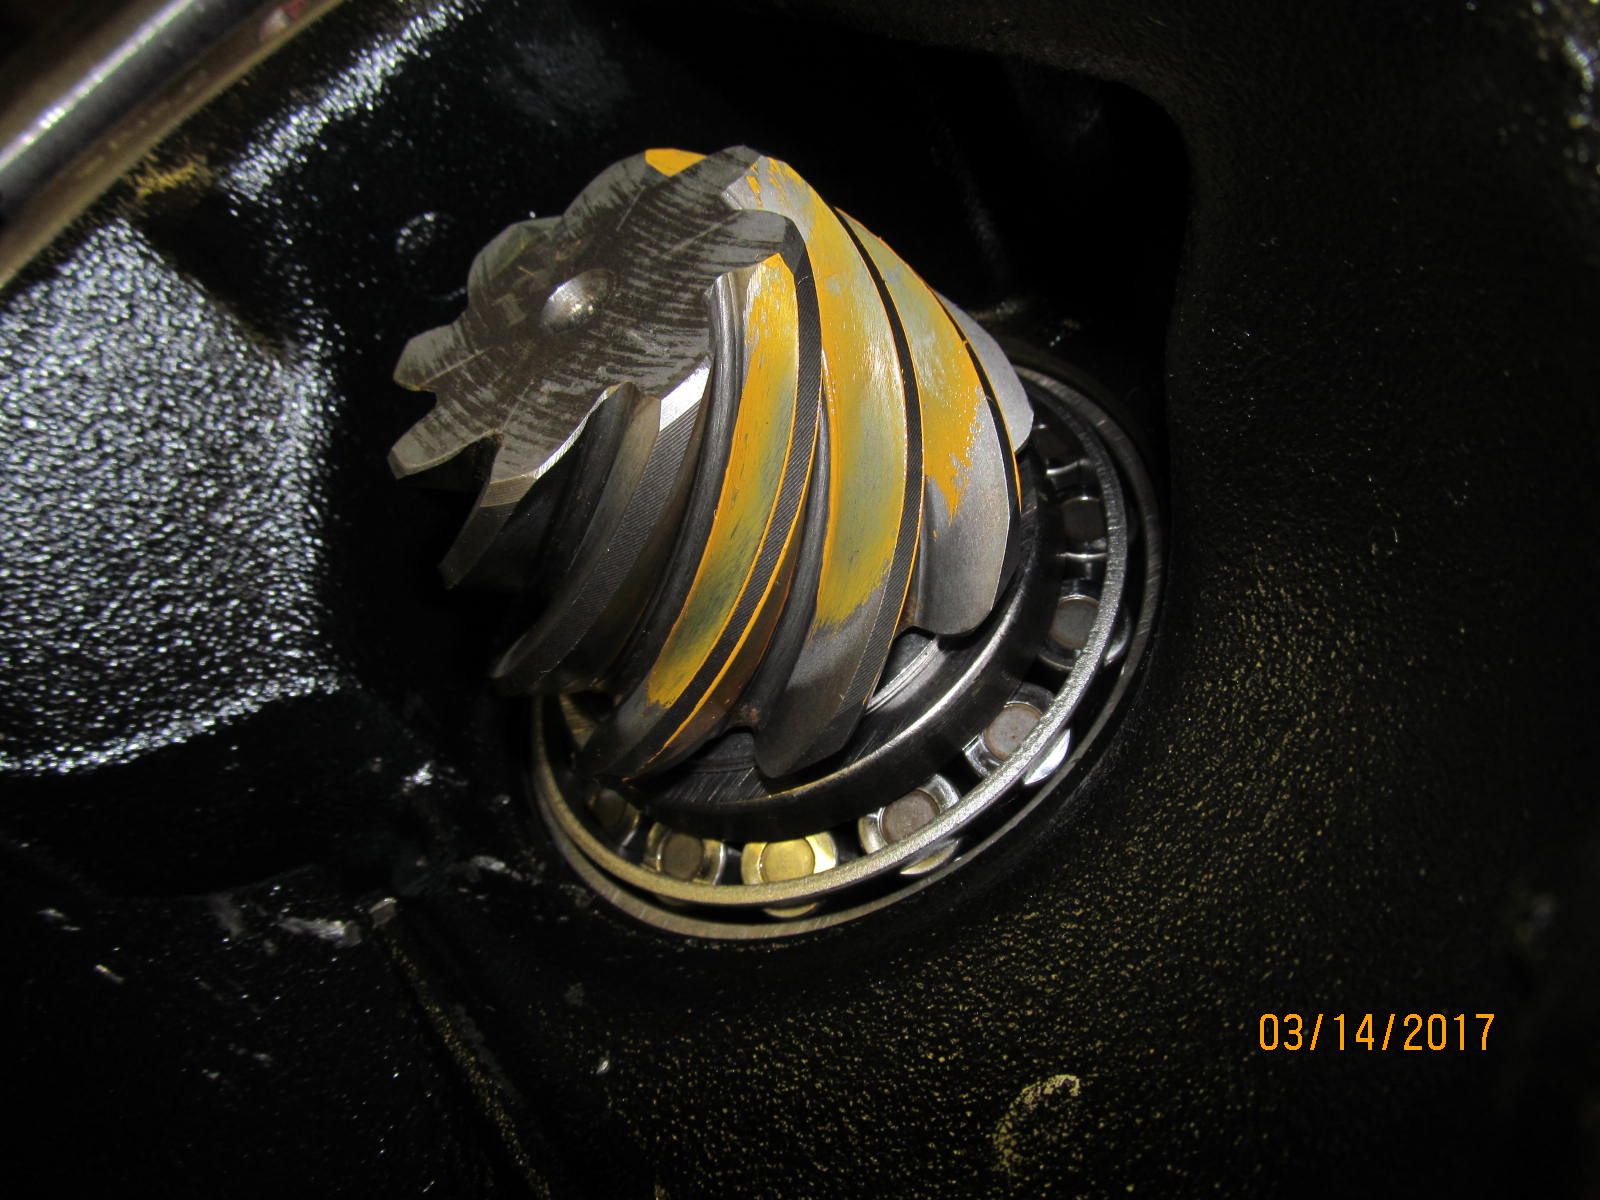
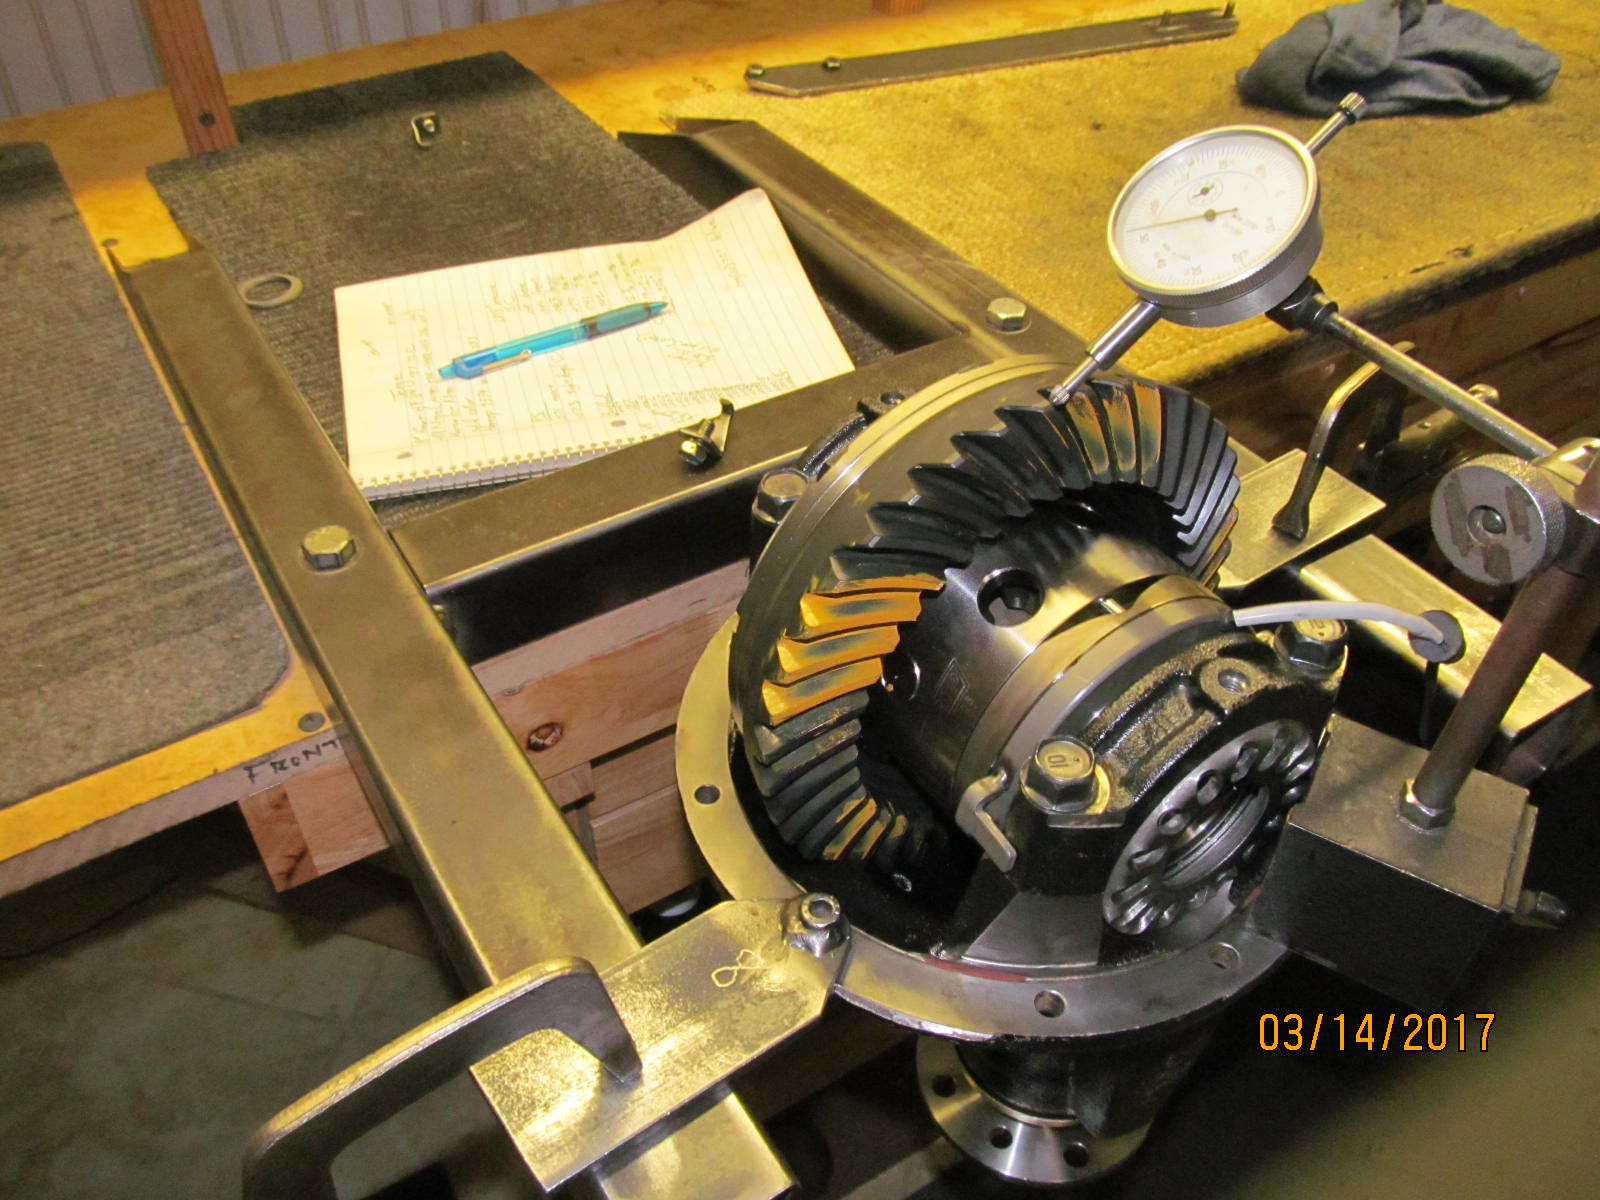
| Drive...reverse painted. |
|---|
|
|
| Coast...reverse painted. |
|---|
|
|
| Drive....notice the lower comet tail is tucking into the root. |
|---|
|

|
| This means that I could go a bit deeper(thicker pinion shim). |
|---|
|
|
| ... |
|---|
|
|
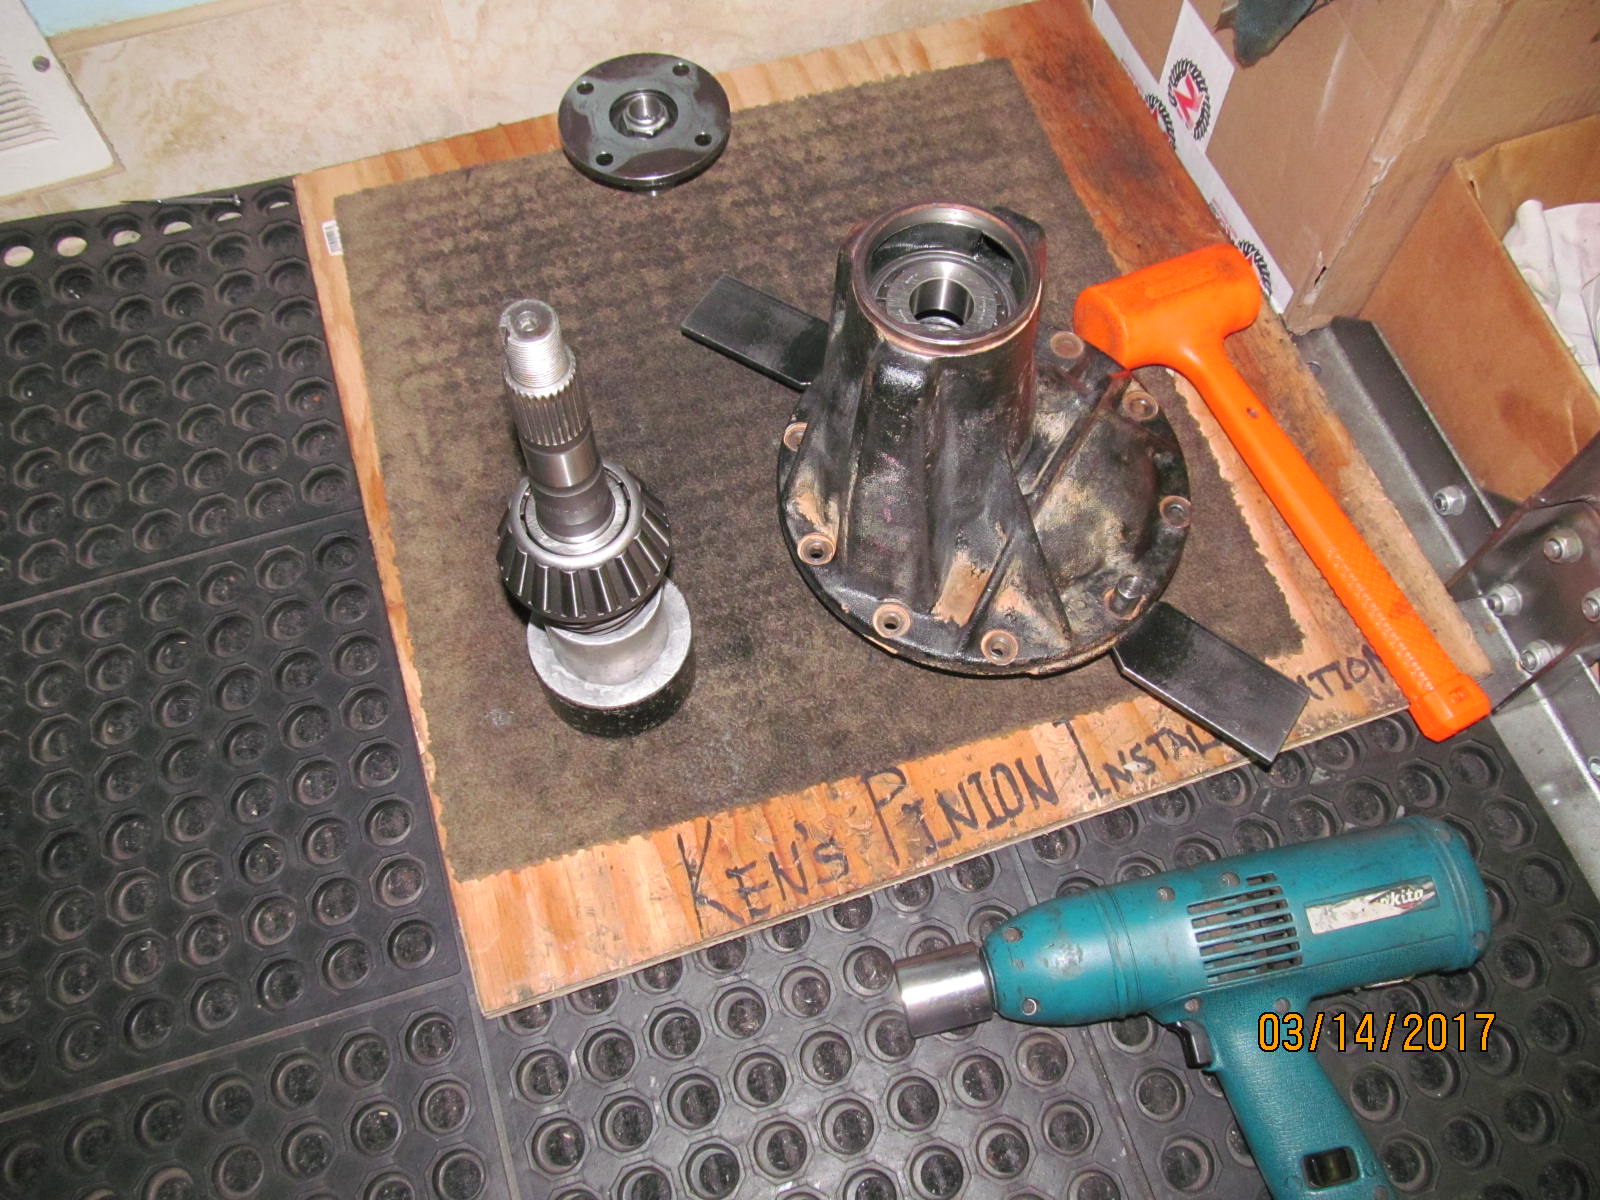
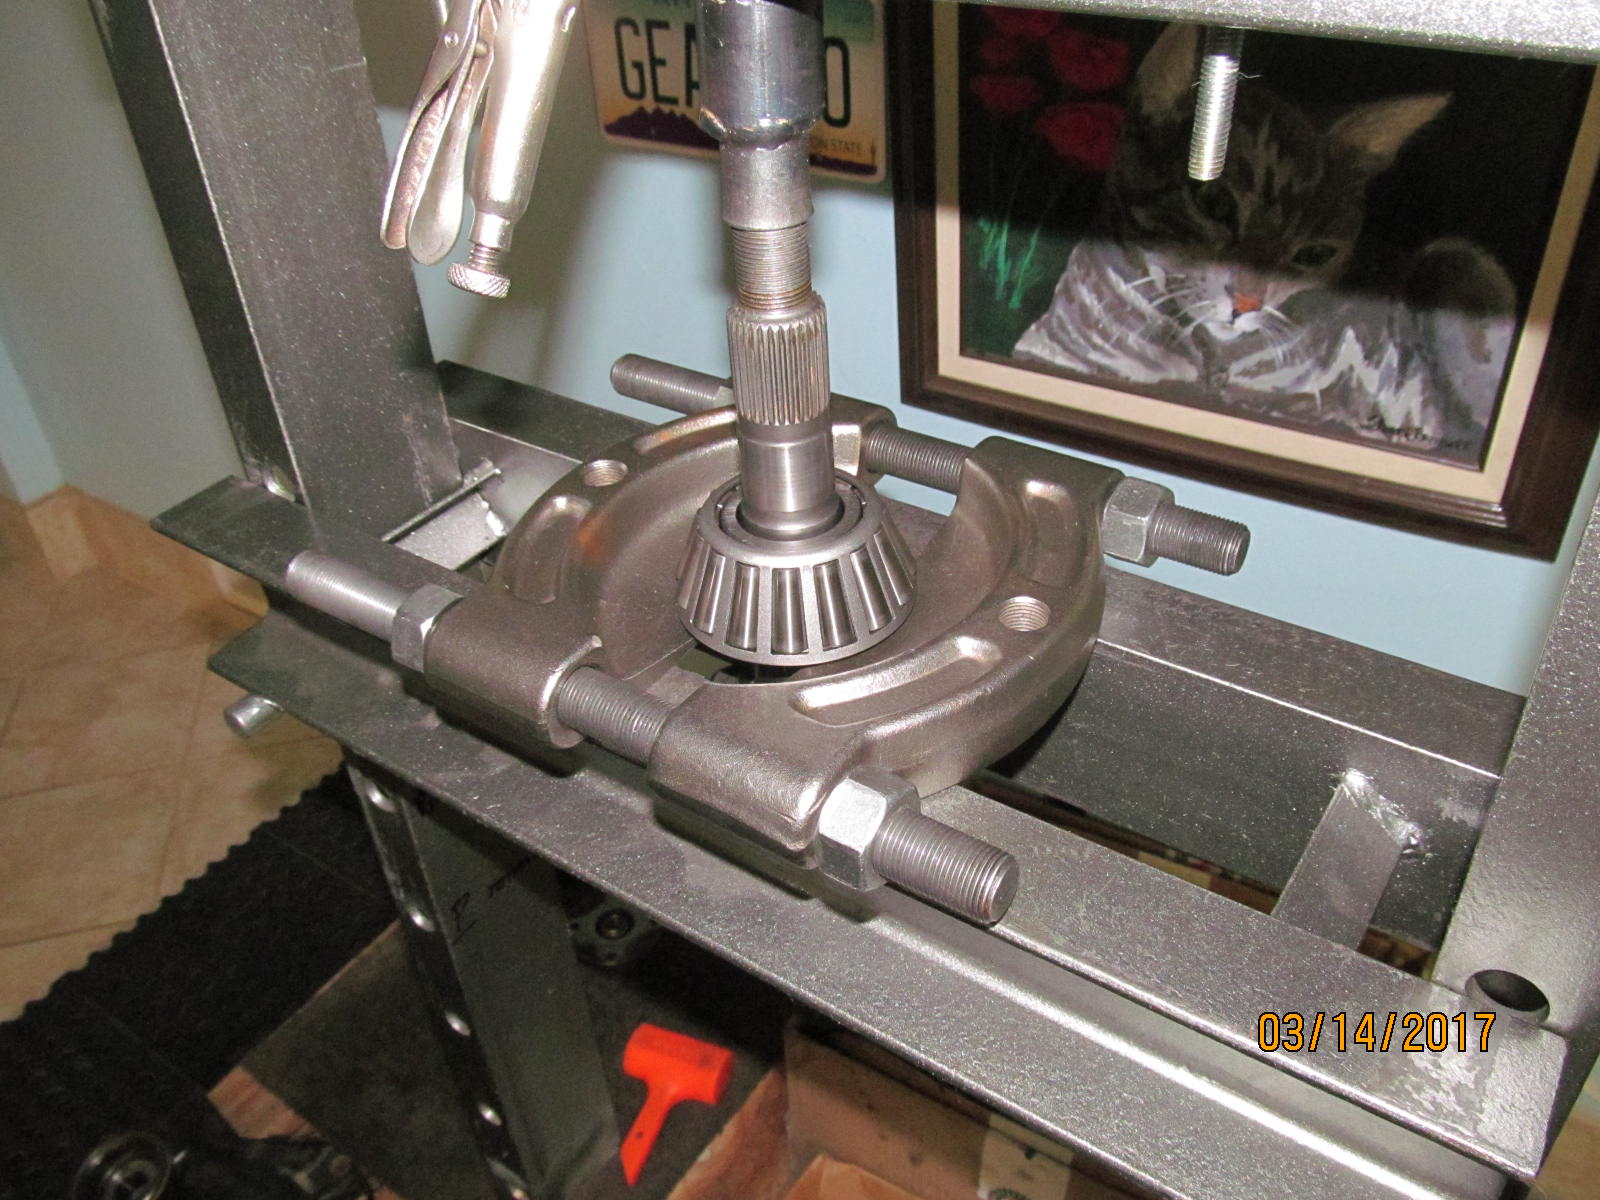
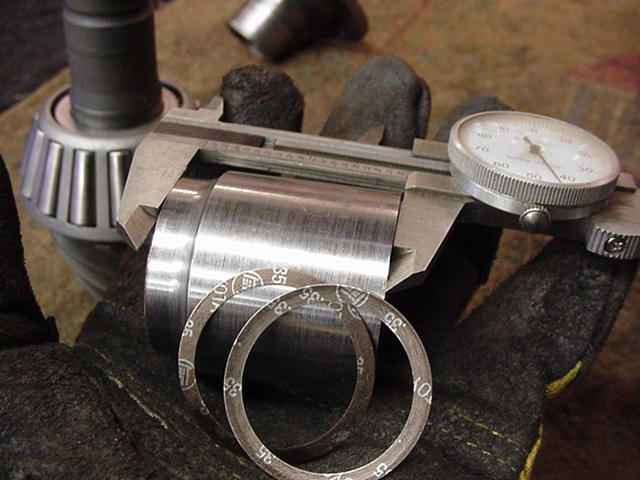
| Teardown and pressing off the big pinion bearing. |
|---|
|
|
| A 50, 10, and 13 shim adds up to 73....only .002" thicker but will do the job. |
|---|
|
|
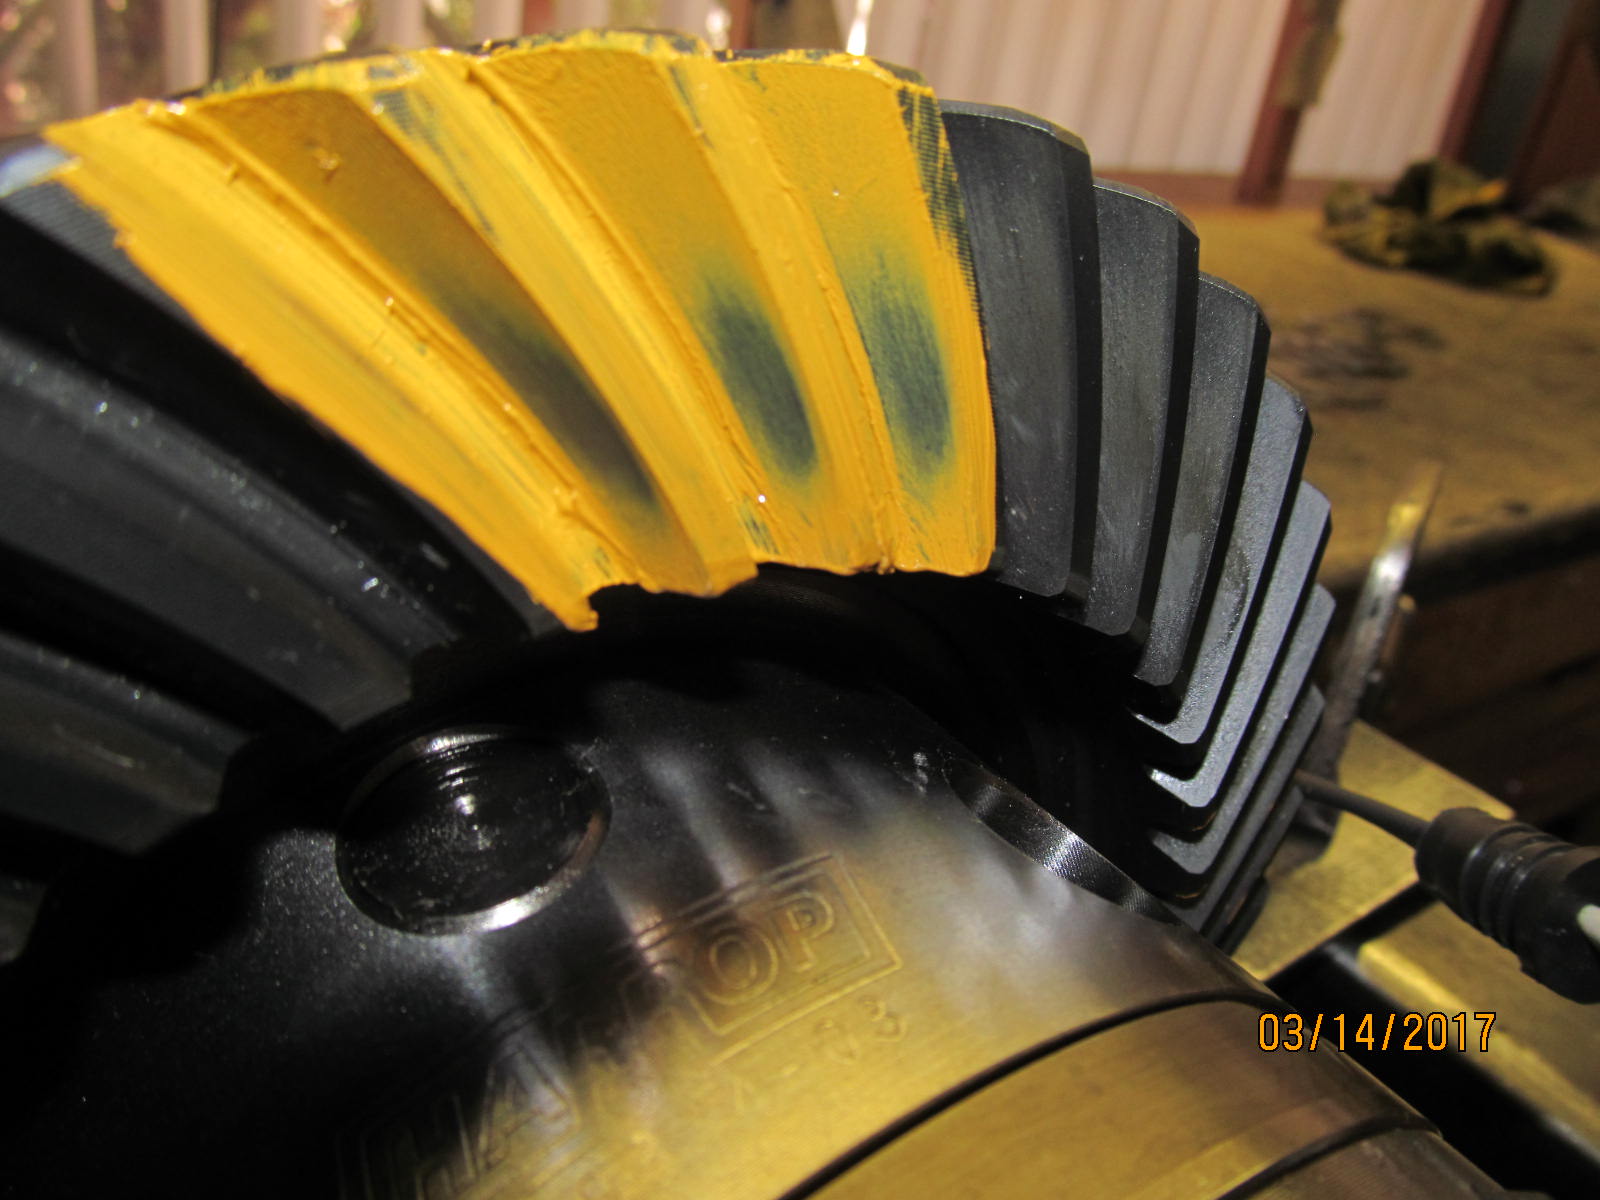
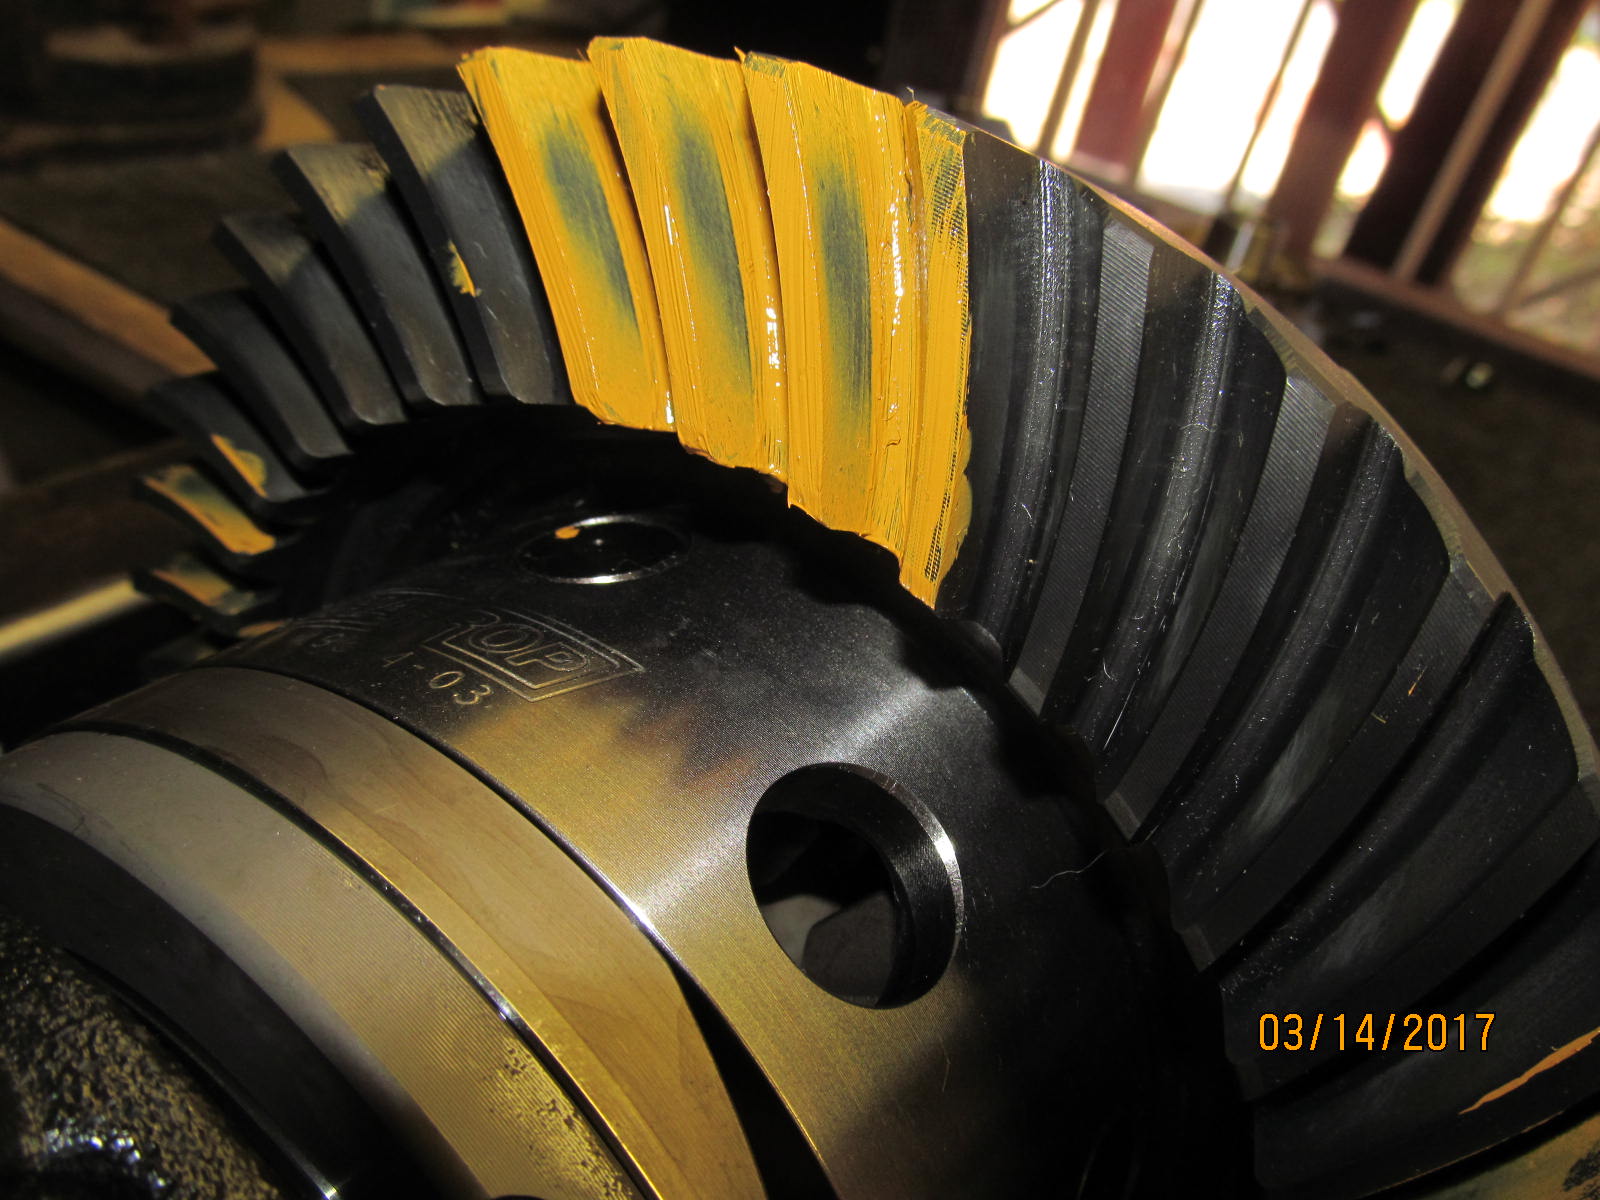
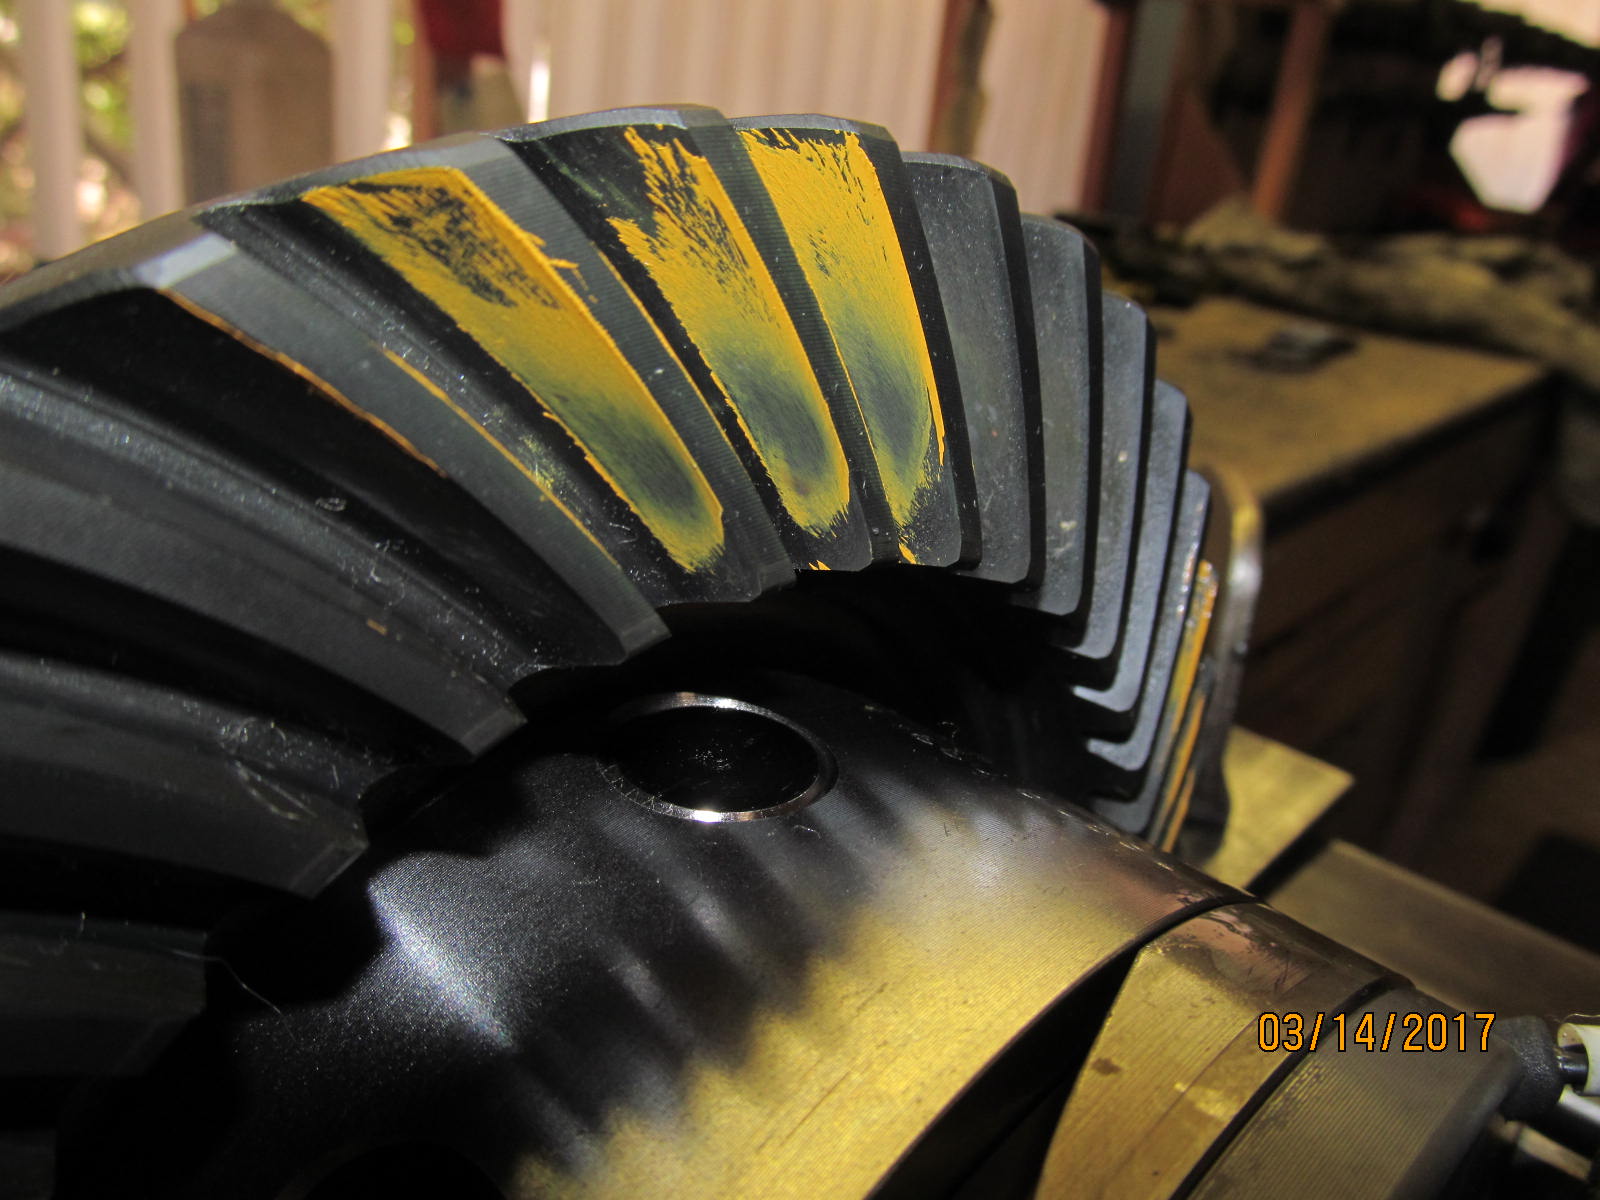
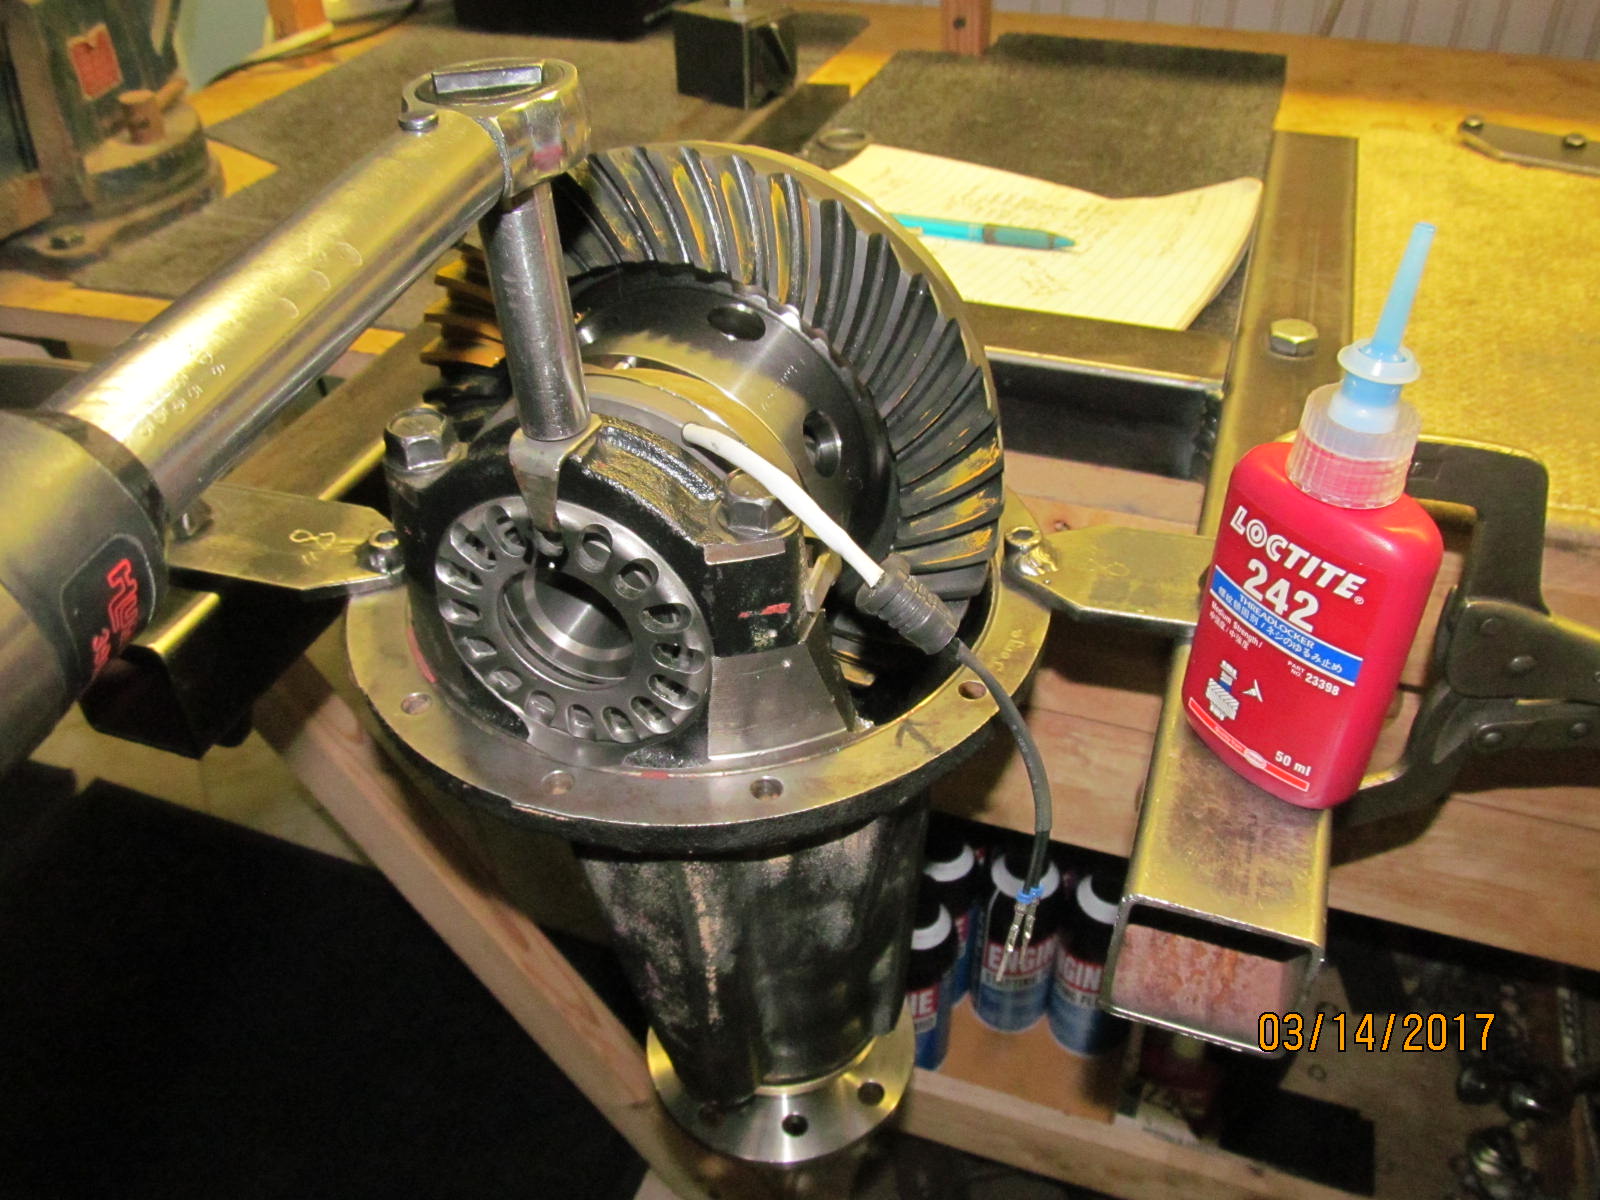
Back together with the 9.5" 3rd, repaint, and this is what I like to see for the drive side. The depth is a "slight deep" condition...
it favors the heel just a tad but there is little that can be done about that. Going deeper would help pull it to toe but
it's already as deep as it should be. Tightening up the backlash would help pull it closer to toe
but I'm already at the minimum backlash at .006". |
|---|
|
|
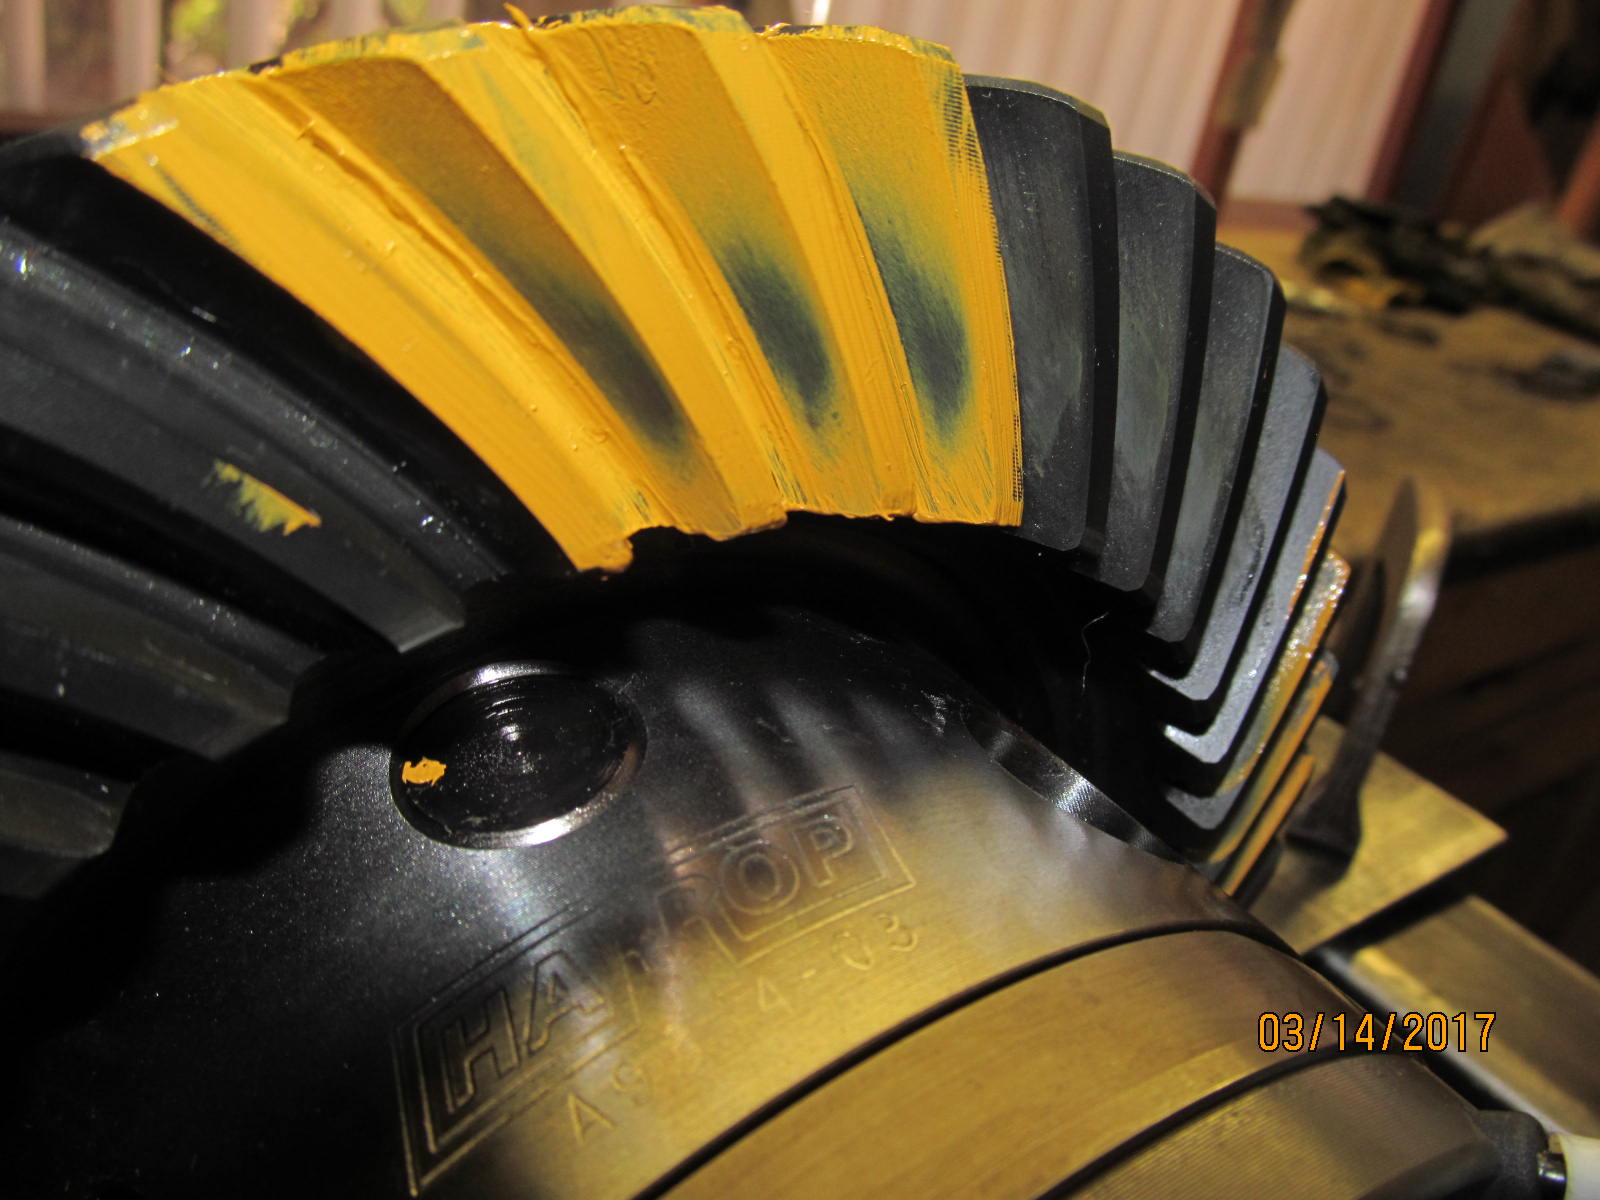
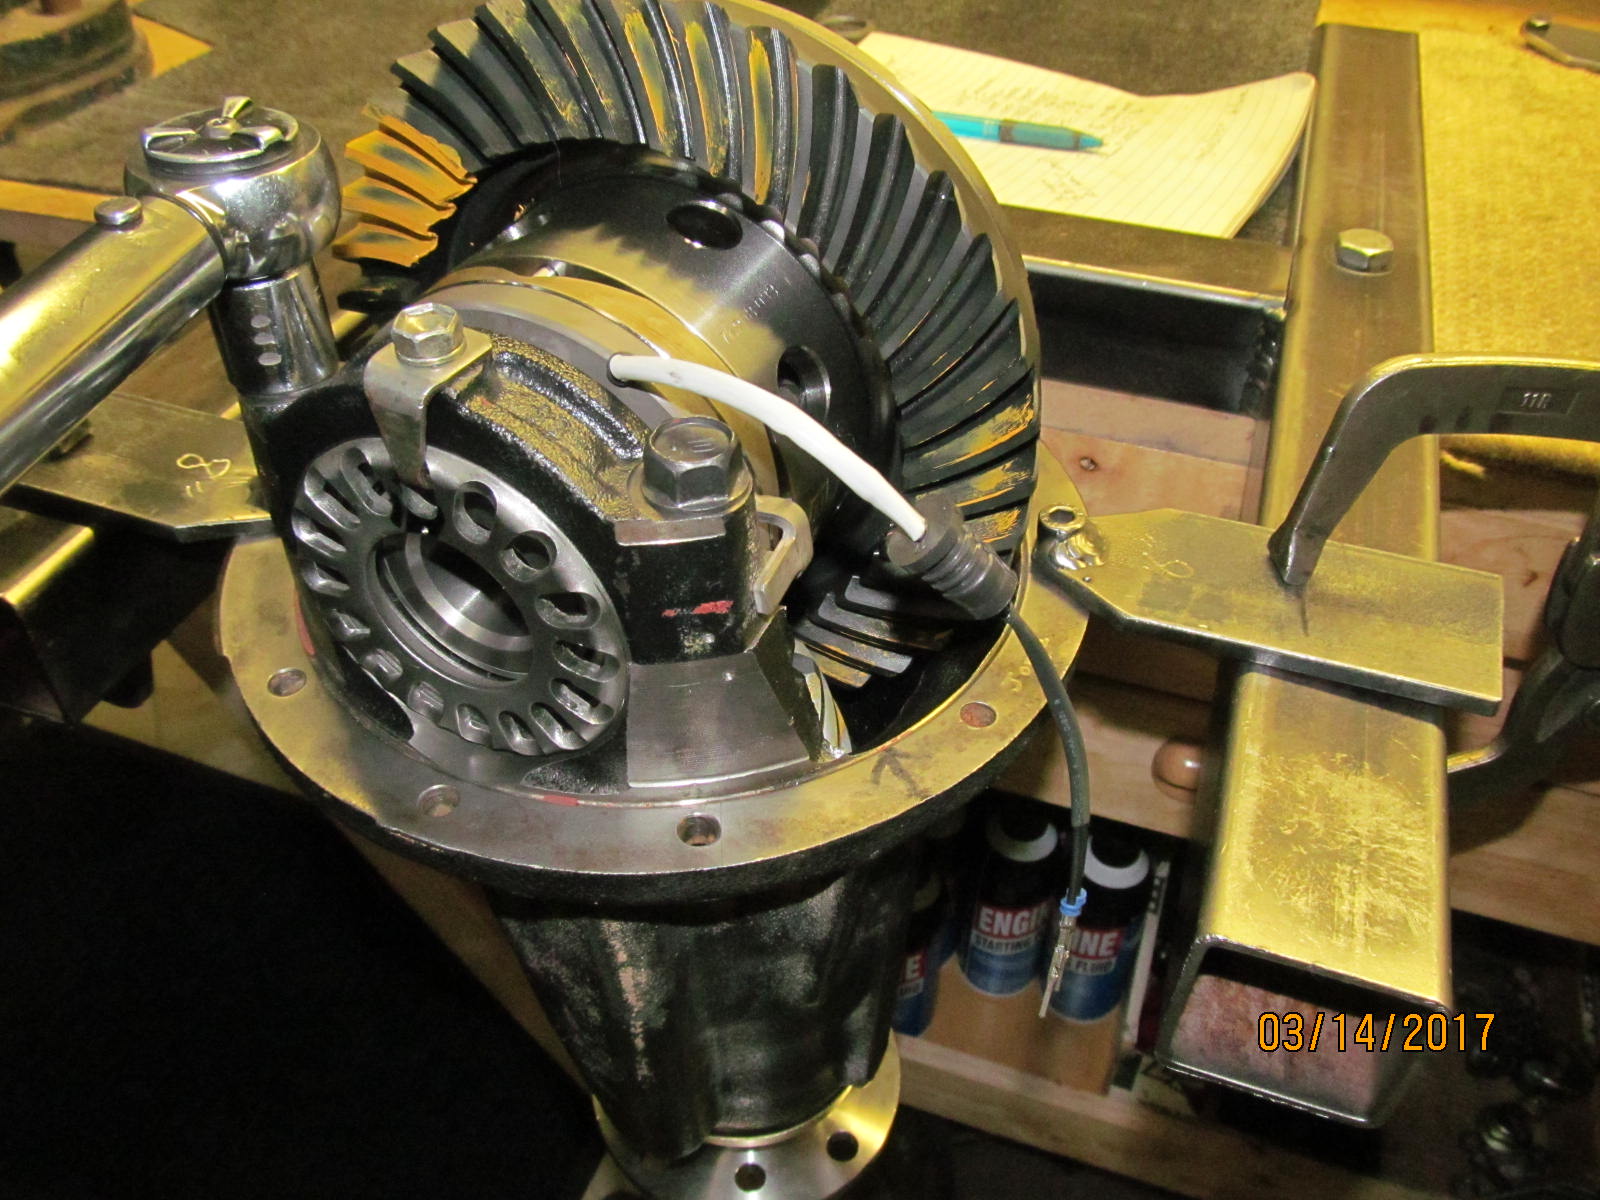
| Coast side looks beautiful. A slight toe condition also. |
|---|
|
|
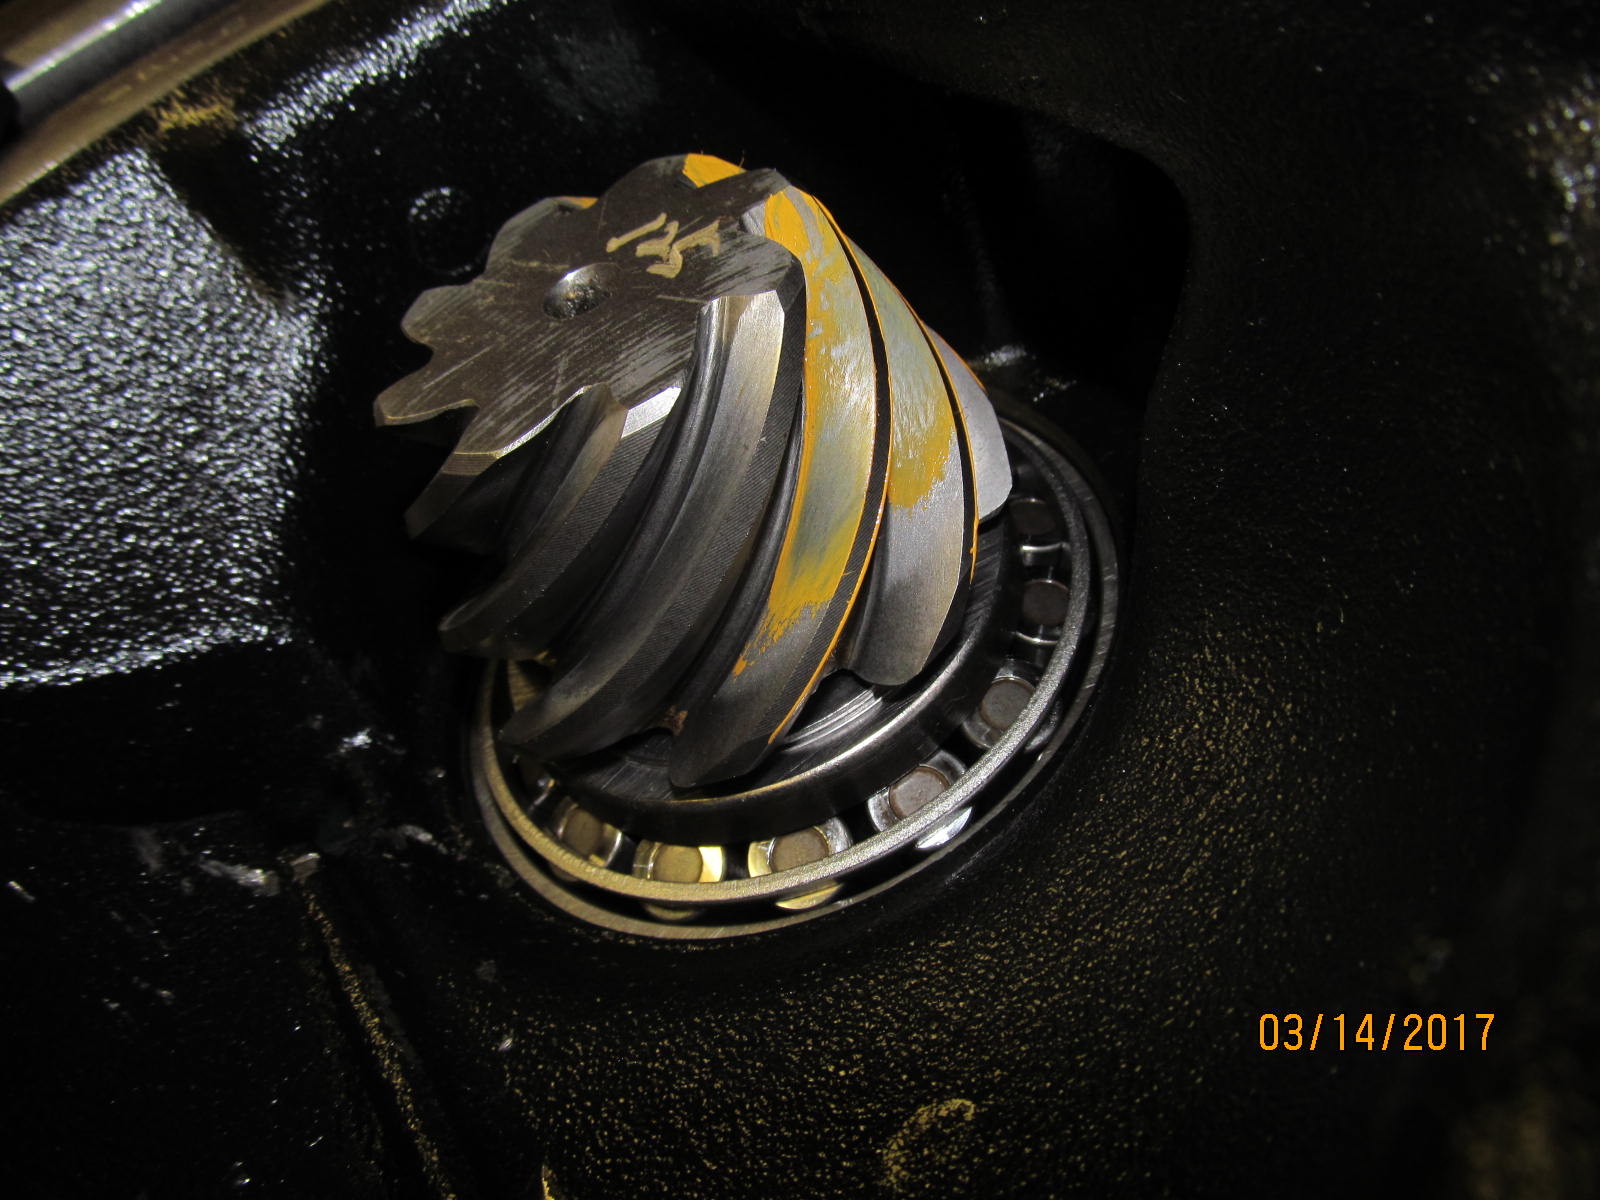
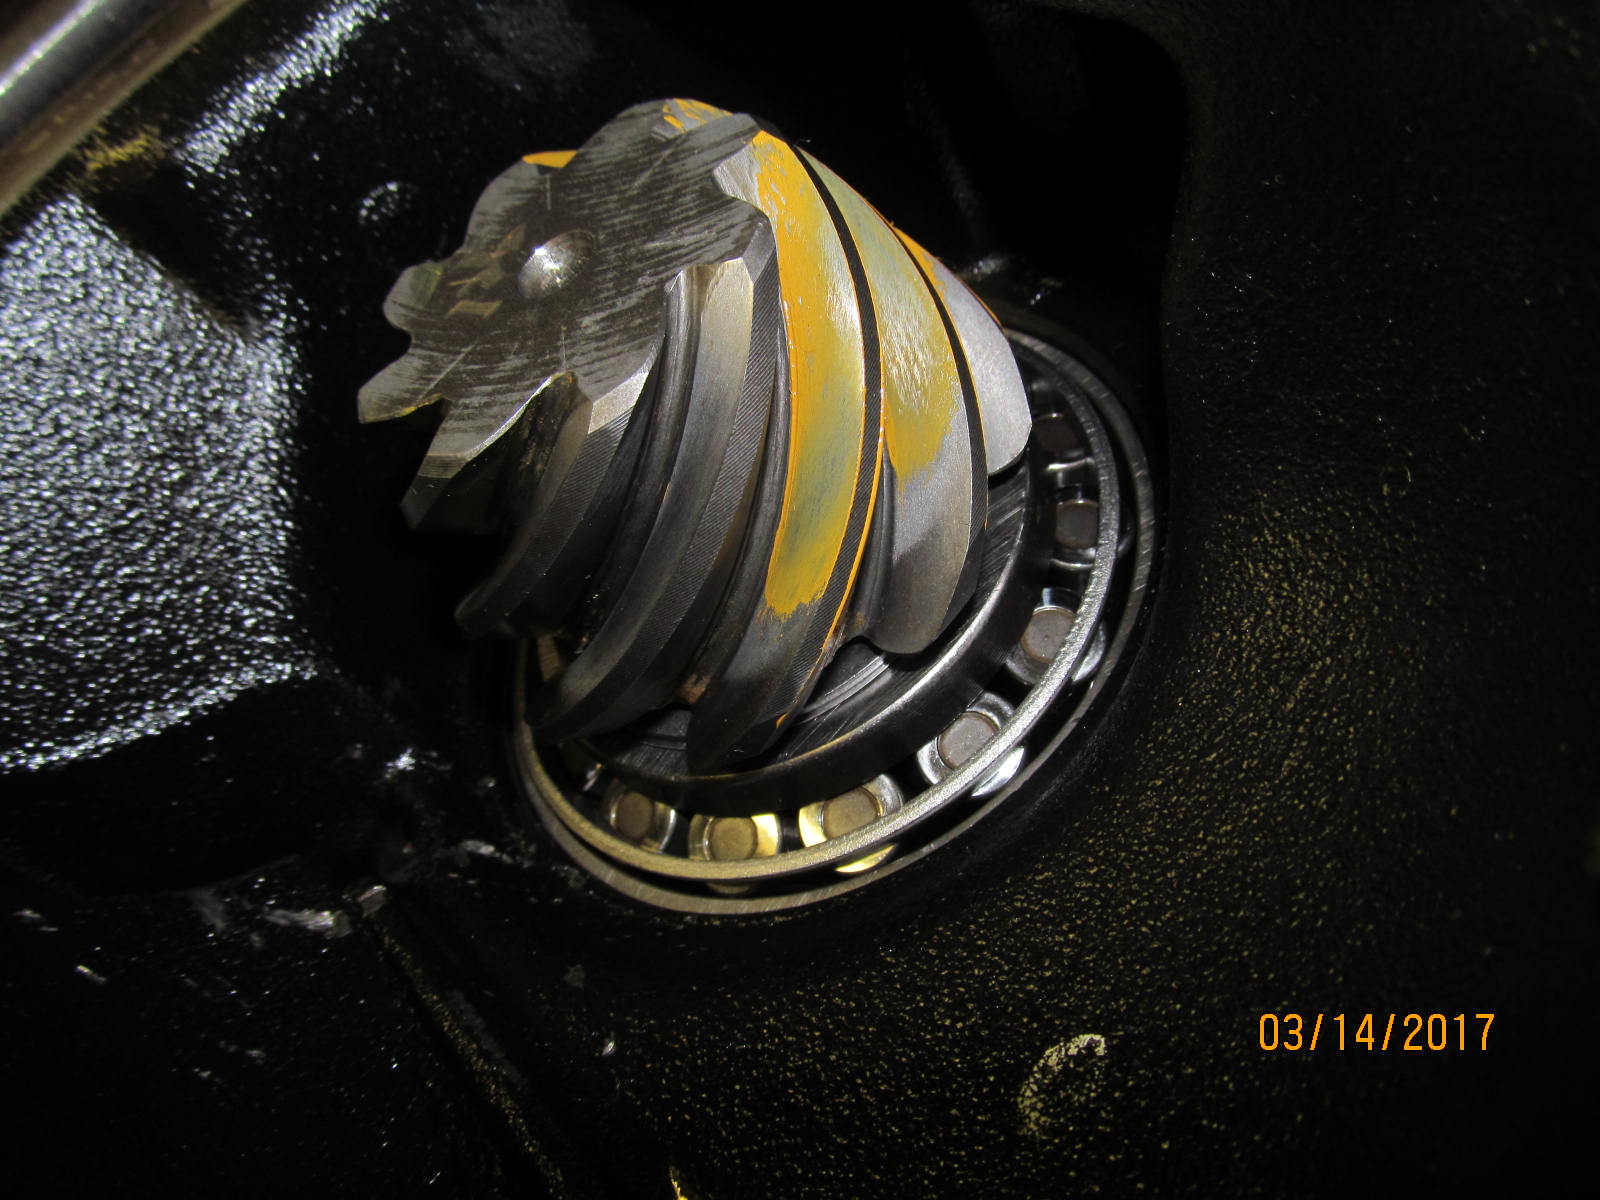
| Drive....reverse painted. |
|---|
|
|
| Coast....reverse painted. |
|---|
|
|
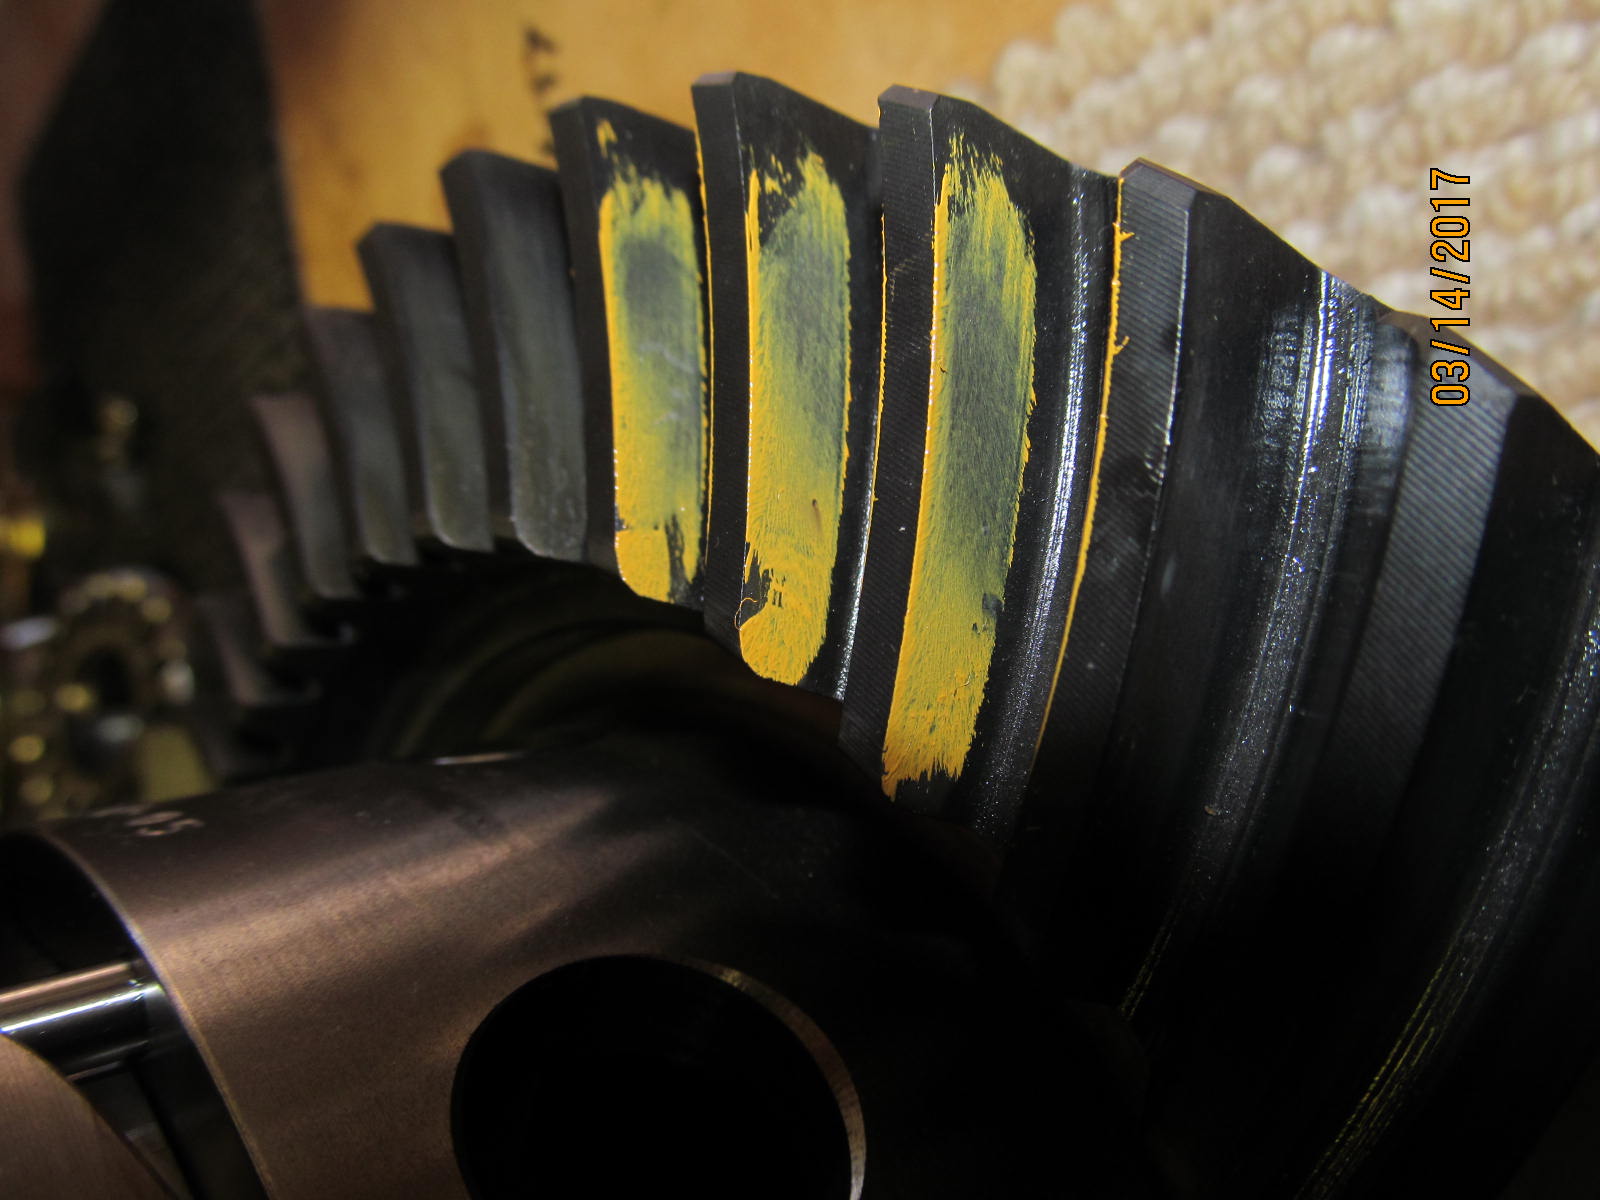
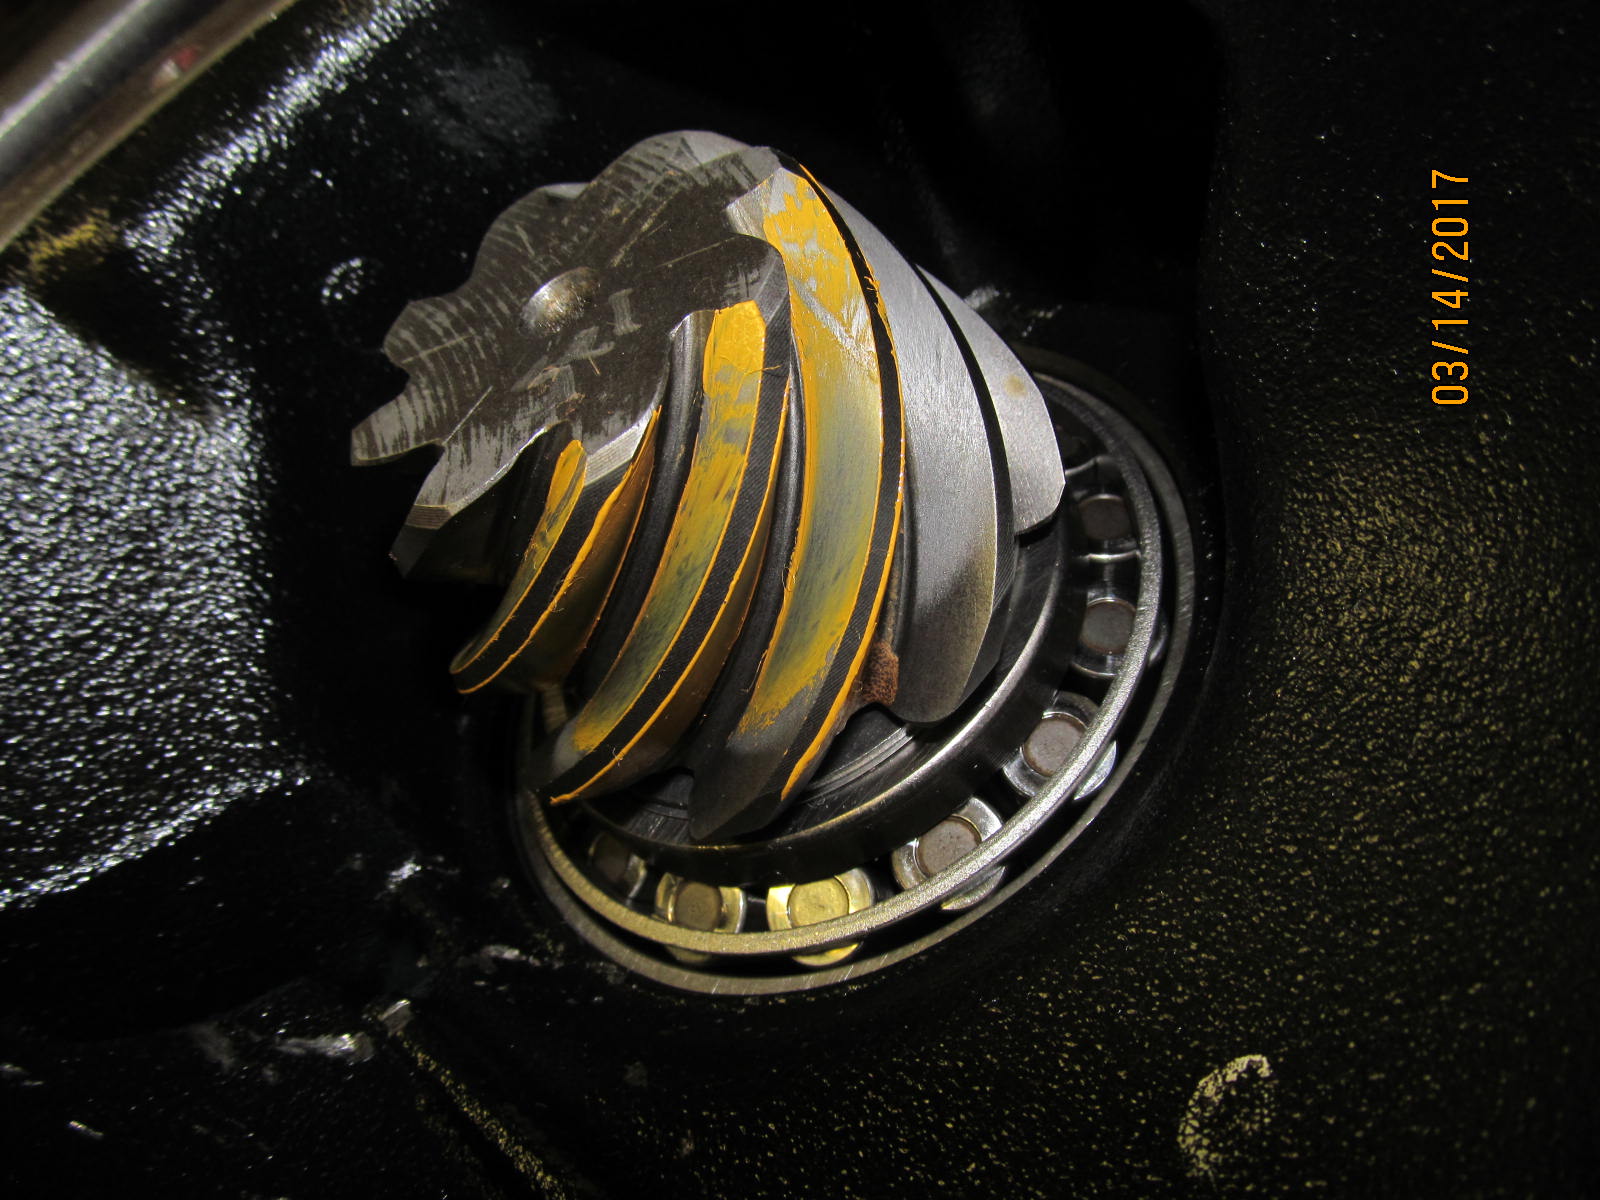
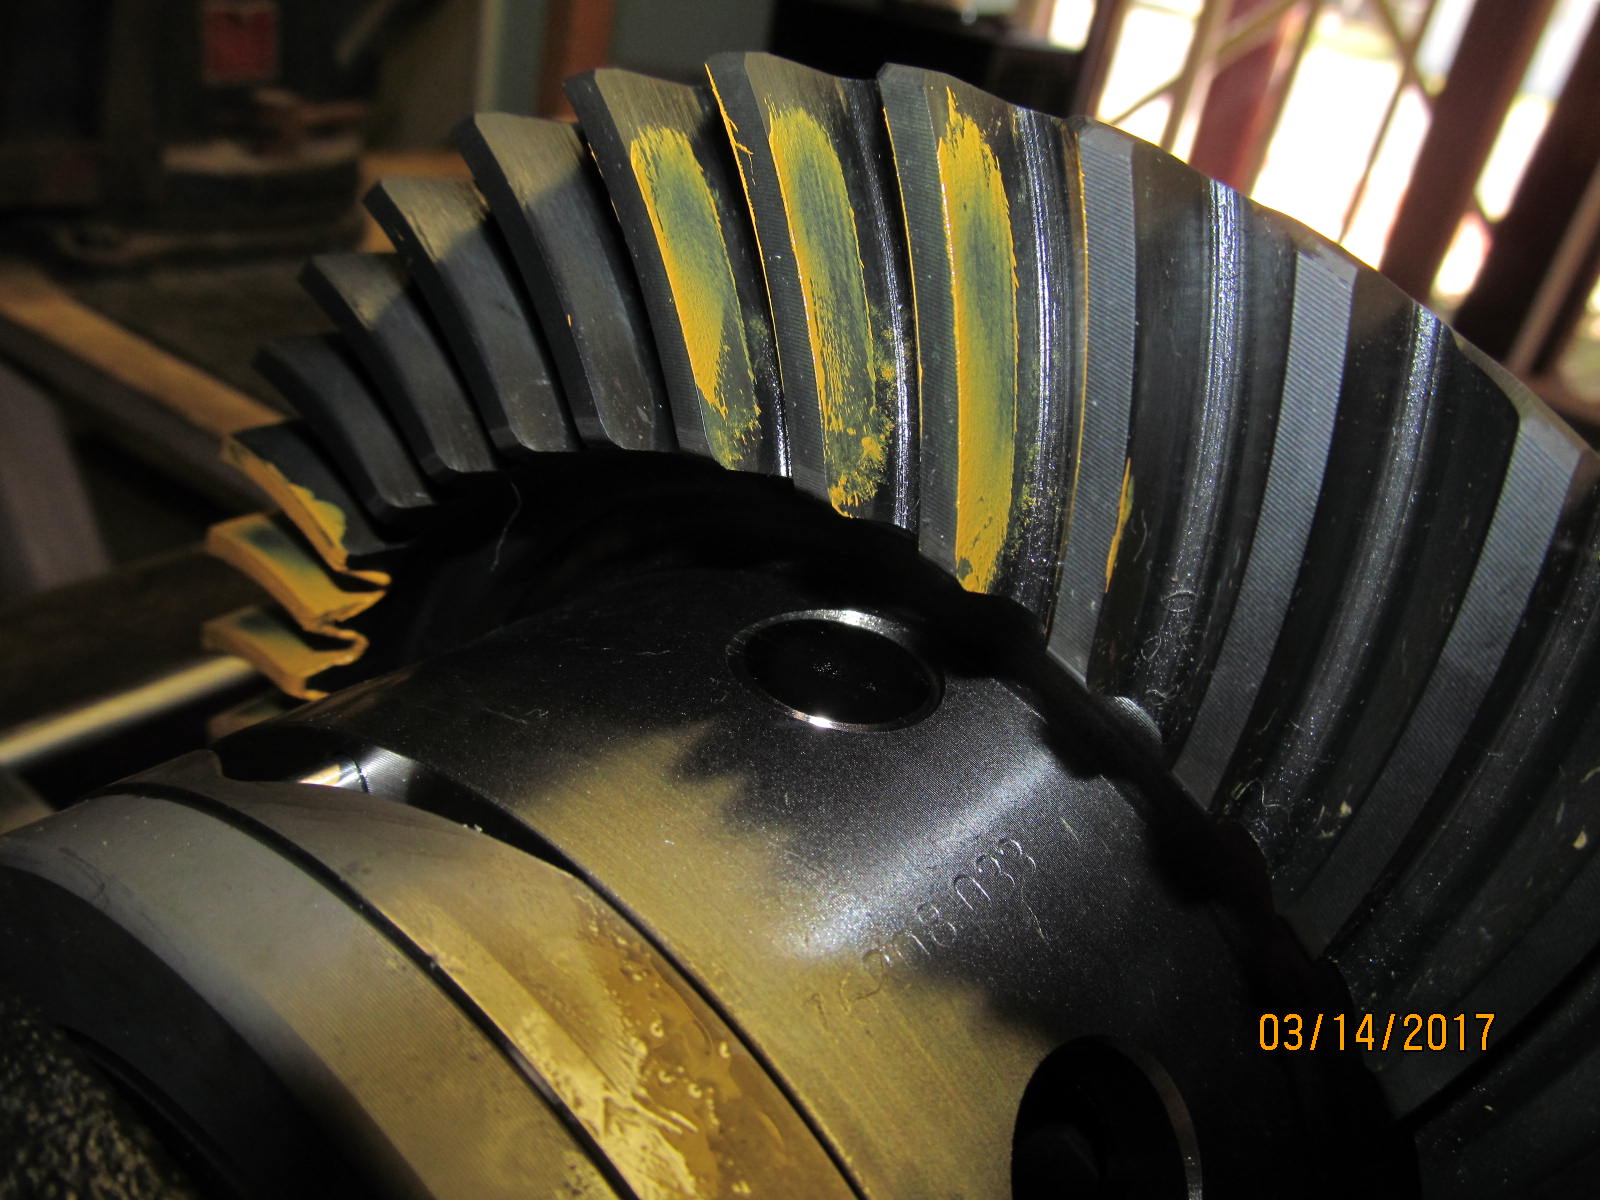
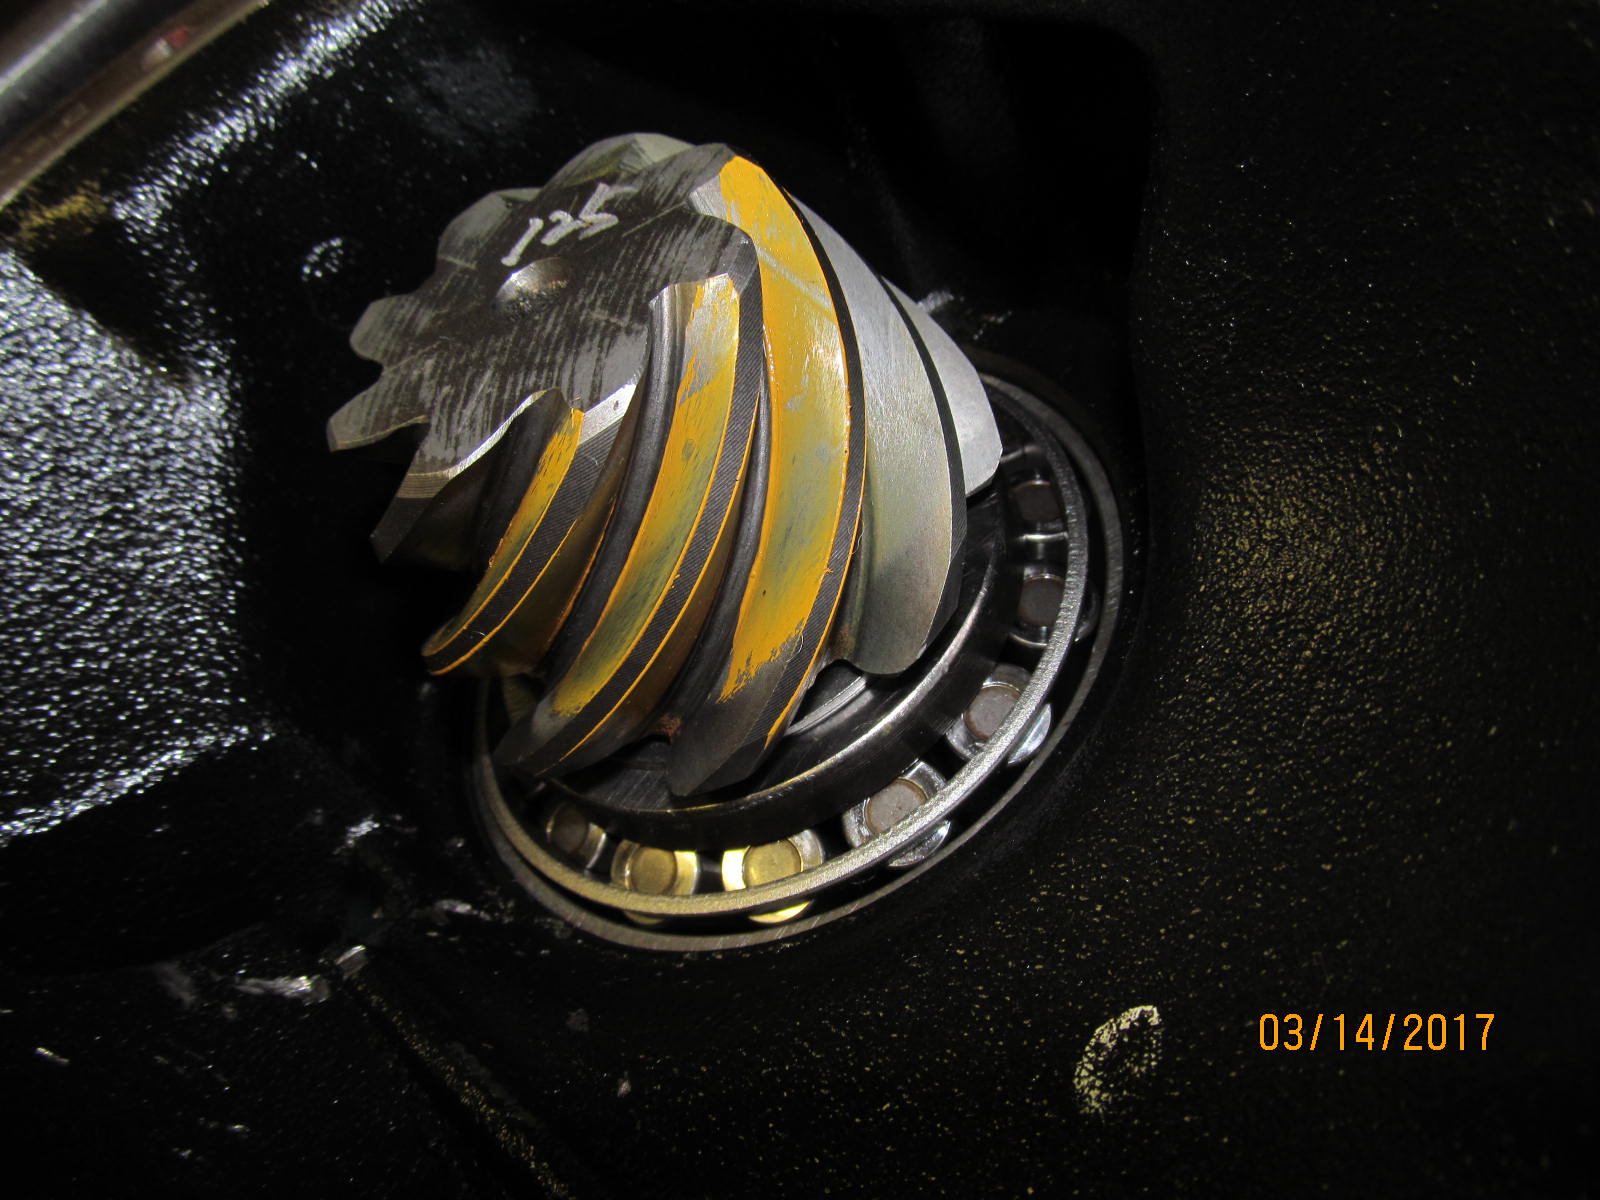
| Drive of the pinion.... |
|---|
|
|
| This one shows that the comet tail is not hard into the root and is coming towards the center. |
|---|
|
|
| ......................... |
|---|
|
|
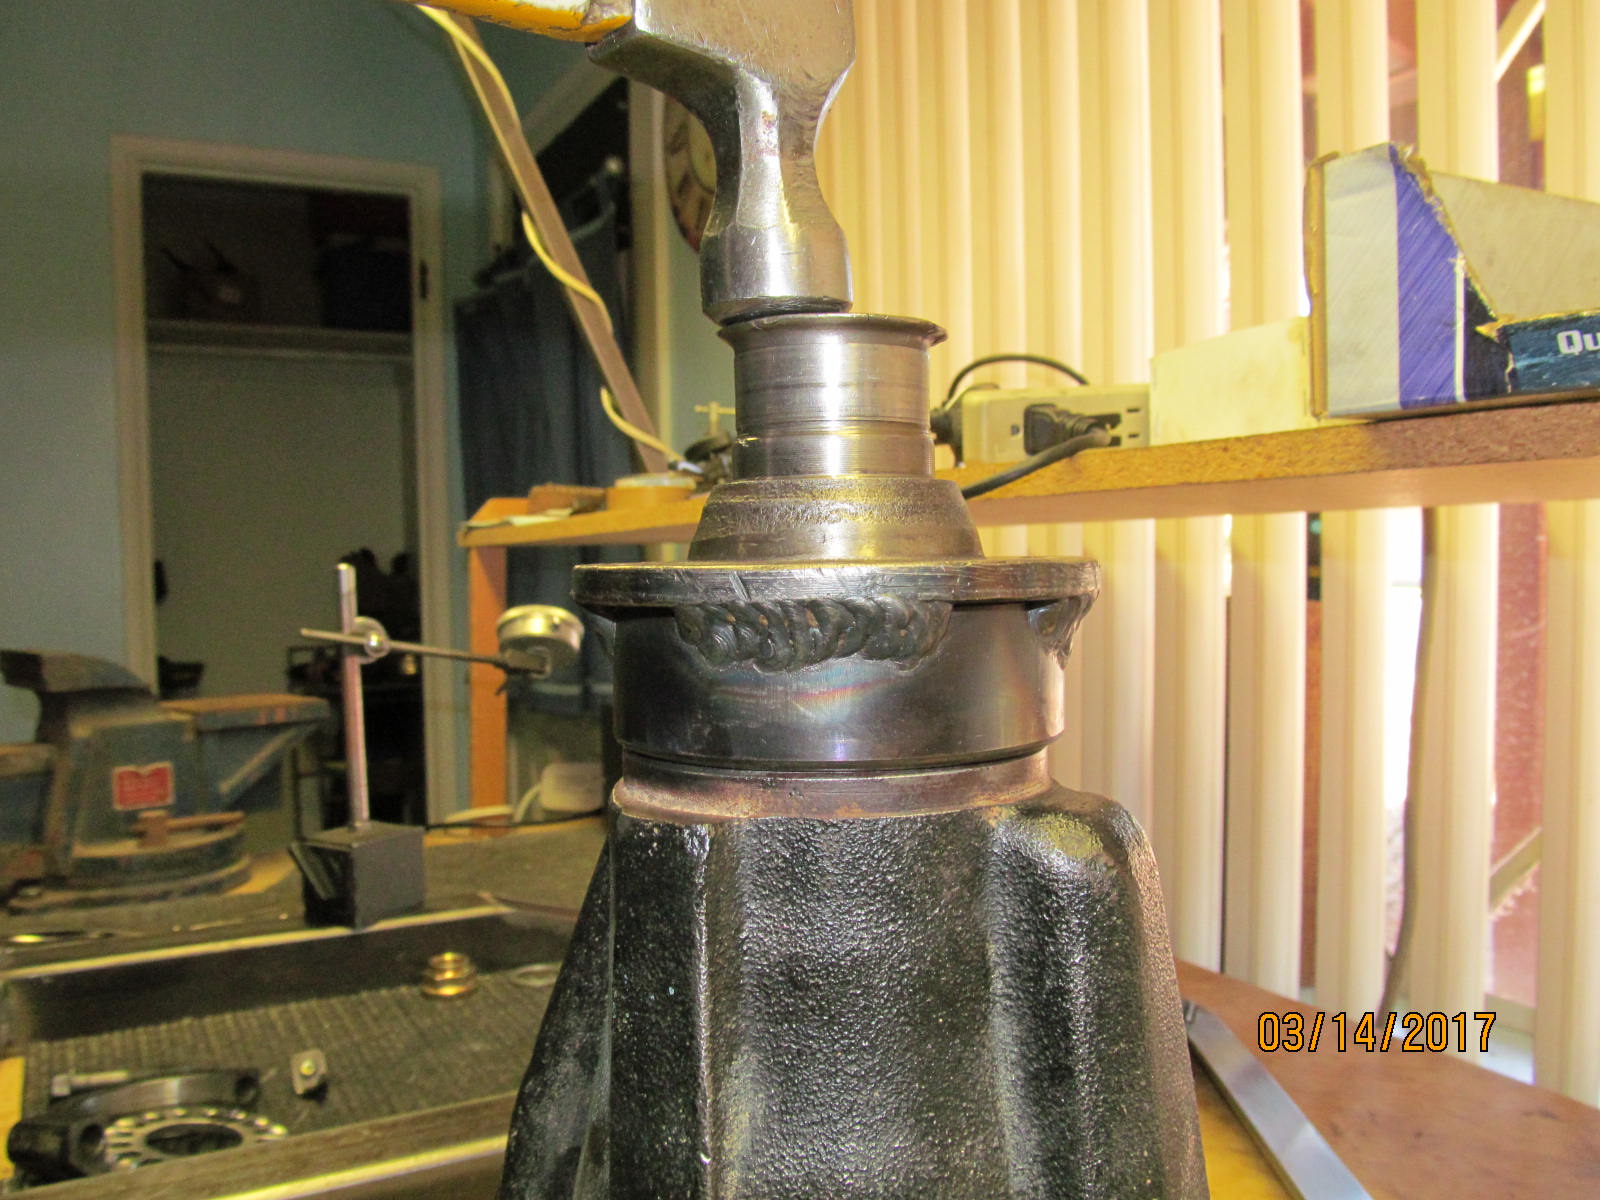
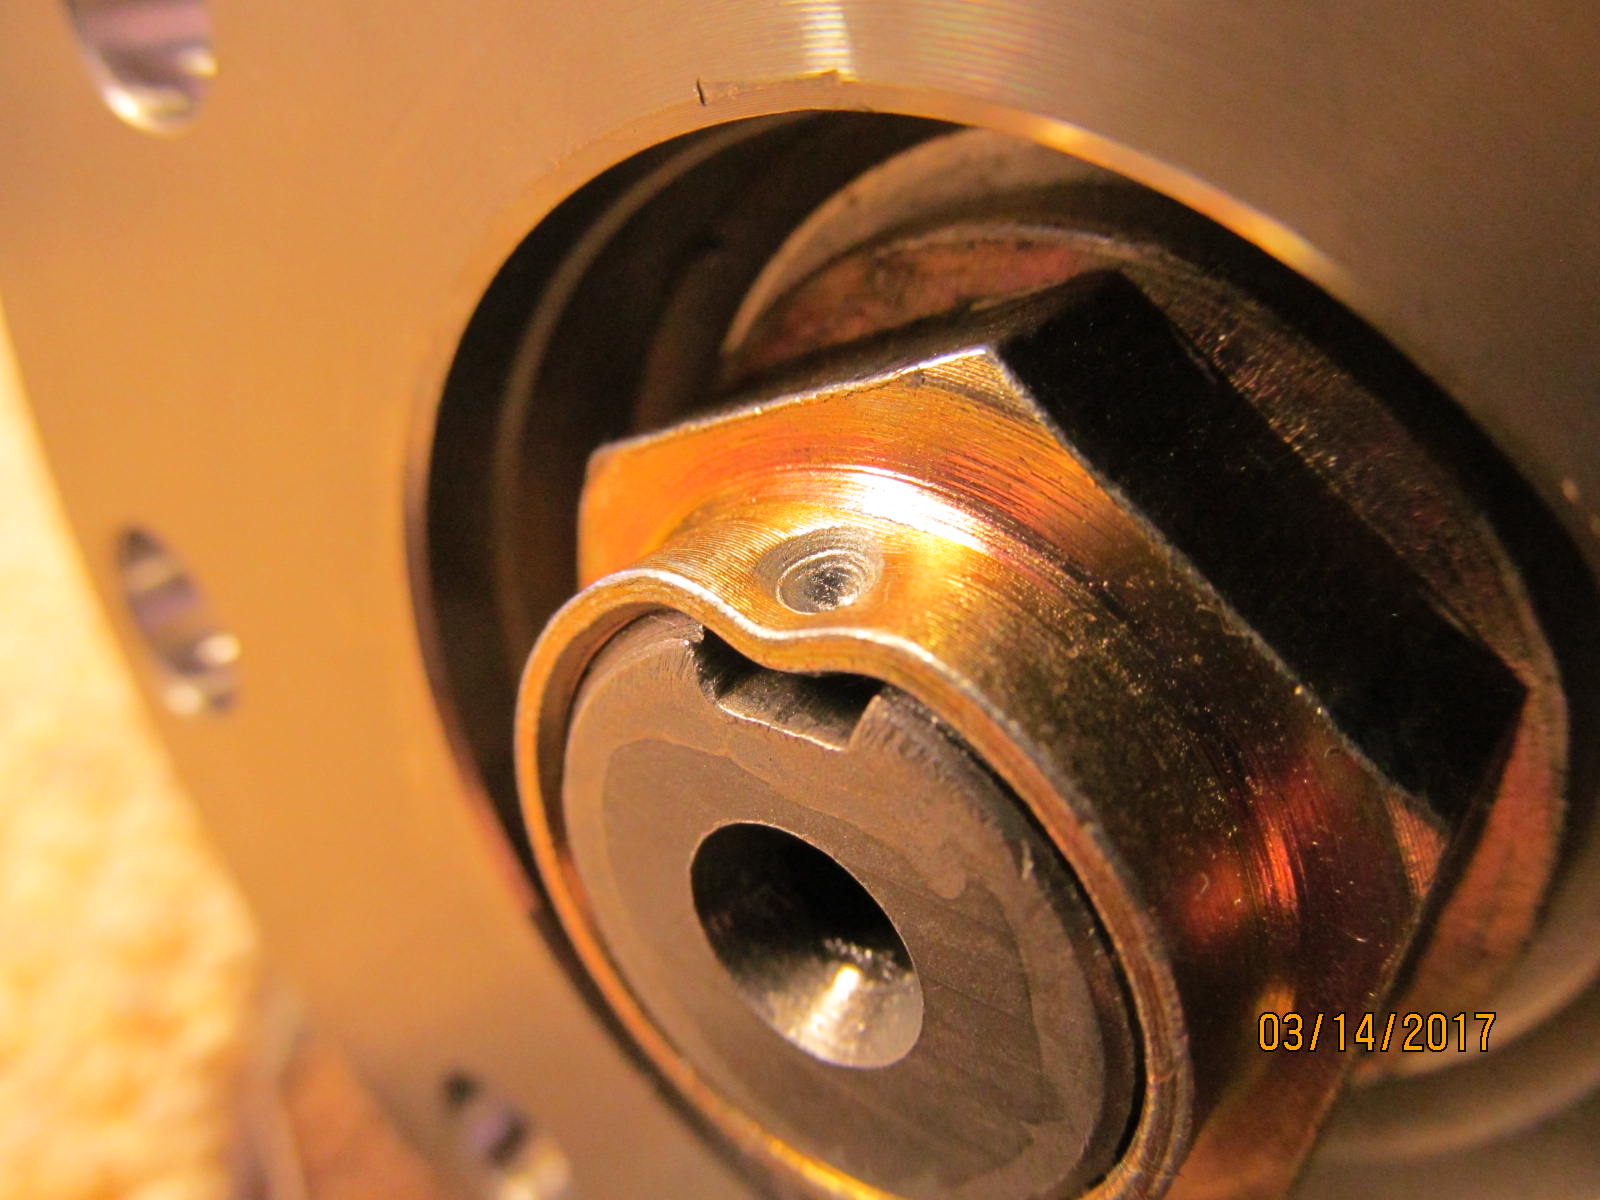
Now to install the solid collar. Notice the "chamfering" that my flapper wheel did? This is much needed with the way most of the V6 solid collars
are lathe'd out there. Have not looked at a Marlin solid collar lately but they used to make them right...a much taller neck with a
45 degree chamfer transition. |
|---|
|
|
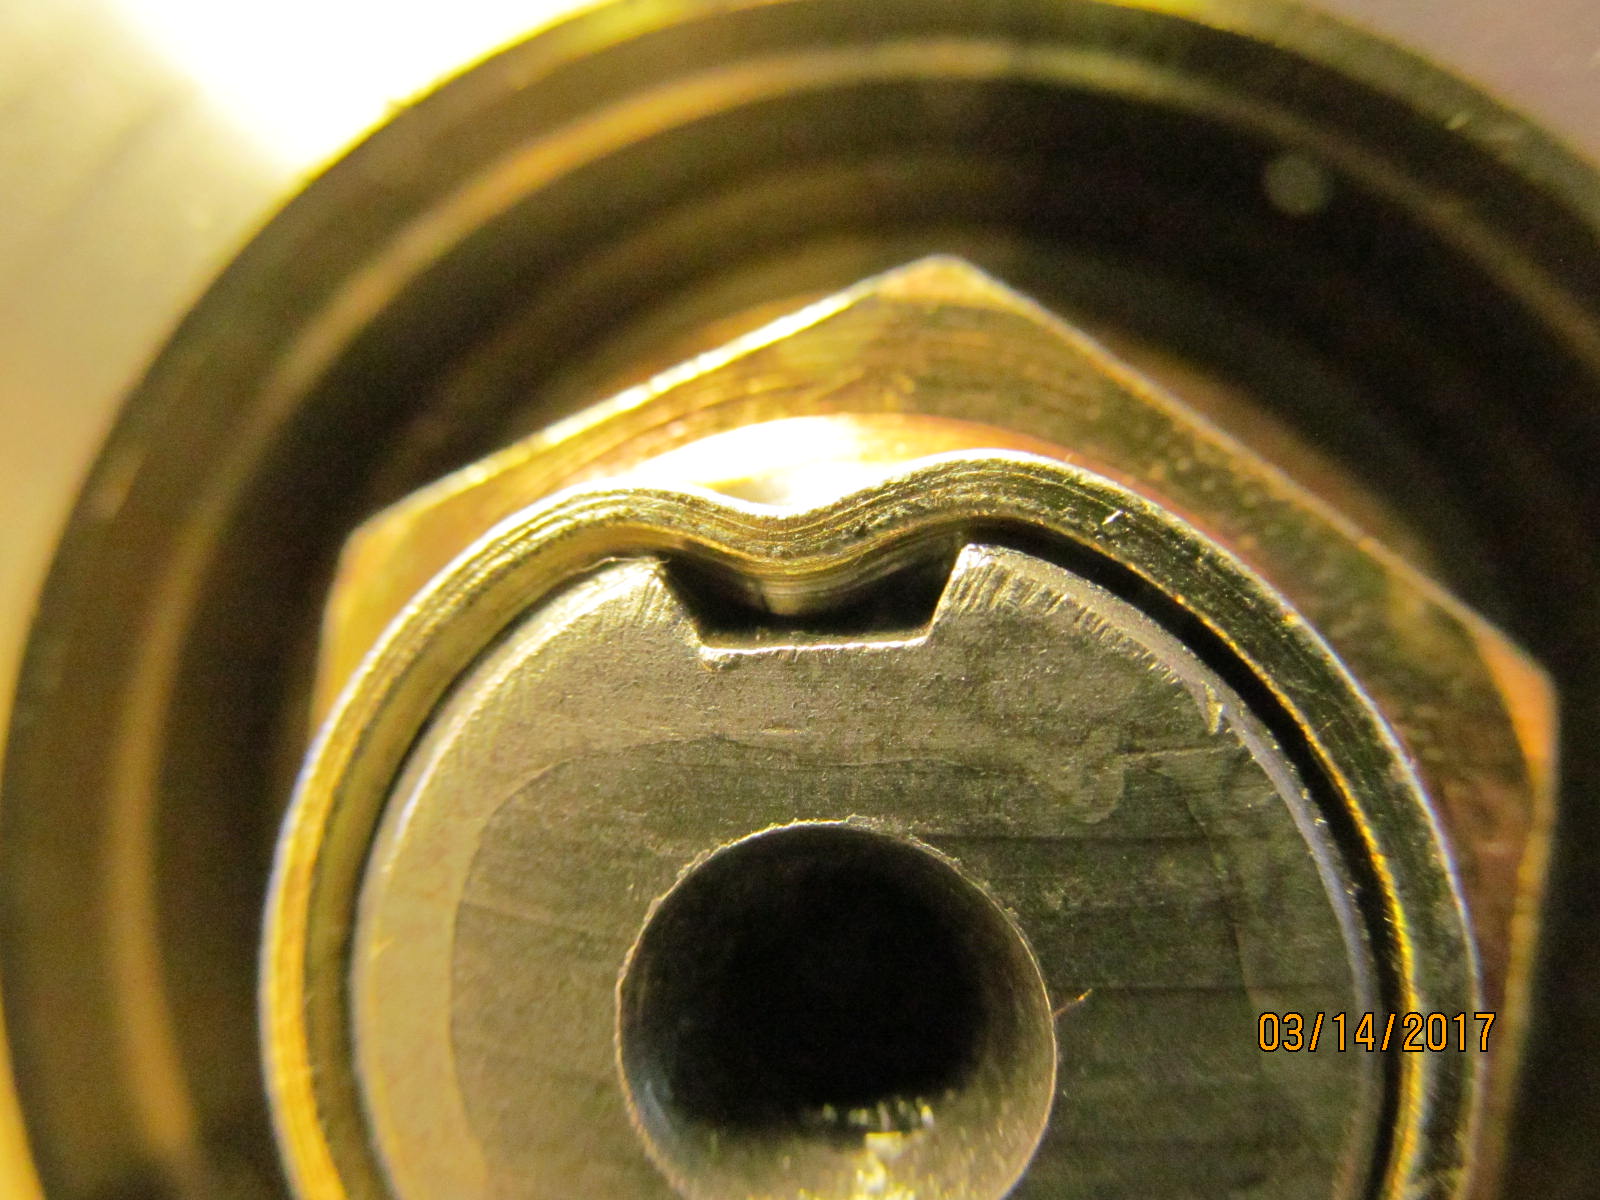
A Marlin Collar from the past....notice the tall neck
on the left. It would clear the oil retainer nicely and
didn't give false preload readings. |
|---|
|
|
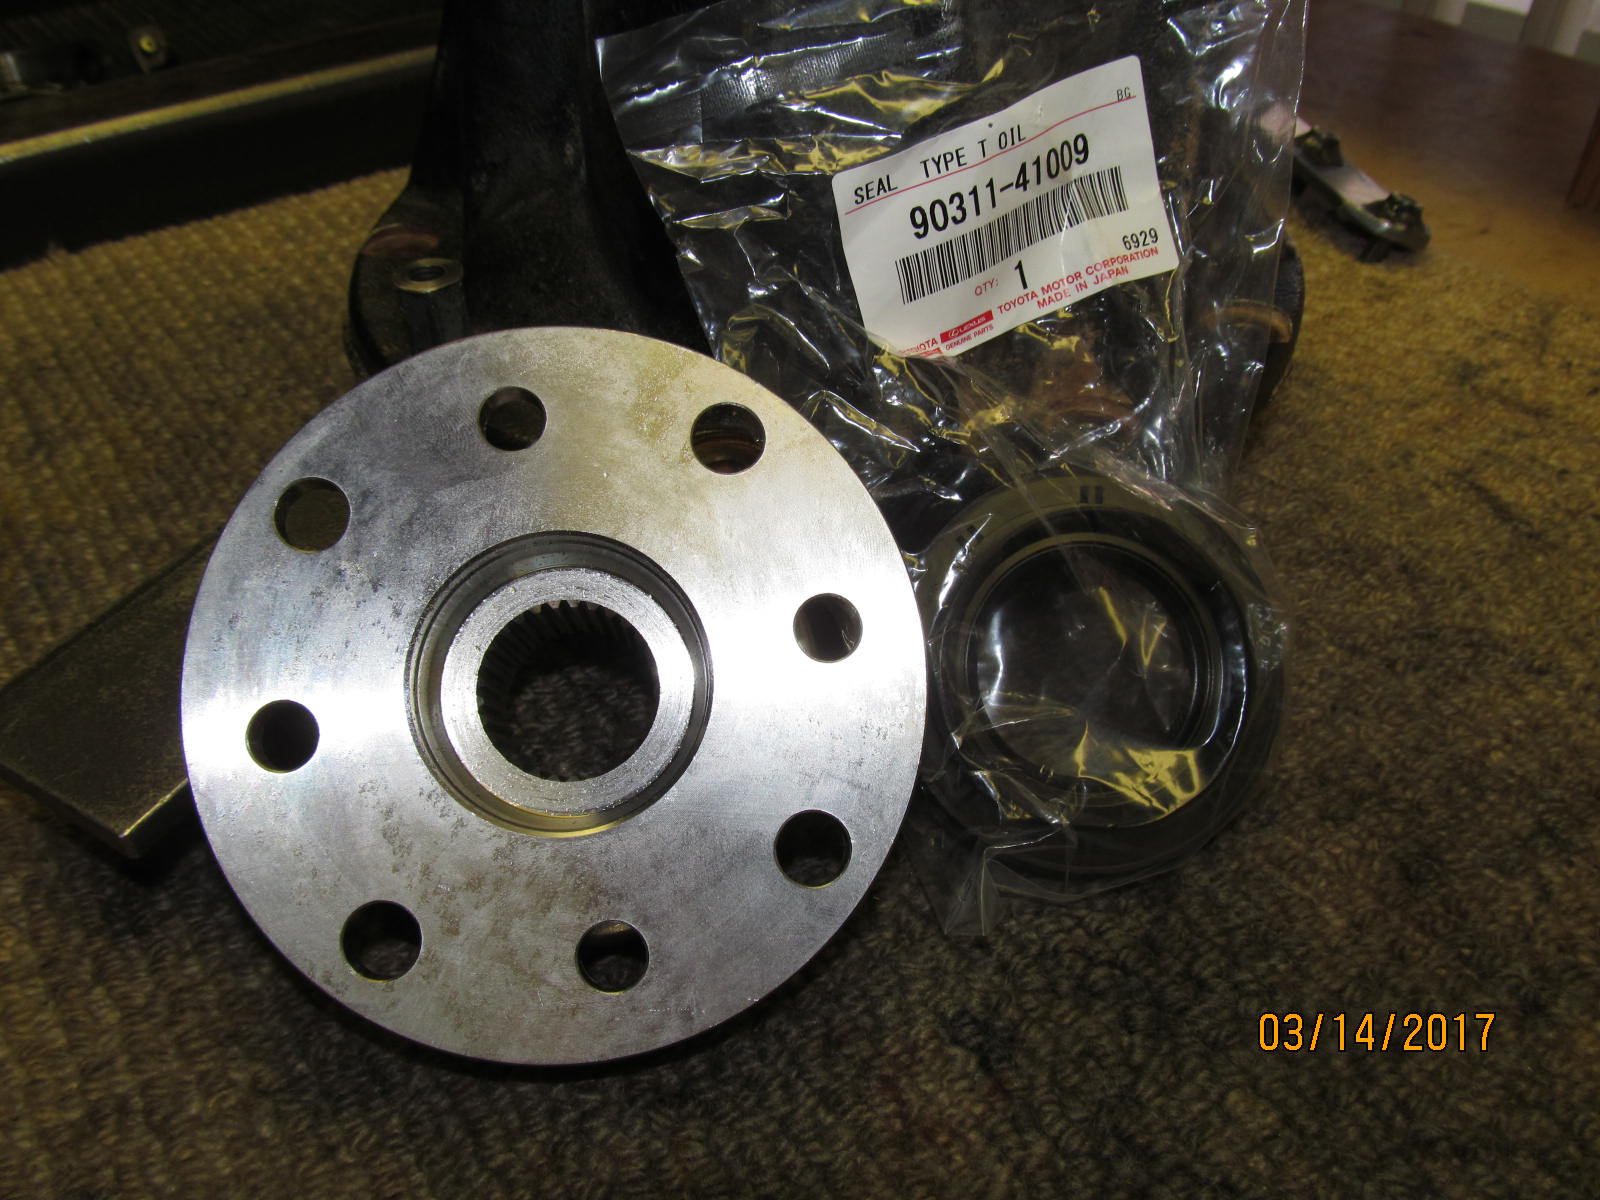
| A new dual drilled flange and a genuine Toyota seal |
|---|
|
|
| ..................... |
|---|
|

|
| Shown above the seal is the .453" hole that was drilled for the elocker rubber grommet. |
|---|
|
|
| .................. |
|---|
|
|
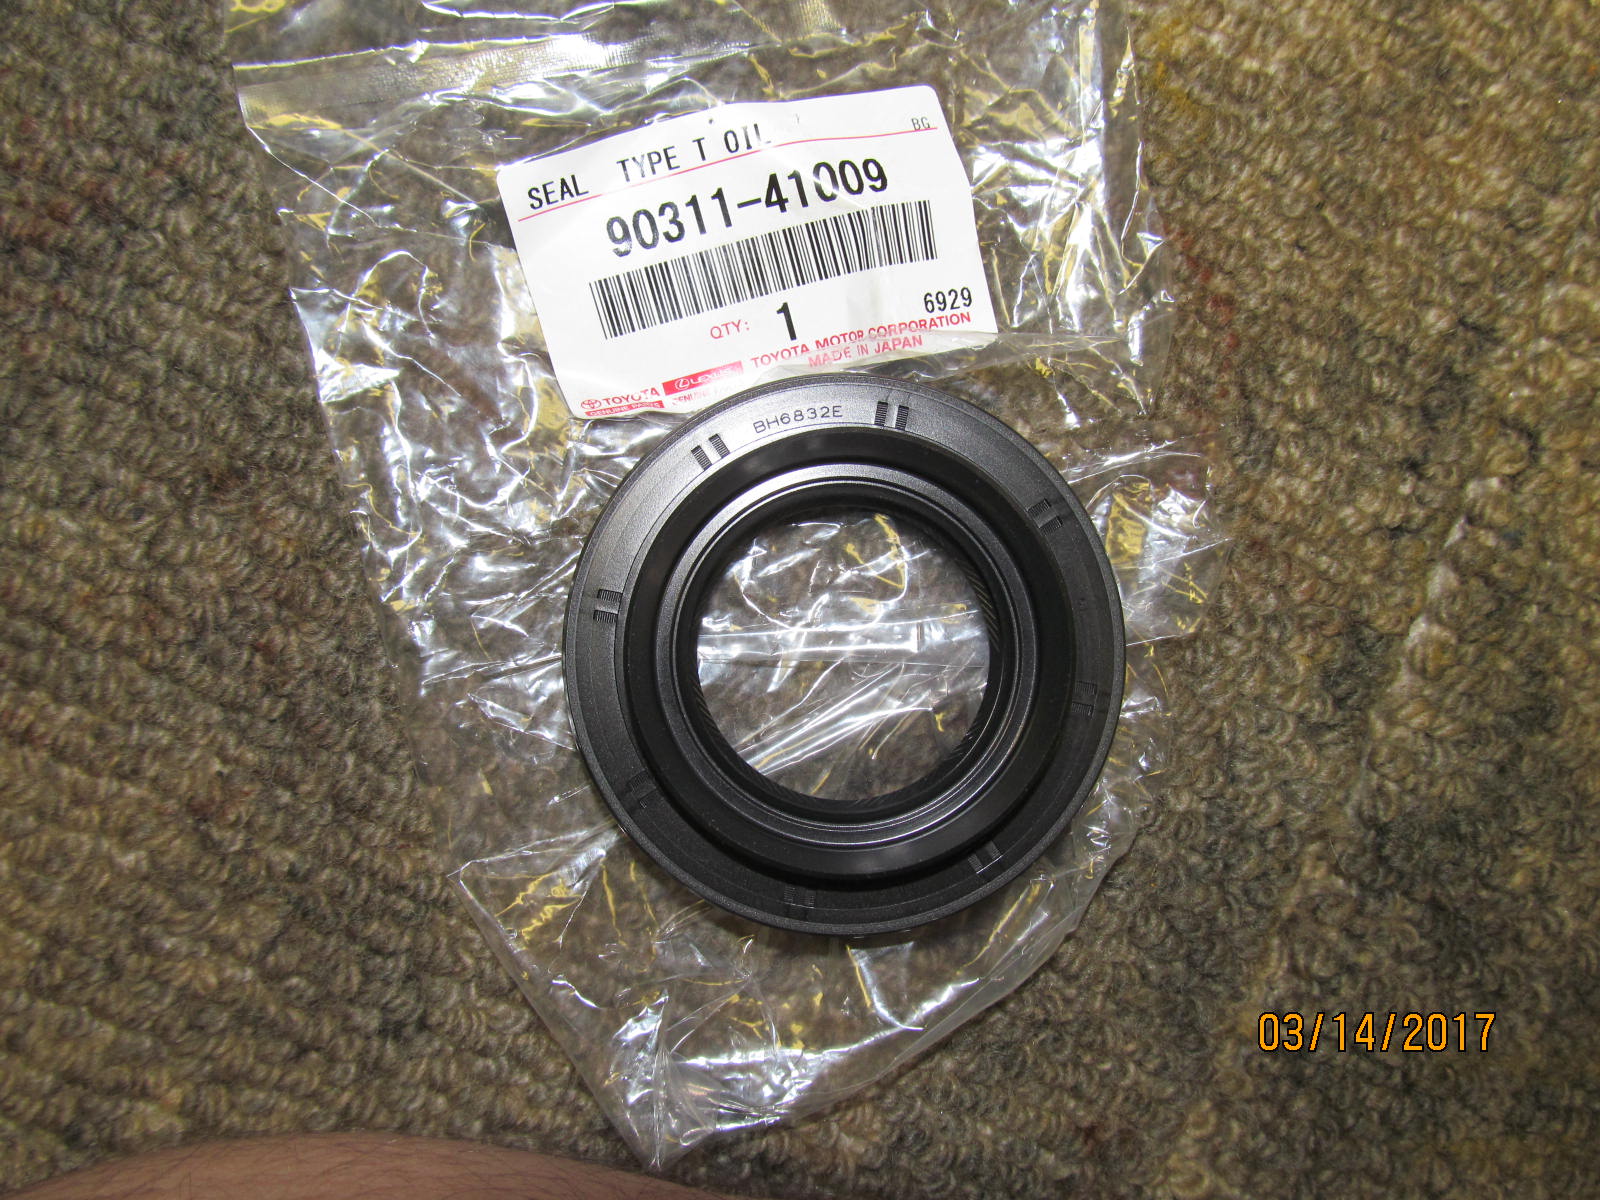
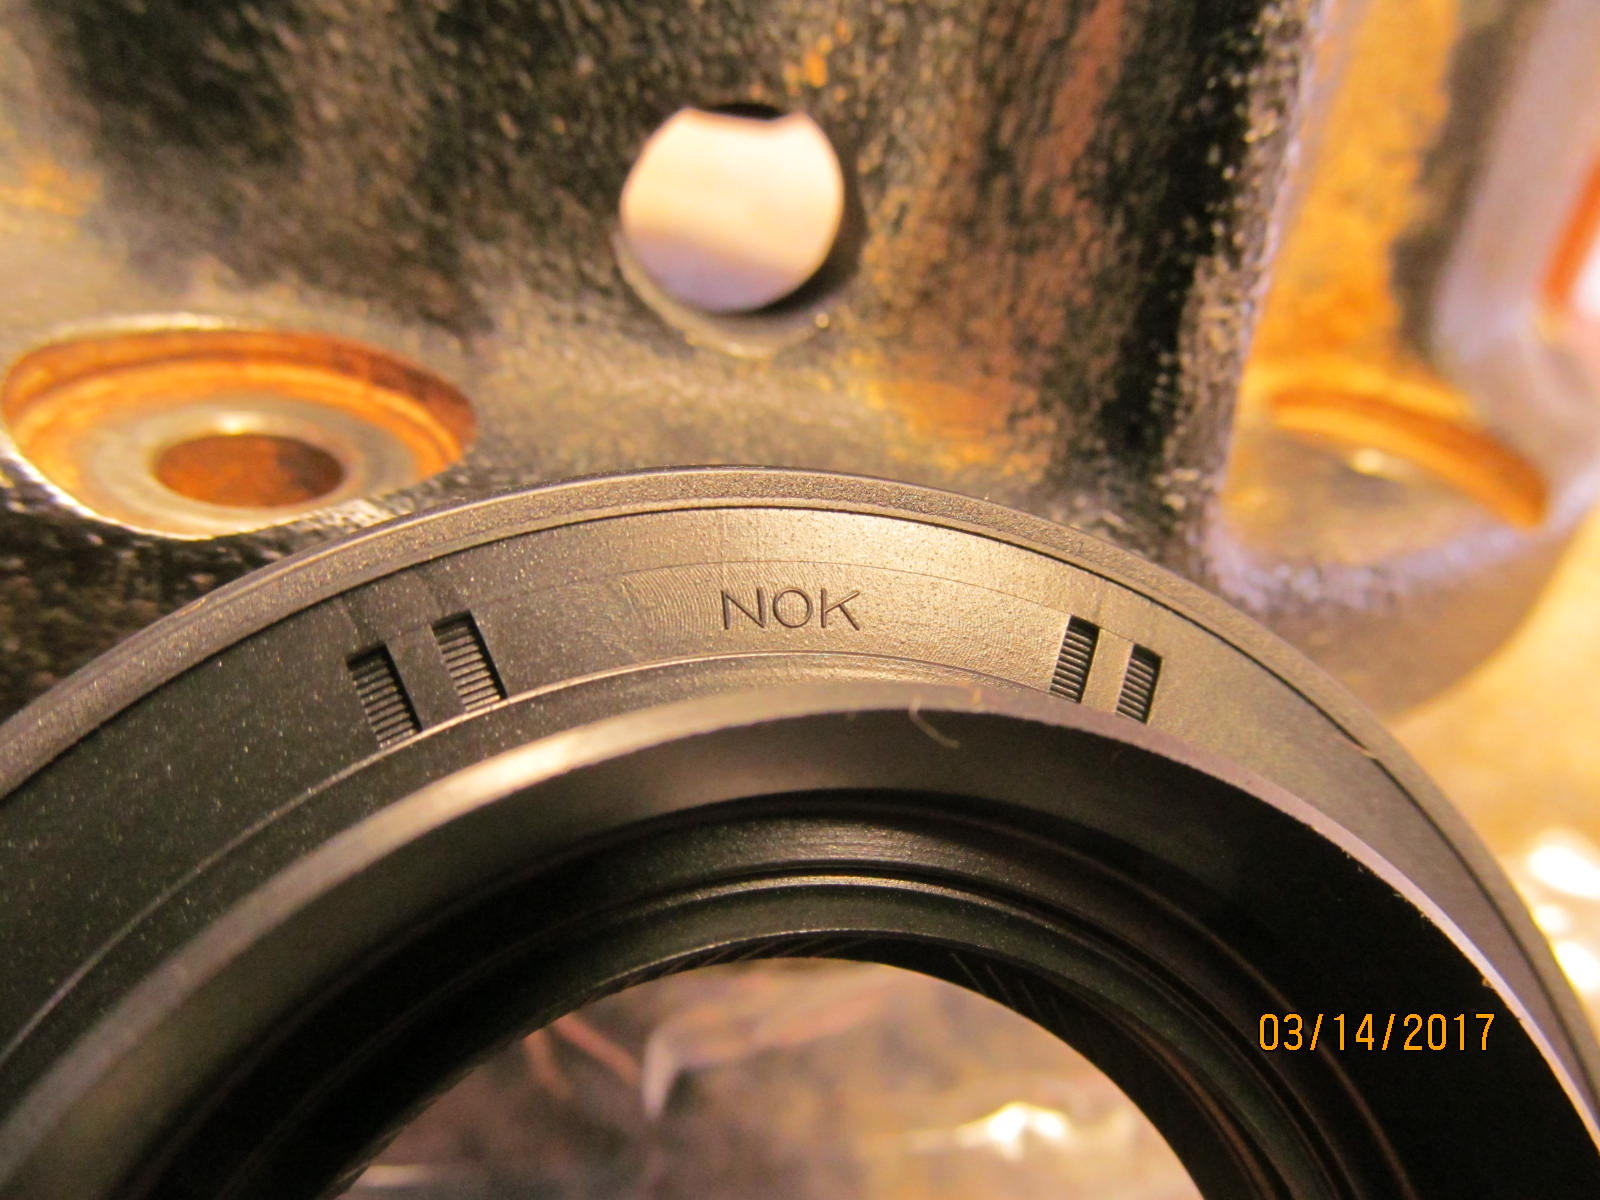
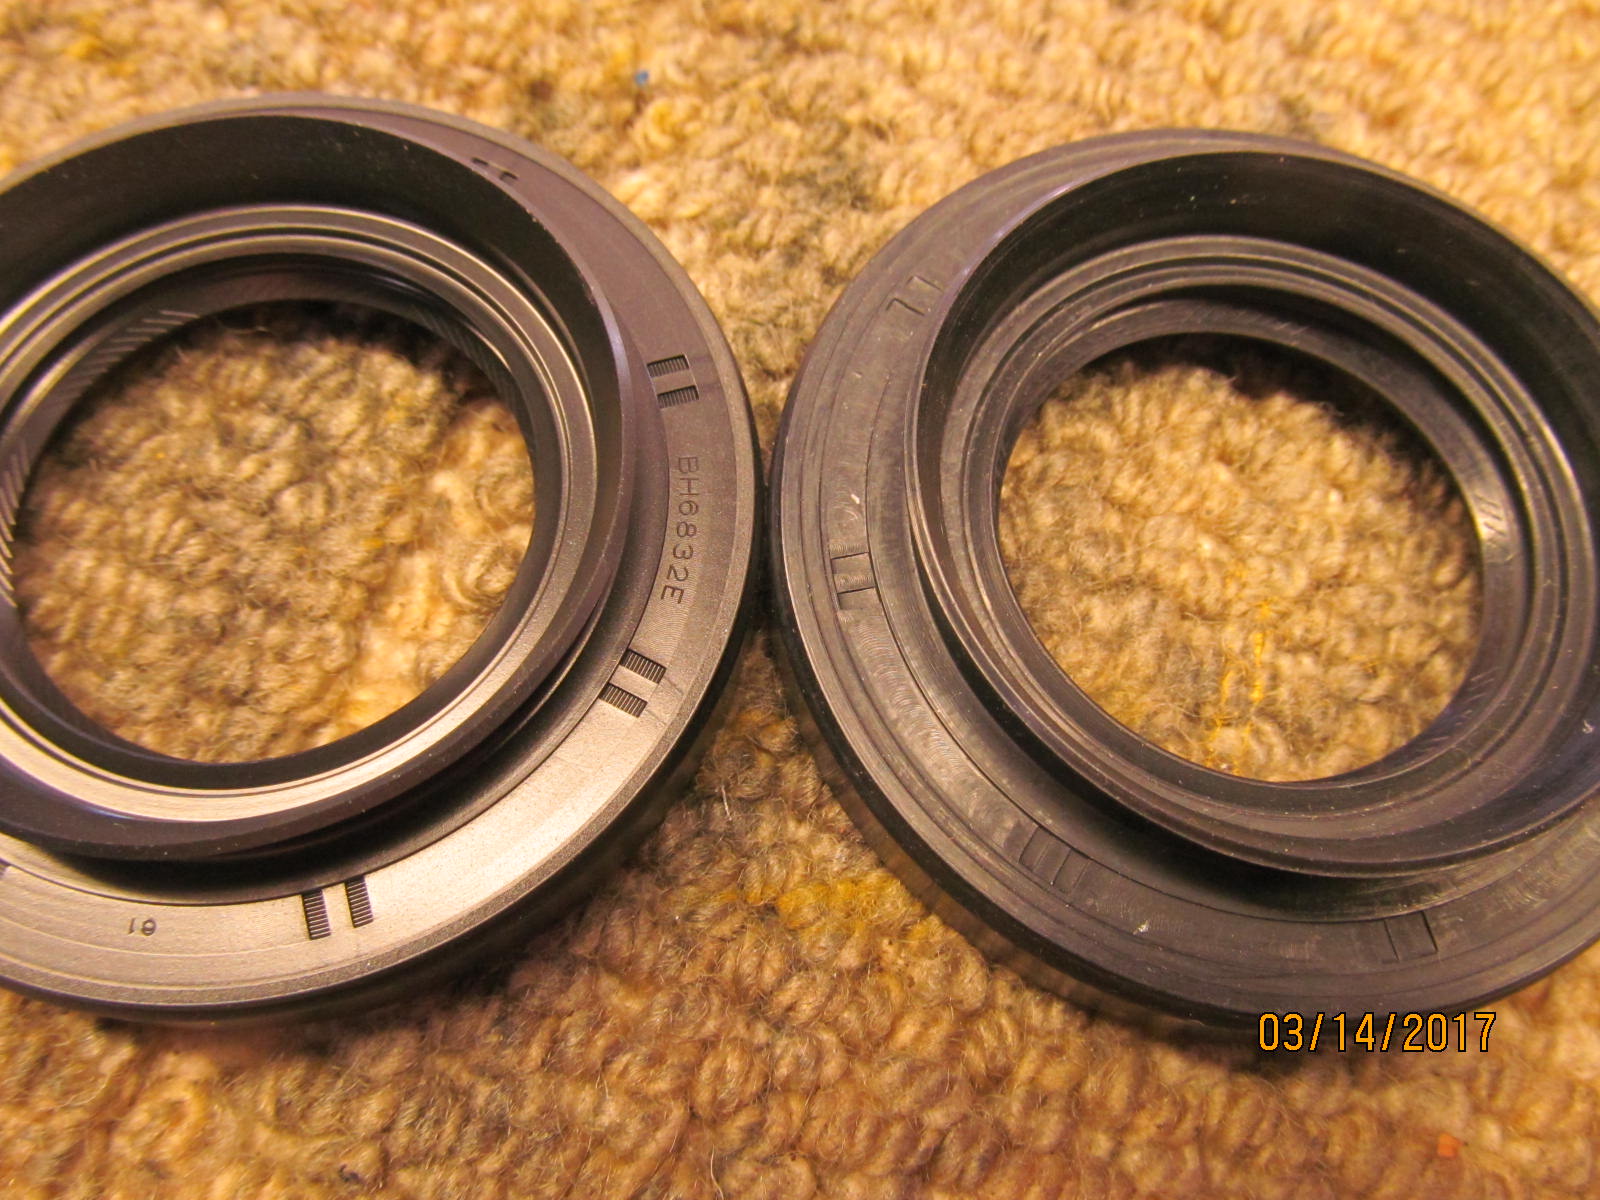
OEM vs generic. Master kits have Koyo bearings which is great but, based on my expensive experiences, it's best to use oem rubber seals....
or perhaps a Marlin eco seal when available. |
|---|
|
|
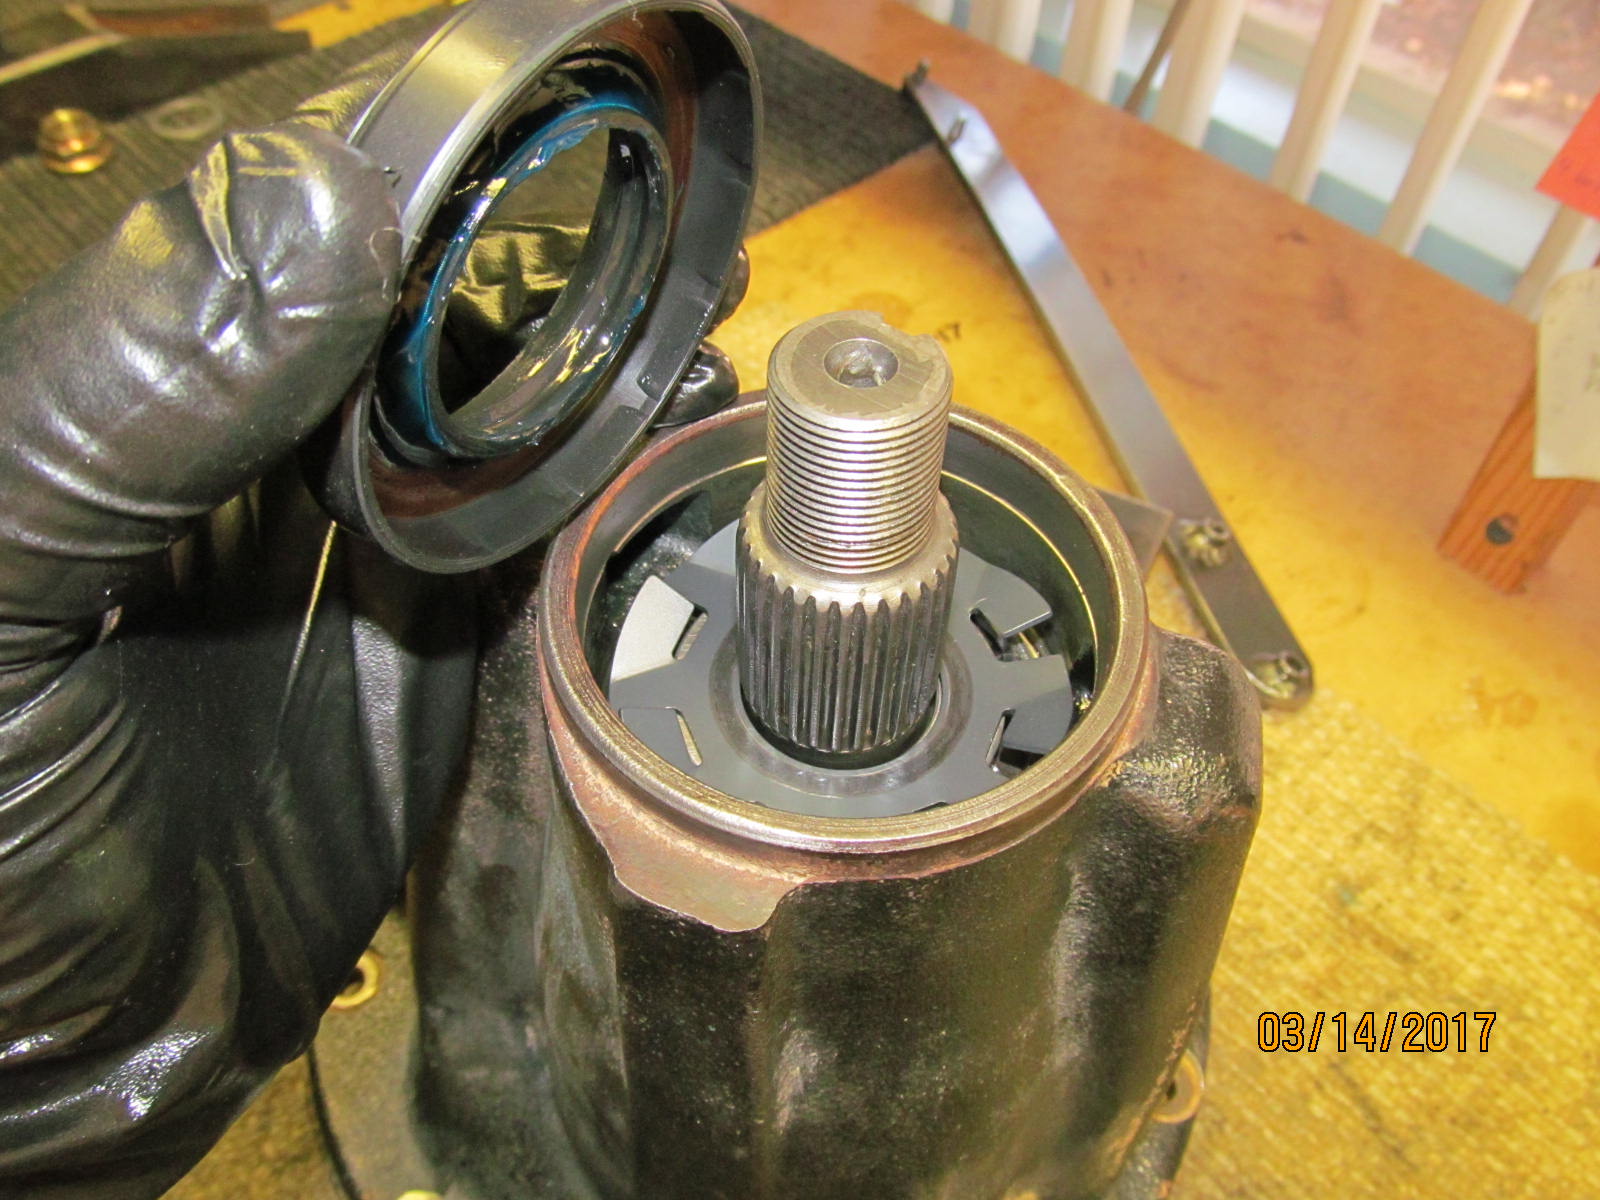
| The fan-blade splashguard is put in place and the oem seal is next. |
|---|
|
|
| Tap it down with a flat surface. |
|---|
|
|
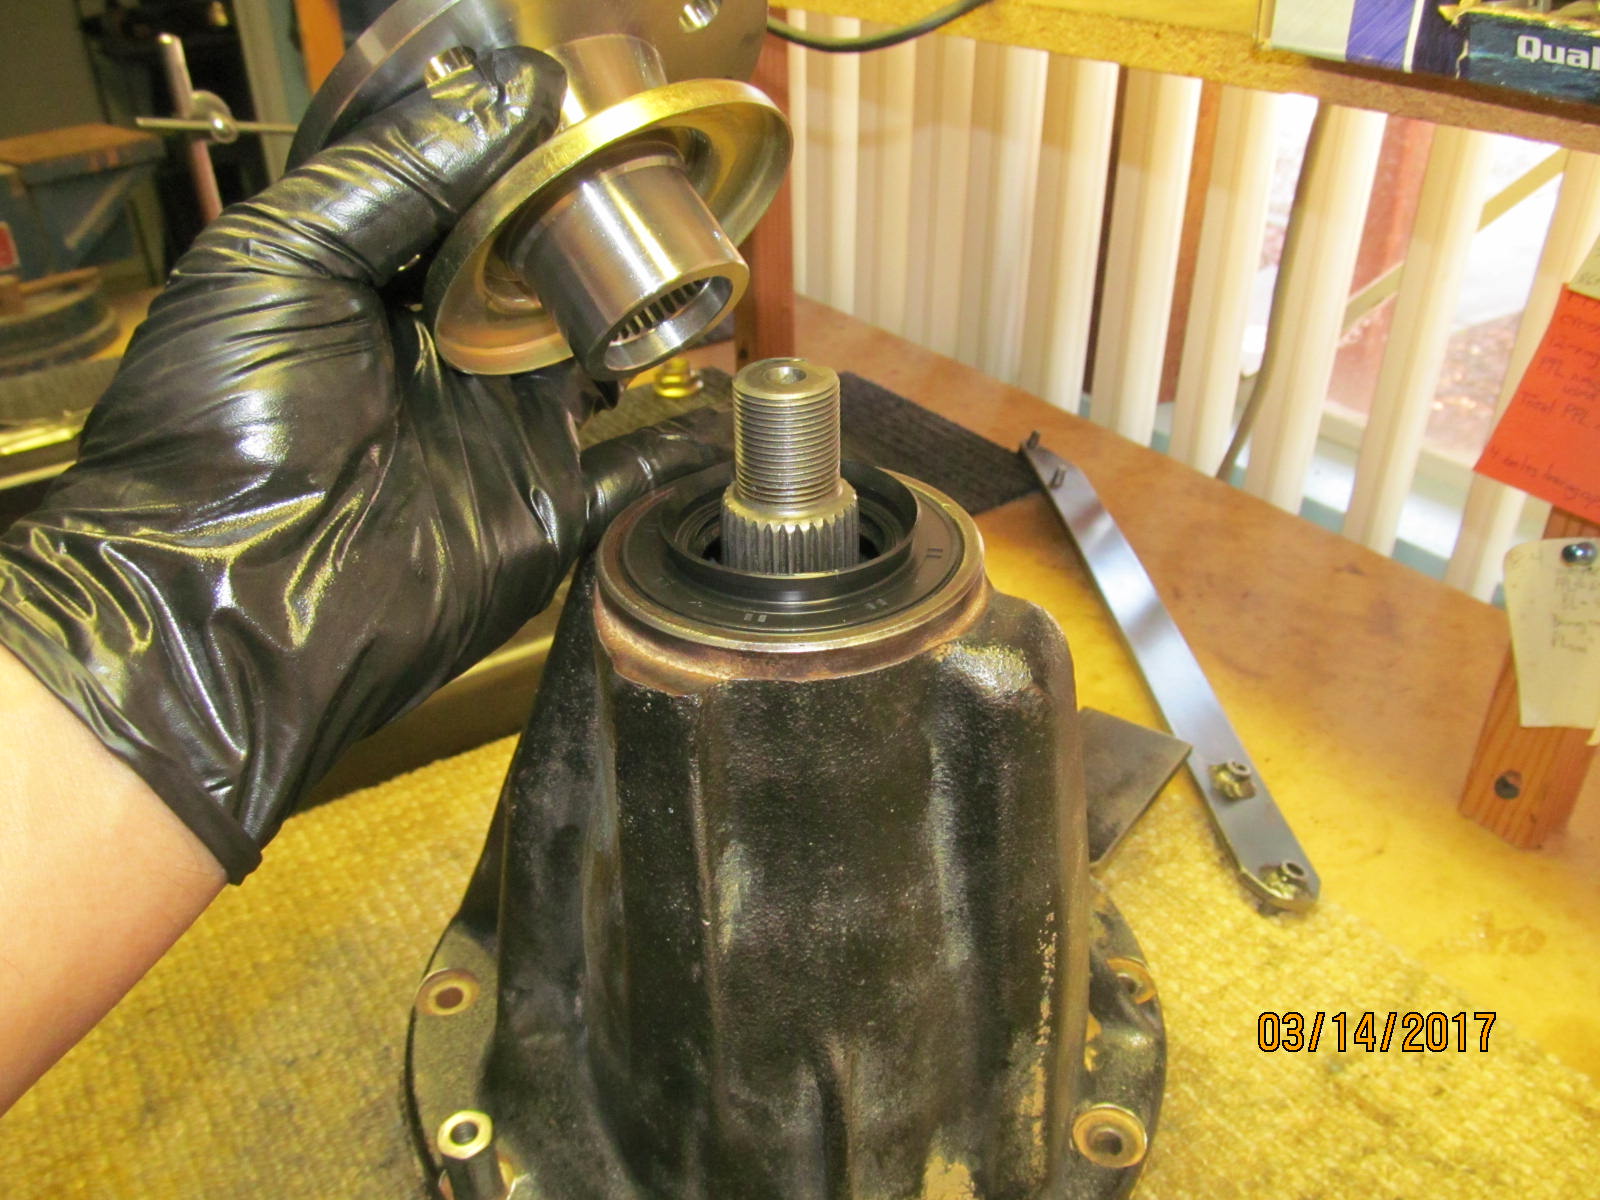
| Light coating of gear oil on the seal and flange.... |
|---|
|
|
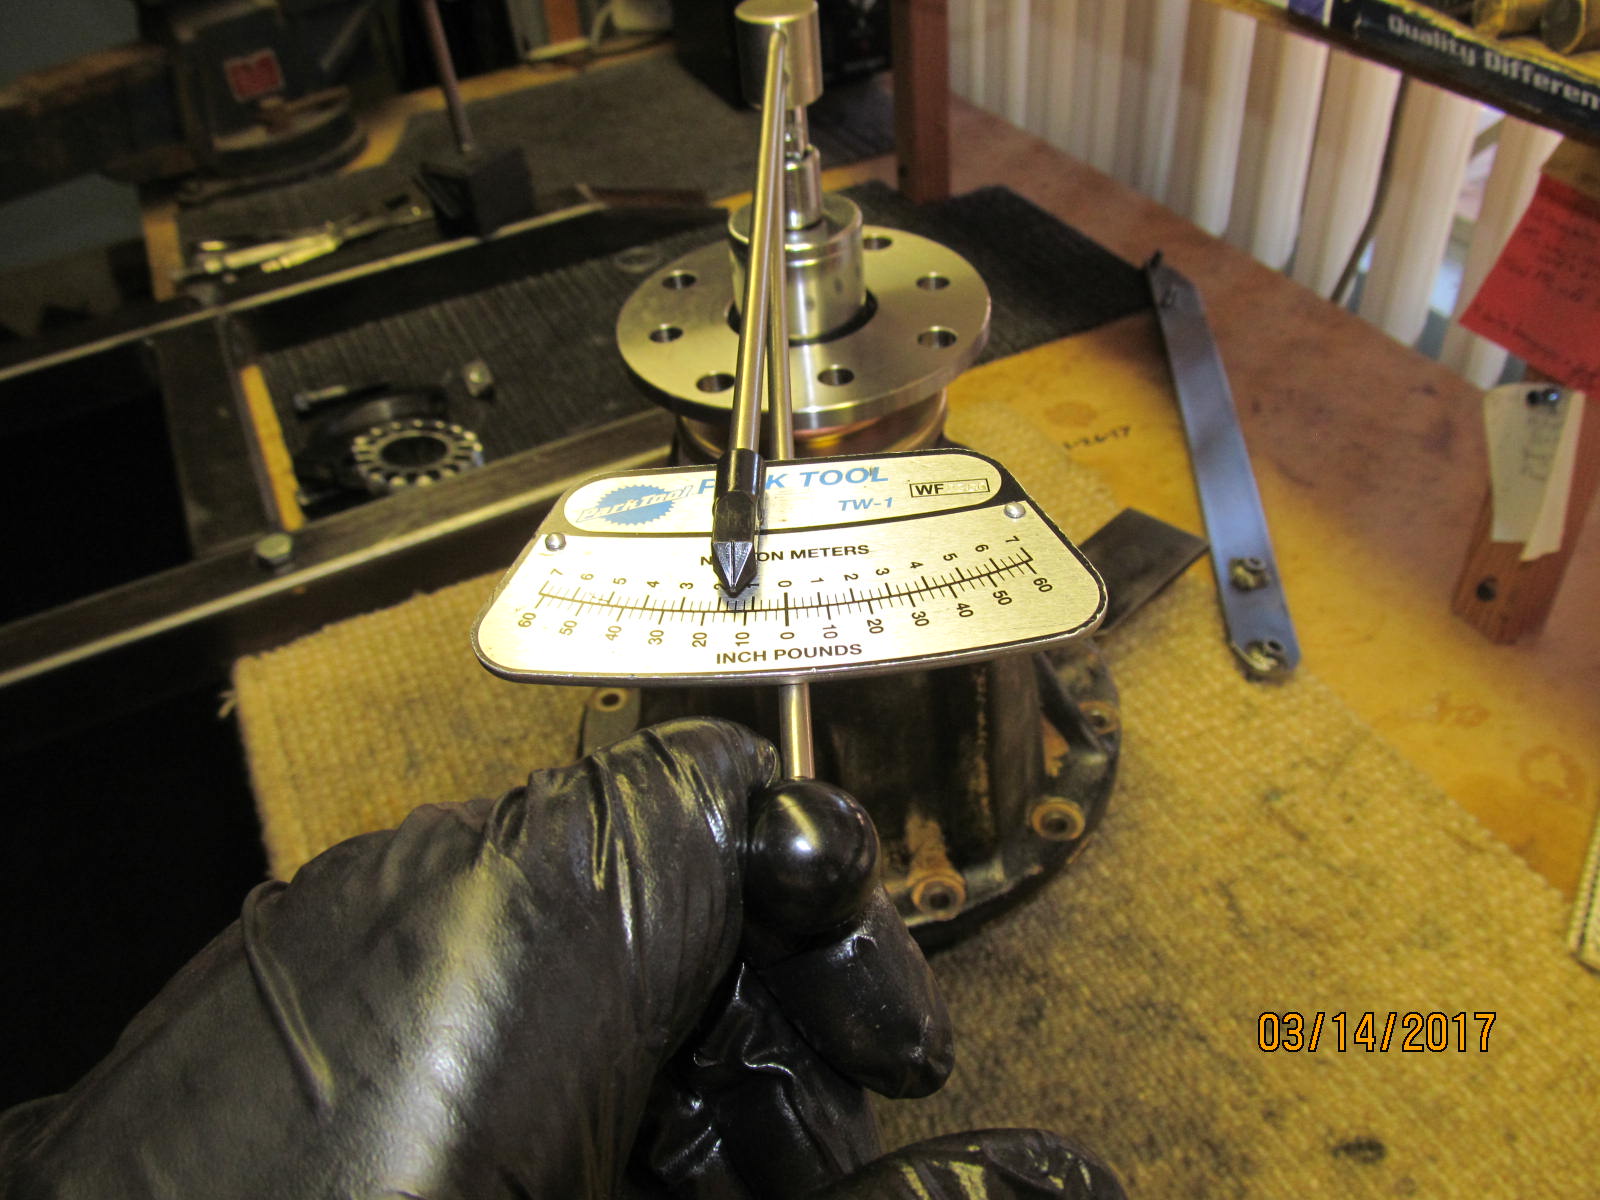
| ....and tighten the pinion nut. There is some "flexibilty" in that the Pinion PreLoad can be fine tuned to 12 inch/pounds or some tighter spec. |
|---|
|
|
| DING!! and this end is done. |
|---|
|
|
| ...................... |
|---|
|
|
| The play in the anti-rotation bracket should be around 2mm. |
|---|
|
|
| Backlash is measured on every other tooth and noted was .006" was about the tightest that I saw around the ring gear. |
|---|
|
|
| 10 ft/lb and blue loctight. |
|---|
|
|
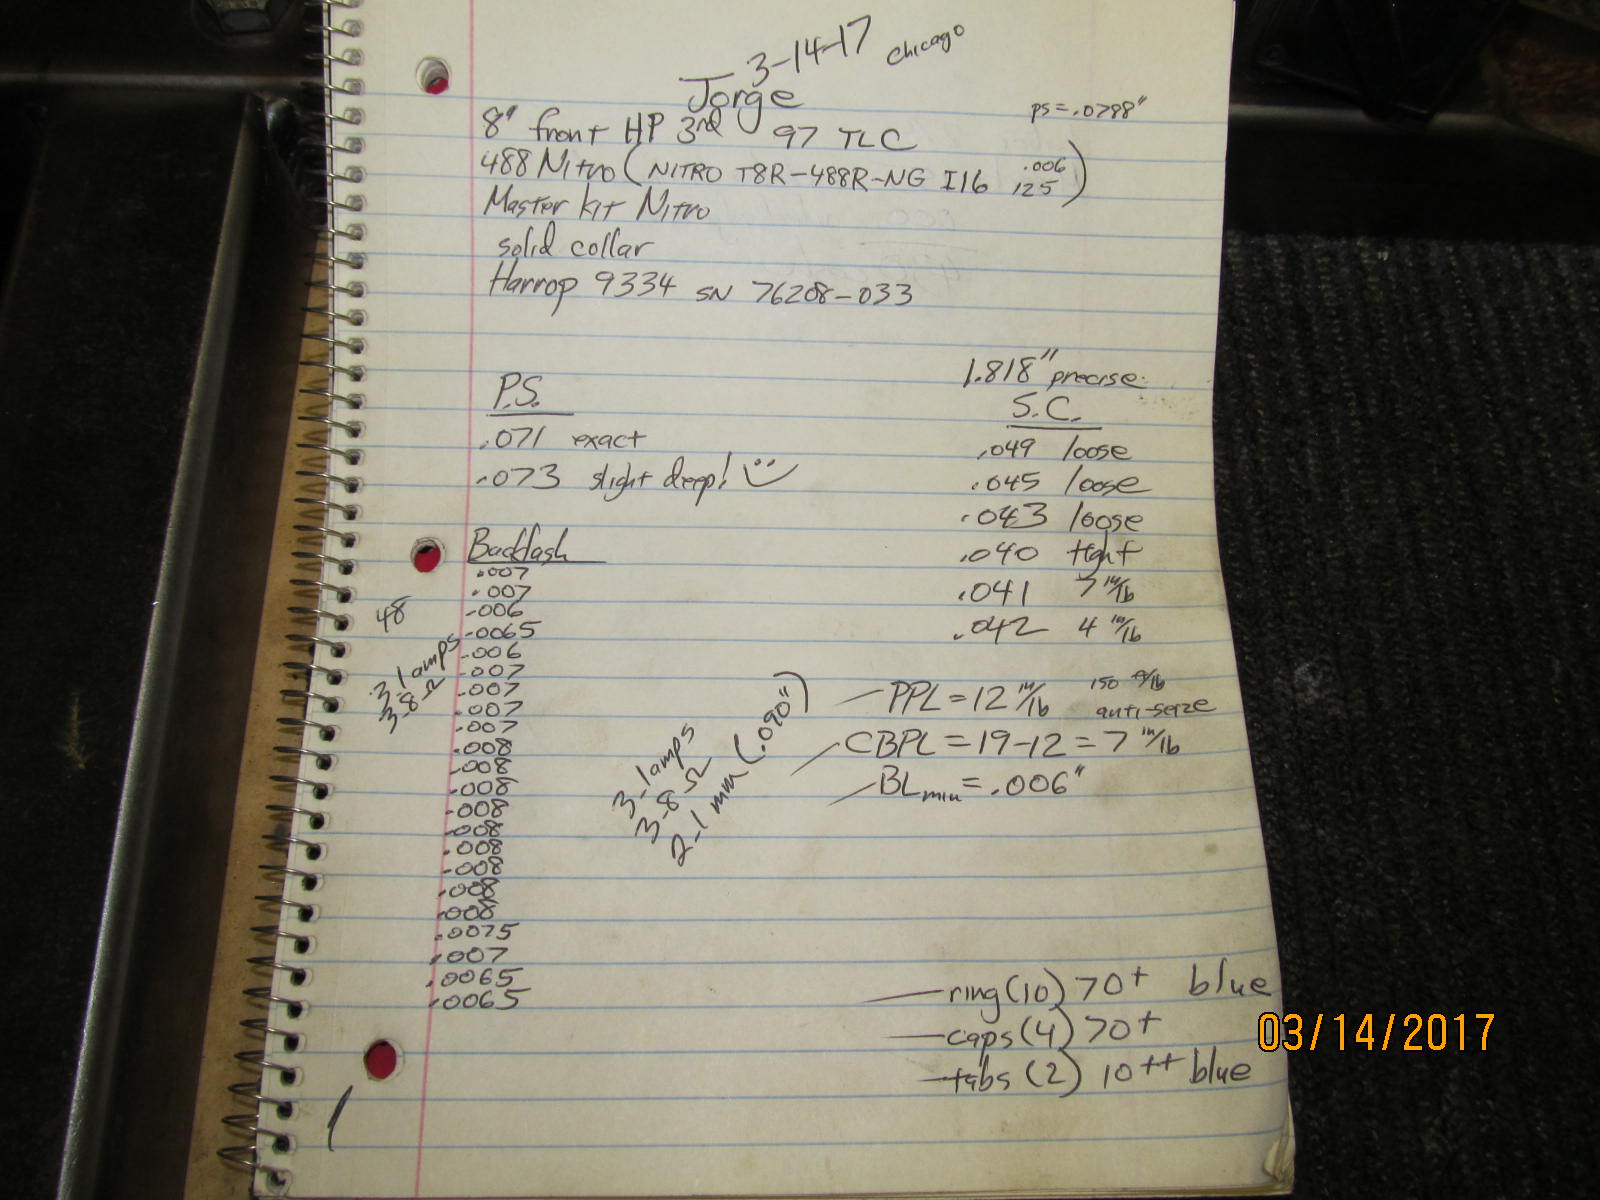
70 ft/lb on the 4 bearing cap bolts. A few pics are missing. The rubber grommet shown in the above pic will soon be passing thru the 29/64" drilled
hole that is not quite visible. Resistance measured at 3.8 ohms....12volts applied and the resultant current was 3.1 amps. All was good
with the elocker and all was noted in the gear install notes two pictures down. |
|---|
|
|
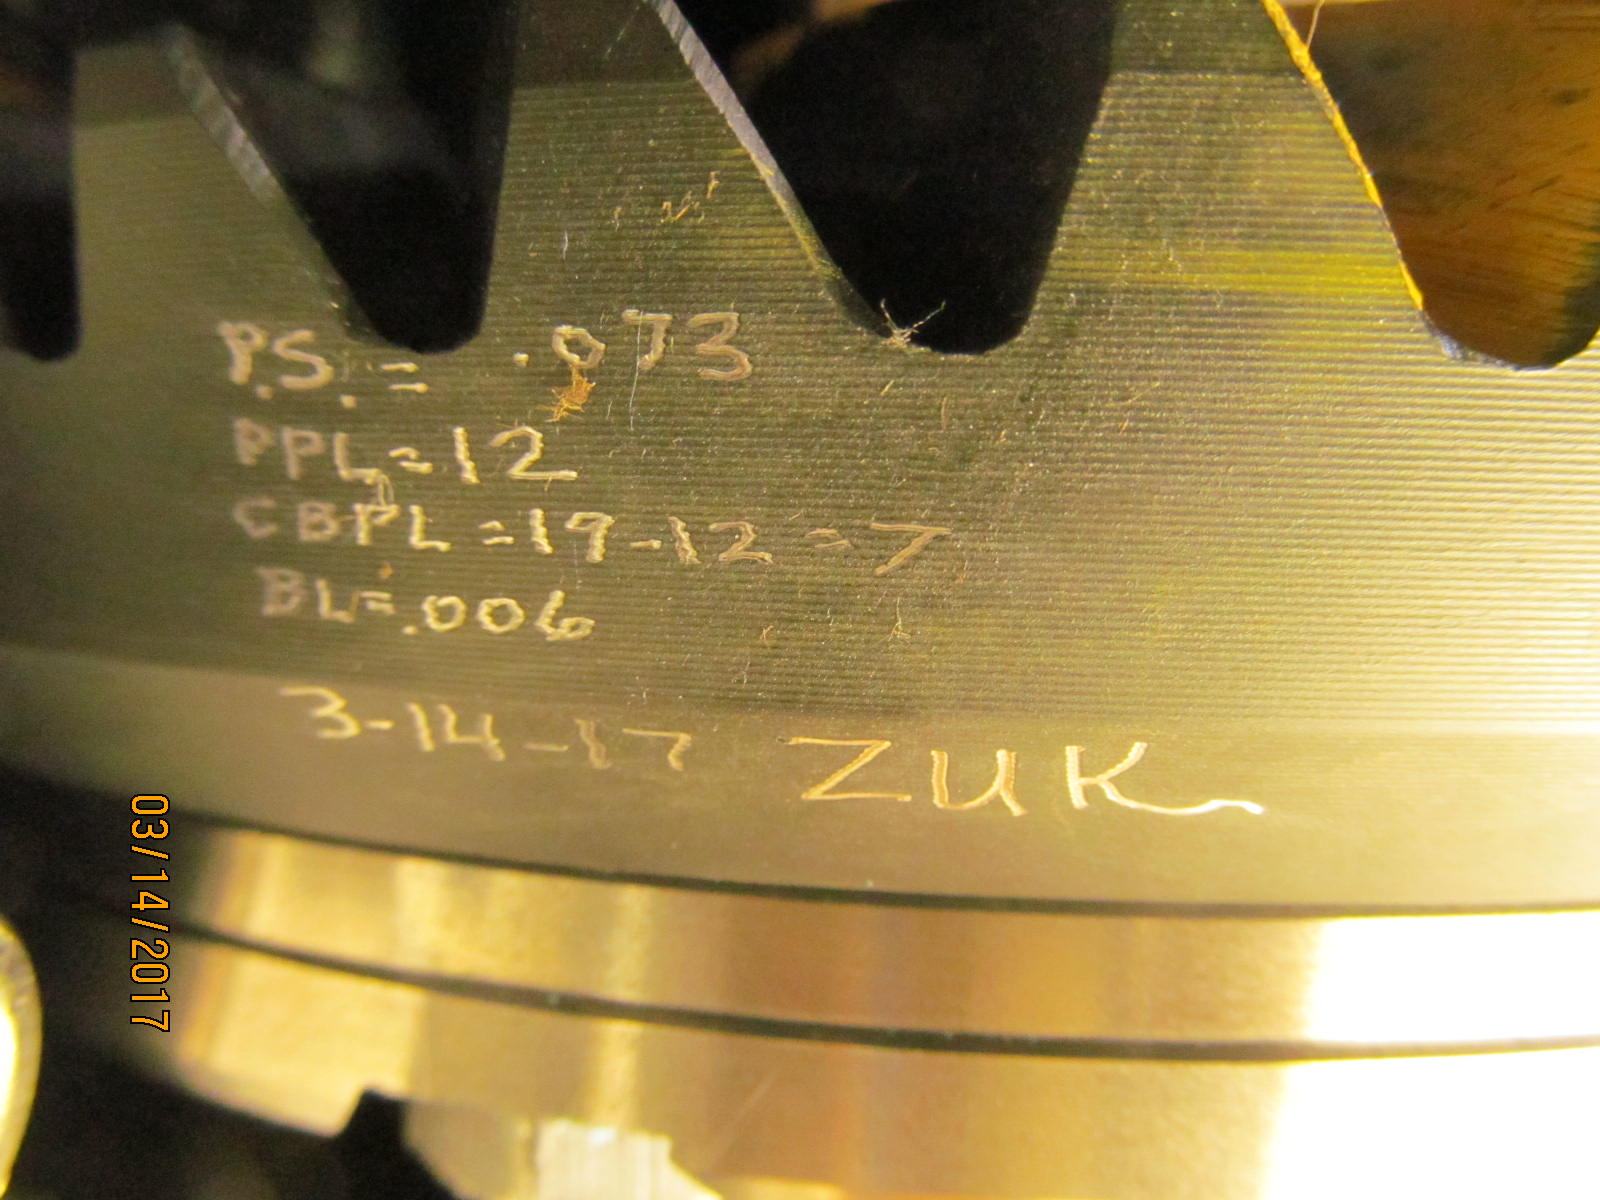
| Data is engraved. |
|---|
|
|
| Gear install notes taken..... |
|---|
|
|
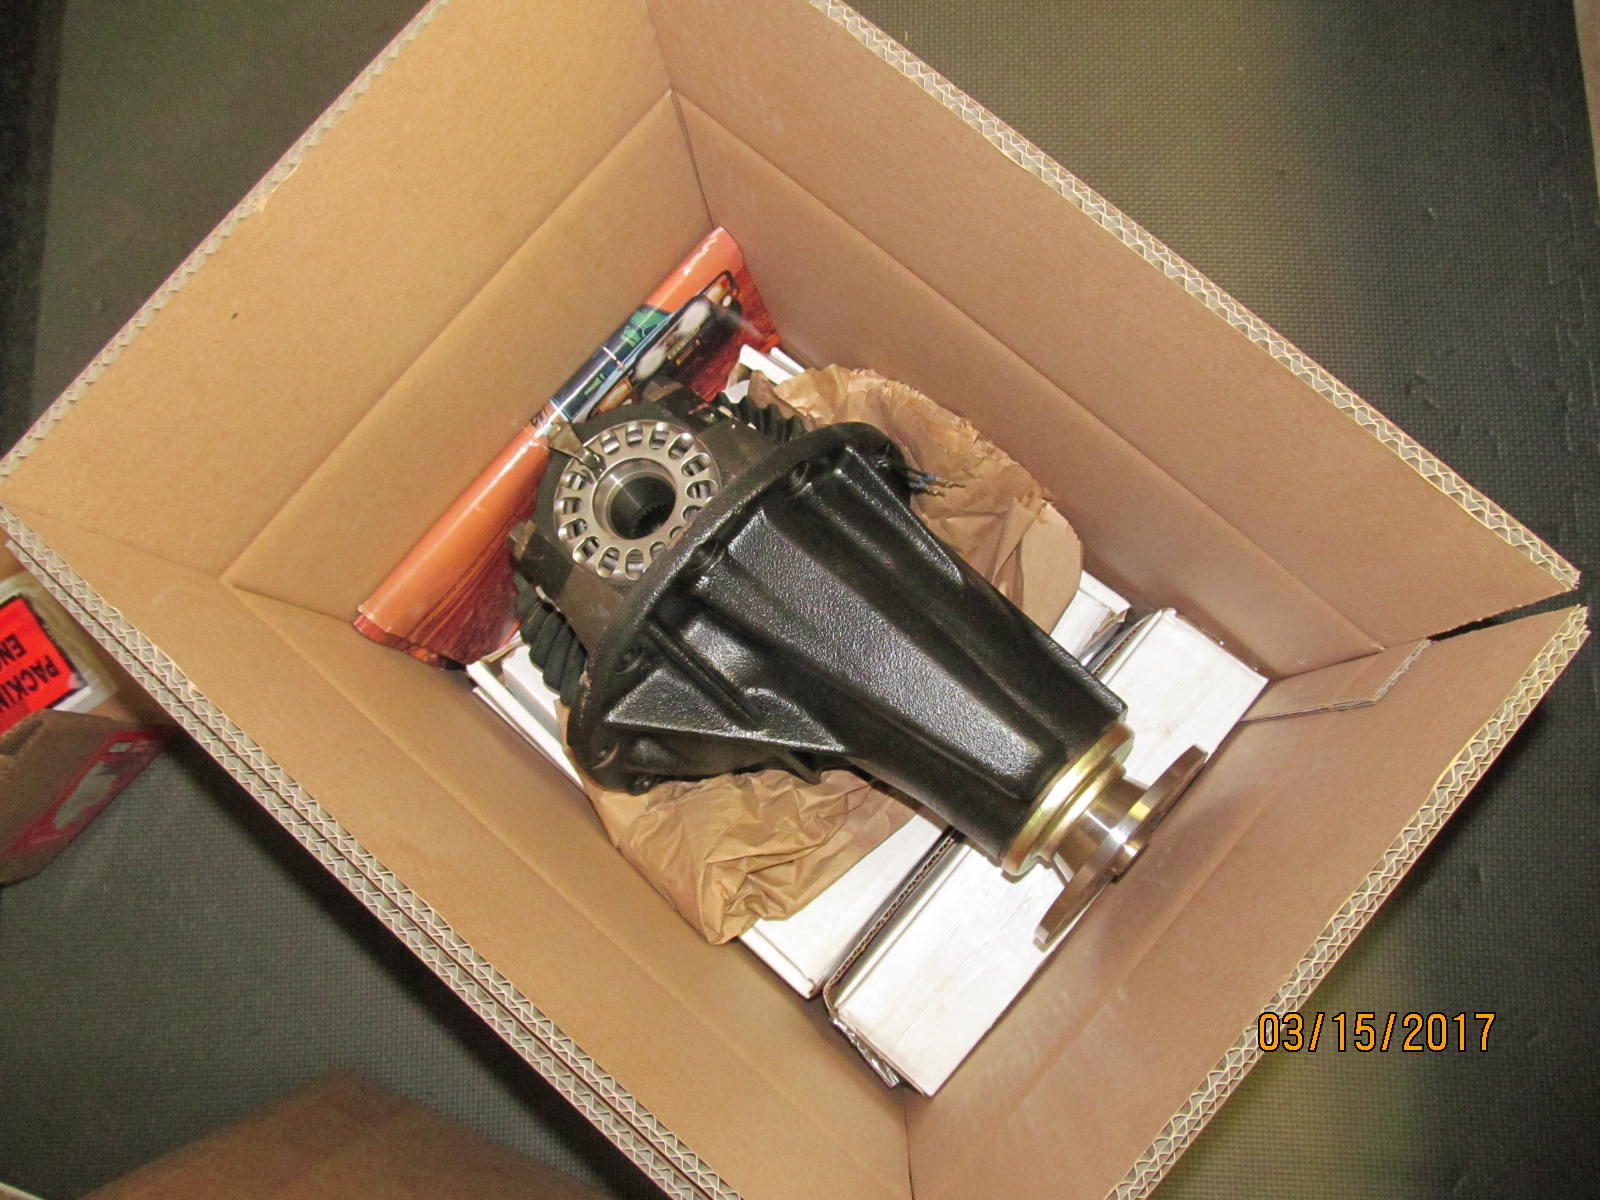
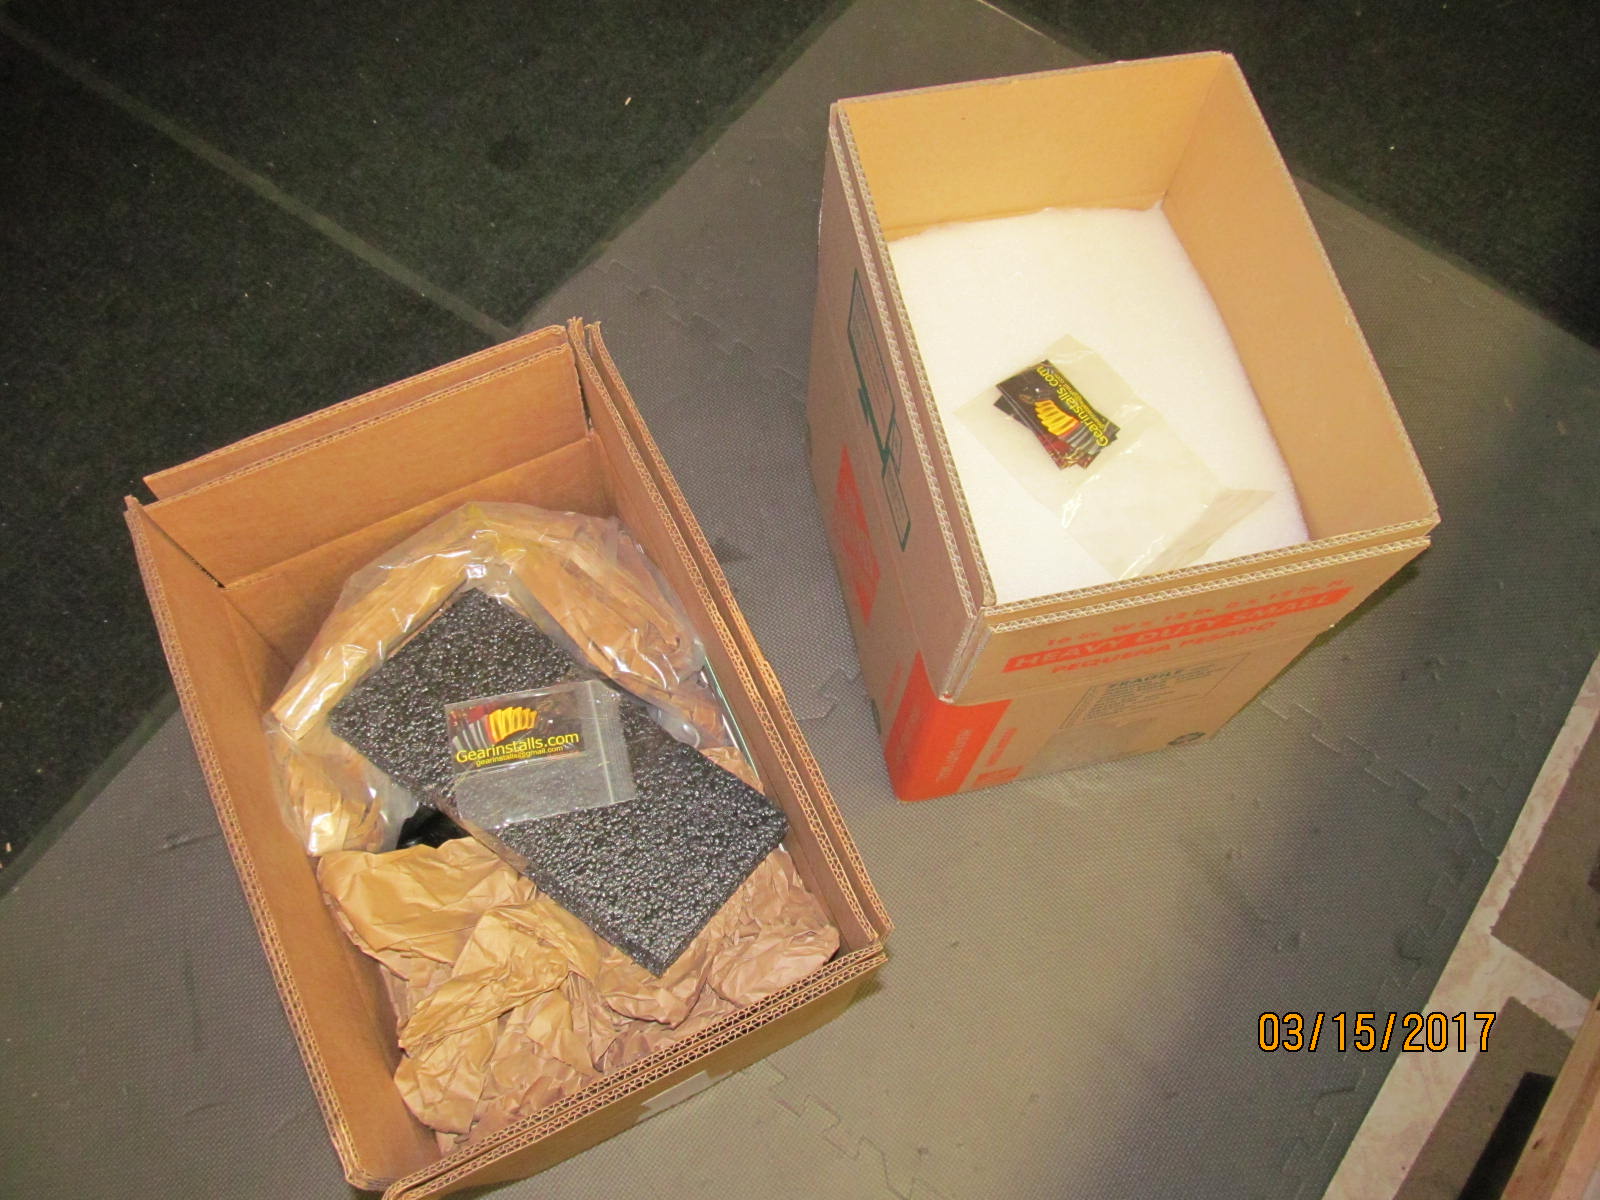
| Packing the front high pinion 8" with the important elocker harness parts carefully secured in the lower boxes. |
|---|
|
|
| The stout, rigid plastic wrap keeps the 3rd from moving side to side. |
|---|
|
|
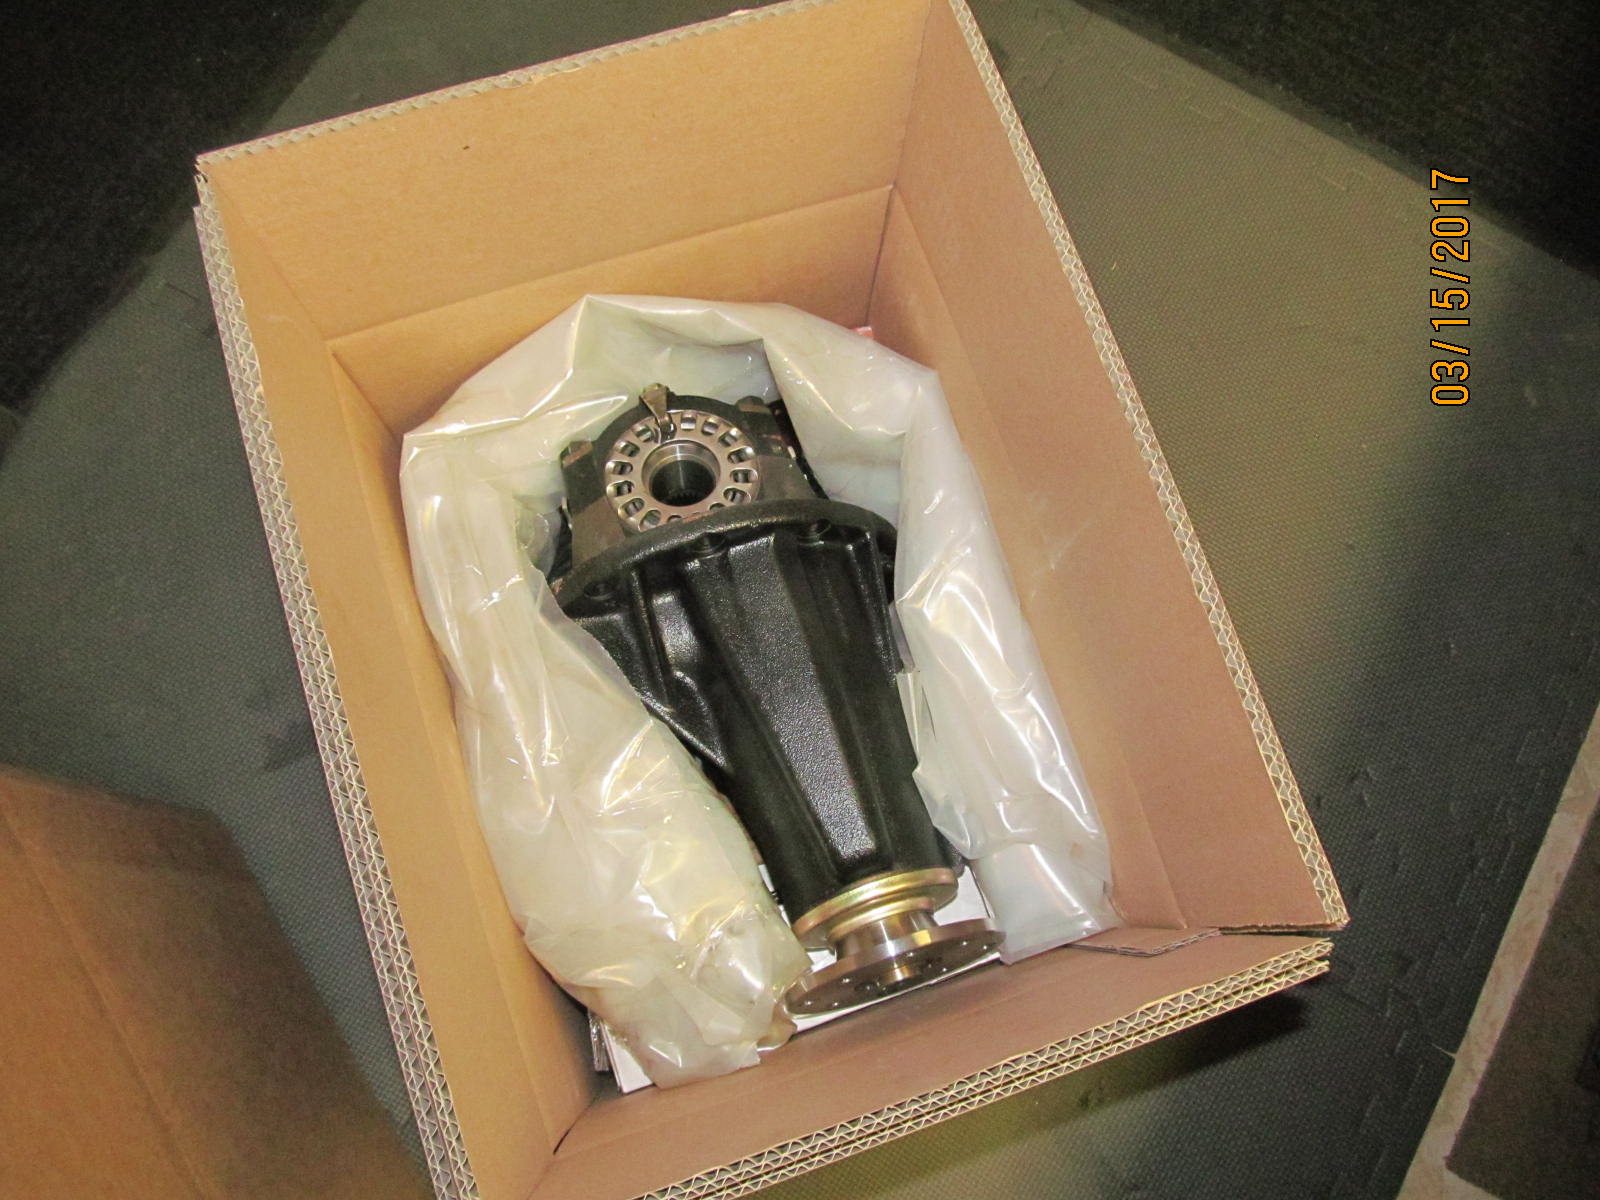
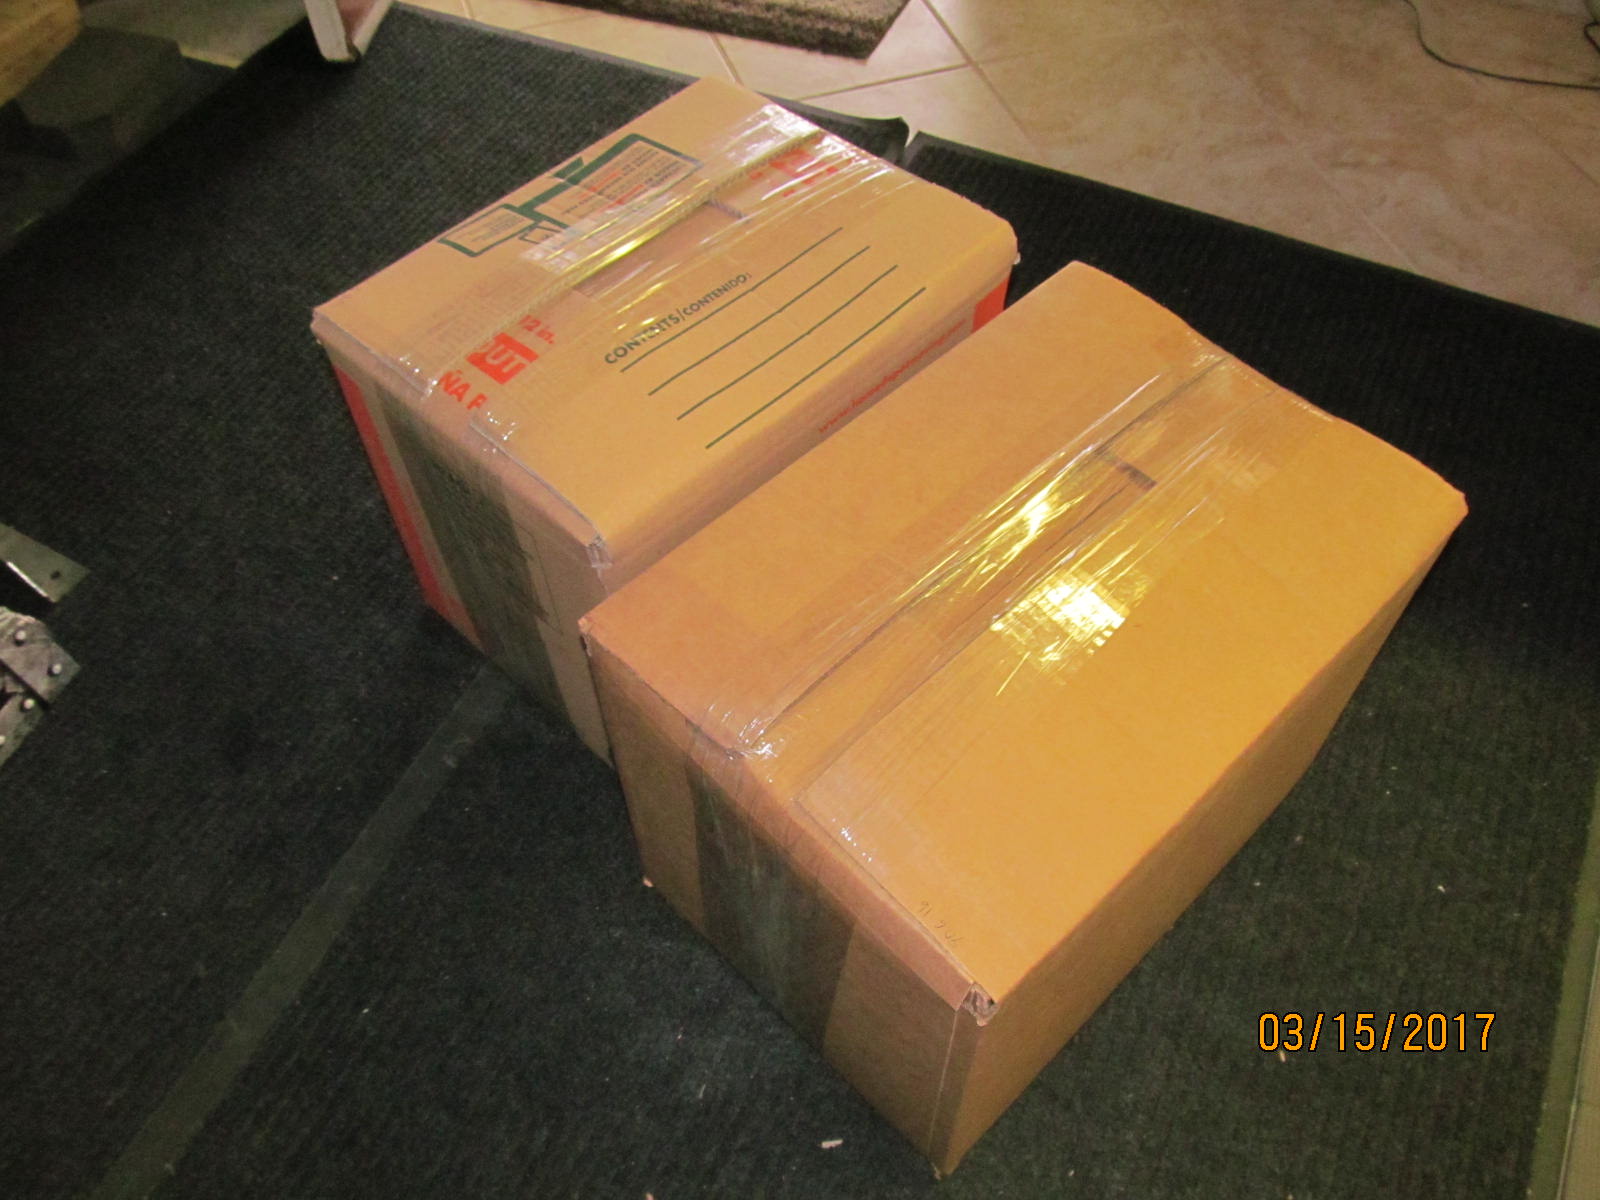
Both 3rds are packed up in such a way that they will make the 10,000 mile trip with ease.
Here's the link to the harrop buildup of the big 9.5" rear 3rd HERE |
|---|
|
|
| Both front and rear diffs ready to go to the Czech Republic. |
|---|
|
|

|