|
Harrop Elockers And Cryo Treated 4.56 Nitro Gears For Both Ends of Paul's '05 Lexus GX470
|
|
(71 BIG pics loading)
|
|
APRIL 30 2017
|
|
|
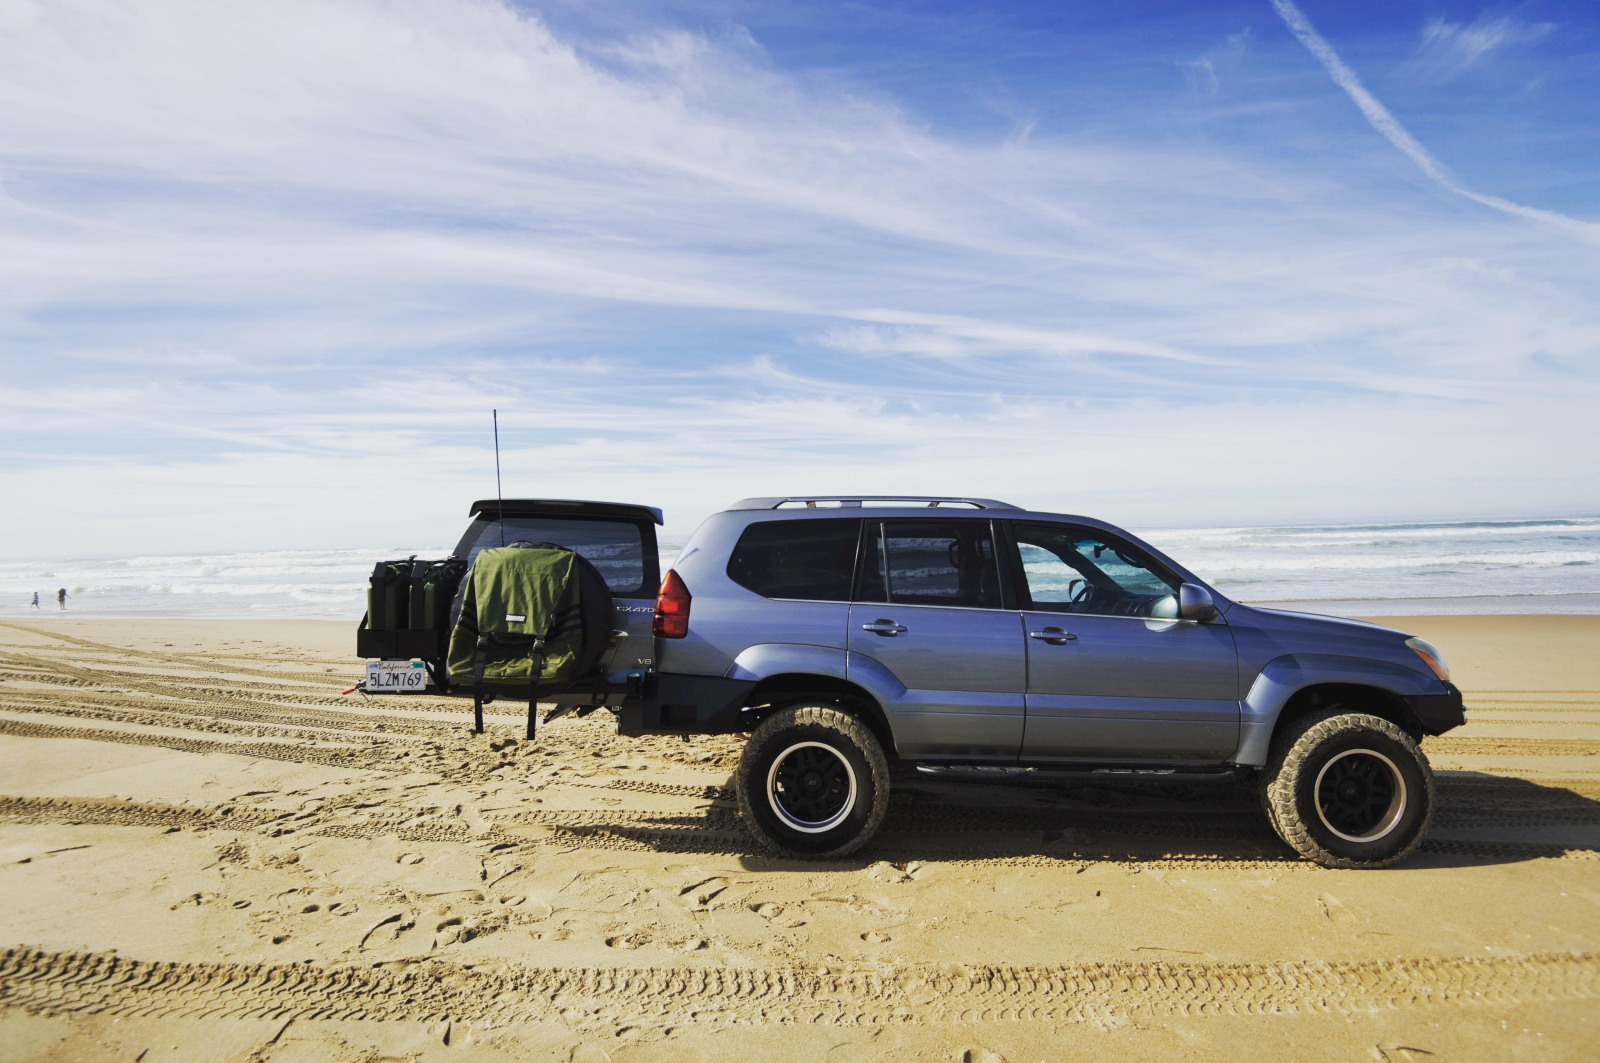
Paul is on the West Coast and takes very good care of his GX470. He takes it out on campouts and on some trails that demand a
bit more traction so thus the need for lower gearing- and selectable lockers....front and rear in Paul's case.
|
|
|
|
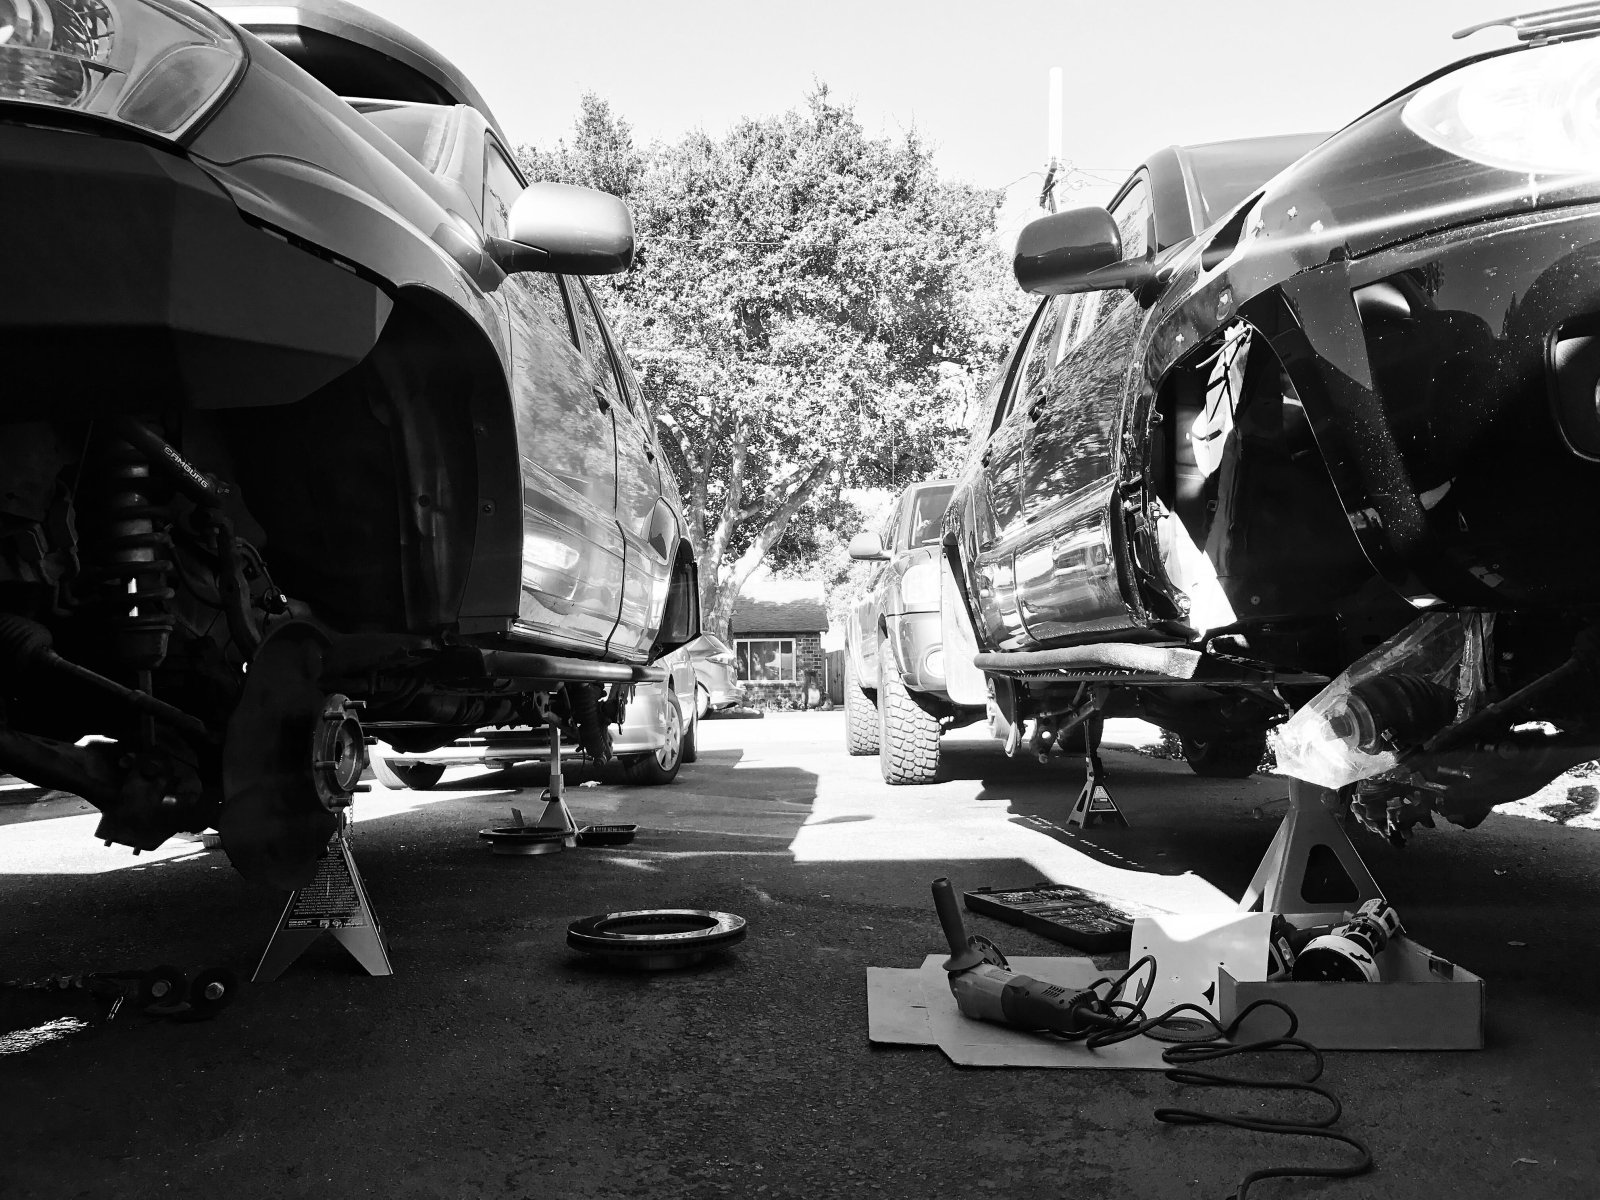
Both Paul and Mike were having the diffs done at the same time. Paul's 05 Lexus GX470 next to Mike's 07 4Runner. And, from my conversations
with them, they were also taking the opportunity to clearance the body mounts in the front wheelwell....a problem area
with larger tires.
|
|
|
|
|
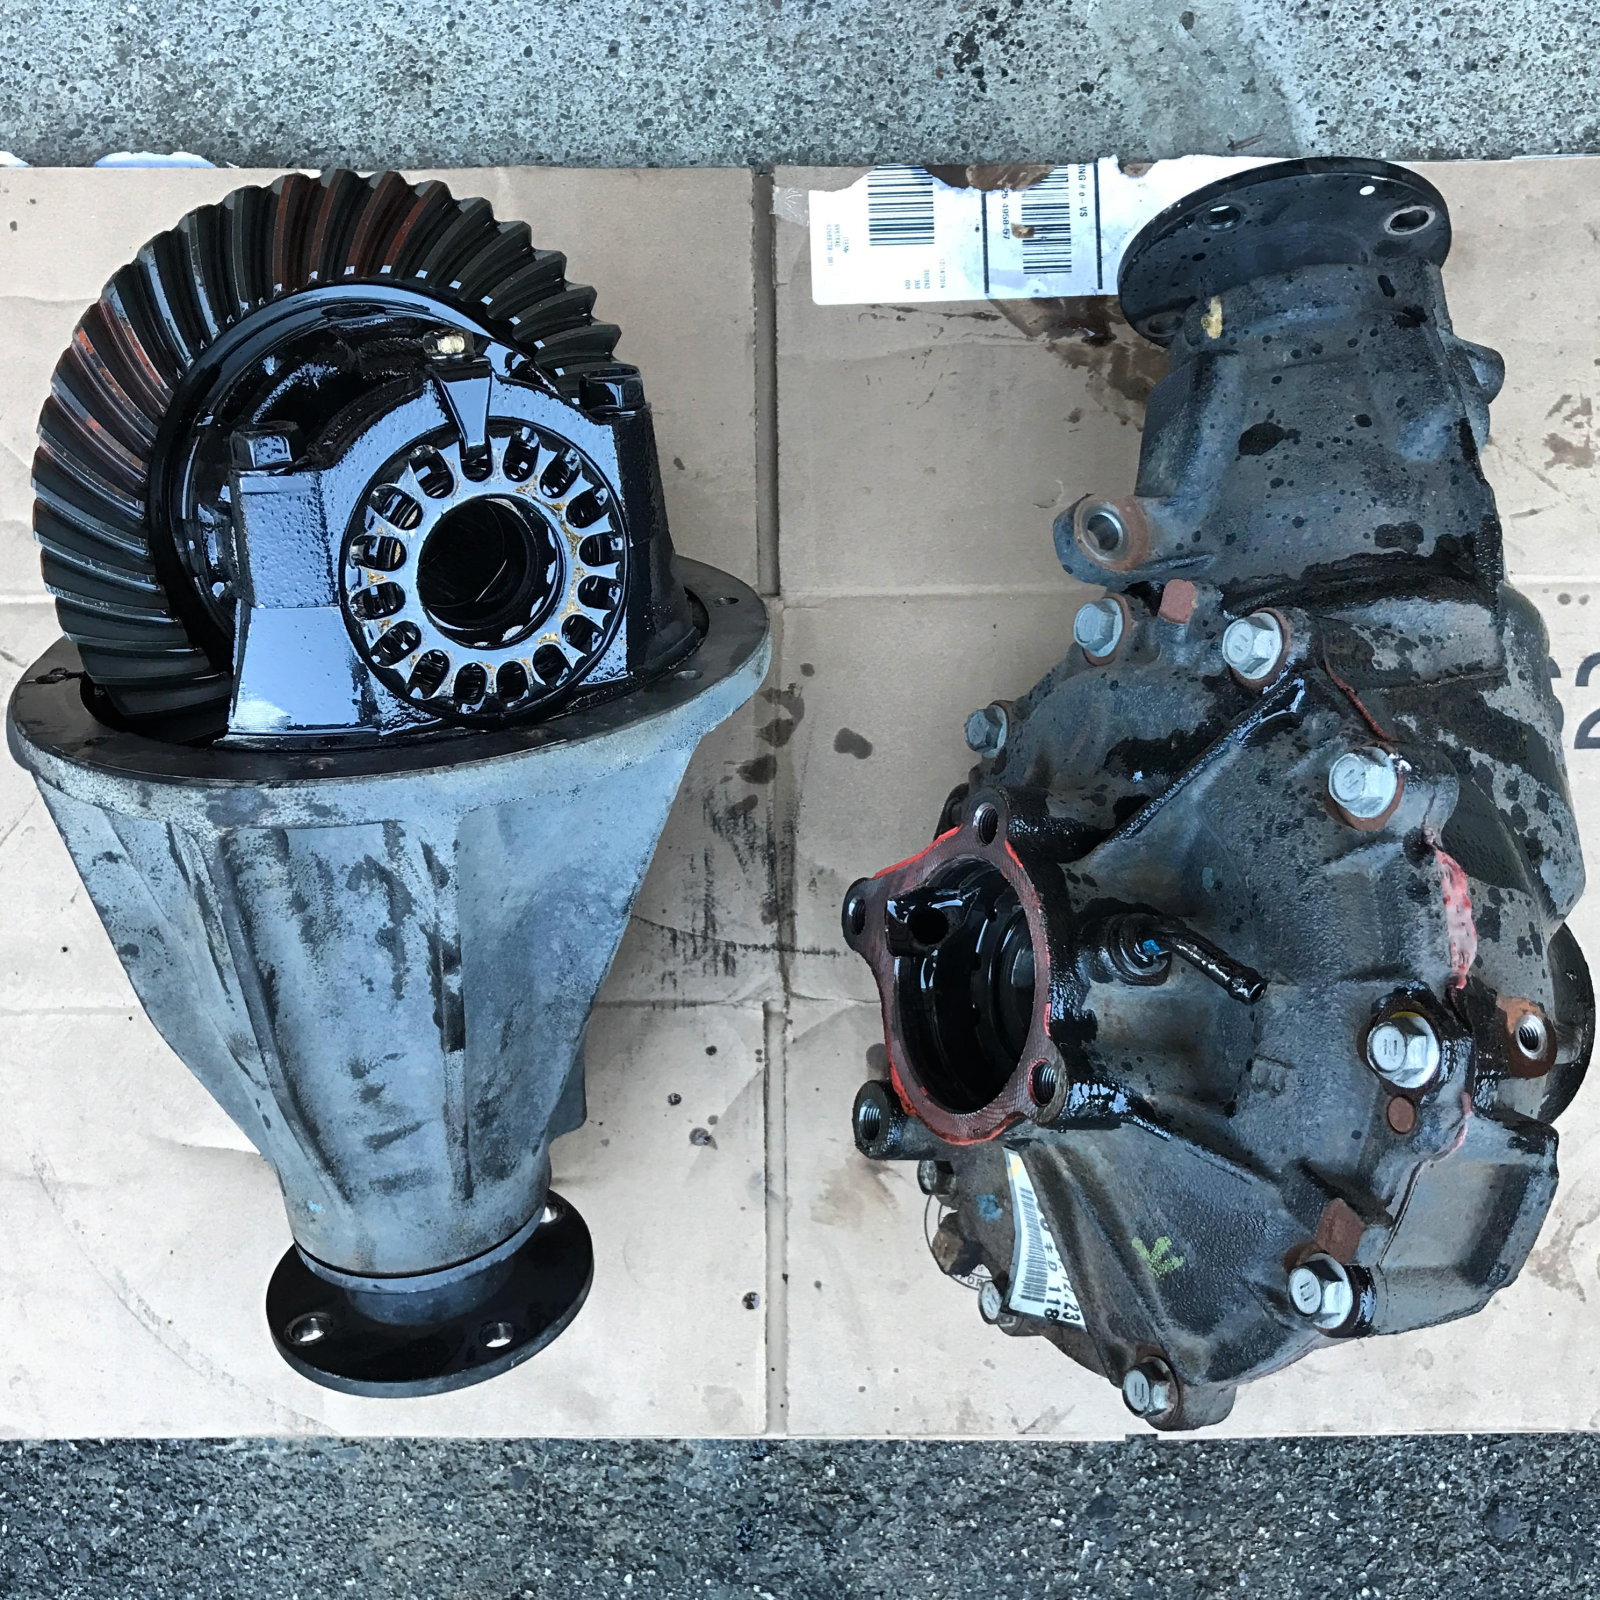
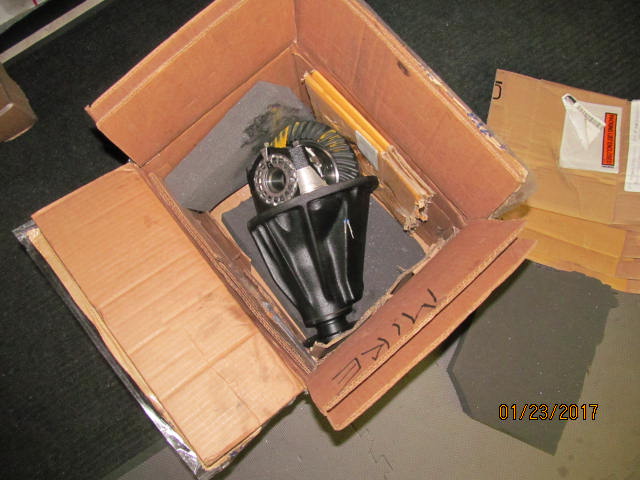
Paul pulled his diffs out and sent them to me. On the left, a 8" V6 rear diff. On the right, an 8" high pinion clamshell.
|
|
|
|
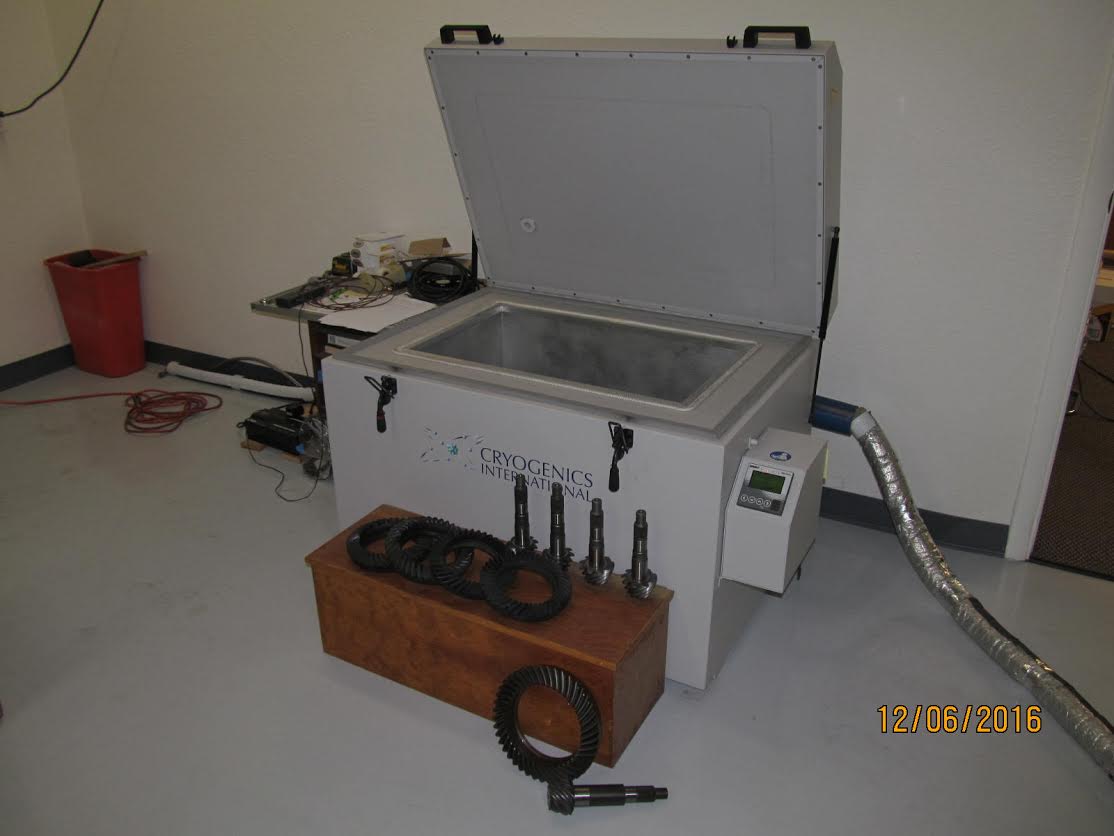
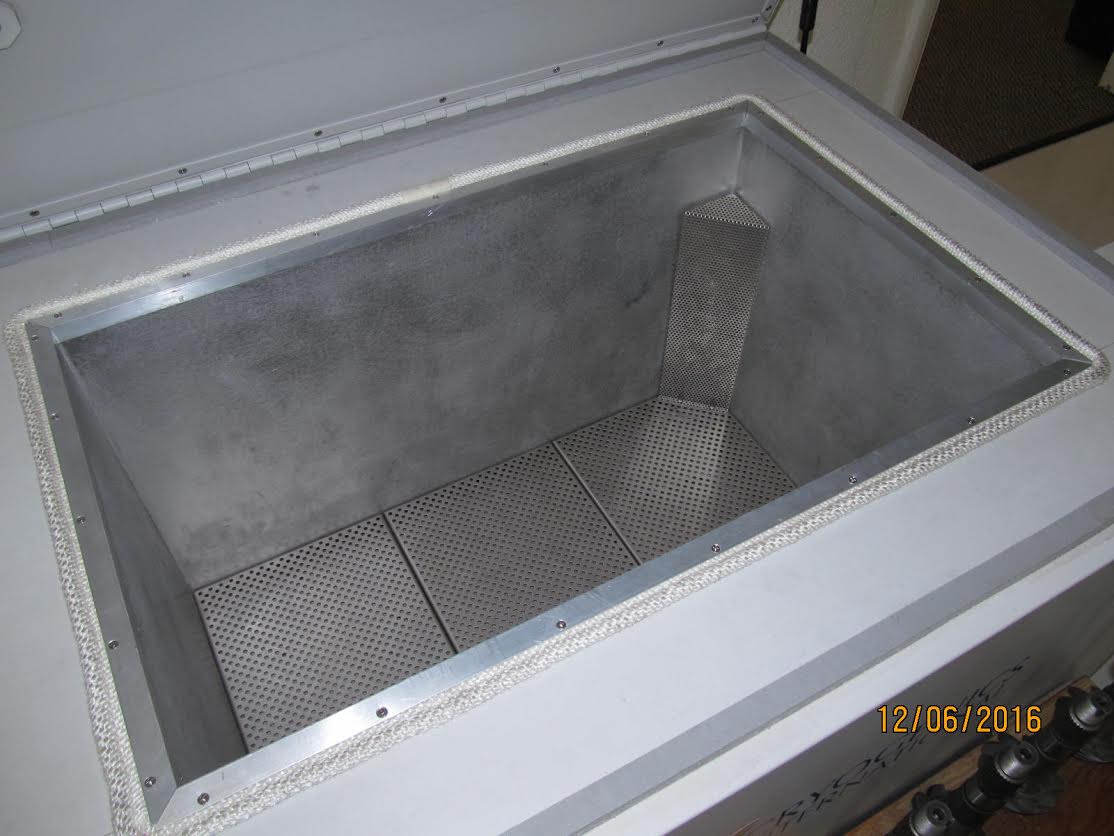
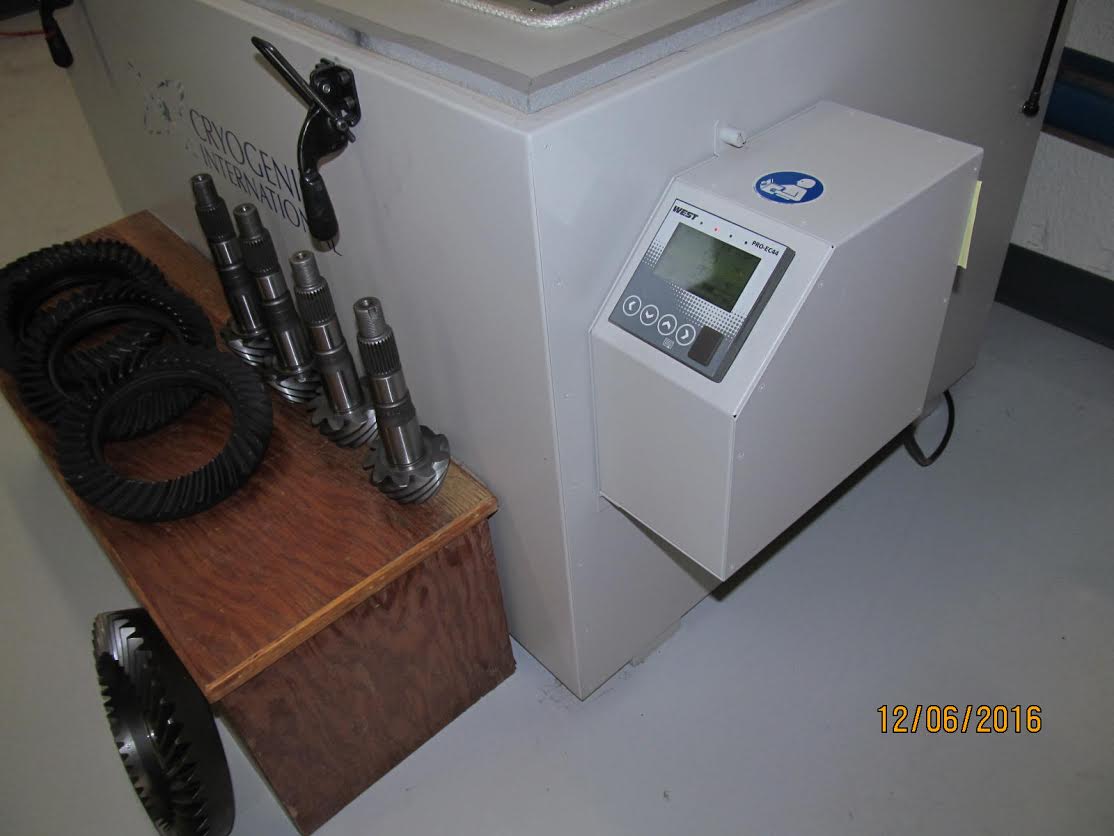
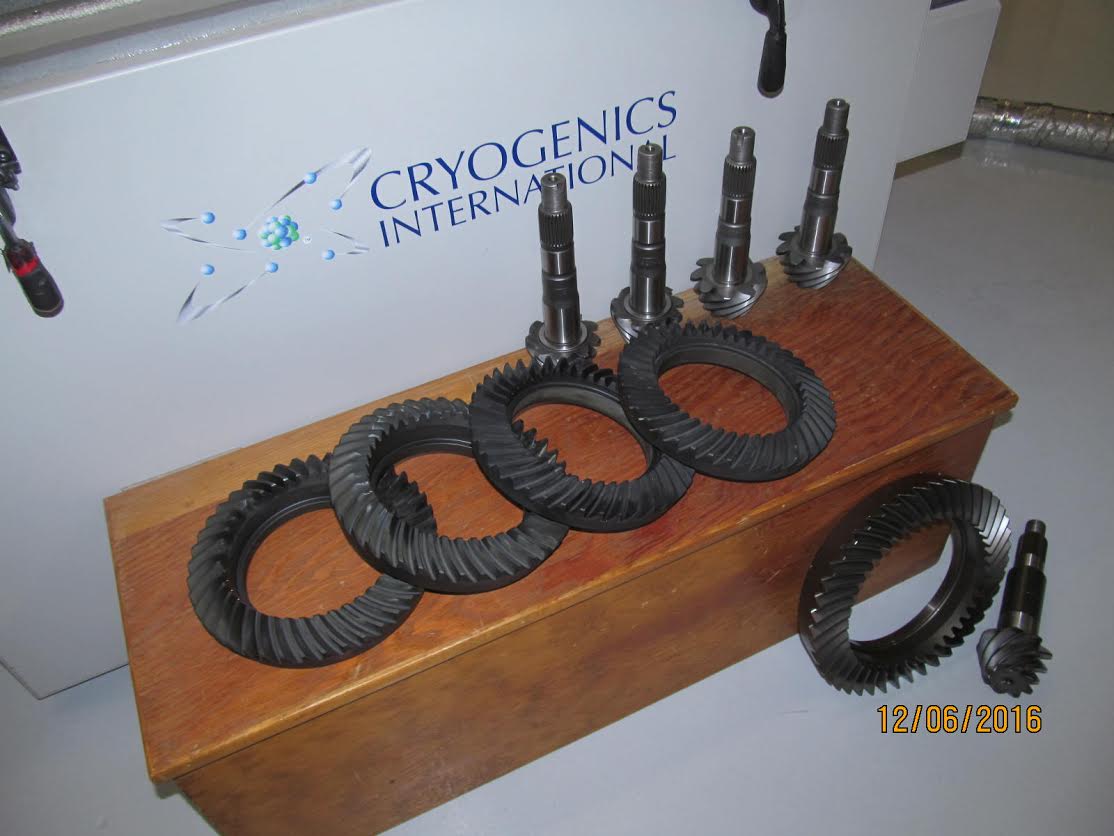
Cryogenics International.
2 of them are Mike's...2 are Paul's
|
|
|
|
|
......................
|
|
|
|
|
........................
|
|
|
|
Be assured that I have marked all 4 ring and pinions so that they stay as
matched pairs.
|
|
|
|
|
In no time at all, the 8" rear diff is on my bench....... To follow the front Harrop/4.56 install for the front 8" clam click HERE.
|
|
|
|
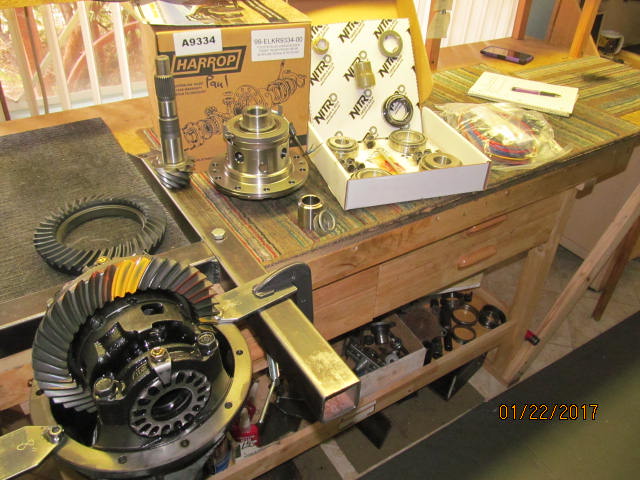
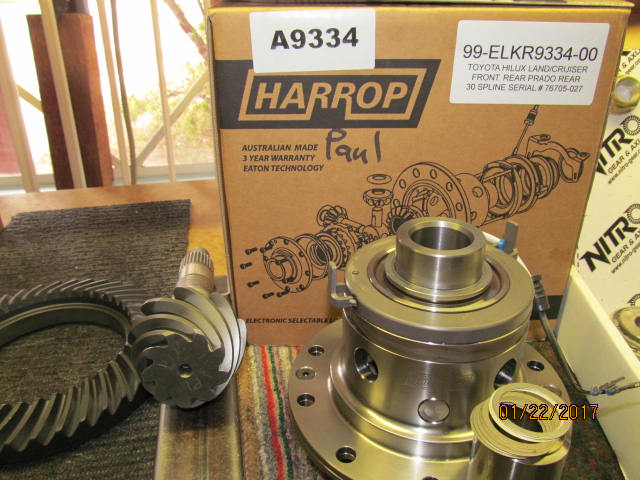
9334 Harrop elocker is probably the most common 8" locker in the Toyota applications. So, this locker not only fits the GX470
model but a ton of pick-ups from 1979 thru 1995 and a whole slew of 4Runners.
|
|
|
|
|
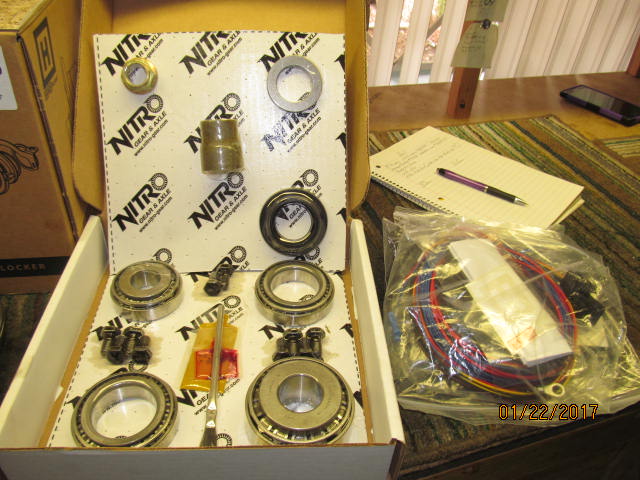
Master install kit with the 4 bearings and the pinion seal.
|
|
|
|
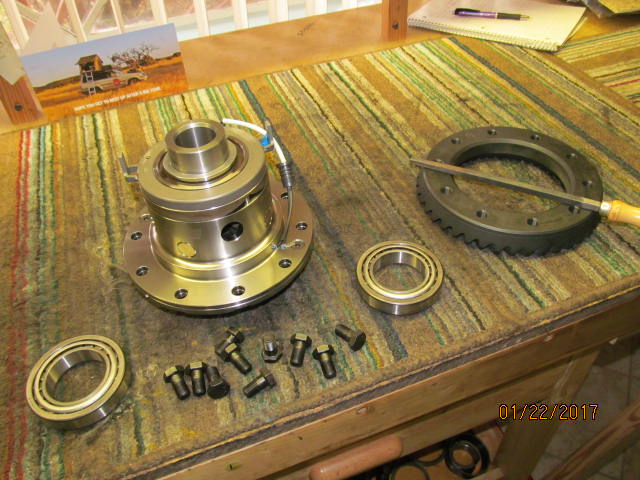
Order is variable so decided to put the ring and the carrier bearing on the Harrop elocker first.
Surfaces arw checked with a file and no burrs or high spots found.
|
|
|
|
|
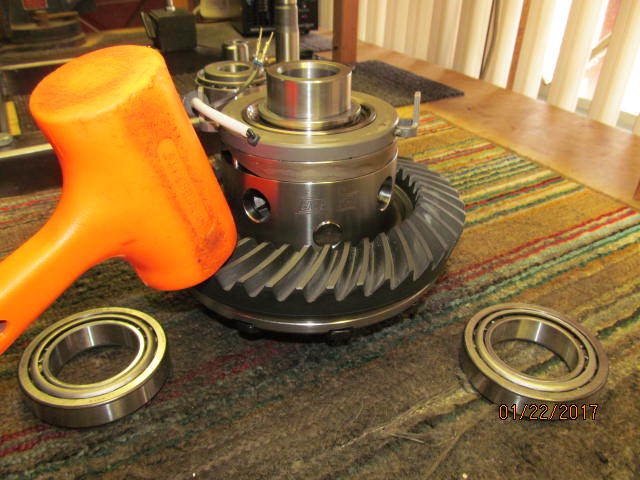
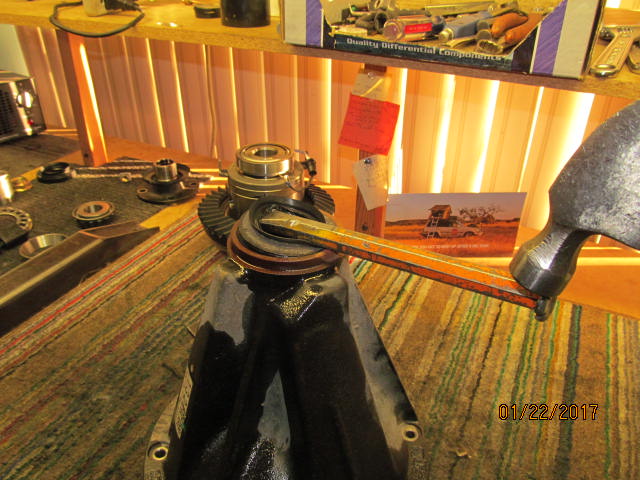
The lead filled plastic hammer was able to tap the ring gear down.
|
|
|
|
|
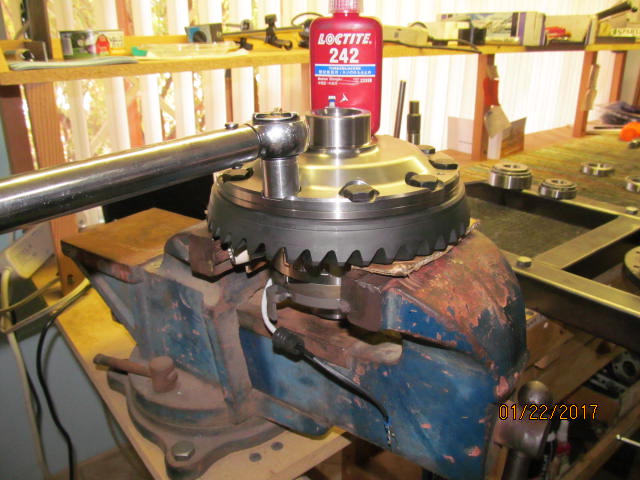
The 10 ring gear bolts have blue Loctite on them and 70 ft/lb.
|
|
|
|
|
The carrier bearings were a tight fit but they did seat with the proper coaxing.
|
|
|
|
|
The Harrop carrier is as ready as it can get.....now onto the pinion.
|
|
|

|
|
Using some of the shims supplied in the kit, 082" is the first choice.
|
|
|
|
|
The new Koyo pinion bearing is pressed on.
|
|
|
|
|
The pinion now waits for the main diff carrier.
|
|
|
|
|
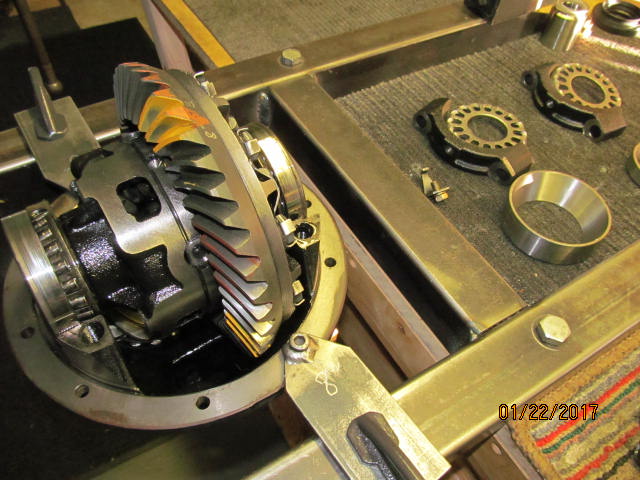
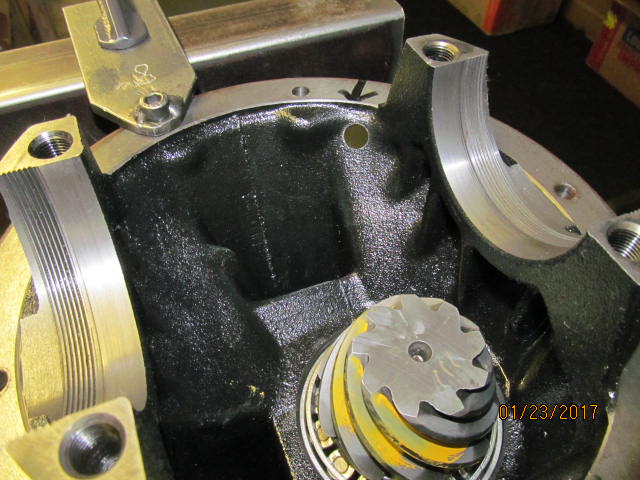
Now Paul's diff carrier can be disassembled. Bearing caps are removed. OEM open carrier can be removed.
|
|
|

|
|
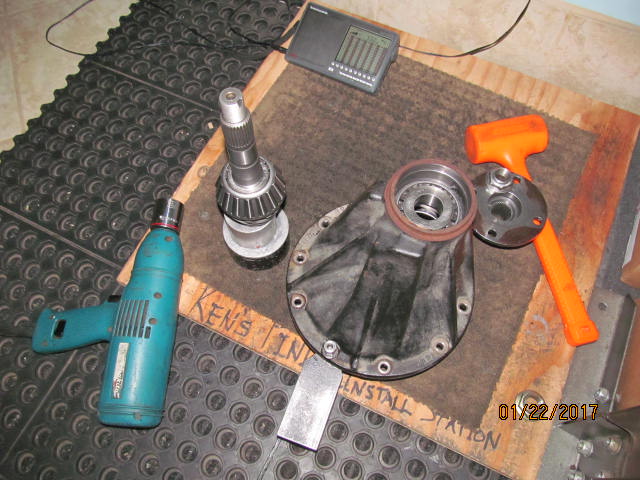
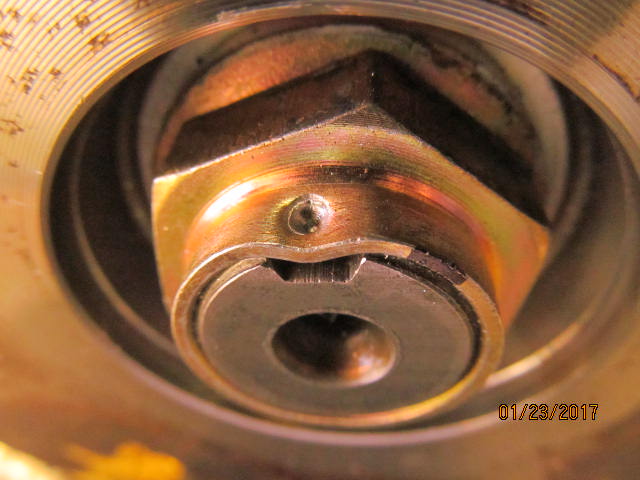
Pinion end can now be disassembled. The electric impact makes quick work of the pinion nut.
|
|
|

|
|
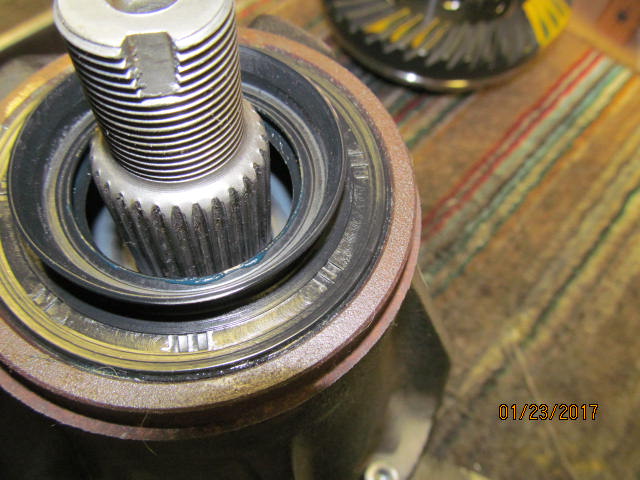
It was a tight fitting flange.
|
|
|
|
|
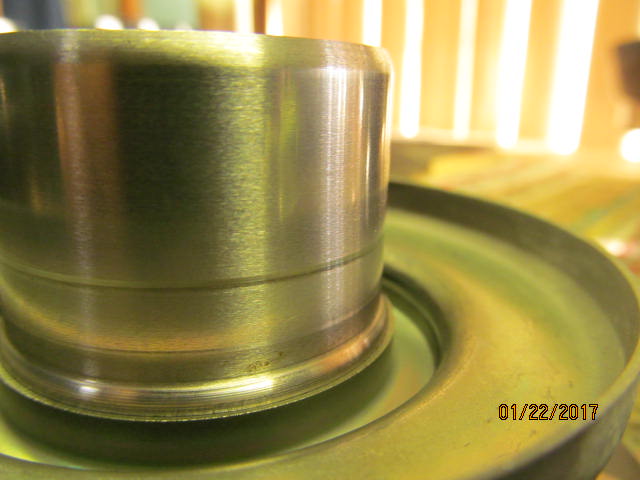
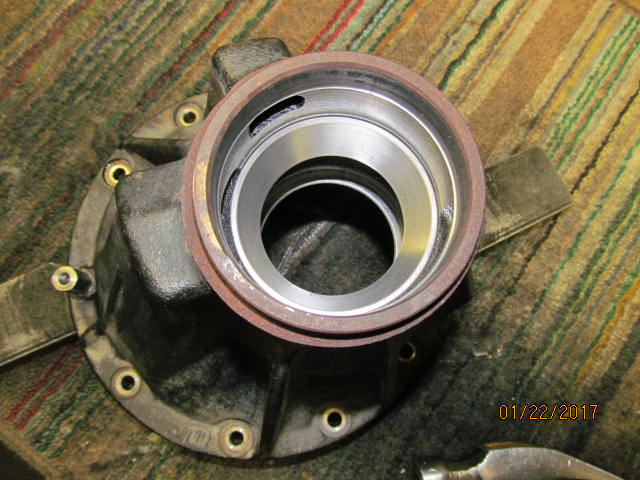
Flange seal surface is in nice shape.
|
|
|
|
|
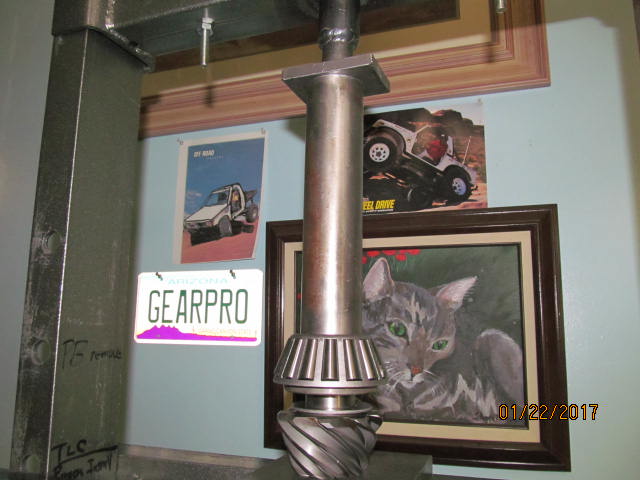
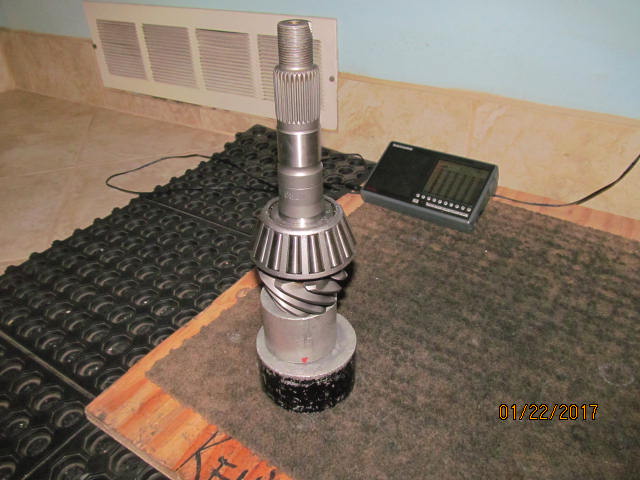
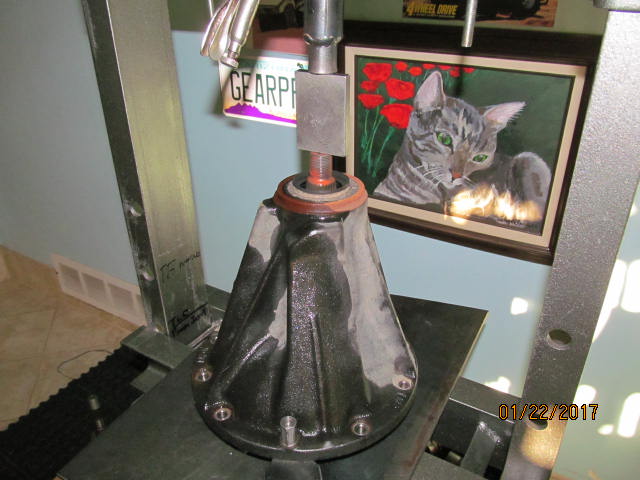
Pressing the pinion out.
|
|
|
|
|
The seal removal tool.
|
|
|
|
|
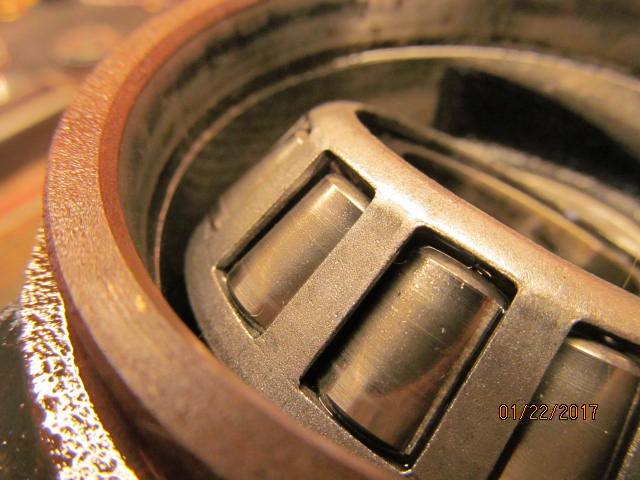
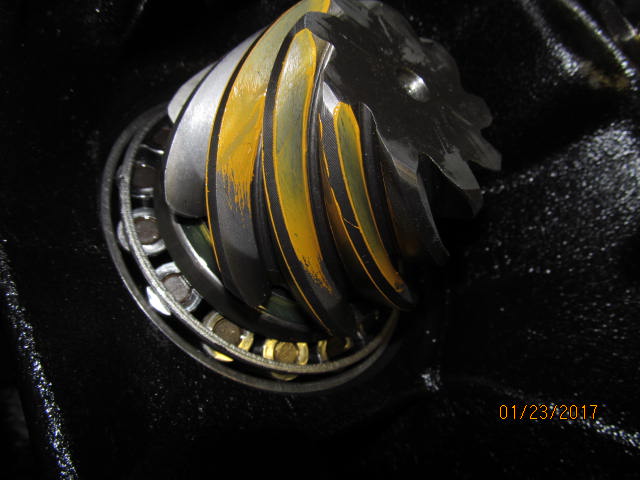
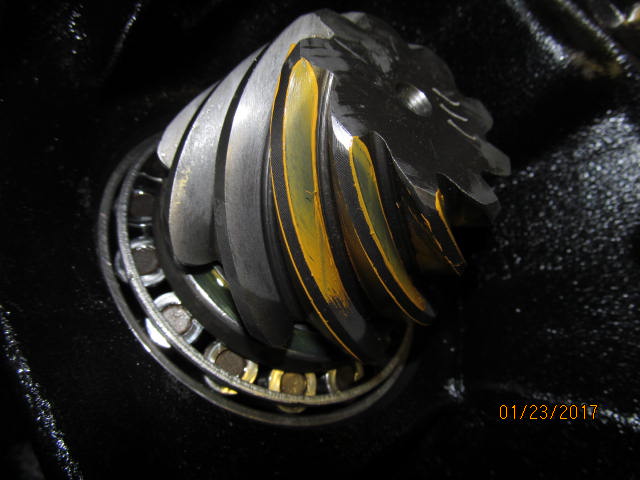
Why did I take this picyure of the pinion bearing? I don't know.
|
|
|
|
|
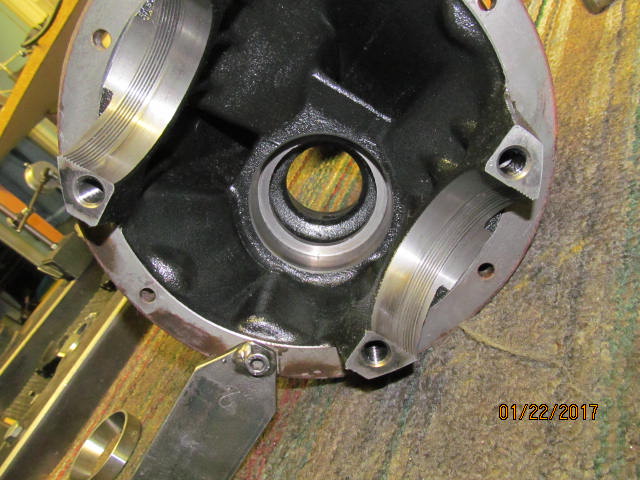
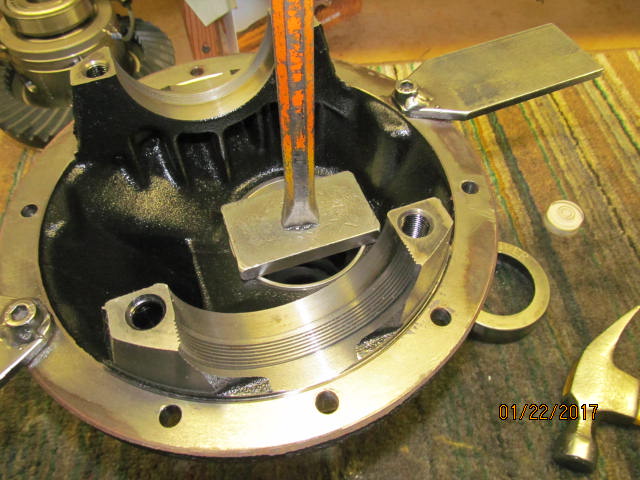
Old races were tapped out and some general cleaning.
|
|
|
|
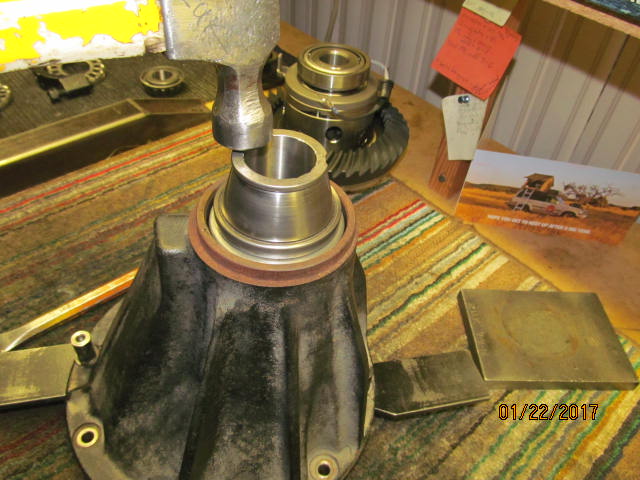
The large inner race goes in fairly easy....just have to make sure it stays level going down.
I use a bubble to help keep it true.
|
|
|
|
|
....................
|
|
|
|
|
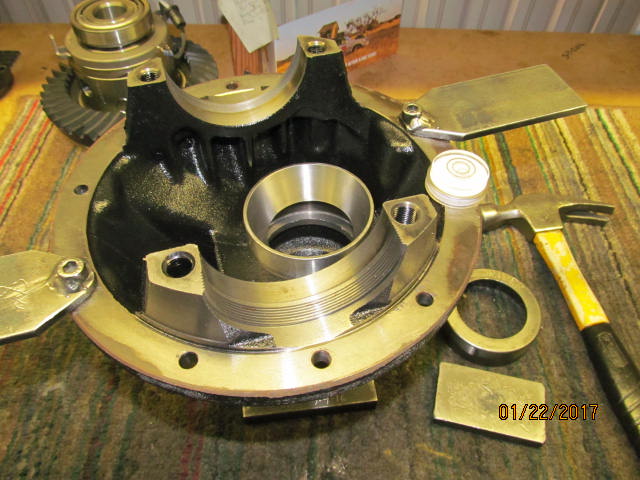
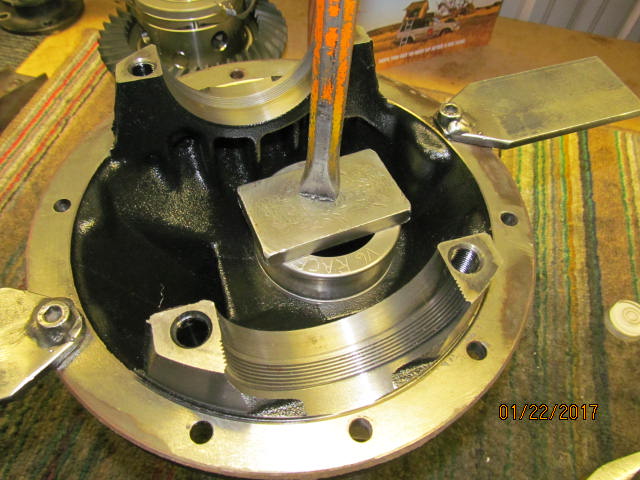
An old race seats it down 100%.
|
|
|
|
|
.................
|
|
|
|
|
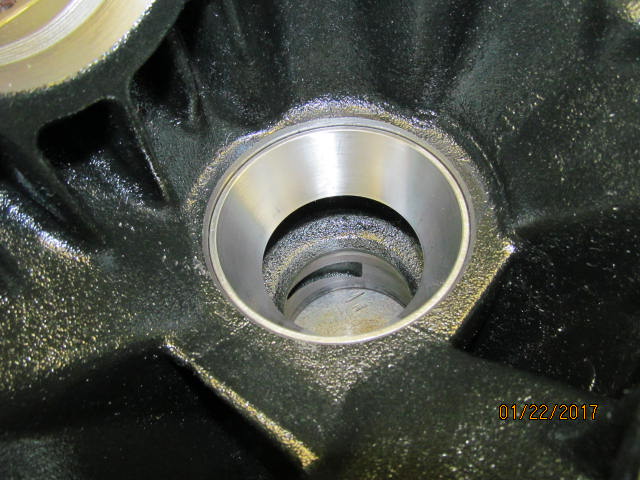
The small outer race is easier.
|
|
|
|
|
100%.
|
|
|
|
|
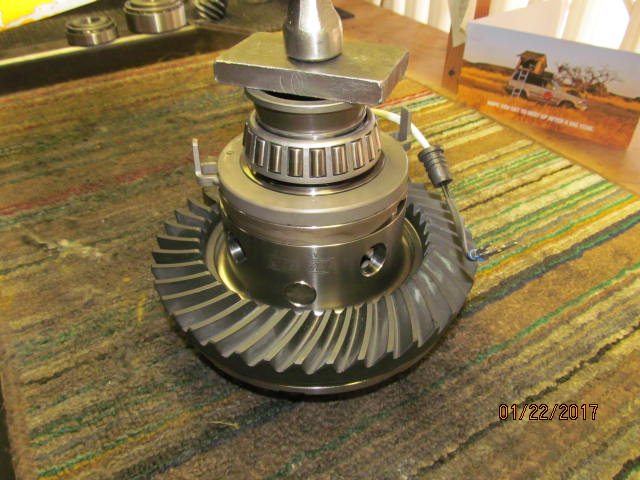
Now the pinion can be loaded up.
|
|
|
|
|
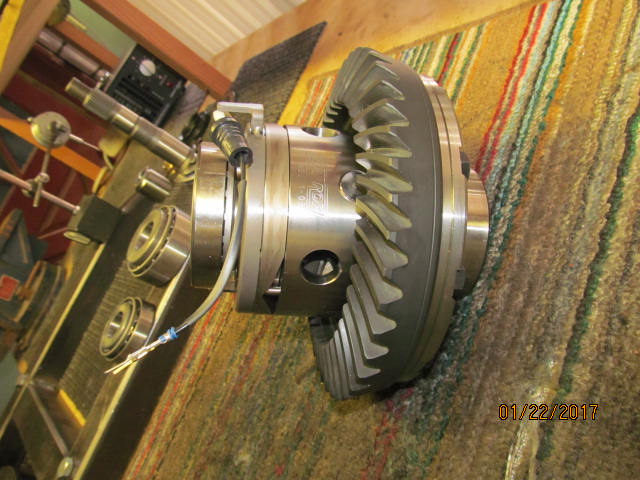
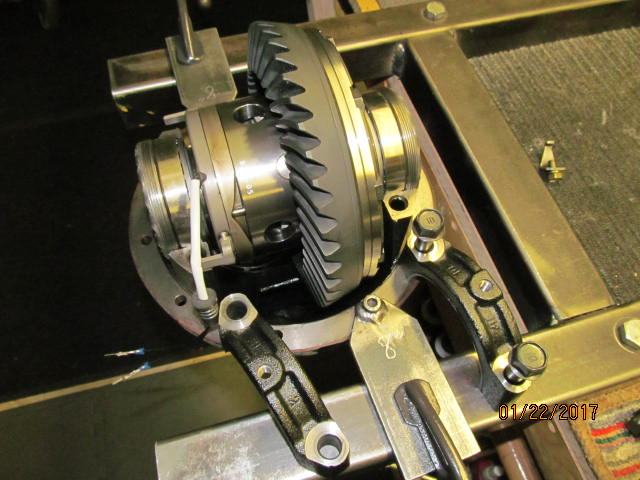
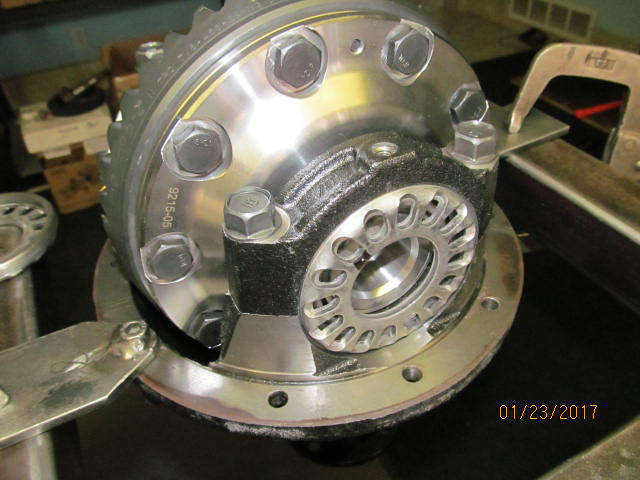
And now the elocker carrier is loaded.
|
|
|
|
|
Had to bend the tabs out a little to clear the bearing cap.
|
|
|
|
|
Bearing cap threads...upper and lower need to be aligned to get the wheel adjuster(wagon wheel) to start properly.
|
|
|
|
|
Shot sideways but it really is up/down.
|
|
|
|
|
Wheel adjuster did start easy.
|
|
|
|
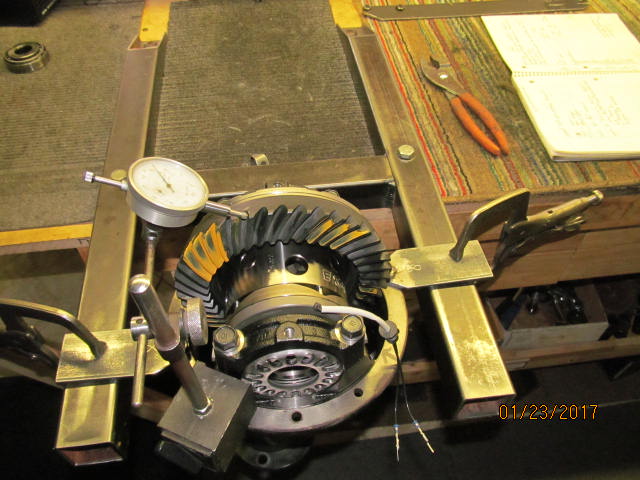
4 bearing caps snugged down to almost 70. Wheel adjusters tightened up til the preload is felt and the backlash is set at
least in the ballpark.
|
|
|
|
|
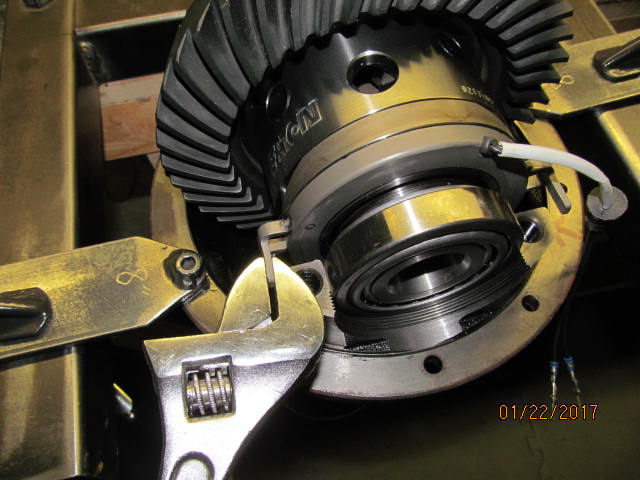
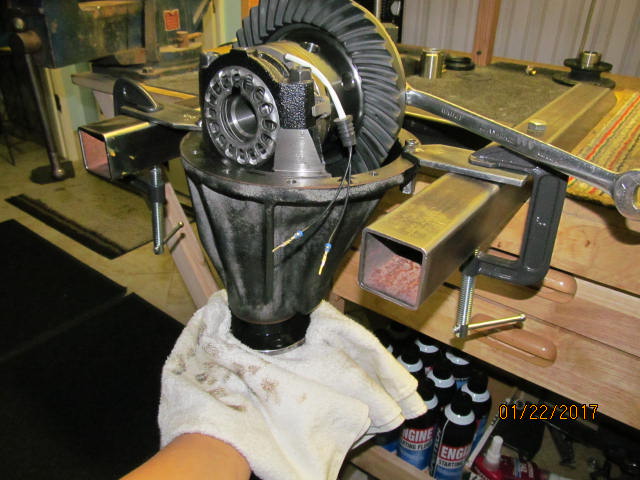
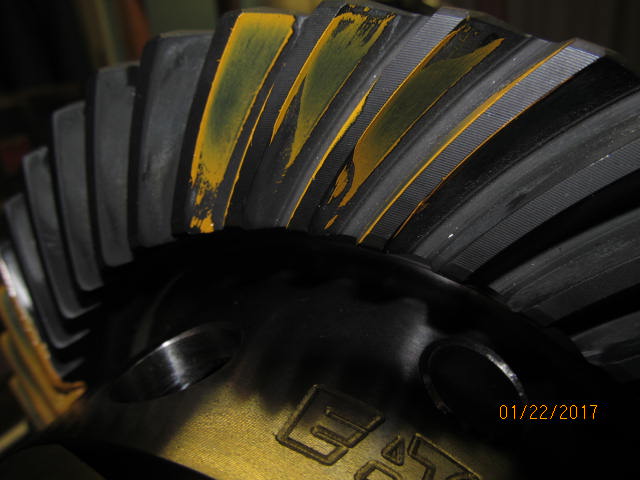
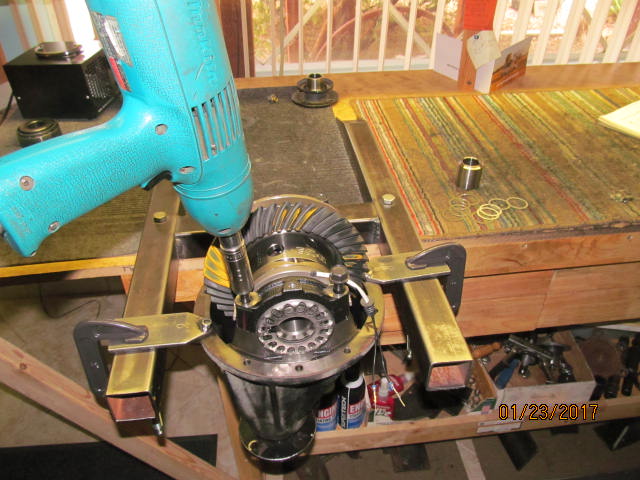
And now a paint test can be done. Offer some resistance with a rag as shown here.......
|
|
|
|
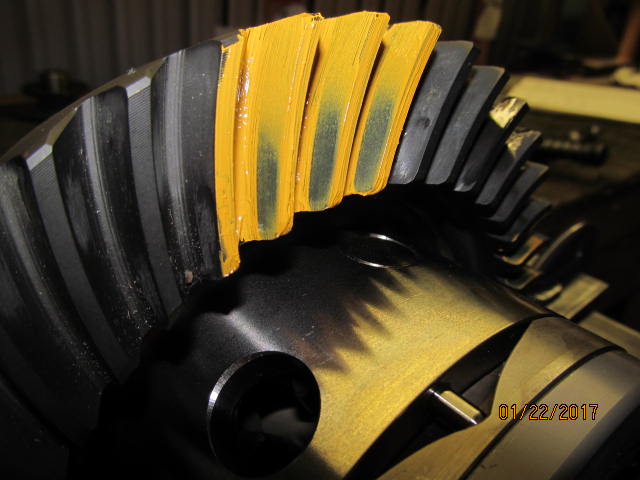
....and then turn the ring gear with a 17mm wrench to generate this.
Drive side.....a little heavy on the toe but the depth is just right.
|
|
|
|
|
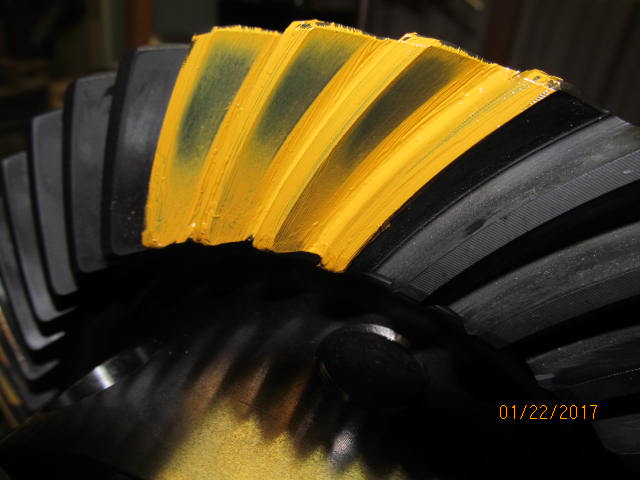
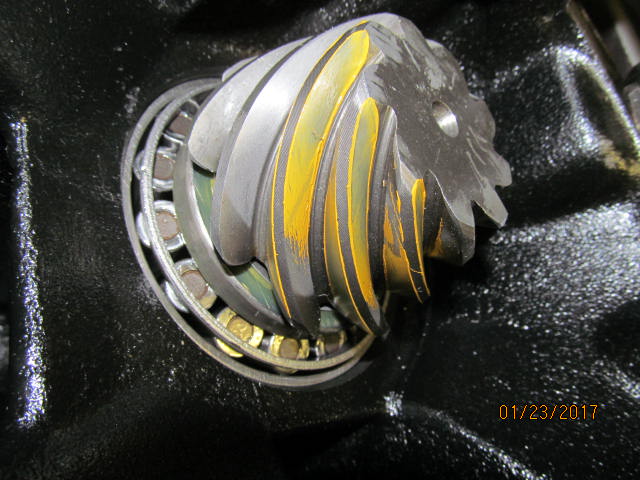
Coast....verifies that the depth is right.
|
|
|
|
|
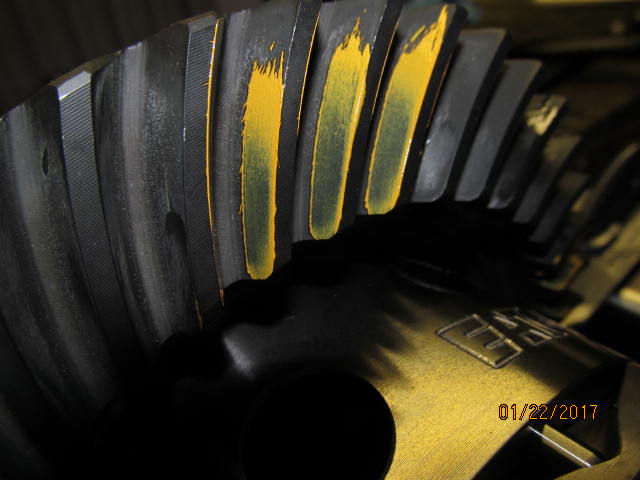
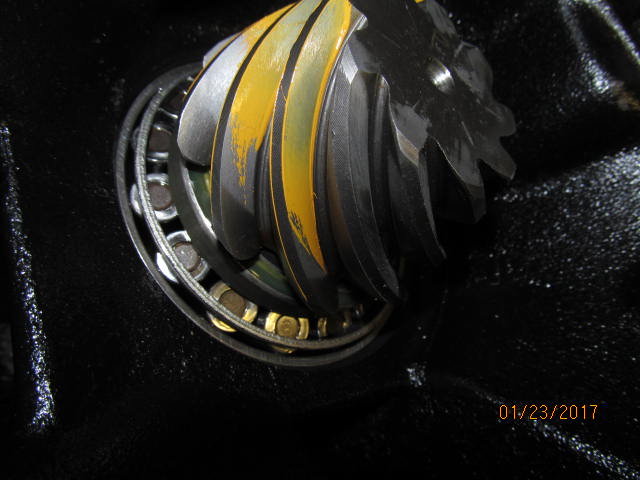
Drive...reverse painted tooth. Often it clarifies the depth.
|
|
|
|
|
Coast...reverse painted.
|
|
|
|
|
teardown.
|
|
|
|
|
drive side.
|
|
|
|
|
This tooth shows a comet tail that is not hugging the root.
|
|
|
|
|
Pinion paint is a little vague but it is not a hard tuck into the root which is good.
|
|
|
|
|
...................
|
|
|
|
|
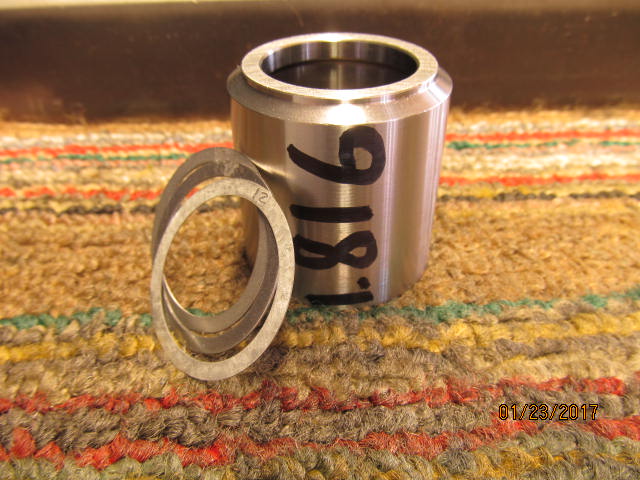
With depth establihed, The solid collar is next.
|
|
|
|
1.866" is a common final number...so I tried .050" with the 1.816" collar for the 1st try and Bingo! Spot on.
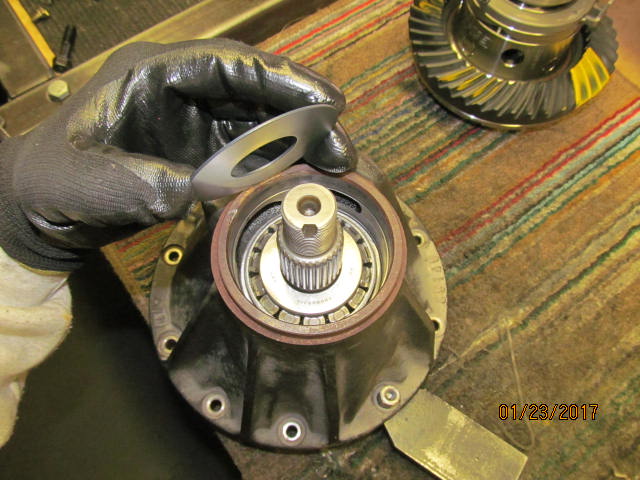
Now the splashguard and seal can be installed.
|
|
|

|
|
The seal is oiled up and grease applied to the garter spring. This prevents 100% the garter spring from shaking loose.
|
|
|
|
|
The Nitro kits pinion seal is properly installed.
|
|
|

|
|
Flange is next.
|
|
|
|
|
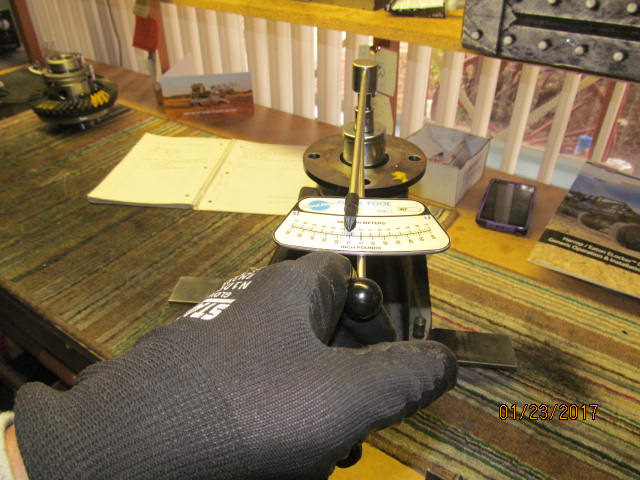
Pinion nut is tightened and 11 in/lb is the measured start torque.
|
|
|
|
|
DING!! and this end is done.
|
|
|
|
|
29/64" hole is drilled.
|
|
|
|
|
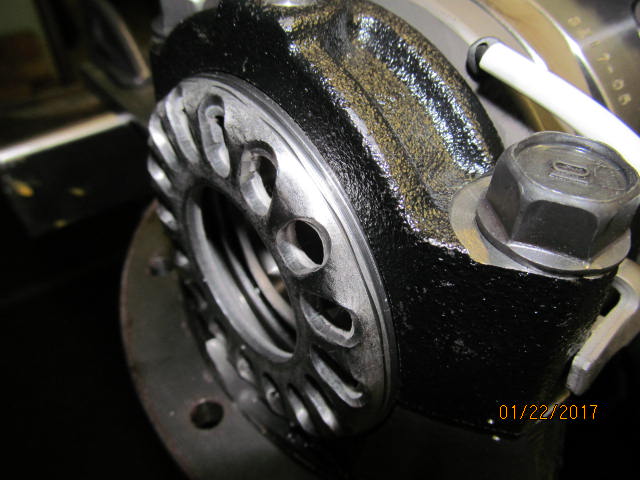
This side is easy to assemble..... wheel adjuster first, then put the bearing cap, and then tighten the 2 bolts to 70 ft/lb. Done
|
|
|

|
|
This side is a little different order. Bearing cap first.......
|
|
|
|
|
Align thread.....
|
|
|
|
|
Tighten to 70 ft/lb AND THEN the wagon wheel goes in last.
|
|
|
|
|
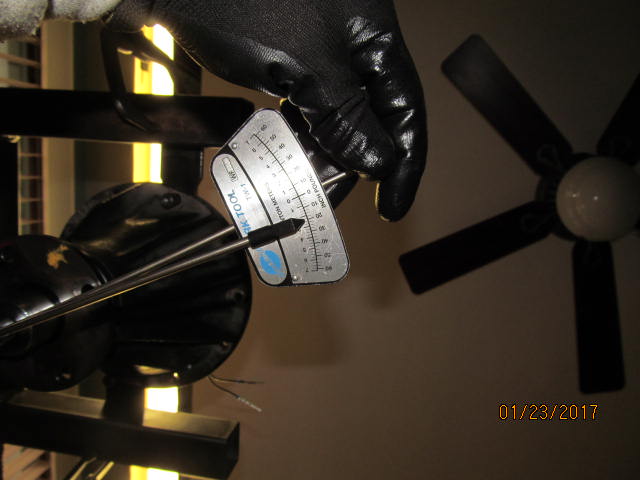
A check of the freeplay shows 3.5mm....the instructions are a little vague but 2mm is the minimum mentioned.
|
|
|
|
|
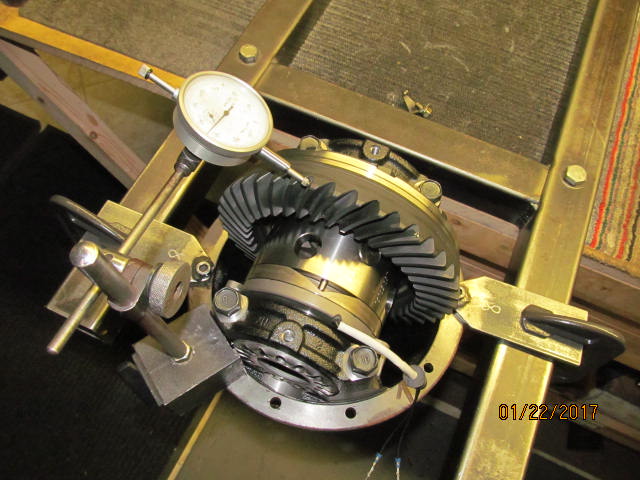
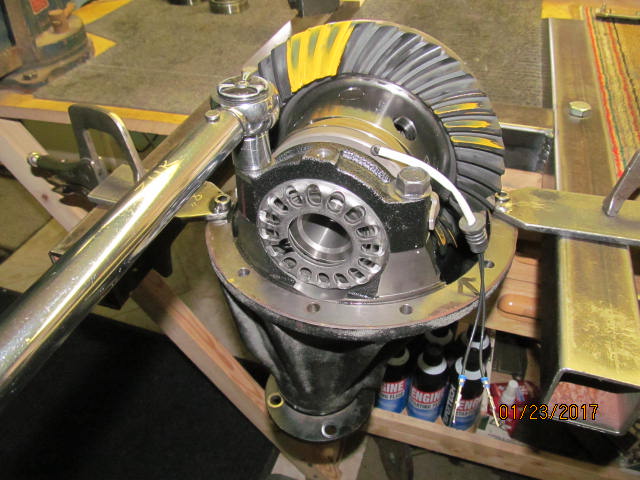
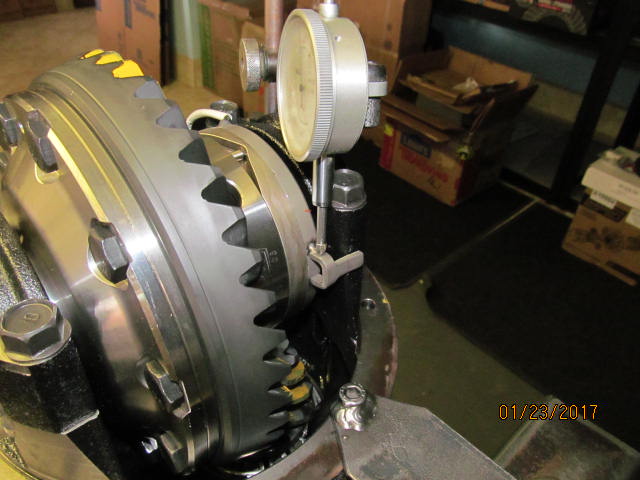
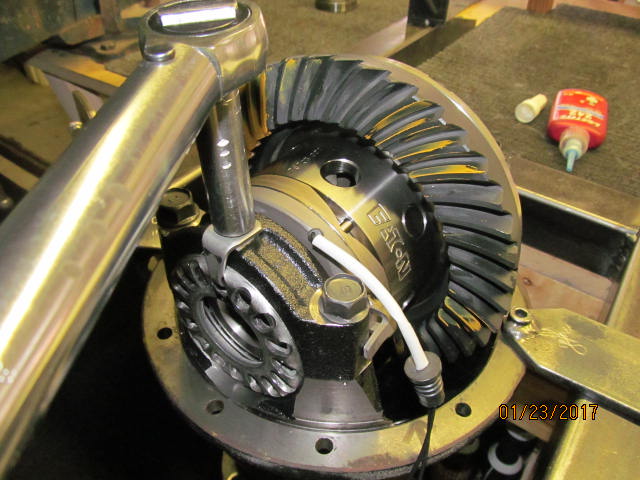
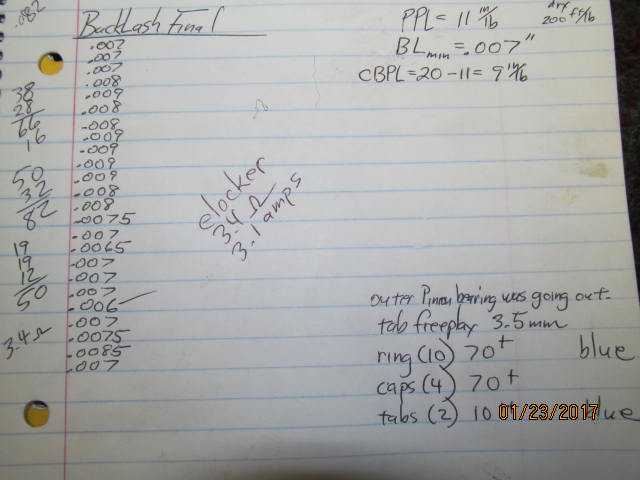
Carrier bearing preload is dialed in and backlash is checked on every other tooth.... and recorded.
|
|
|
|
The total bearing preload is 20. Since the pinion preload is already known to be 11 then that means the
carrier bearing preload is what is left over and, in this case, 9 in/lb.
|
|
|
|
|
Tabs can go on now.
|
|
|
|
|
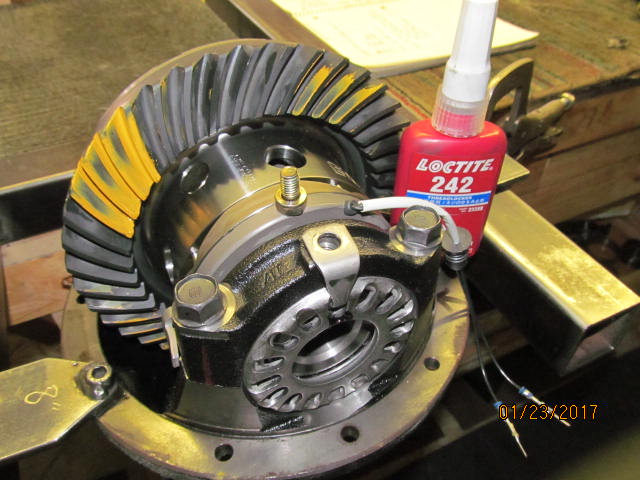
Blue loctite and a healthy 10 ft/lb
|
|
|
|
|
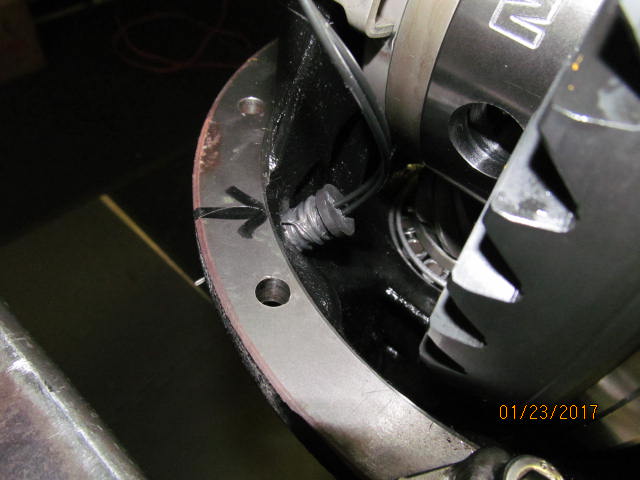
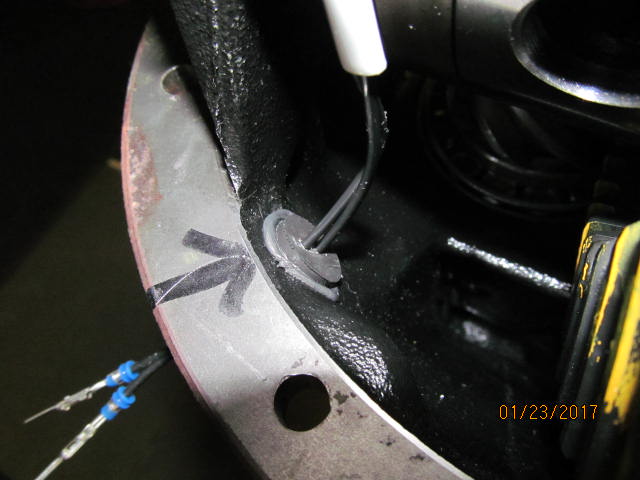
RTV on the rubber grommet.
|
|
|
|
|
The grommet seems to go thru twice as easy and I'm confident that it seals it even better.
|
|
|
|
|
..................
|
|
|
|
|
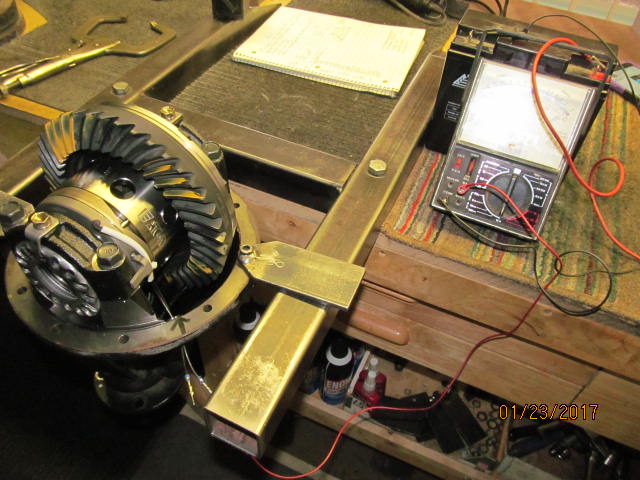
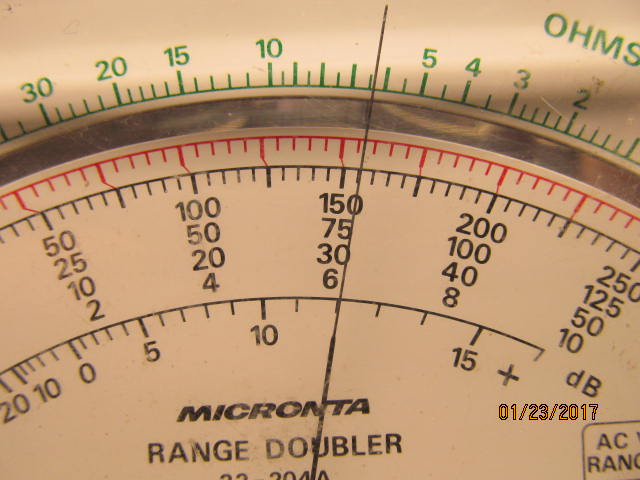
Amperage check with the old analog Radio Shack meter.
|
|
|
|
|
3.1 amps from a 12 volt battery.
|
|
|
|
|
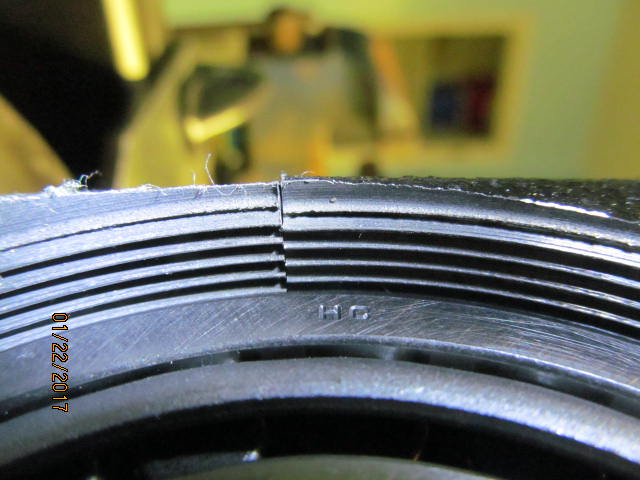
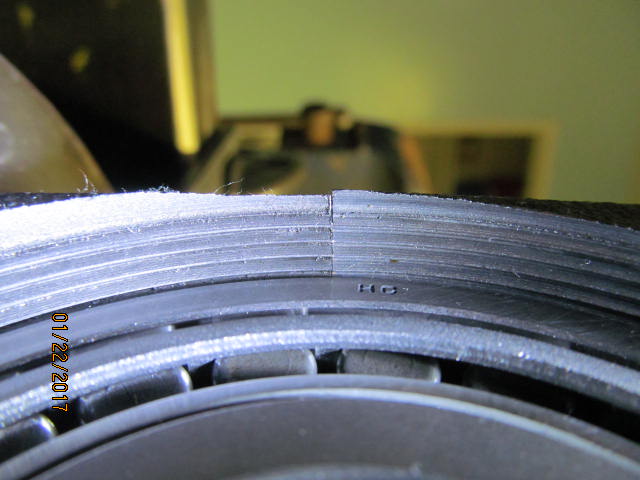
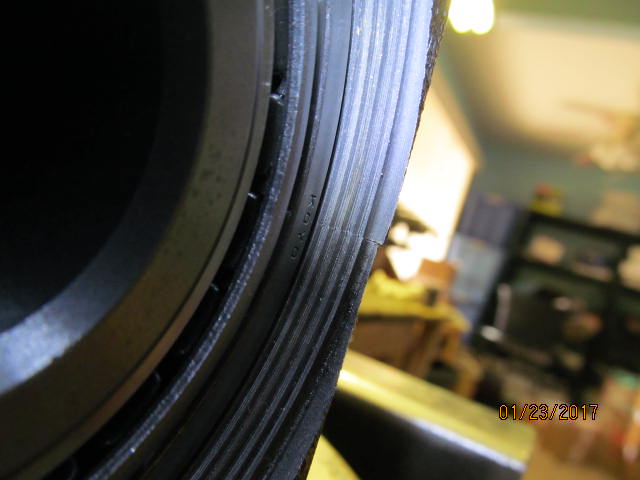
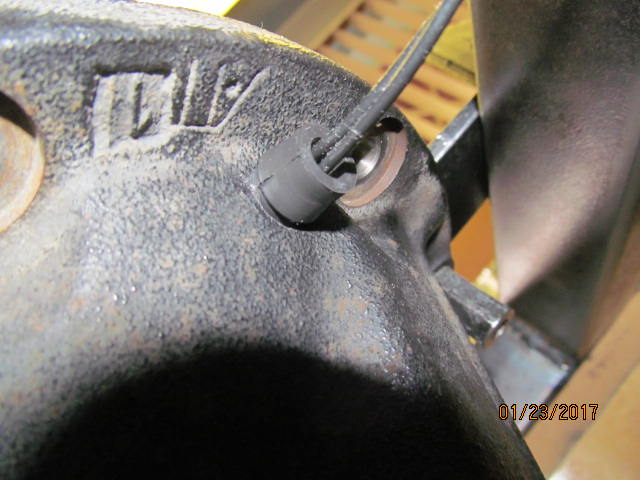
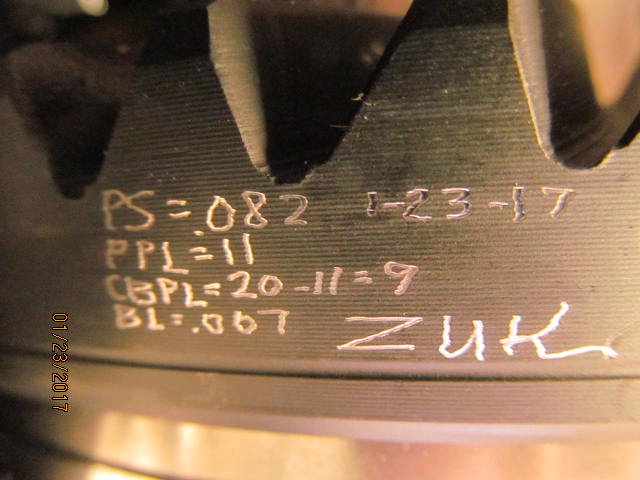
Some data is inscribed on the ring.
|
|
|
|
|
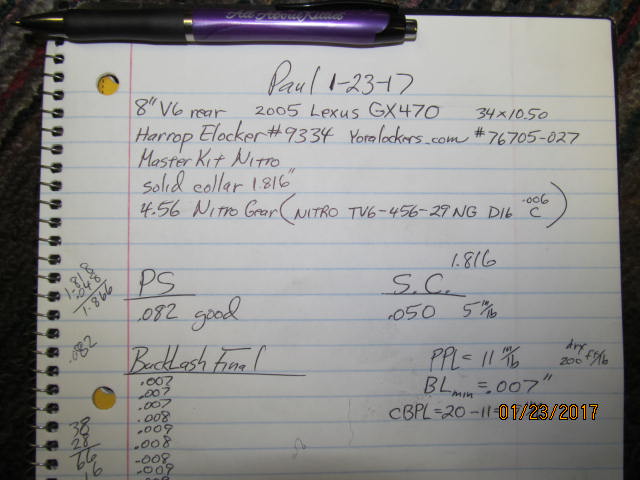
Notes taken.
|
|
|
|
|
.....................
|
|
|
|
|
And now to pack it up for the trip back home.
|
|
|

|